Hello 🙂
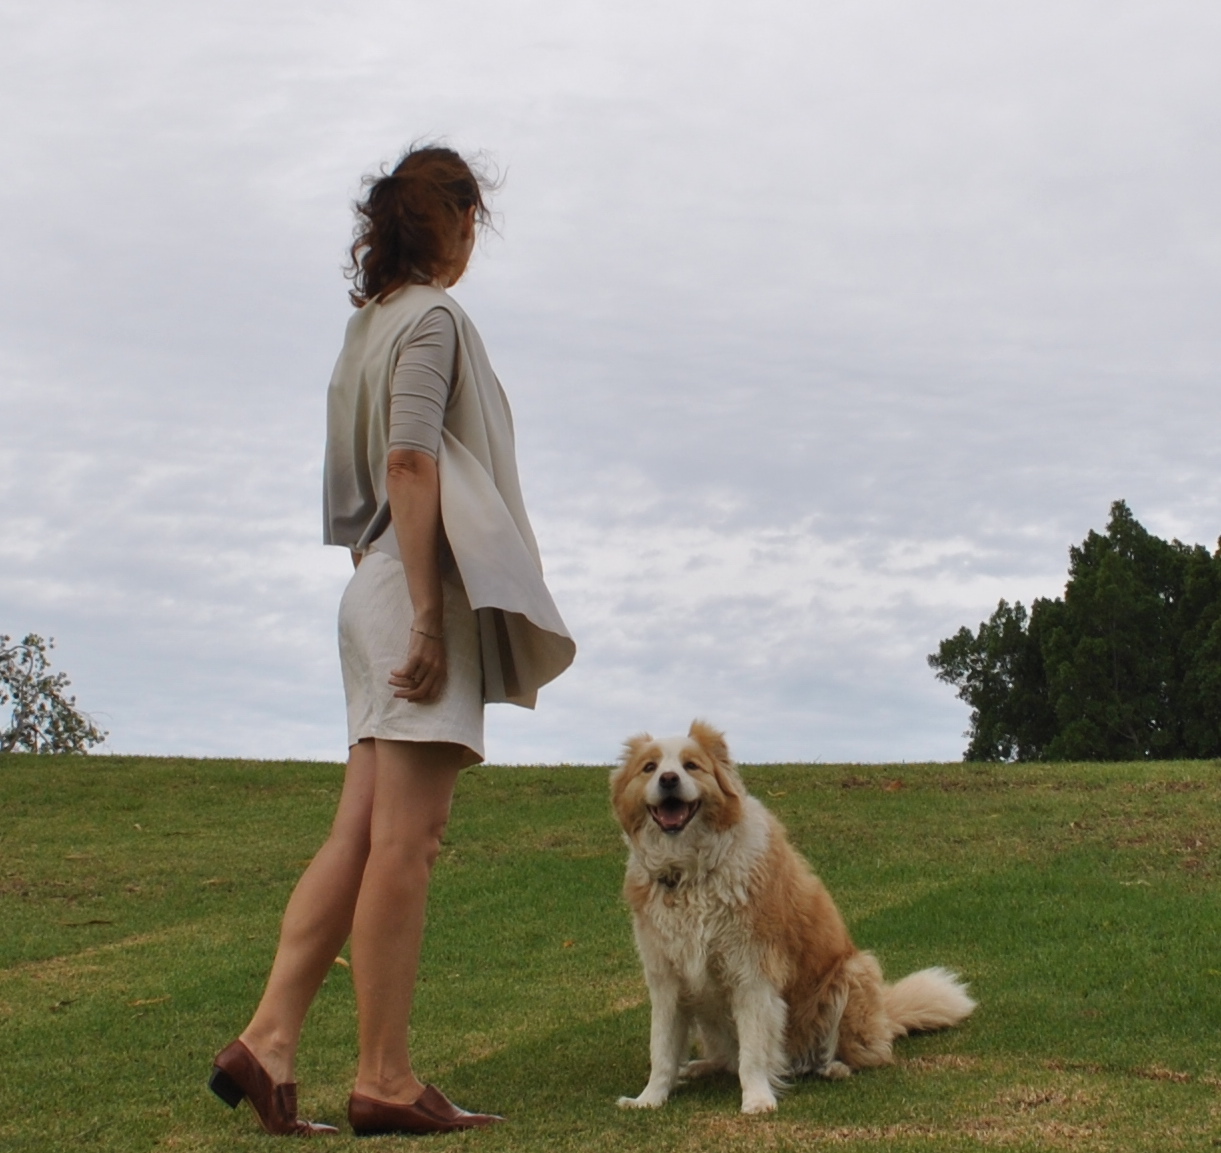
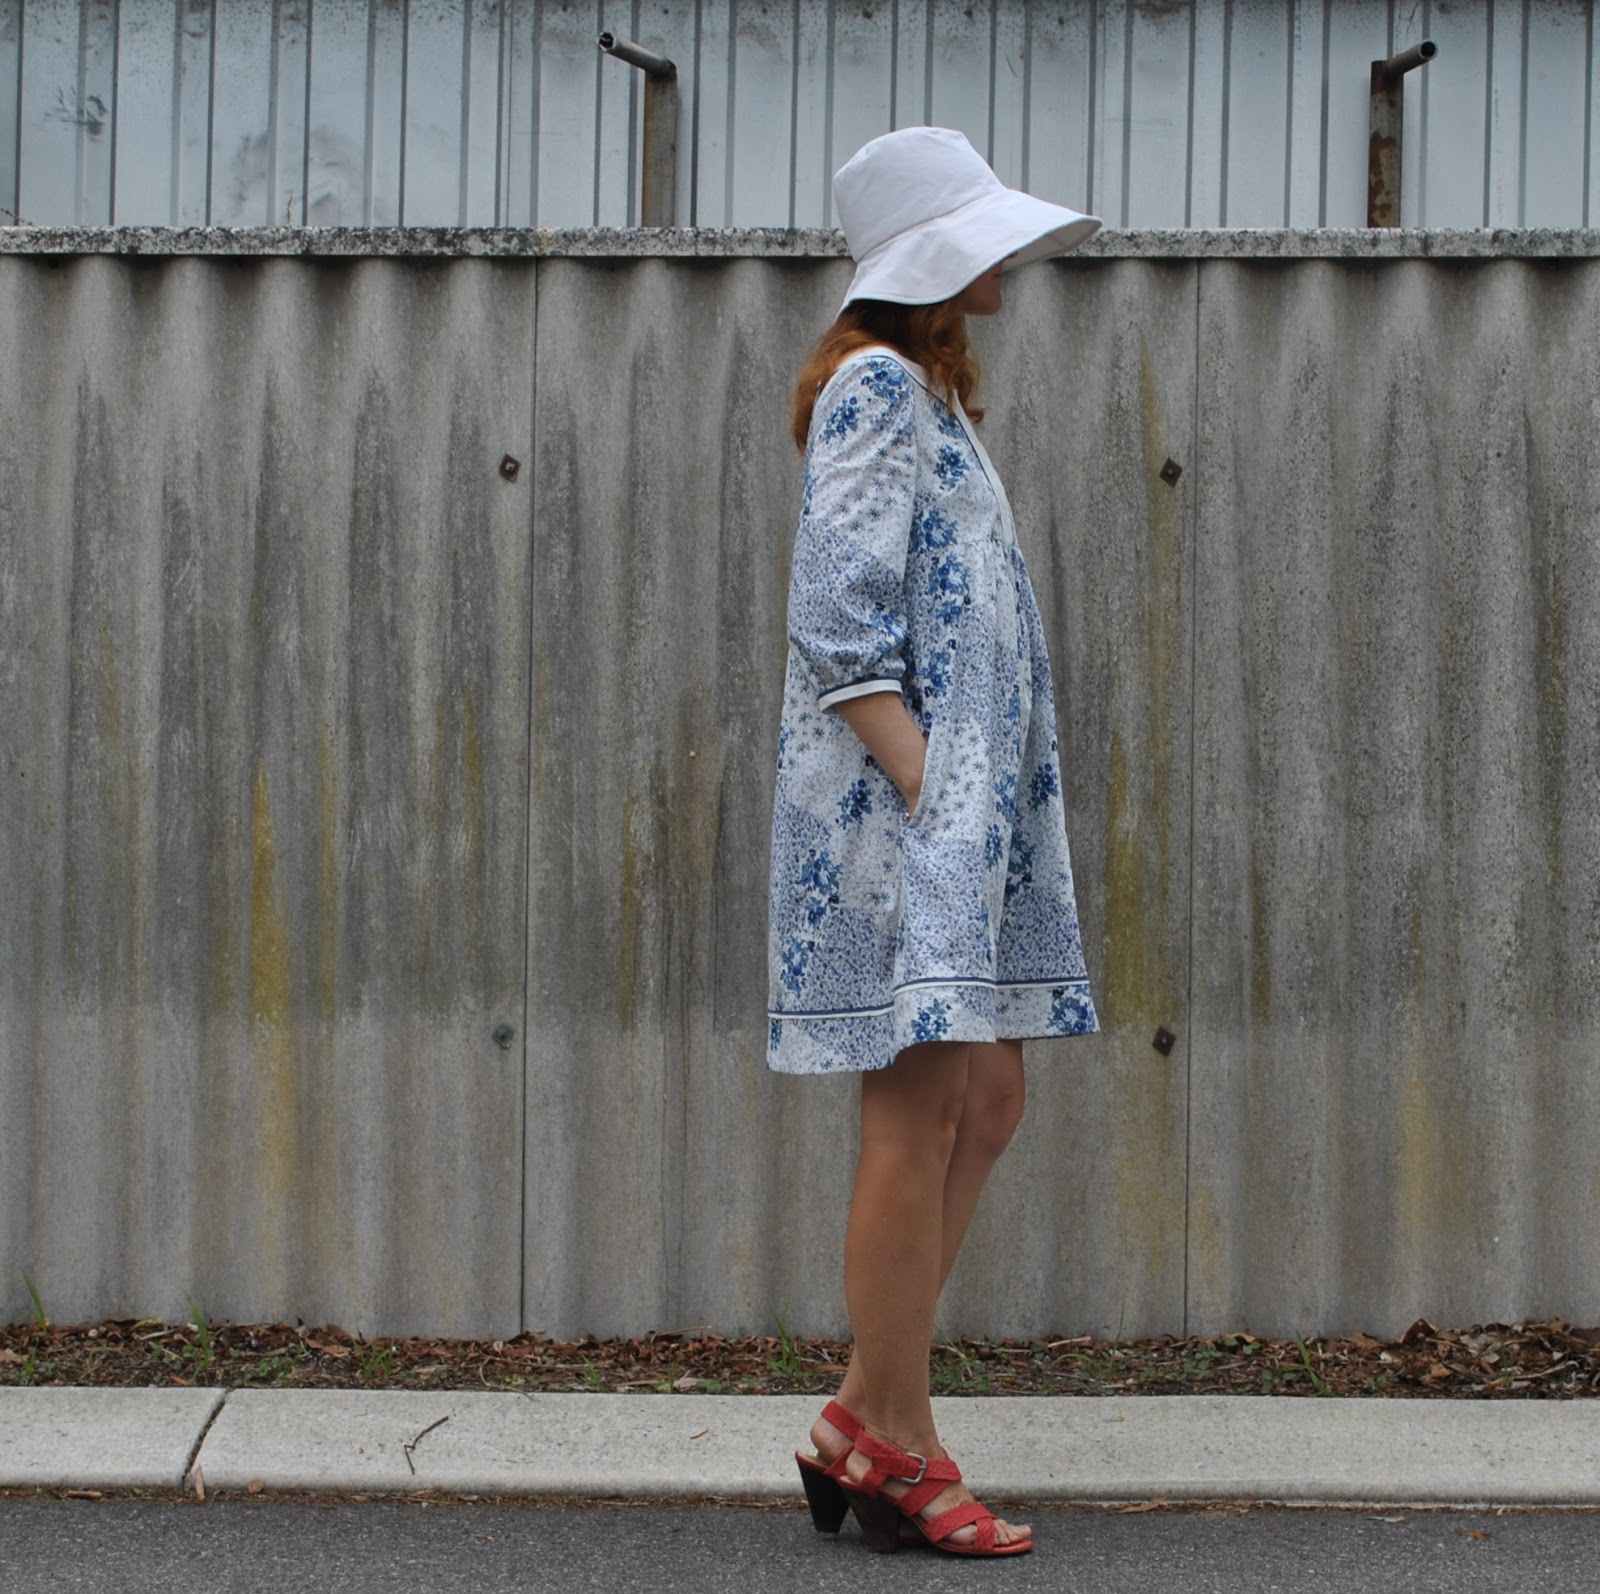
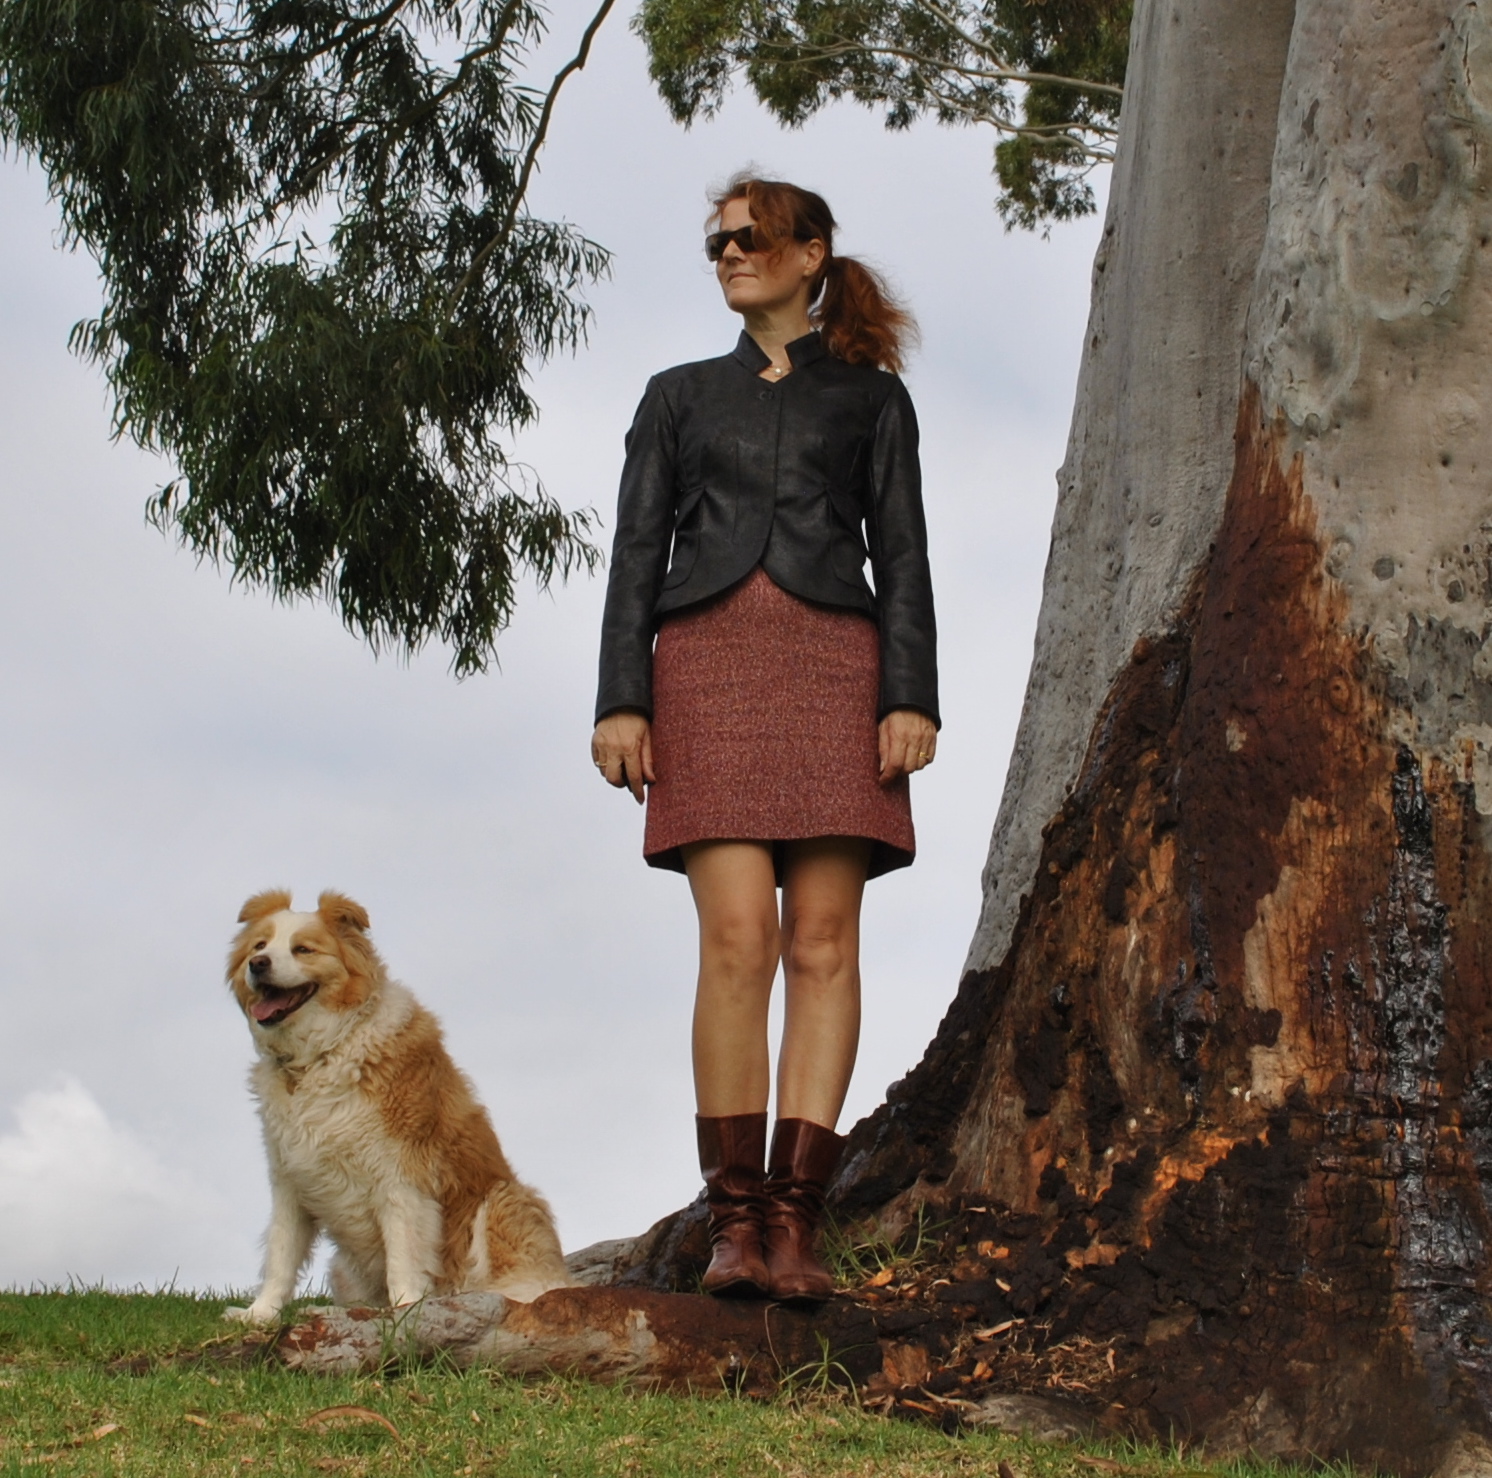
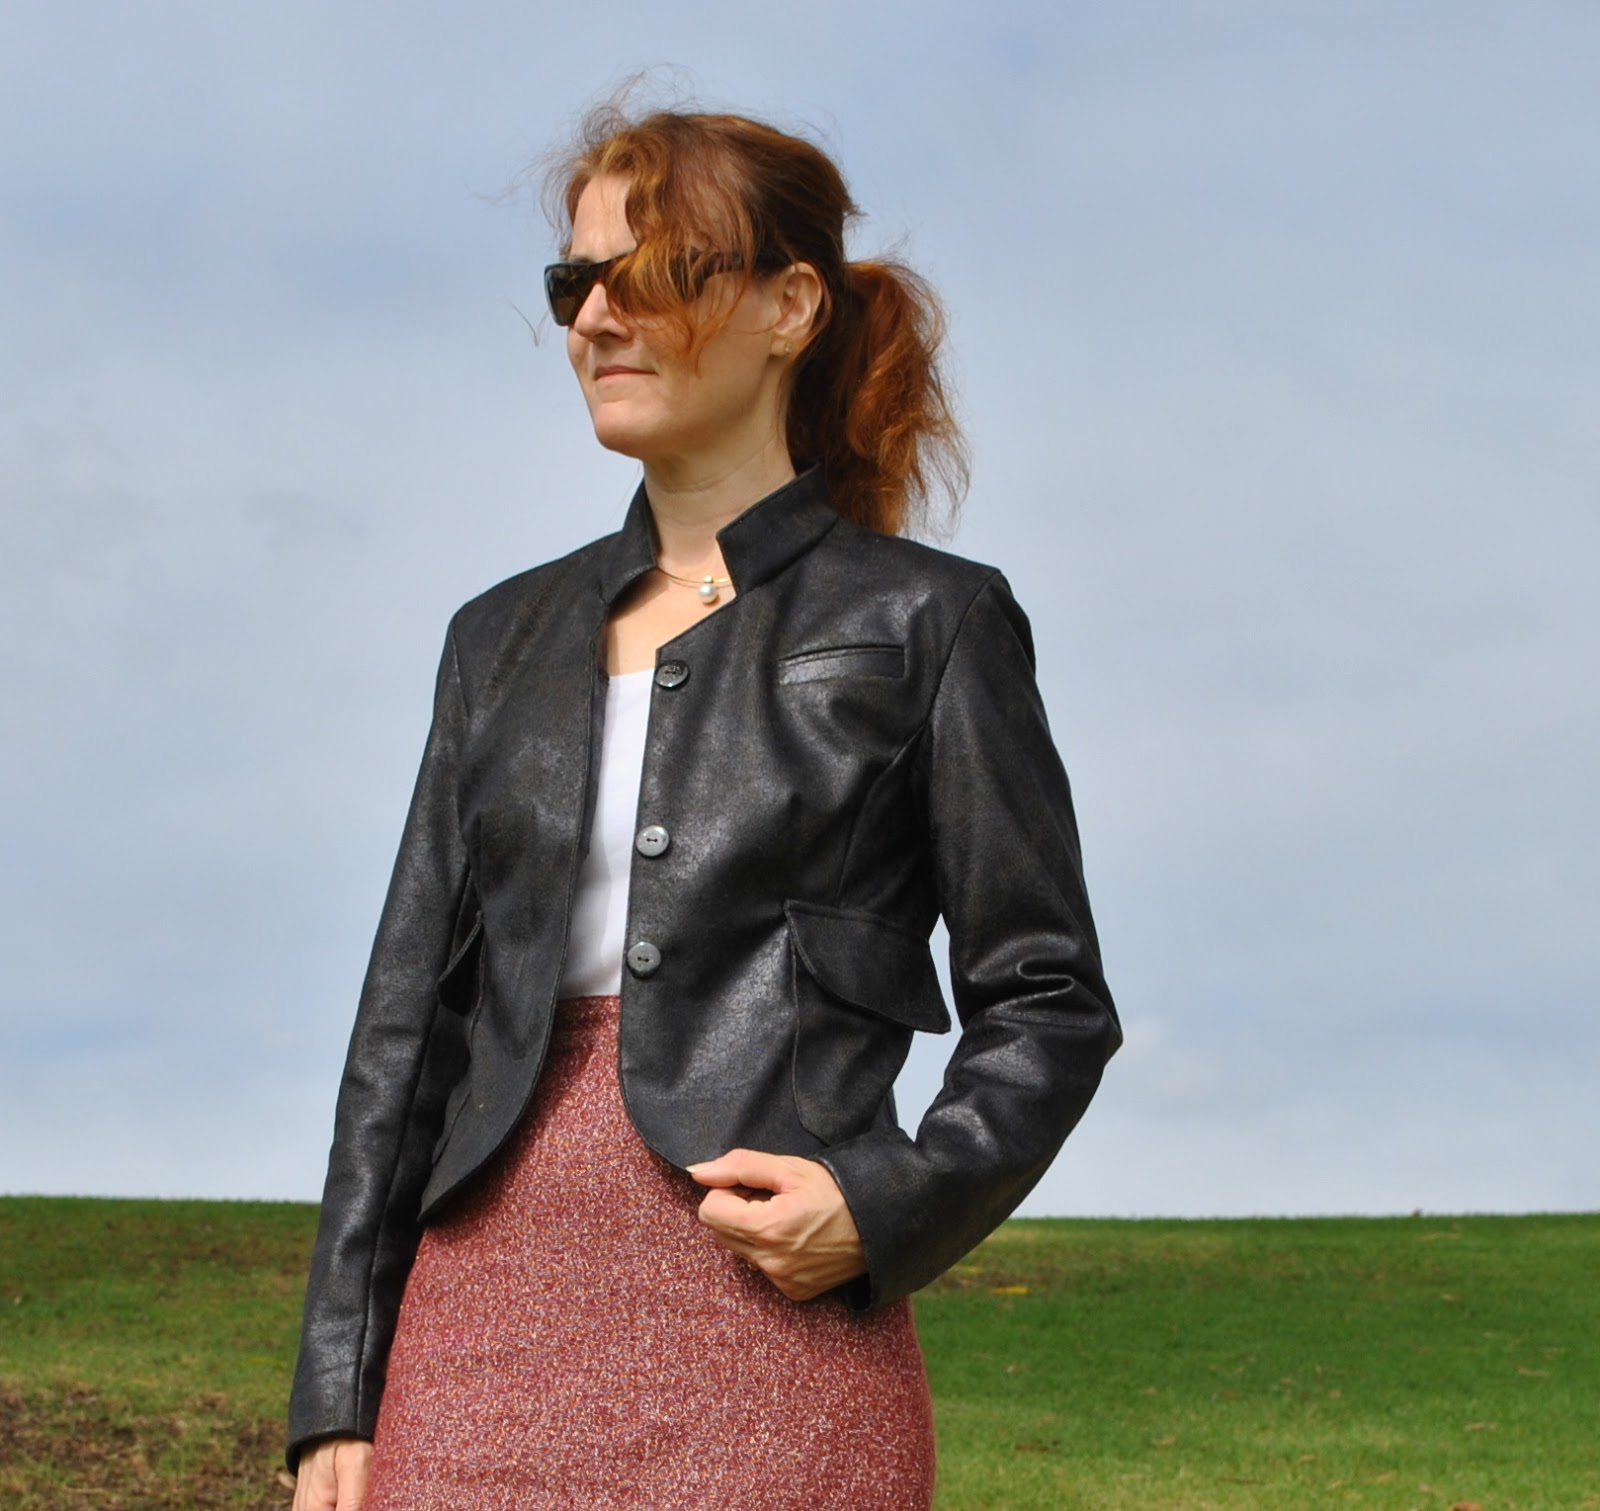
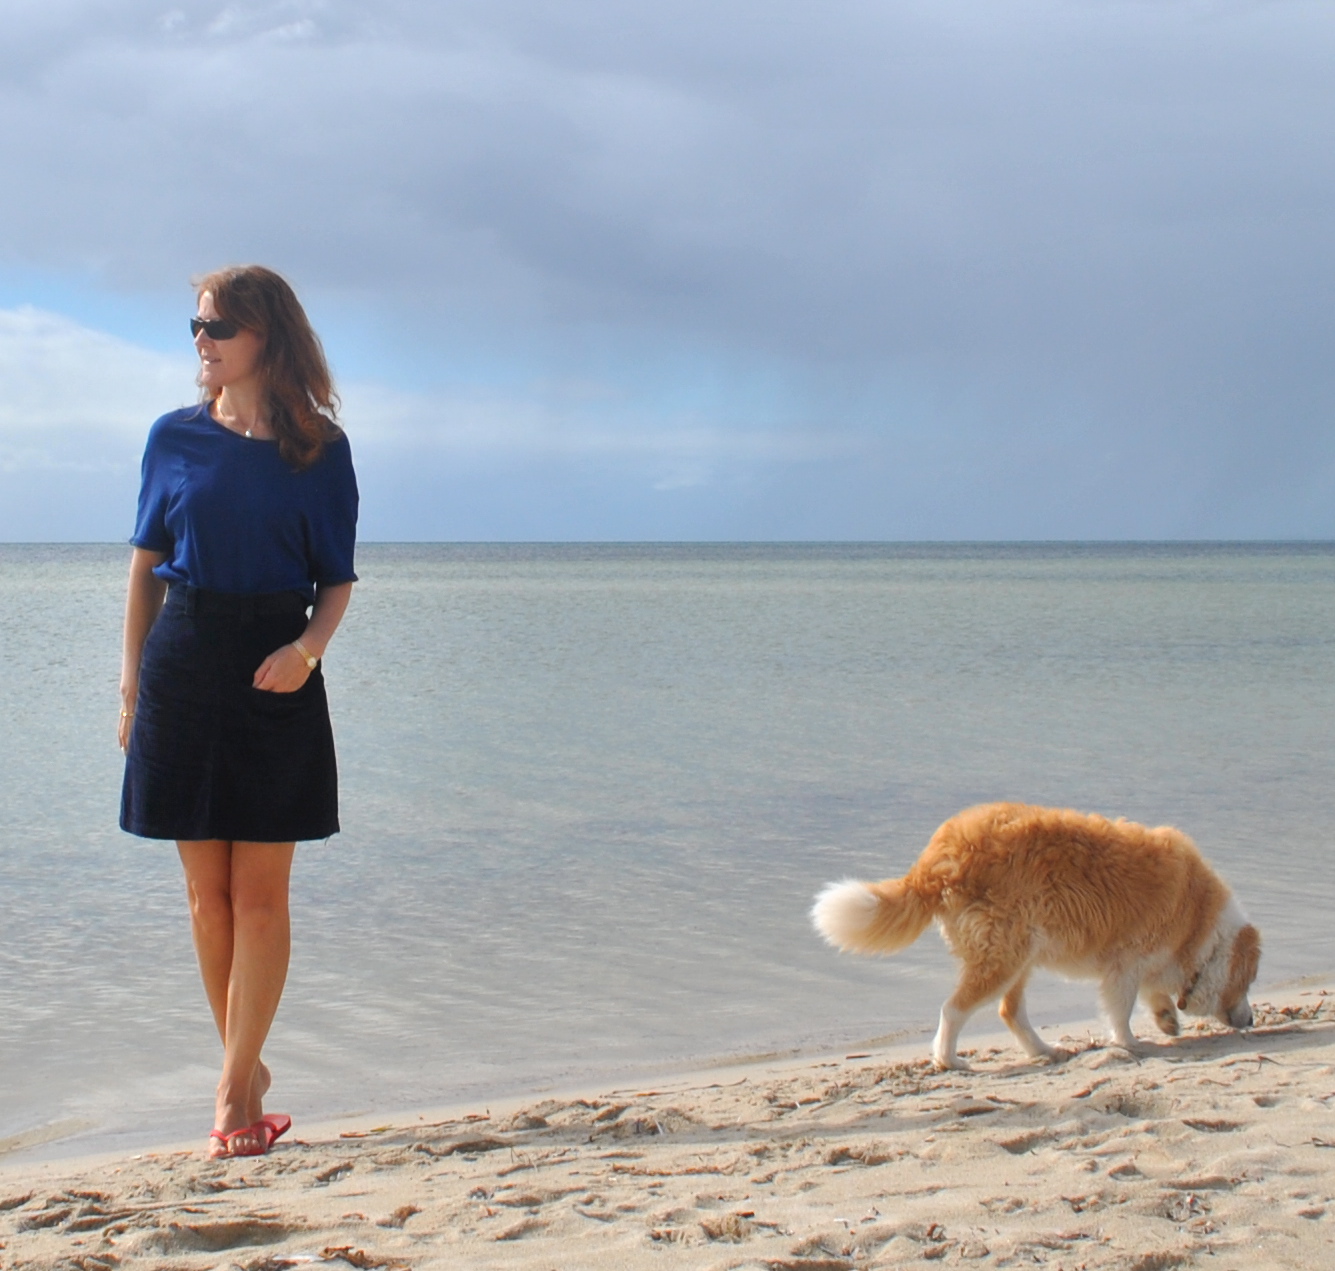
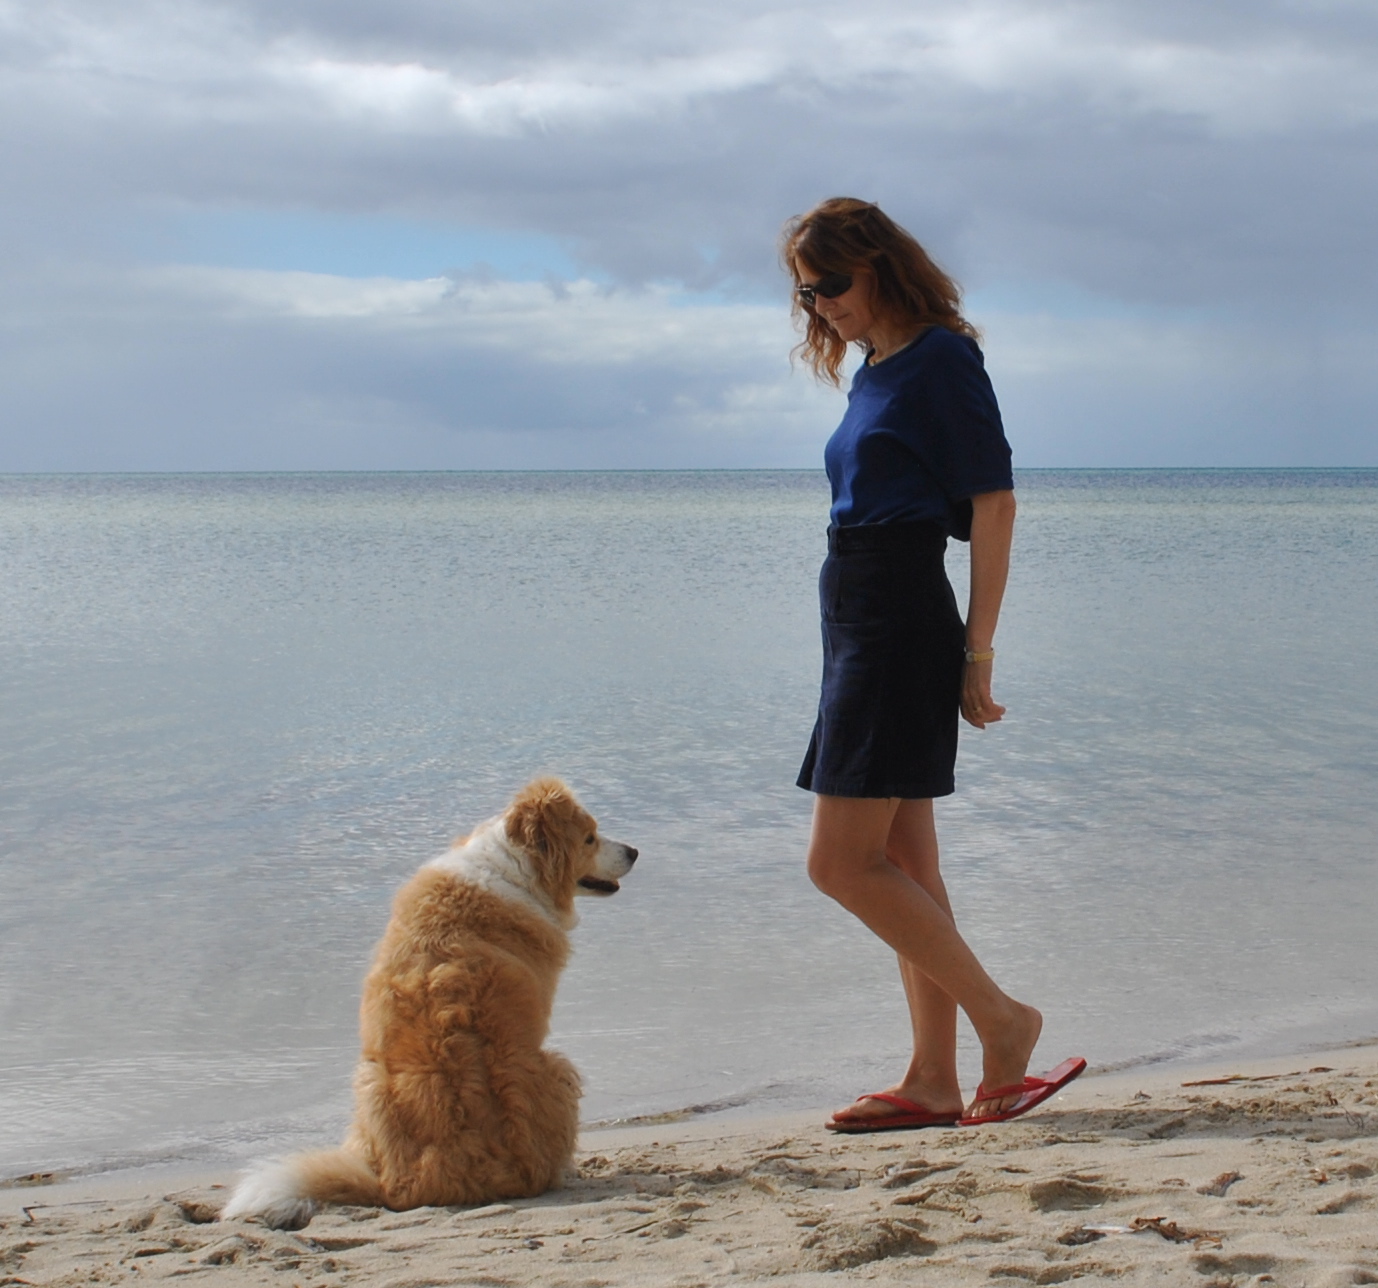
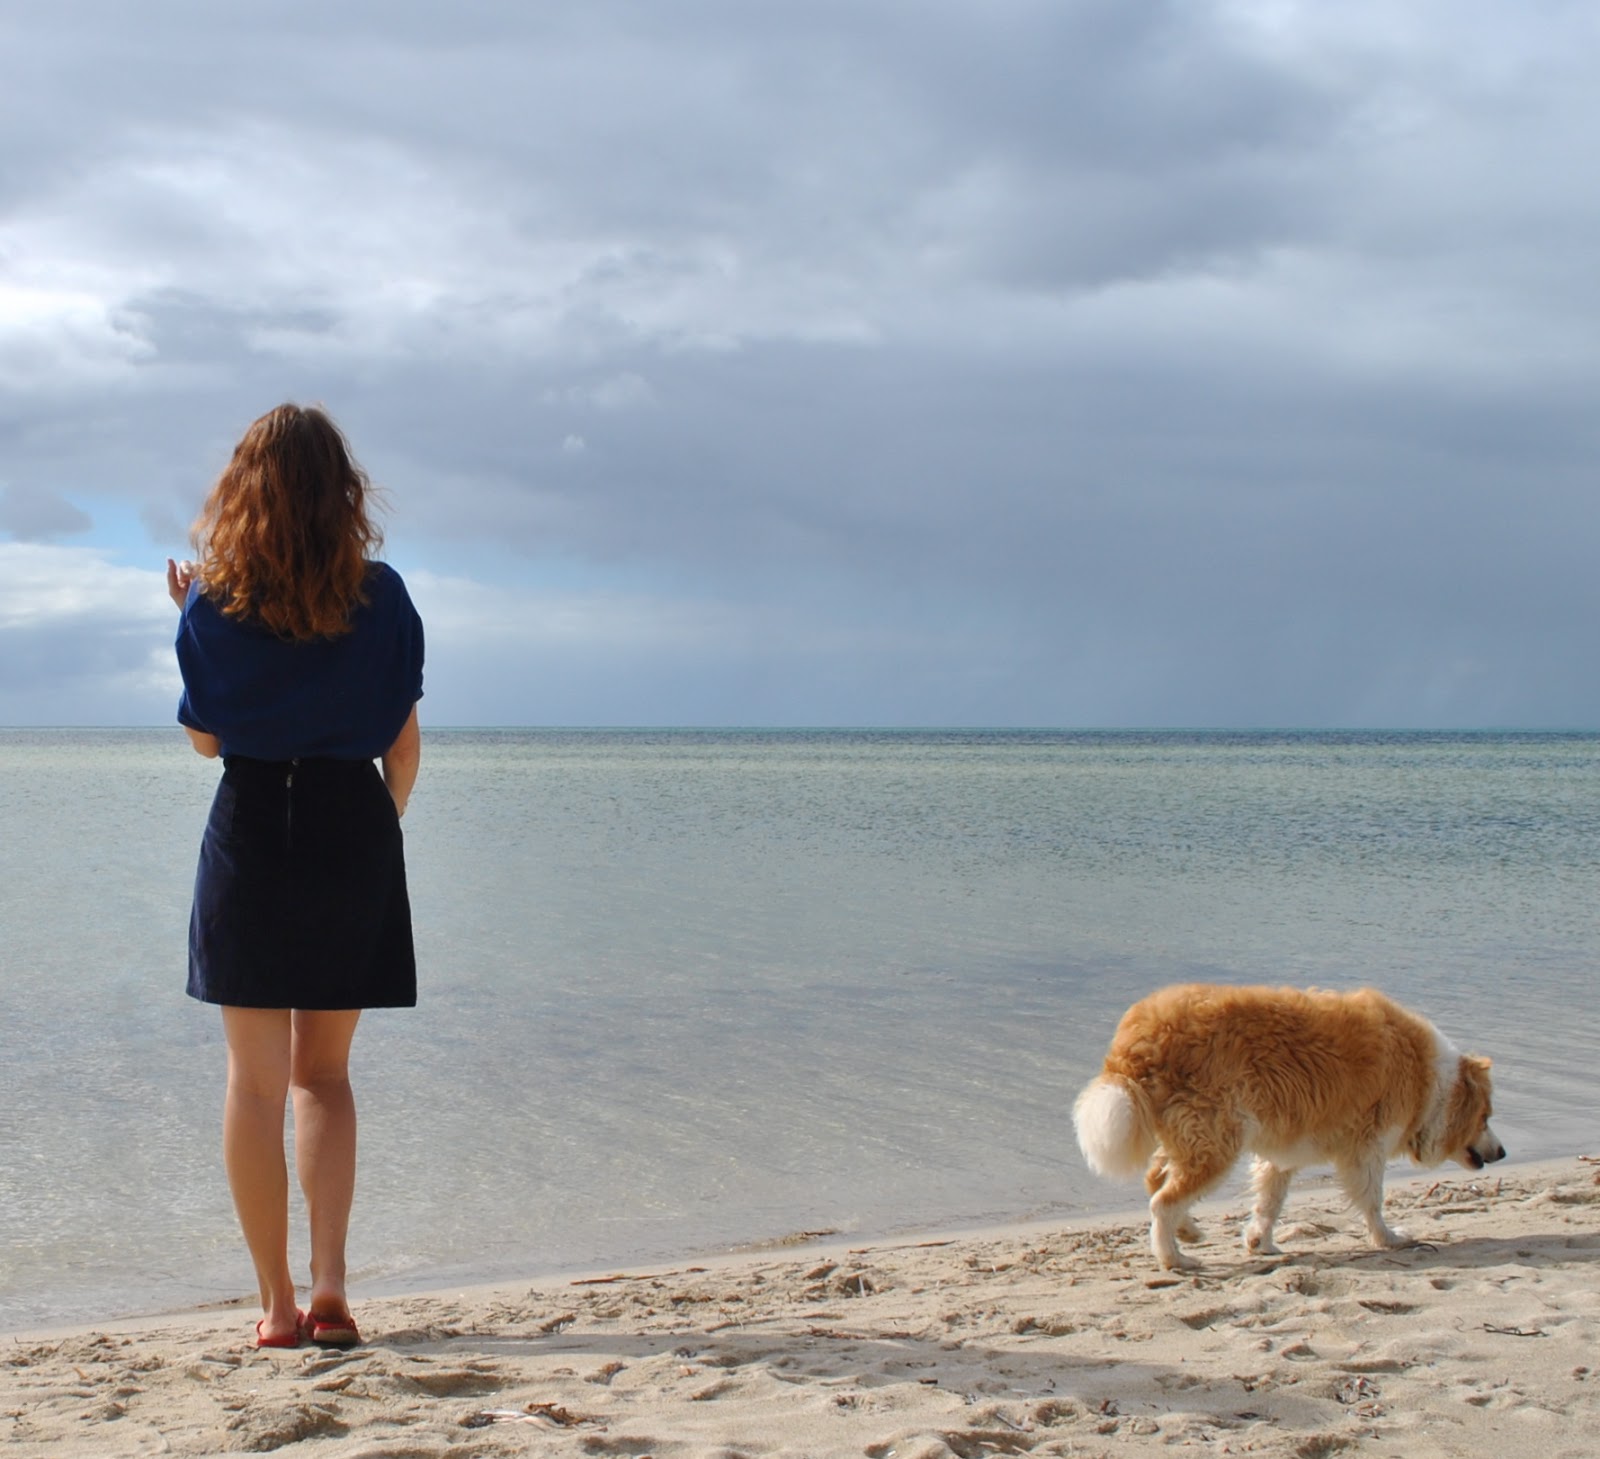
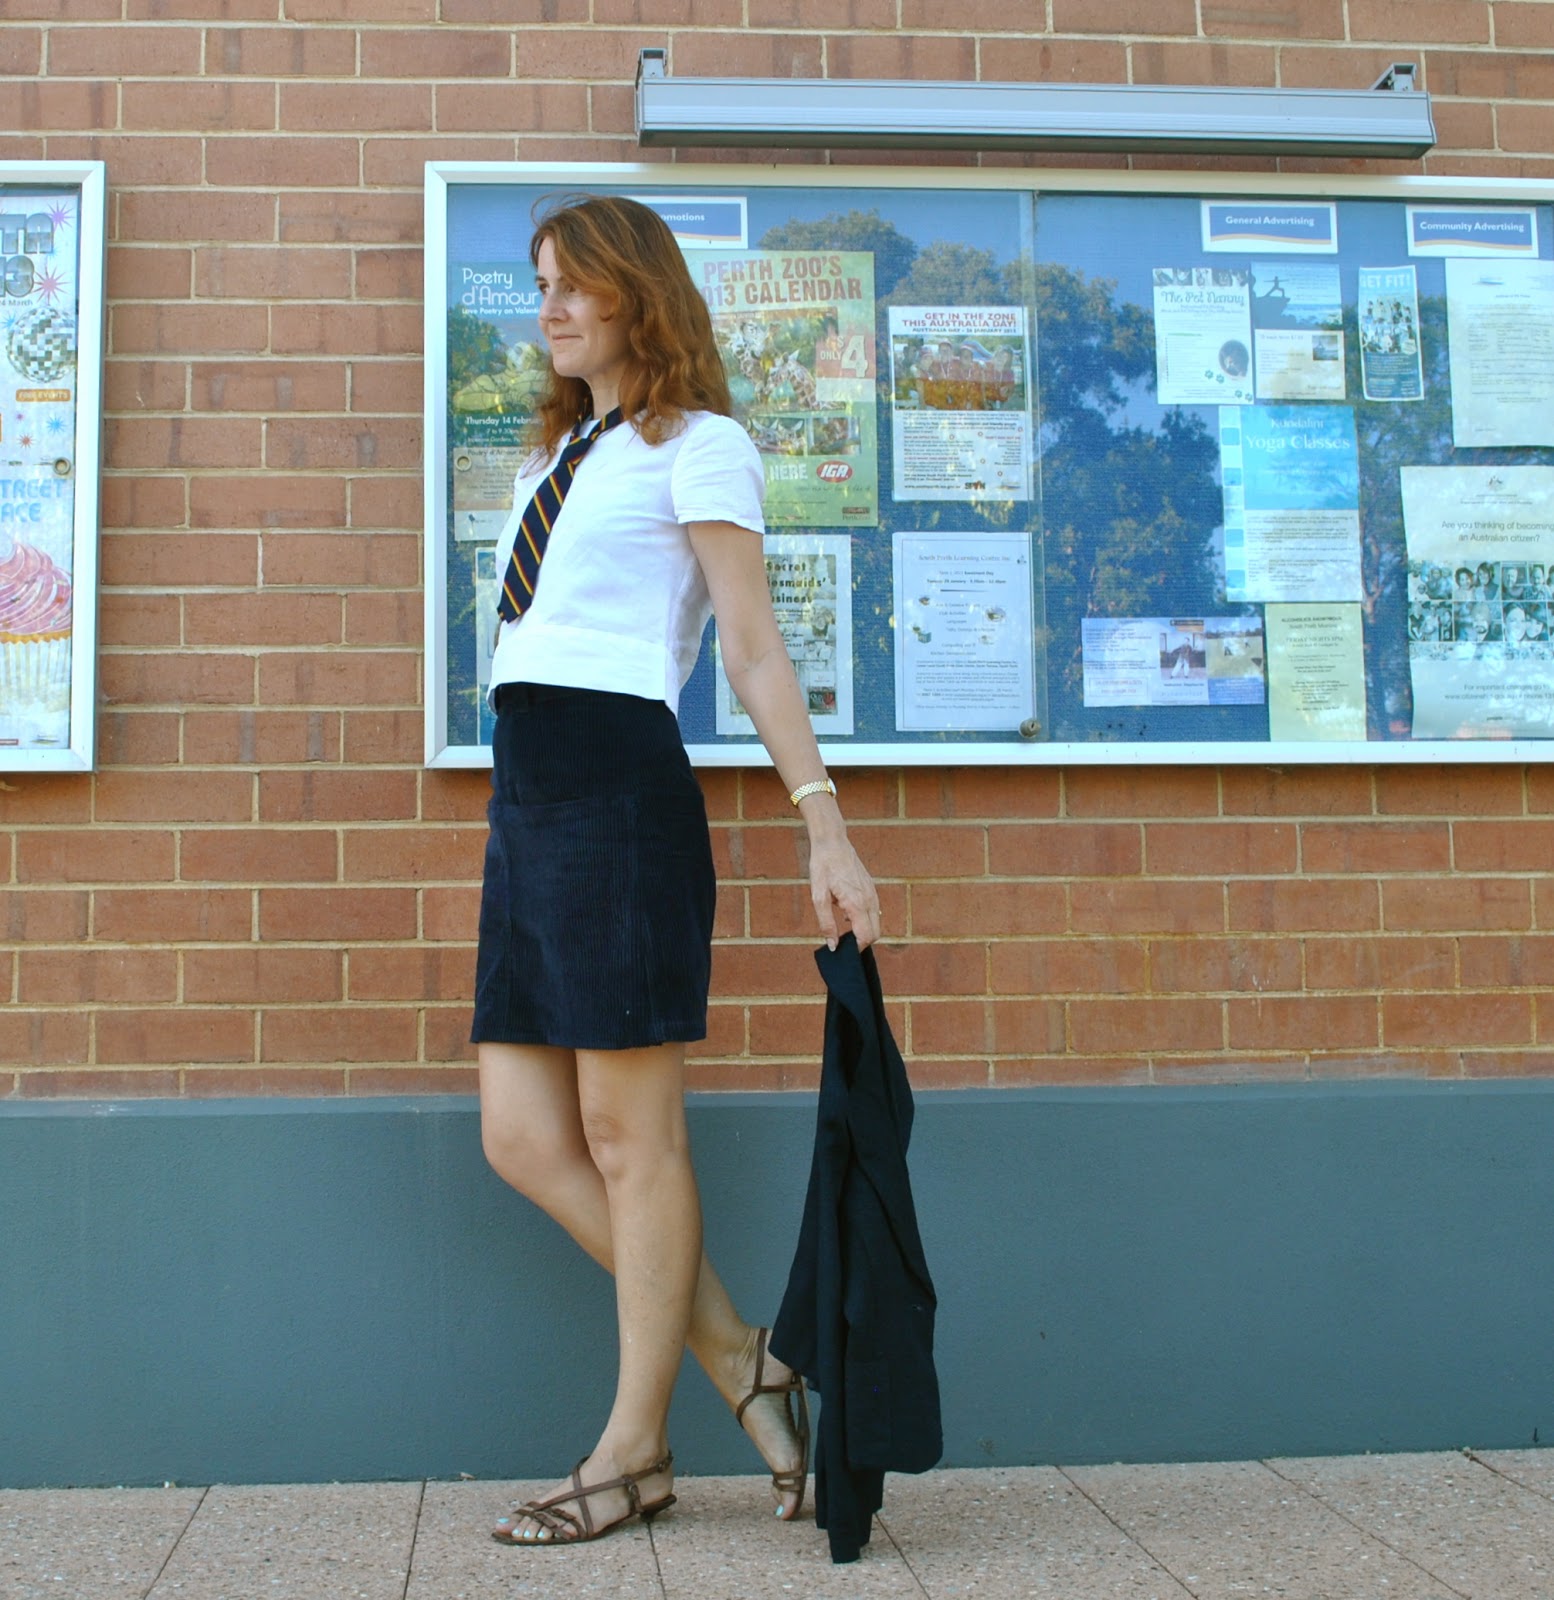
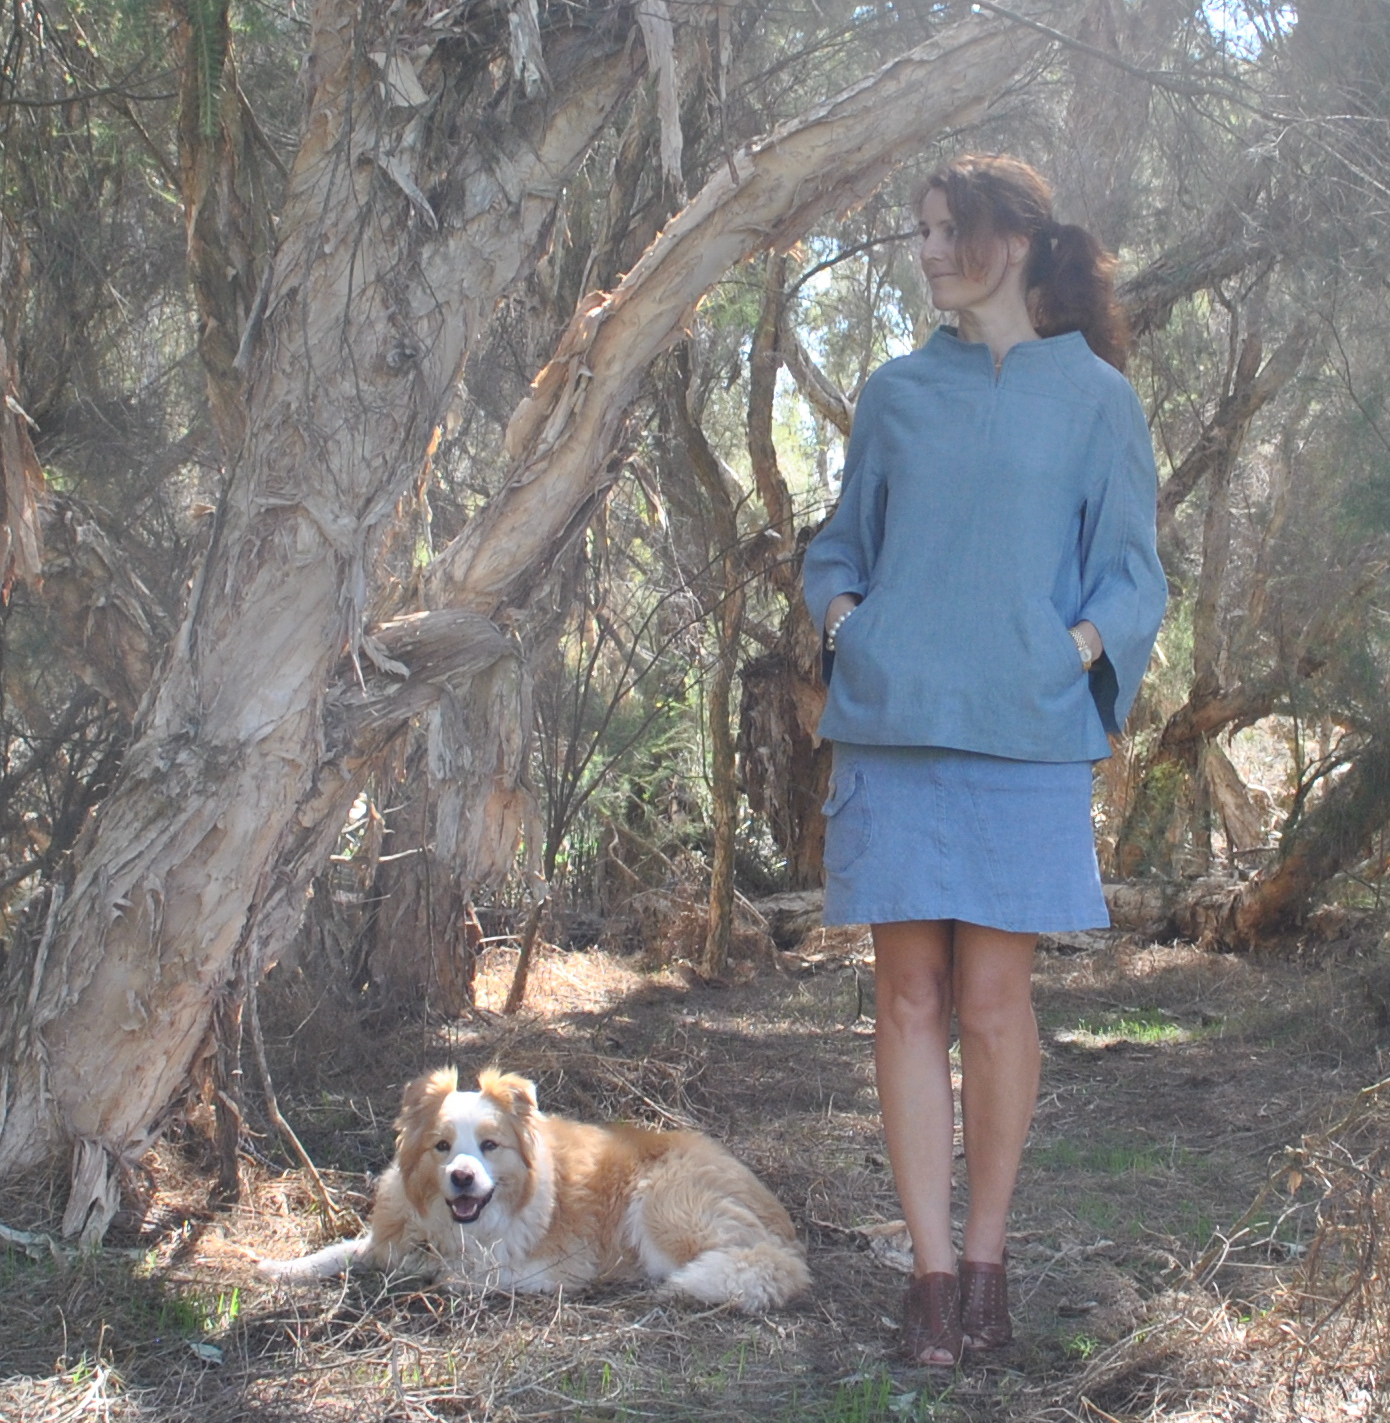
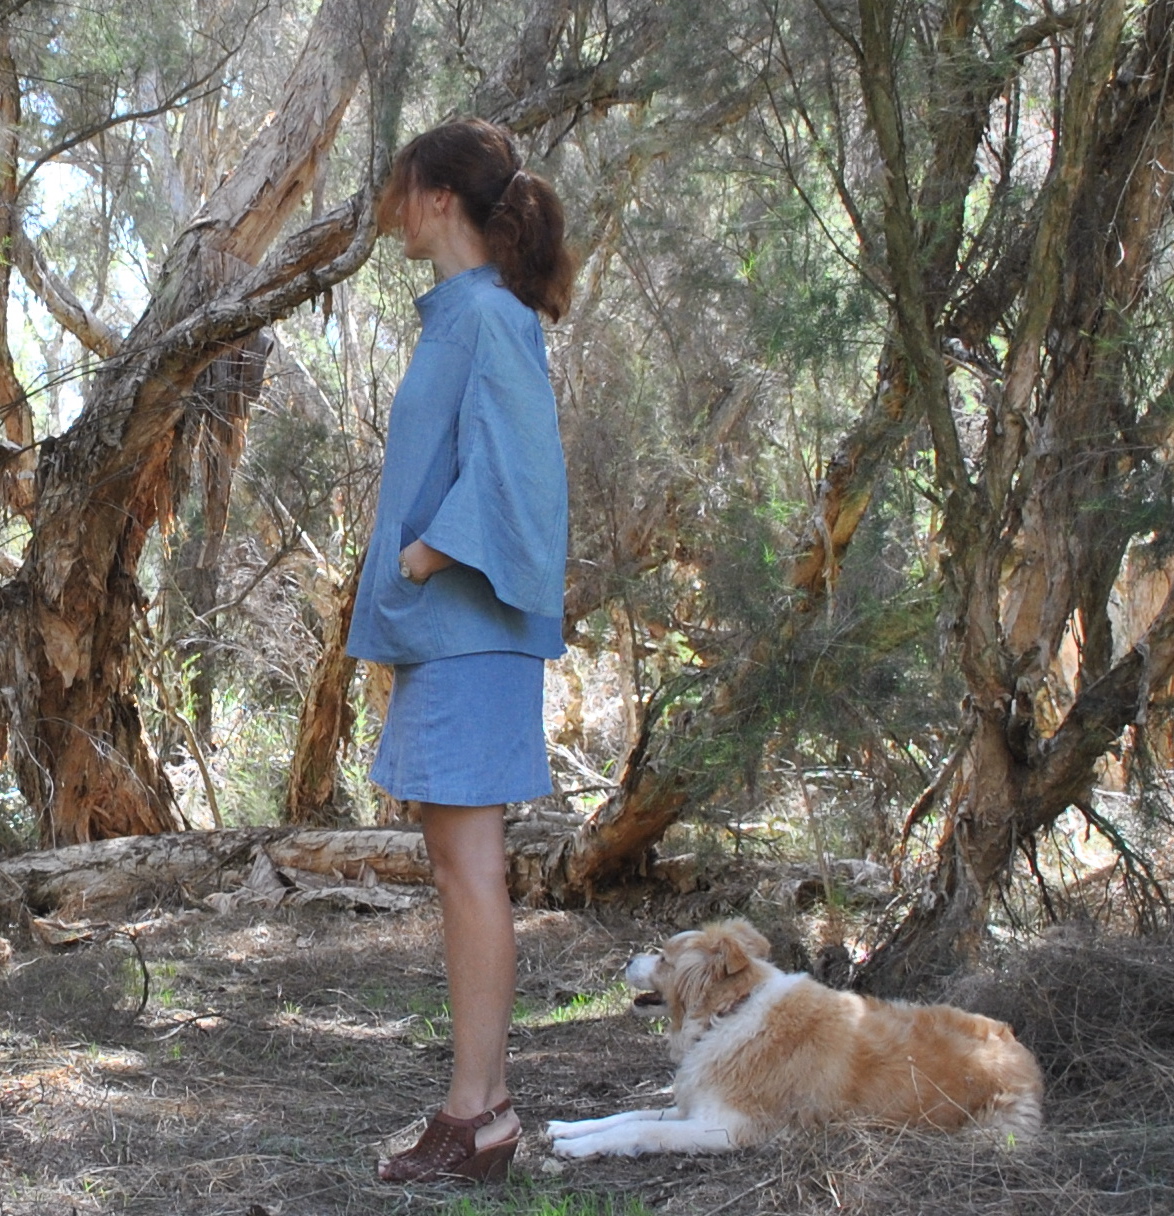
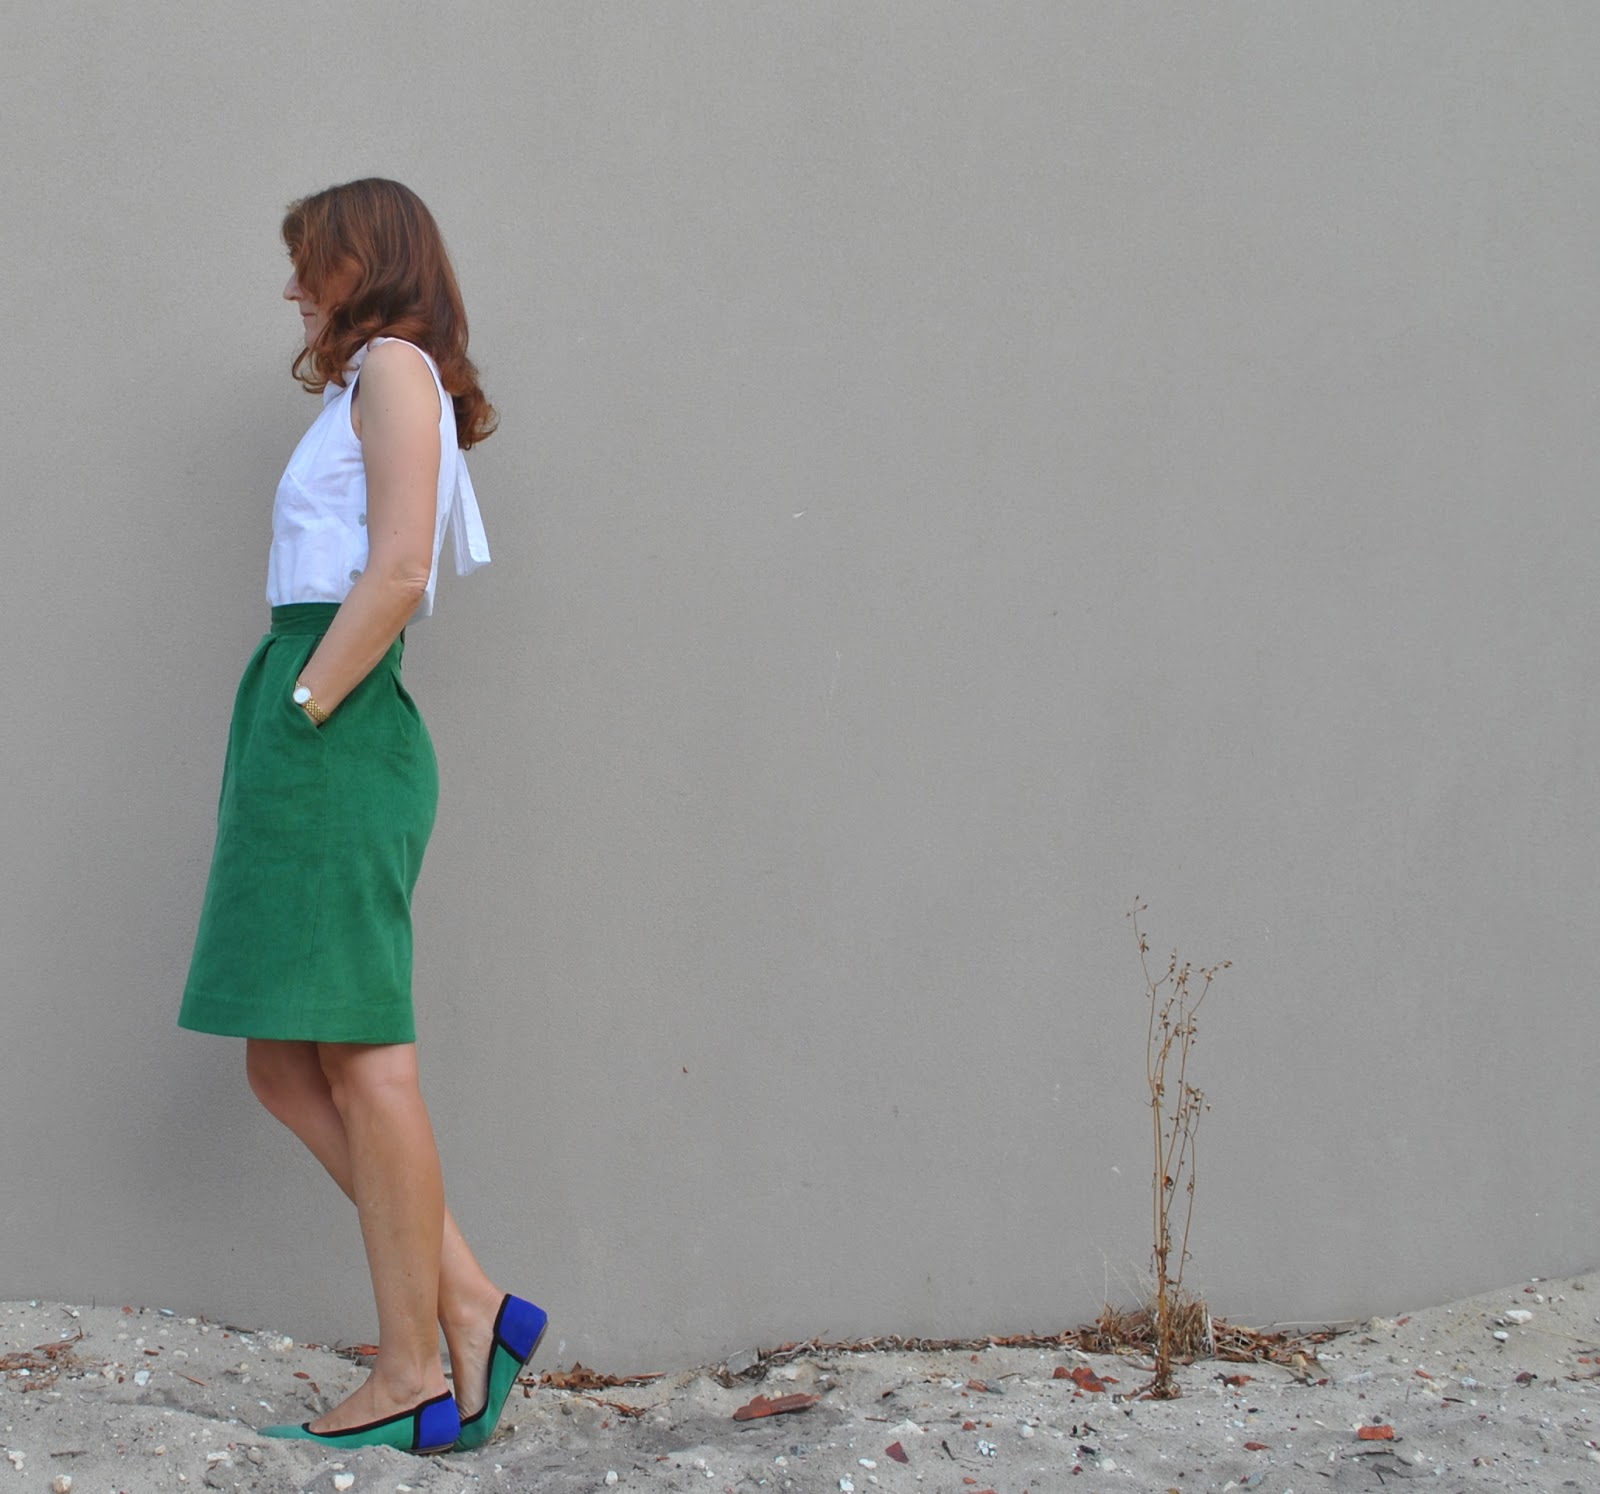
I’ve made a new top. Actually I made this a little while ago, and I’ve suddenly came to the glorious realisation that hey! the autumnal weather is here and it’s actually beautiful enough to wear it. I love this time of the year!
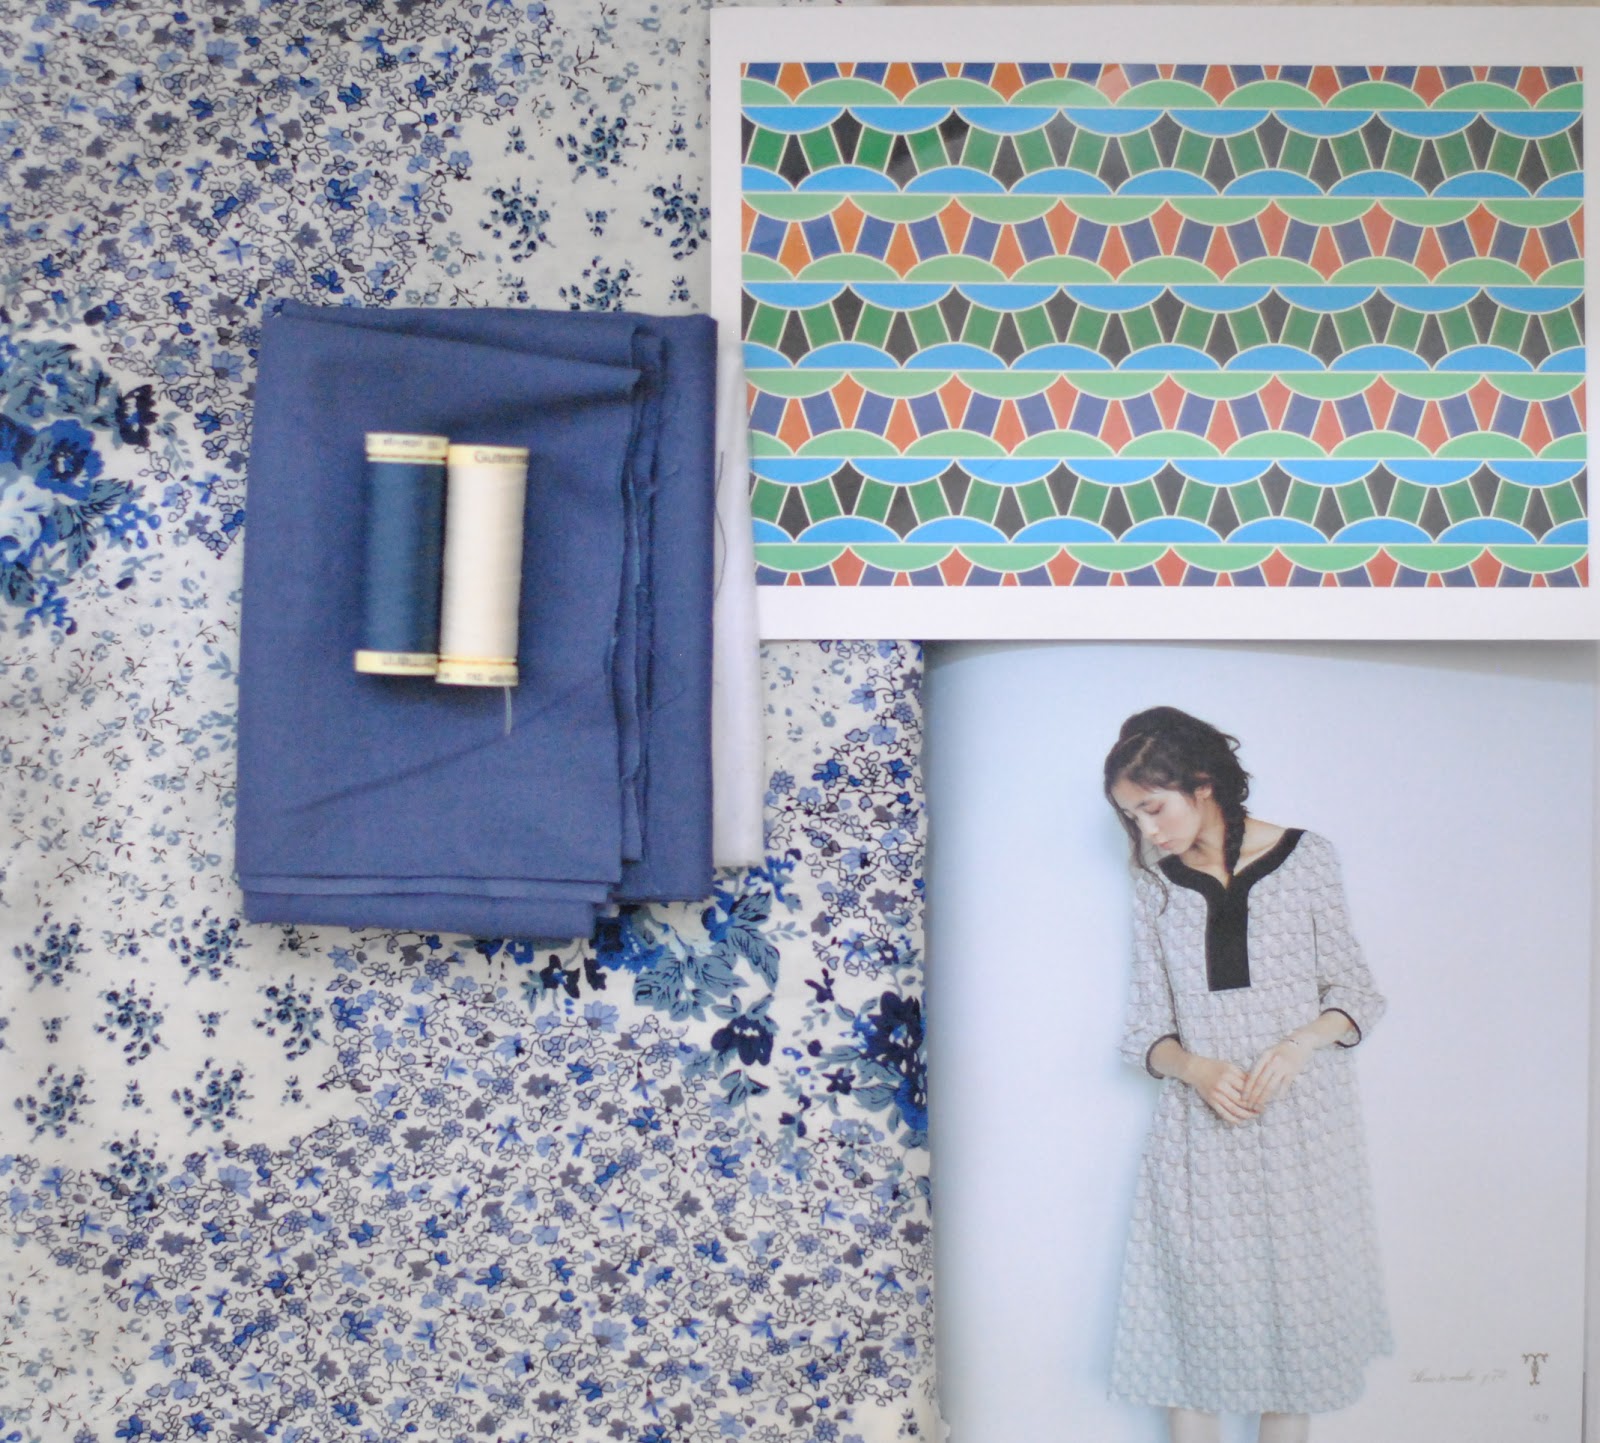
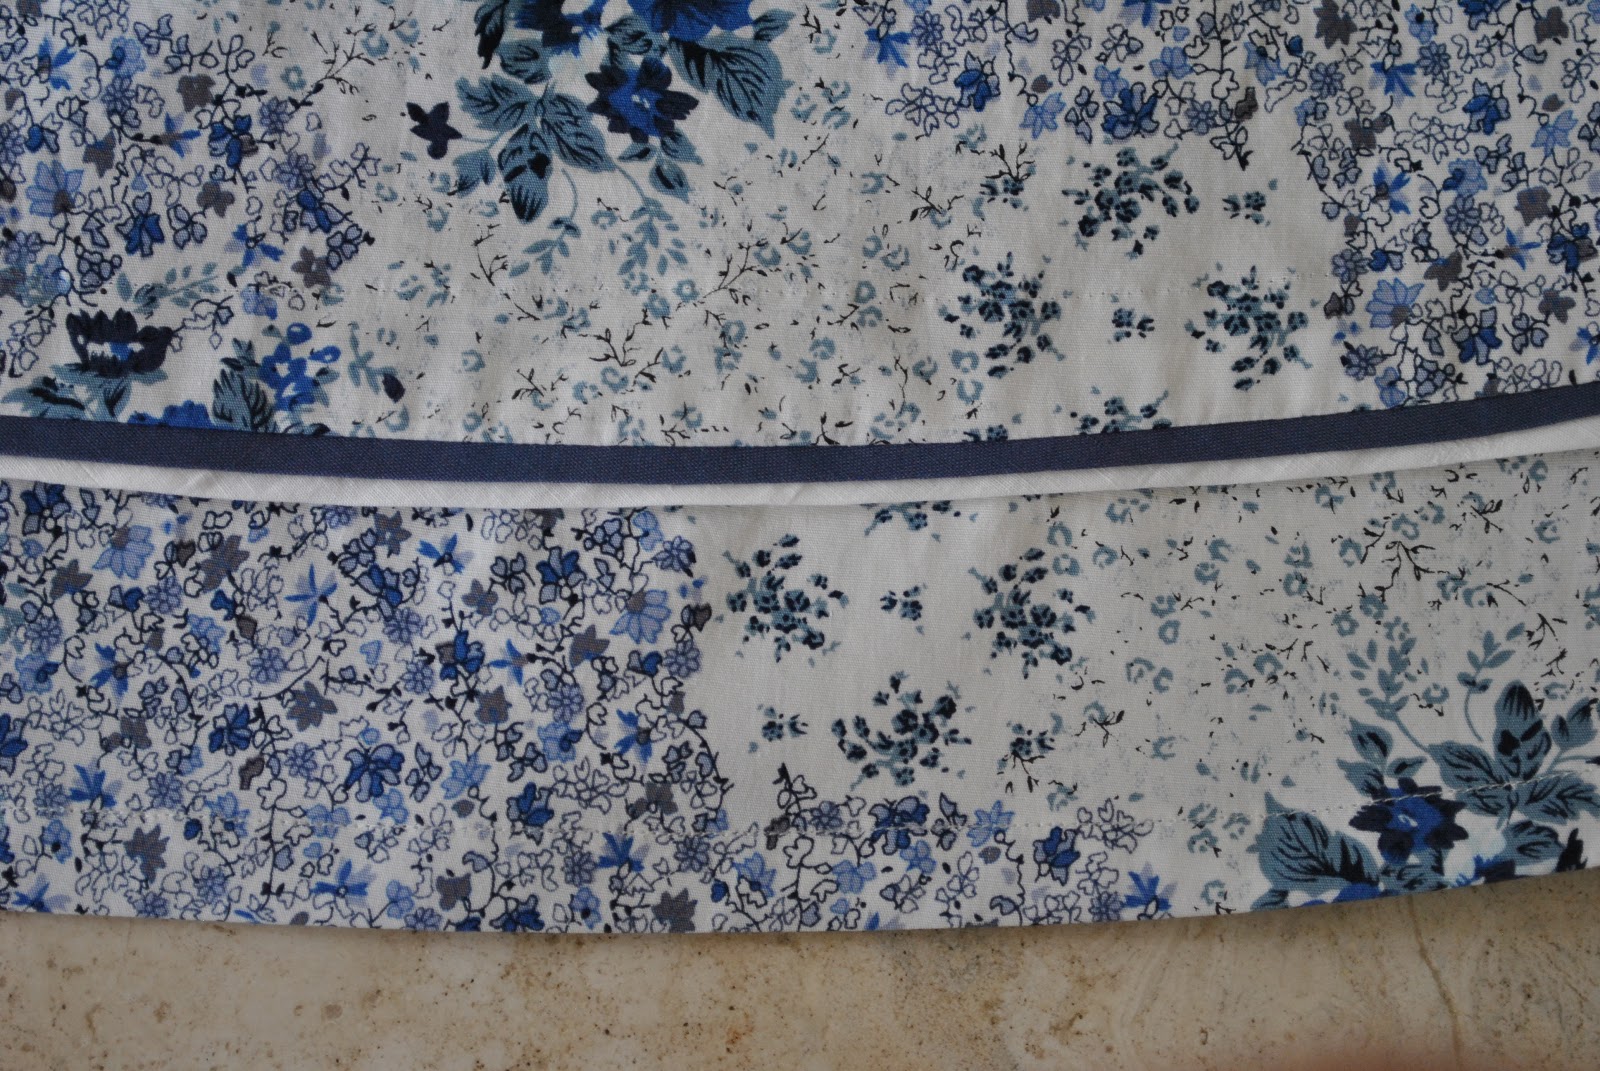
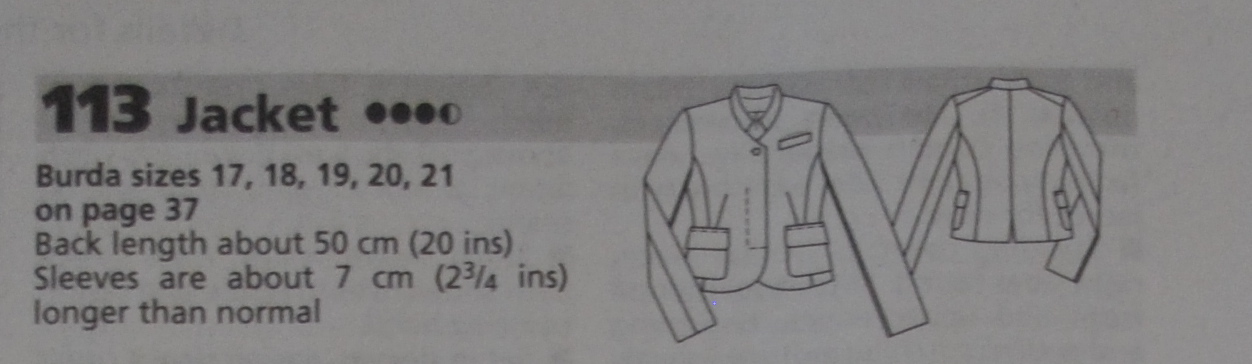
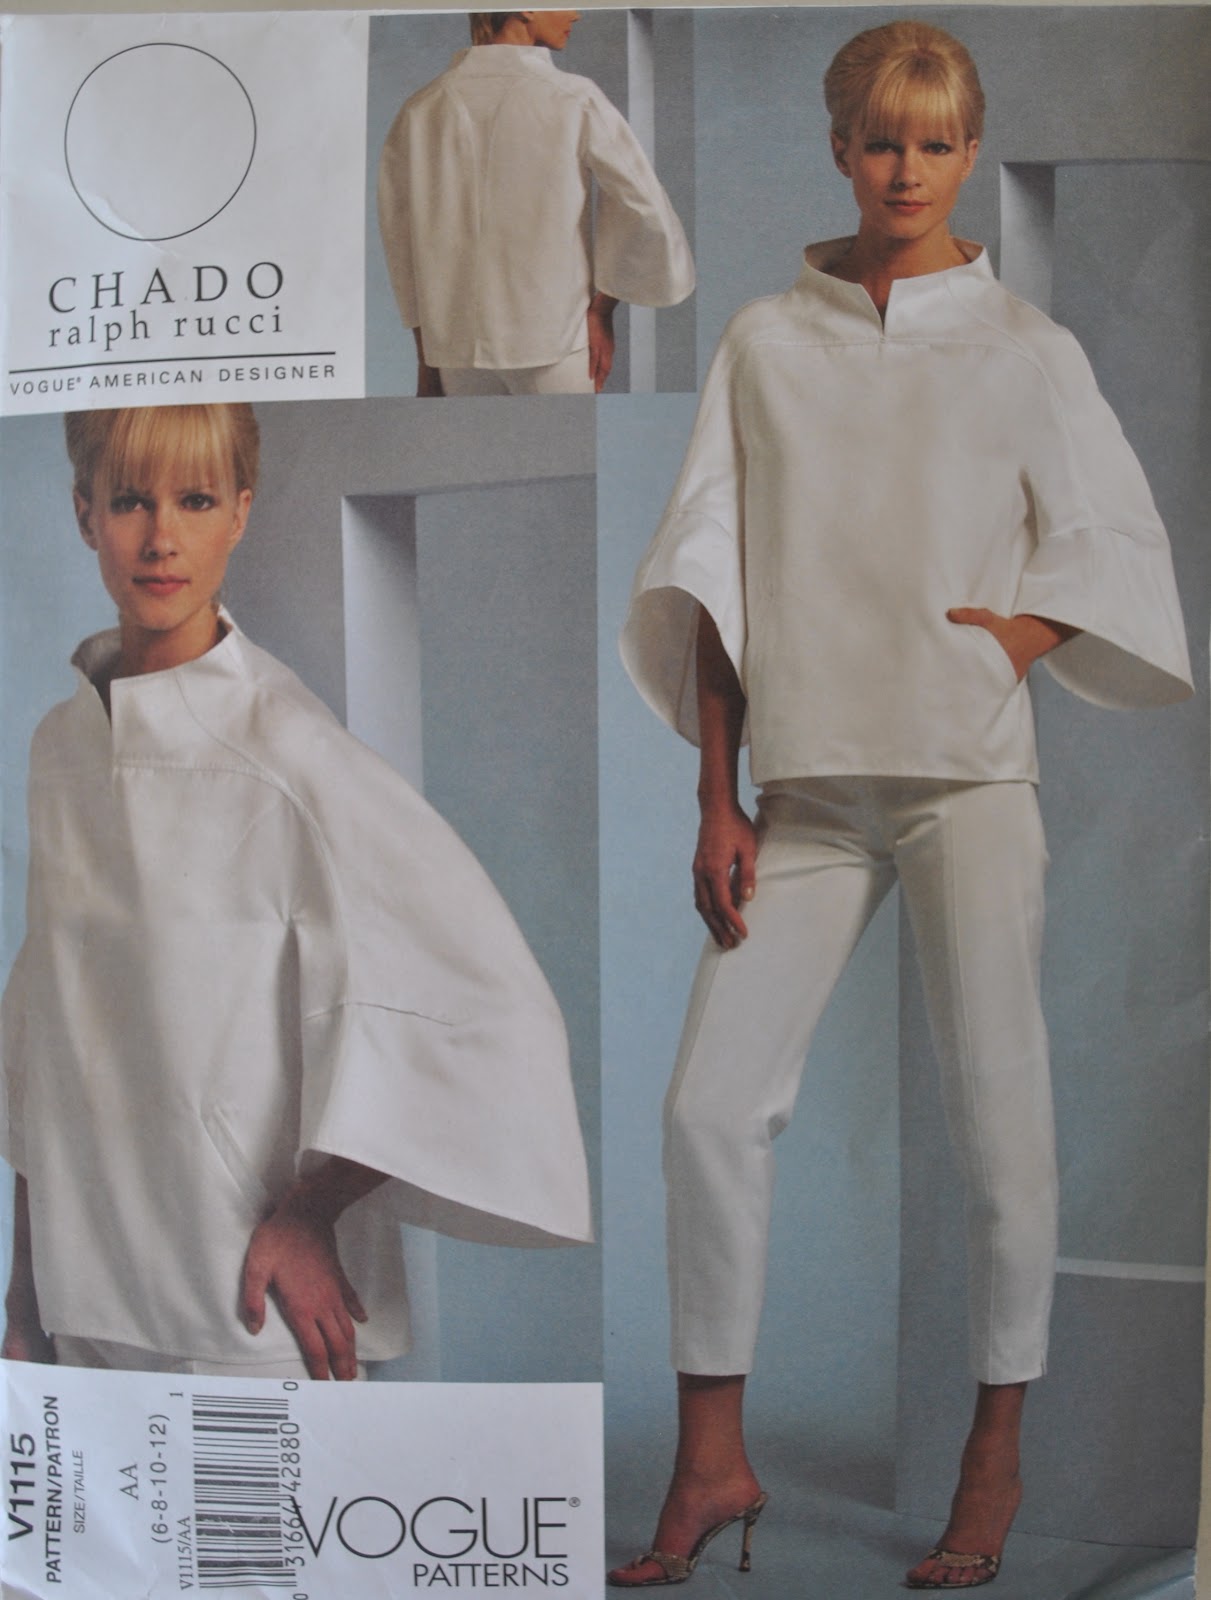
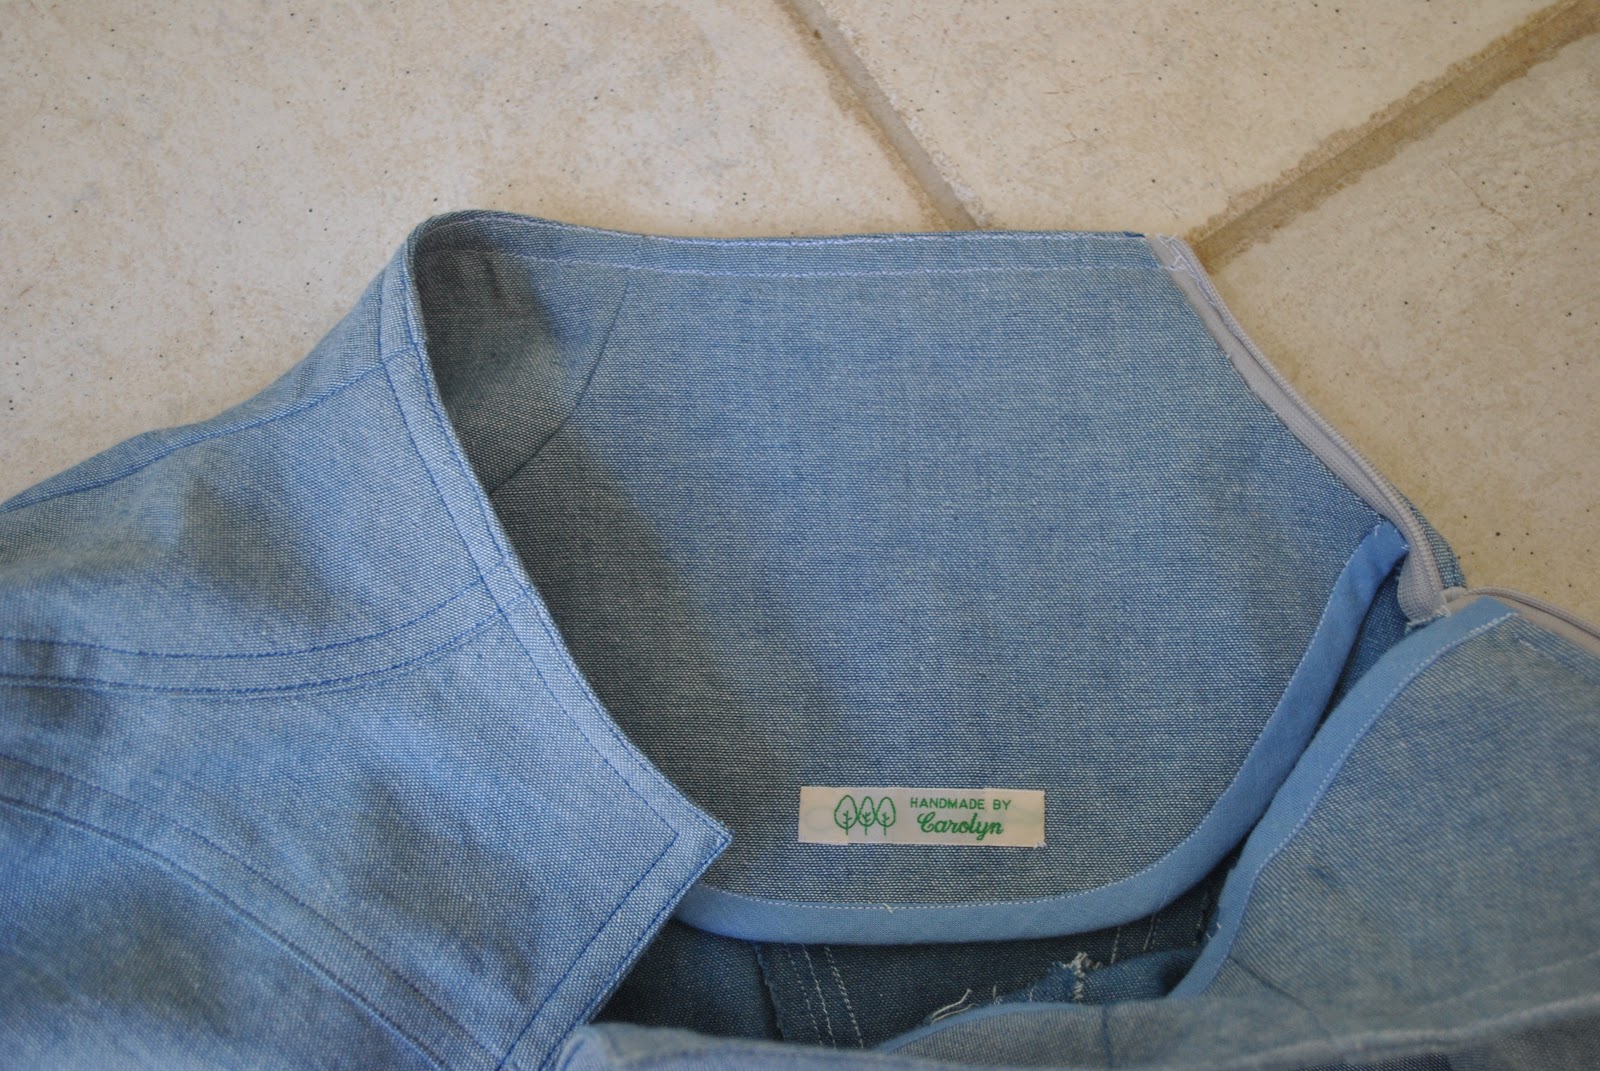
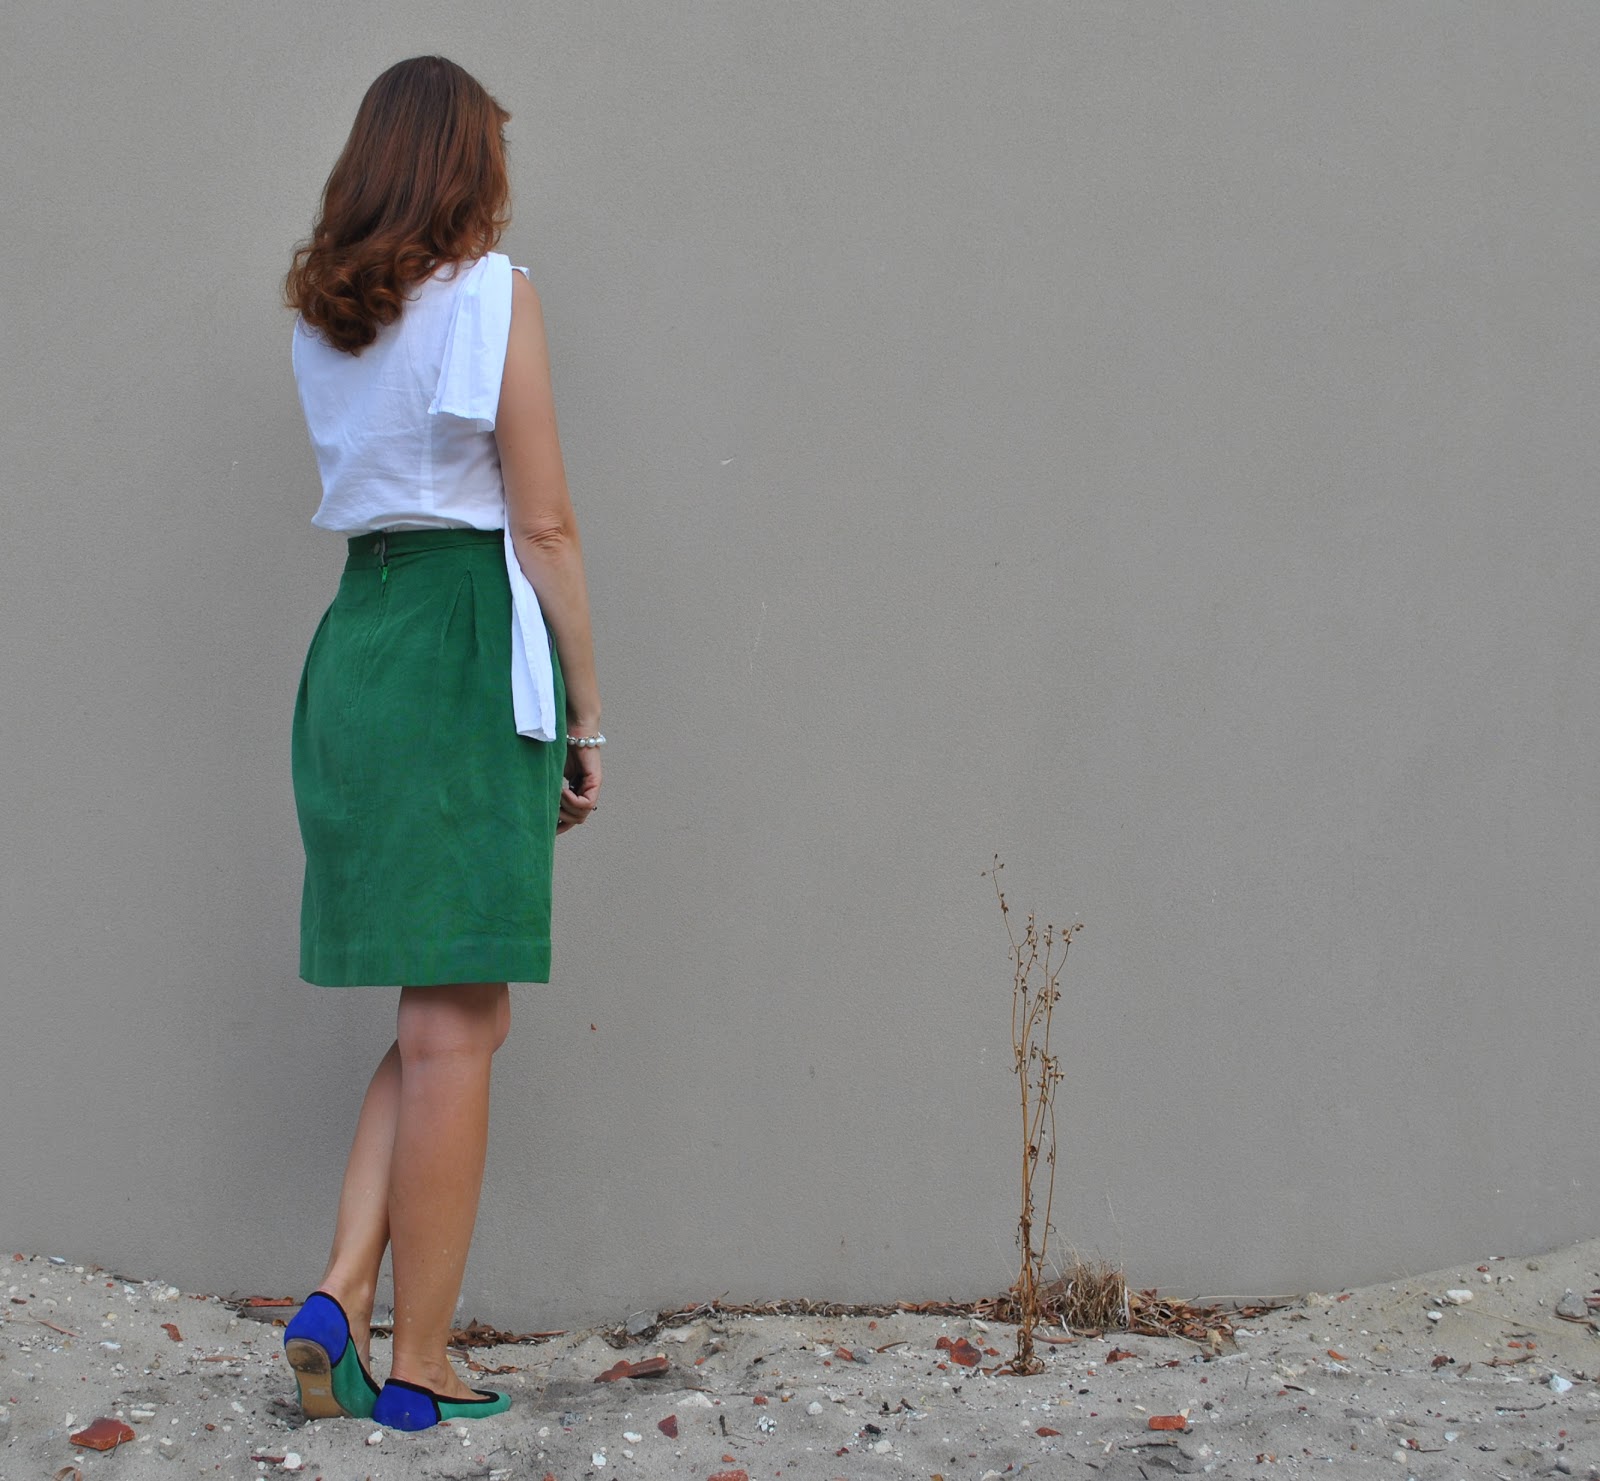
This is made using Vogue 1115 with the body lengthened by about 2.5cm, and used a piece of thin blue woven cotton denim-y stuff. I chose to use the fabric wrong side out, since I preferred the muted, slightly undefined, yellow-y tone of the blue of the wrong side. The right side is a stronger blue, which I didn’t think did wonders for my complexion.
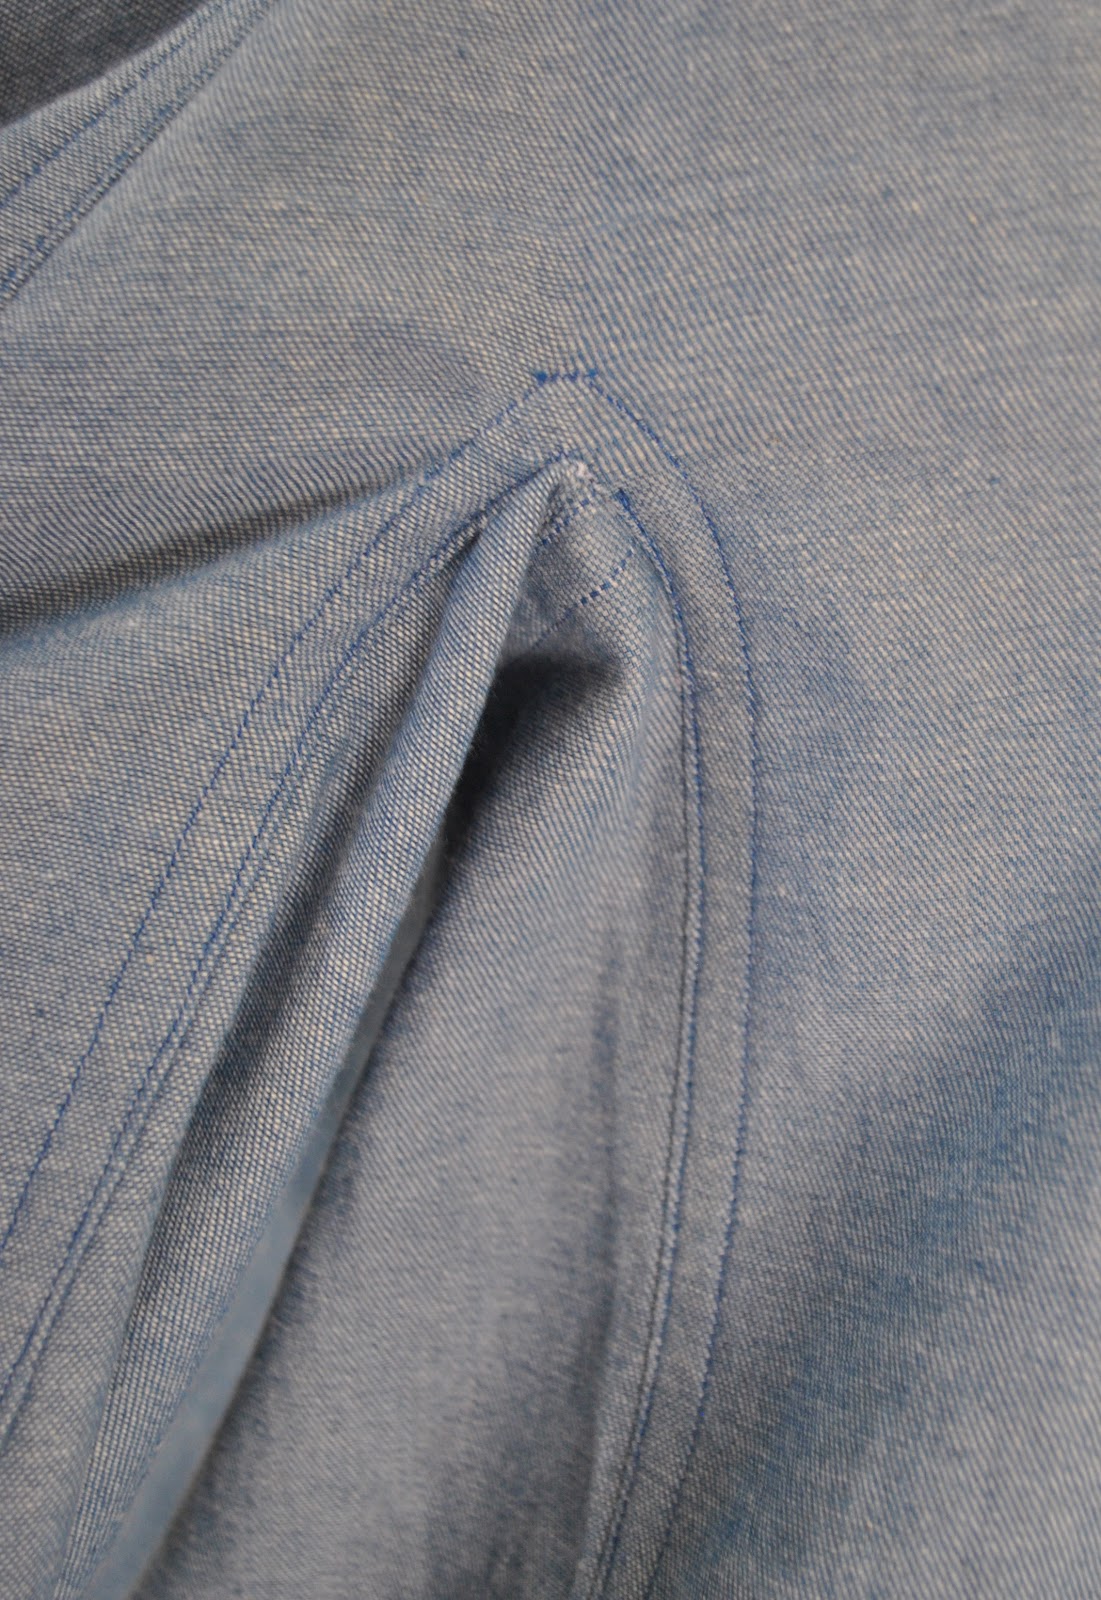
I’ve written a pattern review below for anyone interested, but there really is one important thing to know about this pattern, it is rated Advanced/Plus Difficile, and yes, that is a well deserved rating. The undersleeve/side piece when joined together is pretty tricky to insert neatly; and sewing down the seam allowances of said sleeve gusset with a double row of topstitching? … seriously tricky.


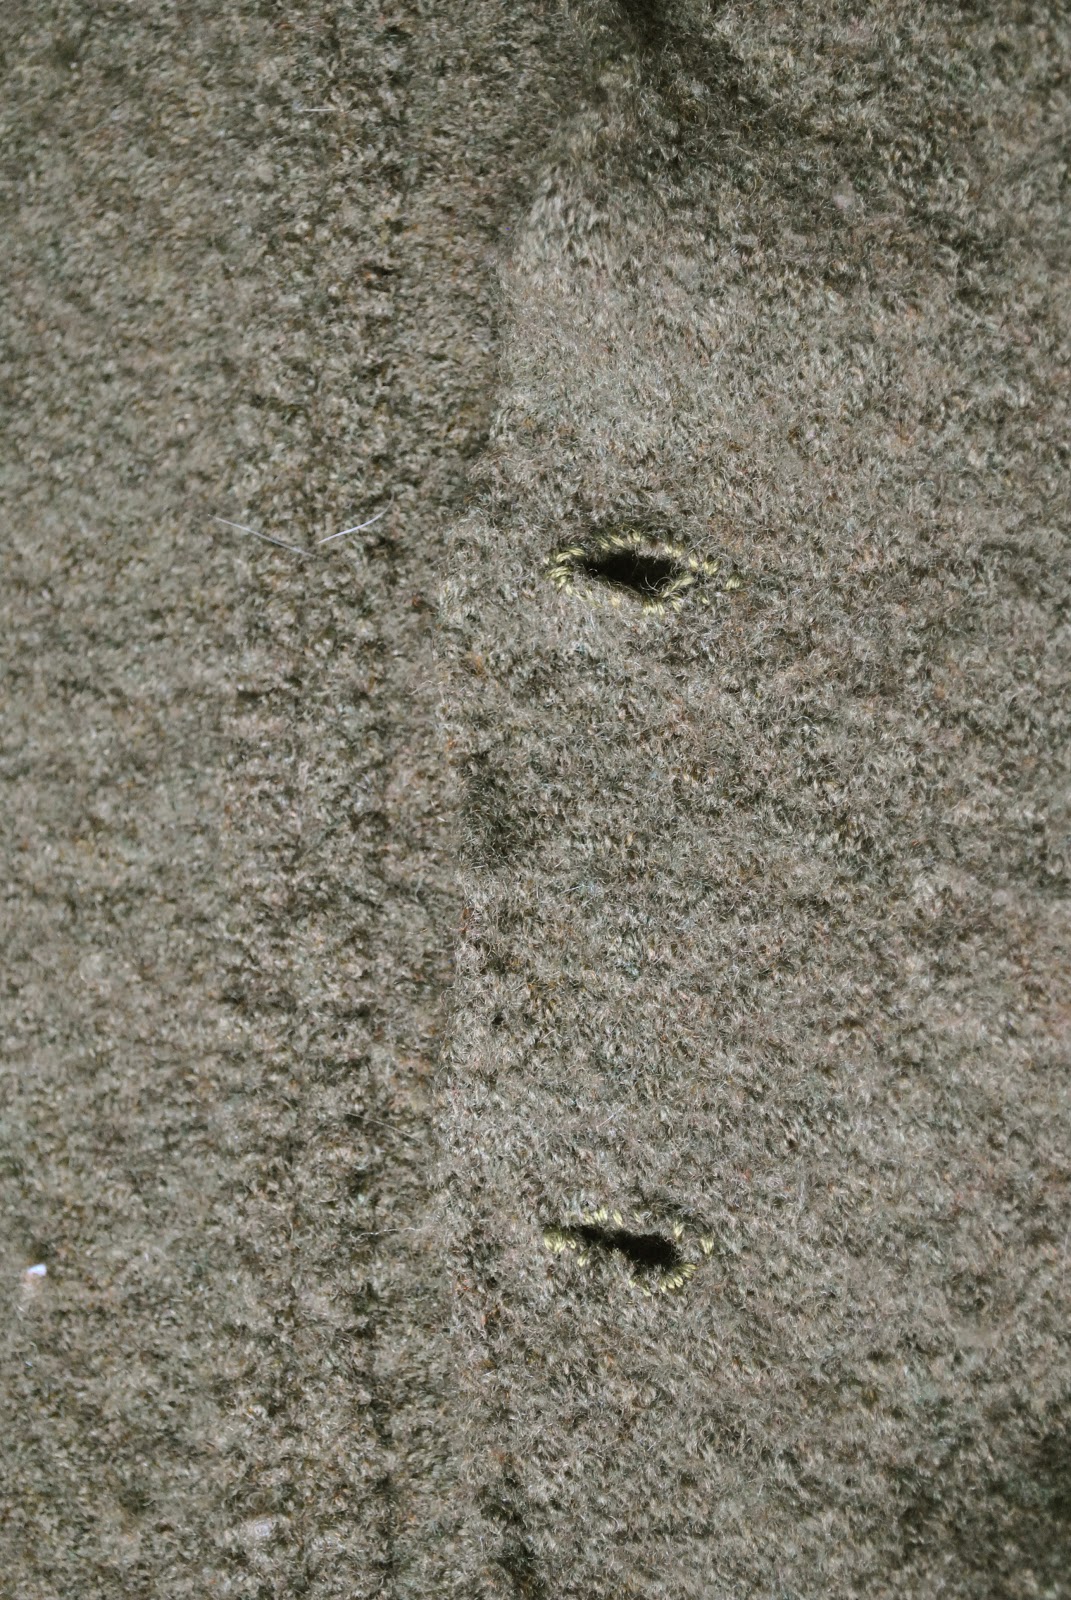
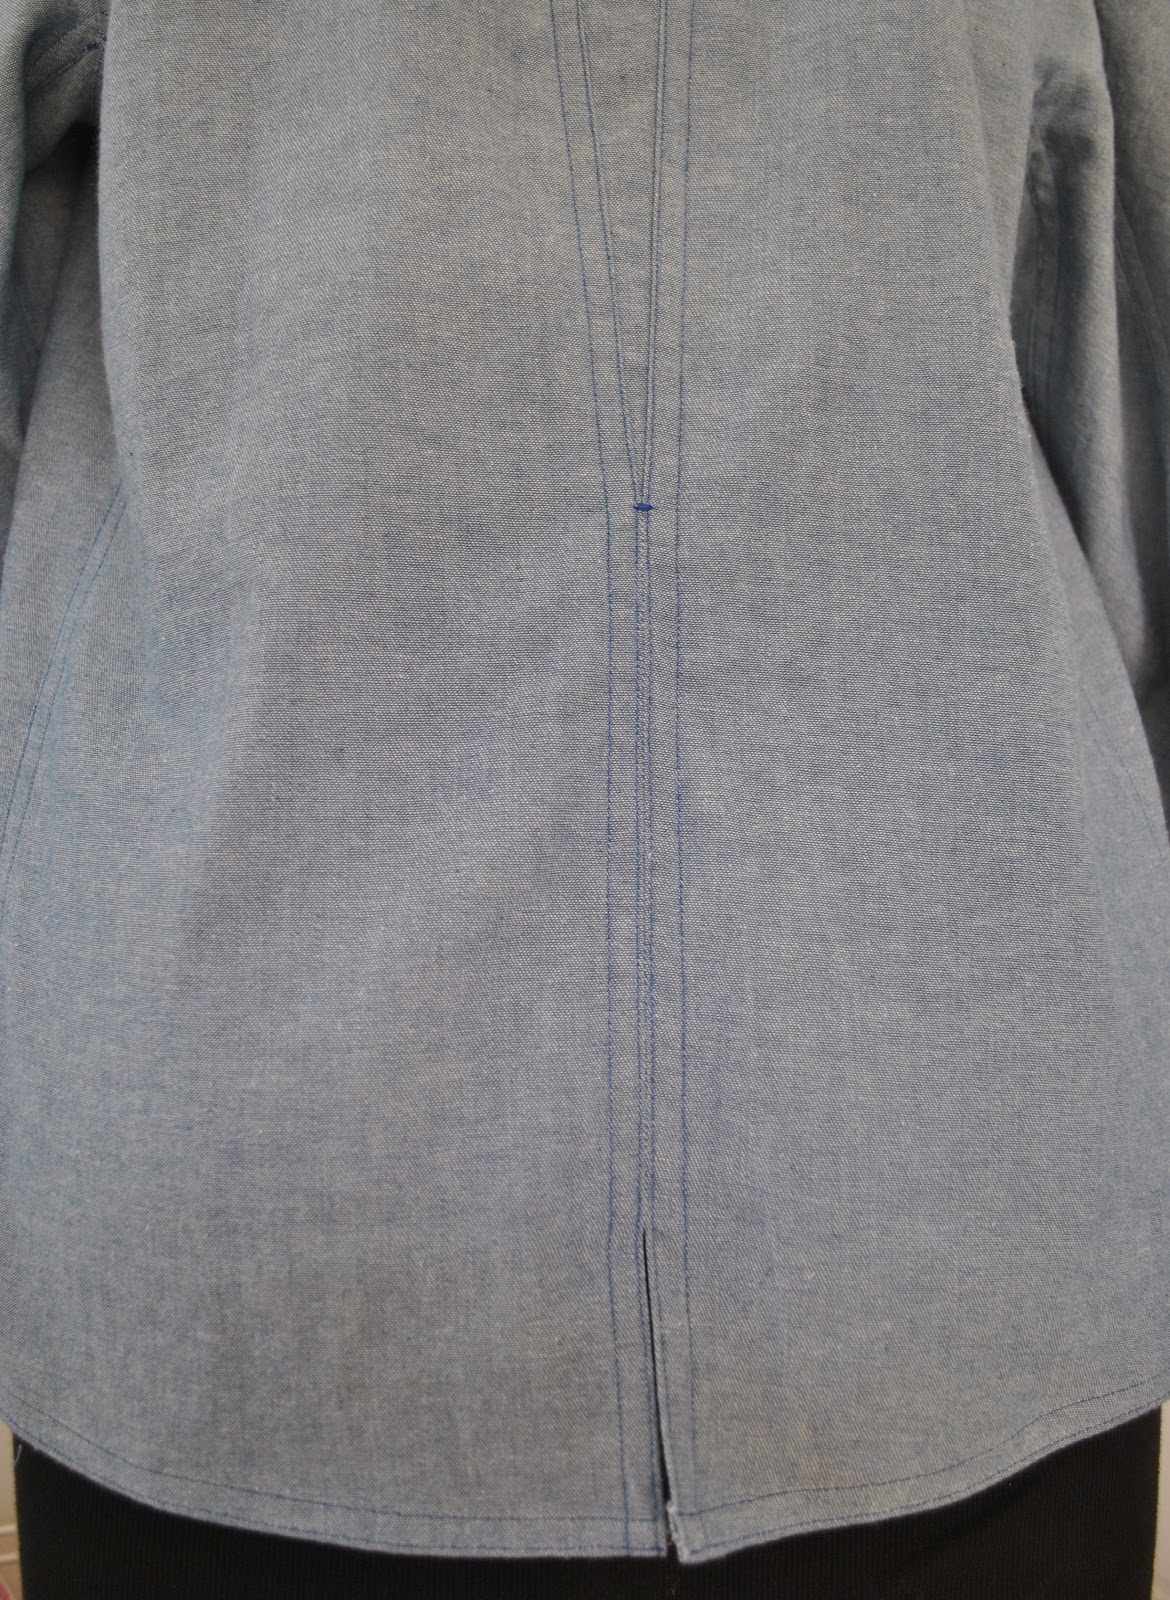
Most of the topstitching I used a deeper blue thread which was painstakingly colour matched to the blue in the fabric weave. Haha, kidding; actually it is just leftover thread that I already had in my stash 🙂 the fact that it matched is fortuitous! I used a lighter shade of blue for the bar tacks.
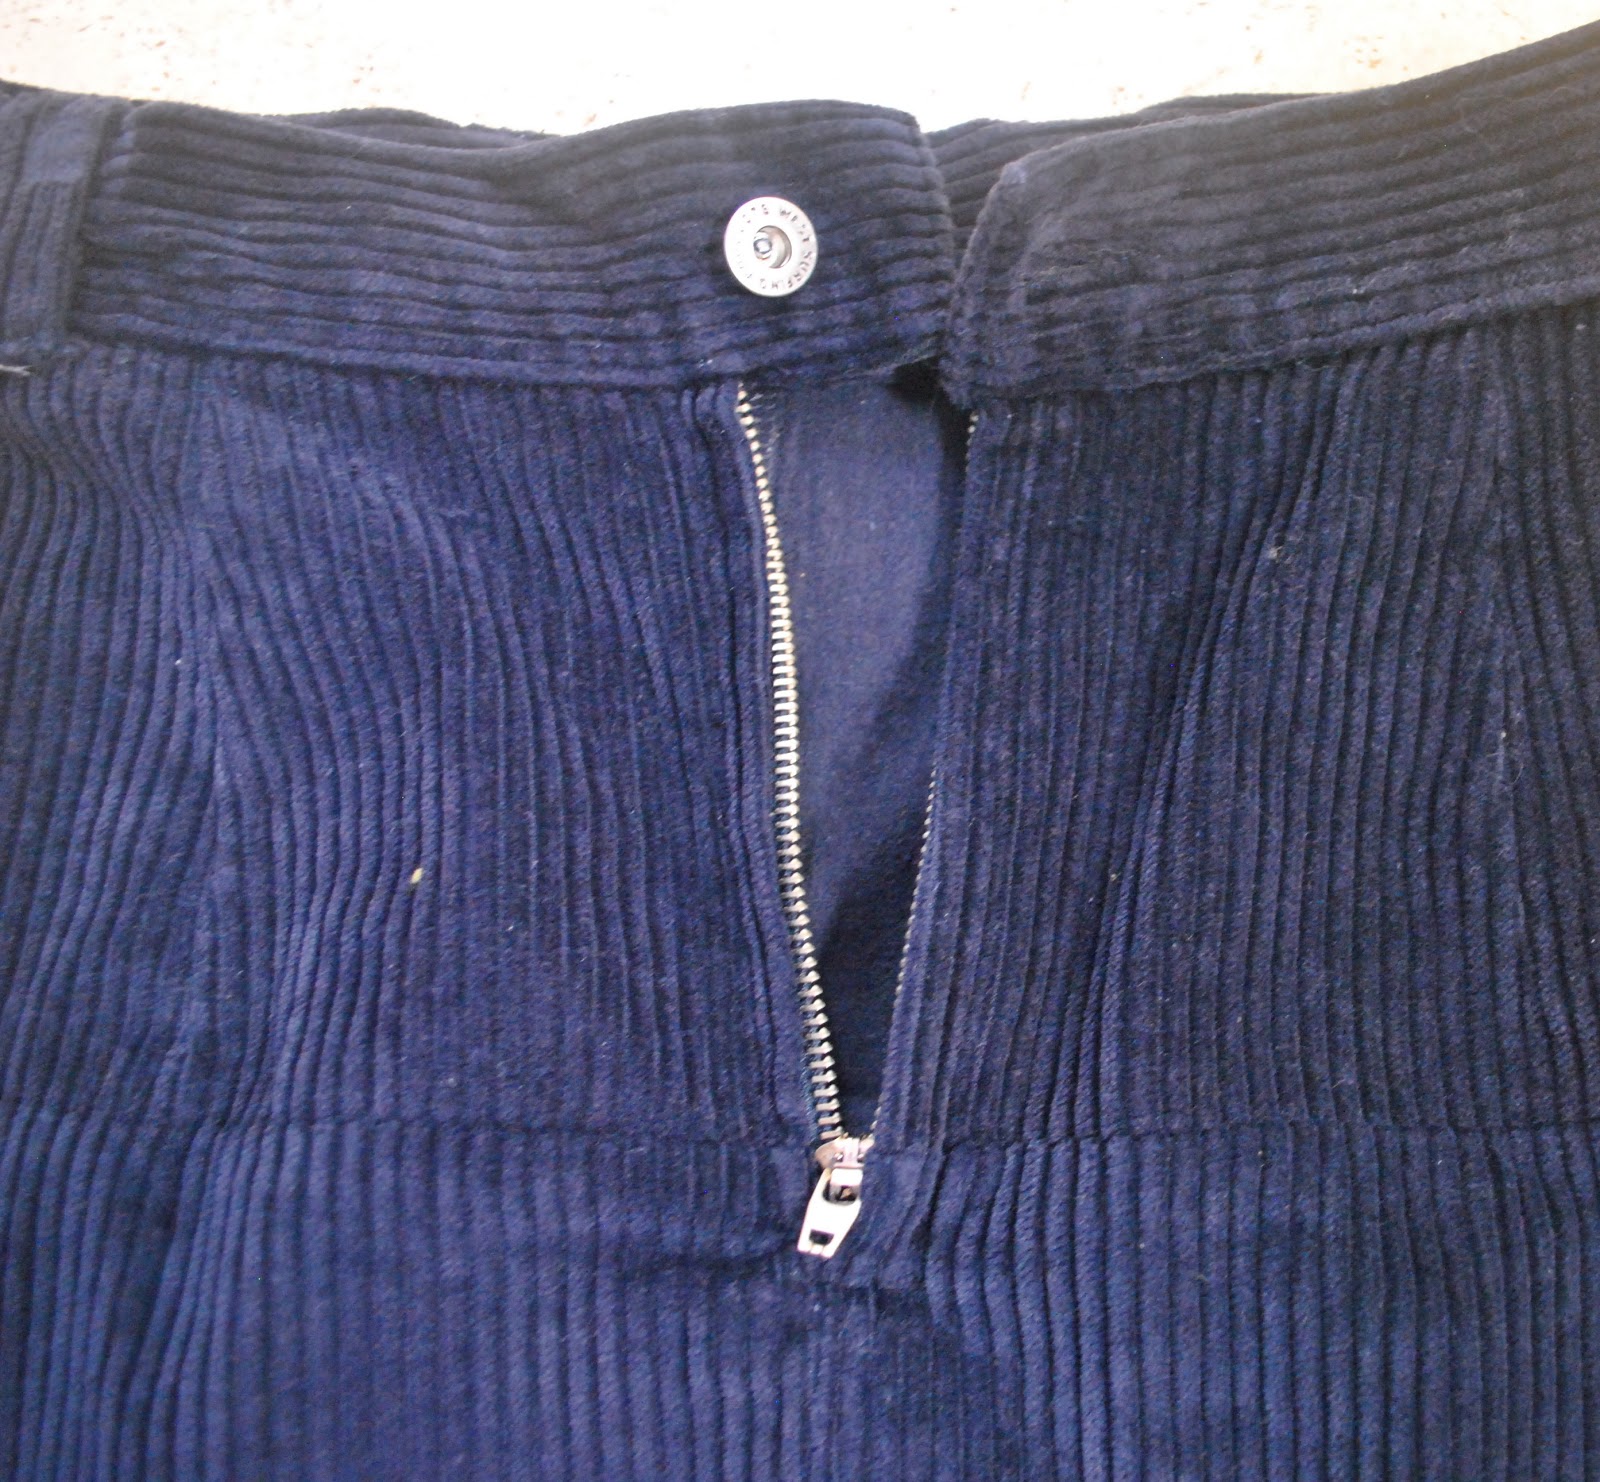
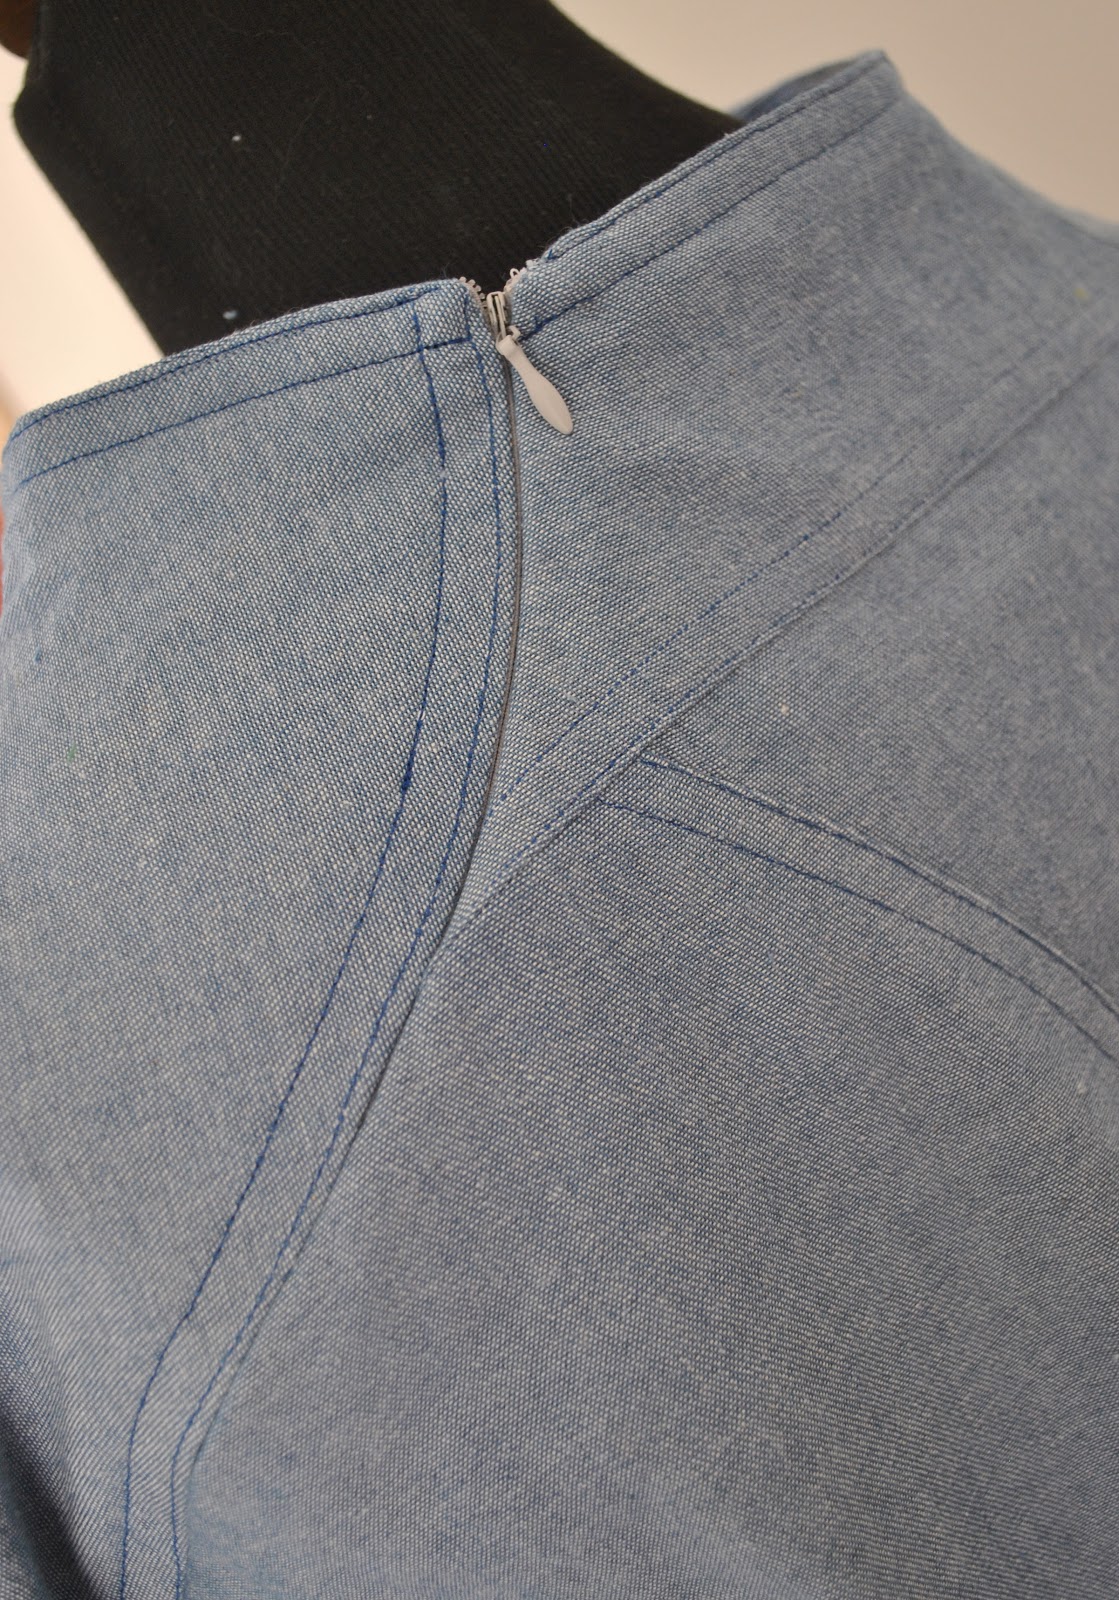
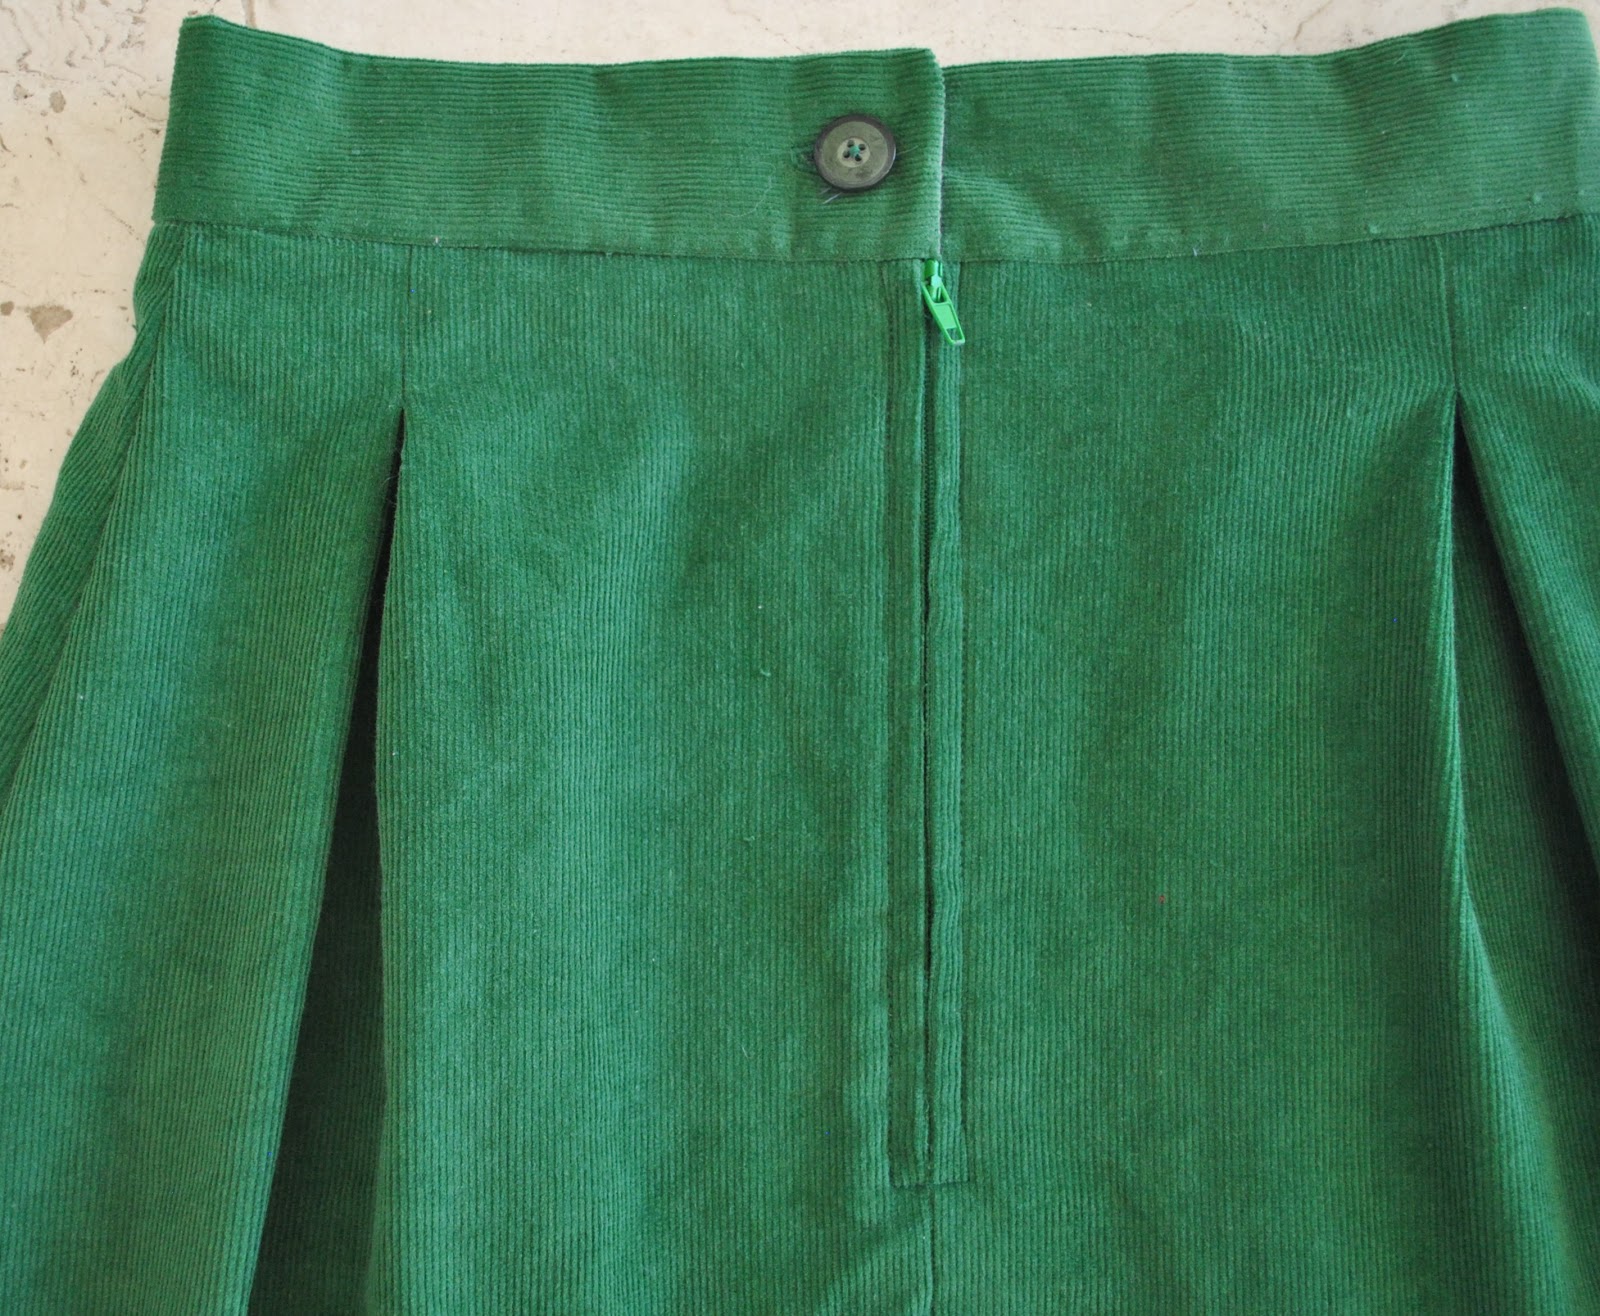
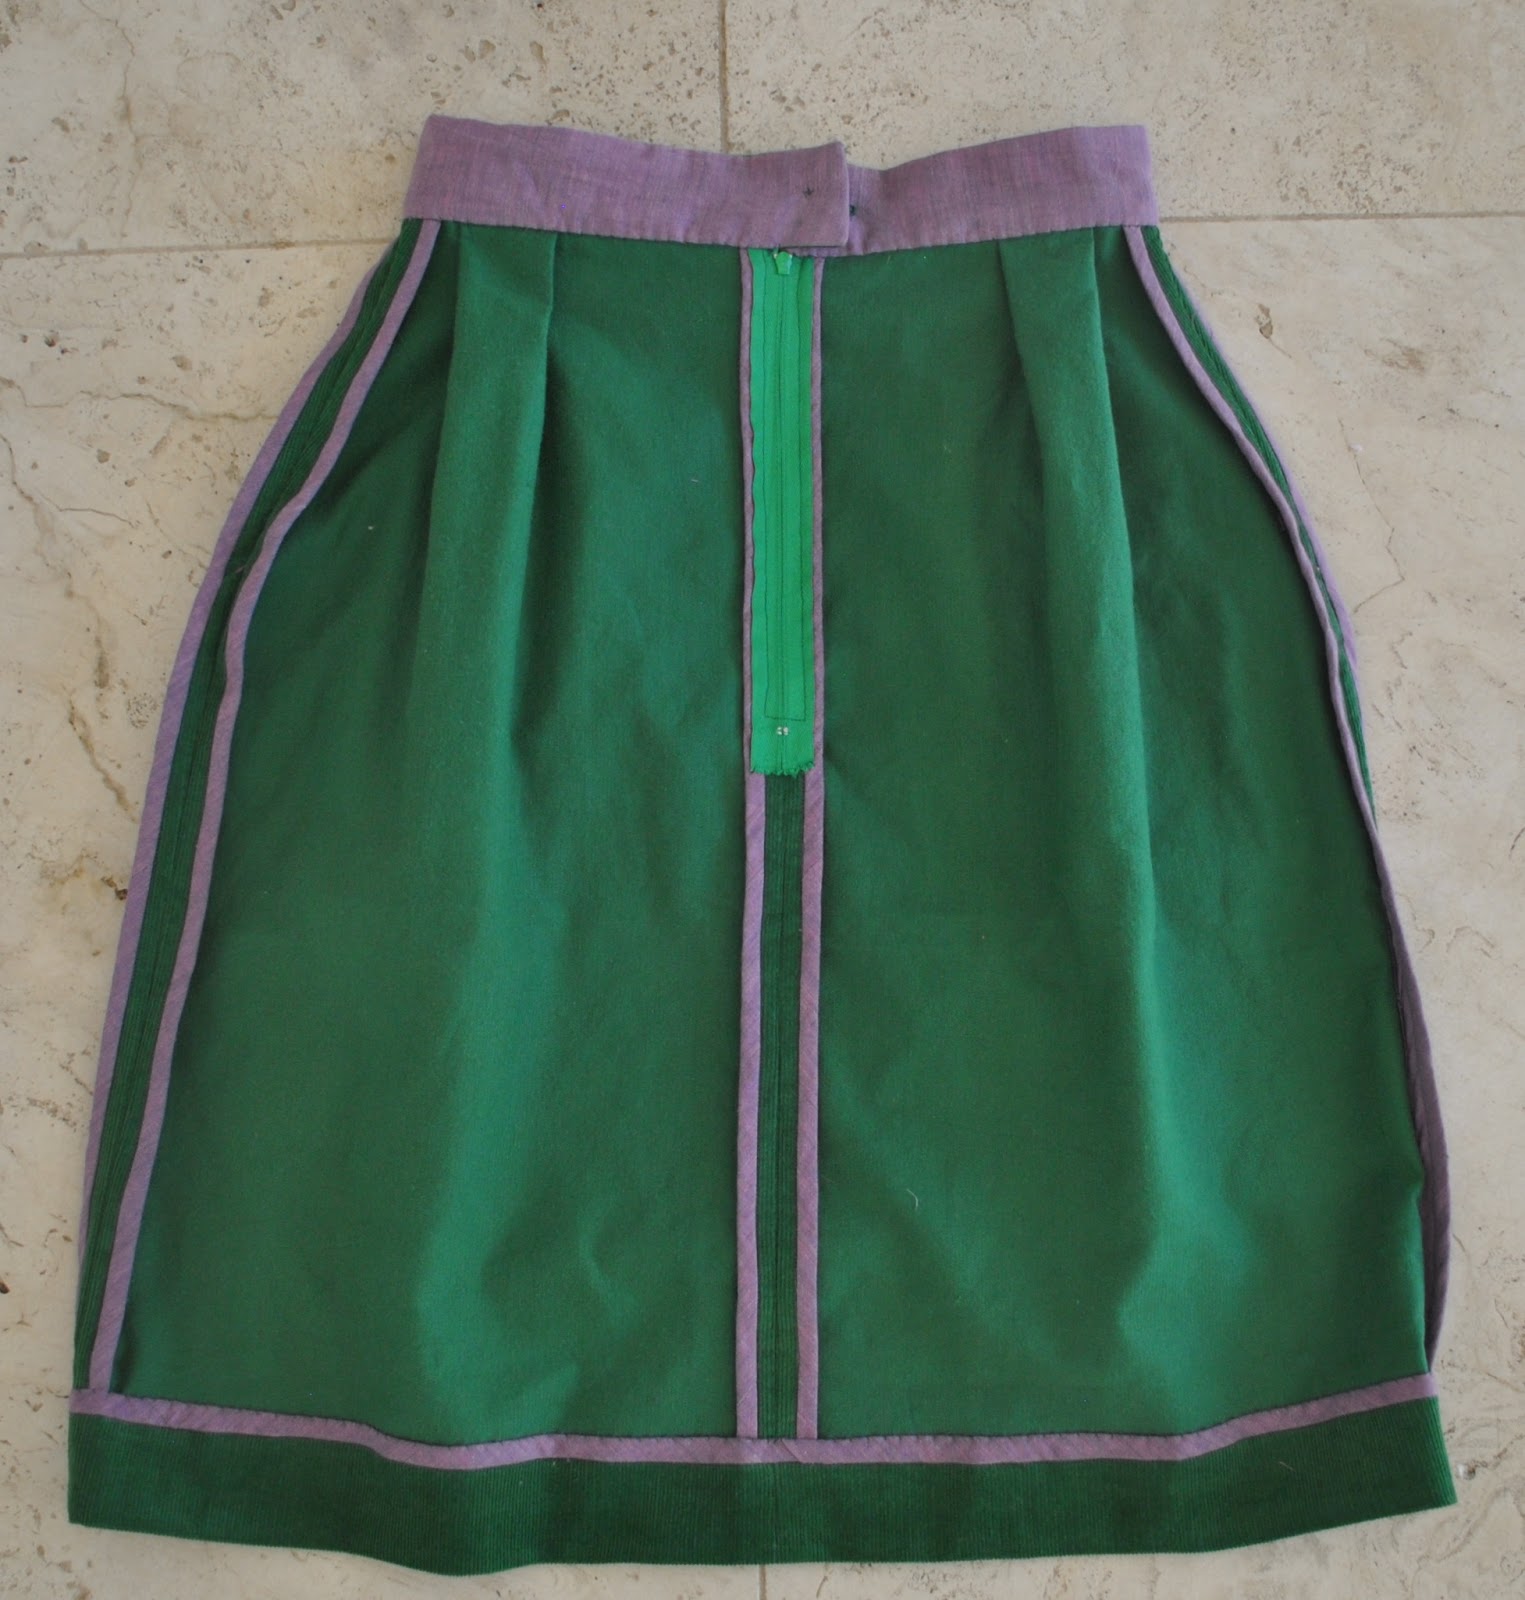
Installing that invisible zip, another seriously tricky procedure.. since I prefer to insert the zip before sewing up the seam below it; and since the seam allowance has to be finished with a double row of top-stitching to stylistically match all the other seams on the garment; this is an area that needed a bit of nutting out. I’m pretty pleased with the nice even finish I got in the end 🙂
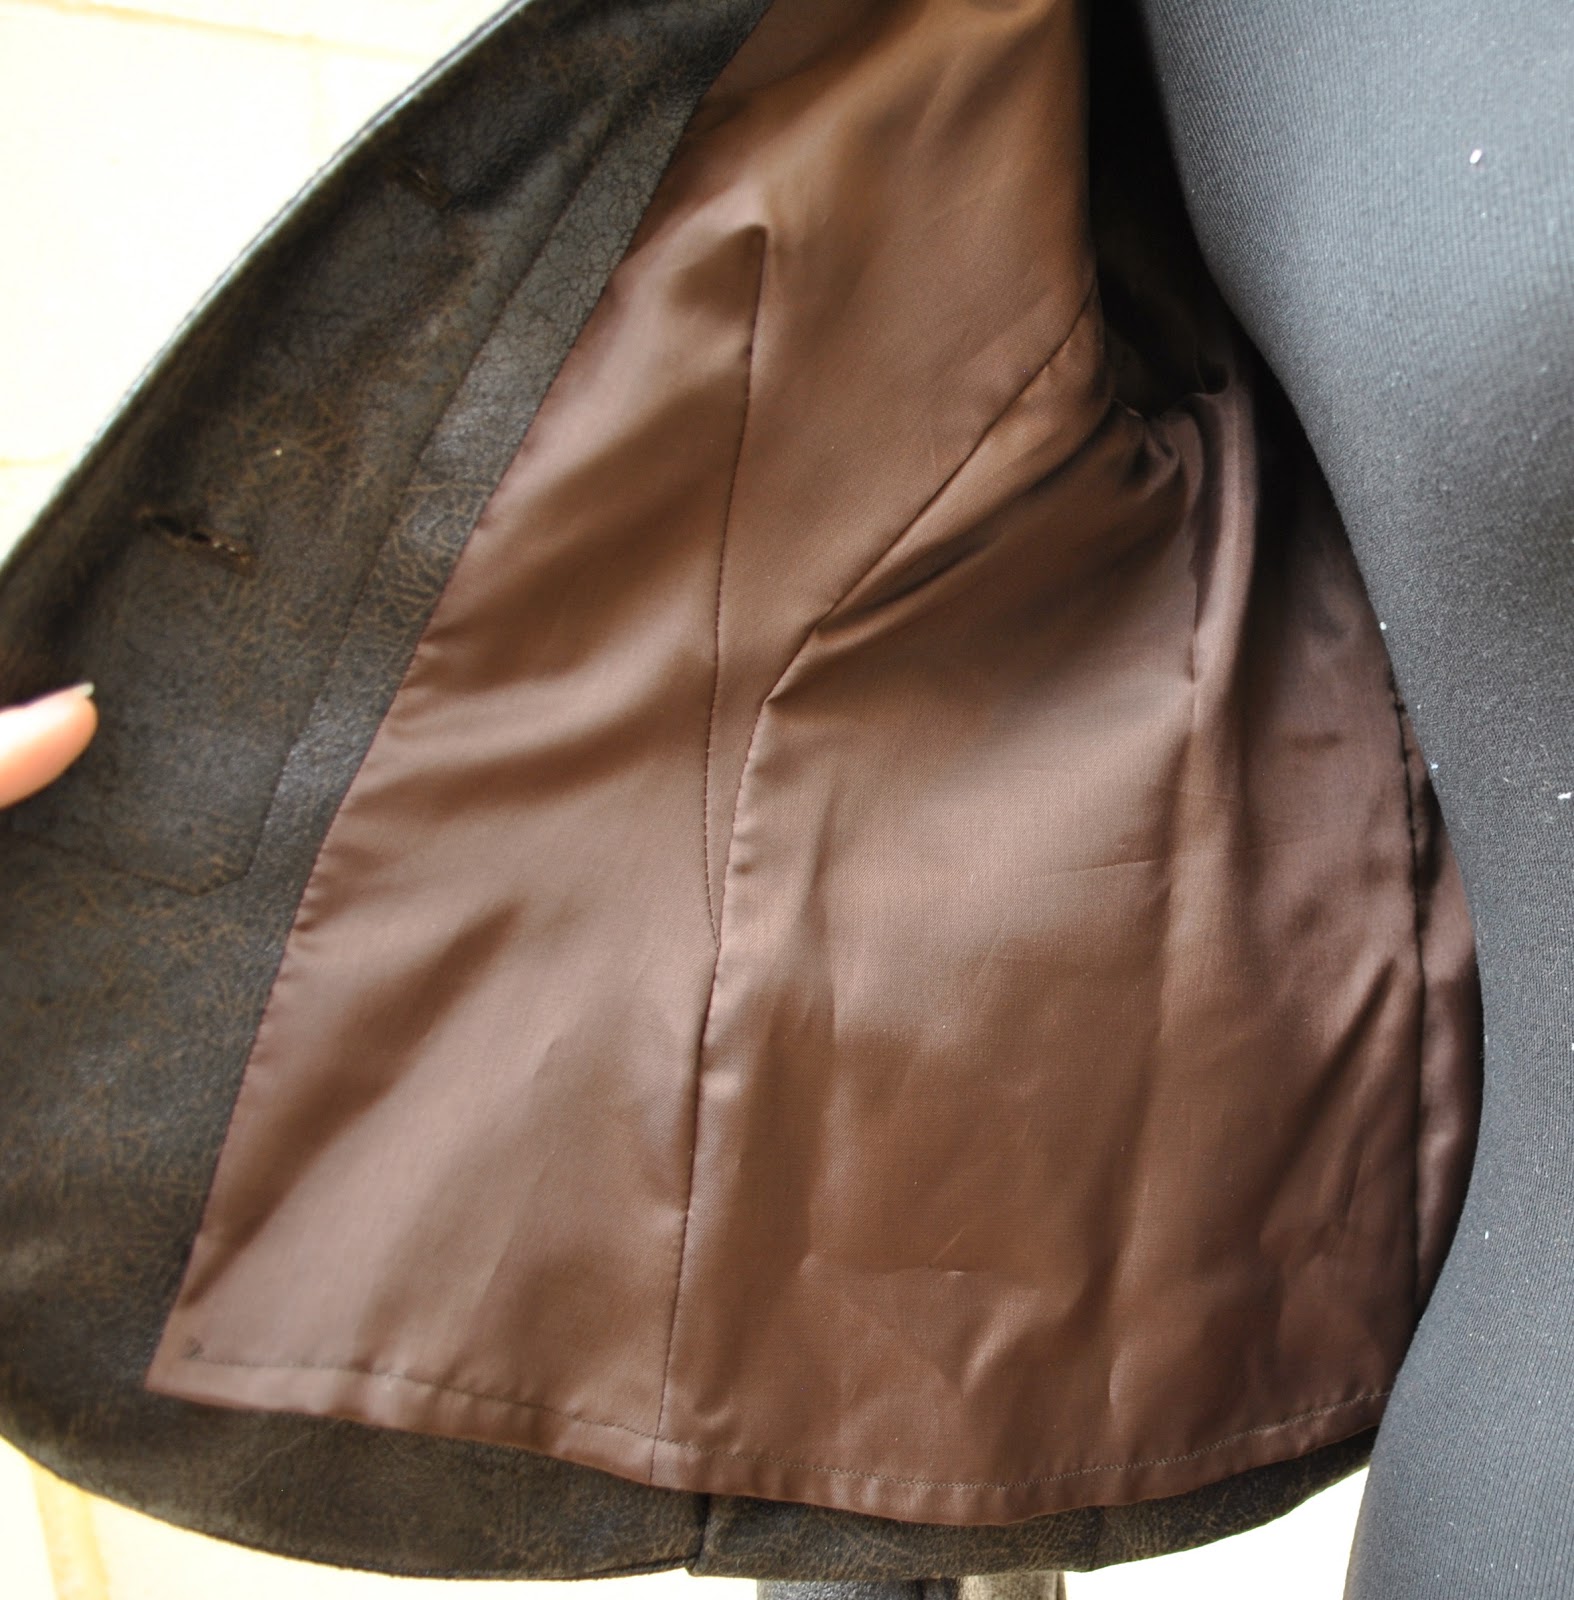
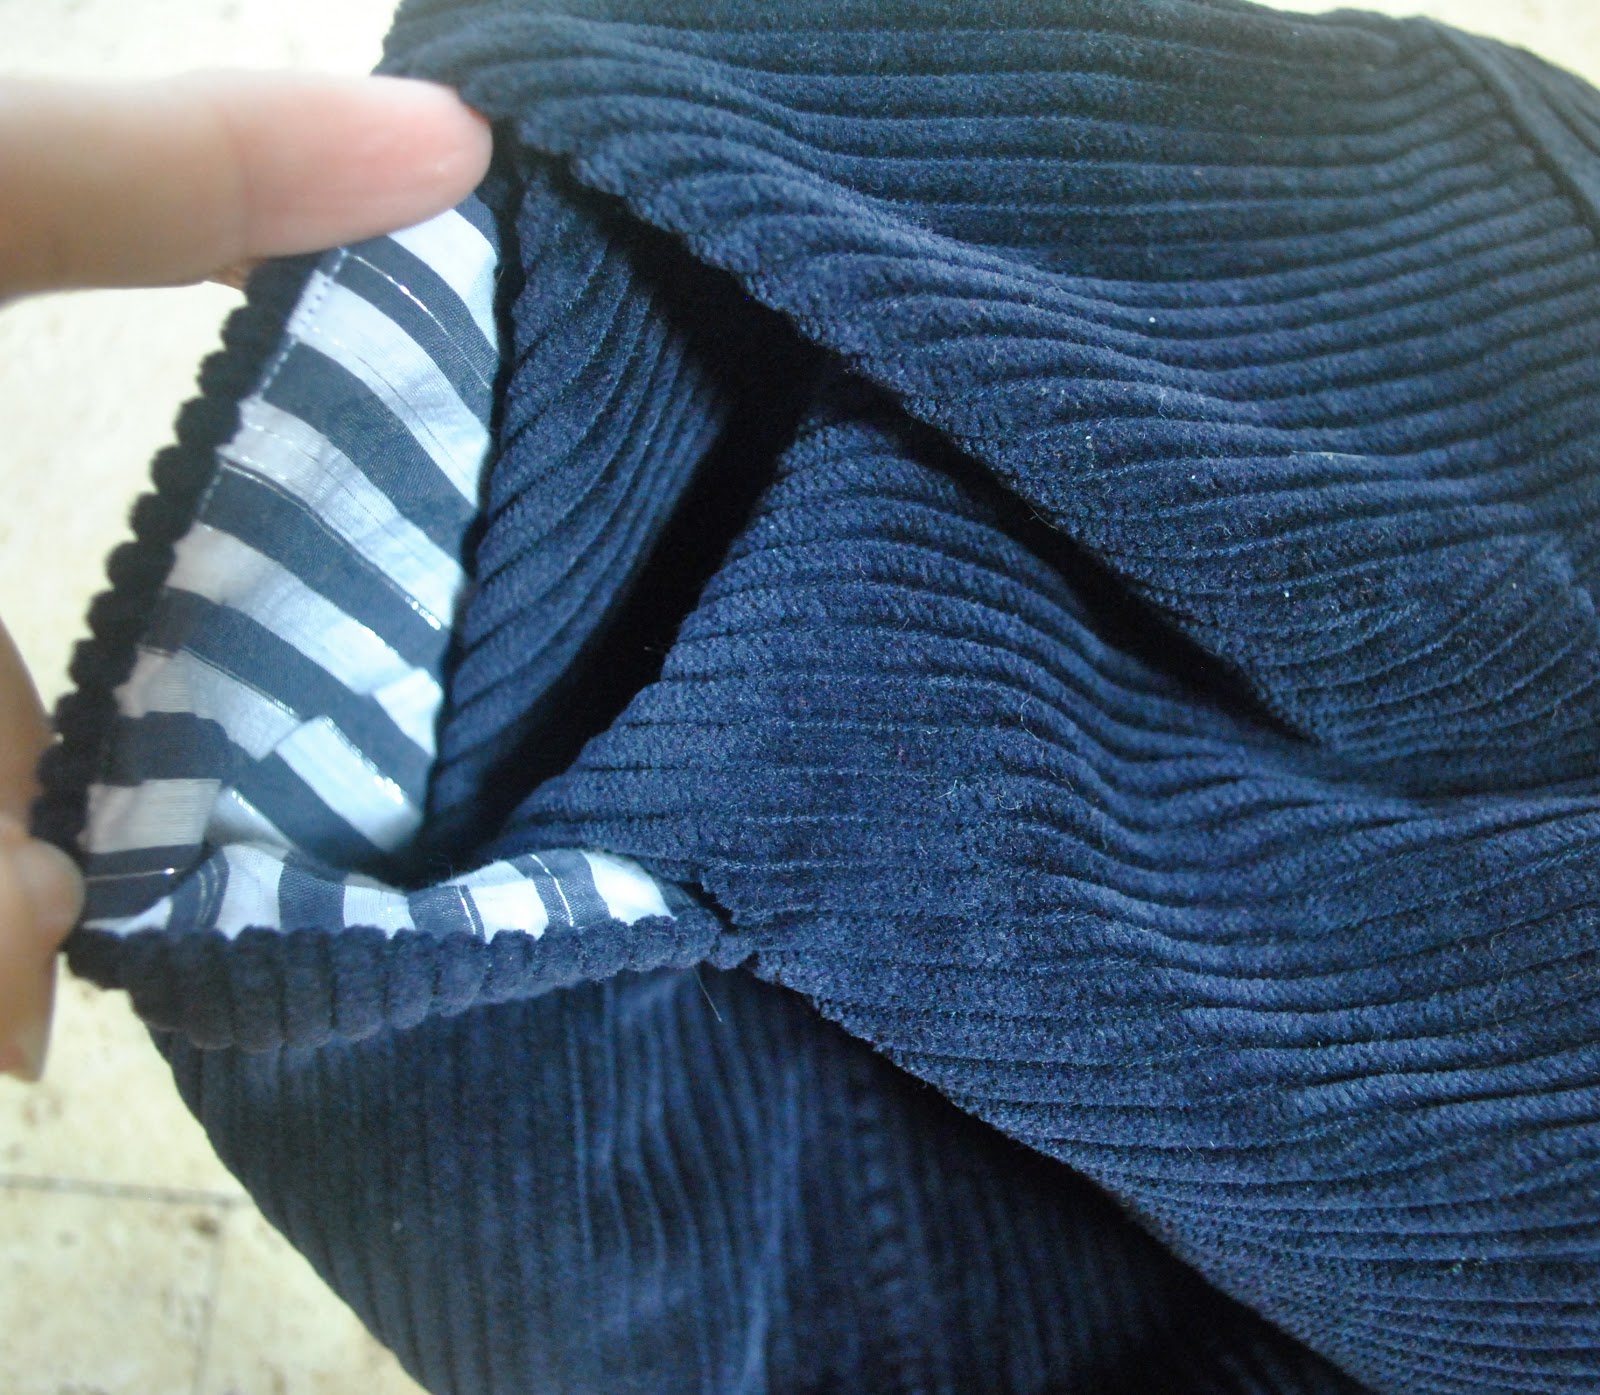
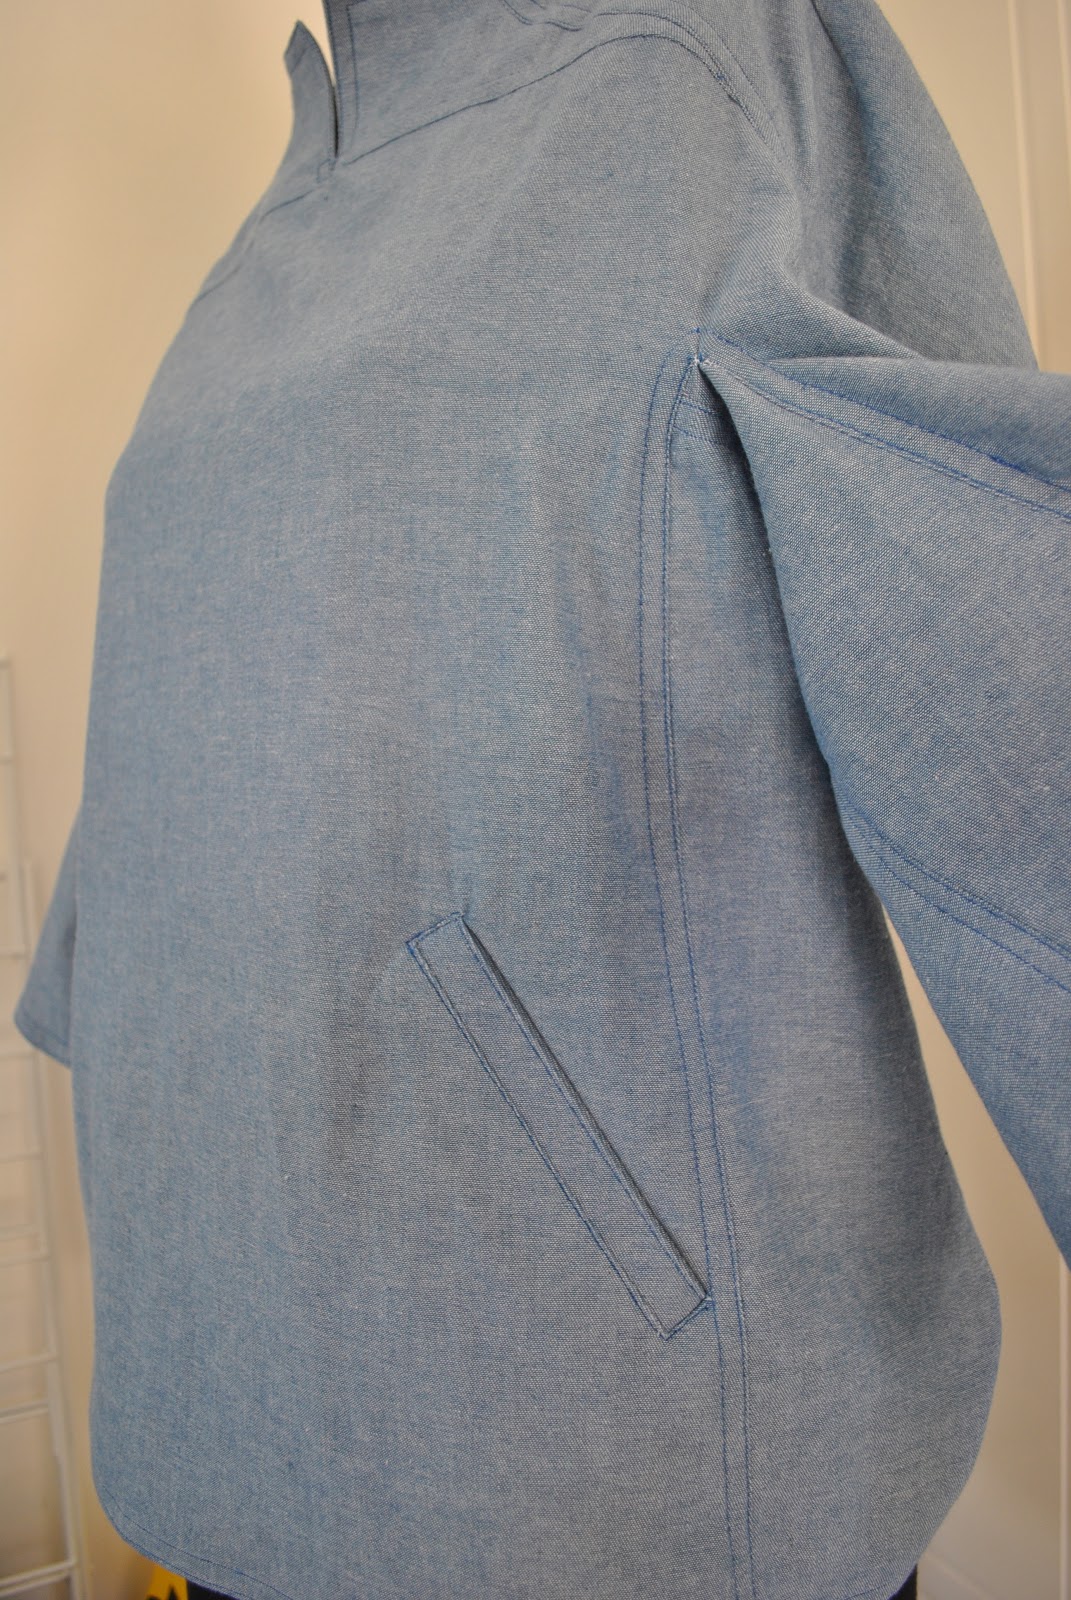
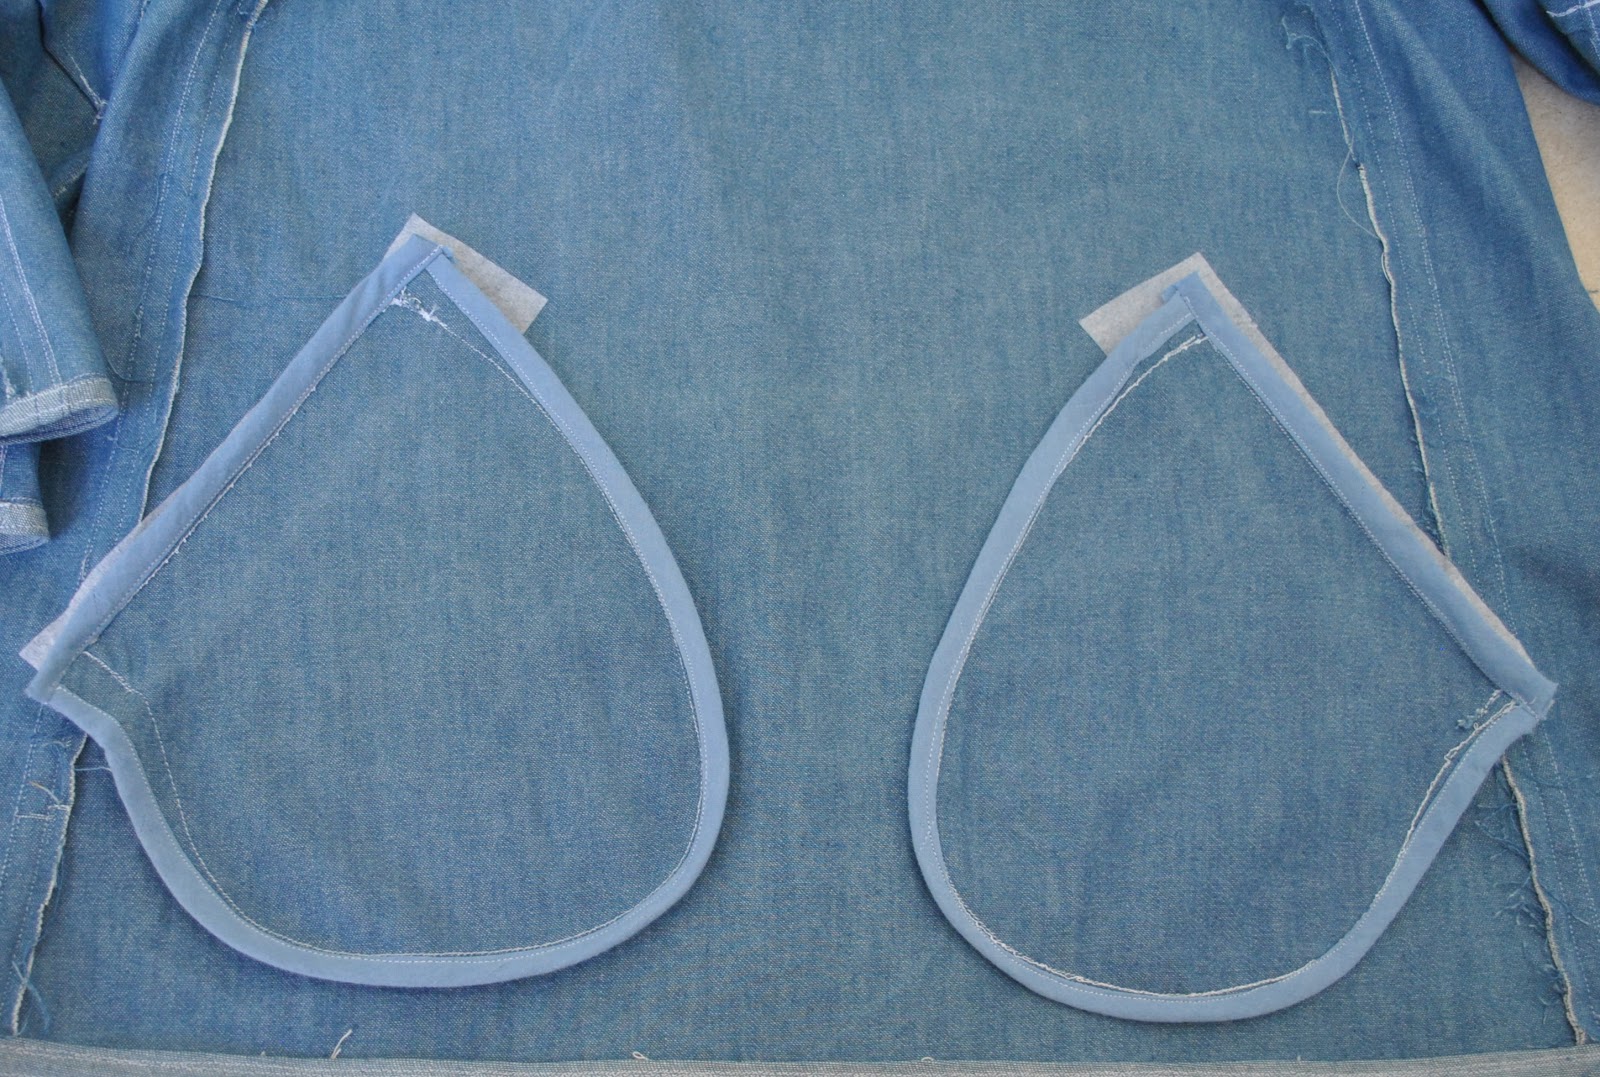
Look at those blissfully deep, welted inner pockets (satisfied sigh) I made them a smidge deeper and bigger, and the edges are finished with HongKong seaming.
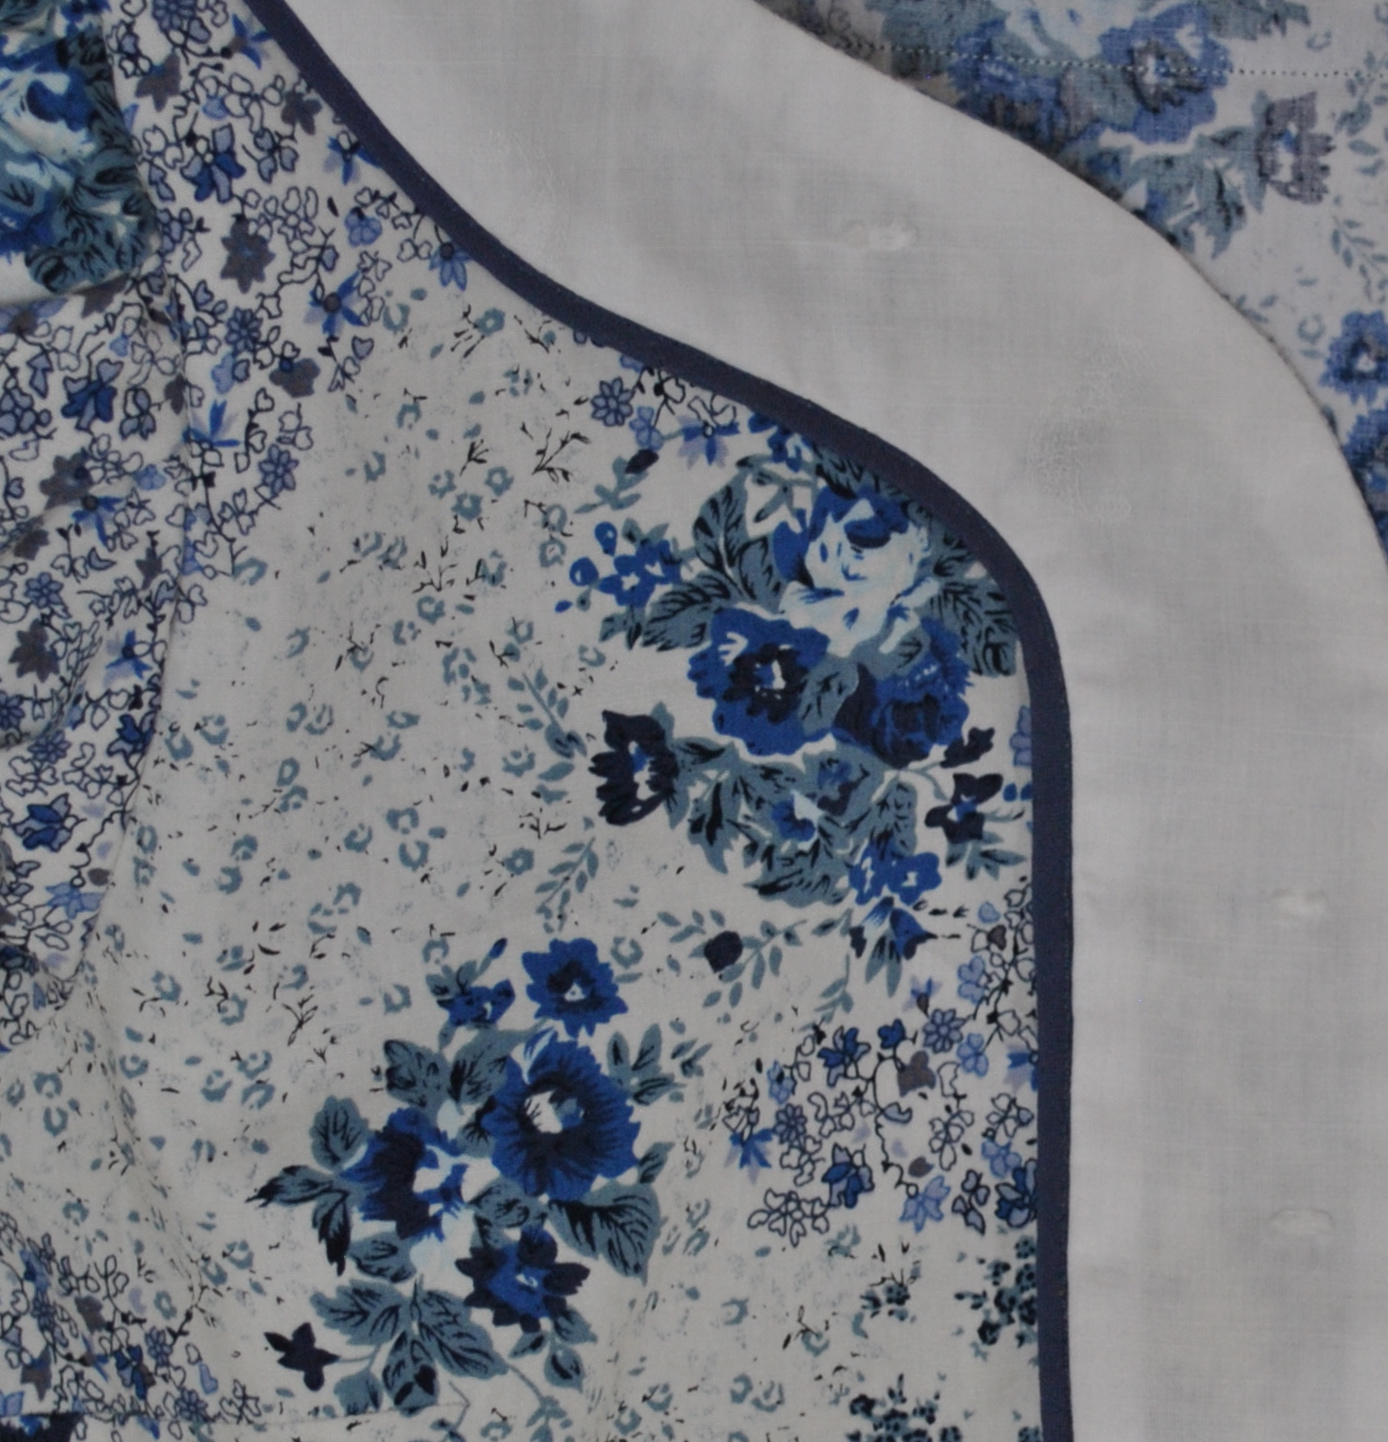
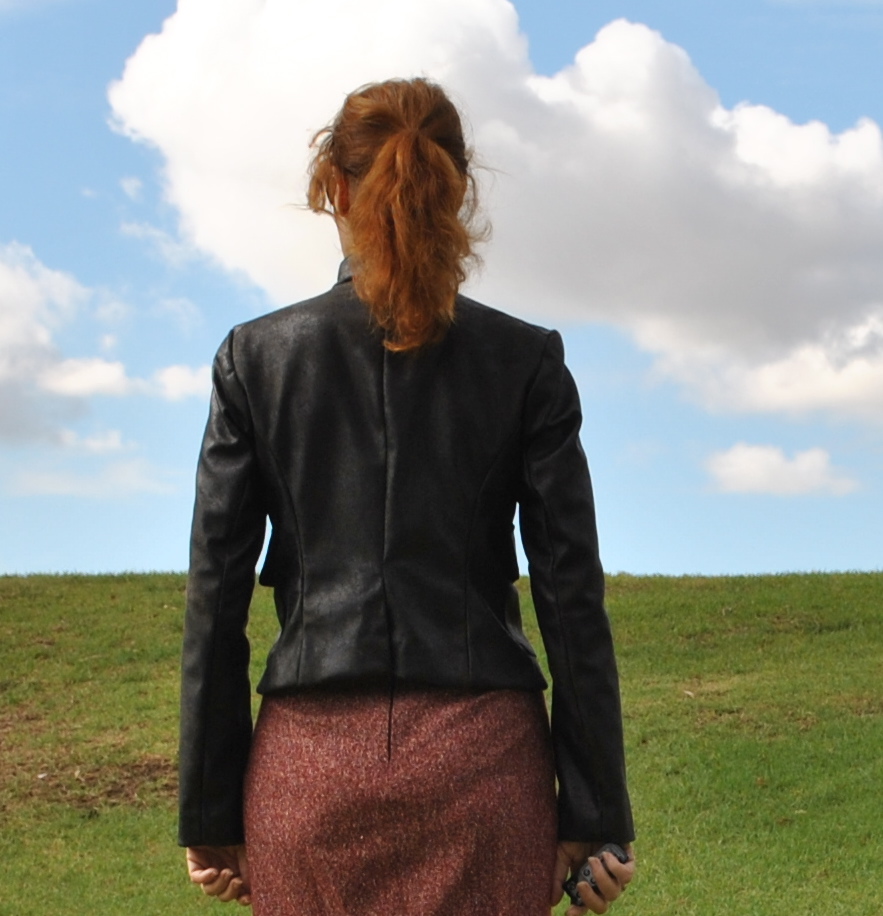
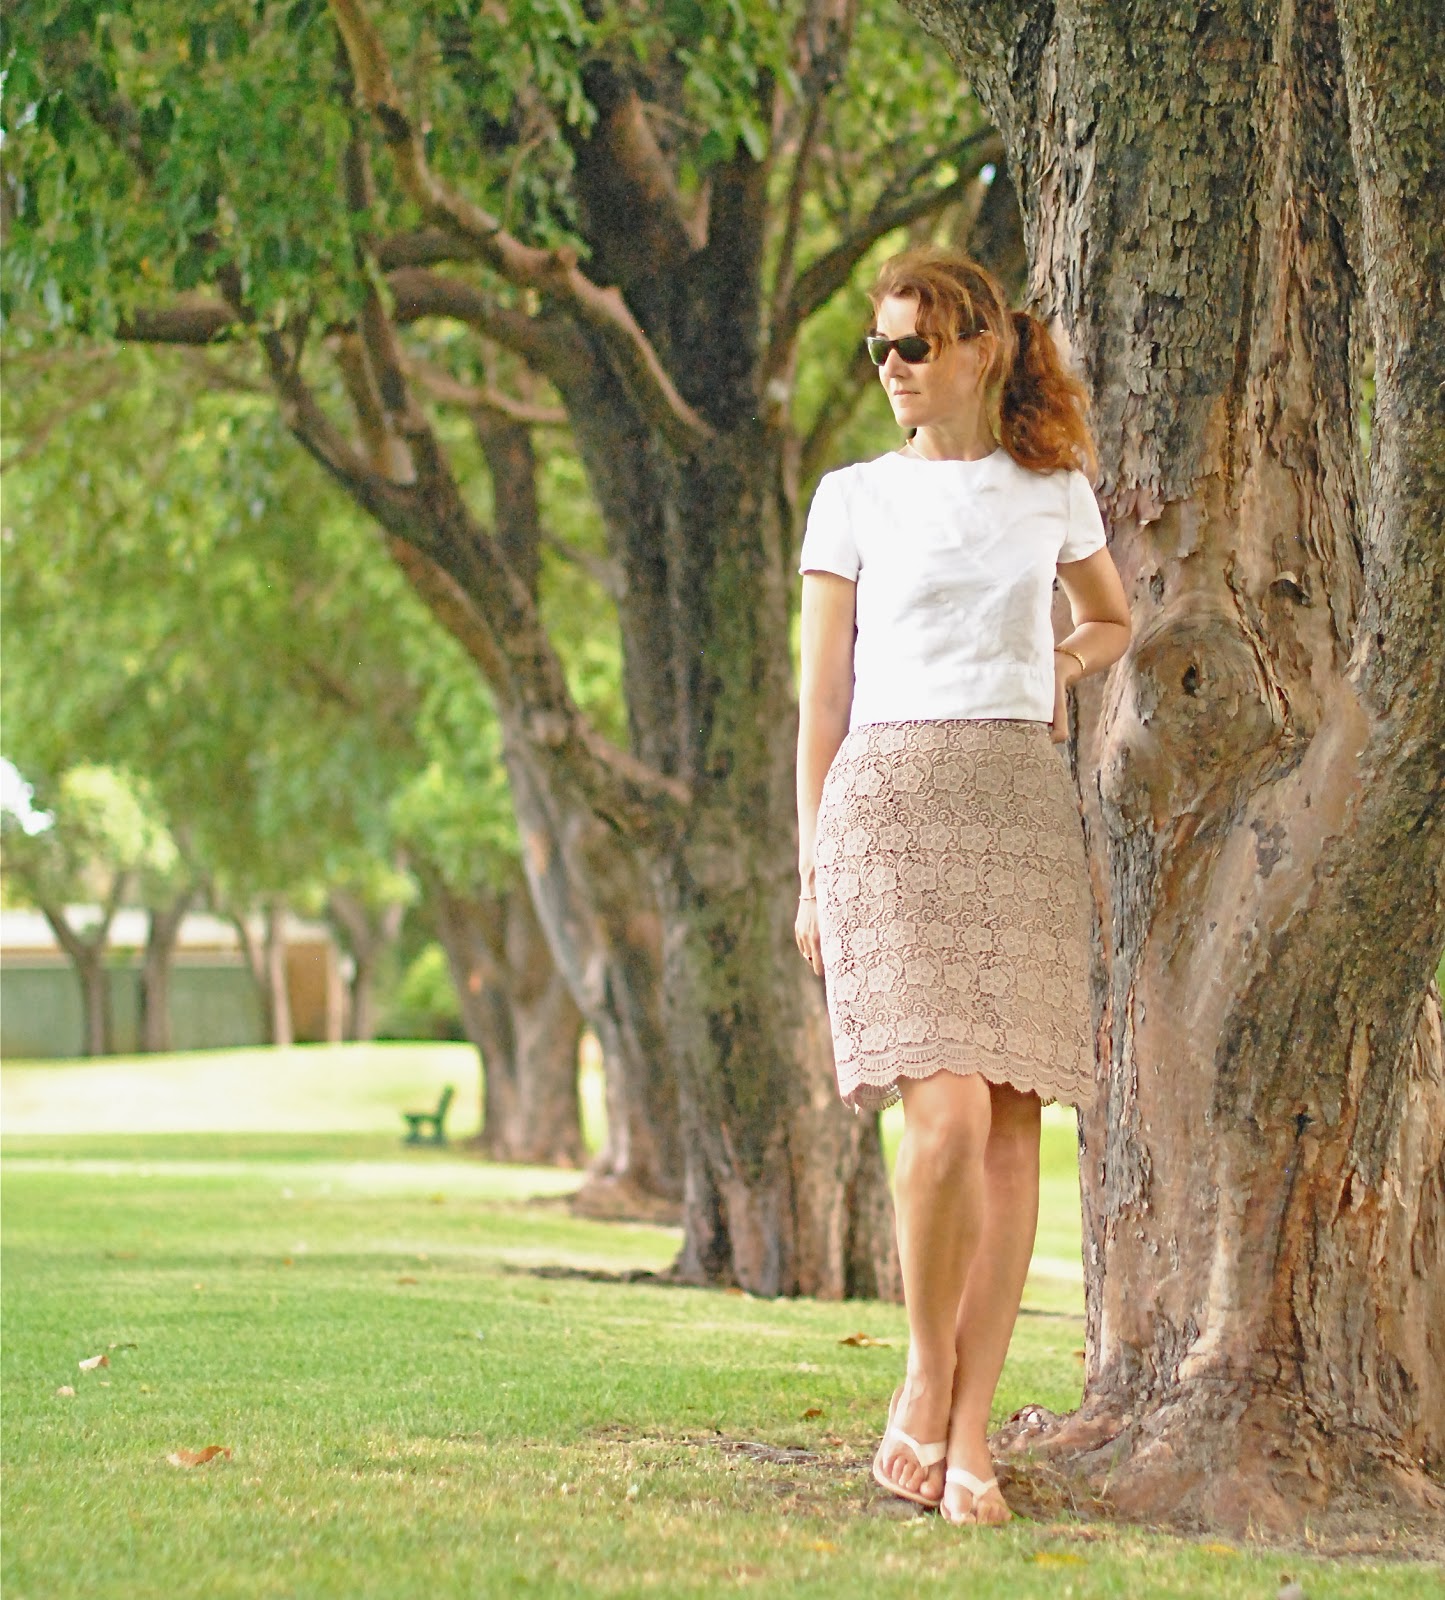
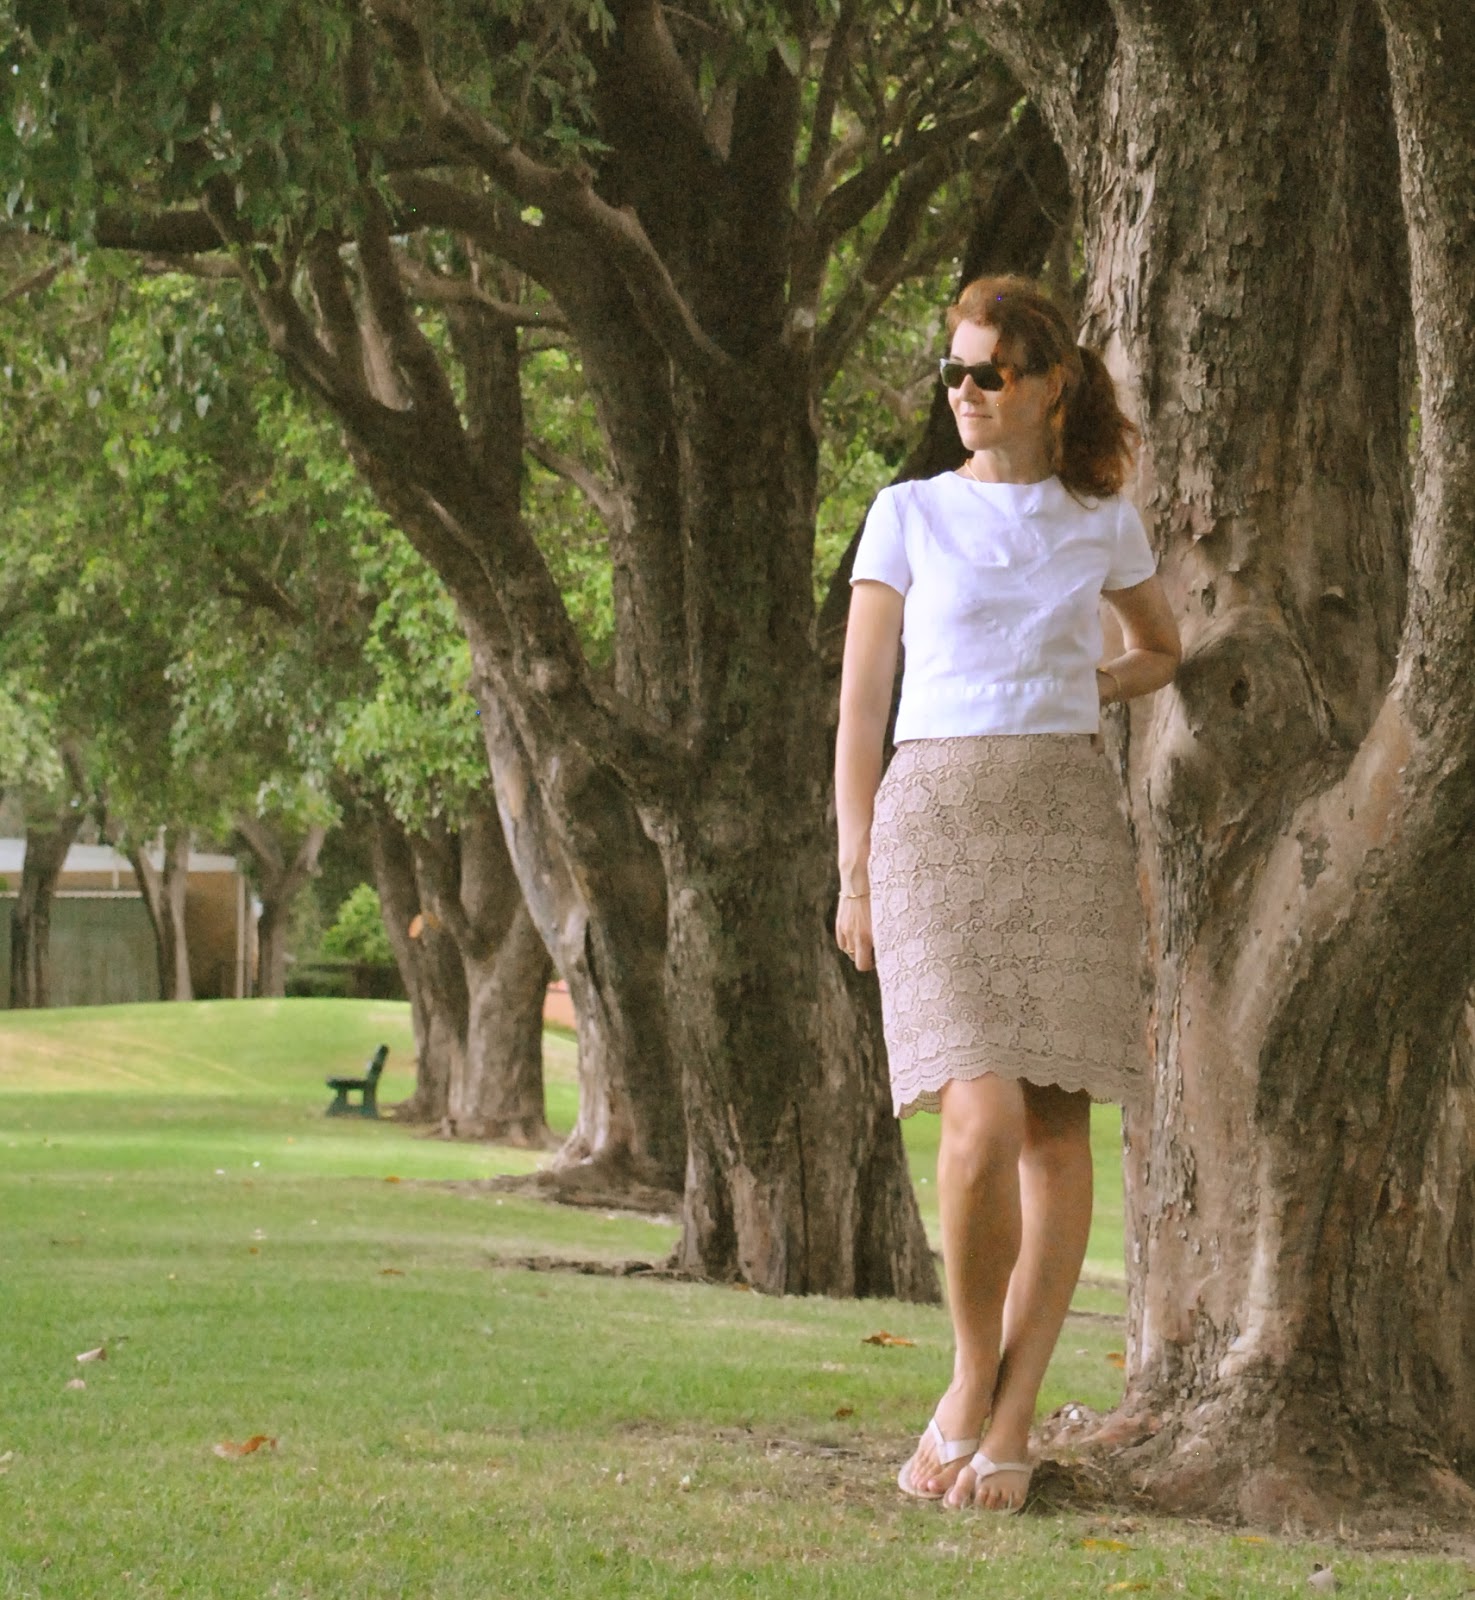
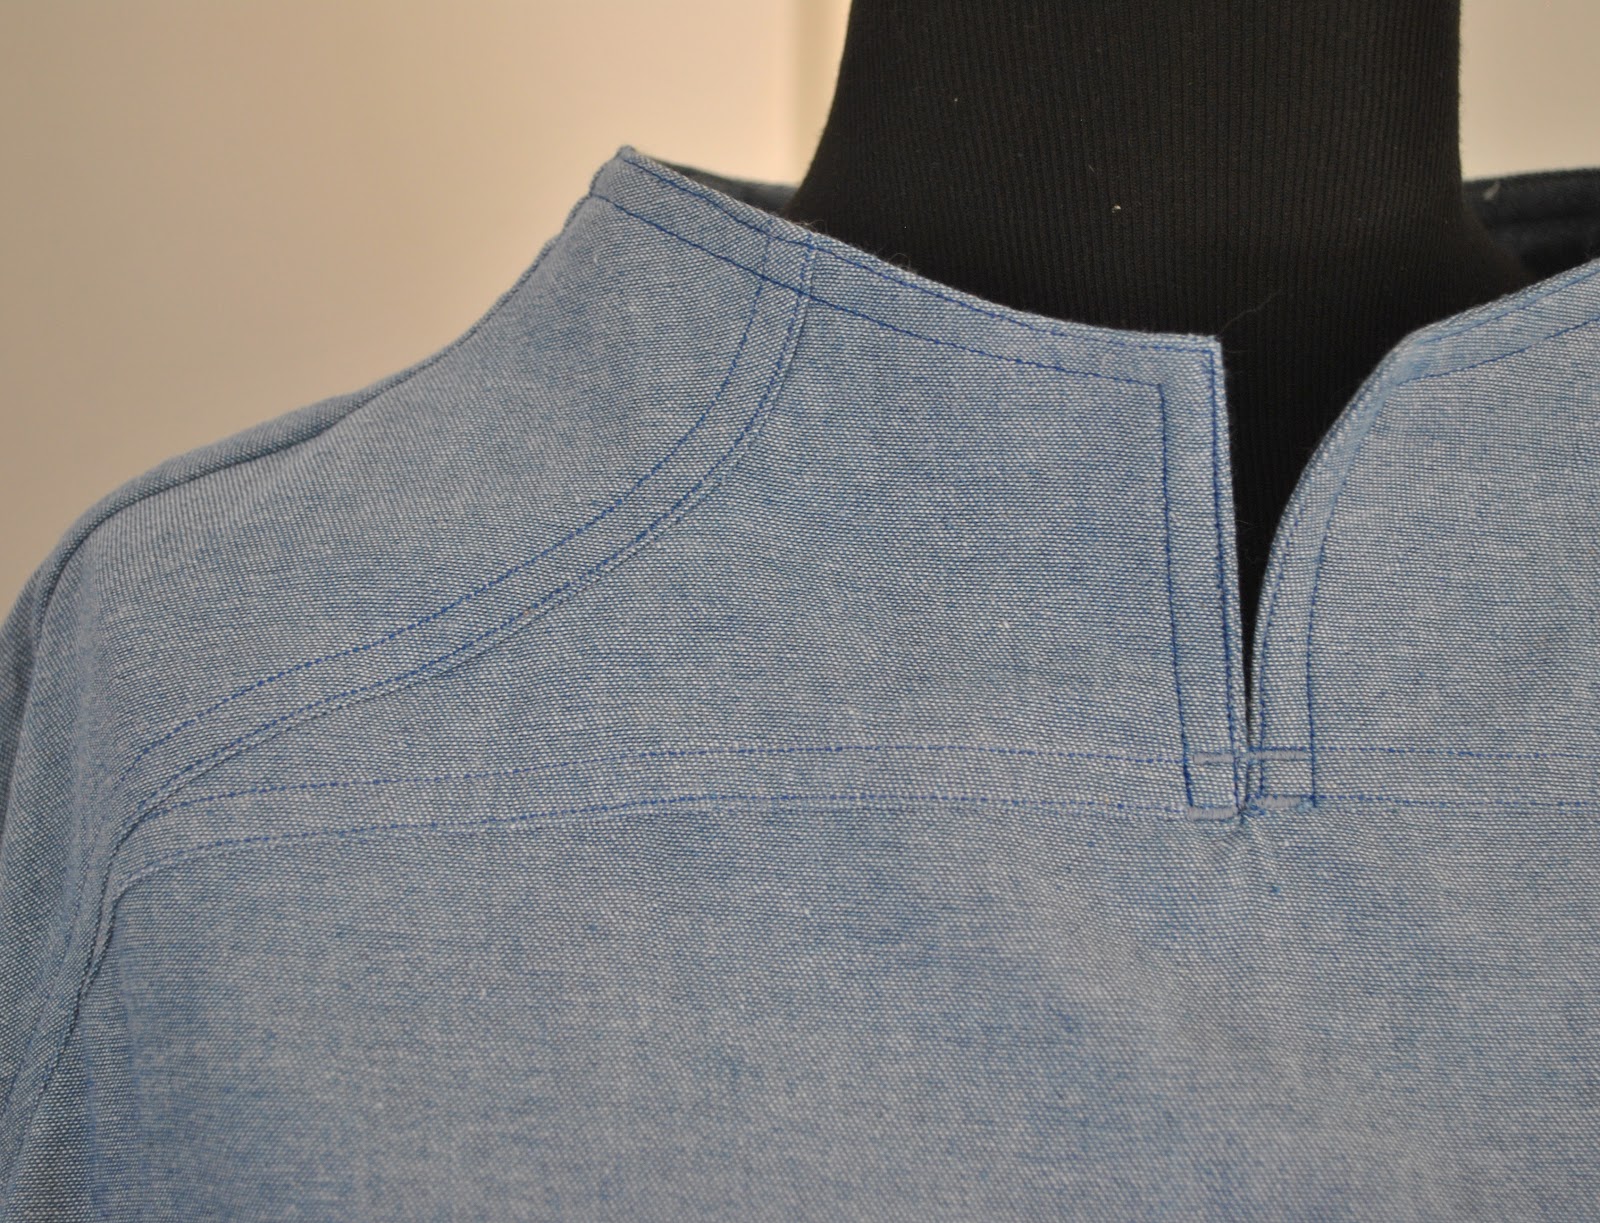
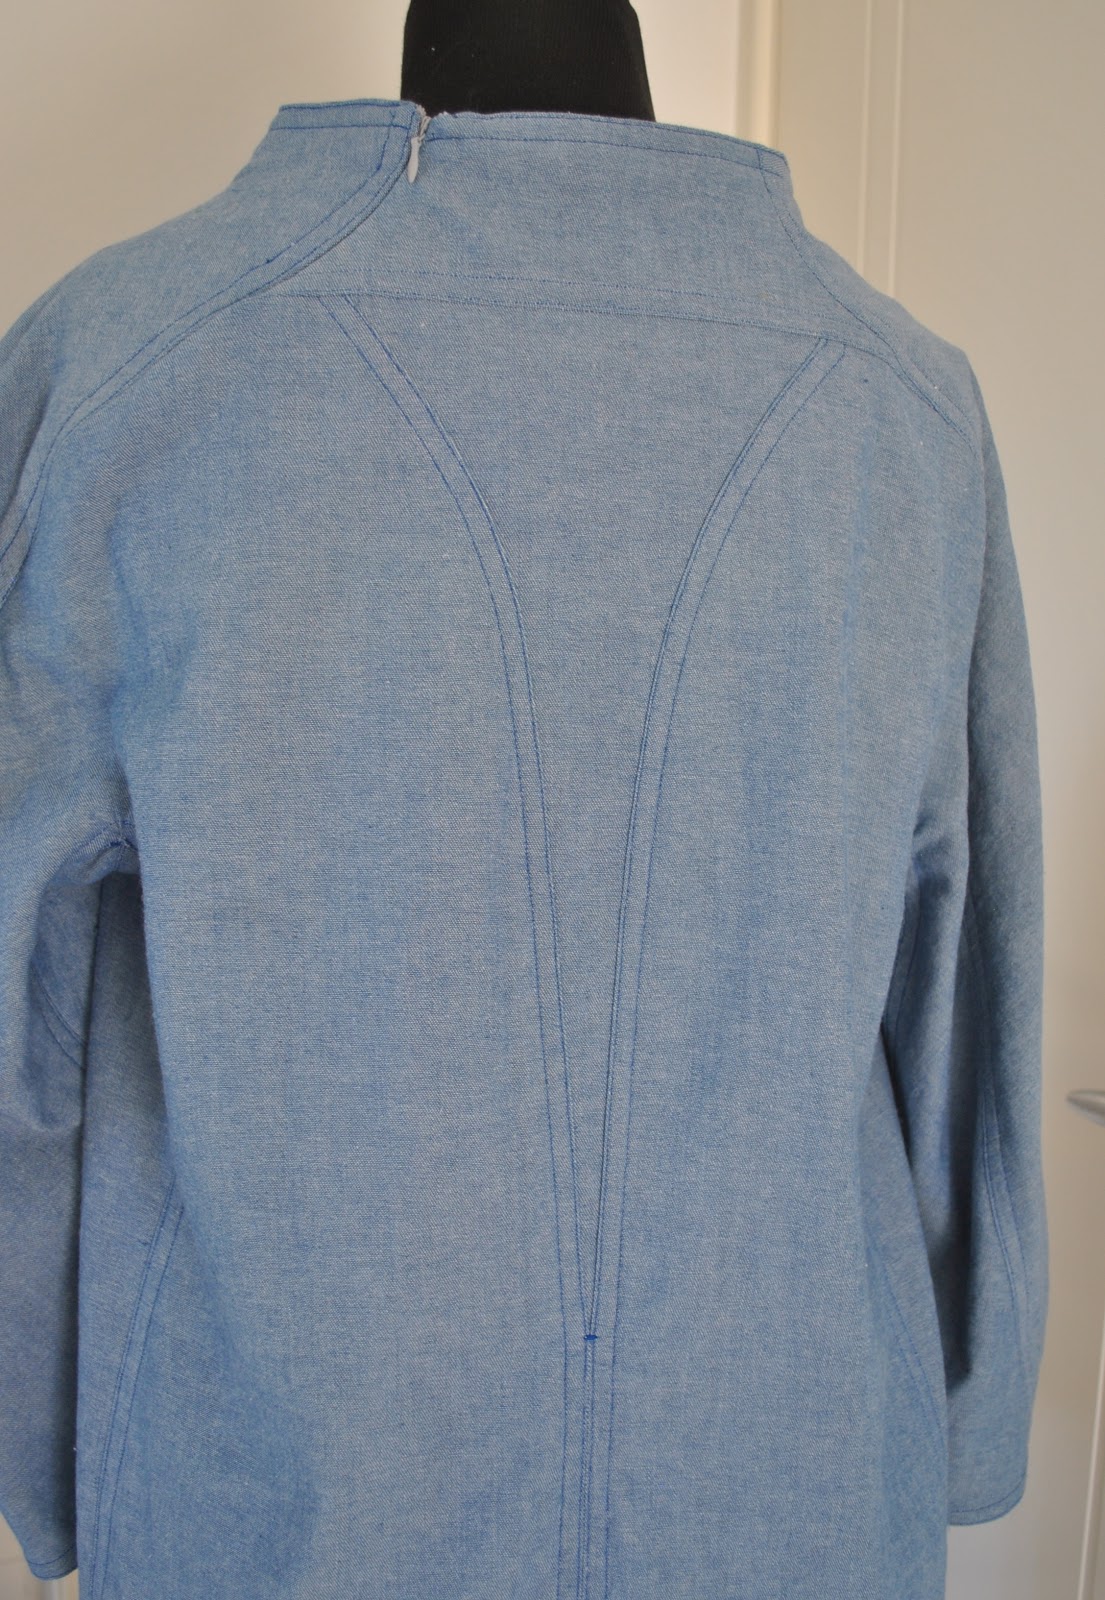
The graceful curve of those pieces in the back is so elegant and stylish. I just love the seaming lines here! I also like how the slit at the lower back stylistically matches the slit at the upper front neckline. imo, it’s the little details like this that set the designer patterns apart from the others.
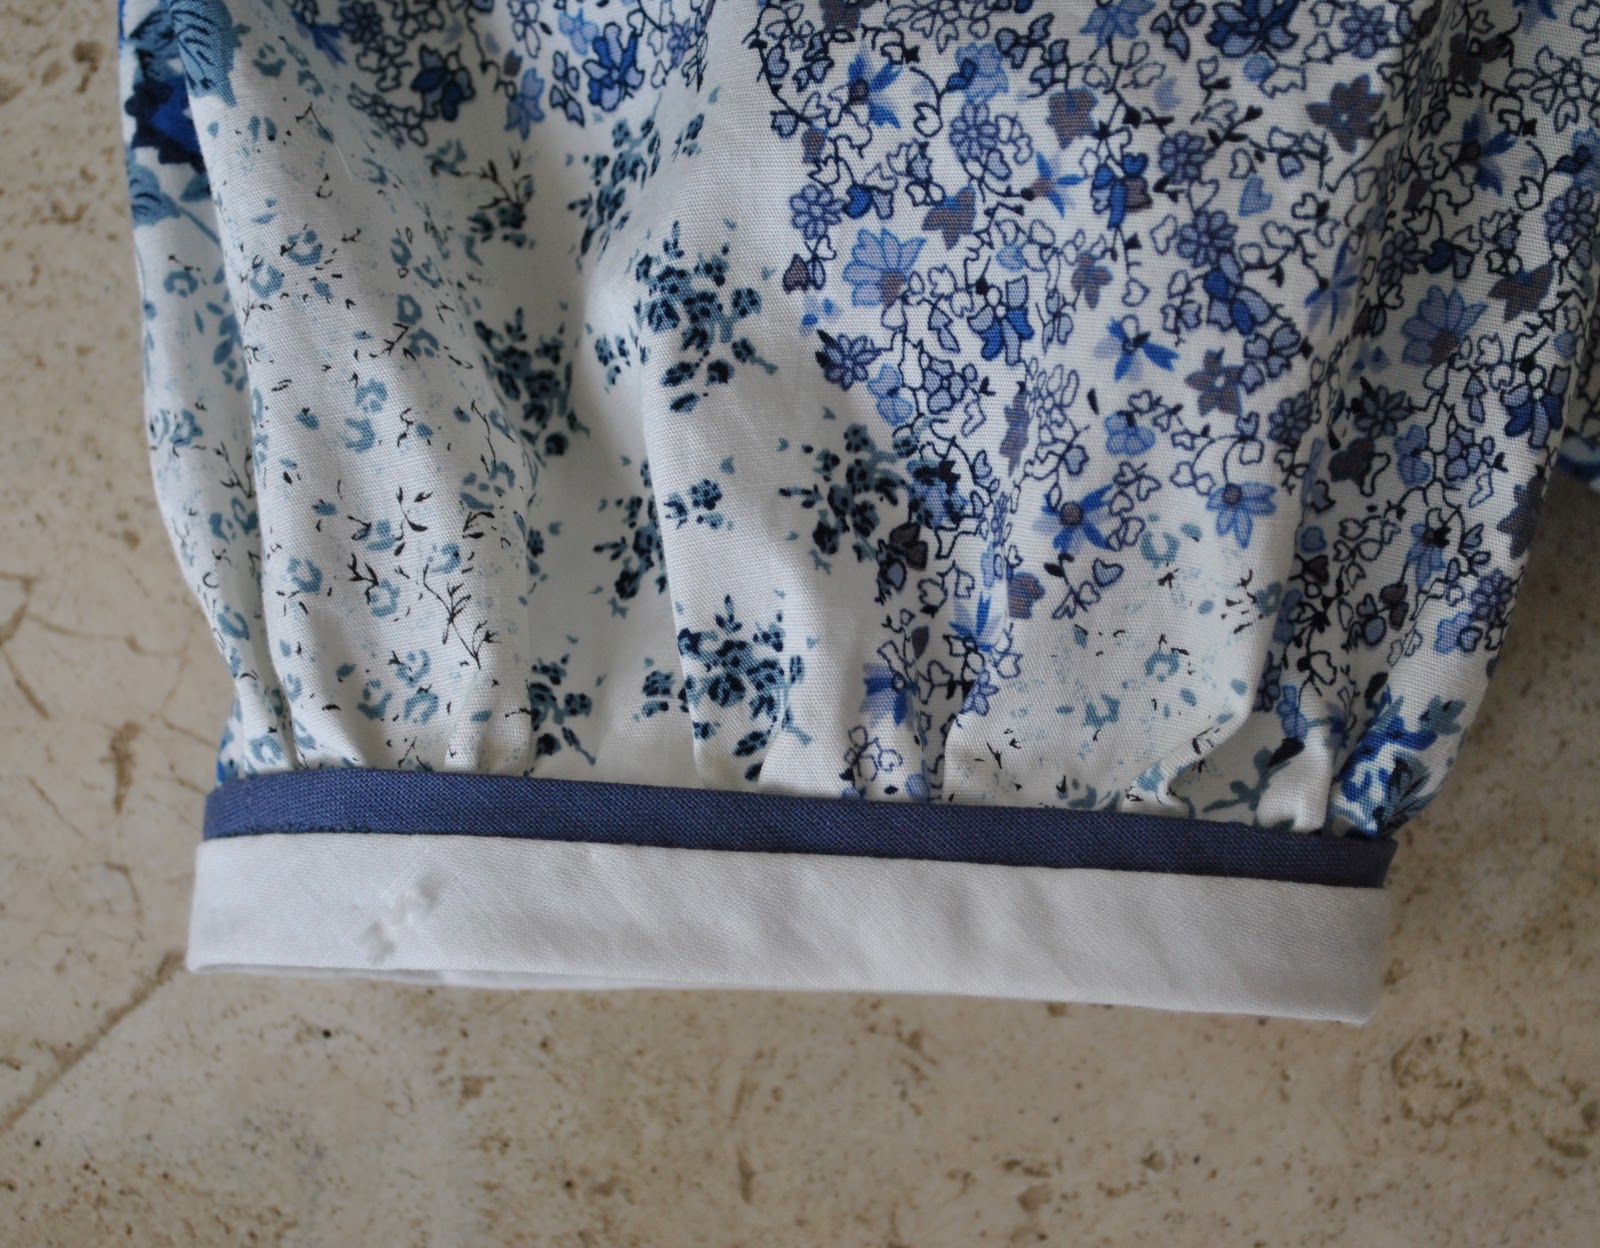
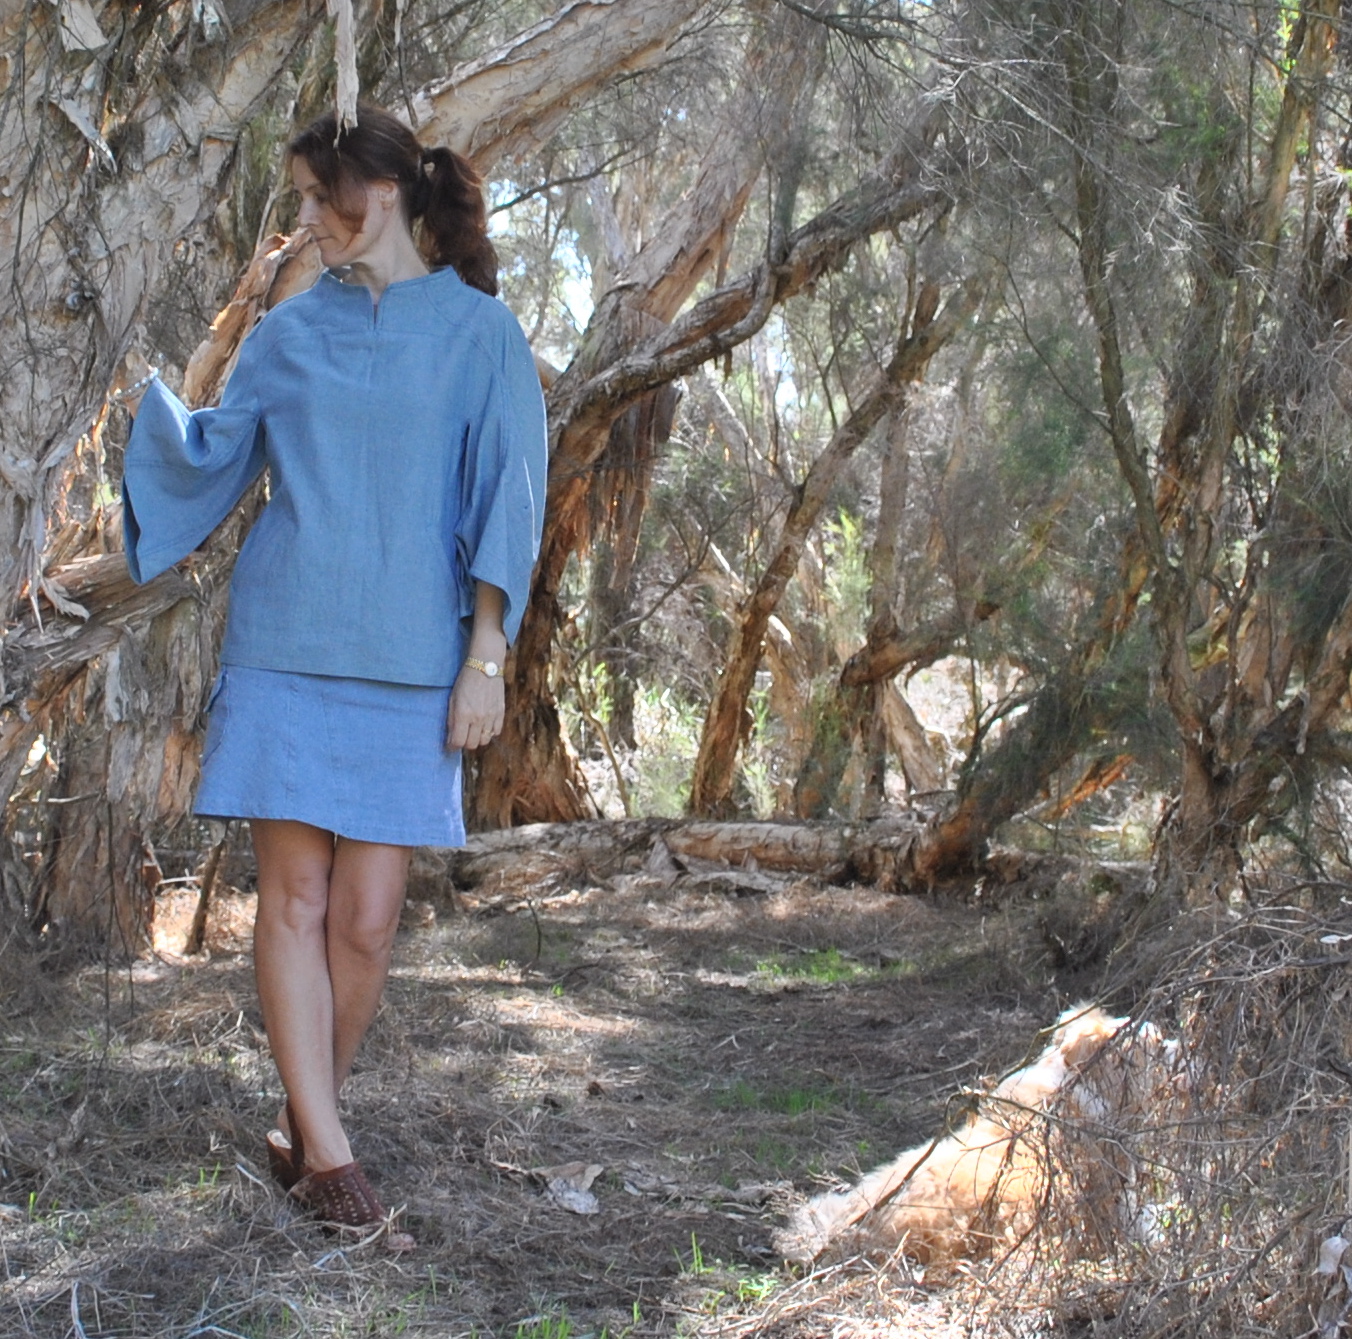
Those wide bell sleeves… I wasn’t absolutely certain that I would adore these, but they’ve grown on me. They are certainly comfortable and feel nice to wear, no constrictions whatsoever! and I think they look quite designer-y and interesting. I worried that the size of them would make them annoying, that they would get in the way of my daily activities, but I’ve worn my new top all day and barely noticed the sleeves. No worries there!
Details:
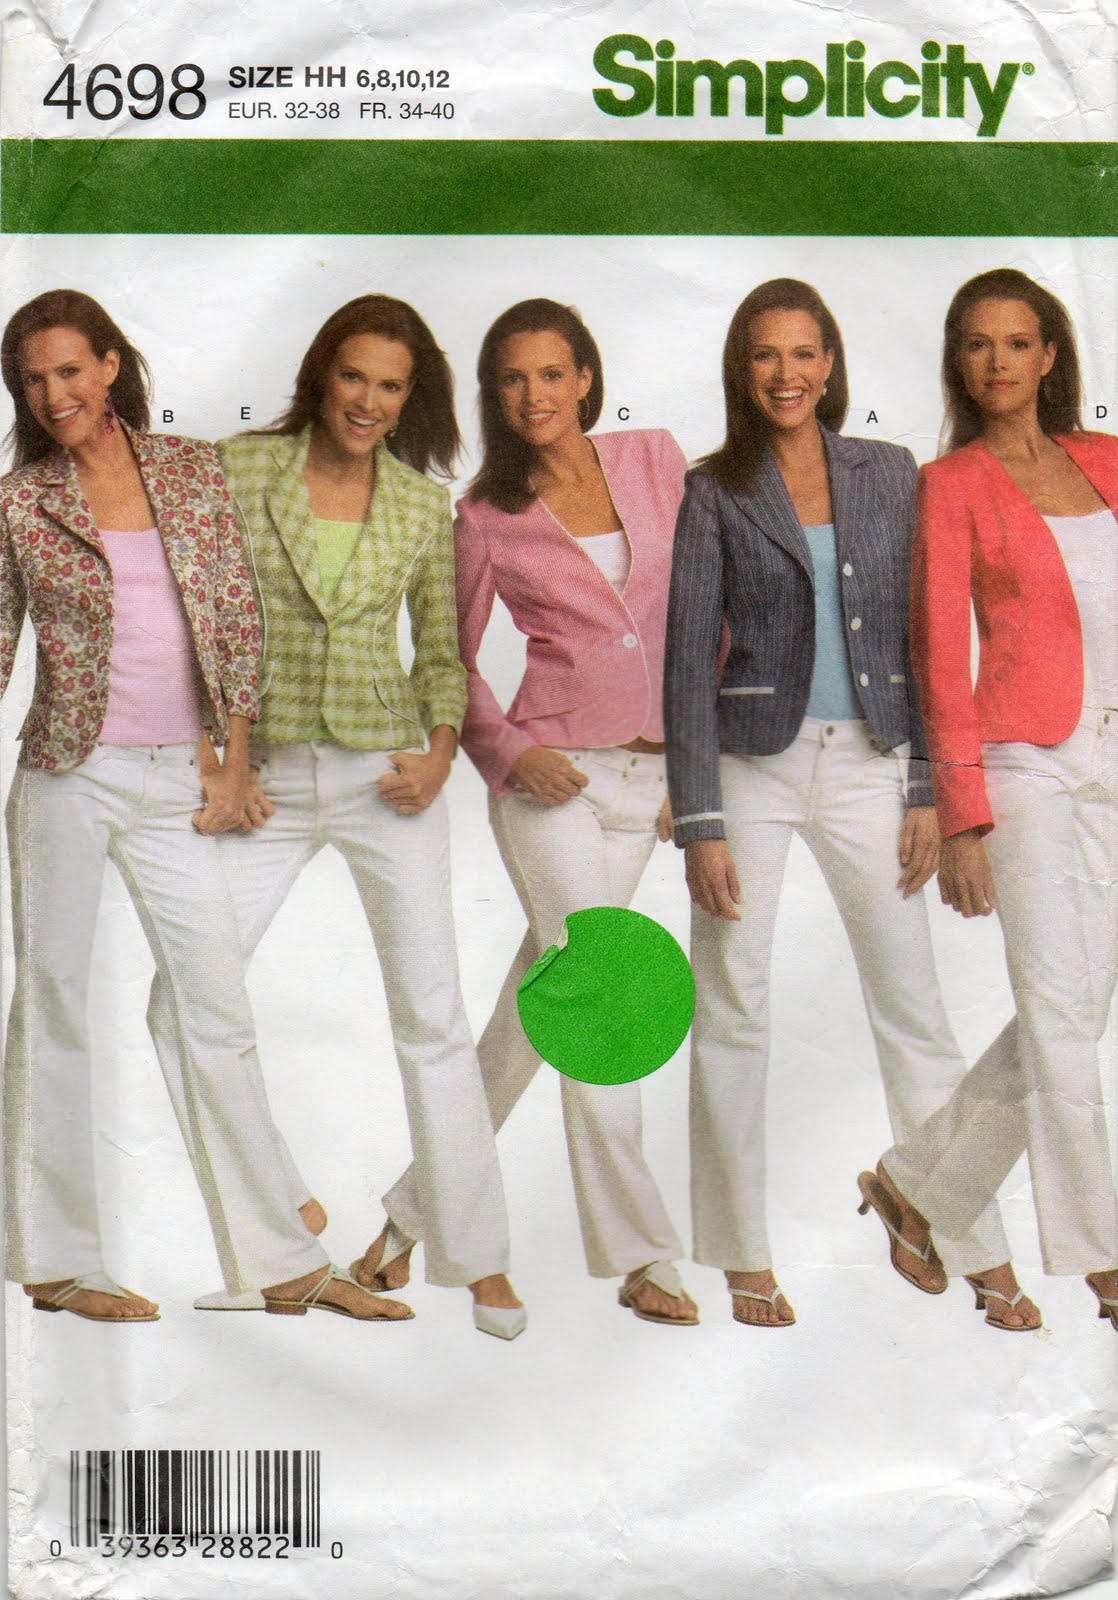
Top; Vogue 1115, blue cotton denim
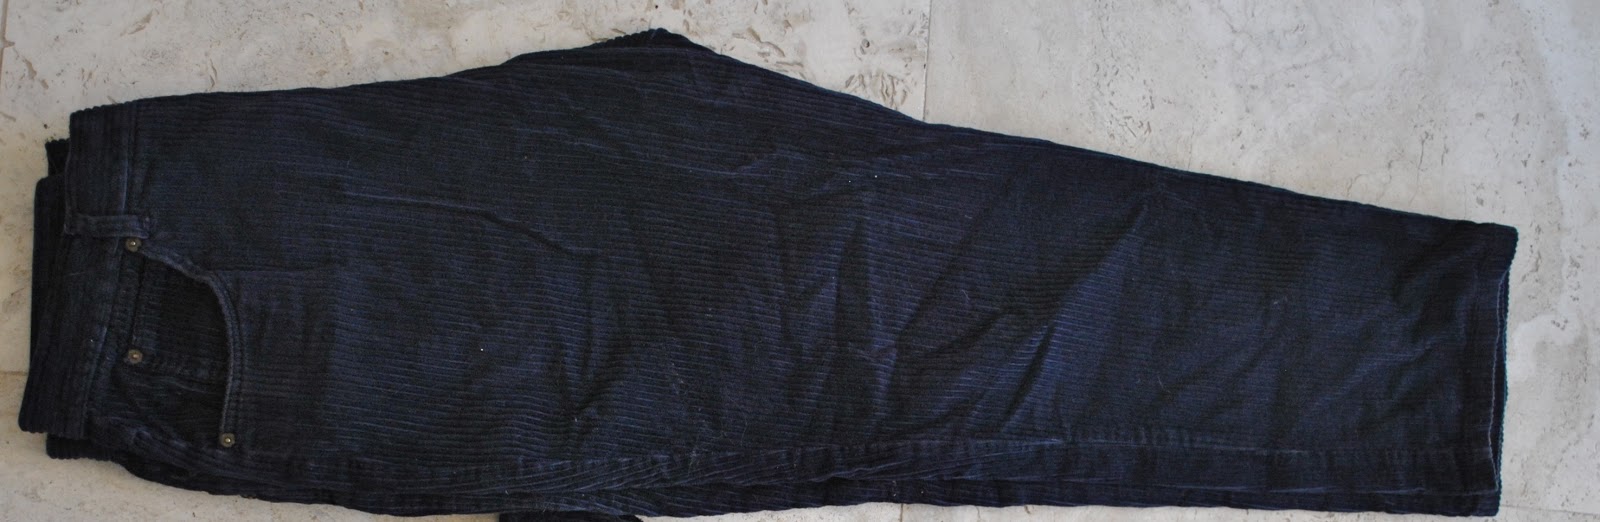
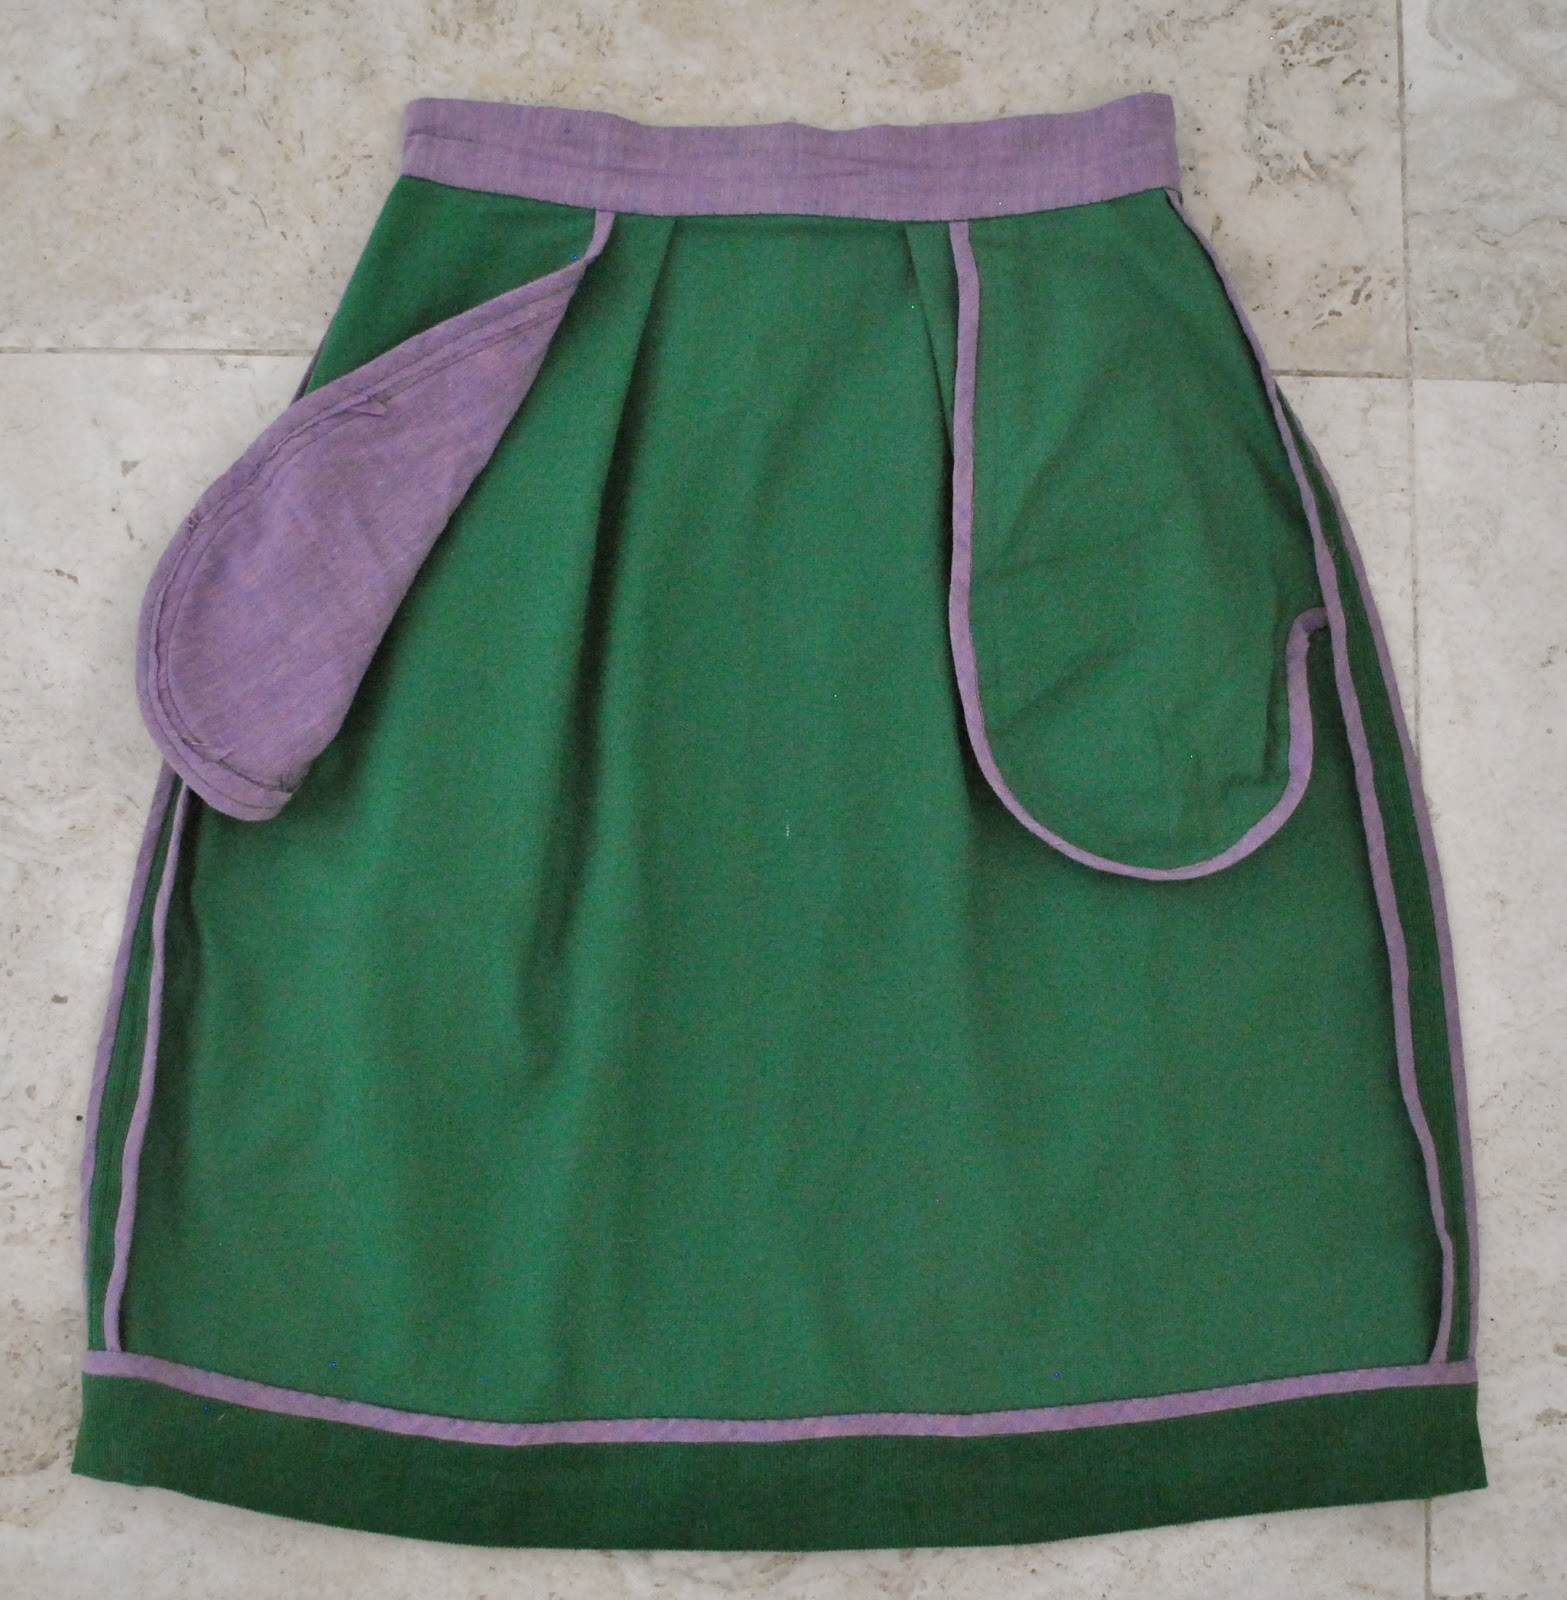
Skirt; based on Vogue 1247, refashioned from another skirt, originally Vogue 8561,
details here
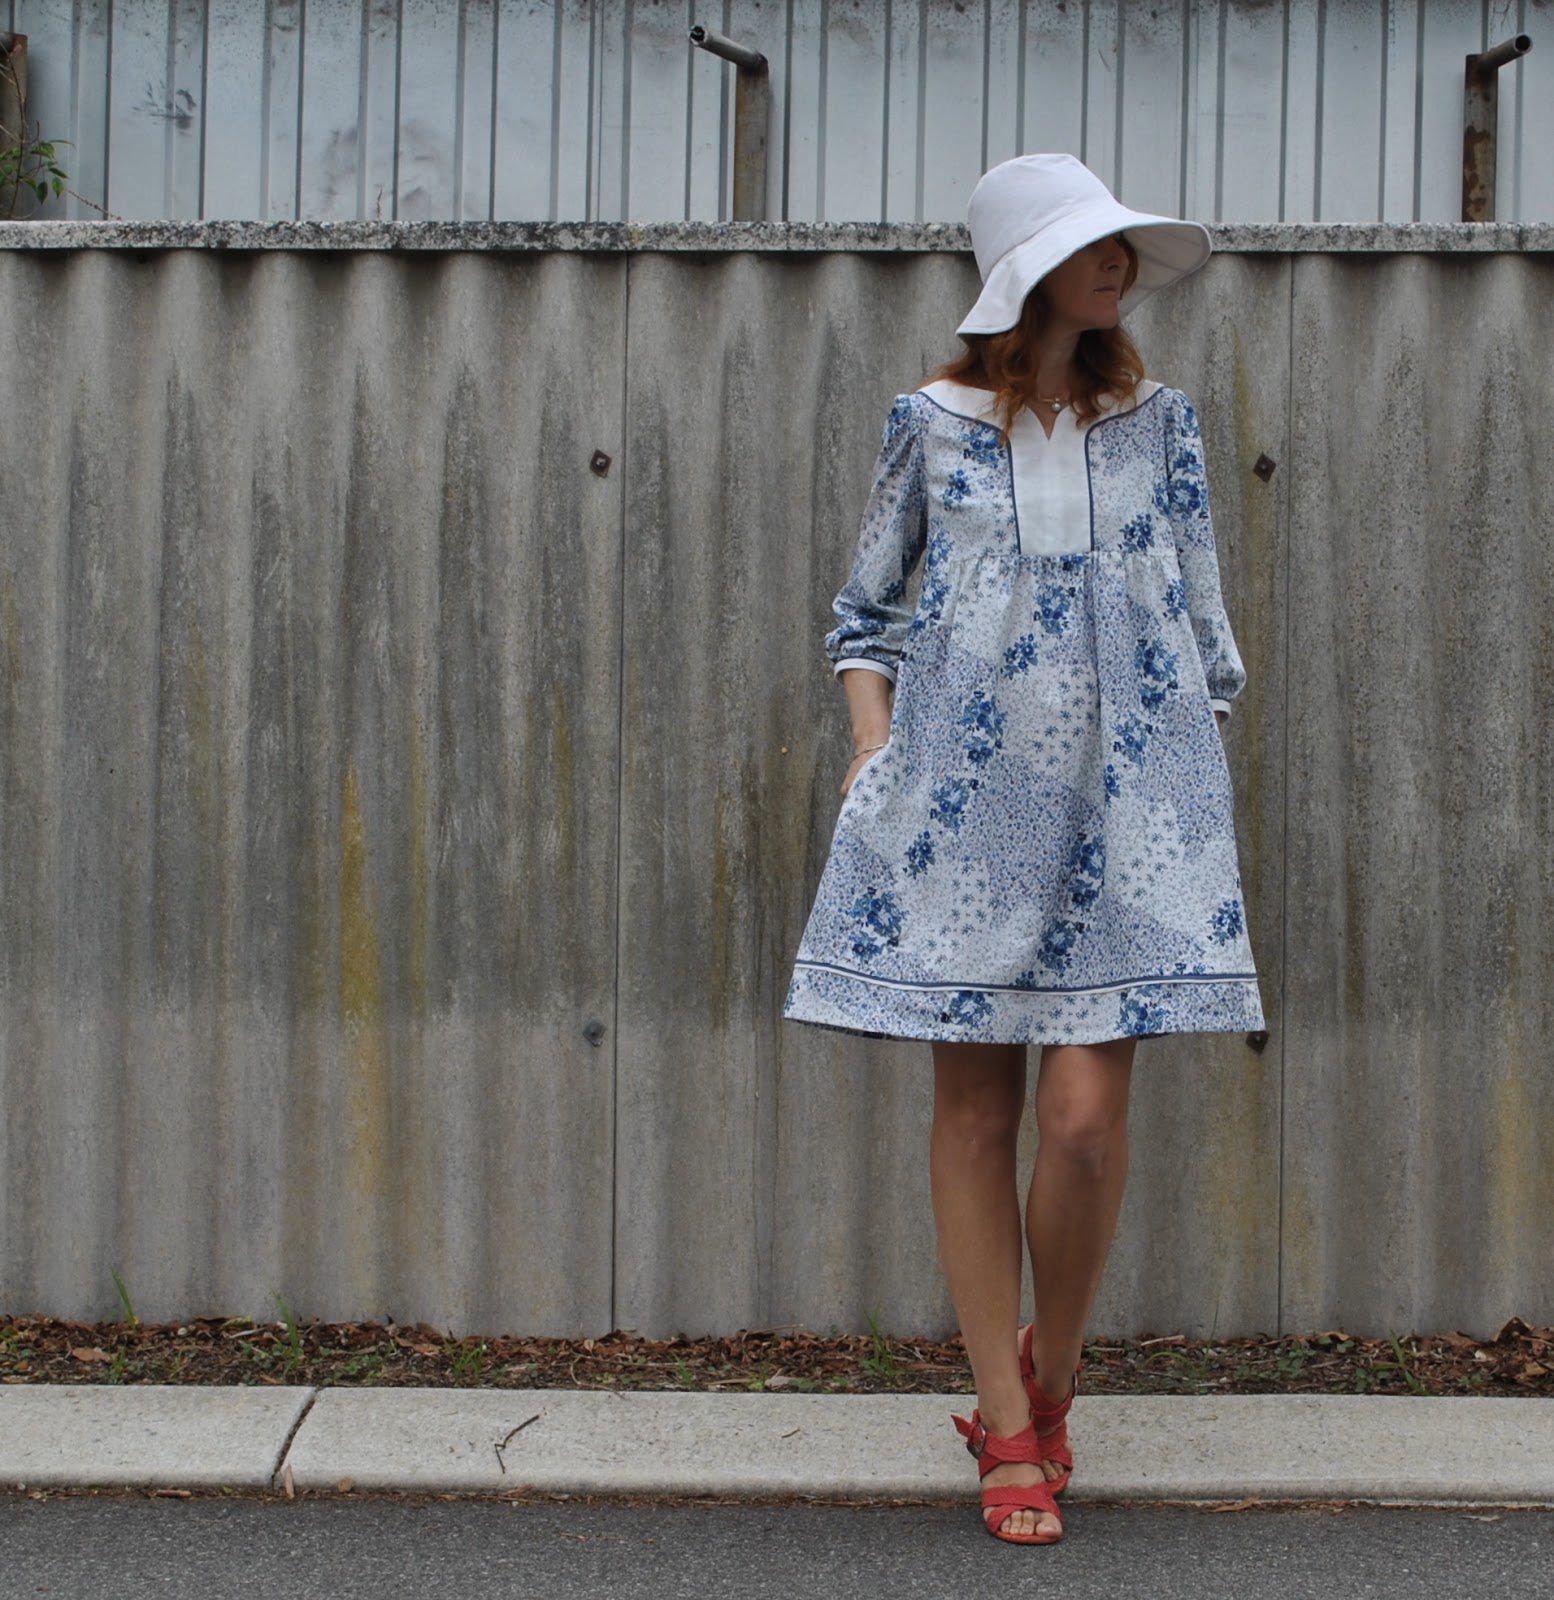
Sandals; c/o Misano
Pattern
Description:
Loose-fitting,
hip length, pull-over top has wide funnel neckline with slit, front and back
armhole gusset seaming, bell sleeves, welt pockets, back inset, slit, side back zip and flat
fell seams.
Pattern
Sizing:
American
sizes 6-12; I cut the size 10
Did
it look like the photo/drawing on the pattern envelope once you had finished
sewing it?
Yes.
Were
the instructions easy to follow?
In my
opinion the instructions are straightforward but this pattern is rated
Advanced/Plus Difficile for a reason!
What
did you particularly like or dislike about the pattern?
Well
I do so love a sewing challenge, and there are a few in this pattern… this is
not a top that can be whipped up in one day, no sirreee! I dug down deep into my reserves of
patience and only allowed myself to work on the tricky bits when I was feeling
fresh and not tired! For example:
stitching those double rows of topstitching to the undersleeve and side / front
and back seams was tricky, and also attaching
the neckline facing neatly to the top curved edges of the zip tape quite
tricky.
Fortunately,
I really love the final product!
Fabric
Used:
Lightweight cotton
denim
Pattern
alterations or any design changes you made:
I
lengthened the body pieces by 2.5cm at the hem, and cut the pockets to be 1.5cm
deeper…
Step
16, I chose to reinforce underneath the single layer of fabric with a small
bias cut square of interfaced cloth before stitching the bar-tacks.
Step
35; I prefer to insert the invisible zip before
sewing together the seam underneath, I think you can get a much neater finish
Step
49; I think it is supposed to read “with right sides together” but in any case
I didn’t stitch the welt together like this, just folded it wrong sides
together and continued with step 51 with the edges raw and unstitched, and then
in step 56, slipped them between the pocket and triangular ends, stitching them
in place in the pocket seam, a more elegant and less bulky way of finishing the
welt considering the raw edges are bound with HongKong seaming in step 57.
I didn’t do the following, but if I was
making this again I would…!
Step
3 and step 20 have you slash the underarm/sleeve between stay-stitching… I
recommend instead that you leave the actual slashing until just before step 45, when you pin
and attach the undersleeve and side.
There’s no need to make the cuts so early, and if your fabric is subject
to fraying then I think it’s best to leave it until the last minute,
particularly since you are cutting so close to the stay-stitching and into the
armhole corner.
Would
you sew it again? Would you recommend it to others?
I do
recommend this pattern to the advanced seamster, and I think I will sew this one up again. And,
ahem, I can get the top on and off without having to even use that
difficult-to-insert zip as long as I don’t mind my hair getting a bit
messy. Which I don’t. So, maybe I have a tiny head but
looking at the pattern envelope I think the model probably could do the
same. The next time I might not
even bother with that zip.
Conclusion:
I’m very happy with my new top, and I think it is a great
designer take on comfortable
and
chic. I was a bit worried about
those wide bell-sleeves before I started, that they would get in the way of daily activities, and/or look awkward and
stand out stiffly in a difficult-to-wear way but I needn’t have been; the sleeves feel great and look quite cool, and are very comfy in this loose floppy fabric.