Tag Archives: Own Design

Bottle green Basic

I made a new skirt!
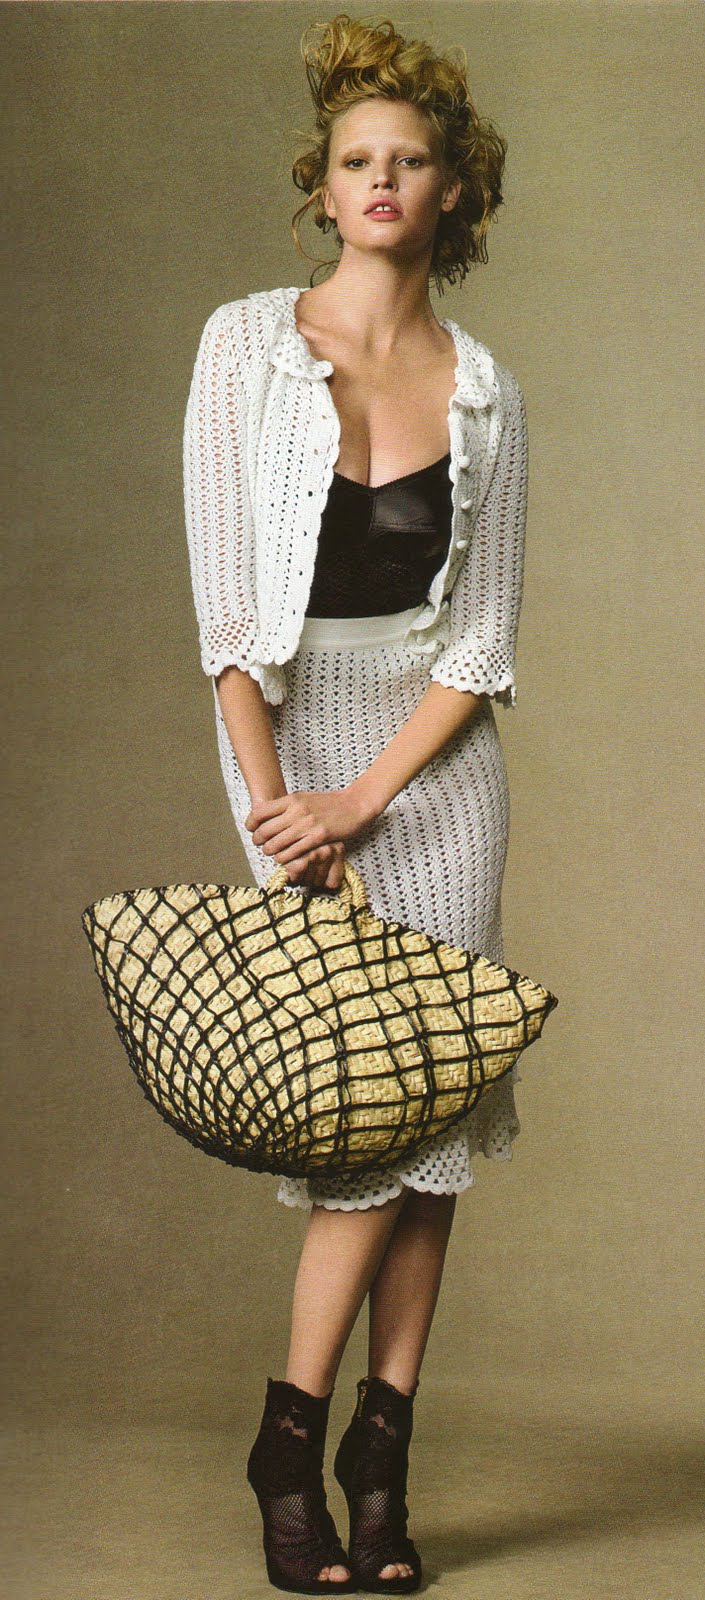
This latest is the result of wanting a little quick and easy skirt that I could just throw on for any occasion, something like my olive green corduroy skirt that is such a staple in my wardrobe.  Plus my desire to incorporate a little more green in my wardrobe.  I used to have a lot of this colour once upon a time, but my green options have dwindled somewhat over recent years, suffering from my obsession with neutrals.  Plus I had seen this skirt at right in the Celine parade and thought how great the bottle green looked with all the other creams, whites, beiges, caramels and other light neutrals in the collection, and as I have such an overabundance of aforementioned neutrals in my wardrobe I thought it was high time for a return to an old favourite.  Thus, green.
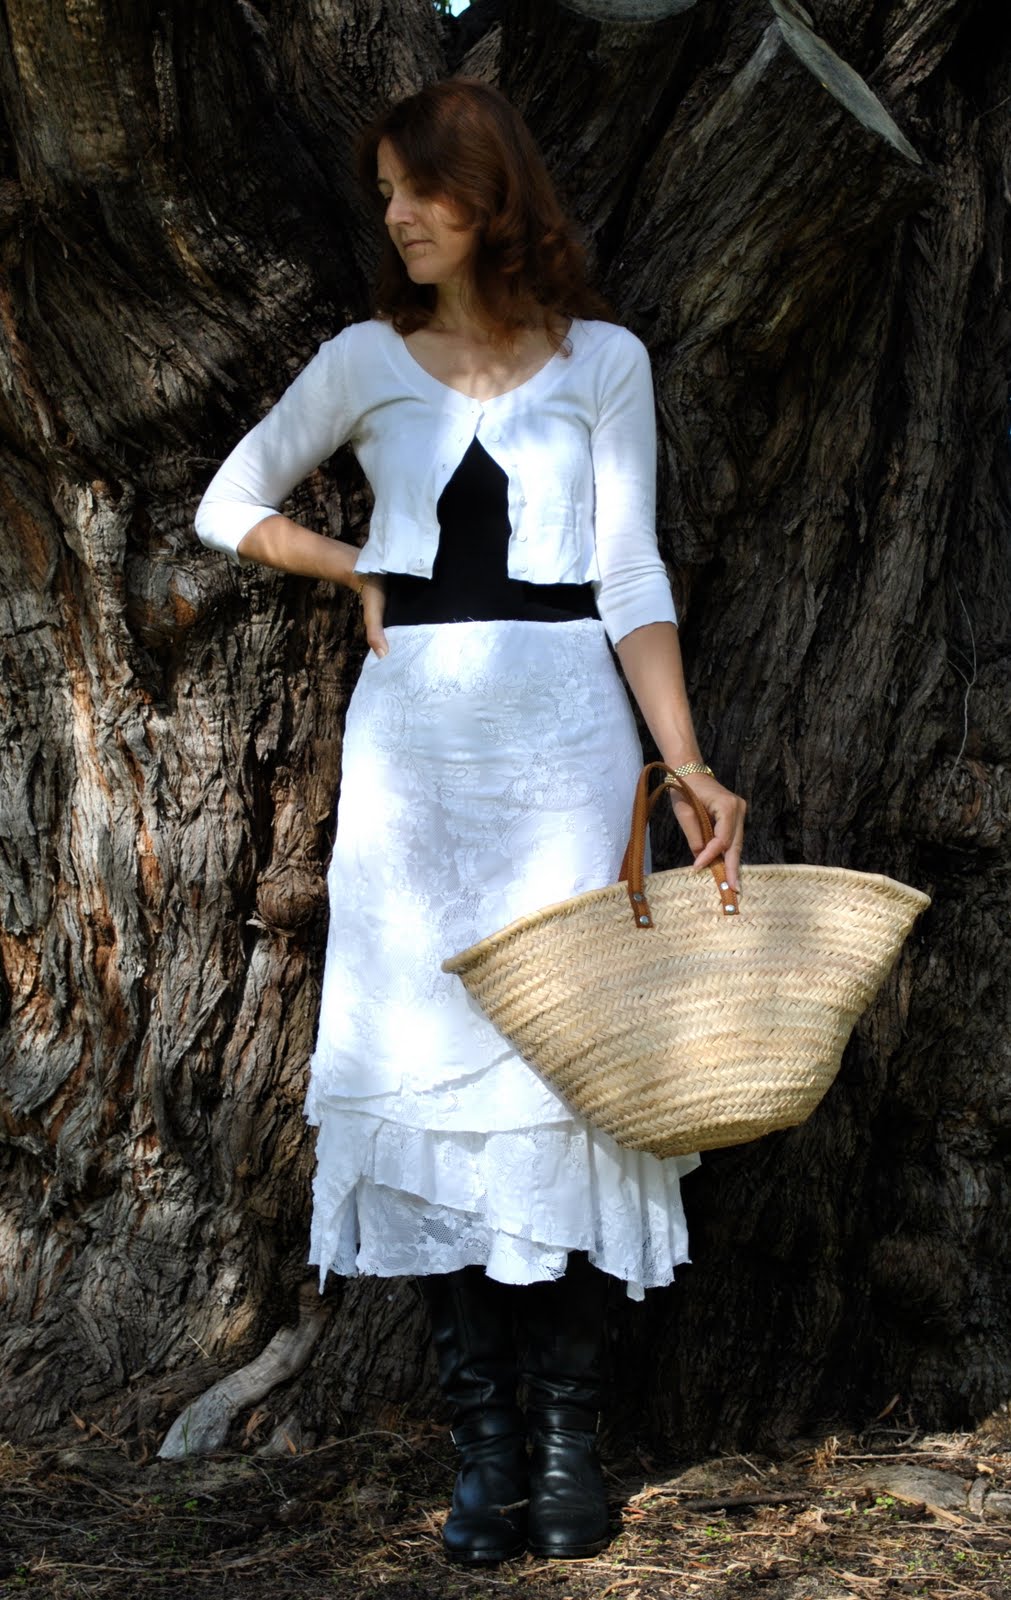
Having said all that here I am wearing my new skirt with no such light neutrals as displayed so gorgeously by Celine but with the wintery shades of teal and my new air force blue scarf…. ah, paradoxical, no?  But I like the look of the green so much with these “dirty” blues just as well, so this is how I am wearing it for today… no doubt when spring starts to sprung (spring?) then I’ll be pairing this little skirt with my beloved neutrals as planned…
Sorry for the old chestnut Vogue 7303 rearing its head once more on this blog.  I only bought 70cm of fabric and needed a pattern that could cope with such a small amount.  This trusty old pattern is getting kinda fragile and is patched together with sticky tape in places, and its envelope is dog-eared and tattered, but still I keep turning to it.  Besides its economy with fabric, another plus is its sheer simplicity; it took less than an hour to run this number up.
I am constantly vacillating between wanting to source new and exciting patterns for my wardrobe, and then when the time comes reaching for the same old basic tried and true patterns…  I like to do both and don’t have a set formula when it comes to choosing my next project but just work on whim and fancy…  What do you do?  Do you use a pattern once and then move on to the next exciting challenge, or do you keep returning to the favourites in your pattern collection, or is it a bit-of-both?

Photo above from Celine Spring/Summer 2010

Details:
Skirt; Vogue 7303, bottle green cotton velveteen
Top; Metalicus
Scarf; refashioned from an old tank-top, here
Boots; Fornarina, from David Jones

pinterestmail

Knotty blue scarf

It’s been an embarrassingly long while since I did a re-fashion.  My big bag of toss-out garments is still sitting there, taunting me.  And this re-fashion is so … trite, it’s barely worth the label “re-fashion”.  Still, in my defence, there was not a lot of fabric to play with in this one, meaning, not a lot of re-fashion options.  But I like scarves.  And, bonus, I’m making a start on incorporating some air force blue into my wardrobe for winter.  Win!
So, starting with an old tank-top of my husband’s.  This is actually the top half of a pair of summer jammies, from a men’s sleepwear range brought out by Ian Thorpe the Aussie Olympic swimmer, that I’m chopping up here.  Sorry, Thorpie…

I simply cut off the top part of the tank-top at underarm level, and the bottom seam, for a raw edge.  The side seams were cut out also to get the raw edge, and the front and back remaining rectangles cut into three roughly equal width pieces.  (OK, very roughly…)

  
These were overlocked together, right sides facing.  When overlocking I also cut out the remains of that logo….  I didn’t use matching overlocker thread, but it doesn’t matter as these seams are to be hidden by knots.  

Where I’m knotting the sides are folded in slightly, just to hide the seam stitching, and simple knots positioned to hide the seams.

Et voila, a new air force blue scarf…

Details:
Skirt; Vogue 7303 lined, winter white wool crepe
Top; Metalicus
Cardi; Metalicus
Boots; Enrico Antinori
Scarf; refashioned from old tank-top
Bag; Gucci

pinterestmail

Birthday bag

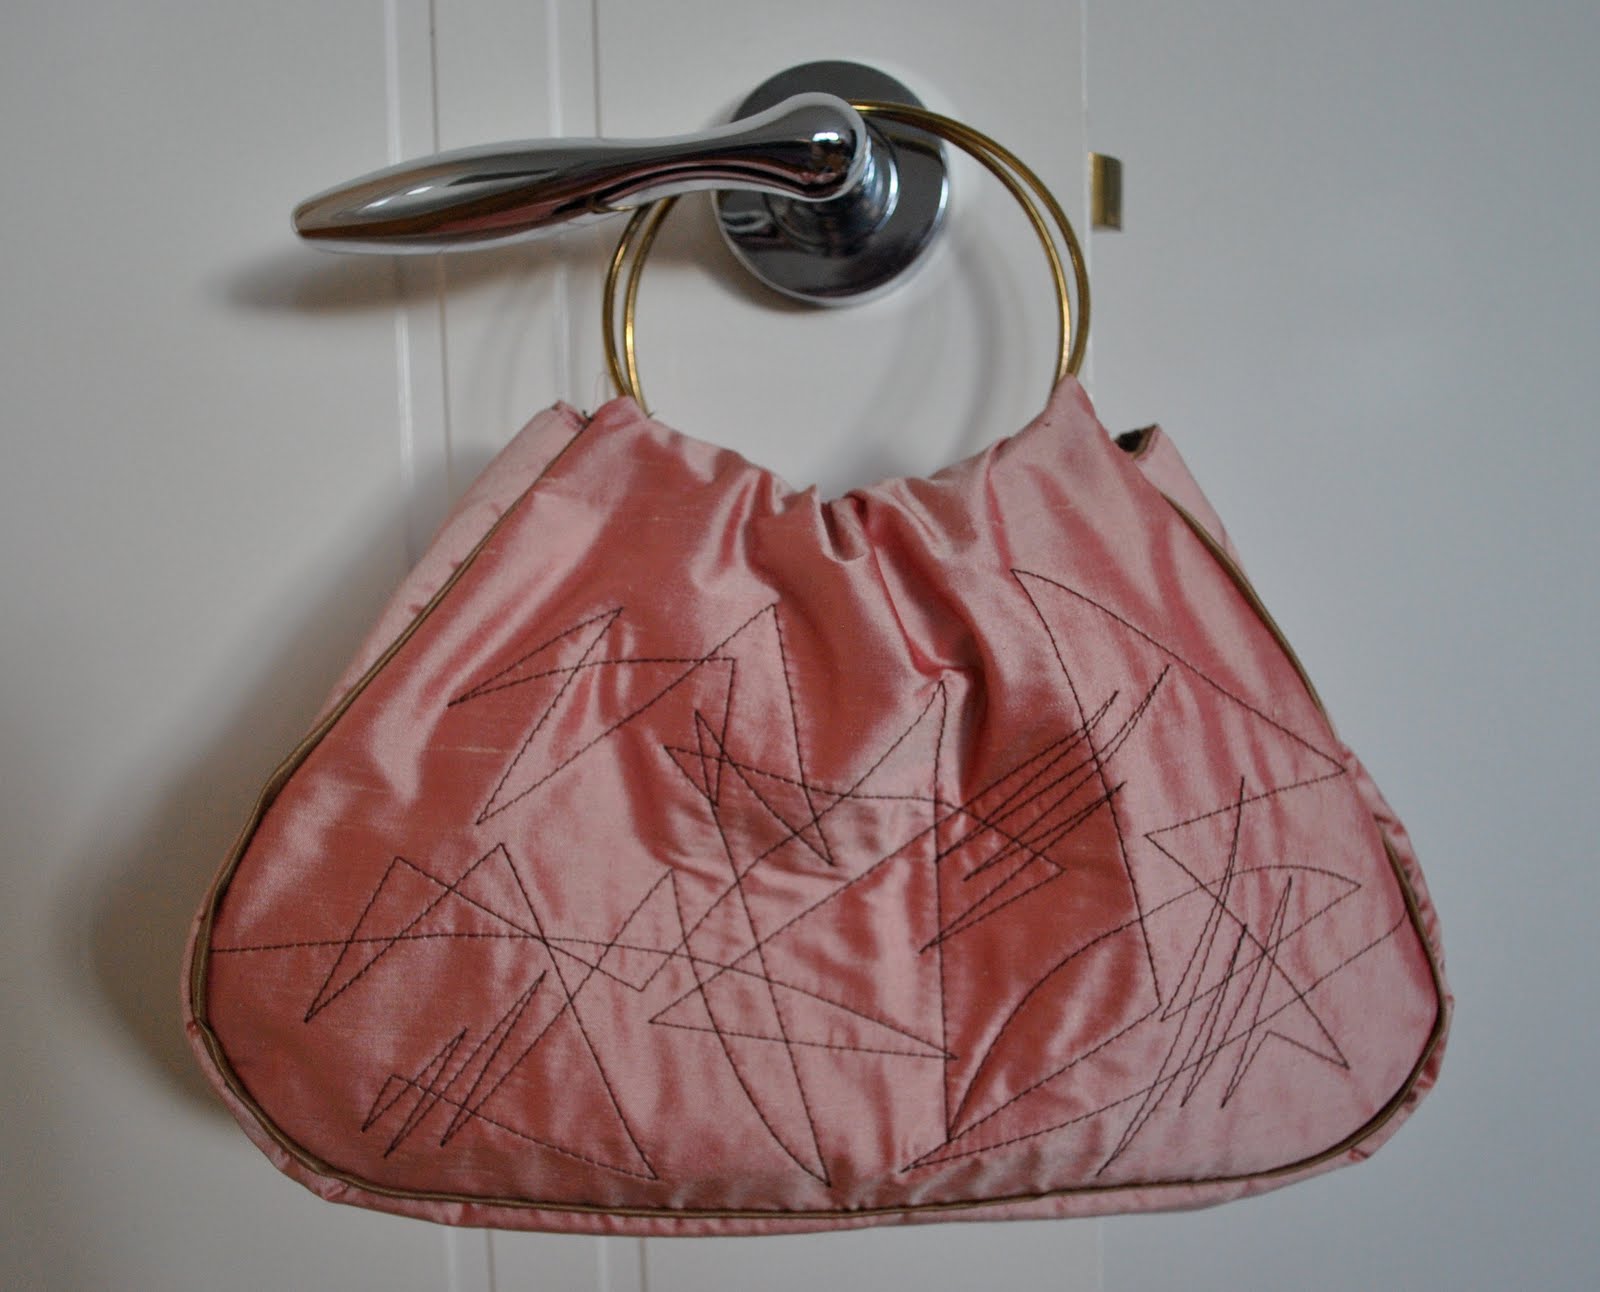
Do you remember me posting about a top secret project I was working on last weekend?  Well today is my sister-in-law S’s birthday and I was making her a gift.  It’s a little bag she can use to hold make-up, or some such…  I met her for lunch yesterday and gave it to her then; since she looks at my blog from time to time I couldn’t post about it earlier!
Happy birthday S!

pinterestmail

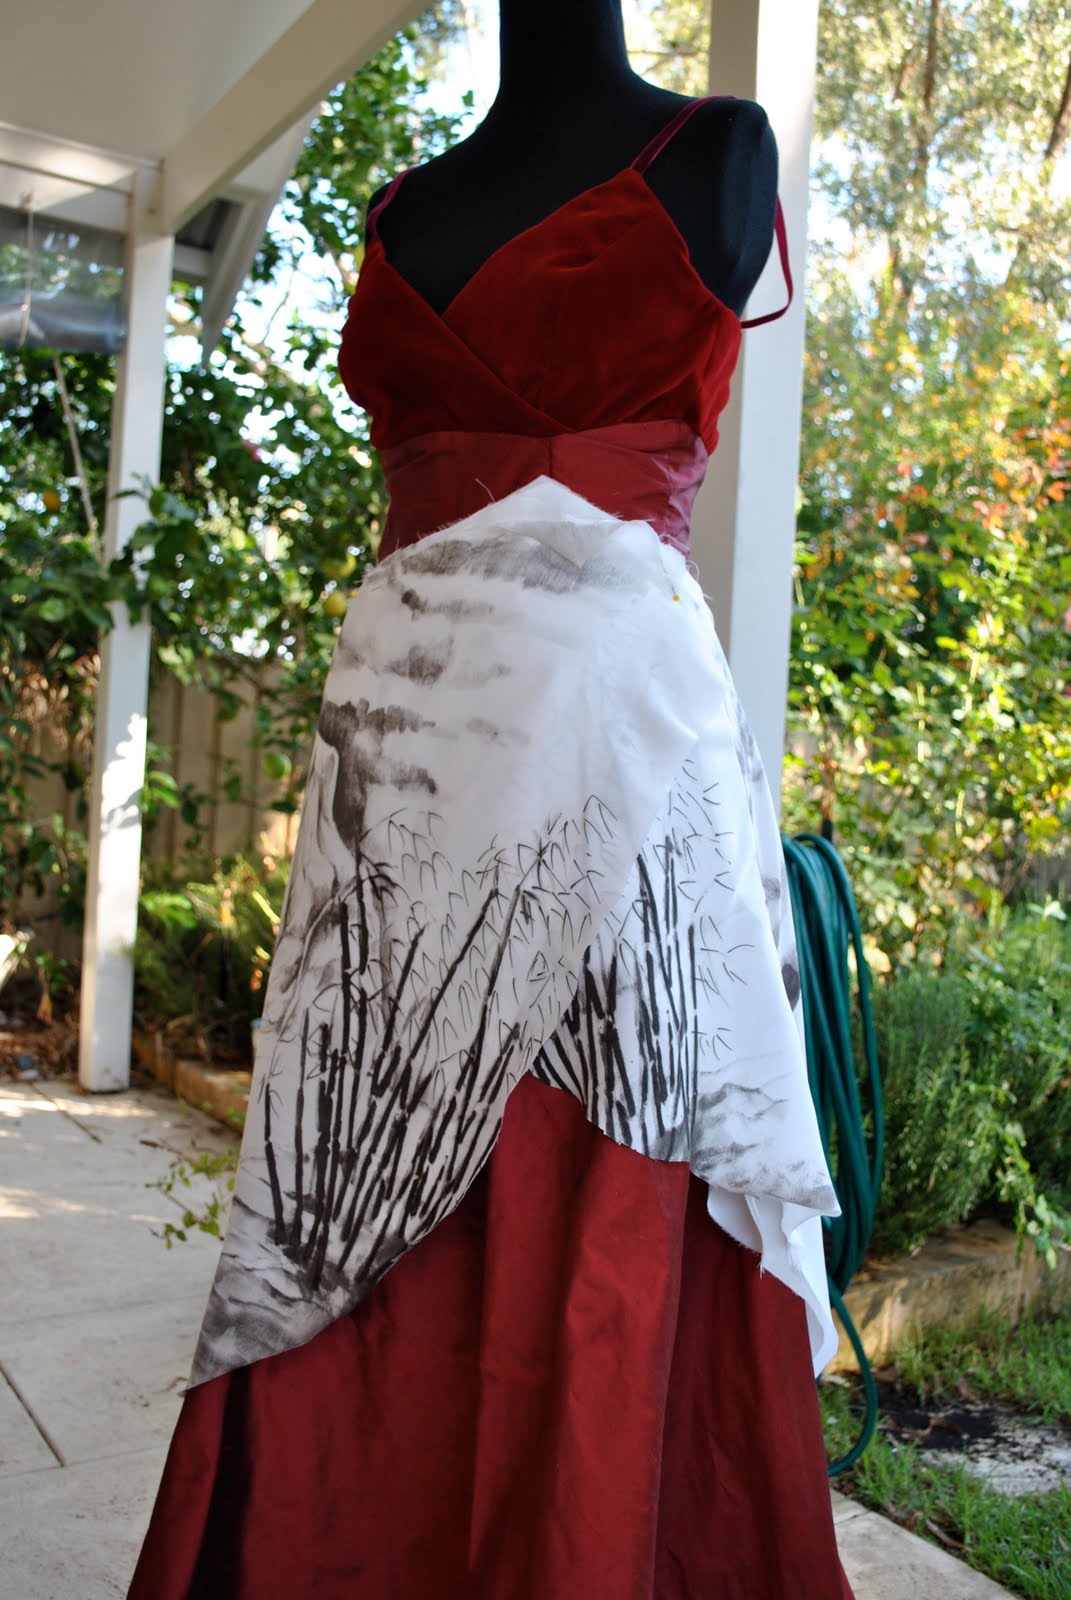
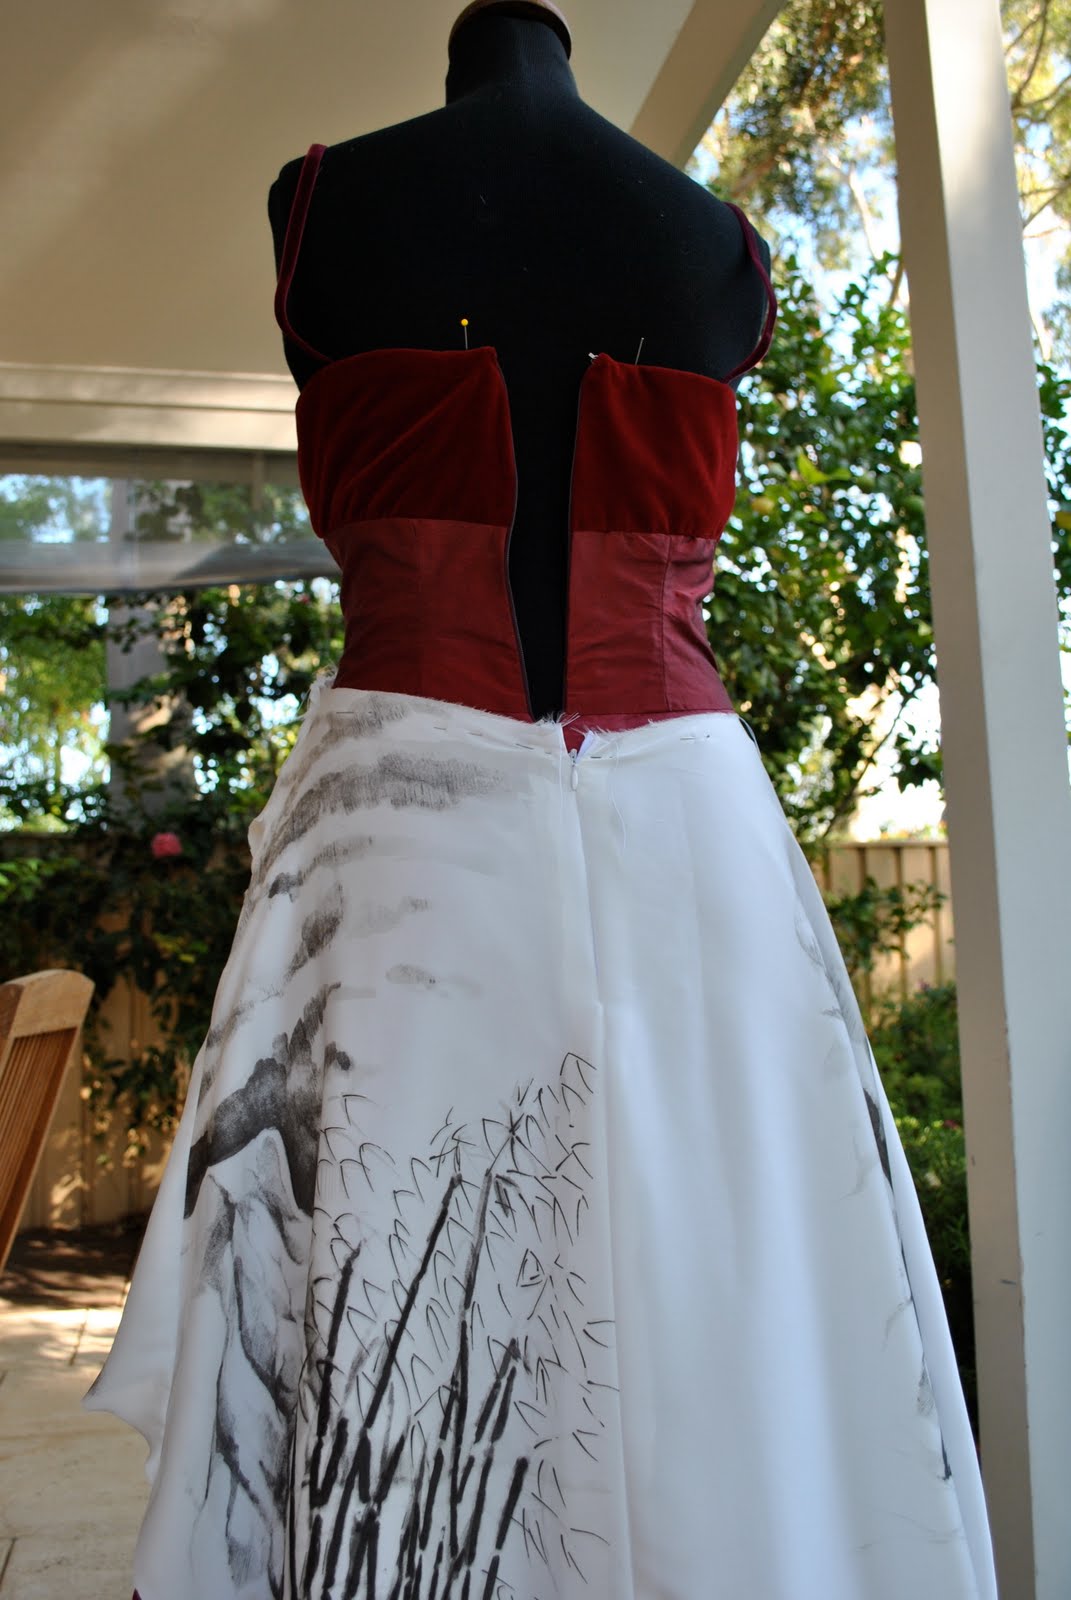
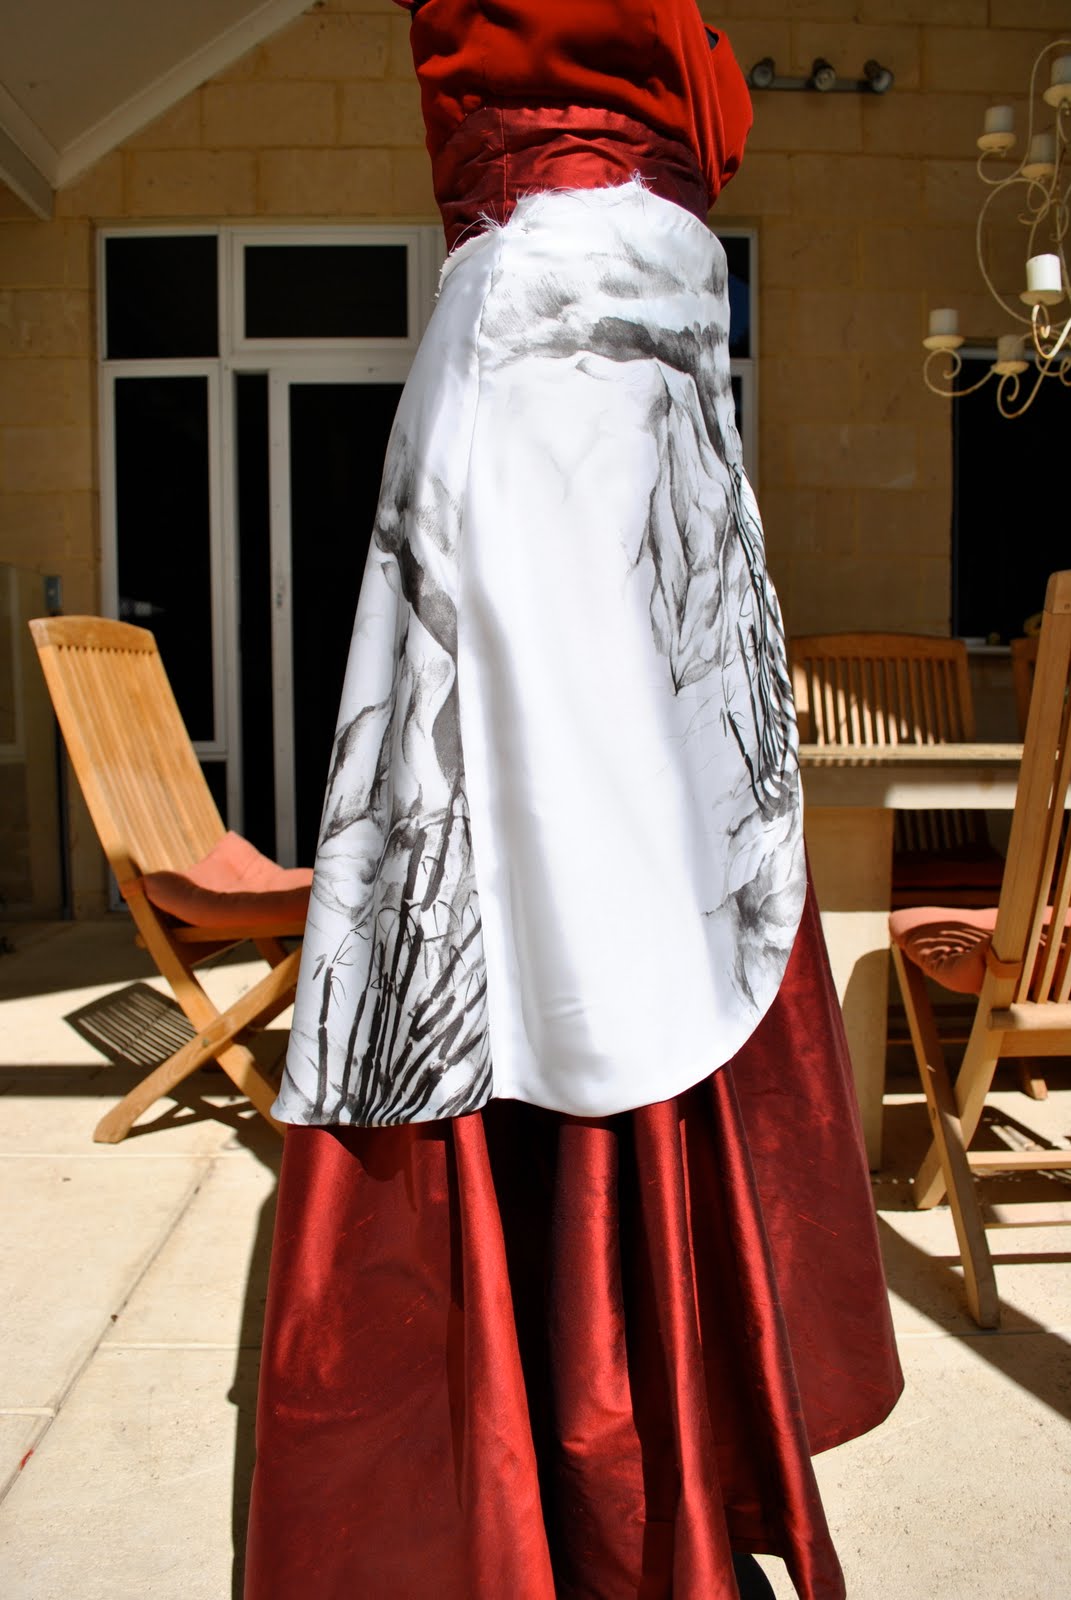
Rosetta ball gown, yet another picture…

I found this picture, a partial view of the back of the dress.  Thanks Lily for pointing that out!  And I thought I’d covered all angles…  Now I’m back in the laundry sewing room working on my stash.  Top secret project in the pipeline…
We had a wonderful time at the ball.  I’m a little sad it’s a whole year until the next one.
Details:
the same as in the post below…
pinterestmail

“Rosetta” ball gown

I’m going to take time to mention the cause that we are supporting tonight as it is such an important one; the Amanda Young Foundation.  This non-profit foundation is dedicated to raising awareness of meningococcal disease, to raising funds to research for a vaccine, and to educating people to recognise the symptoms and to be aware of the need for the immediate medical attention that it requires.  If you don’t know much about meningococcal disease then please take a few minutes to view the Amanda Young Foundation site.  Informing yourself as to the nature of this terribly swift and deadly disease could save the life of someone you know.

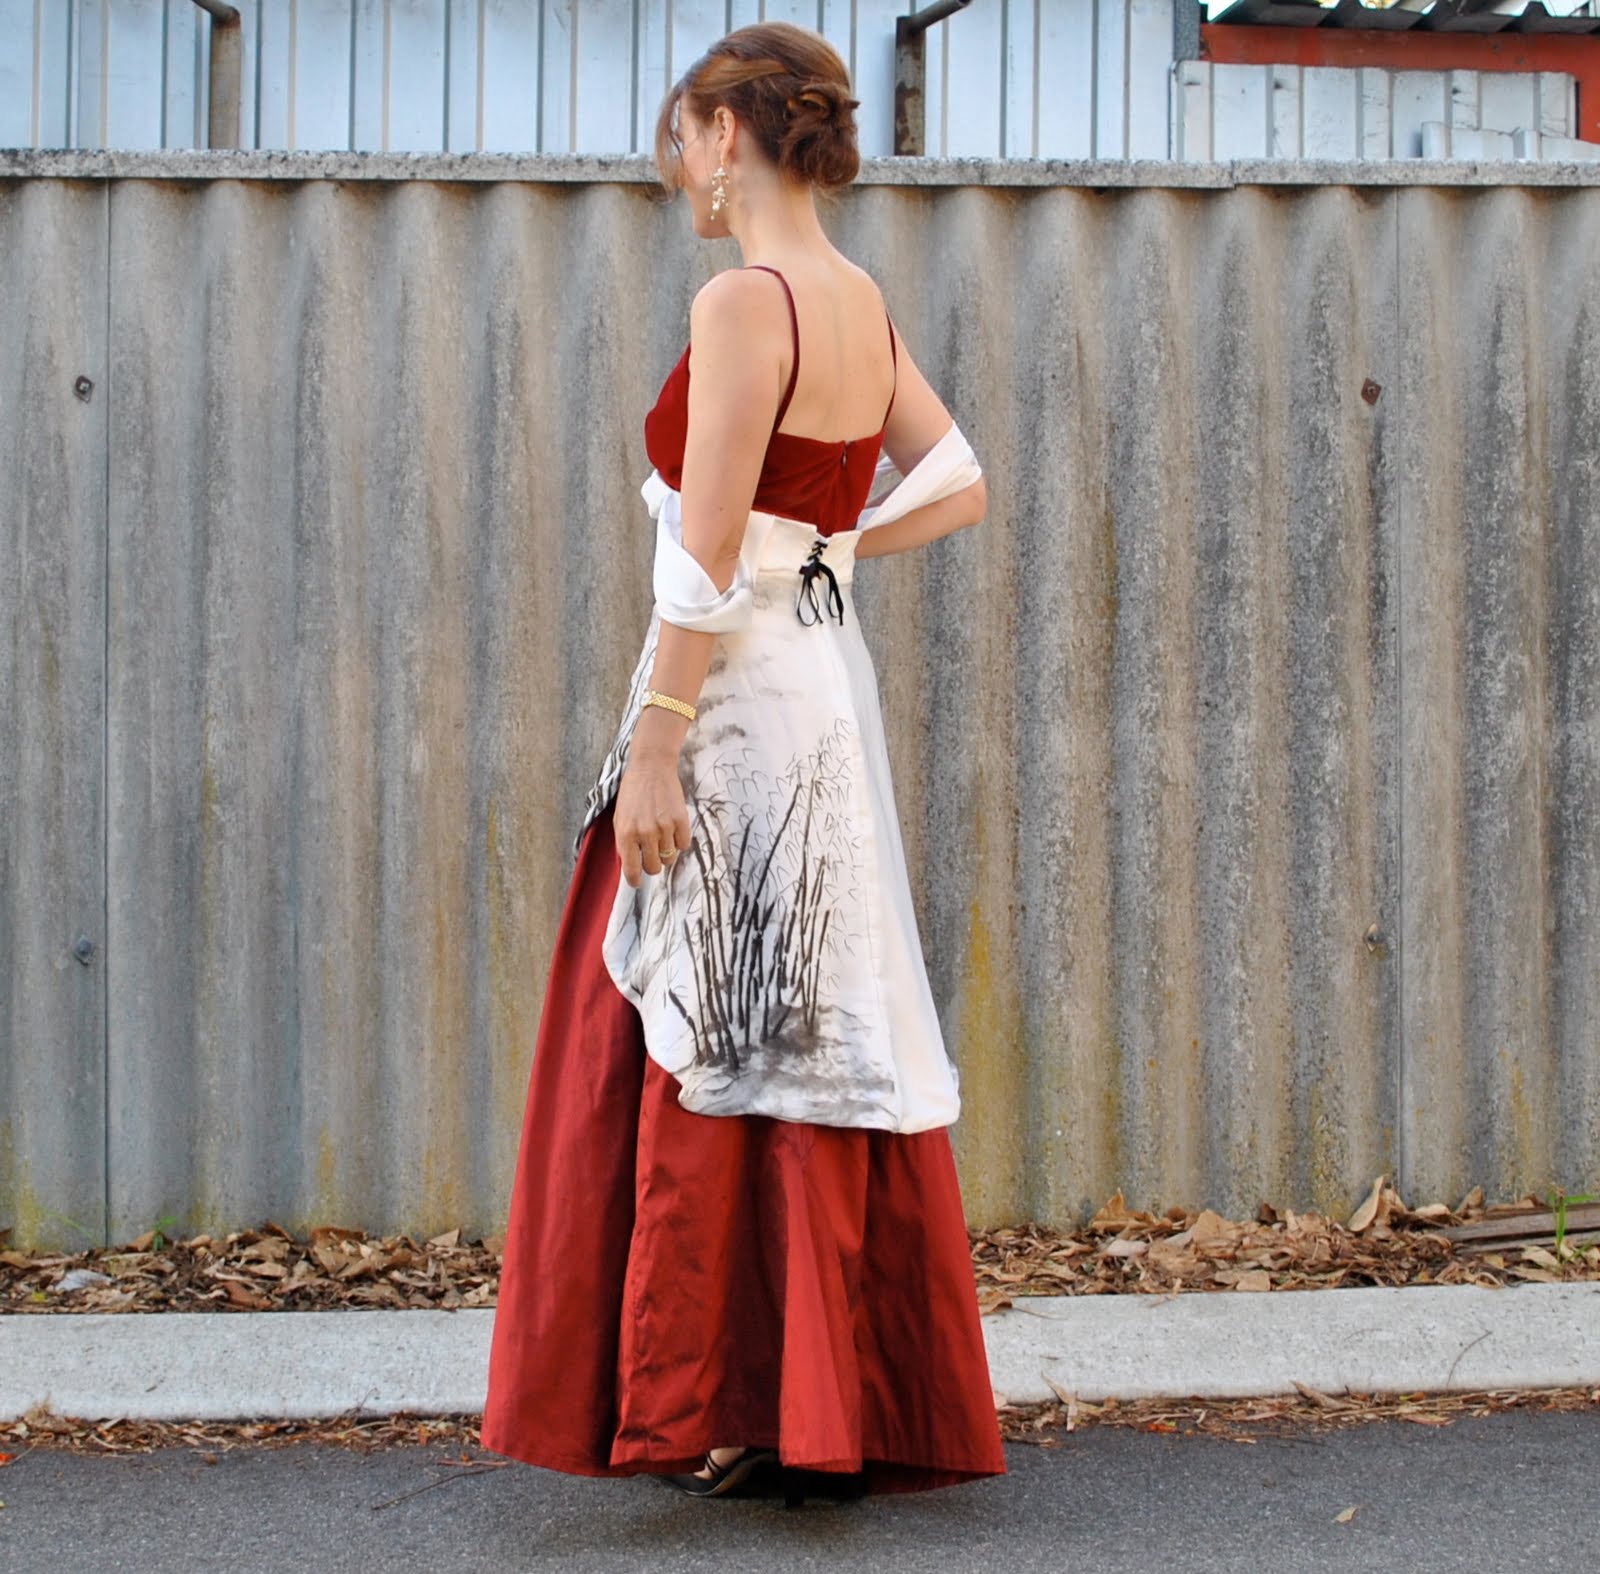
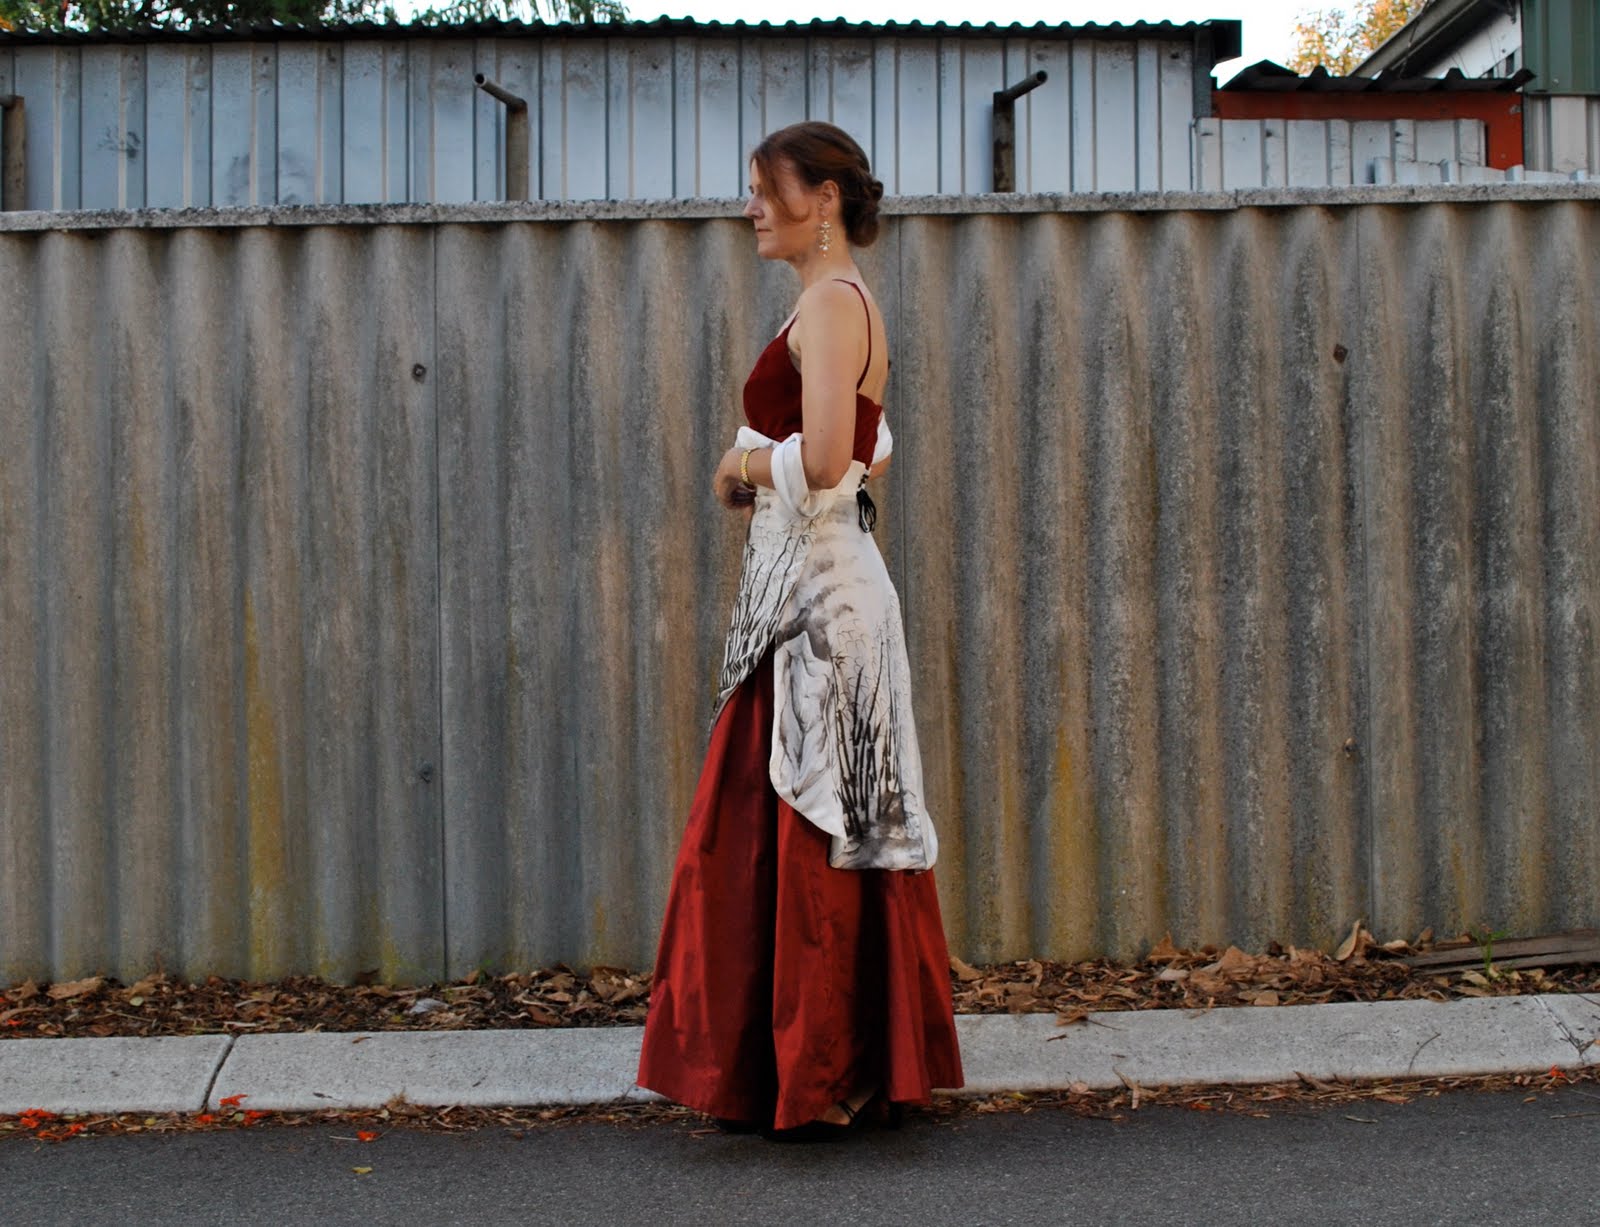
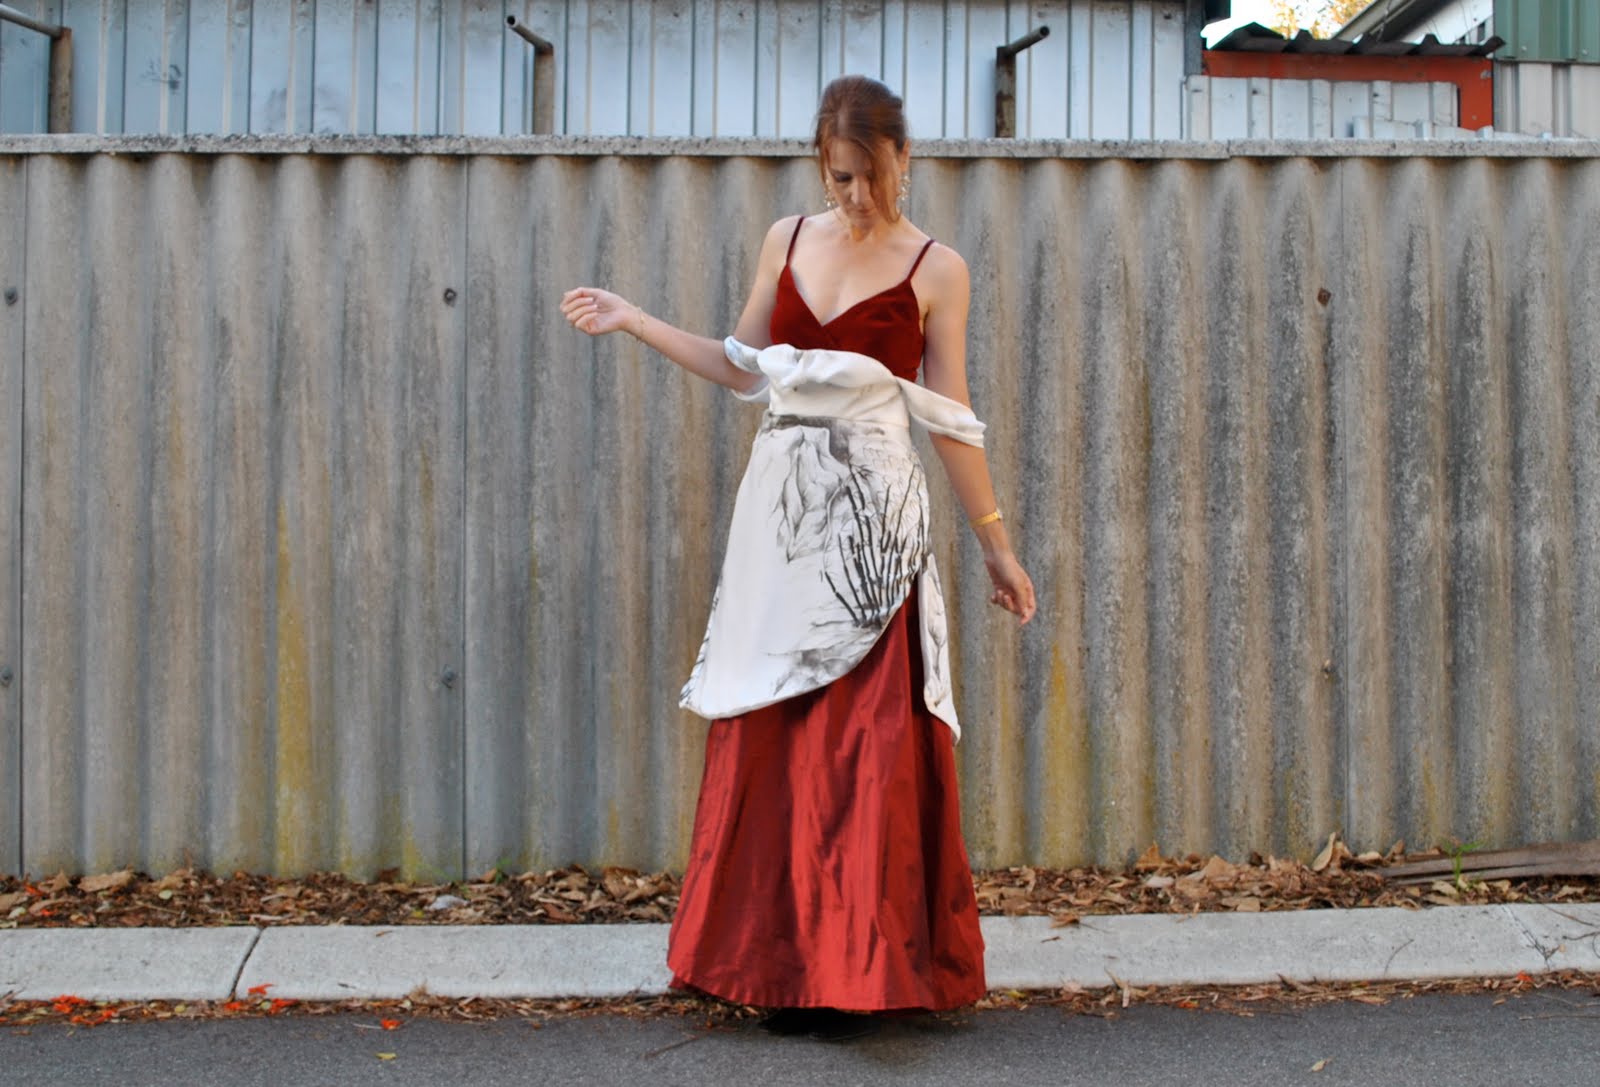
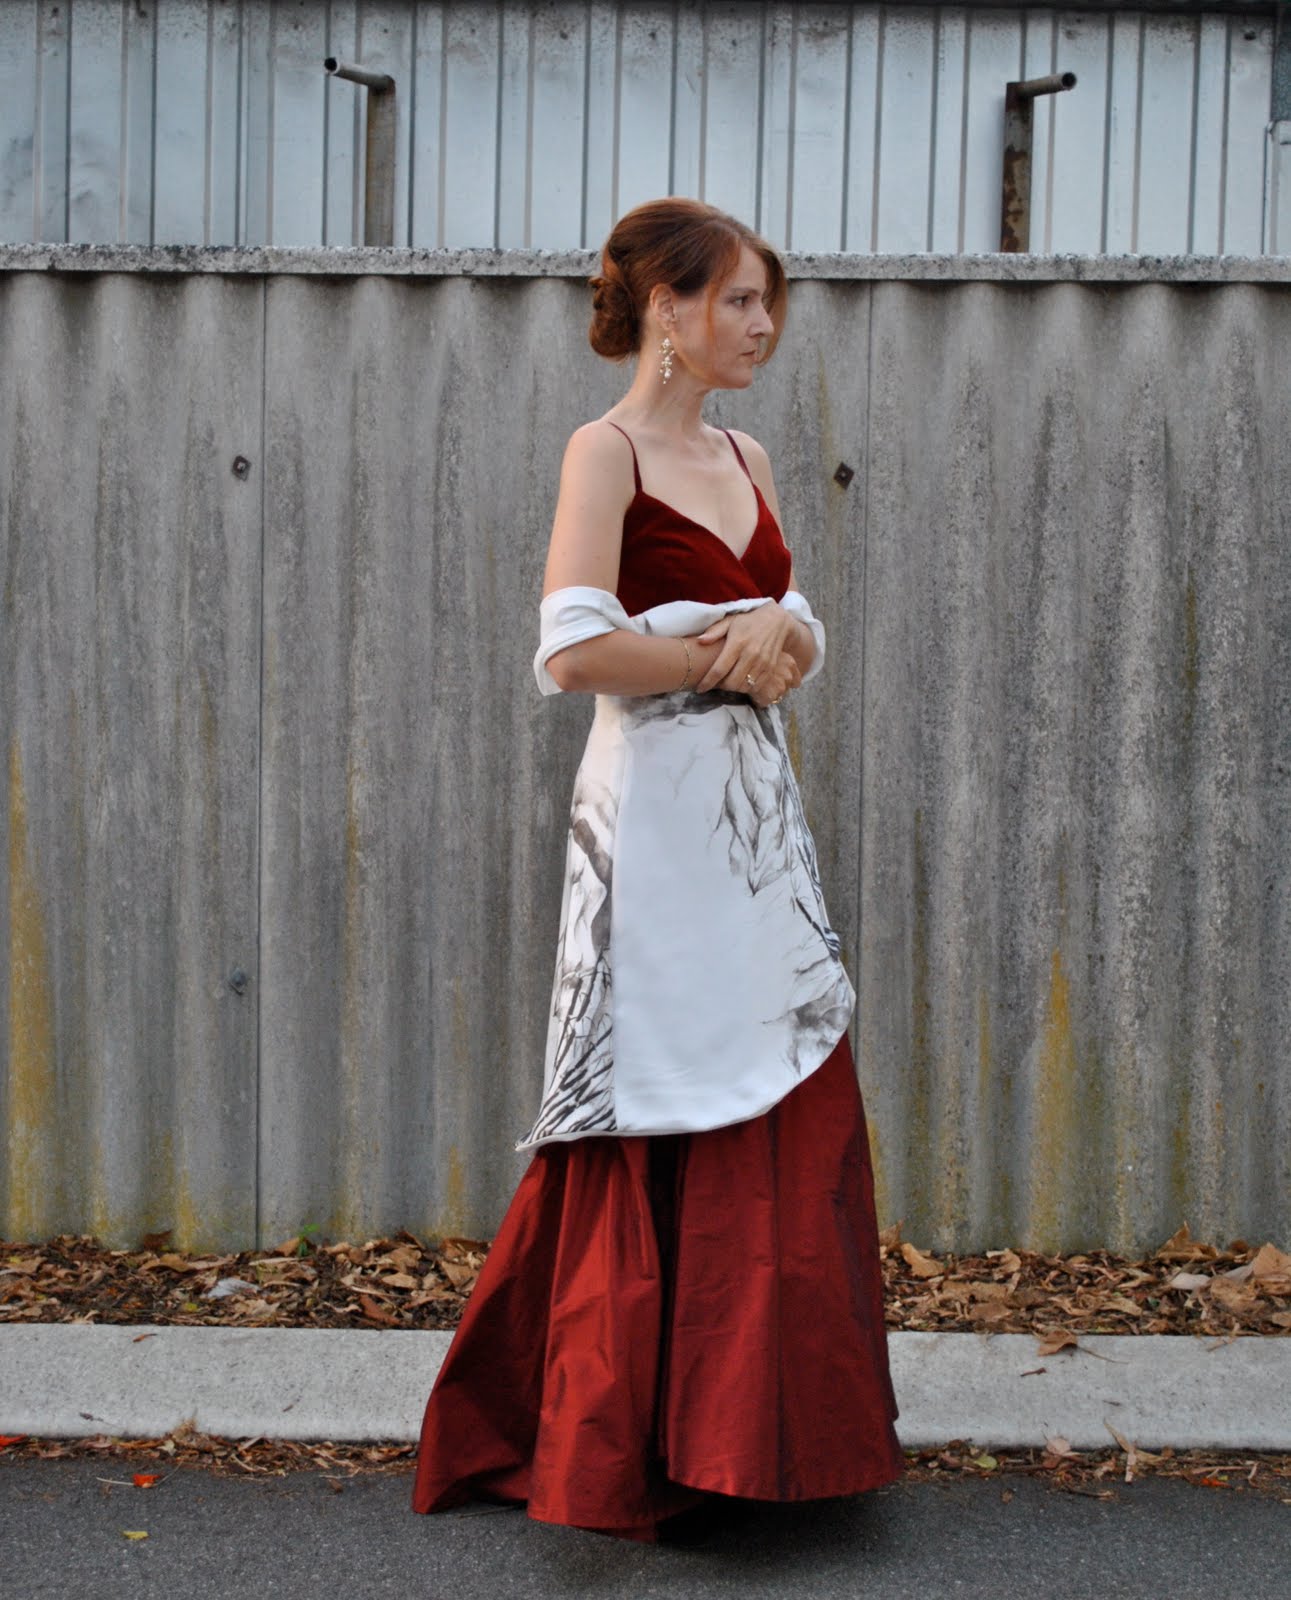
Now for the debut of my “Rosetta” dress, name thought up by my son…  
(Sorry for multiple photos, but I’m trying to show all angles)

Details:
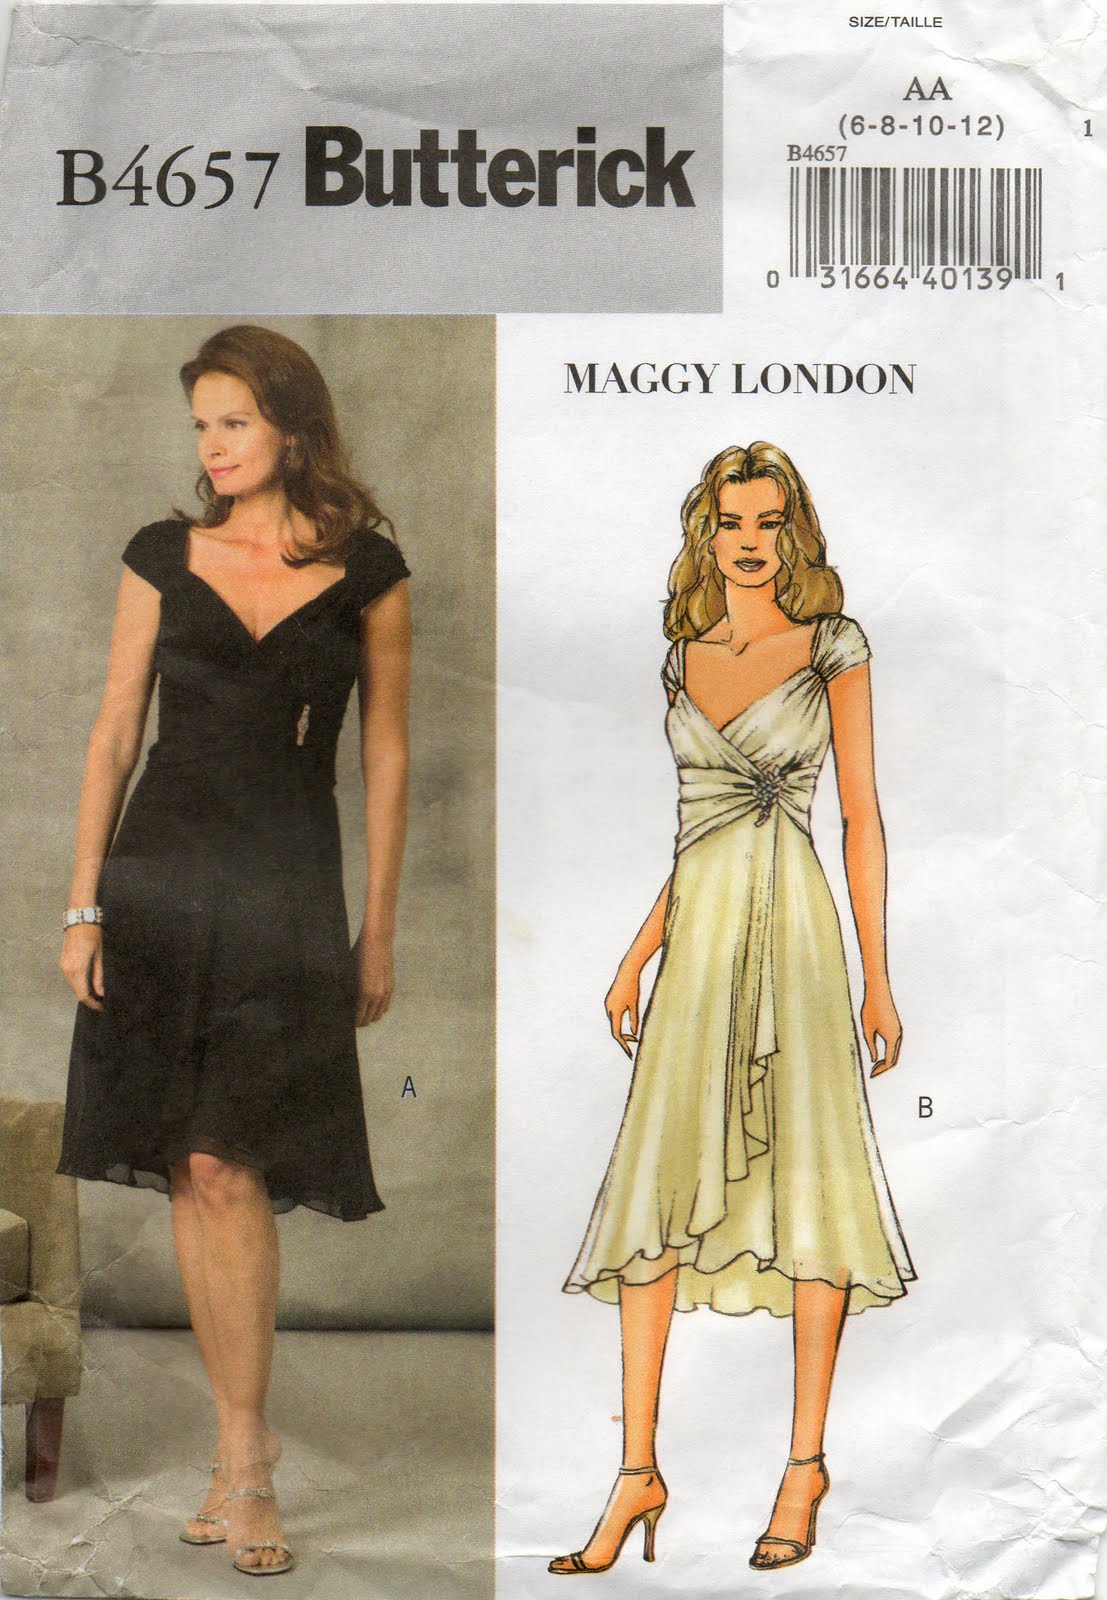
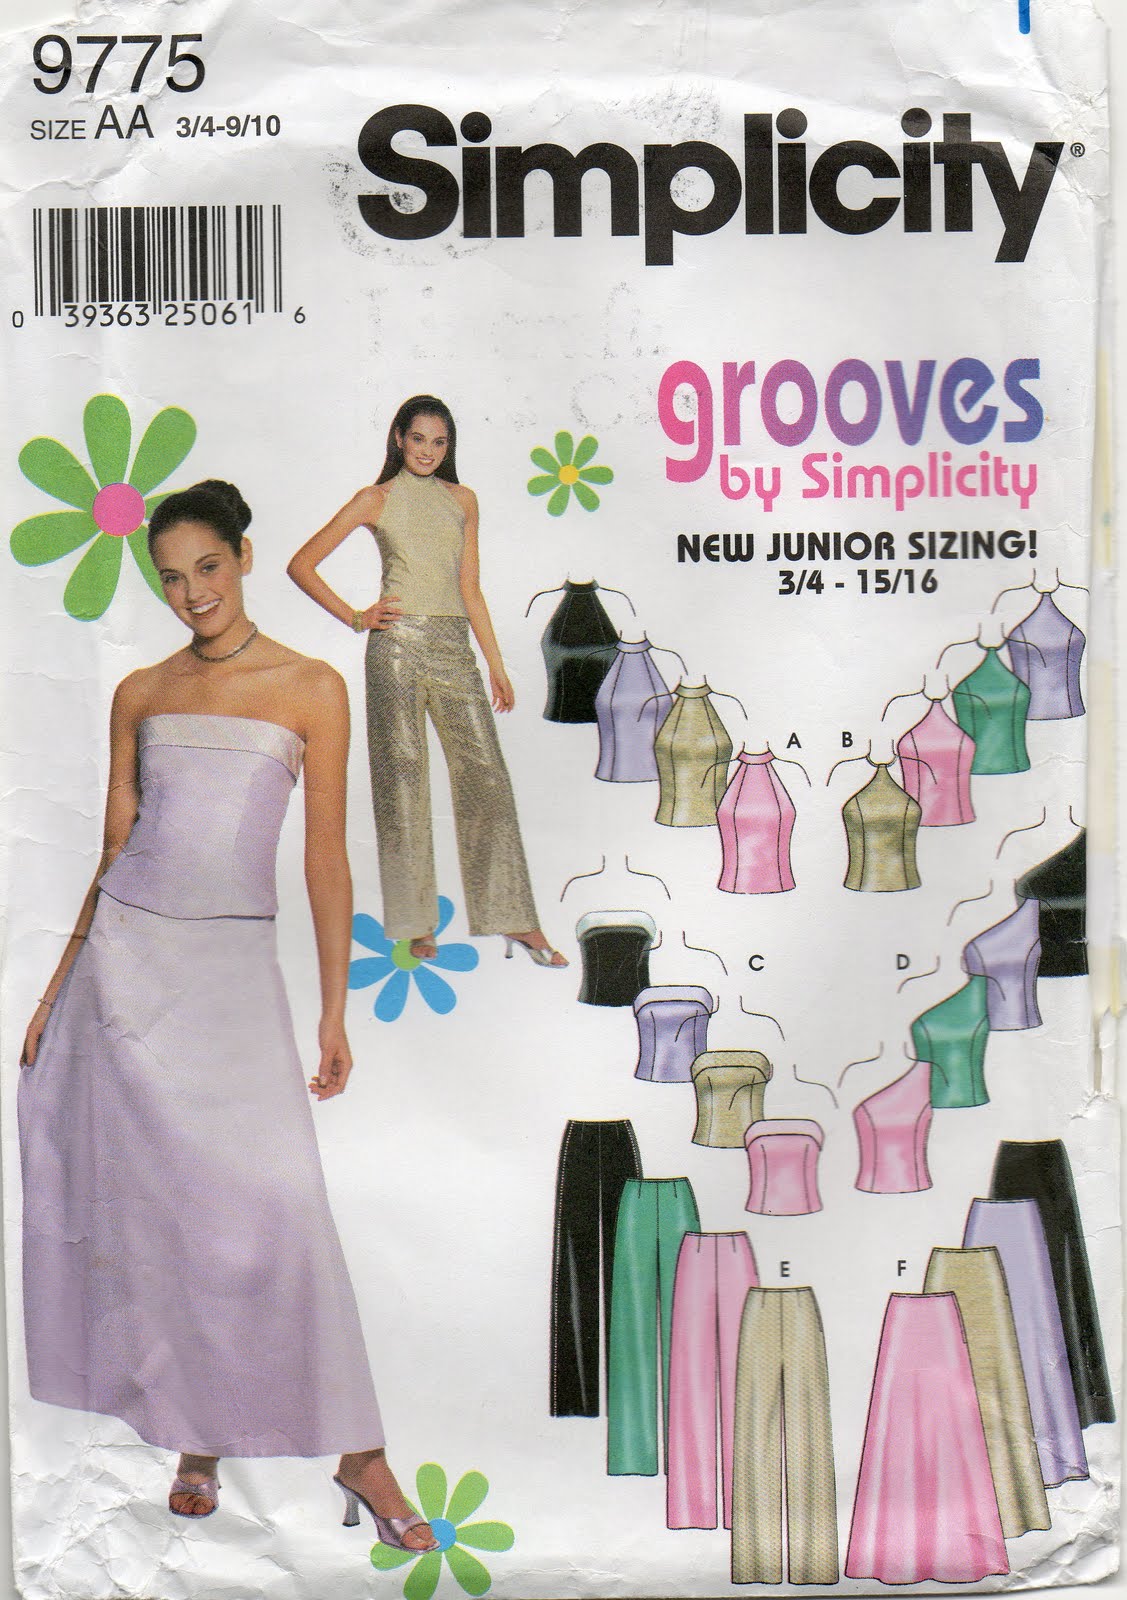
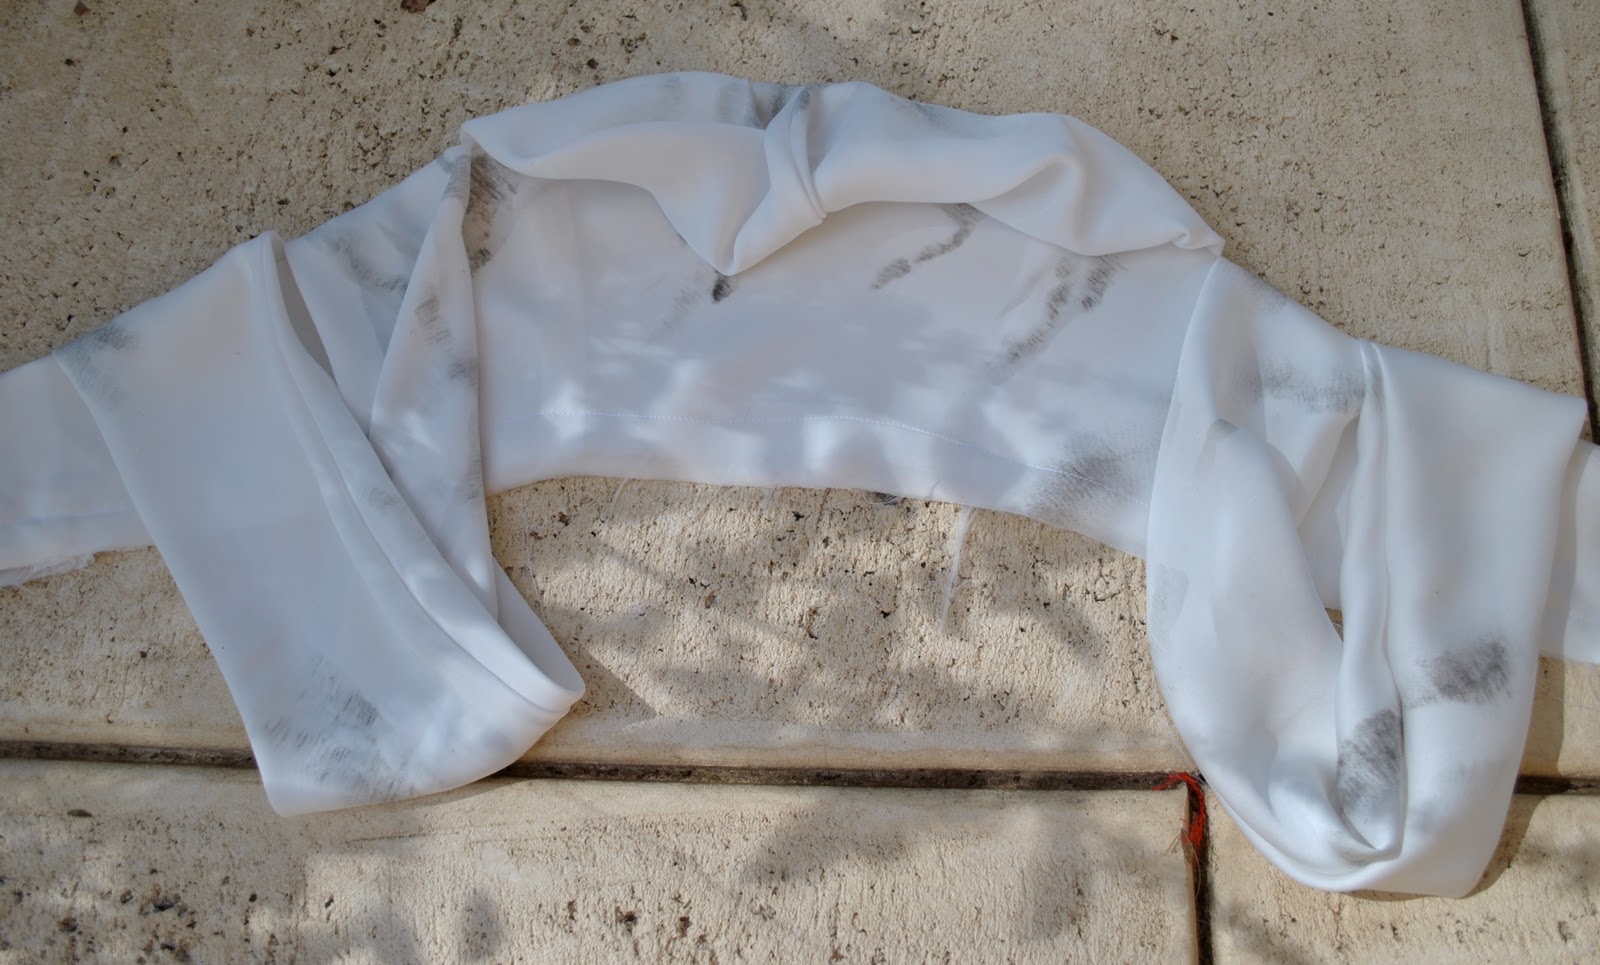
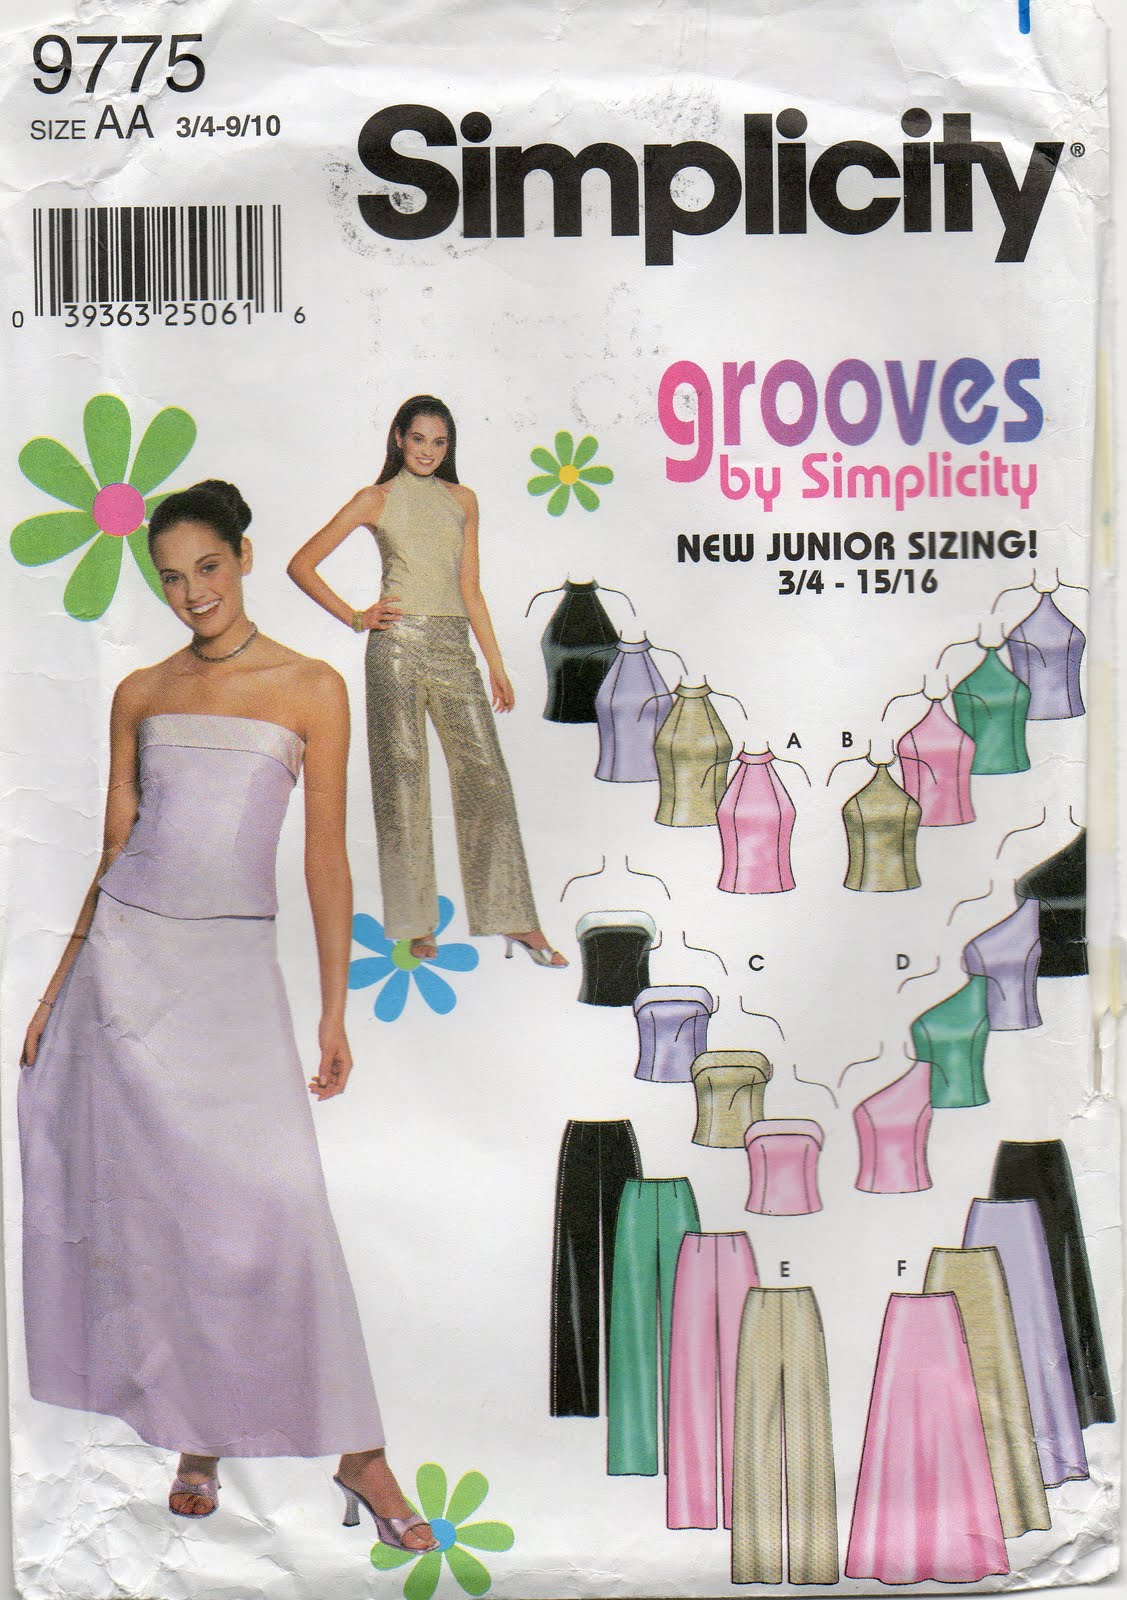
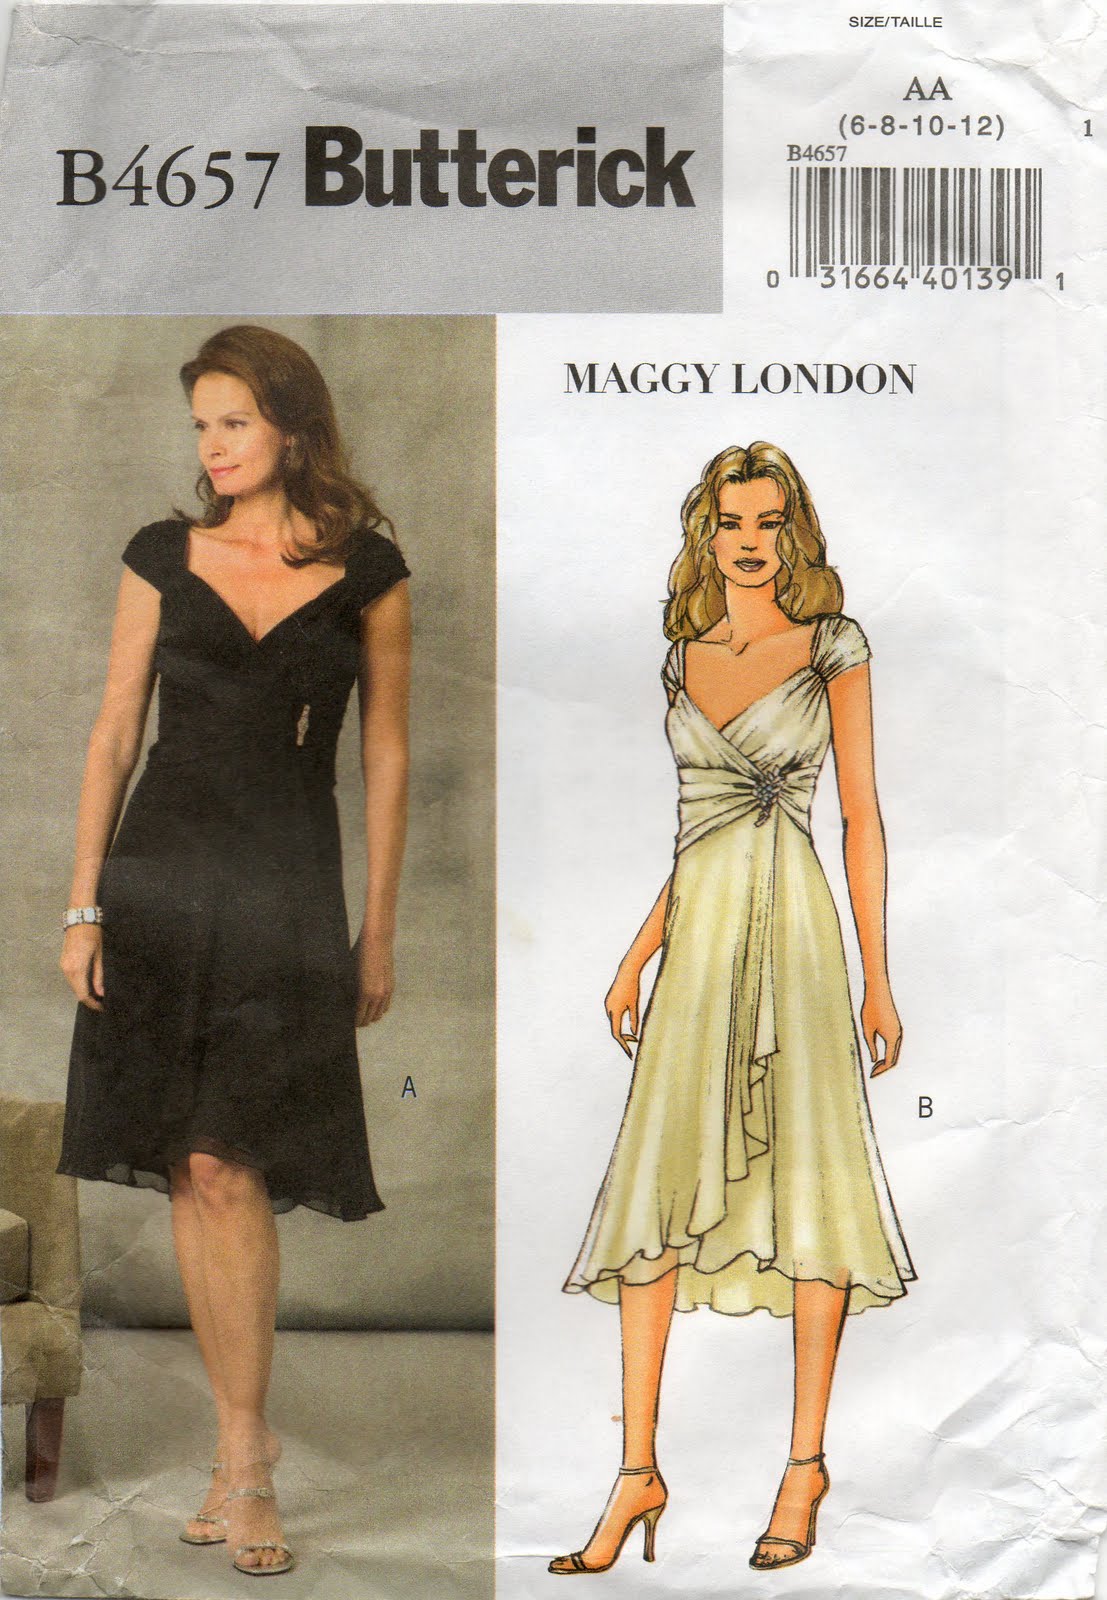
Dress; mostly my own design with some elements of Butterick 4657 and Simplicity 9775, red velvet, red shot silk taffeta and ivory/black printed polyester
Earrings; Sophie Kyron
Shoes; Nina, from David Jones

pinterestmail

Anatomy of a ball dress, pt 5

Have I made any progress on this ballgown?  Yes heaps, although to the casual observer it wouldn’t seem like much.
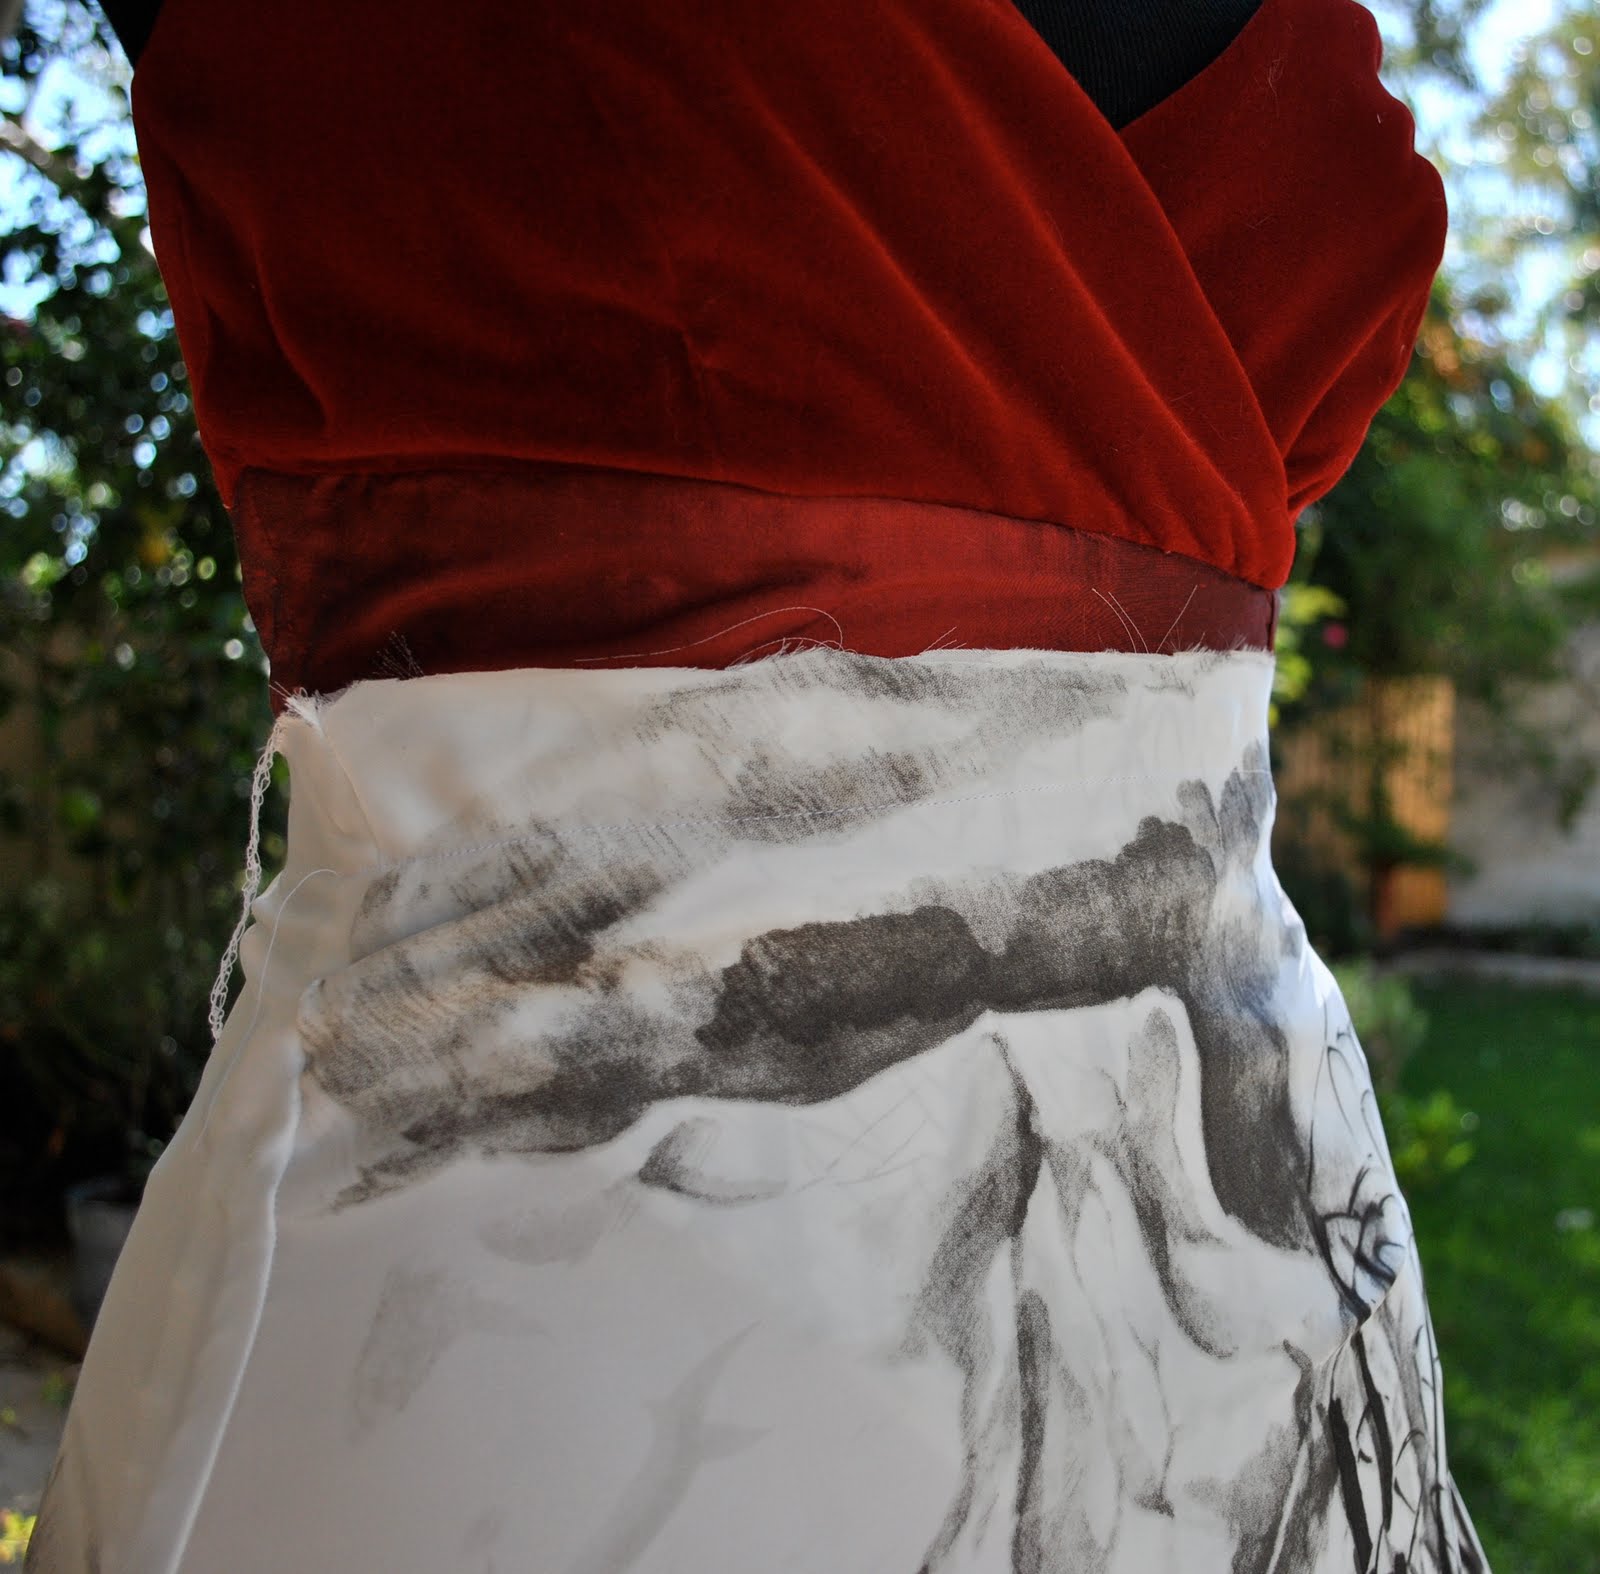
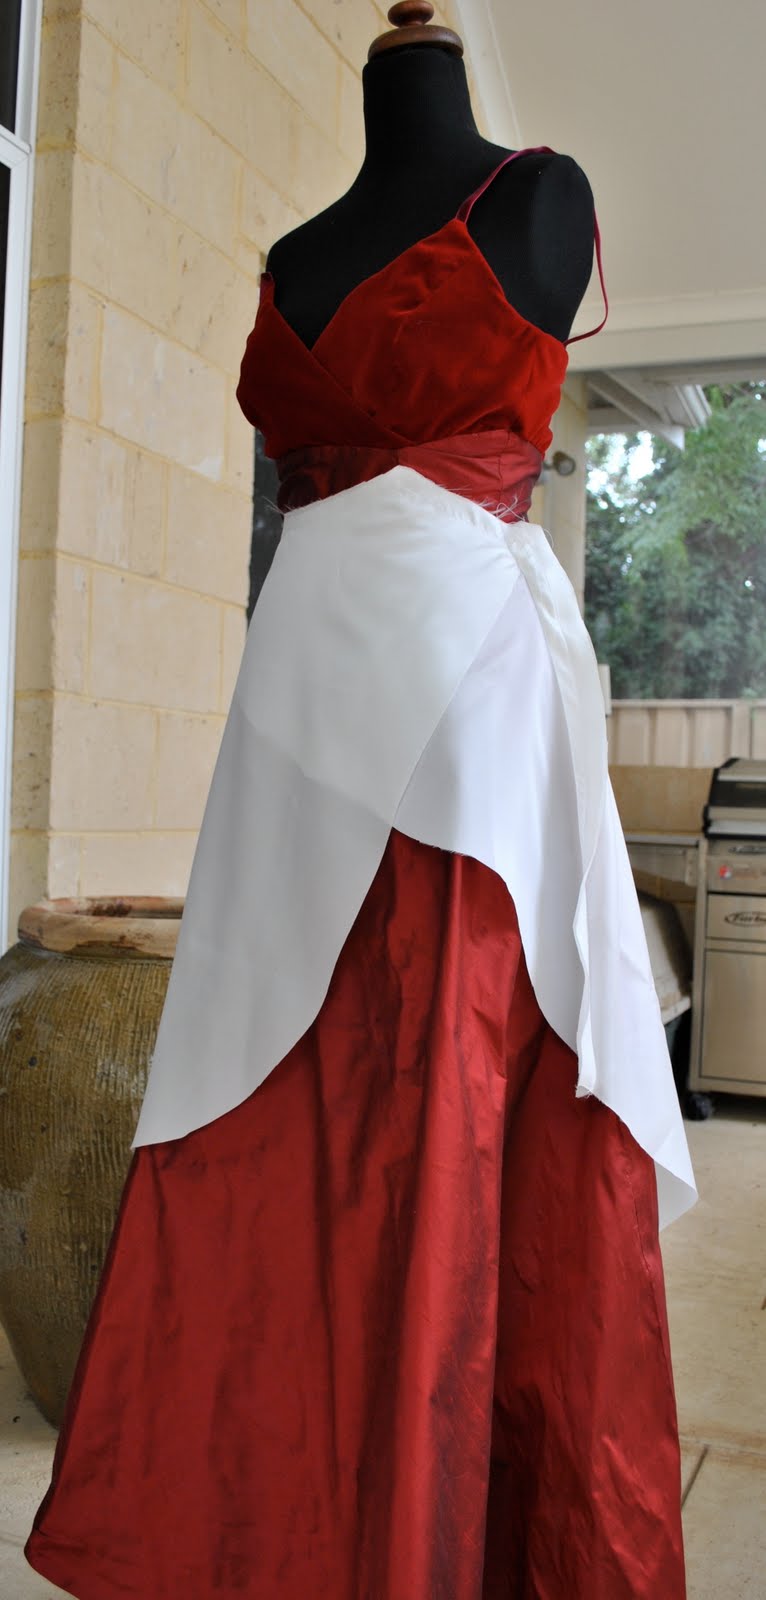
First, the draping of the fashion fabric across the corset bodice.  This took me a loooooooong time to get a look that satisfied me.  It took me all of the Monday public holiday.  I wouldn’t be exaggerating when I tell you that that my experimental drapes ran into the double figures.  Seriously.
Finally I settled for this fairly simple version.  It’s possible in a project when one is aiming for “glamourous” to get too complex and extreme and sometimes the simplest of designs will be the most effective after all… (it’s already been sewn on and the lining too, because I was so relieved to have finally found a draping I was happy with I just sewed the thing without taking any “during” photos.)

After this, I needed a few days away from my precious project to work up enthusiasm again, and got back to it today….!
Here the lining has been undersewn:

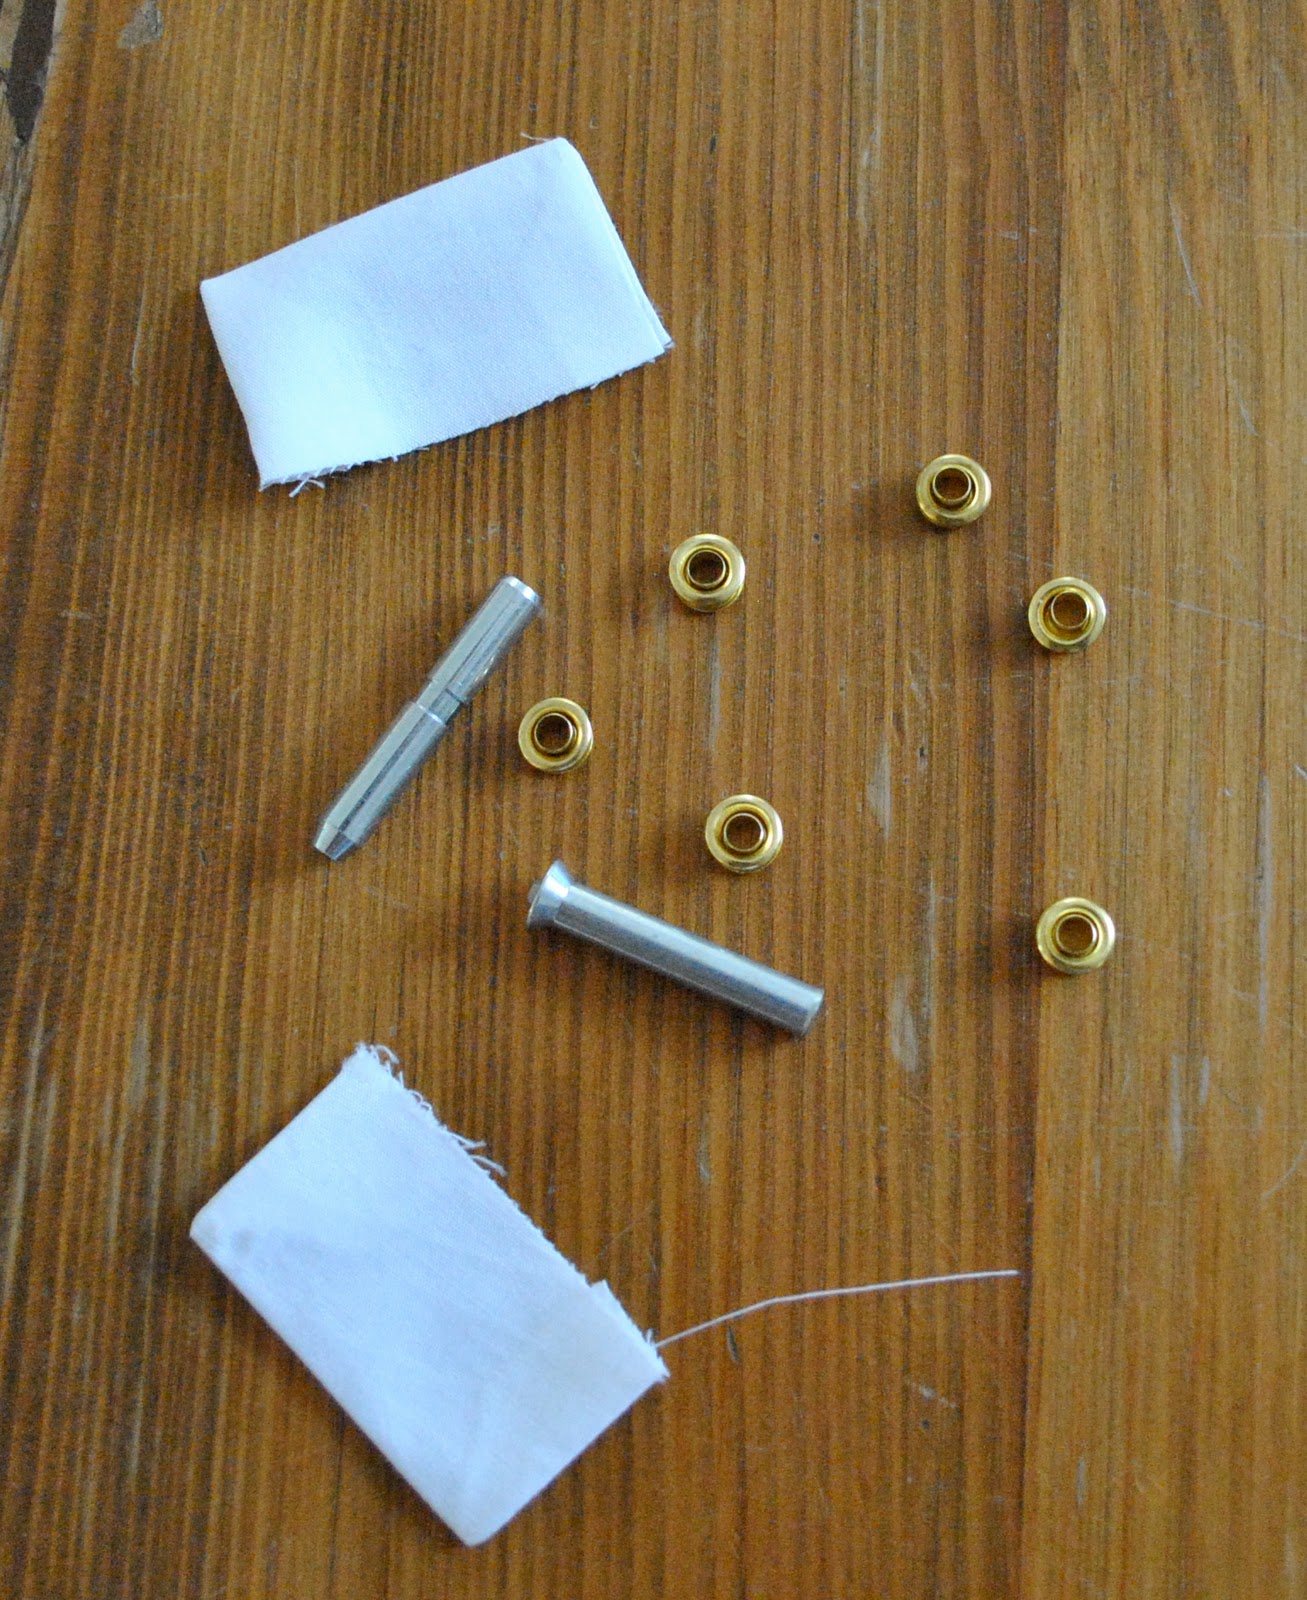
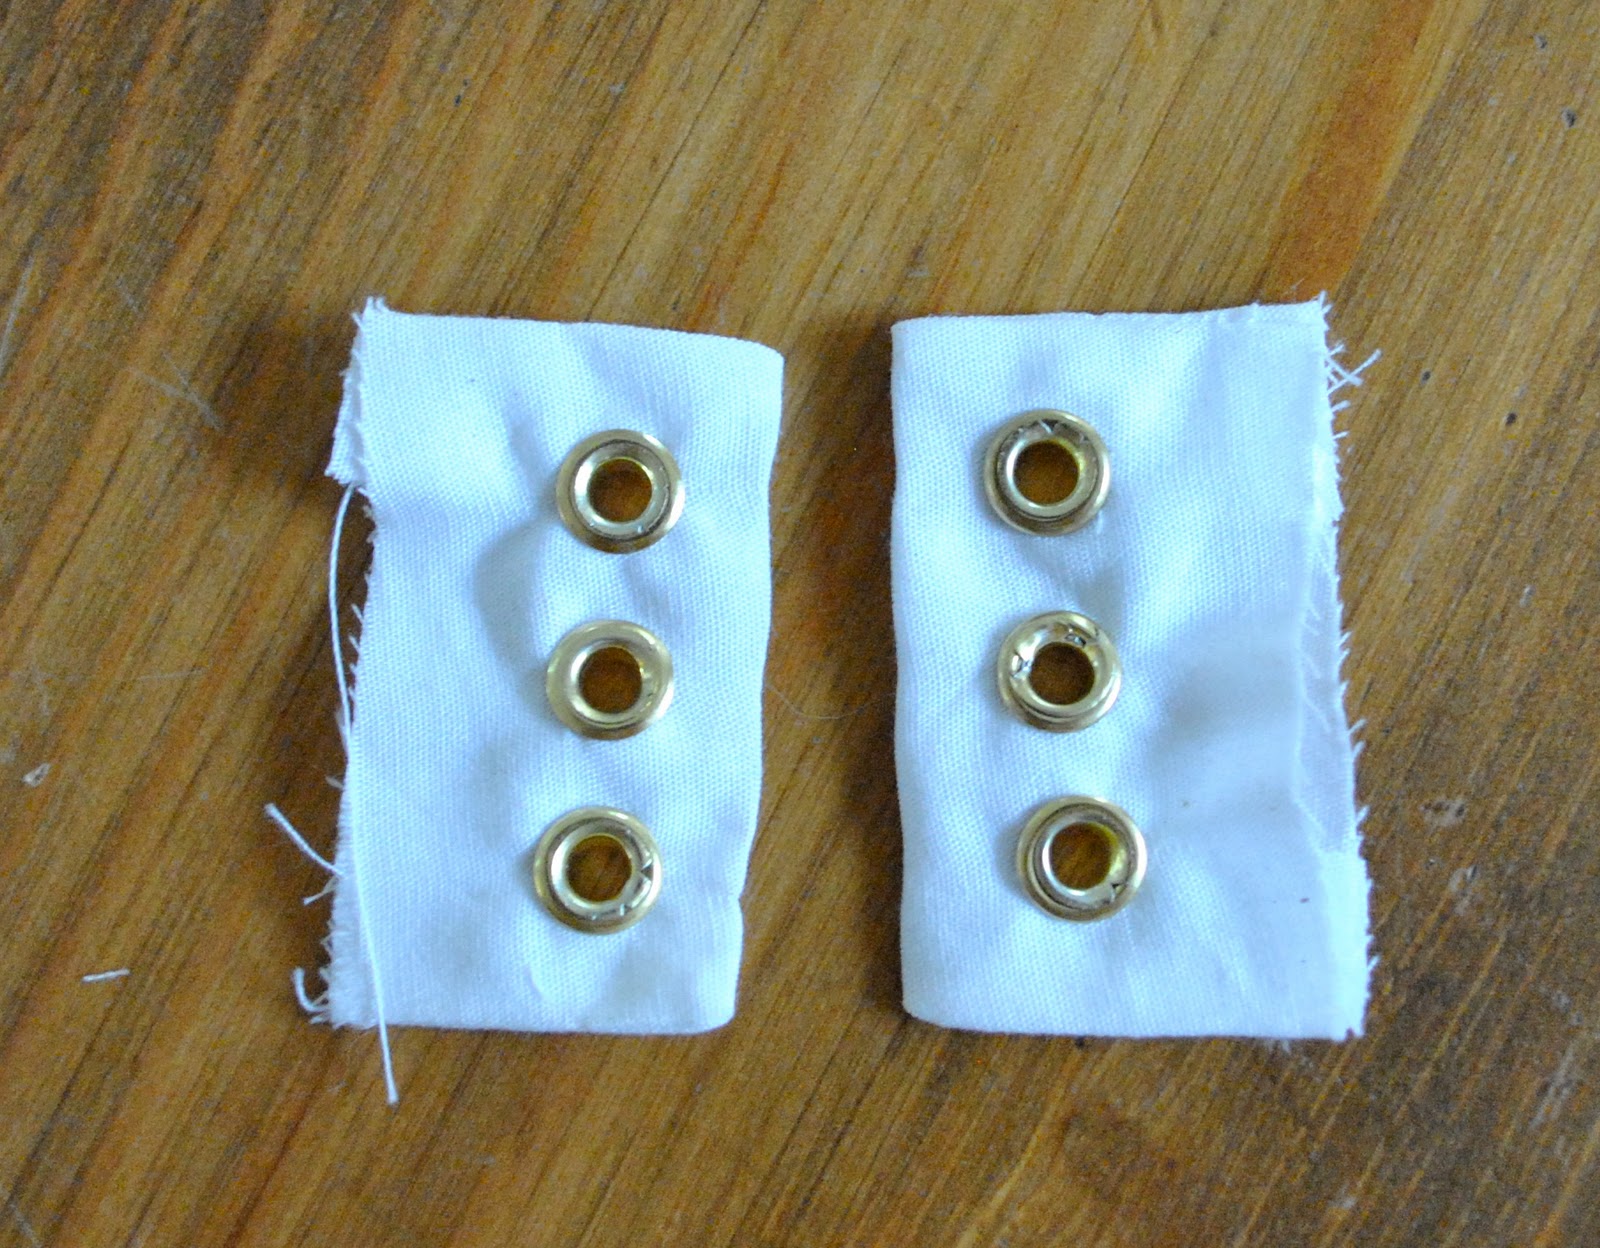
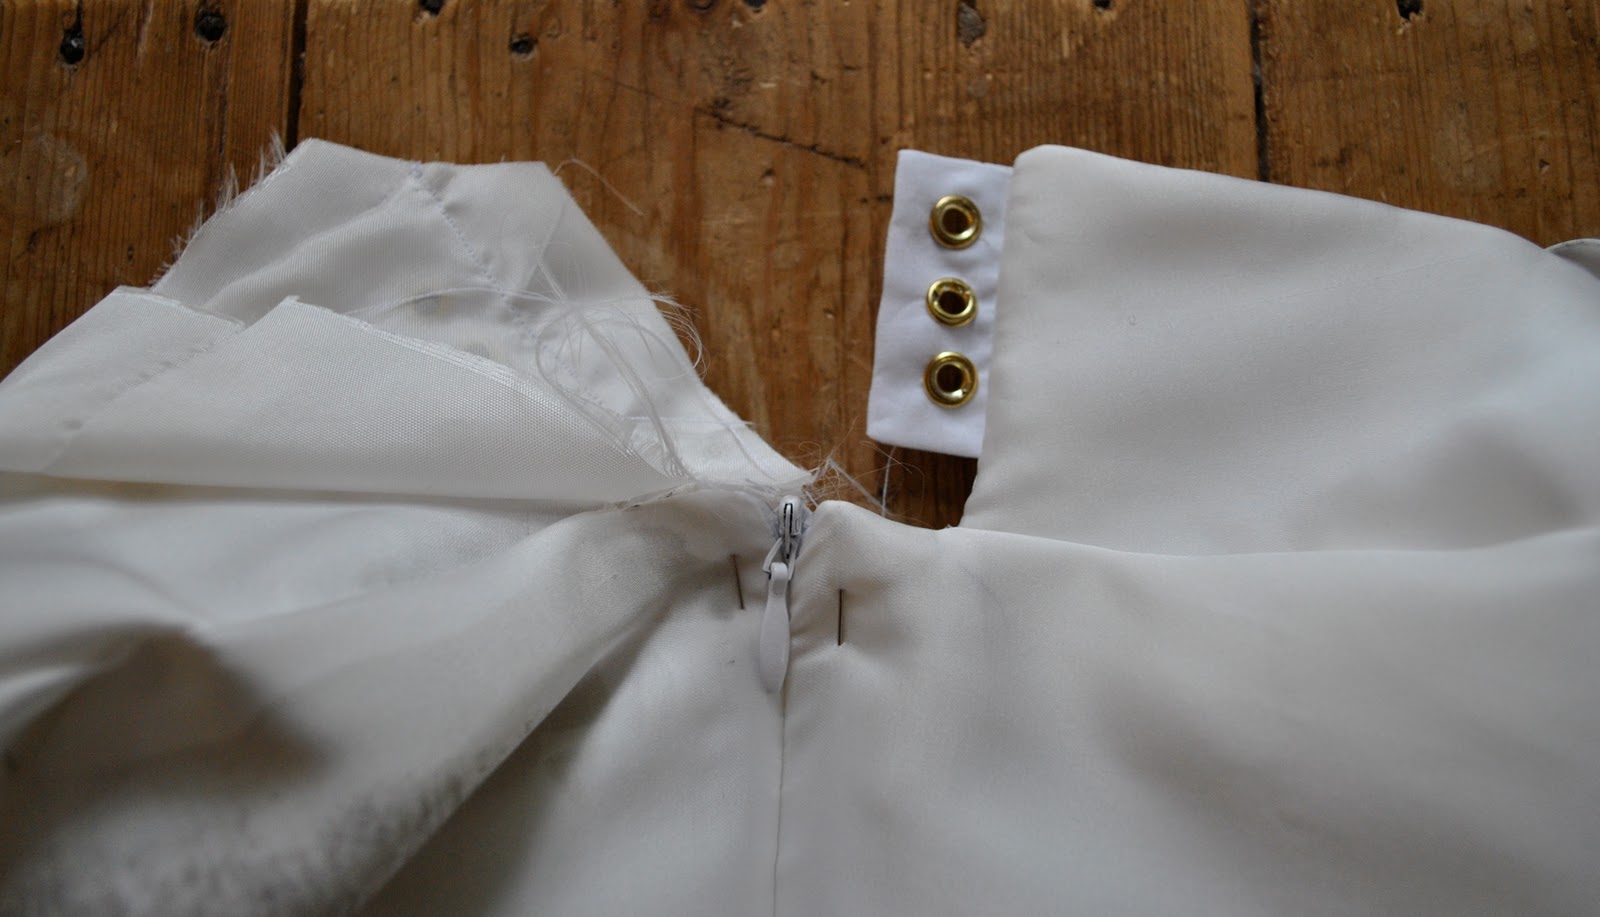
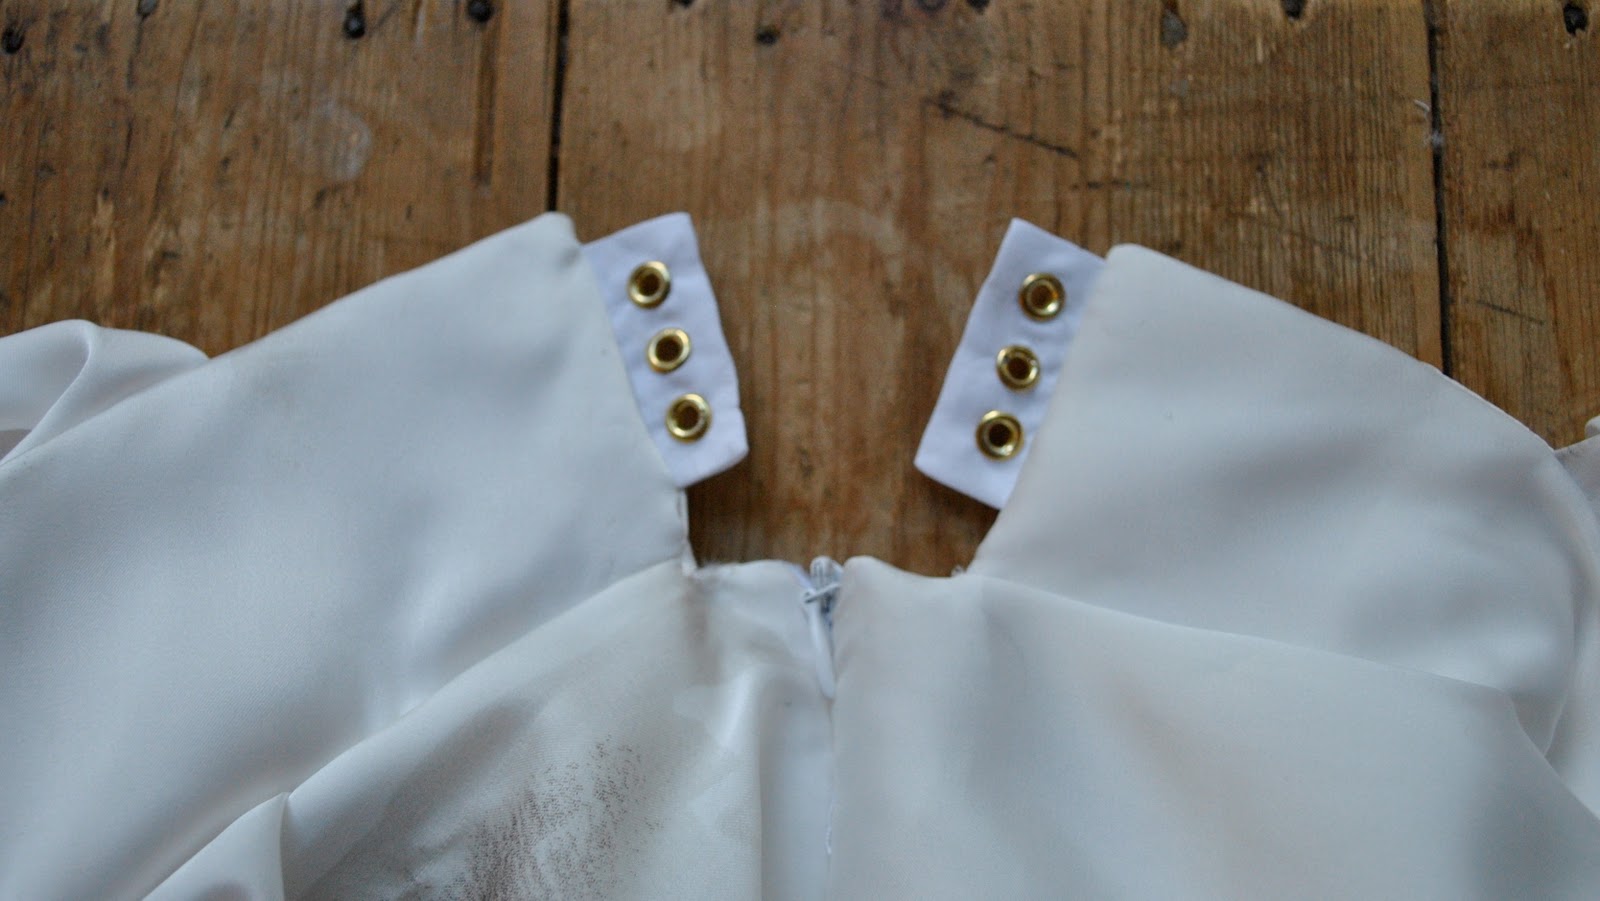
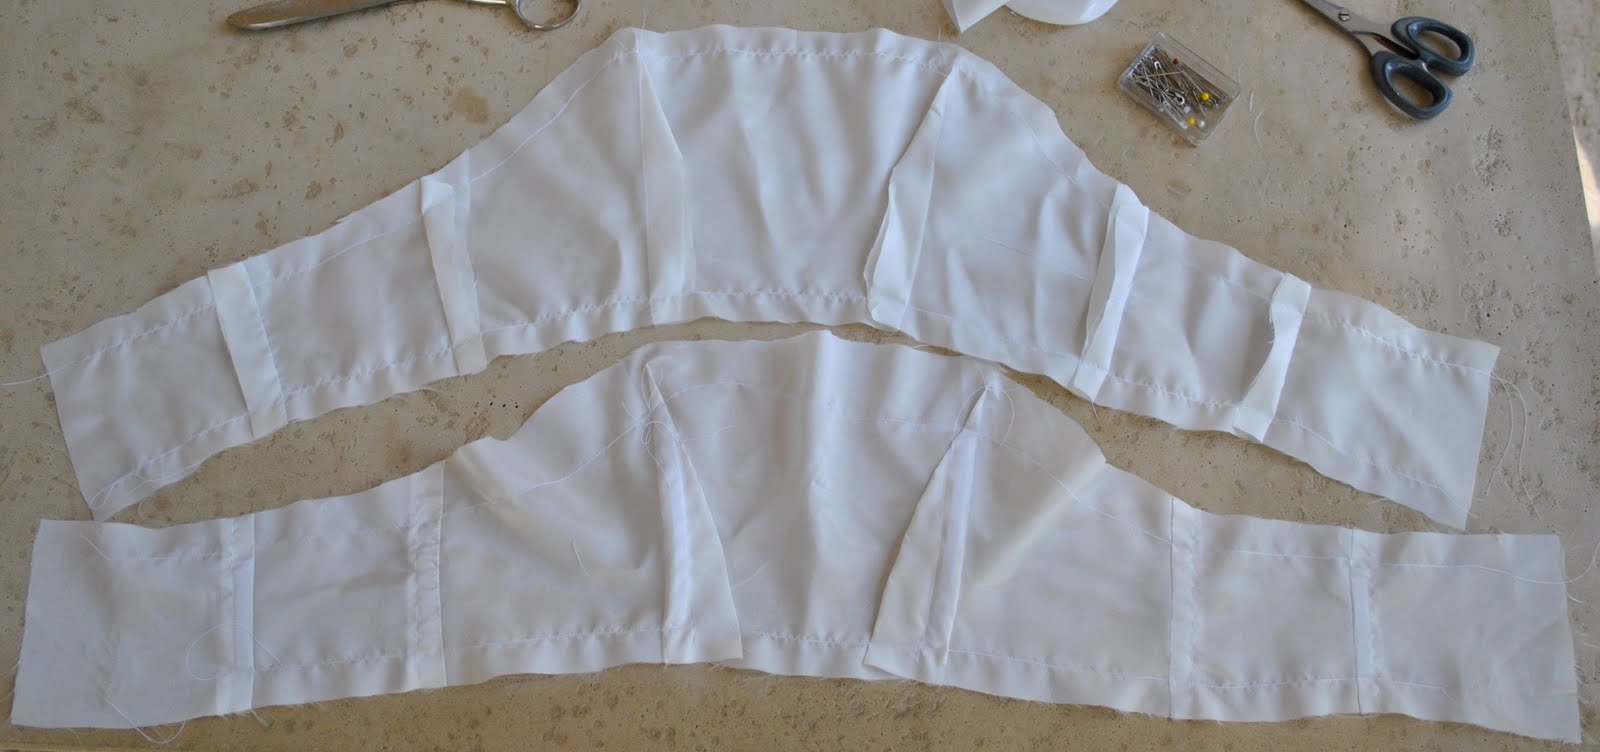
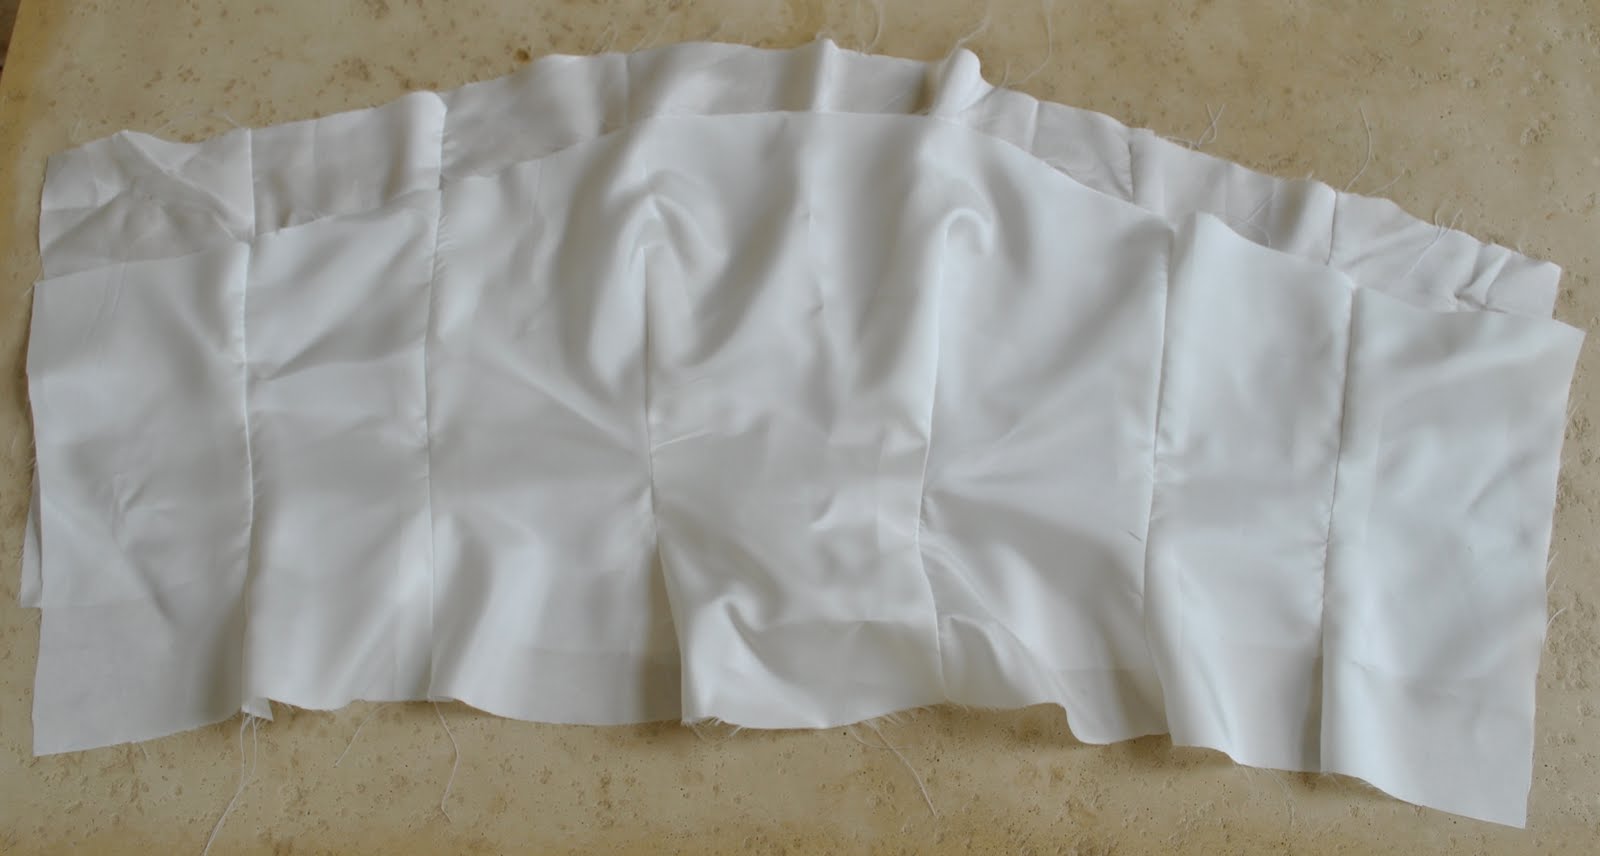
Now for the corset bits.  I’m using a leftover scrap of very strong cotton, because eyelets and lacing can be tough on delicate fabrics.  I sewed a couple of, er there’s probably a proper name for these little bits… and it’s unknown to me…  facings? … flaps?

Inserted some eyelets:

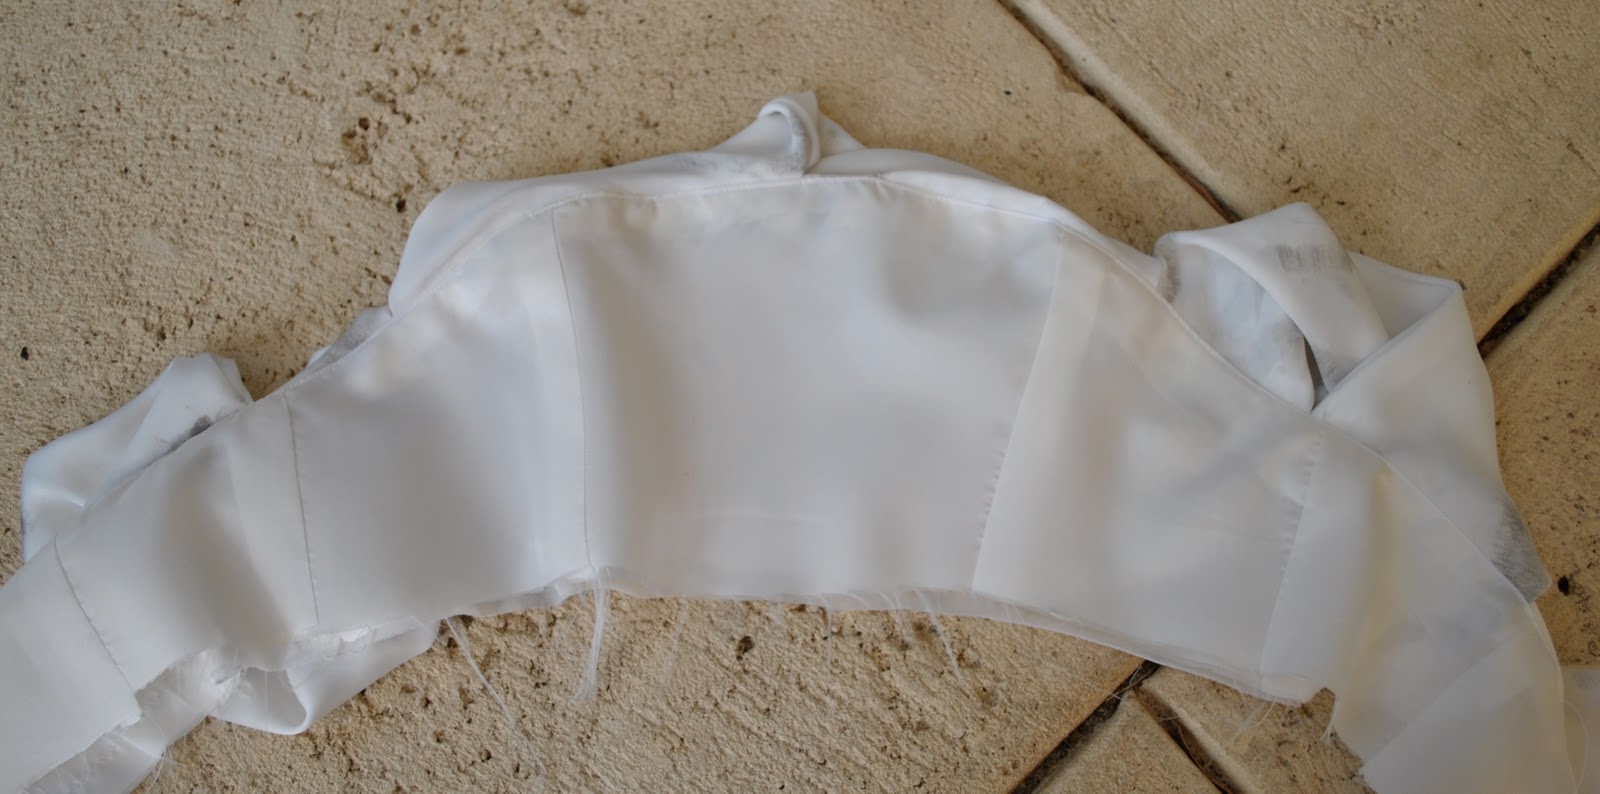
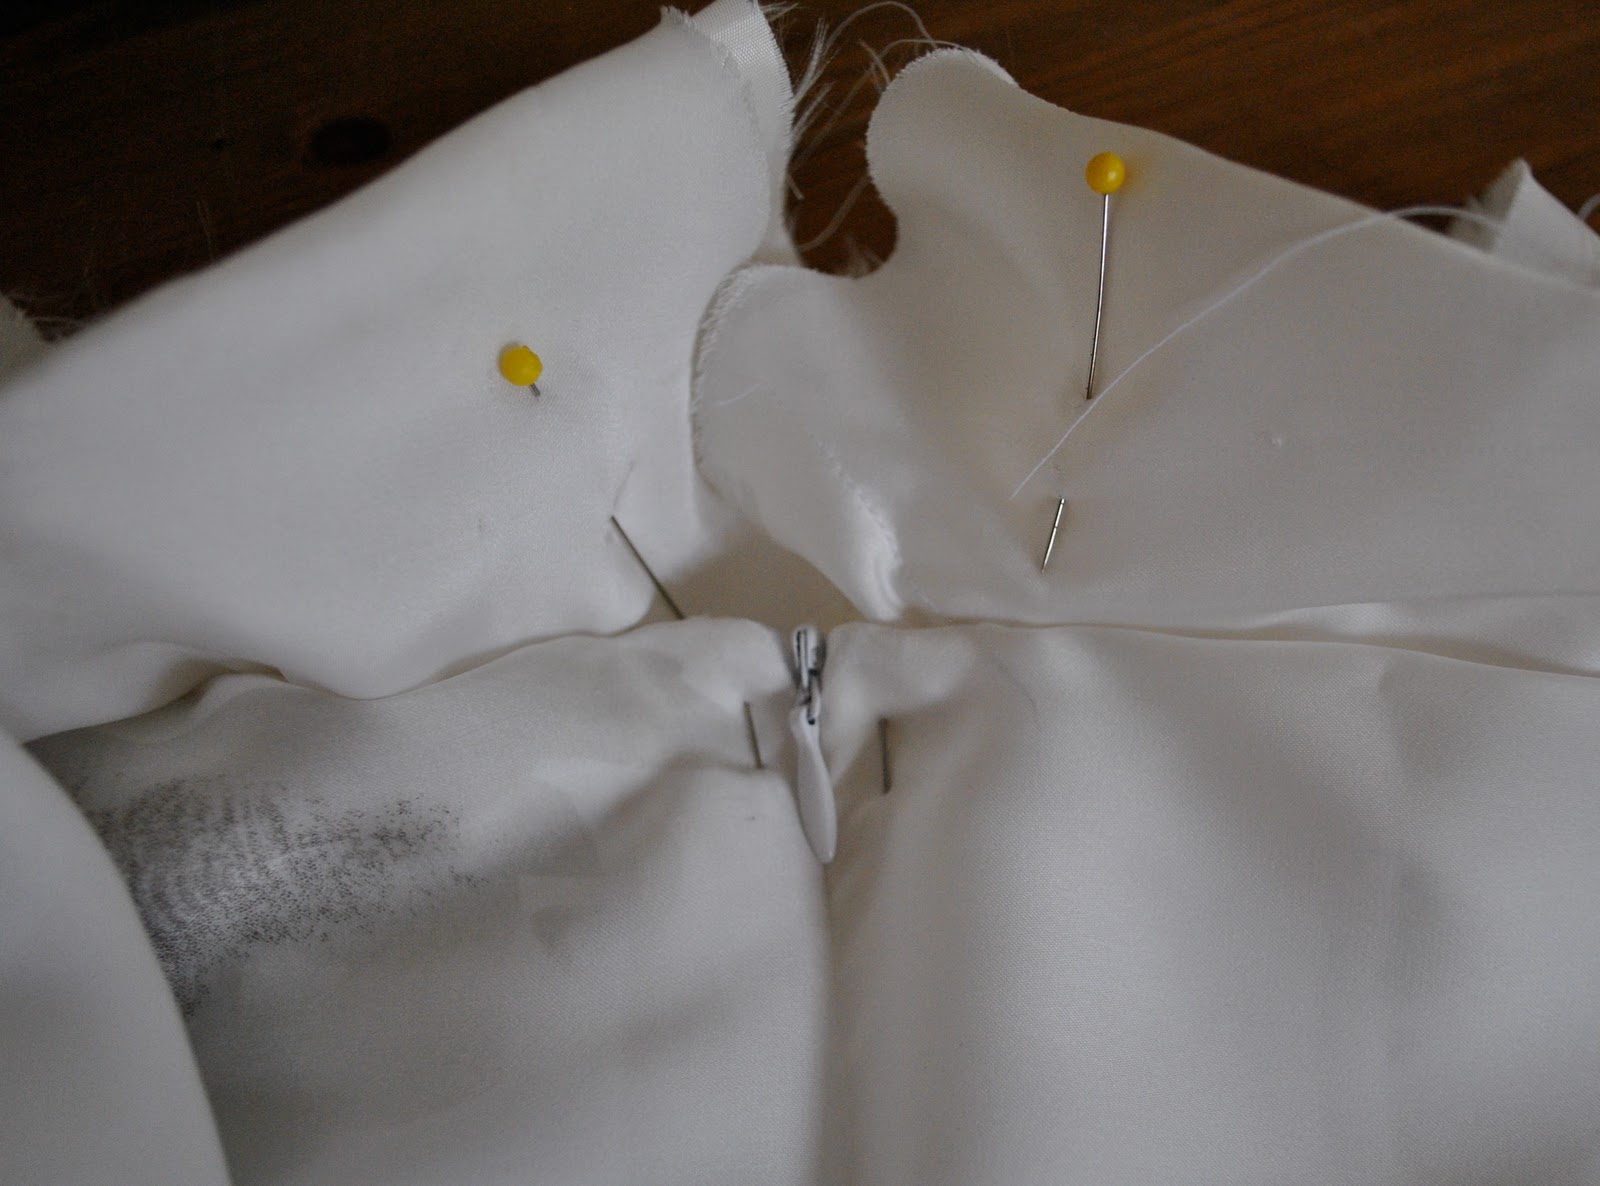
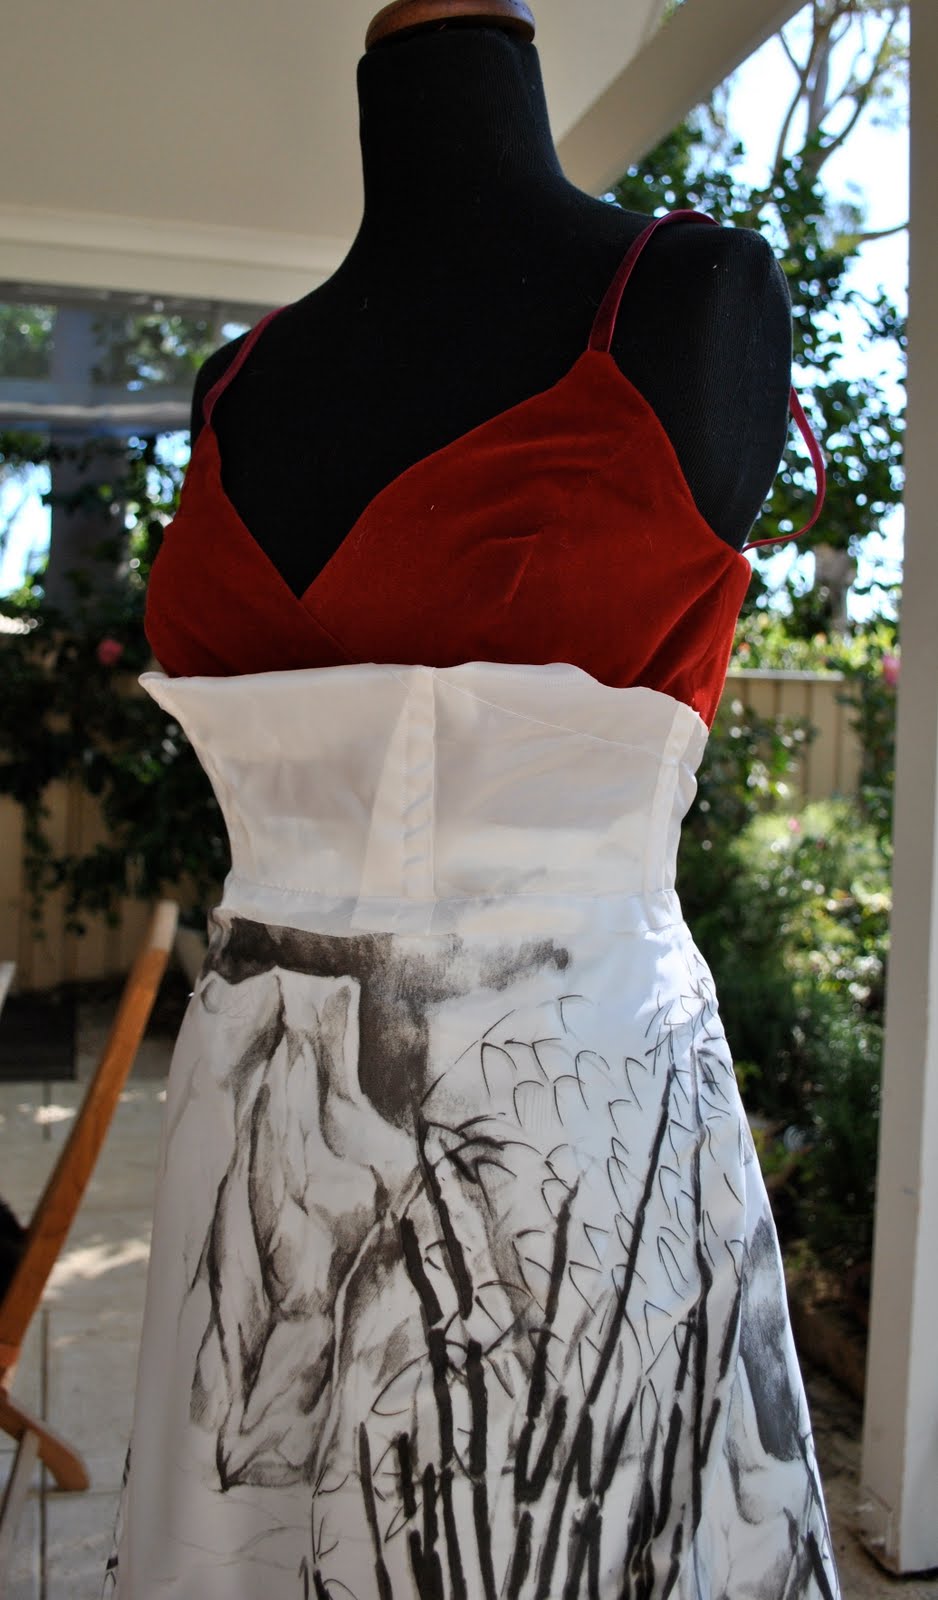
Sewed the corset bodice and its boned interfacing to the skirt top (looks messy here but … trust me)

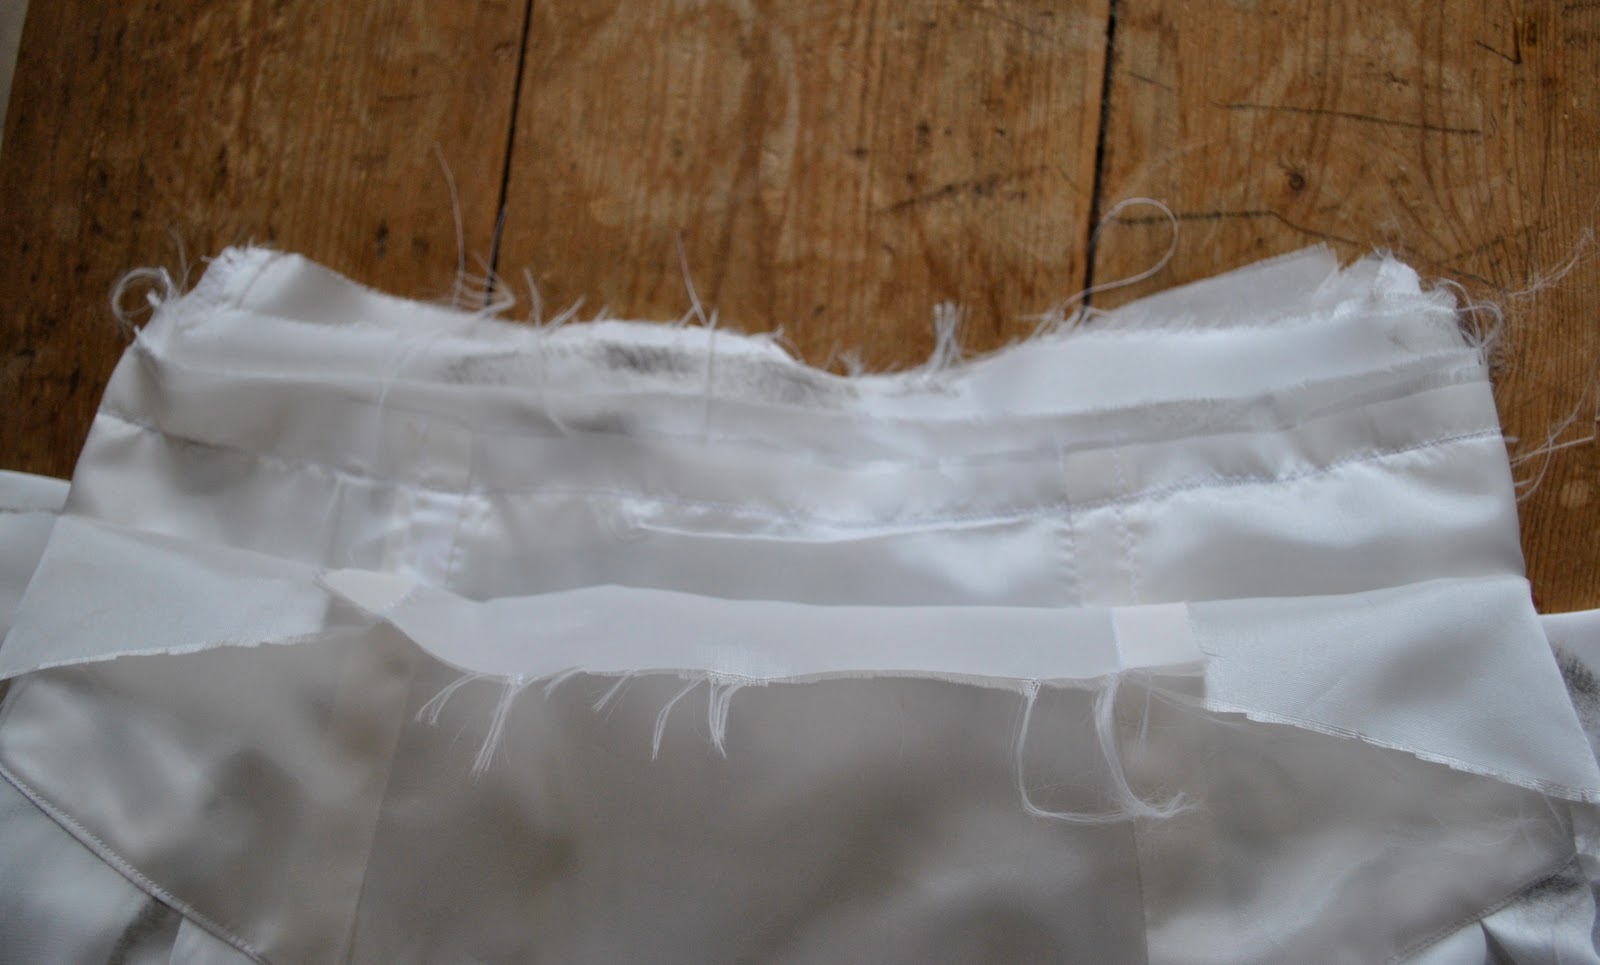
And sewed the corset flaps with multiple rows of stitching (for strength) to the measured fitting line on my corset bodice,  then finished the machine sewing to fit in the corset bits.

Now tonight I’m going to finish hand-sewing the corset lining to the waistline, and the skirt lining to the zipper tape…
More in a coupla days…

pinterestmail

Grey and mustard

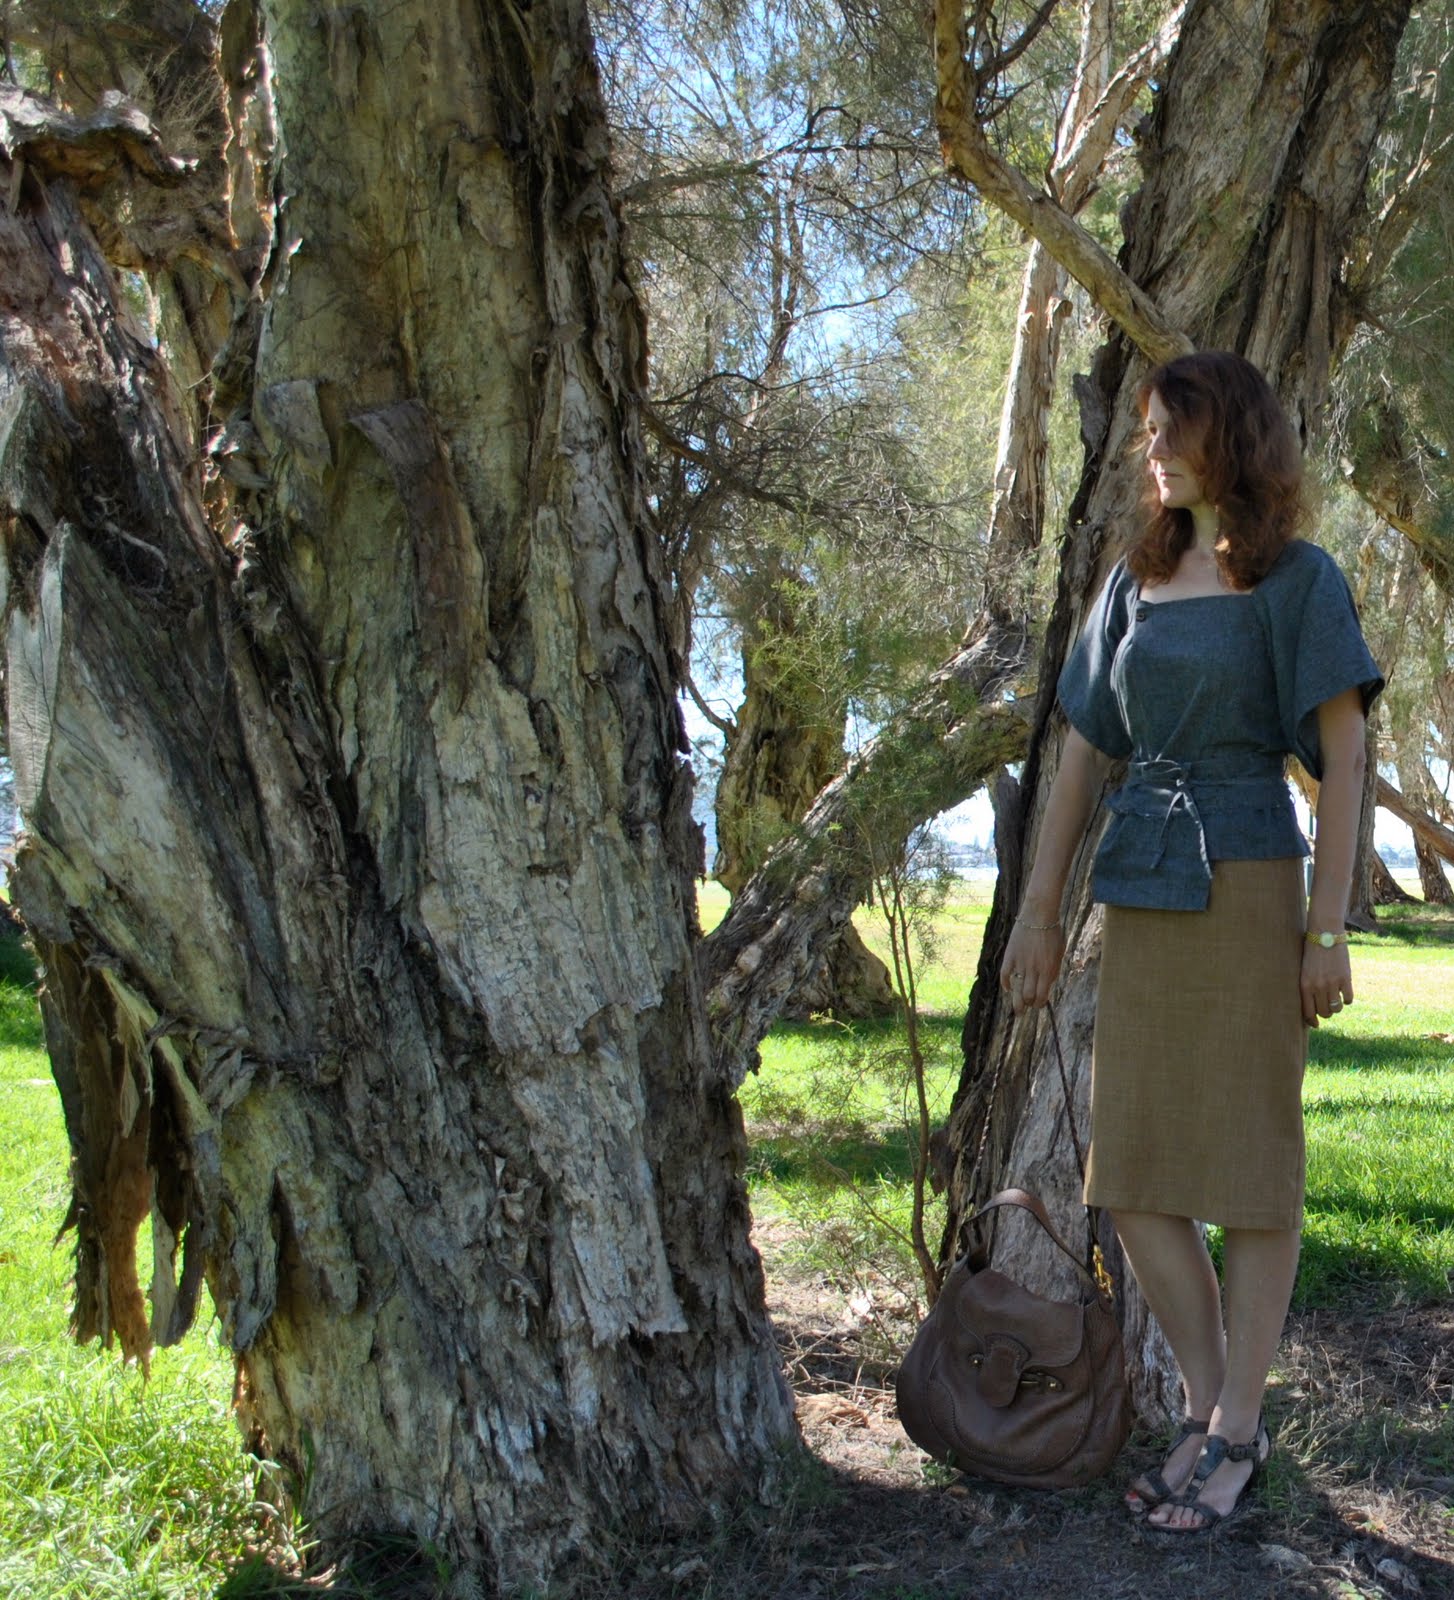
I attended a very pleasant birthday morning tea for a friend this morning, so dashed very quickly into the park to take this morning’s photo:  this top is my own design, refashioned from my old pair of pants, first posted about here.  I’m pretty thrilled with this because I always get compliments when I wear it, and to think grey is supposedly “not my colour”.
On my last visit to the op shop I picked up this skirt, in the $2 rack!!  I didn’t even try it on, just thought, hey great colour and grabbed it, thinking I could make something else out of it if it didn’t fit.  Well, the op shop fairy was smiling on me that afternoon, because not only did it fit perfectly, but that was also the day I picked up my lilac suede skirt, and a beige suede skirt, both of which also fit me.  I think this skirt and top look like they were made to go together!  
Now having worn this skirt for half a day I can see why it was so unloved by its previous owner; the lining is made out of that particularly horrible lining fabric that clings to your legs in a very annoying cloying hair-raising way.  I’m going to have to take it out and replace it, although this will be a refashion that will be invisible to the casual observer.  Well, hopefully an invisible refashion anyhow.  The skirt is perfect in every other way.
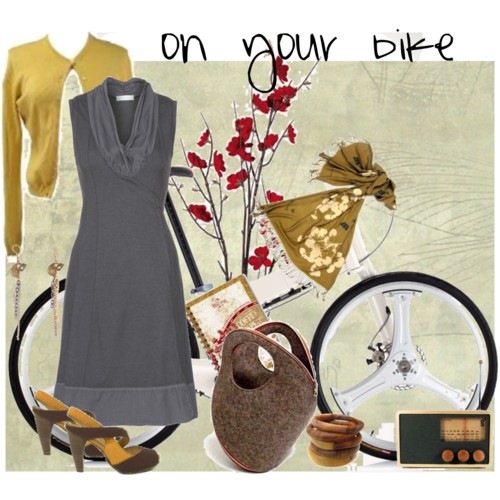
I have done a bit more work on my ballgown but will leave that for another day, for now here is an entry I submitted to the Polyvore eco-chic competition (all items recycled or fair-trade, and eco friendly), you can see the hold mustard and grey is having on me lately…  
For me now it’s back to the office…

Details:
Top; own design, grey linen mix, refashioned from old 3/4 pants
Skirt; Millers, from Salvos op shop
Sandals; Vicenza, from Soletta shoes
Bag; Gucci

pinterestmail

Anatomy of a ball dress, pt 4

Husband sadly working all this long weekend so I’m planning to get a lot done on my ball-gown.  Following is today’s effort…
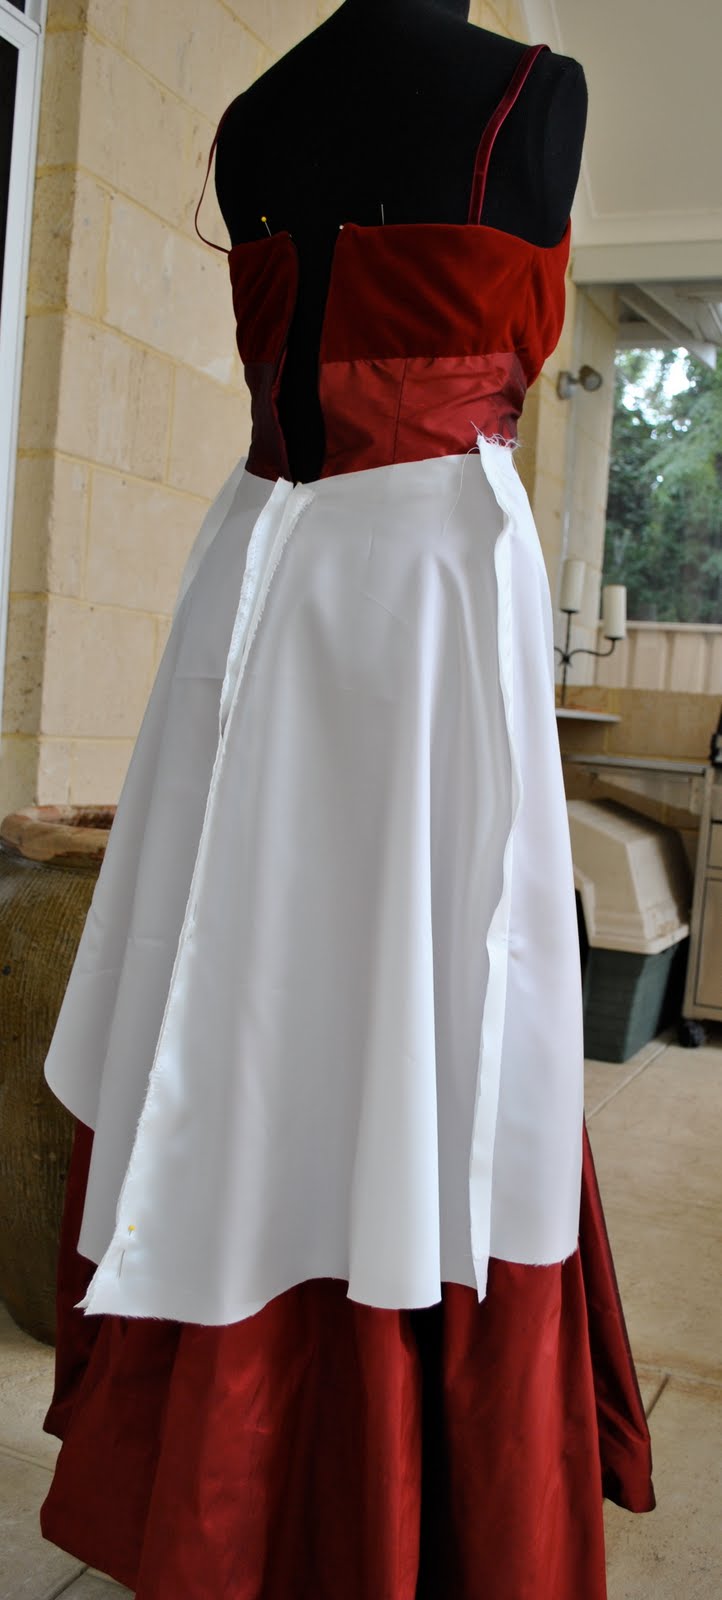
Cut out the skirt pieces, sewed side seams, inserted the zip into the centre back.  This sounds simple, but this is the point at which I thought I would break down and cry.  Here’s what happened.  In good seamstress fashion I put a brand spanking new needle into my sewing machine before sewing this fabric.  The side seams and zip went in beautifully.  Then, without even thinking, I put the seams through the overlocker to finish the edges.  Hadn’t changed the overlocker needles!  Doh!  Now there are tiny thread-pull marks along the seams, that weren’t there before, thanks to the obviously blunt needles in the overlocker.  It was a real oh-no! moment.  There may or may not have been some bad language.  Note to self; overlocker needles are needles too, you know.  They’re not going to change themselves.  I’m reassuring myself that probably no one at the ball but me will notice as the pulls are thankfully really tiny, but still… they didn’t even have to be there.  Disappointed!

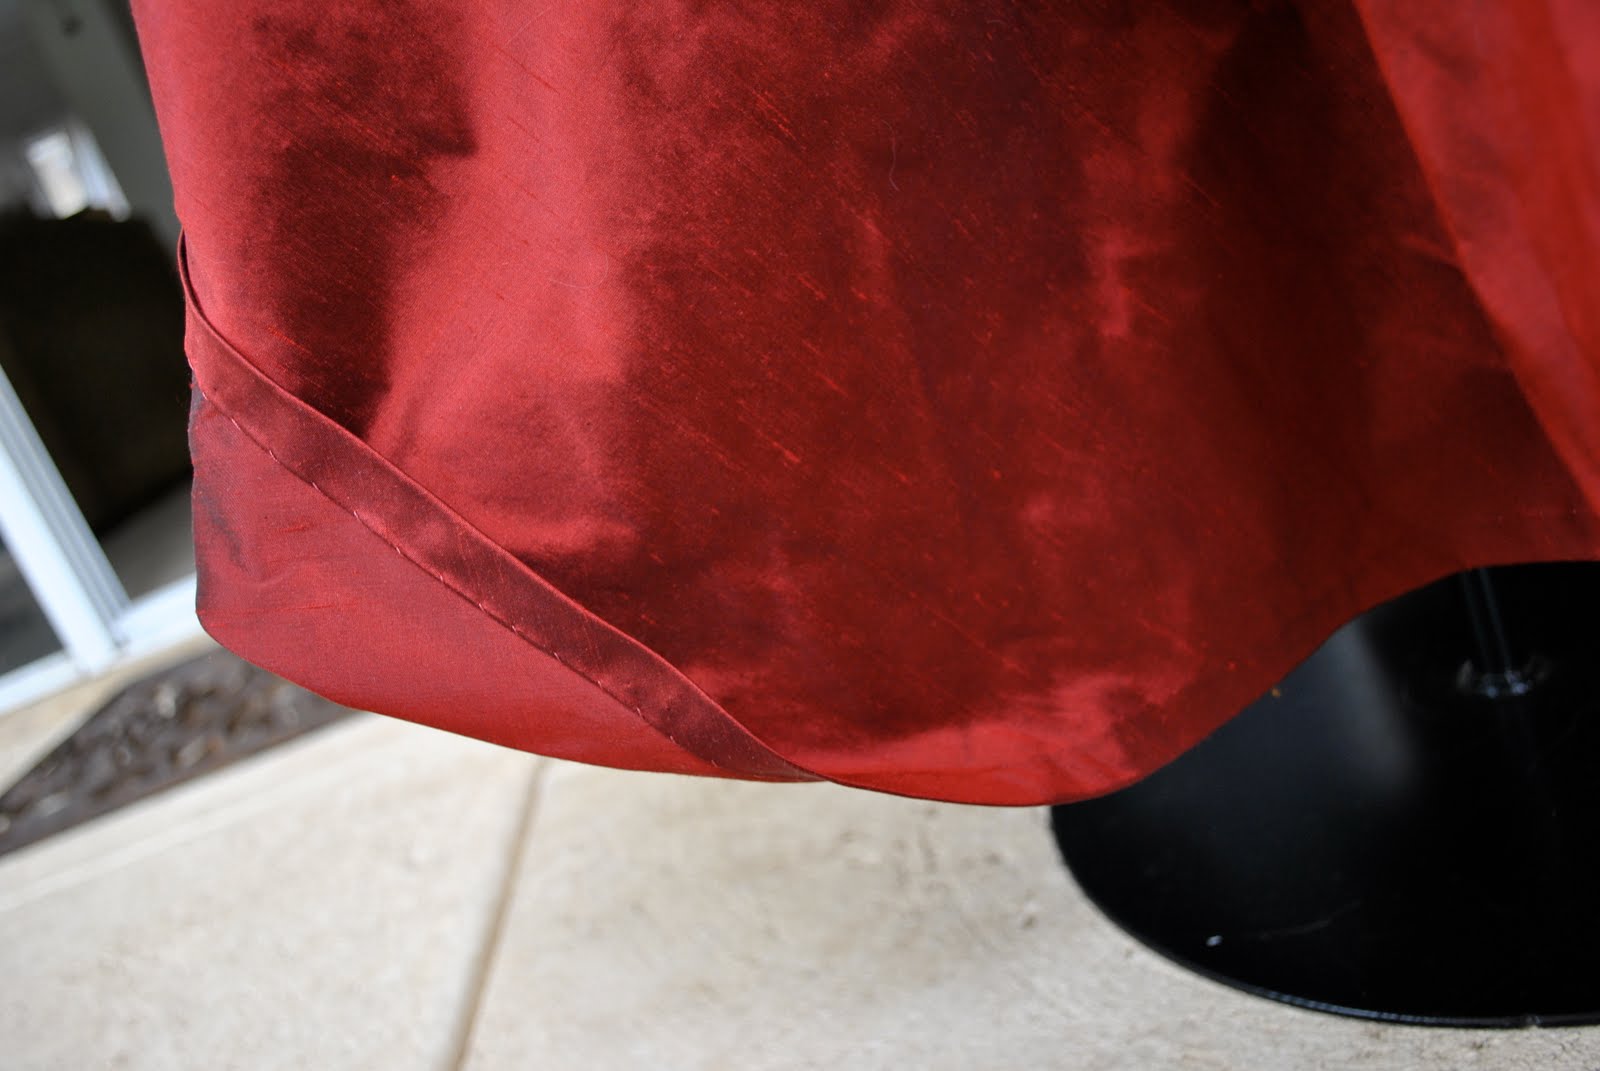
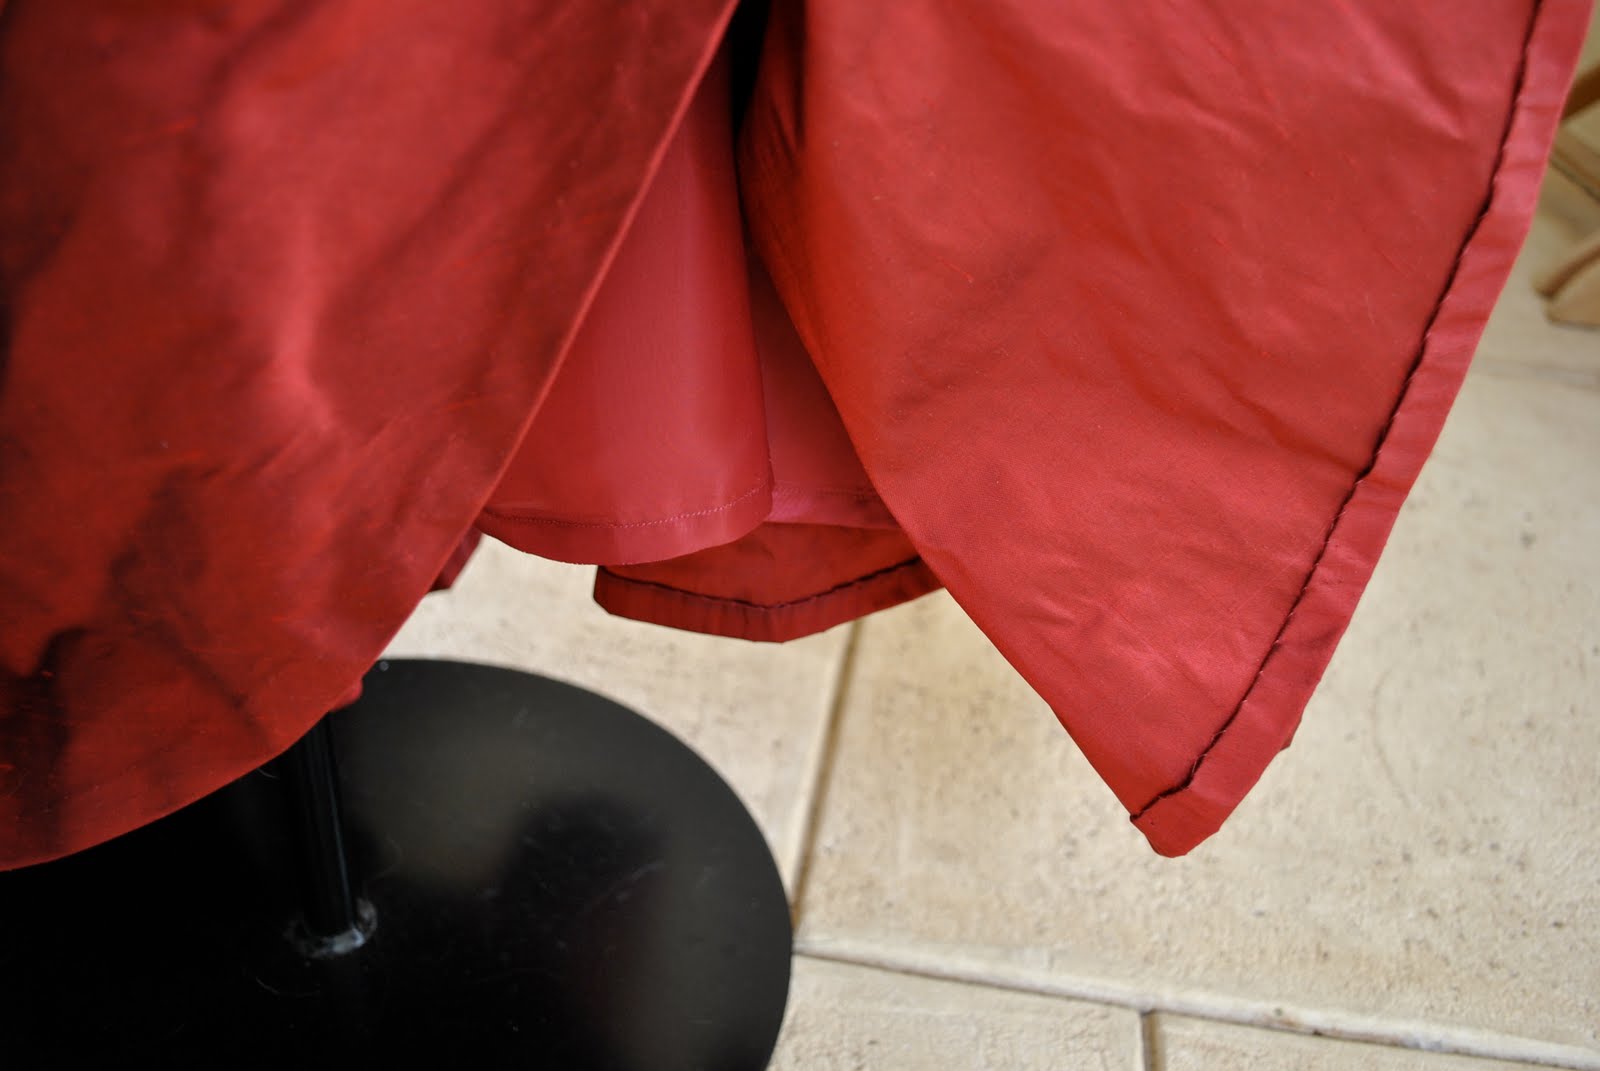
With right sides together sewed the skirt and its lining together around the bottom edge.  This was done after much experimenting with different hemming techniques on scraps.  I trialled rolled hemming (machine) and rolled hemming (overlocker) on the separate skirt and lining, then overlocker rolled hem on the two fabrics together.  Neither was satisfactory.  So I went with this method, which I think looks smooth and clean.

Trimmed the top to waist level and basted skirts closed.

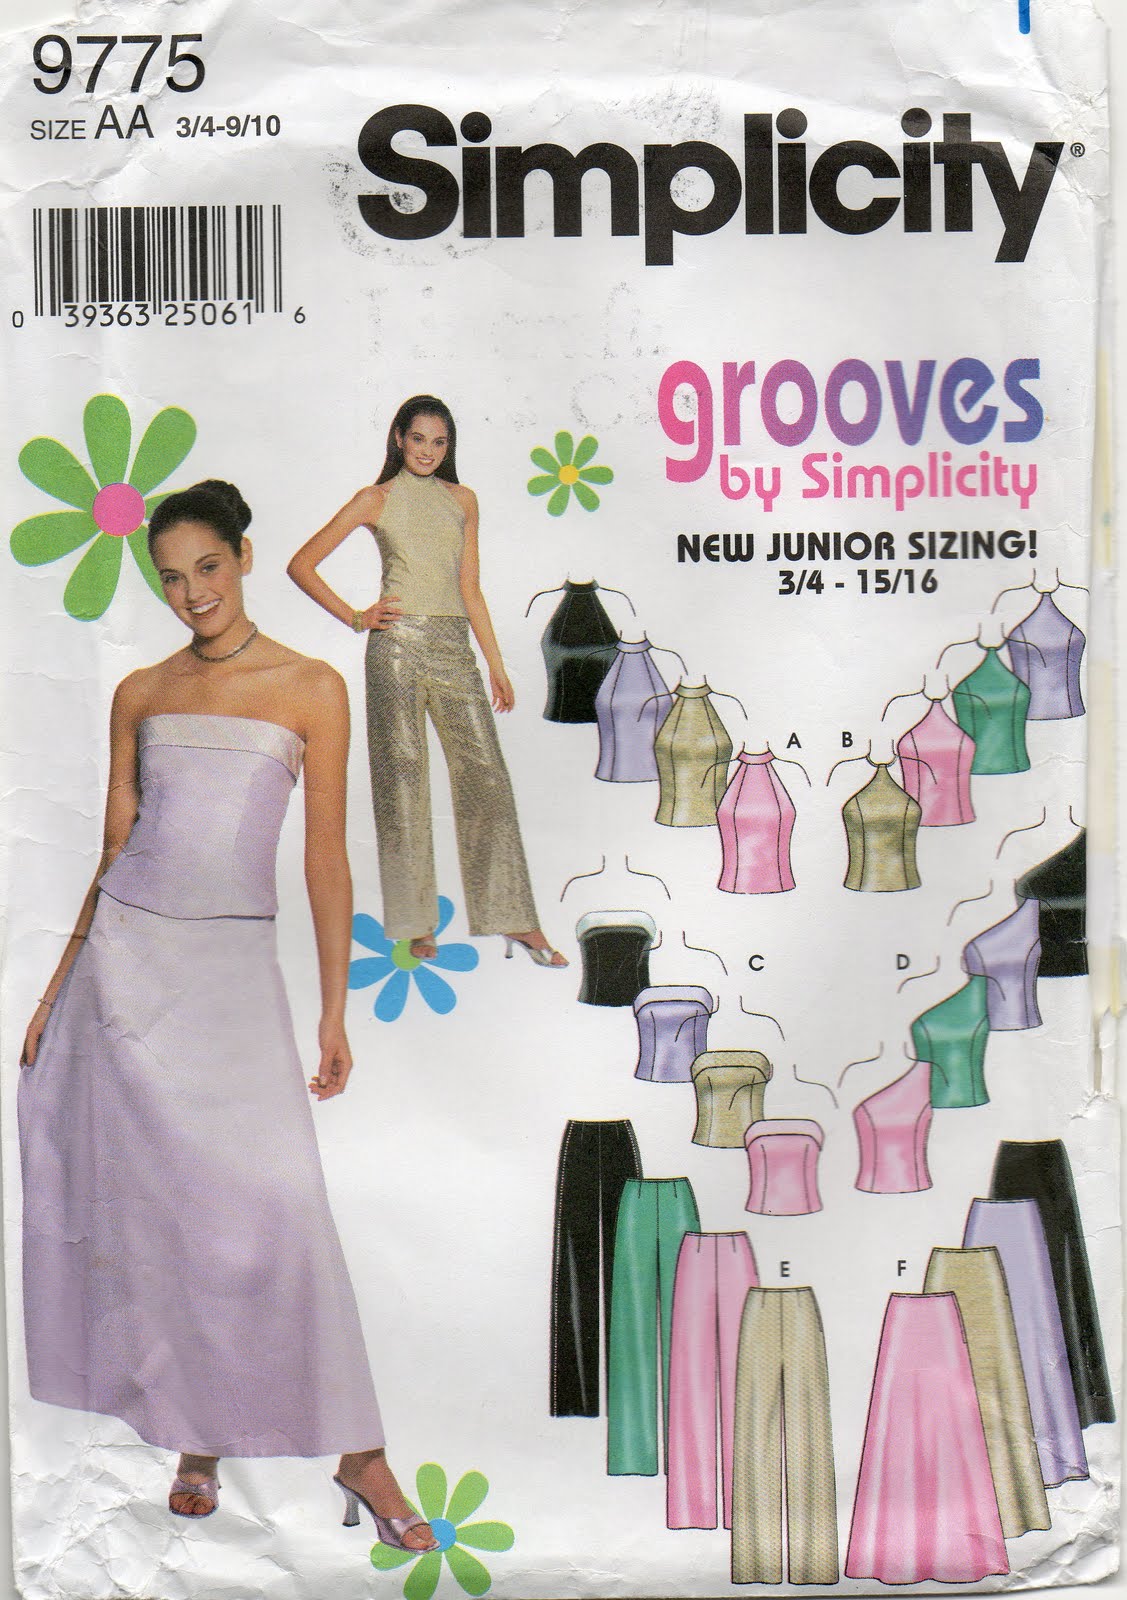
Adjusted the corset top to the size I want it.  Now, of course I originally used a version of Simplicity 9775 to help me cut this, although this is really a junior pattern and I still had to resize and reshape it to me, an adult woman size.  And now its been altered and butchered even further.  My point is this; can I really say this corset has been made using this pattern any more?  The pattern pieces actually now bear no relation to any of the pattern pieces in the envelope.  I often face this dilemma when citing pattern numbers in this blog, as my final garment is rarely exactly made up to the pattern, which I consider a starting point only.  Anyone wishing to create something similar to my garments is going to have to bear this in mind when buying these patterns I’ve referenced.  This is why I add the disclaimer, “own design” in the details of an outfit.  Just saying.

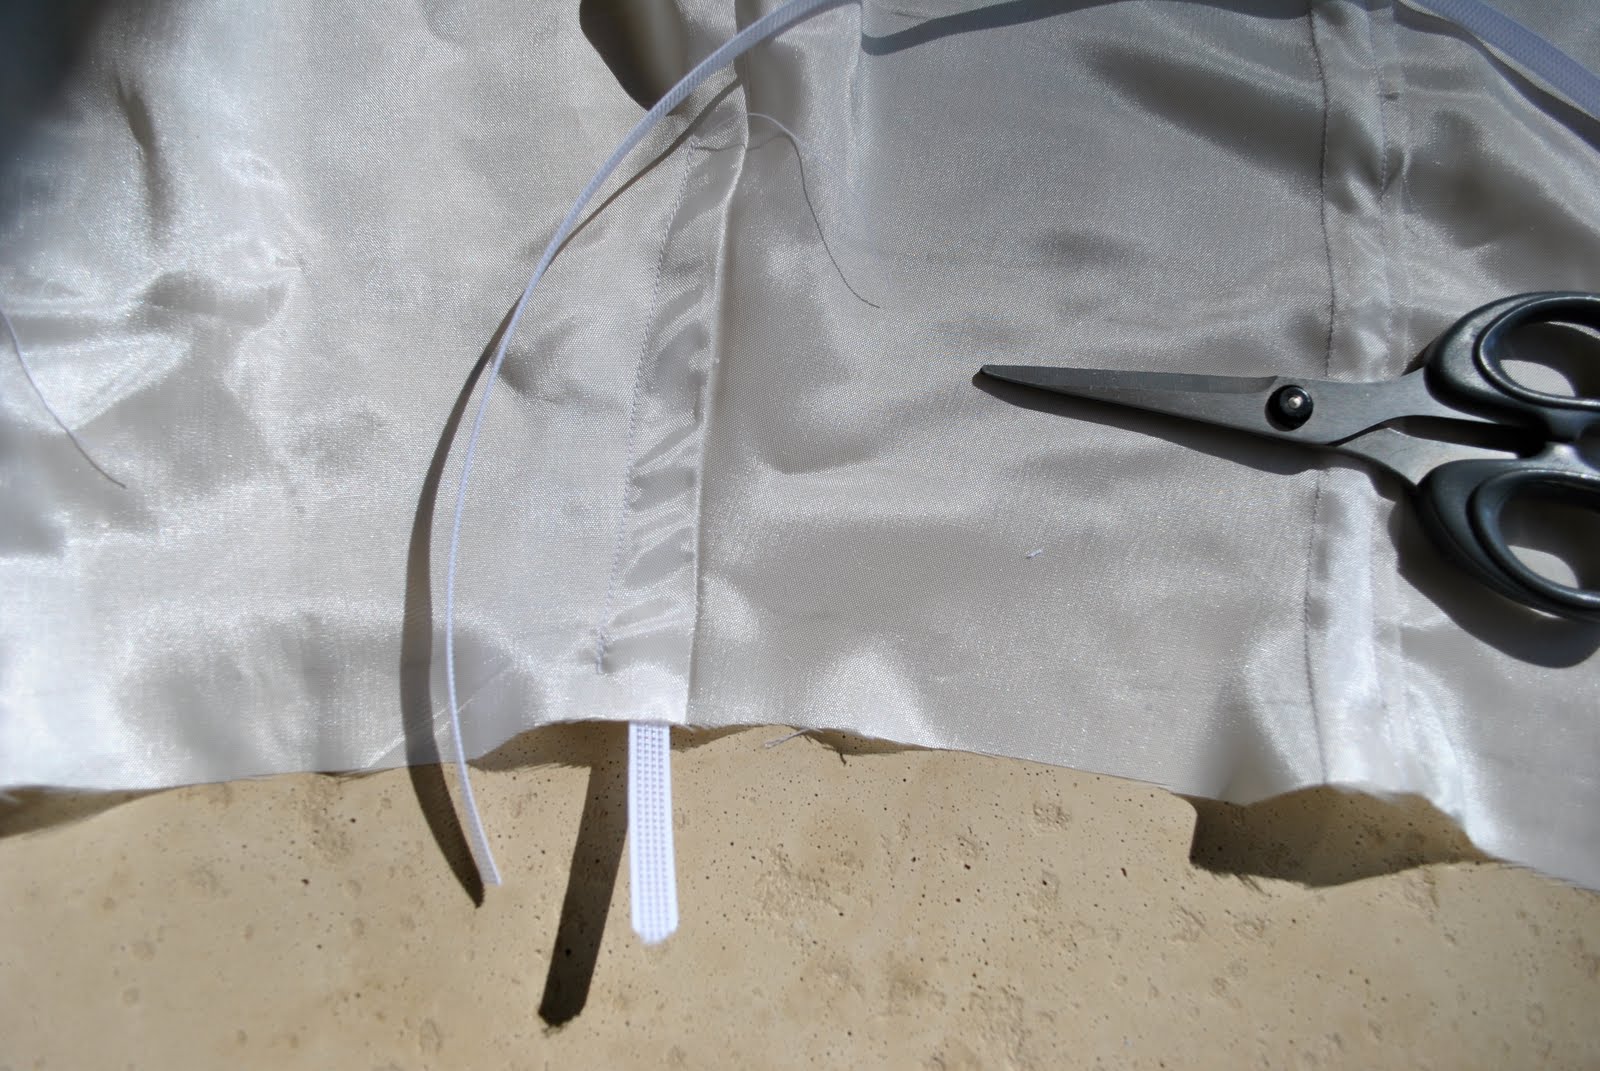
Getting back to events; corset boning.  Everyone knows to snip the edges of their boning into nicely rounded curves, right?  To avoid nasty scratching from one’s own ball gown during your evening, this is a must do…  Incidentally, this plastic boning is the only type I’ve ever seen, although I’ve now heard of steel boning I’ve never seen it anywhere.  I think that’s because of living in sleepy lil’ ol’ Perth… 

The next step will be to drape some fashion fabric attractively and chic-ly across the bodice, and I’m hoping to achieve some sort of wow factor here.  This may or may not be my final outcome.  Stay tuned to find out…

pinterestmail
Switch to mobile version
↓