Tag Archives: Own Design

Grey wool coat for Spring

I made myself a coat for spring, using McCalls 5525, view B and grey wool fabric, bought back in March on a whim.  So, it took some cutting magic to get this coat out of the small amount of wool I had bought because there really wasn’t enough for this pattern!  When I realised this and went back to the store to get some more it had all been sold and I needed to buy a small amount of a different grey wool fabric which I used for the under collar and front facings, you can probably see on the close-up pictures the different fabric on the under/in-side of the coat but I think it’s not so different as to stand out in an ugly way.  Actually I think it worked out to be a blessing in disguise, because the second fabric is a much stiffer and thicker felted wool than the outer woven wool fabric, so I decided there was no need to interface, and I think it was the right decision not to do so.  The weight of the two wool layers together feels quite thick and stiff enough…
I lined it with a purply-pink cotton poplin, which makes the weight of the coat perfect for Perth’s sometimes chilly but sometimes warm spring weather.  I’m looking forward to wearing it more!

Details:
Coat; McCalls 5525 view B, grey wool flannel
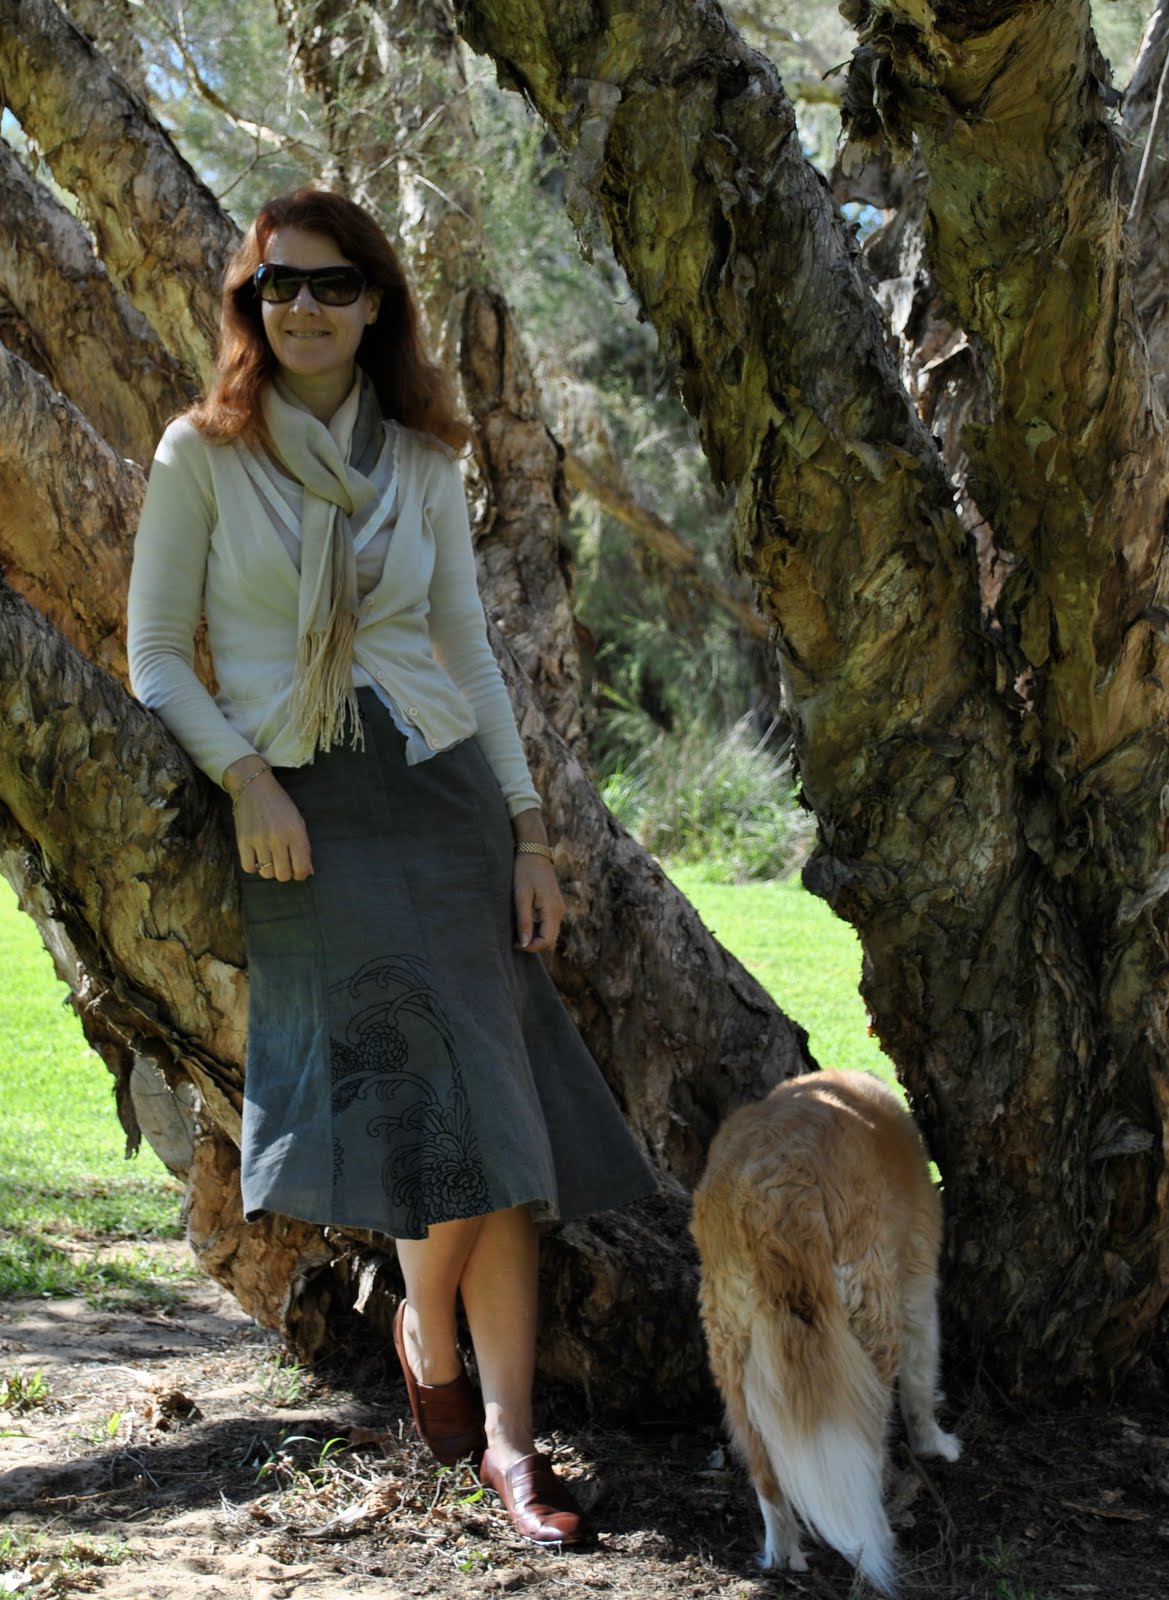
Skirt; my own design, charcoal stretch jersey knit
Shoes; Misano, from Labels

Pattern description
Semi-fitted, lined, double-breasted jacket and coat have collar, lengths and sleeve variations, princess seams and side front pockets.  Here I made view B with back vent, sleeves with button bands, topstitch trim and button closure
Pattern sizing
8-16, I made size 10
Did it look like the photo/drawing on the pattern envelope once you had finished sewing it?
yes
Were the instructions easy to follow?
very easy
What did you particularly like or dislike about this pattern?
I loved everything about this pattern!  I like that it is fully lined, not half lined as some coat patterns are; the inset pockets are in a good position on the front, and the one-piece sleeves are an easy feature
Fabric used:
Woven grey wool for the outer, purple/pink cotton poplin for the lining.  Thicker felted wool fabric for the under collar and facings (because I didn’t have enough of the outer fabric)
Pattern alterations or any design changes you made:
I made the pockets slightly larger as I thought the ones in the pattern looked too small for comfort
Would you sew it again?  Would you recommend it to others?
I highly recommend this pattern, the variations mean you can achieve so many looks from this one pattern and I do plan to try some of the others
Conclusion:
This is such a stylish and versatile coat pattern.  The pattern is well designed; it went together very easily, all the pieces fitting together as they should with no difficulty.  The one piece sleeves make this a breeze to sew.  I made view B, and I particularly love the flattering asymmetrical collar, very “designer” and slightly retro.  I think this view would work beautifully in heavy satin for an evening coat.  I also particularly like the button bands on the sleeves of this view.  I hand-tacked these bands to the sleeve seams to lessen the risk of them “rotating” around the sleeve during wear.

pinterestmail

Noro baggy beanie

So, here is the other baggy beanie I’ve made for this winter.  This is made using one ball of Noro Kuryon? I think?  I bought it a few months ago, and have lost the tag so colourway is unknown, sorry!…  It’s my own design, but obviously there’s nothing tricky or difficult about making a beanie.  The beauty in this beanie is in the lovely knobbly wool, and it’s woods-y shades of moss green, heather-y purple, a touch of fungal yellow, all shades of brown and deepest charcoal.

Tension: 12 sts and 20 rows to 1ocm square

Cast on 60 stitches.
k2, P2 rib to end
repeat for another 11 rows (12 rows rib in total)
Continue in stocking stitch (K 1 row, P 1 row) for another 24cm length, Decrease for crown as follows:
K4 K2 together, repeat to end of row (50 stitches)
P 1 row
K3, K2 together, repeat to end of row (40 stitches)
P 1 row
K2, K2 together, repeat until end of row (30 stitches)
P 1 row
K1, K 2 together, repeat until end of row (20 stitches)
P 2 together until end of row (10 stitches)

Cut thread leaving tail of 15cm, thread through wool needle, pass through stitches left on knitting needle, pull tight and tie off.  Sew up seam of beanie… done!

Can be worn long and baggy, or the ribbing rolled up to make it a little shorter  🙂


Details:
Beanie; made by me to my own design, Noro Kureyon
Skirt; made by me, Vogue 7303, olive green corduroy
Top, tights and cardigan; all Metalicus
Boots; Andrea and Joen, from Uggies

pinterestmail

Little charcoal skirt

Today is the most miserable of days Perth has to offer; we’ve had tons of rain in the last 24 hours and it’s windy and stormy to boot.  Good news for the farmers, though, this rain has finally broken another very long dry spell that has my friend J worrying over their crops…
On the plus side, today I am having my hair cut; one of my favourite self-indulgences where I get coiffured and pampered and swan out of the salon looking smart, sleek and suitable for public viewing once more… and tomorrow my sister-in-law is taking me to my first Burdastyle Club meeting!  I’m a bit excited, but also nervous about meeting new people and don’t really know what to take…  Maybe it would be safe to just take some fabric and a pattern for cutting out for this time.
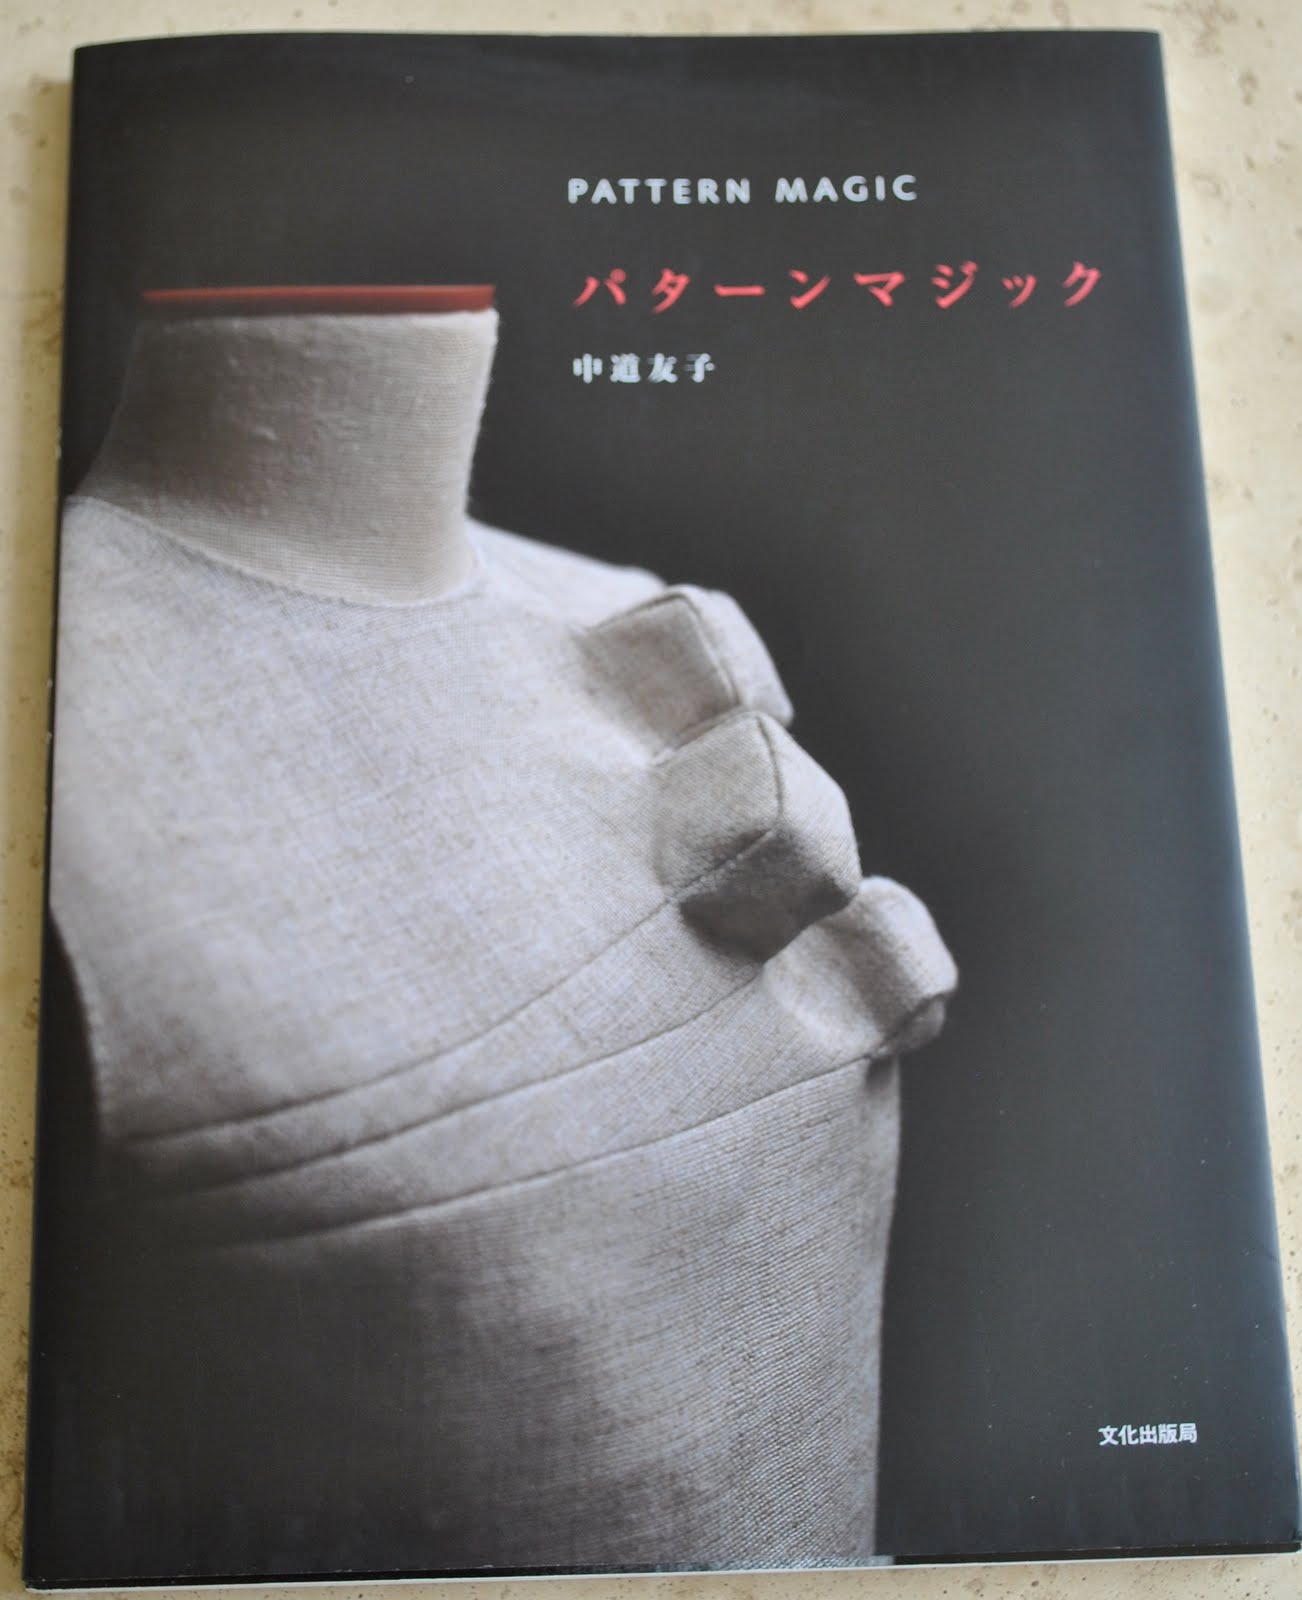
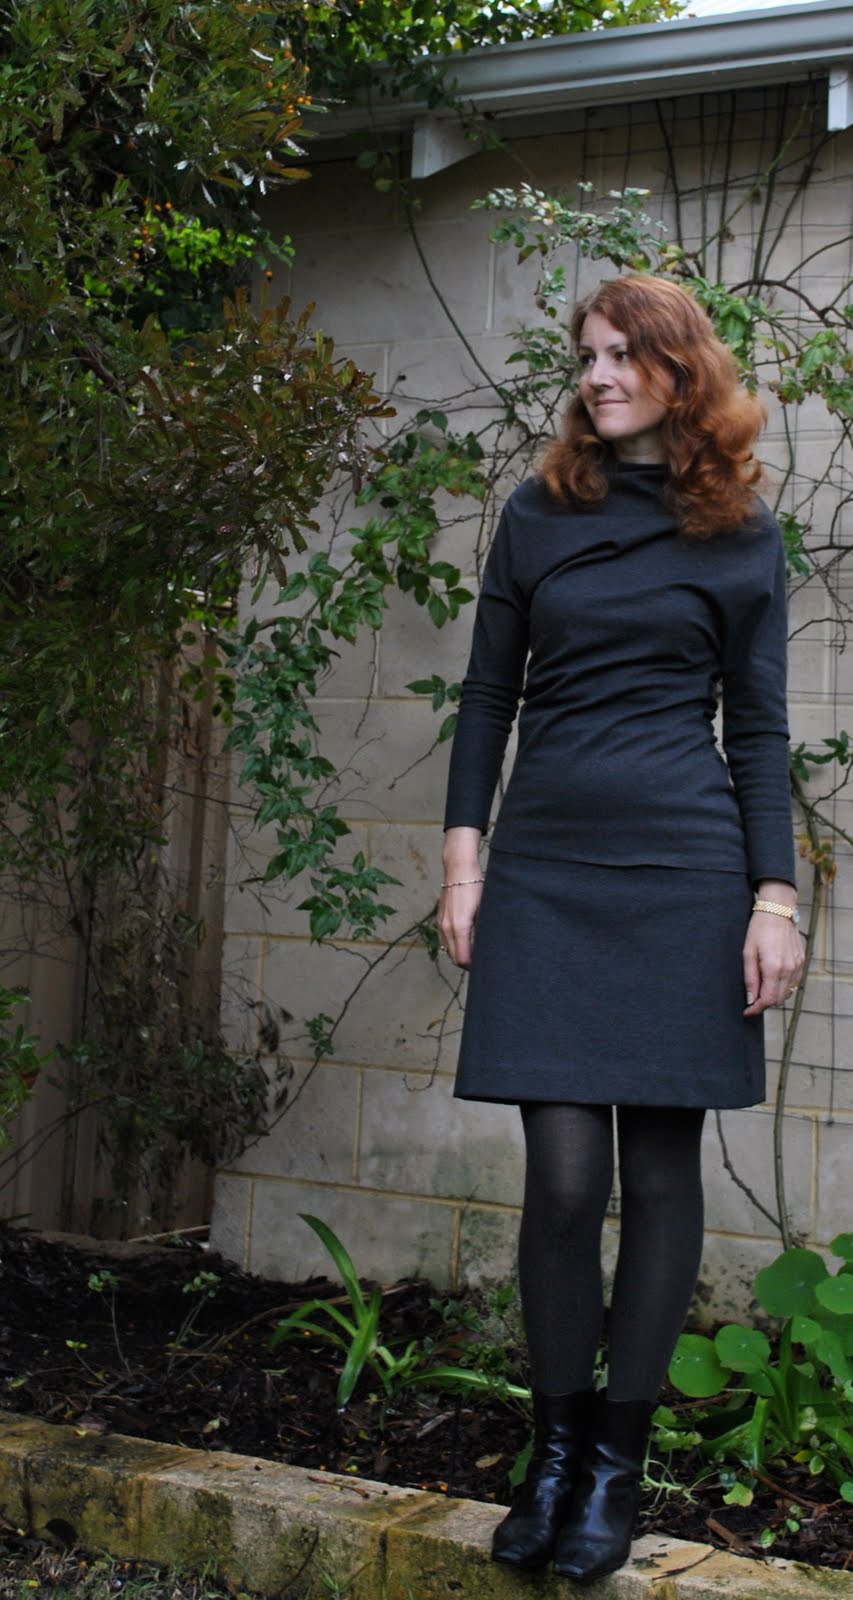
Oh, what am I wearing, well after finishing this top from Pattern Magic I had a bit more of the charcoal stretch jersey left over and made this very simple basic little skirt to go with it.  It is the simplest of skirts; no darts or zips and a waistband of 3cm wide black elastic sewn around the top to hold it up, then hand-hemmed.  I think probably too simple to even bother putting up on Burdastyle…
In this outfit and with these lovely textured charcoal tights I feel appropriately sombre, rumply and skewiff, much like the stormy swirling storm clouds up above me in the sky… 

Details:
Top; made by me, drafted from Pattern Magic by Nakamichi Tomoko, charcoal stretch jersey knit
Skirt; my own design, charcoal stretch jersey knit
Tights; Spencer Lacy
Boots; Mina Martini, from Marie Claire

pinterestmail

Aviation chic

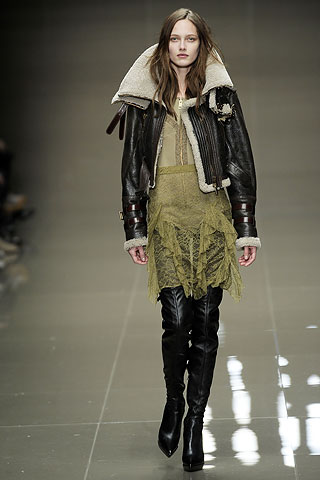
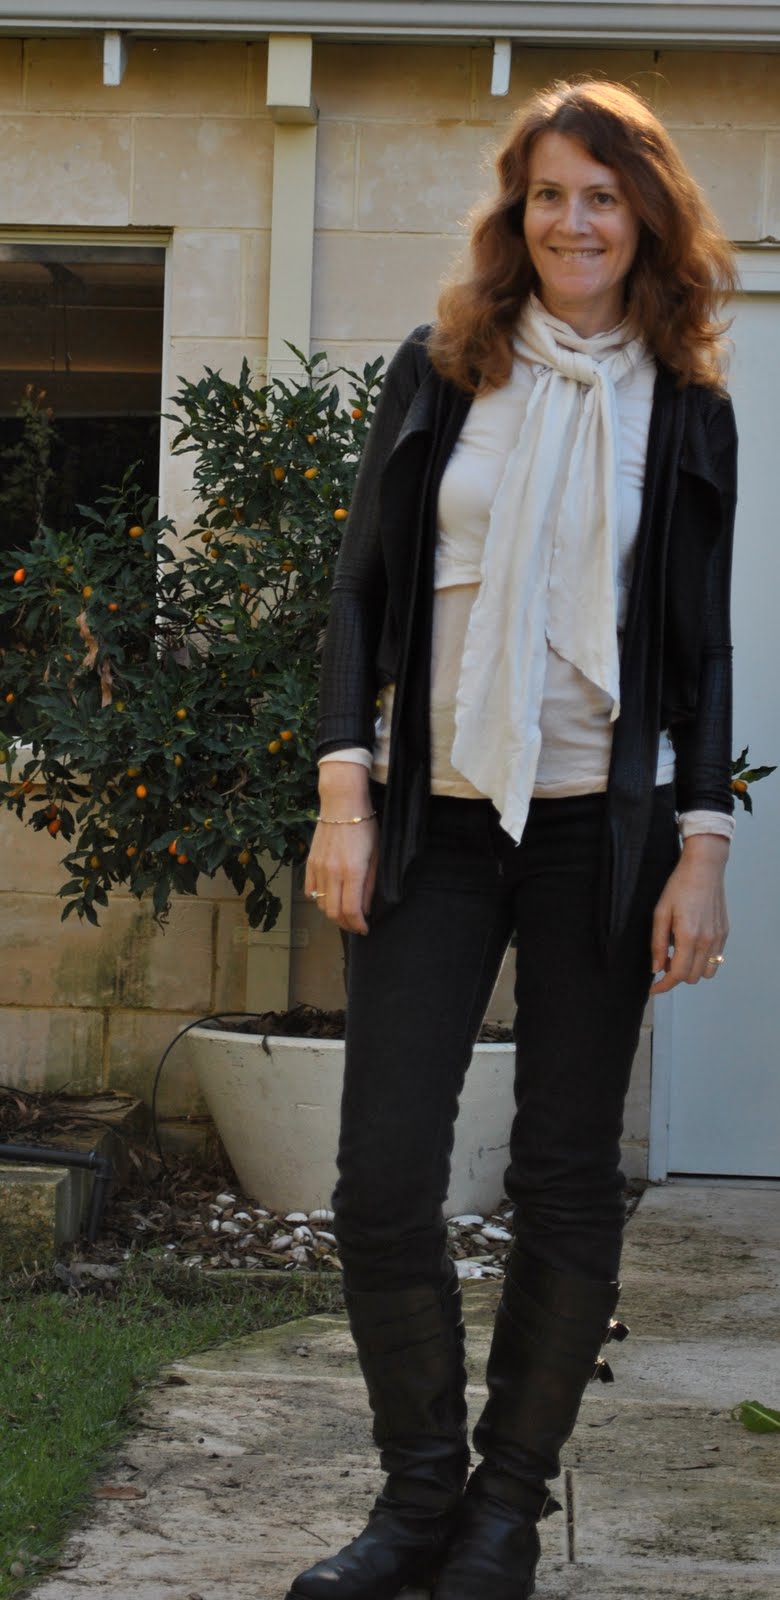
My outfit today has a sort of aviator/biker appeal about it.  I really love the Burberry fall 2010 collection like below, but I watered it down to suit my suburban not-very-high-fashion neighbourhood with its elderly population. 
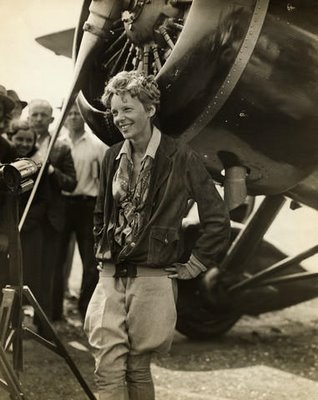
I’m not sure why the current interest in aviation style clothing, probably a spin-off from the immense current popularity of military-inspired fashion.  Most people getting on a plane in these modern times opt for a comfortable loose get-up involving tracksuit pants, sneakers and fleeces but say “aviator fashion” and the old fashioned images of, say, Amelia Earhart are what immediately springs to mind…  an iconic woman who was adventurous and independent, feminine but dressing with a strong masculine style.   Perhaps a shocking look in her time but considered very sexy and relevant for women of today.  I guess little wonder fashion is aiming to emulate her style.

Details:
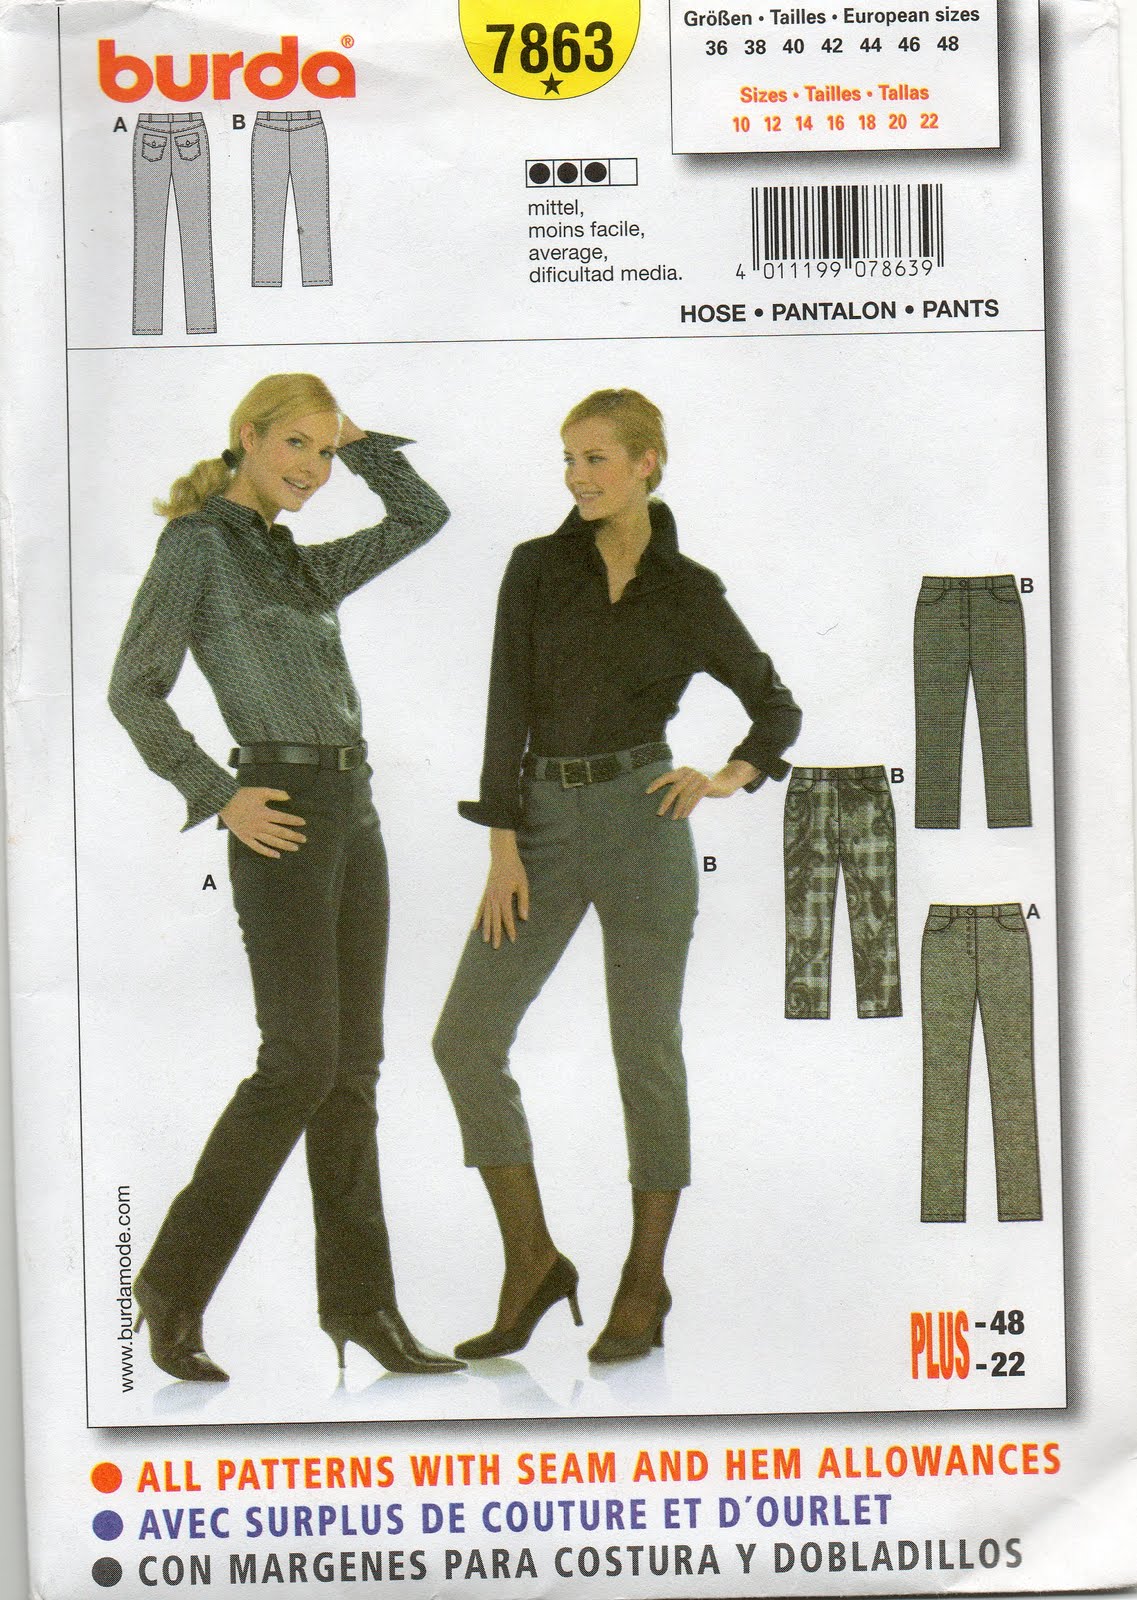
Jeans; made by me, Burda 7863, black denim
Tops (underneath); both Metalicus
Cardigan; my own design, snakeskin printed “rubber-y” black jersey knit
Boots; Andrea and Joen, from Uggies

Photos below;  at left, Amelia Earhart, found uncredited on the net; at right from Burberry Prorsum Fall 2010 collection


pinterestmail

Evening outfit, inspired by Christian Lacroix

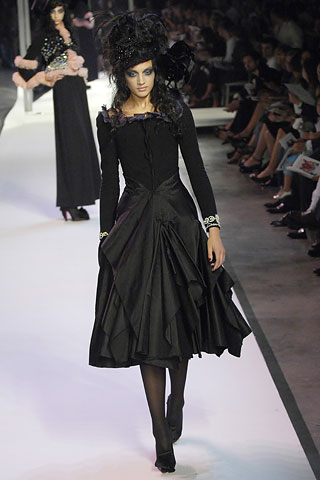
This is an outfit I made for evening wear a couple of years ago.  It’s been a wonderful one for when we have some winter function and the weather is really cold as I can pop on a thermal underneath if necessary, and my shoulders are covered.  I was completely inspired by the outfit at right from the Christian Lacroix Fall 2007 Couture collection.
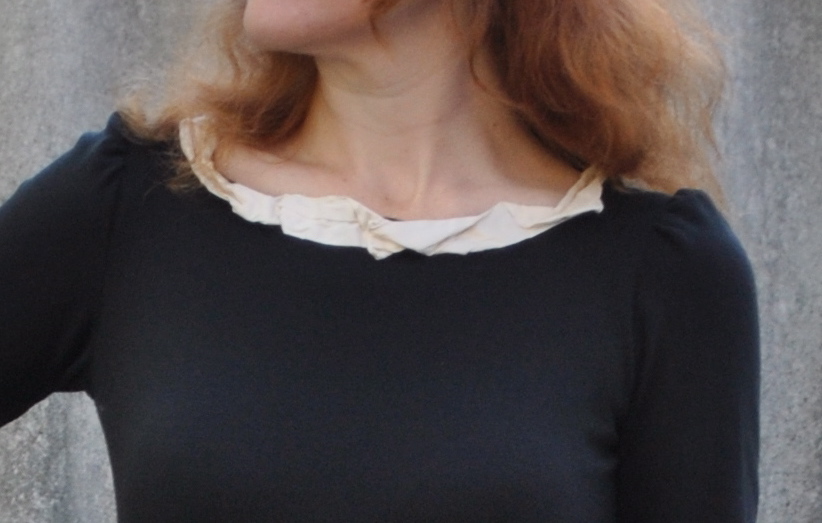
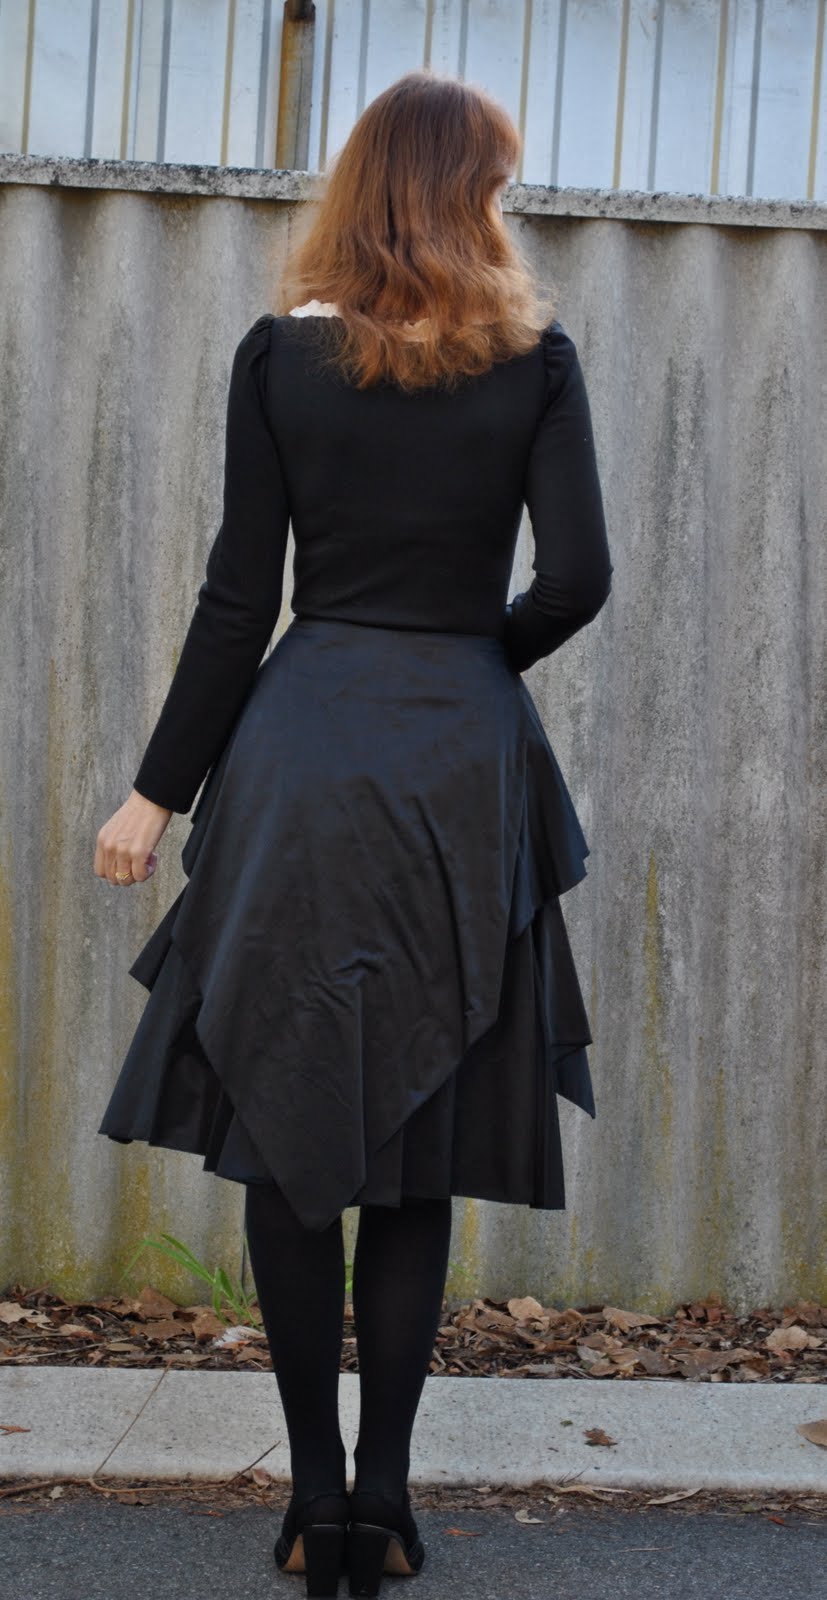
The top is a bodysuit made out of thick stretch black jersey, and for a tiny dressy touch the shoulders were cut high and gathered tightly at the top for a little puff.  The decoration around the neckline is a tube of heavy ivory/cream raw silk that I folded randomly and artistically and hand-stitched down (see detail picture below).
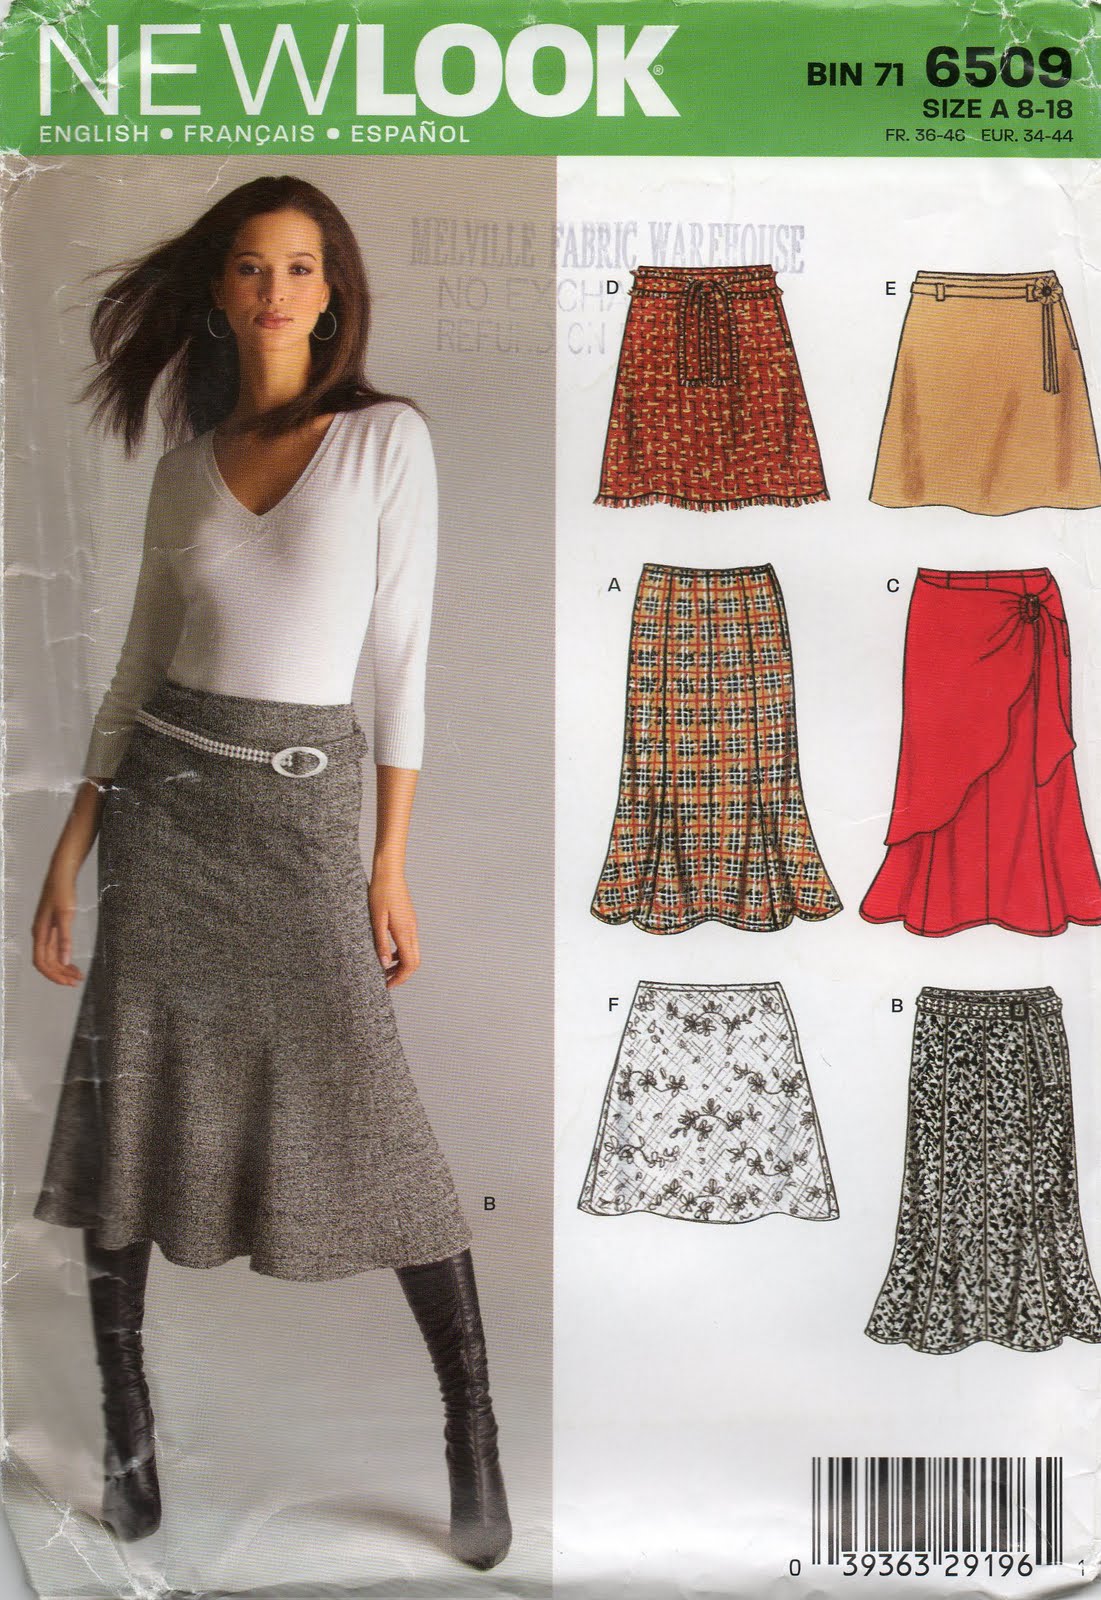
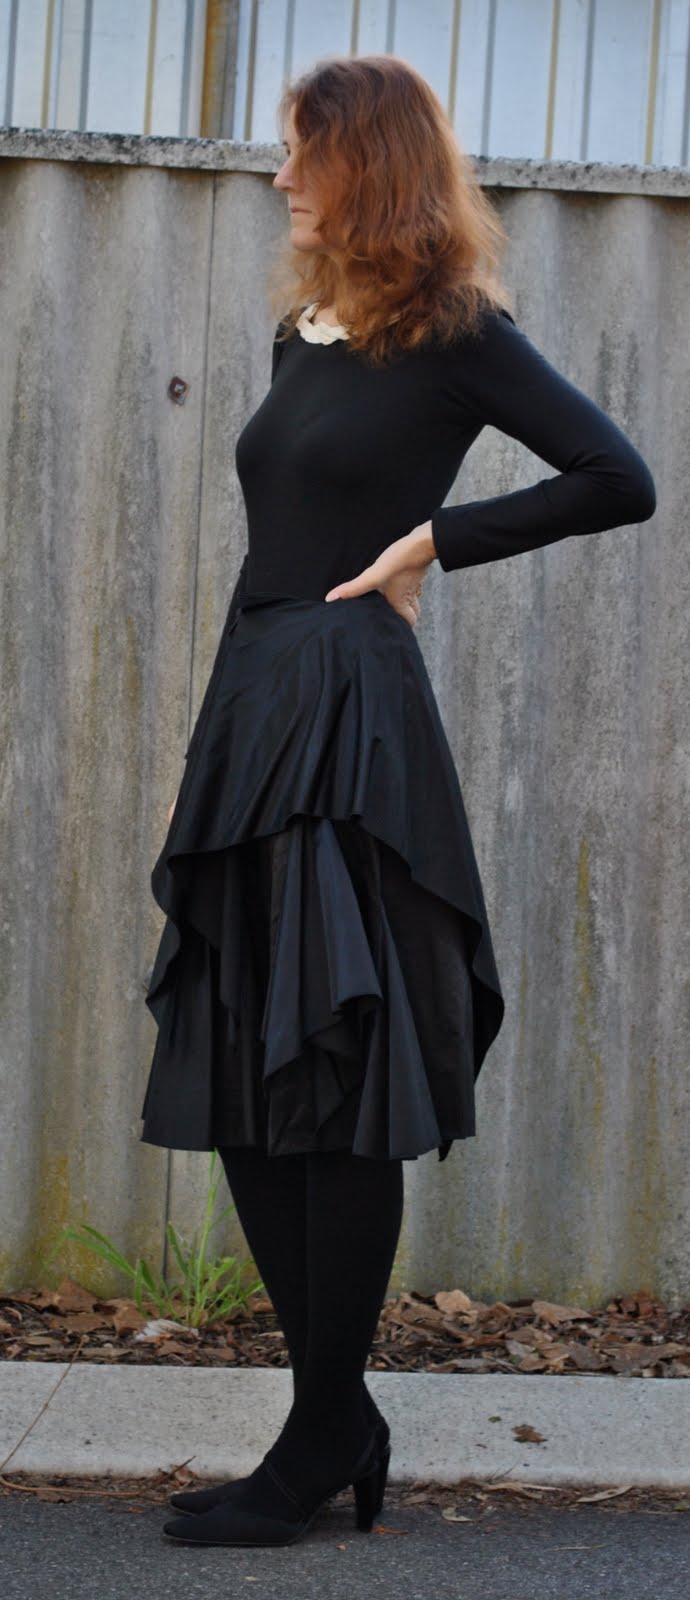
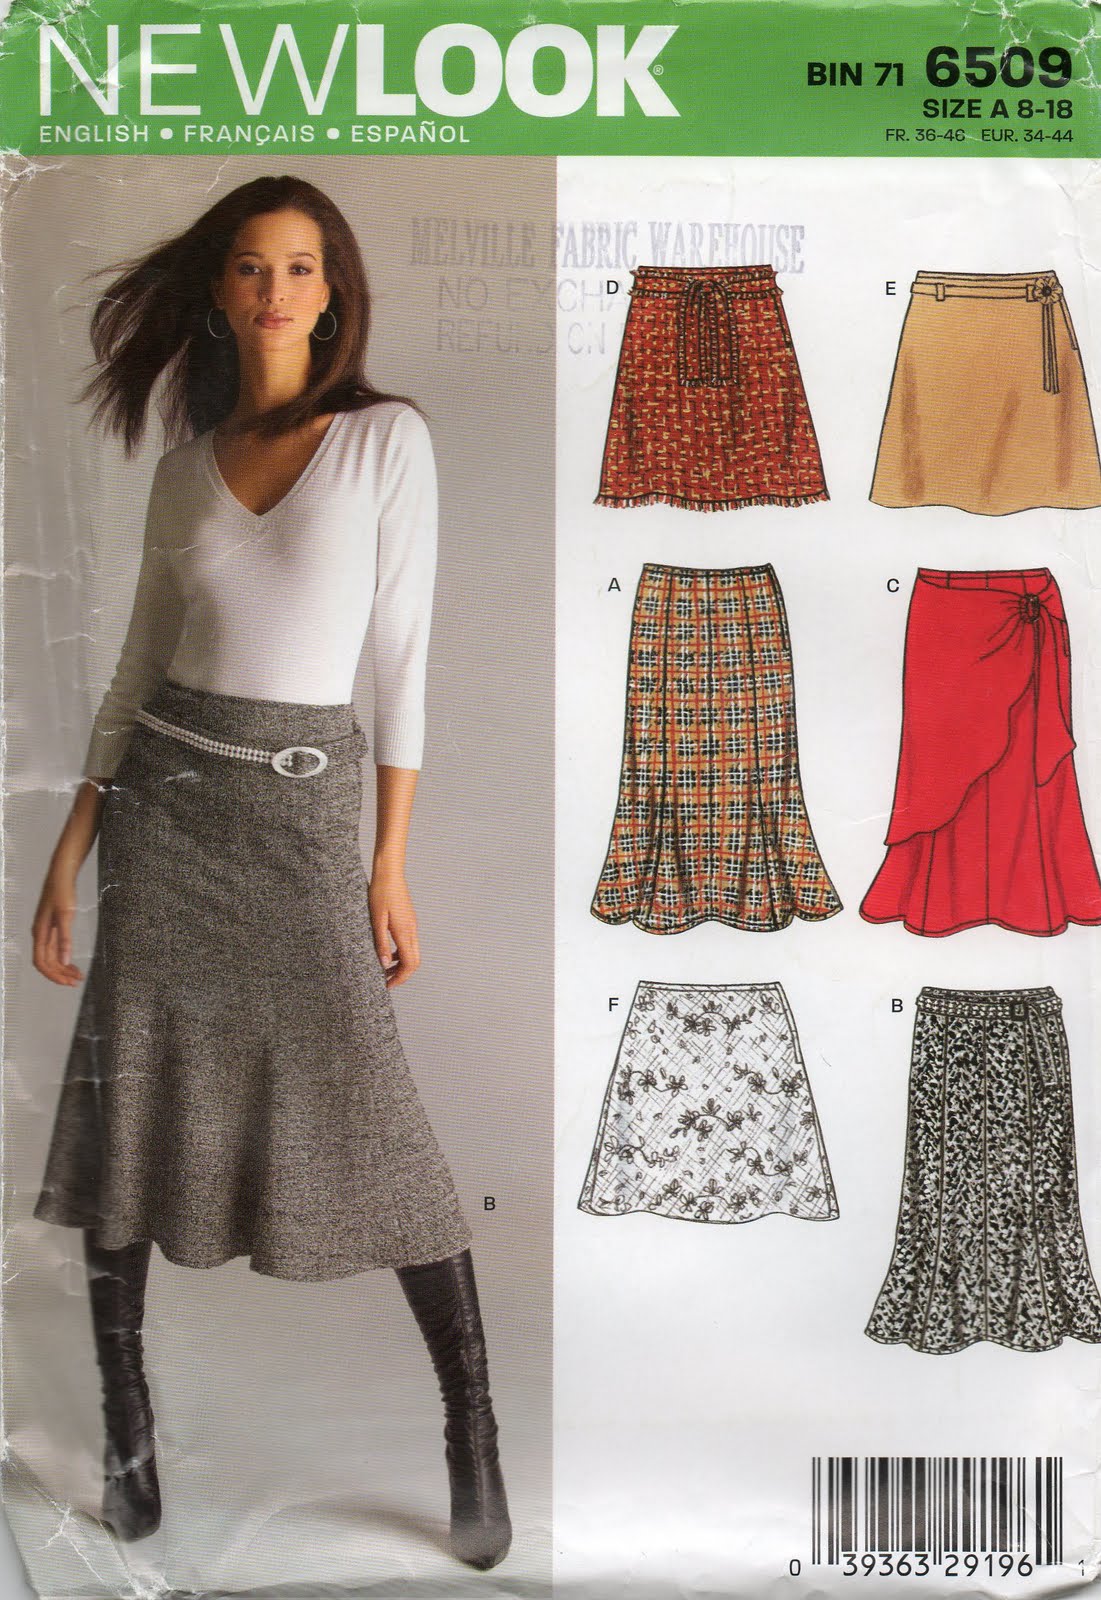
While for the top I was aiming for slimline and body-hugging, I wanted for the skirt to be dramatically flared and with lots of “bits”, like the Lacroix design.  I eventually achieved this by making two skirts.  For the underskirt I started off with New Look 6509 as a basic 8-gore skirt but altered by tapering the gores to be much wider at the hemline.  I also added wide triangular inserts in between some of the gores for added volume.  The overskirt is pretty much a circle skirt, plus some extra at the front opening.  The inserts and the overskirt I hemmed in straight lines, forming points, for a gothicky, witchy look.
Oh, (afterthought!) I’m not sure what the composition of the skirt fabric actually is, but it is like a heavy and very stiff satin; with a slight sheen on one side and matte on the other.  Perfect for the look I wanted.

Details:
Bodysuit; drafted my own design, black stretch jersey knit with ivory silk decoration
Skirt; drafted my own design, starting with New Look 6509, black stiff fabric
Tights; Kolotex
Shoes; Nina, from David Jones

pinterestmail

Cute patchwork skirt for a little girl

It is my youngest niece’s birthday tomorrow and I wanted to make her a frivolous and girly little skirt because she is luckily still little enough to love pretty dress-up clothes.  A dress I had made her for a previous birthday could well be the most appreciated present I’ve ever made anyone, as she wore it lots and lots.  It was a hot pink satin princess dress, with a sweetheart neckline, puffy glitter sleeves and a glittery tulle bustle and I was thrilled she was so happy with it.
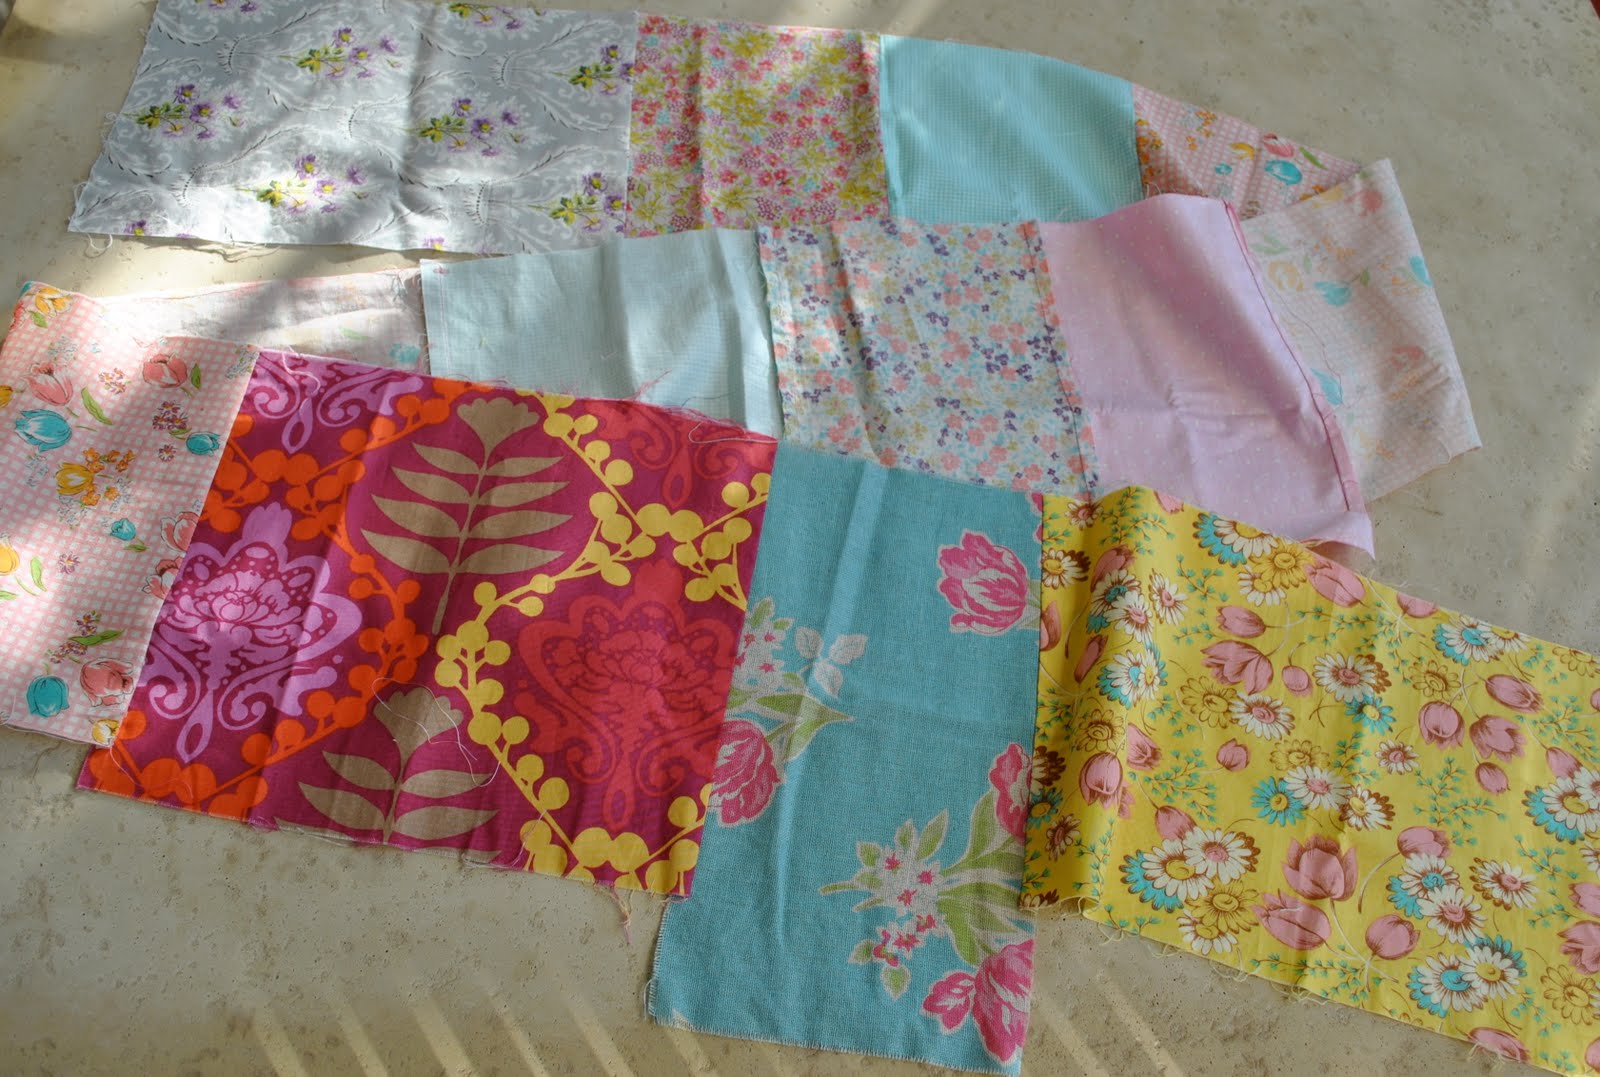
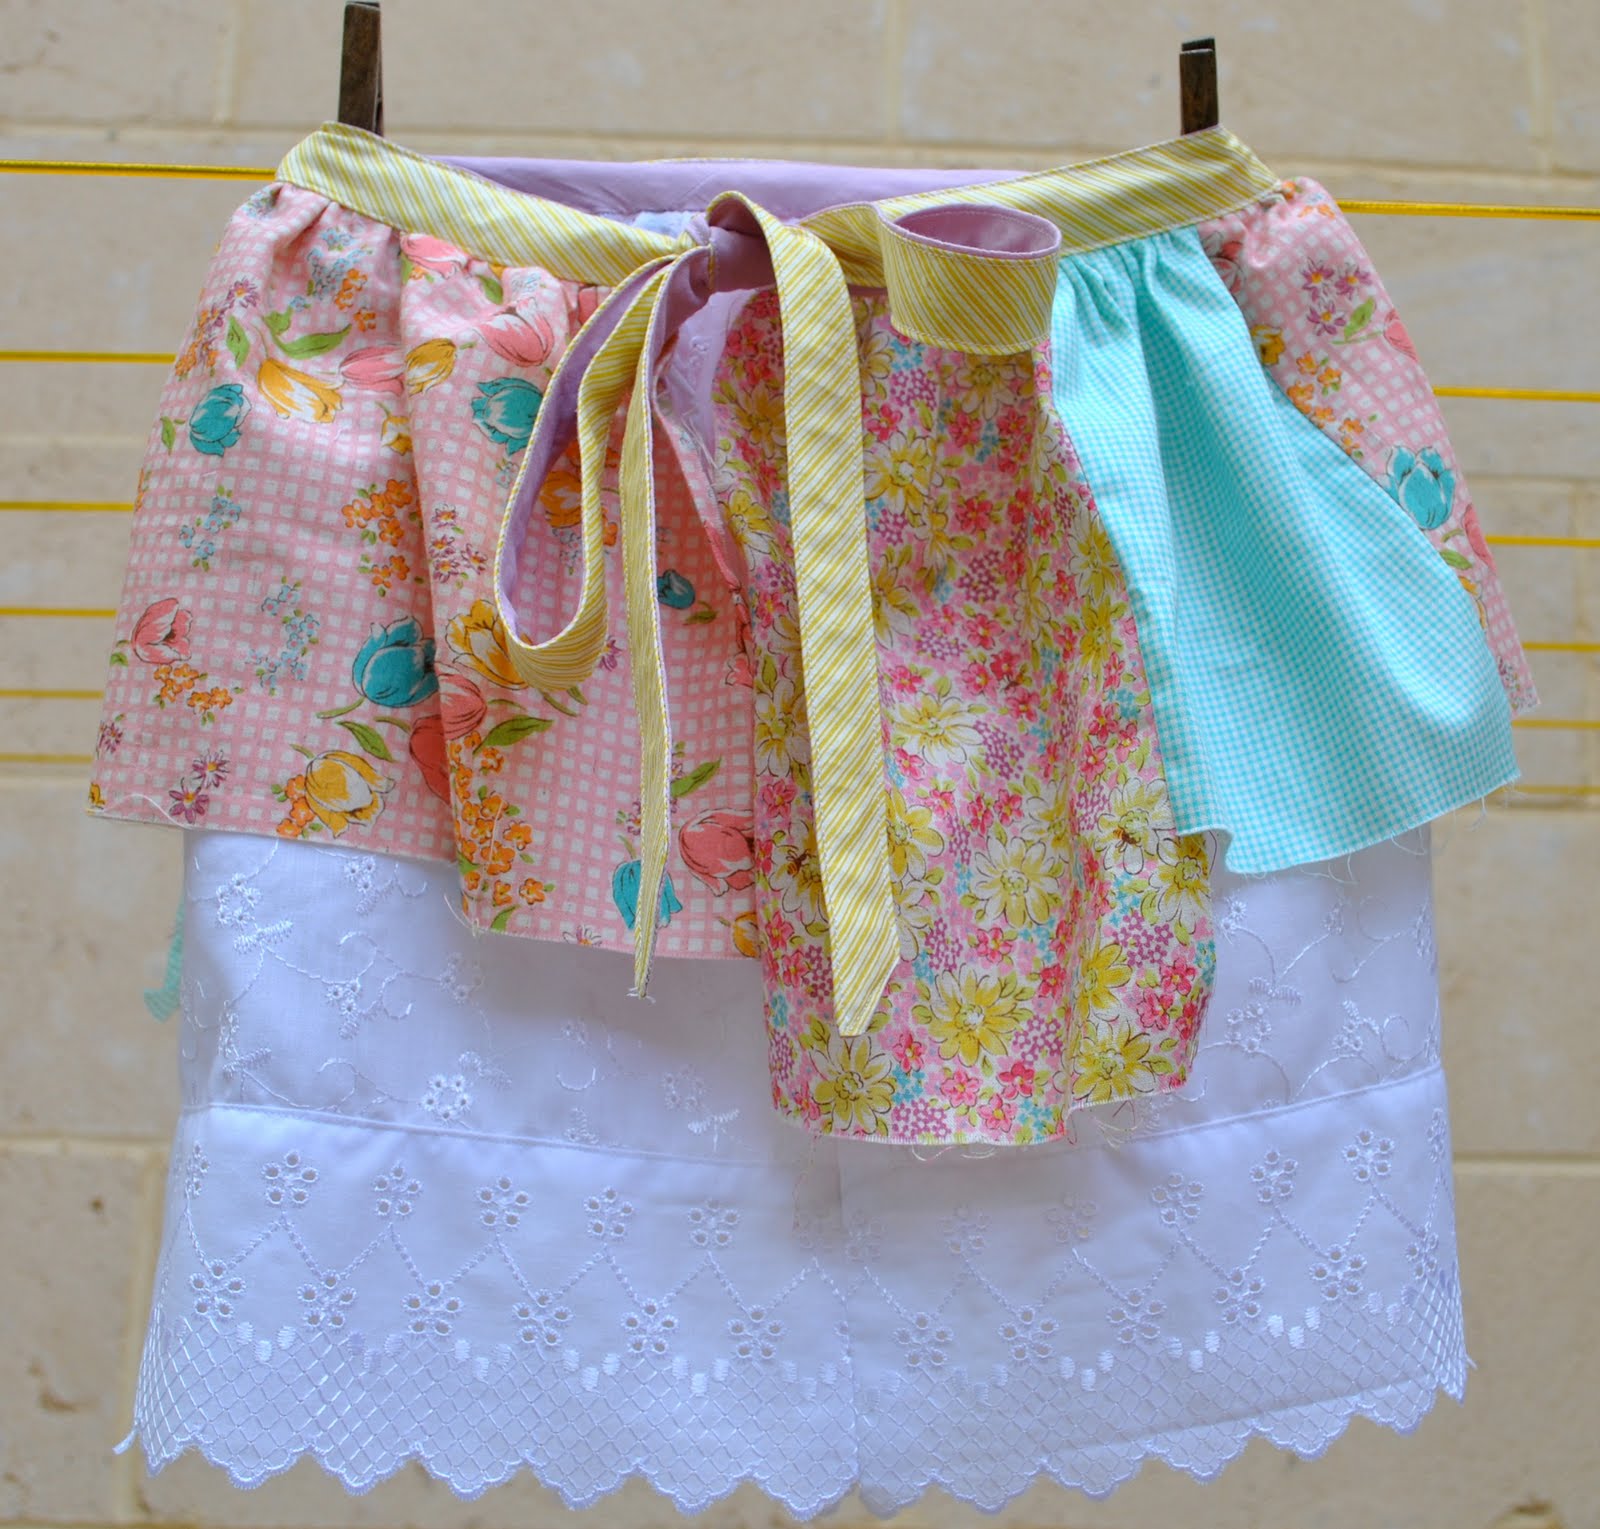
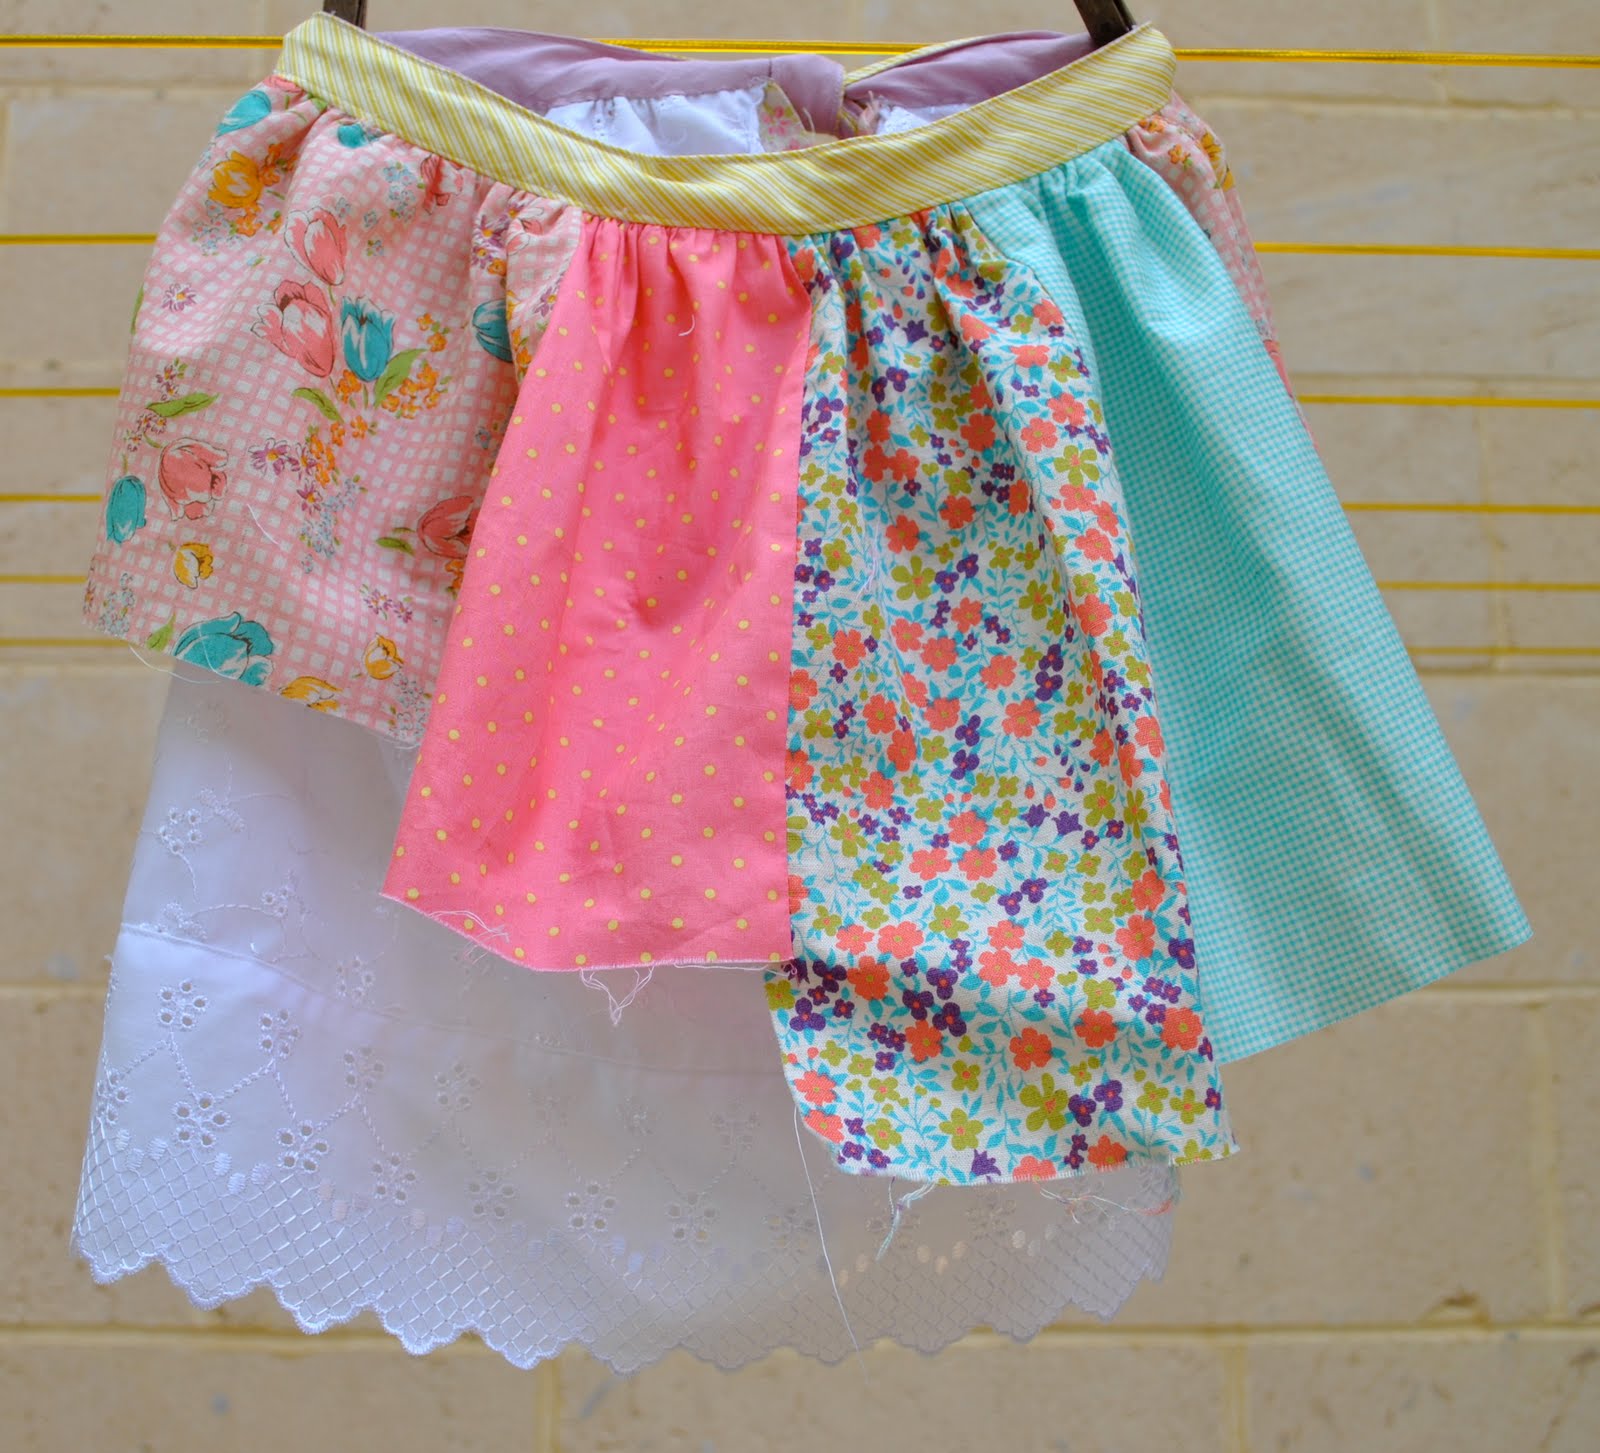
For this skirt I bought this row of pretty patches joined together.  The idea for this skirt came from the very creative Sophie who owns and operates Materialize.  She had made some adorable patchwork tutus for very little girls and had joined this strip together like this when I bought it.

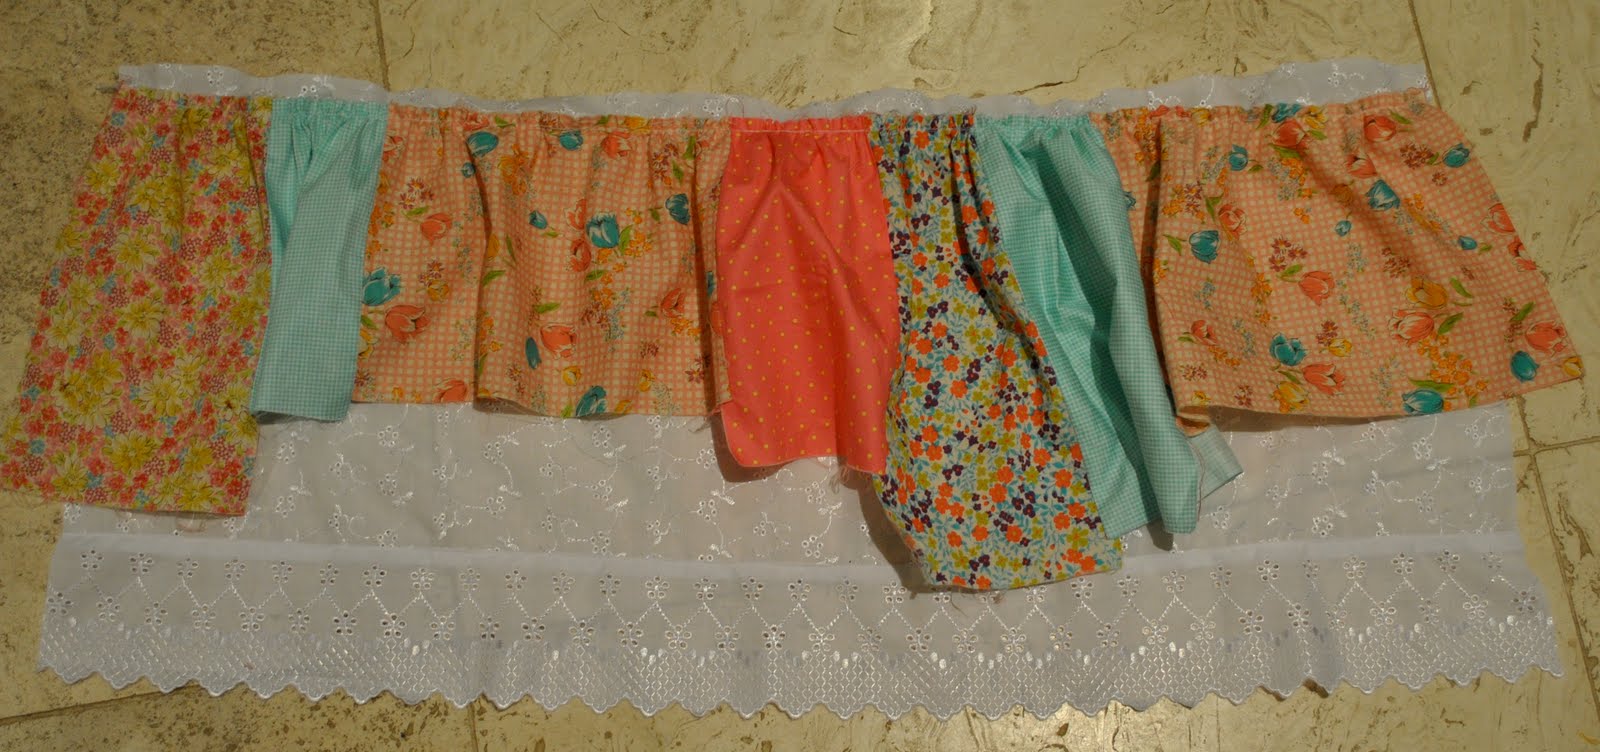
Now I’m making a skirt here not a tutu, and obviously the skirt was going to be way too short with just these pieces so what was necessary here? of course a petticoat!  So I bought some broderie anglaise and a little bit of broderie edging and cut to the suitable length; gathered the patched strip to fit on top.  I did it this way because I wanted the overskirt to be gathered in an apron-like fashion over a straighter petticoat…  At this point I had also removed some of the patches, partly  because I realised the strip was going to be too long and partly because I didn’t like some of the fabrics so much.  Then I attached the broderie anglaise edging strip to the bottom edge…
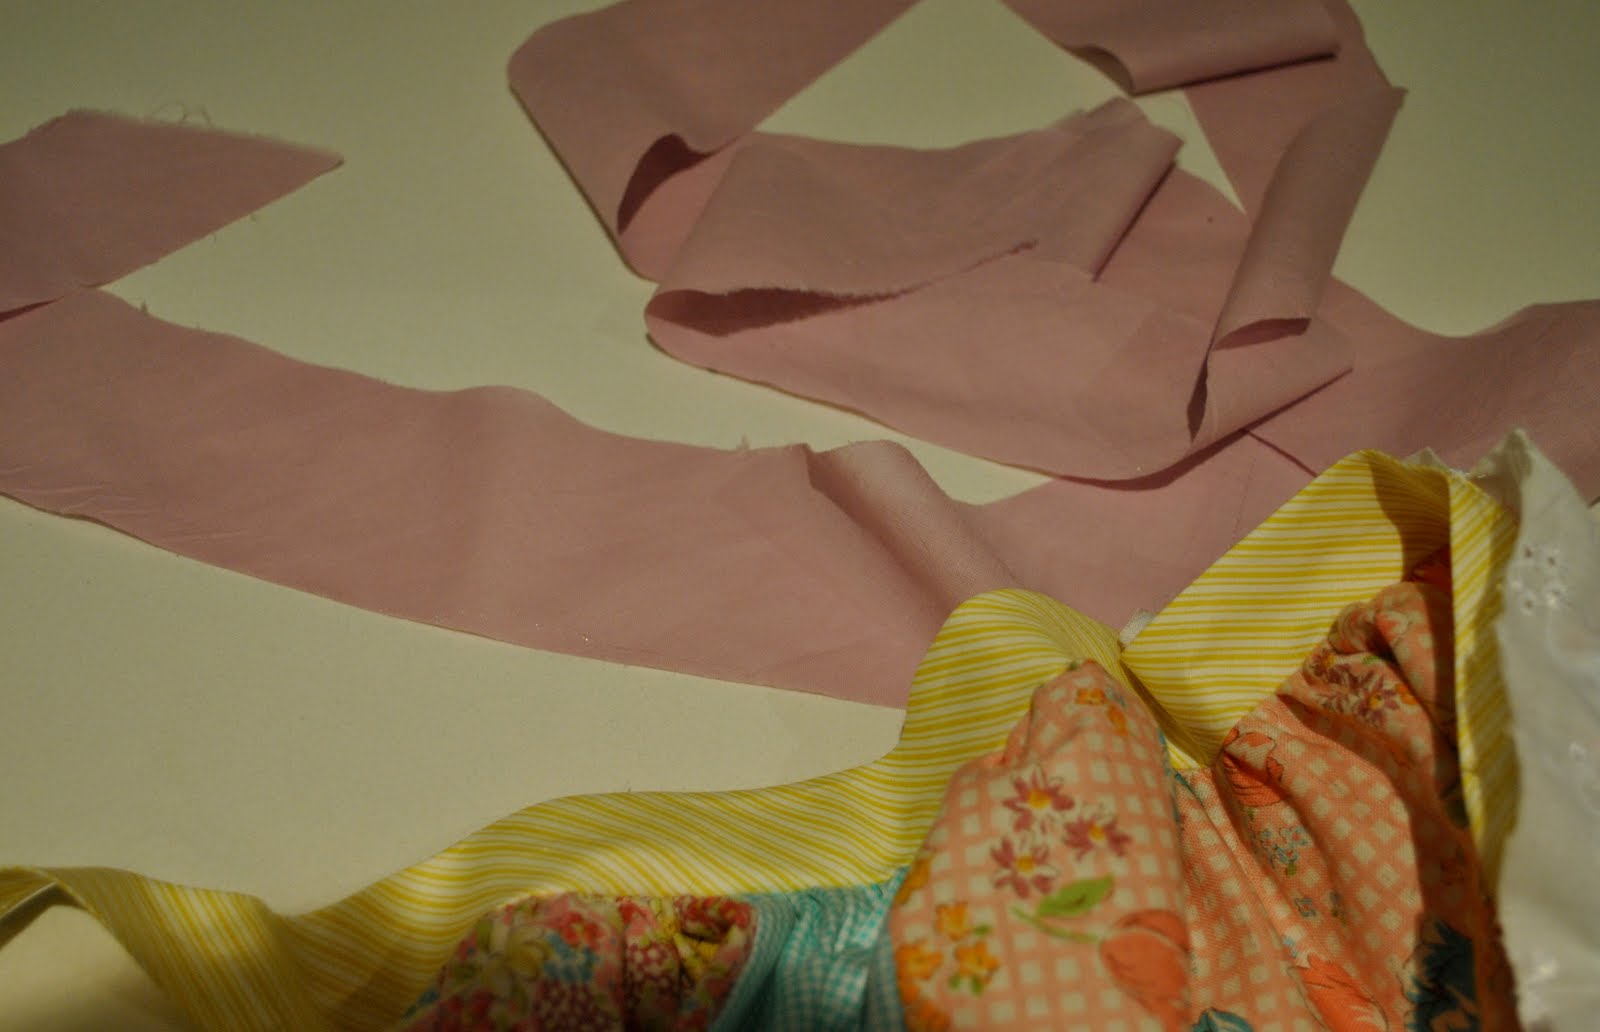
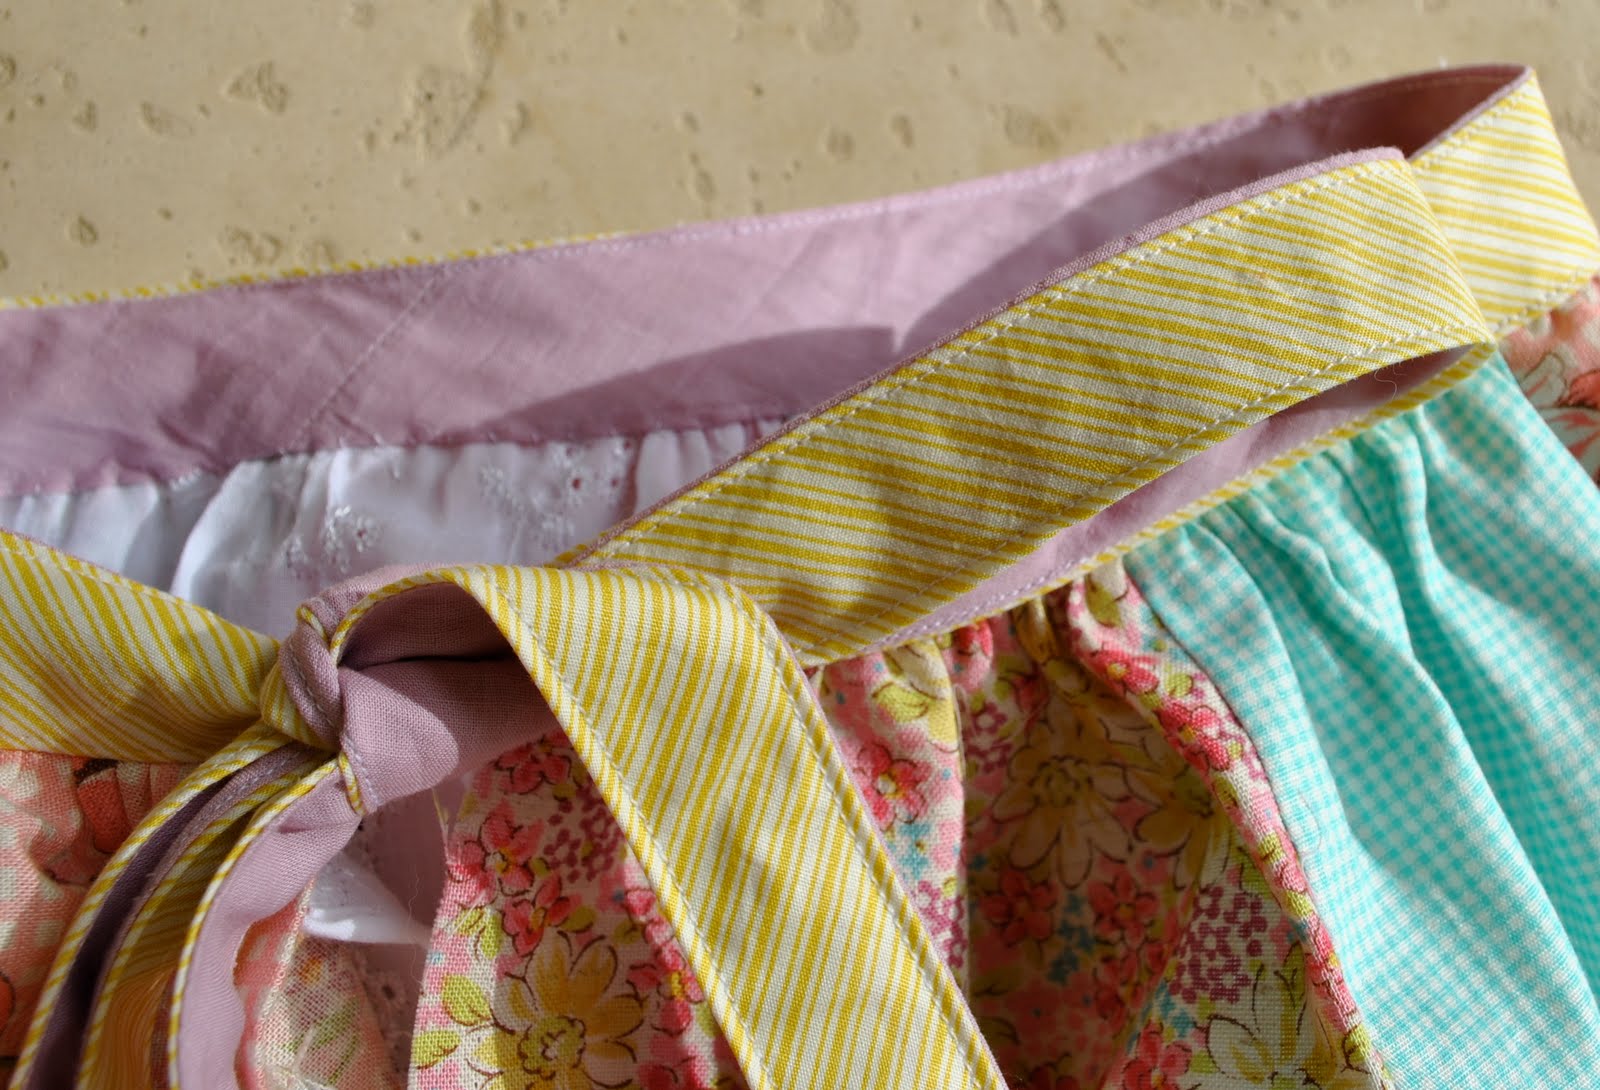
I also got some of this adorable lime striped bias binding to use for the tie waistband, and attached it to the top edge.  The petticoat, being a rectangle, required only a little gathering to fit my niece’s waist measurement.  Using some leftover lilac cotton I made some more bias binding to line the waistband.
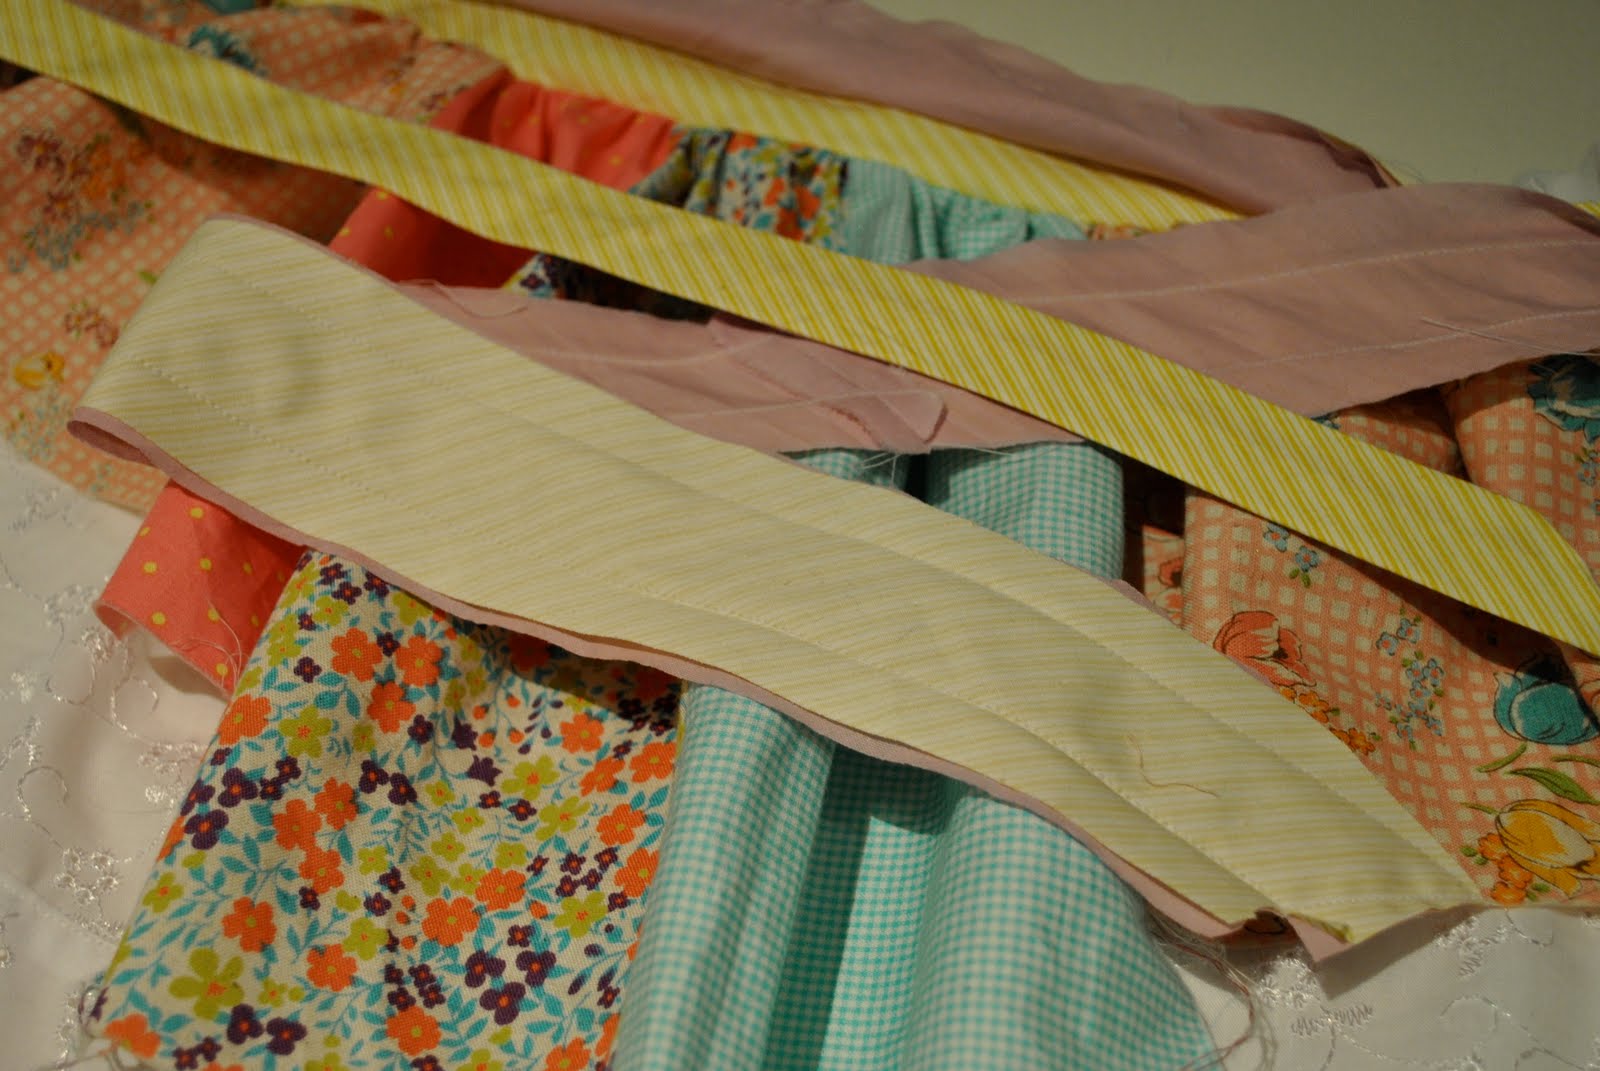
The lilac bias binding was sewn to the lime stripe bias binding, leaving the skirt top open to enable turning right sides out.  Here in this photo  the waistband has been sewn together and one tie end has been turned out and pressed.
The waistband opening was slipstitched closed on the inside, and the waist ties topstitched on the right side out.  Finally the centre back of the skirt was sewn closed, leaving enough of an opening for my niece to step into the skirt.  I finished the open edges of the centre back with narrow hems.

Et voila!  This skirt would be a good way to use up scraps of leftover fabric that’s too pretty to throw out, or if you’ve ever been lured into buying a set of gorgeously co-ordinated fat quarters. 

pinterestmail

Spicey Rose chenille scarf

Here I’m in soccer Mum mode again… we lost…
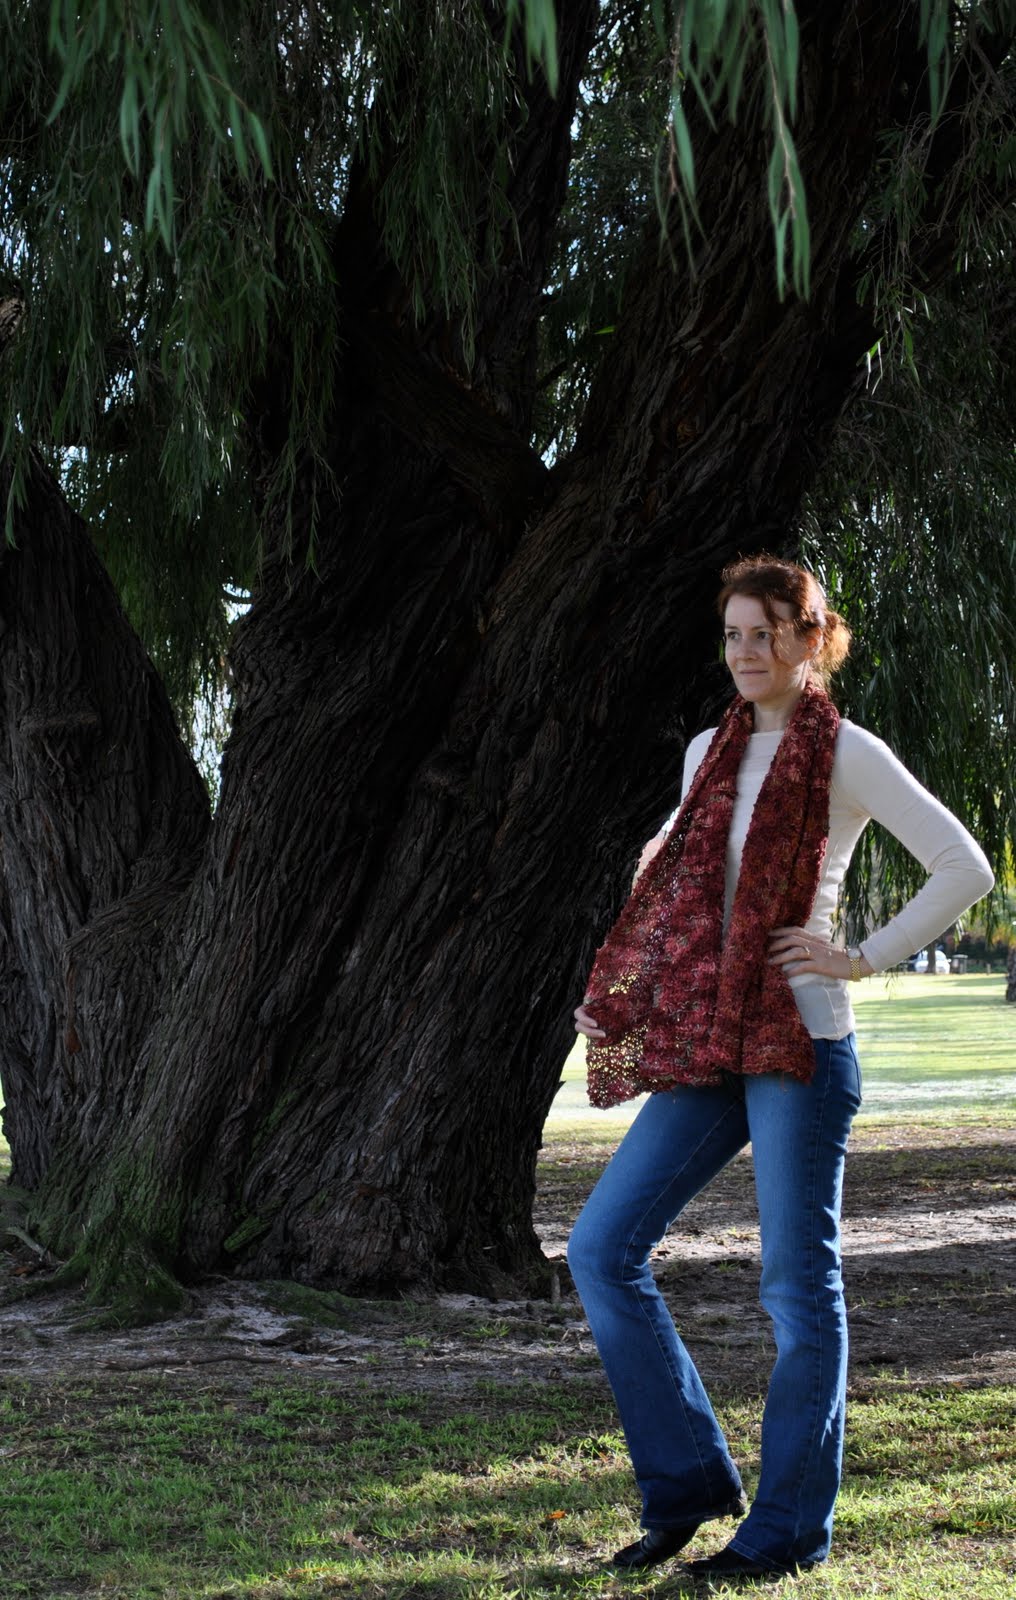
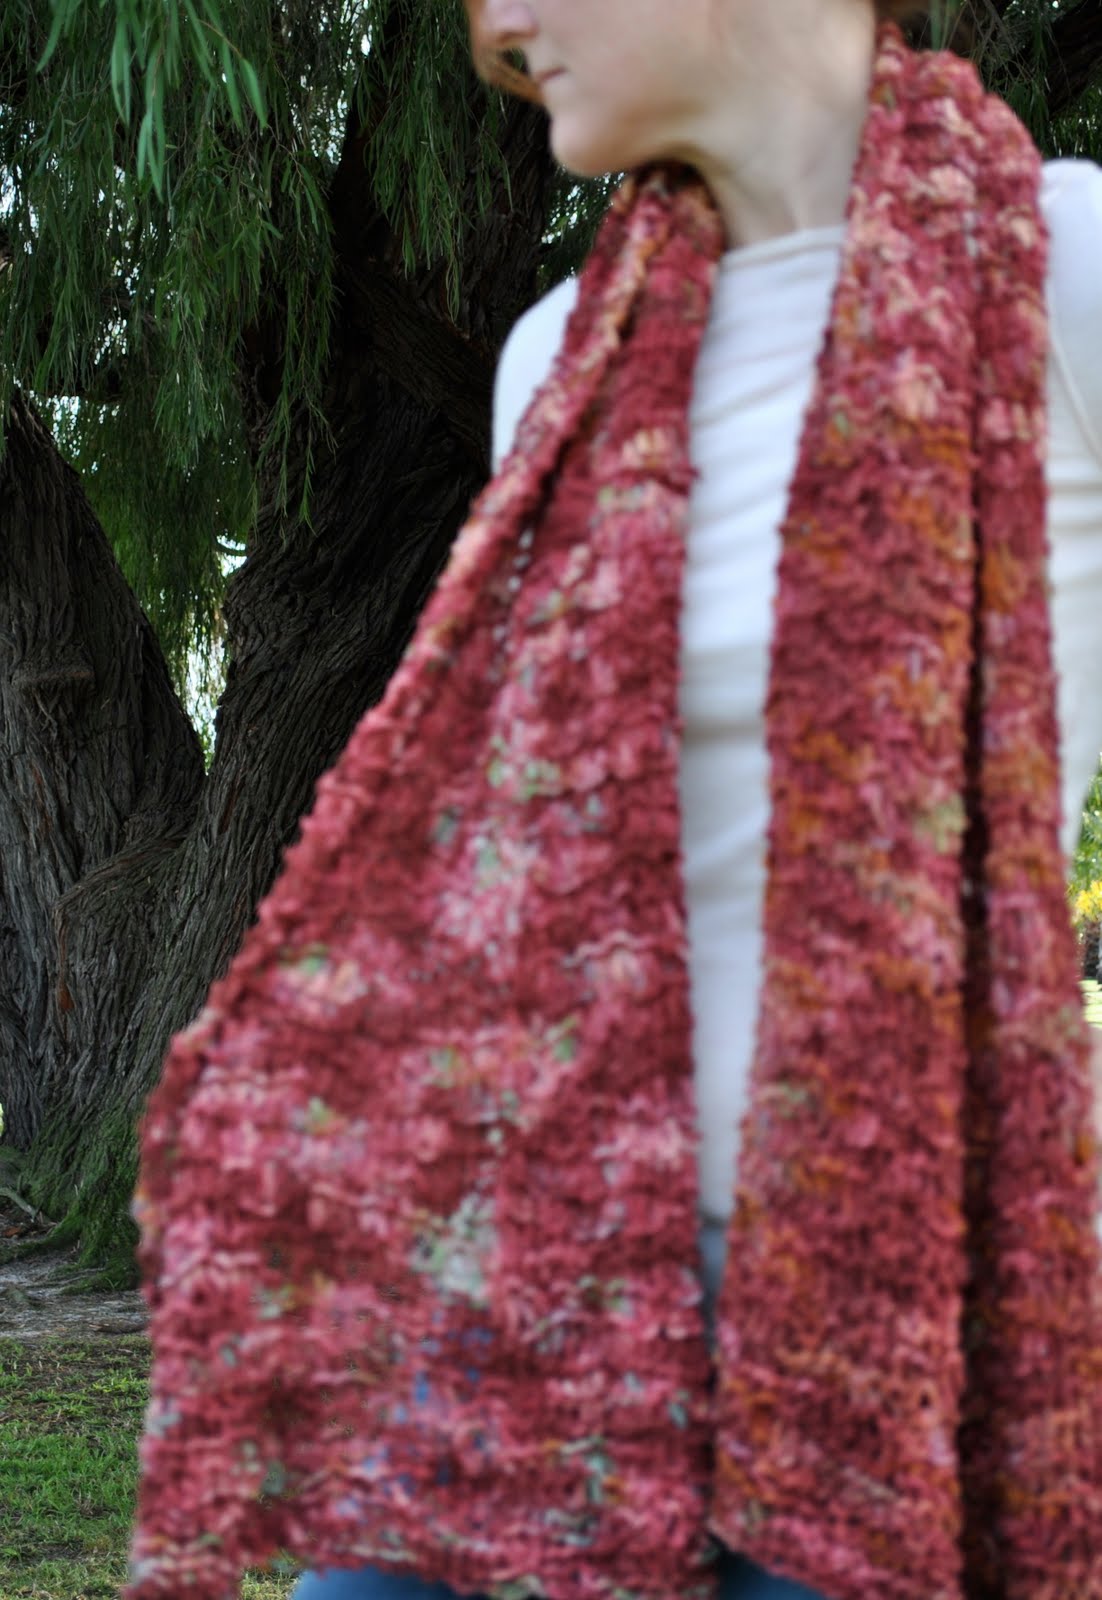
Not to worry, my scrummy scarf is to be talked about here today.  I’ve possibly worn this before on the blog but not mentioned anything about its province, so today it gets a post of its own.  I wish I could remember the name of the Colinette yarn I used; I bought and knitted it up about four years ago and it’s since been discontinued and I can’t find any old tags or any info on the net to enlighten me.  The best I can do is to tell you it’s a chenille in a beautiful array of toasty, spicy, berry-preserves colours guaranteed to start warming you up before you’ve even wrapped it around your neck…
I bought 3 balls, cast on 80 stitches and just knitted in garter stitch until all three balls had gone.  Now usually I prefer not to use garter stitch in a scarf as it has a sort of “first scarf” look about it, but it this yarn’s case I think it works all right.
Sorry about the slightly blurry close-up.  I didn’t notice how bad this photo was when I looked in my camera’s viewfinder (I think I might need spectacles!), but no matter as you can still get a feel for these lovely colours and generous dimensions of this scarf which have made it such a “nice” component of my winter wardrobe.  Inverted commas on the rather lame usage of “nice” there, because I couldn’t think of a suitably rave-y-type adjective that perfectly encompasses the versatility of a scarf that works just as well as a casual scarf, as here, and yet capably transforms into an evening stole when I want it to… if I wasn’t so lazy I would get dressed up to show it in evening mode, but that will have to wait for another post.

Details:
Jeans; Soon
Top; Ezibuy
Scarf; made by me, Colinette yarn
Boots; Mina Martini, from Marie Claire shoes
pinterestmail

Retroswirly tights

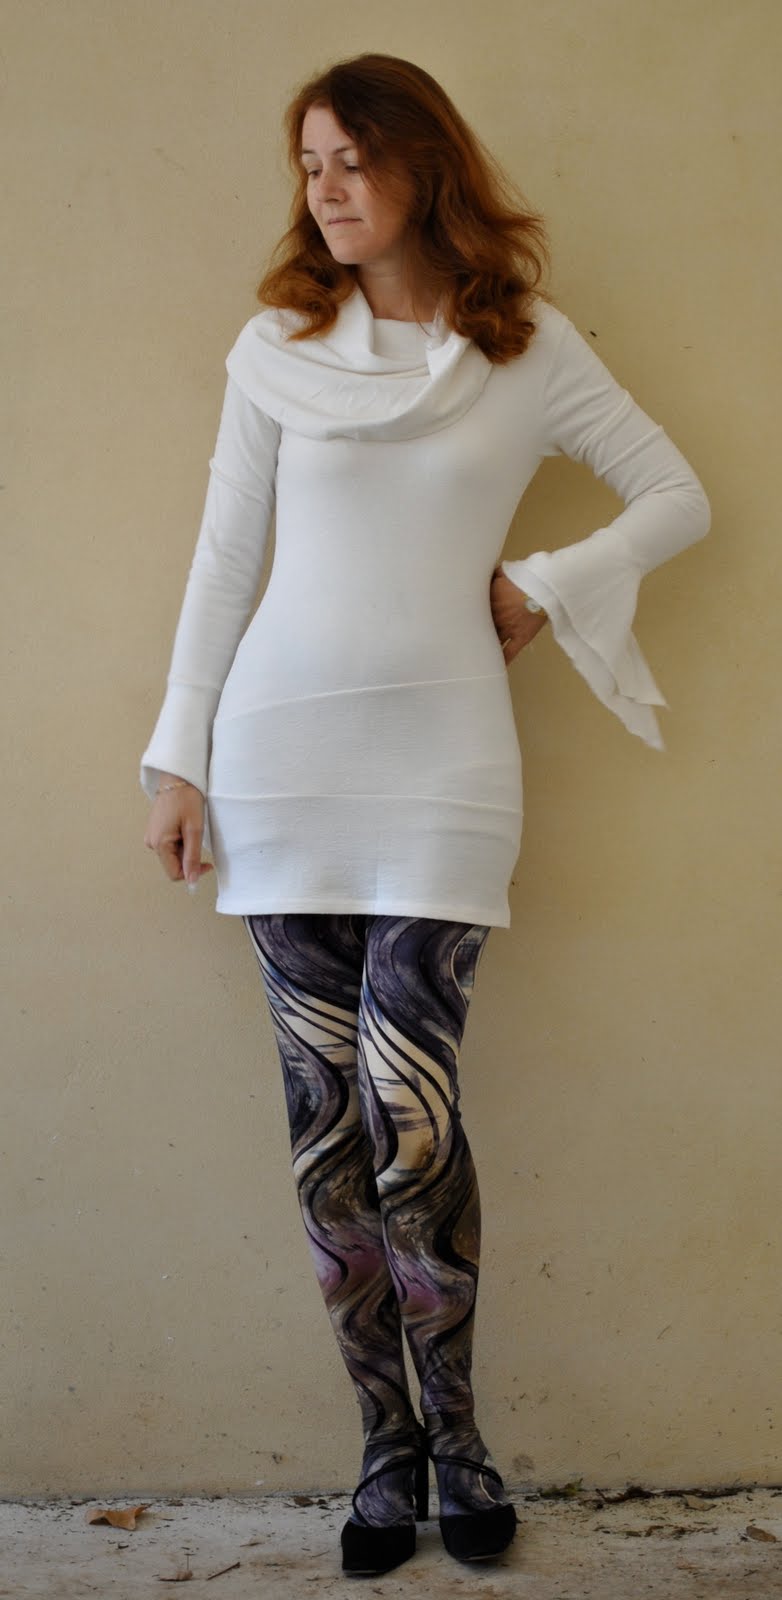
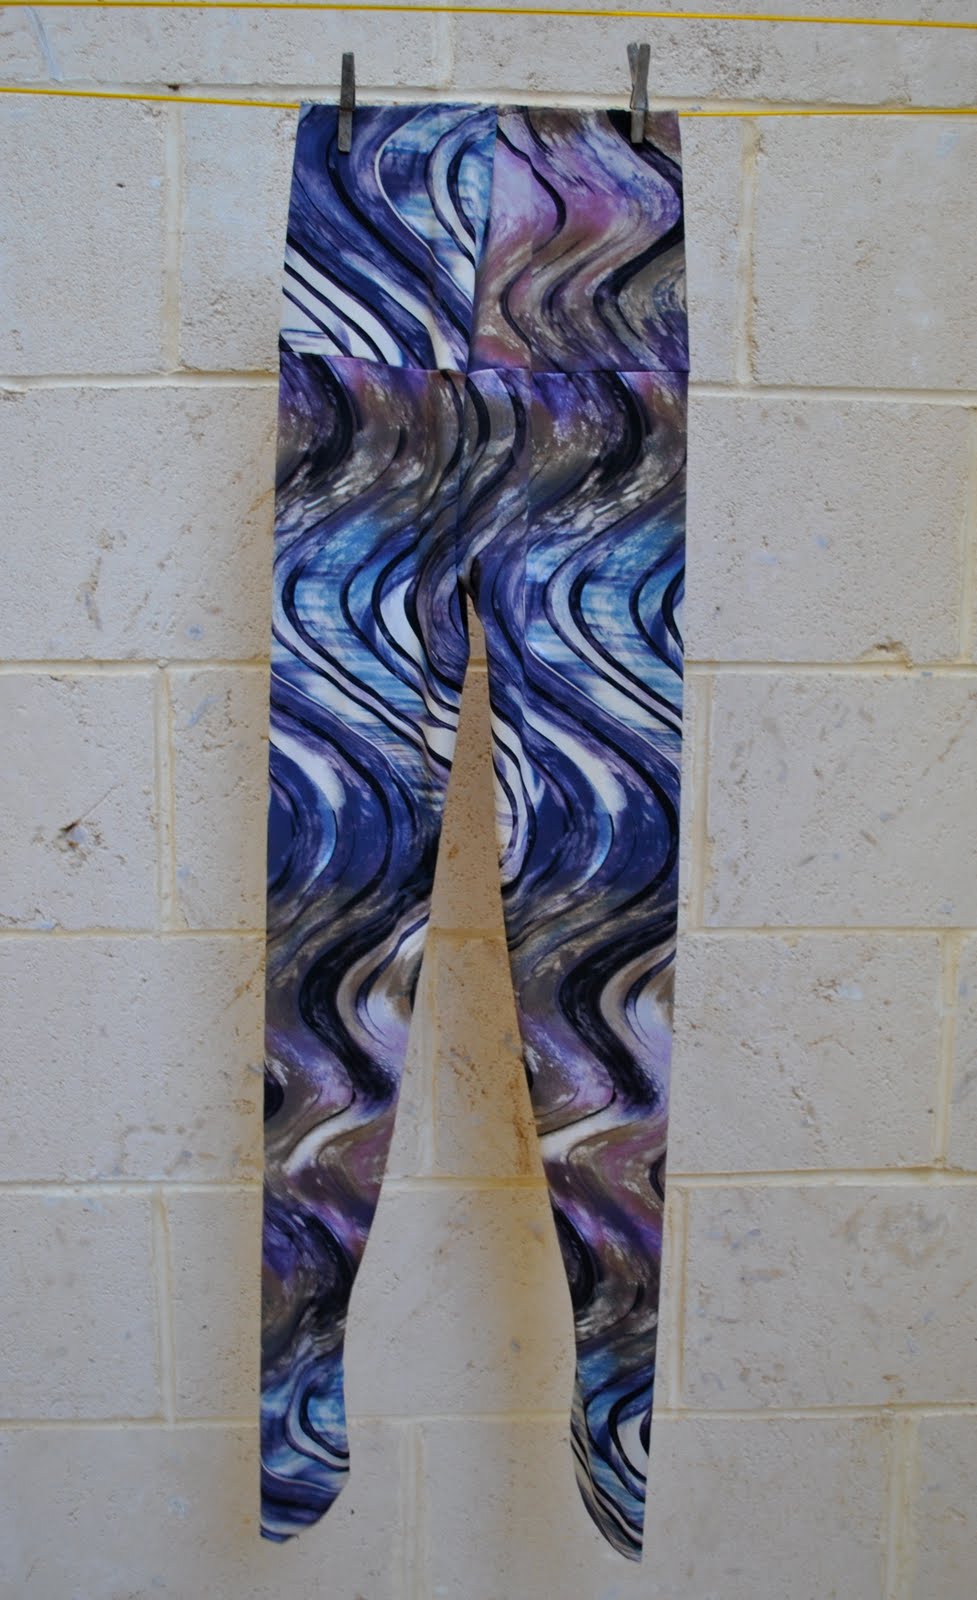
So I made myself some tights!  What do you think?!  Pretty chuffed myself actually; self-drafted, and I did make up a paper pattern for next time although of course not all stretch fabrics are created equal and I think each fabric would have to be judged on its own stretch factor for this purpose before using a pattern…


I didn’t get enough fabric to go the whole length from toe to hip and initially was kicking myself for this frugality, but then realised that, of course! no one is going to see above hip height anyway! so not necessary to have an unbroken length of fabric all that way anyway… so made the above hip part of the tights separate to the leg part of the tights and joined them together after.  So all turned out beautifully as this meant I used the whole width of fabric and had no leftovers, yay!  As all seamstresses will agree; leftovers can be handy occasionally, but can also be a fiddly nuisance filling up one’s available fabric storage space…
The leg seam goes from little toe around the front of the toes and up the inside leg, there is a centre front and centre back seam on the above-hip portion (no side seams at all!)   Then the round-the-hipbone seam joins top to bottom, and finally the top is folded over to form a casing and 2cm wide elastic inserted.
(OK, so I’m wearing them here to show them as full length as possible, but in reality I will probably wear these with boots and longer skirts…!)
Today’s random picture below; witch’s hat with a view, seen this morning

Dress; Body & Soul, it’s so long since I bought this (approx 12 yrs ago) the label is washed white and unreadable
Tights; own design, stretch print jersey
Shoes; Nina, from David Jones

pinterestmail
Switch to mobile version
↓