Tag Archives: Pattern Review

Grey wool coat for Spring

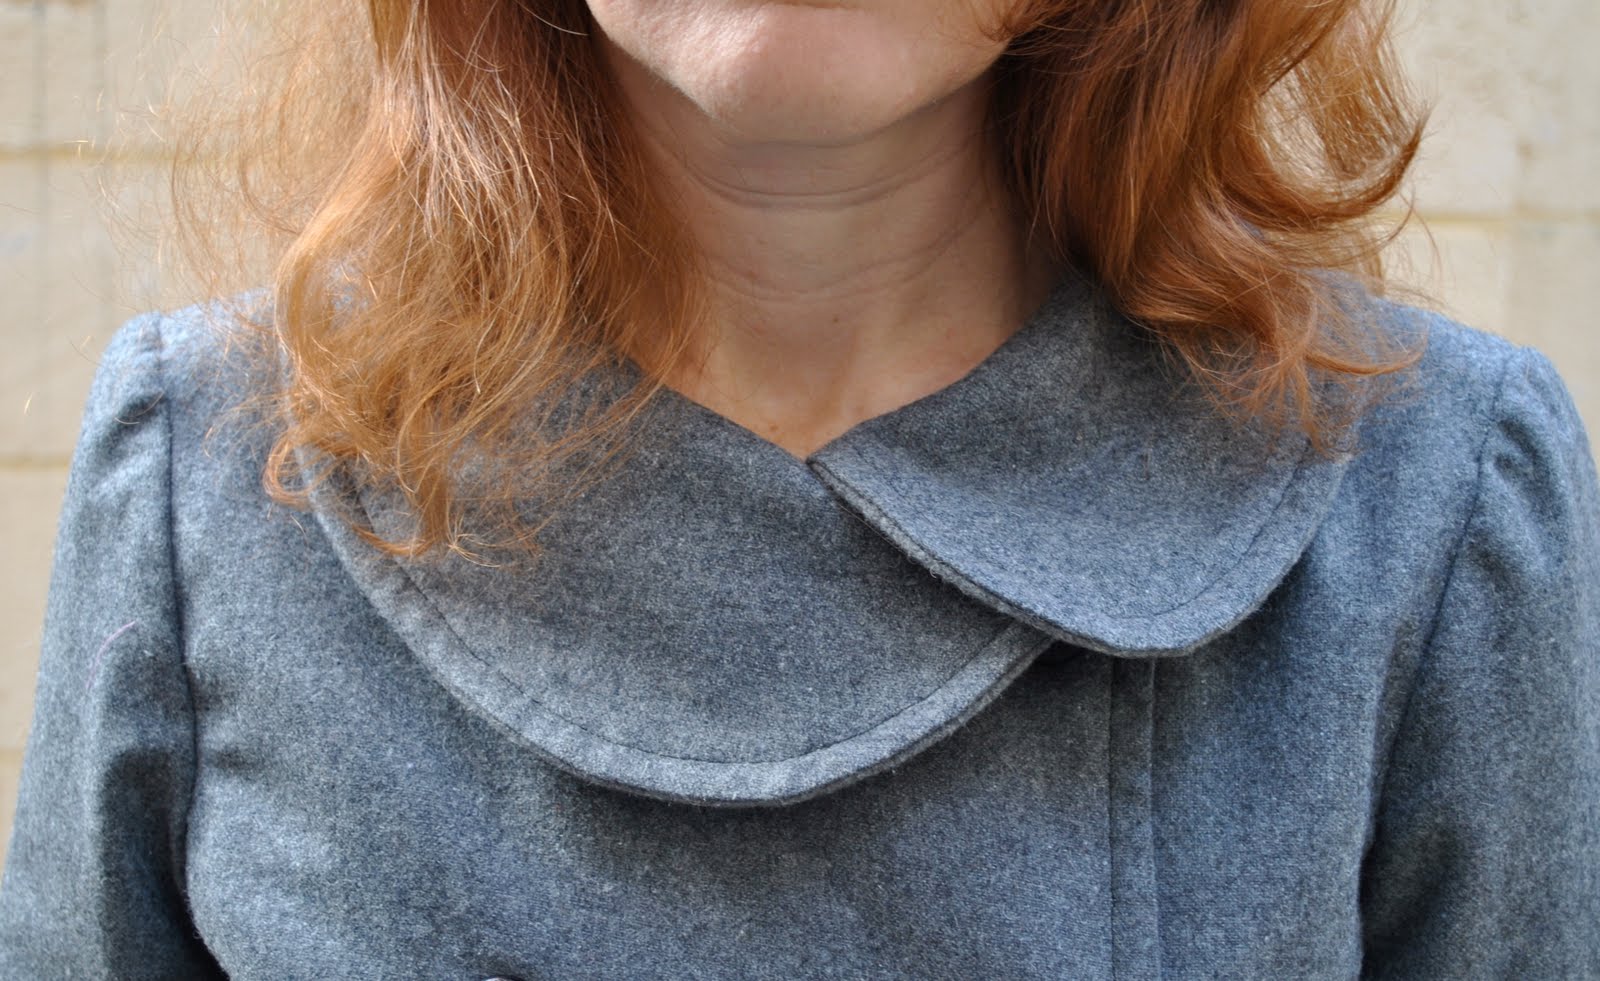
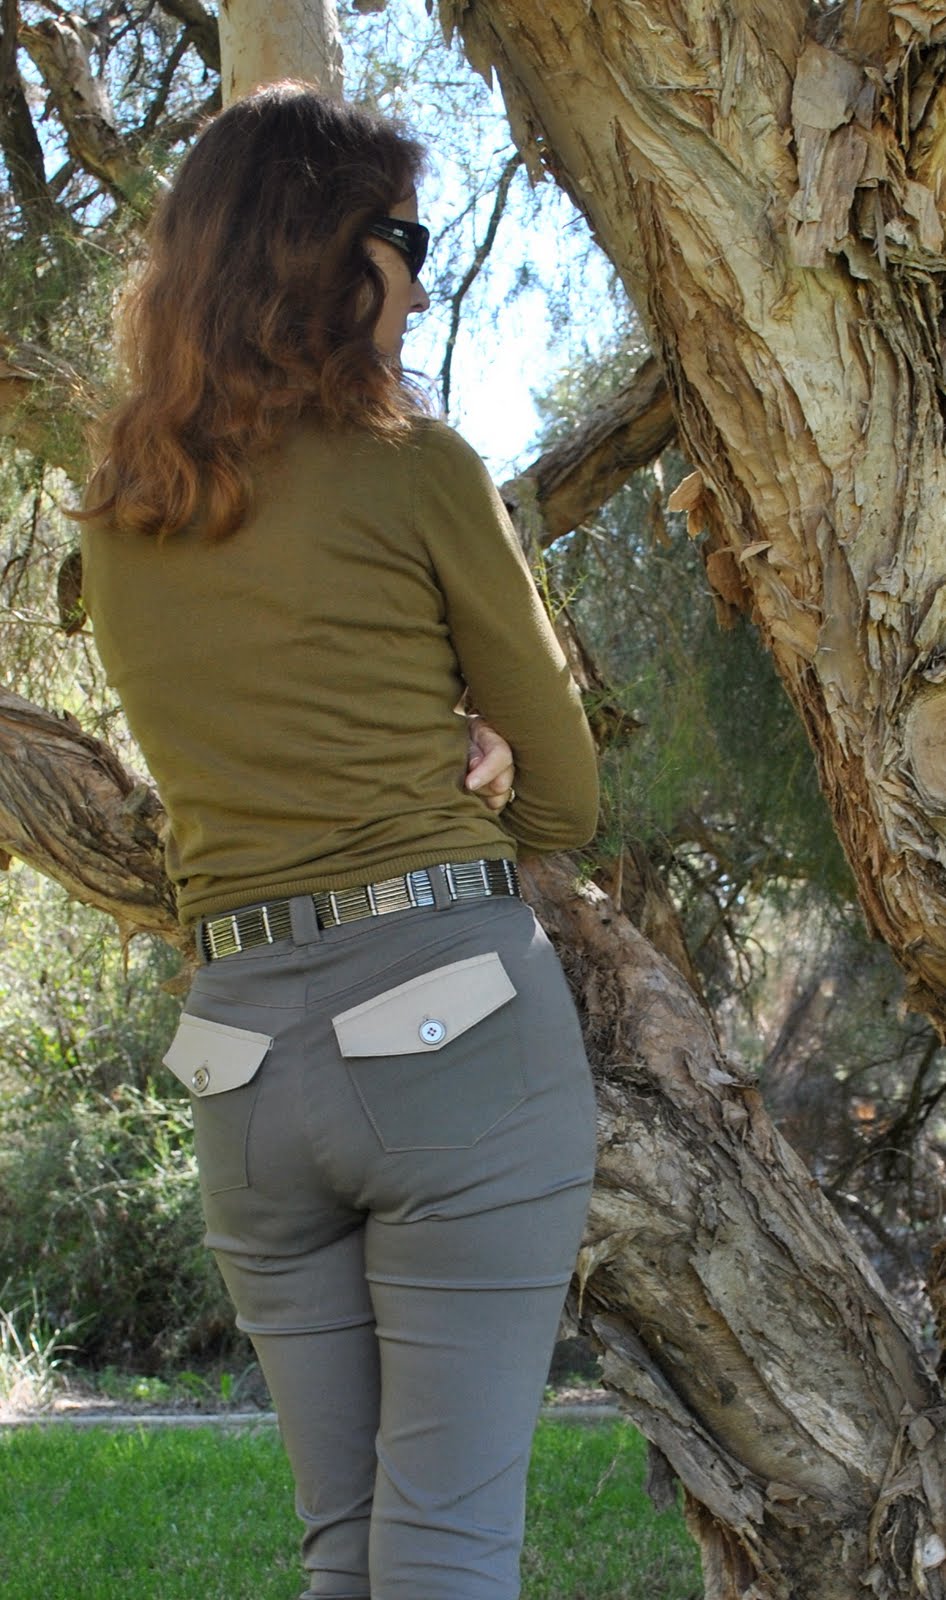
I made myself a coat for spring, using McCalls 5525, view B and grey wool fabric, bought back in March on a whim.  So, it took some cutting magic to get this coat out of the small amount of wool I had bought because there really wasn’t enough for this pattern!  When I realised this and went back to the store to get some more it had all been sold and I needed to buy a small amount of a different grey wool fabric which I used for the under collar and front facings, you can probably see on the close-up pictures the different fabric on the under/in-side of the coat but I think it’s not so different as to stand out in an ugly way.  Actually I think it worked out to be a blessing in disguise, because the second fabric is a much stiffer and thicker felted wool than the outer woven wool fabric, so I decided there was no need to interface, and I think it was the right decision not to do so.  The weight of the two wool layers together feels quite thick and stiff enough…
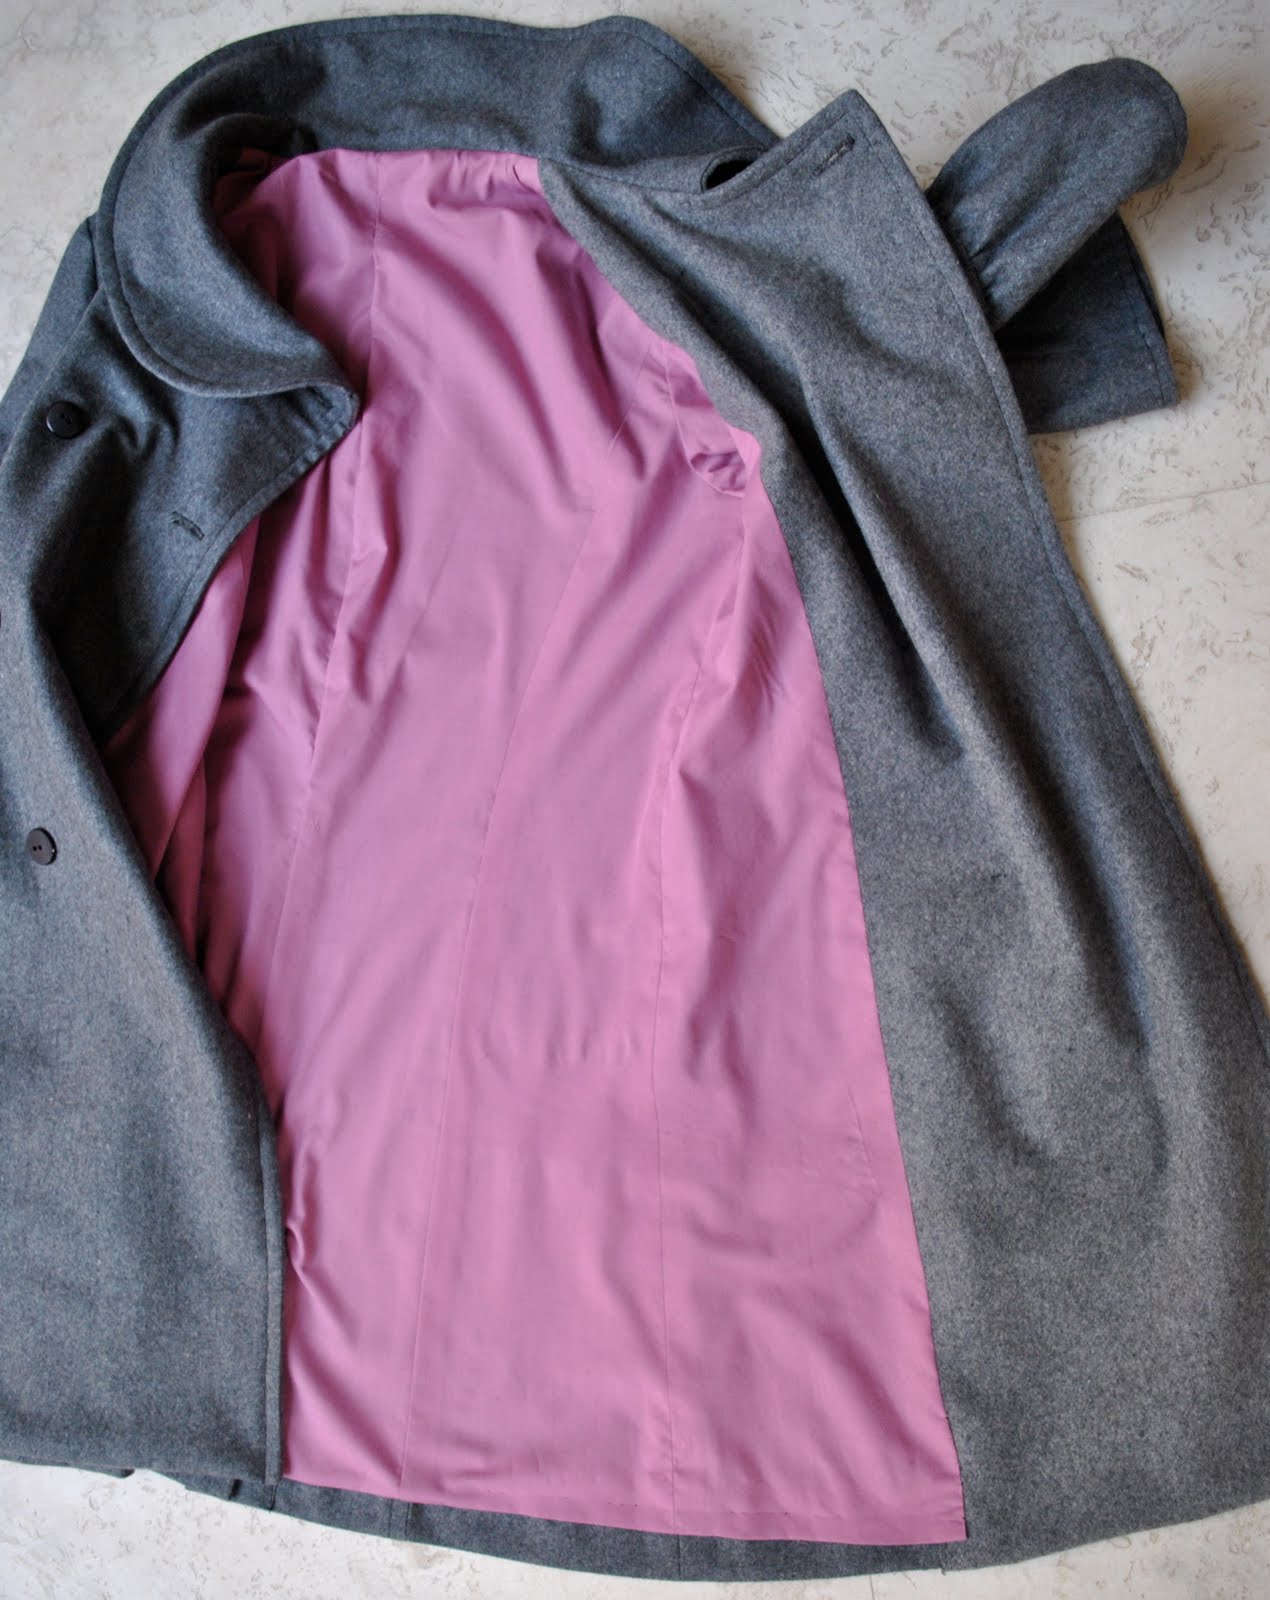
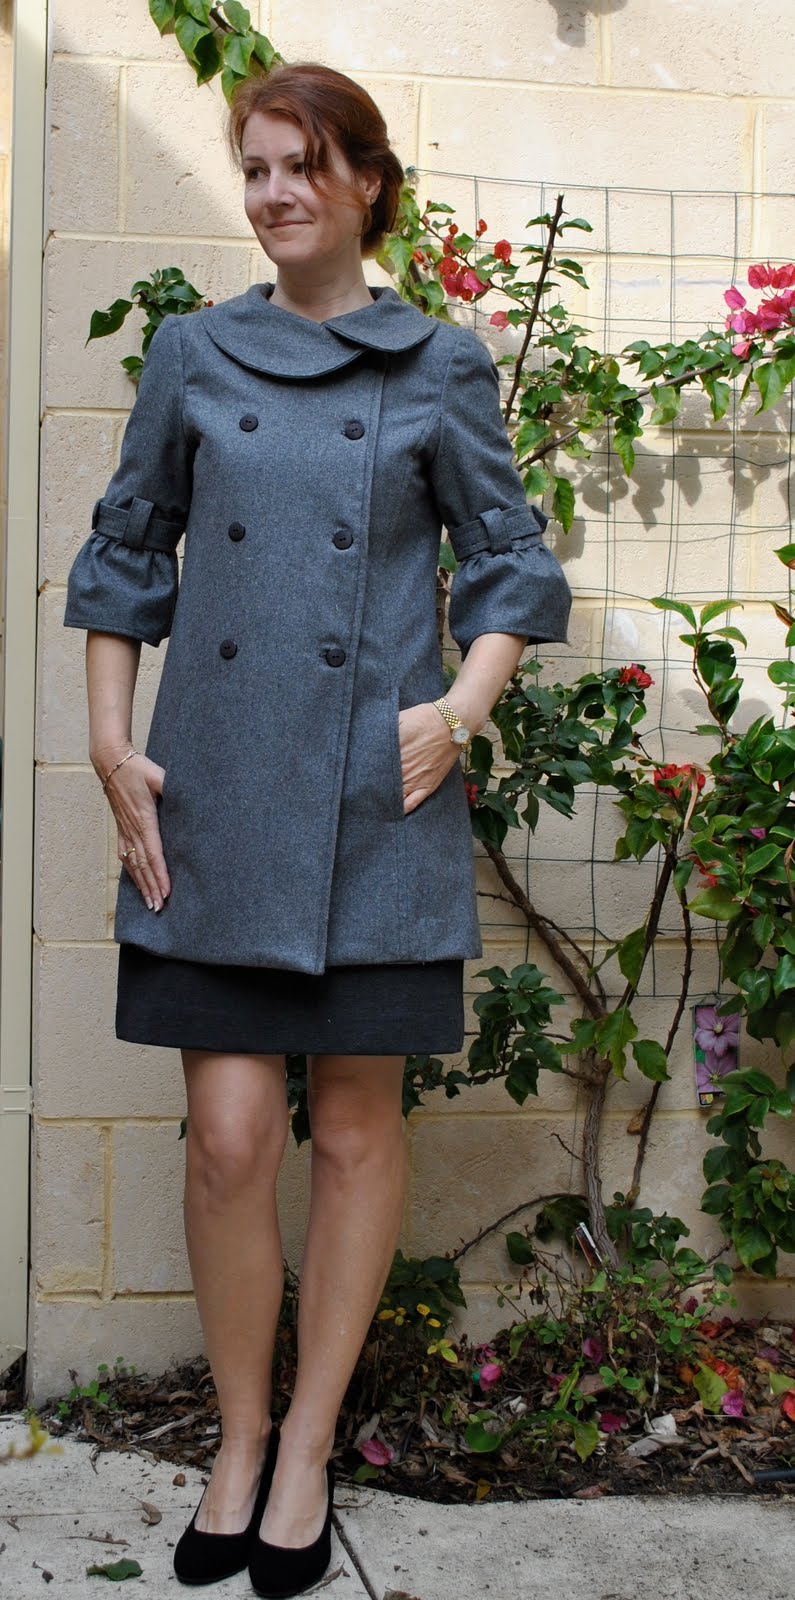
I lined it with a purply-pink cotton poplin, which makes the weight of the coat perfect for Perth’s sometimes chilly but sometimes warm spring weather.  I’m looking forward to wearing it more!

Details:
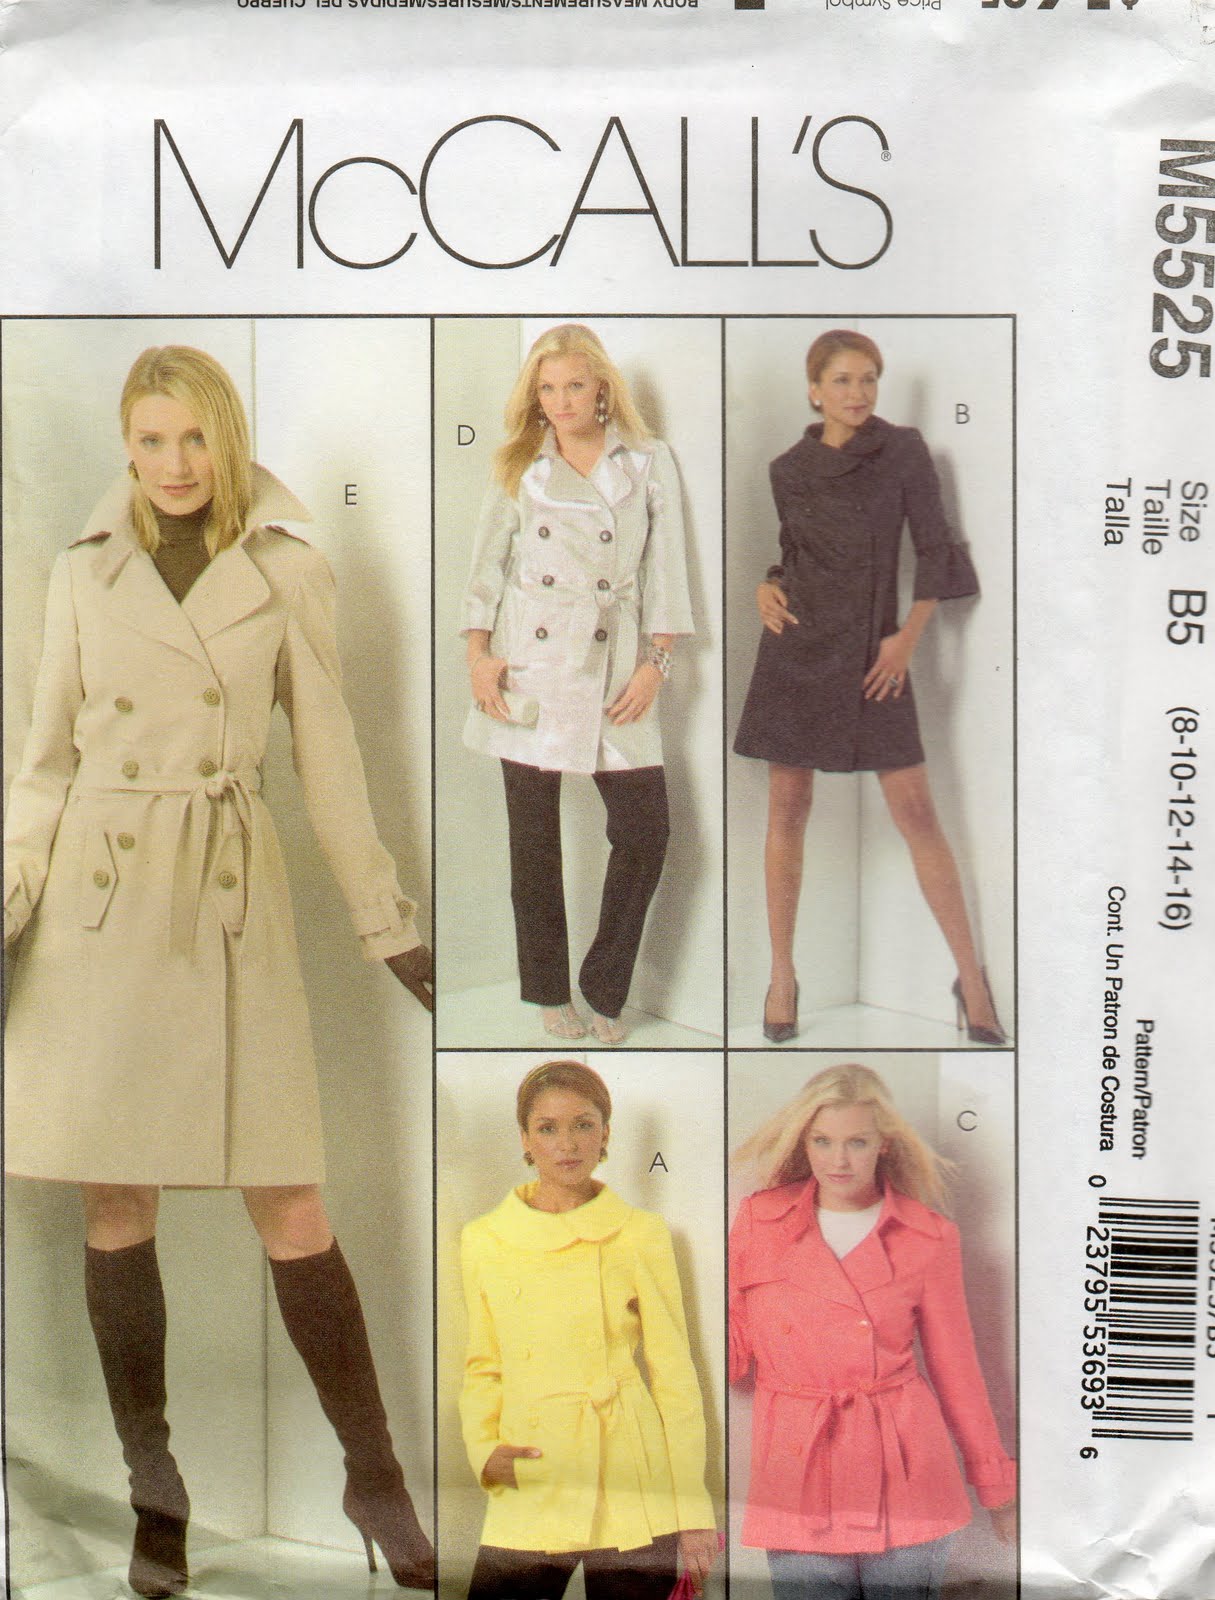
Coat; McCalls 5525 view B, grey wool flannel
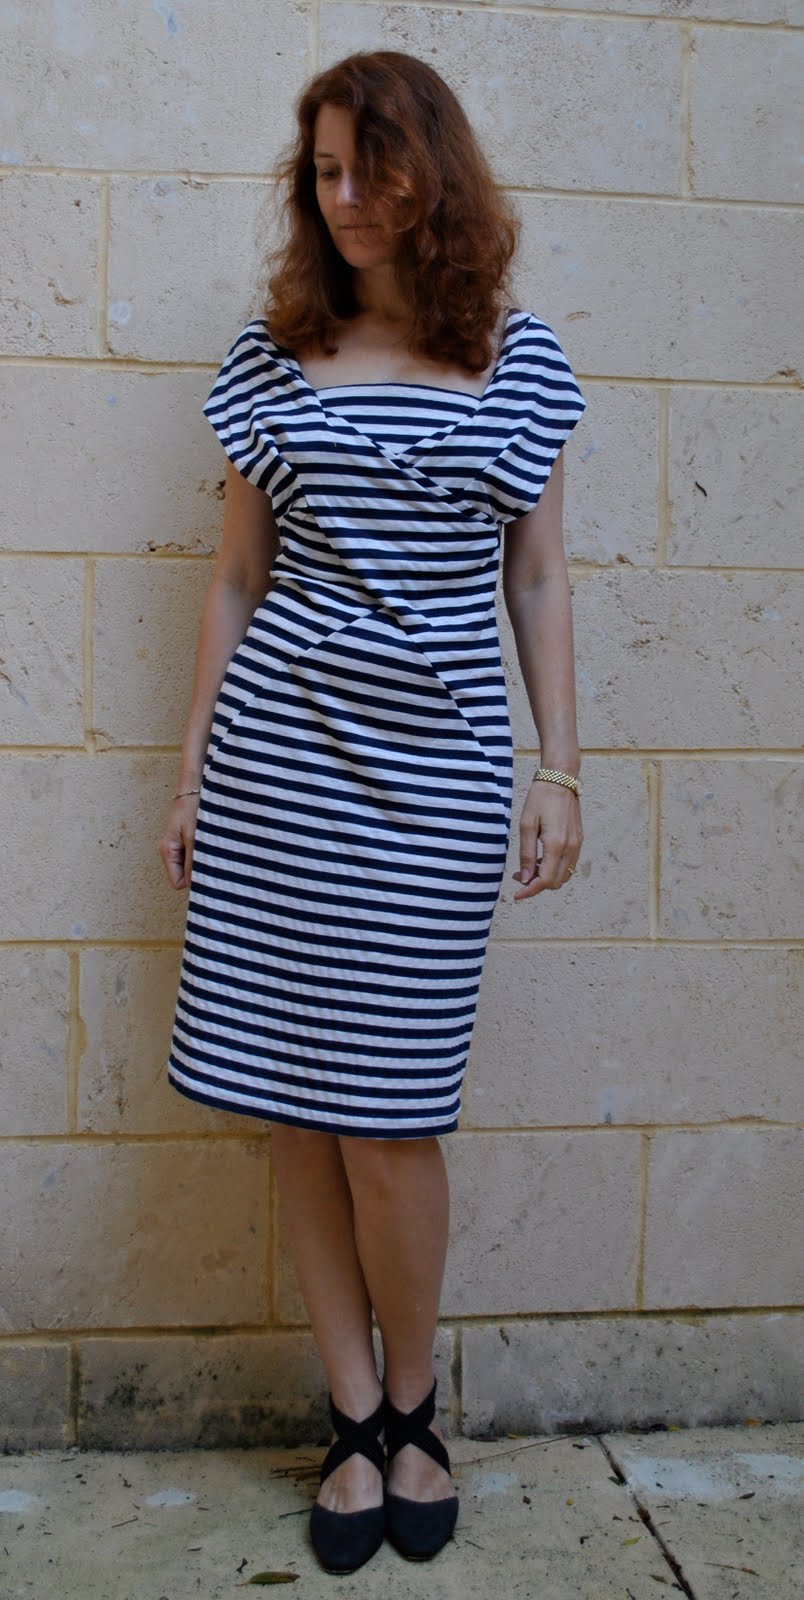
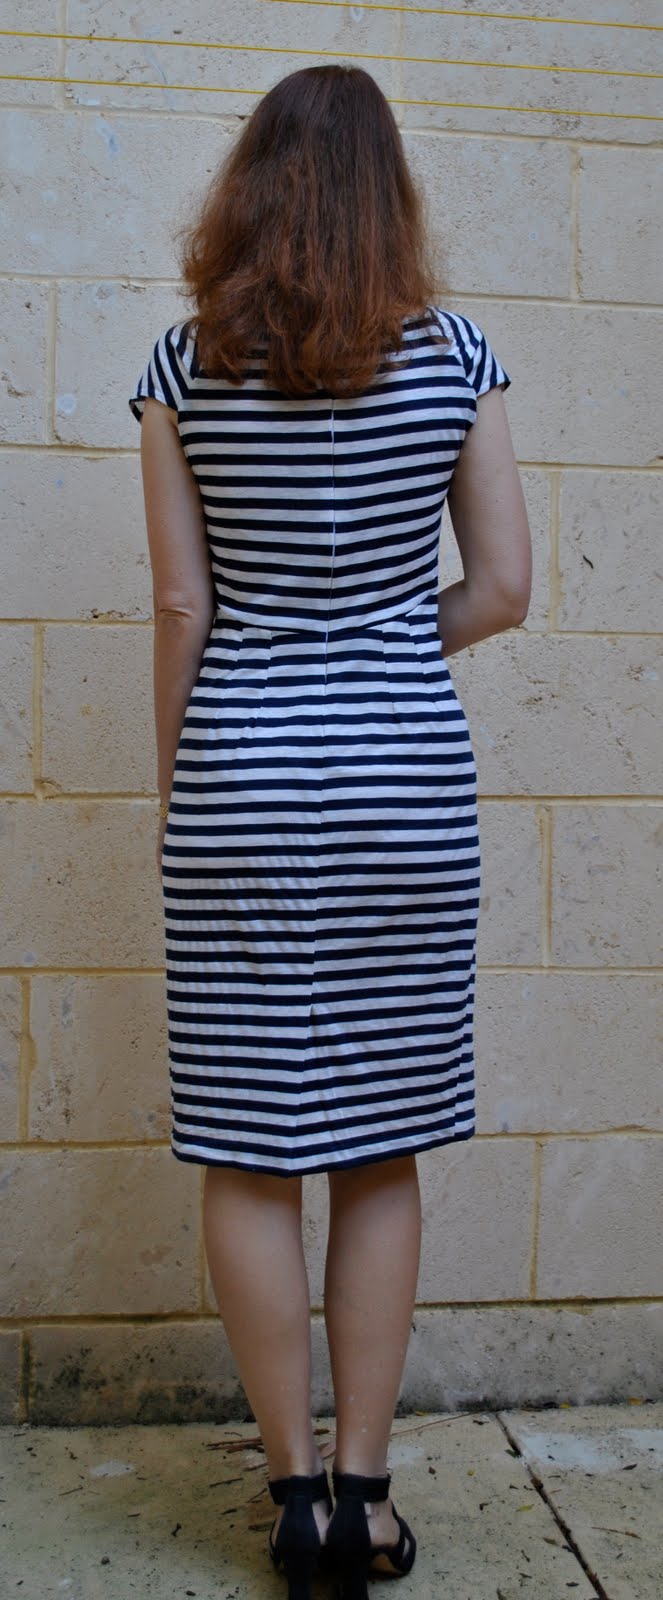
Skirt; my own design, charcoal stretch jersey knit
Shoes; Misano, from Labels

Pattern description
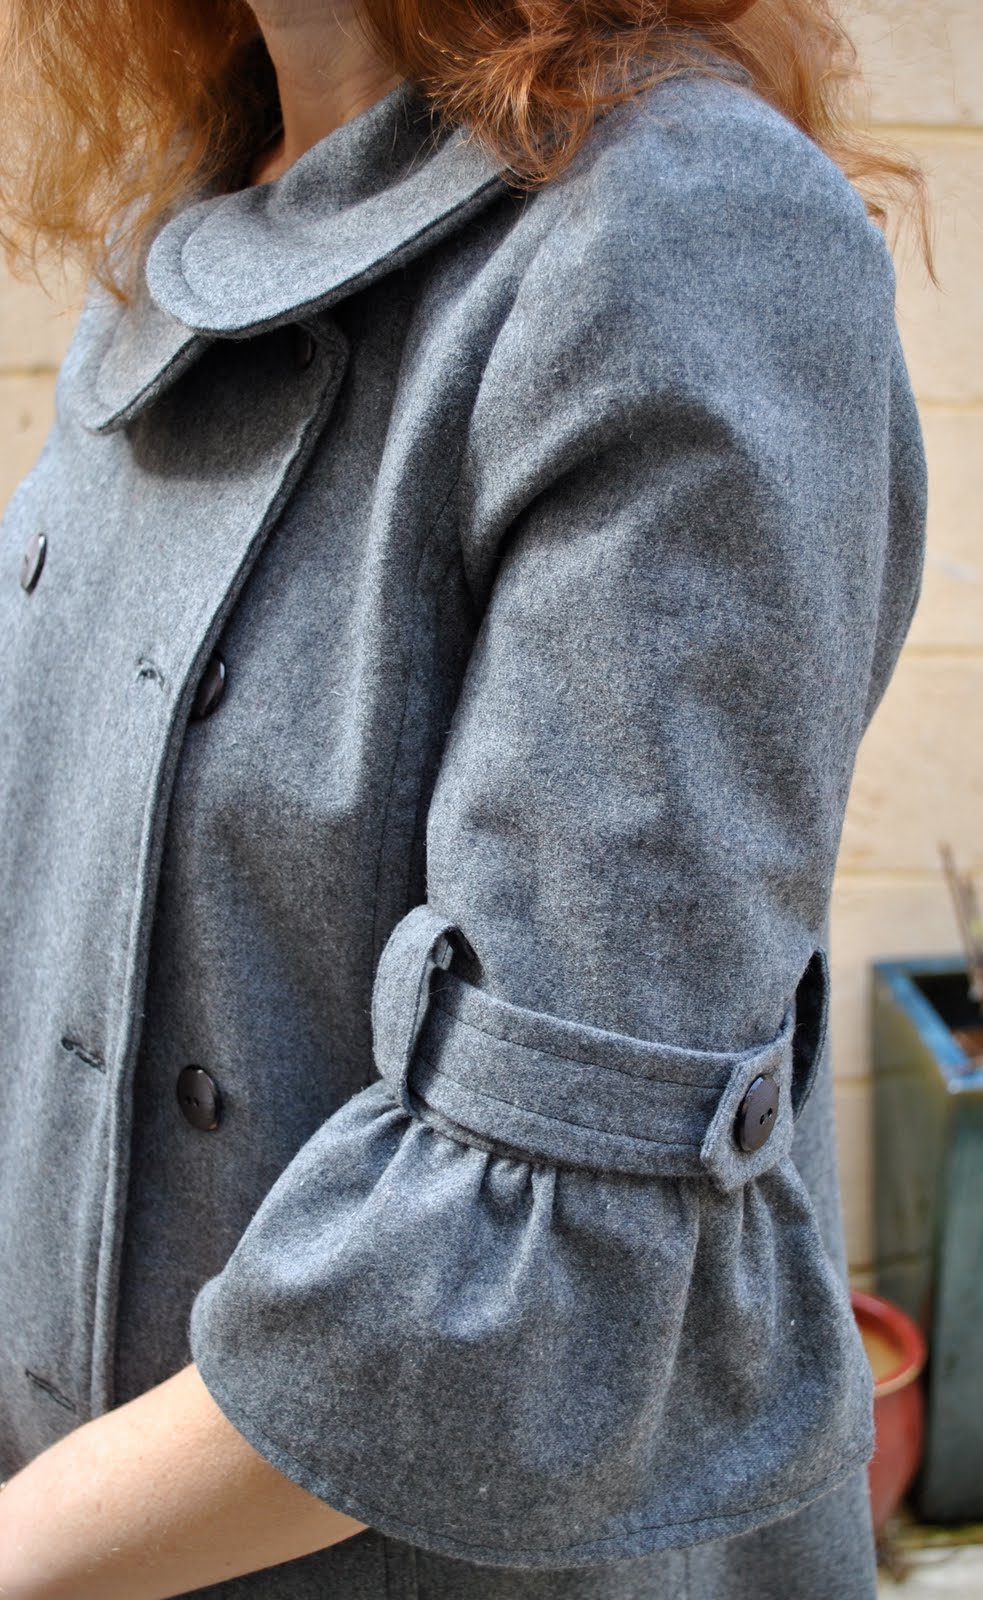
Semi-fitted, lined, double-breasted jacket and coat have collar, lengths and sleeve variations, princess seams and side front pockets.  Here I made view B with back vent, sleeves with button bands, topstitch trim and button closure
Pattern sizing
8-16, I made size 10
Did it look like the photo/drawing on the pattern envelope once you had finished sewing it?
yes
Were the instructions easy to follow?
very easy
What did you particularly like or dislike about this pattern?
I loved everything about this pattern!  I like that it is fully lined, not half lined as some coat patterns are; the inset pockets are in a good position on the front, and the one-piece sleeves are an easy feature
Fabric used:
Woven grey wool for the outer, purple/pink cotton poplin for the lining.  Thicker felted wool fabric for the under collar and facings (because I didn’t have enough of the outer fabric)
Pattern alterations or any design changes you made:
I made the pockets slightly larger as I thought the ones in the pattern looked too small for comfort
Would you sew it again?  Would you recommend it to others?
I highly recommend this pattern, the variations mean you can achieve so many looks from this one pattern and I do plan to try some of the others
Conclusion:
This is such a stylish and versatile coat pattern.  The pattern is well designed; it went together very easily, all the pieces fitting together as they should with no difficulty.  The one piece sleeves make this a breeze to sew.  I made view B, and I particularly love the flattering asymmetrical collar, very “designer” and slightly retro.  I think this view would work beautifully in heavy satin for an evening coat.  I also particularly like the button bands on the sleeves of this view.  I hand-tacked these bands to the sleeve seams to lessen the risk of them “rotating” around the sleeve during wear.

pinterestmail

“Jailbreak” dress

Remember this fabric and pattern?
Well I made it up over the weekend and submitted a review of the pattern to Pattern Review.  I’m still getting the hang of that site.  The other day I realised (lightbulb going off!) that the C beside your review meant there were Comments!!  Also finally worked out how to link to my photos to get a bigger photo displayed, a lot of my comments were complaining, and rightly,  that only the thumbnail photo wasn’t enough…!  I think I might sign up for a bit longer; at first I just signed up for the free month trial and am debating whether or not to continue with a paid membership…
Anyhoo, here is my review of Vogue 1087.  I know this dress seems a bit out of context for Australia, it being winter and all, and I still have some winter sewing to complete before I can get onto spring wardrobe planning.  But I just went ahead on a whim…

Details:
Dress, Vogue 1087, cotton jersey knit
Shoes; Sandler, from the Salvos op shop


Pattern Description:
Fitted dress, below mid-knee, has pleated and tucked front forming wrap effect. Front extends to back at sides, back has zipper and hemline vent. No side seams.
Pattern Sizing:
12-18
Did it look like the photo/drawing on the pattern envelope once you had finished sewing it?
yes
Were the instructions easy to follow?
Steps 12-14 were a little tricky to work out. I’m not sure how it happened, but I had the wrong front lapping over after this stage, so I had to go back and unpick and fix this up.
What did you particularly like or dislike about the pattern?
I didn’t like that it would be very difficult to adjust to custom sizing.
Fabric Used:
thin stretch jersey knit
Pattern alterations or any design changes you made:
According to the pattern, the darts on the back of the skirt are supposed to be facing out (sewn wrong sides together). I don’t think so. Mine are on the inside of the skirt, where they should be. And I inserted thin strips of bias-cut woven cotton under the zip tape to stabilise it.
Would you sew it again? Would you recommend it to others?
Yes, I would sew this again. It’s a beautiful dress.
Conclusion:
One thing I can’t understand about this pattern, and didn’t even before I started, is WHY DO YOU NEED A ZIP IN A STRETCH FABRIC DRESS? However I went ahead and inserted an invisible zipper as instructed. And now the dress is finished I can still slip this thing over my head no worries, with no need for a zip. Next time, I’m leaving the zip out…!
As I had chosen a striped fabric the biggest difficulty I had in making this dress up was matching the stripes up in inserting the zip, in stretch fabric no less. And when you factor in the joining of four pieces (L & R bodice and L & R skirt) all on your zip, matching the stripes becomes even more tricky. The instructions did say not suitable for striped fabric, so perhaps it’s my fault. But I really like the final look of the dress in stripes! And I got them matching perfectly, so it worked out.
Step 23, the pattern instructions say to finish the neck edge, you will also have to finish the armhole edge here, although it doesn’t say so…
Next time I make this, I will also either interface the back neck facing, or cut the pieces from a woven non-stretch fabric. This would give a better finished look.

pinterestmail

Khaki jeggings

I’ve submitted my first Pattern Review … er, review. This is for Burda 7863, the slimline pants I’ve just finished for winter. I wanted slimline pants this season so I could wear them tucked into my biker boots, and I’m definitely planning to wear these mostly in this way. However only half the legs are visible when boots are on, so for my review photo I thought I’d better show them in their full length as here. Without further ado, here is my review…

Pattern Description: 
Ladies slimline pants in either three quarter or ankle length with fly front, button up waistband, curved inset side pockets, patch back pockets with flap. Waistband sits at natural waistline. For two way stretch fabrics only
Pattern Sizing:
European 36 (US10) to 48 (US22)
Did it look like the photo/drawing on the pattern envelope once you were done sewing with it?
I made up the ankle length only but, yes
Were the instructions easy to follow?
very easy
What did you particularly like or dislike about the pattern?
It was a very simple pattern to use. The envelope rates it as average difficulty, I’d say a beginner could easily make these pants successfully. The instructions are clear and easy to follow. What I didn’t like; according to the Burda sizing I have size (US)12 hips and size (US) 10 waist. So I laid the pattern pieces down on some well-fitting jeans I already have and was suspicious the (US)12 hip would be too big, consequently I cut my leg pieces to accommodate size 12 hips but basted them together along the size 10 sewing lines. As it turned out the size 10 fit perfectly and I finished the seams to size 10 and removed the extra allowance.
Fabric Used:
Khaki/grey stretch gabardine for the pants and the back pocket flaps were made in a contrasting beige cotton. Topstitching in contrasting light tan thread, pewter shaded metallic buttons. To reduce chance of “pocket shadow” on the front of the pants I used a scraps of a very lightweight brown synthetic I had for the pocket piece.
Pattern alterations or any design changes you made:
No pattern alterations. Instead of double rows of topstitching as recommended in the pattern instructions I used single long stitch topstitching in a lighter coloured contrasting thread, as I like the more simple look this gives.
Would you sew it again? Would you recommend it to others?
I would definitely sew this again! I already have some black stretch denim waiting with this pattern’s name on it…!
Conclusion:
I chose this pattern because I wanted slimline pants for winter and all my other pants patterns are widelegged because I had it stuck in my head slimline wouldn’t suit me. I am thrilled I took a chance with this new pattern type and felt very trendy and hip the first time I wore them! With the waistband sitting high at the natural waistline the pants are a big improvement on the low-rise skinny jeans of the last few years; the higher waist removes the risk of muffin-top happening and using a firm stretch fabric results in a figure hugging, body sculpting silhouette that I couldn’t be happier with…! This are definitely not “mummy jeans” but stylish and smart.
I would class them as “jeggings” the new name for pants that are too thin for the name “jeans” but too tailored and smart to be labelled “leggings”

Details:
Pants; Burda 7863, khaki stretch gabardine
Top; Cue
Ivory scarf; Country Road
Blue scarf; My DIY version, from a refashioned tank-top
Belt; from Salvos op shop
Booties; Django and Juliette

pinterestmail
Switch to mobile version
↓