 The clever AnaJan of Stepalica is designing patterns now! and I was honoured when she very kindly sent to me her debut design, the Nougat dress to try out. Thank you so much Ana!
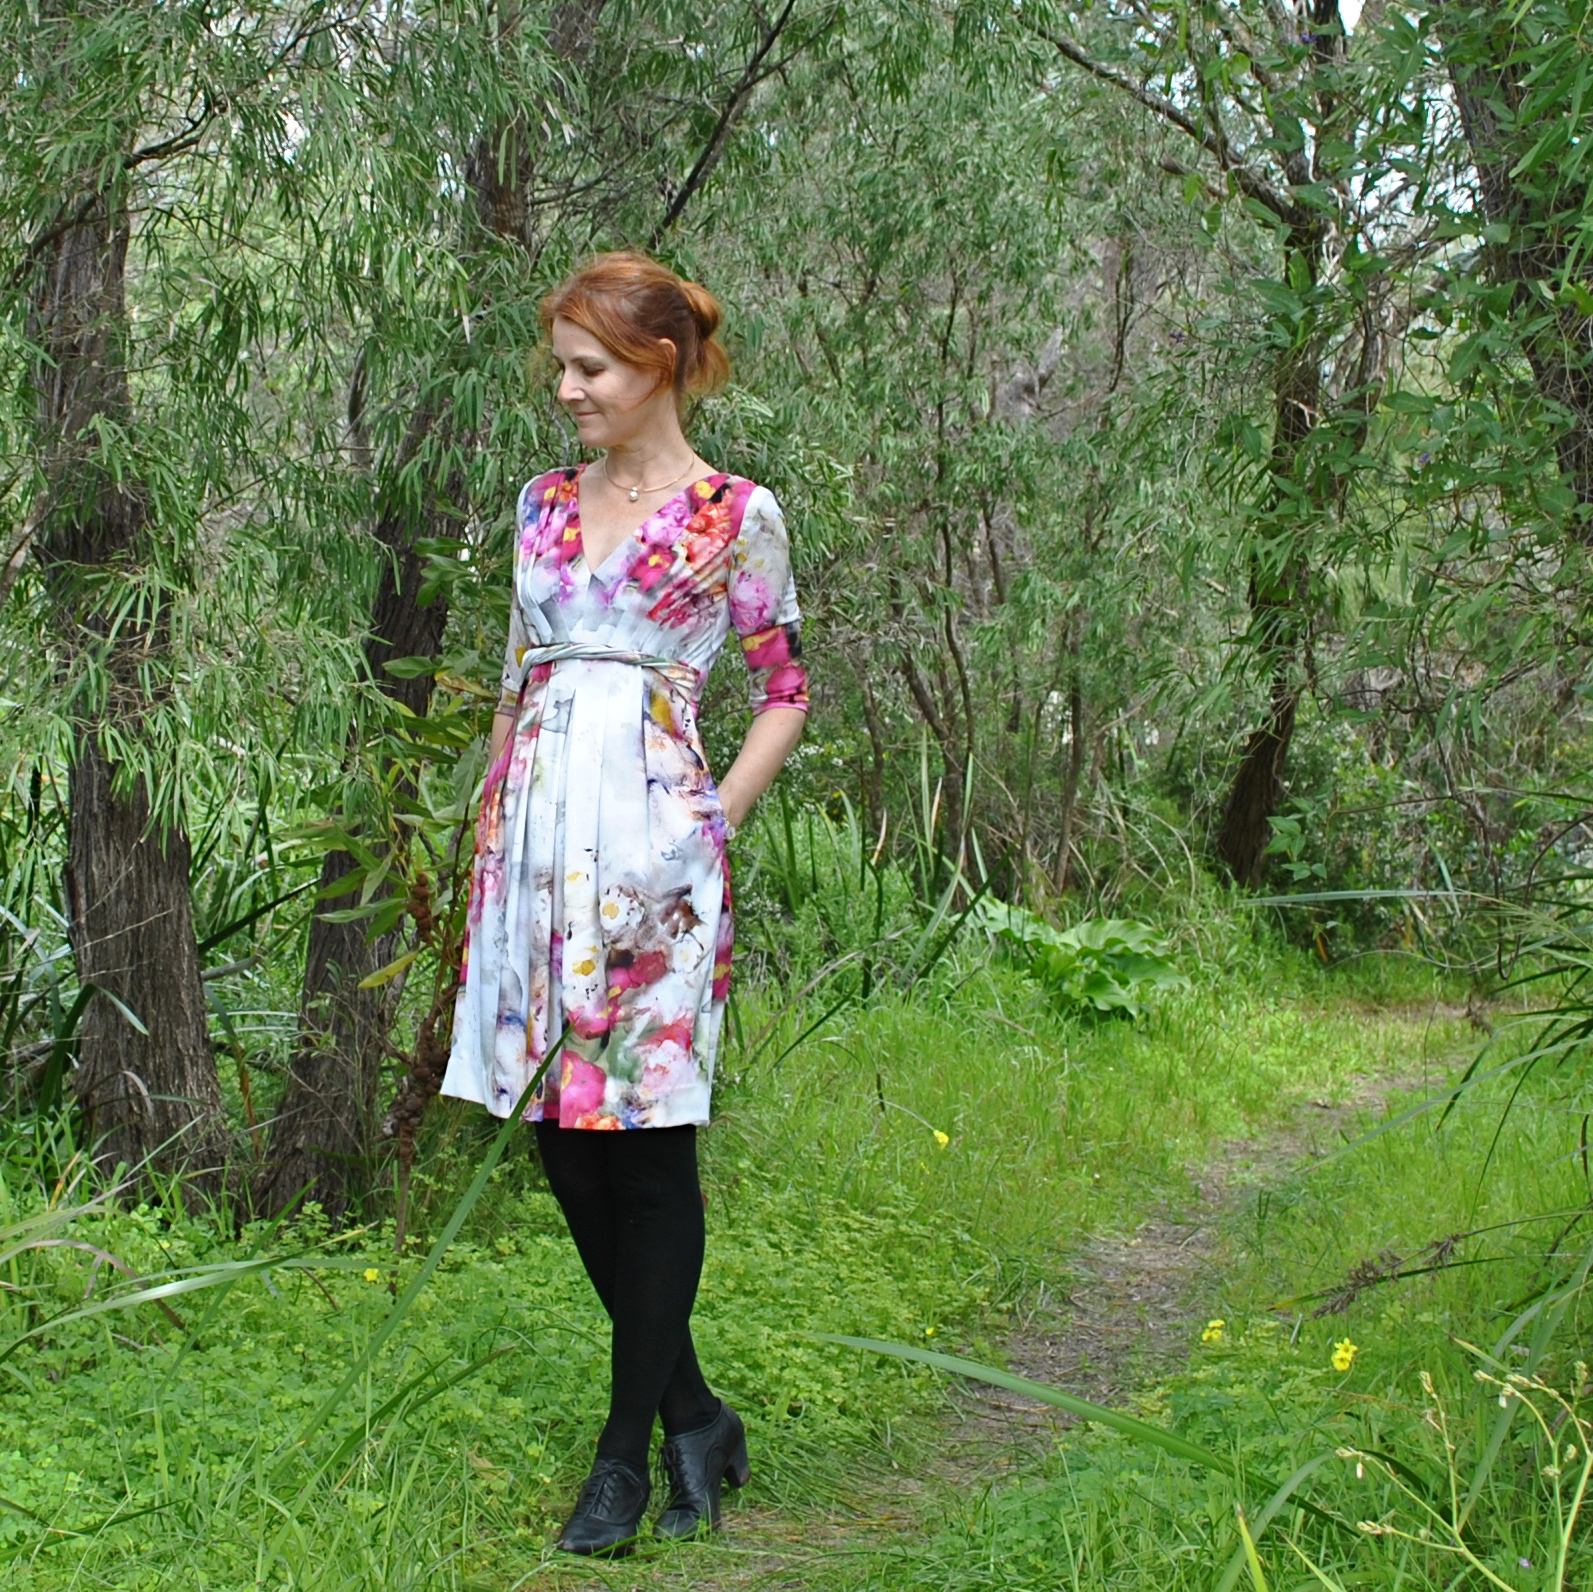
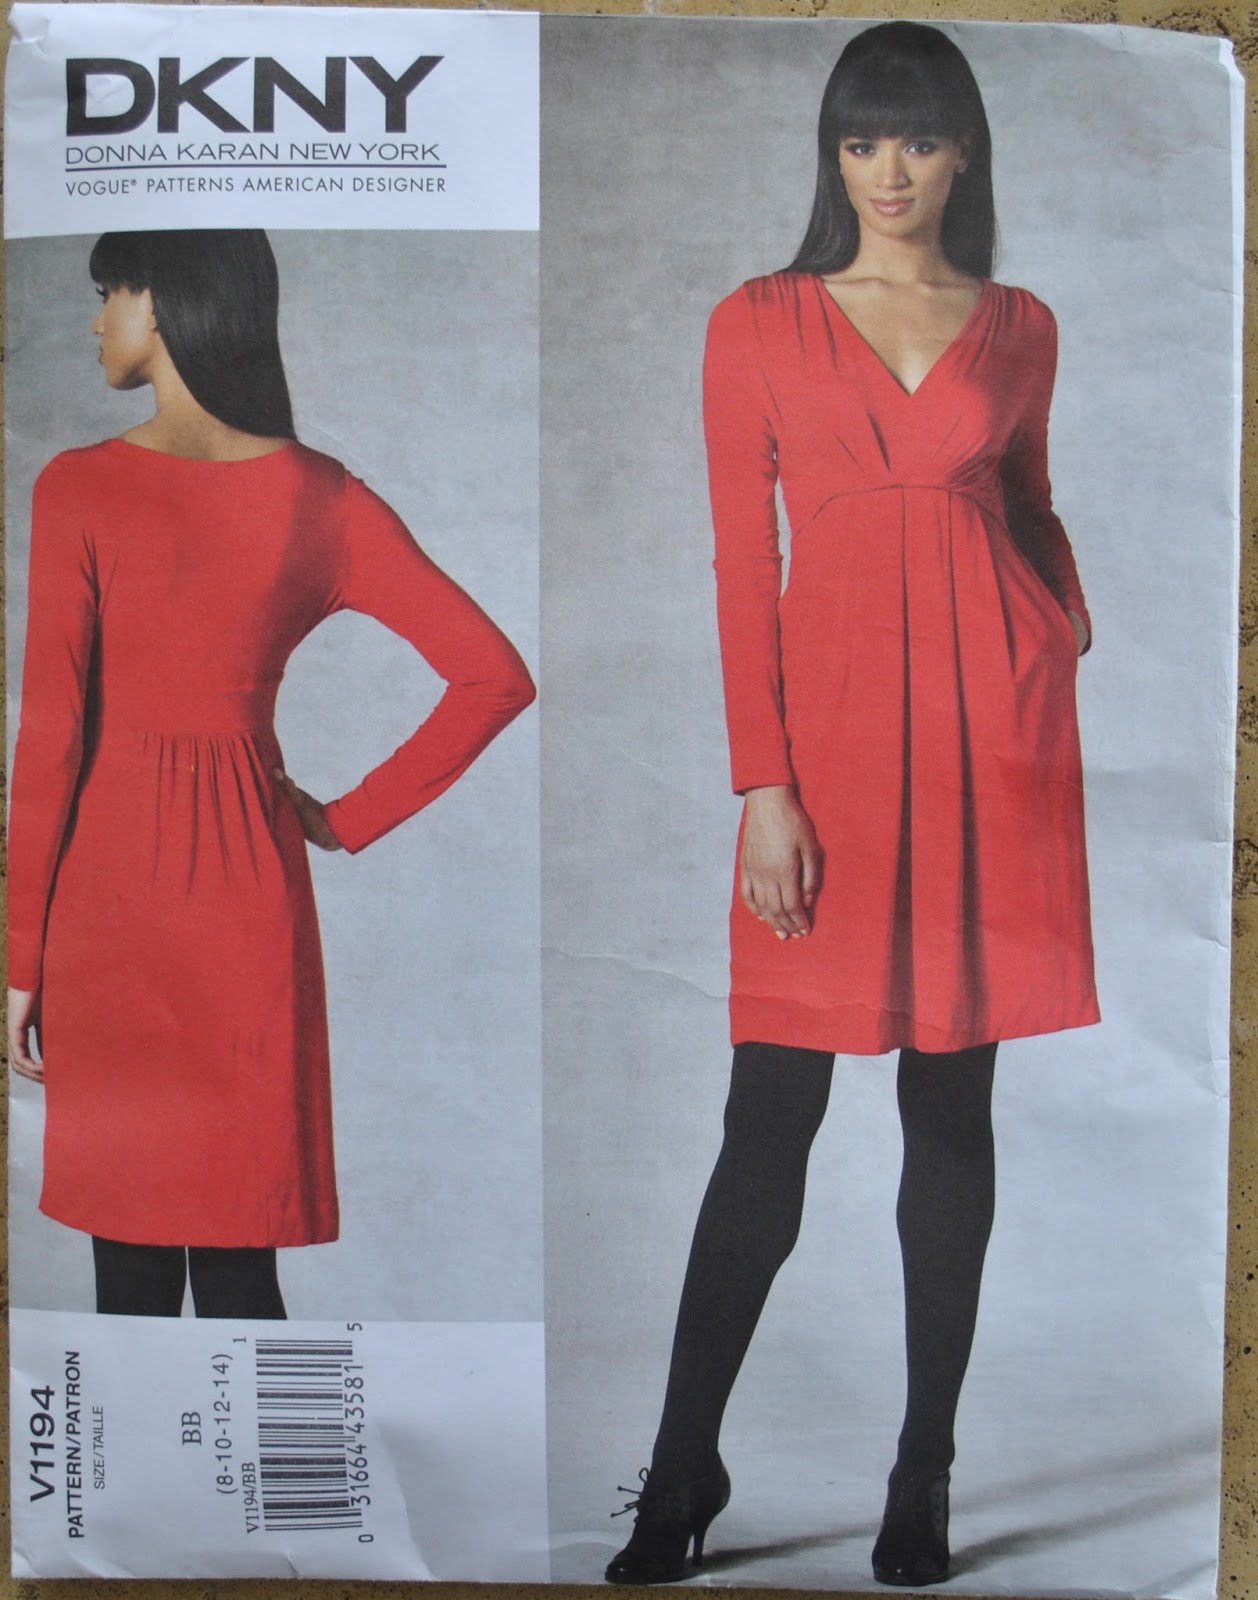
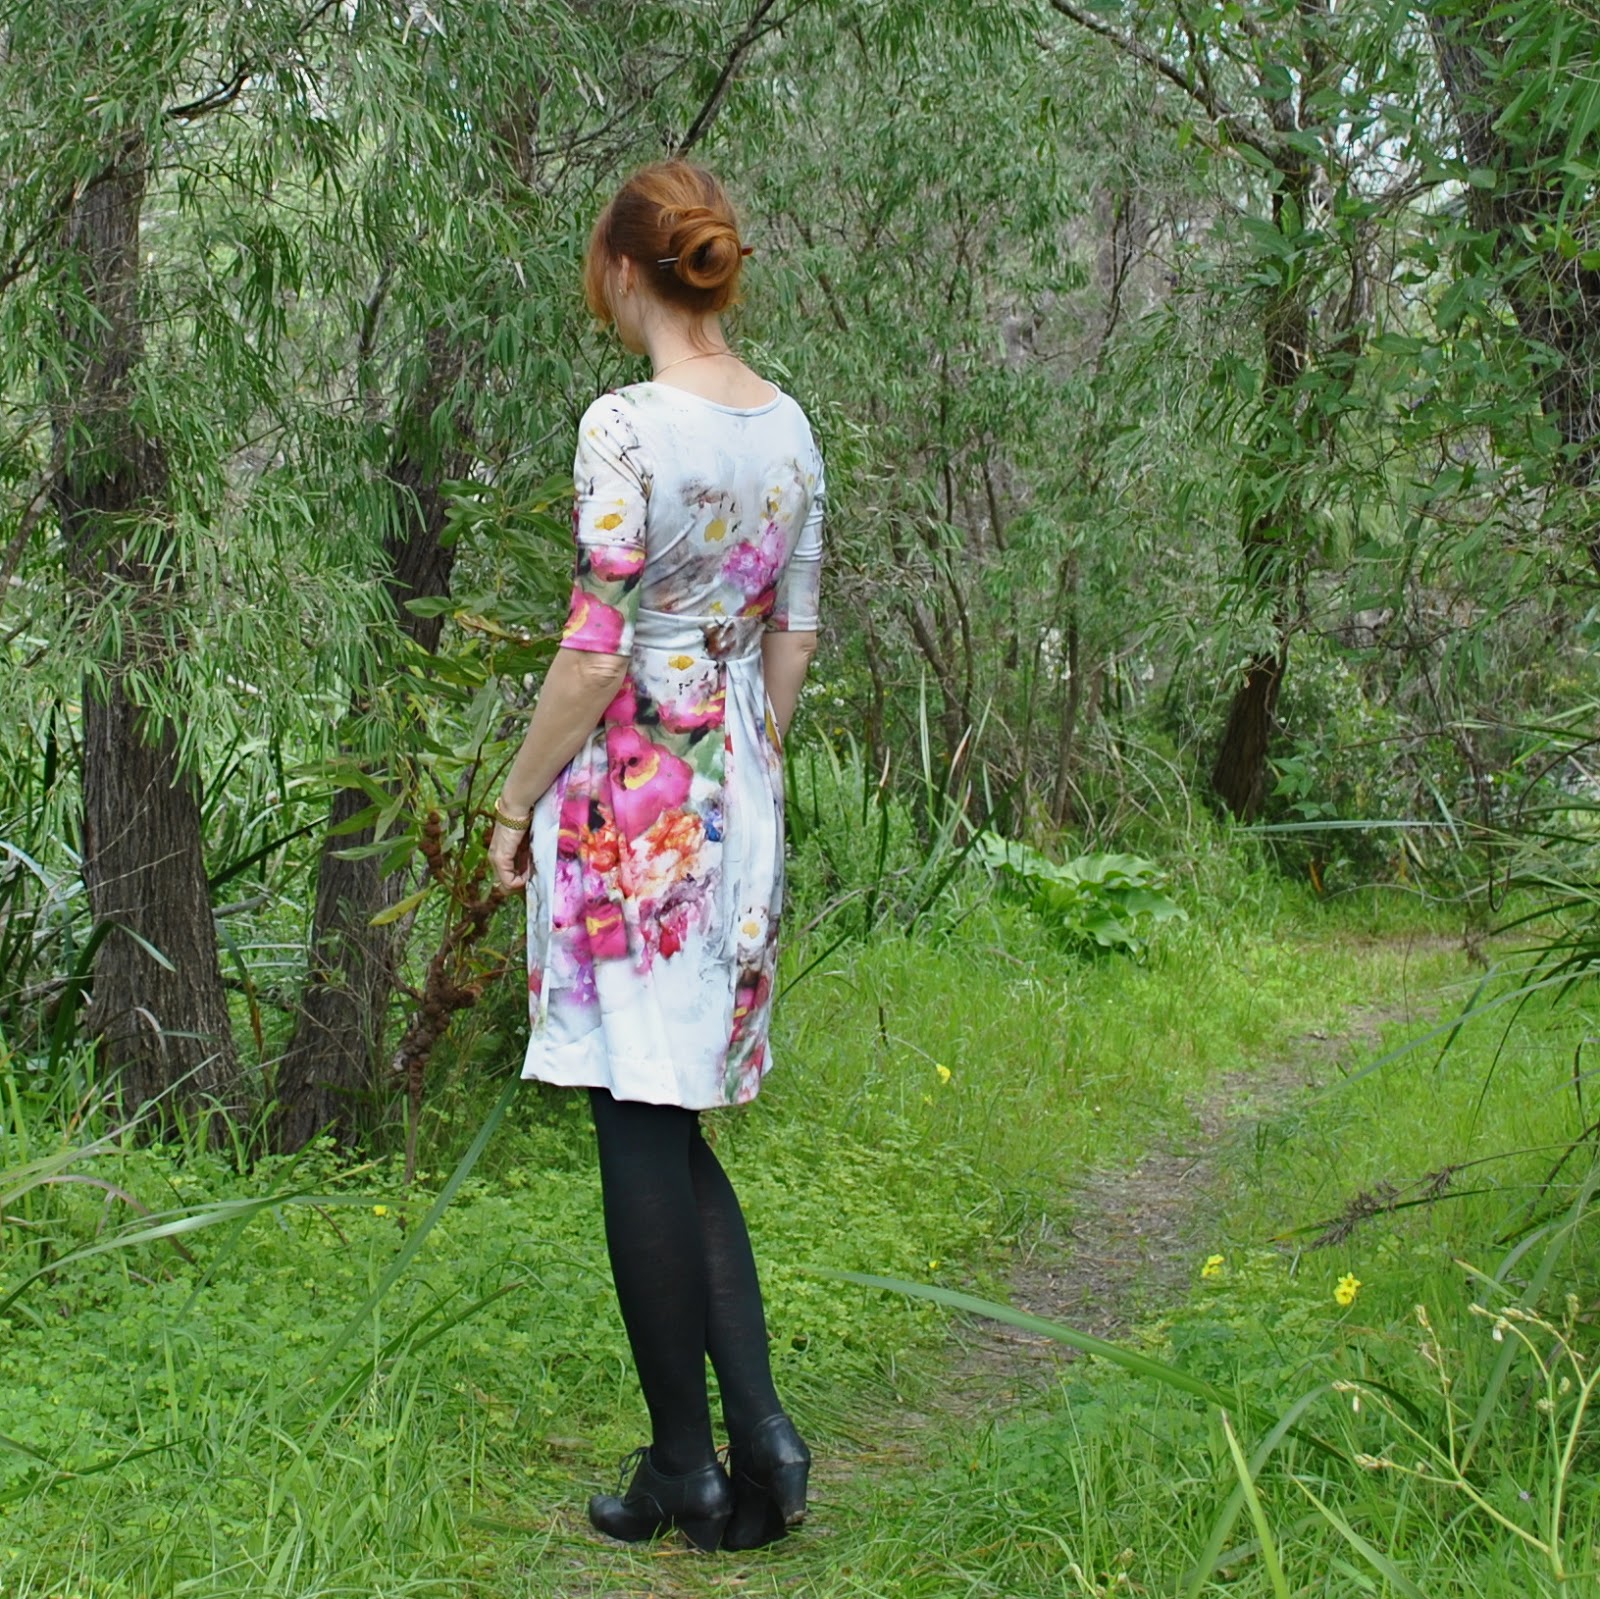
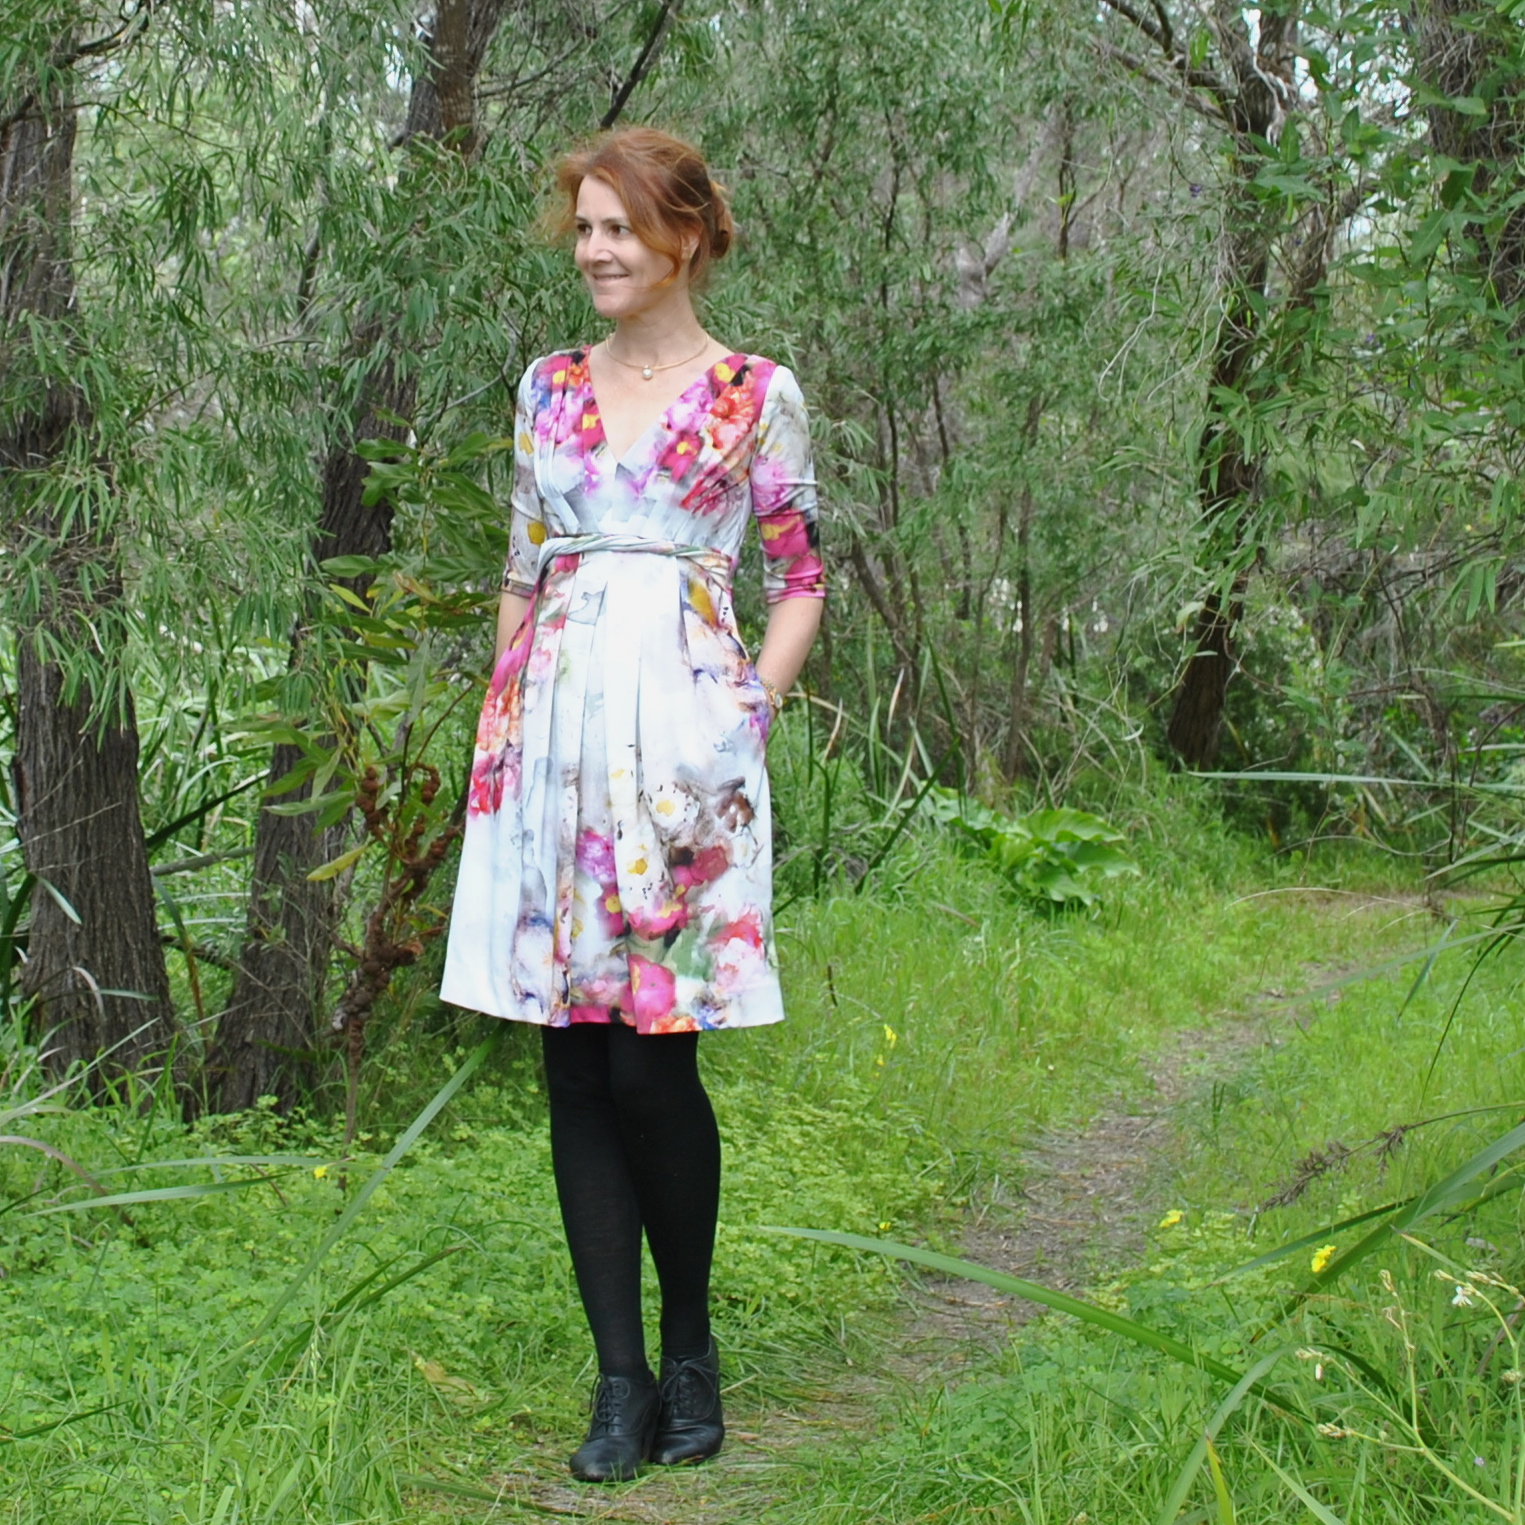
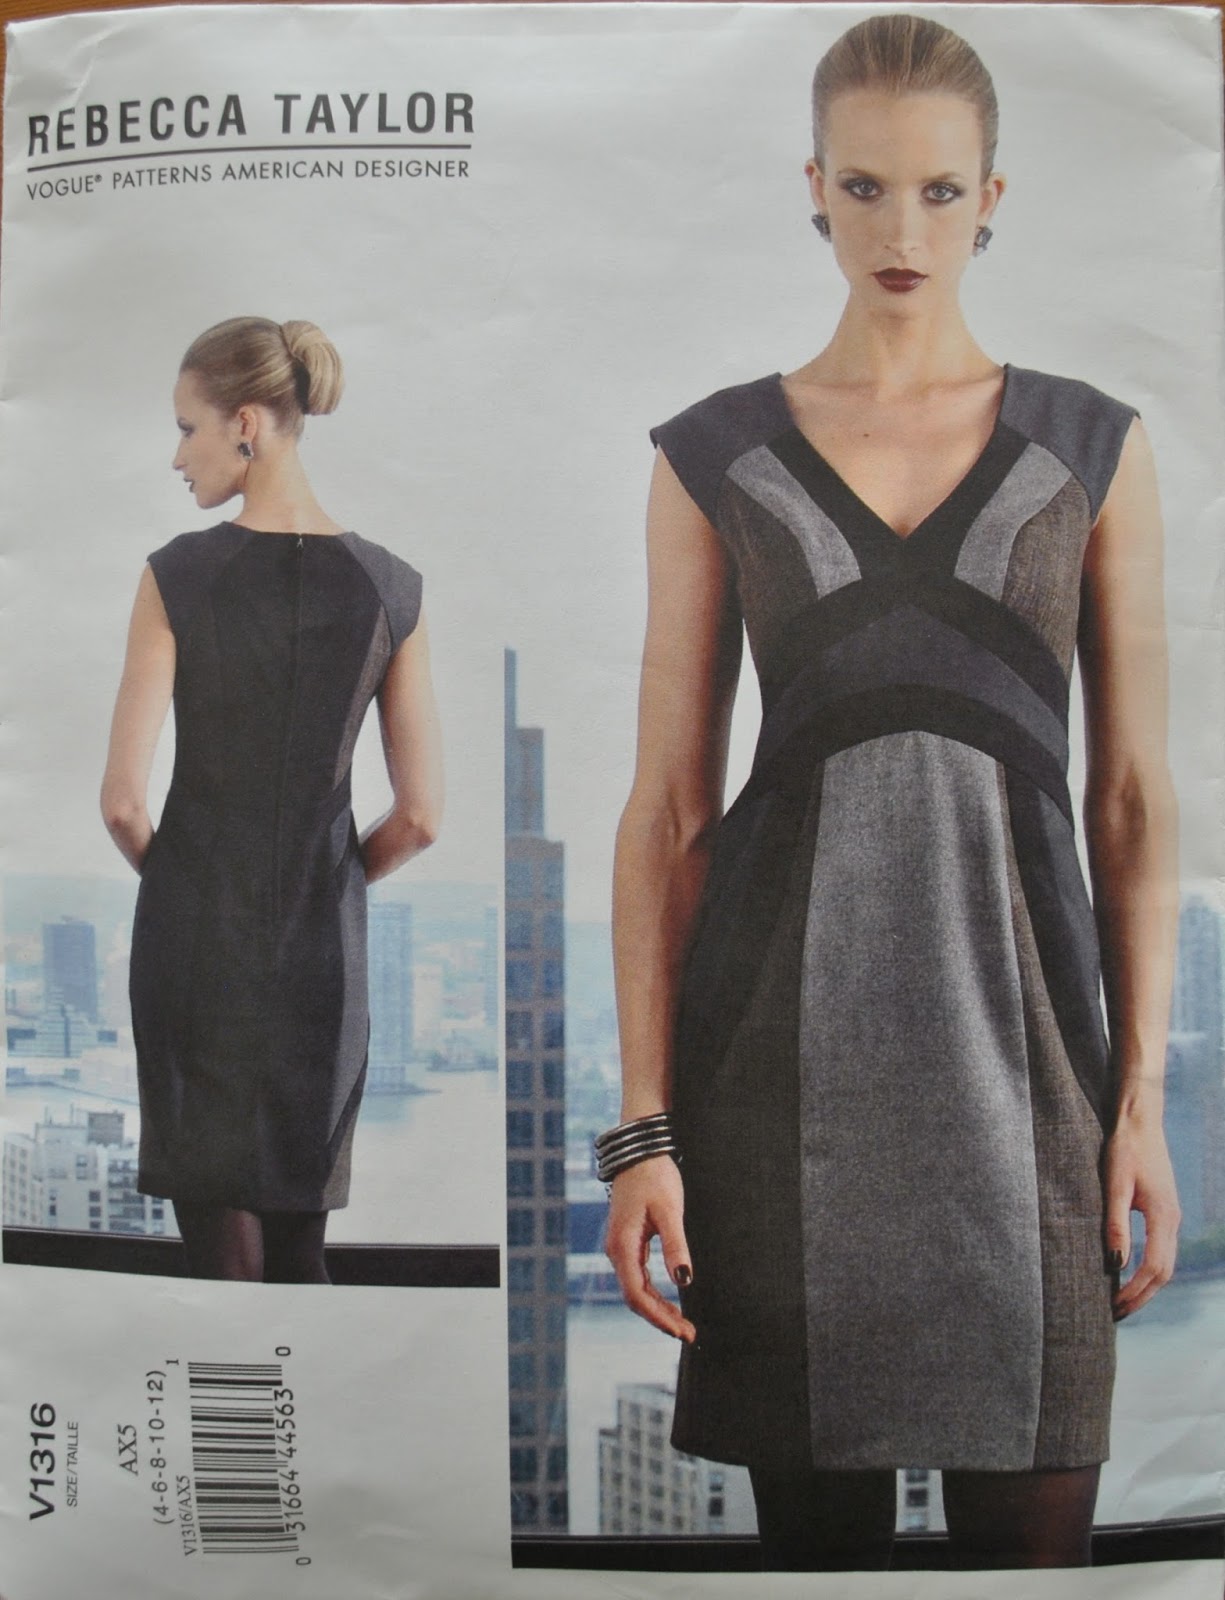
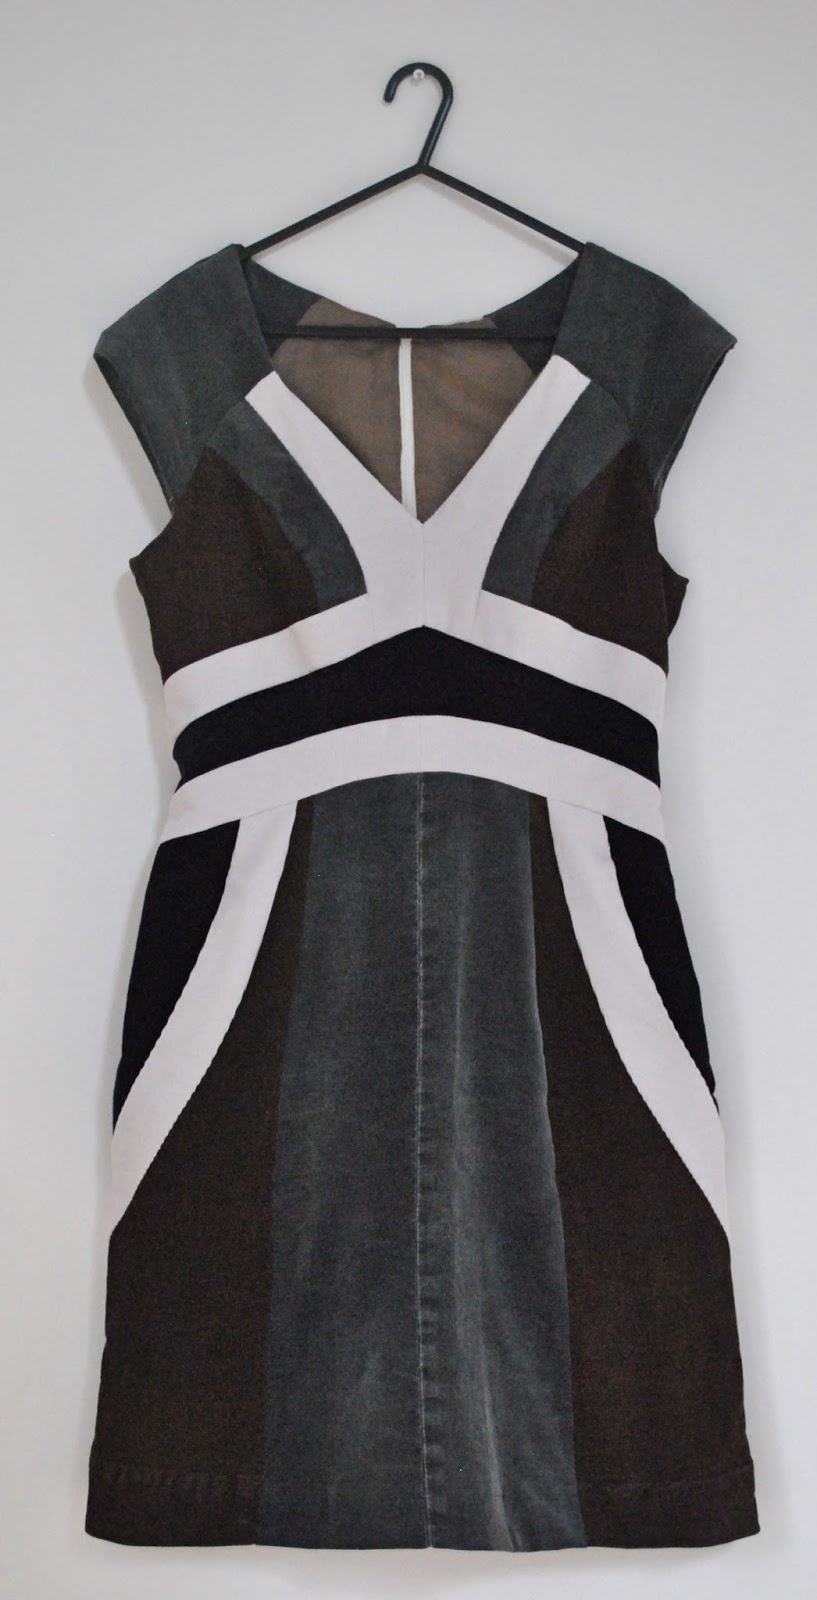
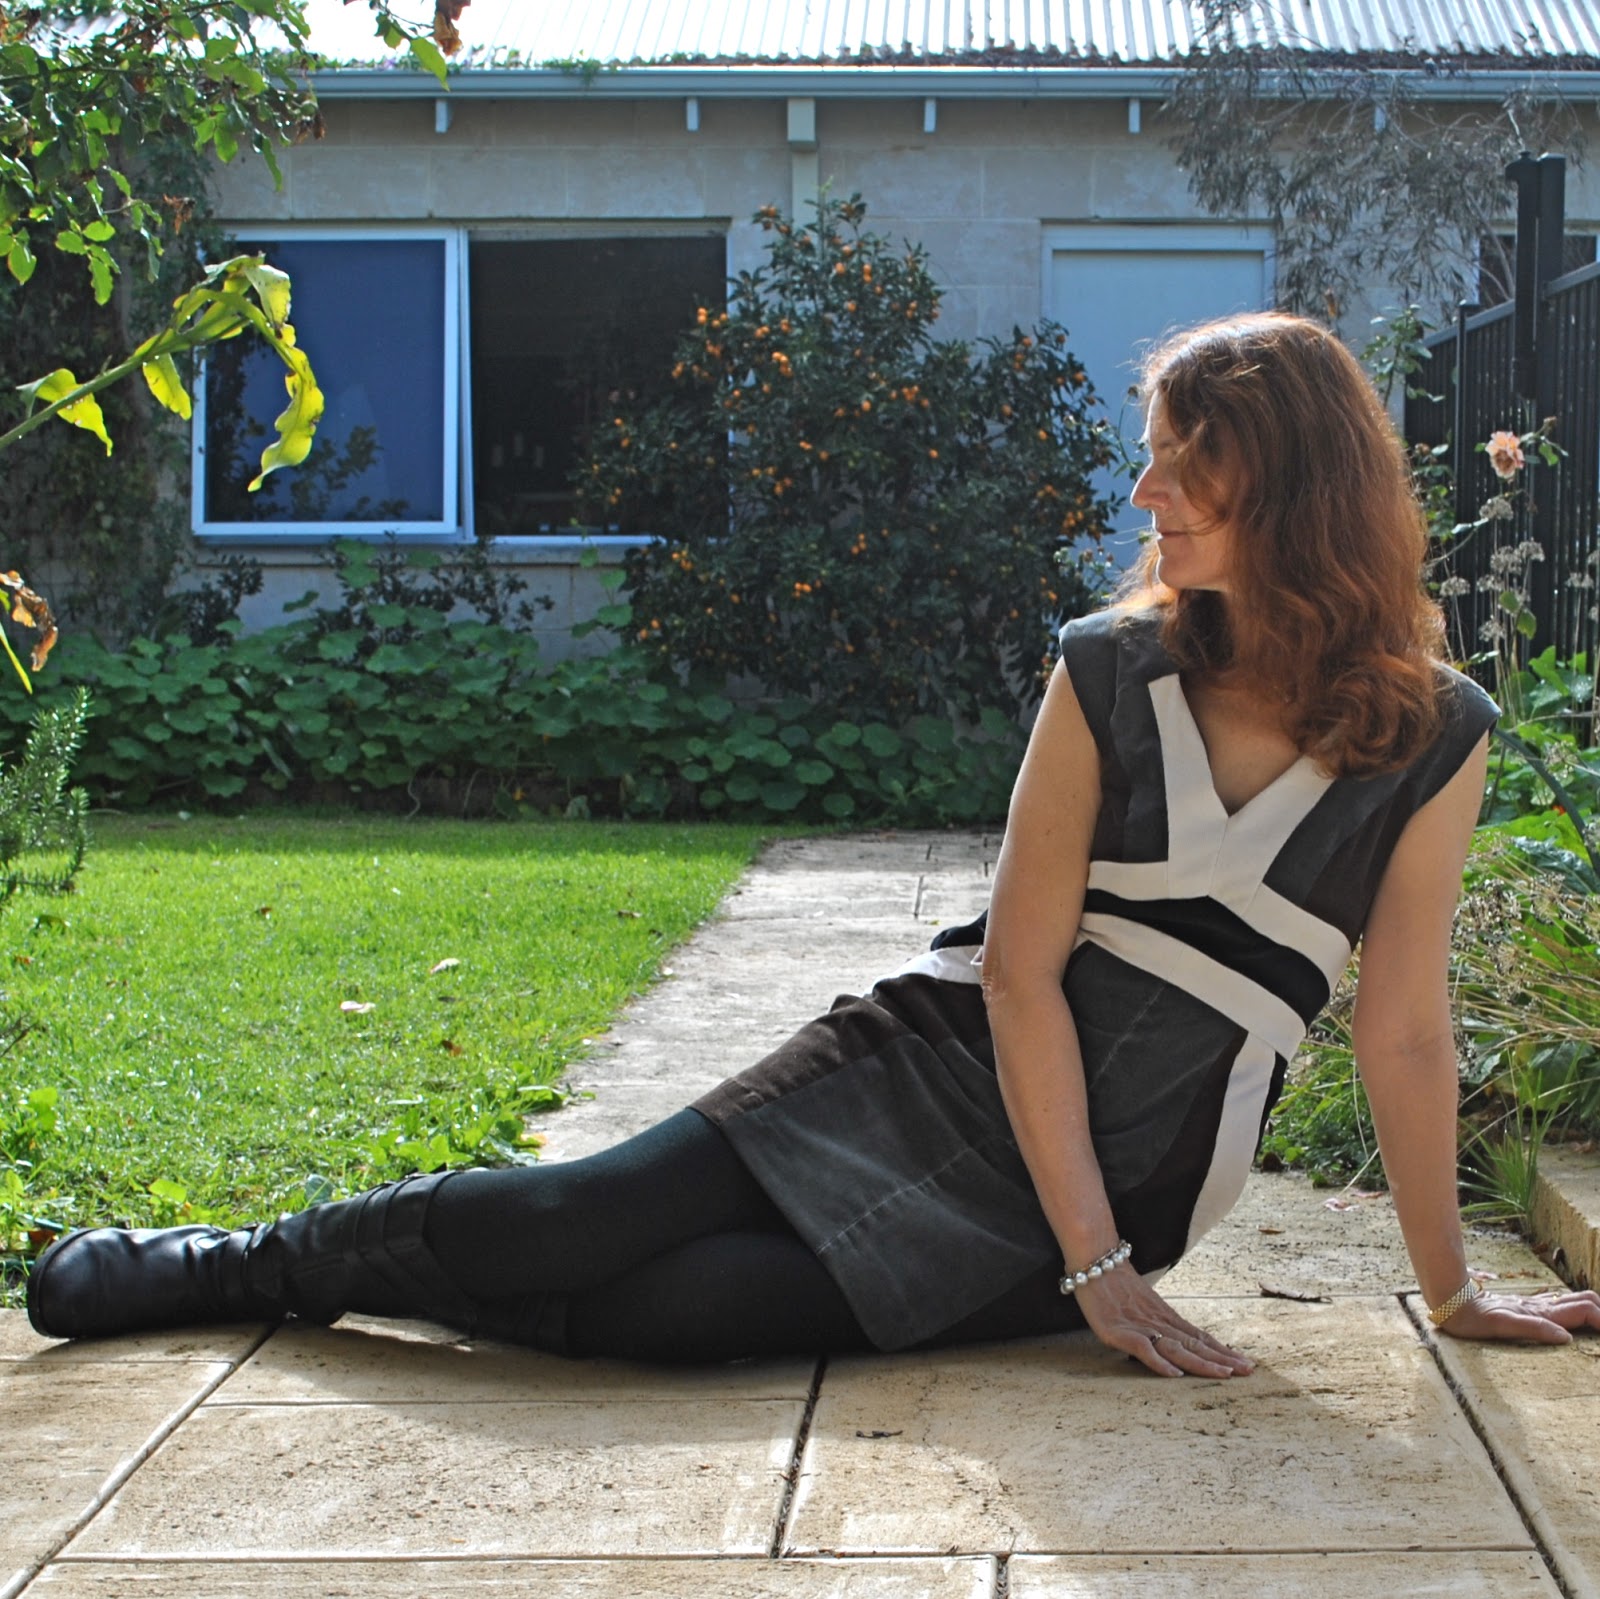
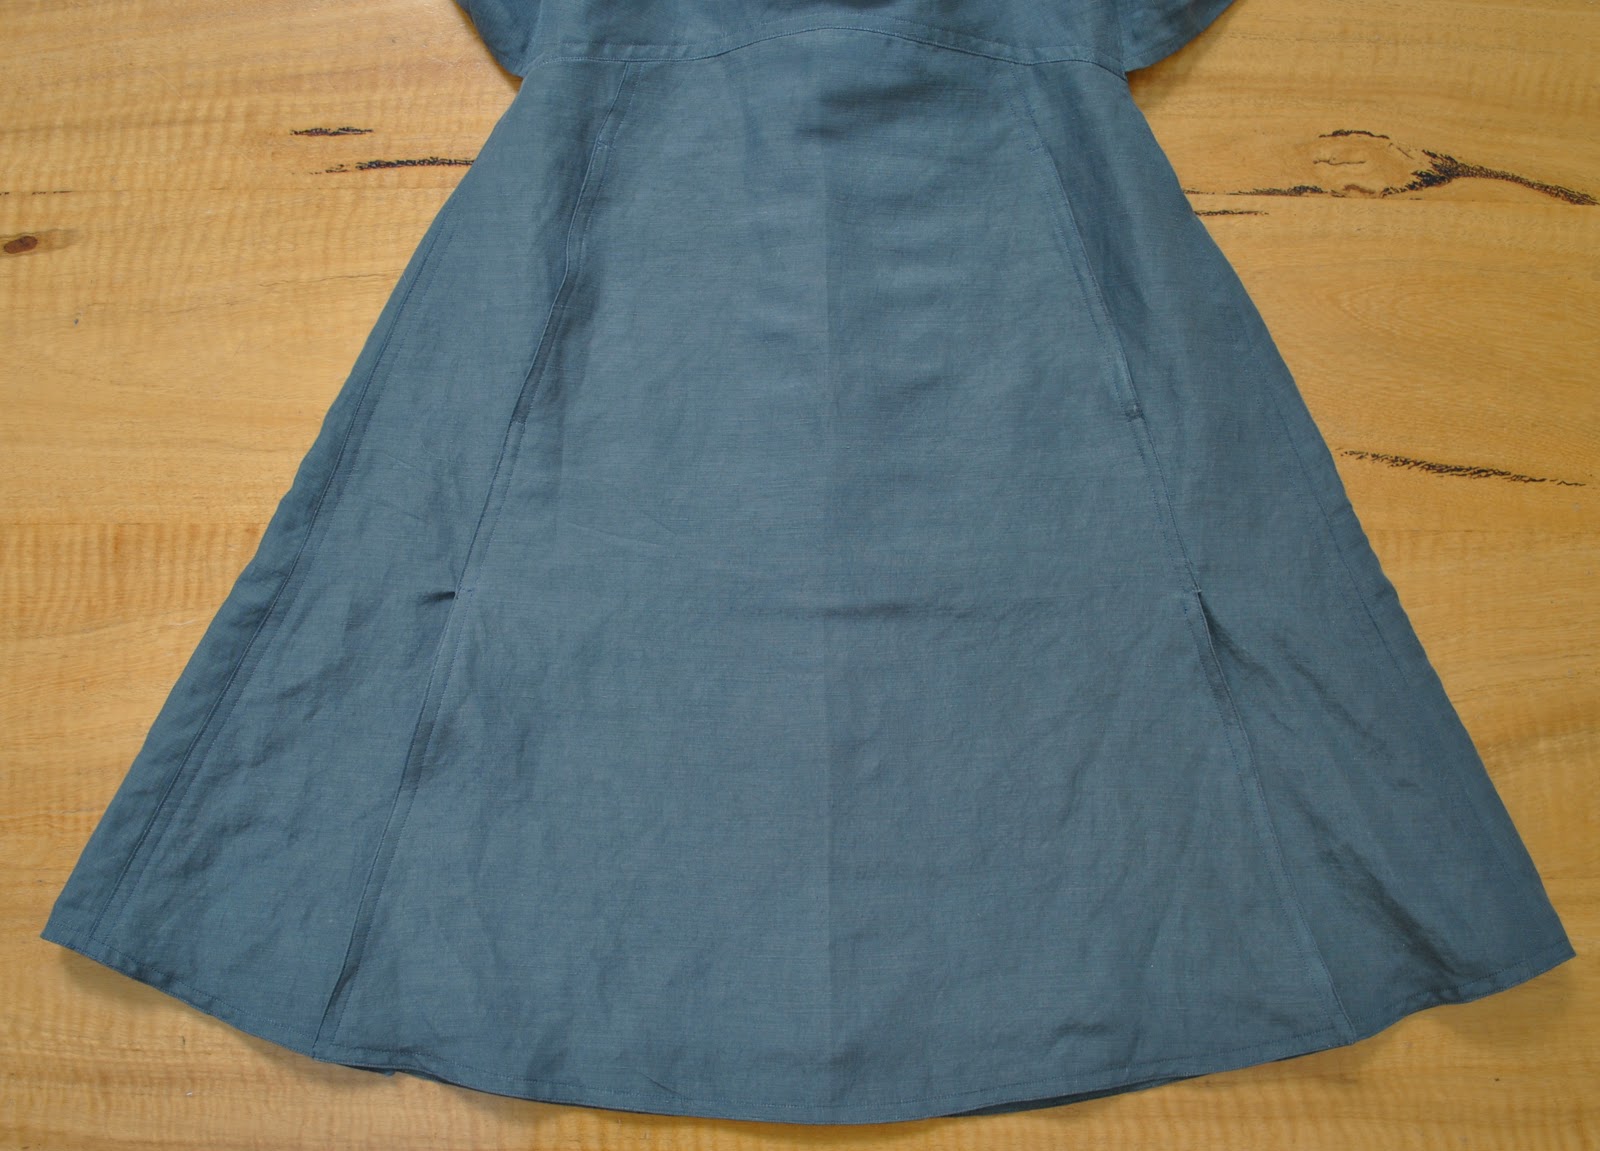
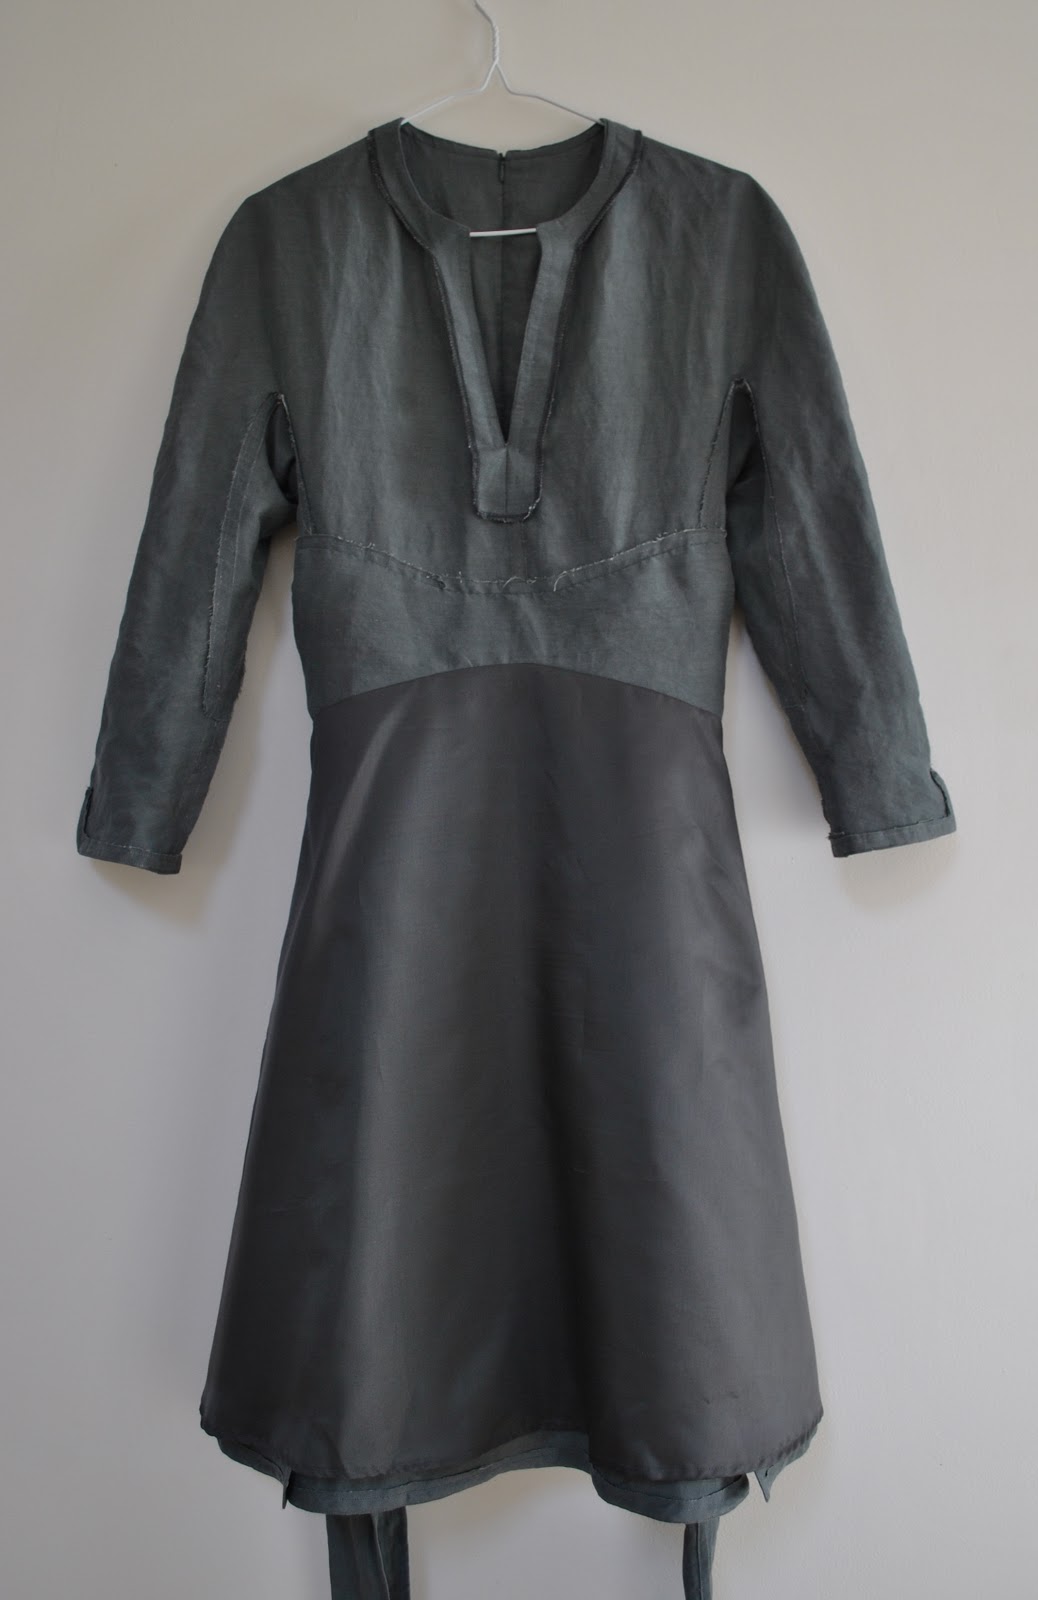
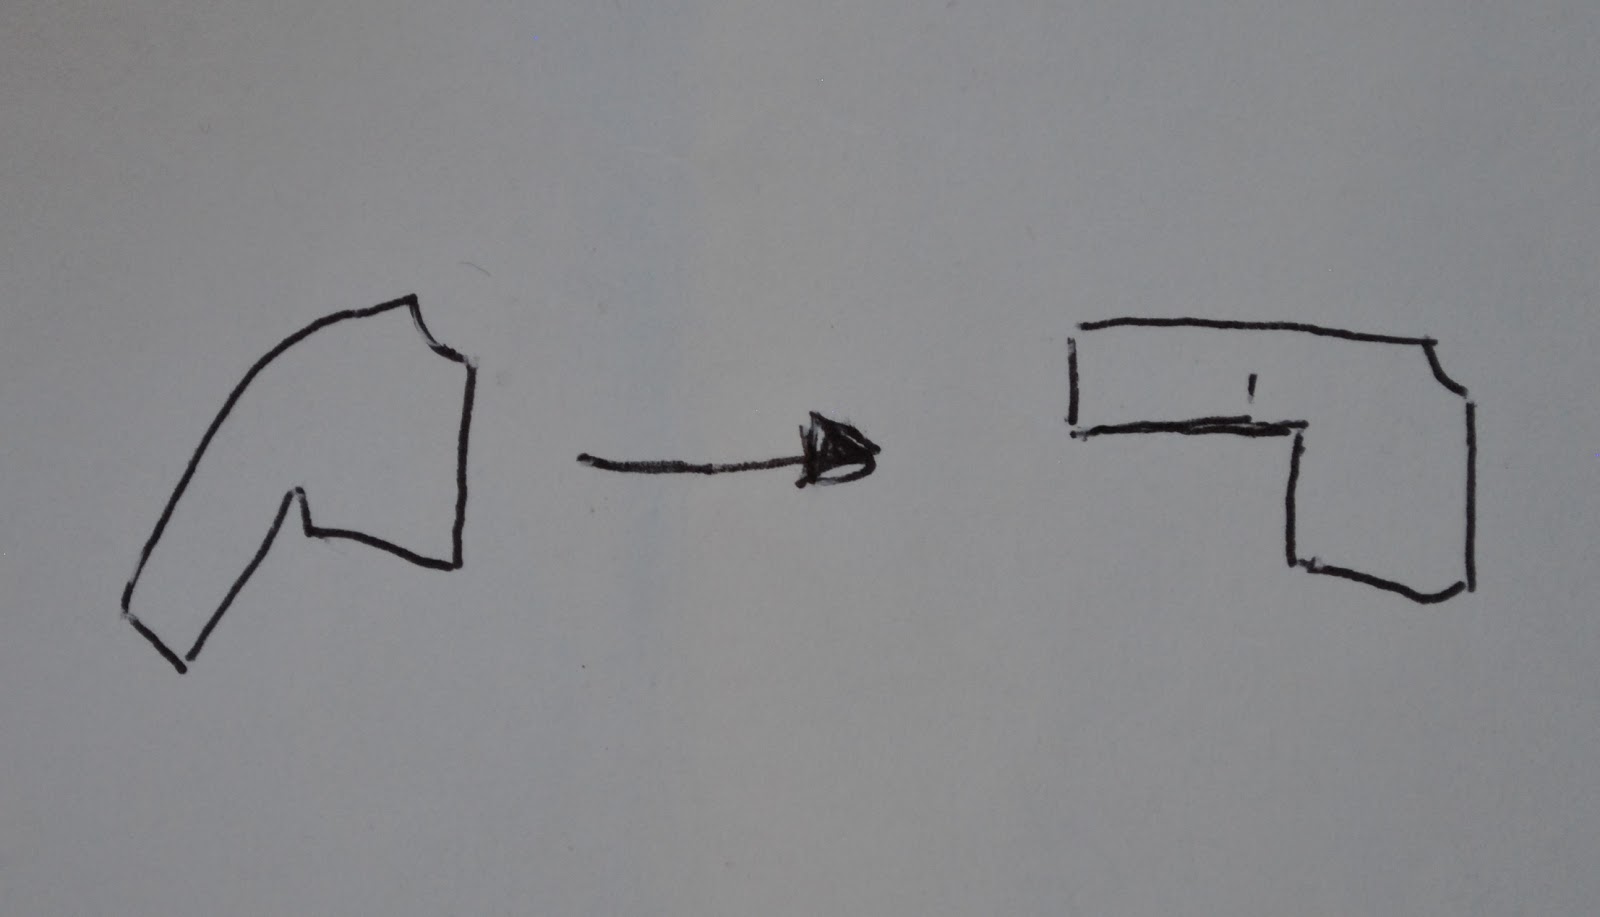
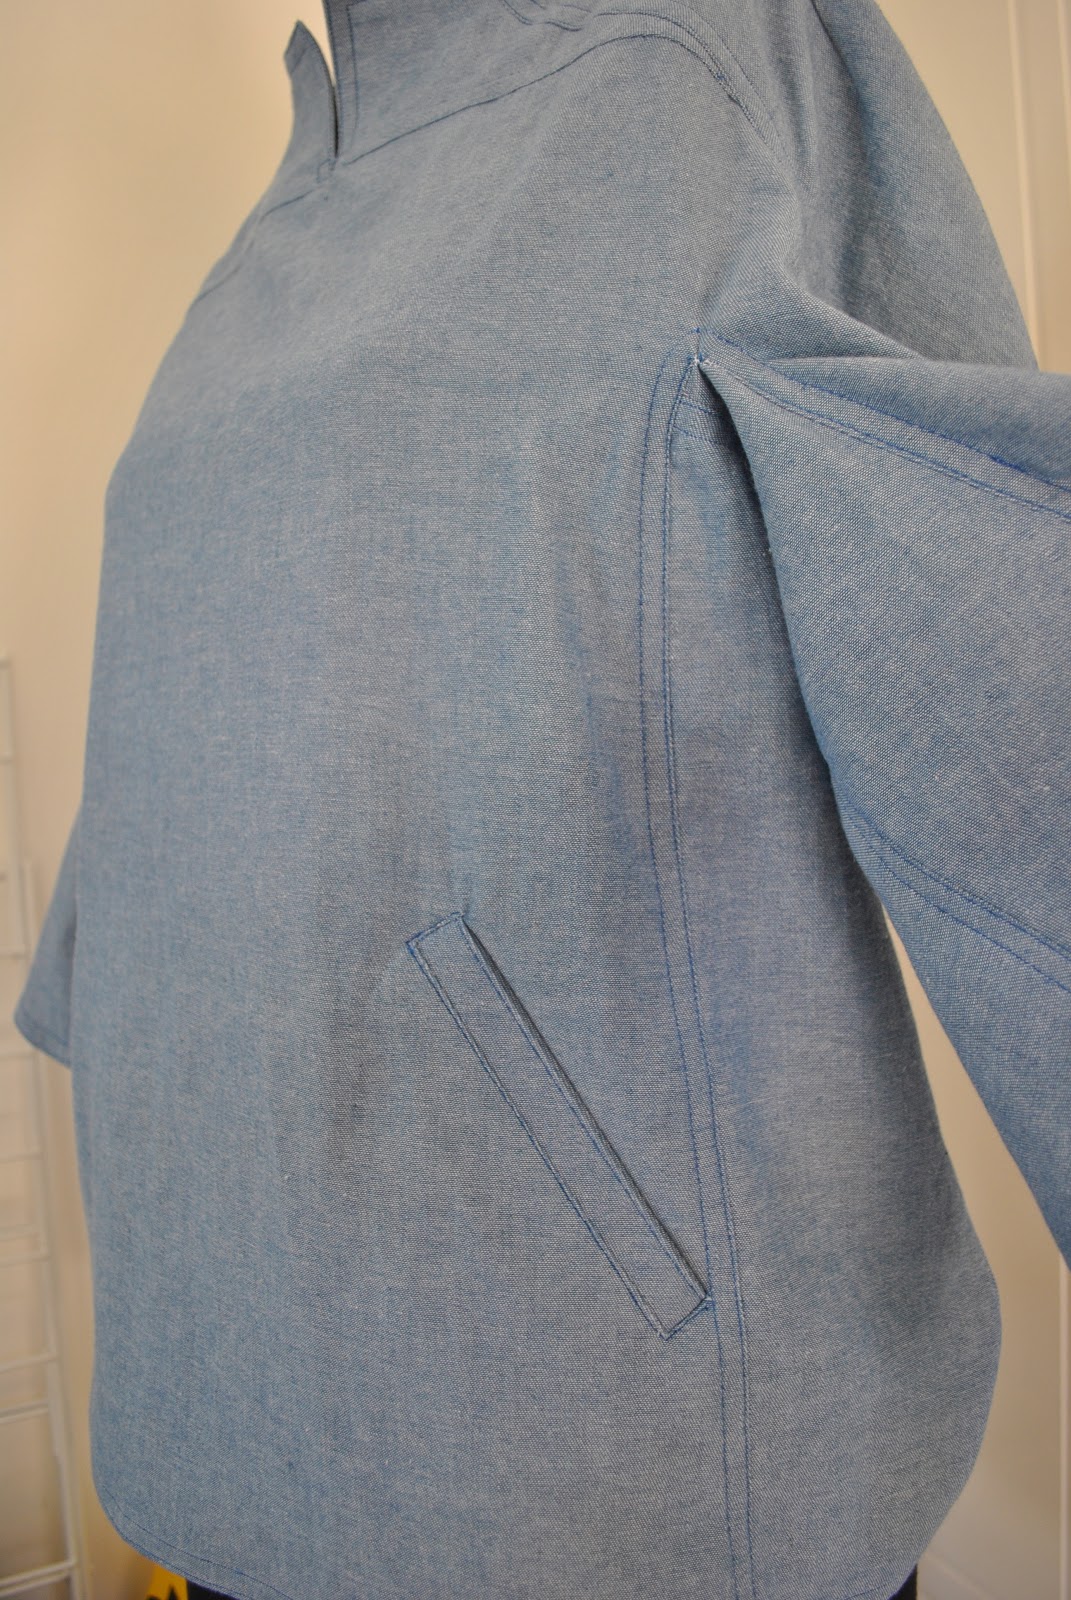
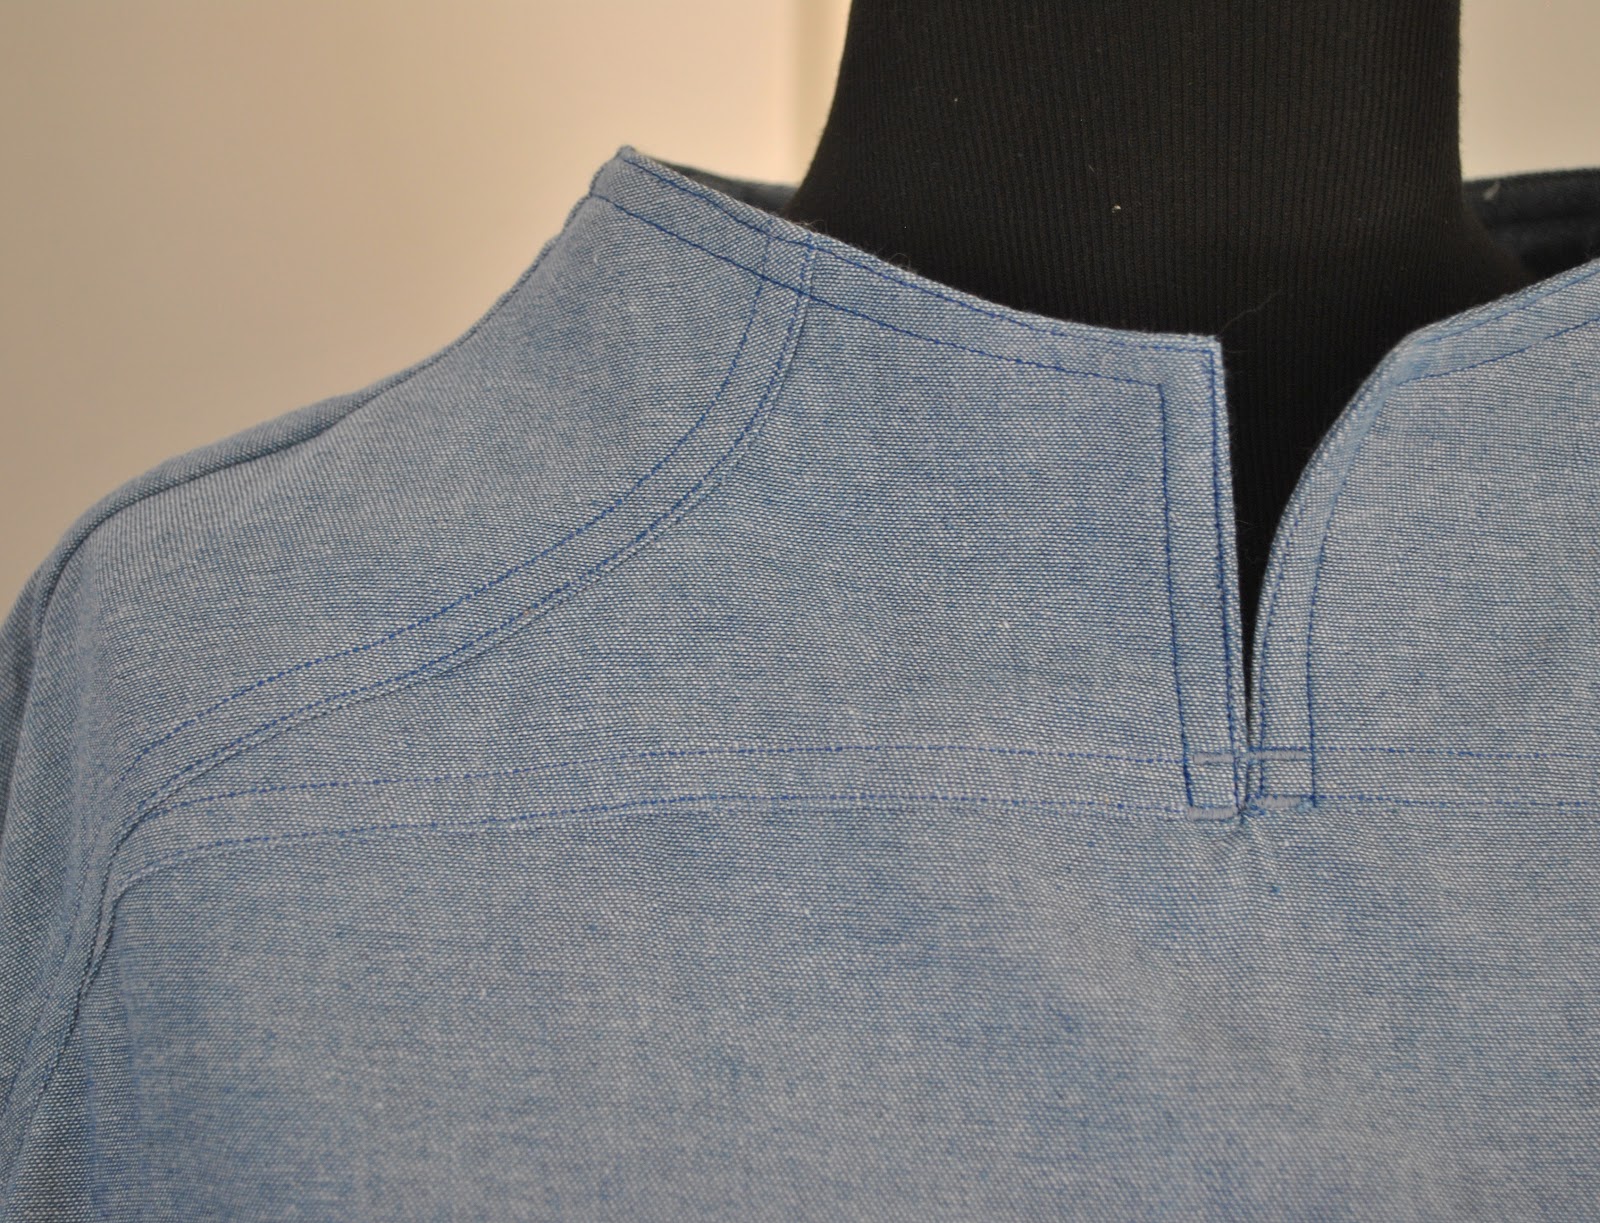
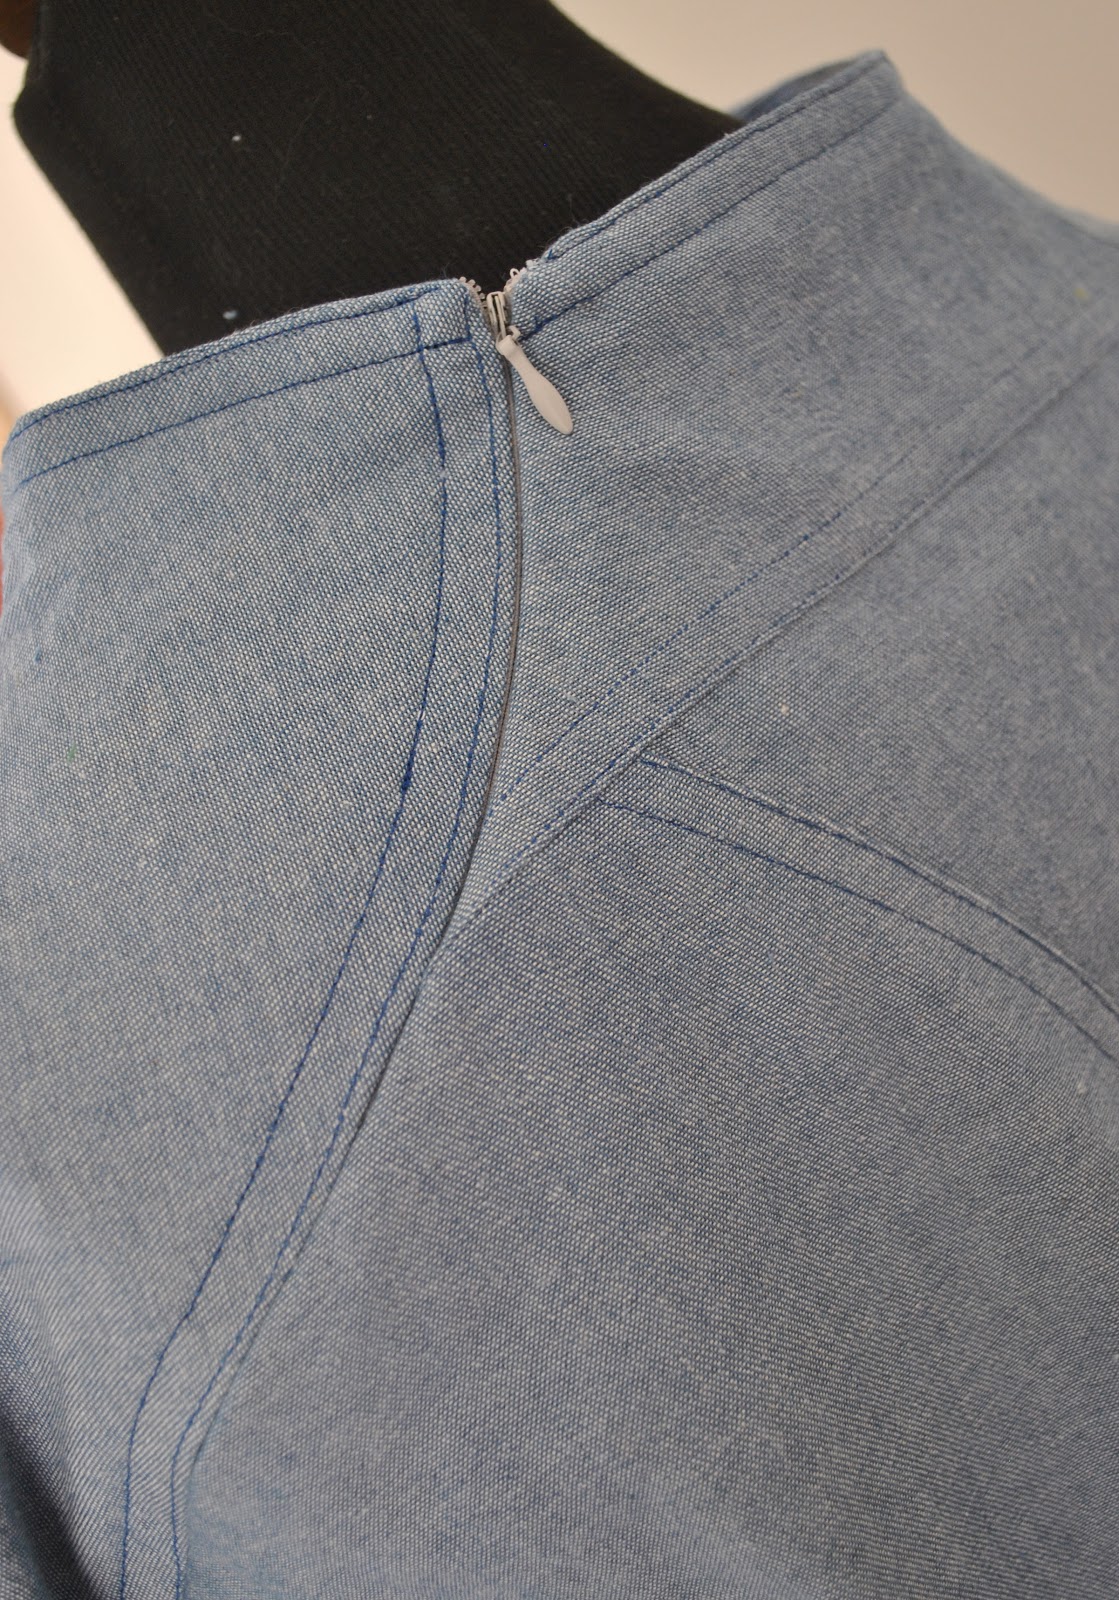
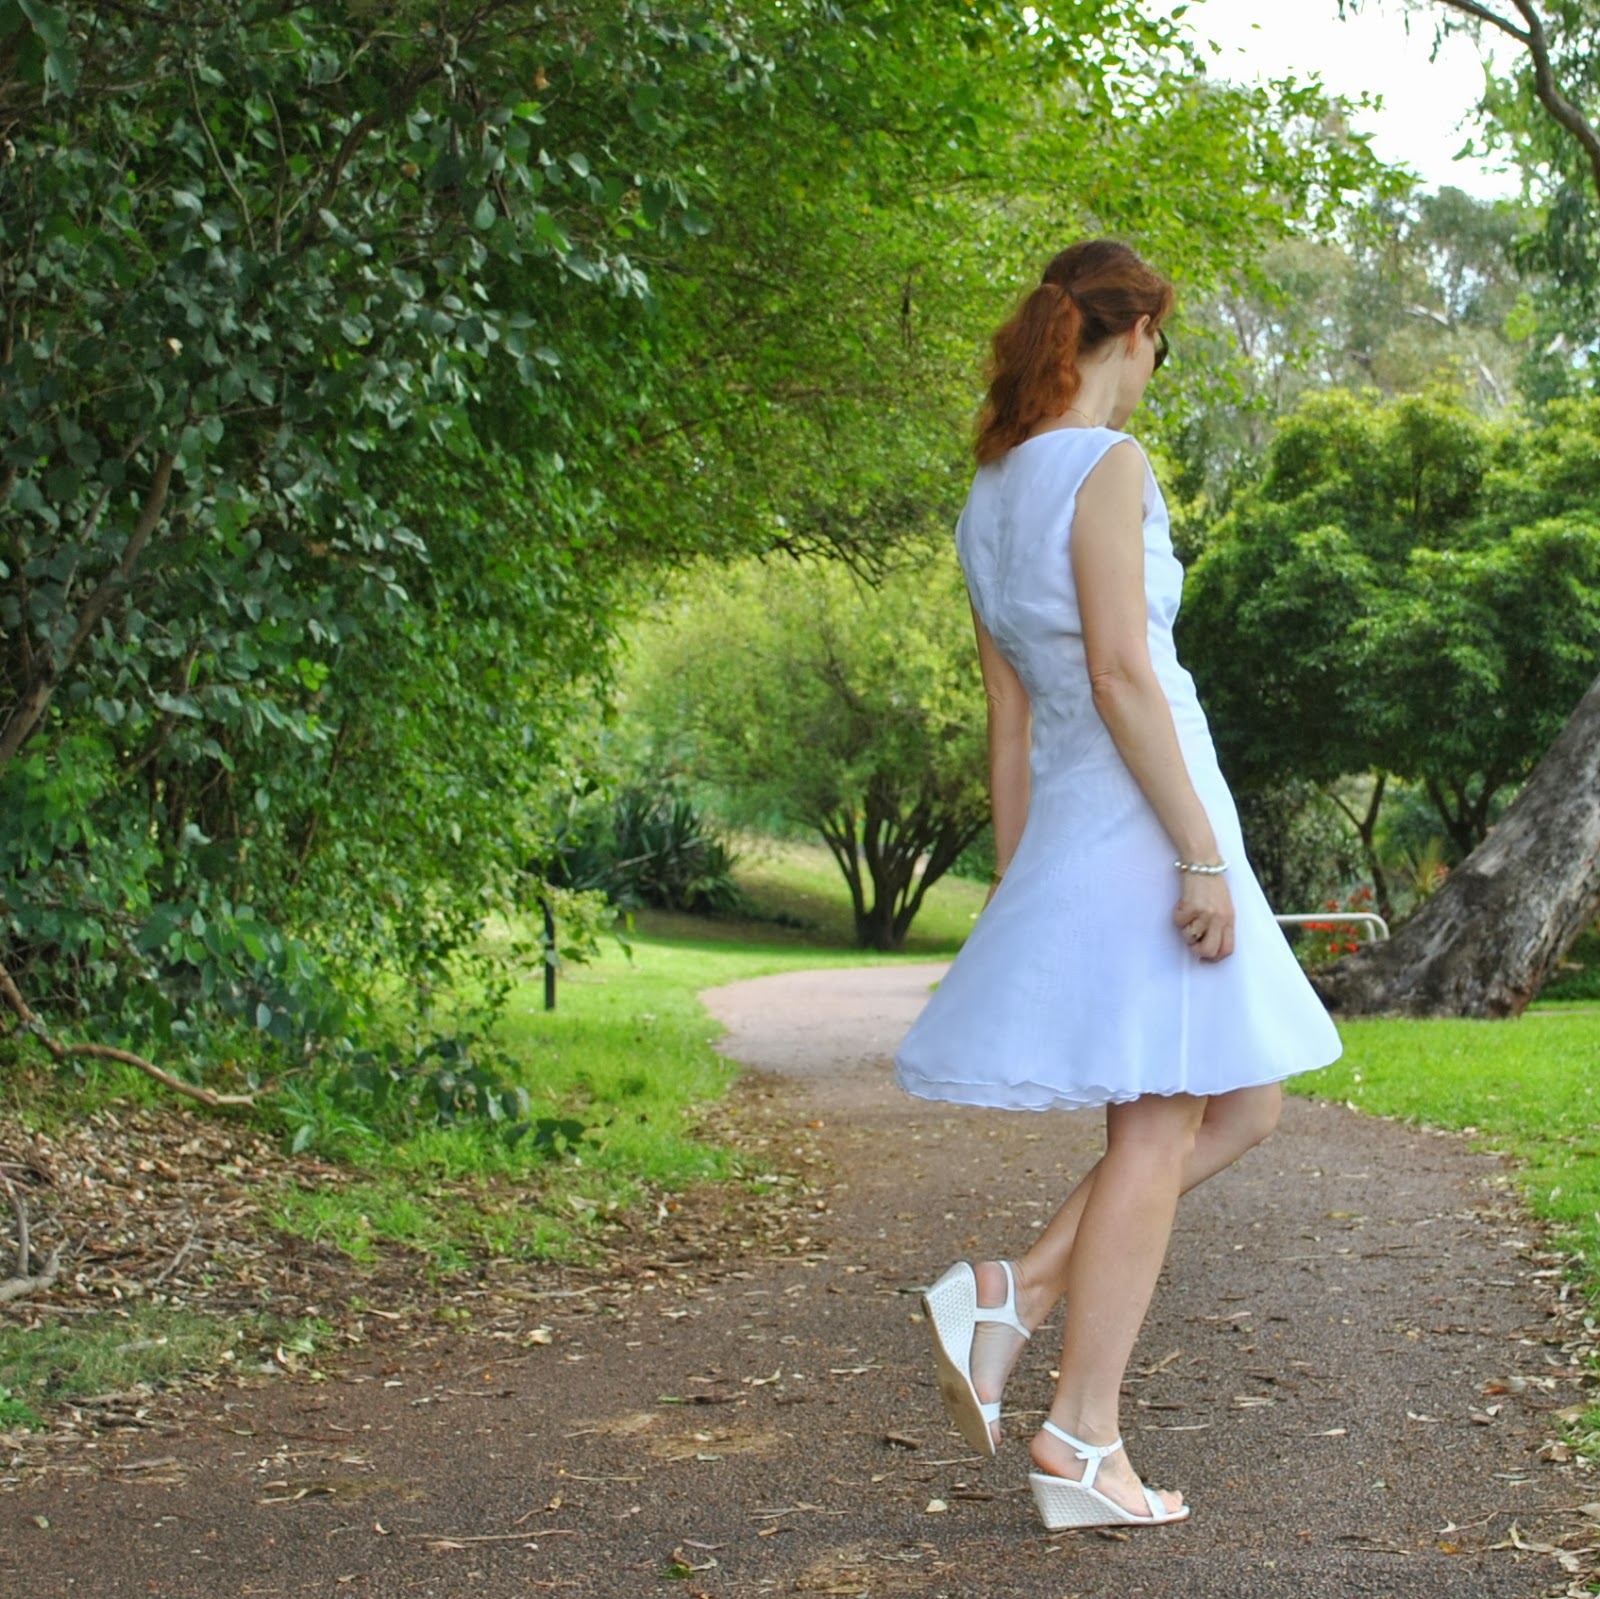
The Nougat is a classic, waisted, sleeveless A-line dress with a pretty swirly-skirted silhouette and closure by invisible zip in the left side seam. Where the pattern is extremely clever however, is that it includes three variations of various degrees of difficulty, meaning there is a something for all skill levels. If you want a challenge then version A with its multiple curved seams will give you a good one; if you want a pretty, A-line dress then version C delivers this too. I went for the trickiest version A for my first go, but the one pattern includes all pattern pieces and instructions for the two progressively more simplified versions B and C, and there are comprehensive instructions to walk you through constructing the more fiddly bits of the more advanced version A. I was a bit late for the Nougat sewalong, but I consulted Ana’s posts when I did get around to making my own version, and I found all her sewalong instructions to be detailed, thorough and very helpful.

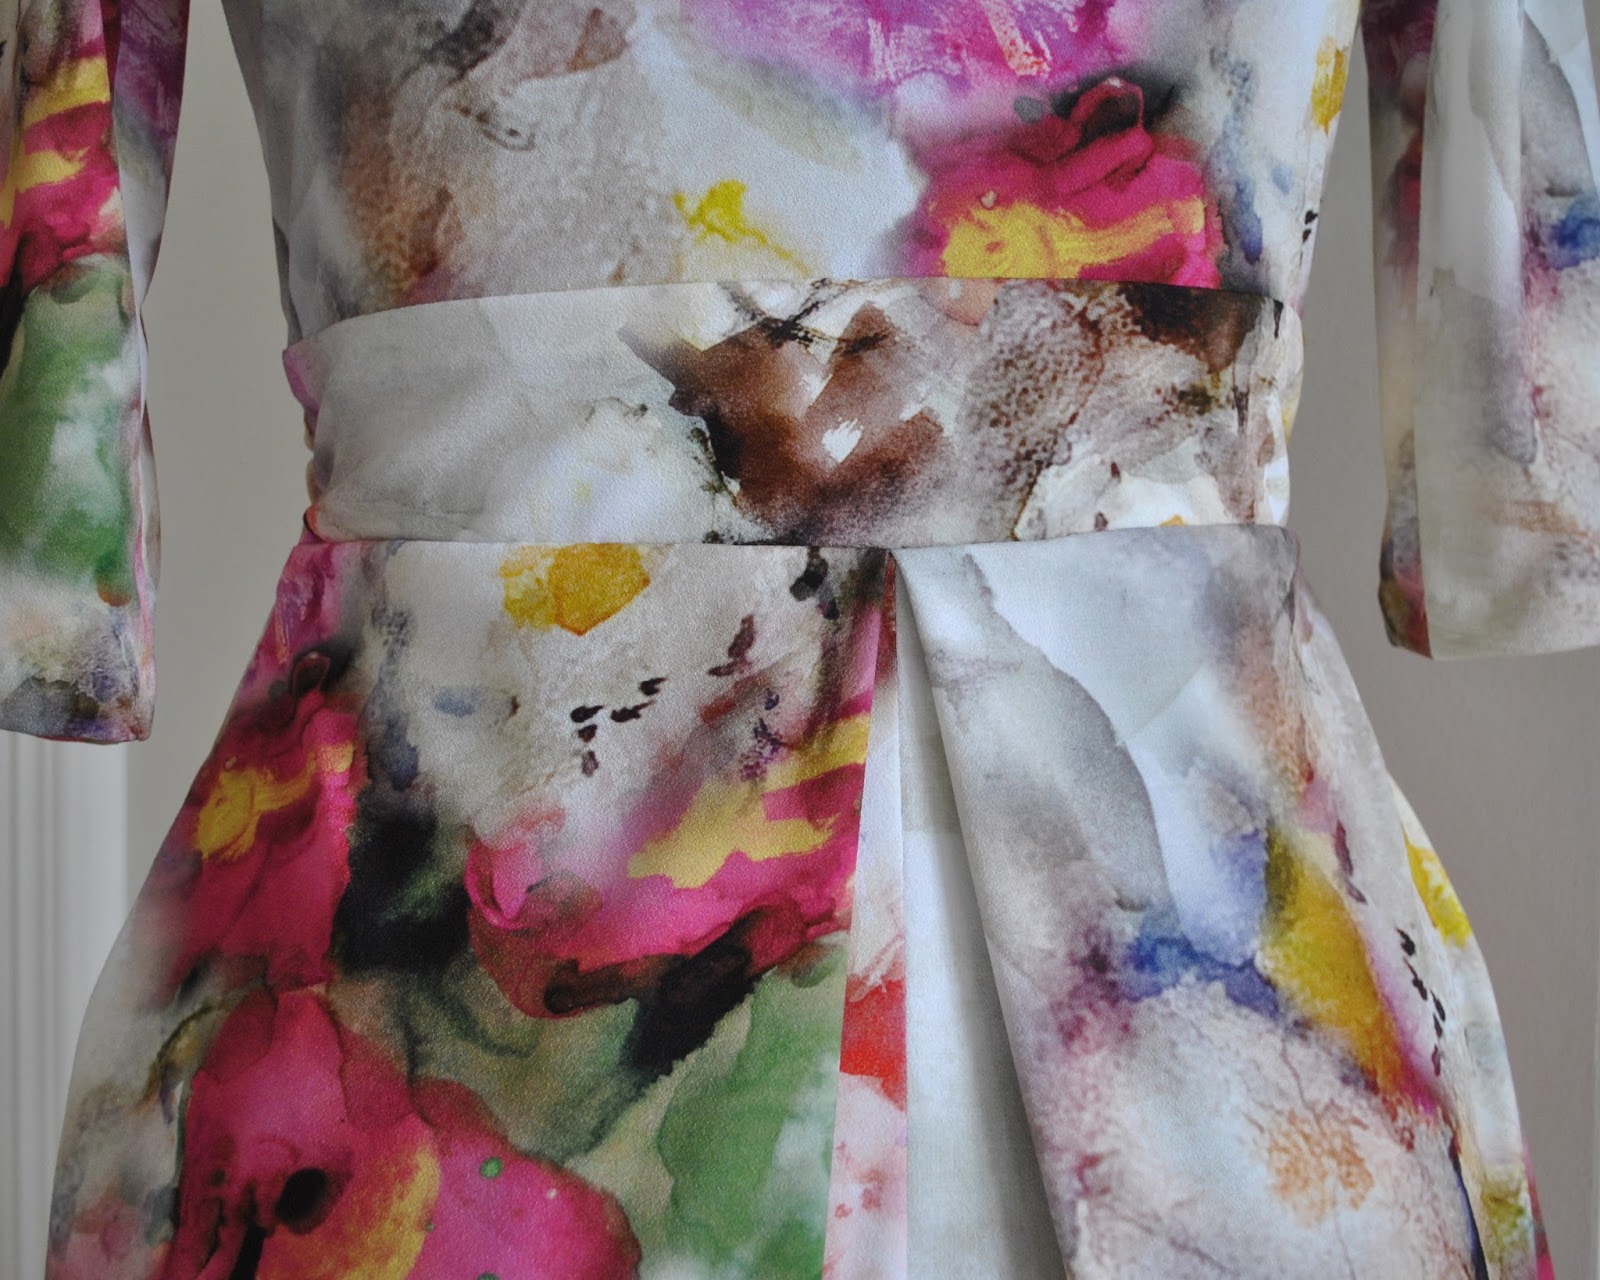
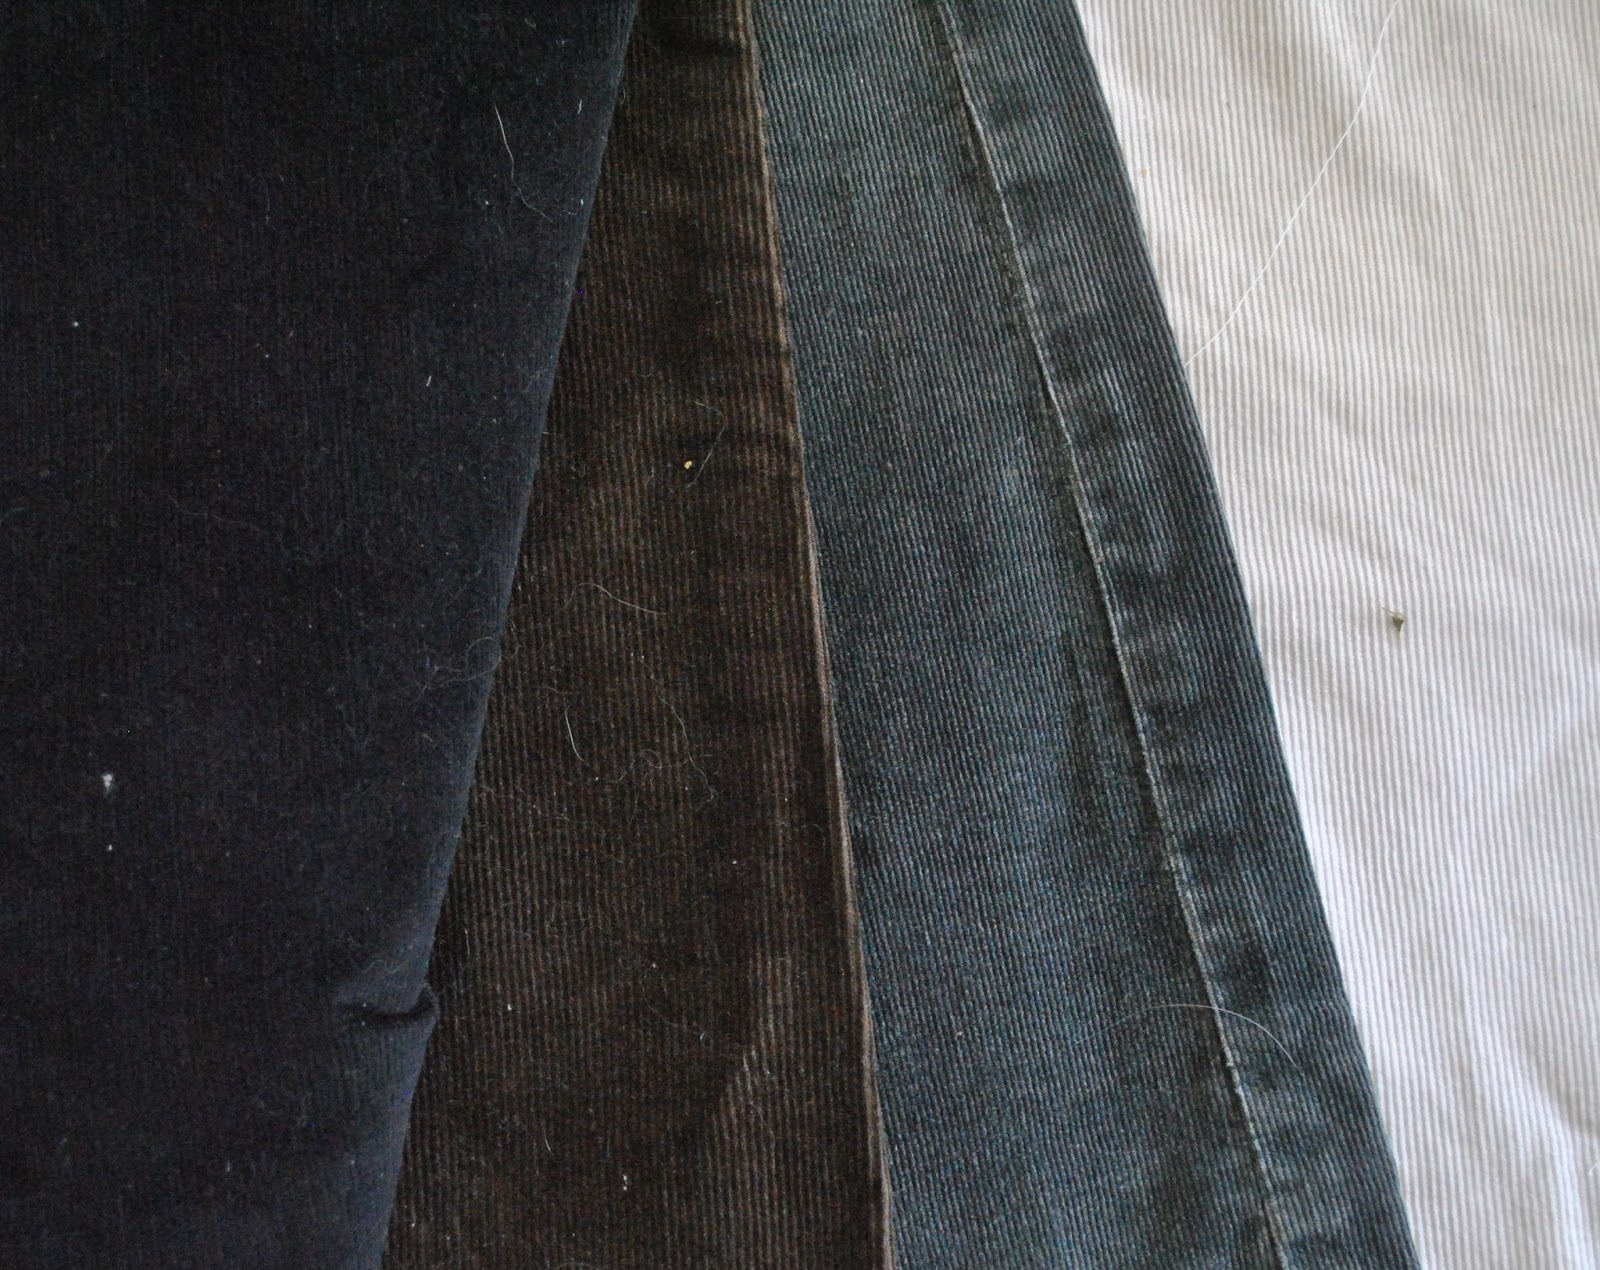
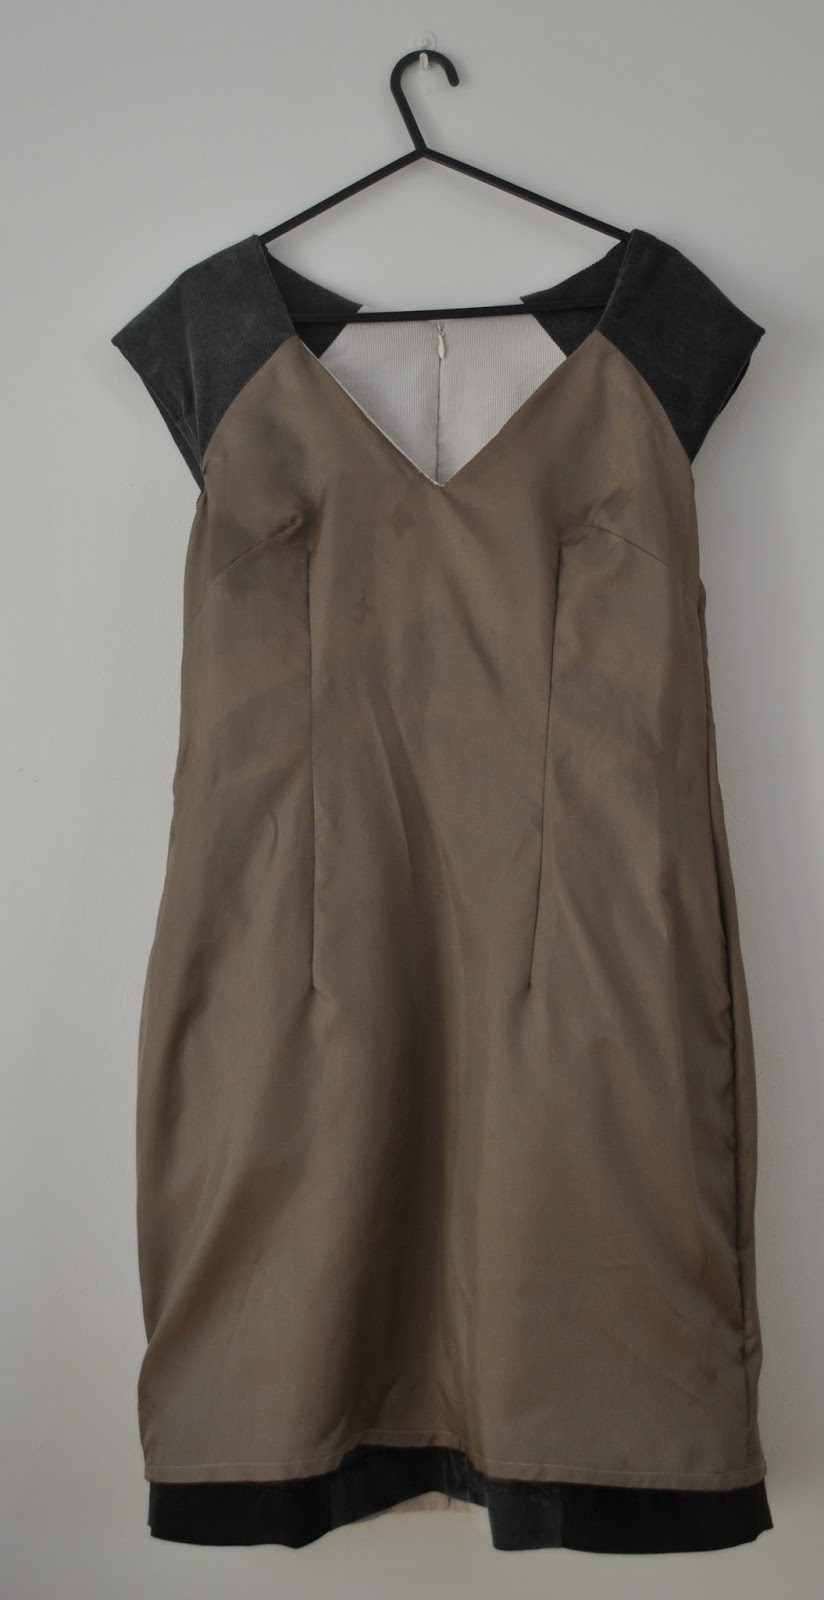
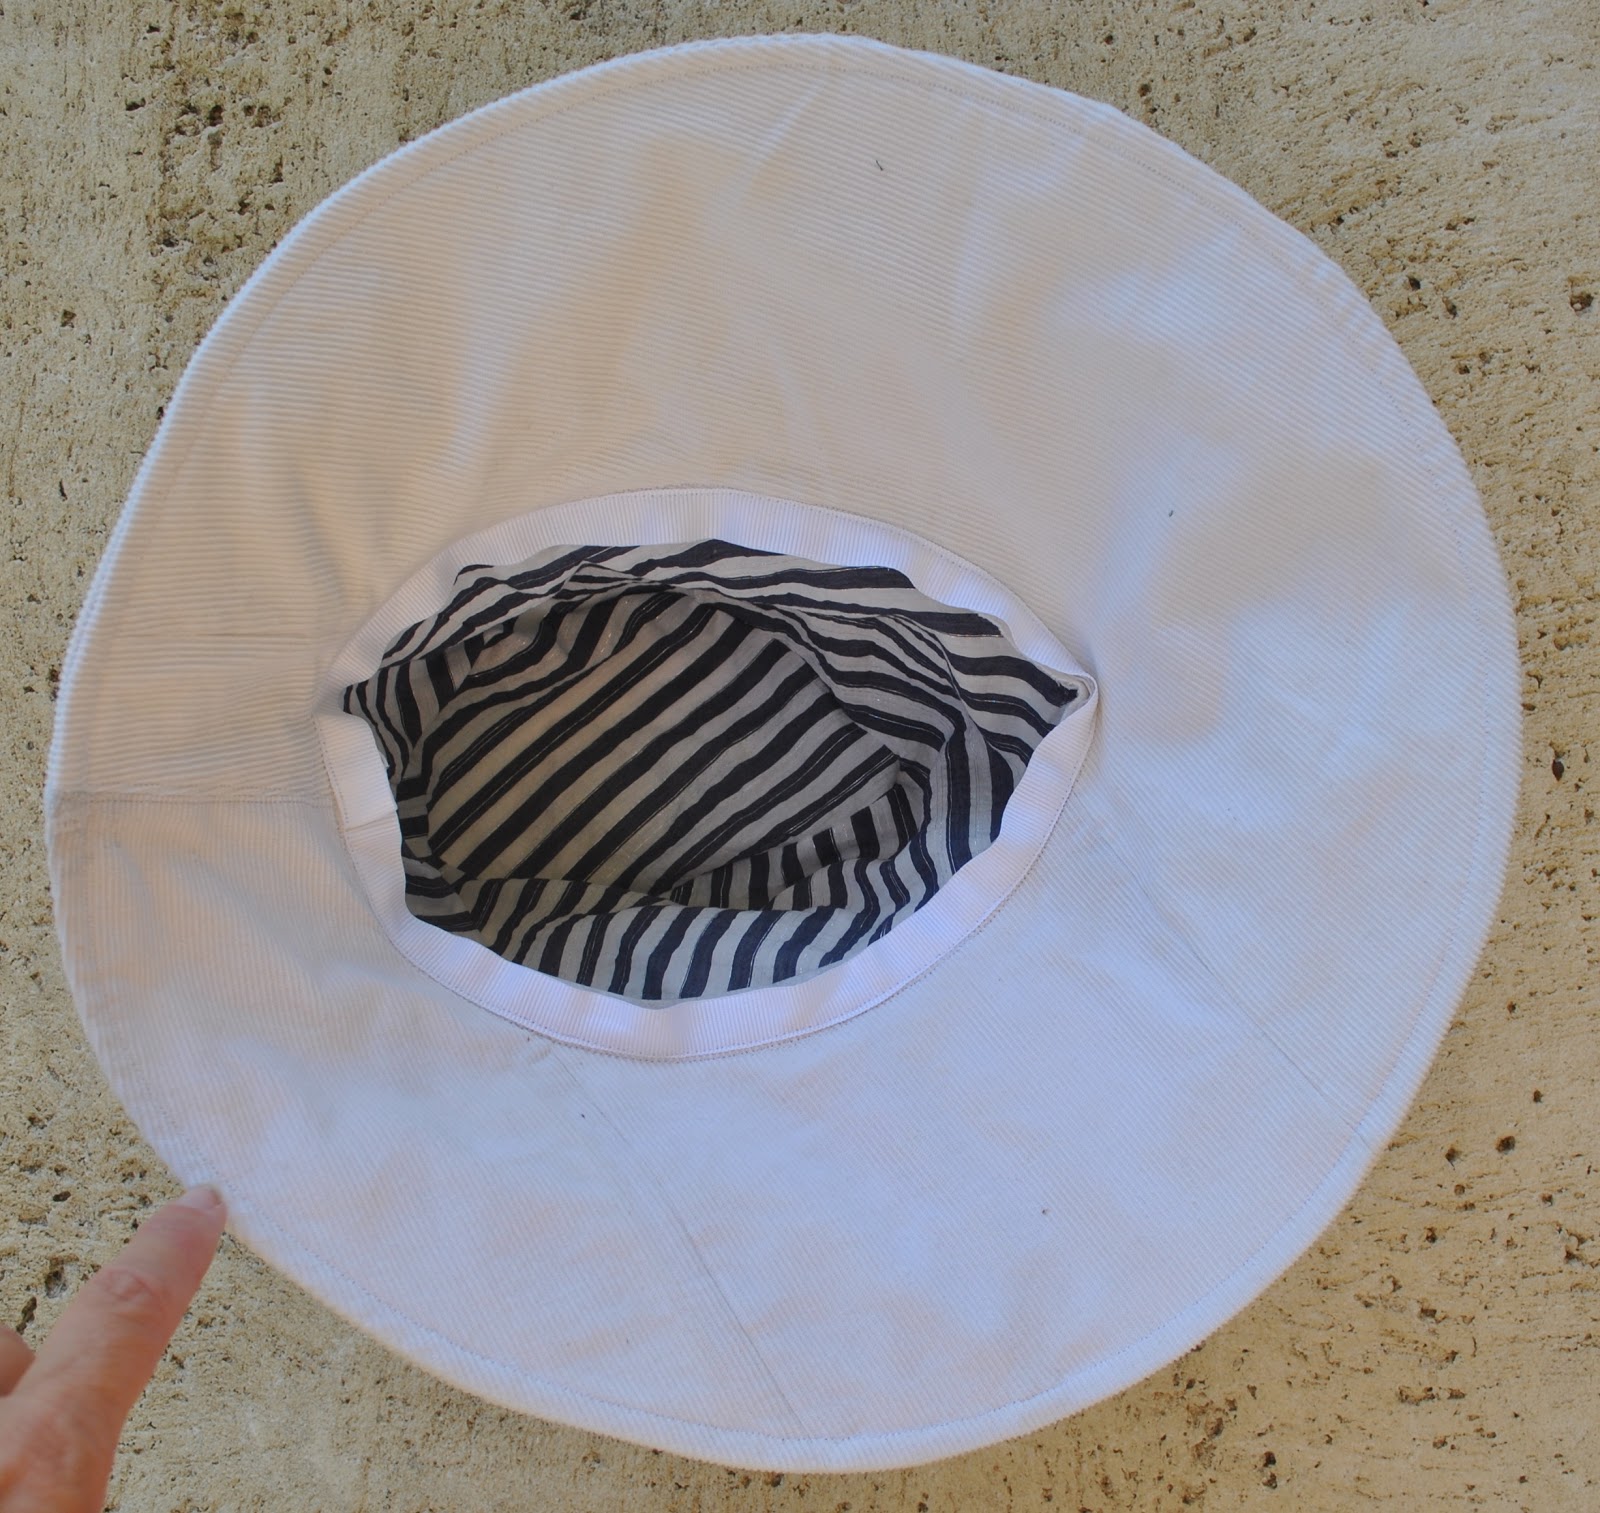
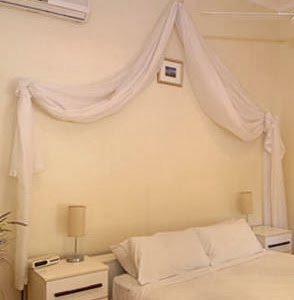
Ana suggested for the bodice and skirt yoke pieces to be cut from different colours of fabric, to enhance and showcase the swirl effect of the piecing. The seaming can be seen far better on Ana’s very impressive blue version of the dress here with absolutely perfect seam joining! However, I really just wanted a lovely fresh plain white dress to ring in summer, so used a small portion of an embarrassingly ginormous quantity of white fabric that I have stuffed in bags in the cupboard under the stairs (mwahaha) This fabric originally spent a few years as pictured below. Until I decided that big white swags of fabric decoratively framing a bedhead were a haven for spiders as well as pretty passe. I took it down many years ago, but obviously I kept all that wonderful fabric! It is actually very nice fabric; a mixture of synthetic organza and chiffon which means of course that the dress can be just tossed in the washing machine, will drip dry, and will never ever need ironing. Yeesssss!
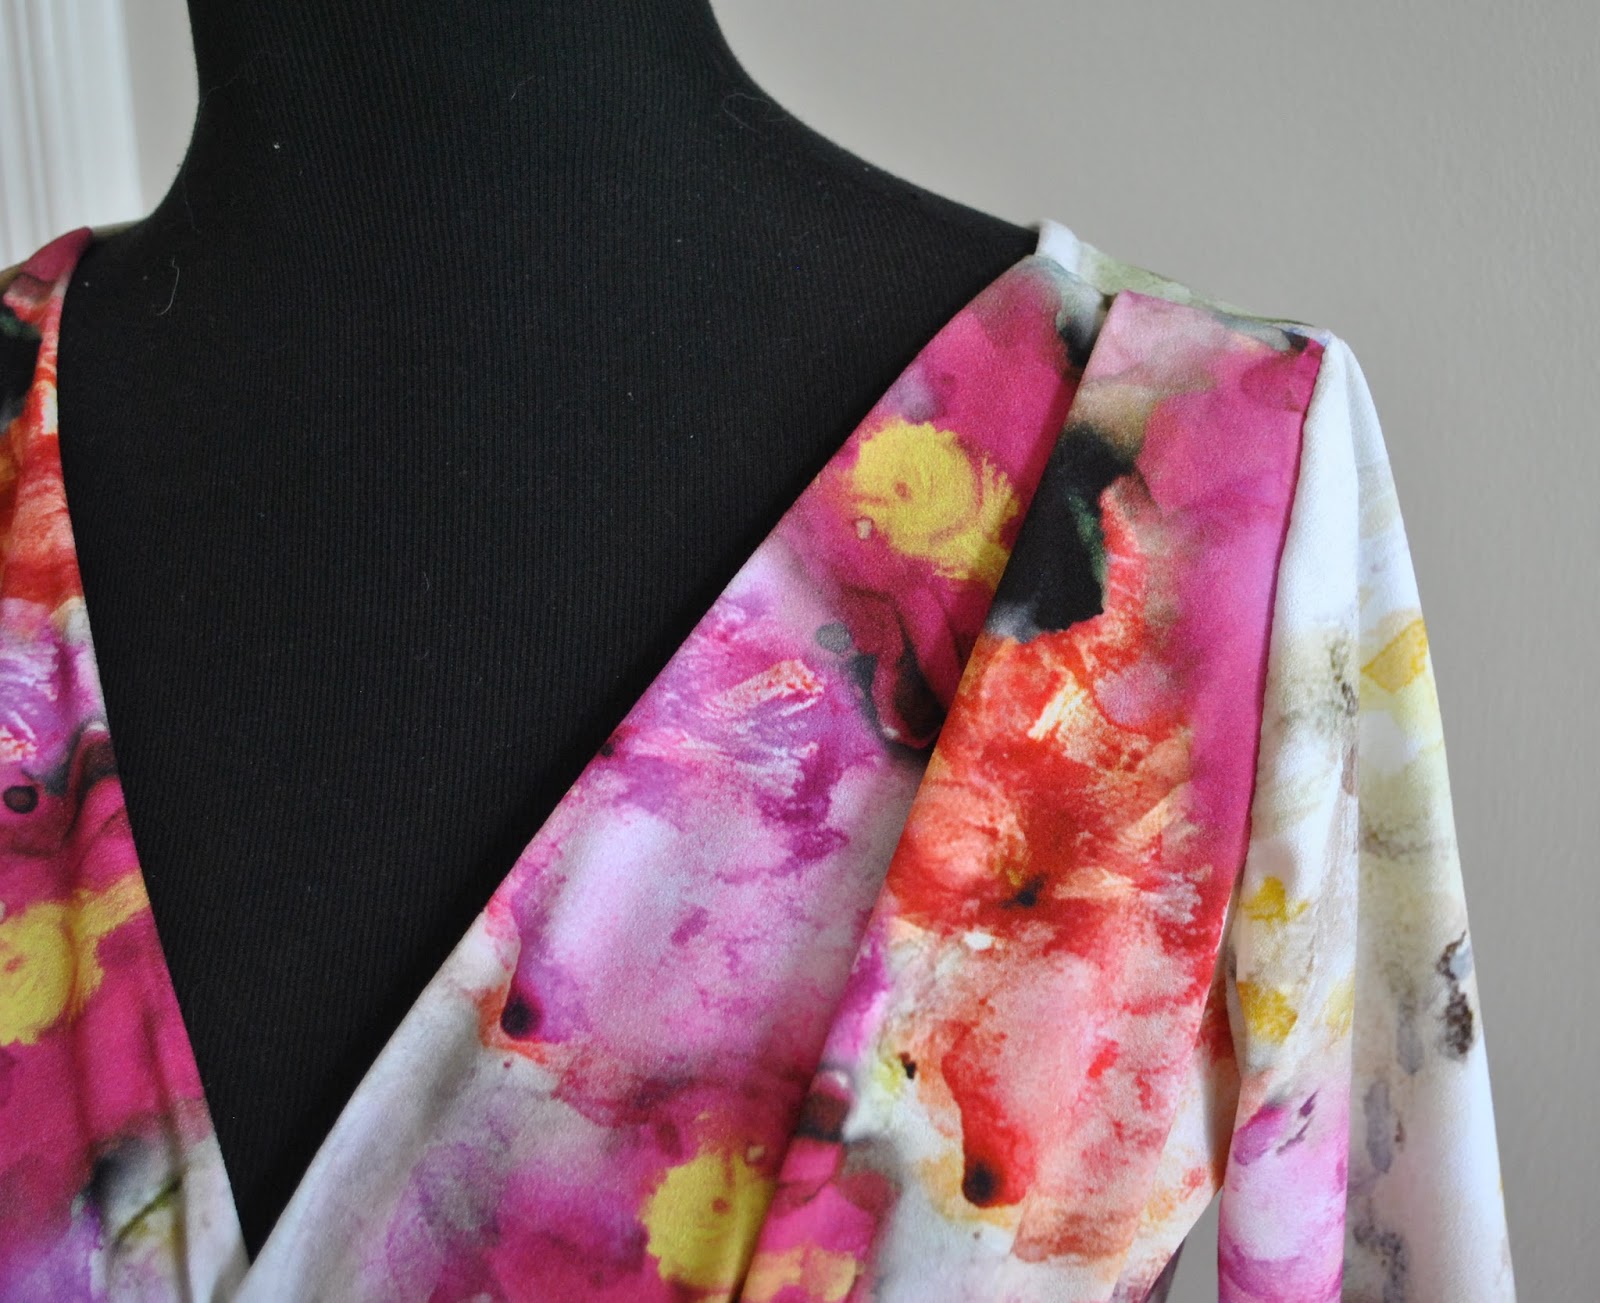
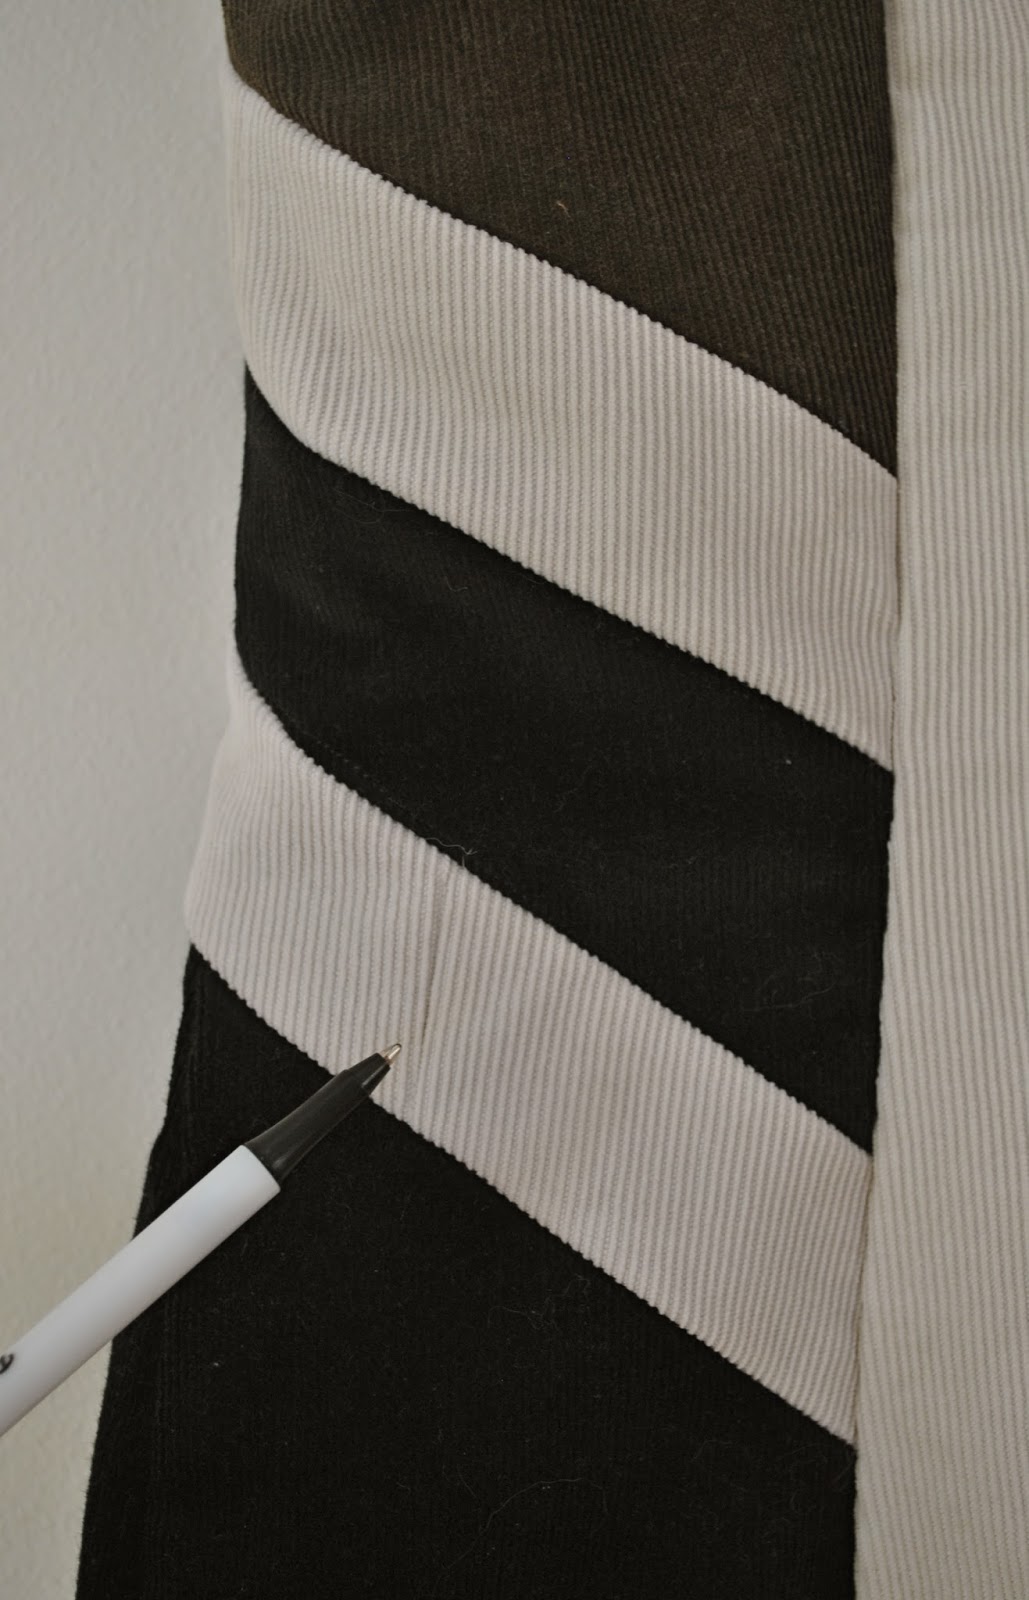
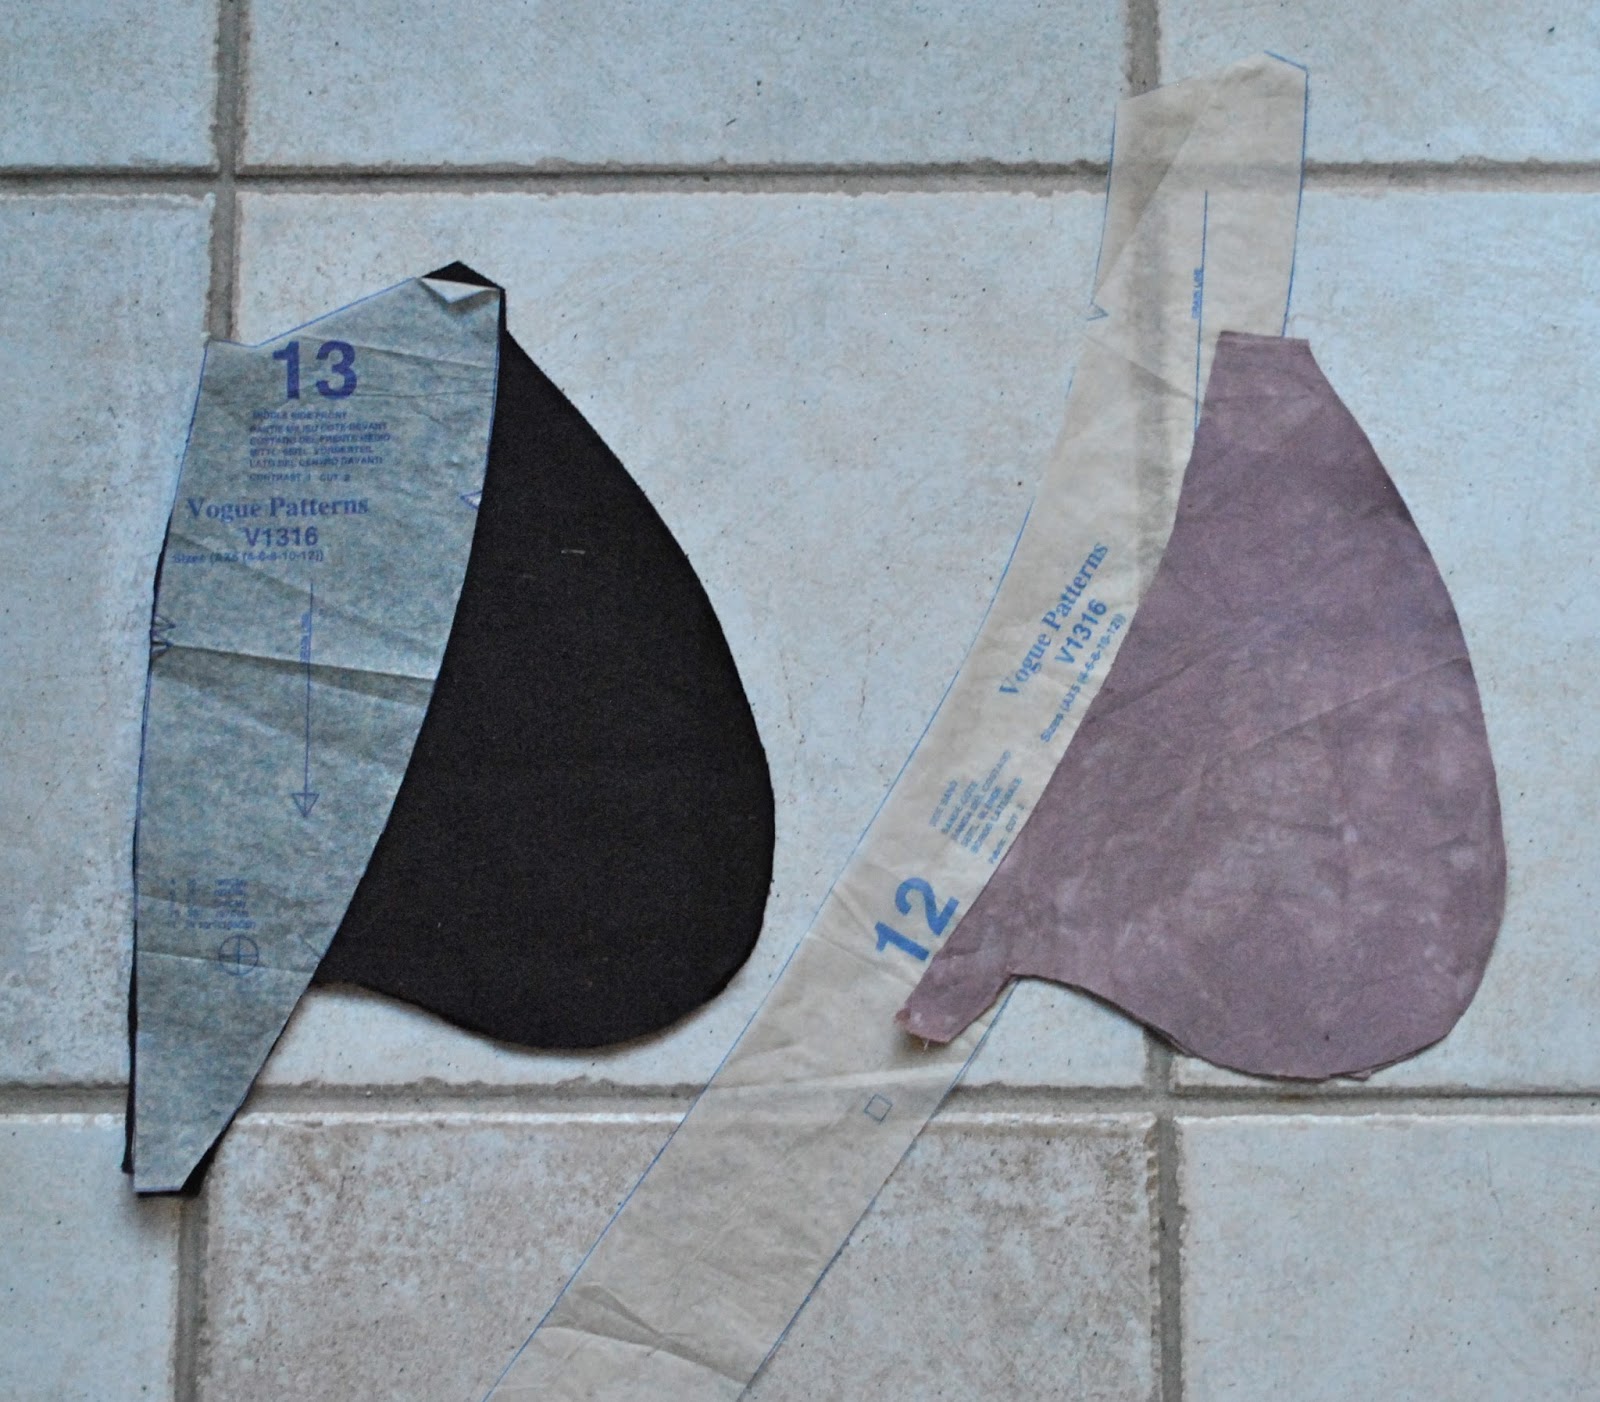
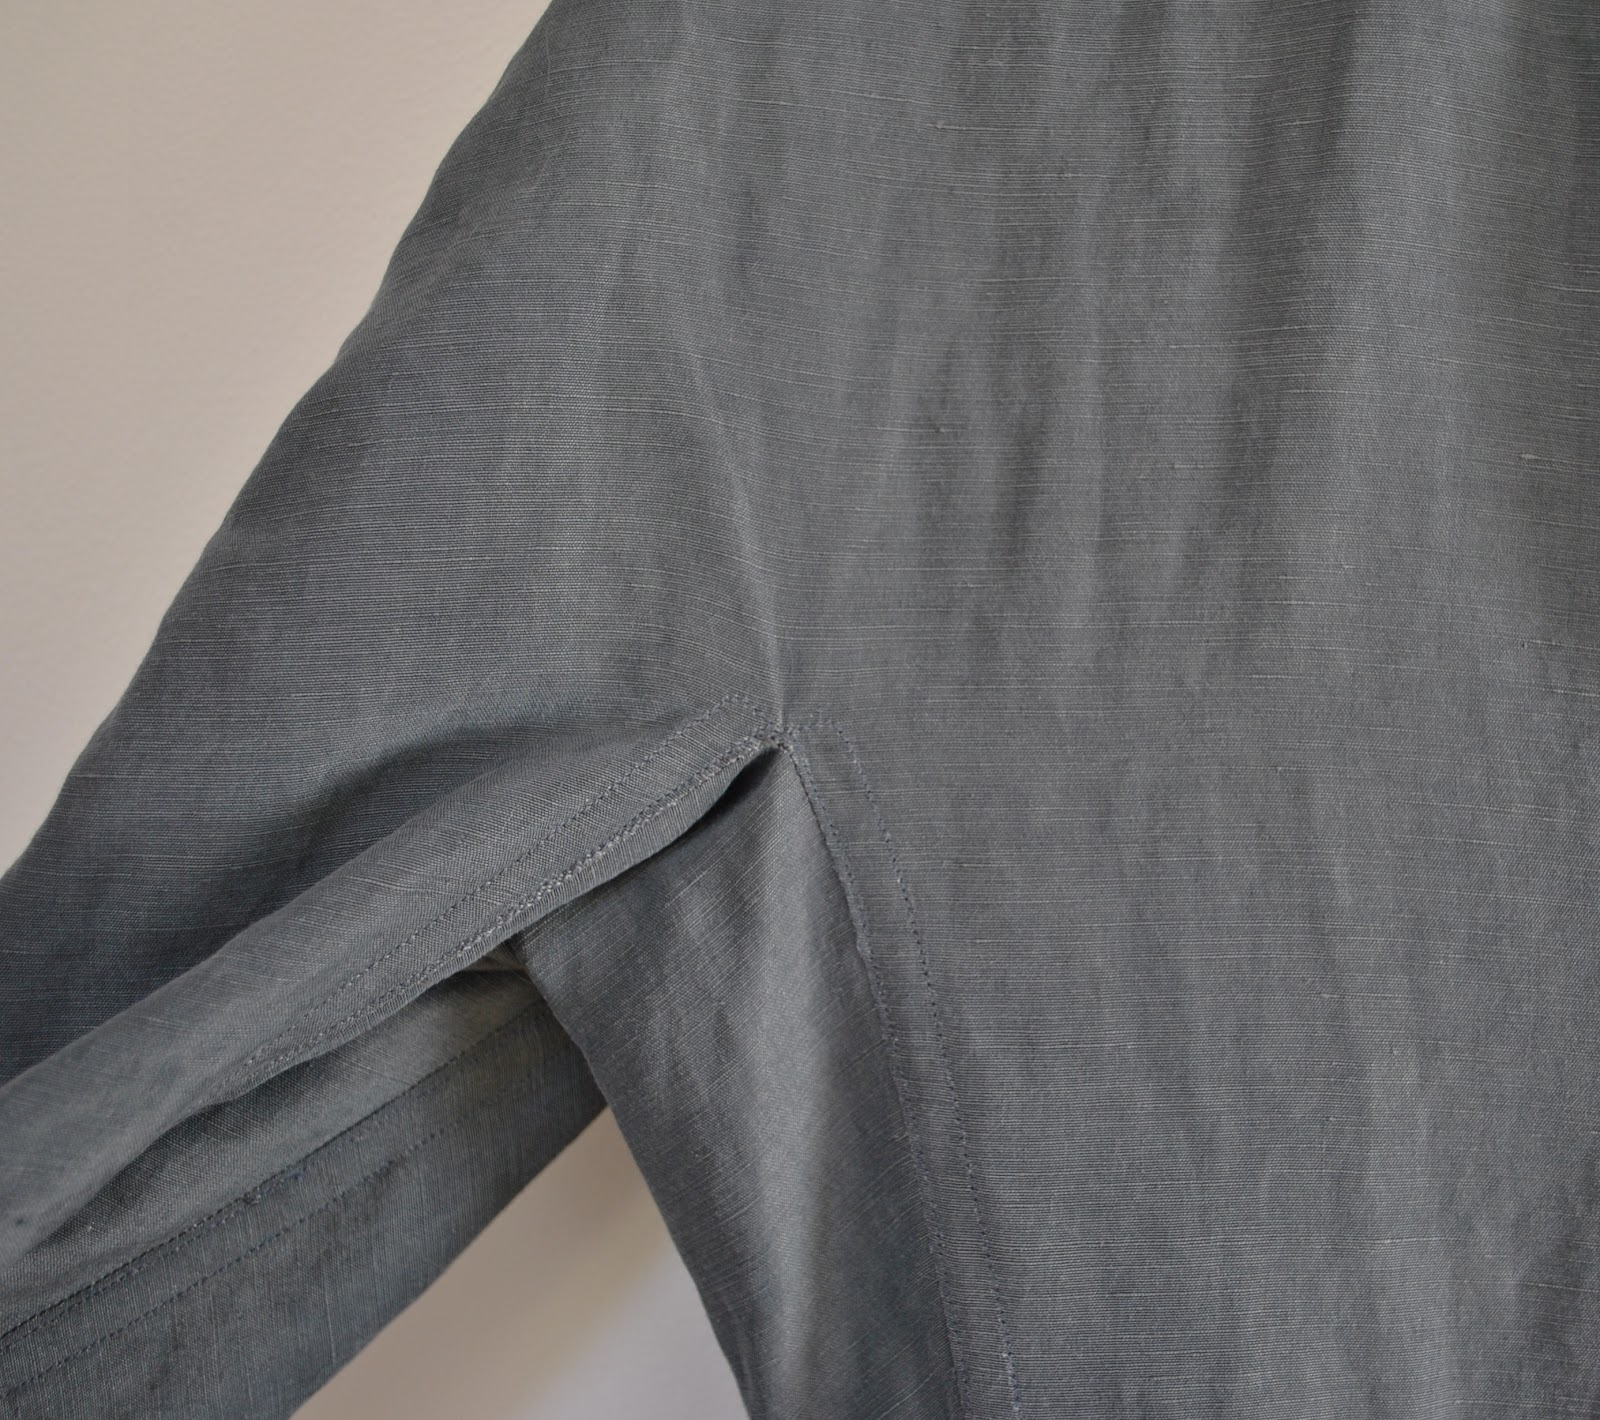
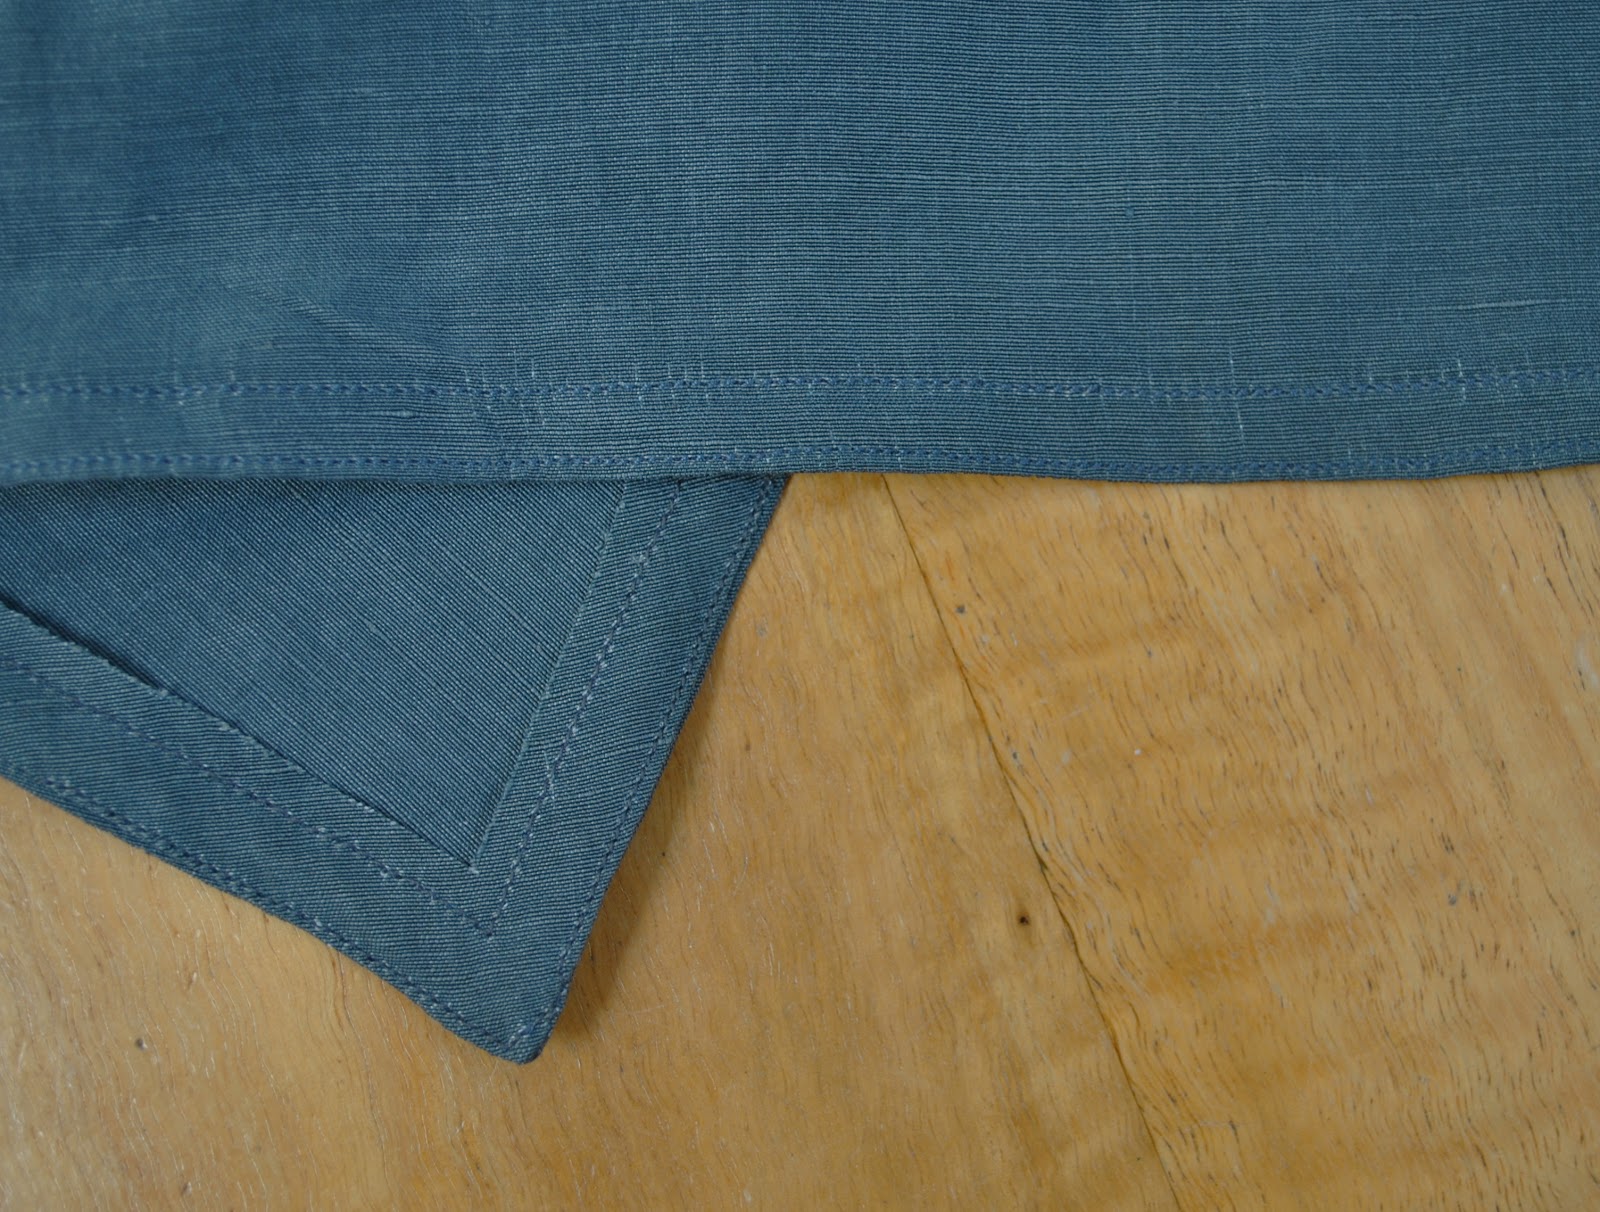
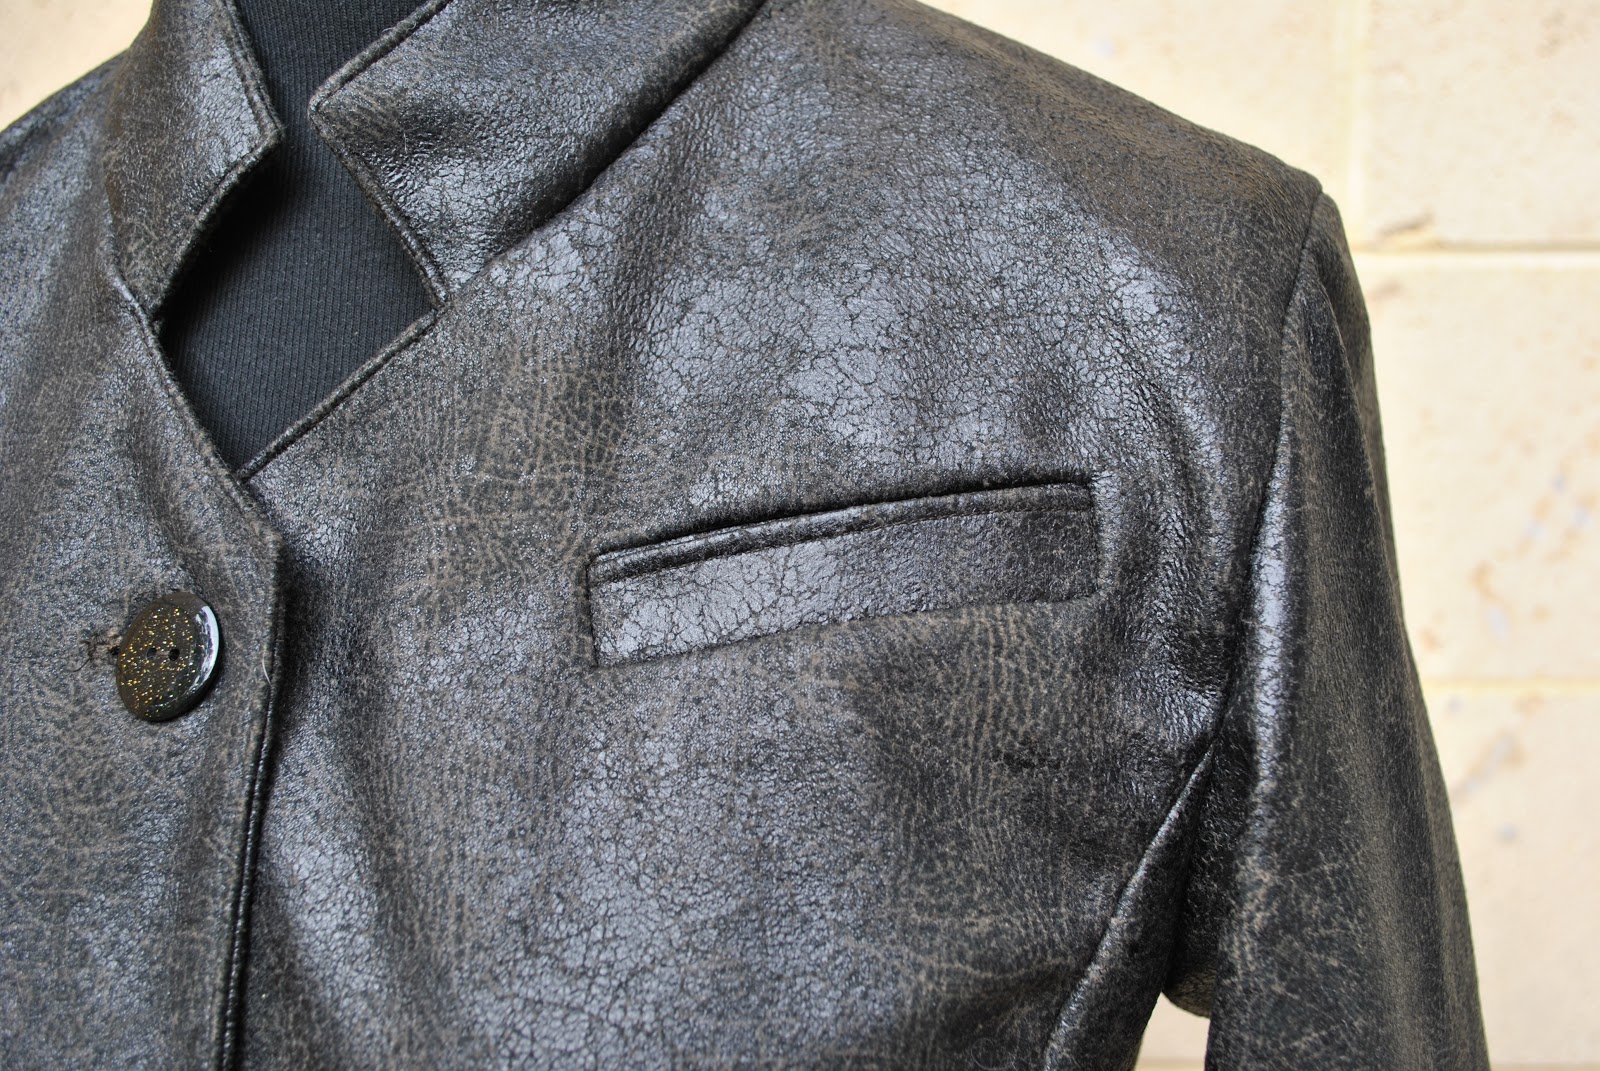
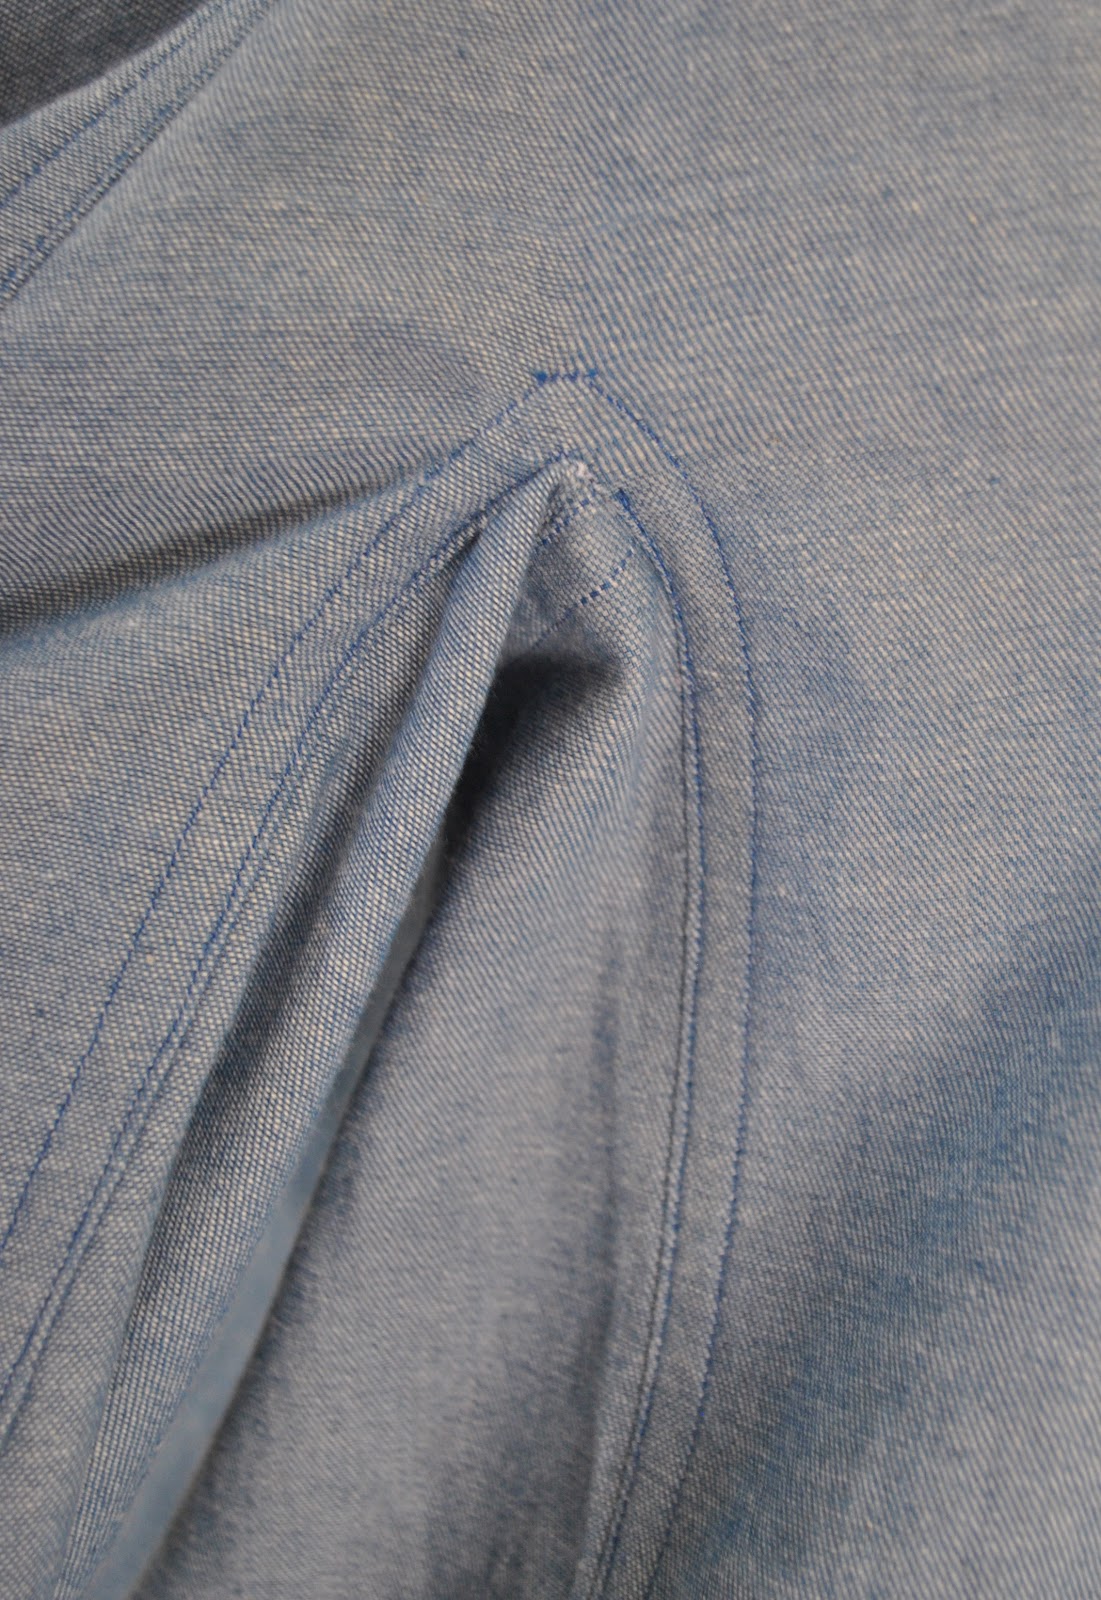
The bodice and skirt yokes are made of double layered organza, with the inner/lining layer a plainer version of the pattern, relatively un-pieced apart from a few basic shaping seams and darts. Because all my fabrics are pretty fray-tastic plus see-through, I put quite lot of thought into how I could stabilise all those raw edges. There are so many of them in this multi-pieced design! I didn’t want to overlock because the stitching would show through and be super obvious on the outside of the dress. So for the organza bodice and skirt yokes I sewed the seams, pressed open, trimmed the seam allowances quite narrow with my cutting wheel, and then double top-stitched each side of each seamline. I posted a close-up picture of the seam detail on photo maisonette last week.
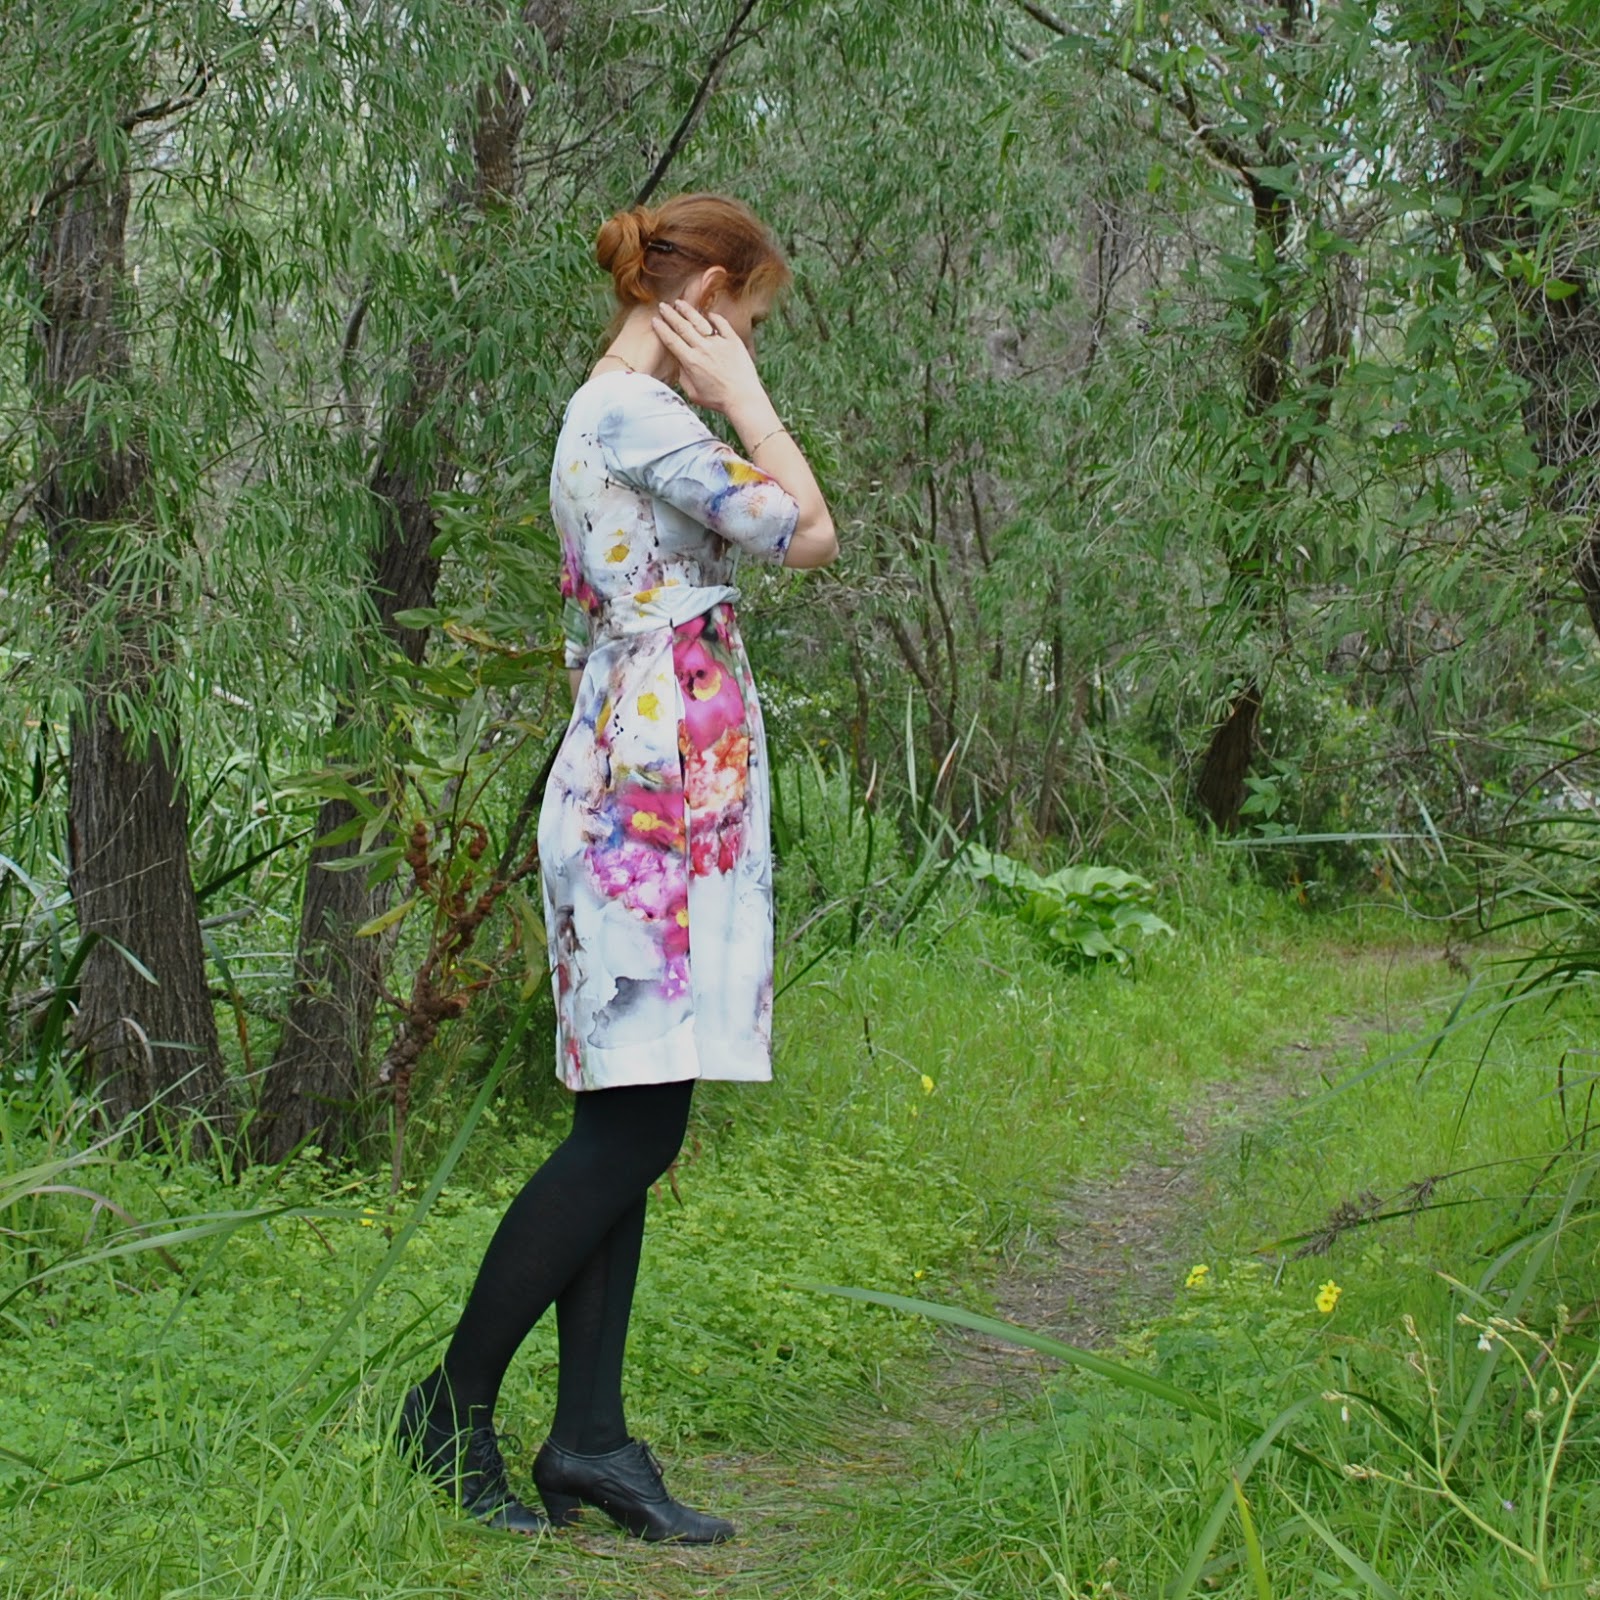
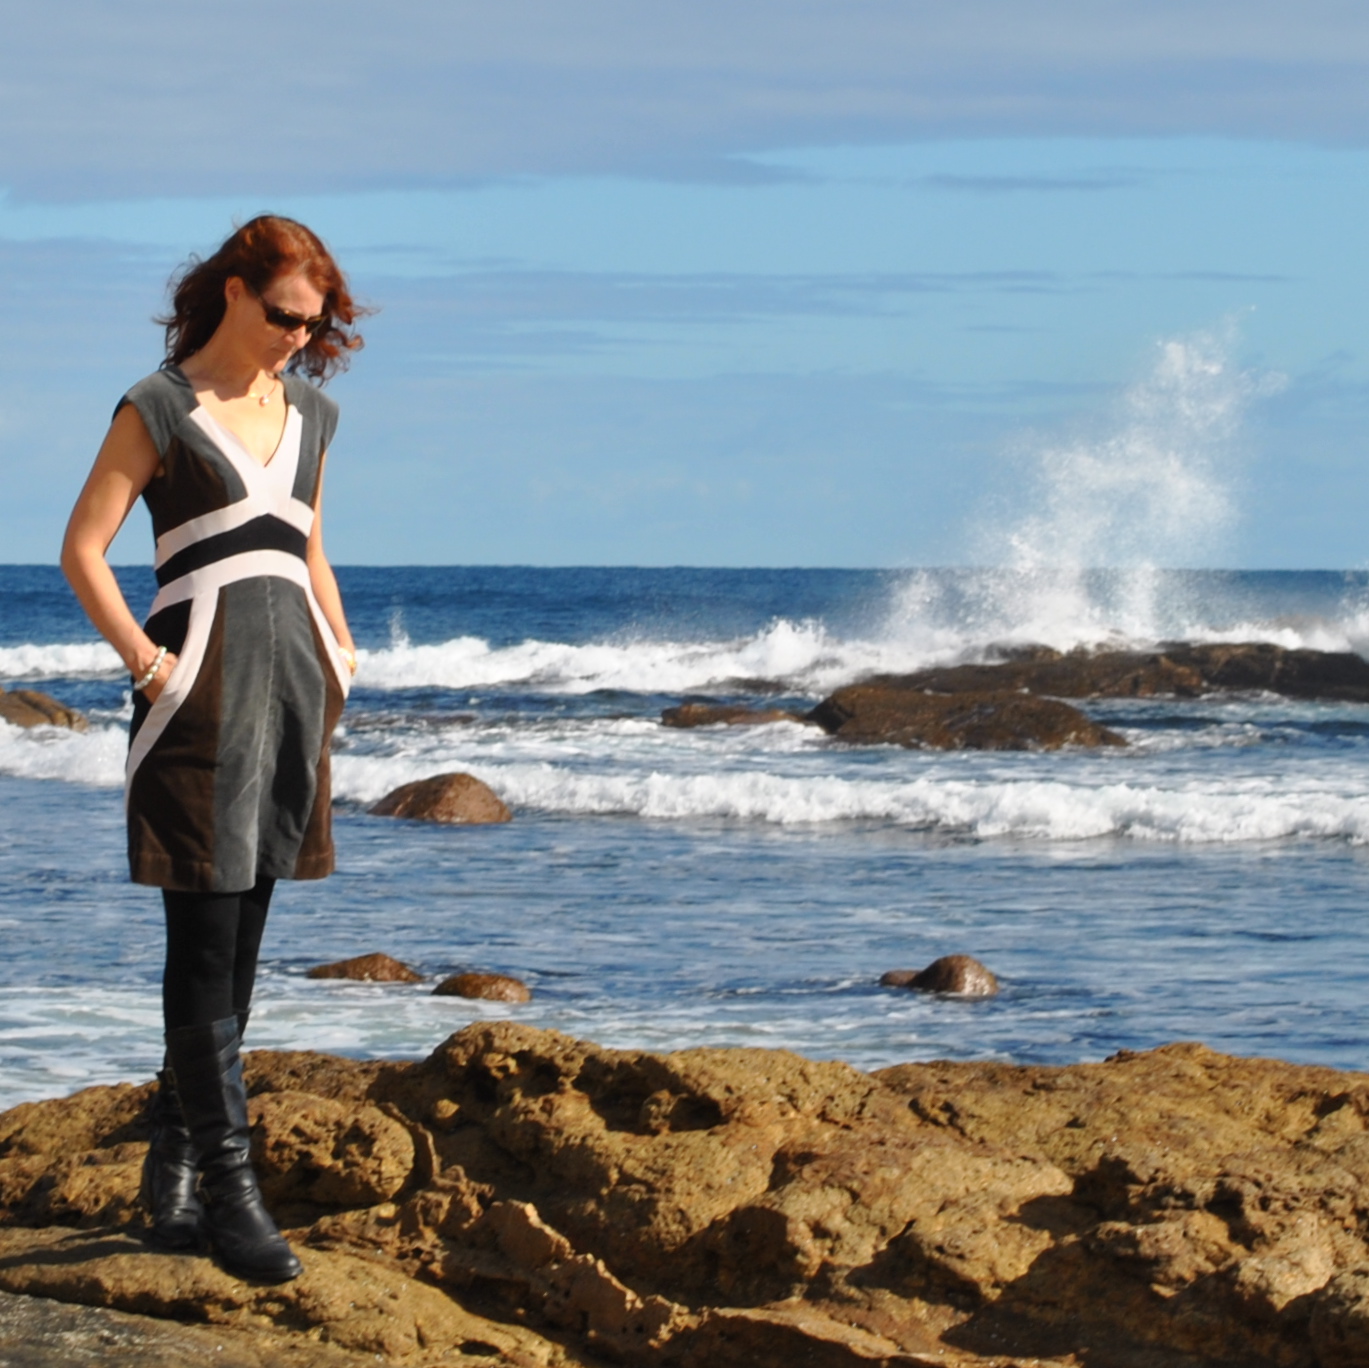
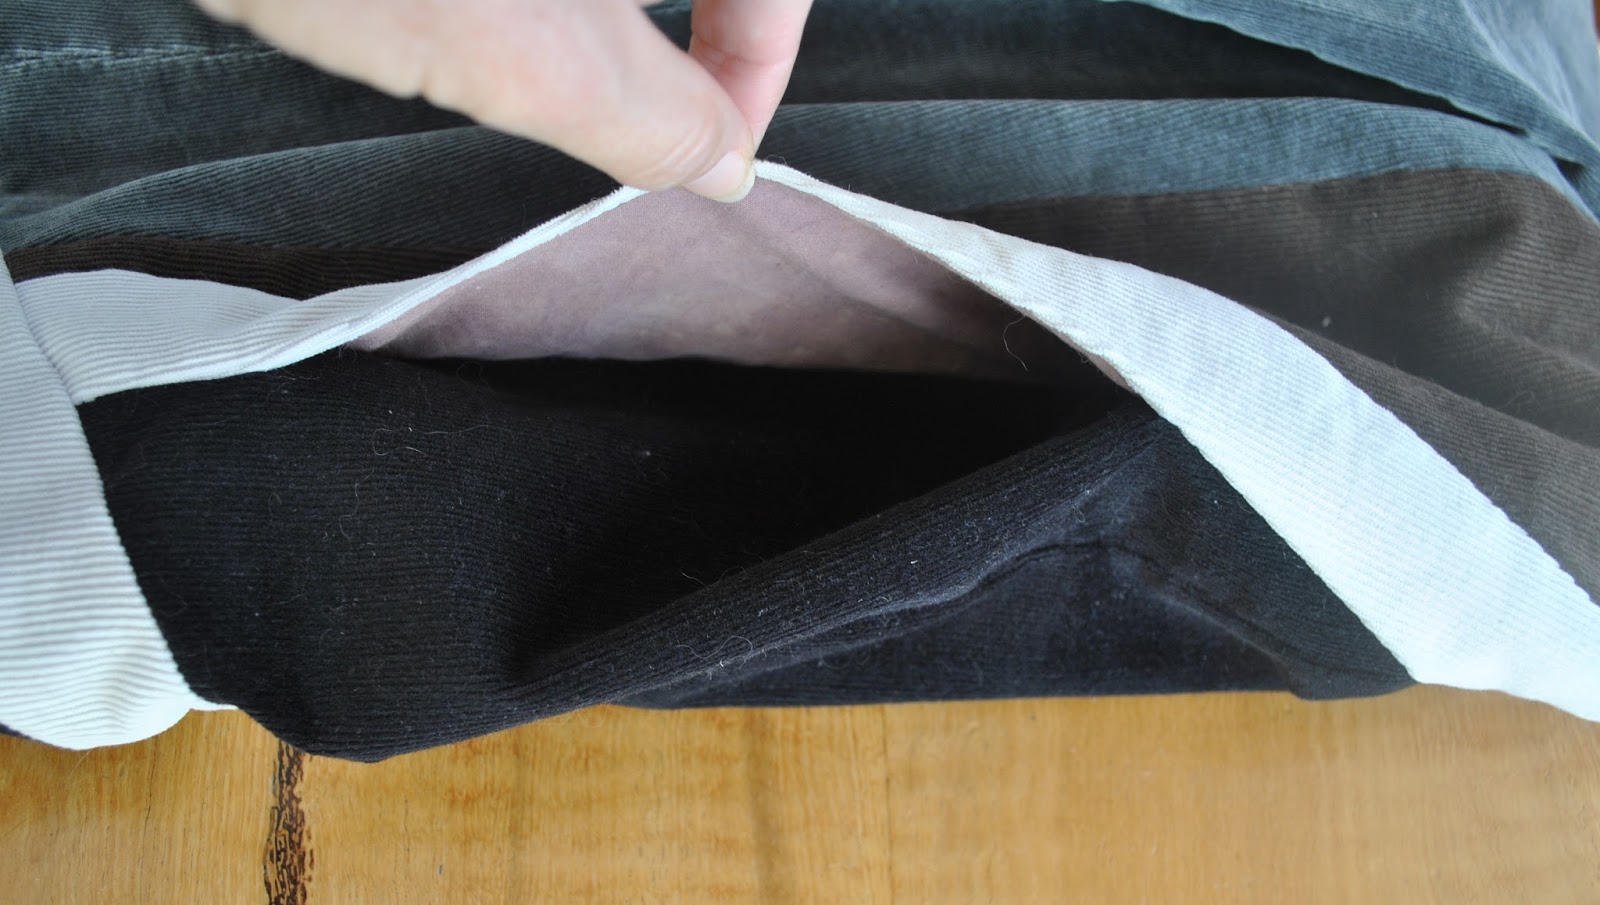
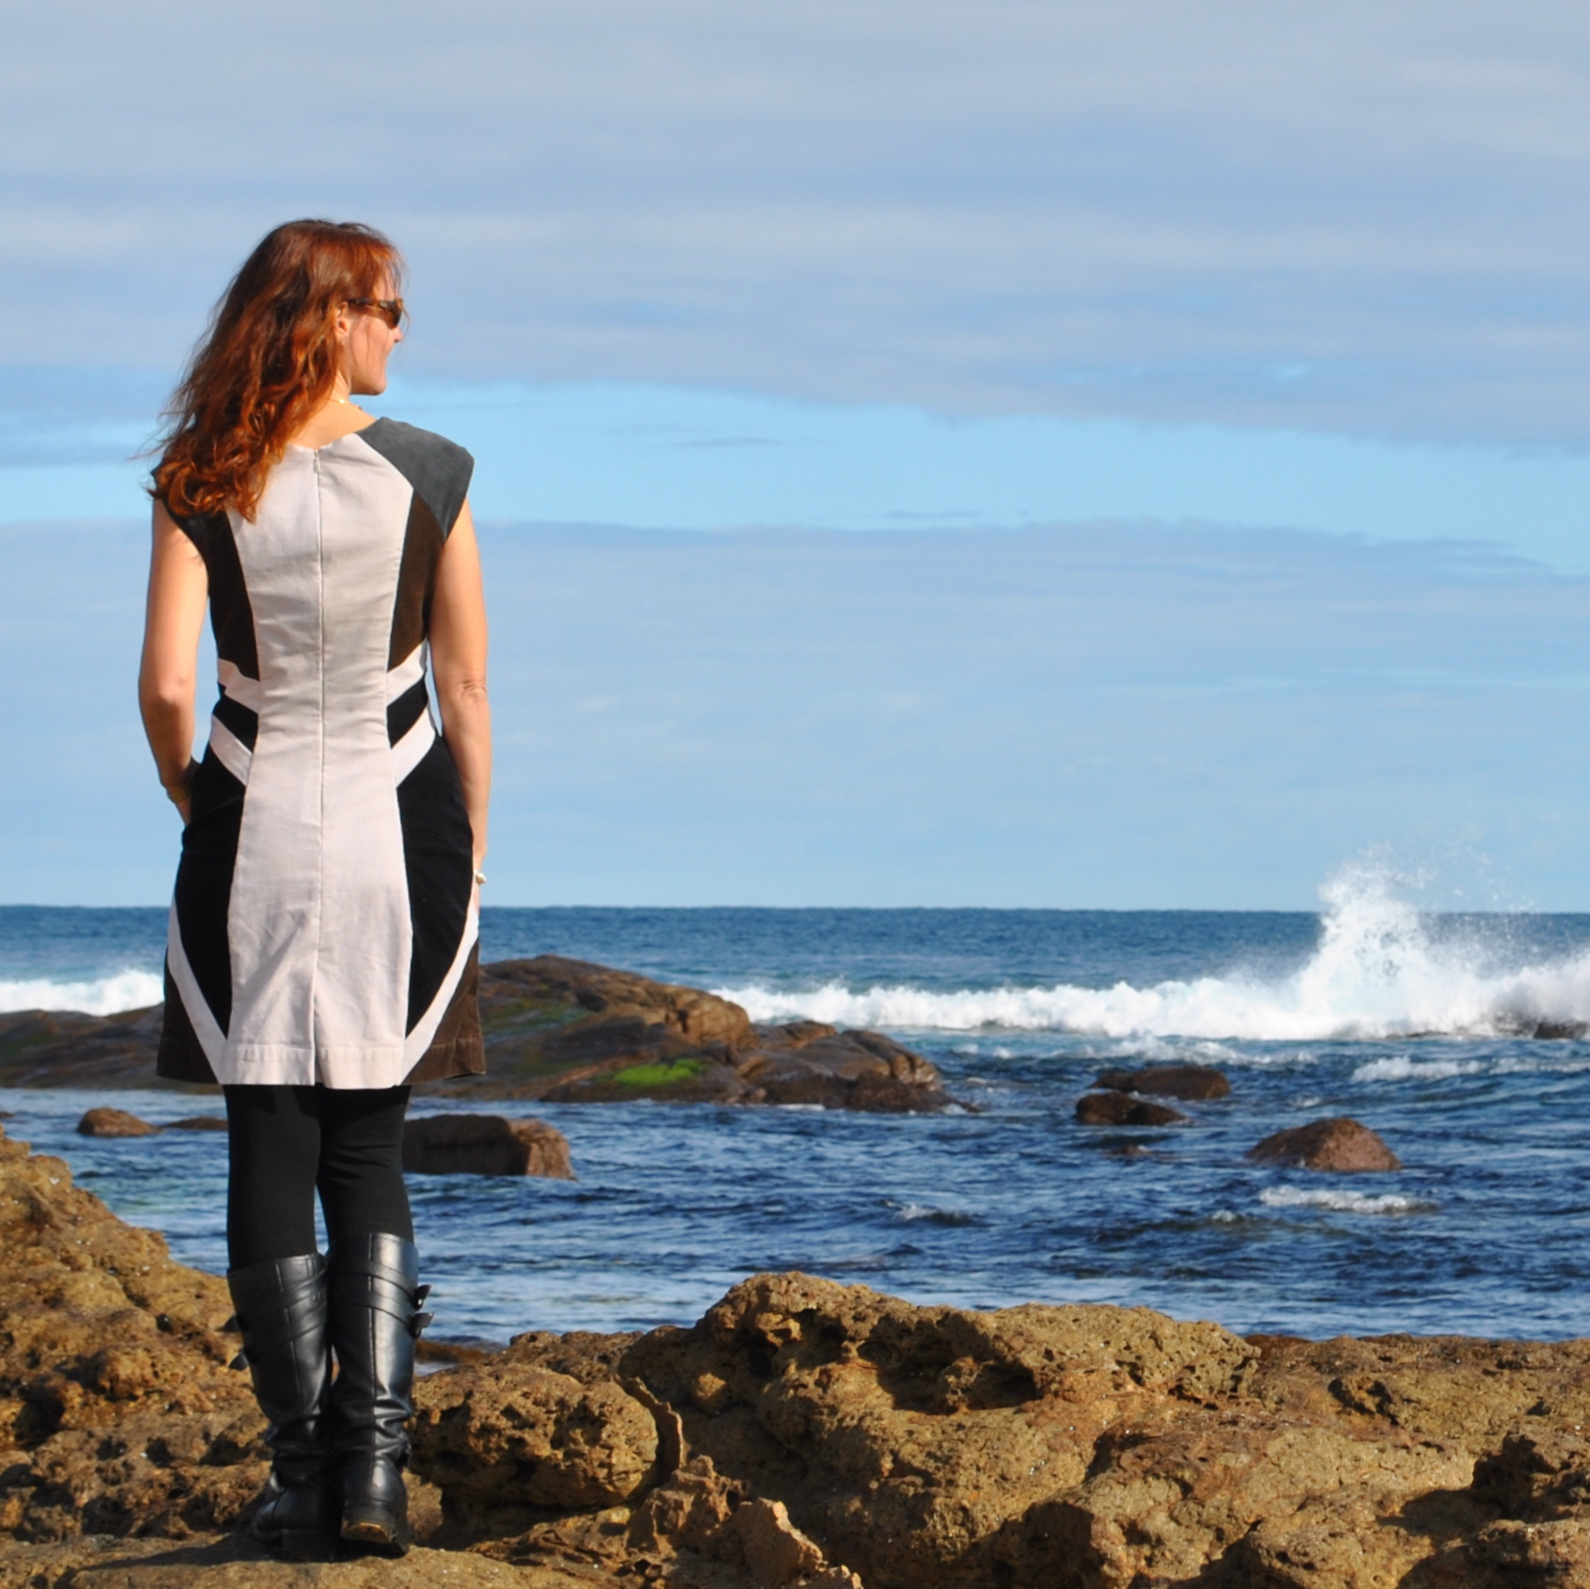
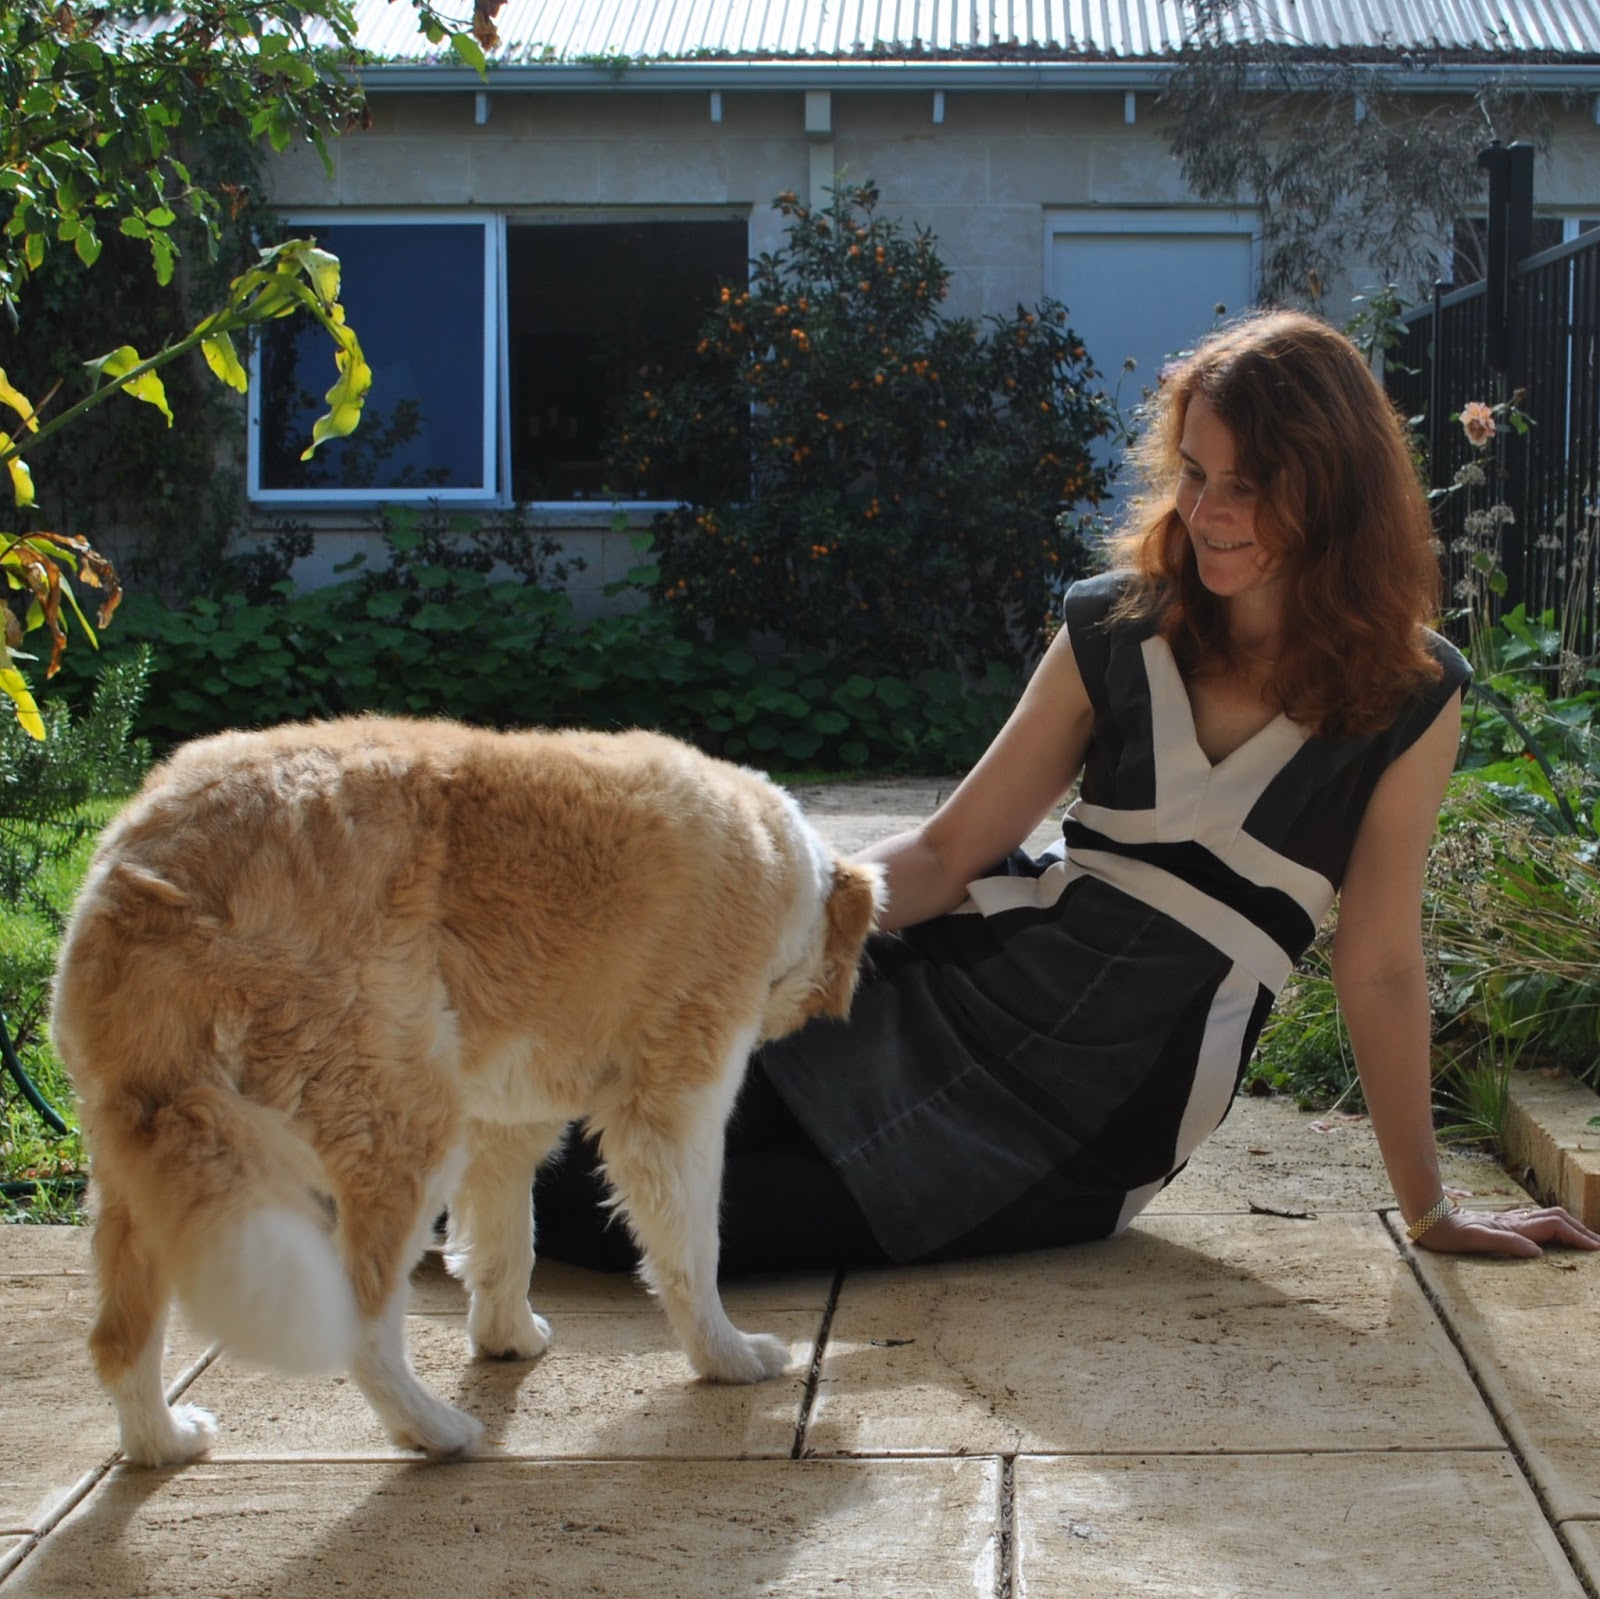
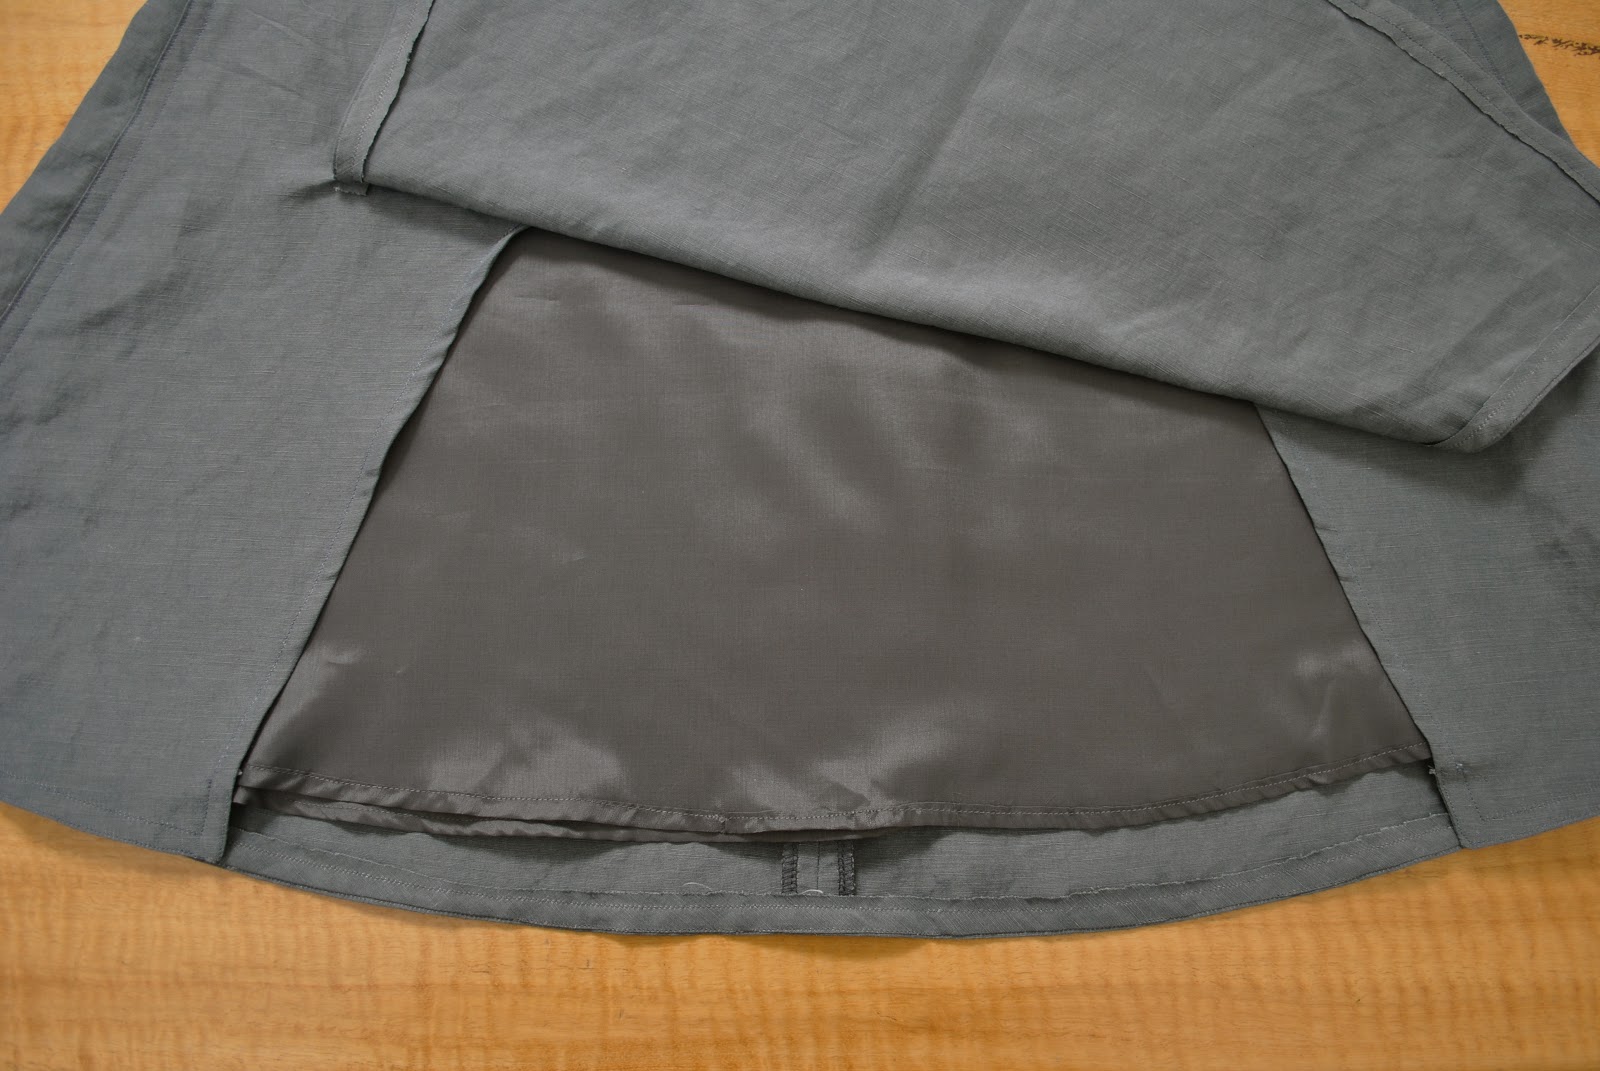
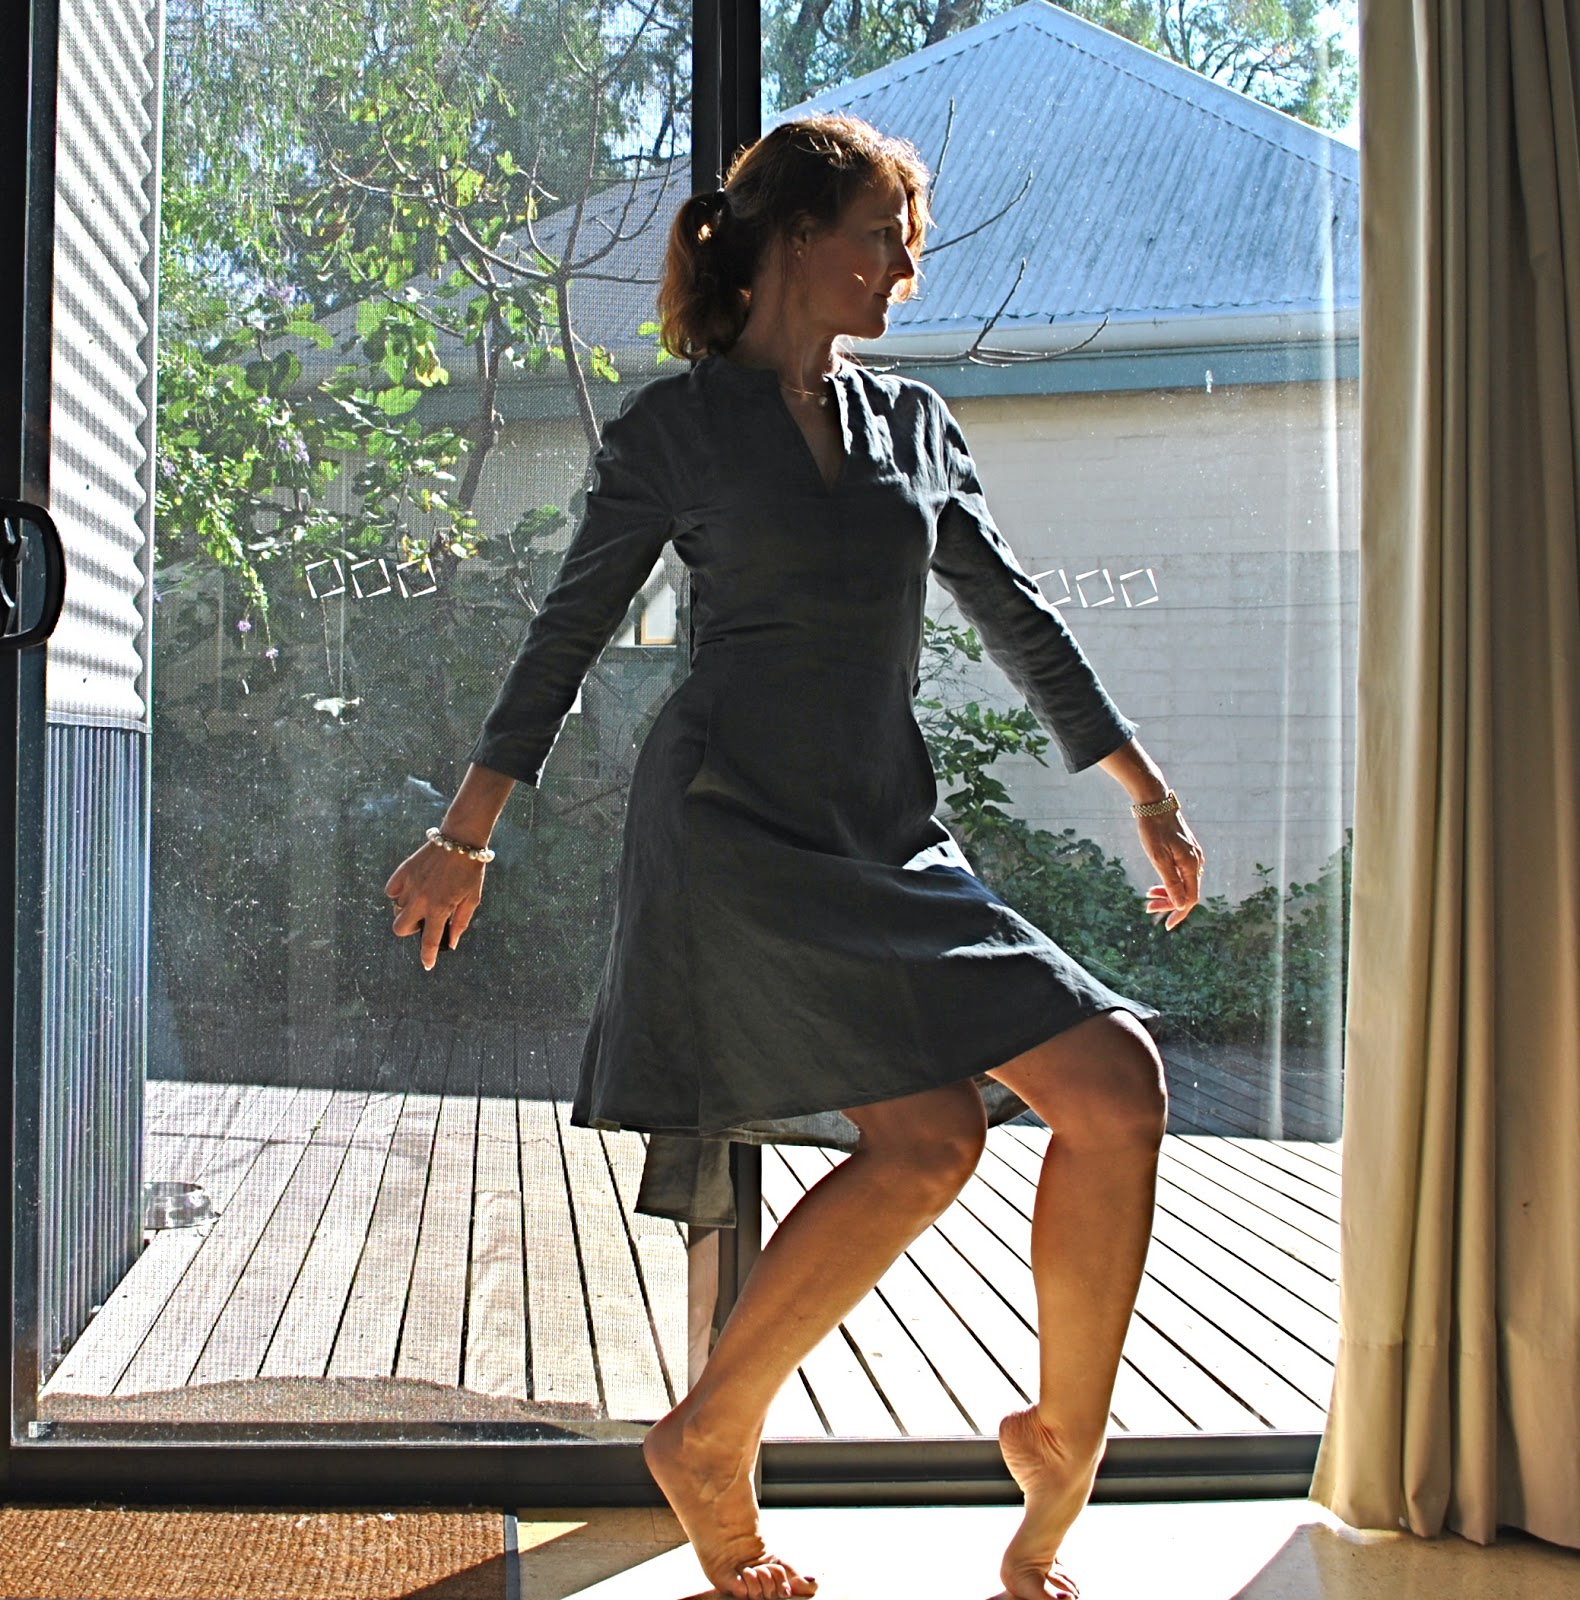
The skirt is actually three separate identical chiffon skirts, layered. One is attached to the shell of the dress, the other two sandwich the lower edge of the lining. Each side seam is sewn in French seams, and I finished the lower edges of each skirt using the rolled hem stitch on my overlocker. I do really love the romantic ripply look of the layered skirts. The design is a very lovely shape. Very twirl-tastic, yes? I did a twirl photo, just because. Hehe, one of my pictures revealed that I am a fairly grim-faced twirler. I am so impressed by people that can twirl and have a happy, carefree facial expression at the same time. Me, I need to concentrate on not falling over!
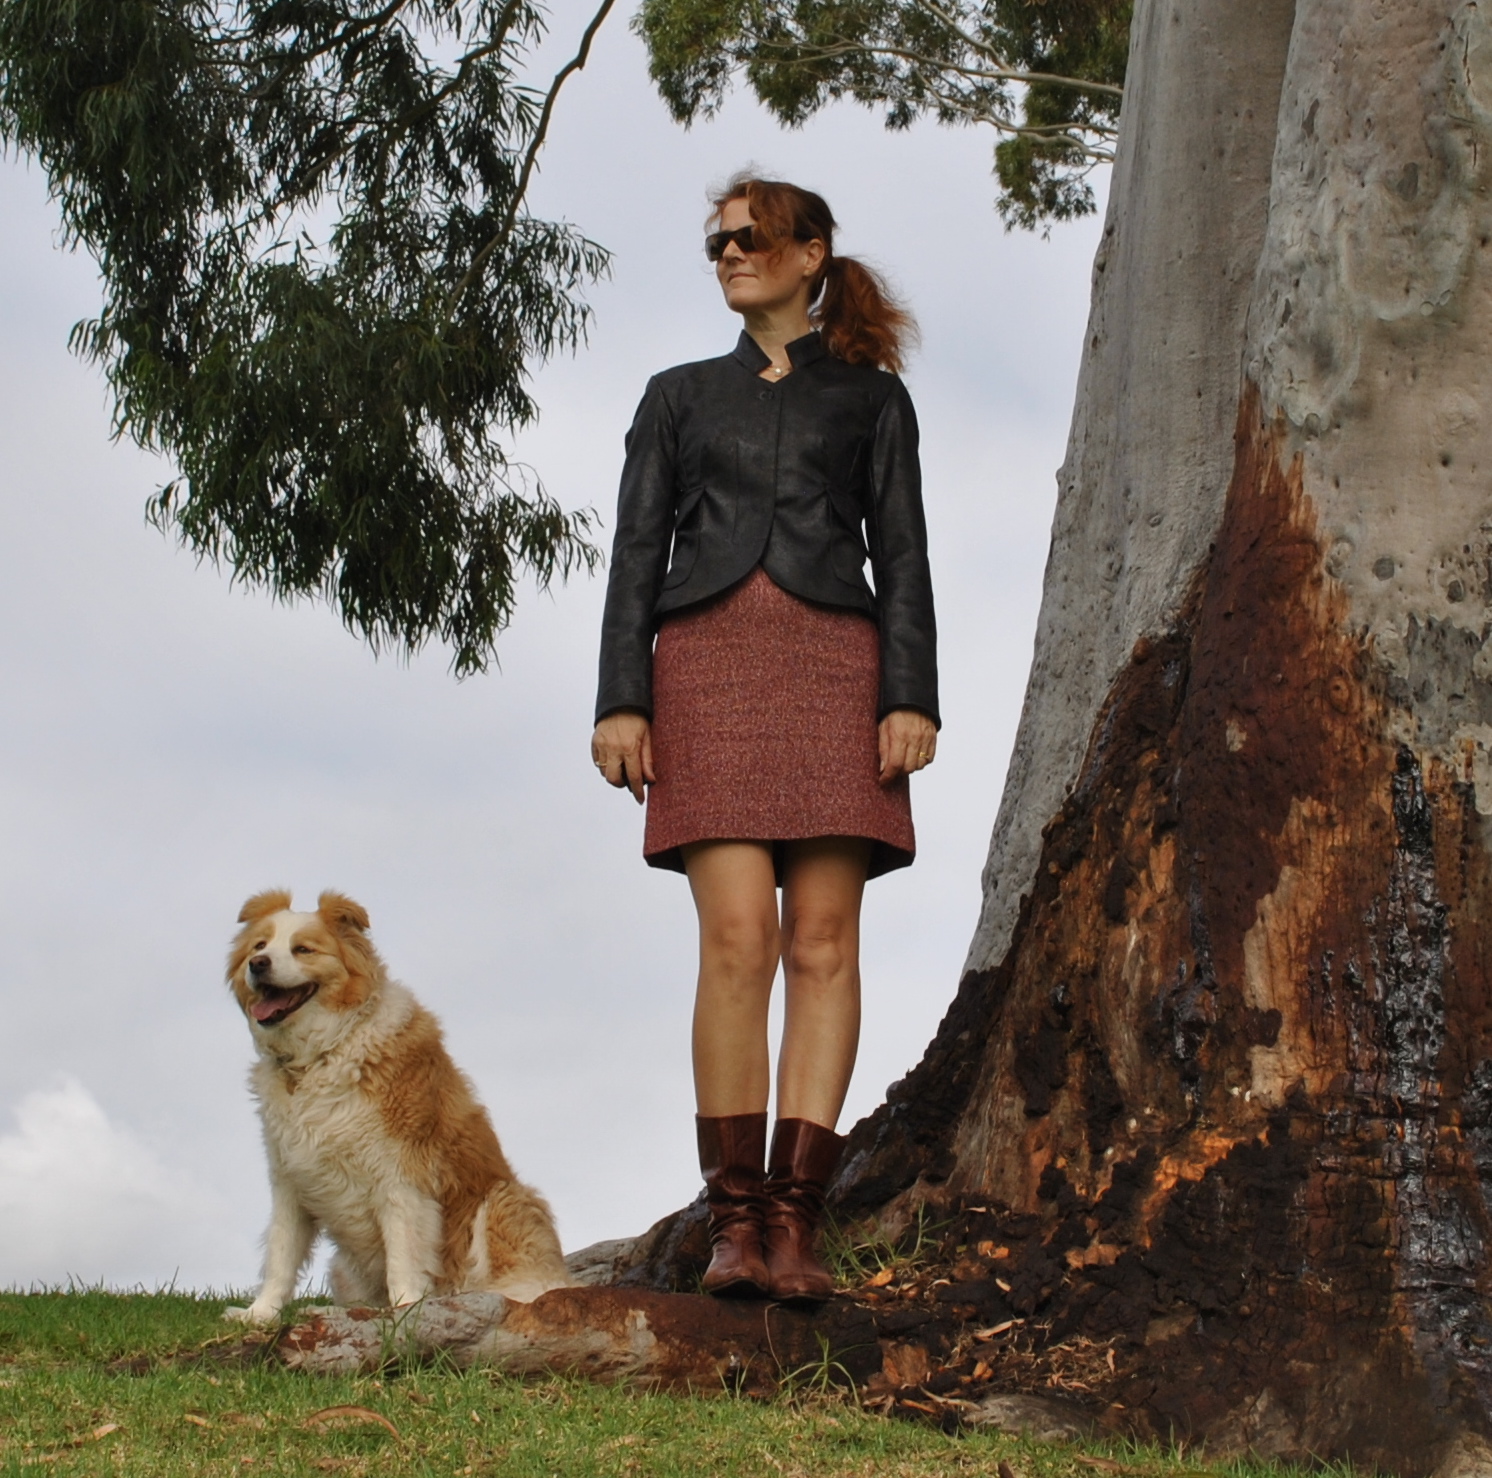
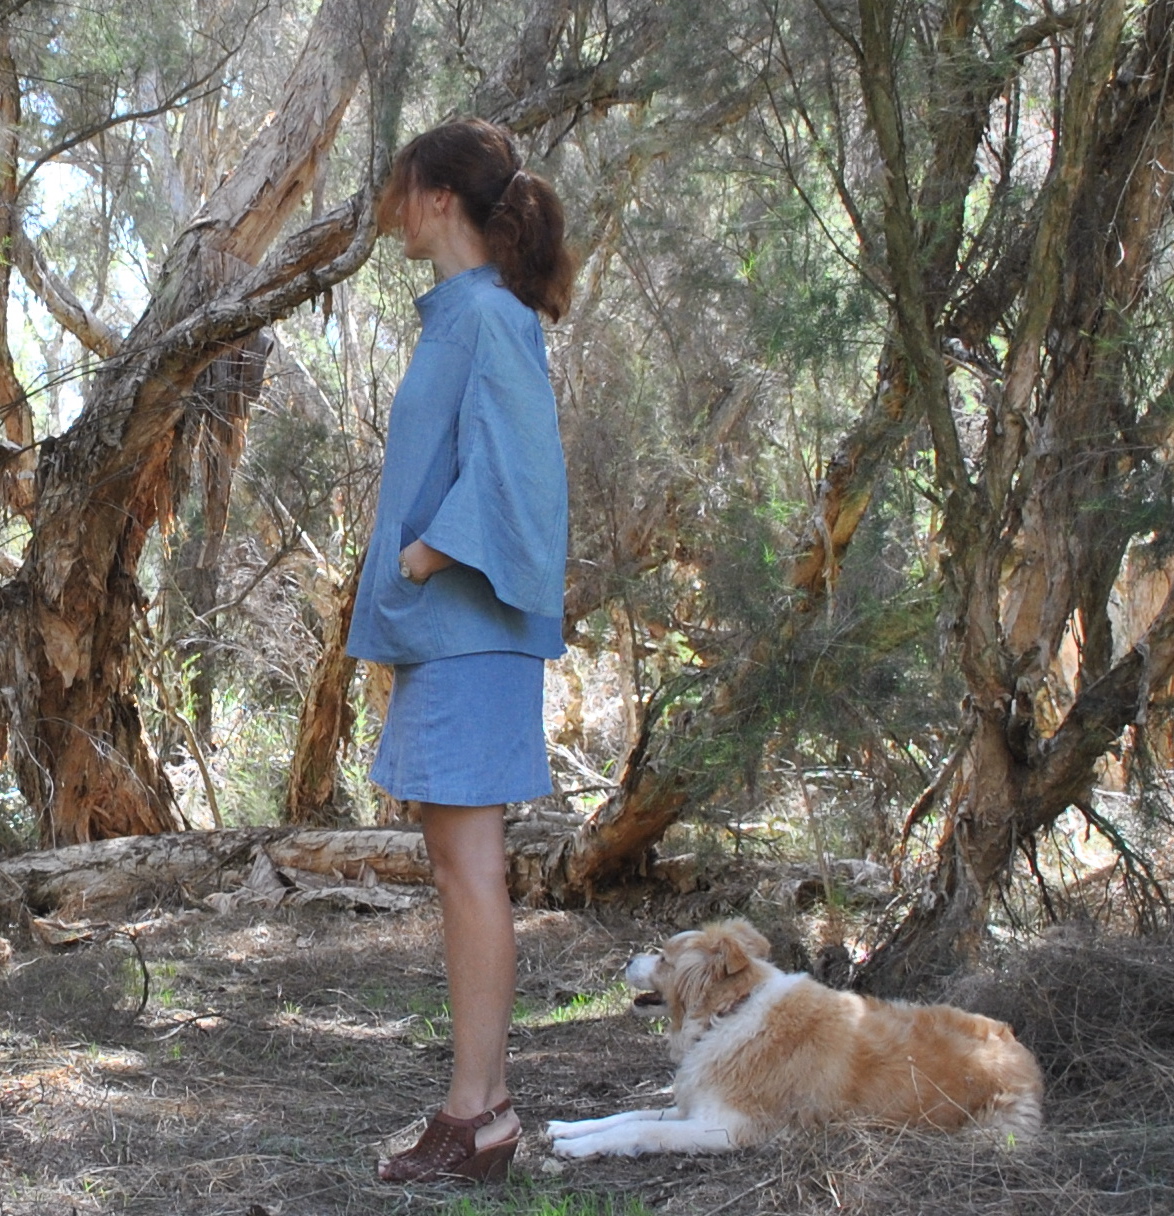
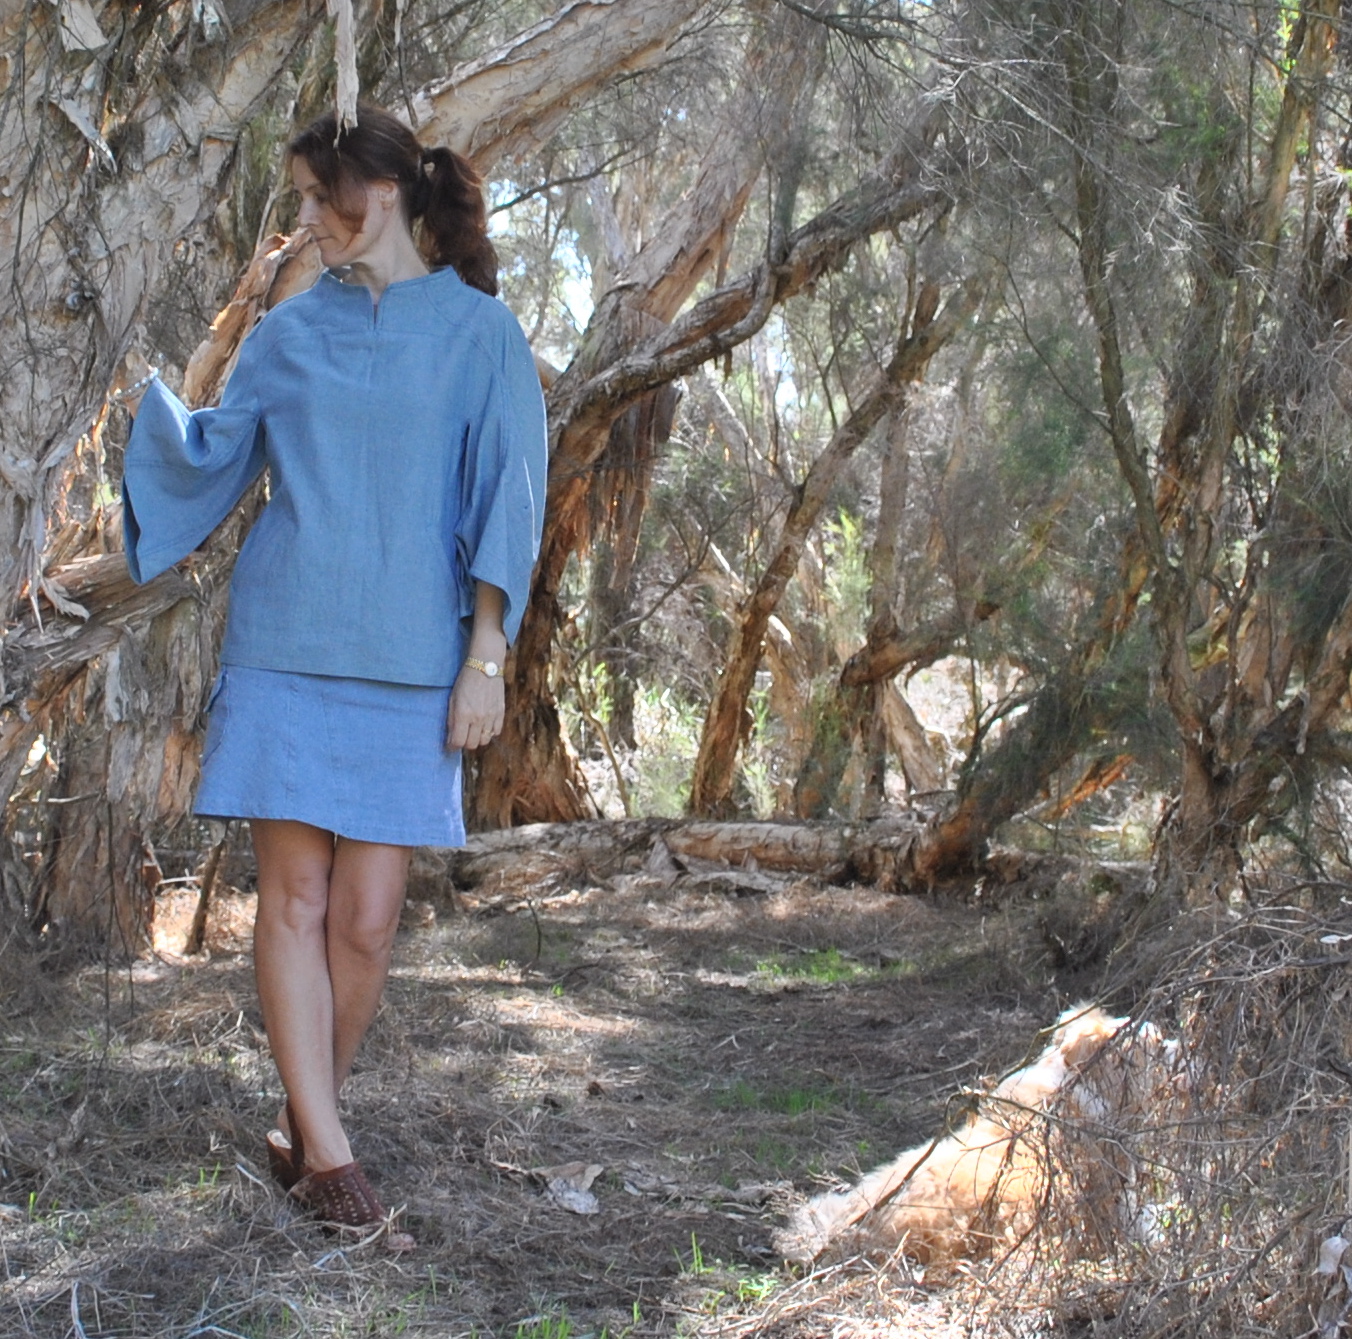
I am wearing my new ivory summer sandals too. Aren’t they lovely? Obviously ivory is one of my favourite colours anyway, no matter what the season, and I really like the woven wedge heel too. These will be appearing in lots more summer piccies to come!
Making my dress was not all plain sailing. There are boo-boos. I didn’t notice at first that the two halves of the back bodice were different to each other and so mistakenly constructed it as a mirror image of one side; therefore three of my seam lines on the right side of the dress do not join up. One on the shoulder, one on the bodice and one on the skirt/bodice seam. Rats. But since I did use just one colour you can’t really tell without super up-close inspection, hehe. My other seams all mostly join up 😉

Description:
Sizing:
32-44. I cut a size 34 in the bodice, grading out from the waist to a size 38 at the hip level. Because of these personal sizing changes I also cut the skirt pieces to be a bit more flared going down to the hemline than the pattern to give a better look proportionally.
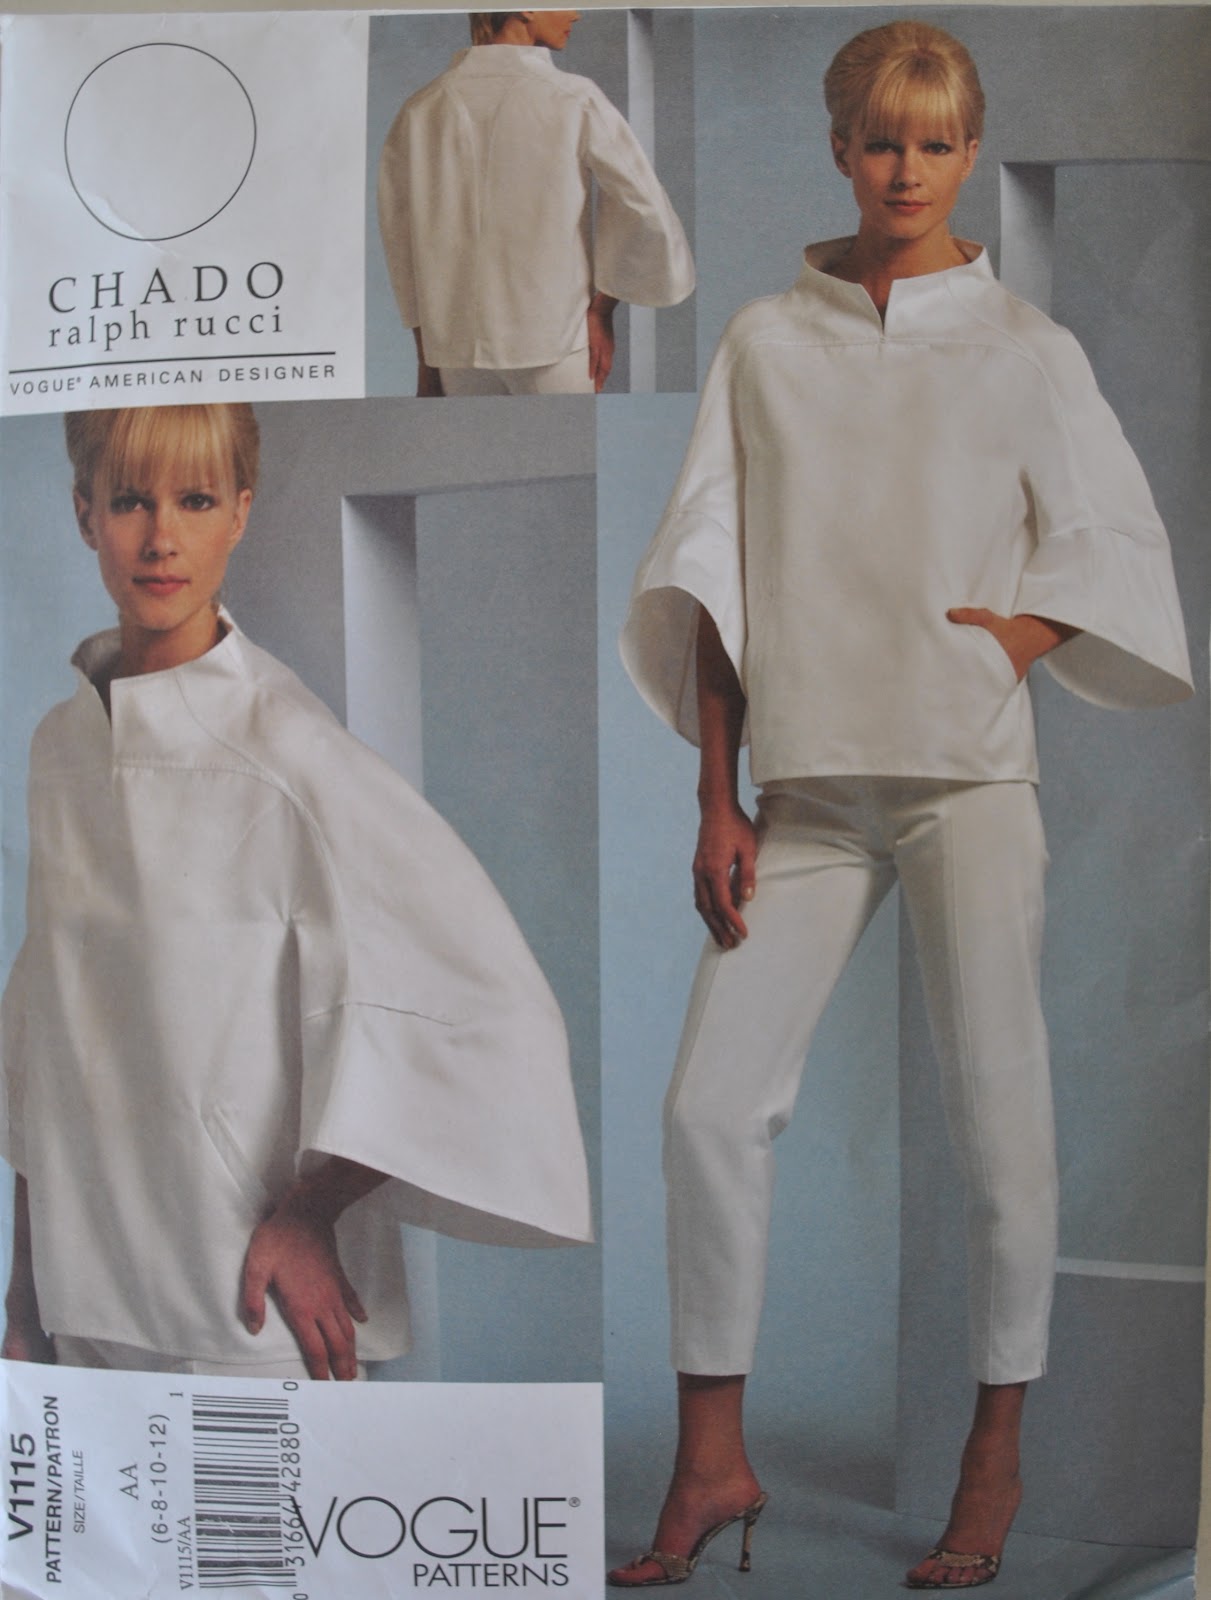
it look like the photo/drawing on the pattern envelope once you had finished
sewing it?
the instructions easy to follow?
did you particularly like or dislike about the pattern?
Used:
alterations or any design changes you made:
Would
you sew it again? Would you recommend it to others?
I think I only need one of version A in my wardrobe since it is quite a distinctive design, but I would definitely sew either of versions B or C again. I recommend version A to the advanced seamster looking for a challenge.
Conclusion:
I am very pleased with it! I really wanted a white dress for summer which is why I went for a solid colour version of the pattern, and now it reminds me of an old-fashioned tennis dress. There is something quaint and ladylike and yet still sporty about the silhouette that I really like. The seaming is really interesting, and I am in love with the swishiness of the skirt.