Tag Archives: Tokyo Fabric

Fabric shopping in Tokyo

Nippori-map

Tokyo is absolutely brilliant for the fabric loving visitor… it even has its own fabric district!!!! how cool is that? very, that’s what.  Nippori is the most well-known place in Tokyo to shop for fabric, but this is my third visit to the city so I investigated some more and found a few other great stores well worth a visit as well.

But firstly; Nippori… because it’s awesome.  If you only have time to visit one location then this will not disappoint.  Setting aside a whole morning, or afternoon, would not be excessive for the truly dedicated fabric lover.

It conveniently has its own train station; called Nippori, on the JR Yamanote line.  When you get off the train you really want to find and exit from the East exit, where you will descend a long flight of old stairs and soon will see this sign on the street.

IMG_9574You just keep on going and you can’t possible miss it, the street is crammed with fabric stores; also, each of those fabric stores is likewise crammed with fabric too.  Most stores are situated along the one main road.  The map above has so many marked, you can get a feel for the sheer number of options available… and there are bins and bolts of fabric set up in the street all over, you’re just spoilt for where to look next.  Prices are mostly low to middling by Australian standards, quality varies, but is overall pretty great with some fabulous bargains to be had.  The most exciting thing about it of course is the CHOICE!!  You will find selvedge denim, leather, laces, linens, cottons, tartans, knits, sweater knits, mountains of haberdashery and… well probably everything, if you take the time to look.

There is one very important thing to bear in mind when shopping in Nippori, and I cannot stress this too much…

TAKE CASH!  because some stores here will not accept credit cards.  Also, it can be quite difficult for the foreigner to obtain cash, even in shopping districts.  In my experience, 7Eleven convenience stores have ATM’s that accept foreign credit cards so are a handy place to get some Japanese yen out.

In fact, and this is general advice for the foreigner travelling in Tokyo; it’s a very good idea to sear into your memory the location of a 7Eleven nearby your ryokan/hotel and remember to pop in and stock up on yen if you’re getting low… BEFORE you head out shopping/sightseeing for the day!!  Reason being, of course while there are 7Elevens dotted about all over, you can’t count on one being there for you in a pinch and the very last thing you want in Tokyo is to be a bit low on cash.  Because I can guarantee; you WILL see adorable things everywhere that you WILL want to buy, and then you WILL waste huge amounts of time first searching for that cash and then for that cute little store again.

Unfortunately there is NOT a 7Eleven conveniently close to Nippori Textile town.  So make sure you have plenty of money before you head over!

IMG_9570 IMG_9571

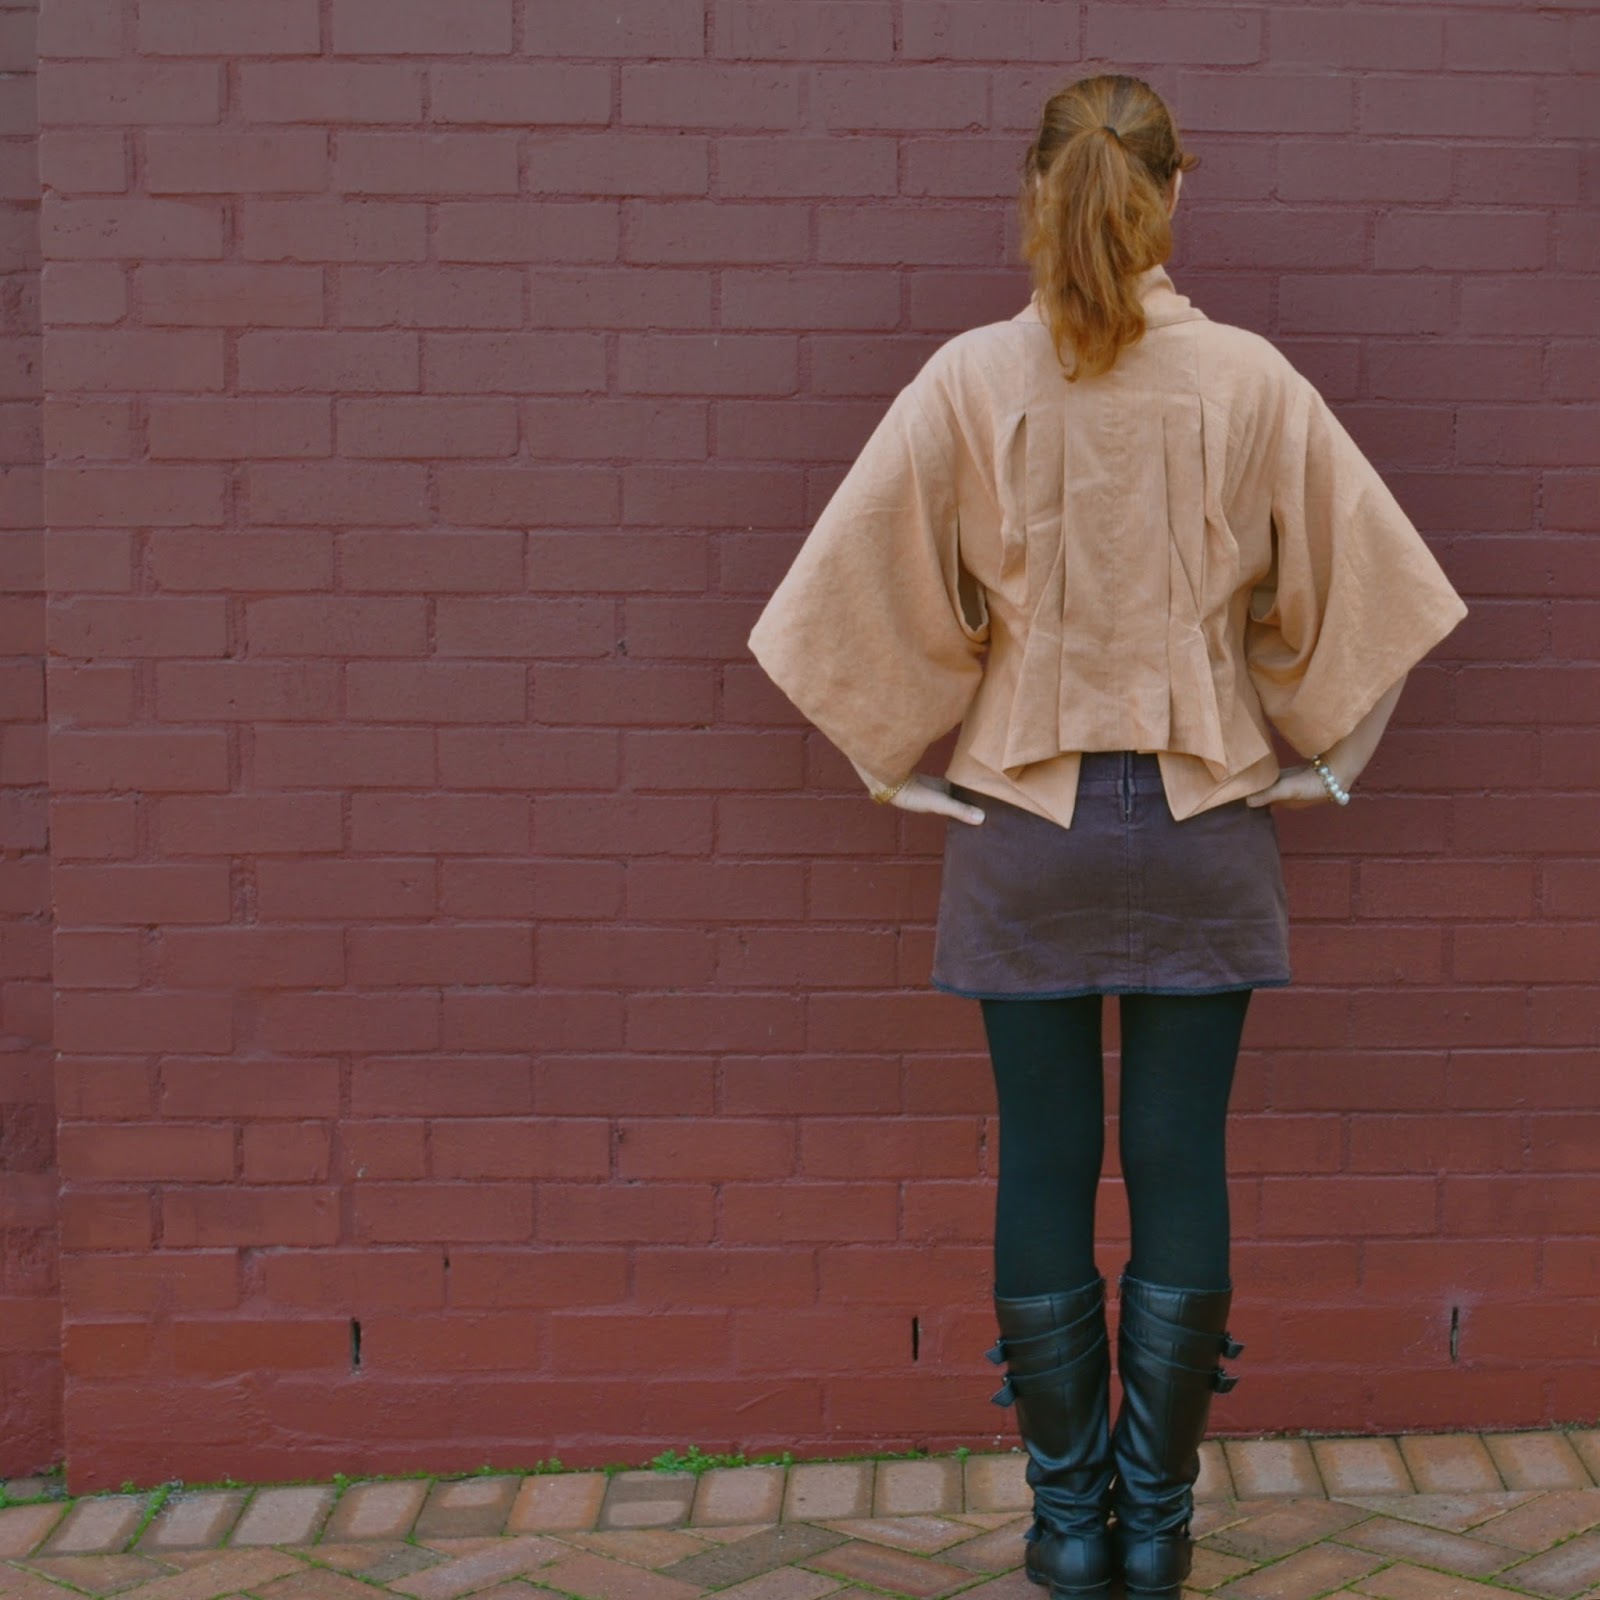
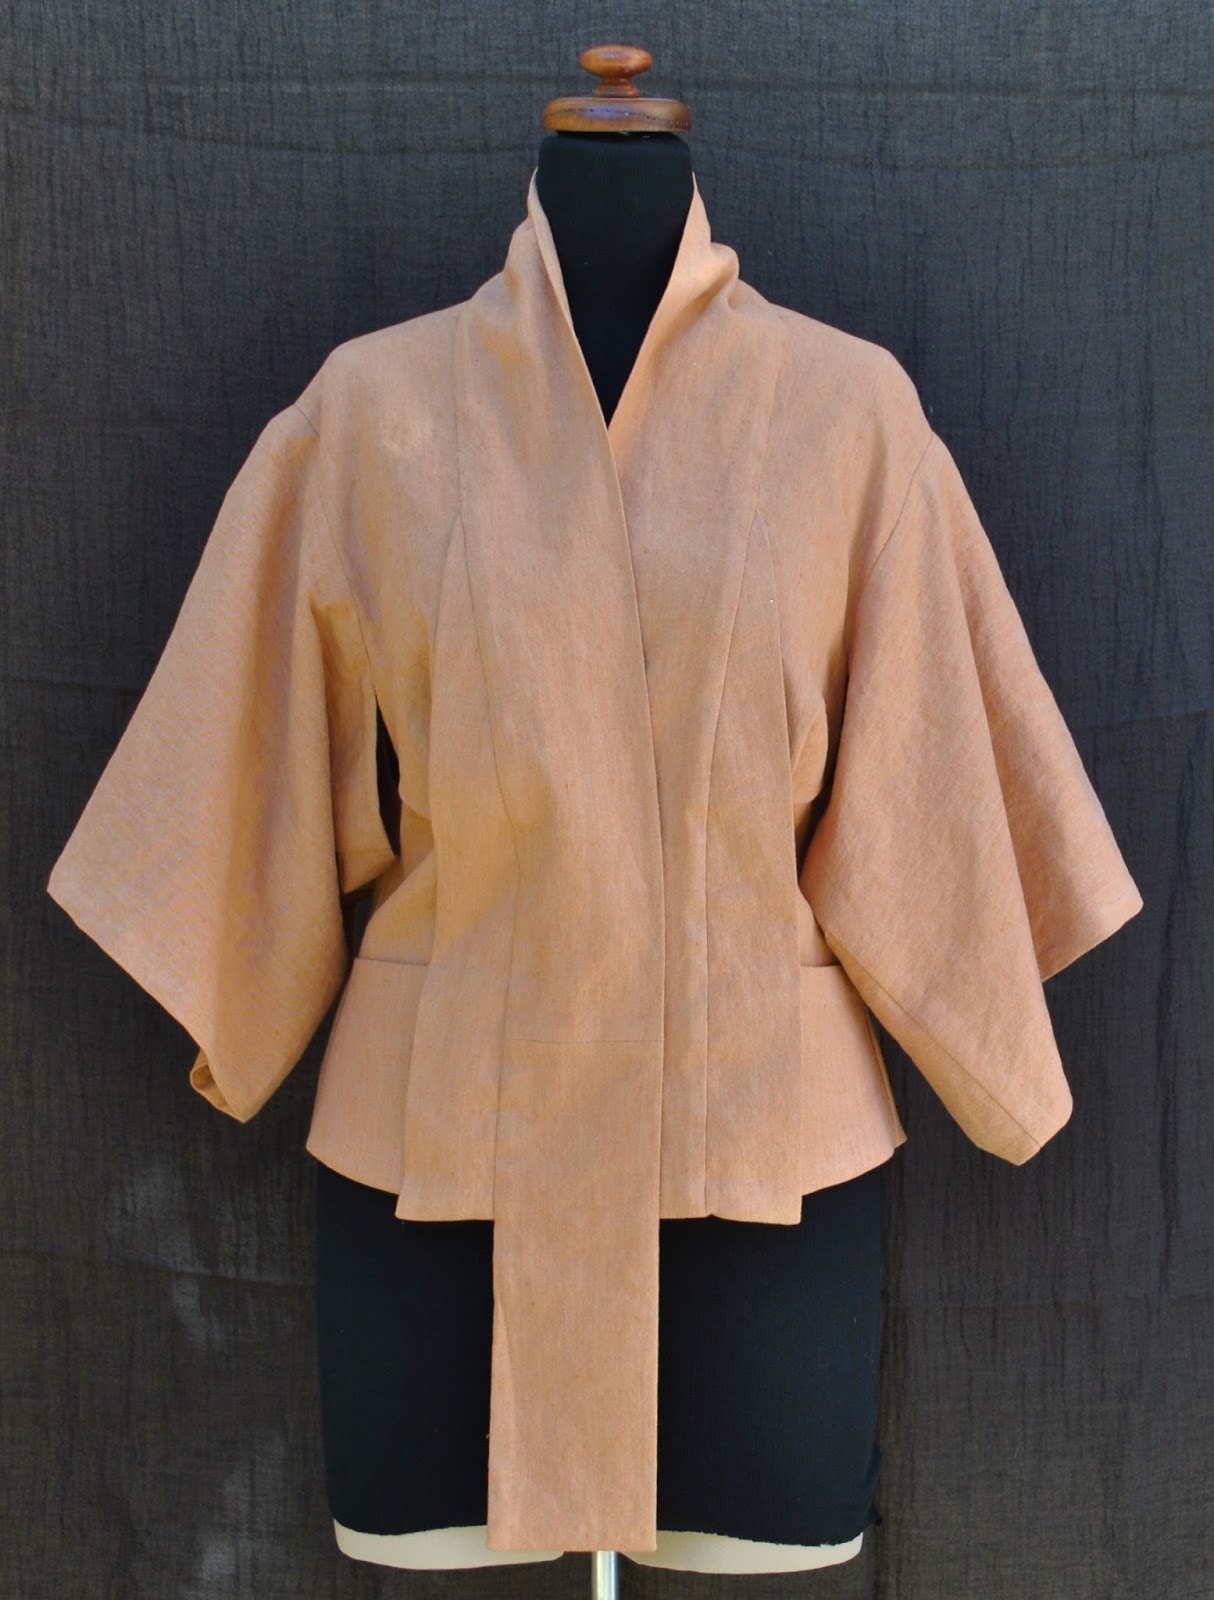
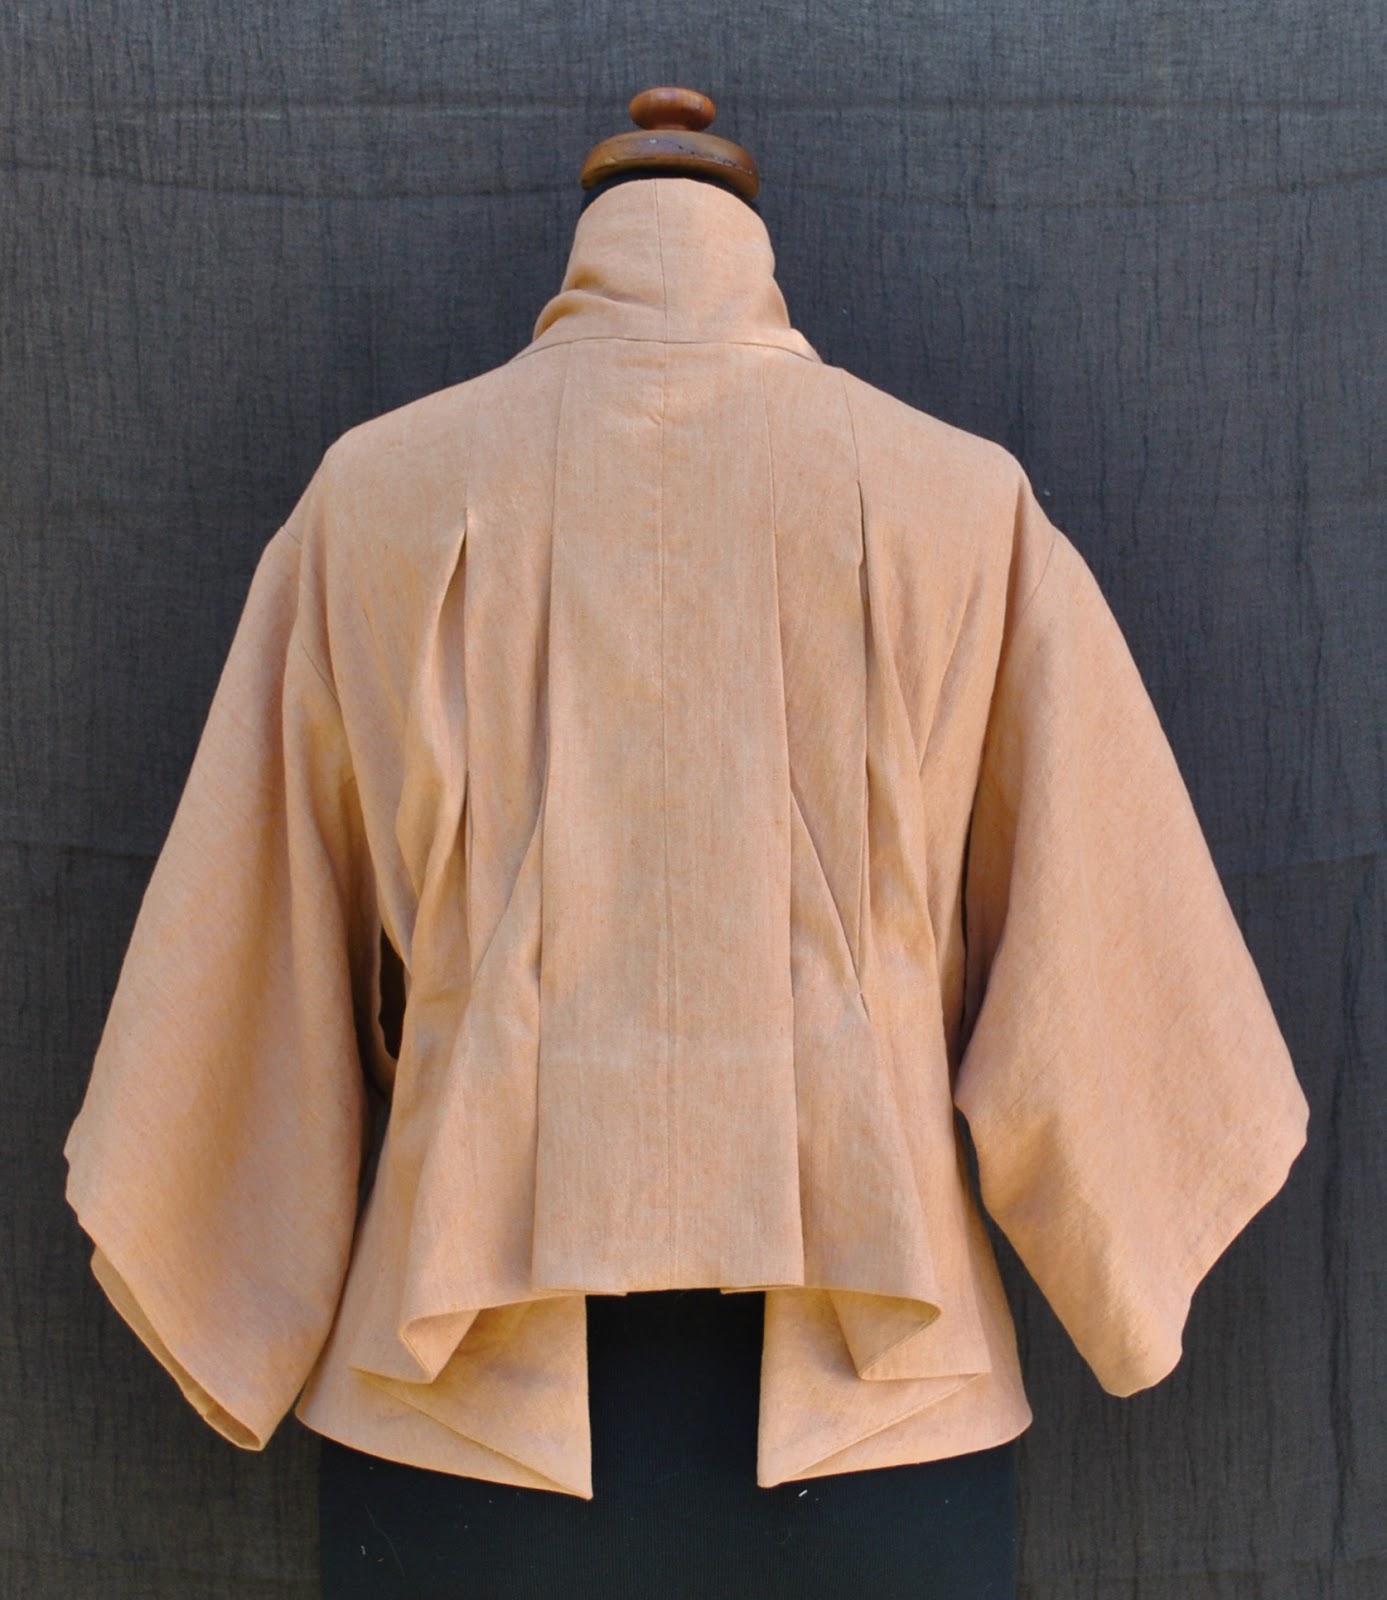
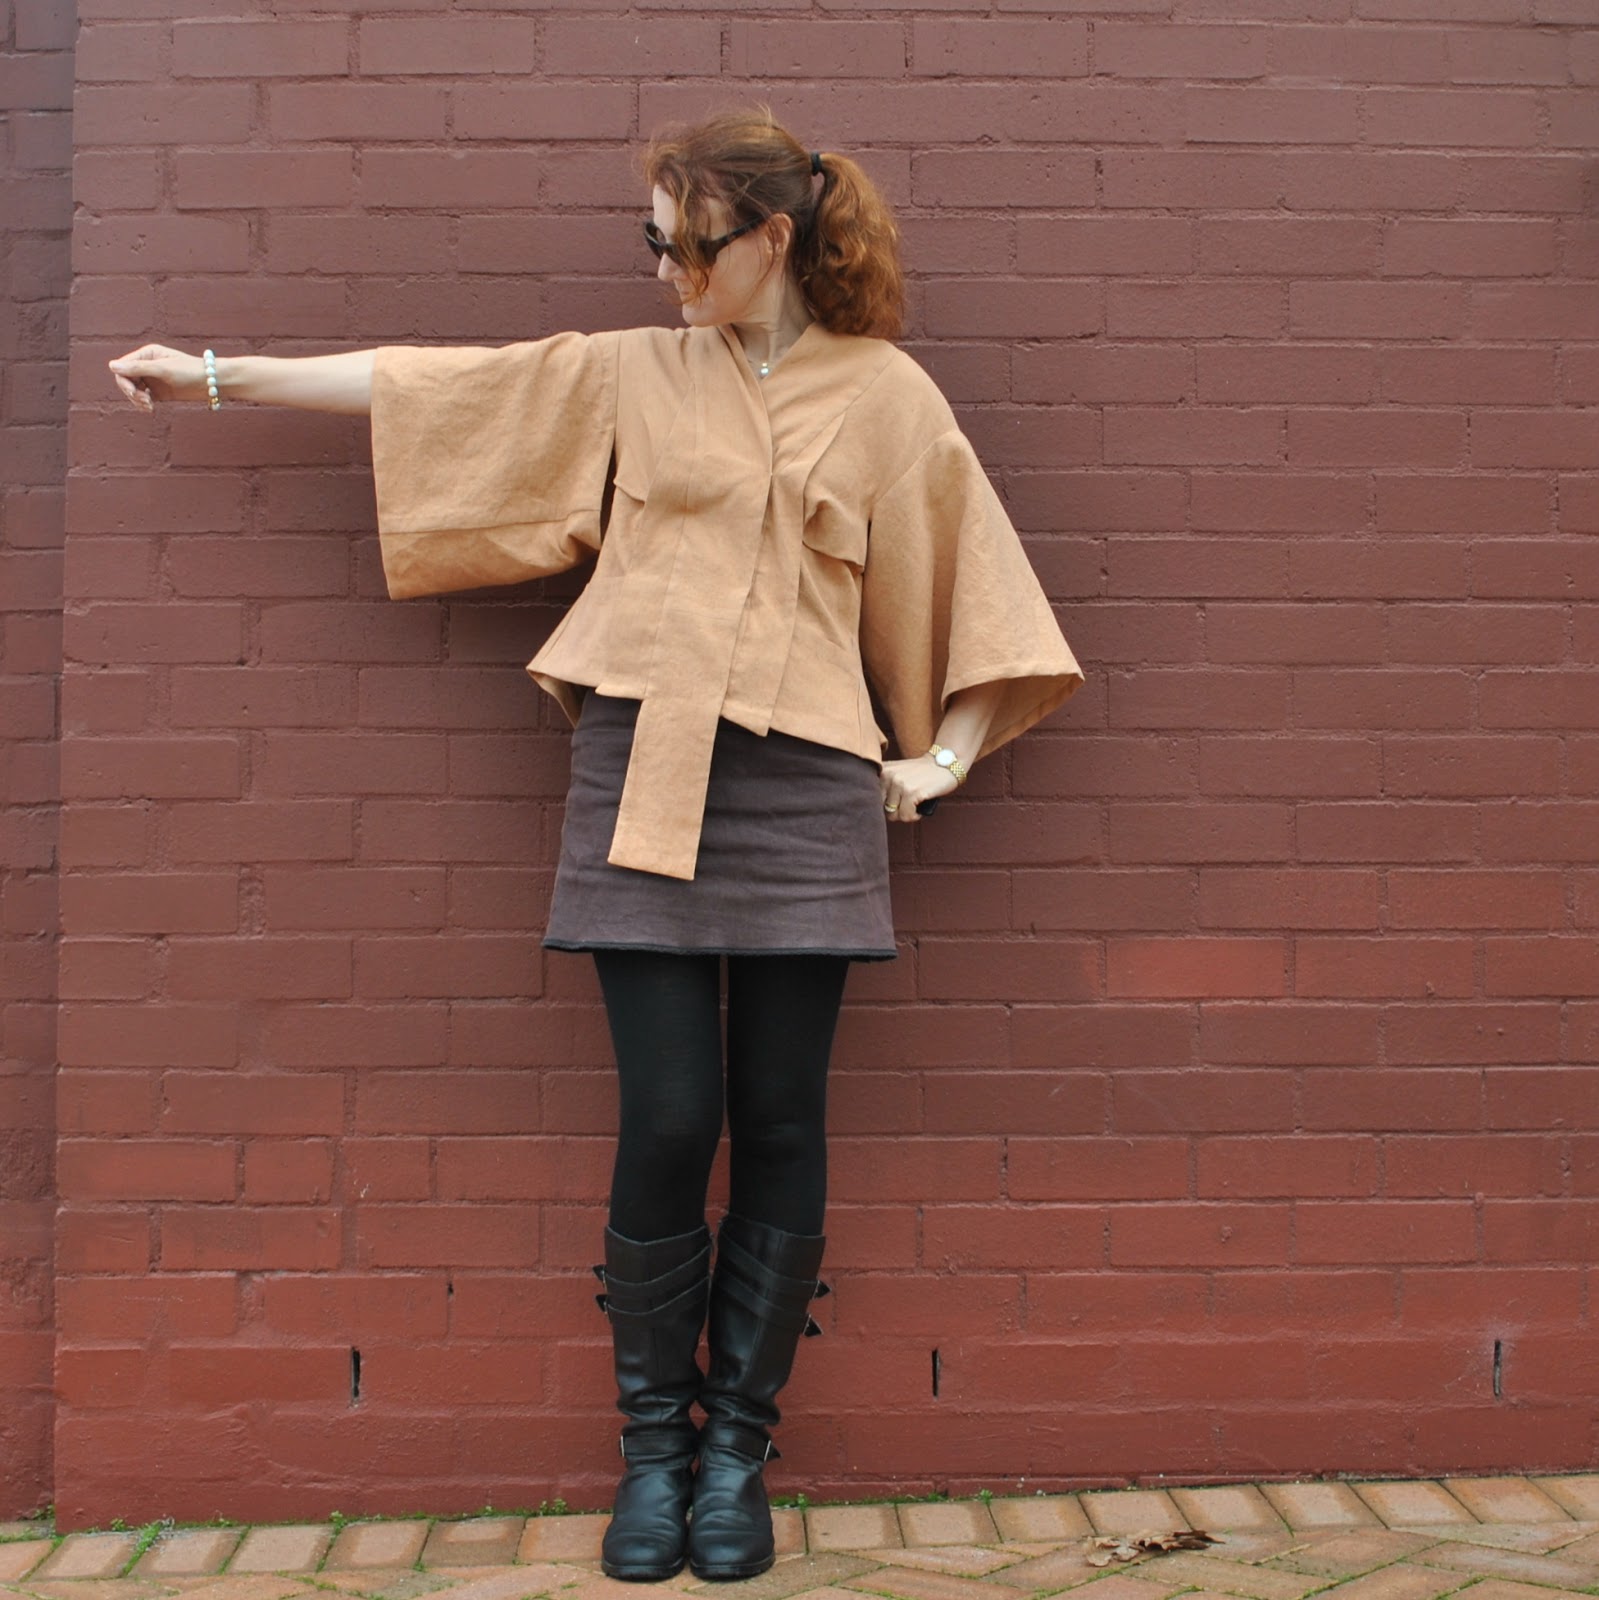
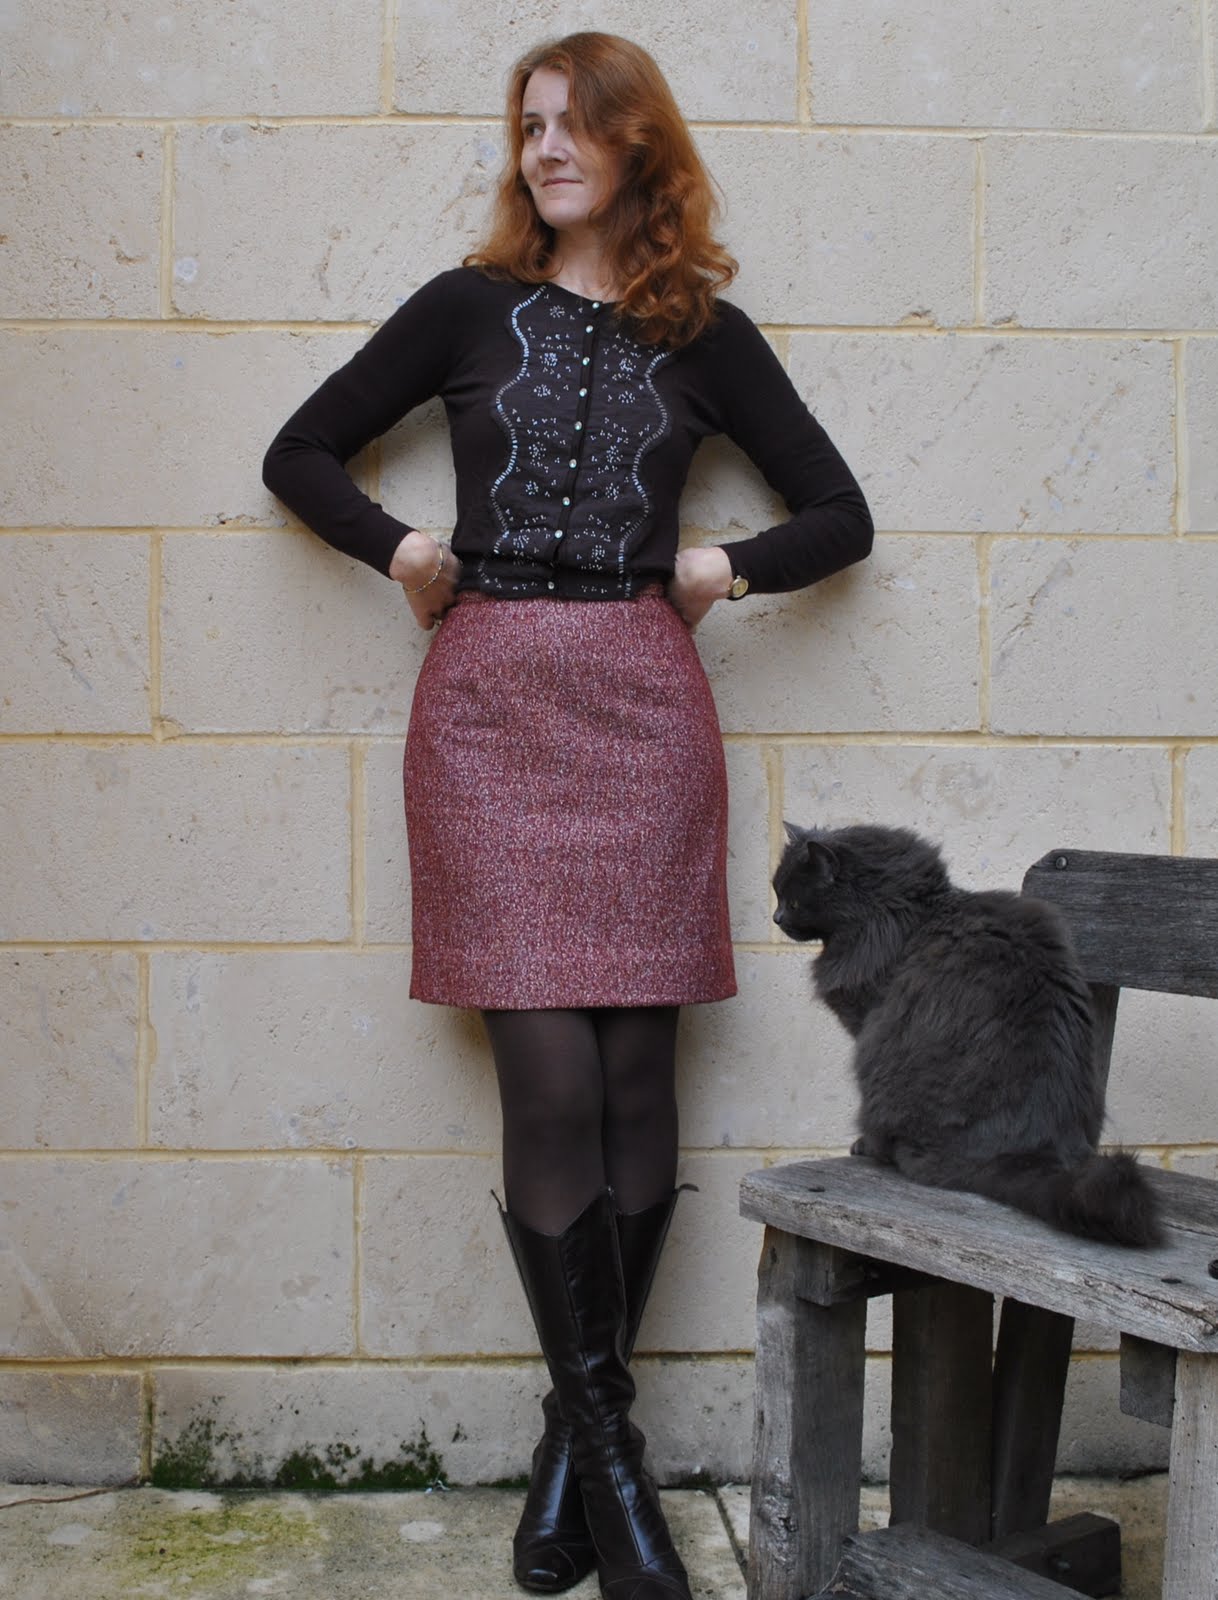
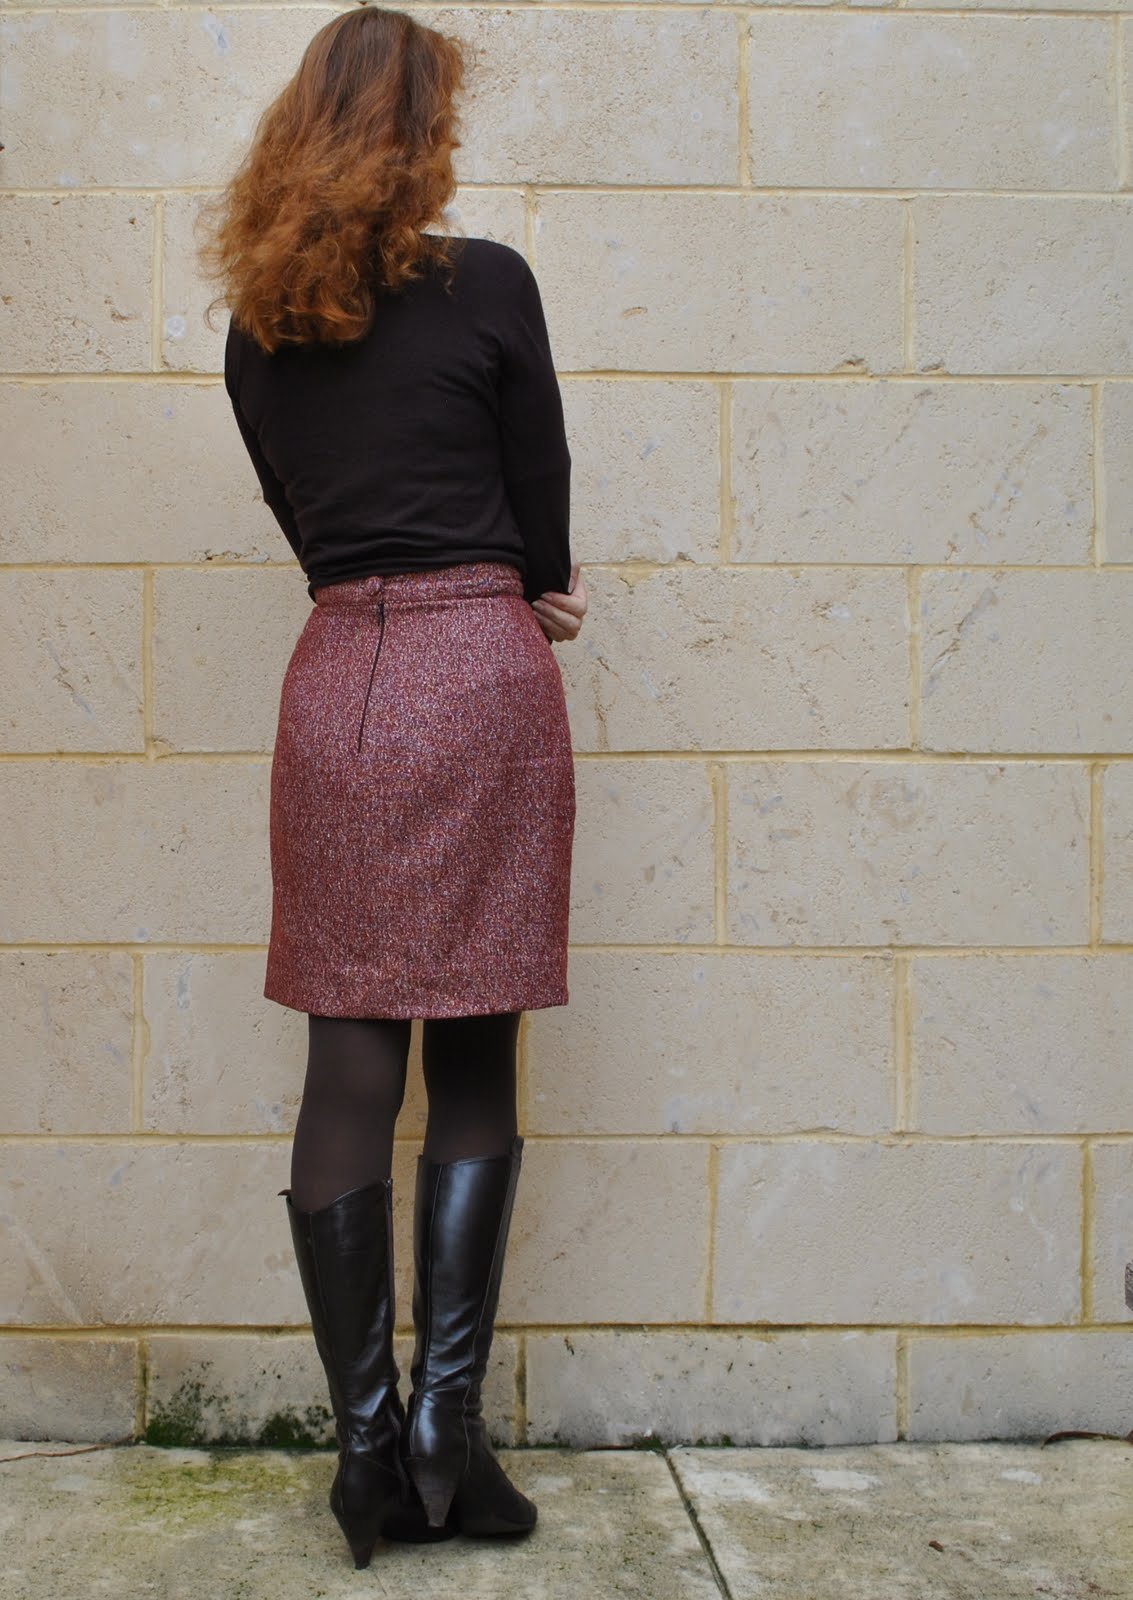
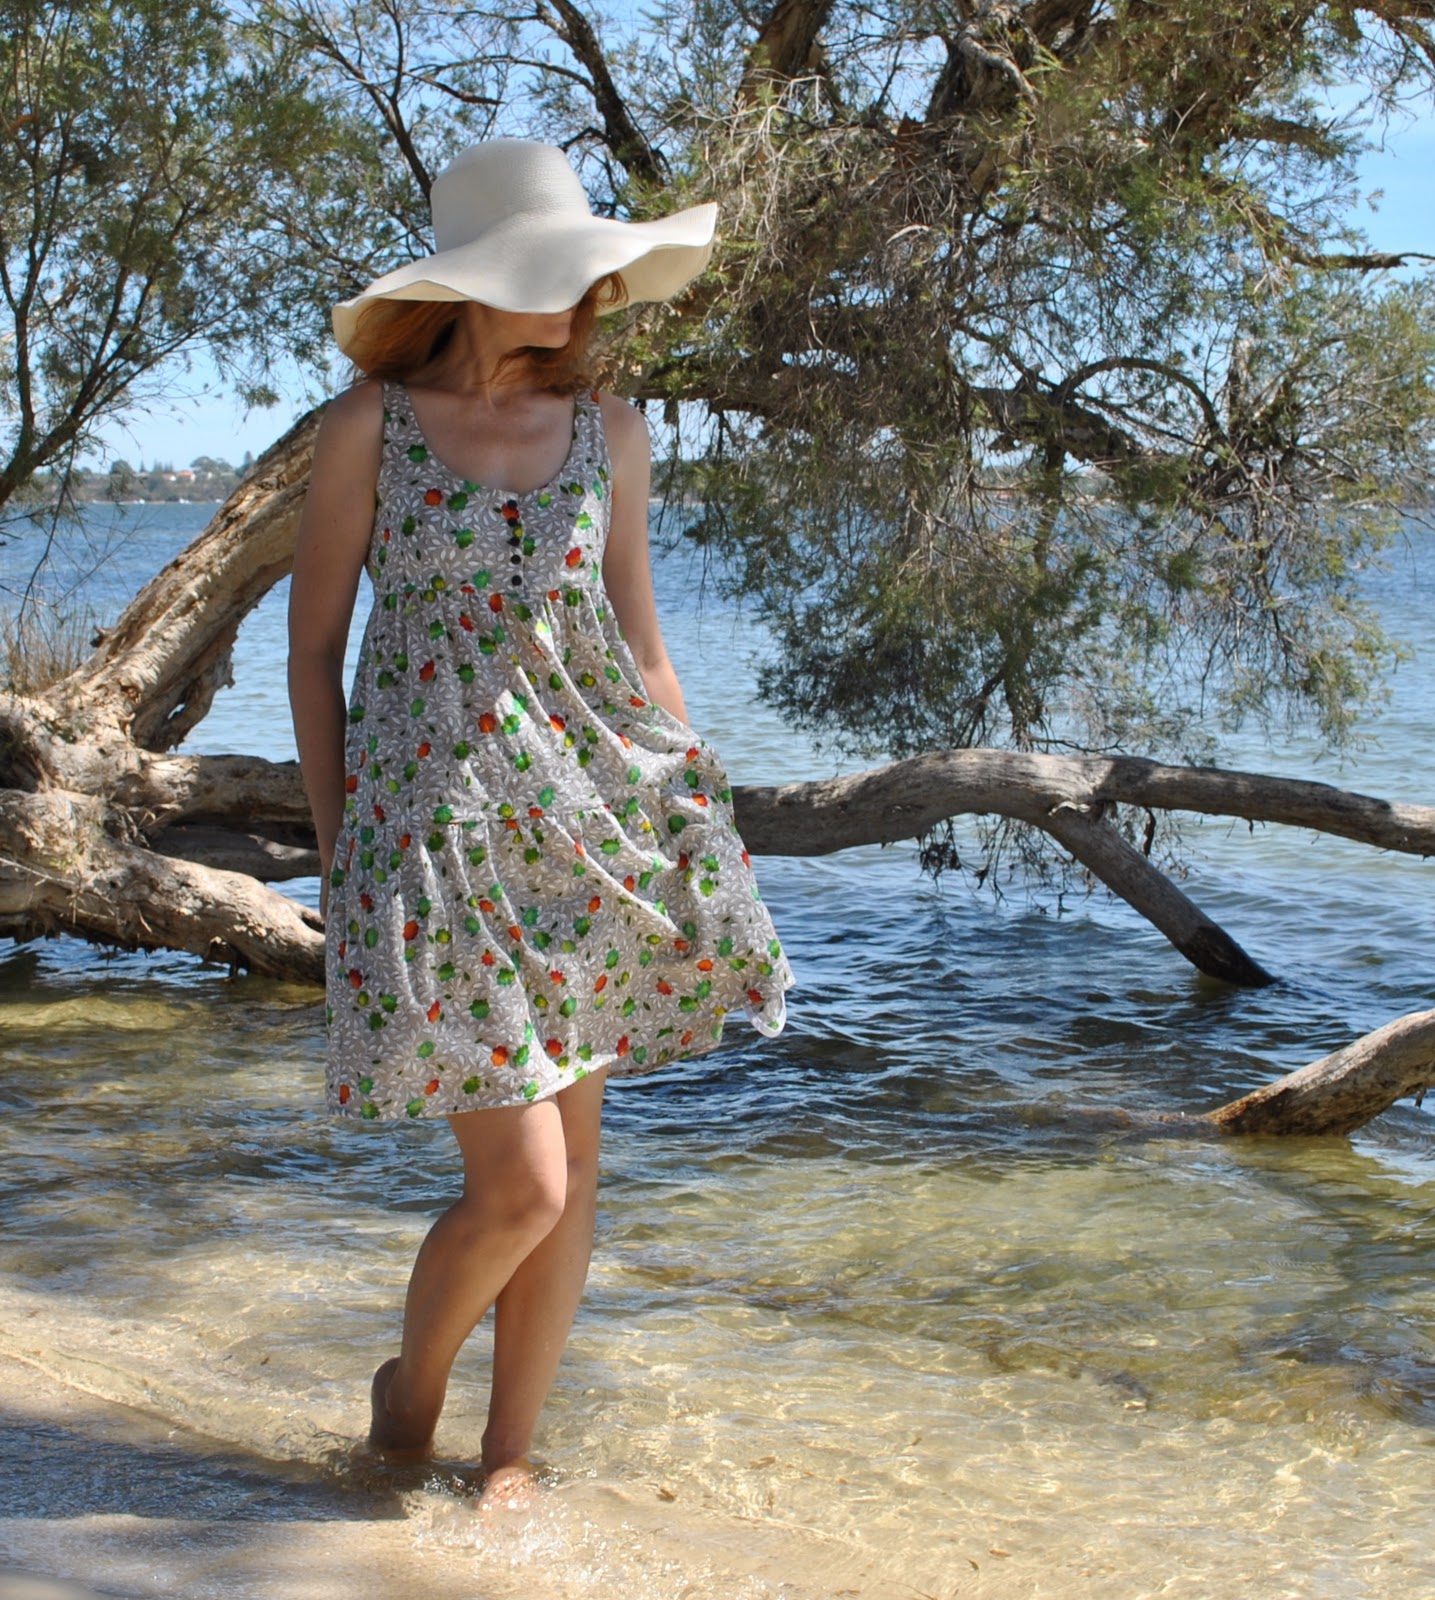
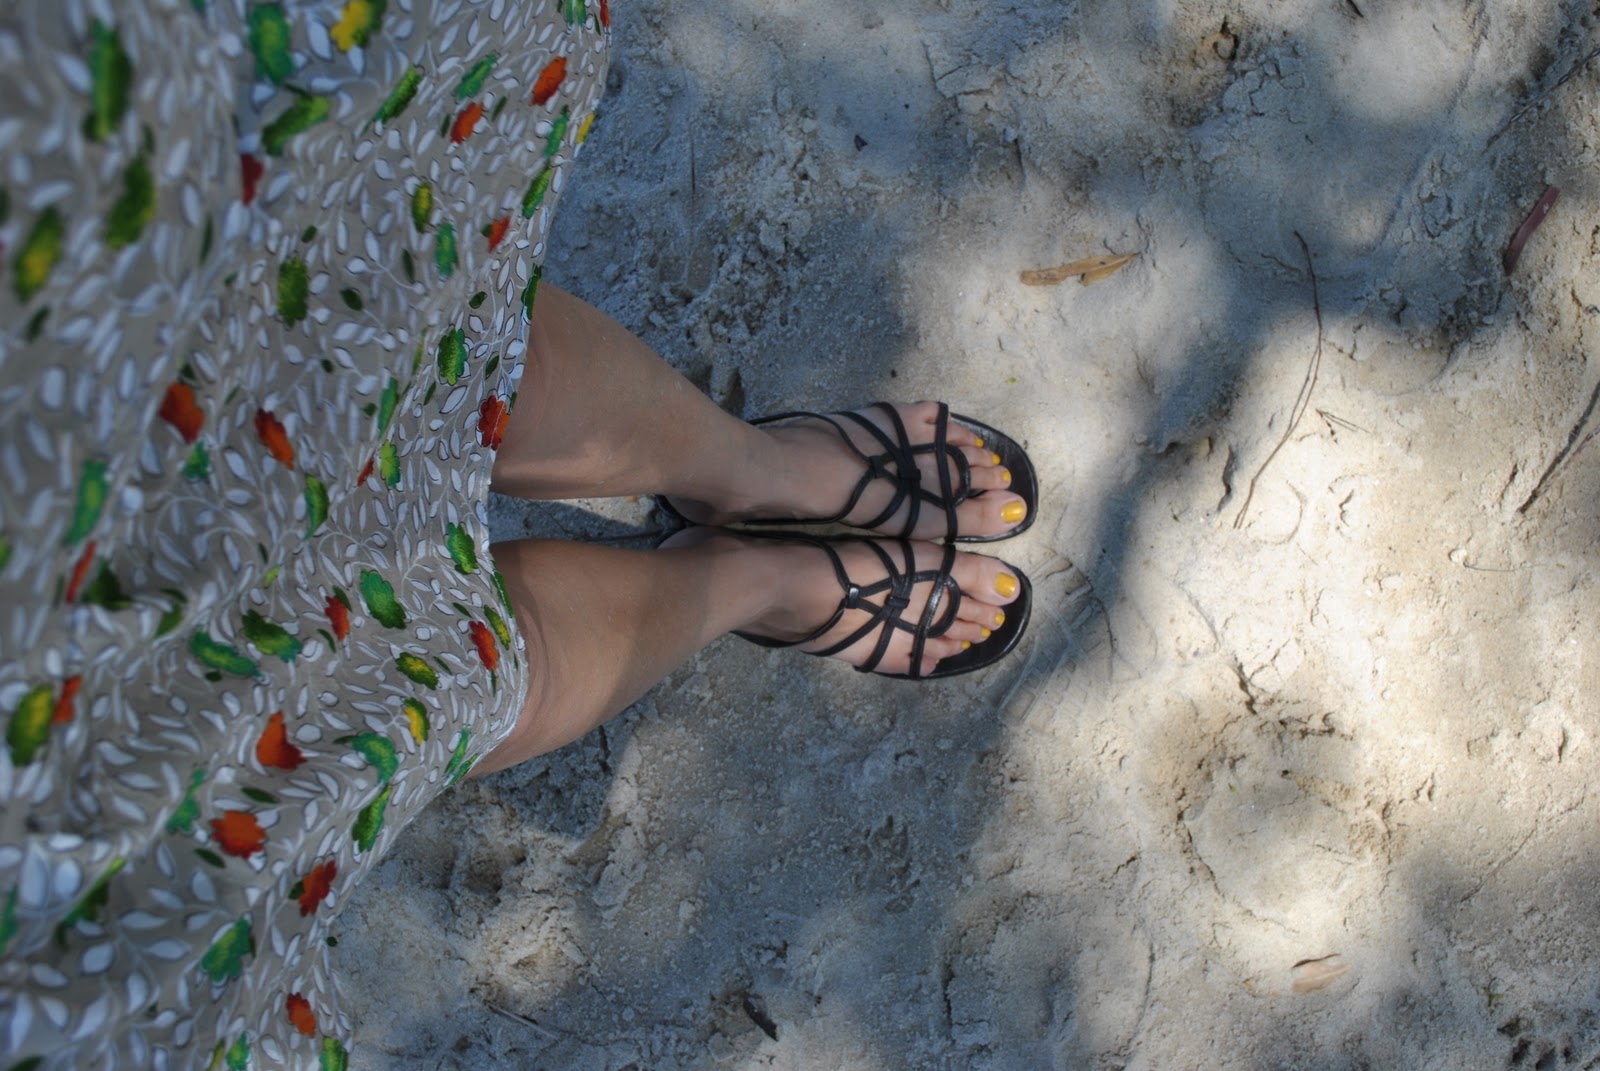
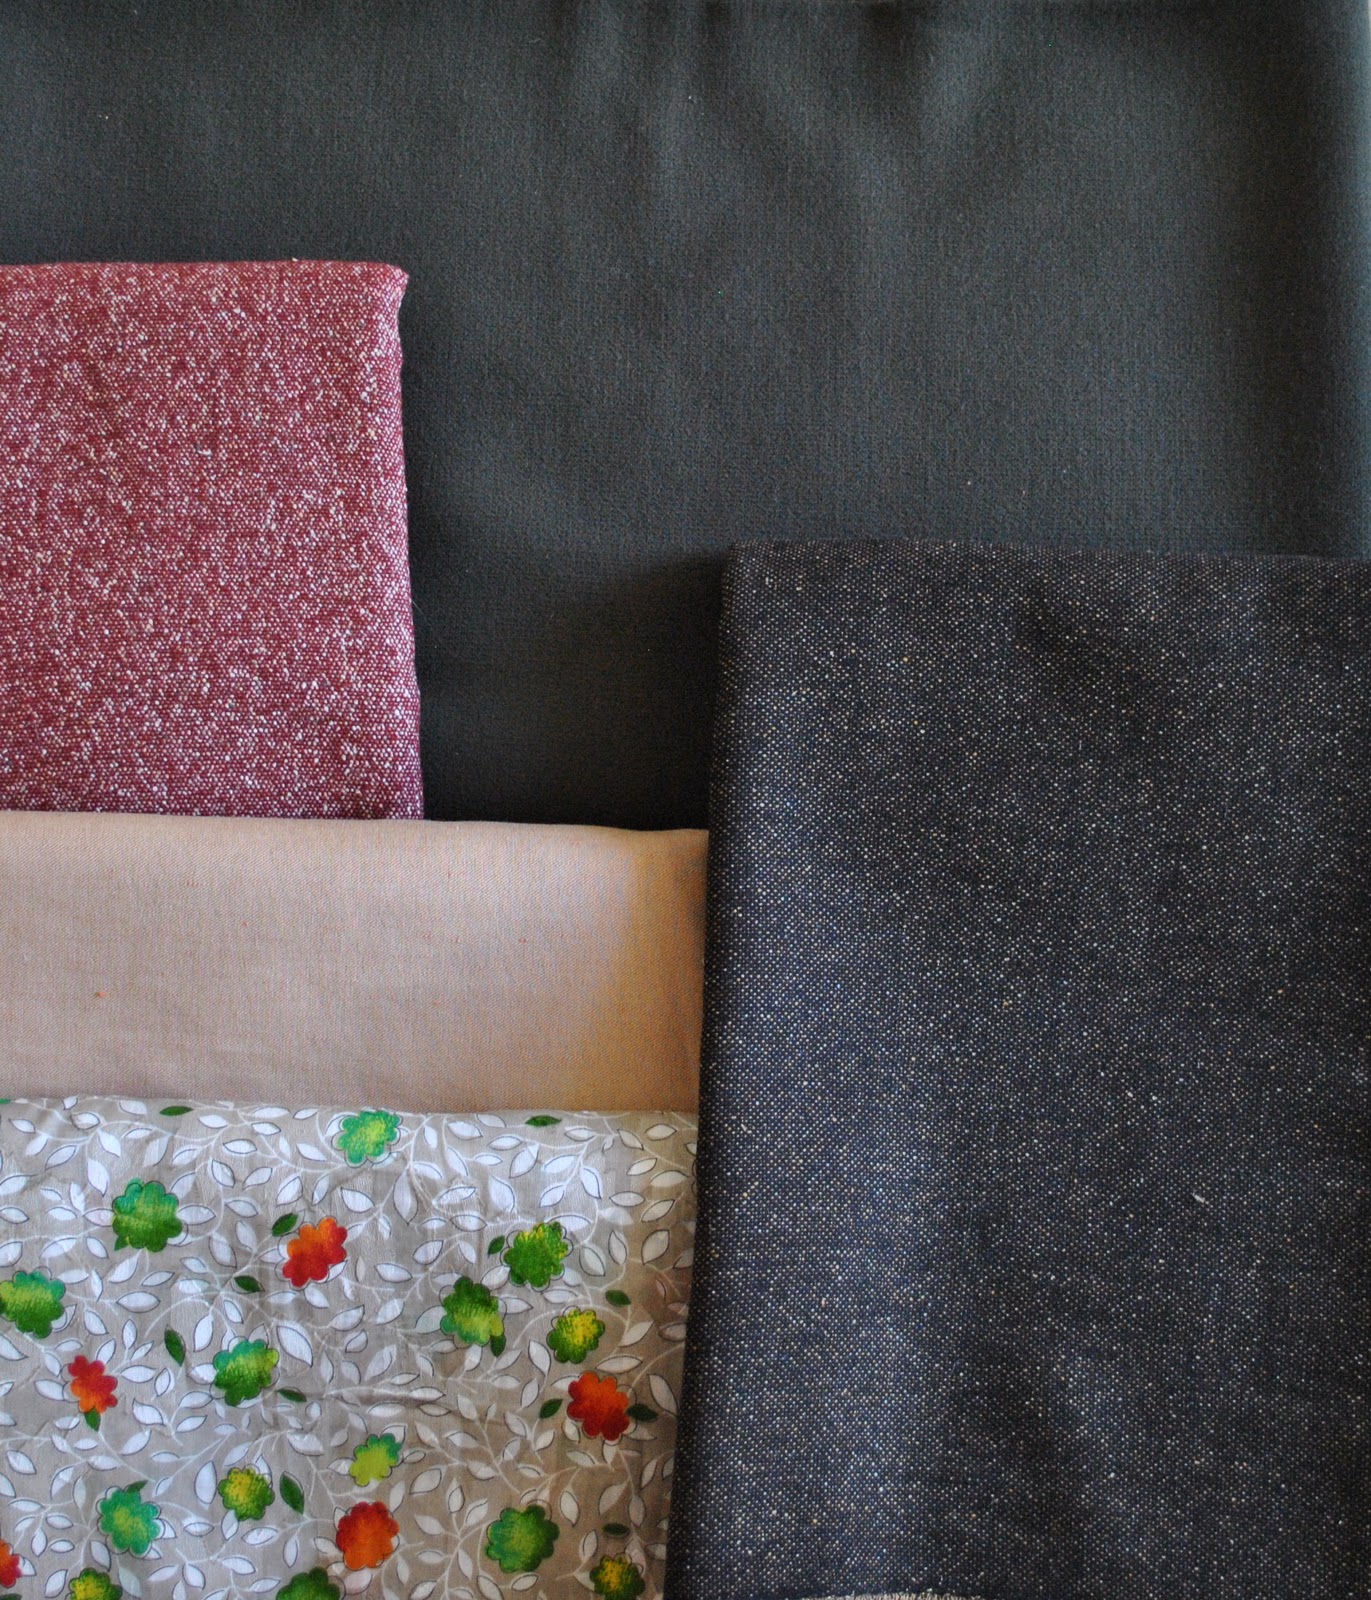
I bought leather and denim in Nippori.

fabricnippori

The good news is that all the following stores DO accept credit cards.  #shamelessenabler

Mina Perhonen Arkistot

minaperhonenarkistot

google map location

2nd and 3rd floor; 5-13-14 Shirokanedai, Minato-ku.  

The nearest train station to this store is Meguro, on the Tokyu-Meguro line or the JR Yamanote line.  It’s an easy fifteen minute walk away, but is very unobtrusively tucked away in a side street and you really have to keep a sharp look out for the turnoff.  The store’s lower floor is the 2nd floor, and you have to climb up that white spiral staircase pictured above to enter.  The fabrics are all located on the floor above that, on the 3rd floor.

Interesting factoid; Mina Perhonen is a Scandinavian name and I’ve always mistakenly thought it was the name of the designer too.  However the designer Akira Minagawa is Japanese, and it’s just that his love for Scandinavian design informs much of his own design.  The brand’s flagship store is very nearby, on the on the 3rd floor, 5-18-17 Shirokanedai and you can go and browse beautiful and expensive homewares and clothing… however this is a sewing blog so this is all about the fabric only, alright?  OK.

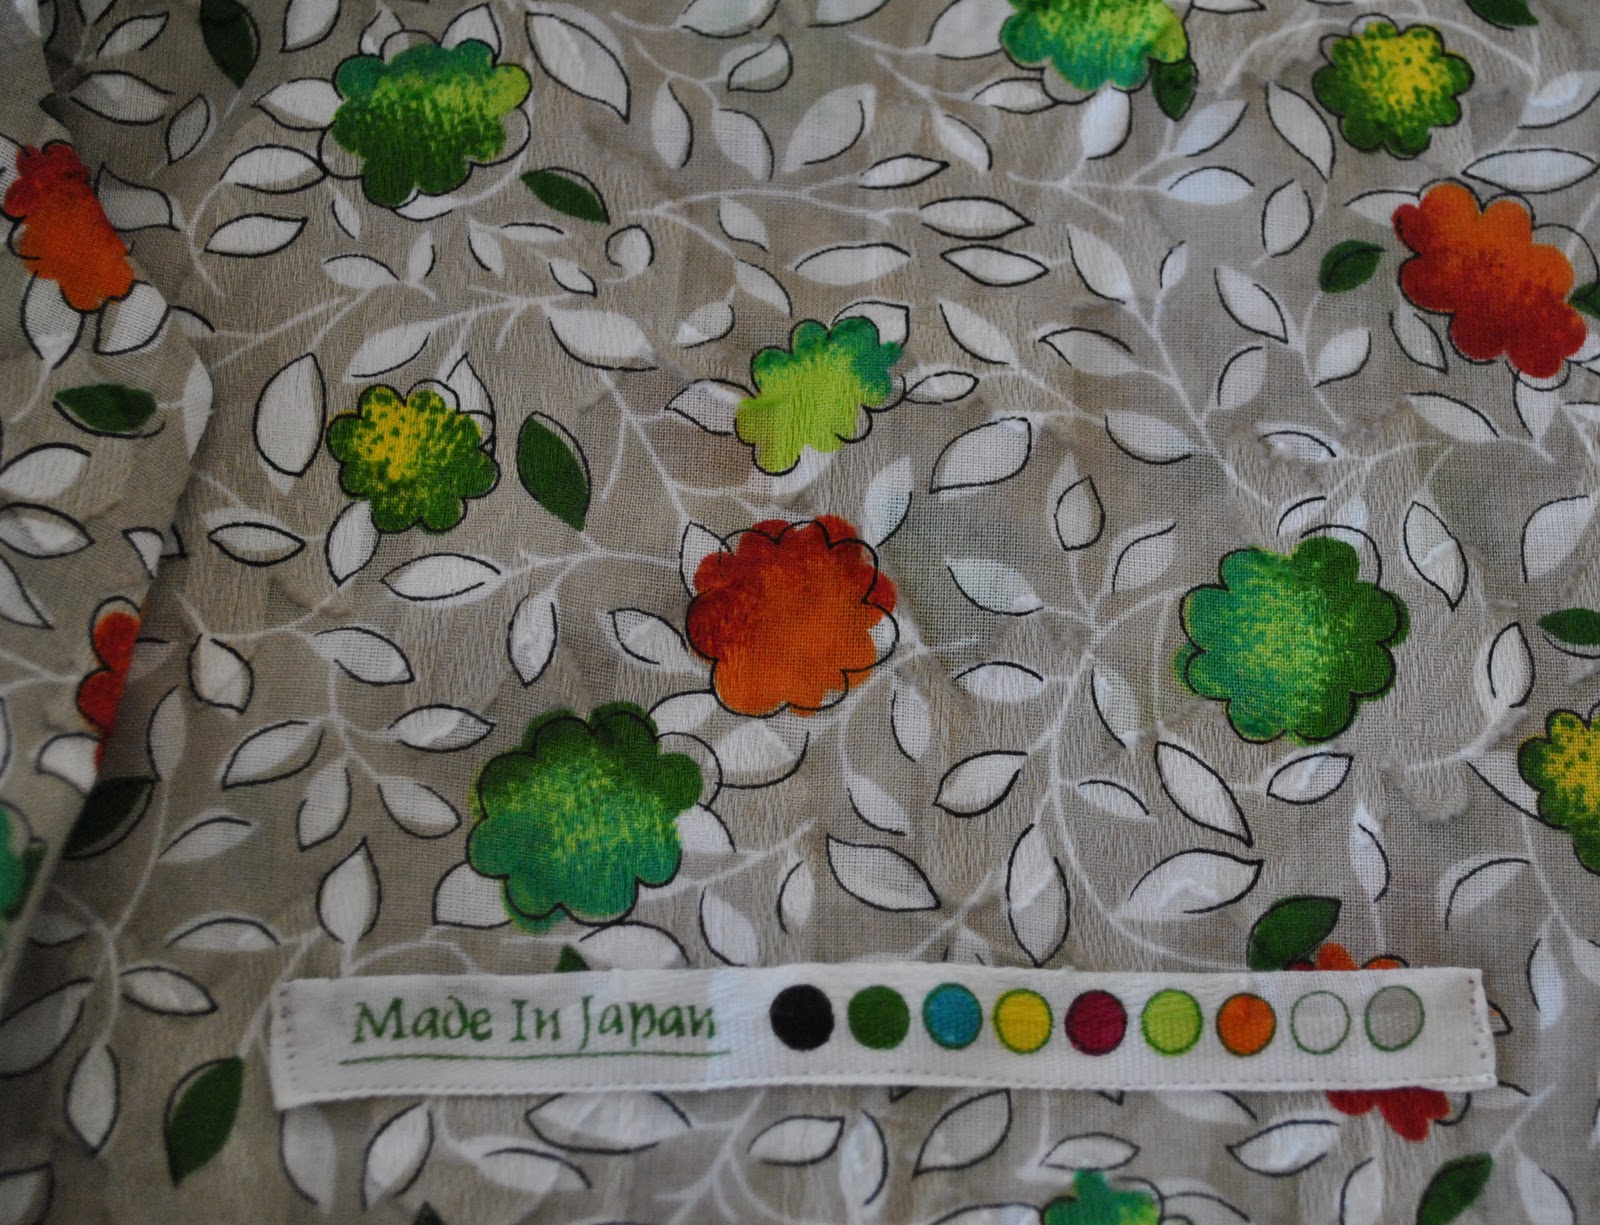
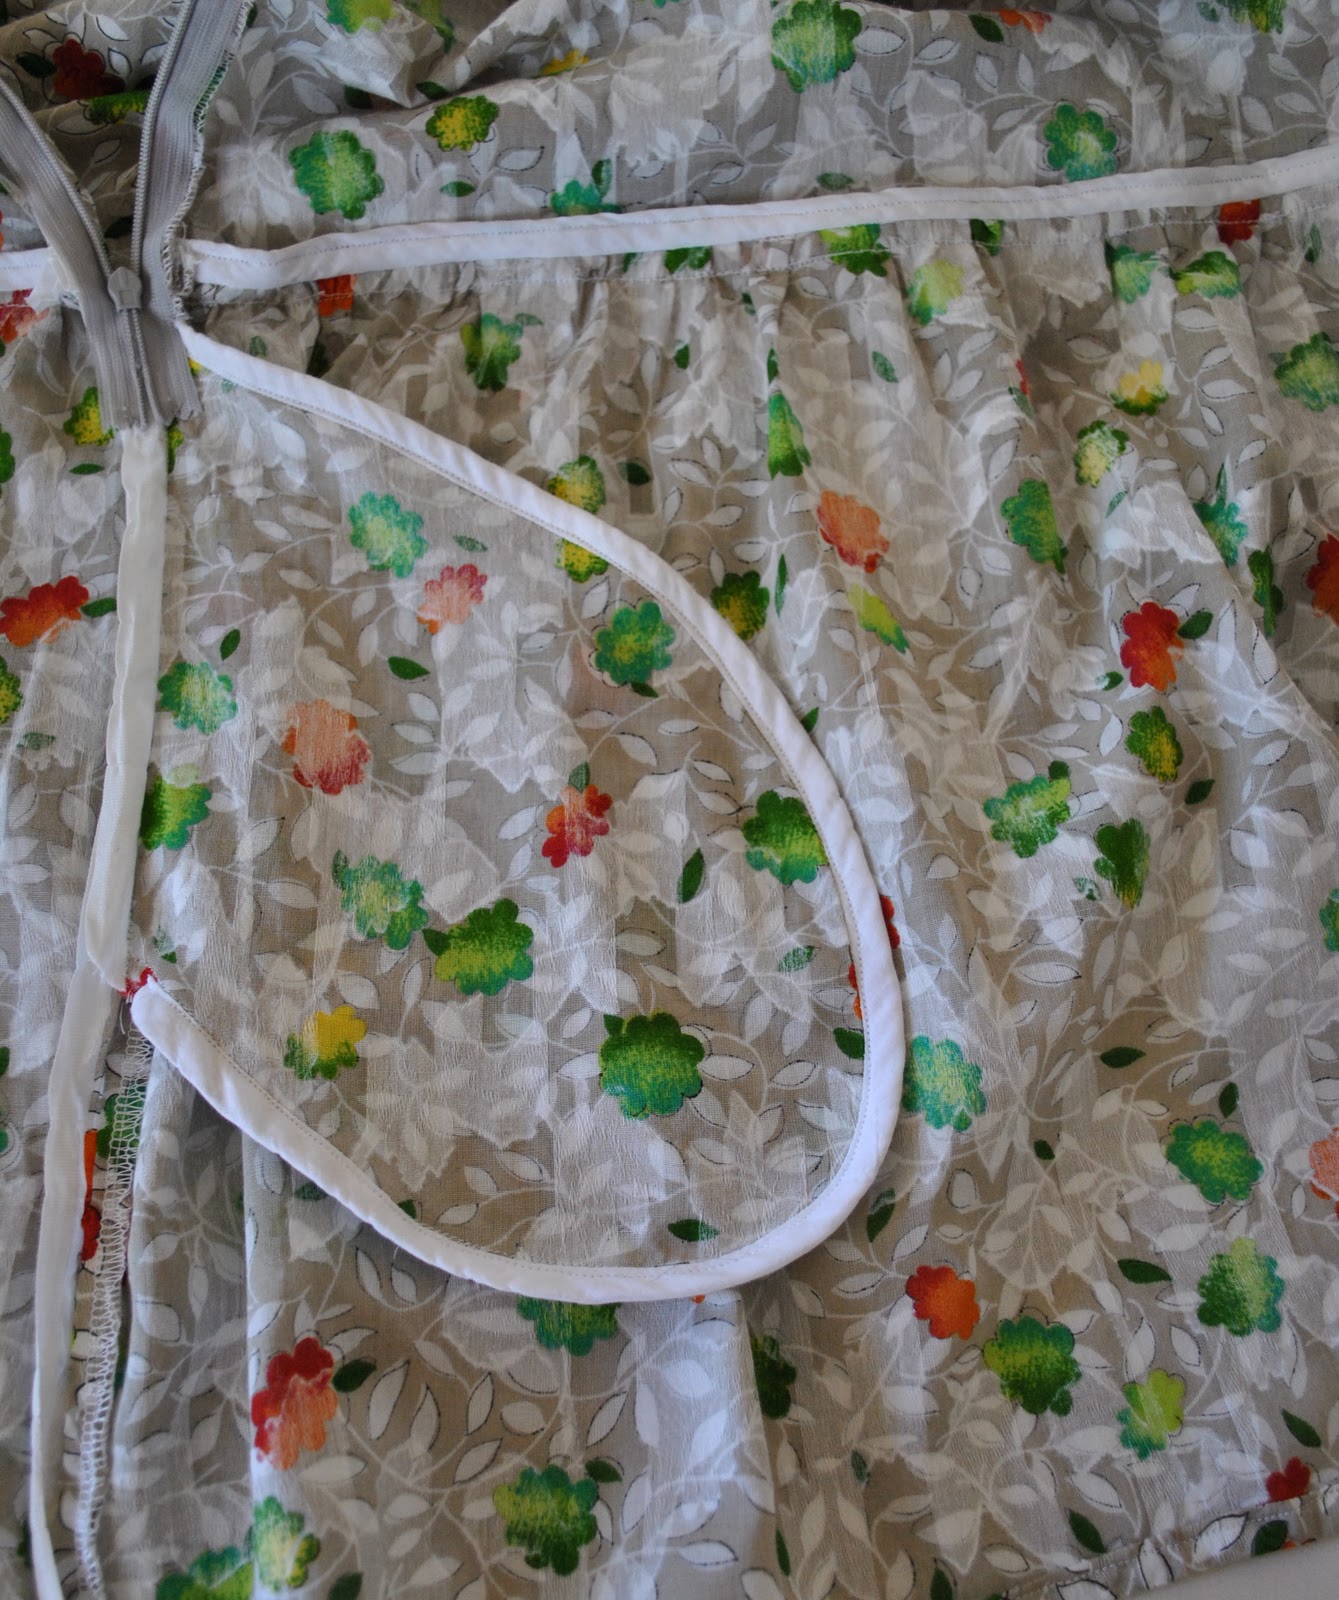
Anyway, my discovery that the designer was actually Japanese zoomed a quest for Mina Perhonen textiles right up high on my must-do list.  Prices are high, which is kinda to be expected for a designer name brand of this calibre.  The small range of fabrics is really gorgeous, and there is also a small sprinkling of very cute and interesting knick-knacks to tempt you; everything beautiful, and exquisitely displayed.  The store feels a bit art museum-y, and you’re treated with quiet and charming attention by the staff.  I decided upon one metre of printed linen; which was reverentially wrapped up in tissue paper printed with abstract-y sewing pattern pieces and, along with a complementary pattern for a handbag and a small box of incense sticks; popped into a really nice little fabric carry bag then tied up with a mina perhonen ribbon.  The lady spent about five minutes tying the most perfect, beautiful little bow with the ribbon.  It’s all very very lovely.

minaperhonen

Even the sticky tape on my parcel has the mina perhonen butterfly!!  #attentiontodetail

minaperhonen2

The next store I visited was Cocca

P1120829

google map location

1-31-13 Ebisunishi, Shibuya-ku.

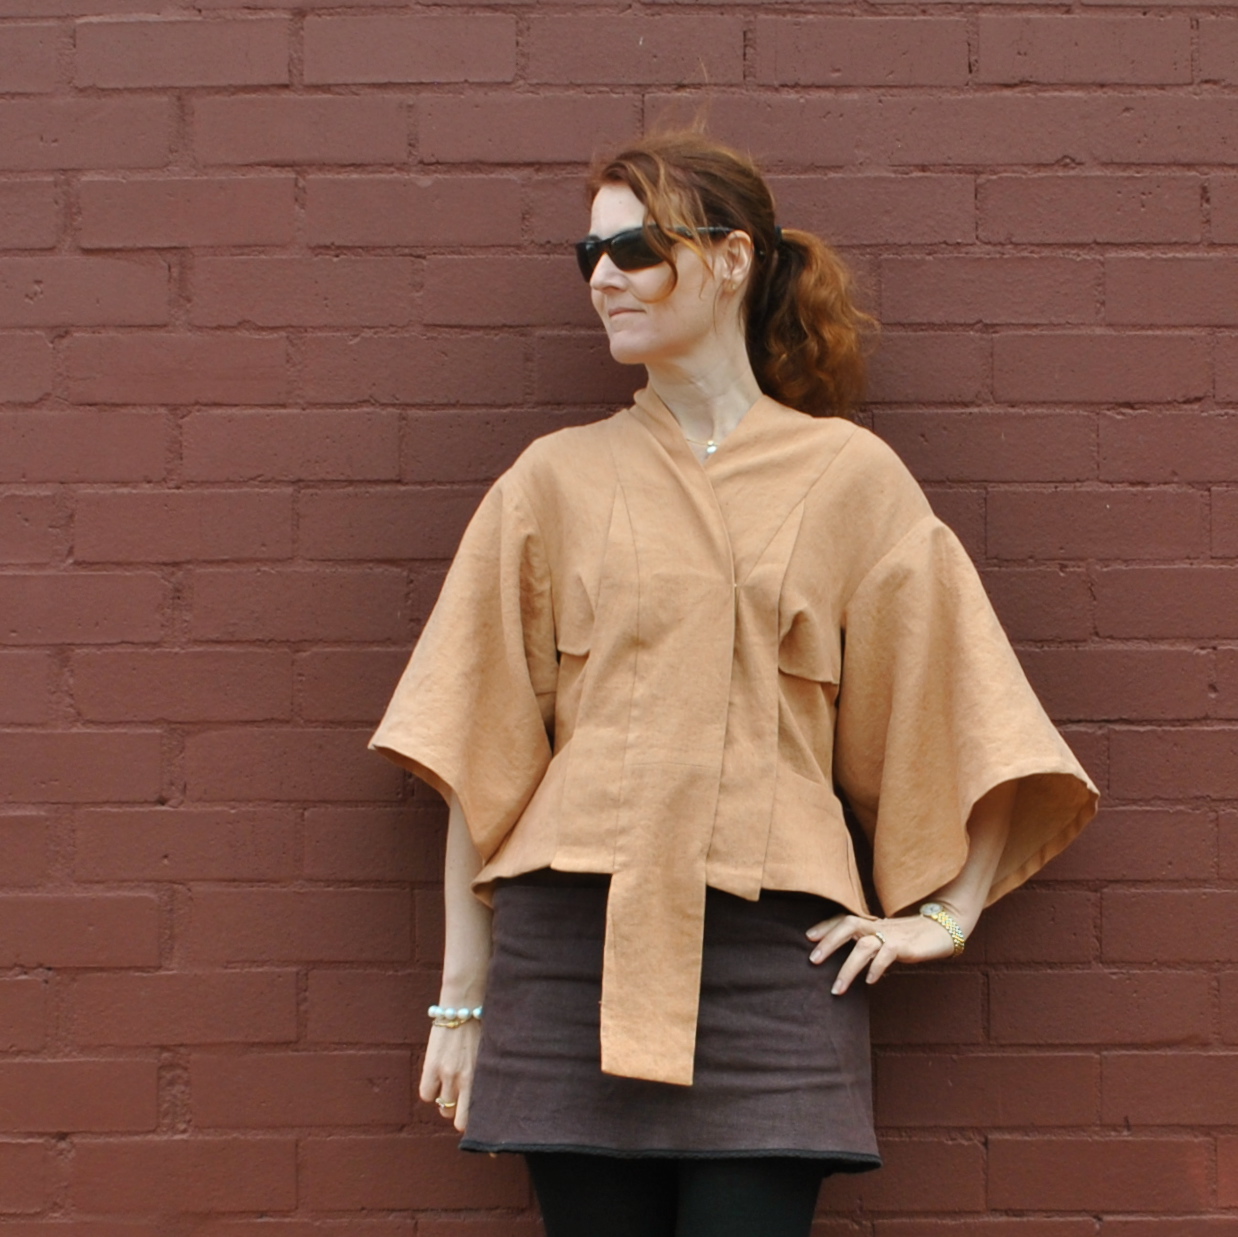
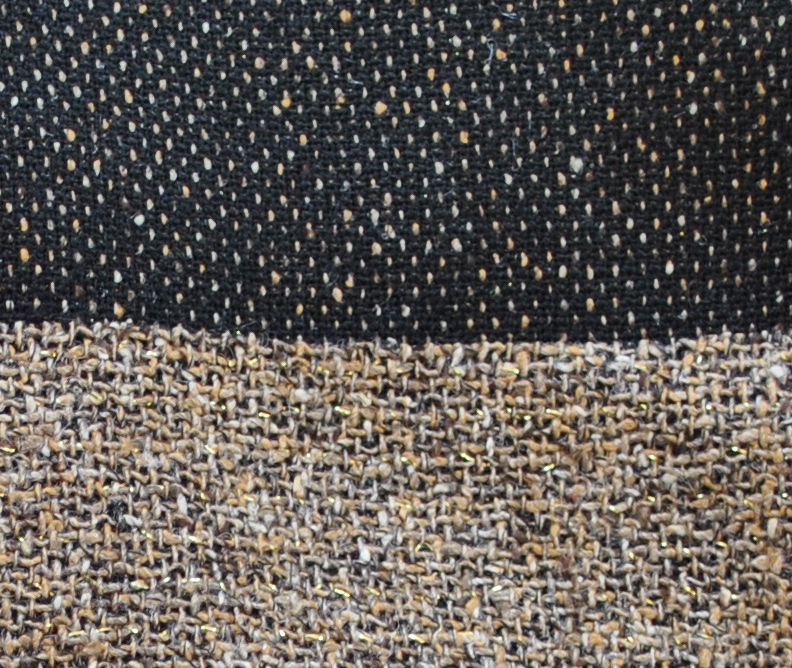
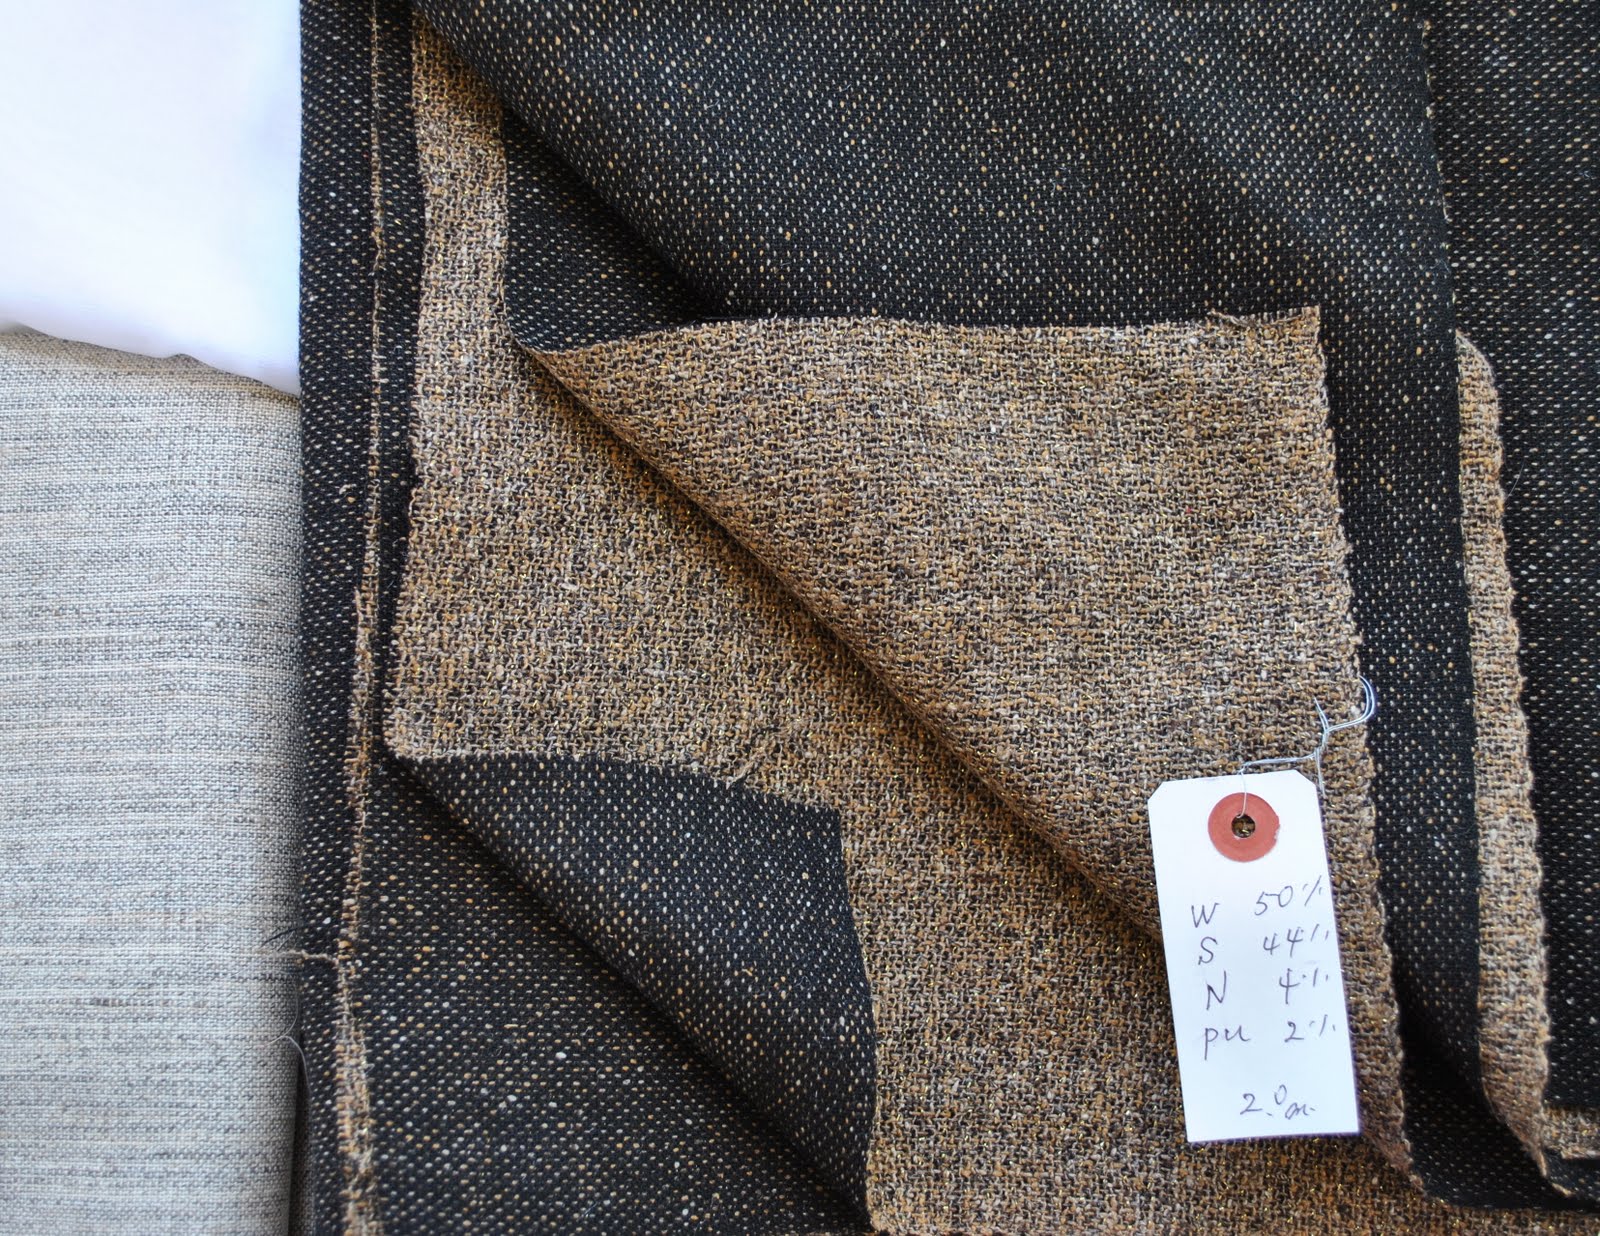
The closest train station to this store is Daiken-Yama on the Tokyu-Toyoko line, and the store is short and easy, uphill walk from this station.    This shop supports work by local art and textile people, and also has some handmade clothing for sale too.  Overall, it had a relaxed and busy vibe almost like a studio, and I swear some of the interesting-looking people who came in and went straight up the staircase to the loft were some of the makers themselves, coming in to do something creative.  Fabric-wise, there were lots of  interesting “art” prints that were probably unique one-offs, as well as there was a nice selection of more regular fabrics too; some pretty polkadots, stripes and checks.  I was more interested in the “art” fabrics though, and it was actually very hard to choose!    The prices here were mostly middling; not particularly cheap but not top end either.  I eventually bought a length of wool printed? or painted? with a “messy”, brush-stroke-like tree print.

fabriccocca

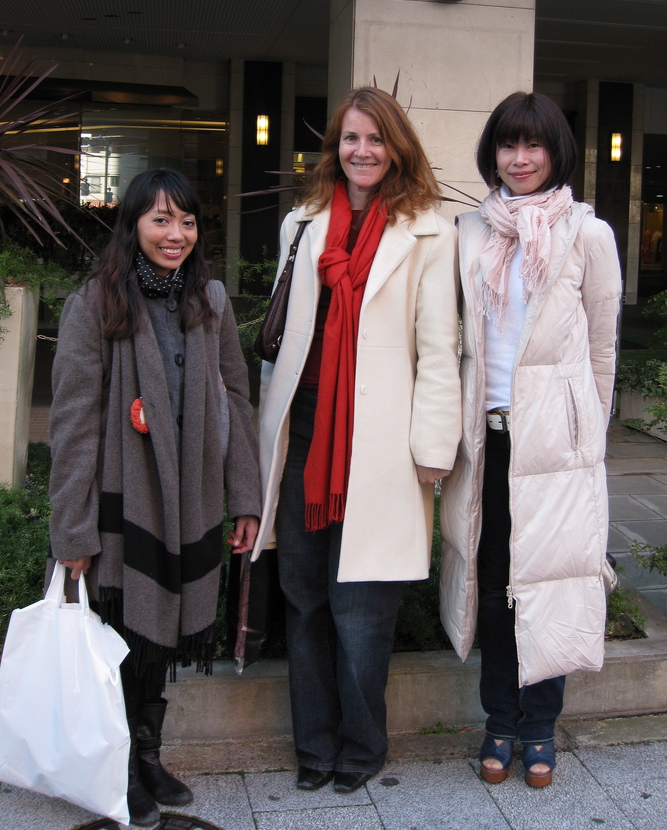
Craig sneakily took this picture below; of me poking about in the store while he was waiting for me to make up my freaking mind.

DSC_0496

The last store I visited was Check & Stripe

checkstripe

google map location

2-24-13 Midorigaoka, Meguro-ku.  

The closest station to this store is Jiyogaoka, on the Tokyu-Toyoko line, or the Tokyu-Oimachi line

If you are planning to visit with an unenthusiastic husband and/or offspring in tow, you will all be pleased to hear that just around the corner from this store is Jiyugaoka Burger, which has huge burgers that are everything your average meat-eater dreams of and more.  Also, just near the train station I noticed a store with the very promising name of Sweets Forest.  Just saying  😉

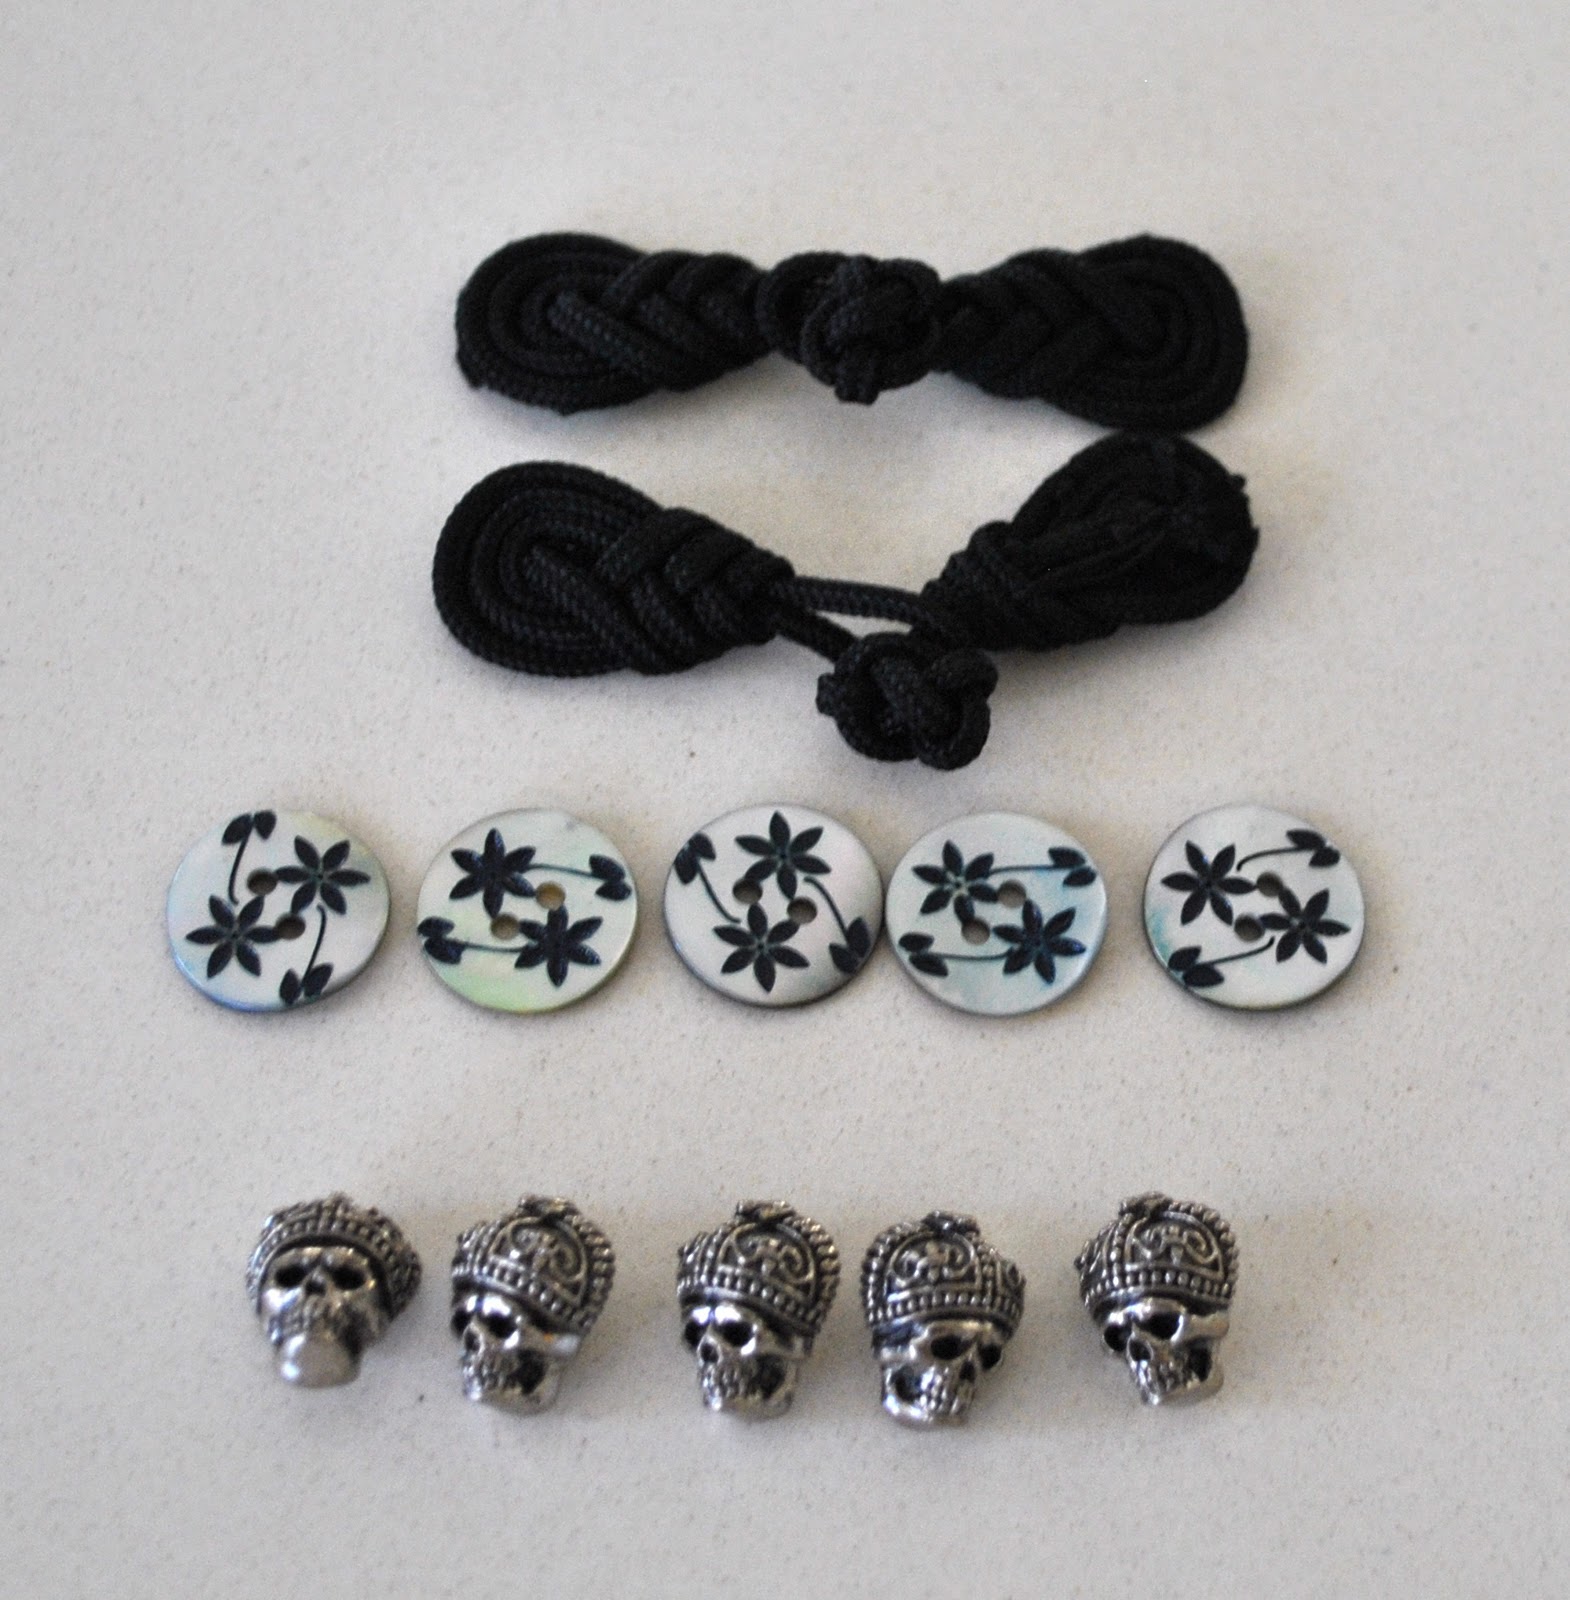
Anyway, Check & Stripe is a quietly uber-chic kind of a fabric store, with a beautiful range of checks and stripes obviously, as well as tartans, polkadots and plains.  It may sound ordinary and the prints themselves were, but what made the fabrics stand out for me was the exceptional quality.  The store also carried a decent range of Liberty fabrics, I think they could have been the Japanese printed Liberties.   My husband chose some for a shirt, although now I’m secretly coveting it myself, hehe.  Although since I’d requisitioned some of his spare suitcase space for that very heavy roll of factory selvedge denim that I’d bought in Nippori… well I figured I should let him have something.   As well as the divine fabrics that were right up my alley, the store had adorable buttons, embroidered labels, and a few eponymous pattern books, filled with simple, very loose and unfitted styles photographed in minimalist, faded-colour settings; that “look” that those of us who have more than one Japanese pattern book are all very familiar with now.

Prices were middling, and I thought excellent value for the quality of the stuff.  Hmmm, I bought quite a lot in this place!

checkandstripe

In closing, how nice is this little thought printed on my Mina Perhonen carry bag…  !

minaperhonen1

pinterestmail

Little black polka-dots

I’ve made a dotty little cardigan  🙂  Yes, it seems like I’m turning out new stuff everyday, but the truth is that some of my recent items have been finished for up to a few weeks or more and it is just my photo-taking that has been lagging.  Not the pink lingerie, which I  really did only finish yesterday.  But certainly this cardigan and my yellow skirt.  I have me-made May to thank for kicking me into action, photo-wise  🙂
I bought this coffee and black polka-dot knit fabric in Tokyo while shopping there in January with Yoshimi and Cassie.  I can’t remember the name of the store but think it was Yoshimi’s favourite knit store?  The fabric came in several colour ways, each of which I loved!  at first sight!  with a passion!  and it was soooo hard to pick just one.  I spent ages and ages, dithering over the gold, the teal, the purple, the coffee.  Obviously coffee won in the end, but there was inner angst at leaving the others behind.  The store owner gave us each a pen and a lolly, just for shopping, or maybe to thank me for leaving at last  😉

I bought another absolutely divine burnt-chocolate knit at the same store, another hard-thought out decision.  Seriously, the fabric shopping in Tokyo is too fabulous for words.  I would so love to go every year!
So, I like polka dots, but I particularly like them if they are either :
A. a bit randomly placed 
B. irregularly sized and 
C. a bit splodgy and undefined in their outline
Yes, yes and yes.  This one ticked all the boxes!

The design is based roughly upon the shape of a favourite RTW cardigan with a few minor shaping modifications.  I sewed all seams on my machine then finished the raw edges on my overlocker, and stabilised the shoulder seams inside with Seams Great, a gift from velosewer, thank you Maria!

The neckline band is cut on grain because there is almost no stretch in that direction and I joined the pieces on the bias; a joining seam can just be seen in the top right section in the picture below.   I started joining band strips on the bias like this on my raglan-sleeved baseball tee, did it for all my Netties; and it’s become my new little “thing” to do because it greatly reduces seam allowance bulk in the band at that joining point and so makes for a much smoother and neater band.  I can write a little how-to if anyone is interested?  

I finished the hems and bands by hand because I wanted the finishes to be as invisible on the outside as possible.   I applied a strip of iron-on interfacing to the quarter of the front band strip that was going to be the outside bit to stabilise it; sewed the band onto the front edge by machine, turned under the outer seam allowance and hand-stitched it down inside.

The buttonholes are by machine though.  I practised a few buttonholes on scrap to make sure my machine wasn’t going to chew through the fabric before going at it for real.  I was pretty pleased that they actually worked out pretty good  🙂
The black buttons are from Fabulous Fabrics.

Details:
Cardigan; my own design, coffee with black dot knit with only a little widthwise stretch.
Tshirt; never blogged, it’s just a plain self-drafted thing in beige jersey
Skirt; Burda style magazine 10/2010-136, (the Karl Lagerfeld skirt) lengthened, black wool suiting, details and my review of this pattern here
Tights; self-drafted, black merino, details here and my tutorial for drafting your own custom fit tights here
Shoes; Django and Juliette, from Zomp shoes
Sunnies; RayBan

pinterestmail

Leo

… the lion., and the latest in my horoscope series.  
I am wearing my new Alexander McQueen designed jacket.  And did you know that Alexander McQueen’s first name was actually… oh ok then, his name was Lee not Leo.  But… pretty close.  And this jacket has been taking up the, um, lion’s share of my time lately… ?!

above; Alexander McQueen brocade kimono jacket, 2003

The pattern is a free download from showStudio and when I saw Catherine’s fantastic version of this edgy design I just had to give it another go.  Confession, this is my second time making this up; my first attempt back in 2010 was pretty disastrous and I gave up halfway through. 

Attempt number two… and at least I finished it this time!  Thank you Catherine for sending me the instructions  🙂
This is a very difficult make but I’m fairly happy with the end result and there was not as much angst involved as in my maiden voyage.  Though once again there were times I wondered whether the late Mr McQueen had been having a bit of a lend of us…. !  but it does actually make sense and comes together successfully in the end.
The fabric I used for this new version is a very soft cotton denim in a shade of dusky apricot, and was part of my precious Japanese-bought stash, posted here.  I just barely got the pattern pieces cut out of my 2.5m… barely! so I recommend that if you decide to make this yourself get at least 3m unless you really fancy an extra little challenge to go with this already challenging design.
I added discreet and fairly useless little pockets, just because why not.  There is no pocket pattern piece and none are mentioned in the rather sparse reader-contributed instructions, however there are markings on the pattern not relating to anything else but that appear to indicate where a pocket could go  (dot B)  I wanted for my pockets to be as invisible as possible, so the sides disappear into the side seams and underneath the front flaps, and the lower edge is sewn flush against the lower edge of the jacket.  Meaning the only visible edge is the top edge.
Actually there is no visible stitching on the outside of my jacket at all.  I really like the apparent minimalism of the finishes, a contrast to, and a showcase for the complexity of those pleats and darts at the back.
 The instructions did help but they are not fabulous.  I transferred all markings onto the wrong side of my fabric with red pen which washes out with the first wash, and this helped enormously.  As well as dot B, dots X and L are also not mentioned anywhere in the instructions and dot L  is all by its lonesome with no other dot L anywhere.  I joined up points X a little way along their joining lines, and freehanded the last pleats to guarantee symmetry.

(Later edit: in a lightbulb moment I’ve suddenly realised you are supposed to join dot L from one back to dot L on the other back!  Doing this would “look” about the same as what I did so I might leave mine the way it is!)

Visible hidden inside edges I finished with HongKong seaming which was then invisibly slip-stitched down to the garment.  A few invisible inside edges were finished on the overlocker.  The centre back piece was cut on the side edge and I left those raw selvedges unfinished on the inside too.  I interfaced the lower facing then later decided this made the lower edge far too stiff for my taste, so ripped it off.  There is no interfacing in the jacket now, and I like this softness.
Closure is by a single button and a loop covered with tightly spaced blanket stitching, made from embroidery thread, plus three small brass press-studs.

Details:
Jacket; Alexander McQueen via showStudio, lightweight apricot cotton denim
Tshirt (not seen); self-drafted, white cotton, details here
Skirt; Vogue 1247, purple denim dyed brown, details and my review of this pattern here, and see this skirt styled in 6 different ways here
Tights; self-drafted, wool merino, details here
Boots; Andrea and Joen, from the now re-branded Uggies in Dunsborough

pinterestmail

Rusty red wool/silk skirt

I’ve made a new skirt…
I found this yummily coloured, beautifully textured wool/silk mix fabric in a remnant bin in Tokyo, the day of our shopping trip with Yoshimi and Novita.  At the time I just picked it up instinctively, with only a quick check to see it was enough for a little skirt.  When I got home and actually laid it out however I could see there was quite a lot of fabric, too much for just one little skirt.
Oh well, maybe I could make a longer, almost-ankle-length skirt…?
I had originally intended to go for my ol’ favourite Vogue 7303, but here’s the thing; two years ago I bought another plainish skirt pattern Vogue 8363, and have rudely ignored it because of my steadfast and loyal allegiance to Vogue 7303; the poor thing has languished uncut in its packet.  I decided it was high time to try out a different skirt pattern, gave myself a strict talking to and bravely took out the new pattern.  And set to making a three-quarter length skirt (actually view C, lengthened)…. but by the time I had reached the point of hemming I knew that a longer skirt was not the right choice for this fabric.  It is such a heavily textured fabric, and is so visually impactful that the big unbroken expanse of it in a longer skirt was just too overpowering… so I ended up cutting a big chunk off to finish up with the very same little skirt that was my original vision for this fabric.  Full circle!
Because this fabric is quite special to me, a memento of our Japanese trip, I went all out to fit and finish the skirt as well as I am capable.  The skirt is lined with raspberry acetate lining fabric, the inner raw edges are finished with HongKong seaming and the lower edge is hemmed with bias tape.  I searched and searched for a suitable button and failed dismally.  So I tried out something new to me; covering a button with my own fabric, using one of those kits you see in the haberdashery section.  Super easy, and the perfect finishing touch!  I don’t know why I’ve never even had a go at this before!
I do have one teeny tiny regret… I have read somewhere about how iron-on interfacing is never used in couture construction, so I decided to go for sew-in interfacing in the waistband.  This was basted in and the waistband was finished, but I could feel the interfacing was waffling loosely about on the inside of it, so I decided to topstitch the waistband to hold everything firmly in place.  That worked, but now I kinda regret doing this, I think this style of fabric and skirt together suits a much more clean finish without any topstitching, and the loosely woven fabric is not the sort to take kindly to unpicking… I’m more afraid of damaging the fabric in the unpicking stage than I am of the look of that topstitching, so it stays.  This does not diminish my love for the skirt; buuuut… should have stuck with the iron-on interfacing!
And no need to worry about that cut-off leftover fabric, it has been put to good use already too!  Results to appear here soon…

Details:
Skirt; Vogue 8363 with modifications, rusty-red wool/silk mix bought in Tokyo
Top (not seen); Metalicus
Cardigan; Alannah Hill (bought damaged, and repaired)
Tights; Kolotex
Boots; di Sempre, from Zomp shoes

My review of this pattern…
Pattern Description:
Skirts A, B, C, F have front and back darts and back zip.  A; ruffle.  B; lace overlay and back vent.  C; side buttonhole closure.  Skirts D, E have front pockets and front and back darts.  E; purchased trim and snap closure.  F; front stitched pleats and back vent.  Skirt length is 5cm below mid-knee.
Pattern Sizing:
6-20 overall, I bought the AA (6-12) and custom-fit to myself during construction, as usual
Did it look like the photo/drawing on the pattern envelope once you had finished sewing it?
Essentially yes, except that my version is a simple short skirt incorporating none of the variations pictured…!
Were the instructions easy to follow?
very easy!
What did you particularly like or dislike about the pattern?
I like everything about this pattern.  Super easy, stylish, a basic wardrobe builder.  It might even be my new favourite skirt pattern!  Without a doubt I will use it and use it over again.
Fabric Used:
Wool/silk tweed, polyacetate lining
Pattern alterations or any design changes you made:
This version pictured is a short version of view C, without the button/button band at the bottom, the only other adjustments were fitting alterations.  Also my skirt pictured is fully lined, provisions for which are not supplied in the pattern but is an easy alteration.
Would you sew it again? Would you recommend it to others?
Definitely yes, to both!
Conclusion:
Very easy, very basic, therefore a very useful pattern.  It has no standout or trendy features, so it will never go out of style.  This pattern is a winner that I will hang on to forever…!
(below; going for a fashion magazine pose…)

pinterestmail

Autumnal shades, and a dilemma

Just been enjoying those lovely fresh autumnal days lately, feeling the sunlight warm but not harsh on the skin, breathing in that fresh crisp air.  When the days are just that little bit fresher like today I get to employ one of my favourite outfit styles; layering a few thin cardigans together to get a bit of a autumnal colour palette happening.  I just love these rich warm colours together, I think they are “me” colours, and I’m happy the weather is cool enough for me to wear this great dress again.

Details:
Dress; Burda 8511, with minor modifications and lined, purple raw silk (hessian silk?) seen first here
Apricot cardigan; Metalicus, found secondhand
Khaki cardigan; Country Road
Scarf; refashioned from an old Tshirt, seen first here, tutorial here
Shoes; Betts & Betts, had these for about twenty years

I went out and bought a few extra supplies for my Vogue 8333 jacket; the horsehair canvas and the silk organza for the underlining.  Something I have not got yet though is the lining and this is because I have hit a bit of a dilemma; when I looked at the silk linings I still couldn’t decide which side of this fabric is to be my right side…  When I first spotted this fabric in Japan I knew it was The One, and I initially was drawn to the wrong wide of the fabric, which is the darker side.  It is mostly a very dark charcoaly-brown, almost-but-not-quite black, and showing through is the multicoloured thread of the other side, coming up as dots of coffee, beige and bone.
However since I got home and have looked at it a few more times, the right side is starting to grow on me too, a rich mixture of all the warm shades of coffee, caramel and bone, and with a hint of metallic gold sparkly thread every now and again which probably doesn’t show very well in my picture below.  The golden sparkle was the initial turn-off to me for using this side out as I’m not sure if a sparkly coat, even a subtly sparkly coat is really “me”, but the warm cosy browns are kind of appealing to me a lot right now.  It would certainly be a more interesting jacket and more out of the ordinary.

Thoughts anyone?
In fact, I will admit that actually the sheer beauty of this fabric is crippling me somewhat… the prospect of stuffing up is causing a mild case of paralysis.  When you have cheap fabric and an easy project it’s very easy to slice straight into it and whip something up, and the confidence and lack of worry one has simply because of the cheapness of the fabric and the easiness of the pattern, often insures a good dressmaking result.  On the other hand when one is facing magnificent fabric and a difficult pattern, the looming menace of failure sits on one’s shoulder like the little old man of the sea….

Does anyone else ever get flummoxed by the crushing responsibility of not ruining a too-beautiful fabric?
(I will confess to fleeting thoughts of going and buying less gorgeous fabric for this project, just to avoid making a terrible mistake…. !!!  this has not been ruled out!)

pinterestmail

A new sundress

I made a new sundress for myself… using the summer-weight cotton fabric I had bought during our shopping day out in Tokyo with Yoshimi and Novita.  Japanese fabric!  This now is one of my wearable souvenirs from our trip…!
The weather has been so so so so hot! that I still need some light little sundresses, even though perhaps I should be starting to think about autumn and winter sewing now, with days as hot and dry as we have been getting it is hard to believe it is ever going to get cold!  Dabbling my feet in the water here was so nice I really didn’t want to leave this lovely little spot and get back to my daily chores, plus a mountain of office work that I’ve been putting off… woops, sewing has been so much more interesting to me lately I forgot I had to do actual work as well!
I used a Burdastyle pattern, dress 114 from the 5/2010 issue… and have to say I like using the patterns from this series.  It’s economical and feels a bit more of a challenge to make stuff this way.  It’s not as though I’m new to this sort of tracing-out-of-patterns, as I made many many things from the Topkids magazine when my kids were little, but I haven’t done it for a few years so it feels a bit new.  And yes, as a commenter said on one of my posts previously, the pattern instructions are usually a lot more challenging too, because you are not walked through with helpful little illustrations like the conventional envelope patterns.  I think I’m very visual, because I find that way heaps easier.
Before I hemmed this dress I tried it on and it felt a bit too short.  Which is funny, because it’s not as though it’s actually any shorter when compared to many of my sundresses, but because of the very wide pouffy swirly A-line skirt it did feel shorter… if that makes any sense…  so I hemmed with a very narrow hem and also made some little shorts to wear underneath from the leftover fabric.   Fortunately I just had just enough leftover to squeeze out one pair of shorts… and so I am perfectly safe from a strong breeze showing the world the colour of my undies.  Back when I was little my mother used to make me lots of little dresses with matching bloomers to wear underneath, and this is the same principle.  Except these are not bloomers but tailored shorts with a zip and welt pockets, and all…  I’m not showing the shorts off here, because I have way too much class to lift my skirt on purpose… you just have to trust me that they are there and I will show them off on a future post.

Details:
Dress; Burdastyle 05-2010-114, Japanese cotton
Shorts; (worn under) Burdastyle 10-2010-111, Japanese cotton
Hat; Country Road
Sandals; Micam by Joanne Mercer, from Hobbs shoes

Pattern Description:
A-line sunback dress with empire seam under the bust has a skirt of two gathered tiers, and side seam zip.
Pattern Sizing:
34-42, I made size 36, and made it a little wider at the bust
Did it look like the photo/drawing on the pattern envelope once you had finished sewing it?
yes
Were the instructions easy to follow?
yes
What did you particularly like or dislike about the pattern?
It is super easy!  There are only two pattern pieces to trace out, the skirts are just rectangles. 
I love the loose flippy feel of it, it is a comfortable and lovely style well suited to our hot dry summers.  This same super-flippiness however also compelled me to make a little pair of matching shorts to wear underneath!  If you wanted to, the instruction provide dimensions for a third tier to make the dress a maxi length.  I didn’t think the maxi-length would have suited this print, however.
The only thing I didn’t like, well, it’s my own fault, I wanted pockets and inserted them in the side seams, and that lower tier falls at just the wrong place, just where I wanted the pockets to go!  No biggie, the pockets just sit a few centimetres lower than I would have preferred.
Fabric Used:
Cotton
Pattern alterations or any design changes you made:
I cut out the back bodice wider and higher to have more coverage, I did this to to avoid bra-strap exposure.  
I added inseam pockets, which sit just at the top of the lower tier.  As I mentioned above, this is a tad too low, but I can live with it.
I added about 3cm to the length of the lower tier, and I’m very glad of this little bit of extra length.
Would you sew it again? Would you recommend it to others?
I probably would sew this one again.  I highly recommend it as a very easy, pretty and feminine little sundress.
Conclusion:
Great little dress; cute, very comfortable, feminine, cool and breezy.  I am going to enjoy wearing this one!

pinterestmail

Fabric shopping in Tokyo

Now this was something I was really looking forward to…
Fabric shopping in Tokyo with Yoshimi and Novita.  We were meeting for the first time in reality, although we had met and knew each other virtually before this time.  Isn’t the internet amazing?  Still blows my mind a bit…  I’m so grateful for this wonderful online sewing community that just over a year ago I never even knew existed.
We met in the morning and took the train together to scope out of their favourite fabric shops, took a break for lunch, followed by just a little more fabric shopping, and still later met up with a friend of Yoshimi’s for a special Japanese tea ceremony with very interesting green tea on the menu that I had never had before.  It was great fun!  I’m enormously grateful to Yoshimi and to Novita for coming out to see me, and for their help and guidance.  Tokyo is BIG, around ten times bigger than Perth easily!  Also the fabric selection there is also on a grander scale than I’m used to.
Down to specifics…
Helpfully, Tokyo has concentrated a lot of its fabric trading down into one area, one street even.  The Nippori district is so famous for fabric shopping it even has its own official website where you can find a bigger version of this very useful map to download.  We alighted at Nippori train station and took the very short and straightforward walk to the main street where multitudes of fabric Aladdin’s caves await.  To make matters even easier the pavement twixt station and destination are marked clearly “Fabric District” and the main street itself likewise marked “Fabric Street” on the footpath.  Or was it possibly Textile District/Street?  Whatever, still pretty handy, right?  Kudos to Tokyo for superior organisation and efficiency.
We certainly did not go into all of these shops, partly because that would have taken days for dedicated fabric enthusiasts such as ourselves.  But there’s no doubt you can find an amazing selection of fabrics, all the way from cheap and cheerful cottons up to beautiful and very expensive wools and silks.  I decided, after a bit of indecision re some very tempting and price-y Italian wools, to limit myself just to Japanese fabrics.  After all, when in Japan…?
We spent most of our time and money in Iden (http://iiden.tanmono.com, actually two shops next door to each other, numbers 75 and 76 on the map) and Nagato (ph. 03-3806-3637, number 35 on the map).   From these stores I have five new beautiful lengths of fabric; three winter-weight wool/silk blends, for a skirt, a dress and a jacket respectively, some lightweight apricot cotton denim/gabardine and a length of summery printed cotton.

Also worth a mention is Tomato, a big discount store with several outlets along the street.  I think the one we went into was Tomato Notion, number 46 on the map.  Visit-worthy for haberdashery and all extras remotely related to sewing, sort of like our Spotlight.  A simply gorgeous selection of buttons… I could not resist these cute little things.

Something to keep in mind for the Westerner shopping in Tokyo is that streets are not actually marked in the same way that we are used to.  I kept checking out the, well, what I thought were street signs, so that I could jot down addresses for later reference, but actually were not.  If you do not have much Japanese the street signs can be a little confusing, and one is better working from a map like the one above with landmark buildings and train stations to guide you, rather than relying on finding a street name that is possibly indistinguishable from all the other various signs that will be around it.

An internet tip I found to be true… bring cash, as credit cards are not always accepted.  Another handy tip?…  7Elevens have ATMs.


Thank you so much Yoshimi for organising a wonderful day out!
oh, and for permission to use her photograph of us, above…!

pinterestmail
Switch to mobile version
↓