Category Archives: Uncategorized

pink lace Sierra + Watsons

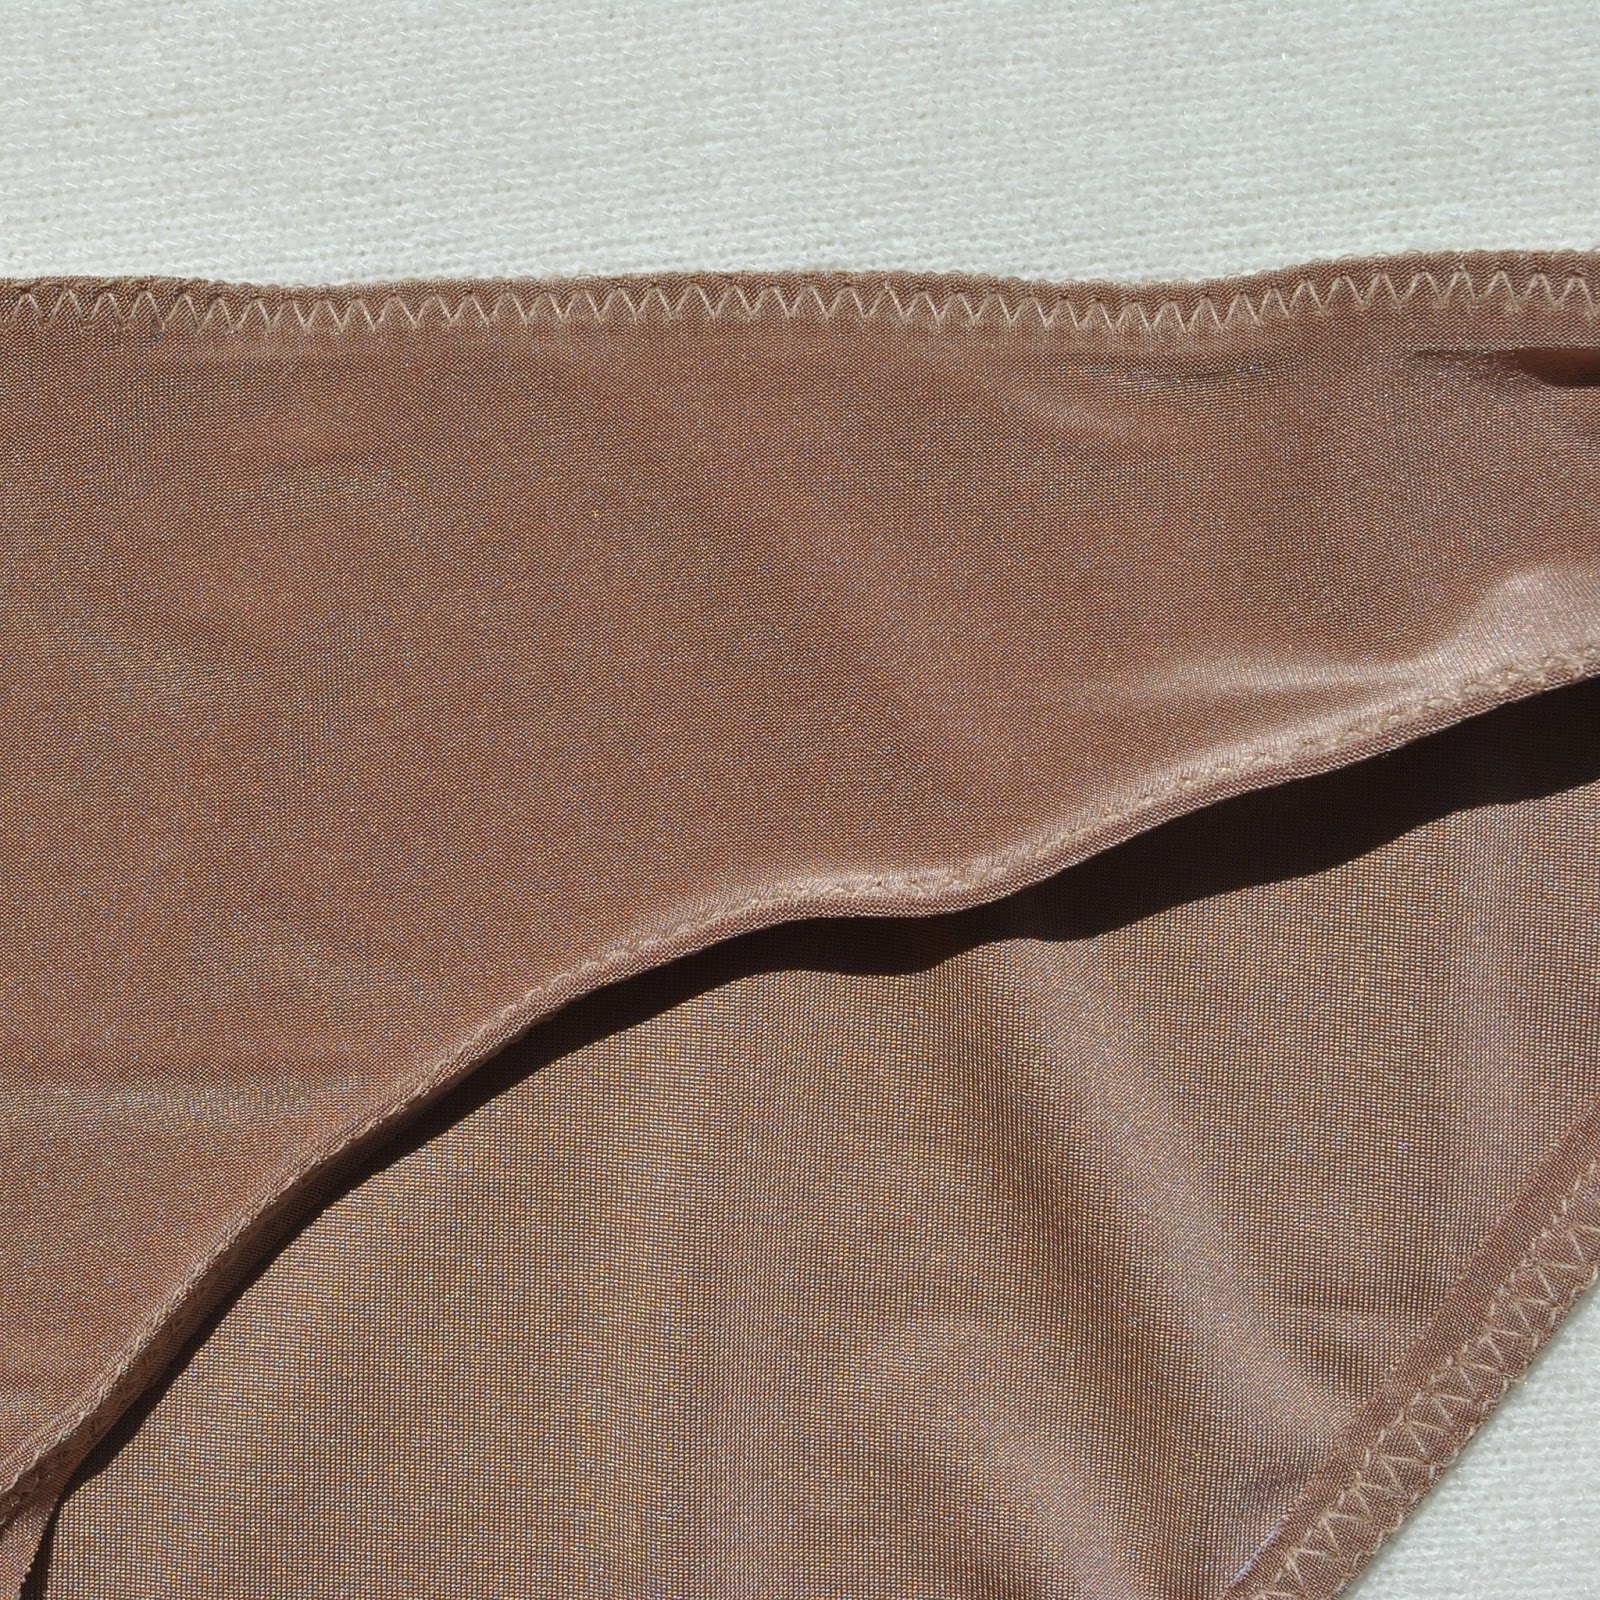
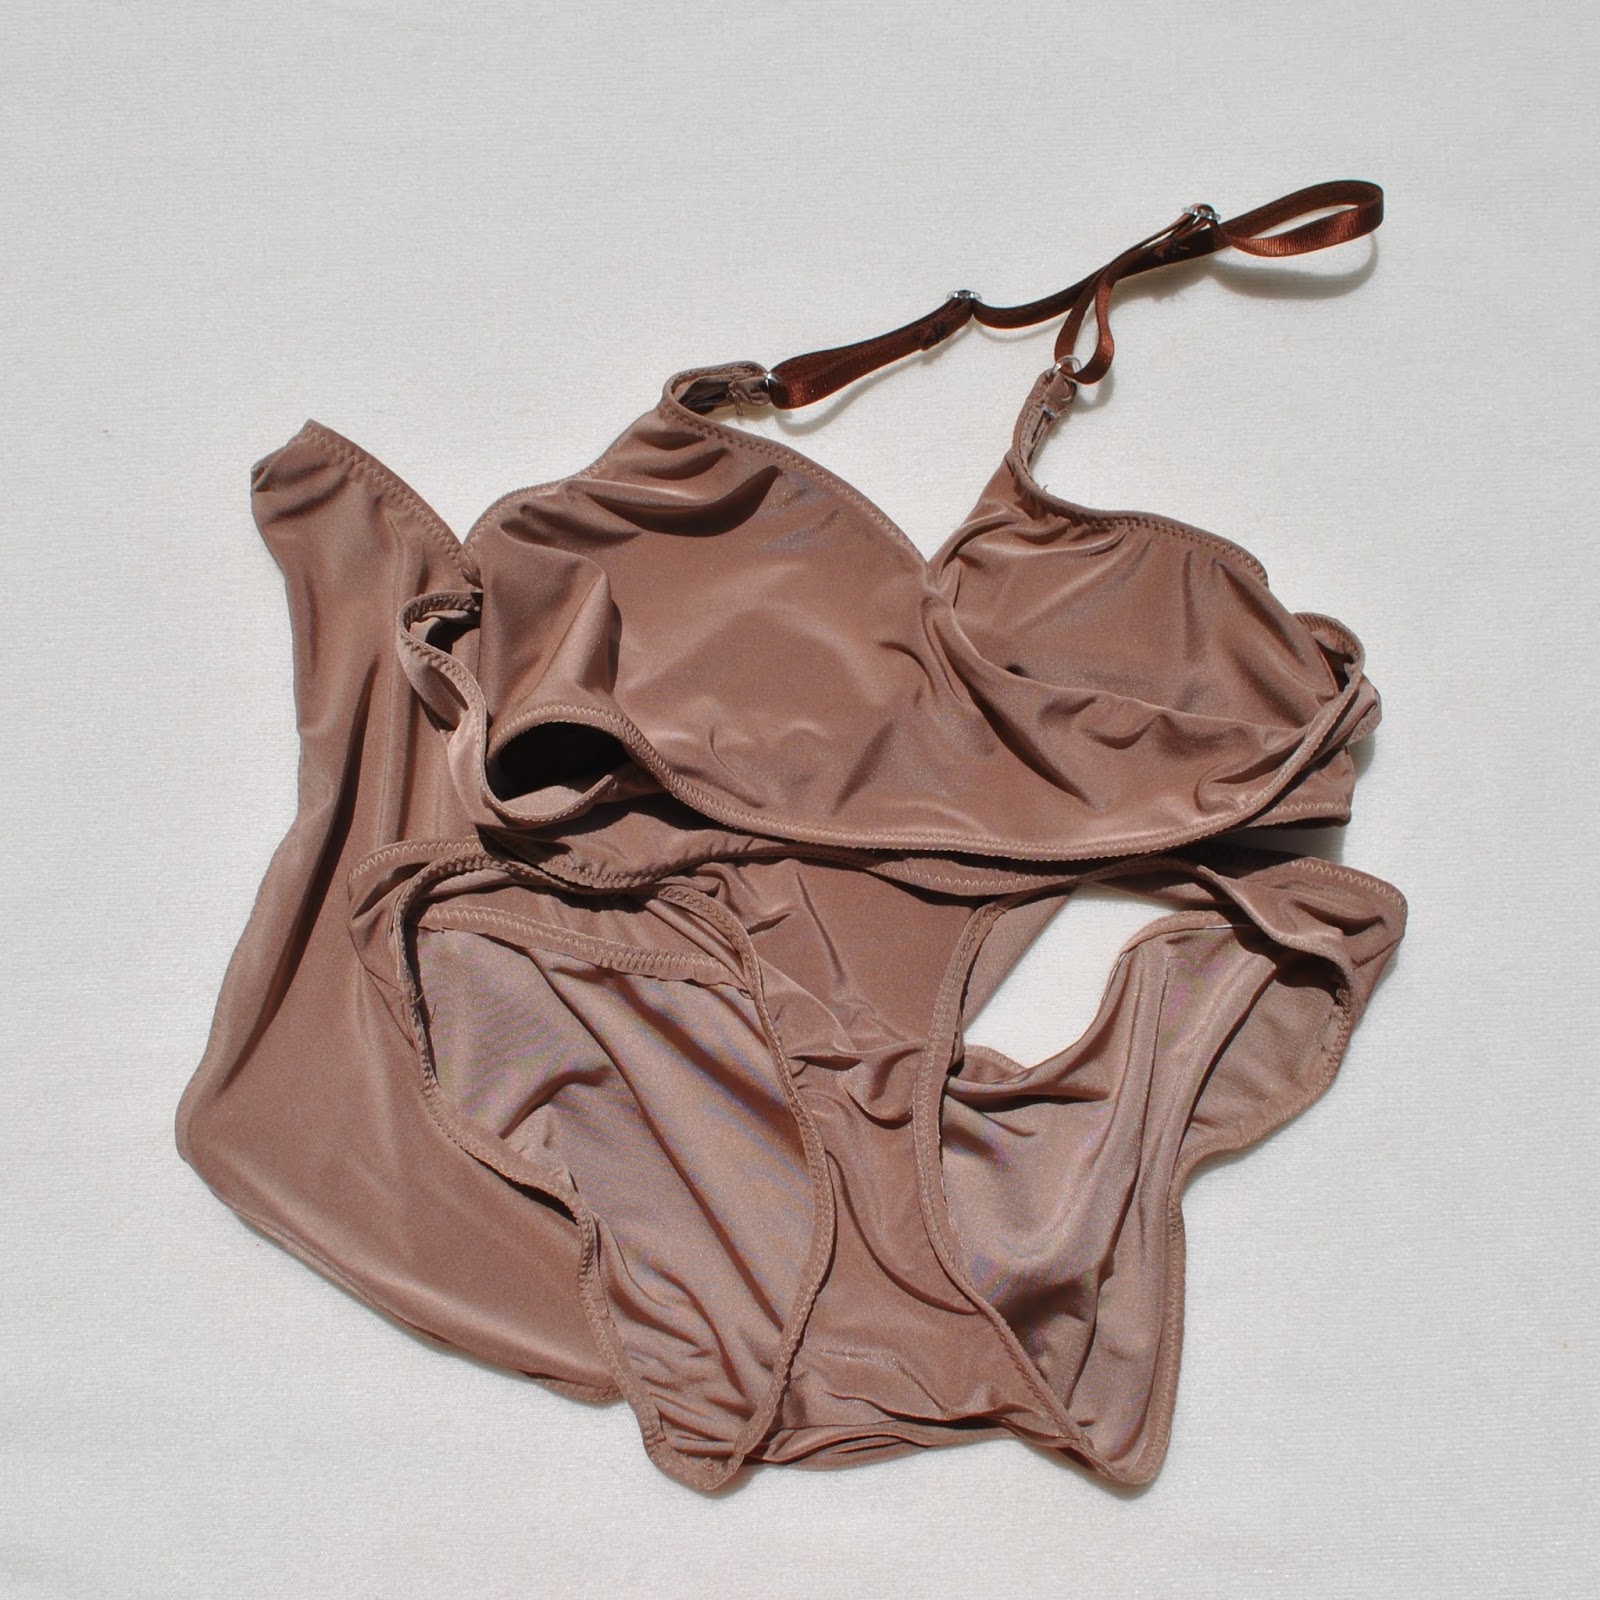
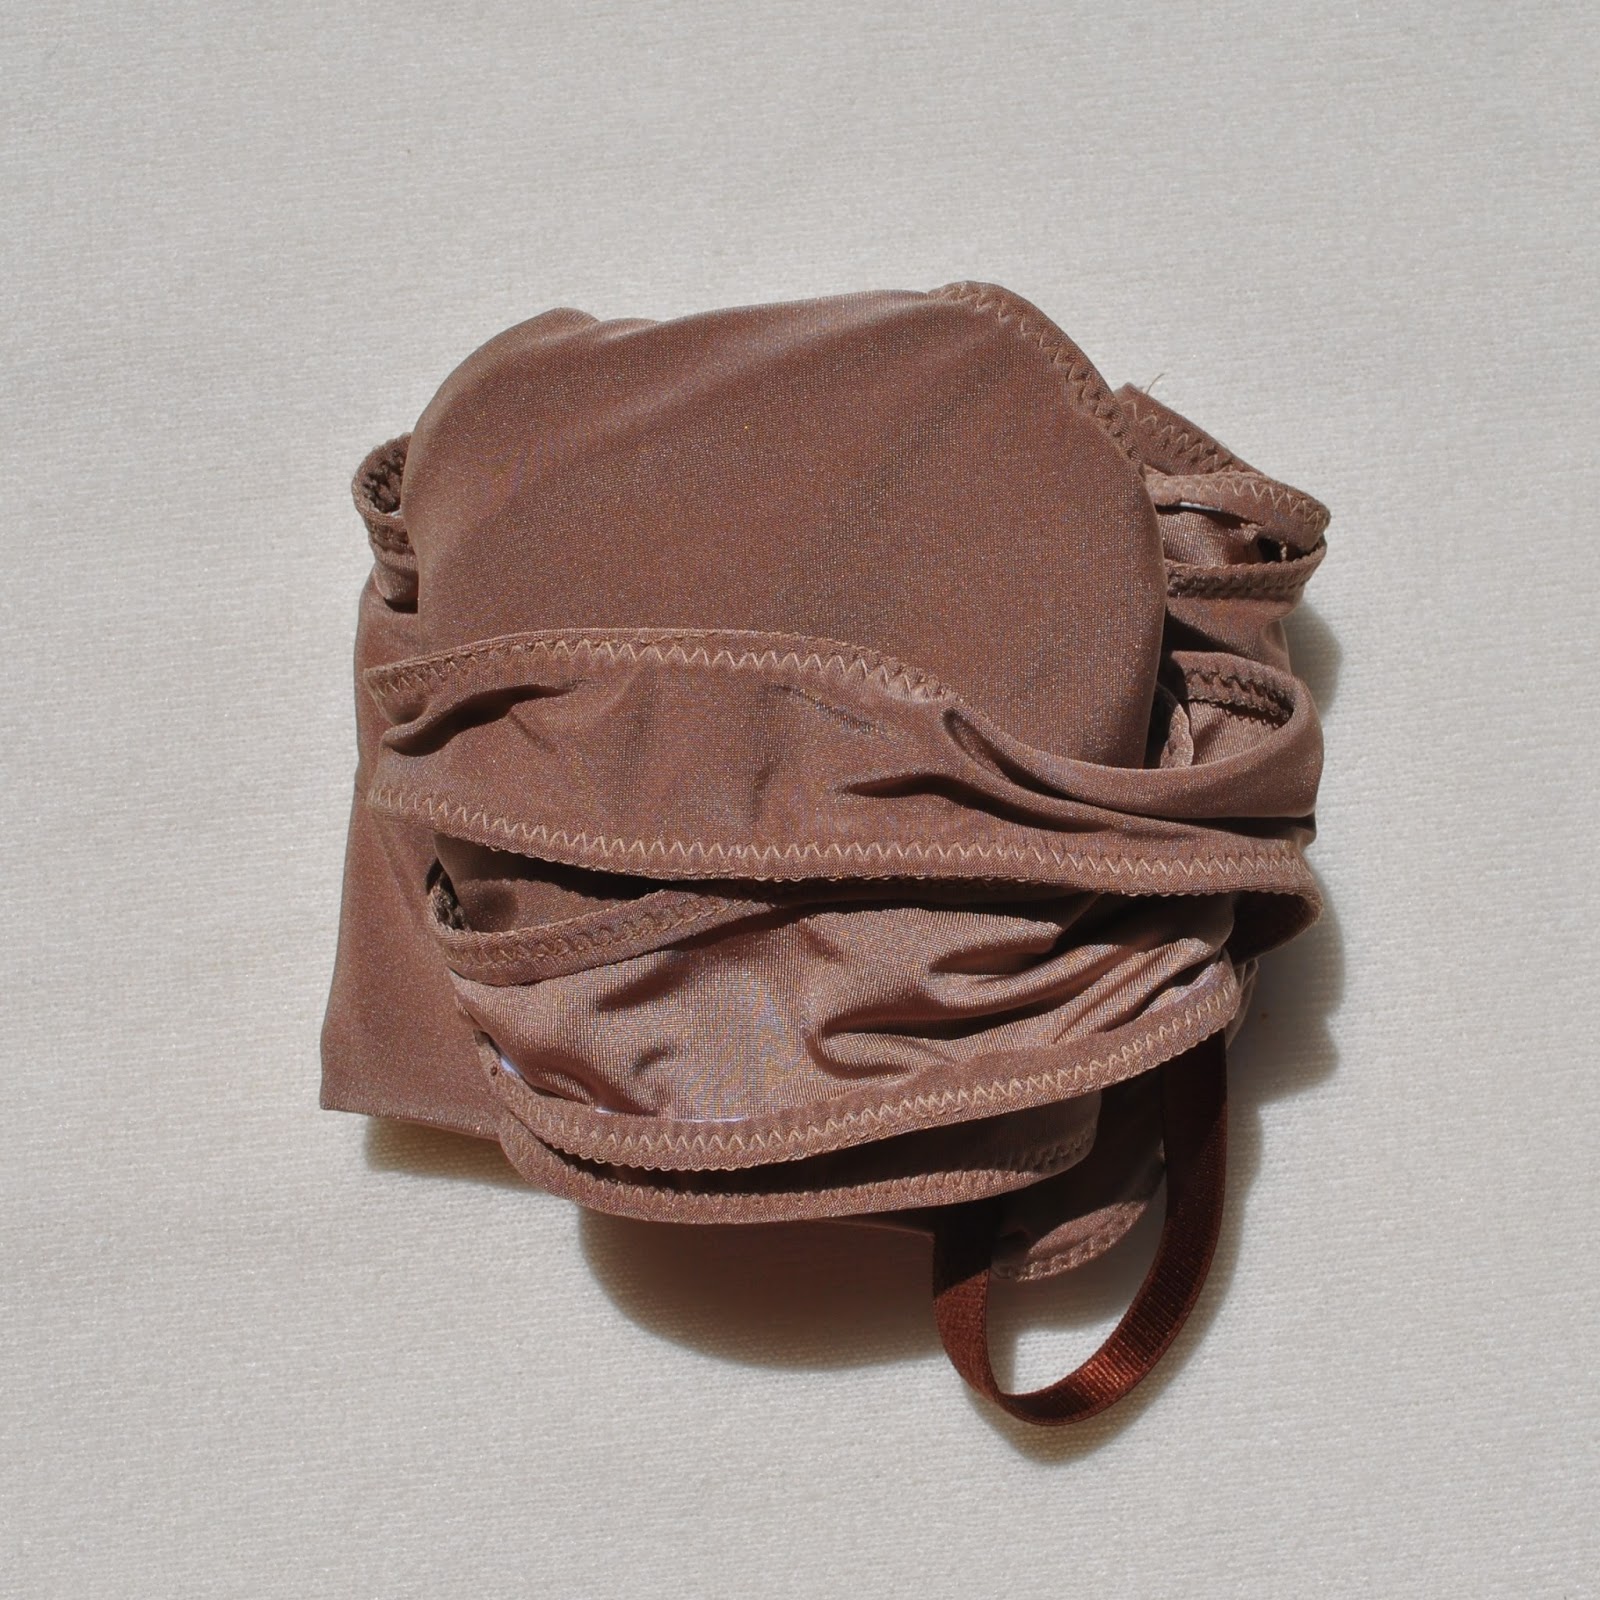
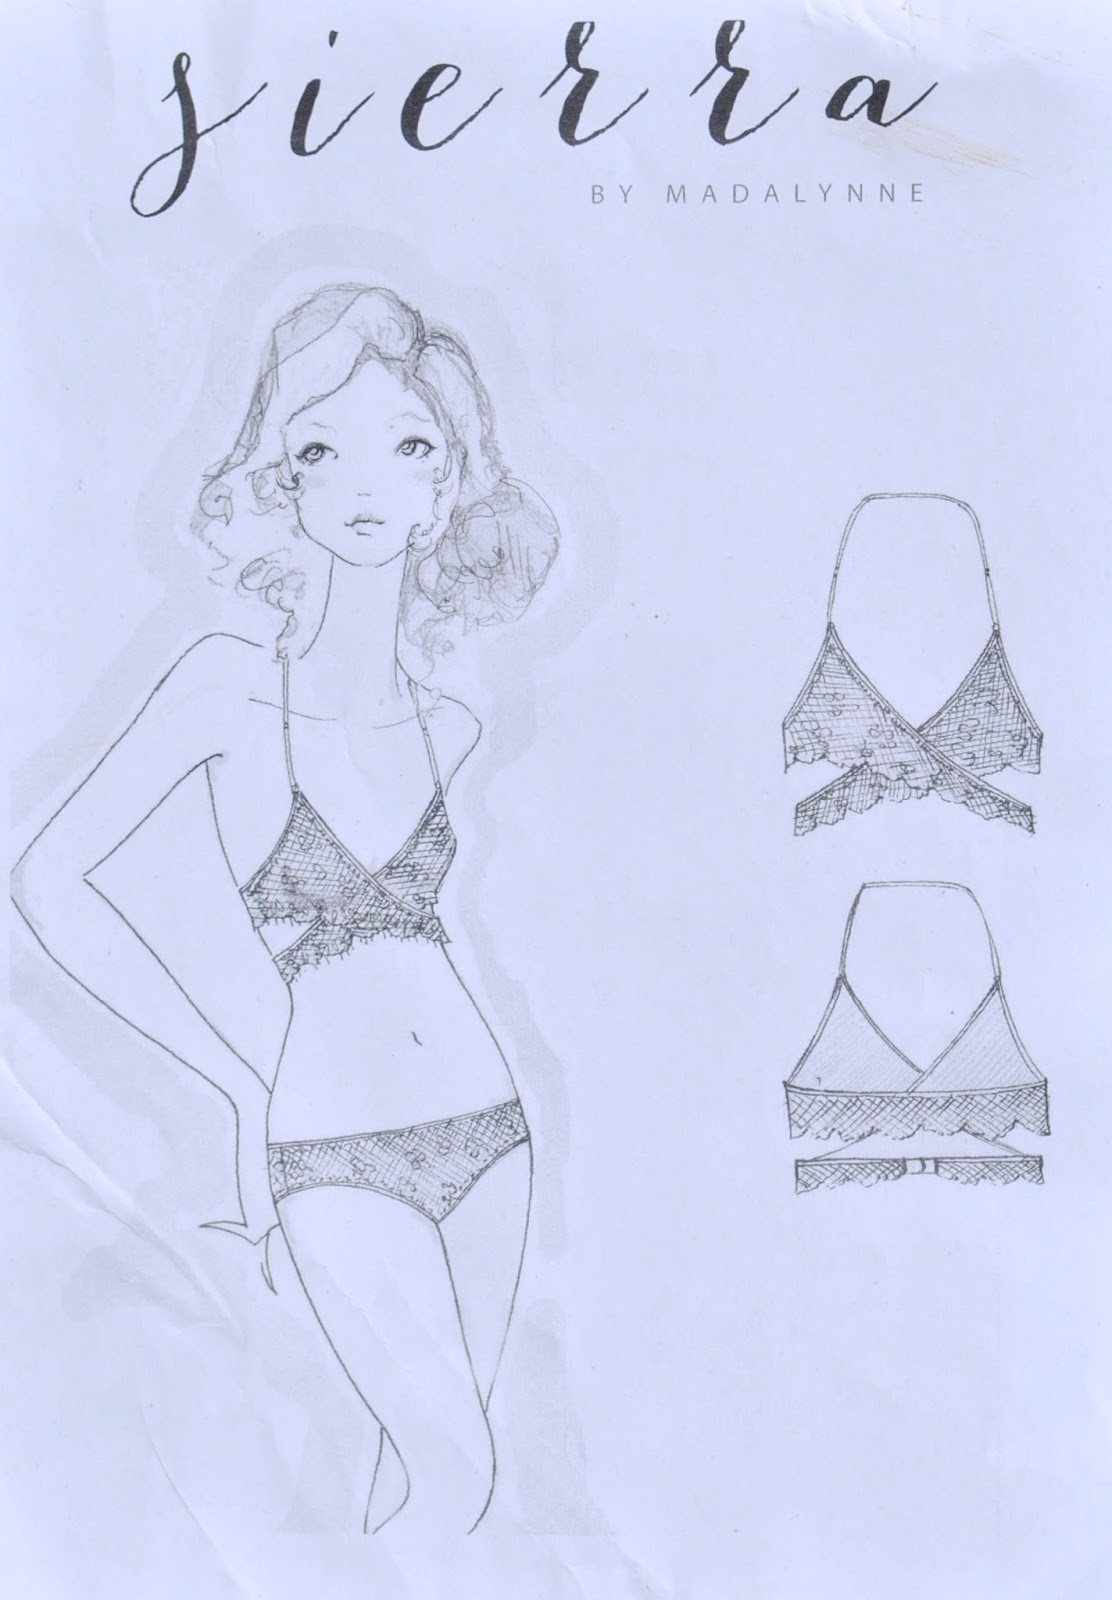
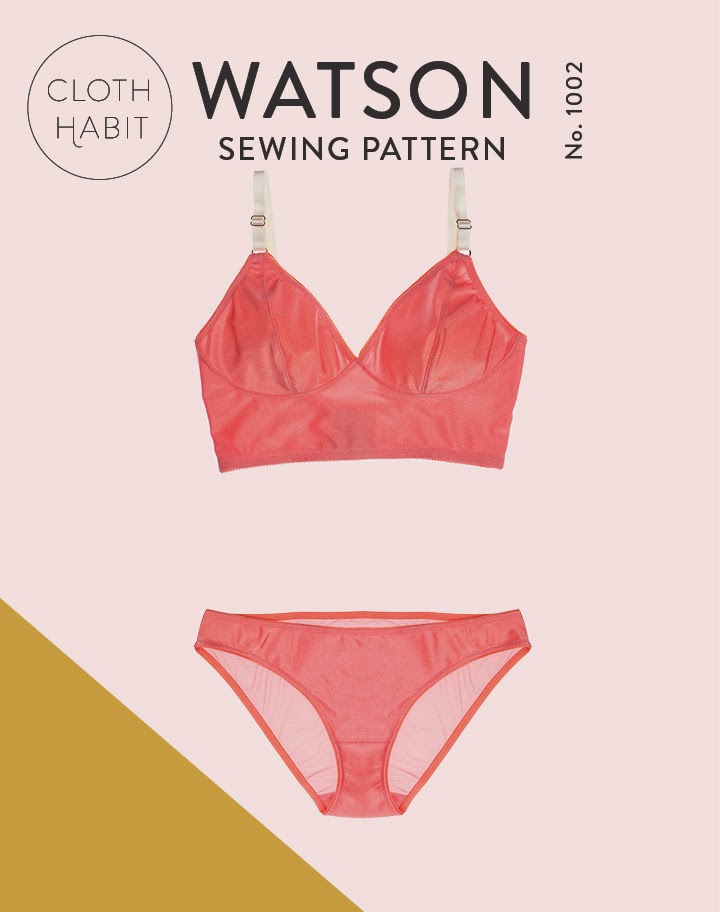
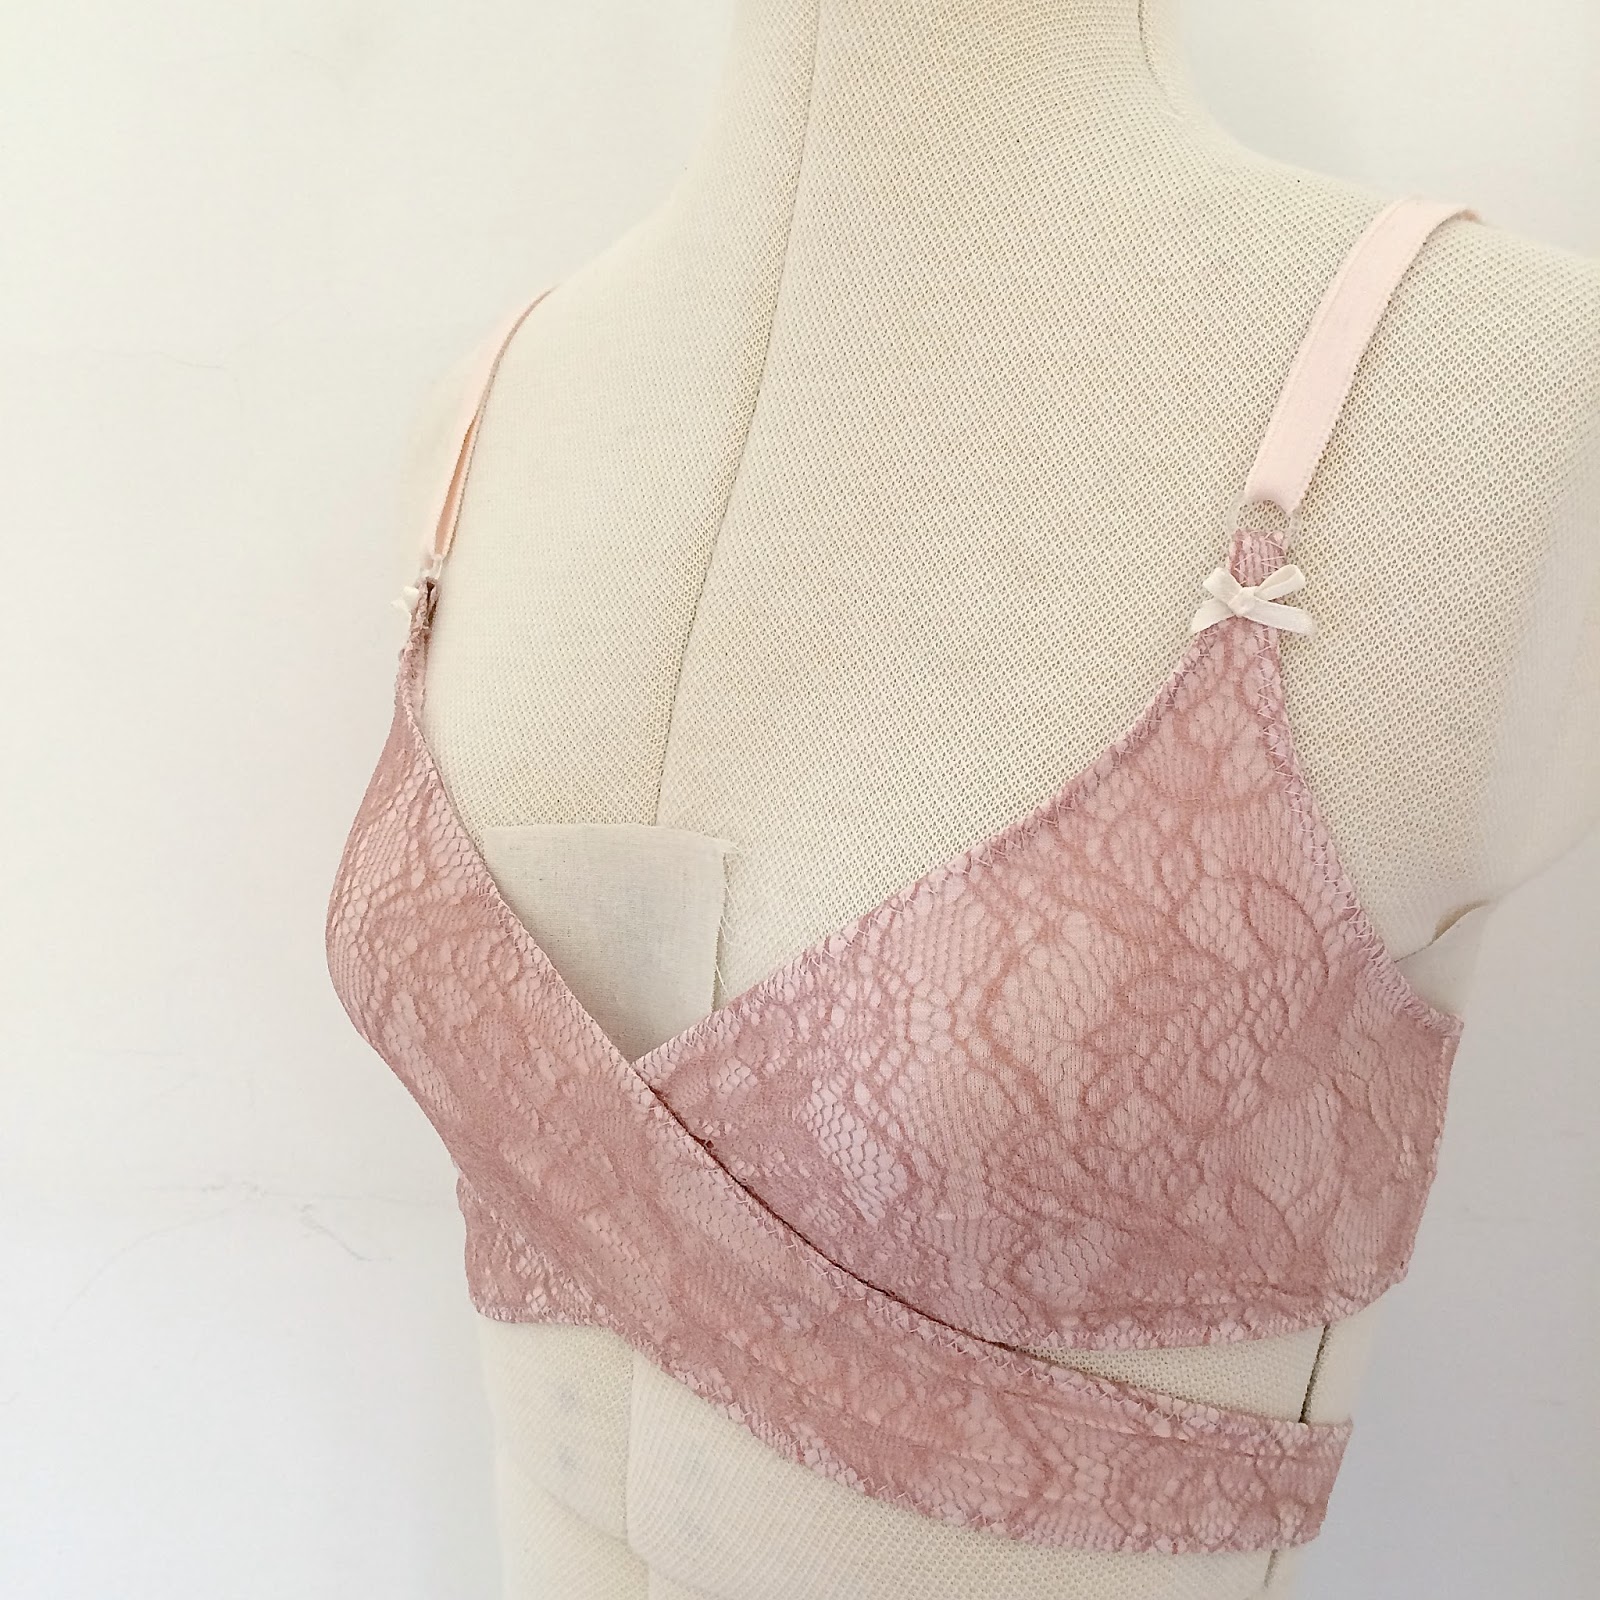
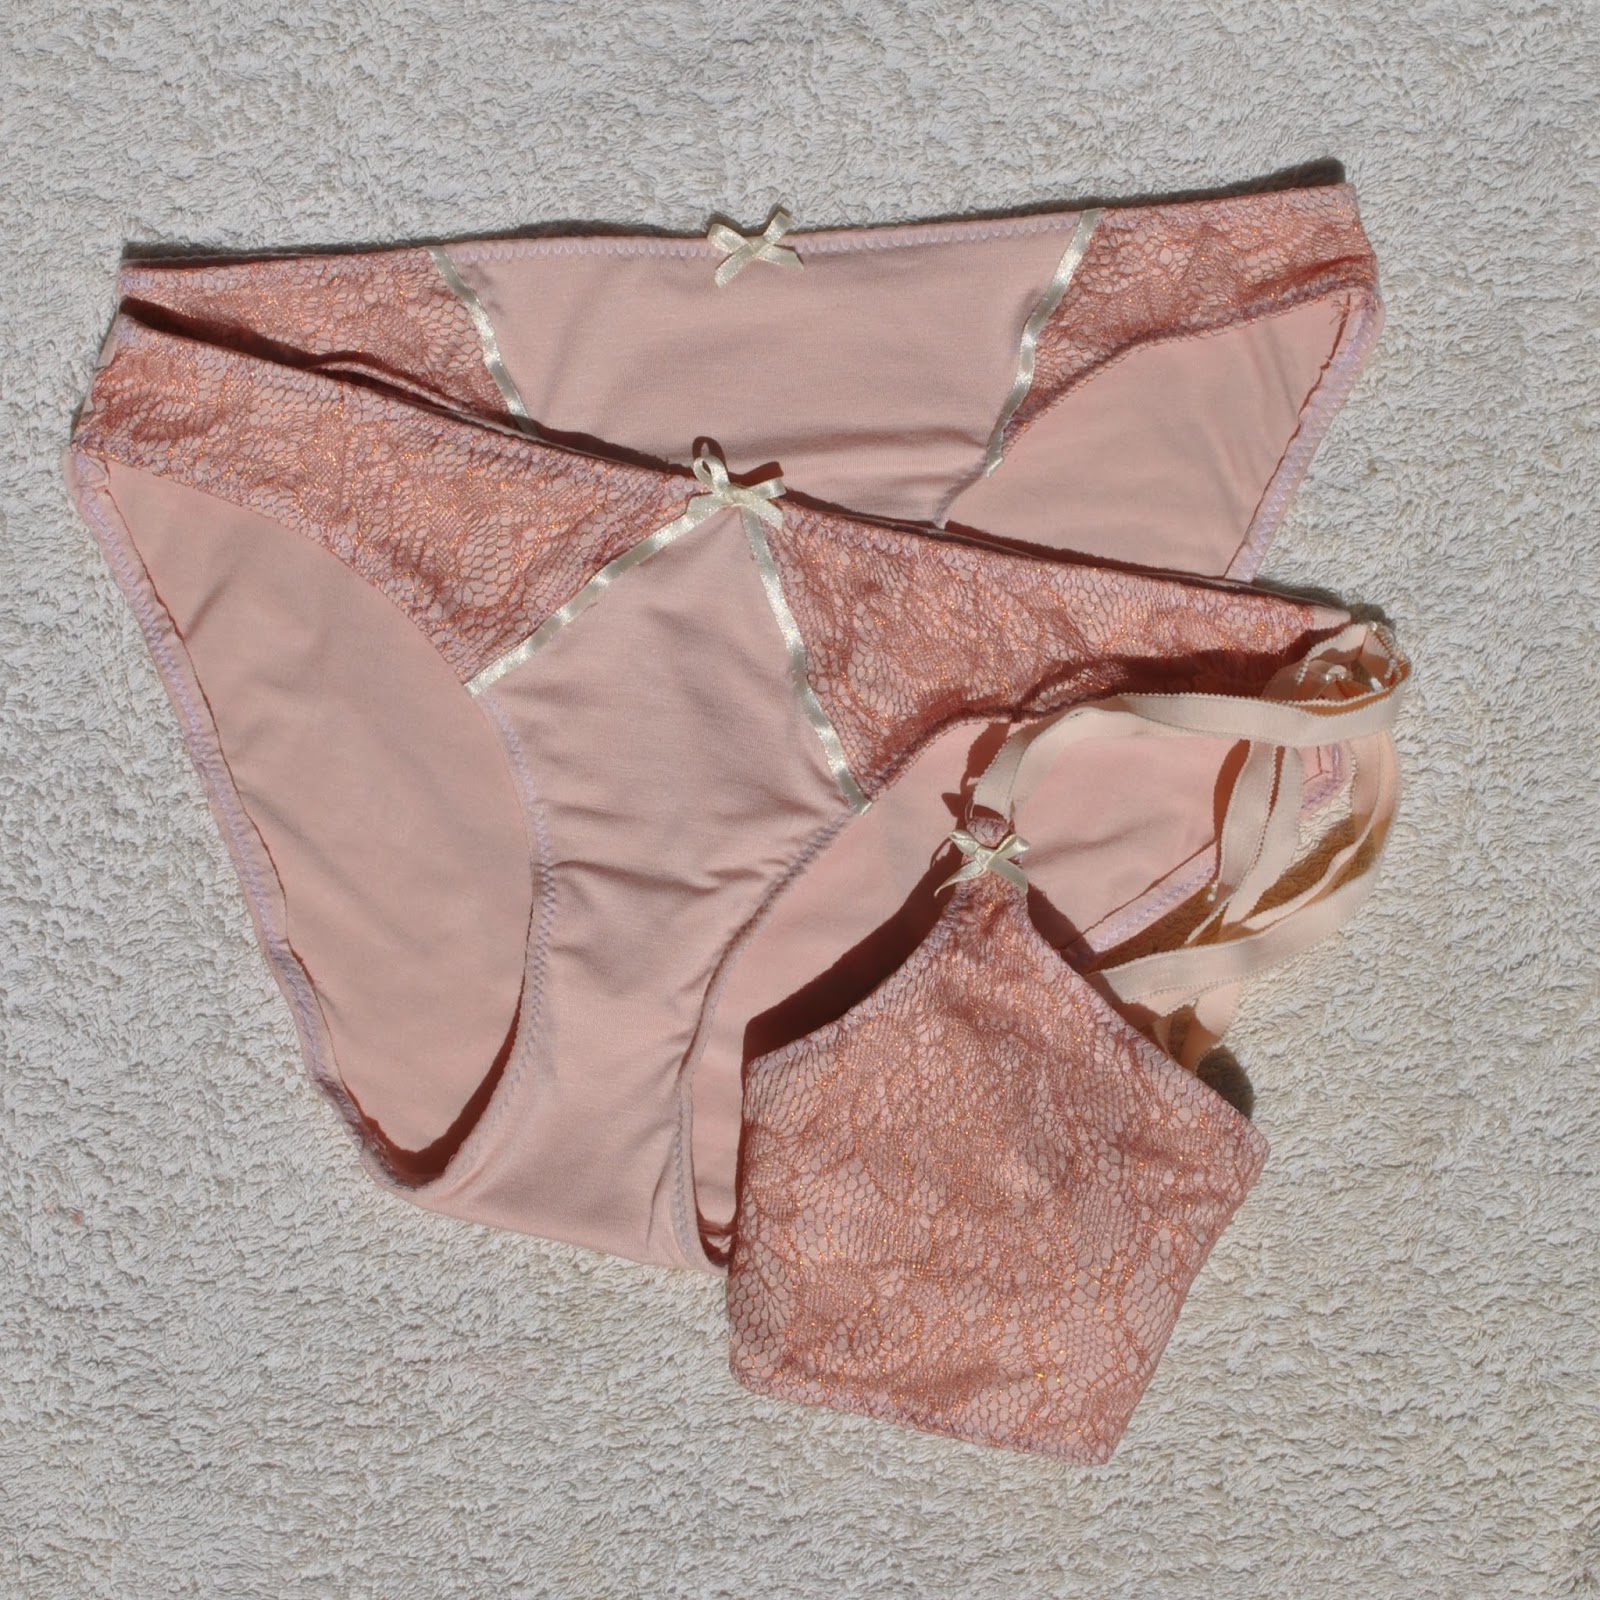
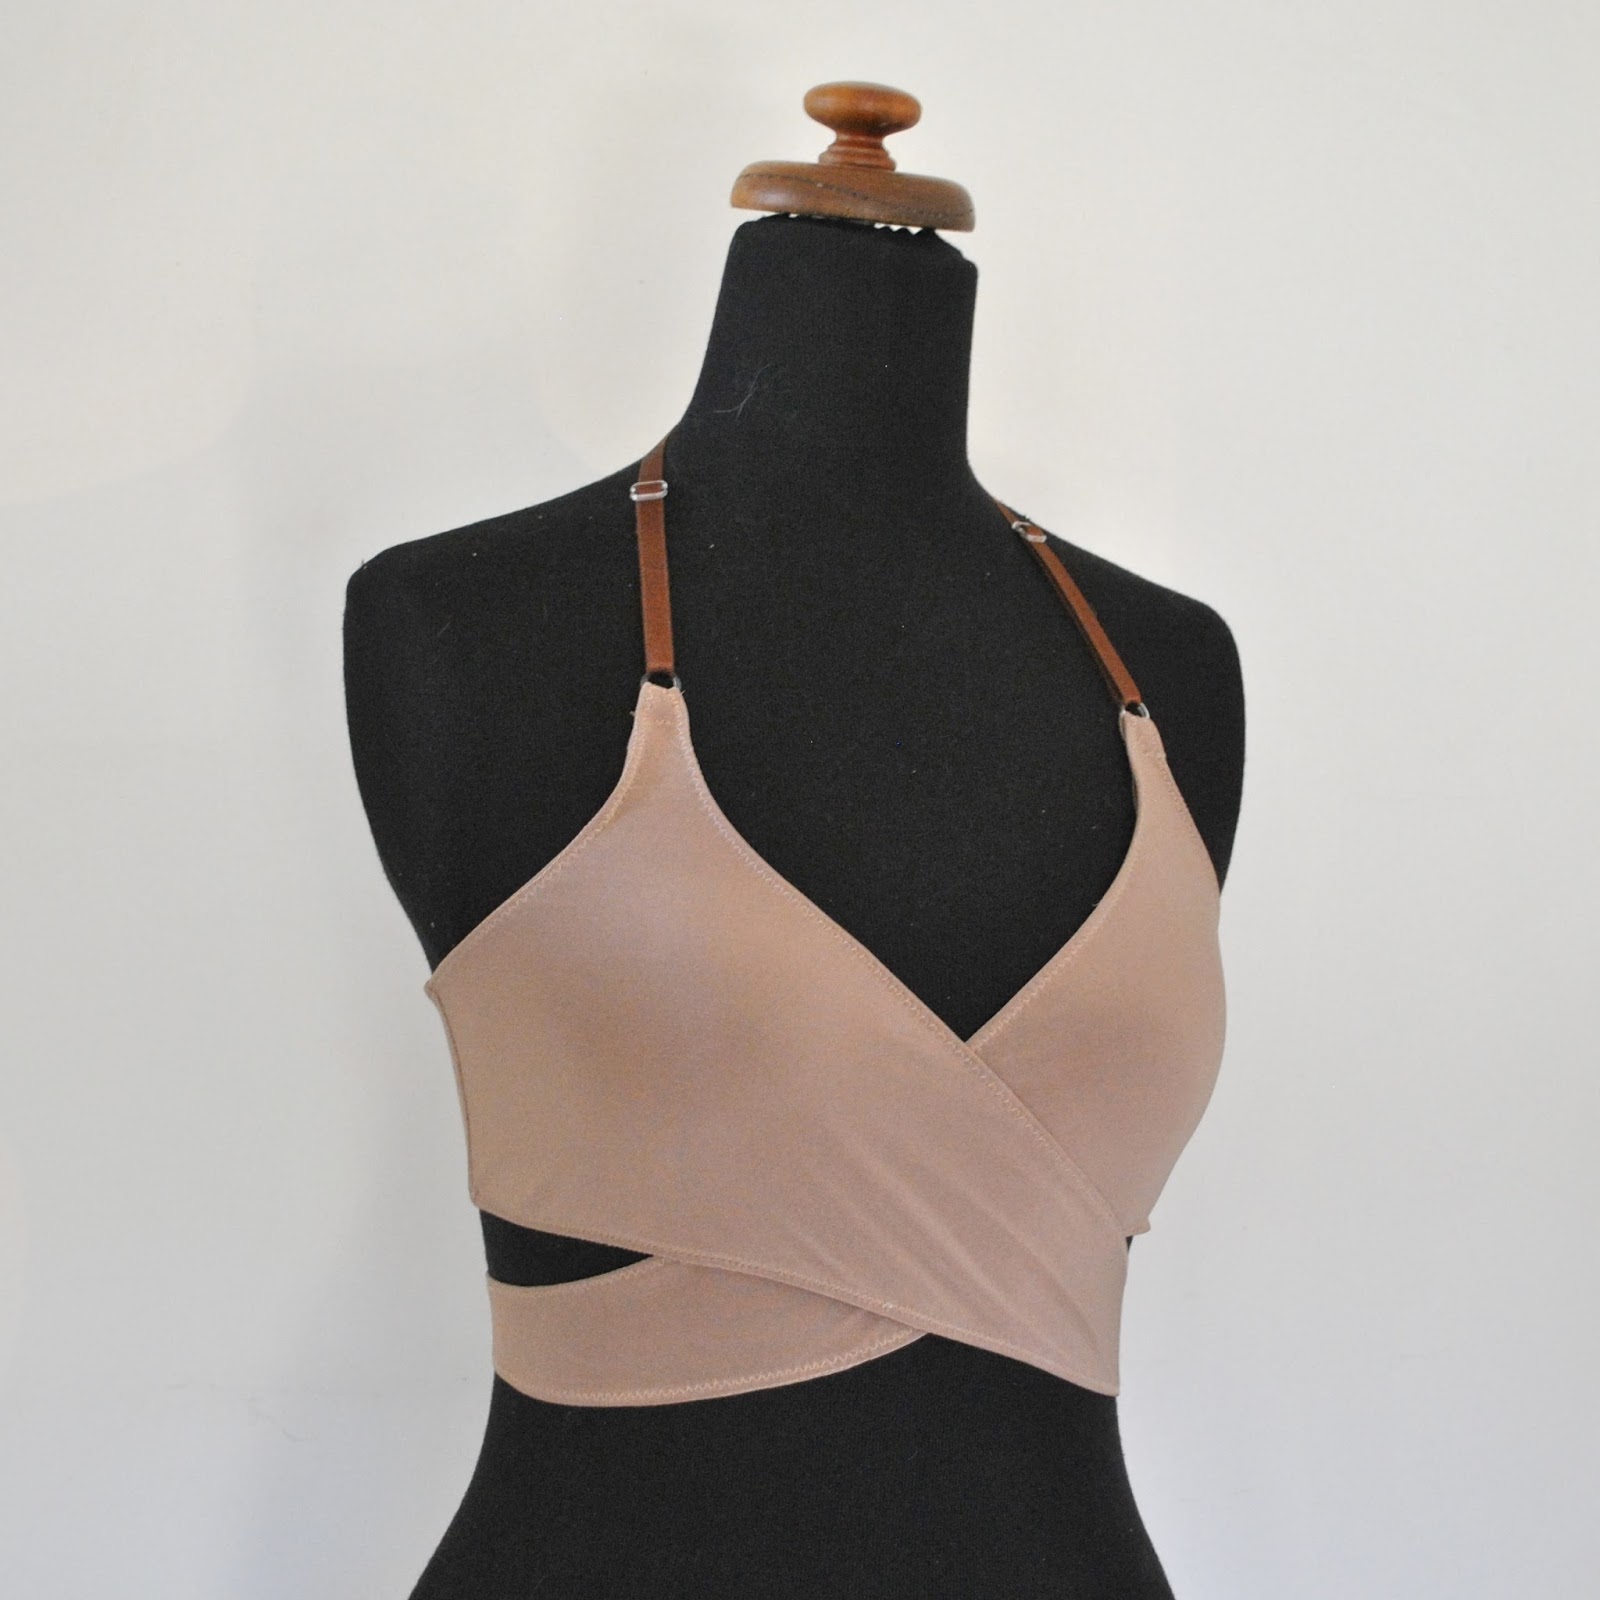
OK, so I couldn’t resist downloading Madalynne’s free bralette pattern the Sierra and giving it a go!  Plus I made the usual two pairs of matching knickers to go with it.  These are both the Watson knickers, by Cloth Habit.
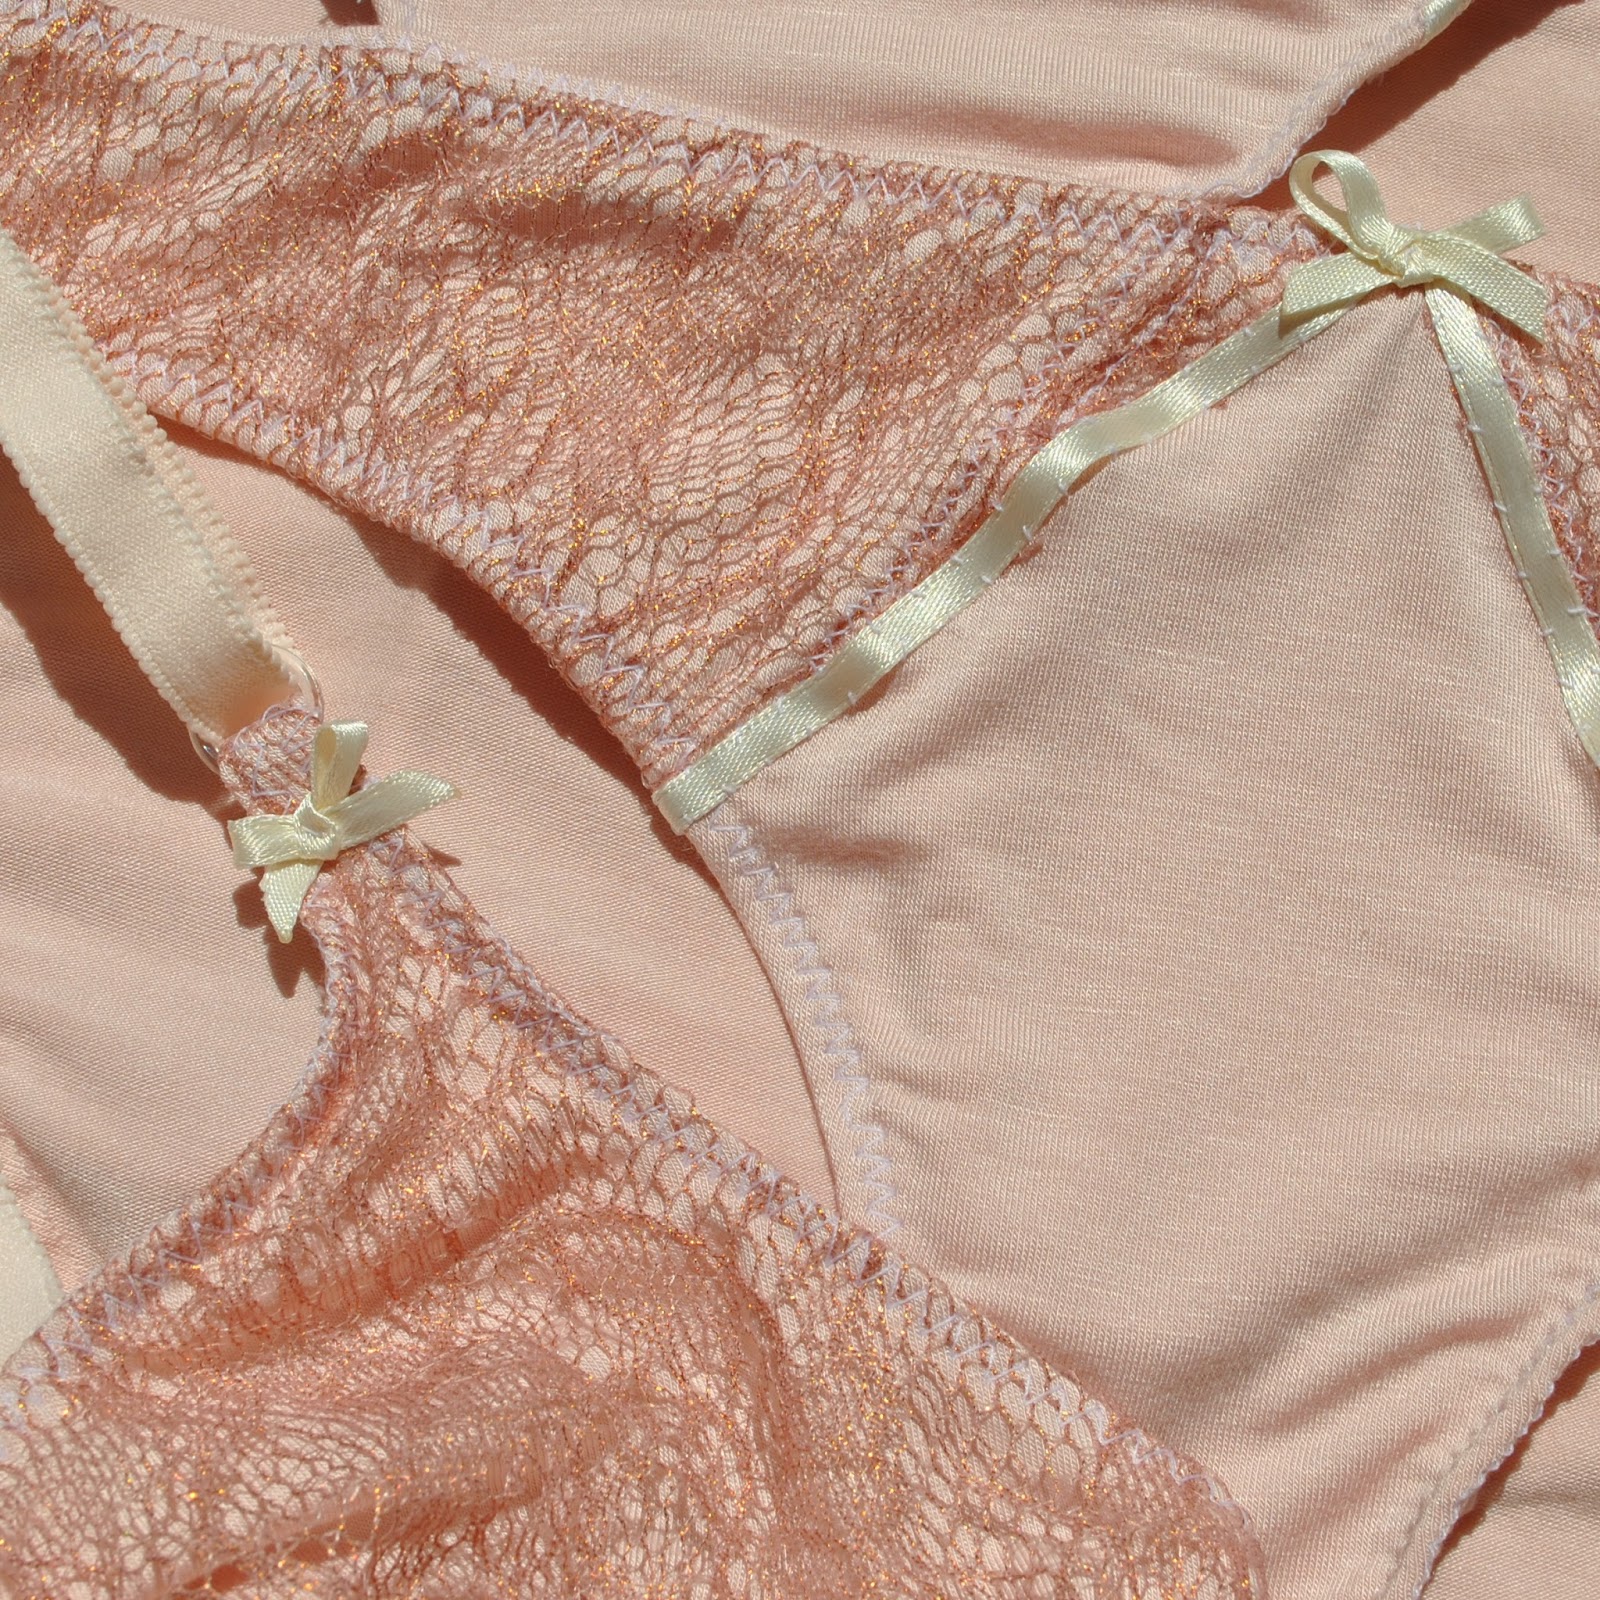
Fabrics; pink bamboo knit and pink, slightly glittery, lace from Fabulous Fabrics, all elastics and other findings from Homecraft Textiles
I made this set for Cassie.  I bought materials to make a Sierra and Watson set for me too, but mine is quite different in style.

 The Sierra bra is a really cute and interesting design for smaller chested ladies, and is something a bit different in a bra design, which I like.  Well, we all love a bit of variety, yes?  It looks kinda complex on, but it’s really a fairly straightforward, wraparound bra; and for a simple soft bra with no shaping or obvious support, does feel nicely secure and snug when worn.  And did I mention; it’s freeeeeeeeee!

Cassie chose the fabrics, including that pink lace.  That lace!  Looks so pretty and girlishly innocent and totes adorbs, right?!
Well, so did that kid in the Exorcist, just saying… and unpicking fine-grade slinky stretchy bamboo knit away from delicate lace; tendril by freaking tendril is NOT the joyous meditative pastime to sake and soothe your soul like you want your hobbies to be.
Initially I intended to have the two fabrics entirely overlaid for the whole set, like the bra, and the bra went together really well.  Then I made a pair of knickers with the two overlaid like that.   The lace then showed itself to be completely wrong for knickers.  It was such an ordeal and they looked so hideous that I was just too depressed to even bother salvaging any of it…  that got emotionally binned, and I had to walk out to eat chocolate and sulk in front of the TV for an evening.  
Went back to it the next morning with renewed vigour.  Did think about not having any lace on the knickers at all.   But she wanted it to be a nice cohesive set, so some lace had appear somewhere, and it’s all worked out, I think.  I like the knickers to match the bra but still be different to it, like this.

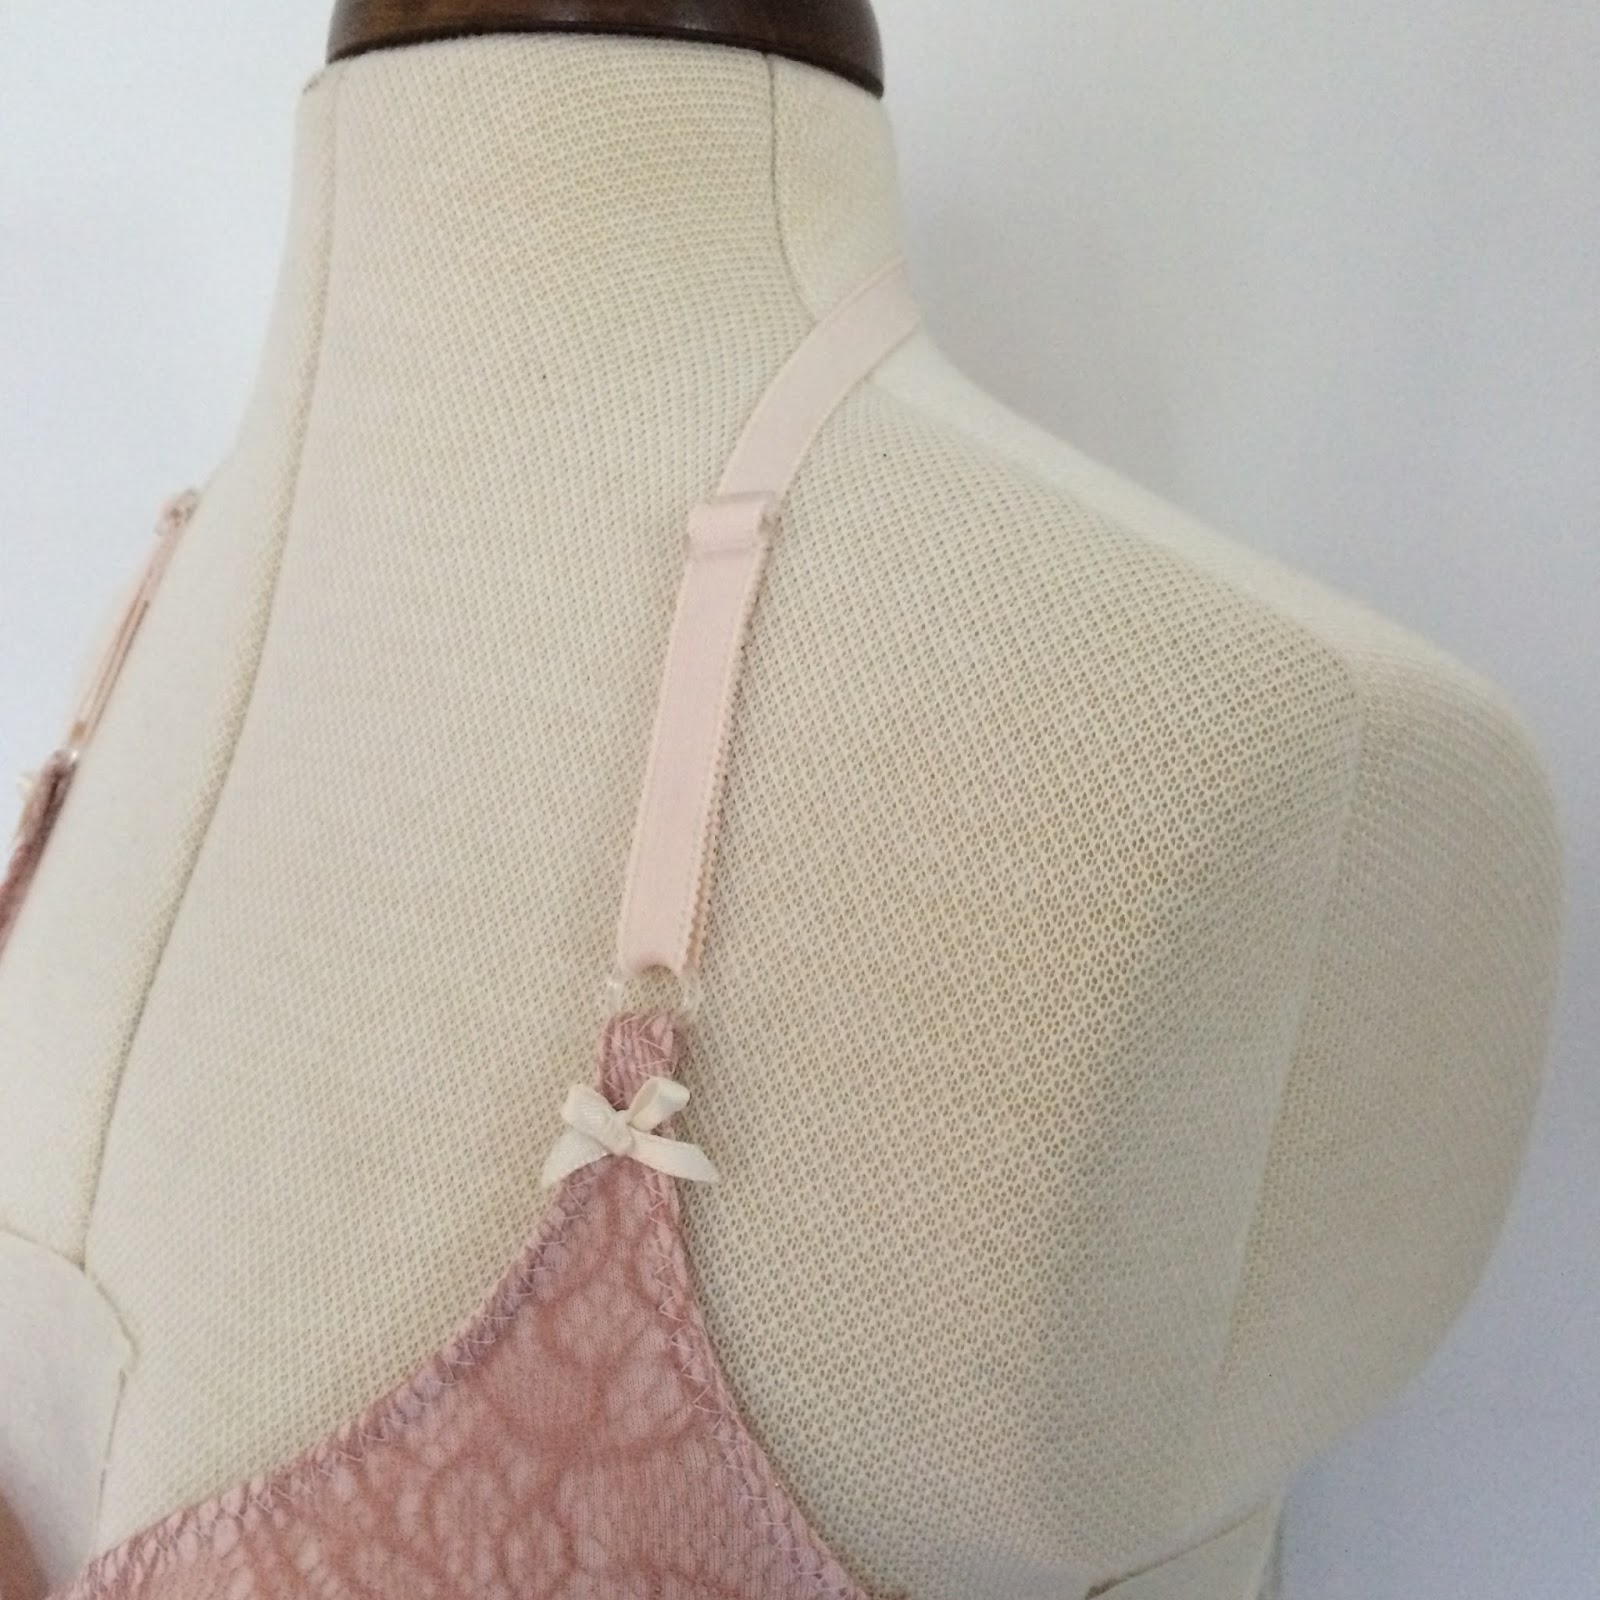
There’s nowhere to put a little decorative bow on the bra, part from just below the shoulder straps like this, and I actually love it! my favourite bit of the bra.  It’s also a nice way to hide the stitching of bra cup-to-ring.  I sewed the bra shoulder straps as two regular ones rather than halter; but she’s thinking about that.  If she decides she wants the halter I’m gonna change it, because I think the halter is a lot easier to put on in this design. Update; yep, changed it to halter…

I think the set did eventually turn out very nice and the bra looks really cute on.  Cassie is happy so I’m happy.  Well, I’m happy now it’s finished.
Happiness factor; well the memory of those failed knickers hasn’t faded away completely, so I’m awarding this project 5/10 overall.  It’s gone up since yesterday, believe me!

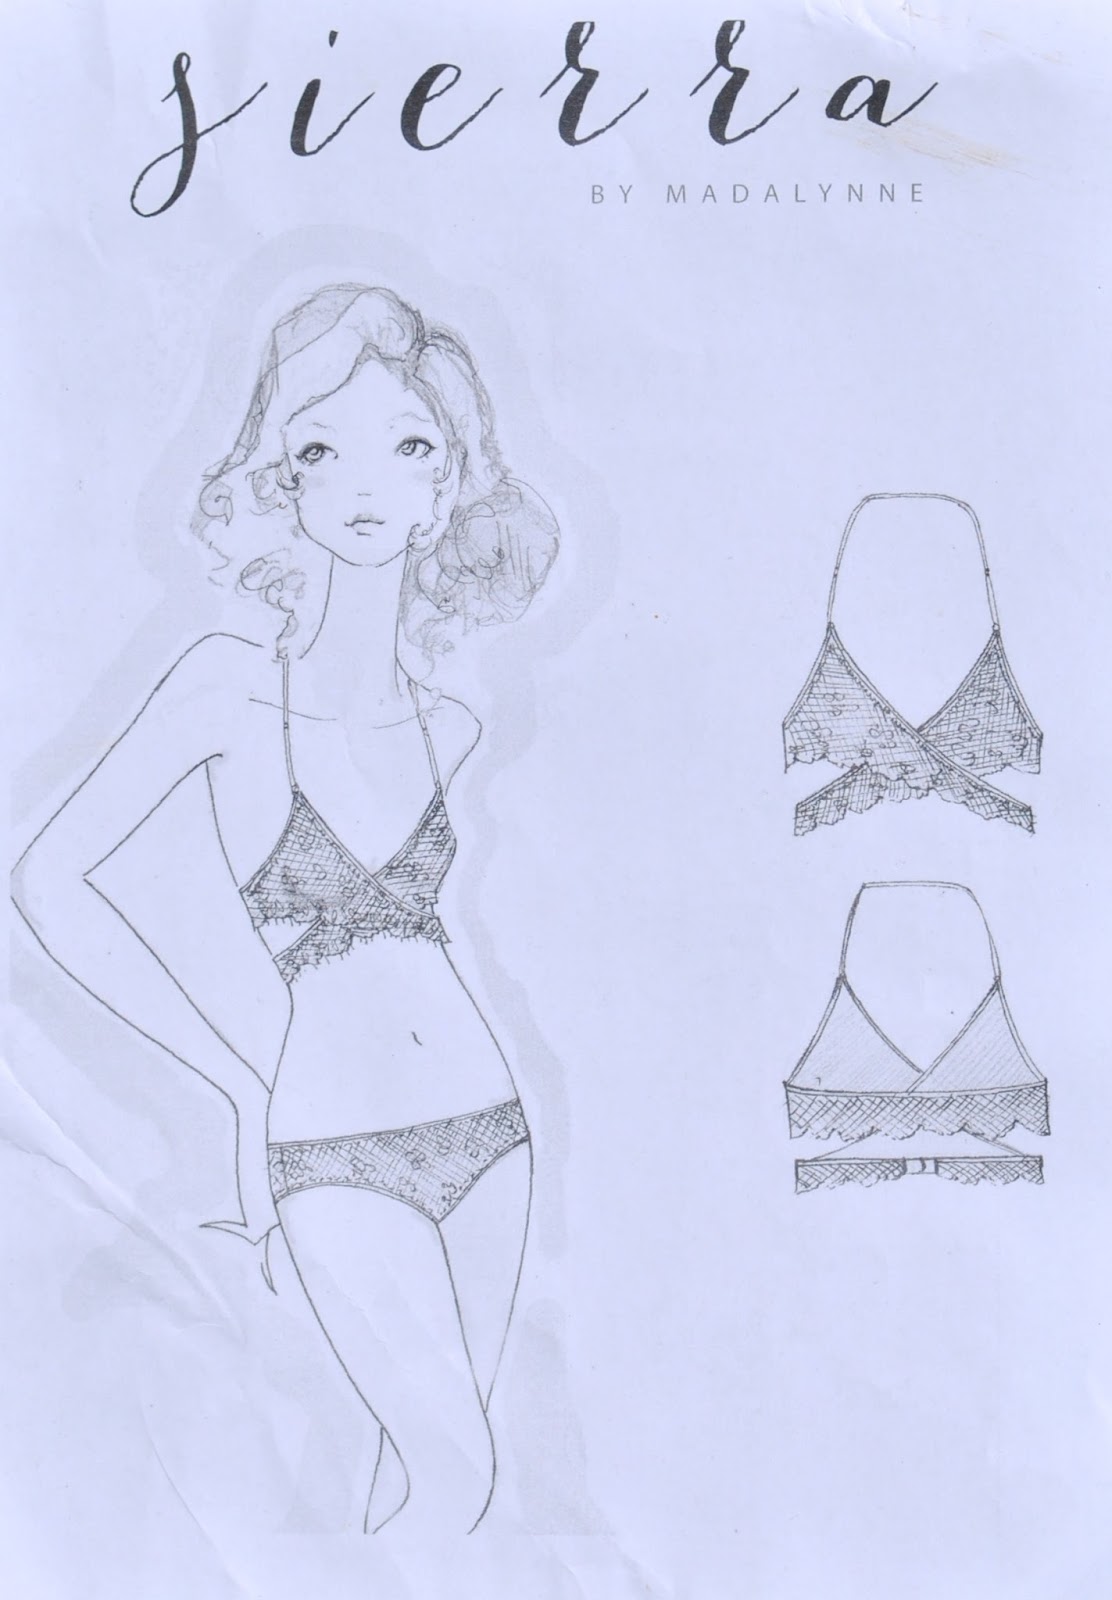
Bra; the Sierra by Madalynne, free to download here
Knickers; the Watson by Cloth Habit

pinterestmail

do you Art?

Imagine that said in an vehhy posh accent along the lines of “are you being served modom?”…  
Little anecdote; many years ago I took part in a group craft project, and another lady in the group had clear and firm ideas about what we were to produce, and how.  At our first meeting she approached one lady and as a first spoken utterance to her, enquired “do you appliqué?”  

Hehe, that’s neither here nor there obviously, but it’s stuck with me for years and years and still gives me a laugh.  
Man I need to get out more…
Anyway…
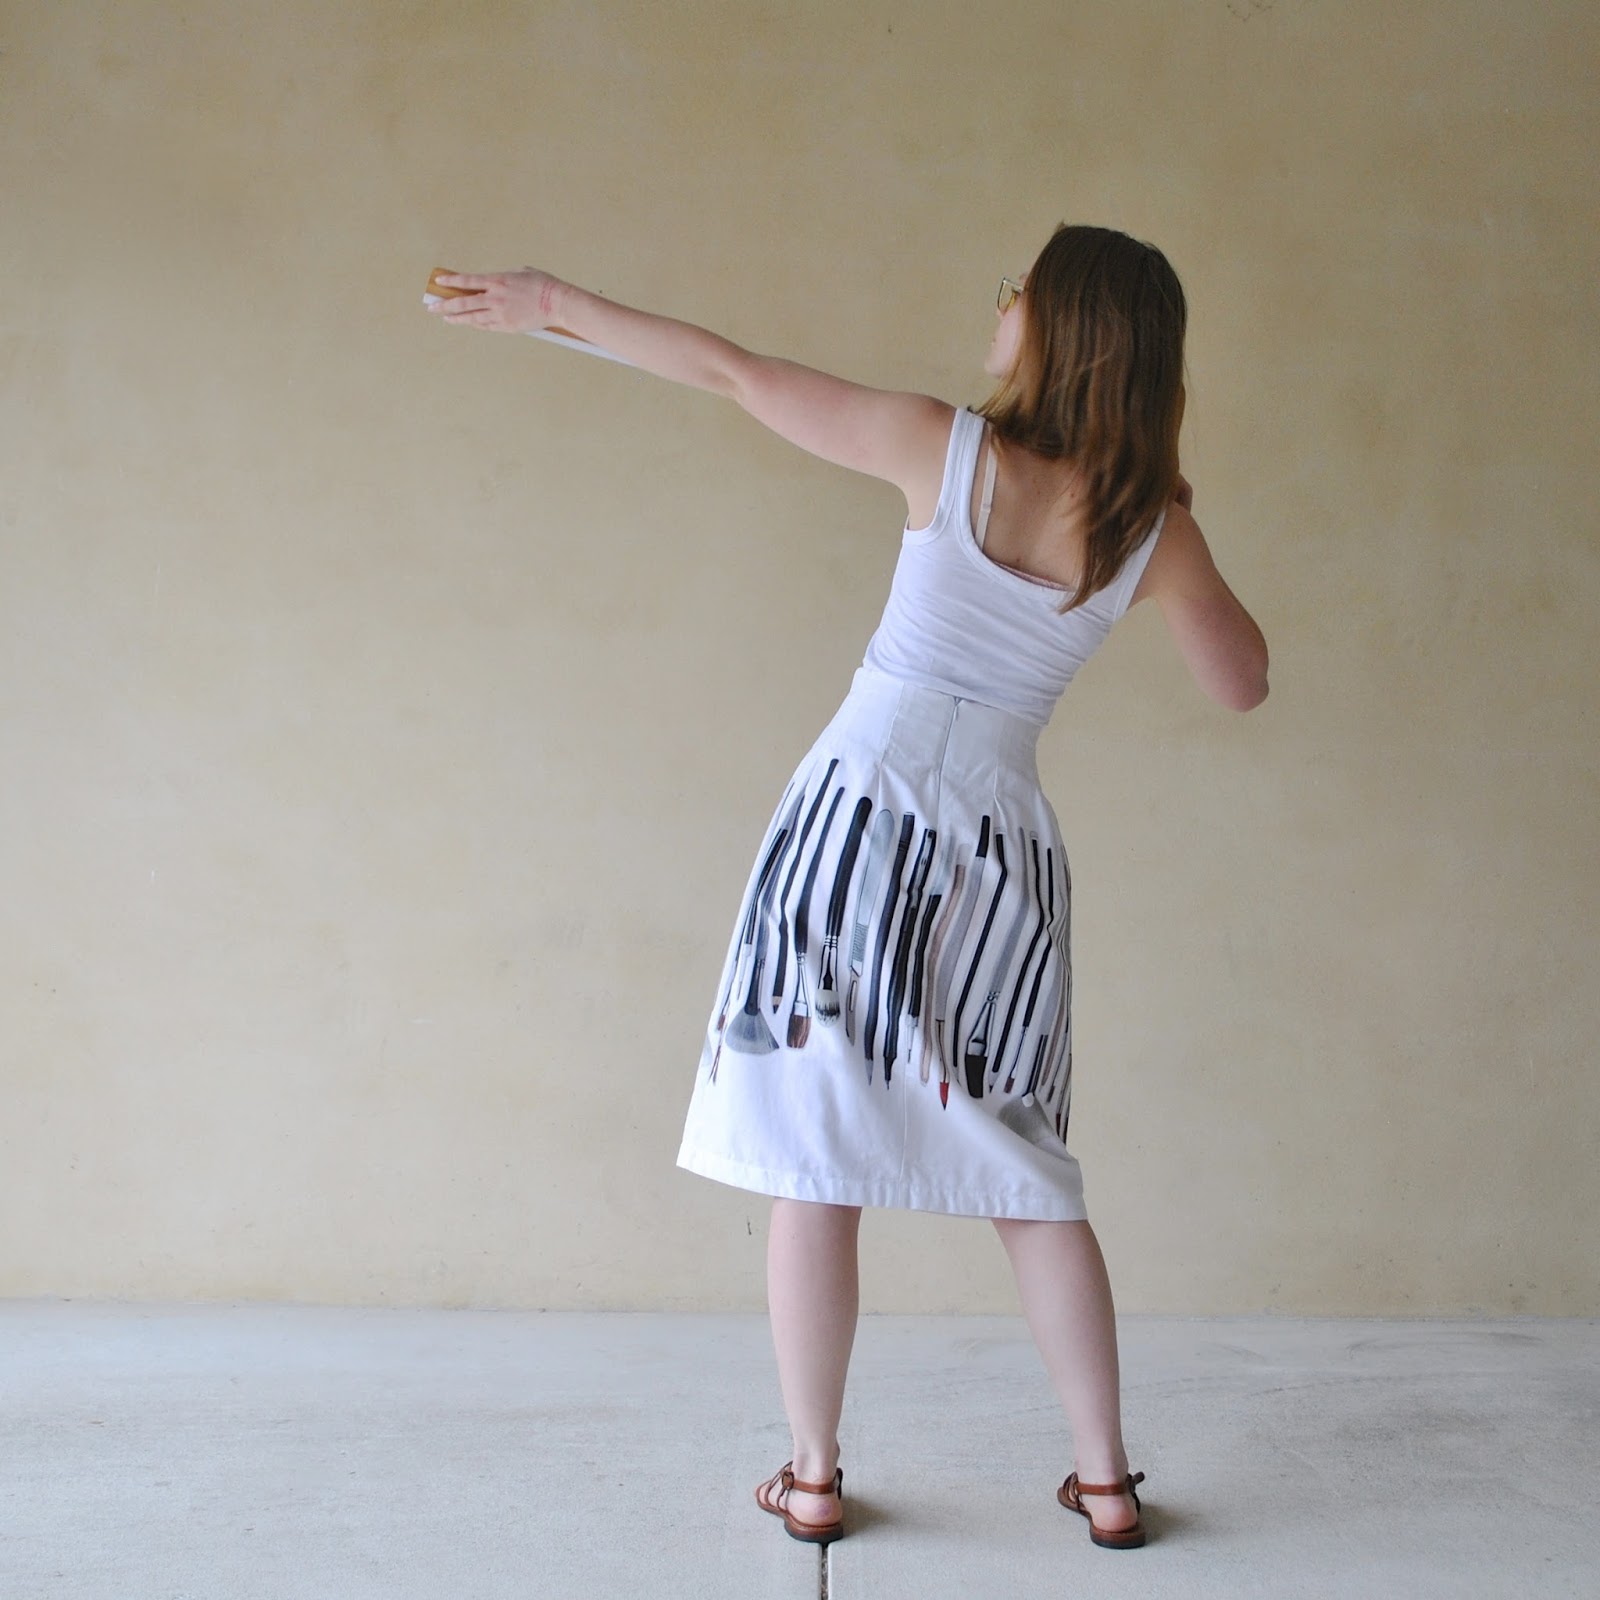
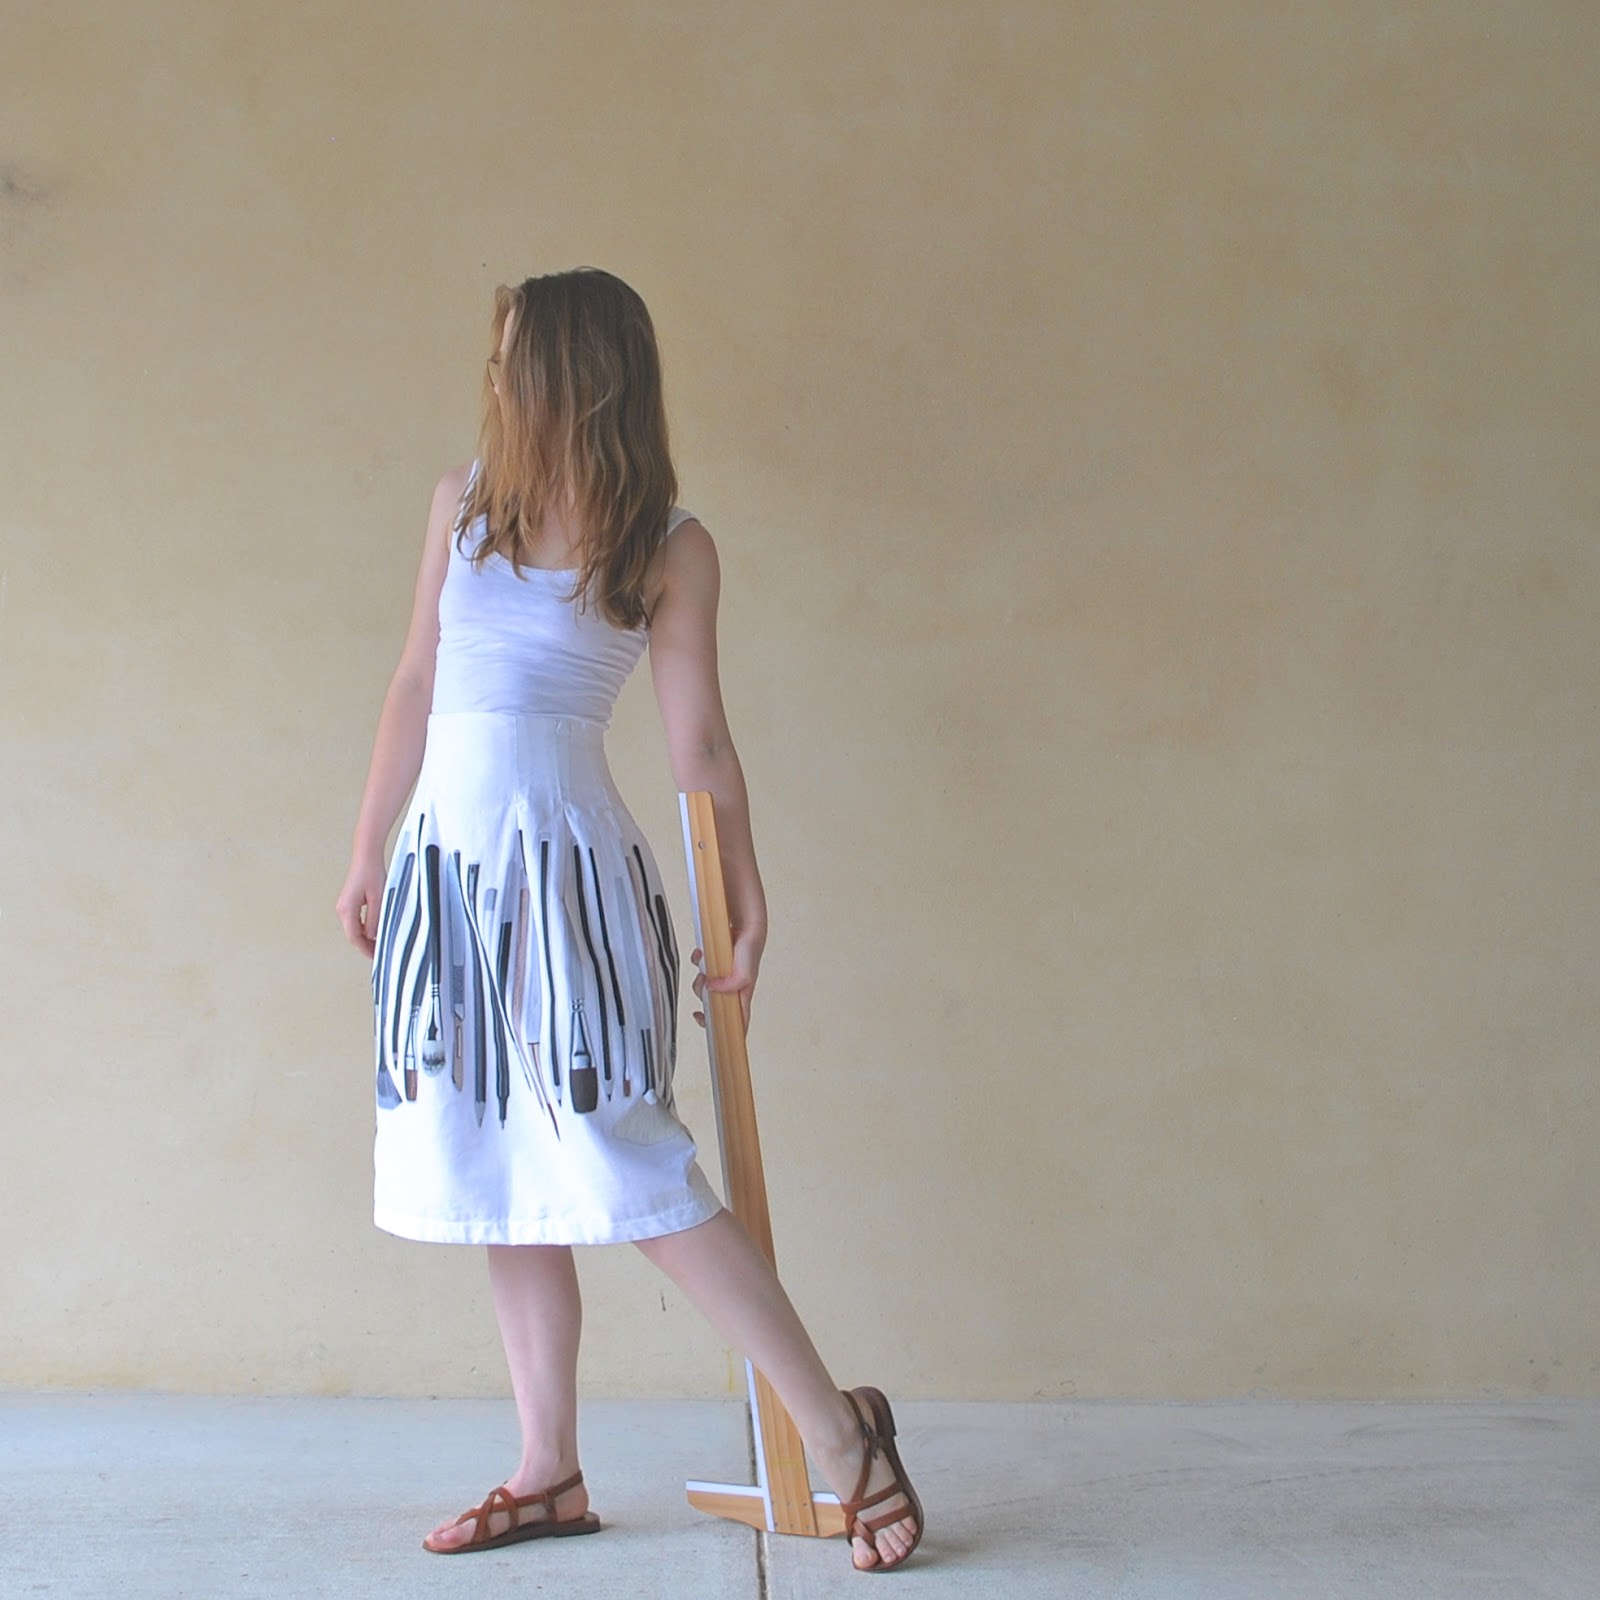
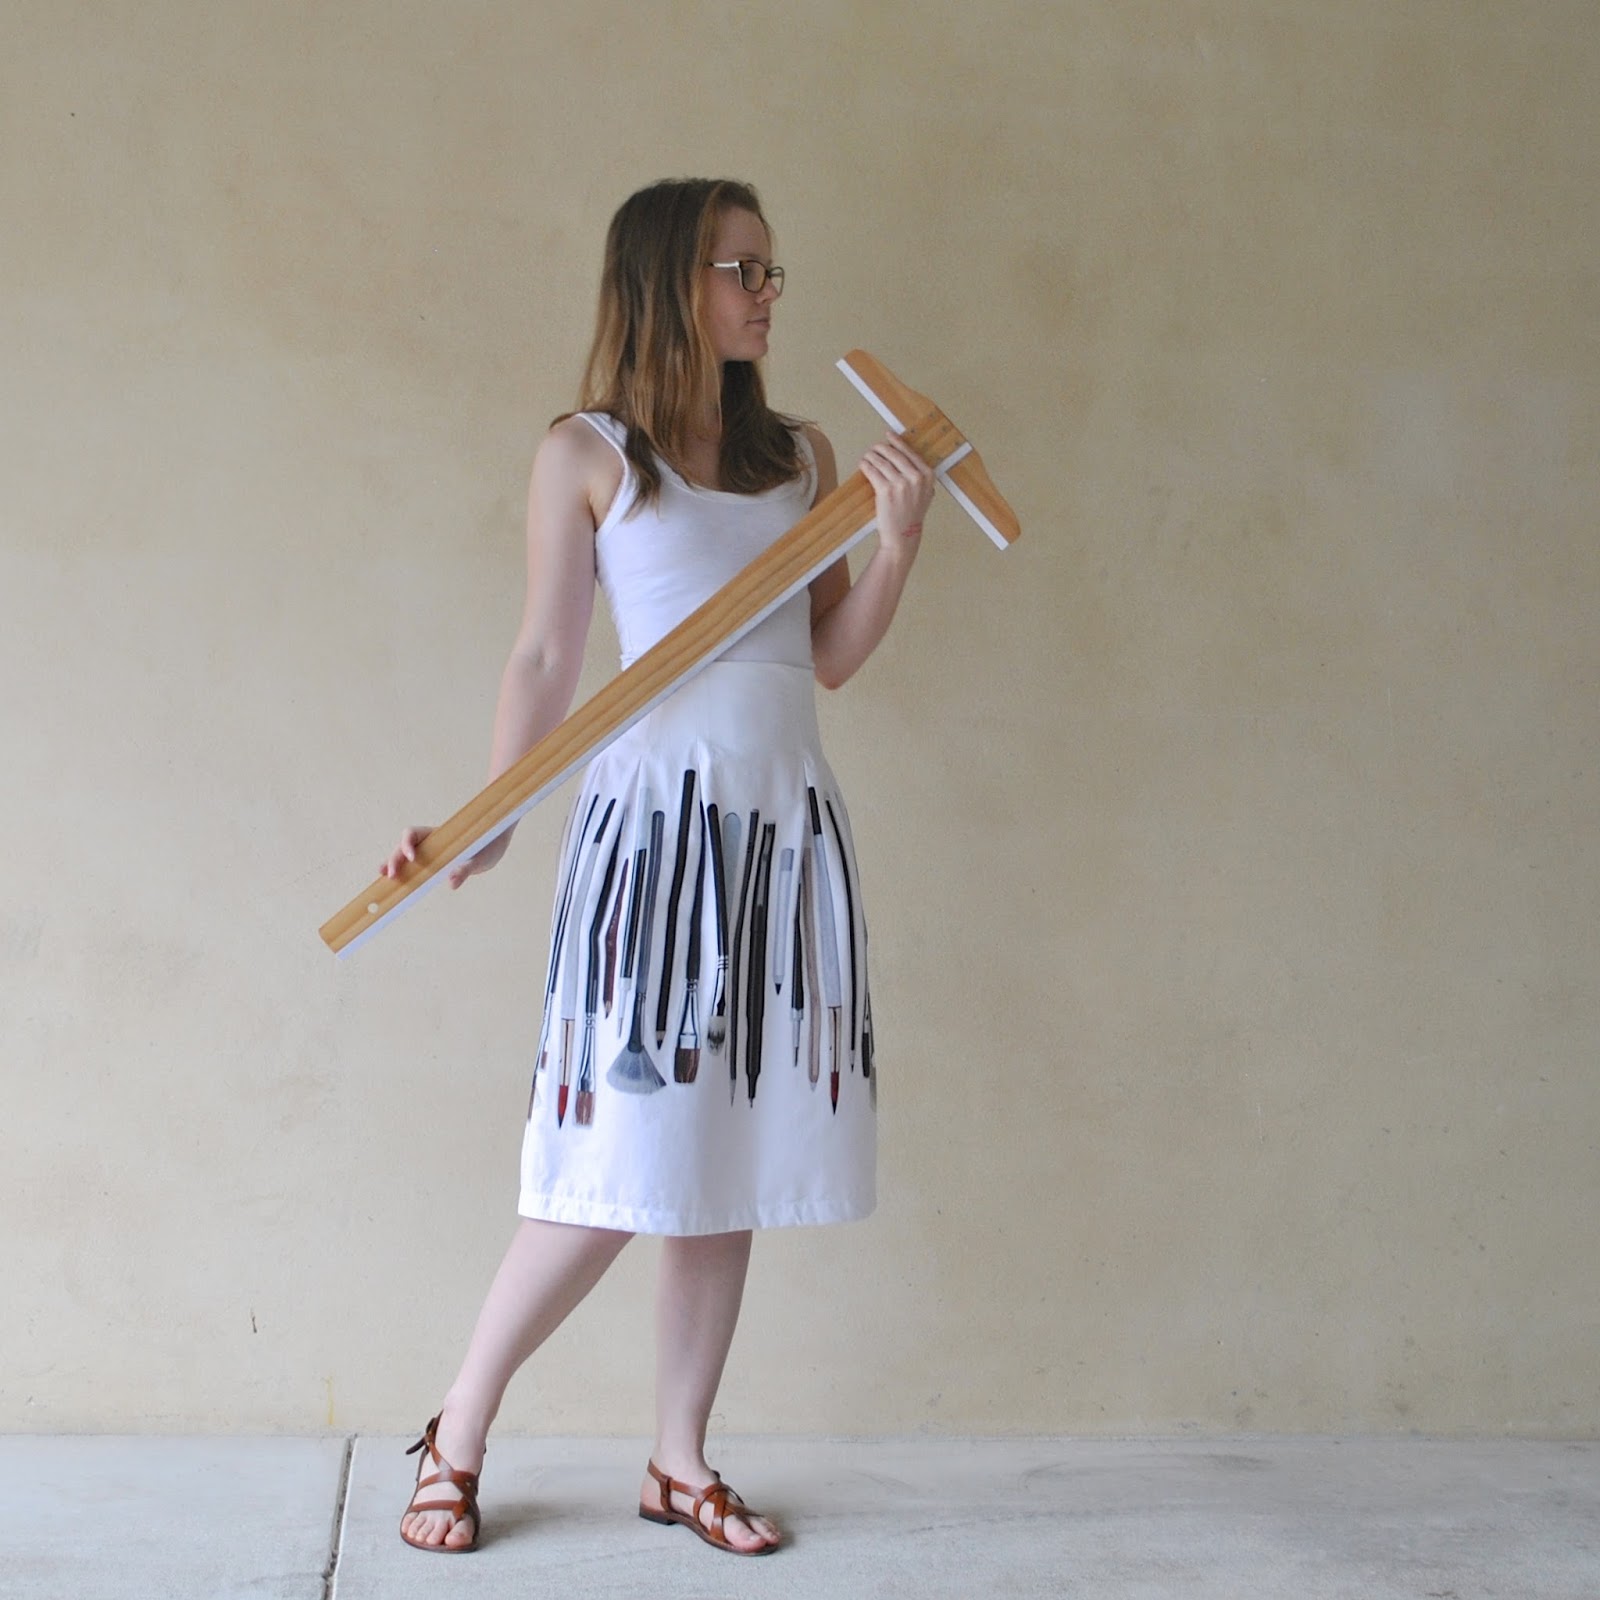
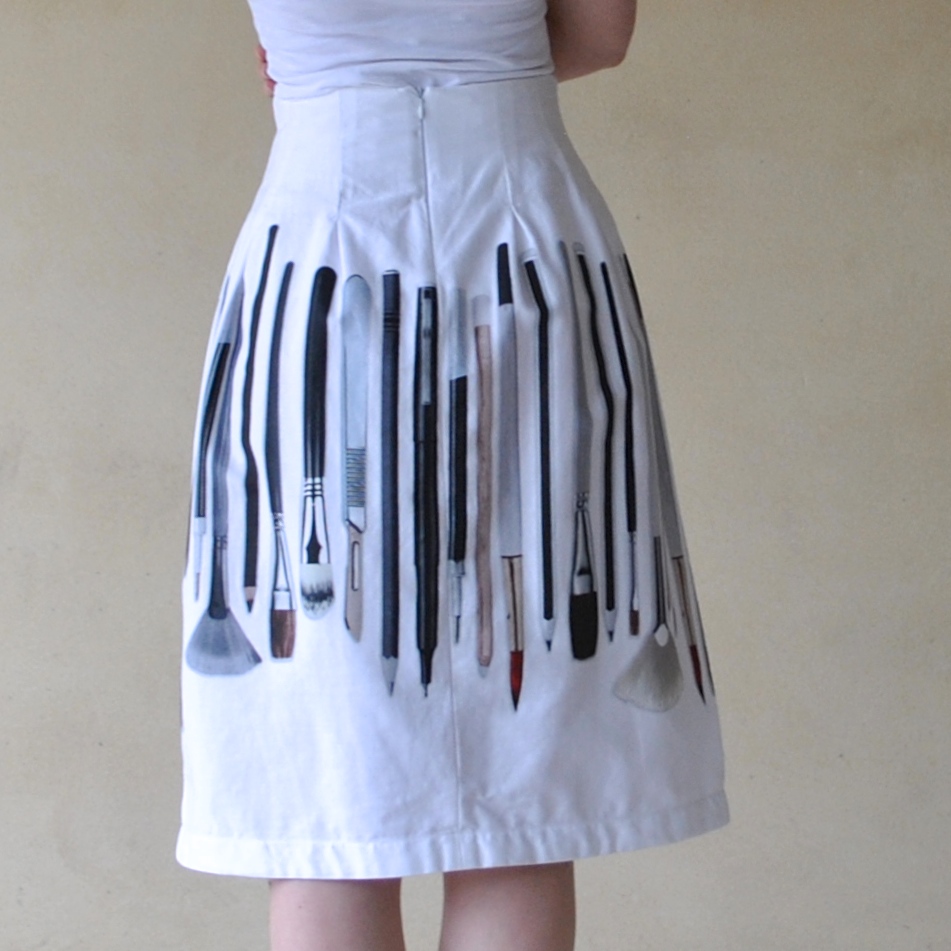
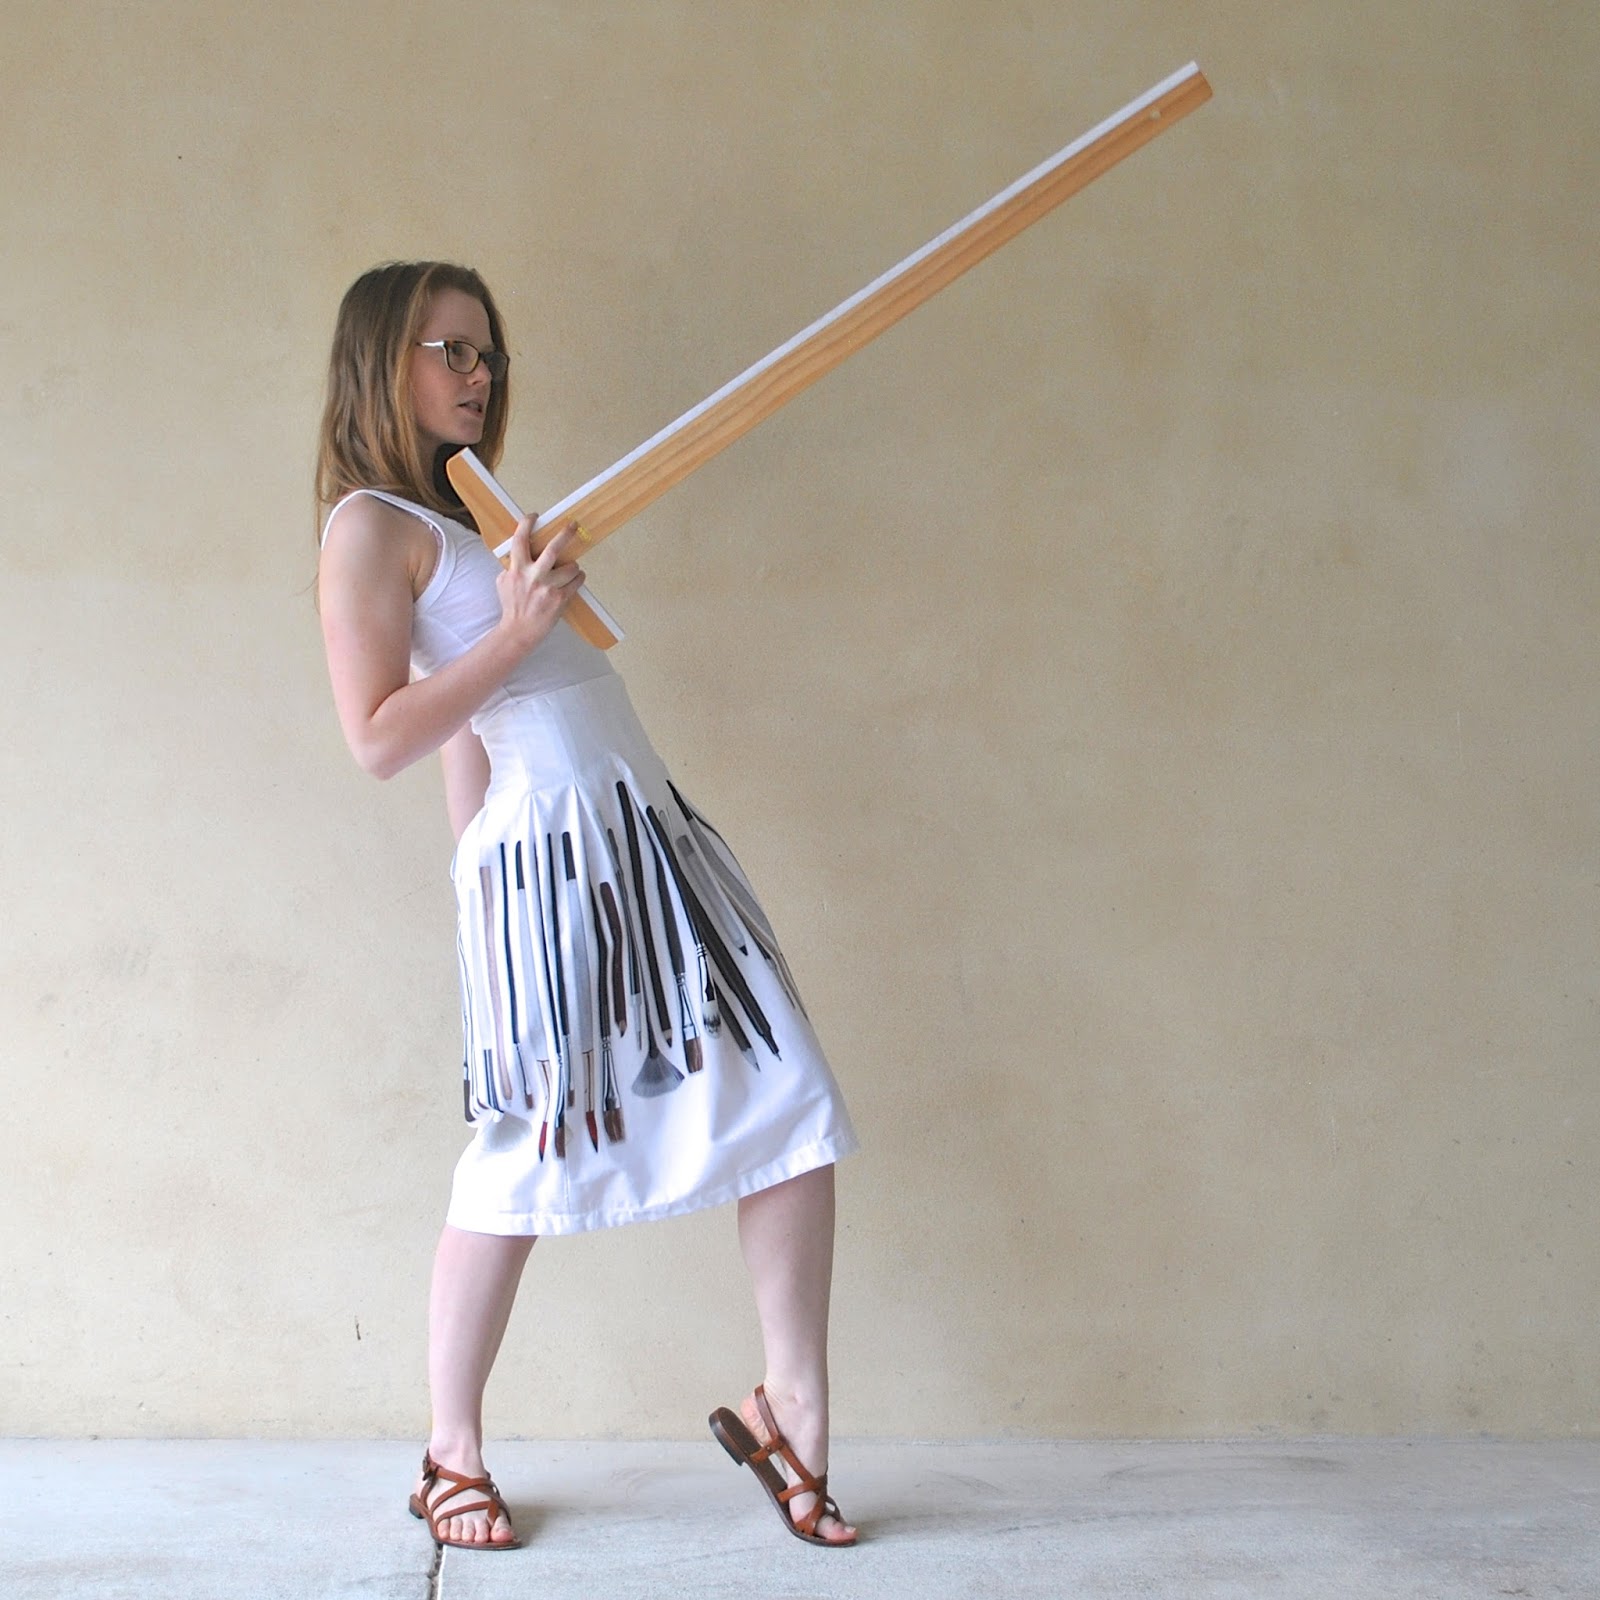
skirt!

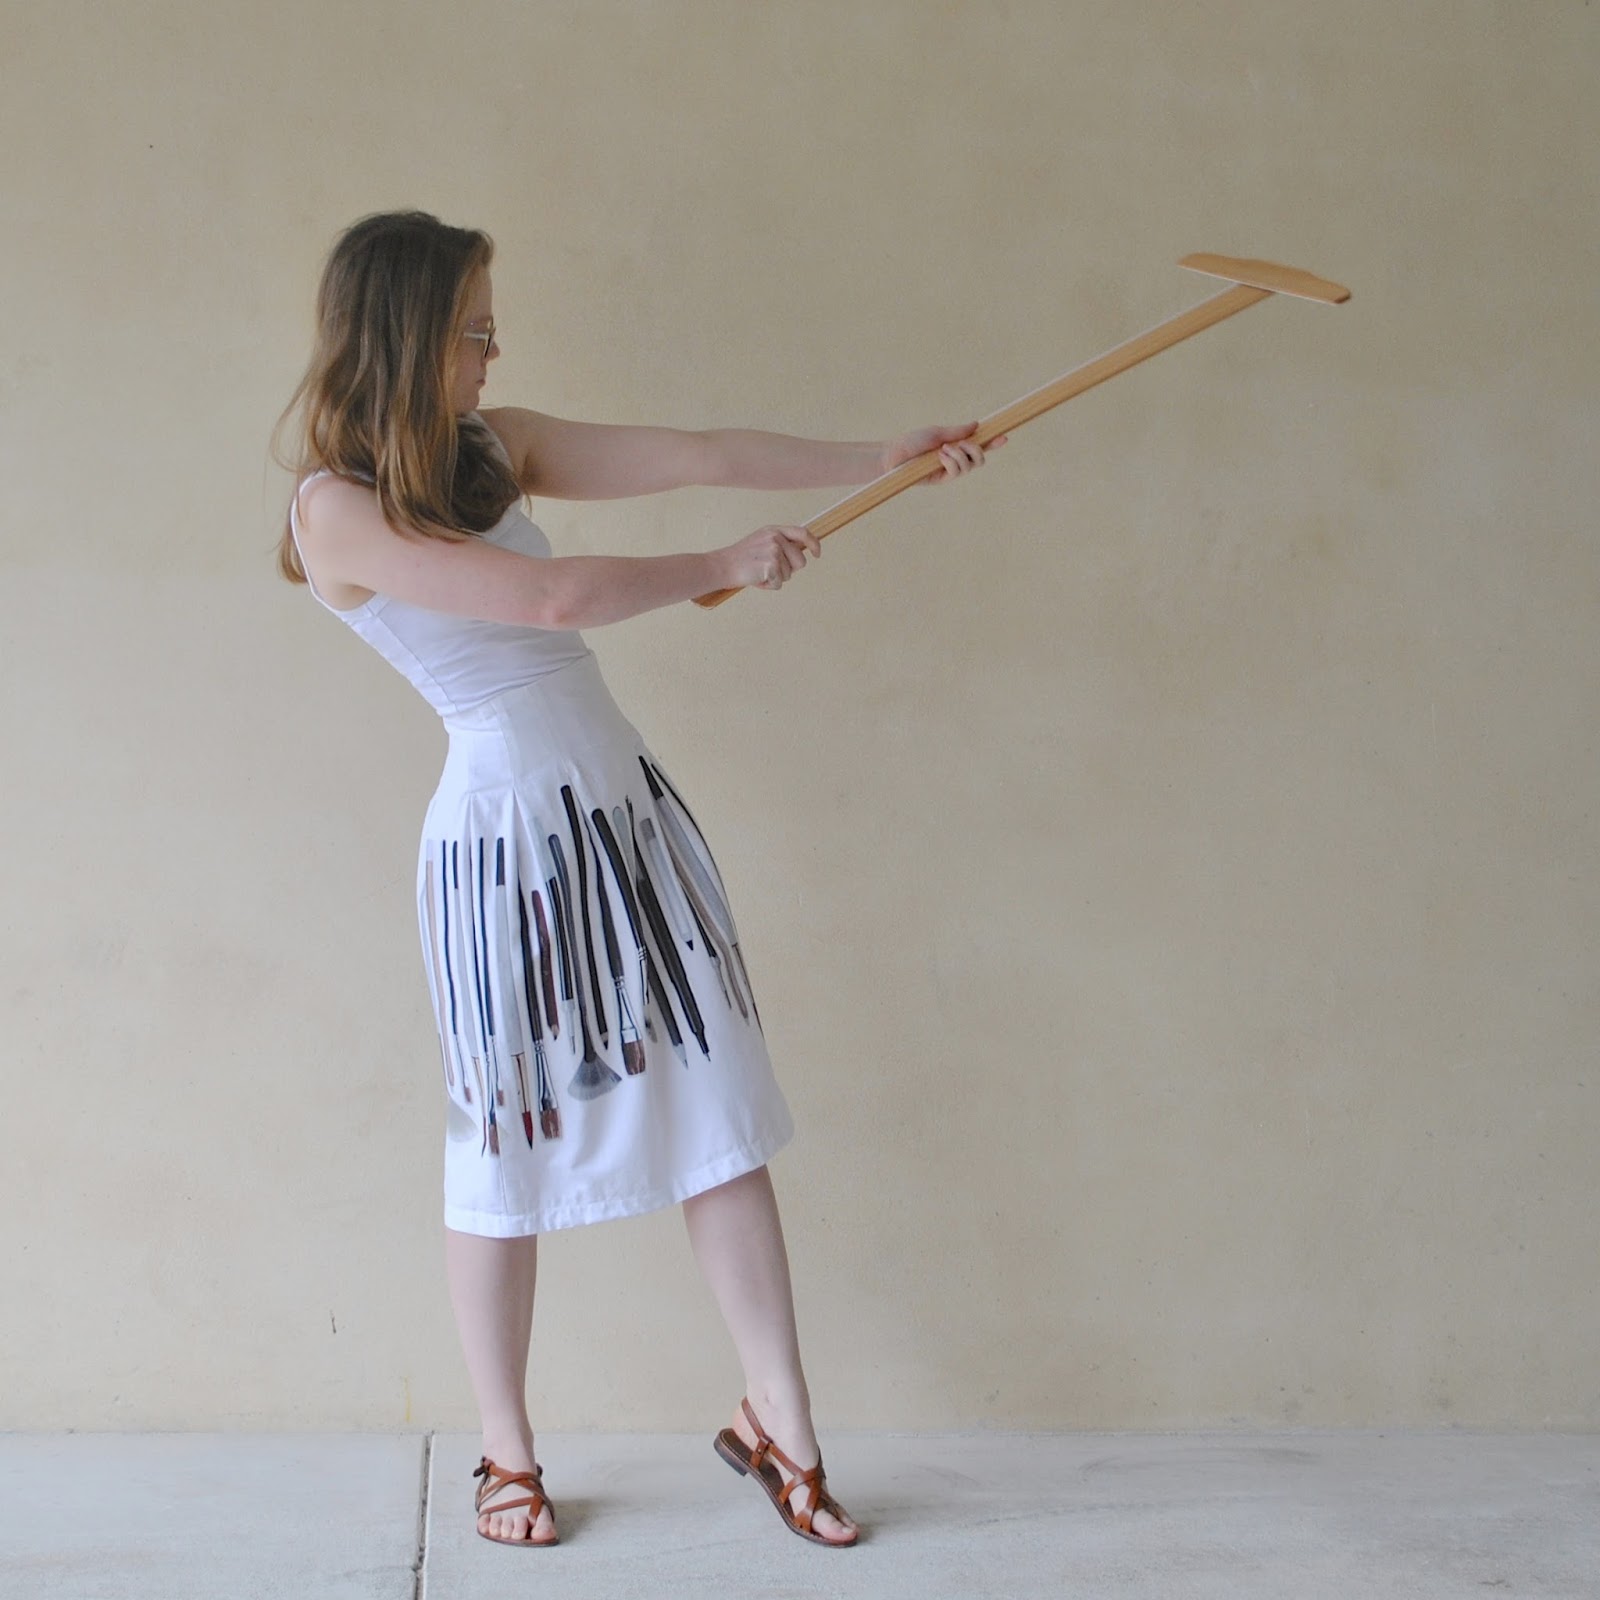
We bought this novelty print cotton drill from Spotlight a few years ago, and Cassie was supposed to make the skirt herself, but you know.. time goes on, you get busy, life takes over, whatevs, and it eventually falls to your mother who is sick to blinking death of looking at this blasted fabric hanging around, gathering dust and generally taking up precious stash space that could be given over to her own fabrics … gathering dust ahem…
Anyway! time for some interventive action.
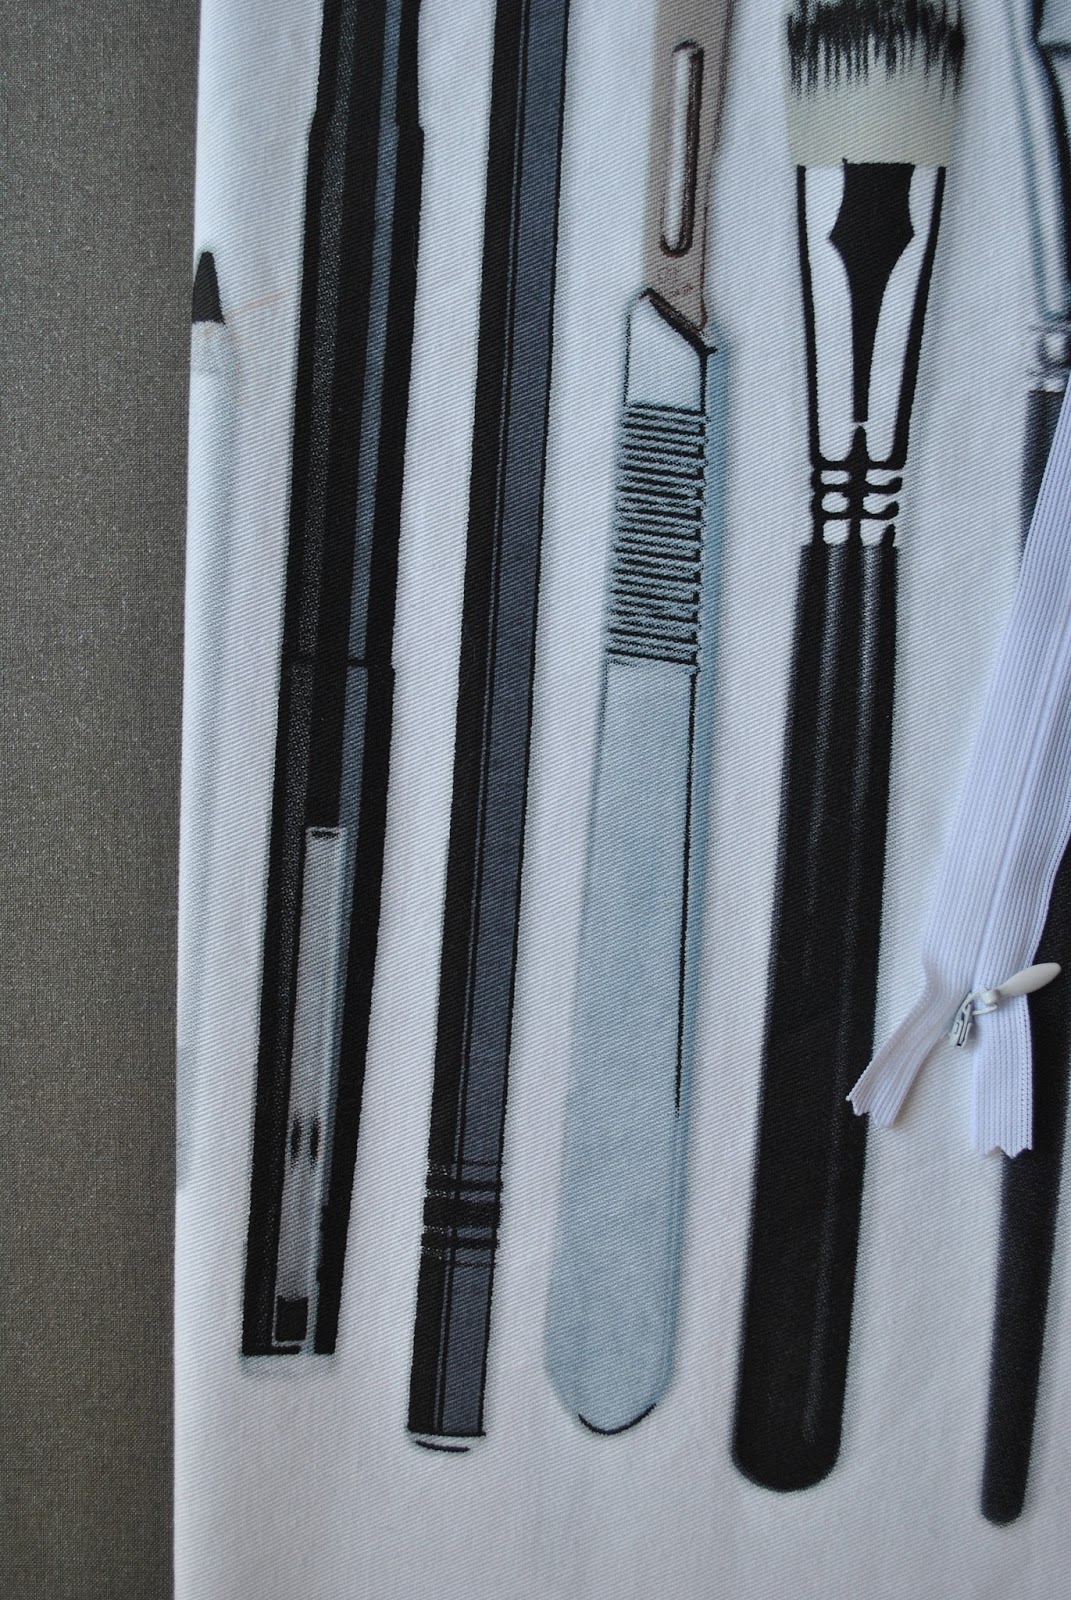
I used no pattern but just made it up to fit what she wanted.  She wanted high-waisted, close-fitting at the waist and this length, and for the paintbrushes to be situated exactly so high and for not a single skerrick of print to be hidden or broken up in any darts or shaping.  I cut two rectangles with no shaping, to maintain the print, put in an invisible zip at centre back, and pinned tapered box pleats to fit her waist, each one going straight at first then tapering narrower for the last third to accommodate her hips.  There are four such pleats both front and back.

Pretty easy, once I got going on it!  I added a shaped, interfaced facing, and hand-hemmed.
Done!
The one difficulty; inserting the zip centre back was a teeny bit angsty, because I discovered that the paintbrushes are printed just slightly slanty and off-grain… OF COURSE THEY ARE.

I chose that shortest pencil on the fold to be the “sacrificial” pencil through which to cut the centre back seam, and sewed the seam with as narrow seam allowances as practically possible and as close to the pencil/brush on either side as I could get.  It passes right on each one, touching the very tippy top of the one at left and scraping the very bottom of the one at right.  Phew!

Answer? Yaaas dahhling, we do most certainly Art.

pinterestmail

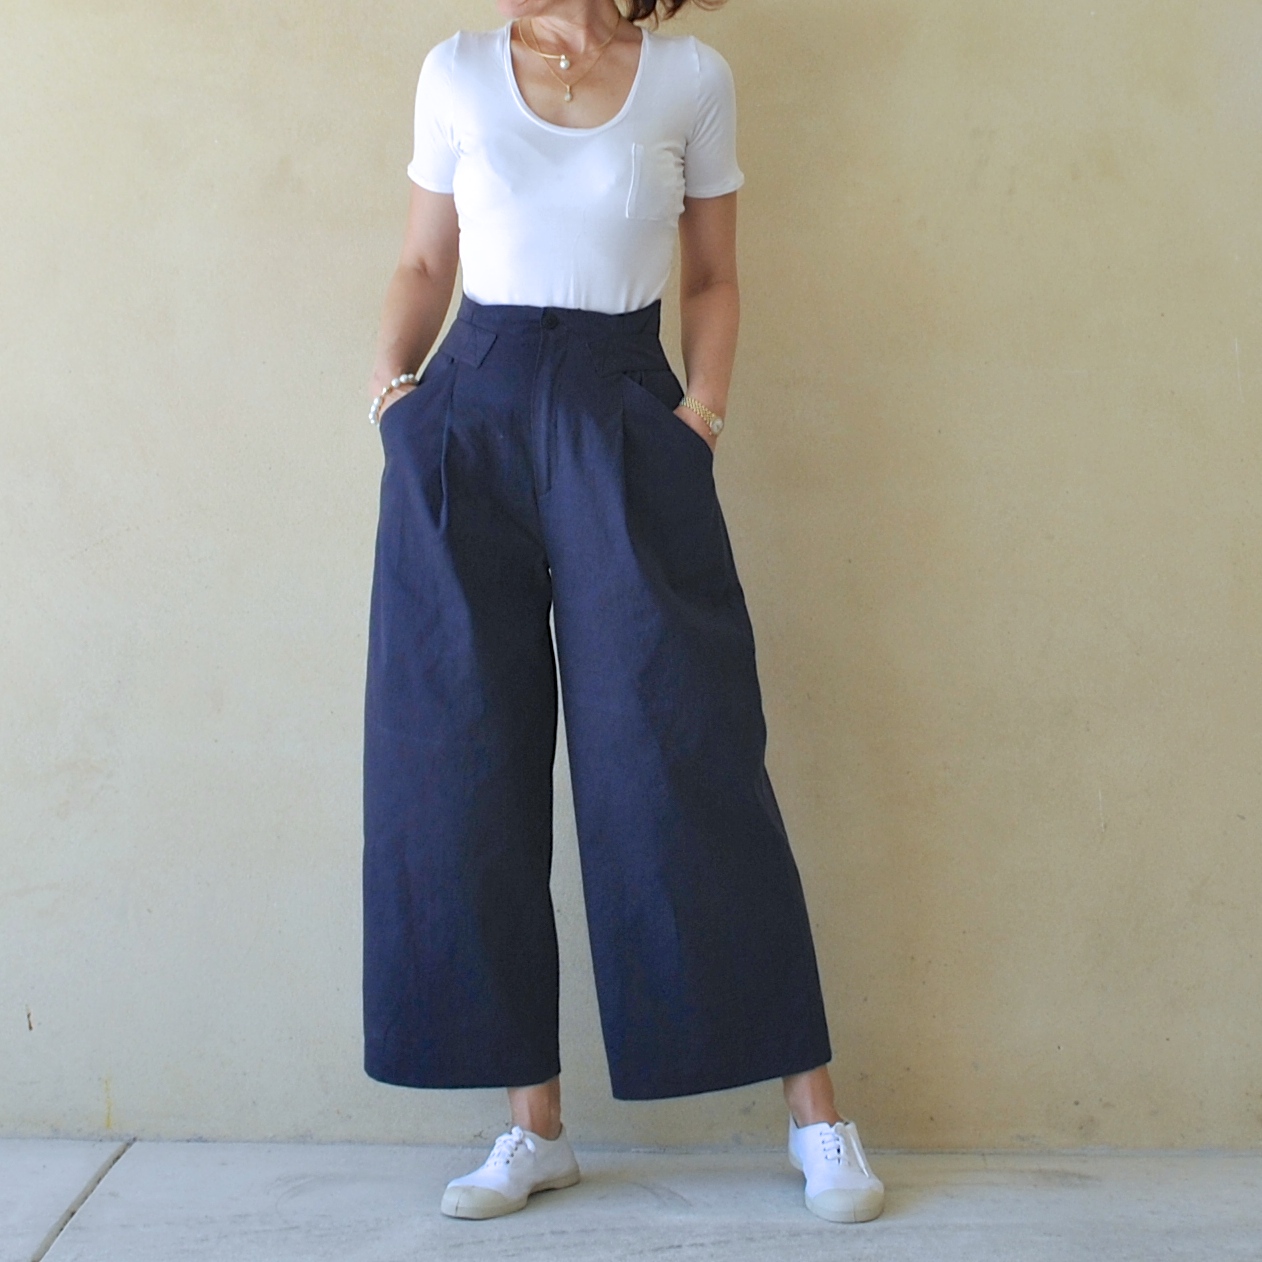
blue Issey Miyake trousers

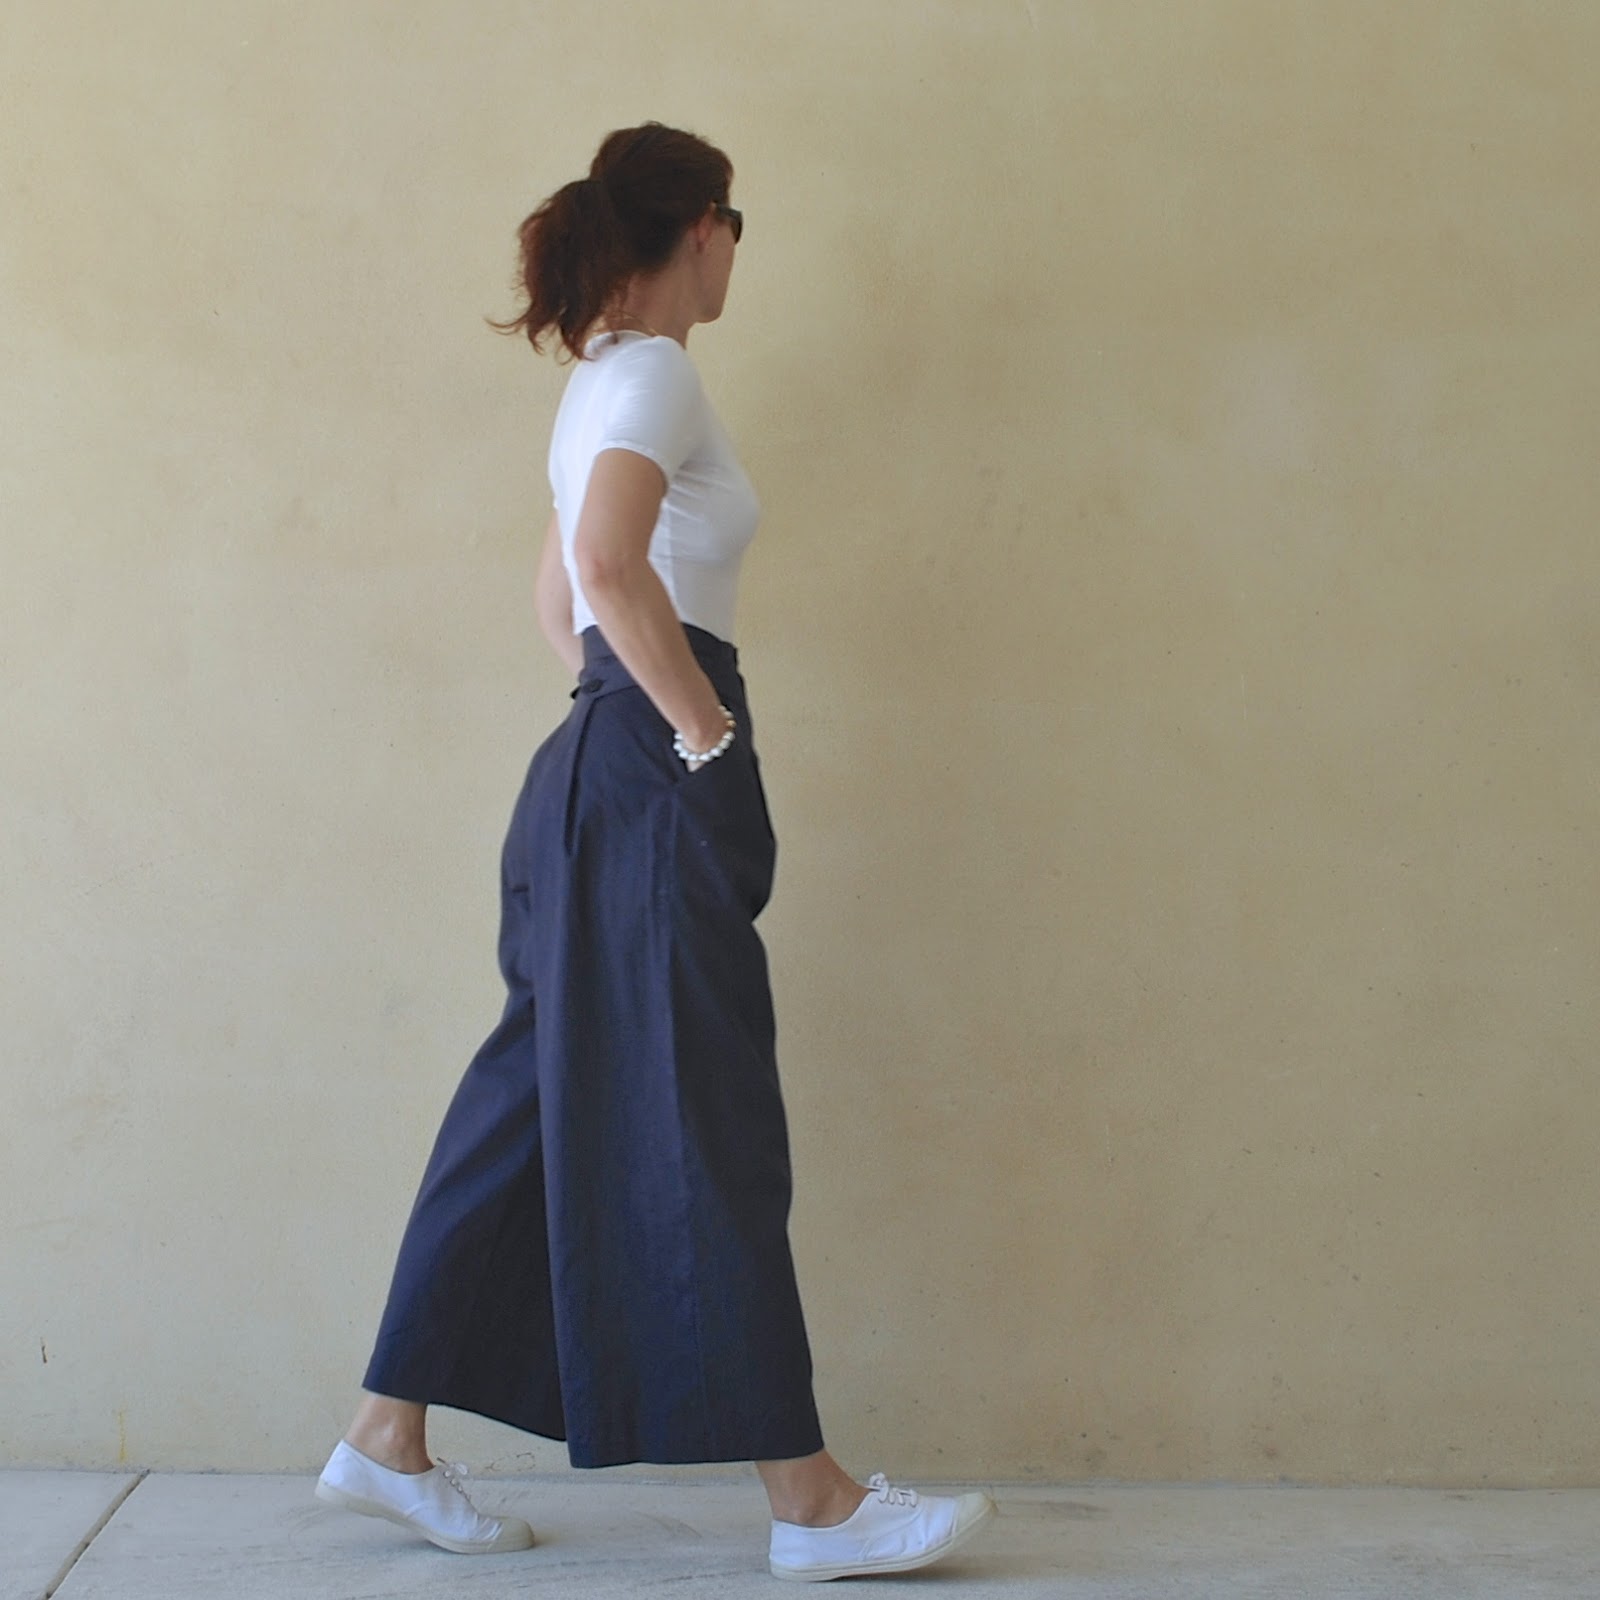
To complete my Issey Miyake trilogy; the trousers.
Pattern; Vogue 1693, an Issey Miyake design from 1986.
I used a navy blue cotton drill from Spotlight, buttons from Fabulous Fabrics.
Hmmm, navy blue again.  Can’t explain it but I’m a bit mad for it right now.  Navy; so hot right now!
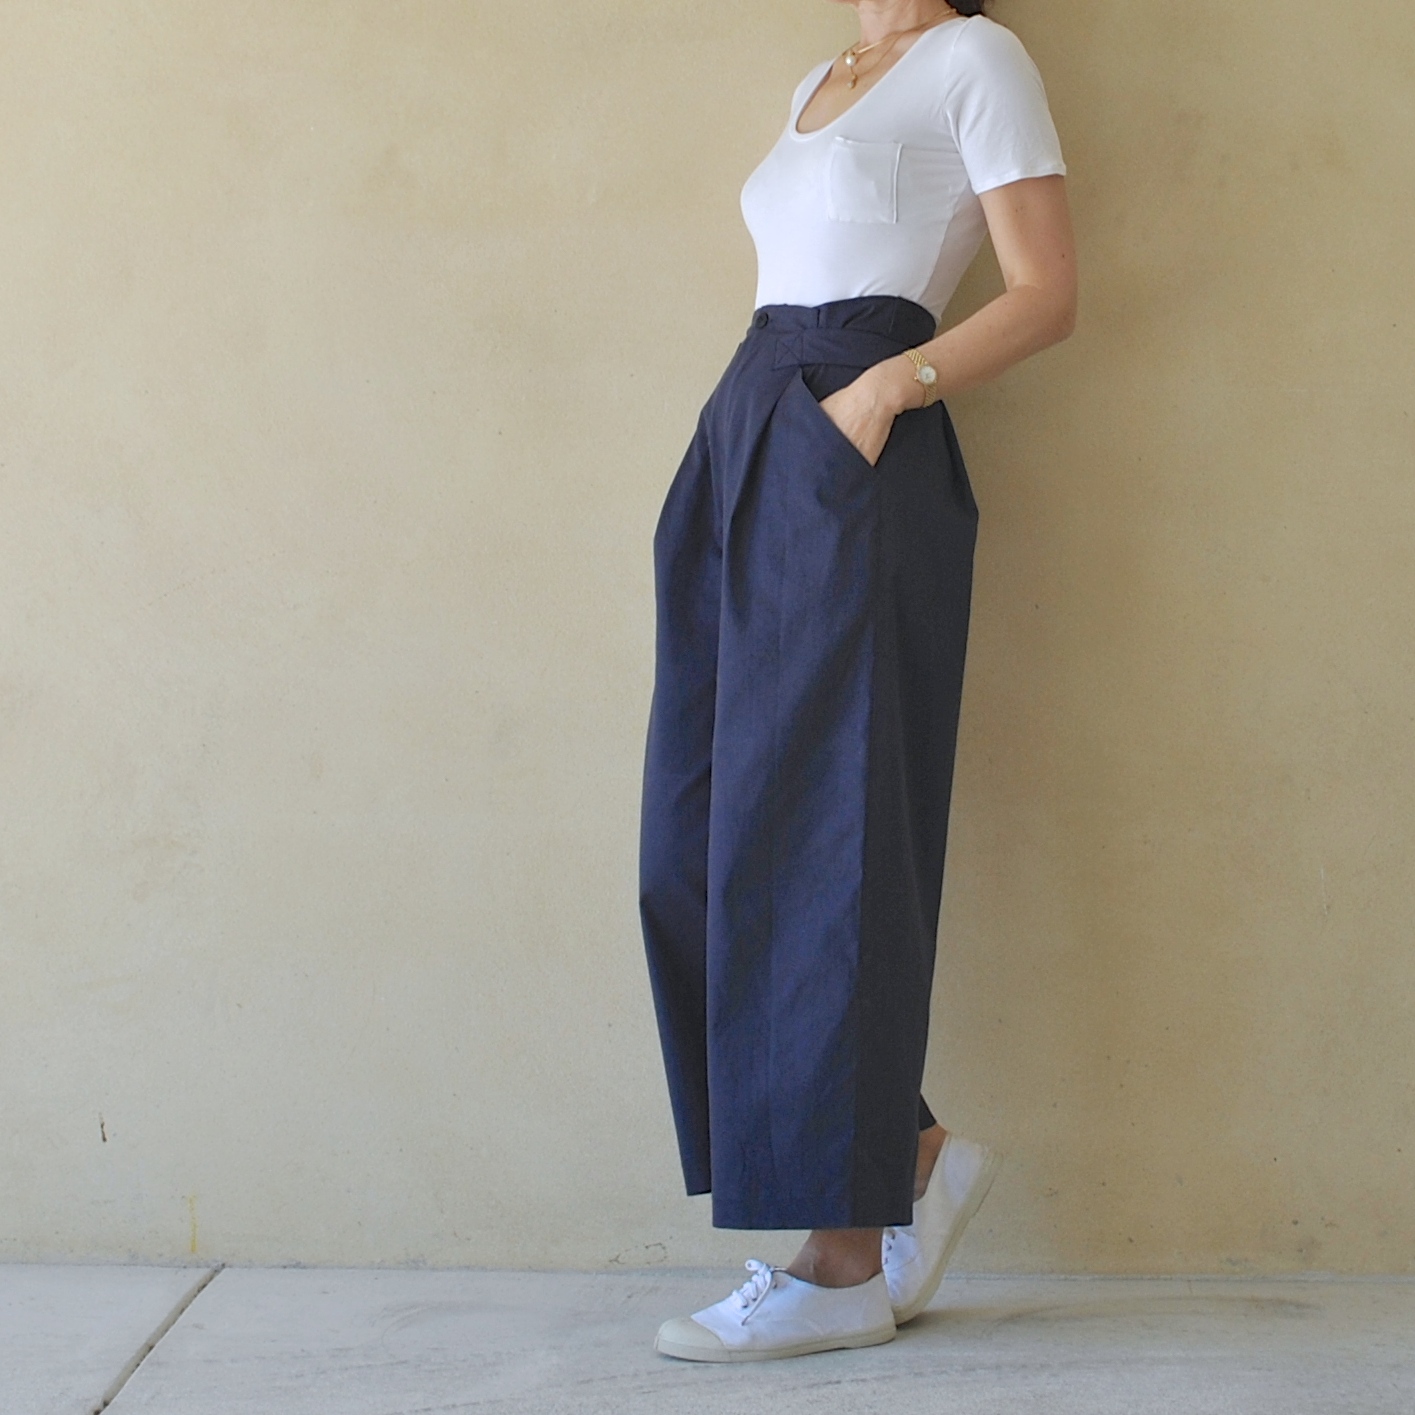
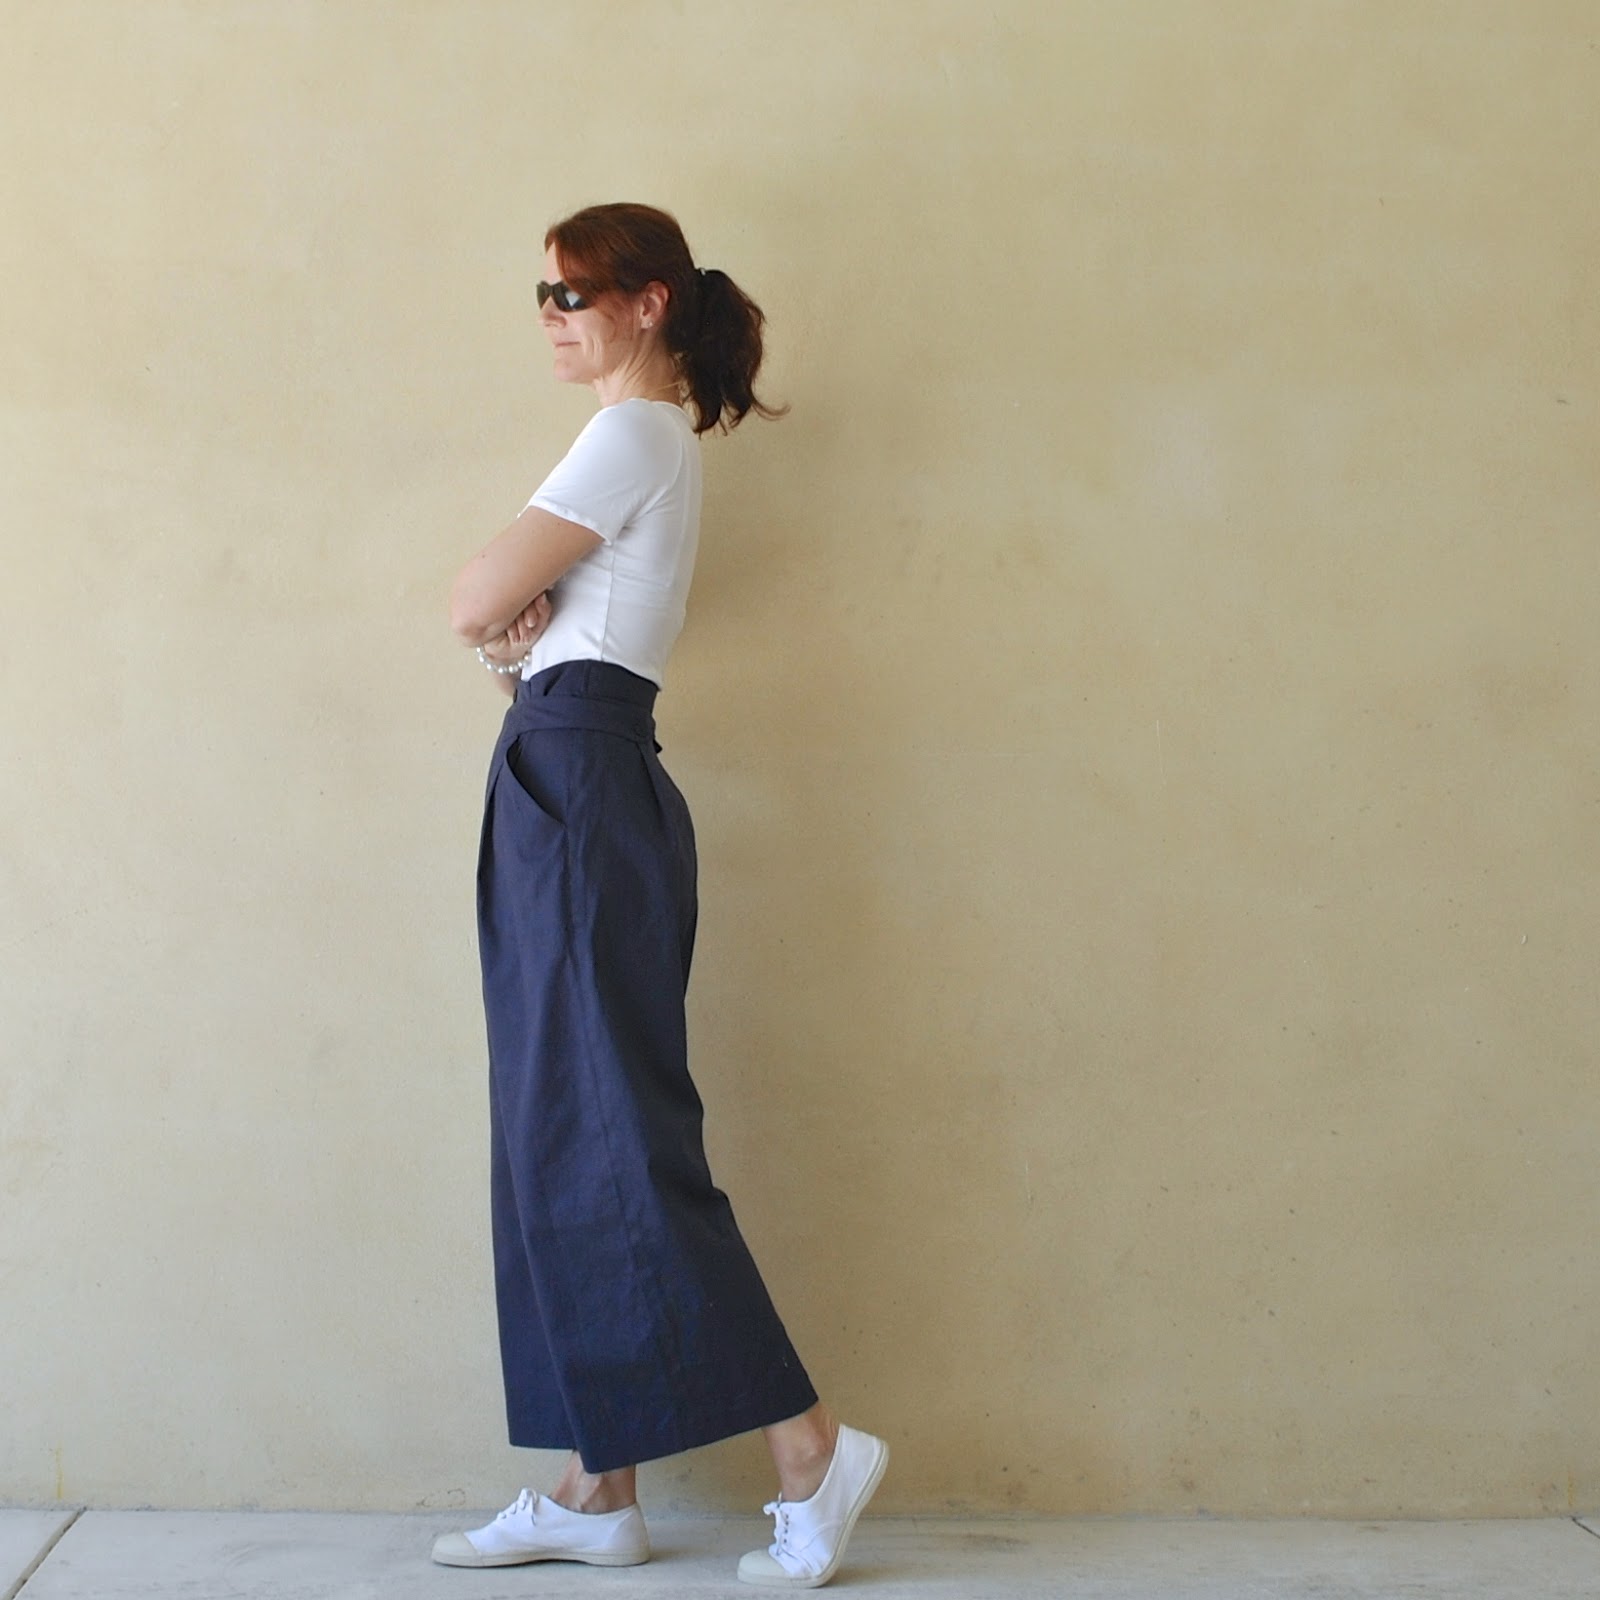
When I finished these and popped them on; I felt quite happy and positive about them, thinking they looked pretty sharp.  A bit reminiscent of sailor’s pants, which pleases me a lot.   And wide legs are IN IN IN.  One of my favourite pieces in the Paris autumn/winter collections was Dries van Noten’s super wide leg pants; slouchy, relaxed, oversized trousers in the plainest of plain khaki cotton chino.  So comfy, so practical, so unfussy, so damn chic.  I saw, and I wanted!
So I strutted out confidently to my husband to show him, anticipating a comment along the lines of, hey super cool pants! or something like that.  Ha! his reaction: hmmm VERY eighties, aren’t they?  His tone was not the tone of a man who thought the eighties had anything worth resurrecting, fashion-wise.
*pop*
Bubble burst.
Hmm, well, yes; no denying that they are, most definitely, eighties.  A full-on ridgydidge piece of authentic eighties, right here.  But I’m an eighties girl.  Owning that.  And anyway I reckon this shape is pretty NOW too!

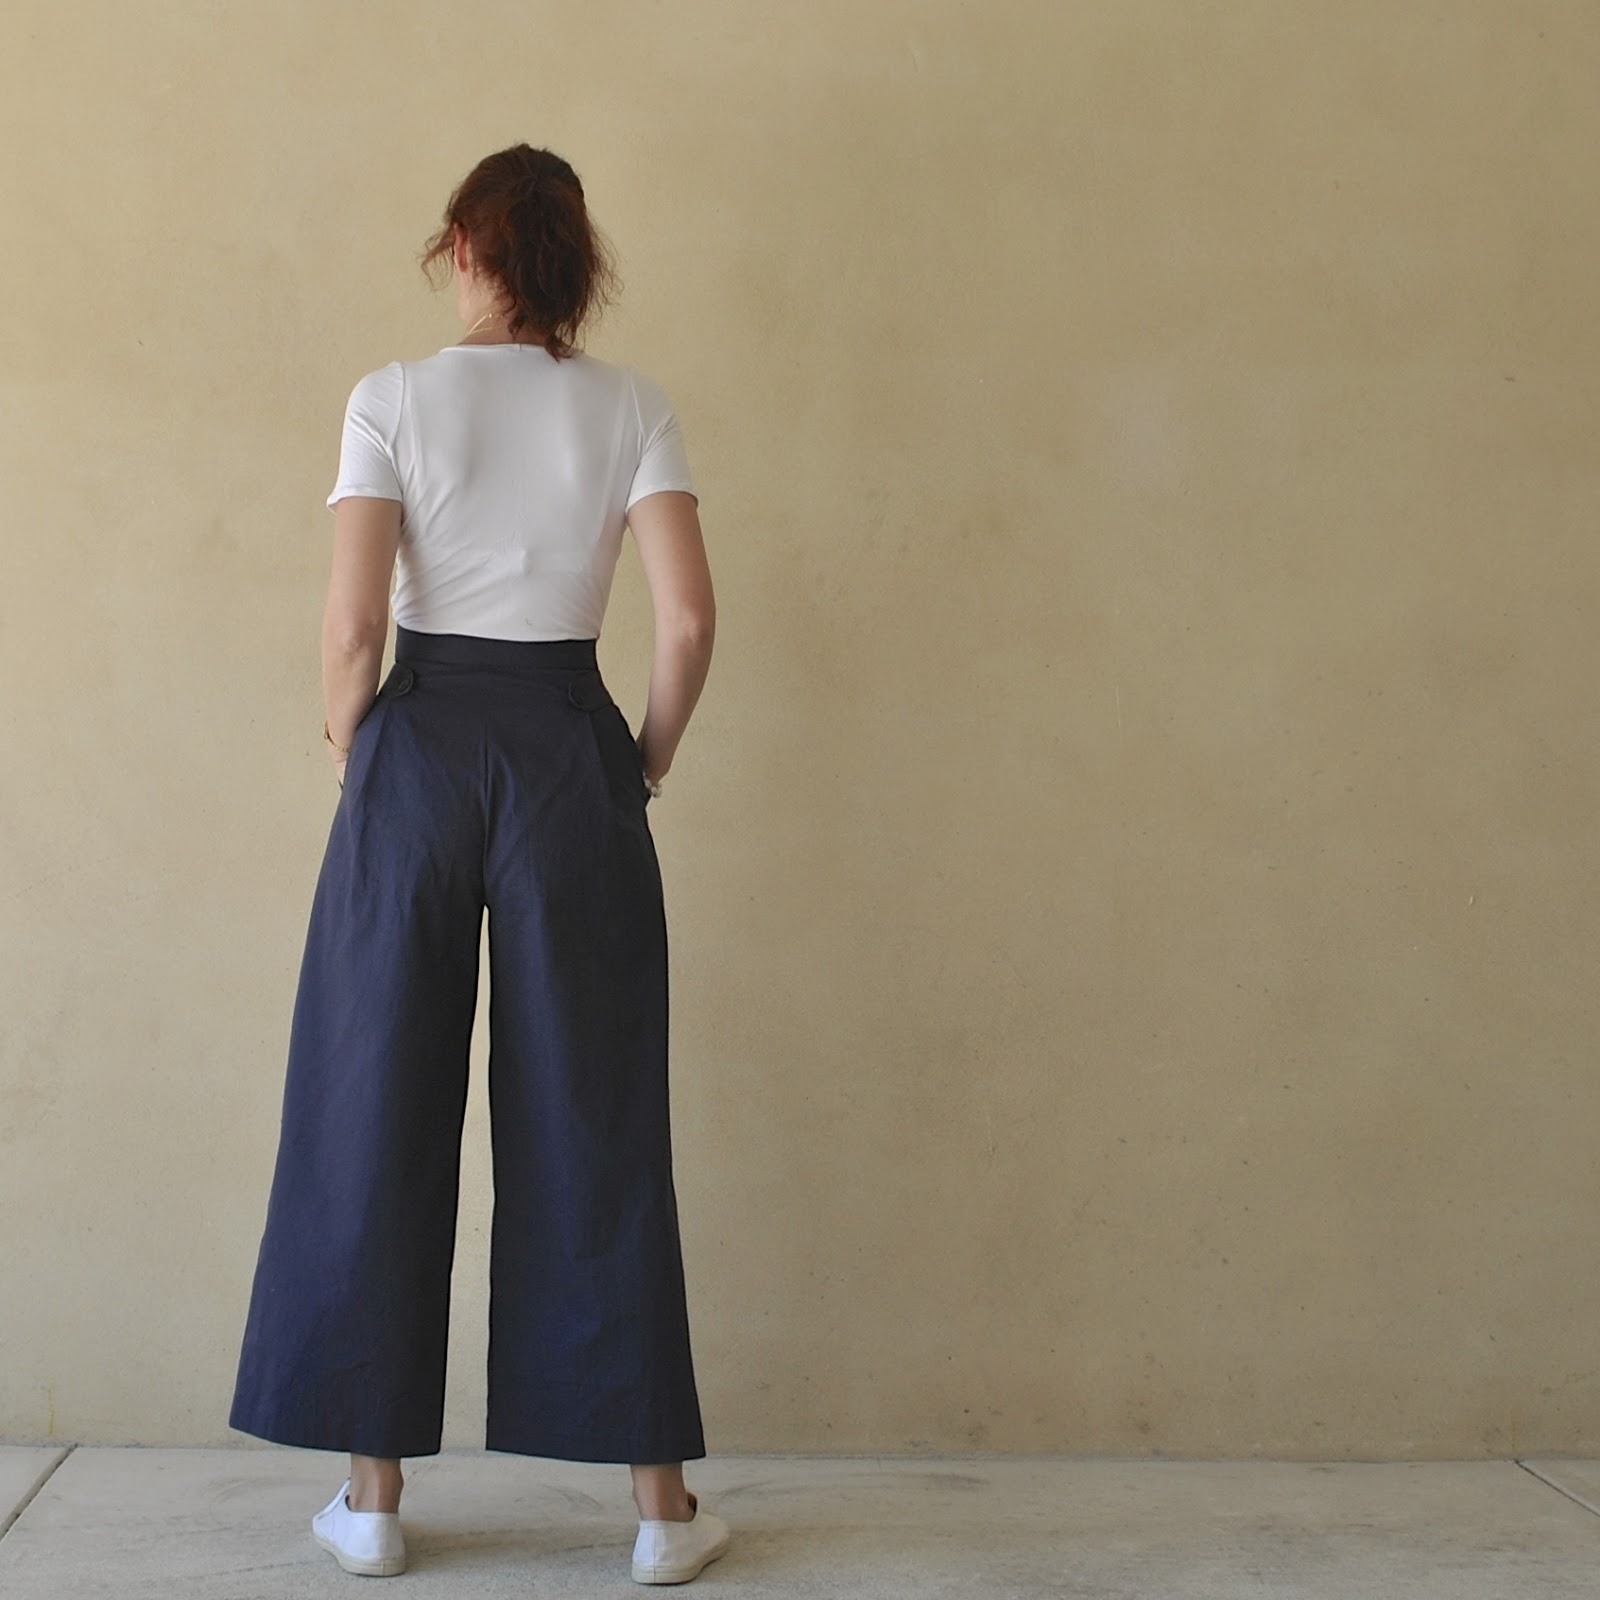
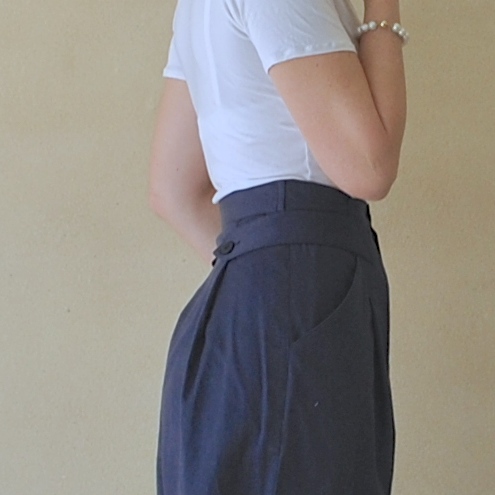
In eighties speak we used to say gauchos, but the hip n’ happening term now is culottes, whether rightly or wrongly?  They are very wide at the waistline and pulled in with four big pleats, held into place with buttoned arrowhead tabs to nip in and define your waist, so have that little something different and interesting about them.  They also have satisfyingly deep slanted front pockets, like all the 80’s and early 90’s Vogues used to have.

Some technical bizzo:  the instructions left some parts a little bit shonky/half-done; I went back and unpicked a few spots so I could re-do/overlock to neaten it up inside when I realised that was the case…  Also, the construction of the waistband was a little strange, and so I modified it slightly; instead of hand-stitching the short edges of the waistband facing, I wrapped it around over on the outside of the waistband and front, machine-stitched the side seams, then pulling the front back through so the front is all nicely enclosed between the waistband/waistband facing.  This results in it all being far more securely stitched together.  I still fell-stitched the lower edge of the facing though.

Finally though, I couldn’t be happier with the finished product! so I’m deducting just one point for the dodgy waistband construction issues.
Happiness factor; 9/10

Details:
Pants; Vogue 1693, navy blue cotton drill
Top; Nettie Tshirt with breast pocket, Closet Case patterns, details here
Shoes; bensimon, from seed boutique

pinterestmail

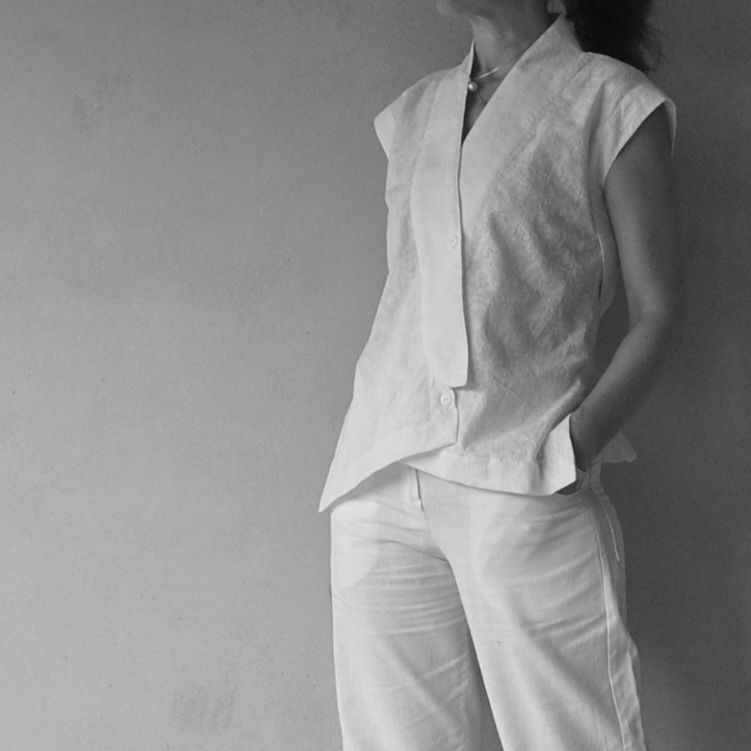
Issey Miyake blouse

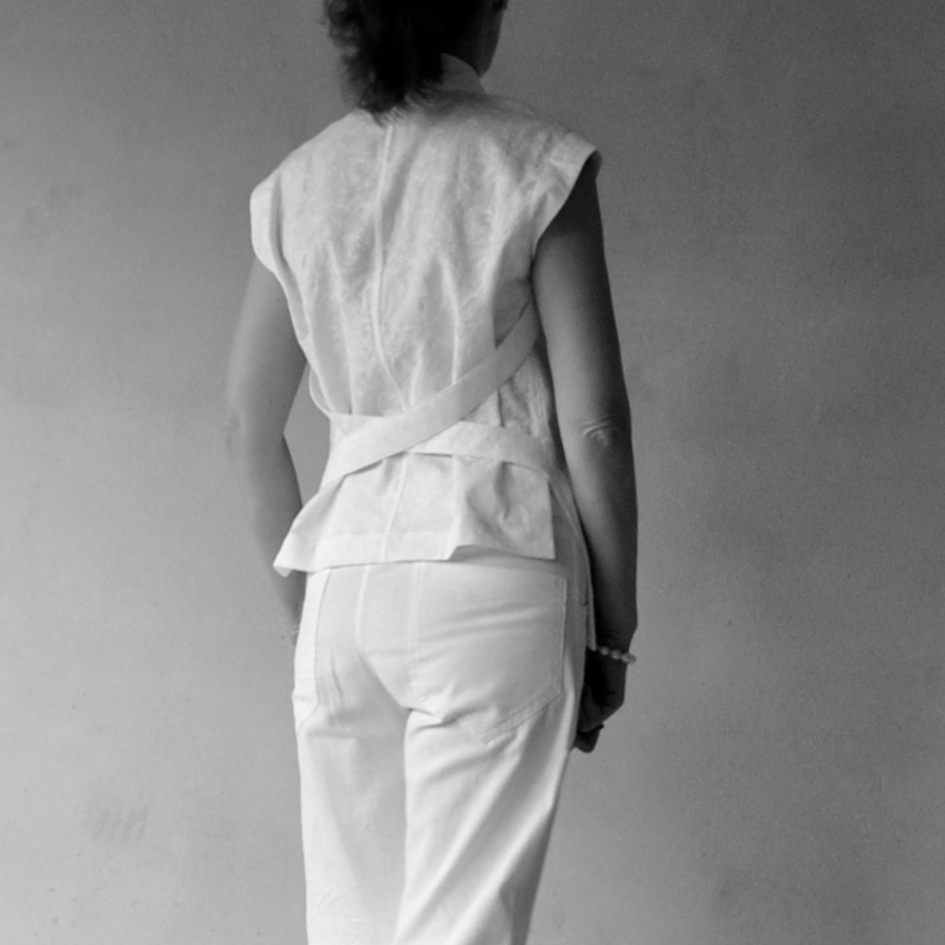
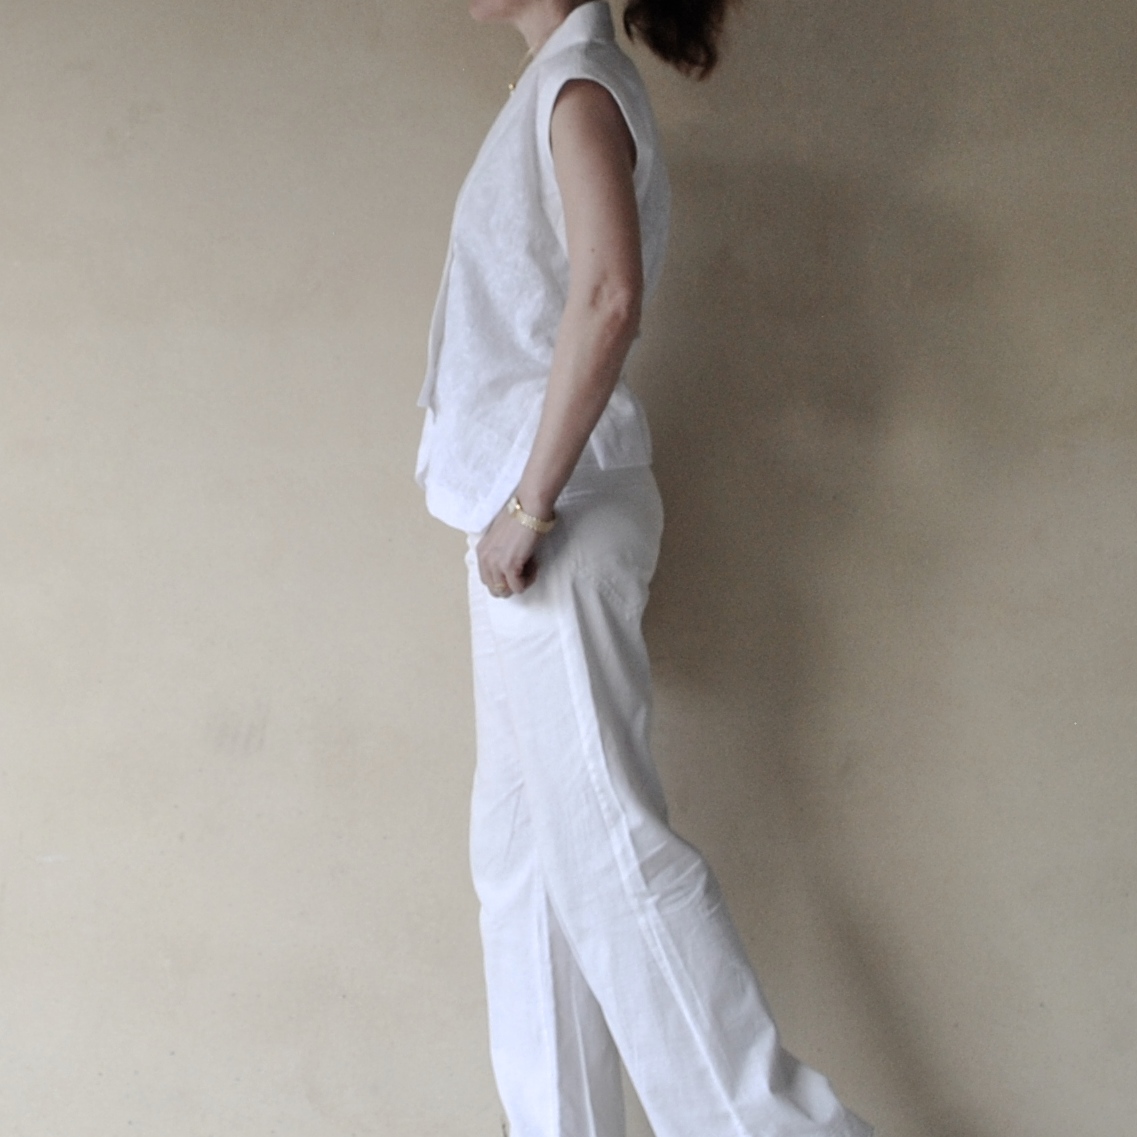
Continuing my trip down nostalgia lane, I’ve made the top from my 1986 Issey Miyake pattern; Vogue 1693…

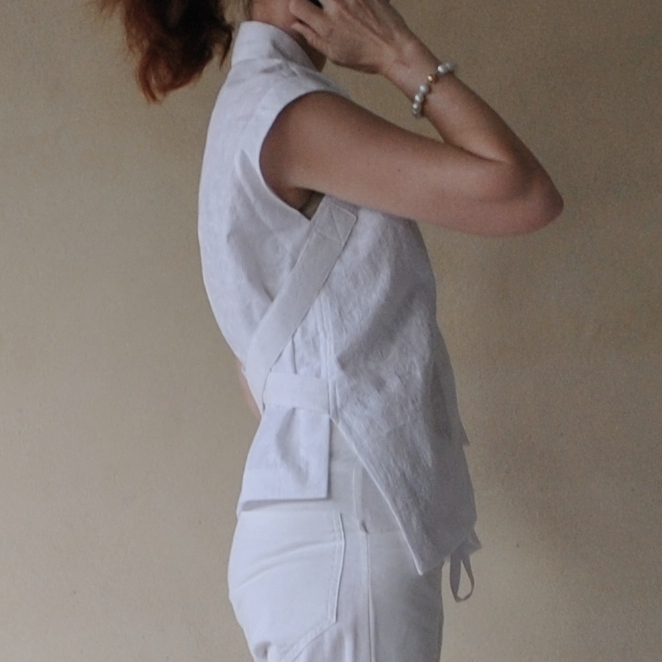
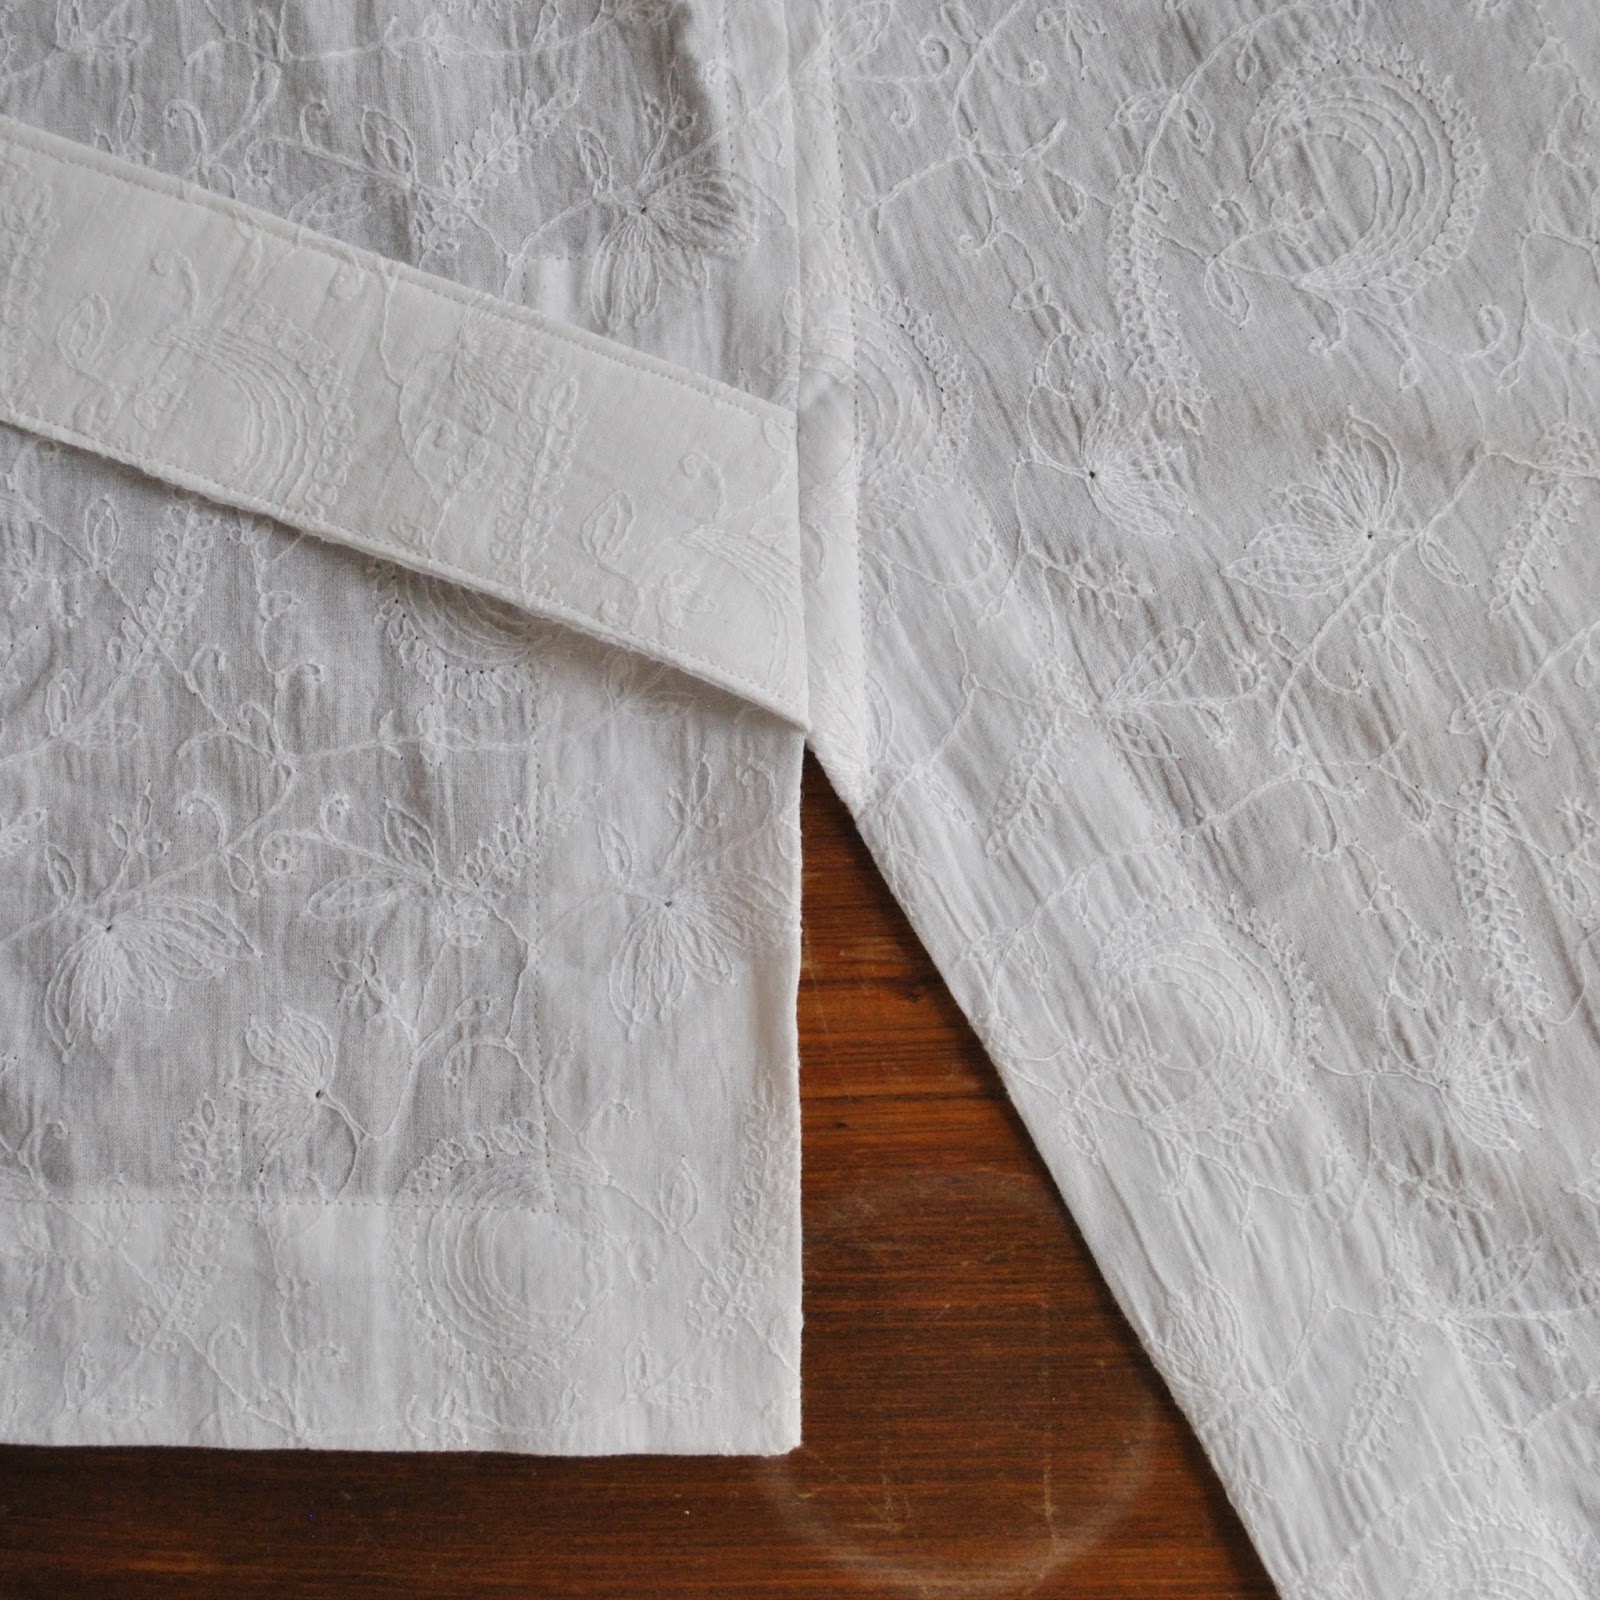
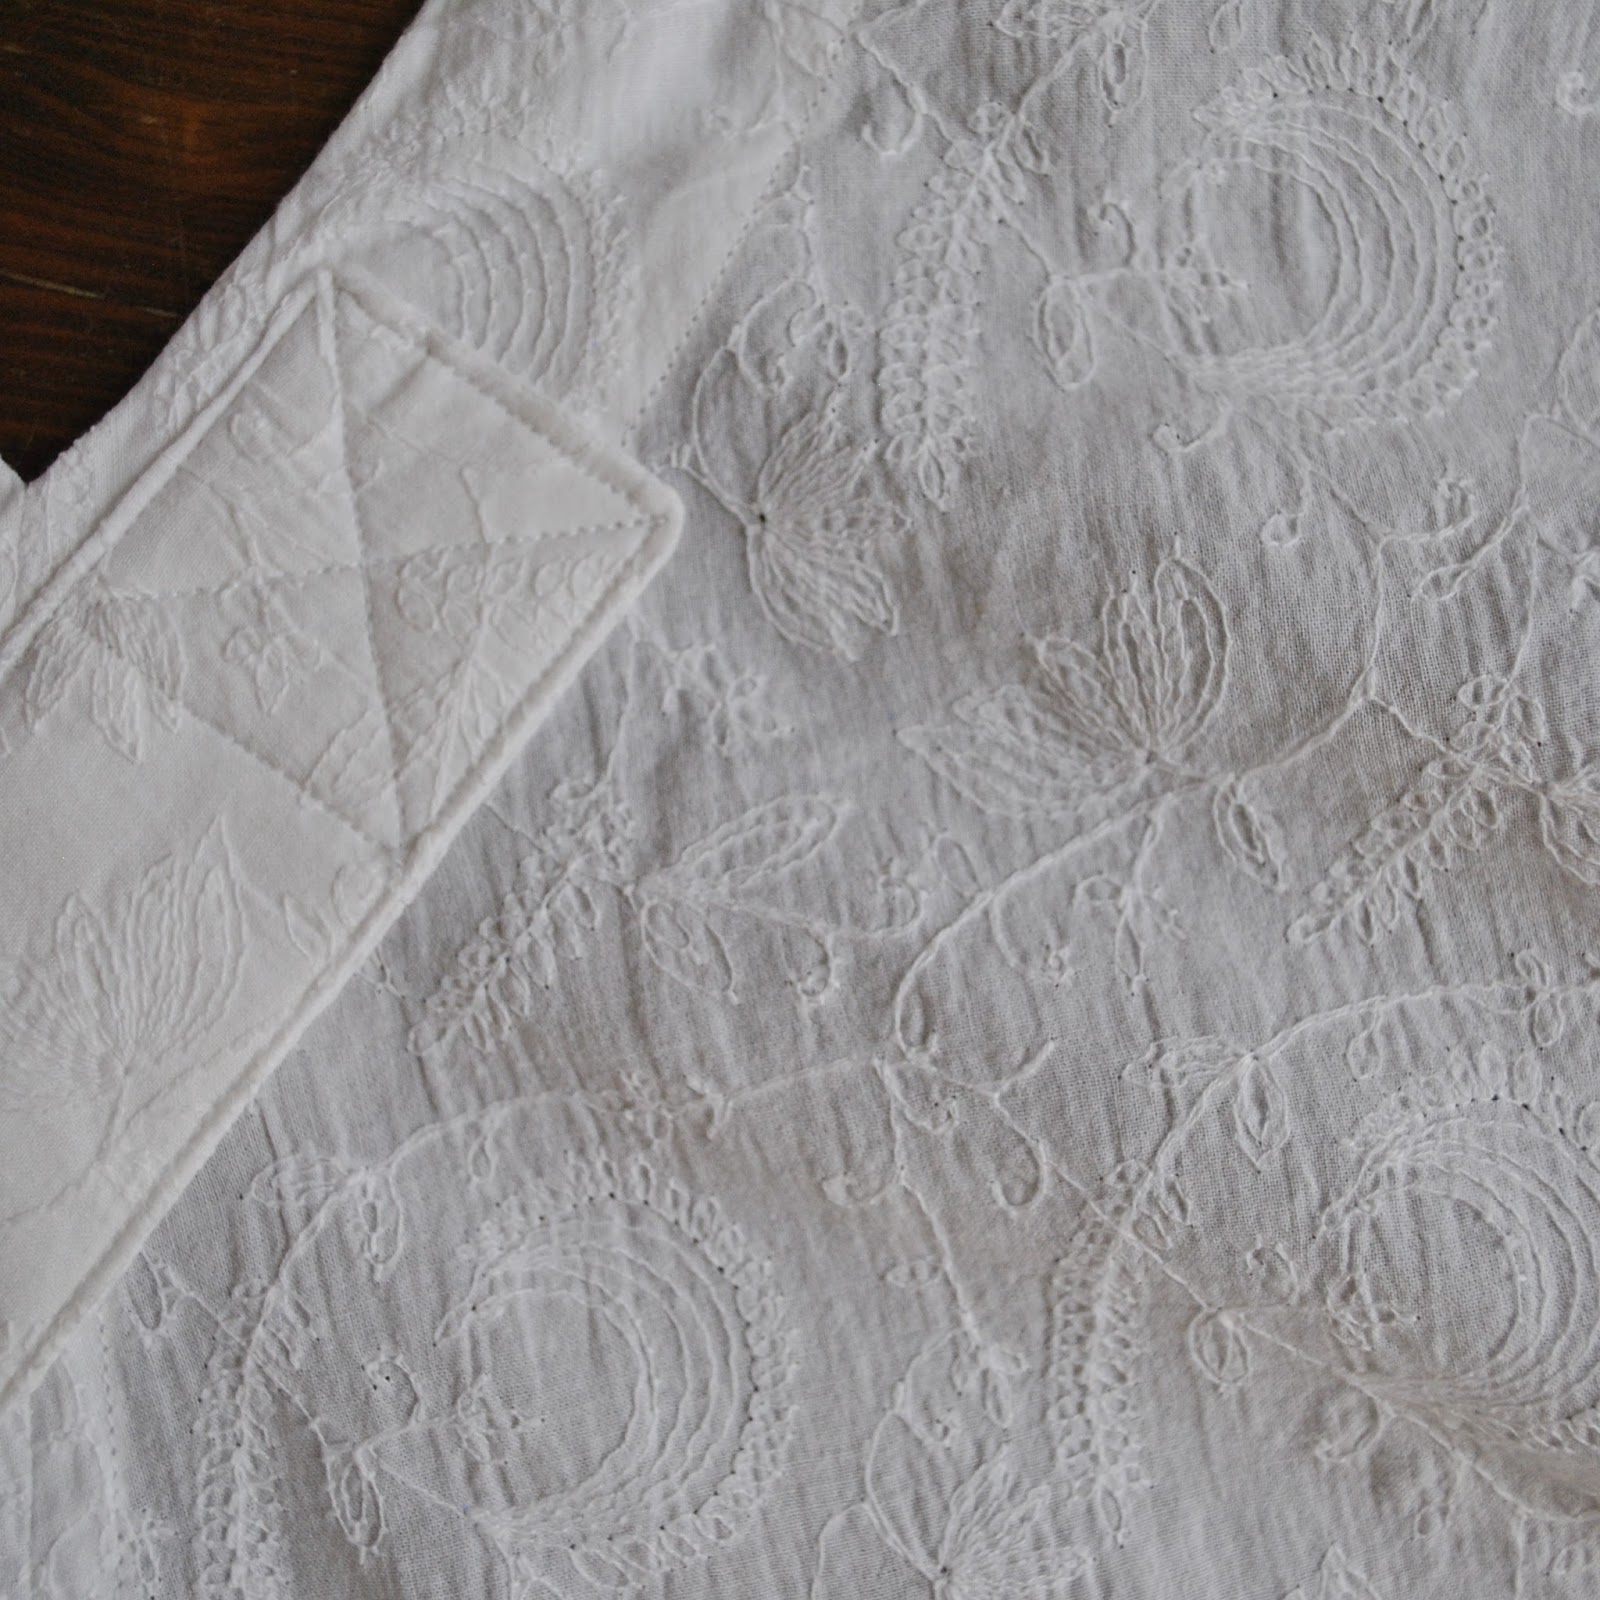
Fabric: a lightweight, fully embroidered cotton voile in pure-as-the-driven-snow white, a remnant from Potter’s Textiles.  I had barely enough fabric to squeak out the pattern pieces, and had to lay the belt and front bands across the grain.  Since they are interfaced I don’t think that’s going to affect the efficacy of the blouse too drastically.  Lack of fabric forced me to cut the armhole facings from a different white cotton from my stash, provenance long forgotten.  White buttons from Fabulous Fabrics.

I’d half forgotten how much I love this blouse pattern but it all came flooding back over me in a happy sentimental wave during the construction of this new blouse.  The finishing instructions are wonderful with a truly great attention to detail that you rarely see in a pattern any more; all raw edges are neatly hidden away, either under flat felled seams or neatly turned under and top-stitched down on either side of a seam.

The style is also very much my cuppa tea; loose, asymmetric, interesting.  It closes with just two buttons on a gently diagonal crossover front and two crossed belts at the back pull the blousiness in to the small of the back and help define your shape quite nicely.
Happiness scale; 10/10  Say no more!

Details:
Blouse; Vogue 1693, embroidered cotton voile
Trousers; own design, very old, white linen

pinterestmail

Cassie’s dark moss-green ball gown

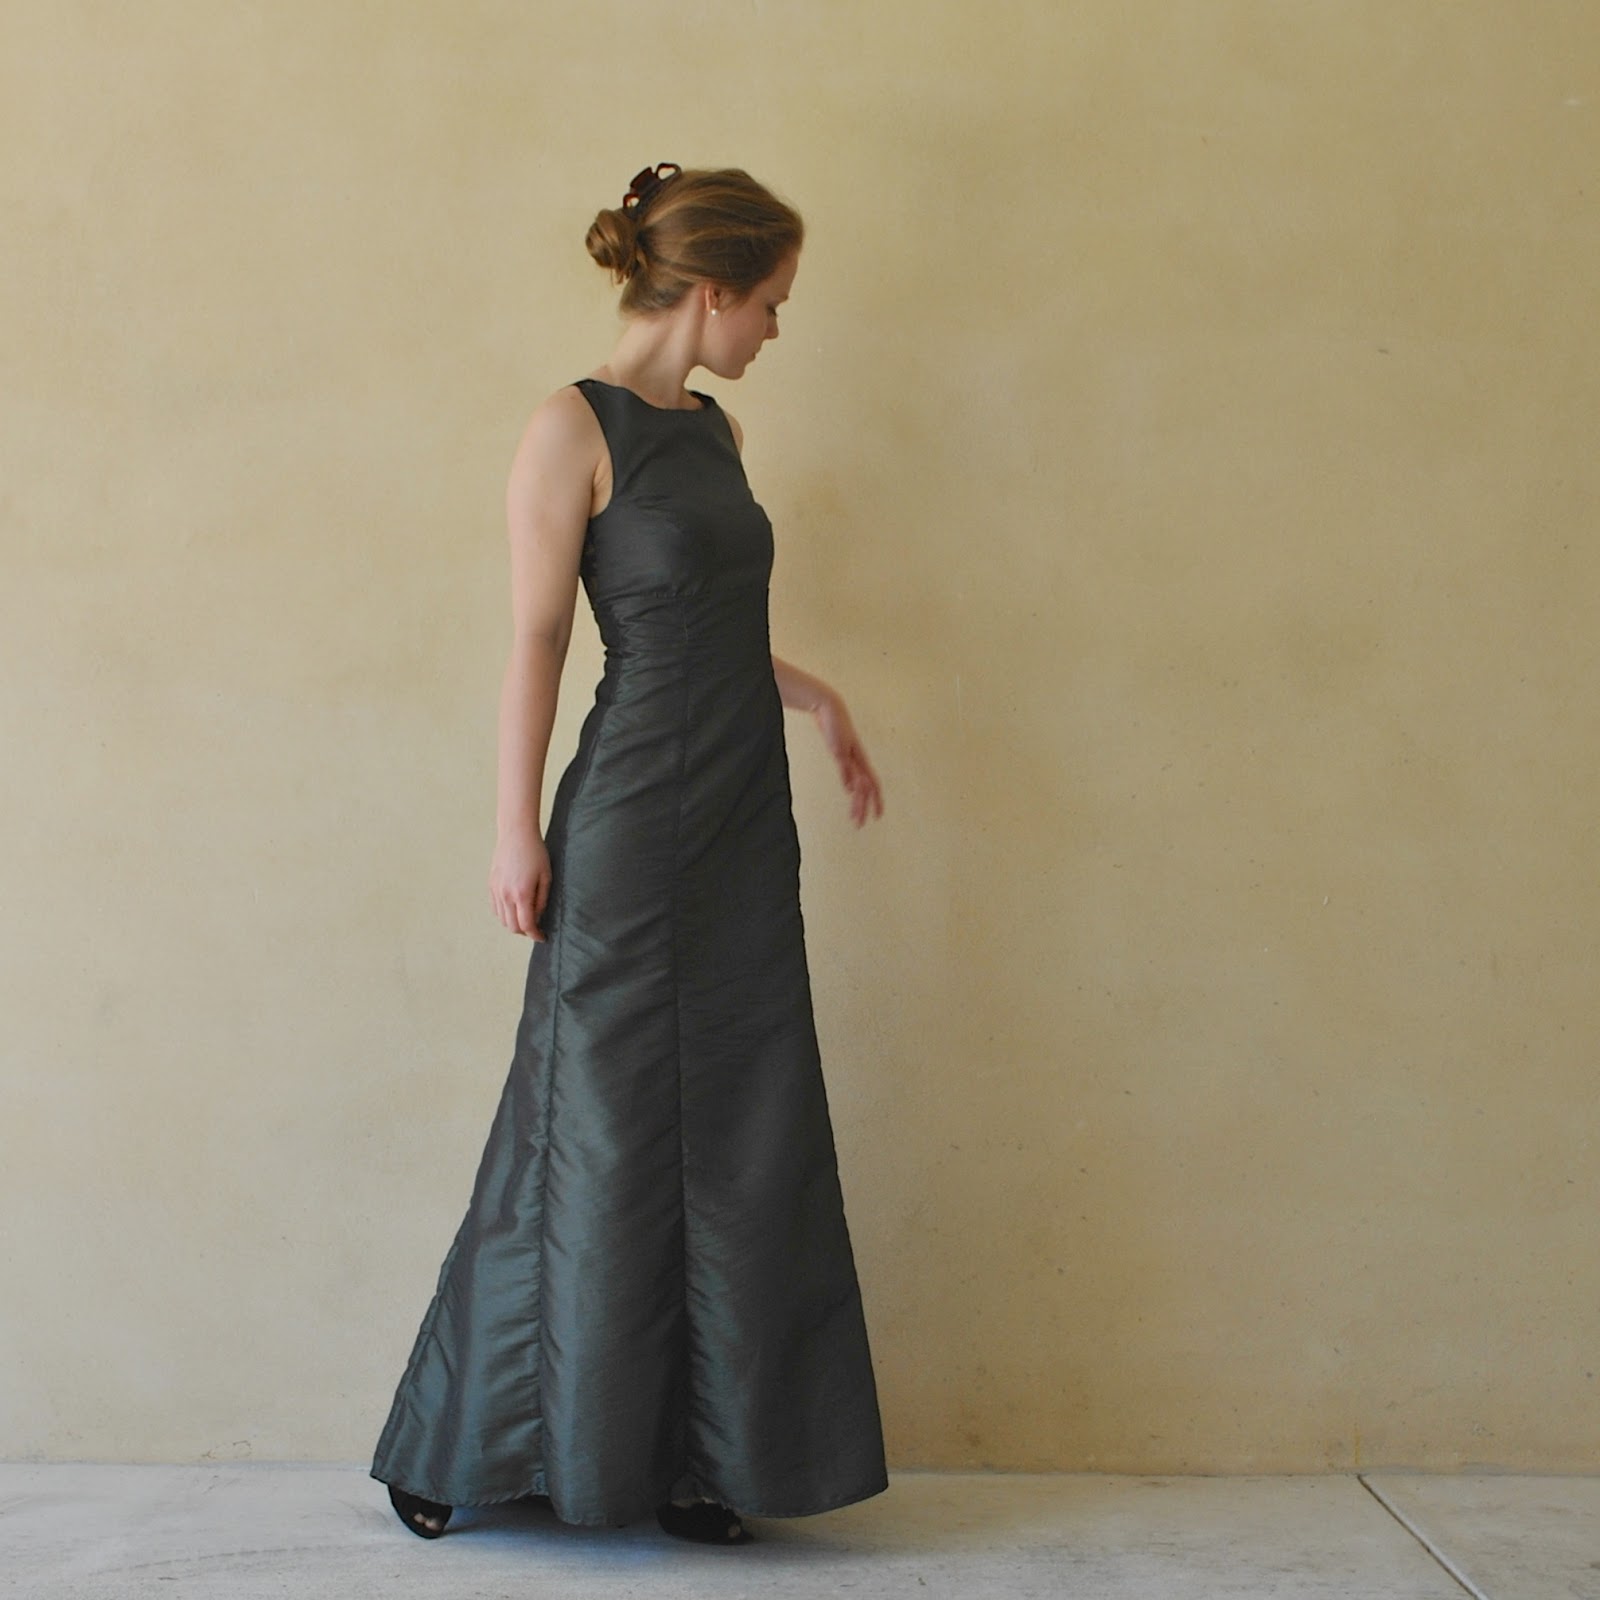
I thought it might be a good idea to take a few pictures of Cassie wearing one of her own self-made ball gowns, since she has pretty much abandoned her own sewing blog years ago… I’m sure she’ll appreciate that I took a few pictures for her one day in the future!  I’m a wee bit sad that I have absolutely zero pictures of my own creations from when I was younger.

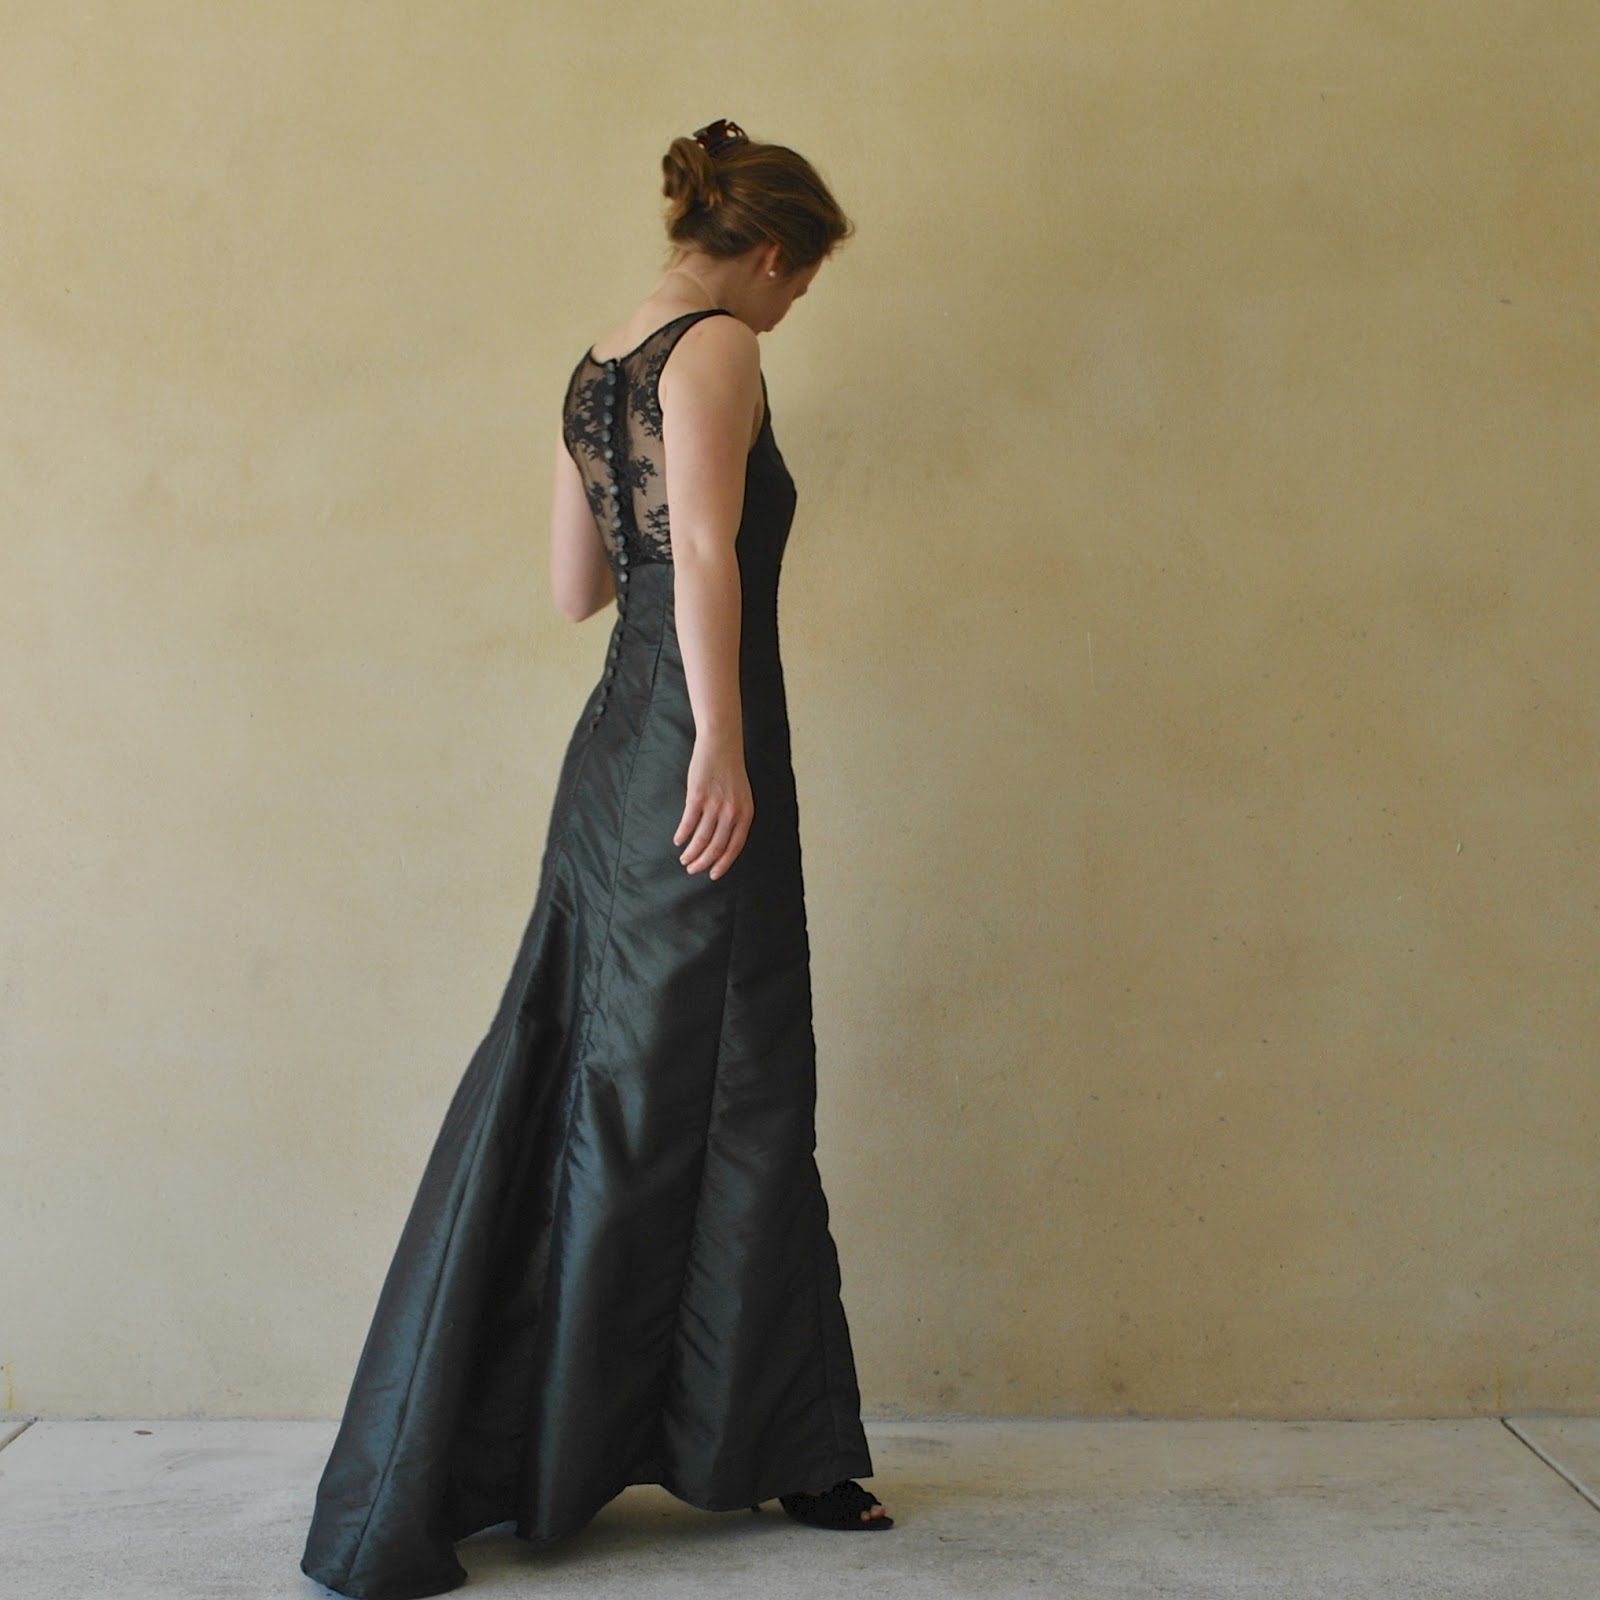
Cassie made this ball gown for herself three years ago,  and wore it for the second time last night when she attended the Australian Chinese Youth Association gala with a group of girlfriends.  These pictures are like a re-enactment, taken the morning after the night before! if you like!
Its first outing was to an Amanda Young Foundation ball, and it was at that time teamed with bright blood-red lipstick and fangs.  Yup, fangs… she was a vampire!  She cut the fangs from fake pinkie nails and stuck them to her teeth with nail glue.  Apparently she had to pull the fangs off before she could have dinner though…  aah, the trials and tribulations of being a vampire.

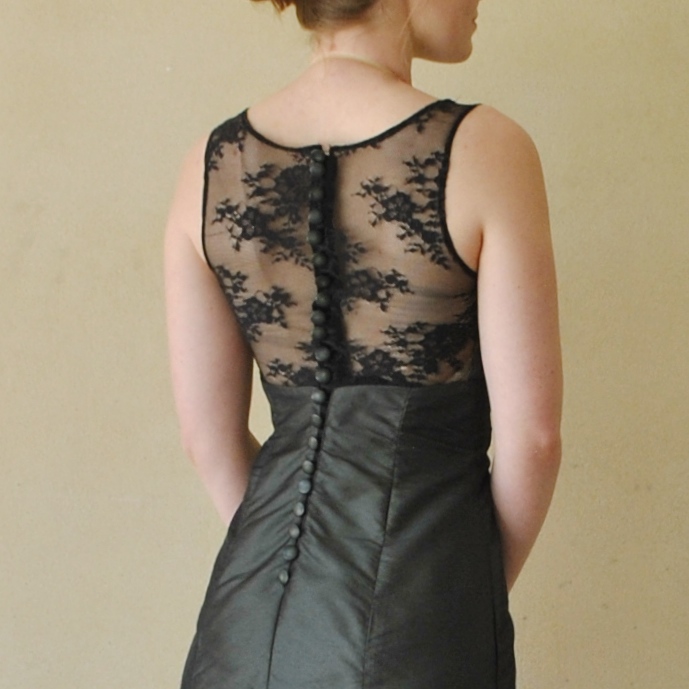
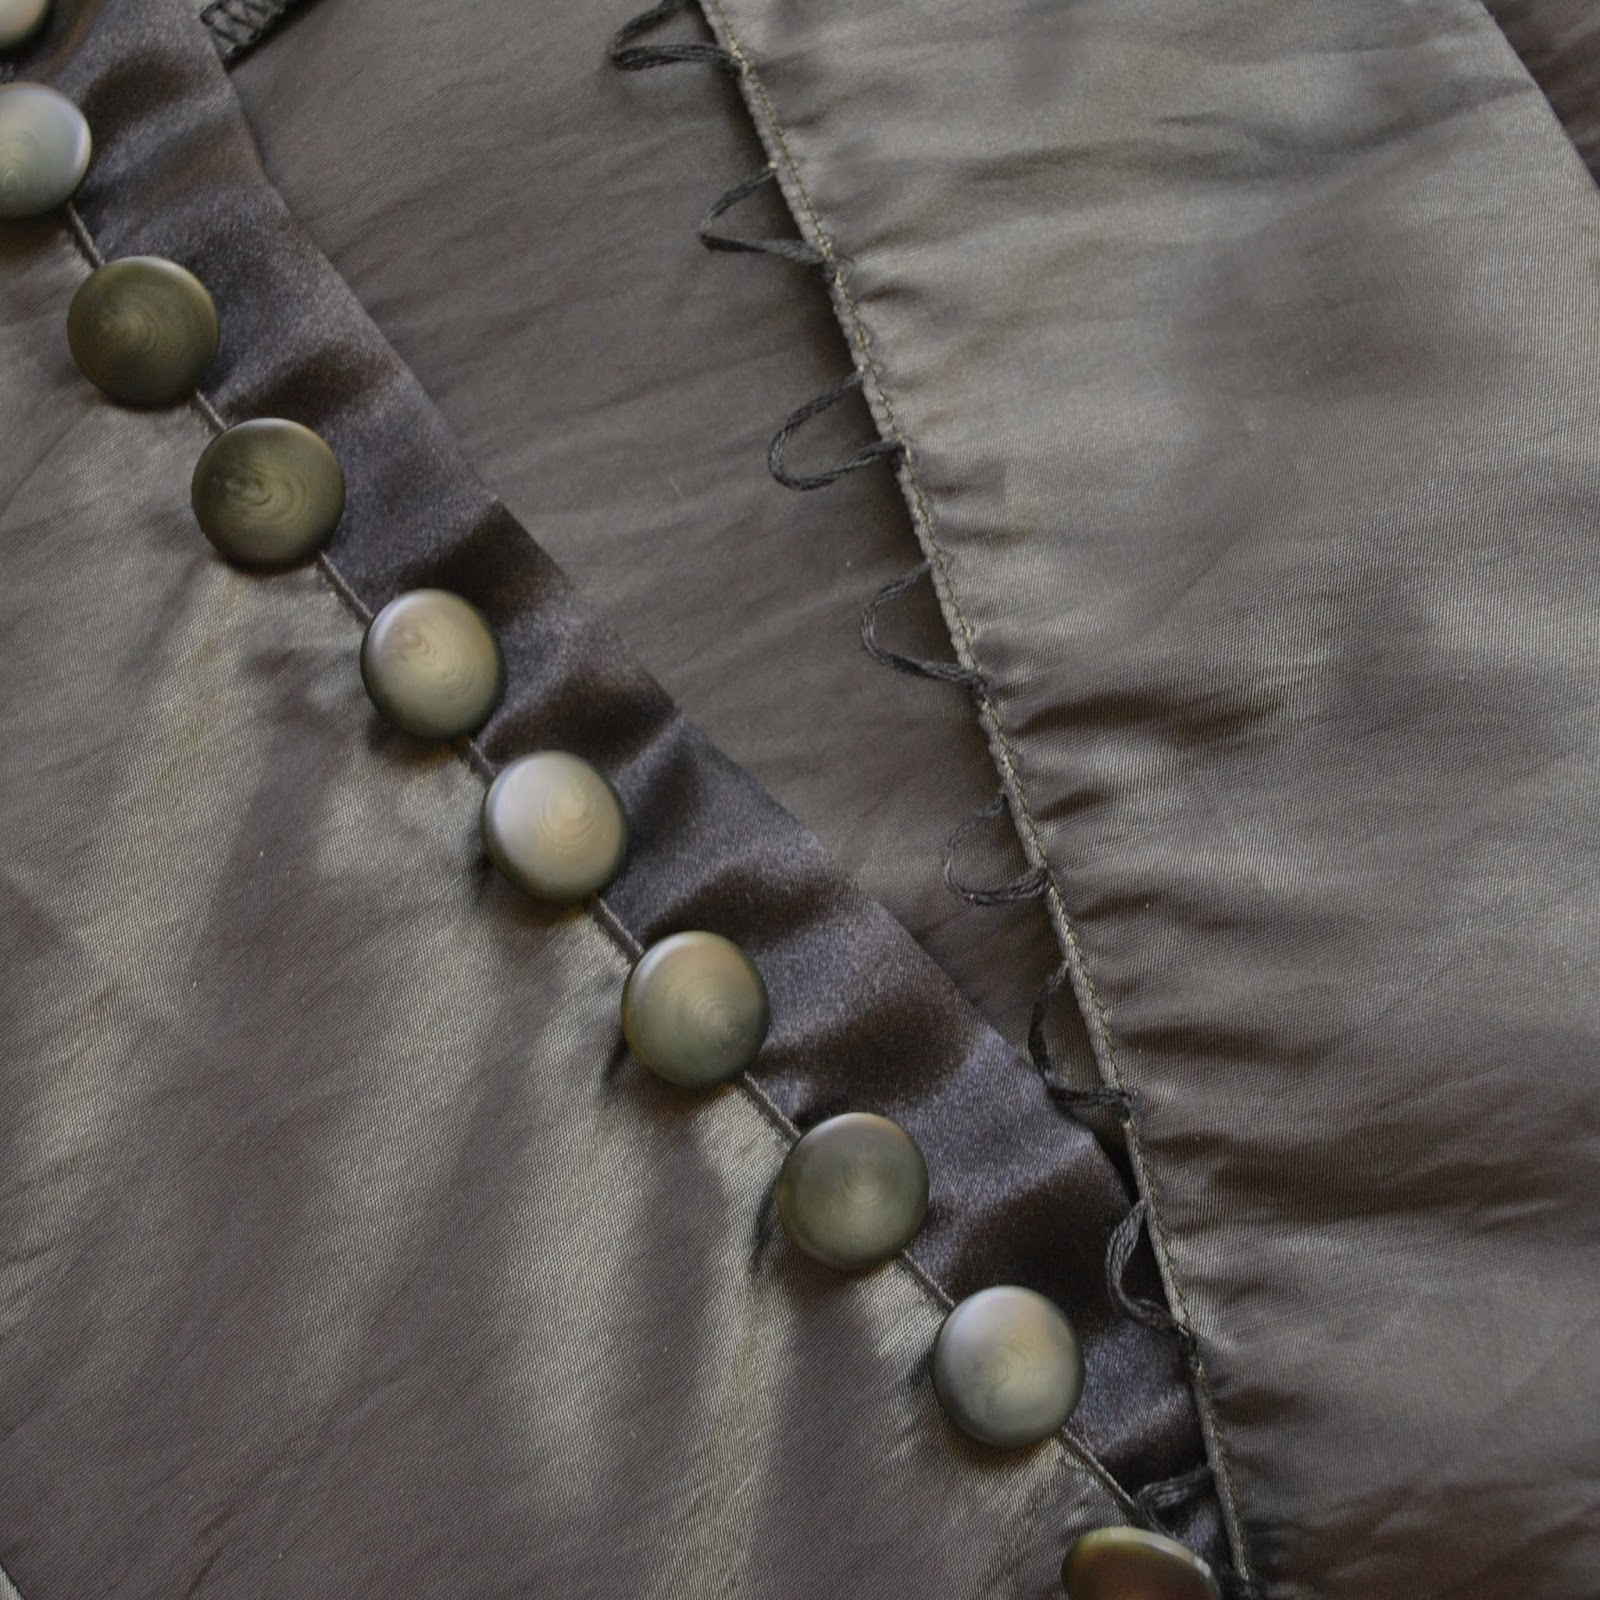
The top and skirt are deep moss green silk dupion with the bodice back in black lace.  In lieu of a zip at centre back, she made a multi-button band, with 21 closely spaced shank buttons.  To make this, she stitched a folded band of black silk satin for the button side, and hand-stitched button loops using black embroidery floss to the lace on the other side.  All materials from Fabulous Fabrics.

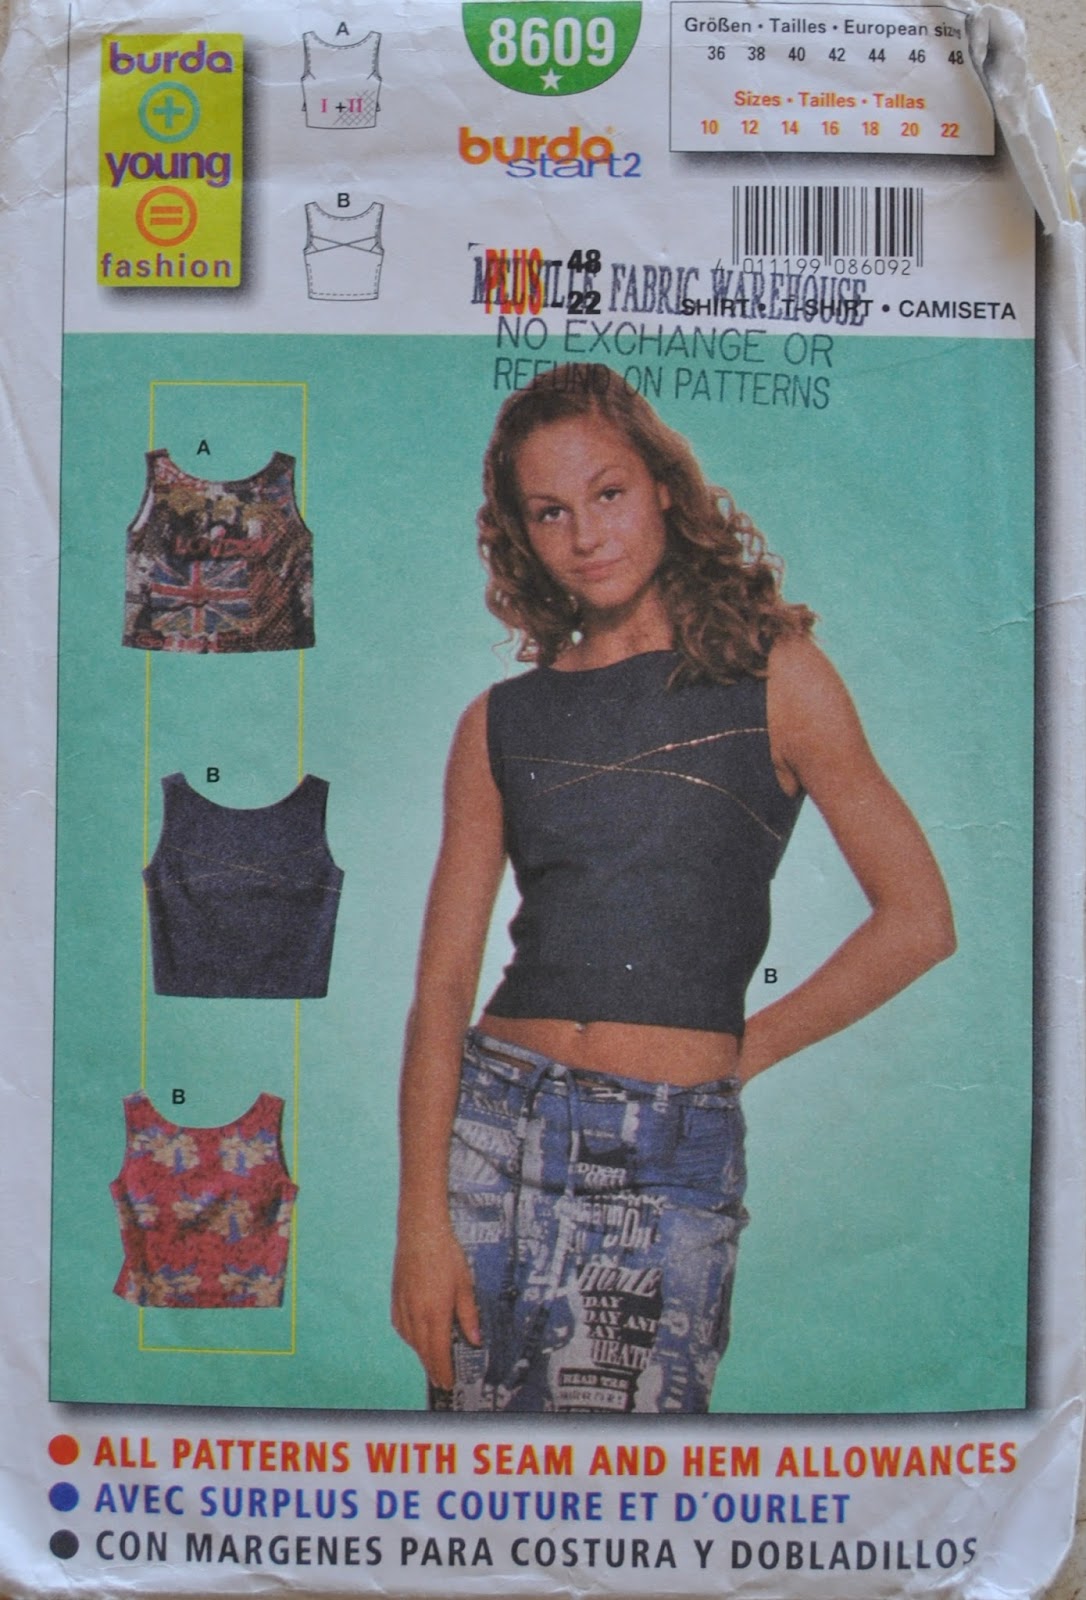
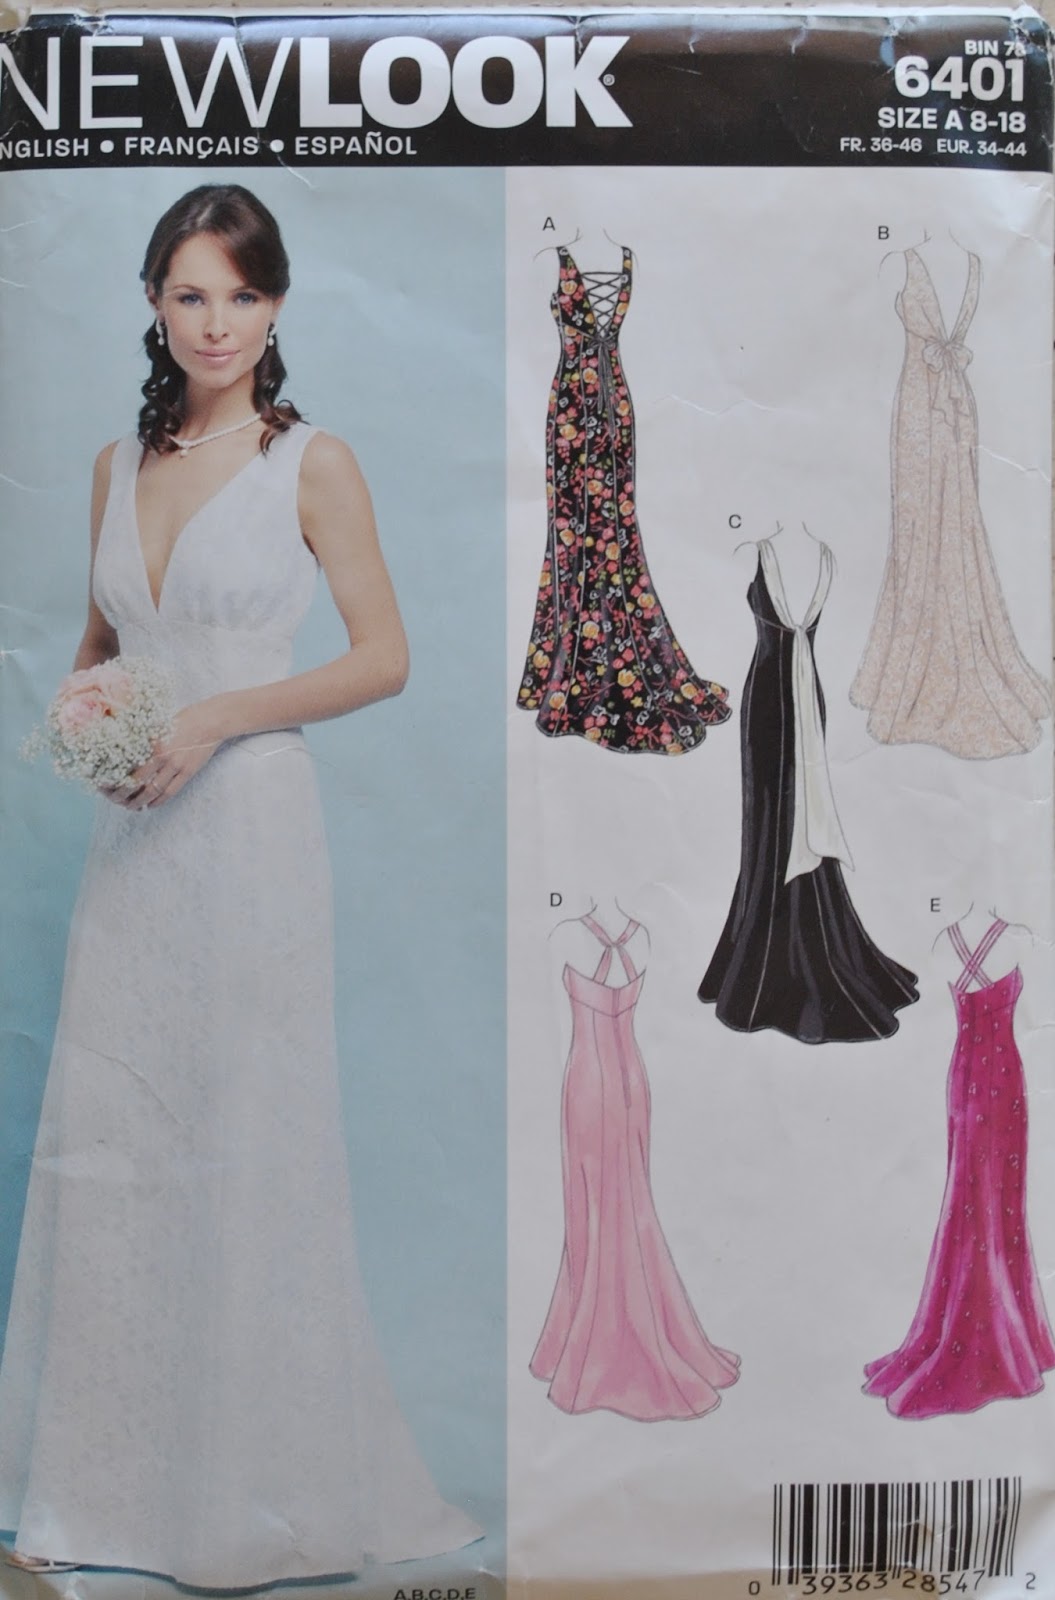
She used a favourite top pattern, Burda 8609 and melded it with the skirt pieces from NewLook 6401.  This is a really gorgeous gown pattern, that she has used once before actually for another different ball gown…. probably I should get her to put that one on for a few pictures too!

pinterestmail

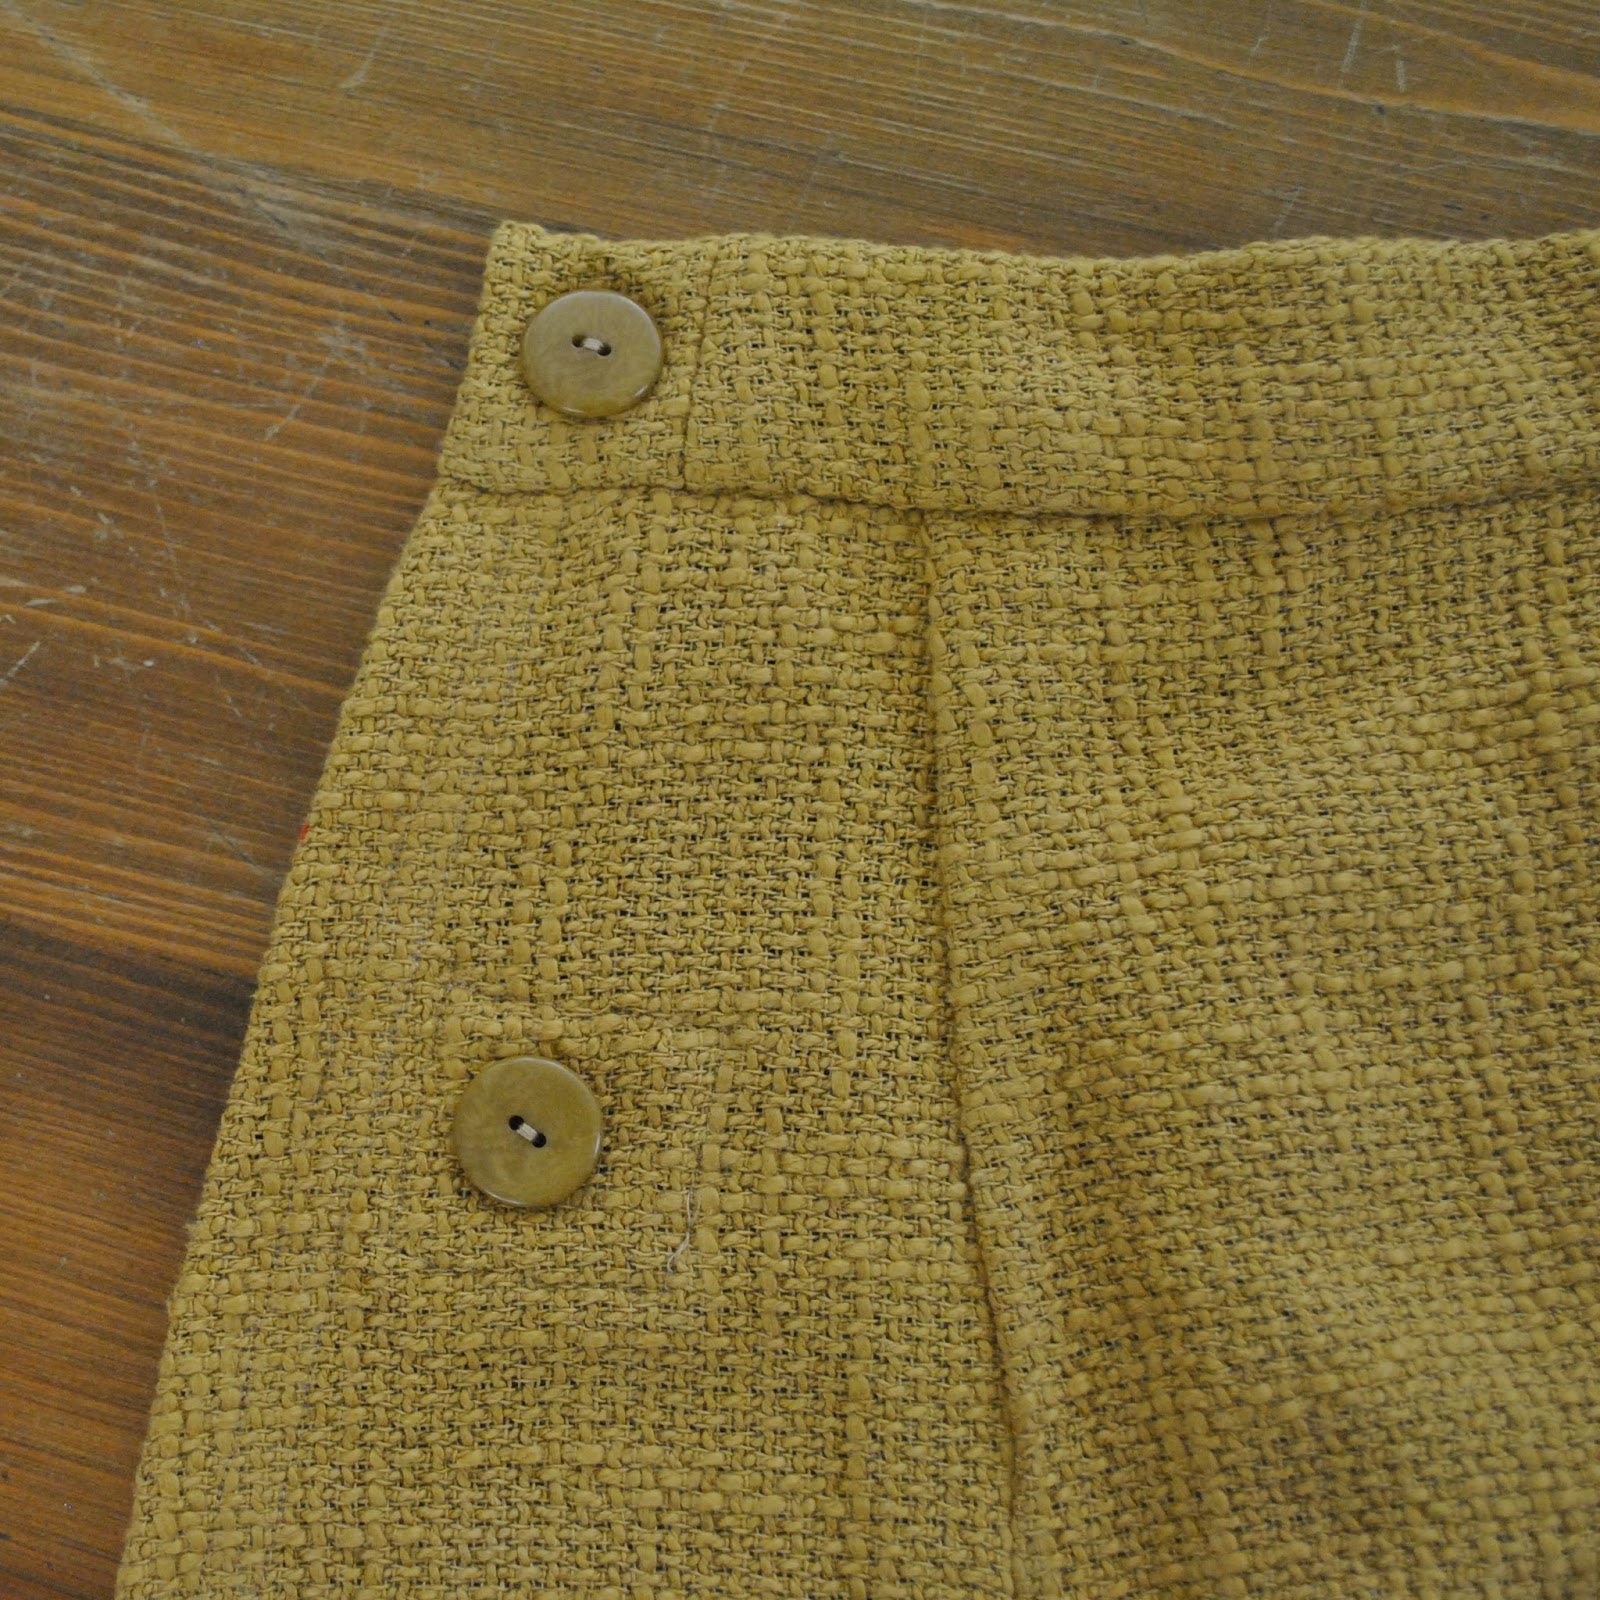
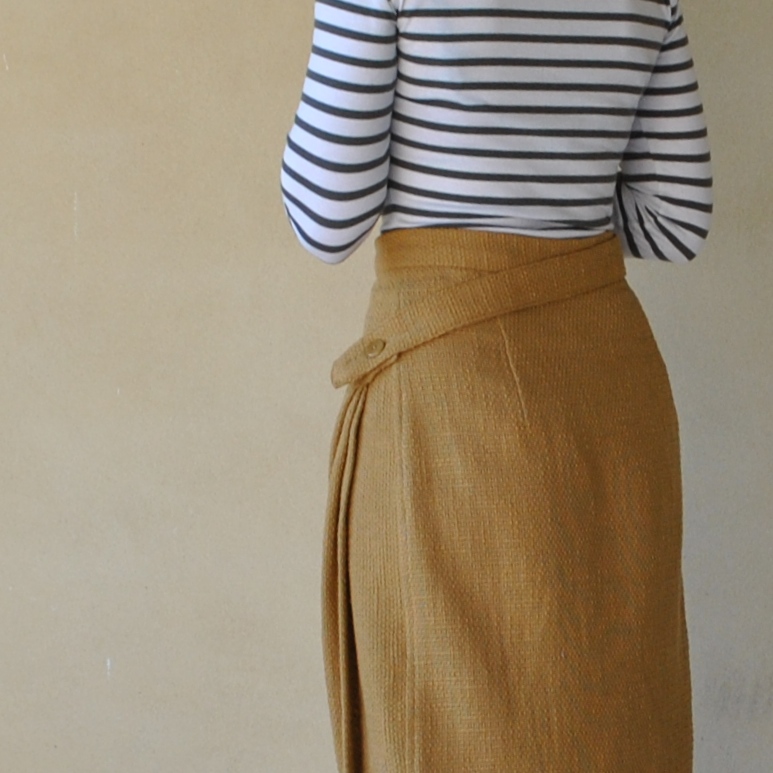
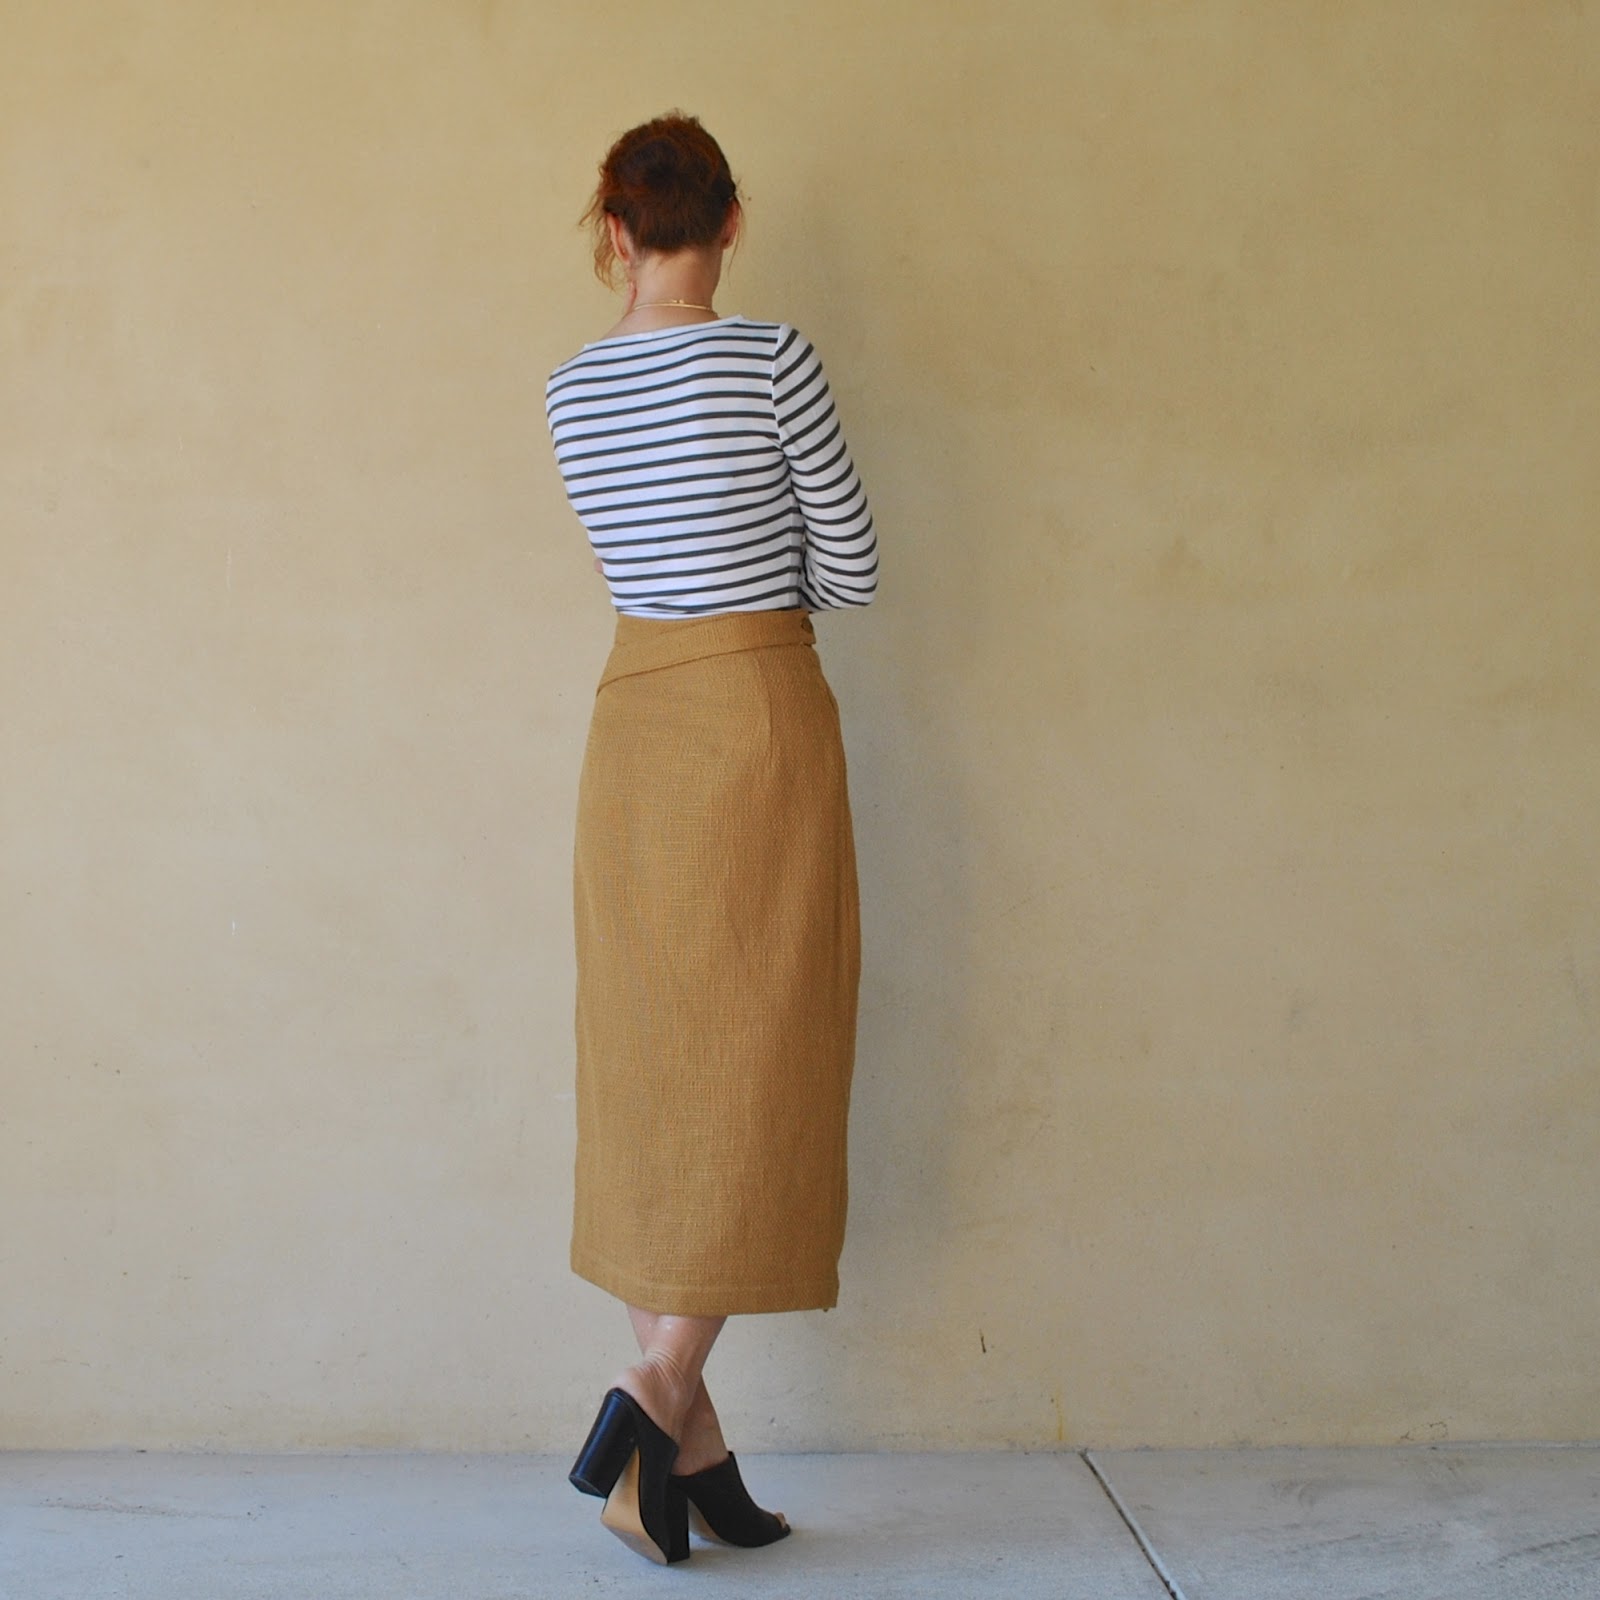
mustard Issey Miyake skirt

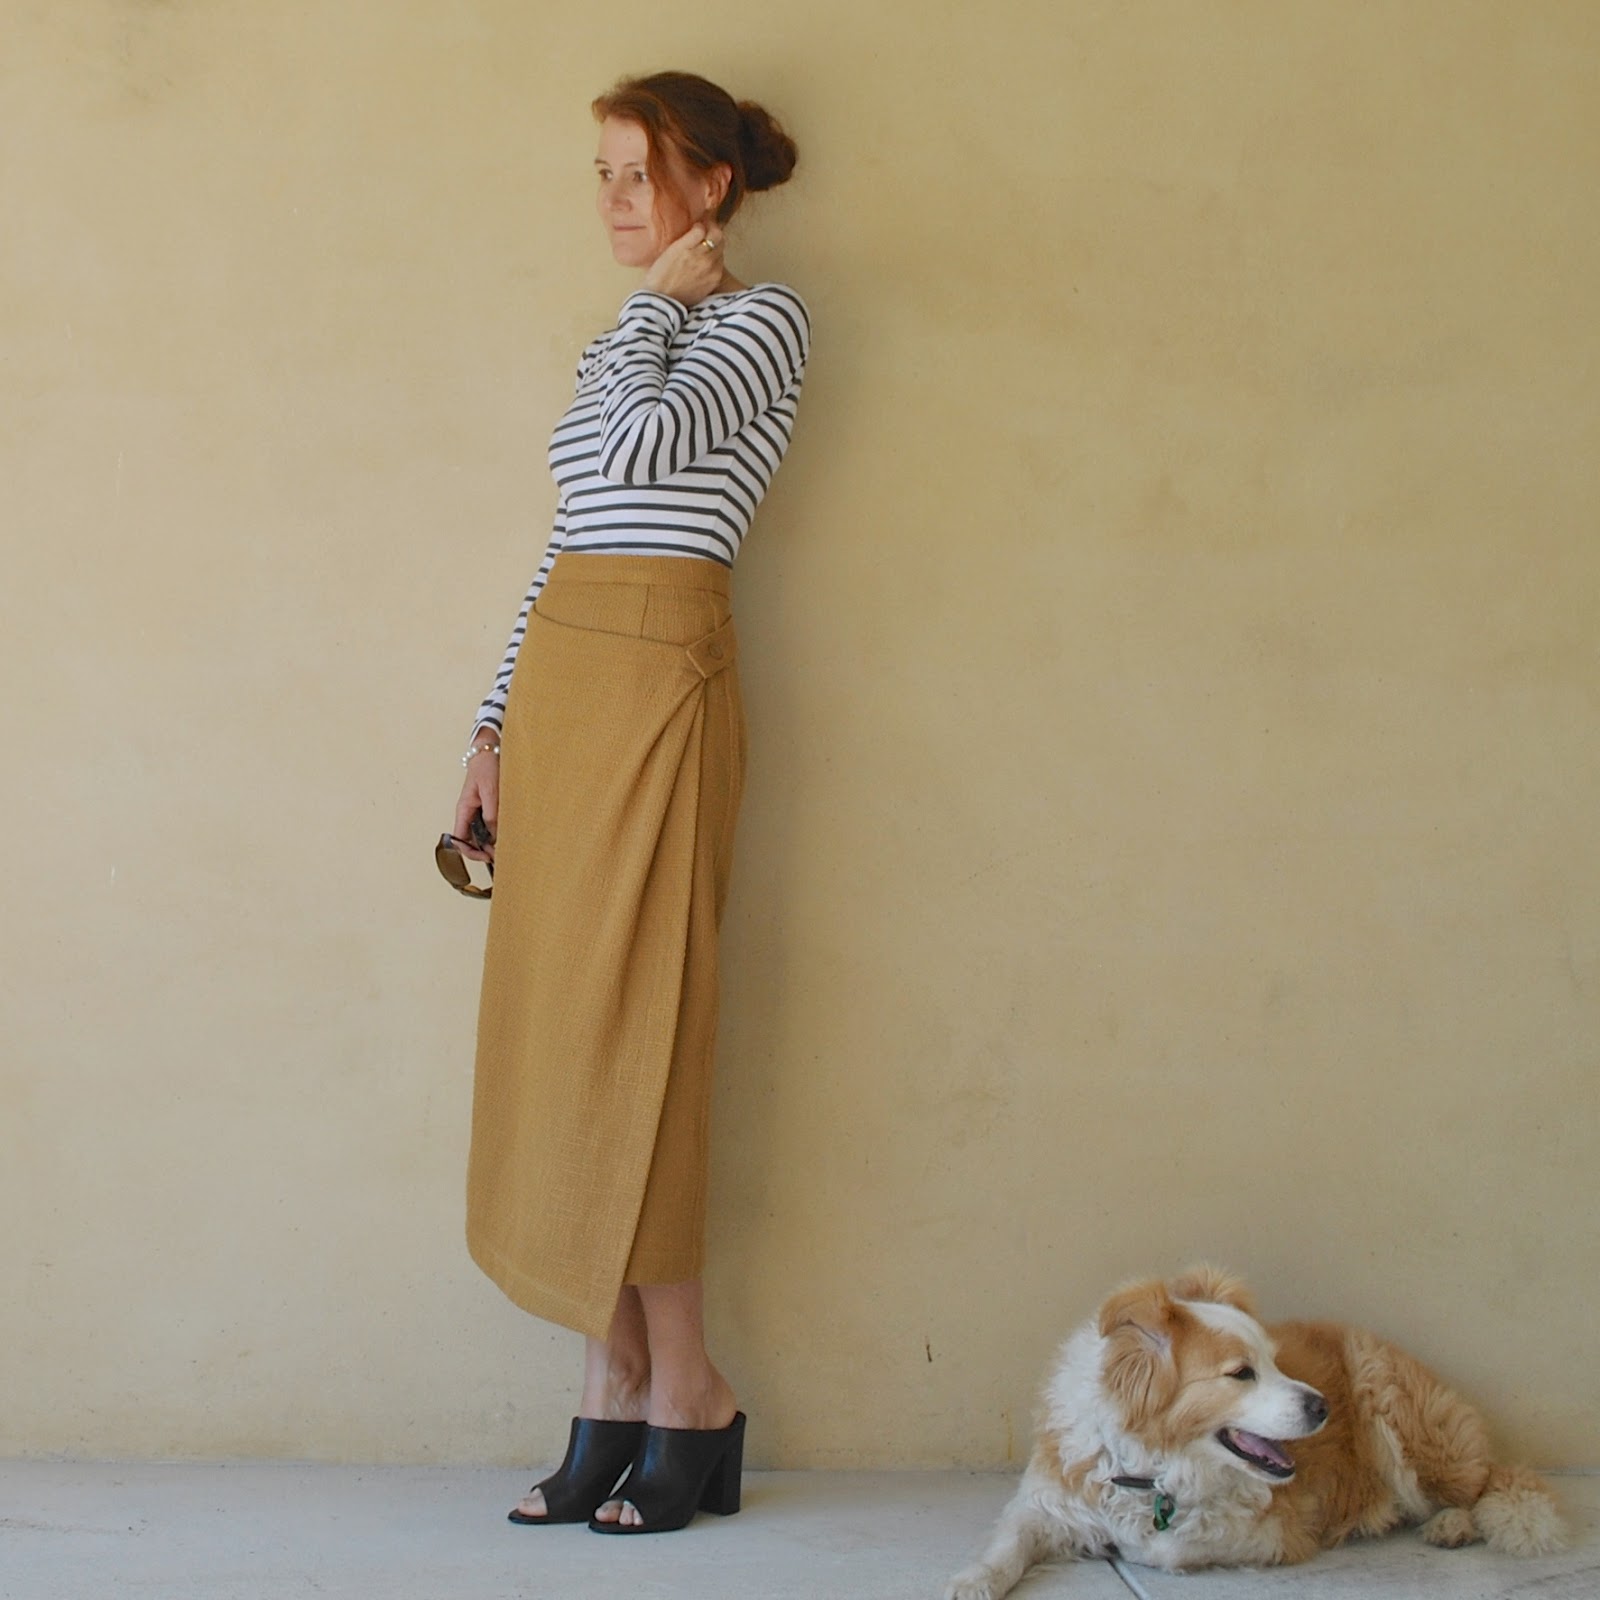
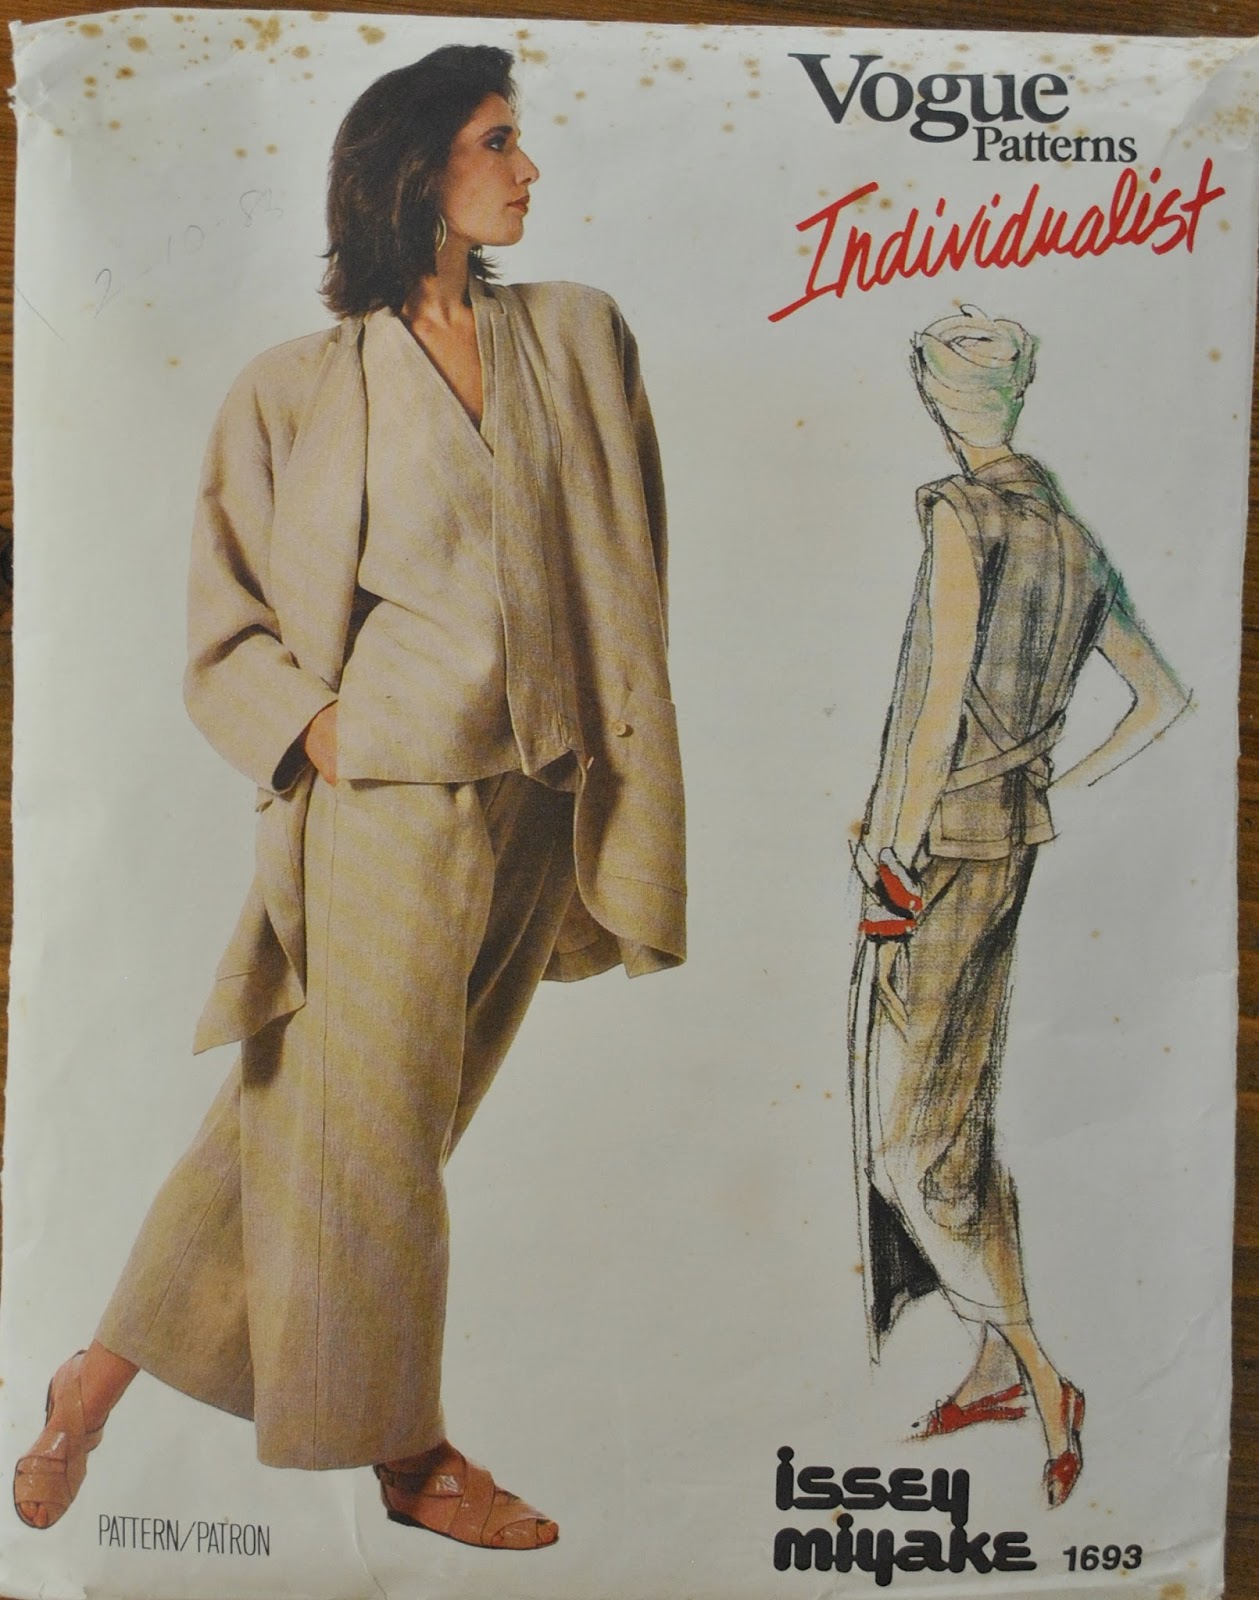
I’m scratching a long-standing itch by making something from this 1986 Issey Miyake pattern; Vogue 1693 …  see, I’ve used it once before, when it very first came out! to make a skirt and the top for myself.   I wore that outfit to a number of 21st birthday parties with my then brand new fiancé, now my husband  🙂  There’s probably a picture lobbing around somewhere of me wearing it, just don’t know where! perhaps in a few of our old schoolmates’ dusty old photo albums shoved in the back of a cupboard somewhere.   My first skirt and top from this pattern was in a sateen with a rather psychedelic splotchy print of bright yellow, purple, a bit of bright orange and I think, splashes of black thrown in there.    I remember being extremely proud of it, haha! I used to wear it with hydrangea purple court shoes, or pumps.  We used to call them court shoes back then.
So, I think maybe it’s ok for me to claim this as a vintage pattern! and item number three going towards fulfilling my vintage pattern pledge… to make five items from my vintage patterns.
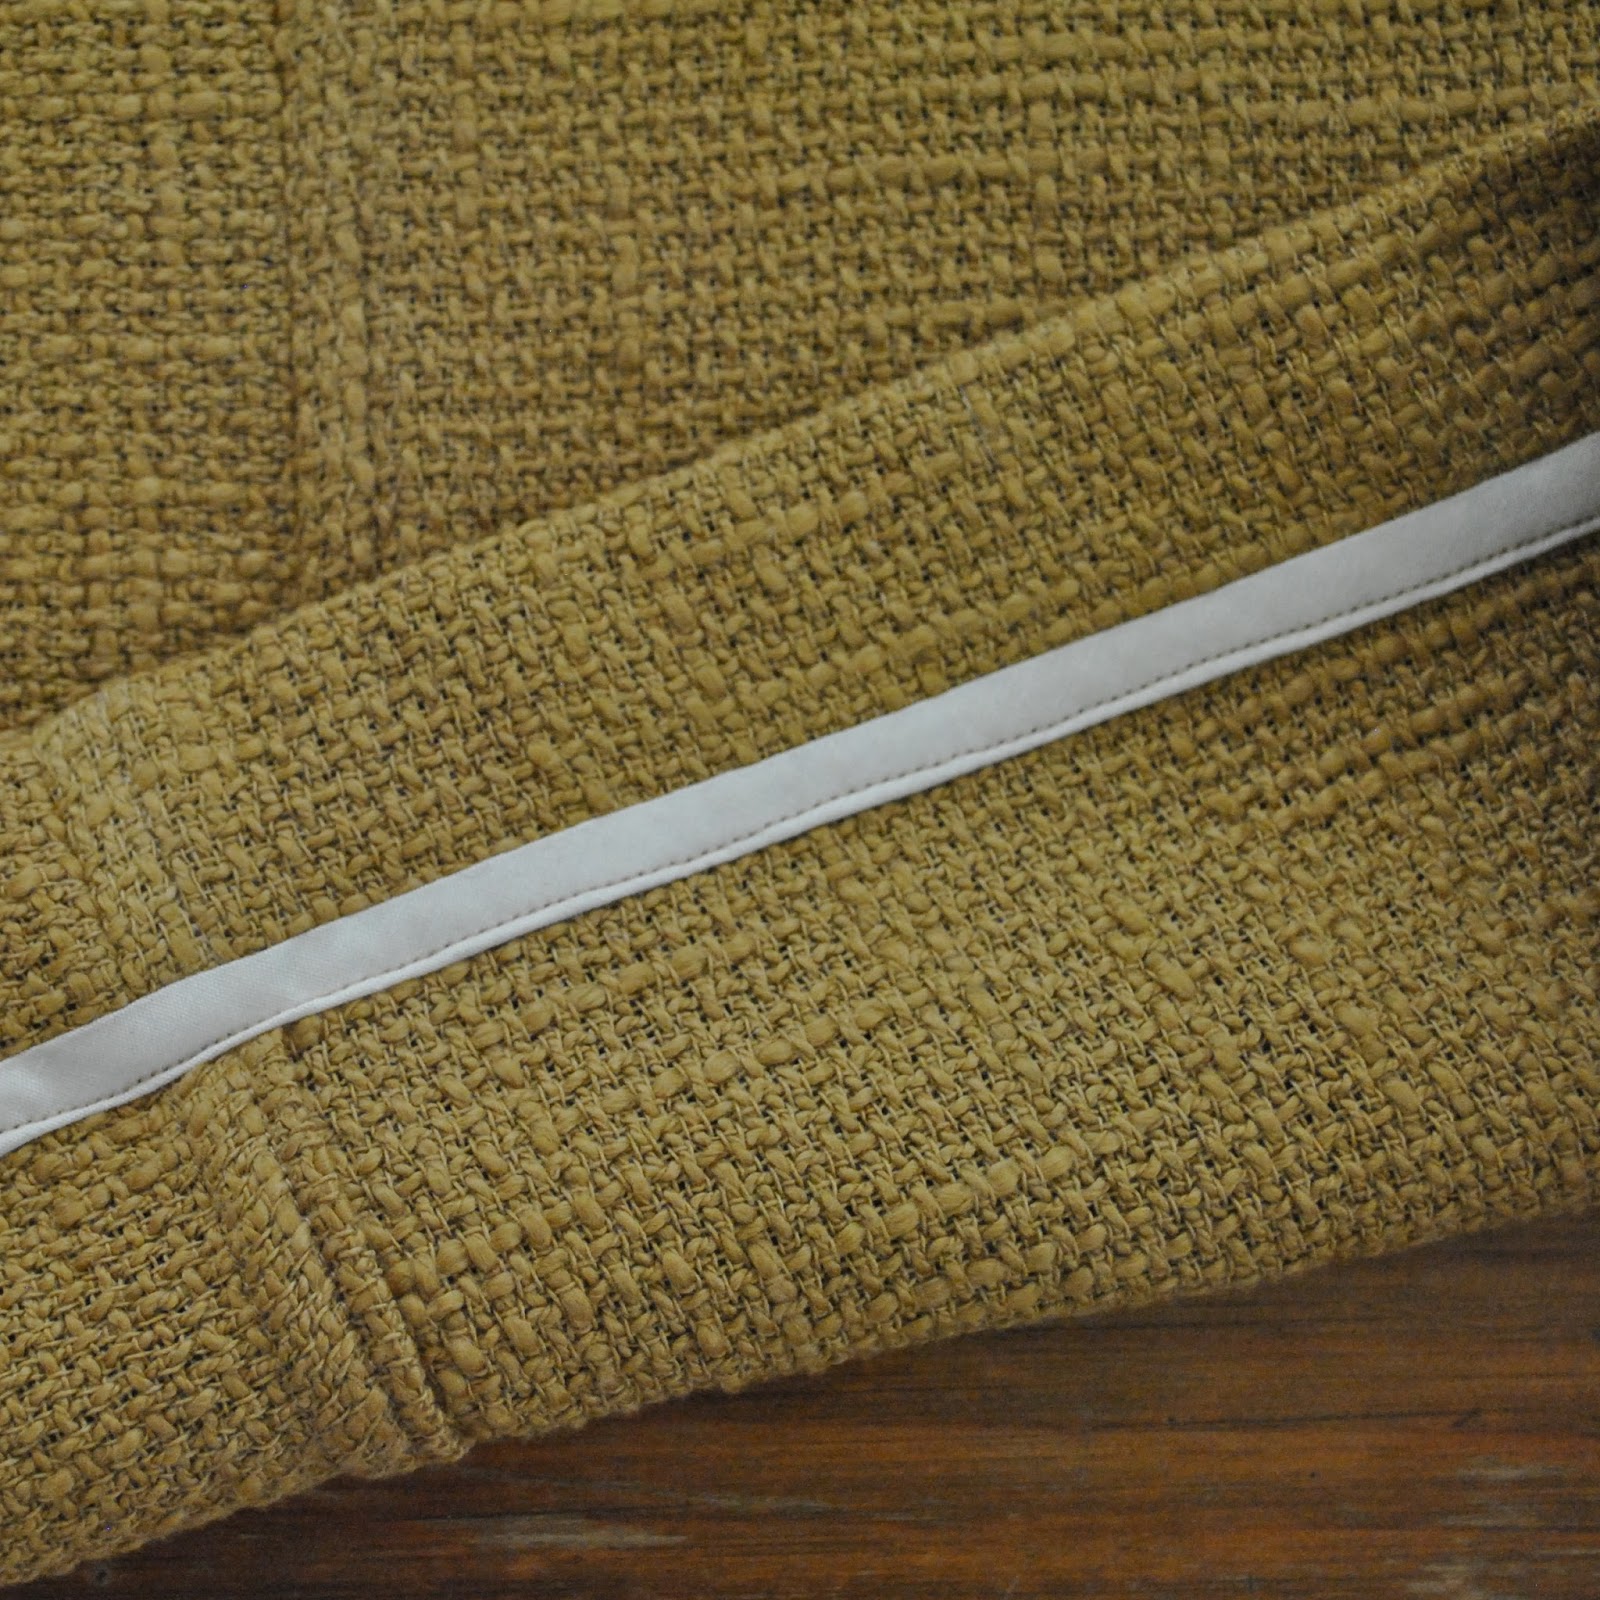
Fabric; a loose woven, slubby wool blend from Tessuti’s, Melbourne bought during a holiday over there with my Mum and Cassie.  A bit rough in feel, but in a beautiful, high quality way, if that makes any sense at all; quite thick, probably too thick for the design in retrospect and it was a little difficult to make it work with the pattern,  Almost cried a few times when I thought I’d ruined it, but managed to wrangle it into submission eventually.  Major relief when it all worked out.  I used the hammer a few times to flatten some of the more bulky layers down thinner, so they would fit under my sewing machine foot.

Perfectly matching buttons from Calico and Ivy.
Technical notes; all seams flat felled as per the pattern.

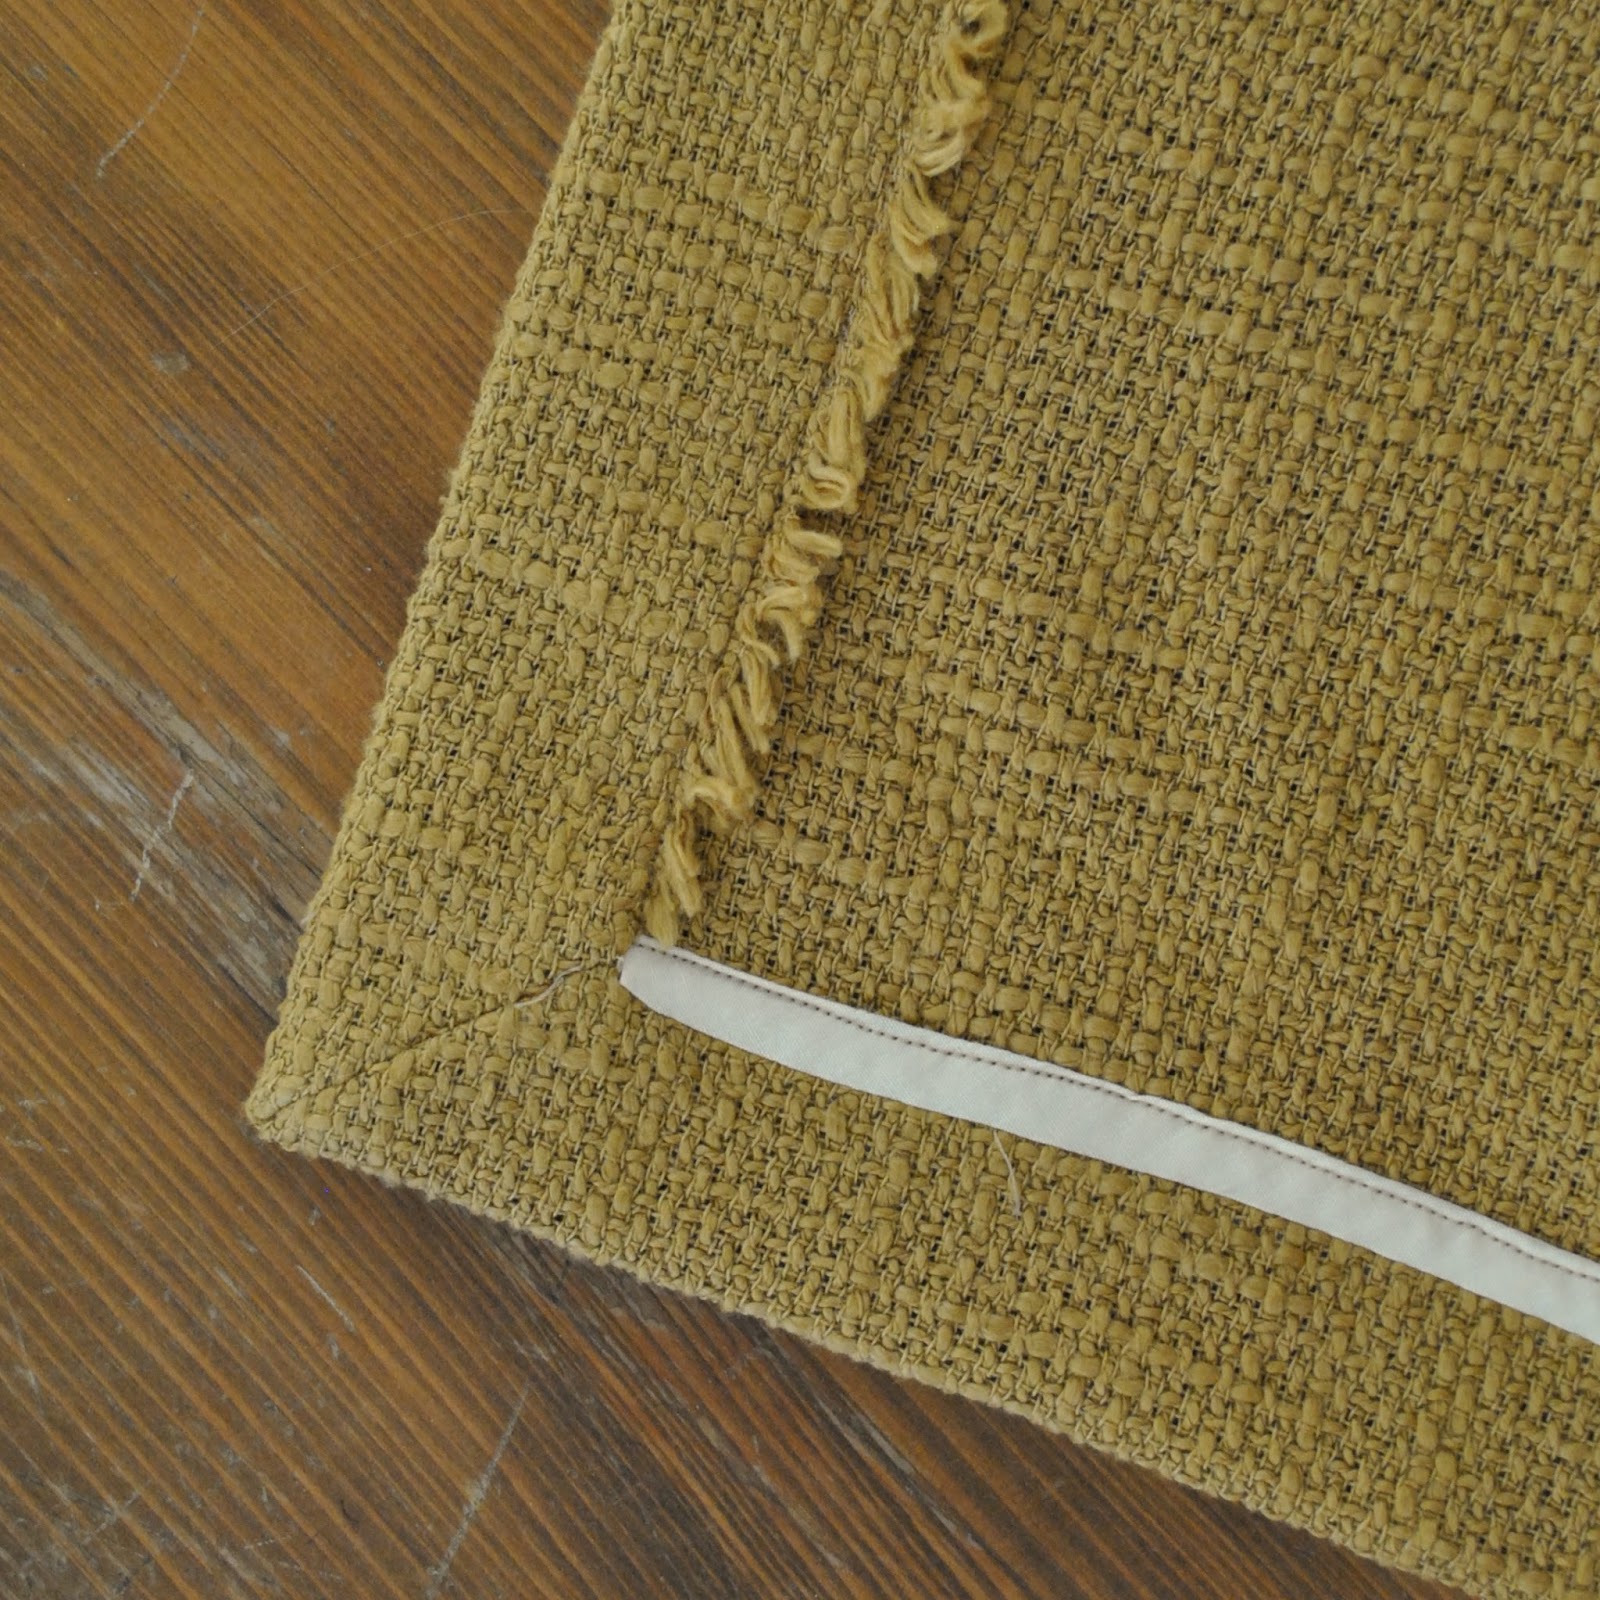
To avoid bulk in the waistband, the inside edge was cut along the selvedge, and this is not folded inside the waistband but left out inside the skirt and topstitched down from the right side, stitching in-the-ditch.  I also cut the overlay against the selvedge and left the selvedge edge out along the edge of the turned in facing.  Same reason as the waistband treatment; to reduce the bulk of having a raw edge turned under.

Also HongKong bounds edges for an inside side edge and the hem, again to avoid as much unnecessary bulk as possible.  For this, I used a beige/light honey coloured poplin voile to make bias binding.  I bought about 2m of this a few years ago and have almost used all of it in HongKong binding for various things… need to get some more, asap!
Happiness scale; 9/10 at having another of these skirts, since the pattern is a sentimental favourite of all time for me.  It lost a point due to my struggles with the fabric, but if I had to do it all over again I would probably still want the skirt in this same fabric.  Feels great on, and like skirt and pattern were meant for each other, like star crossed lovers or something like that, go figure.  Next time I will choose something with a little less bulk though.

Details:
Skirt; Vogue 1693, slubby mustard wool blend
Tshirt; self-drafted, white/grey stripe cotton jersey, details here
Shoes; Diavolina, from Zomp shoes

pinterestmail

a strange lingerie set

I fully admit it; this could very well be the weirdest, most bizarre thing I’ve ever made! I had toyed with the idea of making a lingerie set to complete my one year one outfit… er… outfit; but rejected the idea as being impractical and unwearable; then re-embraced the idea, then rejected it again. And found myself pondering it again… and then dismissed it again.  Finally I just decided to have a go, although this part of my project was in danger of never ever getting blogged!
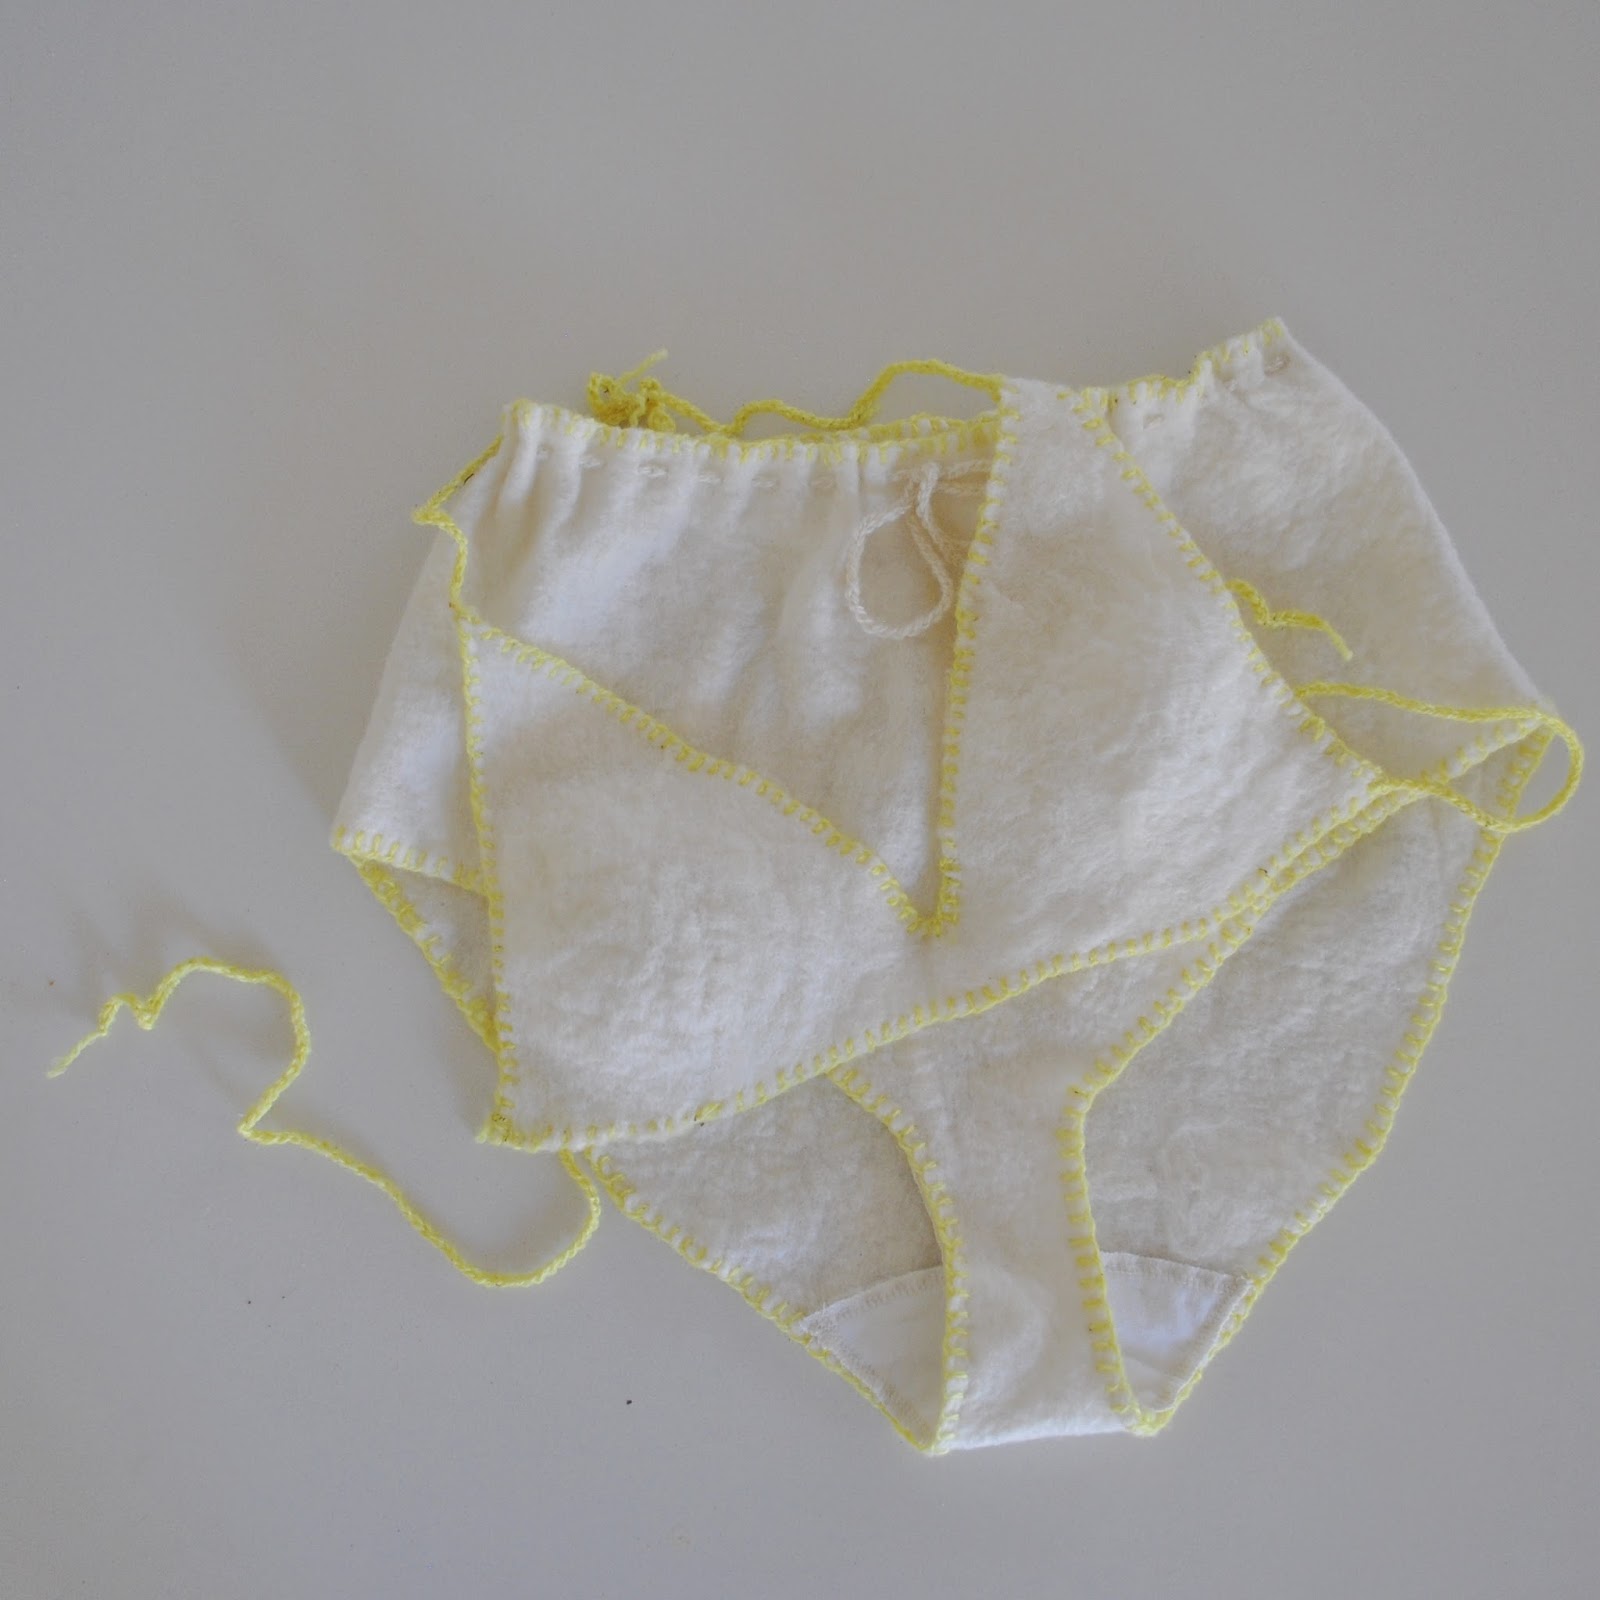
So; lingerie, made using ONLY locally sourced materials; quite a challenge, quite a challenge.  My set is very very simple; a string bikini top and high waisted knickers cinched in at the top with a drawstring.  
As per the criteria of the challenge, I could not use anything not made here in Western Australia … which ruled out elastic, findings, thread and even FABRIC!  Hmmm, yes, quite a challenge…   Like every other part of my outfit for this challenge, I had to make my own fabric.  Fortunately I had some pieces of merino felt leftover from my dress, and I made another small piece to complete the knickers, so my set is mostly made from scraps, yay!  The yellow blanket stitch edging is in locally handspun merino yarn from Bilby Yarns, that I dyed myself using sour grass from our garden; here.  The bikini strings and the drawstring are a single crochet chain. 
In my early planning stages, I had contemplated knitting some knickers and bra from my handspun Western Australian merino yarn, and actually found a free pattern for a knitted bra too! but rejected that idea… why? well to be perfectly honest, this set is probably not going to get a hekkuvva lot of wear! if any! and so I really wanted to minimise the use of my beautiful handspun yarn.  I felt OK about using my leftover felt though, since that was made from my own labour.
The bra is self-drafted, if you can call two, felted-together, darted triangles a self-drafted pattern, ahem.  I gave them a gentle cupped shape by cutting darts from the lower edge and felting them closed with my felting needle, just like I did the darts in my dress, so the darts are seamless; and felted them together at centre front the same way.
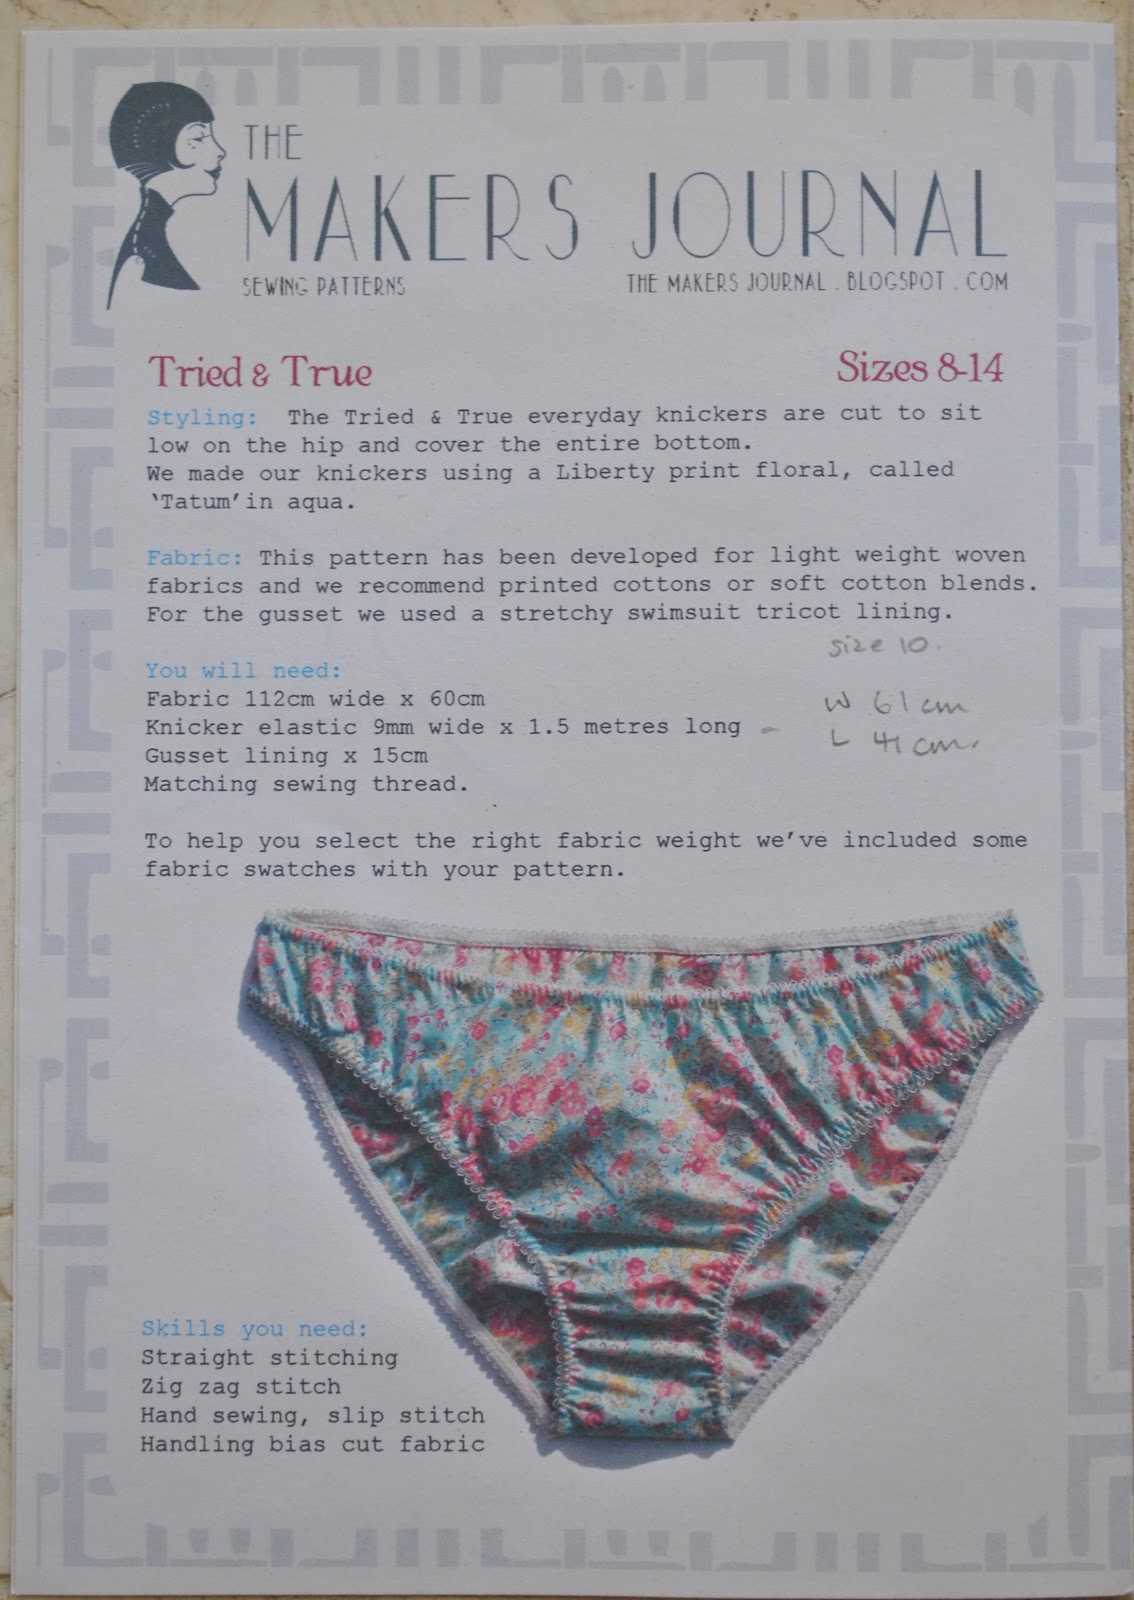
The knickers are loosely based on the Tried & True knickers pattern, by the Makers Journal, an undies pattern designed for non-stretch wovens.  This design is a little on the low-rise side which I modified slightly by making it a higher rise design with a drawstring to pull them in at high hip level, also the crotch and leg holes have also been cut away significantly with a deeper curve to the crotch and straighter front leg-line; I did this because the fabric was a tad on the bunchy side around this area otherwise.  When they’re on the knickers look like tap pants, flaring out a little from the waist and away from the hips, and are actually quite cute, believe it or not!

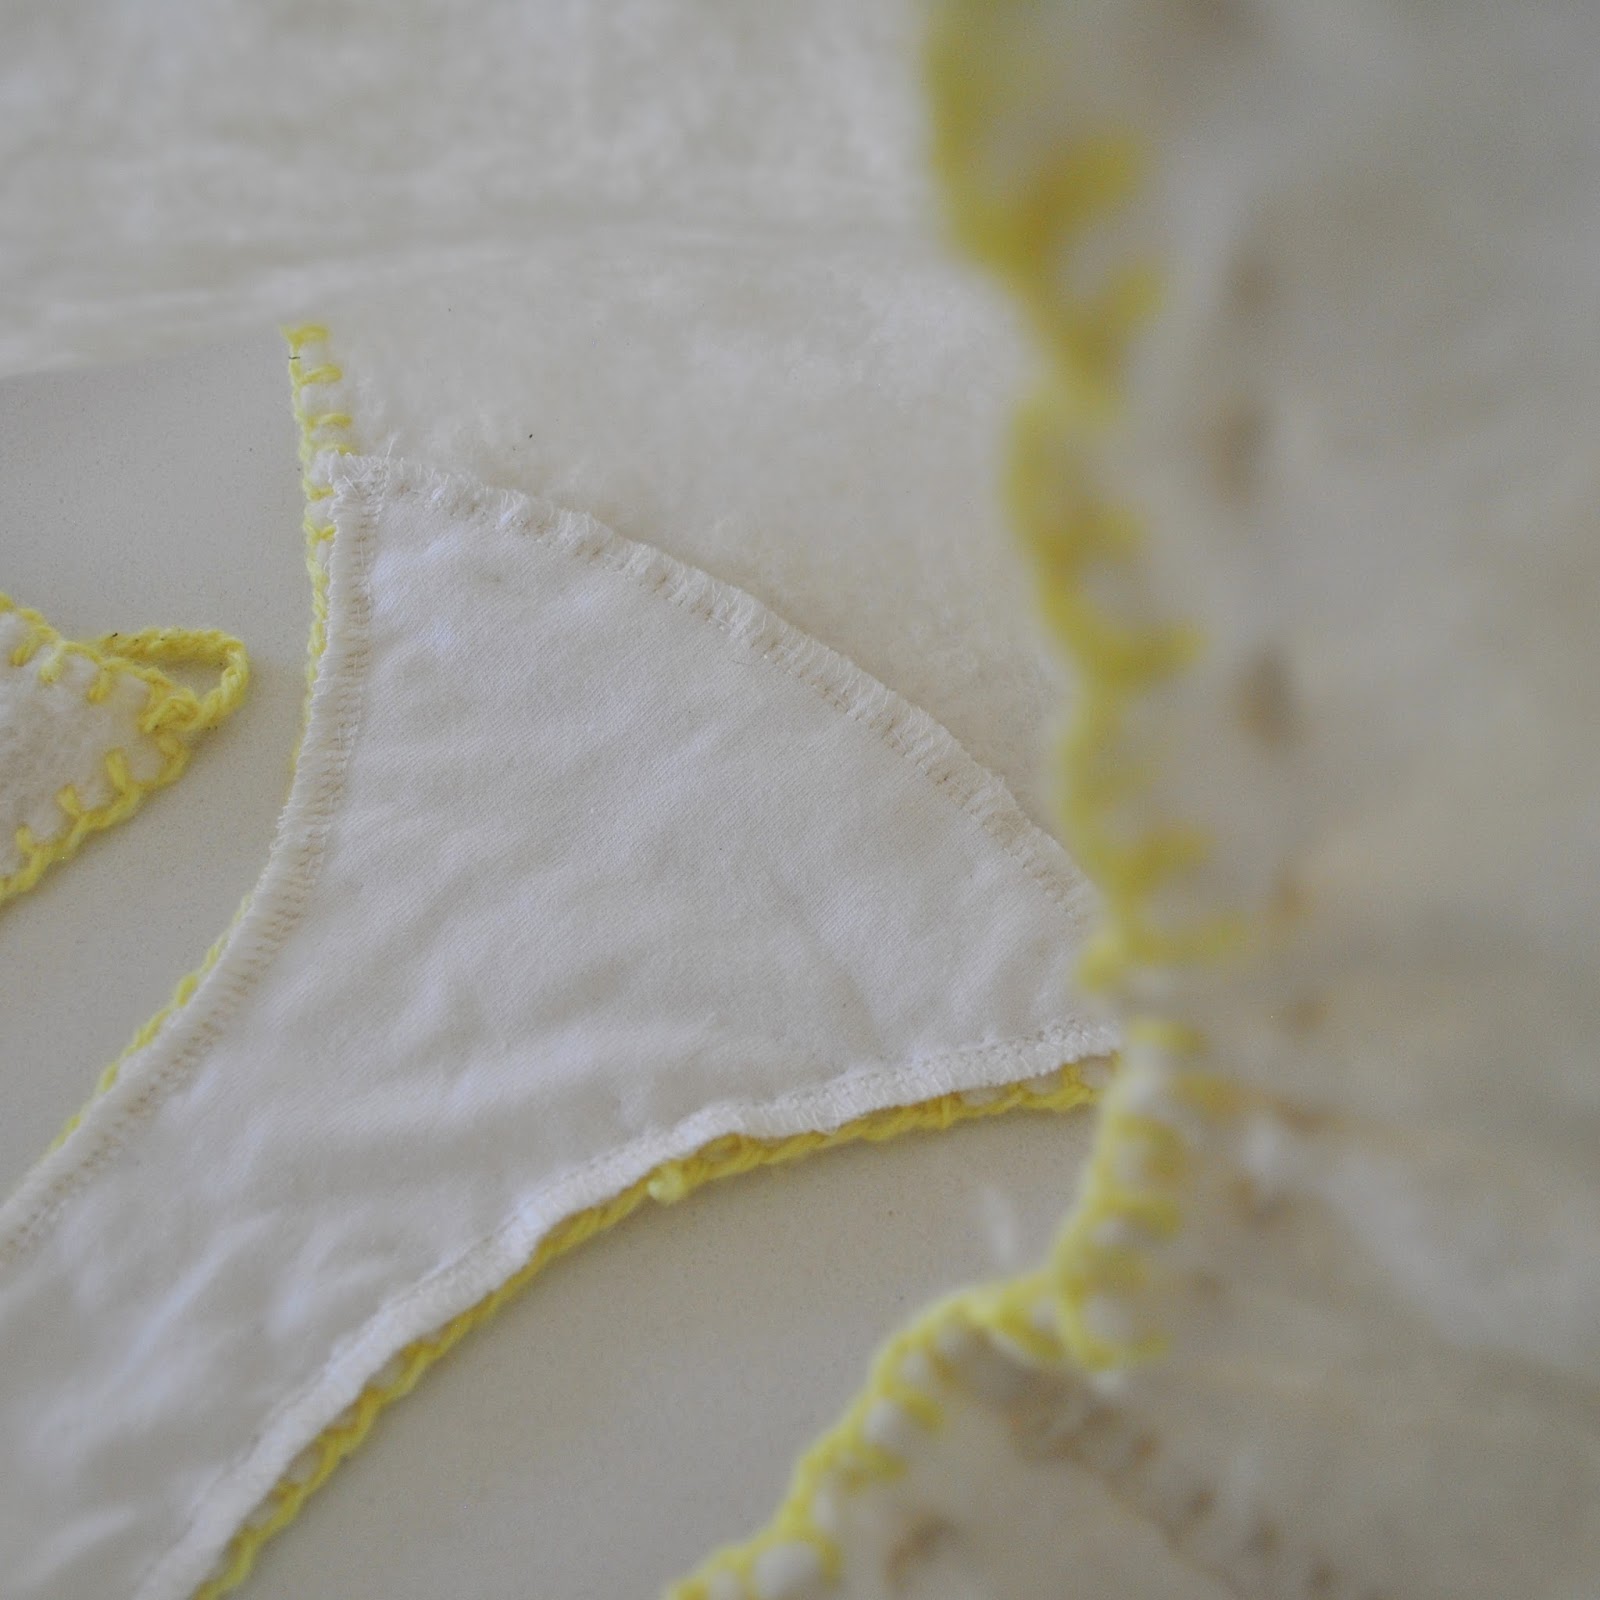
I made a little cotton jersey lining for the knickers, and have loosely tacked it in with running stitch  This small piece of fabric is the only part of the set that does not fit the criteria of my one year one outfit challenge; but I’m sorry, I just consider a liner to be an absolutely essential thing to have in a pair of knickers.  I’ve done my absolute best to eliminate non-local elements in all of the components in my one year one outfit, but you can only go so far for this challenge! and I’m drawing a line at unlined knickers.
While making them I was reminded of Sheldon fashioning historically accurate undergarments from linen just to wear to the Renaissance fair… so funny!… meaning, yes; I’m fully aware that this is just about the silliest set of lingerie ever, but I made them mostly from my leftovers and using my “experimentally” dyed yarn so I don’t consider making them to be too much of a waste of resources.  I think I made them just for fun, really!  Think of it as wearable art!

pinterestmail

Natural dyeing; sour grass on merino wool

Inspired by Nicki of this is moonlight, I’ve been having a go at solar dyeing.  What is solar dyeing…?  well, it’s basically just chucking fabric and chopped up organic material into a glass jar and leaving it outside for a while until your fabric has changed colour.
Boom yeah: blog post done!
Hmmm, well maybe just one or two more details would be helpful…
So I was just weeding my garden, I mean; harvesting my carefully nurtured dye-plant crop! of course! and spontaneously decided to experiment.  This plant is Oxalis stricta or common yellow wood sorrel; more commonly known around here as sour grass.  I have fond memories of sitting with my fellow primary school friends on the school oval at lunchtime, munching on this stuff … ah, memories!  It grows like mad around these parts, you can find it everywhere and it’s considered a weed.  But a useful weed!

This was just a little play to see if I like the effect; so I used about a dozen flowering plants, and 20g natural merino wool.  My wool happens to be 100% Western Australian merino, handspun locally and bought in Bilby yarns.
I snipped the whole plant minus the bottom third of the stalks, roots and root ball into small pieces, straight into a large glass pitcher along with 1/2 cup salt, half filled the pitcher with water, and stirred it around pretty vigorously to dissolve the salt.  Then added my yarn, which I’d loosely tied in a skein to guard against knots.

Once the yarn was in, I swooshed it around very gently to immerse it in the plant material, covered the pitcher with glad wrap, then popped it outside in the sun.  I left it for five days; moving the whole kit’n’caboodle around during the day, following the sun, and would always bring it in each night.  Basically, did not stir again.

After five days, the wool seemed to have picked up a nice amount of colour, so I gave it a very thorough rinse in cold water and picked off as much organic material as possible.
And, ta da!

This could not have been any easier! and I’m very happy with that bright yet delicate chartreuse shade of my wool.  Not to mention the non-toxicity of the whole process too.  I will definitely be doing this again;on a bigger scale with more yarn and more plants and leaving it for longer next time  🙂
Notes for next time; picking out the organic material takes ages and is a bit of a pain.  I’m toying with how to keep the plant matter and fibre separate next time, so as to avoid a gazzilion squishy rotting bits of plant muck stuck tight to my wool everywhere.  Maybe with a very loose-weave synthetic gauze “bag” for the plant matter.  I’m not sure if this would reduce the effectiveness of the dye though… but will give it some thought and a shot.
This is not going to be my only experiment with natural dyeing either; I’ve bought some indigo seeds and am raring to see that experiment come to fruition as well…

pinterestmail
Switch to mobile version
↓