Category Archives: Uncategorized

Mississippi Avenue

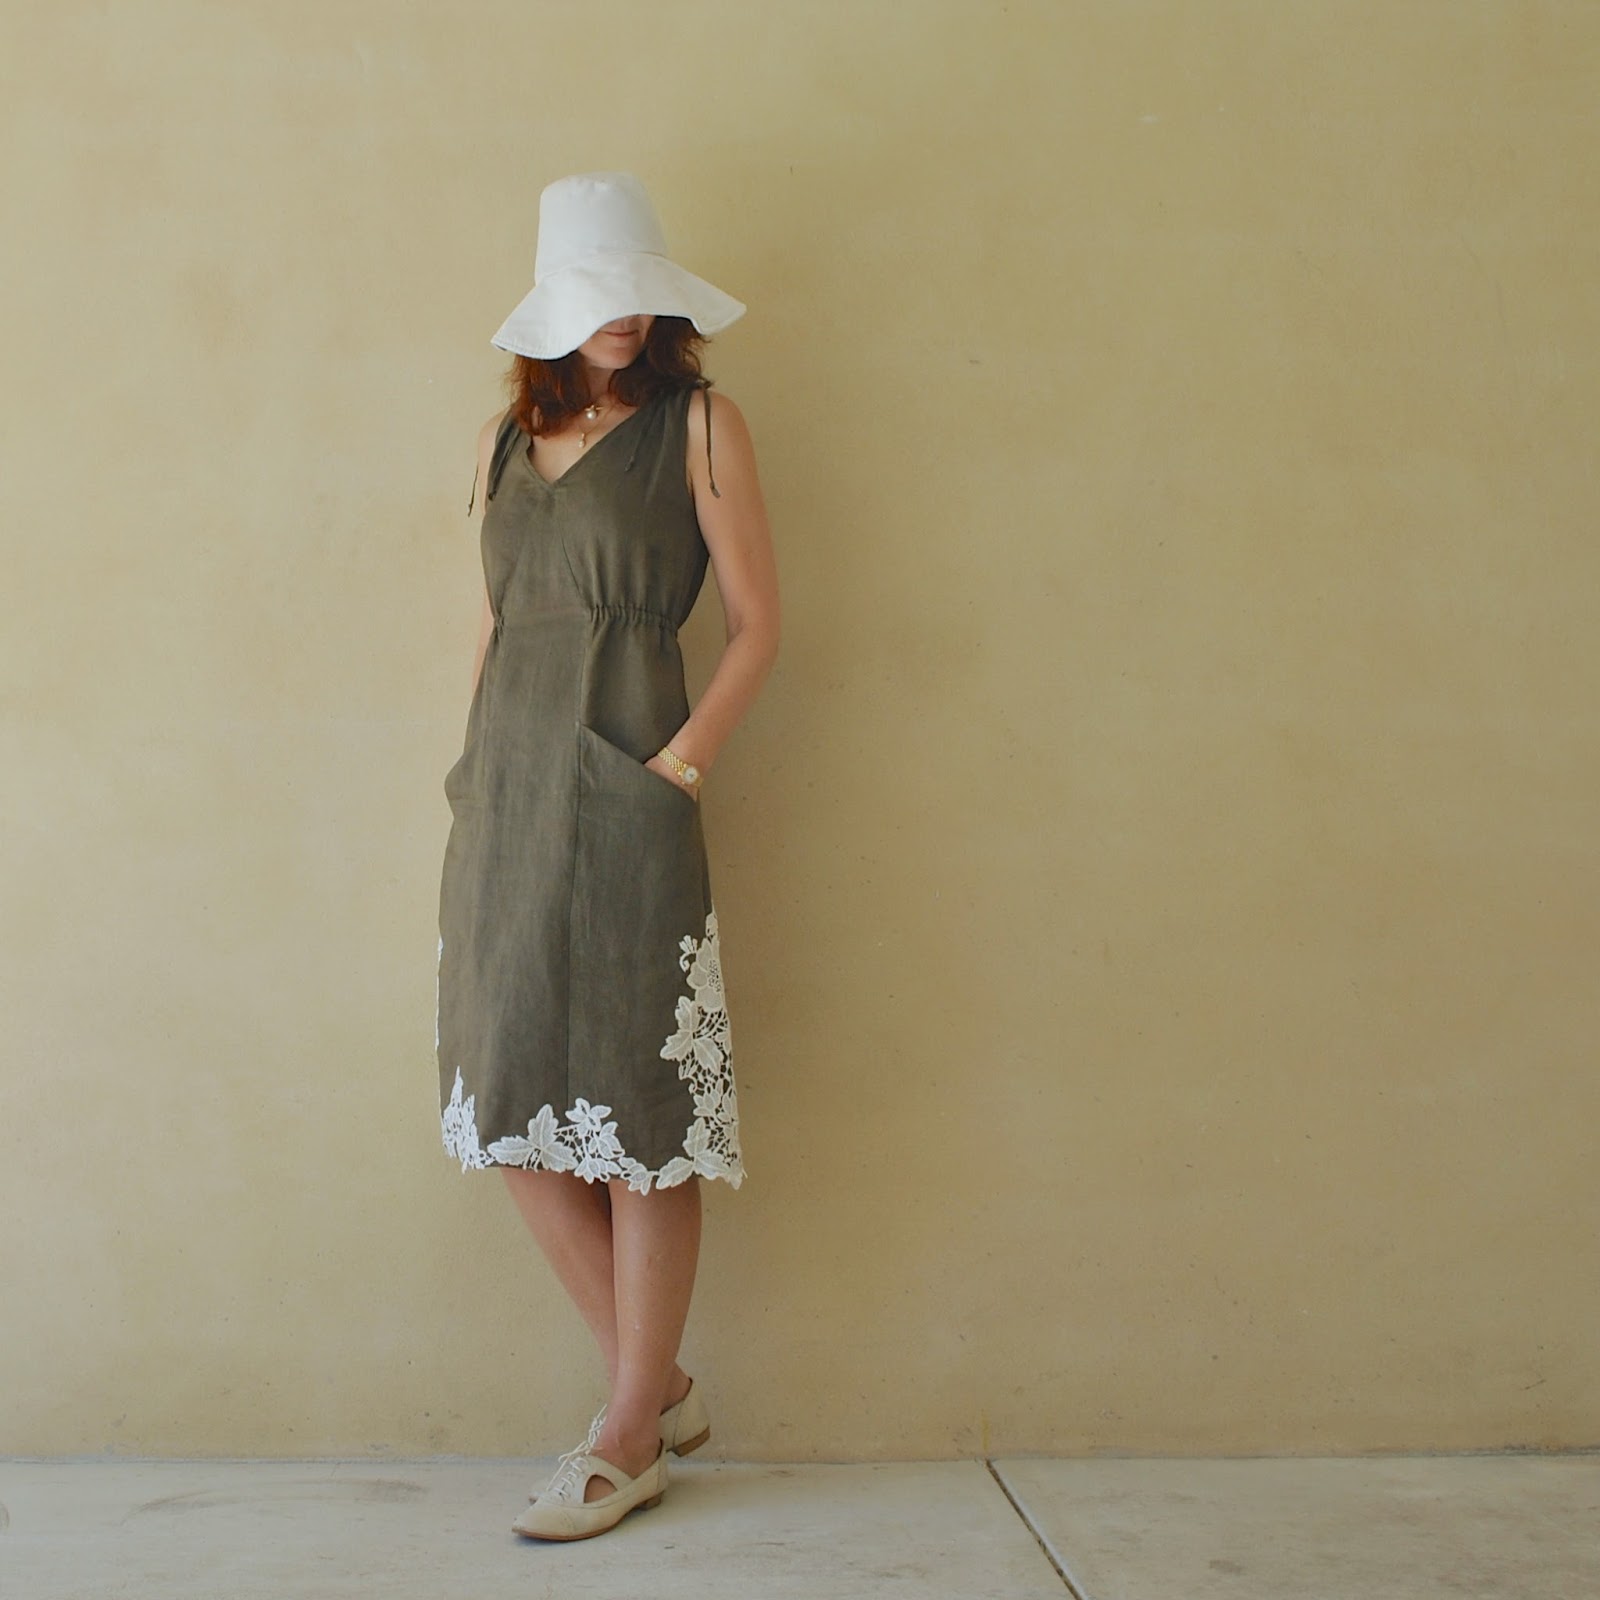
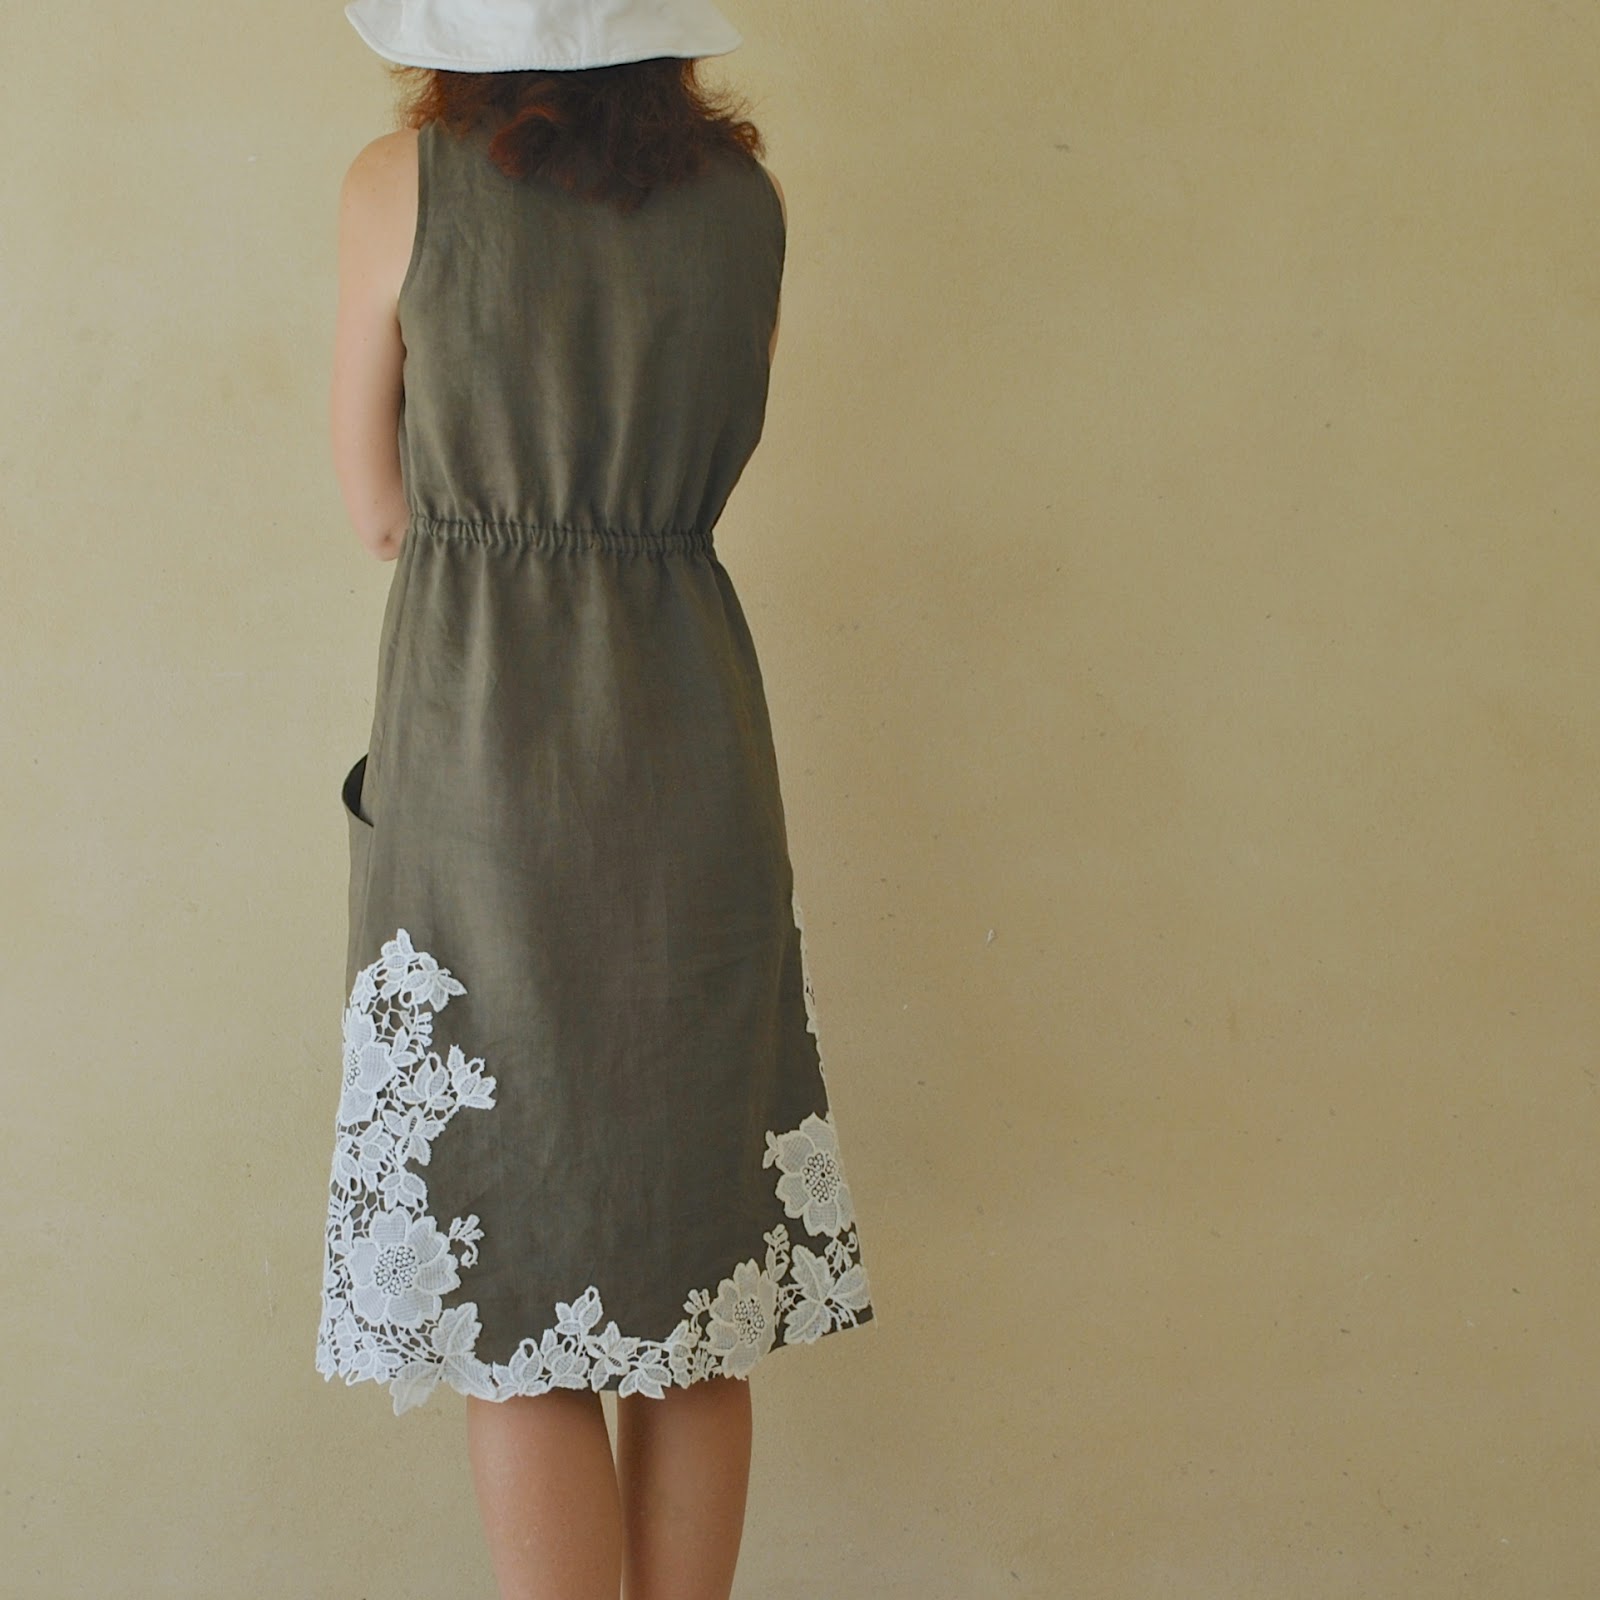
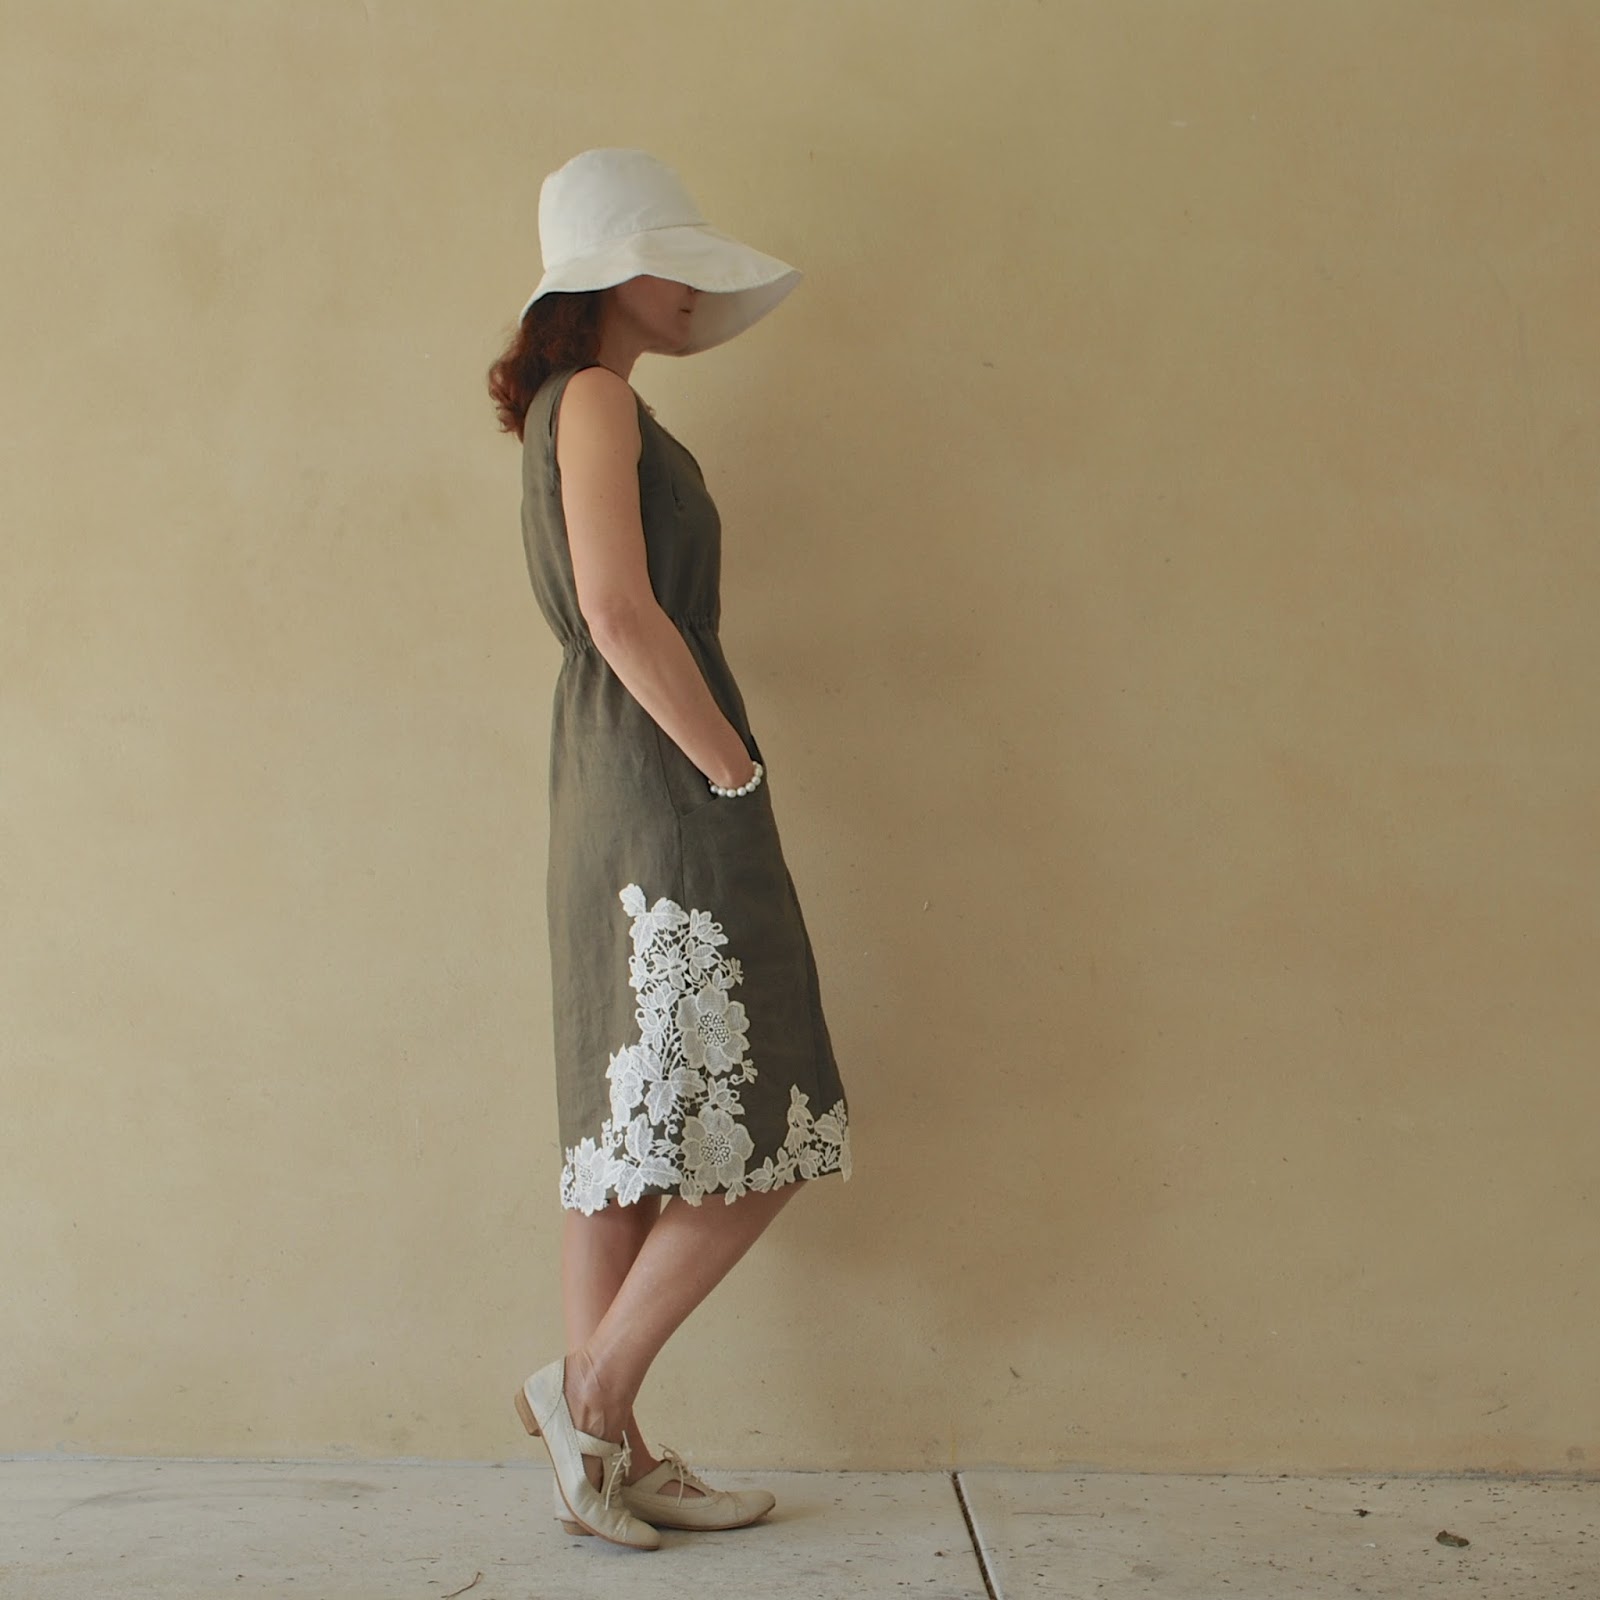
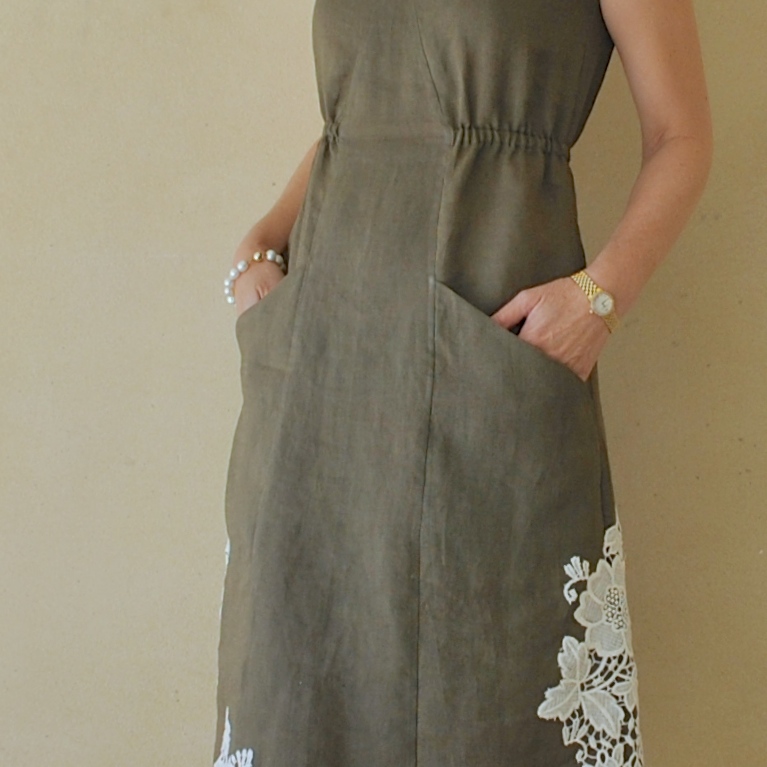
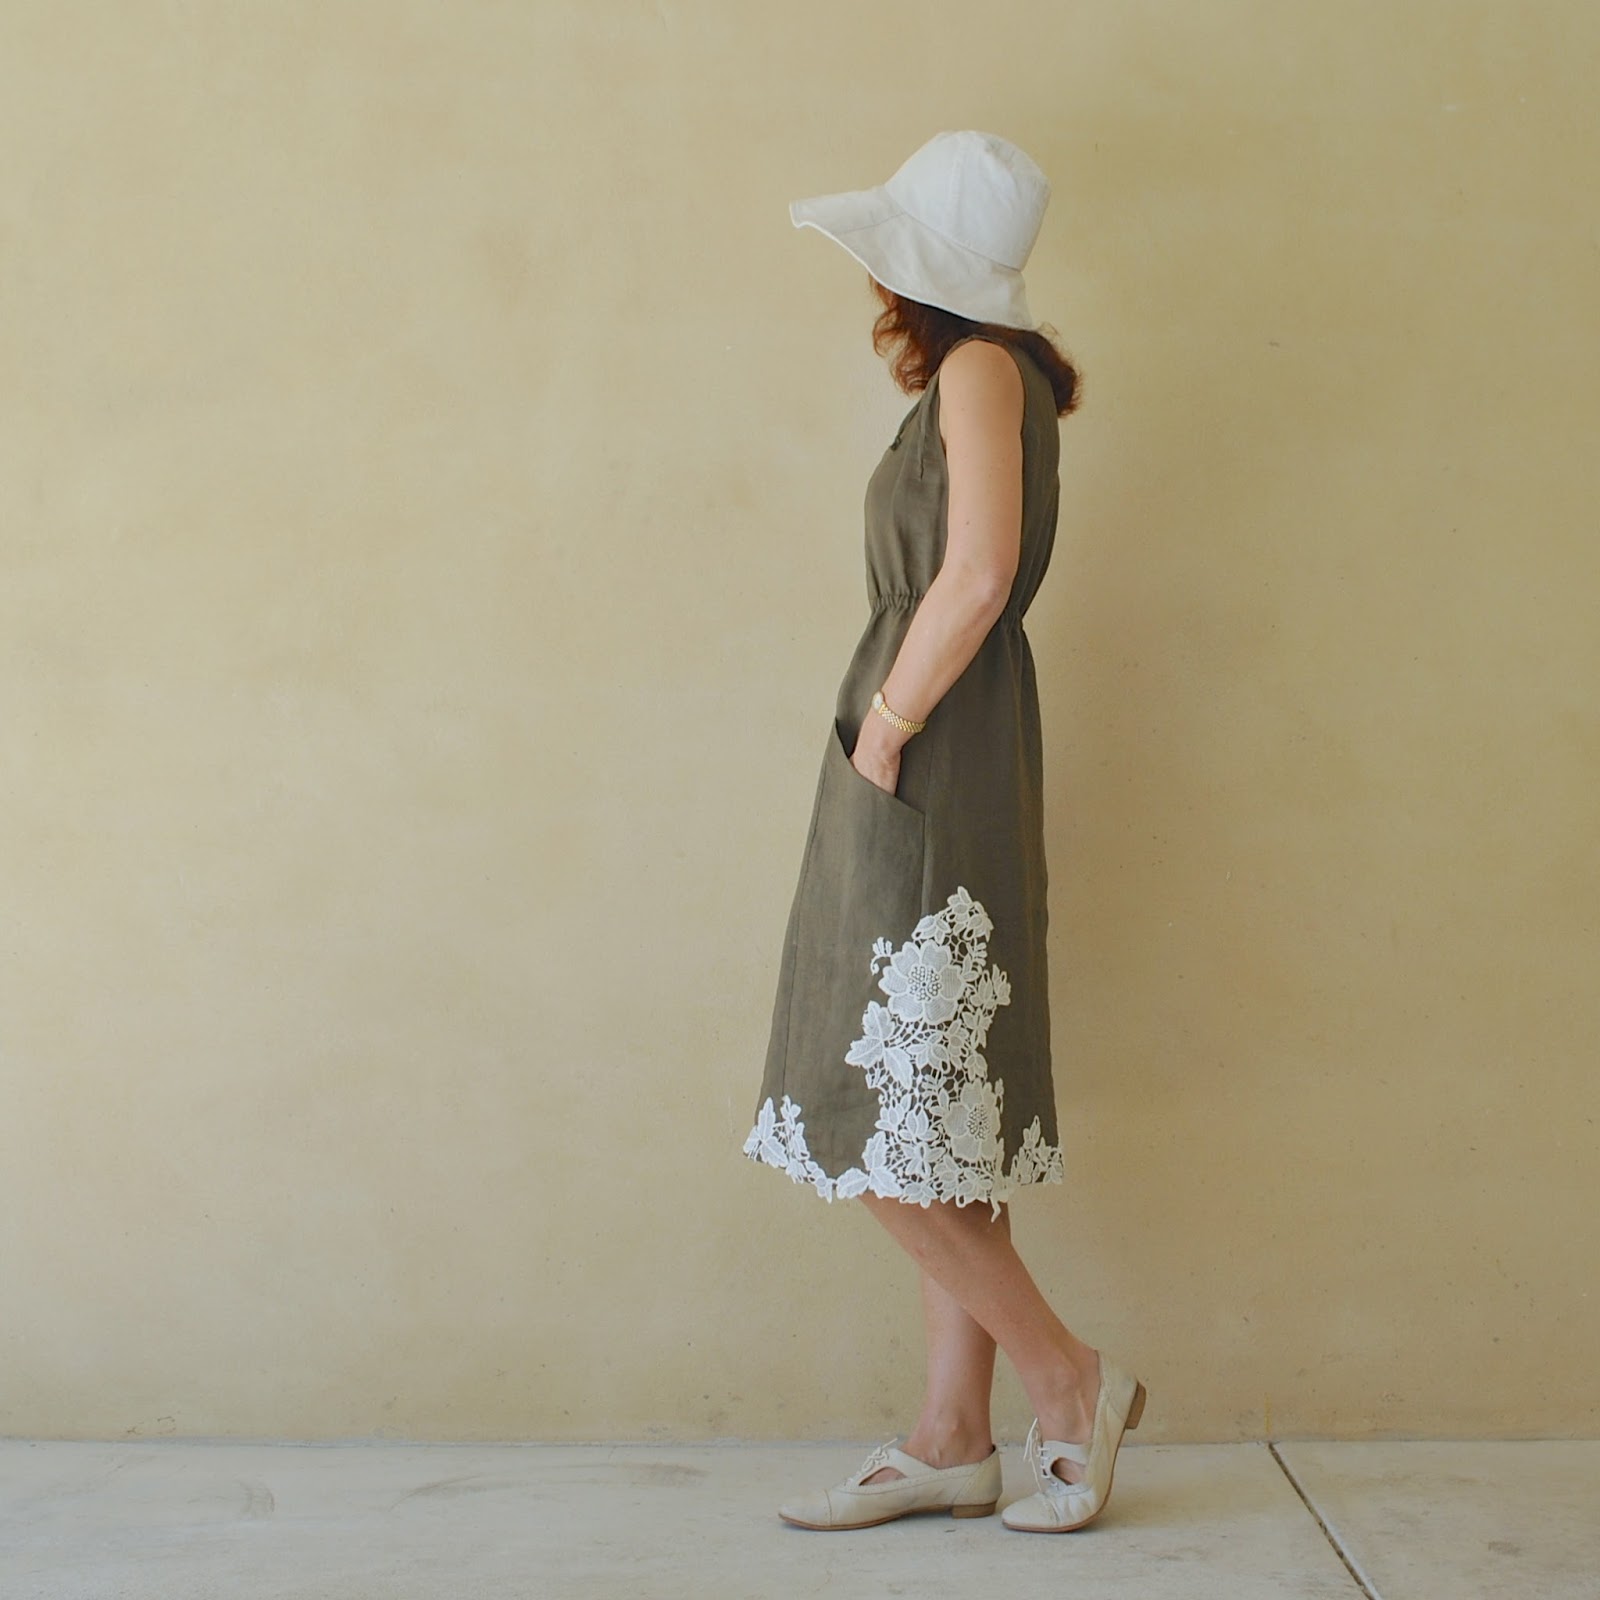
I’ve made a little sundress for myself  ðŸ™‚ in very fine, light handkerchief-grade linen from Fabulous Fabrics, deep browny/olive green.  I asked my husband how to describe the colour and he replied immediately “Sherman tank”, haha.  Hmmm!
I’ve been told a zillion million times that I should wear drab colours, but I struggled with them for years.  My teenage self desperately loved pretty feminine colours, hey it was the 80’s; and I thought muddy sombre colours like this were horrible and ugly, like the exact opposite of pretty.  *sigh*  Anyway.  I’ve learnt to embrace couleur de Sherman tank.
I added a little bit of pretty in the form of some cream lace-y motifs appliquéd around the lower hem edge.  I cut the motifs from a quite thickish, lace-y fabric and hand-stitched them on to look kinda random and rambling and lending some semblance of froth and frivolity… I think the lace was maybe from Spotlight originally, but honestly I’ve actually forgotten where it came from exactly.

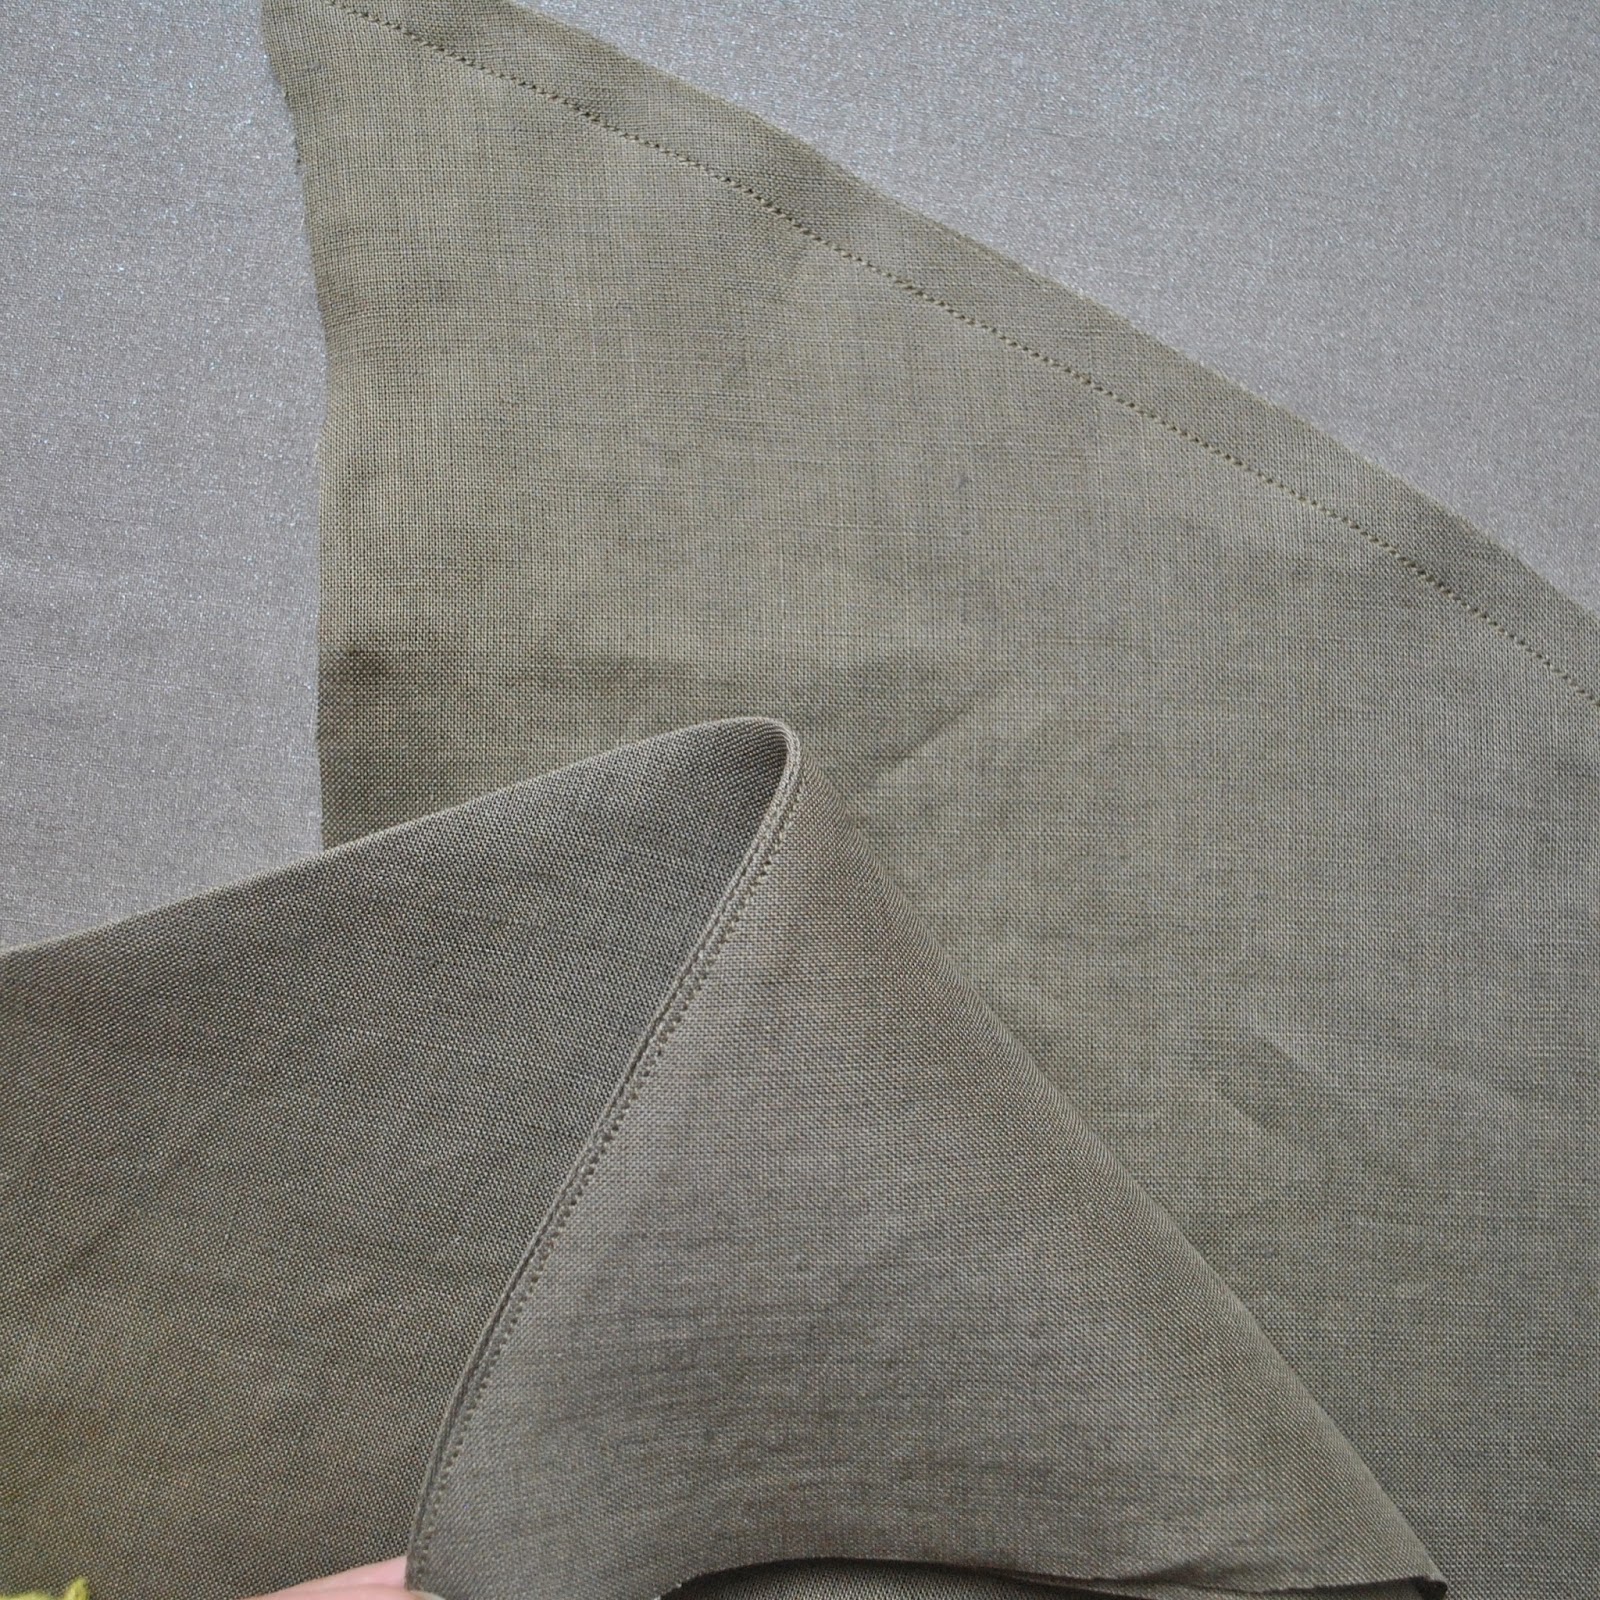
I sewed all seams throughout as French seams

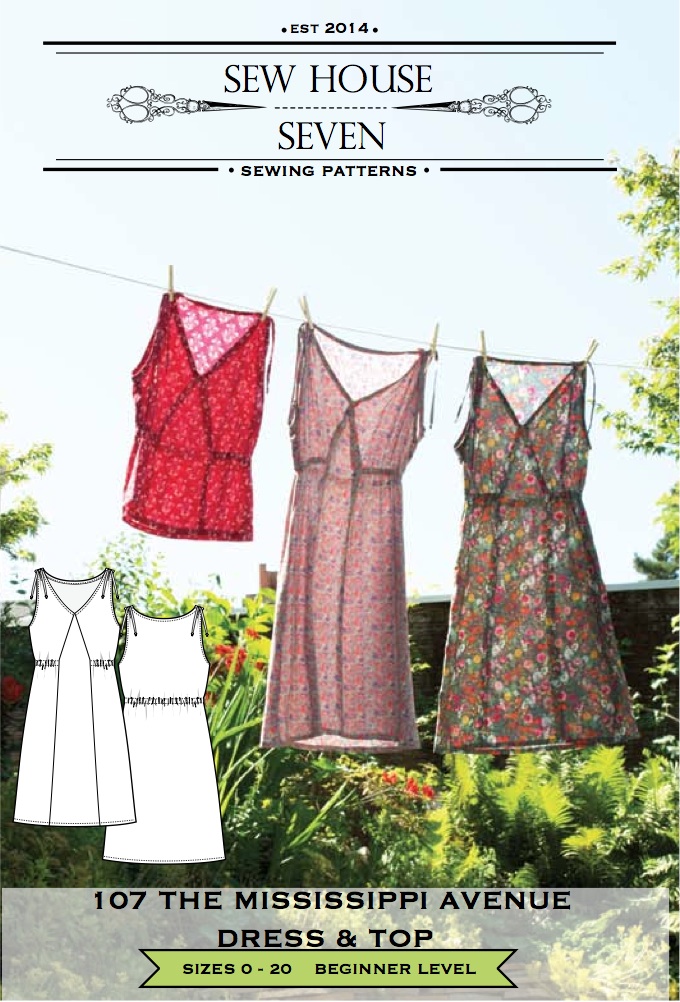
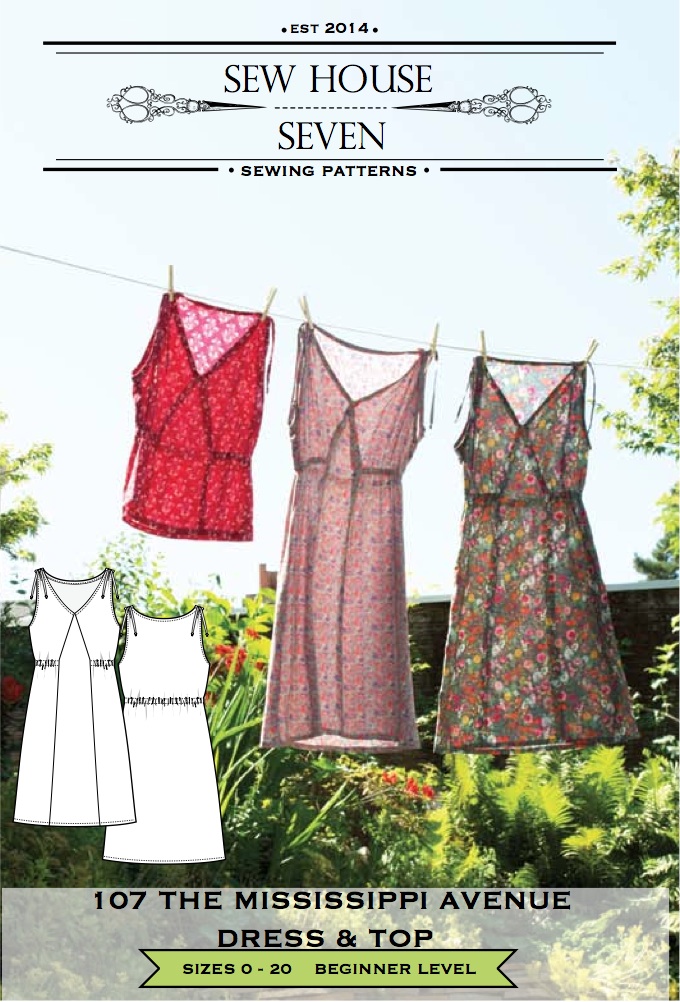
The pattern is the Mississippi Avenue top/dress by Sew House Seven, a pretty, easy-to-wear little number with a modest V-neckline and skinny ties gathering the shoulders up.  It’s a satisfyingly quick and simple project that goes together easily, and I think it’s all of sweet, cool, casual and flattering.  The very thorough and helpful instructions are aimed at the beginner. 
And it is included in the bundle of patterns to be sold as a set for Sew Indie Month.  
What is Sew Indie Month? do I hear you ask? well it is in September this year and has a charitable component, yes, we all joke about sewing selfishly and this is seamsters trying to give a little bit back!  The lowdown…

  • The idea behind Sew Indie Month is to create a global community sewing event, sort of like a big, online sewing workshop, if you like, while simultaneously supporting small women-owned businesses and raising money for charity.  During the month of September, pattern designers are collaborating on the Sew Independent site to put together blog posts and informative tutorials; and a terrific bonus is a sewalong contest with prizes!   Sew Indie Month is co-ordinated this year by Mari from Seamster Sewing Patterns
  • The pattern bundle is available to buy here, and the sale will run from Monday 3rd August to Wednesday 12th August.
  • 20% of bundle proceeds will be donated to the International Folk Art Alliance, which provides education and exhibition opportunities to folk artists from around the world. Just a few examples of what the International Folk Art Alliance has been able to accomplish by helping artists create stable, year-round livelihoods includes helping shelter women from domestic violence in Ecuador, building a school for children in Pakistan, empowering women in repressive cultures around the world, and feeding villages in Niger.
  • You can check out all the details and information on participating patterns and the pricing options, here; on the Sew Independent site

My fellow participating seamsters who will be making their own lovely and unique creations using one or more of the patterns are:

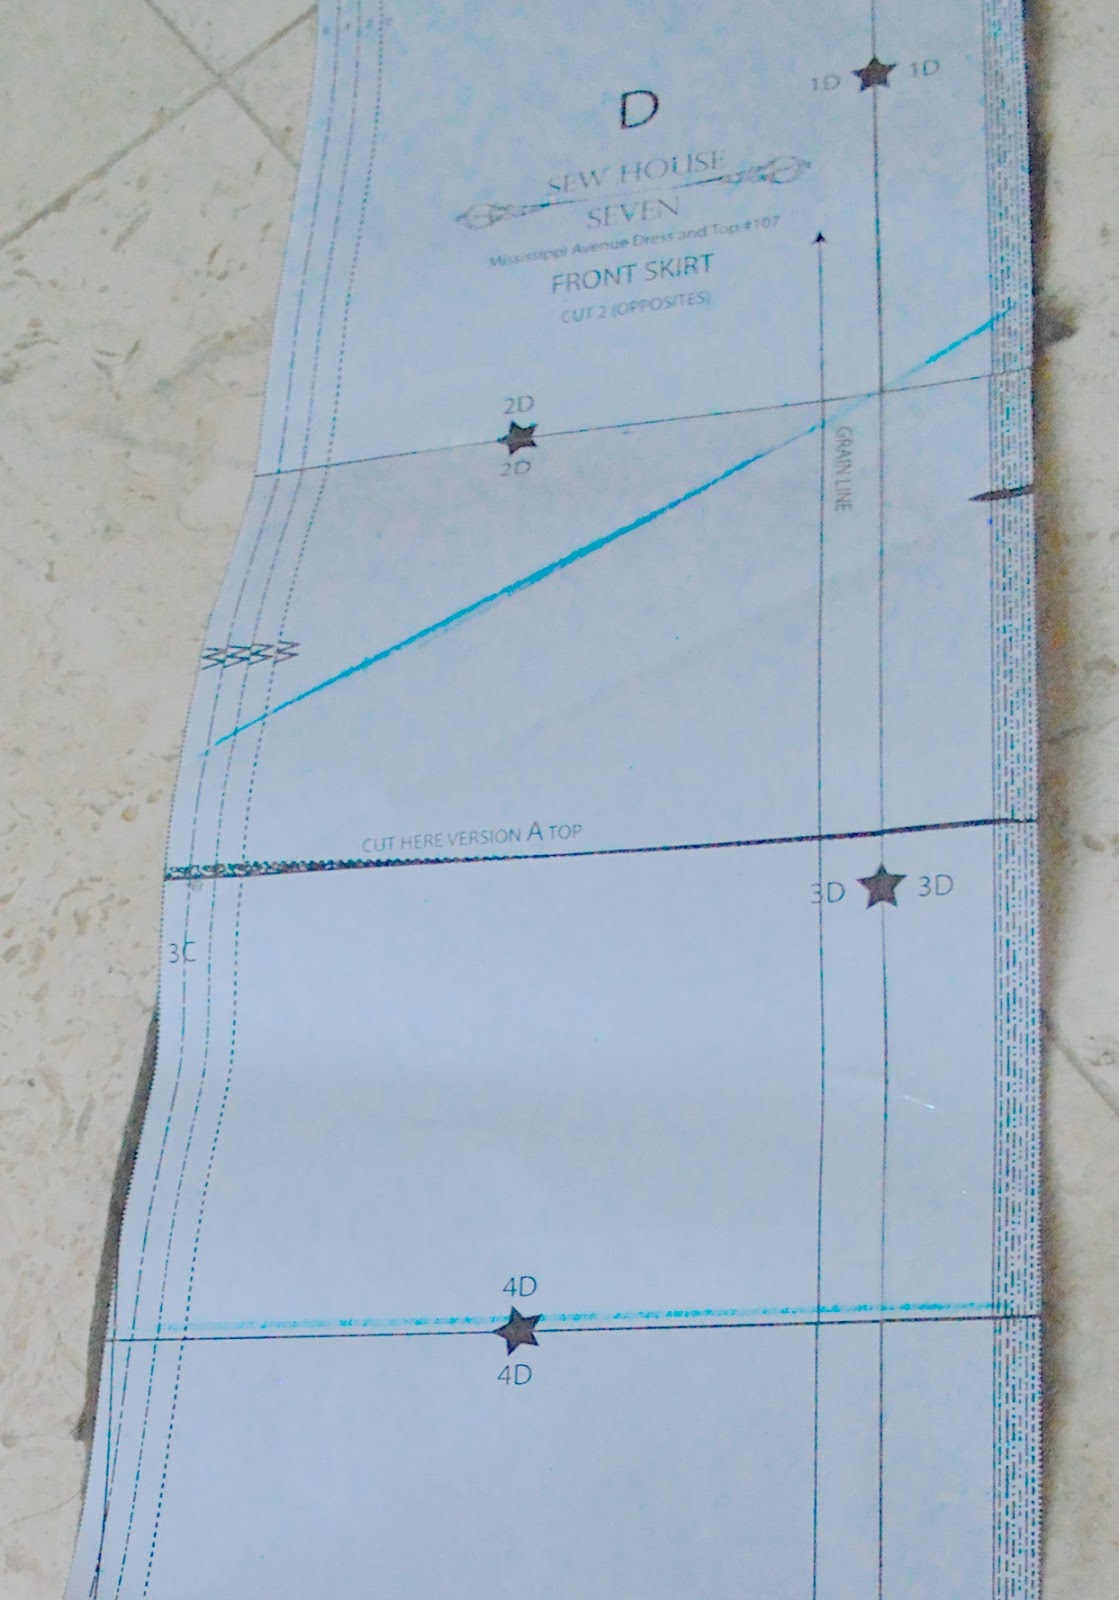
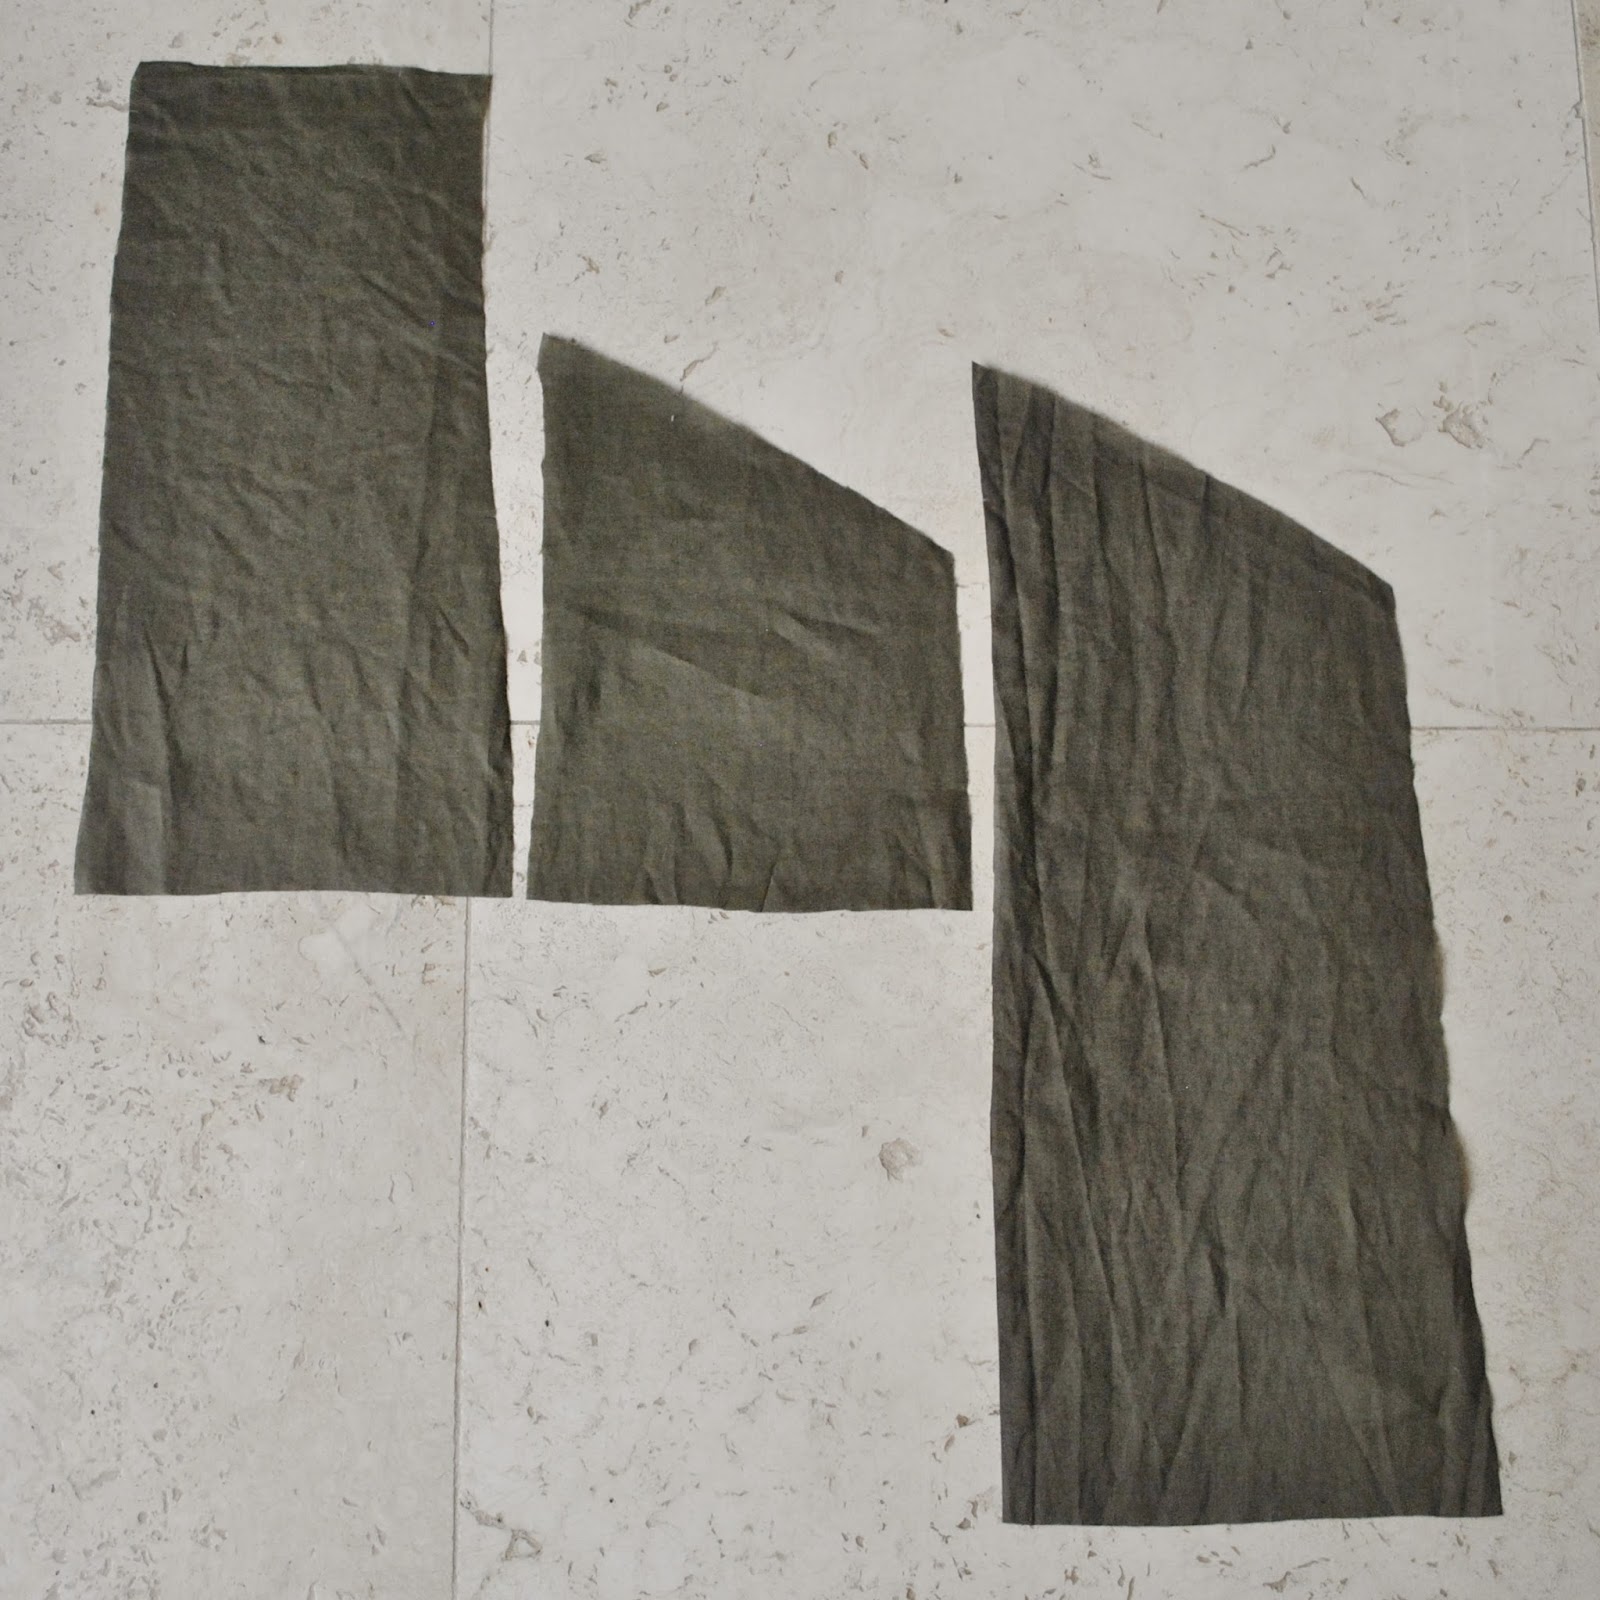
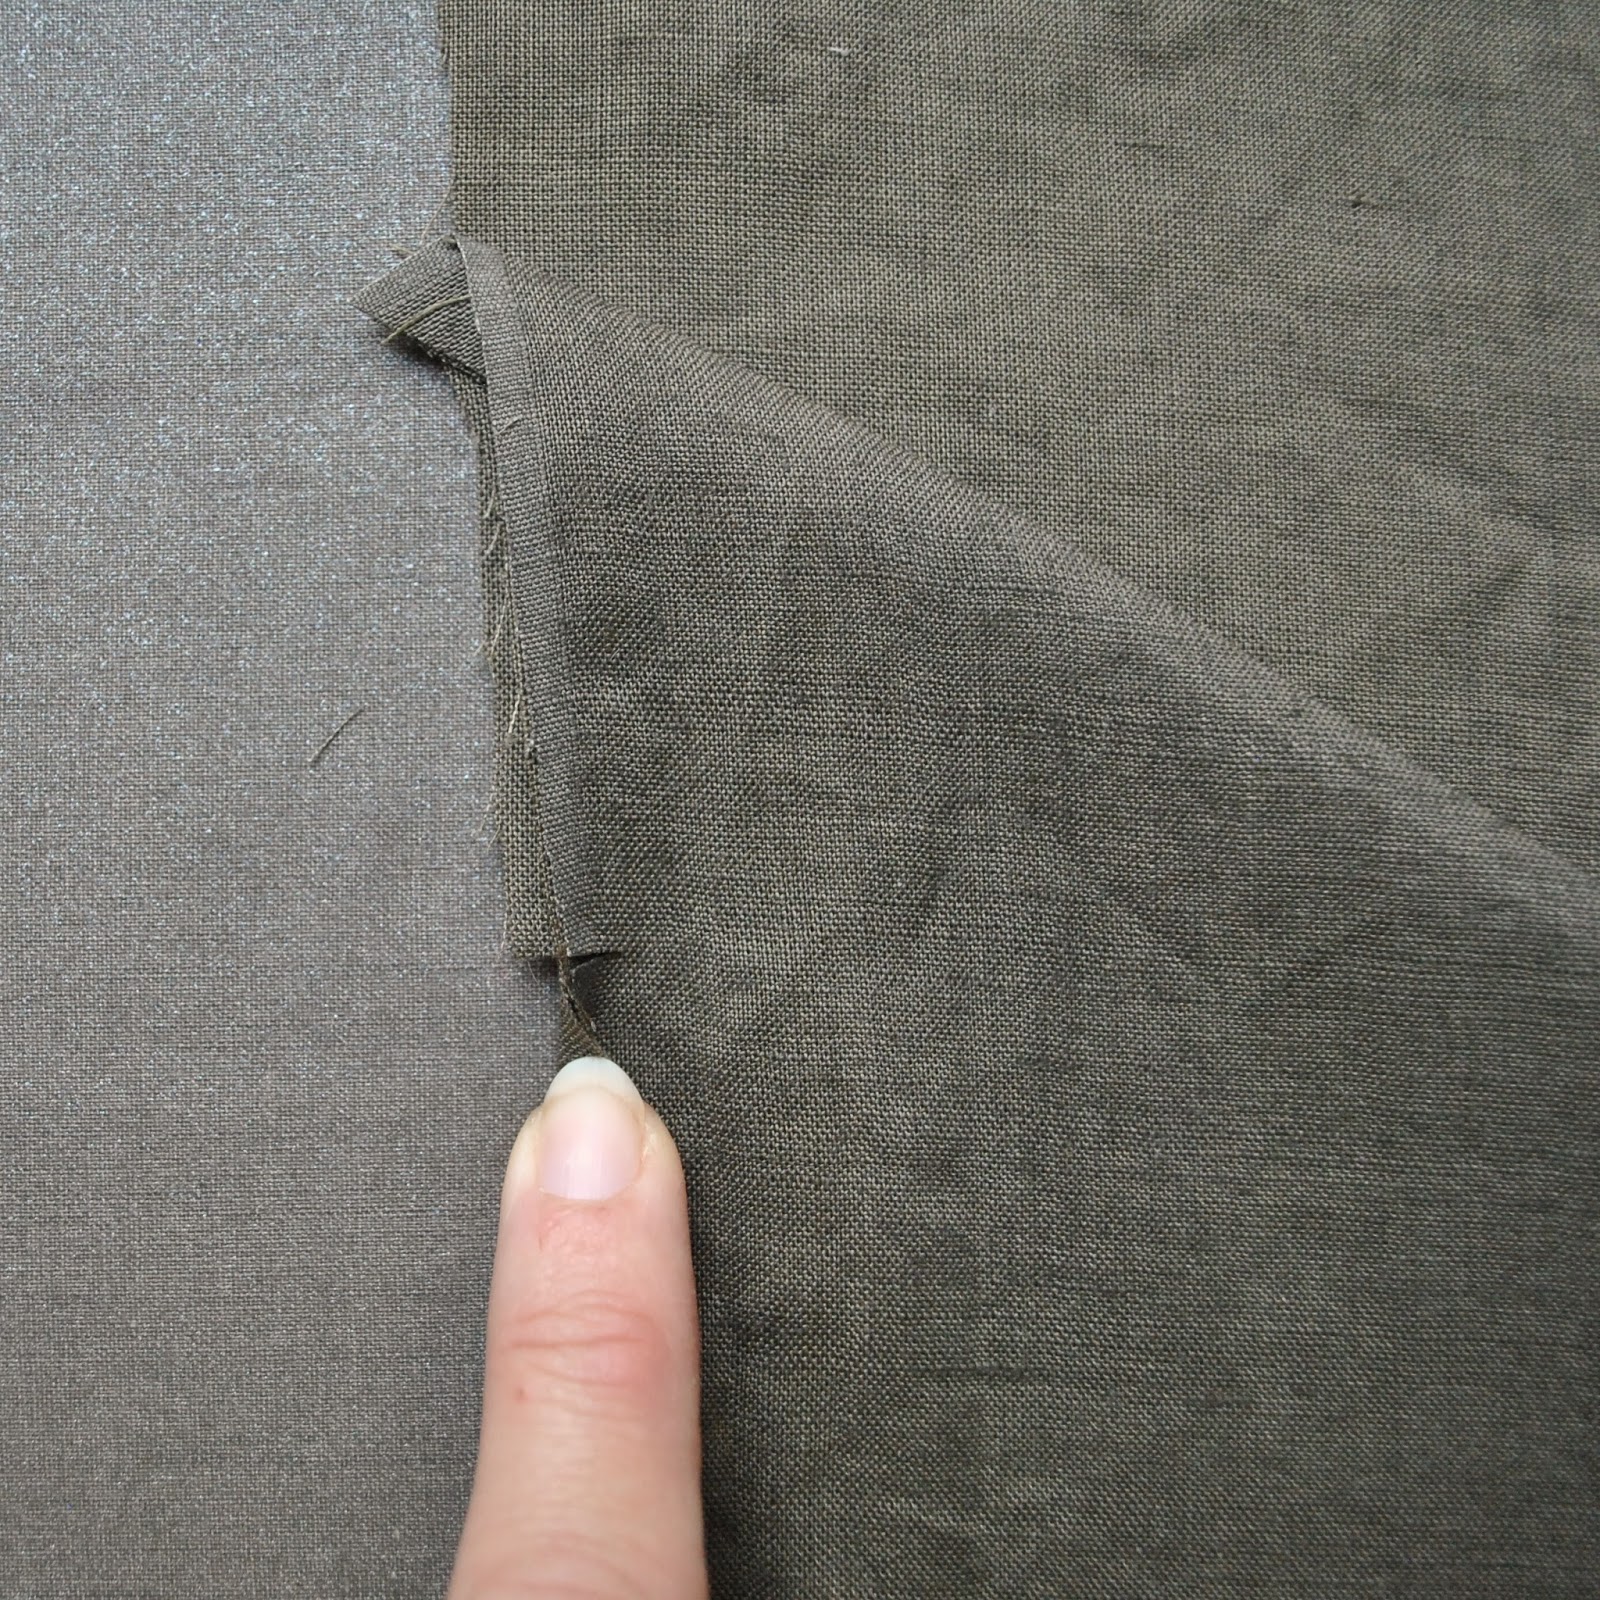
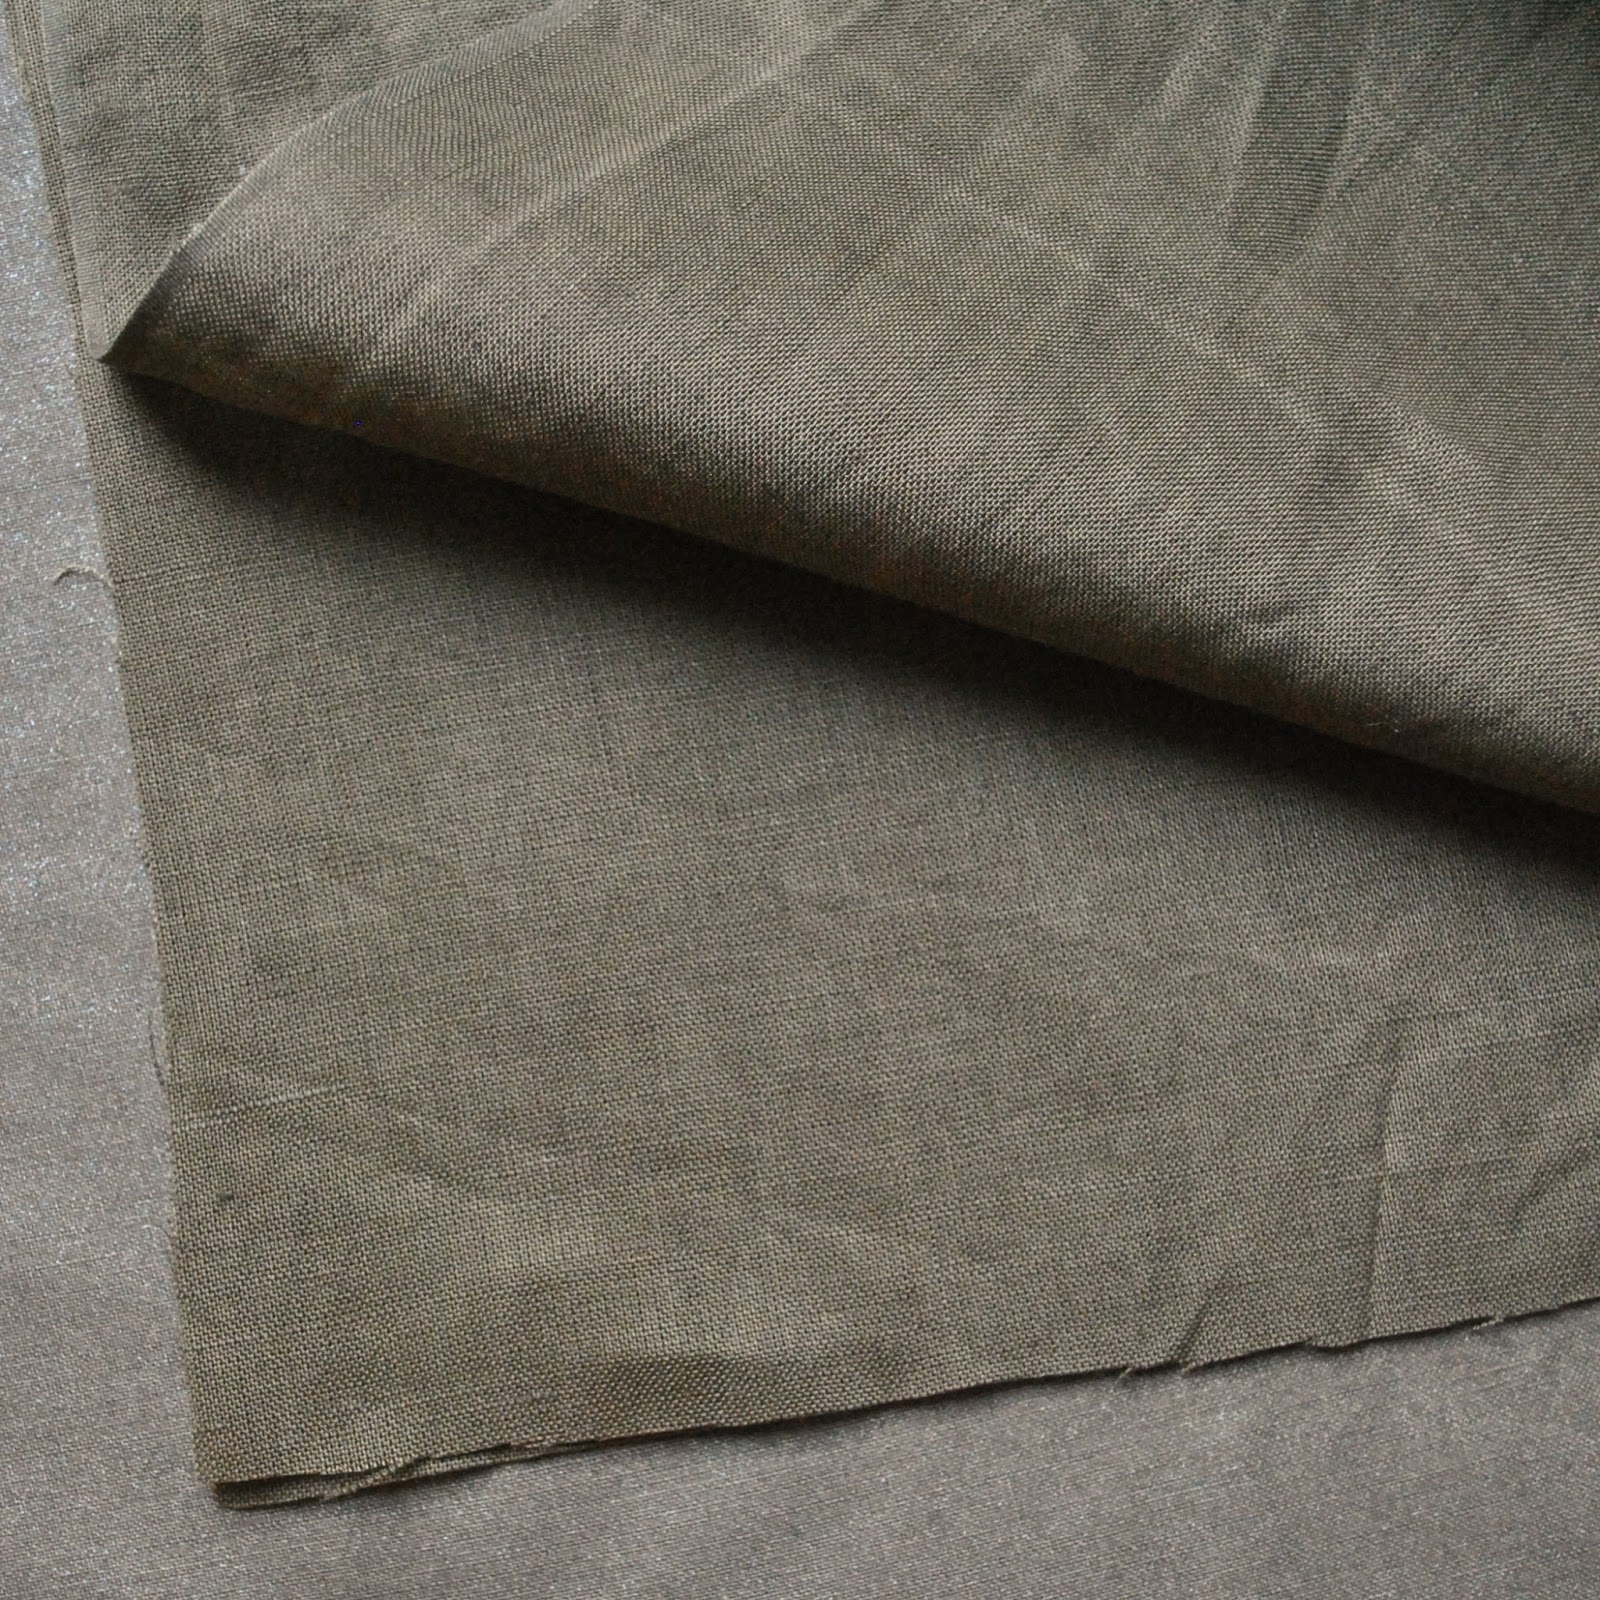
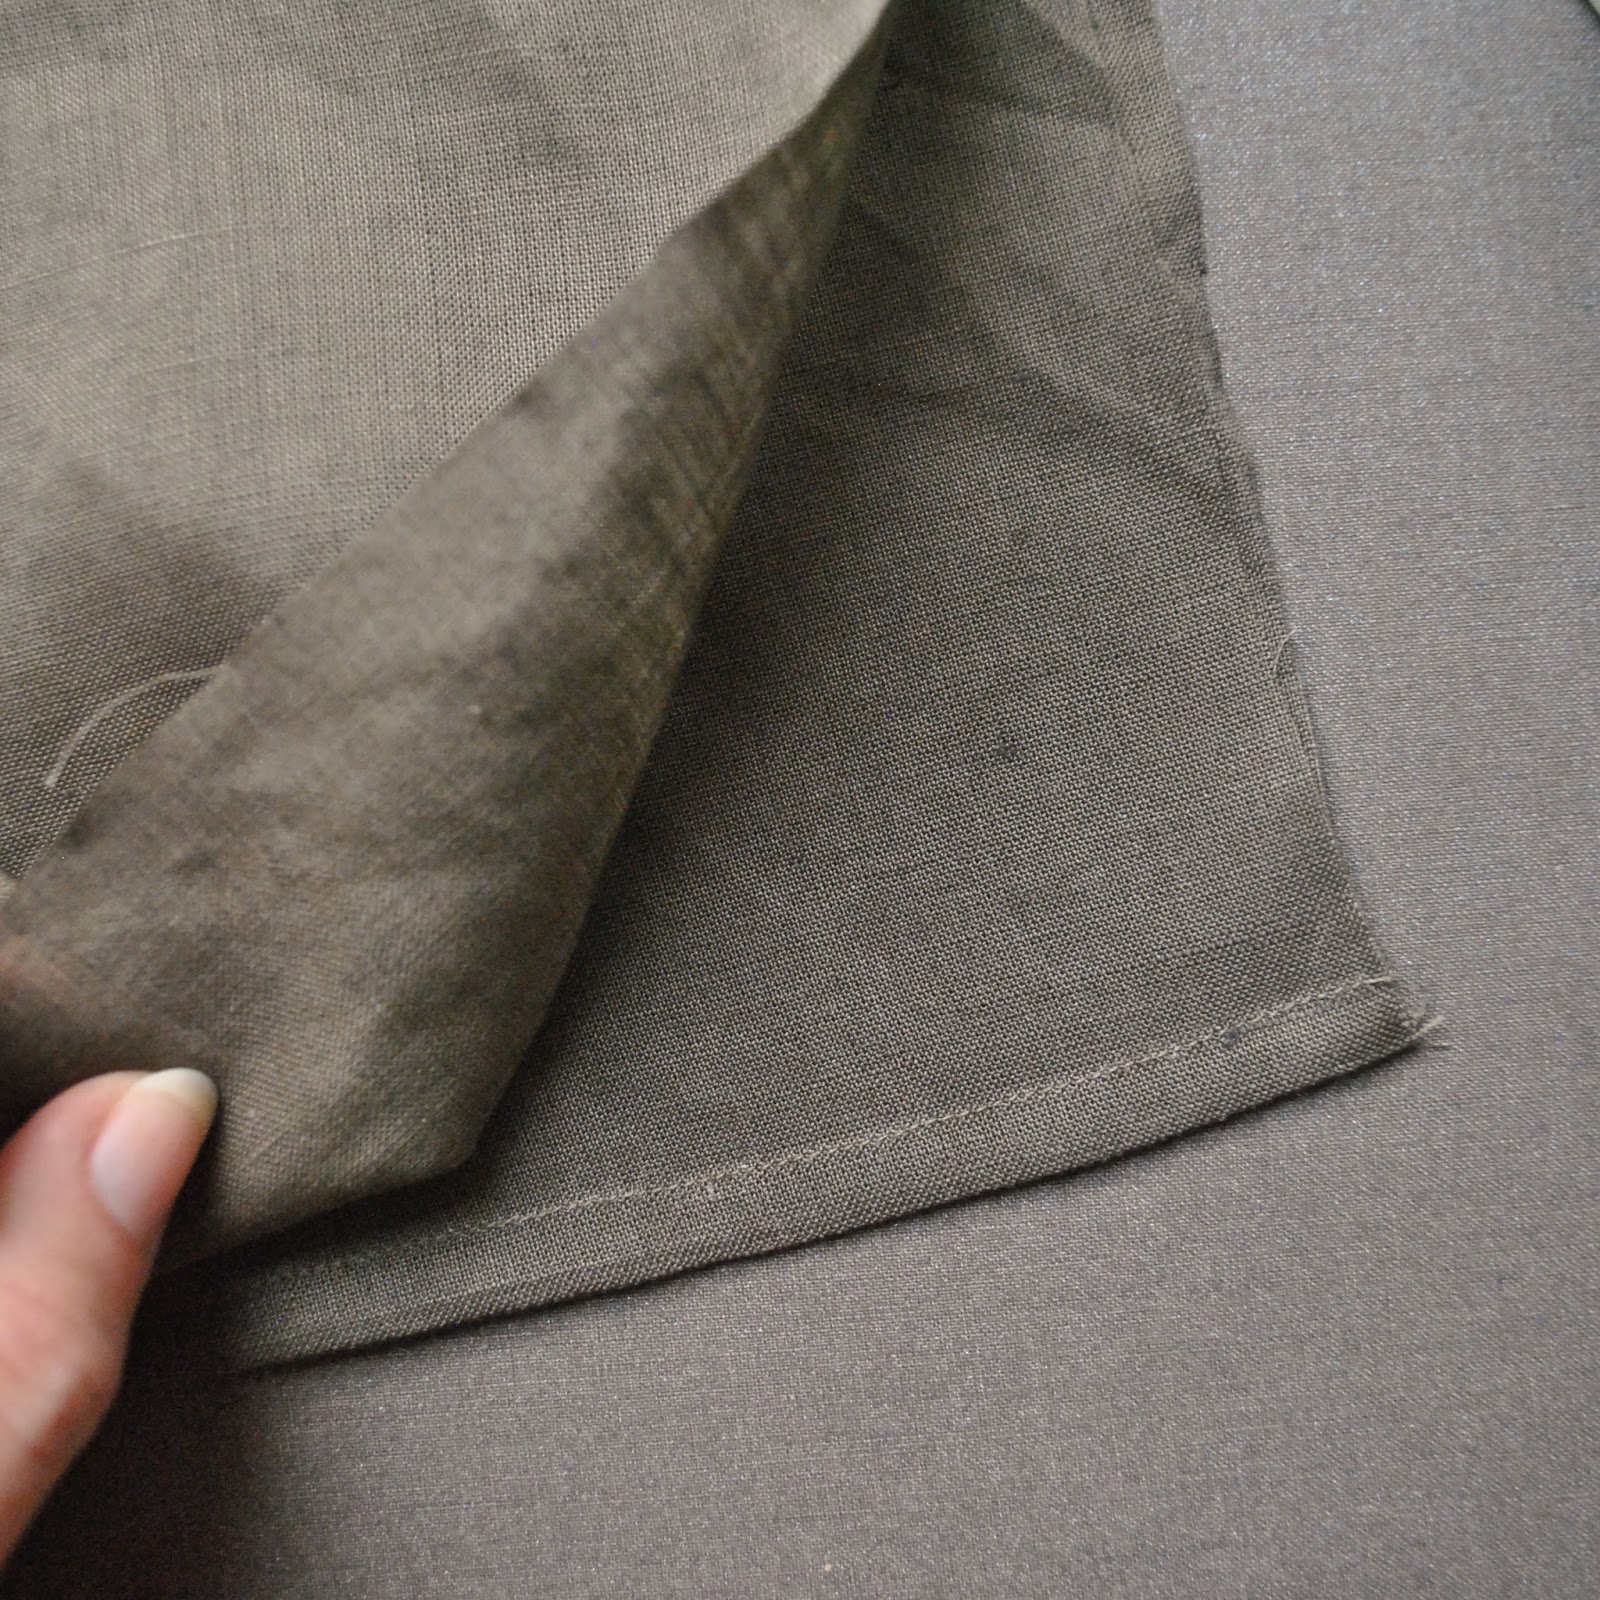
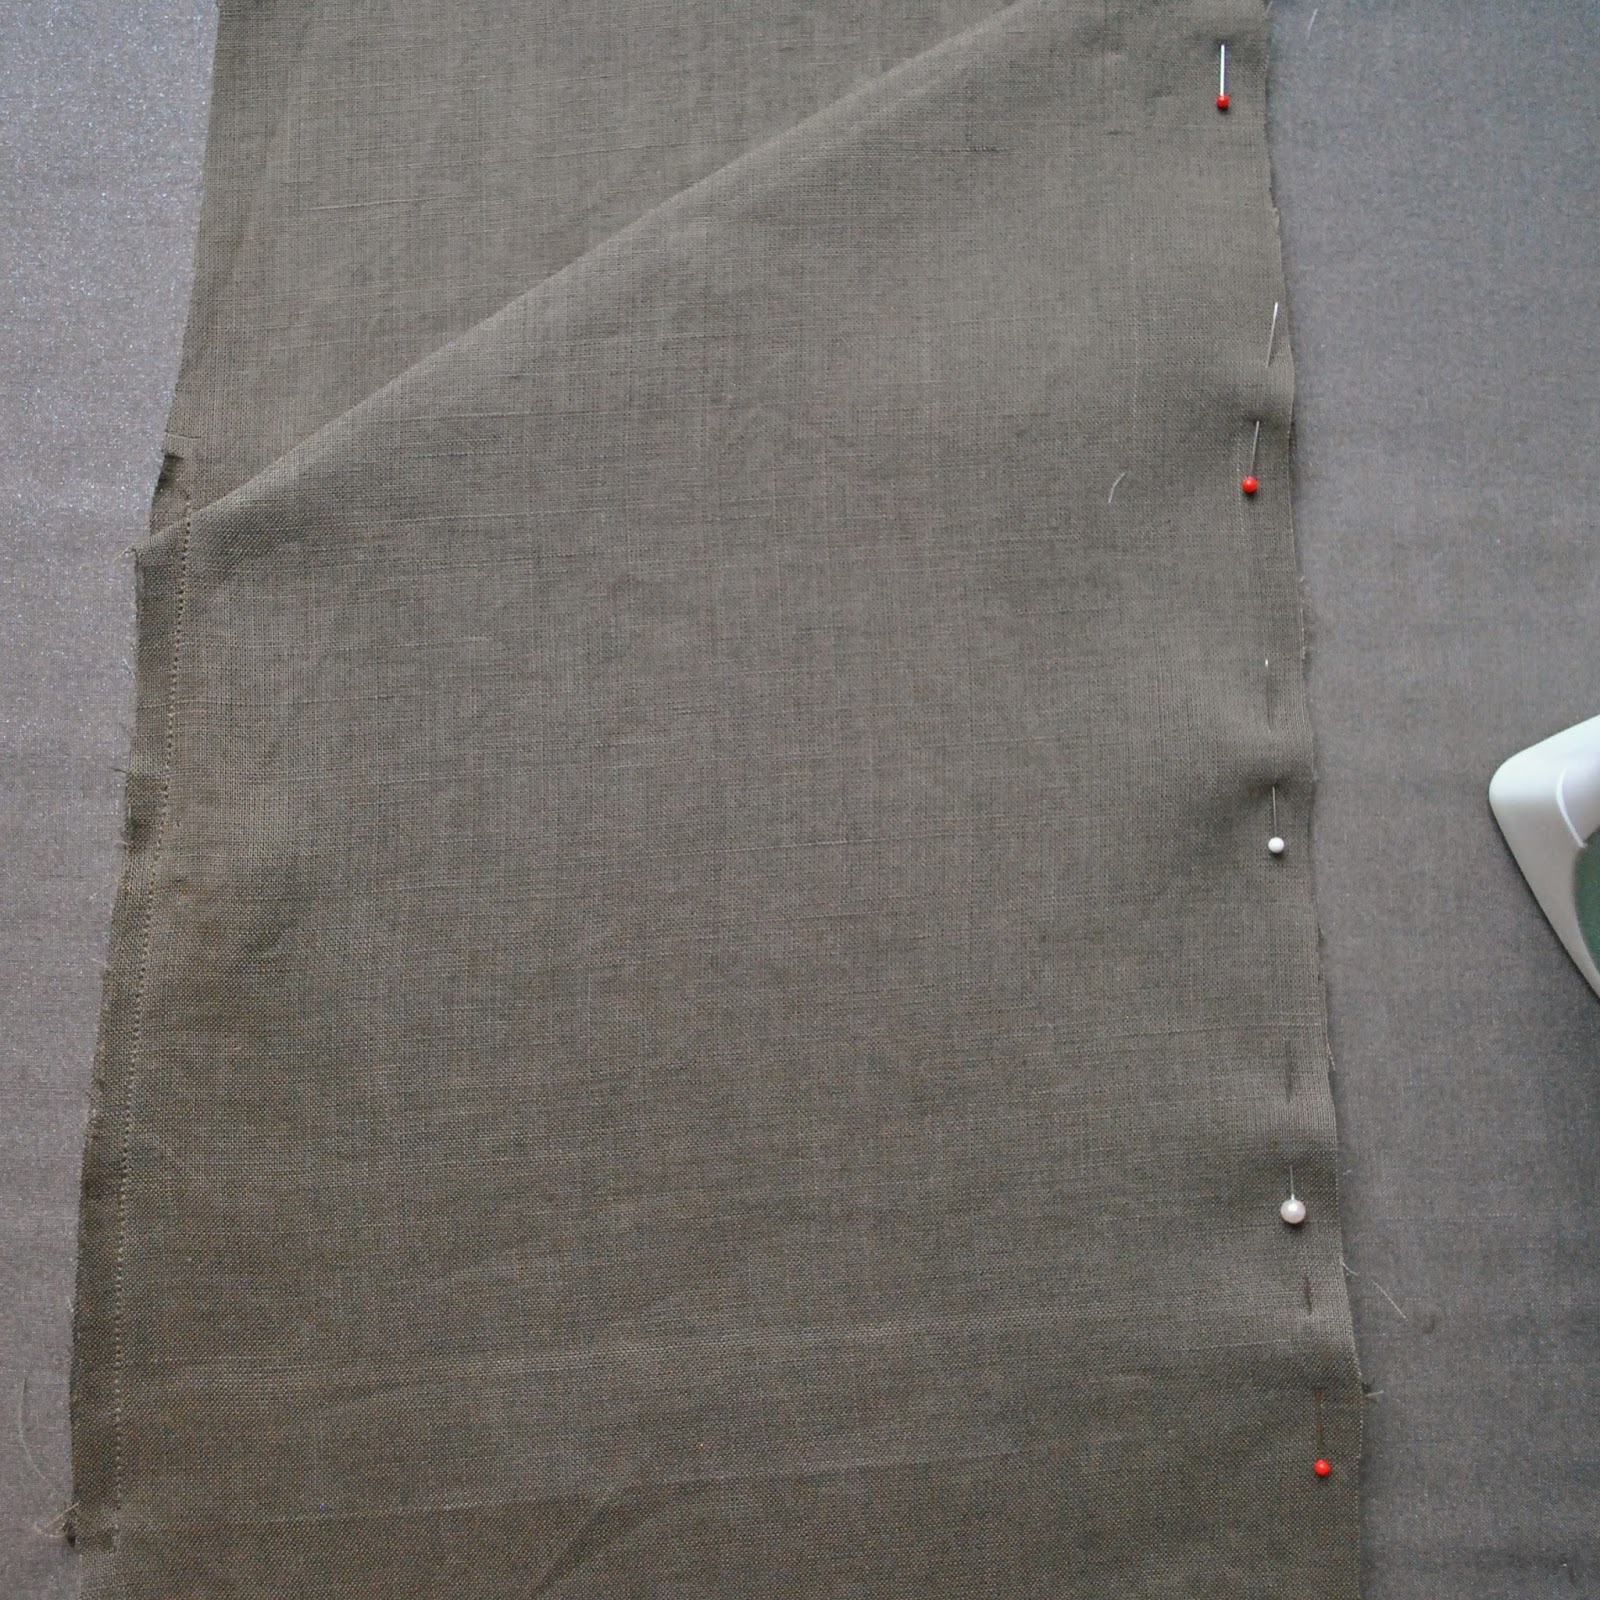
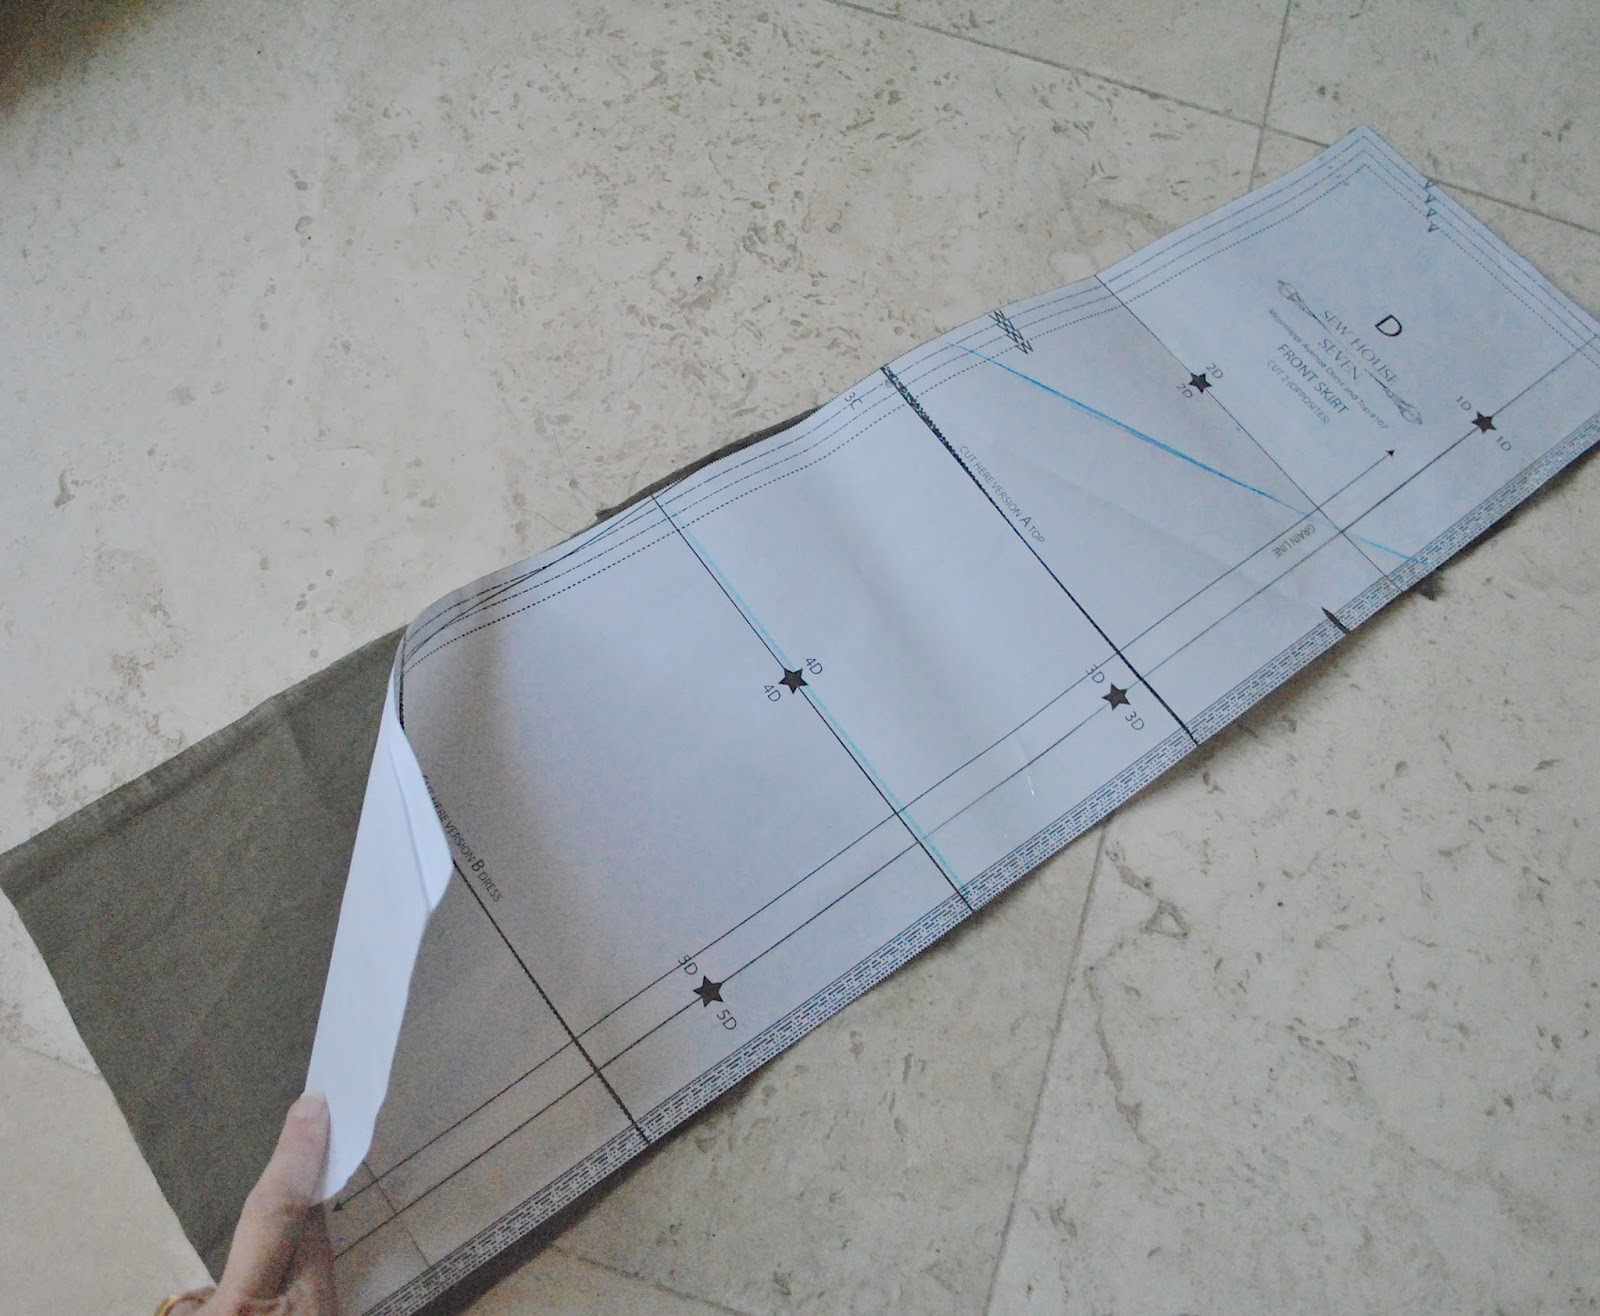
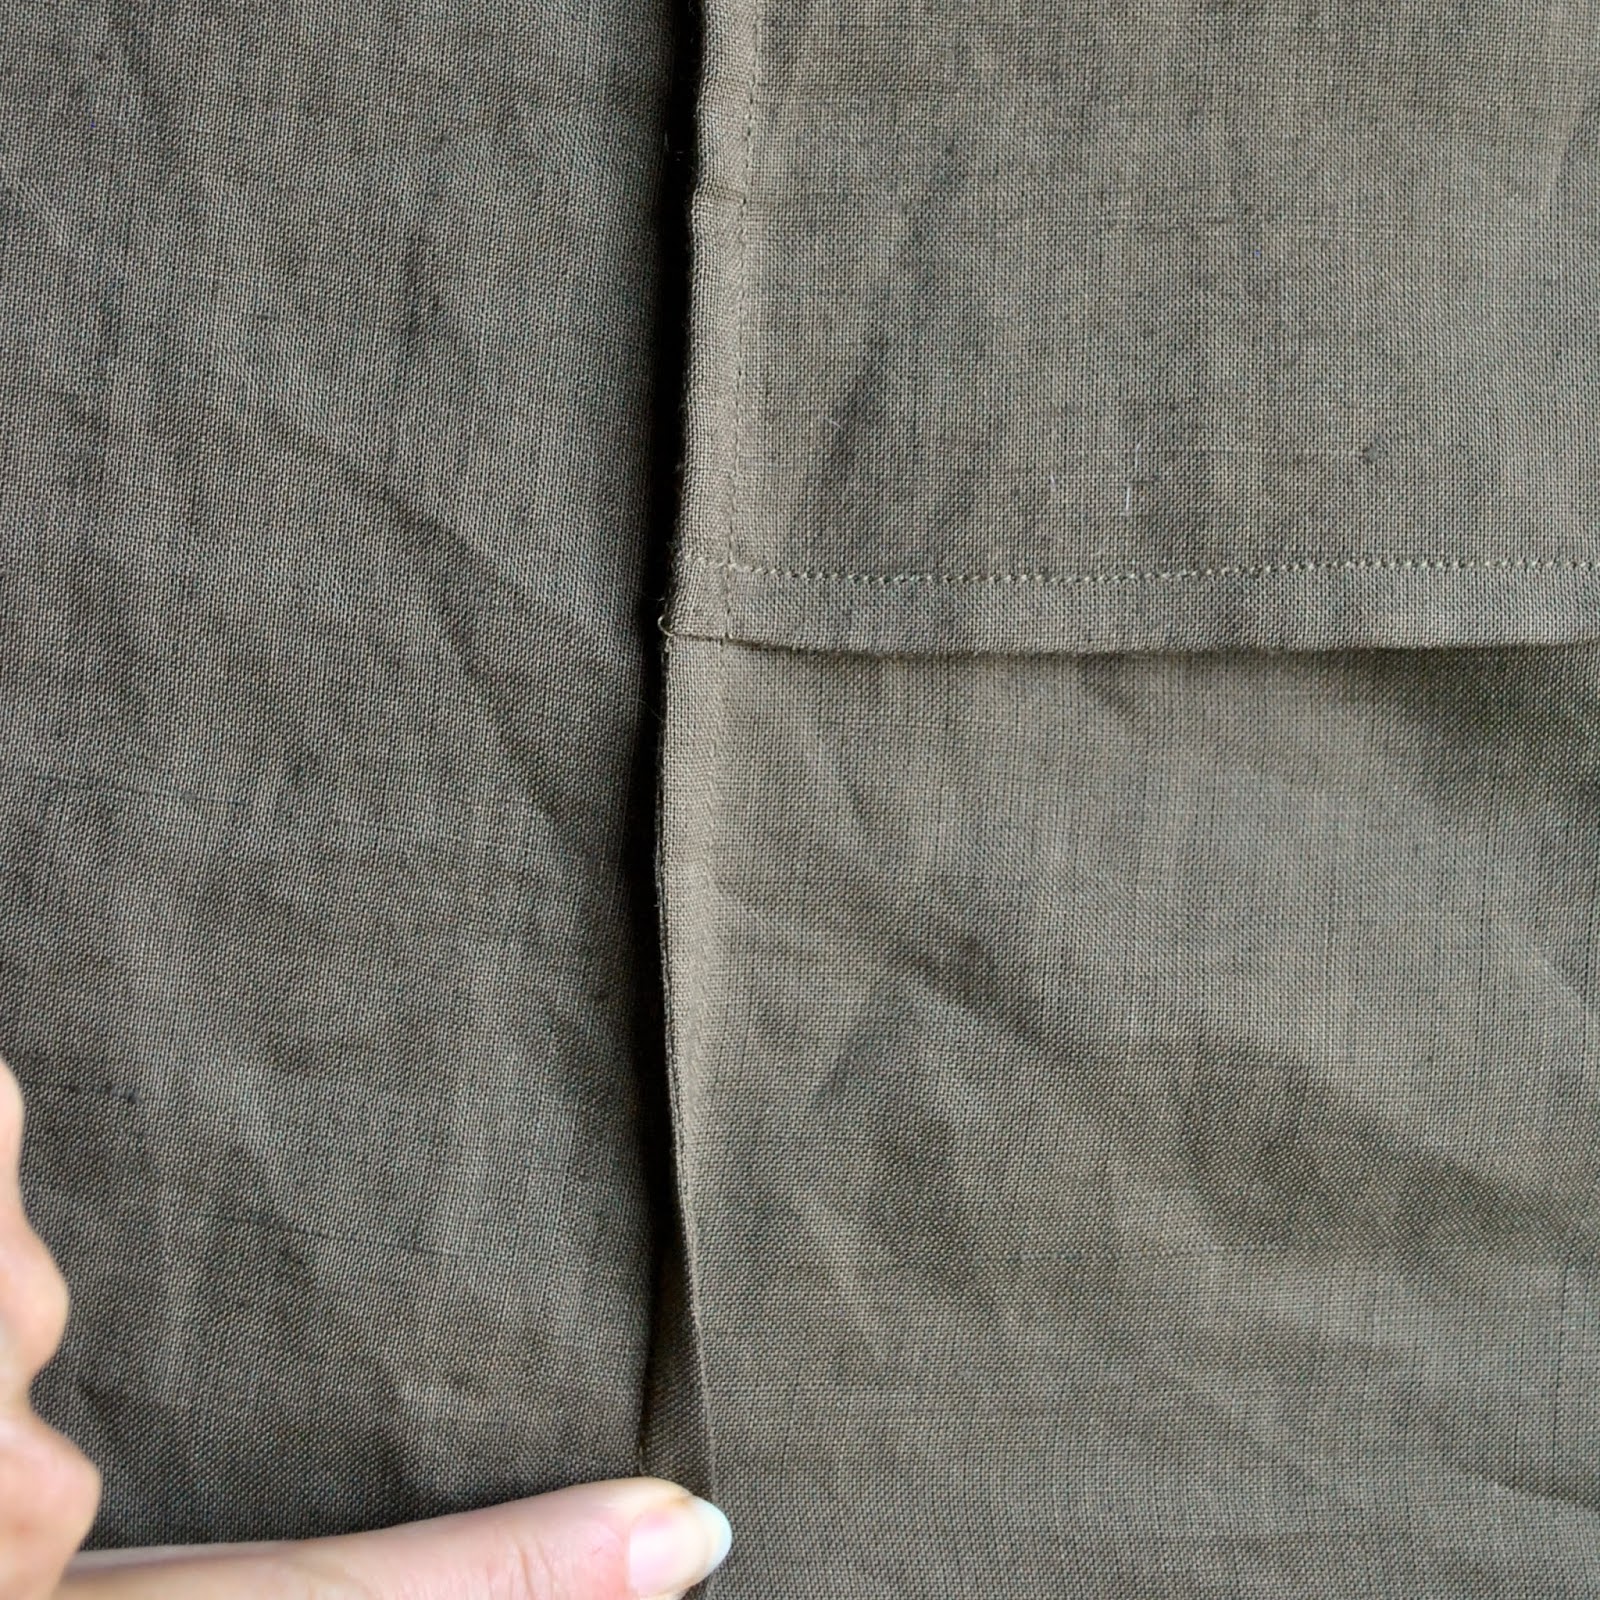
I also added slanted front pockets to my dress… because, well, pockets.  Where there’s a will there’s a way, mwahaha.  I did these same sort of pockets for my blocky sundress, and it’s an easy feature to add when the front is already in 3-panels like this.  For this reason, my method could also work in a princess seamed dress.  I took a few piccies this time to illustrate how I put them in…

Mark on the pattern piece a slanted line where you want the top of your pocket to sit, and another horizontal line to mark the bottom of the pocket edge.  Instead of cutting the side front as one piece, cut three pieces: 
1. piece at left, upper S (side) front, from the top edge of the pattern piece to the bottom edge of the marked pocket allowance, plus seam allowance,
2. middle piece, pocket; from the top edge of the slanted pocket line to the lower edge of the pocket allowance, plus seam allowances top and bottom.
3. piece at right; lower S front; from the slanted pocket line plus seam allowance, to the lower edge of the pattern piece.  It’s a good idea to add an extra, say, 4-5cm in length to the lower edge to allow for possible boo-boos in seaming, just in case.
Transfer all notches and new marks to all pieces.

Stay stitch the slanted edges, and then stitch the pocket piece to the lower S front piece, right sides together, along that top, slanted edge.  Press seam open, turn out, under stitch inside the pocket.

 Lay lower S front/pocket piece over upper S front piece, aligning notches, pin along side edges.  

Lift aside the lower S front piece and check how well the lower edge of the pocket aligns to the lower edge of the upper S front piece.  If they differ, trim them to match each other.

 Stitch lower edges of pocket and upper S front piece together in a French seam.

 Pin the three layers of upper S front, pocket, lower S front together at side edges, baste.

 Lay the original side front pattern piece over and trim any excess length off the lower edge.  From now on just keep on putting the dress together just as normal.

Voila! slanted front pockets!

btw; please know that, as always, there are no affiliate links on my blog and never will be.  I received the patterns free, for me to make an item to help spread the word, and I chose to use the Mississippi dress pattern 🙂

Details:
Dress; the Mississippi Avenue dress by Sew House Seven; in deep olive linen with cream lace appliqué
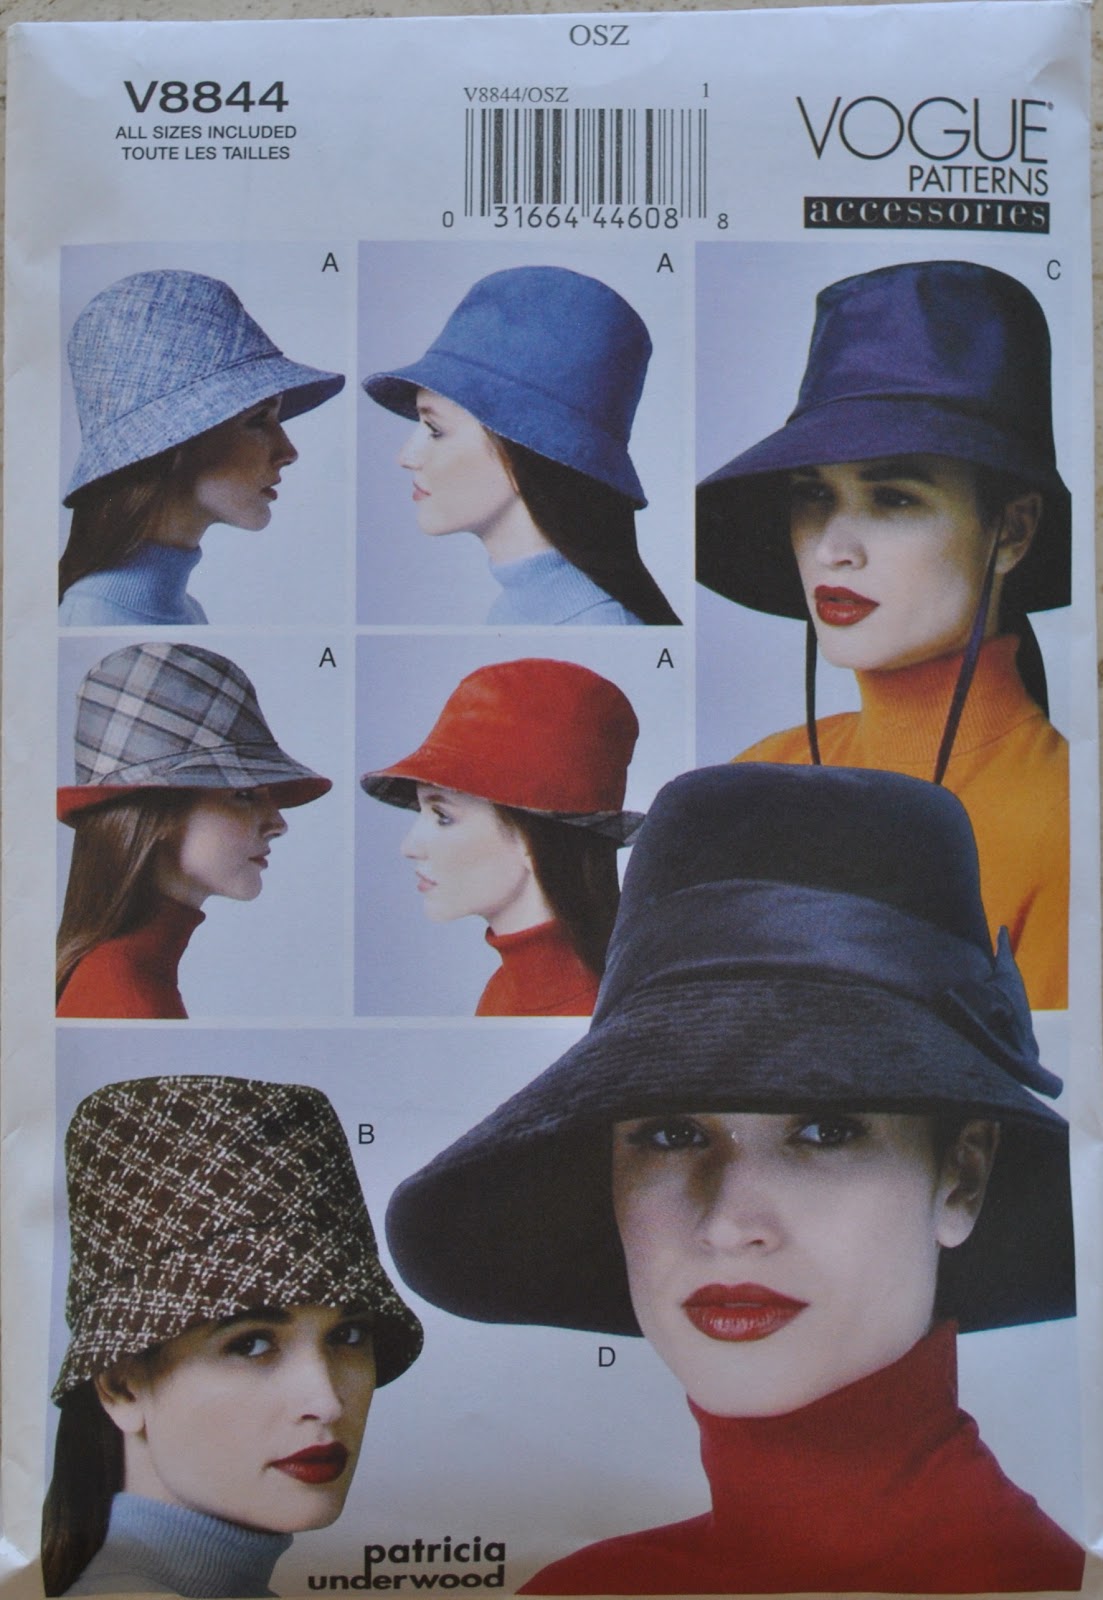
Hat; Vogue 8844, cream cotton corduroy, details and my review of this pattern here
Shoes; Bronx, from Zomp shoes

pinterestmail

the difficulty of black lace…

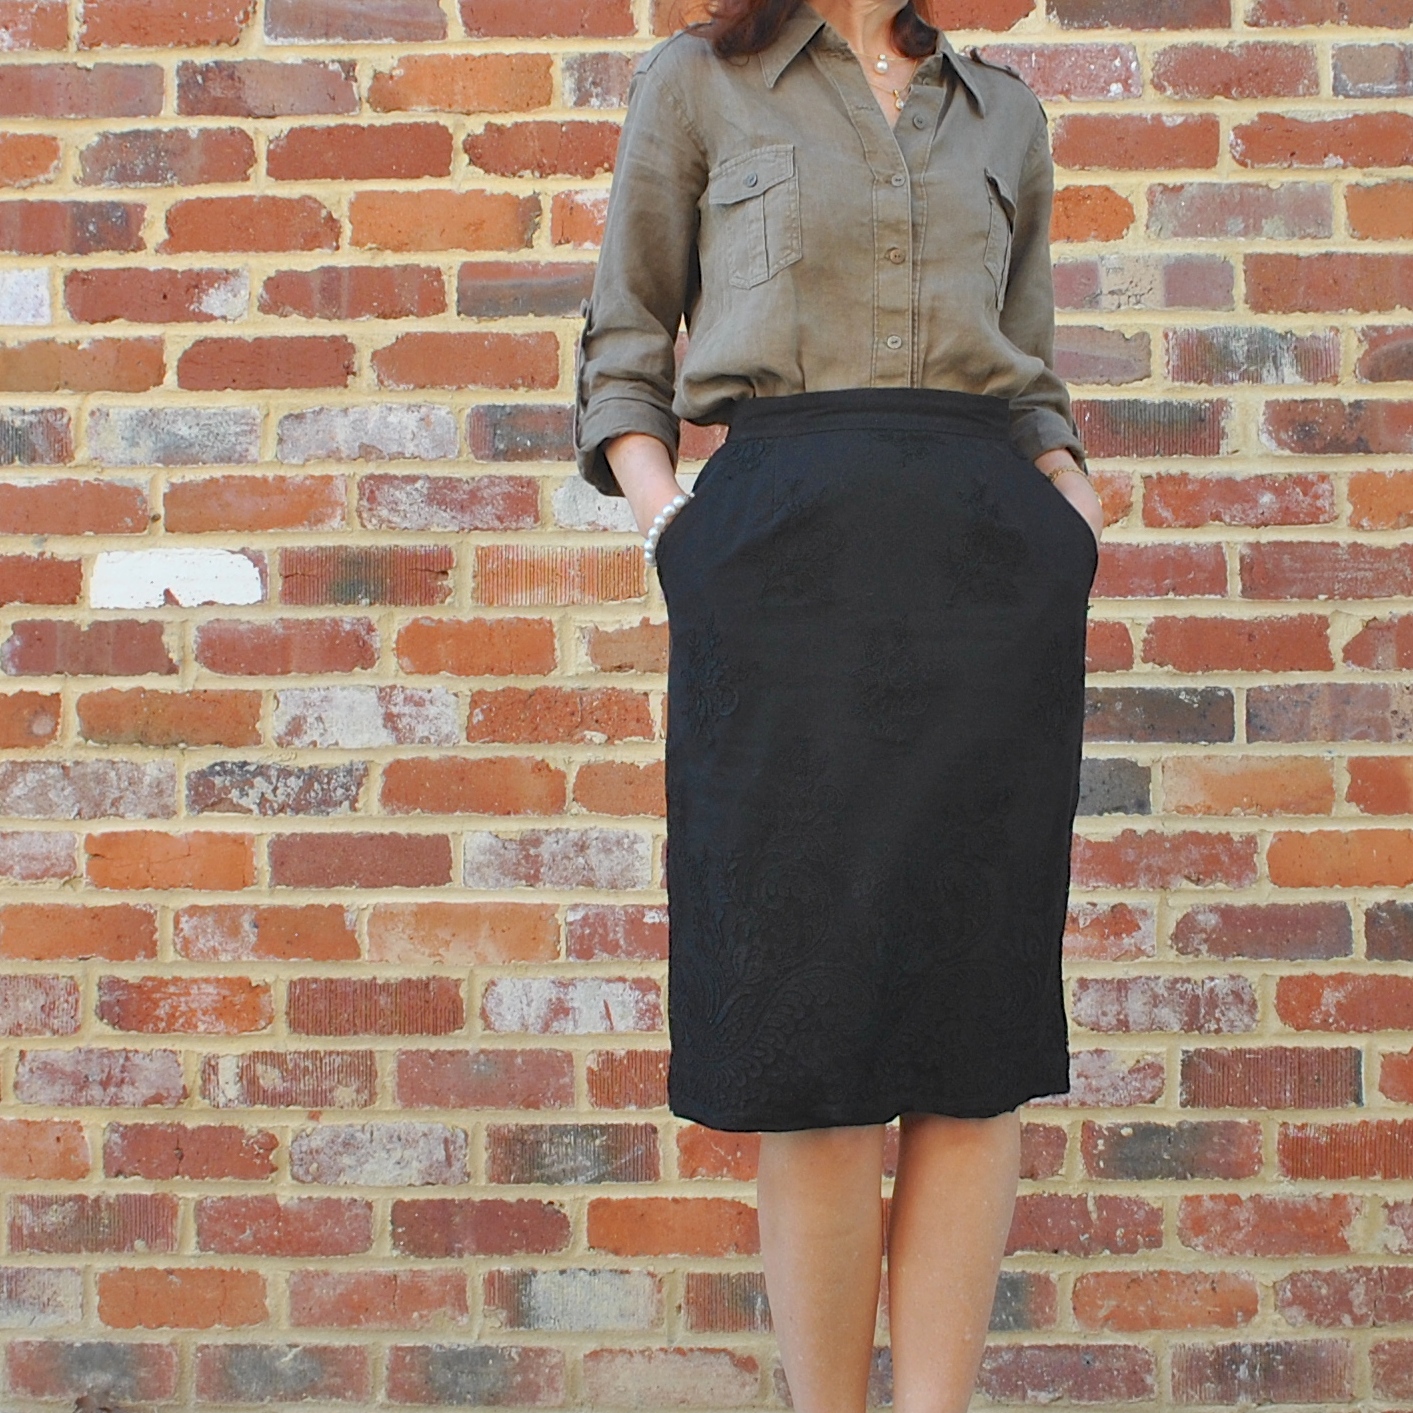
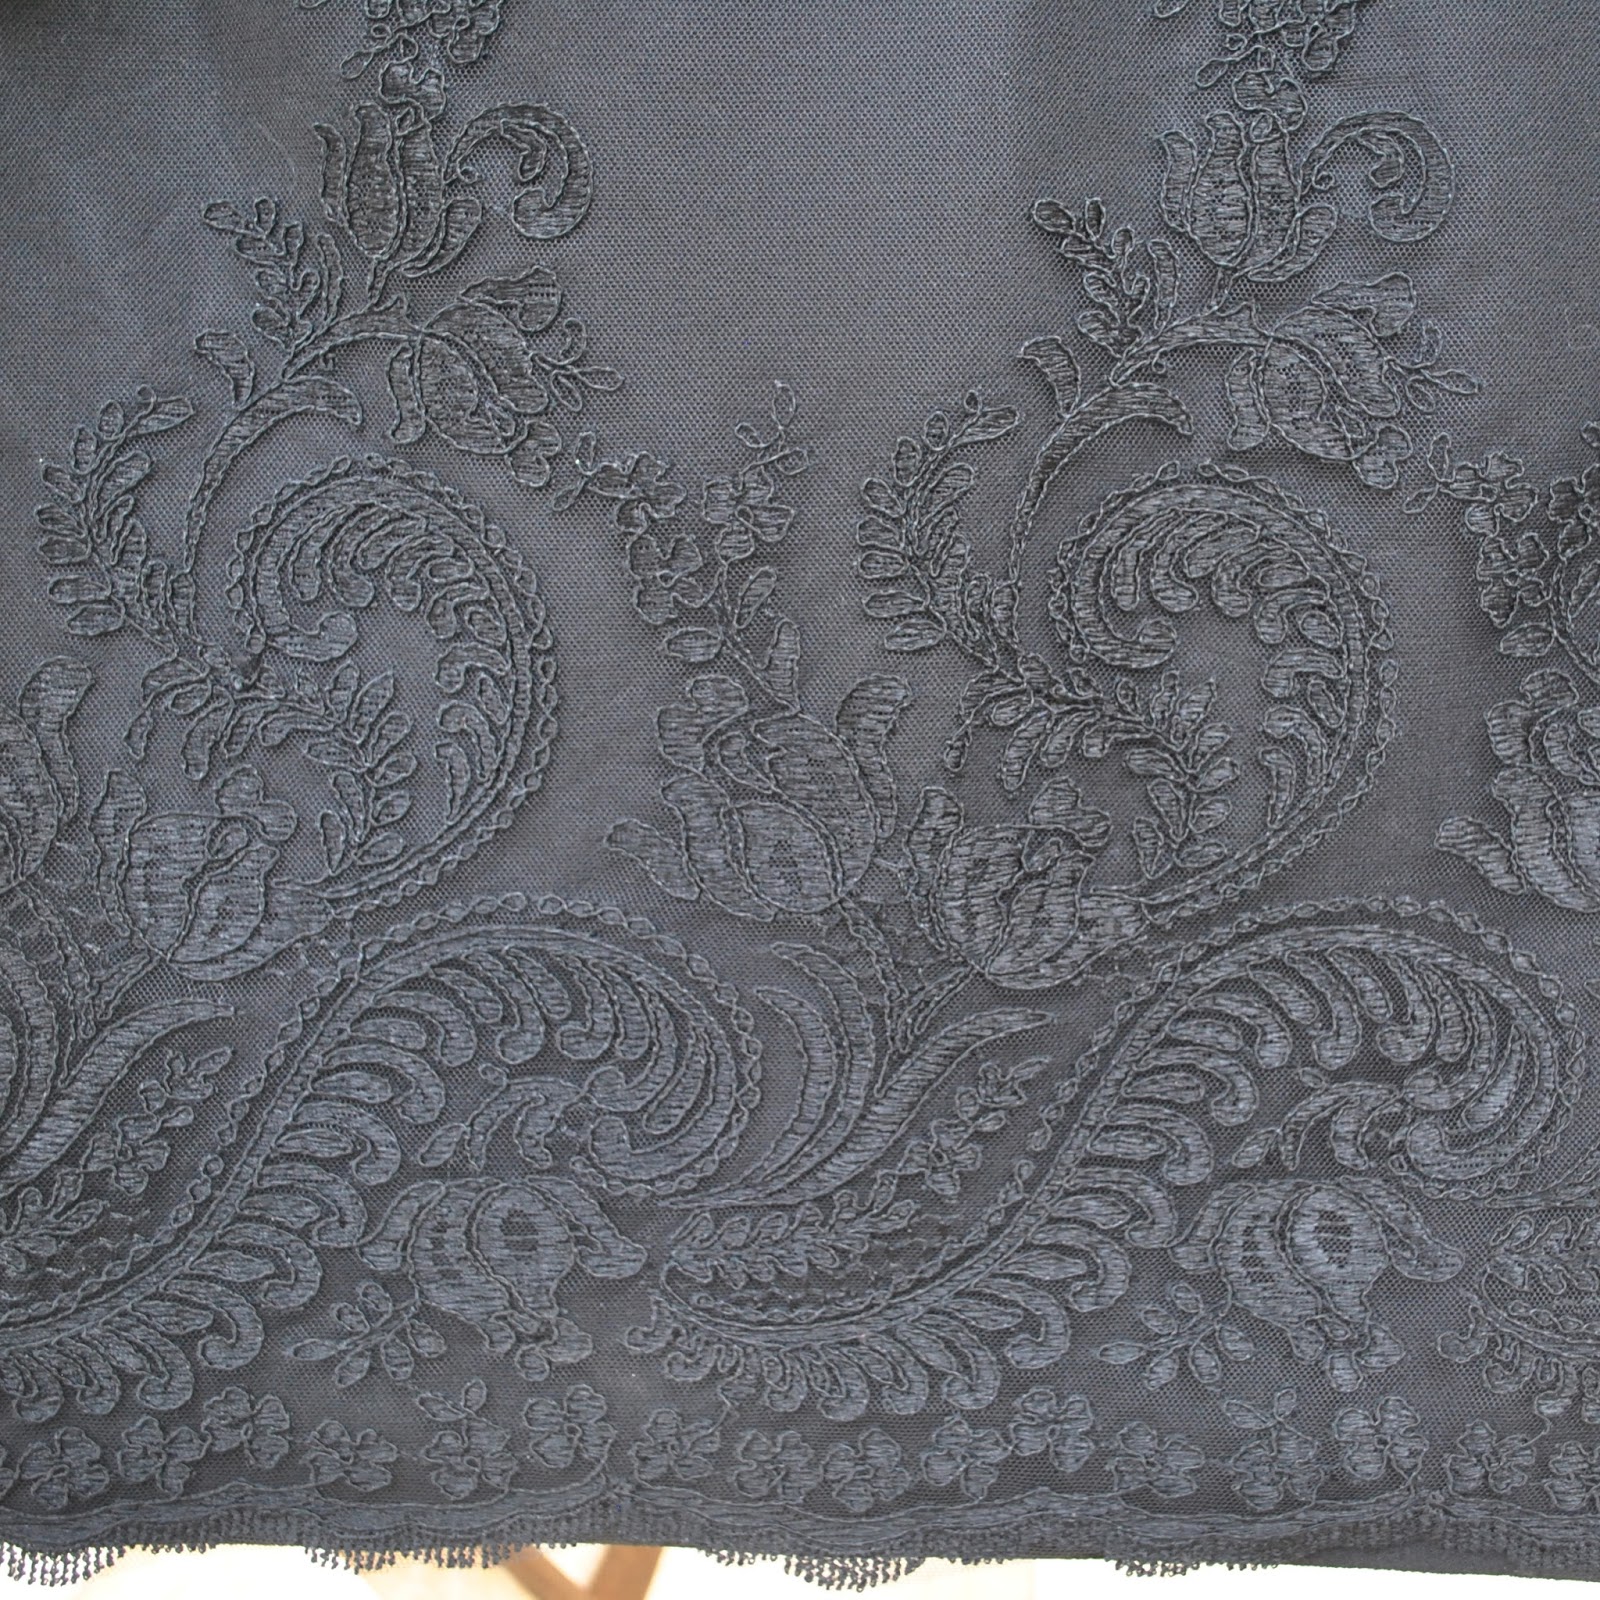
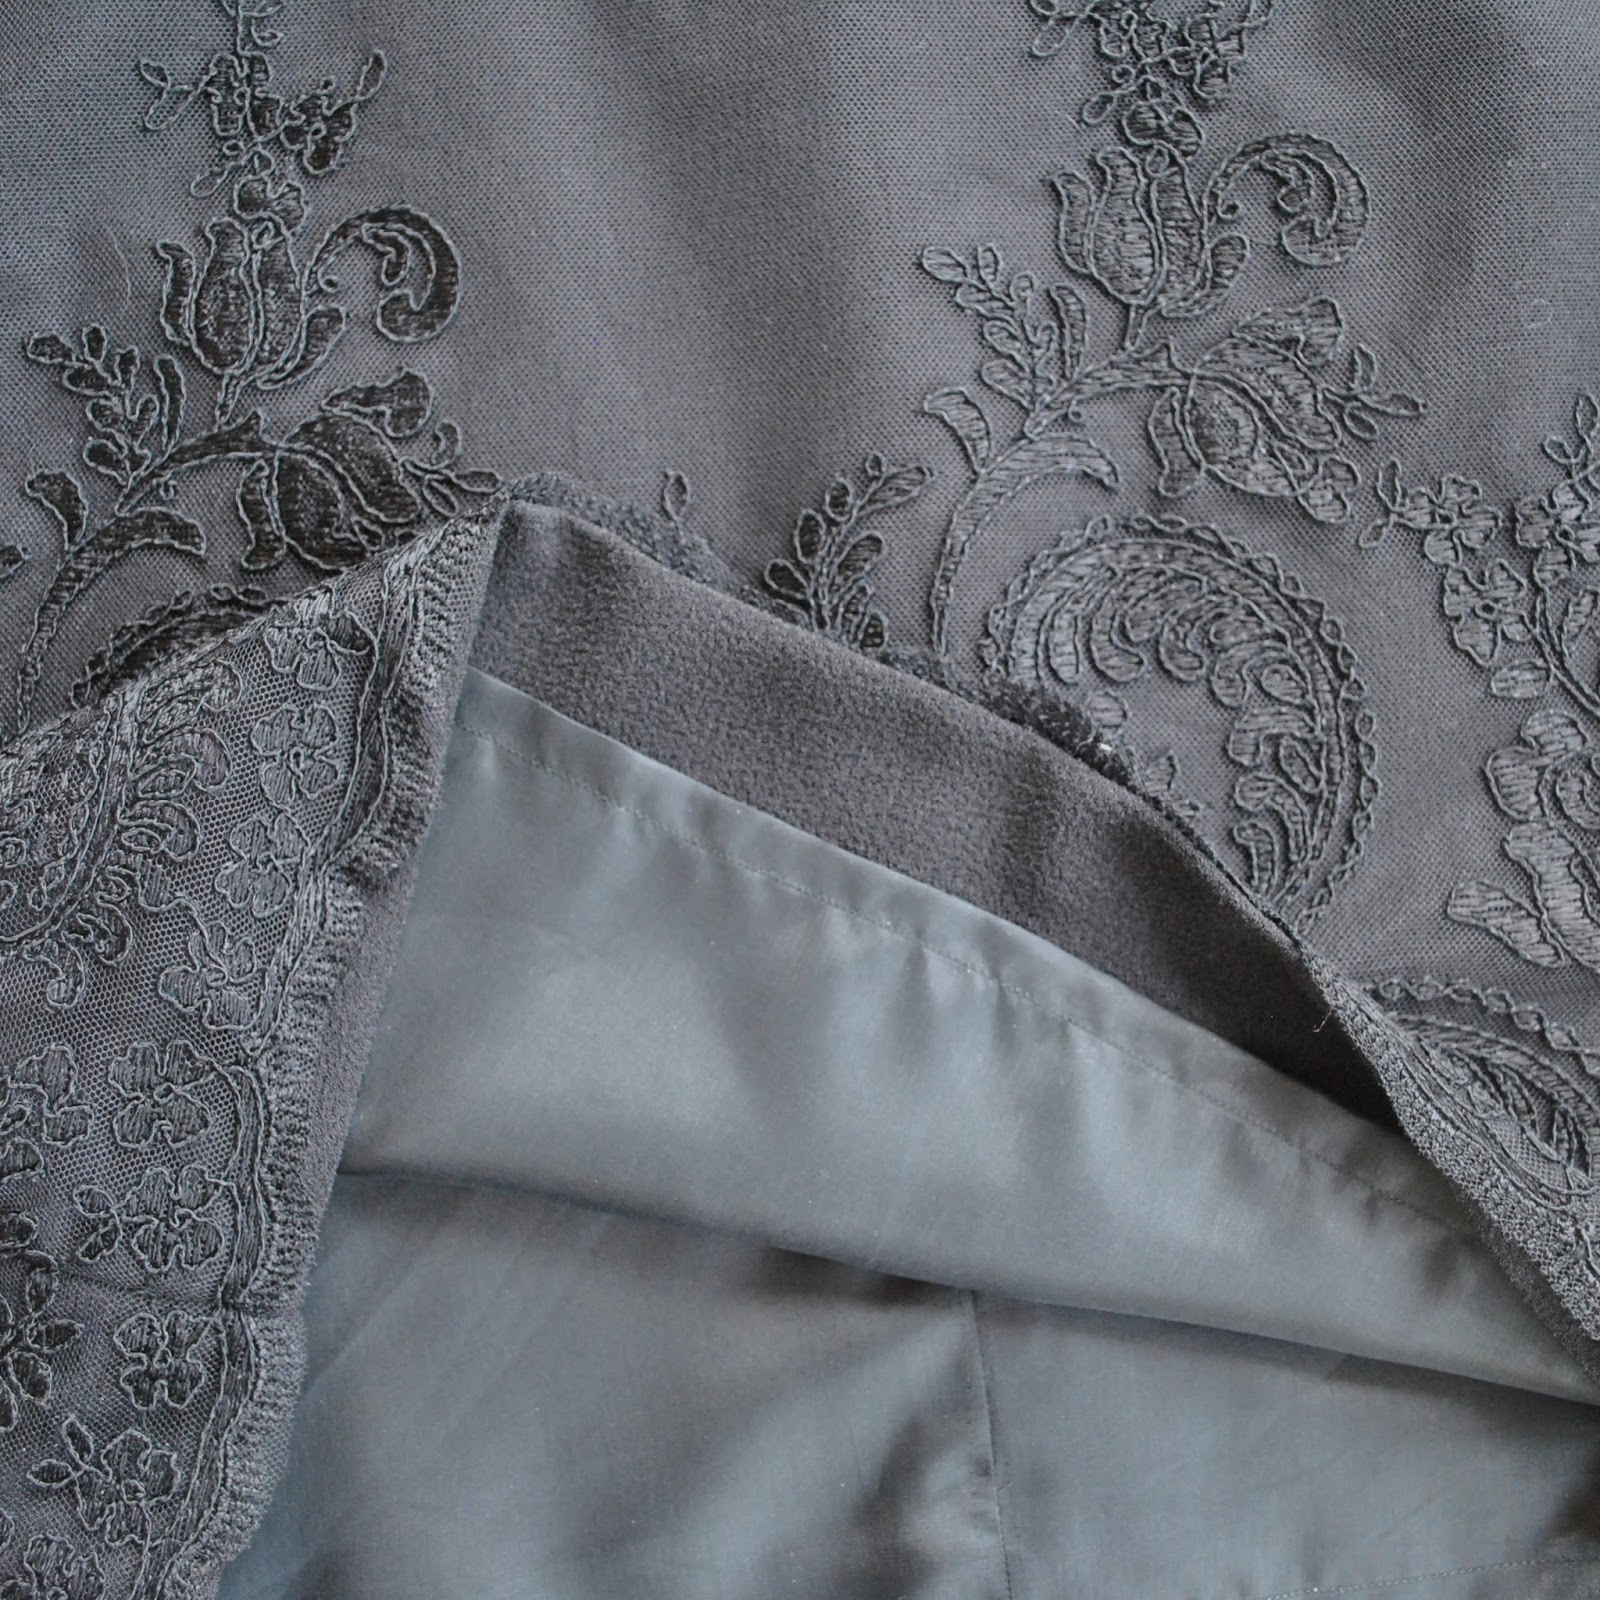
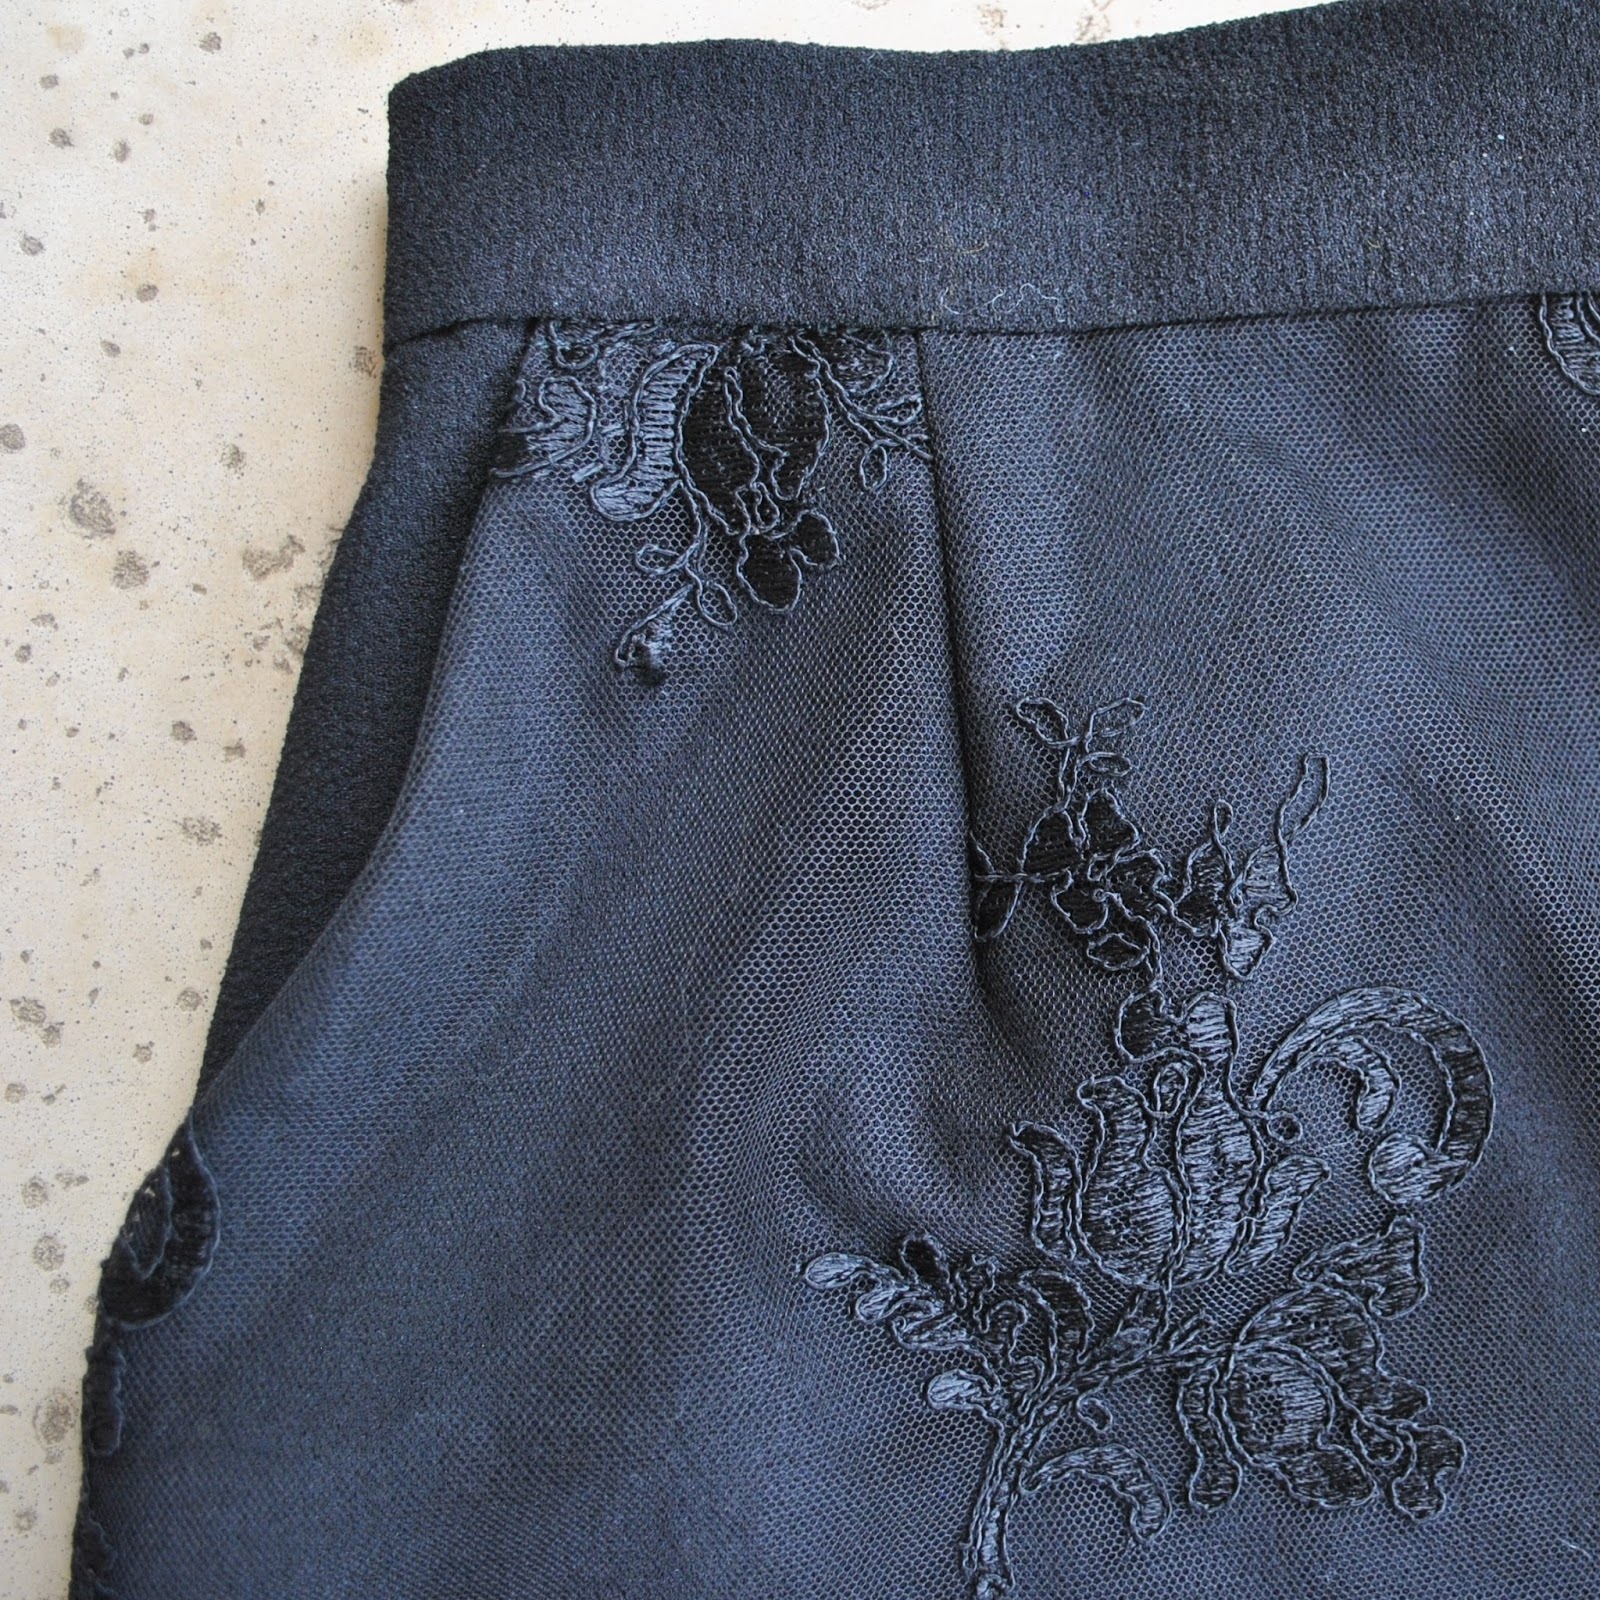
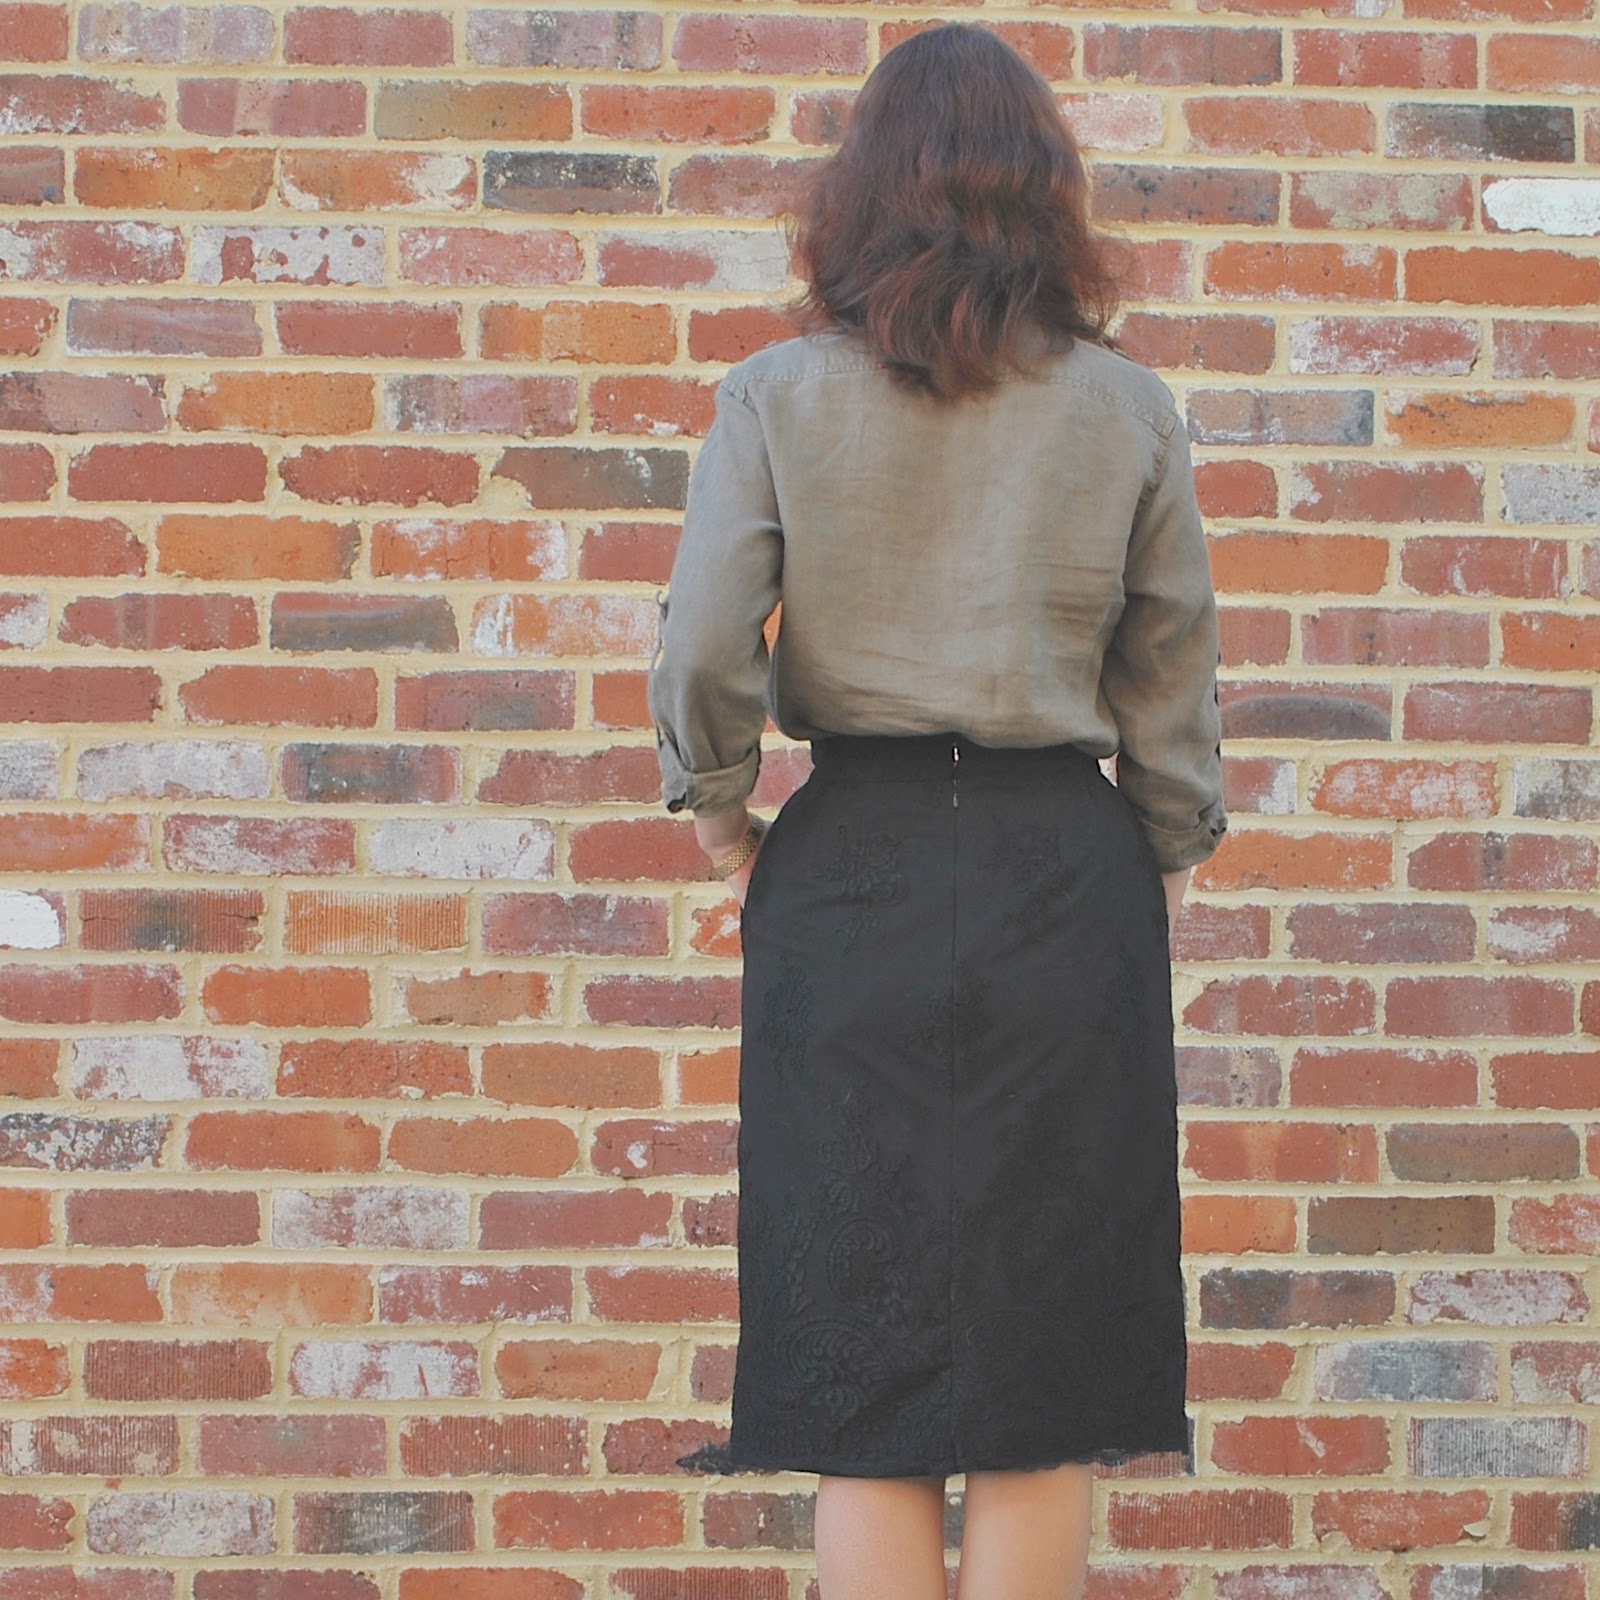
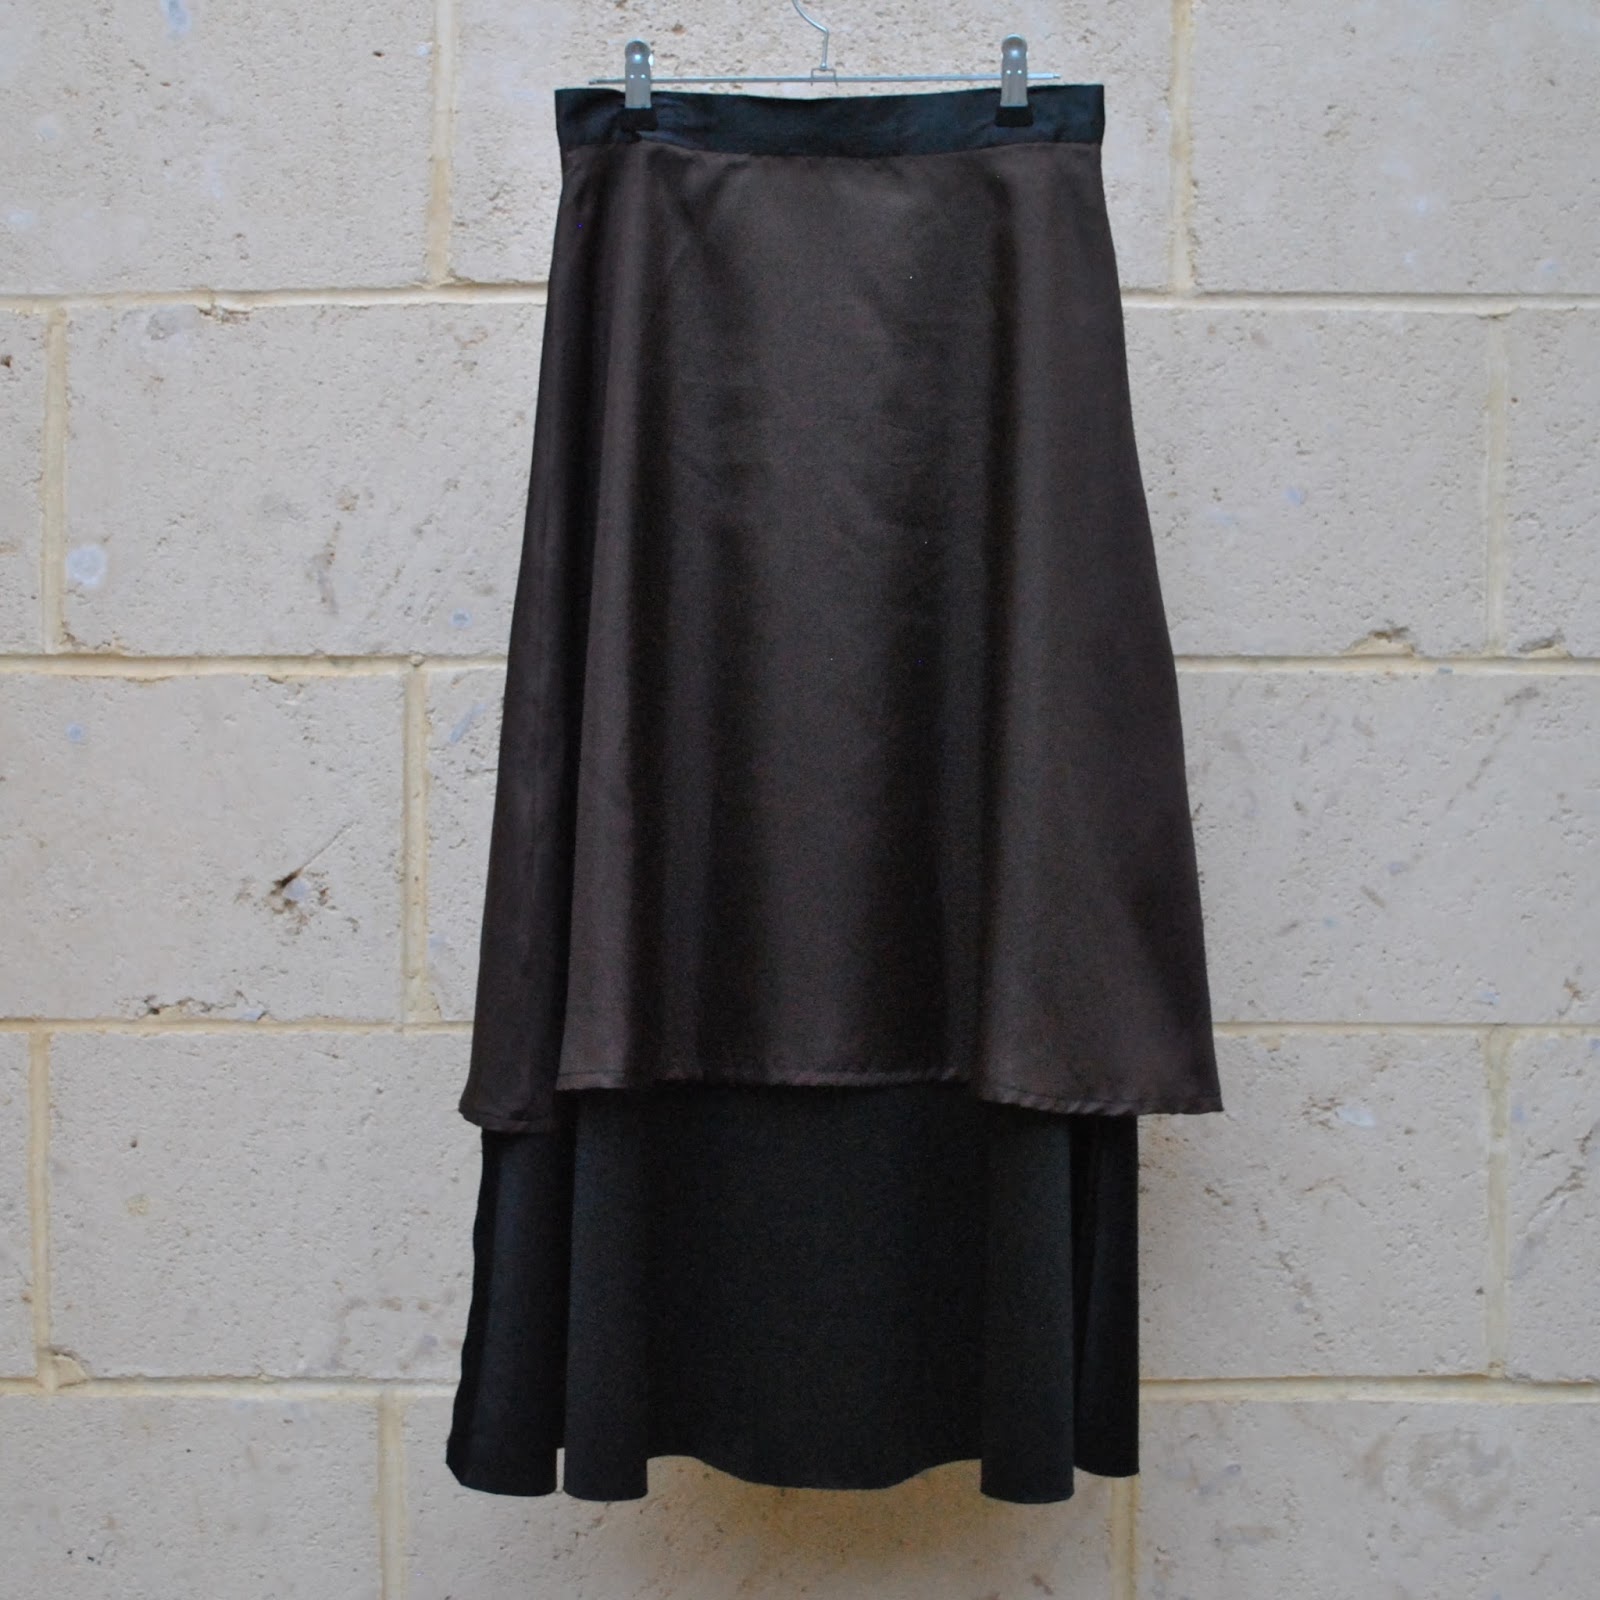
… is in getting it to show up in a picture.  My new skirt looks completely boringly plain in these pictures, which just proves it; the camera does lie!  Actually it has a rather beautiful lace appliquéd tulle overlay.  I guess I just fail at photography.

The appliquéd tulle came from the remnants table at Fabulous Fabrics and is so lovely that I was helpless to resist it when I saw it there.  Then again, I rarely do.  My relationship with the remnants table is somewhat akin to that of a vulture to a carcass, ahem.
Anyway, there’s not much else to say about the skirt except that it is fulfilling a desire for a black lace skirt that I have had for a loooooong time! so it’s kind of funny to me that it’s taken me this long to realise that desire.  I think I’m generally more of a whimsical seamster than a methodical or practical one, although I try very hard to be the latter.
It’s actually a very comfortable skirt.  The appliqued tulle is underlined with a black rayon crepe, a quite heavy and substantial fabric; both fabrics are quite crease-resistant too which also makes it almost… practical? dare I claim that for a lace thing!  ðŸ™‚  and I lined the skirt with black polyacetate lining fabric.  All fabrics are from Fabulous Fabrics.

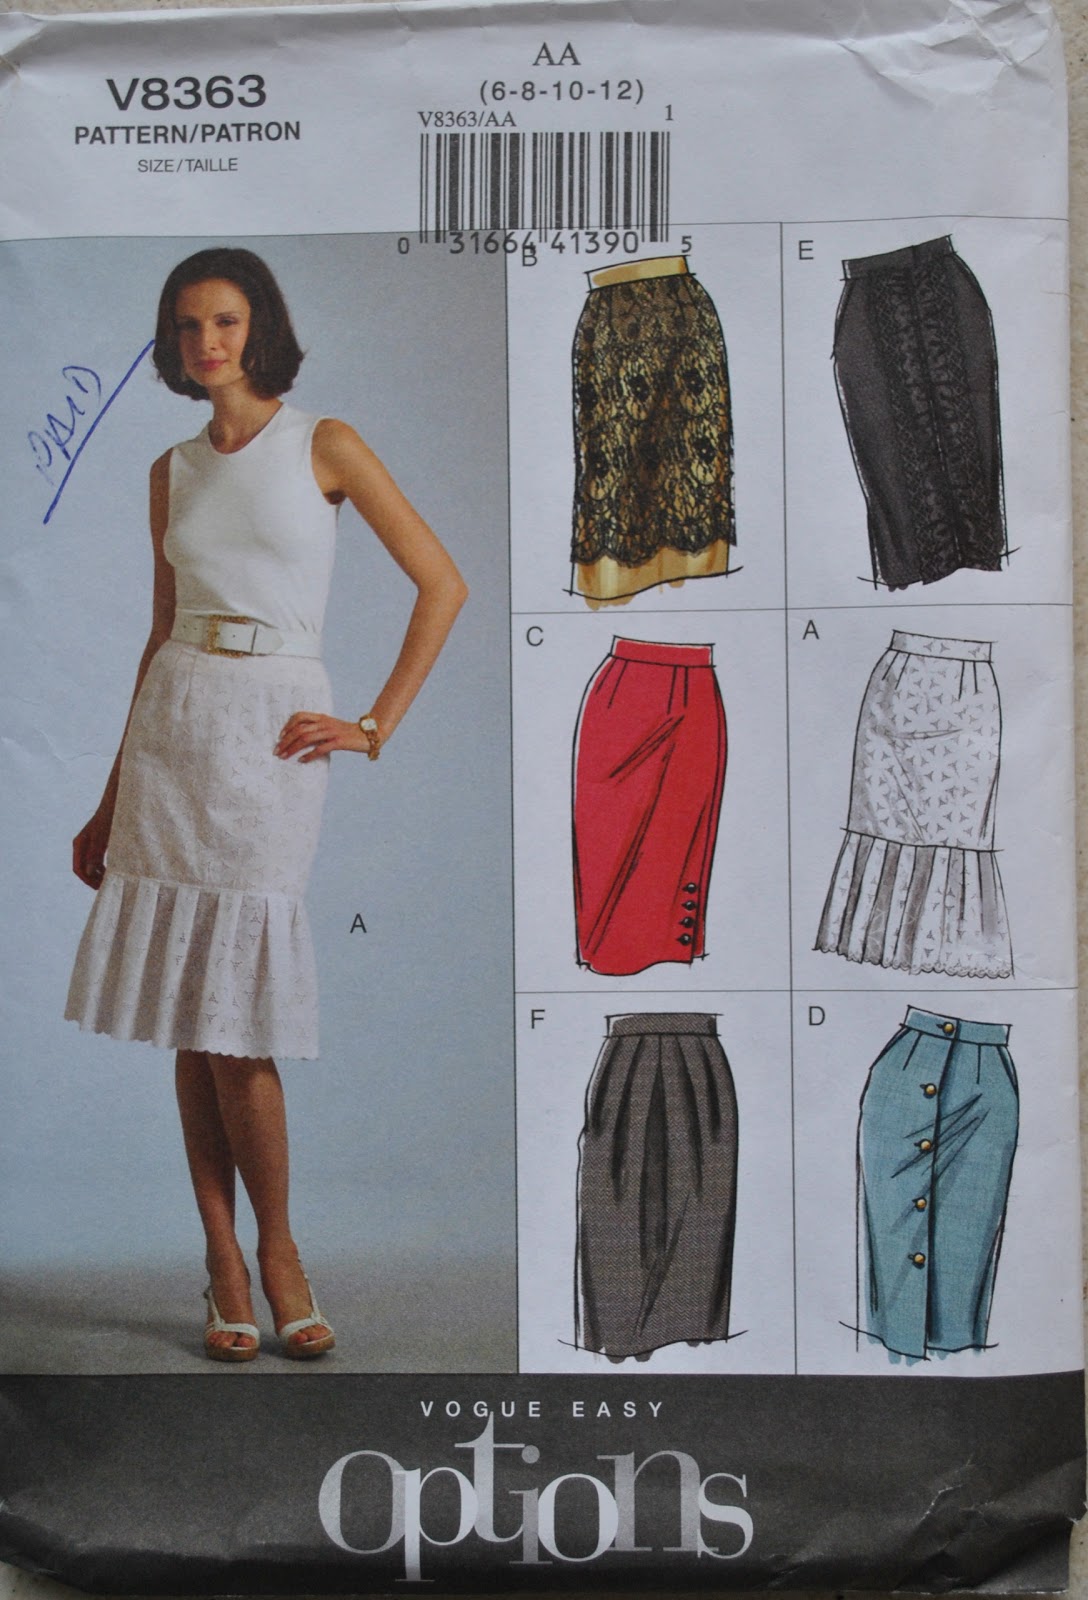
I used Vogue 8363, one of my favourite skirt patterns.  I say; “one of the favourites” meaning like top five material, easily.  I’ve just counted and I’ve made eight skirts from it!  not too shabby if I say so myself, not too shabby.  This pattern is a terrific one; with lots of variations and different views.  This skirt is a version that isn’t any one particular view, but I used the pattern pieces that gave me those lovely and very deep, front slanted pockets, an un-pleated one piece front and a back with CB zip.

I aligned the lace motifs to match each other up around the skirt and at the CB seam as best as I could, and used up all of my remnant bar a couple of scraps.  Yay!
I cut the lining using spliced together Vogue 1247, cut longer so it sits just 2.5cm shorter than the skirt.

Details:
Skirt; Vogue 8363 lined, black lace and black rayon crepe, my review of this pattern here
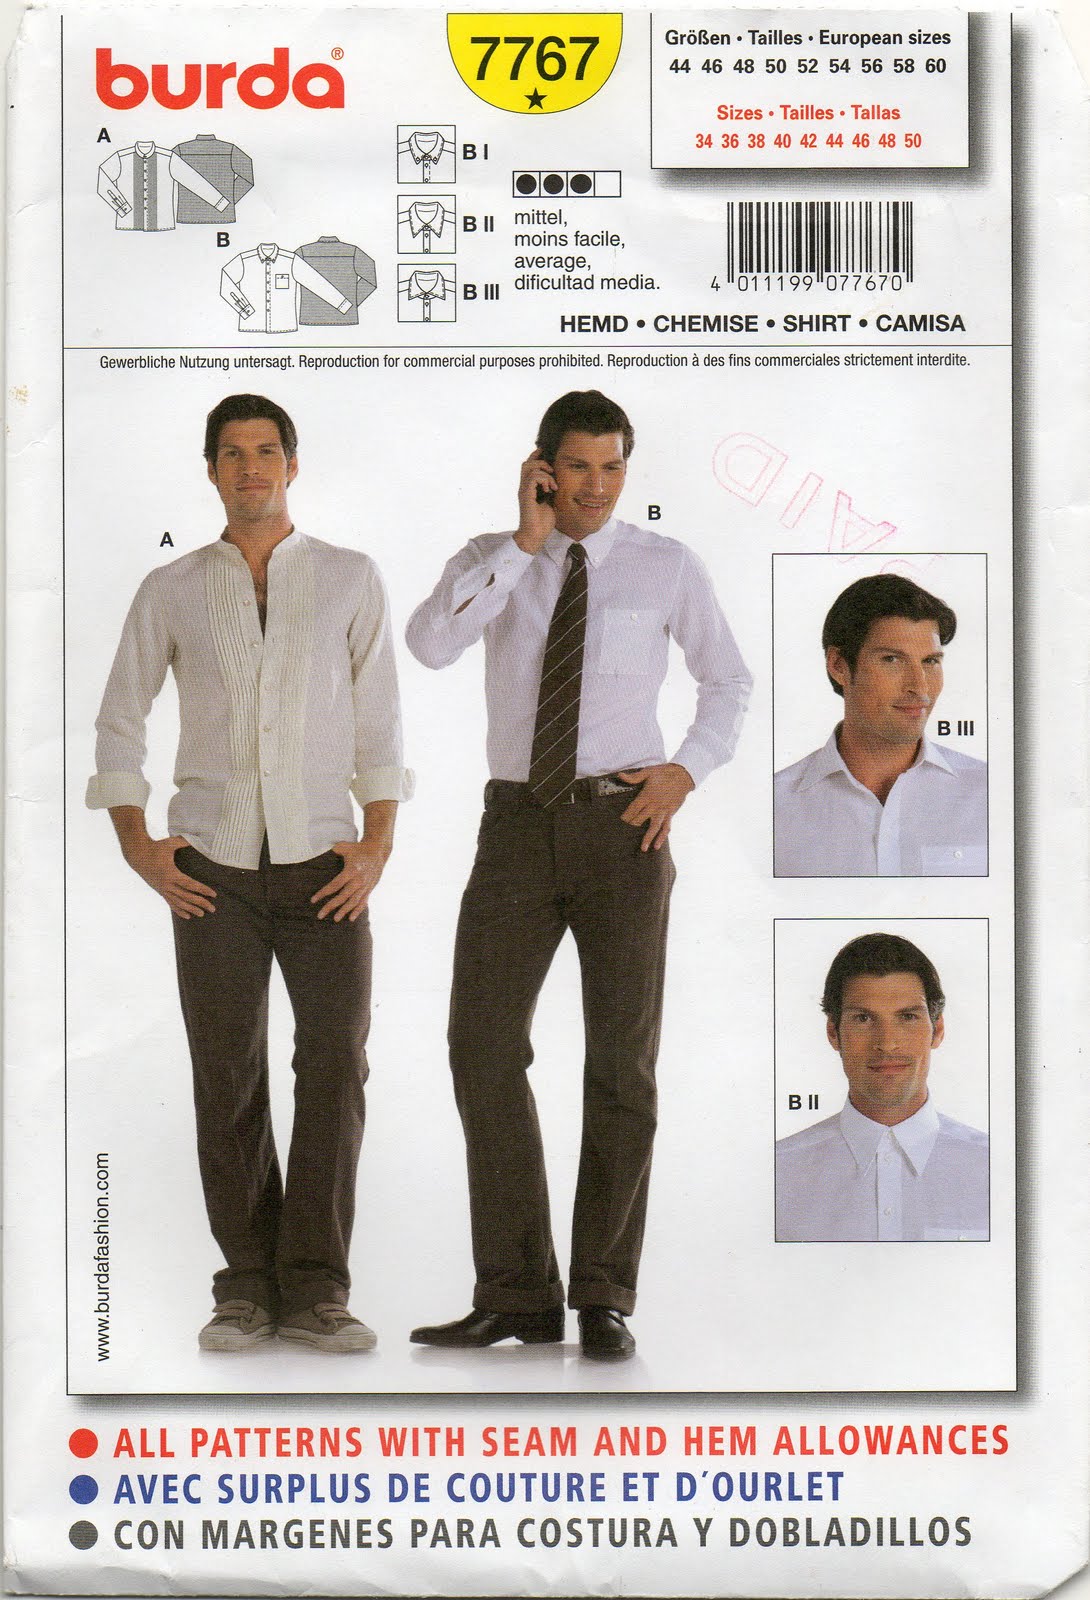
Shirt; Burda 7767 modified, of dk olive linen, details here and my review of this pattern here

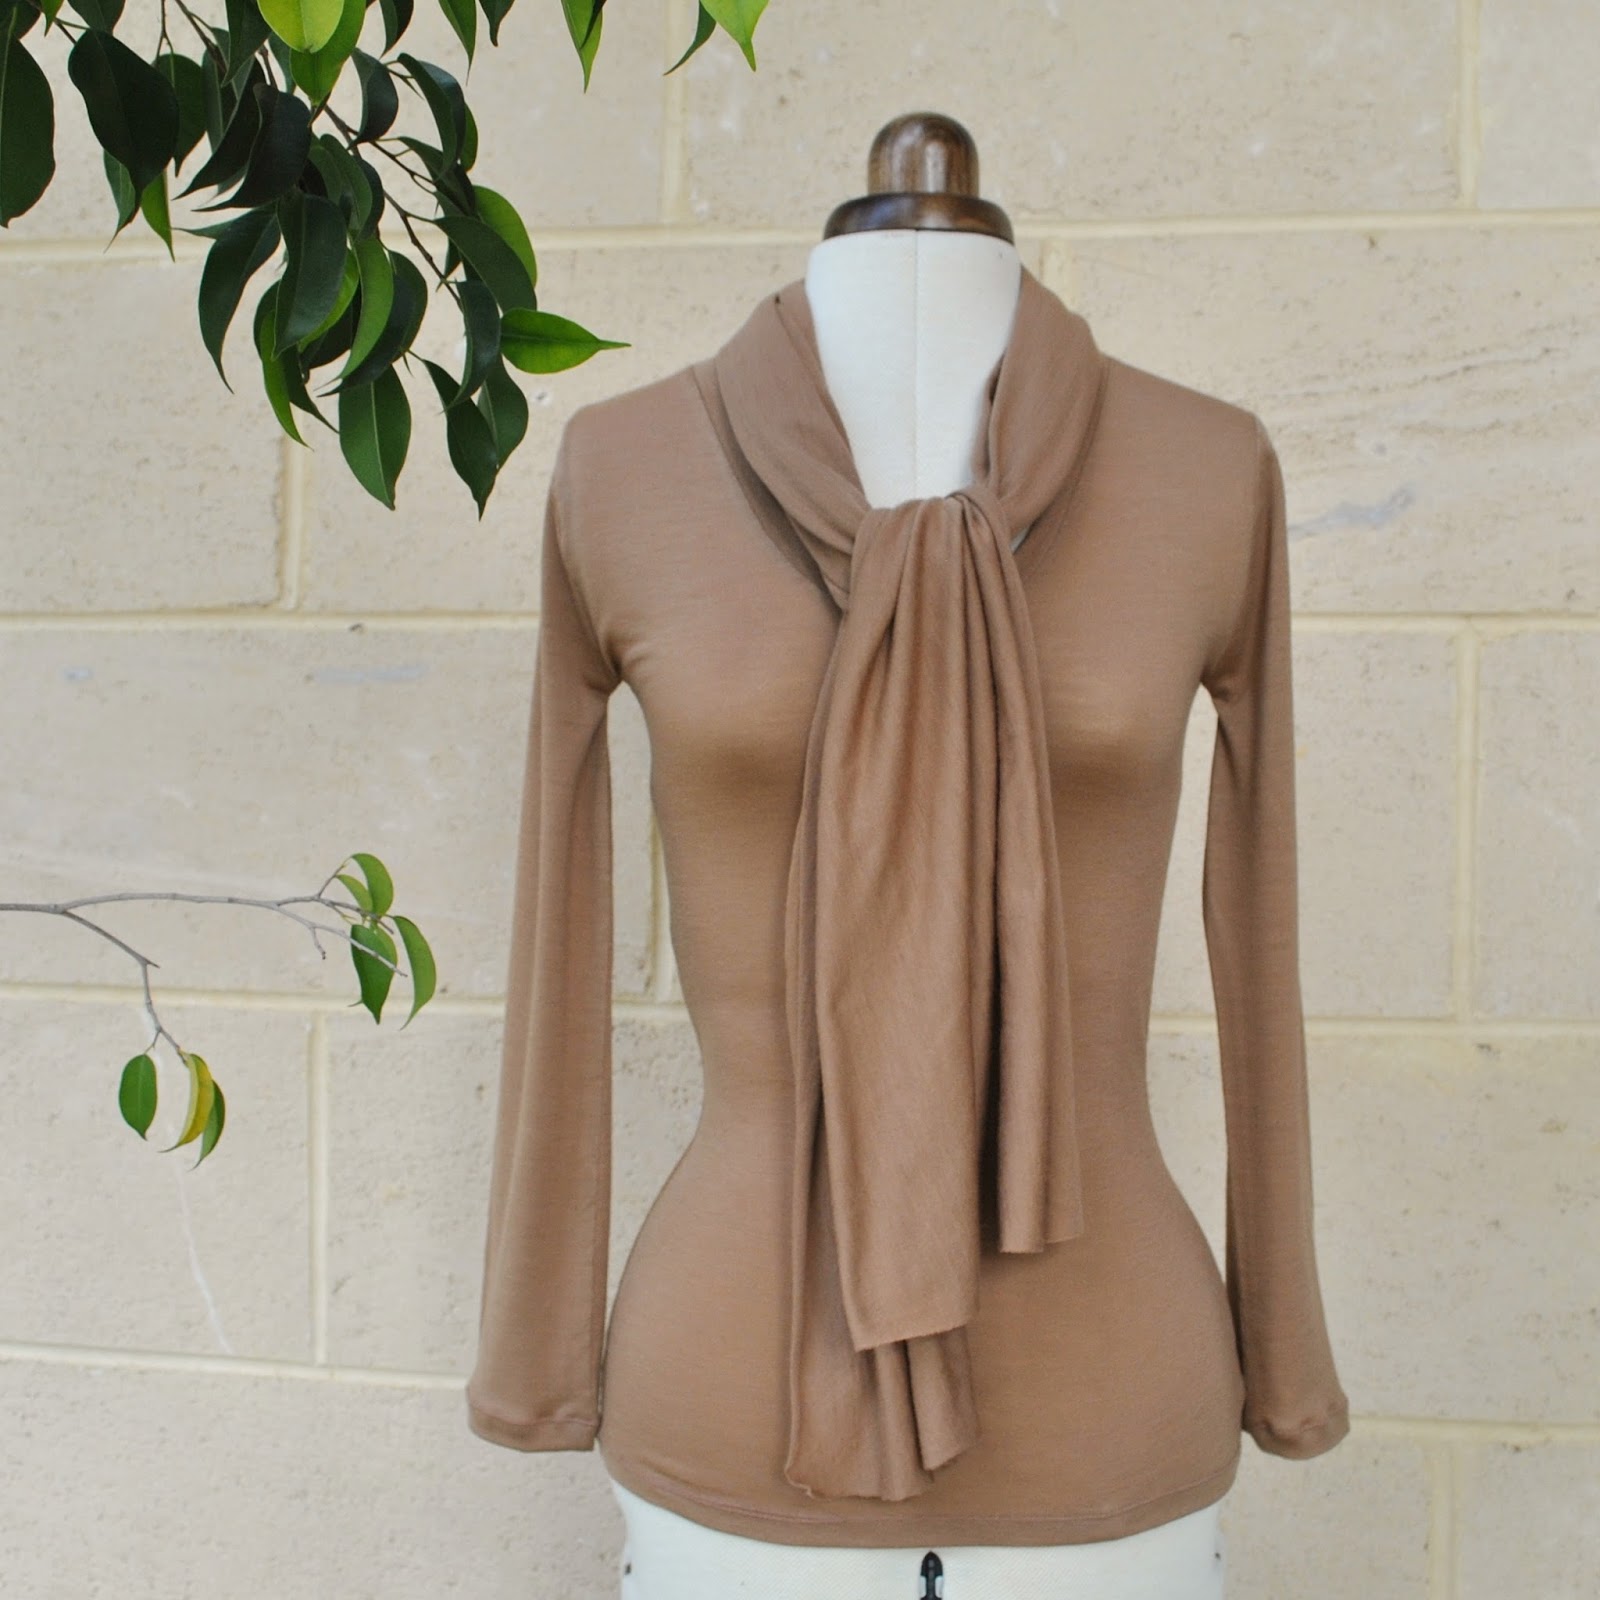
Also I have been doing a tiny amount of unselfish sewing… I made a caramel-coloured merino wool top for Cassie, using fabric we bought in Melbourne’s the Fabric Store during our last girly trip away.  I used a pattern that I have custom-fit to Cassie; based upon my own custom-fit Tshirt pattern; itself originally based upon a Burdastyle Tshirt top, the details of my “custom-fitting saga” here.  I thought I had lost my own pattern, which was a pretty heartbreaking state of affairs, but I recently found it again.  I had just stuffed it into the wrong pattern envelope, seems so obvious now but still I could have wept for joy when I discovered it.   I’d been thinking hmmm, really should get onto properly fitting that Tshirt pattern again, but it just seemed insurmountably difficult so I’d kept putting it off.  Plus it’s winter, and too cold for all that, too.
Anyway, I found it!

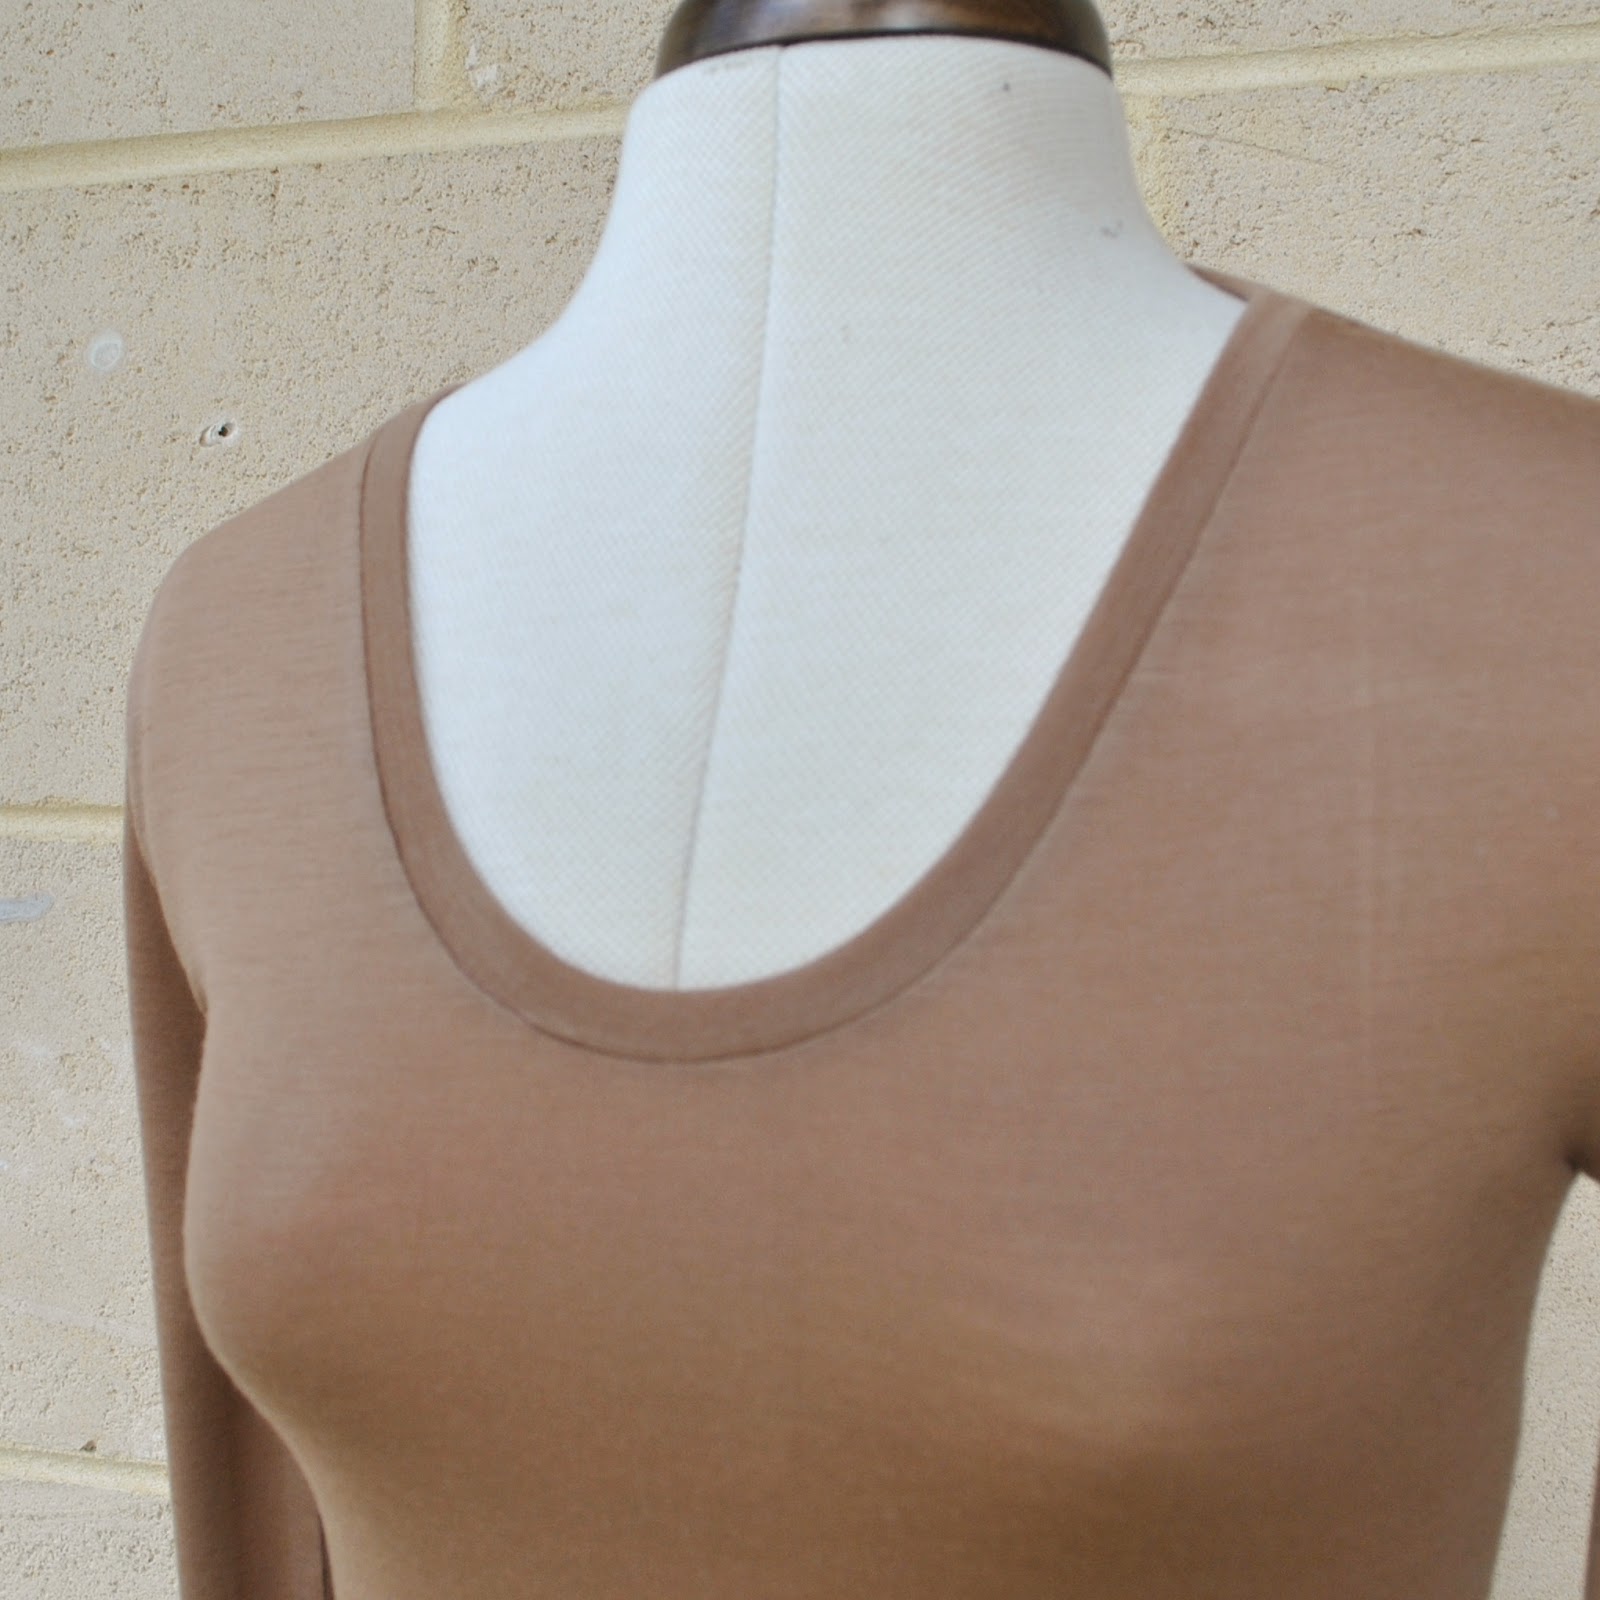
The Tshirt does look a whole tonne better on an actual person with arms, however its intended person had to suddenly hurry away for an important social engagement and I was too impatient to wait for her to return to perform modelling duties.  It has long sleeves, a scooped neckline finished with a folded band as described in my tutorial here, and with sleeve and hems finished with my twin needle.  There was an awkwardly small piece of merino left over which was too small for anything on its own but too big and too nice a fabric to throw away.  So I cut the ends square and straight and now it is a scarf.
I might borrow the scarf occasionally  ðŸ˜‰

pinterestmail

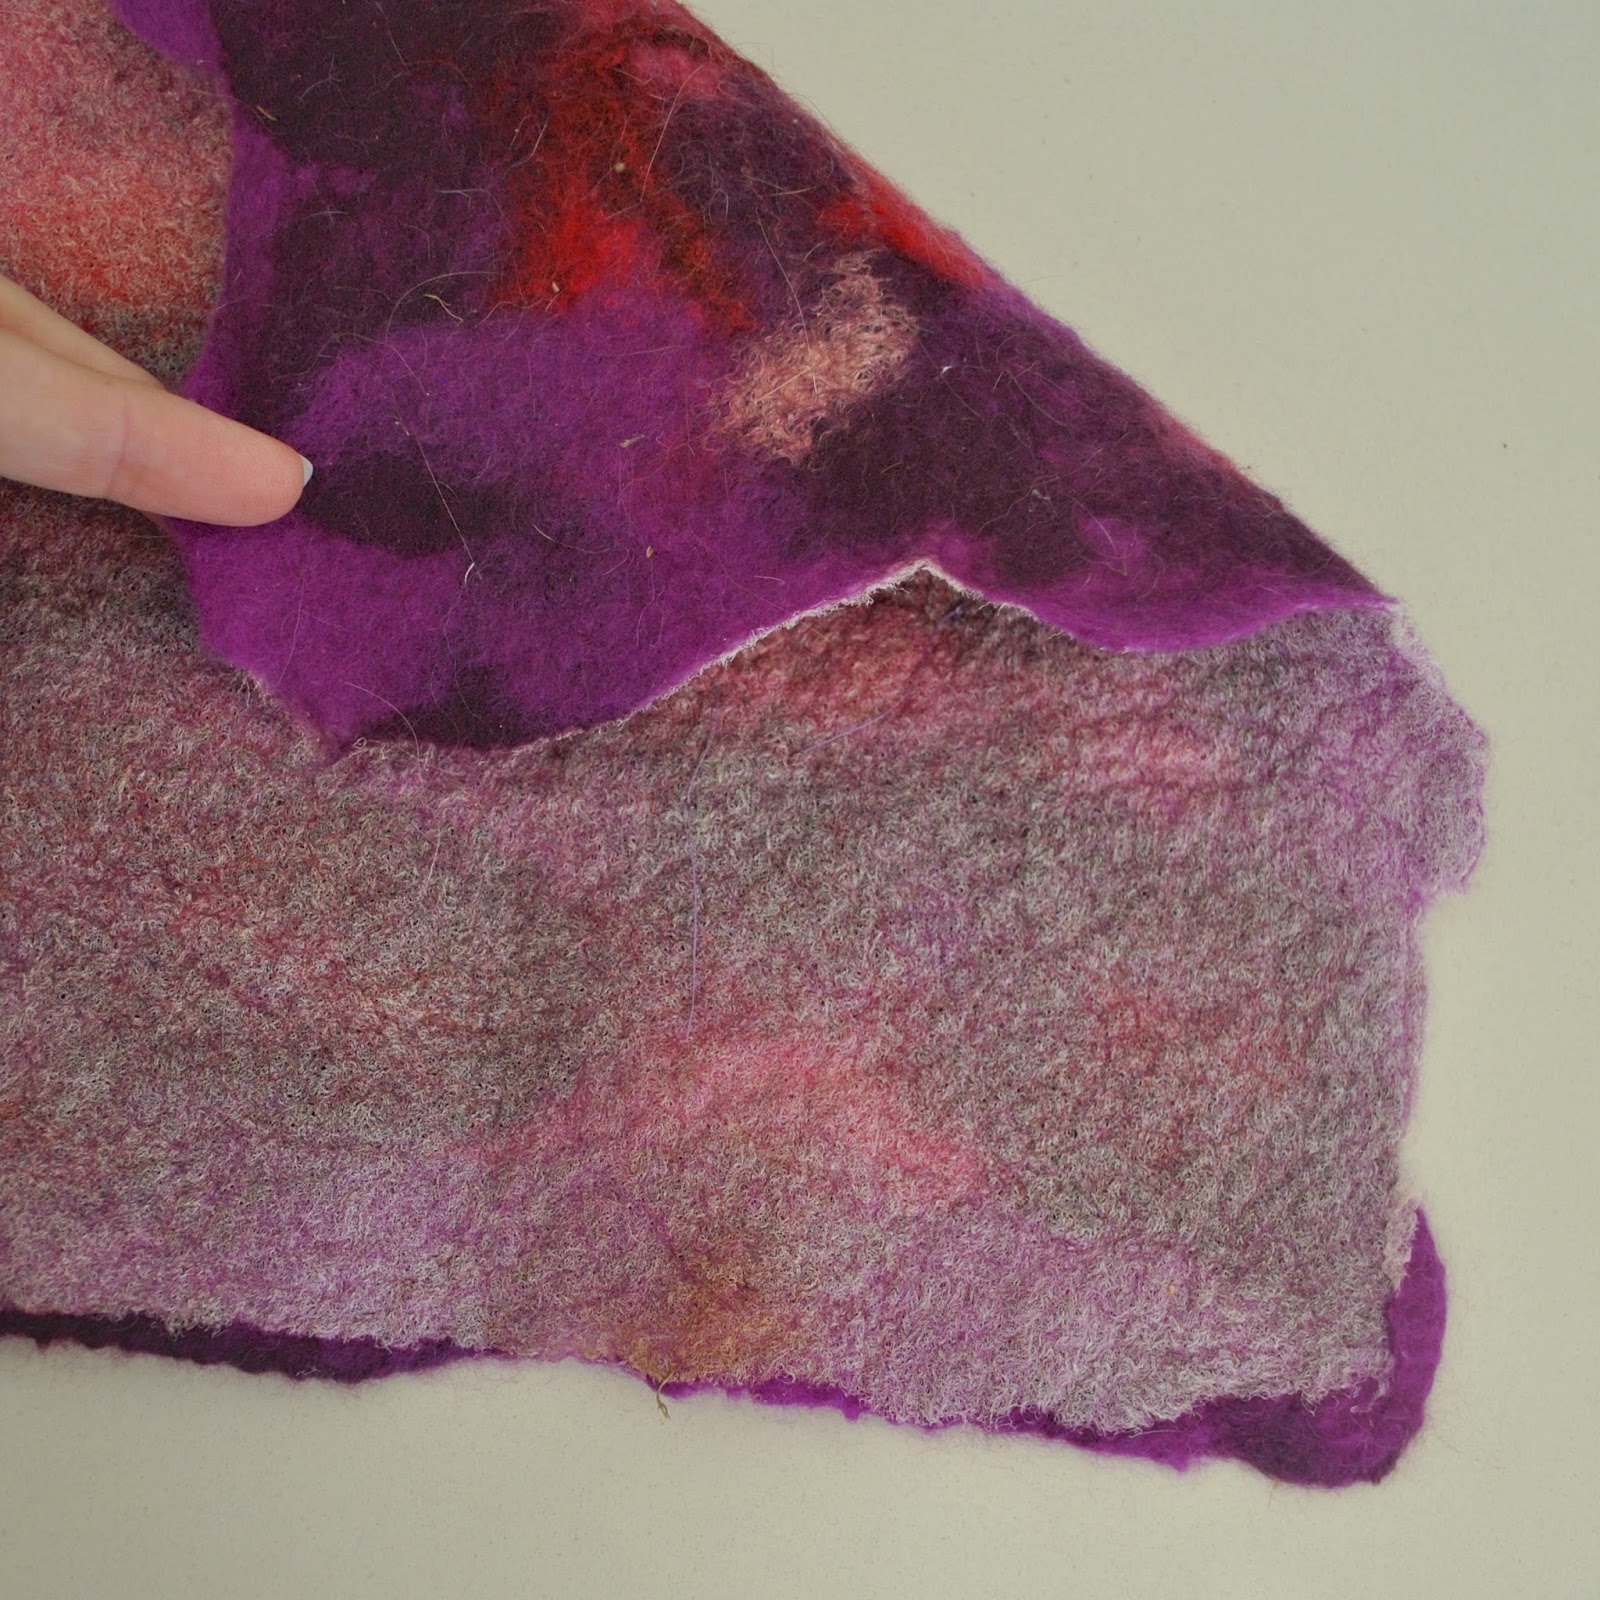
making felt from fleece

Hello!
So furthering onward with my one year one outfit adventures, I thought I would put together a post on my other efforts so far… I have also been making my fabric for the other components of my outfit.  Yes, making freakin’ fabric!!!! transforming Western Australian sheep fleece into felt, with which I shall make…. something.    Still ruminating on exactly what...  
Along with my fellow one year one outfitters Sue, Nicki and Megan, I visited Bilby Yarns; a small but treasure-packed little shop in Willagee that supports local wool producers and enthusiasts and stocks supplies for anything and everything wool-related you could possibly think of! spinning, weaving, felting, needle felting, knitting and crochet and probably some other endeavours that I haven’t taken in yet, too.  It also stocks dyes, both natural and chemical and, most fabulously; yarn from Western Australian sheep, hand processed and hand spun by local ladies.  It’s a truly fantastic local resource! and I can see myself paying the shop many more visits in the future.  The lovely chatty June kindly demonstrated spinning and also felting to us; and we all came away with supplies of fleece, greatly enthused to make us some felt…

I have made some decorative felt panels a few times before, small and therefore easy things; blogged here and here and a couple of others that I’ve given away and never blogged.  However, this project would have to fit in with Nicki’s strict criteria; to be a TOTALLY home grown product.  Normally if I was considering making felt for a garment to wear; I would felt onto a piece of silk chiffon to give strength to the fabric. 

felt with silk chiffon backing

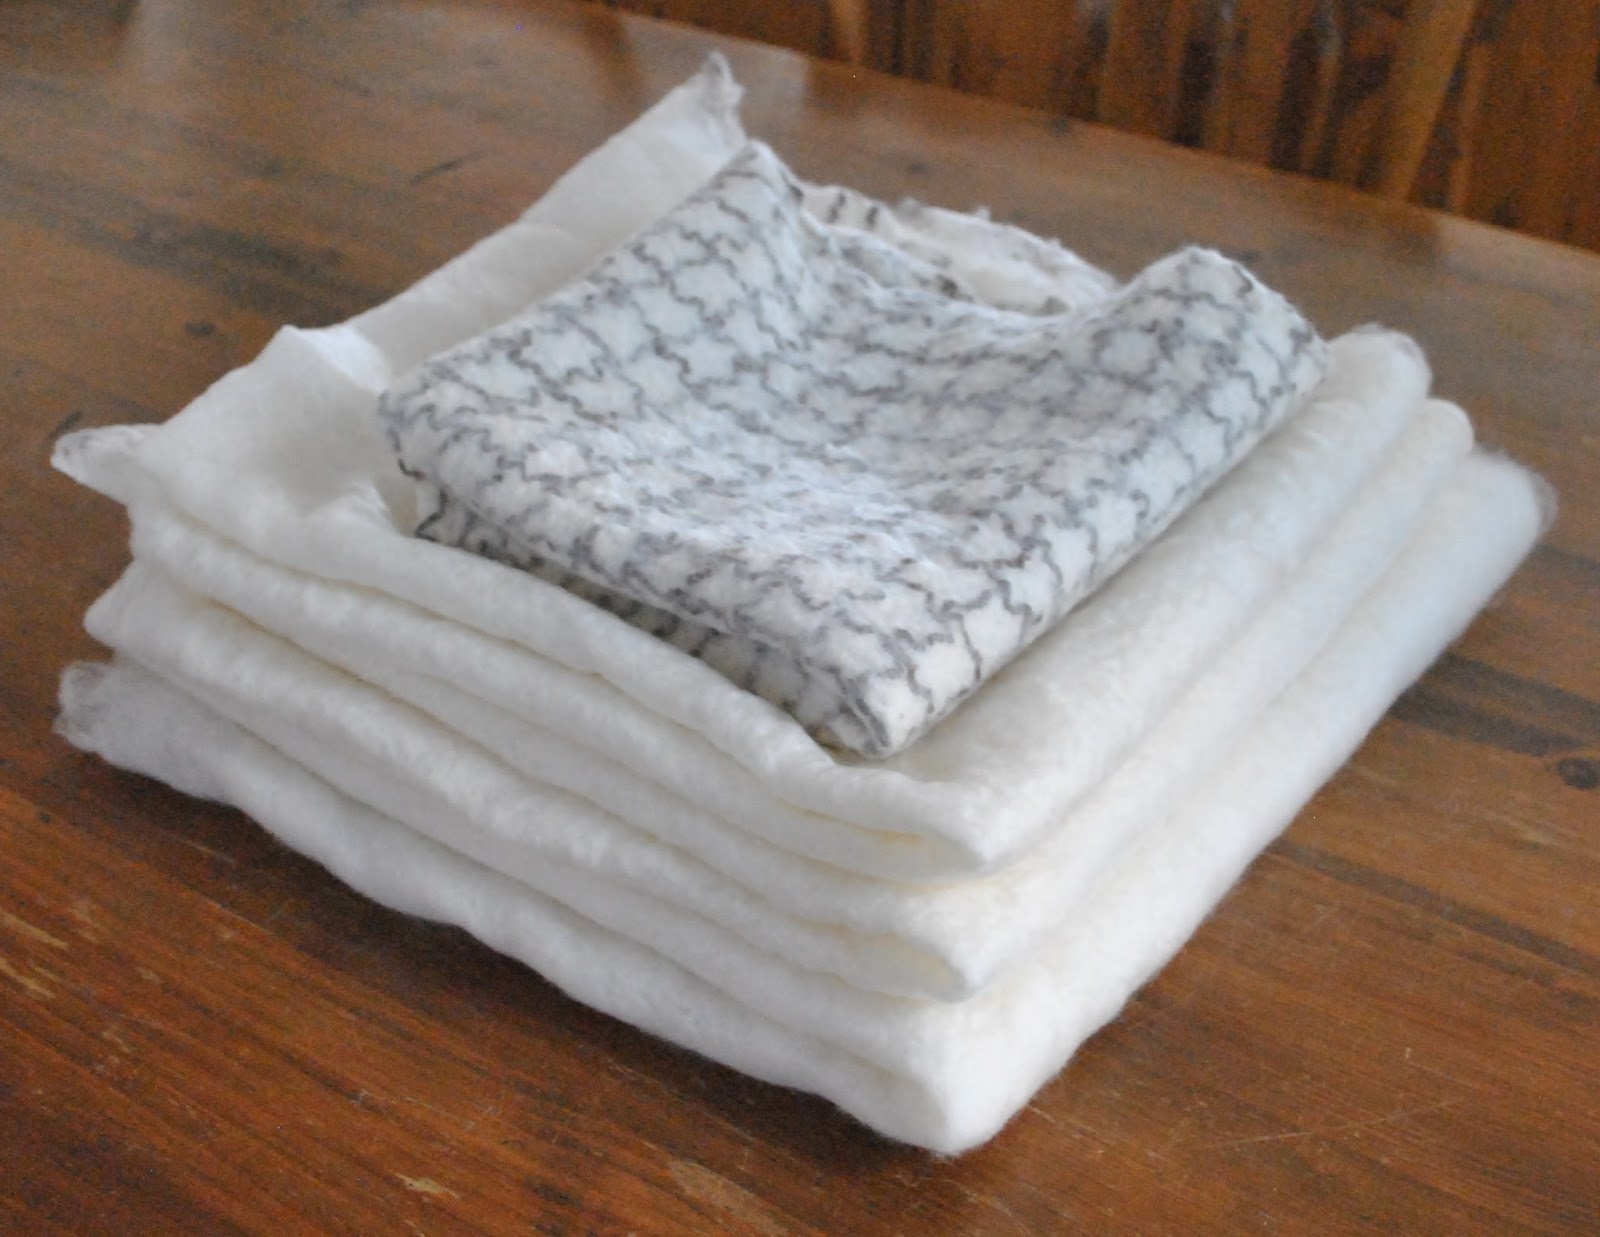
However; obviously silk chiffon is not a thing ever produced here in Western Australia! so in terms of our challenge it was a no-no.  I had to think of some other way of building some toughness into my felt…  I noticed a small sample in the shop with a yarn grid felted into it, and thought this would be a brilliant way of solving the strength problem.  I incorporated a yarn grid feature into one piece of my felt and I will be using another method of building strength into the remaining pieces.
I bought some washed and combed, naturally white Corriedale sheep fleece, and also two balls of locally hand-spun, West Australian wool yarn; one naturally black the other naturally white; and 3 large, thin, plastic, painting drop-sheets from Bunnings.

Modus Operandi:
First of all.. key words:  GENTLE!  EVEN!  Those two words were to be my mantra throughout this entire procedure.  OK.
Now: you need a fair amount of uninterrupted time, and for large pieces of felt big enough for an actual garment, a large table; preferably indoors in a wind-less, breeze-free environment.  I used my dining room table.  When laying out the fleece, bear in mind the fleece will shrink to roughly 75% of its former size in the process of becoming felt, so if you’re after a specific size you’ll need to allow at least an extra third in size dimensions each way.
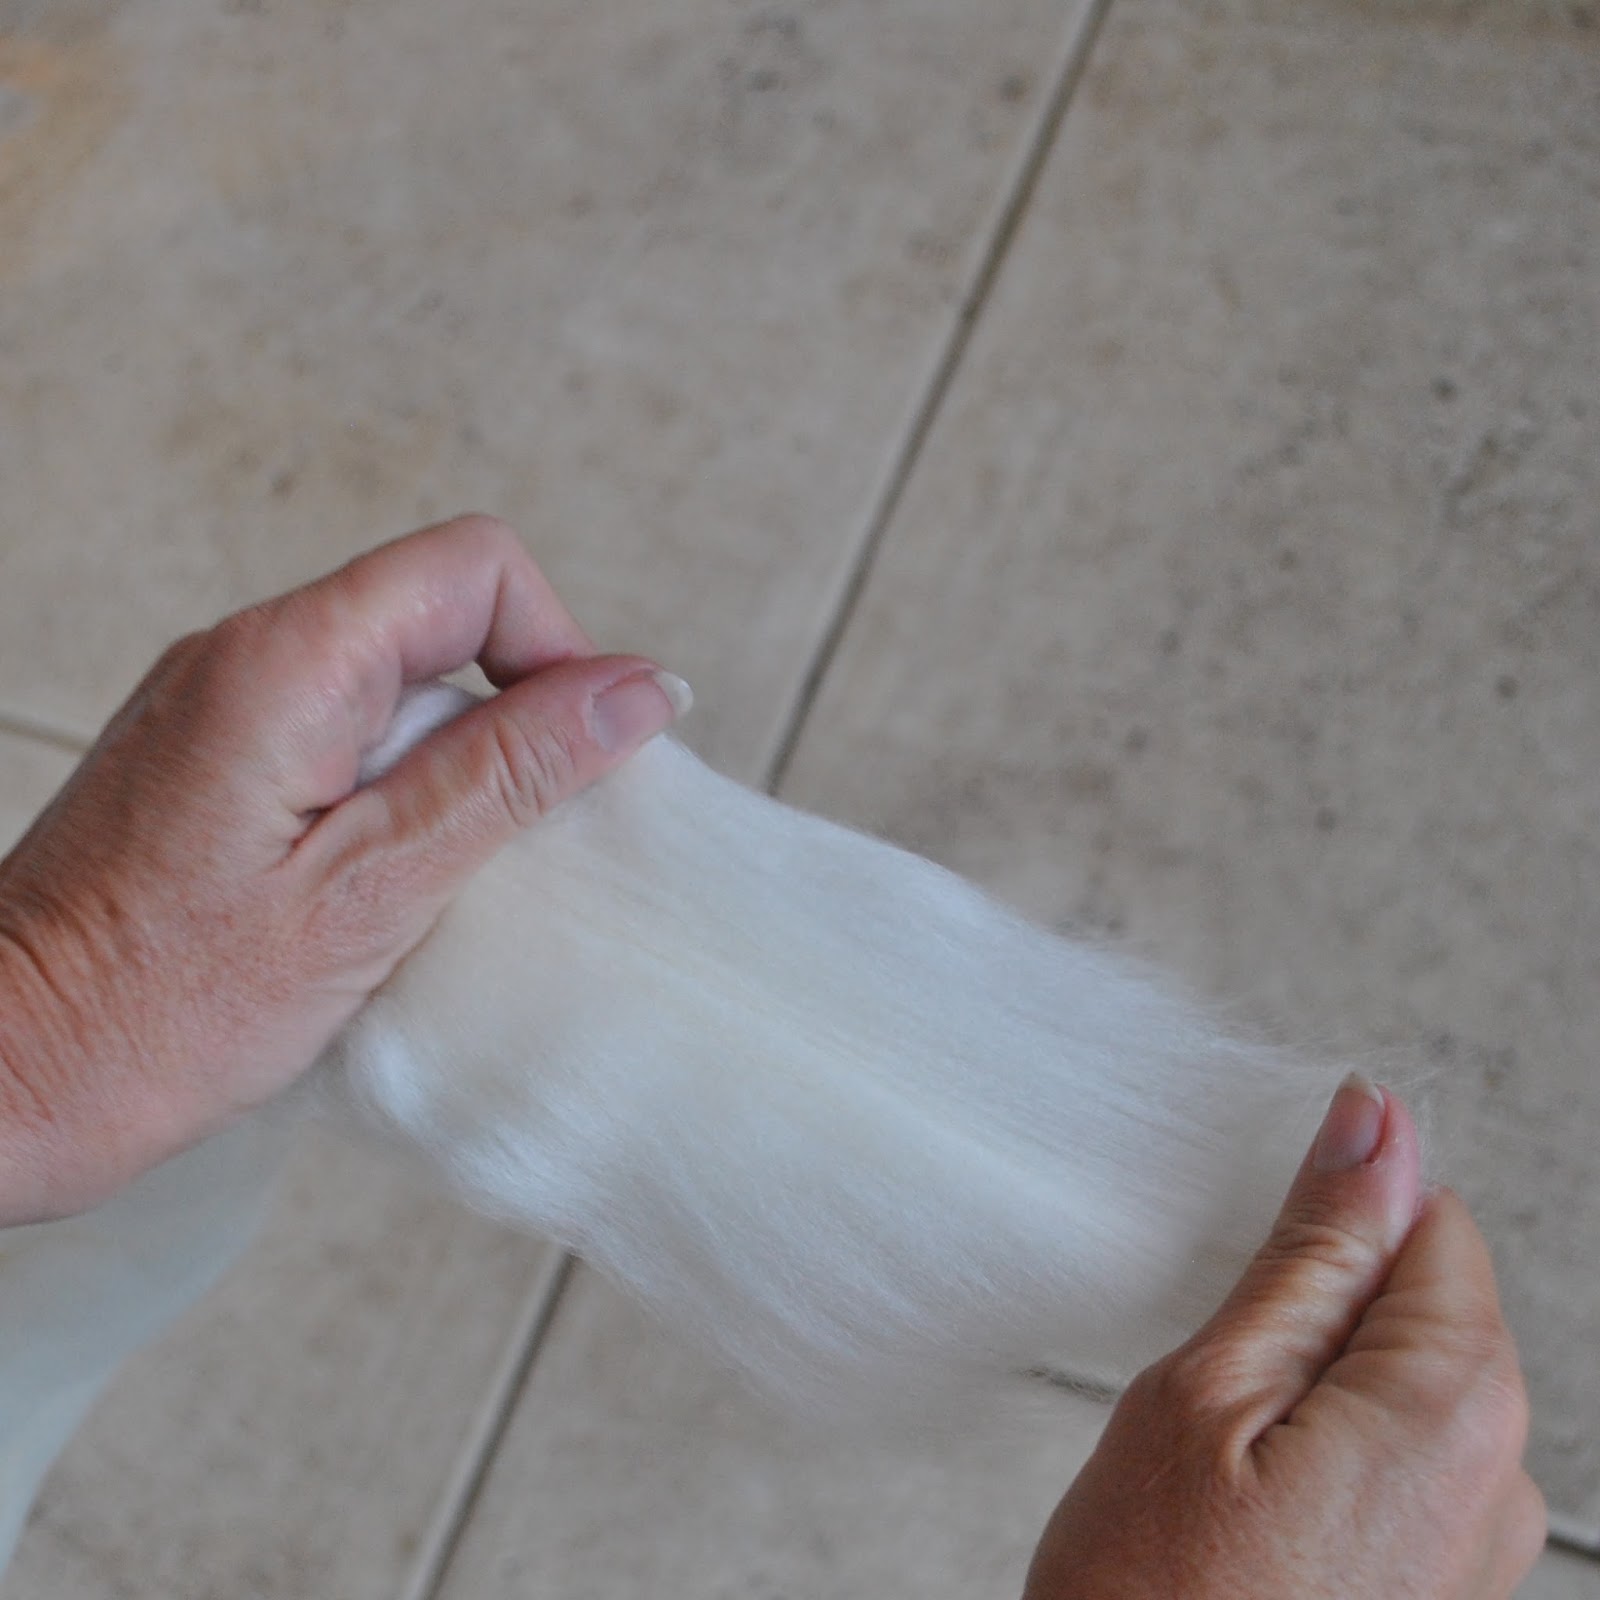
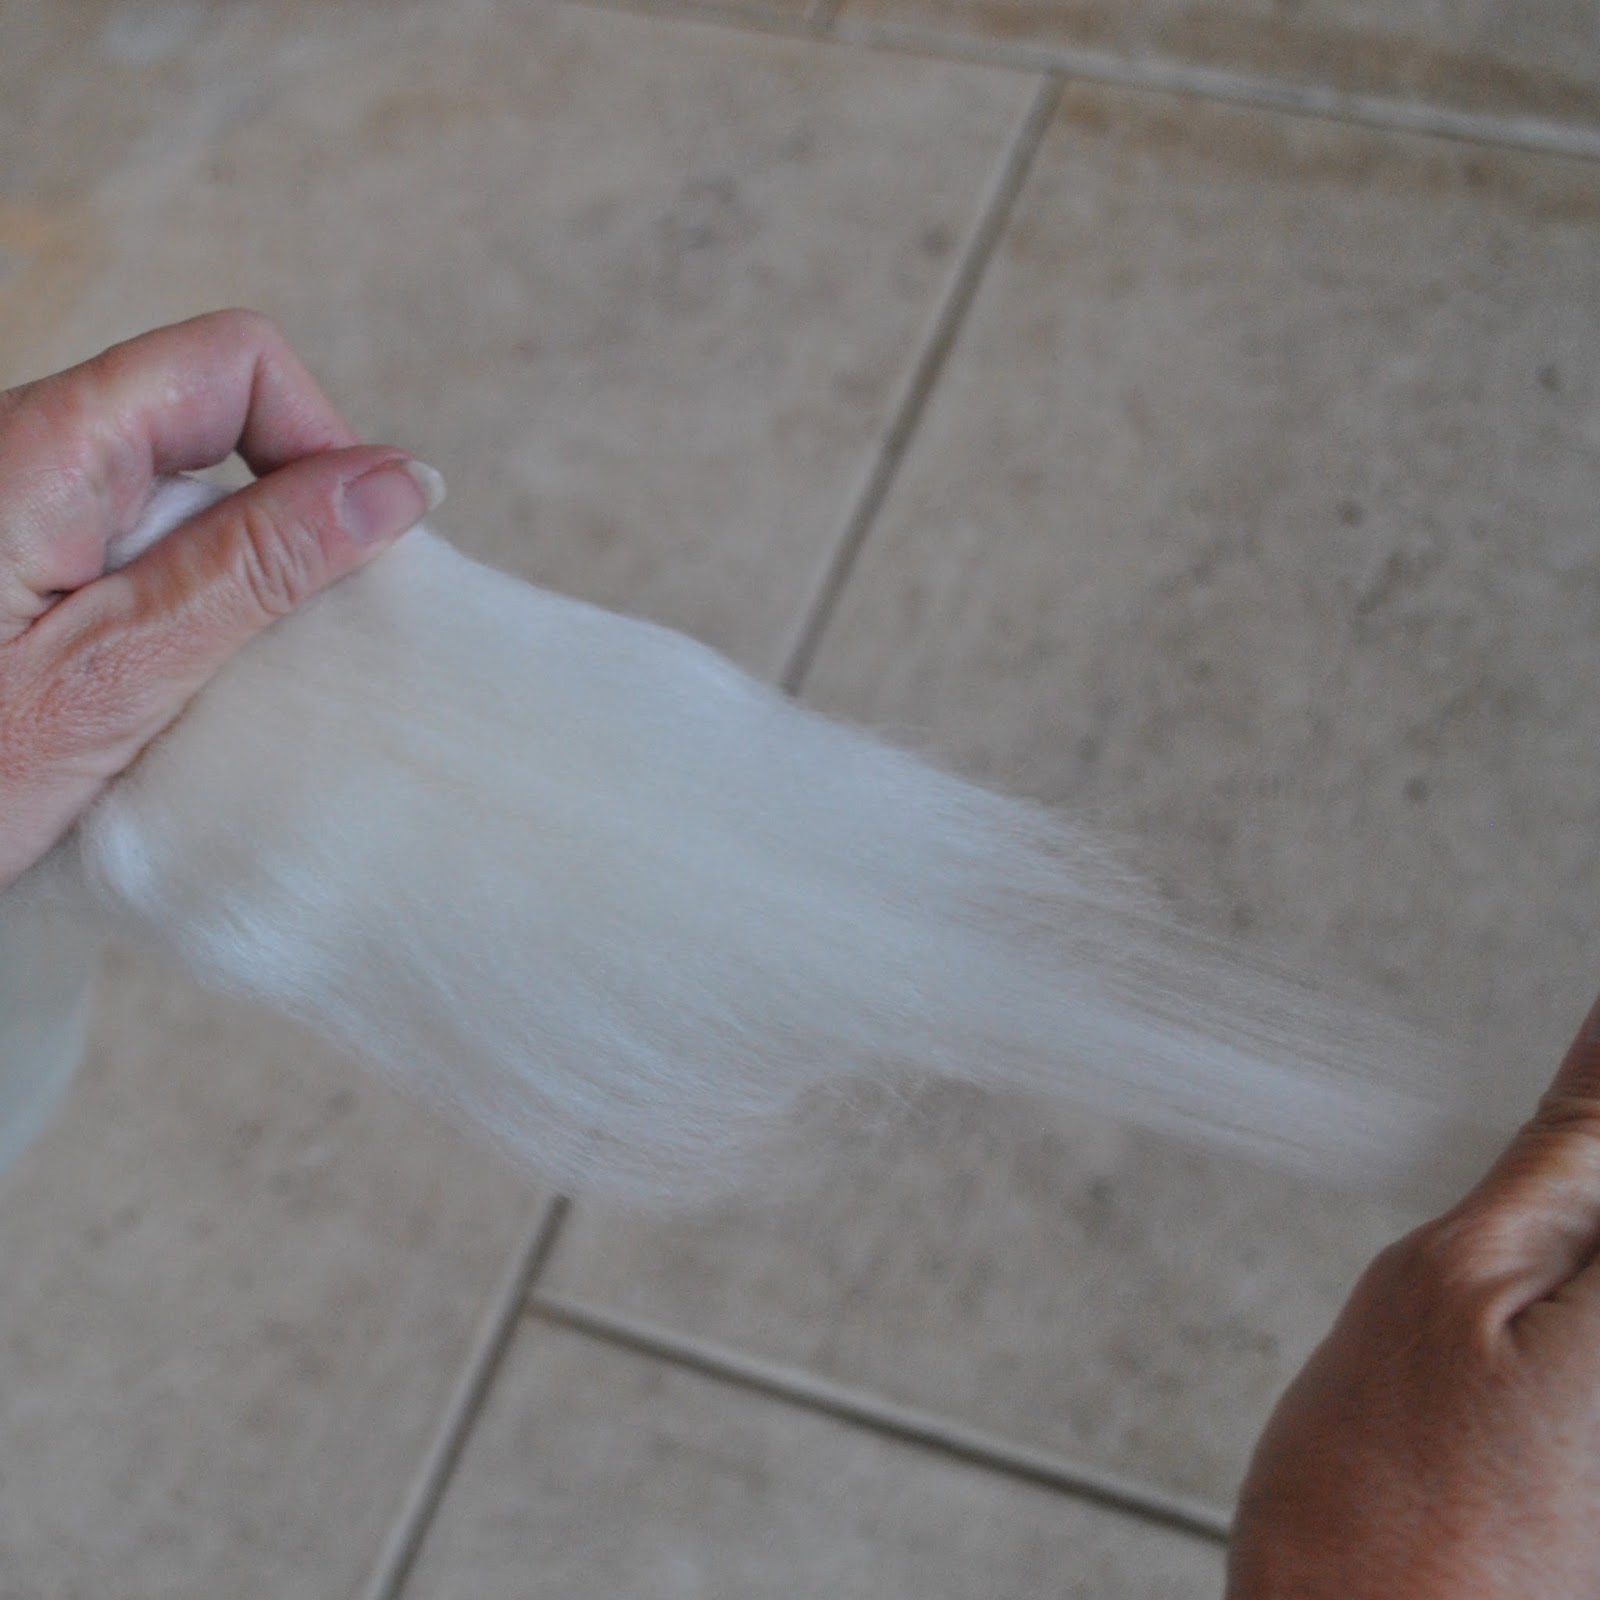
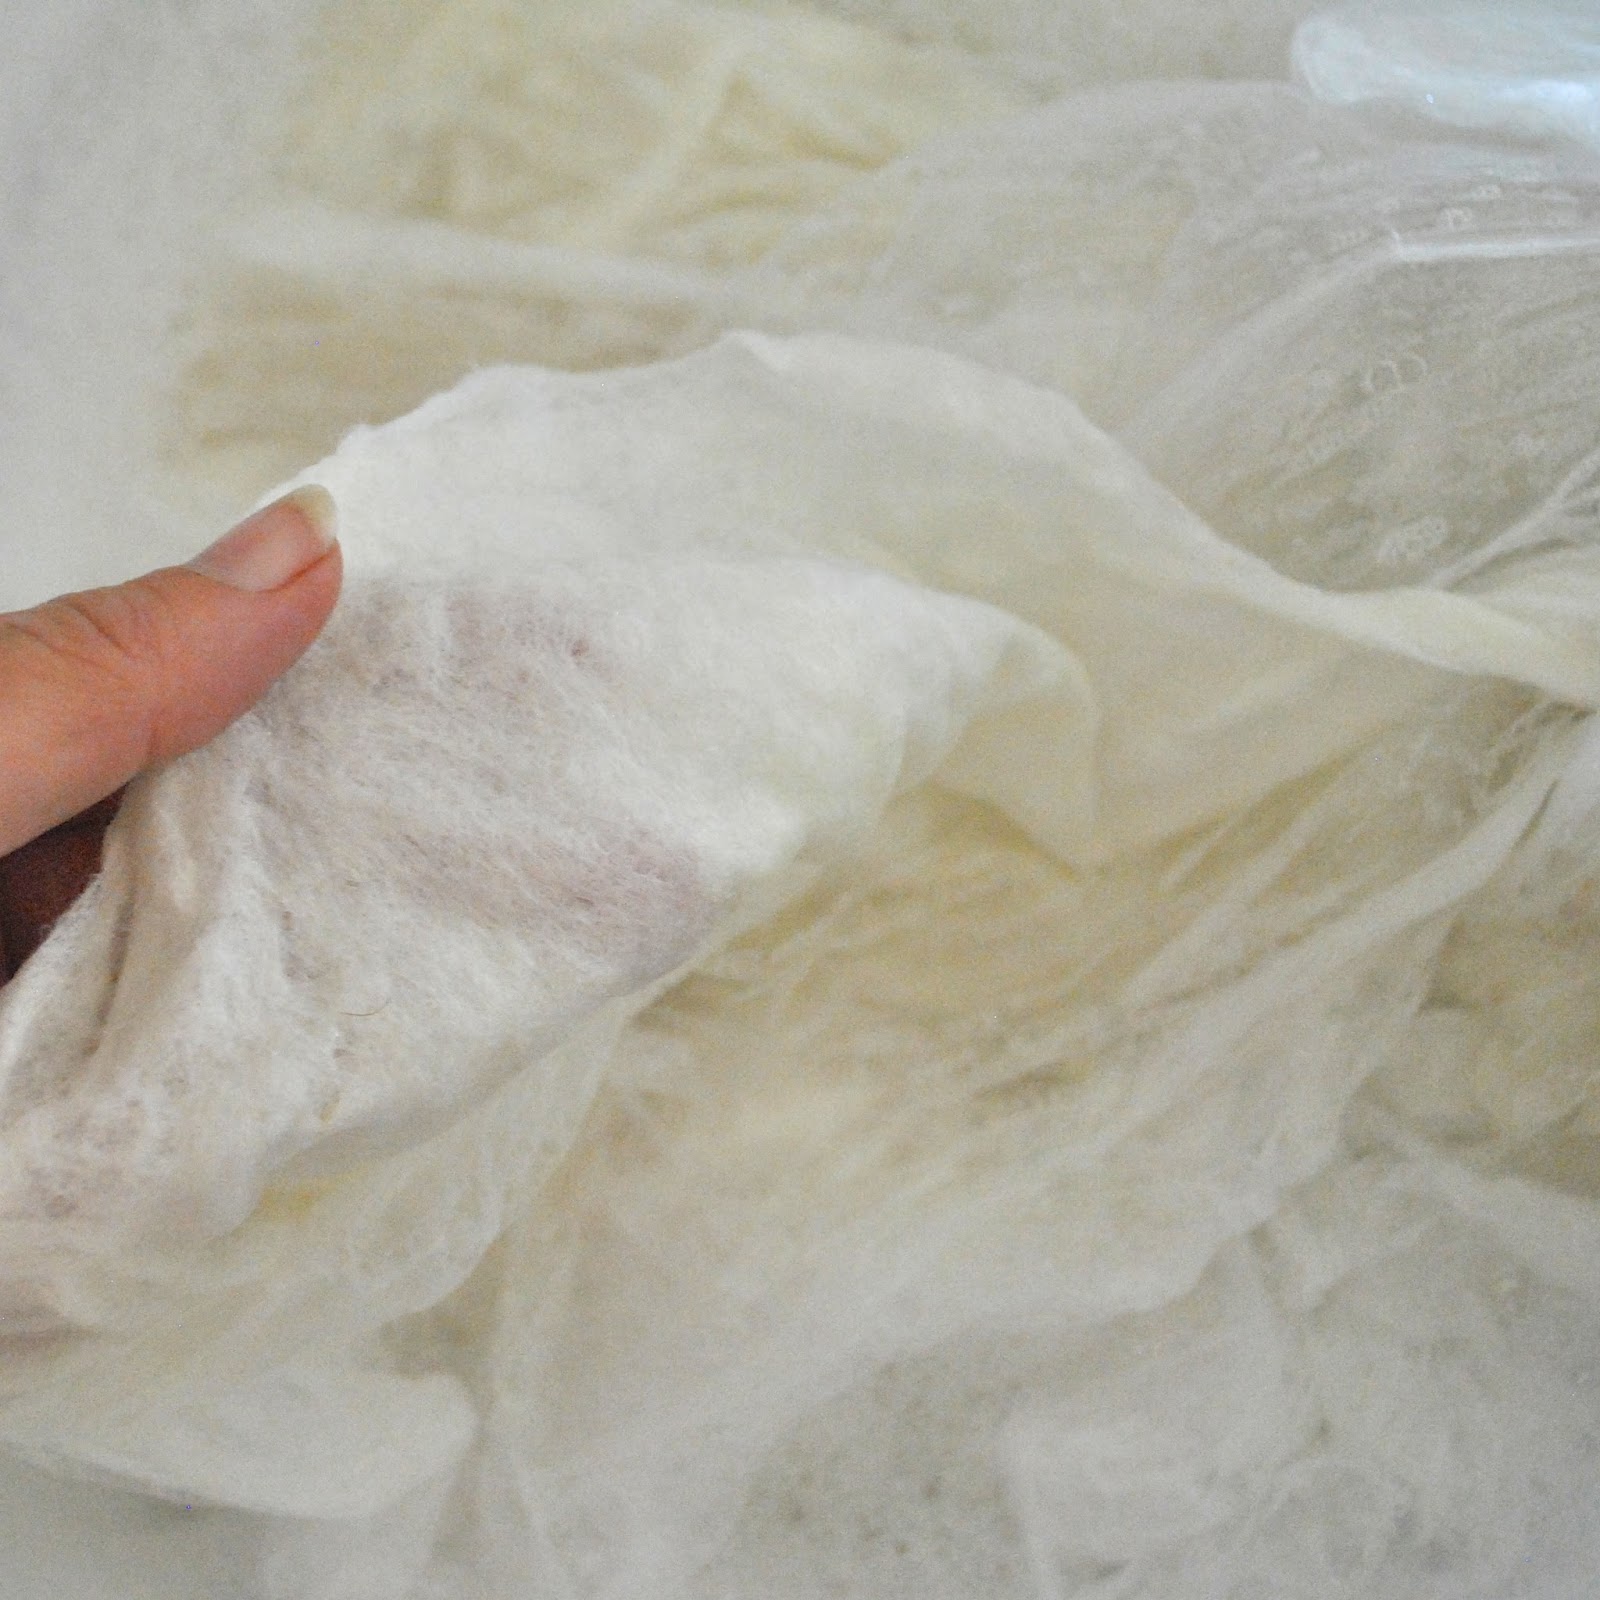
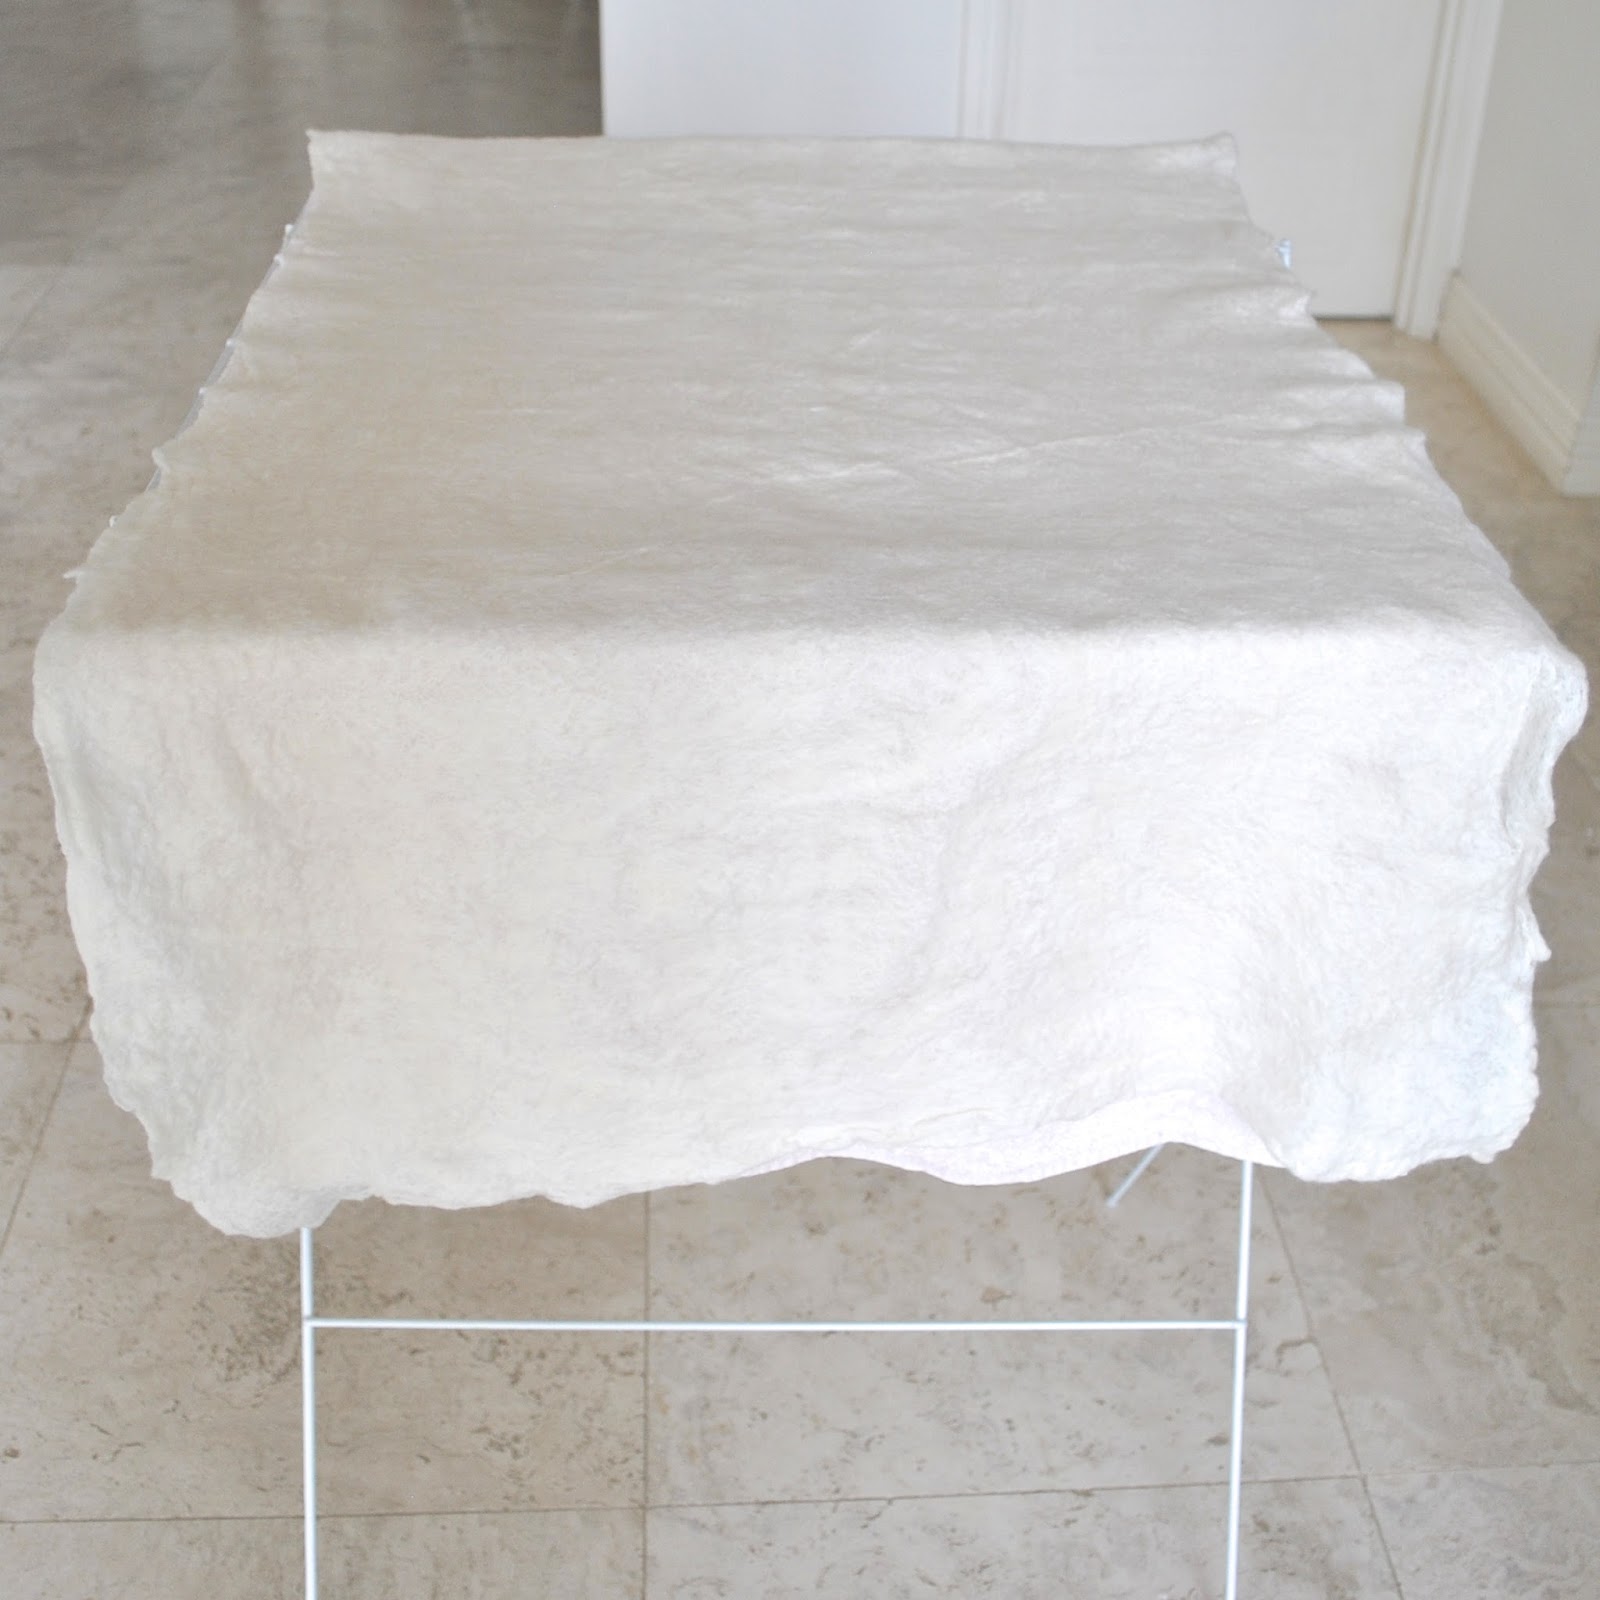
I laid my cut-to-fit plastic drop sheet on the table and start laying out small hanks of fleece onto it.  You hold the combed fleece loosely in your left hand, not too tight and not applying any pressure, and then with your right hand you grab and just pull away a small flat wodge.  Aim to keep the sections you’re pulling out of reasonably even spread and thickness; i.e., with no thick bits in the middle.  

Then, you’re simply laying them all in an even layer as possible, in one direction onto the plastic sheet.  I used my whole 2m x 1m table space.  This is why you need a good wedge of time, since your family’s not going to be able to eat dinner on the table during this process! and you can’t exactly pack it up out of the way since the wool fleece is so light and floaty that at all times it’s in danger of wafting about, blowing onto itself, or onto the floor if a door opens and a breeze comes through.  Plus in my three cat household there’s the very real danger that a curious little helper is suddenly going to jump up onto the table to check out what you’re doing and keep you company while you’re doing it.  Eeeeeeeek!  The potential for disaster is HUGE! 

The top end that you “grabbed” is a little thicker than the tail end, so overlap these by a little bit in each row.  Once you’ve covered the area, go over again, this time laying the hanks of fleece crosswise to the previous layer.
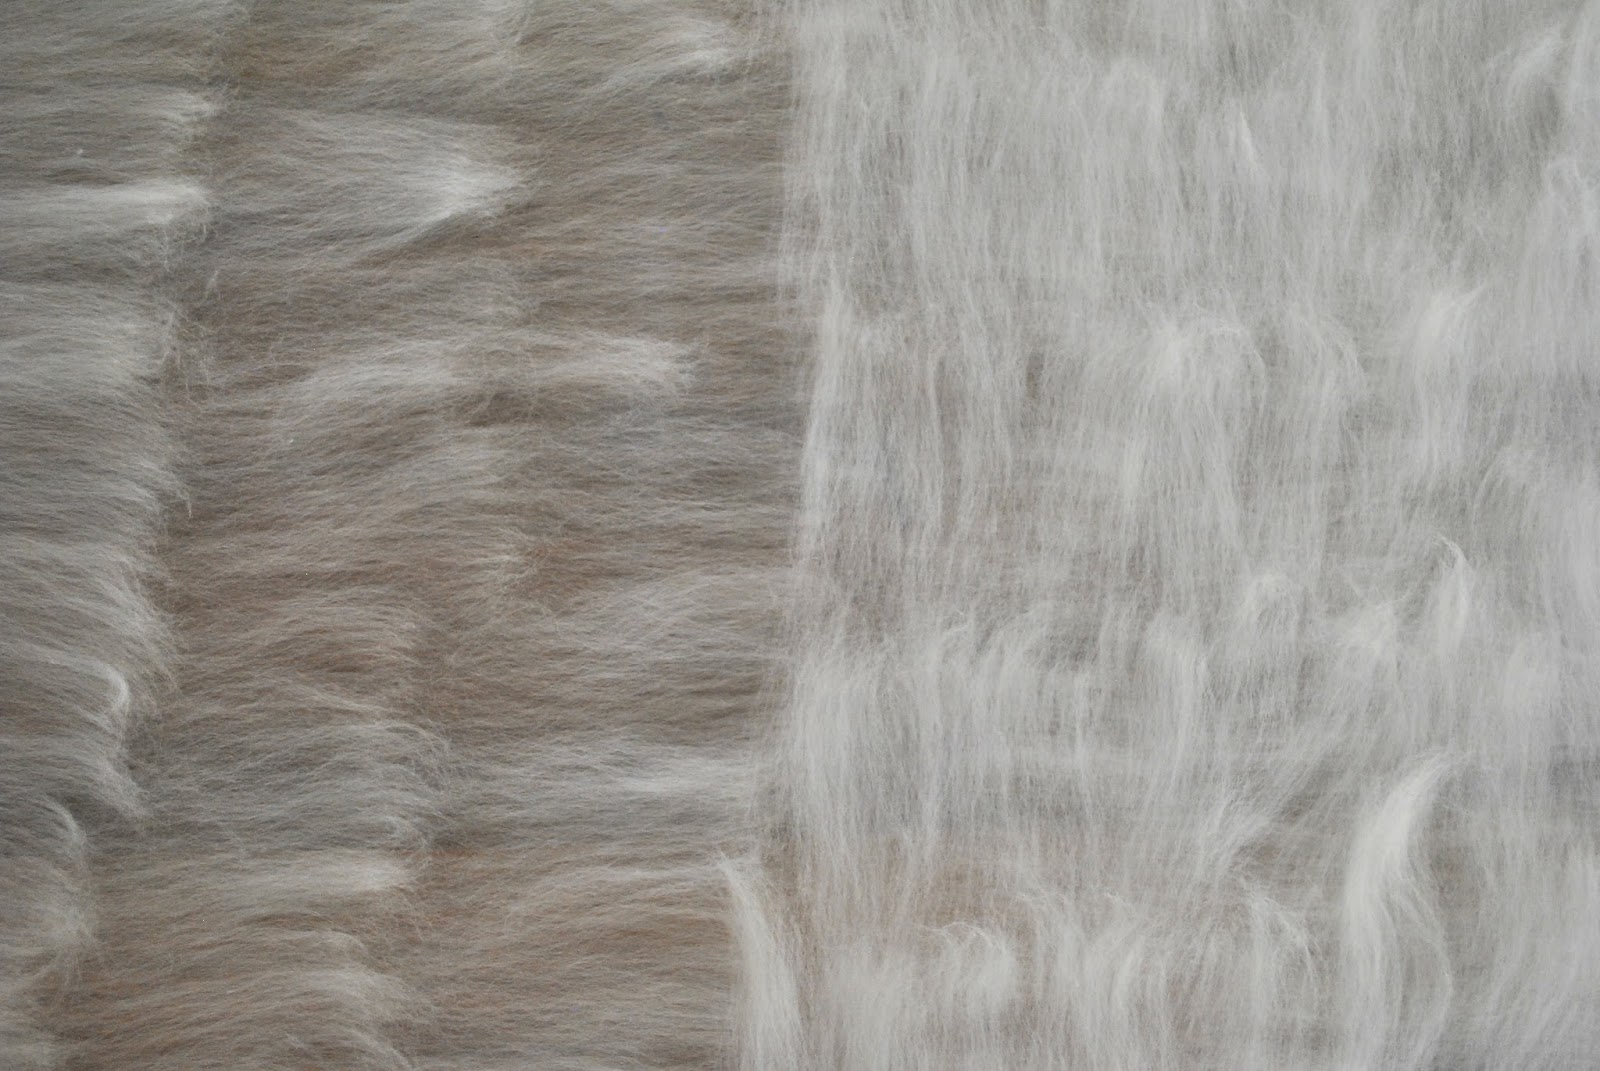
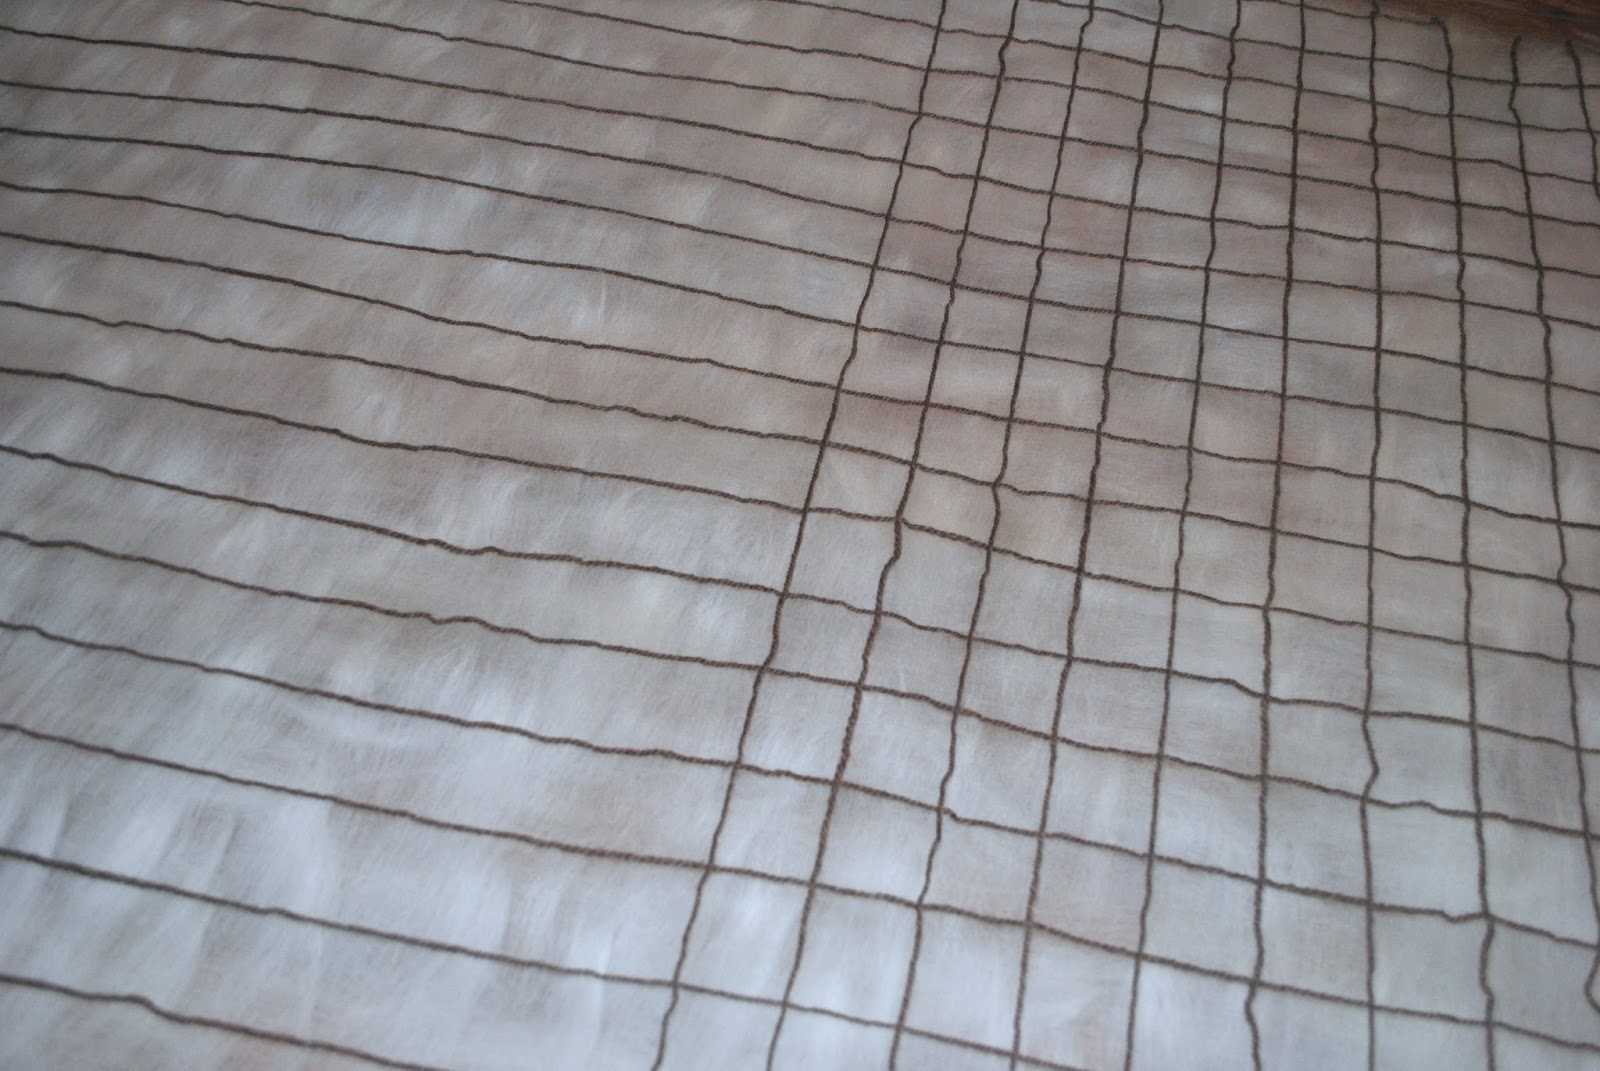
For my gridded felt I cut lengths of the homespun wool and laid it out over the fleece in an even grid.  Then I laid a very light and thin third layer of fleece over this one.  btw, some of the following pictures in this tutorial are of the grid felt and some are just the plain, un-gridded felt… because I was a little erratic in my picture taking; sorry!  But the felting process is just exactly the same in each case  ðŸ™‚
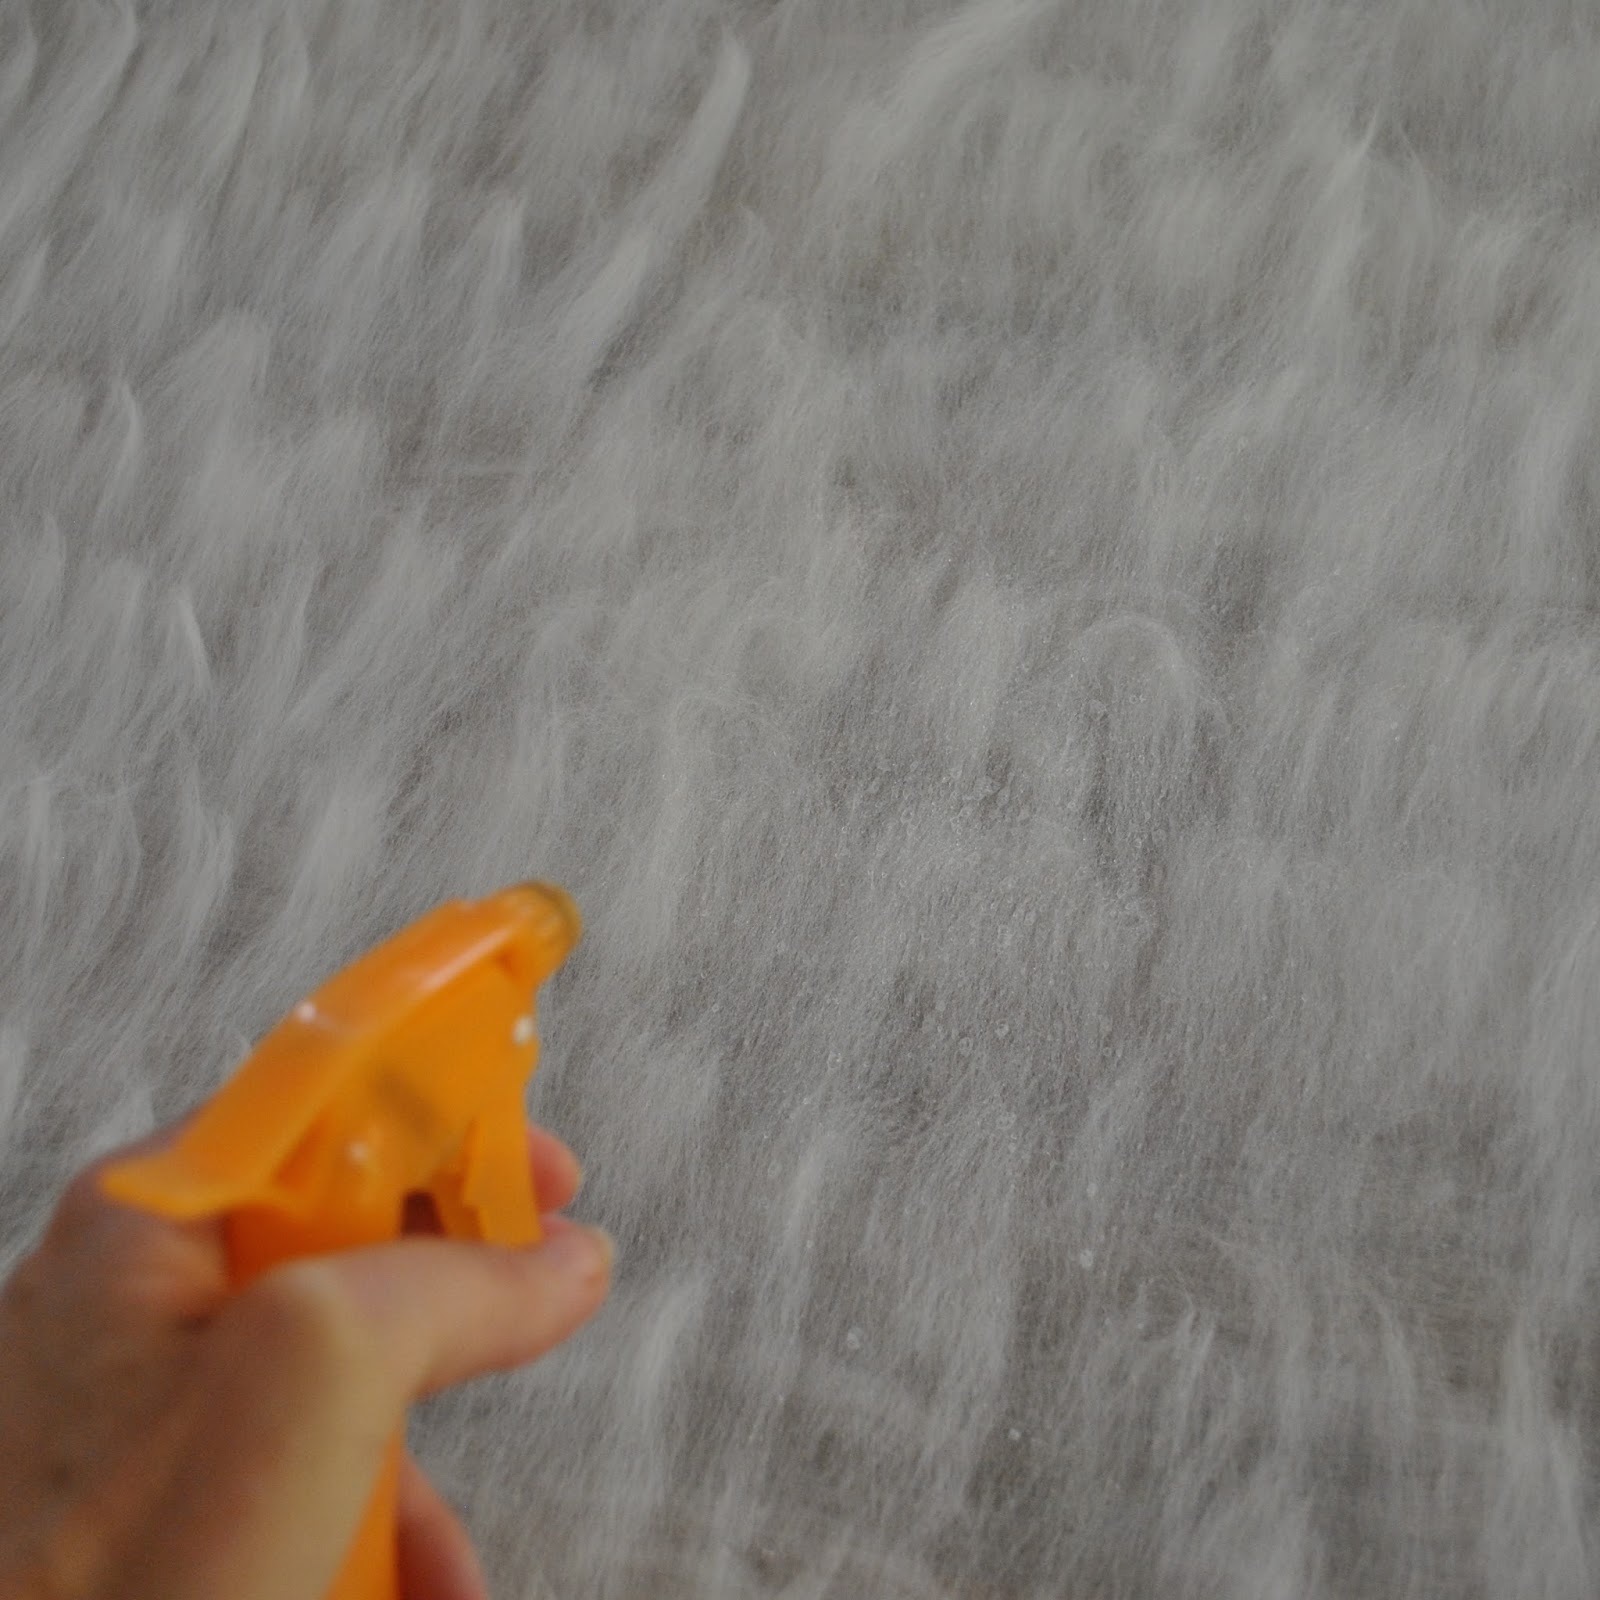
Fill a spray bottle with hot soapy* water and with the nozzle set to a fine mist lightly and carefully start spraying the fleece evenly all over.  Take great care to not blow the fleece about with an inadvertently strong spray or jet of water here! which could destroy all that carefully even laying-out… you’re aiming to very gently dampen down the fleece with a light misty spray.  Once the fleece has an allover layer of misty dew-like droplets all over, you can spray with slightly more vigour, pausing occasionally to gently flatten down the fleece with your hand, patting it down and allowing the water to seep through the layers of fleece.
*  Soap: the ladies in Bilby Yarns recommend the use of a gentle olive oil soap, and I agree this would be a wonderful option.  However, inadequate preparation and an impatience to just do it!!! meant that I just used a dash of regular dishwashing liquid for mine.  *horrified gasp*
Sorry to the purists out there!   I know, I’m a philistine  *hangs head in shame*  Please don’t boot me out of the felting club!
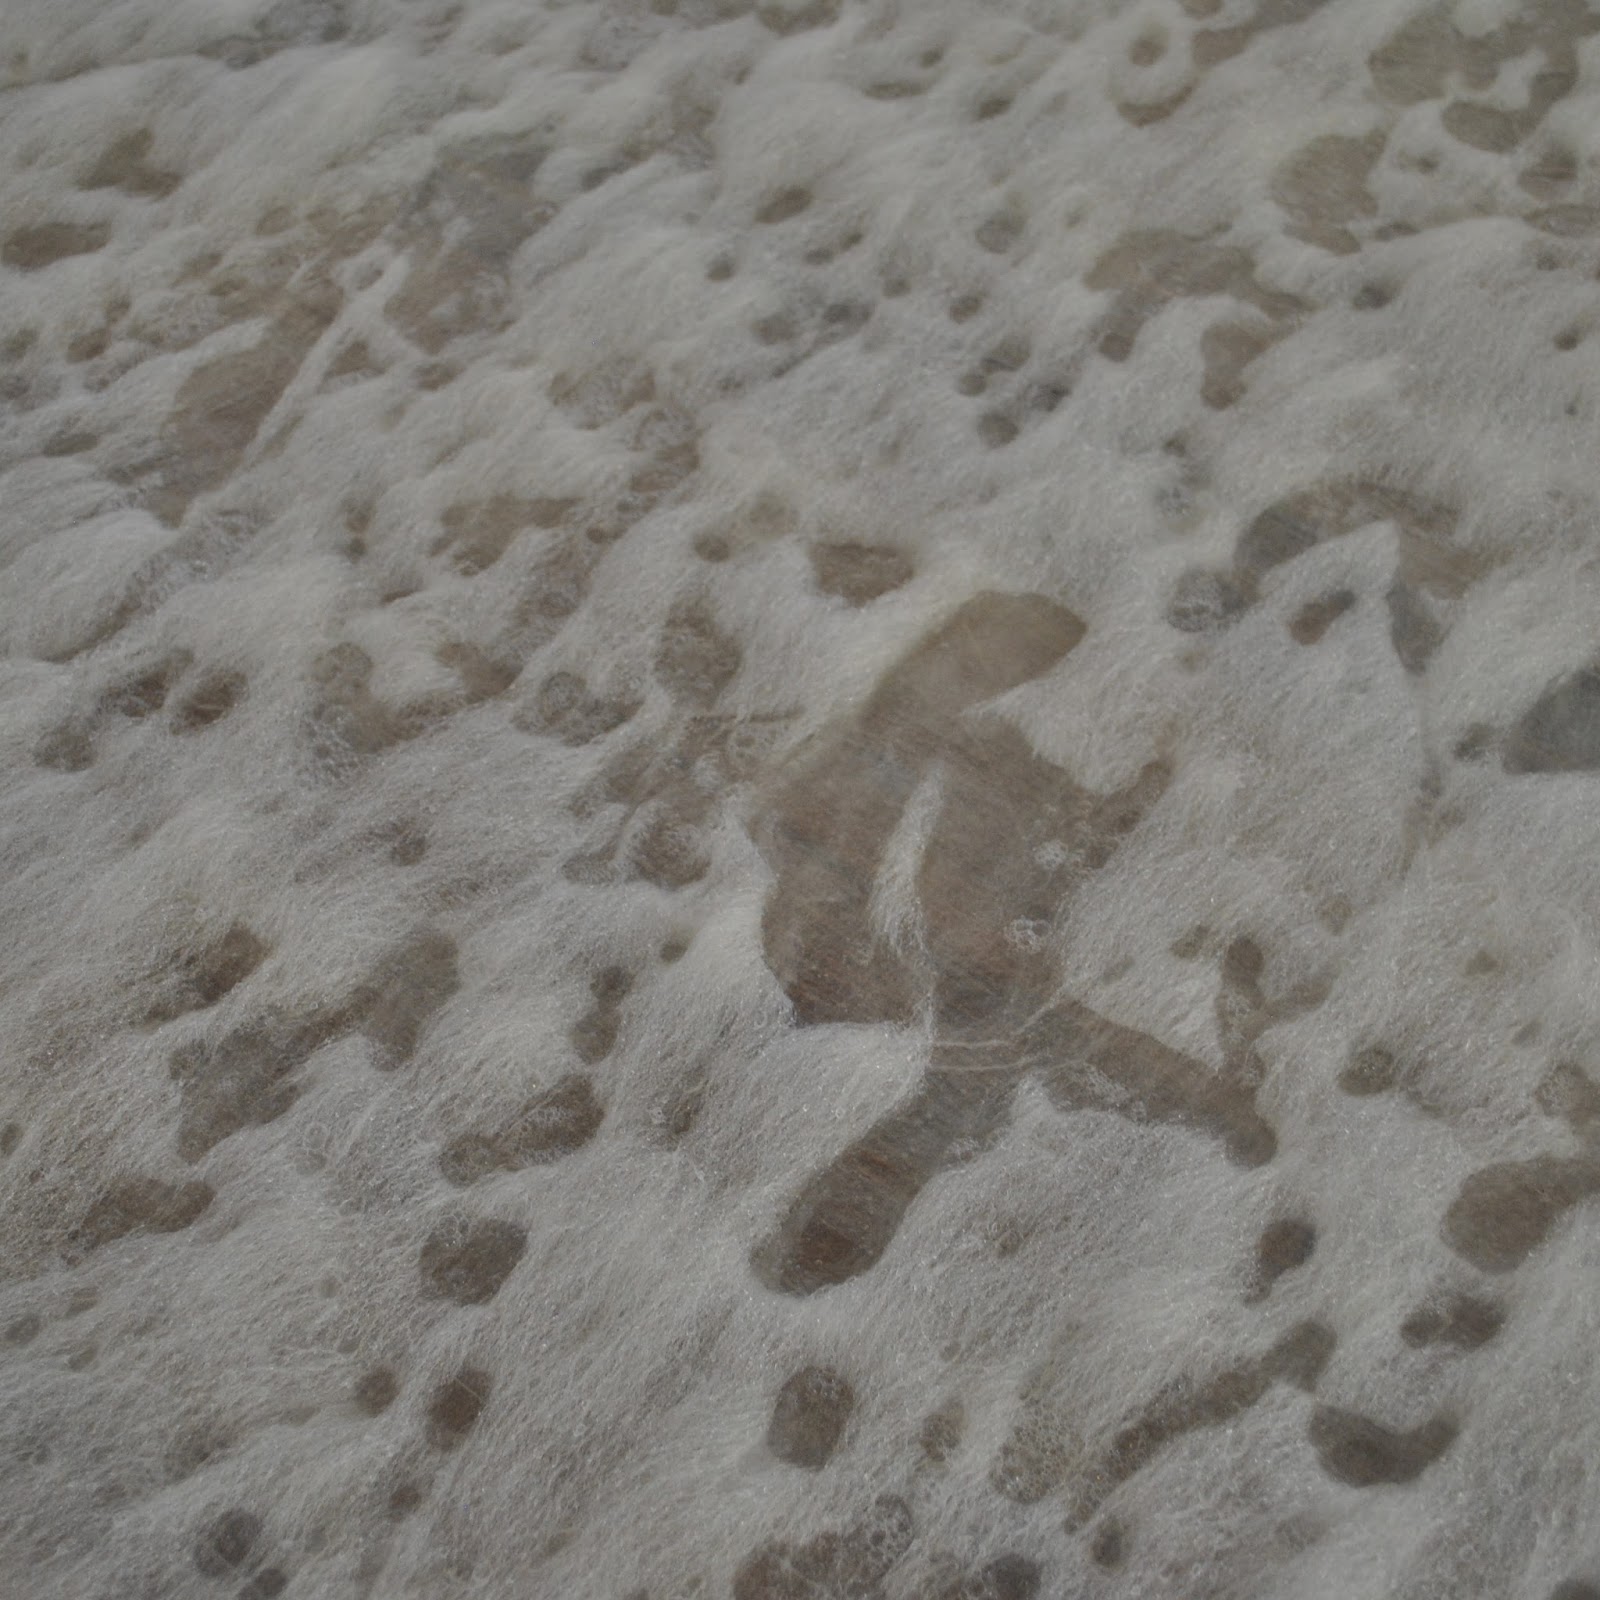
Eventually the fleece layers will be wet enough that they are no longer in danger of blowing about, and at this stage I allowed myself to add water just a bit more freely, but still lightly! sprinkling the fleece carefully using a small, plastic hand-watering can.

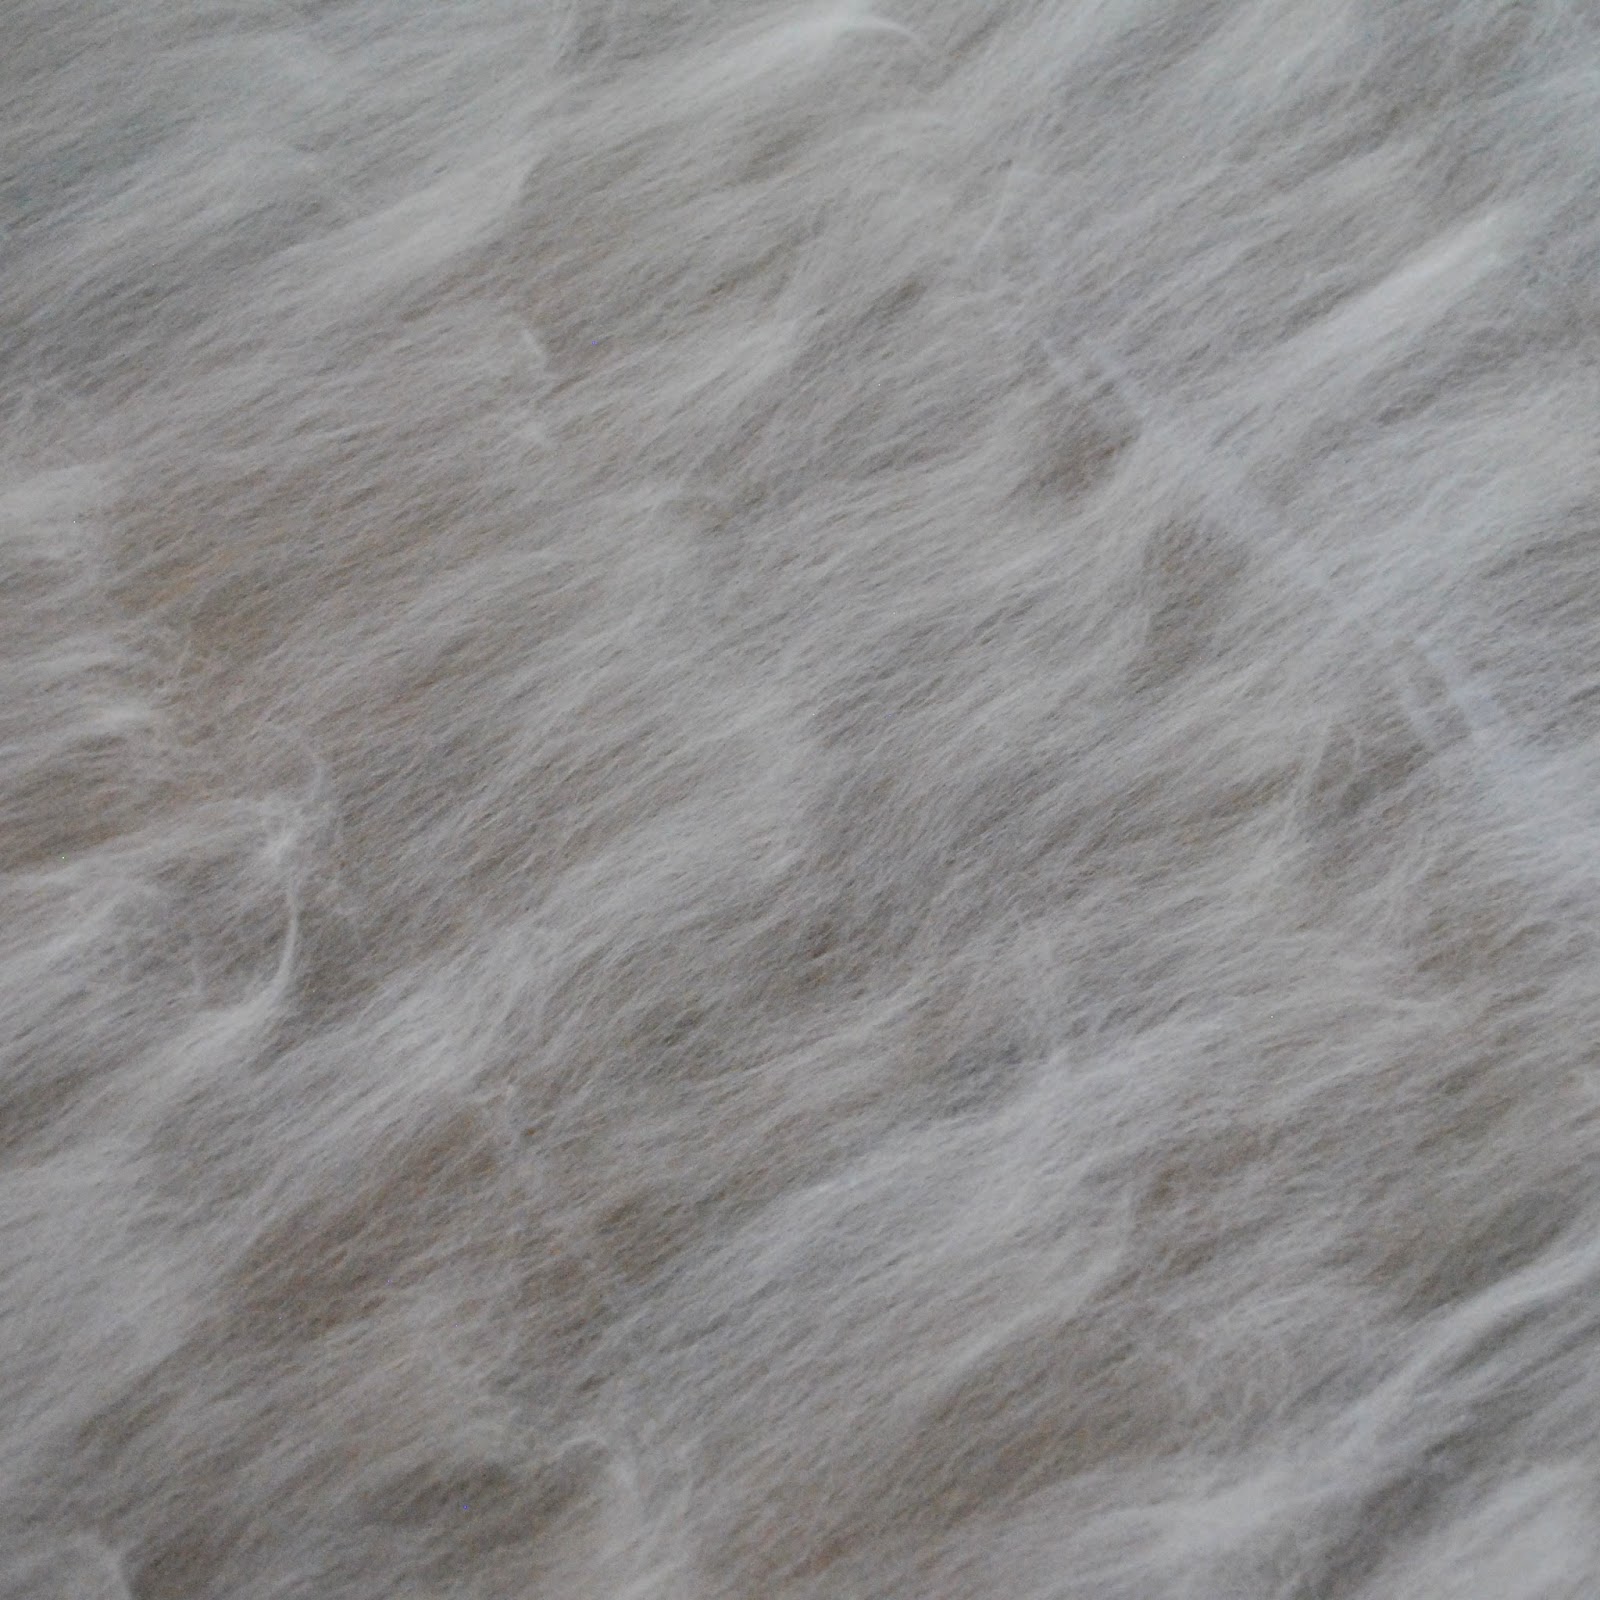
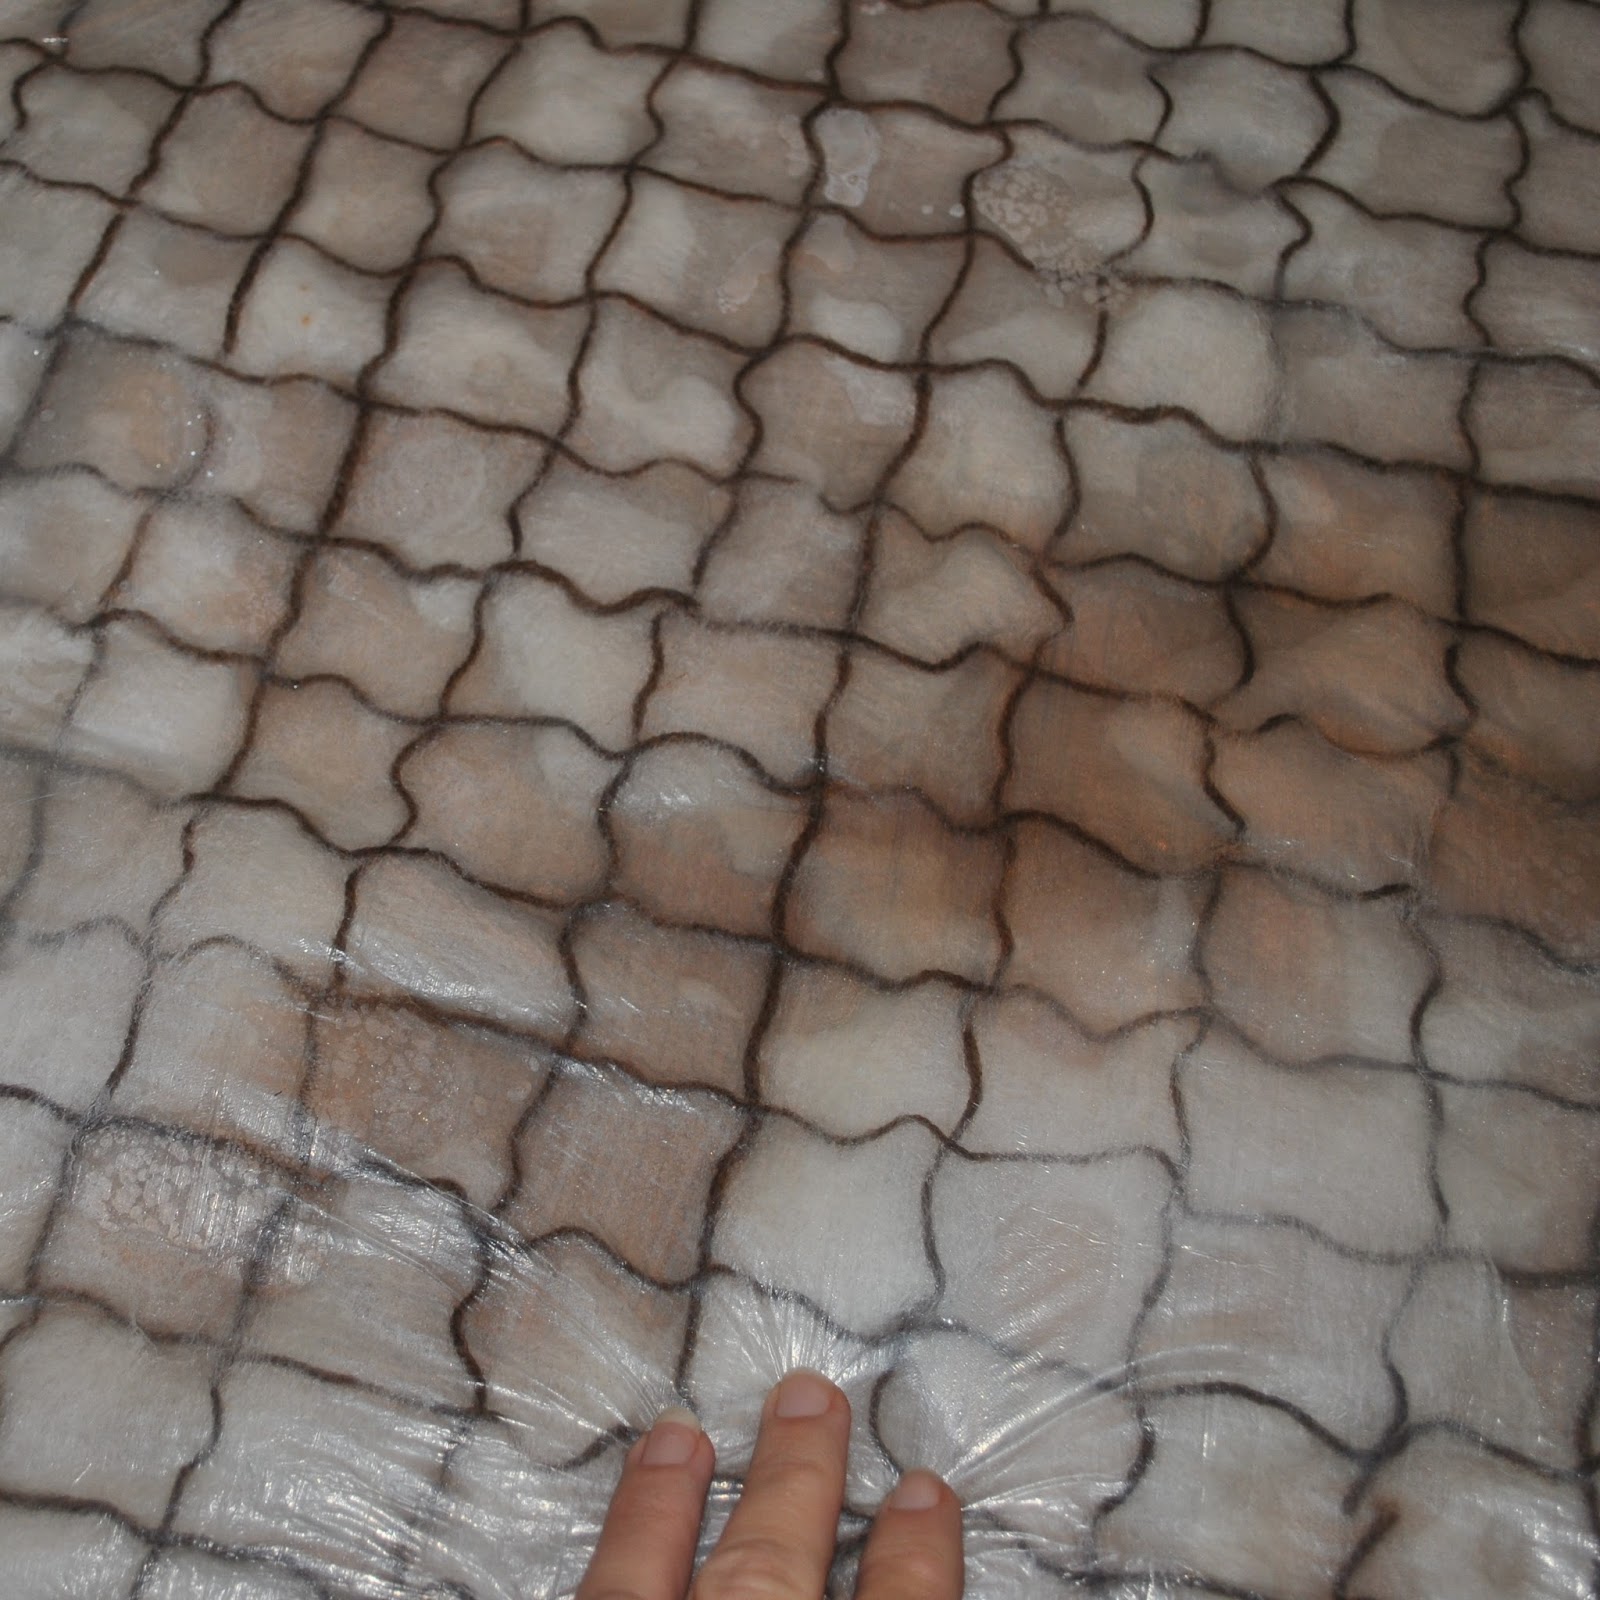
Check all over to make sure there are no dry bits; and once the fleece is wet through lay another cut-to-fit plastic dropsheet over the fleece, smoothing out any air bubbles, and start gently massaging to felt the fleece together.  Be light but firm, use small circular movements,  and cover the whole area evenly.  Every now and again peel back a corner to check that it’s felting together.

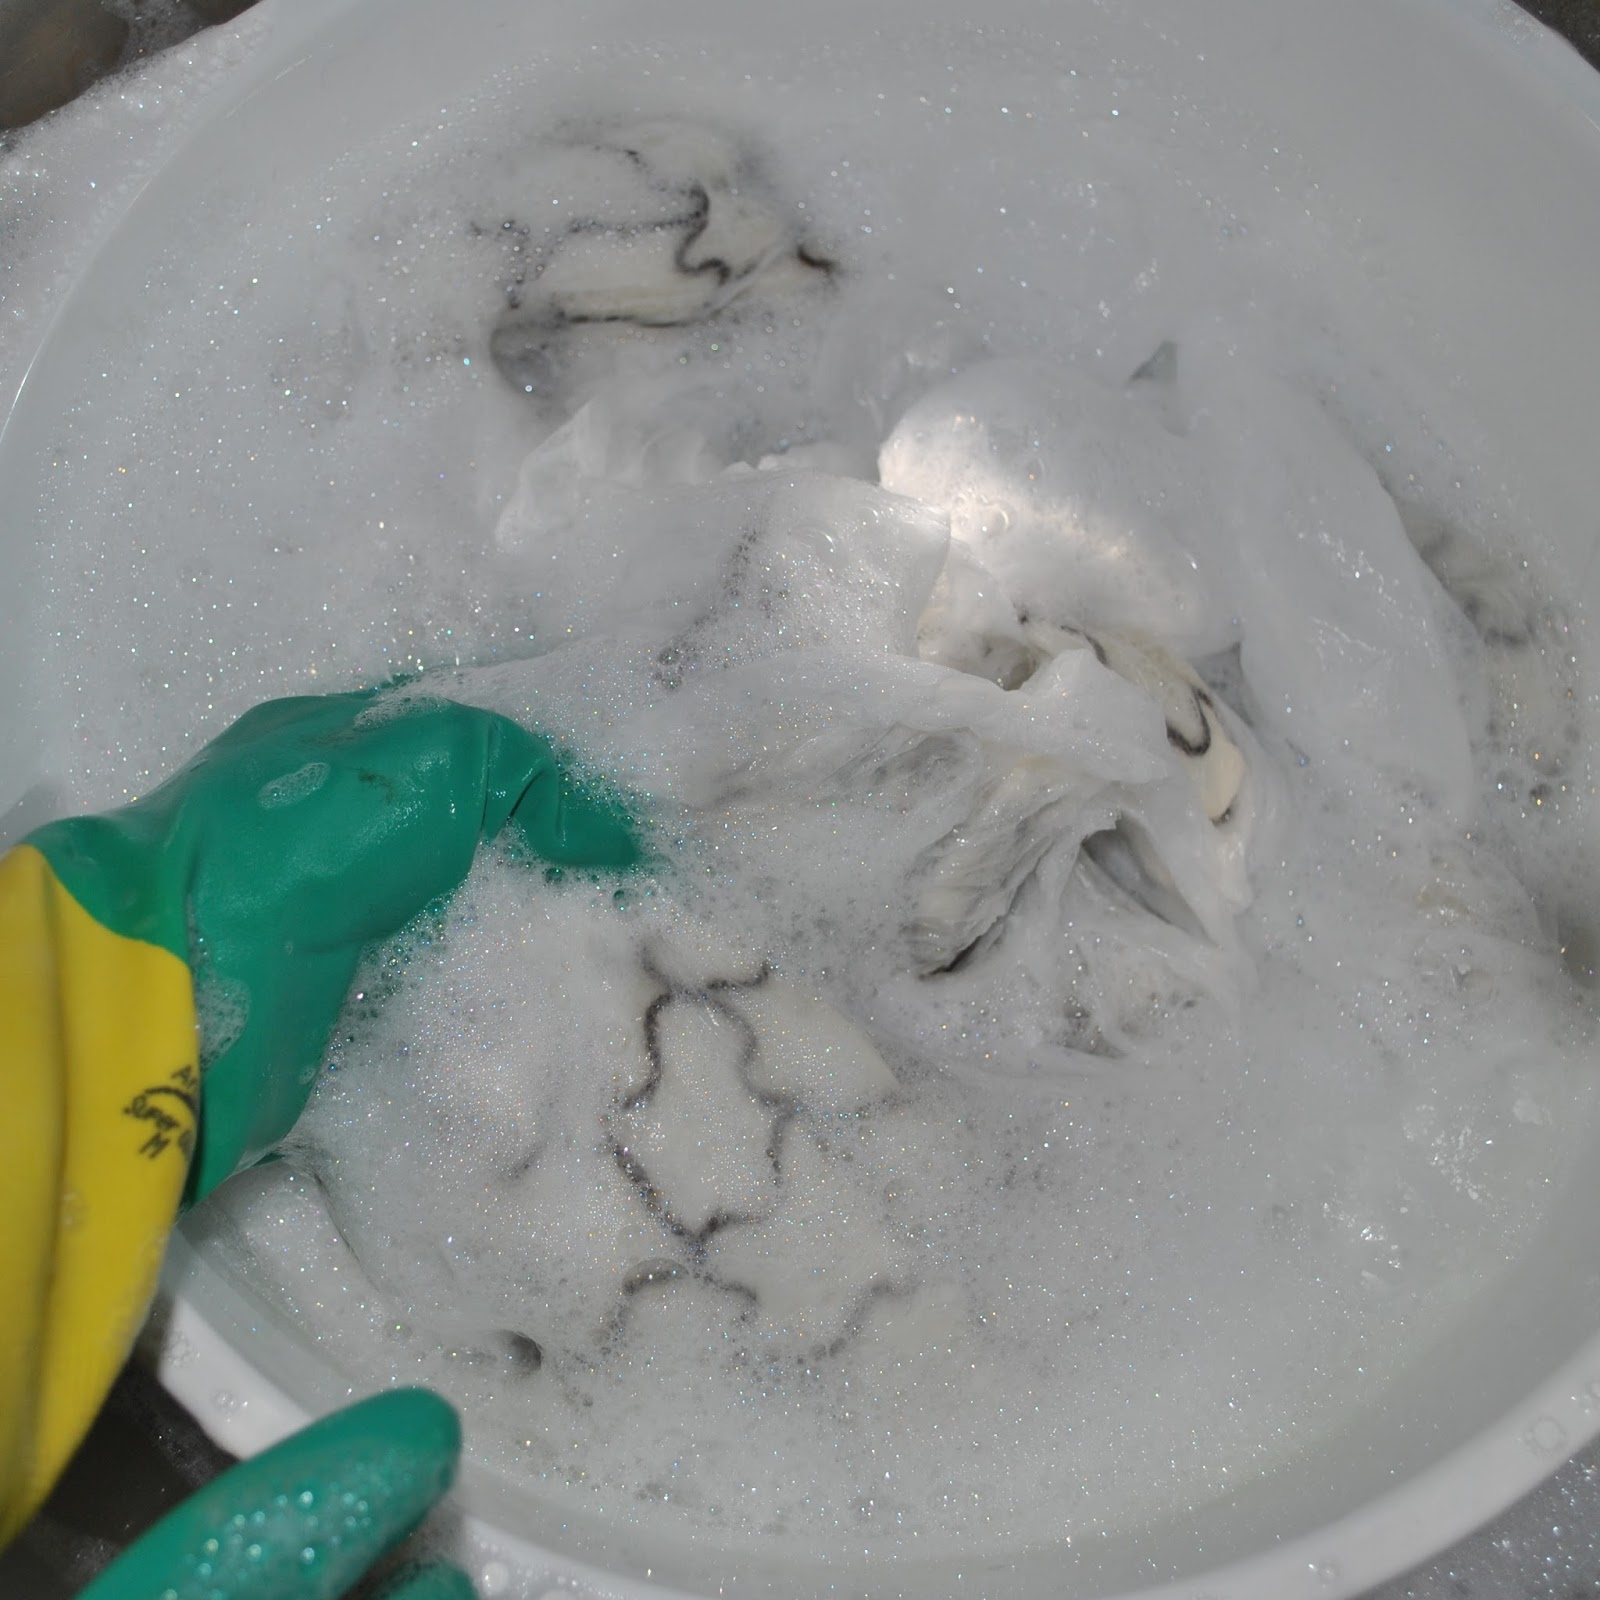
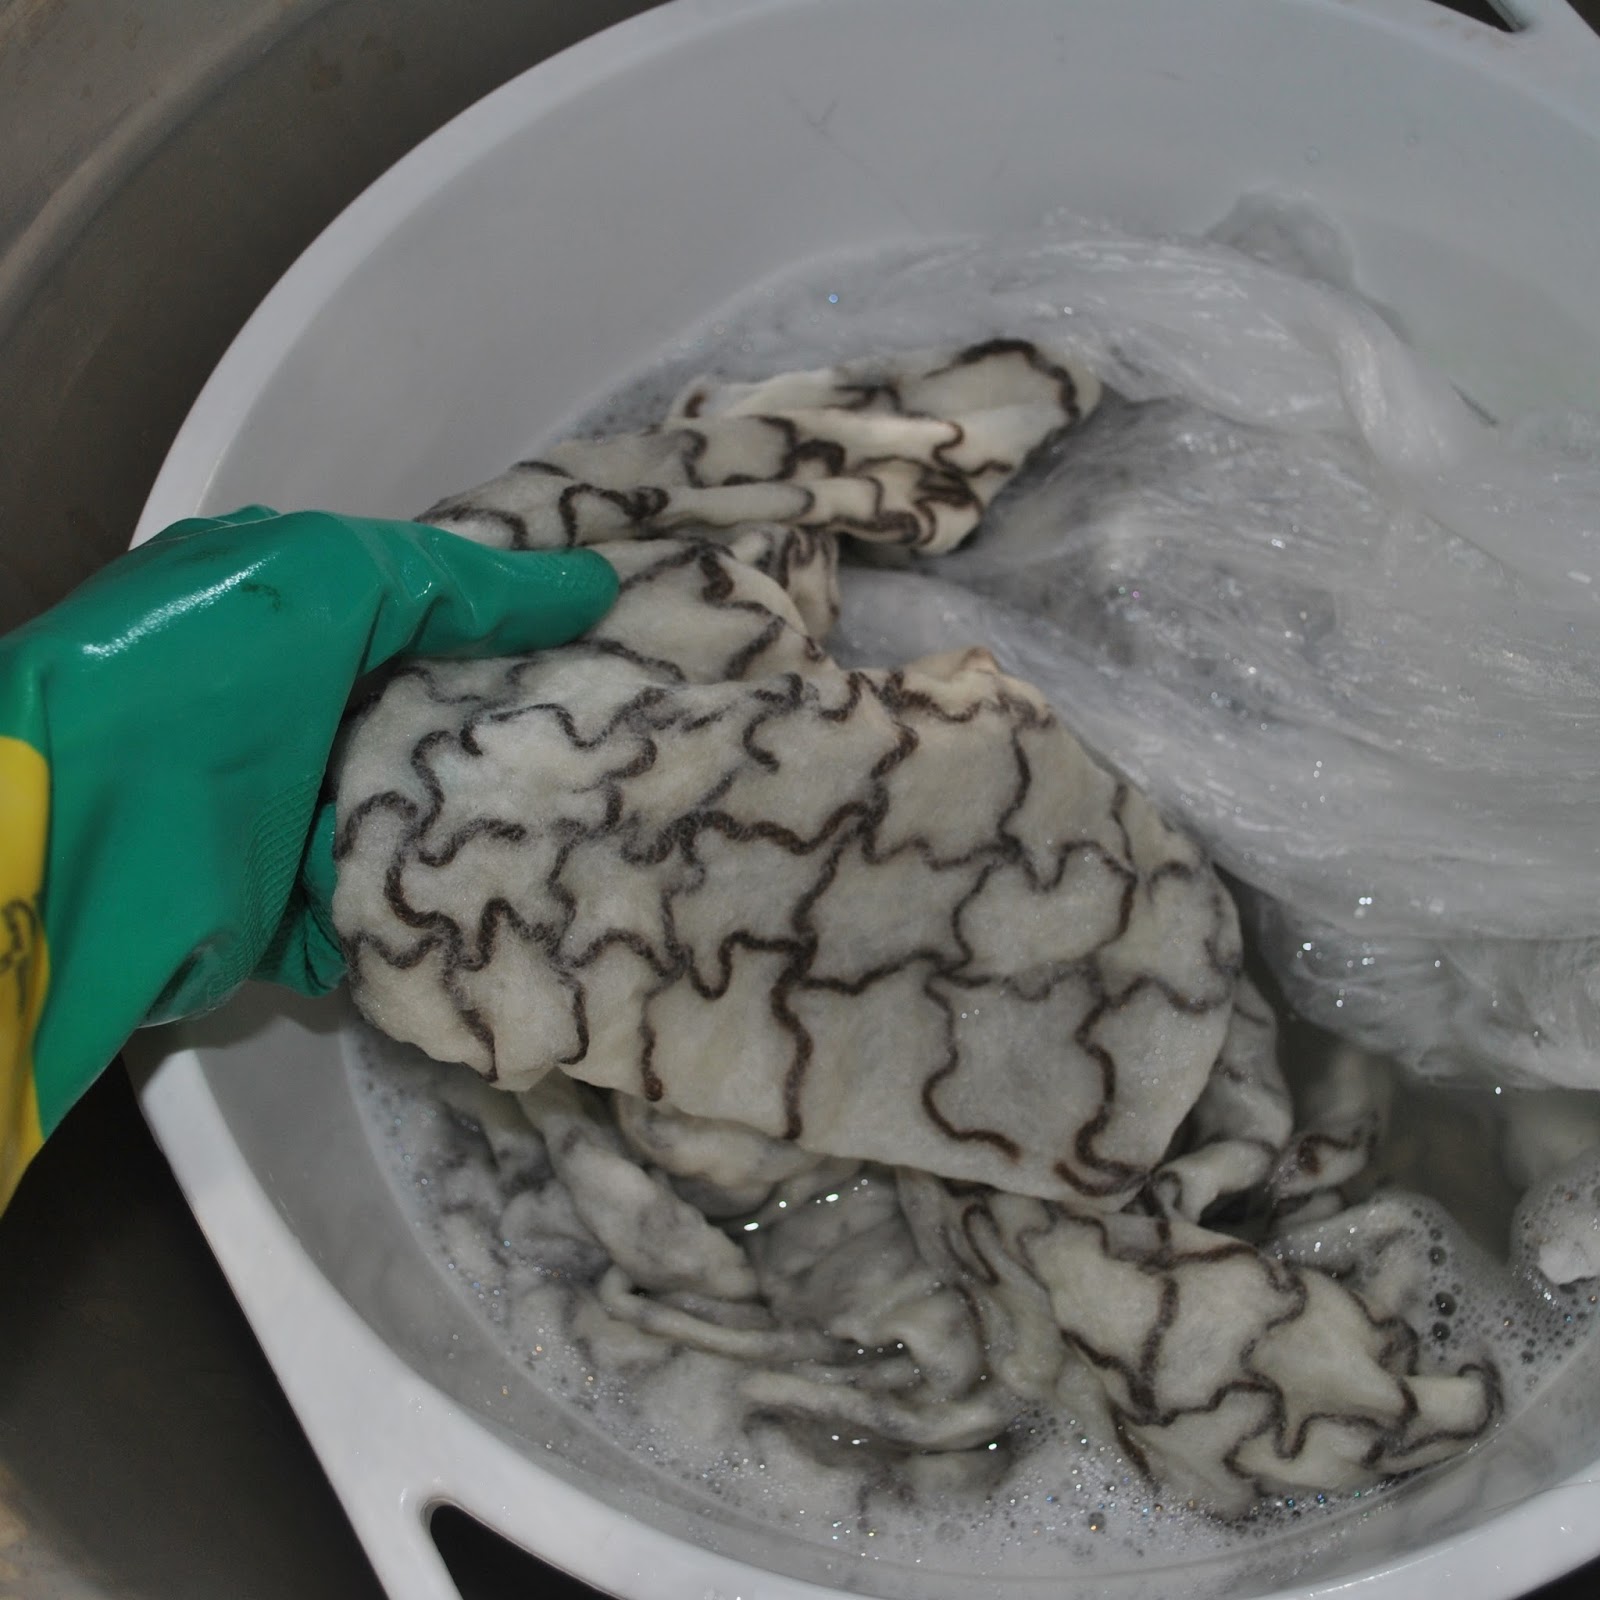
Once it seems to be melded and matted together enough that you can peel a corner away from the plastic and it seems to hold together in a sodden sheet of wool; replace that corner back between the plastic layers, and roll or fold the whole shebang up.  Fill a bucket with quite warm, but not hot! soapy water, plonk it in and start to gently agitate the plastic-wrapped fleece in the water.  Use the same sort of movements you would if you were hand-washing a precious cashmere jumper.  So, a bit of smooth slow swooshing, but no rubbing and nothing very vigorous.  Just some nice gentle easy swirling.

After a few minutes, say 5-10 minutes of this; check to see how the felting is going.  Once it has achieved a more stable, fabric-like texture you can peel away the plastic and remove that from the bucket.  
Gently rinse out all the soap, using cool water.  Still absolutely NO wringing or twisting the felt during this delicate procedure!!

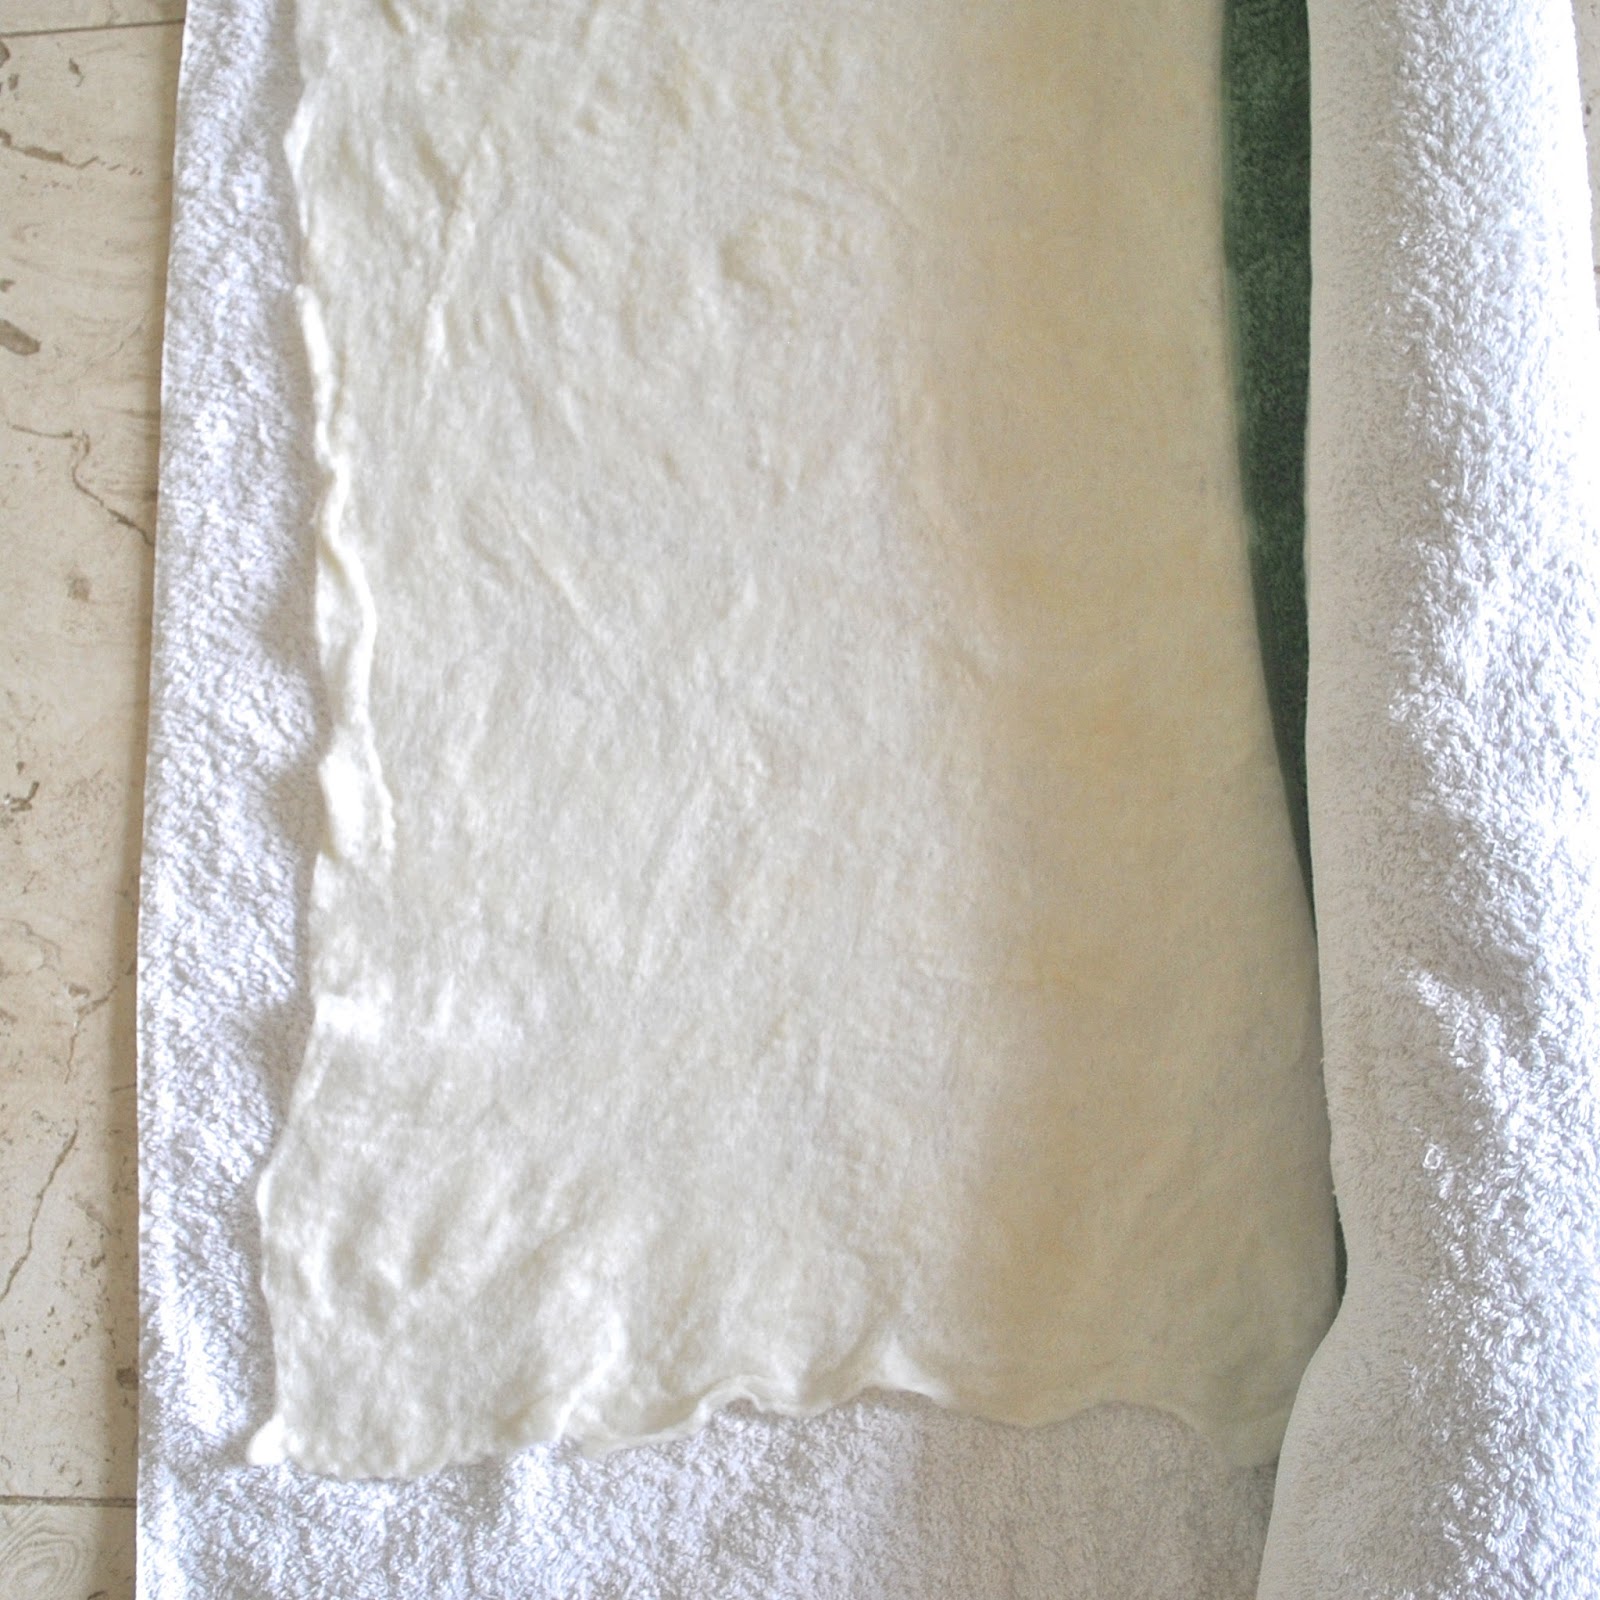
Just like you would that precious cashmere jumper; gently squeeze some excess water out, then lay the felt out on old towels and smooth it out as flat and smooth and even as possible.  Gently pull it into shape, tease out the crumply edges, smooth out any creases or little folds.  It will have shrunk somewhat during the felting process.  For the record; I initially laid out my fleece in a 90cm x 180cm rectangle.  After felting; my pieces had shrunk to roughly  67cm x 133cm; ie. approx. 75% of the previous size in both dimensions.  

When satisfied it is pulled flat and smooth and into a more or less rectangular  shape, roll it up in the towel, smoothing out any little creases that may form as you’re going along.  Squeeze excess water out by kneeling on and pressing down on the towel roll.  
Unroll, lay the wet felt onto fresh dry towels, and let it dry flat.

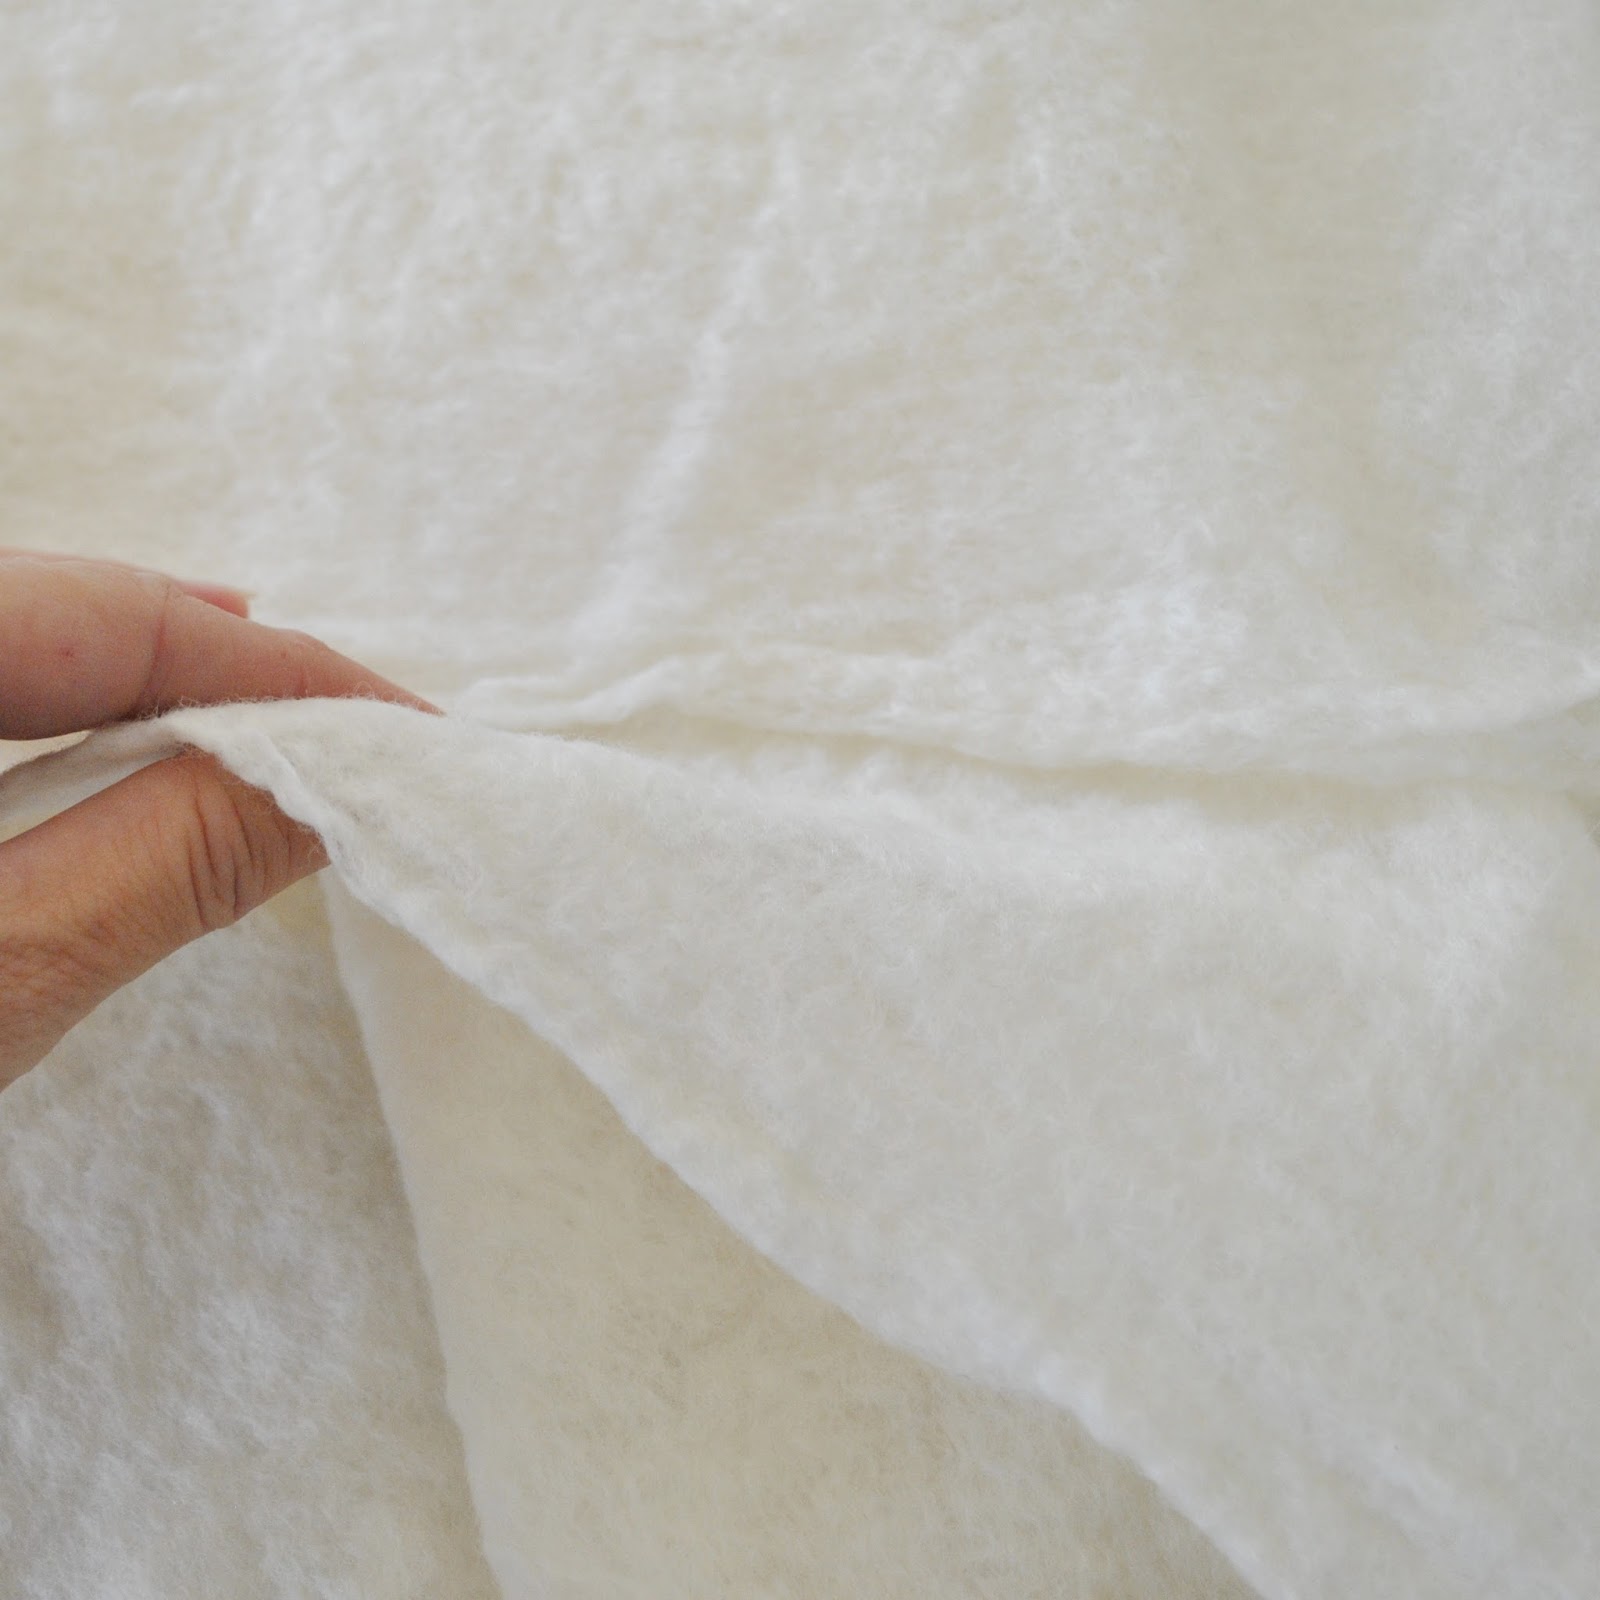
Et voila! felt!
The gridded felt is quite tough, sturdy enough to use on its own; and I plan to add extra strength to my plain cream pieces by adding some wool embroidery of some sort, which I am in the process of designing right now.
The most difficult part of all will be to cut into this precious stuff…  eeep!  must not ruin..!

pinterestmail

that 70’s show

I dragged this dusty, cobwebby ol’ 70’s skirt from outta some trunk in the attic… hehe, just kidding.
It’s new 🙂
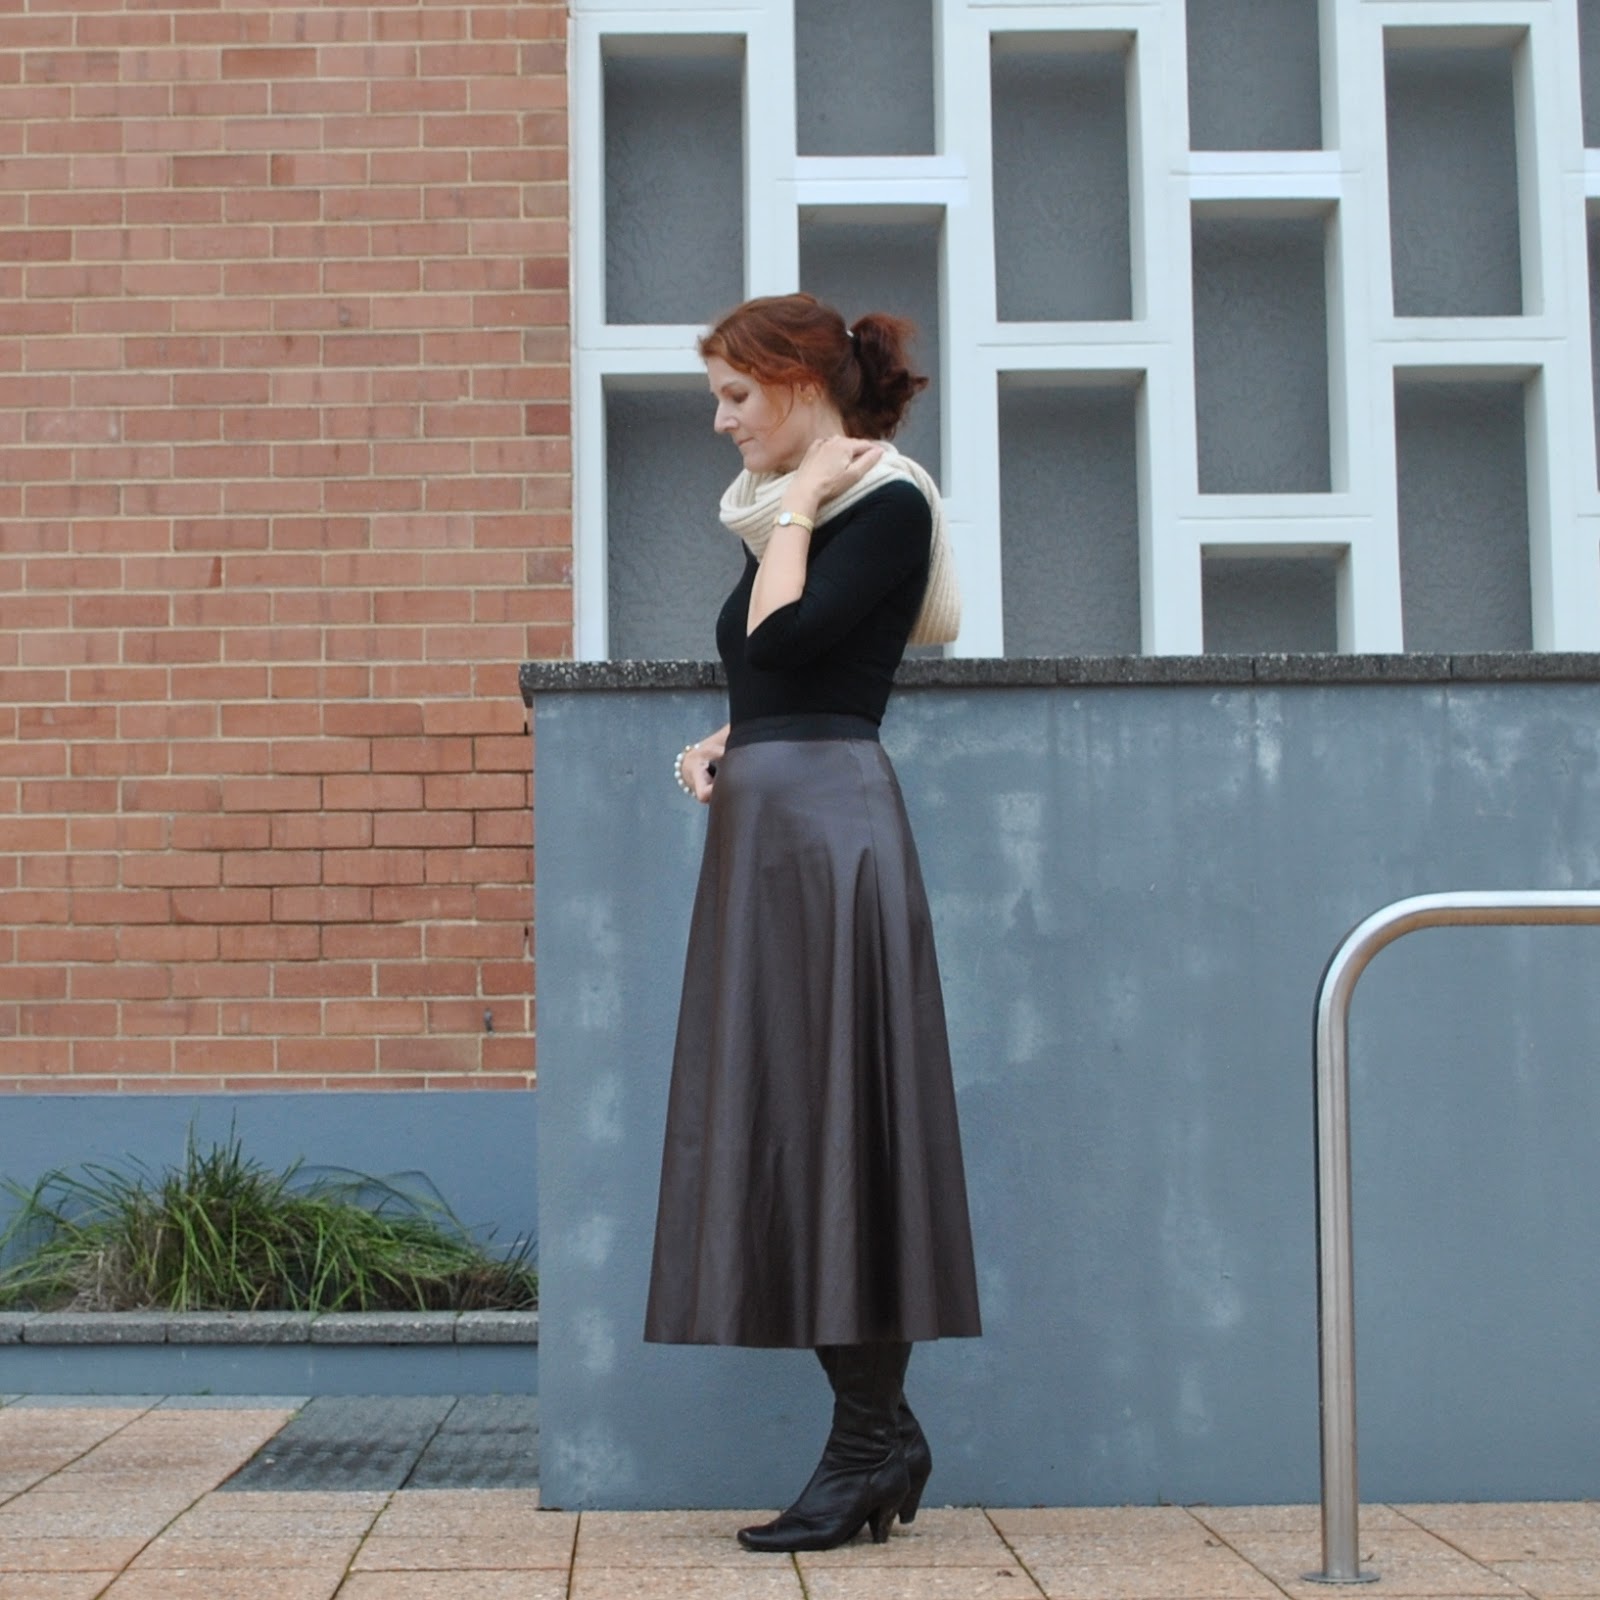
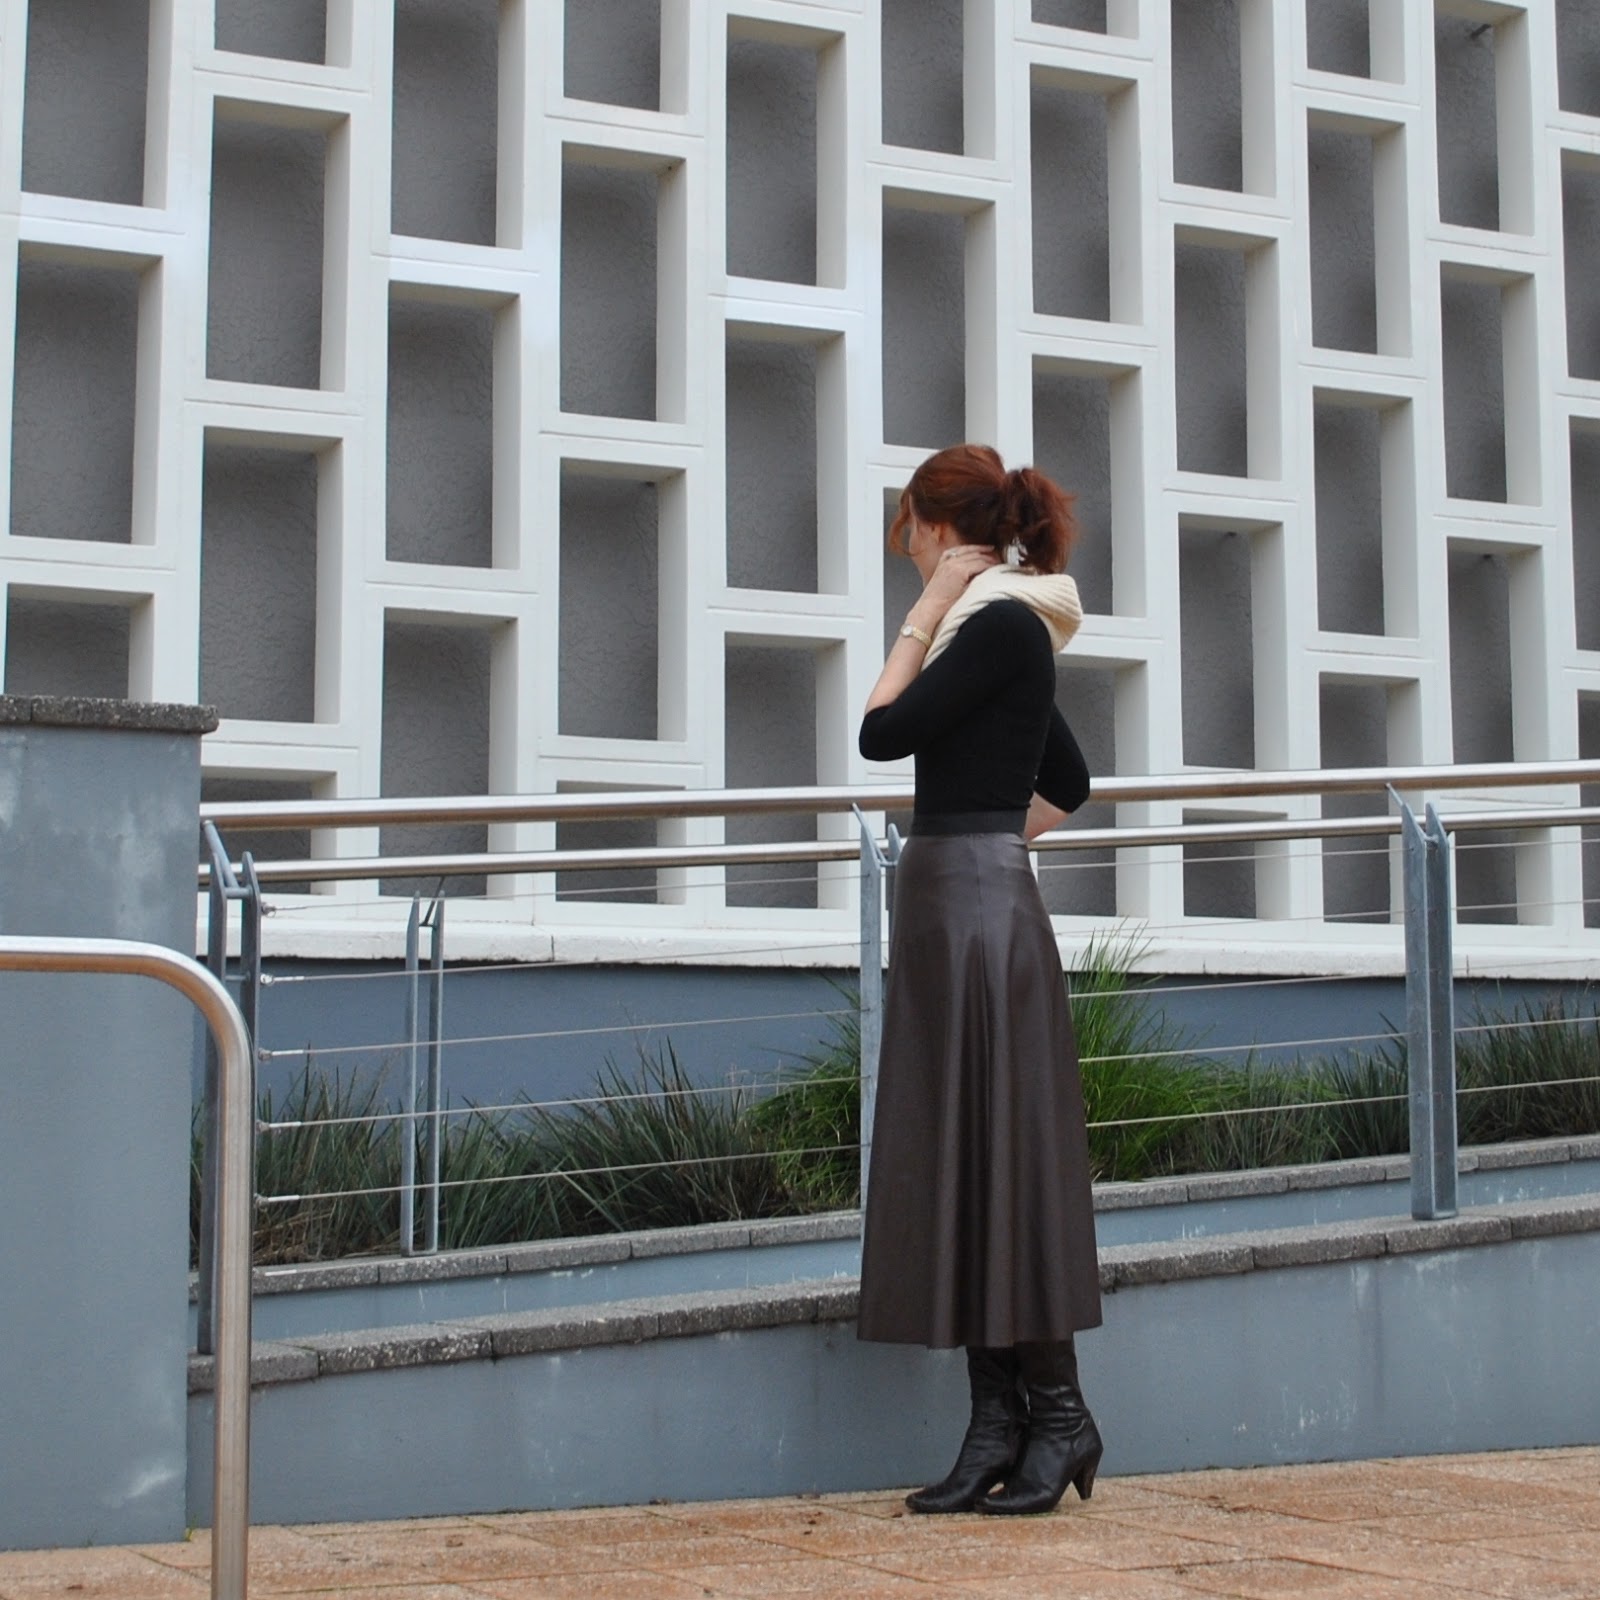
A chocolate pleather, A-line, midi skirt was high on my mental list of things to make for myself this winter and I’d bought all the fabric etc… then I somehow got chooffing along happily, oh yeah went away a coupla times too, then got bogged down in several other, quite involved, longer term projects, and just suddenly realised we are halfway through winter and I still hadn’t made it, ha!  So yesterday I got cracking and whipped it up quick sticks.  Done!
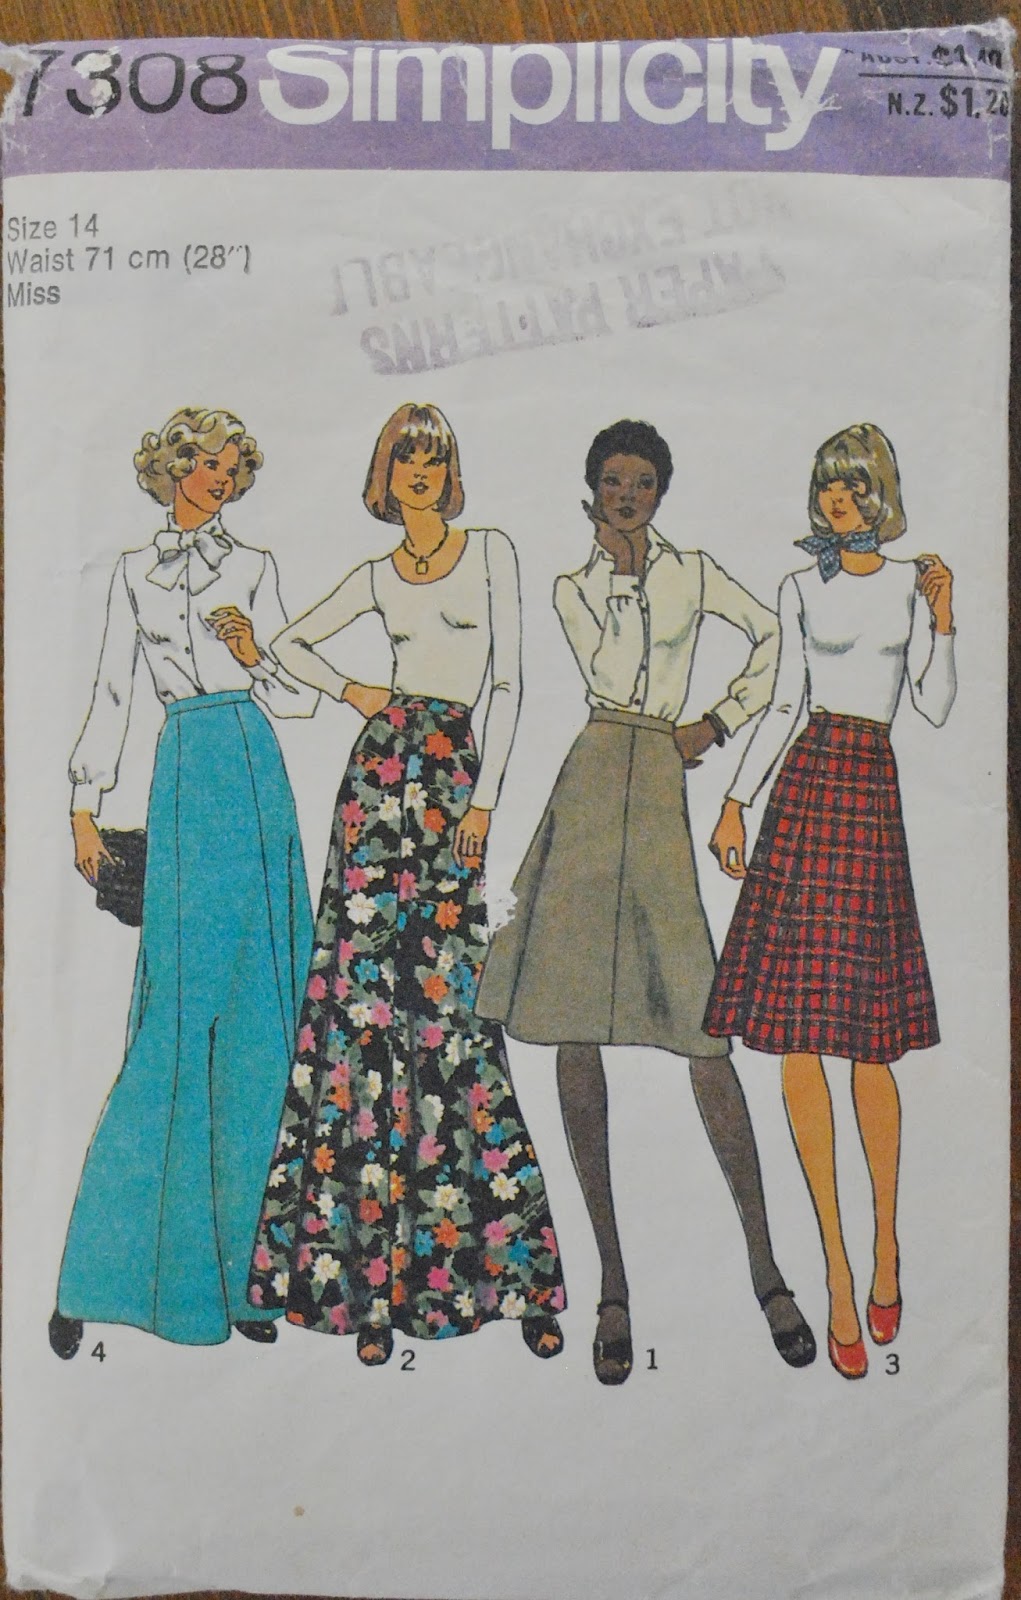
Technically speaking; this is the second thing to go towards fulfilling my vintage pattern pledge to sew up five of my vintage patterns this year.  The pattern is Simplicity 7308, hailing from 1976.  I say “technically”, because this is like the very plainest of plain, classical of classic patterns you could possibly imagine; so… Am I cheating on my vintage pattern pledge by using this?  I feel like maybe the purpose of the pledge is to get you acknowledging some the more obvious and recognisably vintage styles, in which case this one is a cop-out!  eeeep sorry!  I promise that some of my other vintage pattern plans are definitely of the more dated variety!  Maybe I’ll make up an extra vintage pattern, to make up for it  ðŸ™‚

Back in its day, this could likely have been made up in beige, or tan suede, maybe pale blue denim or possibly a large scale plaid on the bias.  In my memories my Mum had a blue denim skirt just like those… Can you just imagine?  Instead I’ve used a very NOW fabric; a deep chocolate fake leather.   At the first stirrings of winter this year, the fashion column in our local paper advised all who cared that leather and leather details were the absolute dernier cri for Perth fashionistas.  My brain seems to have latched on the idea, since several of my newer wardrobe additions have gone this route; my moto jacket, my cow skirt, and another skirt I’ve ig’ed but is still in the works.
Clearly I’m a lemming.

failed twirl.  gawd knows why I even attempt this nonsense.  at least it shows the skirt in motion…

Nuts and Bolts: a plain A-line, midi-length skirt, side seams and a CB zip, pretty timeless and possibly very boring.  I eliminated the CF seam since I have an irrational grudge against them in a skirt, placing the CF on a fold.  The width of my fabric also allowed me to widen the flare by just a touch, both front and back.
Fake leather is from Spotlight, all other materials from Fabulous Fabrics.  Lined with chocolate polyacetate lining fabric and with a waistband of black silk dupion leftover from my cow skirt.

Details:
Skirt; Simplicity 7308 from 1976, chocolate pleather
Bodysuit; the Nettie by Closet Case patterns, black stretch, details here
Tights (not seen); own pattern, orange stretch, details here
Scarf; own pattern ivory wool, details here
Boots; Sempre di, from Zomp shoes

pinterestmail

blue Pattern Magic hoodie; 6 different ways


During a recent closet clean-out I decided to bid adieu to this royal blue hoodie type of a thing.  I made it a few years ago from Pattern Magic 3, and have worn it to death!
Cue orchestral flourish, aaaaand, in sonorous tones, “Blue Pattern Magic hoodie thing; This Is Your Life…!”  *rising swell of stirring music*
My initial construction post is here…  from the word go I’ve enjoyed wearing this thing.  The deep royal blue worked with everything and the shape is kinda interesting and unique while managing to be still plain enough that it became practically a basic in my wardrobe.  My favourite view of it has always been the back view where the “hoodiness” of it was the most apparent.  The front view is plainer, with a subtle drapey elegance.
The fabric was initially given to me by my friend C from her mother’s stash, and I was just mucking about when I threw it together.  It was really just a wearable trial of the Pattern Magic design and I didn’t realise how very handy it would become.  I’ve tossed it the suitcase several times to take it overseas with me because it was such a terrific little wardrobe mixer.  Thus it has featured in loooooads of our holiday photos  🙂
I’ve promised myself over and over again that I really need to make this up a second time in decent fabric and I reckon finally putting away this old one could be just the excuse I need  🙂
Chosen from dozens, these are six of my favourite daily outfits with it…
Barring shoes, all clothes I am wearing in these pictures are made by me.
In the early stages of its life I tended to wear it just like a Tshirt, as in at left; worn with hot pink linen shorts and hand-knitted Noro socks while hiking in Lake Como, and at right, worn with my ombre-dyed velveteen skirt in Milan…

hoodie1I discovered it looked really good when worn over a longer sleeved Tshirt, like as a tunic, and this became my most preferred way to wear it.
At left; with striped Tshirt, over-dyed blue corduroy skirt and black woollen tights, in Stockholm; and at right with a green bodysuit, green corduroy skirt, navy blue tights in Helsingor, Denmark

hoodie2

At left; worn with purple Tshirt, knitted green handwarmers, overdyed brown denim mini skirt and blue tights in Iceland, and at right; finally, non-exotically, just at home, worn with red bodysuit, blue corduroy skirt, maroon scarf and orange tights.

hoodie3
pinterestmail

alpaca cardigan; a 100% local product

So, at the beginning of the year I mentioned that I was taking part in one year one outfit, the brain child of Nicki of this is moonlight; the challenge being that we participants have one year in which to make an outfit for ourselves that is 100% locally grown or sourced.
And this cardigan is my first thing! the first component of my outfit finally finished.  Phew!

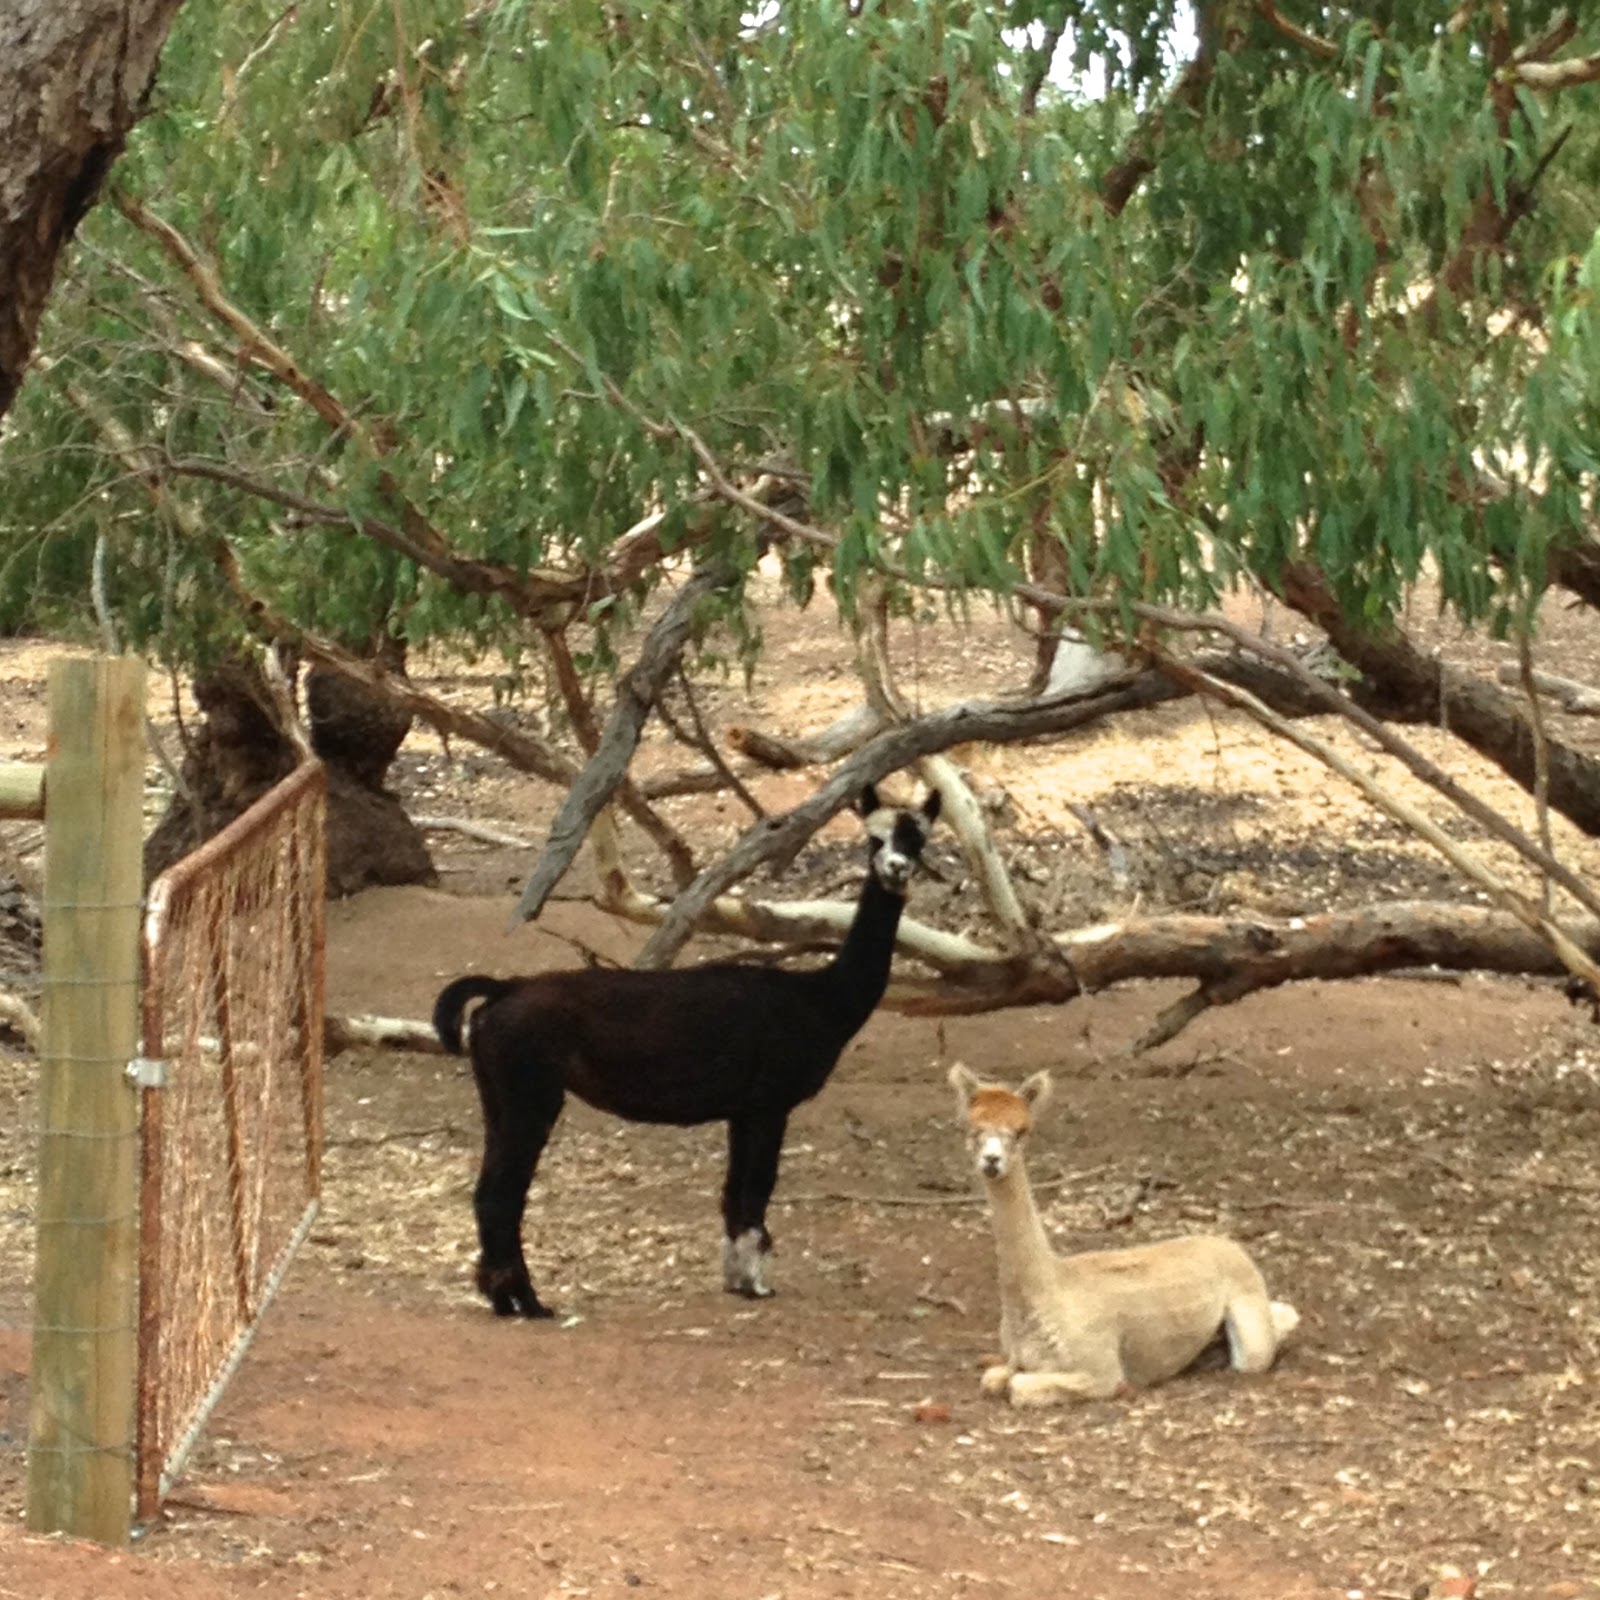
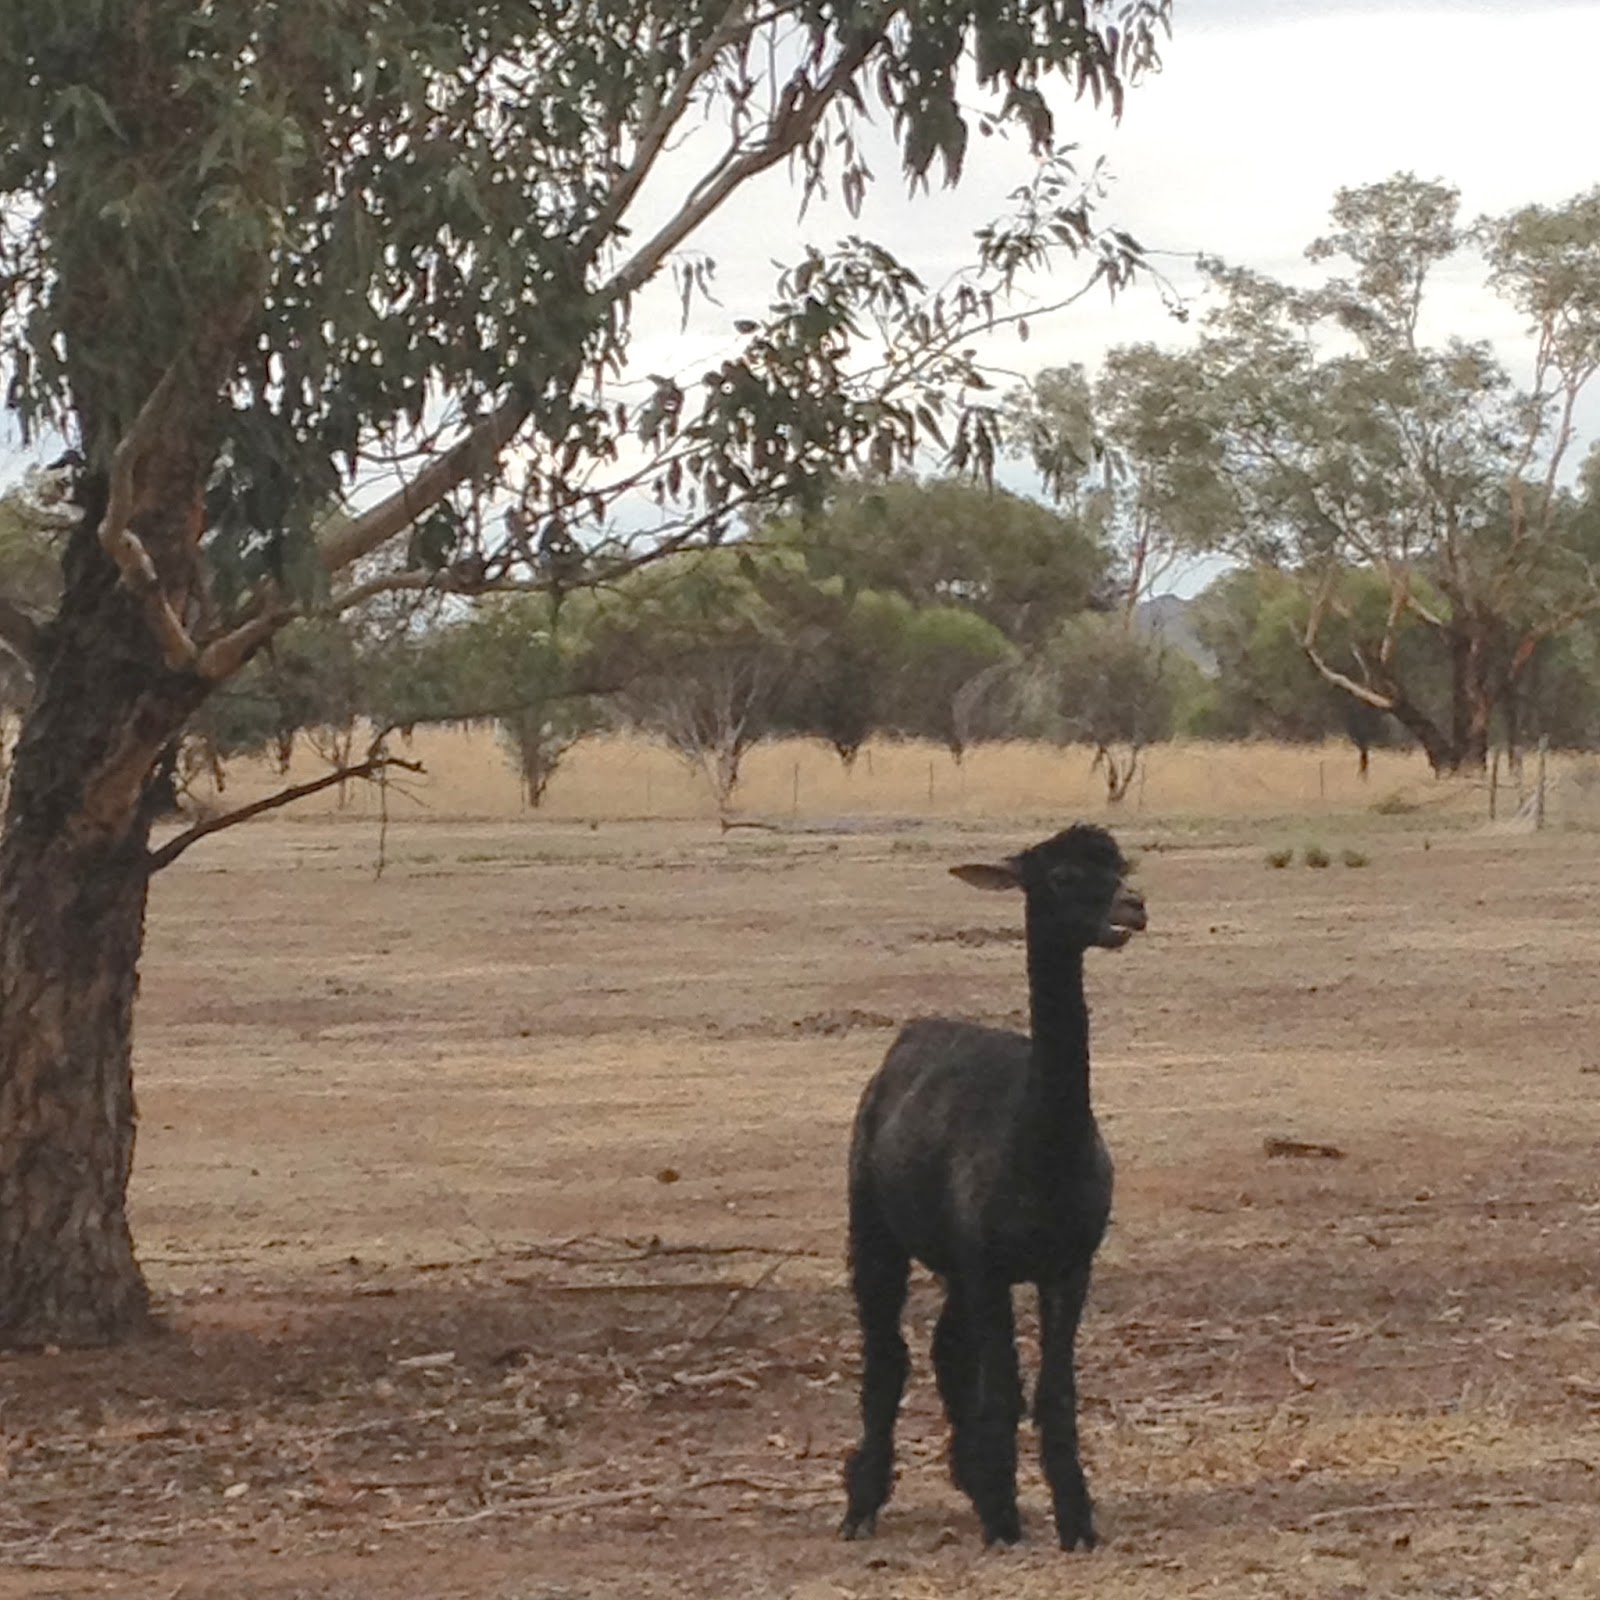
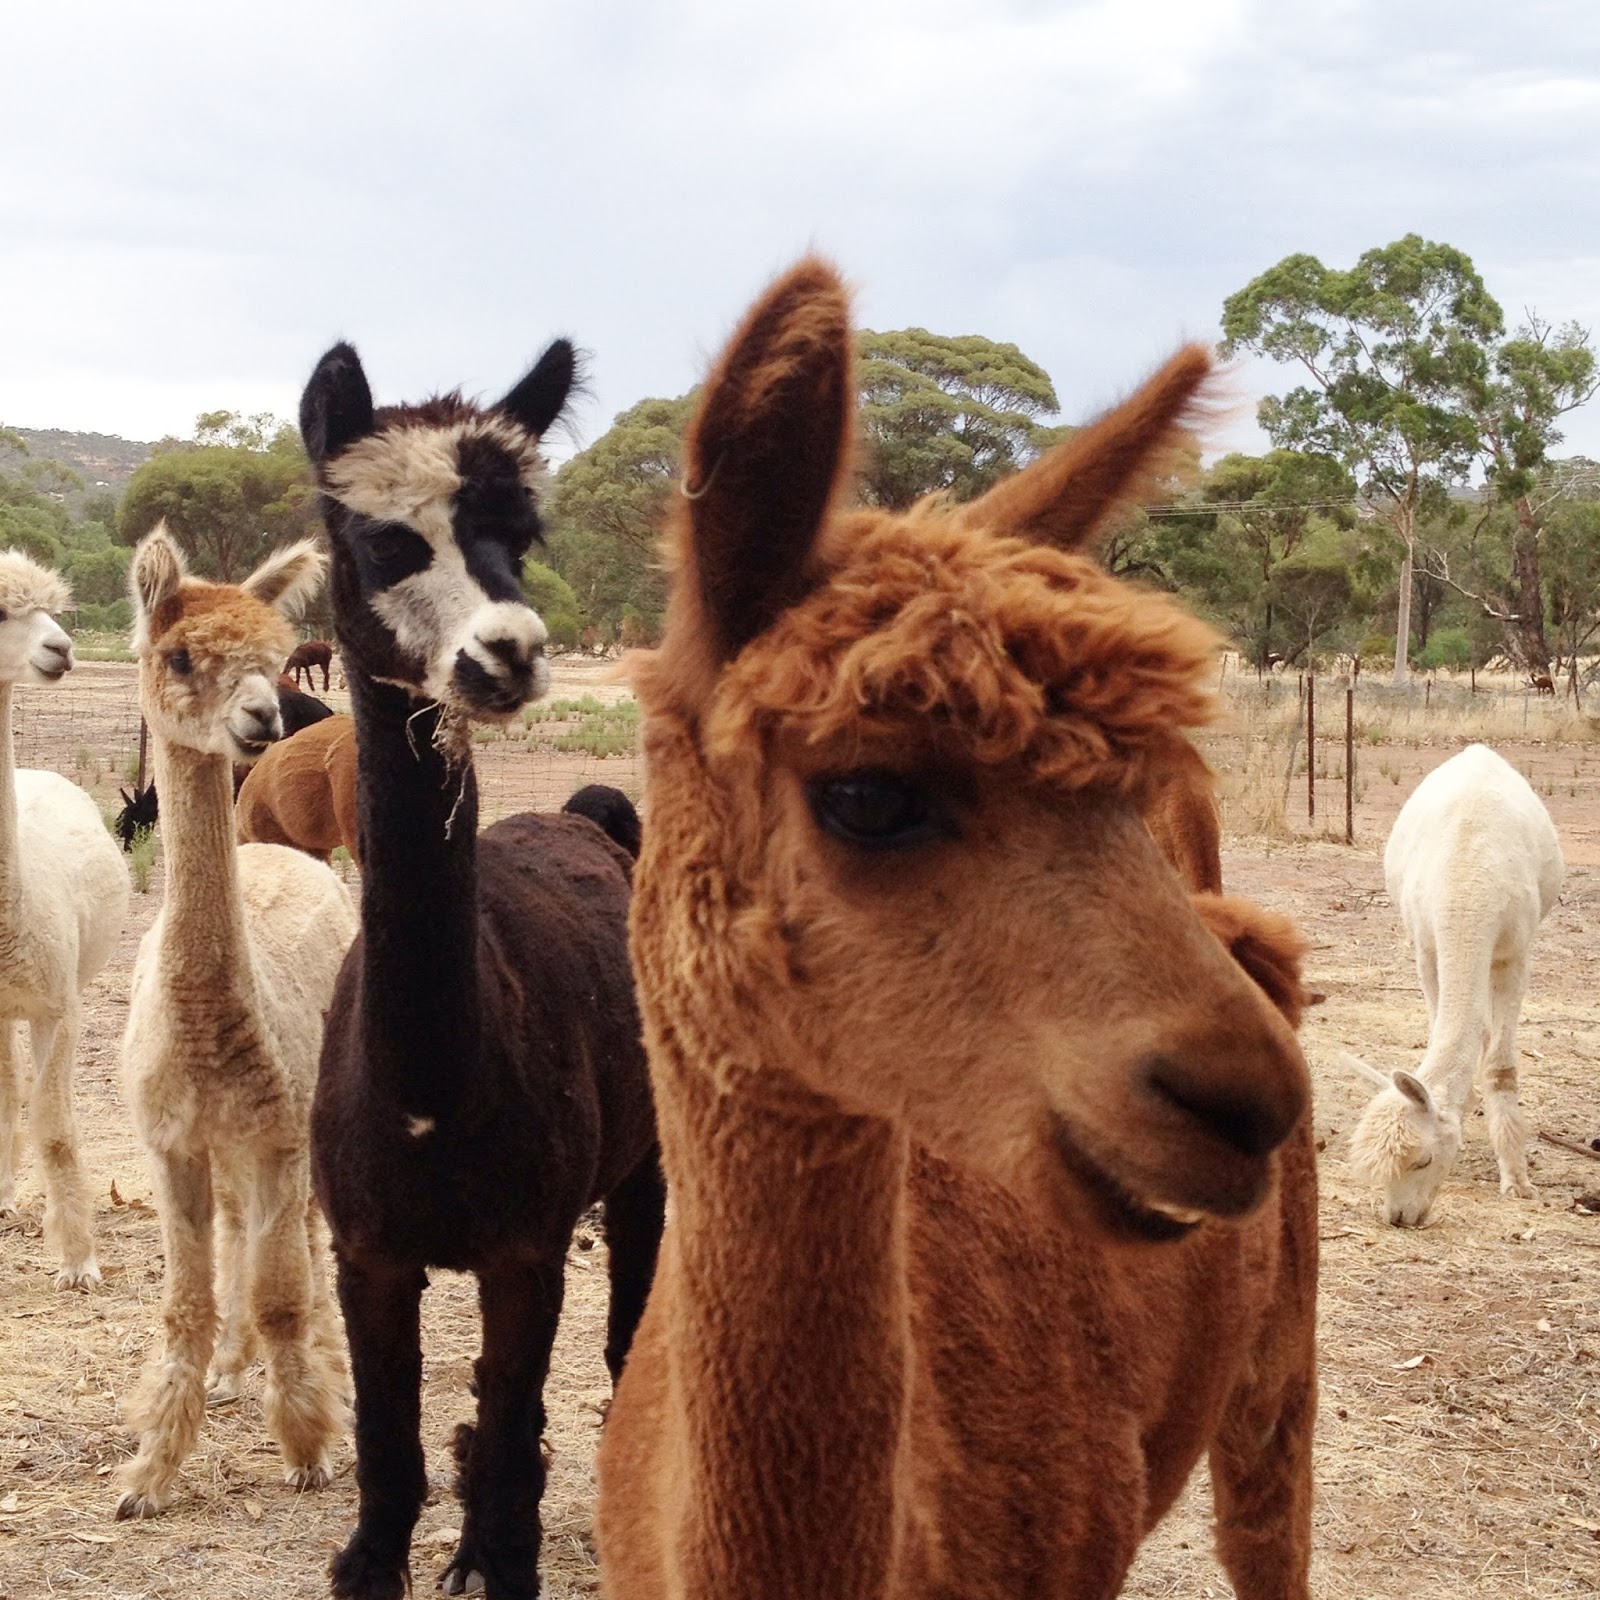
Earlier in the year, Nicki drove Sue of fadanista and me to Toodyay, where the three of us visited the Fibre of the Gods, the alpaca farm owned and run by Hazel and Michael McKone.  The farm is also home to a tiny and thriving wool mill; processing fleece into yarn for anyone who has some and wants it done; AND very importantly for the purpose of our project, also processes and spins its own alpaca yarn, shorn from their very own animals!   The lovely Hazel took us into the girls’ paddock and introduced us … below are some of the hembras.  That’s the term for a female alpaca, fyi.  Also did you know that a male alpaca is known as a macho?!  We saw one macho, out on his lonely lonesome in a separate paddock, all manly-like and aloof, looking down on us girls.

No, they’re not checking out the macho…  they’re giving the evil eye to the farm’s cat!  Alpacas are very wary of cats; and dogs too, according to my friend J, who has a small herd of her own. They will protect your sheep from vermin like foxes, and are likely to turn on a dog and kick him out of a paddock if they don’t know him well.

Hazel kindly showed us the mill equipment and explained how the entire operation is run entirely on their farm; from the animal right through to the finished yarn.  And then we obviously shopped in their tiny store, cleaning out a, erm, sizeably large chunk of their eponymous stock, eep! They do stock some lovely coloured yarns and a few knitted and felted products for sale, however we were all of us after their own natural, un-dyed yarns for the purposes of our 100% homegrown project  ðŸ™‚

Sue and Nicki also have written about our day out on their individual blogs too.

Anyway; my cardigan!

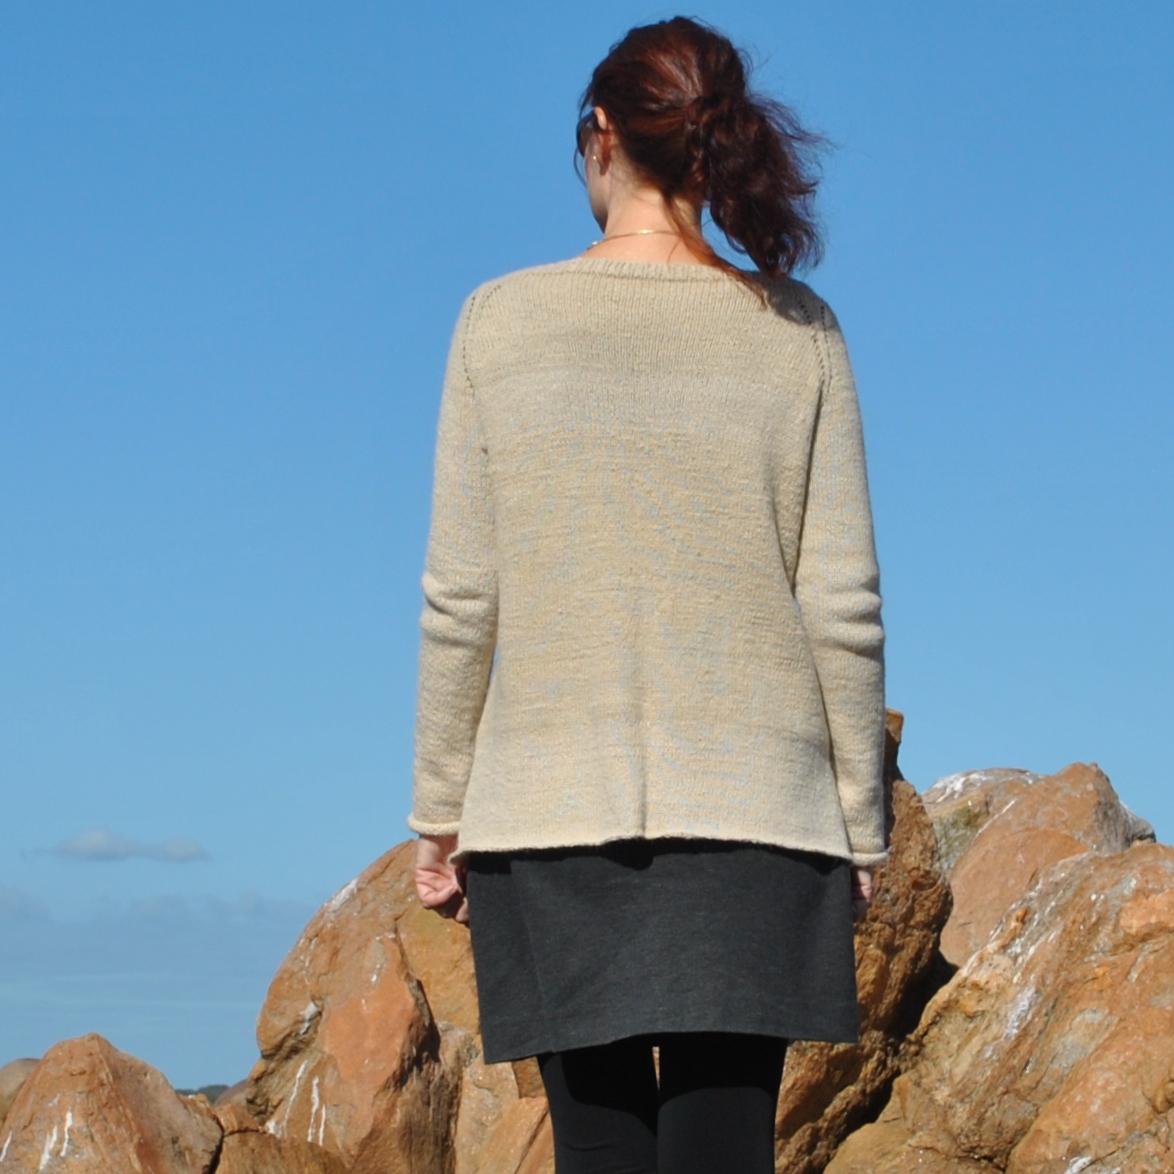
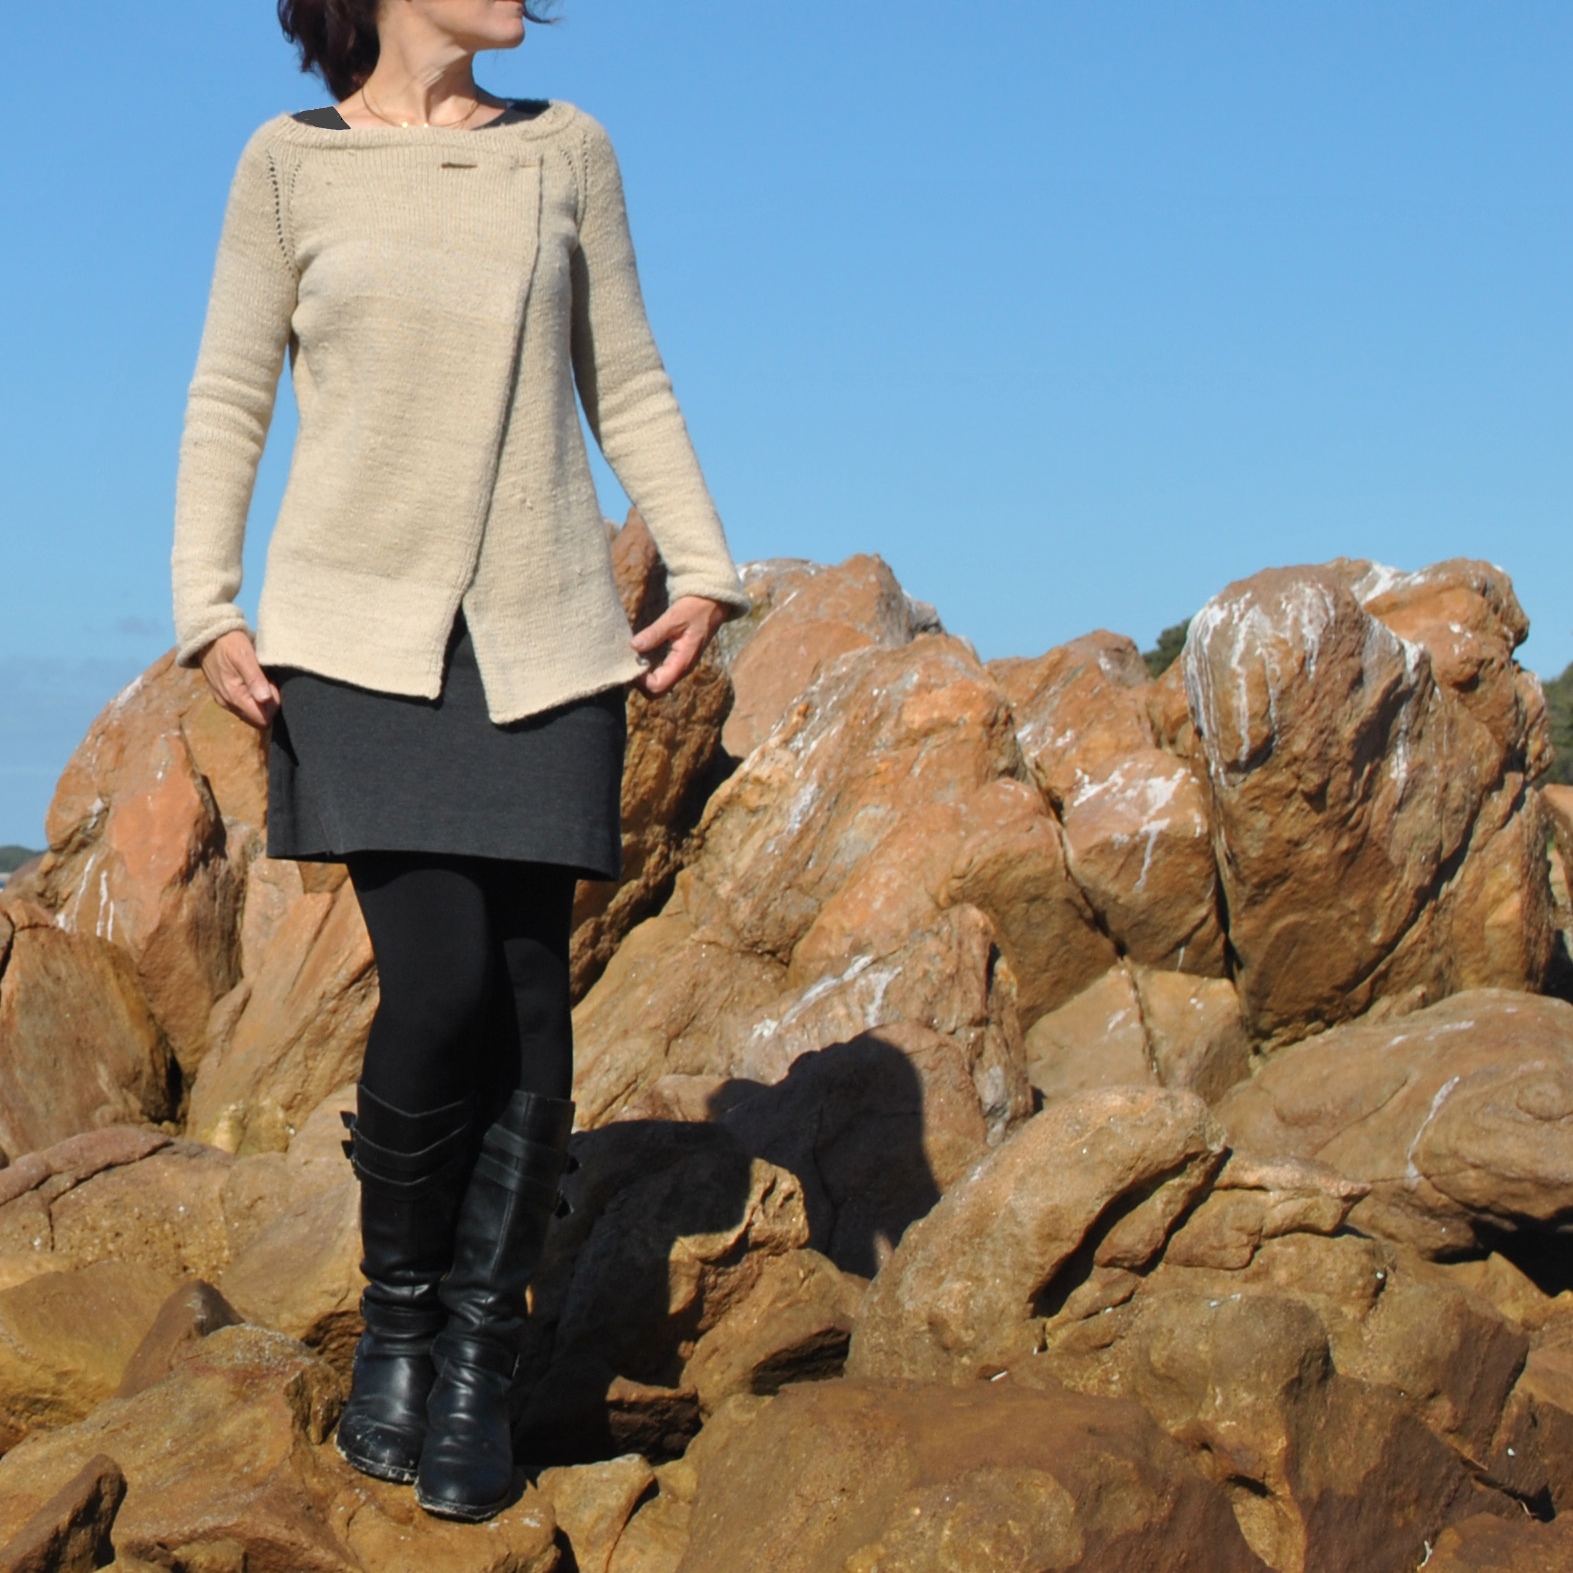
I used natural or undyed alpaca yarn from “white” alpacas, which when viewed objectively and ex situ is actually not even vaguely white at all really! but this lovely, very pale caramel colour.  So how apt that I should choose a pattern called “Caramel”!  
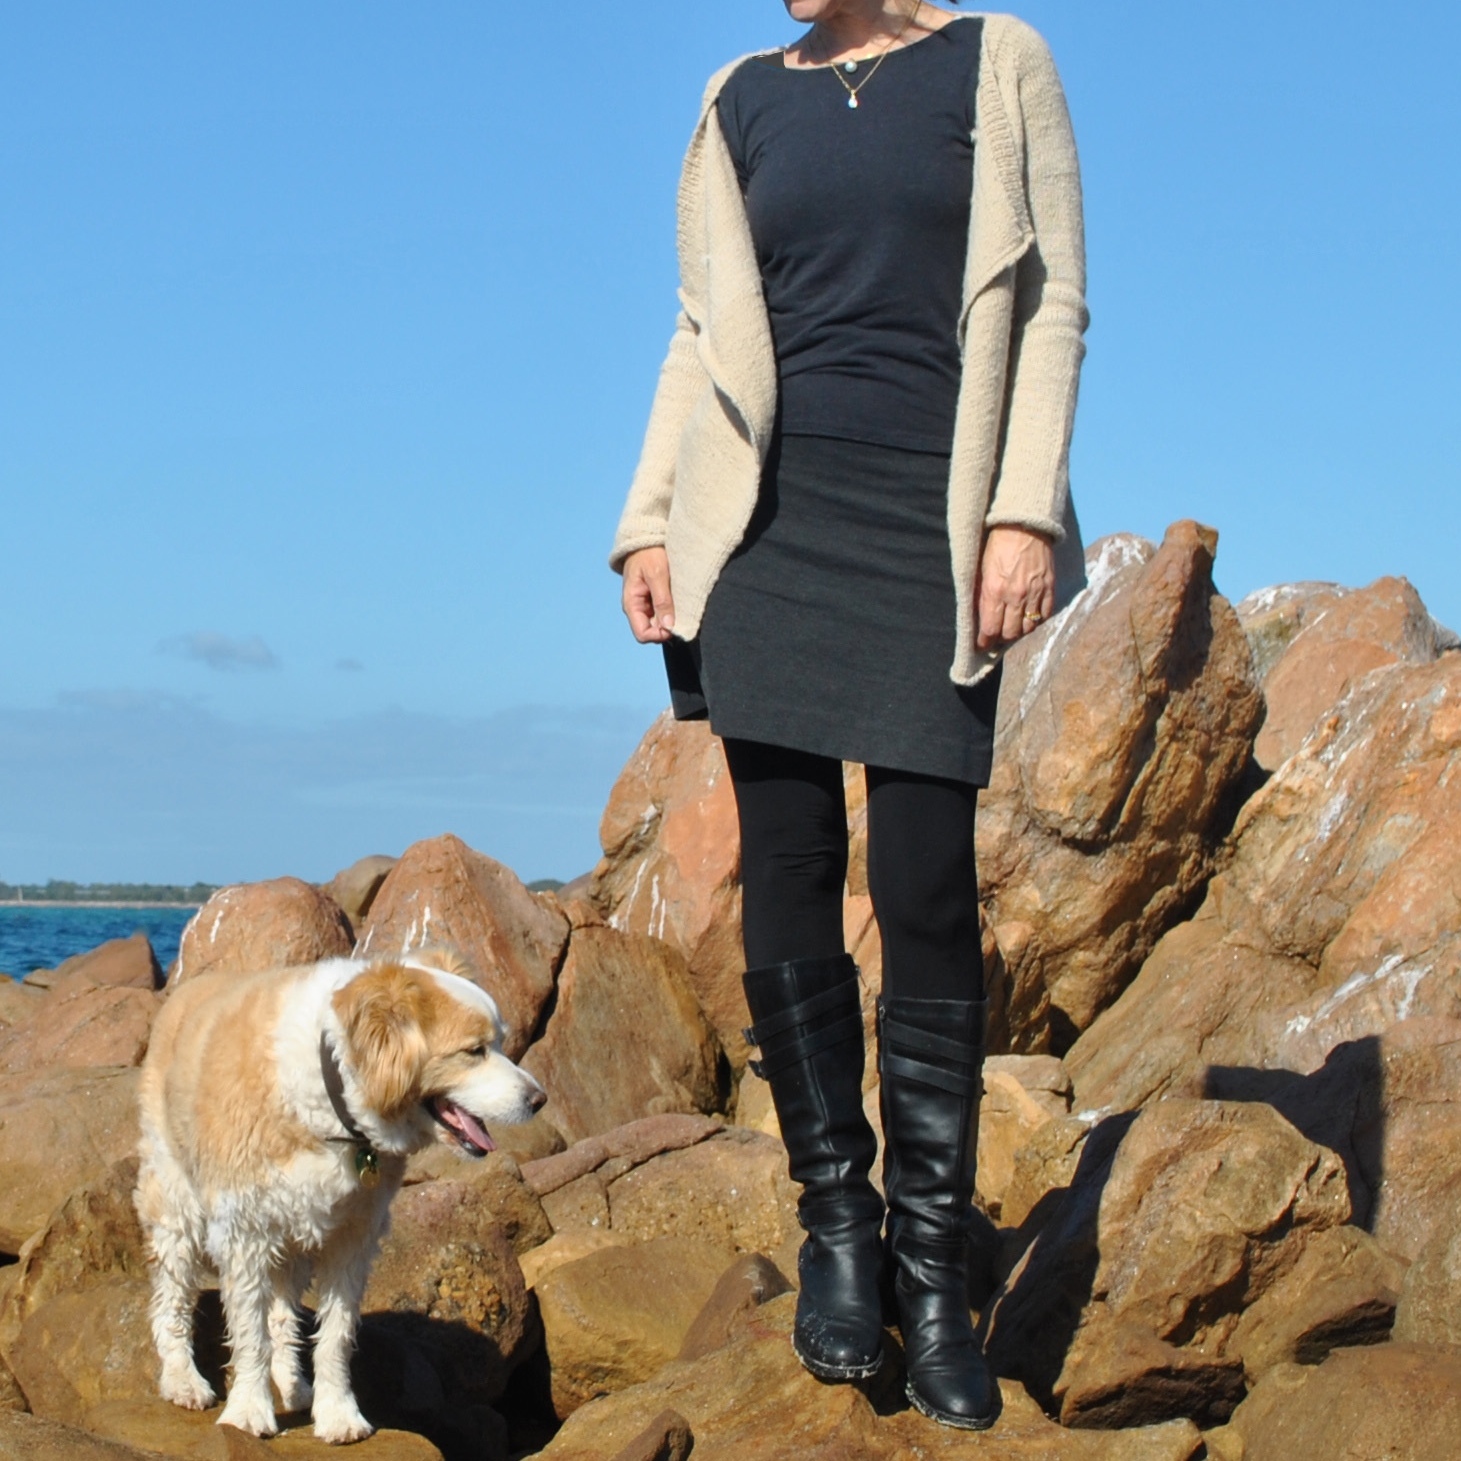
The Caramel blanket-style cardigan or jacket is designed by Isabell Kraemer, and is freeeee! available to download here on Ravelry.  Basically; I put the search words “free” “cardigan” “8ply” into the Ravelry search engine and this came up… I thought it a rather nice and elegant shape.    Well, “shape”; of course “blanket style” is basically another way of saying “giant rectangle with sleeves”… anyway I love how it looks loose with the fronts gently draping upon themselves, the points hanging down longer than the back.
My Caramel is knitted pretty much to the pattern; with just a few minor variations. Obviously mine has no real stripes.  My sleeves and body are much longer.  Also, I left off the the decorative? purl side seam stitching and the ribbing off the sleeves and lower edge.  In the process of knitting I decided I really preferred the streamlined look with slight curl-up of the ends that you get with no ribbing.  I had initially finished a sleeve lower edge with ribbing, to trial it; but then I unravelled that bit and redid the edges sans ribbing. 
Plus; and herein is a huge advantage of a top-down knitted design, I just kept on knitting knitting knitting until I had used up all my wool, then cast off that lower edge.  It’s a lot easier to do that if you know you don’t have to allow for ribbing.
Result; barely no leftovers!  Win!

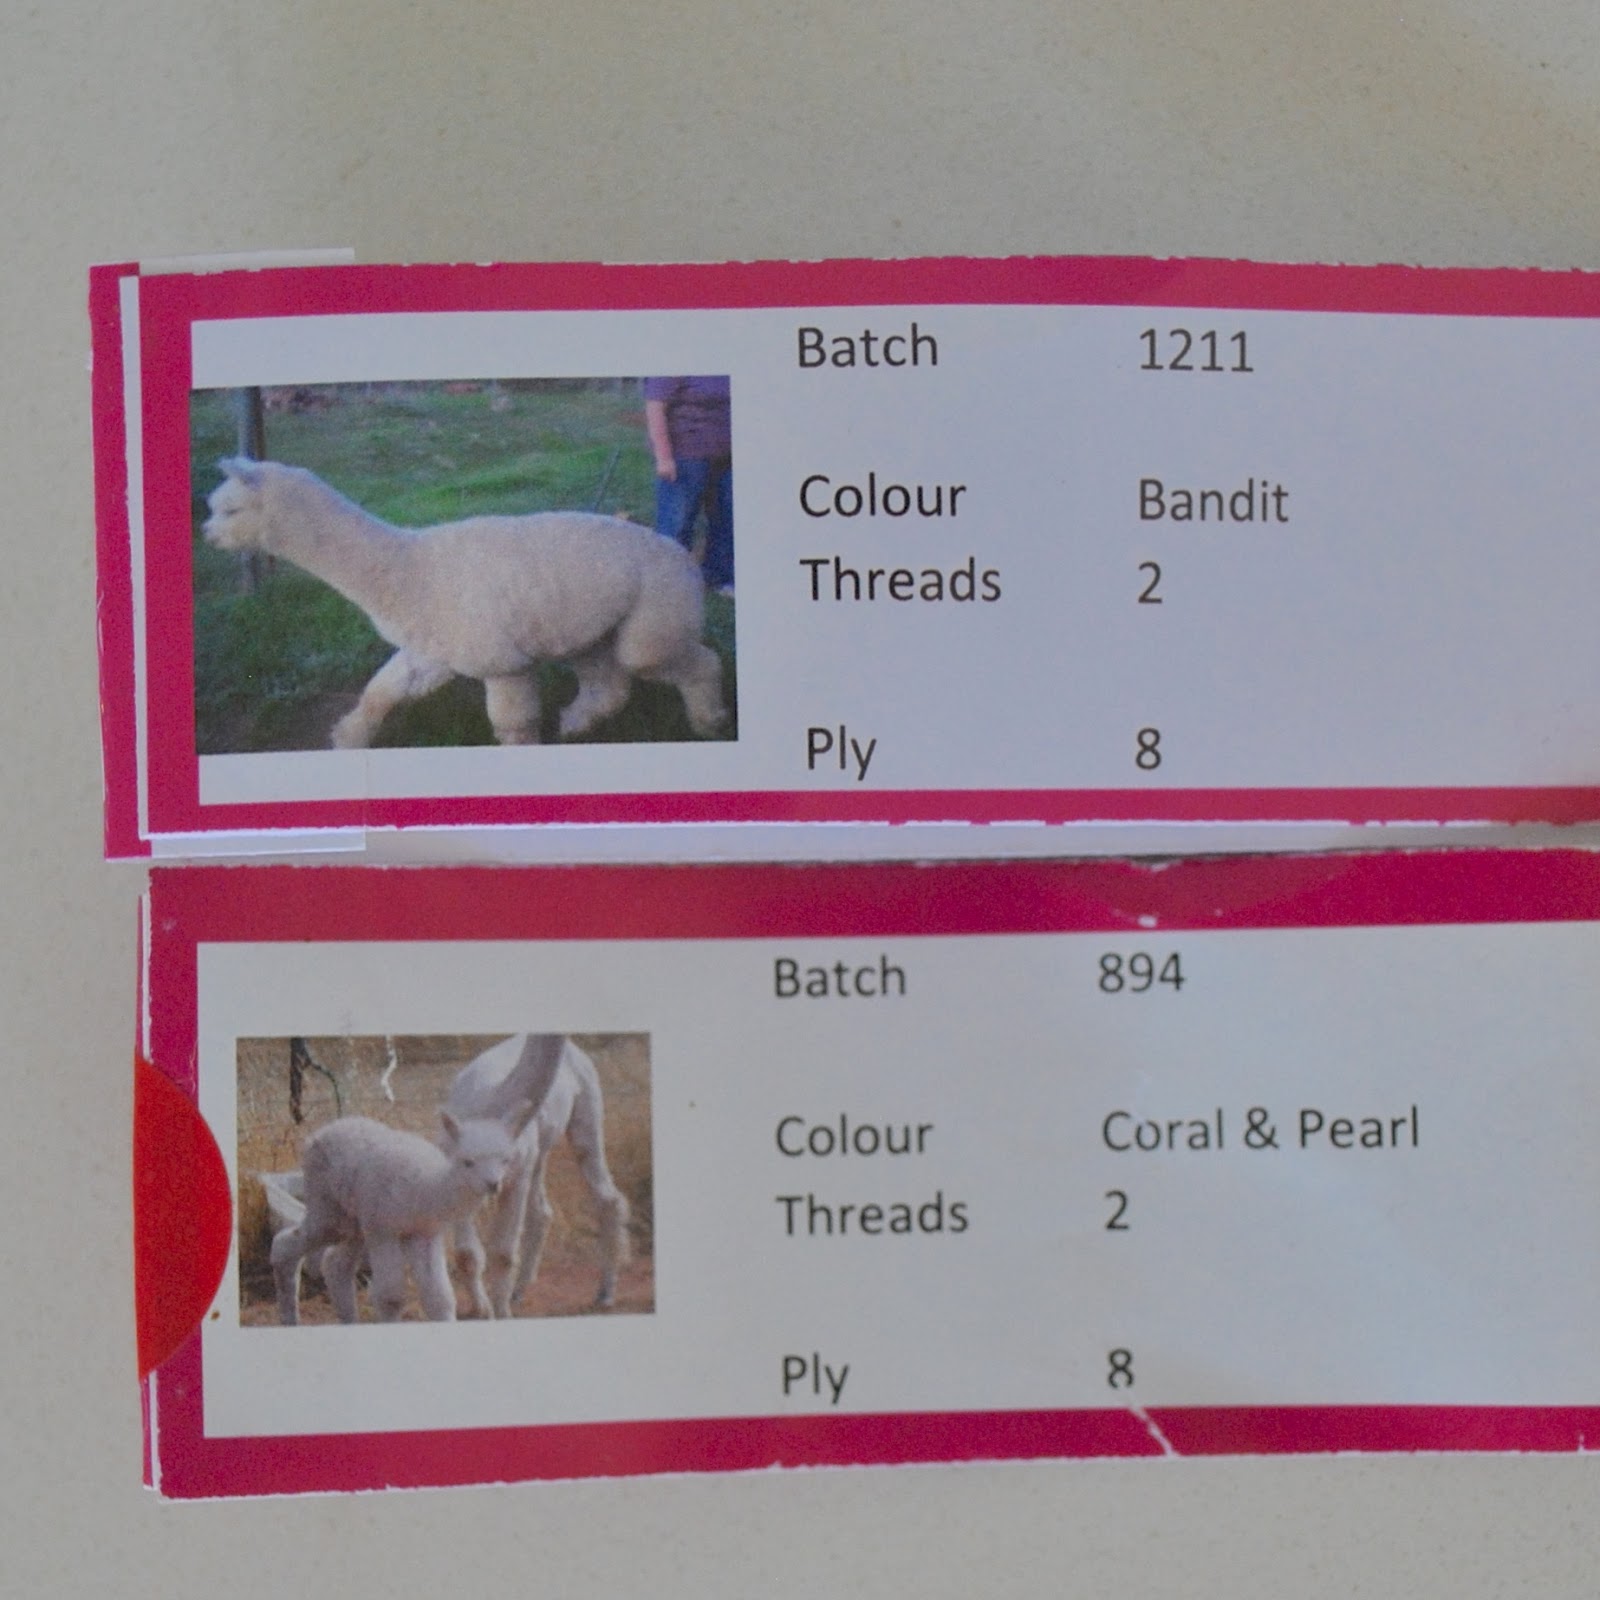
One thing about the Fibre of the Gods yarn that I really really LOVE! is how Hazel and Michael have labelled the balls with the name of the animal along with a little picture of them.  So I know that my alpaca yarn came from Bandit, Coral and Pearl. 
Hey, guys! Thanks so much for the shirts off your backs… figuratively speaking.  ðŸ˜‰

I did notice some slight variation in the shade of the yarn, due to the slight variations in the three alpacas’ different natural colourings.  I find these subtle “stripes” quite charming.
 subtle stripes are very subtle

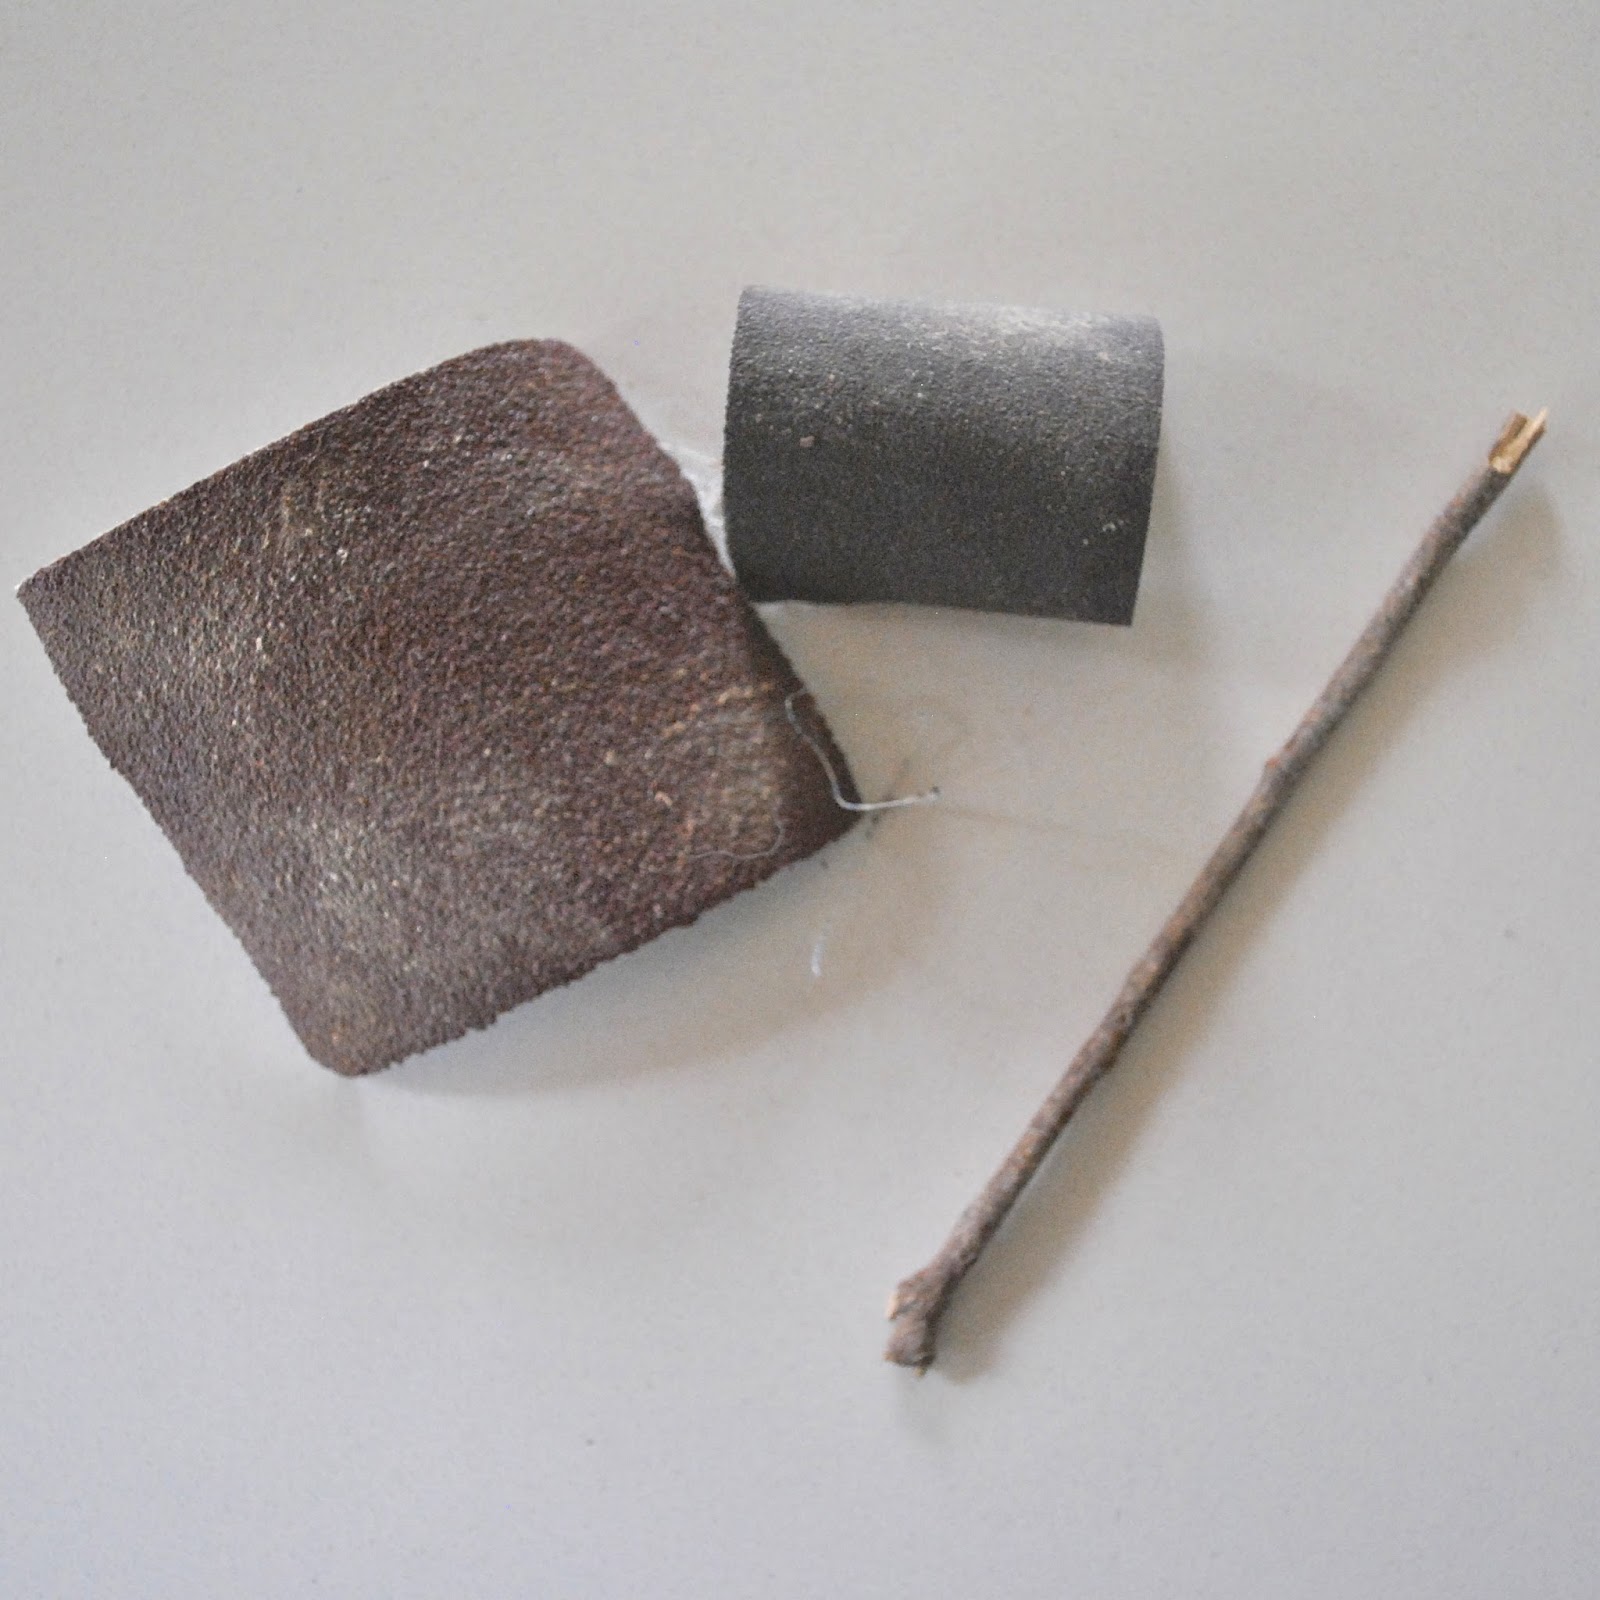
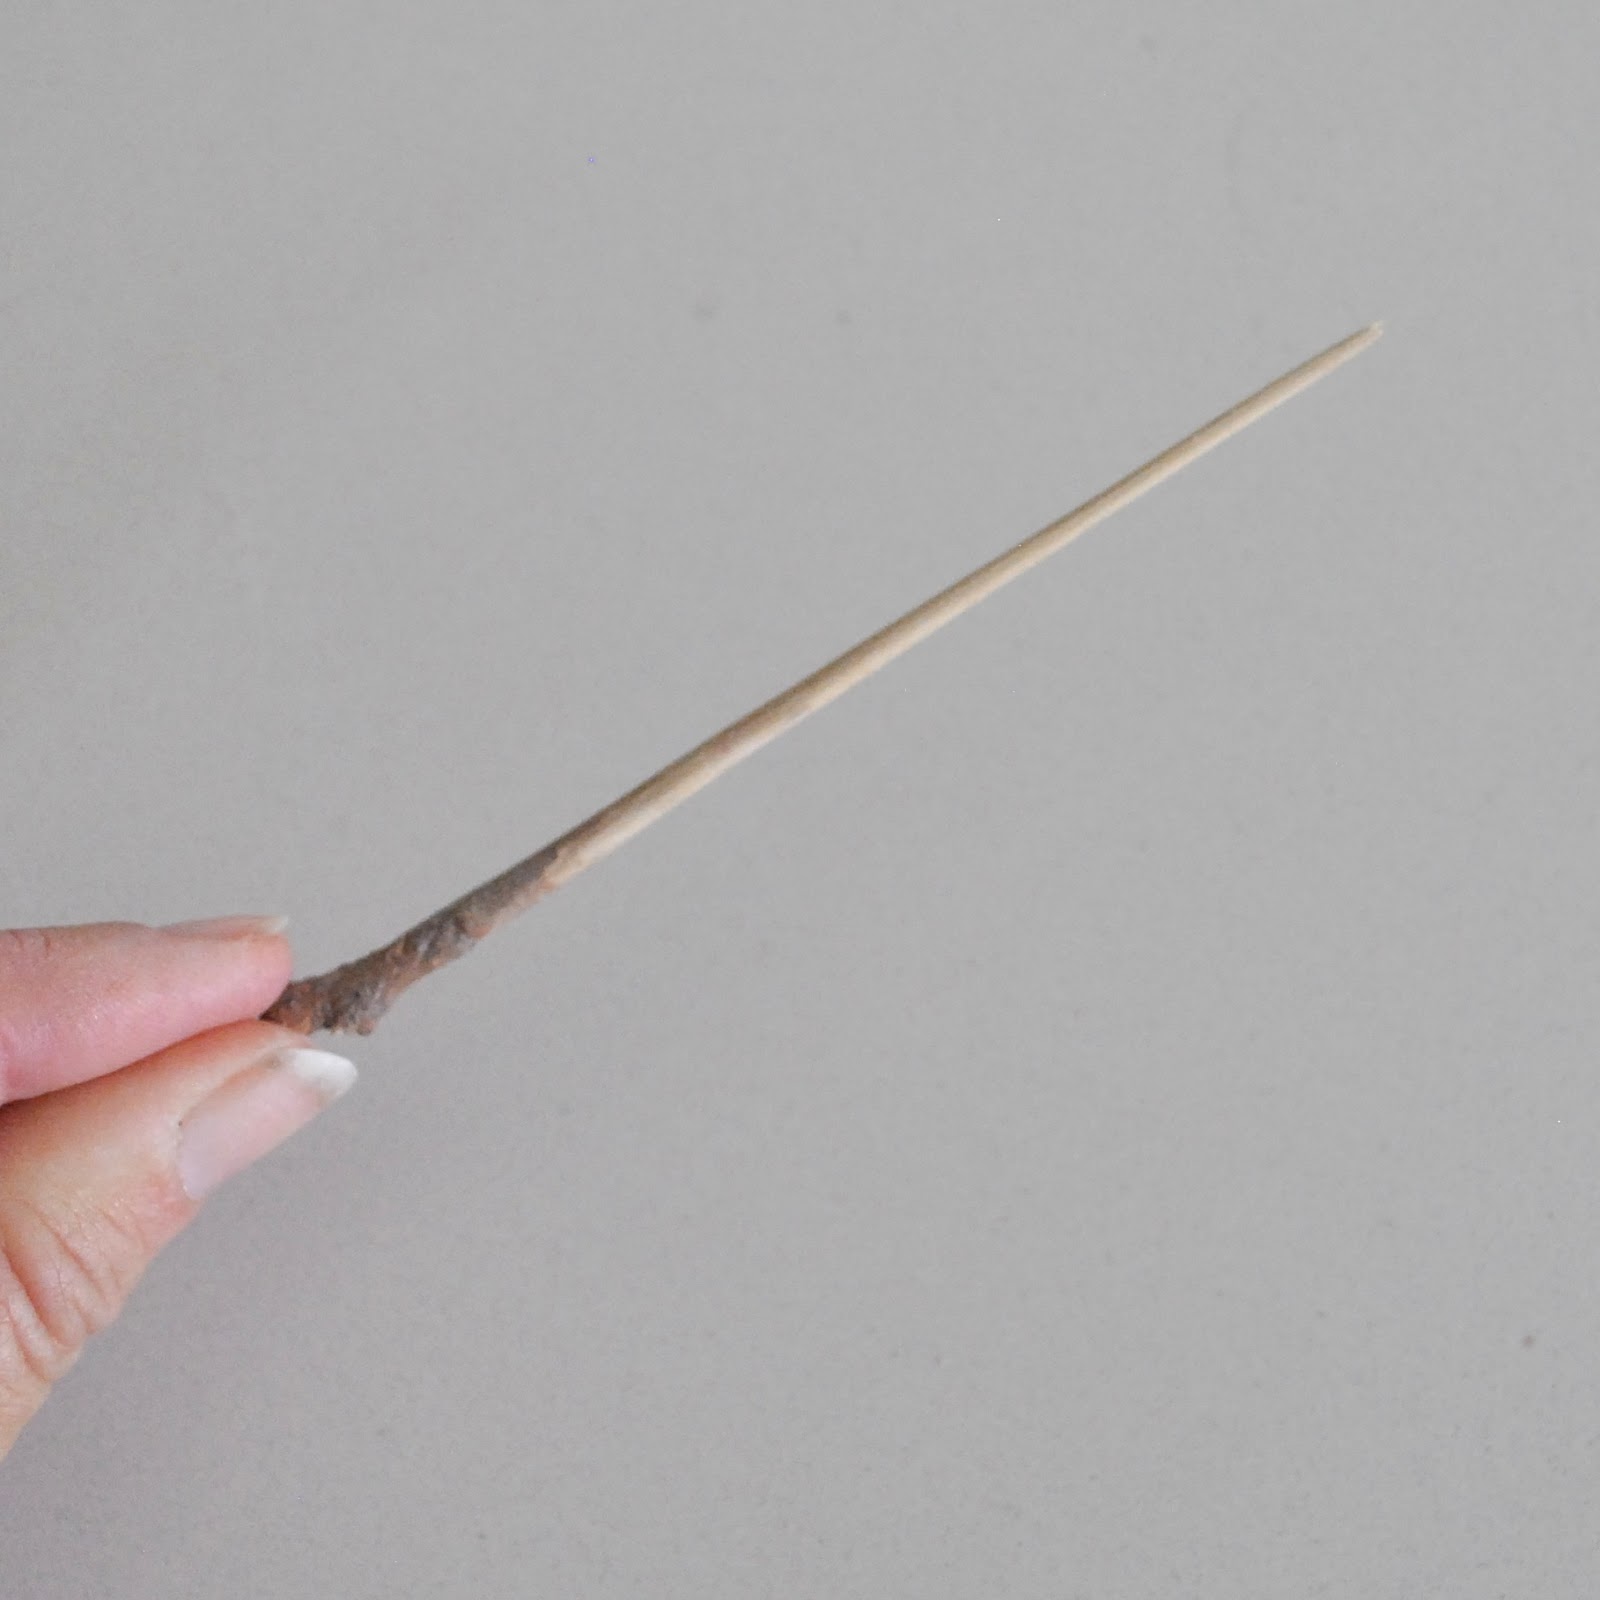
I also made a little wooden “pin” to hold the cardigan closed if it’s cold; by sanding down a nice and straight, little stick, found on my morning walk.  It’s local obviously, so it too fits in with my one year one outfit challenge!

I can’t decide if I prefer my cardigan open or closed; I think I like it both ways equally!

Details:
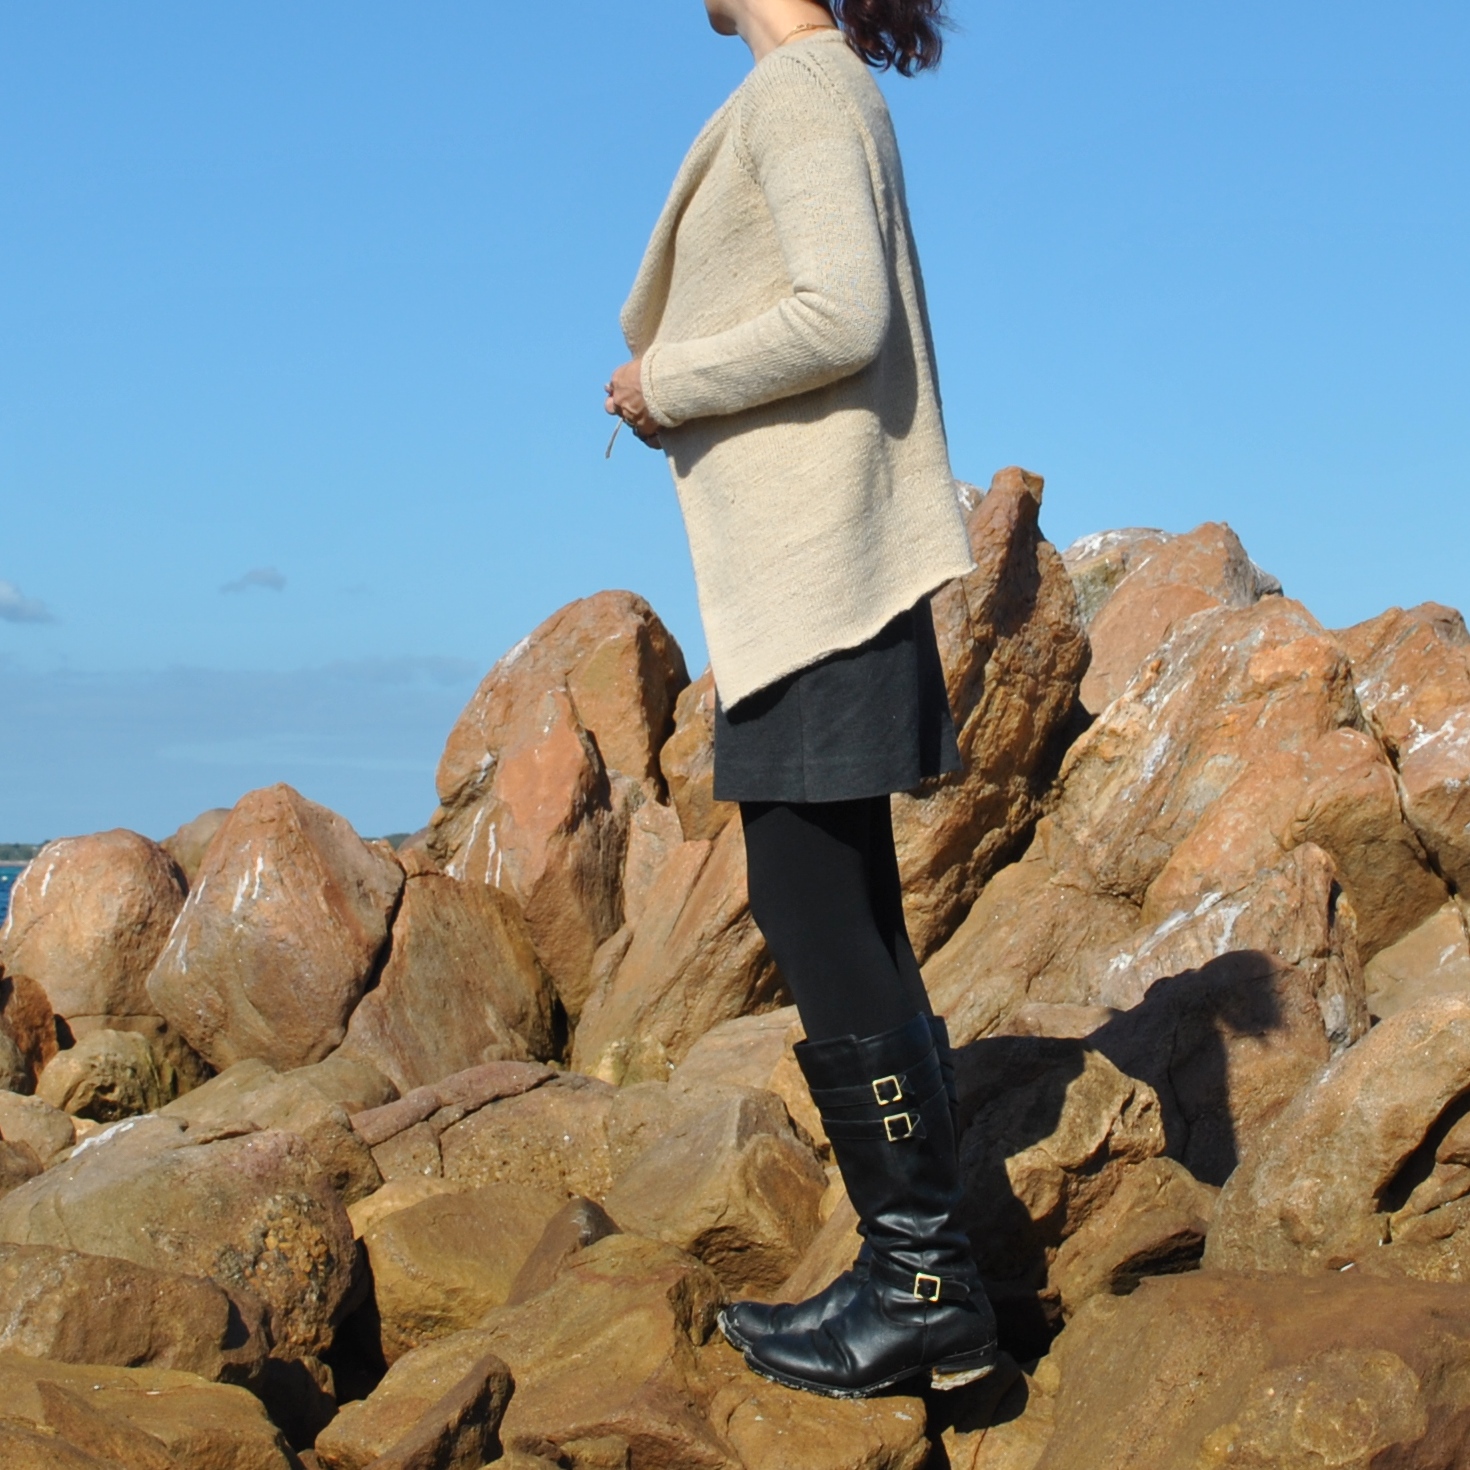
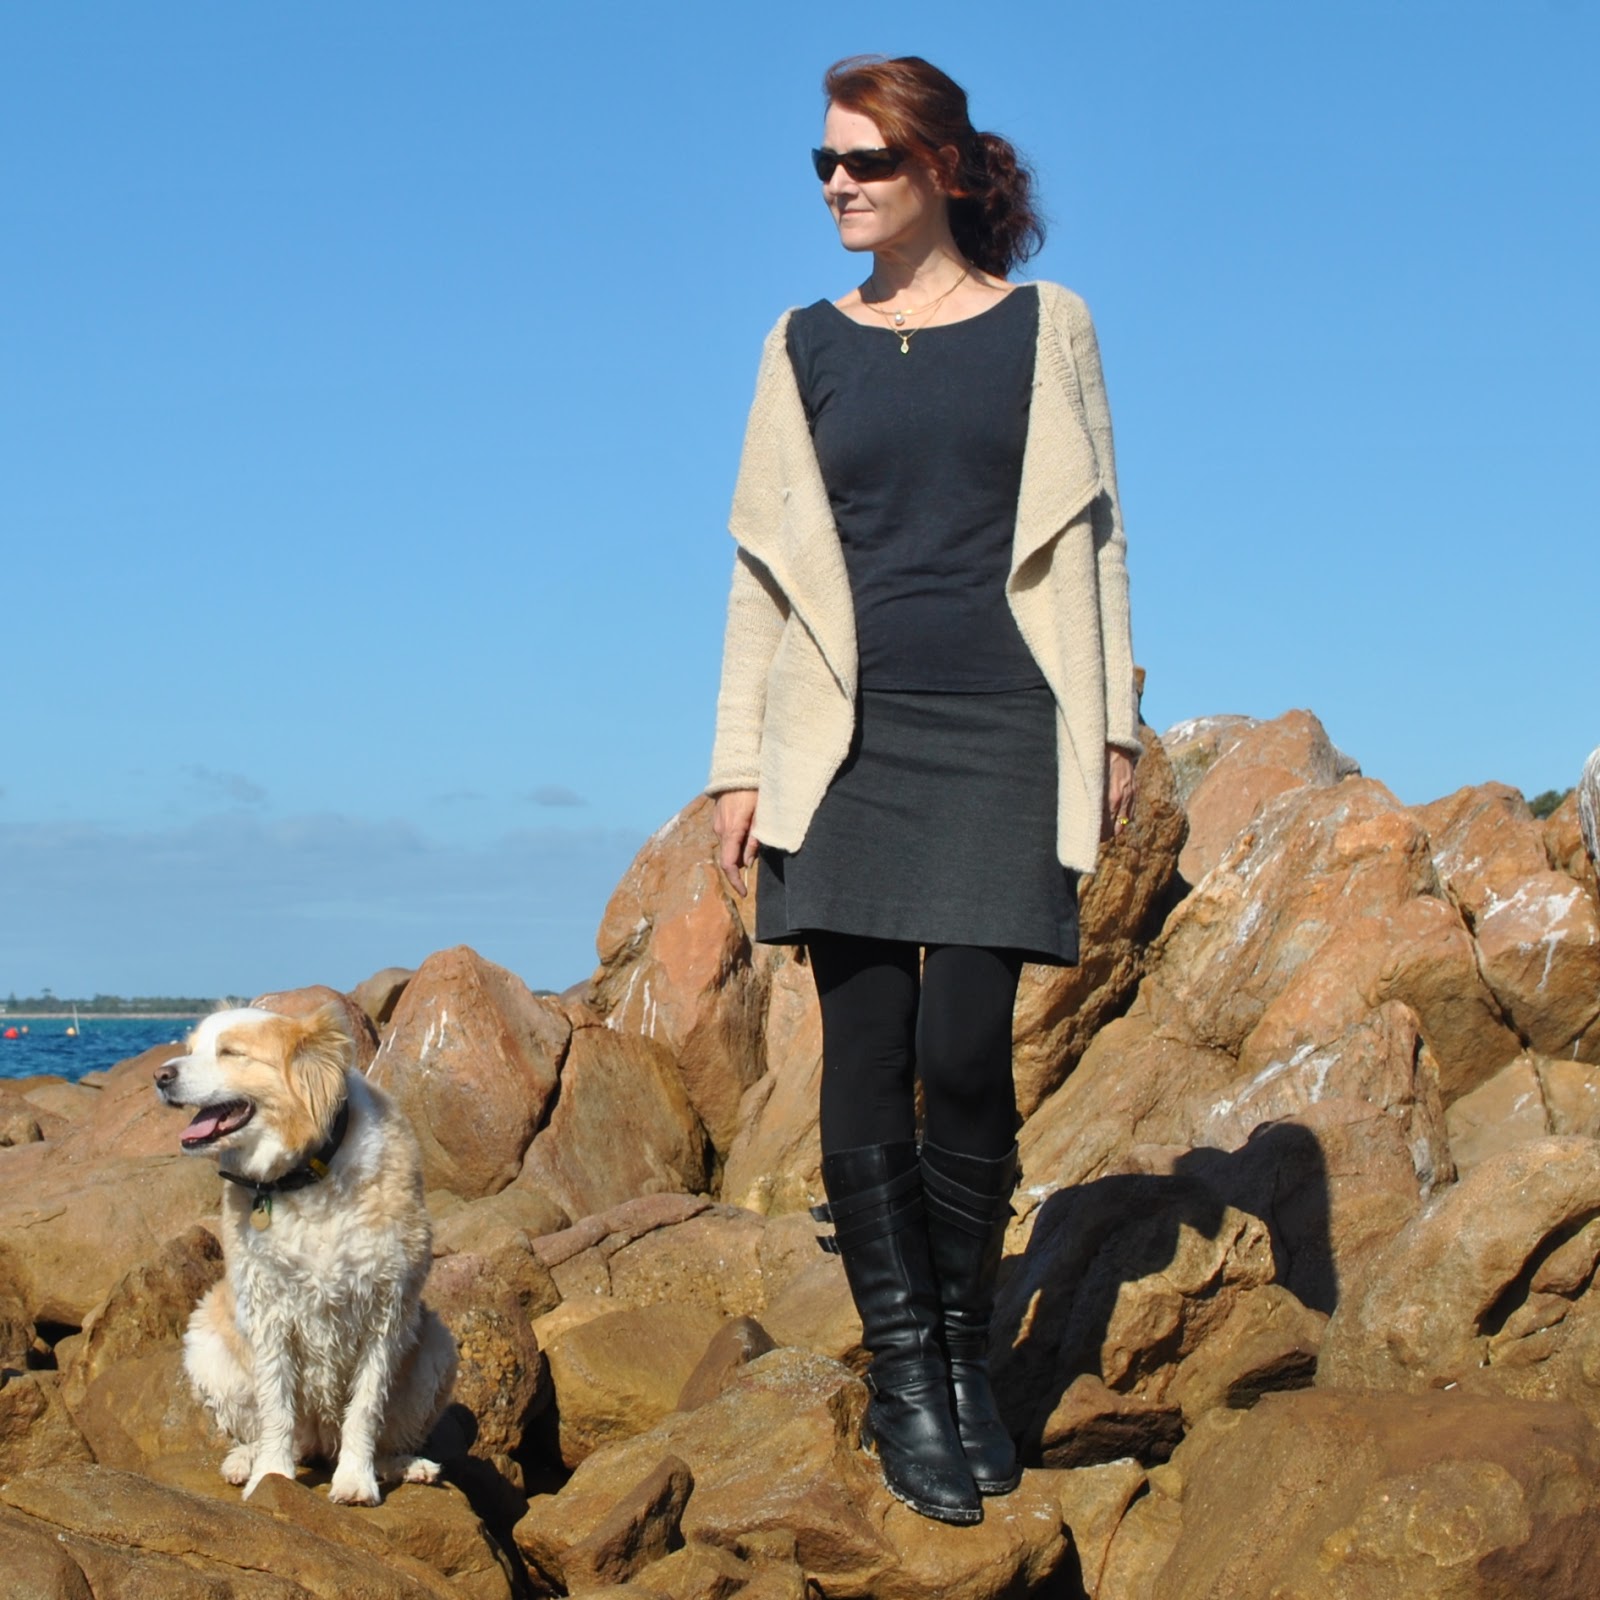
Cardigan; hand-knitted by me, the Caramel pattern by Isabell Kraemer, natural alpaca yarn from Fibre of the Gods mill in Toodyay.
Tshirt; own pattern, blue jersey over dyed black, details here
Skirt; own pattern, charcoal ponte, details here
Tights; own pattern, black stretch poly, details here
Socks; not seen, hand-knit by me from Noro wool yarn, details here

pinterestmail

not quite so baggy, blue pants

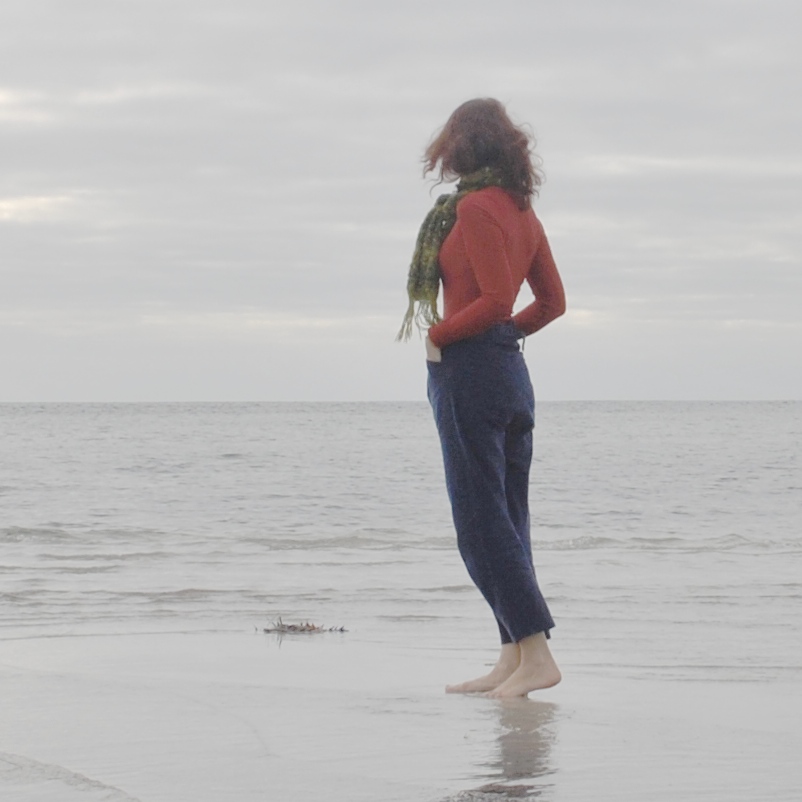
Remember these trousers below? well, they’ve had a little makeover!

before…

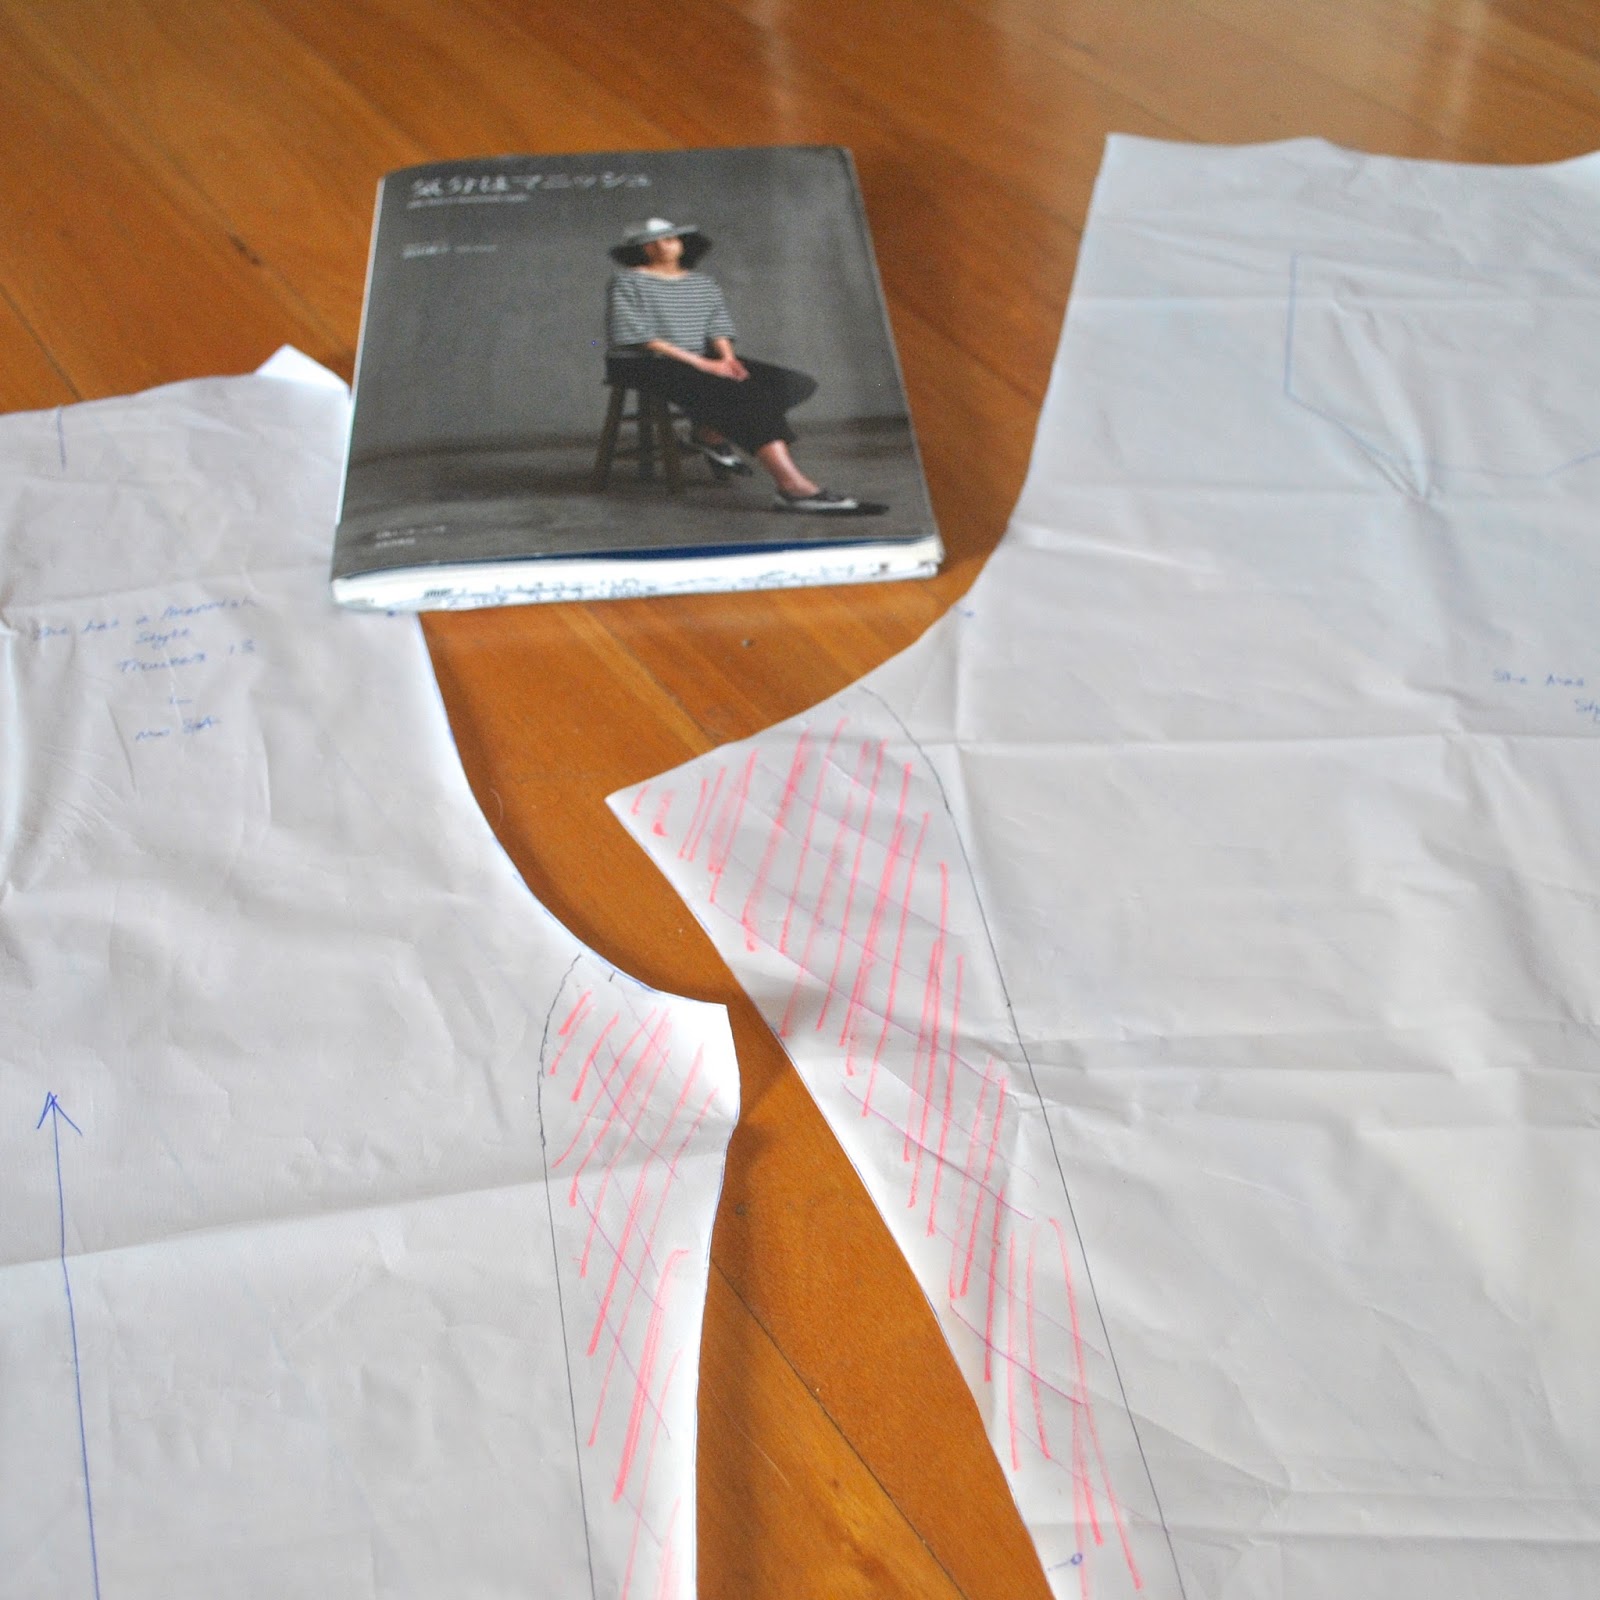
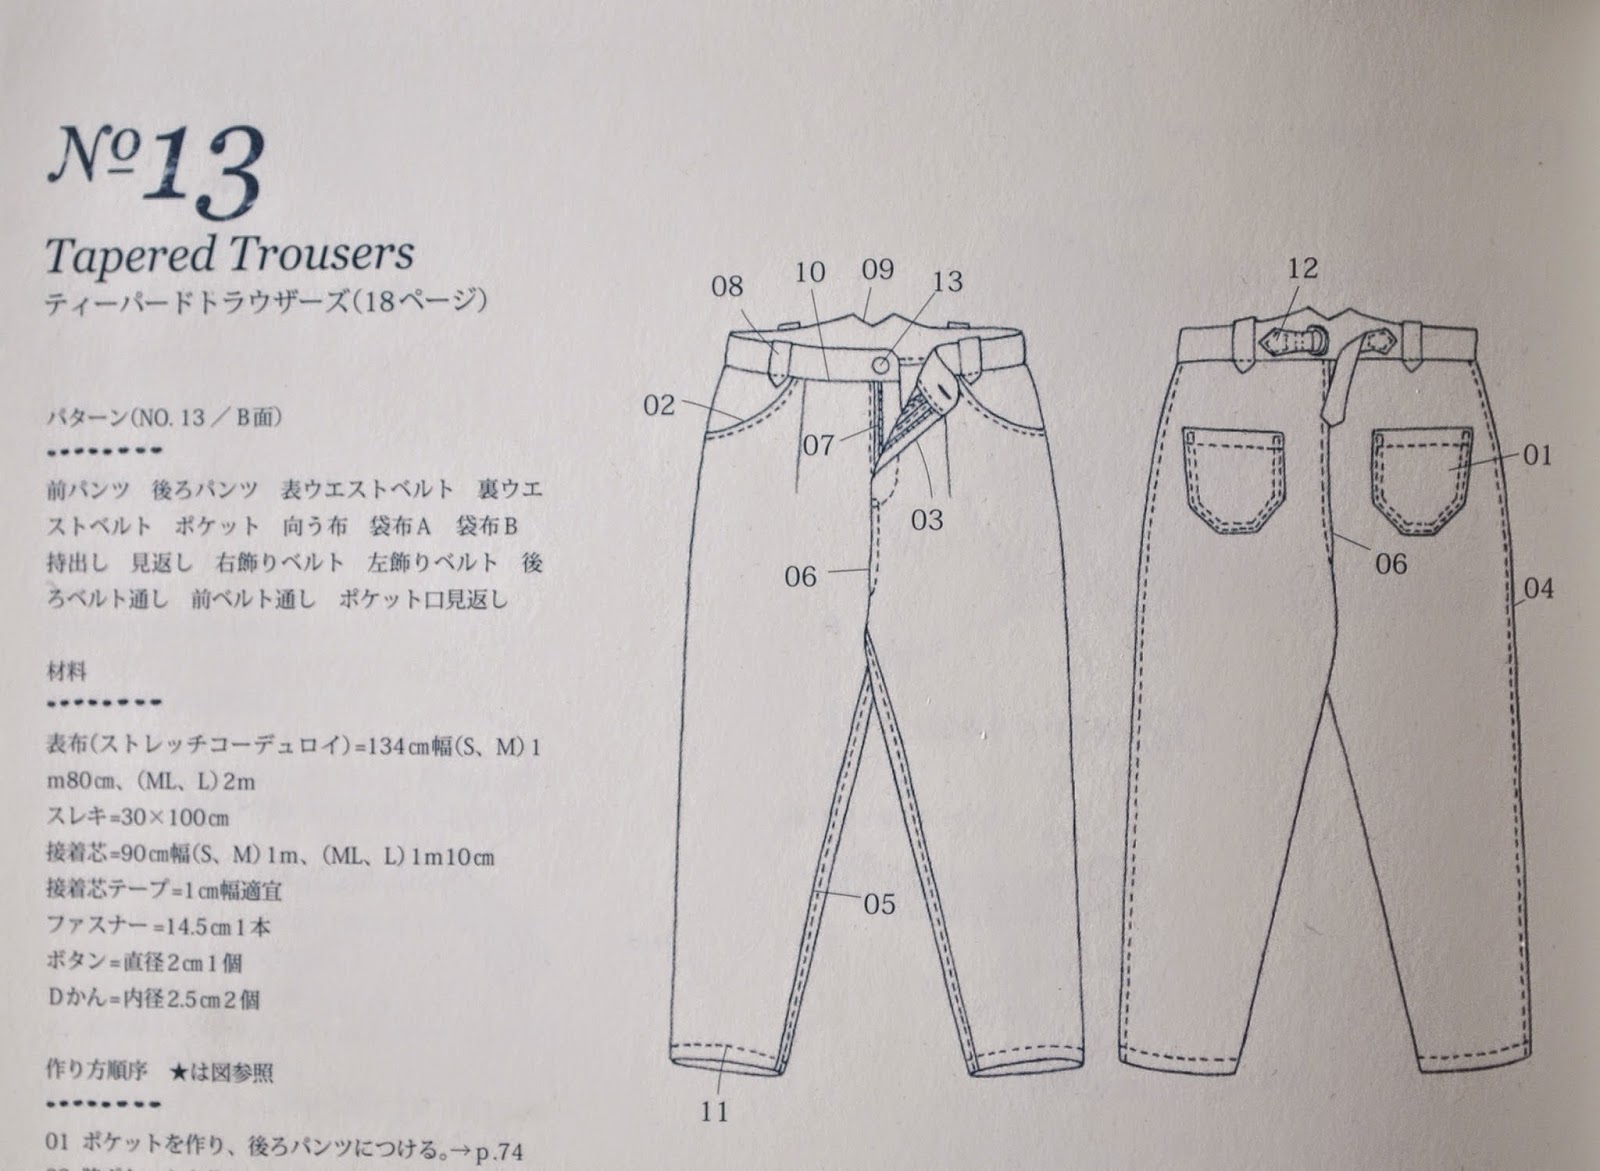
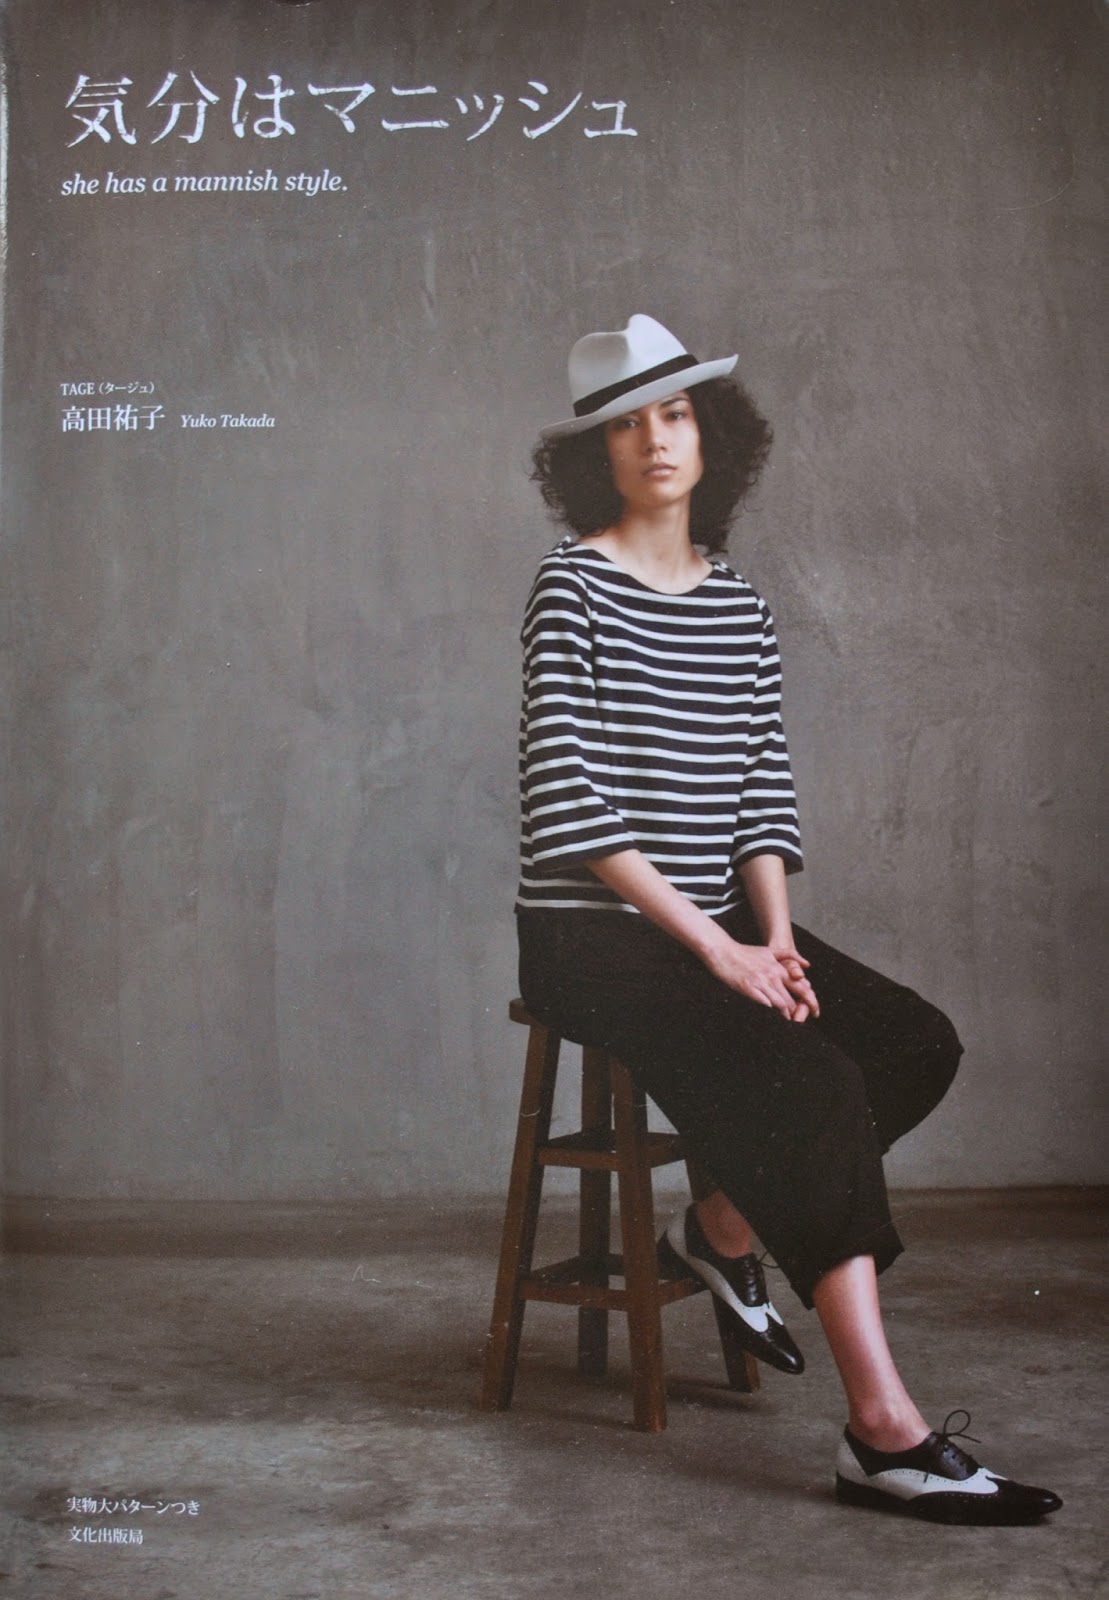
These are the tapered trousers from “she has a mannish style” a Japanese pattern book by Yuko Takada.  Renamed “She Wears the Pants” for the English version of the book, in spite of the fact that there are very few patterns for pants in there.  Bad re-name, imo.  Very misleading.
Anyway, this wasn’t a drastic re-vamp, but to my mind they look waaaay better now.  I removed a tonne of dropped-crotchedness from these trousers; and I realise that’s not an actual word… and now things are a lot more streamlined and far less, er, nappy-like, perish the thought.  

Pre the re-do, I was all happy and “how cool are these?”, and then the second time I reached for them… well an “o my gawwwwd” lightning bolt struck.  It was like; I’d had a fun first day, wearing something new and cool and funky and out-there, but now I just wanted some nice pants, thank you very much.  

I had to Do Something and just grabbed my unpicker… *inner screaming* JUST DO IT!!!!!!

Capricious is my middle name, don’t you know.   Anyway, I capriciously ripped open the crotch and almost the entire of each inside leg seam.  Followed by some non-capricous, actually quite careful experiments; pinning/trialling new crotch curves within the constraints of the existing curve.  Luckily the legs had enough cloth area that I could get a nice new curve that I decided was reasonably flattering to my be-hind, ahem.  I ended up cutting away a big wedge off of each inner leg edge: 5.5cm from each of the front inner leg top edges, and a whopping 8.5cm from each of the back inner leg top edges; in each case tapering all the way down to nothing at the lower hem.  And re-sewed it all up again. 

that taper goes nearly all the way down to the lower hem

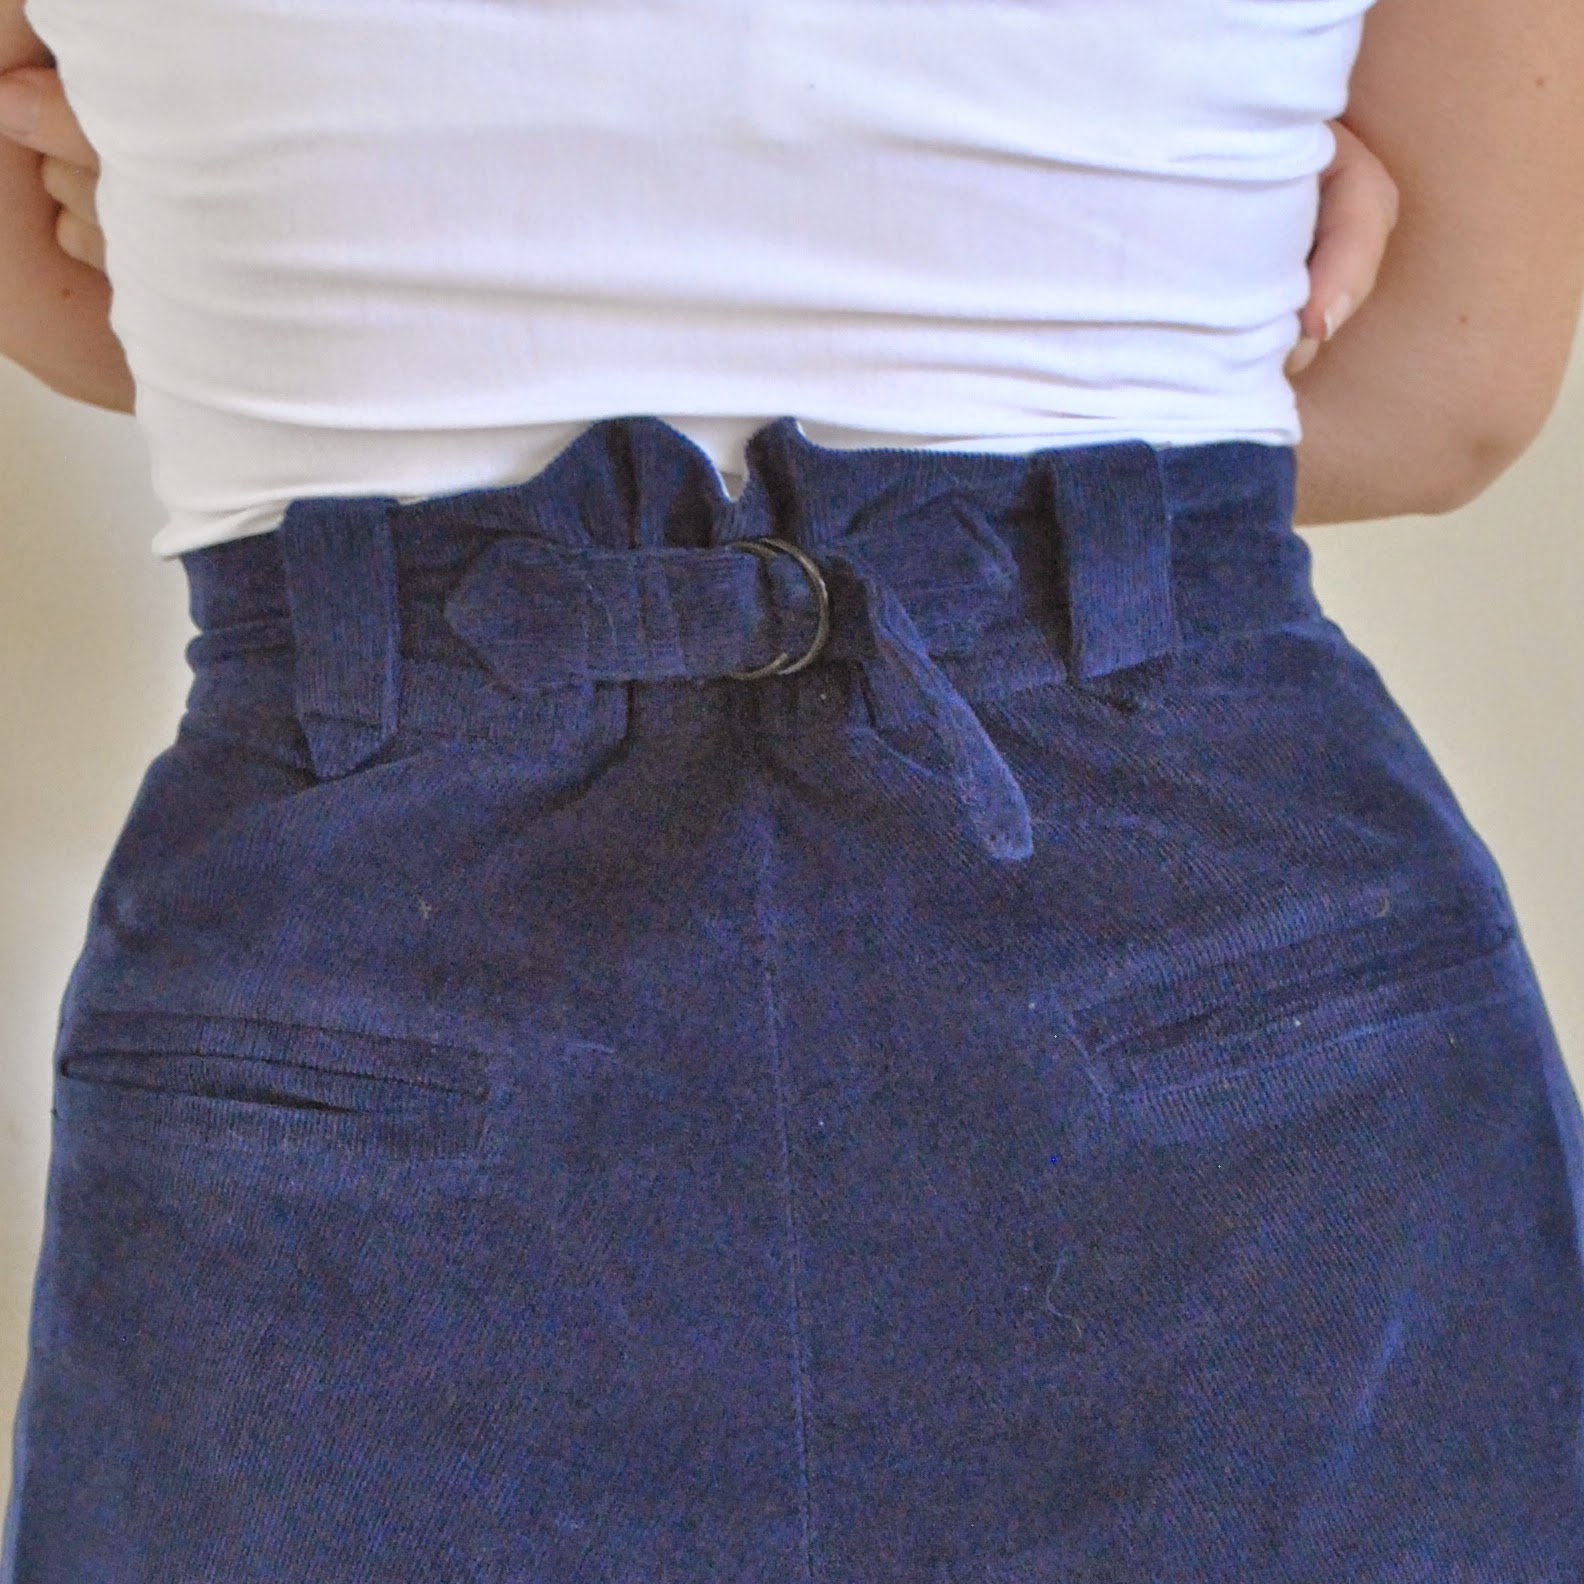
Everything else is still the same, including this back belt that I really love.  It’s a nice feature to the back, and cinching in the waist to define it is a good idea in an otherwise rather loose and baggy style.

And now?  I’m satisfied  ðŸ™‚

Details:
Trousers; tapered trousers 13 from the Japanese pattern book “she has a mannish style” (also known as She wears the Pants) by Yuko Takada, modified, blue cotton corduroy
Top; Nettie bodysuit by Closet Case patterns; burnt orange stretch, details and my review of this pattern here
Scarf; a kit from Ivy and Maude (now Calico and Ivy), knitted by me, details here

Sorry for the slightly blurry side and back view photographs… only upon setting up did I discover that the battery was flat in my remote, meaning I had to set the self timer and sprint out in front of my camera!  I think it didn’t know what to focus on!  However, consequently I was far more economical in my picture taking; these three are literally the only ones I took.  Probably a good thing, and maybe it’s what I should always do!

pinterestmail

adding lining to a skirt; some tips

Plenty of skirt patterns do not come with separate pieces nor instructions for adding a lining to the skirt.  And often you want a lining; particularly in a winter skirt that you wish to wear with tights.
In a nutshell: my own method for adding this is now to generally to cut a skirt lining using the same pattern pieces as the skirt, and — critical difference — sew them together using narrower seams.  So your lining has a wider girth than the skirt itself, i.e. a nice dose of extra wearing ease… this is a small thing but makes a big difference for slimline or pencil skirts particularly!  Why? well, a few ripped linings later…! haha! I jest! but seriously; in my experience sometimes I would find that linings would habitually start to pull away from the zip tape right at hip level.  I re-stitch them back on, only for them to pull away yet again.  

old skirt

When I did start making my linings just a touch roomier than the skirt itself, this pesky little problem has not recurred!

I just sew the side seams using the narrowest possible seam allowance, around 6mm(1/4″).  For a plain skirt pattern with a standard 1.5cm (5/8″) seam allowance, this alone gives around 3.5cm (1 1/4″) extra wearing ease in there.
Another, equally viable option would be to cut the lining just one size bigger instead.  

The CB seam of the lining; stitch with the regular 1.5cm (5/8″) seam allowance up to the bottom edge of the zip opening, then re-enforce the stitching line at the lower edge of the zip opening with stay stitching; stitching each side separately and keeping the seam allowance free of the stitching.  Snip into the corners, fold the seam allowances under and press.

With wrong sides together, pin the lining to the skirt at the side seams.  Pin the zip opening of the lining skirt to the zip tape of the skirt.

Also; do not stitch waist darts but merely fold the excess width of the lining at the waist dart point into a pleat and pin.  As expected, thanks to those narrower seams, these will be slightly deeper pleats than the skirt darts.  Pleating the wait darts rather than stitching them down also builds just a touch more ease into the lining.

Hand-stitch the skirt lining to the zip tape around the zip opening.

Attach the waistband as normal, and hem.  I generally hem a lining to 2.5cm (1″) shorter than the skirt, but this is a matter of personal taste.

pinterestmail
Switch to mobile version
↓