Imagine that said in an vehhy posh accent along the lines of “are you being served modom?”…
Little anecdote; many years ago I took part in a group craft project, and another lady in the group had clear and firm ideas about what we were to produce, and how. At our first meeting she approached one lady and as a first spoken utterance to her, enquired “do you appliqué?”
Hehe, that’s neither here nor there obviously, but it’s stuck with me for years and years and still gives me a laugh.
Man I need to get out more…
Anyway…
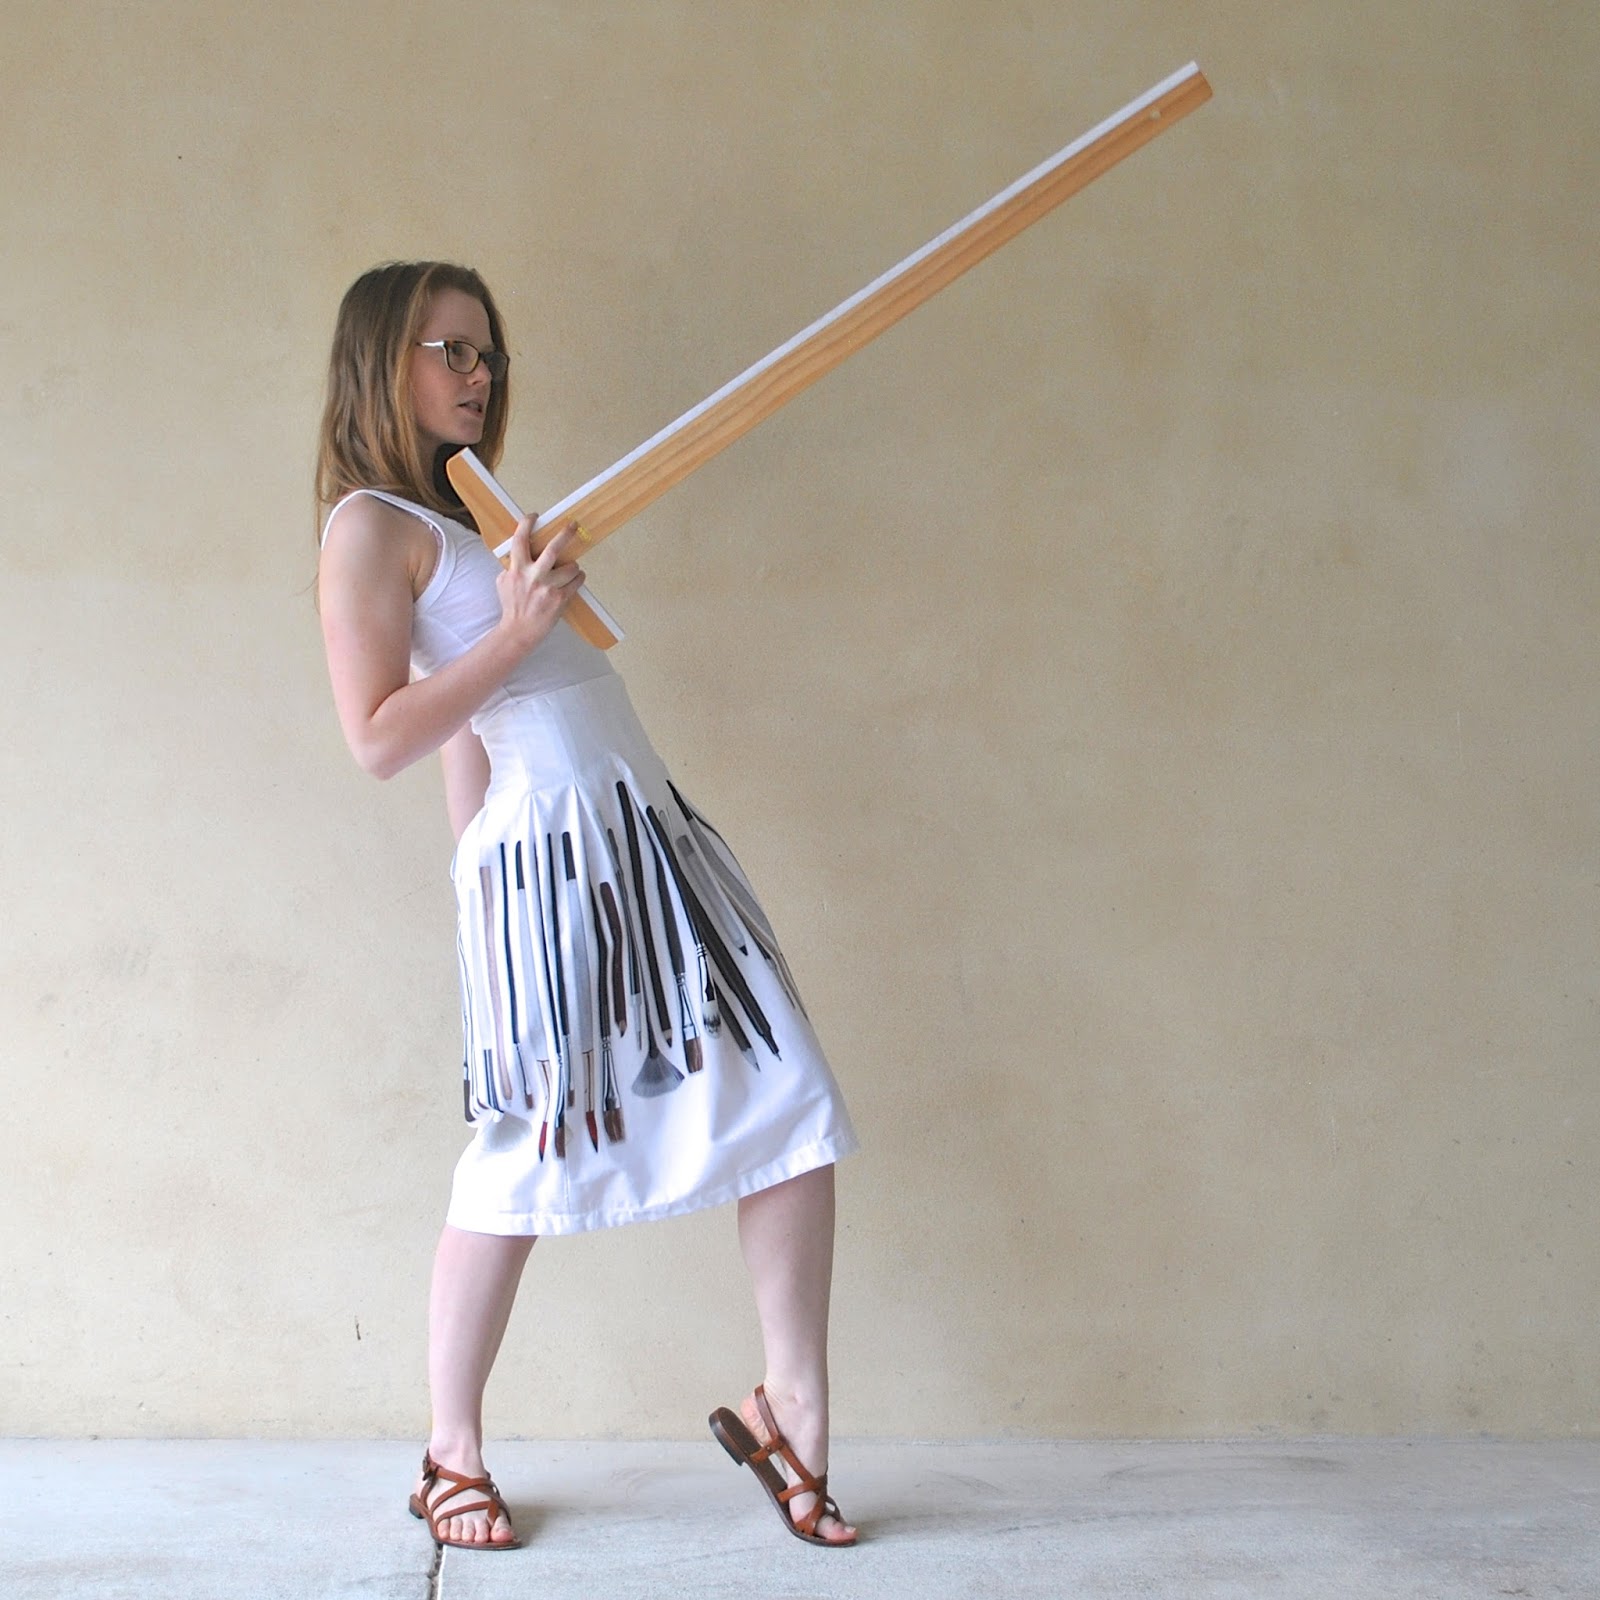
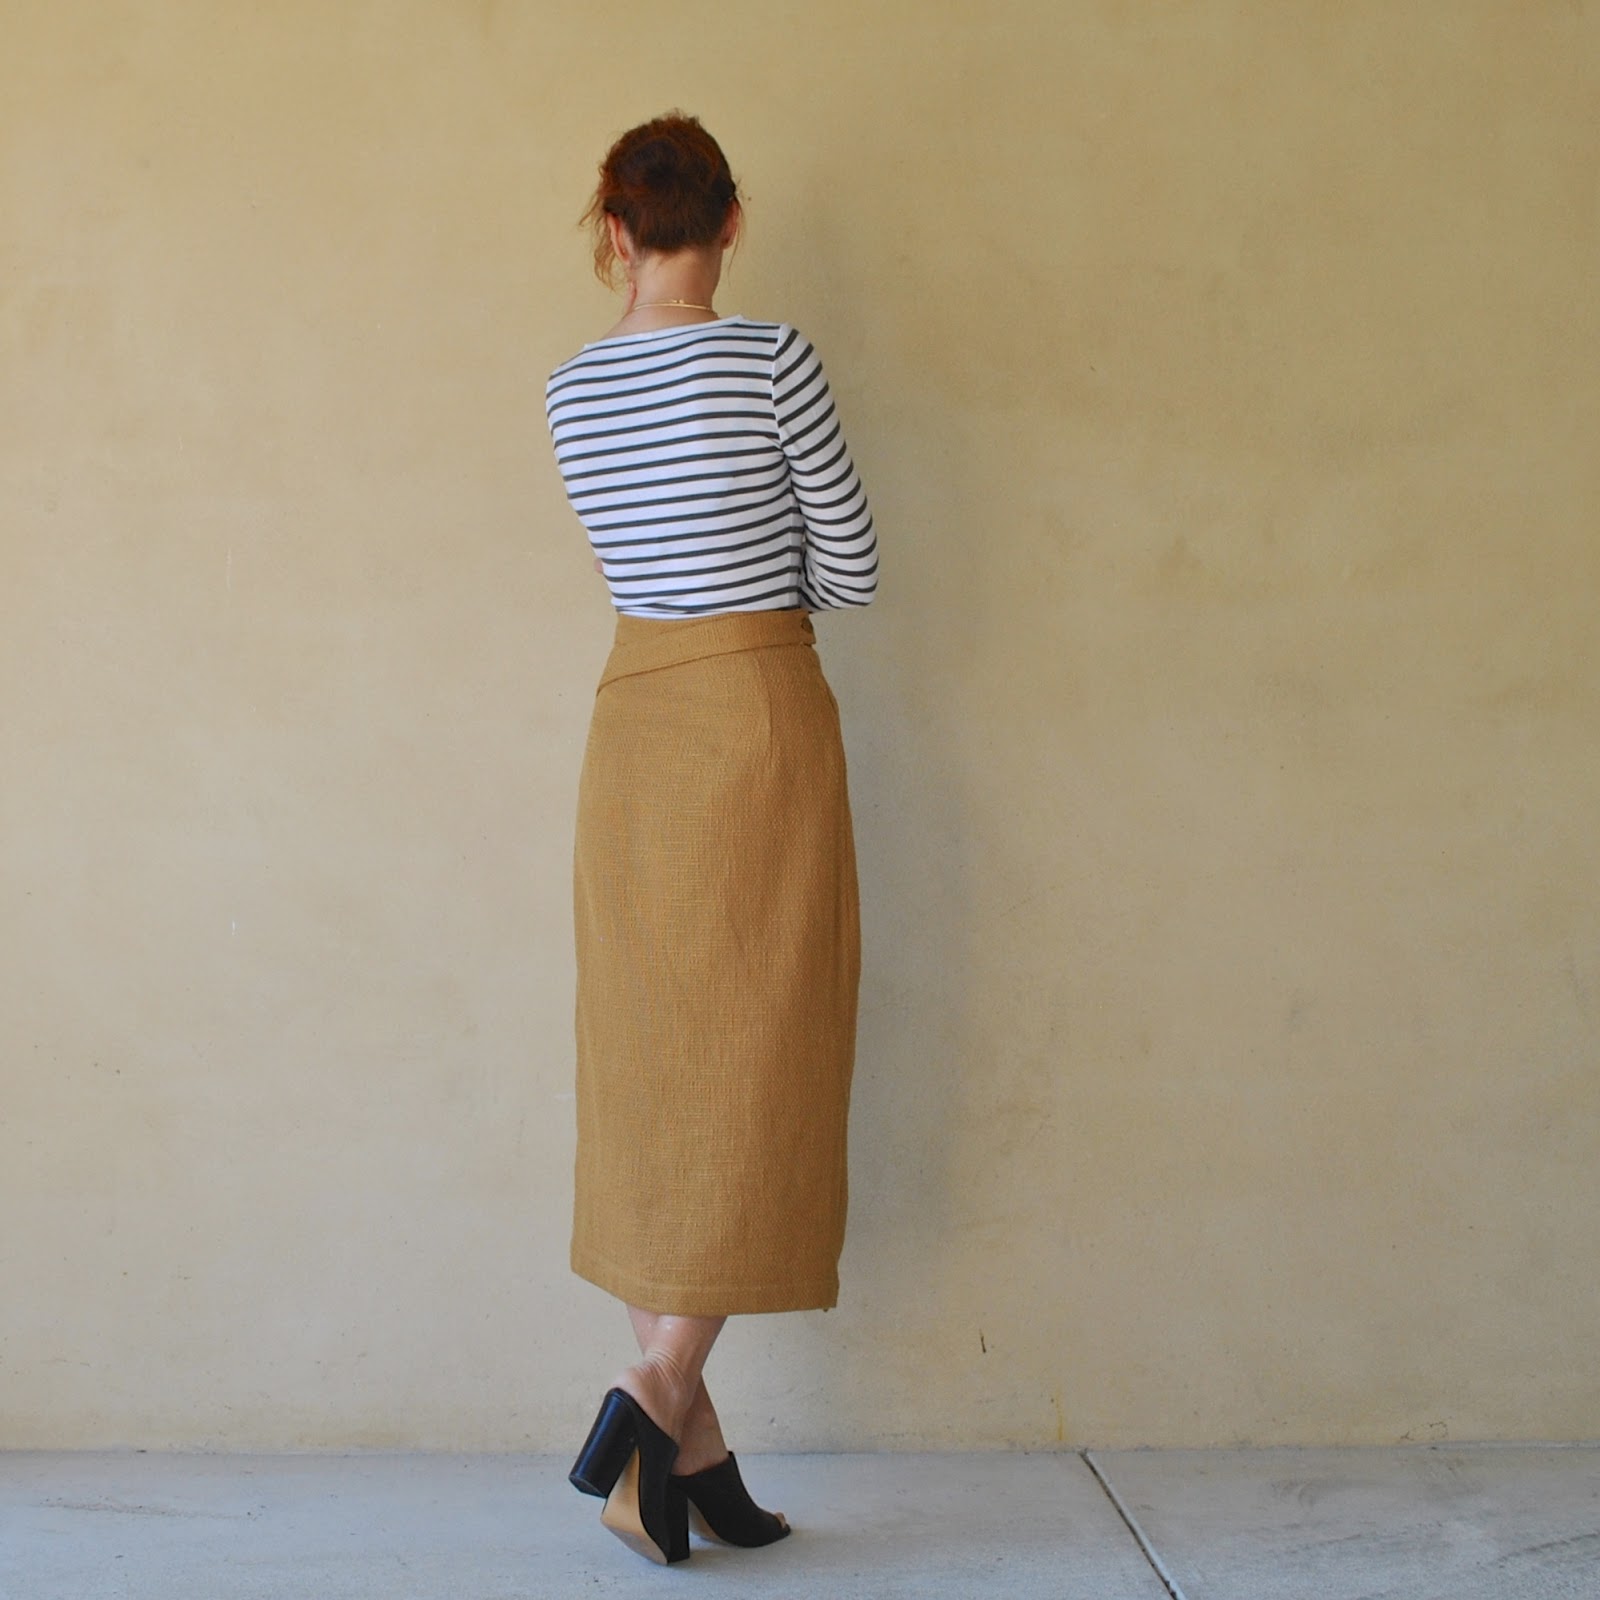
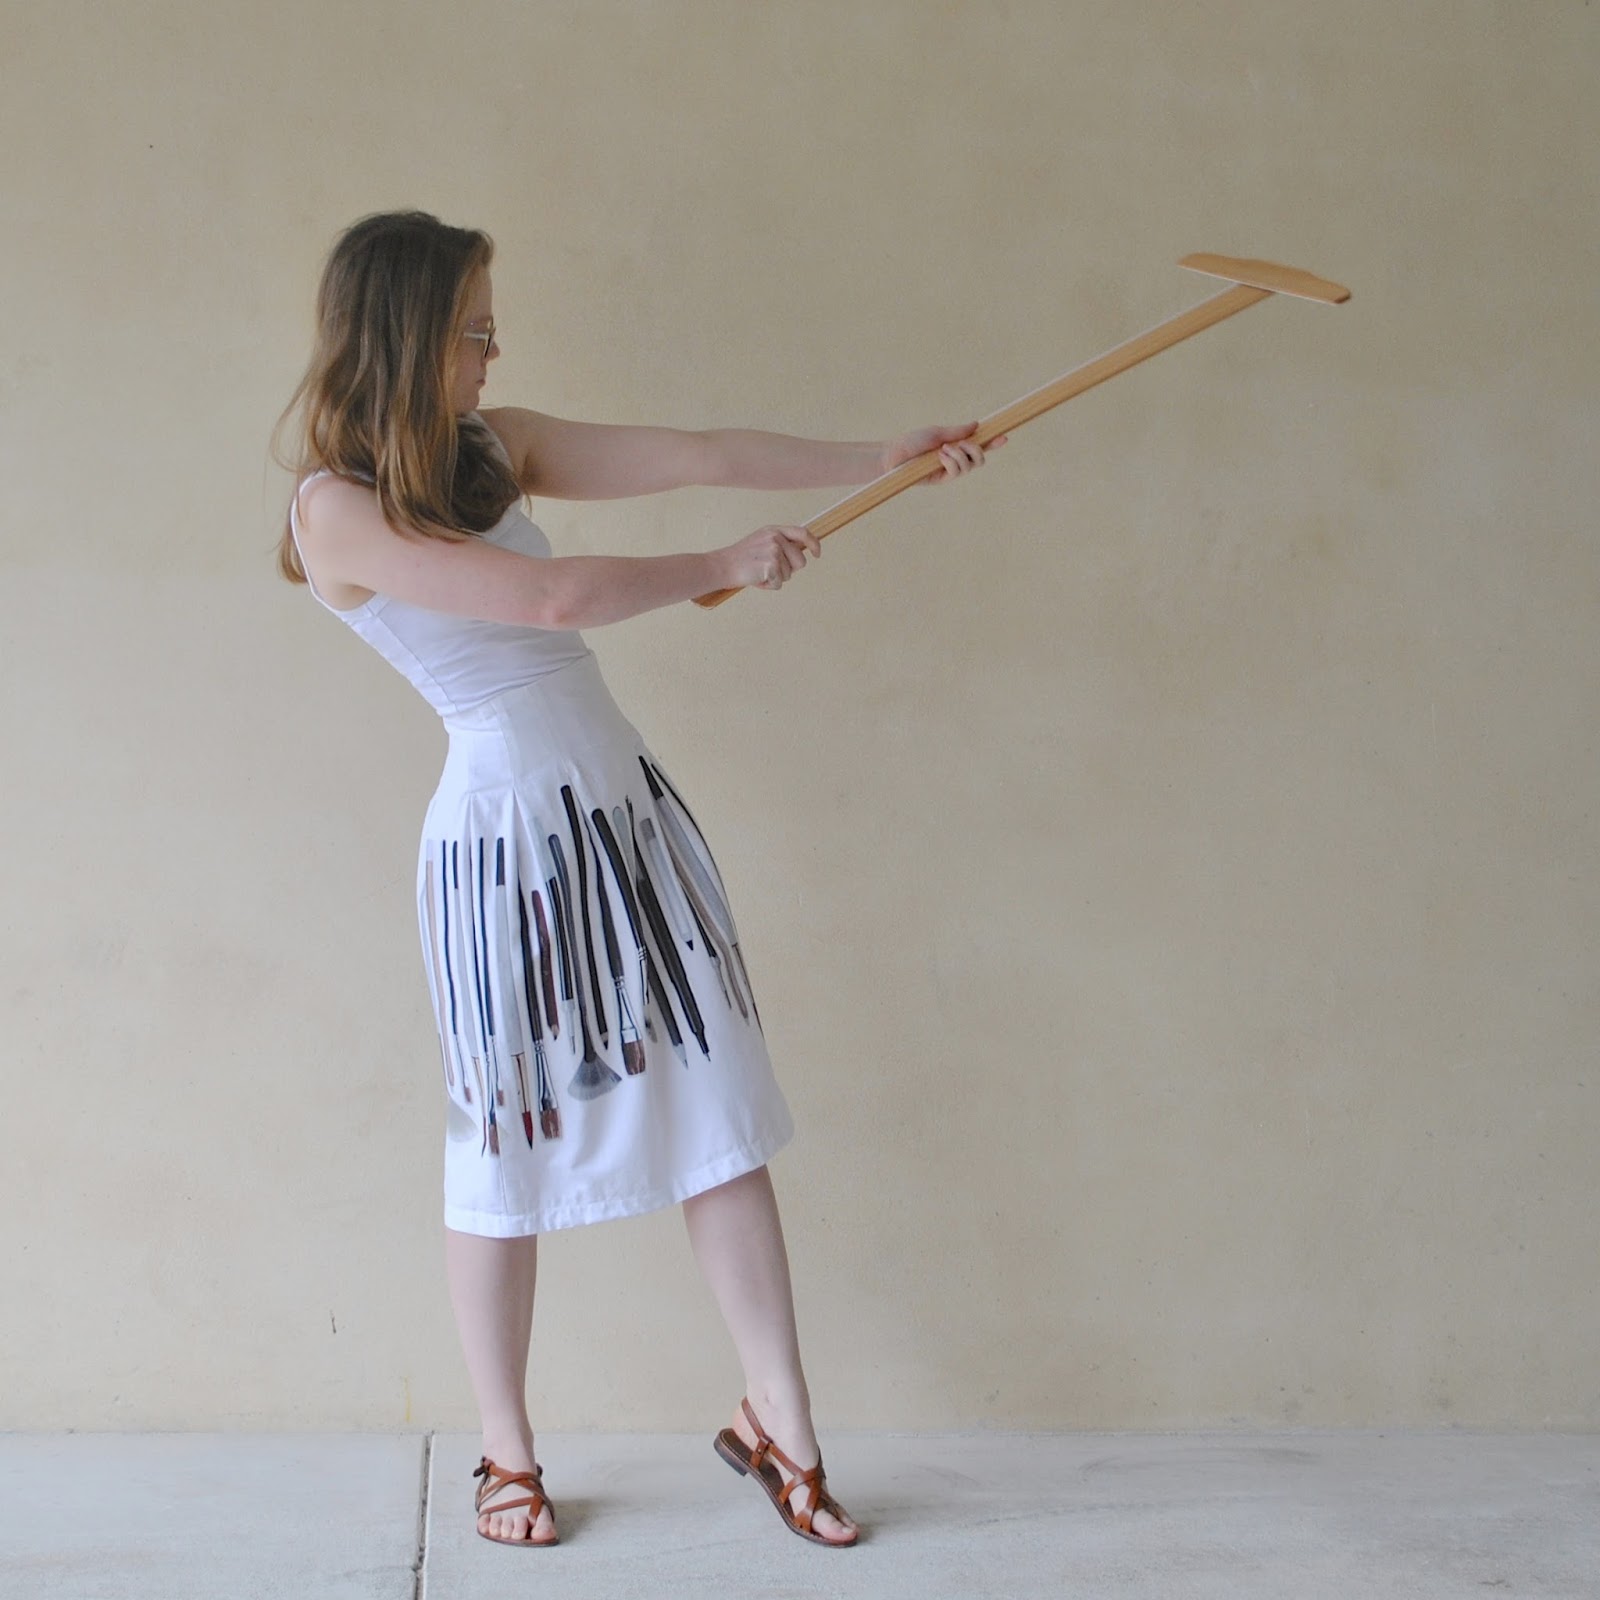
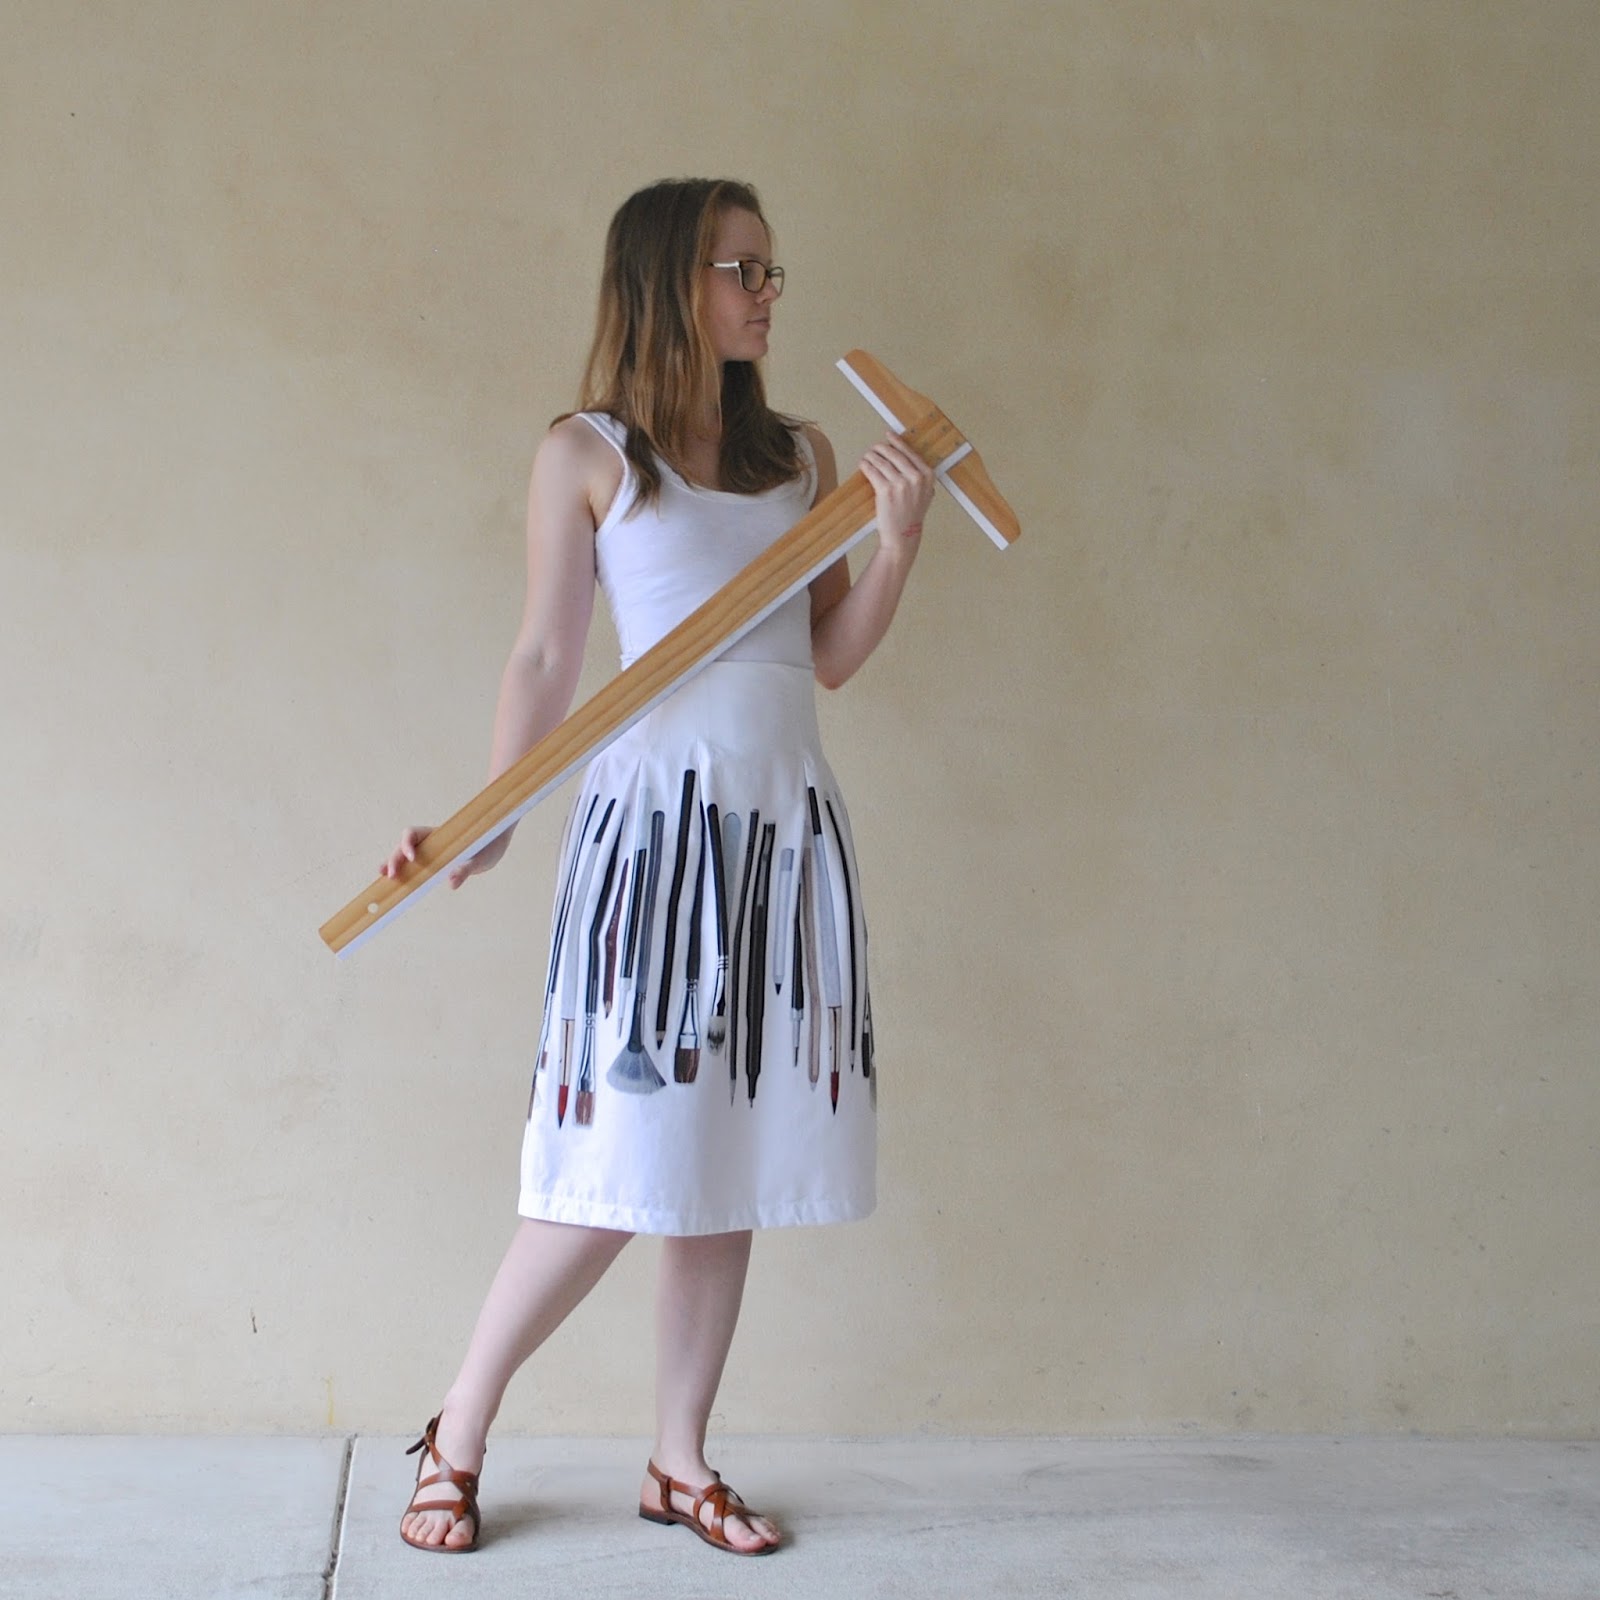
skirt!
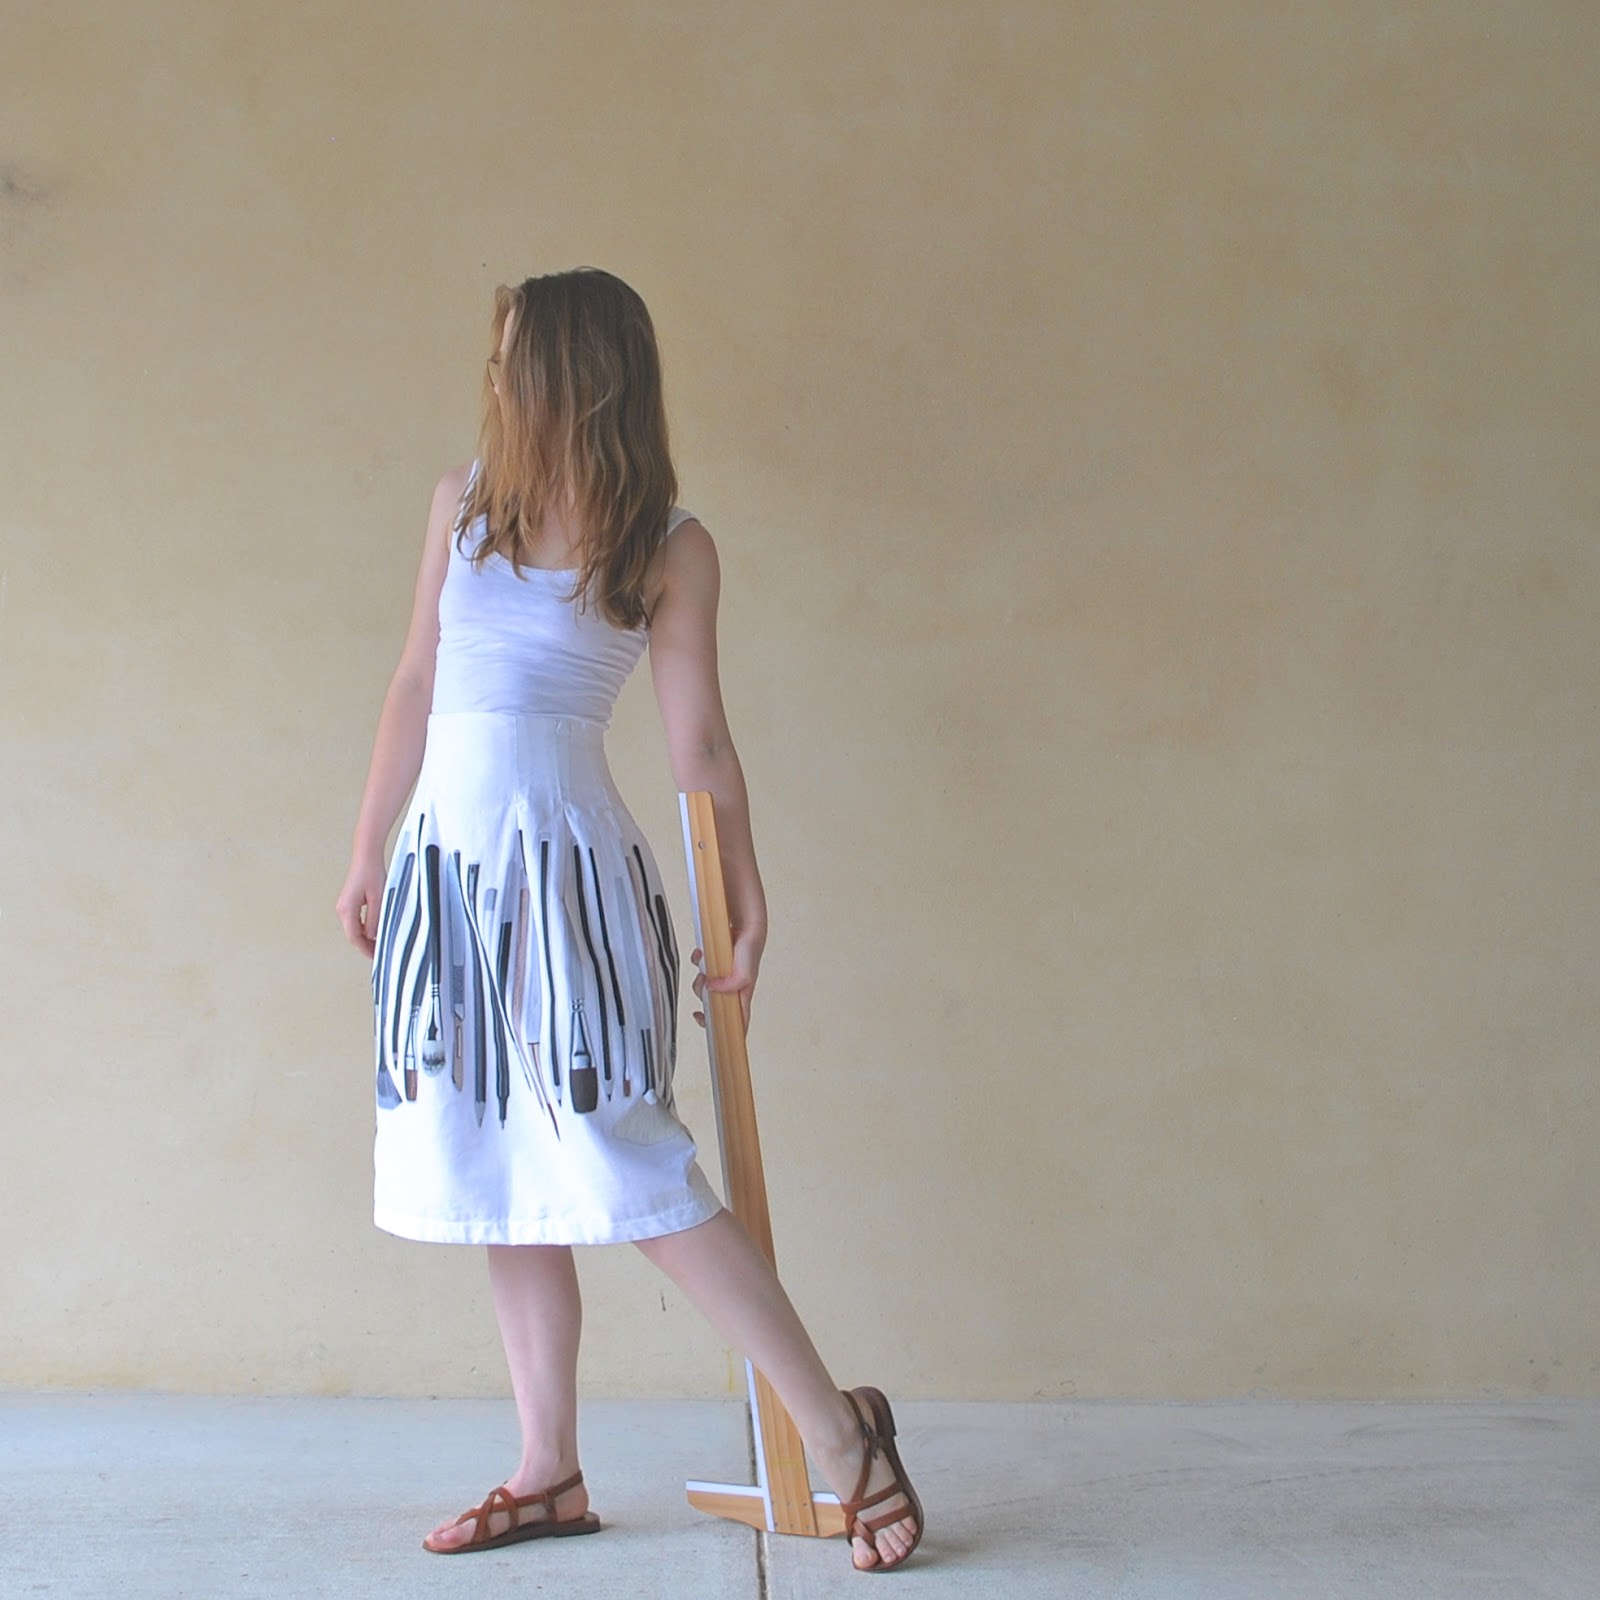
We bought this novelty print cotton drill from Spotlight a few years ago, and Cassie was supposed to make the skirt herself, but you know.. time goes on, you get busy, life takes over, whatevs, and it eventually falls to your mother who is sick to blinking death of looking at this blasted fabric hanging around, gathering dust and generally taking up precious stash space that could be given over to her own fabrics … gathering dust ahem…
Anyway! time for some interventive action.
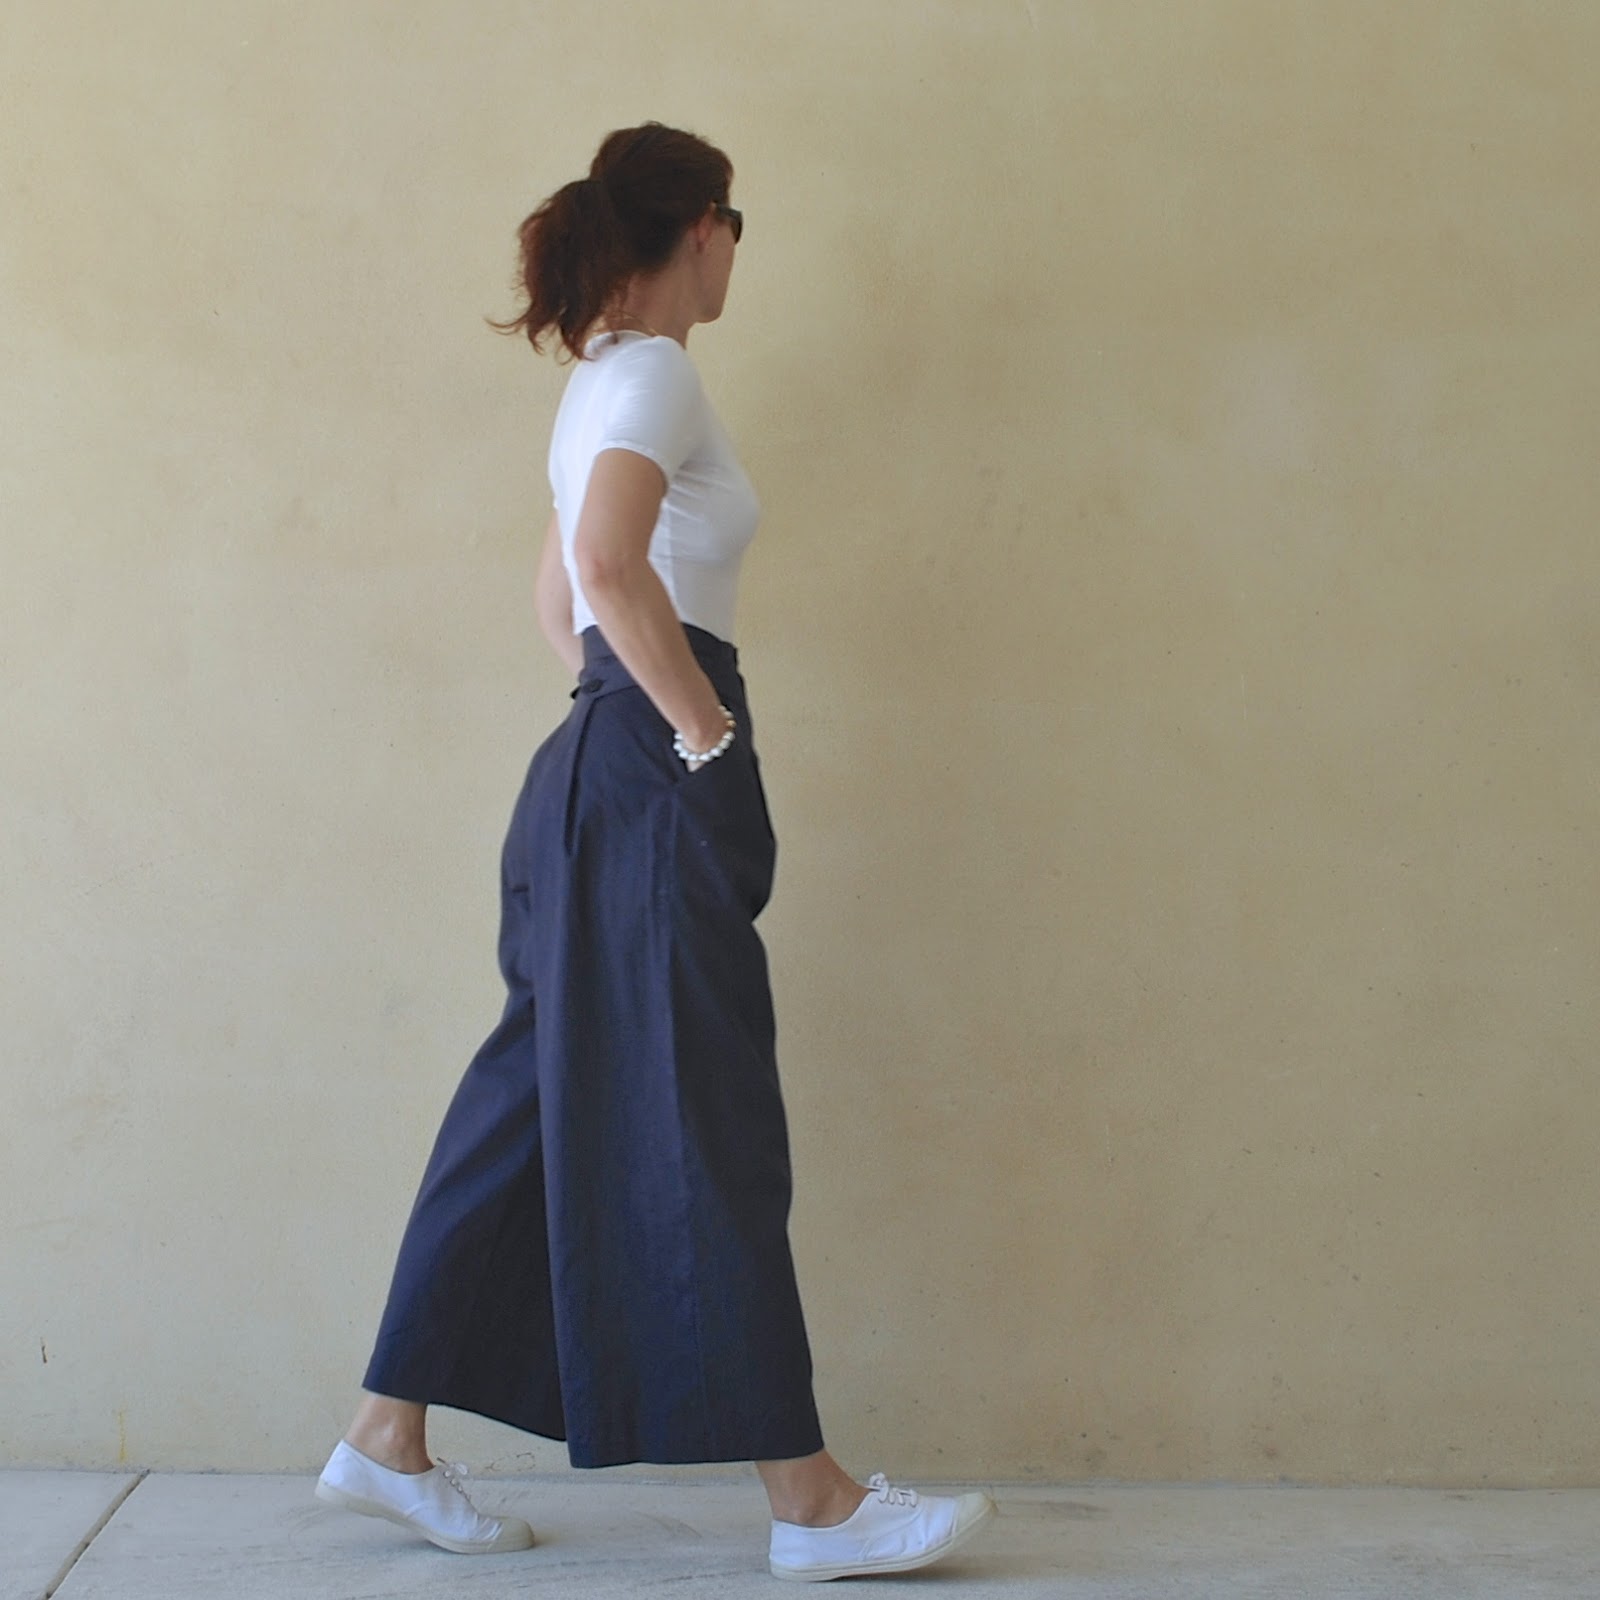
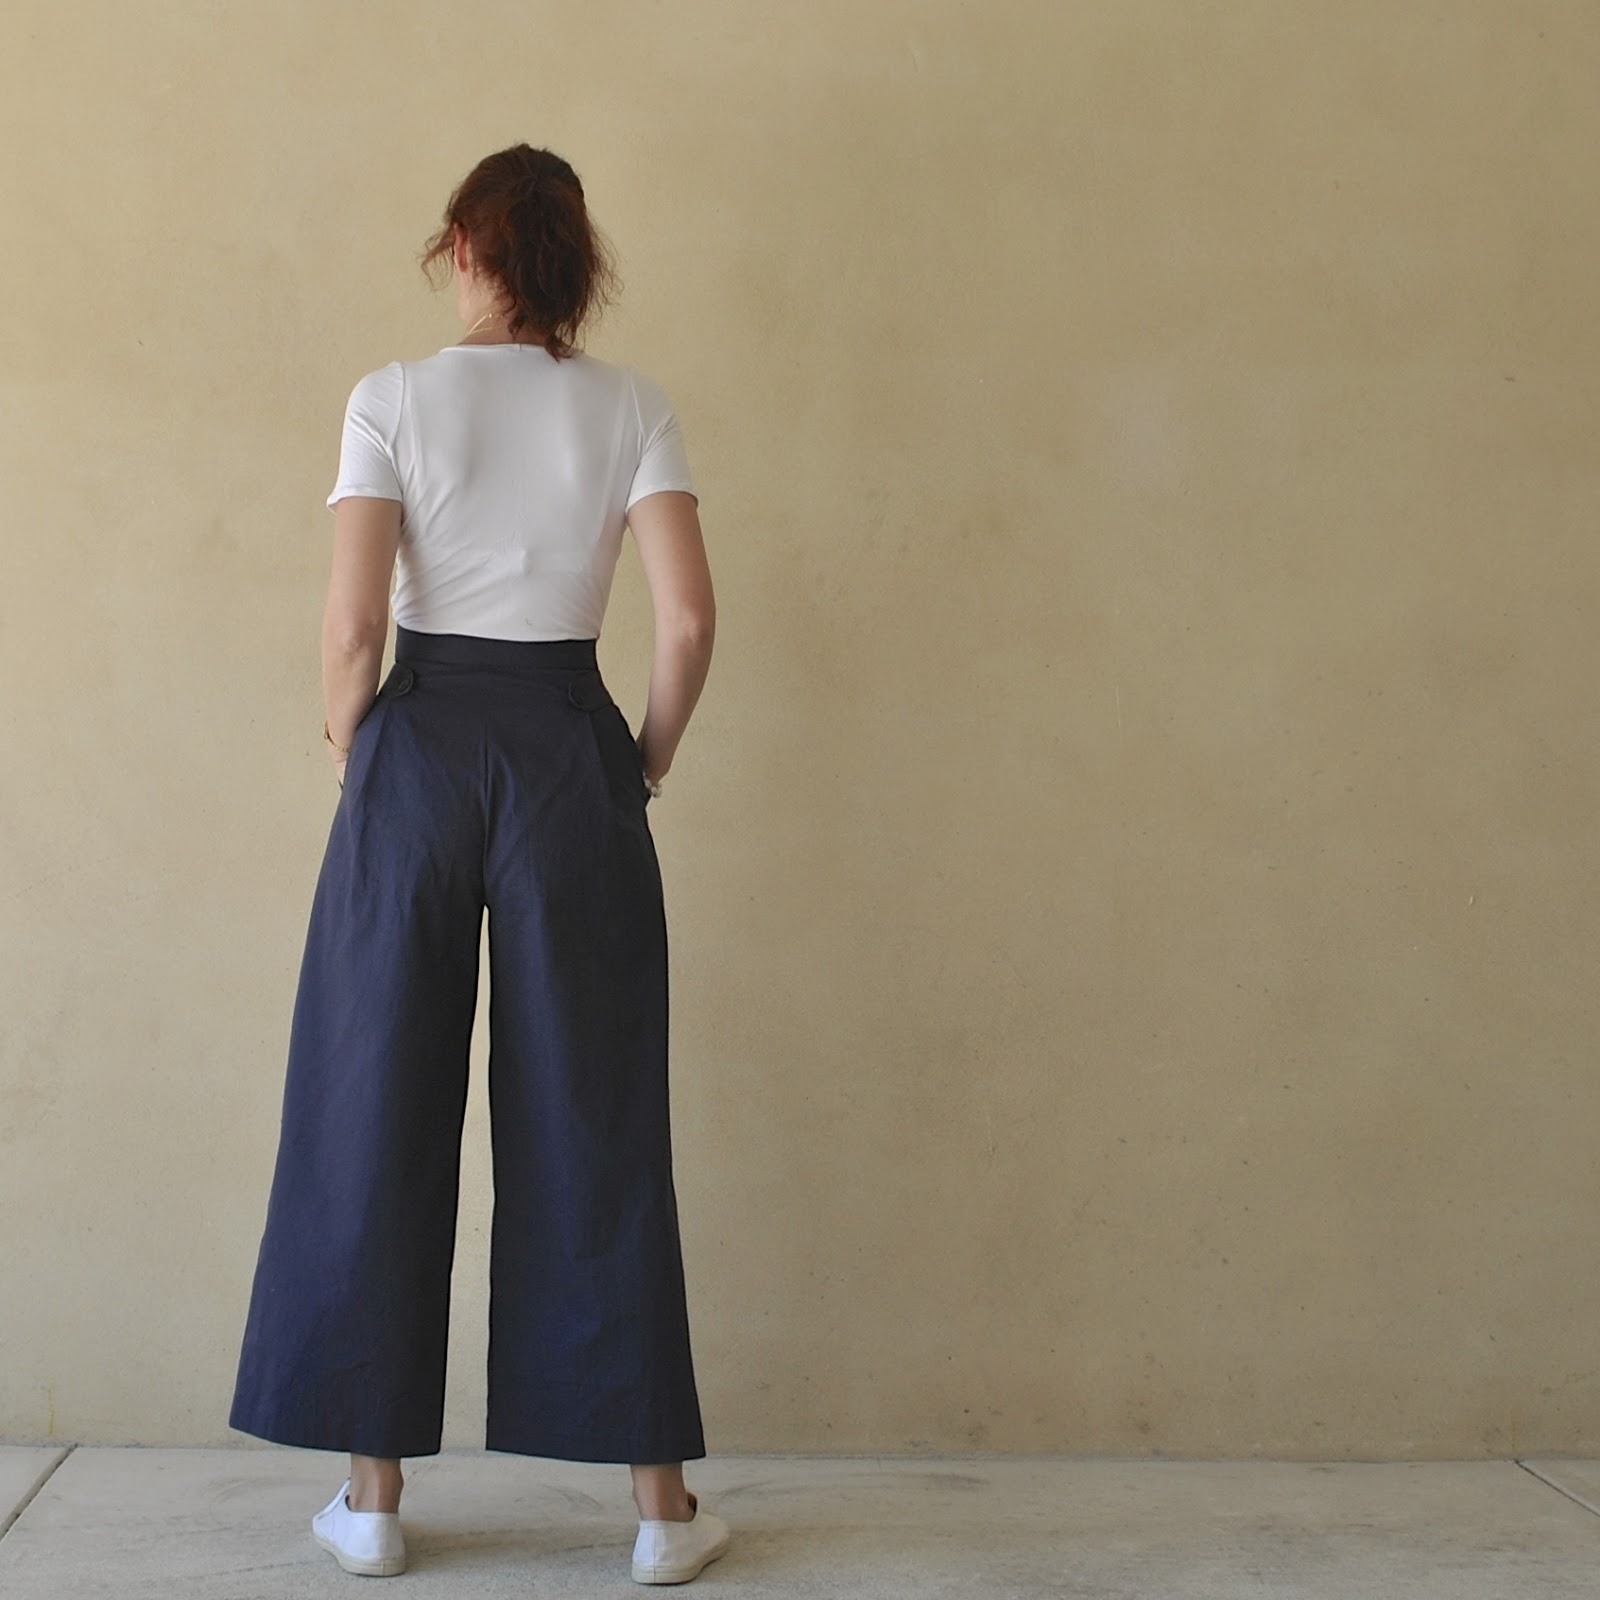
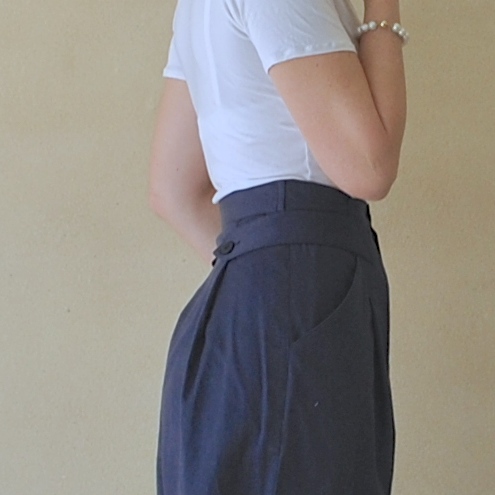
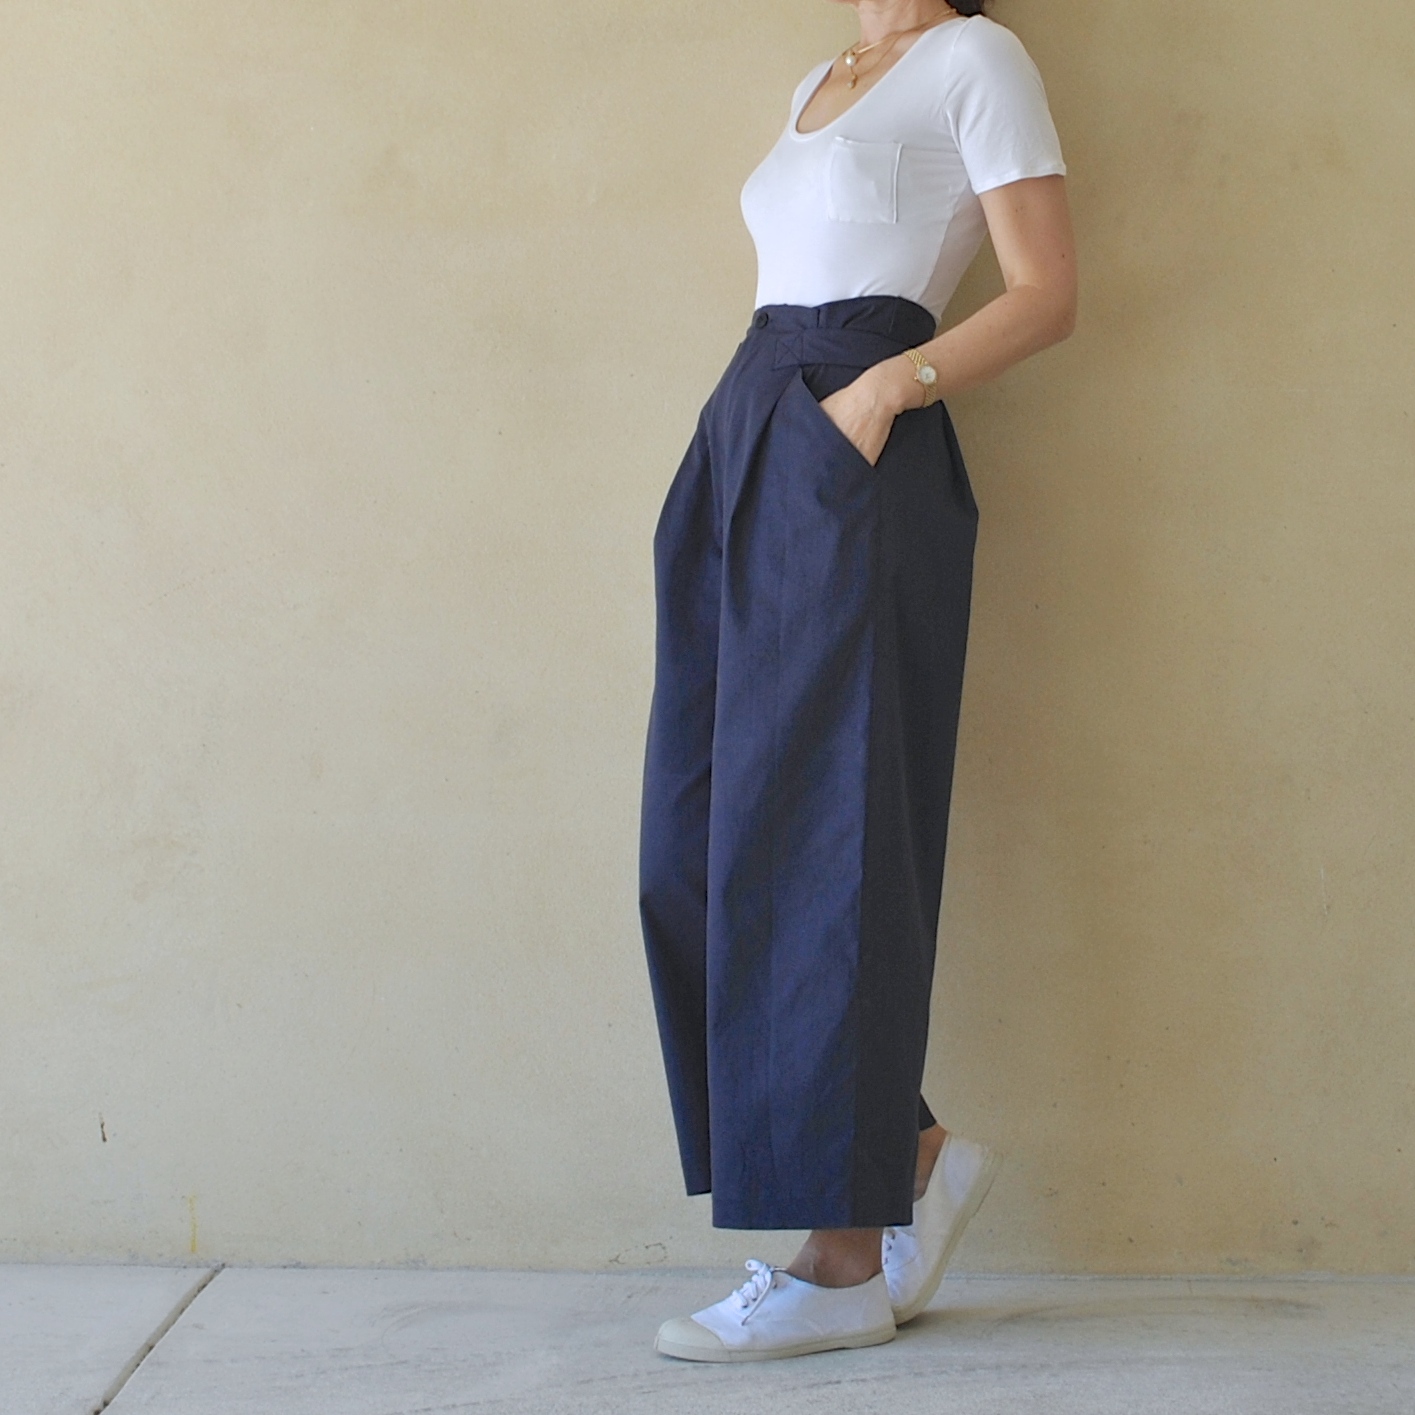
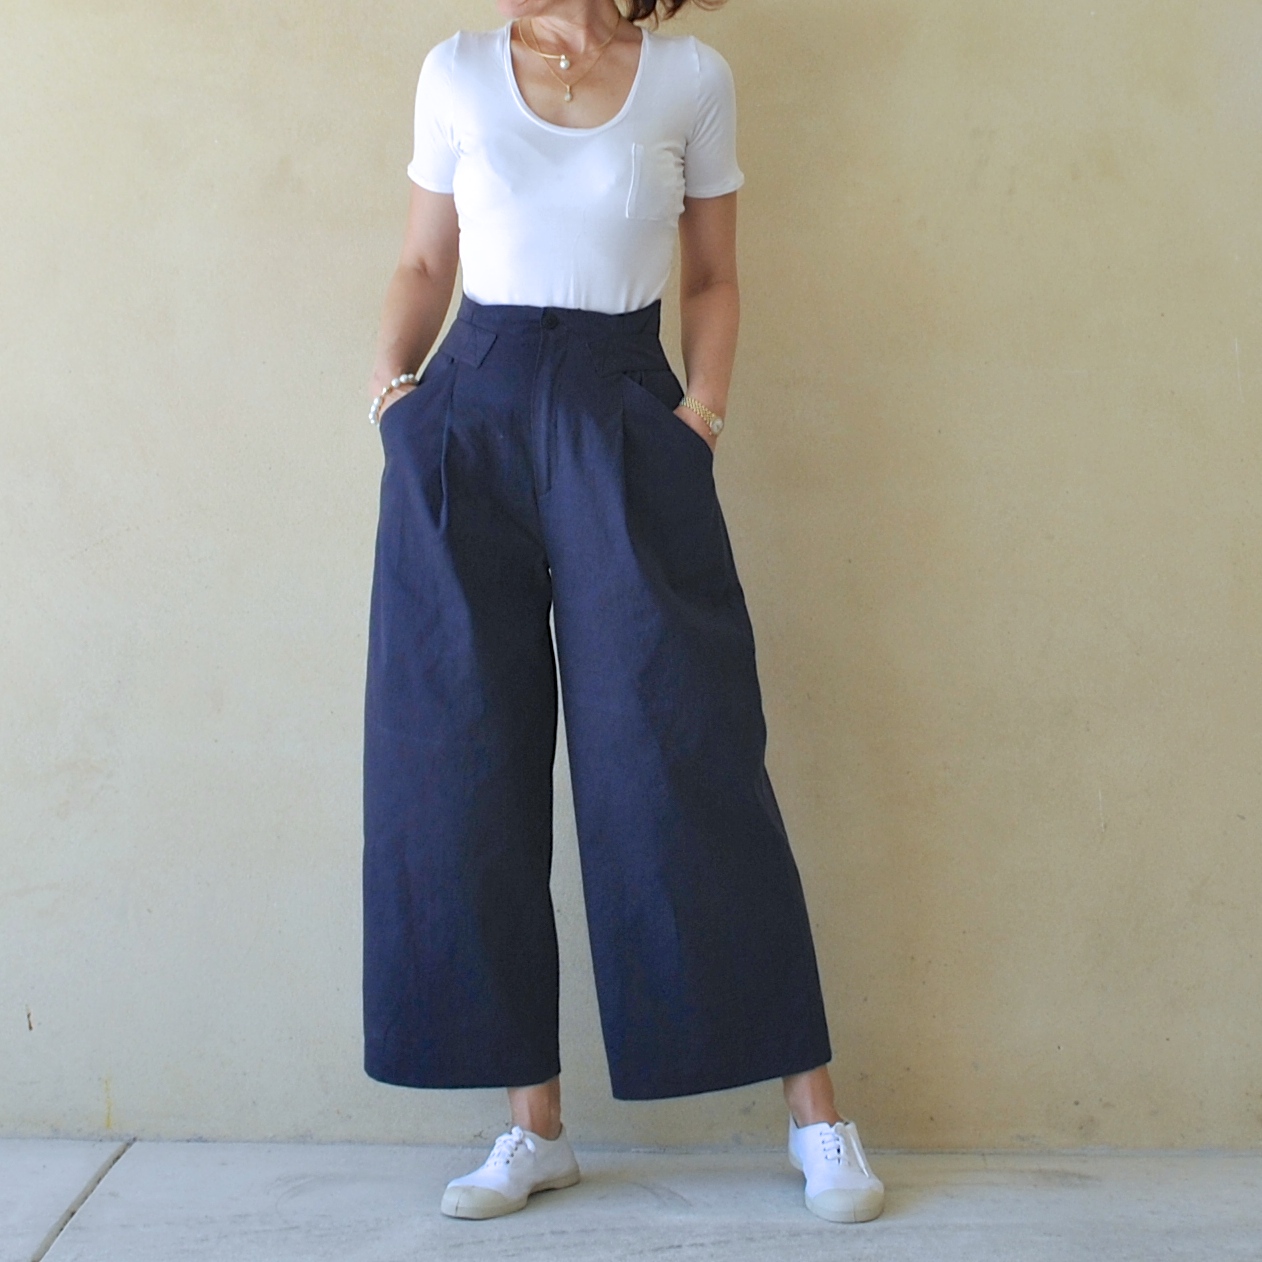
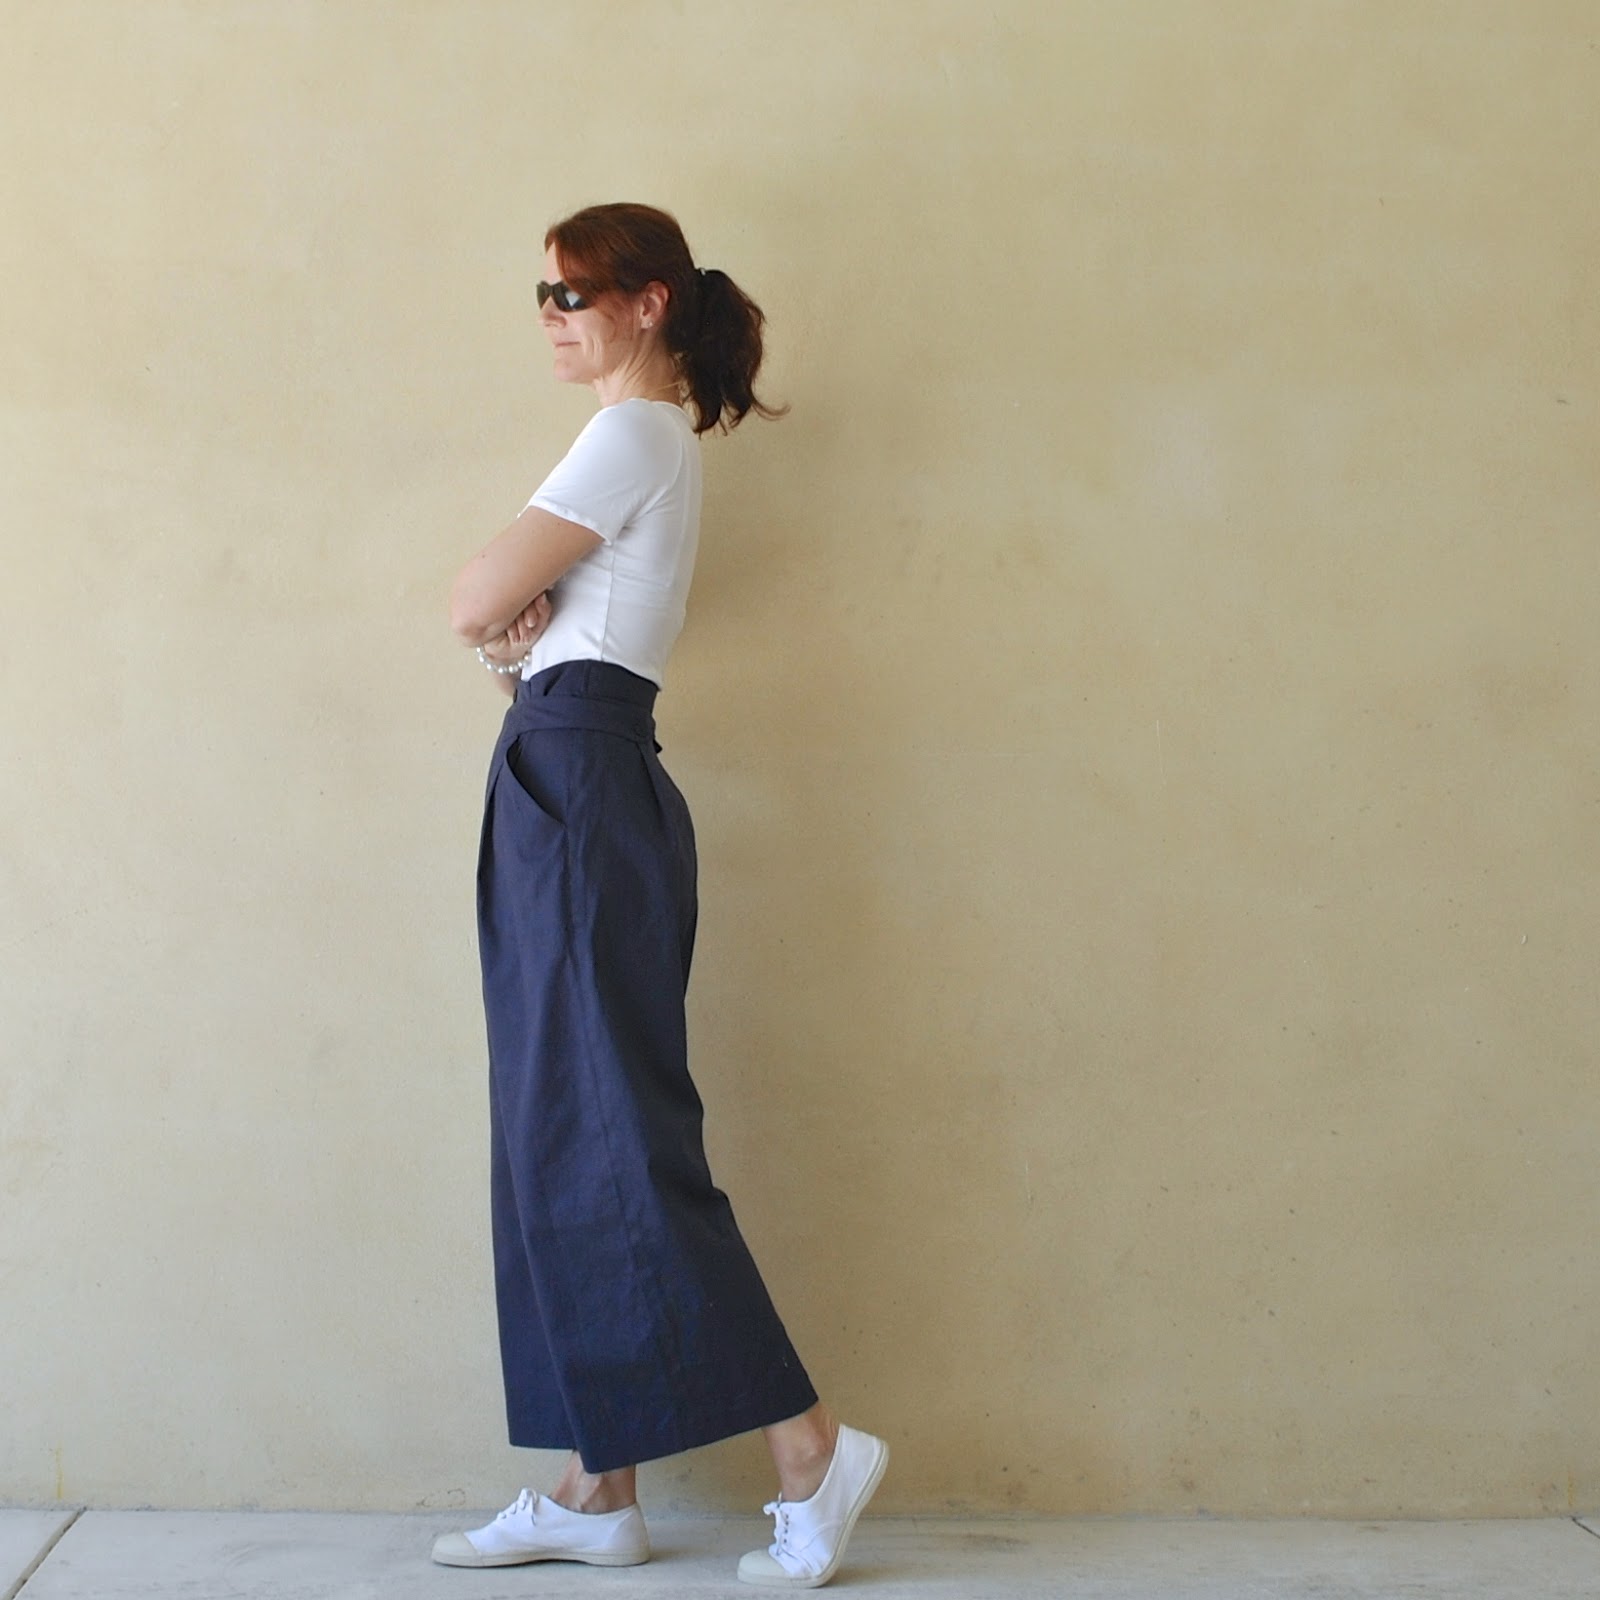
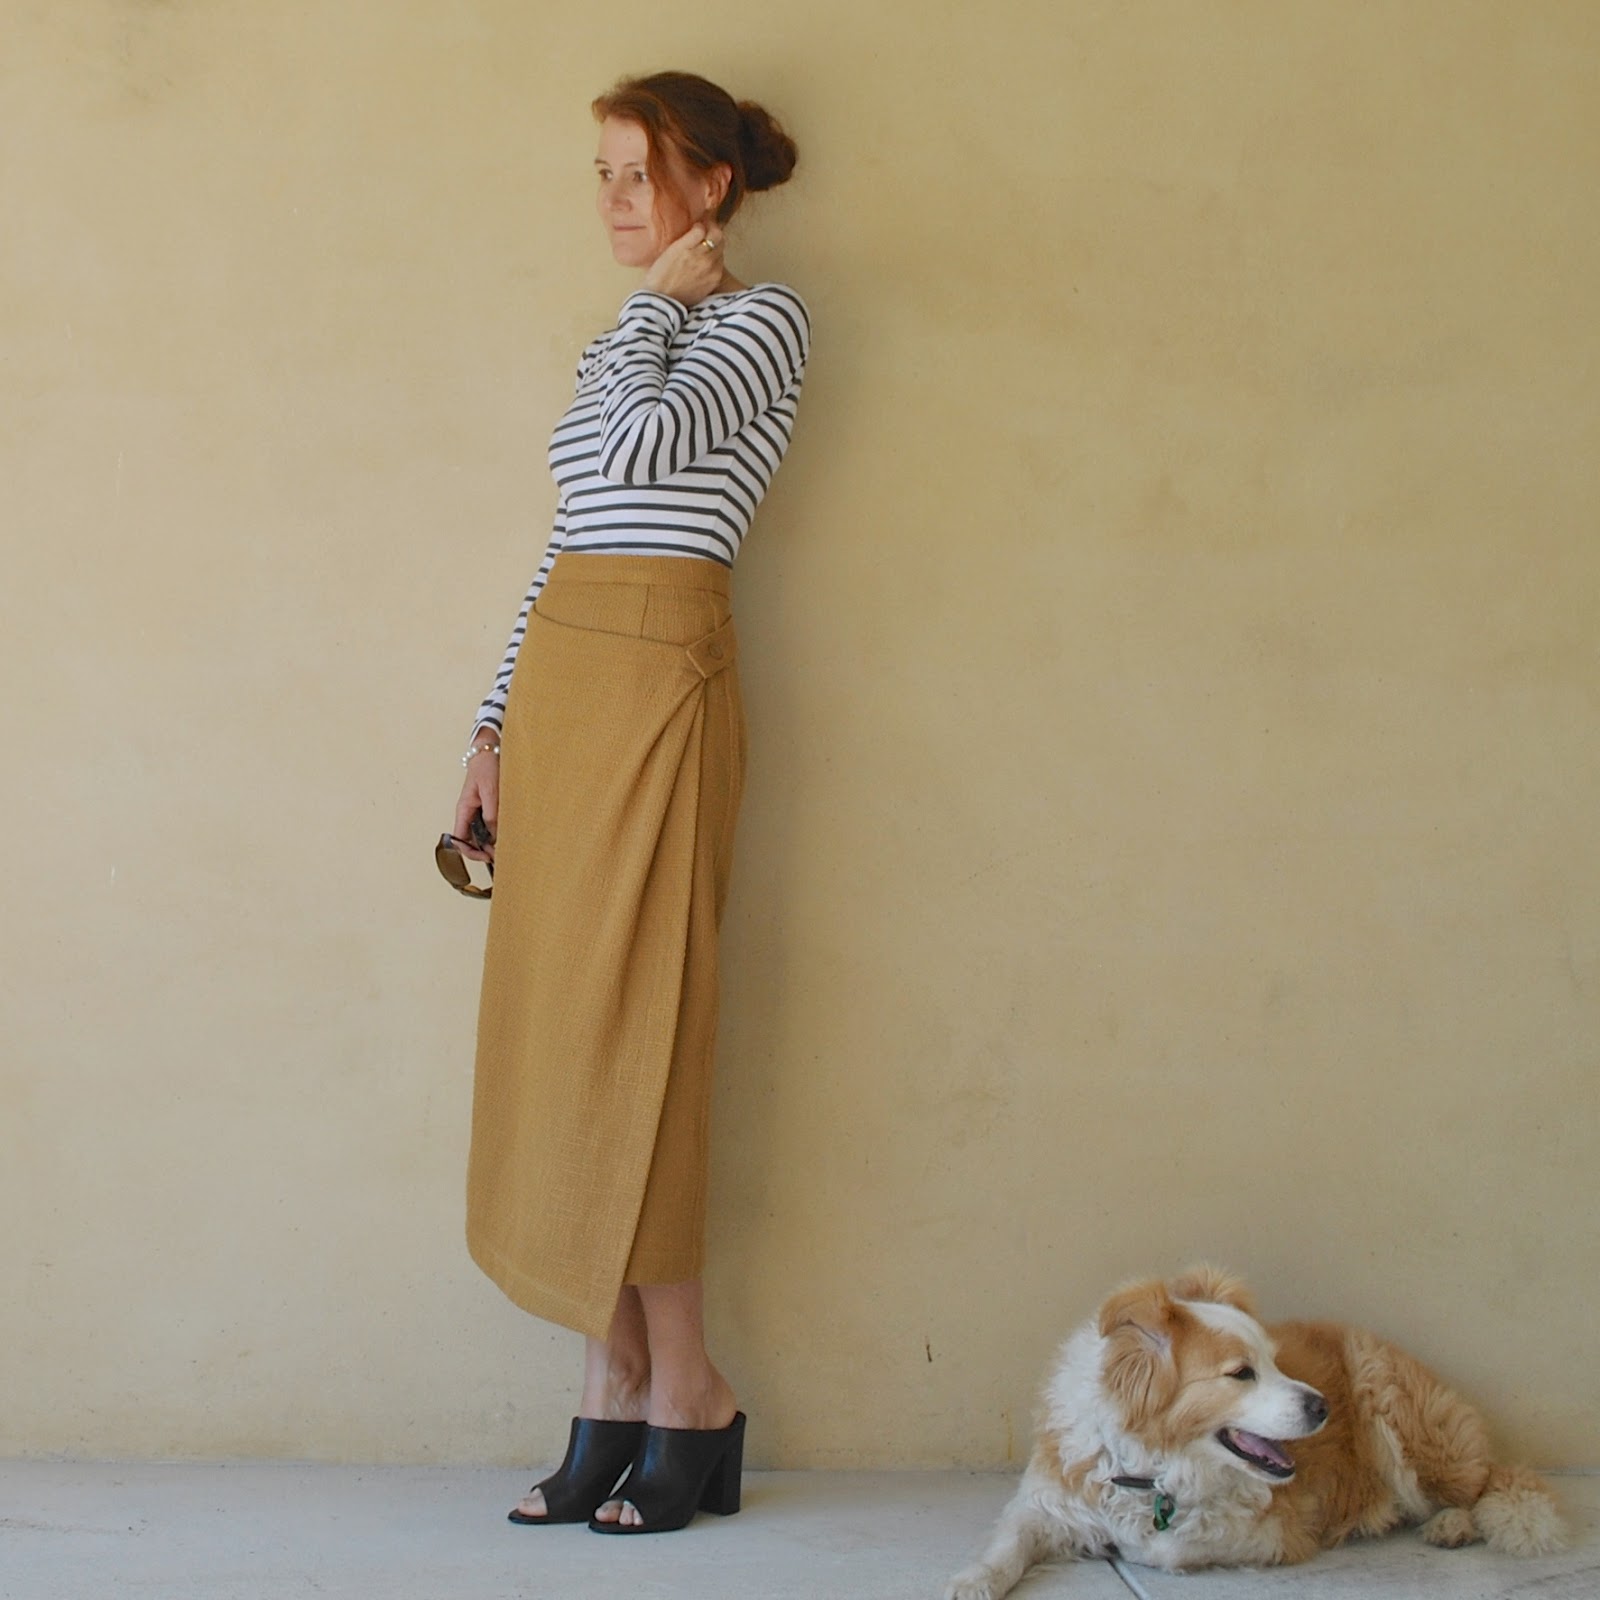
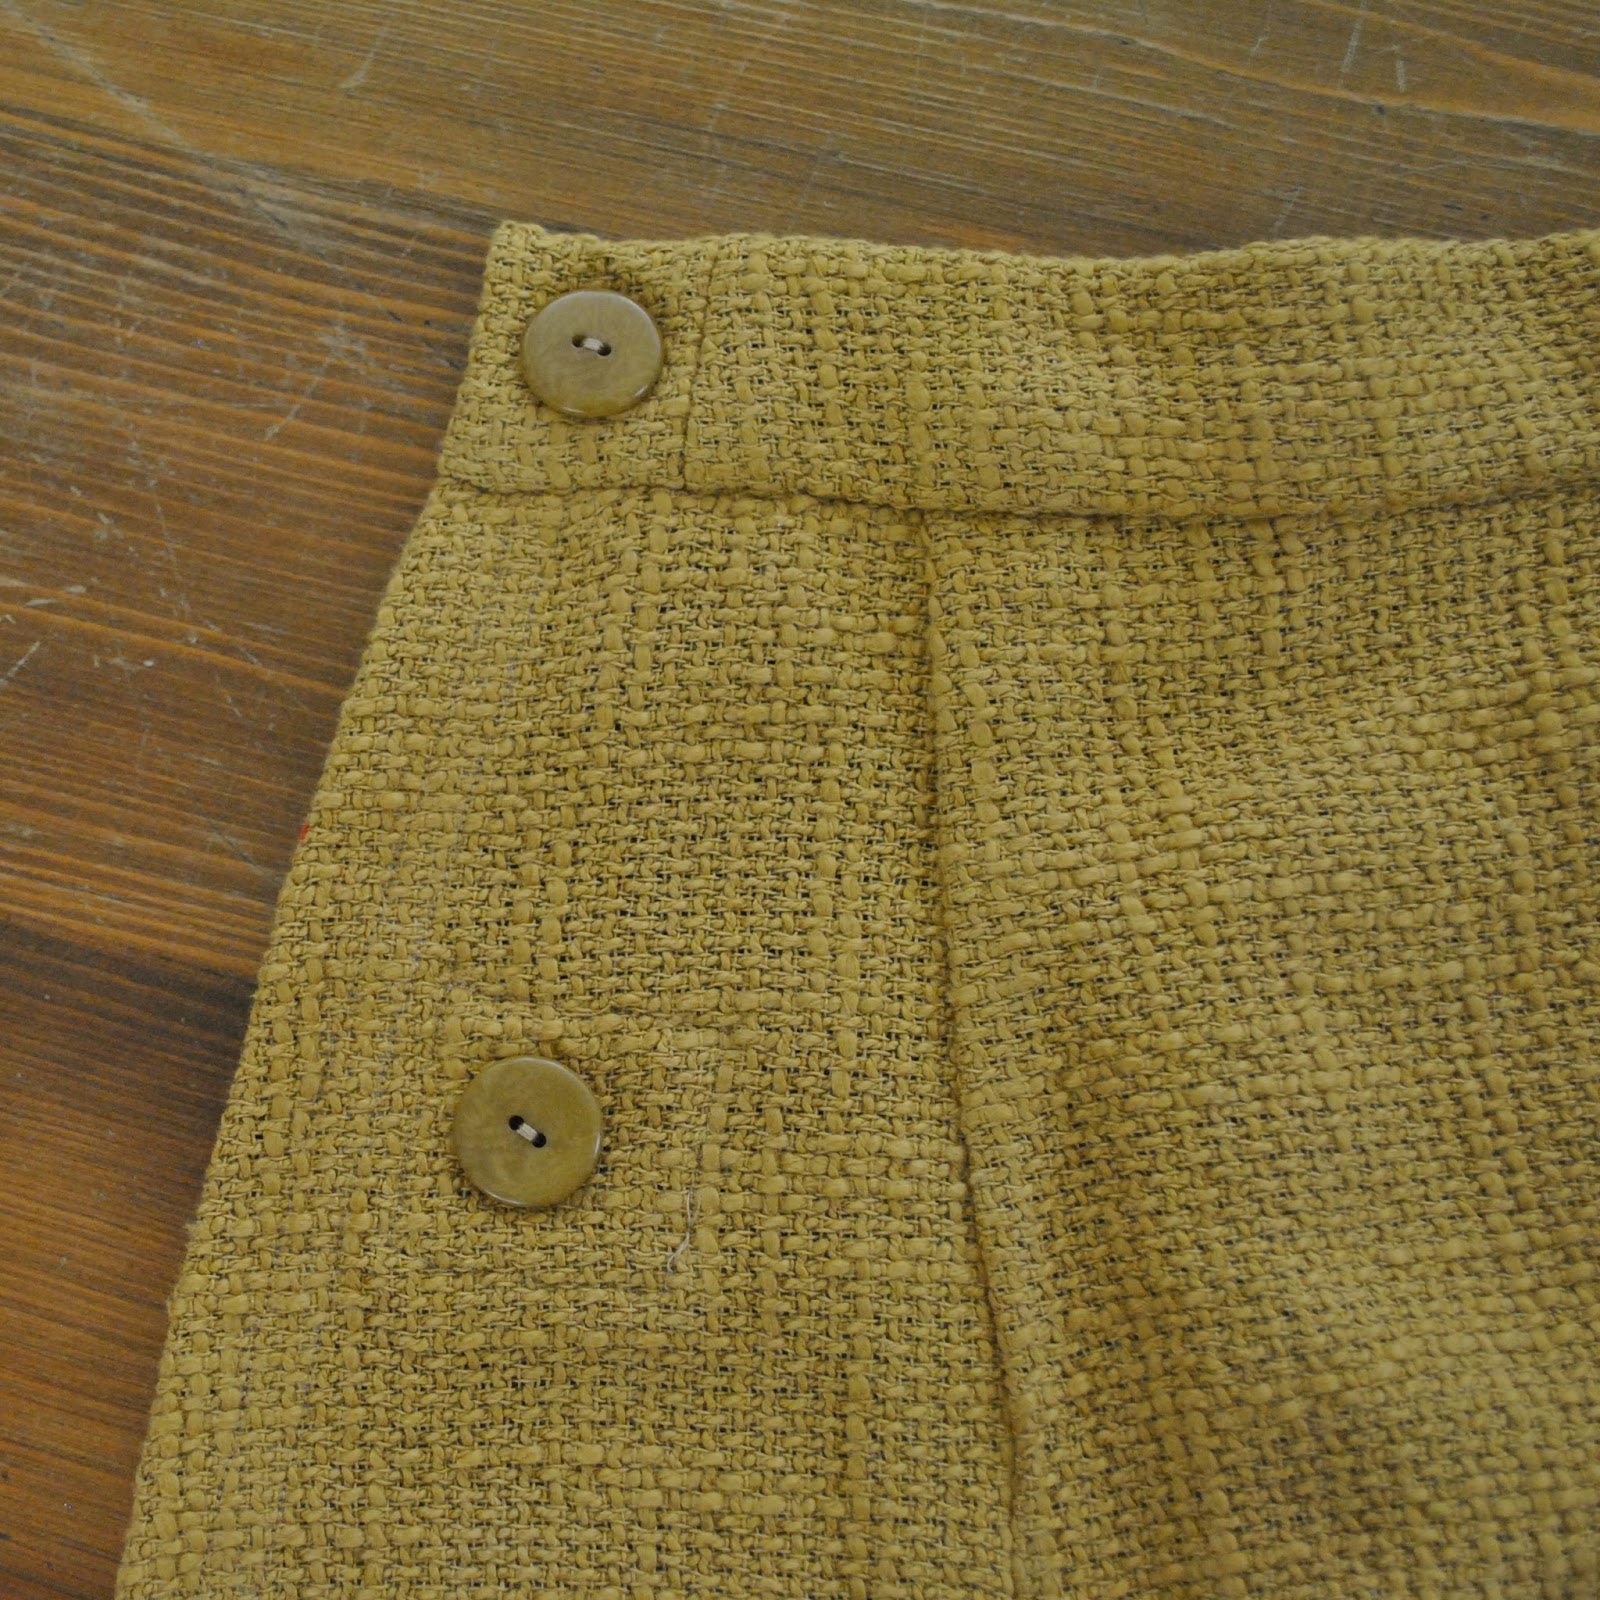
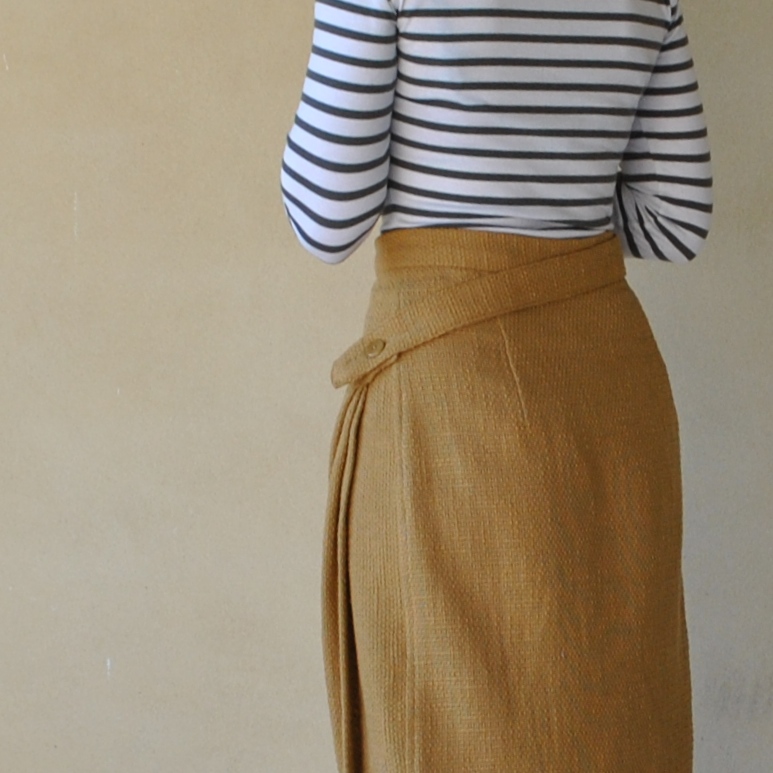
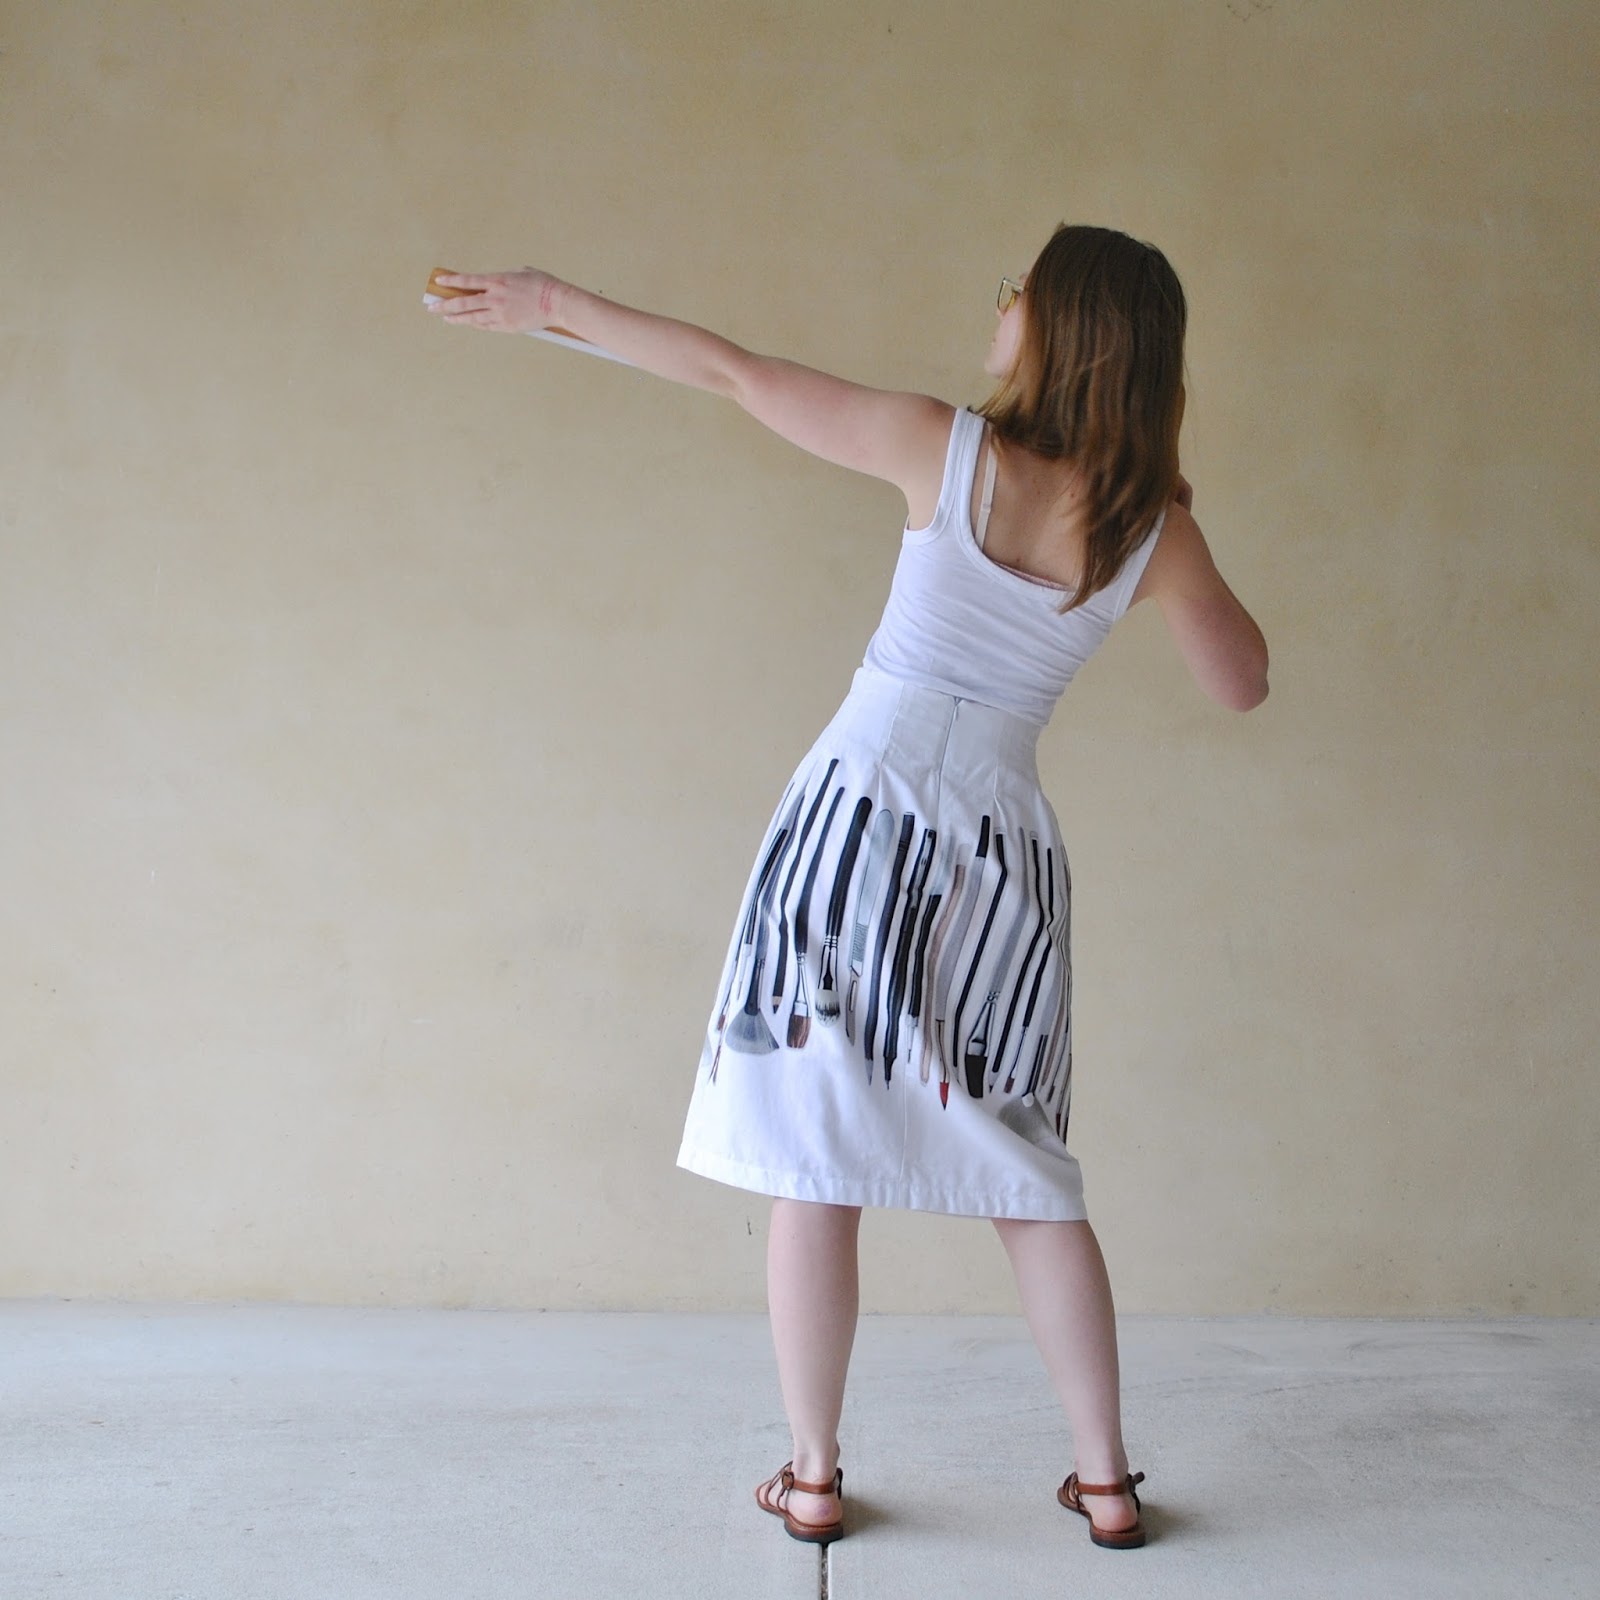
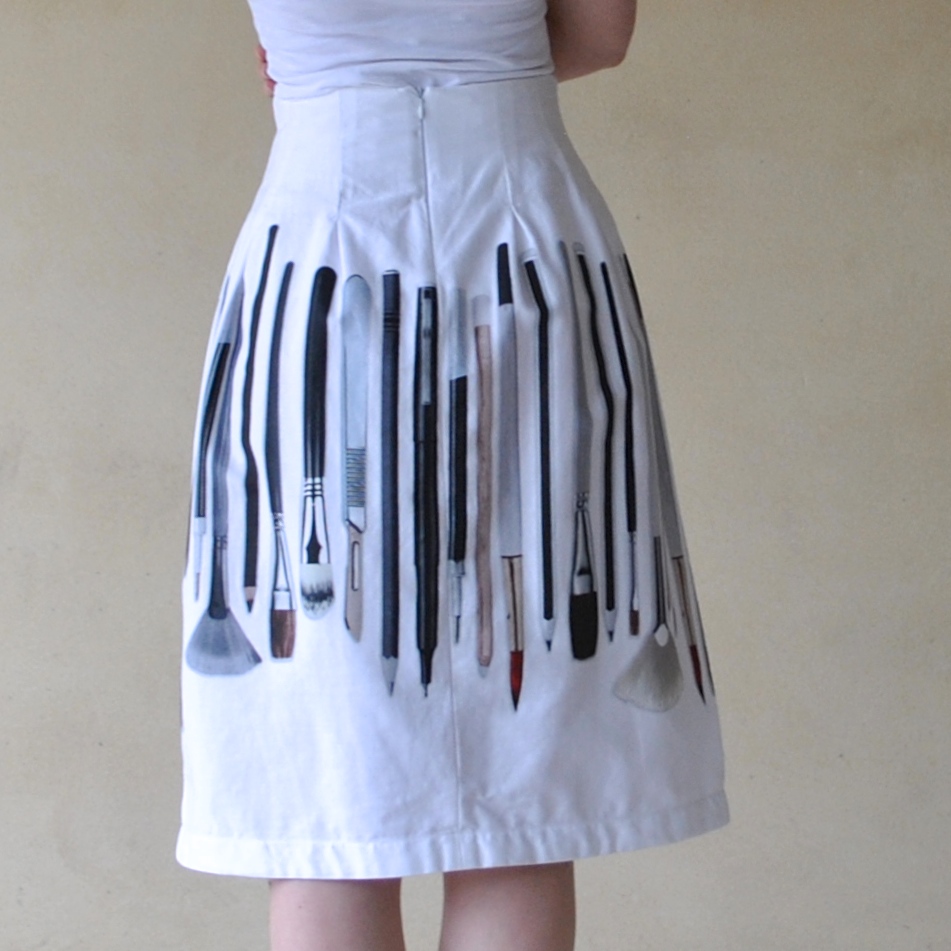
I used no pattern but just made it up to fit what she wanted. She wanted high-waisted, close-fitting at the waist and this length, and for the paintbrushes to be situated exactly so high and for not a single skerrick of print to be hidden or broken up in any darts or shaping. I cut two rectangles with no shaping, to maintain the print, put in an invisible zip at centre back, and pinned tapered box pleats to fit her waist, each one going straight at first then tapering narrower for the last third to accommodate her hips. There are four such pleats both front and back.
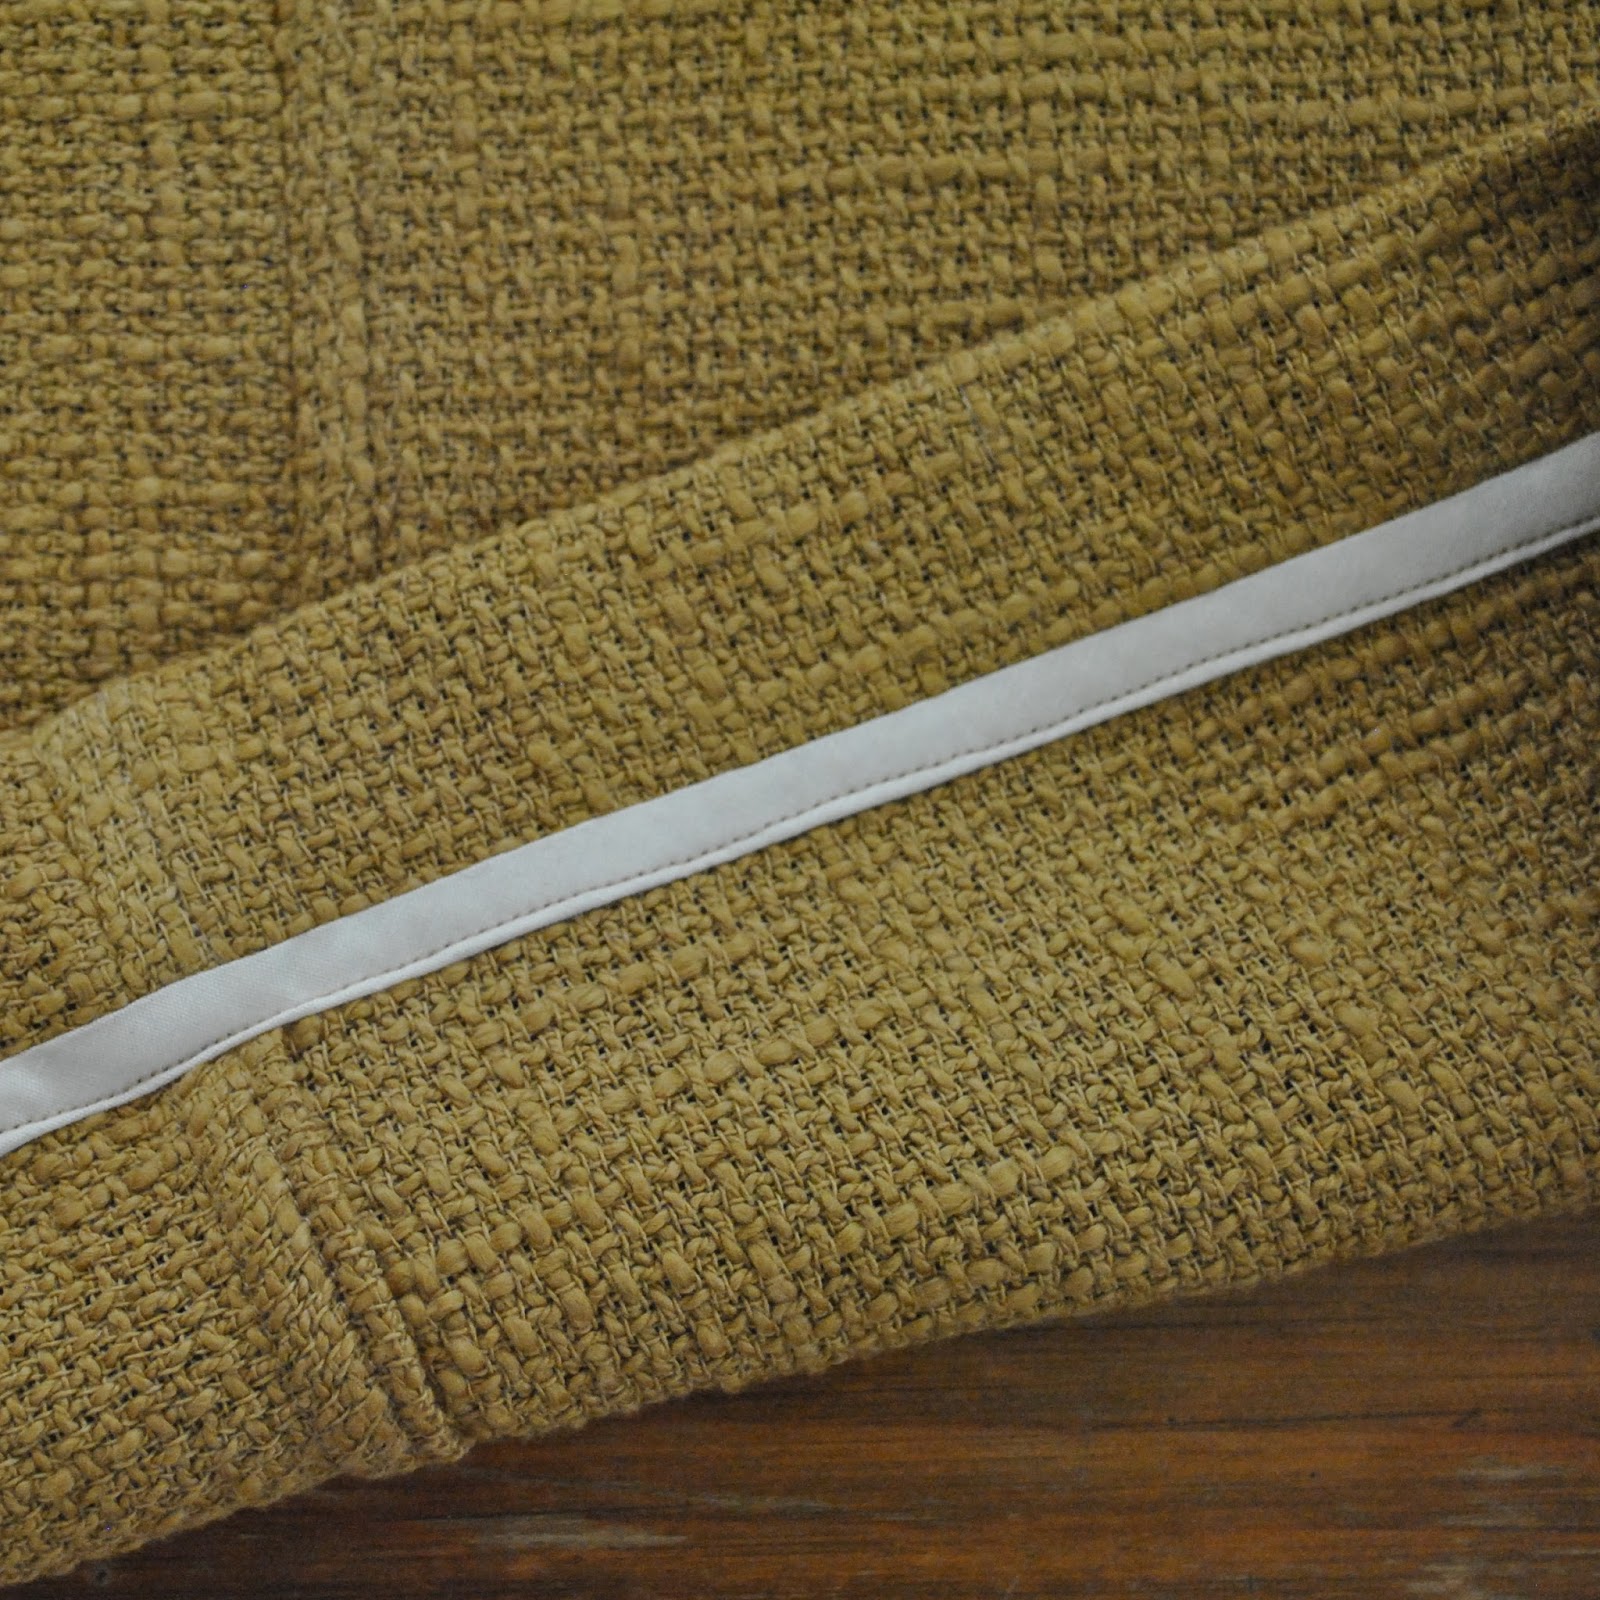
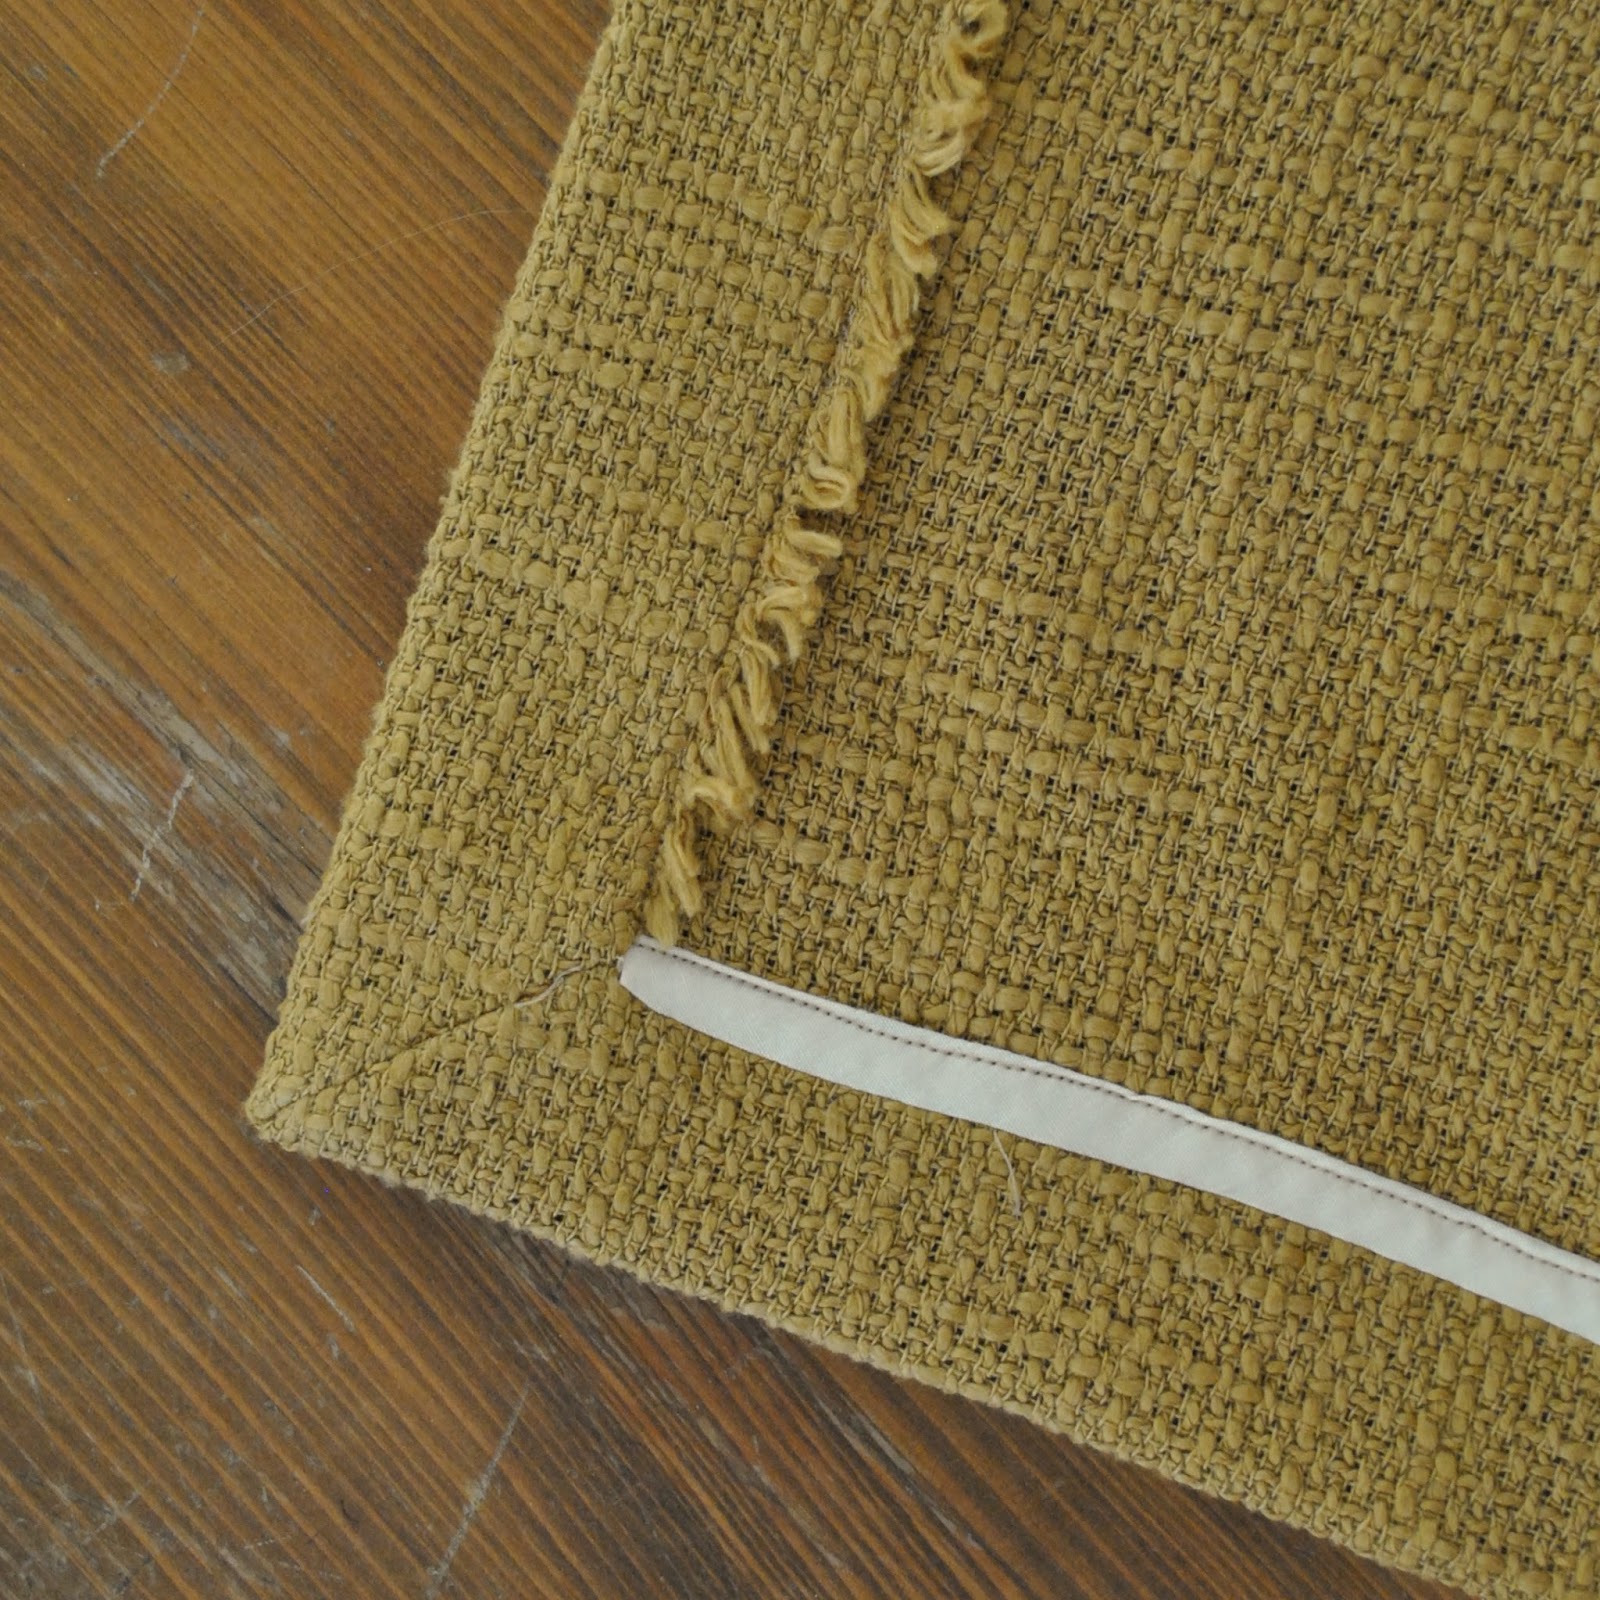
Pretty easy, once I got going on it! I added a shaped, interfaced facing, and hand-hemmed.
Done!
The one difficulty; inserting the zip centre back was a teeny bit angsty, because I discovered that the paintbrushes are printed just slightly slanty and off-grain… OF COURSE THEY ARE.
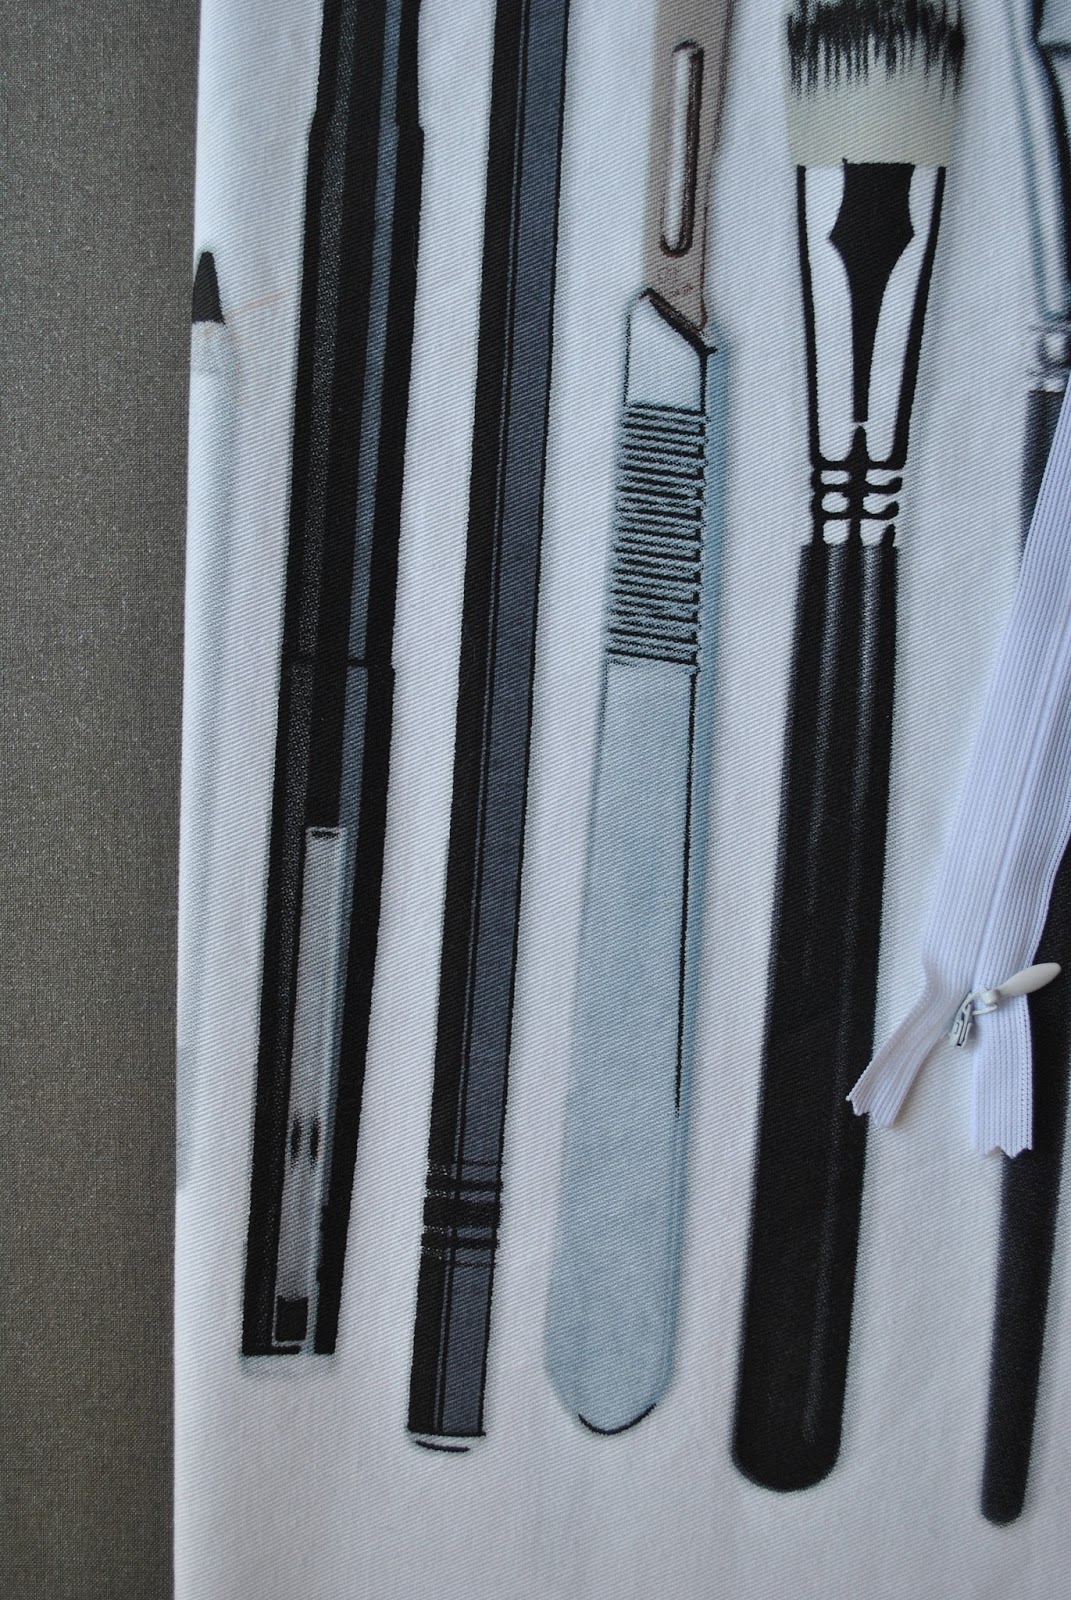
I chose that shortest pencil on the fold to be the “sacrificial” pencil through which to cut the centre back seam, and sewed the seam with as narrow seam allowances as practically possible and as close to the pencil/brush on either side as I could get. It passes right on each one, touching the very tippy top of the one at left and scraping the very bottom of the one at right. Phew!
Answer? Yaaas dahhling, we do most certainly Art.