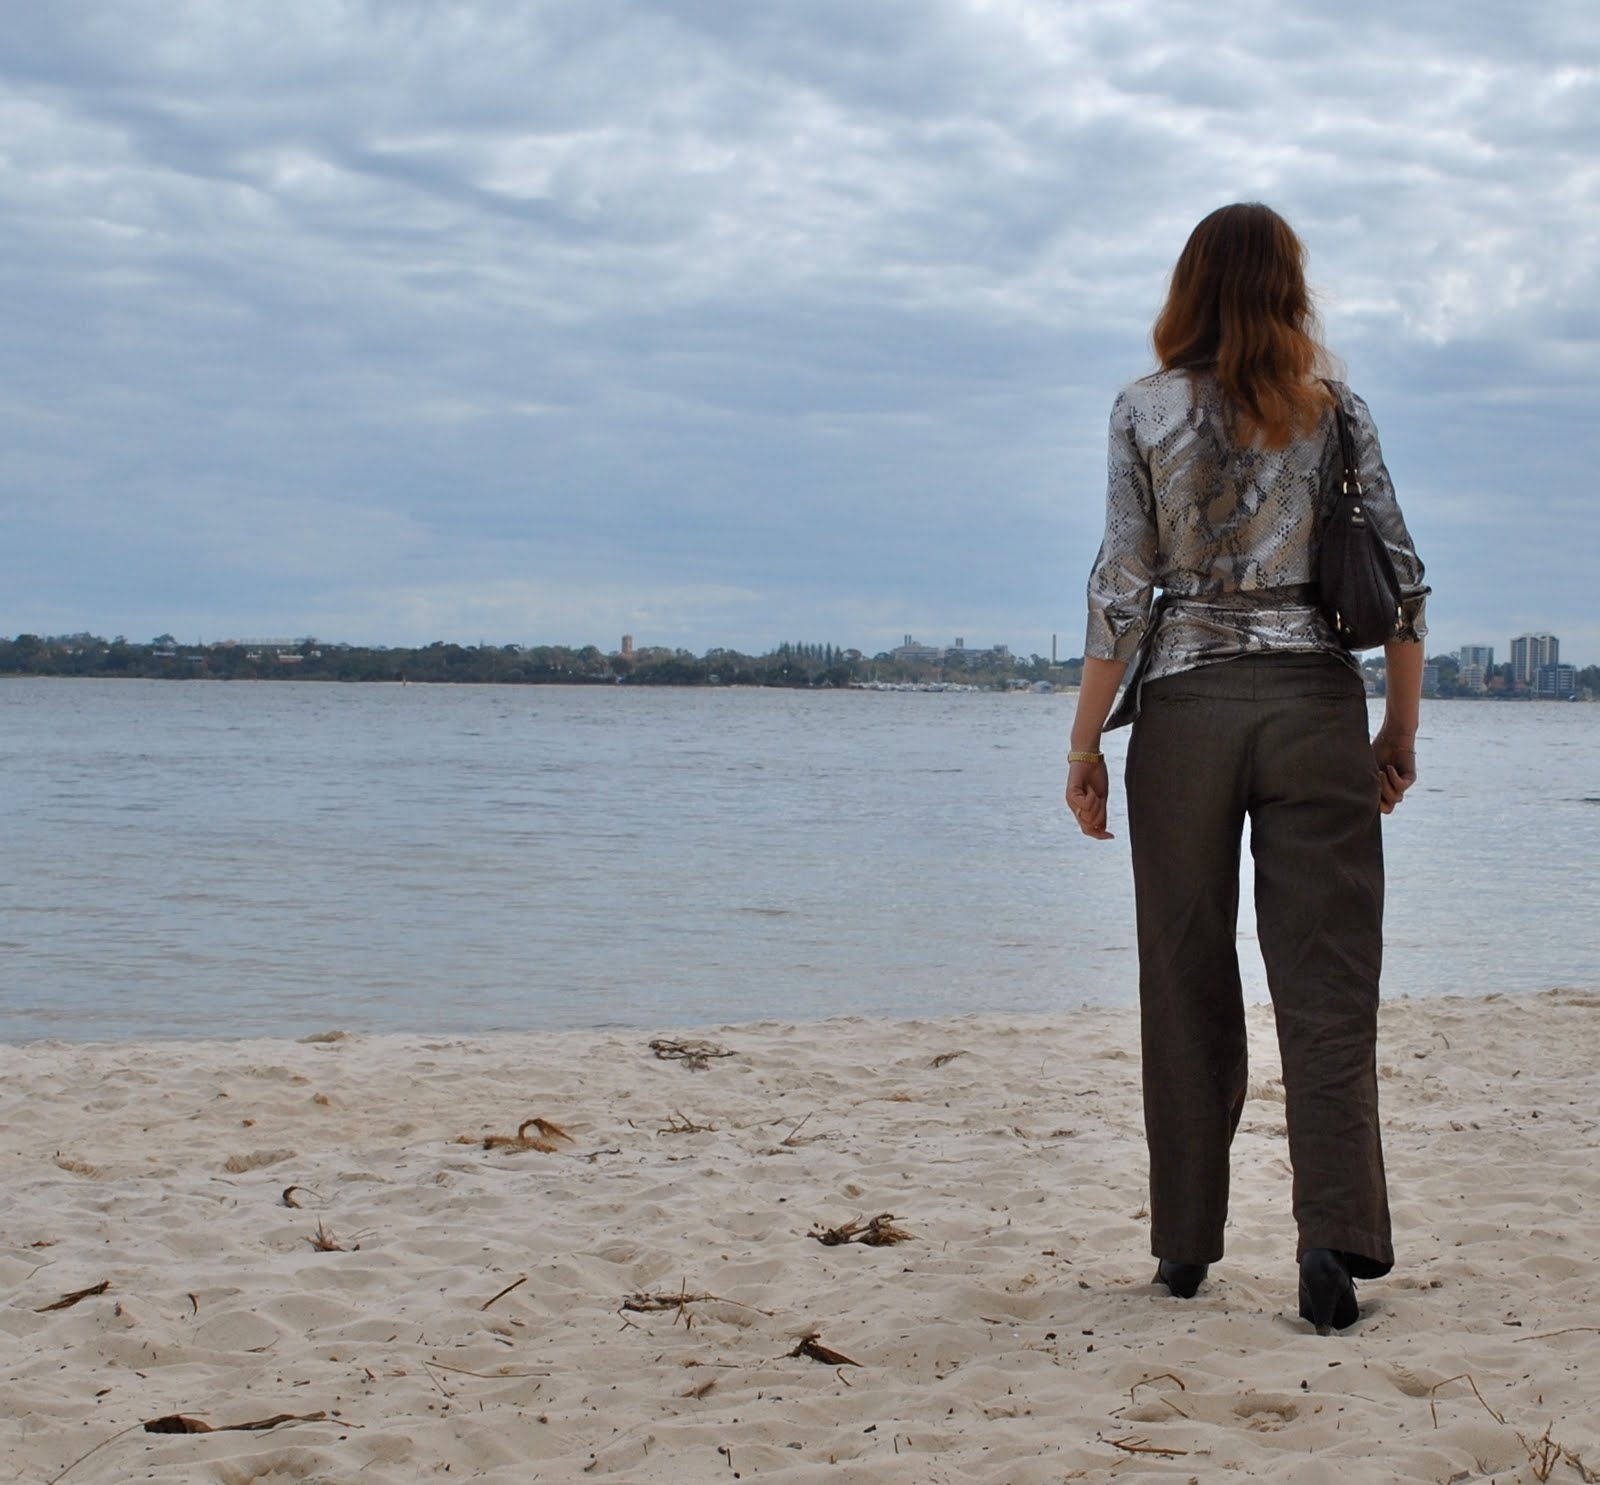
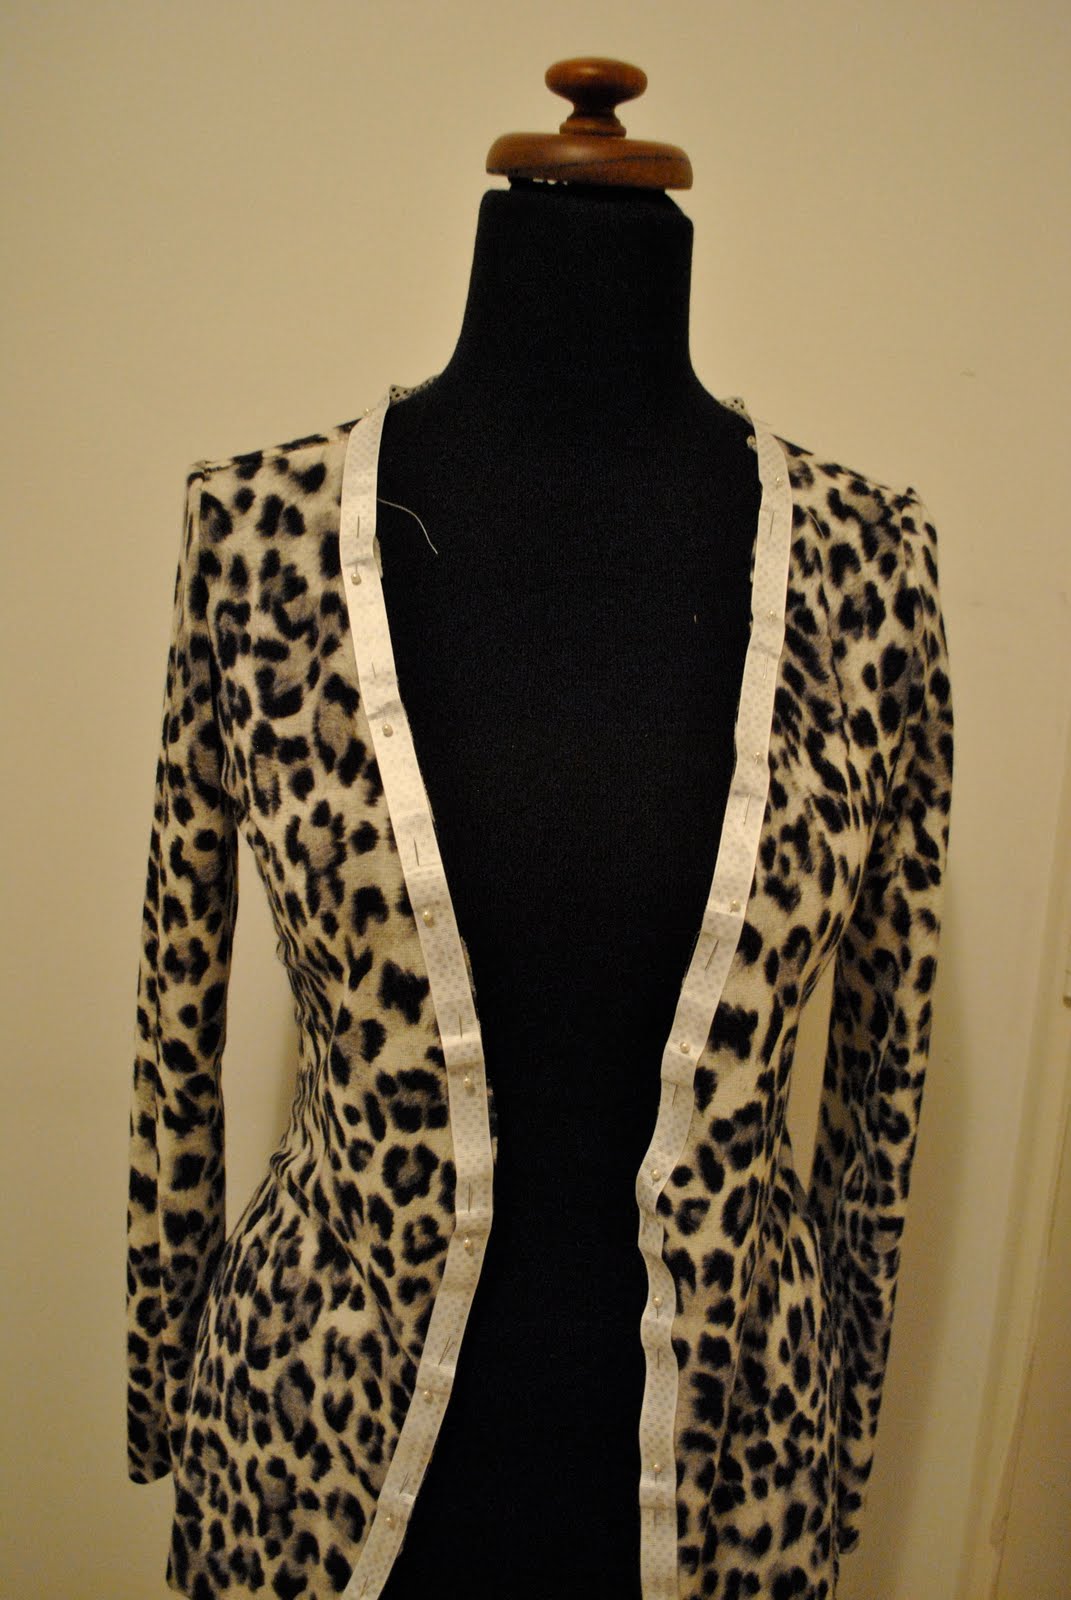
I’ve made a new dress for spring, but I’ve persuaded Bessie to model it for today… because I’ve started to think about Self-Stitched September coming up where I’ll be documenting my handmade daily outfits everyday (hope that’s not going to be too boring) and no doubt I’ll be wearing it one of those days and will take a snap of myself then. I’ve decided to challenge myself to wear totally handmade, save for tights and shoes… and to never double-up. It will be a challenge, so I’ll see how I go. May have to pop on a store-bought top or T-shirt getting to the end of it, but I’ll try not to…
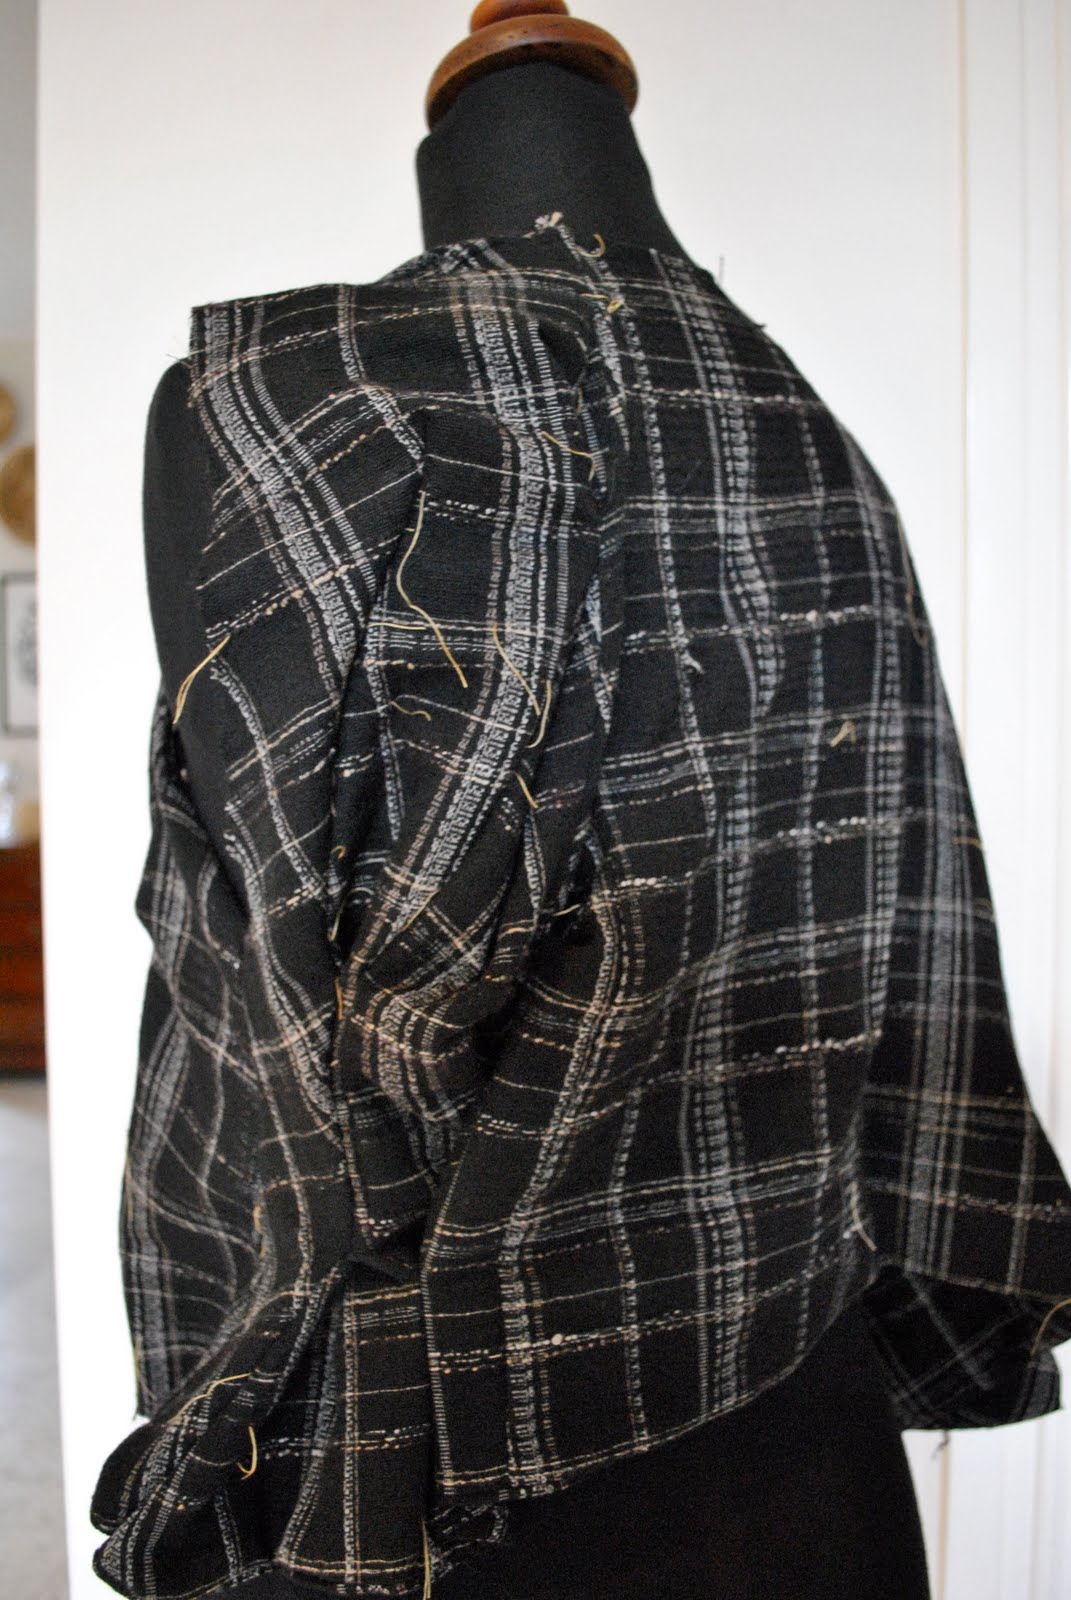
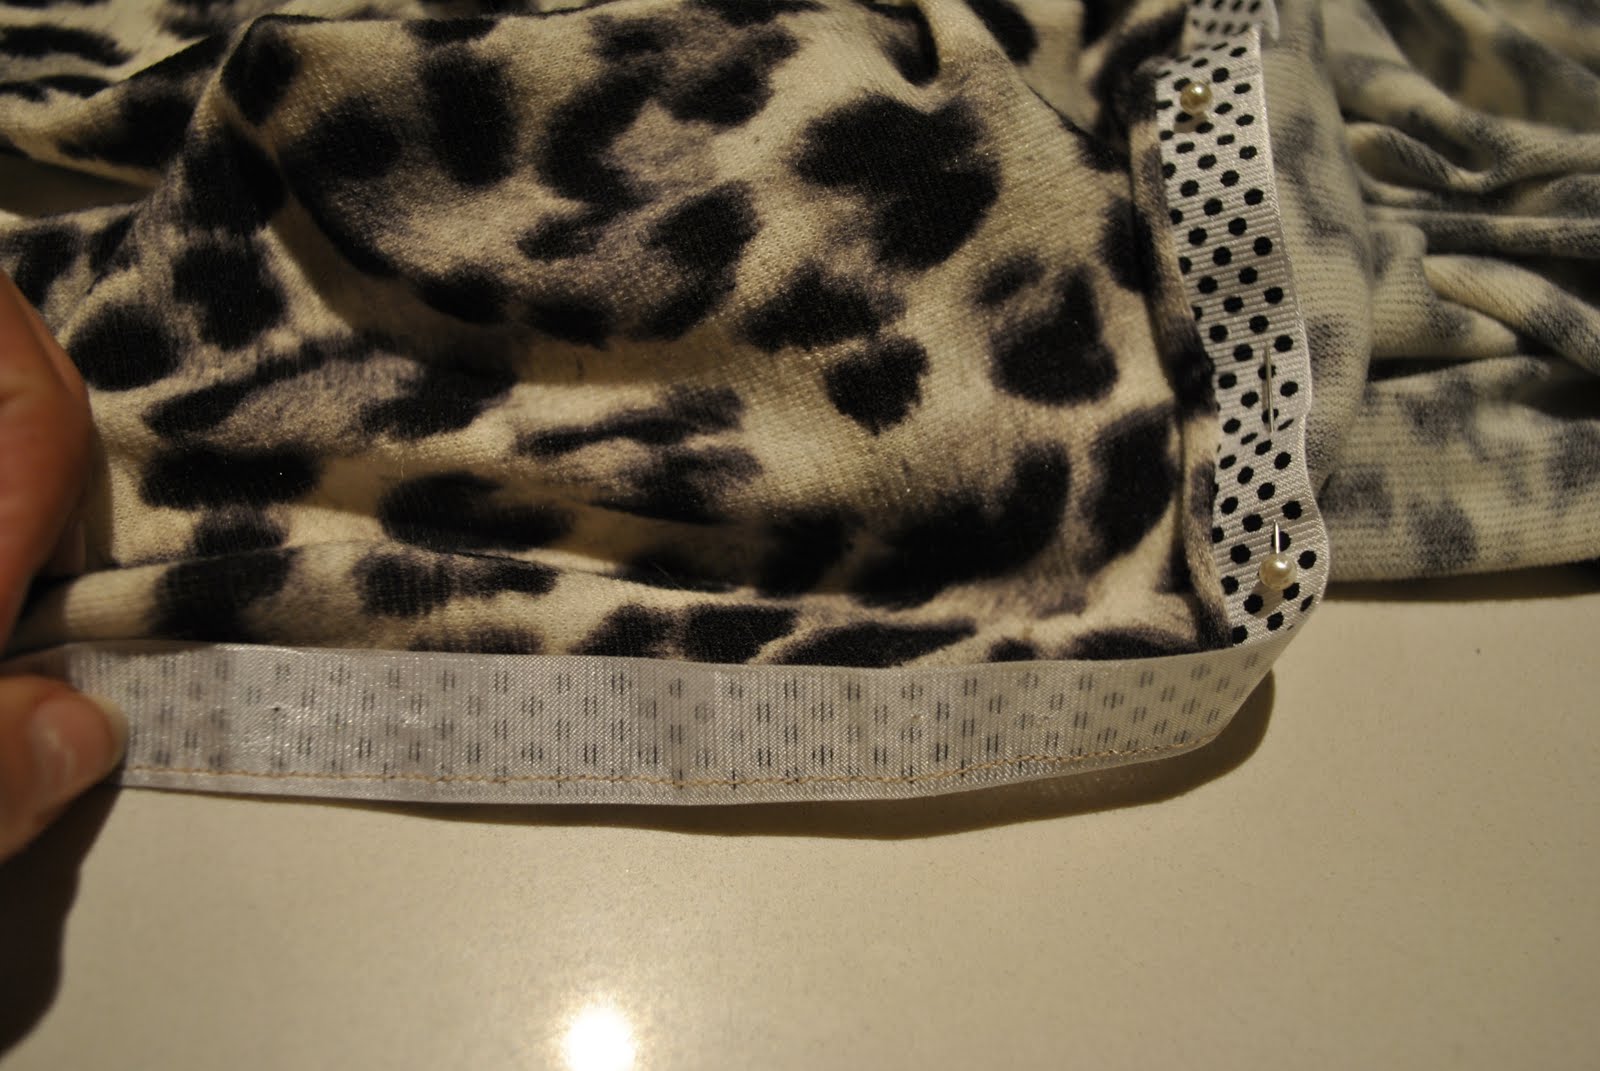
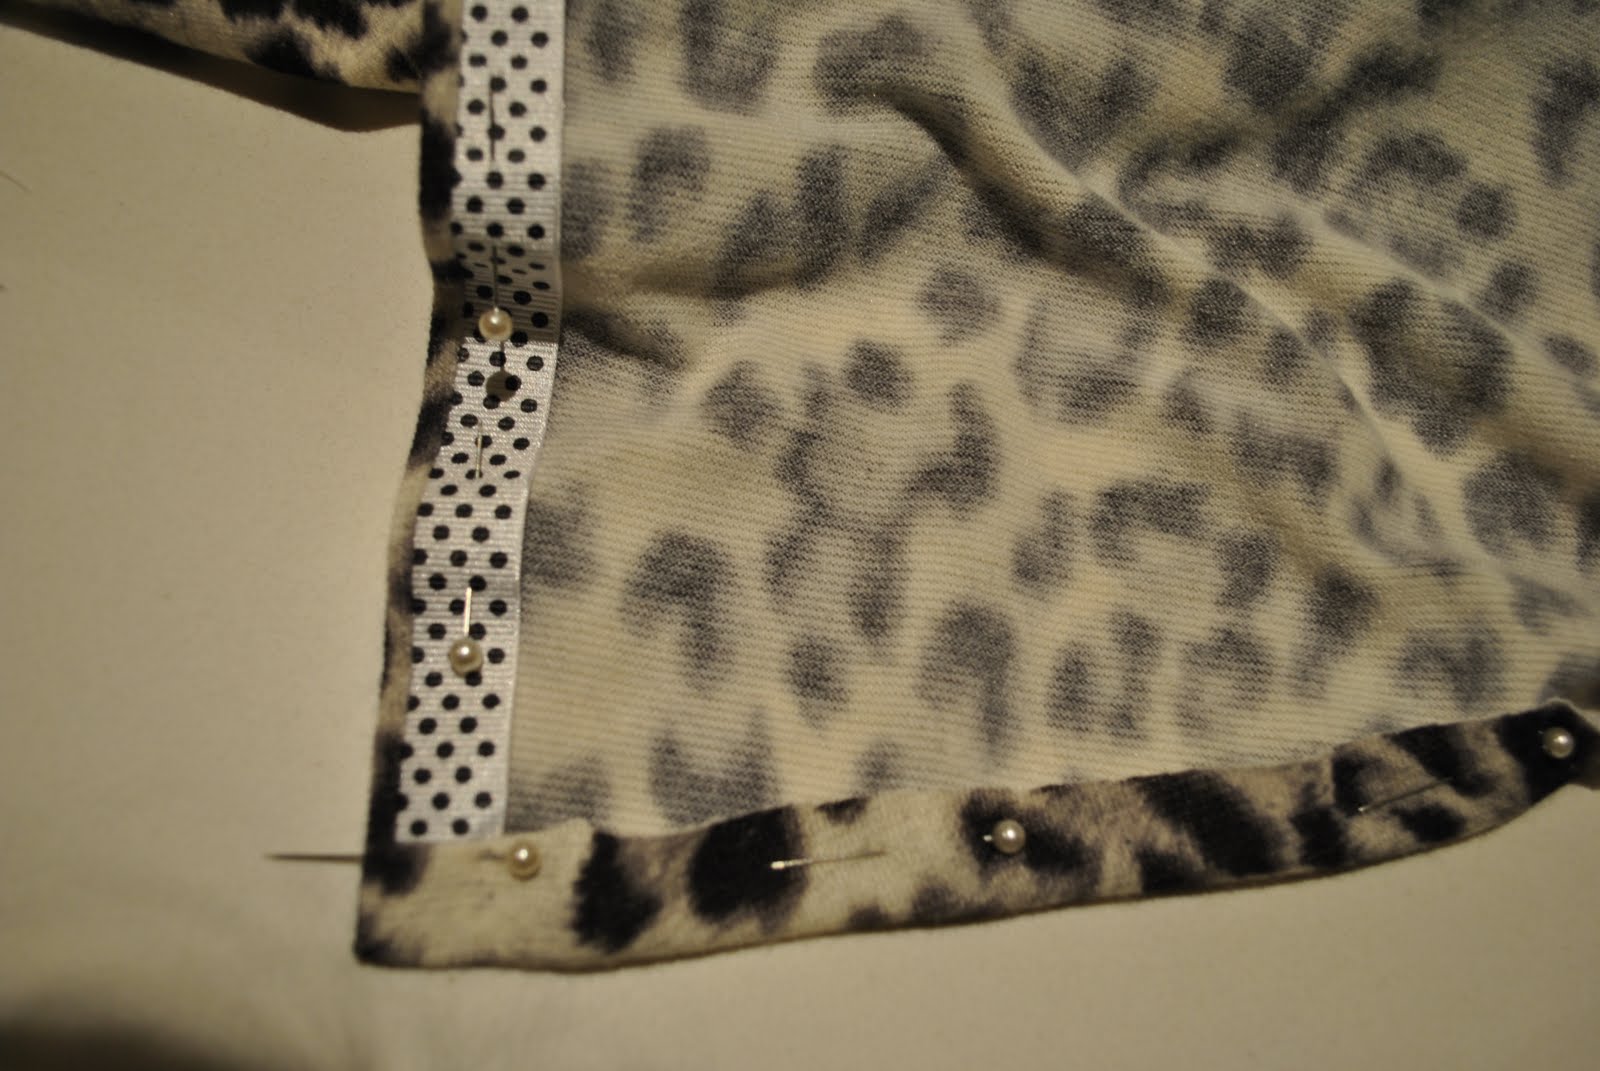
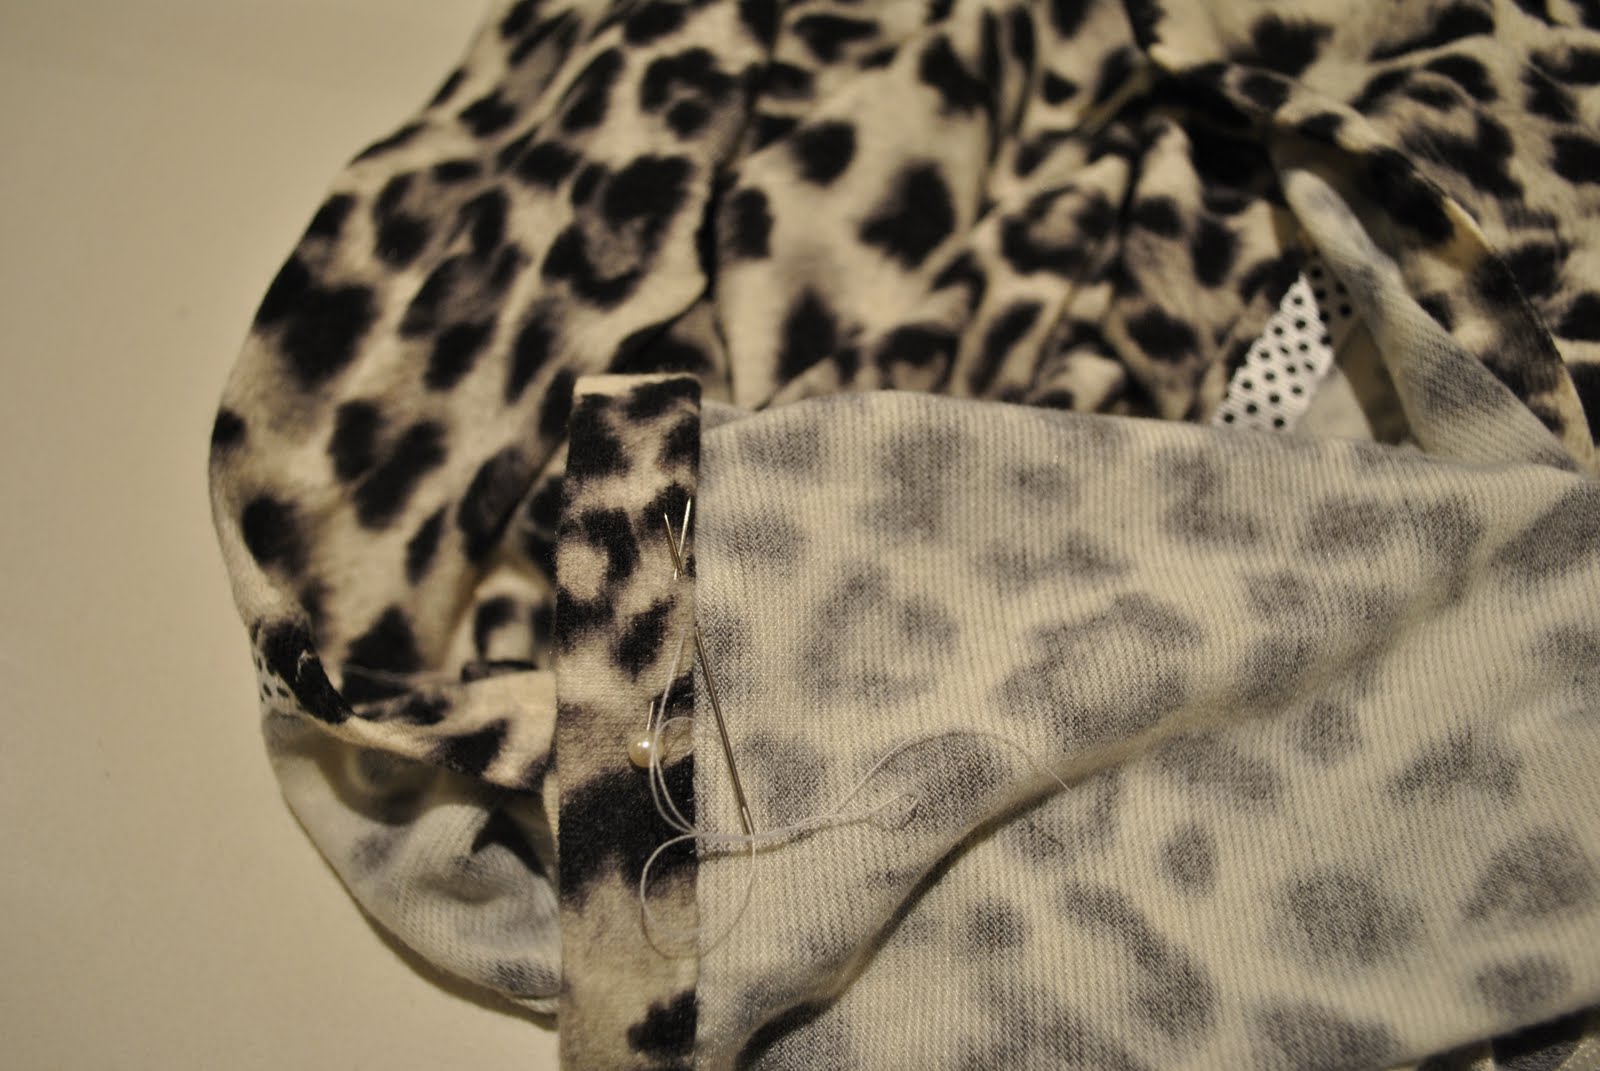
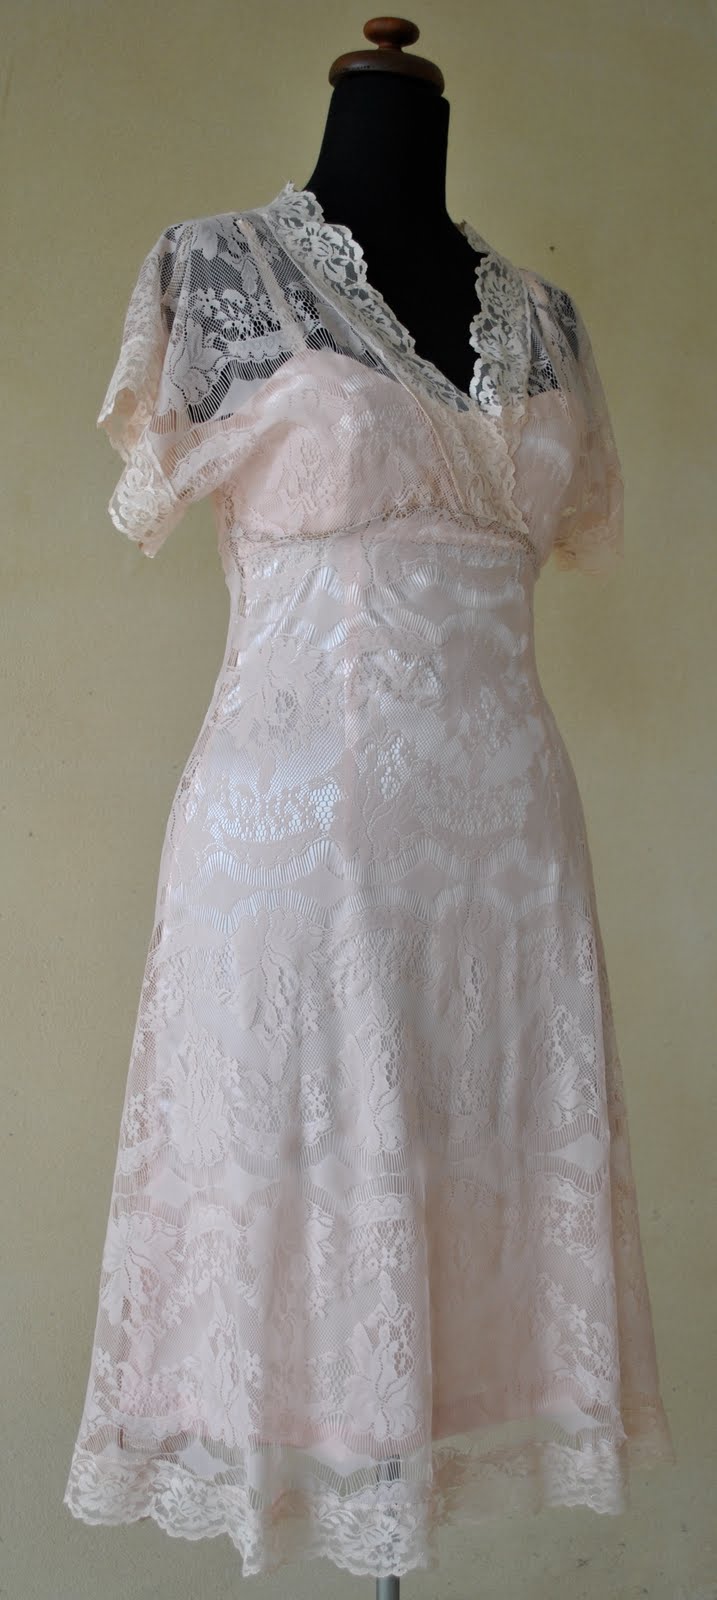
I bought this pink lace back in the Fabulous Fabrics sale last December and finally got around to sewing the dress I first envisioned back then… the first hurdle was of course that the fabric is completely see through, so a slip was an obvious mandatory requirement. For some strange mental reason, I determined to finish this slip to moderately high standards, yes, even though it’s a slip. I get these funny urges sometimes, maybe it’s because of reading other peoples’ blogs about applying immaculate finishes that is spurring me on… I’m not always this patient because sometimes you just want to get the thing done, no?
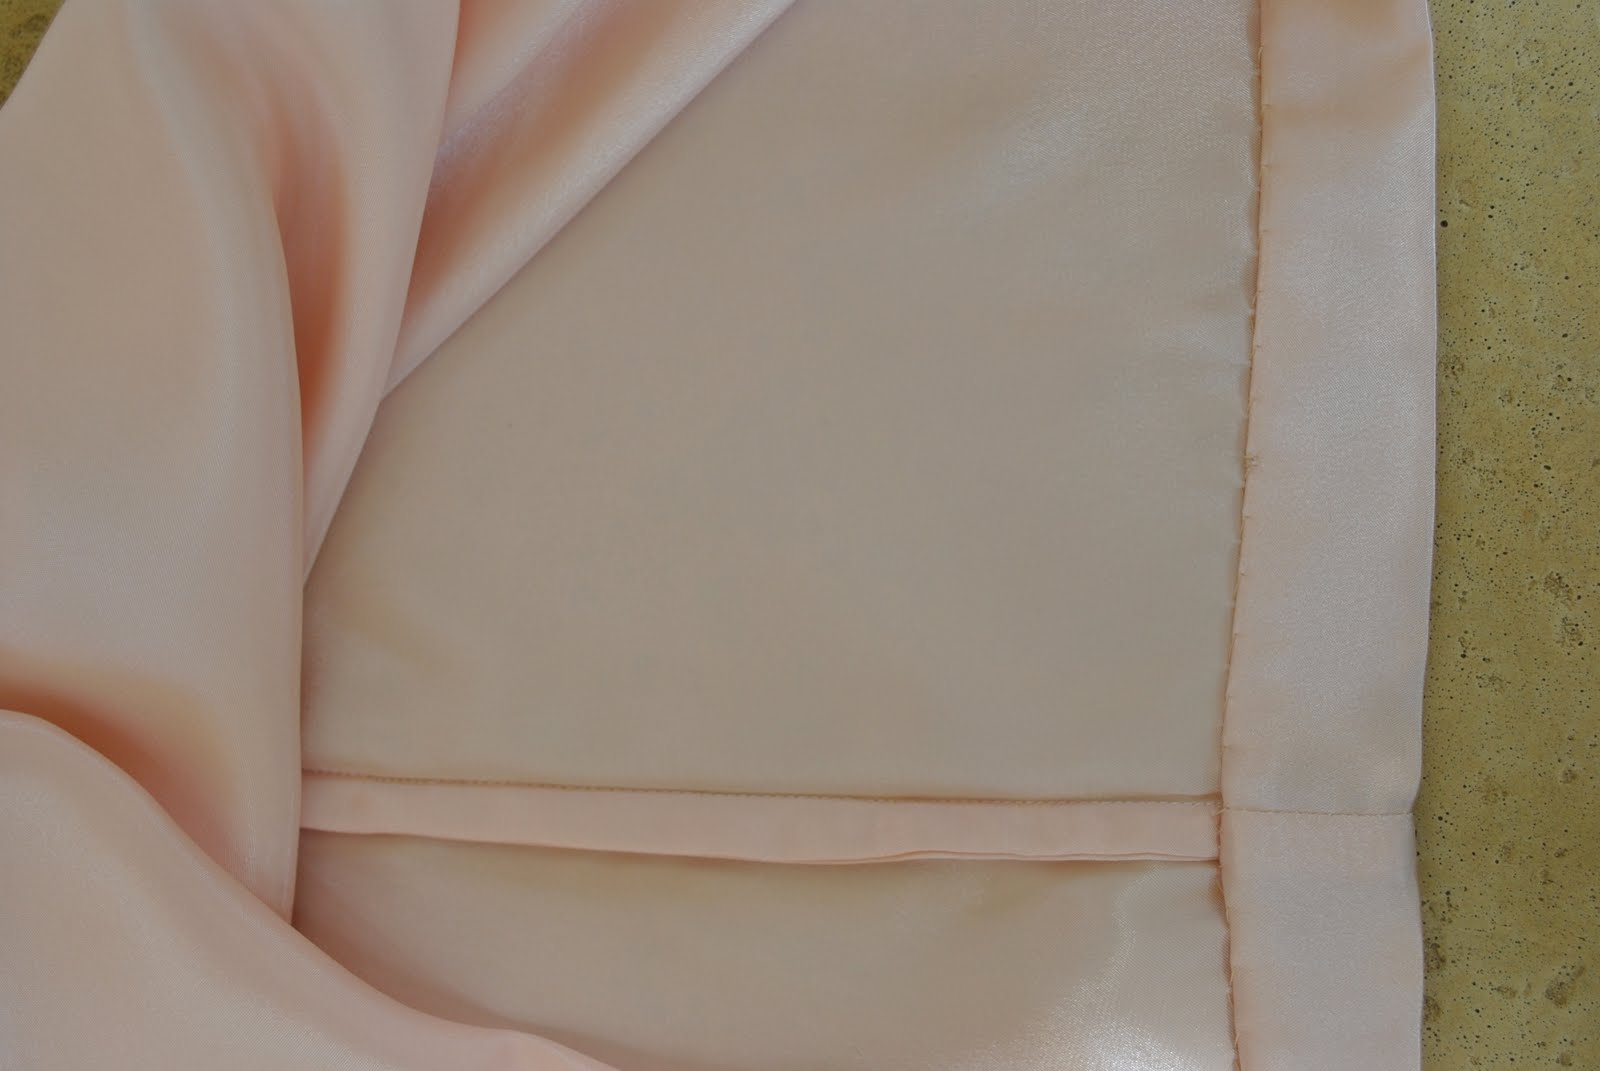
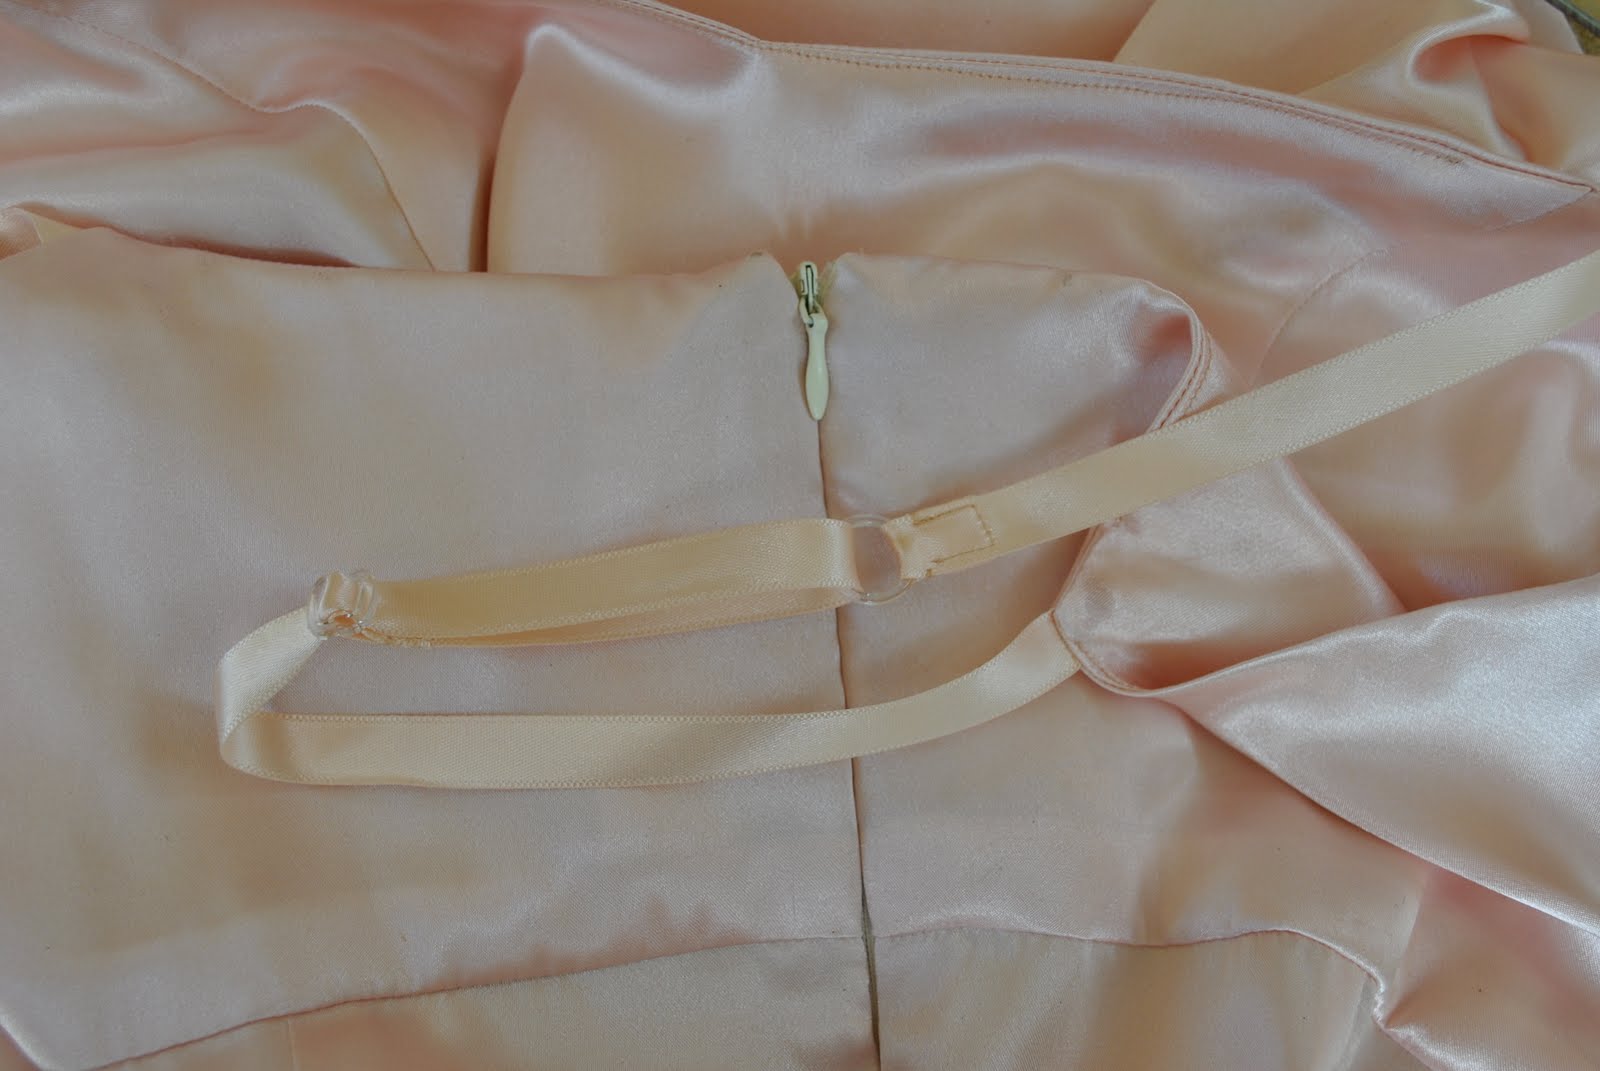
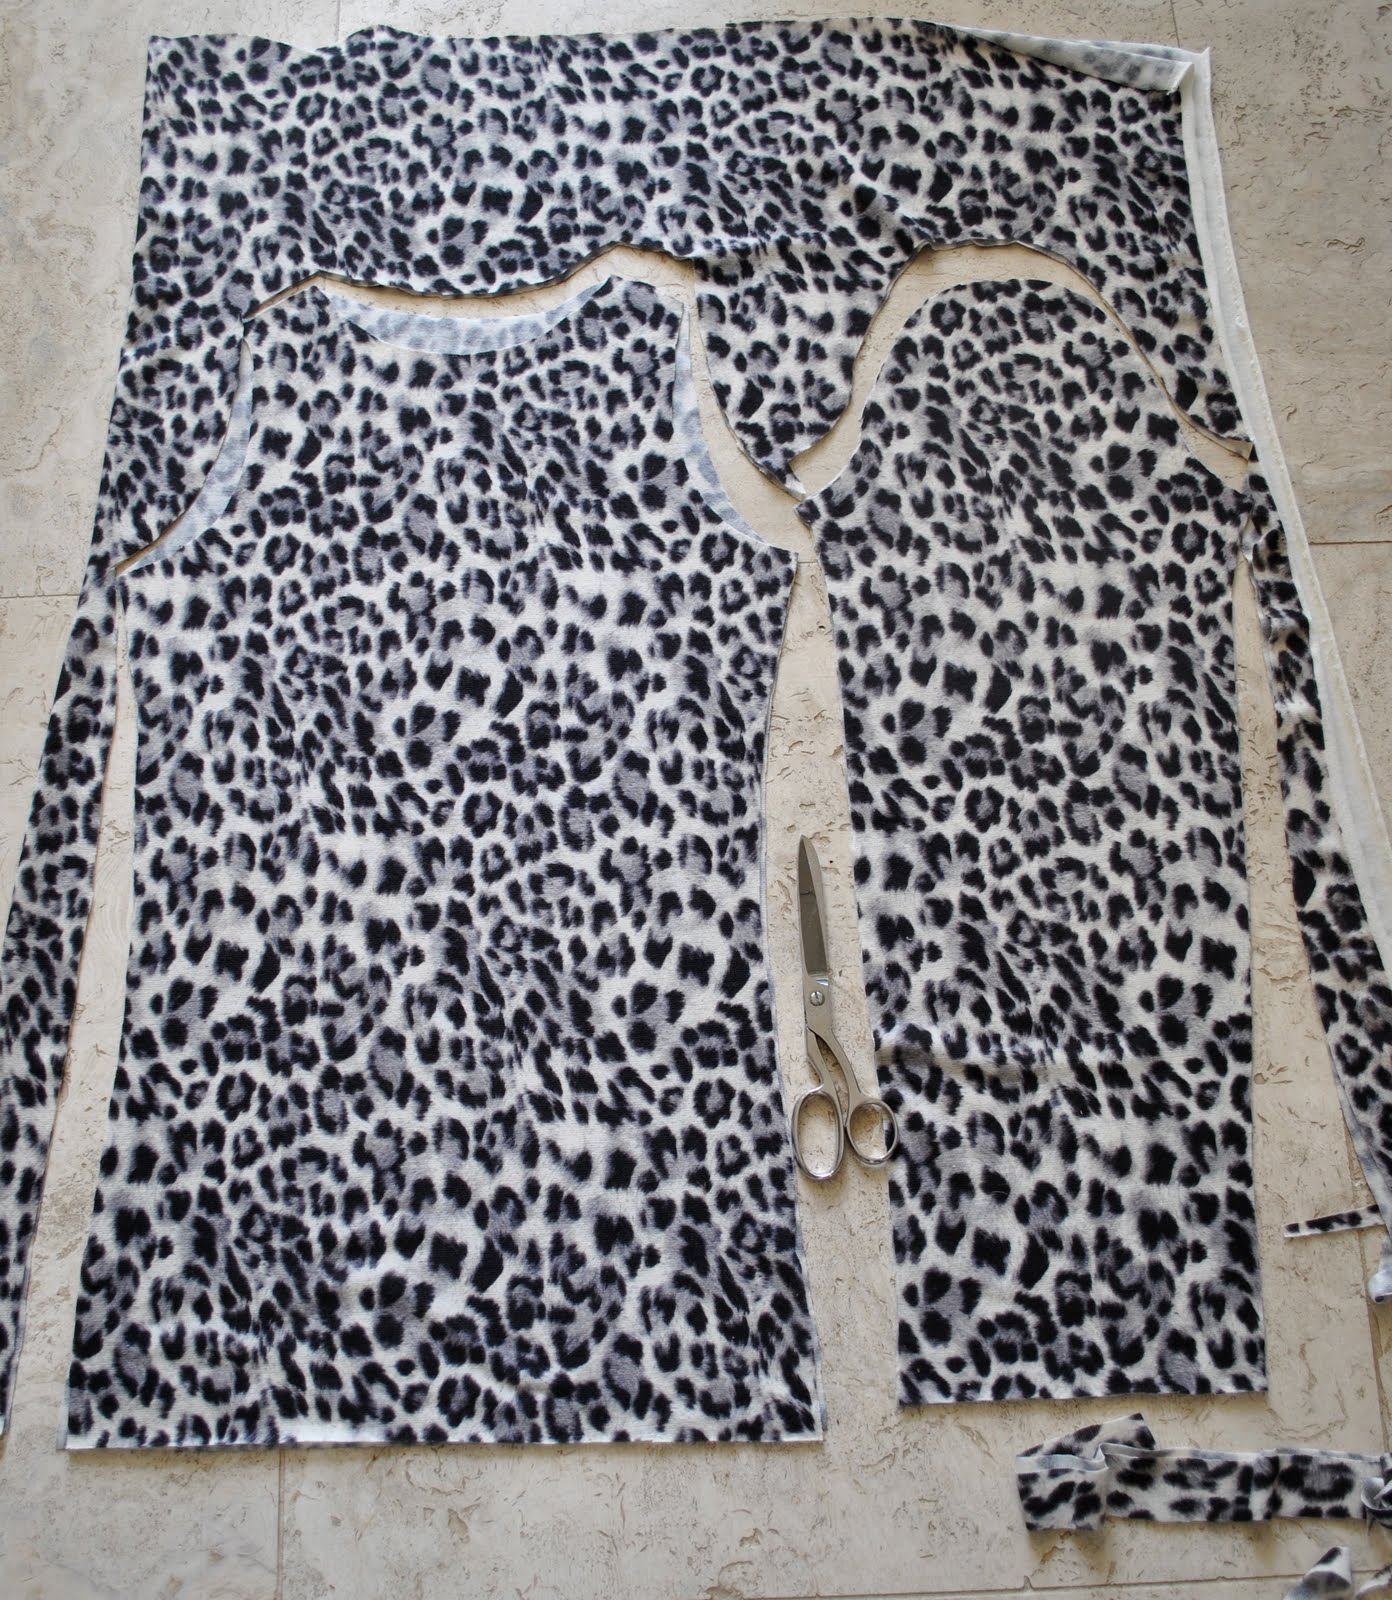
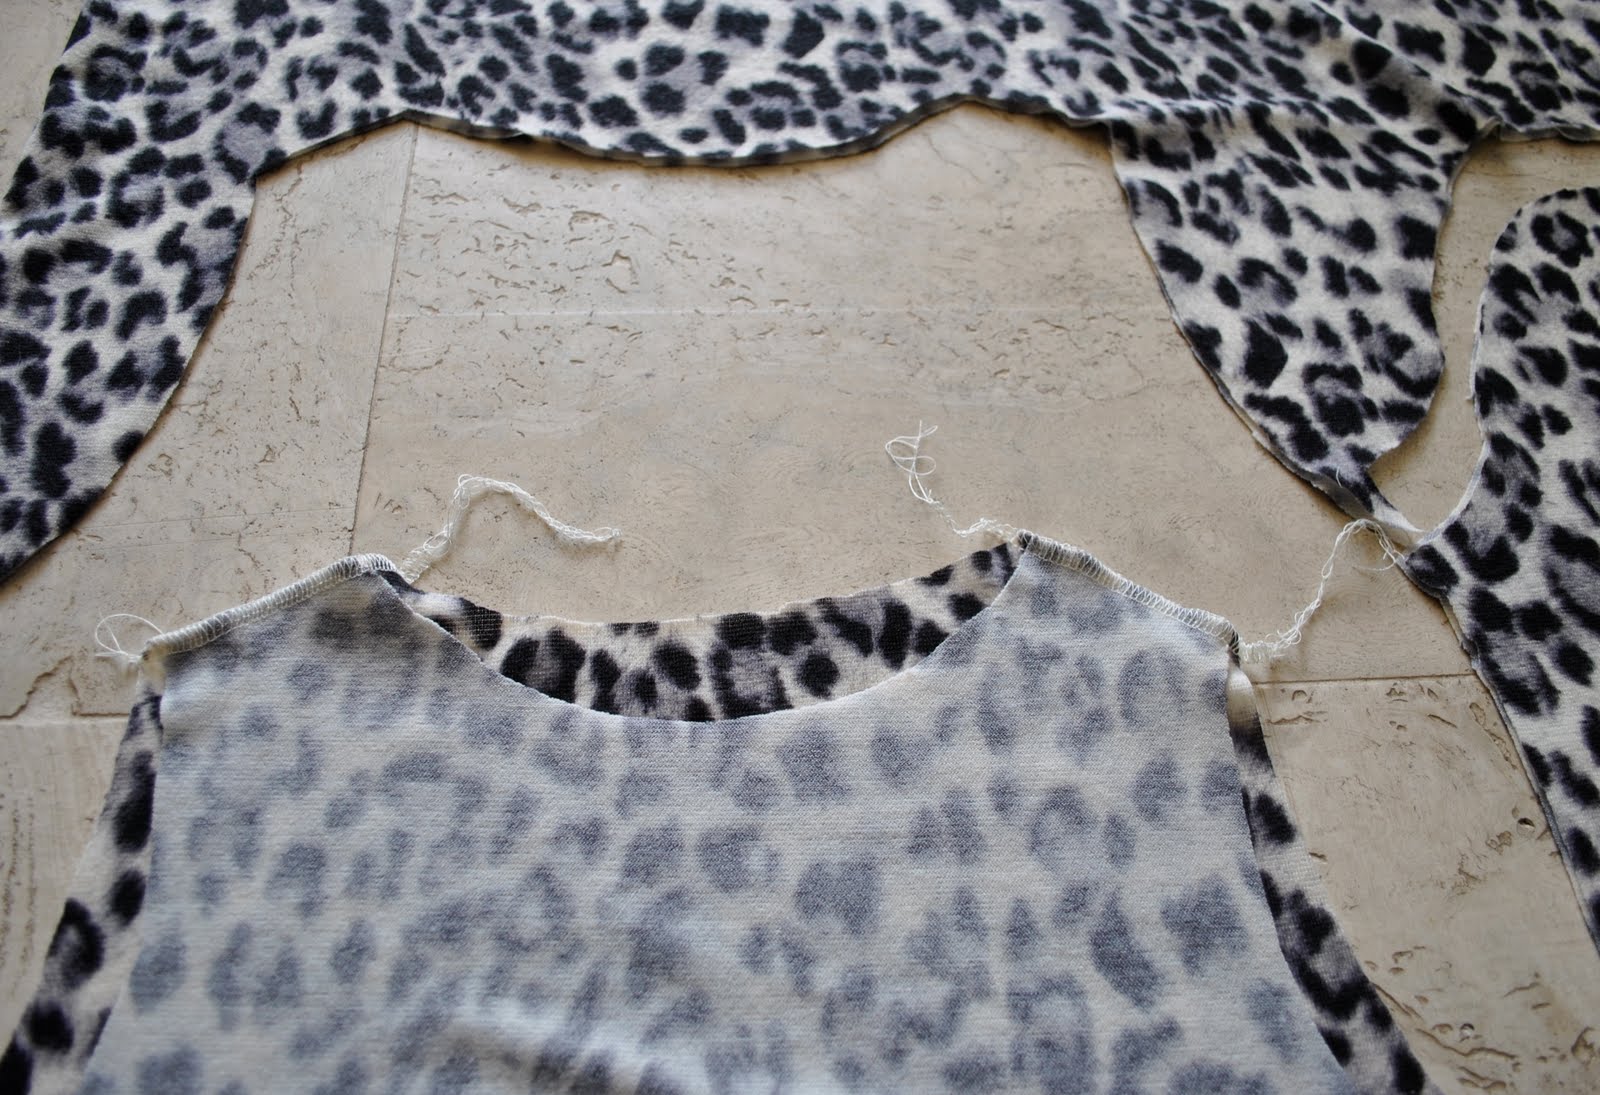
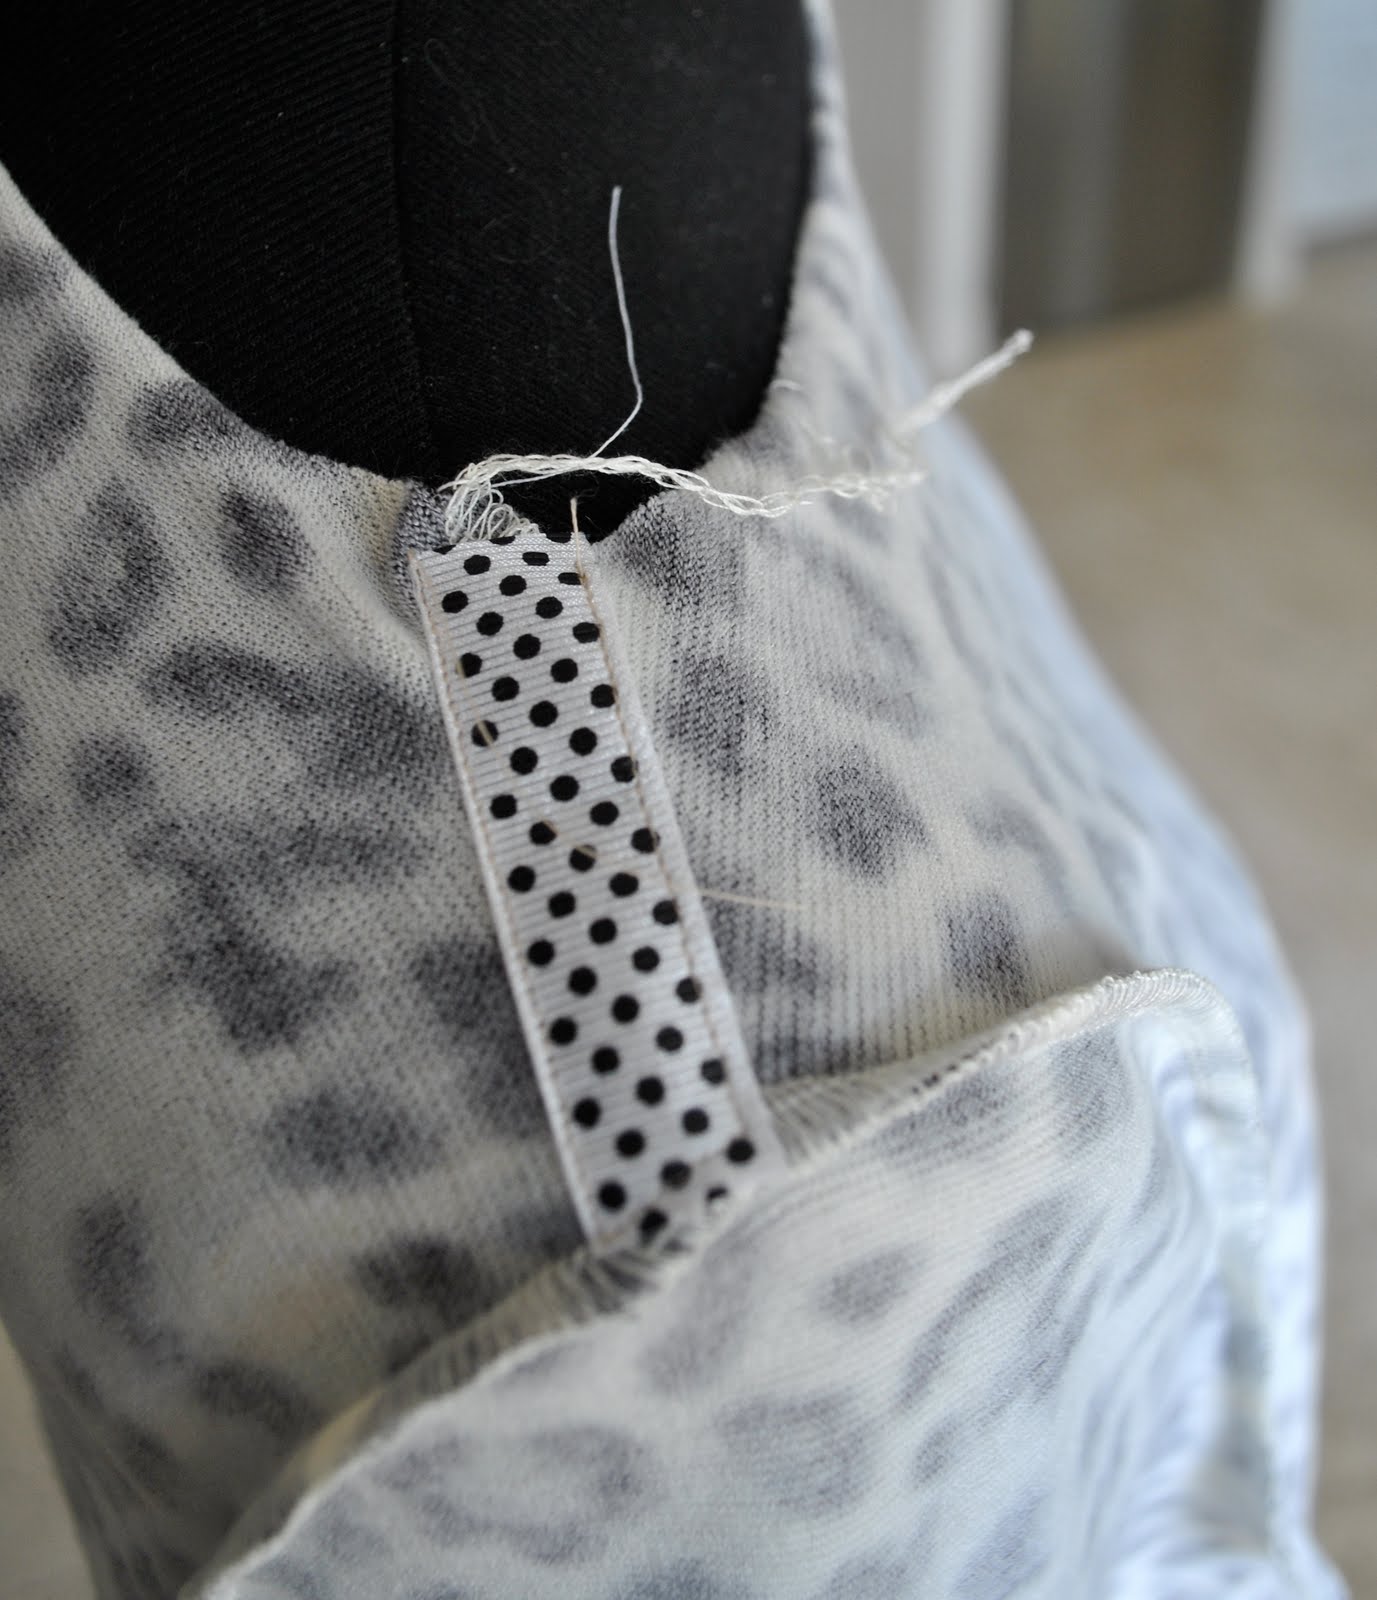
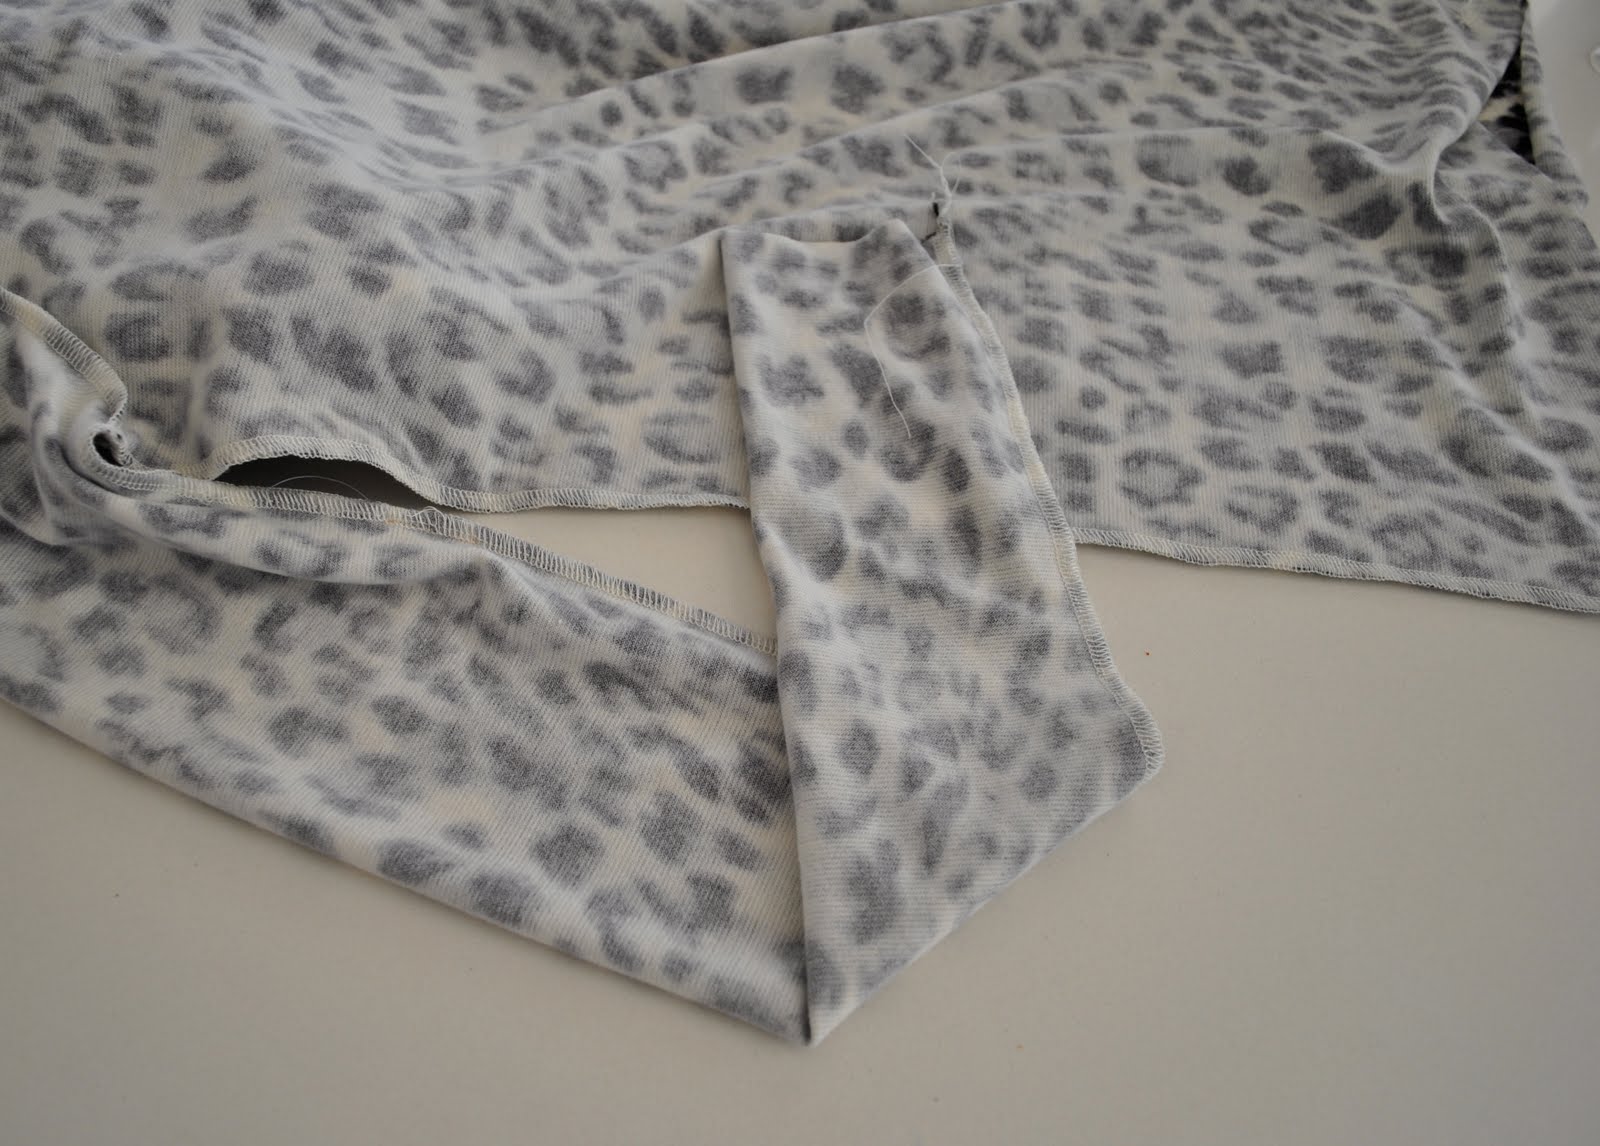
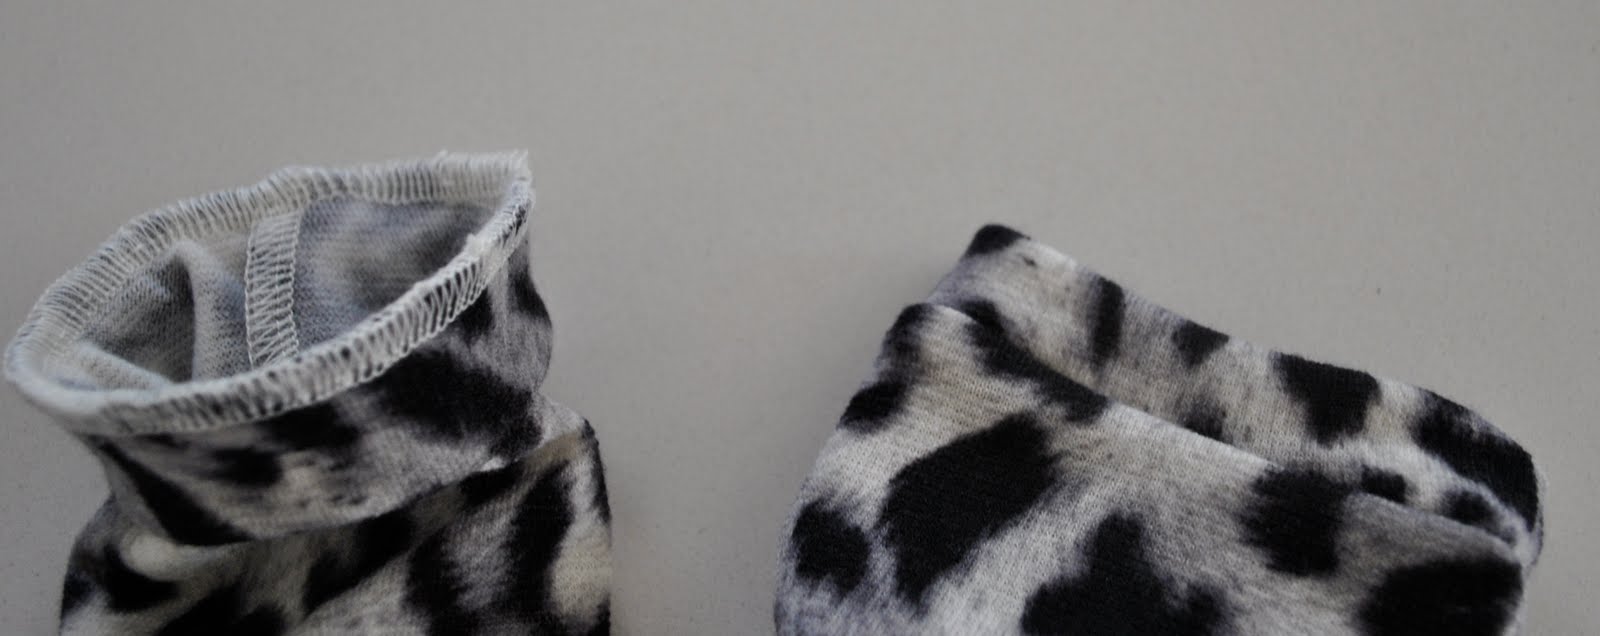
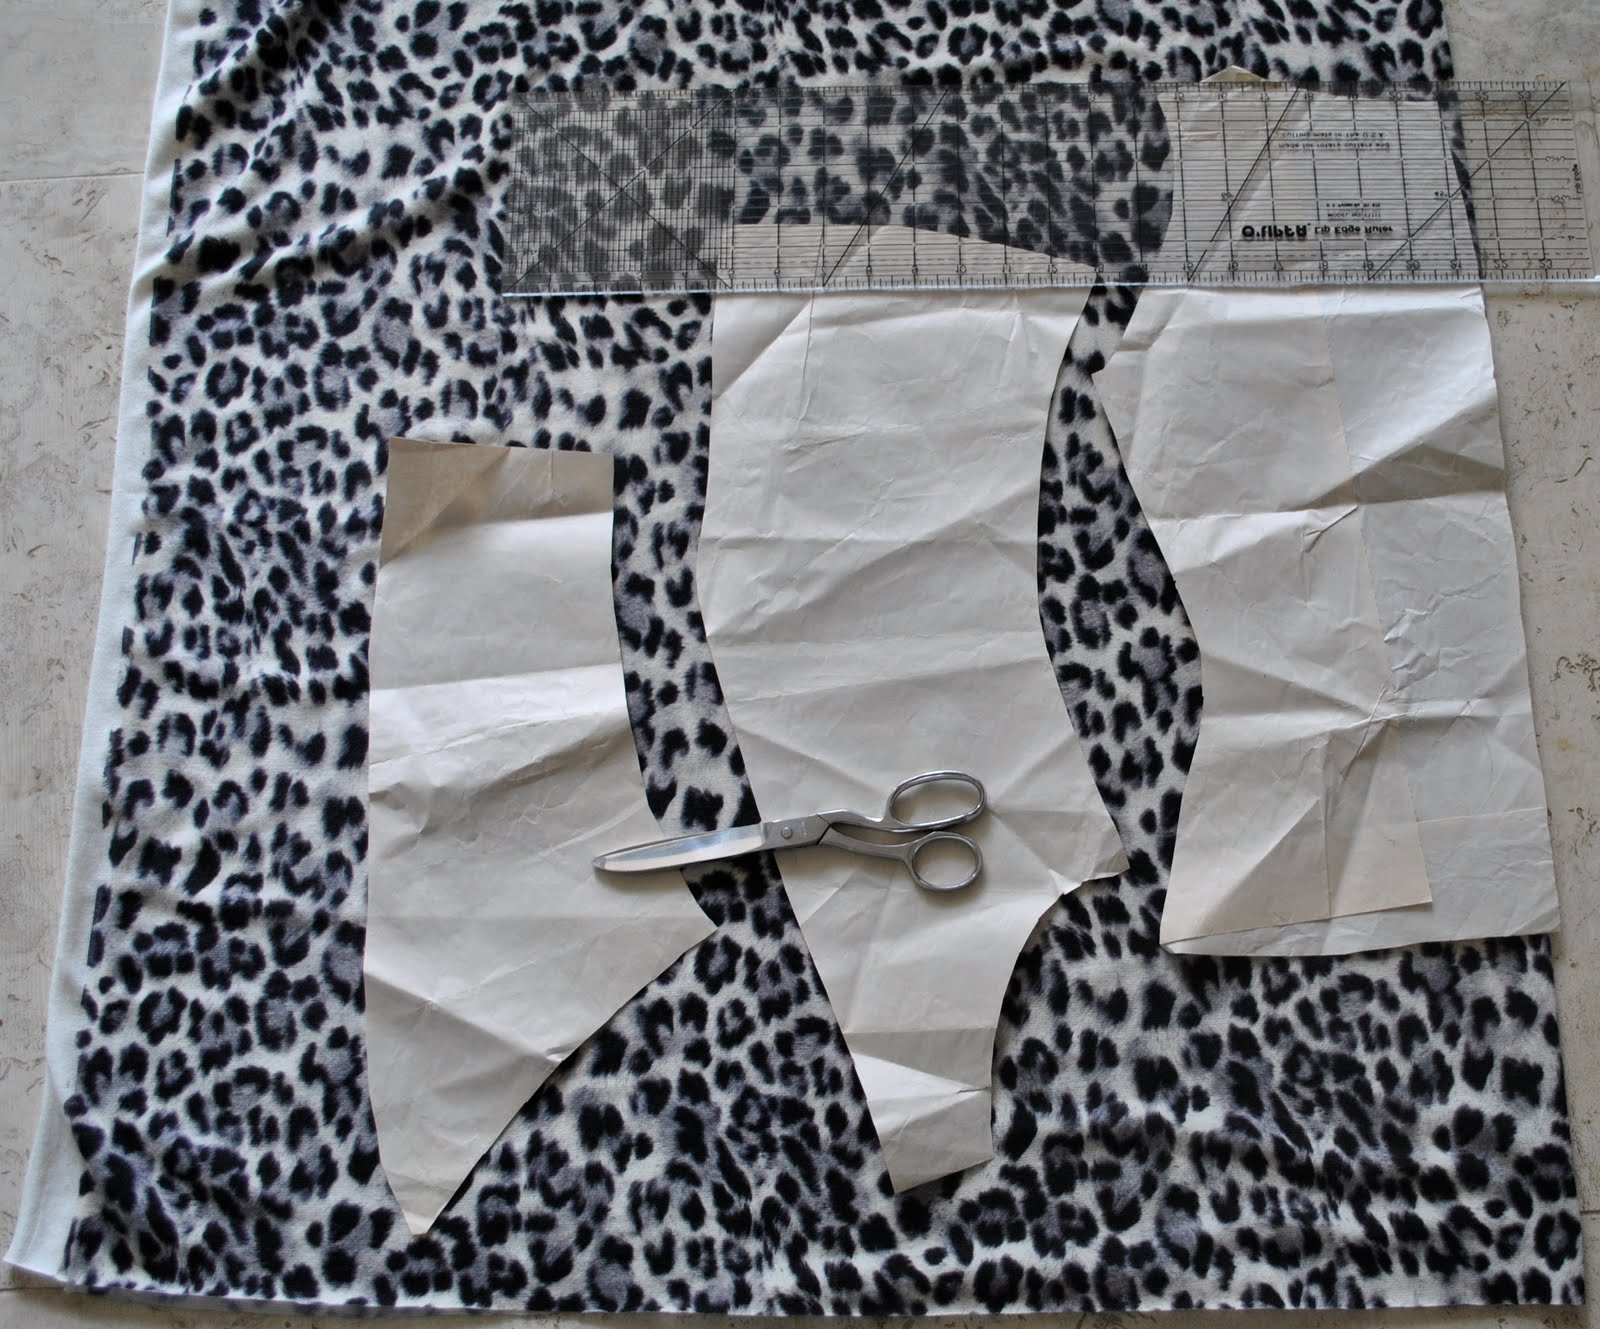
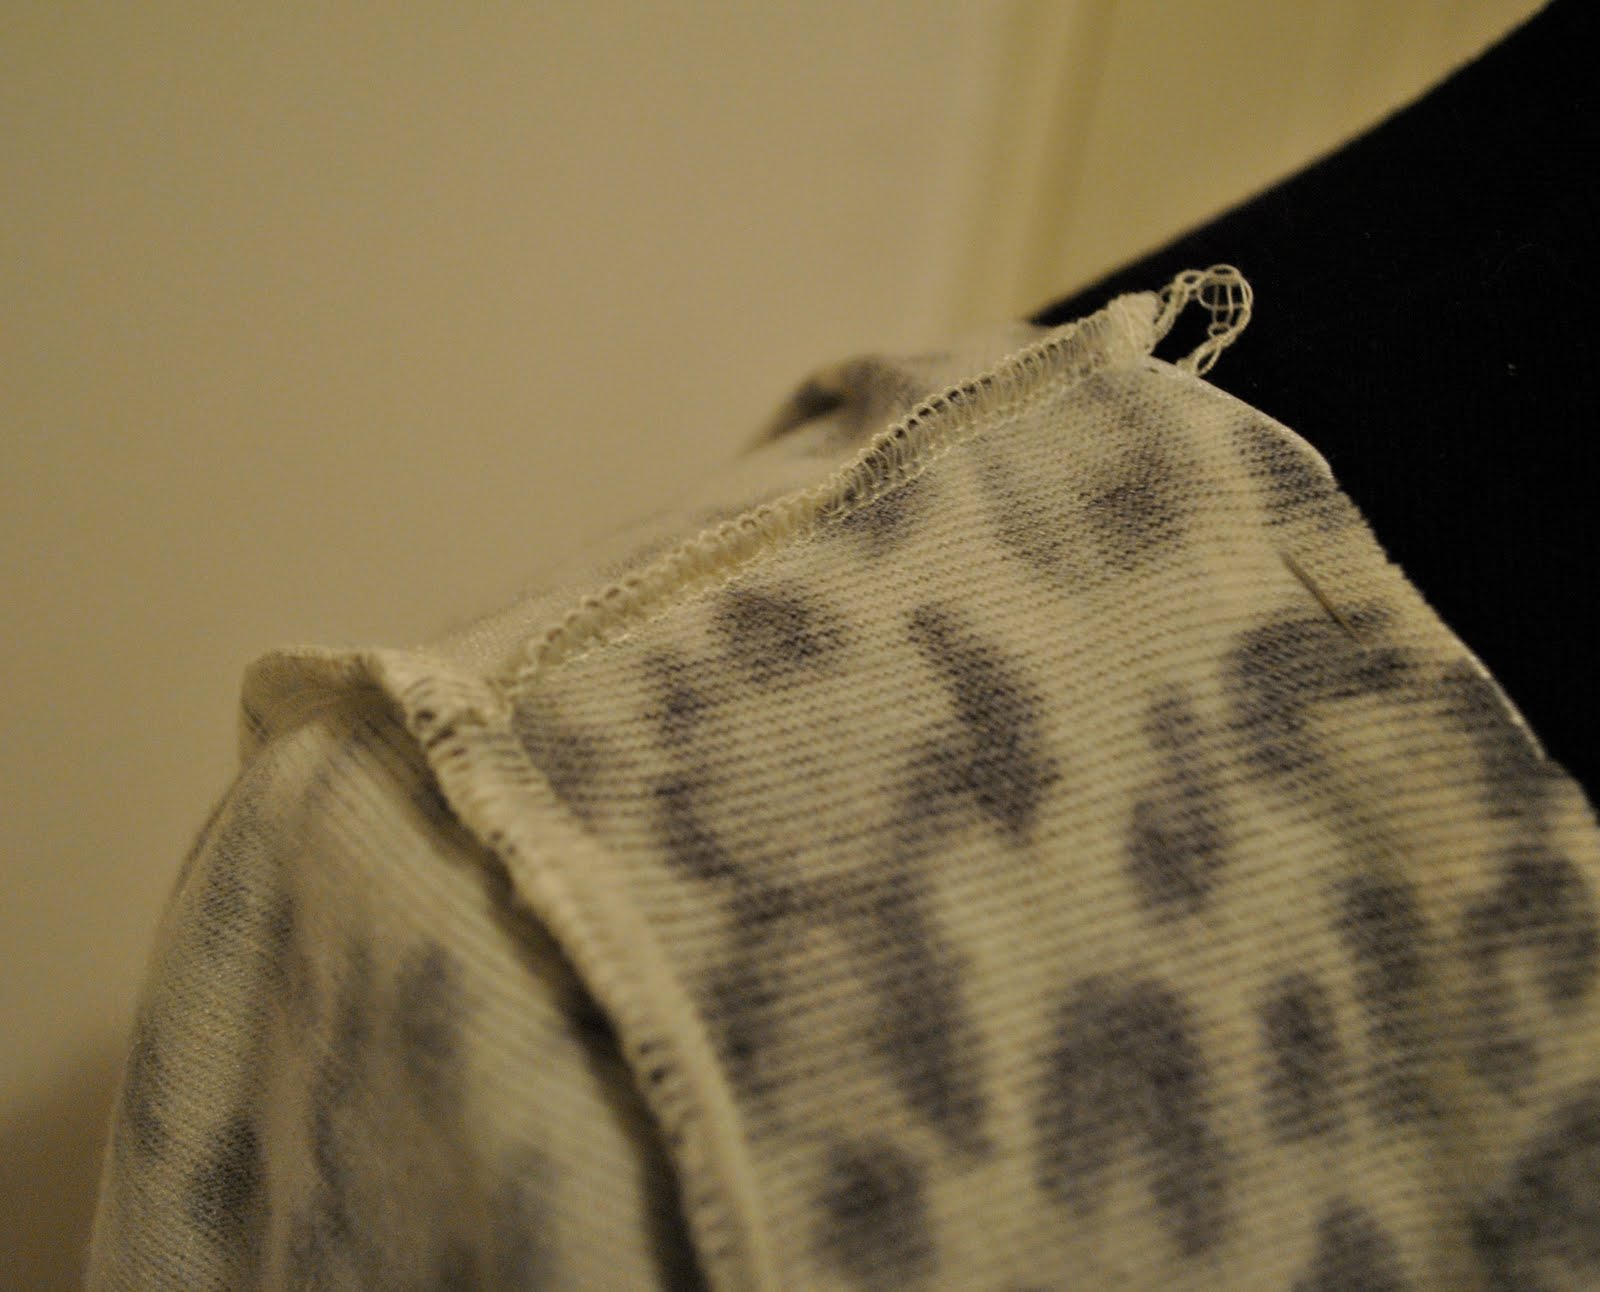
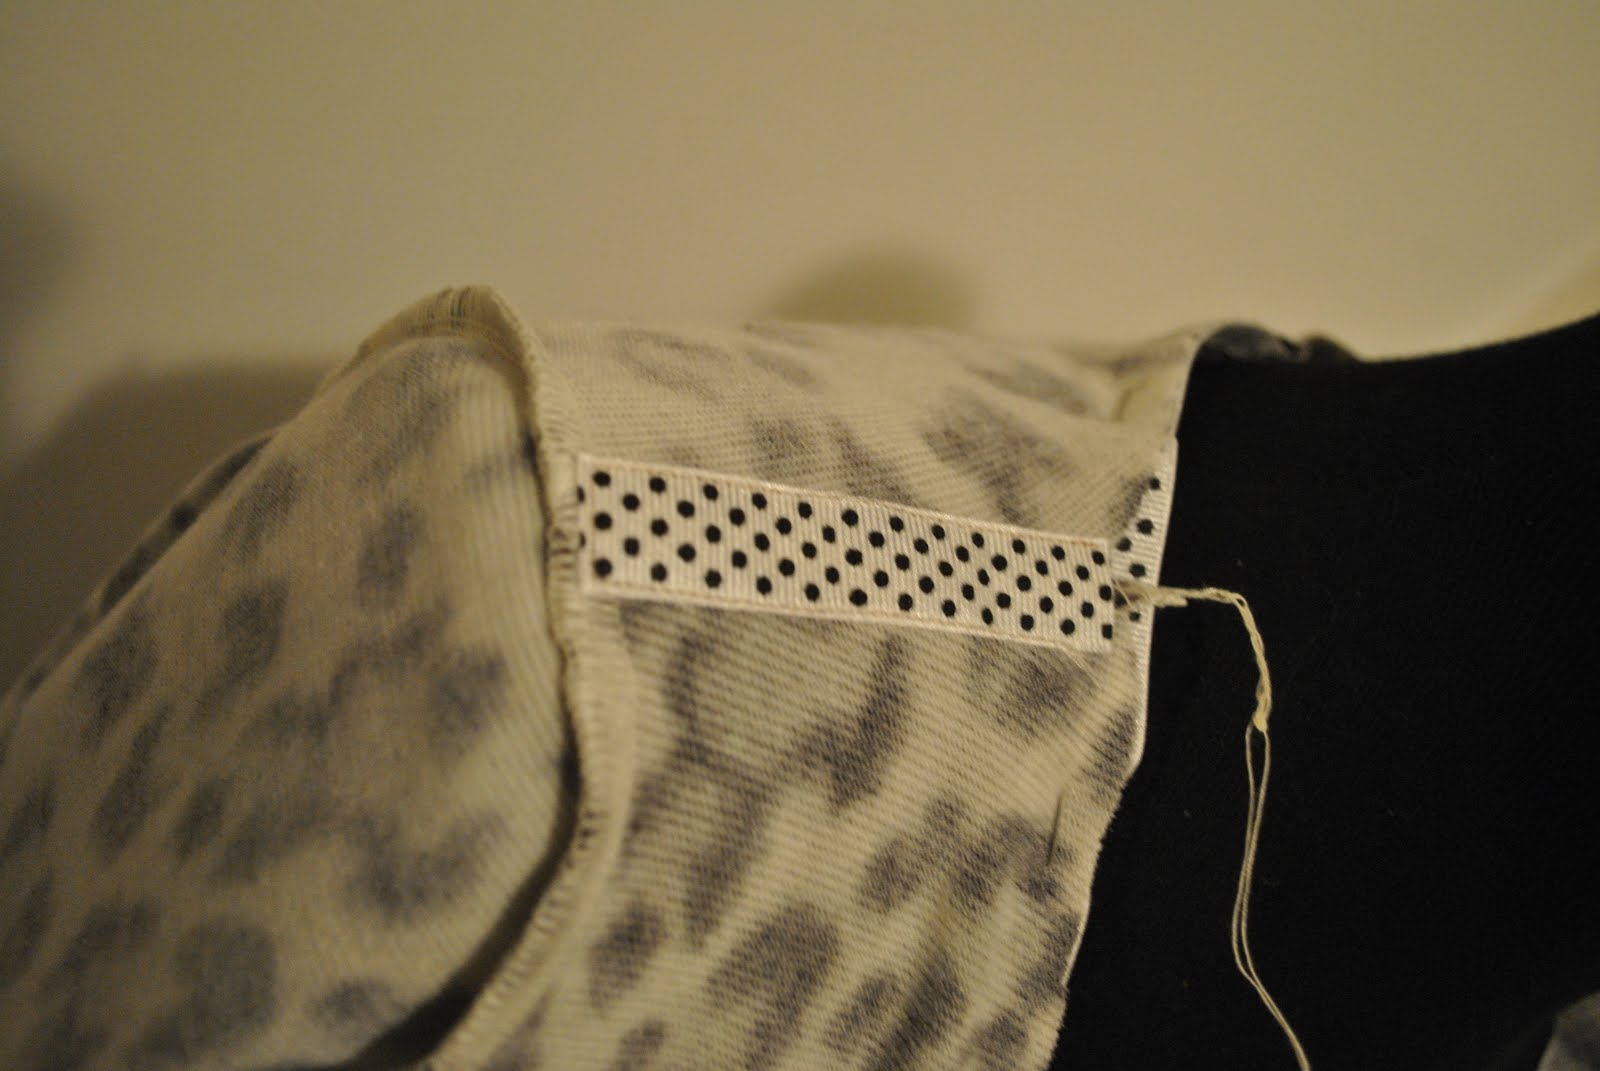
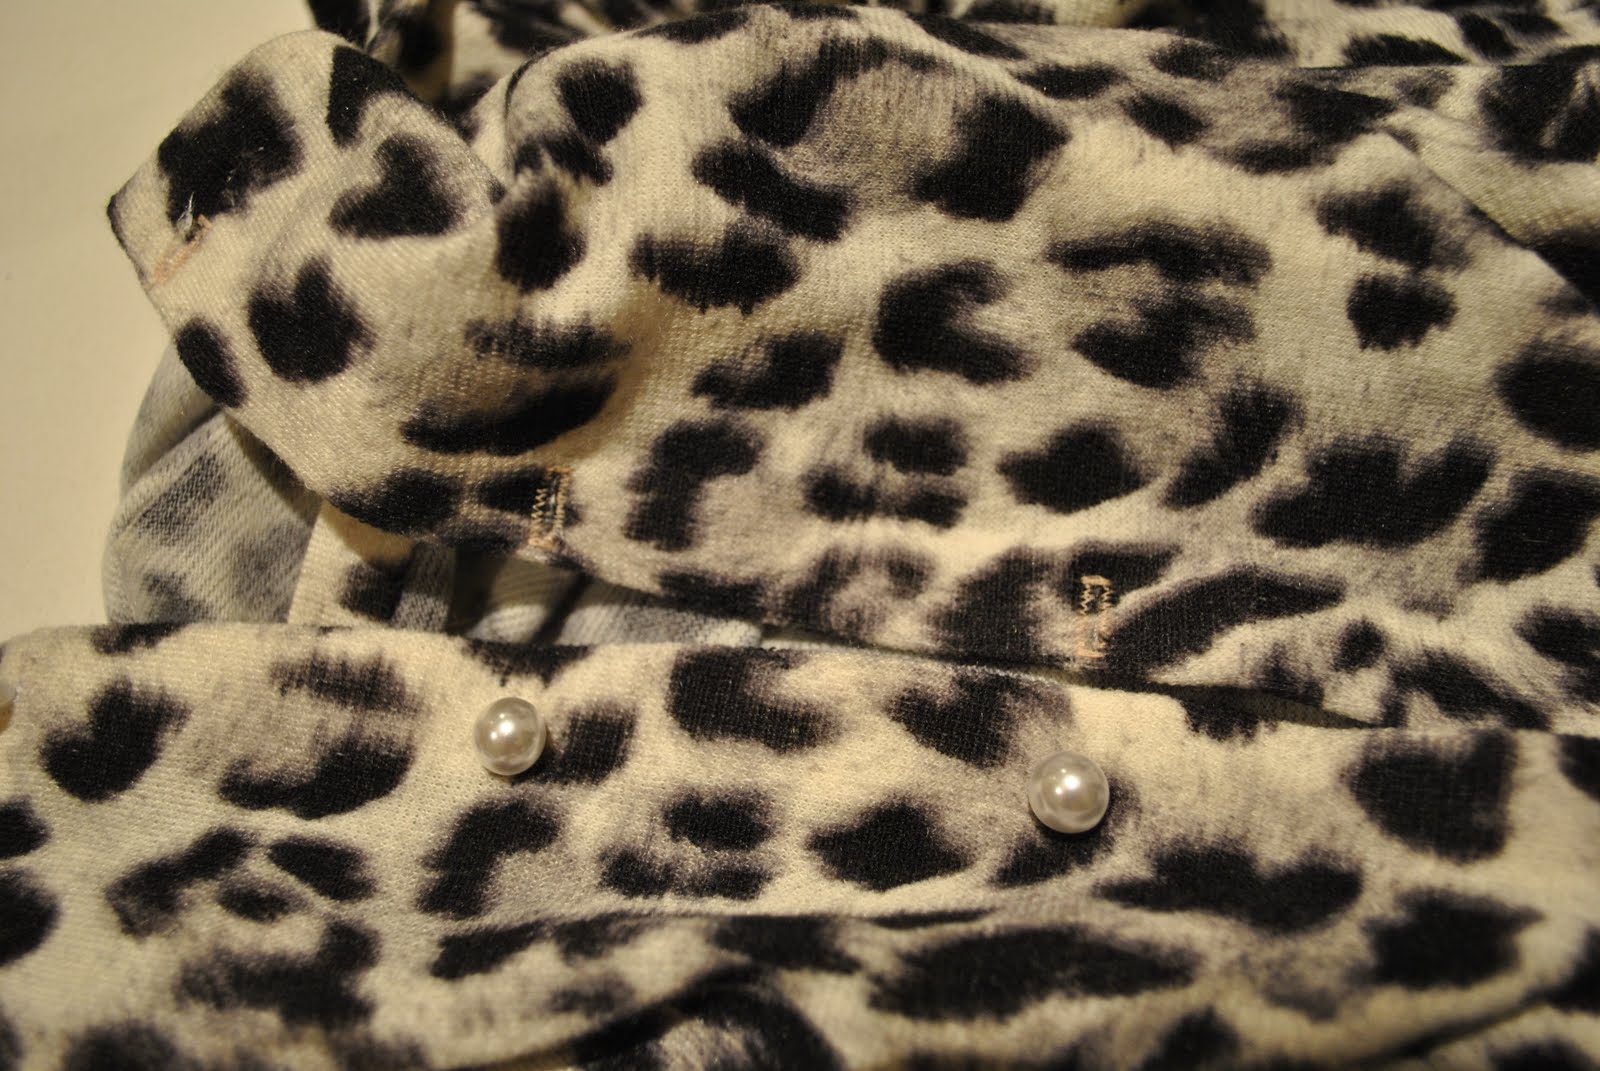
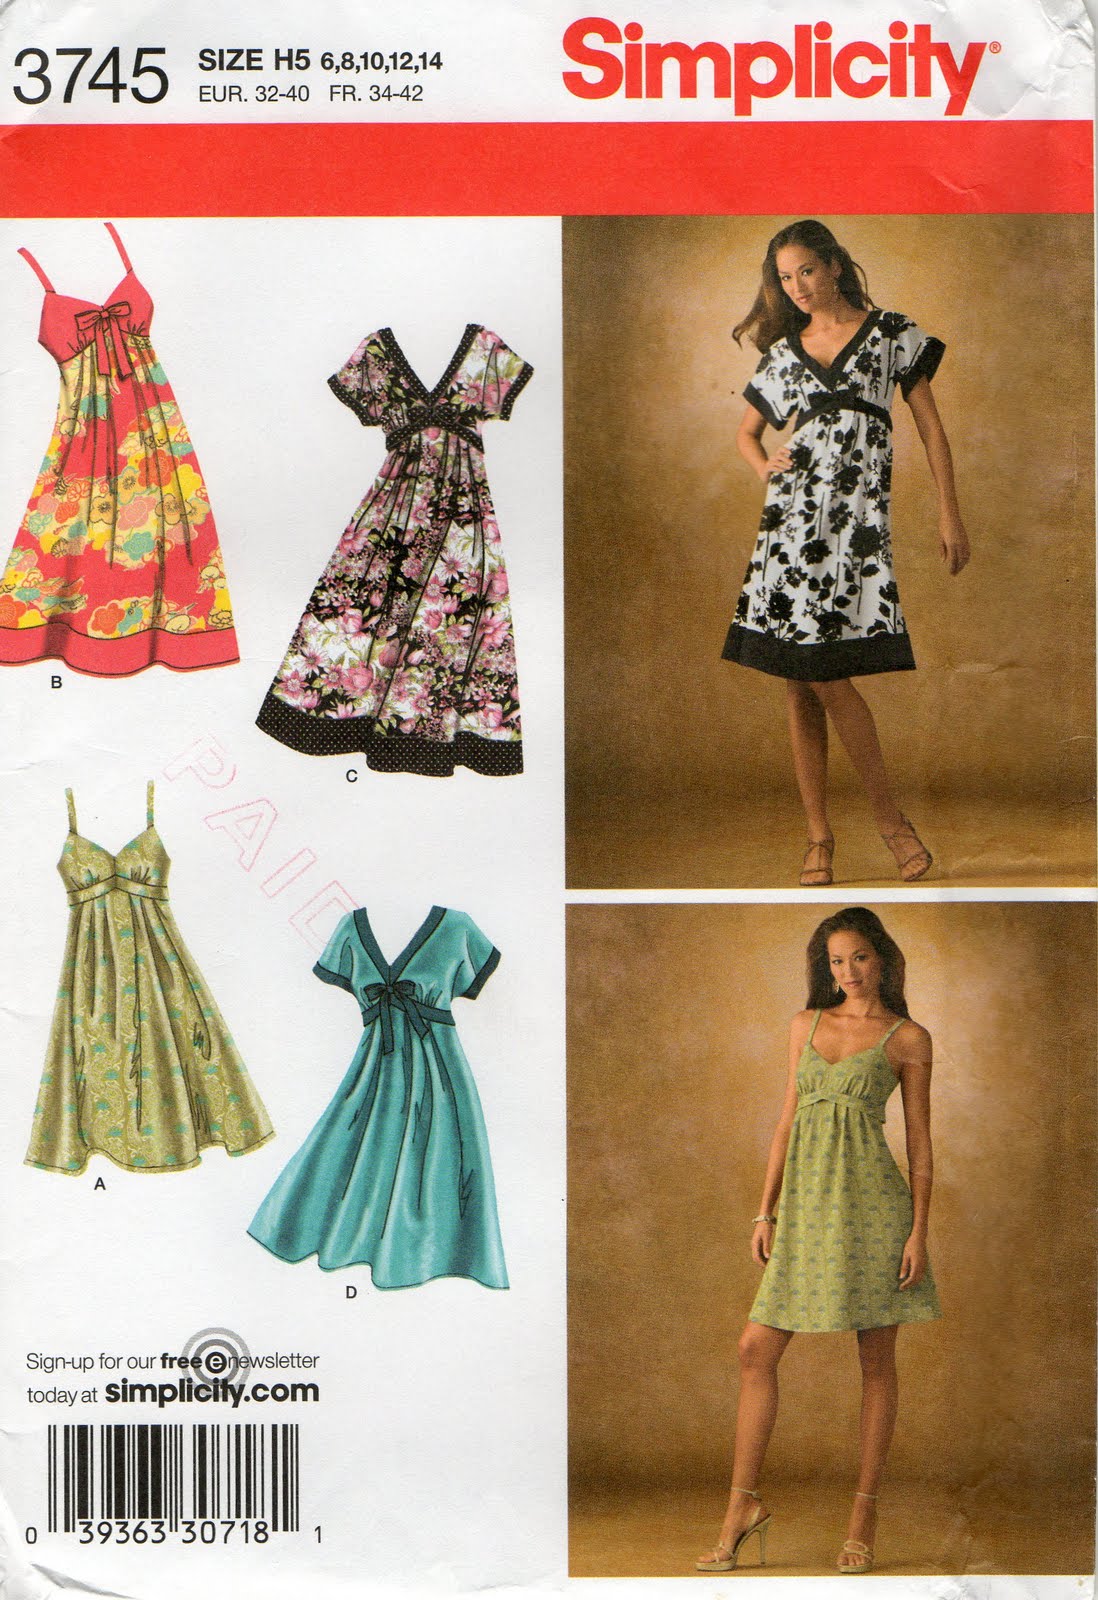
Anyhoo, the slip has French seams on the side seams, and Hong Kong binding on the centre back seam, where the invisible zip is inserted. The lower hem and the bodice facing is all invisibly stitched by hand (OK I do do this to all my dresses), although I’m not 100% happy with how the hem looks and may do a different finish on this (any ideas?)… the silk satin won’t be pressed into a traditional double fold hem as flat as I would like. The ribbon straps have lingerie findings incorporated to enable the straps to be adjustable. The pattern I used for the slip is Burda 8071, and for the dress itself I drafted a heavily modified version of Simplicity 3745. Heavily modified in that all the gathering and pleating and the zip has been removed from the dress in order to streamline the silhouette and to use less fabric. The lace is a stretch so can just be pulled over my head.
Pink lace dress
Moebius strip, in wearable form
Oh, I finished a new scarf. Or cowl, more accurately. A ginormous cowl. I finished it a coupla weeks back and put it in one of my photos yesterday, in the outfit that seemed to have been the most popular with my kind commenters. (and thanks all, for your comments! I do love comments!) But the cowl hasn’t been properly introduced here, so here it is in its own showcase post….
I used Patons Jet 100% wool, about six and a half balls.
Tension; 16 stitches to 10cm.
Cast on 50 stitches, K2 P2 ad infinitum until one reaches the required length. I knitted mine to 175cm long. Sew the ends together remembering to put one twist in the scarf before sewing up, so it’s really a giant Moebius strip rather than a loop.
Done!
I like it with two drapes around the neck, but it’s easily long enough for three drapes if I want. It becomes more of a big pseudo-turtleneck collar with three loops.
Seen on my walk this morning below: definitely signs of spring in the air, the arrival of the cygnets. I love watching the new batches of cygnets grow into adulthood.
Details:
Skirt; my own design variations, based on Vogue 7303, pale pink damask
Top; Country Road
Trench; Burda 7786, modified to be double breasted and with added tabs, beige cotton
Scarf; my own design, cream wool
Boots; Andrea and Joen, from Uggies
Leopard twin-set; 6 different ways
Cross-stitch initial cushions
These are some cushions I embroidered with my parents’ initials a few years ago (hehe, when I was into cross-stitch a while back…) and sewed up the cushion covers with some gathered broderie anglaise edging. I think on the backs I sewed proper little fold-over closures with buttonholes and cute pearly buttons; but I forgot to turn over the cushions when I was taking this photo to refresh my memory… Mum and Dad pay me the honour of having them permanently sitting on their bed, and I love the all-white embroidered and belgian lace bedlinen they have here… but then the all-white look is my favourite decorating style. As well as in clothing… but I’m told white doesn’t suit me so I shouldn’t wear it so much. Apparently I should stick to ivory or beige.
On my walk this morning; below, the first signs of spring? Seems incredible but there it is.
Truthfully I am sick of winter. More accurately, I’m sick of the cold, we are still so desperate for rain. My friend J was telling me how they may turn their sheep loose into the crops because the growth has been so pathetic they may as well utilise it for sheep feed… a bad situation. She’s measured that they’ve had all of 127mm of rain this winter (non-metric people, that’s about 5 inches) and everything is as dry as a bone, keeping fingers crossed for a wetter spring…
Jacket inspired by ?
Well, I’ve reduced my refashioning bag by one half of an item; being that the pockets of this new jacket used up one leg of Sam’s old khaki corduroy pants that had holes in the knees… so I’m gettin’ somewhere, if not very fast!! I also managed to use up some stash fabric, which I’ve decided I don’t like very much… Bit of a story behind this fabric; well, I’ve had a failure. I don’t like to dwell on failures, but I’ll just mention it briefly then move quickly and smoothly right along and it will be in the past, never to be referred to again. Right? Right.
Well, I had downloaded a free Alexander McQueen jacket pattern at some point, the link is here; if anyone wishes to torture themselves with nightmare-ishly difficult patterns then feel free to go for it… I think I missed out on some key page of the instructions, because after two attempts with lots of unpicking I still had something looking like this…
Hideous, no? Well, we live and learn… I might still have another go at this pattern, using fabric that is not patterned, not so loosely woven and not a wee bit stretchy, all three qualities contributing to a very bad jacket-making experience.
So instead I stitched up the below very simple jacket pattern of my own design. I don’t love this jacket. I think it will be OK for casual warmth when I’m walking the dog, maybe I will come to love it more with use. Its problematic genesis has prejudiced me against it, poor thing.
I basically copied the pocket design off a designer jacket I saw in Vogue magazine (although my pockets are not as ginormous, and the purpose of mine is to cover up seams of patched together fabric), but I don’t know who the original designer is, if anyone recognises it and can tell me I will gladly acknowledge the source…
Details:
Jacket; pattern drafted by me, pockets from Sam’s old childhood pants
Jeans; Country Road (these are going in the refashioning bag too, soon)
Top; Country Road
Shoes; Lute, from Betts and Betts
Riverside python
How much am I loving animal print right now? Oh, way too much. Somebody stop me. I wore my new leopard print twinset, like all weekend, and am only not wearing it today because it’s in the wash… and for today turned to the other animal in my wardrobe. Hello, python print. You’ve been languishing too long on your hanger, and it’s time for another airing. Having a brown-ish tinge about it I wore it today with my tobacco wide-leg pants, that I’ve have for quite a few years now (not telling how many…!) Oh, wide legged pants, how much do I love thee? Enabling one to step out on cold mornings with thermals on underneath and still look chic on the outside… sometimes I worry the extra layer on underneath this style of pants makes for a big bottom look from the rear, so I decided to take a photo of myself from behind to check. I think I’m being pretty brave putting it up here, no? But I’m quite pleased the rear view isn’t too bottom heavy, so doubling up the love for wide-legged pants…
Met my pals for morning tea this morning, the fun part of the day; then office work this arvo…
Details:
Top; Burda 8497, with modified sleeves and cuffs, python print satin
Top (under); Metalicus
Pants; Morrison
Shoes; Django and Juliette, from Zomp shoes
Bag; Gucci
Cardigan plus top equals a twinset!
So I originally bought 1.5m of this thin but warm leopard print jersey, and the cardigan only used up about 70cm so I still had bit to play around with. At first I just tossed it back into the cupboard where I store all my fabric but then it occurred to me; if I made a matching top then I would have a twinset! How quaint and fifties and prim and proper! And using the leopard print, which is kinda exotic and has a slightly decadent seventies vibe to it saves it from being too prim and gives it a bit of an edge…
Tops are so easy; I can see no need to buy a pattern; here I simply did just like I did for the cardigan and traced around a top I already had…
Sewed the shoulder seams…
Luckily I had a tiny bit of the same grosgrain ribbon left that I had used for the cardigan here, and used this to stabilise the shoulder seams the same way, now they match too! Satisfies the obsessive side of me…
Sewed up the side seams…
Now as there was still a little bit of leftover fabric to play with I decided to try out a different hemming technique than I used for the cardigan, which was all invisibly hand-stitched. I cut strips of about 4cm in width and used these to bind the raw edges on the wrists, the lower hem and the neckline. All these edges were finished in the following way; firstly the strips are cut to the same length as the edges to be finished. Then sew together the short ends of the strip to form a loop; this is one of the wrist loops…
Fold the strip in half longitudinally with wrong sides together, and apply to the right side of the edge to be finished, raw edges together. Sew all around… Here are the wrist edges finished, one of them inside out to display the loop edges from the inside, and one right side out to show how it looks when finished. If you do have enough fabric leftover, this is a good way to finish the raw edges of jersey knits.
And here is my new twinset…
A very simple cardigan
I made myself a cardigan; a quick fix project out of some stash fabric… and put together a little tutorial. I did another cardigan tutorial back here, but this one is a leeetle different, although using the same pattern…
The fabric I am using is a thin but closely knit, slightly fluffy leopard print stretch jersey, and I have planned a simple single thickness cardigan. I’m using grosgrain ribbon tape to strengthen and stabilise some seams, and have got five tiny pearl buttons to finish.
First I turned to my standby basic cardigan pattern; this I drafted using an old favourite cardigan as a basis. I just laid down the cardigan as flat and as straight as possible and drew around all its edges… then once I had cut out the paper pattern I re-checked it against the original fabric cardigan to see it was close enough to the right dimensions. This is a style and shape that has proven to fit me and (I think) to flatter me, so I’ve used it several times… The back piece is laid on the fabric fold at right, the front is in the middle and the sleeve is laid out left hand side of the fabric. btw, this is a half sleeve, and has to be flipped over halfway through cutting to get the whole sleeve, er… now you can see how slapdash a cutter I can be…! lol. Even though it looks a bit makeshift, and why don’t I get serious and just cut out a whole sleeve paper pattern piece; it has actually worked very well for me like this every time, so I haven’t bothered. Lazy, I know… Oh, and I cut the body and the sleeves longer than these pieces since I had enough fabric to do so.
I sew the shoulder seams first, then fit the sleeve cap into the arm scye and sew these seams next…
Then sew the underarm seam in one go, from the bottom hem edge right up the sides of the cardigan and on under the sleeve to the wrist edge, making sure to match up those sleeve-to-body seams to each other.
Use a short strip of grosgrain ribbon, sew it on over the shoulder seam and catching it under. This will stabilise this seam and prevent it from stretching through wear…
Pin the grosgrain ribbon, right sides together, all around the front and neck edge…
Sew the grosgrain ribbon to the edge, as close as possible to the ridge of the ribbon edge…
Turn the ribbon to the inside of the cardigan and invisibly hand-sew the edge of the ribbon on the inside… Make sure the edge of the ribbon is cut off evenly on both fronts of the cardigan, and level with where you want the bottom edge to be…
Turn up the lower edge of the cardigan twice, press and invisibly hand-stitch hem in place, also the wrist hems…
Measure where buttons and buttonholes are to be, and sew them in position. Using a grosgrain ribbon to line the neck-edge enables you to machine sew buttonholes straight onto delicate knit fabrics easily, and also to stitch buttons on securely through the two layers without risk of light knit fabrics pulling out of shape; which they would without a strong backing…
Et voila, a very simple cardigan to provide an extra layer of colour to your ensemble, if not some warmth!


