In other Christmas “making” I also made hoodies for my three menfolk; Craig, and for Tim and Sam. For the last few years I’ve made summer shirts for them, but this year I wanted to do something different. And all of them love wearing hoodies! so bam! easy decision really.
Hmmm, yes, I had to get Bessie to model them, who is shaped very differently from each of my guys, of course!! but I took these pictures before I wrapped them up to pop under the tree and haven’t had the opportunity to get the boys to model them for pictures. Not to mention that it’s been 30C+ every day… phew! so no one wants to wear them just yet! Pictures with them actually IN their new Christmas stuff will have to wait for a little while…
I used my pattern taken from an old hoodie of Craig’s, that had a really cool style of hood/collar combined; it sits really nicely and looks a bit more stylish than the regular two-piece no-frills hood. If anyone’s interested I once wrote a tutorial on this collar/hood, with pictures of the pieces if you’d like to have a go at it.
 Over the years since I first drew the pattern out I’ve had to slightly alter it and custom fit to each of my boys each time I’ve made it. They keep doing annoying things like working out and growing taller with longer arms and gaining a bit here, losing a bit there as time goes on. So it’s always a bit more of an exercise than just whipping out a pattern and zooming it up with the greatest of ease…. NOT!
Anyway, I’m not complaining. I love making stuff for my family 🙂
I went to Spotlight and bought up big on stripe-y, fluffy jerseys in a winter weight. And the beanies in the previous post? I chose the colours to match so that each man’s hoodie/beanie is a nicely toning ensemble in their colours.
Sam’s hoodie, at top; is light grey and white, with a grey beanie to match, because I think he looks great in grey. I bought some pale grey marled lightweight jersey to do the hood and the kangaroo pockets, because I feared it would look a little too pyjama-y, or sort of juvenile or something. I don’t know what it is about the pale grey stripe that made me worry about this, because… it’s funny, can’t logically explain why I have this thought, but I reckon you get away with a full hoodie in a blue stripe whereas in pale grey not so much, looks bit cheap or something. Can’t explain it. In any case I just intuited having a contrast in this particular colour would be a good decision and I’m glad I did it.
For Craig, I chose a muted air-force blue, with a small white pin-stripe. And with a red beanie for him, because he likes red and blue in winter and tends to wear them together a lot.
 The air force blue looked pretty cool and right up his alley and it’s a very nice weight, I loved it upon first sight. However, after washing it and hanging it out to dry, then laying it out for cutting, I discovered to my amazement that the “stripe” actually was more of a gentle, slight “wave” of stripes across the fabric looking like this ” ~ “, NOT a straight horizontal stripe. AAAAUGH!! and being “slight” of course, means it really comes across like a bit of a boo-boo, rather than look like an intentional wave, which I could work into the design somehow. Nope, this just looked OFF.
Grrr. Anyway, I did my absolute best with it, pulled it into shape in some places, cut out a wee bit dodgily in other places where it didn’t matter, like the kangaroo pocket. I know the pocket appears to be not drastically far off straight in the picture but trust me, that’s an optical illusion created by clever cutting and placement!! Also the side seam stripes don’t match, the most obvious area where the fault can be seen. He really likes it though, so I’m putting aside my dumb perfectionist tendencies and just enjoying that he enjoys it 🙂
For Tim, I chose a navy blue with ivory stripe and his beanie is the matching navy blue. This fabric was the thickest of the lot, slightly ribbed, and is toasty warm. For the drawstring in the hood, the fabric was too thick to work and so I used a strip of Craig’s hoodie fabric, folded outwards so the solid coloured blue is on the outside.
 Oh, the hoodie strings… in each case I made a self-fabric drawstring for the hoodies, bar Tim’s, as explained. To make a drawstring in the jersey, I cut a 1-2cm strip of fabric across the grain. Most jerseys have a natural tendency to roll or curl up across the grain, and you can use this to full advantage while making your drawstring.


Just allow the fabric to curl up just like it wants to, and stitch it with a zig-zag stitch in a width set to just under the width of your finished strip. Start from the centre, because it looks neater that way with the central start/stop point hidden inside the hood casing, and finish at each end. 

Thread the flat drawstring through a wool needle and pull it through the hood casing; cut both ends equally to size, then tie off in a simple knot, so they won’t slip back through the eyelet at all. Easy peasy, and colourwise looks like it was tailor-made to go with the hoodie perfectly, which it was, of course, haha. Well, by that I mean that we all know how difficult, if not impossible it can be to get drawstrings to colour-match our fabrics perfectly? mm hmmm.
Problem solved!

The first three hoodies that I made from this pattern can be seen here, here and here; hoodie tutorial here


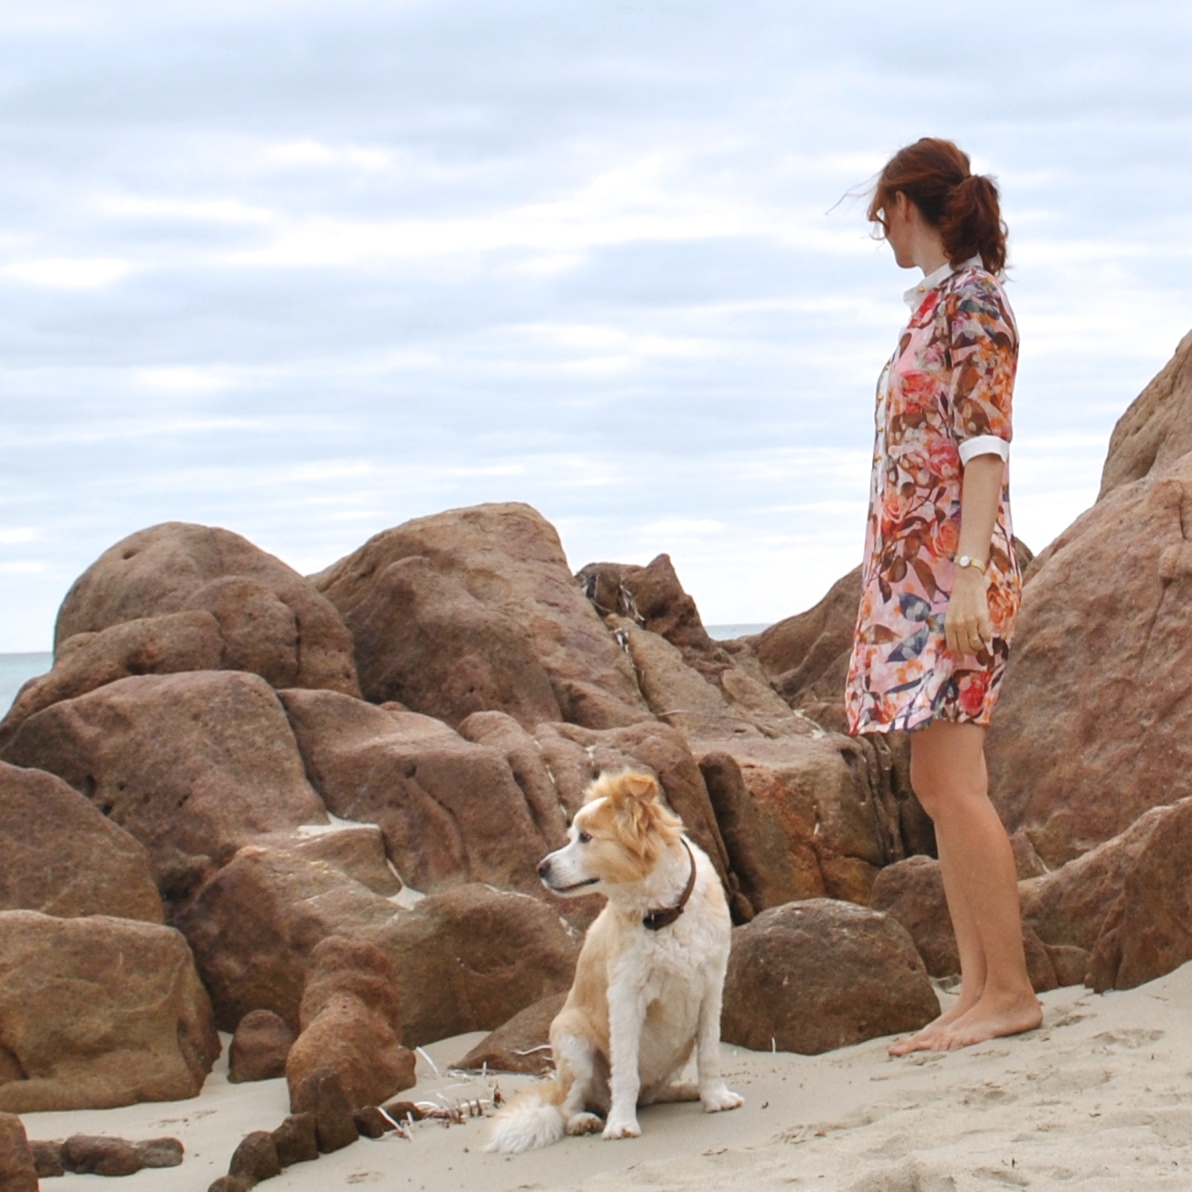
 Well, hello thair! I’m Mr ‘Ed, but you can just call me Mr ‘Ed. Soooo frightfully pleased to meet you. My, but you have ze most beautiful eyes… shining with ze brightness of a thousand stars. May I buy you a drink?


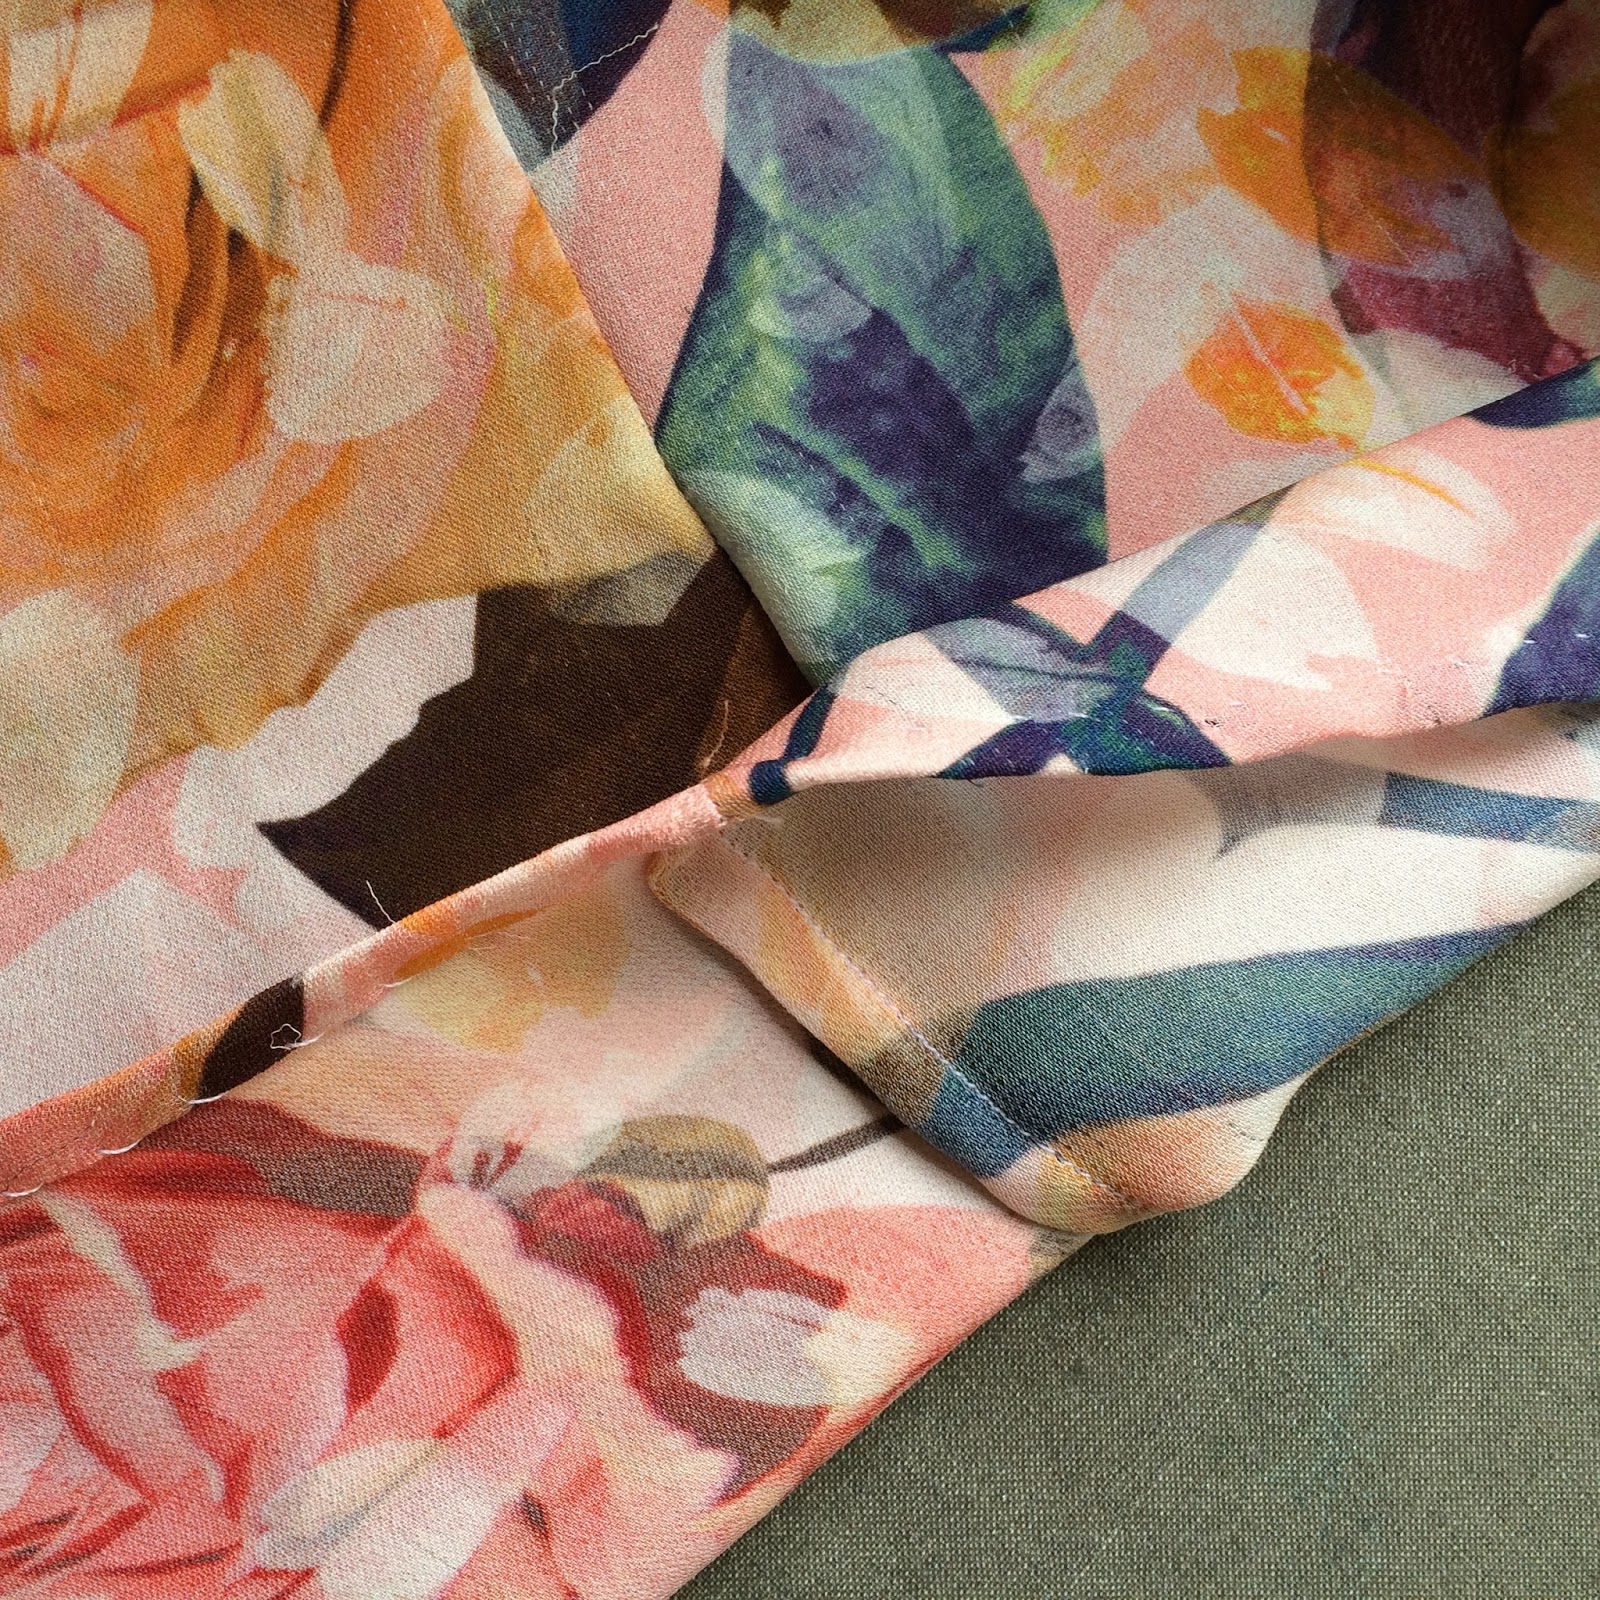
 Cut through all thicknesses, top and bottom.


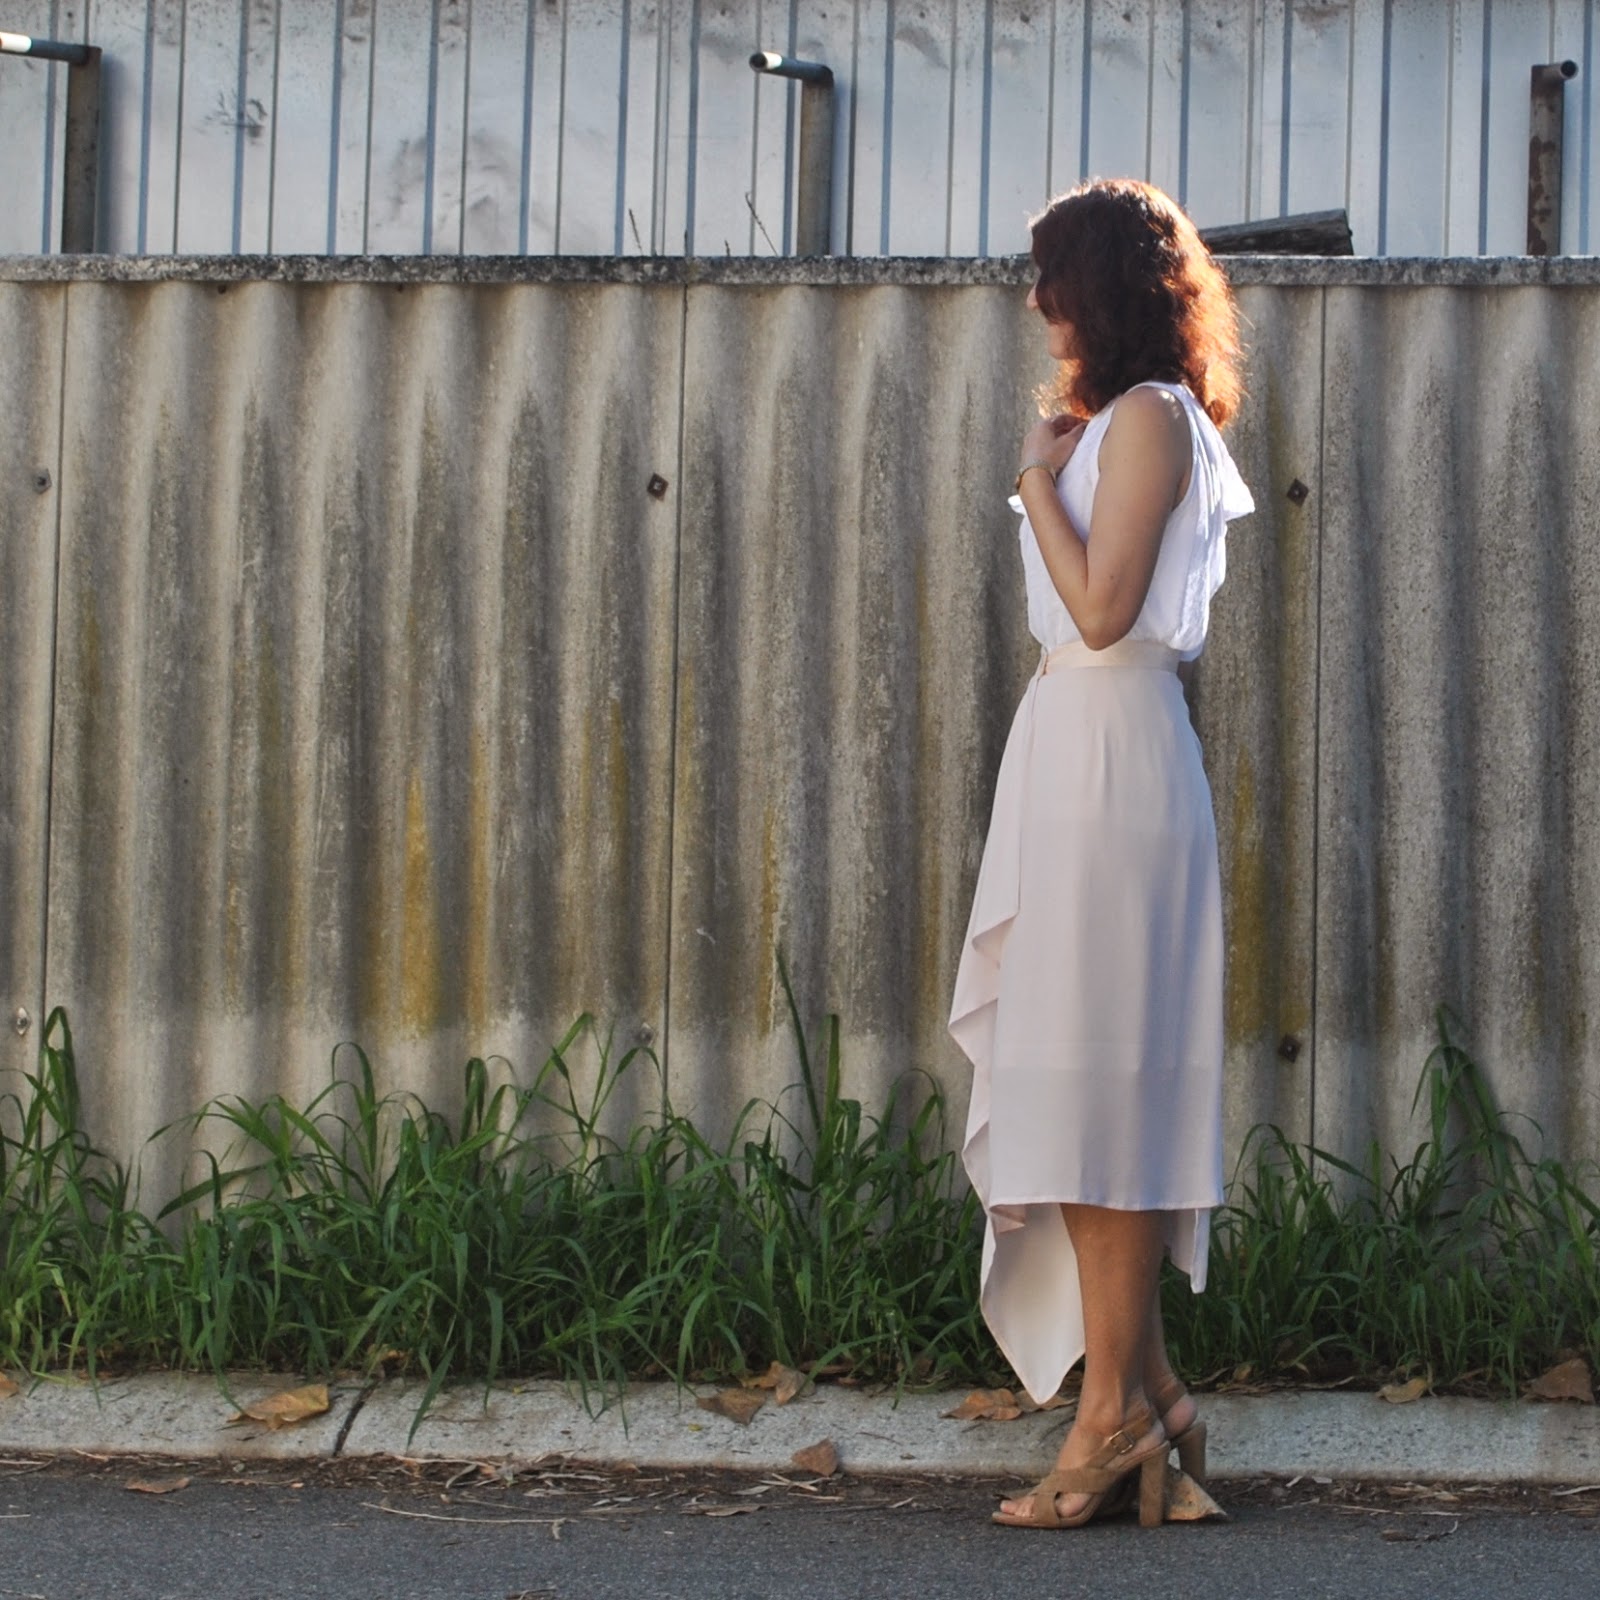
 “Yoshimi dress” since