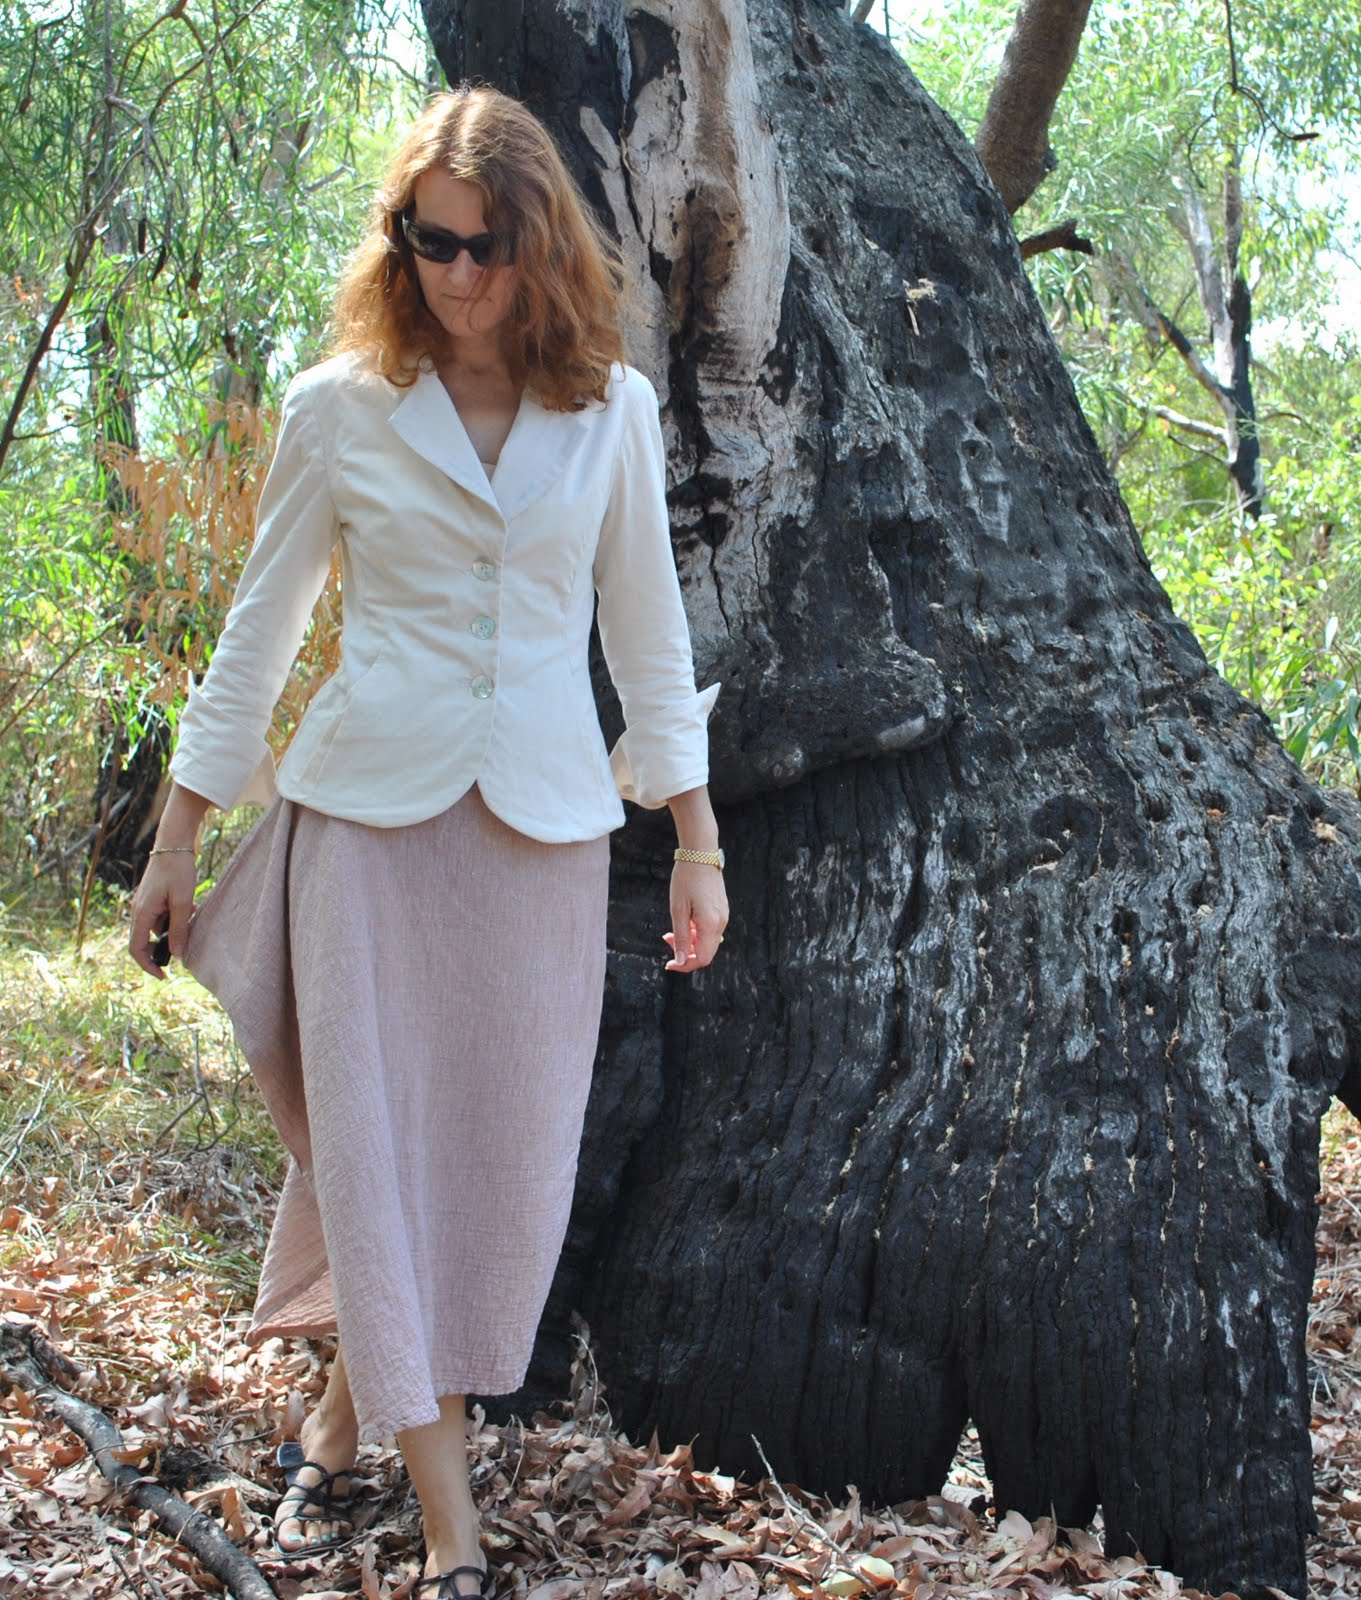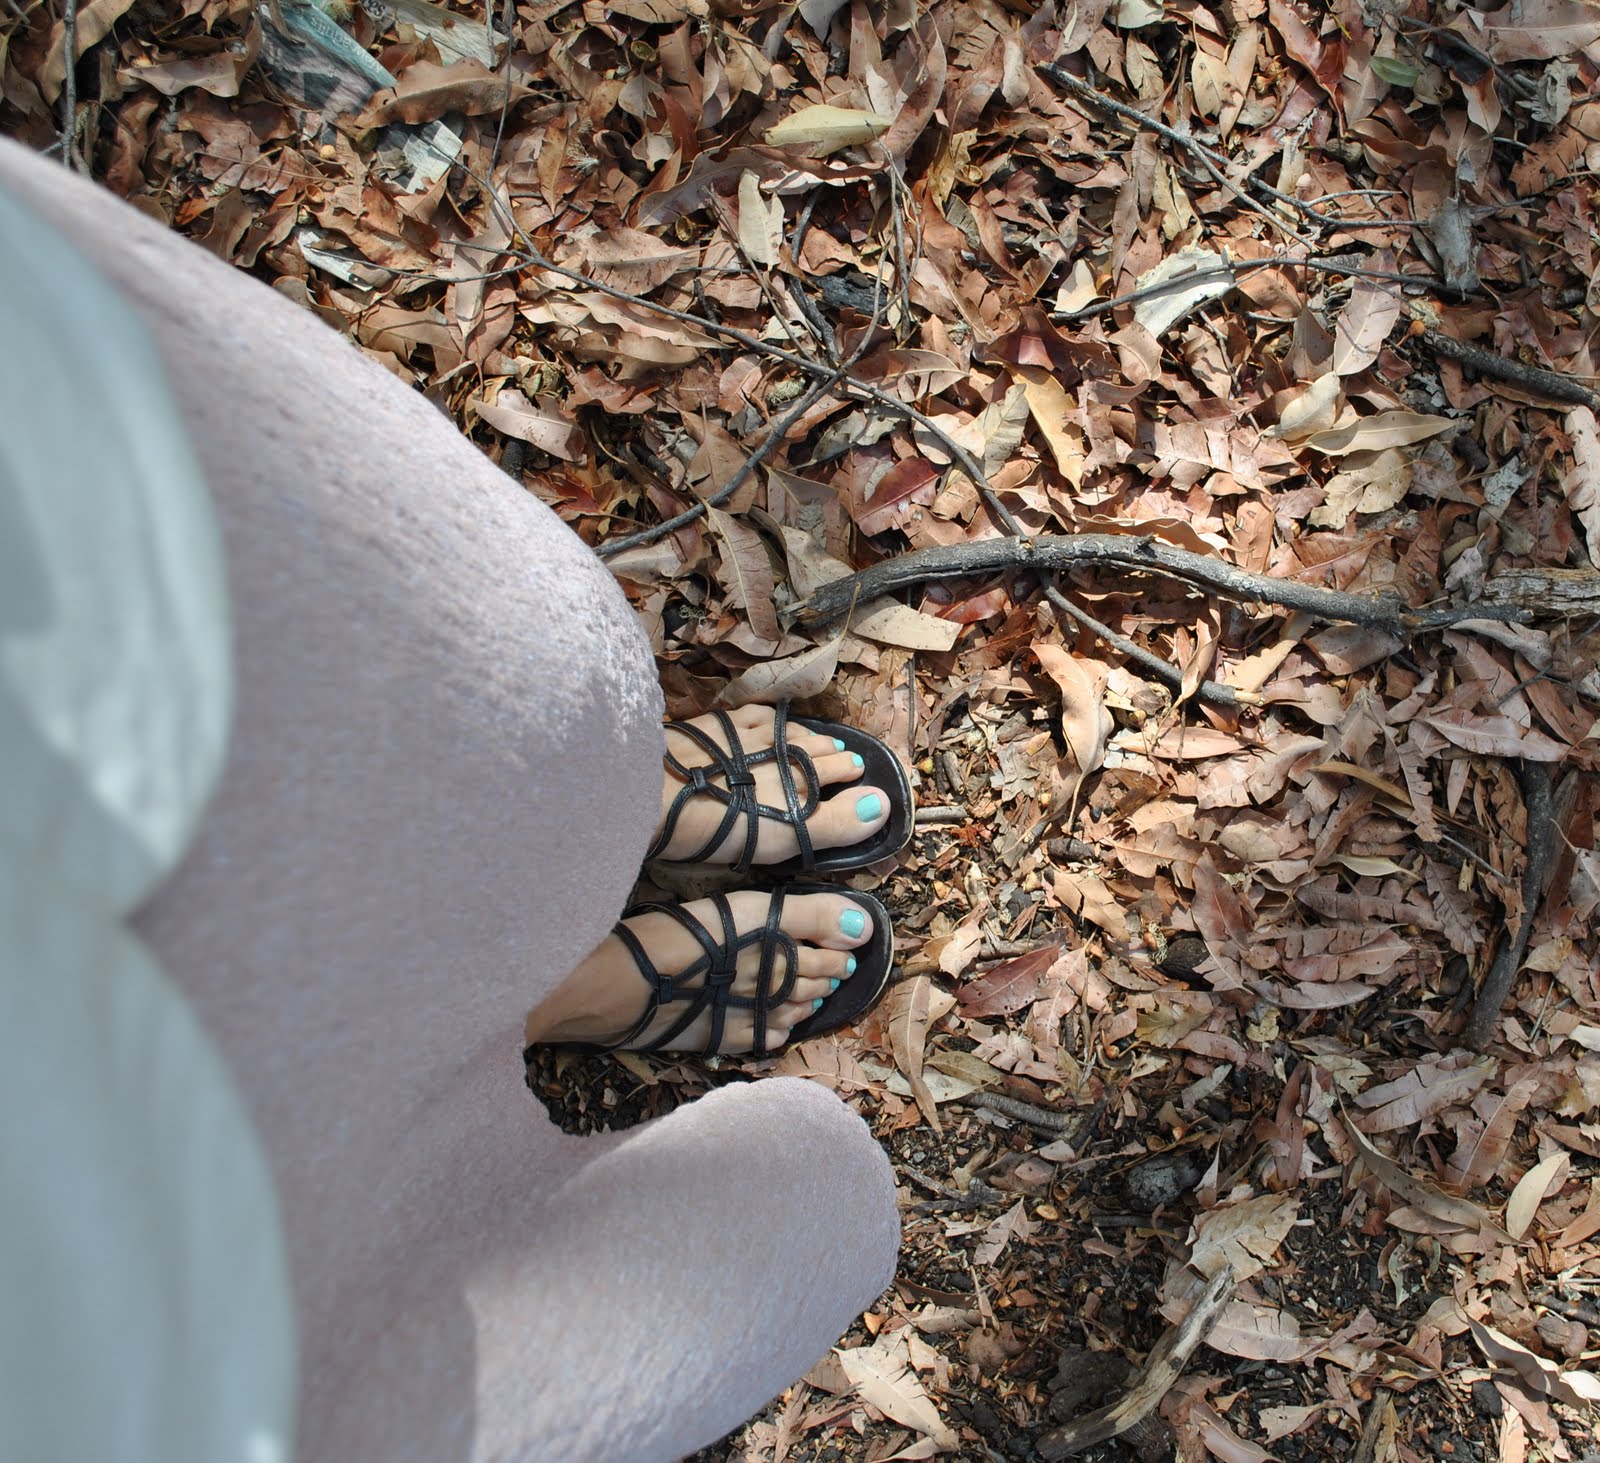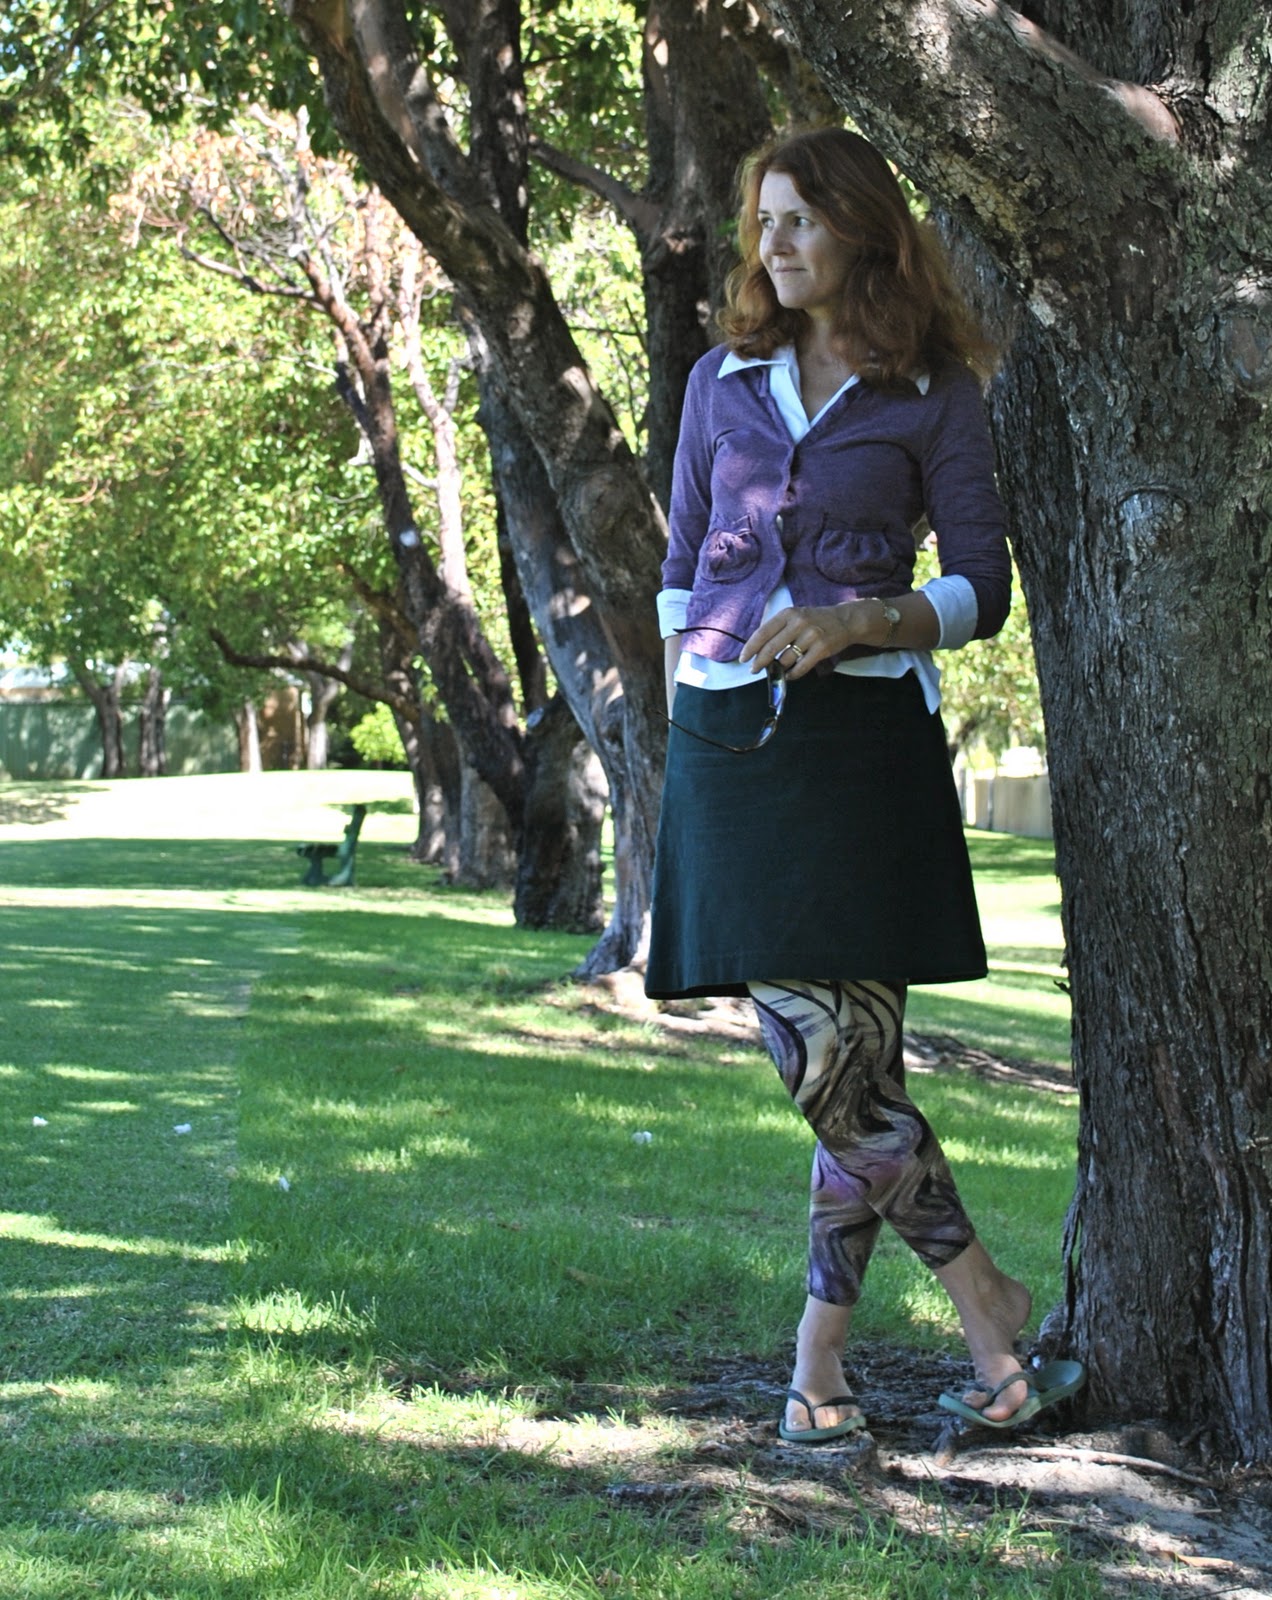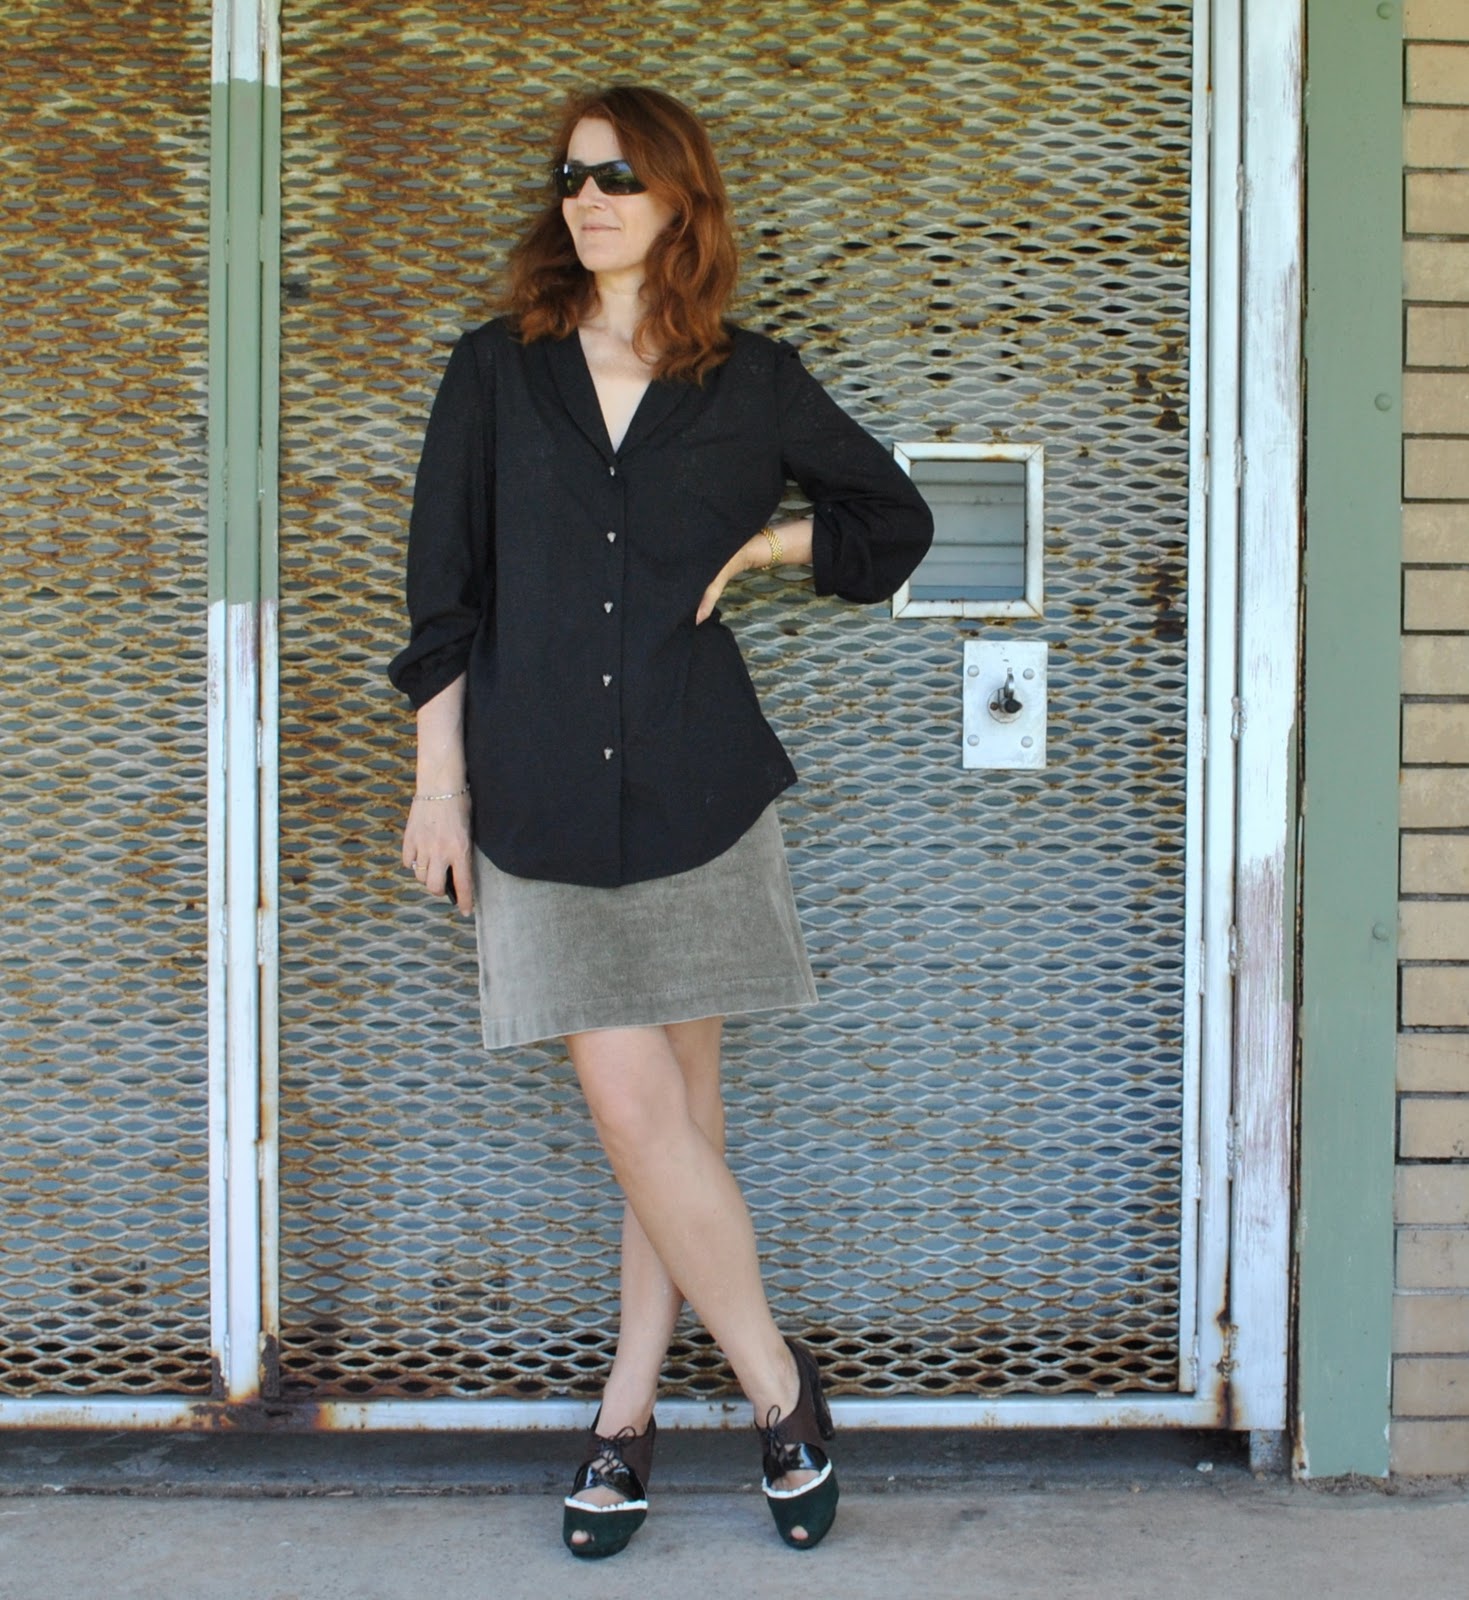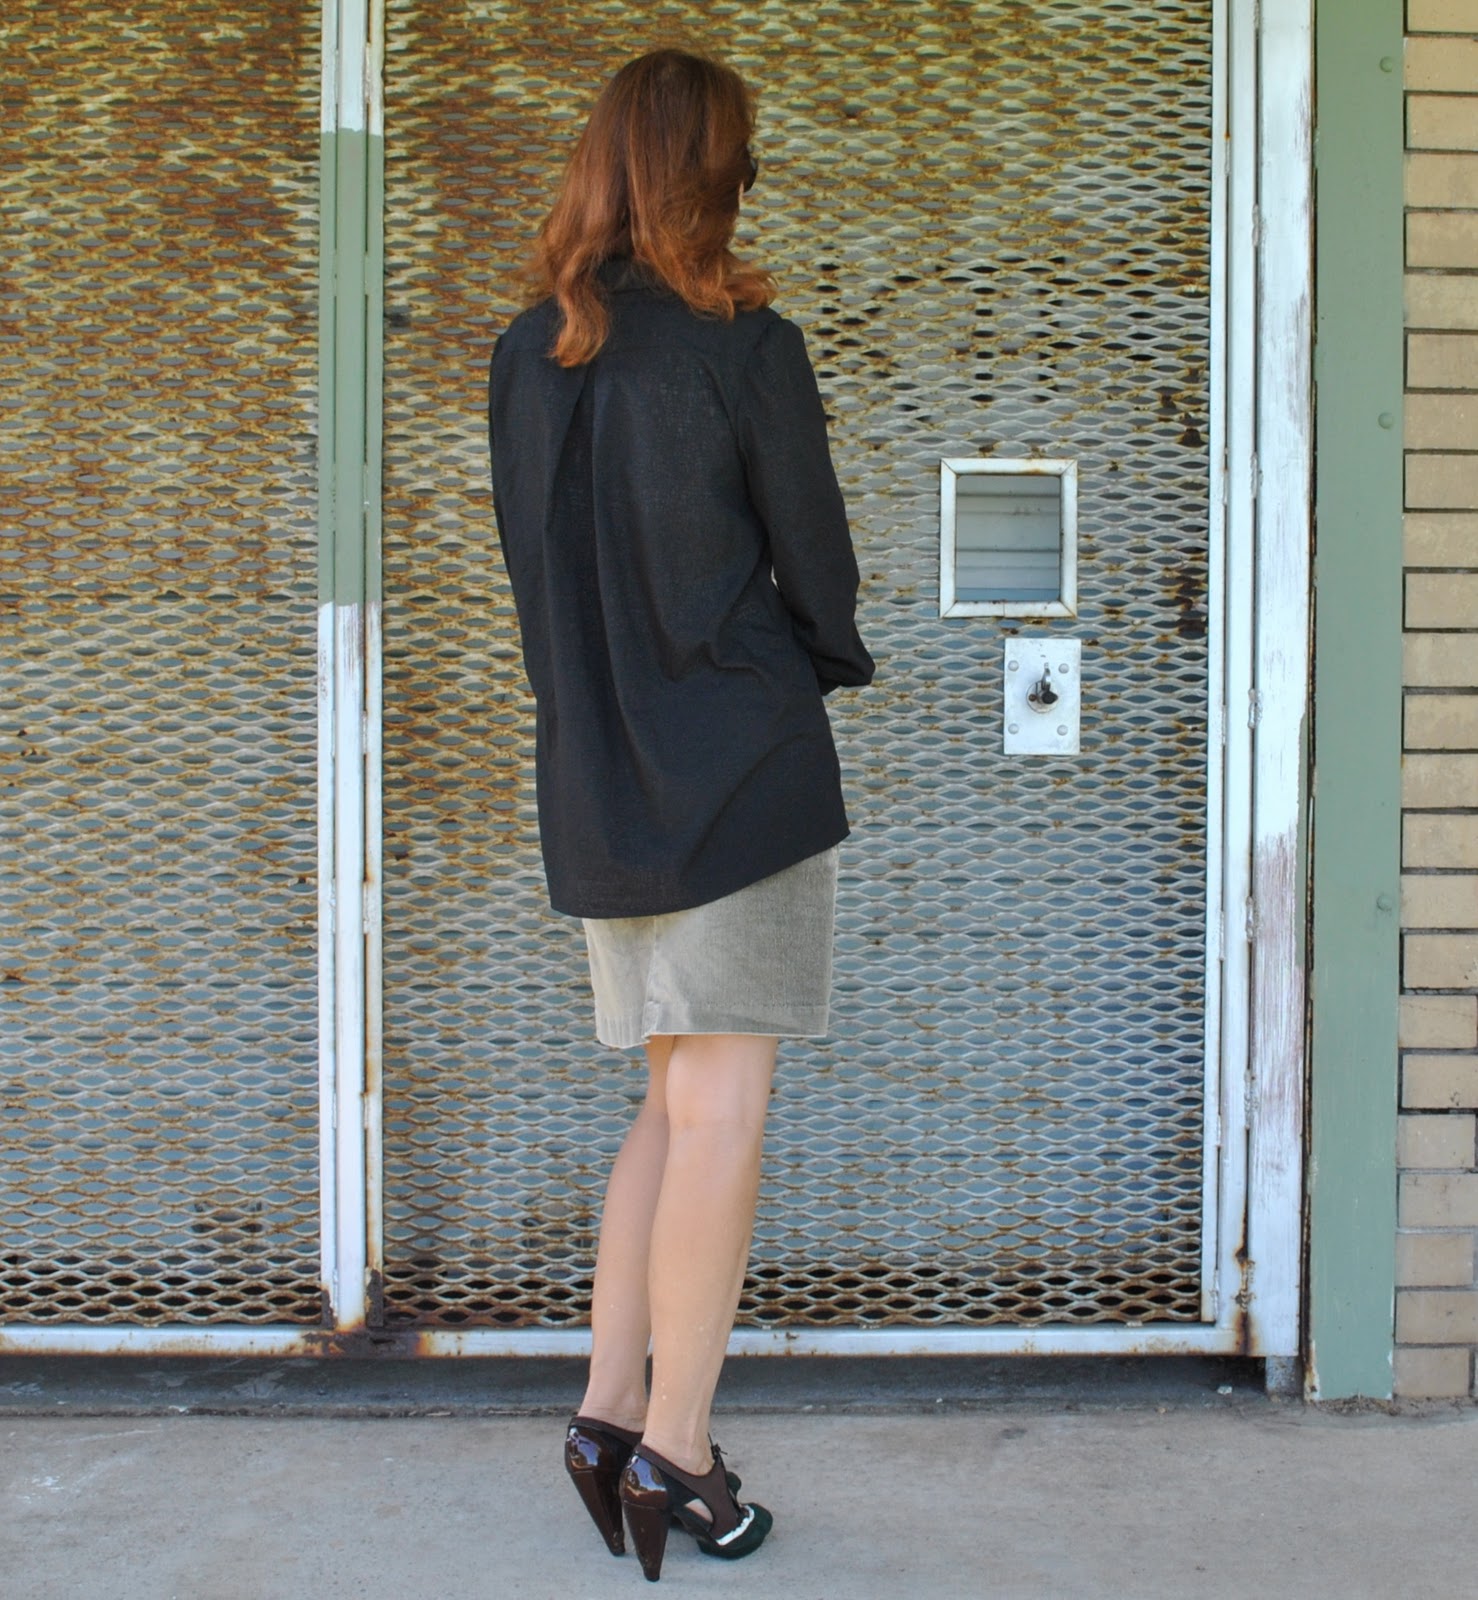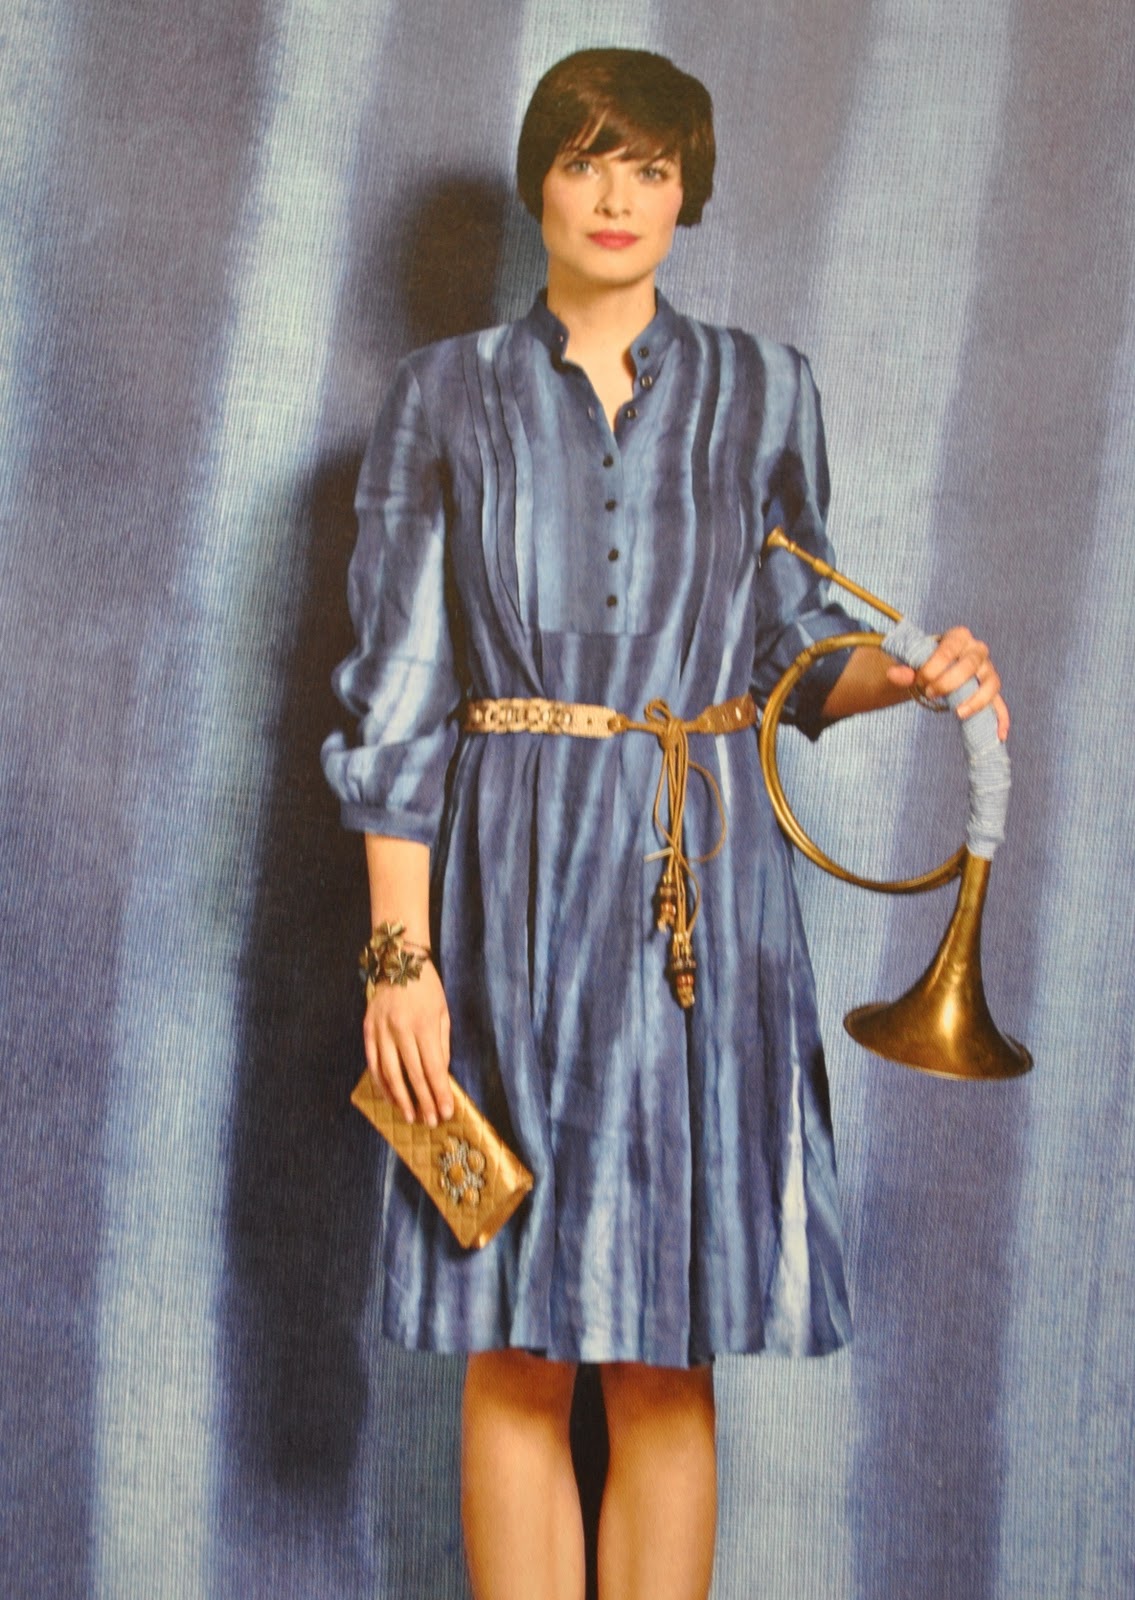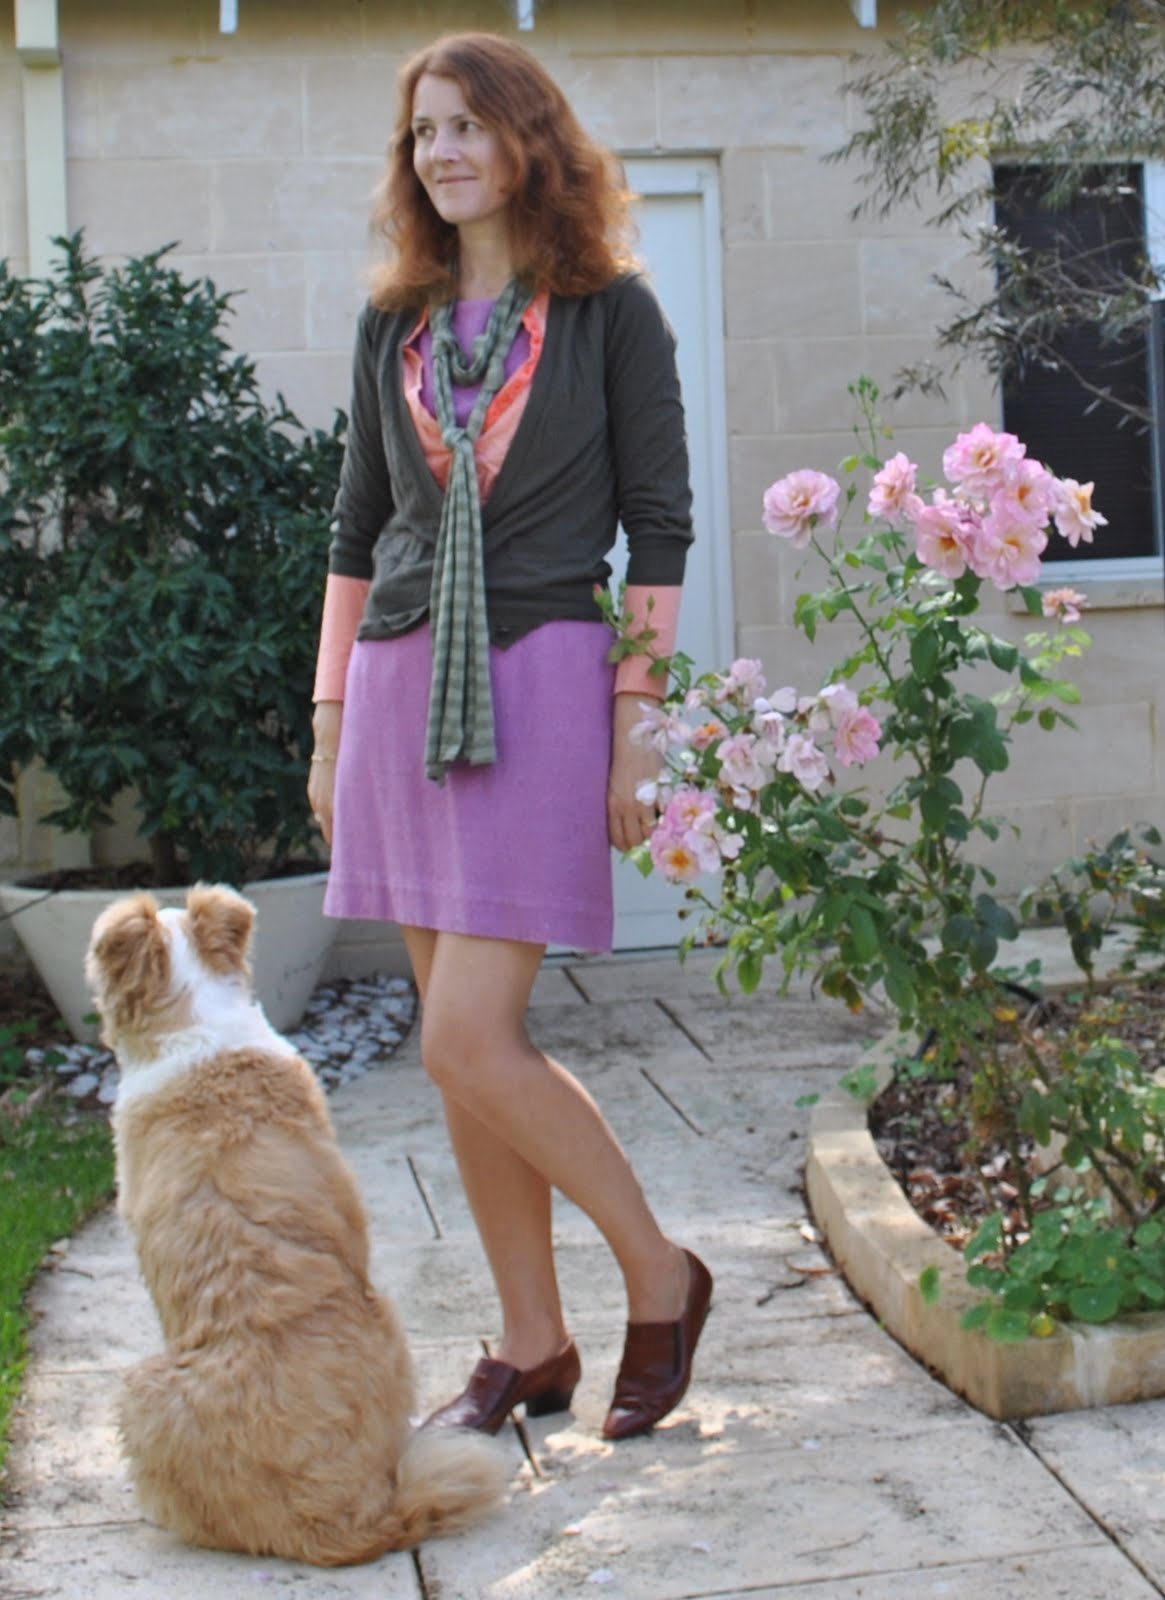
 Just been enjoying those lovely fresh autumnal days lately, feeling the sunlight warm but not harsh on the skin, breathing in that fresh crisp air. When the days are just that little bit fresher like today I get to employ one of my favourite outfit styles; layering a few thin cardigans together to get a bit of a autumnal colour palette happening. I just love these rich warm colours together, I think they are “me” colours, and I’m happy the weather is cool enough for me to wear this great dress again.
Details:
Dress; Burda 8511, with minor modifications and lined, purple raw silk (hessian silk?) seen first here
Apricot cardigan; Metalicus, found secondhand
Khaki cardigan; Country Road
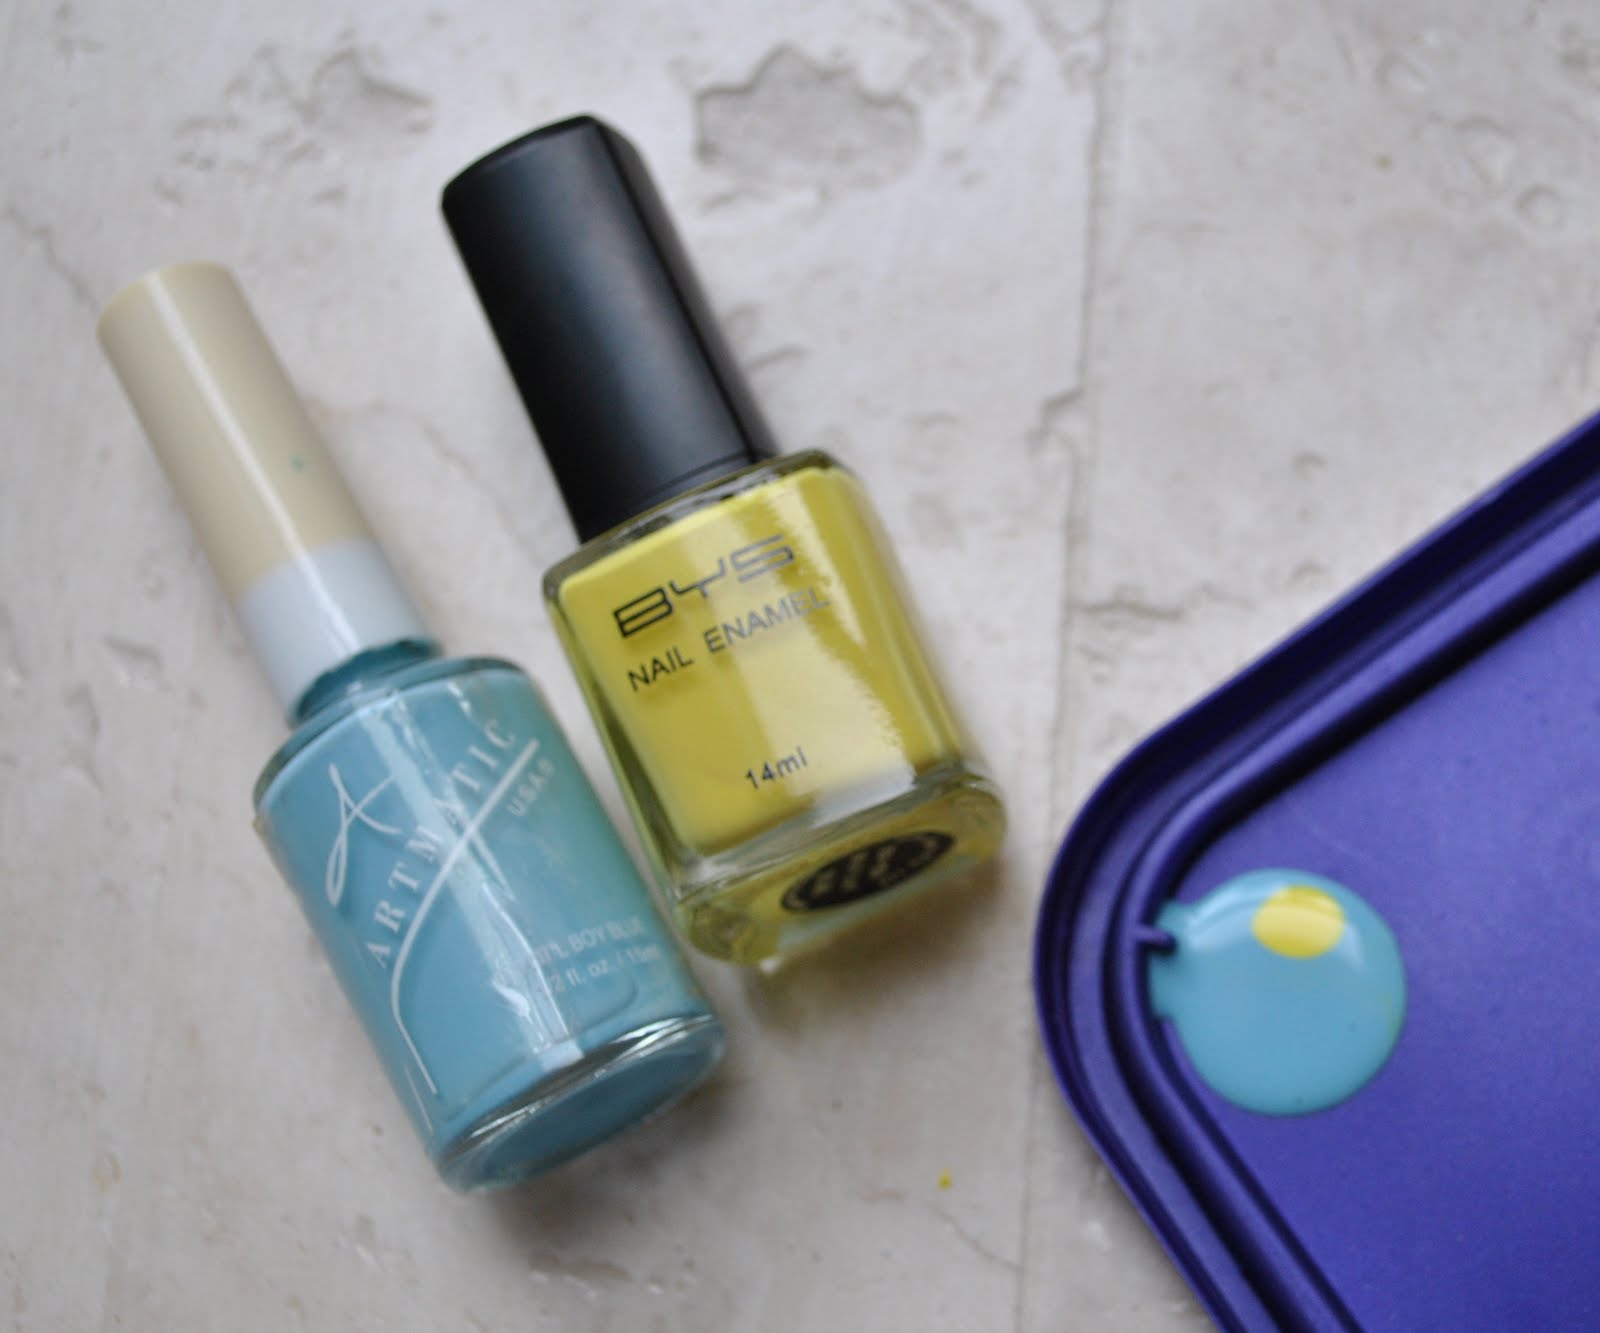
Scarf; refashioned from an old Tshirt, seen first here, tutorial here
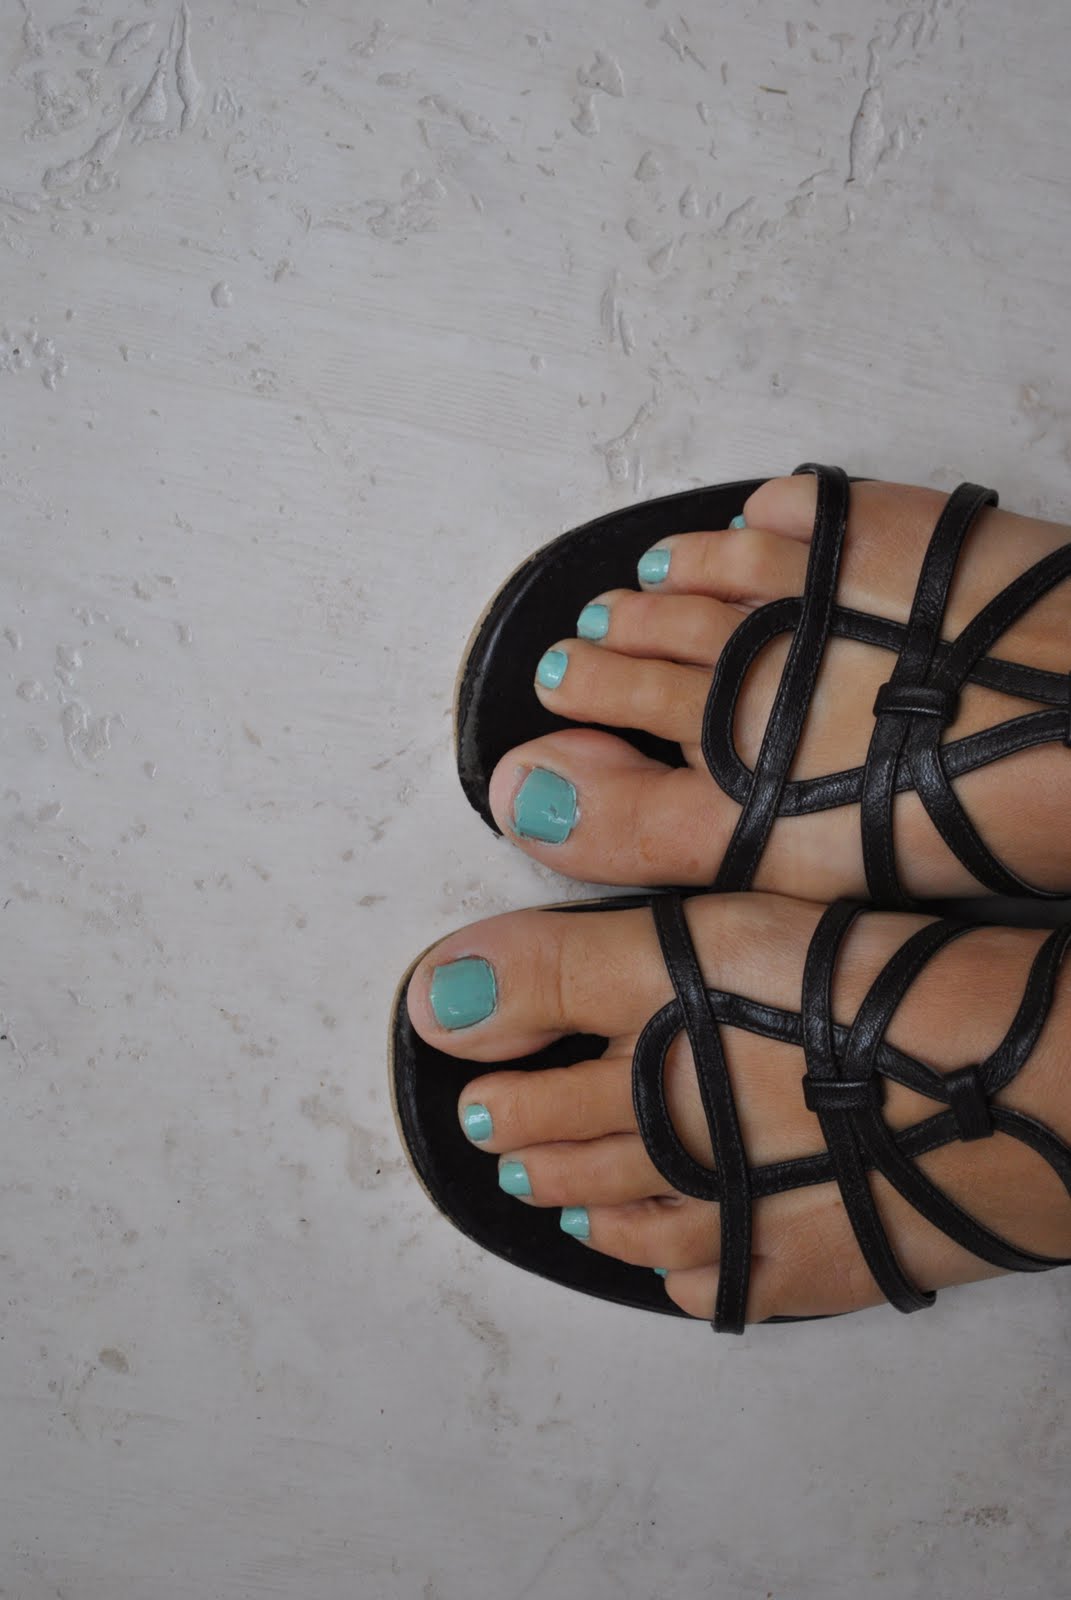
Shoes; Betts & Betts, had these for about twenty years
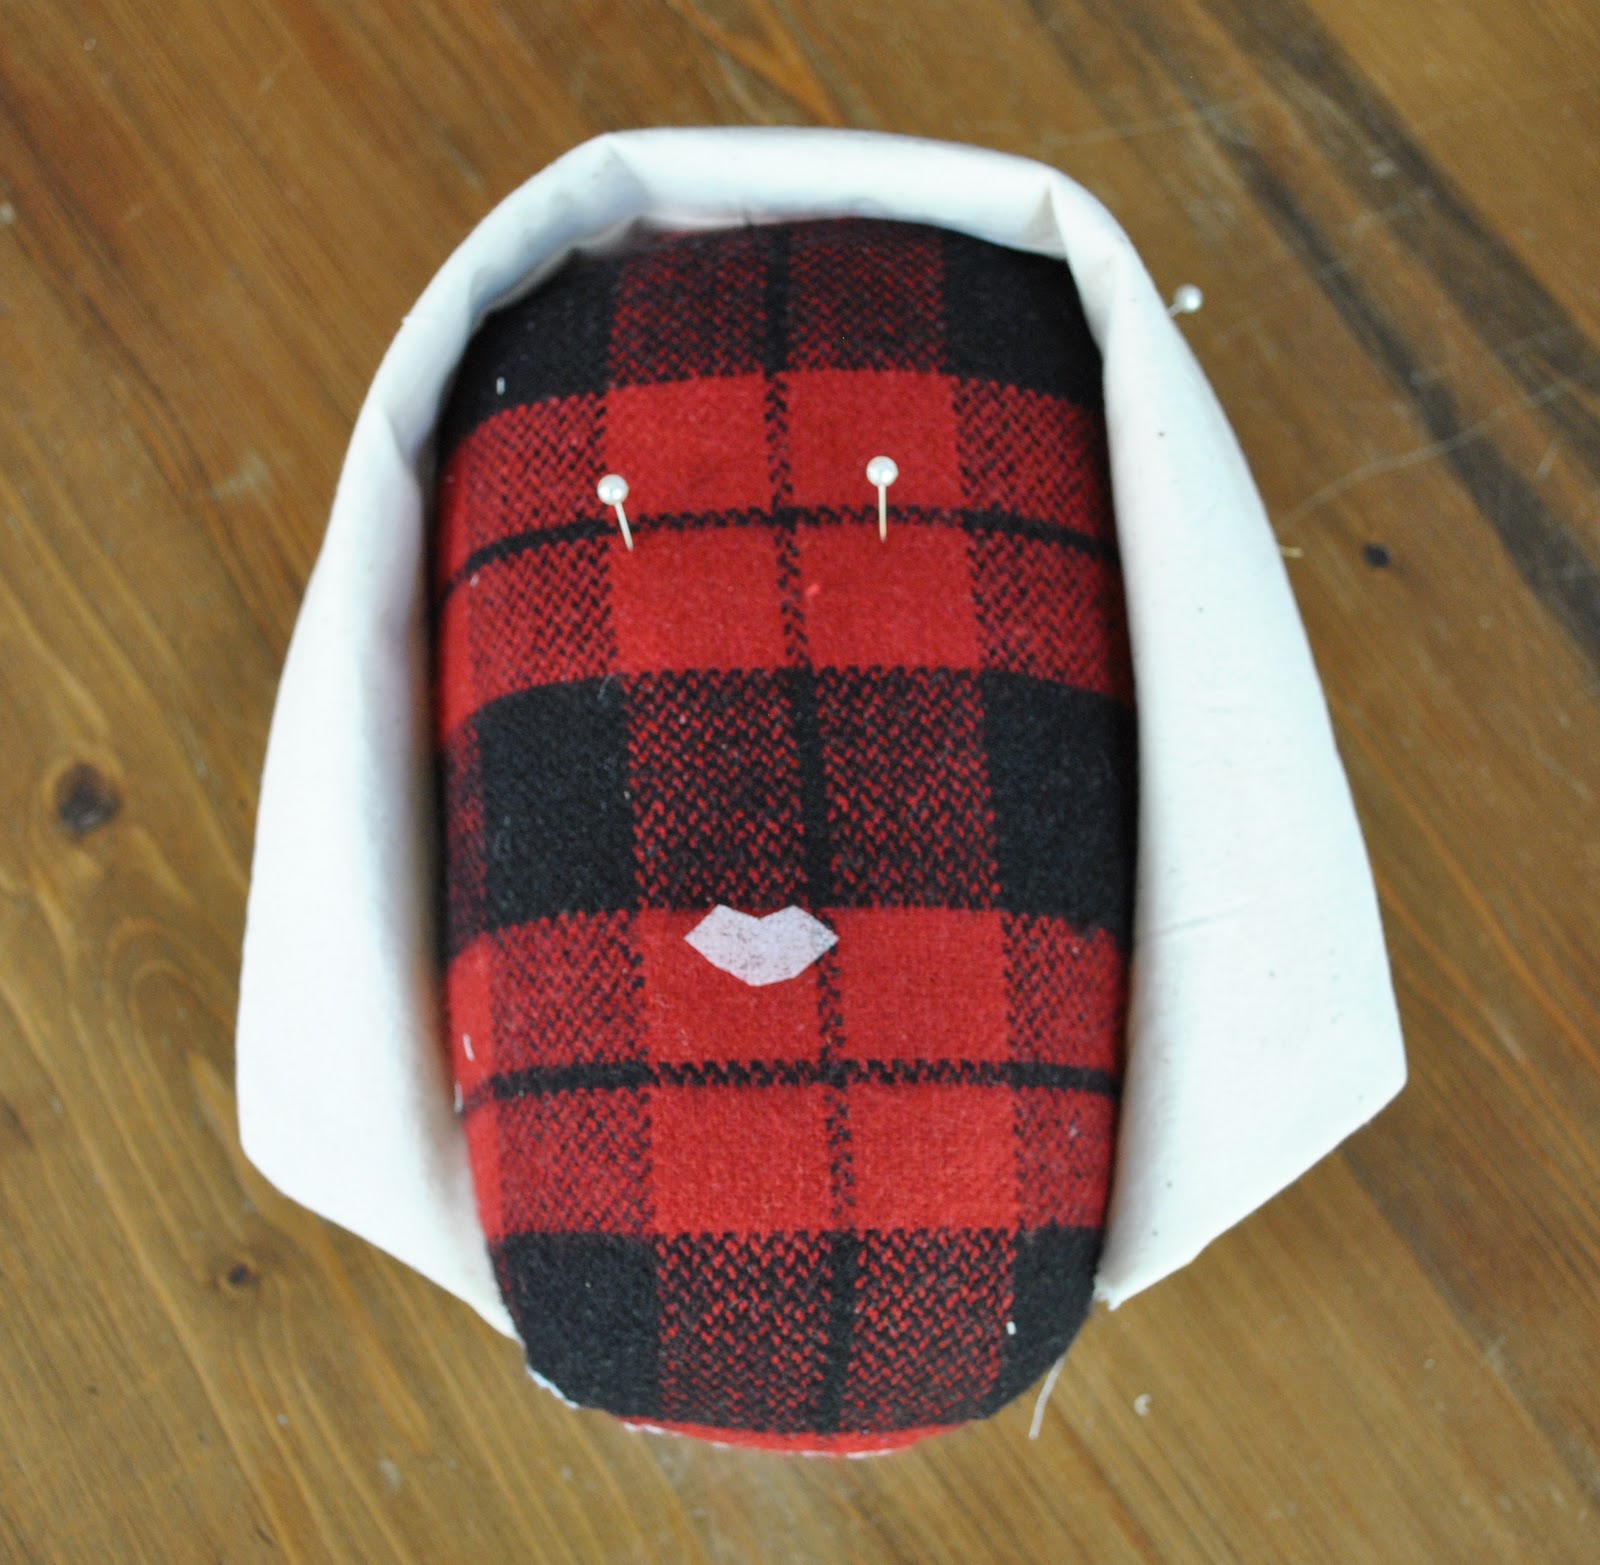
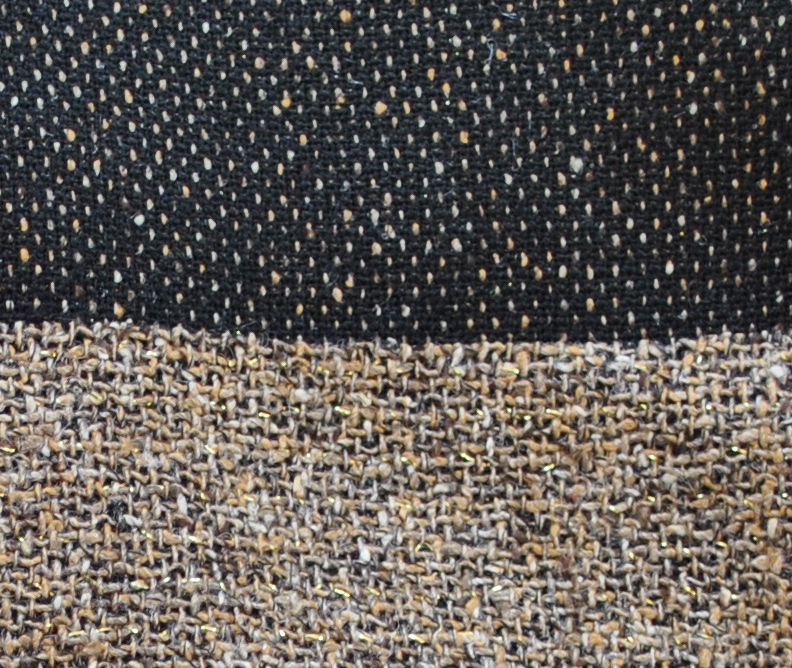
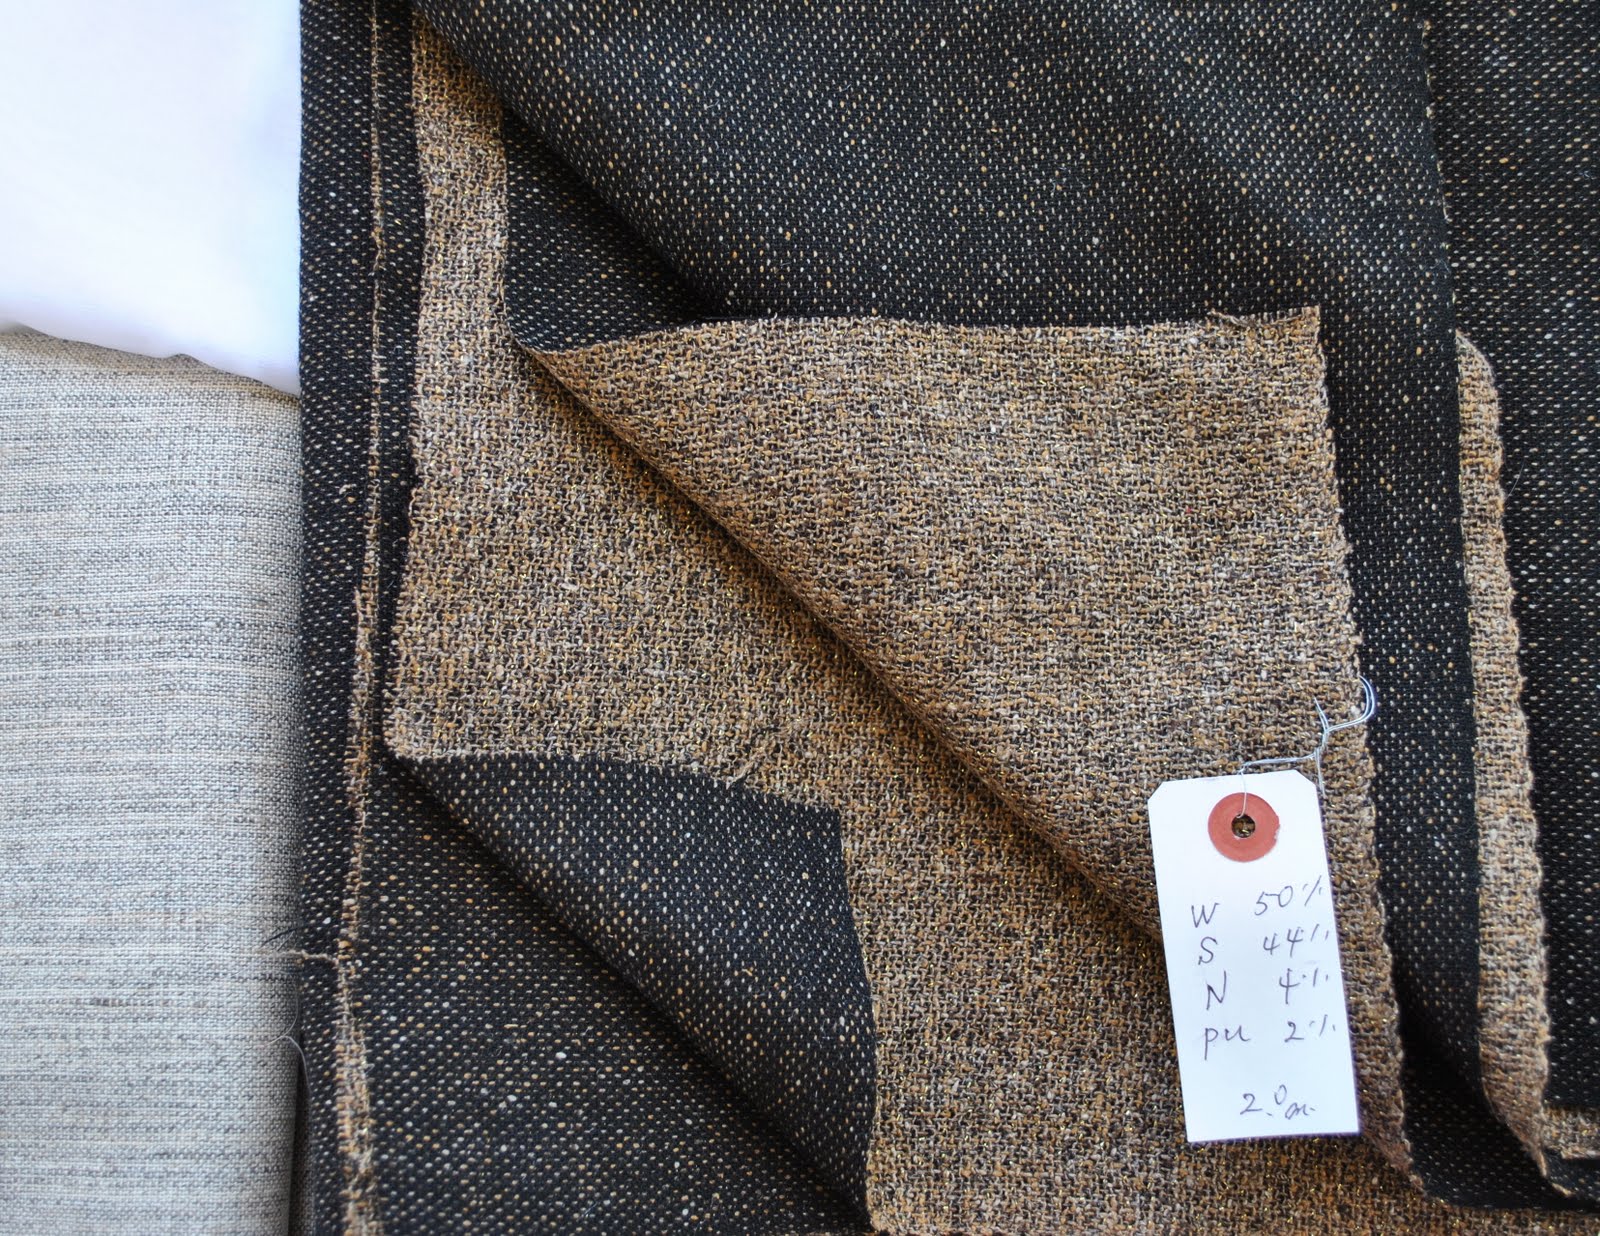
 I went out and bought a few extra supplies for my Vogue 8333 jacket; the horsehair canvas and the silk organza for the underlining. Something I have not got yet though is the lining and this is because I have hit a bit of a dilemma; when I looked at the silk linings I still couldn’t decide which side of this fabric is to be my right side… When I first spotted this fabric in Japan I knew it was The One, and I initially was drawn to the wrong wide of the fabric, which is the darker side. It is mostly a very dark charcoaly-brown, almost-but-not-quite black, and showing through is the multicoloured thread of the other side, coming up as dots of coffee, beige and bone.
However since I got home and have looked at it a few more times, the right side is starting to grow on me too, a rich mixture of all the warm shades of coffee, caramel and bone, and with a hint of metallic gold sparkly thread every now and again which probably doesn’t show very well in my picture below. The golden sparkle was the initial turn-off to me for using this side out as I’m not sure if a sparkly coat, even a subtly sparkly coat is really “me”, but the warm cosy browns are kind of appealing to me a lot right now. It would certainly be a more interesting jacket and more out of the ordinary.
Thoughts anyone?
In fact, I will admit that actually the sheer beauty of this fabric is crippling me somewhat… the prospect of stuffing up is causing a mild case of paralysis. When you have cheap fabric and an easy project it’s very easy to slice straight into it and whip something up, and the confidence and lack of worry one has simply because of the cheapness of the fabric and the easiness of the pattern, often insures a good dressmaking result. On the other hand when one is facing magnificent fabric and a difficult pattern, the looming menace of failure sits on one’s shoulder like the little old man of the sea….
Does anyone else ever get flummoxed by the crushing responsibility of not ruining a too-beautiful fabric?
(I will confess to fleeting thoughts of going and buying less gorgeous fabric for this project, just to avoid making a terrible mistake…. !!! this has not been ruled out!)