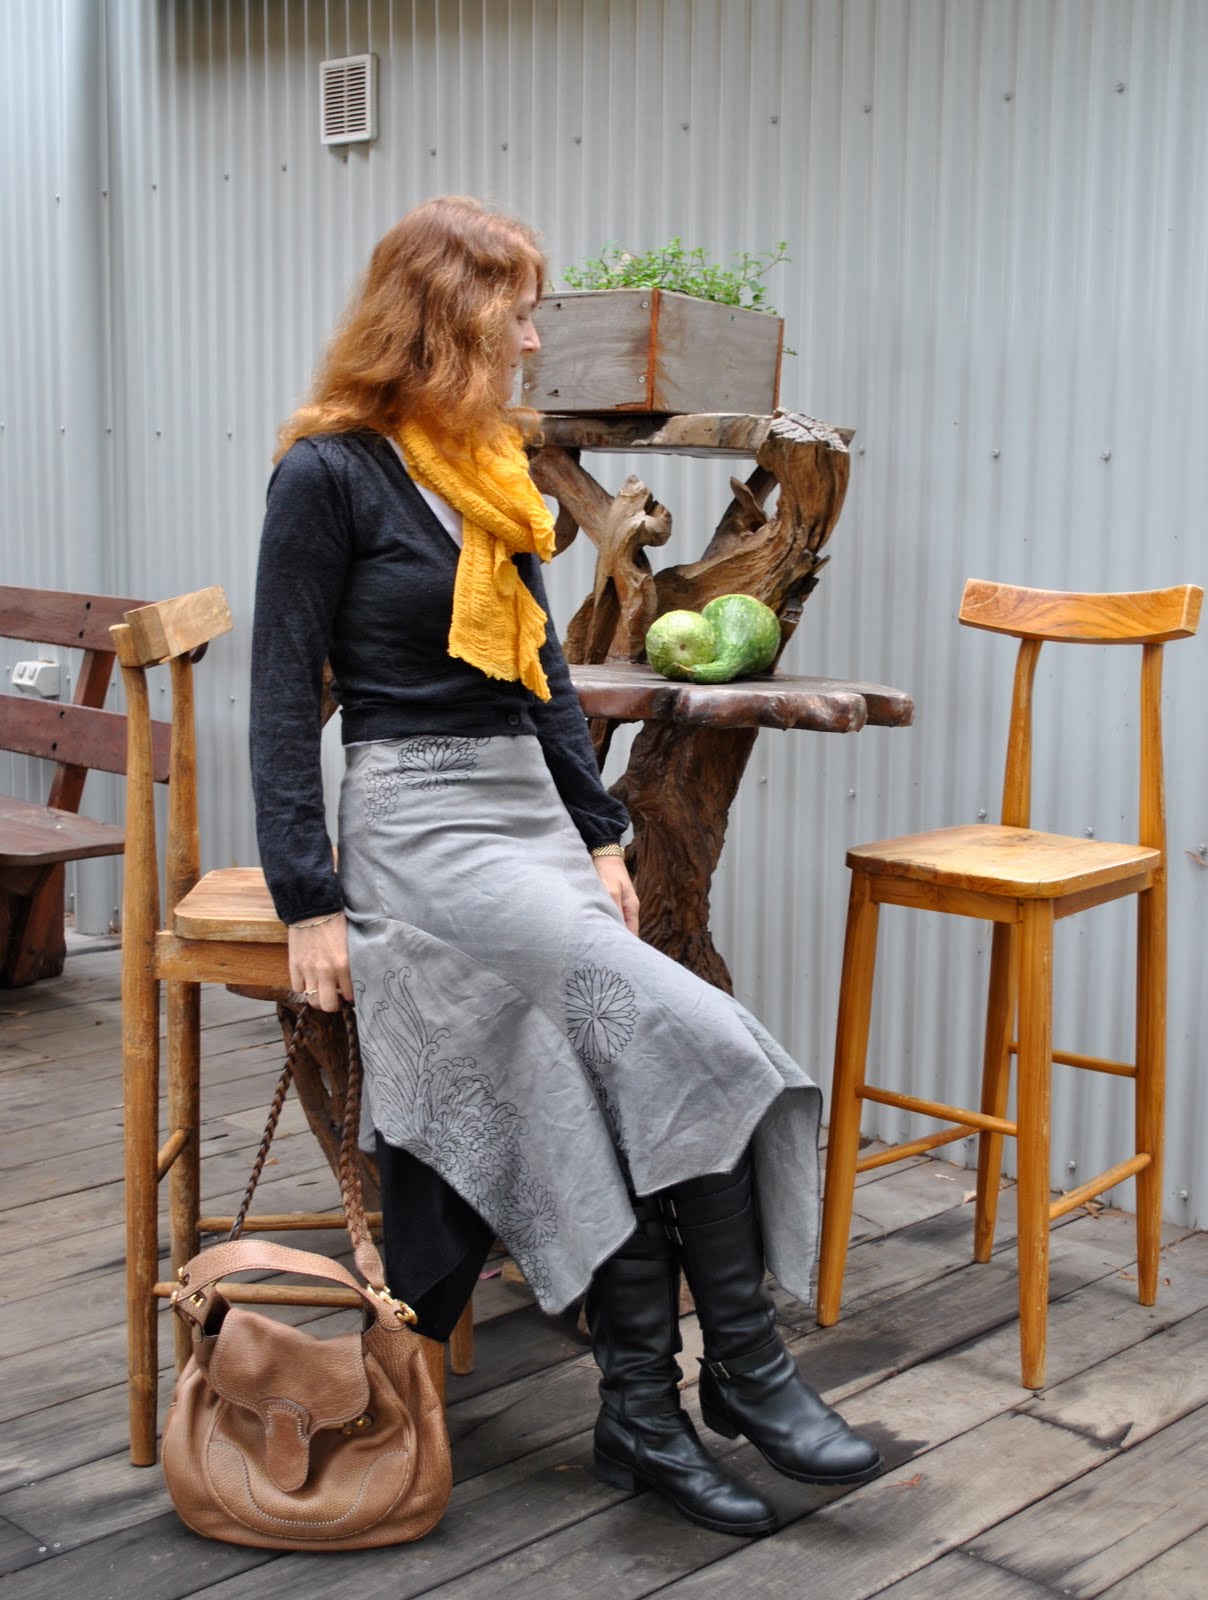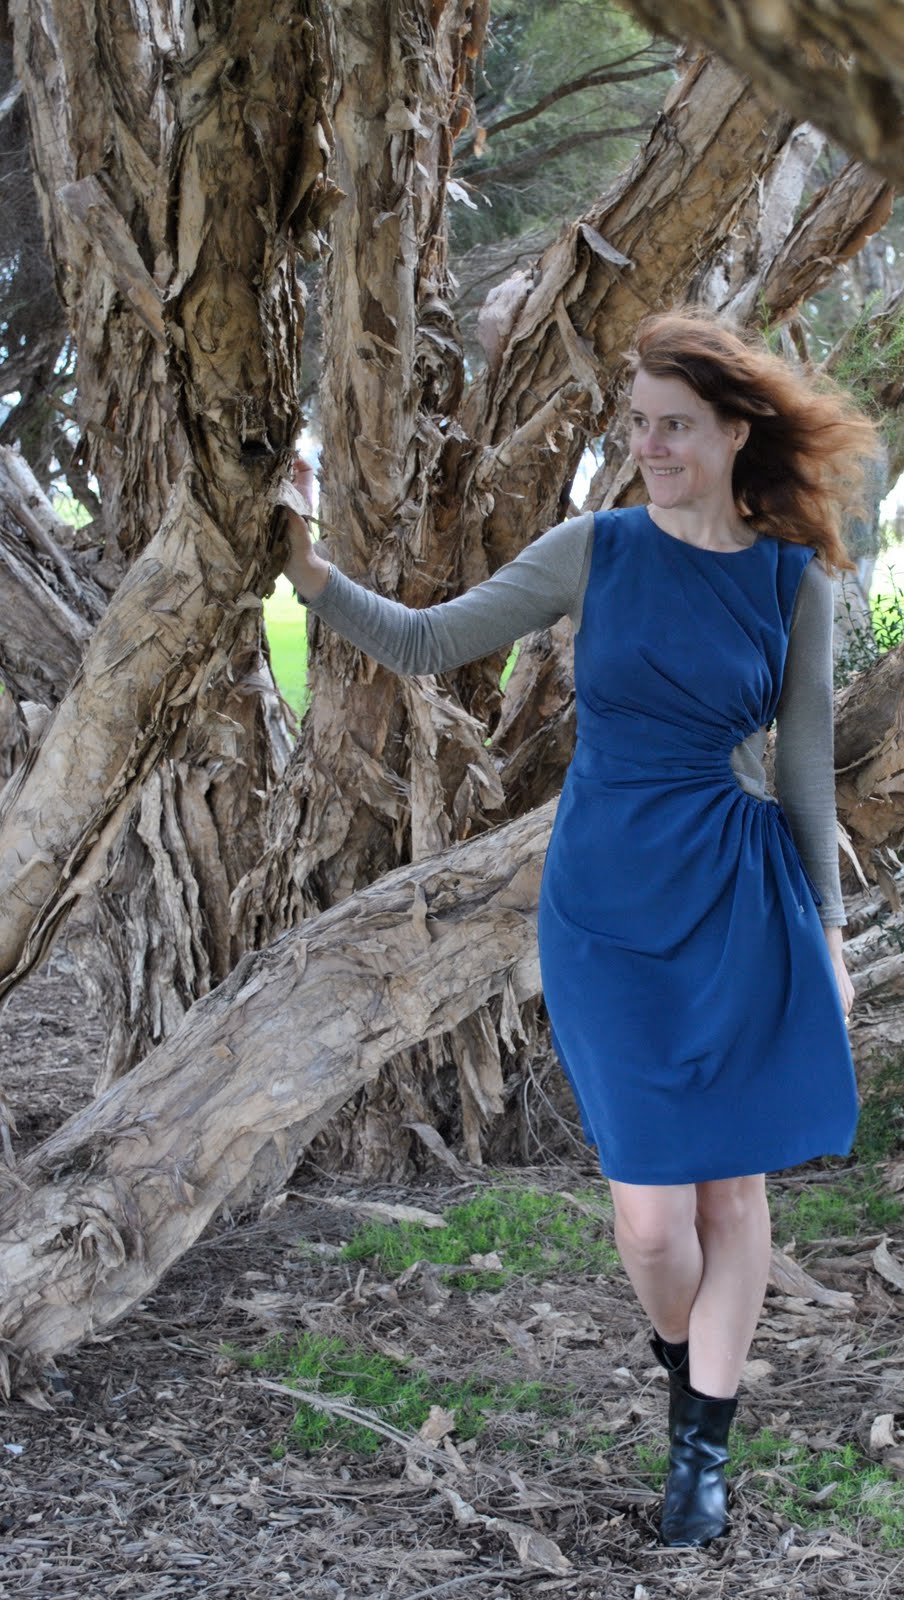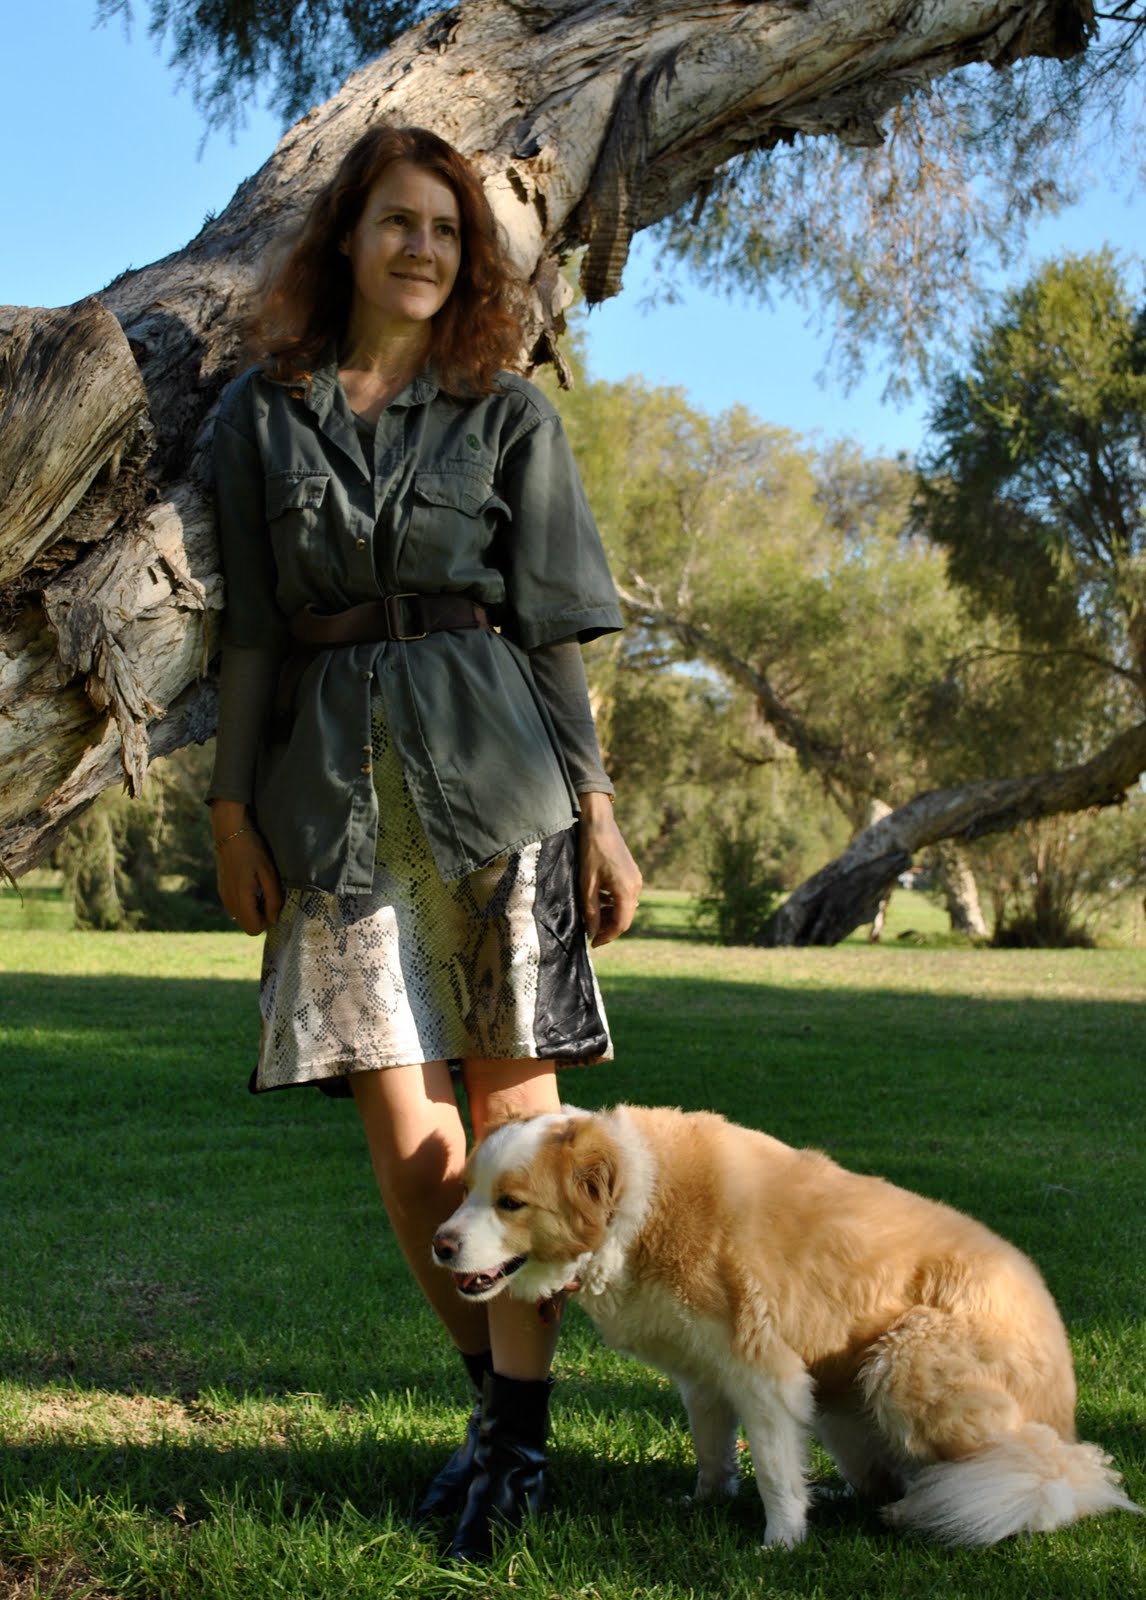
Something had been bothering me about this python skirt (first posted here) and I finally realised what it was. The length. It just wasn’t me. I think skirts suit me best when they are either quite long, like mid-calf to ankle length, or above knee. Just below the knee or sitting just at the knee is not a good look for me.
It’s a peculiar thing how a skirt length can suit some women so well, and just look frumpy and awful on others. One’s OK hem length is a personal thing. It’s taken me a while to work this out, and I’m realising it’s no good fighting this innate truth. Once you have determined your OK Hem Length (let’s call this your OKHL), then it’s a good idea to stick to it. Yes, hem lengths are dictated to us by current fashion trends, but every once in a while you just can’t wear it, no matter how fashionable it is. It may be the OKHL for some fashion mavens but not for you. Luckily the hem lengths of today’s fashion change faster than anyone can keep up with so any one of them will still be in keeping with a current trend from some design quarter…
Determining her own OKHL is every woman’s quest in her sartorial life. It takes time and persistence and, yes, mistakes to get this right. We’ve all had this experience. You come across it in a boutique, the most fabulous skirt you’ve ever seen, has you racing into the changeroom with inner whoops of joy, already mentally buying it and the trying on a mere formality to see for yourself in the mirror how utterly gorgeous you are going to be in your new skirt… then it’s on, you look in the mirror, whoomp. All your excitement evaporates at the hideous reflection of yourself in that skirt in the mirror. It’s all …wrong. You feel like it’s you. The skirt is perfect, but its you who are not.
Well, my friend, at least half the time it won’t be you that is the problem, but the hemline of your fabulous skirt. It’s just not your OKHL.
It’s no coincidence that a lot of the “re-fashions” I see on Wardrobe Re-fashion are simply either the shortening of a too-long dress/skirt or adding-on of strips of fabric to lengthen a too-short number. OKHL’s are being realised here.
 I feel a lot better about this skirt now. What do you think?
Have you determined your OKHL? What were your experiences in working it out?
Details:
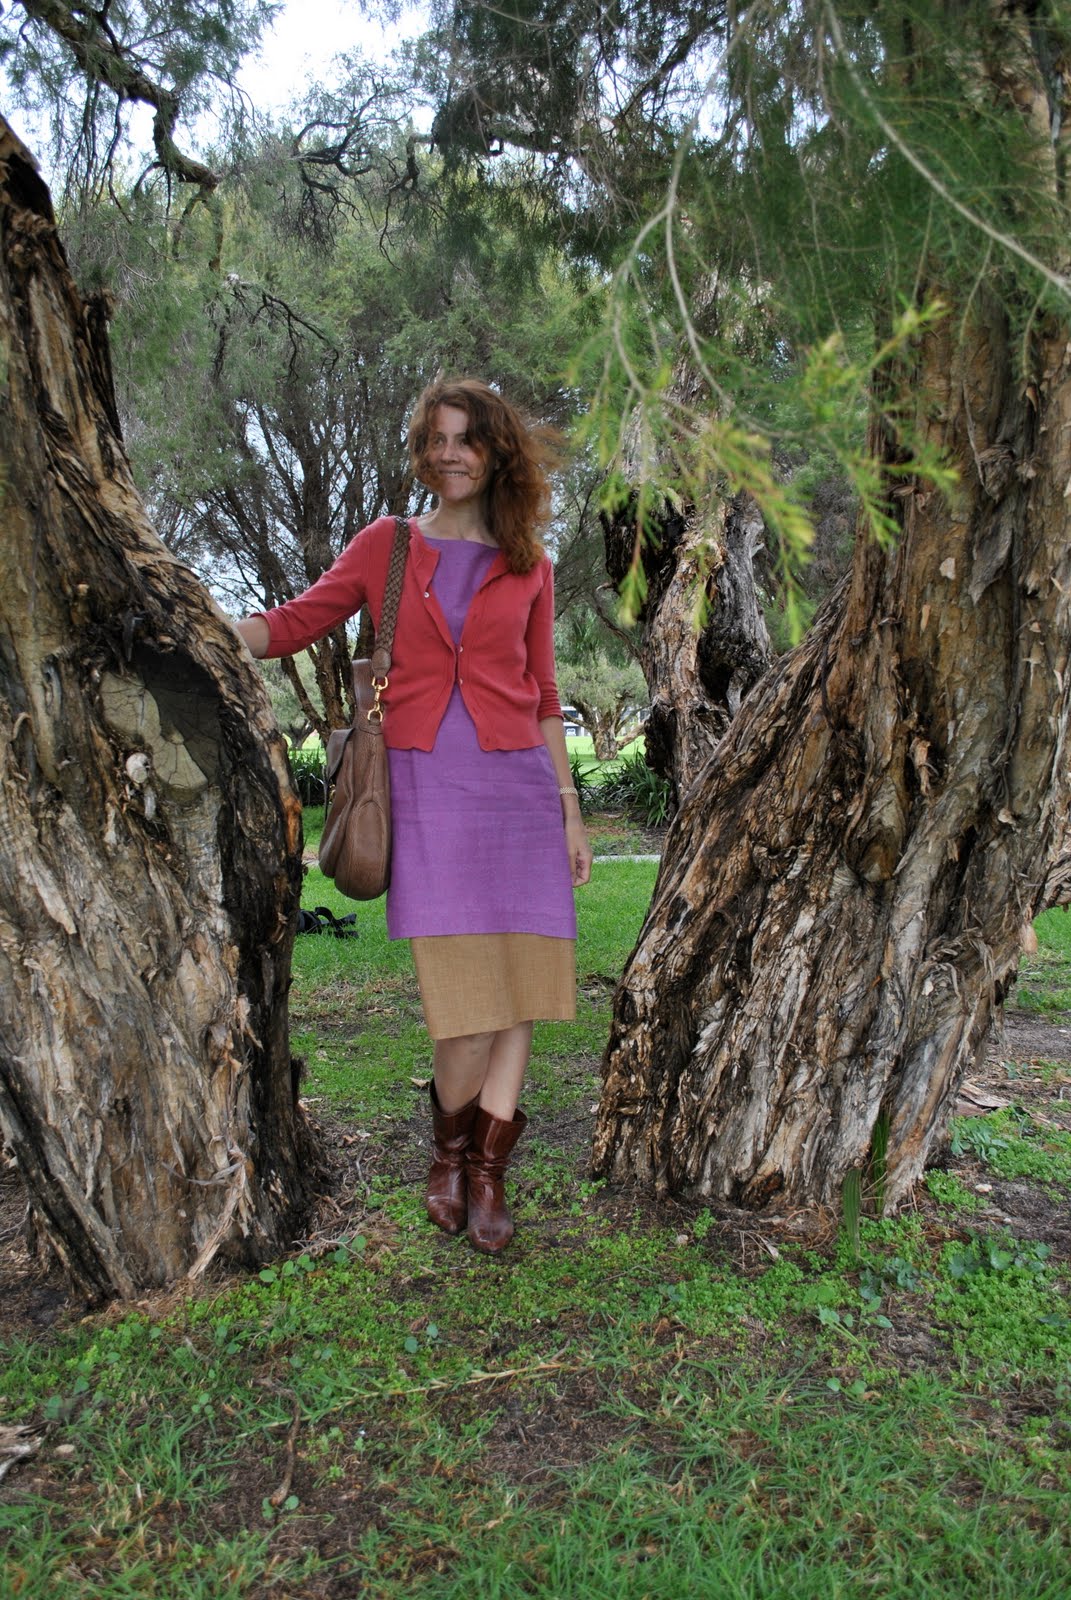
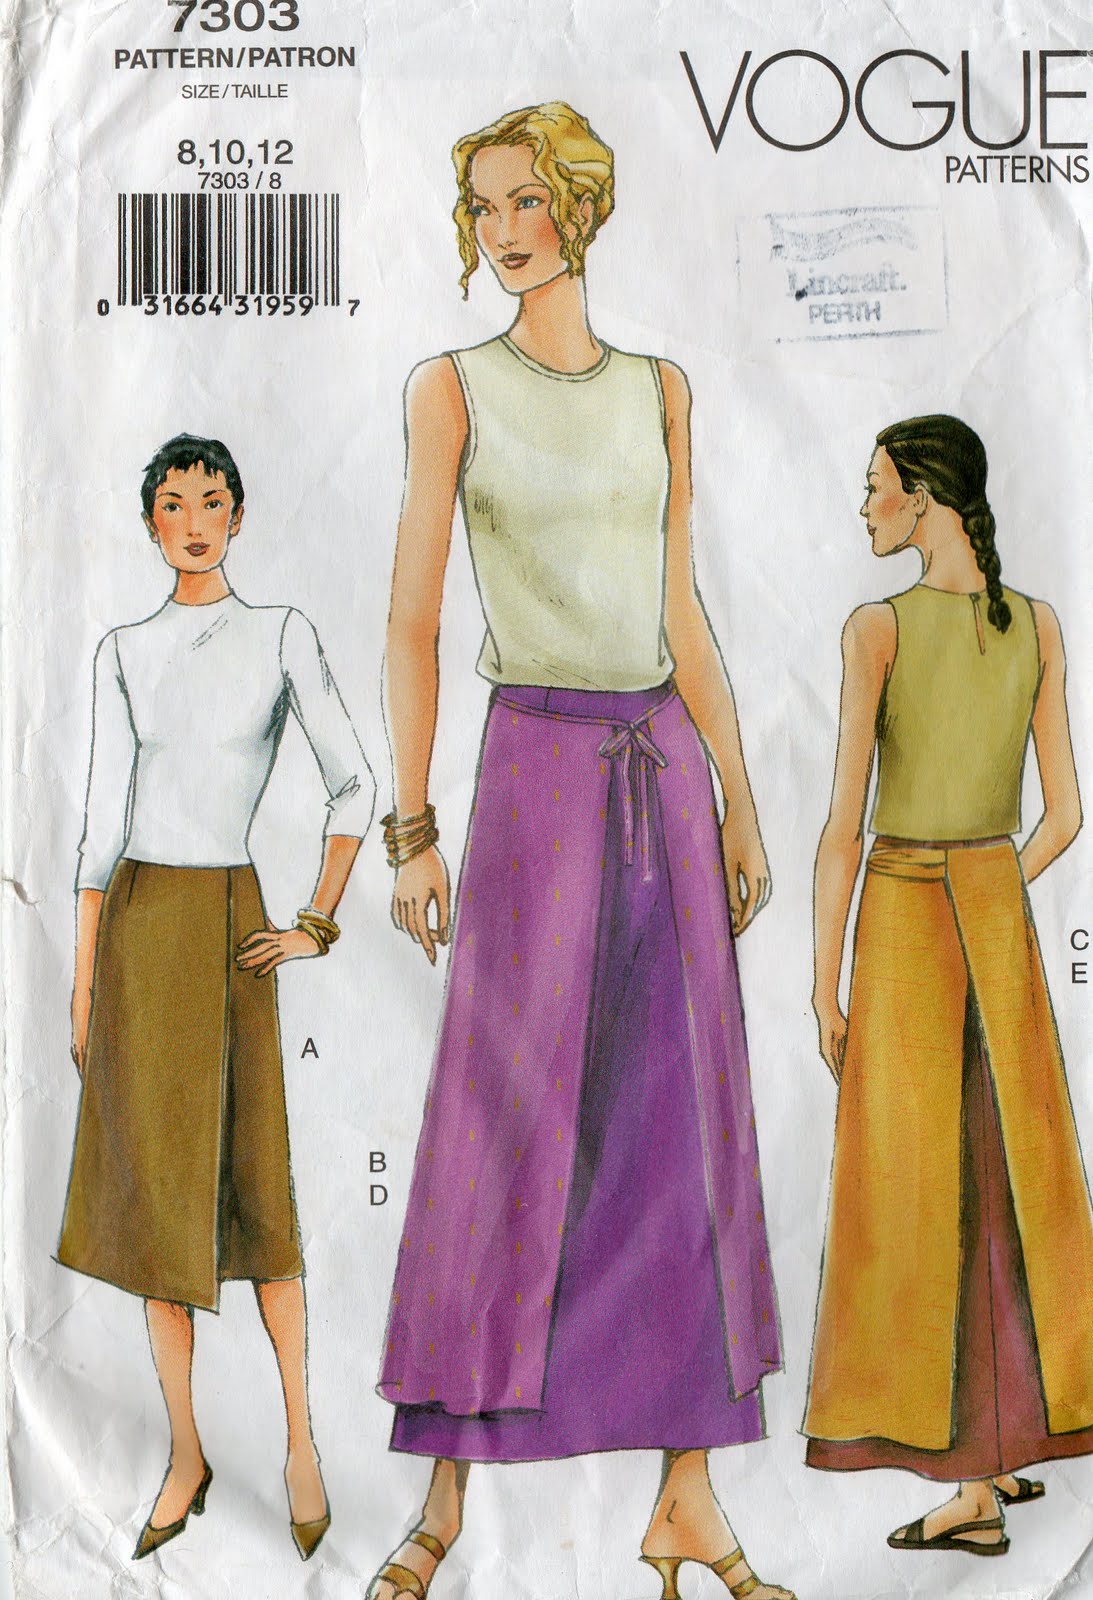
Skirt; my own design variations on Vogue 7303, python print satin
Top; Metalicus
Shirt; from Tinga Safari Lodge, borrowed from my husbands wardrobe
Belt; from my cargos
Boots; Mina Martini, from Marie Claire