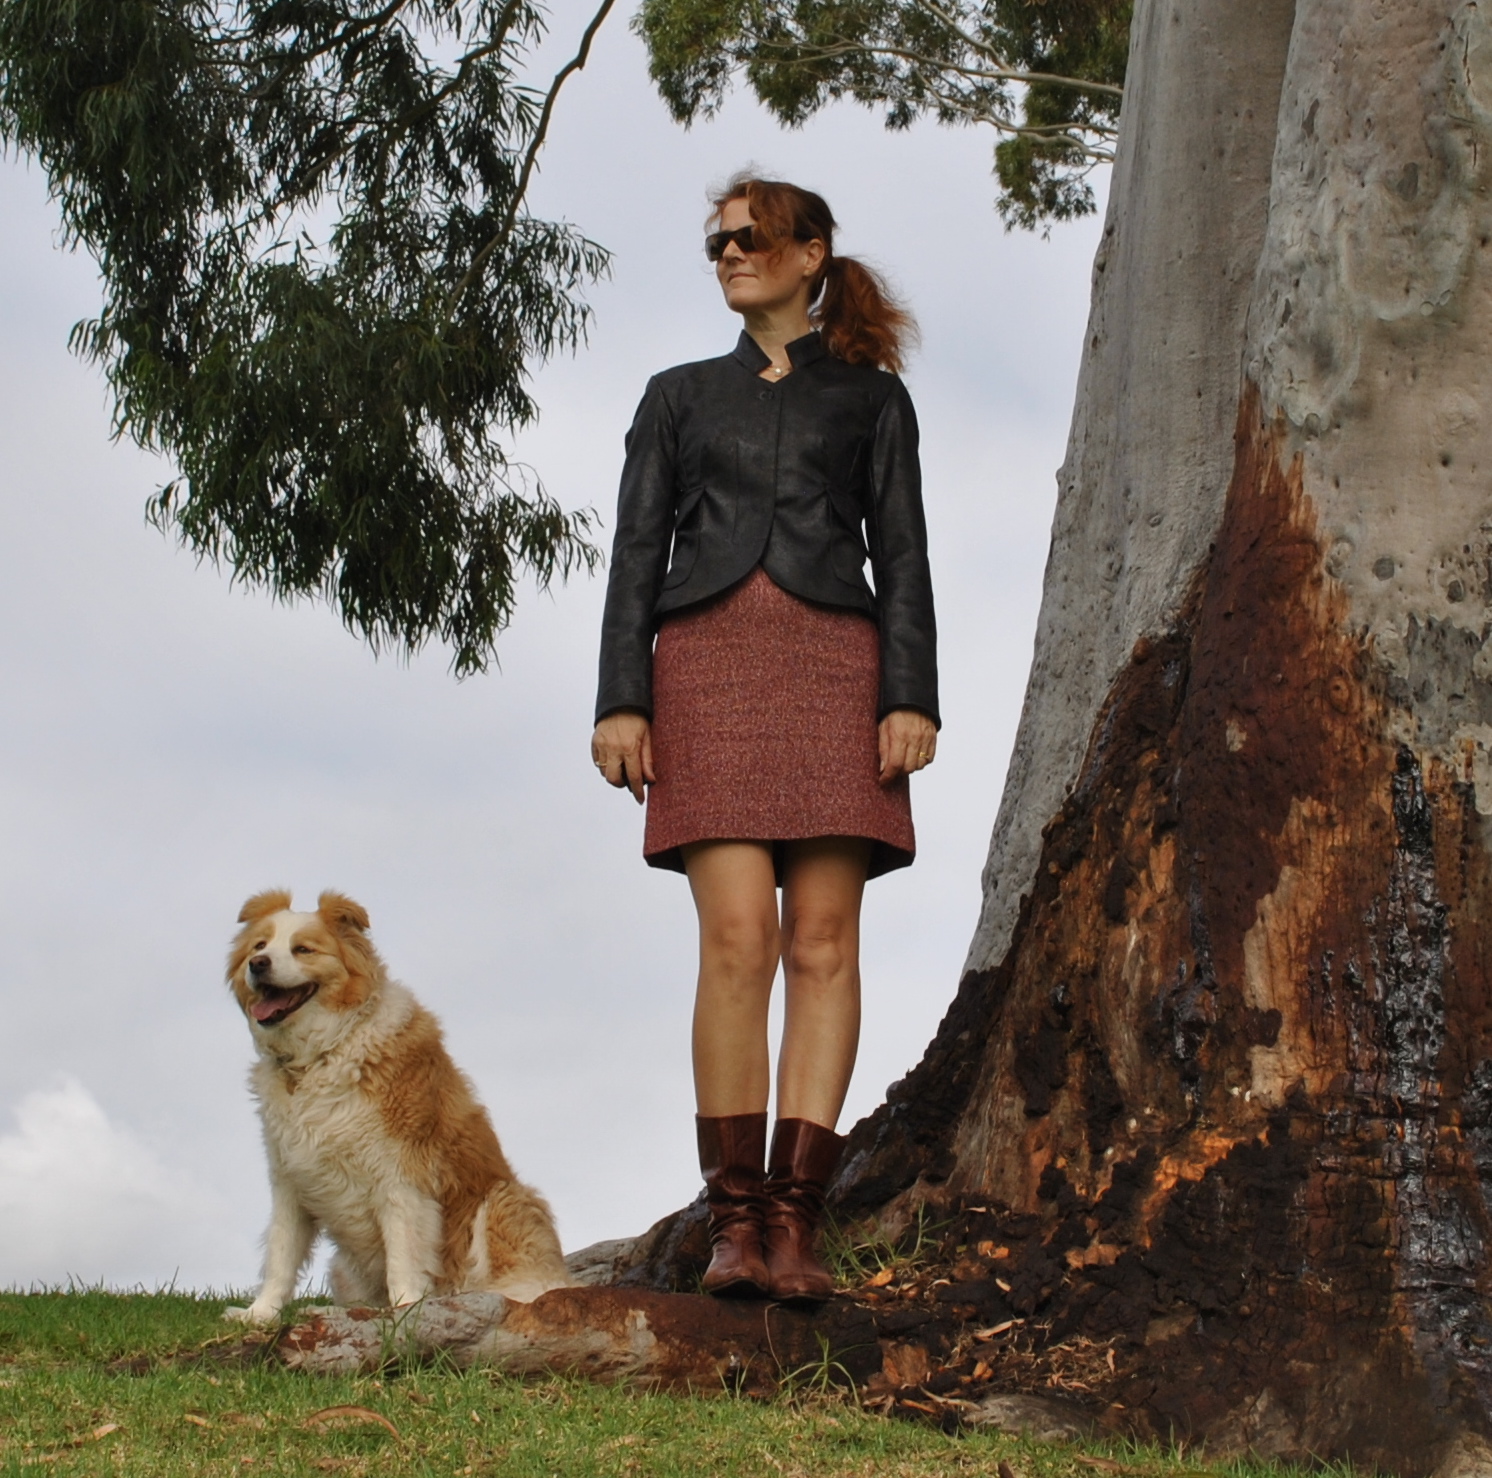
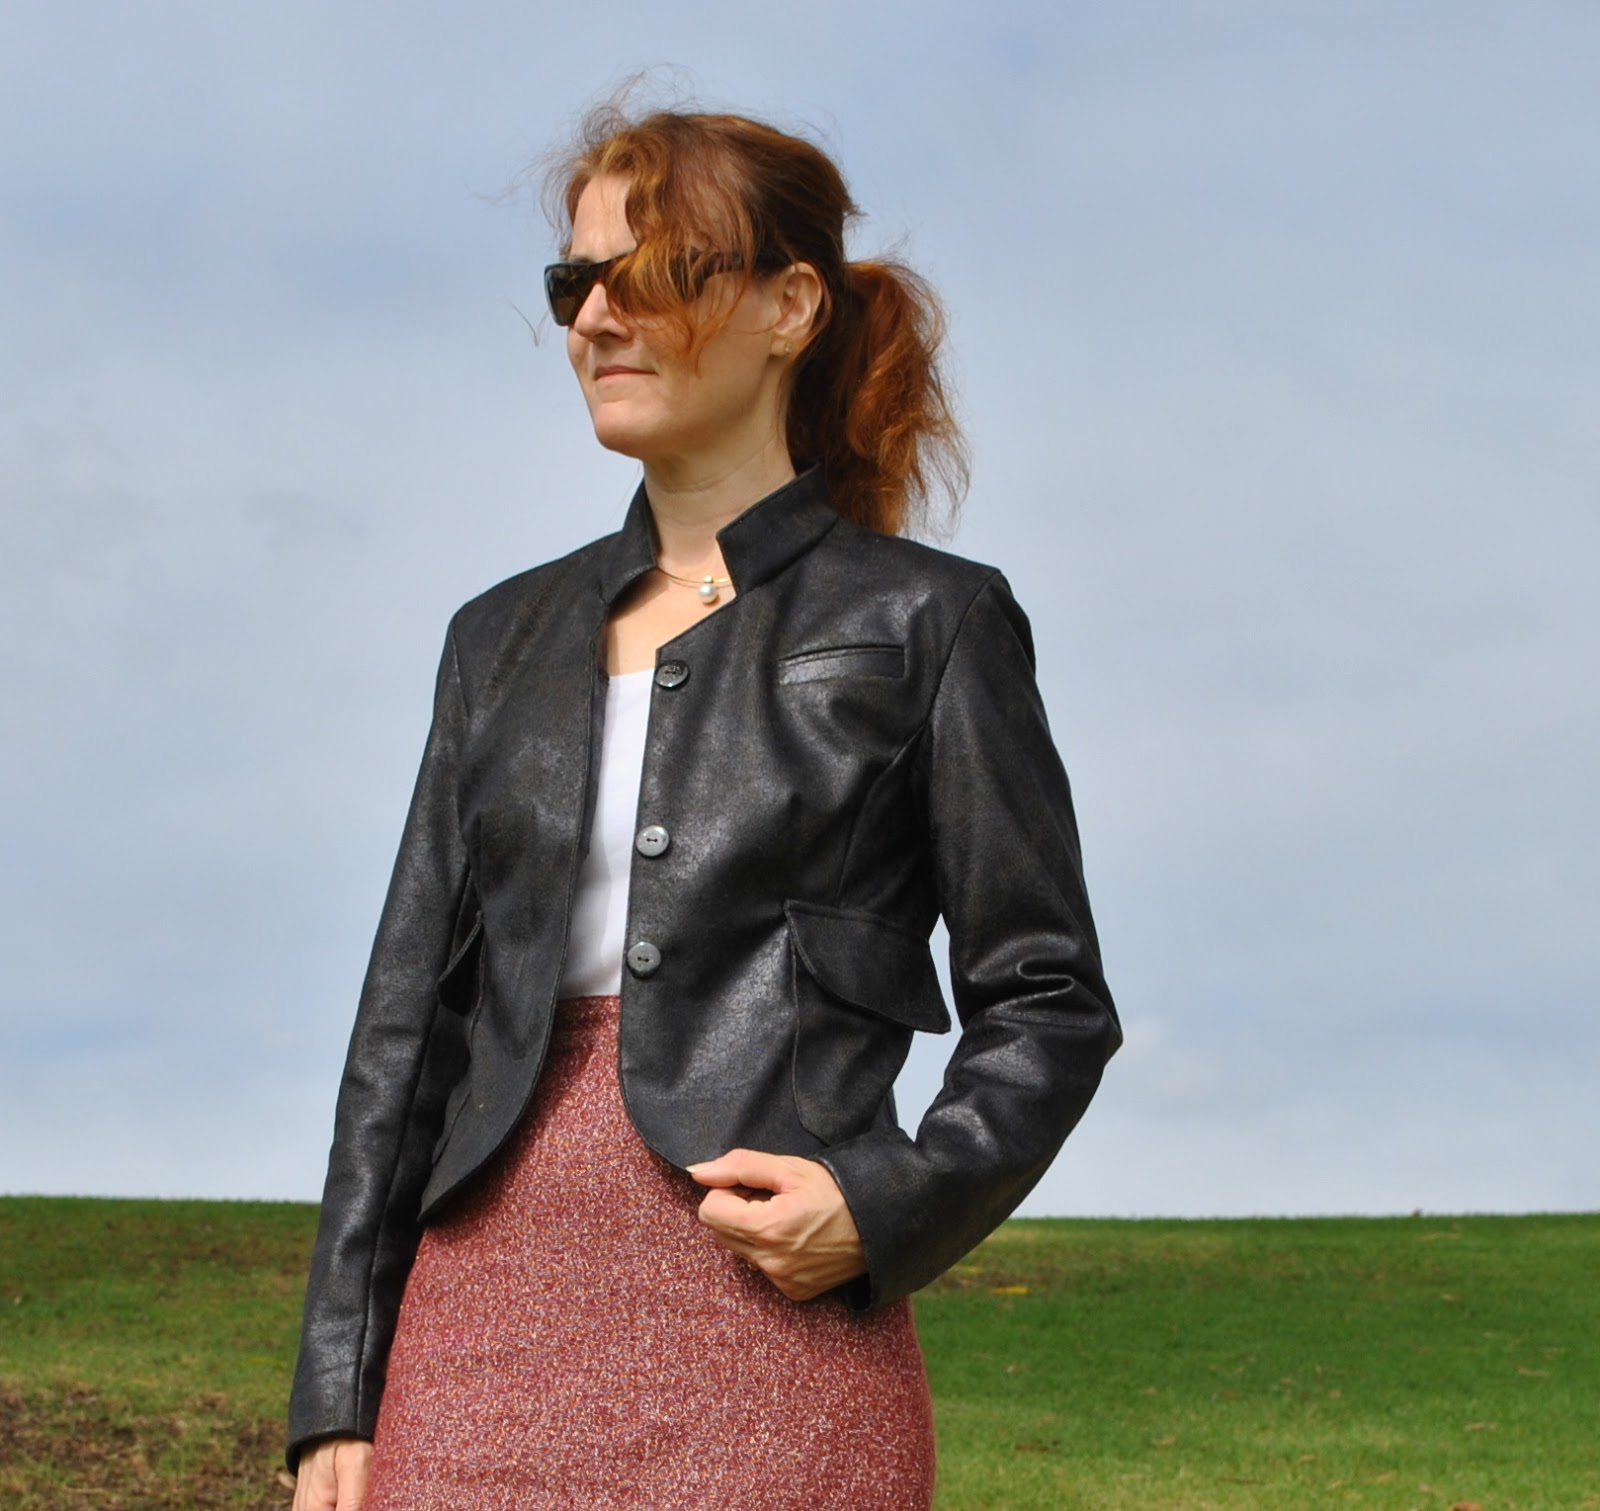
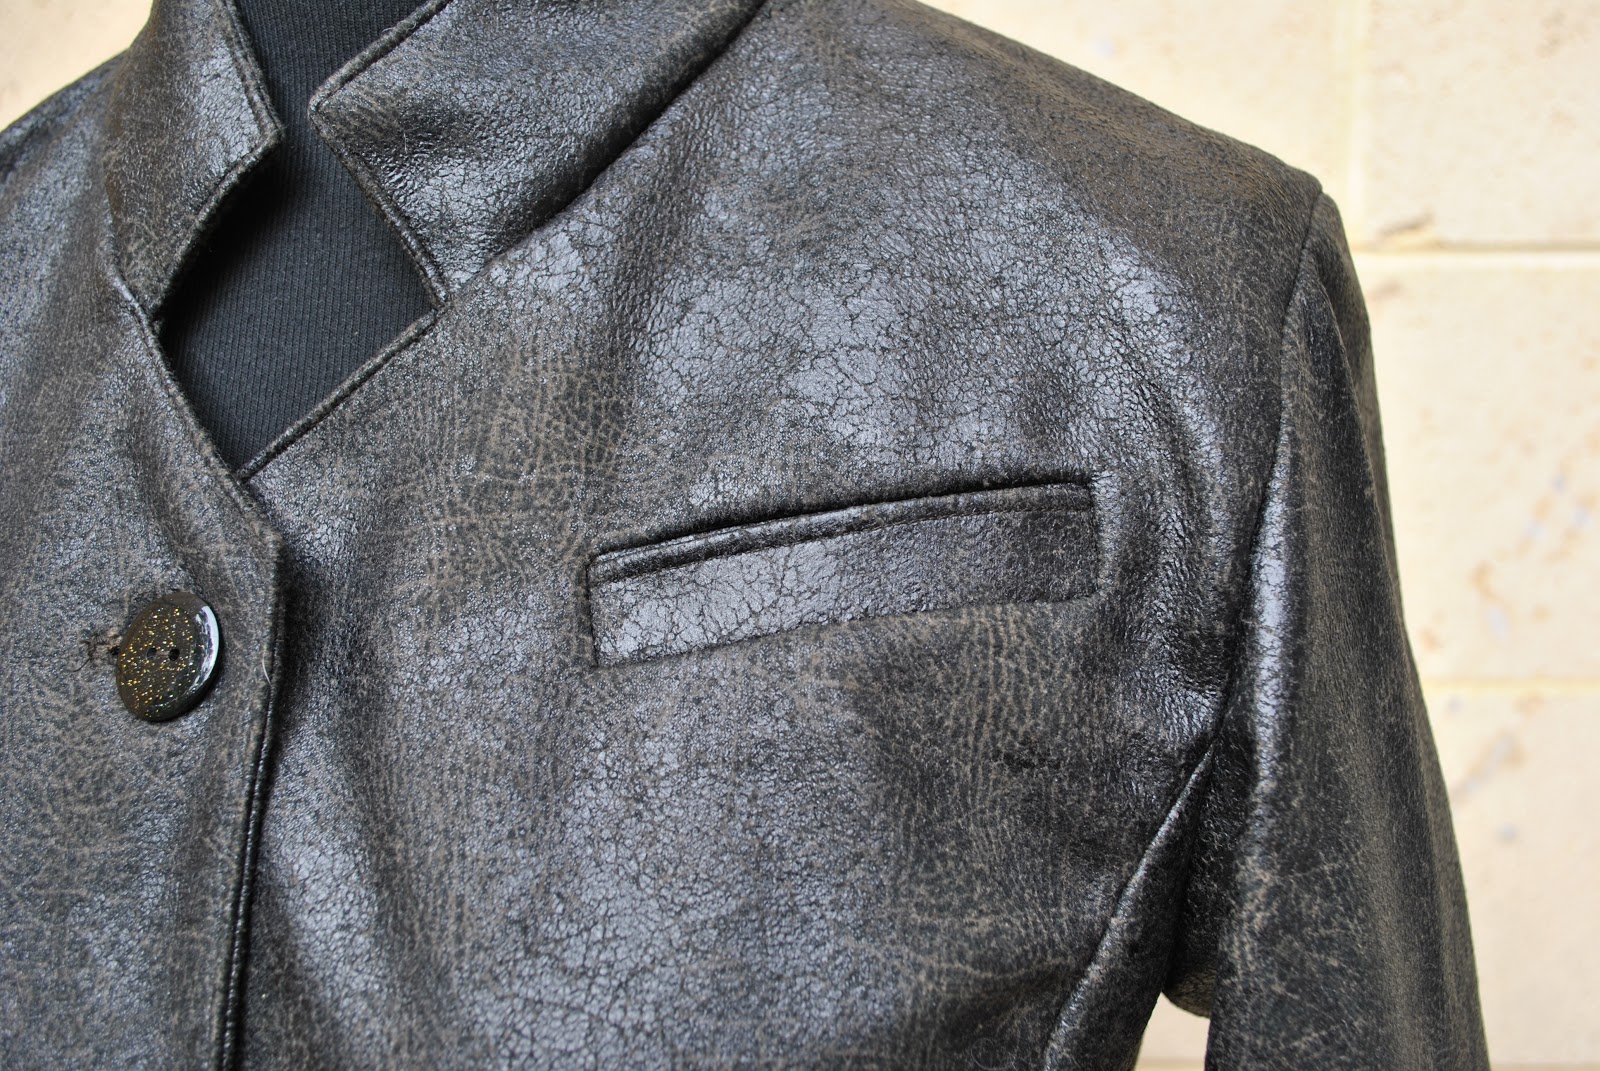
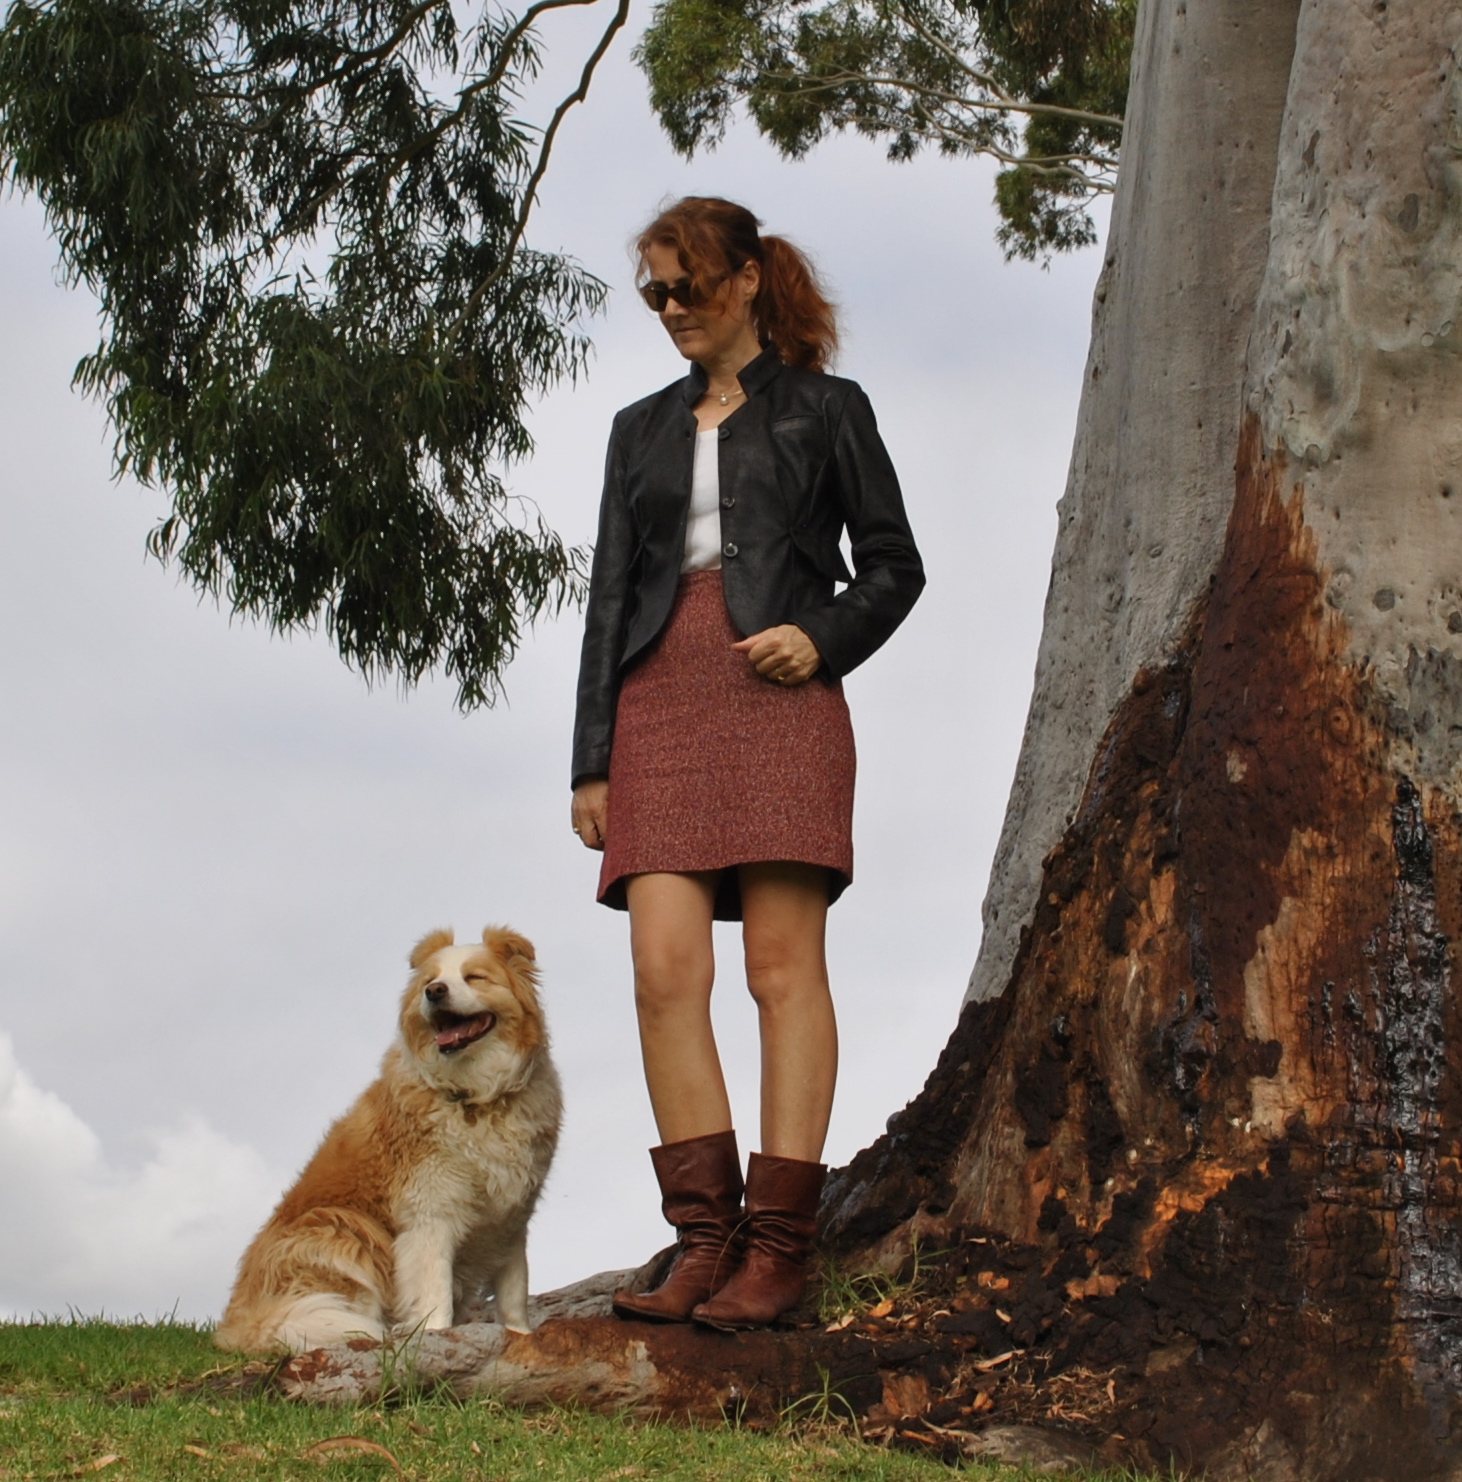
I have made a new leather jacket. Well… it’s “pleather” really. A faux leather jacket; or maybe we can call it a fleather jacket… ha! I’m going to go with that. I’m pretty happy with how it turned out! I’ve been thinking wistfully about a leather jacket for years, and I was super impressed with kbenco‘s gorgeous leather jacket. So, while I was staying at my parents’ place over Easter I noticed this pattern, designed for leather in one of Mum’s old Burda style magazines. I found this very nice chocolate brown and black-splodged PU laminate in Fabulous Fabrics; the texture is very realistic, semi-matte and soft and very faintly “crazed” like very well-loved, well-worn old leather. I bought up and got cracking.
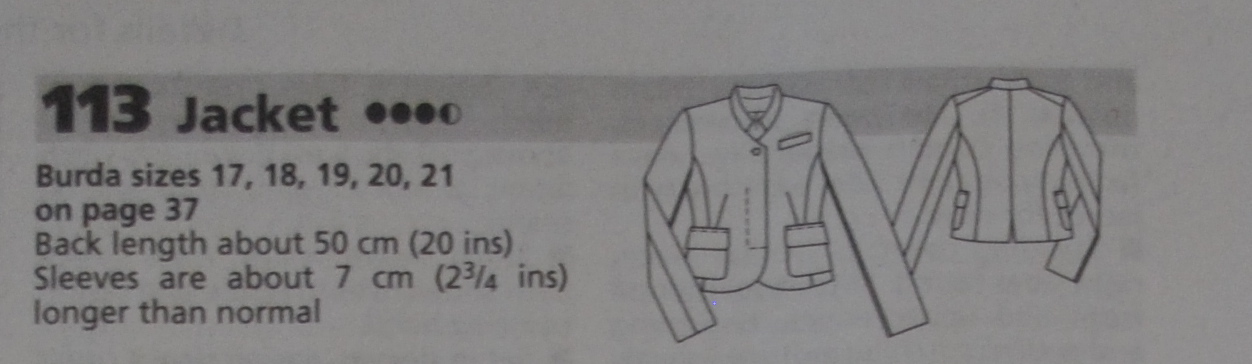
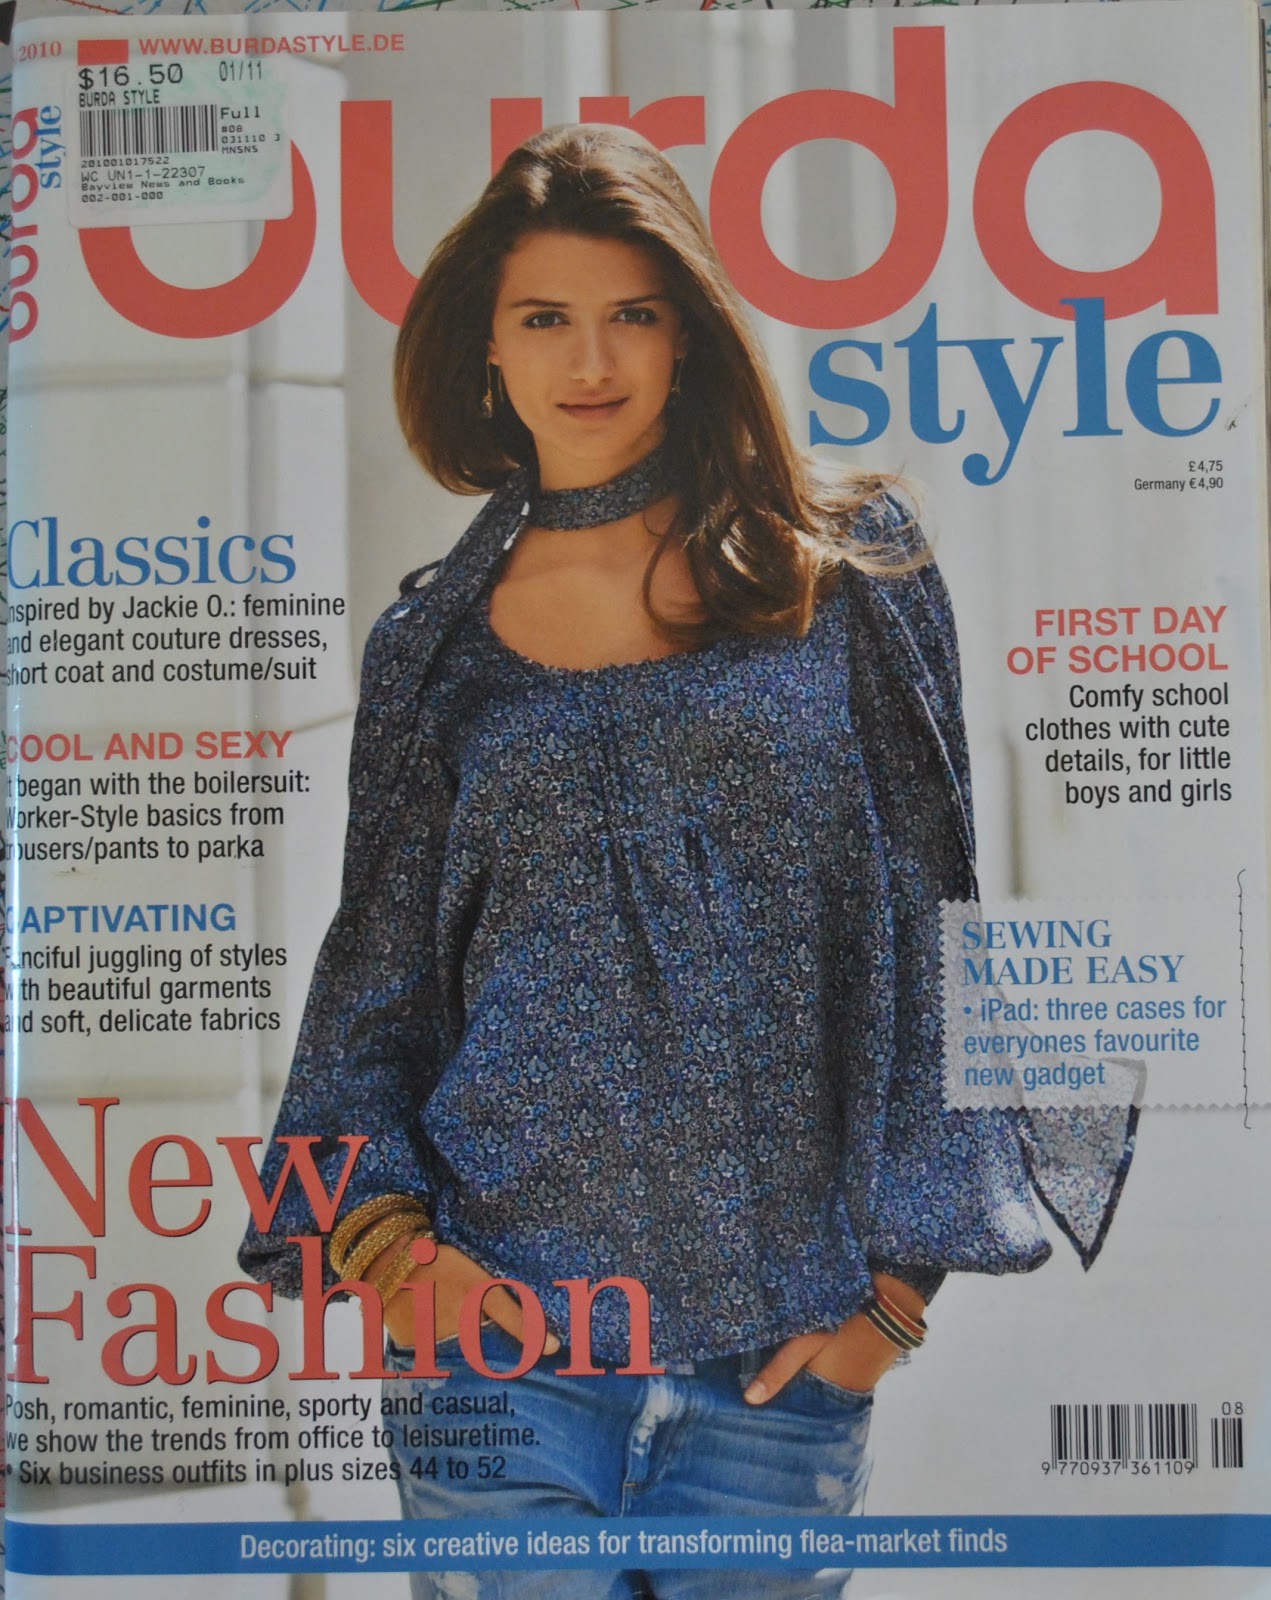
The jacket is pattern number 113 from Burda style magazine, 08/2010. I made no modifications, excepting multiple teeny modifications to get a good fit. There were plenty of these, but I’m only listing them in my review below if you feel like plodding through the nitty gritty, since reading about personal fitting modifications is the most boring thing on the planet. The only one really worth mentioning is that the sleeve cap to this pattern is rather high and leather is not a fabric that lends itself well to easing. So I shaved off quite some height off the top of the sleeve cap, just over 1cm tapering off to the gathering start and end points.


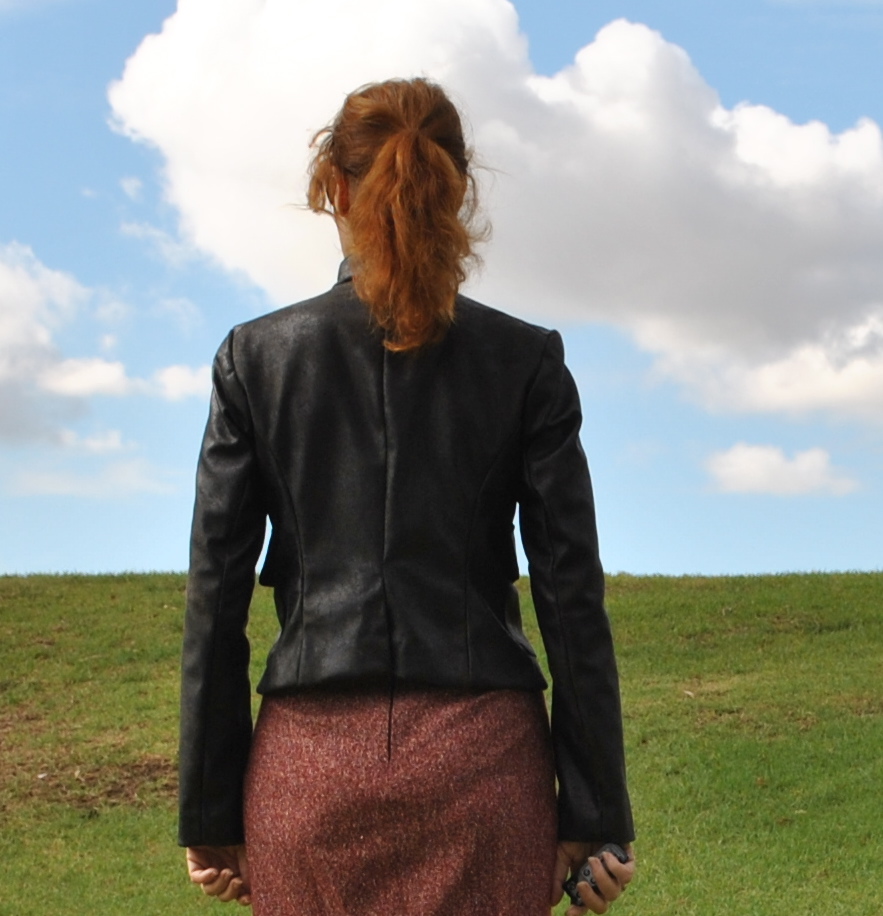
I’m not completely sure about that slit at the lower edge of the centre back seam. I don’t really see the point of it. I’m giving it a fair go though. It’s on trial. I might decide to sew it up sometime down the track…
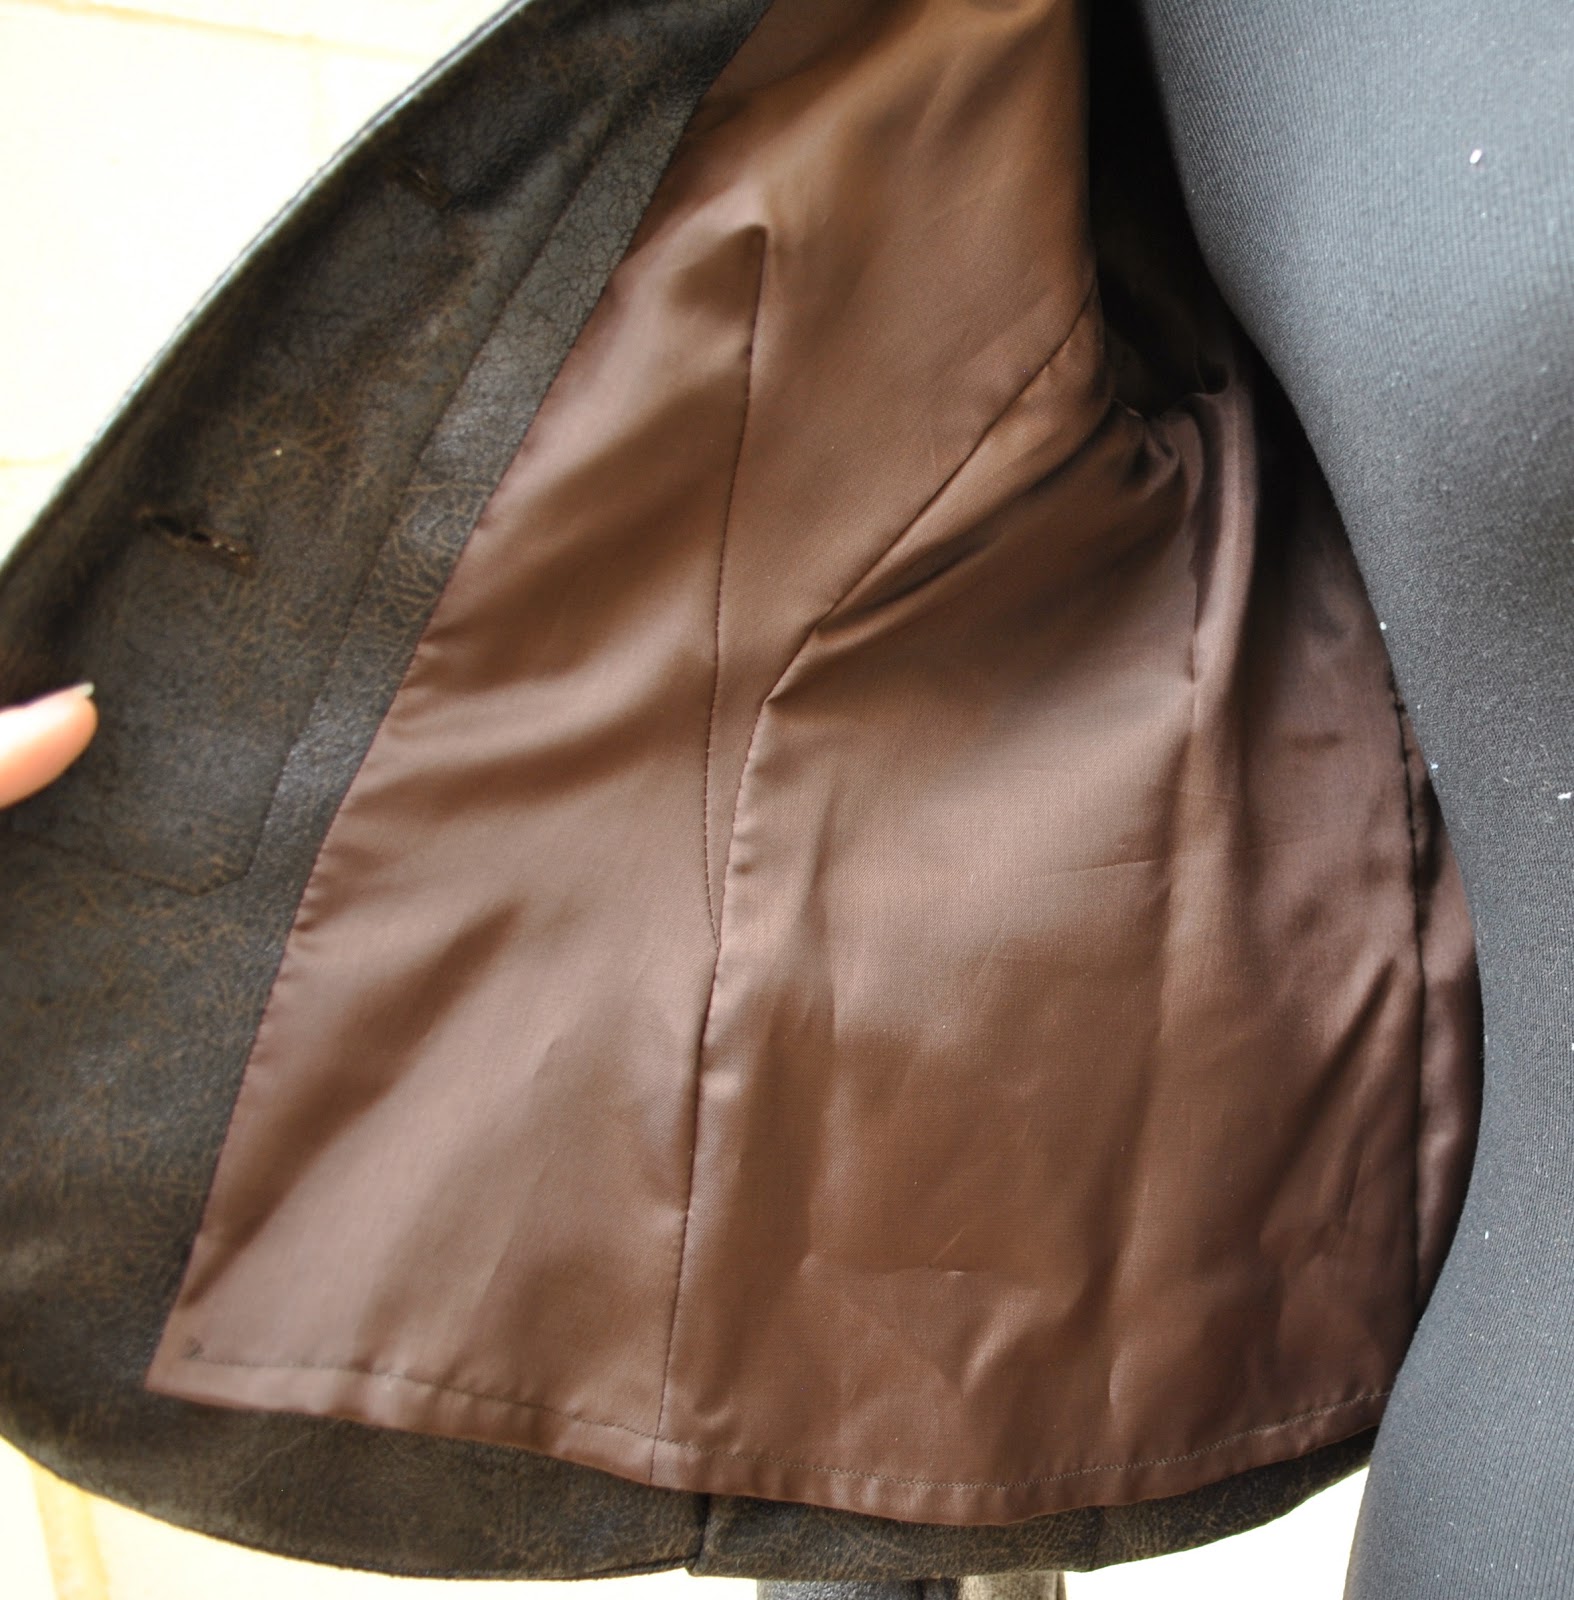
The jacket is fully lined with chocolate brown polyacetate lining fabric.
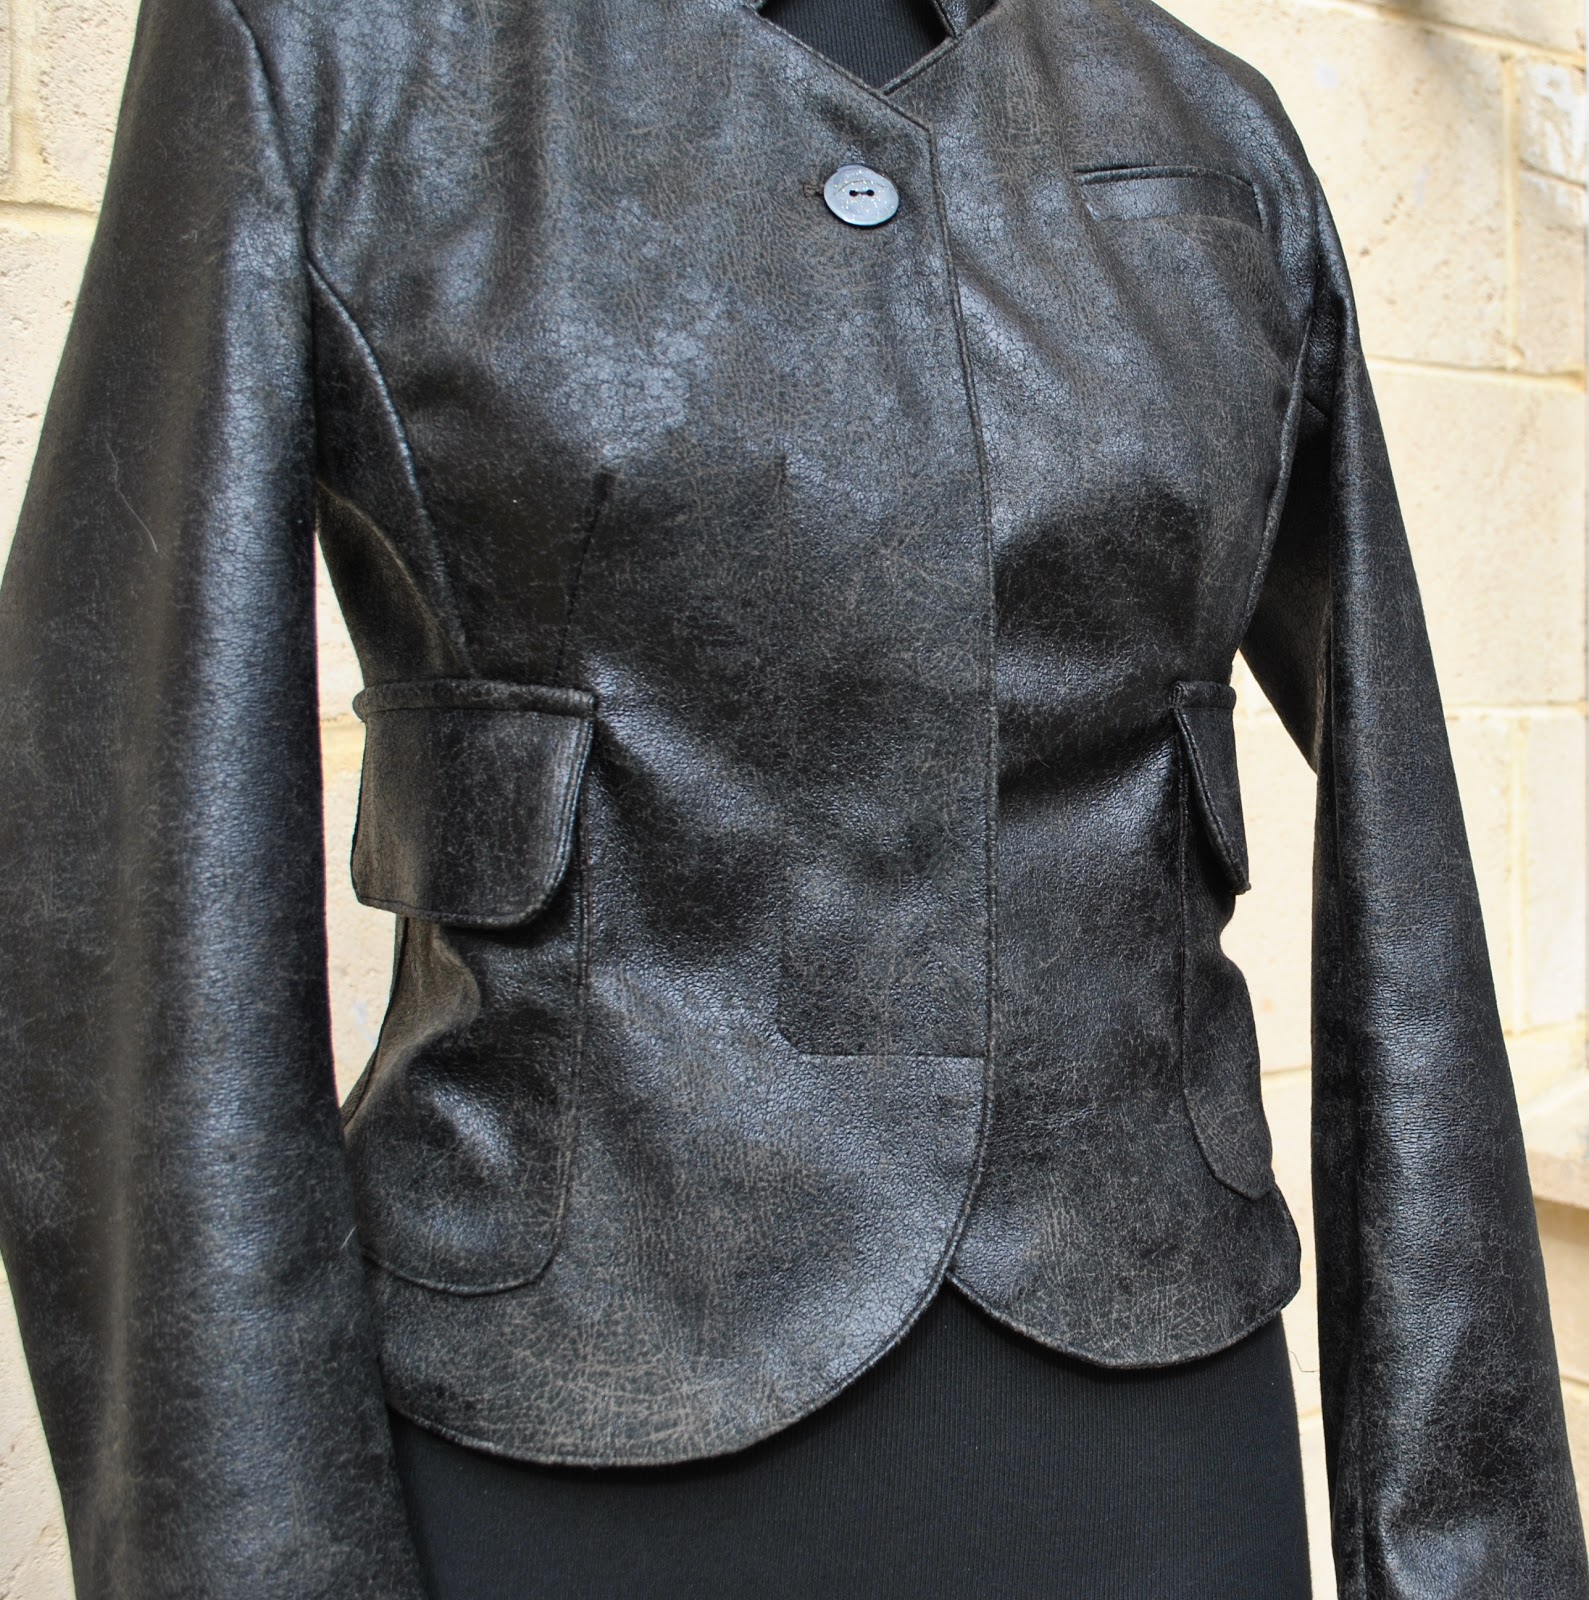
It has a hidden button placket for two hidden buttons, and two large, lined, flapped patch pockets at the hips, which are unfortunately not situated very conveniently for actually putting your hands in (sad face) But you can still put things in them, and they do look pretty cool. I like leather jackets to have lots of things and detailing and stuff on the outside. In my opinion details really up the cool quotient on a casual jacket and lend it a young, urban aesthetic.


The jacket also has one small welted pocket on the upper left. My fabric tended to “bounce” out of a fold, so I edge-stitched the welt, as well as the collar and front opening edges, to give them a flat sharp edge.
The pattern called for the pocket bag under the welt to be inserted in line with and perpendicular to the pocket, which would have meant it would sit stuck out at a slight angle. Whaaaa? So I changed it so it hangs down vertically from the welt. It’s hidden in between the lining and the jacket, so you can’t actually see the pocket bag at all, but I just didn’t like the idea of it sitting out all skewiff, defying gravity like that; it seemed an oddly imperfect and unbalanced way of doing the pocket, and it would have flopped in on itself a bit. I think Burda probably did it this way to make the pattern piece and the instructions easier; but I just had to alter it to have a straight-hanging pocket.
Apparently the sleeves are 7cm longer than normal so that the wearer can roll or fold them back. Well, I love this longer length. This is great for winter. I always get really cold wrists in winter, and so I won’t be rolling or folding them up at all!
Details:
Jacket; Burda style magazine 08/2010, 113, pleather
Skirt; Vogue 8363 with modifications, rusty red wool/silk mix, details and my review of this pattern here
Tshirt; self-drafted, white cotton, details here
Boots; Enrico Antinori
By the way, I often state that whatever I am wearing in my picture is what I am wearing that day, that I keep it real and never ever “dress up” just for the camera. Well obviously, everyone in Perth will know straight away that it is a bit too warm for a winter-y get-up like this today! so in this case I am “dressing up” (blush) Sorry, but I just couldn’t wait for winter to show off my new jacket!
Fitted
jacket with a short V-neckline, narrow standing collar, single welted breast pocket and two flapped patch
pockets. Long two piece sleeves,
front has two darts for shaping, the back features a short lower hem vent and
the front closes by partially hidden button placket
Pattern
Sizing:
Petite/half
sizes 17-21; I made the size 19
Did
it look like the photo/drawing on the pattern envelope once you had finished
sewing it?
Yes.
Were
the instructions easy to follow?
Yes
What
did you particularly like or dislike about the pattern?
Well; I think the styling is great; a mixture of classic blazer and motorcycle jacket with a neat and nifty, waist-defining shape, and cute detailing. I really like the pockets and I think they look really great in leather. The sleeves are 7cm longer than normal. I love this, they will keep my wrists nice and warm this winter.
I’m not completely sold on that centre back slit at the hem. I don’t really see the point of it. This may or may not get sewn up in the future, if it lets too much cold air in.
Fabric
Used:
Faux
leather, with polyacetate lining fabric for the lining
Pattern
alterations or any design changes you made:
I didn’t make any design changes, but I made tonnes of small modifications for fit. Considering leather is not a fabric that eases at all, I think the sleeve cap is drafted too high and would have been too difficult to ease into the armhole. I shaved off about 1cm in height off the top, and also took about 1cm off the edge of each shoulder seam, the latter a fit modification. I took in all the seam allowances at the waist to bring the jacket in to hug my waist; the shaping as it was a tad boxy for what I wanted. The faux leather fabric I used didn’t take creases at all, so I edge-stitched all around the front edges of the jacket and collar, as well as the fold of the welt, to give a nice sharp edge.
Would
you sew it again? Would you recommend it to others?
Maybe….
so many patterns, so little time!
But yes, of course I recommend this classic yet cool pattern to others.
Conclusion:
Well
I now have a cool new (f)leather jacket.
I’m totally happy with it. ‘Nuff
said 🙂