I was reading one of my favourite fashion blogs Garance Dore and came across a list; the perfect minimalist, functional and fabulous wardrobe.
Paraphrased, it goes something like this:
- Black cashmere turtleneck
- Grey v-neck cashmere sweater
- Silk shirts
- Three pairs of flats.
- One pair of sublime very high heels, black
- Grey skinny jeans. White skinny jeans.
- One pair of boyfriend jeans.
- Two blazers, one black, the other marine blue.
- A straight-cut skirt
- A light as a cloud scarf
- A dress, Alaïa or Roland Mouret.
- A big coat, camel or grey.
- And a military parka – light and long.
And I’d go wild with accessories. A hat. Red socks. A pair of amazing sunglasses. A purse to die for. Bright nail-polish.
I am a die-hard list lover, so I adore this sort of thing! And immediately scratched out my own take; the minimalist summer wardrobe. Since those of us here in the southern hemisphere will immediately notice that with that selection, we would have nothing we could actually wear at all right now… 🙂 So:
- Shorts
- 2-3 light loose little tops
- 3-4 day dresses, some pretty, some plain
- One maxi-dress, or whatever is the fashionable silhouette of the season
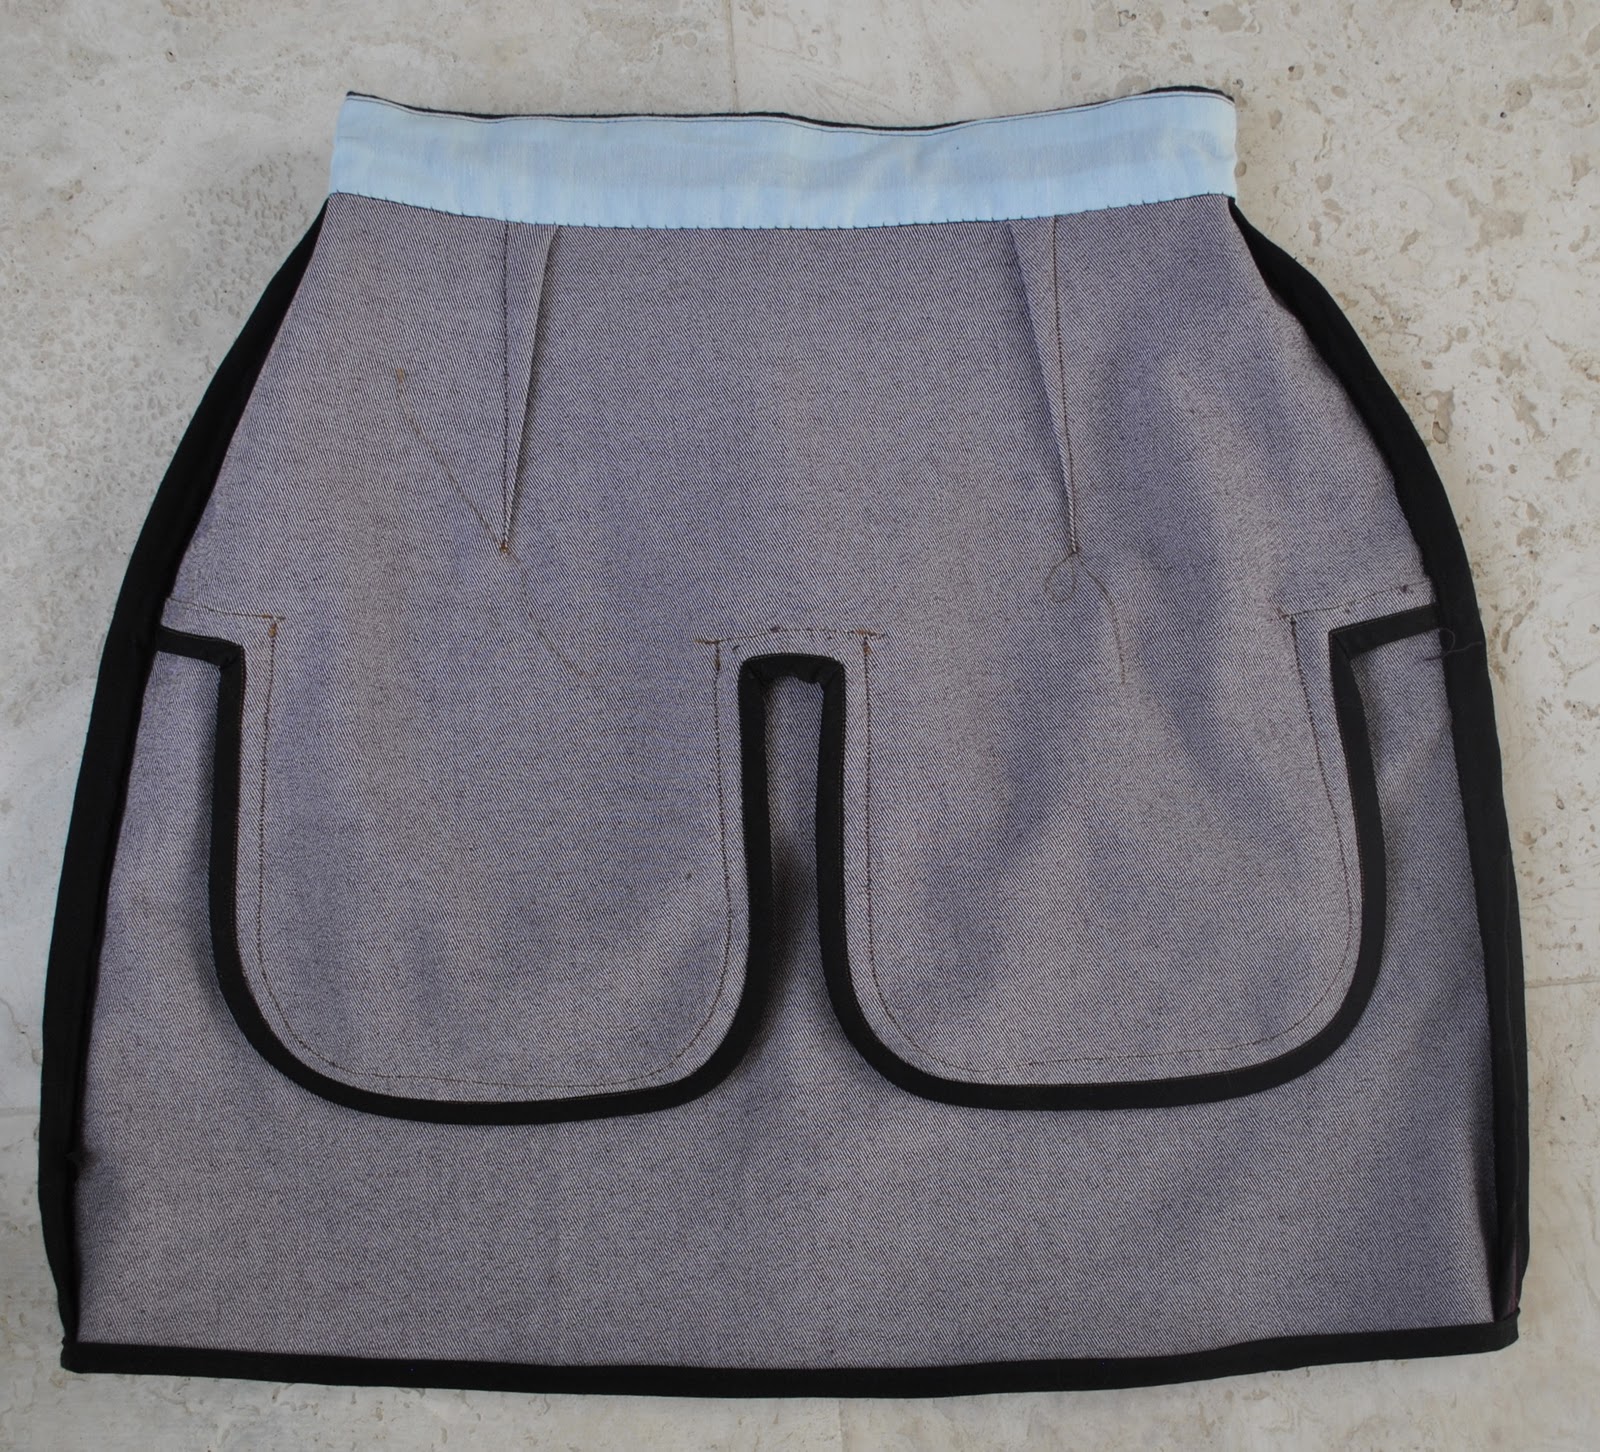
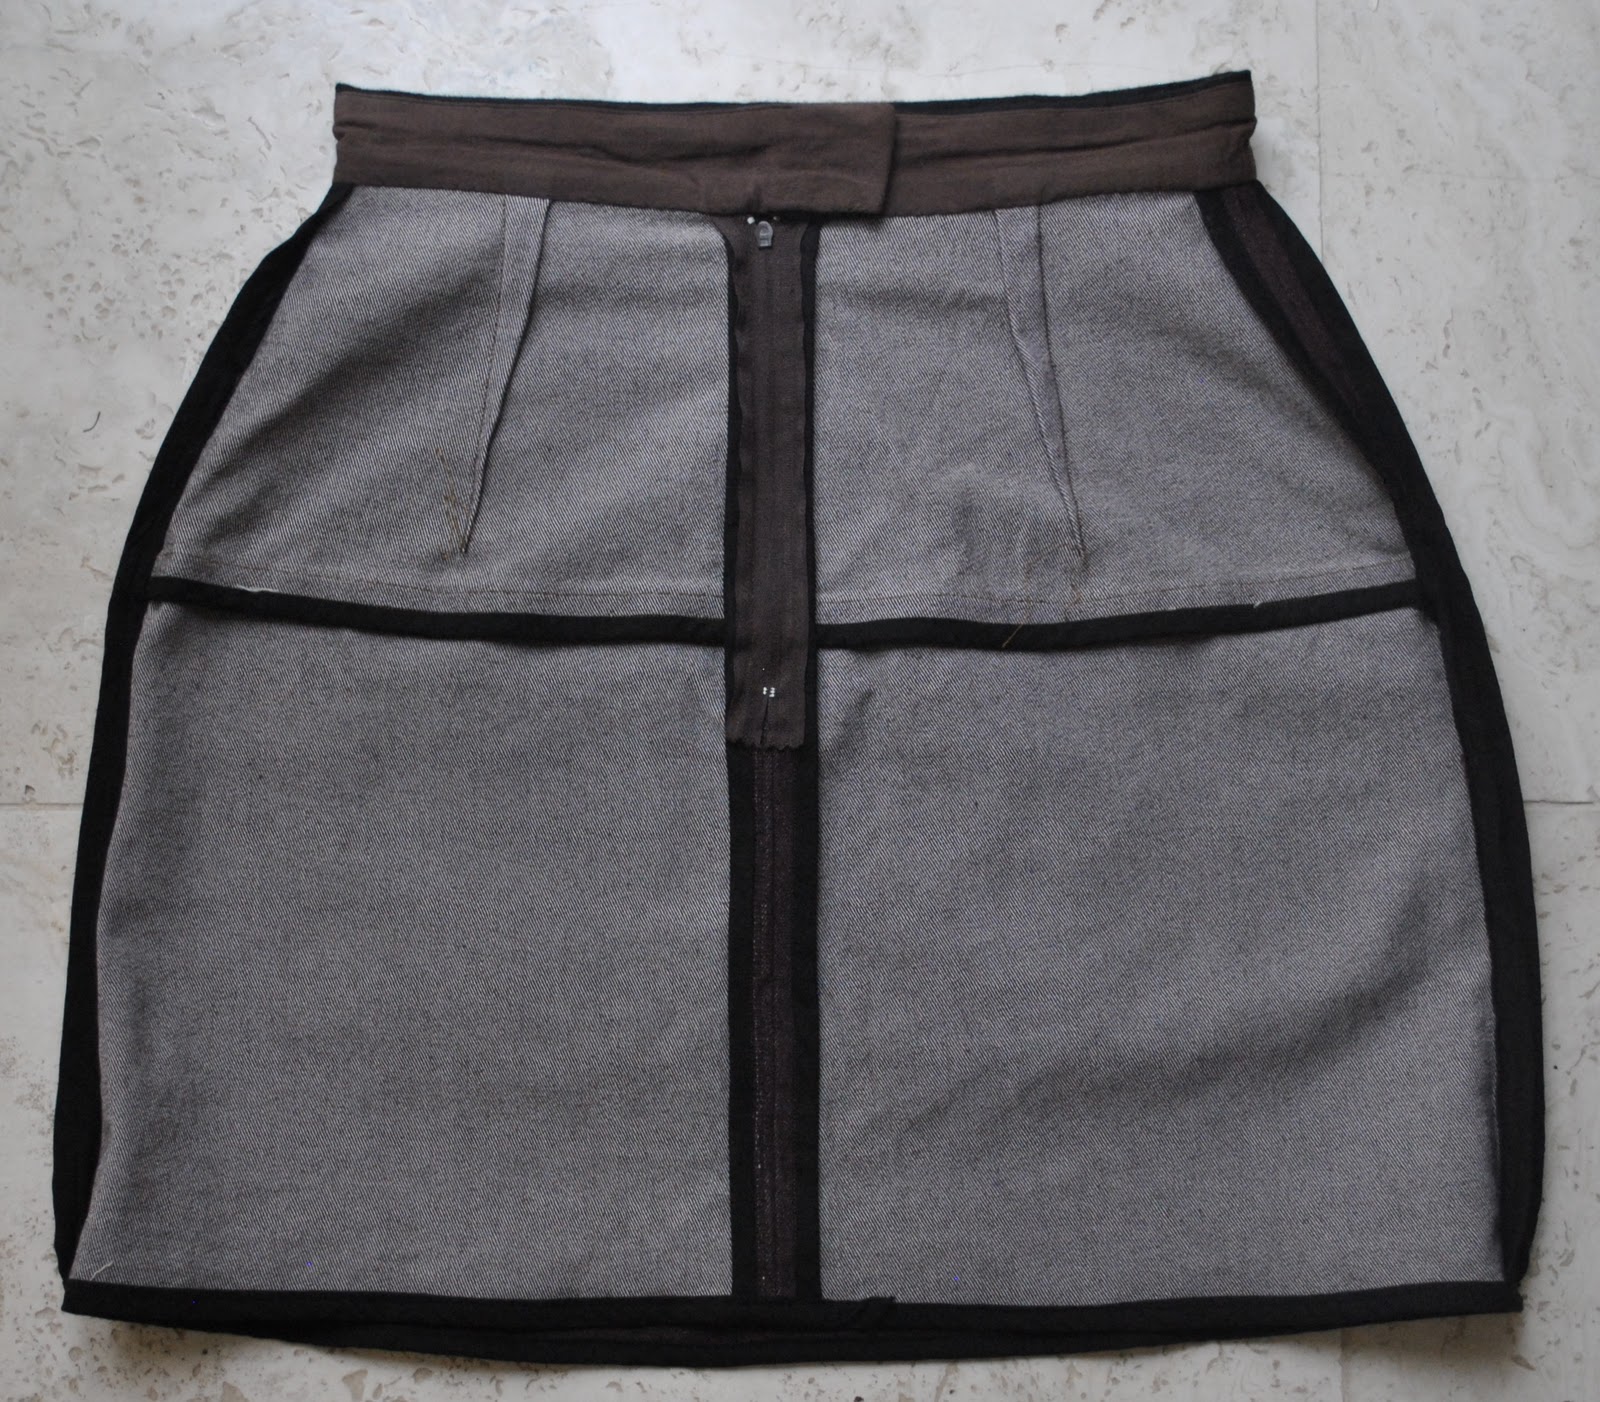
- 1 little skirt
- 1 light cardigan
- Bathers
- 1-2 light long-sleeved shirts
- Pair of linen trousers
- for footwear; glittery sandals, leather sandals, and a pair of thongs for the beach
And the accessories; sunnies, and a fun and funky pedicure. Sunhat and a few floaty scarves.
The next time I came across my funny little list Tim had scrawled an addendum…
Summer essentials, for guys
1x board shorts
3x T-shirts
3x T-shirts
DONE!
Lol! Hehe, aaah boys. 😀 Simply no idea.
Oh, and finally, my facts and figures for February… now there’s a nice bit of alliteration. Whoever said that poetry and accounting were incompatible?
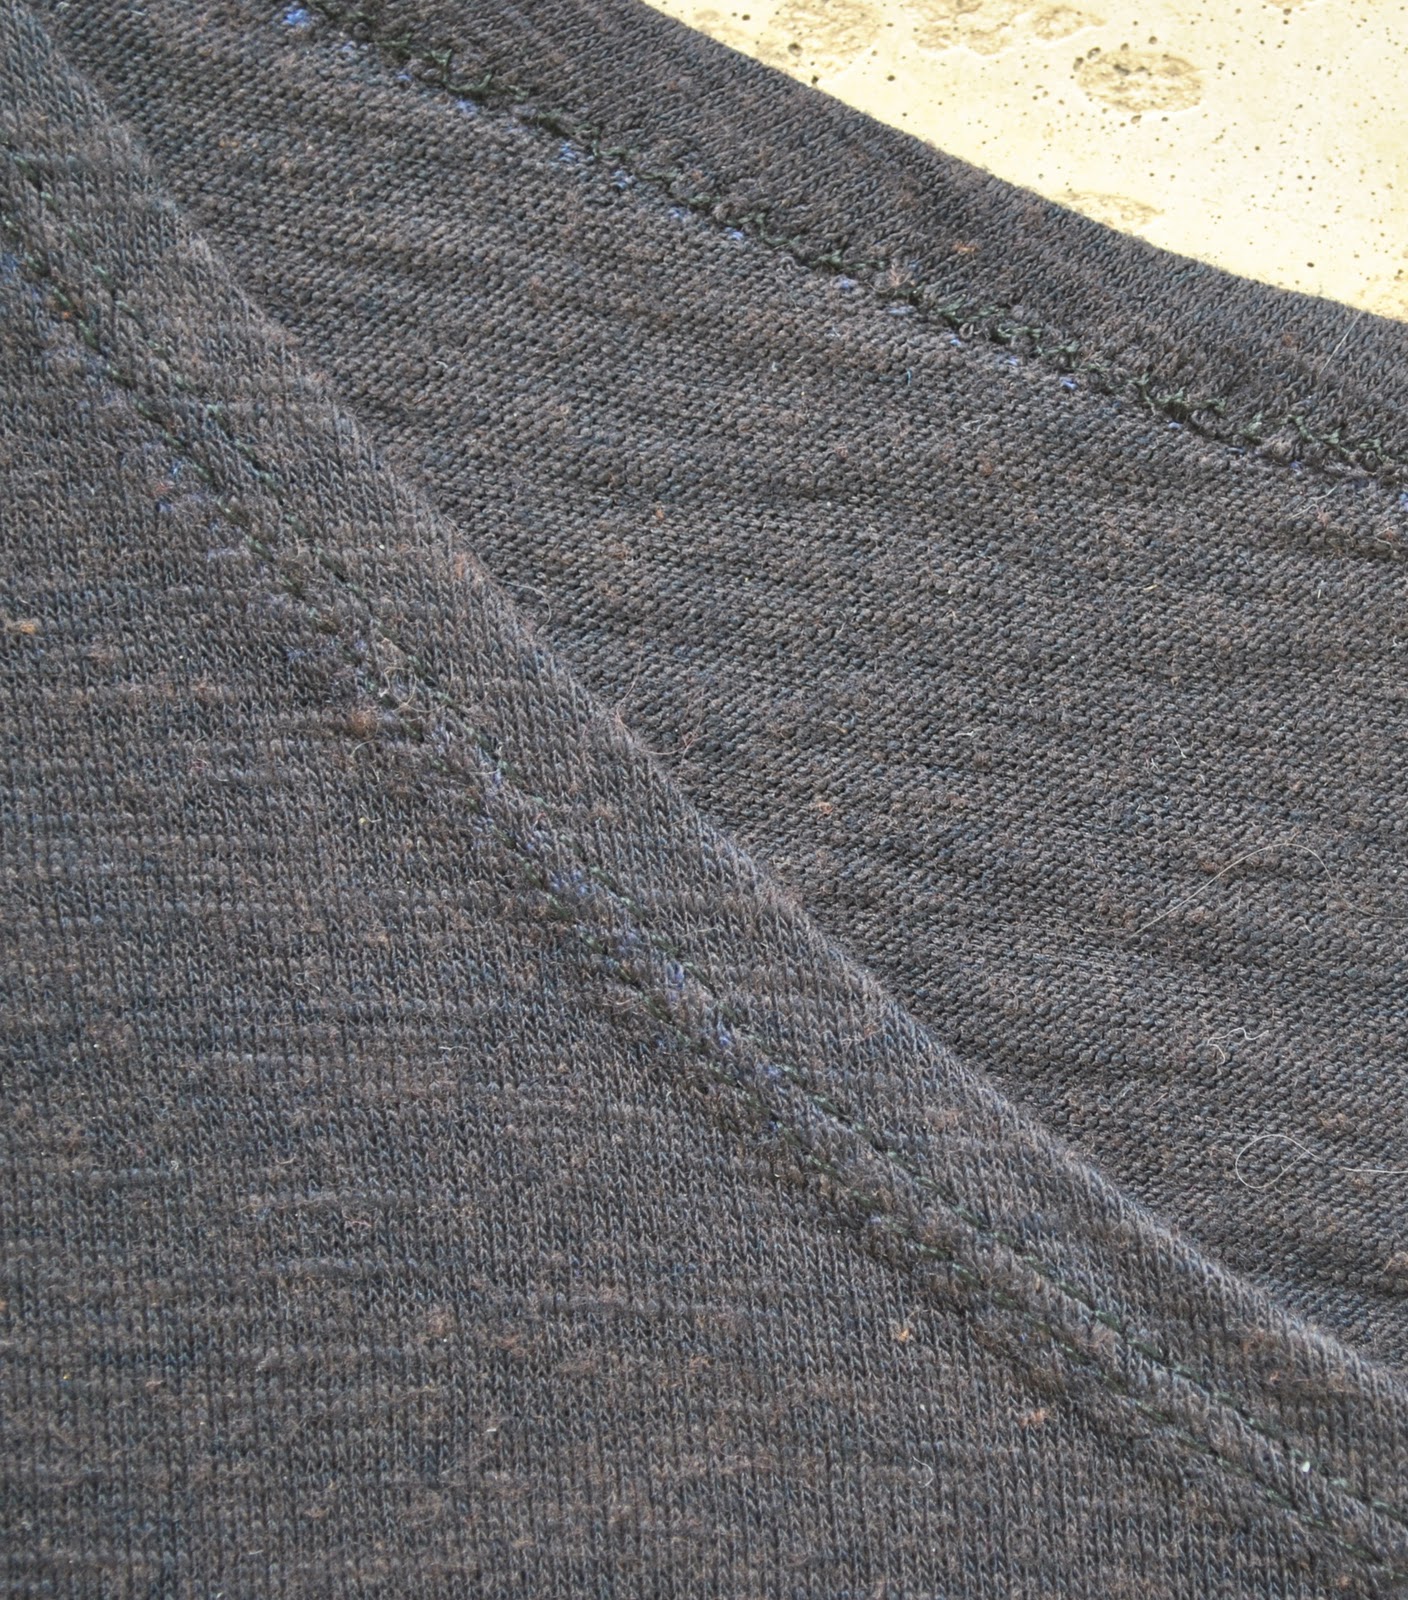
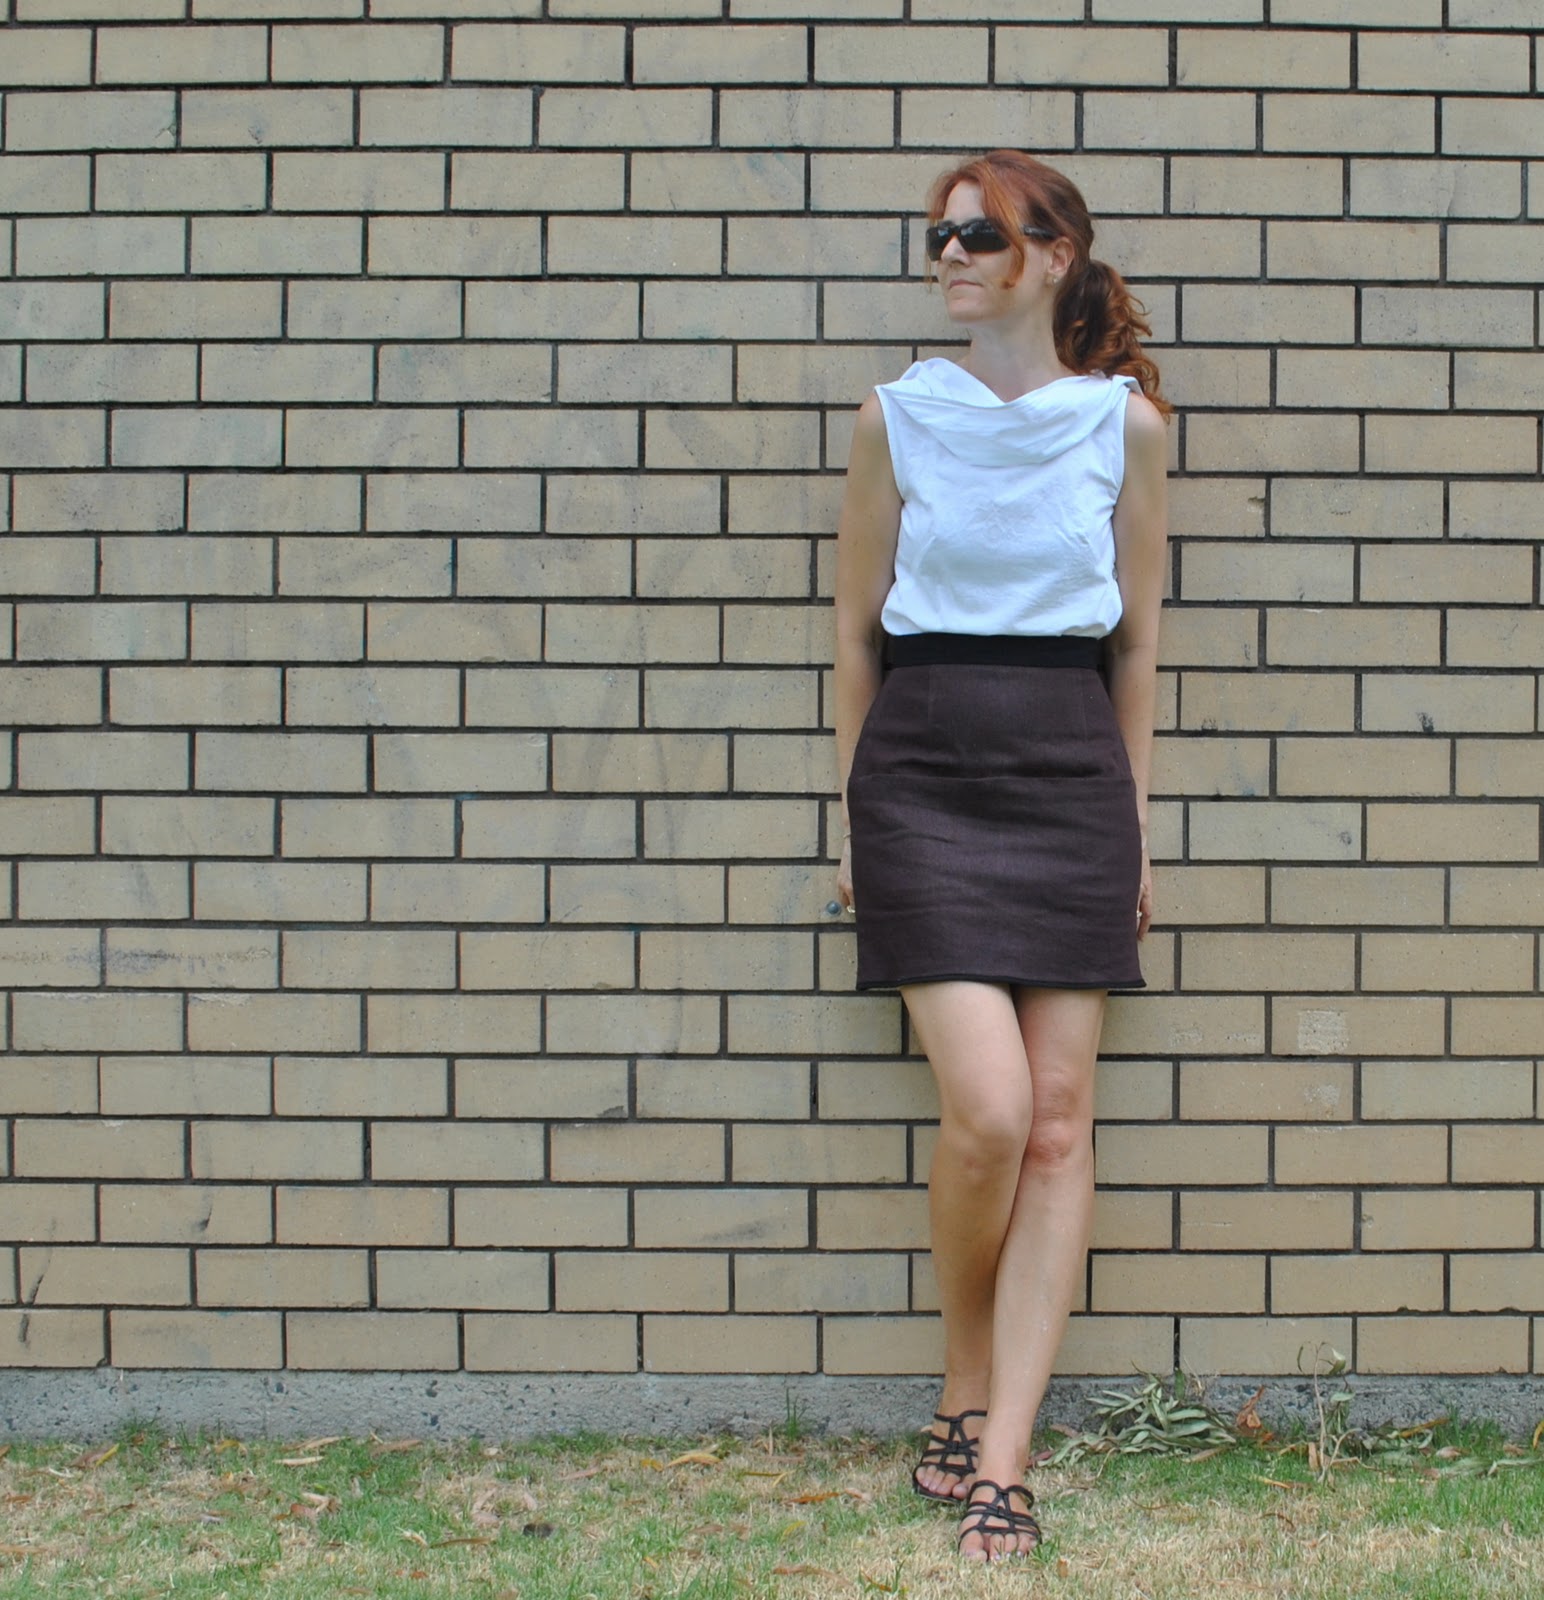
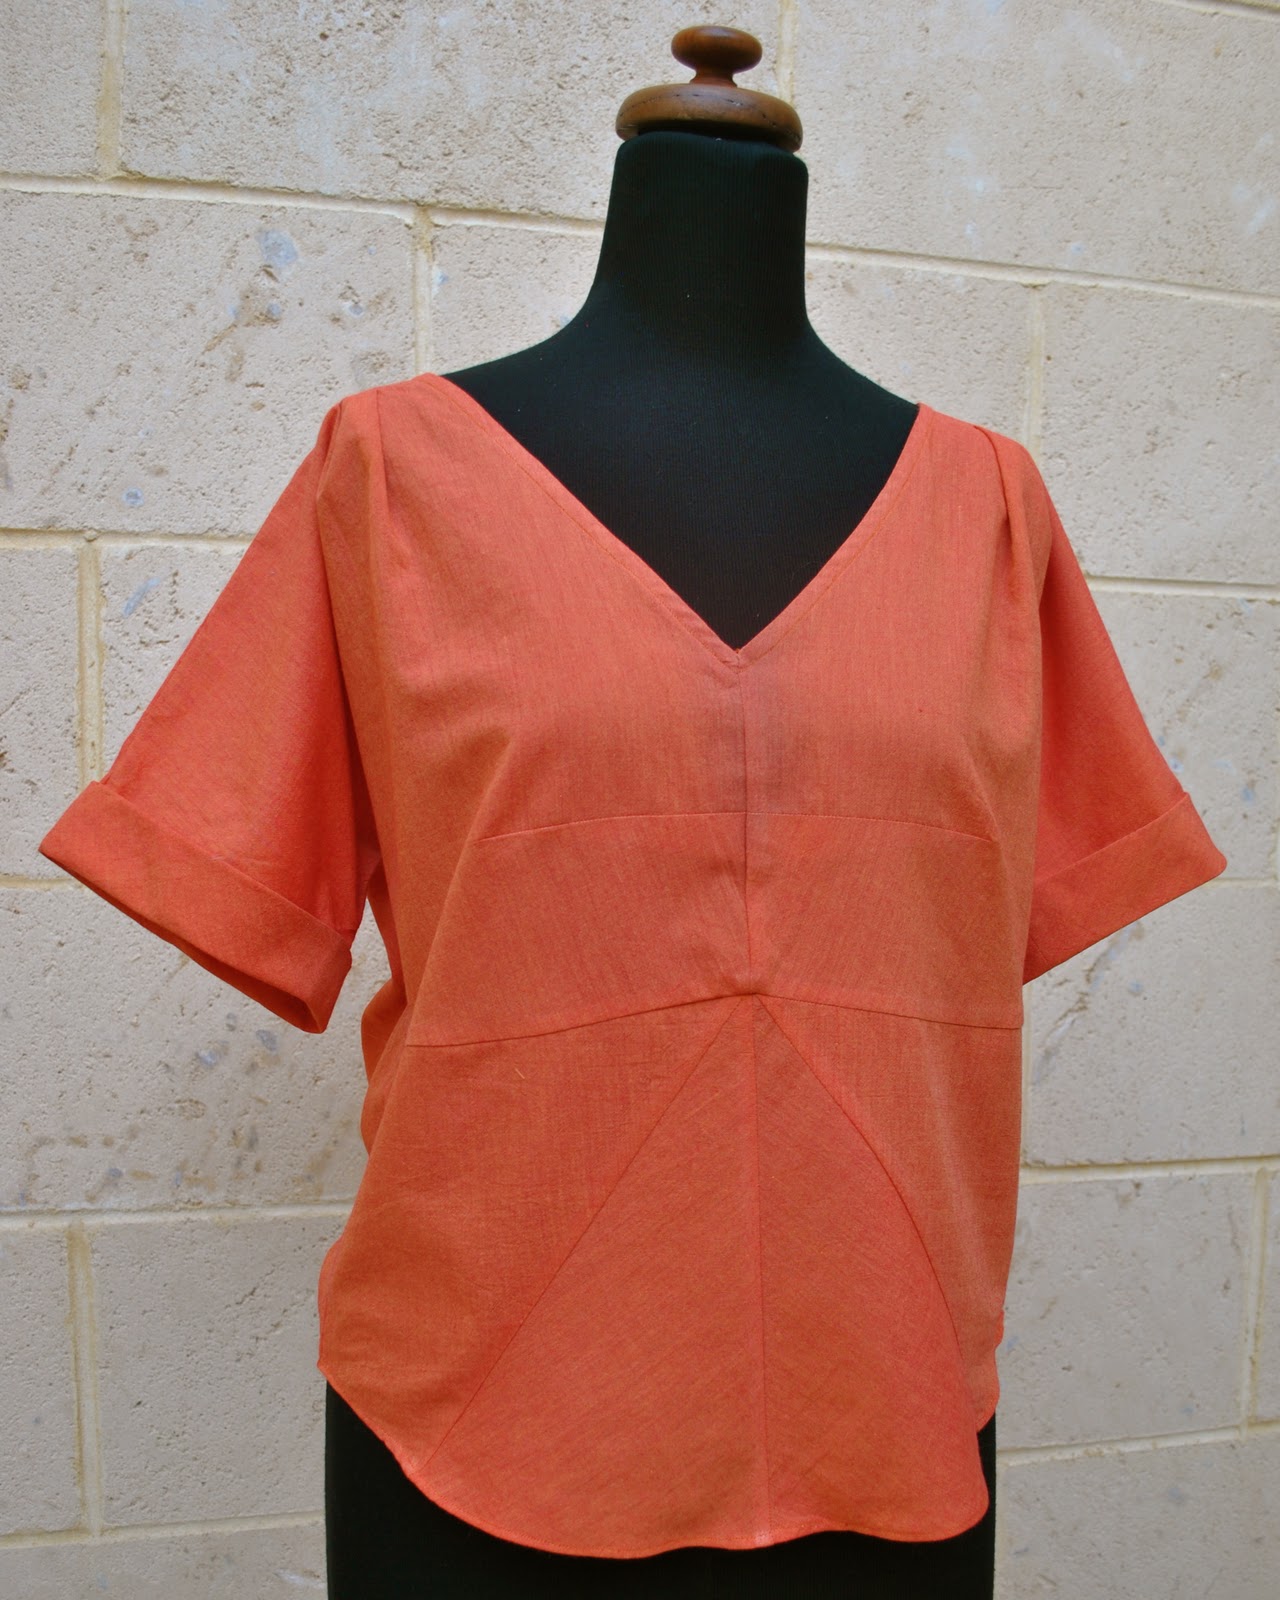
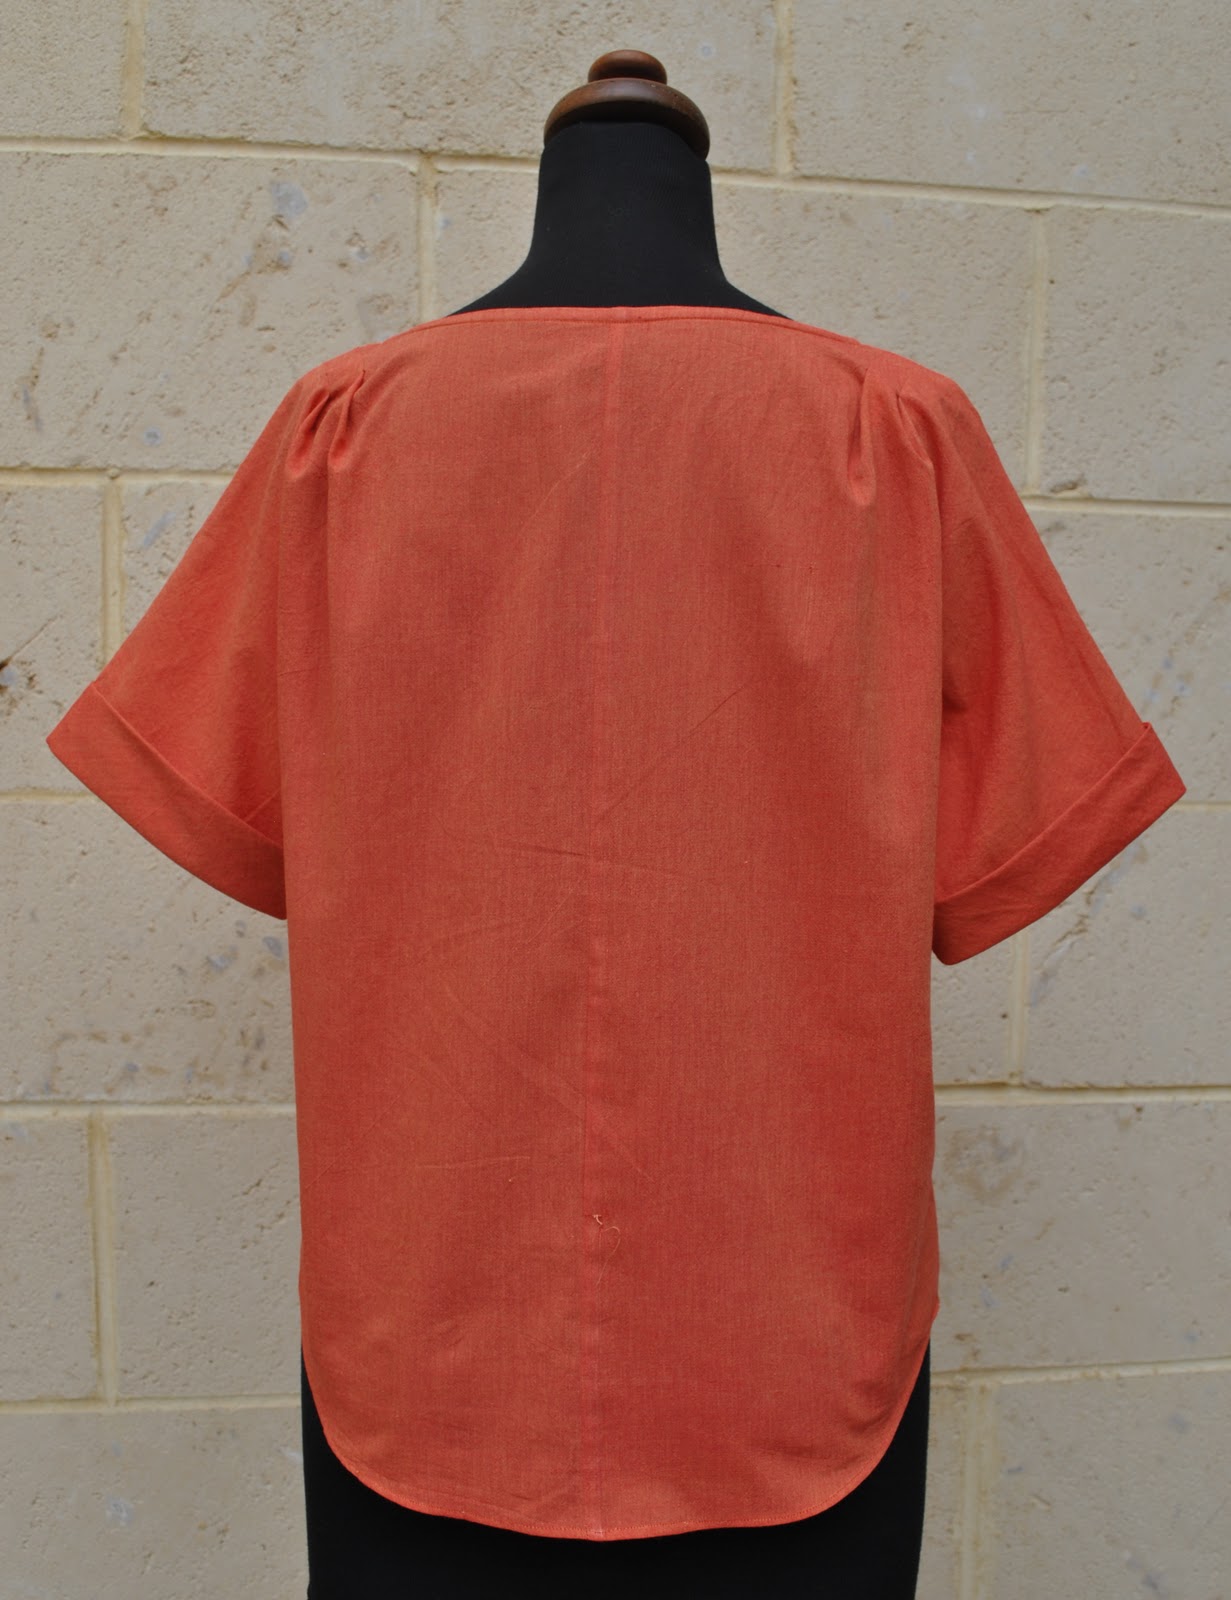
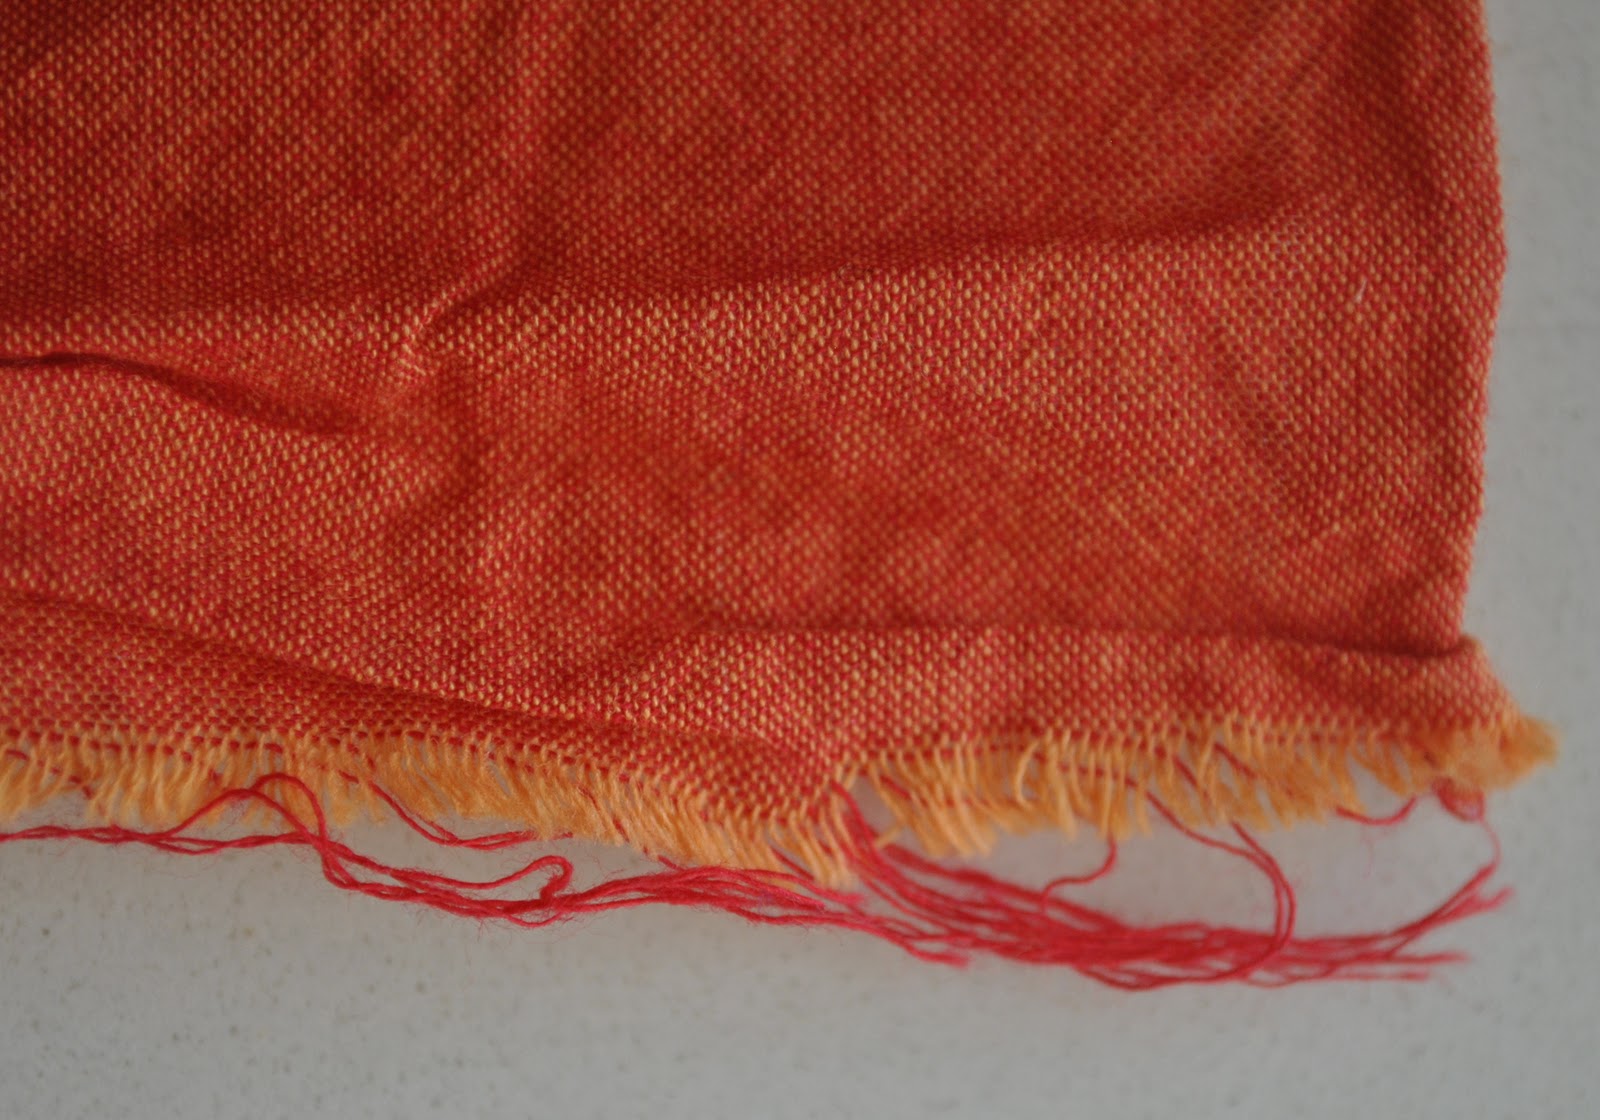
Gone a bit Batty top
Fabric; leftovers
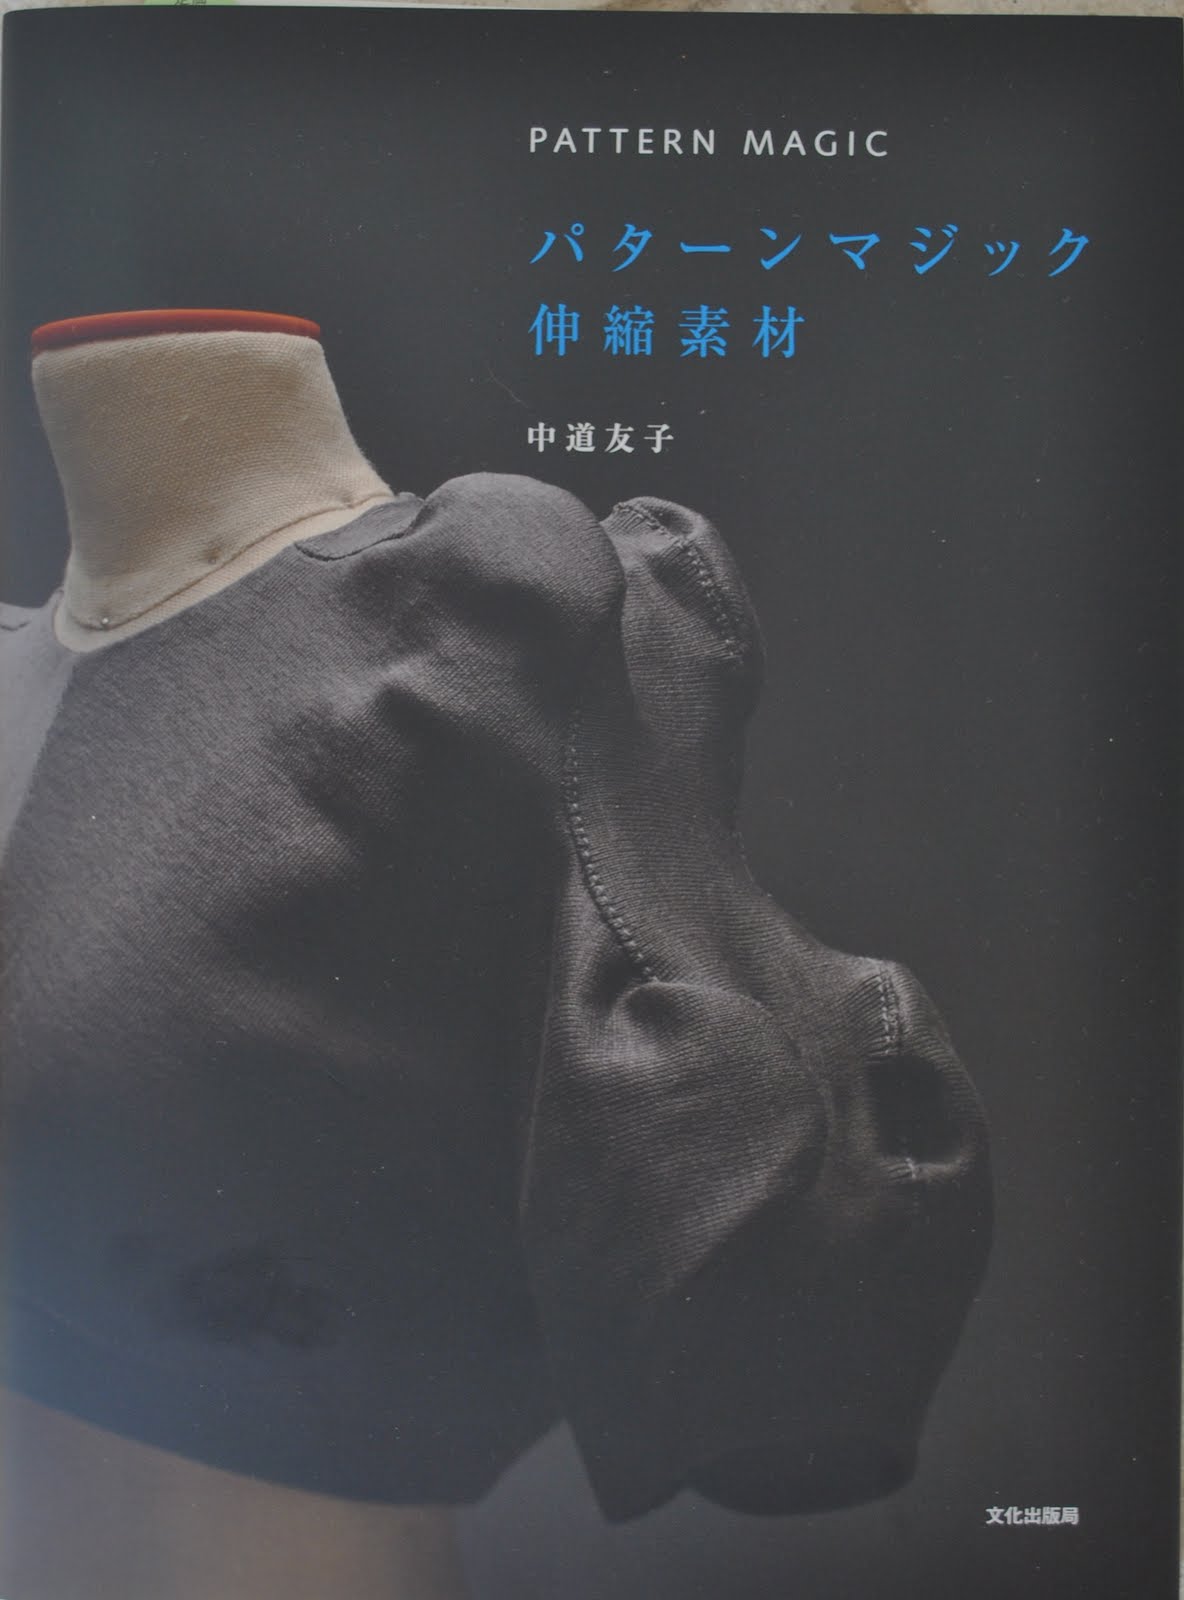
Pattern; from PatternMagic 3, a gift (and used previously)
Dye; used and accounted for previously
Total cost: free
Some basics…
Fabric; one from leftovers, the other three from a recycled dress, original cost of all this fabric was approx $39
Dyes; brown dye accounted for previously, red dye (first time used) $7.77
Total cost for the 4 Tshirts: $46.77
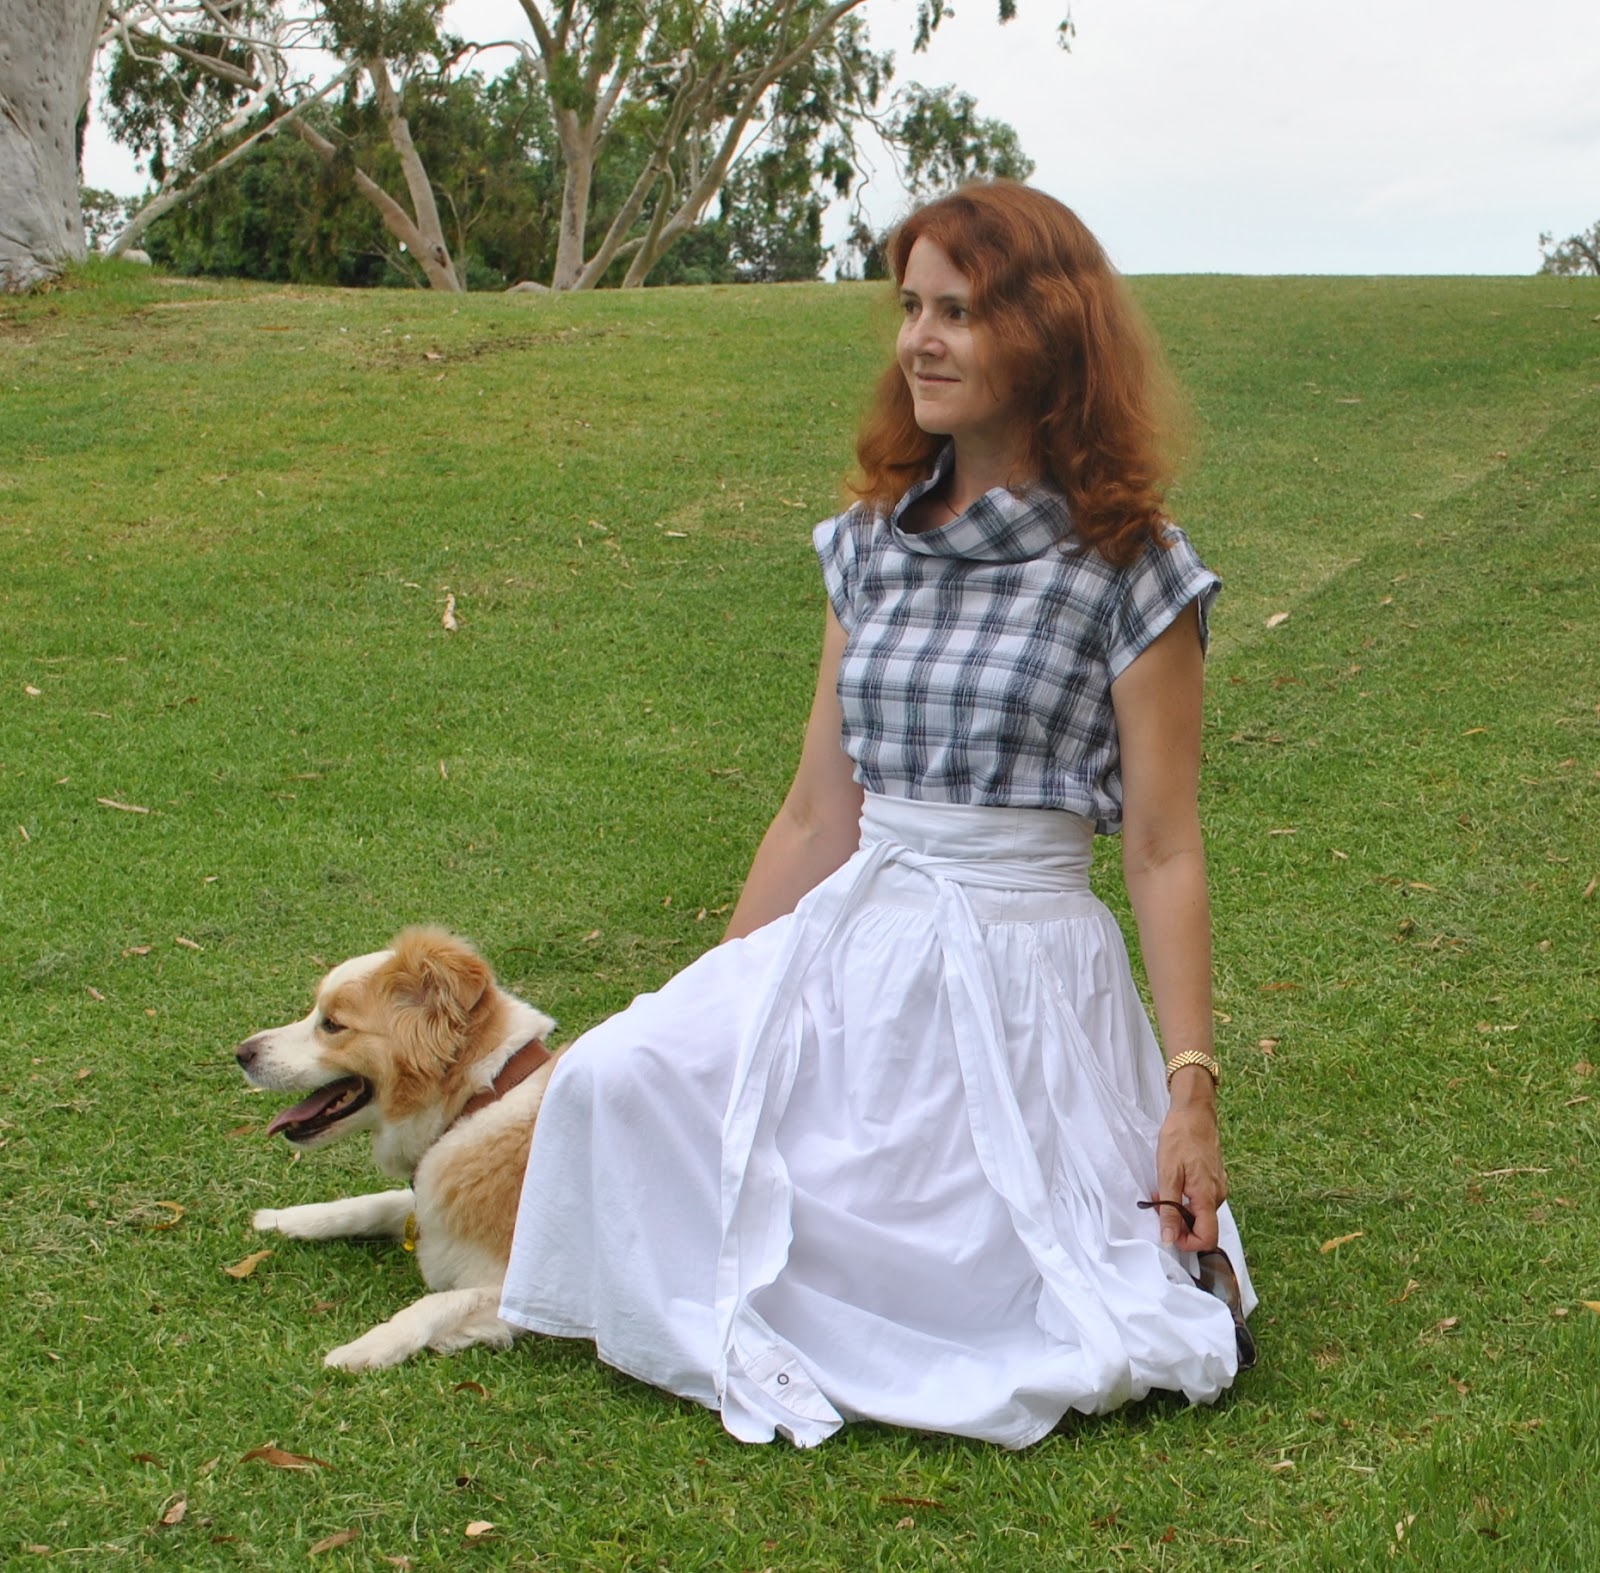
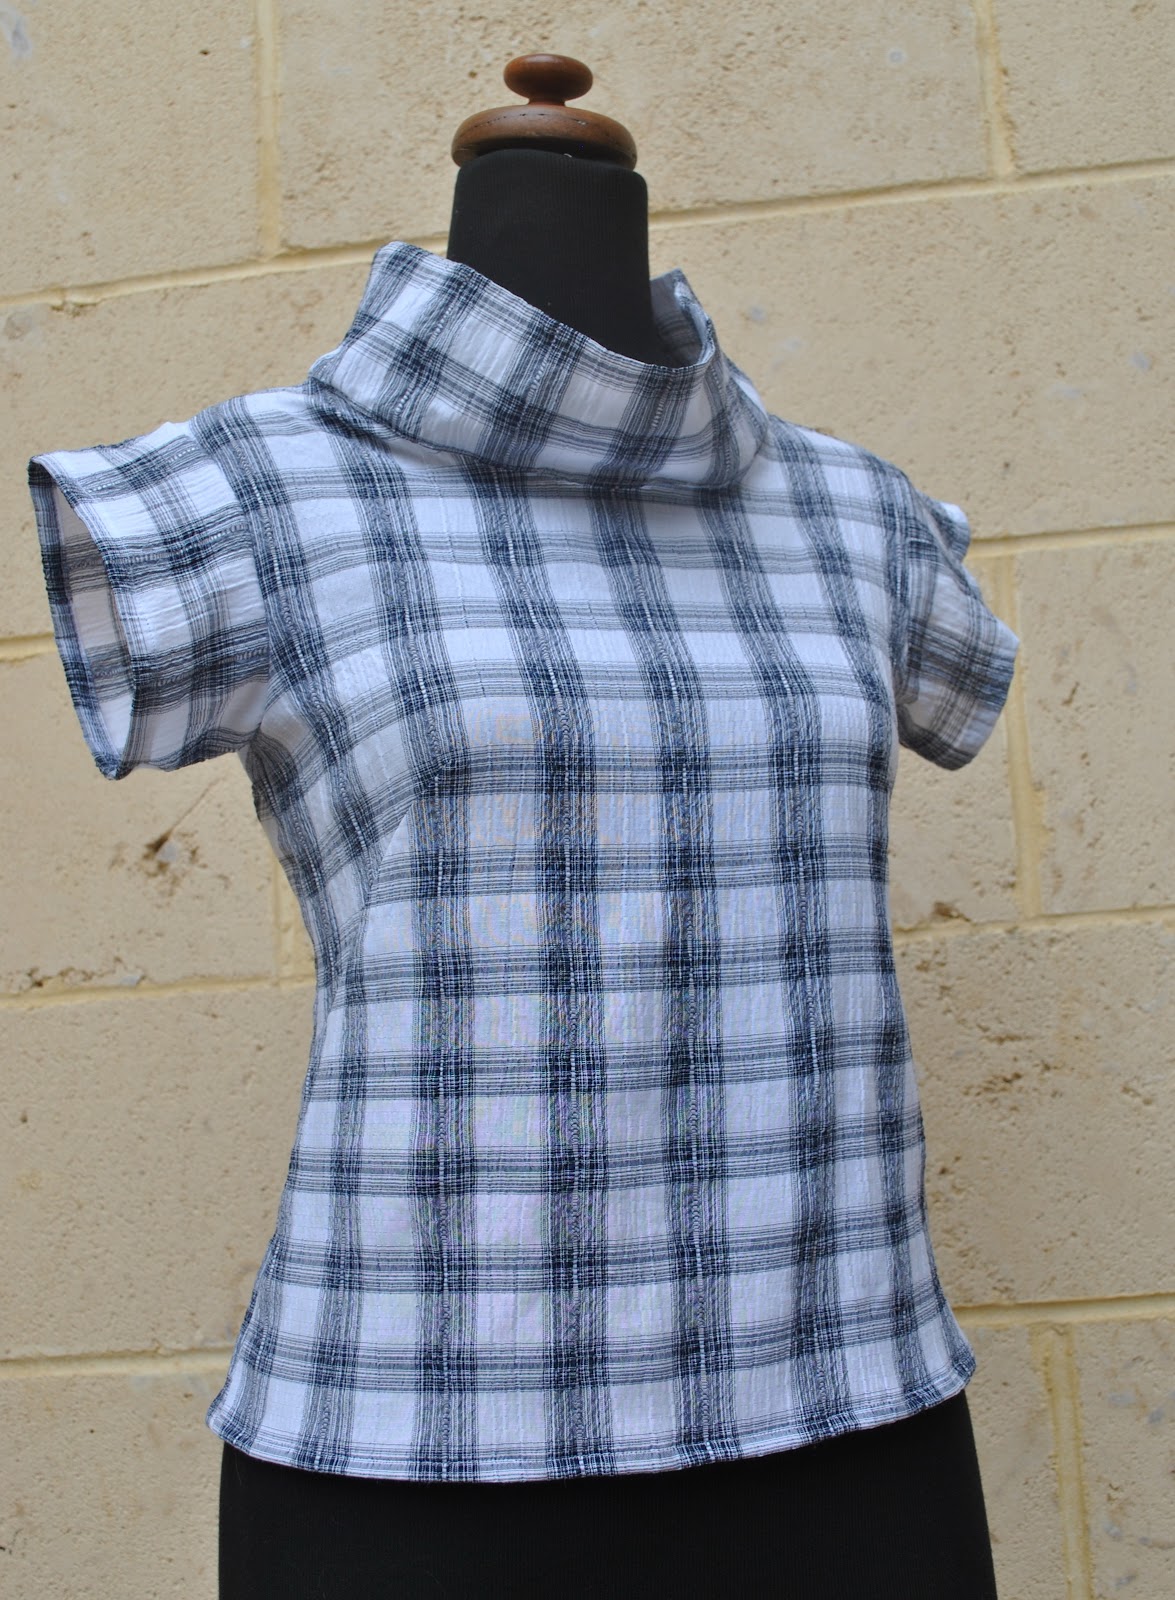
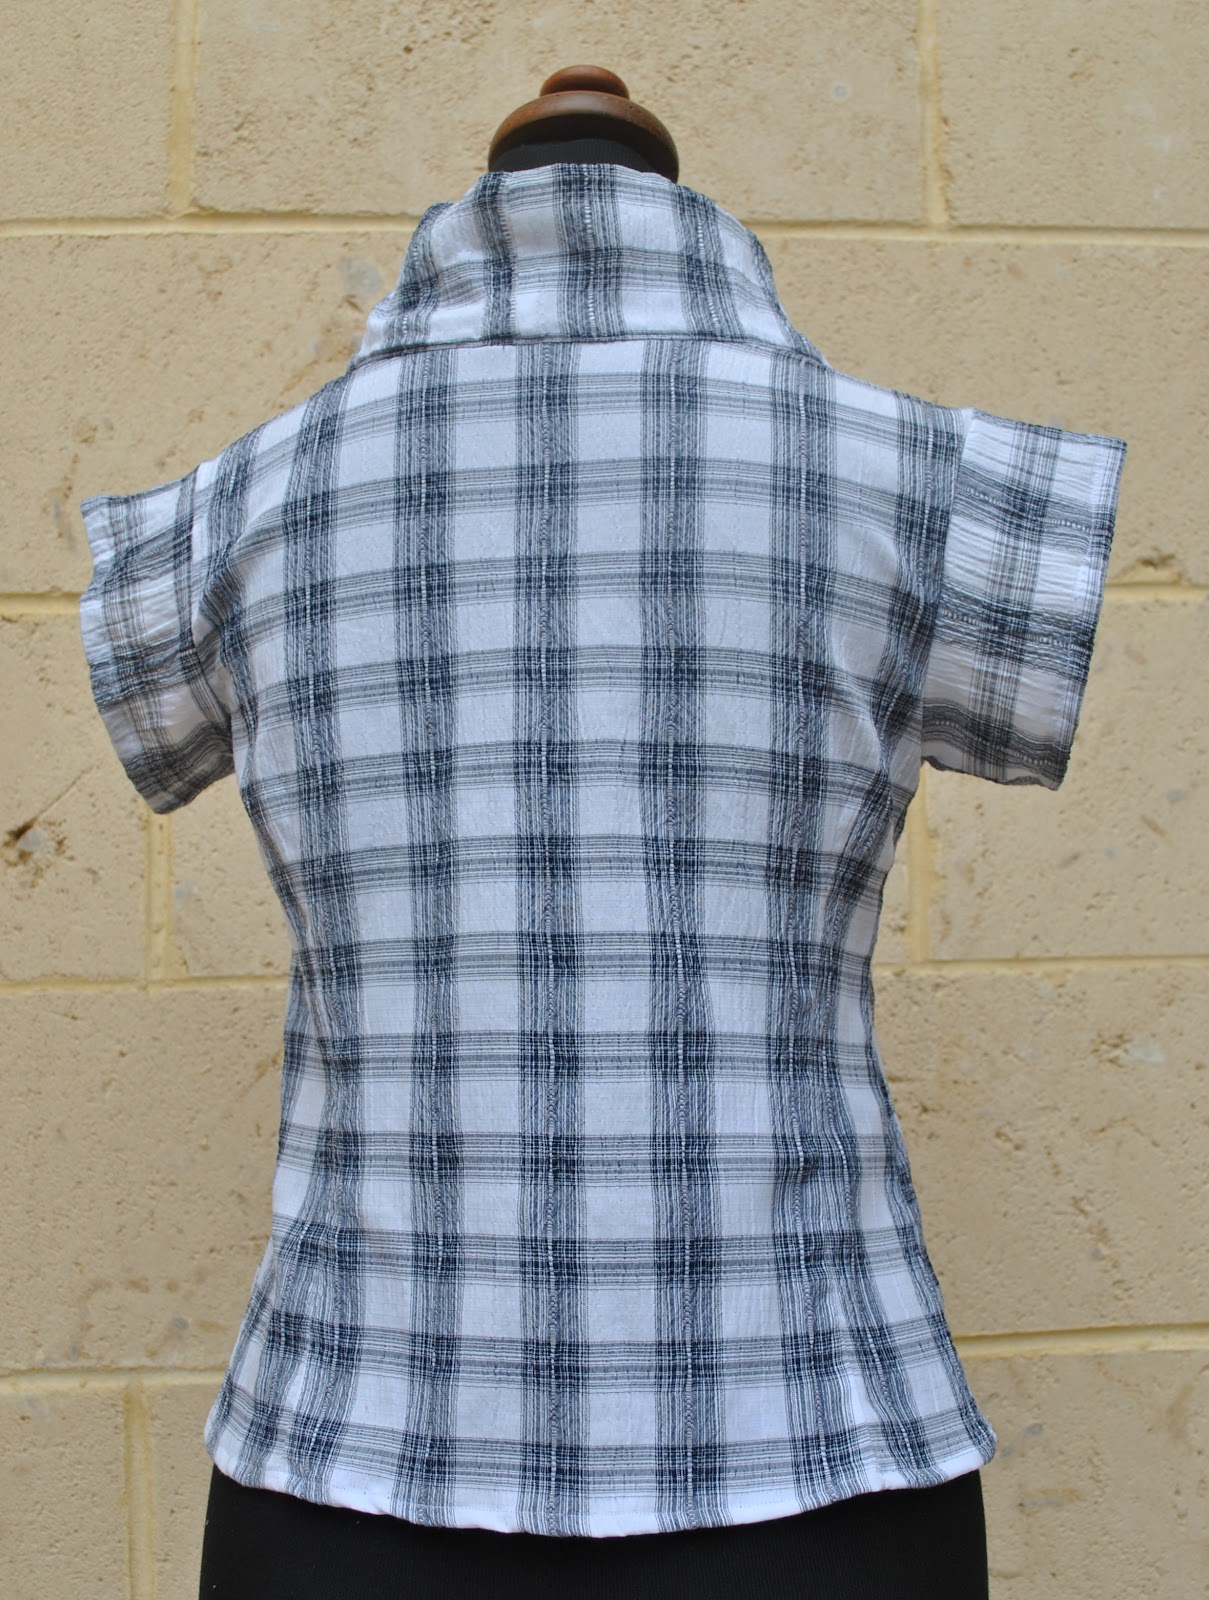
White with a navy grid shirt
Fabric; leftovers
Pattern; from Unique Clothes Any Way You Like, been used before
Total cost: free
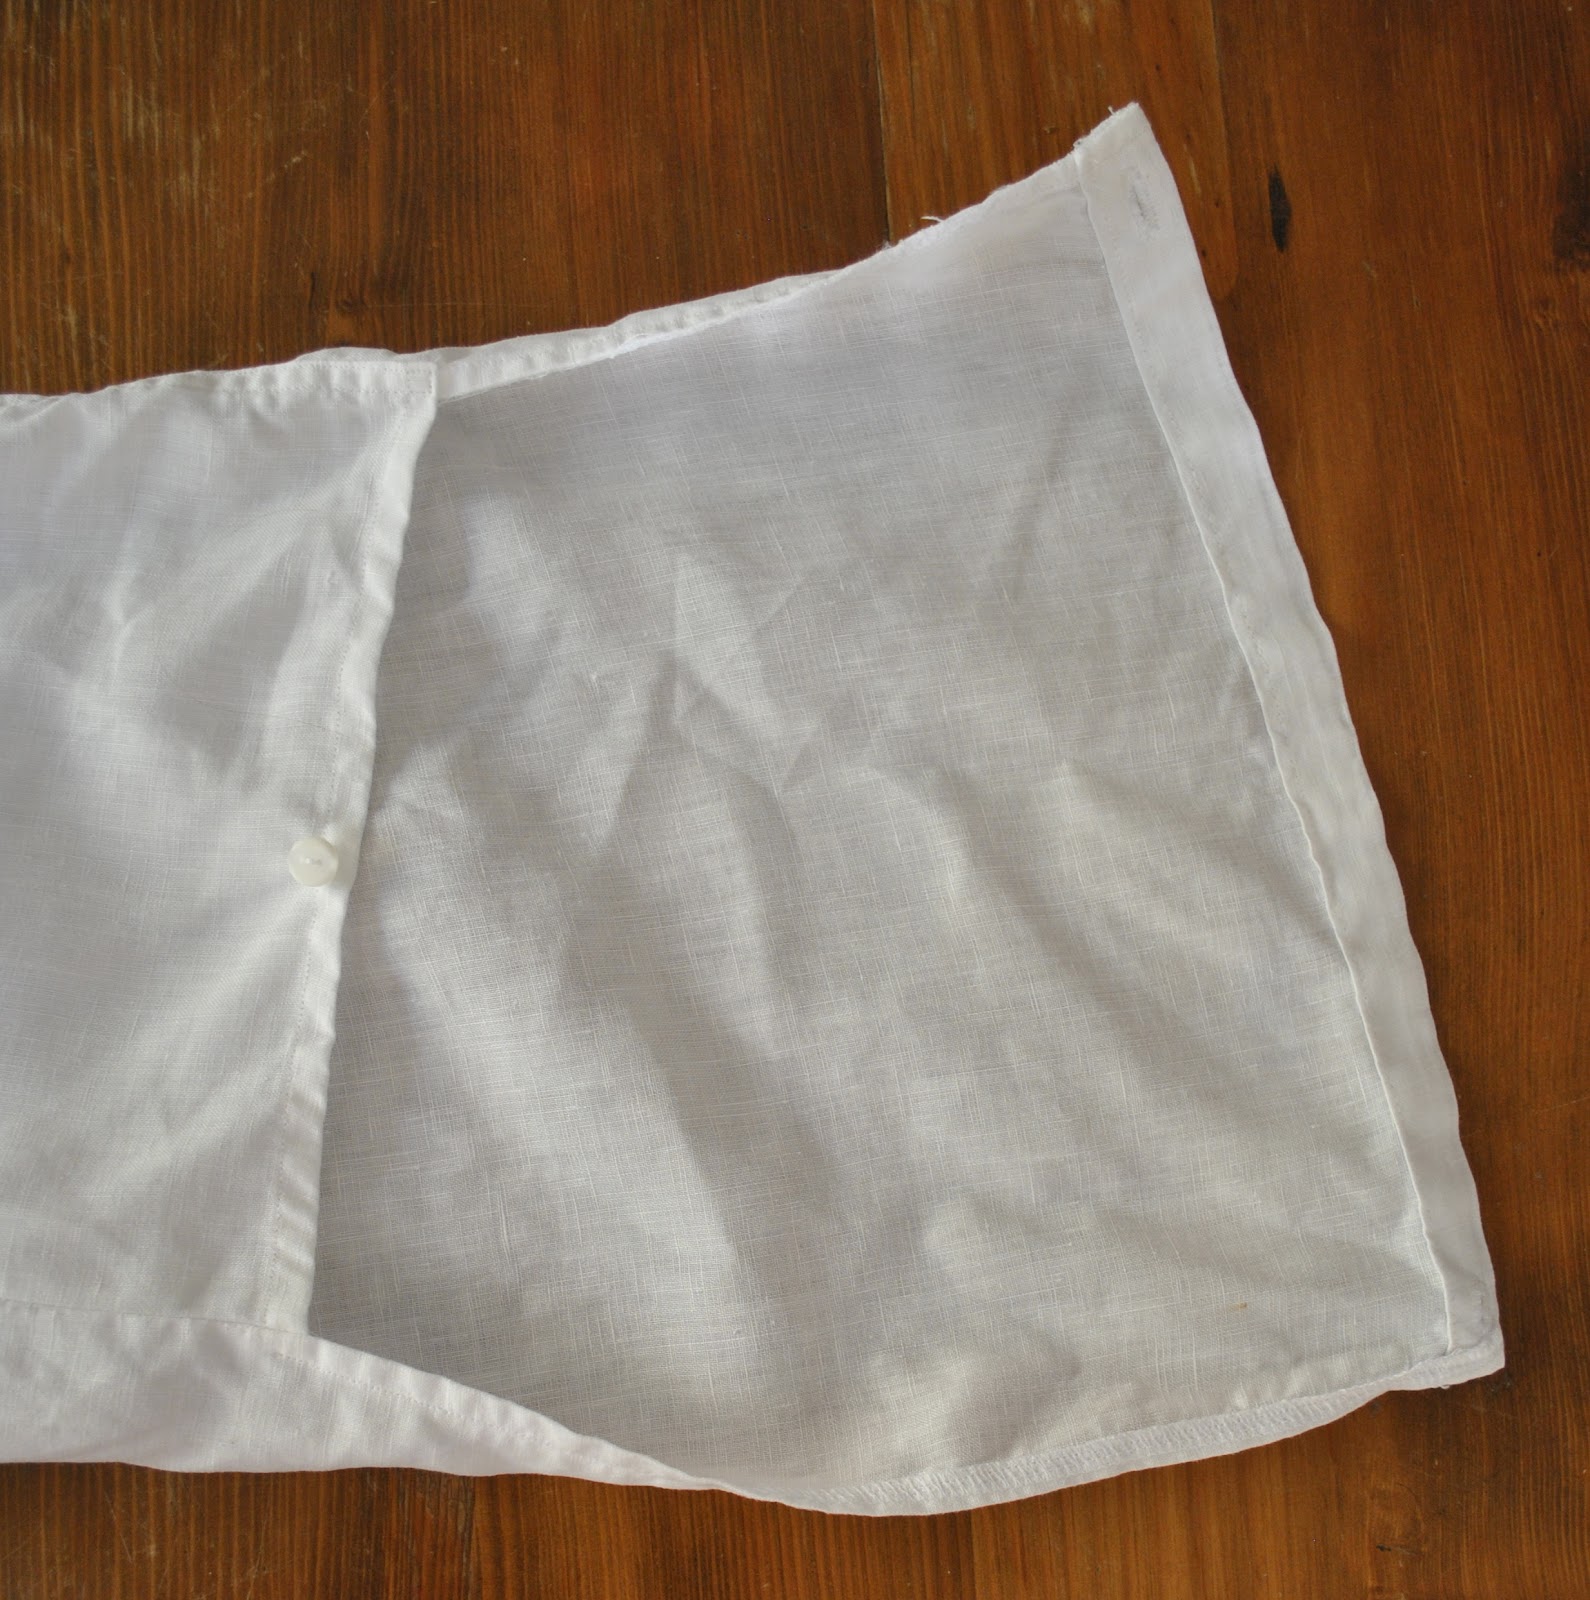
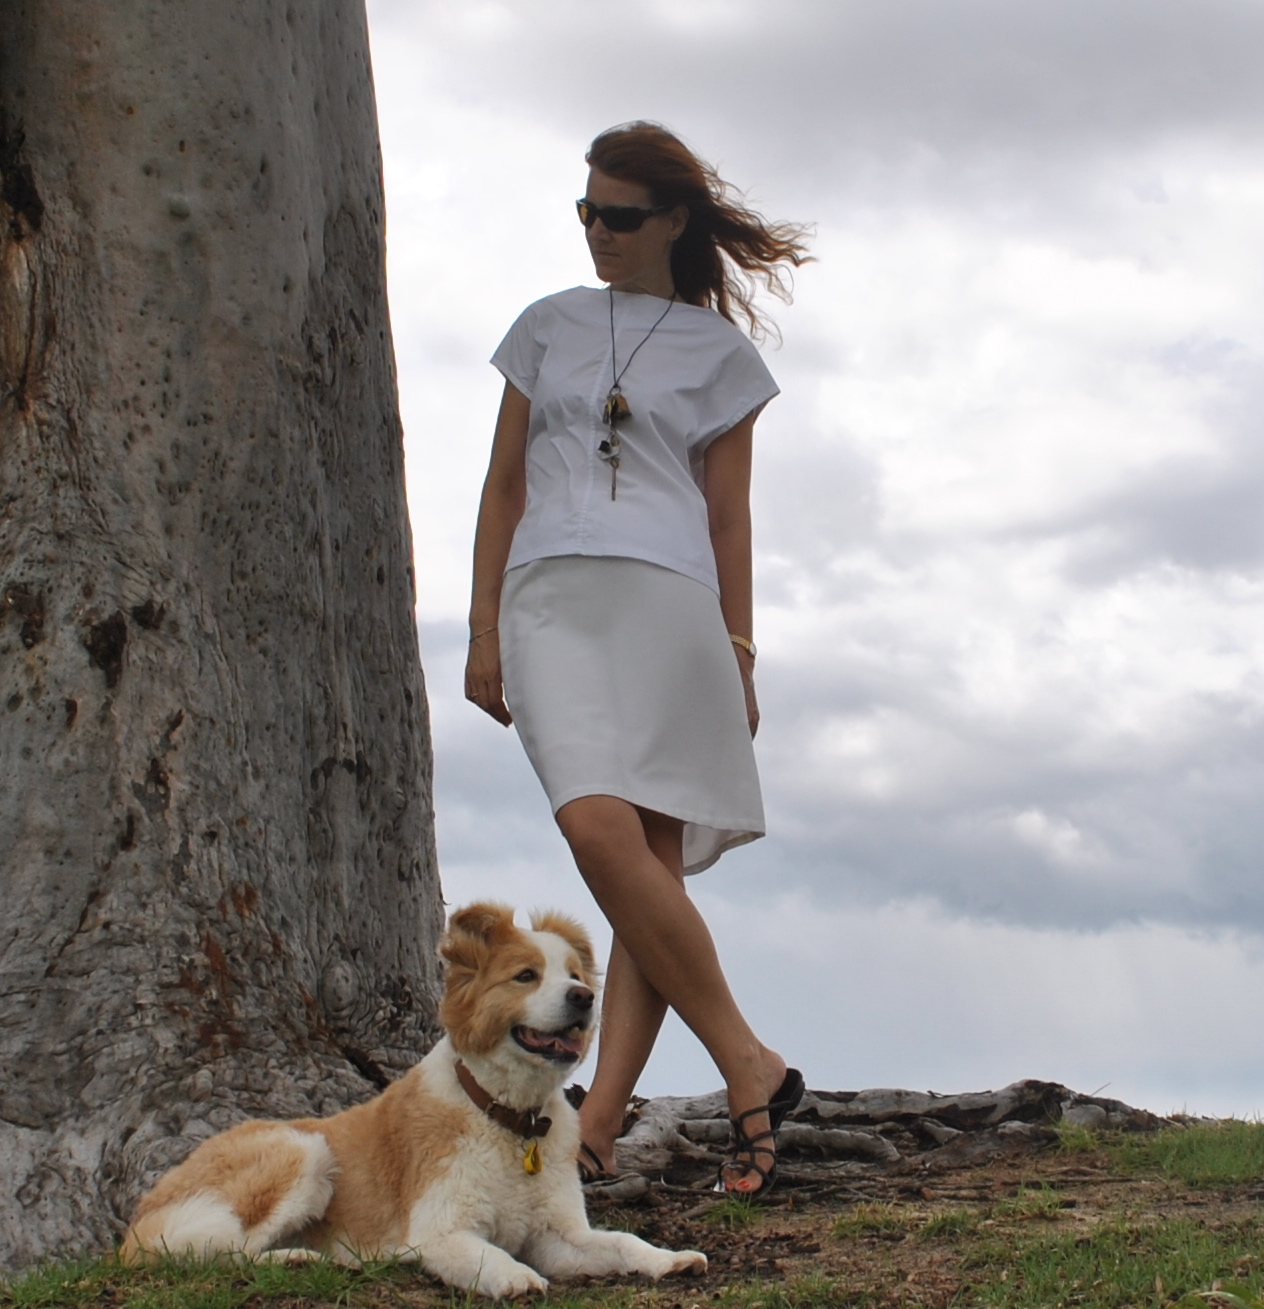
Billowy White shirt
Fabric; from an old pair of trousers
Pattern; my own design
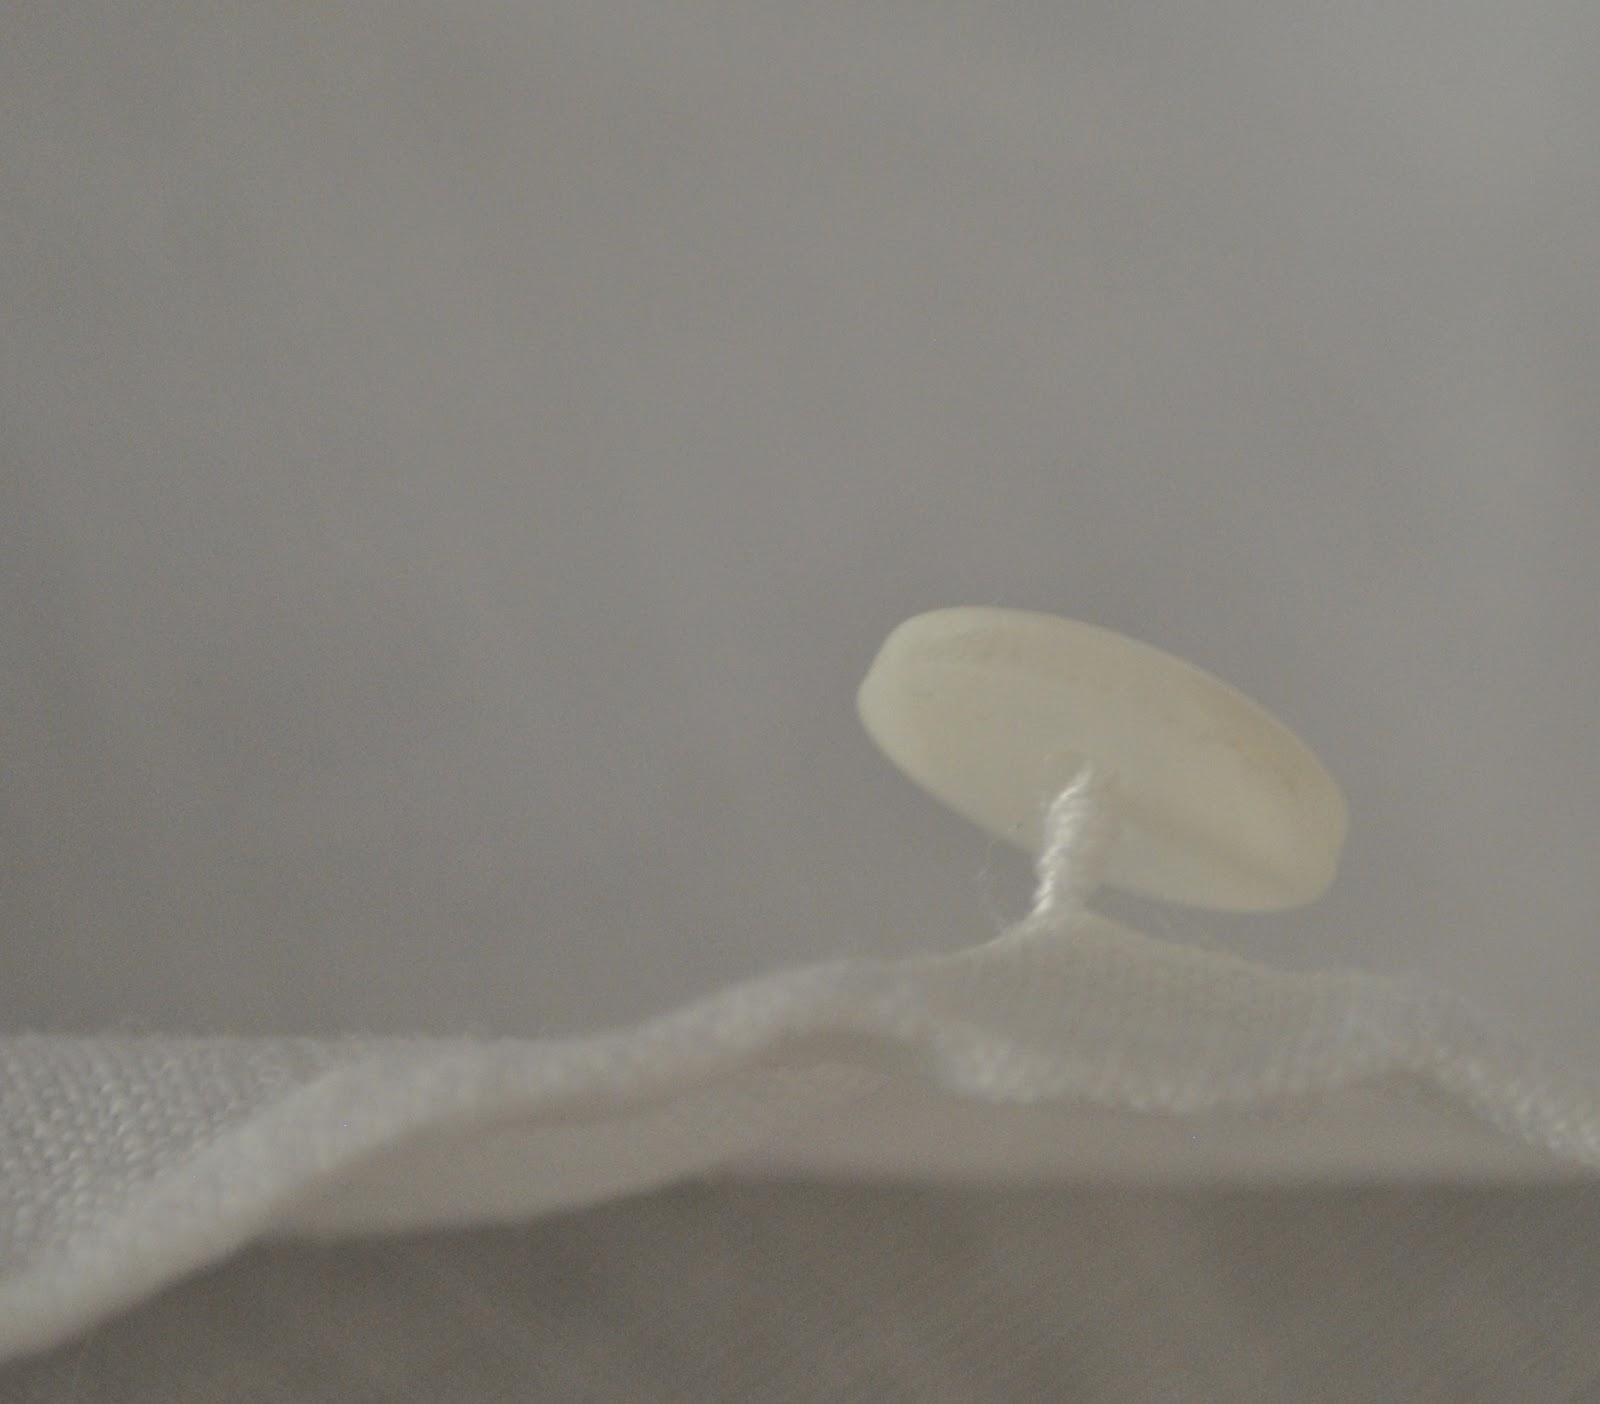
Buttons; leftovers from a previous project
Total cost: free
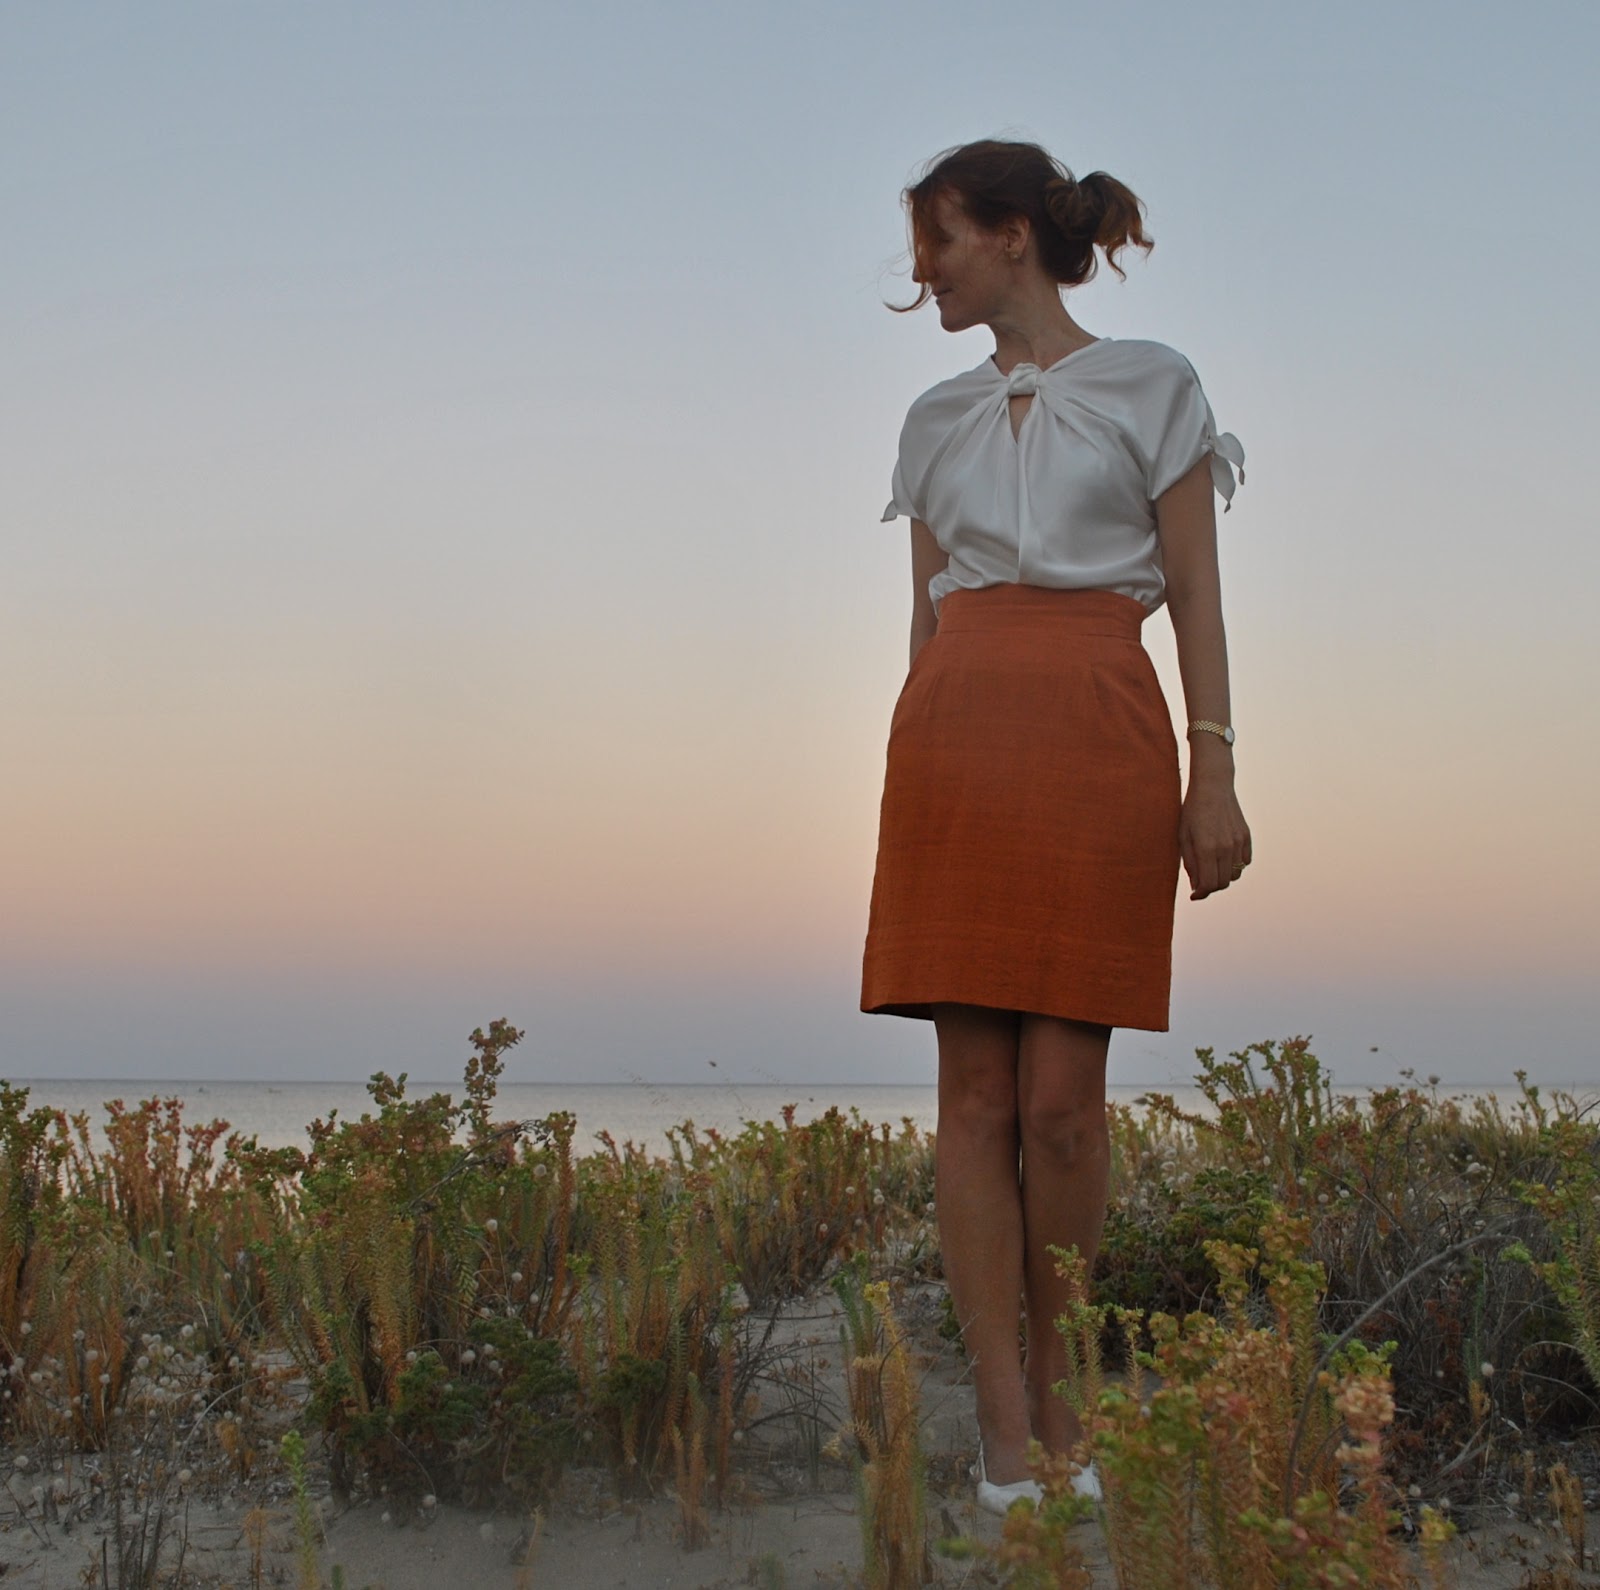
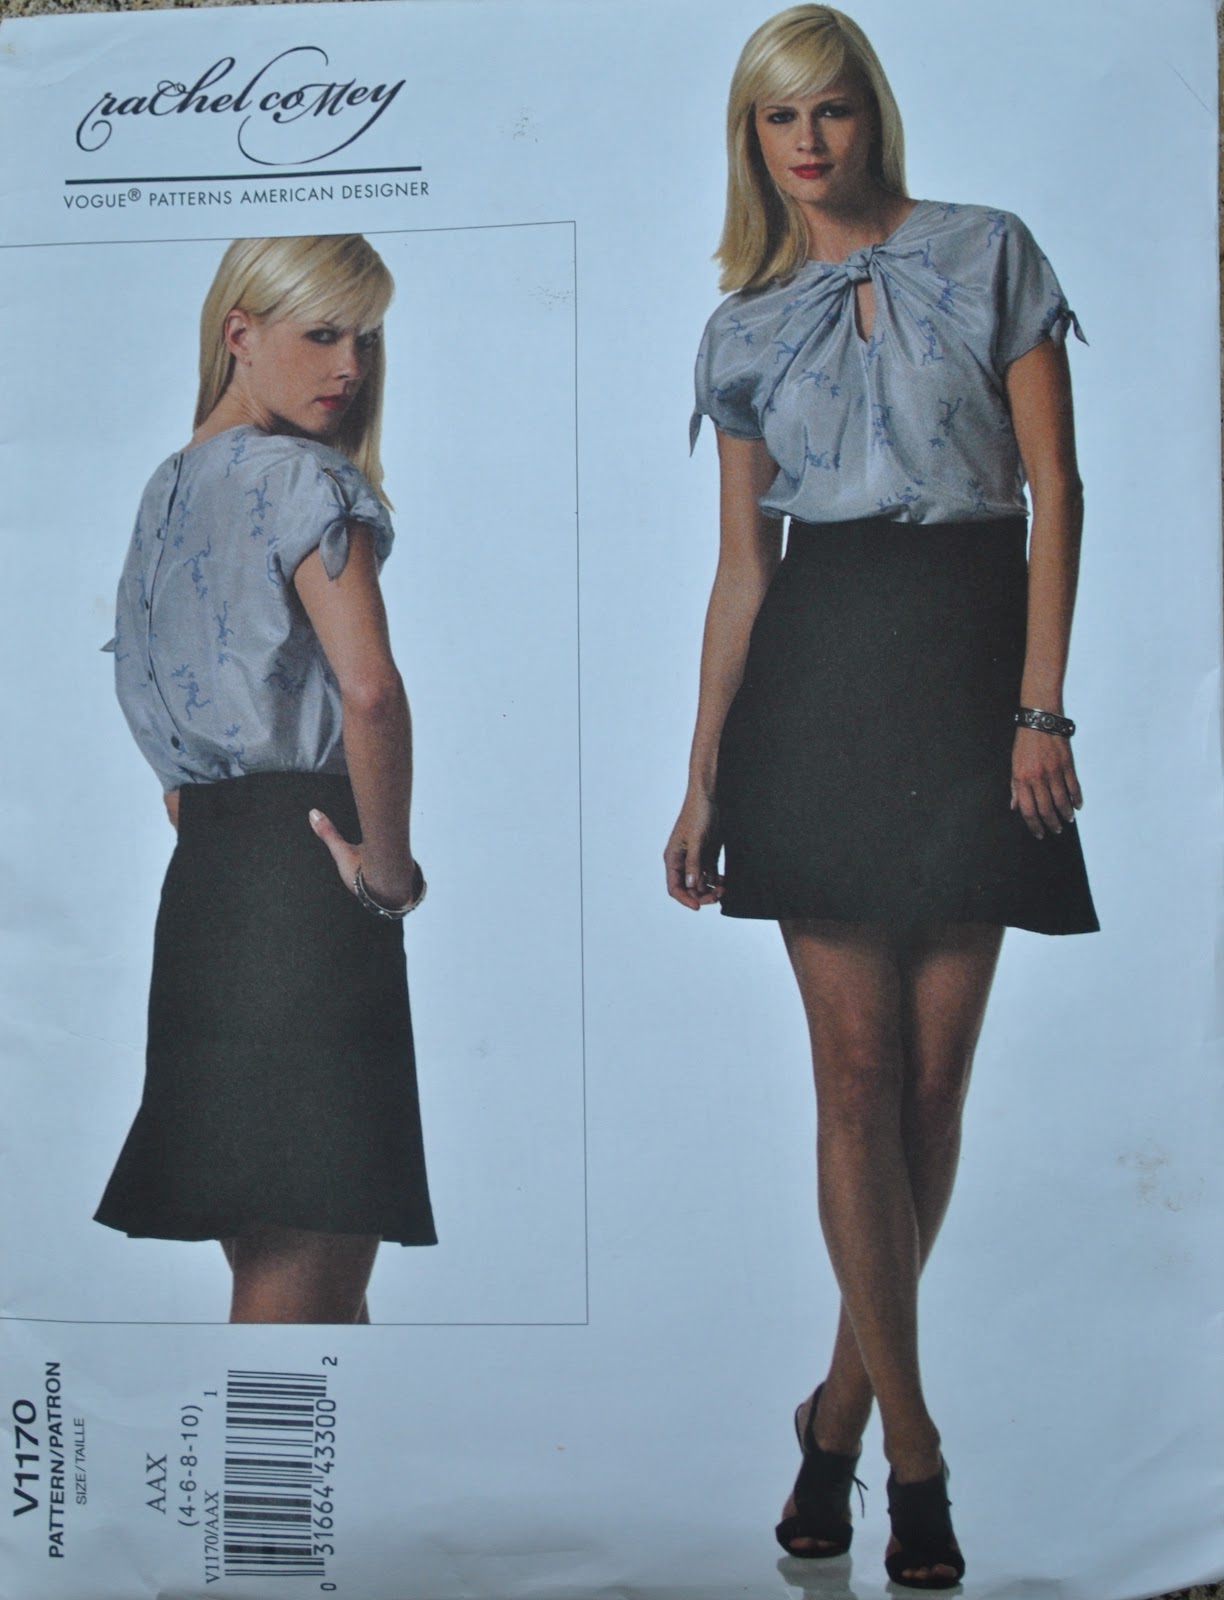
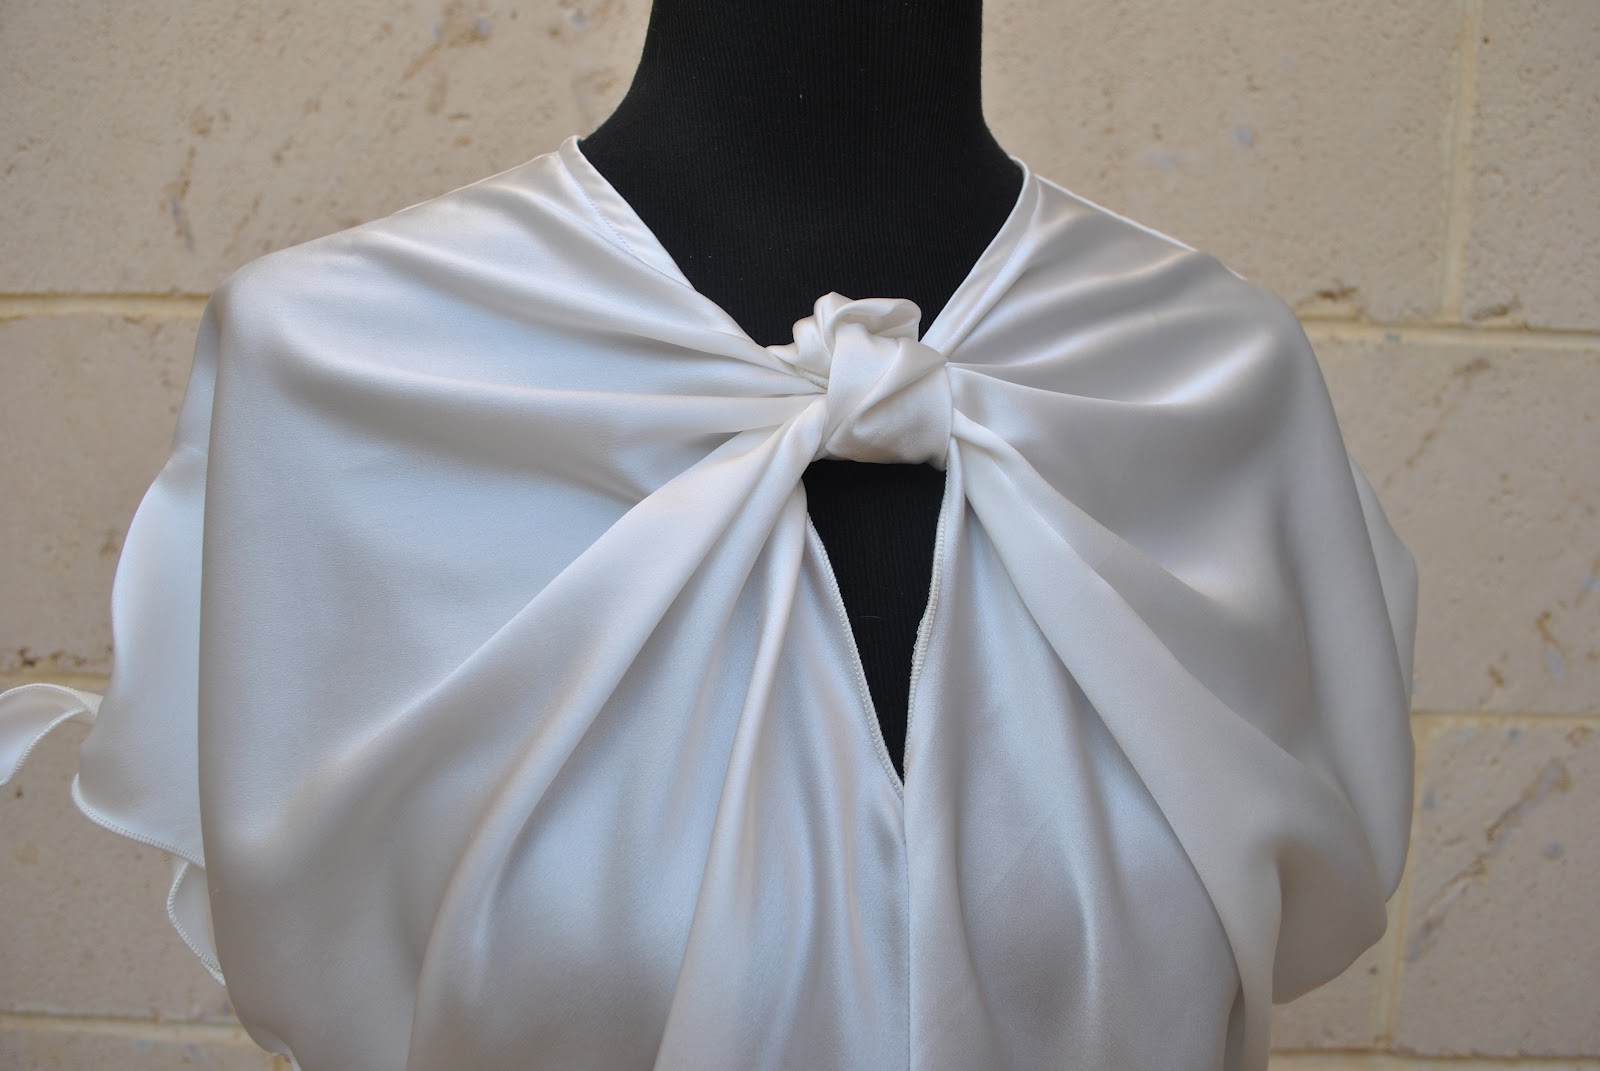
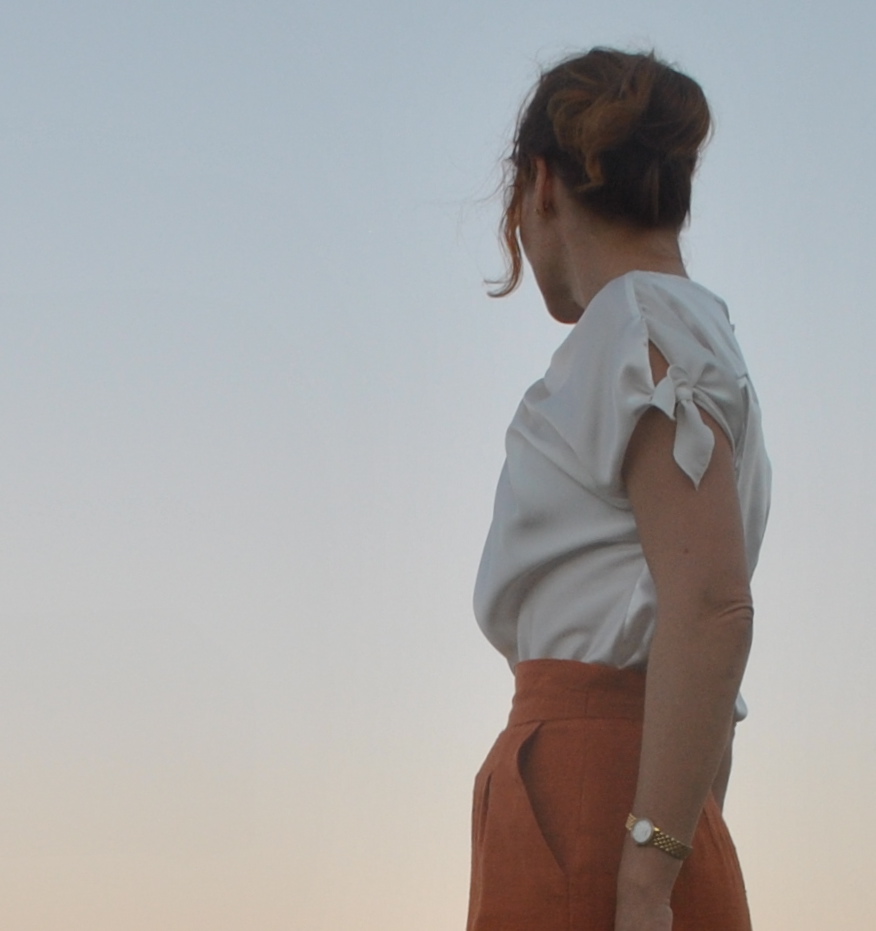
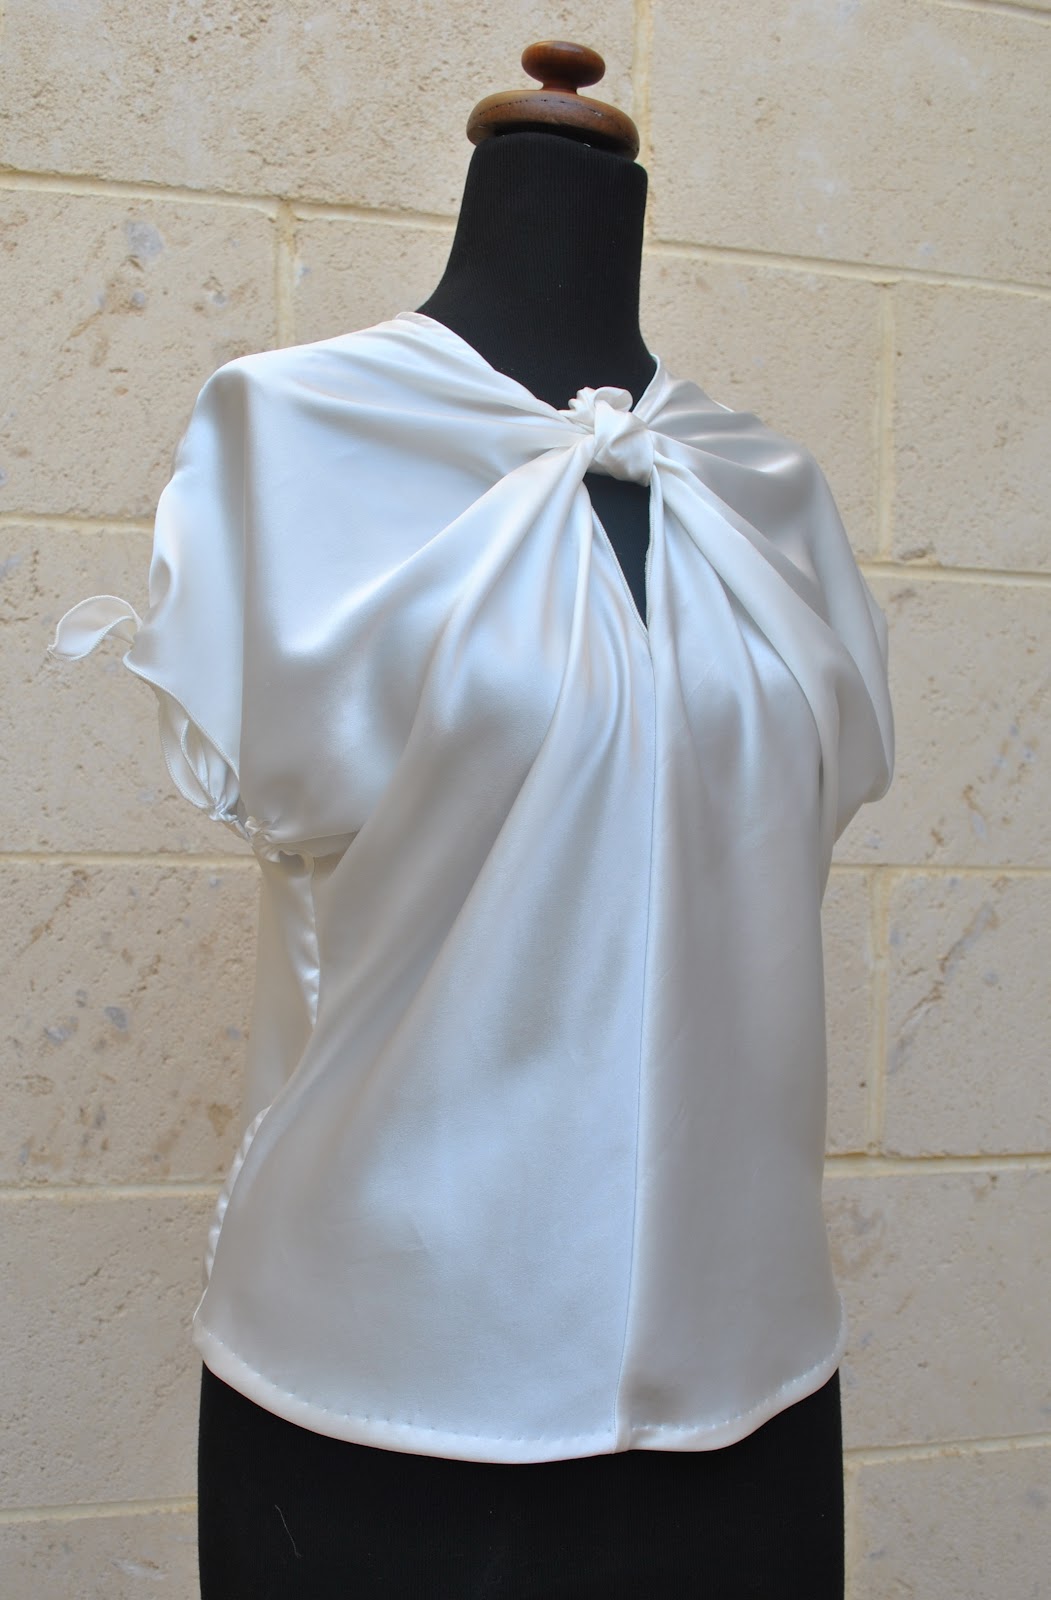
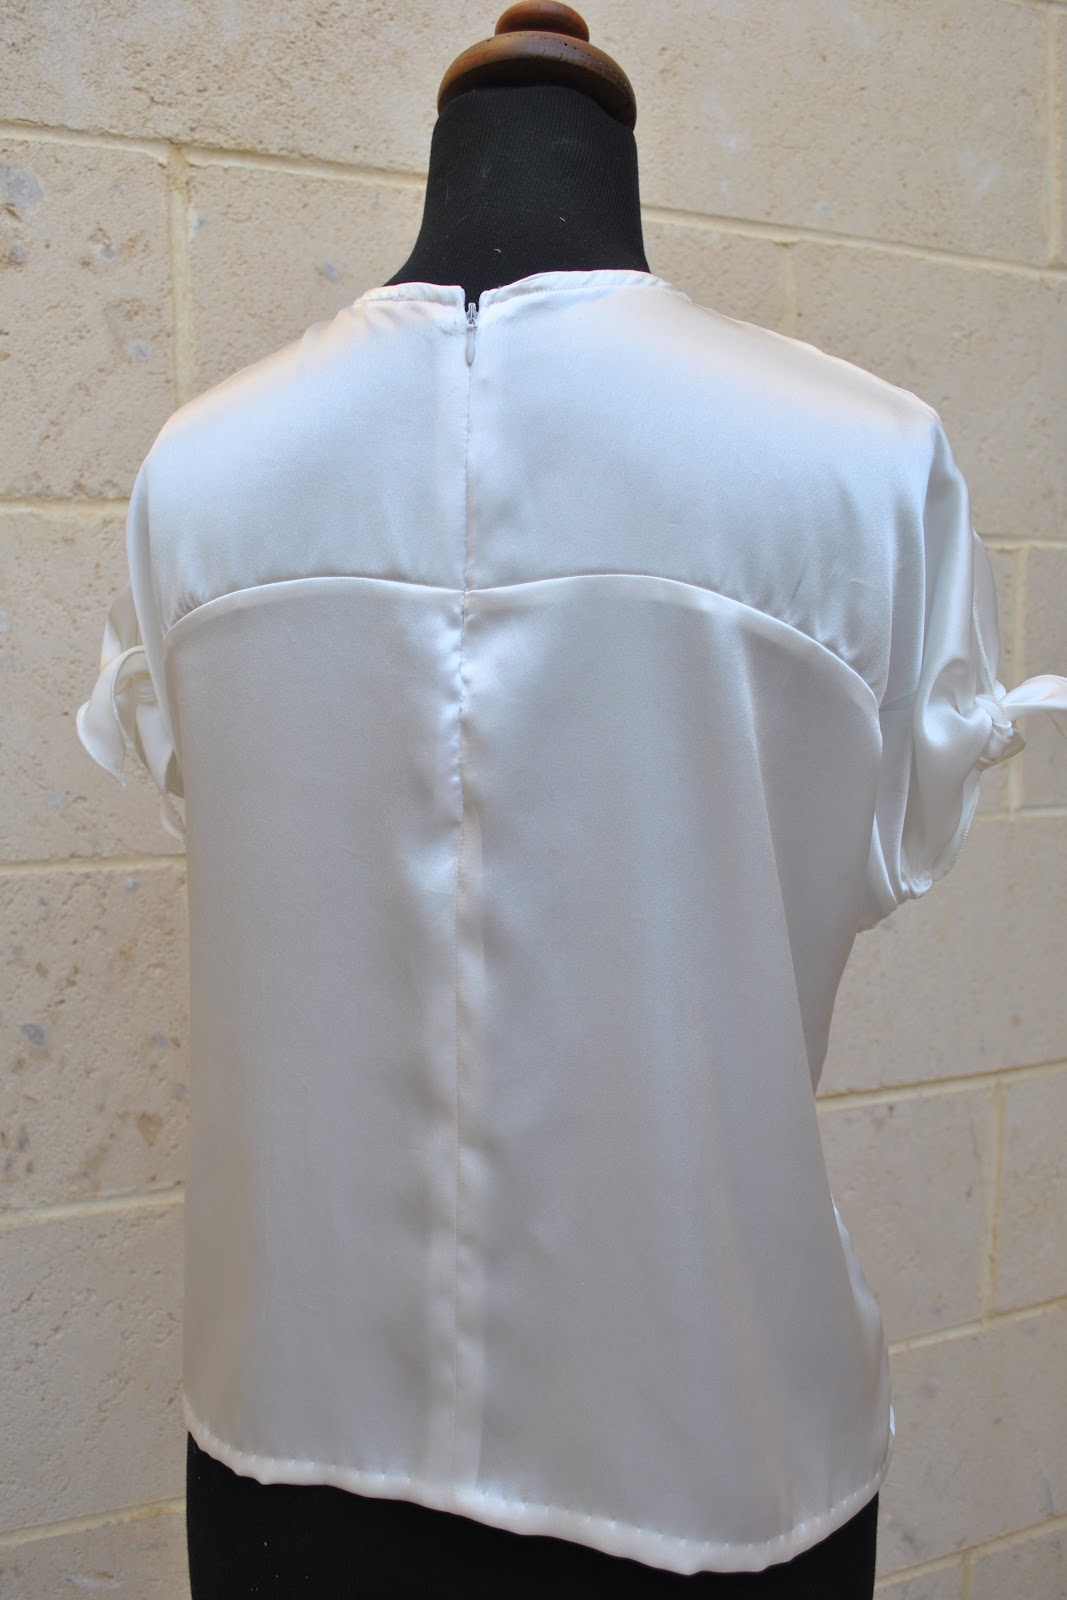
A Pretty Silk blouse
Fabric; $64.35
Pattern; Vogue 1170, first time used, $7.00
Zip; $2.20
Total cost: $73.55
Woman in Red dress
Fabric; a birthday gift from friends
Pattern; Vogue 1087, used previously
Thread; had some red thread already
Total cost: free
Miscellaneous extras
Rotary cutting wheel blade; $13.45
Twin needle; $6.60
Total cost: $20.05
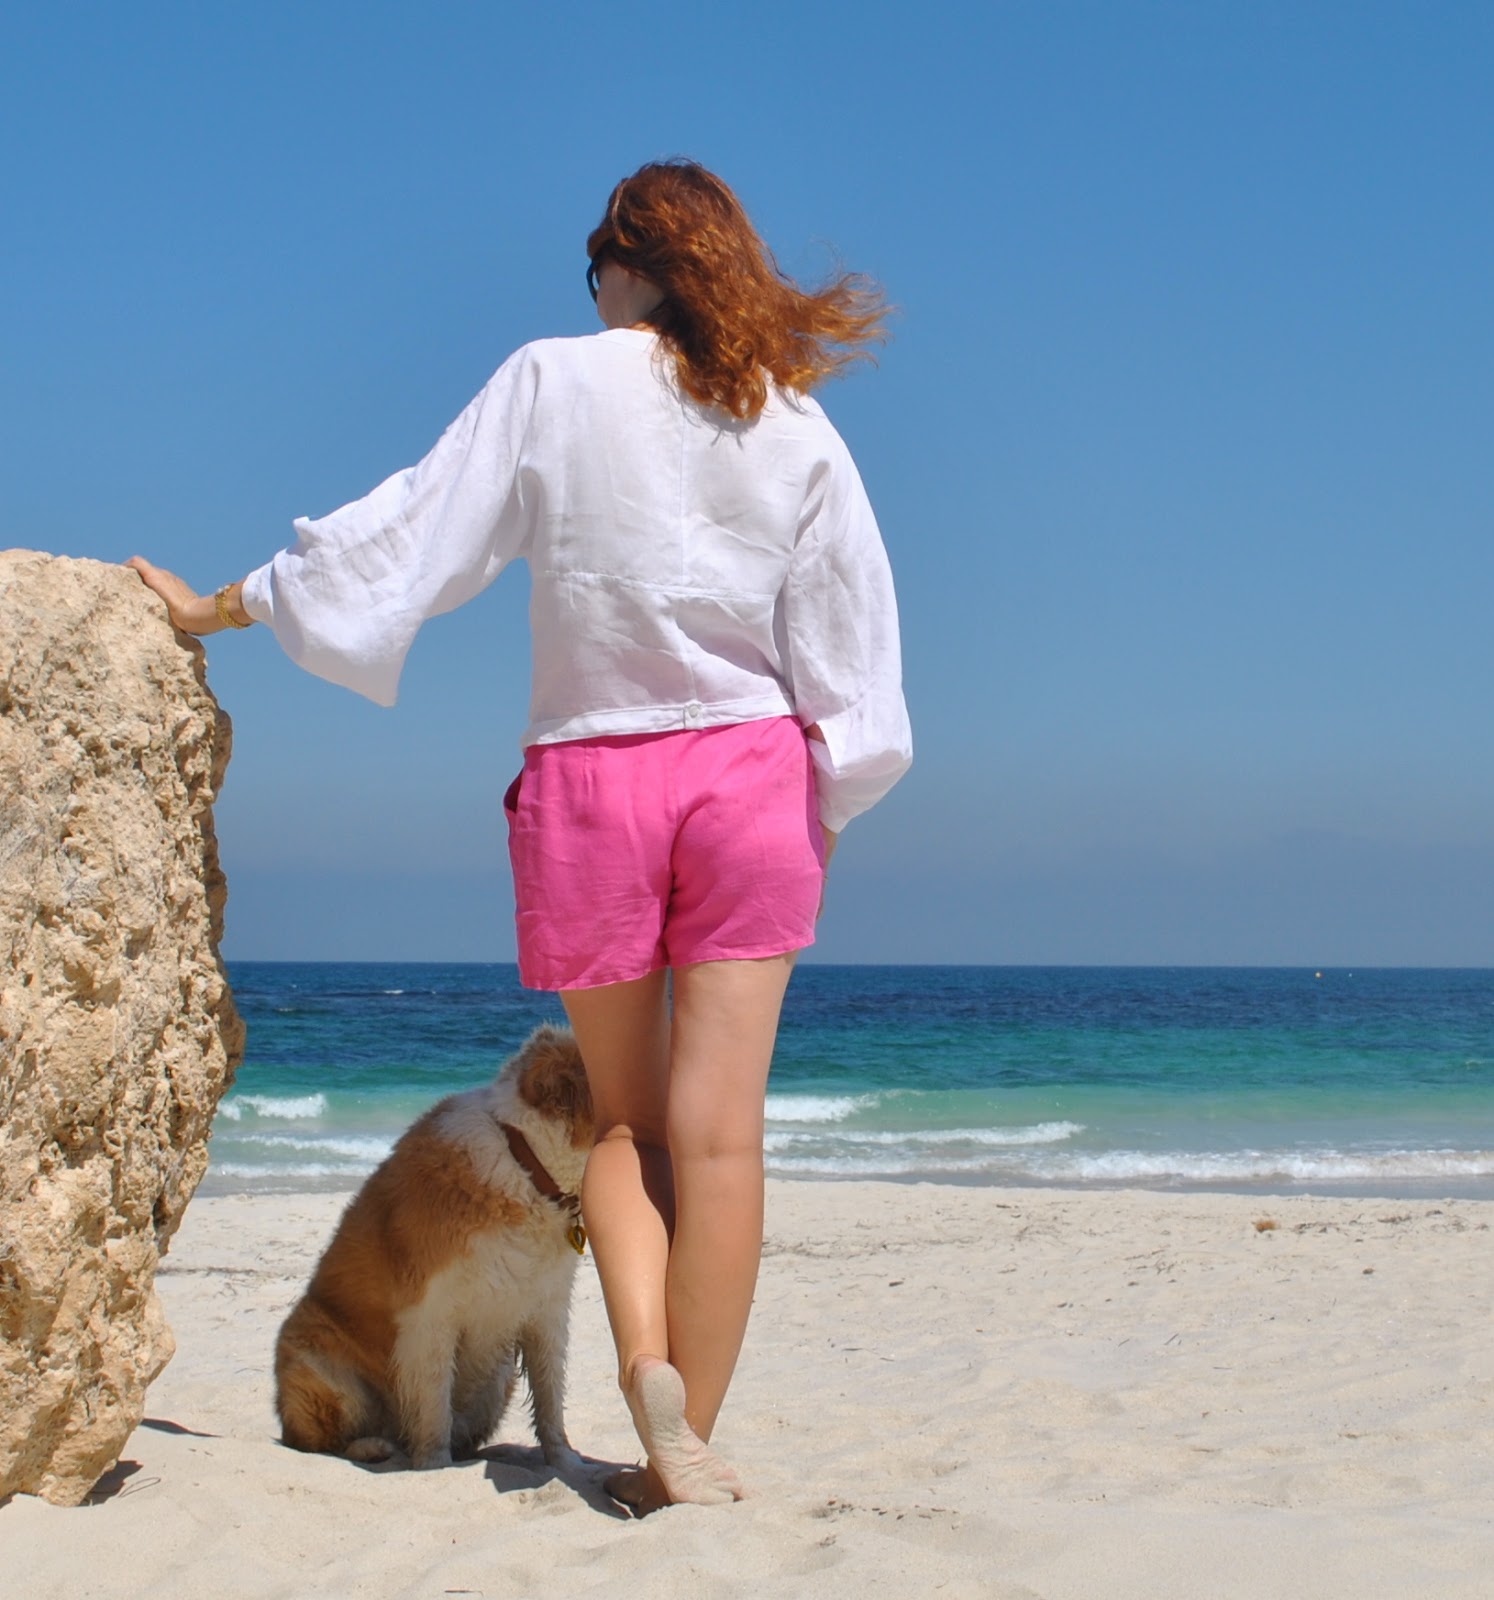
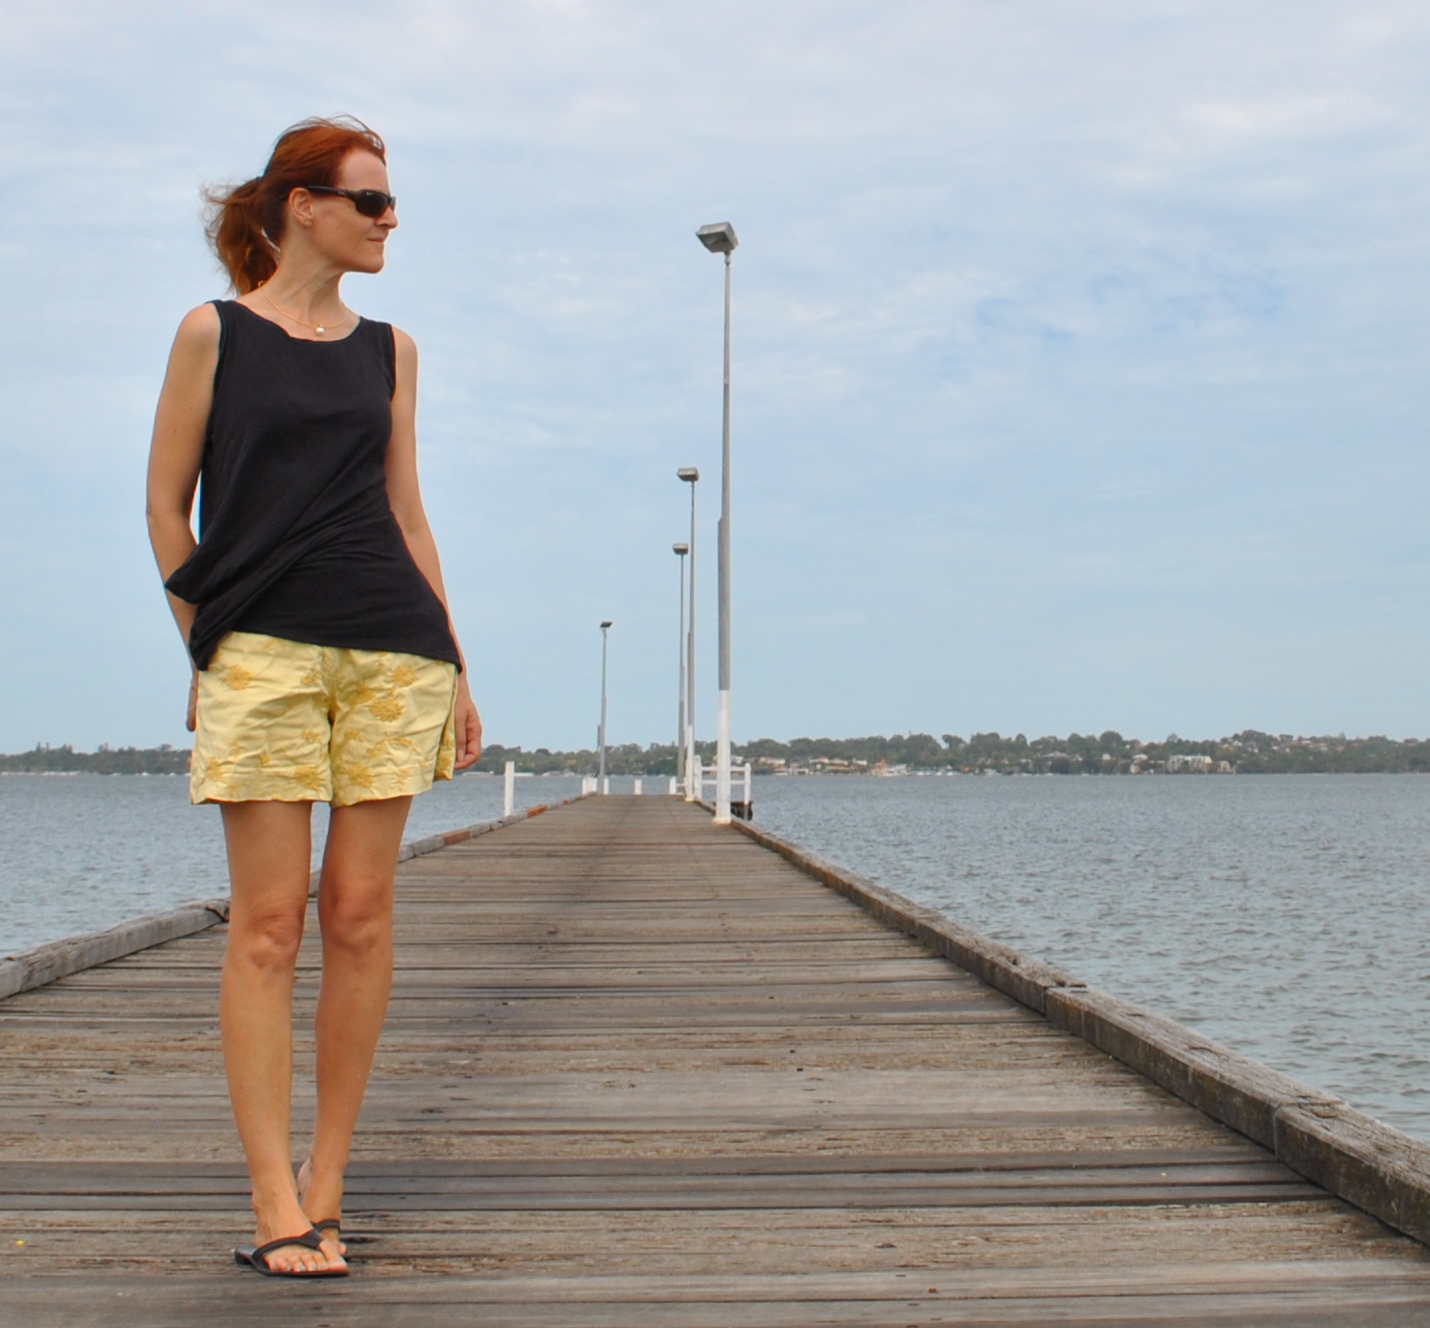
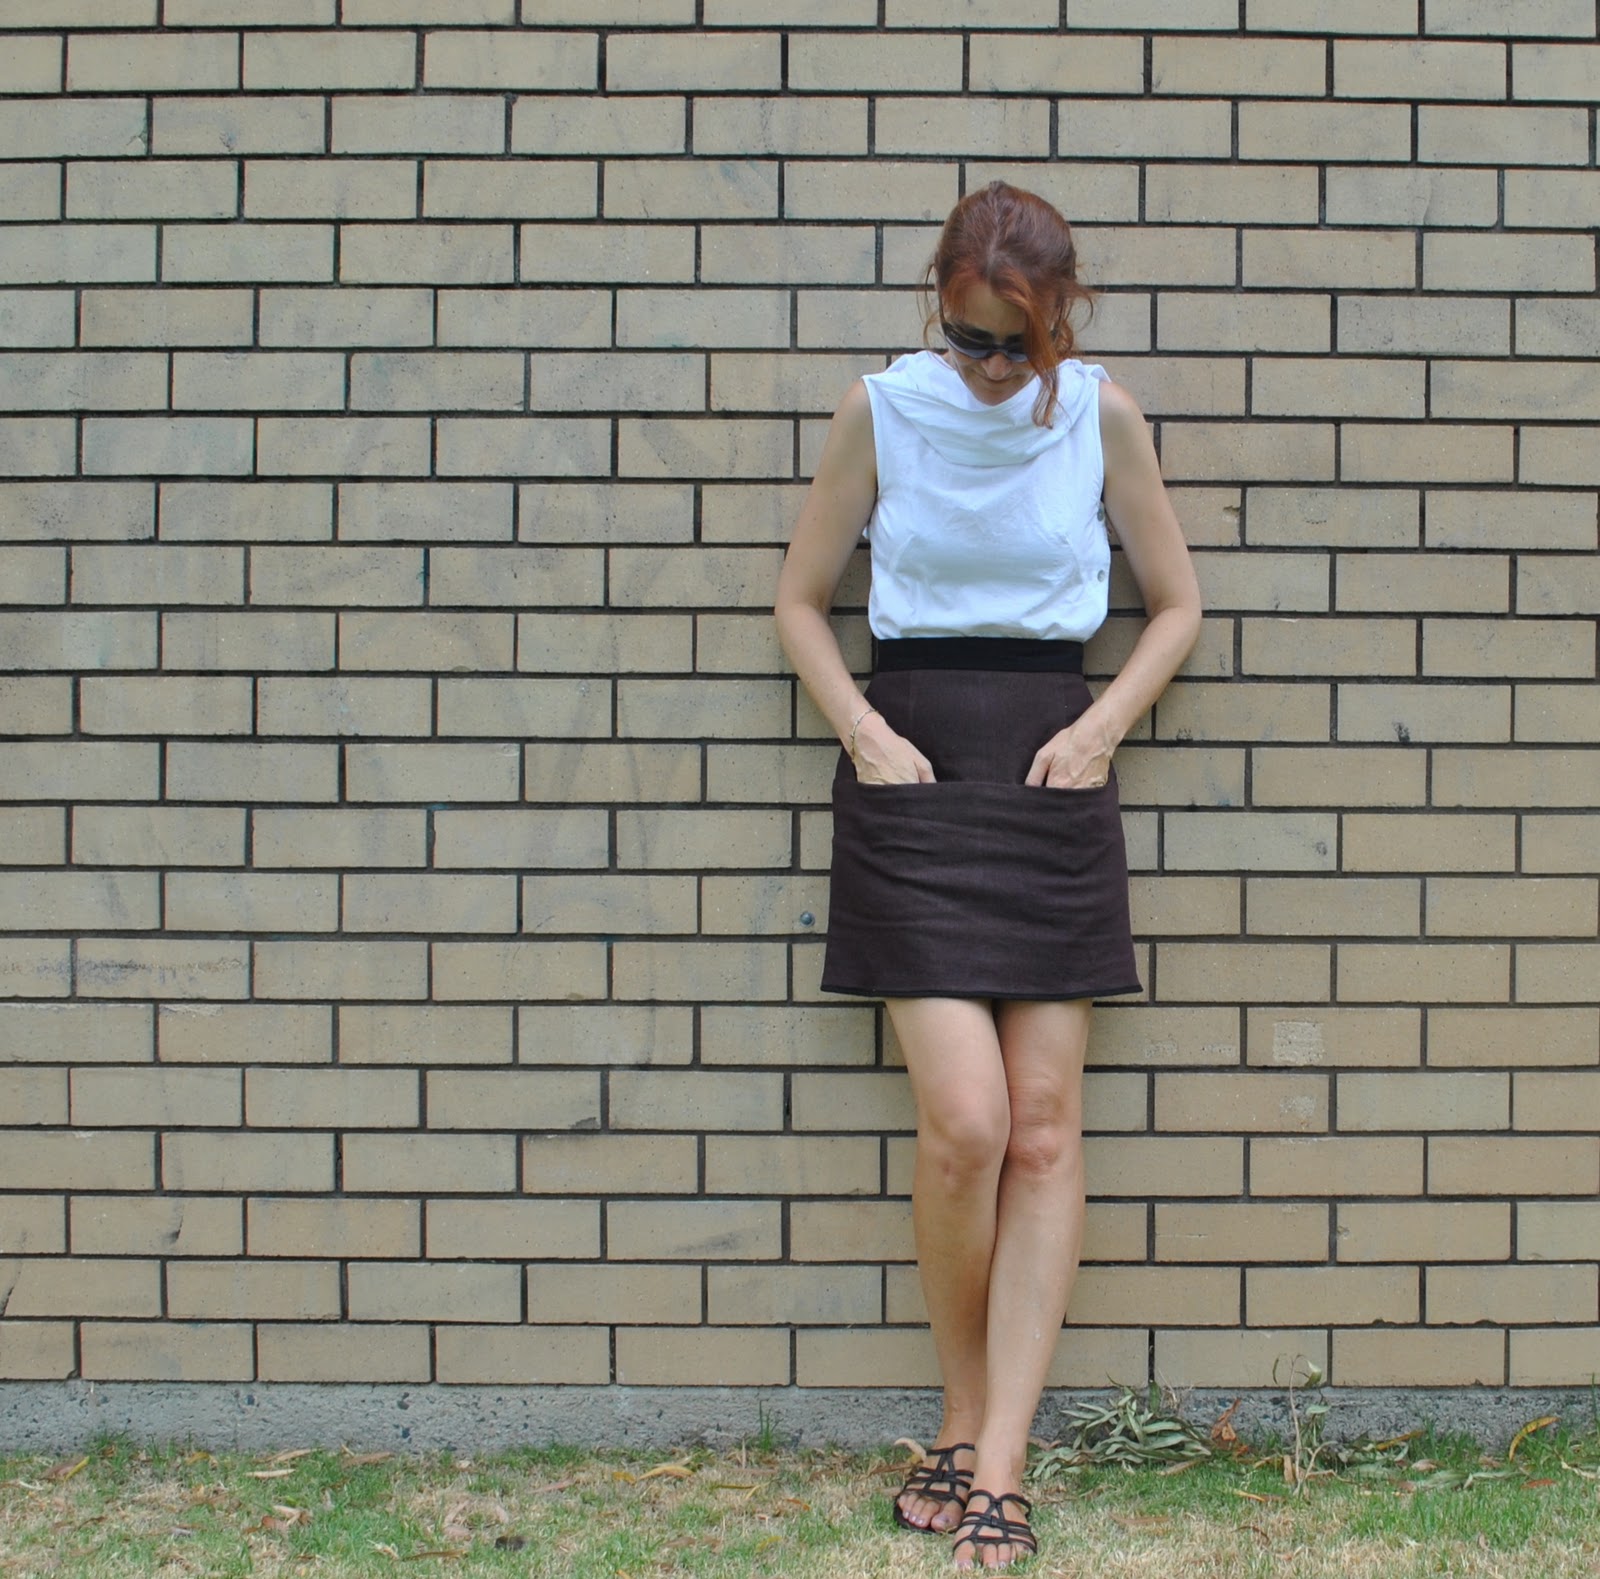
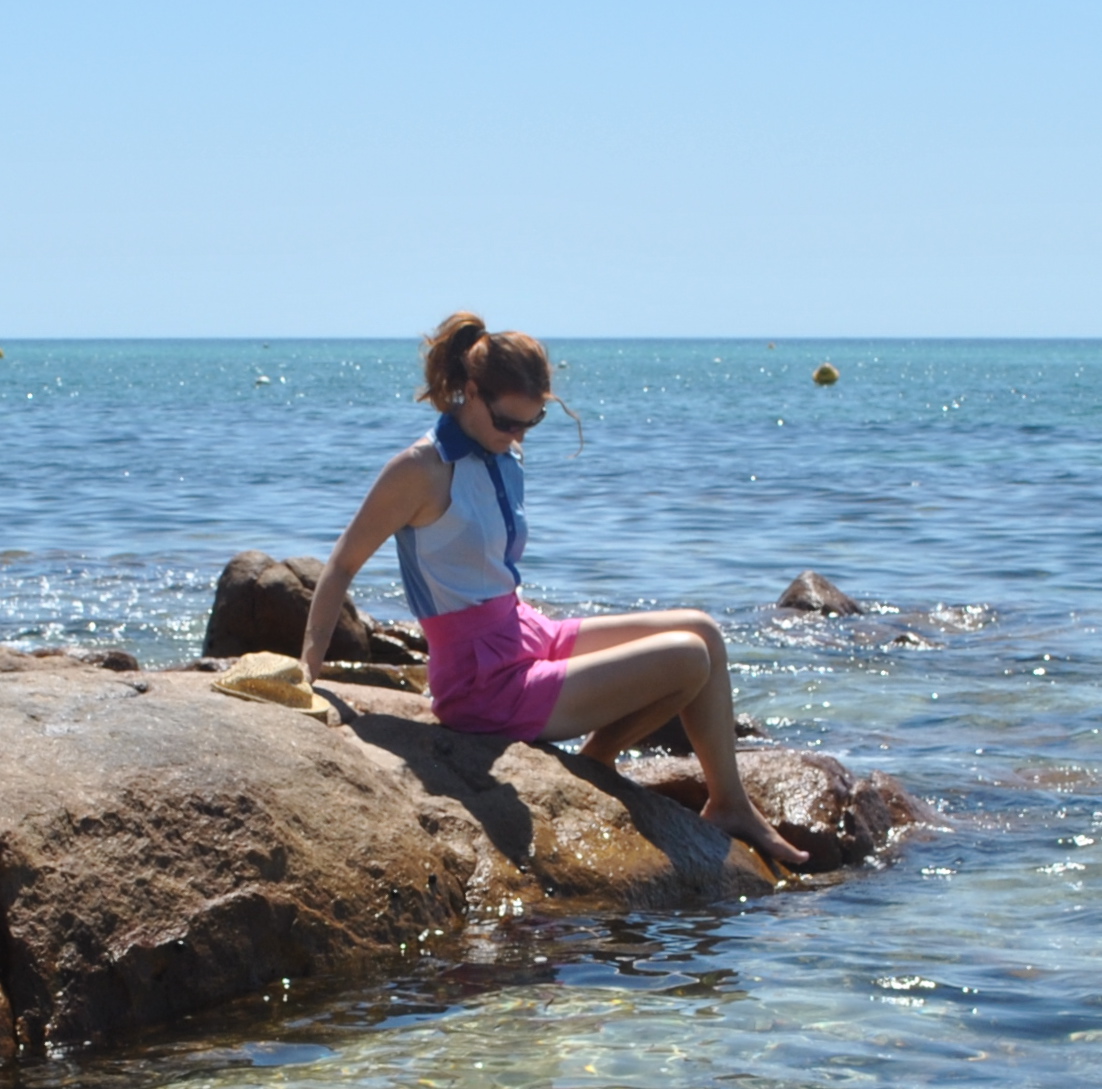
outfit Details:
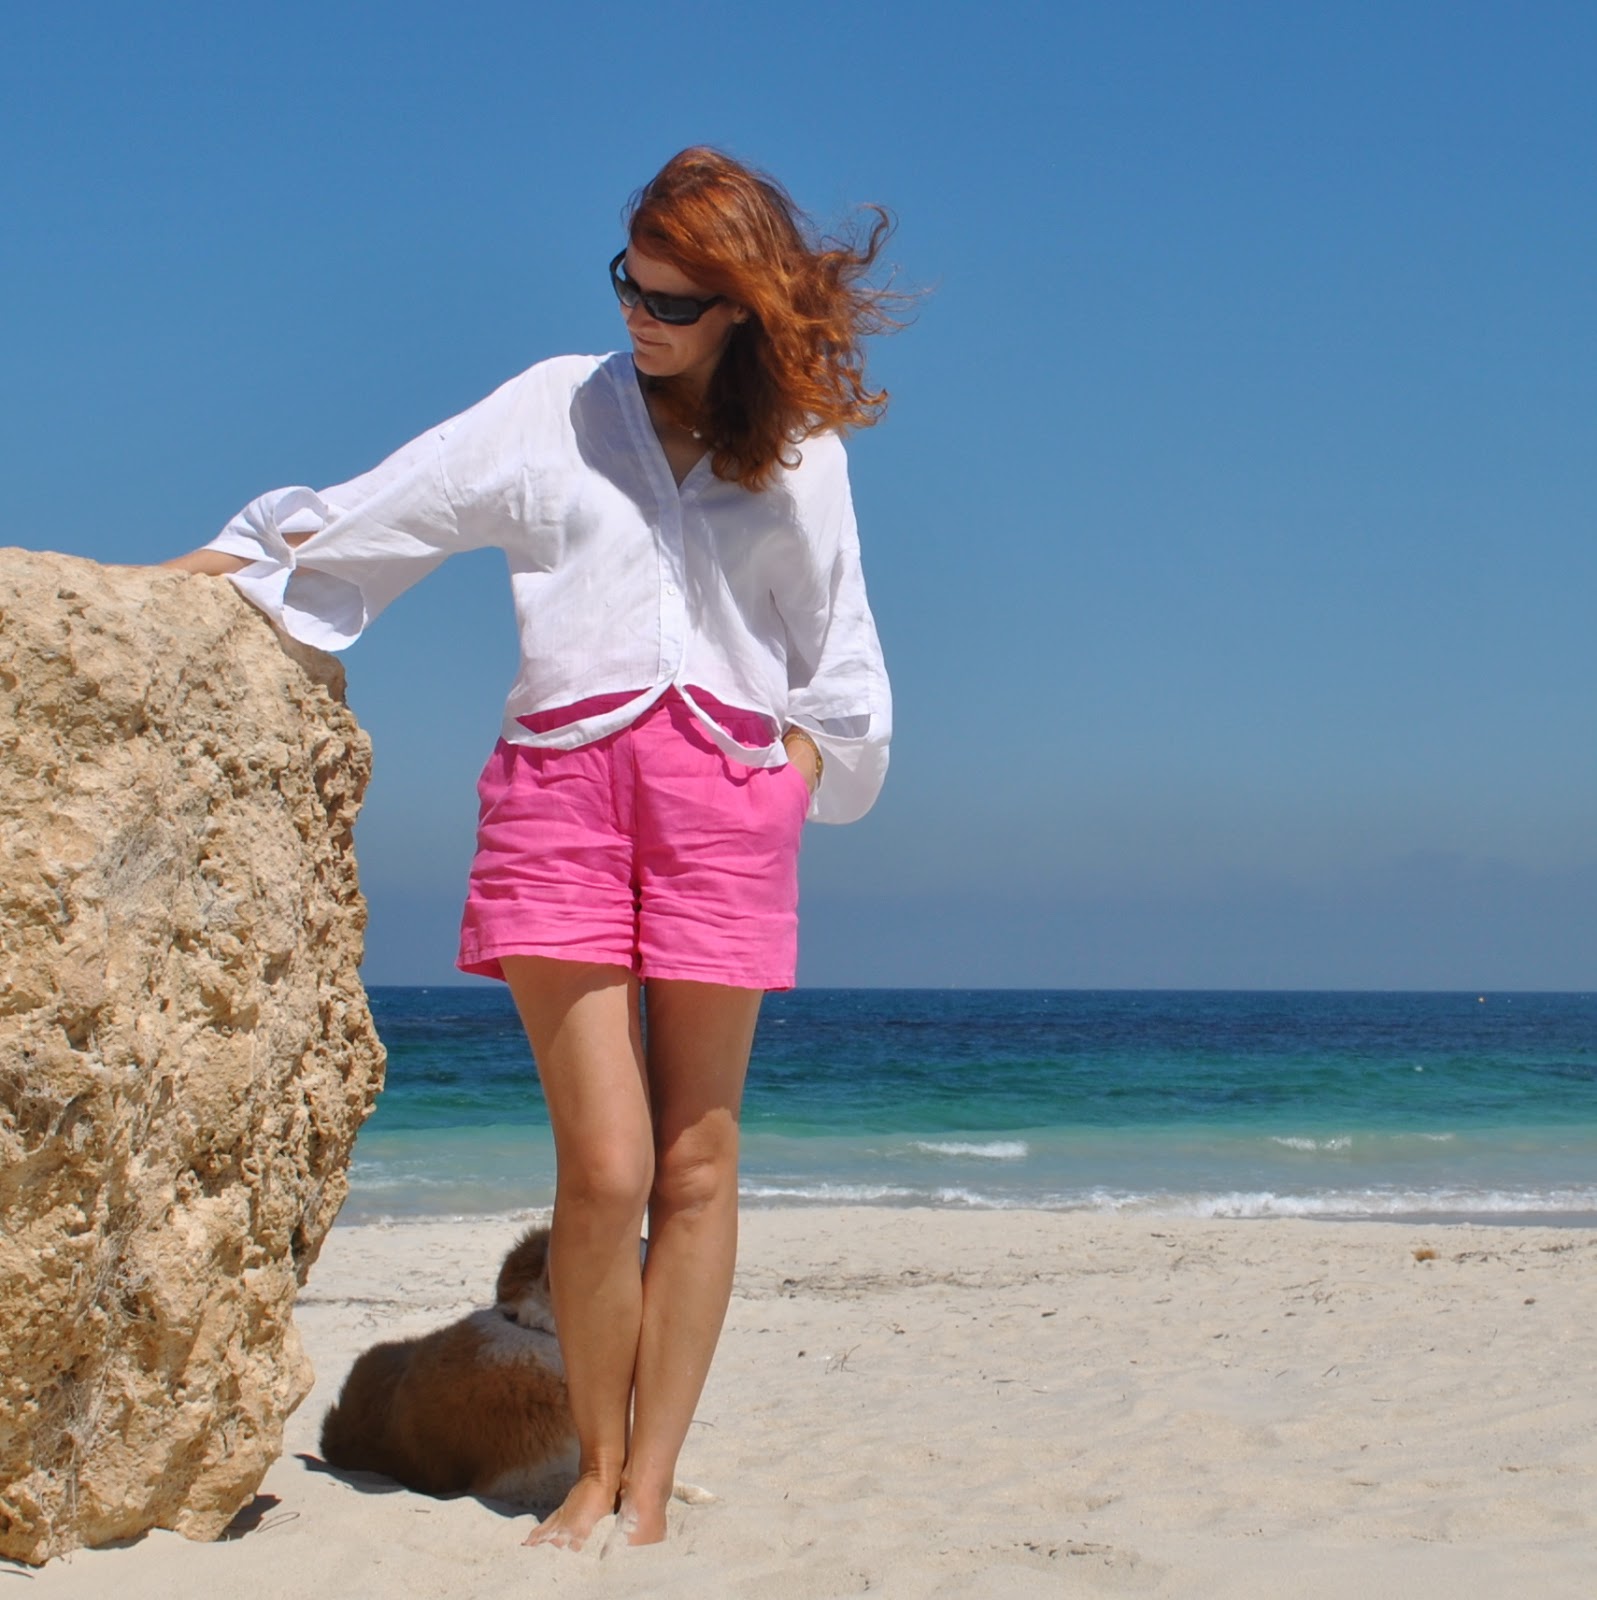
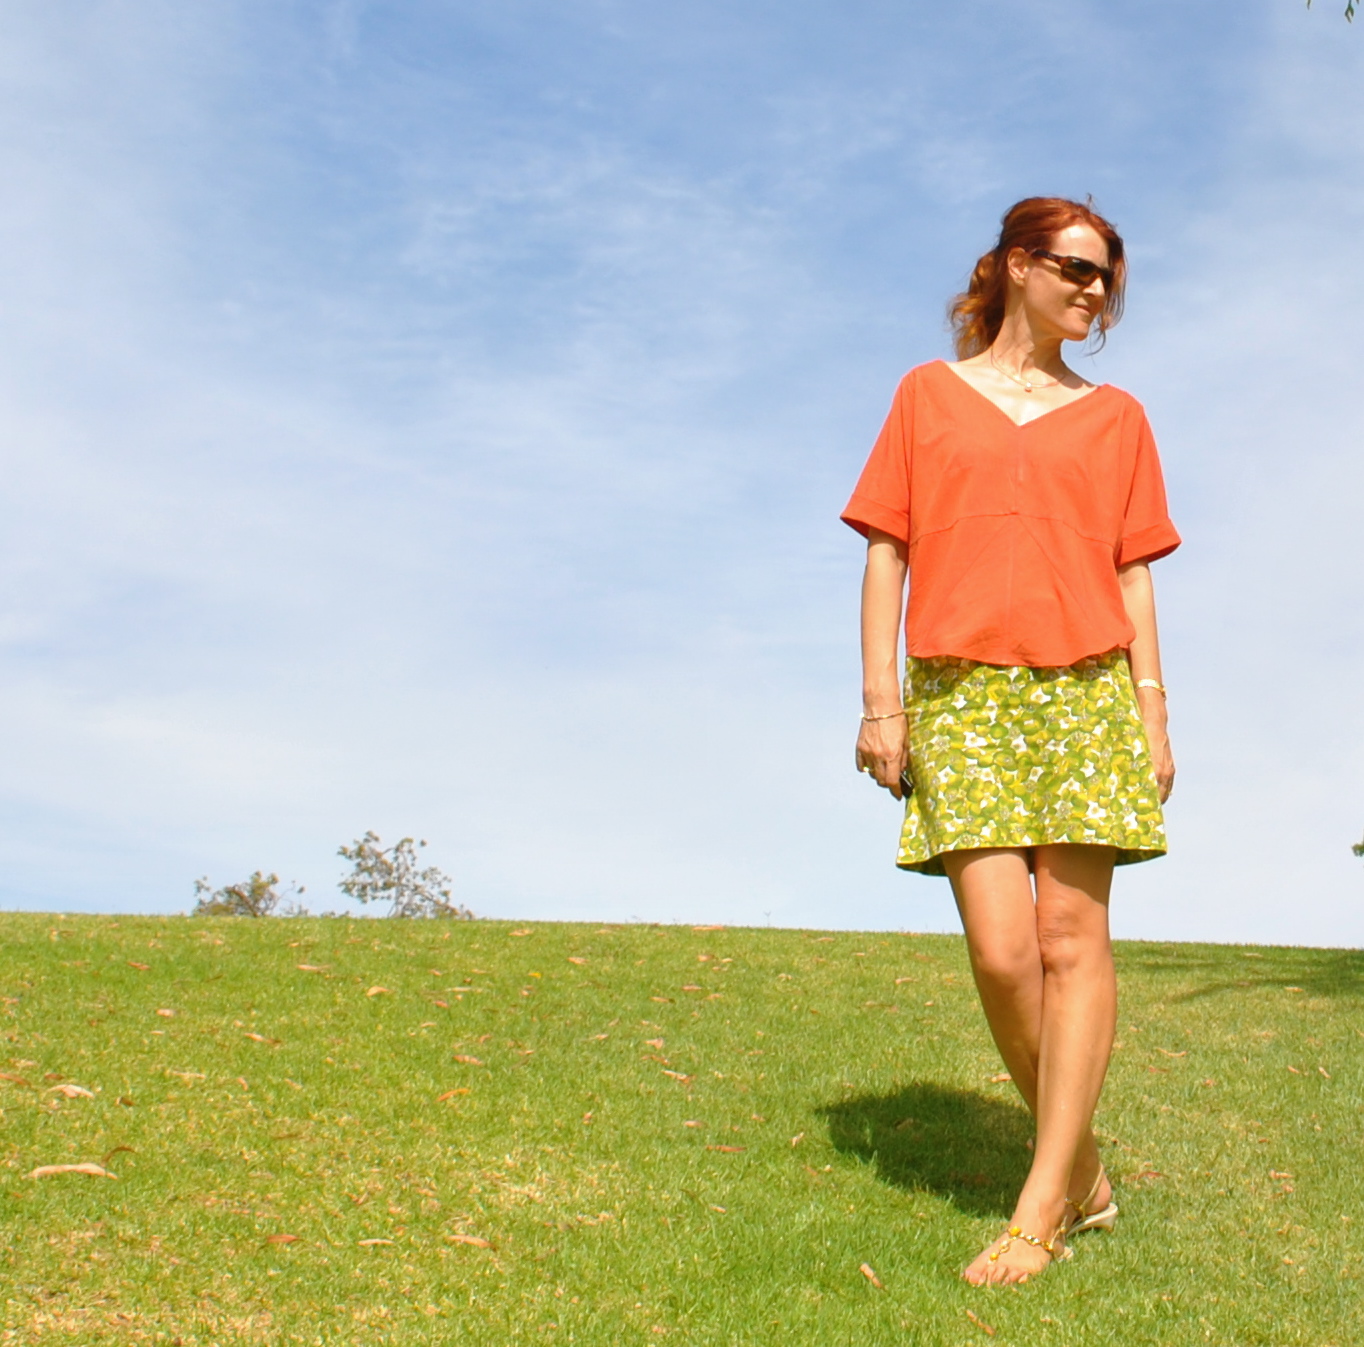
Top; Vogue 1248, made from a mix of blue cottons, details here and my review of this pattern here
Shorts; Burda 7723, details here, my review of this pattern here, and see these styled in 6 different ways here