I’ve been pretty inspired by reading some posts by other bloggers on the sum total of their clothing expenditure; particularly Waves with her very interesting breakdown of her clothing costs for 2011 and her feelings and thoughts on the same, and Terri with her plans to stick to a set budget for 2012 and the documentation of such in her blog, and Veronica with her strict accounting during her very impressive Sew Weekly year of 2011…. and I have decided to put my own expenditure under the microscope.
A self-audit. Yikes! Nail-biting stuff, no?!
When Craig and I were first married we were frantically saving and had a very strict control on our costs; I totted up all our incomings and outgoings constantly and stuck to a budget rigidly…. but all that is in the past now! I haven’t had to add up each and every cent for a few years, and although I don’t think I spend a lot I really have no idea unless I actually do account for myself… and so…
I am going to keep tabs on all the costs of my clothing creations for this year.
Now someone accounting for a RTW wardrobe has it pretty cut and dried, as your clothing just comes with a price tag attached and bob’s your uncle… when you are making your own stuff things get a bit more complex… so I’ve jotted down here a few basic guidelines as to just how I’m breaking it down…
Time frame: I am going to start my accounting from the 1st January to include all the clothes that I finish making in 2012.
Fabrics costs: I’m counting all the materials for all garments made this year. If I don’t have the receipt for the fabric anymore and can’t remember what it might have cost (some of my fabrics are years old!!) then I shall make my best guestimate. If the fabric was a gift, I’ll state that, and count it as free.
I shall not include fabrics bought this year unless I also finish the garment this year. No really, this makes sense. It does! I’m costing my actual clothing here you see, not potential clothing…
Also, the first time I make something out of a piece of fabric I shall include the cost of the entire piece in that garment, and any leftovers used down the track will be considered as already accounted for.
Pattern costs: I shall include the cost of the pattern I use; but only the first time I use it. That is, the full cost of a new pattern will be included in the cost of a garment the first time I use it, but each subsequent time I use the same pattern I shall consider that pattern already accounted for and not include its cost again.
Likewise, for haberdashery: the first time I commence using “something”, I shall include the cost of the entire”something” in the cost of that garment, but not for any subsequent garments. So, say, the first time I pop a new reel of thread on the machine I shall count the cost of the entire reel in the cost of that garment, but not for any garments after that until it is finished. Likewise dyes and other sundry bits and pieces…
Does all that make sense? I realise some of those rules might seem a bit odd and are going to seemingly inflate the cost of some garments at the expense of others that will appear artificially inexpensive, but that is the simplest way I could think of doing it…
And please note…! I’m not planning to change my habits at this stage, but merely account for them… This is not an exercise to see how cheaply I can possibly make everything! (Cheap? moi??) There will still be plenty of silk and lace popping up here… (sigh) well, let’s just say I would like for that to happen!… I still passionately love beautiful fabrics and yarns, and interesting designer patterns, and I’m not going to deprive myself! I believe my time and effort is worth good quality supplies, and my aim all along in making my own wardrobe has always been to make it the best I can. Still being fabric efficient, naturally. I really just want to see how I am going, cost-wise. So, I will continue to source fabrics and yarns to meet my standards of ethics; supporting my local fabric store as much as I can; and buying fabrics and yarns from countries that have ethical manufacturing practices.
But in the meantime; here is a breakdown of my costs in adding to my wardrobe this year, so far…
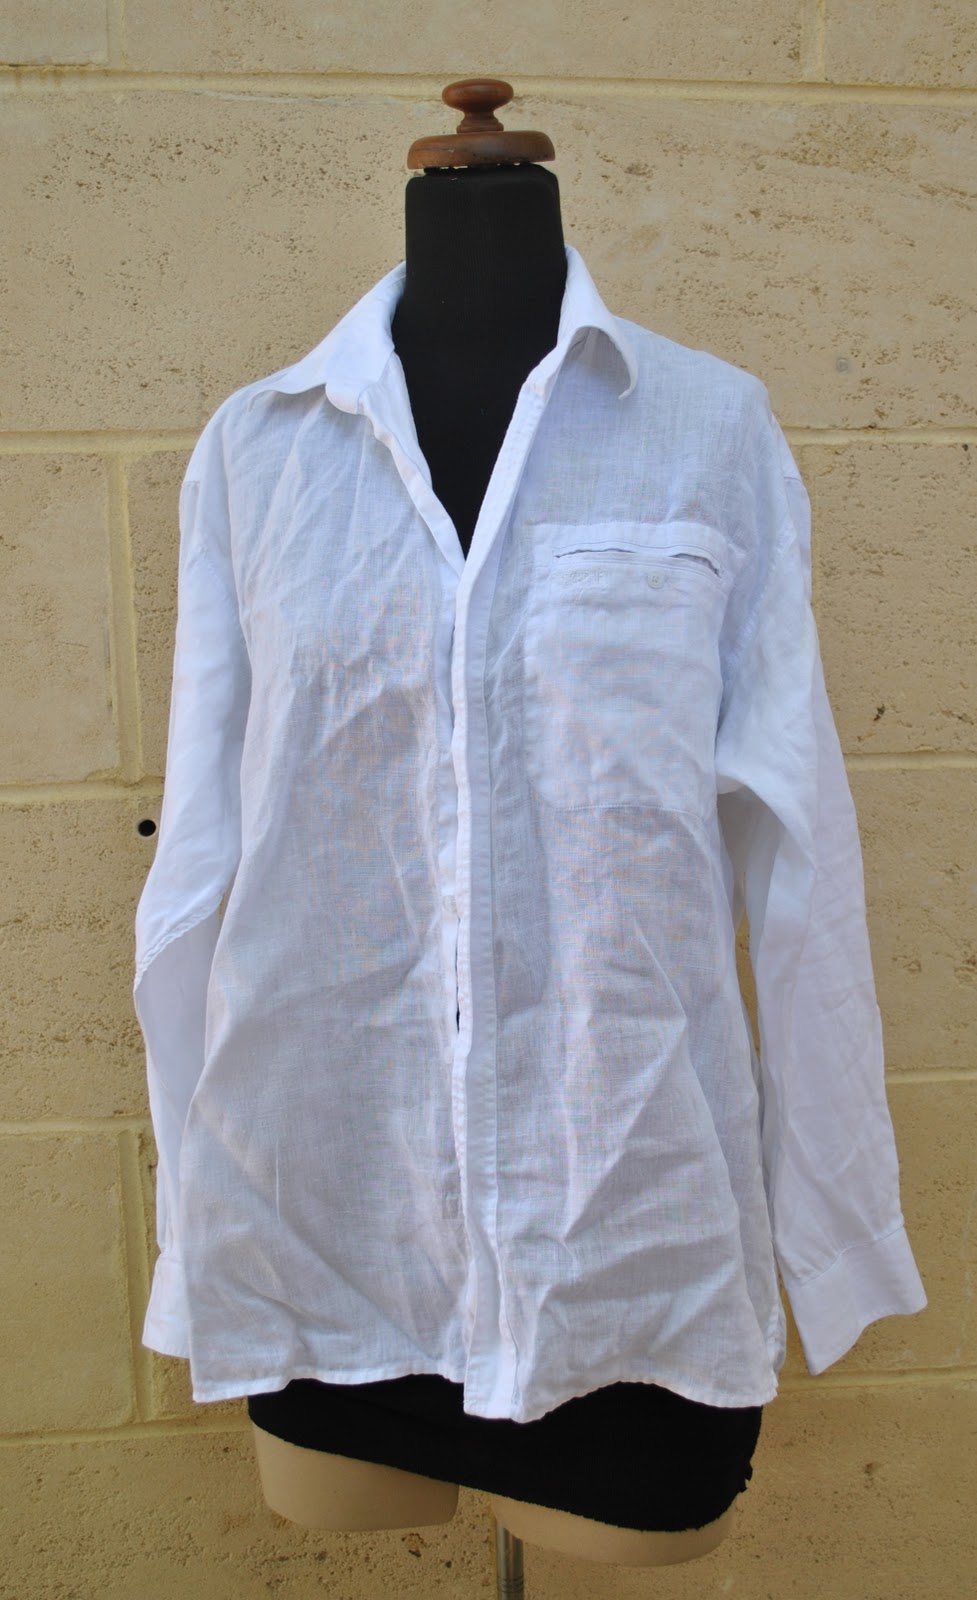
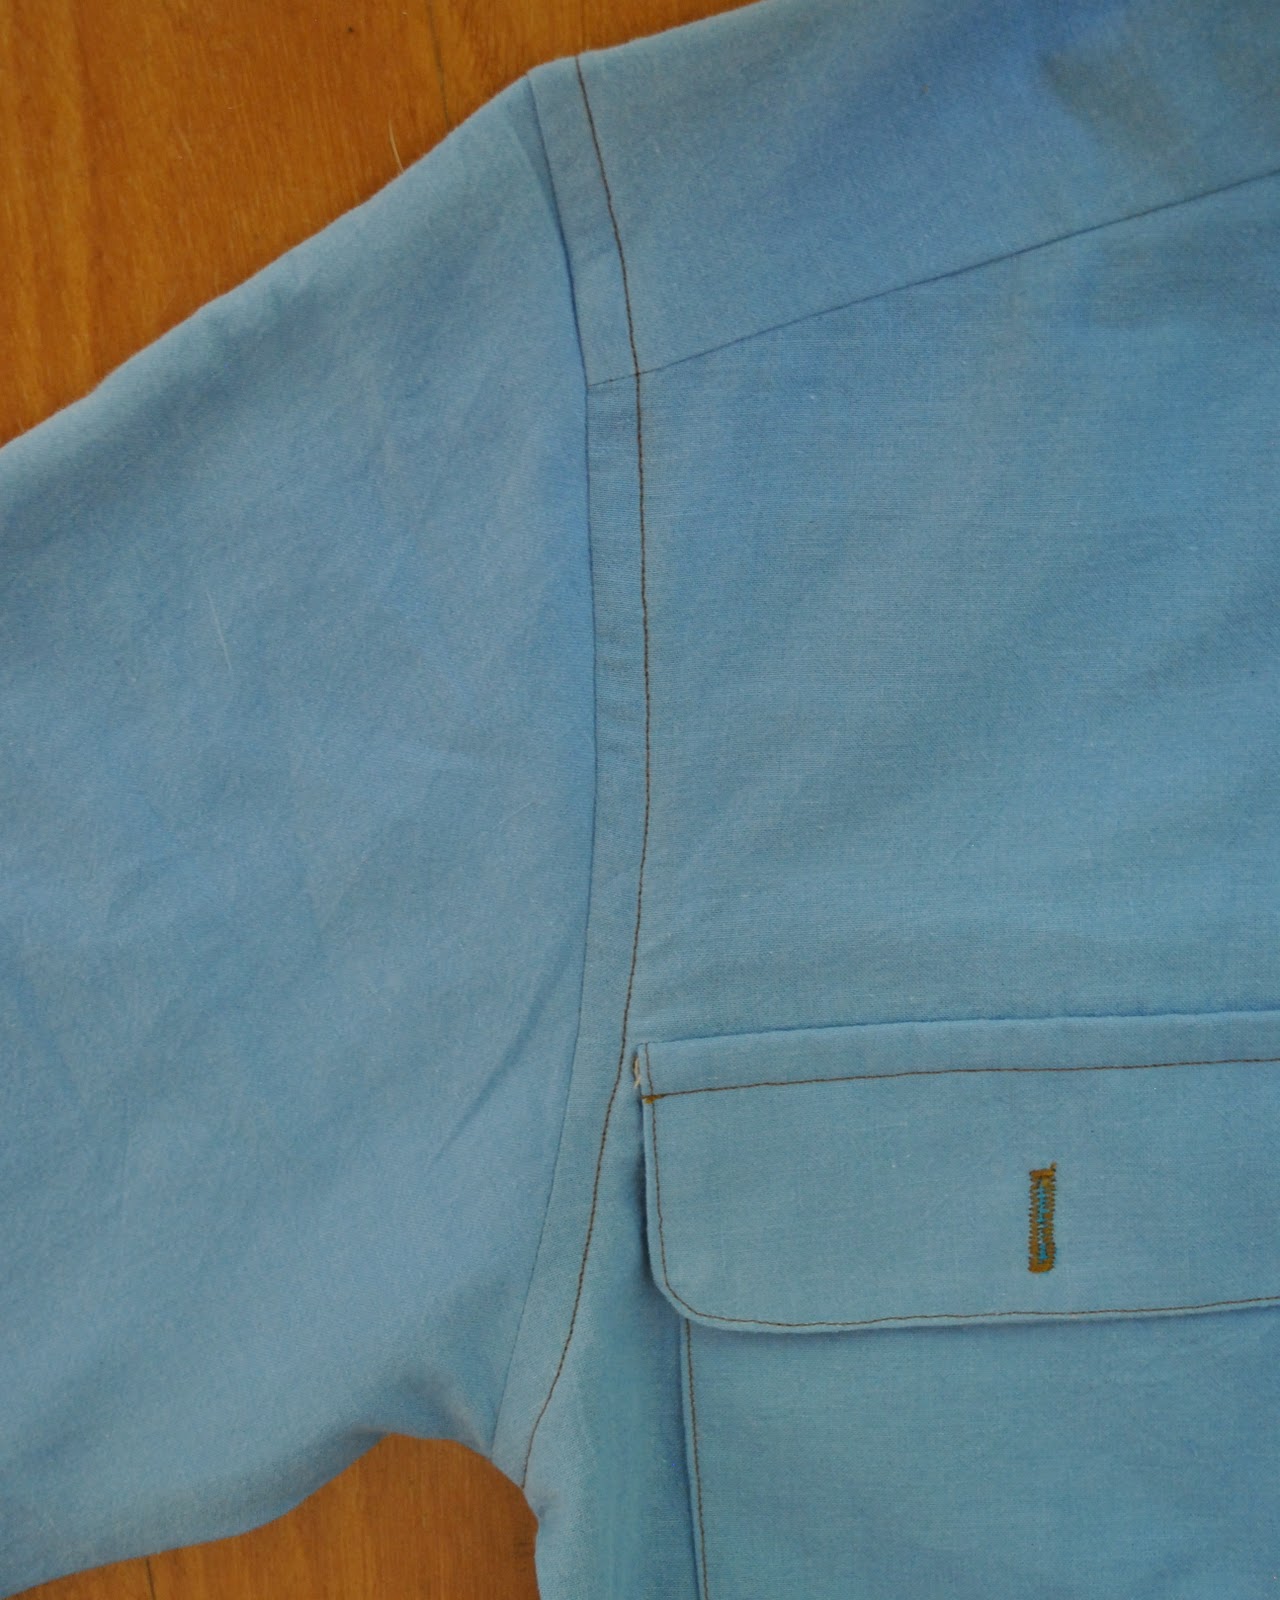
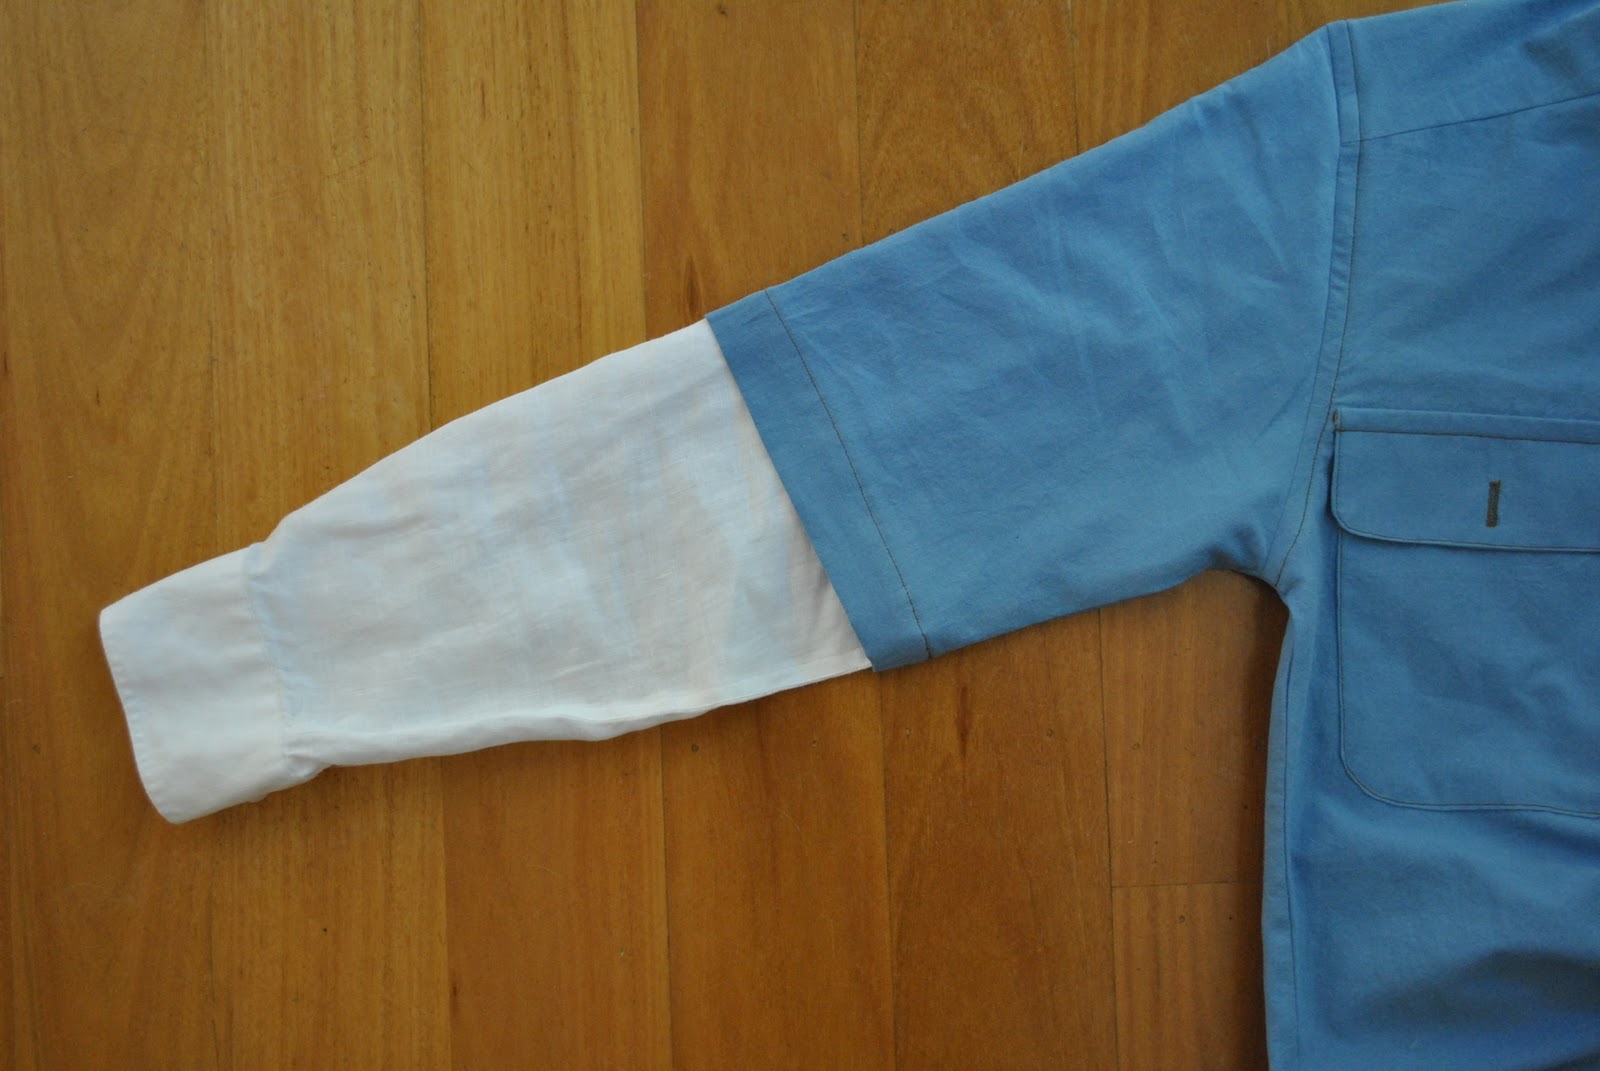
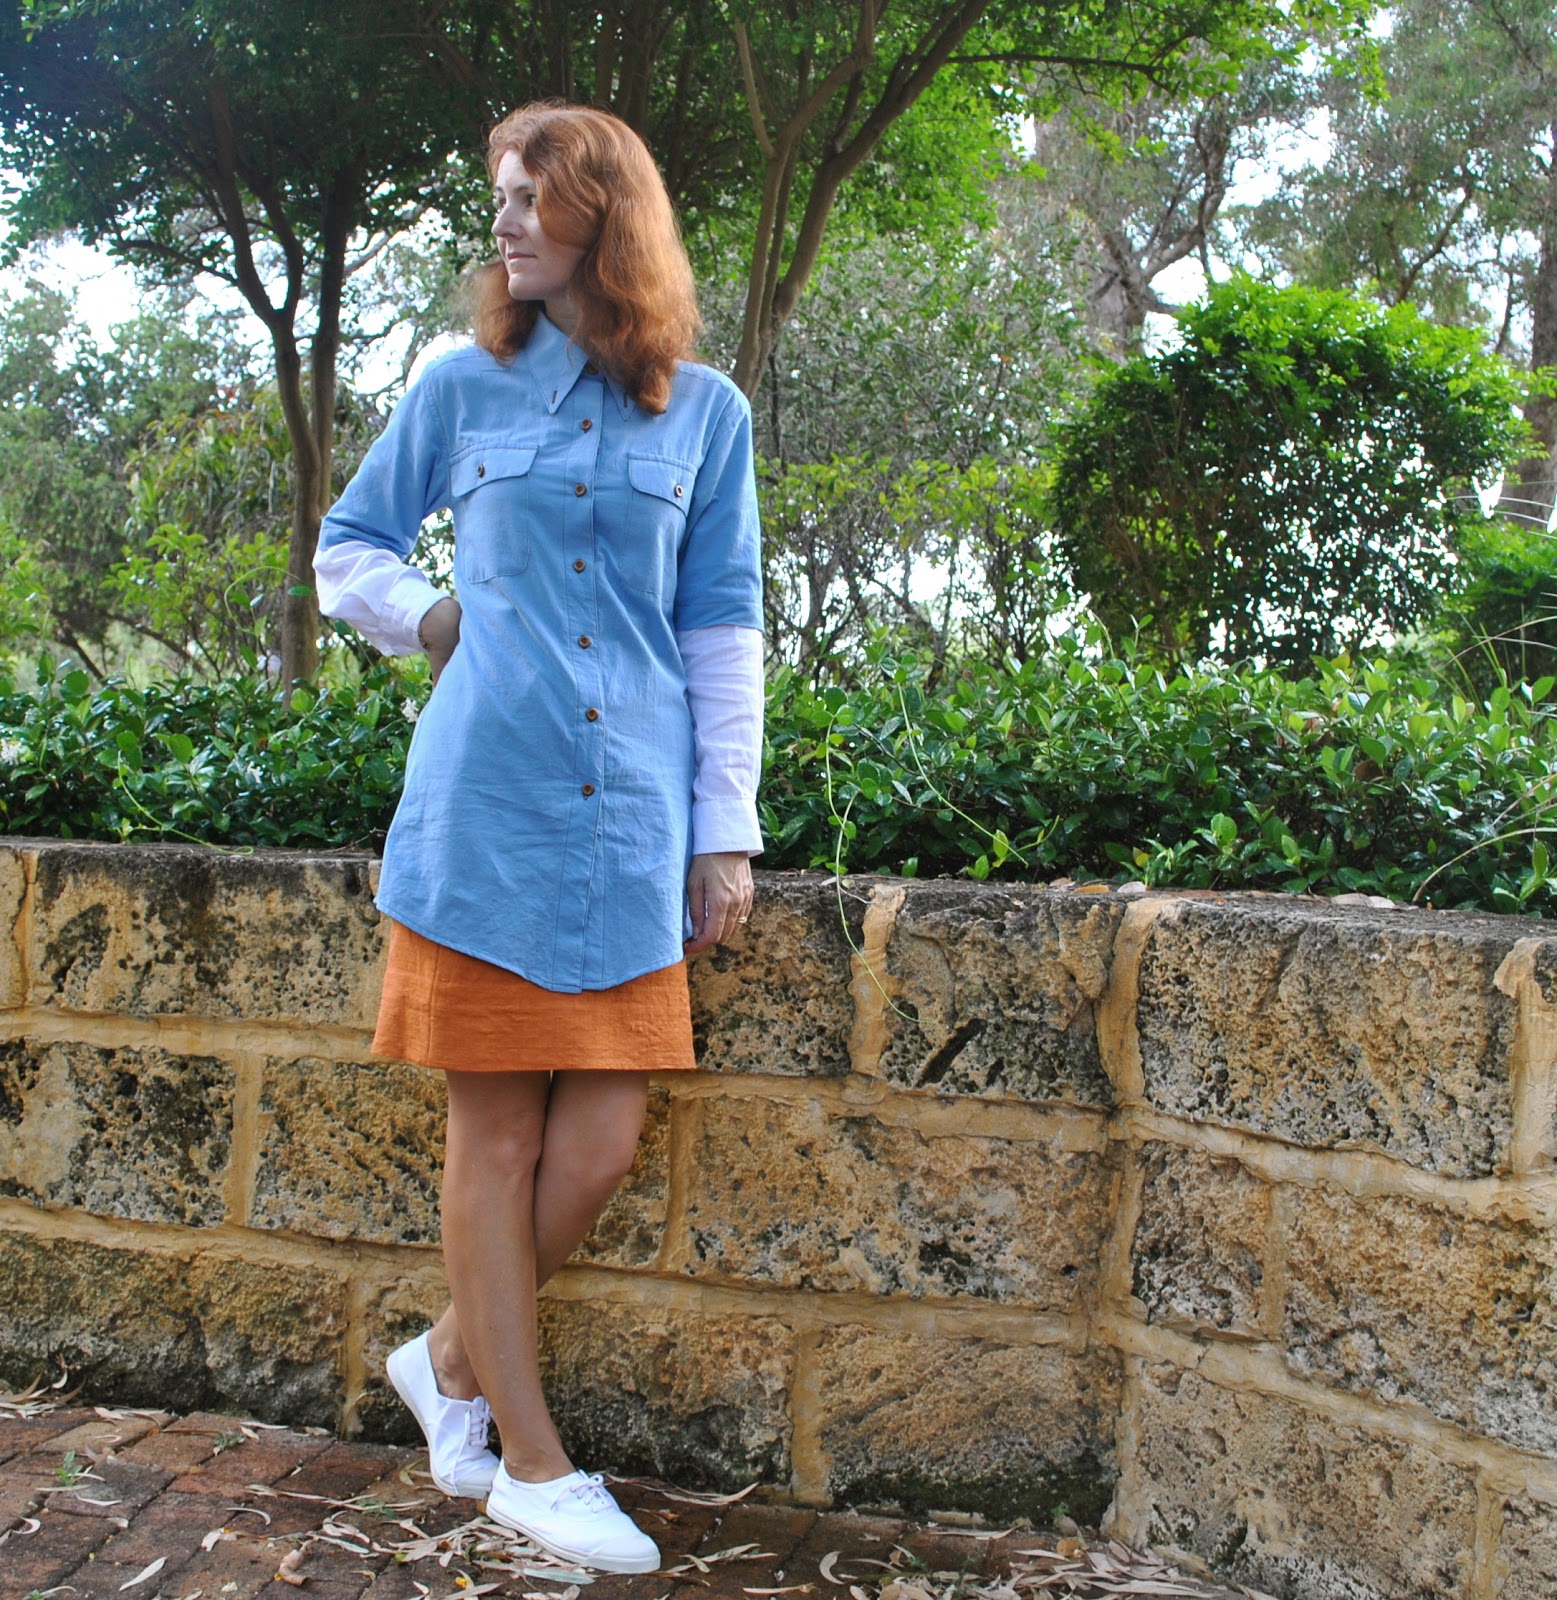
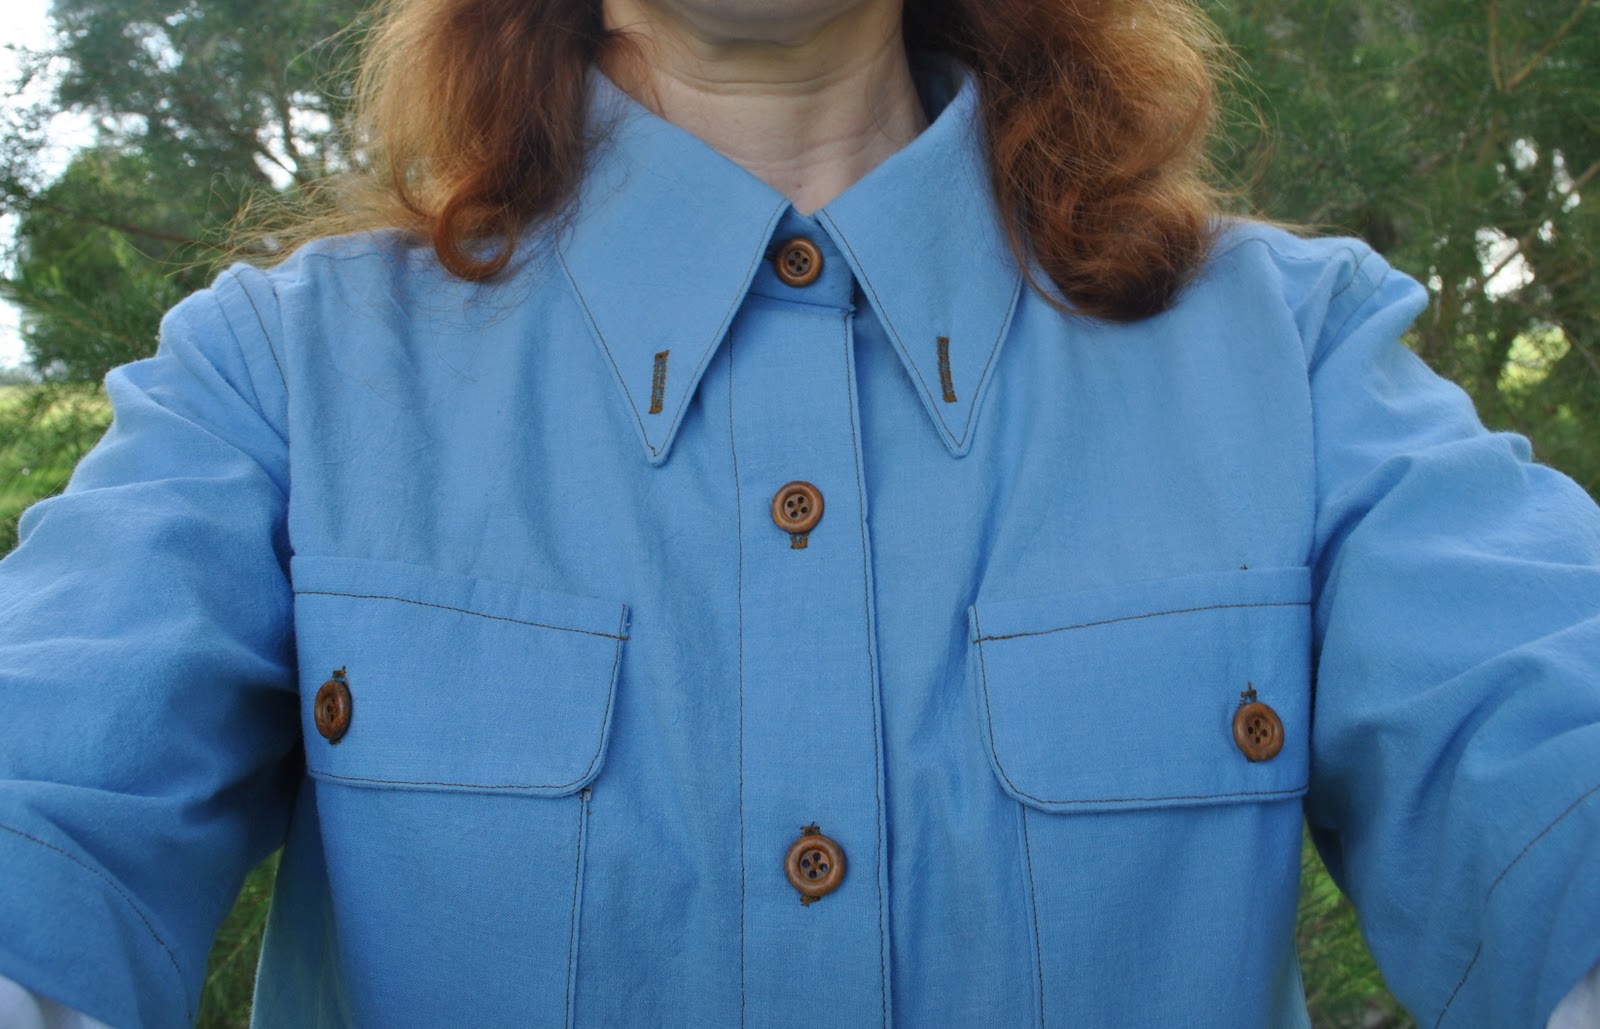
The Double-Sleeved shirt:
Fabric $34.60 (includes portion of the shipping cost)
Sleeves; from an op shop shirt; probably cost around $3??
Pattern; been used a whole bunch of times! so free
Buttons; $5.20
Thread; $3.20
Total cost: $46.00
The Calico Cotton cardigan:
Yarn; $80.55
Pattern; $5.95
Buttons; $6.05
Total cost: $92.55
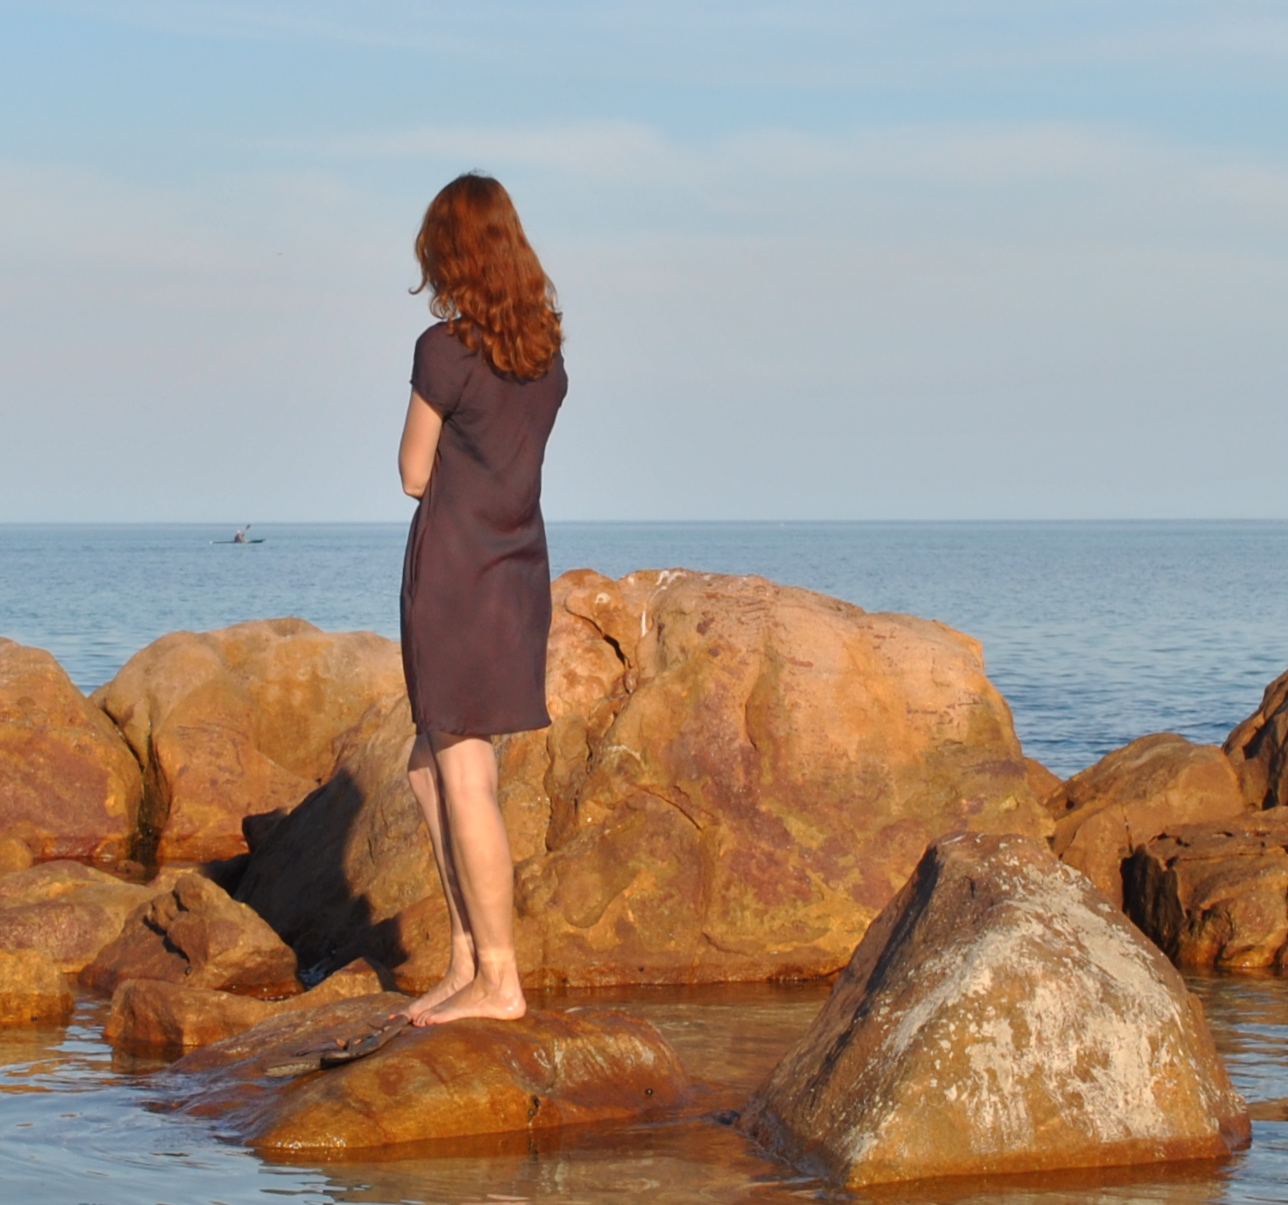
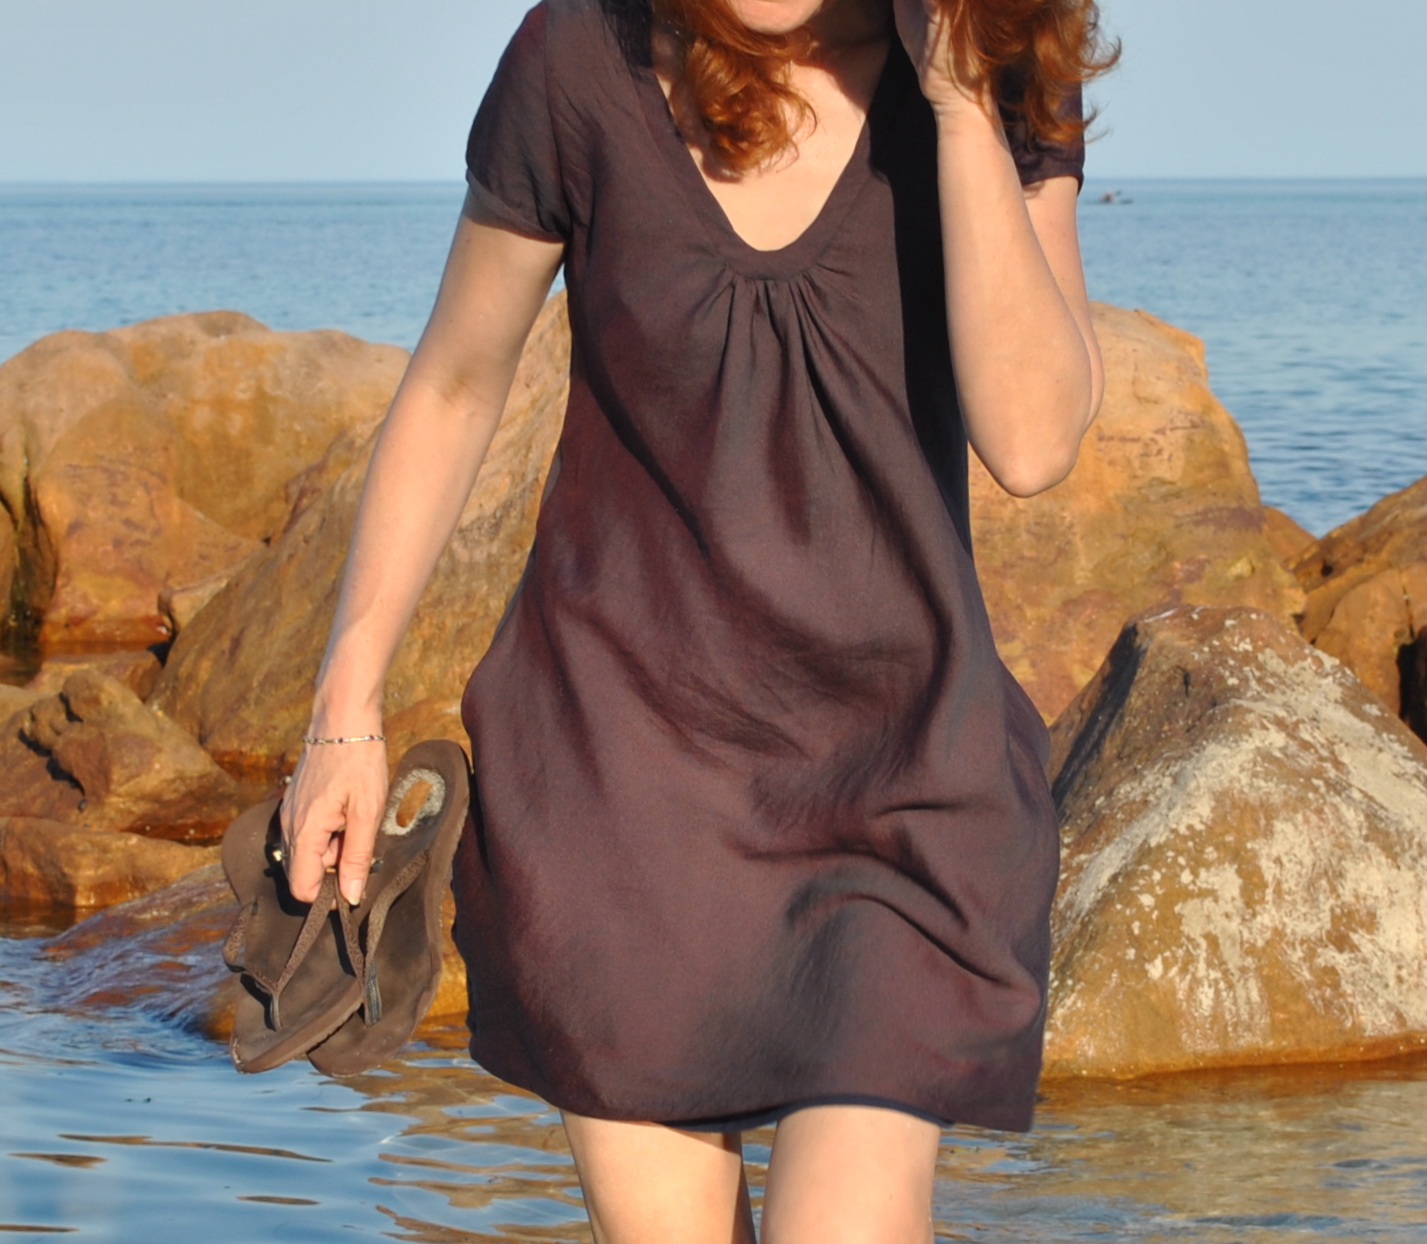
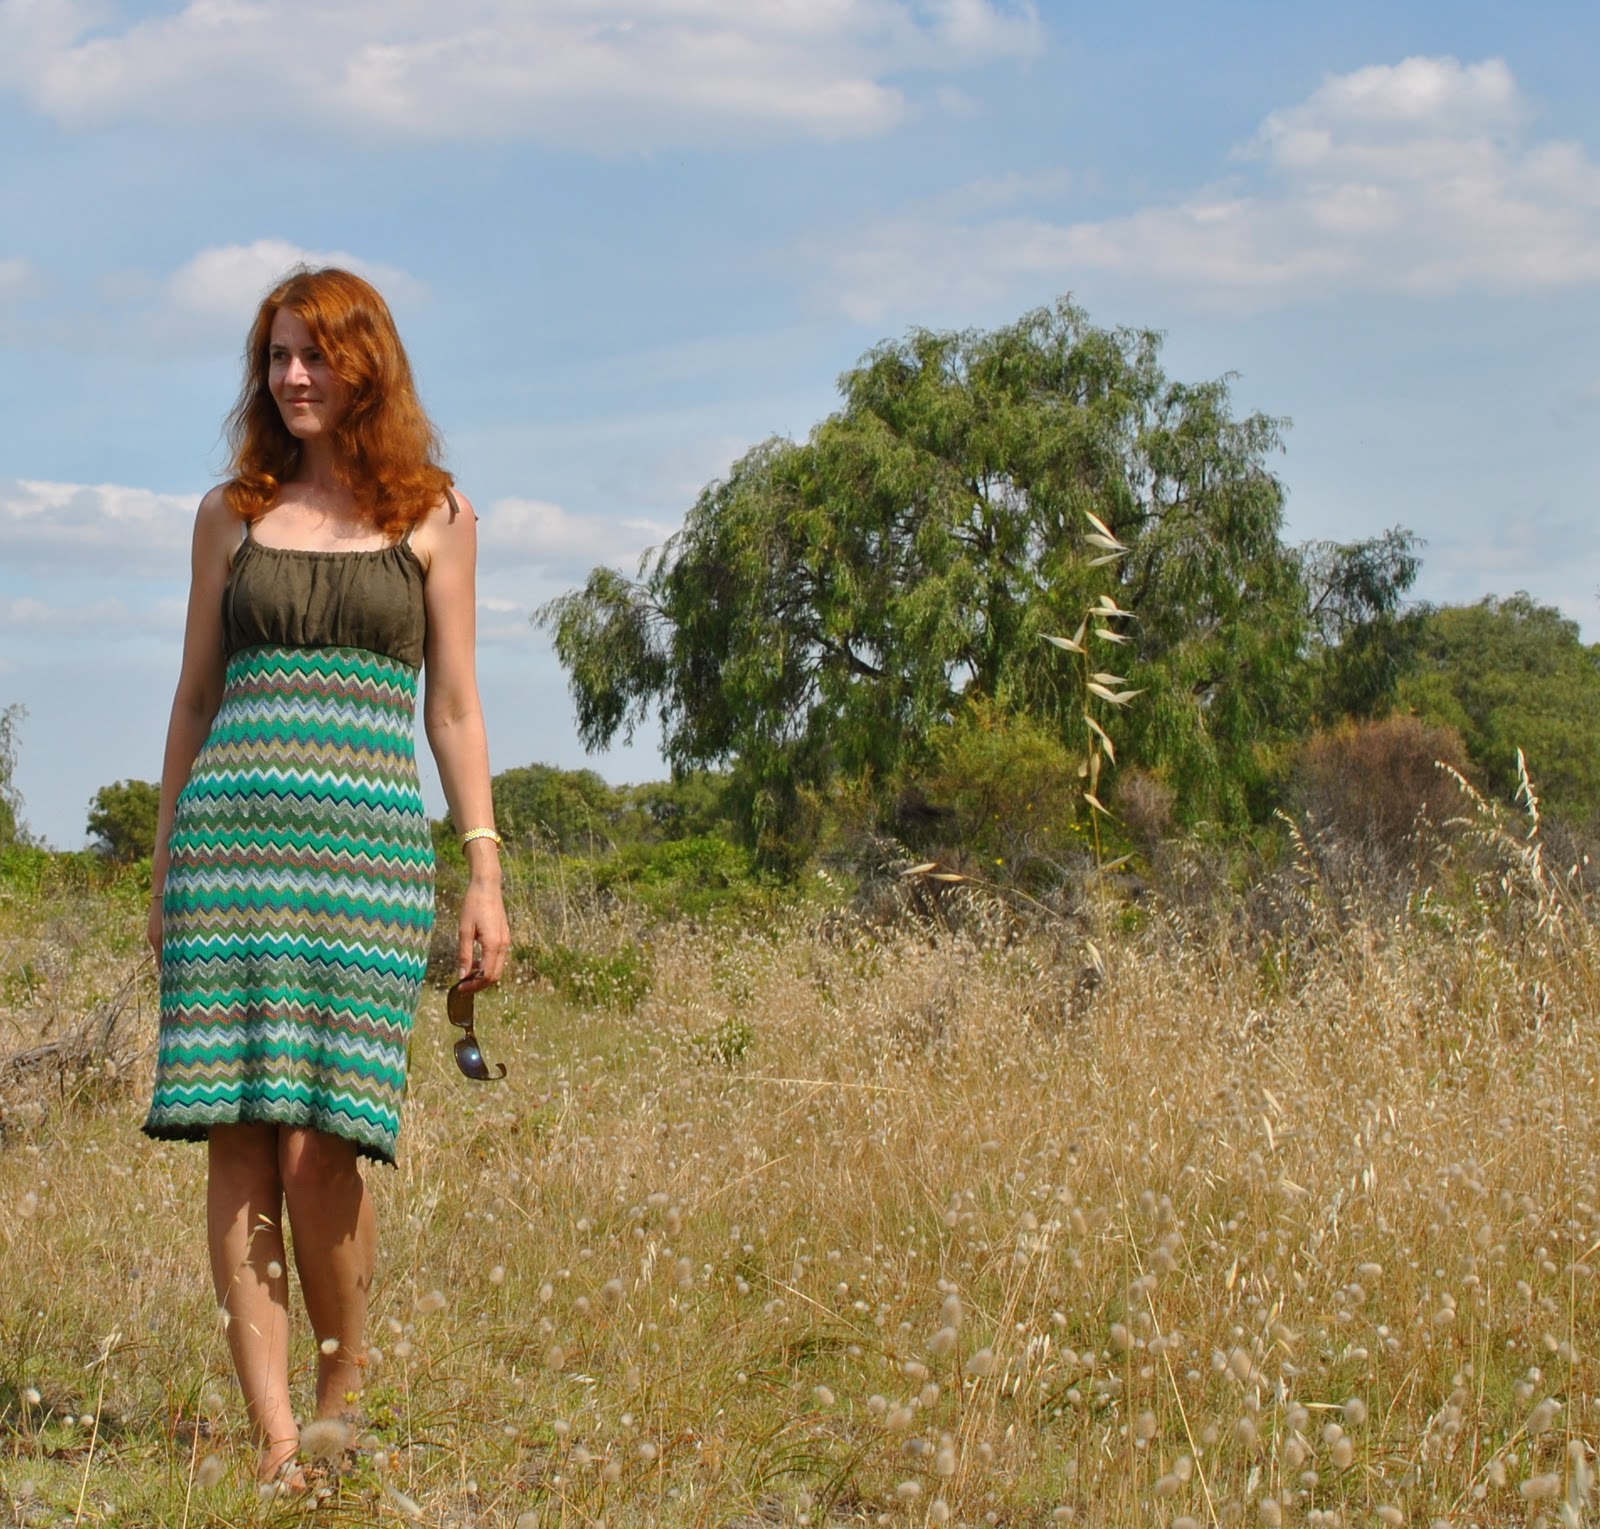
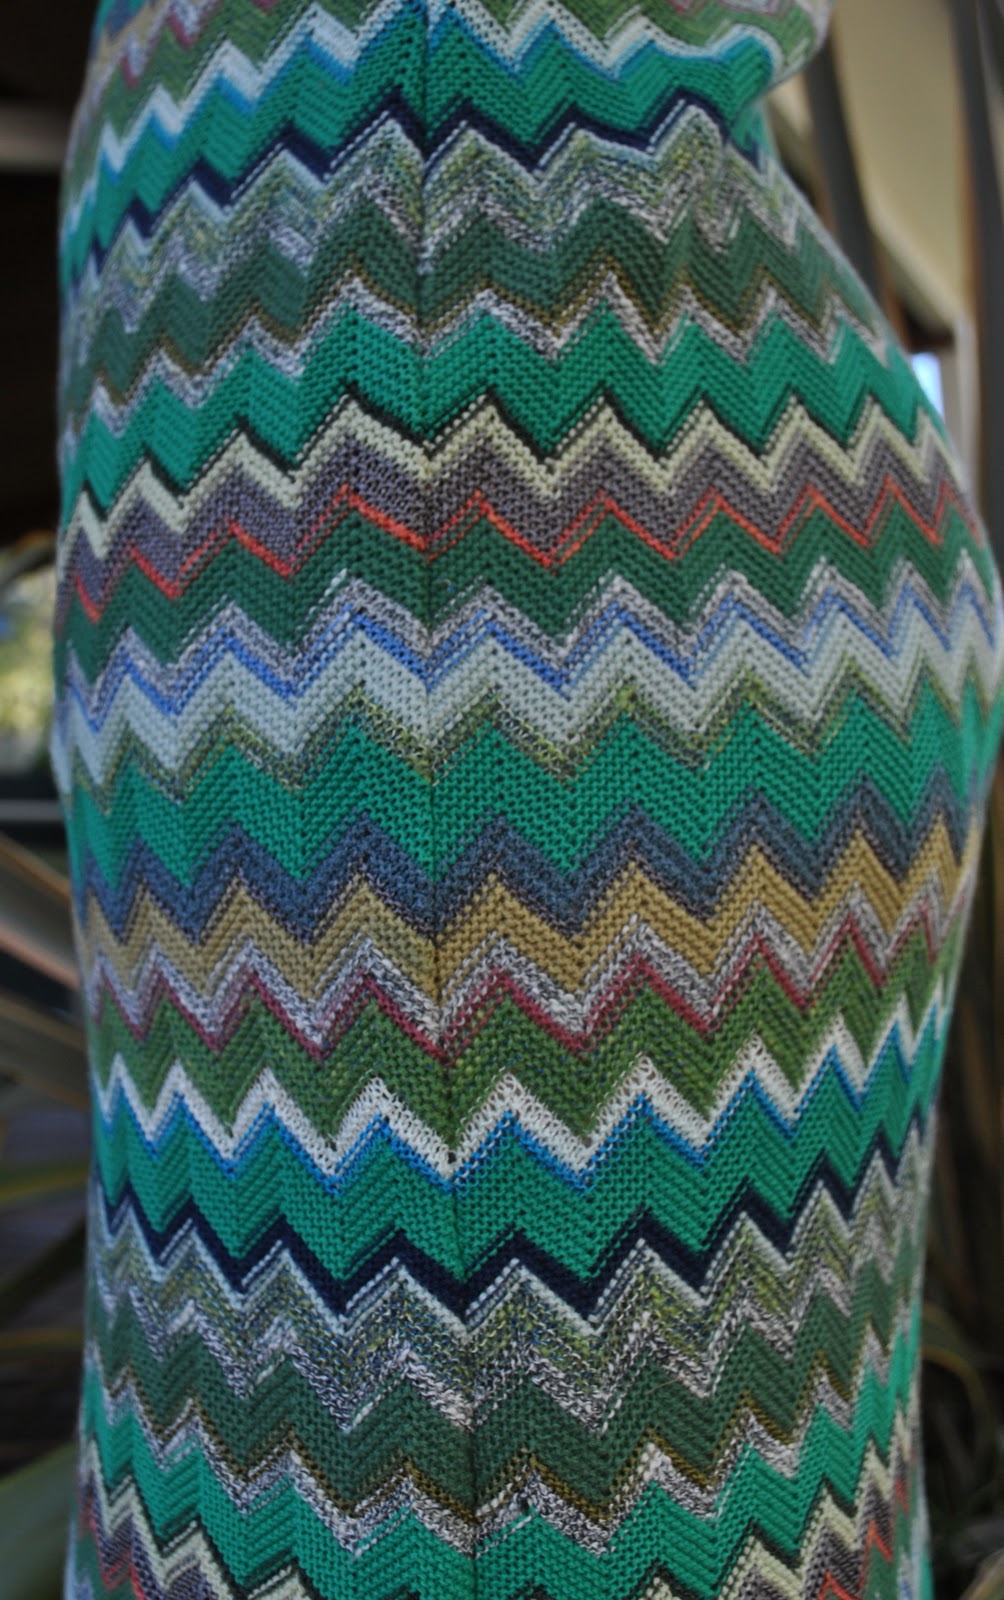
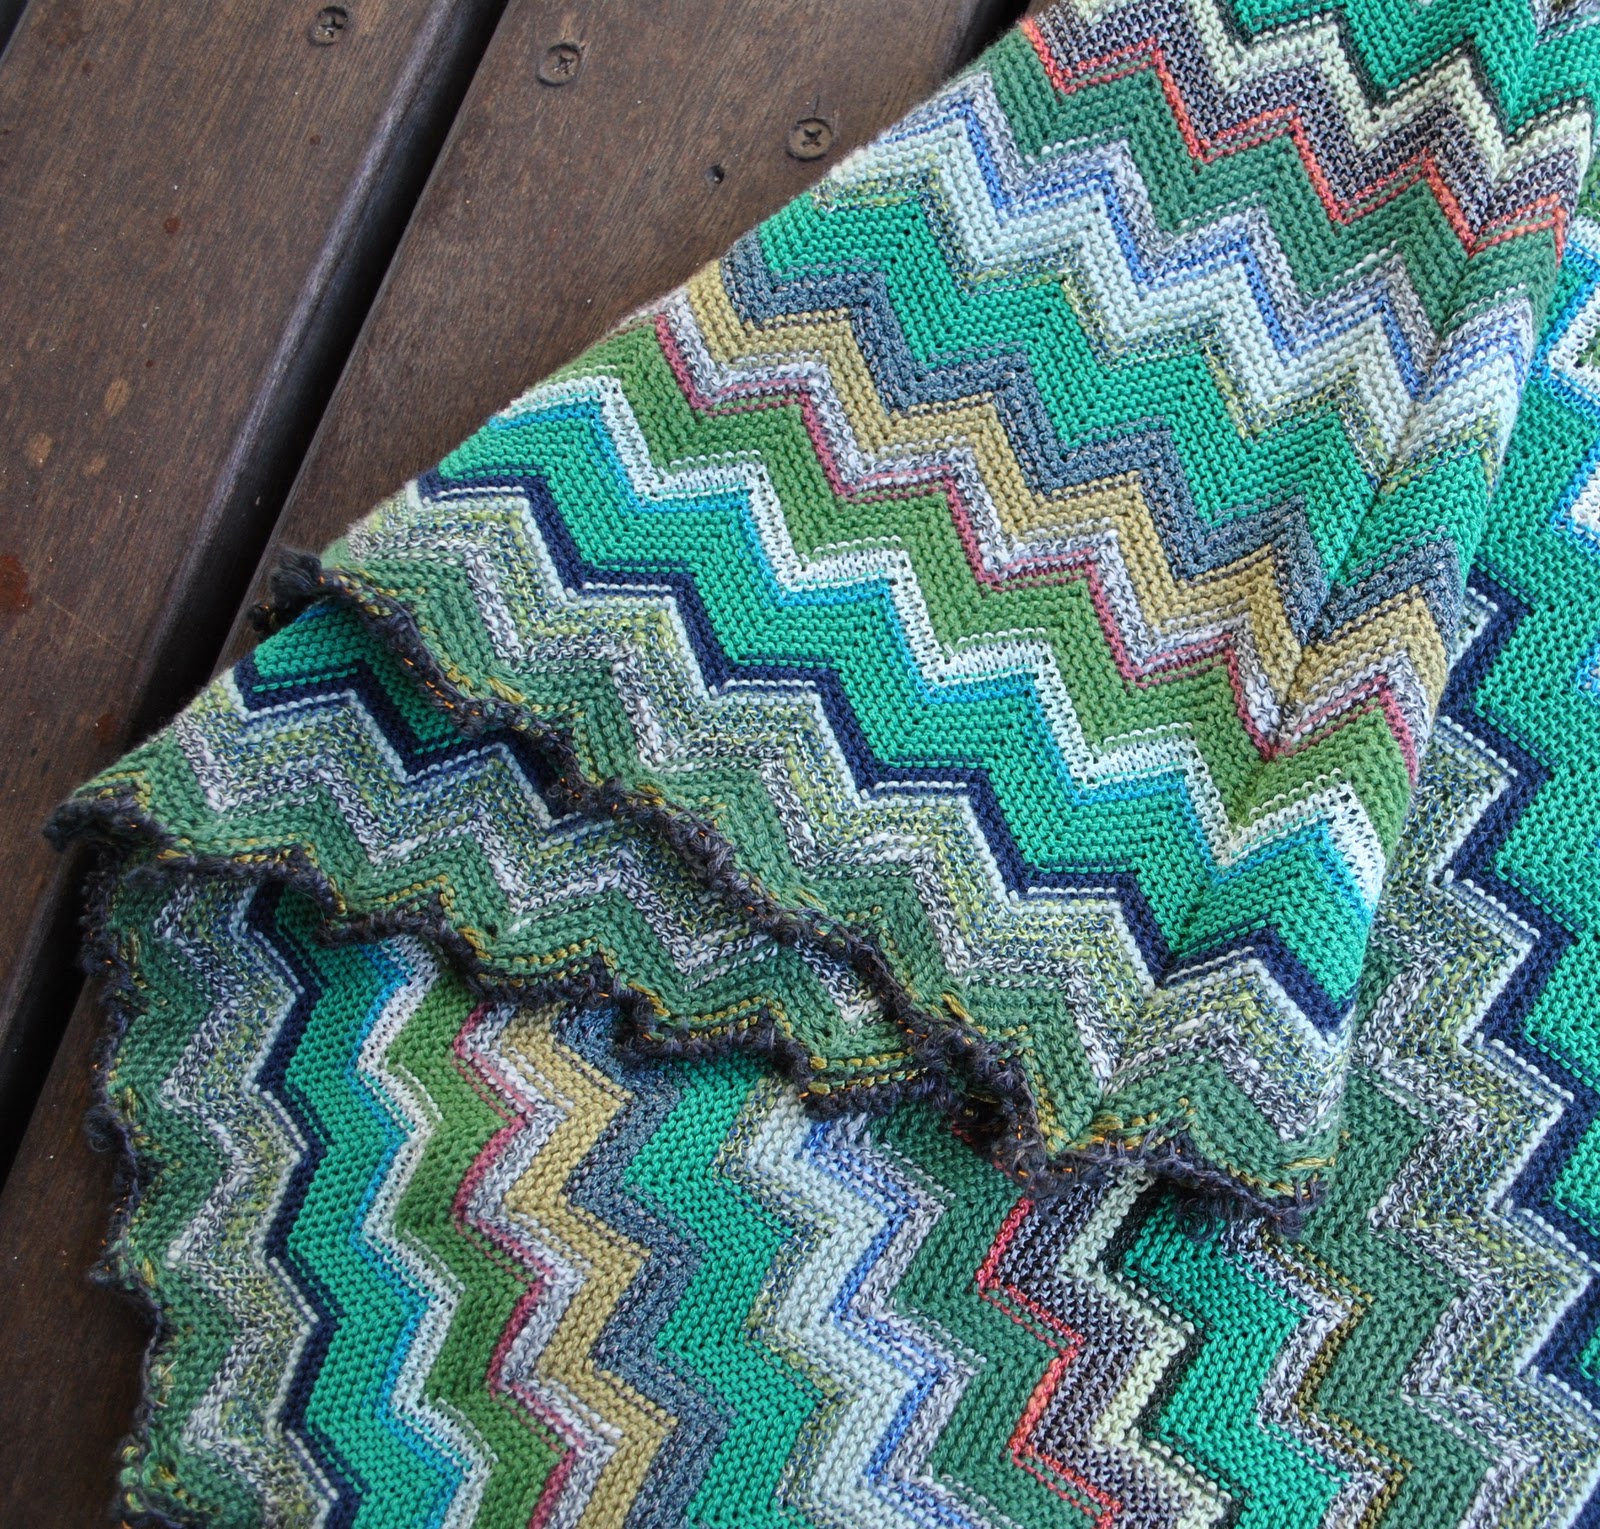
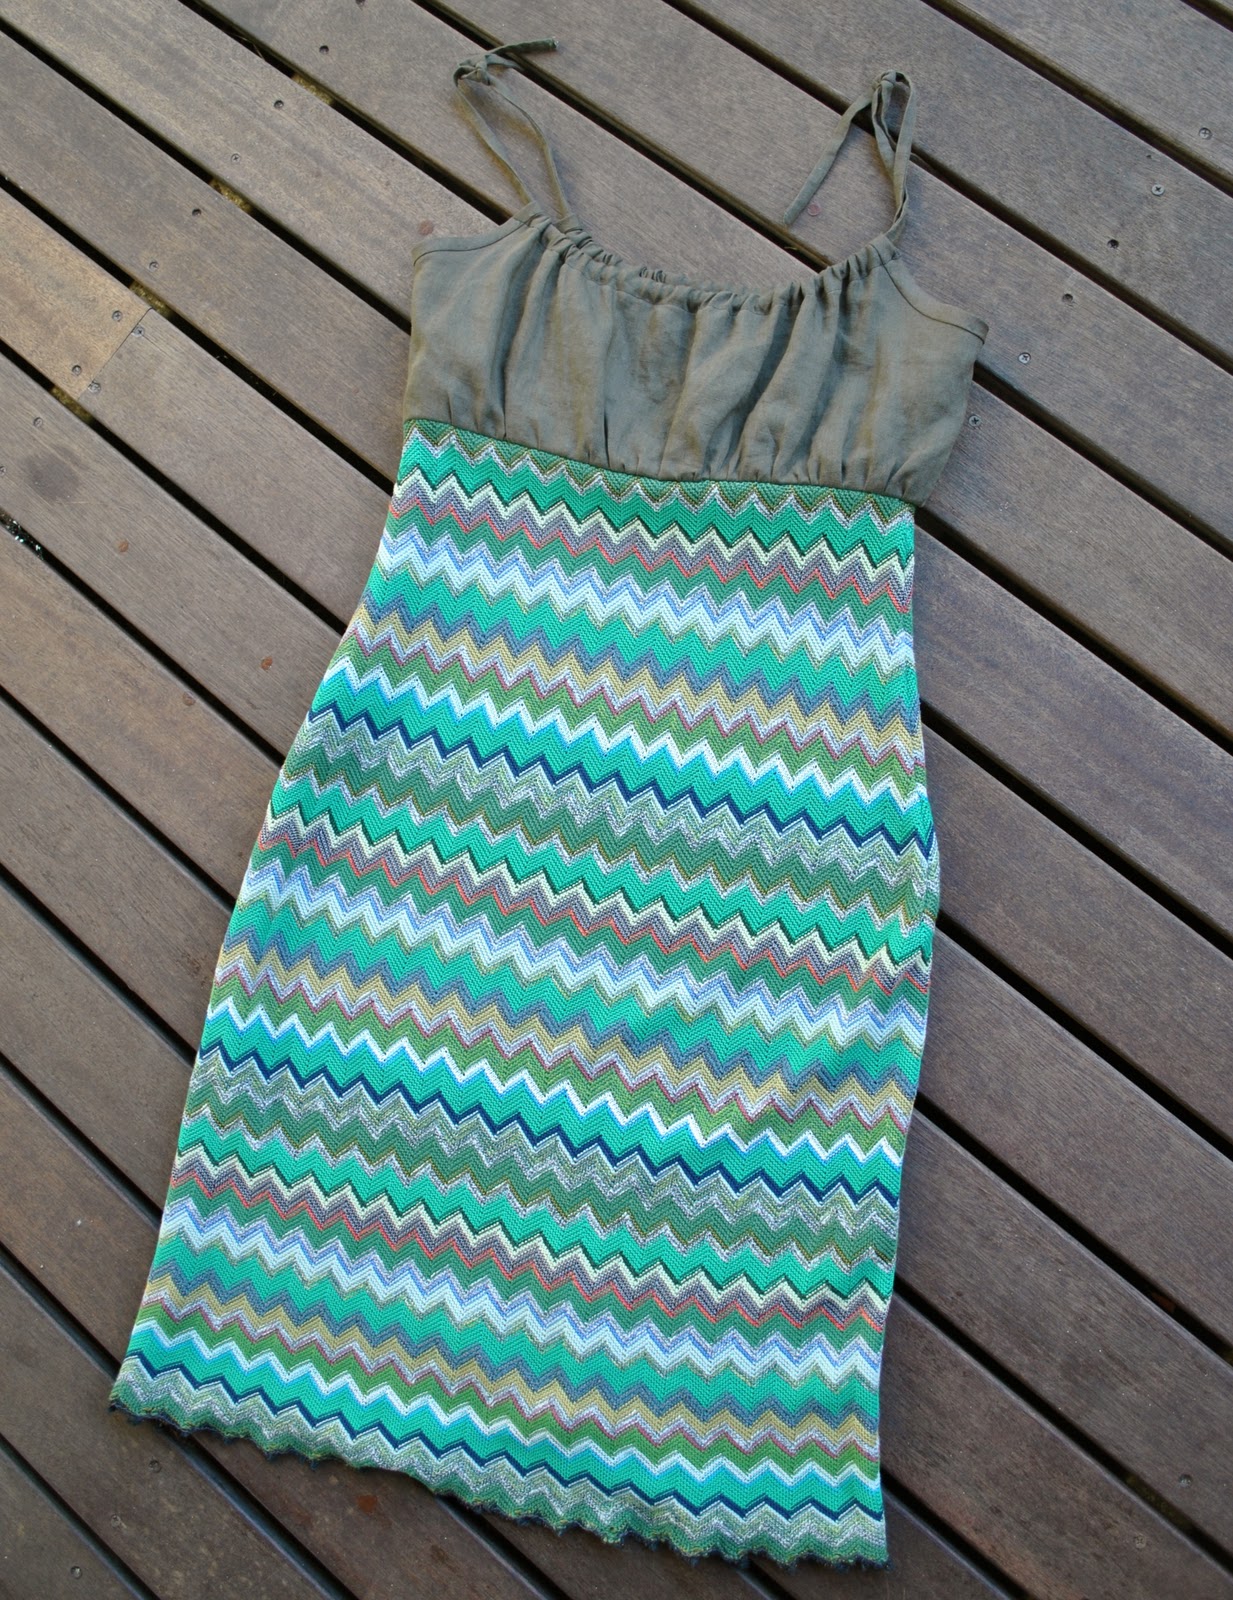
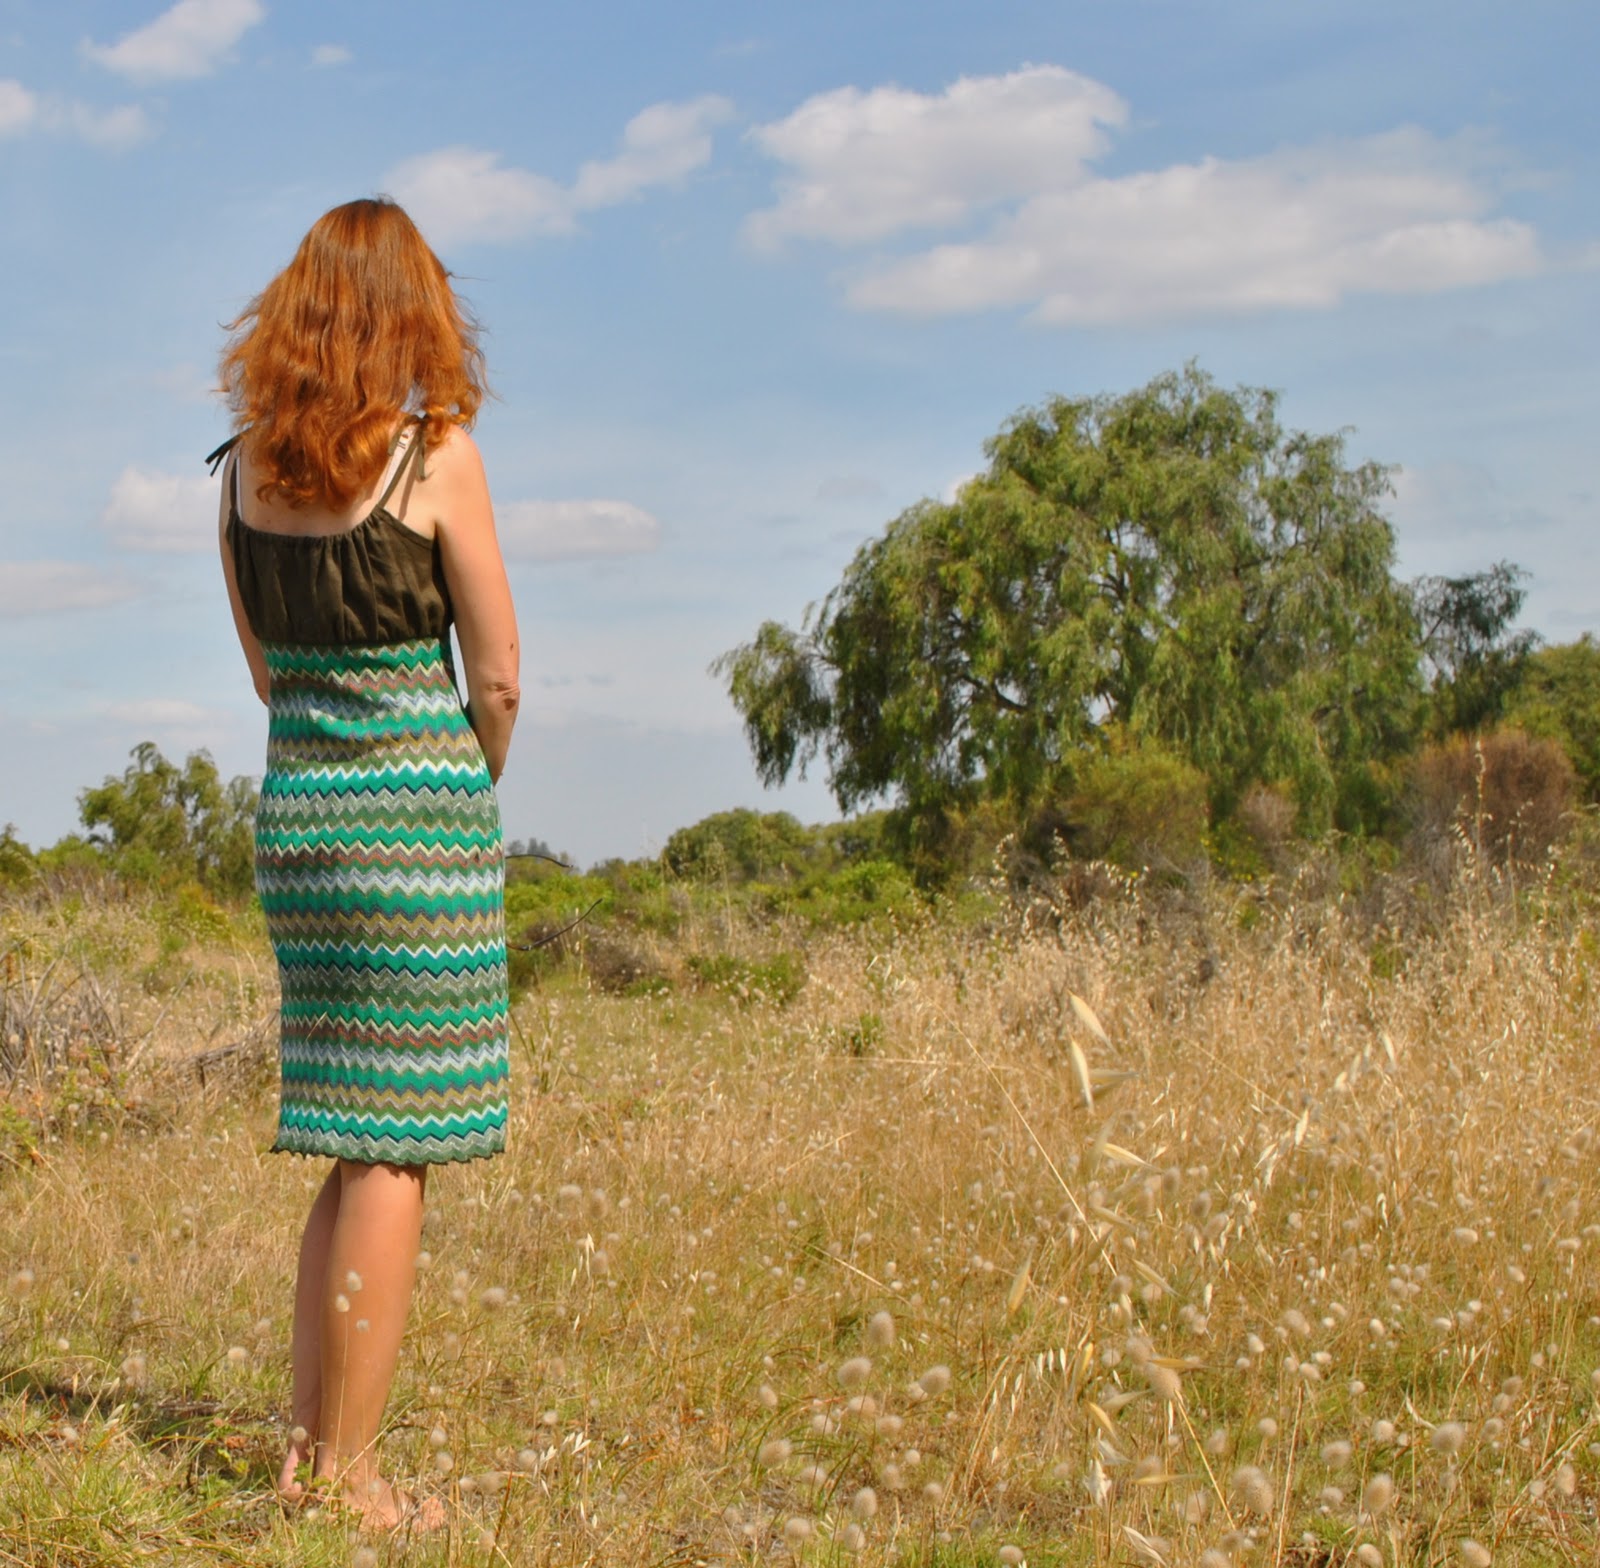
The Sorta Missoni dress:
Fabric; a gift from the lovely Passiona Cottee
Bodice; leftover scraps
Pattern; been used stacks of times, so free
Zip; $2.20
Total cost: $2.20
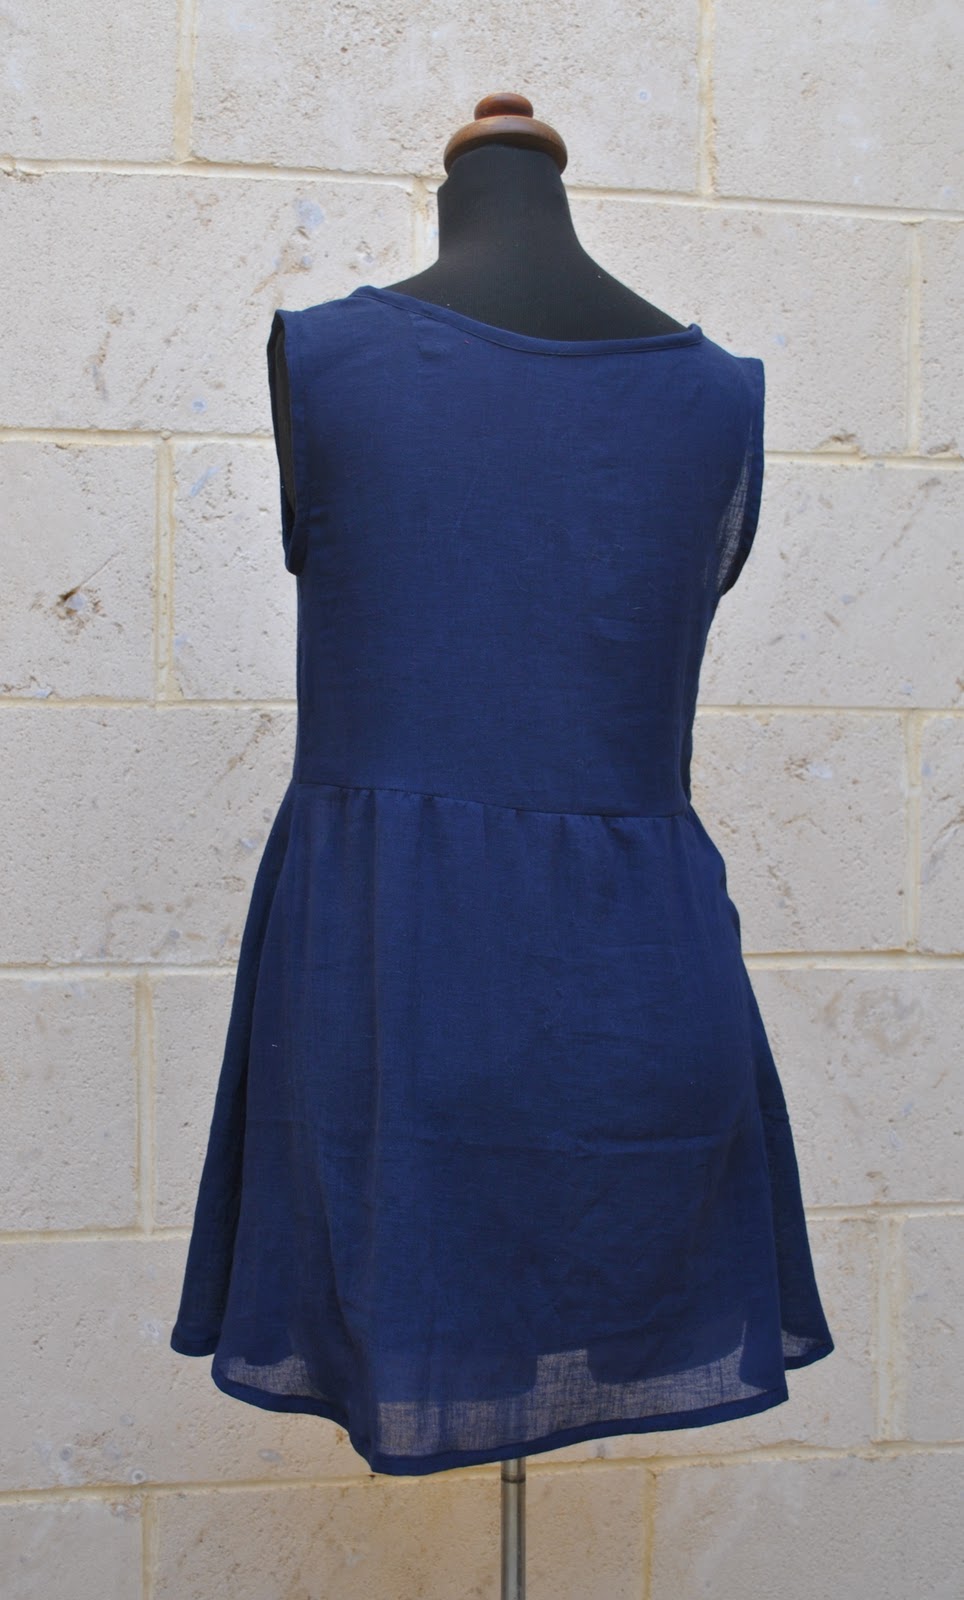
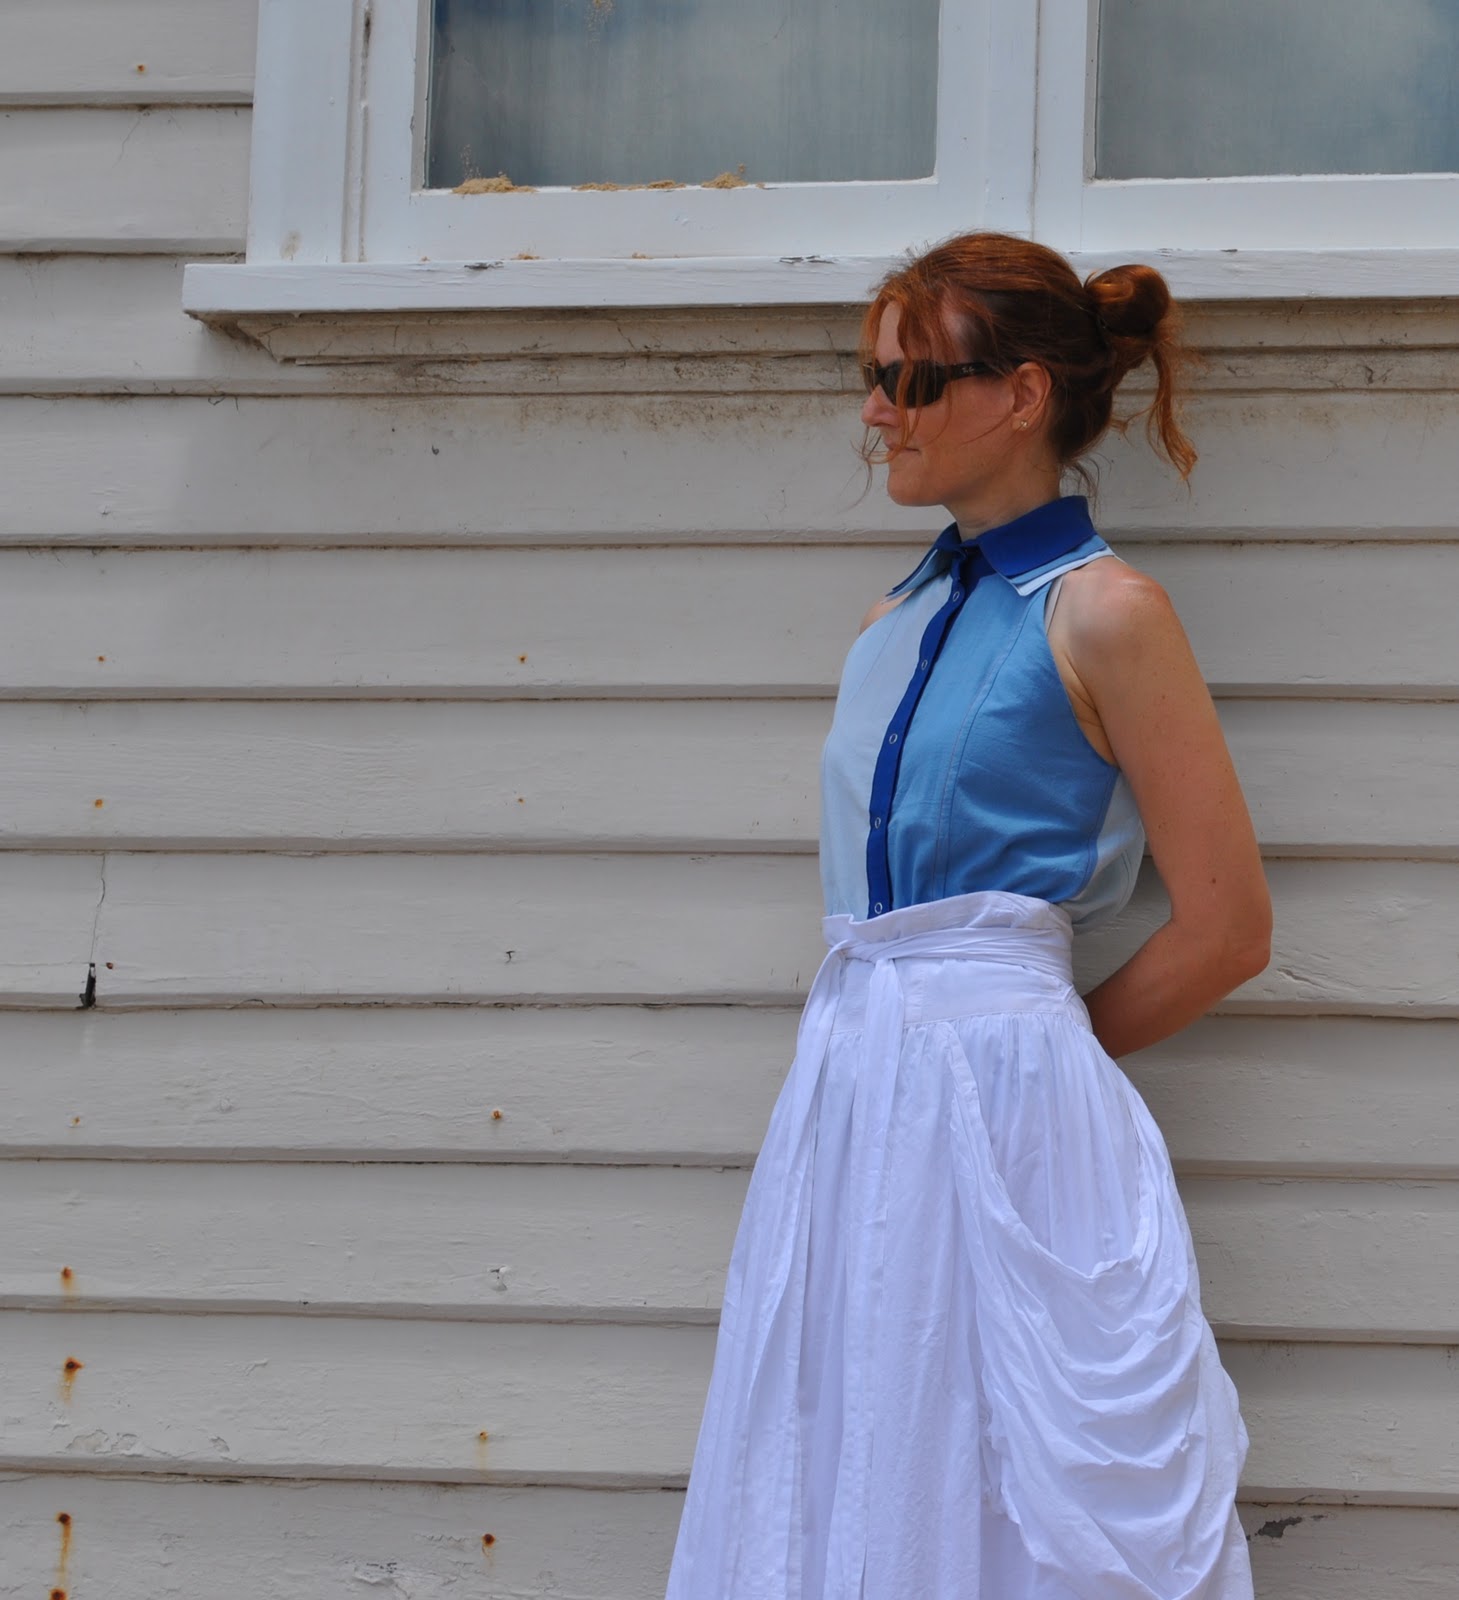
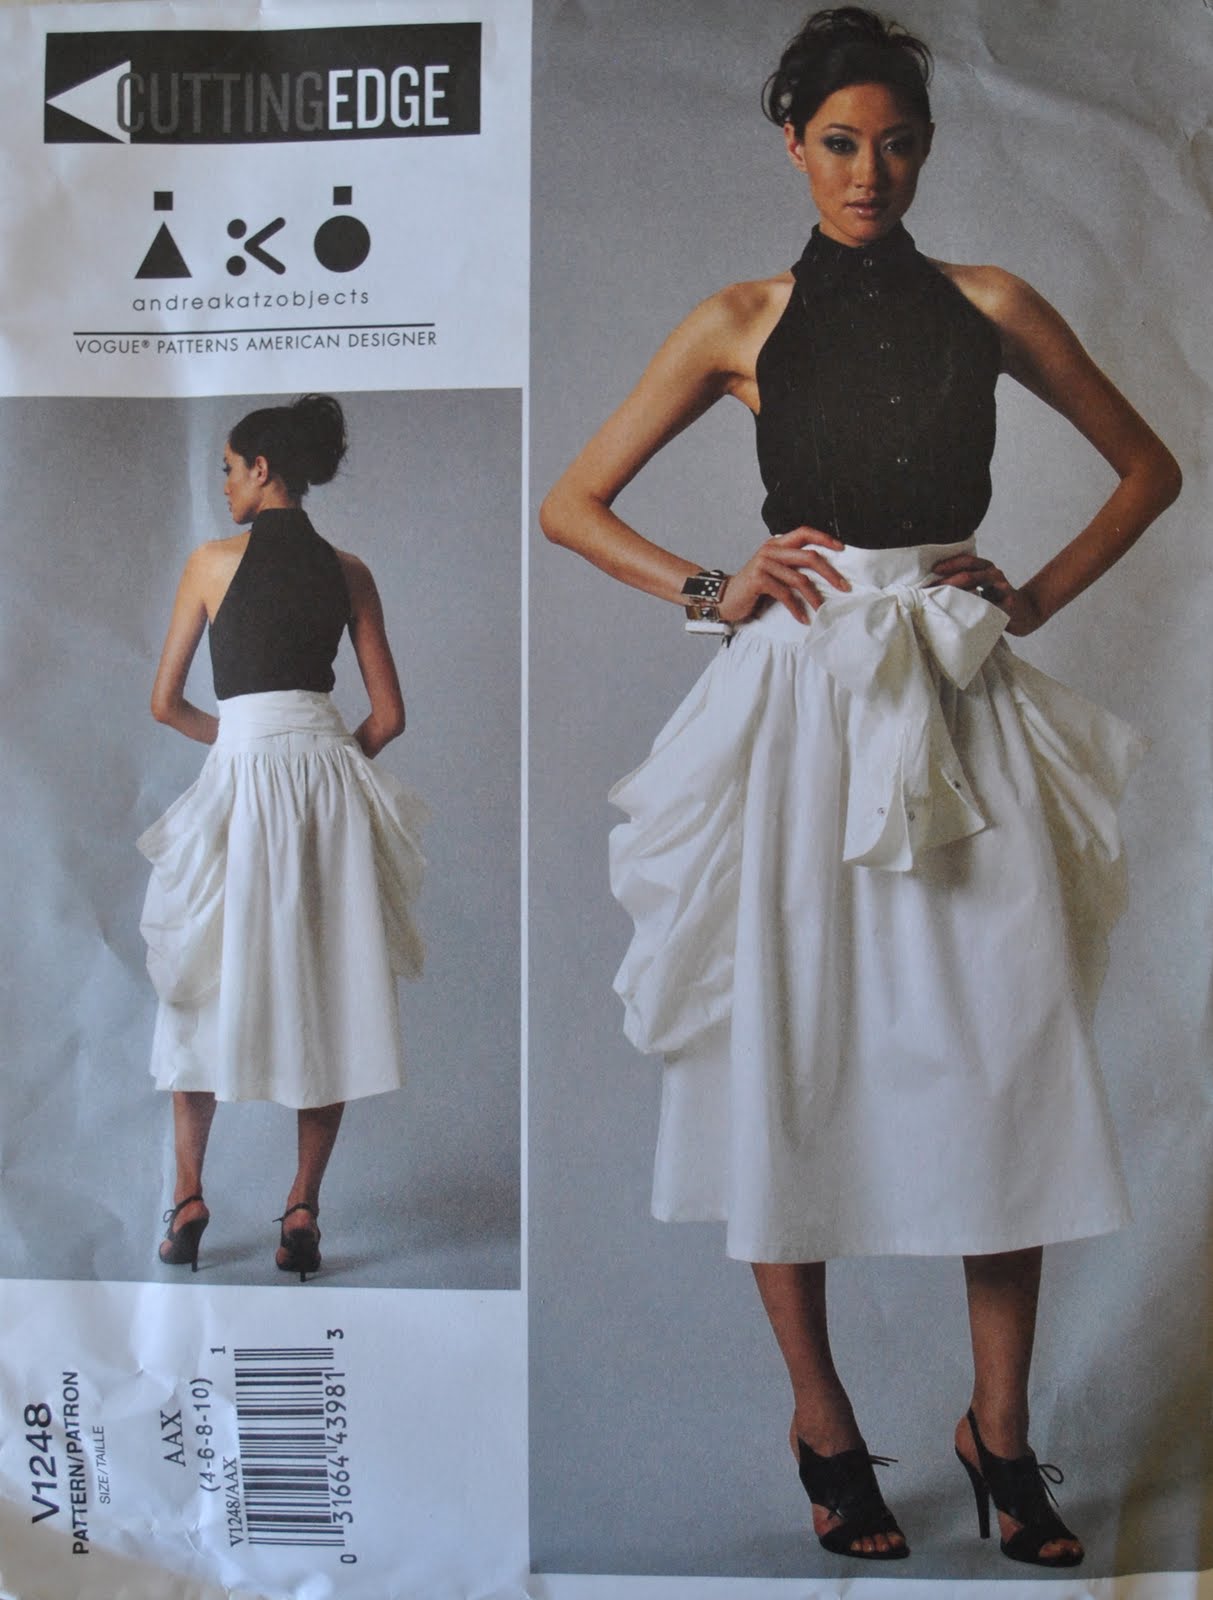
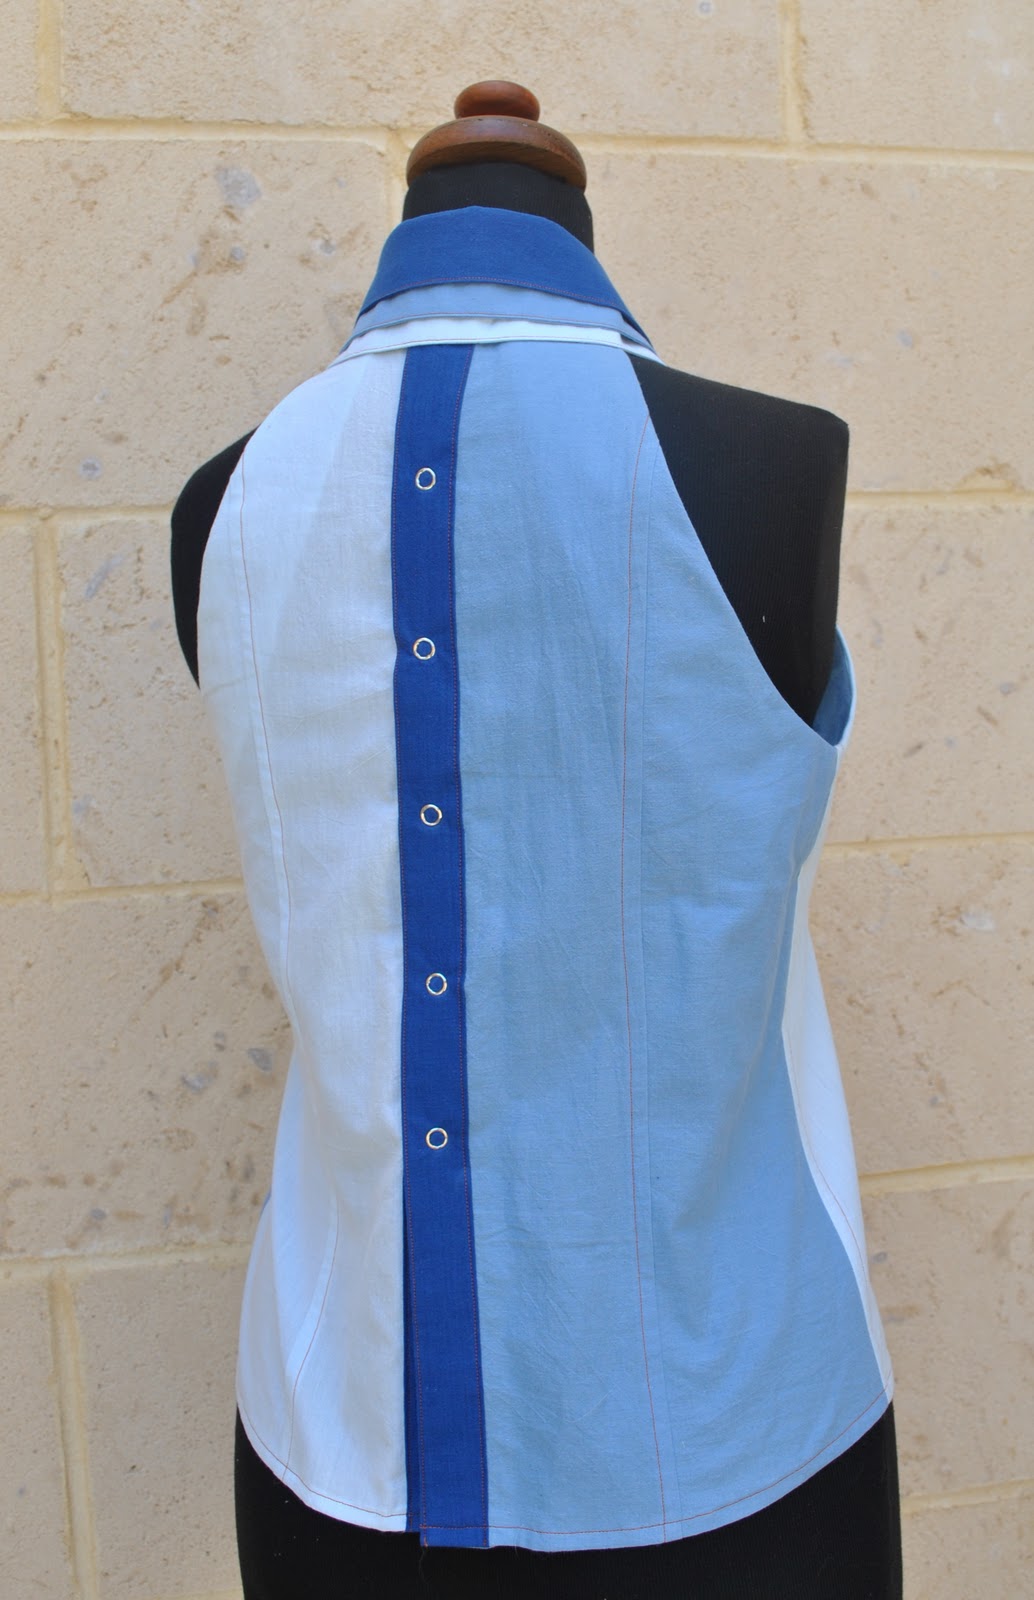
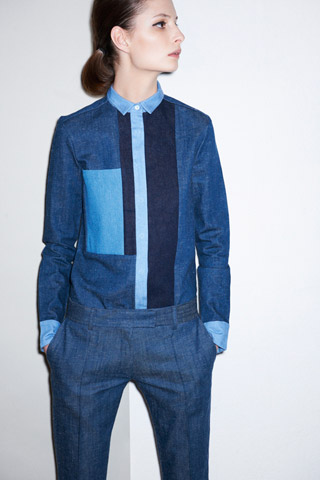
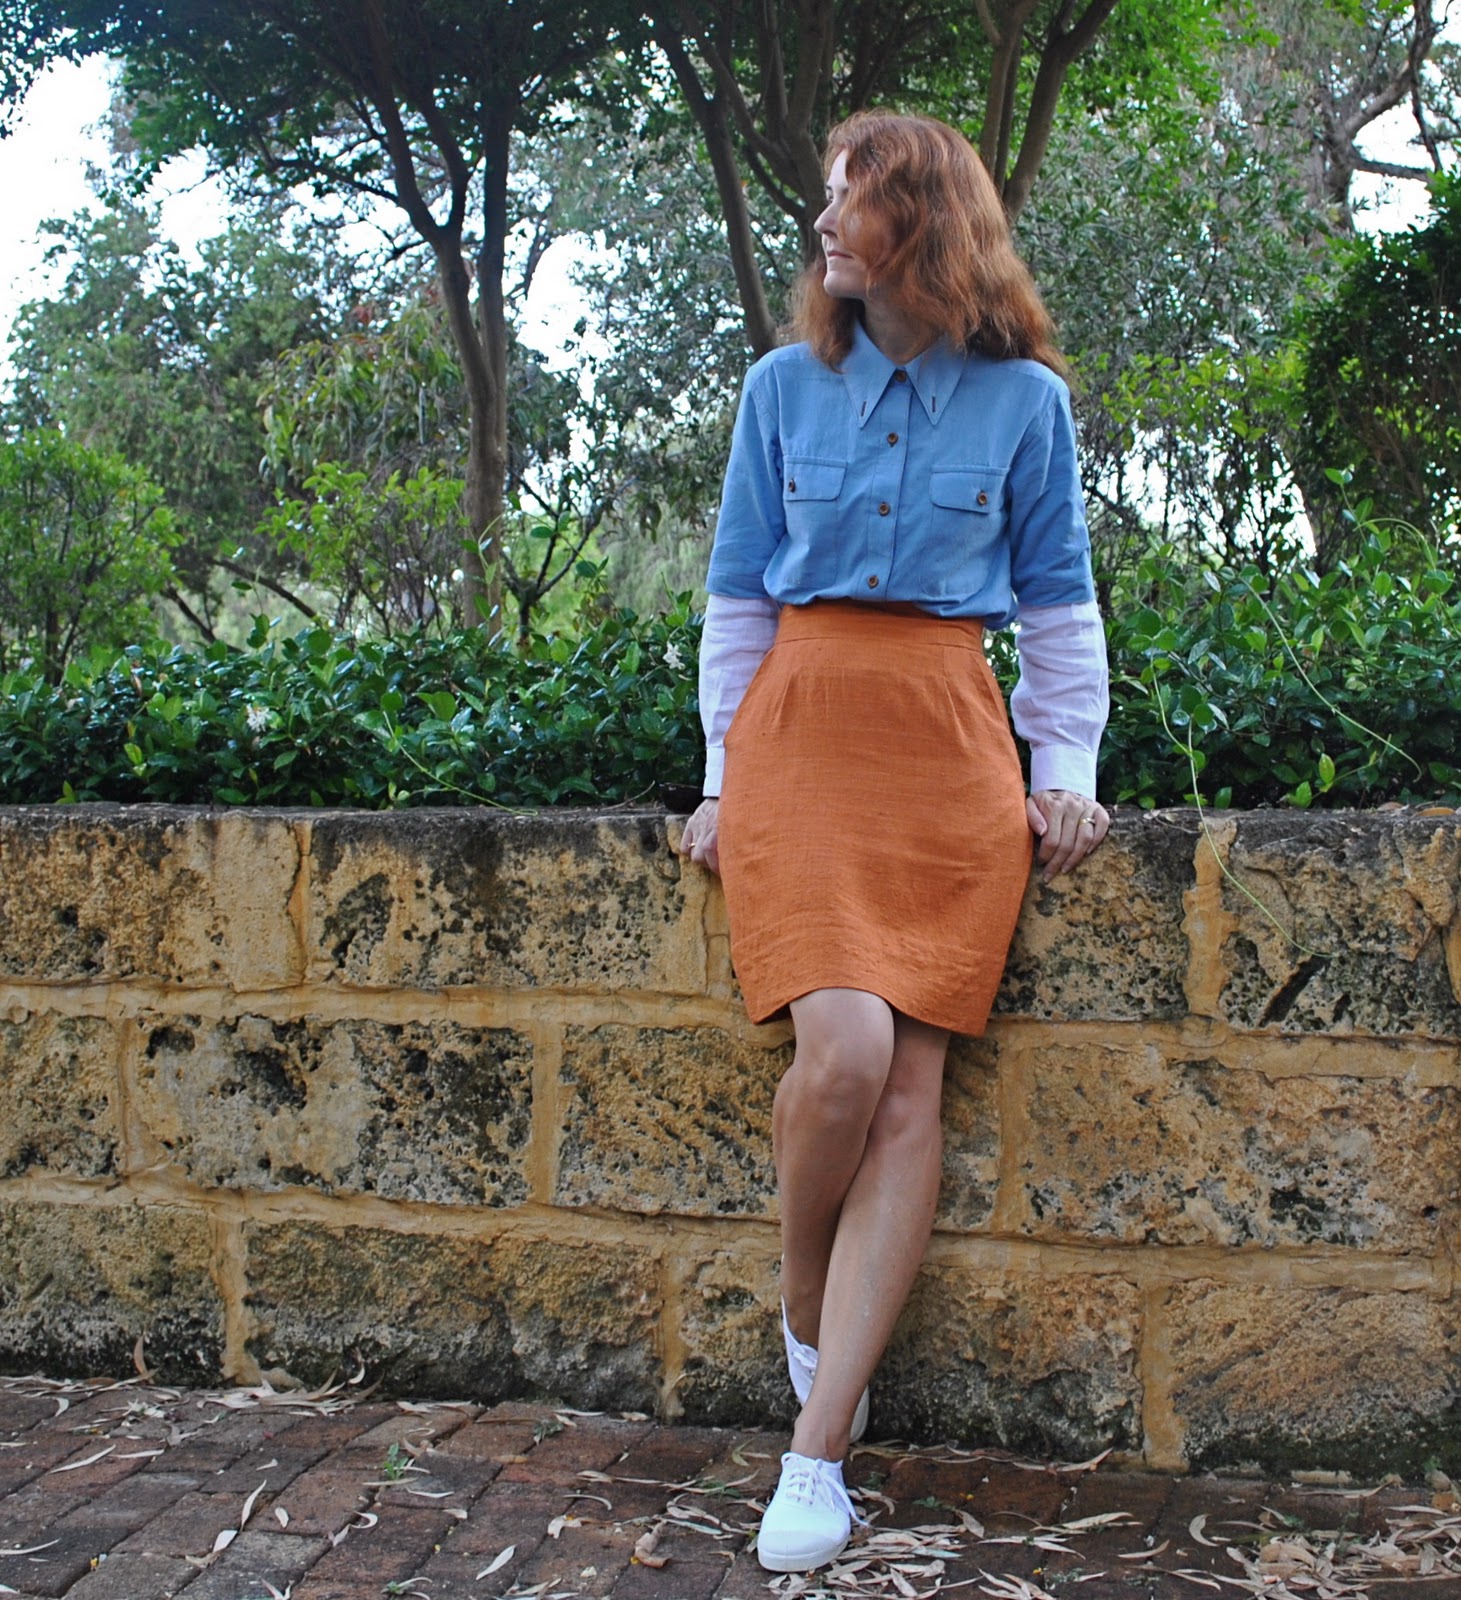
The Blue-Collar Crime top
Fabrics; leftovers
Pattern; the third time it’s been used
Snaps; part of a box of 50 that I bought last year for the boys’ birthday coats, still going strong… so I’m counting that as free too
Total cost; free!!
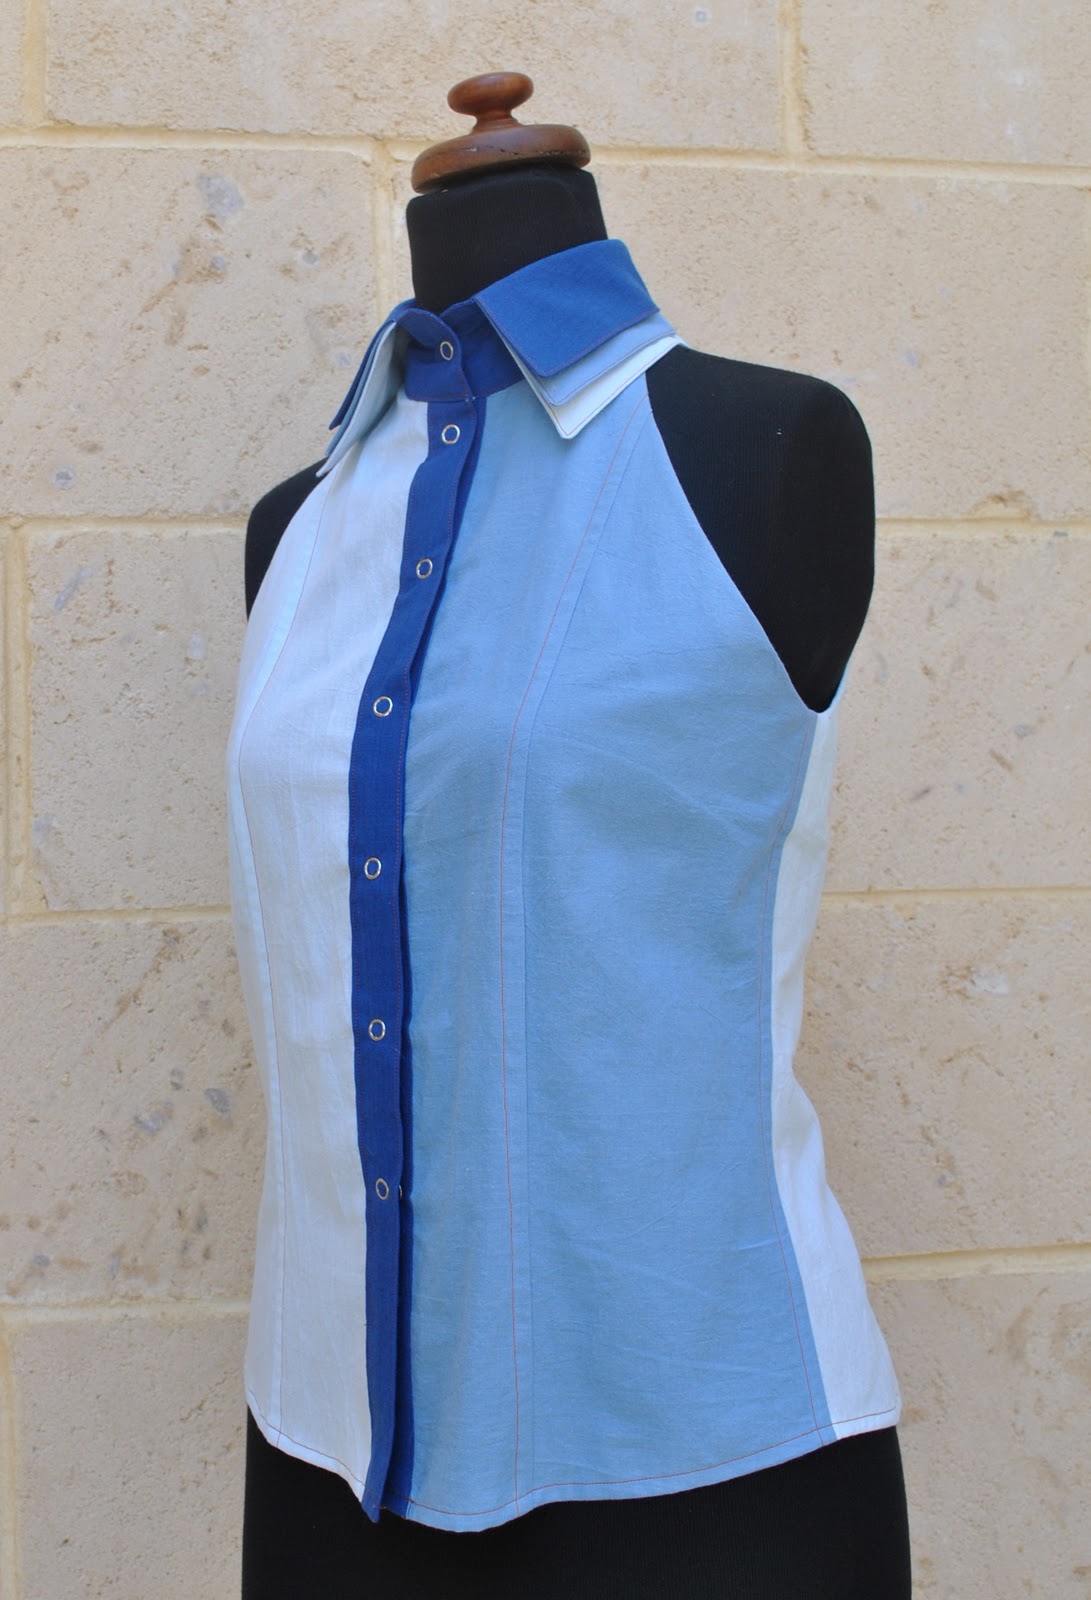
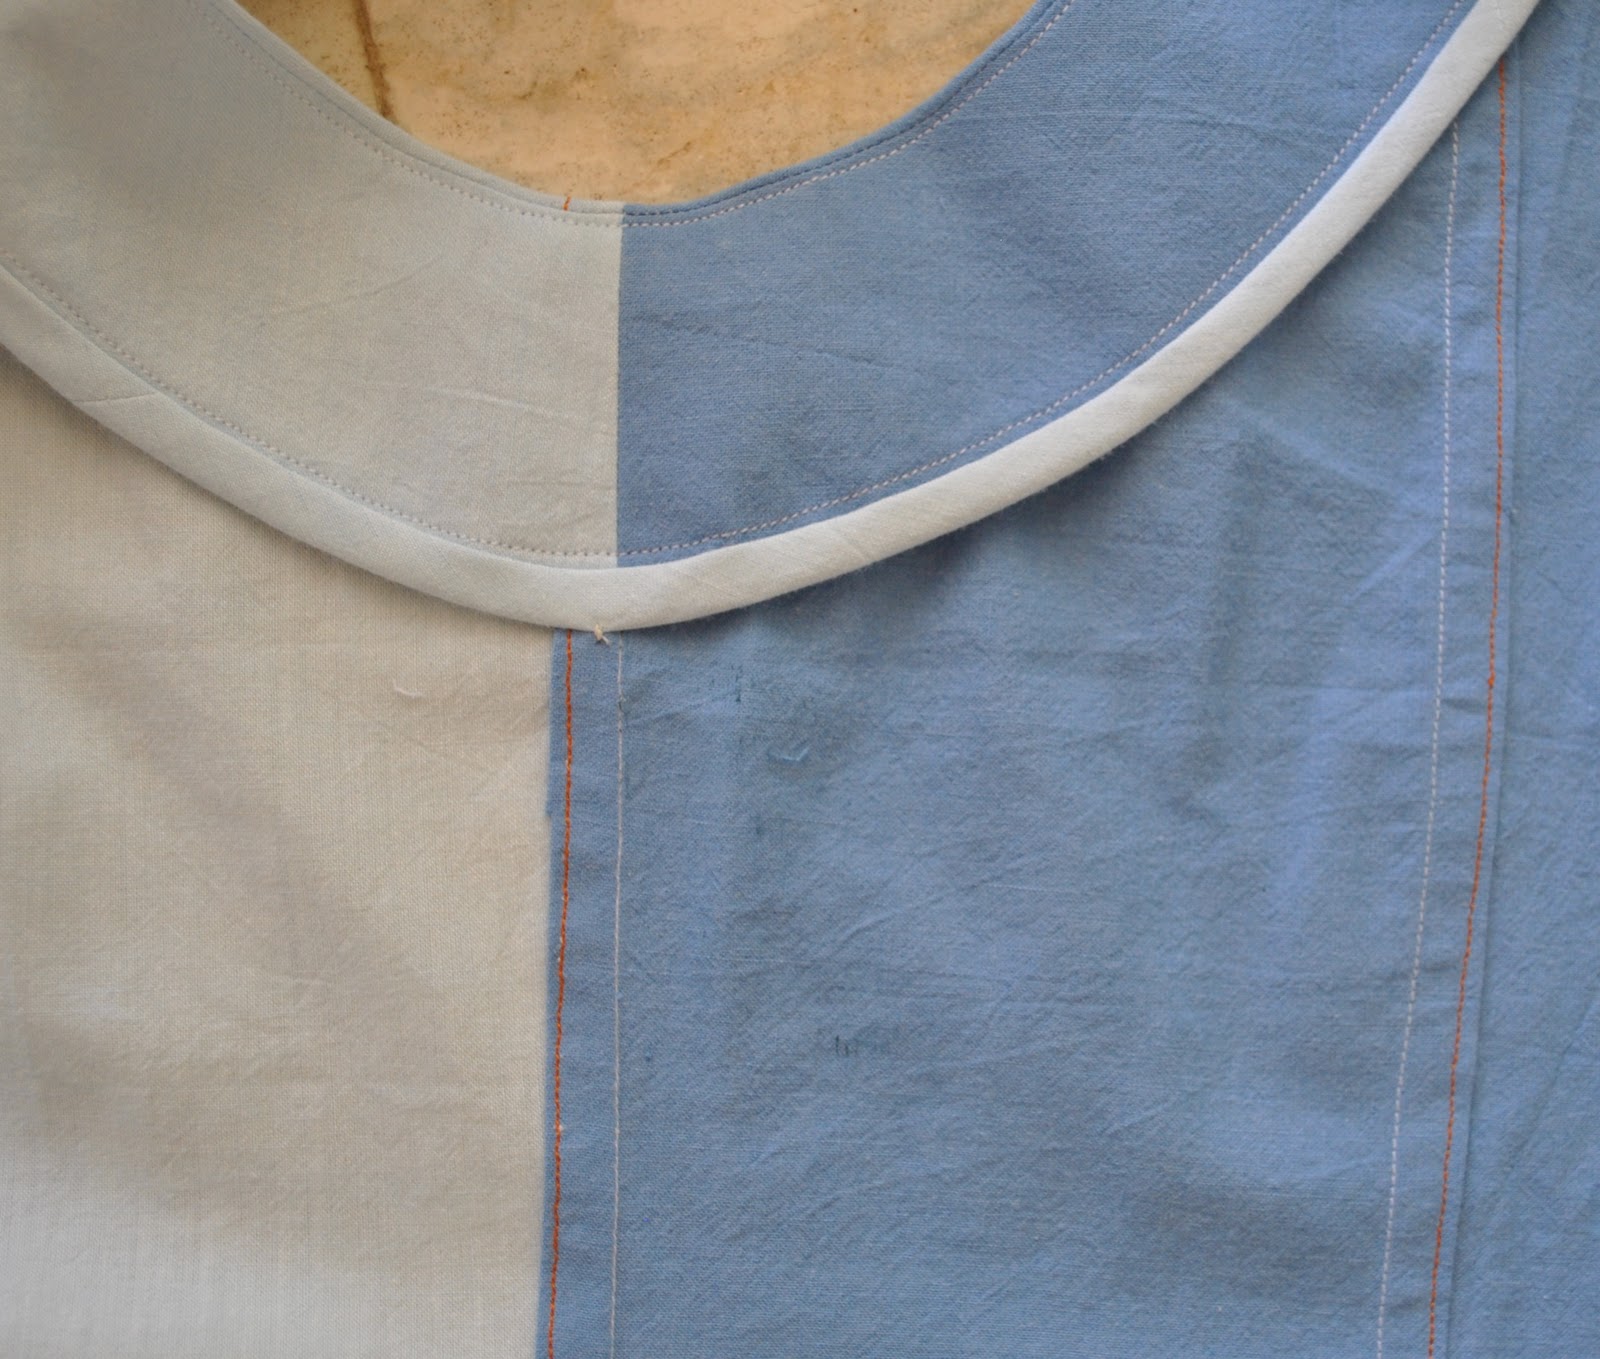
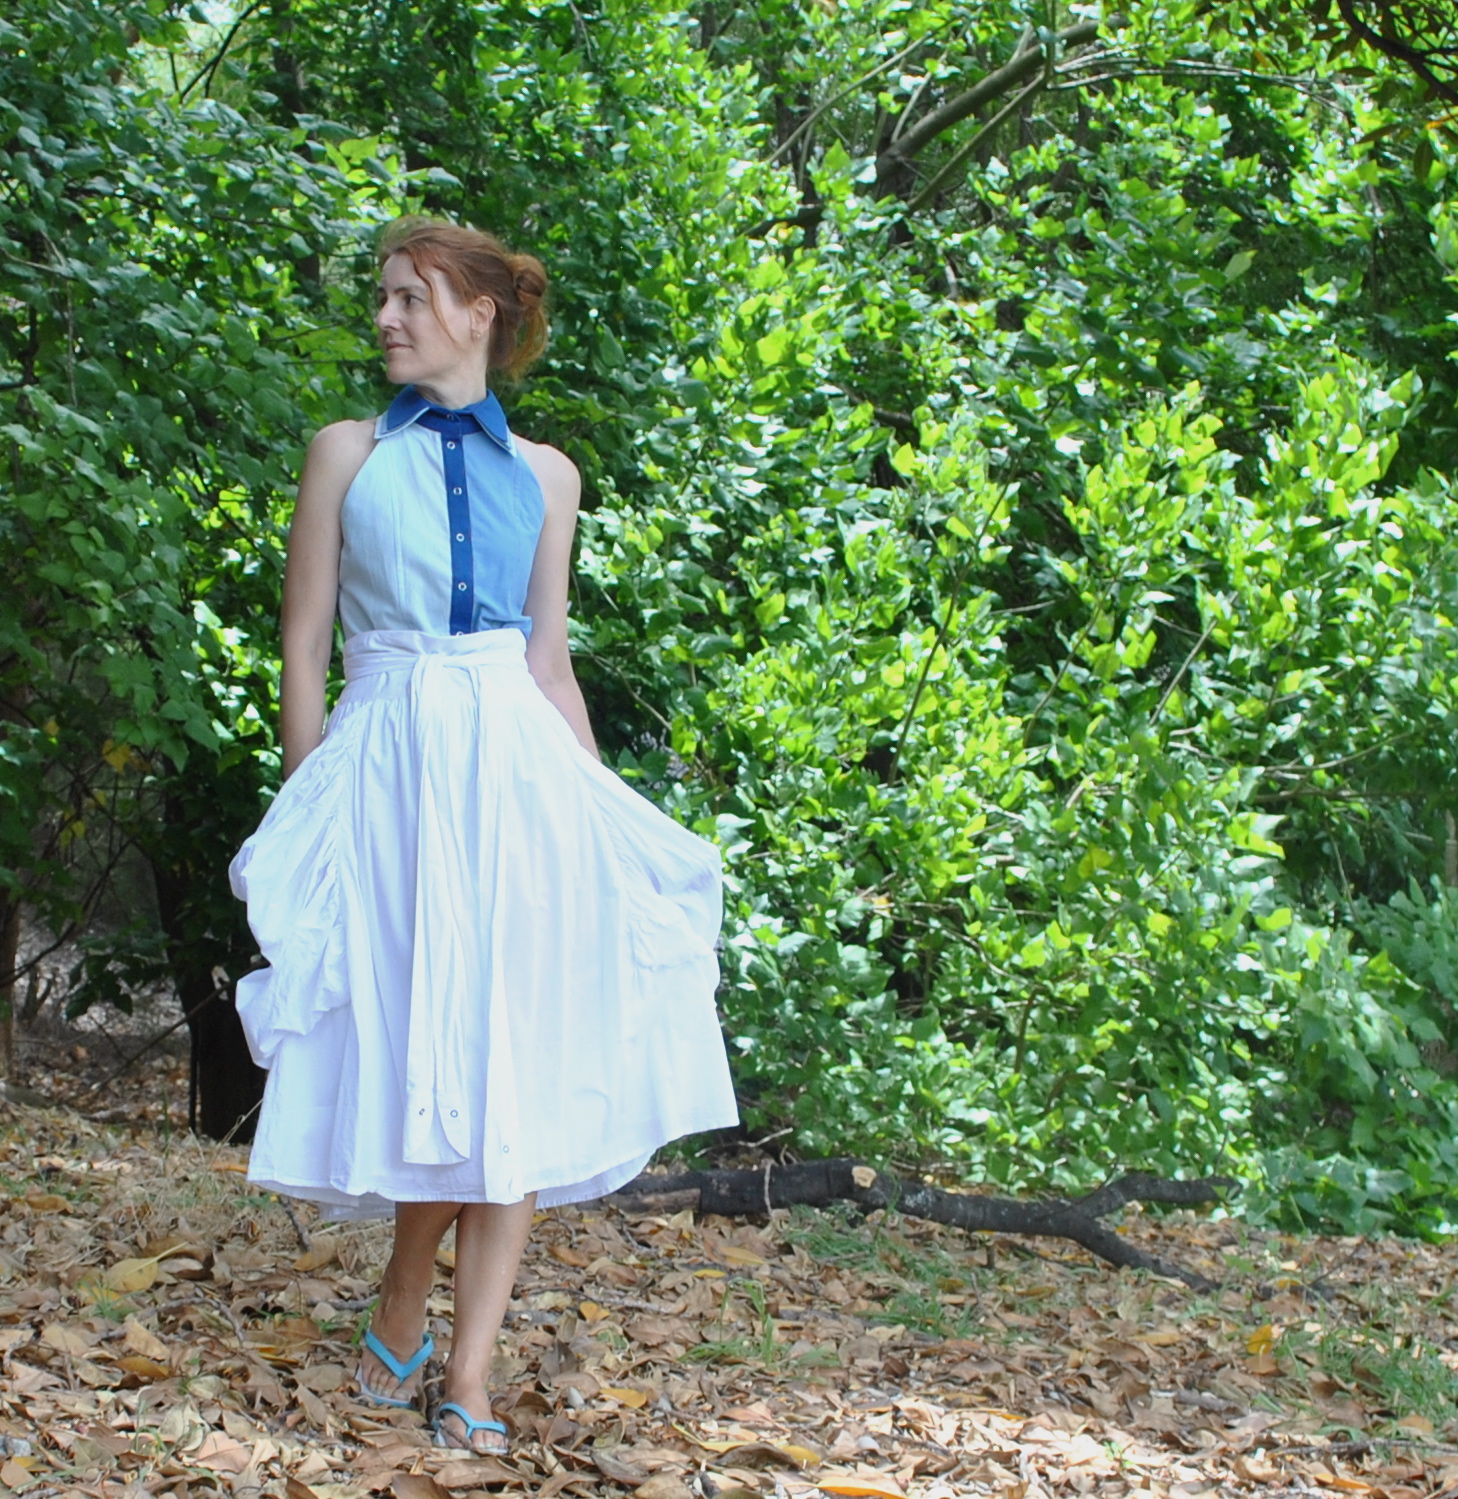
Details:
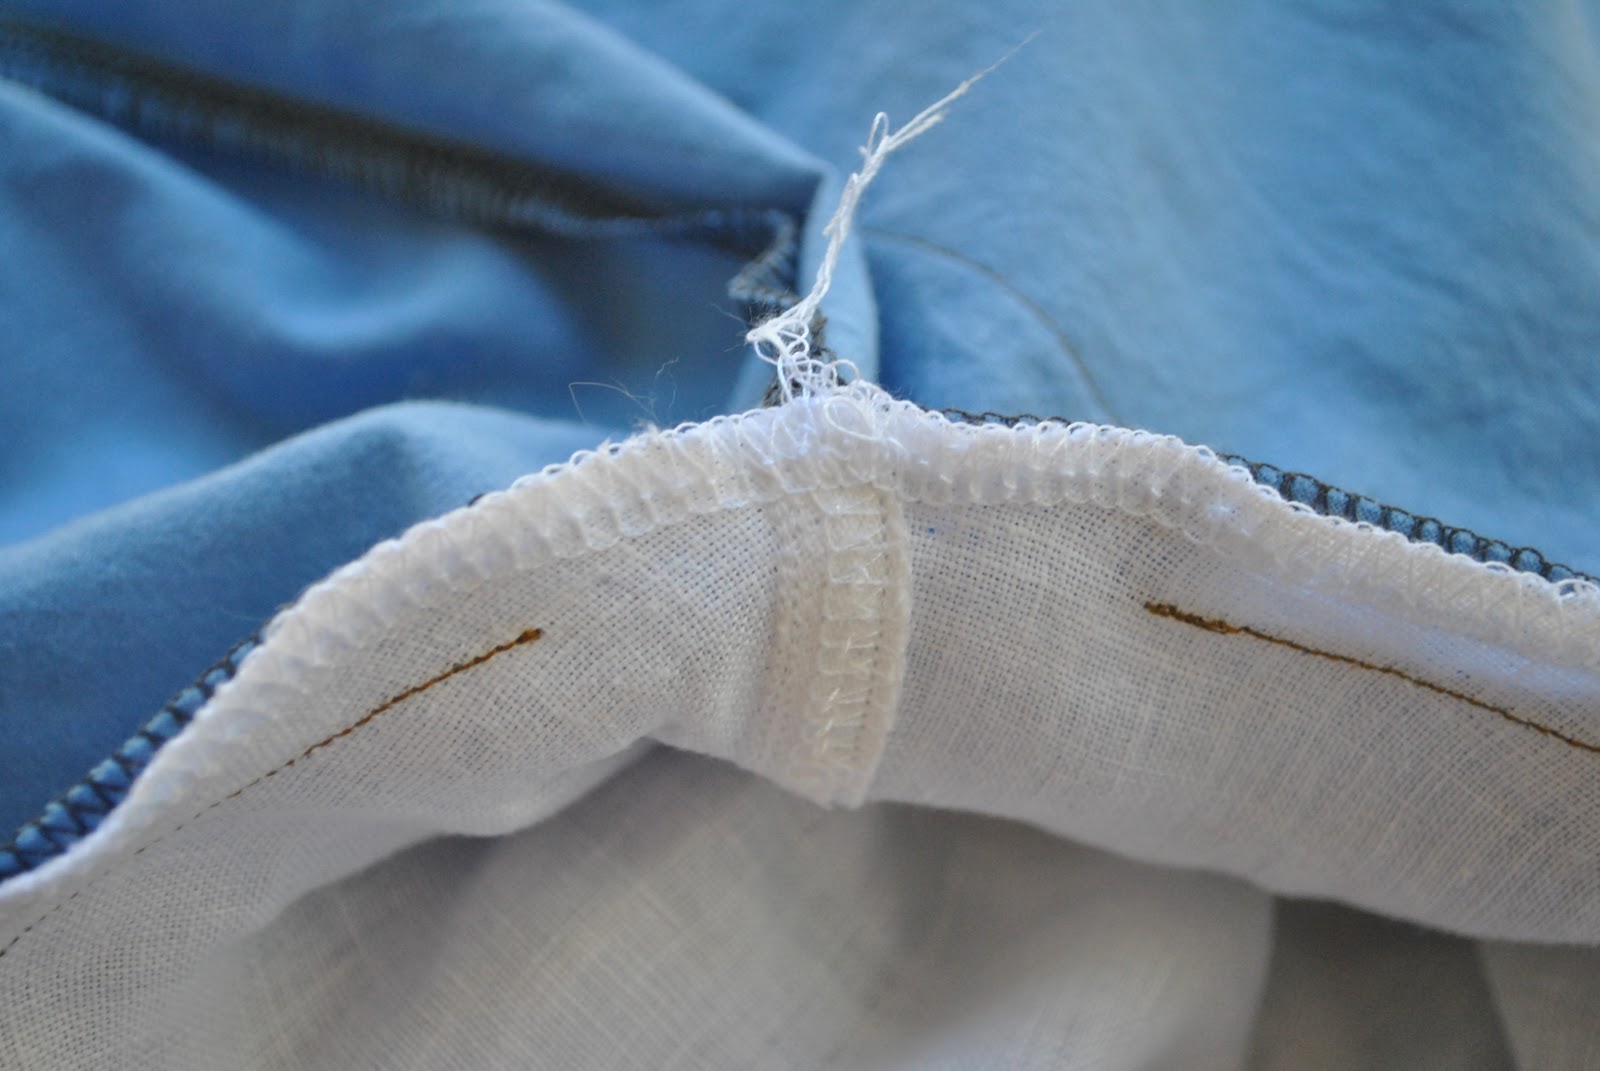
Shirt and skirt; refashioned from 3 of Craig’s old business shirts (so if I was costing this, it would be a freebie!), details here
Shoes; Bronx, from Zomp shoes
Reading specs; a permanent new addition to the wardrobe (sigh…)
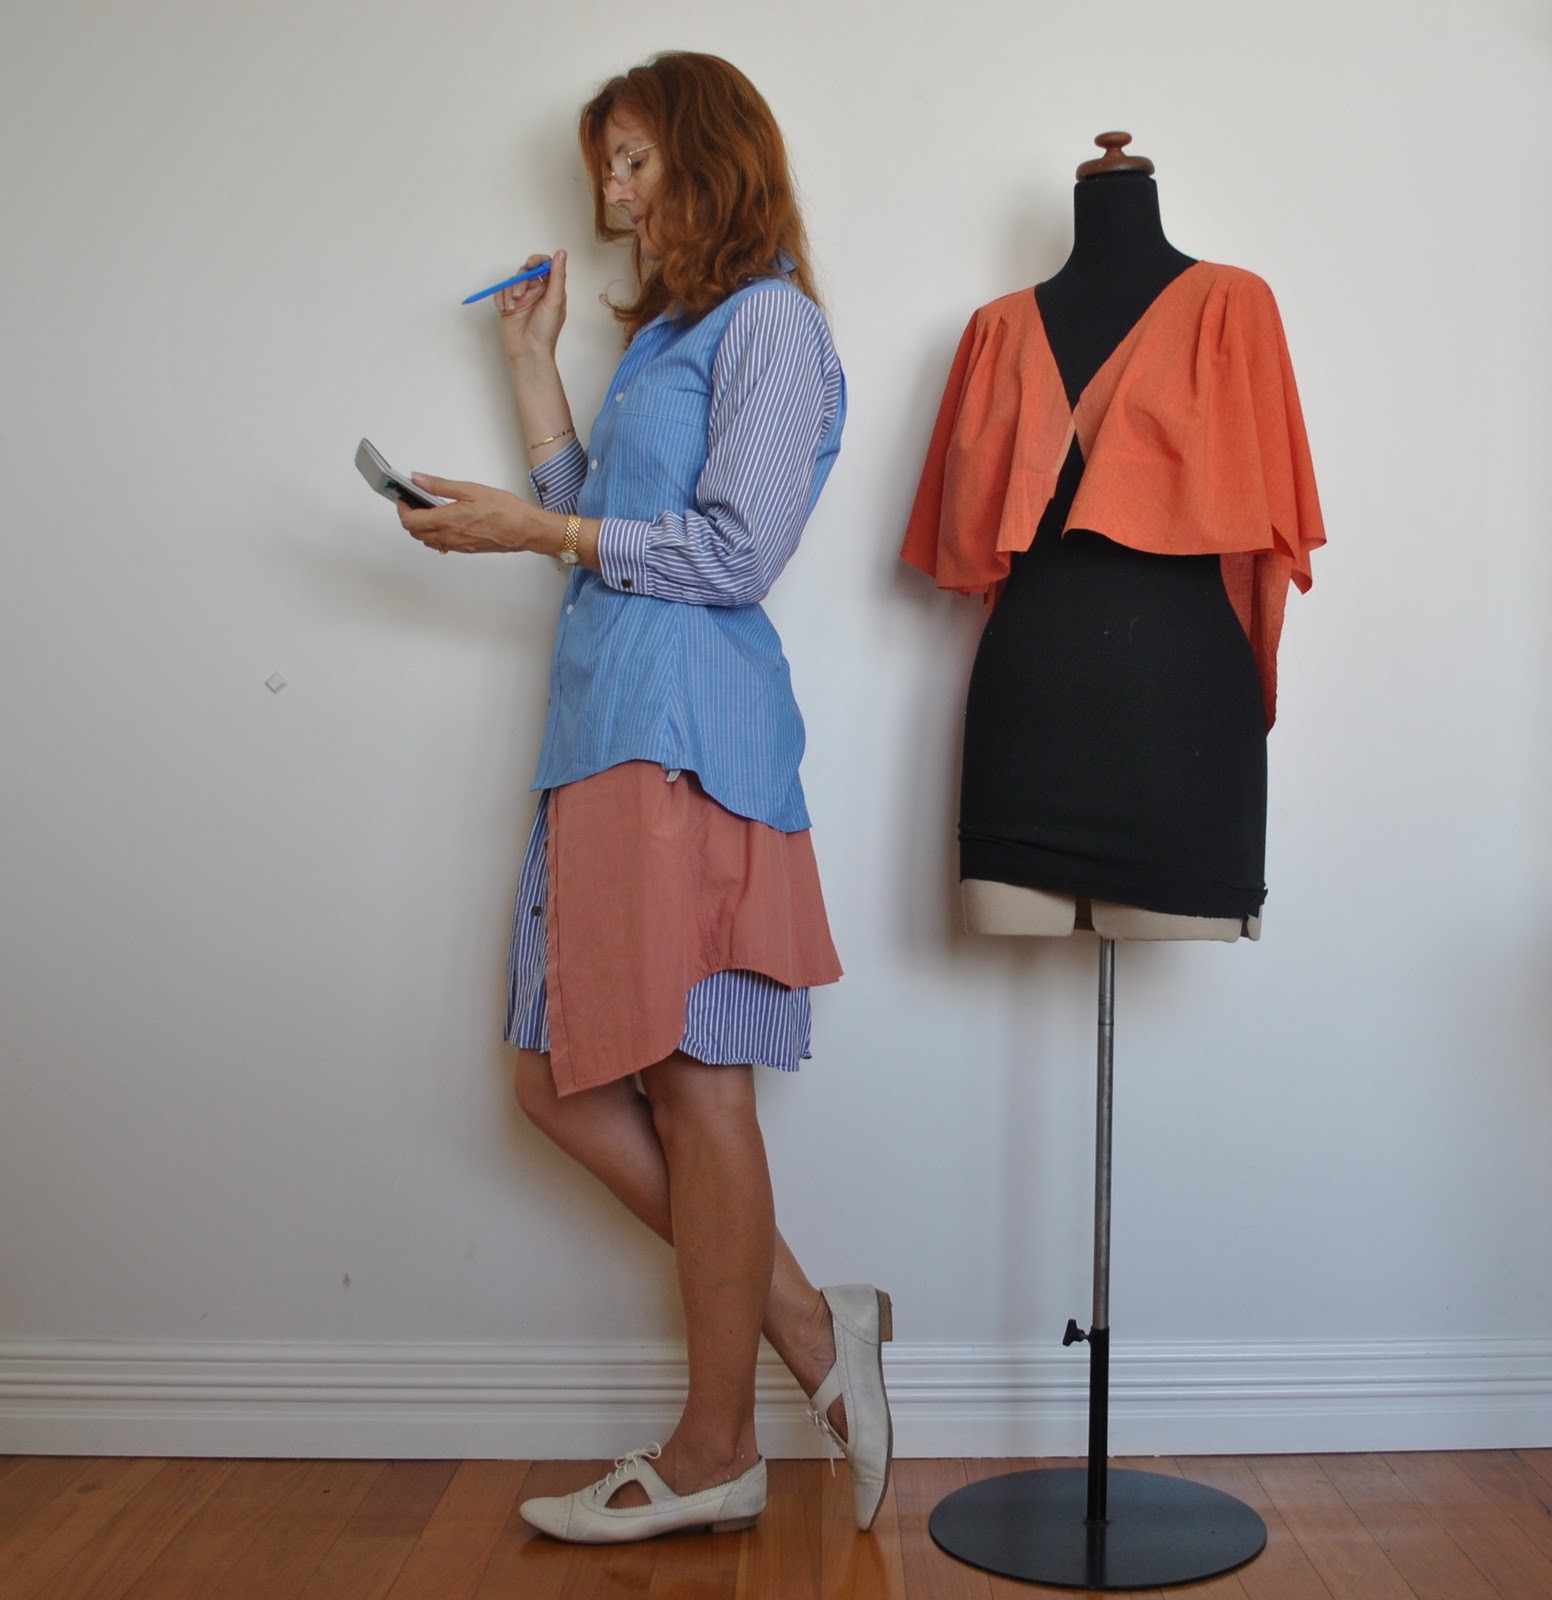
and btw, Bessie is wearing a sneaky peak of my next creation… you saw it here first!


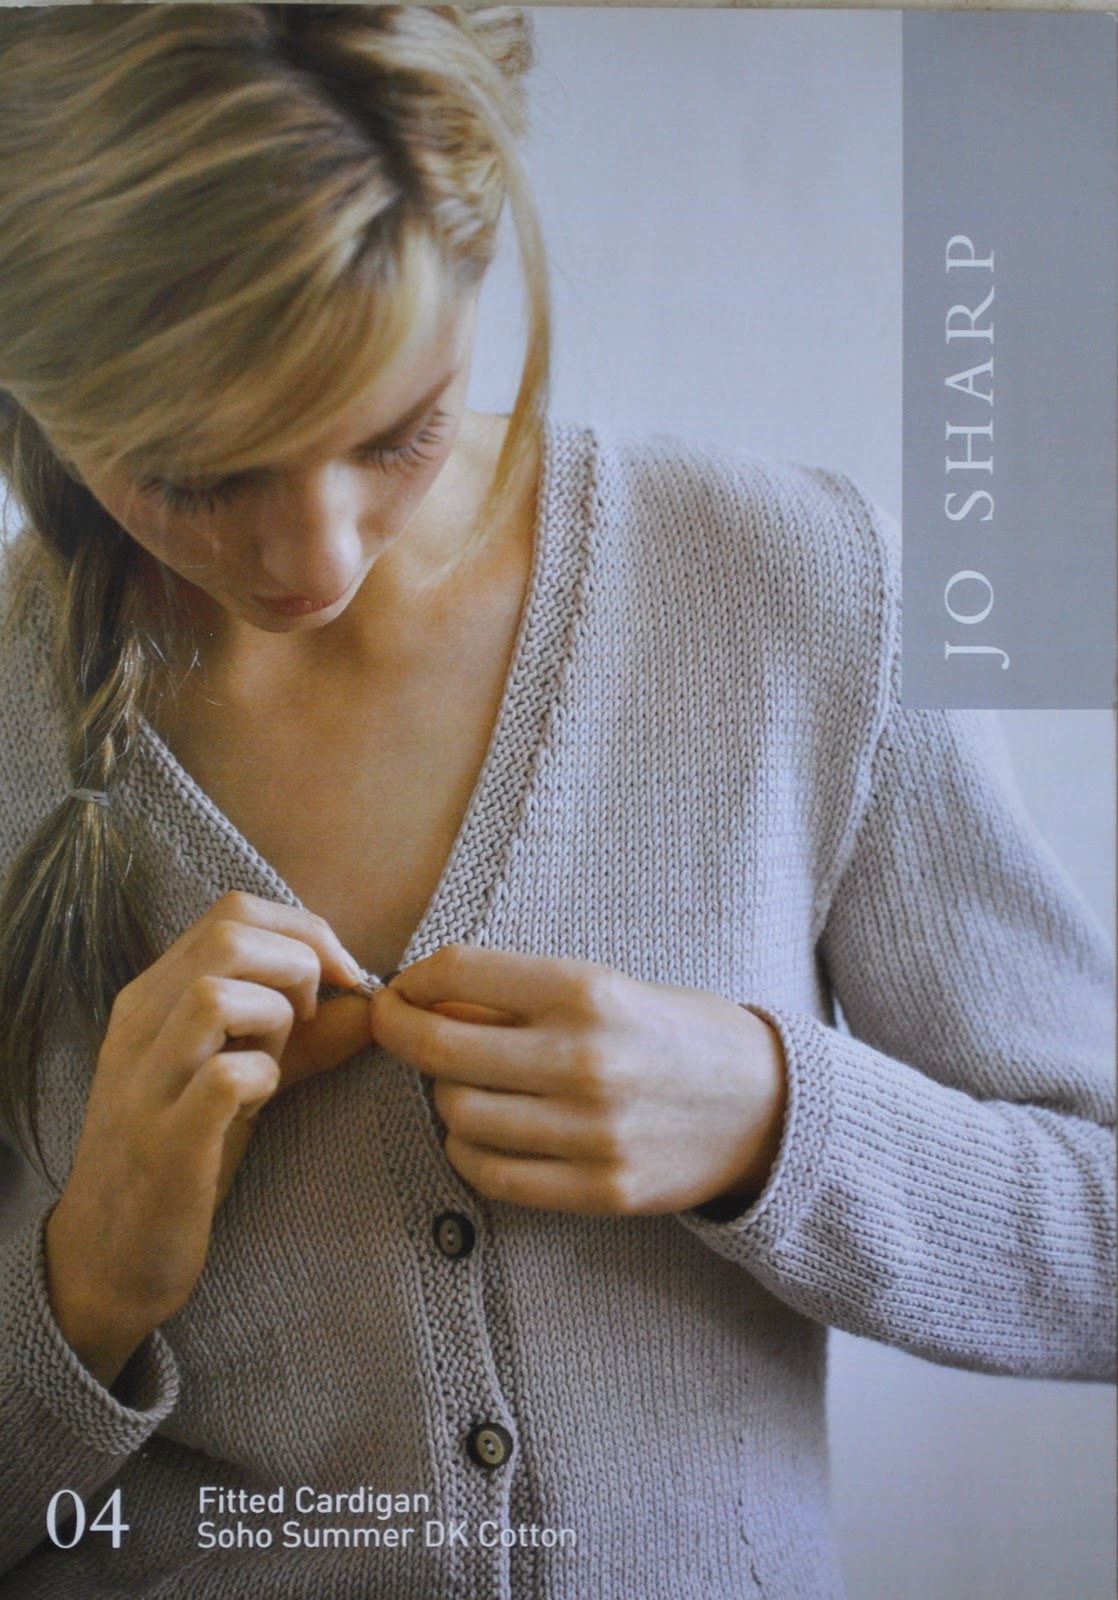
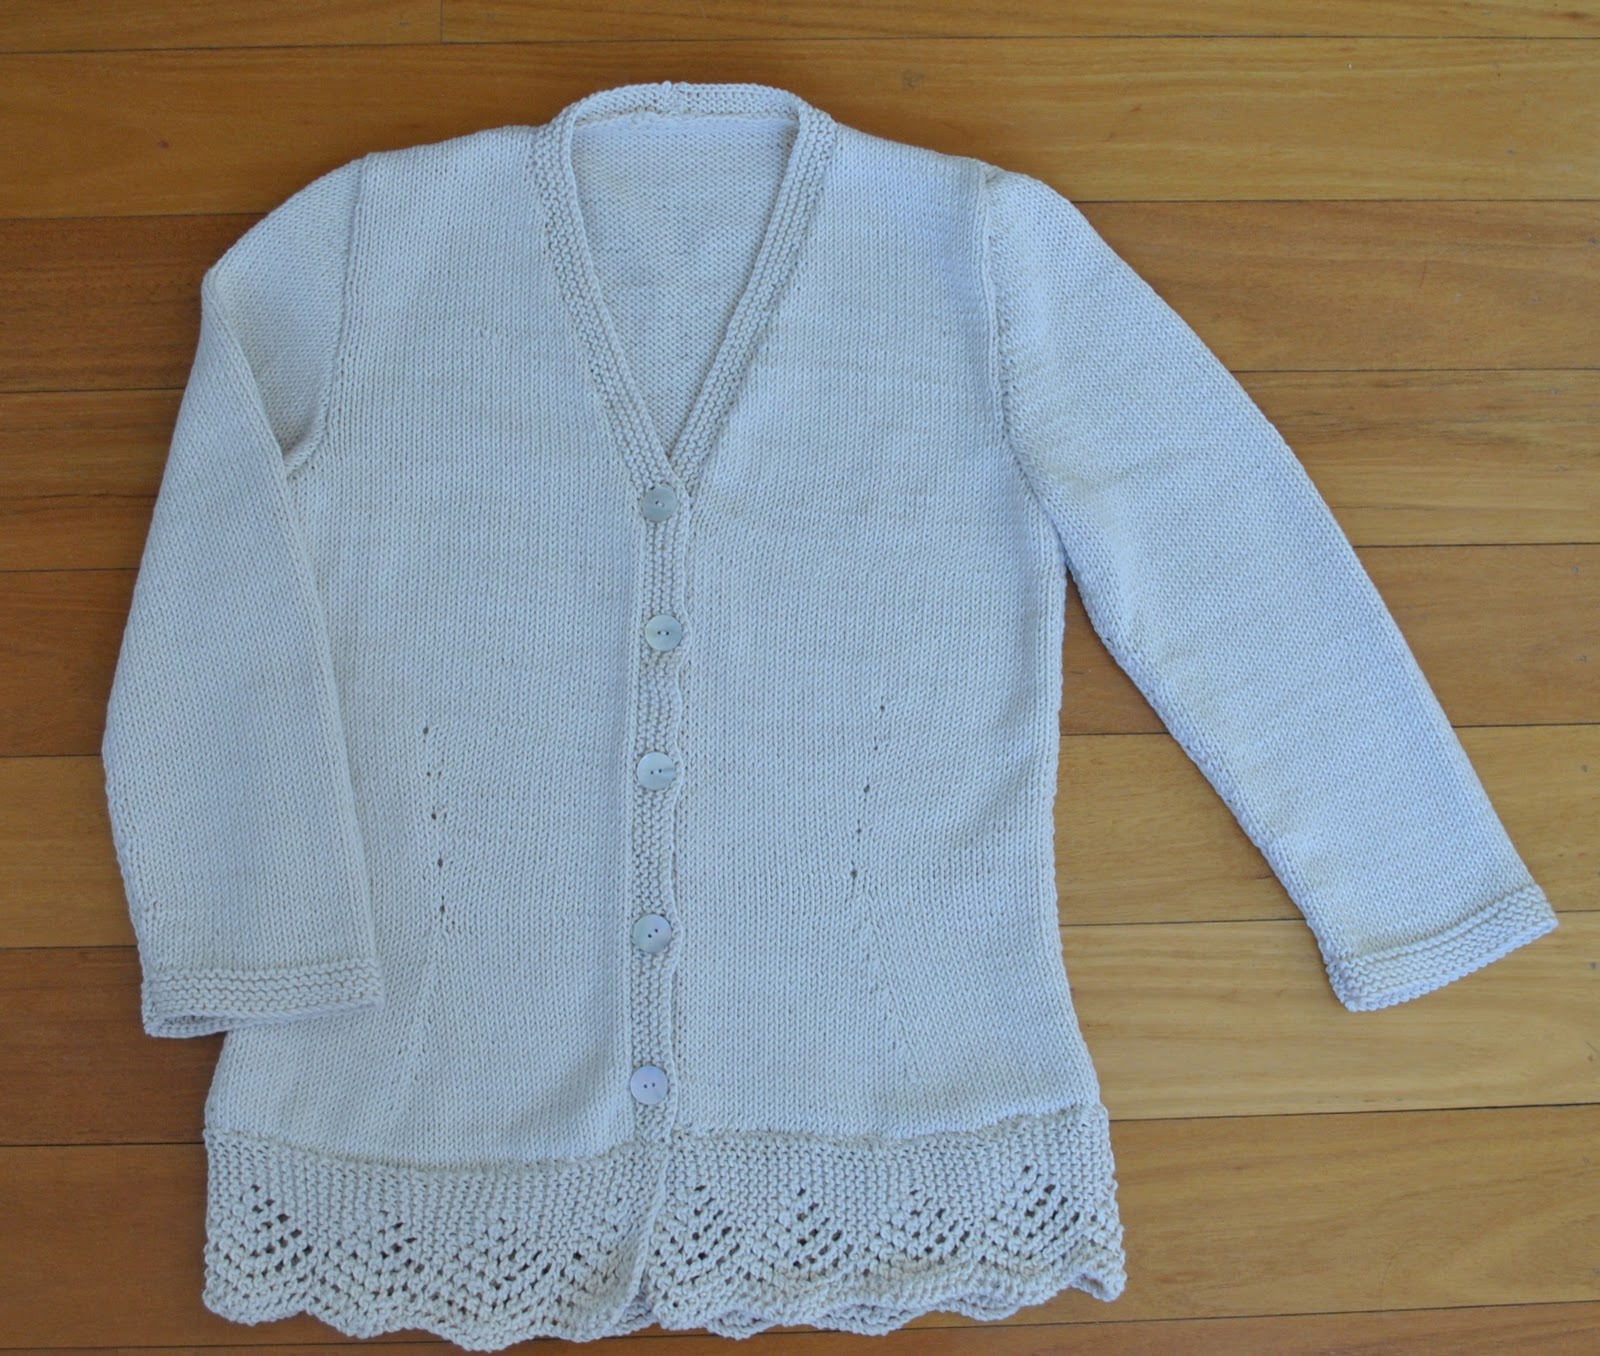


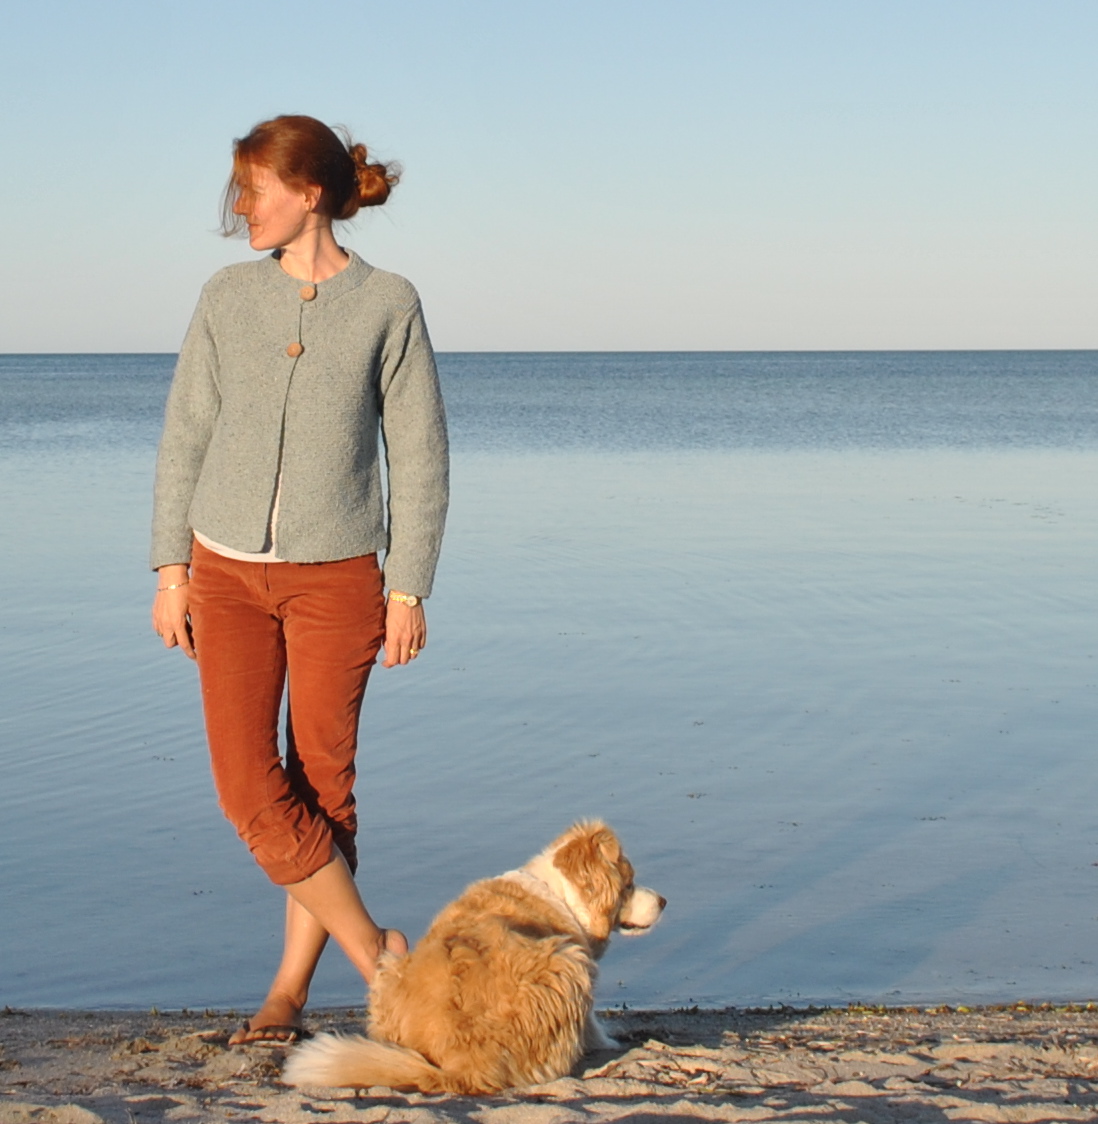
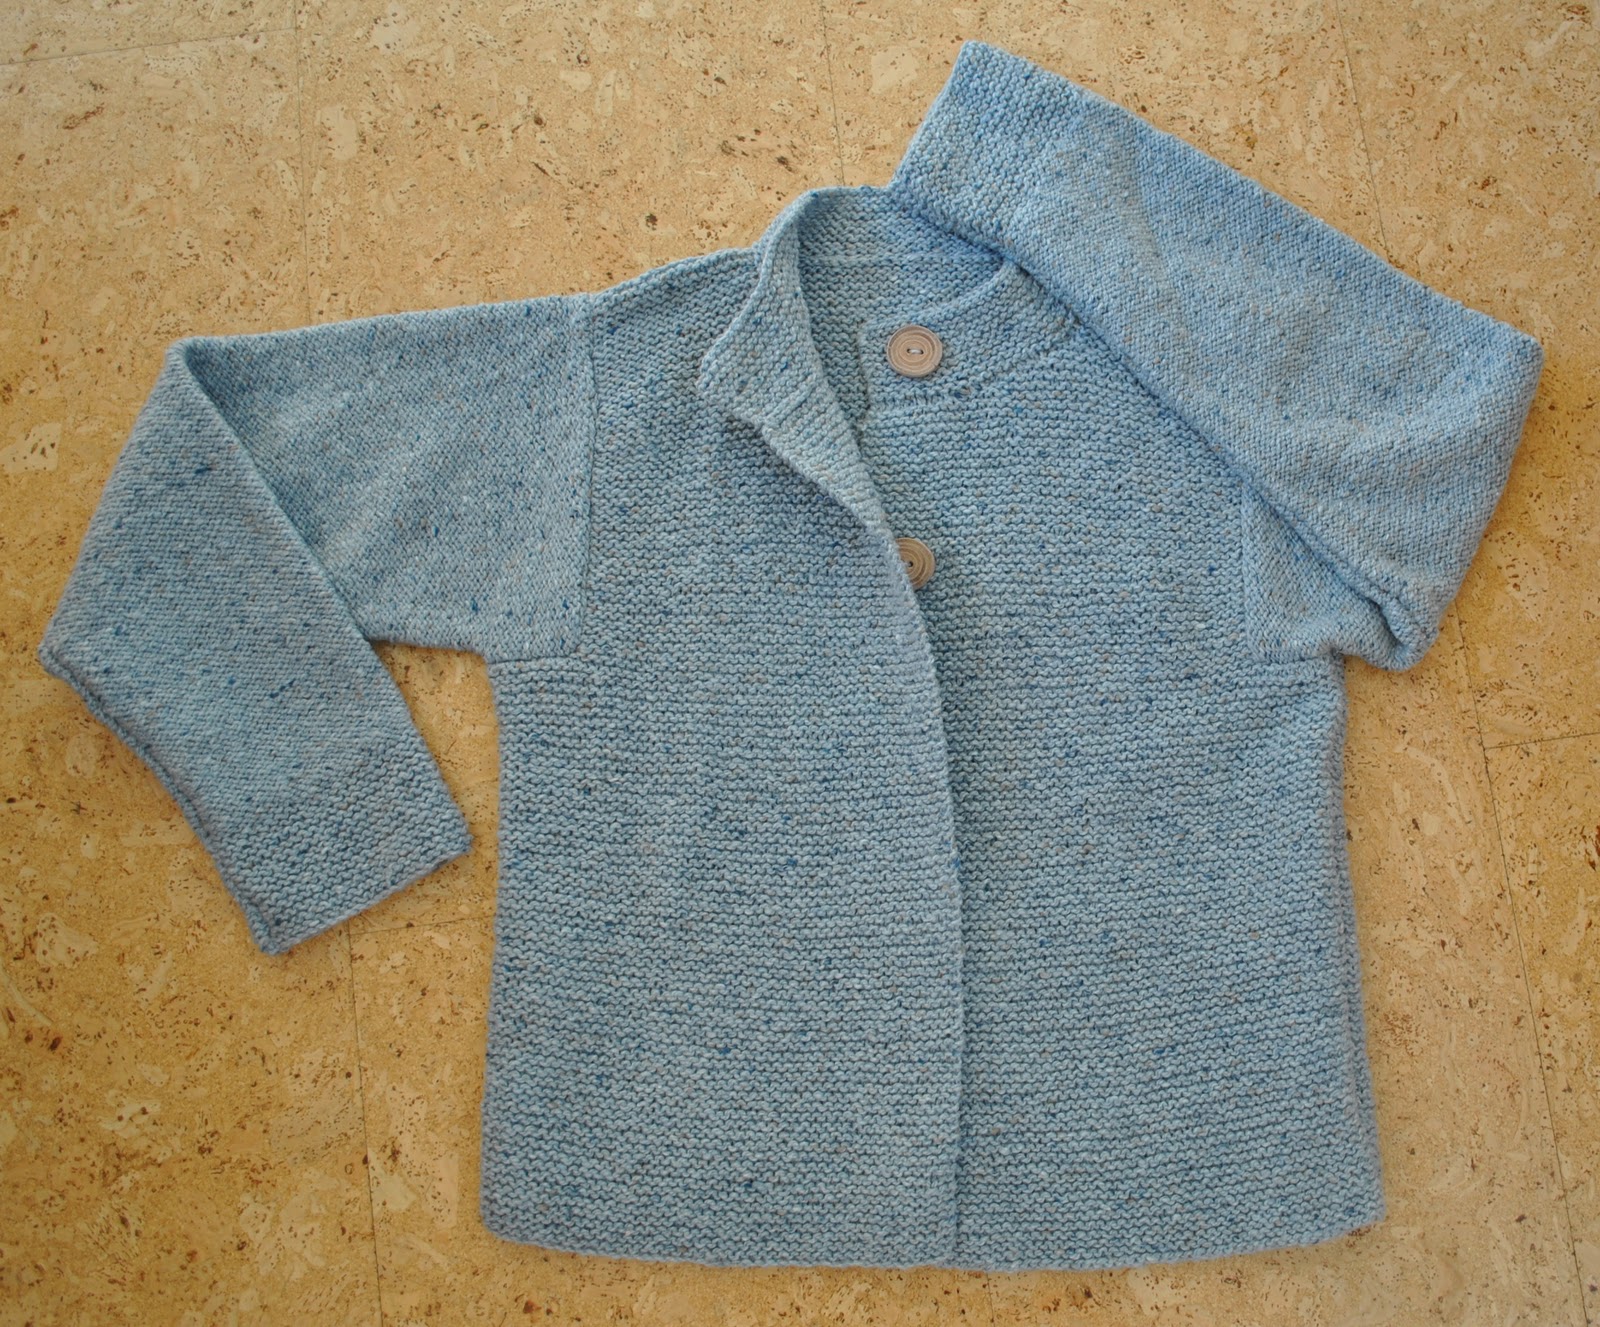
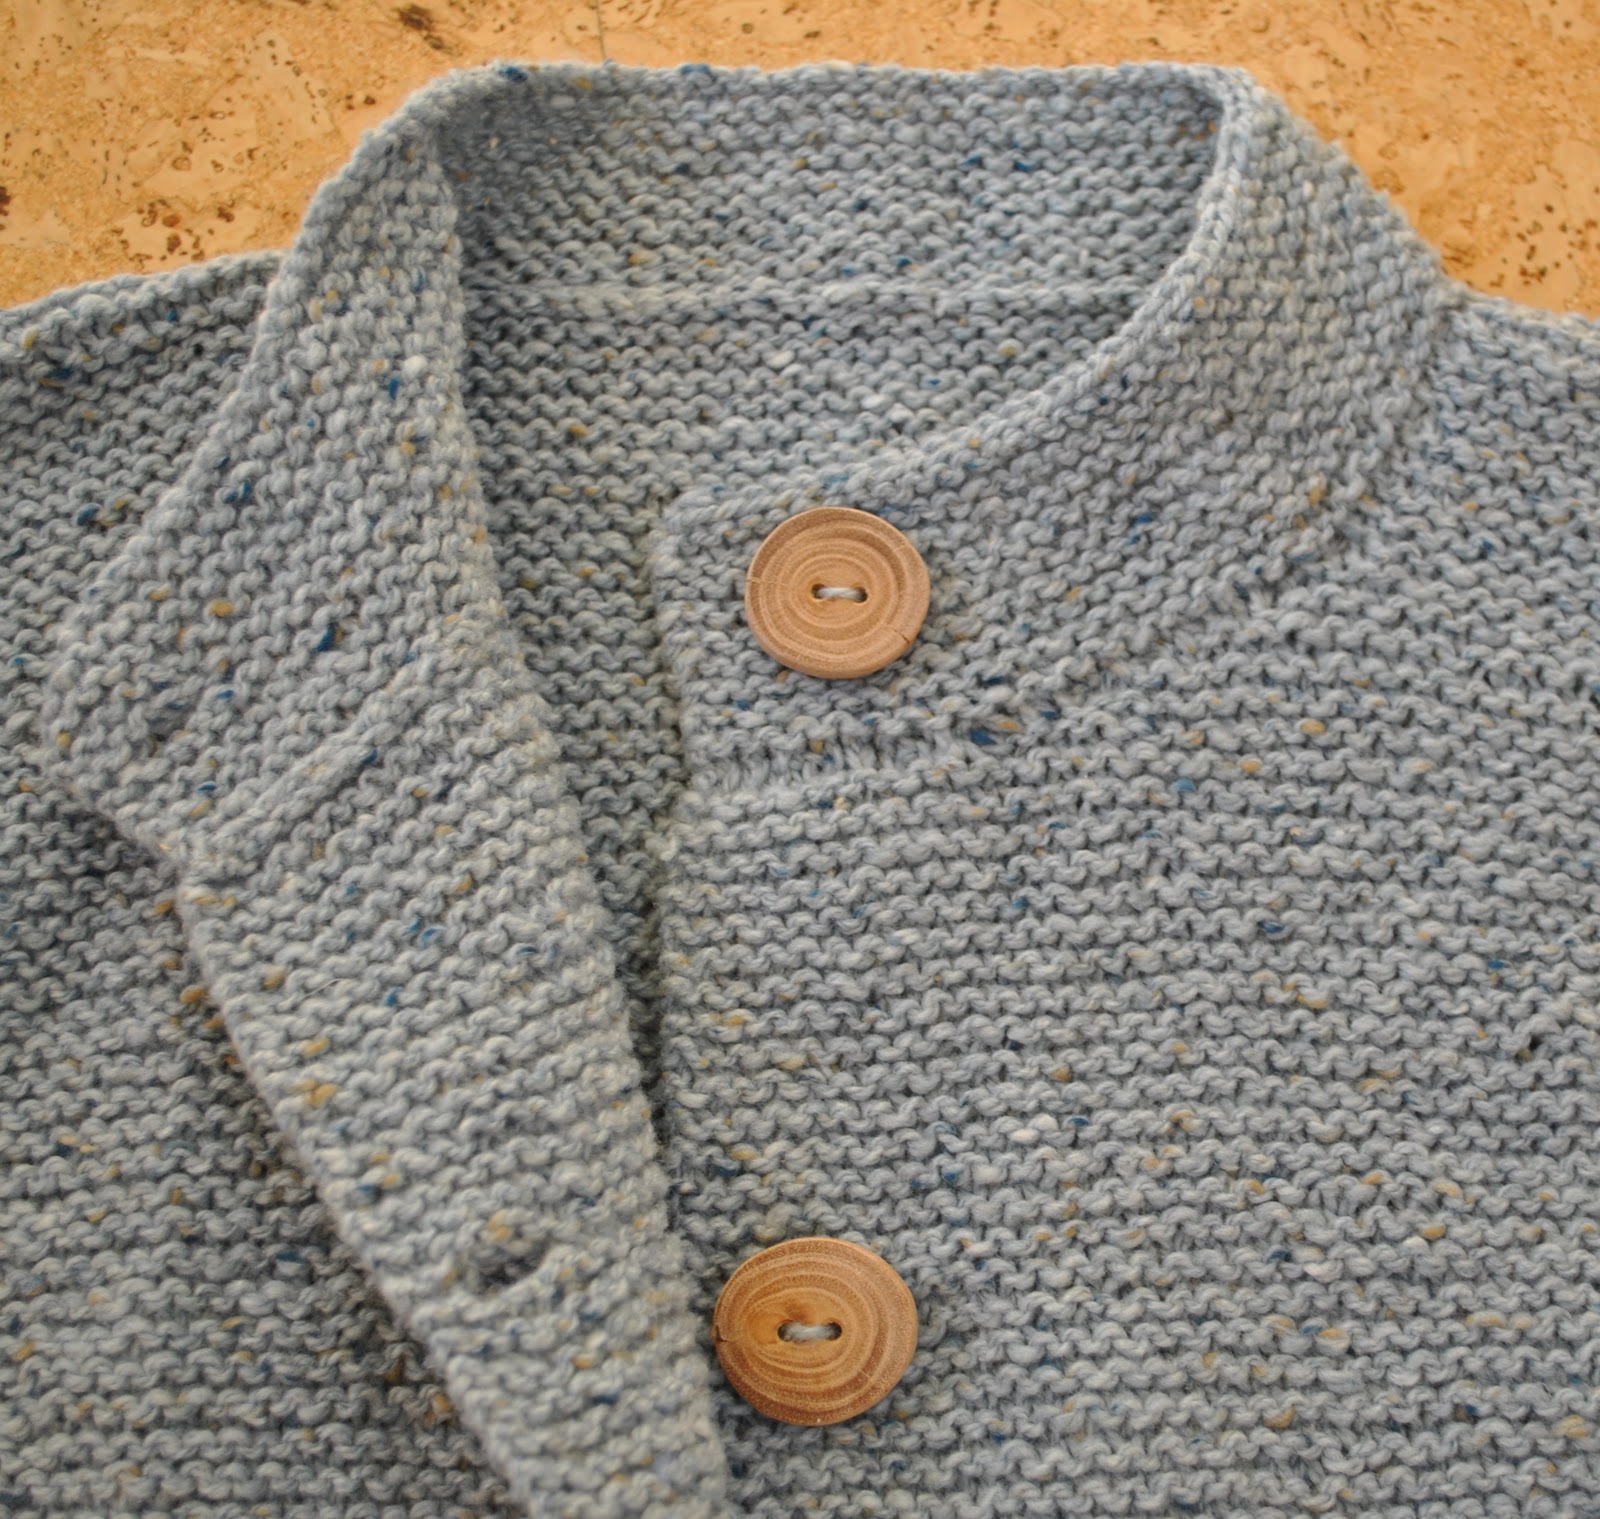
 With impeccable timing I have finished a toasty warm little knitted jacket. Yeaah, just in time for these really hot hot summer days ahead, hehe… I’m a bit sad about having to pack it away for a while, but that’s my own silly fault for starting my new winter cardi during winter. 😉 It is the shorter (version 1) Garter Jacket from Jo Sharp Knit 6… As soon as I laid eyes on this design I loved the boxy shape and interesting stitch arrangement but when I saw an actual made-up example in real life I thought it was a bit bulky and a bit big in the body for my tastes. So I took a punt that using a finer gauge yarn could work out quite good…. and I think it did! Basically instead of using the thicker gauge Aran Tweed recommended in the instructions I used the thinner DK Tweed, knitted up to its own recommended tension (not the one in the pattern instructions for the thicker yarn) and I also knitted up the very smallest size. I still followed all the instructions for number of stitches and rows etc… but the smaller scale gauge of the thinner yarn resulted in a smaller and finer cardi; not too thick and just right in my opinion. Another bonus to this approach was that I needed only 9 balls, as opposed to the 11 balls required in the thicker yarn.