Tag Archives: Own Design

How to make your own tights

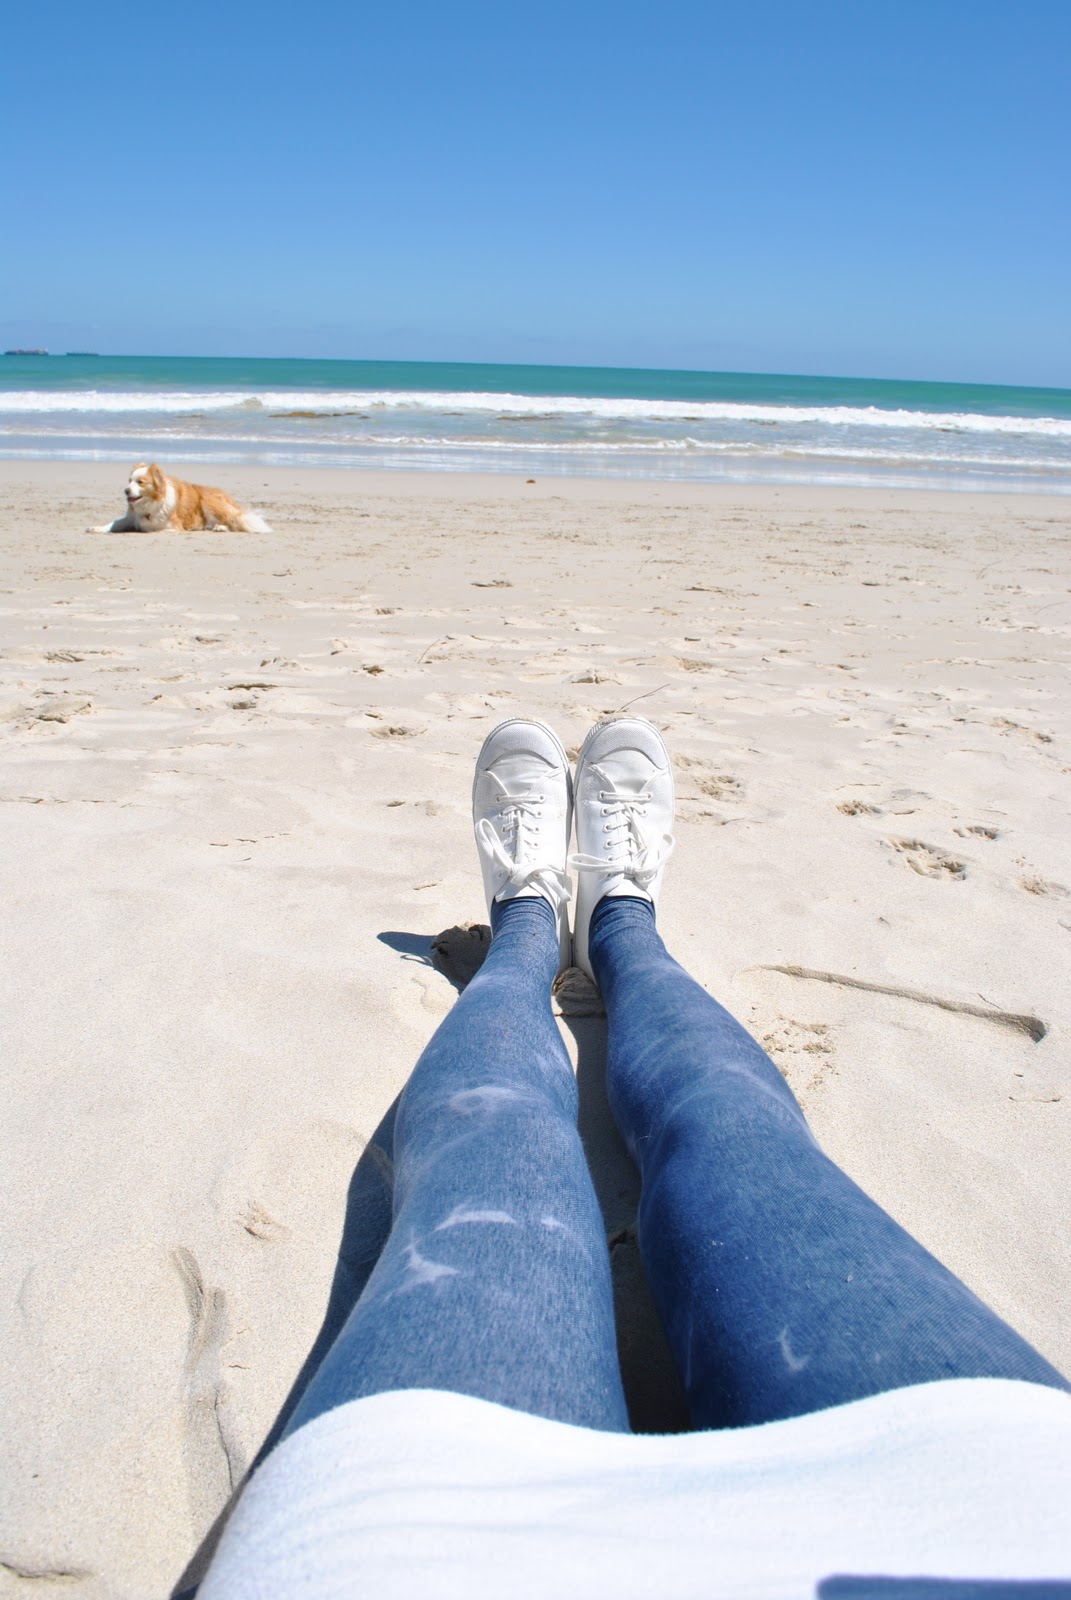
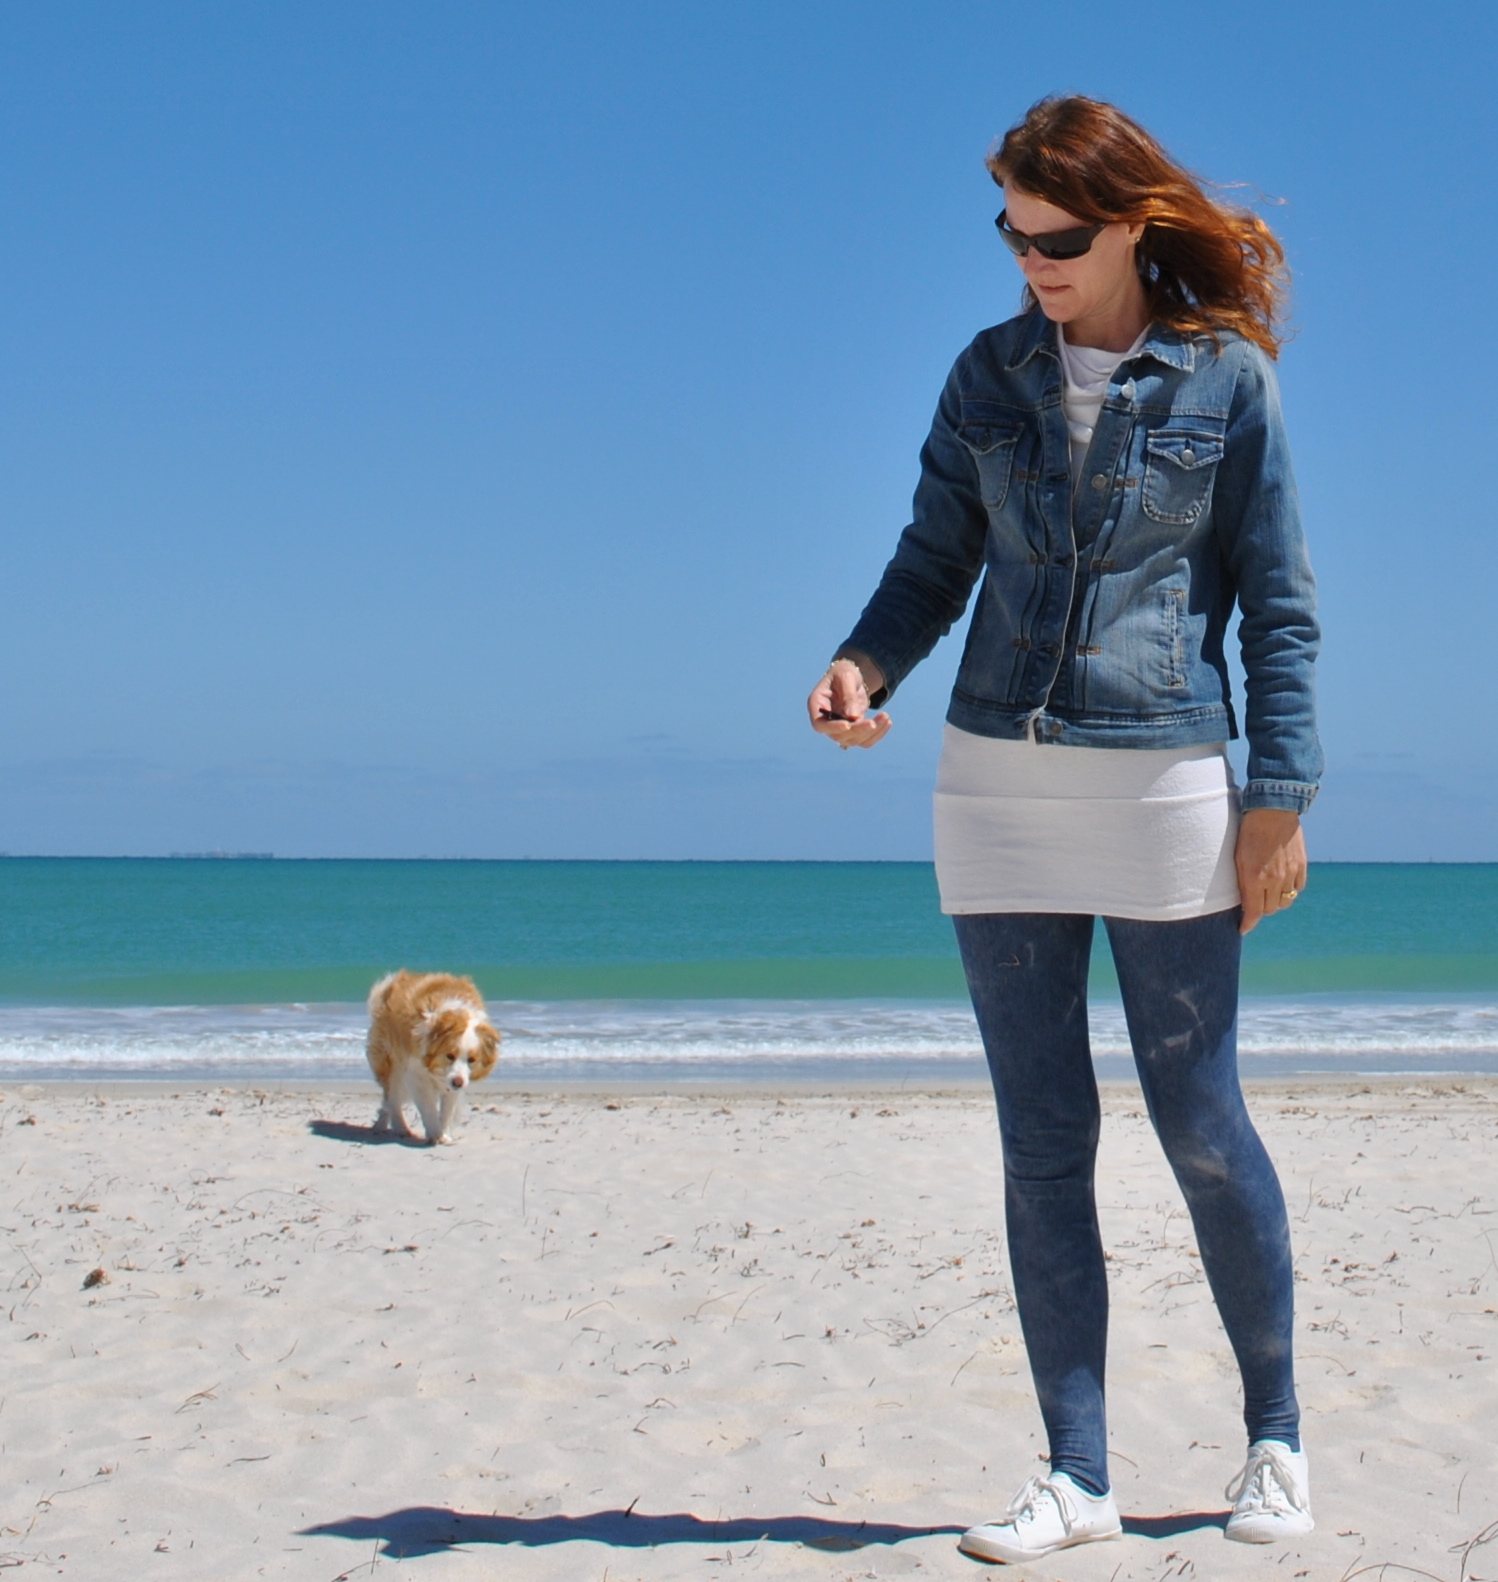
Before I went to Melbourne I had bought from Fabulous Fabrics some wonderful stretch jersey, printed to look like distressed denim, and I knew it just had to be tights…
When I made my last tights I had a few requests for a pattern on Burda style, so this time I put together a little tutorial on how to draft for yourself a leggings or tights pattern that is customised to fit you perfectly.
This project is suitable for two way stretch knits only, that is fabric that stretches BOTH crosswise and lengthwise.
Firstly you must take your measurement around the top of your leg at crotch level.  This will be the widest point of your leg piece.  Whatever this measurement is, double it.  This is how much fabric you will need to buy.   (once you have worked out your pattern you may be able to buy less for future tights projects; by flipping your pattern lengthwise on the fabric if the print allows you this flexibility)

If you’re not very experienced at fitting and/or pinning to yourself it’s a good idea to get someone you trust to help.  Put on some leggings before you start, or some other skintight garment.

Lay your fabric down and cut it in half, cutting from selvedge to selvedge.
(Note that for this example the grainline will be running around my body, as opposed to up and down my body.  If you want your pattern print to go the other way, then you will have to layout and cut your fabric pieces accordingly)
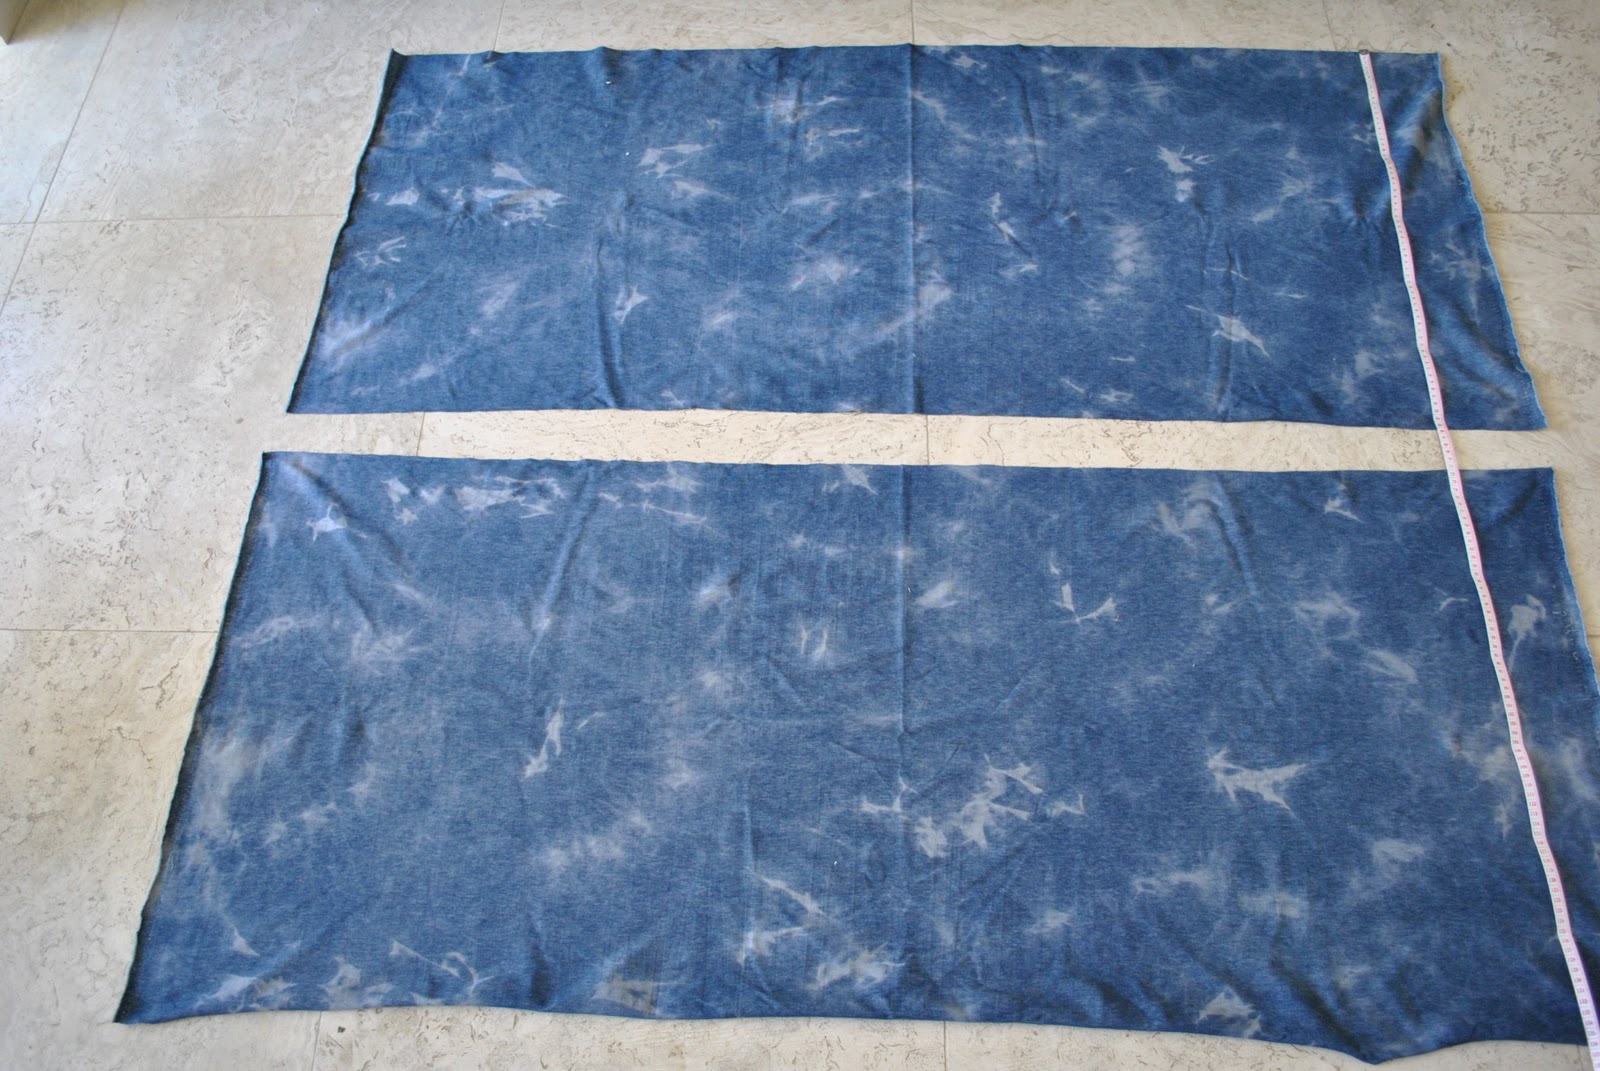
 

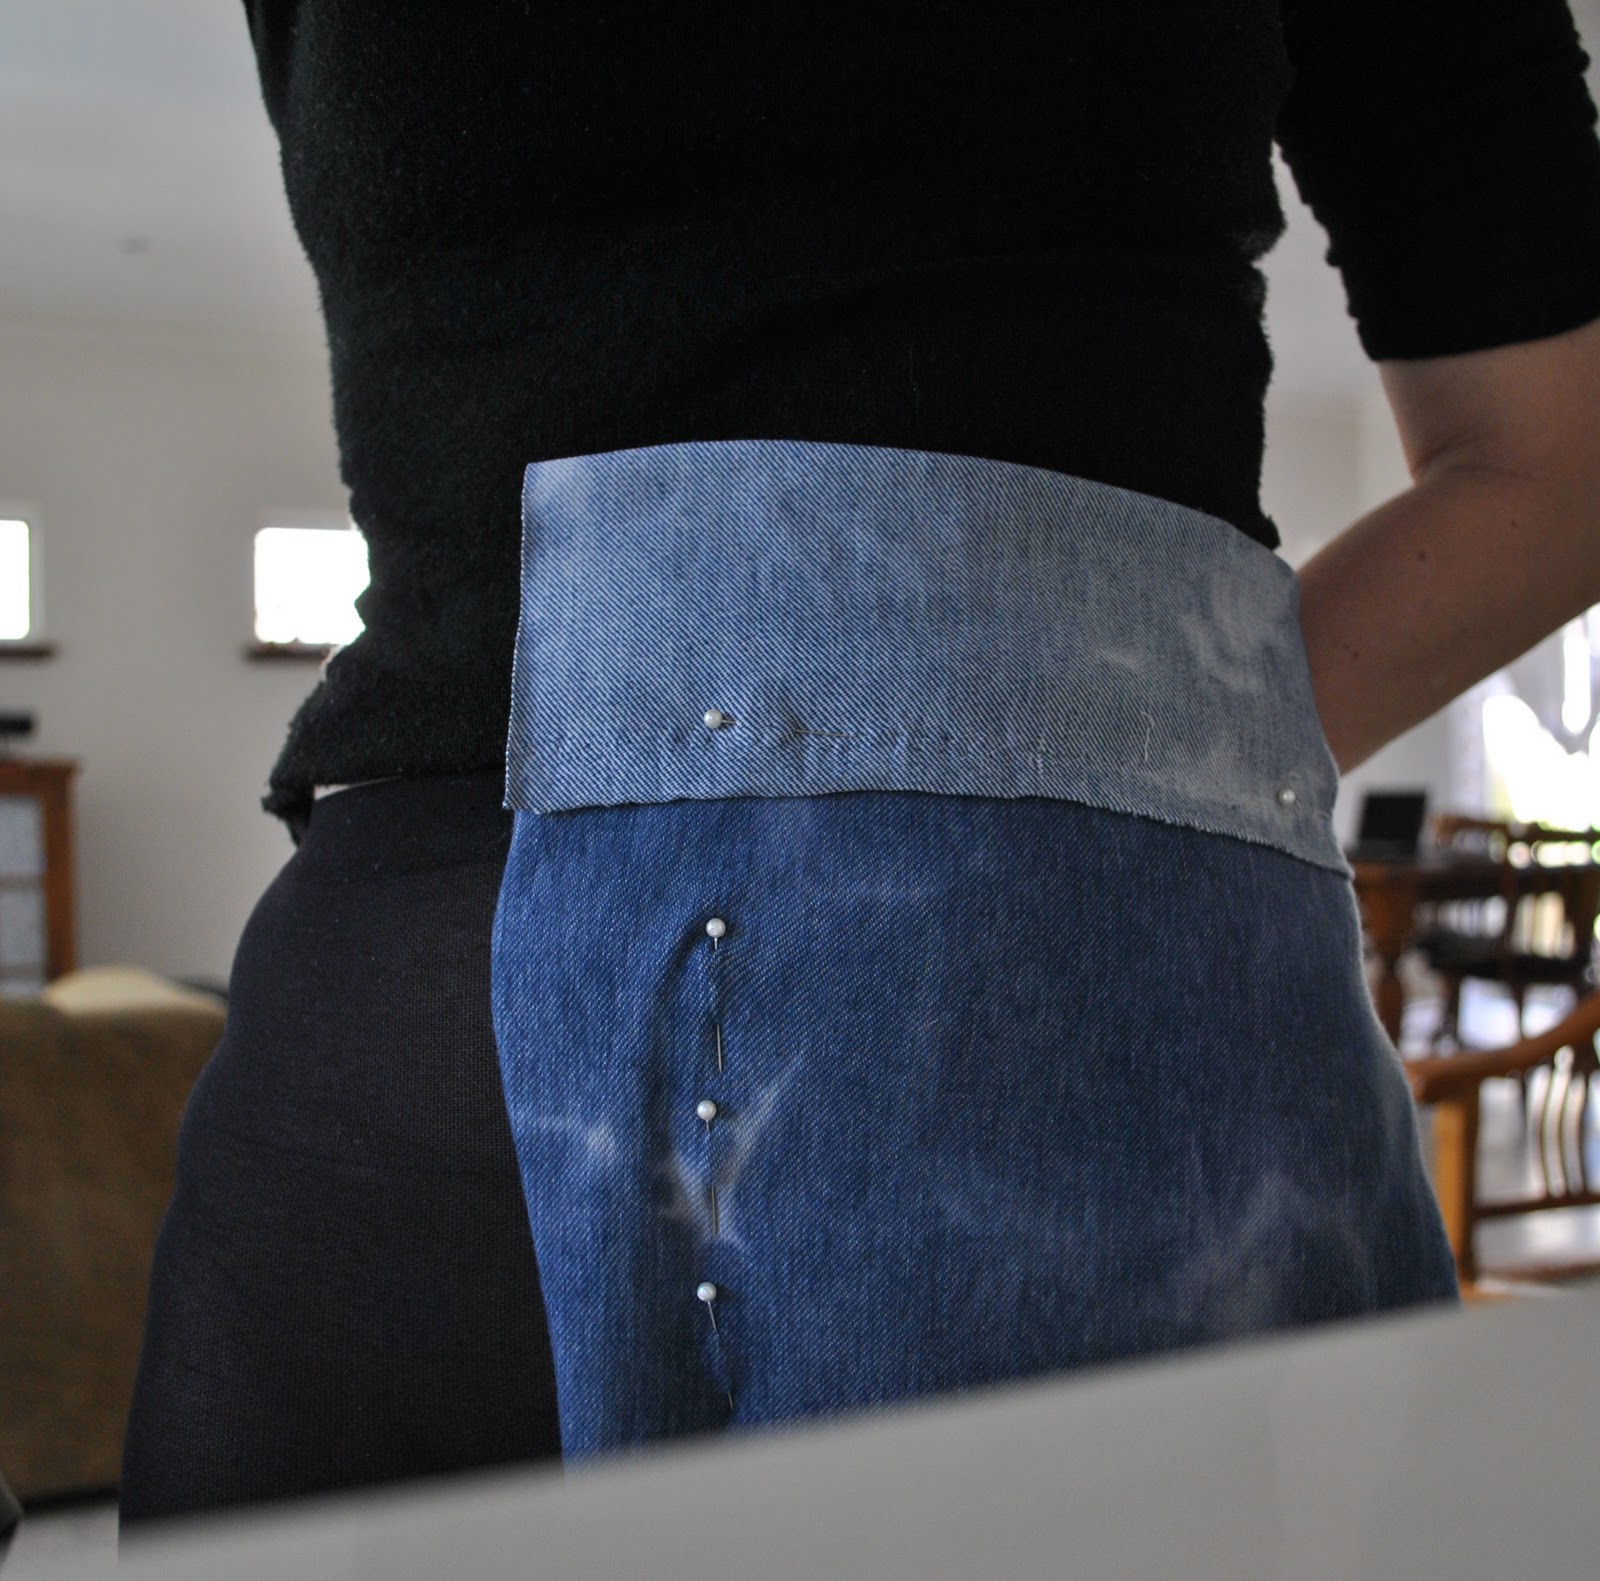
Take one of these and fold over one selvedge to allow for a generous amount of excess and pin this fold loosely in place.  I folded over about 9cm  (3.5inches)  Wrap this fabric around one side of your hip, pinning the folded over edge at about waist level.  Don’t aim for tight-fitting at this point, you just want the fabric to be hanging evenly down from your waist level, with the excess fold of fabric over your waist level at the top for your waist casing later.  Pin the fabric to your leggings in a vertical line down the centre front (use your leggings seam as a guide).  Do the same at the back.  The back bit is kind of tricky, but don’t panic about super accuracy.  You are aiming for as close to middle line as possible and vertical.  Use a mirror to check the your pins both front and back are in as straight as vertical line as possible.  Do not be super tight at this stage either, a bit loose is desirable for reasons I’ll explain later.  I’ll call this part the “abdomen pinning”
Now pull in the fabric firmly around your upper leg and in at the crotch, and pin.  I recommend you use a safety pin at this point for obvious reasons…
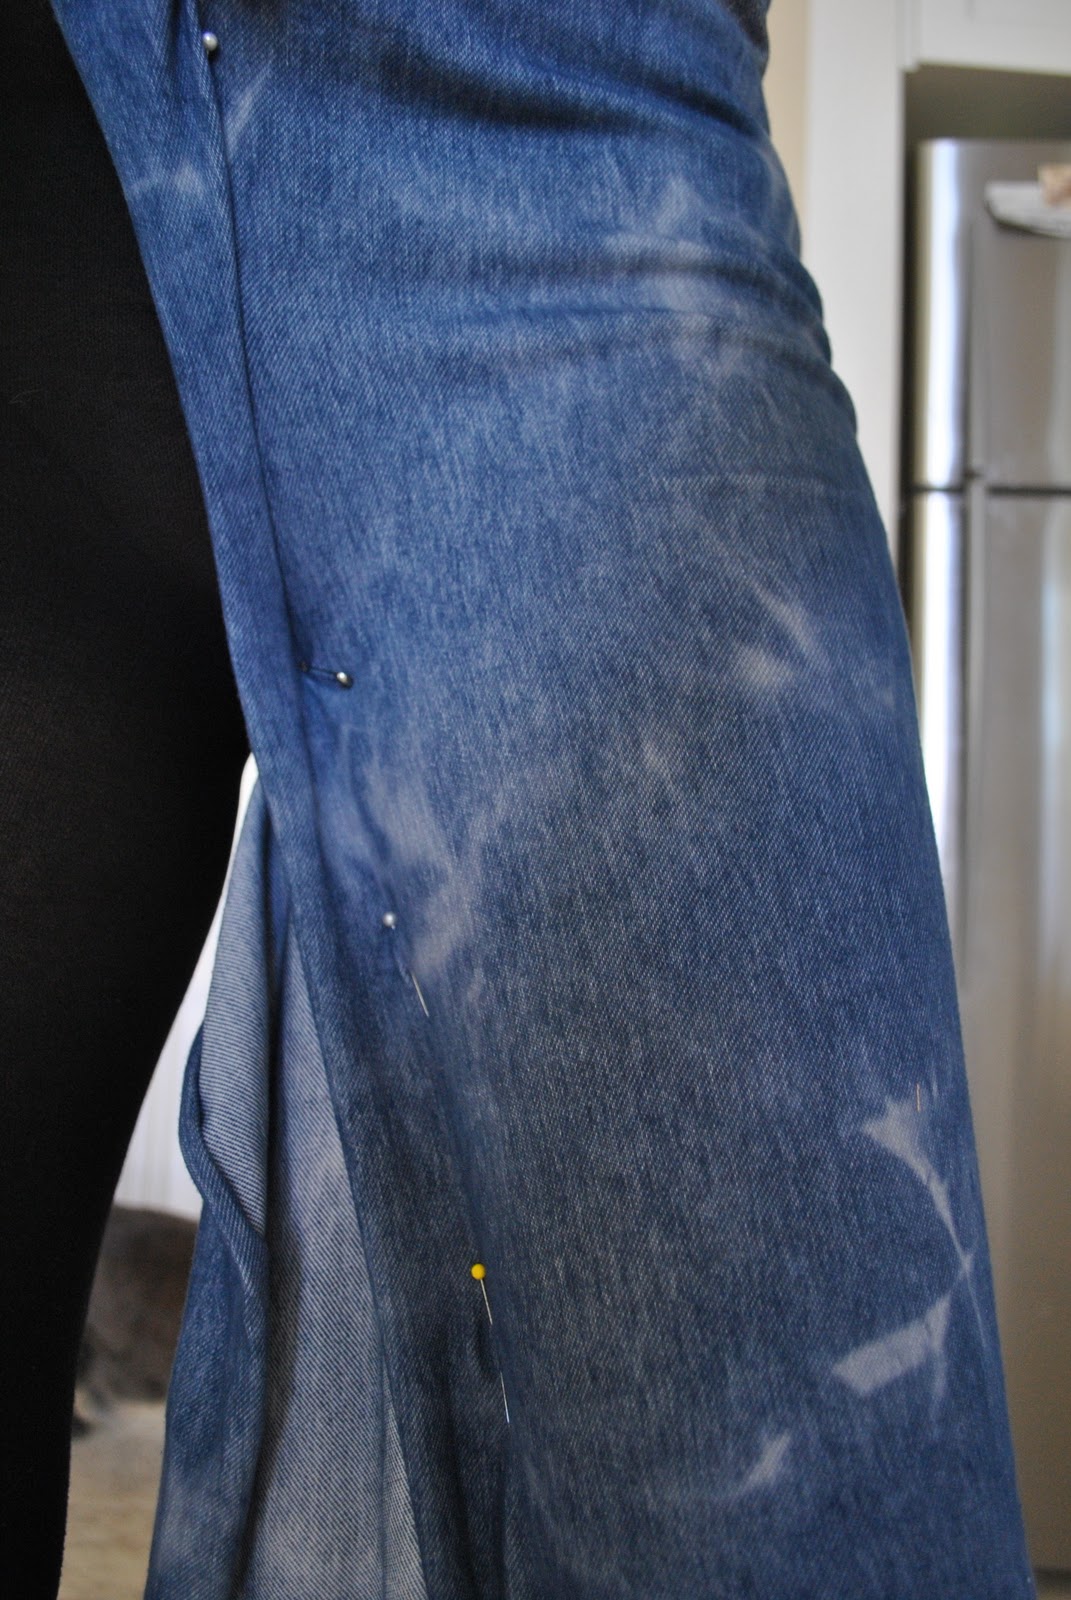
Start pulling the edges of the fabric together around your leg, and working from the top down pin together down the inner leg seam.  From this point on make the fabric quite tight and check constantly in a mirror that the fabric is sitting smoothly all the way around the leg.  From now on down you are aiming for close-fitting and smooth.
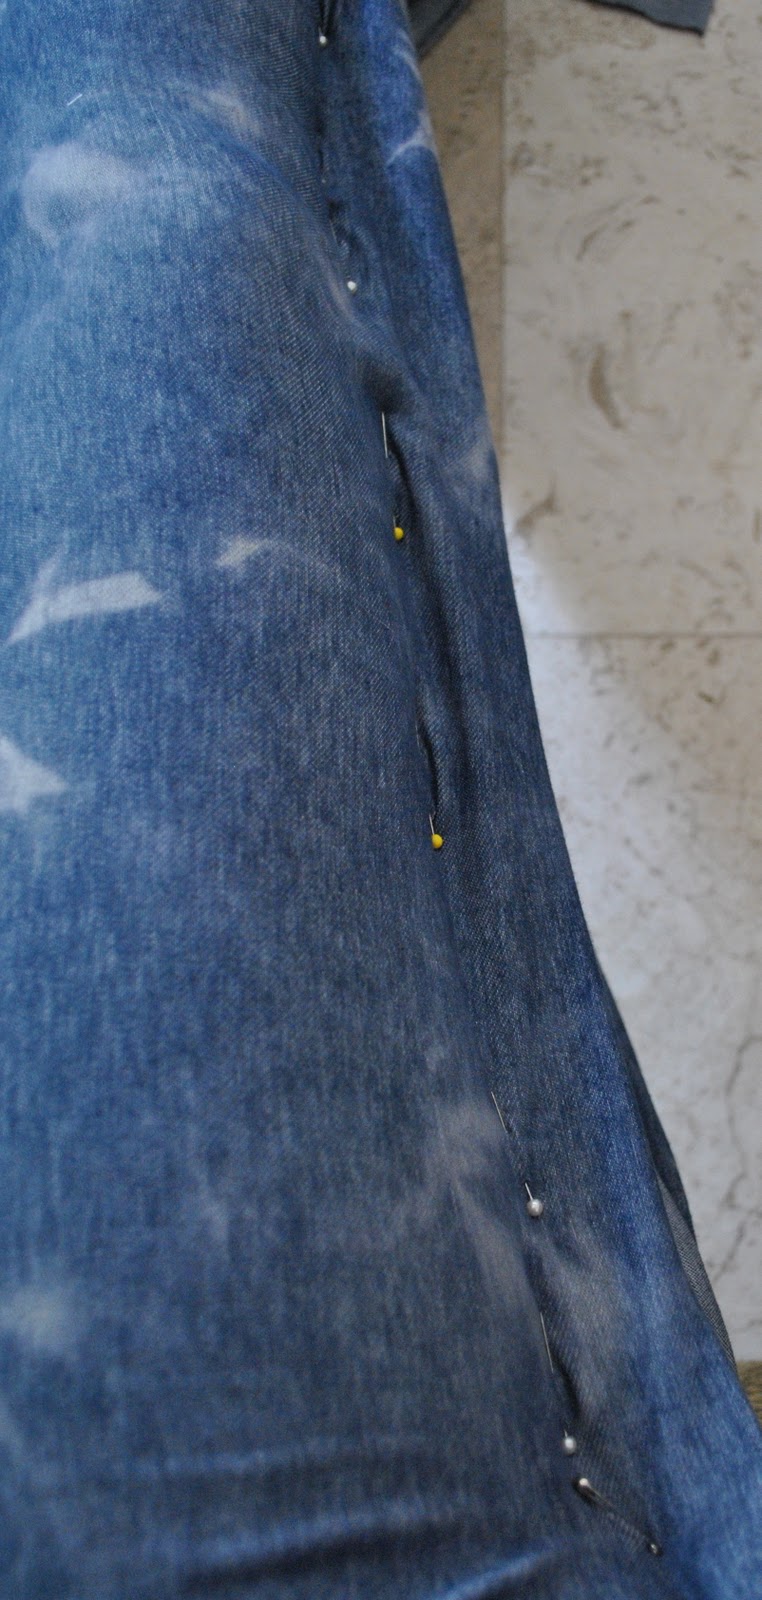
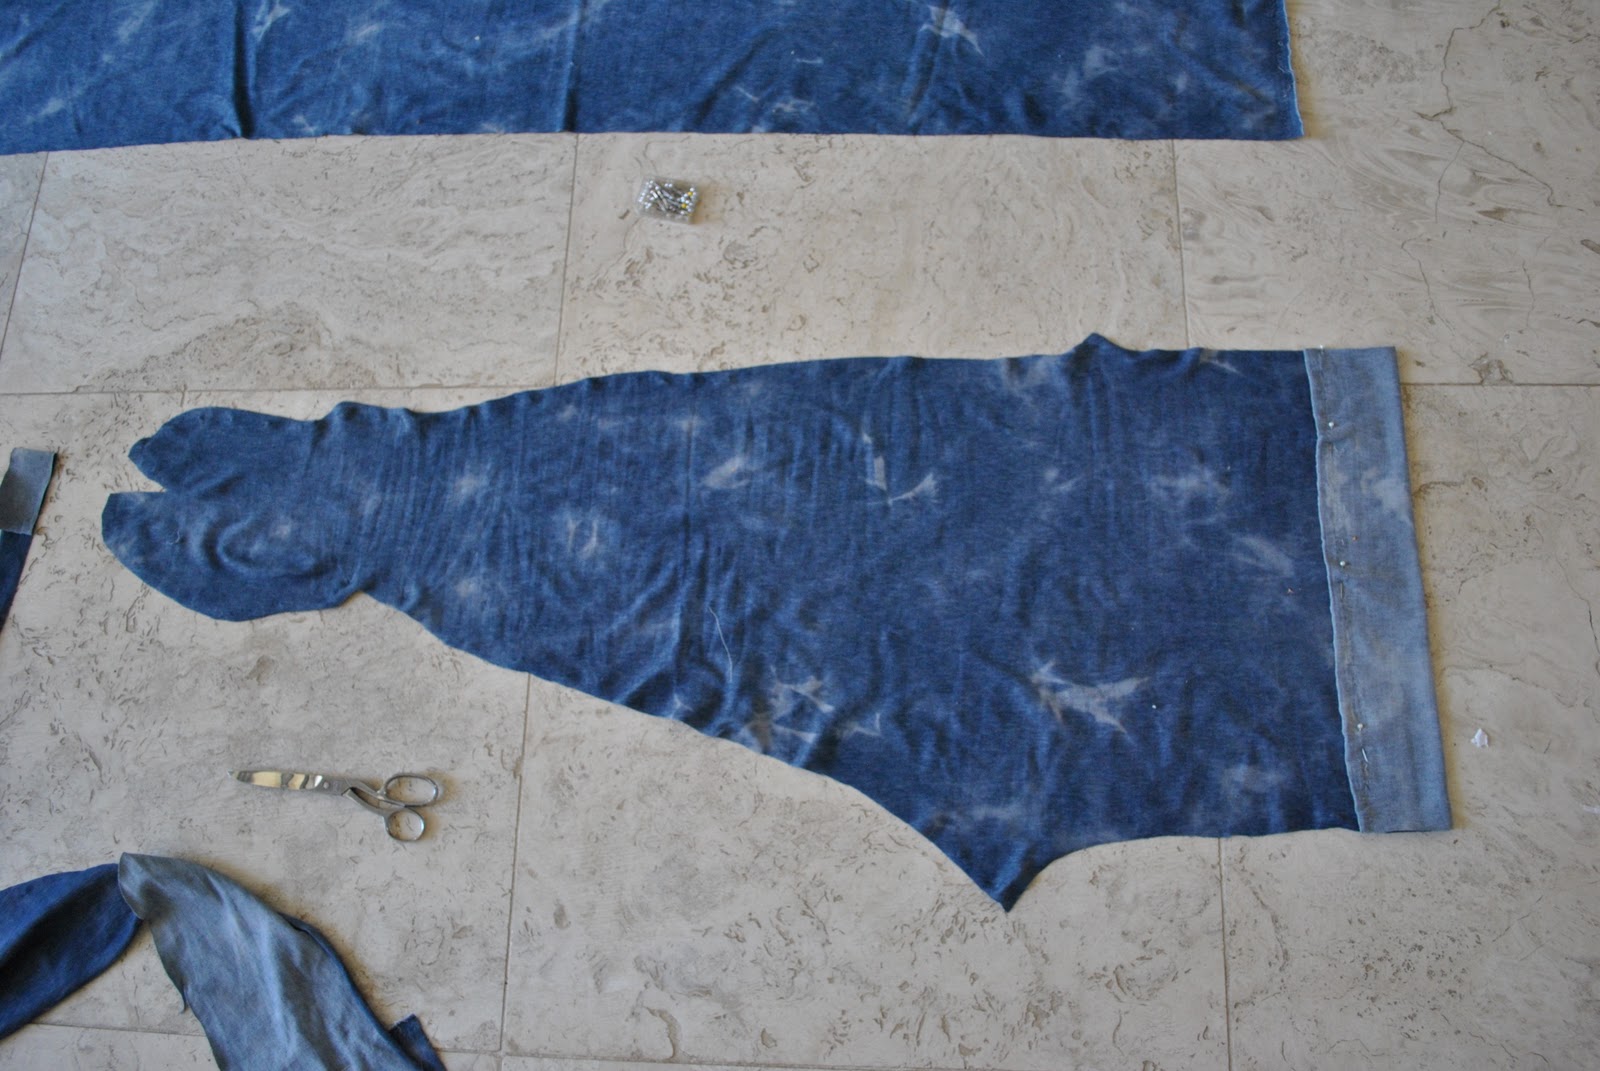
The heel and ankle are the trickiest bits to accomodate.  I’ve got smoothest results when the fabric is pinned with a right angle turn at the inner ankle level.  See in the picture, the inner leg seam is pinned down vertically to just below (about 2.5cm, or 1inch) the ankle bone, then I’ve made a right turn to start pinning down the inner side of my foot.  Pin securely and tightly at these points, again aiming for tight and smooth above all else.  Pin down the inner side of the foot to your big toe, then turn again and pin across the top of your toes, finishing your pinning at the fold on the outer edge of your foot.
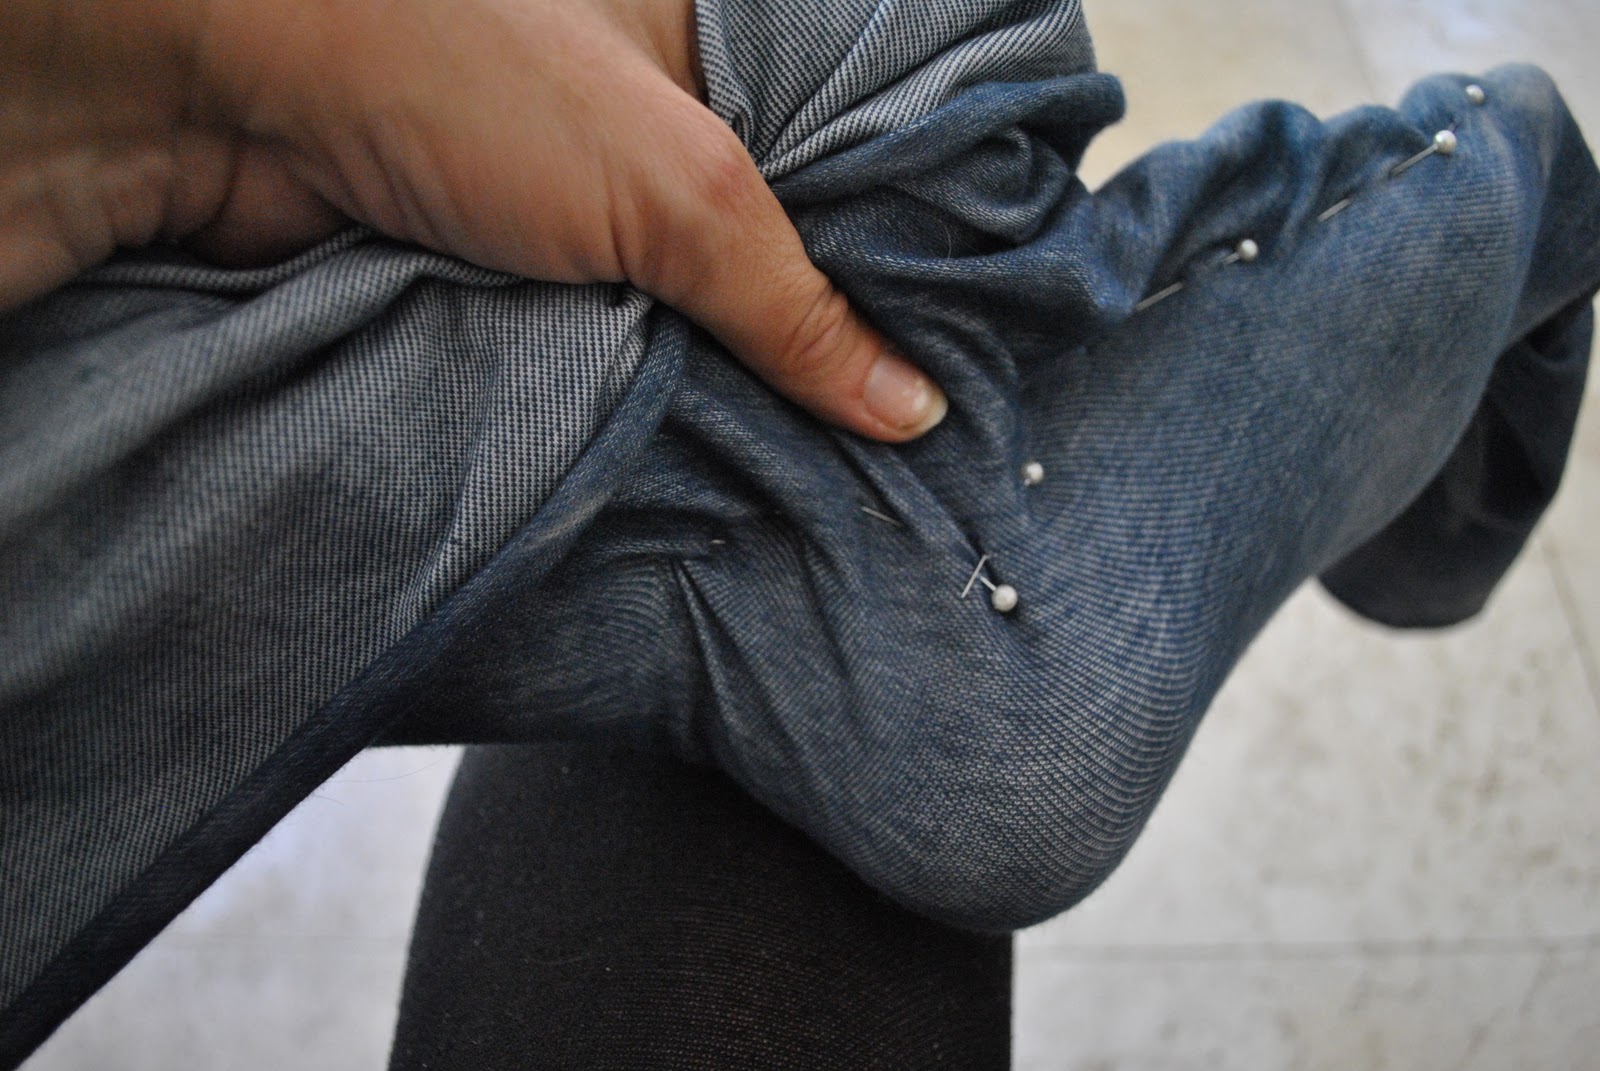
Now unpin the “abdomen pinning” from your leggings at the top, and replace each pin carefully back in the same spot in the fabric as you separate it from the leggings you are wearing.  Now carefully slide the whole thing off.  Try not to lose any pins in the process.  (this is why loose-fitting around the abdomen works best…)
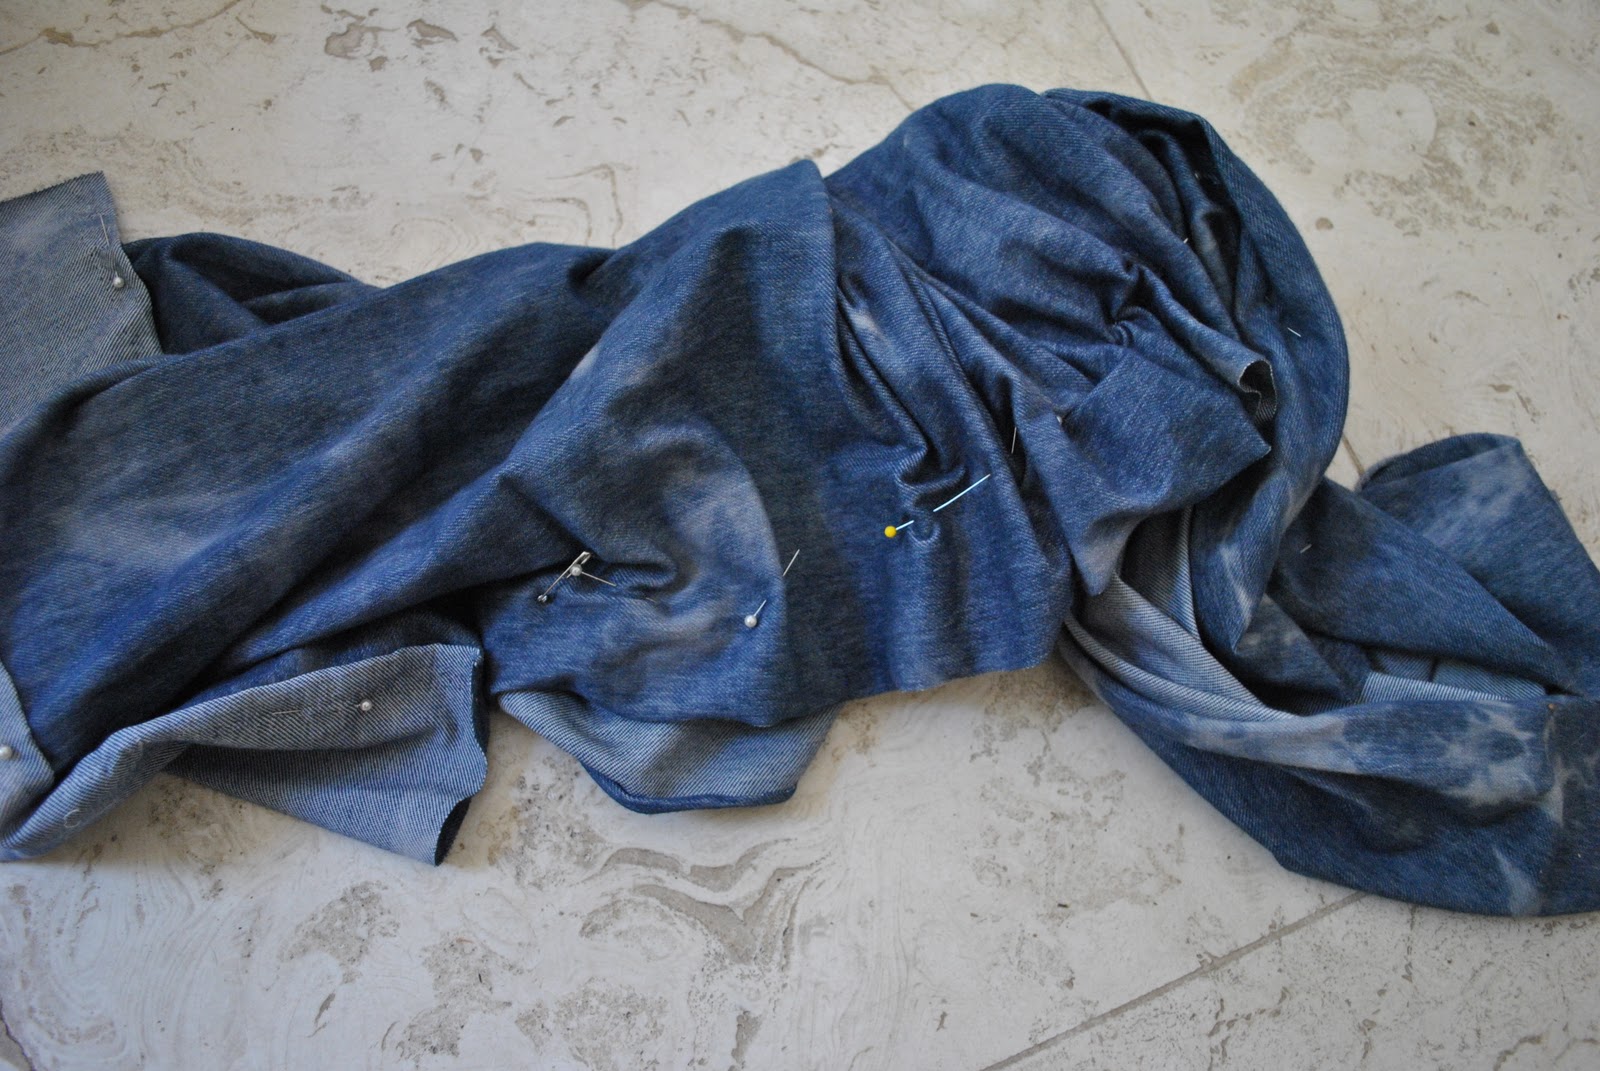
Open up the leg, marking each pinning point with pins on both sides as accurately and as exactly as possible.  Leaving about 1cm (3/8″) seam allowance cut around your pinned lines, cutting a smooth curve down and around to each crotch point.  And voila, you have a leg!  Take a deep breath and try not to panic as you look at your leg pattern.  I know it looks shocking if you’ve never seen it flat like this!  Have a cup of tea to congratulate yourself for having got this far…
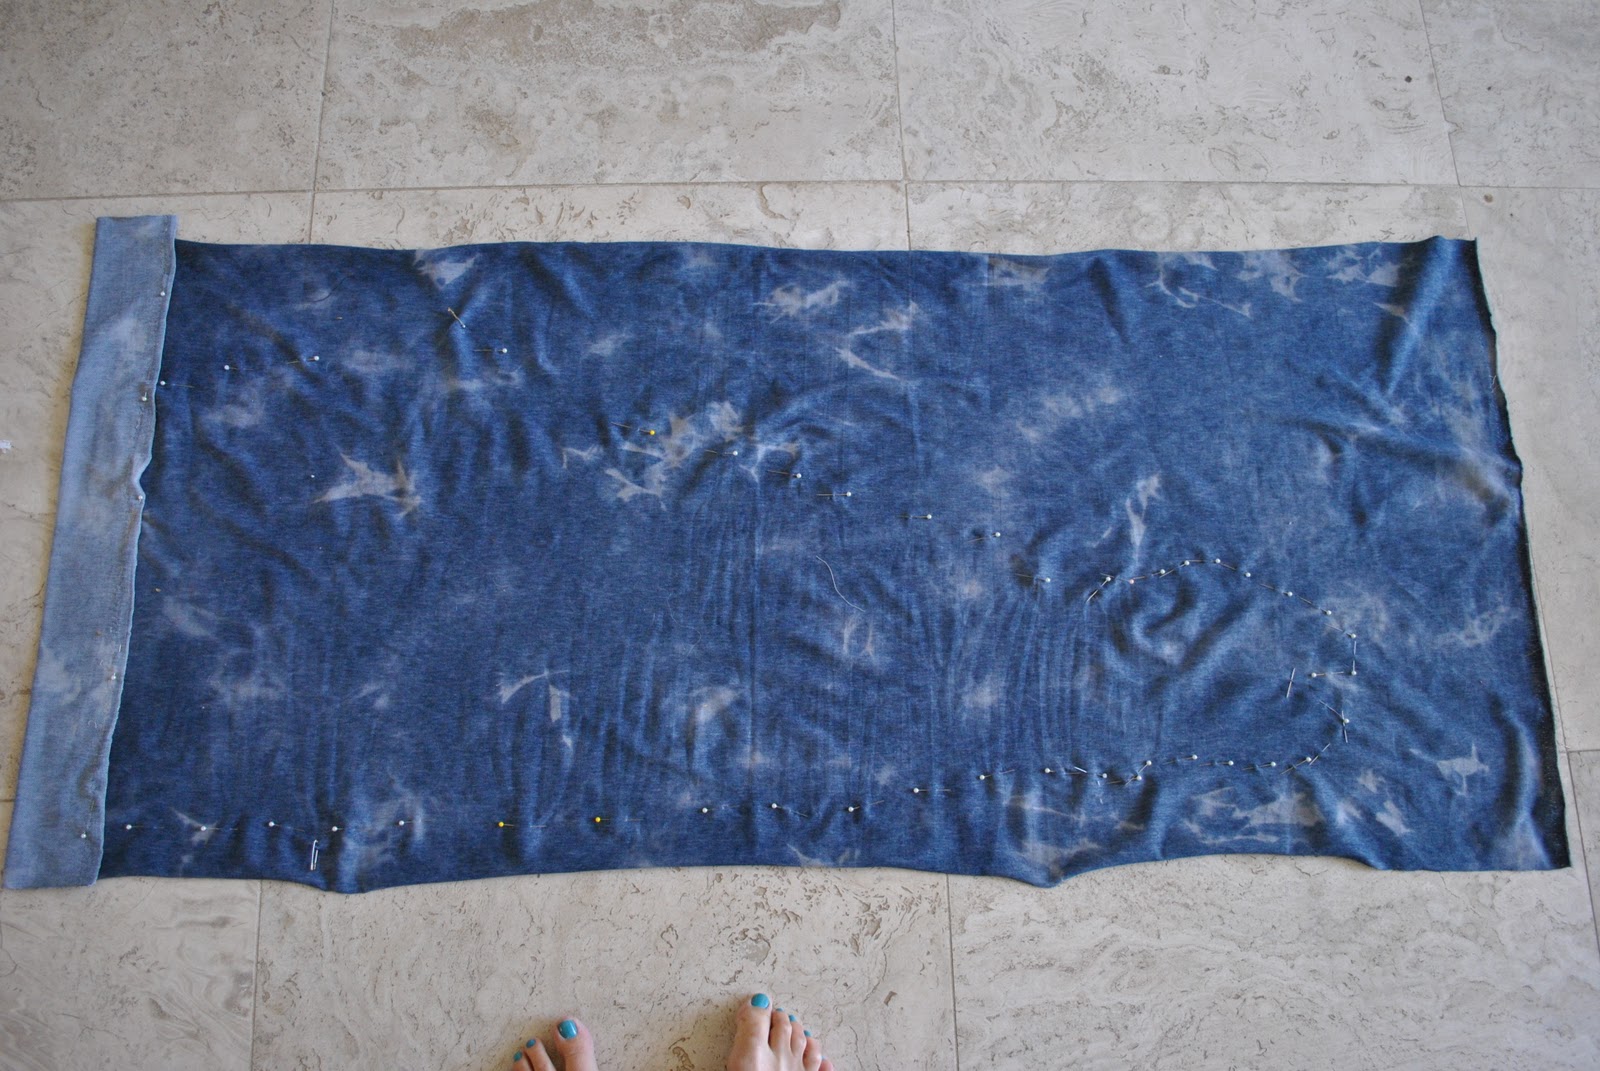
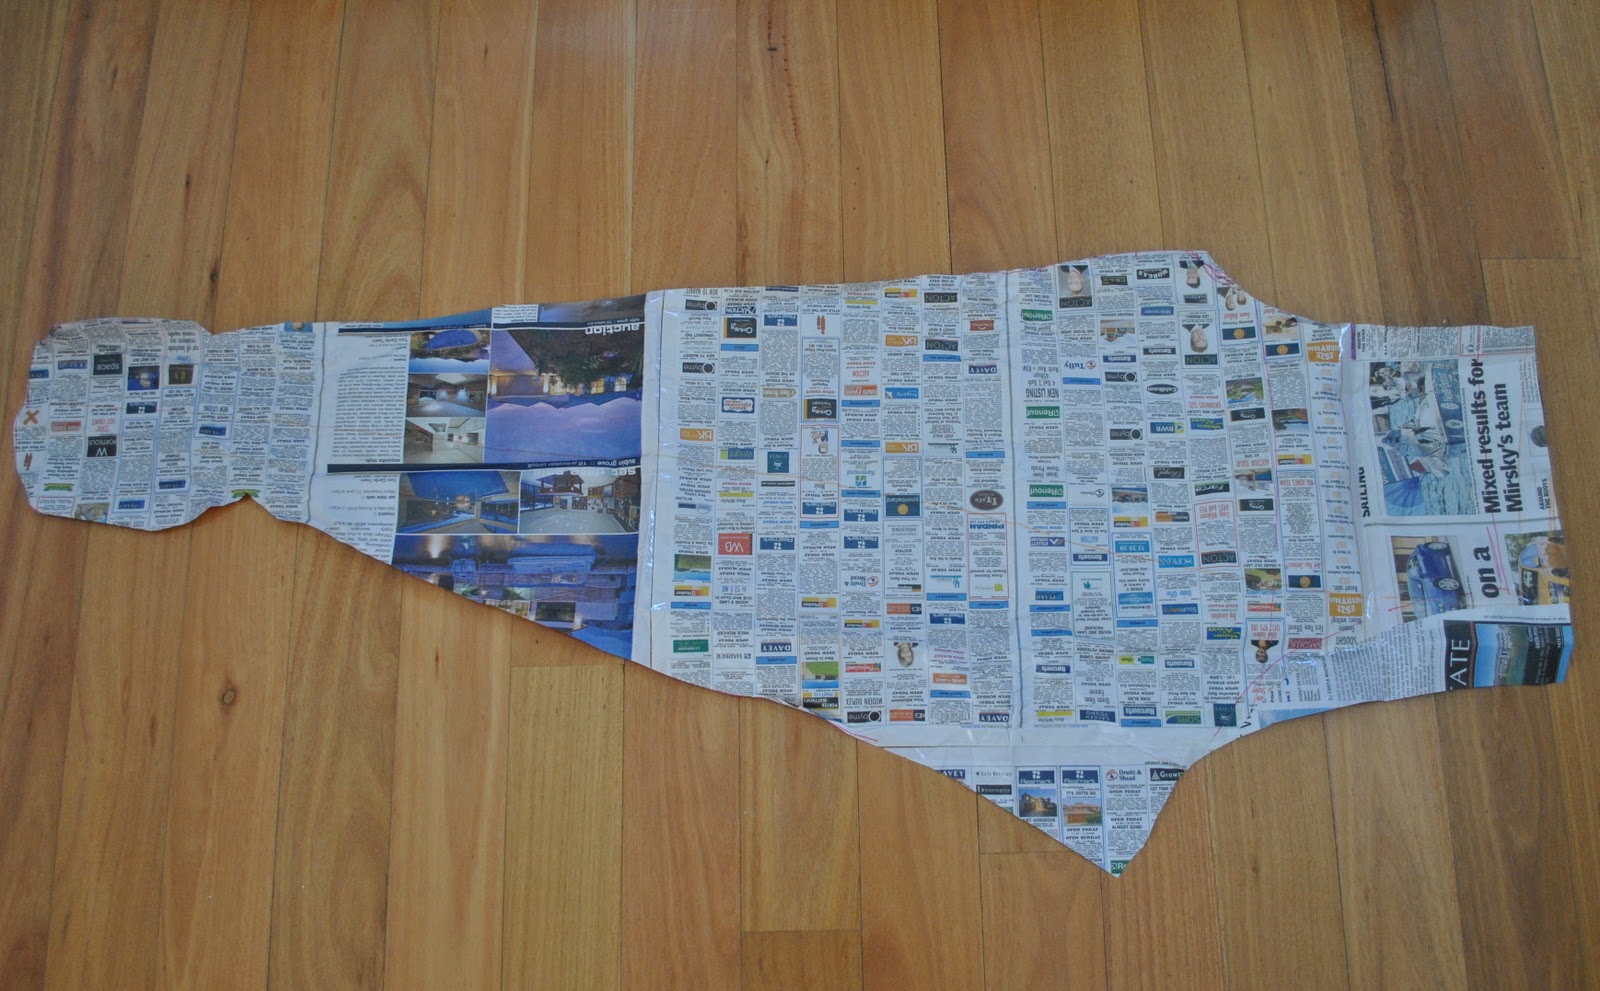
If you have any reason to believe your legs are different to each other, then you should do this whole process for the other leg too.  Otherwise, just lay this leg piece right sides together on the other half of fabric and cut out another leg.  It’s a good idea to make a paper pattern for your customised tights at this stage too, you know, so you don’t have to go through this whole rigmarole a second time…
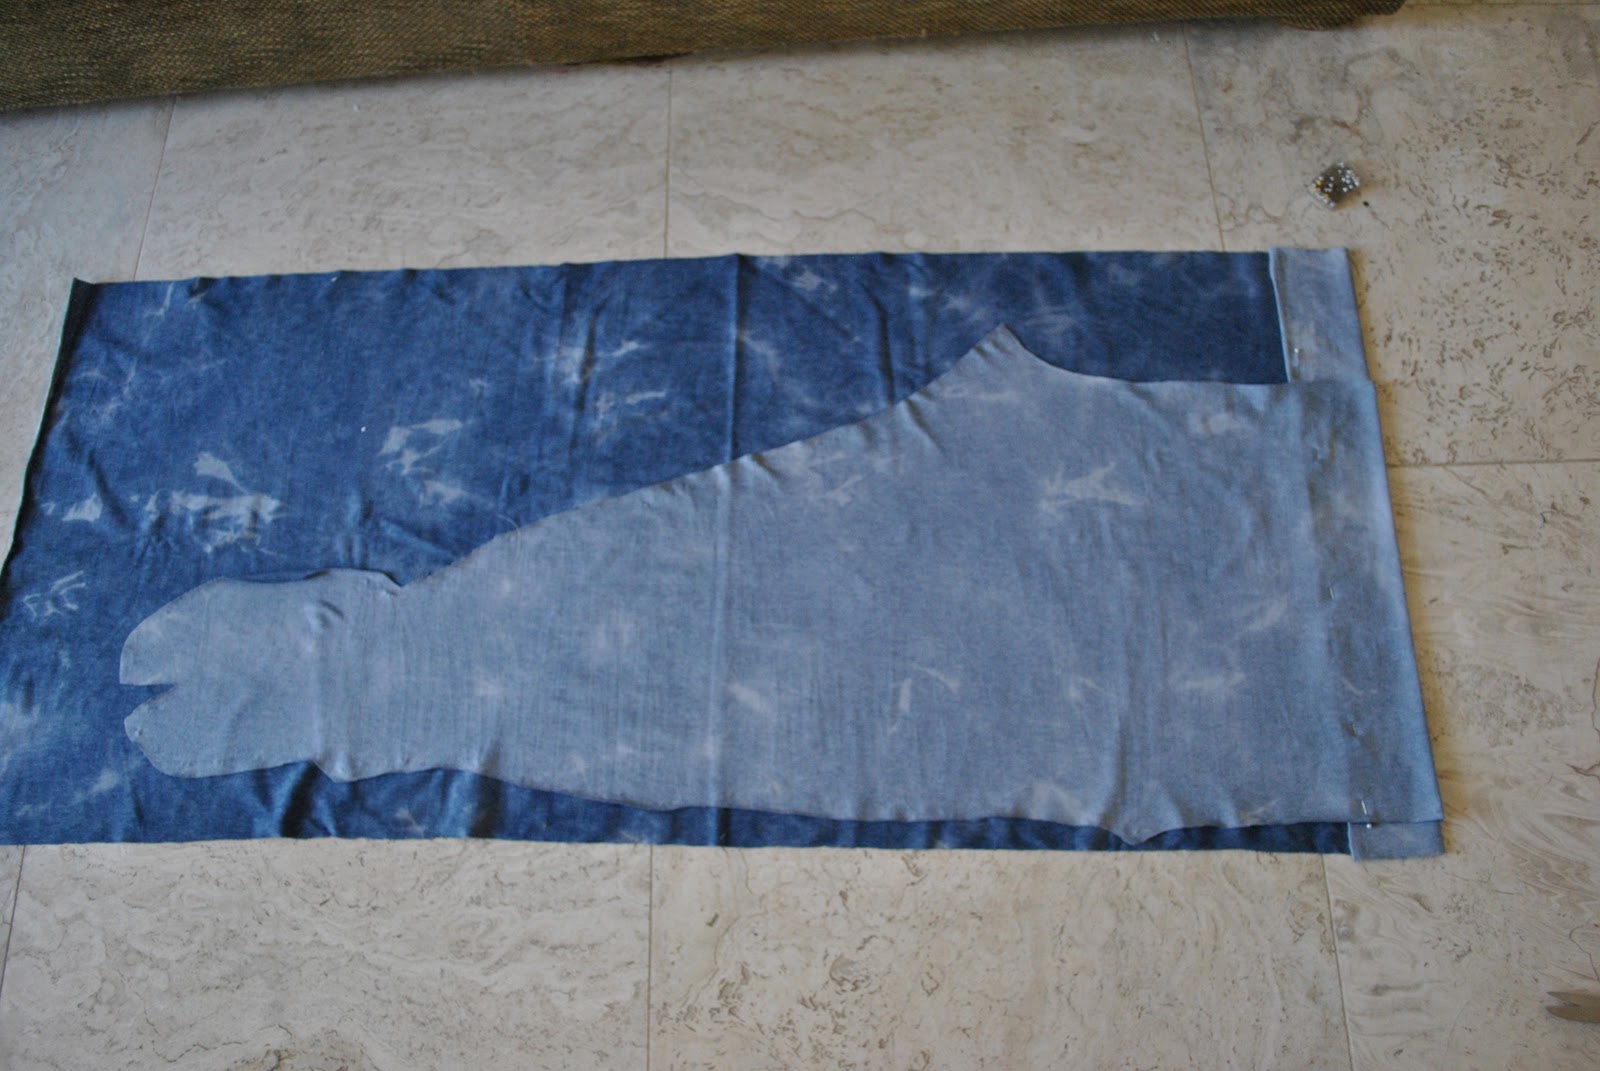
Pin, and sew up the inner leg seam of each leg.  Either serge as I did, or use the stretch stitch specifications for your particular machine.  Do from the big toe to the outer foot edge as a separate little seam.
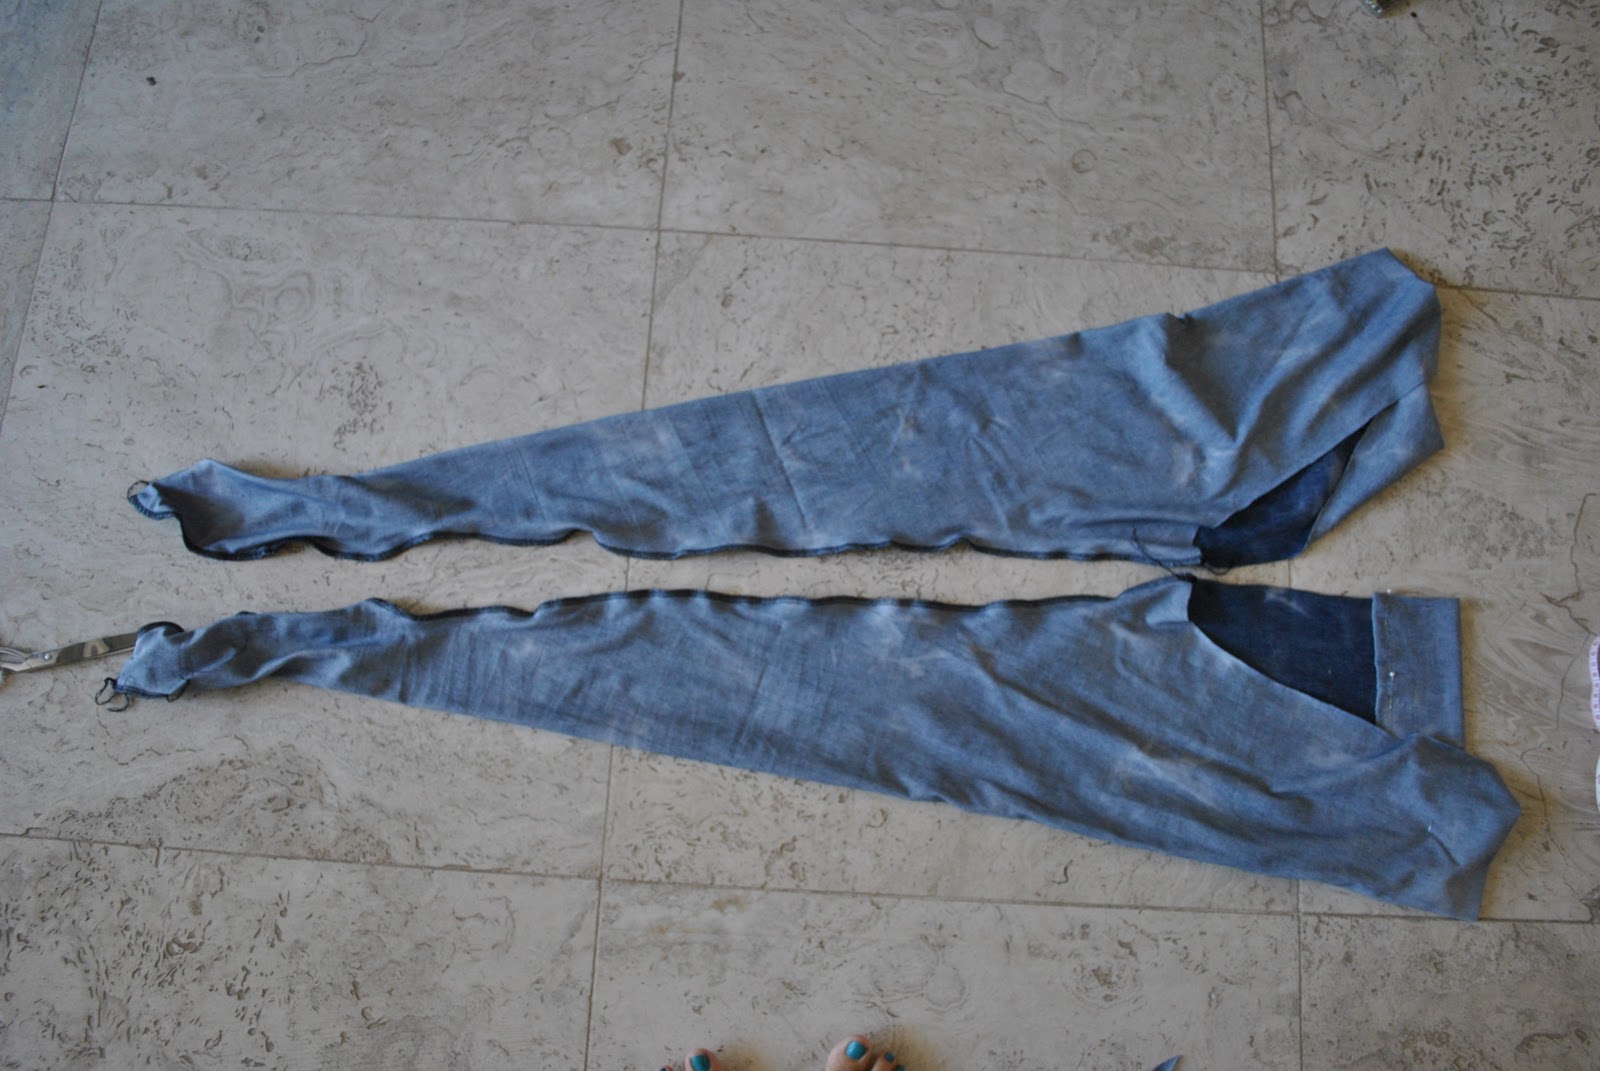
Try each leg on; just to check.  The tightest part for most is getting the heel through the ankle section of the tights… and you will probably have to adjust that inner leg seam to sit straight and true.
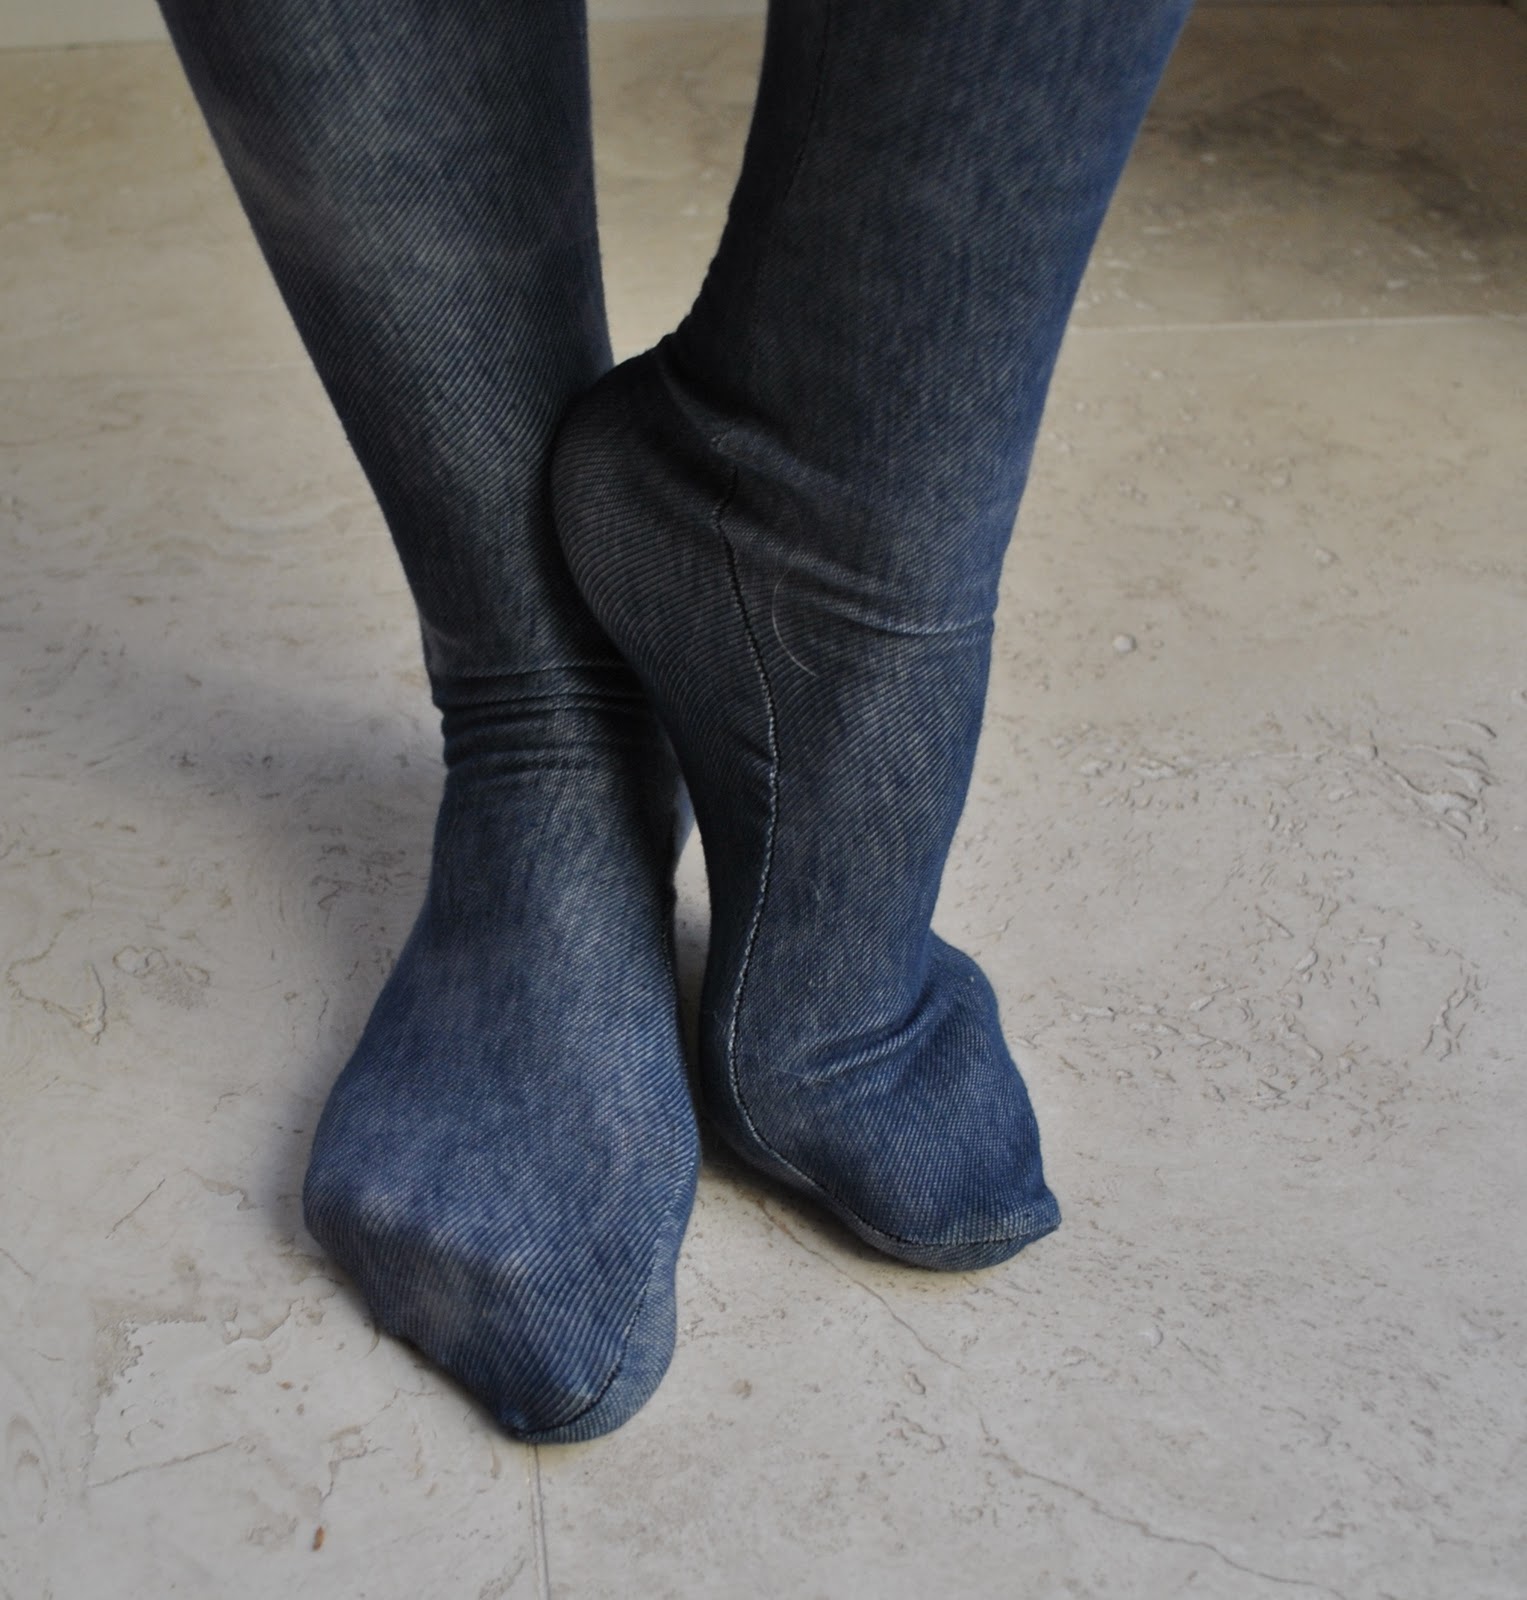
With right sides together, and fronts and backs together, sew the two legs together around the crotch seam.  Reinforce with an extra row of machine stretch stitching.
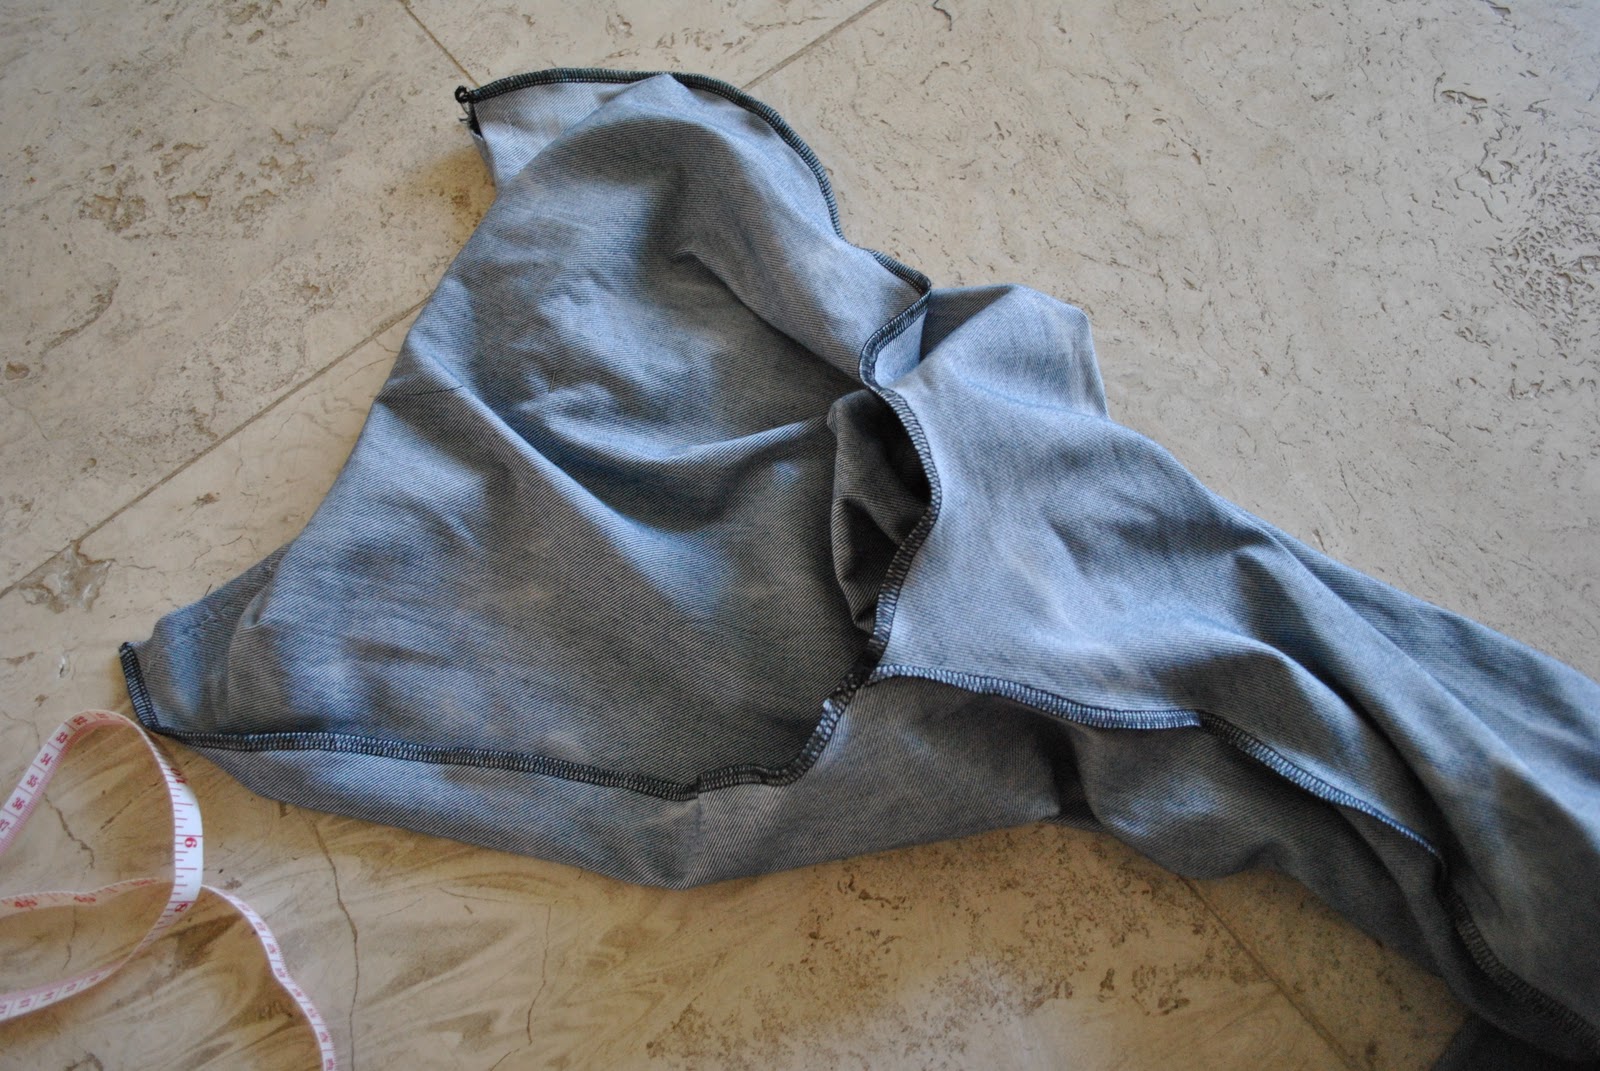
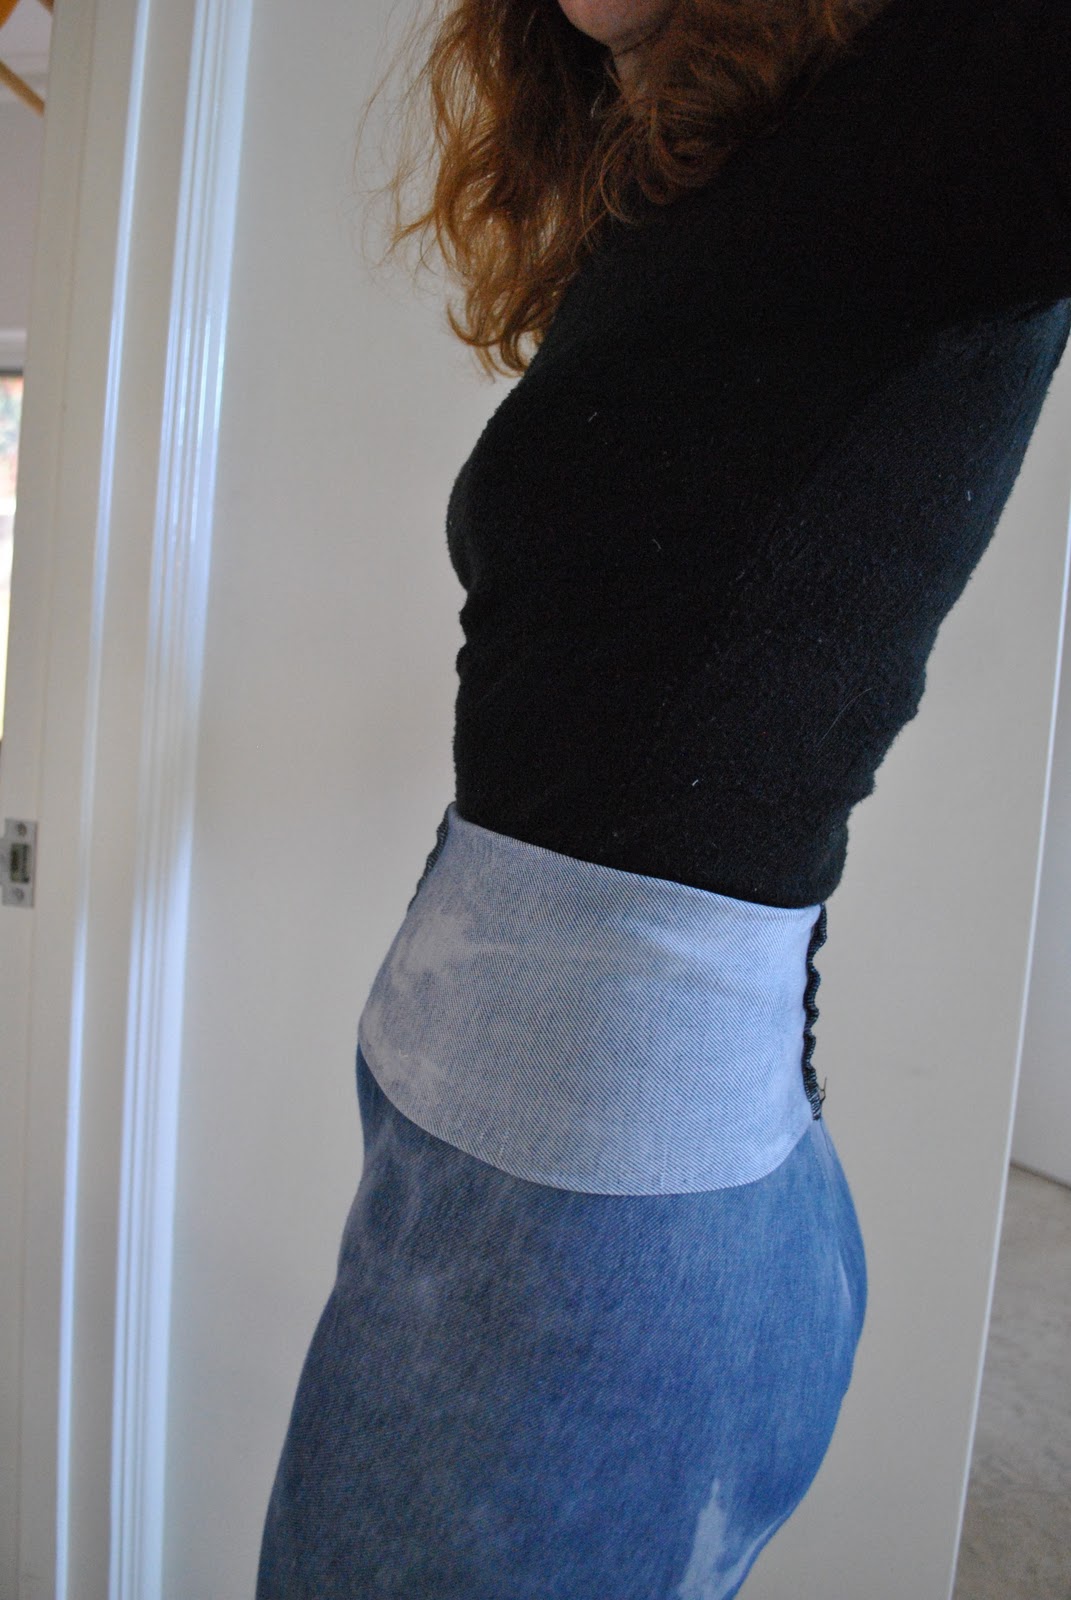
Try the tights on.  Now is the time to adjust and tighten the abdomen area; the waist will probably be too big and loose to work as tights.  Pull it in nice and as tight as you prefer at the centre front and centre back seam; pin and stitch.  Using the offcuts, similarly adjust the waistline of your paper pattern, taking away this amount at the front and back of the top of the pattern.
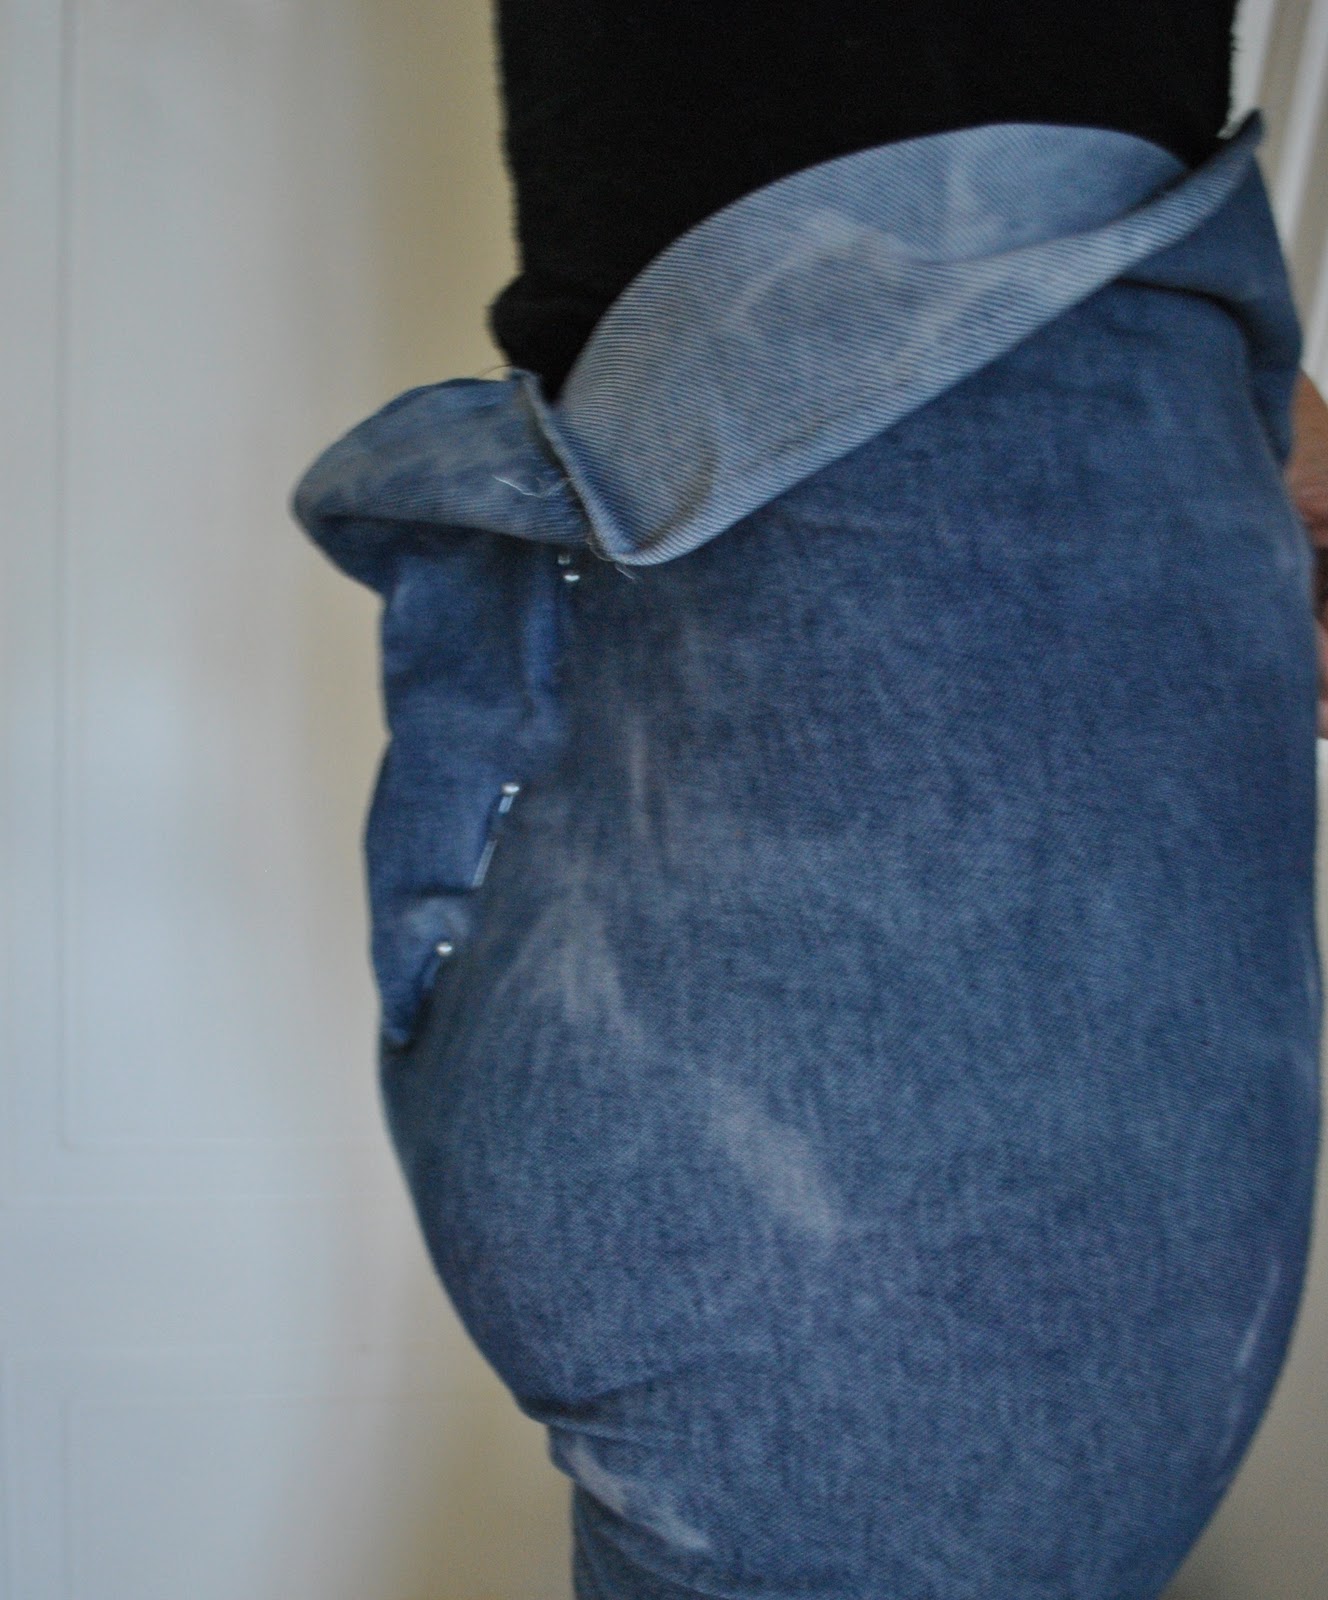
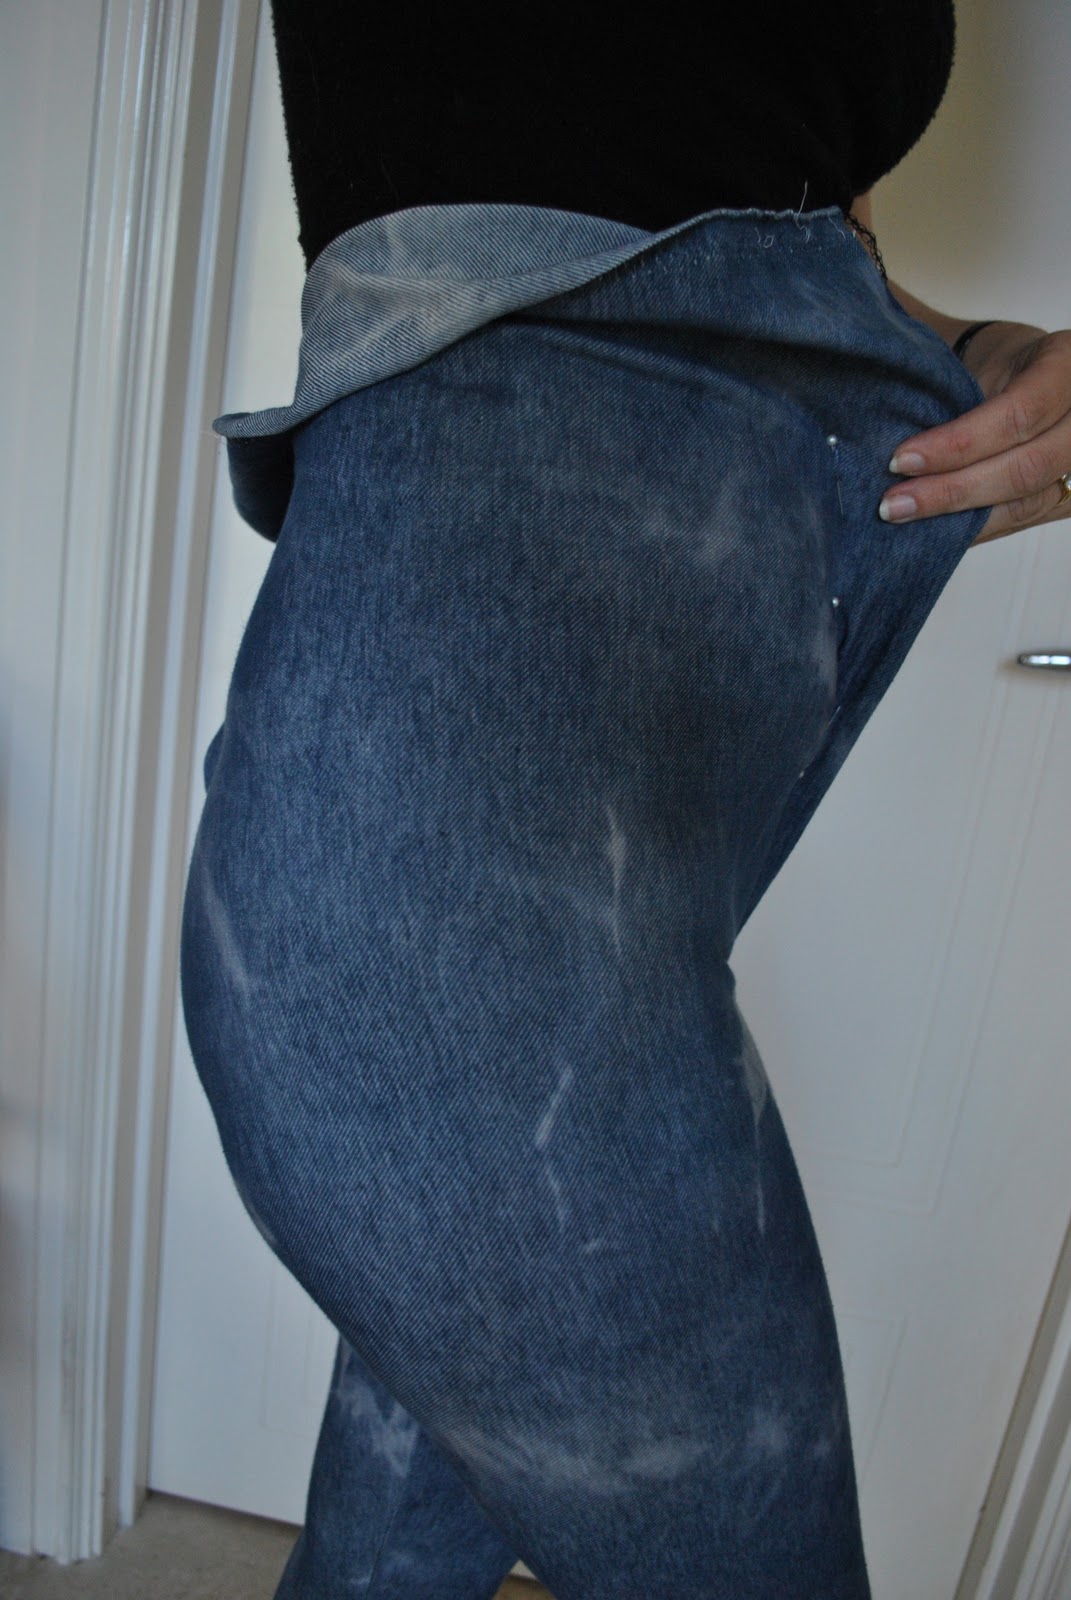
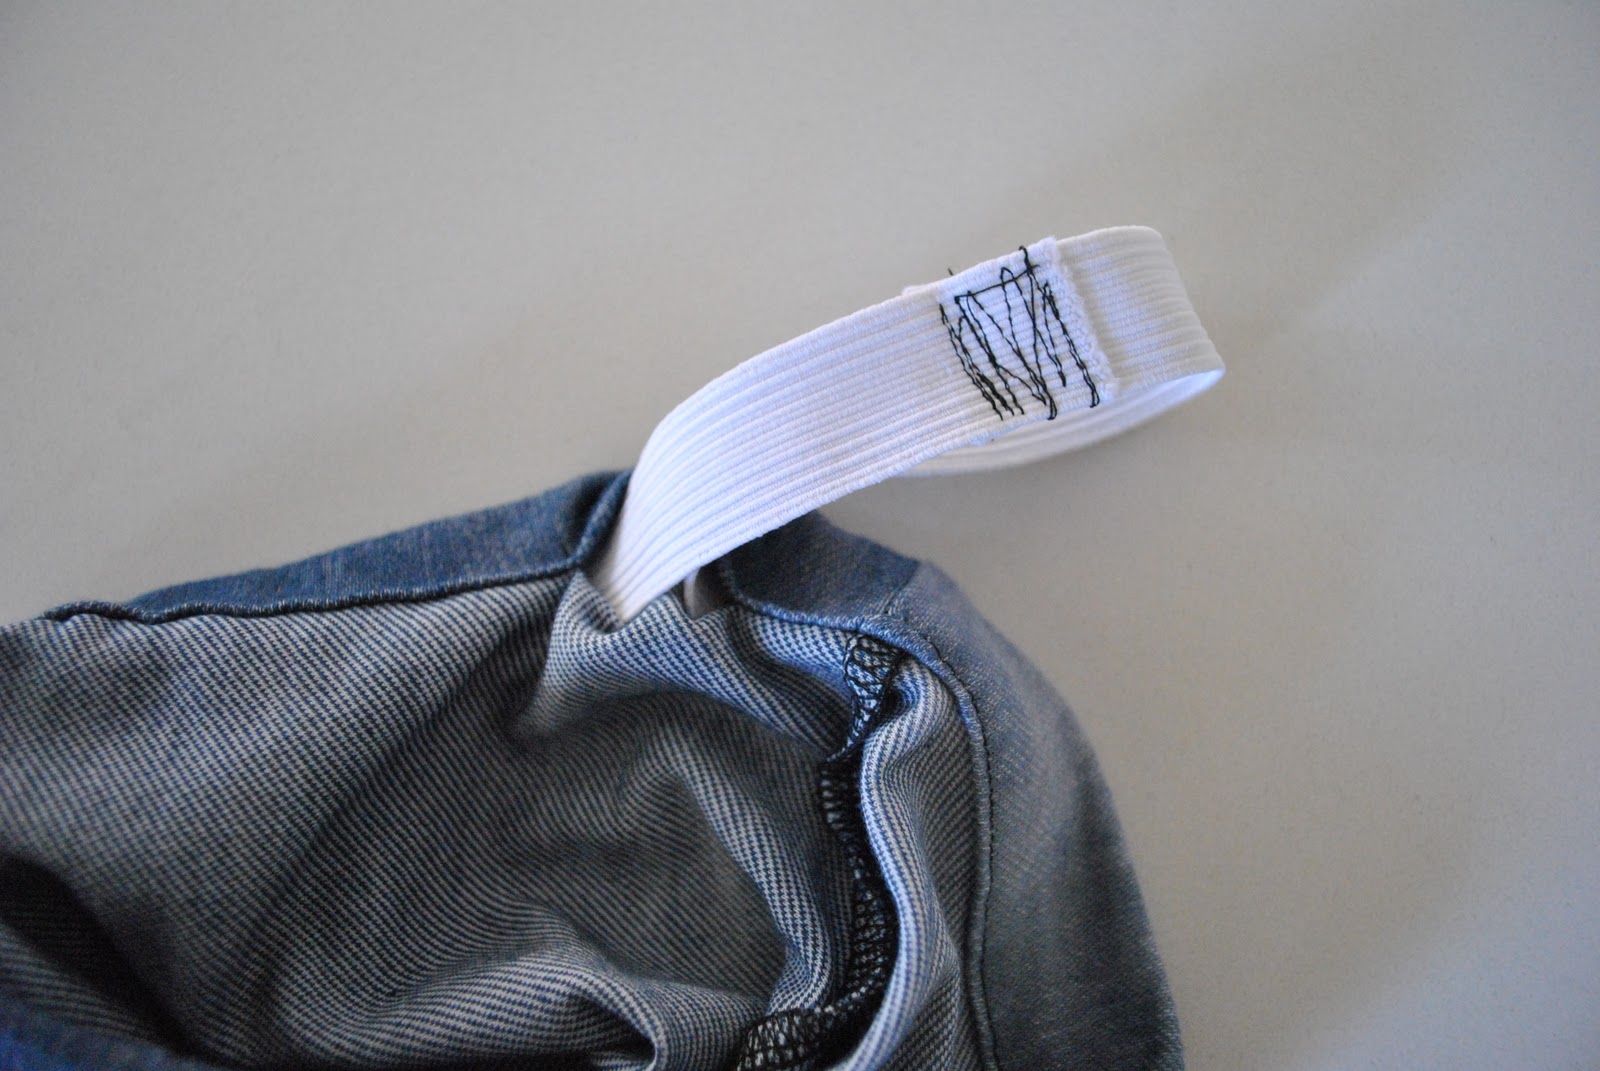
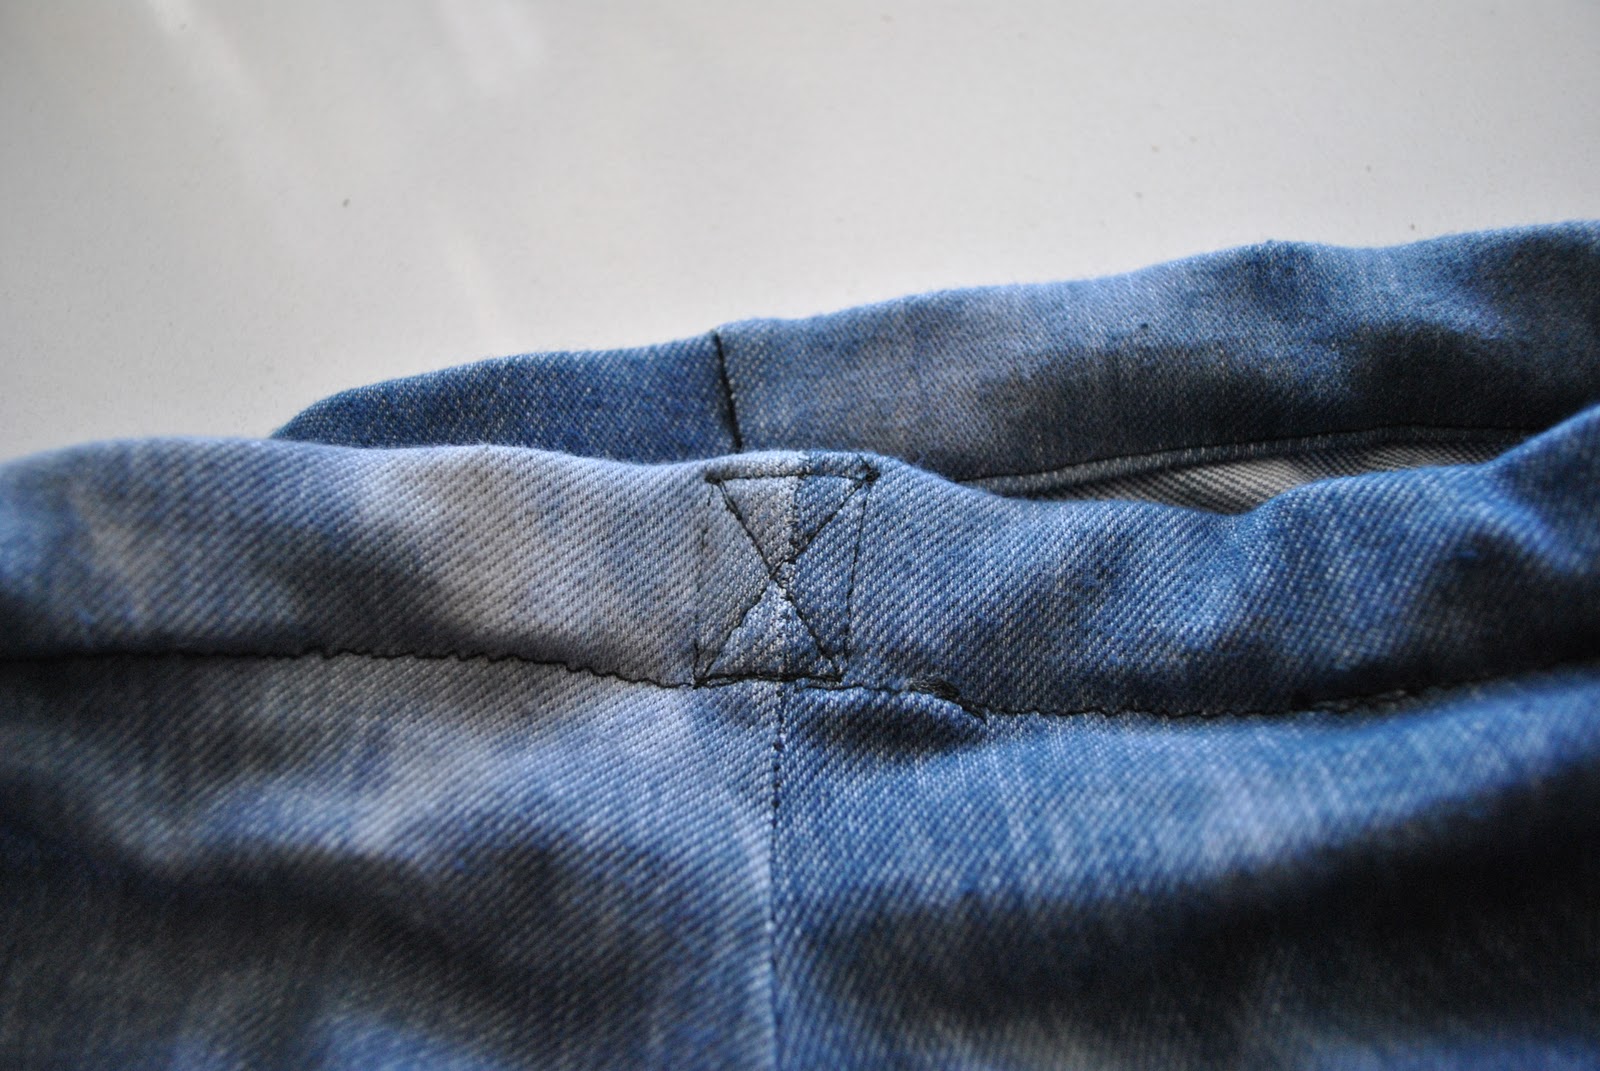
Now it is the time to sew a waist casing for your elastic, do this in the normal way as you would for any elastic waistband.  To keep the elastic straight in its casing, I always sew a line of vertical stitching over the casing with the elastic inside along the centre front seam and also at the back.  Furthermore, I sew a cross at the back of the waistband, or some similar marking, so I can tell at a glance which is the back of the tights when I am pulling them on to wear.
 

pinterestmail

One year in cyber-space; and a Give-Away

Today exactly one year ago I started blogging here about my sewing, and as it turned out, some other stuff too! 🙂
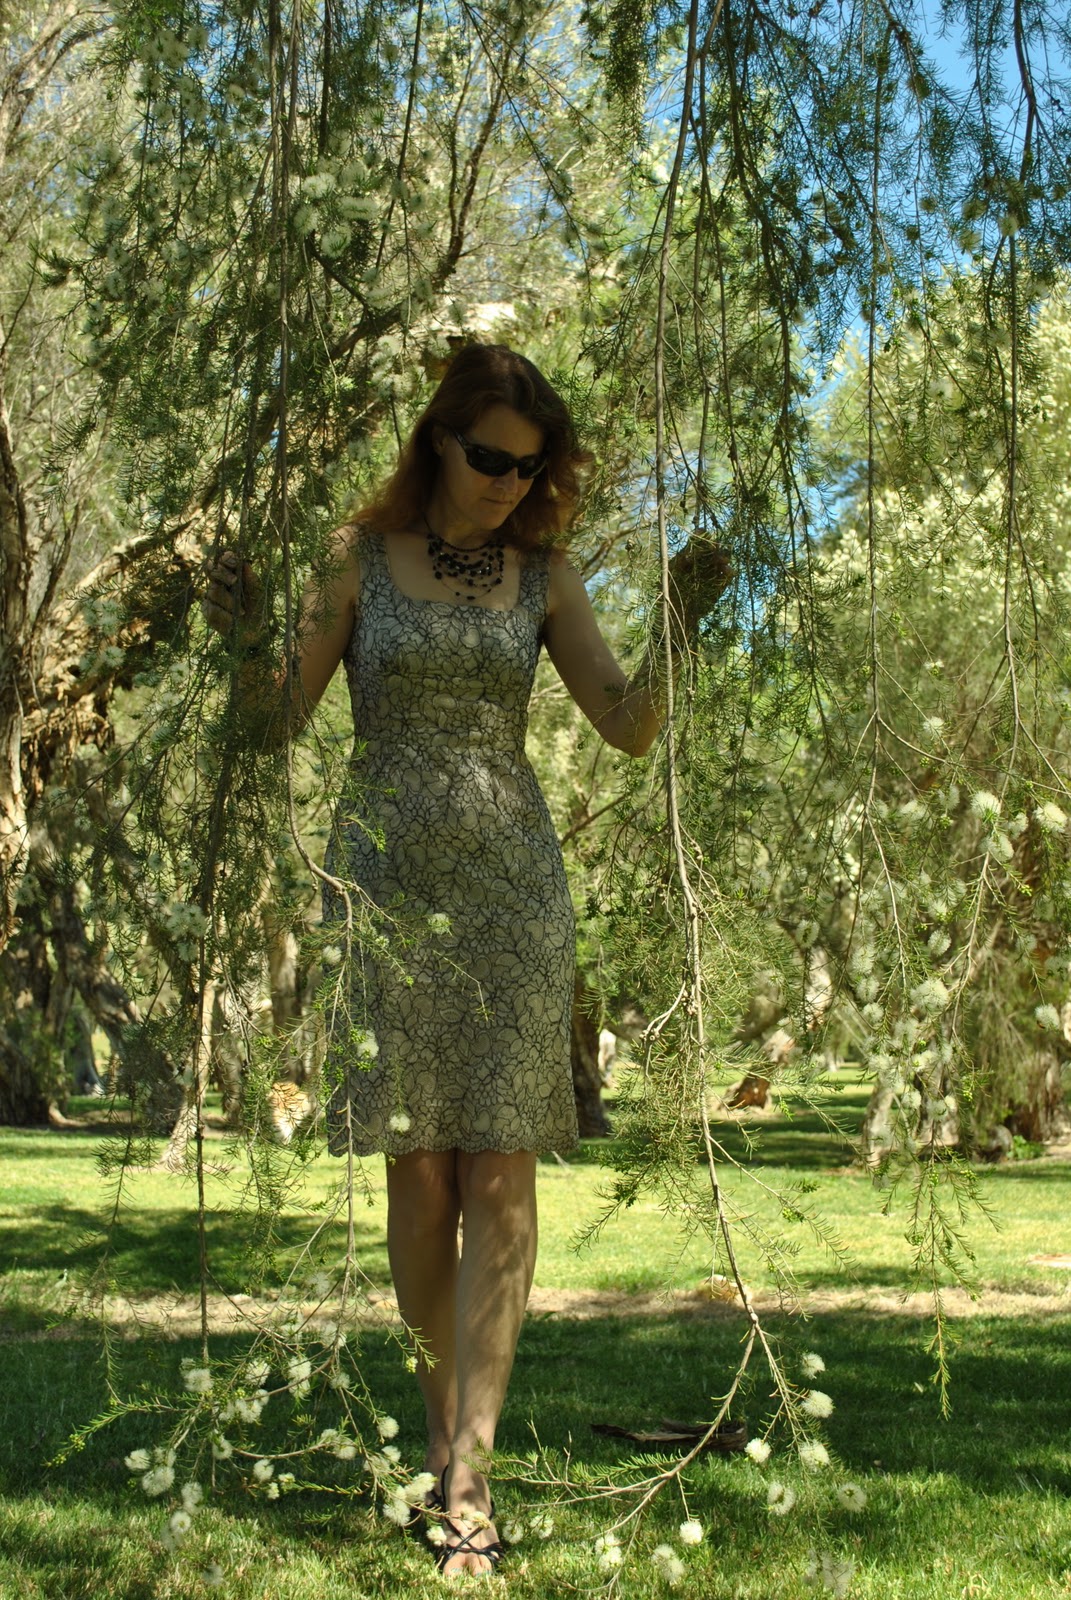
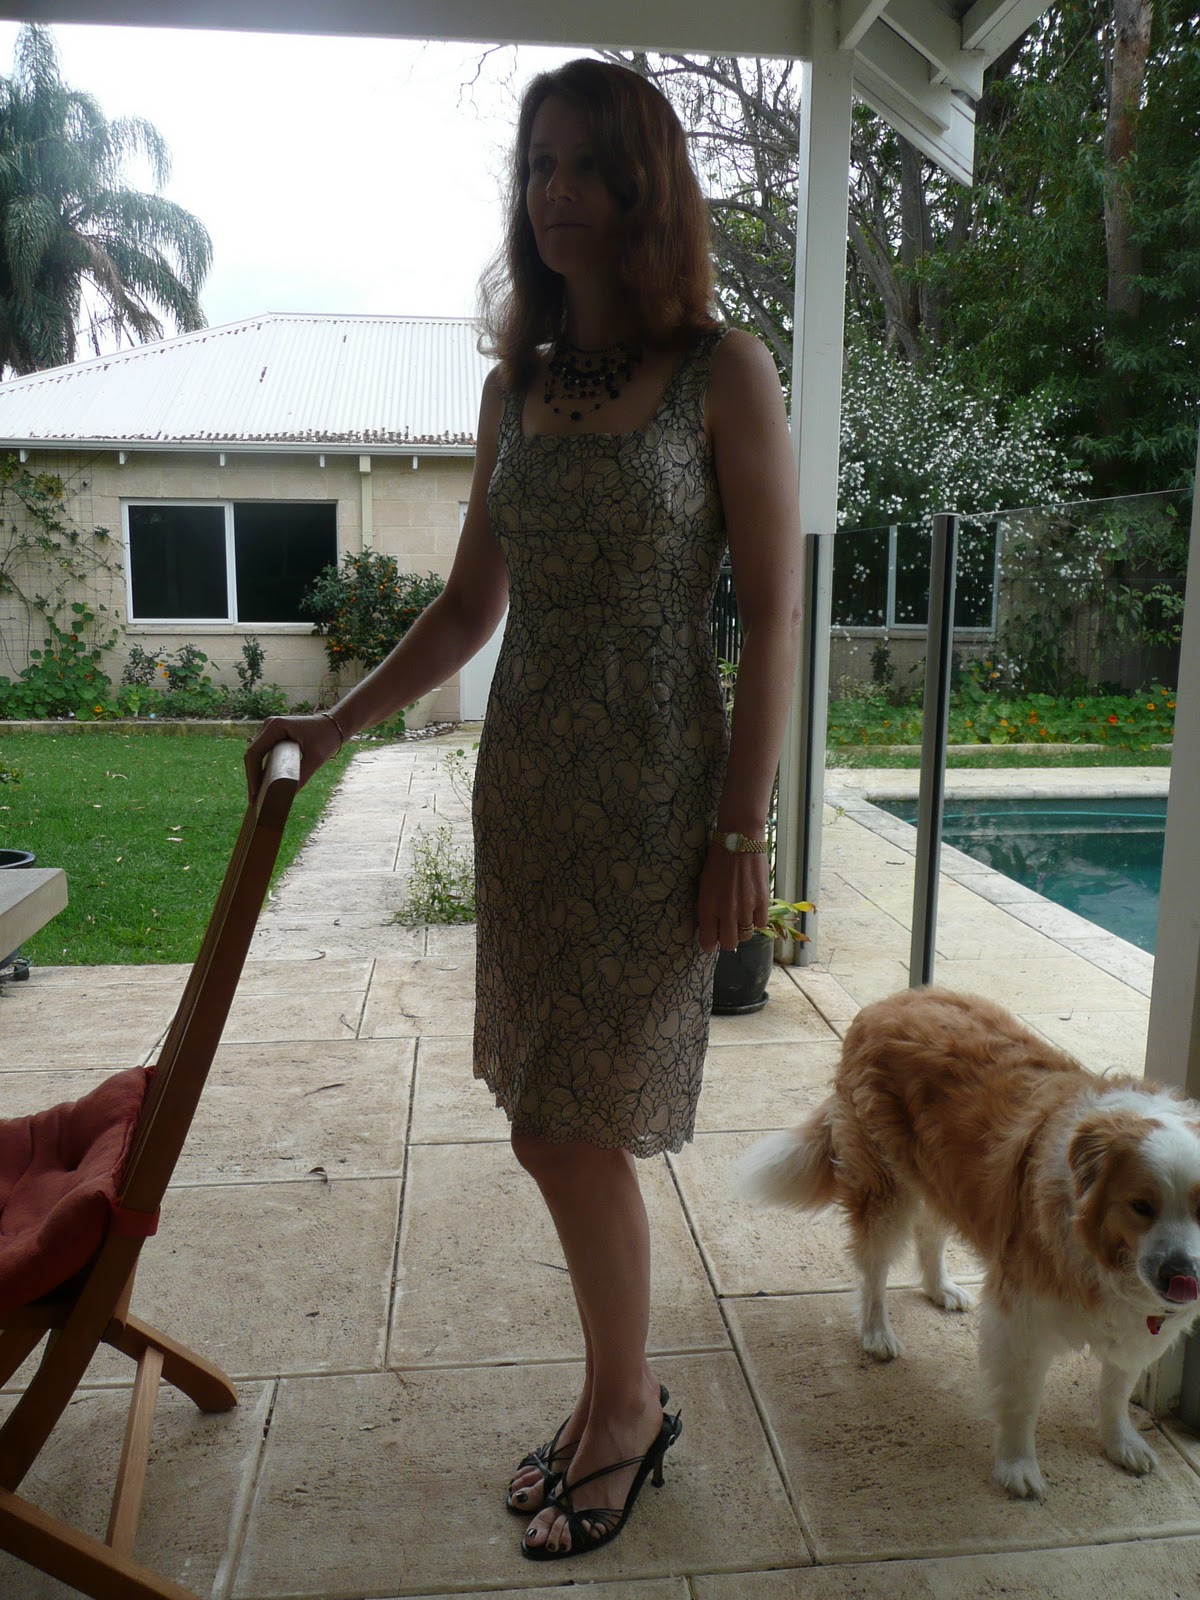
To mark the occasion, I thought it might be fun to wear again today the same dress I did on my very first blog post, a quiet celebration for it being the First Dress Here, so to speak.  Although of course, at the time it was only about a year old… far from the oldest thing in my wardrobe.  I think my photo taking has improved a lot, what do you think?
(photo at right from my blog, 12 October 2009)

And to thank YOU, lovely readers, I decided to have a GIVE-AWAY!
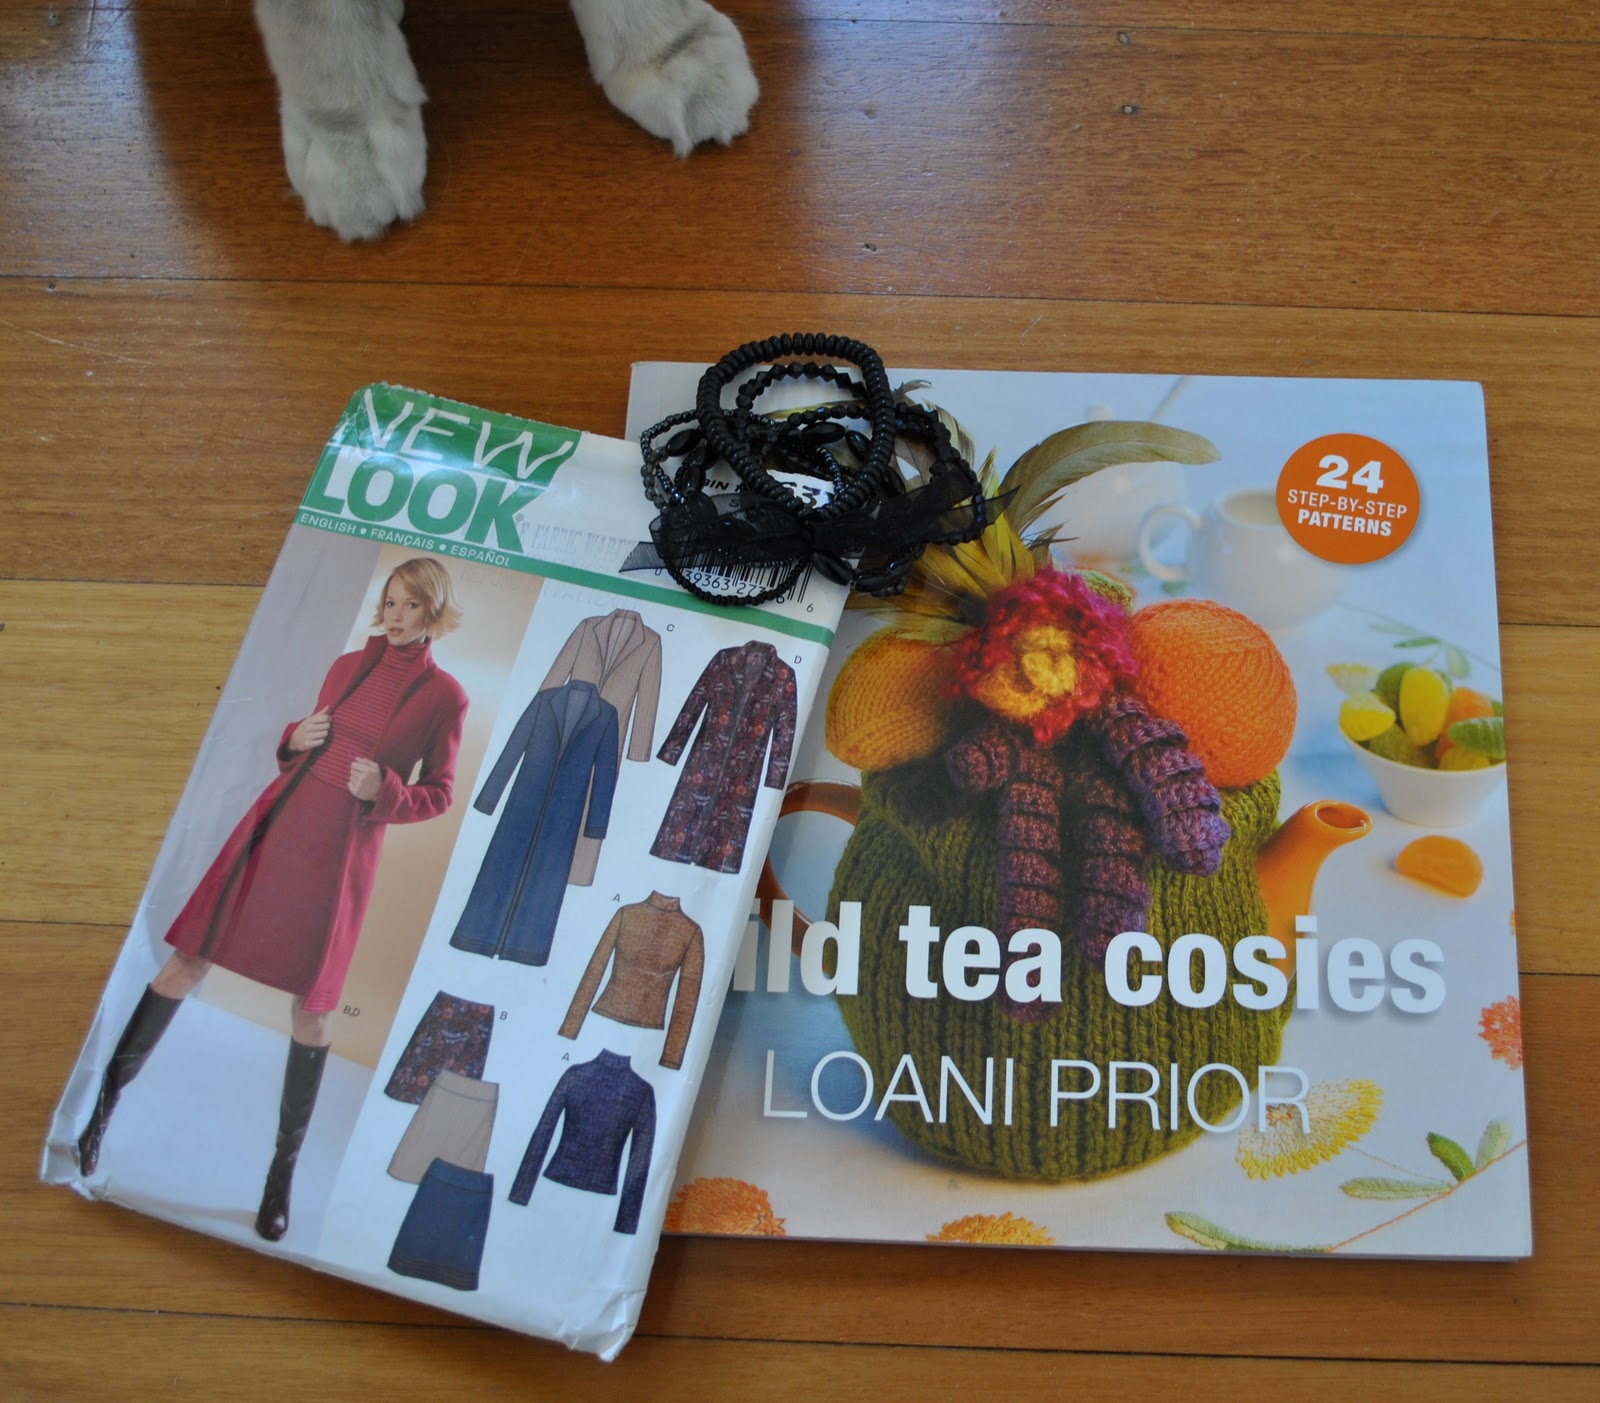
I did put some thought into this: since my blog is supposed to be about sewing, knitting and looking your best; I tried to have a little of each represented… so I have selected a sewing pattern, a knitting book and a little arm bracelet to give to a loyal reader.
The sewing pattern is New Look 6317, it is multi-sized from 10-22, and is still pristine and uncut in its envelope.  I think this is referred to as “factory folded” in ebay speak, but since I don’t go there hardly ever I could be wrong…  It is both easy and versatile, and includes a simple straight skirt, a jumper or sweater, and a coat pattern; all very simple and uncluttered in cut and line so a pattern ripe for customising in however way you wish.

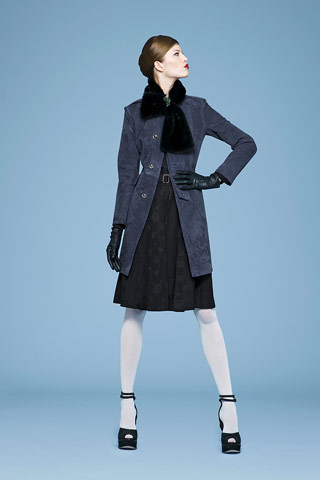
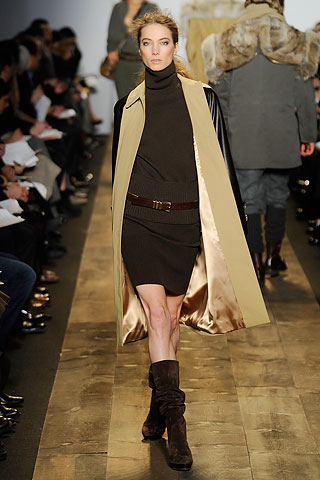
(Using this pattern, New Look 6317, you could easily re-create either of these designer looks for yourself; at left from Michael Kors Fall 2010, at right from Yves St Laurent pre Fall 2010)
The knitting book is “Wild Tea Cosies” by Loani Prior, an Australian knitting designer; you might remember some of my projects from this book I’ve posted about here in the past.  It has a fabulous variety of fun designs, all using only a few balls of wool, and all quick projects that will take a fraction of the time of a full-sized knitted garment.  Coffee drinkers; you could just as easily adapt these designs to a coffee pot as for a tea pot.  This is a book that a beginner (who knows basic stitches) can cut their teeth on, and work their way up to some of the more complex designs over time; and I guarantee you won’t get bored with your project as it will be finished in a flash, and you can delight your friends with some crazy and unique gifts.
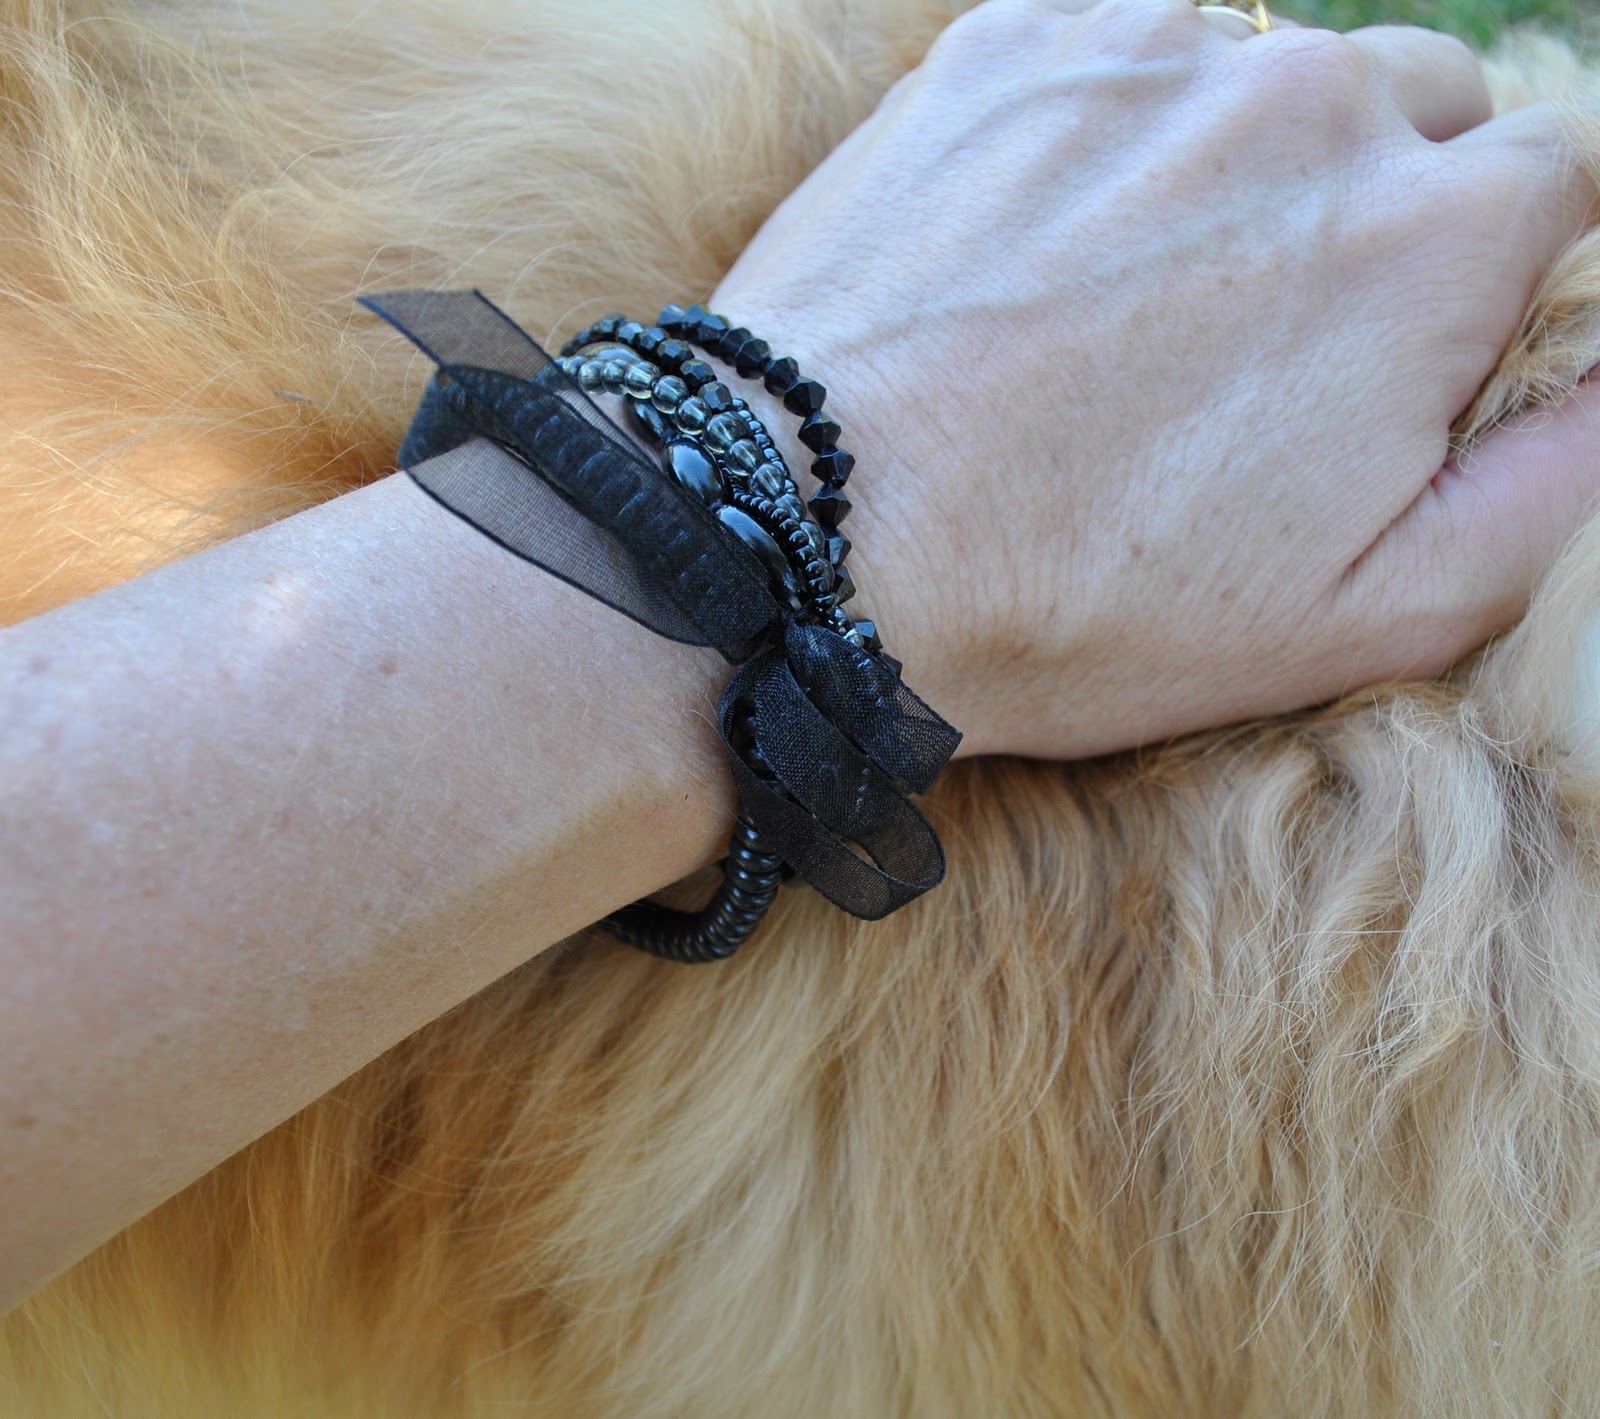
The beaded bracelet is just a silly little thing; a variety of black beaded strands, tied up with a black gauze bow.  It is elasticated so can slip over your hand to sit snugly and chicly on your wrist.  Cool, no?
Unlike other (kinda mean) giveaways I’ve seen in blog-land, this is open to Everyone in the World!  And also, obviously, this is one I’m funding myself and I’m not receiving any endorsements or sponsorship by doing this.

You can enter into my give away by doing the following:

1. Becoming a follower of my blog (please leave a comment here to let me know if you do, so I know you are there)
2. If you are already a follower, just by leaving a comment on this post,
3. IF you have a blog, by linking to my blog OR by mentioning this give-away on your own blog.

This give-away will be open for a week, so next Tuesday, 19th October I will randomly pick one from the comments I receive here and announce a winner…
and thankyou for reading!

Details from top:
Dress; New Look 6699, with some of my own adaptions, coffee and black lace over ivory silk
Sandals; Joanne Mercer for Micam, from Hobbs shoes
Necklace; my own design

pinterestmail

To sleep, perchance to dream

With the change in the season, comes a need for change in all areas of apparel, including the mundane and practical such as sleepwear…
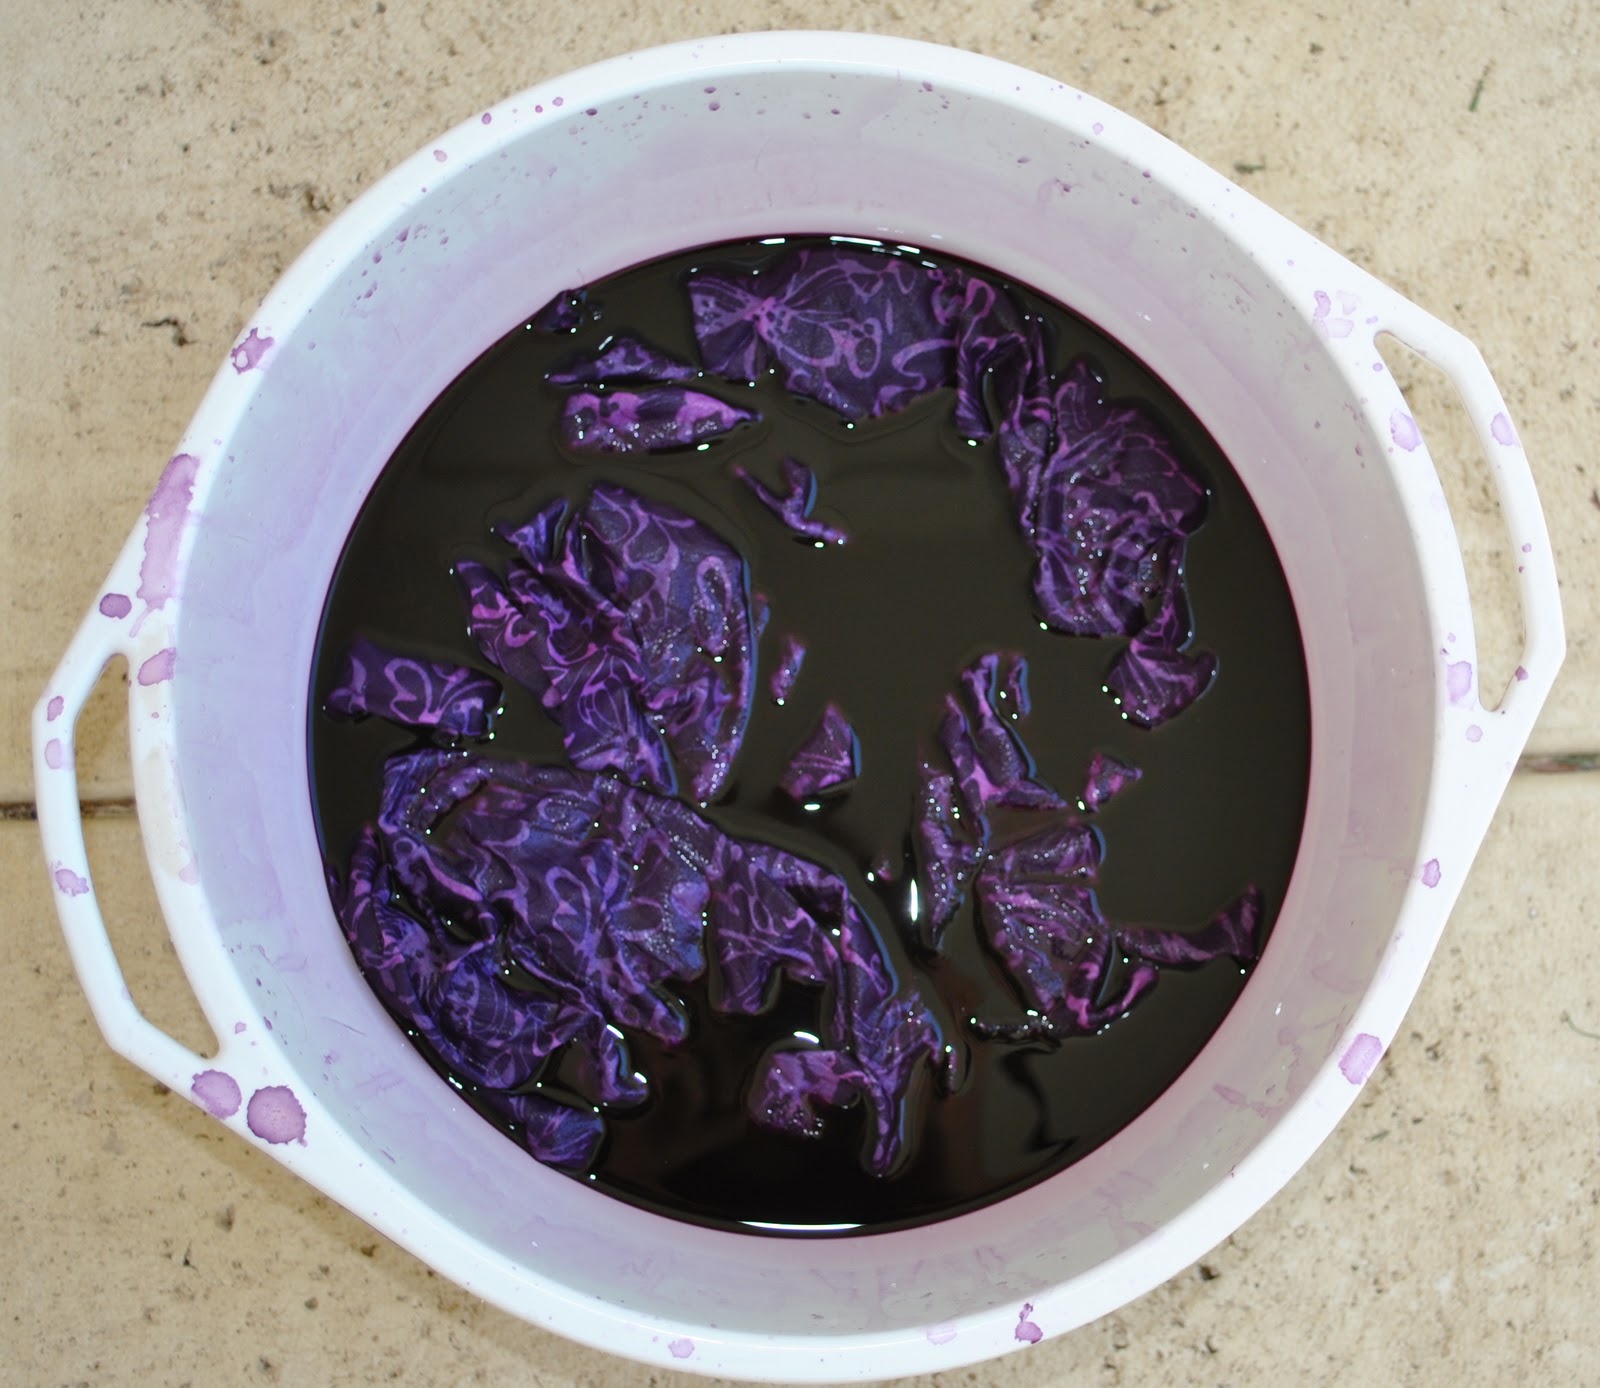
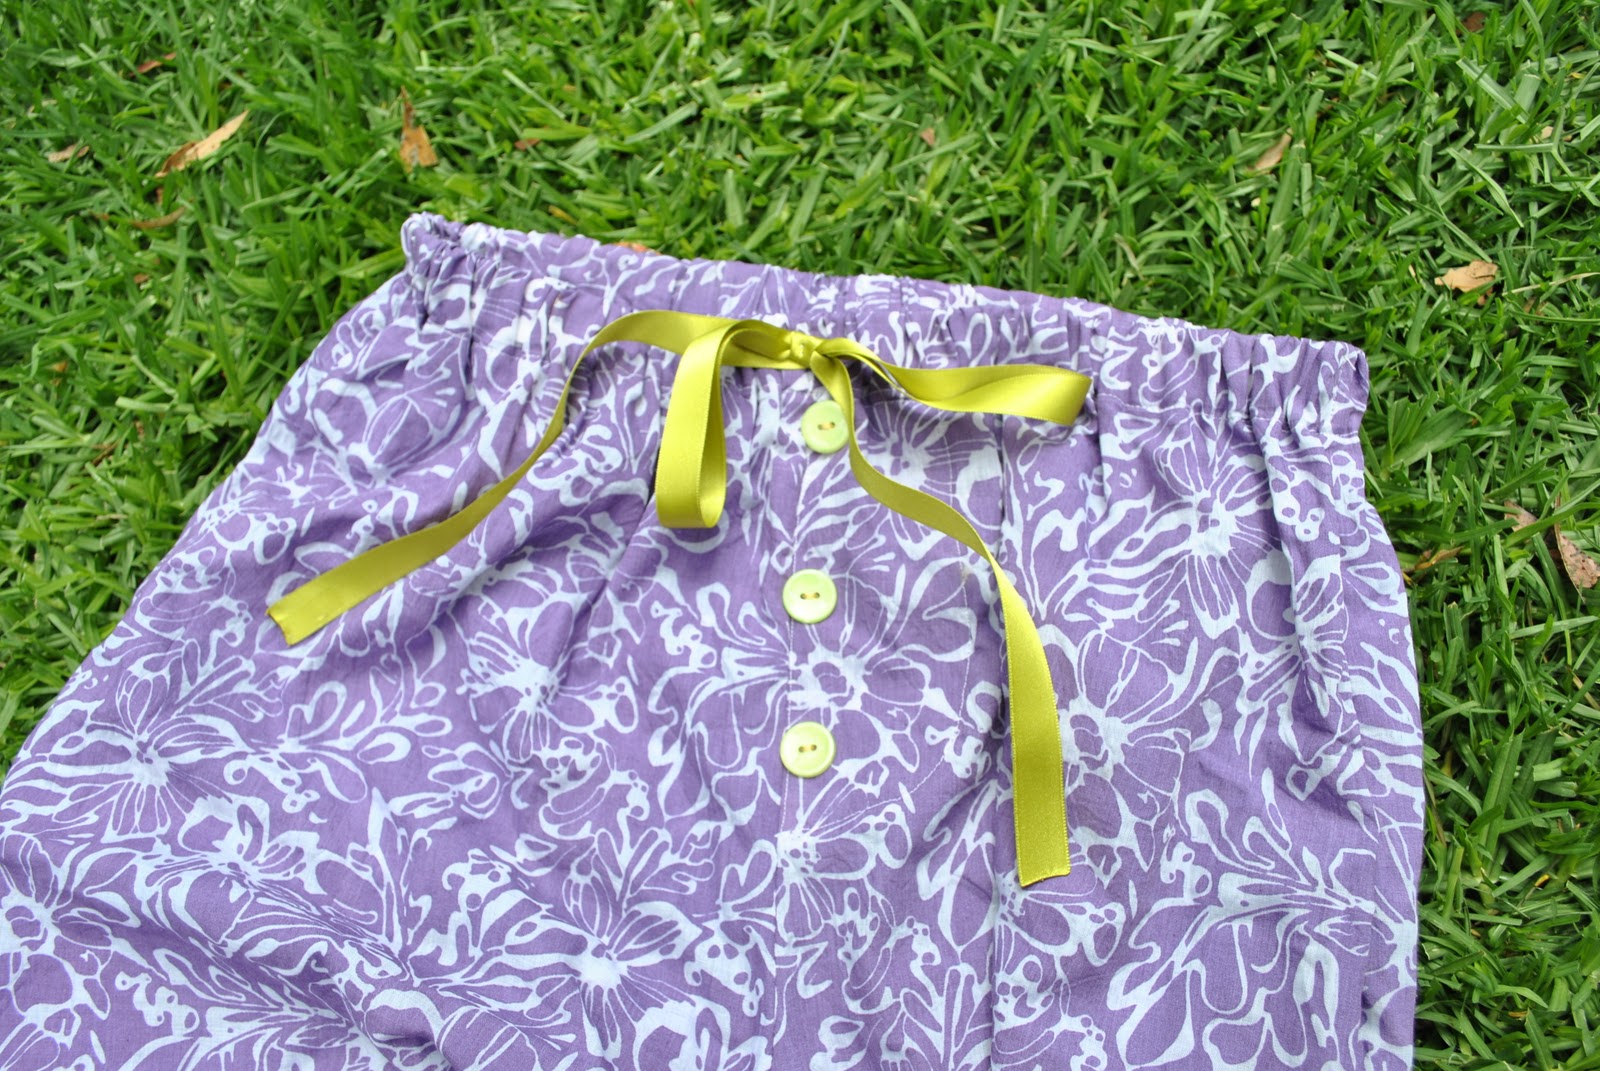
I did have a few highblown and fancy ideas for my summer jammies this year, but got real and decided to be practical… for over a year, this purple fabric has languished in my stash.  It wasn’t always this gare-ish colour.  In fact I bought it as a subtly beautiful white-on-white floral-embossed fabric.  About two years ago, hehe.  Was uninspired for a year or so.  Then had a brainwave, hopped over to the dye section of Spotlight one visit and purchased some vivid purple dye.  Had visions of a vivid deep deep purple blouse, with, I dunno, raspberry buttons, or something equally exciting.  Can you imagine?  This is when I was trying to colour up my wardrobe, my only excuse.  Plunged the fabric enthusiastically into the dye bath.  Even took a photo, of my “work of art in progress”, hehe.  As you can see, the differences the embossing made to the nature of the fabric surfaces made for a less than beautiful end result.  At the time I likened it to a sort of Willy Wonka-ish nightmare after a too-rich evening meal.  With a slight shudder, I stuffed the fabric quietly into the back of my fabric cupboard, and moved on, got on with life.  An important dye-ing lesson learned; TEST A SCRAP FIRST.

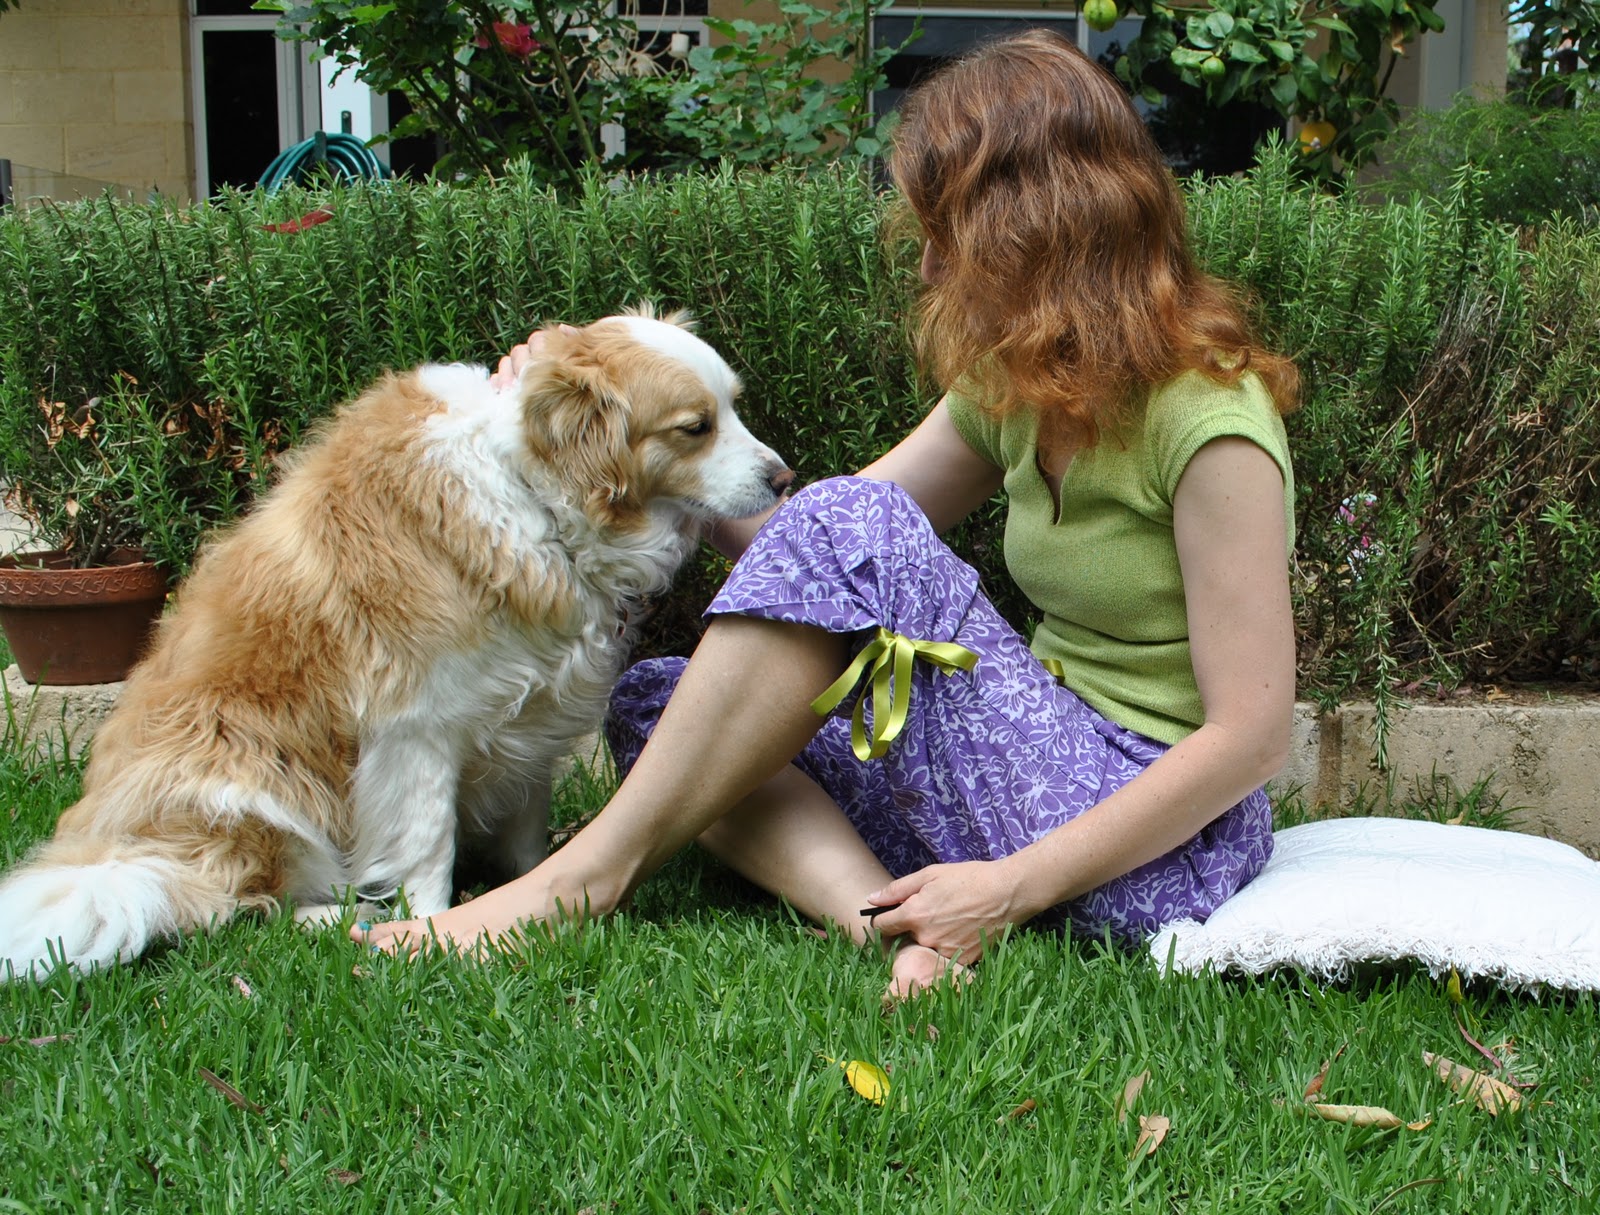
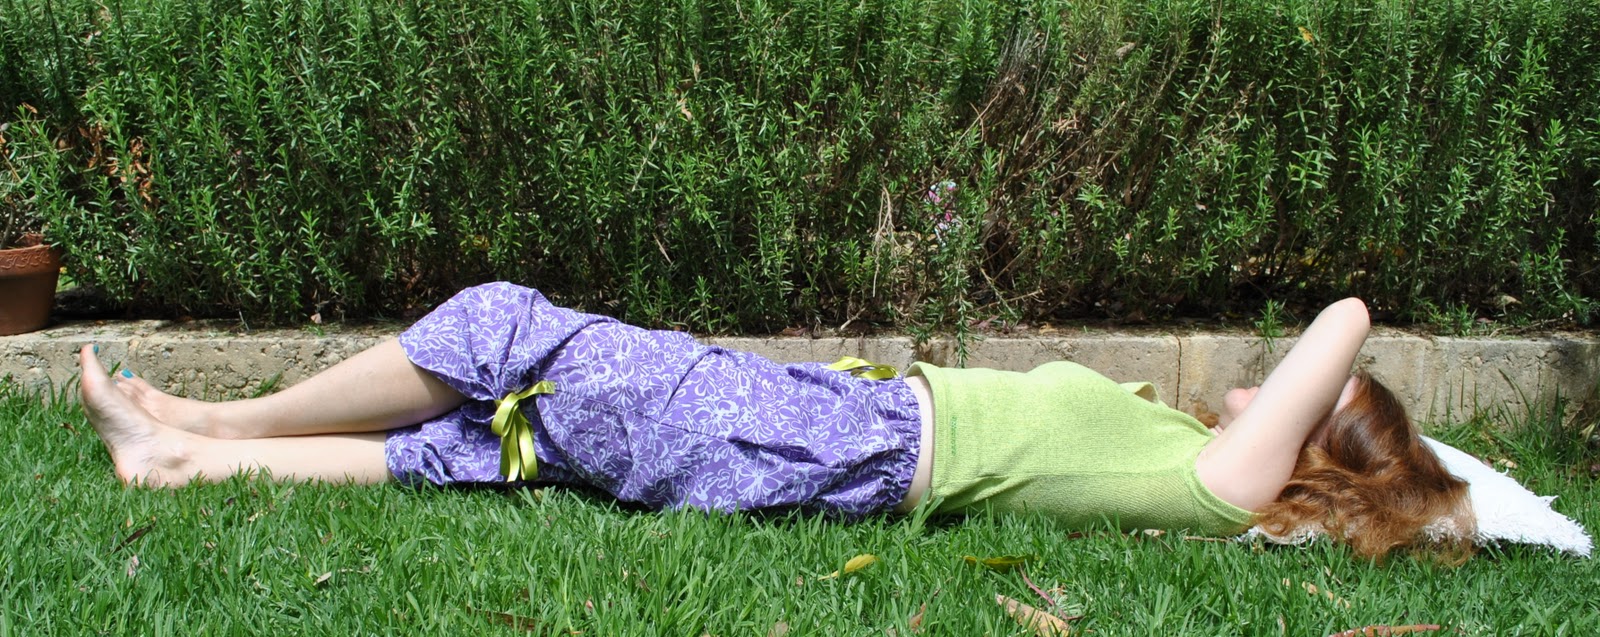
But a year later, I’m coming round, getting realistic about using up the stash.  The fabric is nice quality; fine and thin, not terribly crushable, is breathable.  I’m not as horrified by the print any more.  I figured this could work as pyjama bottoms.  I also had an old Tshirt that I was no longer wearing (I know, old Tshirts are so passe as sleepwear, but this was still in very good nick and still looks pretty good, just I’m not into it any more)
So voila.  The pyjama bottoms are drafted from an old nicely fitting pair that I had from years ago and have kept rolled up with my pattern collection for this very reason.  I added pockets, because I had some leftover after cutting out the main pieces, and so why not…  and some ribbon ties at knee level in case I want to bunch the pants up to knee level when the temperatures ramp up.  The waistband is enclosed elastic and the lime green ribbon tie at the front is purely decorative, I also sewed on a false fly and three non-functional lime green buttons on the fly.

Details:
Pyjama bottoms; drafted from old pair, purple dyed cotton mix
Pyjama top; Aztec Rose

pinterestmail

the Prodigal dress

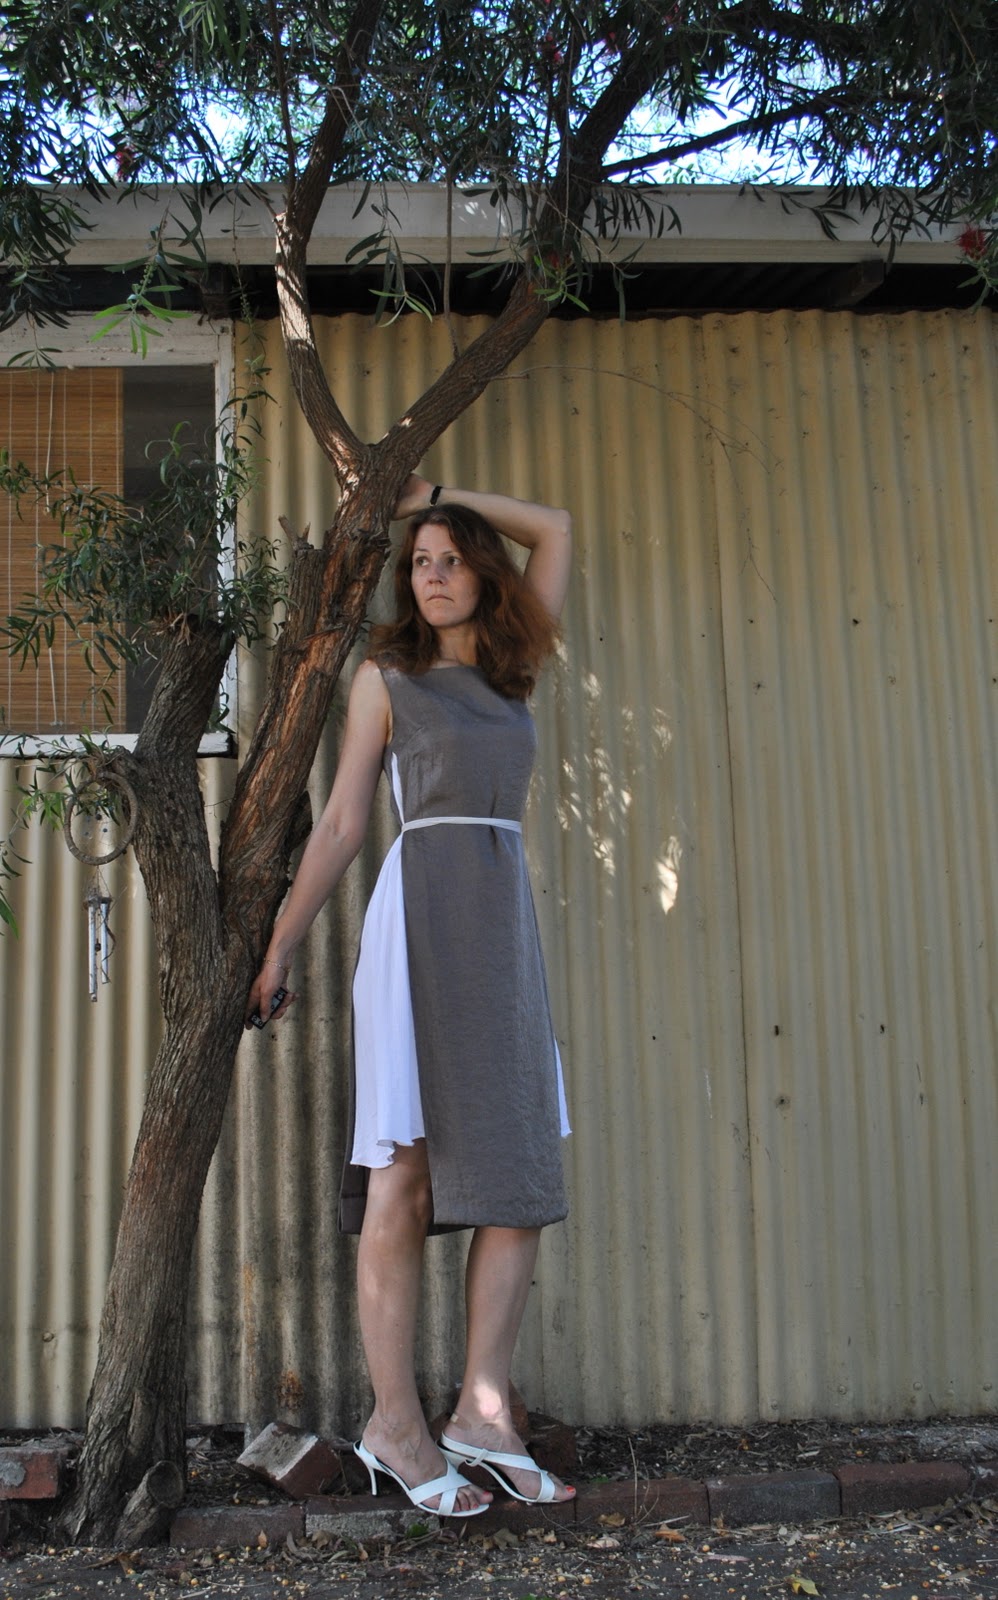
So after assessing my wardrobe for Self-Stitched September and deciding that some of my old things could happily be rejected because I hadn’t worn them in months; I spied (with my little eye) this dress in the potential toss-outs, and kinda fell in love again.  The colours are exactly what I am dreaming about for this spring/summer season; and funnily enough the new fabrics I’ve just bought in Tessuti Melbourne are all variations on this kind of smudgy sludgy khaki/chocolate/grey/taupe kind of a colour…
So, like the prodigal dress, it has been welcomed back into the fold with open arms and joyful coos of delighted discovery and is back into circulation.  It’s nice for warmish days when I’m aiming for edgily smart.  
When I first made this dress I mentally dubbed it the Futuristic Nun, and I still feel a cross between space-age, thanks to the shiny but still quite rugged nature of the taupe stuff; and ecclesiastical, thanks to the severe cut of the tunic contrasting with the snowy white virtue of the attached petticoat.
The whole dress is quite shapeless, slips over my head easily, and is only given form by the (also attached) thin white velvet ribbon that wraps around my waist several times and ties in a loose monastic knot.

Details:
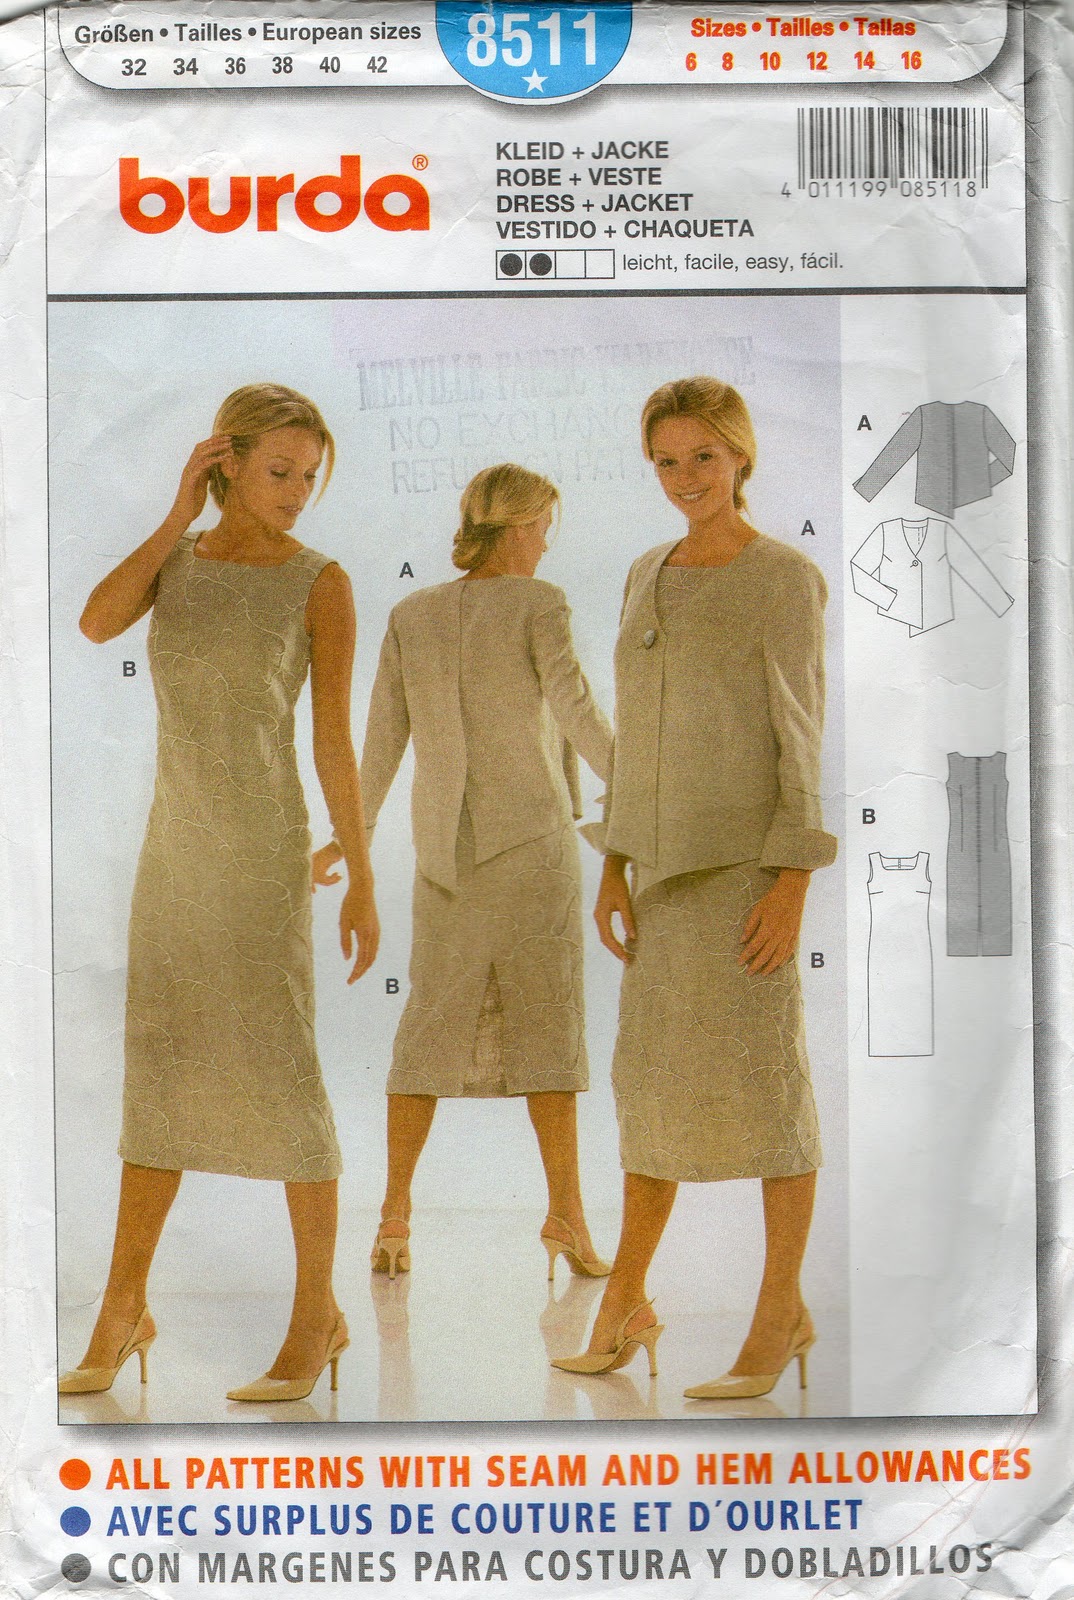
Dress; partly my own design, based on Burda 8511, taupe stuff(?), white cotton, velvet ribbon
Sandals; Franco Burrone, from Marie Claire shoes

pinterestmail

Curiouser and curiouser…

Hi, the last day of Self-Stitched September; and I’m coming to you live from sunny Melbourne!  Haha.  That’s an in-joke amongst Australians, as Melbourne is … er, not very sunny.  The weather here is notoriously fickle.  The sky today is white white white…  But dearth-of-sunshine notwithstanding, I still adore Melbourne.  This is the shopping capital of Australia, and I’ve already laid down the plastic in two fabric stores and a wool store, and also visited what must be the most kitsch-ily fabulous (but kinda pricey) second-hand shop in the whole of Australia, the RetroStar Vintage Clothing Company, and therein bought a pre-loved maroon velveteen jacket and a beaten-up (in a good way) pair of shiny black men’s brogues.. hola!!  It’s been a very successful day.

And as if the haul wasn’t enough, I spent the morning in the Royal Botanic Gardens and was totally spoilt for choice when it came to stunning locations.  And the soft grey light that this city is famous for (thanks to the cloud cover) makes for dreamy photography.  Win!
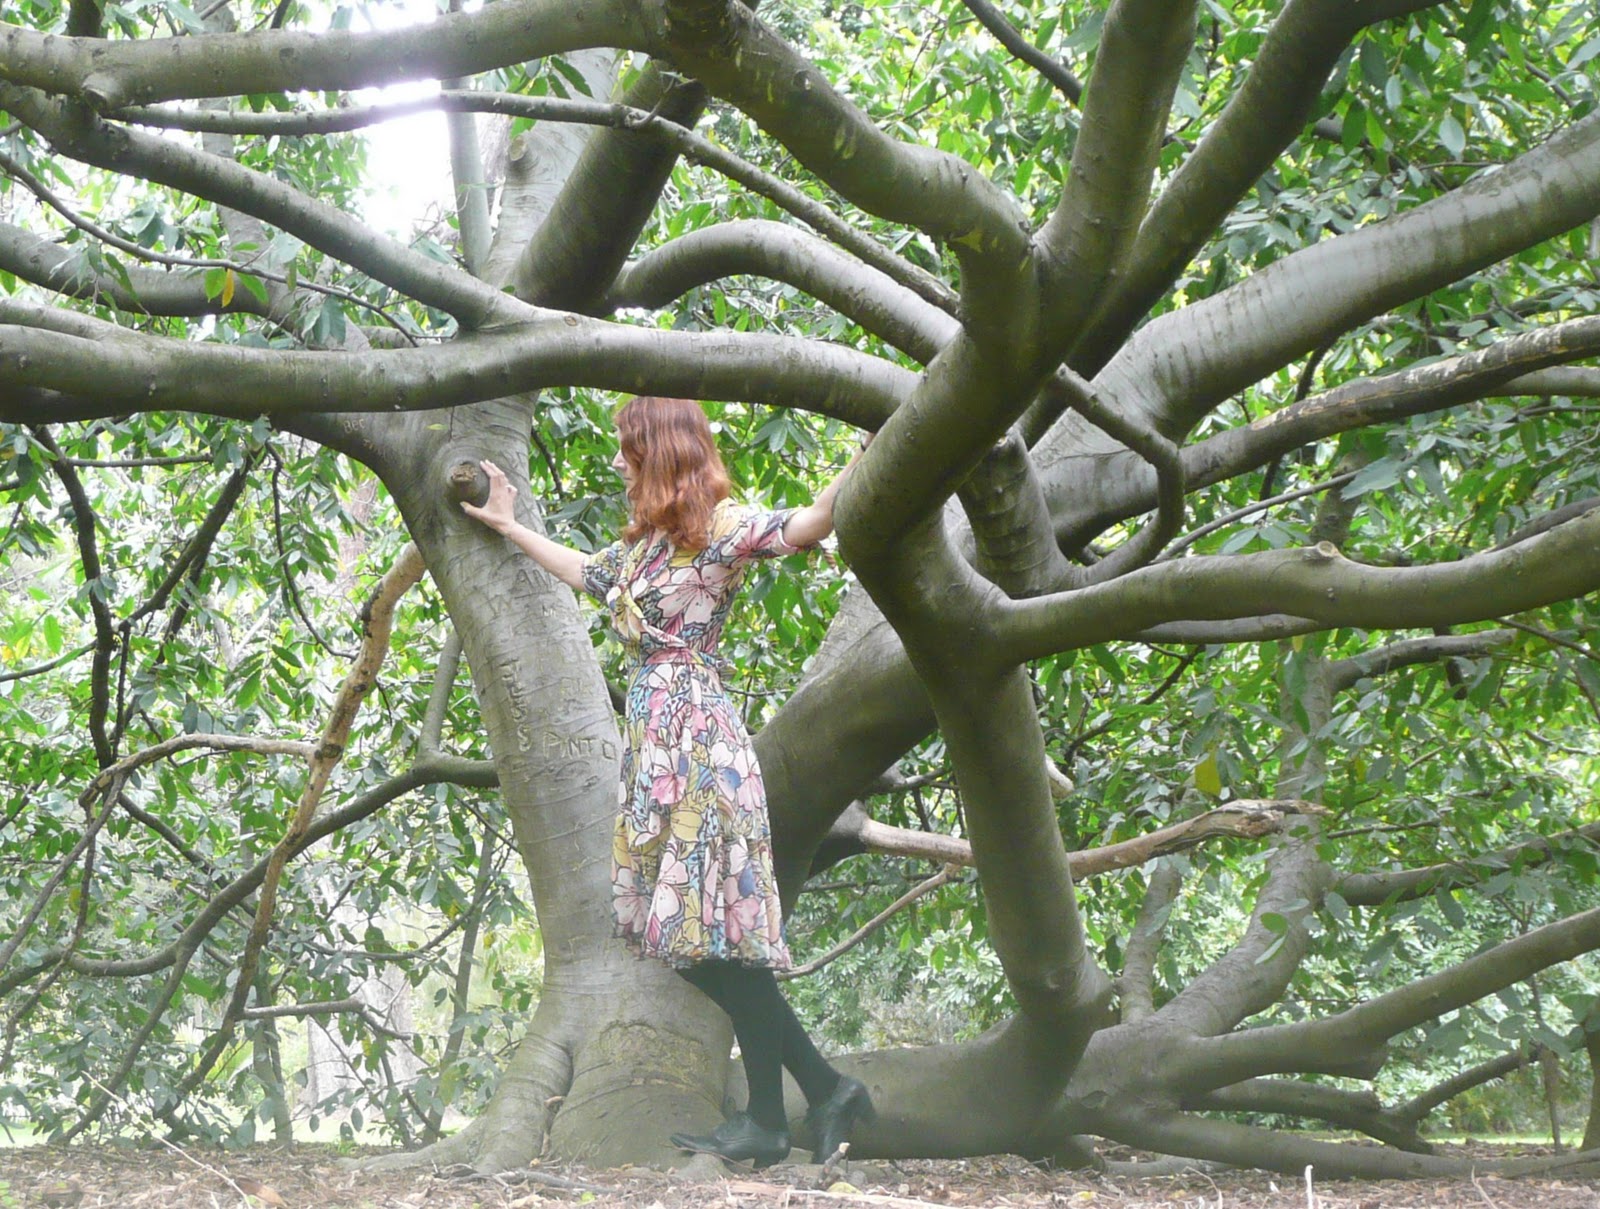
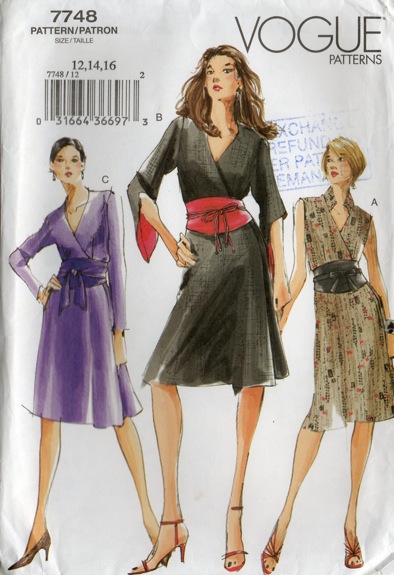
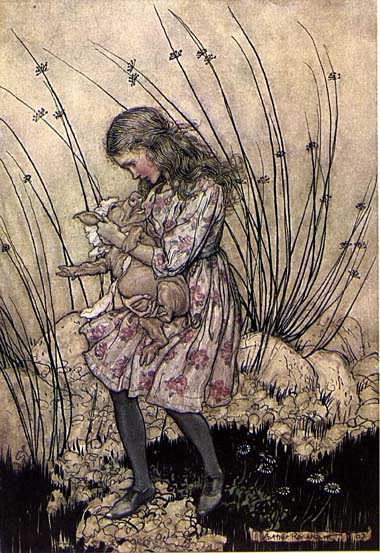
Today I feel a bit Alice-in-Wonderland-ish, wandering through the beautiful other-worldly treescape of the gardens in this floral floaty dress with black tights and booties (for warmth, I did say Melbourne is dismal, today is 18C or 66F, freezing by current Perth standards)  It reminds me of the illustrations in my old copy of the book, by Arthur Rackham, and which shaped my childhood imagination of the dreamworld that Alice visited.  My mother once said this dress was one of her favourites (thankyou Mum)  It is based loosely upon Vogue 7748, a basic wrap dress pattern, but with a two layered frills around the neckline, a deep frill around the lower edge, back waist ties and sleeve ties added.
Details:
Dress; partly my own design, based upon Vogue 7748, printed polyester chiffon, with petticoat (not seen) my own design, pink jersey knit, seen first here
Tights; Kolotex
Booties; Django and Juliette, from Zomp shoes
Illustration below by Arthur Rackham, from Alice In Wonderland, published 1907

pinterestmail

Gardening gracefully

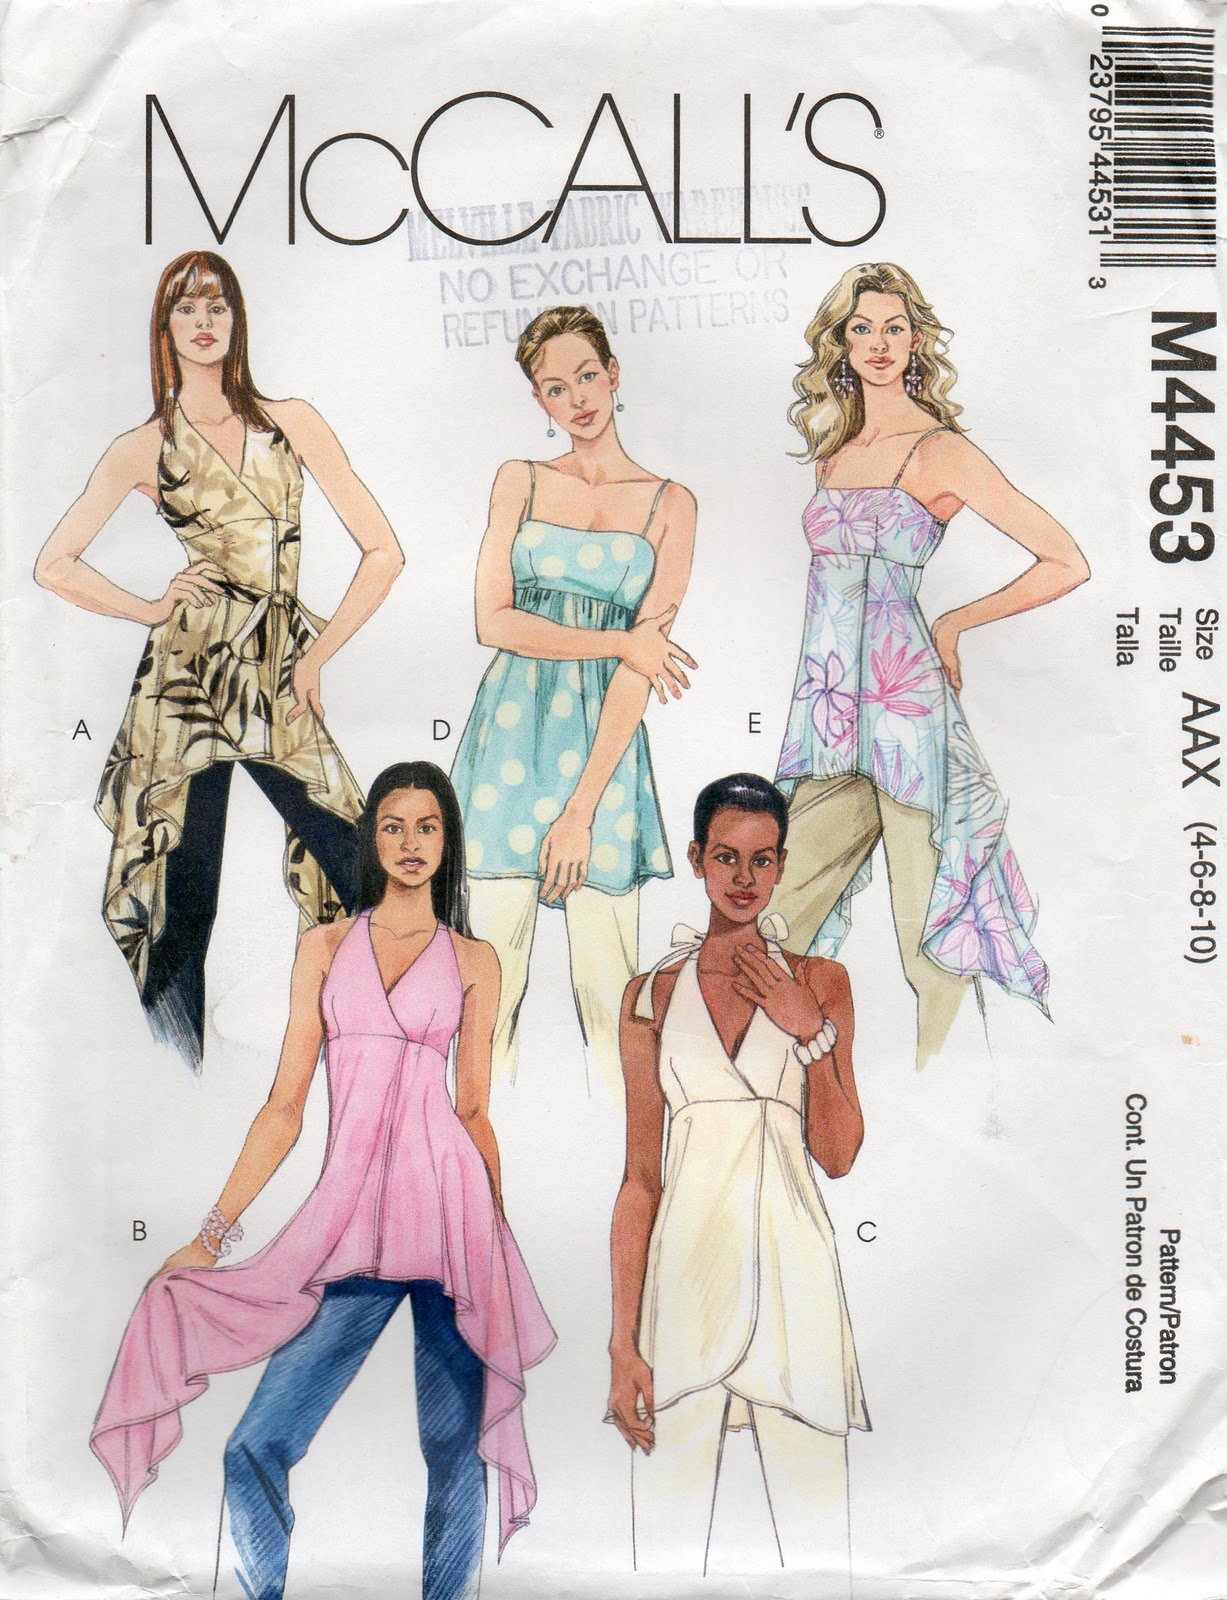
Today I am wearing a little sundress I made a few years ago, with the intention of it being a beach dress to pop on over bathers.  As it turned out kind of fancy and pretty I’ve ended up wearing it on loads of different occasions…  I used the halter bodice from McCalls 4453 which is a top pattern, and altered the design to have a side zip opening.  I drafted a skirt that is a sort of faux wrap around design.  Long at the back and with two tapered fronts lapped over each other and both secured in the side seams.  The dress is fully lined with pale pink lining.  I like the softly pretty luminous effect this has under the sheer red swirly pattern of the fashion fabric, which actually has sparkles.  Bonus!  
And the little lace cover-up has been another pretty as well as useful little thing that is my own design and was whipped up on a whim.  
Today I felt the need to be a bit … colourful and quietly cheerful.  After all life has to be appreciated and celebrated and lived.  With spring springing all around us and new growth bursting relentlessly forward in the garden one cannot push away the quiet and inevitable mechanism of new life.

Details:
Dress; partly McCalls 453, partly my own design, pink/red sparkly polyester chiffon
Top; my own design, cut-out embroidered linen
Sandals; Pedro Miralles, from Soletta shoes

pinterestmail

Domestic diva X

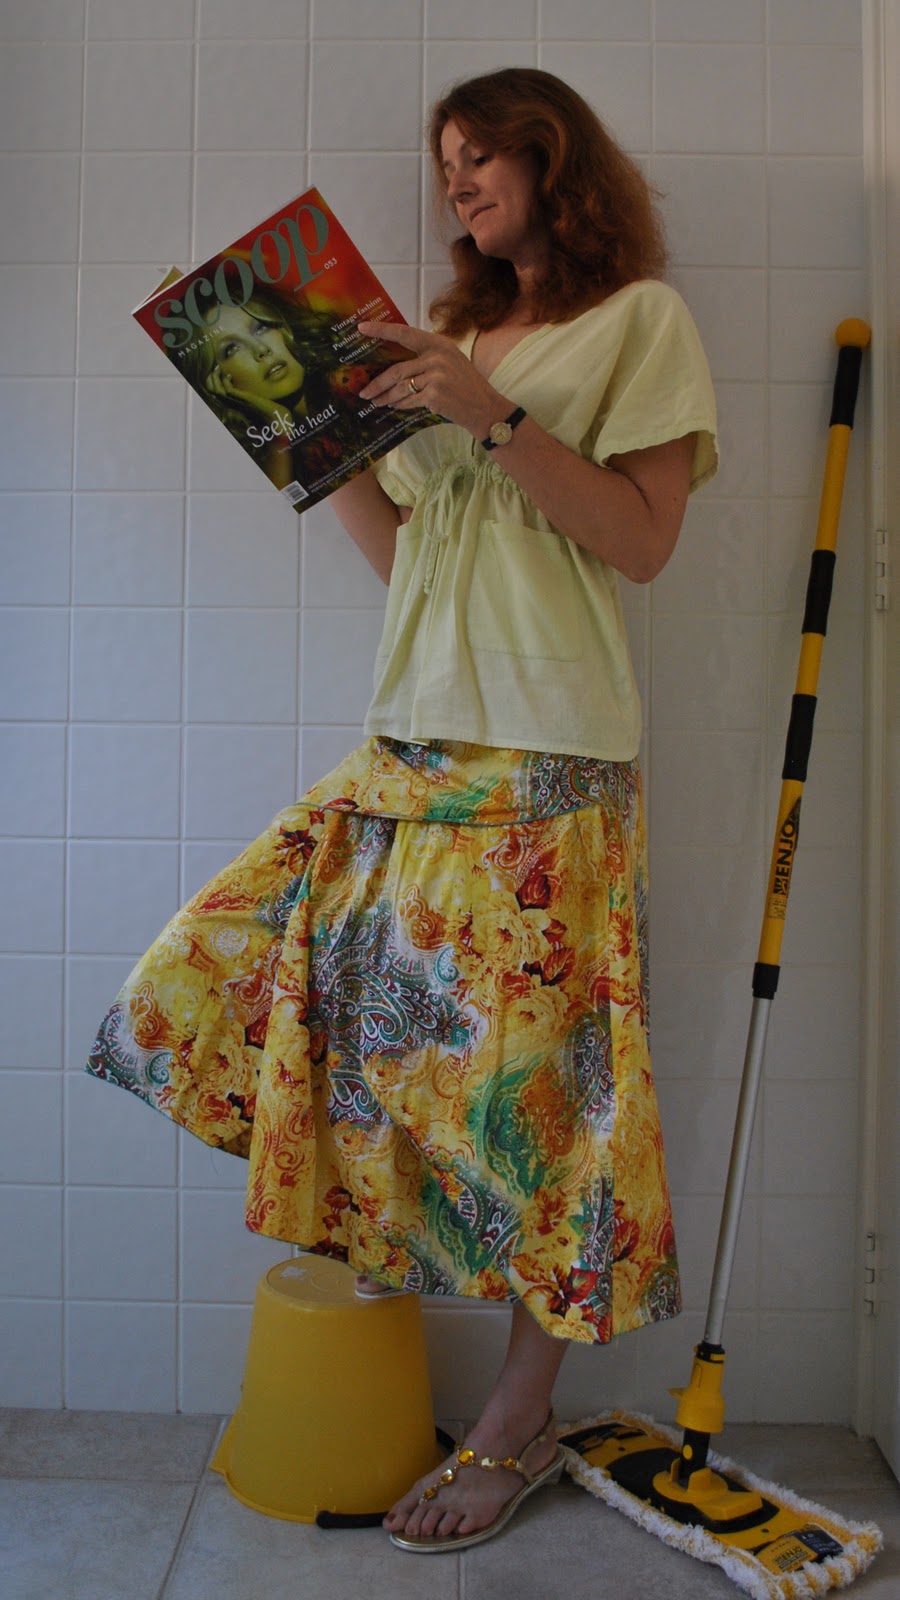
Woah, same skirt as yesterday; snap!  Though this version is view C and is made out of a bright cheery, bohemian, gypsy-ish print.  This is another skirt pattern I’ve used a lot, although not as much as my old standby Vogue 7303.  Come to think of it, if I’d kept all the skirts I’ve ever made using these two patterns, I could go a whole month of Self-Stitched September with no double-ups, no worries.  I’ve used them both heaps of times.  (I know, boring)  Don’t worry, I’ve been branching out lately and have a few new exciting summery items and patterns to post here once this month of self-stitching documentation is over… one photo a day is enough imo.

The top is my own design, made from an old pair of three quarter pants; for the original story and a short tutorial on how to do this see here. Although the pants in their original form were dag-city, the fabric was in very good condition and I loved the soft yet still sharp citrusy colour of the linen.  So I saw potential.  Took the scissors to them and never regretted it.
We’ve got a nice afternoon planned seeing our friends; it is my friend E’s birthday too, and we are looking forward to having a drink (or two) and viewing their latest holiday snaps.

Details:
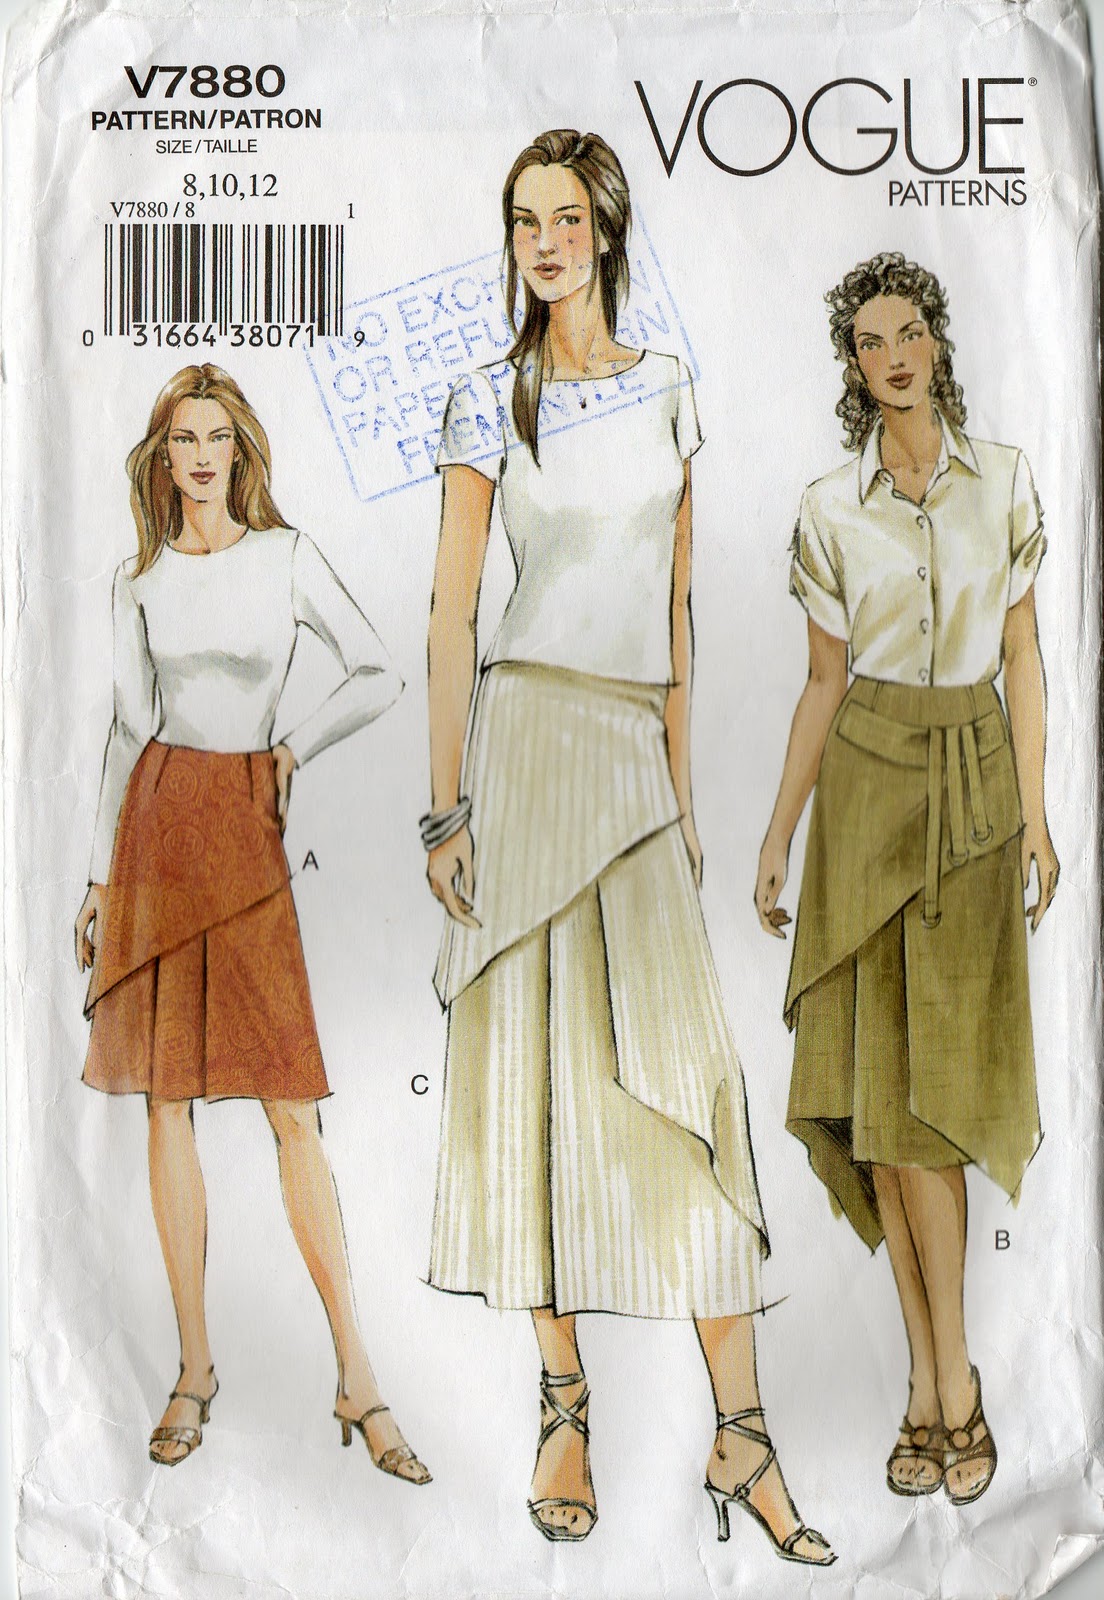
Skirt; Vogue 7880 view C, printed cotton
Top; own design, made from an old pair of green linen 3/4 pants
Sandals; Anna, from Marie Claire shoes

pinterestmail

Domestic diva IX

Post celebratory let-down; I did have a lovely day yesterday, and thankyou so much for your lovely birthday wishes!  Hmmm, re this morning’s outfit; both old favourites.  Both of these pieces I contemplated throwing out last summer and both got a last minute stay of execution.  Later I was so glad I hung on to both of them.  These are the sorts of clothes that are definitely me.  Maybe looking a little old-fashioned now? but I am feeling the pull of my collection of soft lacy crinkled clothing in dreamy faded colours now the summer days are almost upon us.  The weather is so lovely and warm now! but we are still desperate for rain.
Looked through the wardrobe this morning, and even though there are only six days of self-stitched September to go; not that I’m counting…!  I have probably a dozen more ensembles I could have chosen from.  So I don’t know why I’m feeling a melancholic lack of faith in my sewing abilities at the mo.  I do know I really need to clean out my wardrobe…
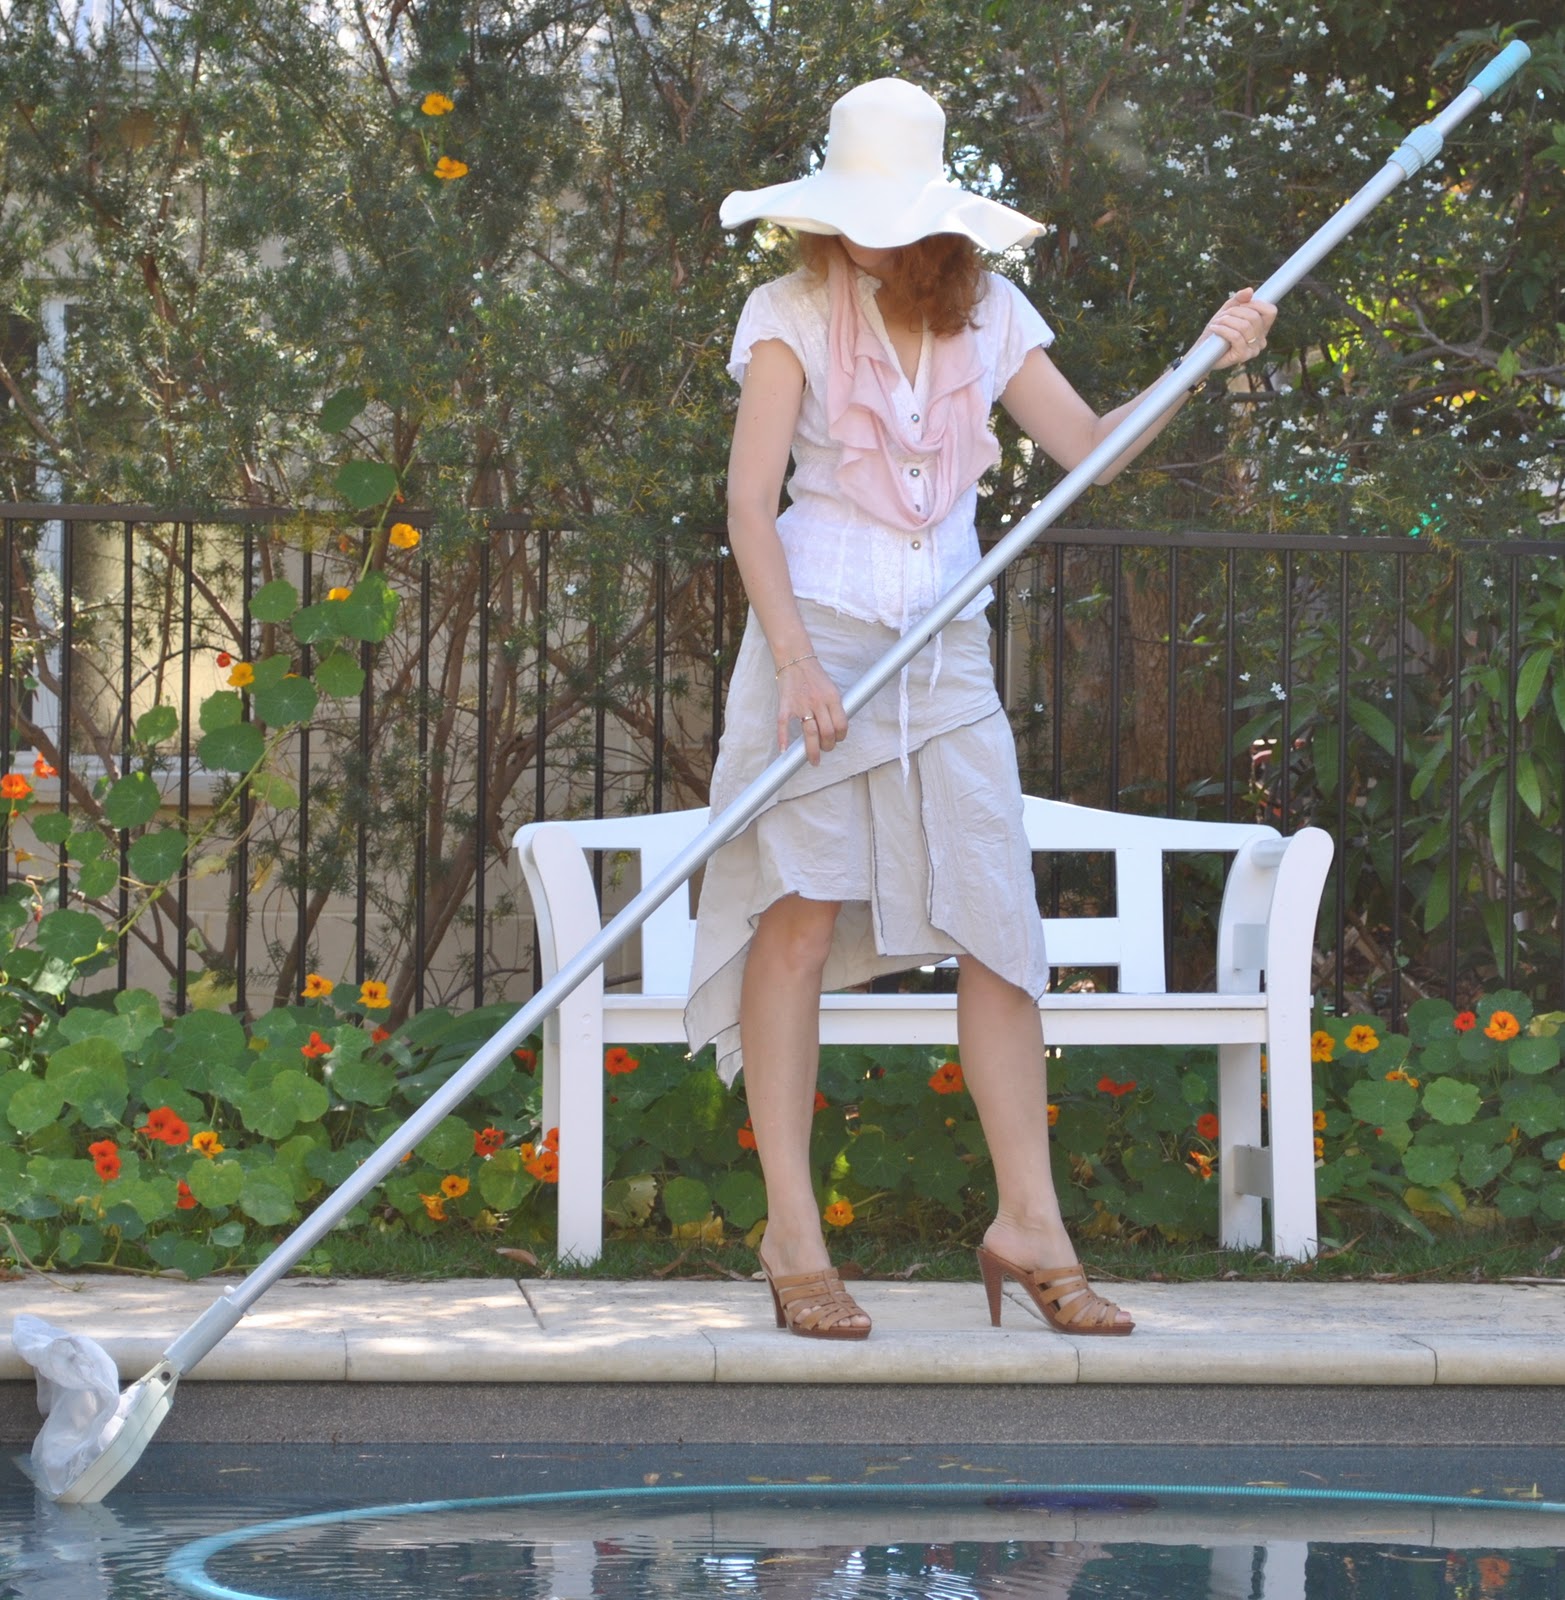
And yes, I did skim the pool and do a few hours yardwork in this outfit, but sans heels of course.  Heels and gardening are not an efficient match.  I put the heels on again afterwards.  Domestic divas need to keep up appearances…

Details:
Skirt; Vogue 7880 view B, sage green self-embroidered cotton
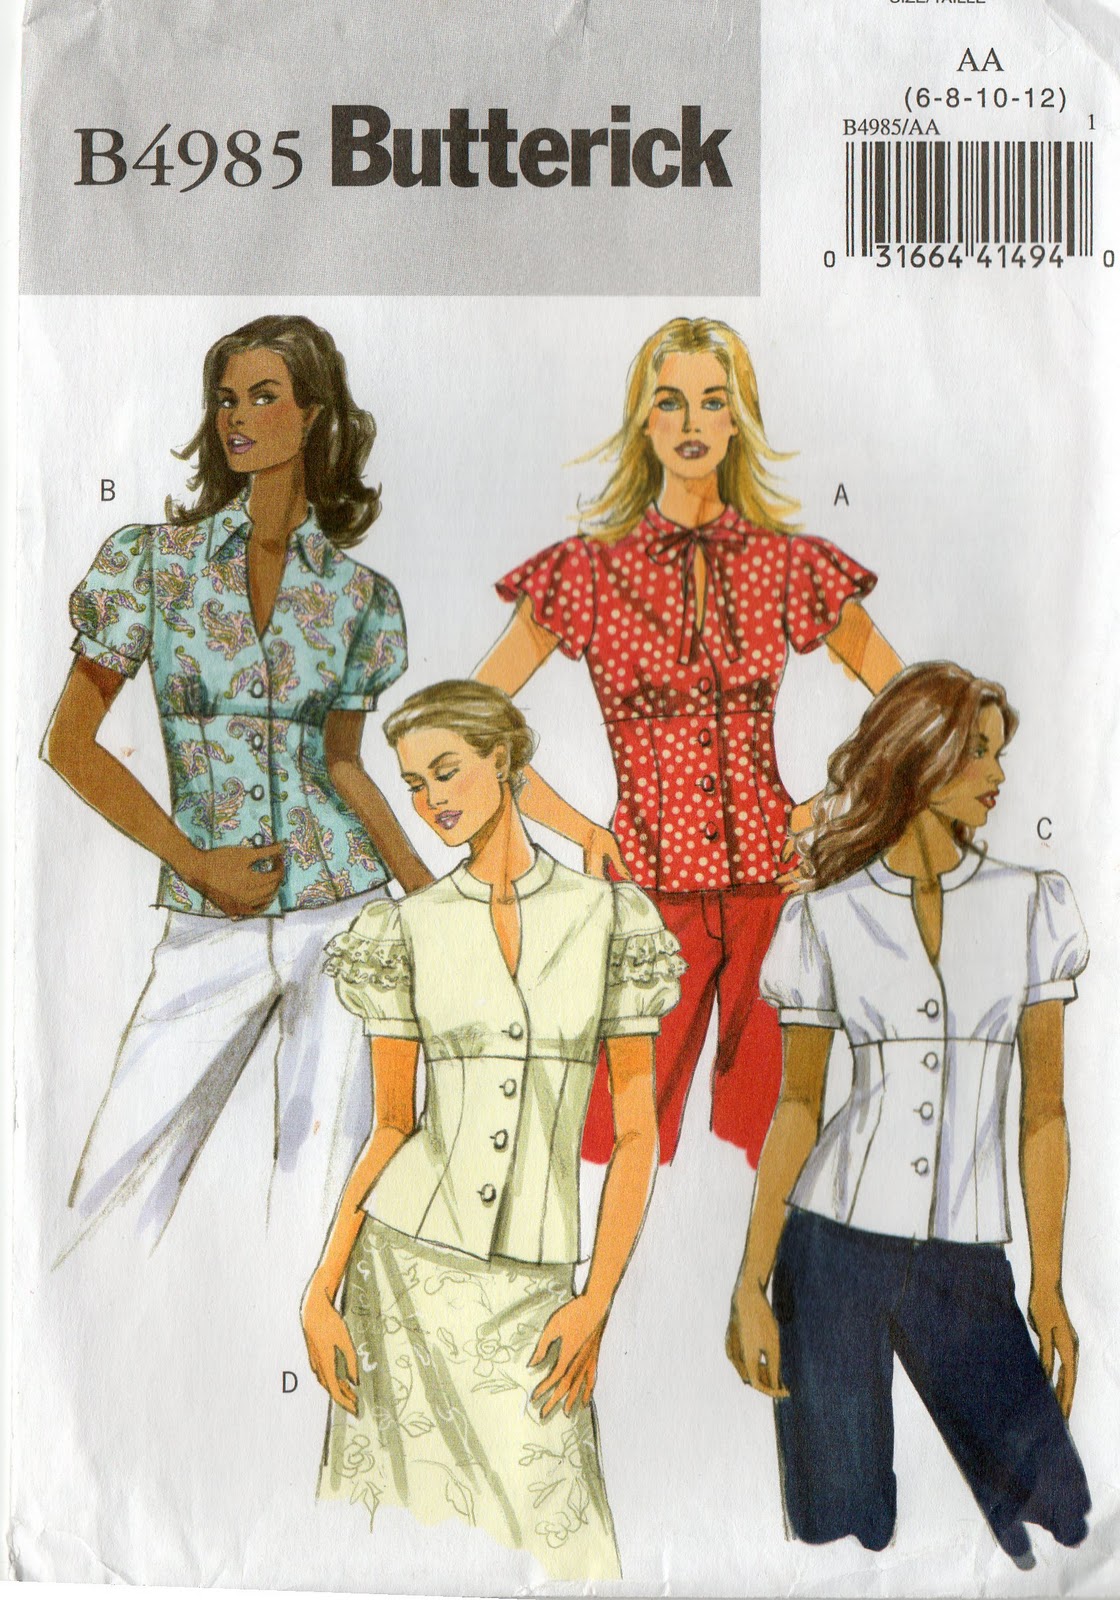
Top; Butterick 4985, cream broderie anglaise cheesecloth with random lace overlays and crocheted lace ties
Scarf; refashioned old jumper, cut up and felted, see here for tutorial
Hat; Country Road
Sandals; akiel, op shop

pinterestmail
Switch to mobile version
↓