Warning: distinctly un-humble and boastful post to follow…
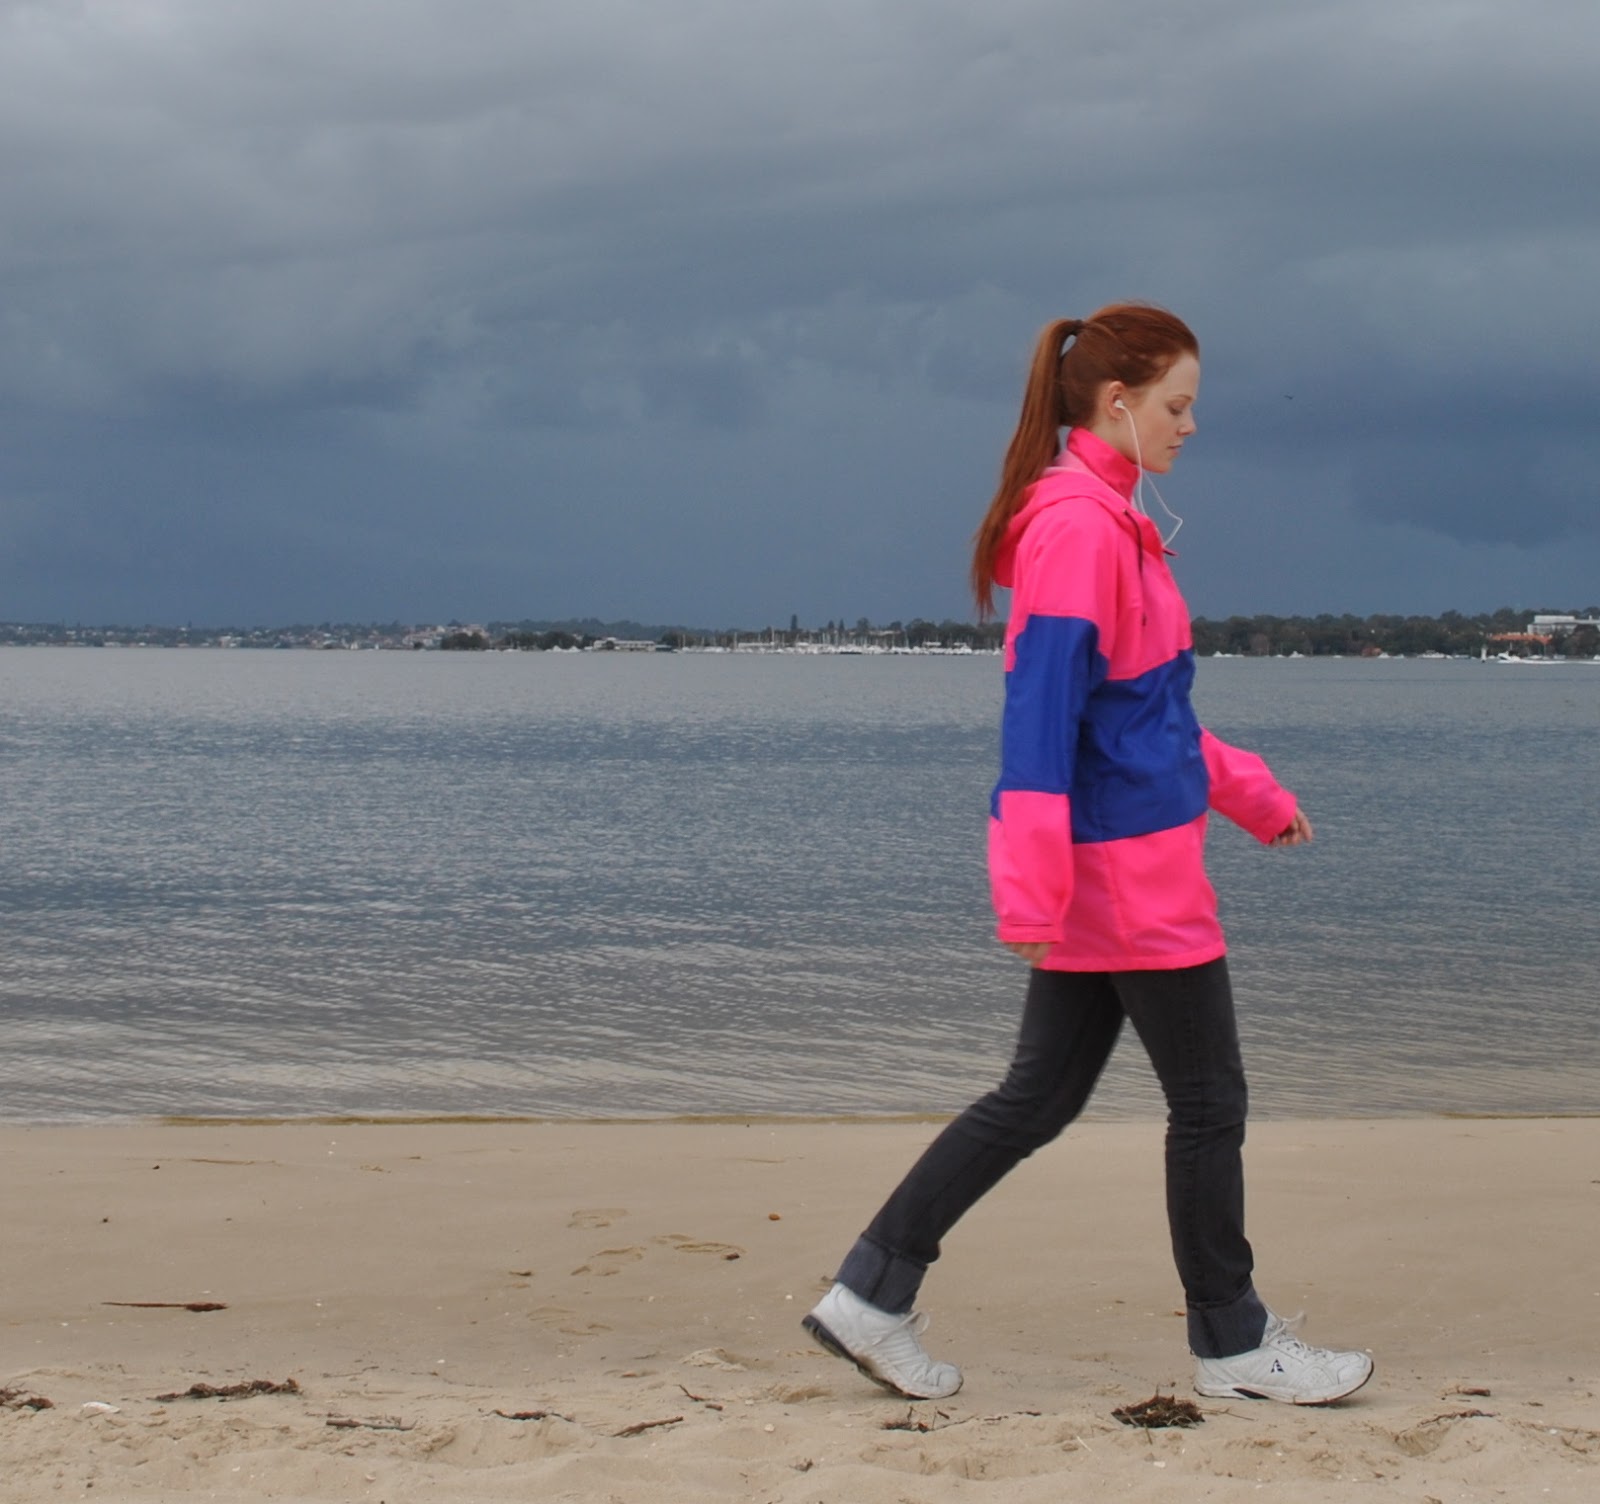
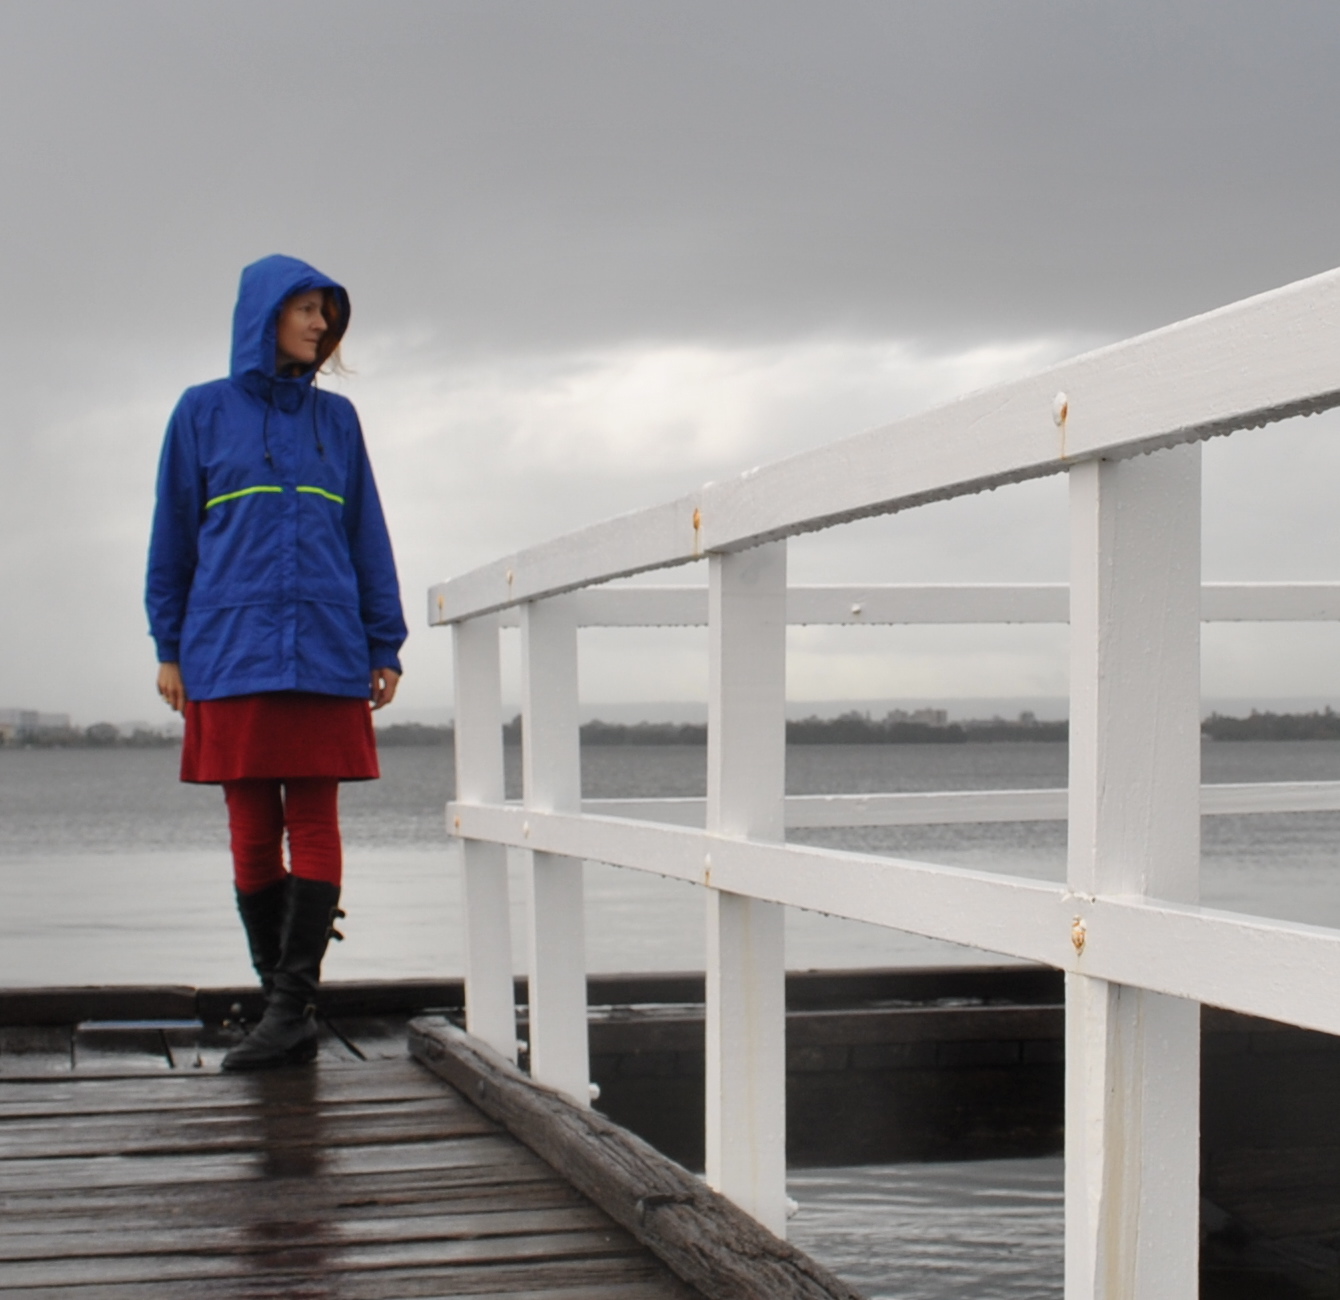
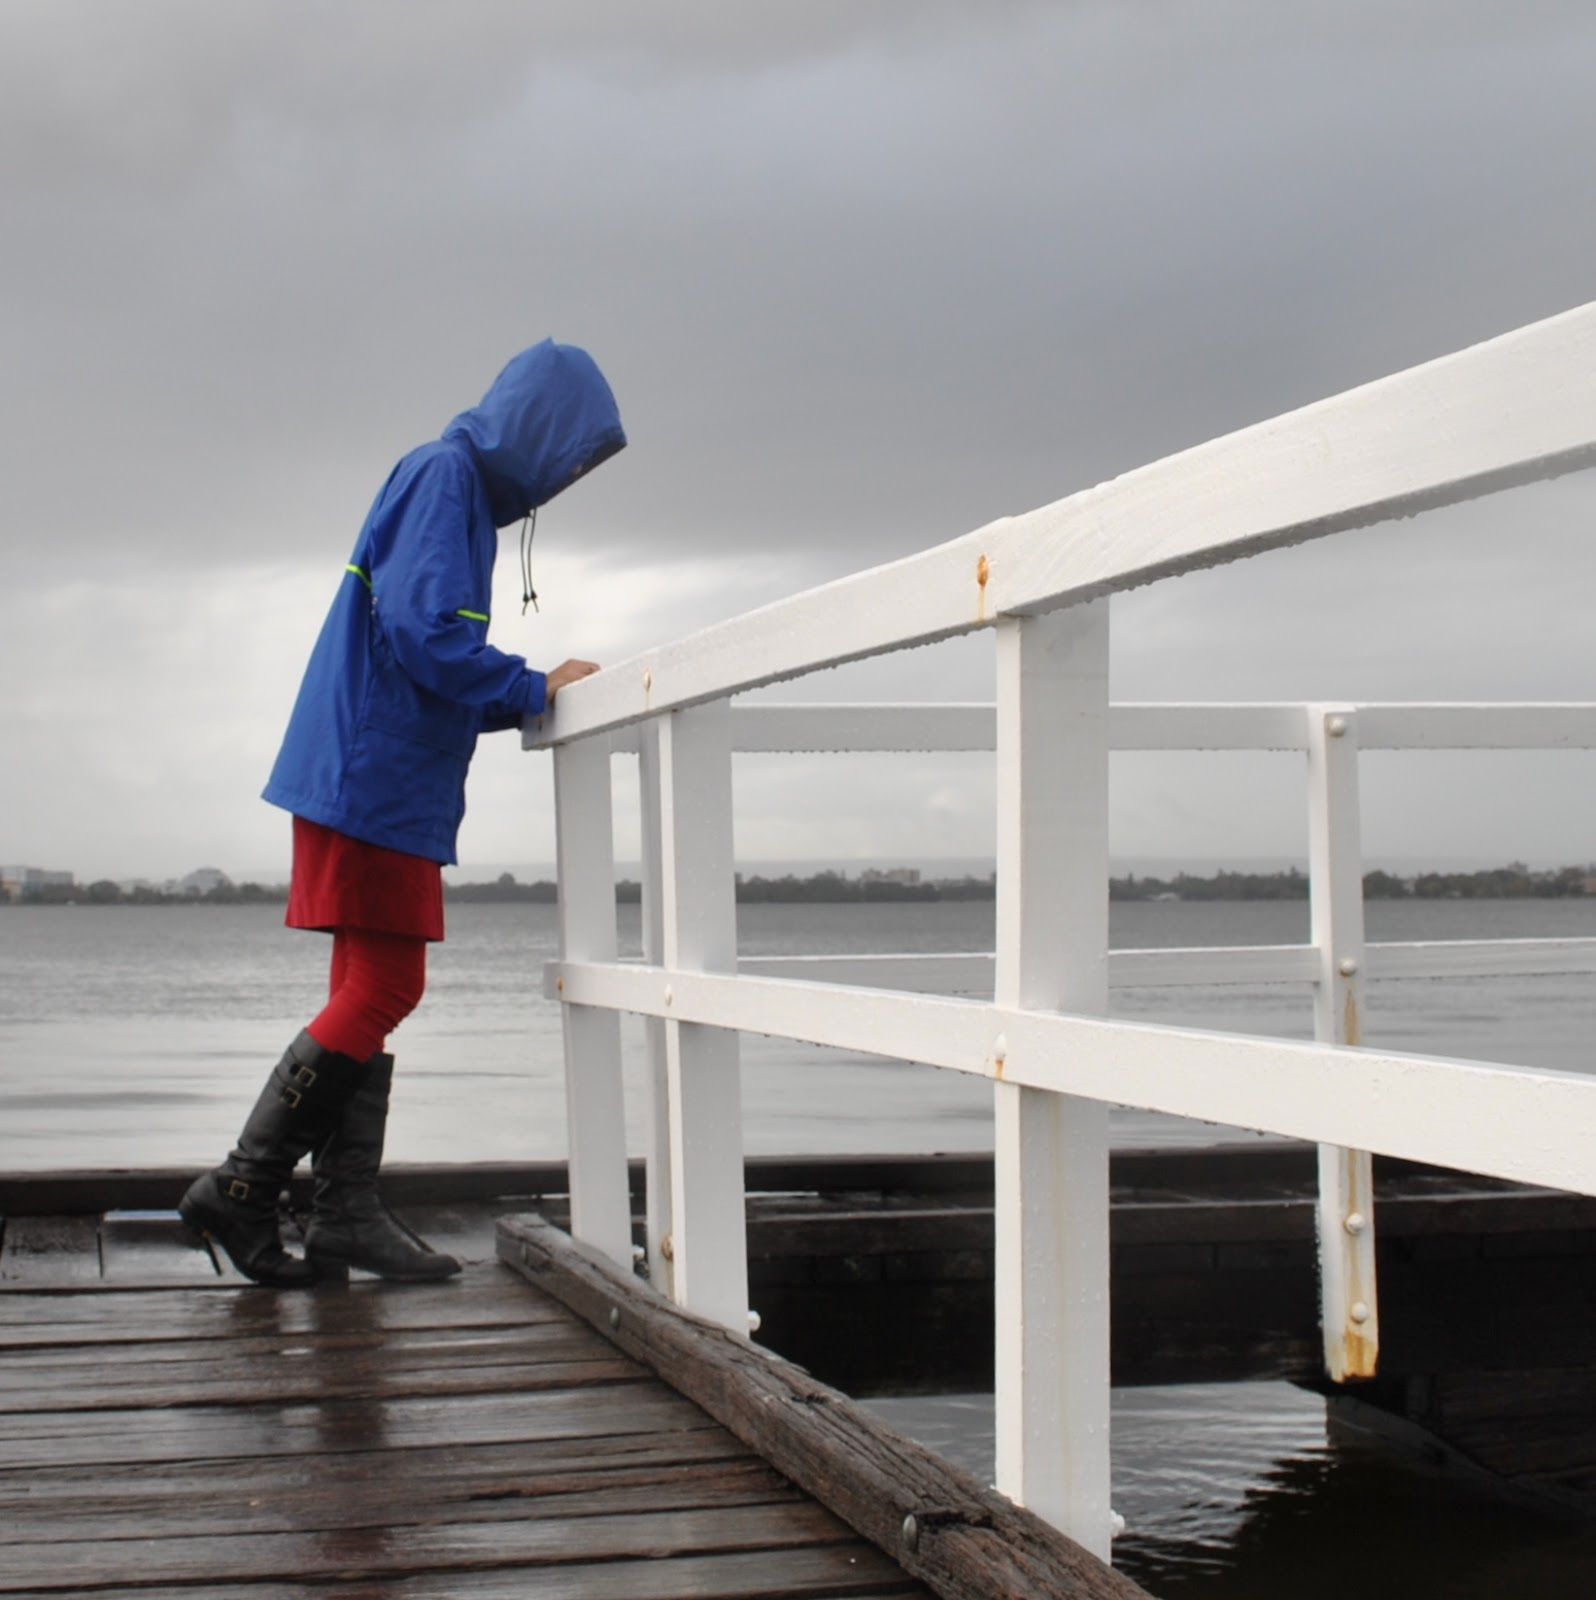
I have made this; my first ever raincoat… :0 and I am thrilled!!!!! with how it turned out!
Making a raincoat is one of the scary things I have always wondered was too hard for me, whether the technicalities were beyond me. Now I have successfully made one I feel like I have achieved another small step toward having an entirely me-made wardrobe.
Thank you so much to all who left a comment regarding good quality raincoat fabric sources 🙂
I checked each and every one of your recommendations.
I found extremely helpful this article written by Caroline, the link sent to me by bloodsweatshoptears. Caroline wrote about making a waterproof cycling jacket and included bundles of relevant and very interesting information for the outdoor-gear sewing newbie like myself. And the jacket she made is so awesomely fantastic and inspiring…
Caroline’s article included a link to another very very informative article on how to choose rainwear, which I read and reread. This article really helped me to honestly assess what I actually wanted from my raincoat… which was: another raincoat almost exactly like my old one!

I had bought my previous old raincoat at Kmart for our eldest son Tim when he was about ten years old. After he had worn it for a coupla years I had to buy him a new official school uniform one, so his old navy blue one became mine. I have worn it and worn it pretty solidly every rainy winter’s day since … and Tim is now 22 years old, so you can see the old raincoat has done very good service! The only reason I am replacing it is because it is finally starting to fall apart…. so, I did a close inspection of the old one to work out what to copy and what I could improve. And this is what I did, and have learnt…
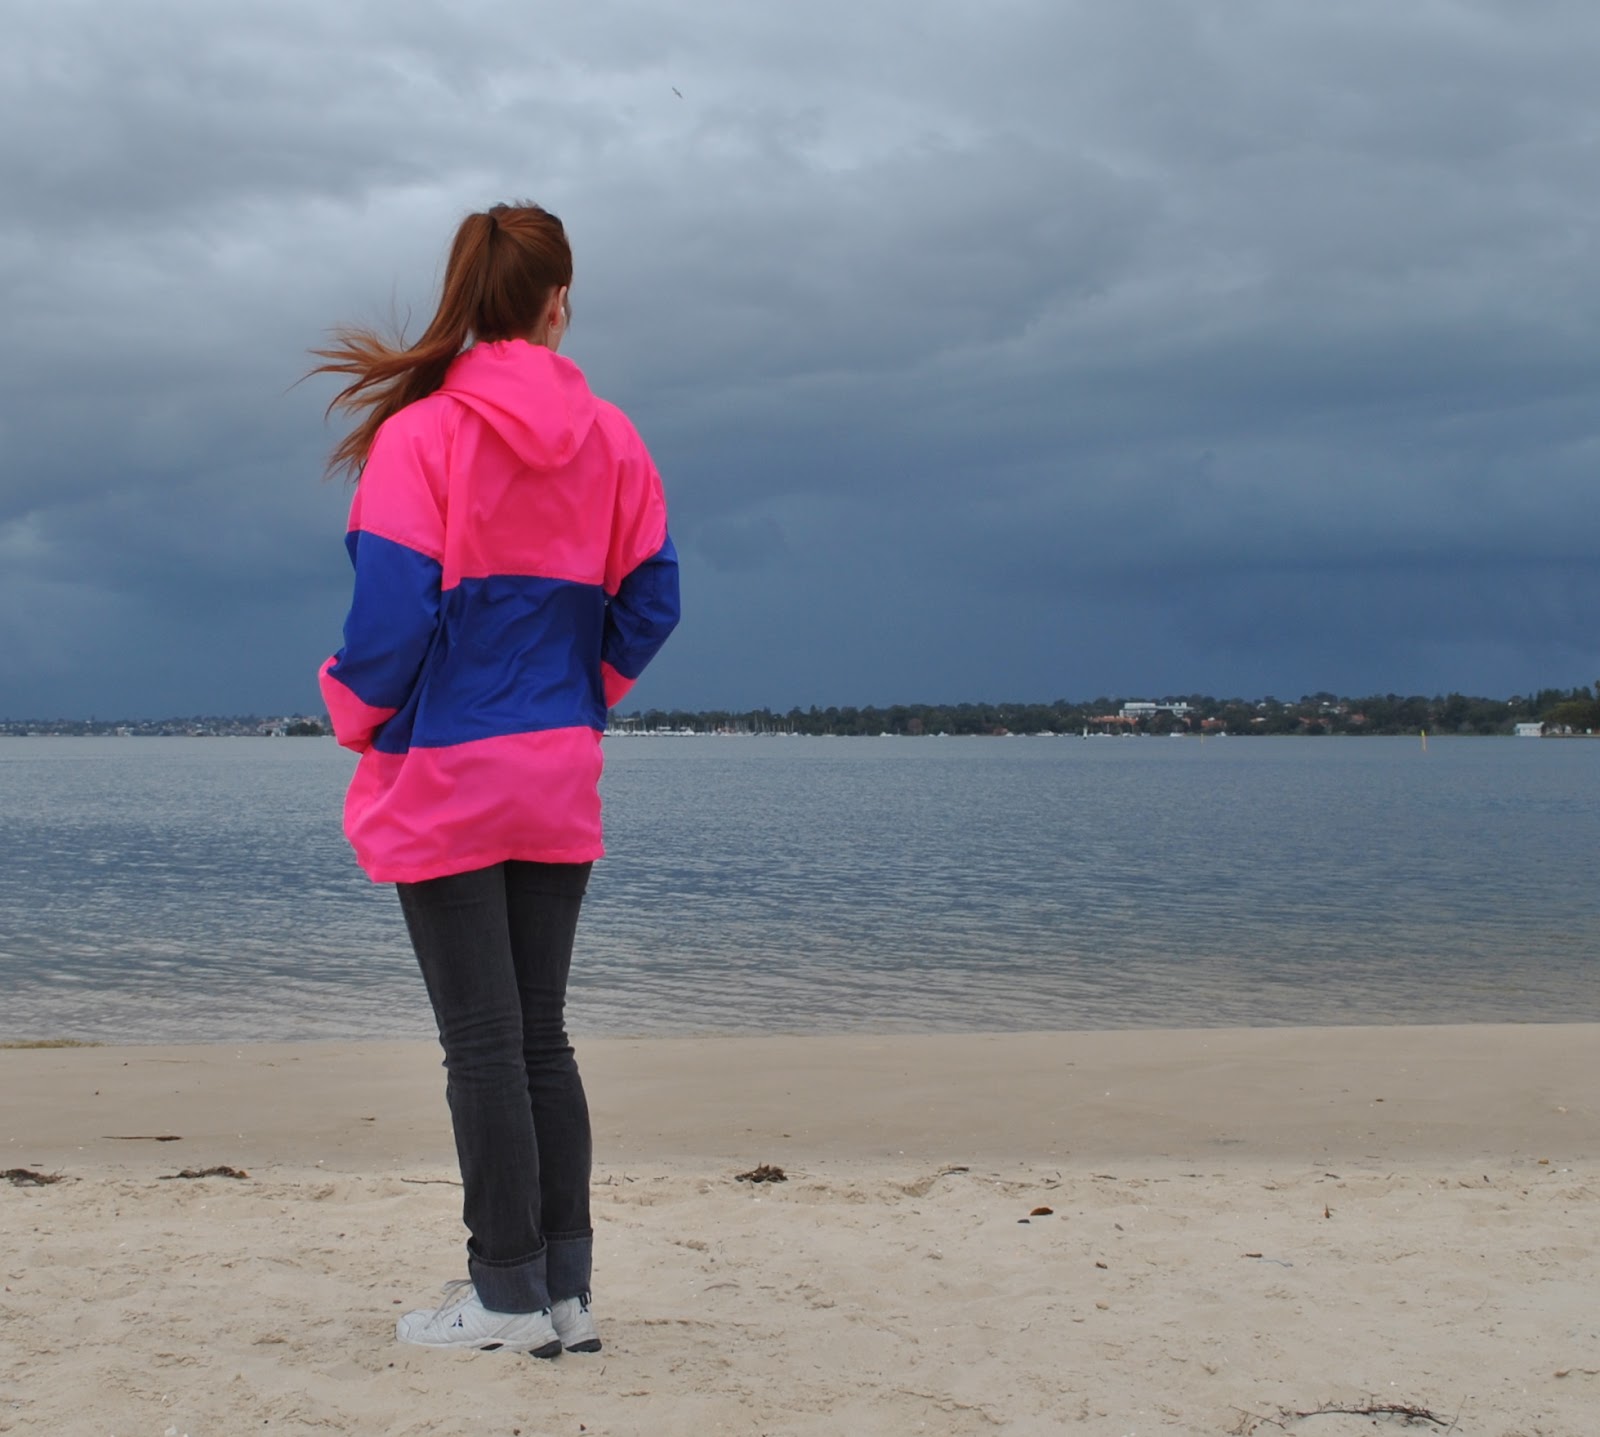
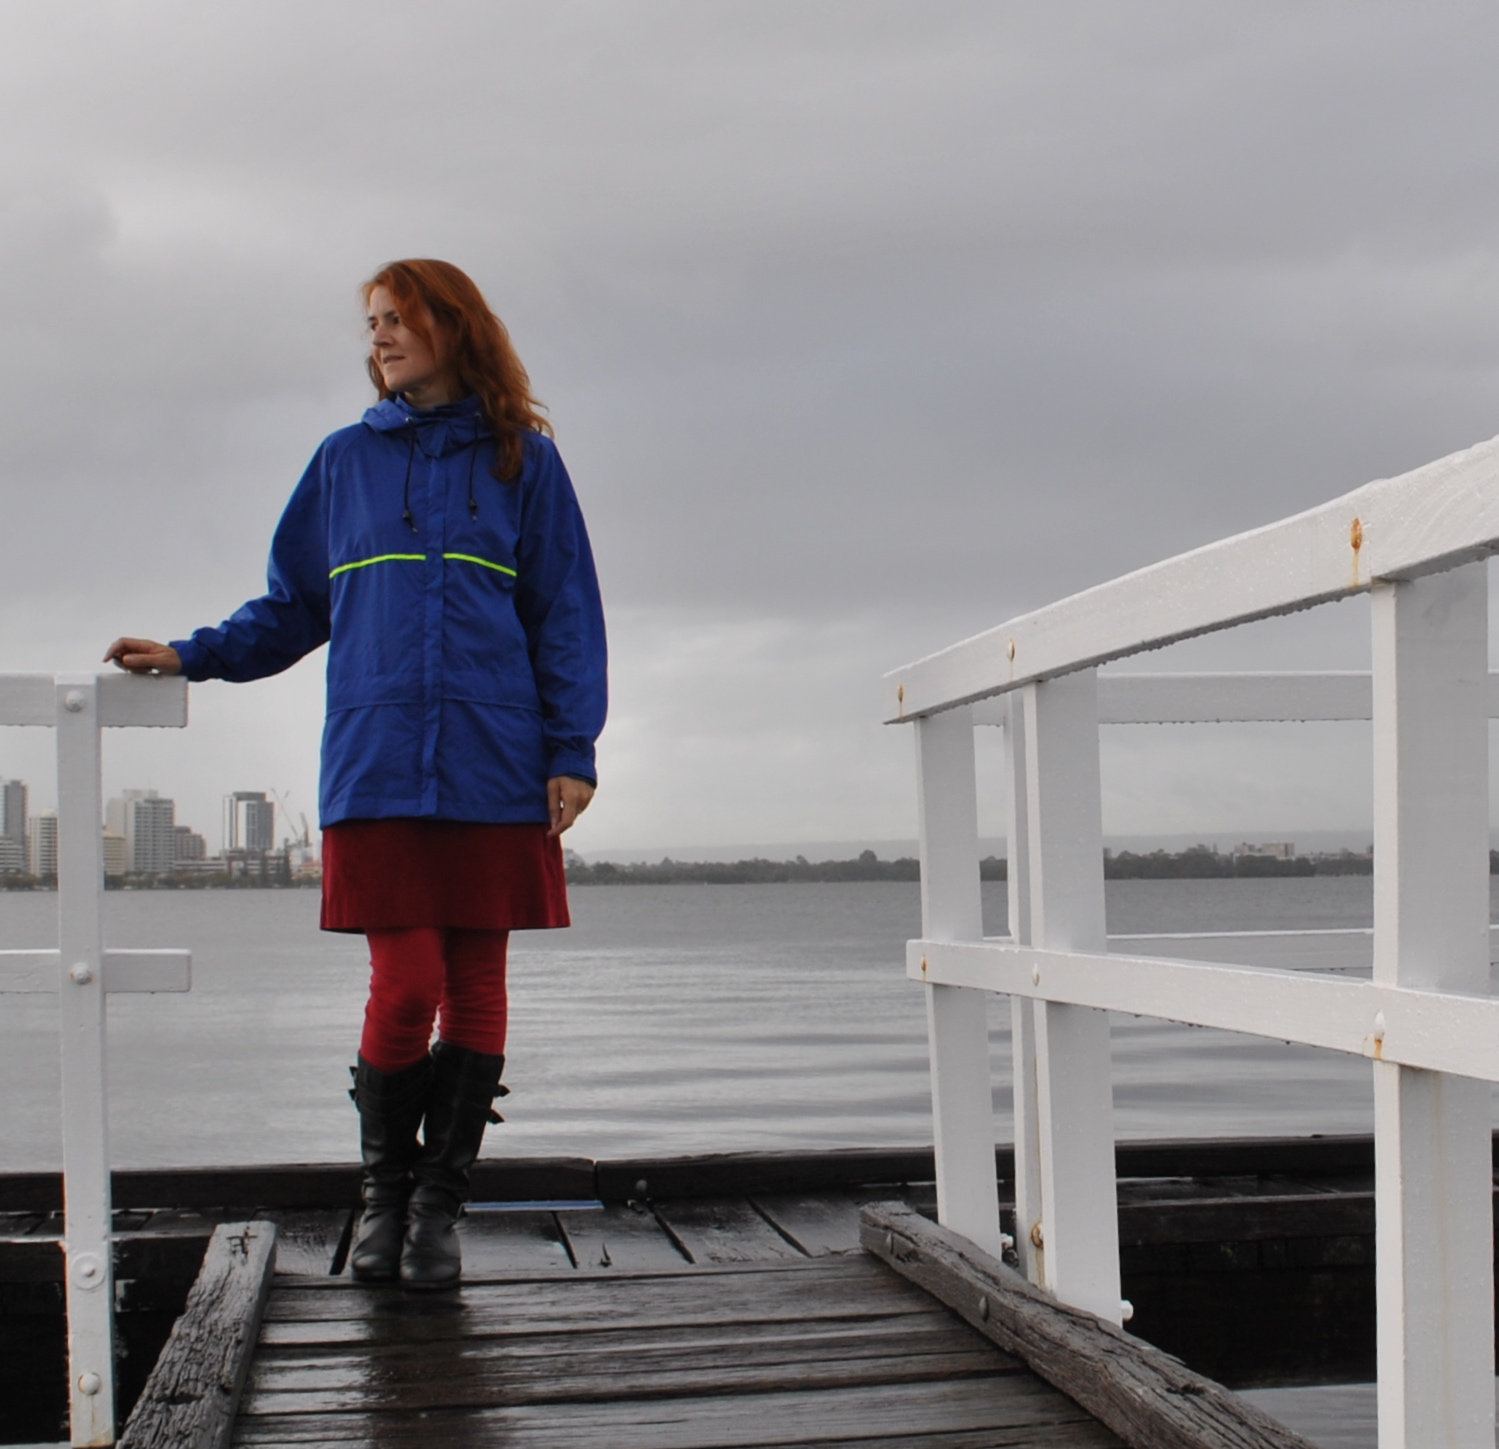
I used my old raincoat to help me draft a new pattern: I didn’t have to chop it up to do this, but this would be an excellent plan for someone who hasn’t done much self-drafting. It has raglan sleeves, a hood and a high, inner collar. I incorporated a few, very minor, fitting alterations and small design improvements at this stage.
I decided my raincoat doesn’t need to keep me warm, just dry; so: waterproof, non-breathable fabric, something like nylon ripstop would be the best. I knew from my old one that this kind of fabric does keep one plenty warm enough in our climate already.
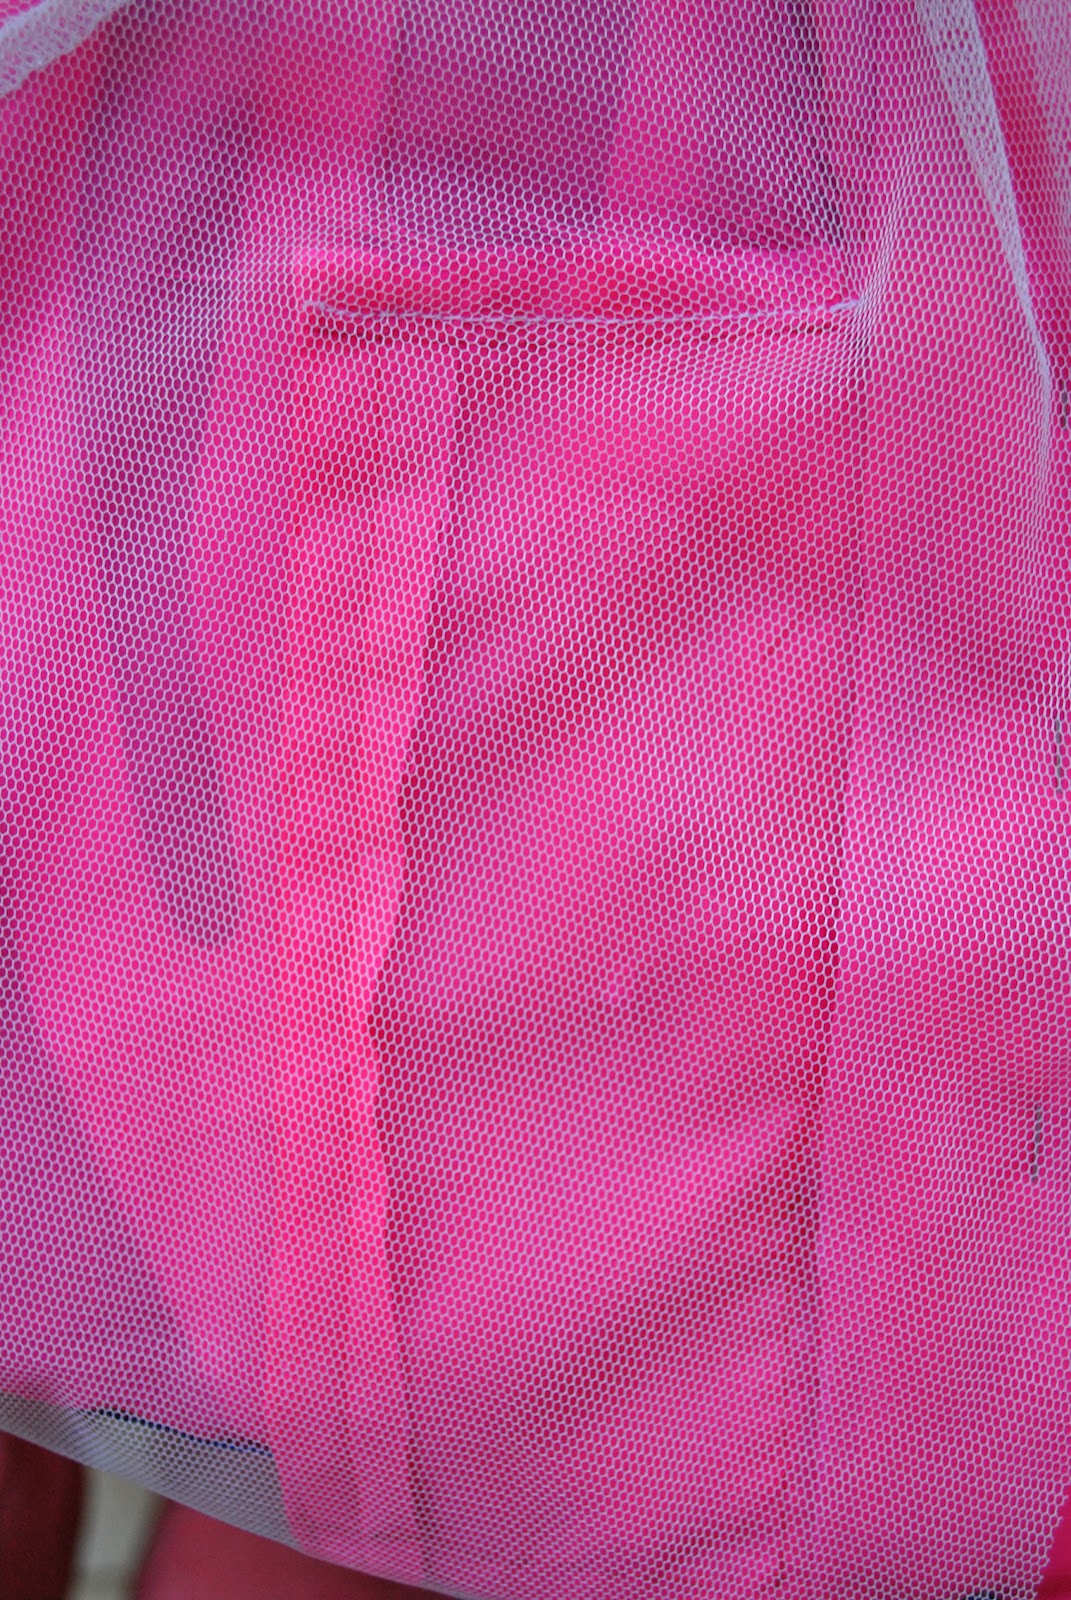
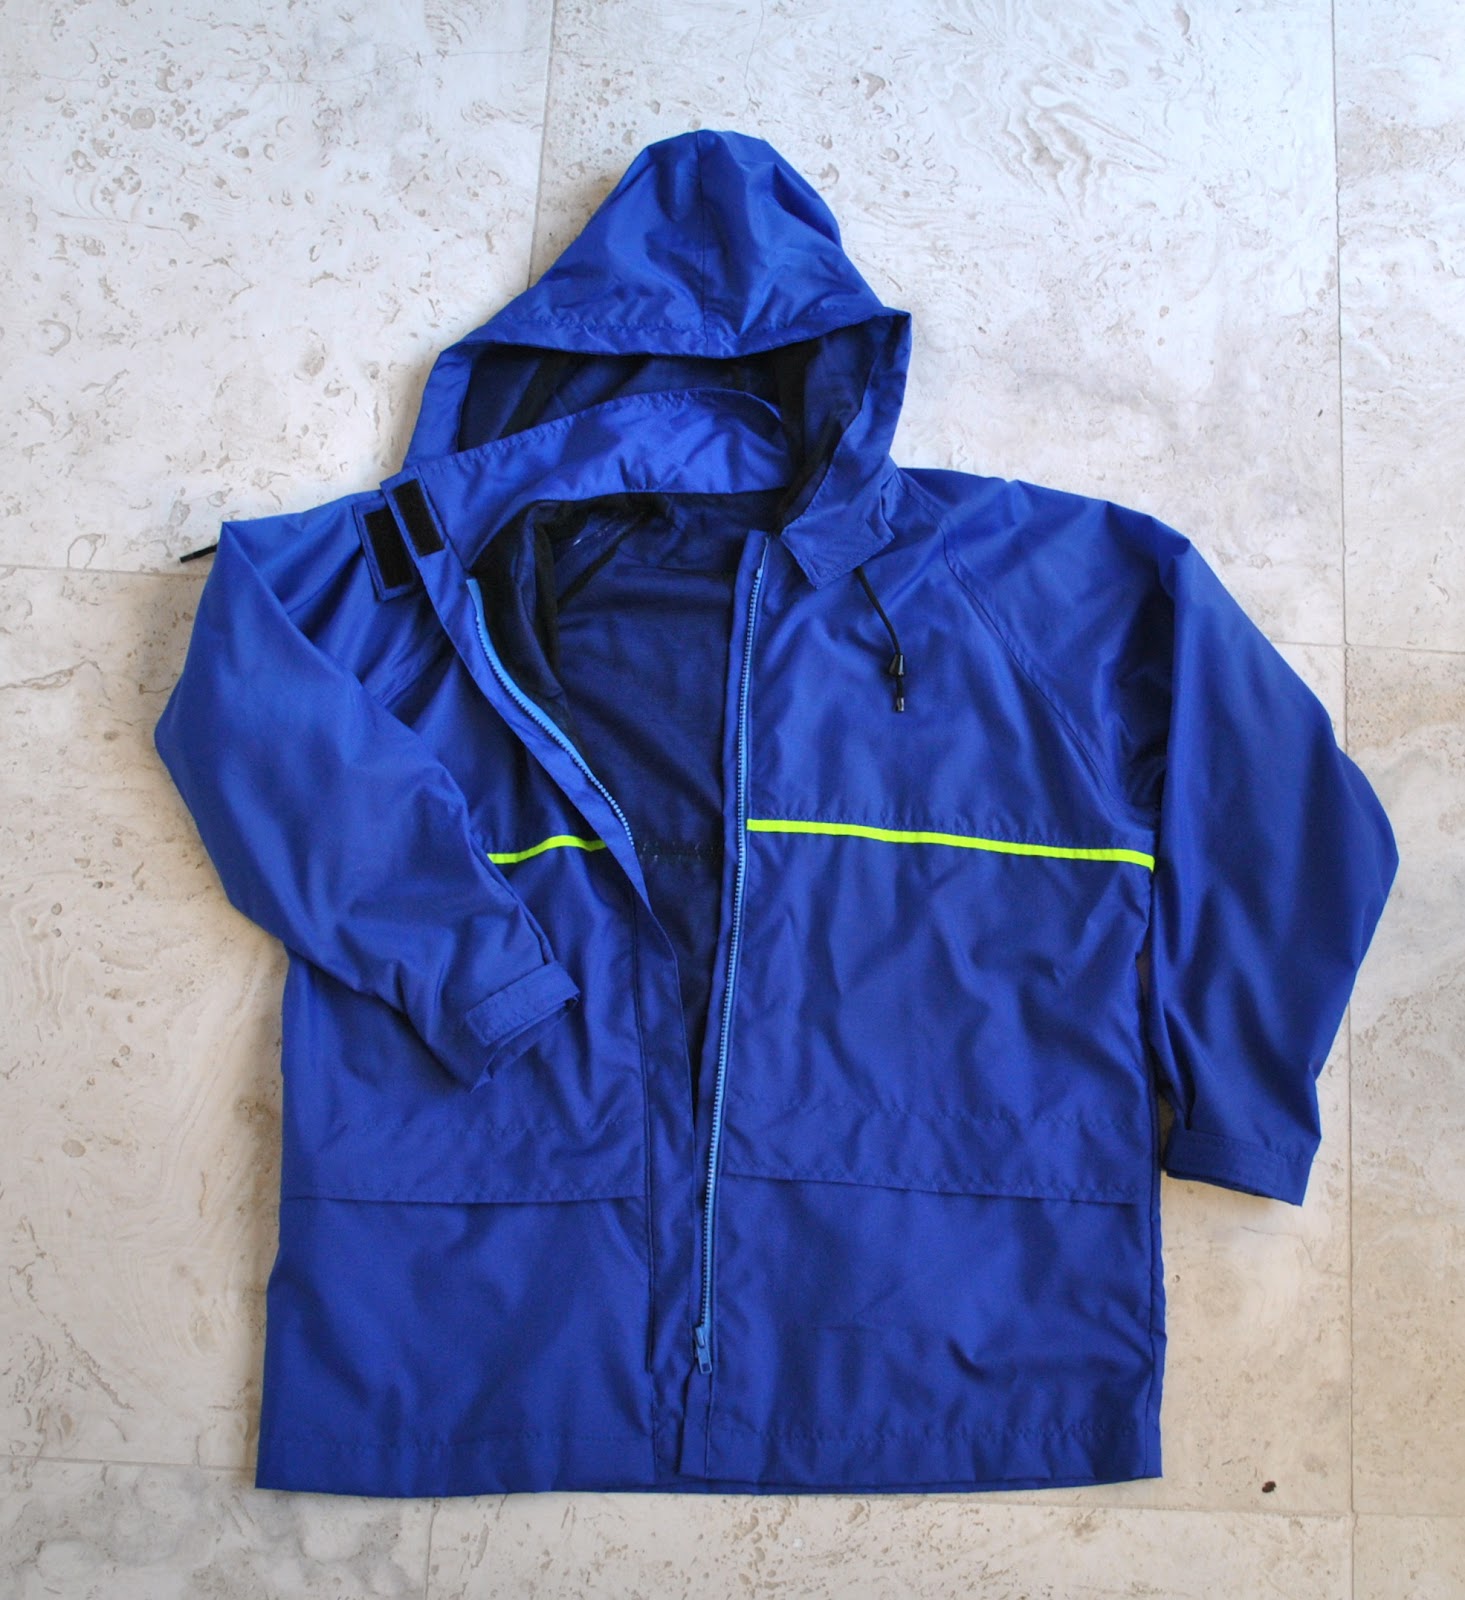
I wanted a full lining in my new raincoat. My husband’s raincoat has a polyester net lining; something akin to the fabric school sports shirts are made of; that is smooth and comfortable and very nice against the skin. I added this to my shopping list.

Now, I am sure everyone is dying to know where I bought this awesomely gorgeous fabric (hehe, kidding!)
Well: I browsed the online fabric stores, and had even bookmarked a few and was pretty much all set to BUY, when, like, the next day, I happened to be passing Spotlight and thought it would be worth going in to check out the separating zips. Well, you never know whether the ones you are buying online are dearer than Spotlight, and I’ve always found their zips, while not plentifully stocked, to be very reasonably priced. And while I was there, I idly checked out the fabrics; and hey, whaddyaknow? Nylon ripstop! The colour selection was not huge, but it was definitely cheaper than any I had seen online, so I picked up some royal blue plus a glow-in-the-dark green for trim, just for fun. Polyester net? They didn’t have exactly the same sort that was in my husband’s raincoat, but they did have some that seemed pretty good, so I picked that up too… Velcro? check! Zips? check! Cording and cord-stops? check and check! Spotlight is a much maligned store, and frequently by me, too 🙂 but I have to eat my words now since they had almost everything I needed! The only thing they did not have was some of that marvellous Seam Grip I have read about to waterproof my seams… but I recalled reading that its primary use is in tents and camping stuff, and barely 50m away from the front door of my Spotlight is a BCF store (Boating Camping and Fishing); practically next door. So I popped in, and yes of course they had Seam Grip. I promptly bought some. I was all set!!
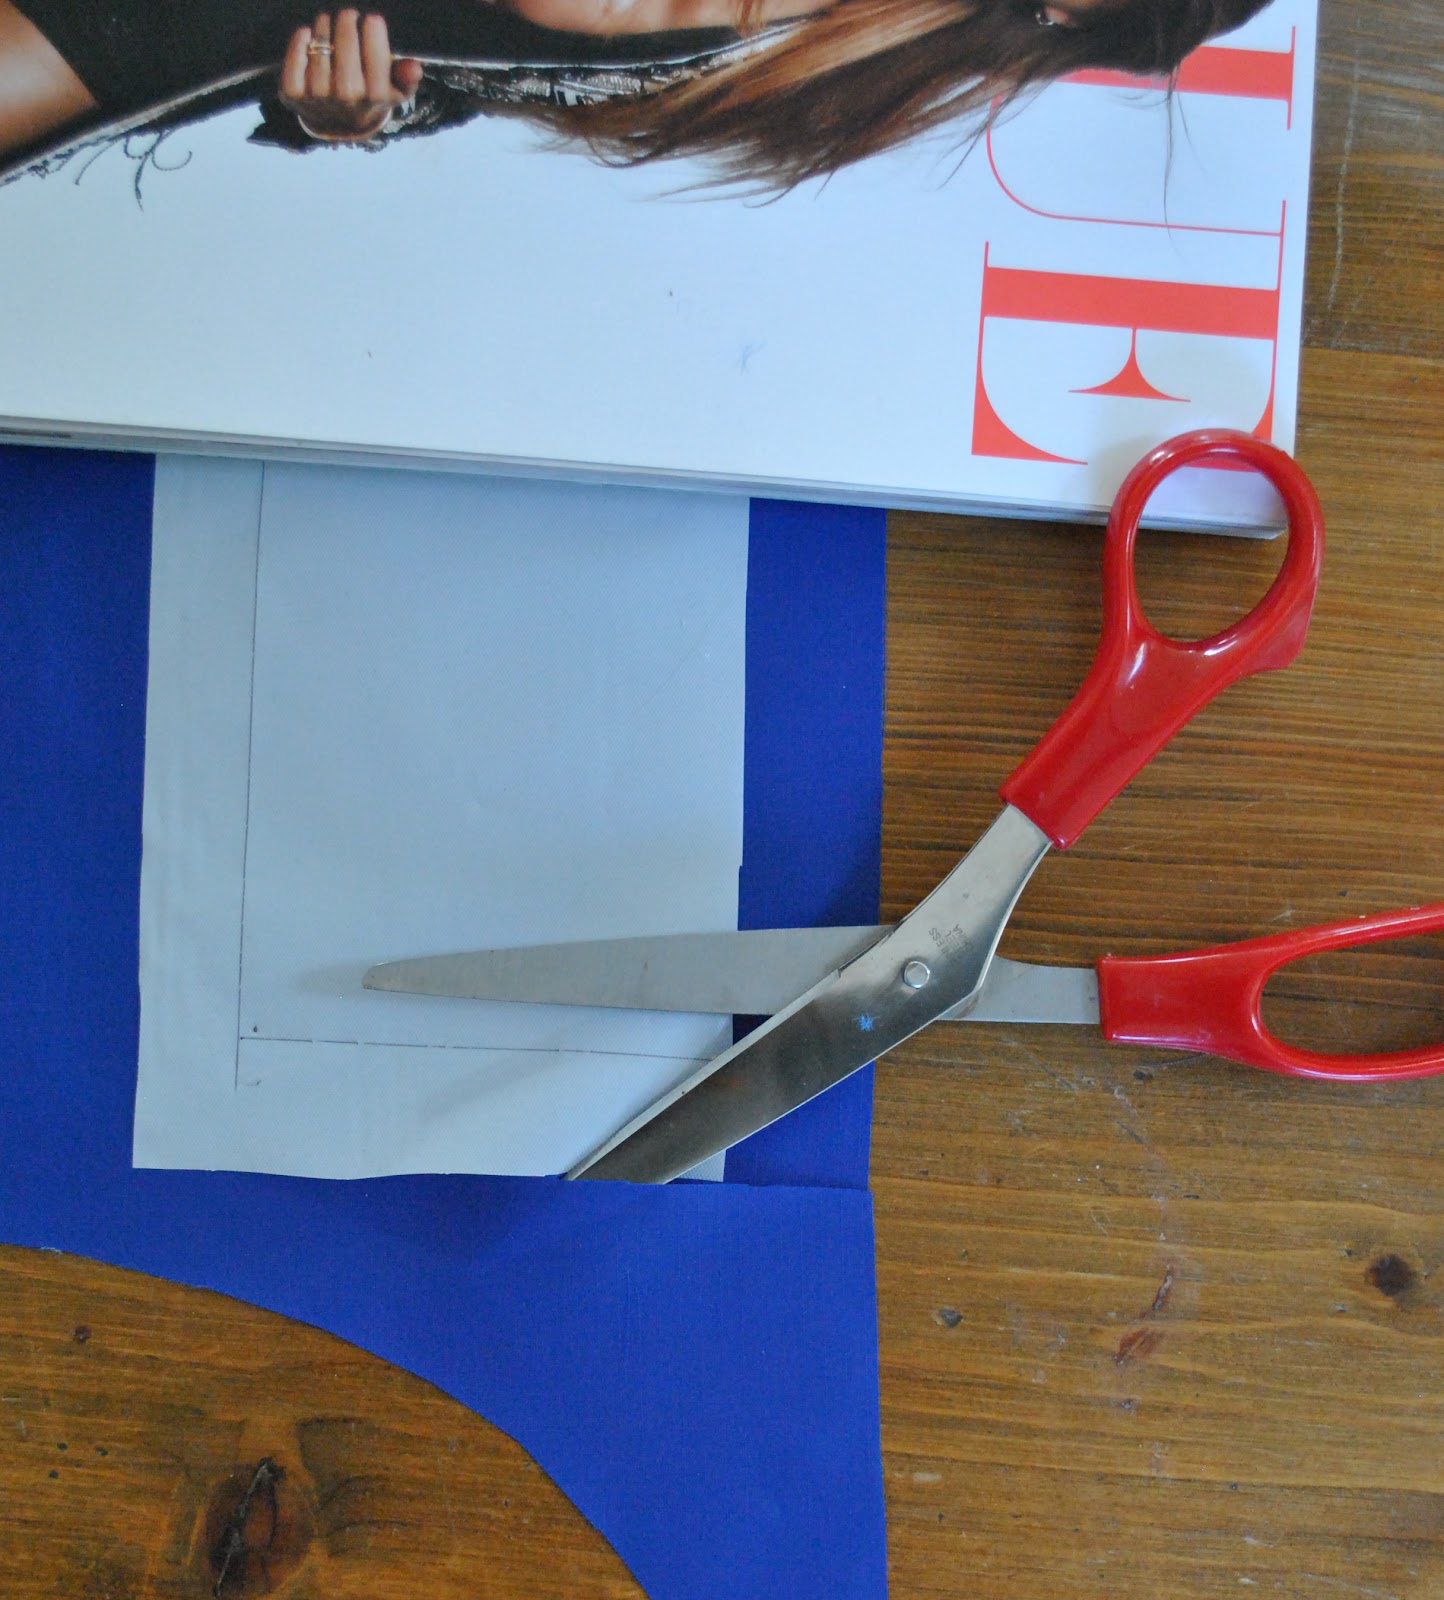
The nylon ripstop can be cut just with ordinary household scissors, so I did not blunt my good dressmaking shears on it… bonus!

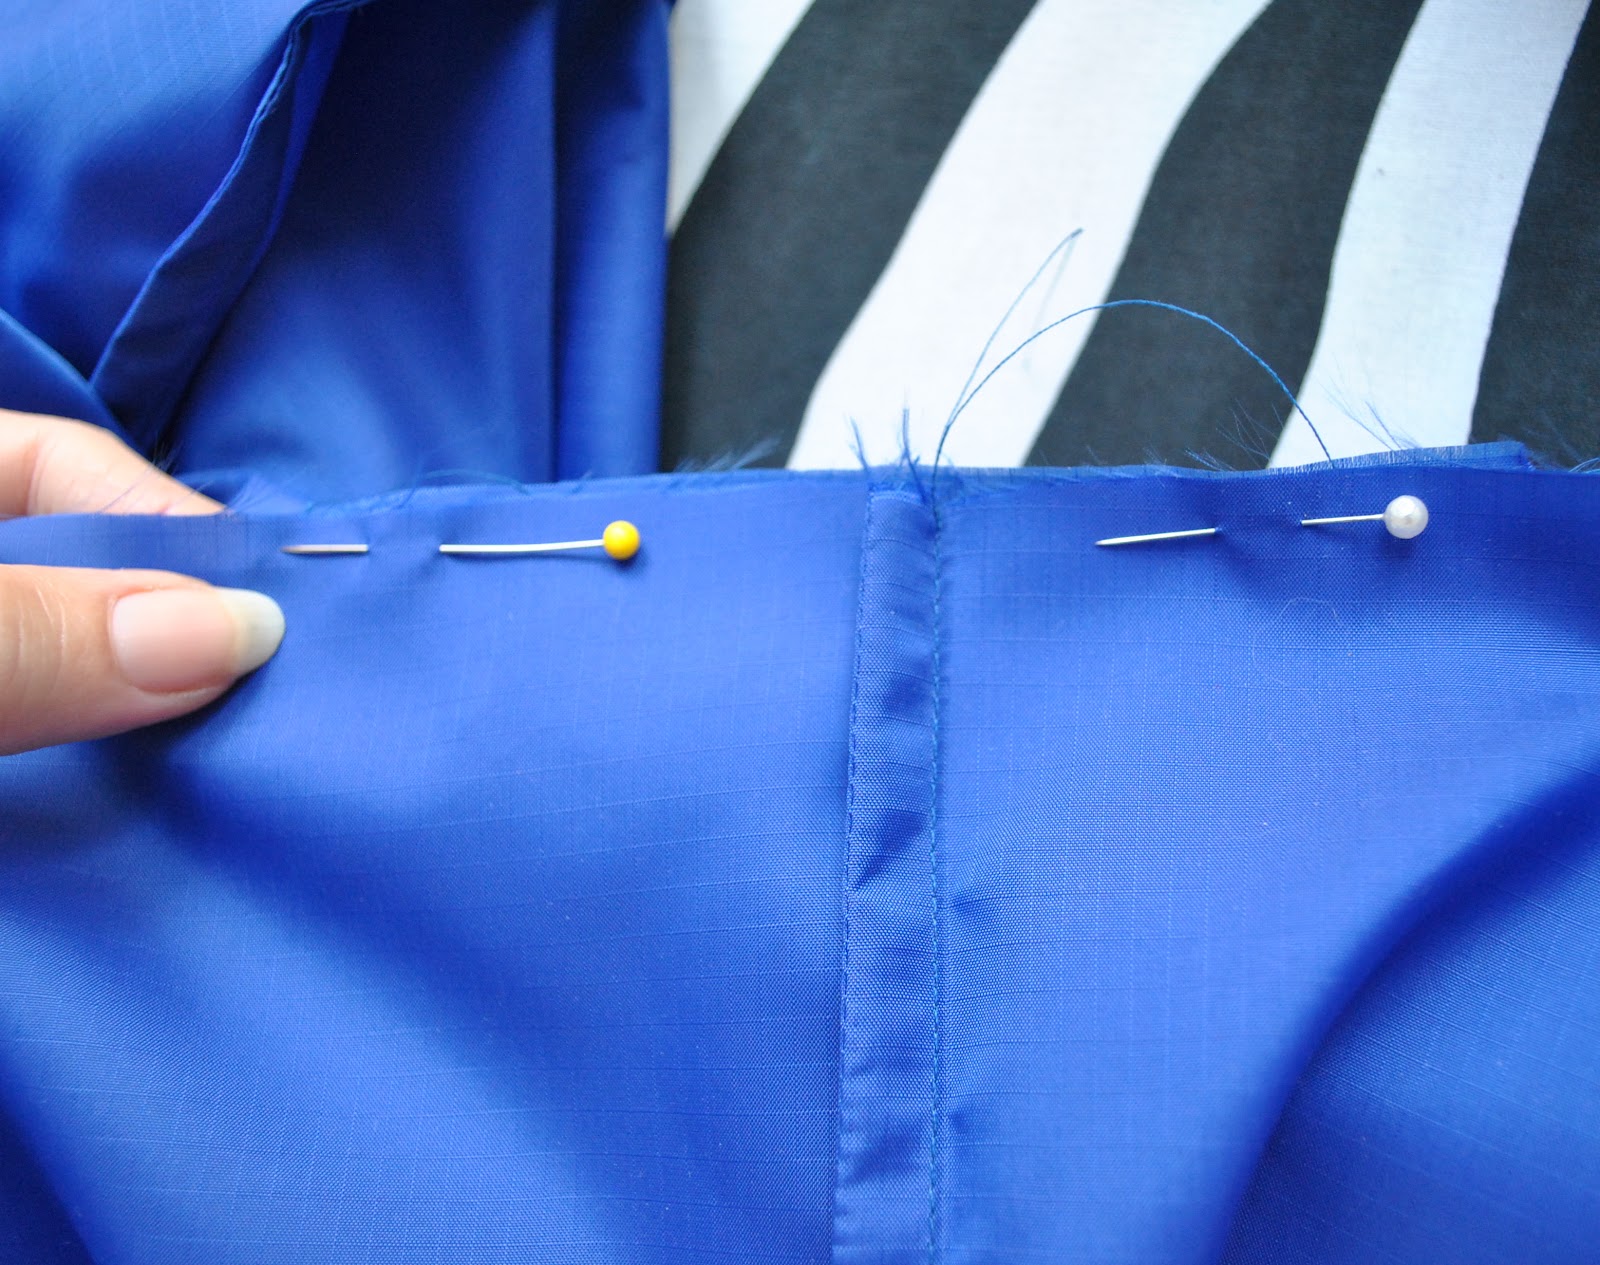
One can’t use pins willynilly since it has to be waterproof! But when necessary I pinned within the seam allowances.
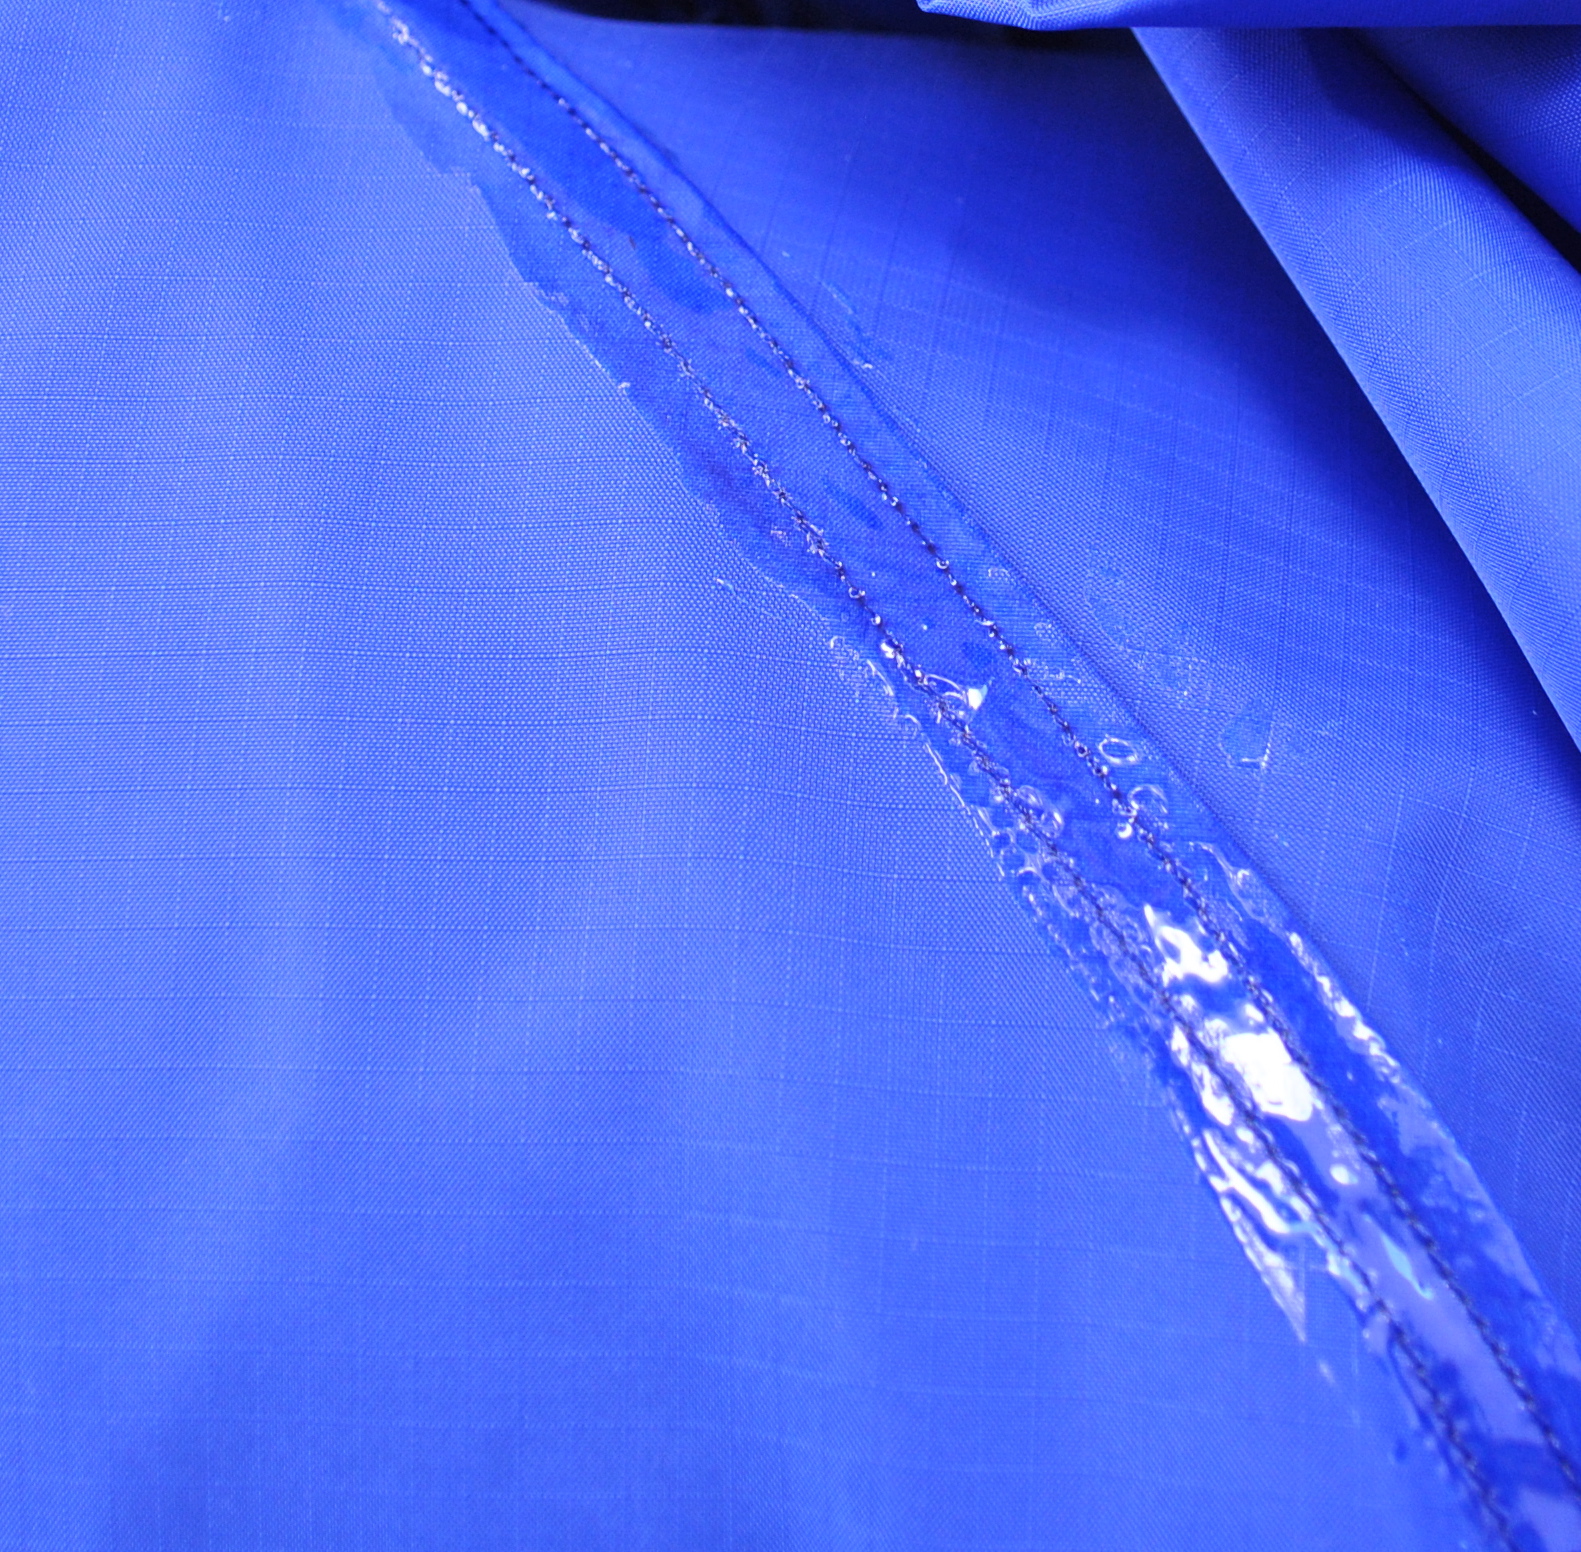
Not for looks (since the raincoat is fully lined) but for extra waterproofing, I sewed all the seams as French seams; bar some of the internal pocket seams which are inside the coat and so are not a waterproofing issue.
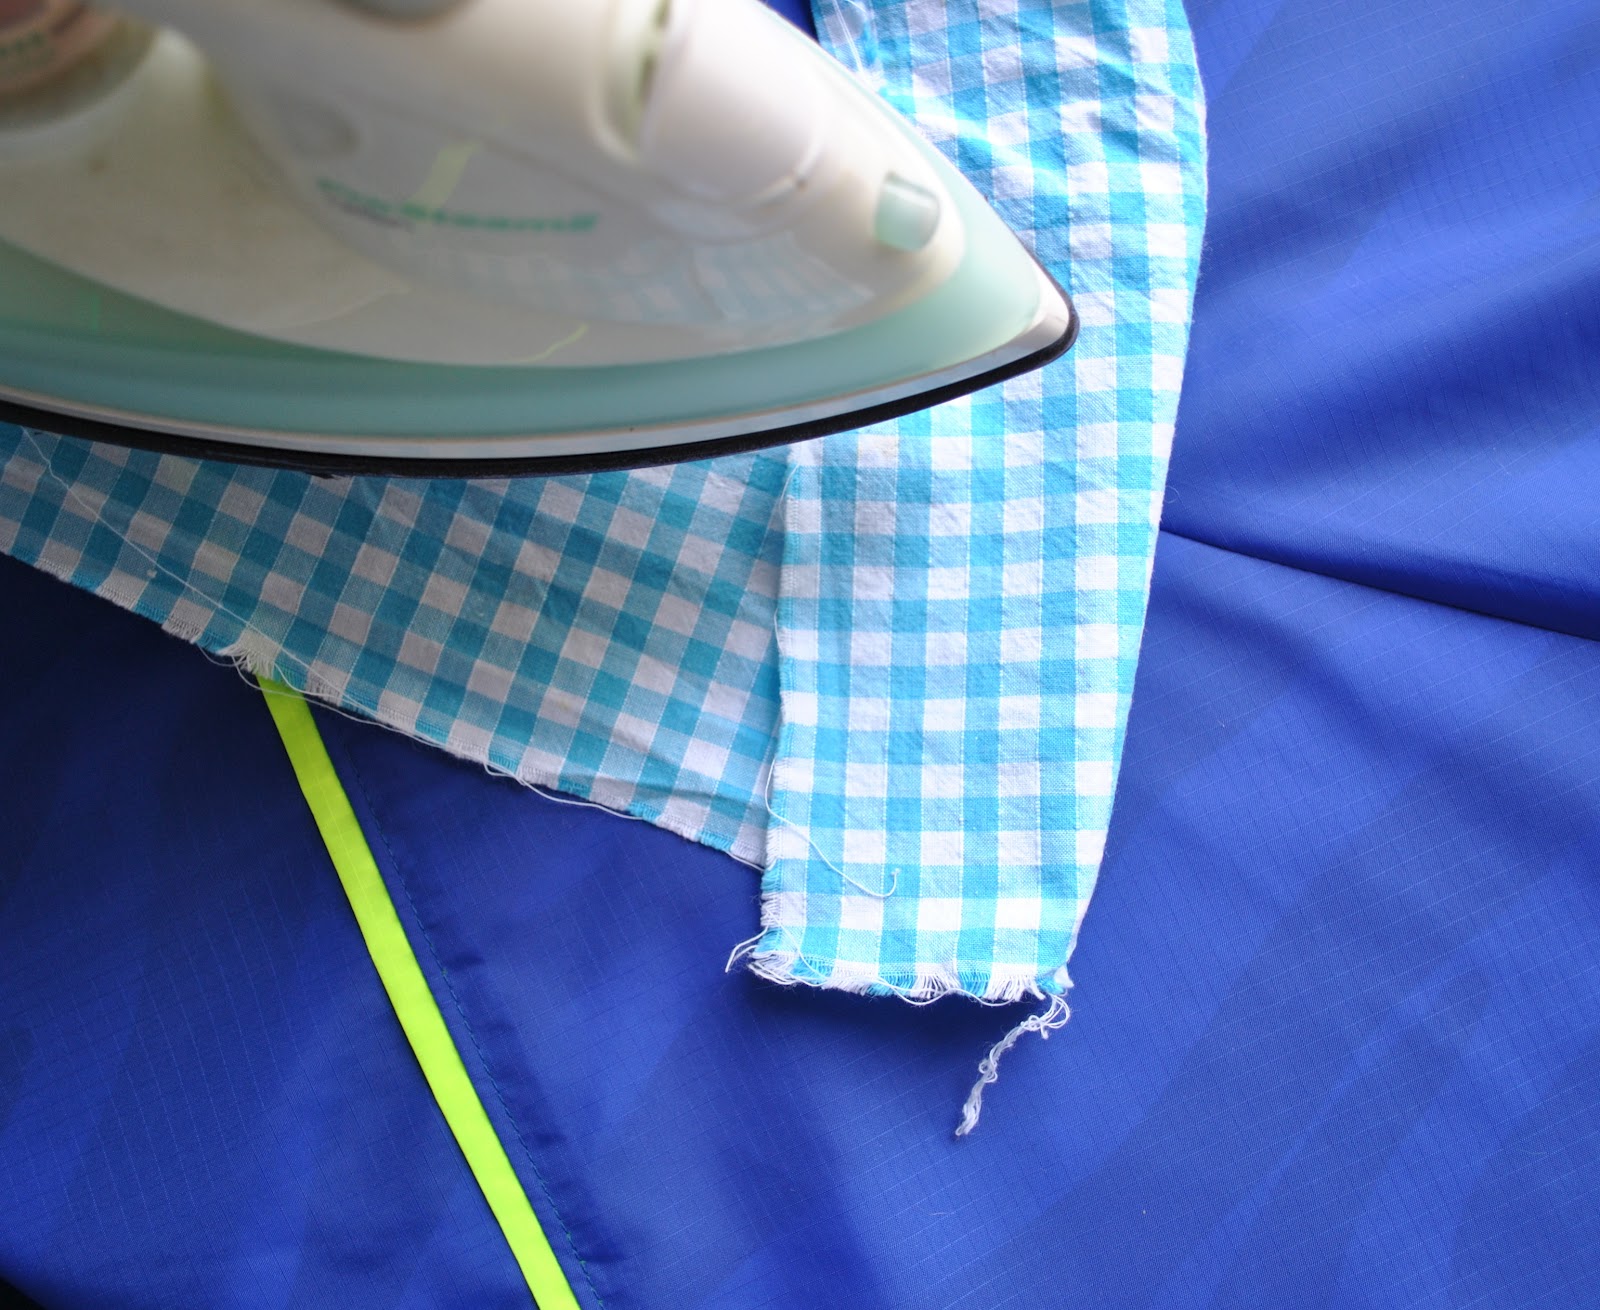
I ironed the seam allowances “up”, against gravity (another waterproofing tip) before topstitching in place.
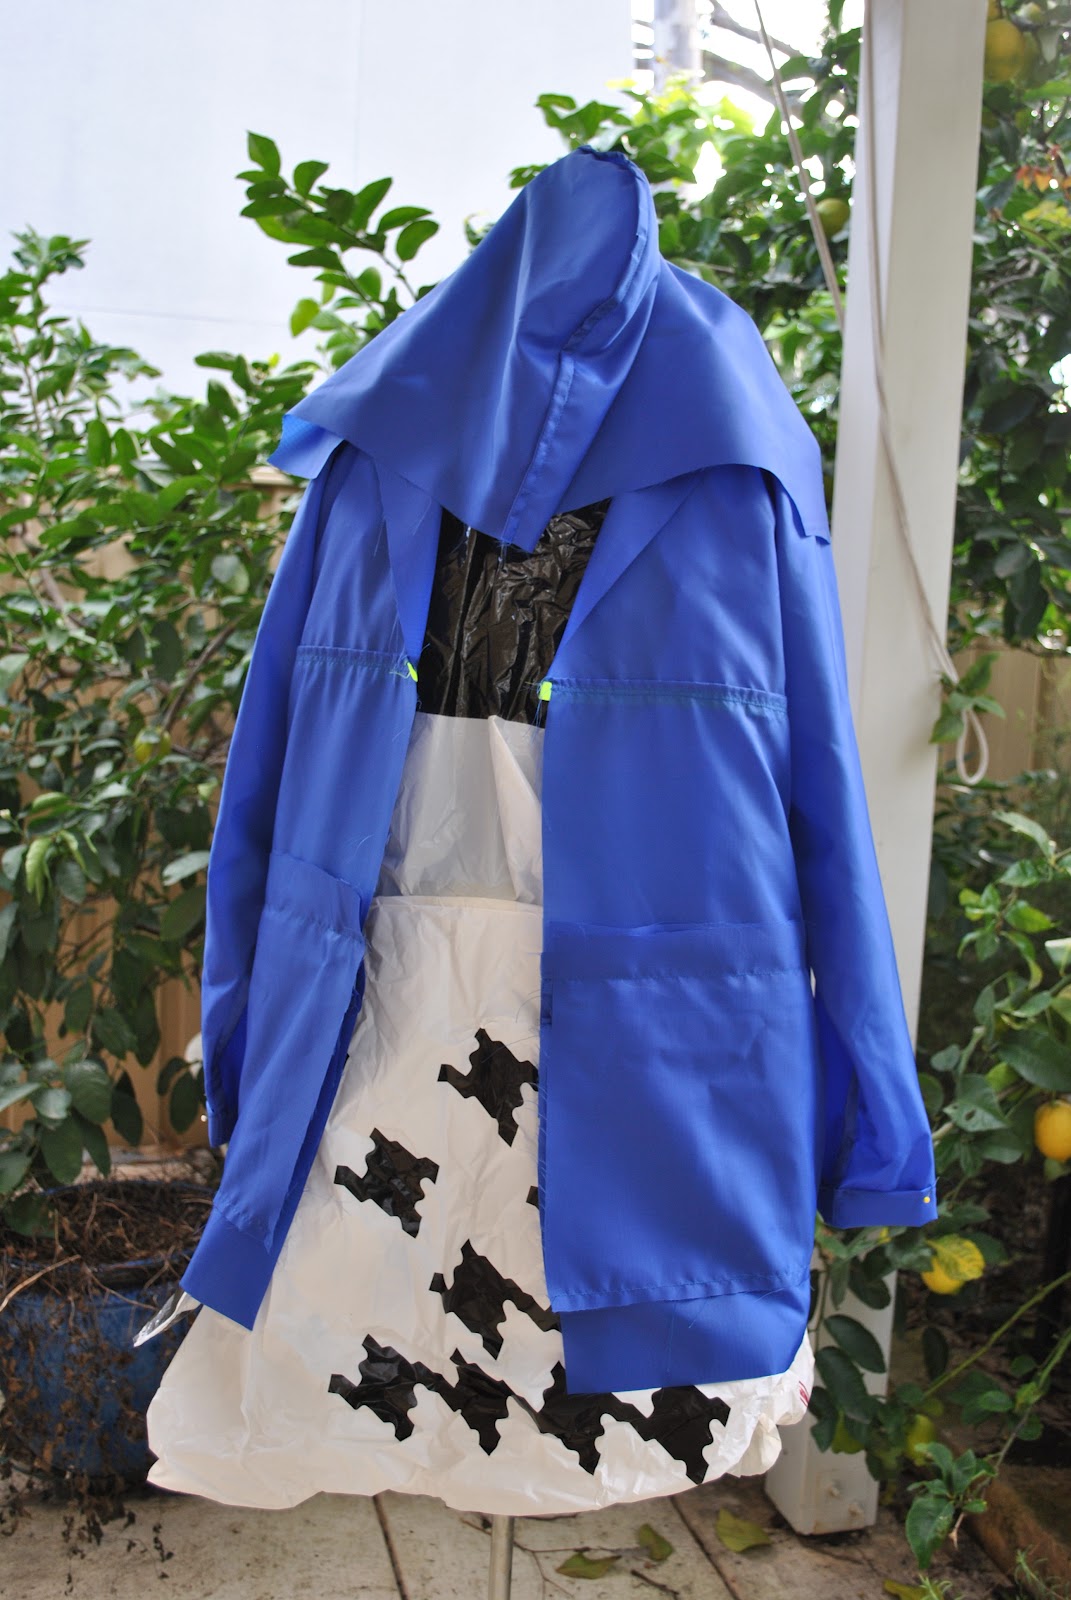
Seam Grip is messy stuff. Apparently it is the best product around for this job, but check out the fine print; it contains toluene. This is nasty… back in the dark ages when I was an analytical chemist I would have only opened a bottle of this substance in a fume-cupoboard. Not having access to a fume cupboard anymore, I worked outside and used disposable rubber gloves. I cloaked Bessie in plastic bags to protect her (not that she is susceptible to carcinogens….) and draped and pegged my half-finished coat inside out to do the seam sealing.
I left it to cure for 12 hours, and kept on going out regularly to pull apart the bits like the underarms, that were sticking to themselves; to ensure nothing became permanently glued together. Even when fully set I have found the Seam Grip has a tendency to stick to itself. Having the lining in has alleviated the problem somewhat, but not completely. I sure hope it de-stickifies eventually :S
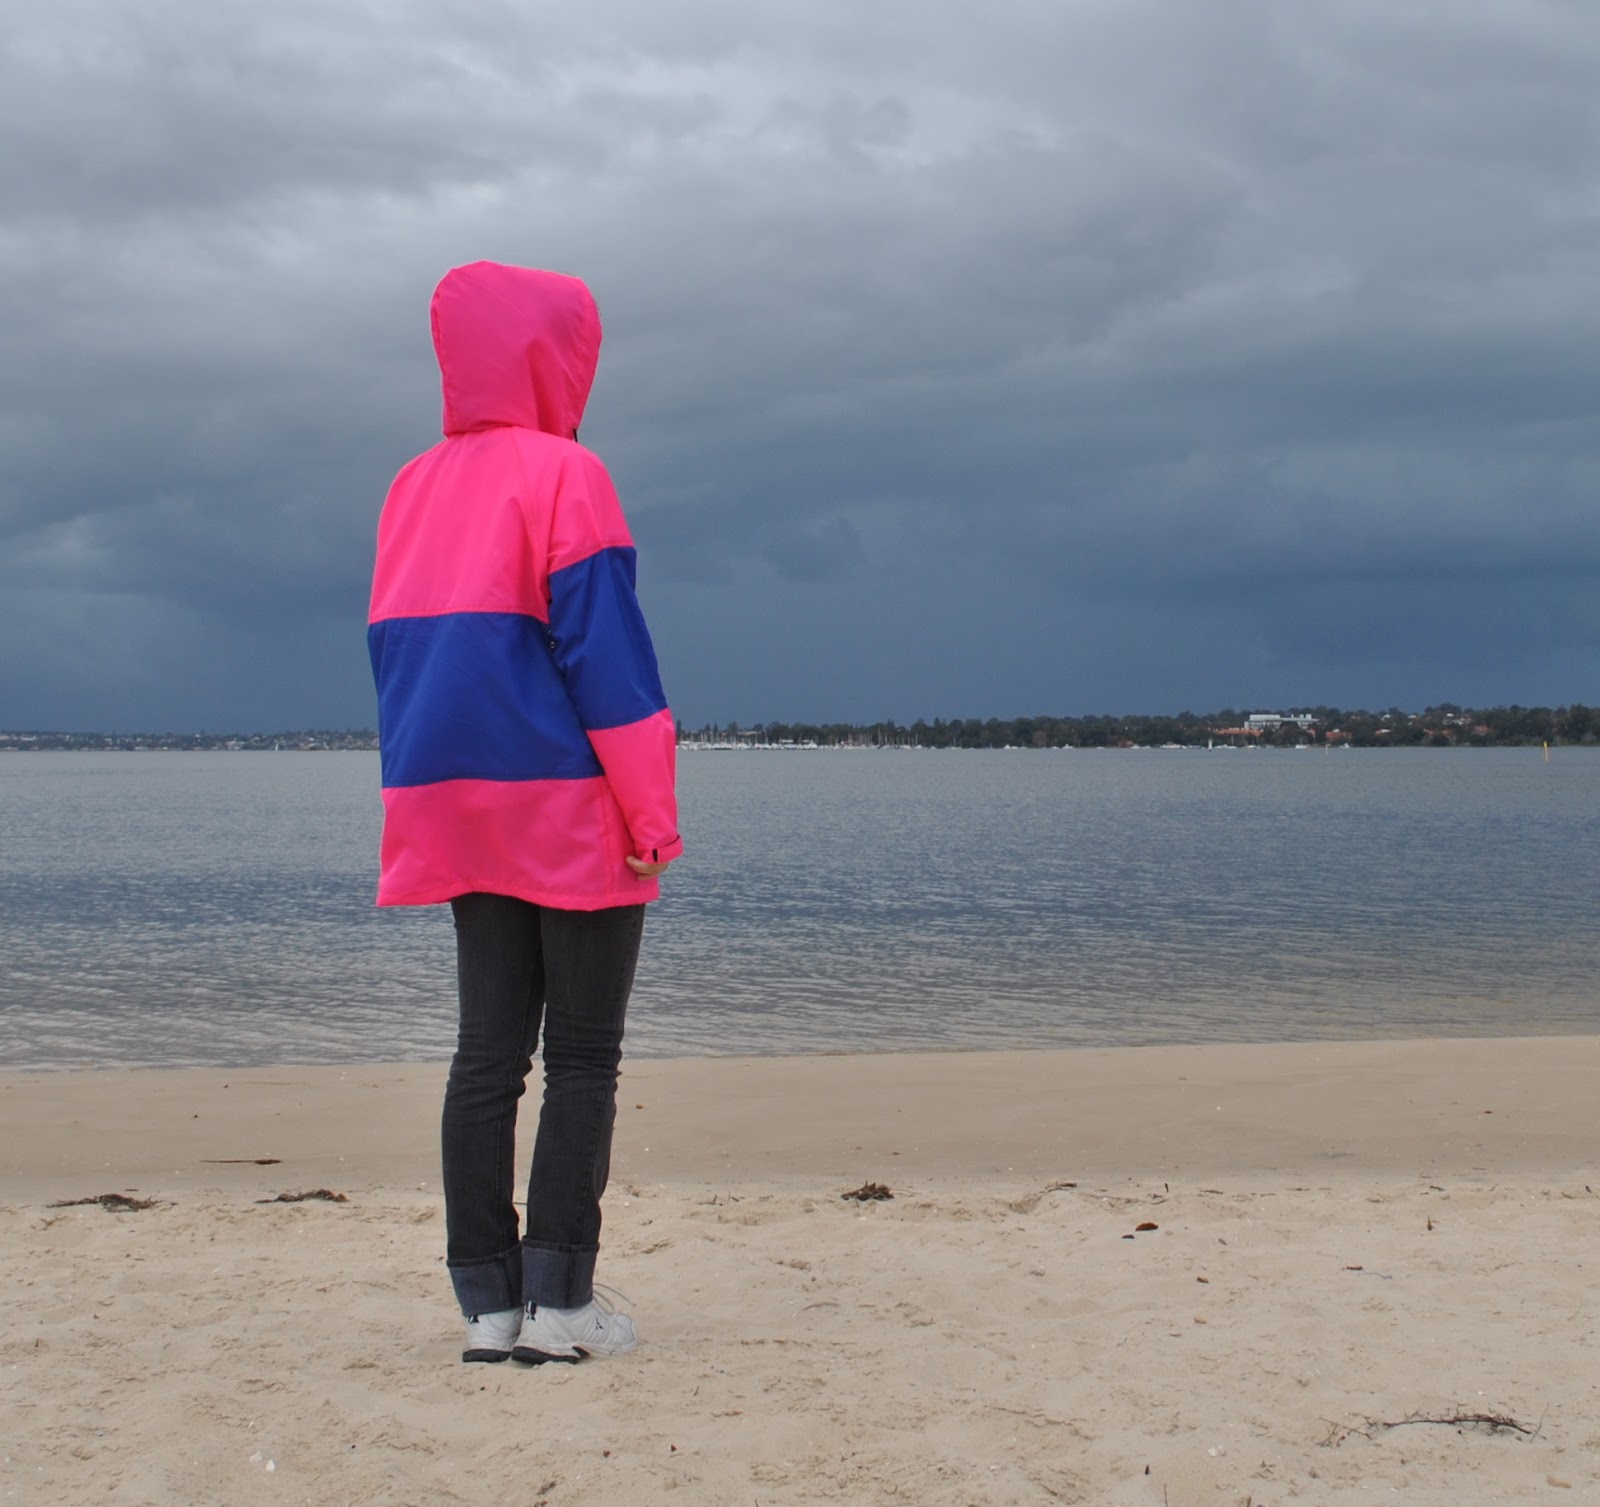
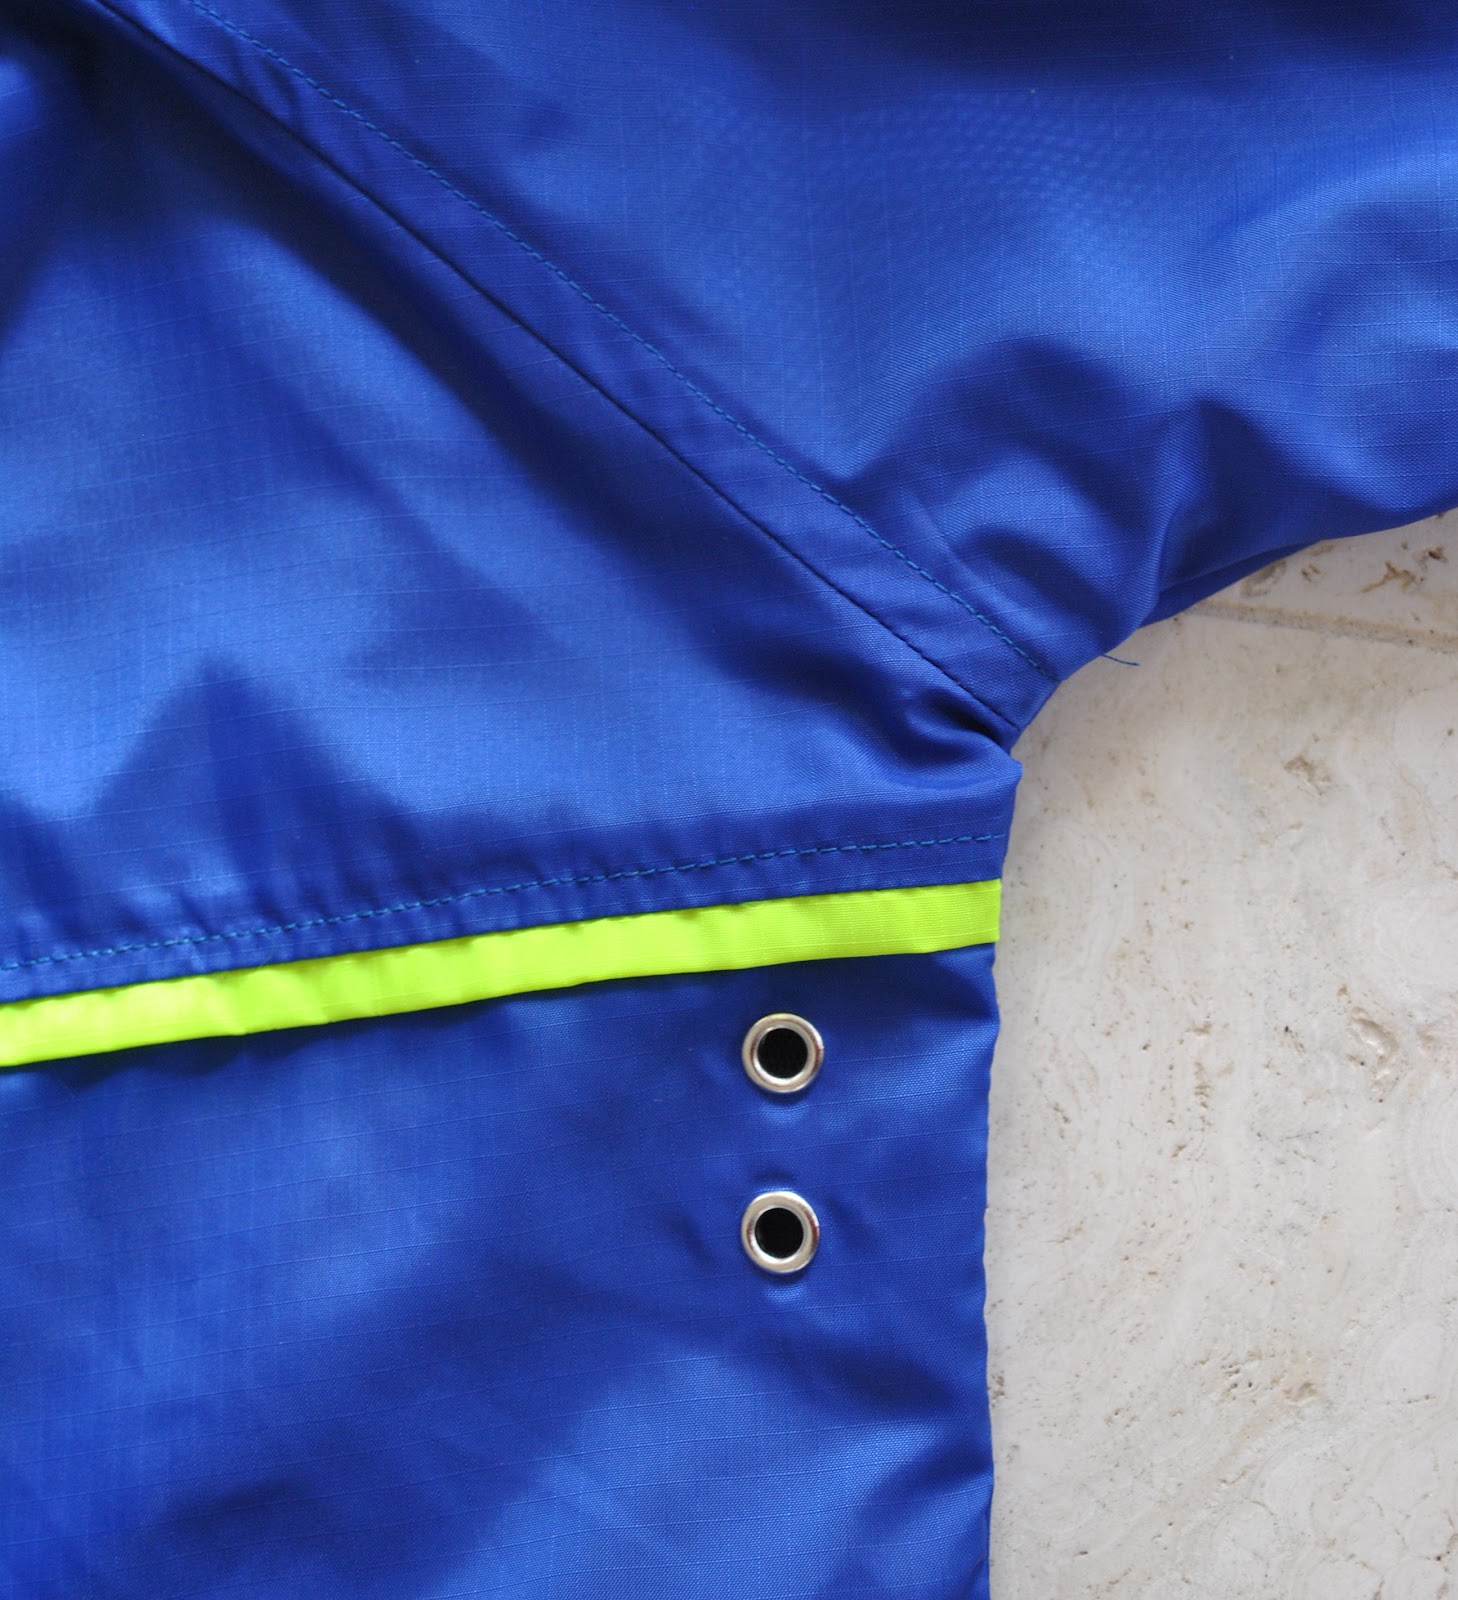
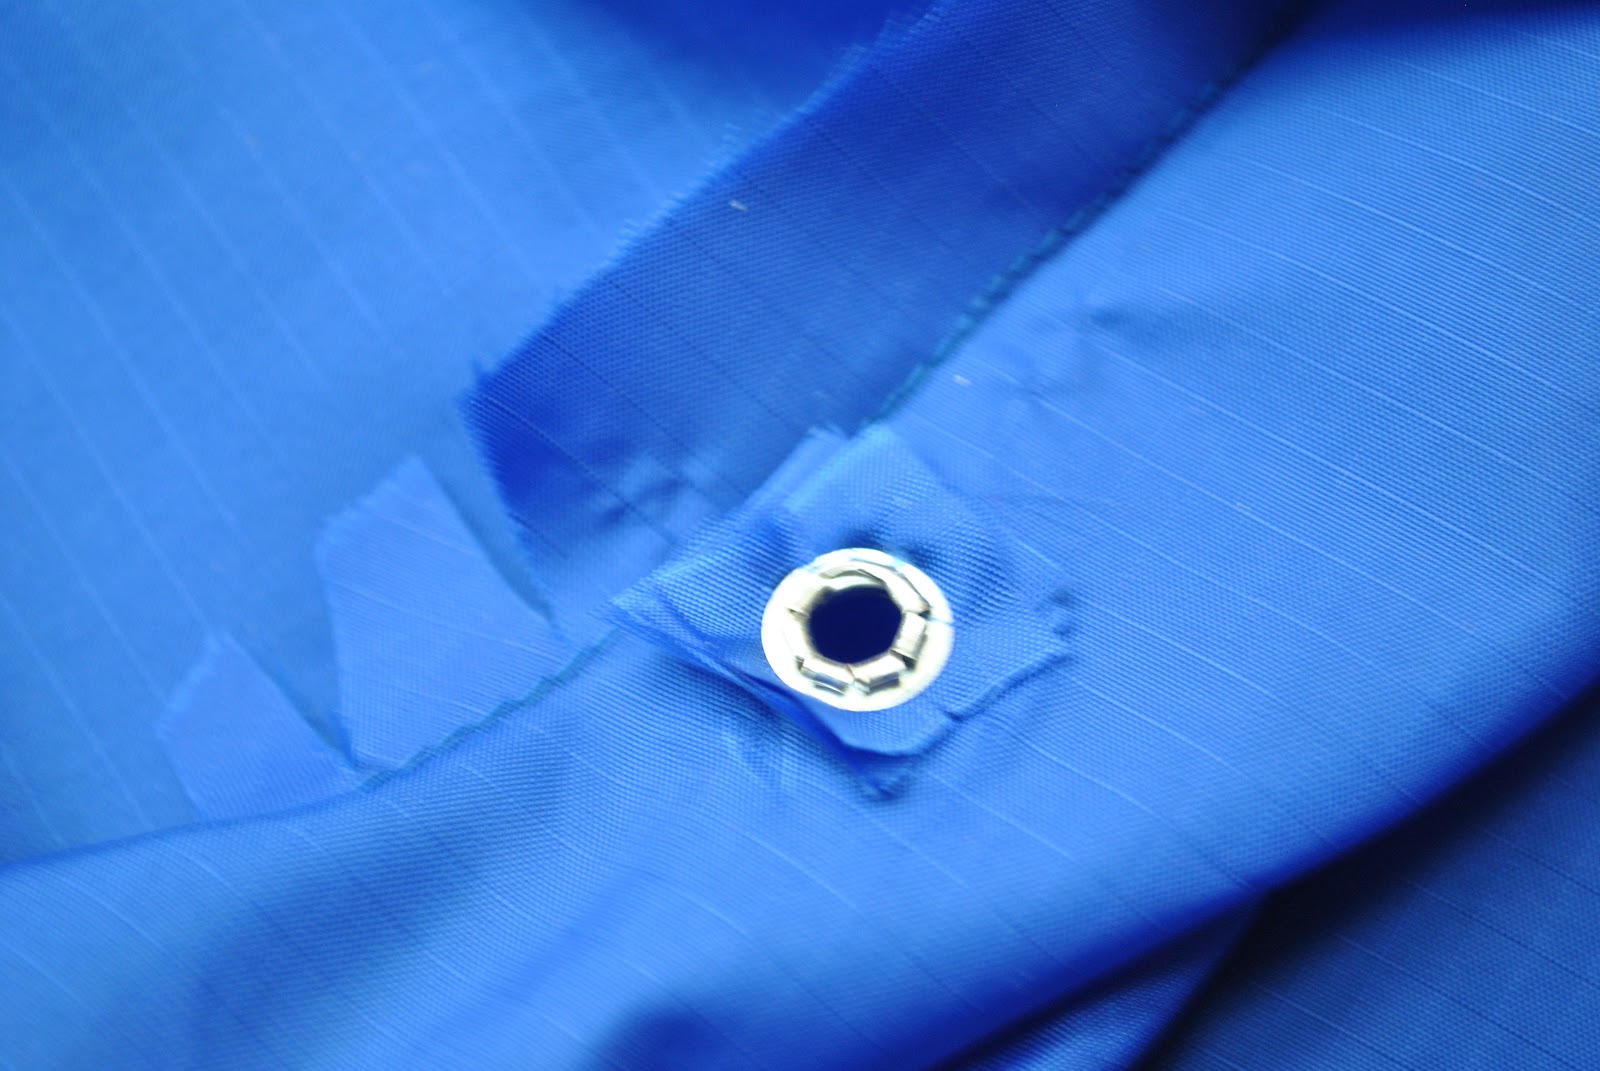
Ventilation: meaning, an aperture for one’s body heat to escape outside; is a must in waterproof non-breathable garments. So I copied a feature from my old raincoat and hammered in two eyelets under each of the arms, at the back. These, as well as the eyelets in the hood for the cording (pictured below), are each re-inforced on the inside with an extra four layers of self-fabric, for strength.
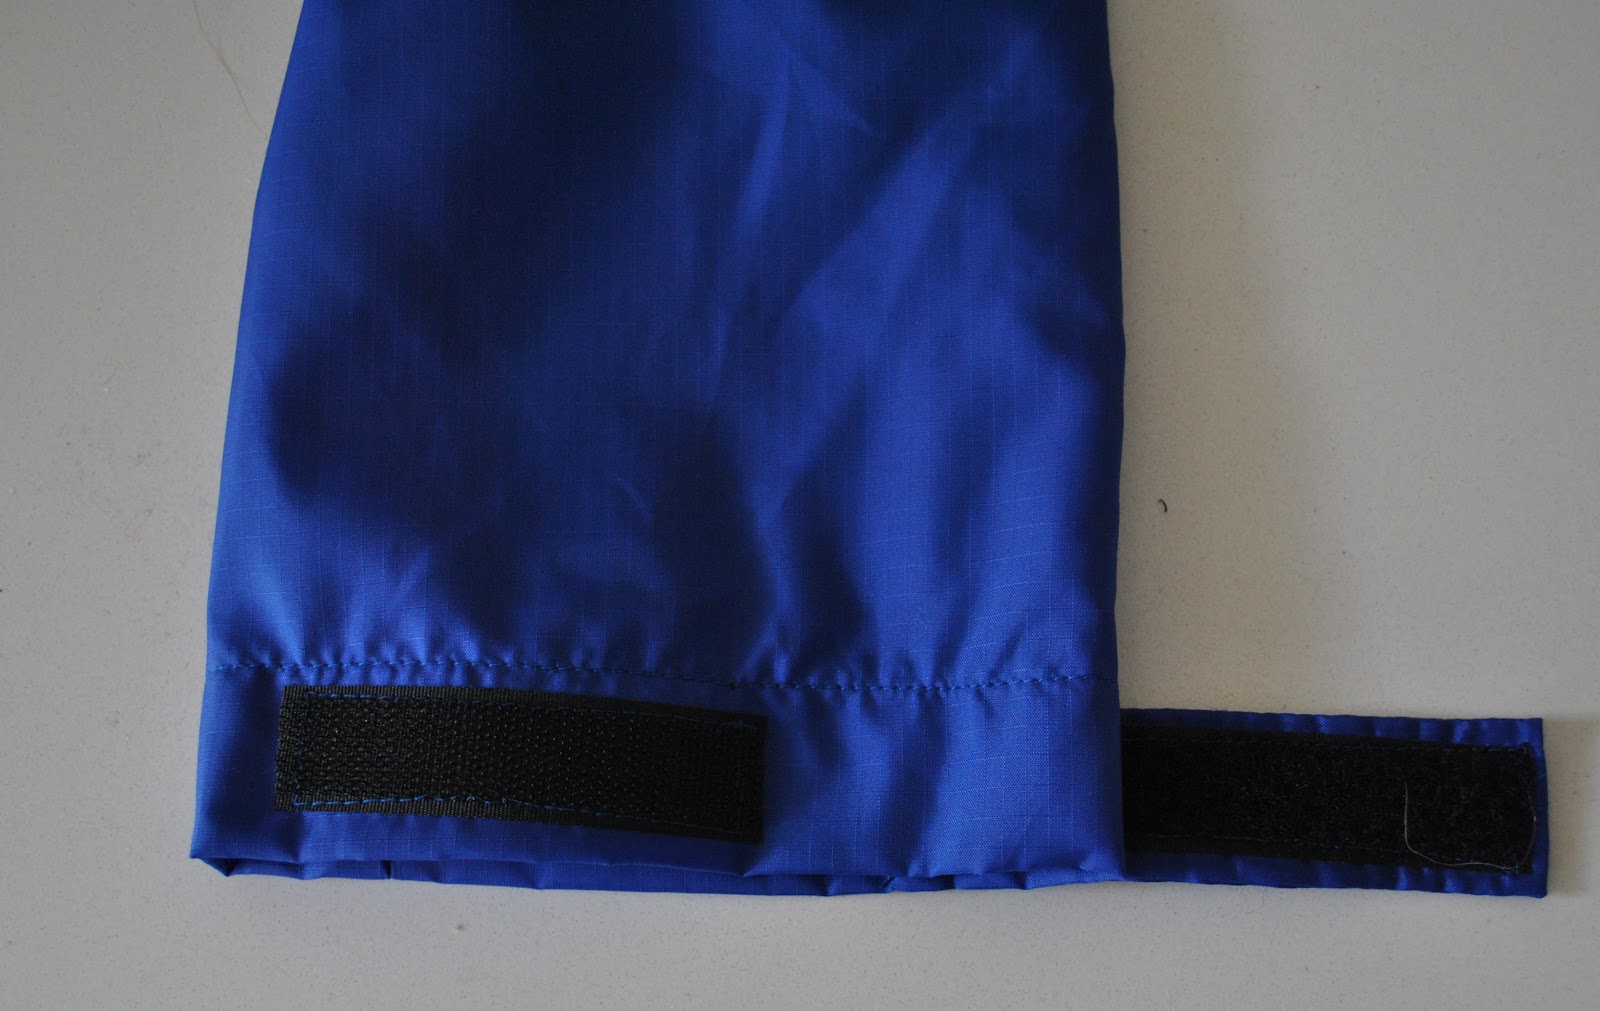
Quick and simple velcro-lined tabs to tighten the wrists. I’ve used something like these on my old raincoat for the last dozen or so years: so they’re second nature to me and I am accustomed to them, so I copied them exactly for my new one. No need to re-invent the wheel, right?
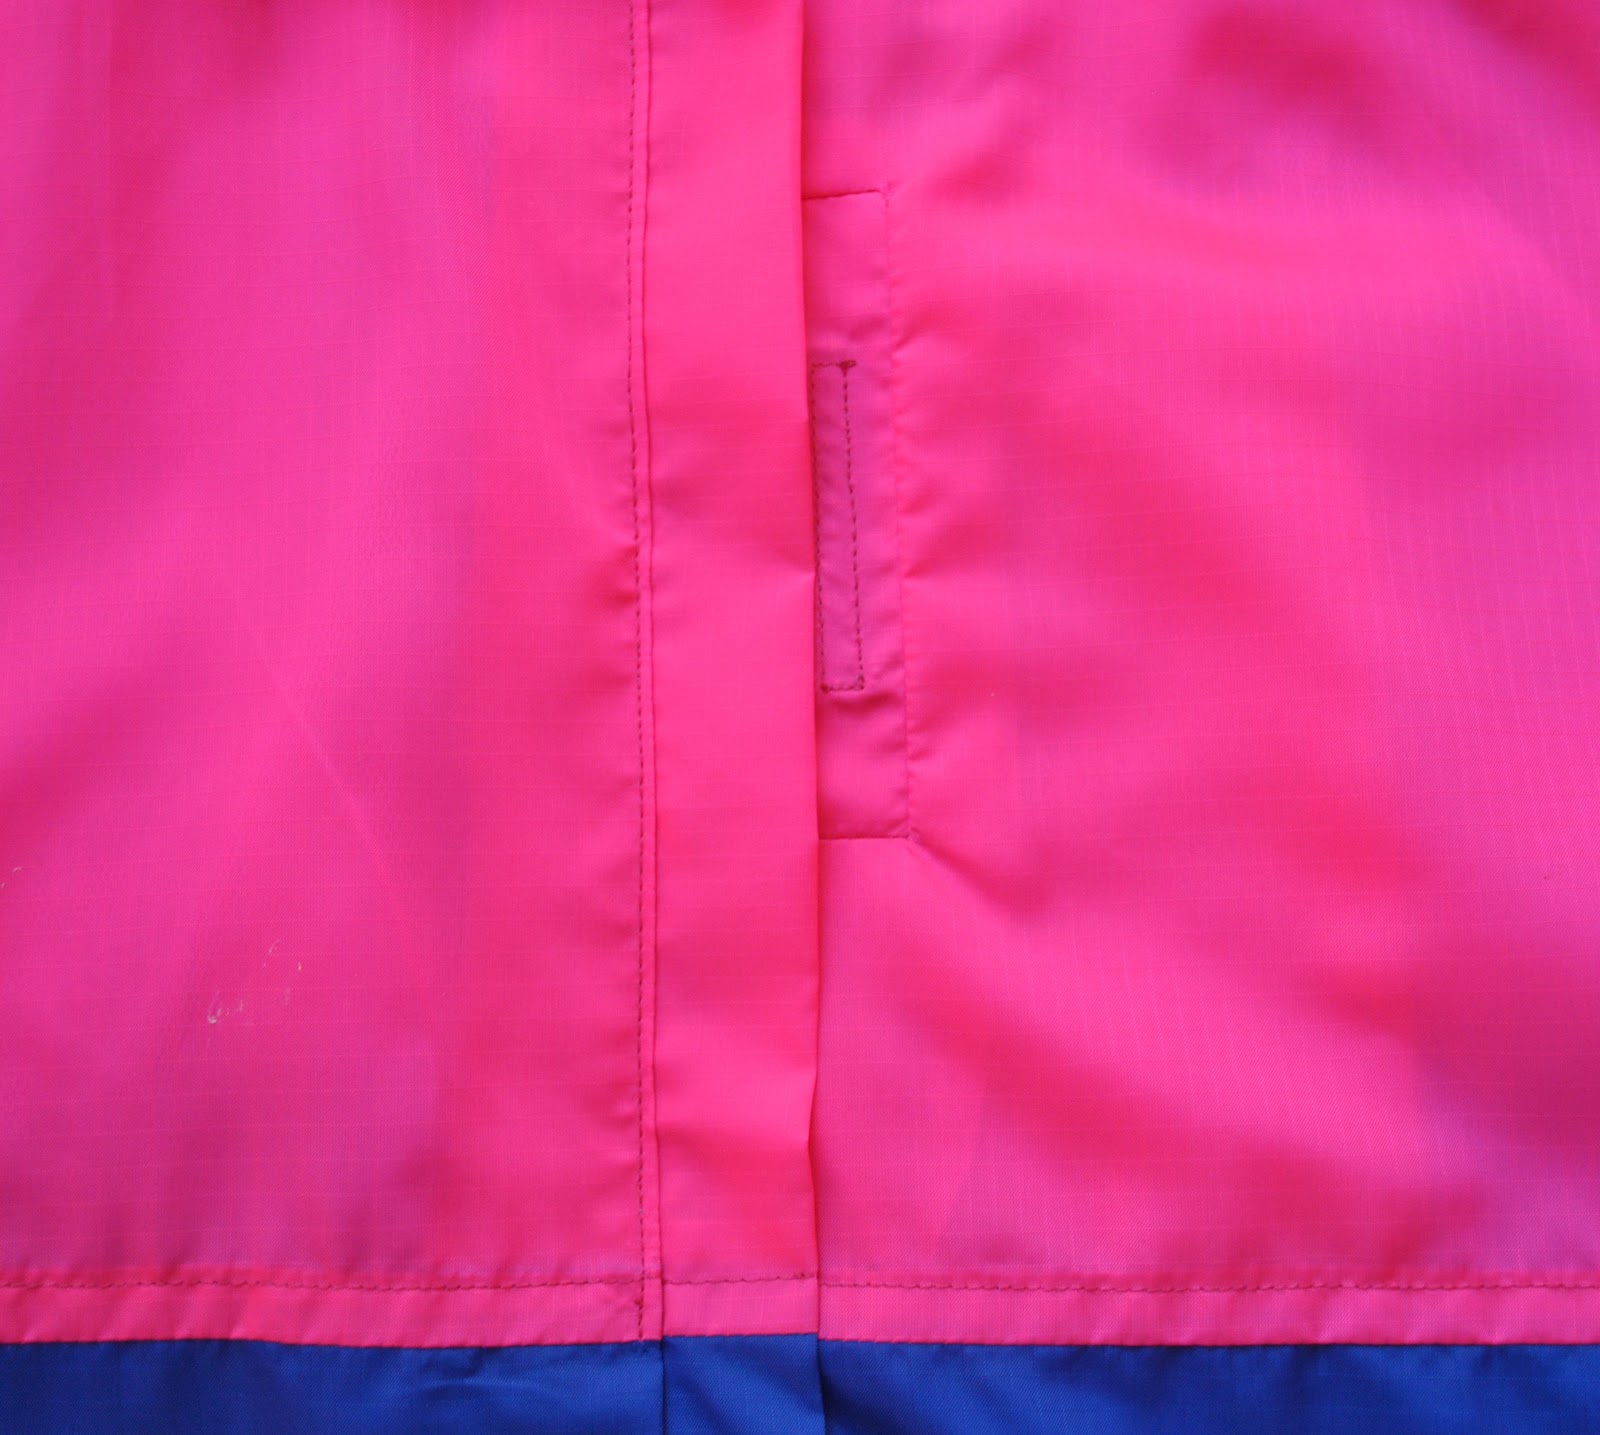
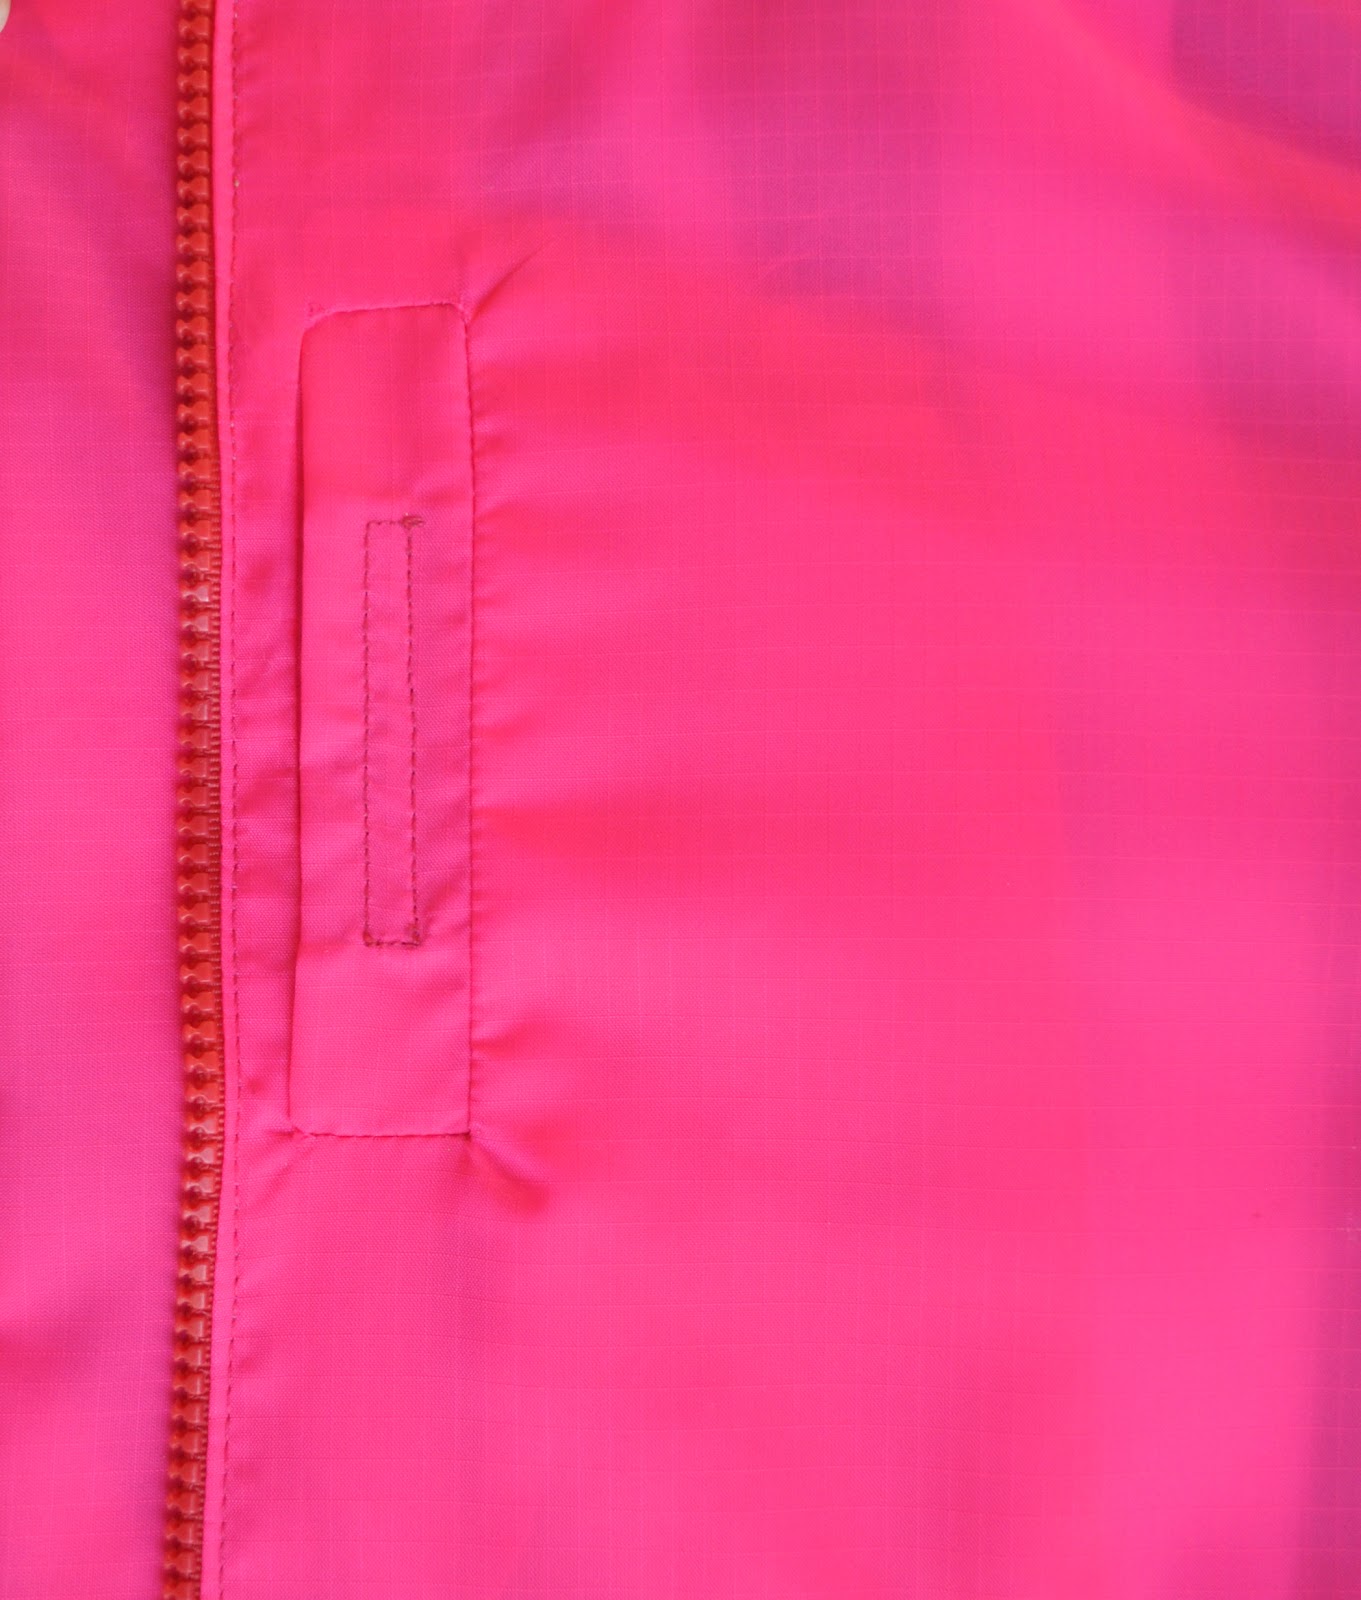
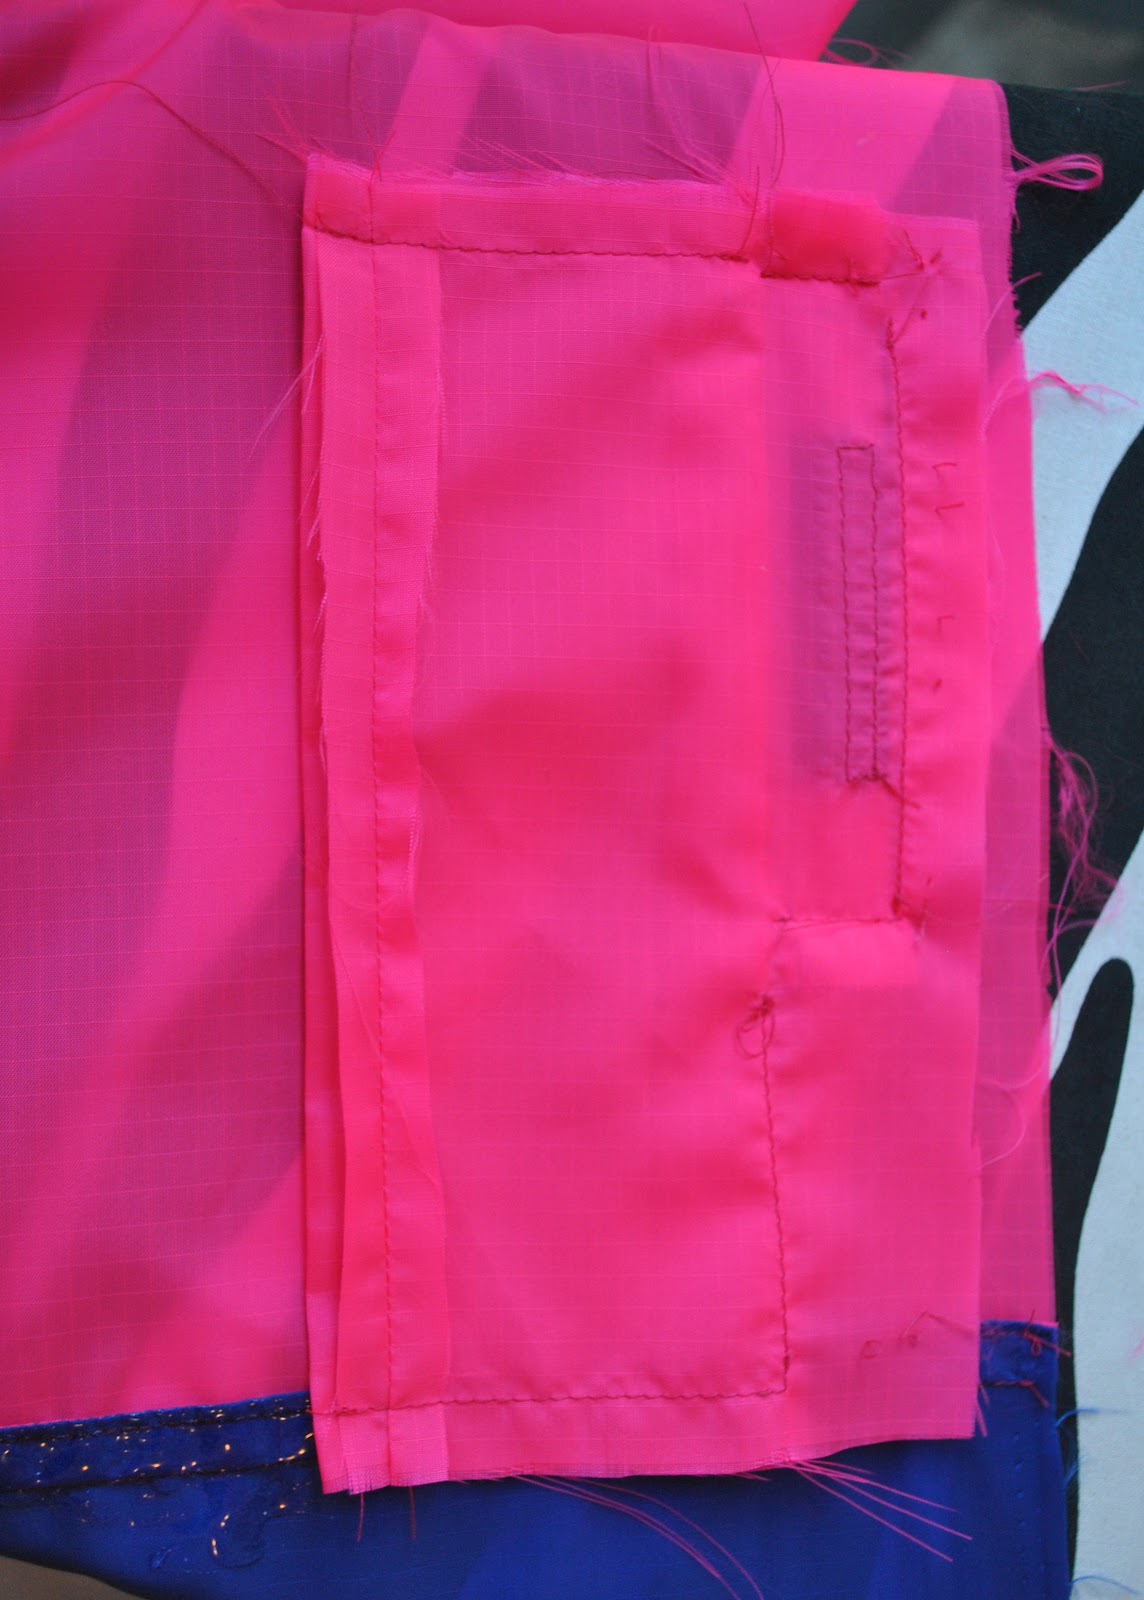
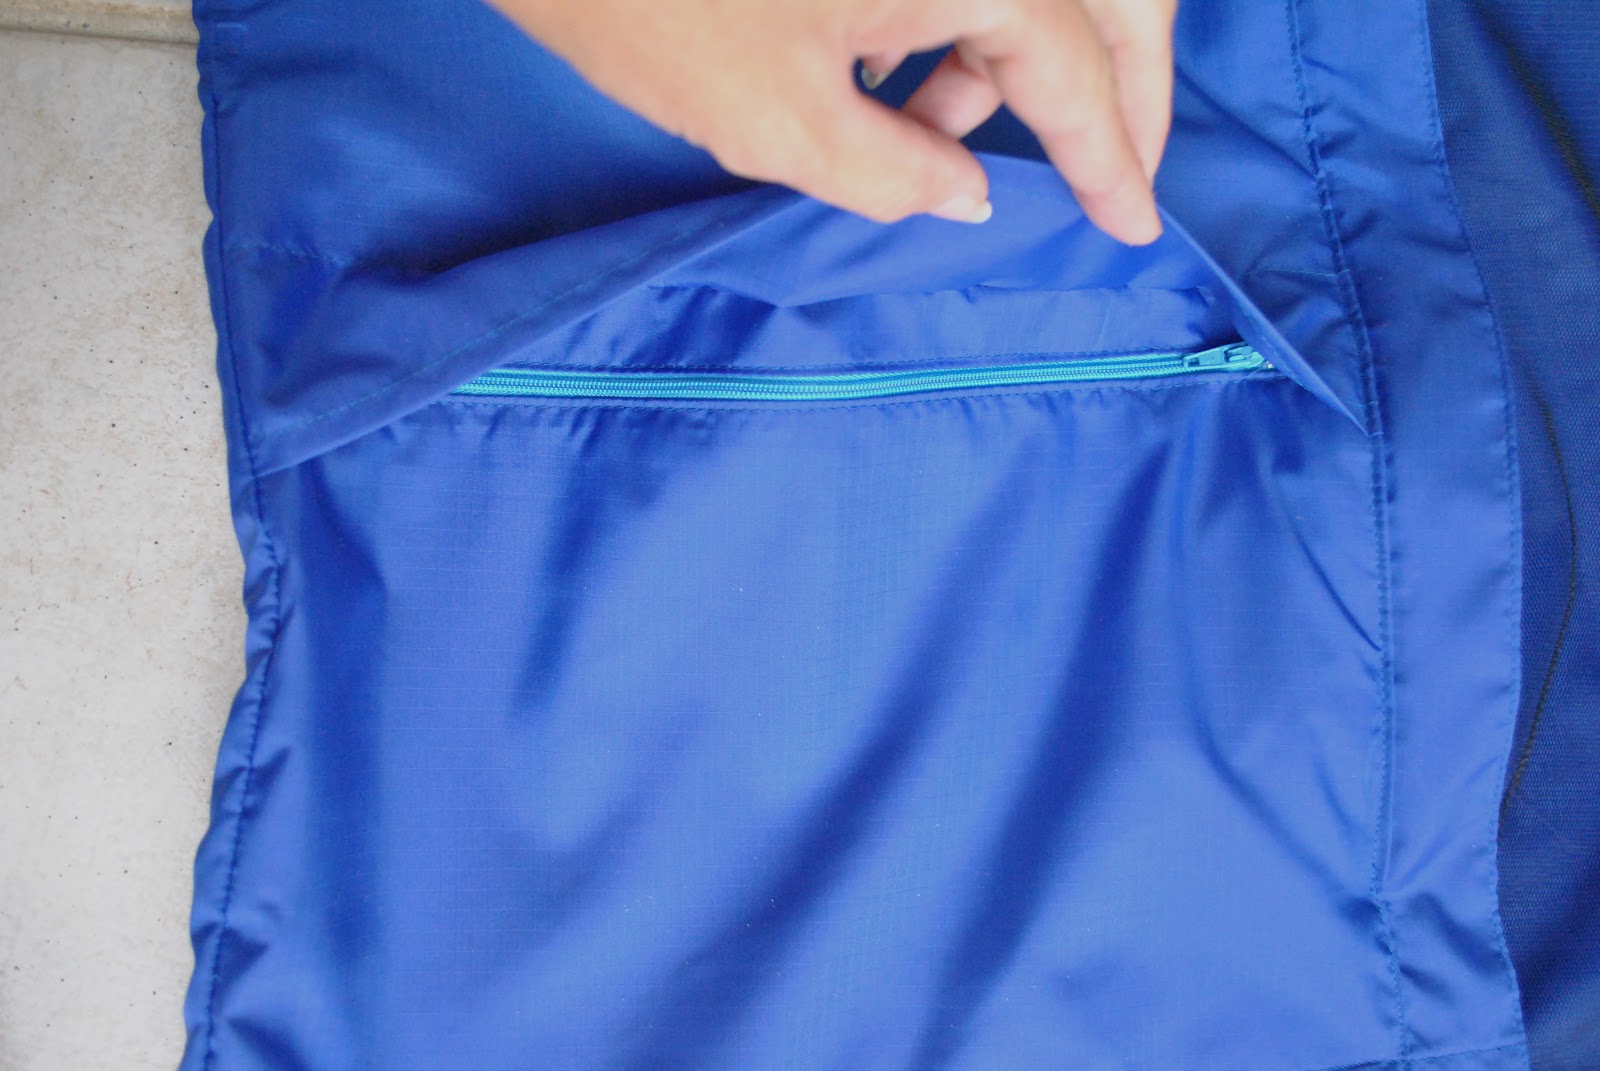
Waterproof pockets; an essential. These have a full-width flap that is an extension of the upper front, covering a zippable pouch that is an extension of the lower front. These are similar in design to the ones on my old raincoat; I simply extended them so they are much wider, thus eliminating seams. In fact, at the sides they extend out to and in to, the side seams and the front placket. Less stitching therefore simpler to construct and finish off, and you get wider pockets! What’s not to love about that? (I can do a tute on these pockets, if anyone is interested. I’m frankly a bit terrified of doing tutes now, but I am pretty chuffed with how they turned out, so please let me know, ok? 🙂 )

This has been a fun learning curve.
Of course, eagle-eyed Perth readers will instantly see that I could not possibly have taken these photos during the last 4 days, since it has been unrelentingly sunny. Truth: I raced out to take these during some early morning showers last Wednesday, but have been too apathetic to even look at my photos since then, let alone write up this post. But anyway, here we are. And I am sure we will get more rain soon. Hopefully.
And yes, flushed with my own sewing success, another raincoat is already in the pipeline, this one for Cassie…. 😉 stay tuned!
Details:
Raincoat; self-drafted, with the help of an old one, nylon ripstop with polyester net lining
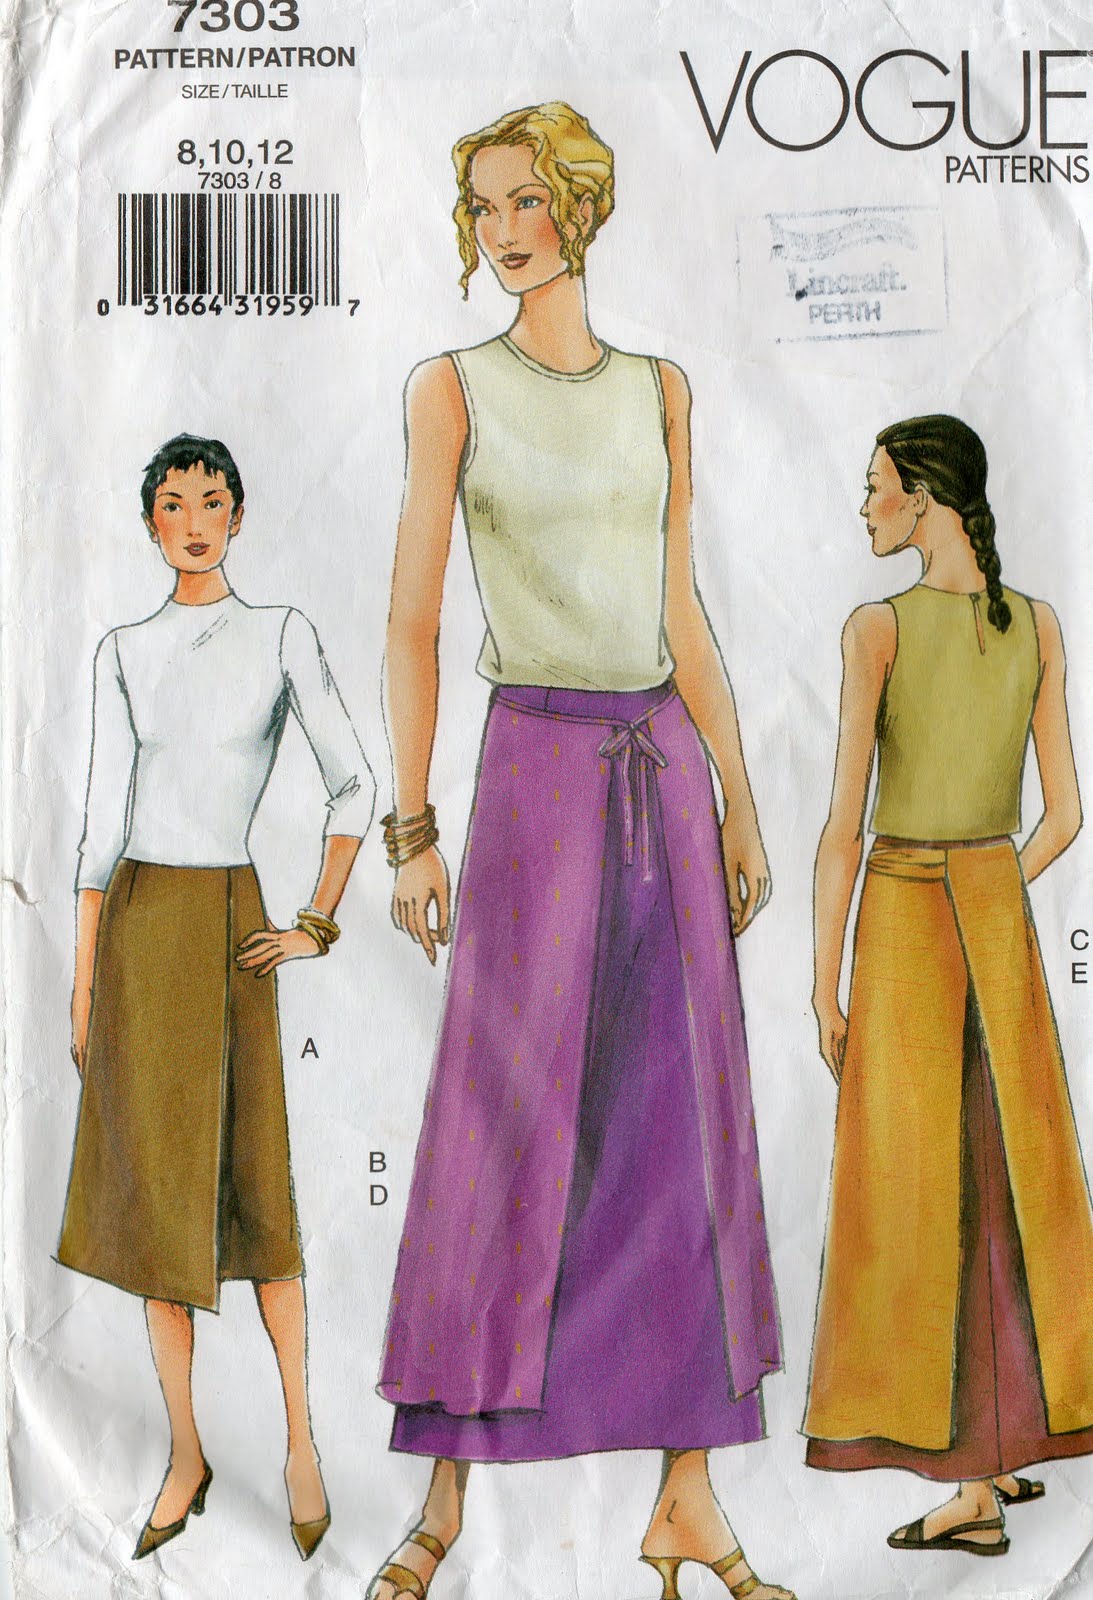
Skirt; Vogue 1247 lengthened and lined, red cotton velveteen ombre dyed brown, details here and my review of this pattern here
Leggings; self-drafted, red cotton jersey, details here
Boots; Andrea and Joen, from Uggies in Dunsborough (now renamed Eco-boutique)


 O hey-a! After finishing my own Kelly anorak and having it admired to the nth degree by family members, I made a few more! a pale grey one for Cassie, and I also made a deep cobalt blue one for Tim’s girlfriend Kelly. Well, it seemed only right that she should have a “Kelly” too!
 I quickly snapped that top picture of an unsuspecting Cassie waiting to meet up with me in town before she noticed me heading towards her… I know it’s a bit blurry and not very posed to show off the anorak to modelly perfection, but I just really like it nonetheless… to me it attests that she’s been wearing it a tonne, in fact every single occasion that I’ve seen her in the past three weeks since I finished it and gave it to her she has been wearing it. There’s no greater compliment to a seamster than that! as well as a testament to the pattern being an absolute style winner. Kelly’s worn hers each time I’ve seen her since I gave it to her too, but I’ve not taken any pictures of her in it.. will update if she sends me one 🙂
 Both the anoraks are in a nice weight cotton drill from Spotlight, in fact, all the other bits and pieces are from Spotlight too. In both anoraks, I added a few inches to the length of the body and modified the pockets to have separate pocket flaps so as to close the pockets; otherwise these are both made up exactly to the pattern.
 This picture below of Kelly’s anorak has been my most “liked” picture on instagram ever! far more than anything I have ever made for myself! Interesting, no? Well, I think it is, anyway 😉 I don’t know what that “says”, if anything at all, but maybe something. Social media is such a funny phenomenon. Something else also interesting to me is how a person, any person, can have a certain number of followers and the number of “likes” never ever reaches anywhere close to that number. Honestly, I have no idea about how or why this is so, but it’s just a curious thing.
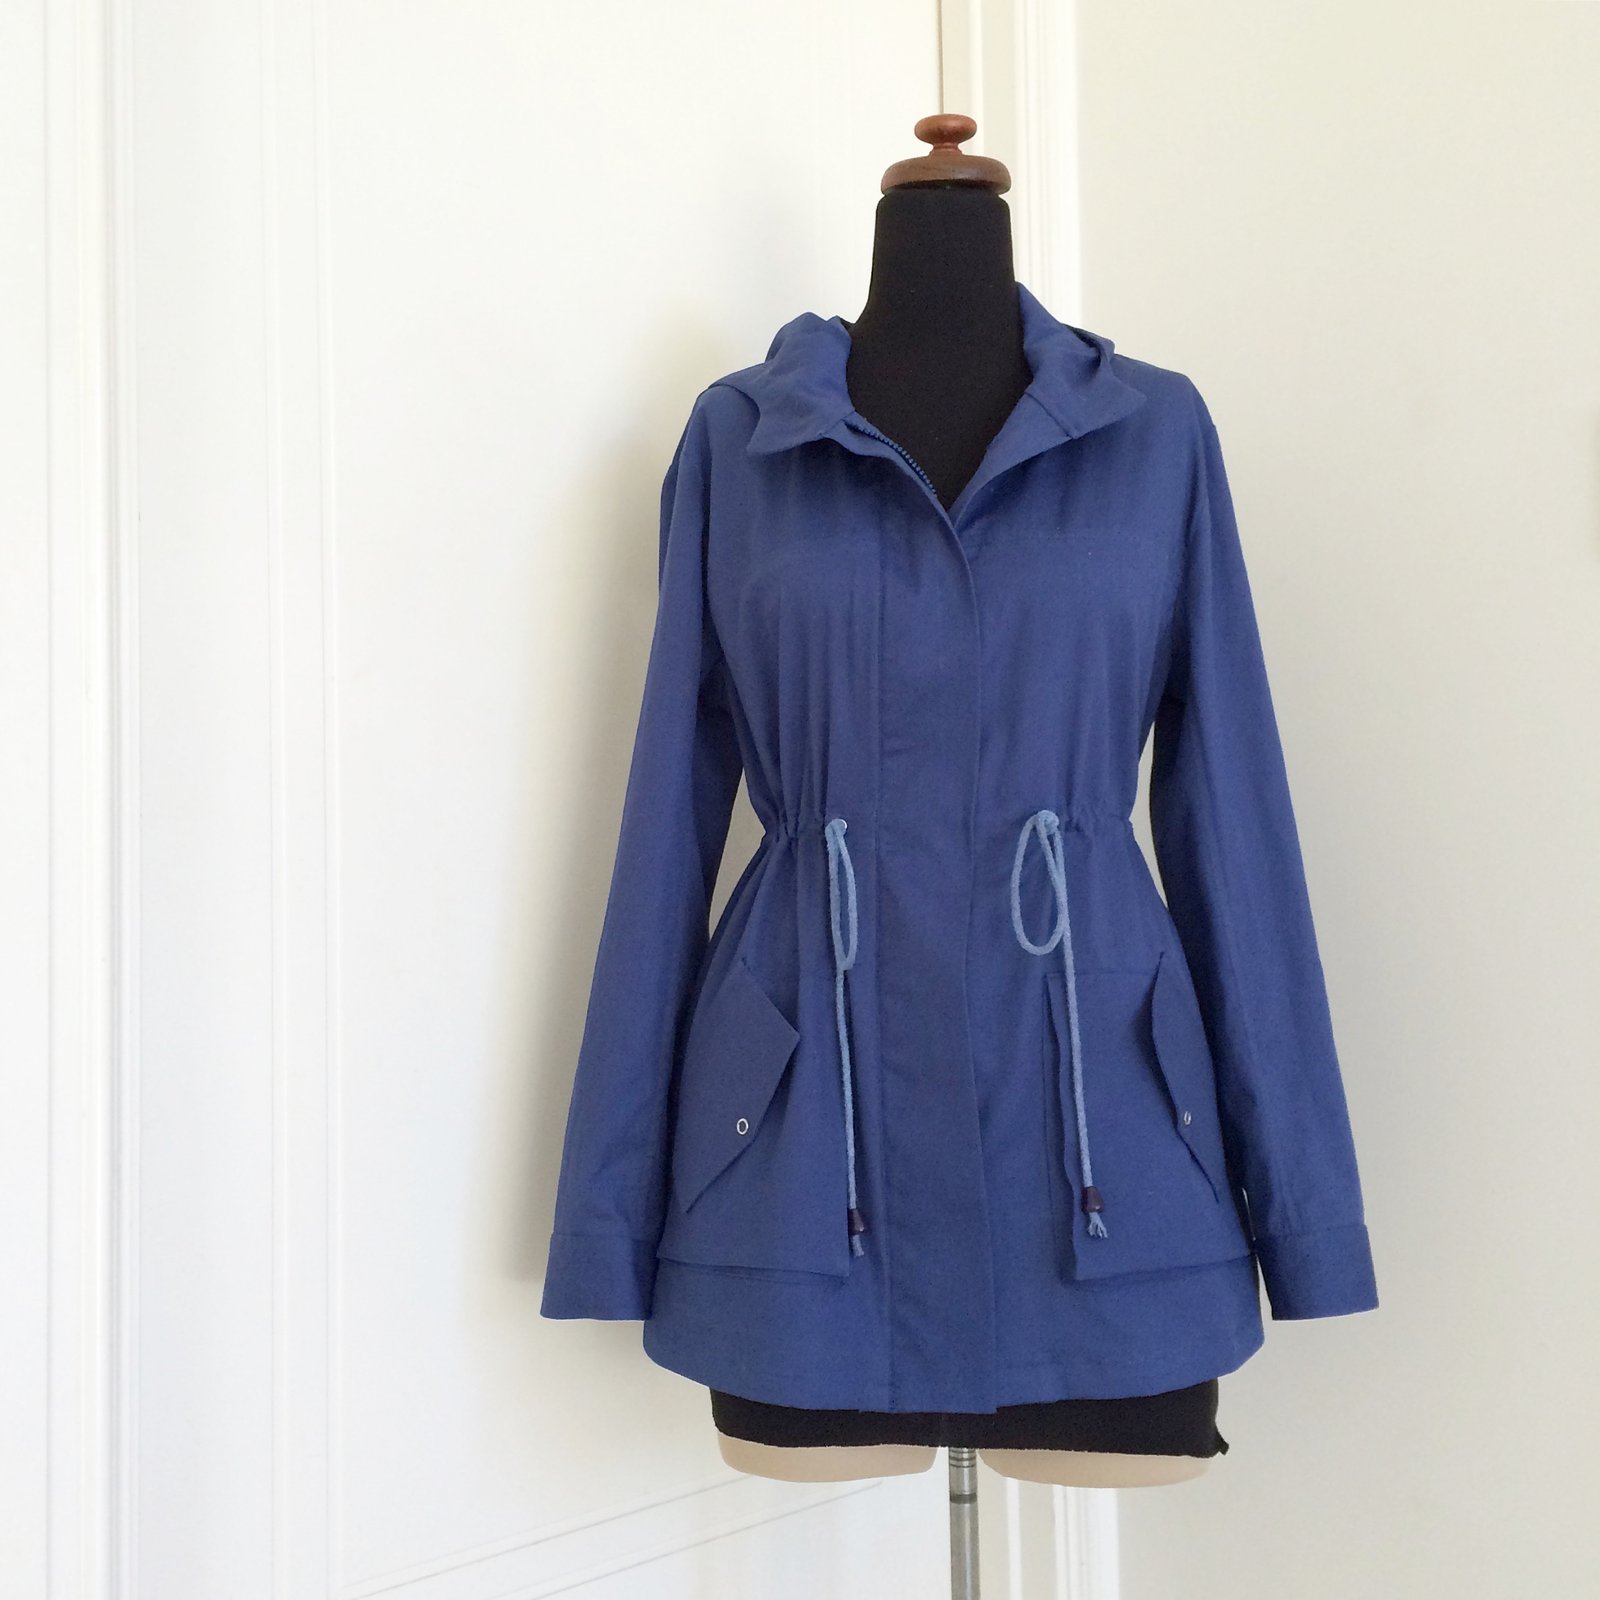 I’d got enough of the same white cord for Kelly’s anorak , but since I’d found a nice, perfectly colour-matched blue zip for hers’, and used blue thread for all topstitching and there was no other white anywhere in the jacket; the white cord looked all wrong. And naturally there’s no such thing as blue cord in the whole of Perth! so I just had to dye it. And, when your regular dye-pot is HUGE and there’s just one little length of cord what’s a mad maker to do? but of course, improvise.


 n, I’m so happy with it!! It turned out just exactly how I hoped, and was the most wonderfully cuddliest, comfiest thing to have with me in our recent visit to Japan; I loved bundling up in it each day in Tokyo and used it as a snuggly rug while on the plane… without a doubt the warmest coat I’ve ever made formyself, evah. Like wrapping myself in a fluffy blanket, and I was perfectly snug enough even in the subzero temperatures of Hokkaido.

 wrt this one; well I’ve wanted to make a shearling jacket for oh, about ten years now. Ever since the first time I clapped eyes upon one belonging to our friend S; a colleague of my husband’s who is always super suave and cool and has a slightly alternative, very hip and happening taste in clothing. He owns a beautifully thick, oversized shearling jacket that he’s had for years and years and trots it out every winter once or twice. Every single time I see it I’m struck all over again by how awesome it is and have harboured a secret desire for one of my own…


 I made the sleeves extra long, so I could turn them up and have a woolly “cuff” on the sleeve ends, and also made wrist strips. These are sewn to the sleeve, then wrapped around and buttoned to themselves. The seam allowance of the cuffs are topstitched down for a neat look when they are turned back, and then I stitched-in-the-ditch of the sleeve seam down to the sleeve so the cuffs stay folded up permanently.


