I’ve knitted a jumper 🙂
 I’ve knitted jumpers before but this one felt different because I didn’t feel like I was knitting an actual real entire jumper, a process that can sometimes feel a bit never-ending while you’re so engaged… this rather unusual and innovative design is essentially a patchwork comprised entirely of plain and identical triangles. So all you’re doing is knitting is a whole bunch of very quick and simple triangles, separately, one by one… you knit a triangle, toss it on the pile, knit another, whenever. The triangle itself is a super quick n’ easy pattern that you’ve memorised after the first couple. Making it a fairly mindless and terrifically painless project. Once you have enough you stitch them together into a jumper shape. So really it’s like, the jumper to knit when you don’t want to knit a jumper!
I bought the pattern pamphlet from Spotlight, thinking about the awkward quantity of fiddly diddly leftovers in my collection that were not enough to do anything with on their own but that were too much to throw away. Mission: Use Up Leftovers; and I think I’ve accomplished that quite successfully, ahem *smug self back pat* I used several different shades of grey, chocolate, beige, black, navy blue, mustard, natural and white; various Patons 8 ply and Rowan tweeds and several others too, basically a small collection of disparate leftovers I’ve held on to for forever. I also had to buy some new, don’t you always?! I bought some of the recommended Cleckheaton Country Naturals 8 ply from Spotlight. Which is where I bought the pattern pamphlet too 🙂
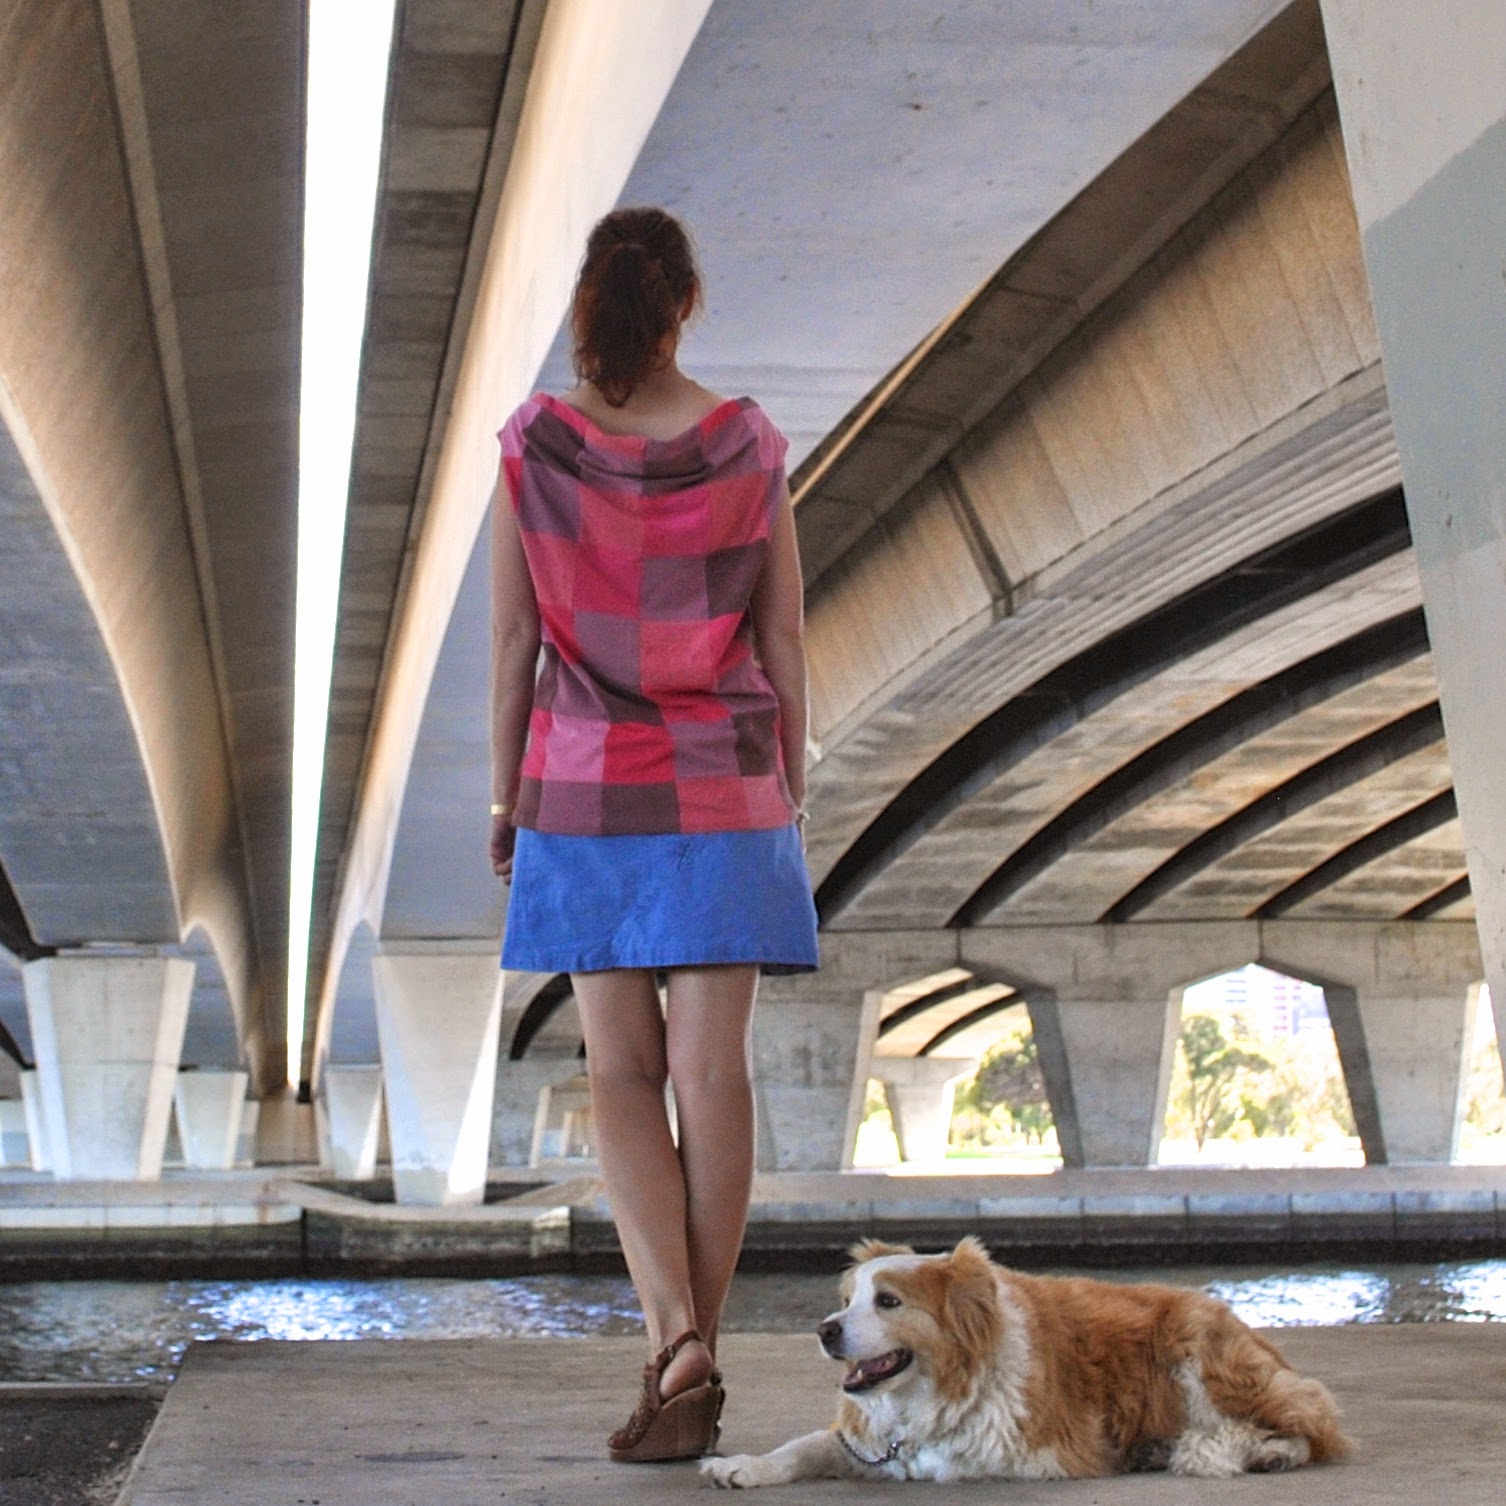
The pattern can quite easily look like a, er, regular jumper too if you aren’t keen on the multi-coloured harlequin look; you can always just use one colour for all your triangles. In the pamphlet there’s also pictured another, rather chic and stylish version made up in deep flecked charcoal which looks quite classic and mainstream and normal, and not patchwork-y at all!
But, as an interesting way to make good use of little bits and bobs I reckon this is a pretty good design idea, and is a nice and easy project for beginners too 🙂

Details:
Jumper; knitted by me from various 8ply yarns, a Nikki Gabriel design for Cleckheaton
Shorts; Burda 7723, made from an old charcoal gabardine skirt, details here