 Cutting out:
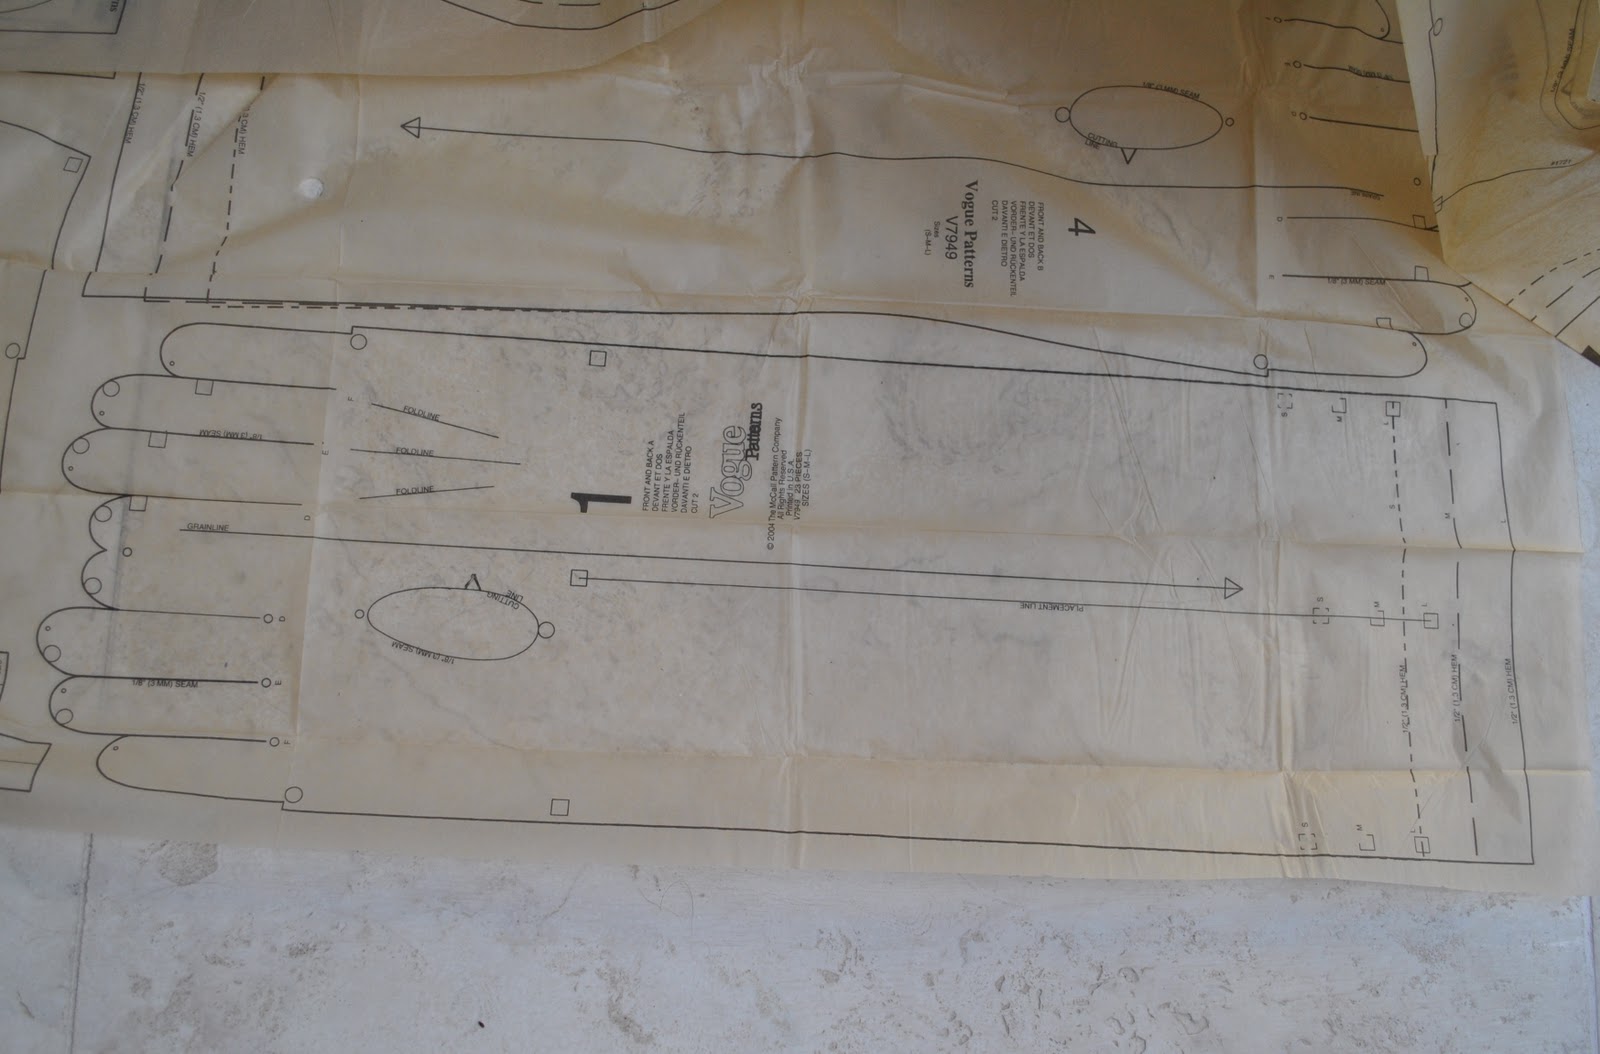
It’s probably not necessary for me to go into a lot of detail here about how to cut out pattern pieces, it is pretty straightforward and the same as any other dressmaking pattern, but with a few little reminders…
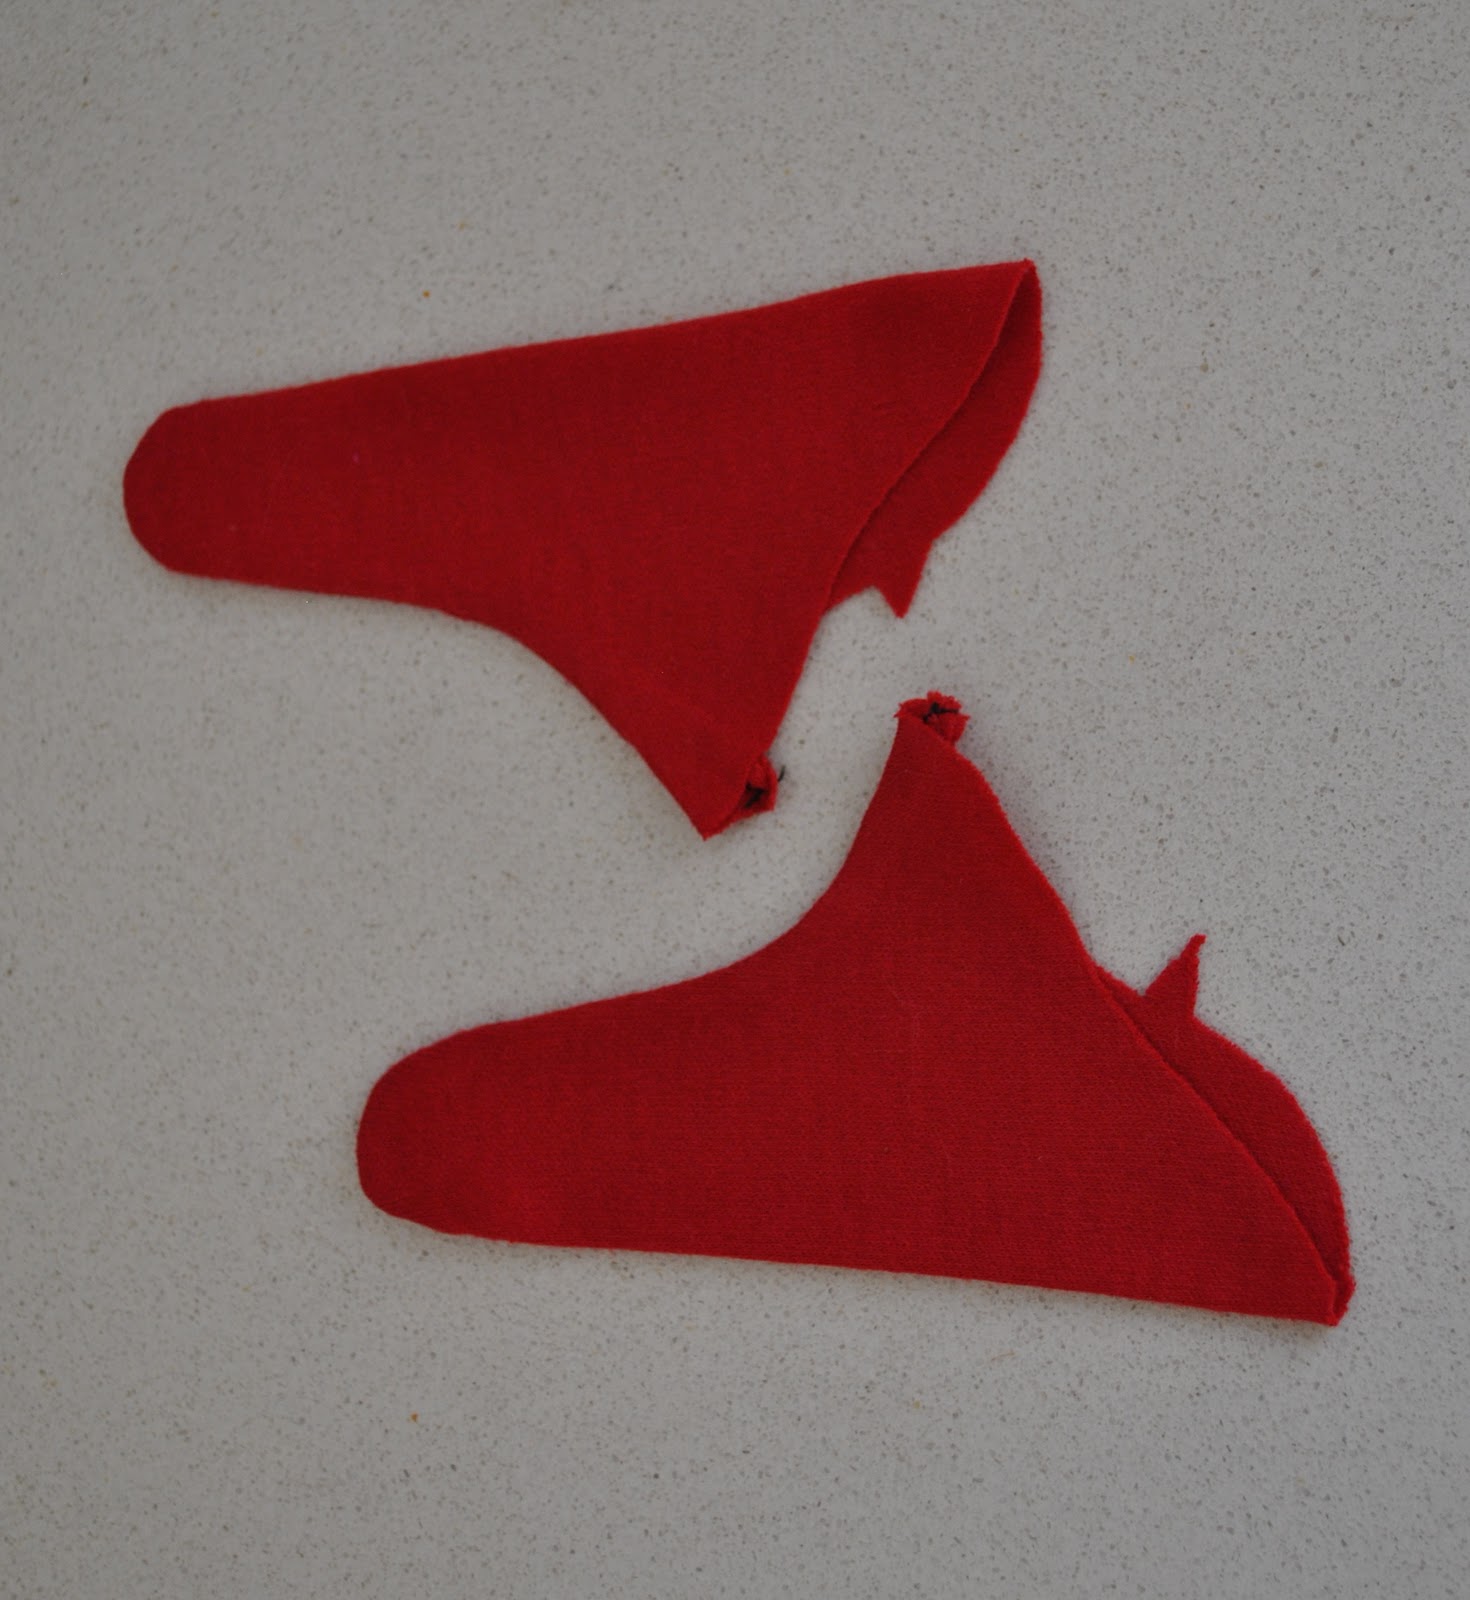
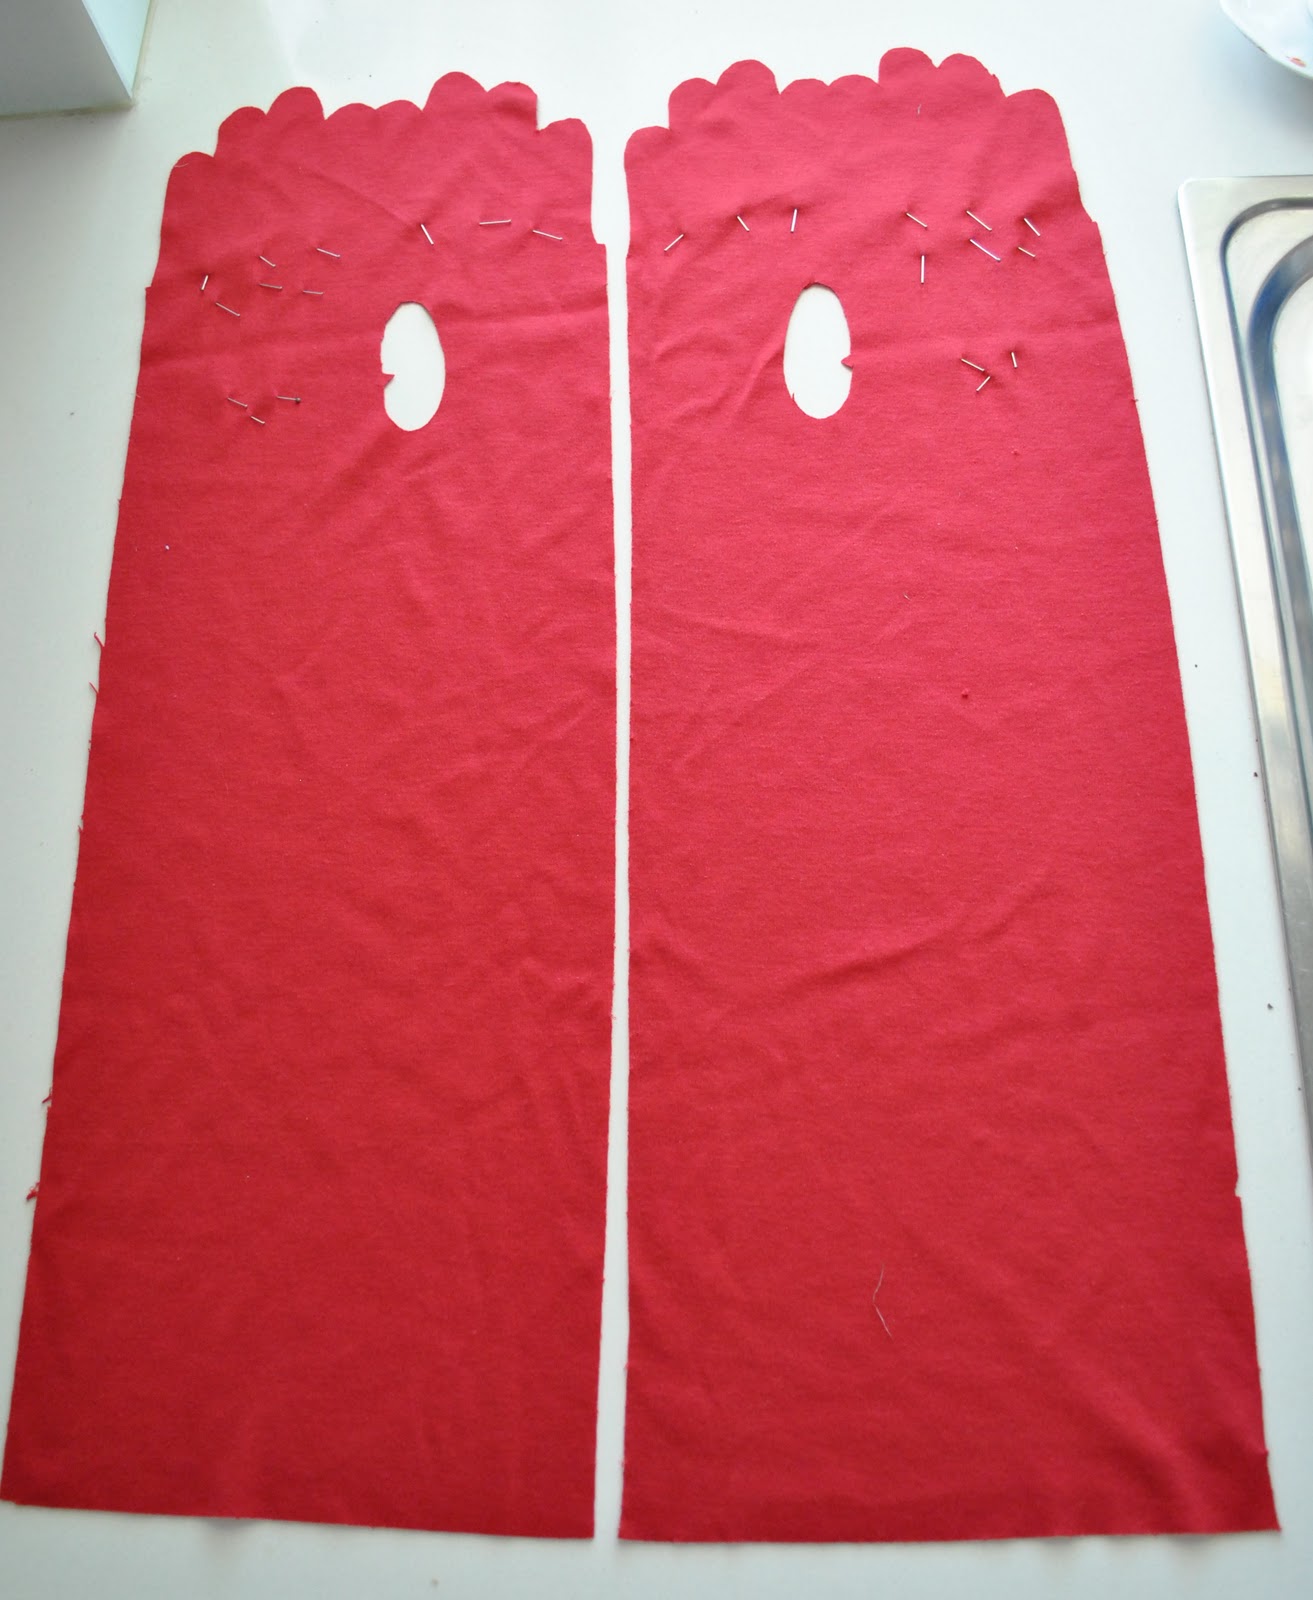
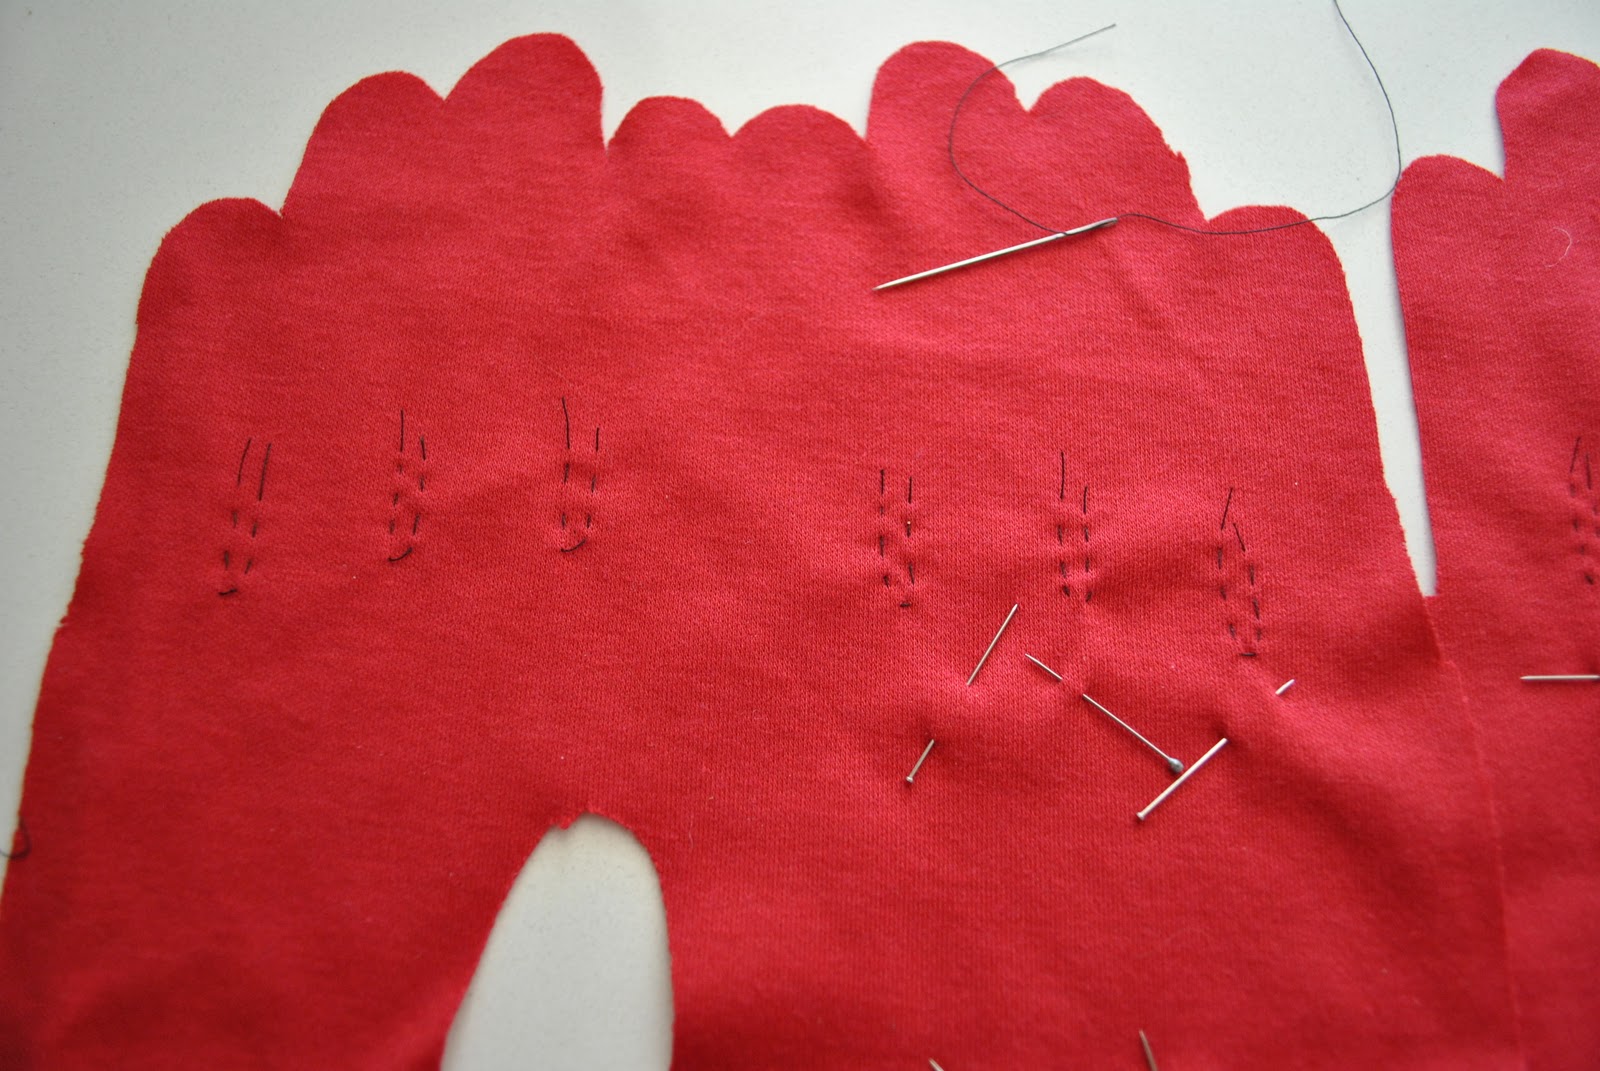
I think a very important thing to remember when cutting out glove pattern pieces is that you will be sewing 3mm seams. These are tiny little seam allowances here… so if you are like me, and as a time saving exercise mark your marking points with a little snip into the seam allowance then you will have to re-think this one. I went back to the old ways that my mother taught me, and earmarked those little triangles by snipping them out… so they are little points sticking outside the seam allowance like a tiny shark fin on a smooth sea. I was pretty pleased with myself for remembering to do this… and didn’t just steamroller in and snip them in like normal!
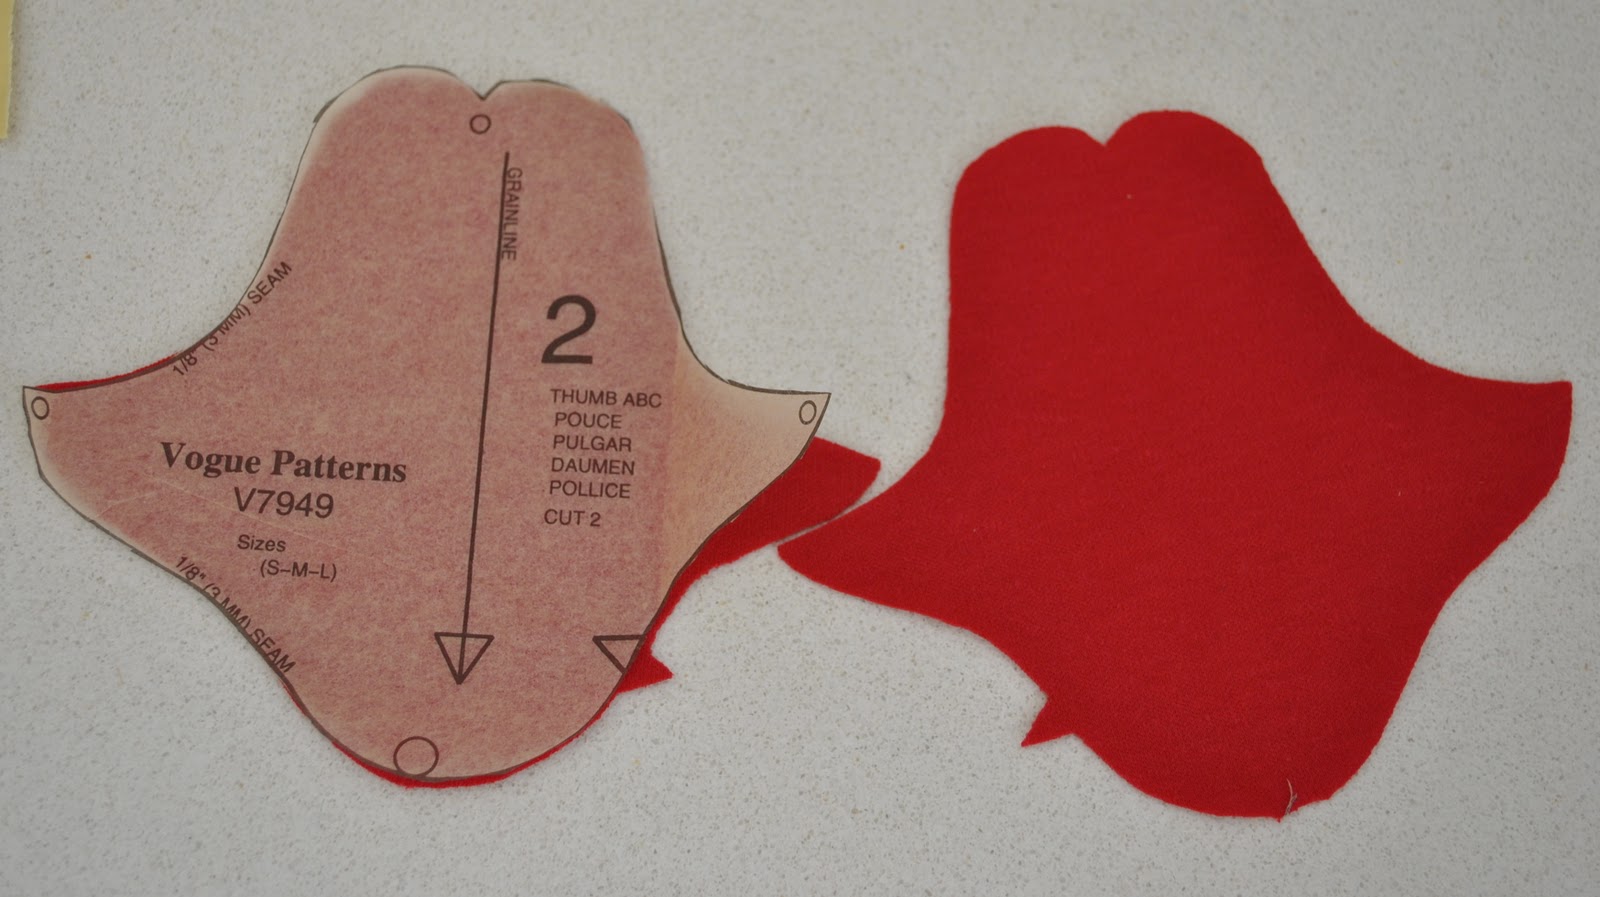
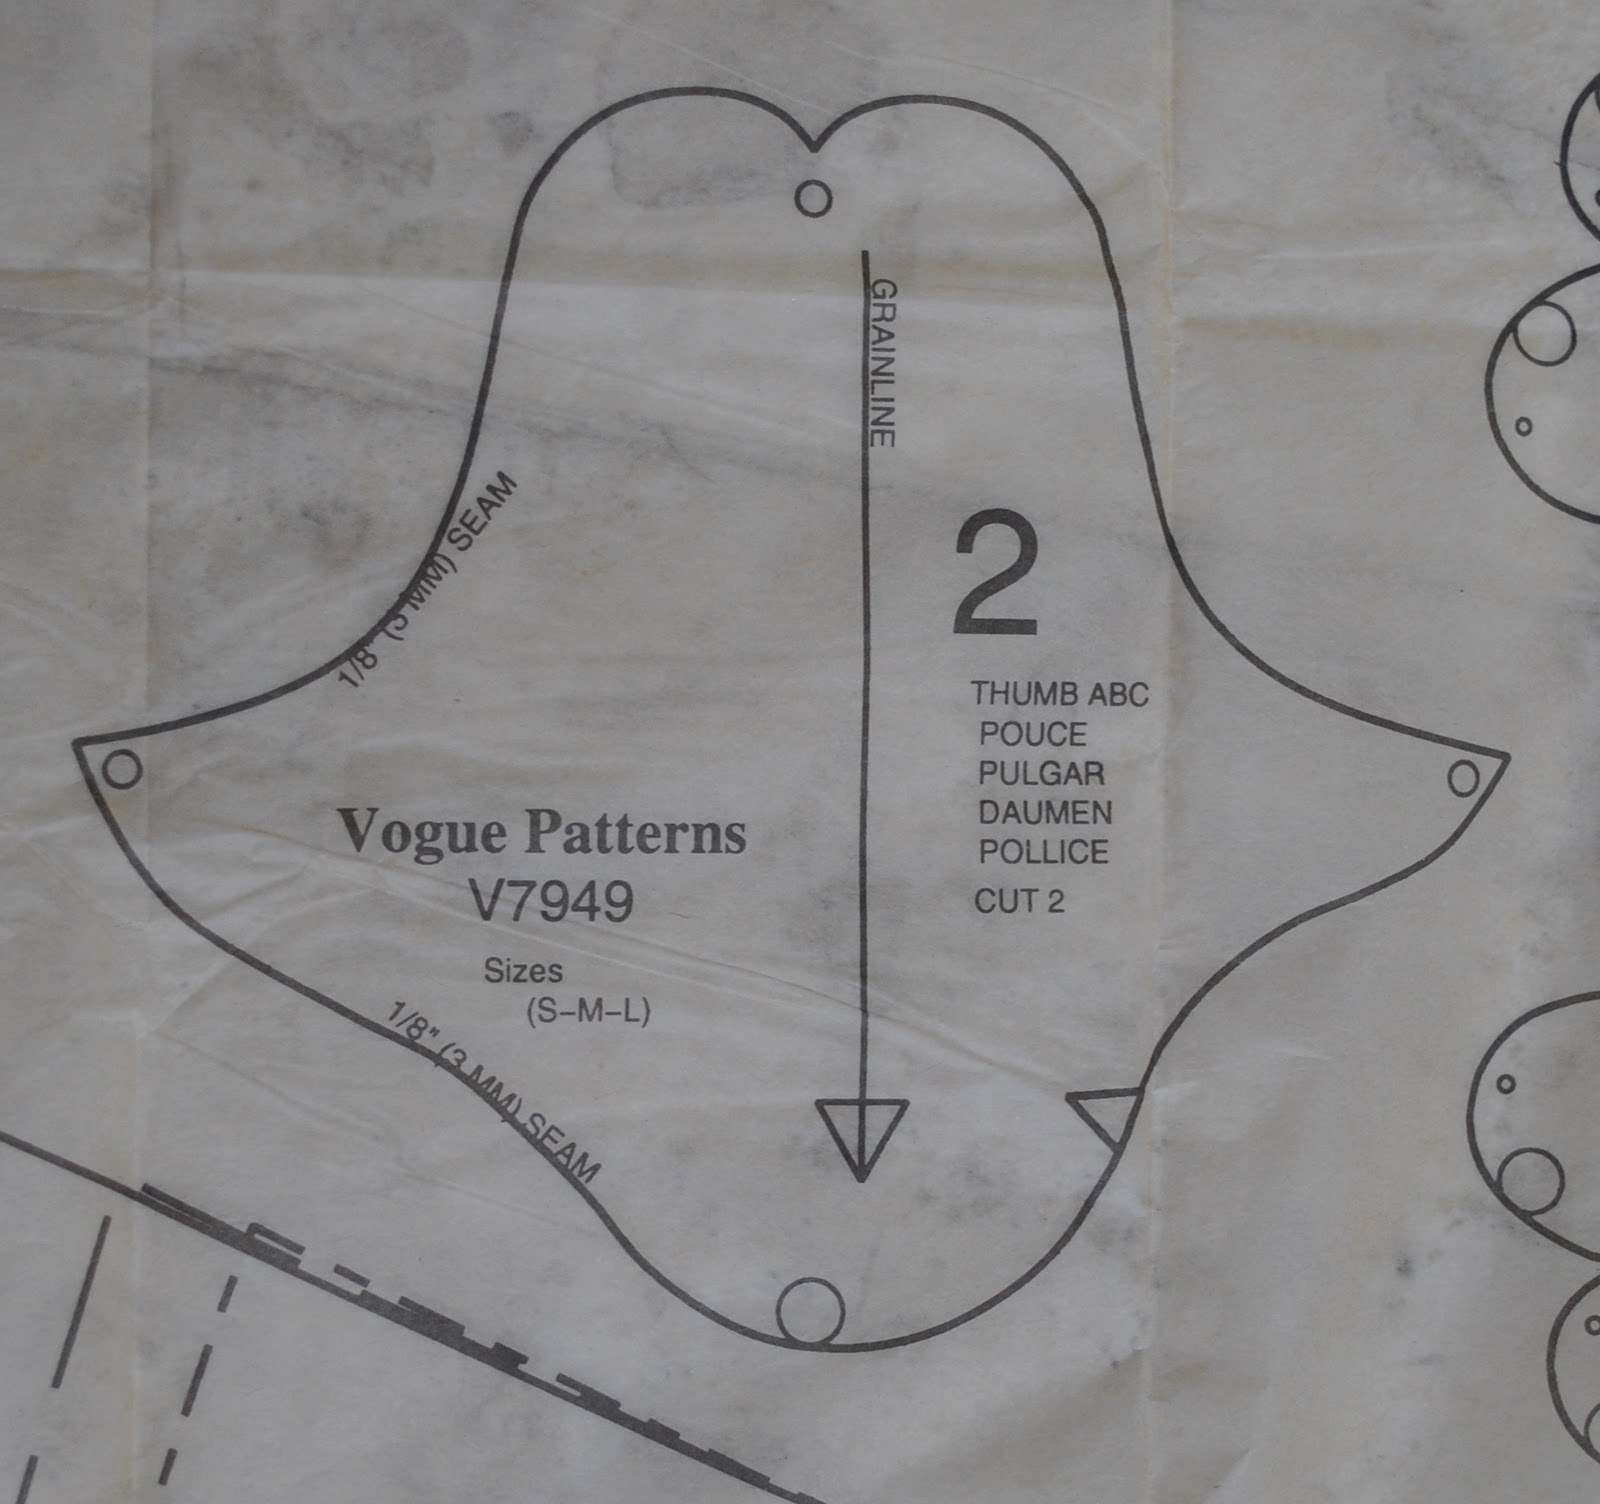
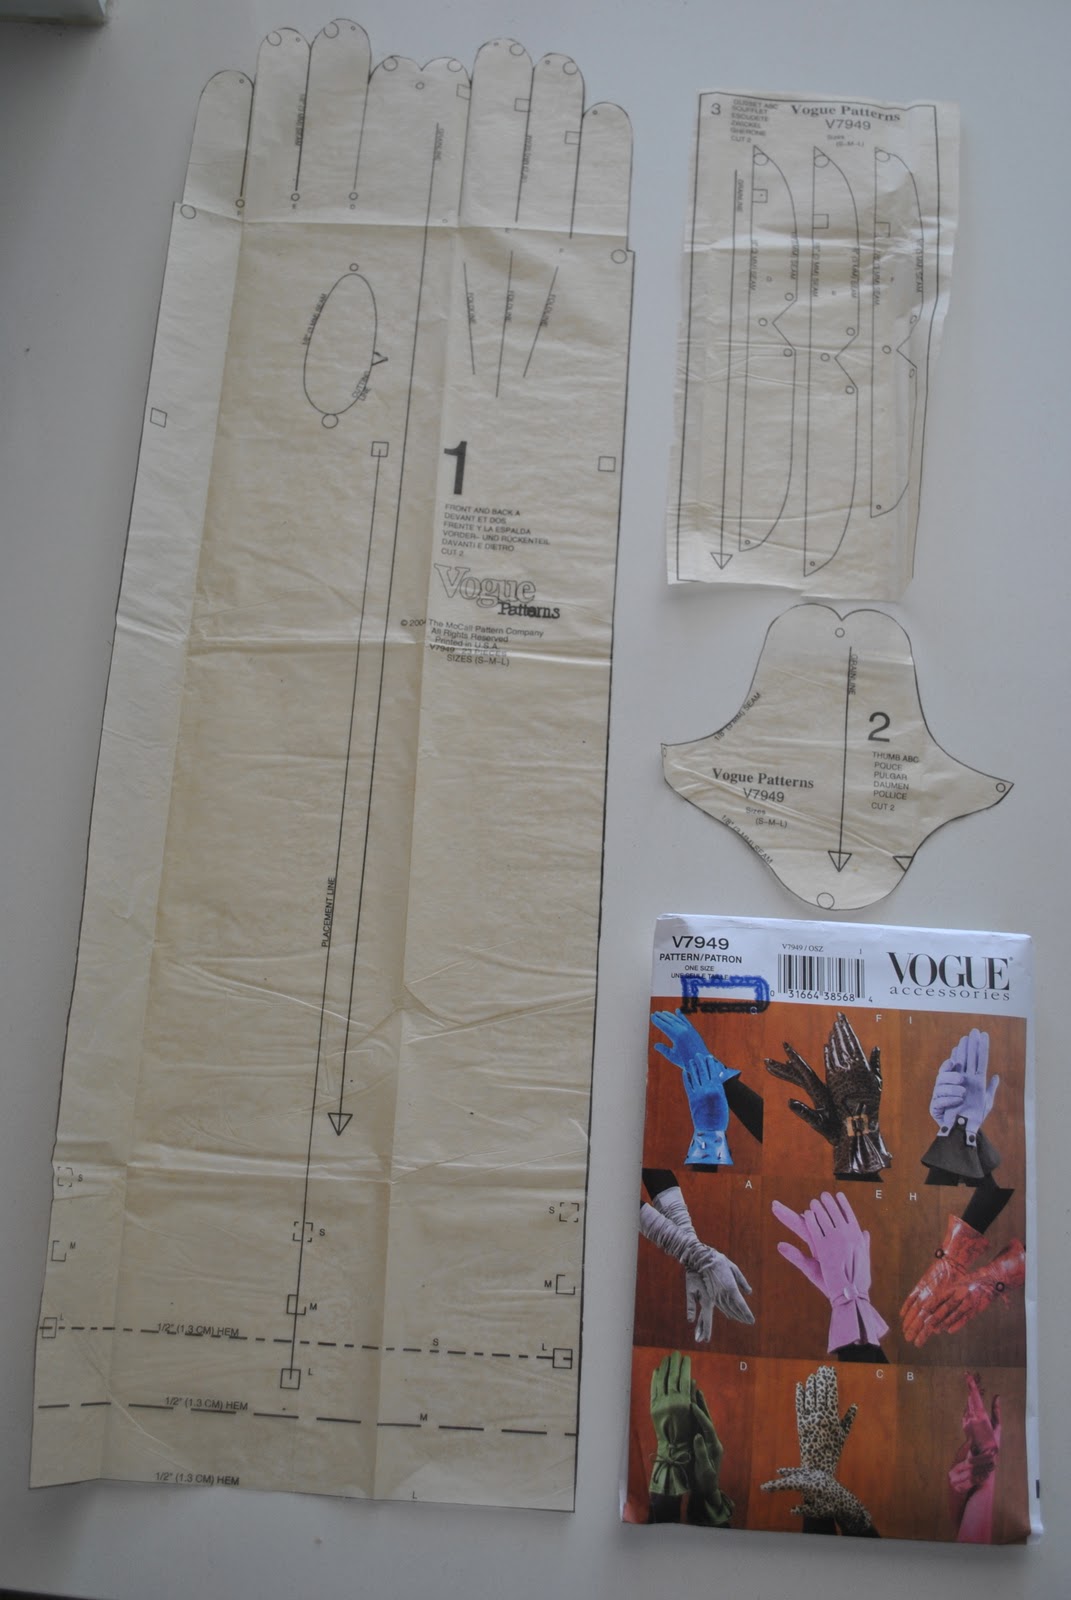
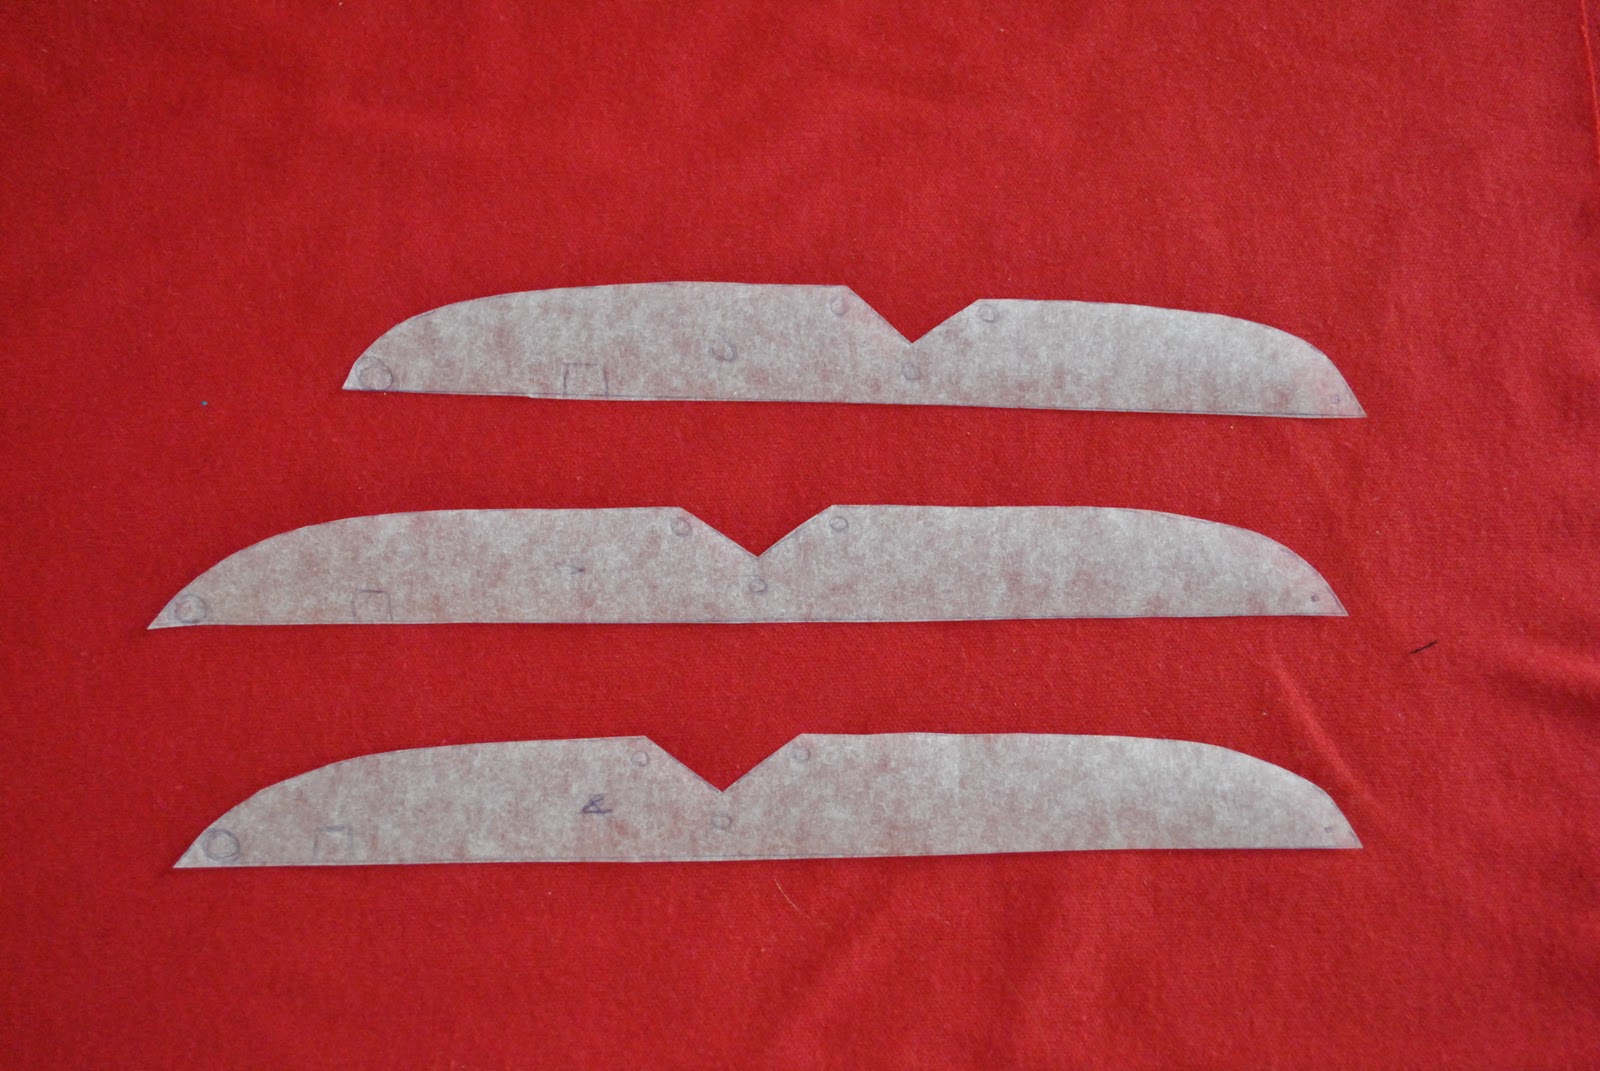
Also, remember those wince-y little gusset pieces? well I just knew they would get all mixed up as the differences between the three pieces are extremely subtle, so I left cutting them out until I was actually using that particular gusset piece right there and then. When working with teensy little fiddly pieces I find this approach to be far less stressful.
So leave them be, for the time being…
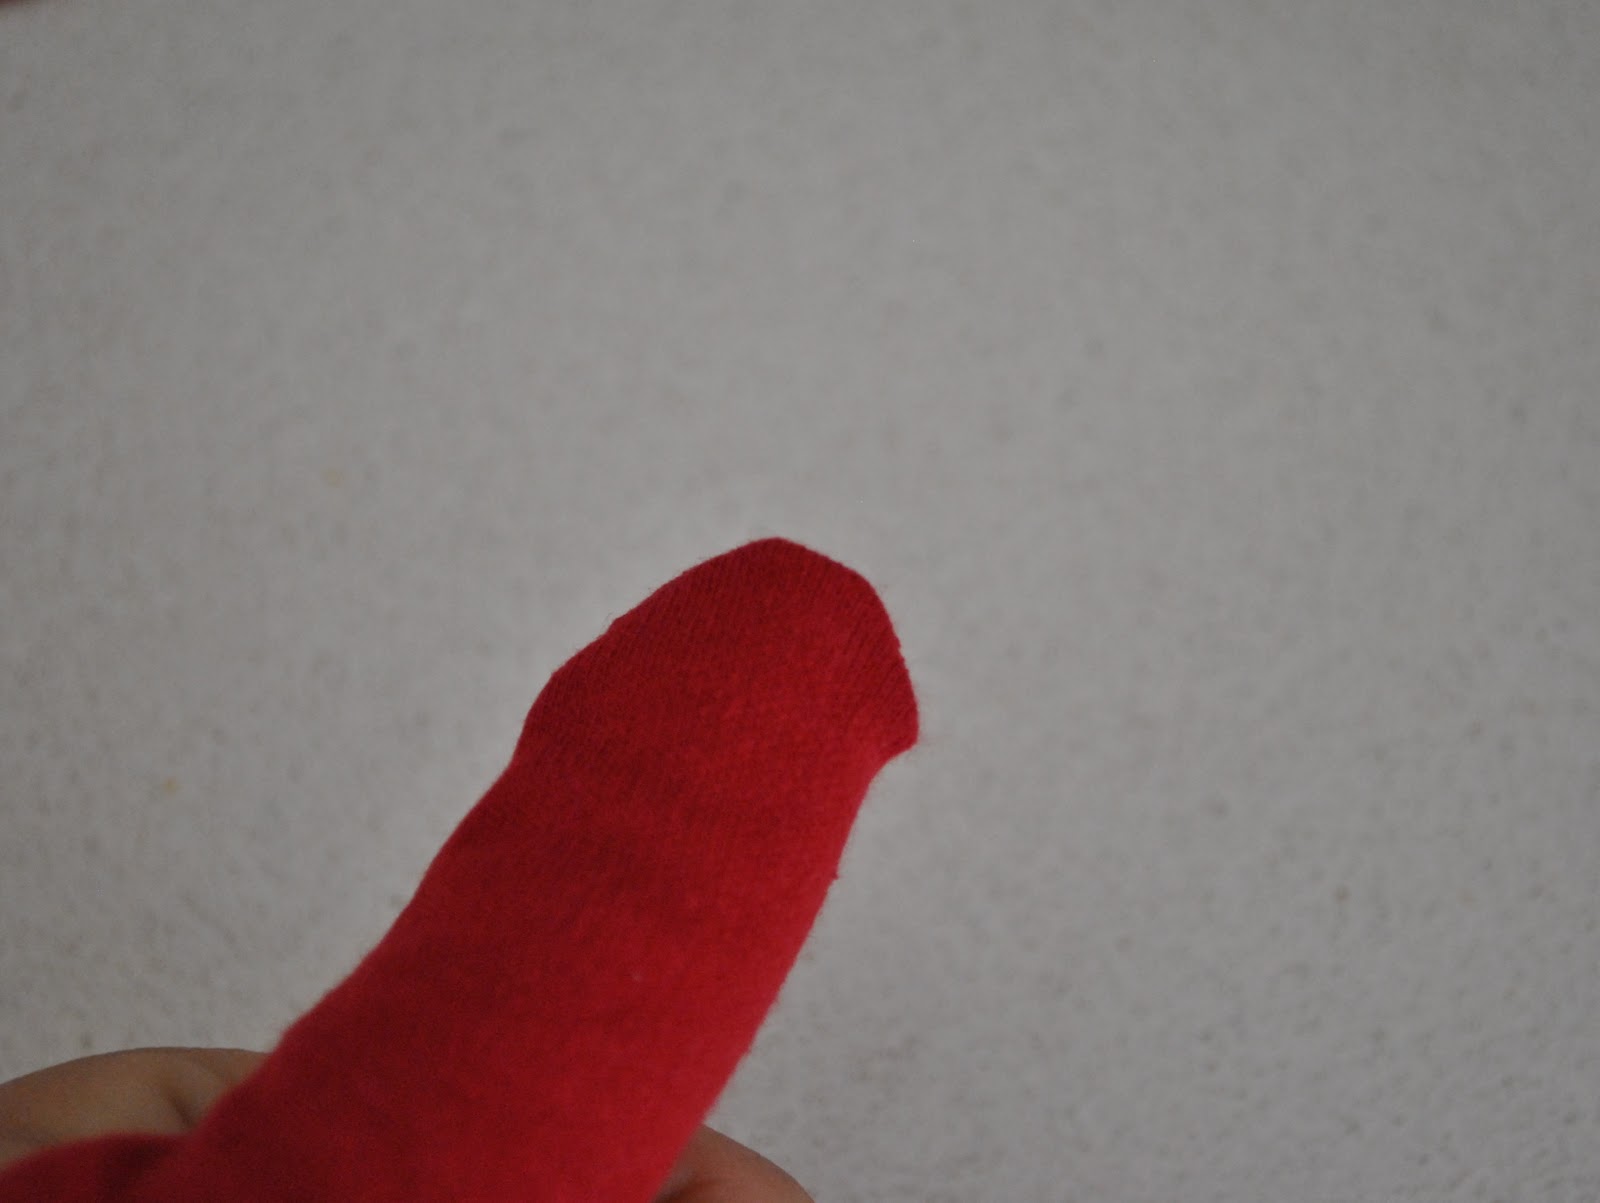
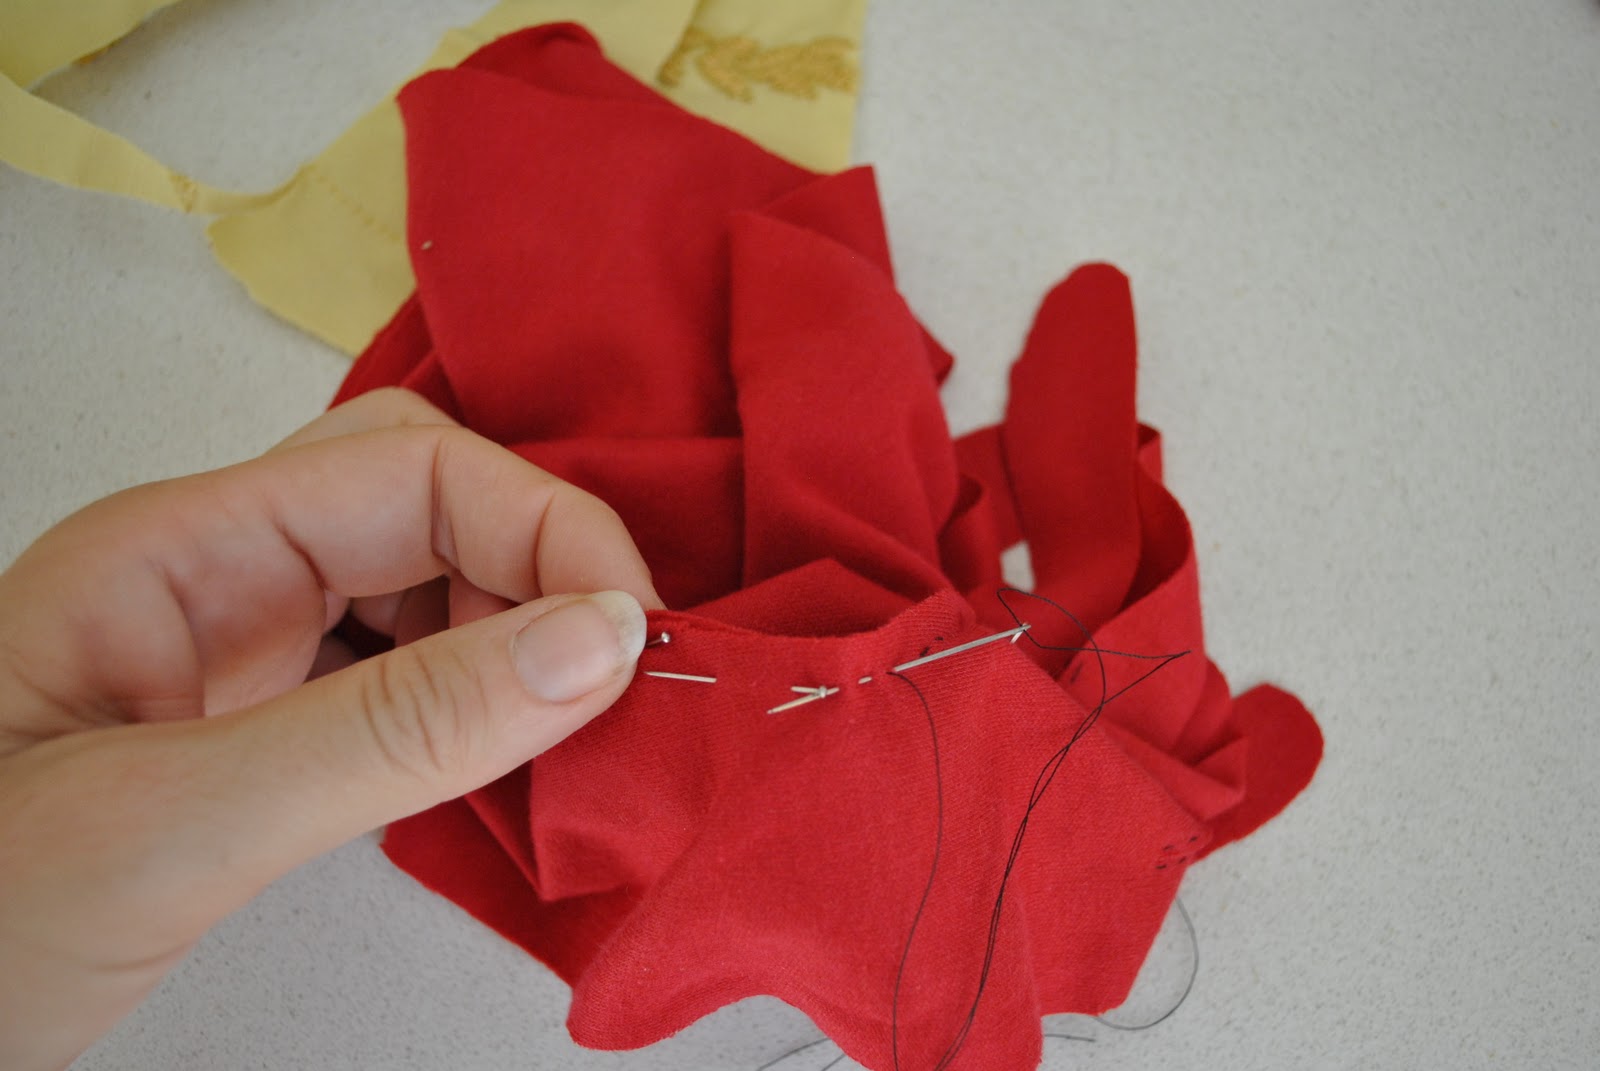
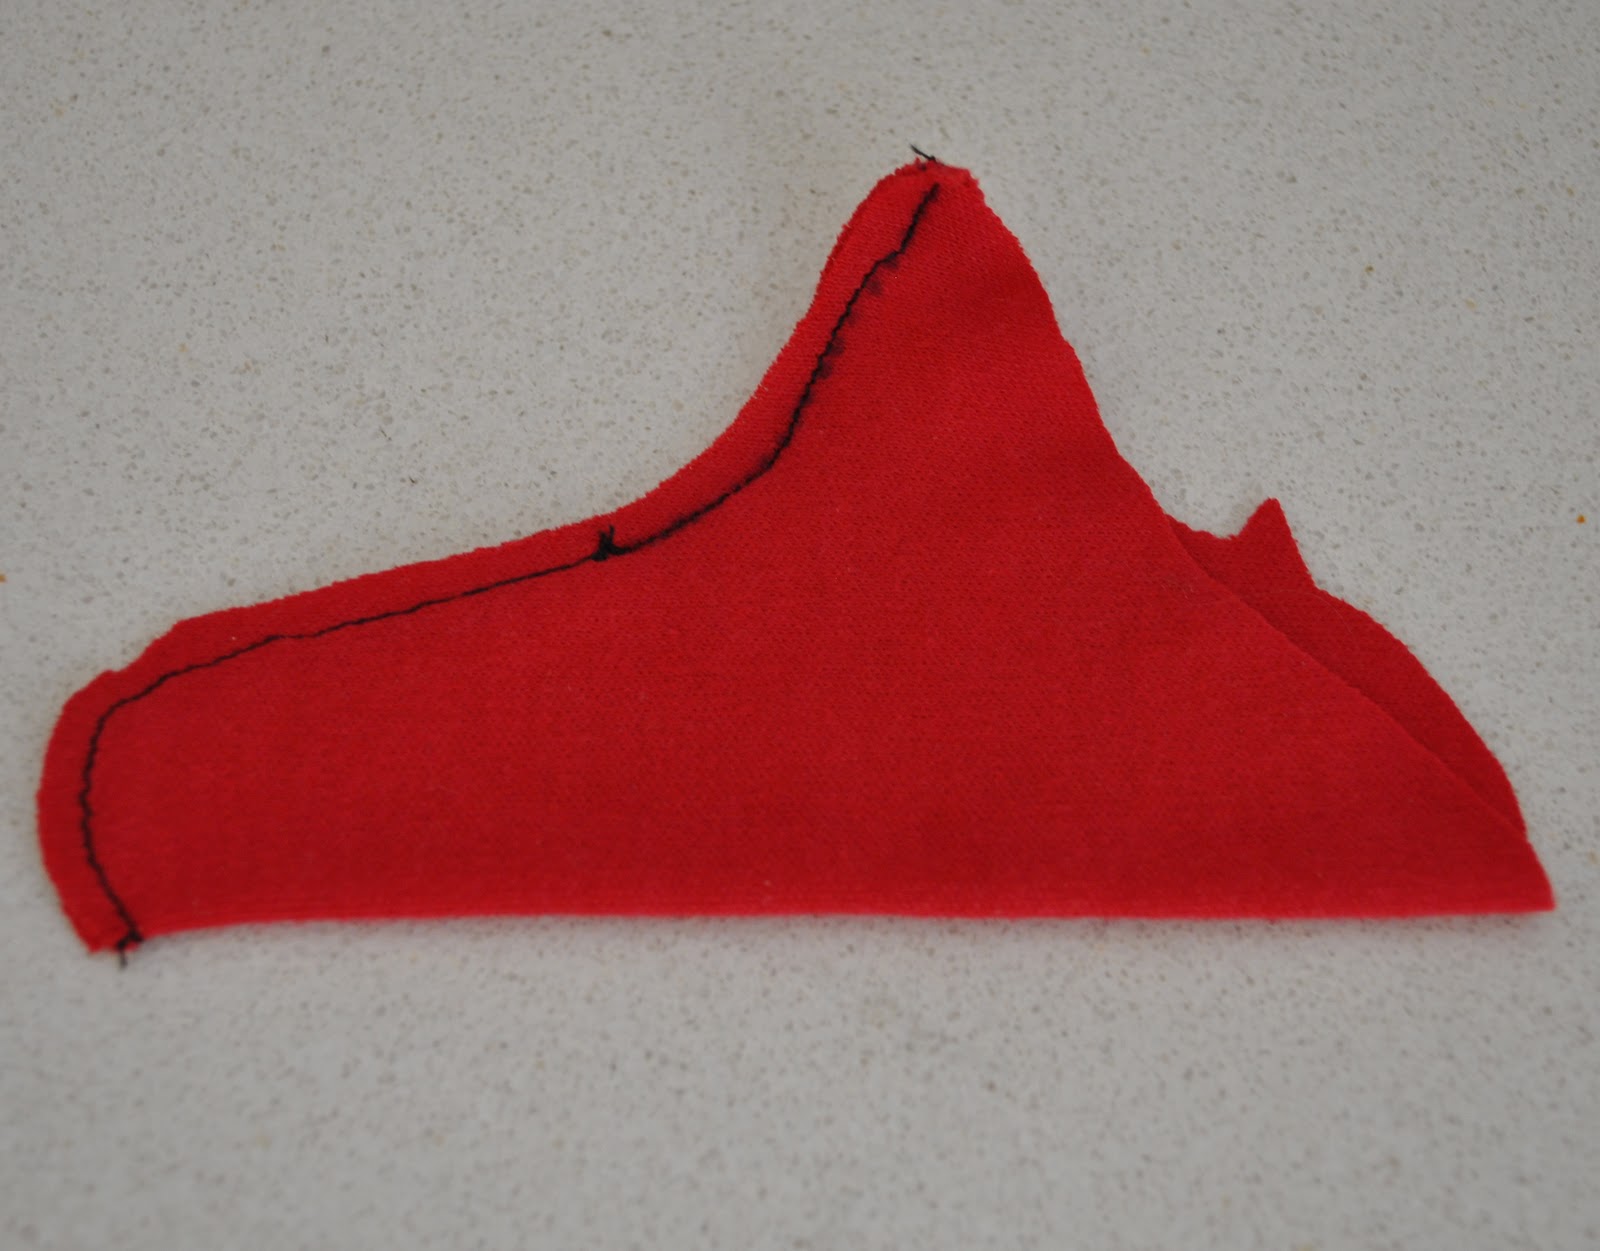
The first step is to stay stitch down around the bottom of the finger bits, and I was lazy here and just used the thread that was already on the needle which happened to be black. Plus I wanted it to stand out for the photo here, so we could see it… but later on I heartily wished I had used matching thread. The black does show through a tiny bit. I regret this. Important tip; despite that you are treating this as a muslin, if, like me, you entertain a tiny hope that these gloves will be wonderful enough to live permanently in your wardrobe… treat them with the same respect you would if using your final fashion fabric; use matching thread!
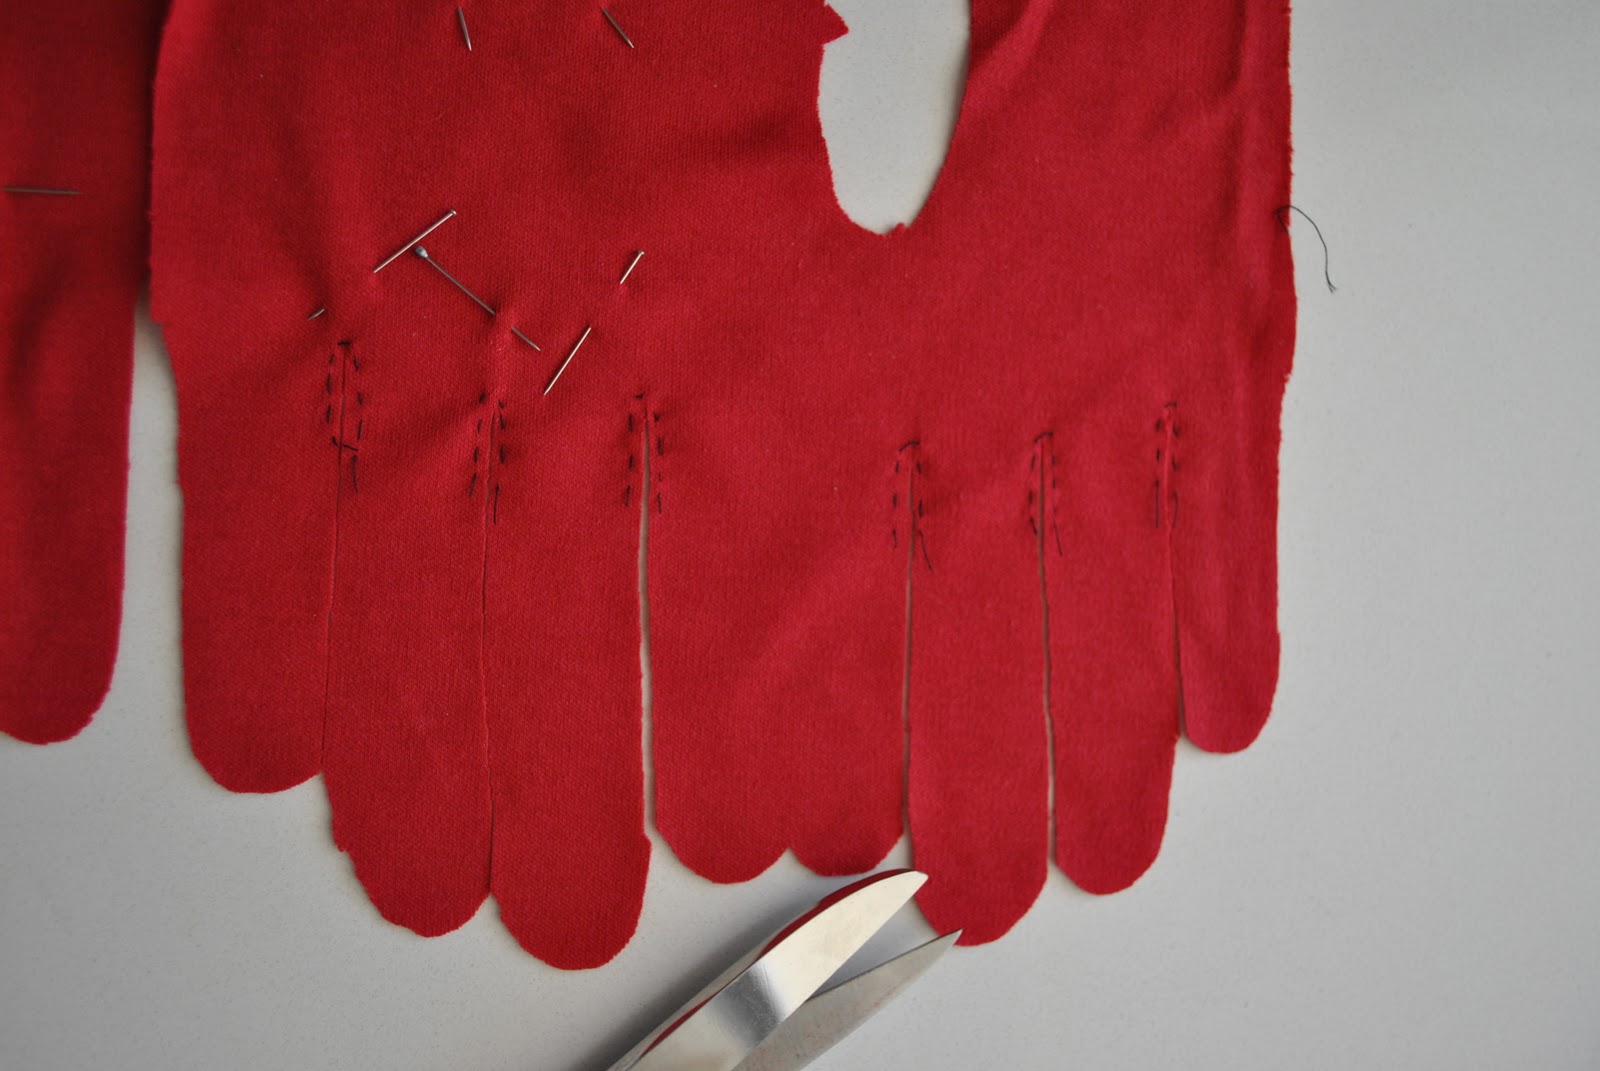
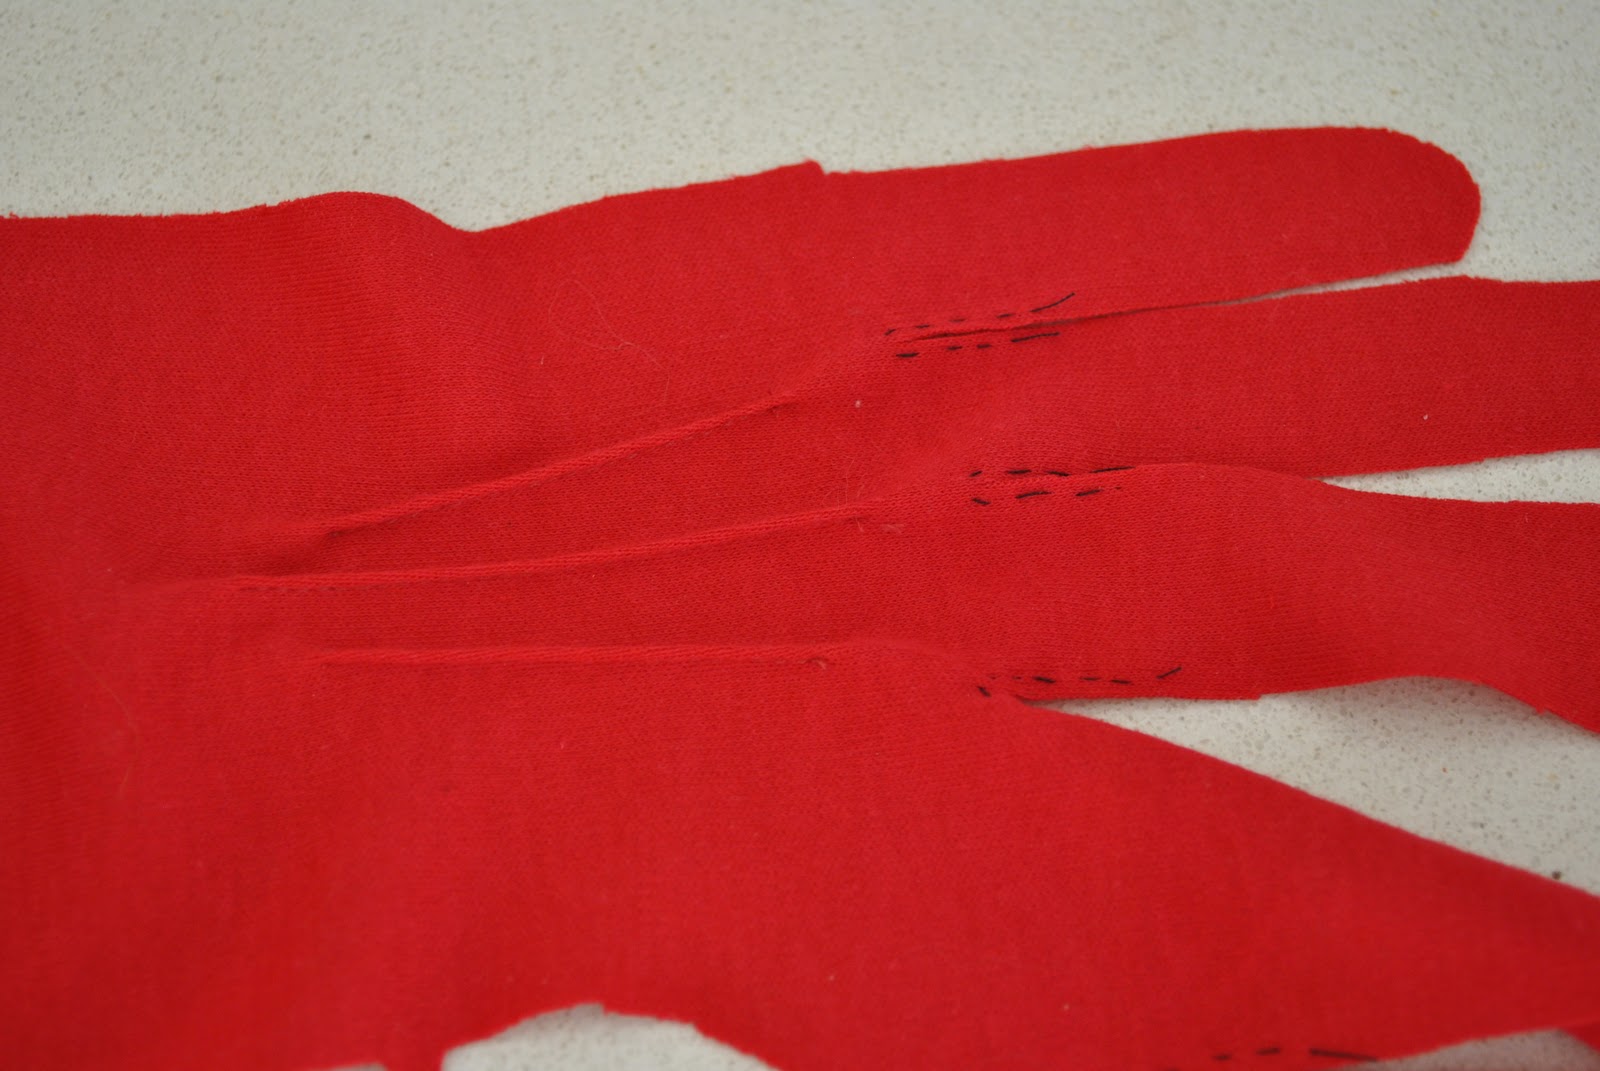
The next step is to cut down each finger “valley”
Seams:
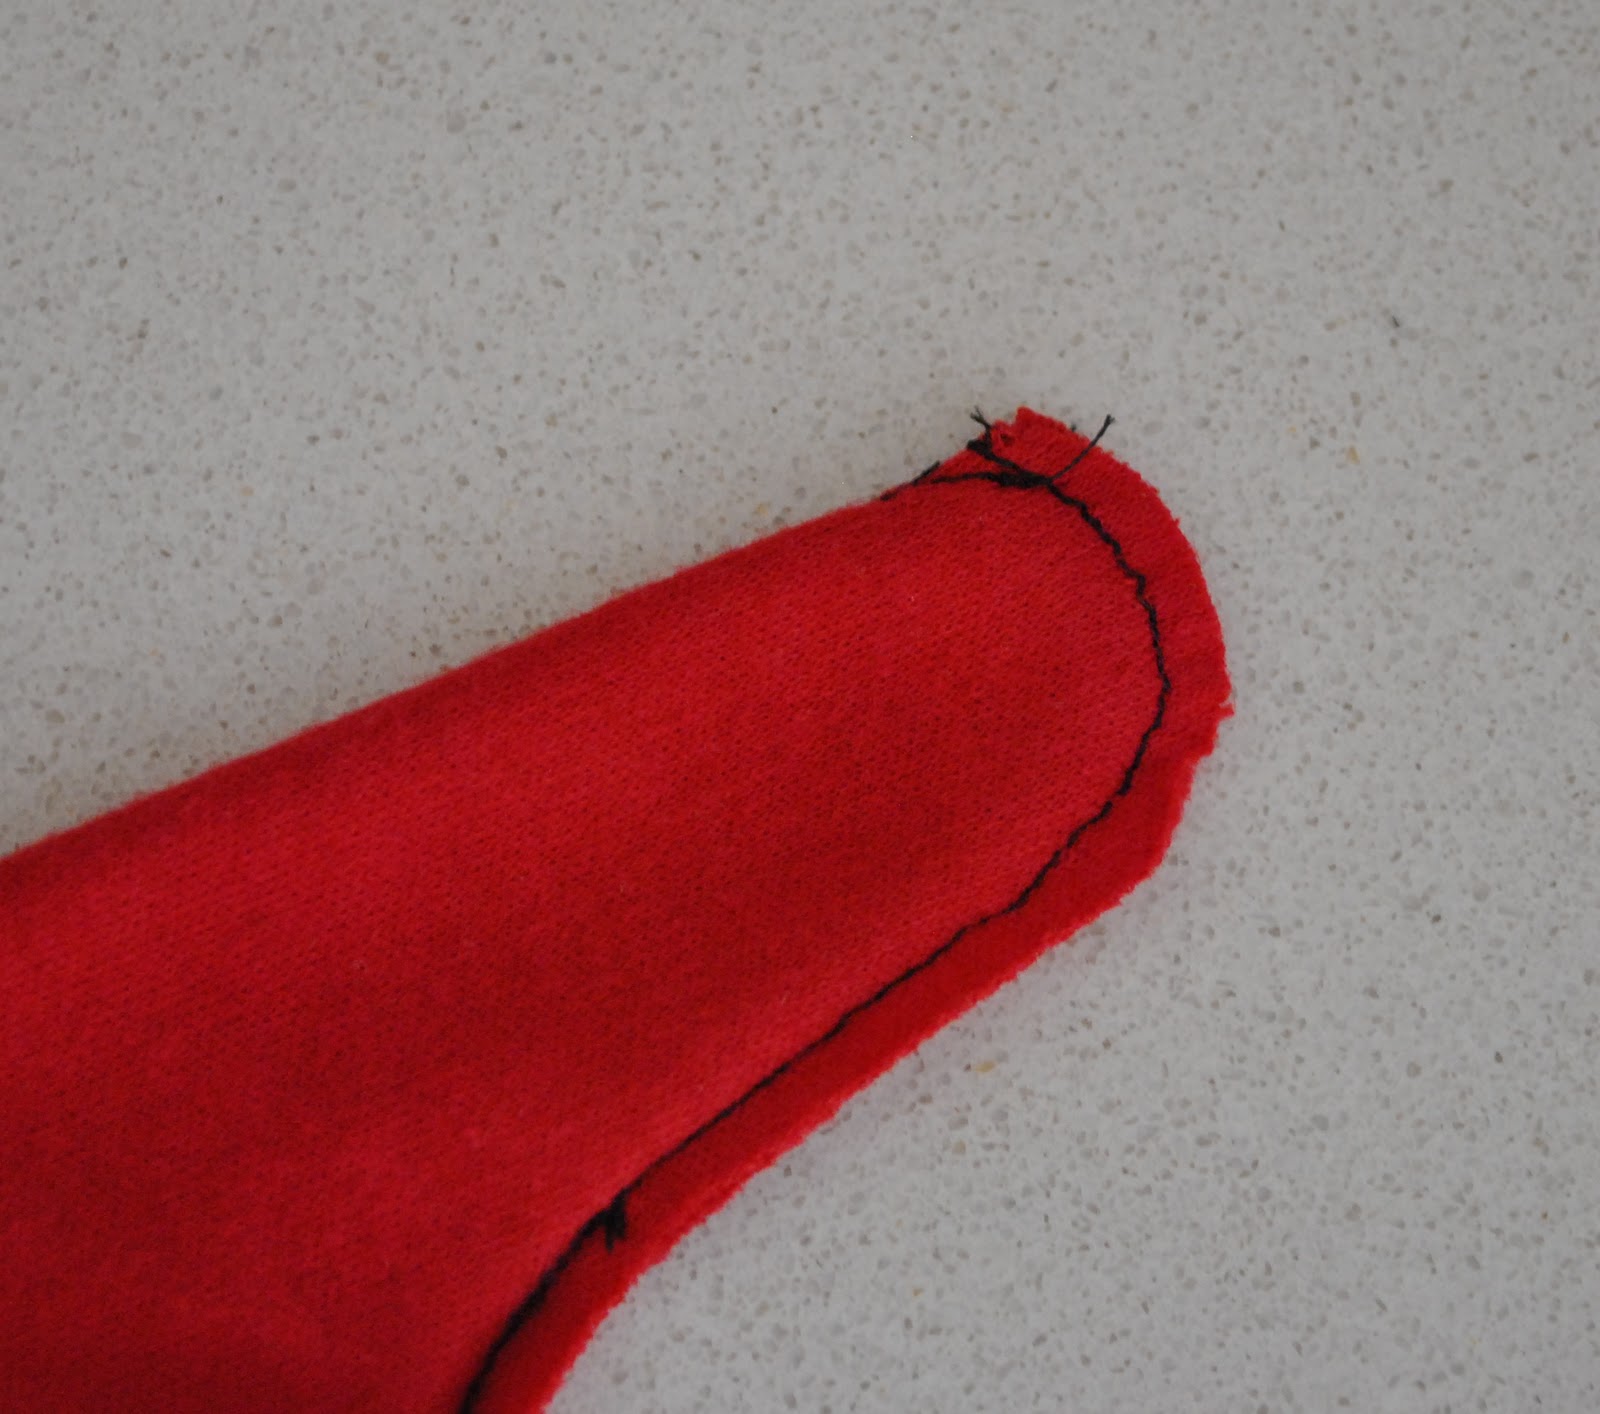
The seam allowance on my pattern is given as 3mm. I decided to be super accurate and use my fading pen (still got it from my quilting days) and draw in the seam allowance for me to sew over. Two reasons for this: a 3mm seam allowance is too tiny to be even marked on my old machine; also a 3mm seam is not one I ever use so I am unfamiliar with it and didn’t trust my eye to gauge it.

The fabric I am using is a type that my machine doesn’t particularly like and traditionally likes to chew up, particularly when I am asking it to start sewing a tiny little seam from the edge of the fabric… so I sewed most of the seams starting in the middle and ending up on the edge of the fabric. This approach works well and I don’t run the risk of a chewed up edge. My machine doesn’t have the same problem with the end edge of a seam… (note to self; should have used matching thread… but at least you can see what I’m talking about here)
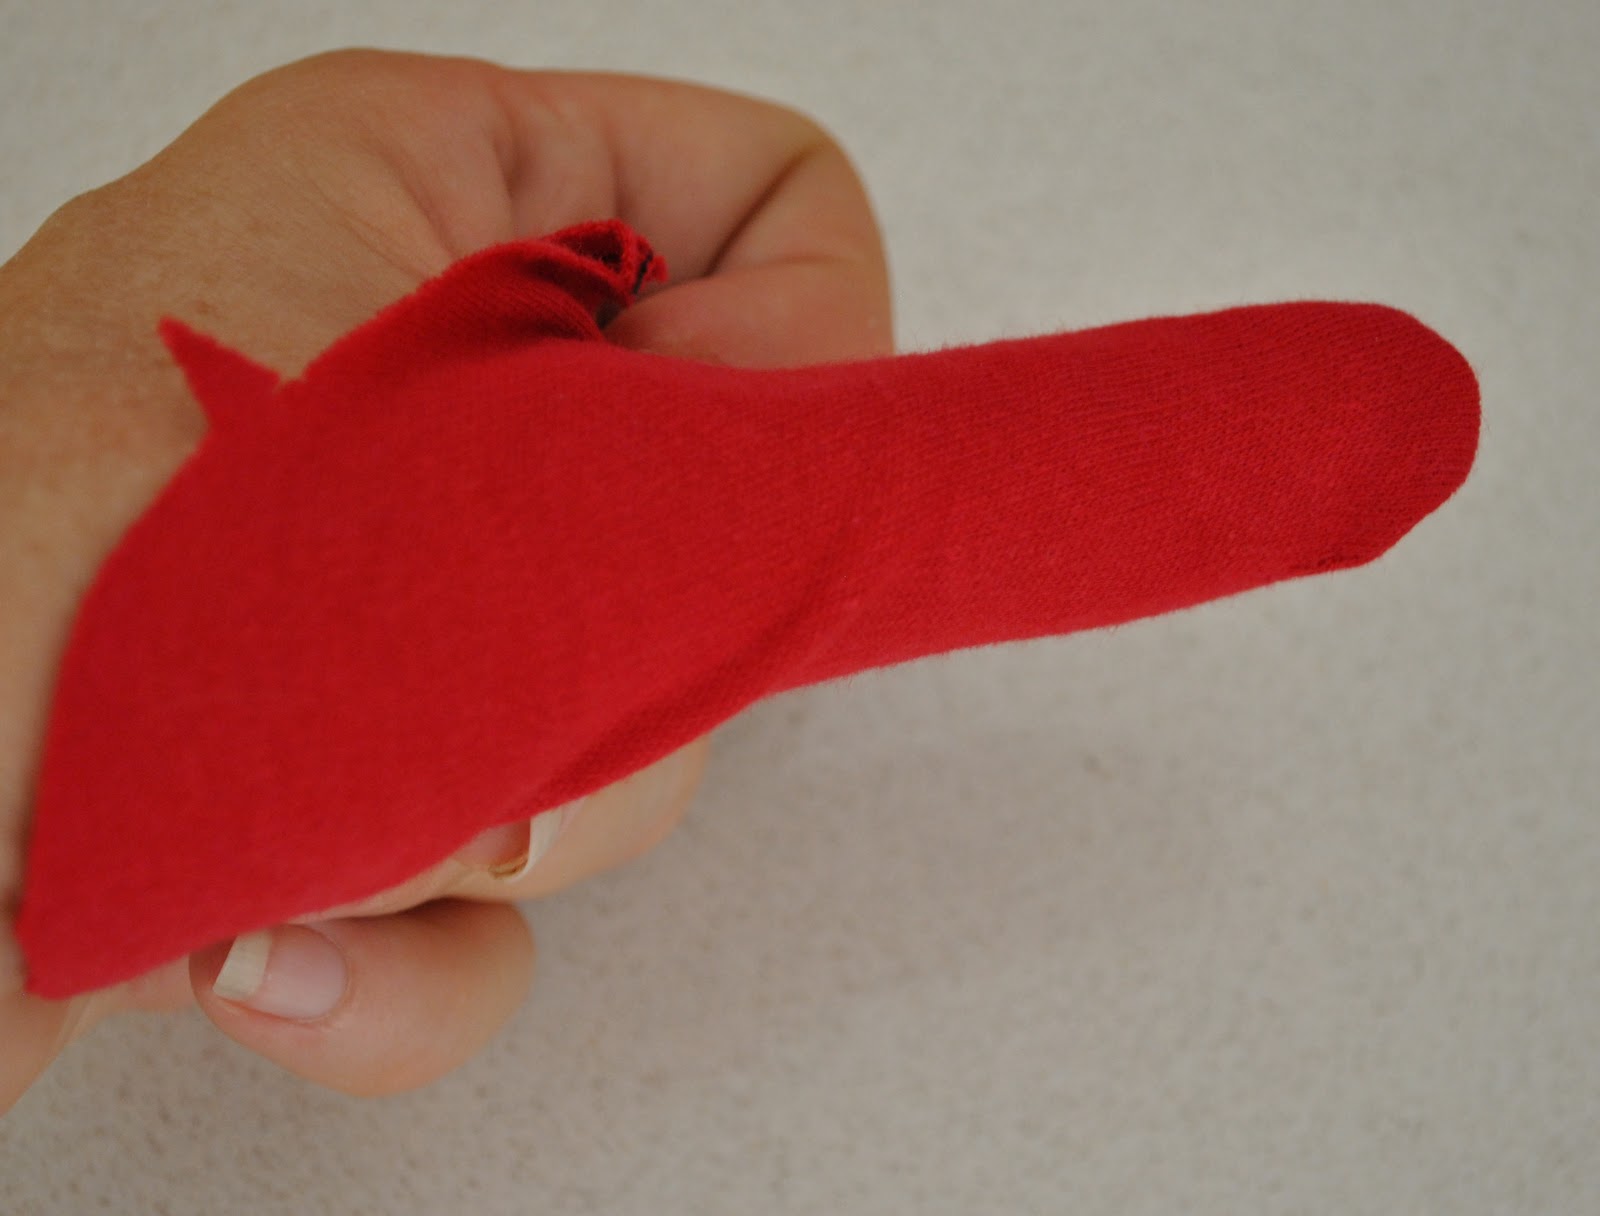
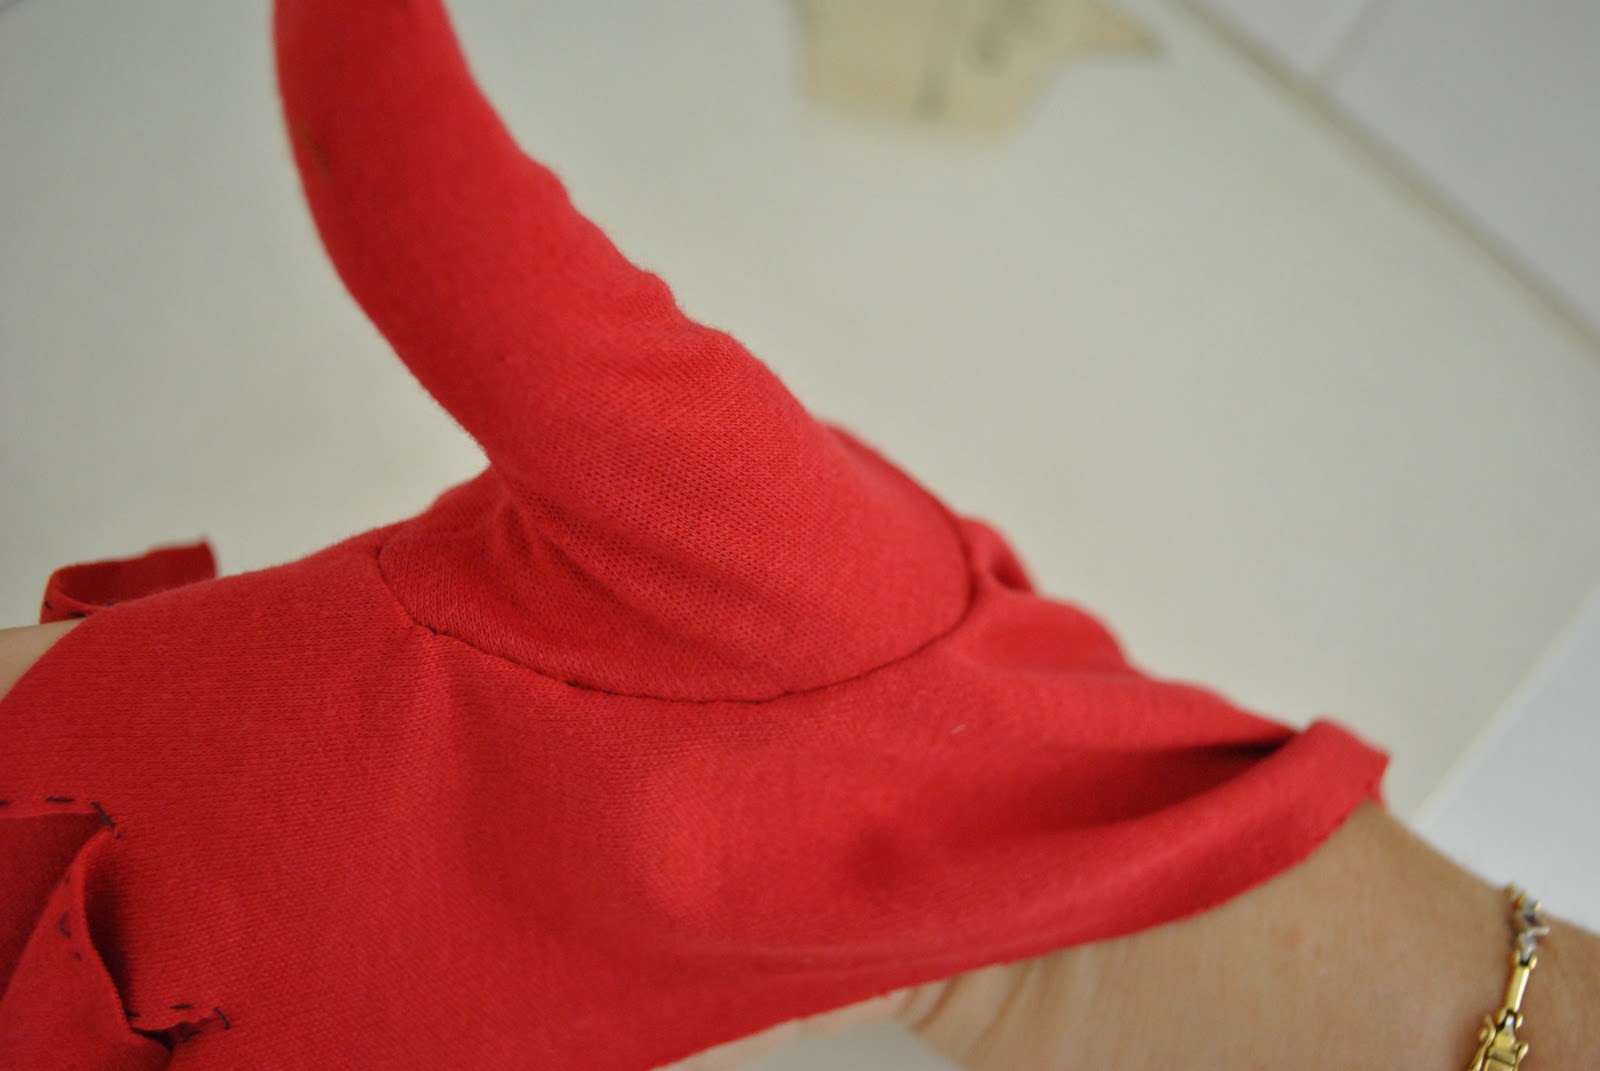
The thumb:
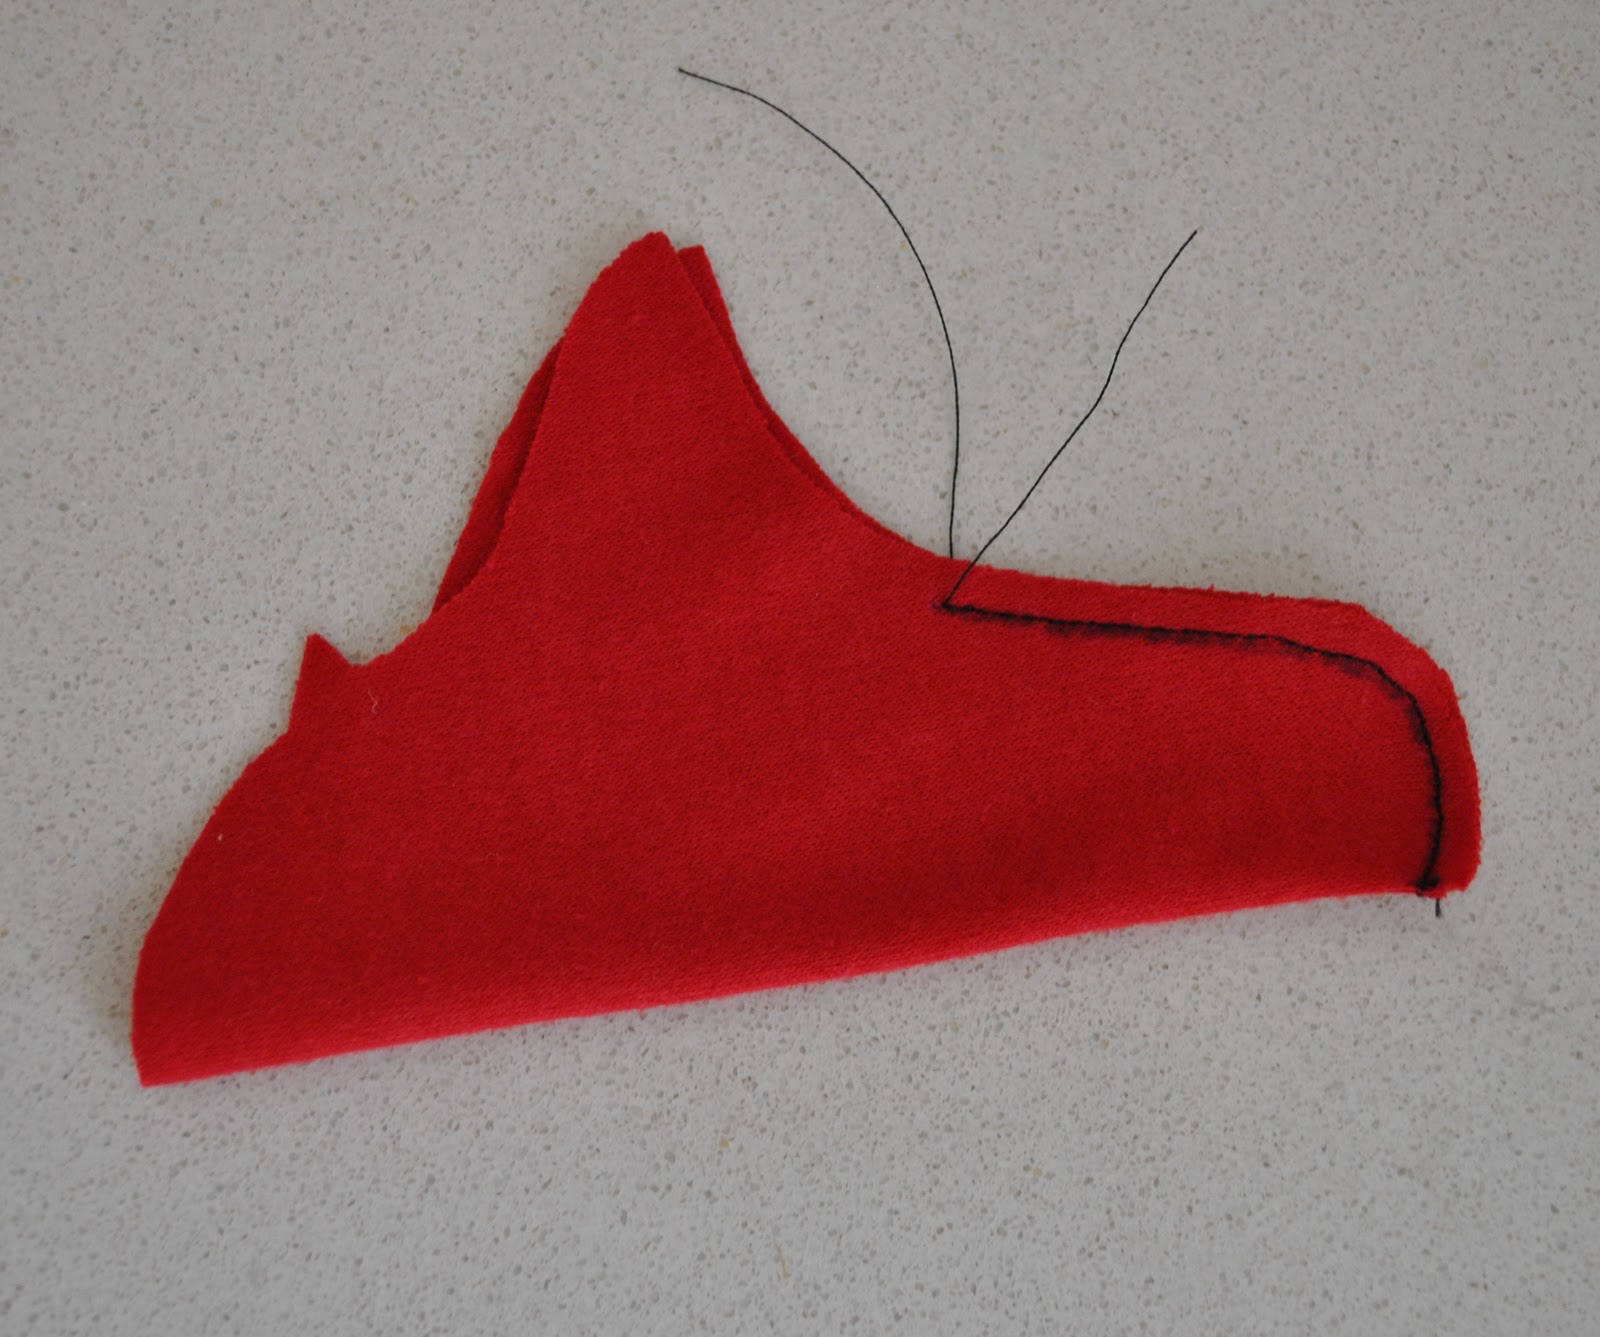
So, once I had finished sewing the thumb seam I turned it right side out for a quick visual check.. and see how it has a rather horrible pimply little bump sticking out at the folded corner on the right?