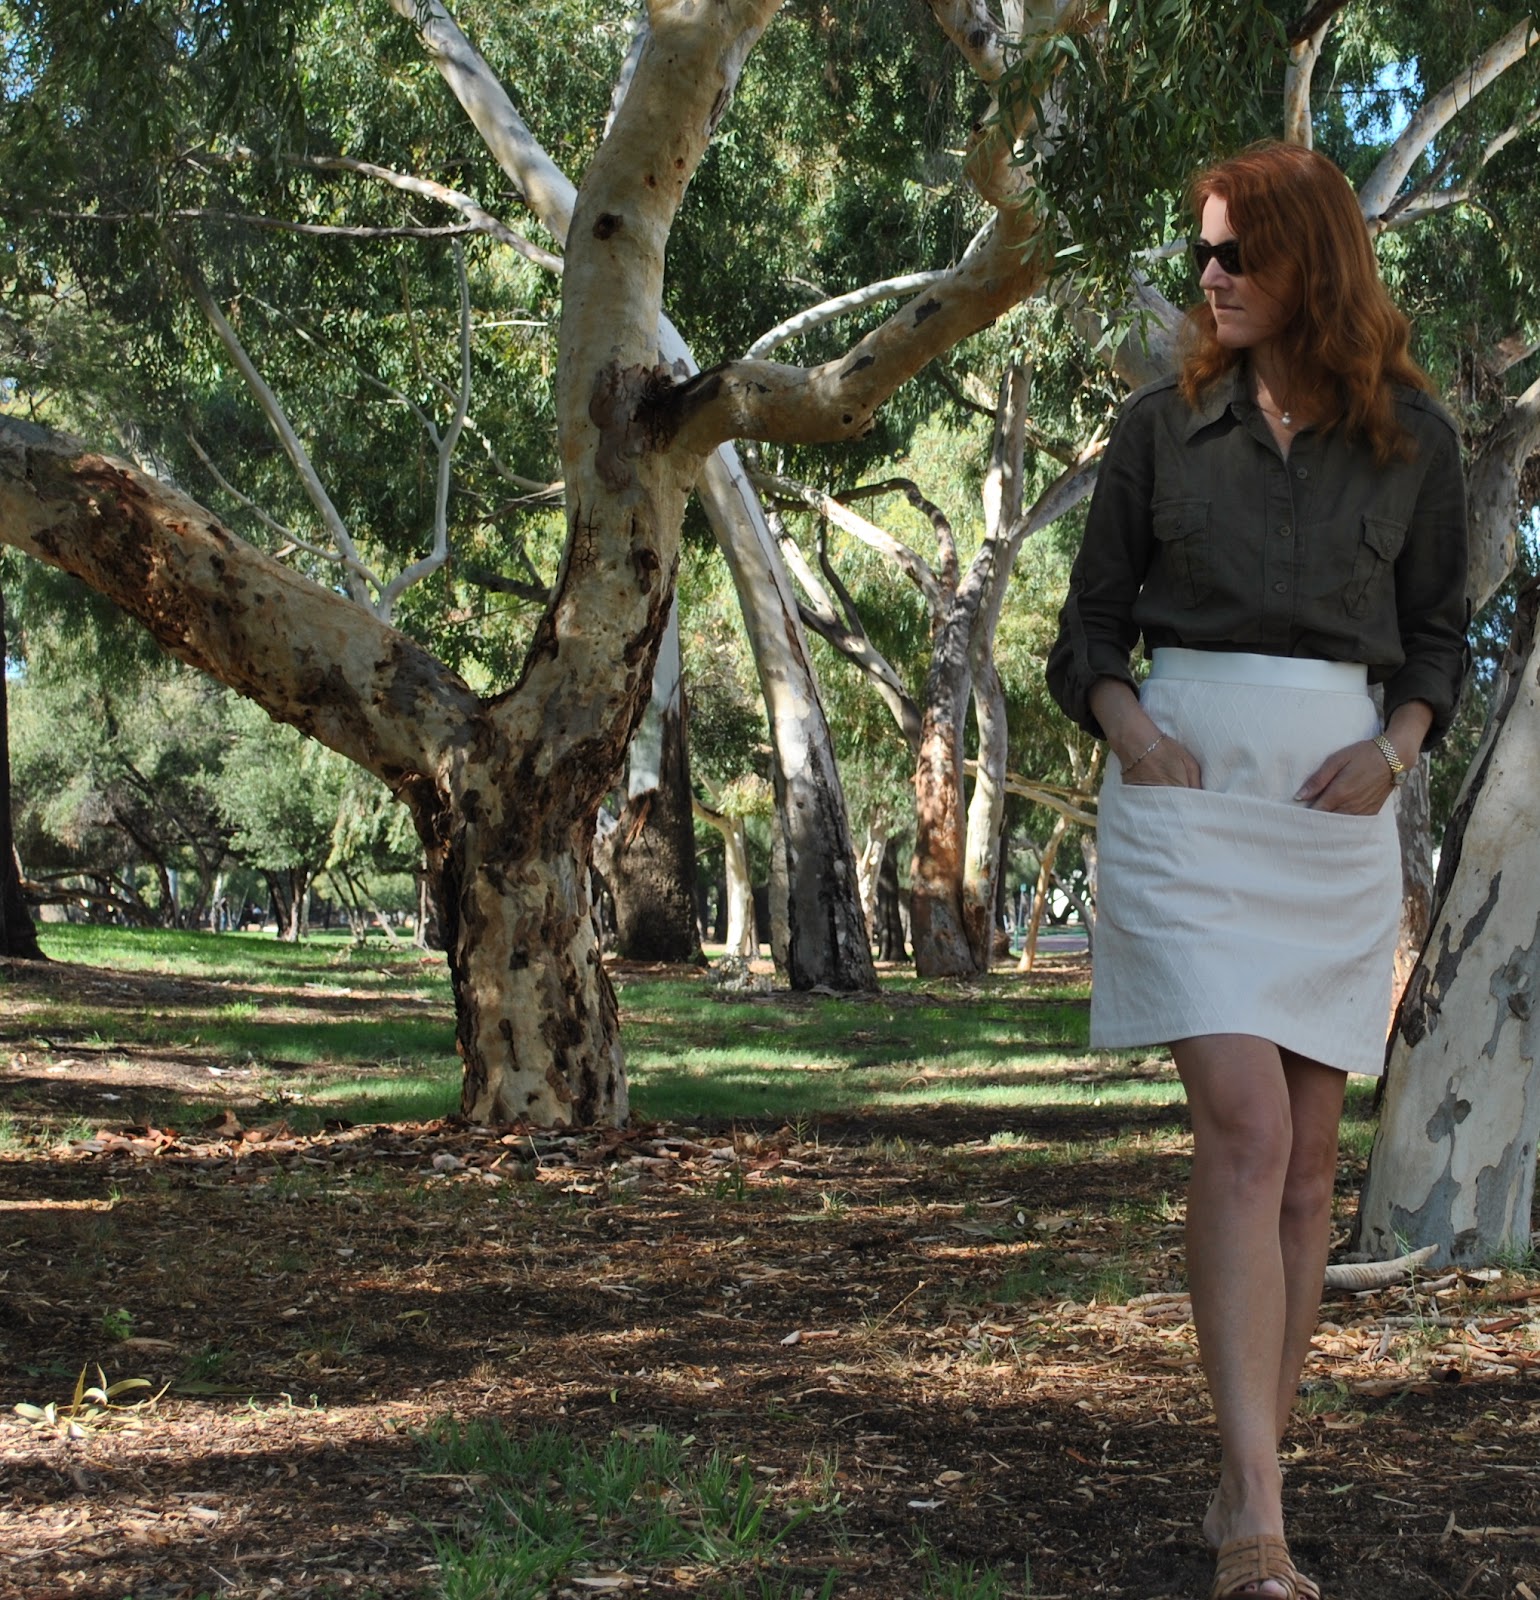
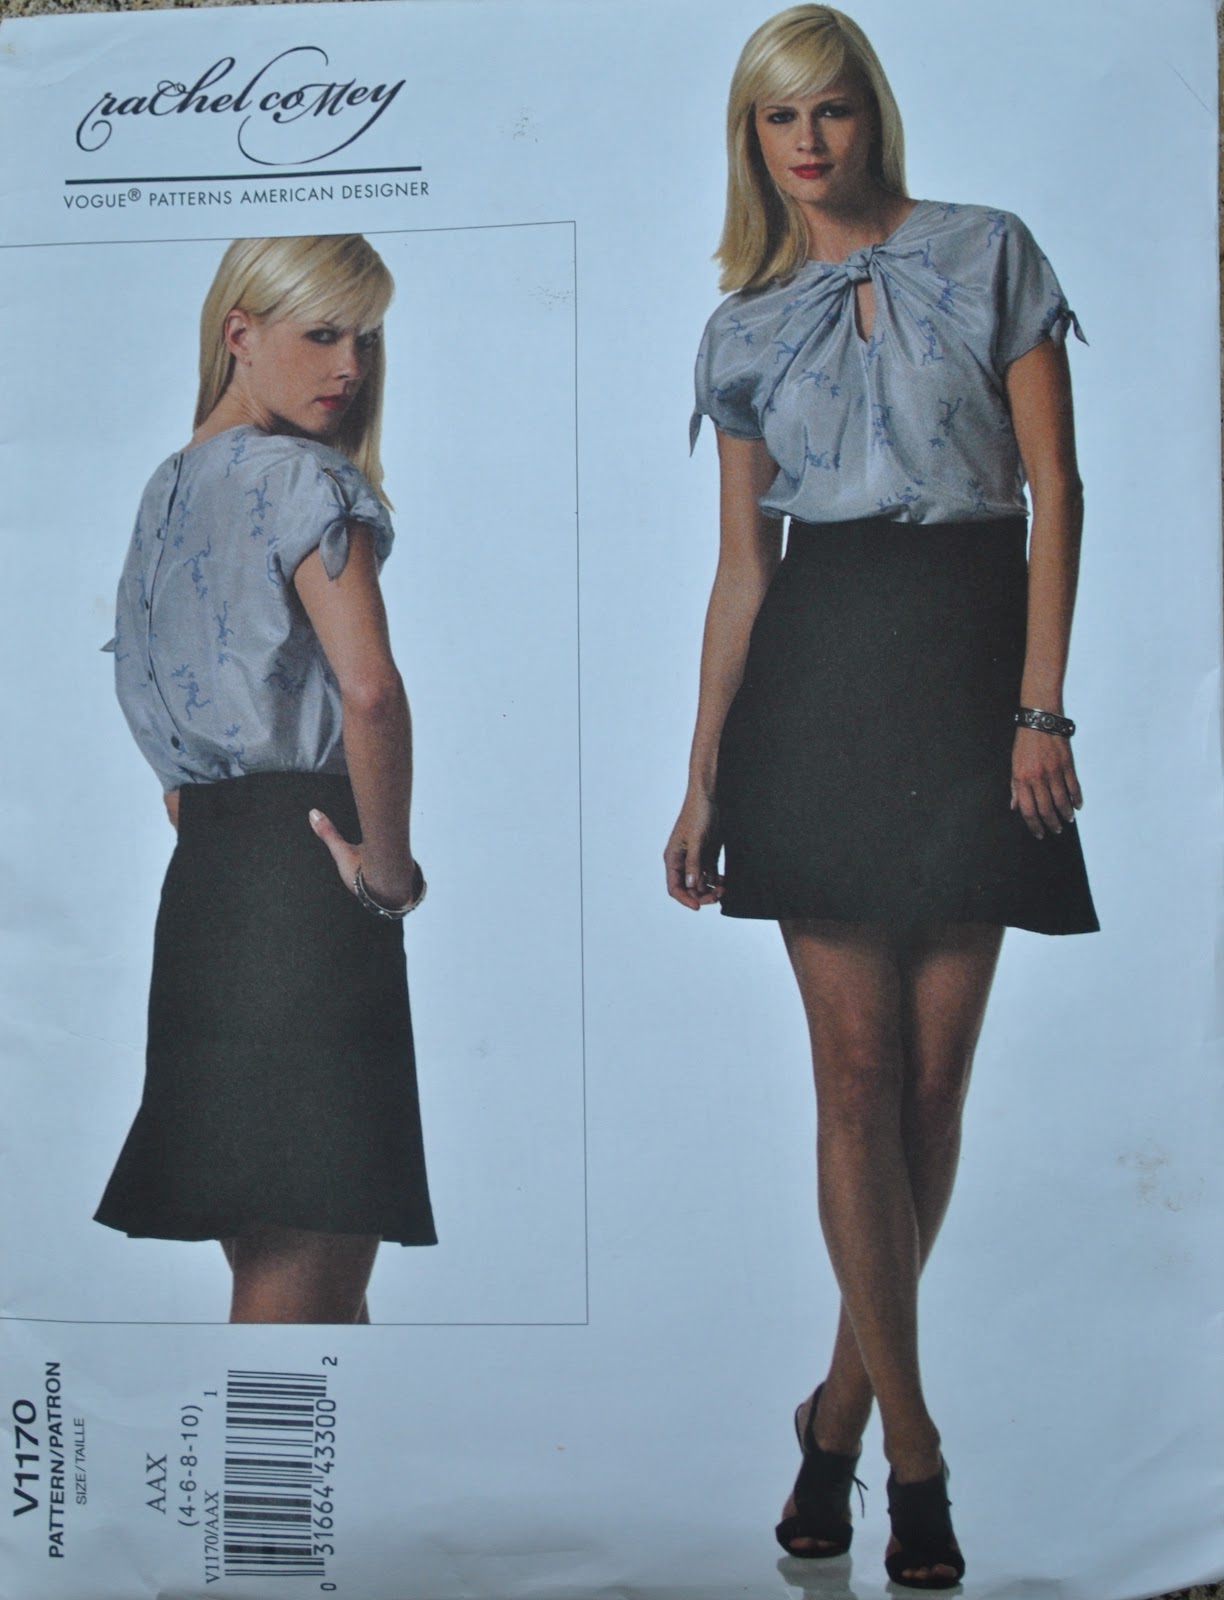
 Remember in my review of the Vogue 1170 skirt I mentioned I had already made a second version? Well I finally got my act together and took some photos…
This ultramarine cotton corduroy caught my eye; (hardly surprising really 😉 ) and I just grabbed the bolt on a whim during Spotlight’s 40% off sale. I had a sudden urge to add a touch more blue to my life. Part of my on-going campaign to maintain some colour in my wardrobe. I cleaned out and re-assessed my wardrobe recently and realised I still didn’t have very many fun and colourful options there. I also realised I didn’t have as many “bottoms” as I thought too, thus the appearance on my blog here of a little flock of new skirts recently.
And, speaking of colour; just wait ’til you see my new jeans too… hola!! I’m dying to show them off here … soon… 😉
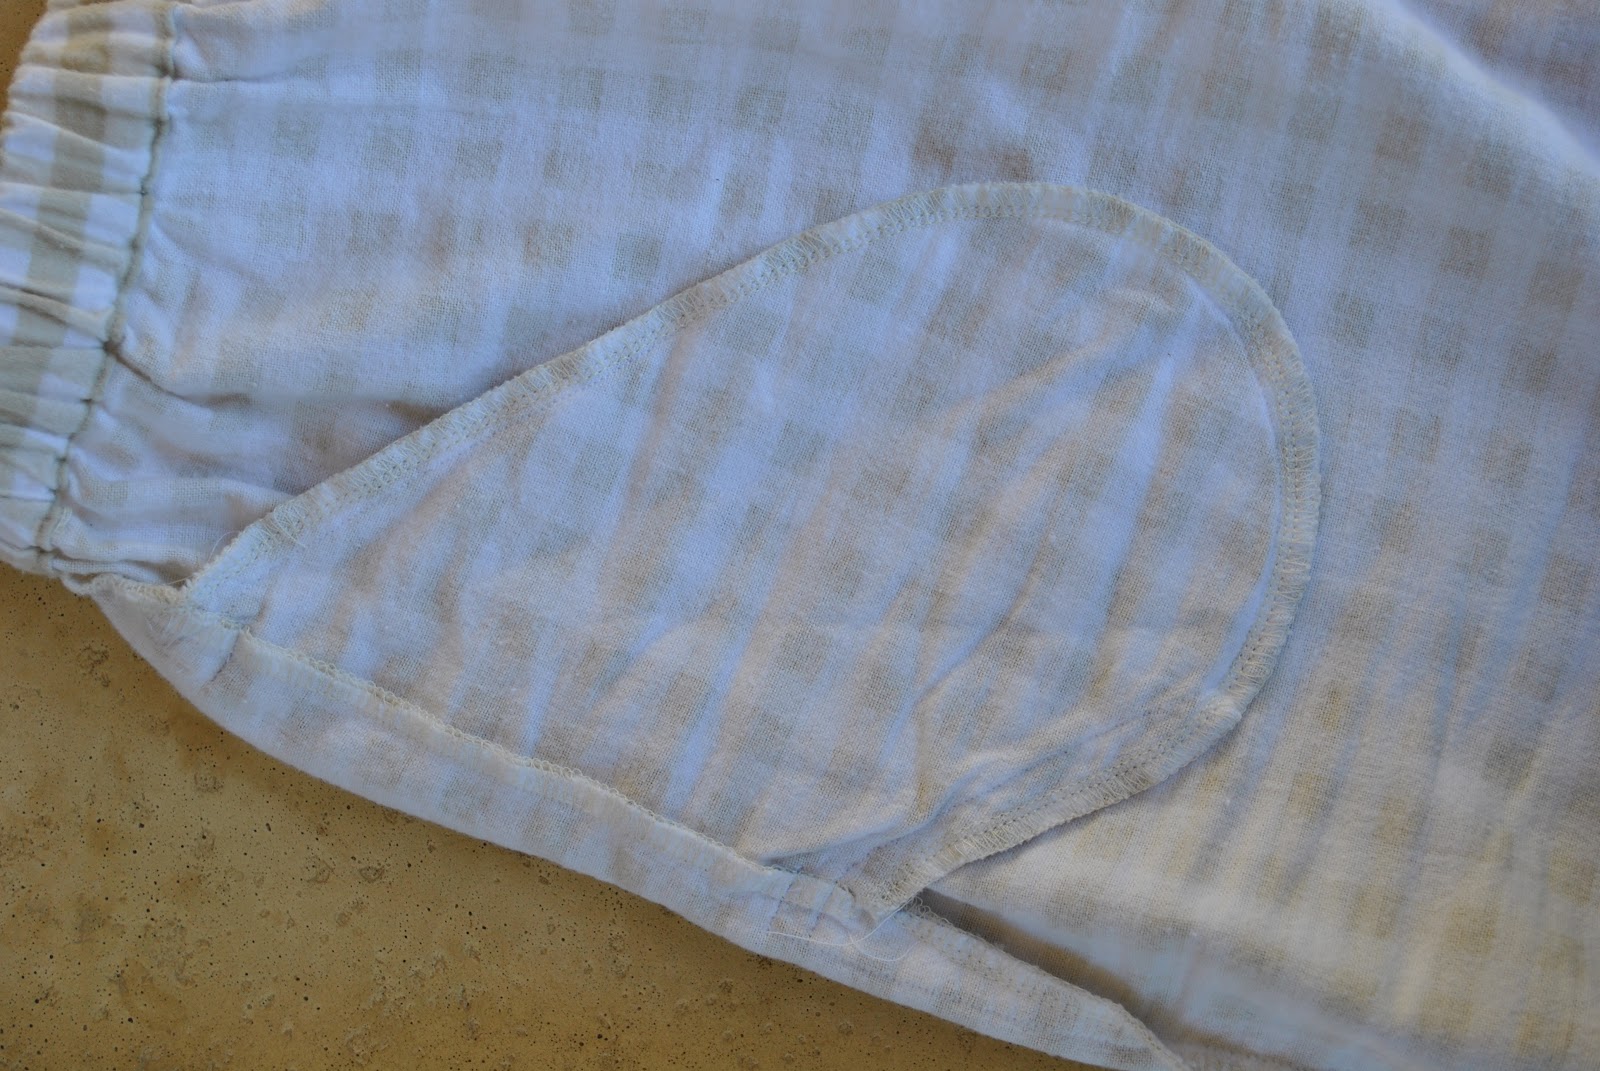
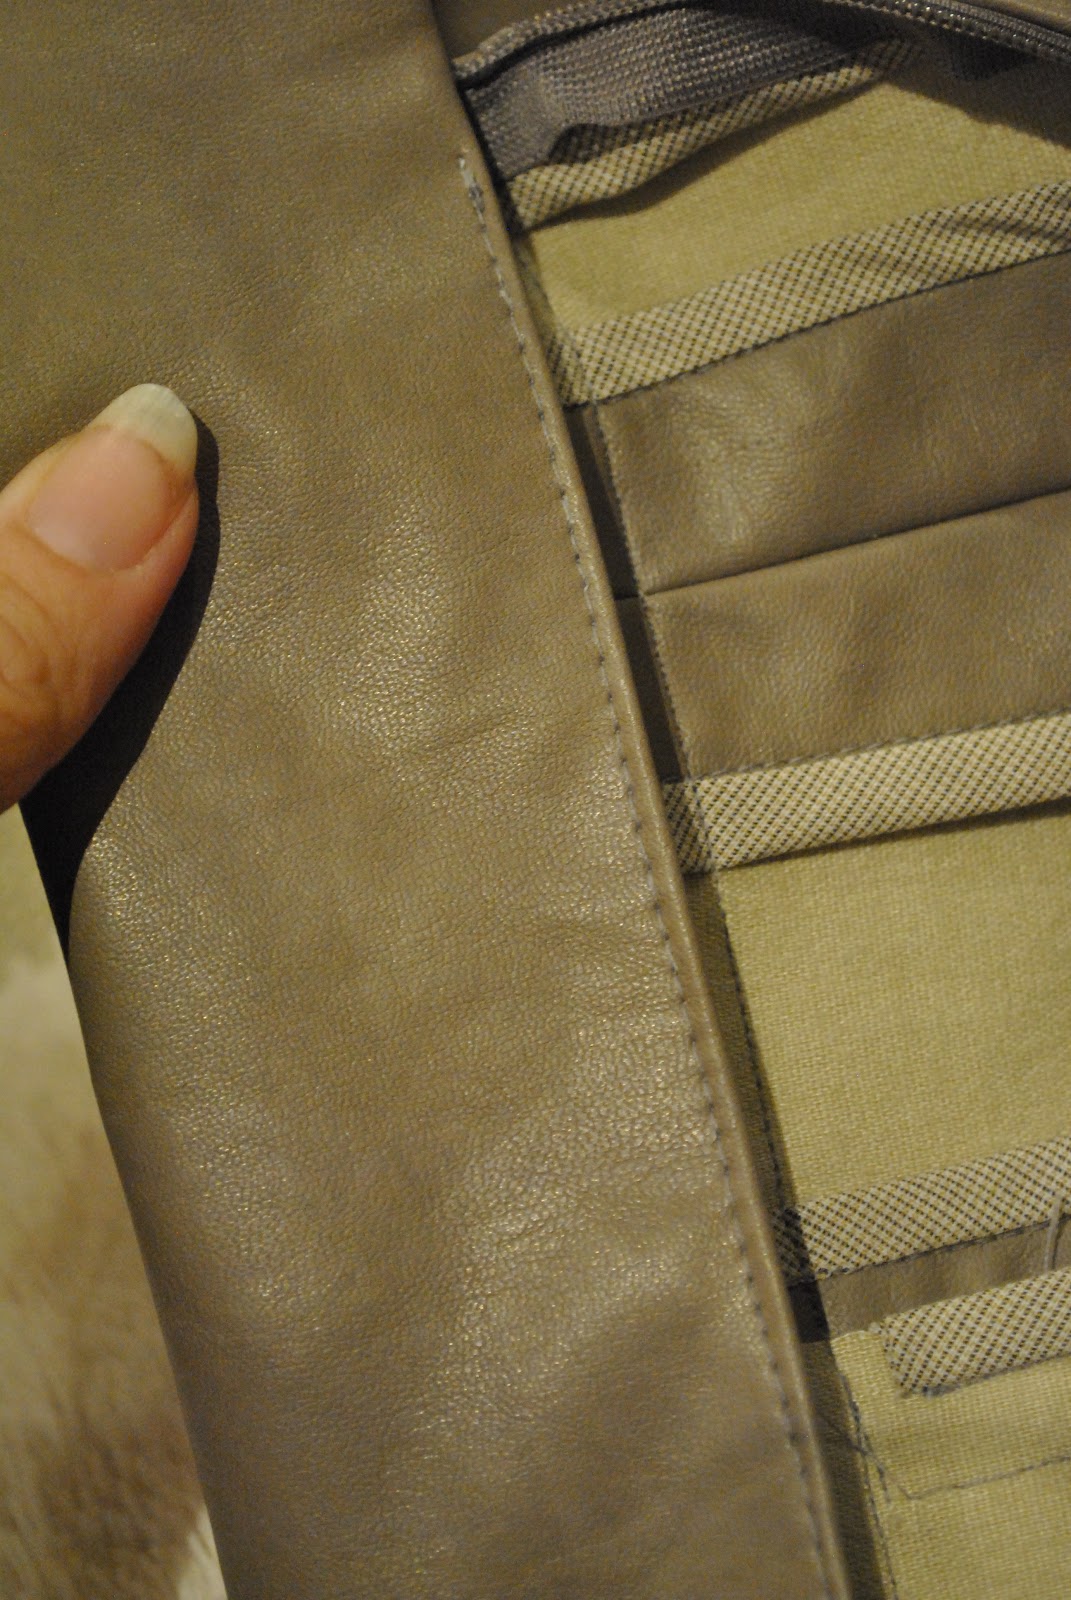
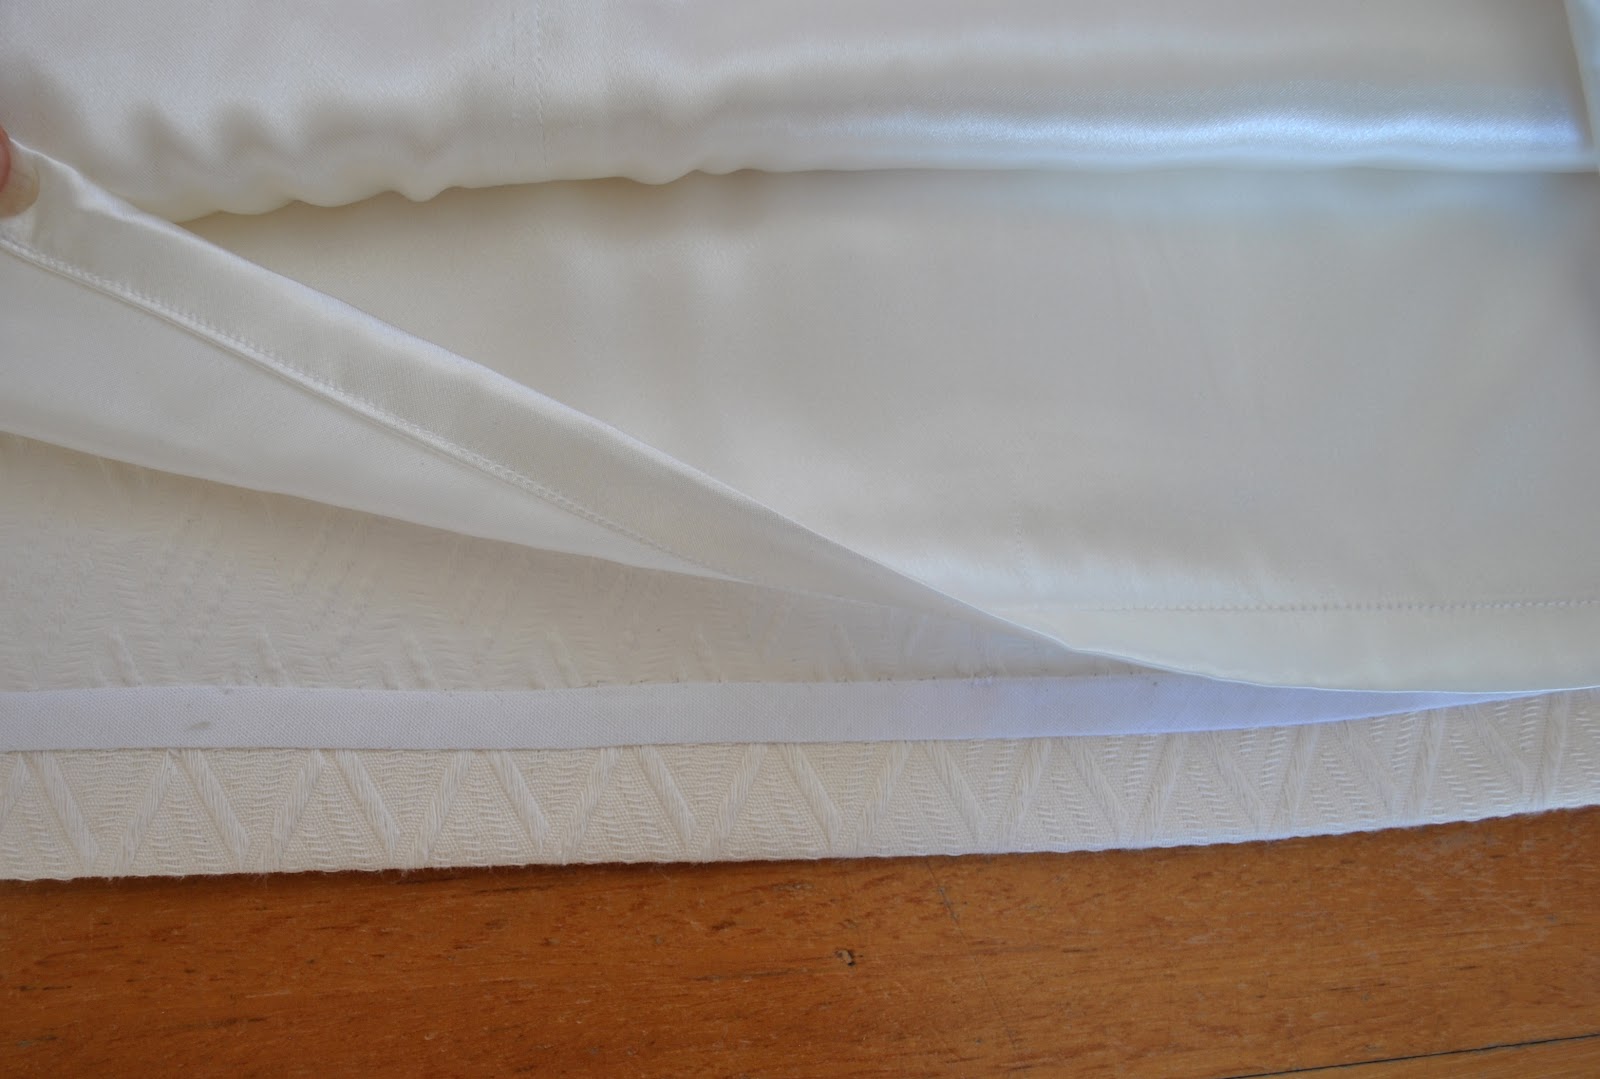
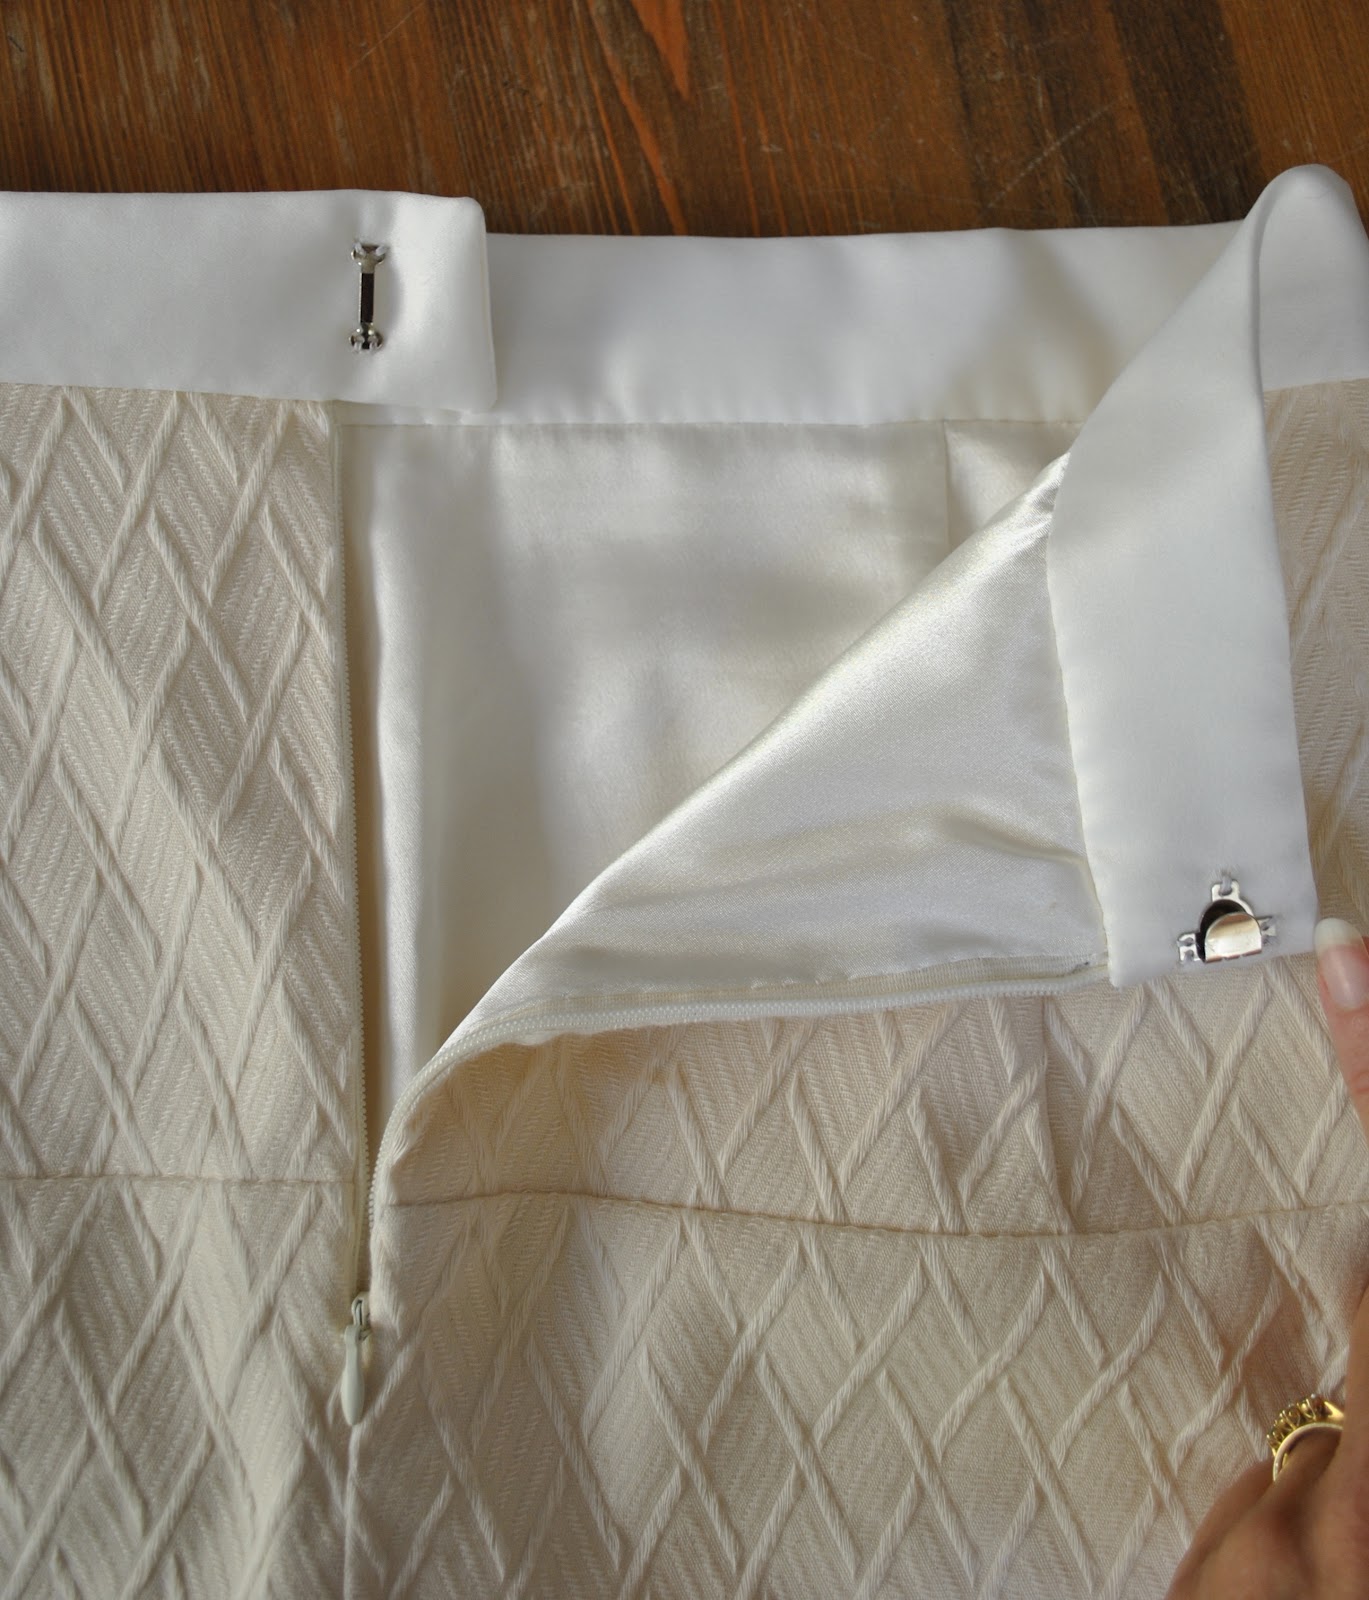
I made my skirt with a few minor adjustments to the pattern; I added lining, using the spliced pieces of Vogue 1247 as my pattern. (I bought the acetate lining from Fabulous Fabrics, since the lining fabrics in Spotlight are the most hideous on the face of this earth….)

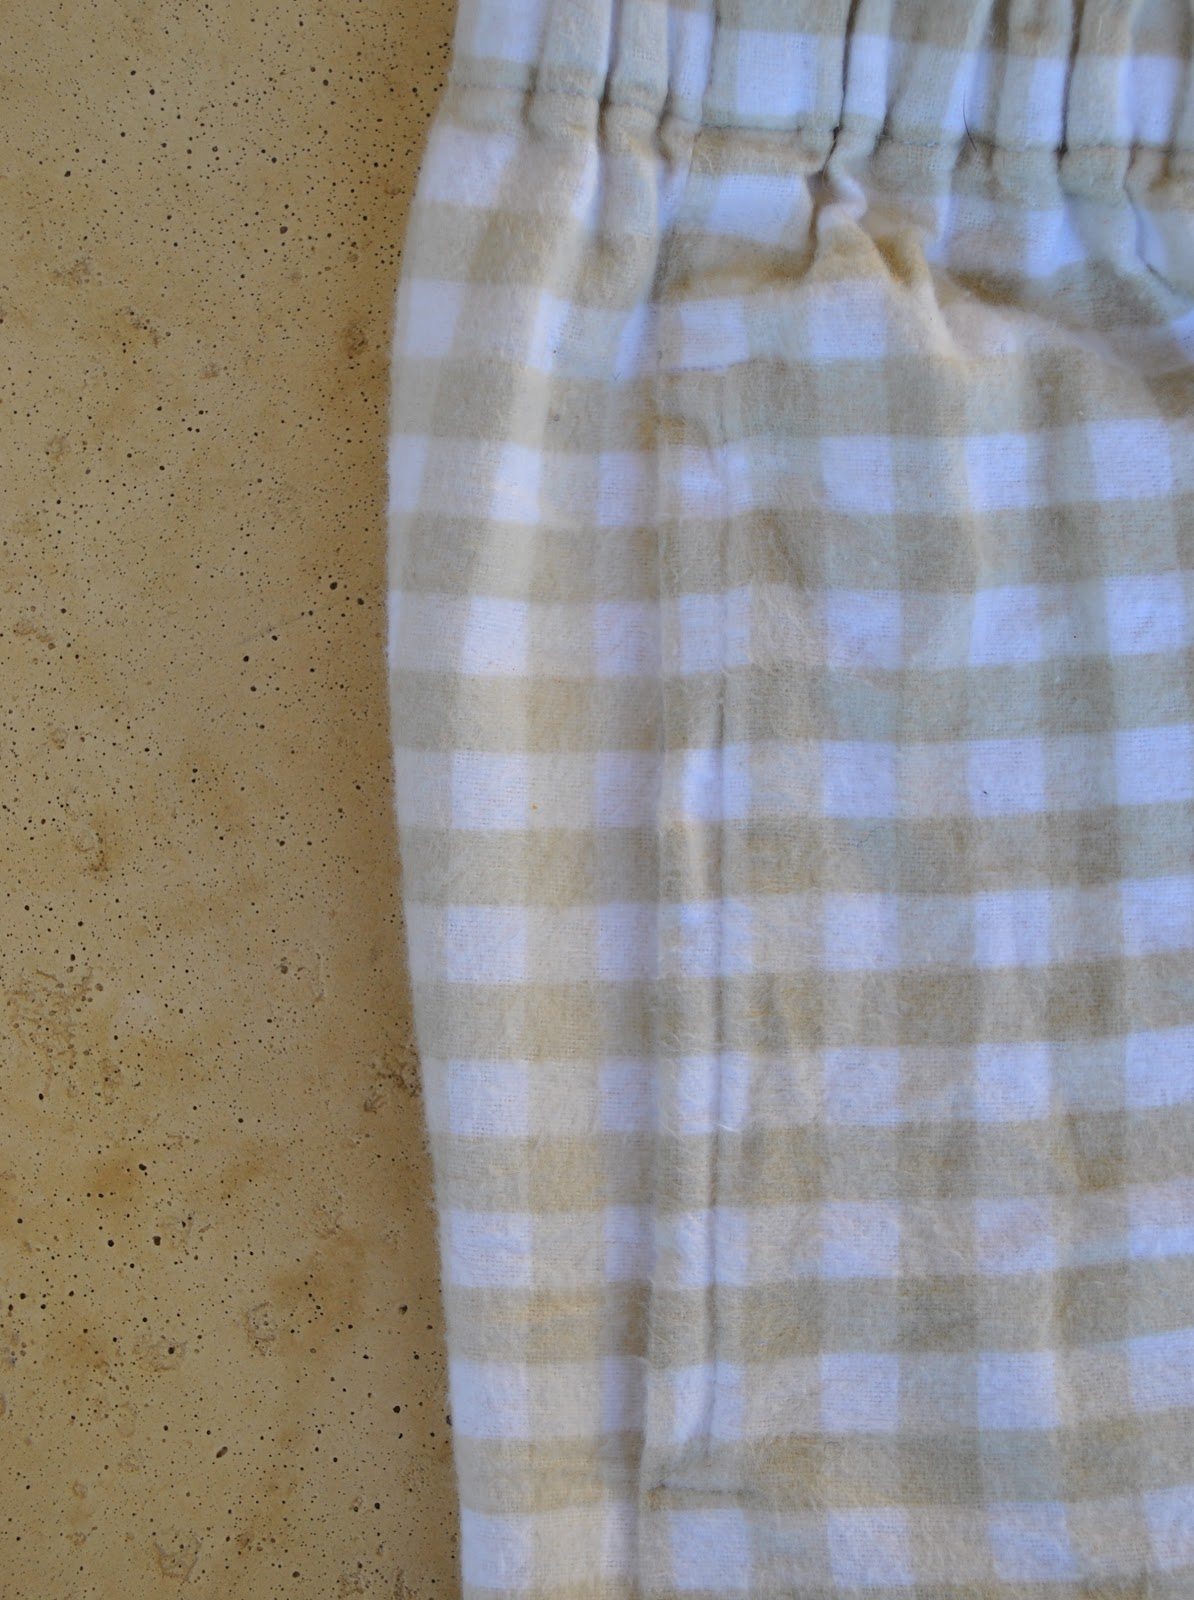
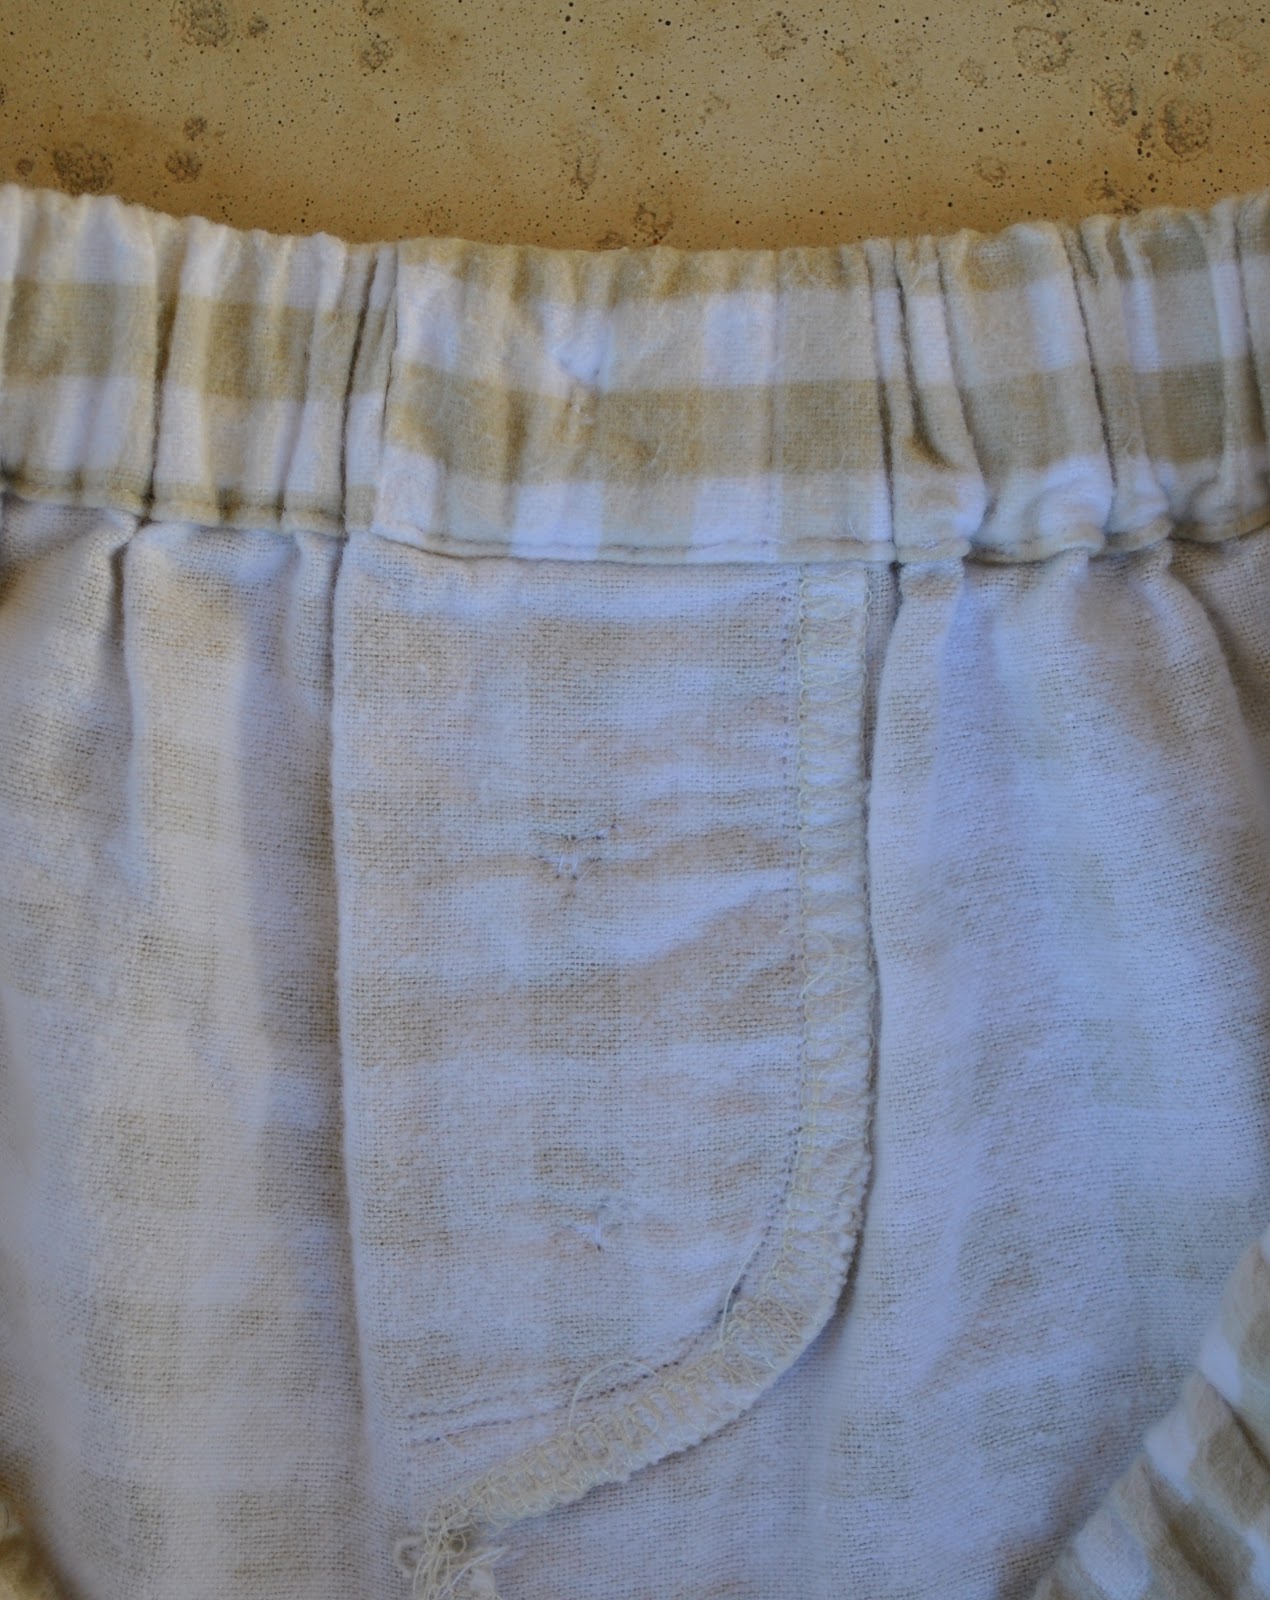
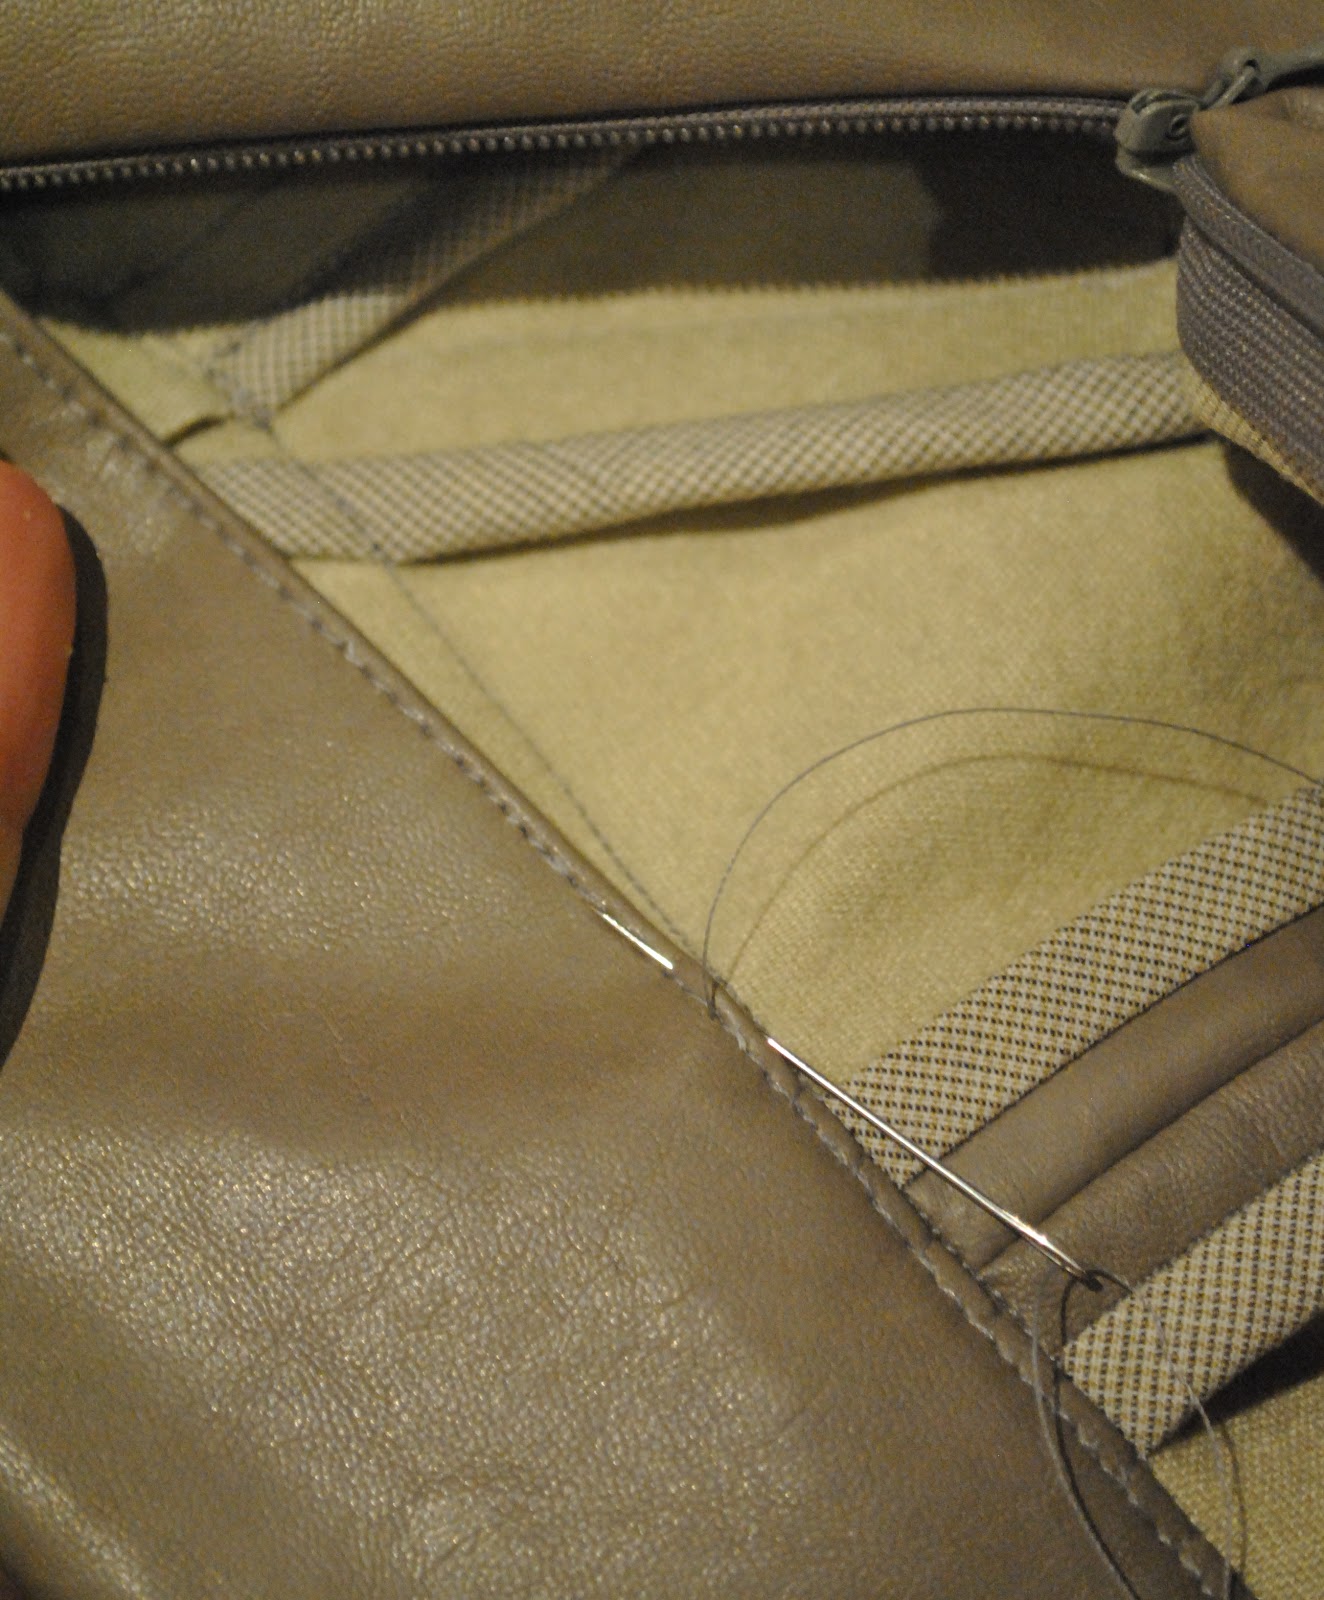
I overlocked all the raw edges inside; didn’t go with the HongKong seaming this time because of the lining. Plus it is just corduroy…
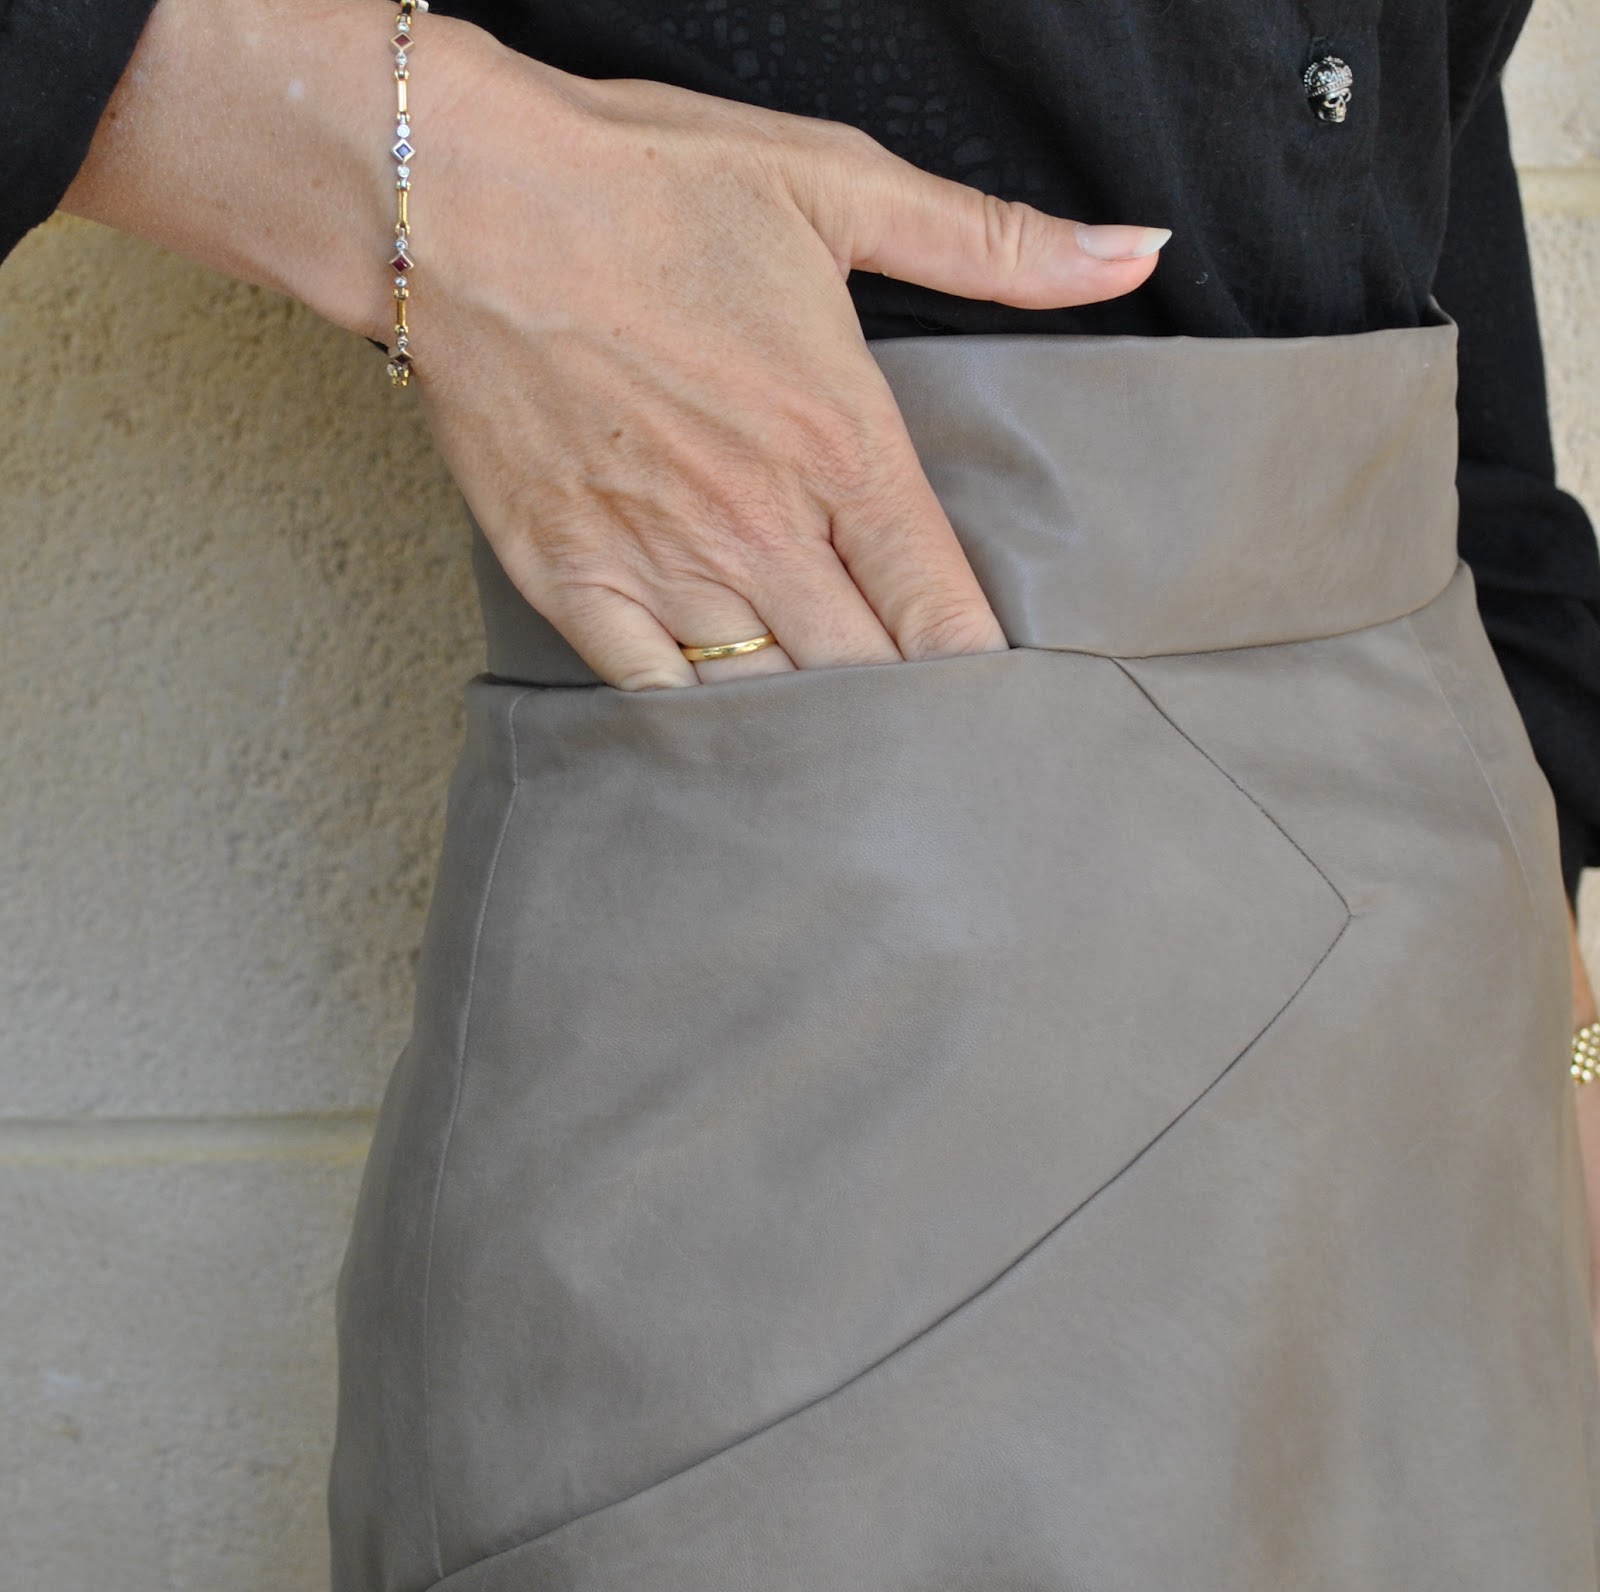
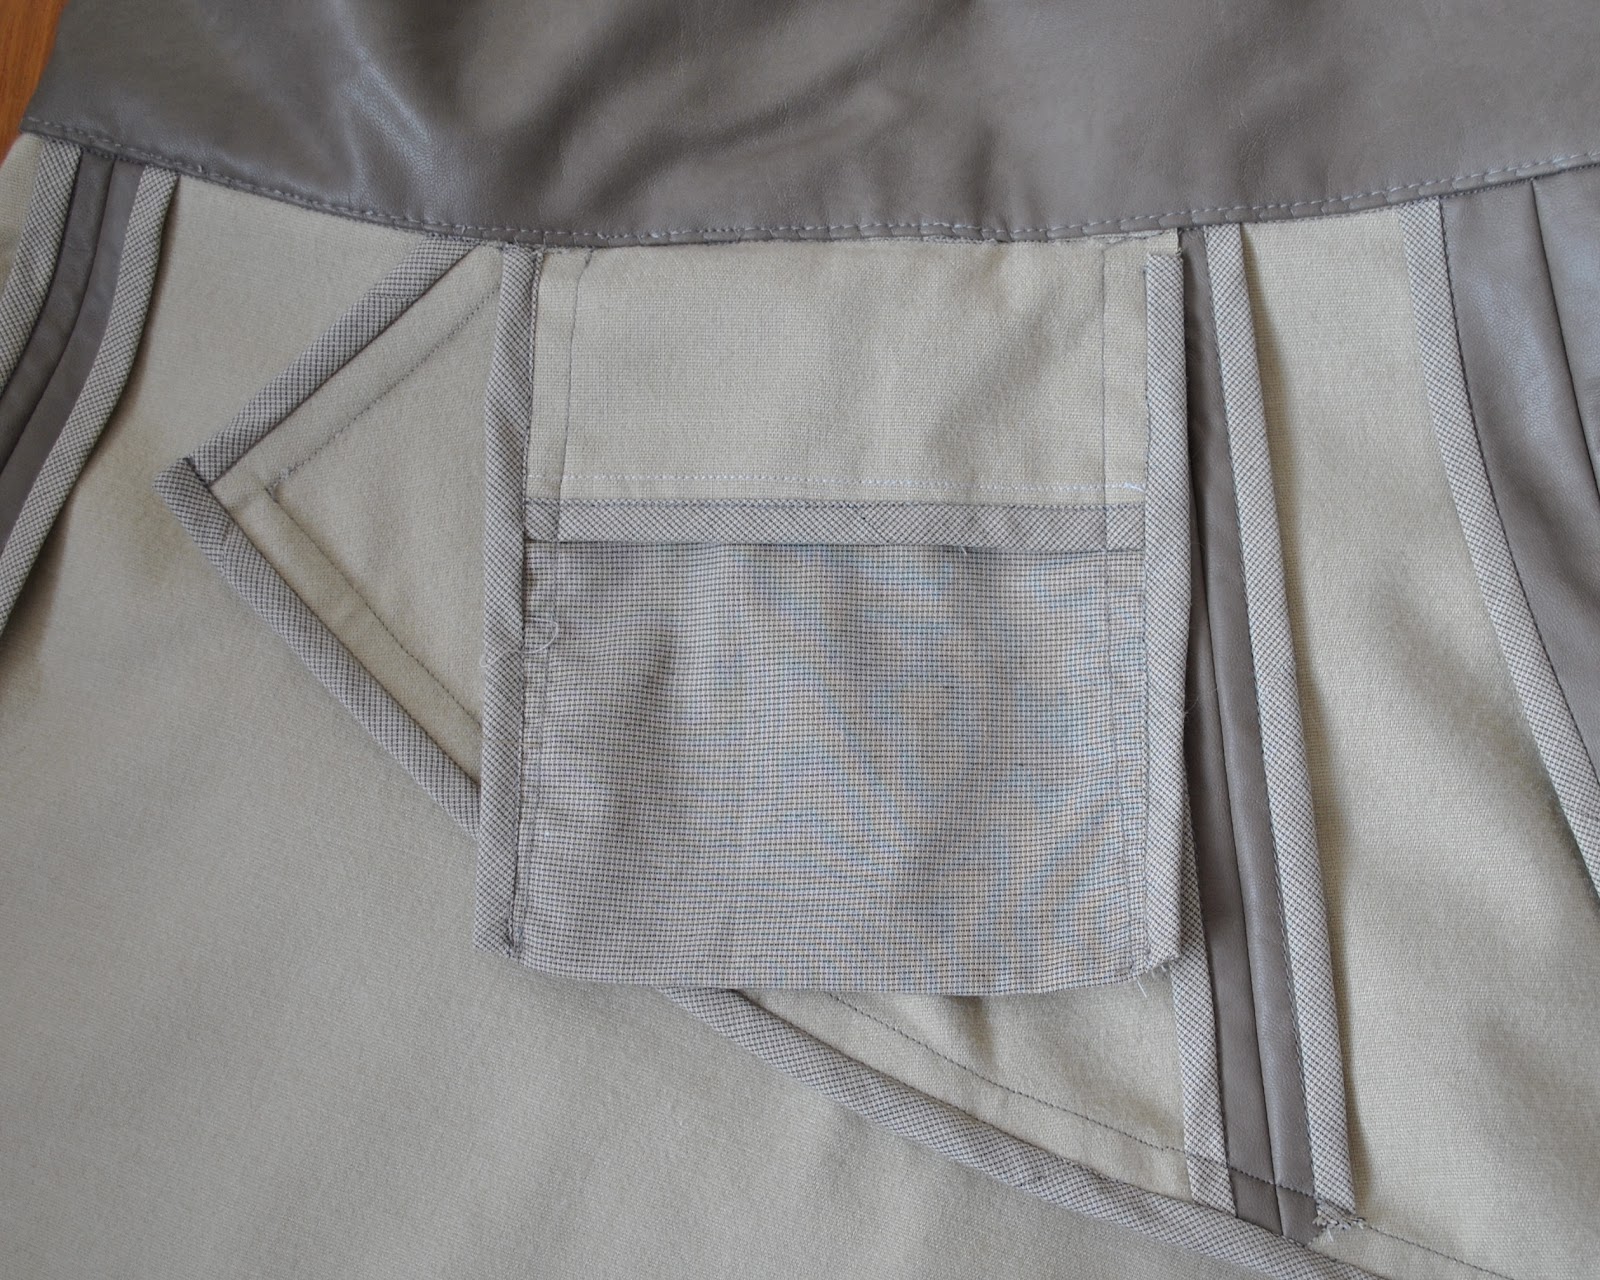
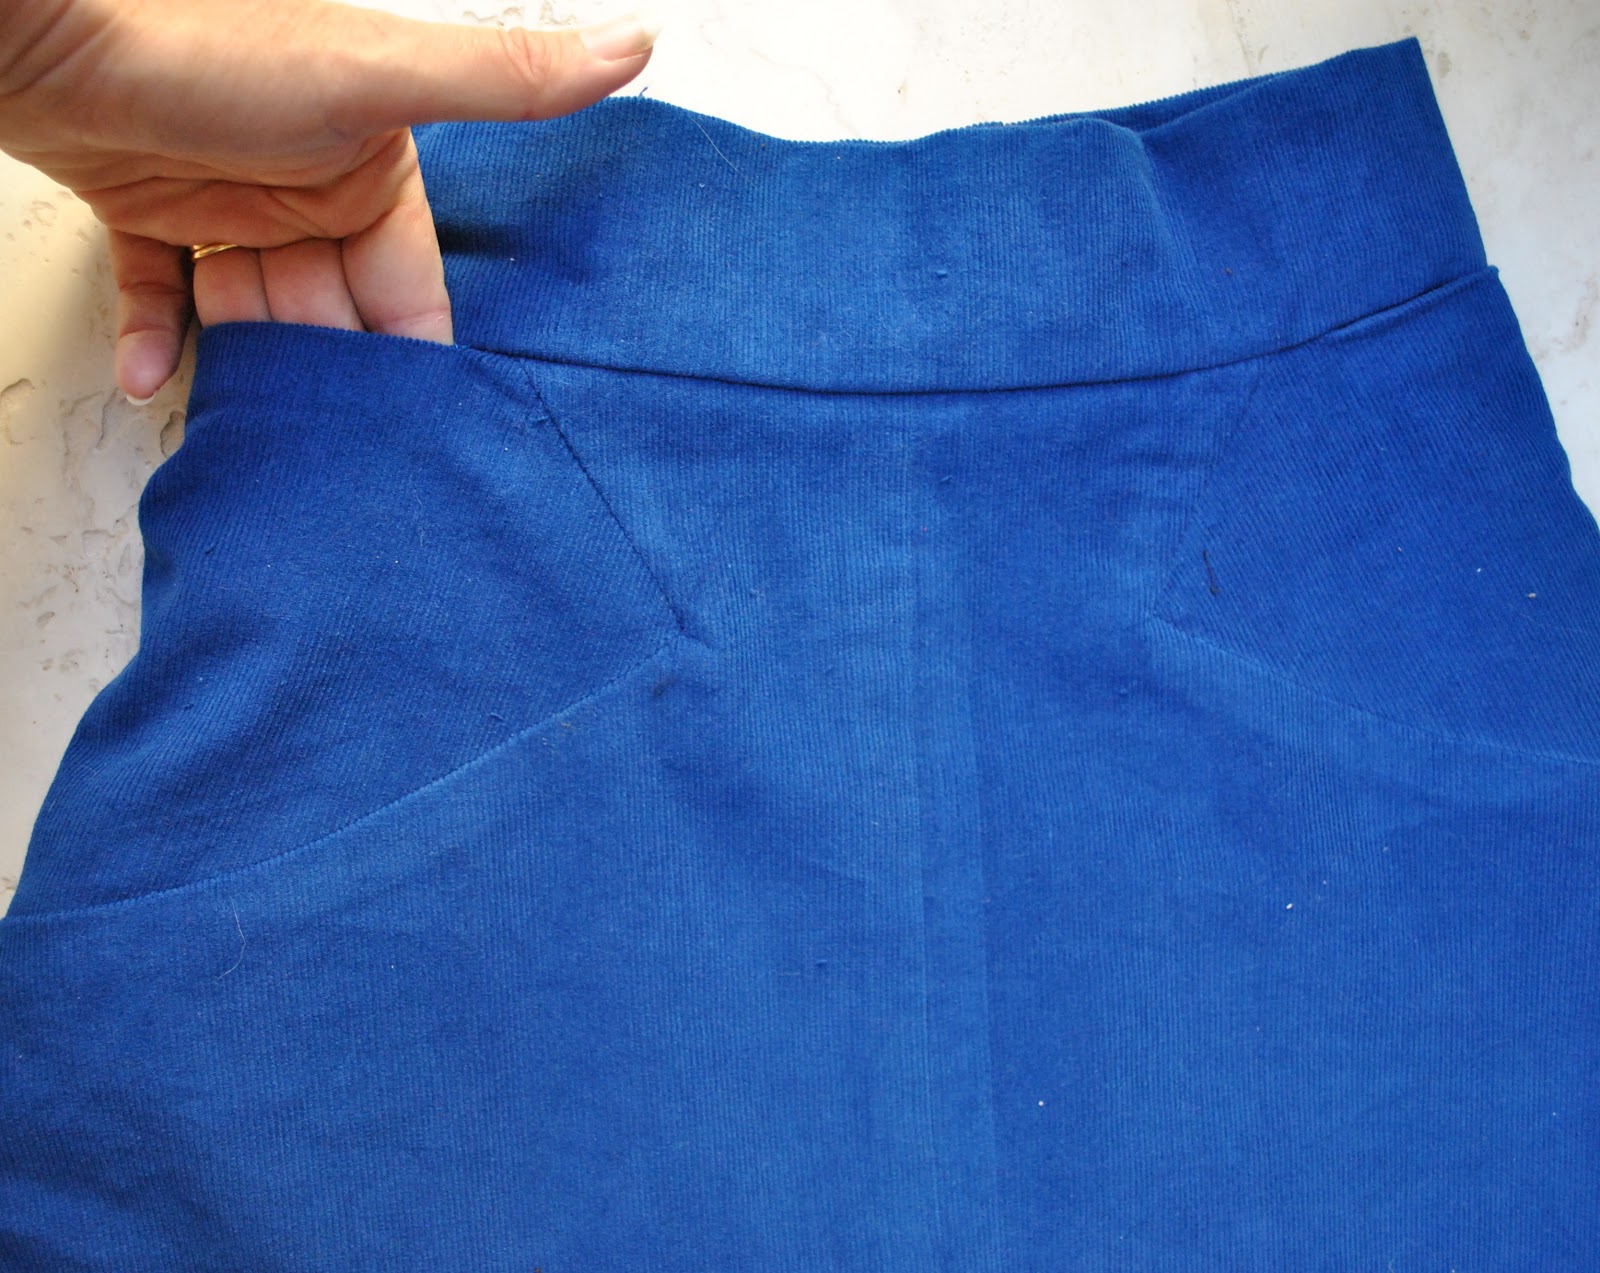
My pockets are approx 5cm deeper (each pocket piece cut approx 10cm longer). I added 10cm in length to the lower skirt pieces, as I did on my first version. Can you imagine how short this skirt would be without that extra length? Yowza!!
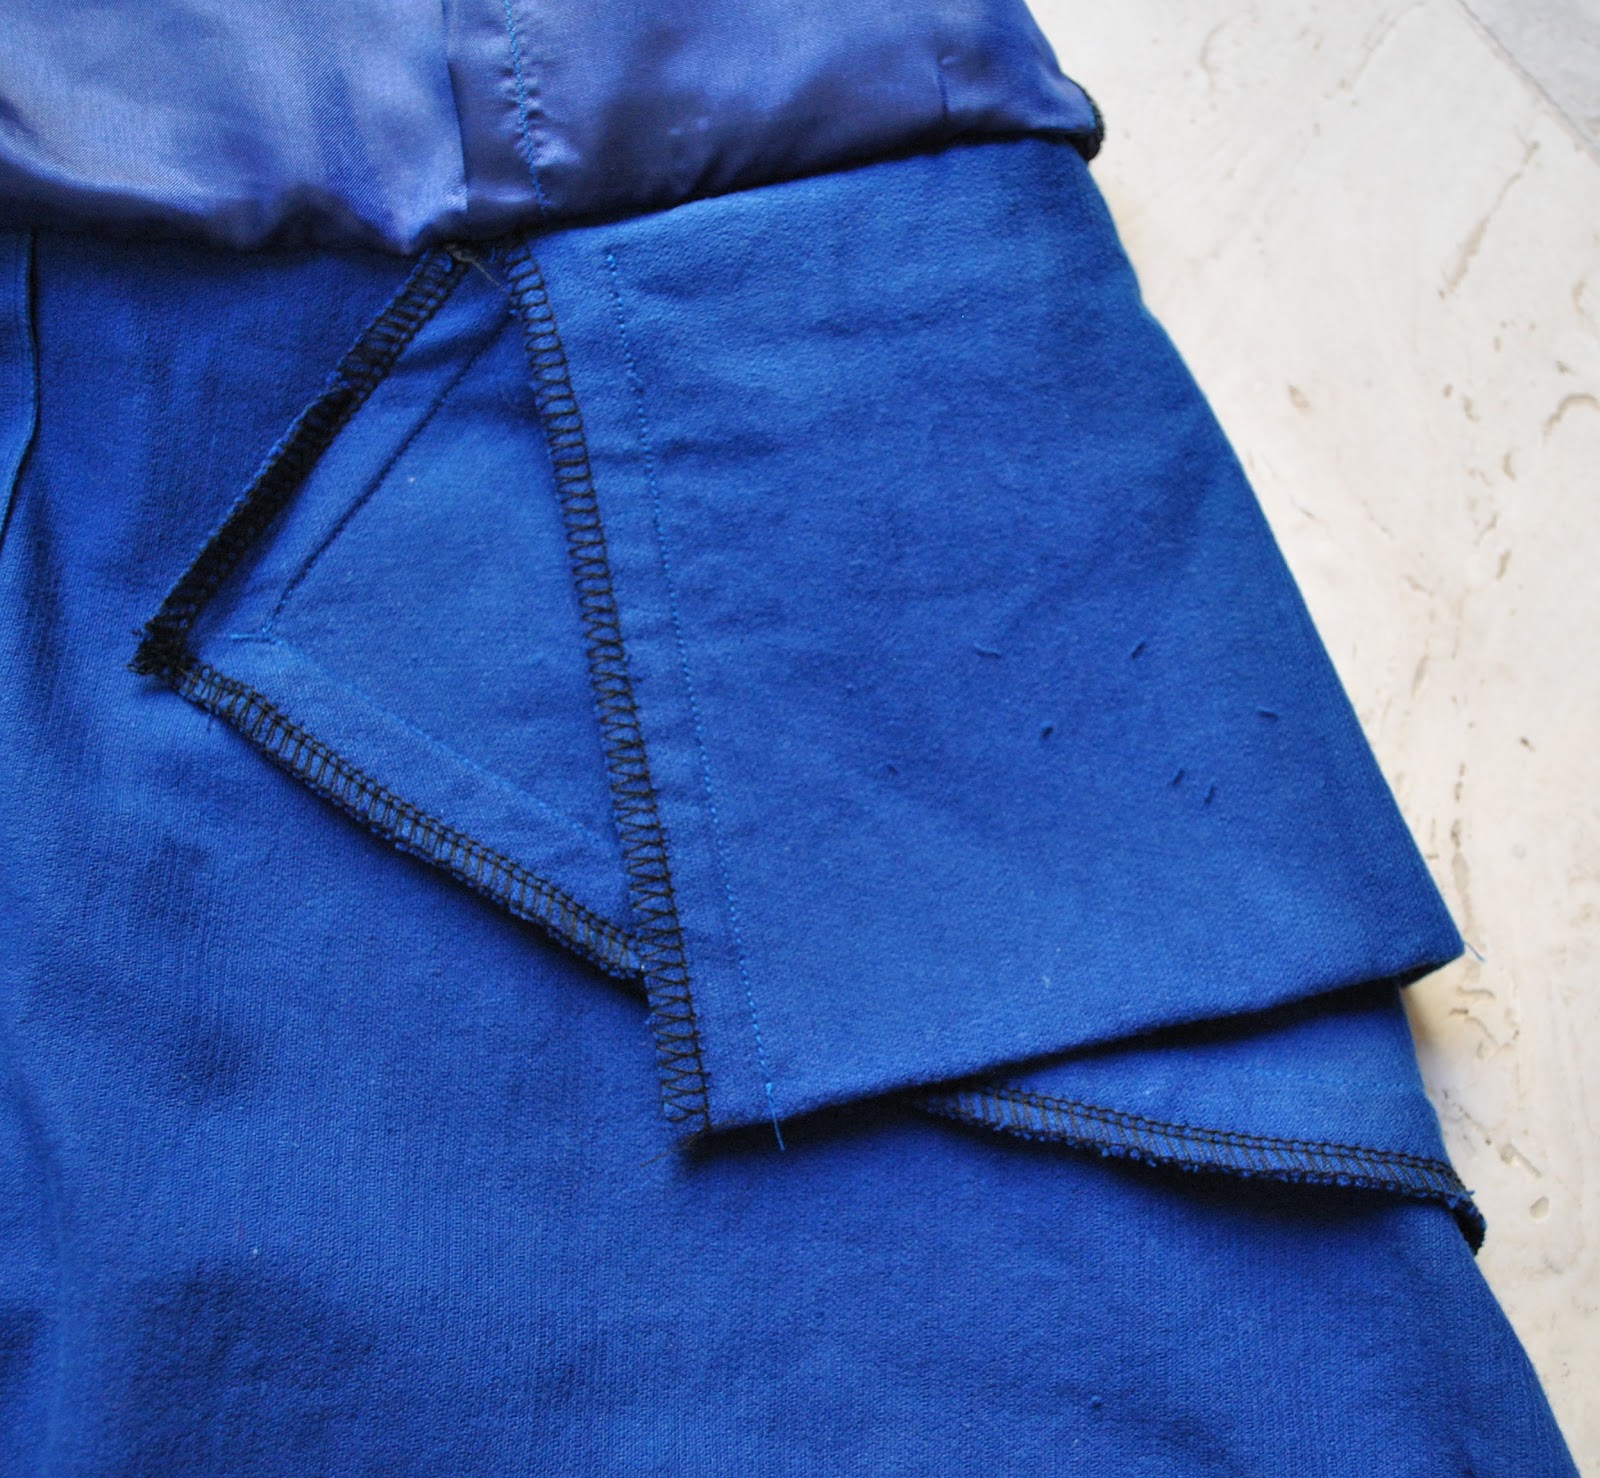
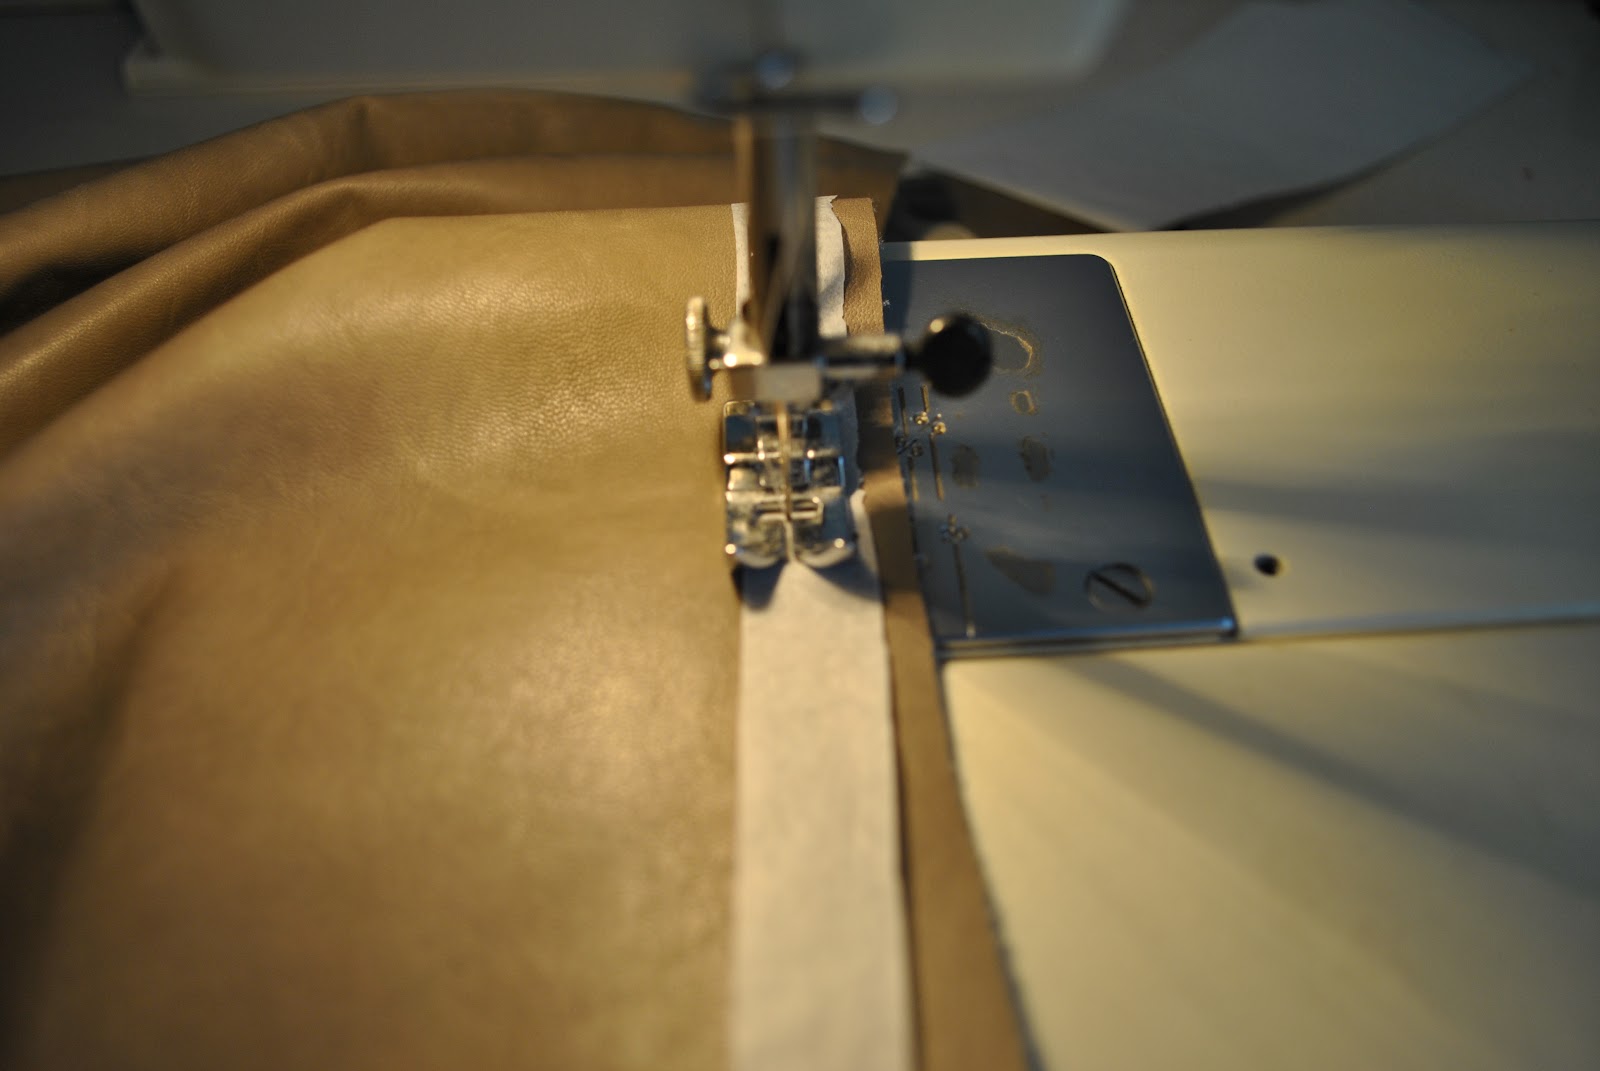
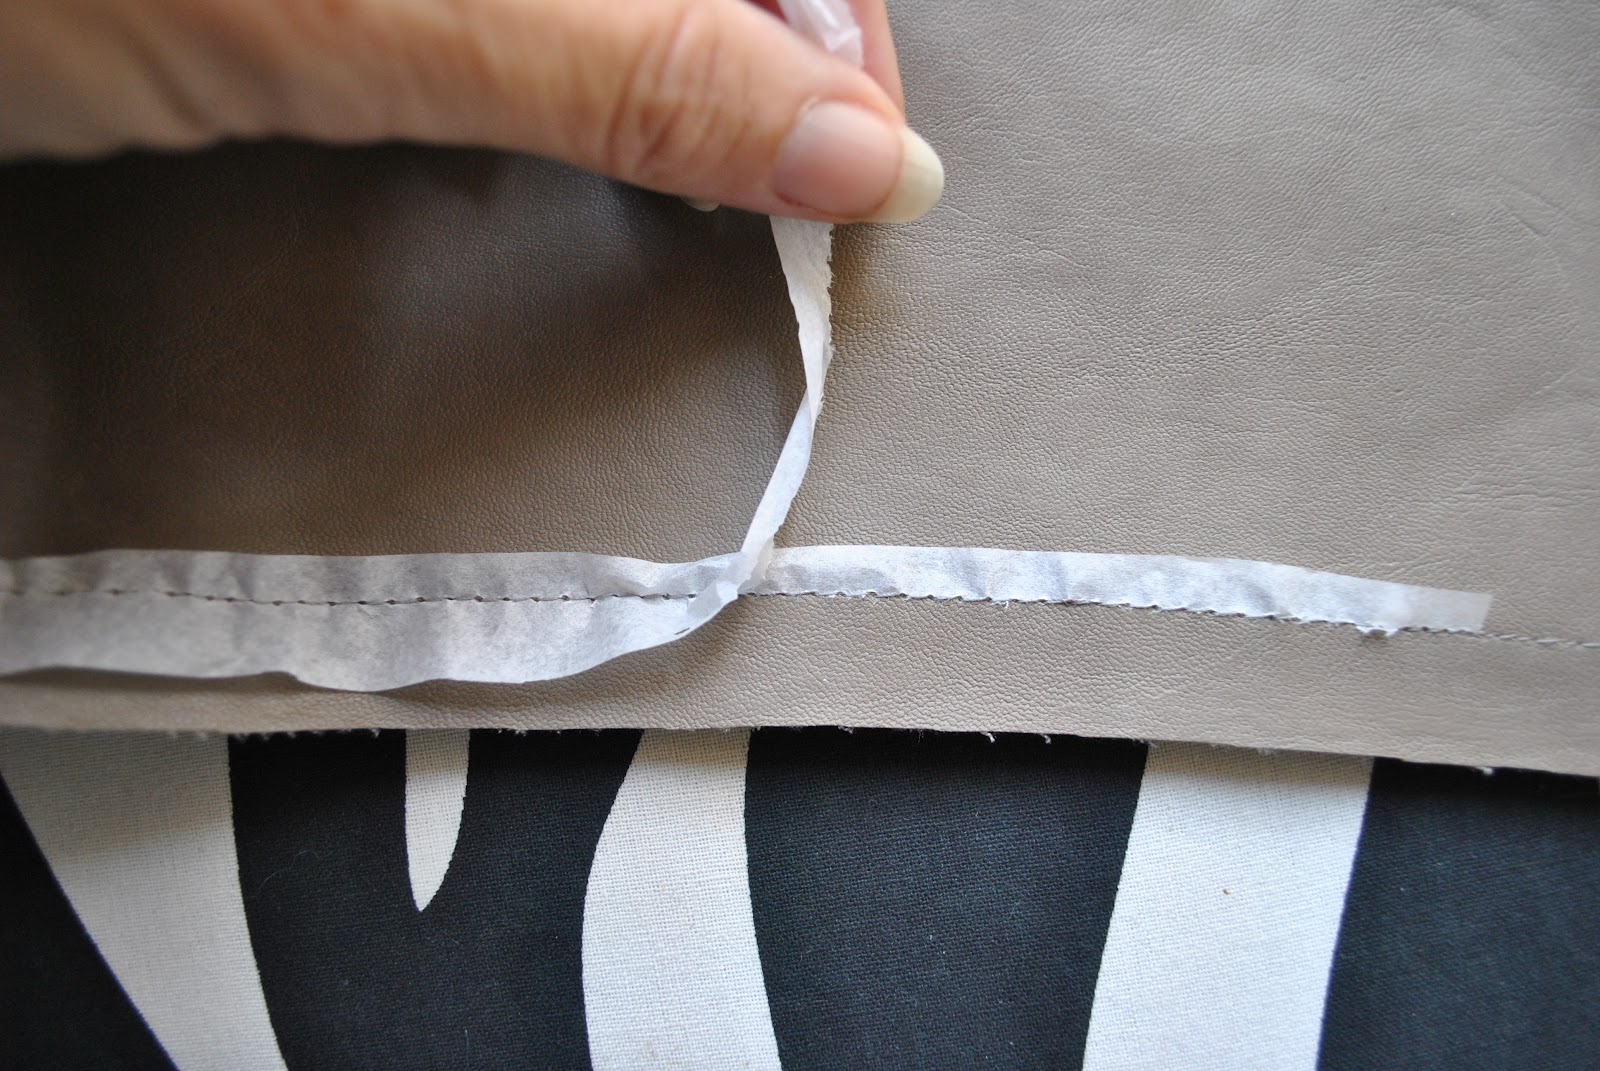
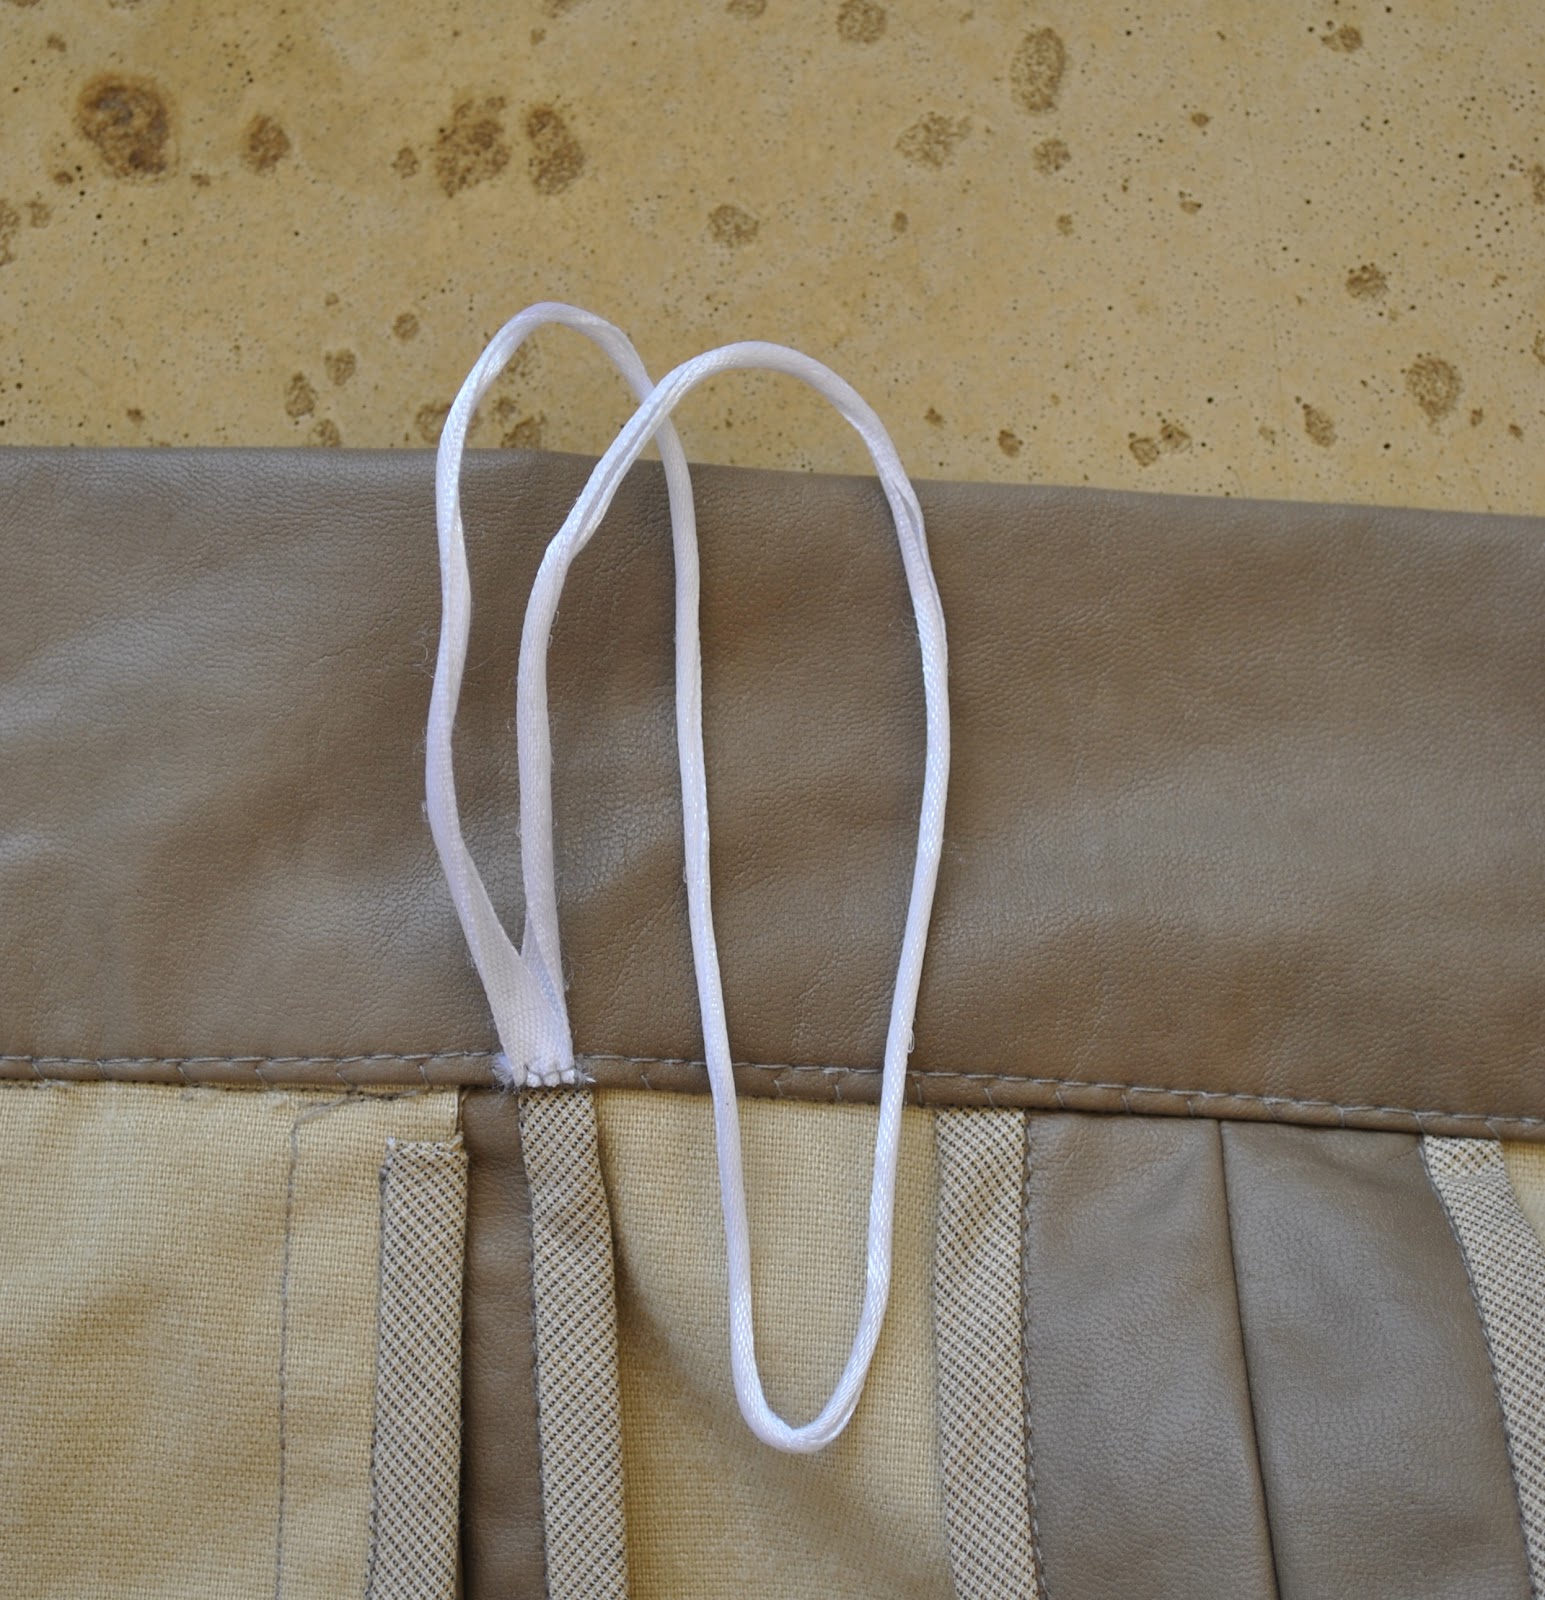
As stipulated in the pattern, I hemmed the lower edge with a facing. Since I had added 10cm in length to the skirt pieces, this made my facing pieces different from the pattern, but it was a simple process to use my new longer skirt pieces as the template for the facing. I managed to cut the facing out of the leftovers from the shirt I made for Craig here; a perfect colour match! and just saying; it took some cutting and piecing magic to get those facing pieces cut out all along the correct grain from my scraps…! I was chuffed that I got it out successfully!

The shaped facing method is a nice way to hem a long curved hemline; one that I have used a few times before off my own bat, but this is the first time I have seen for it to be a recommended method of hemming in a commercial pattern, with a pattern piece provided and all. This is something I really like about the Vogue designer patterns; they often come with those nice little extra finishing touches to push you in the right direction; methods which are not the fast and simple methods that we have become accustomed to from modern commercial patterns. Sometimes I wonder if the big pattern companies “dumb it down” for the home seamster; assuming he/she is not capable or willing to go the extra mile for those professional finishes, that interesting seaming, or an otherwise complex garment. Vogue designer patterns are rarely guilty of flipping out quick, slap-it-together, do-it-the-easy-way patterns, and for that I loooove them!
(Please don’t think me elitist here; I like the quick-and-easy patterns for basics too; but it is nice to have the option, y’know? )
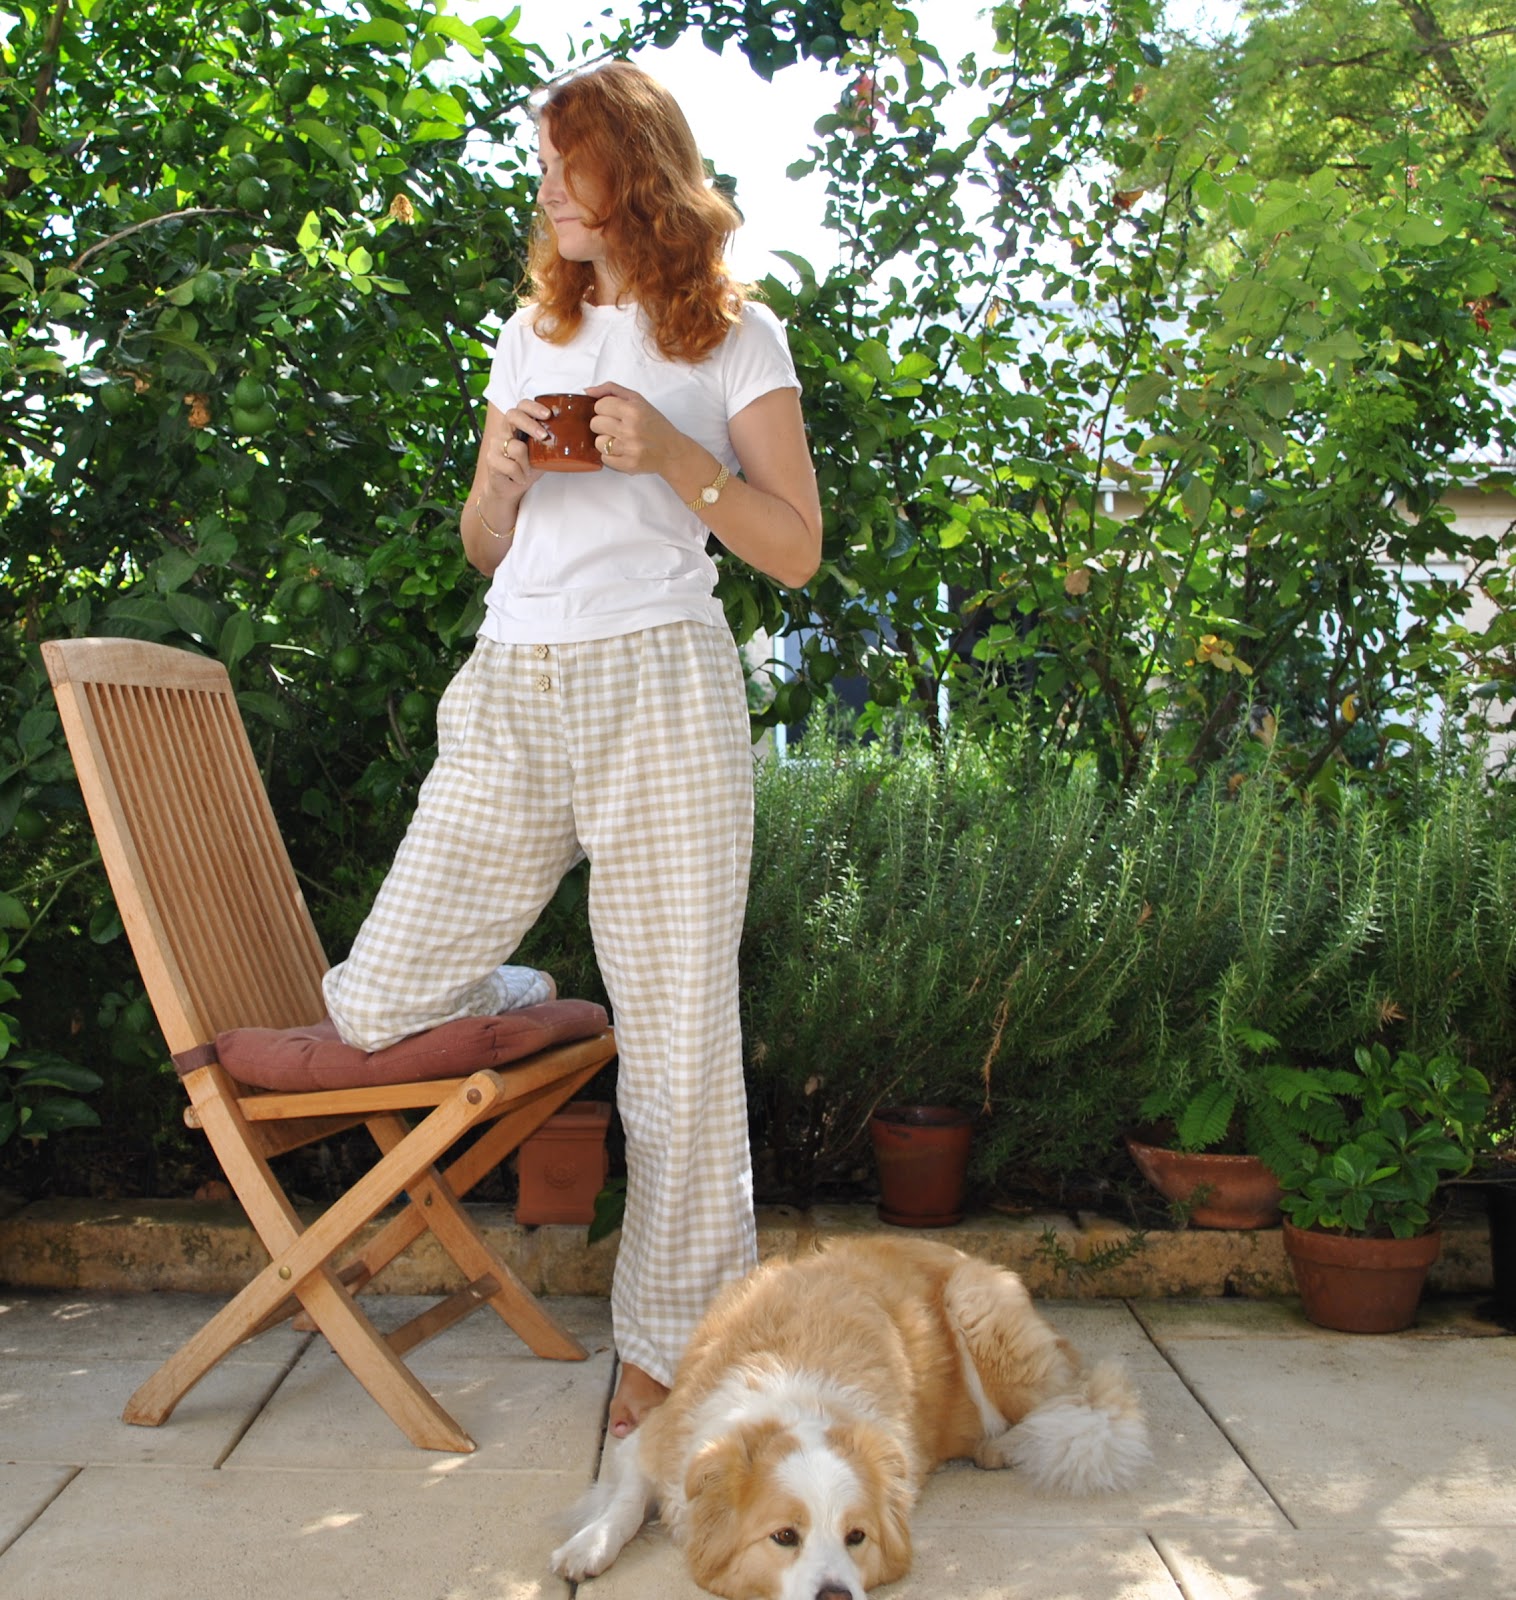
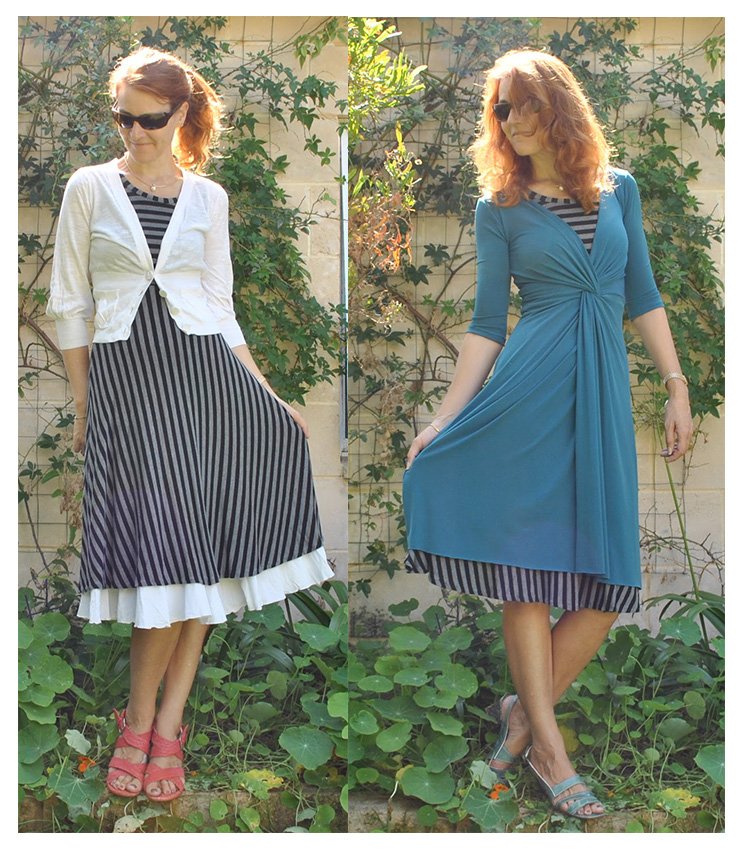
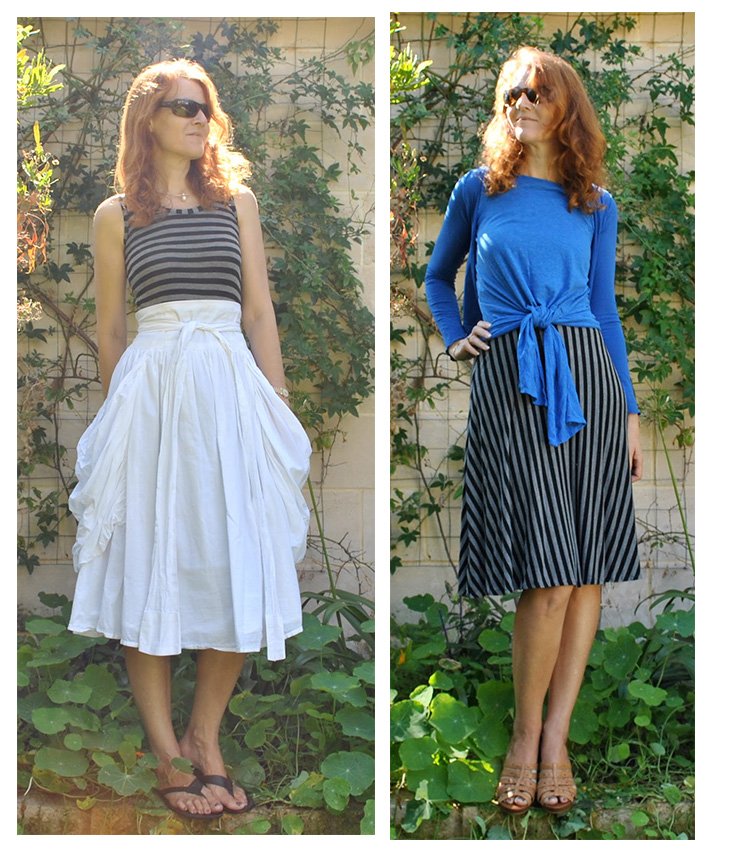
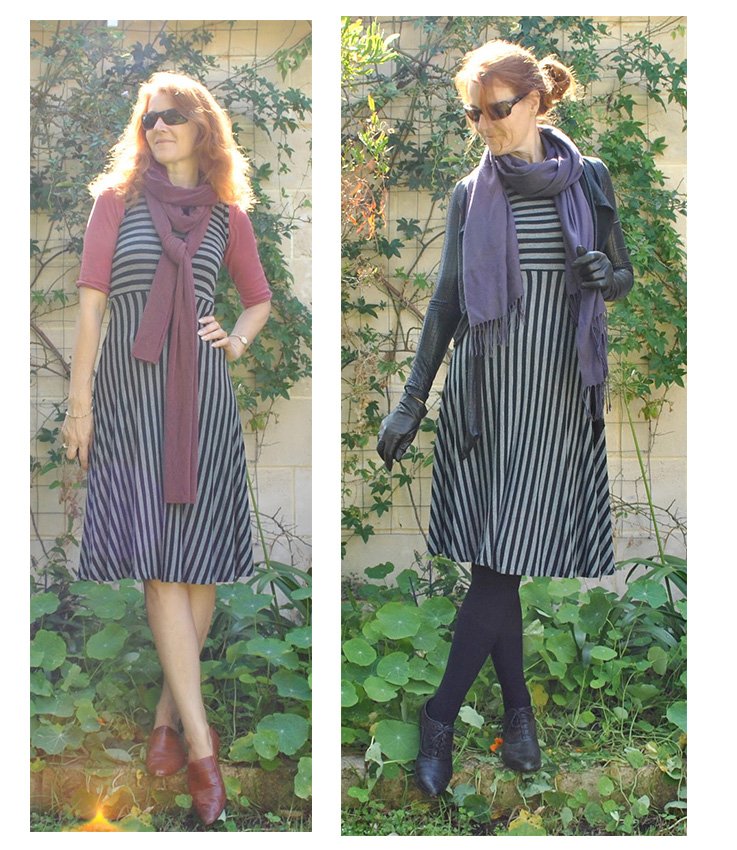
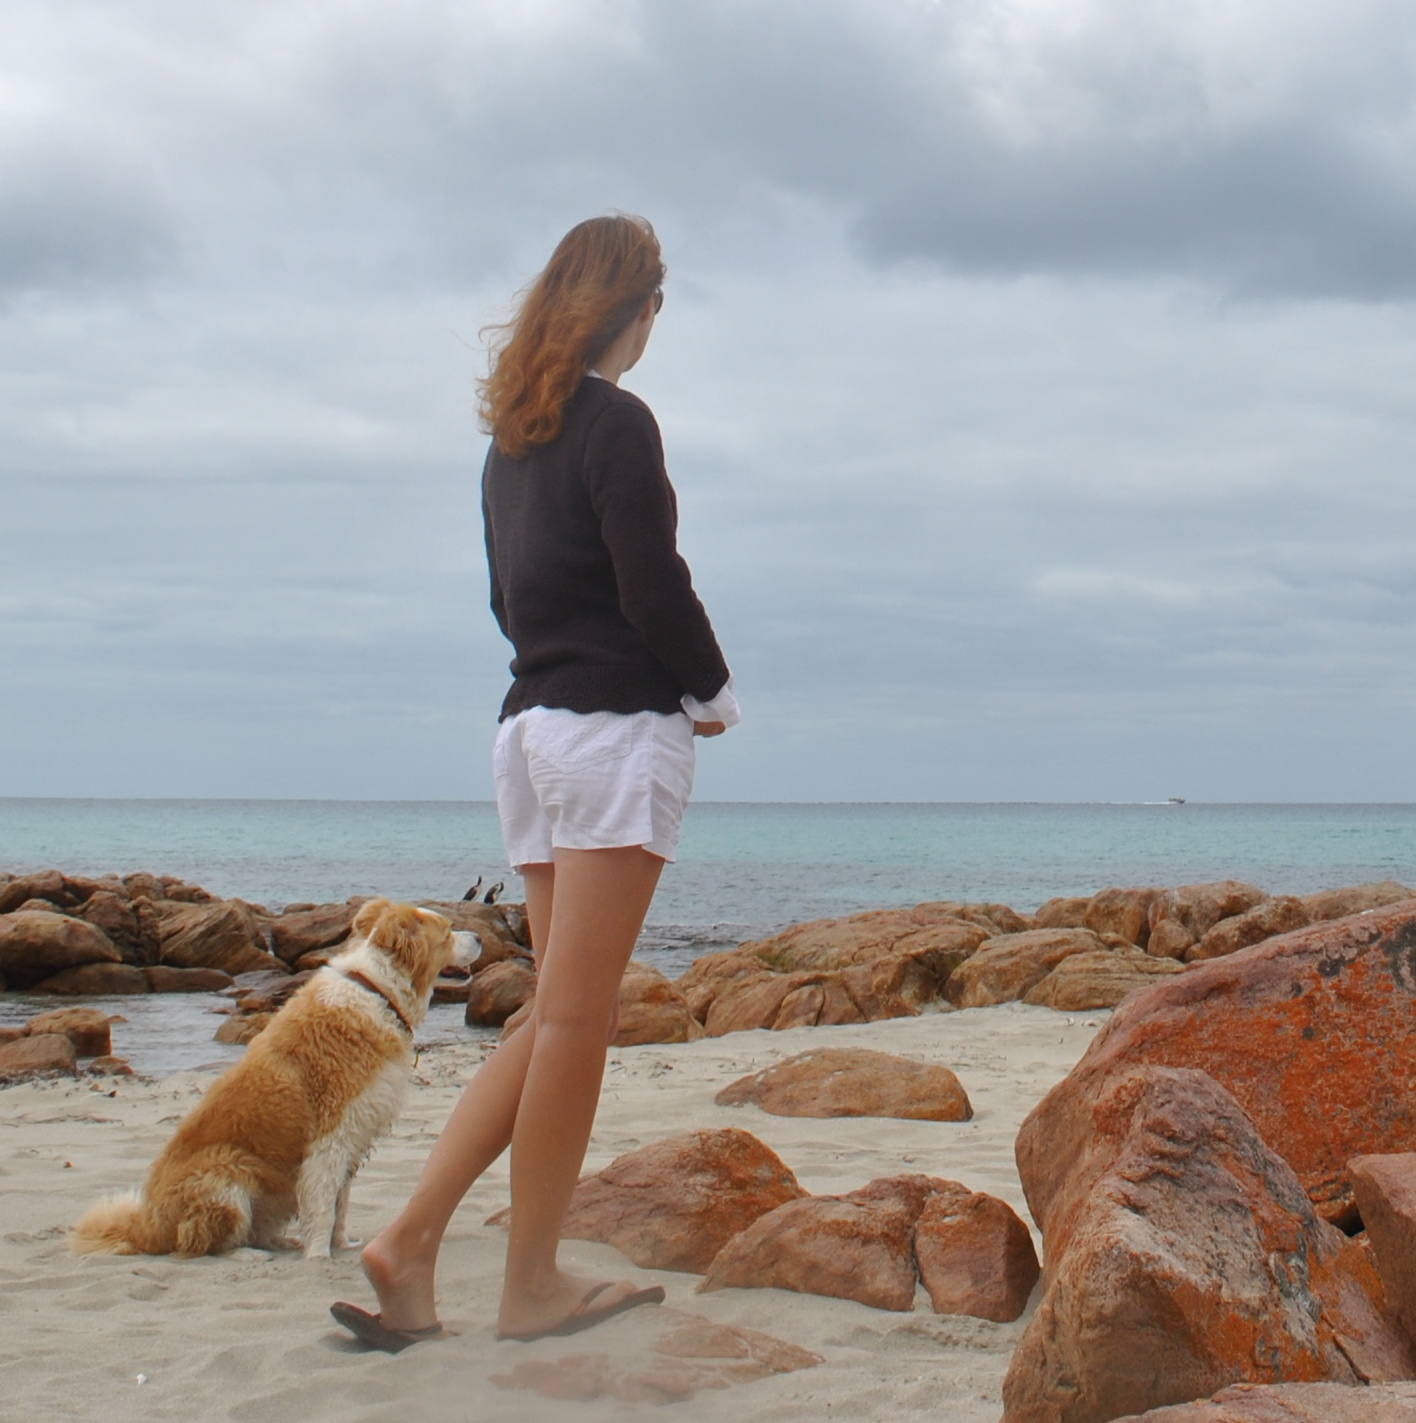
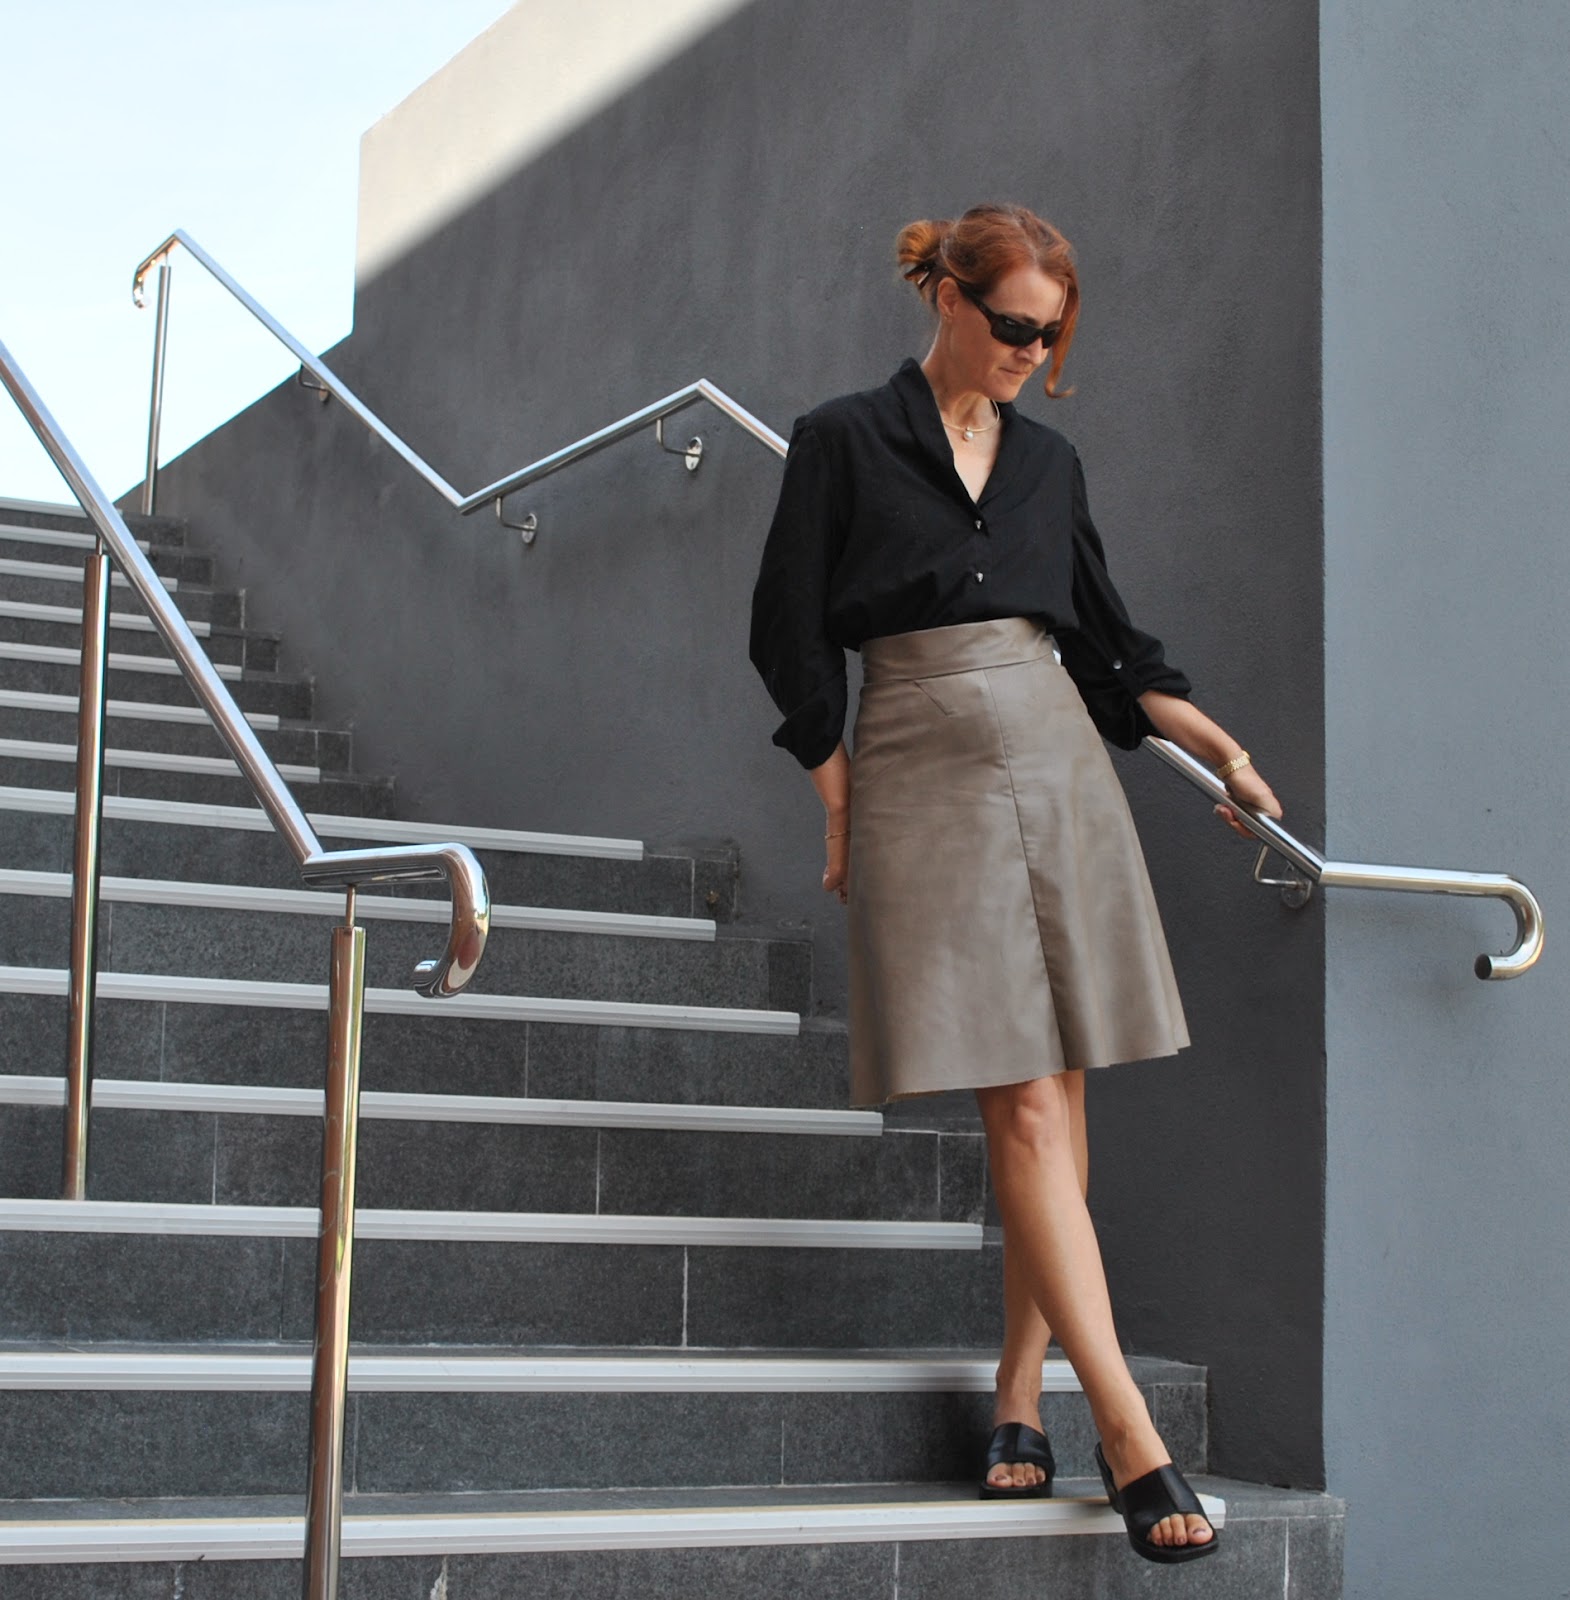
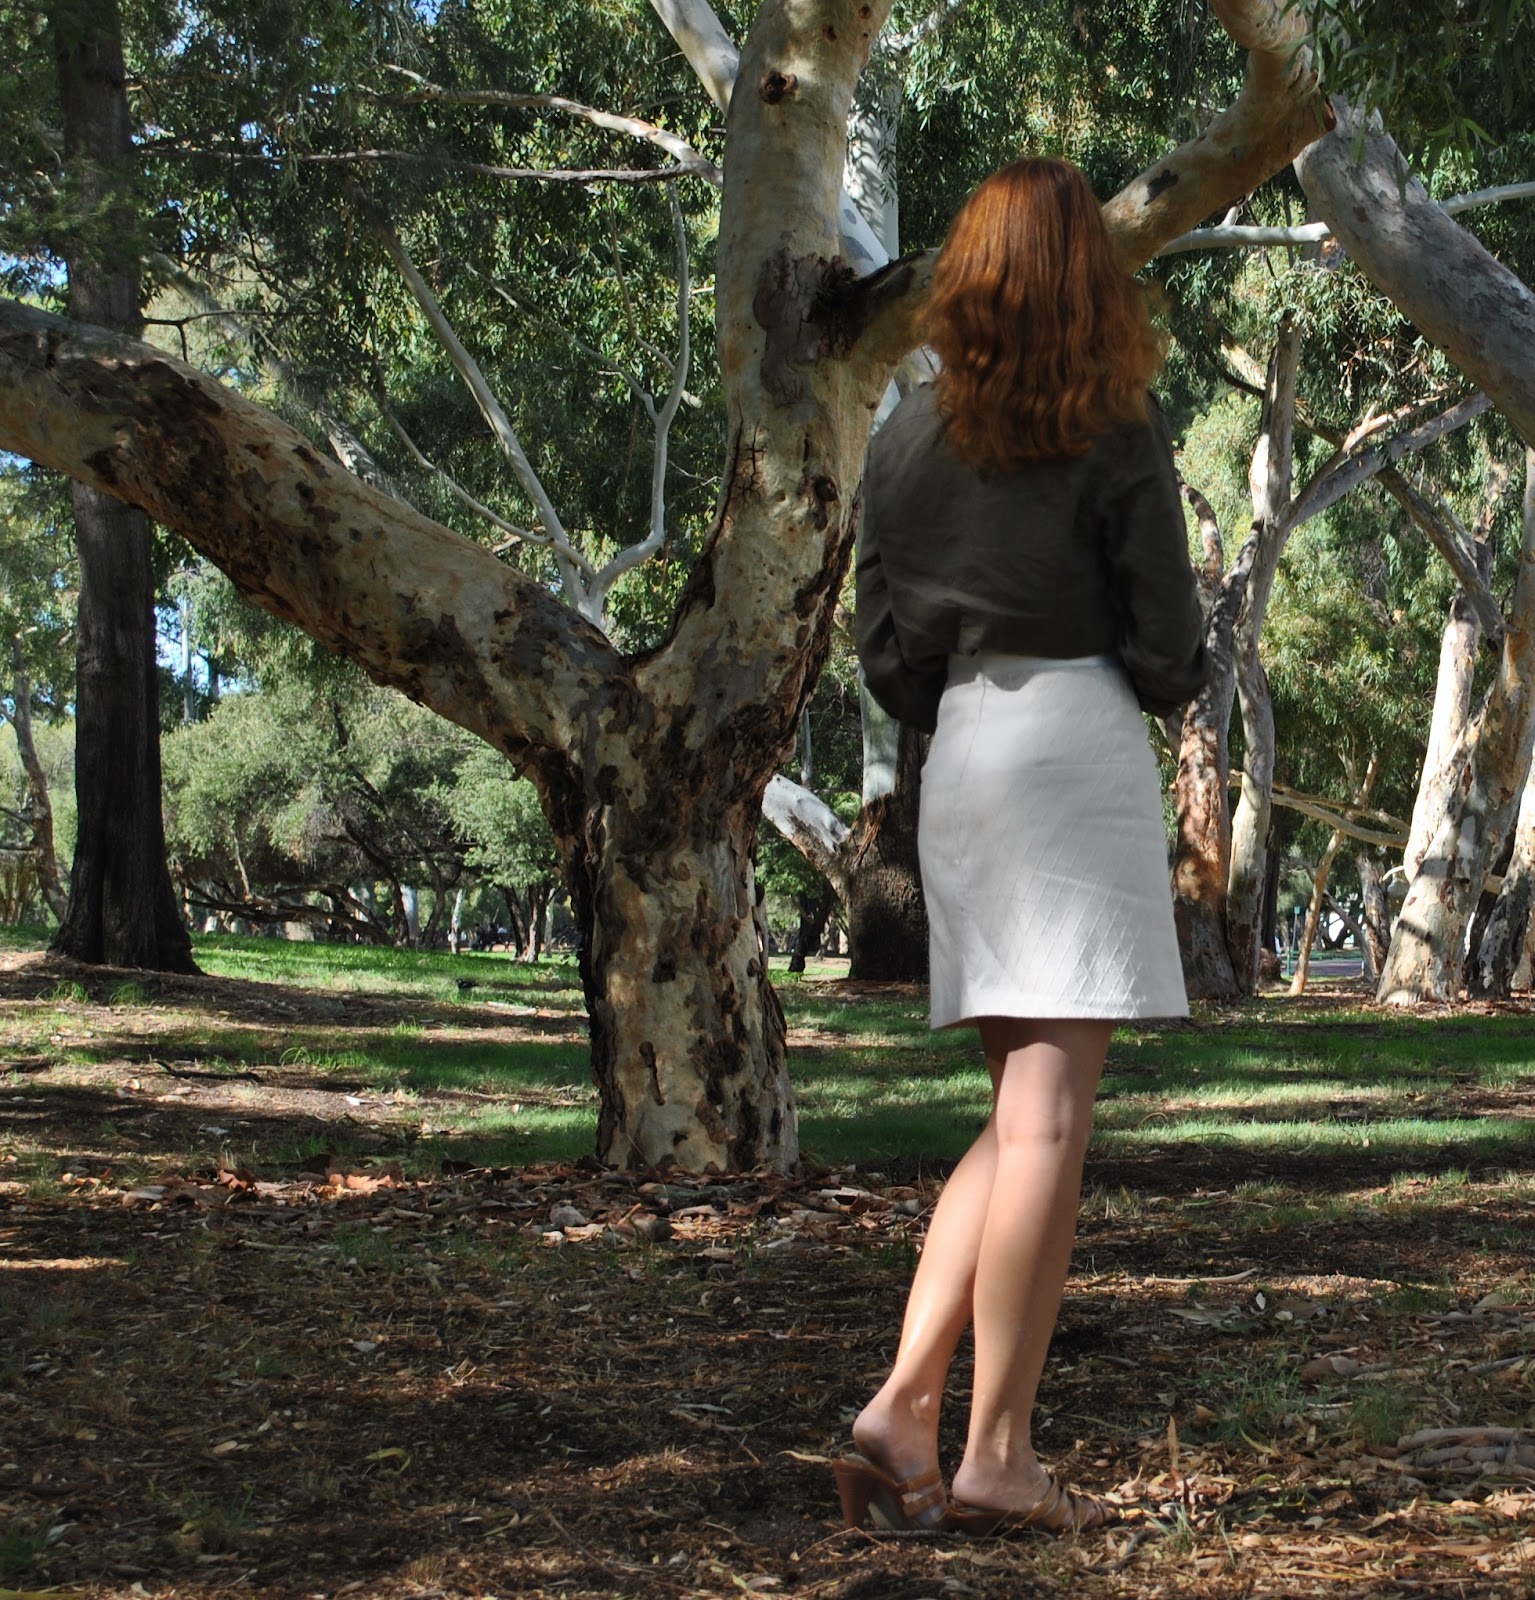
And; of course this is not what I am actually wearing today, not the heels nor the gloves!, but I just wanted to have a bit of fun with my photos. You just have to mentally add the red carpet, the velvet ropes, the minder and the little dog in a bag. I briefly considered having an actual dog but the reality is that she is way too big and hairy for any of my bags… 😀

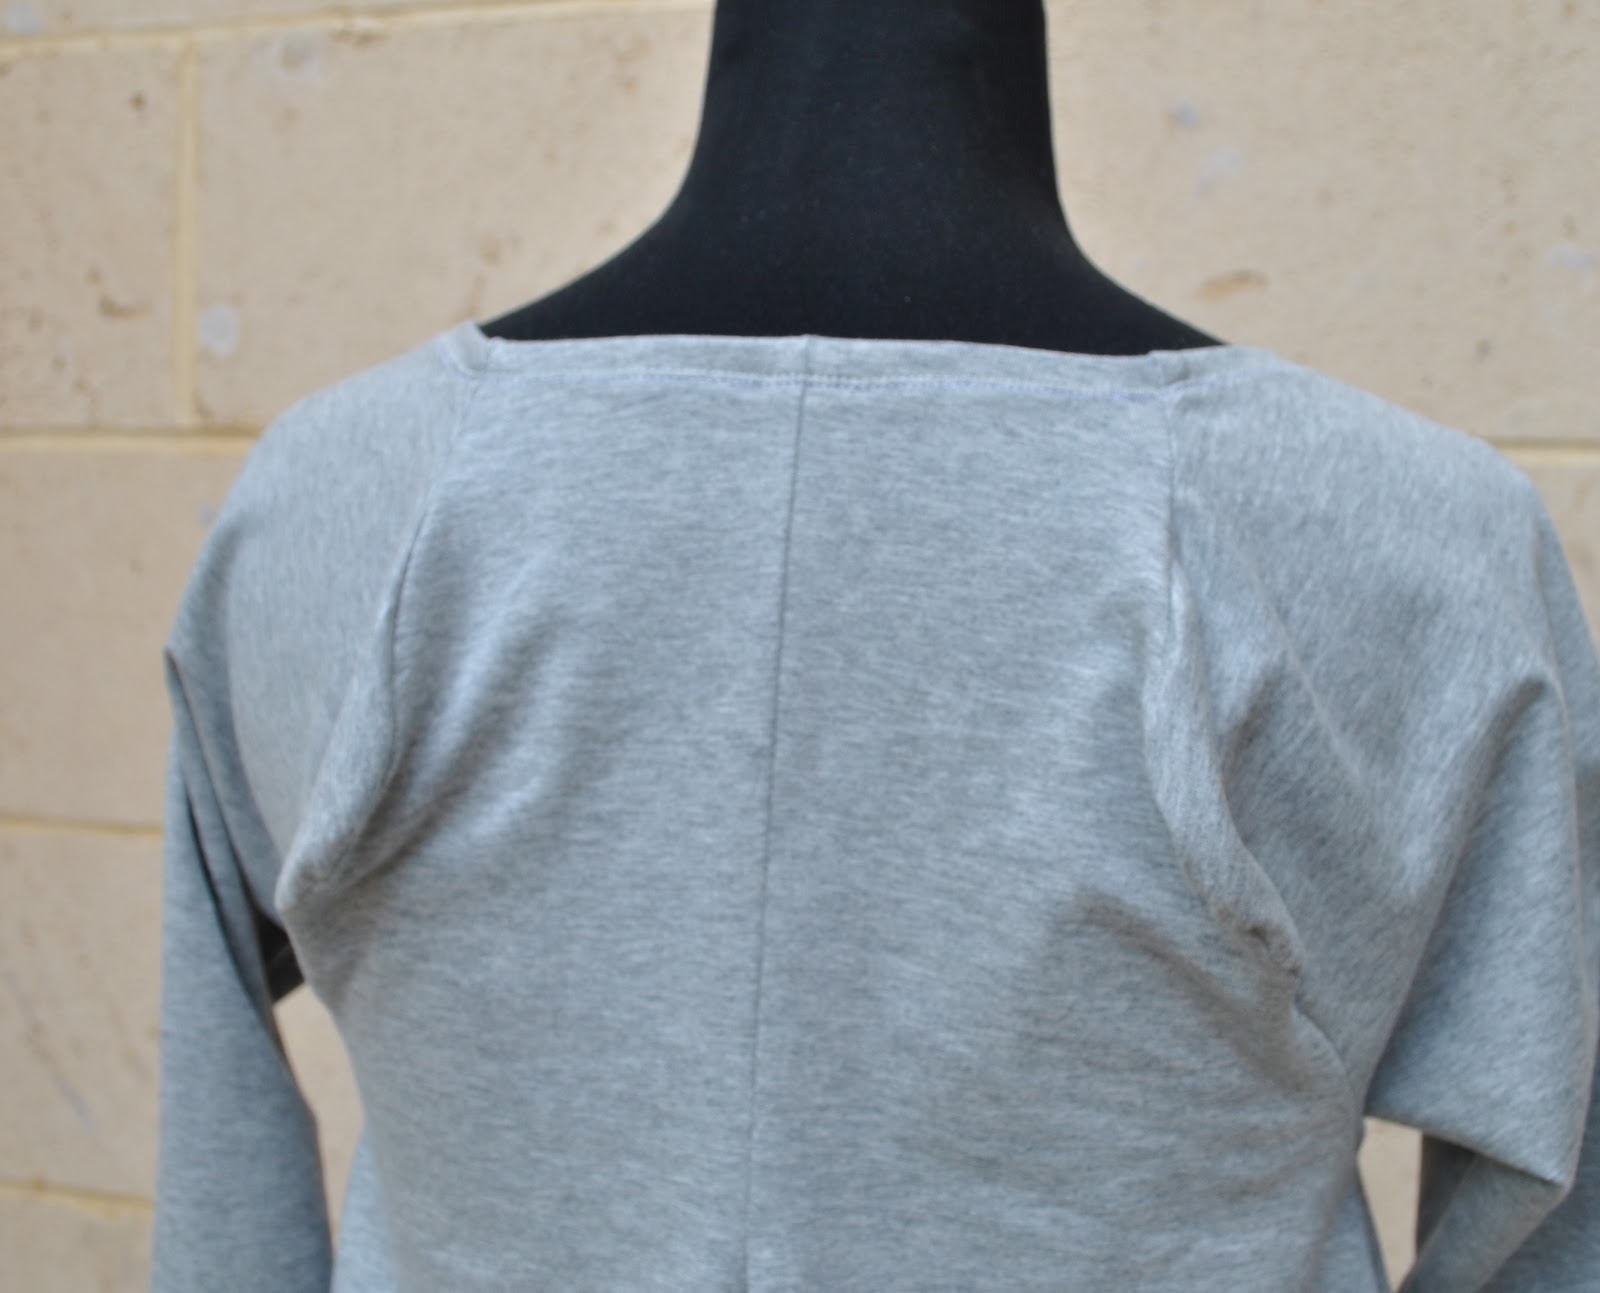
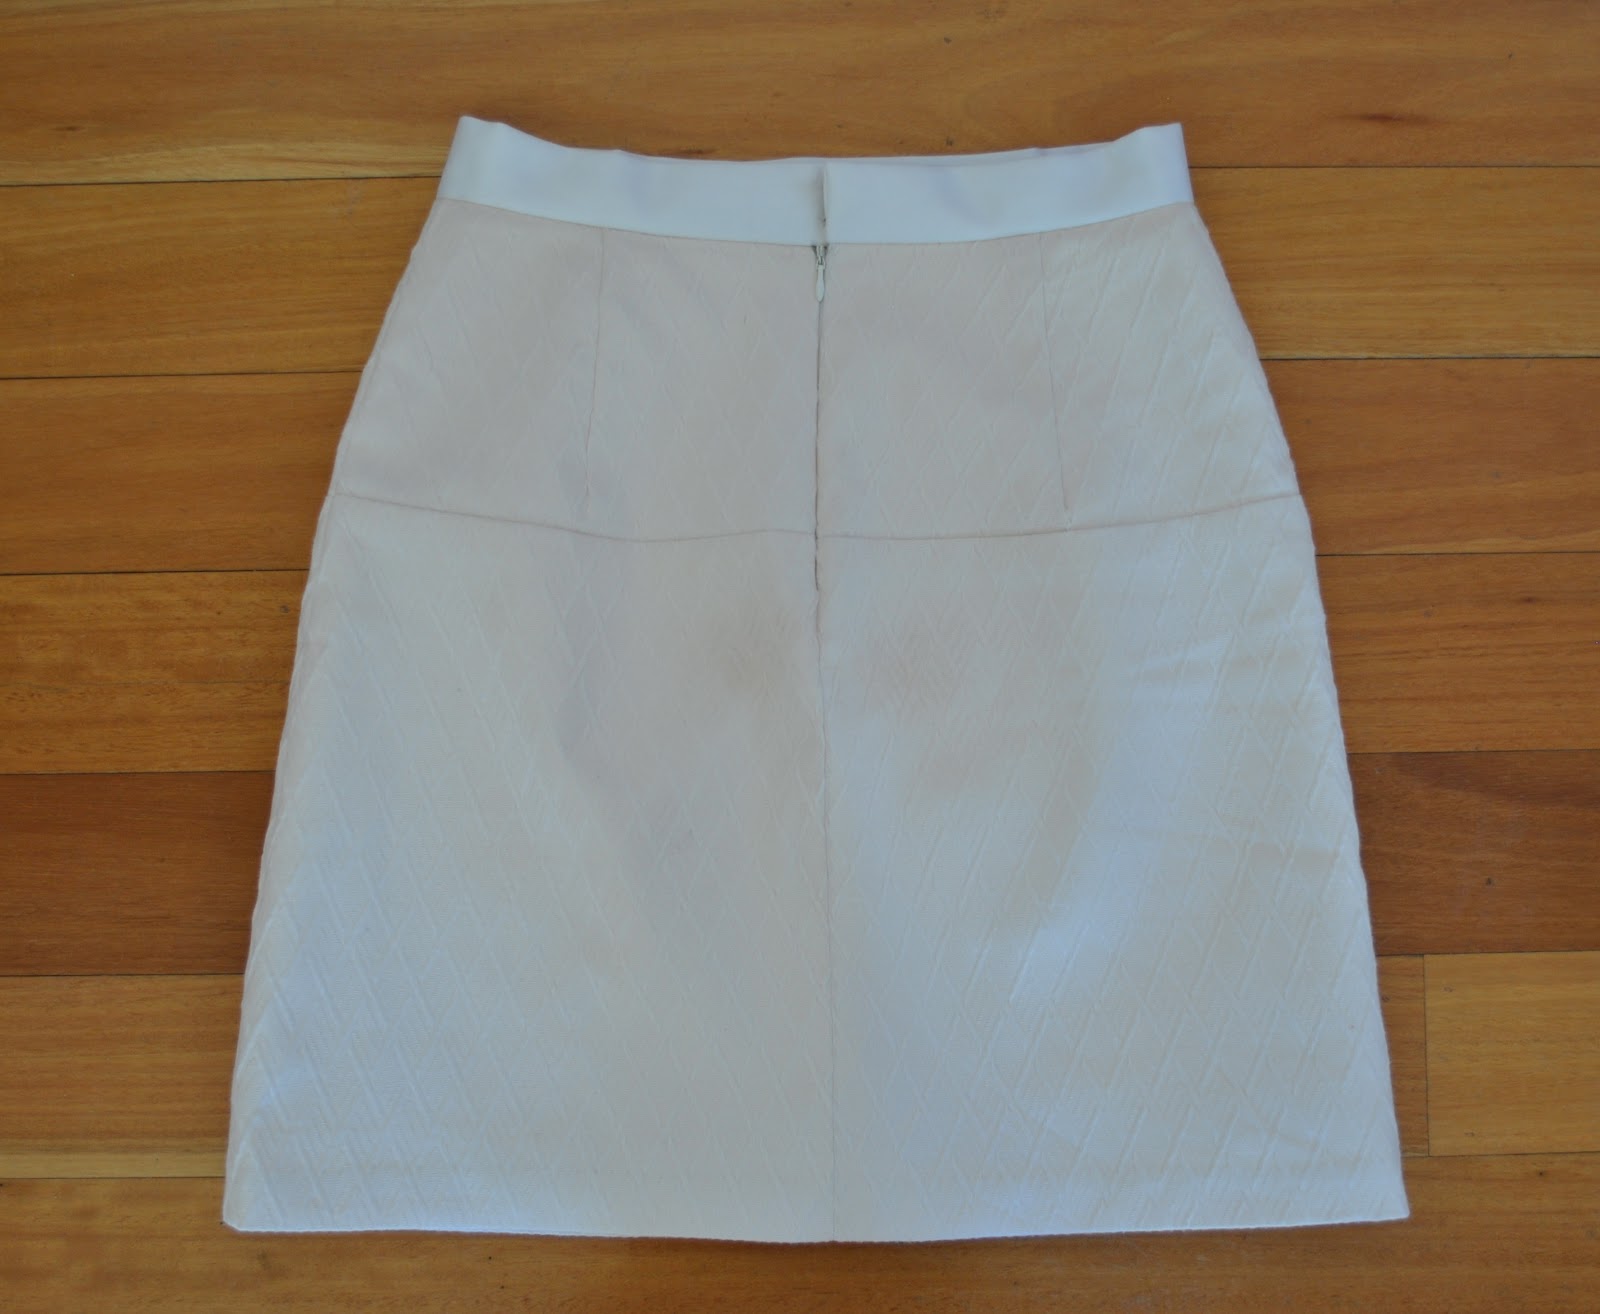
This is one of those times when taking one’s own photo turns out to be very useful… looking at this one above is when I noticed that that hem at the centre back seam inexplicably dipped in situ, something that was not apparent looking at it flat. I’ve fixed this problem now, but didn’t bother with setting up for a new photo… 😀
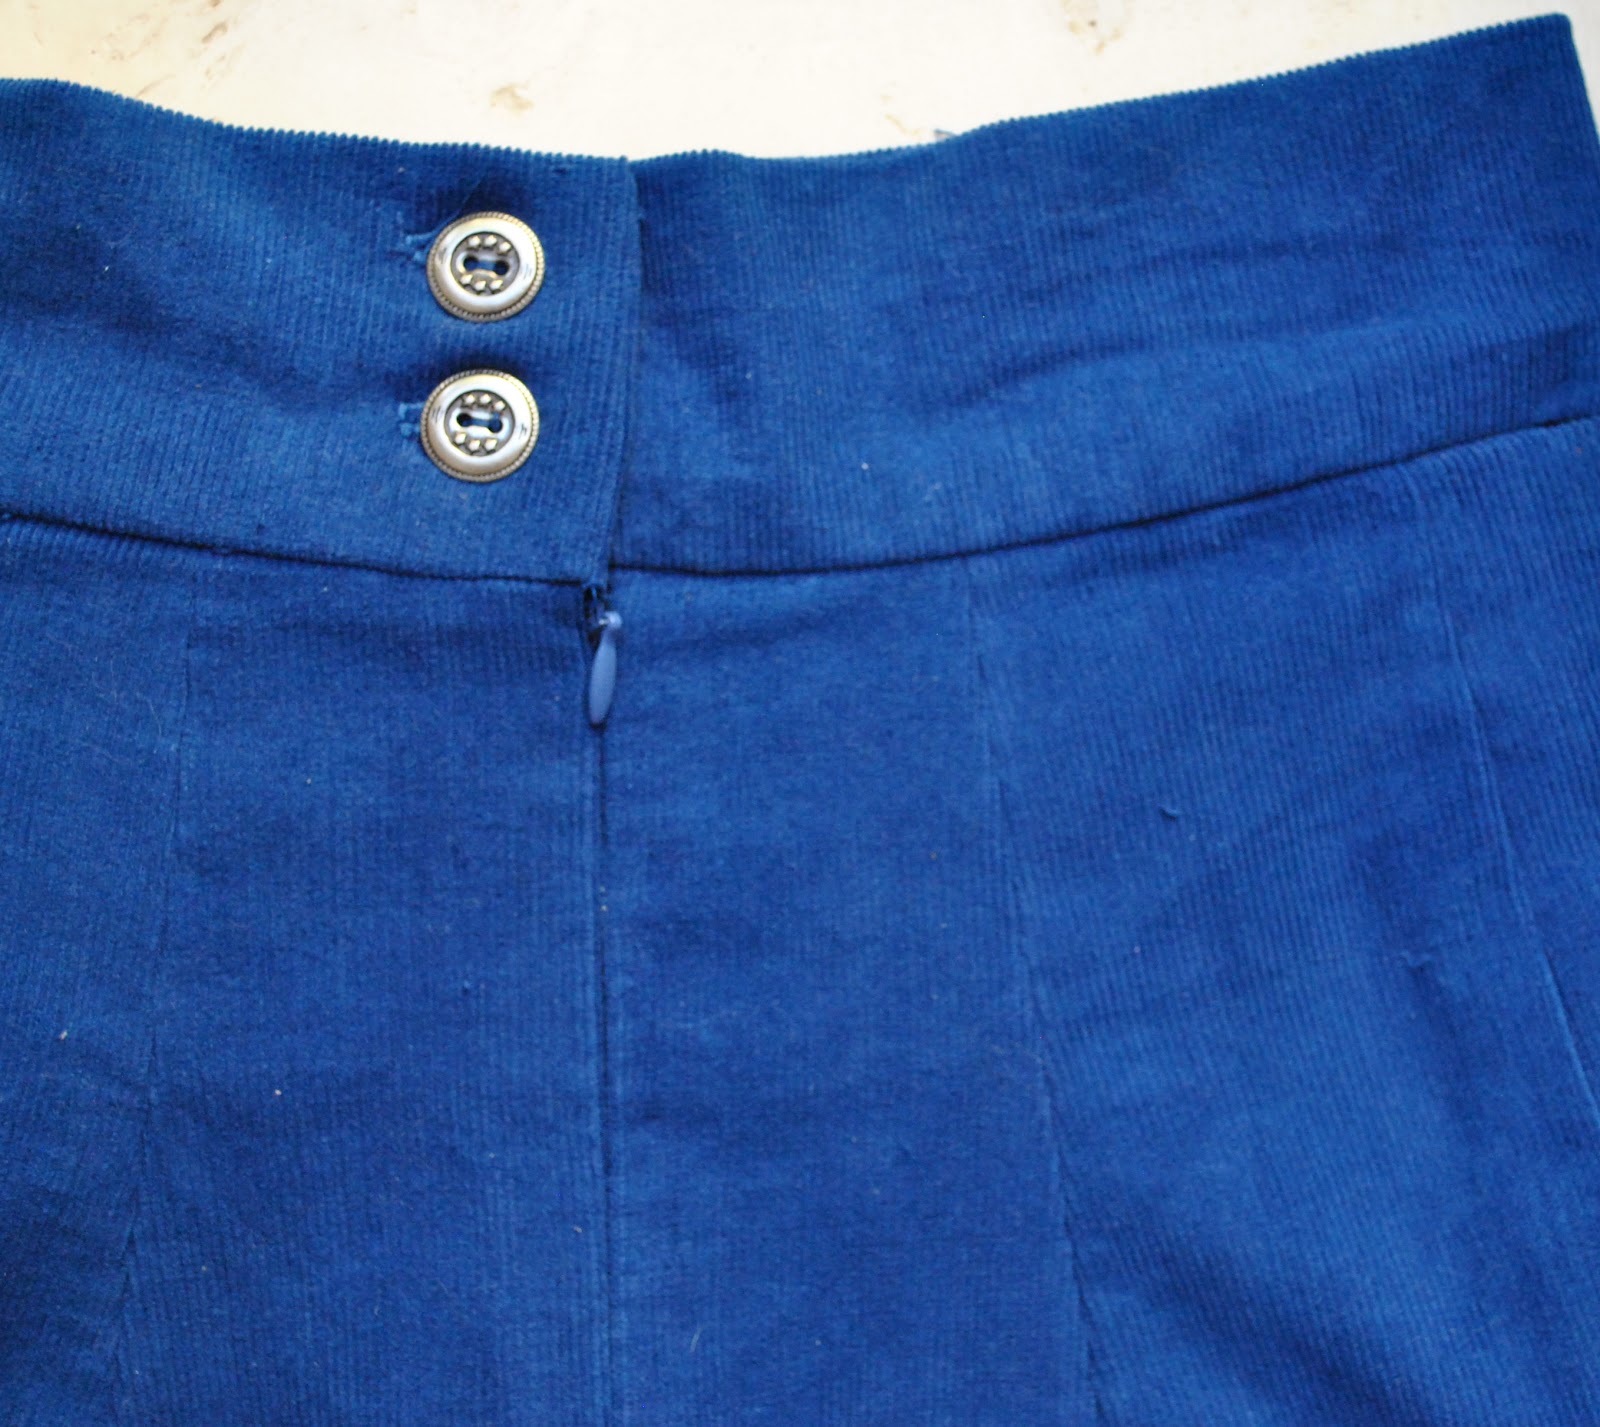
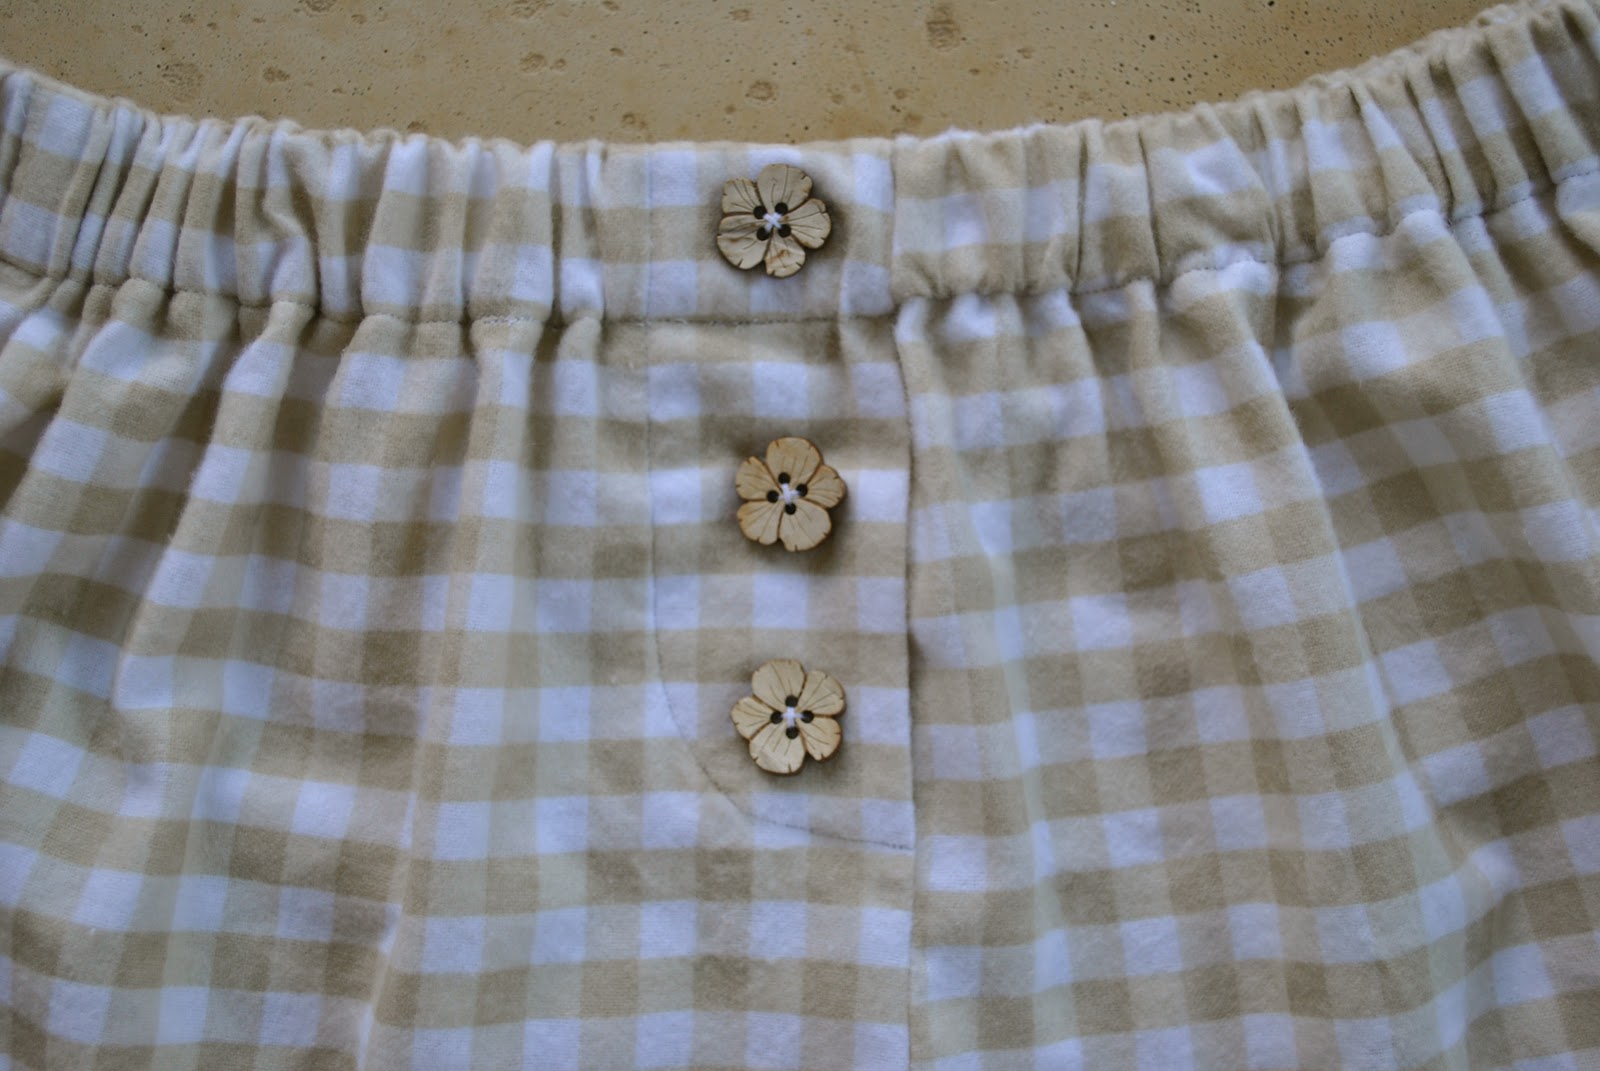
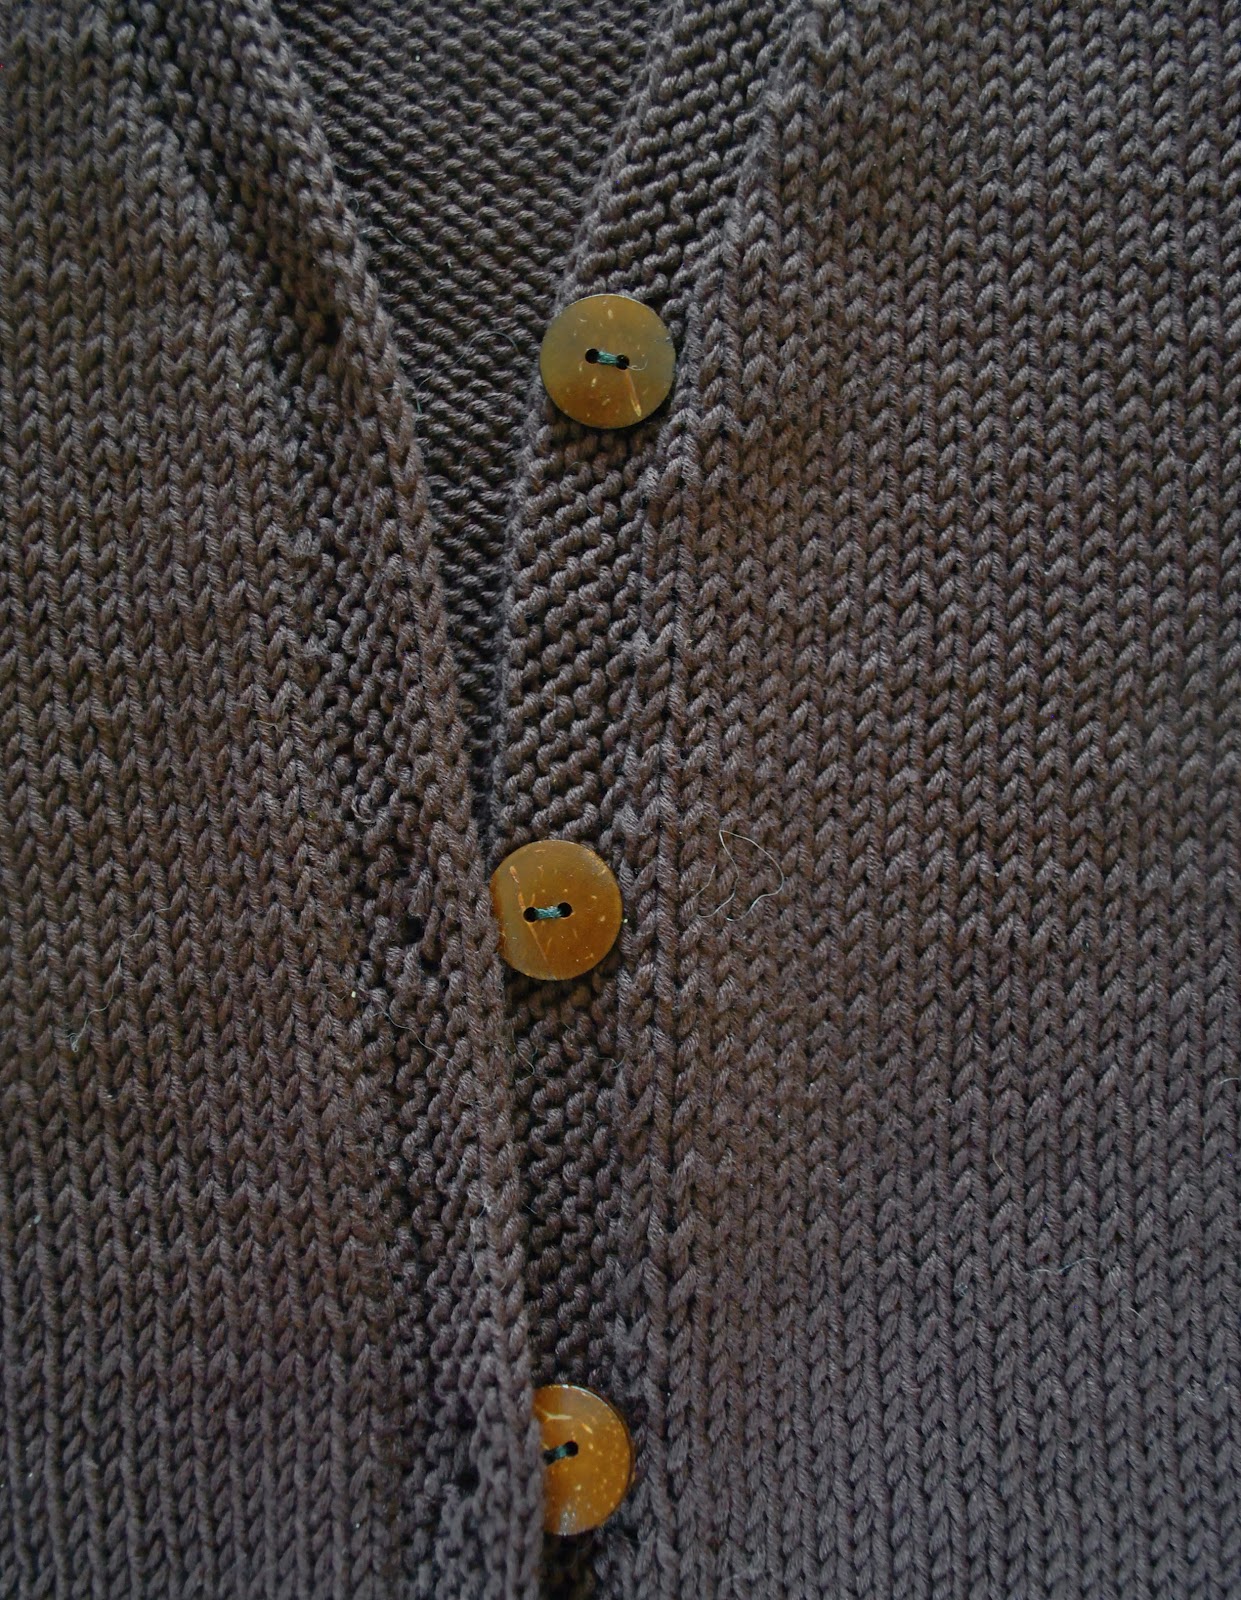
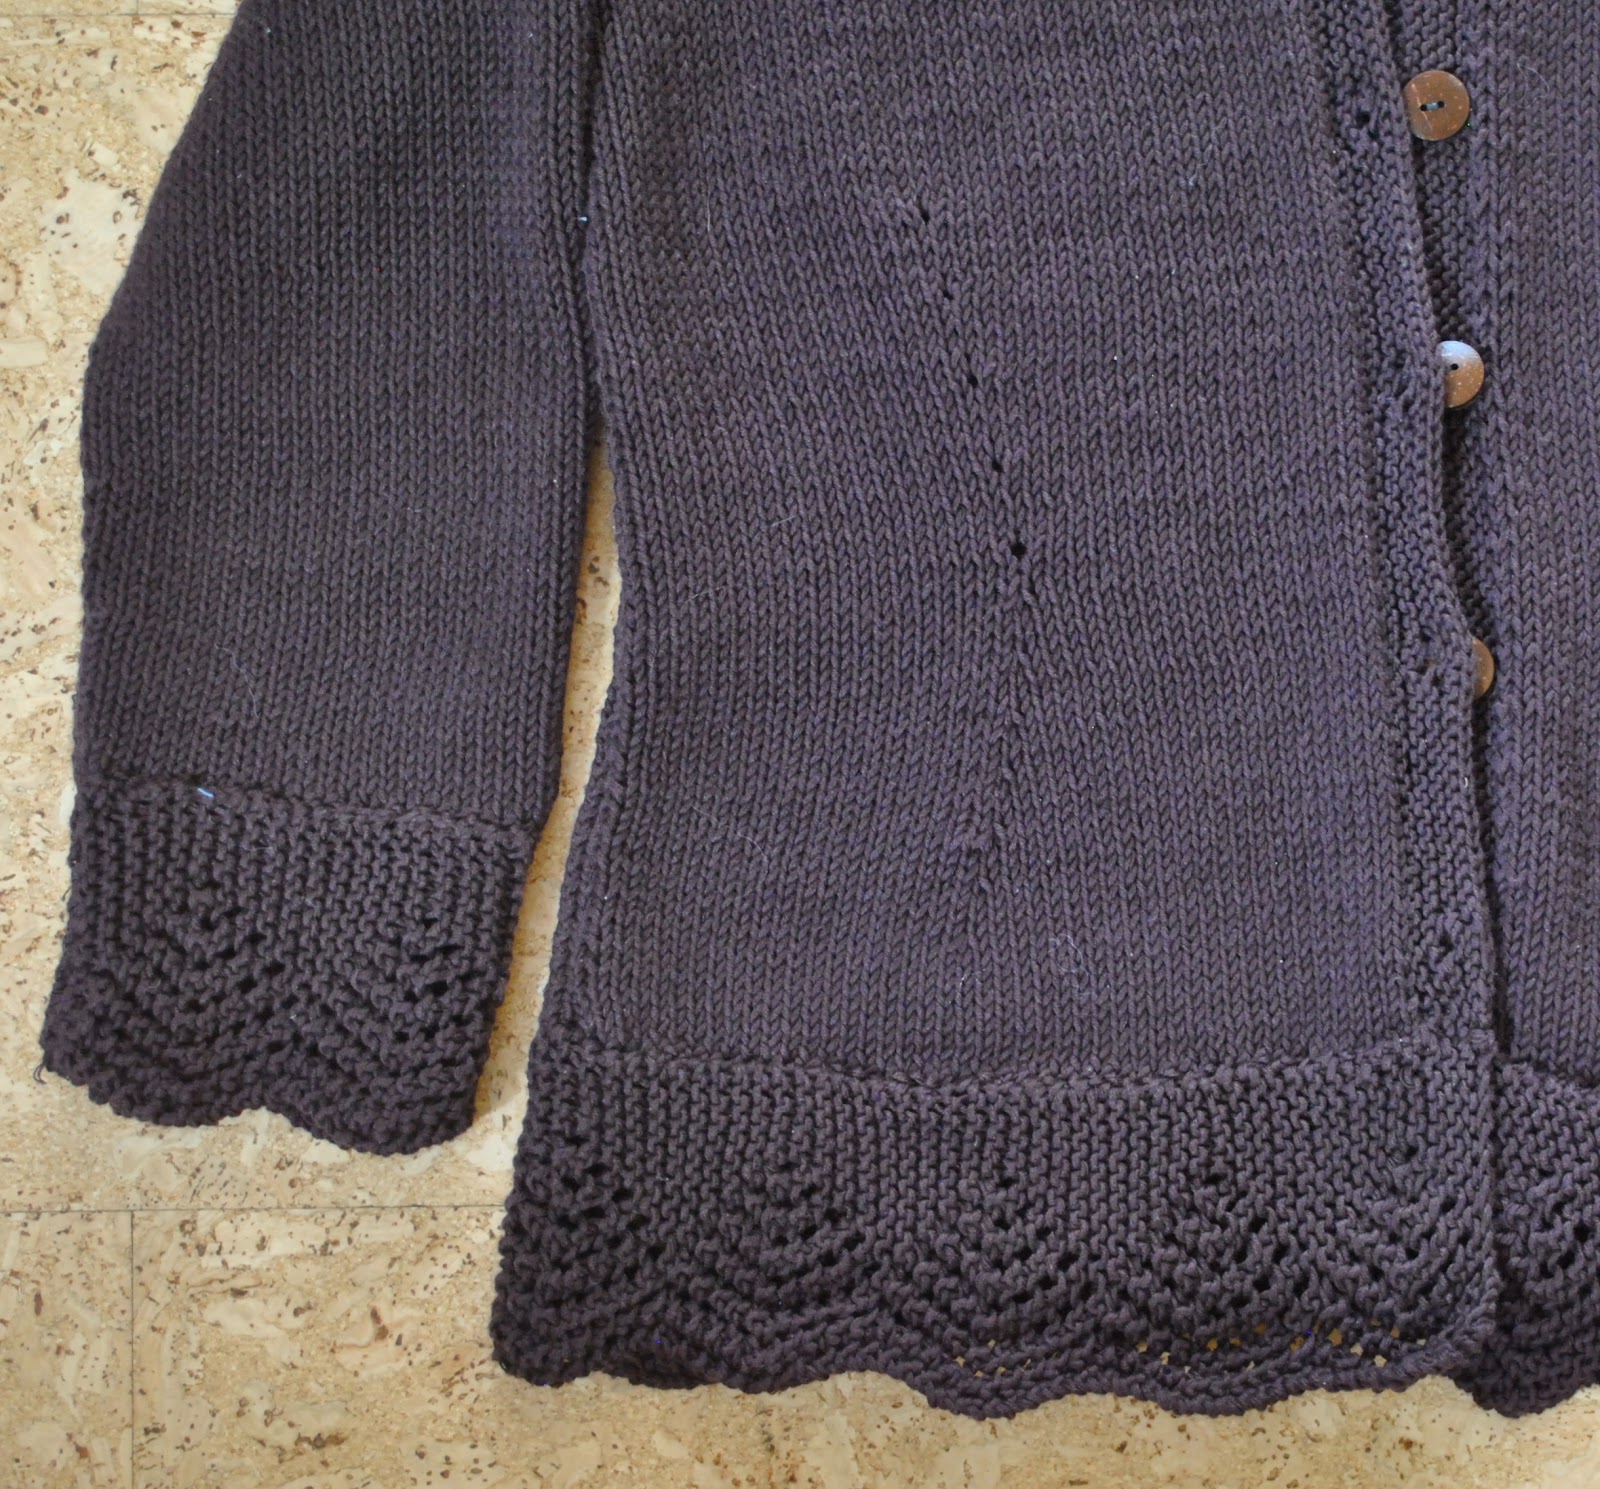
The lovely stamped pewter buttons were kept from off an old shirt.
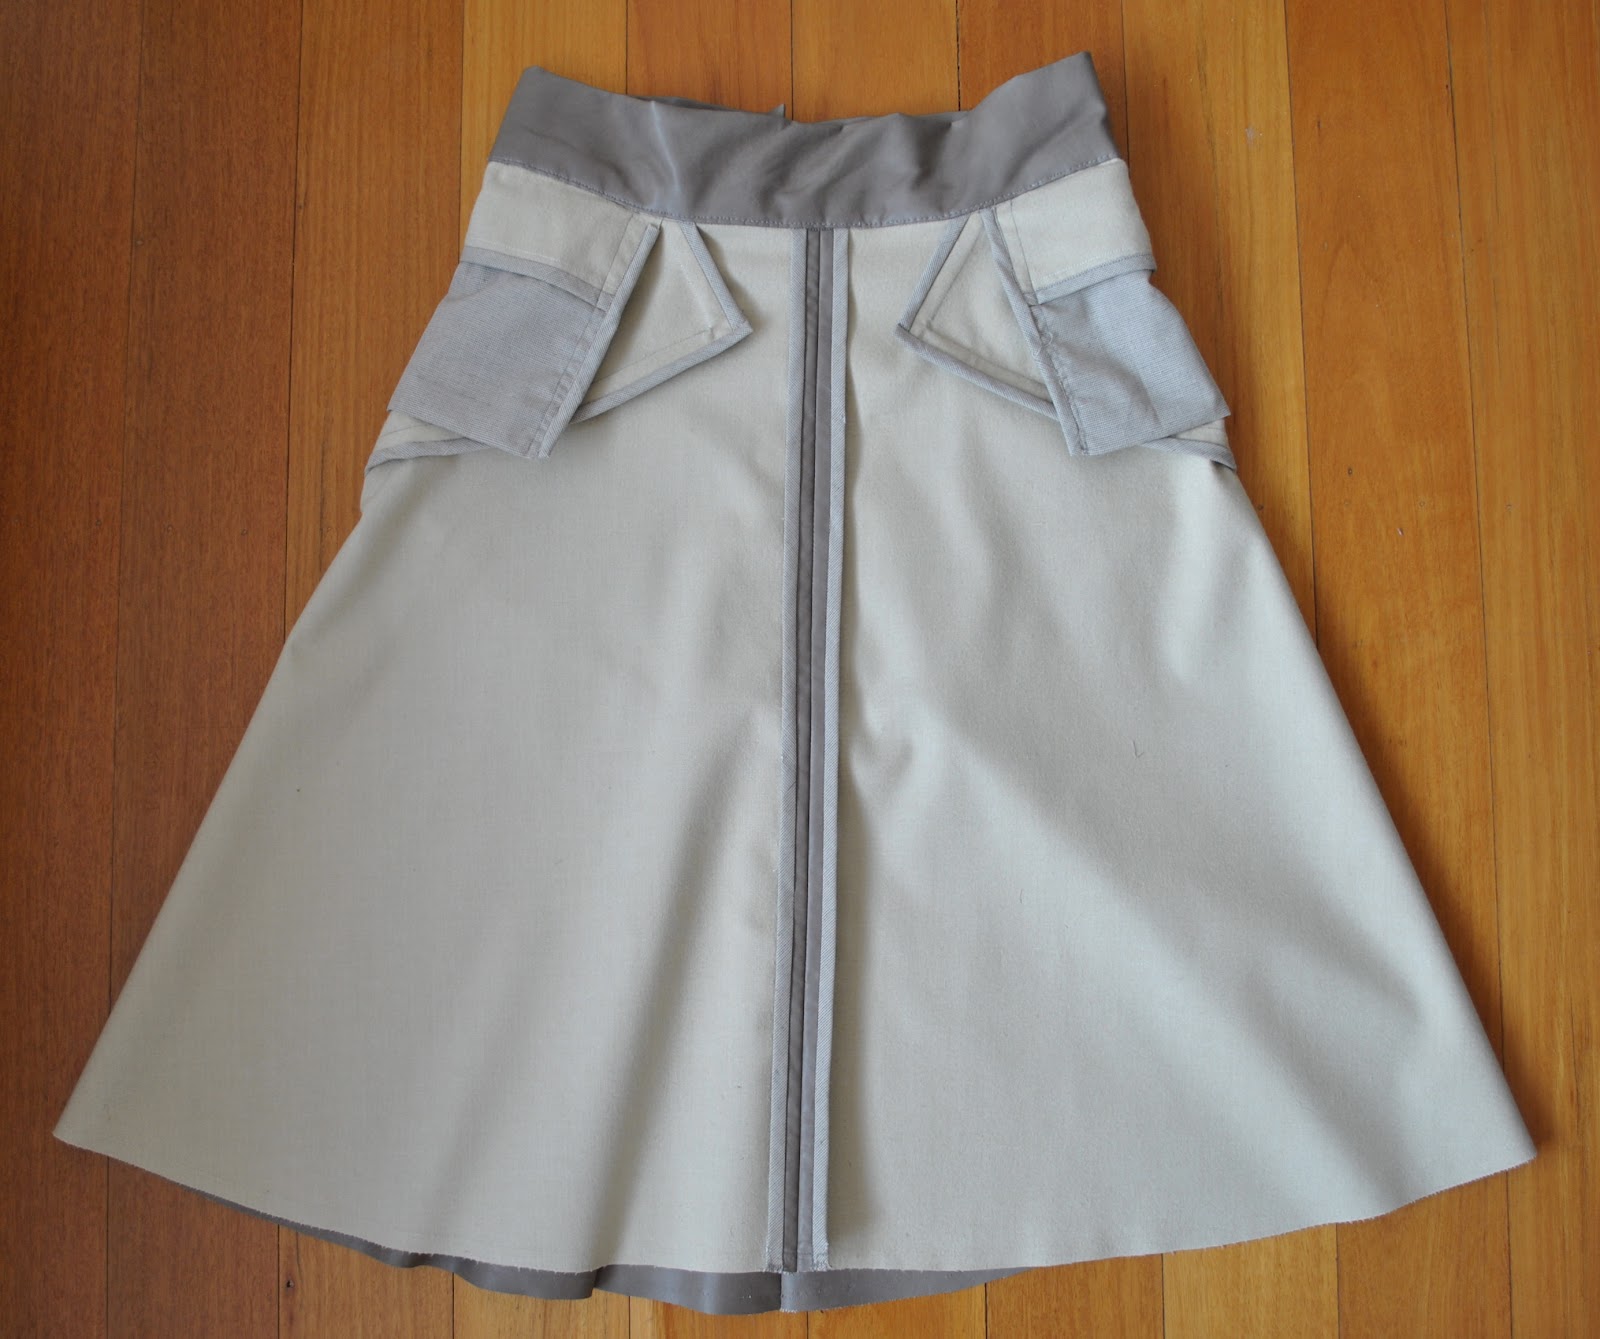
Conclusion; a casual version of this interesting skirt pattern, and a fun and colourful addition to my wardrobe!
LATER EDIT: got bored with the ultramarine colour and dyed it, this skirt now looks like this
Details:
Skirt; Vogue 1170 with minor modifications, ultramarine cotton corduroy, my review of this pattern here
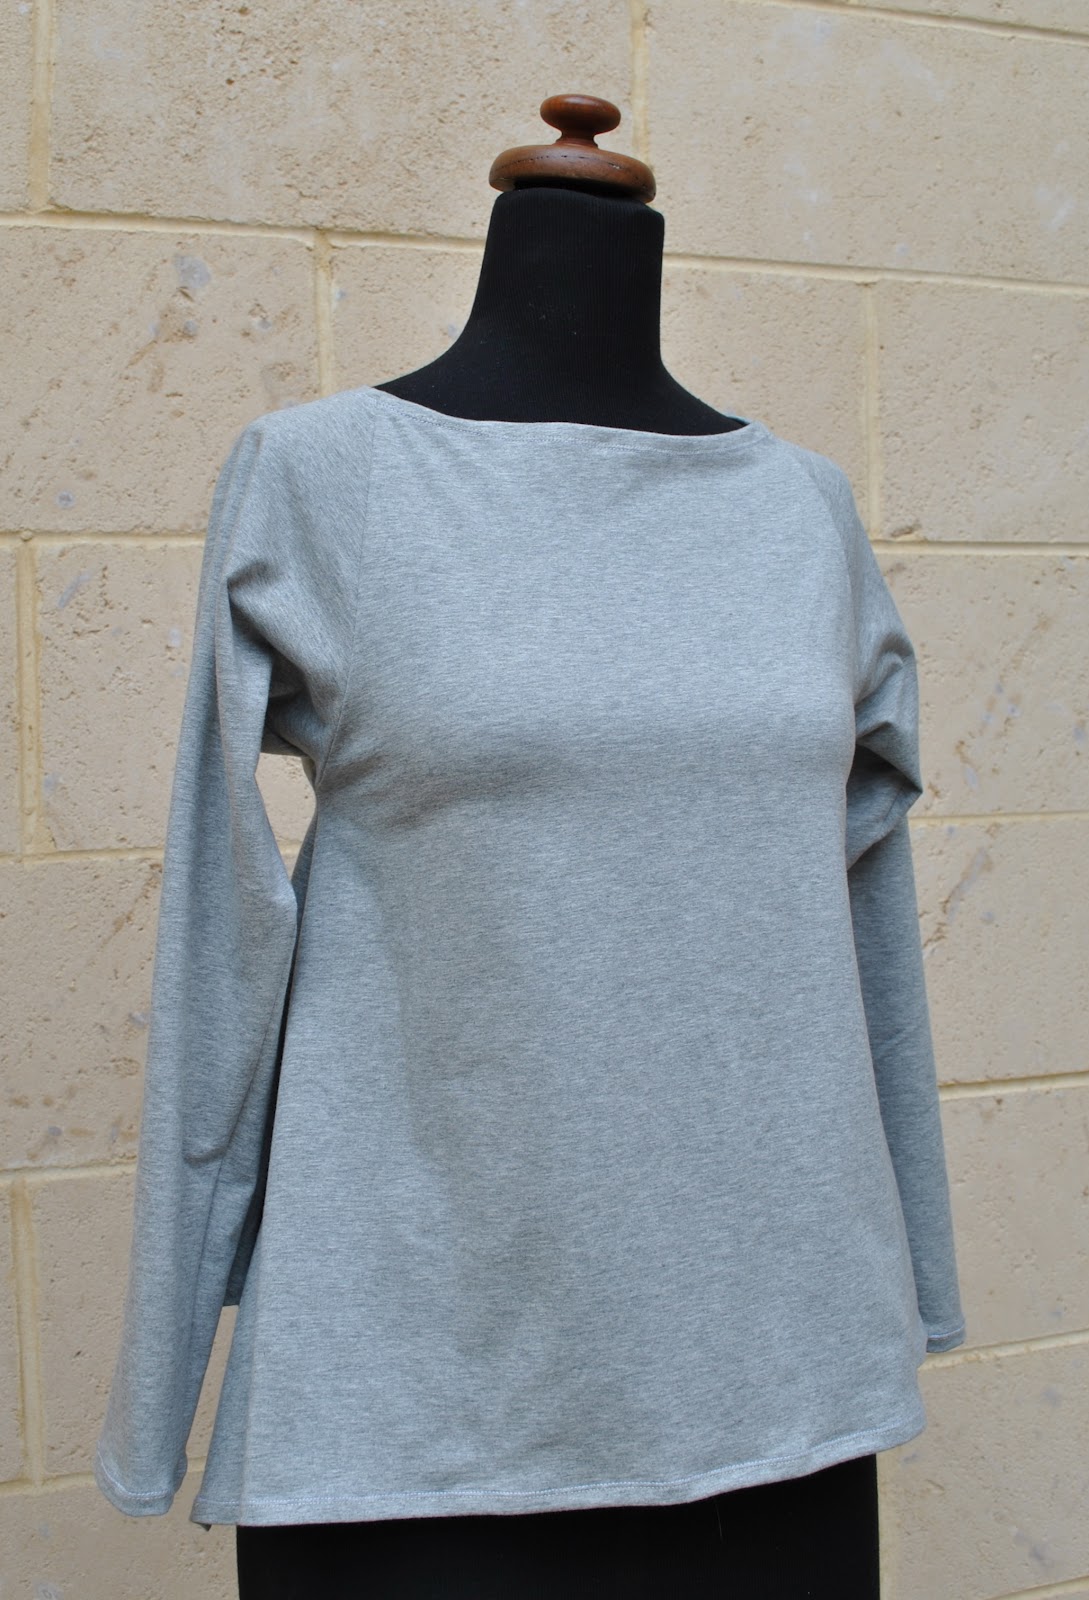
Top; top “a” from the Japanese pattern book Unique Clothes Any Way You Like by Natsuno Hiraiwa, white cotton, details here
Shoes; Raymond Castles, had for yonks, nearly 30 years
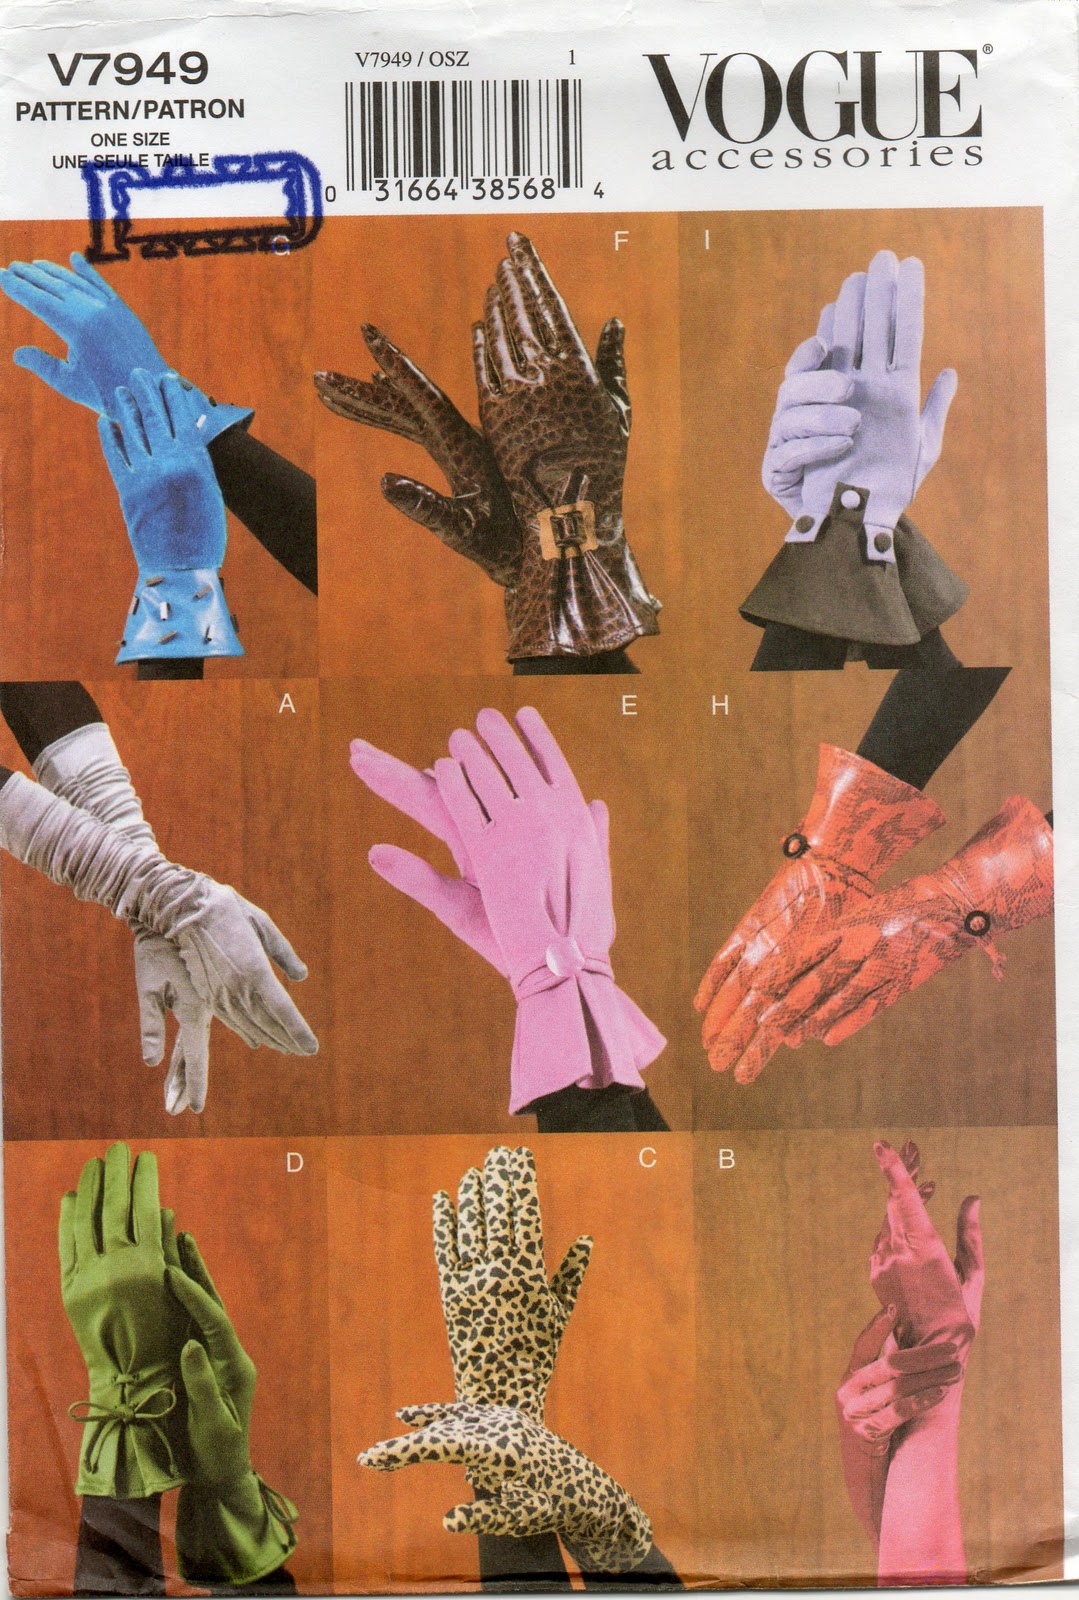
Gloves; Vogue 7949, red cotton jersey, details and my review of this pattern here