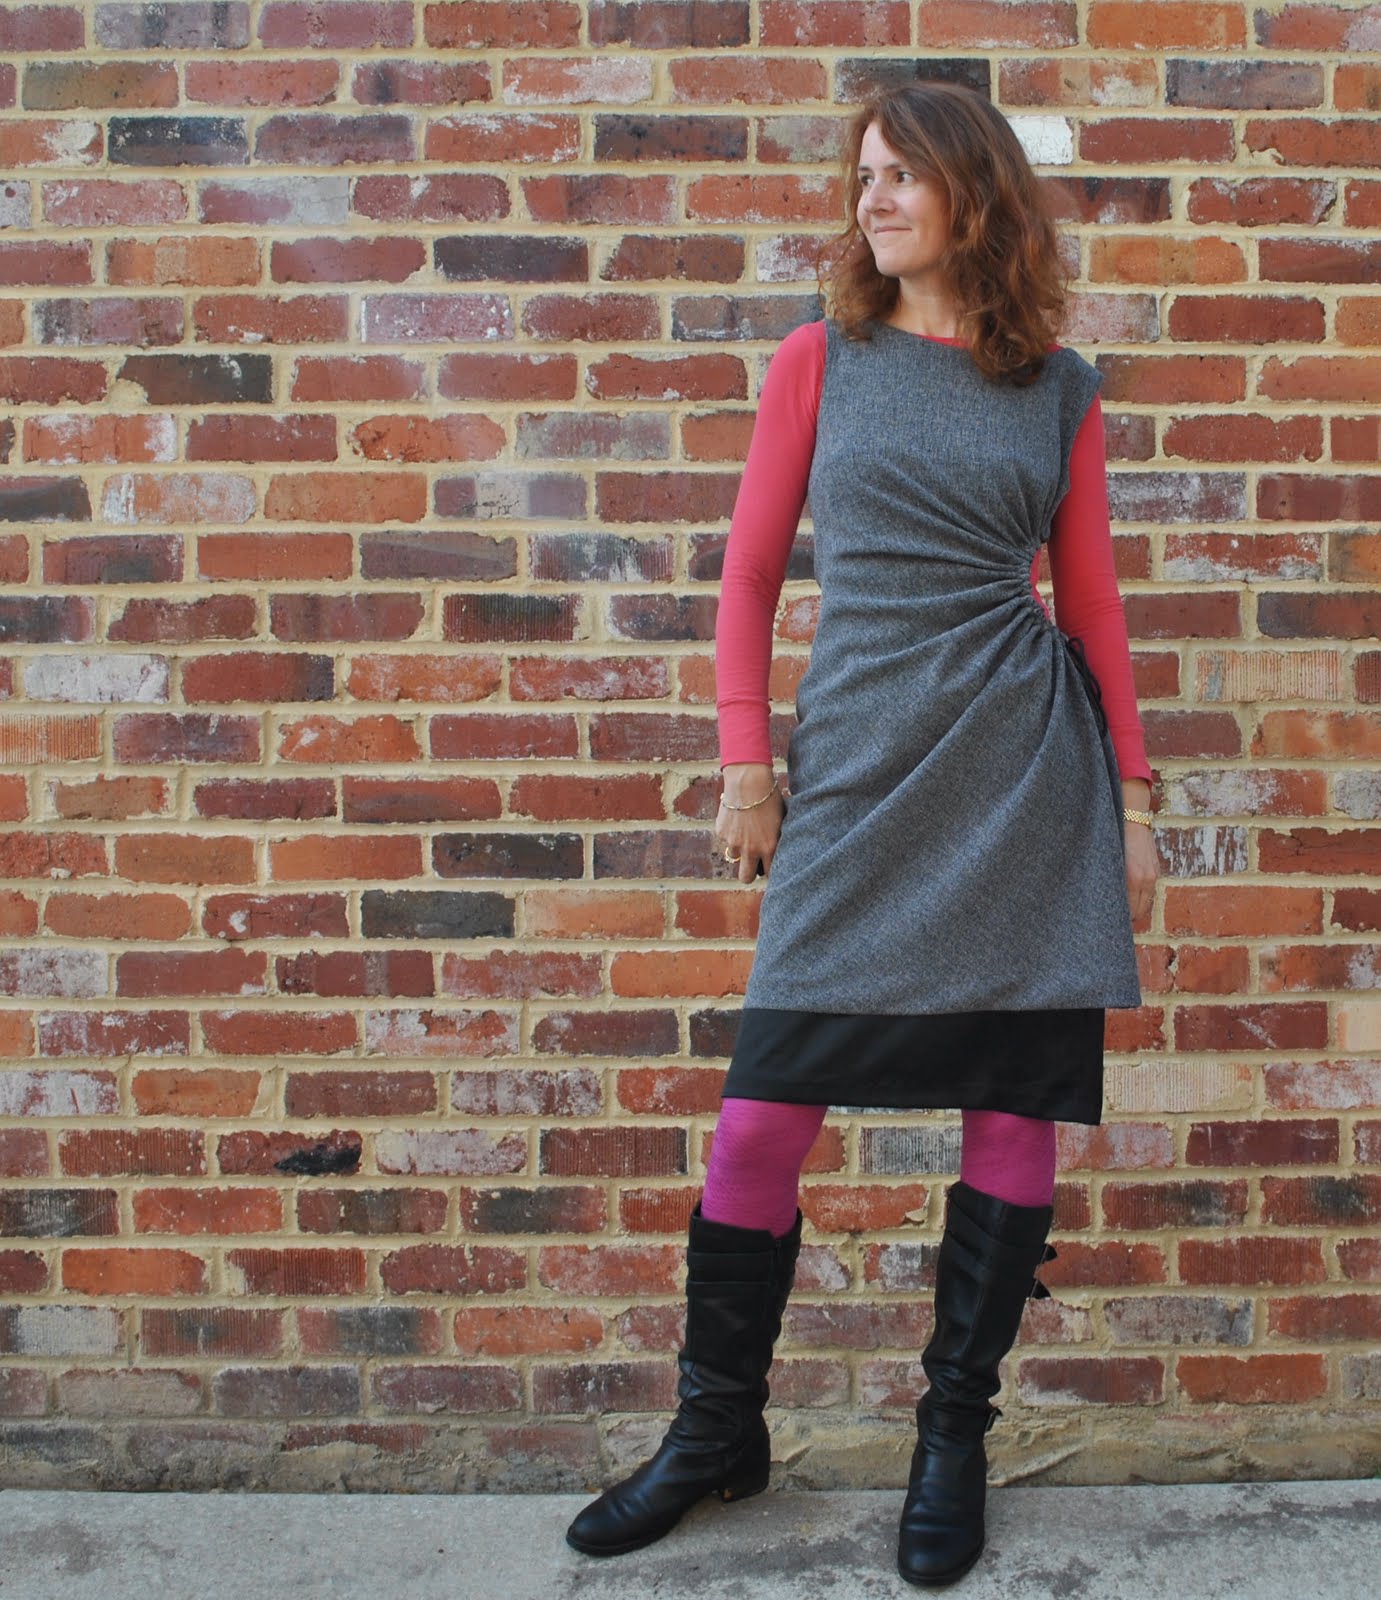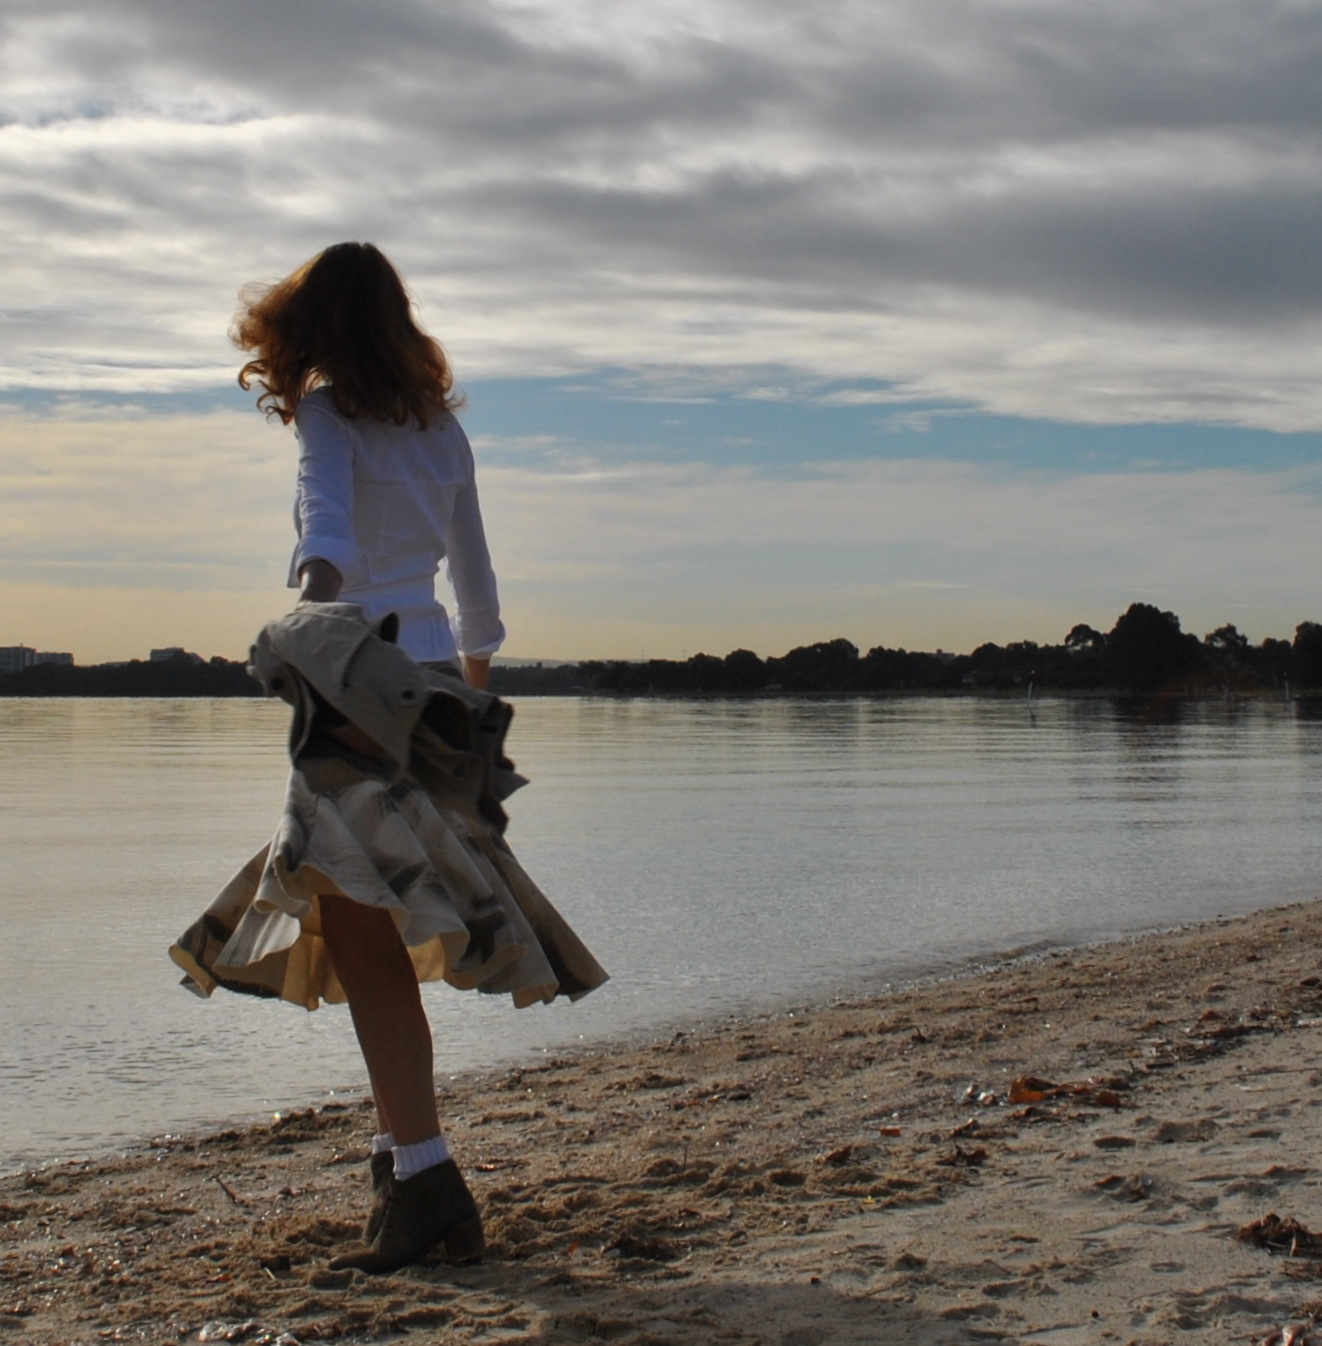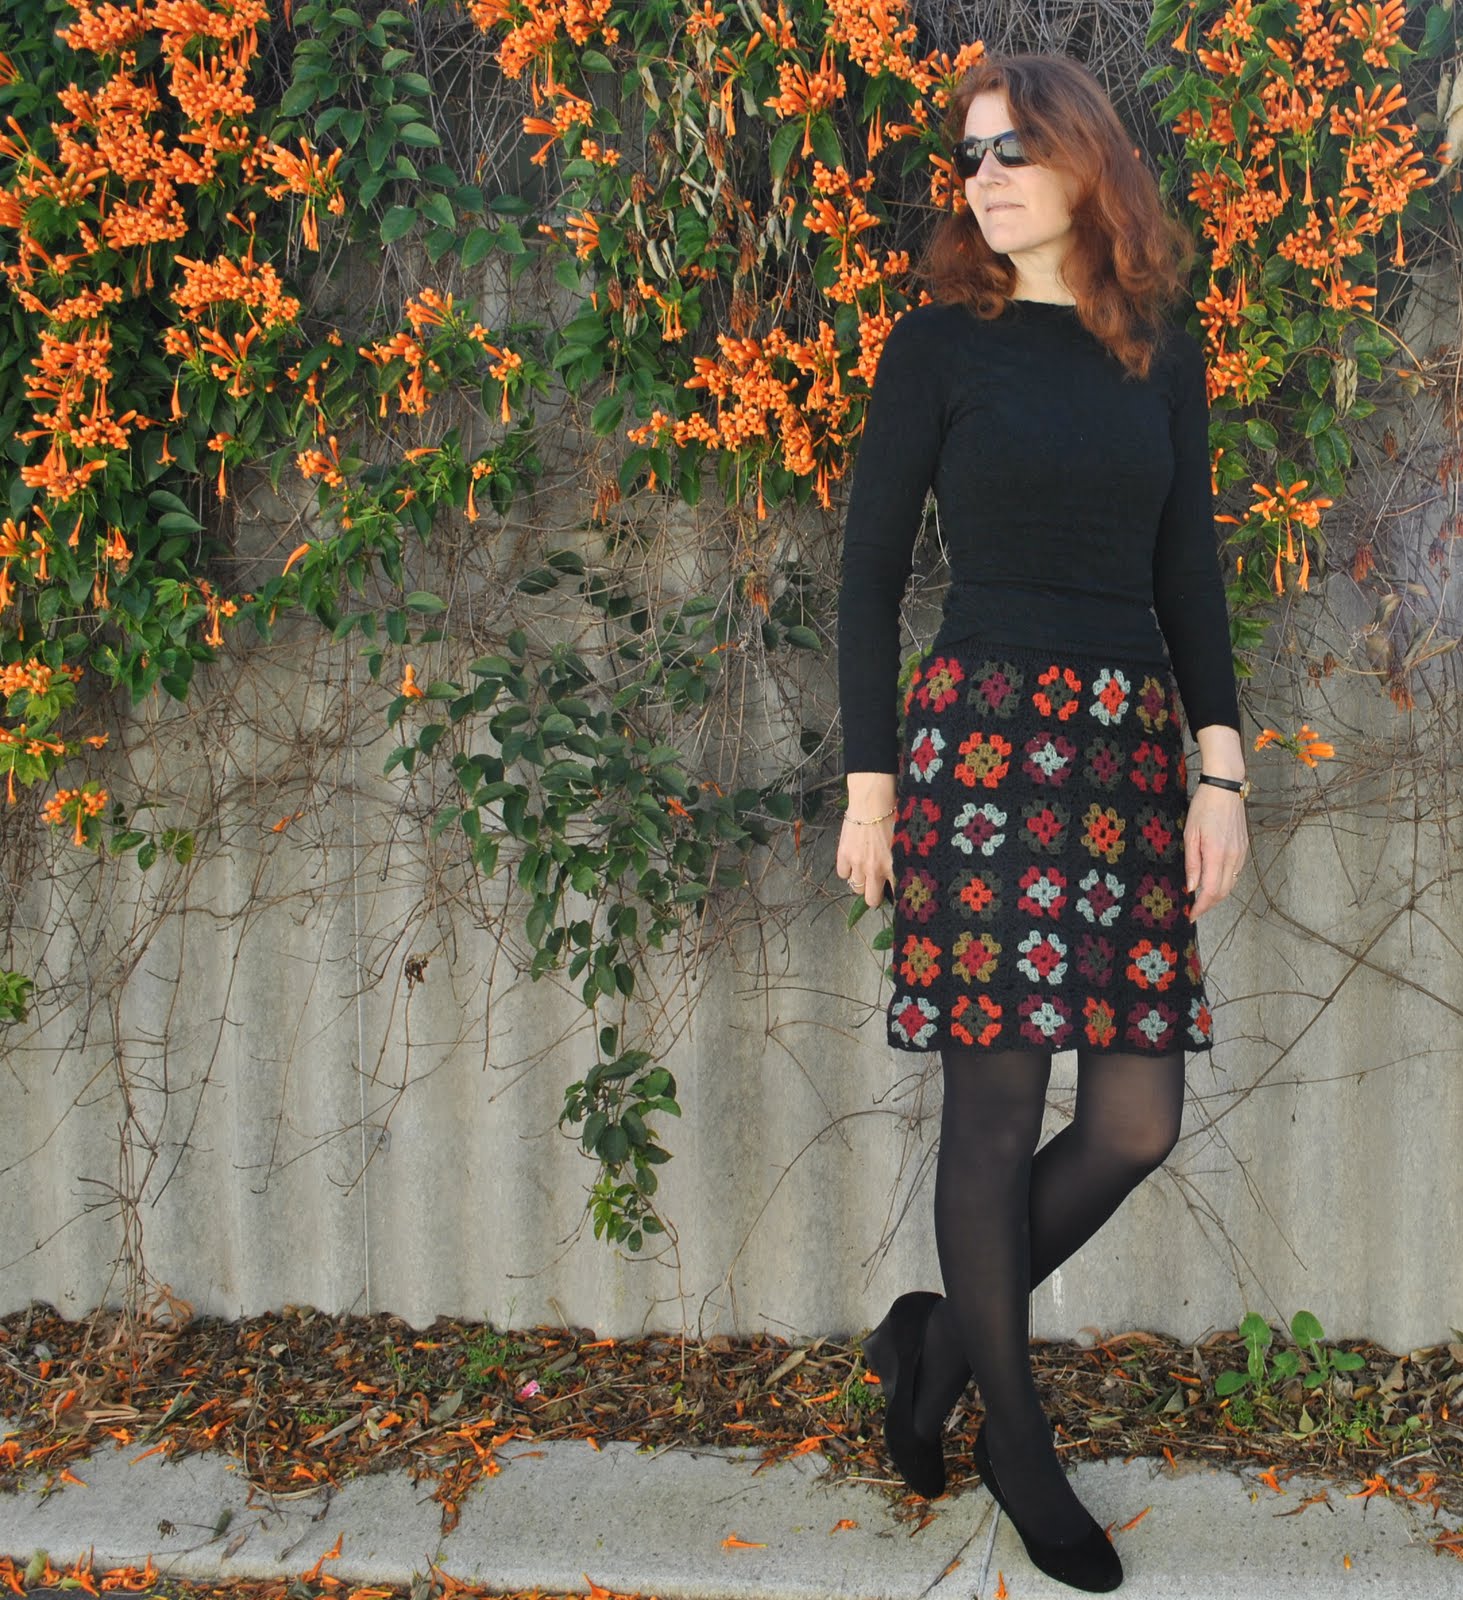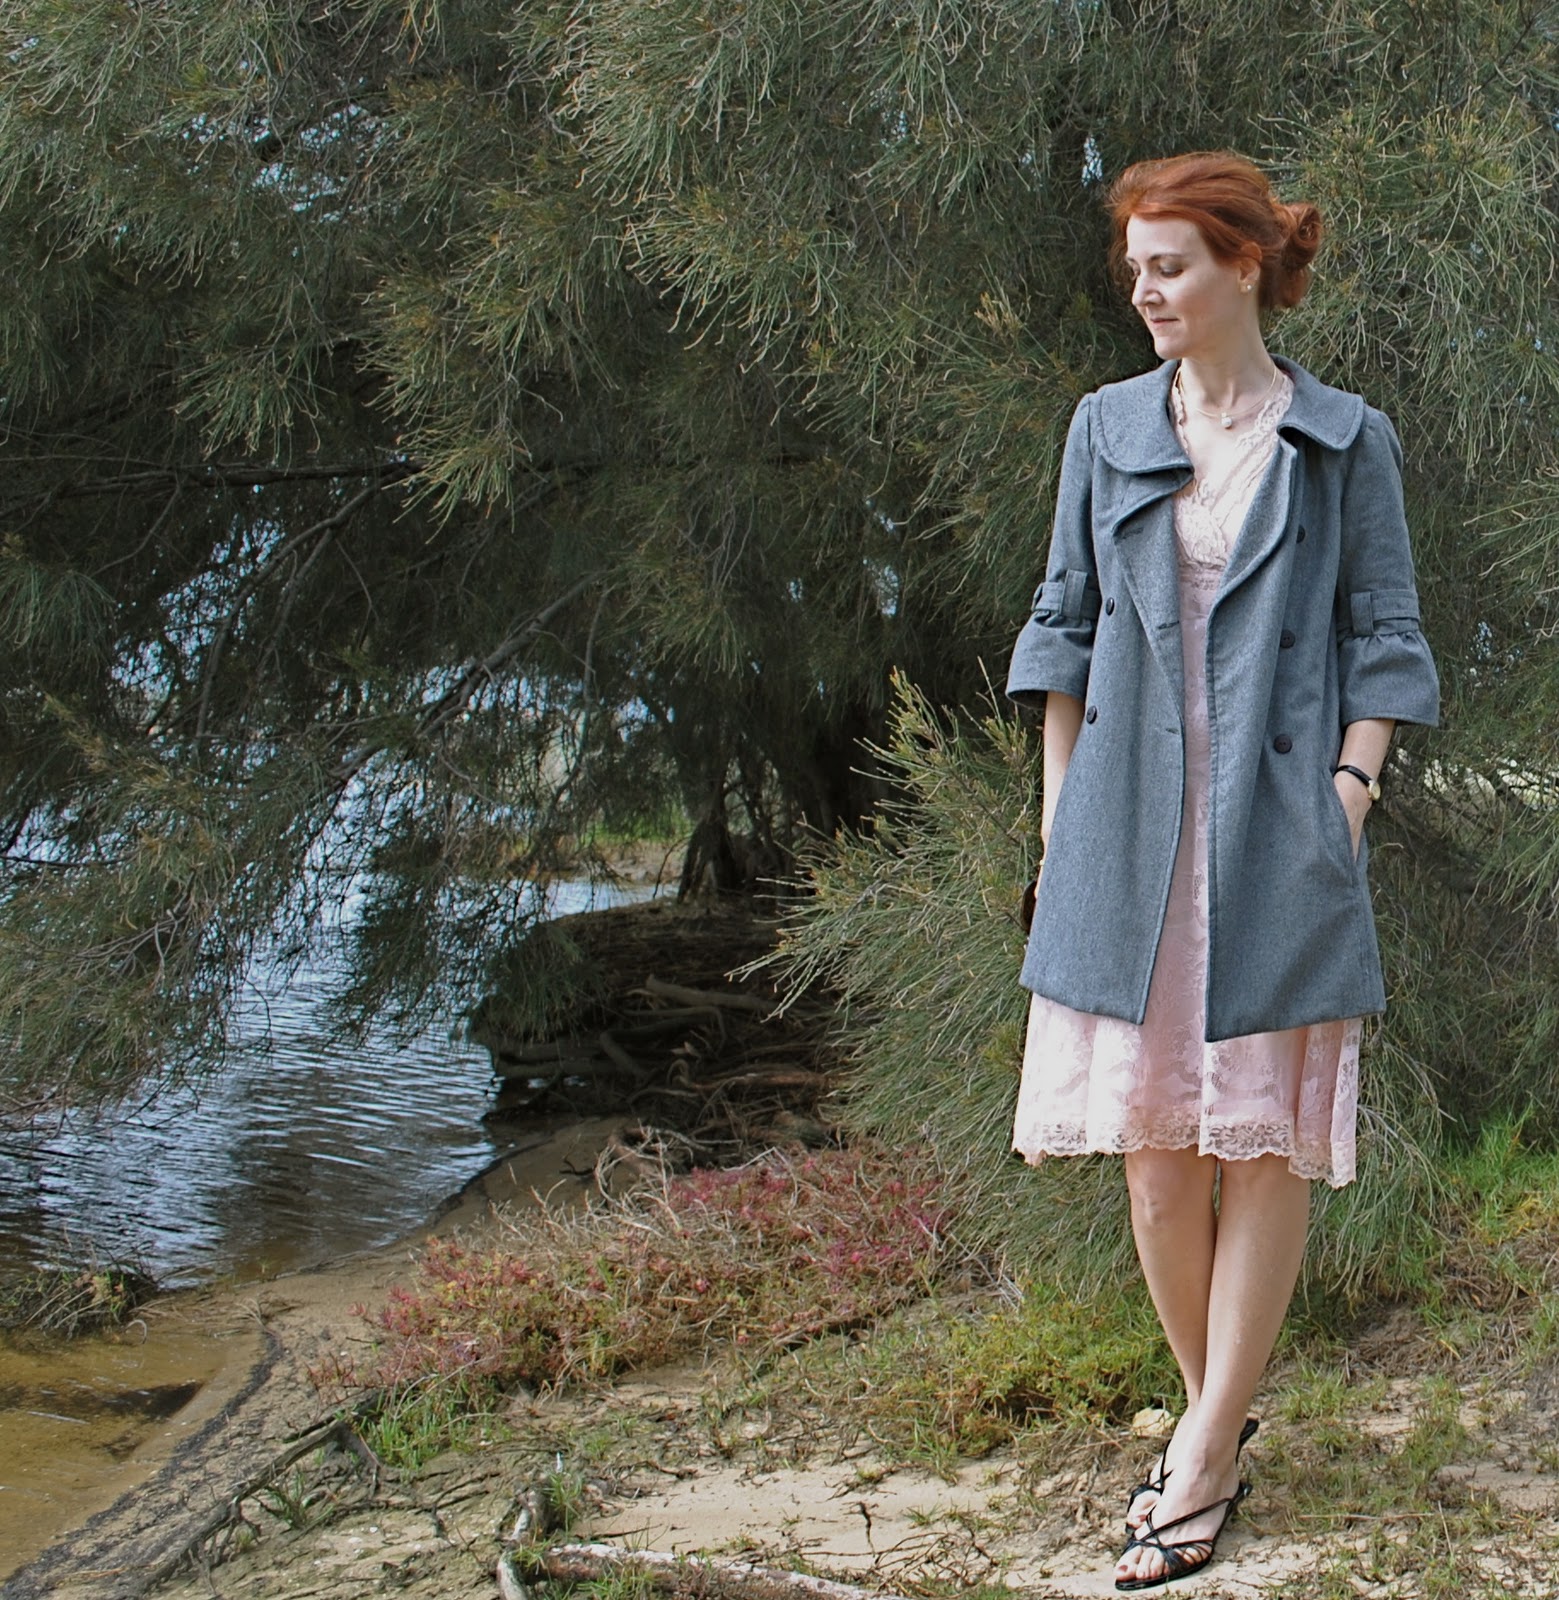
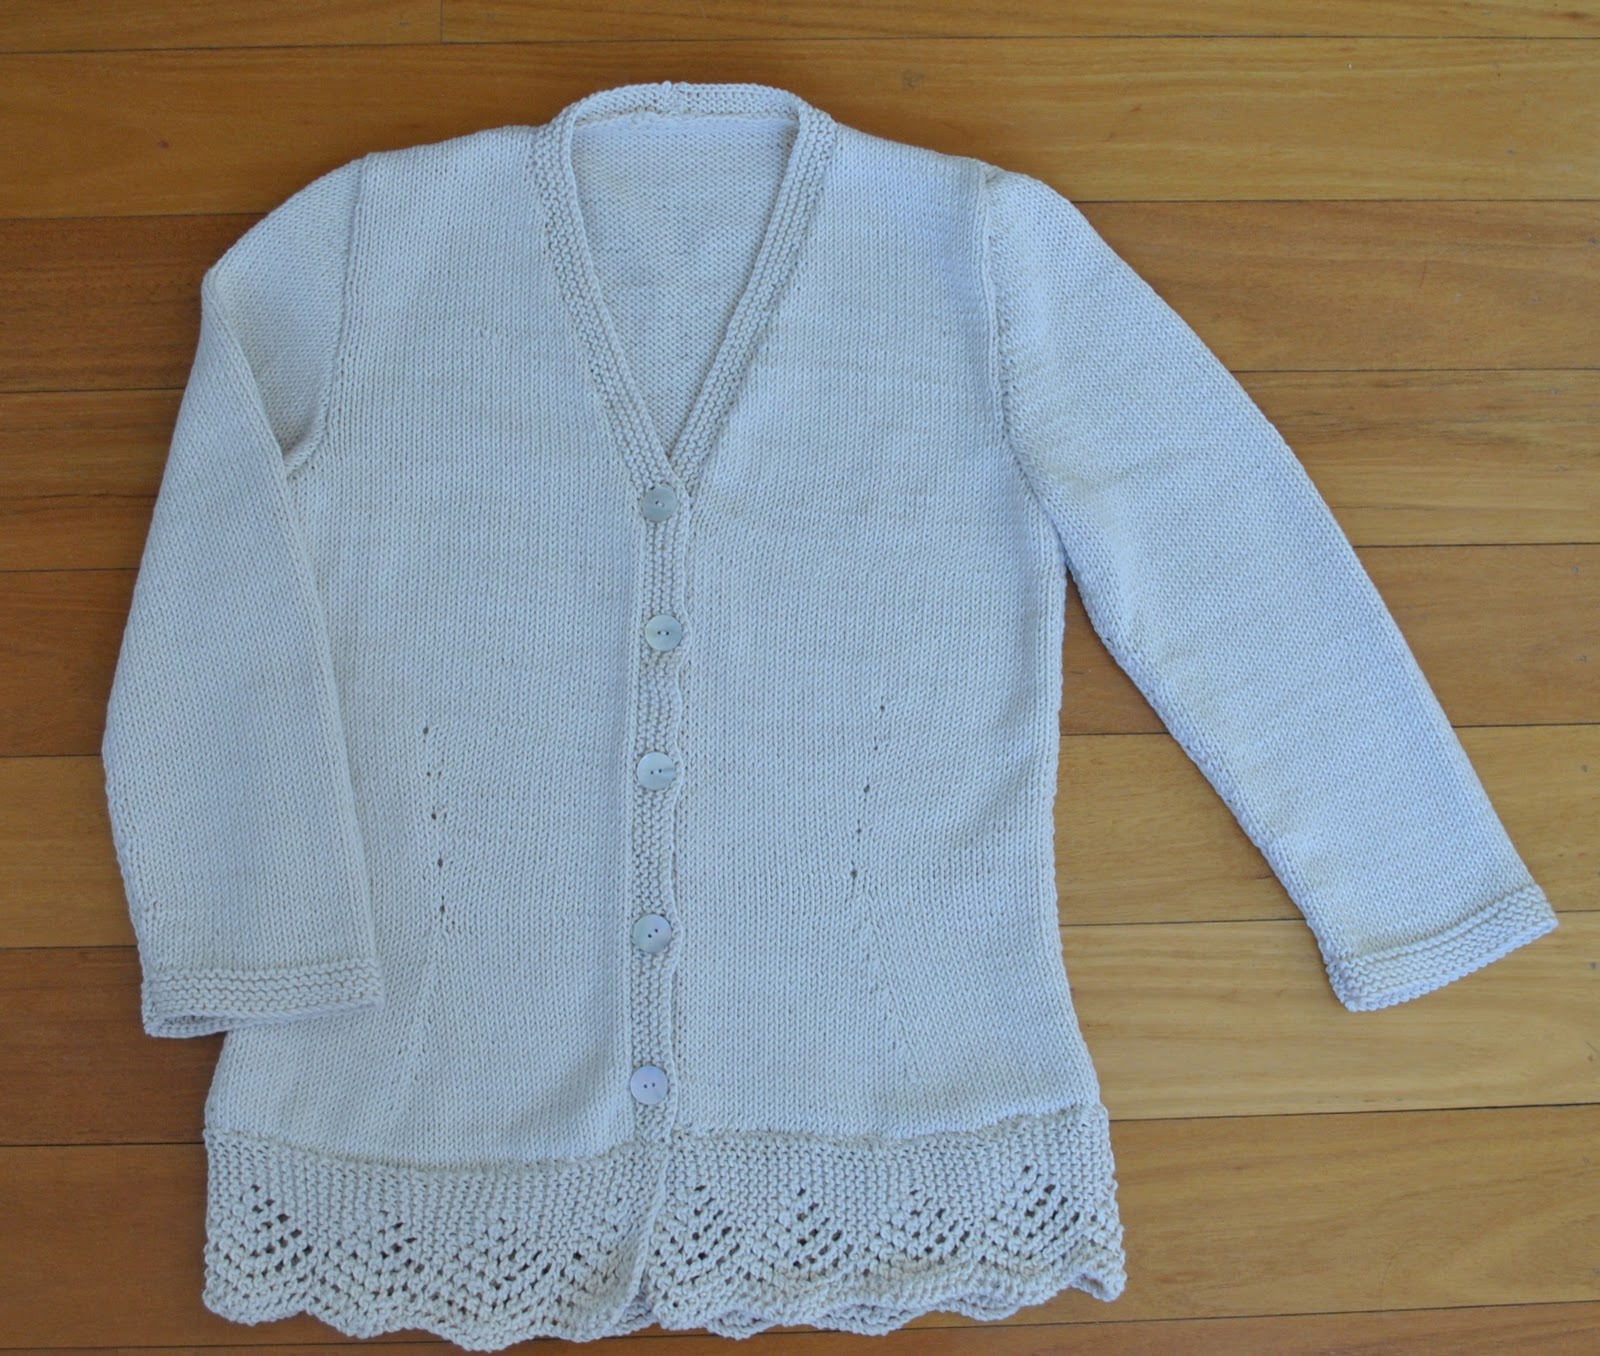
 The good news: I’ve knitted a cardigan!
I bought this perfectly lovely ivory cotton yarn at the beginning of last spring, and started this cardigan when I had finished the garter stitch jacket. I can be a pretty quick knitter if I’m in the mood…
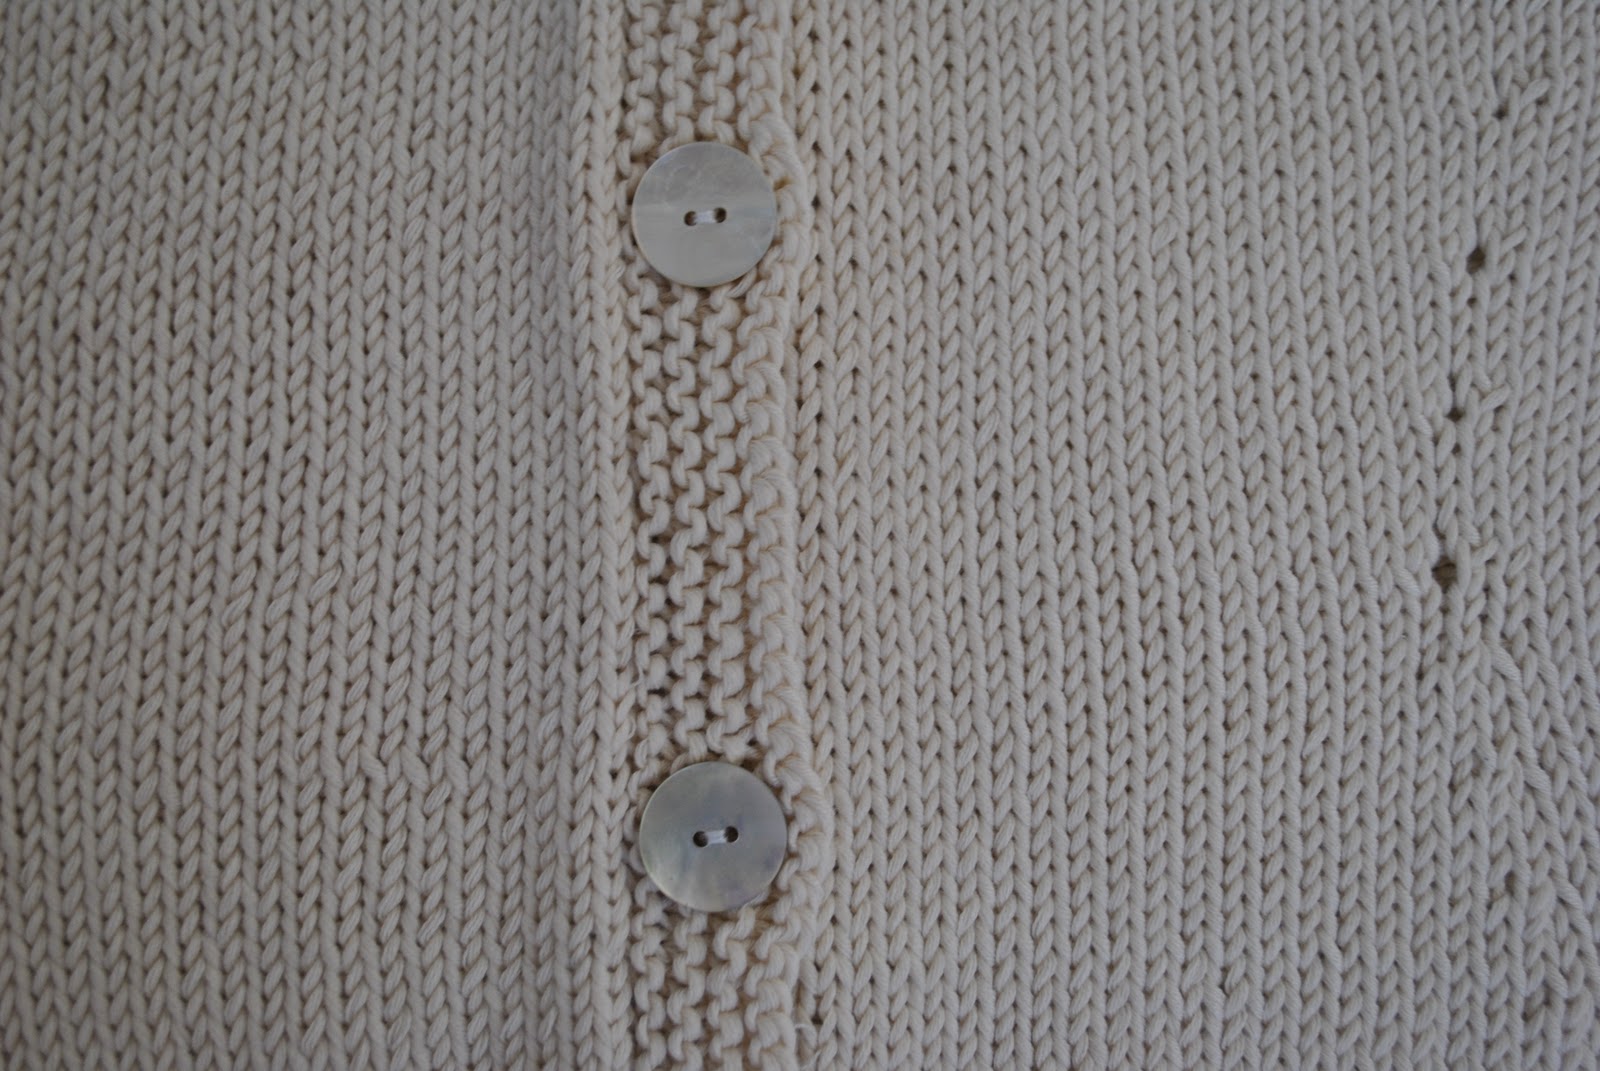
The buttons; nacre, with that distinctive subdued sheen that I love, are favourites that I have used on many projects before. They are from Fabulous Fabrics.
This is a great pattern. I like the shaping, done in a dressmaking style like darts in the body, and not shaped in the side seams which is how I’ve knitted the shape into jumpers and cardigans up until now. A good method. I’m chuffed with this pattern, and will use it again. With variations.
You see; I have bought up quite a lot of this yarn lately and so (this is embarrassing) as well as my fabric stash I now have a yarn stash too. Up until now I have bought wool to knit up immediately leaving myself only with scraps and leftovers.
Why have I changed my ways? well now we come to the bad news:
I got word just before Christmas that the Jo Sharp Knit store here was closing down and was selling off its stock. I am extremely sad about that. I can’t bear when local stores and particularly local craft stores, close down. But anyhow, of course I just had to pop in and check out the remaining stock, and bought… a bit… of yarn 😉 Now I have enough supply for at least a year’s worth of knitting, including a few more little cotton cardigans like this, so it is a good thing that this pattern worked out!
Details:
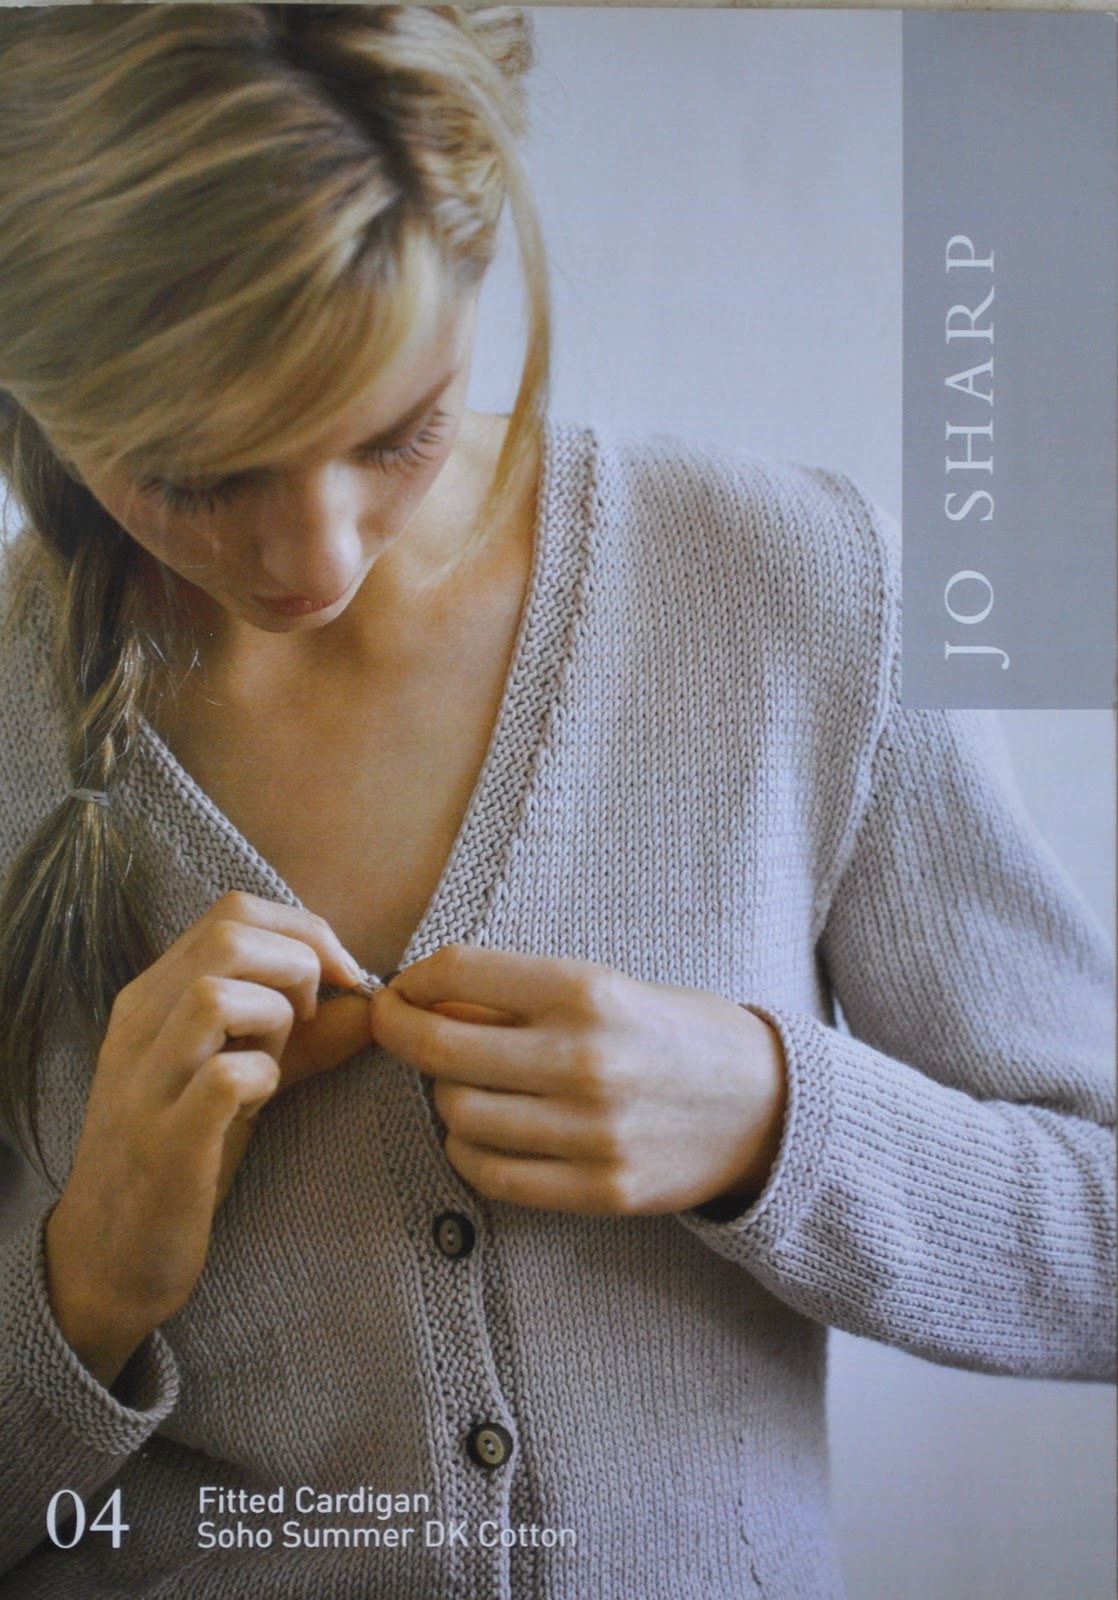
Cardigan; knitted by me, the Fitted Cardigan 04, version 1 with the lace edging and three-quarter sleeves, in Jo Sharp Soho Summer DK Cotton; colour Calico (shade 216)
Camisole (under) Country Road
Skirt; self drafted, charcoal jersey knit
Shoes; Bronx, from Zomp shoes
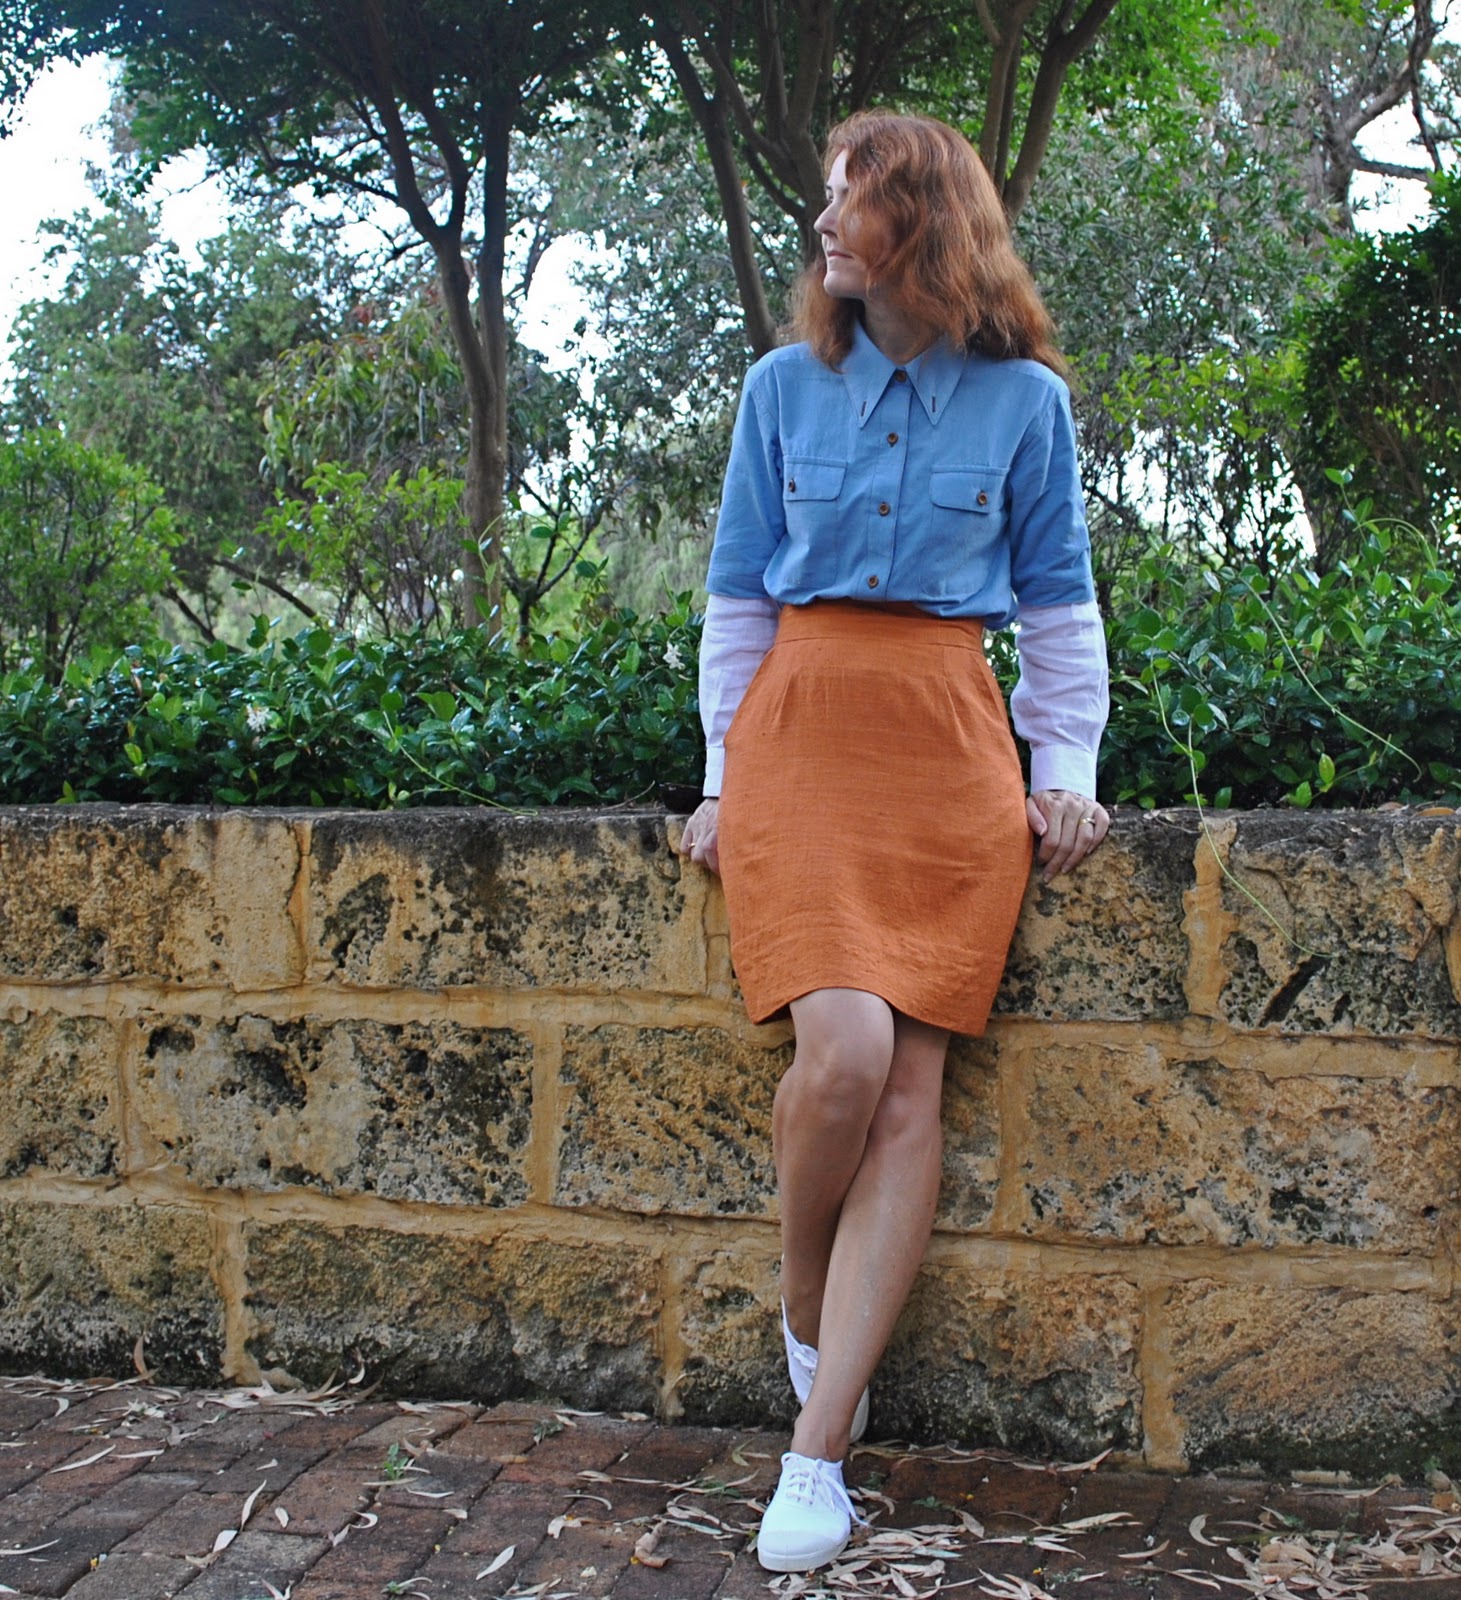
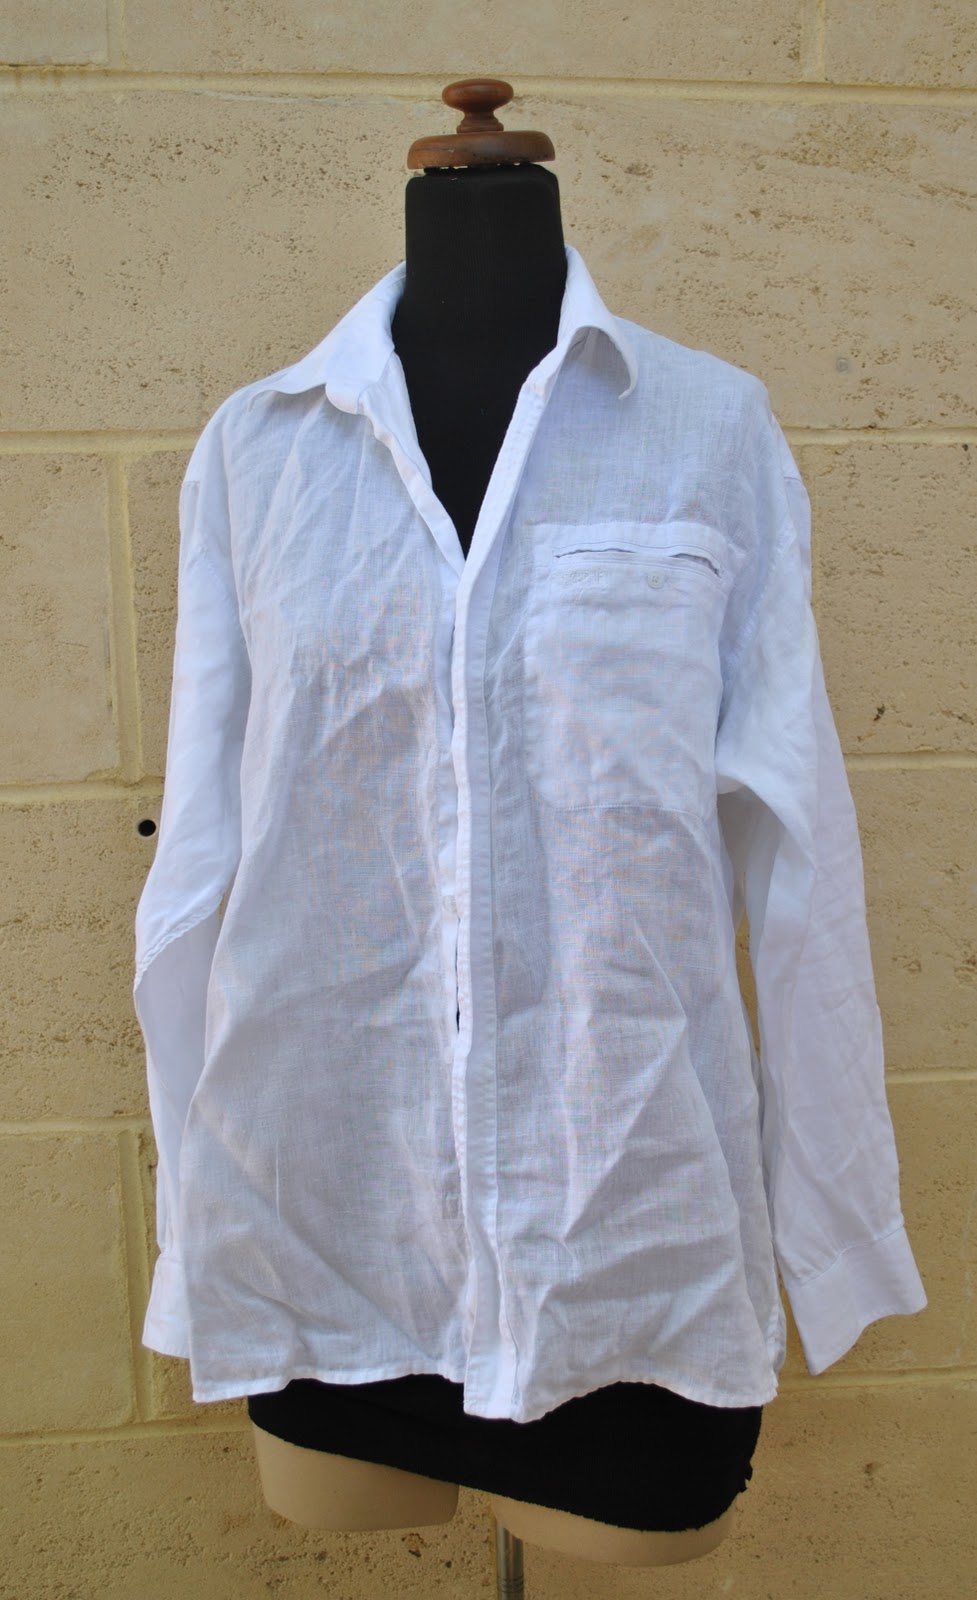
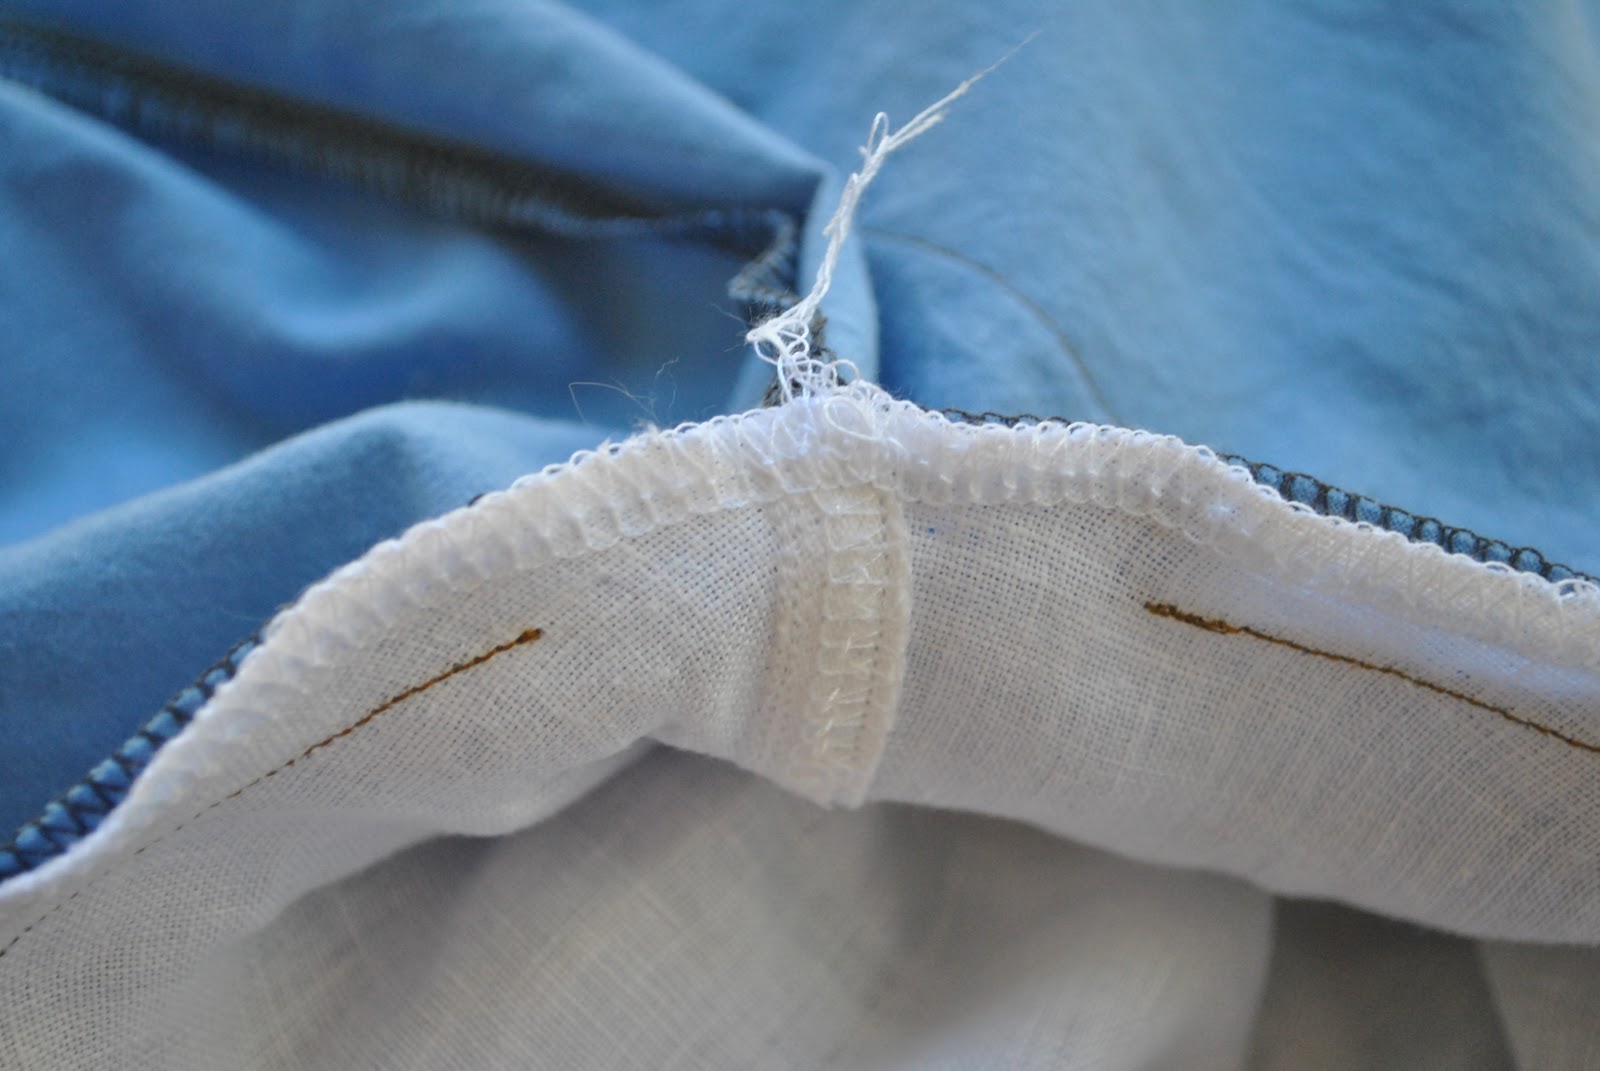
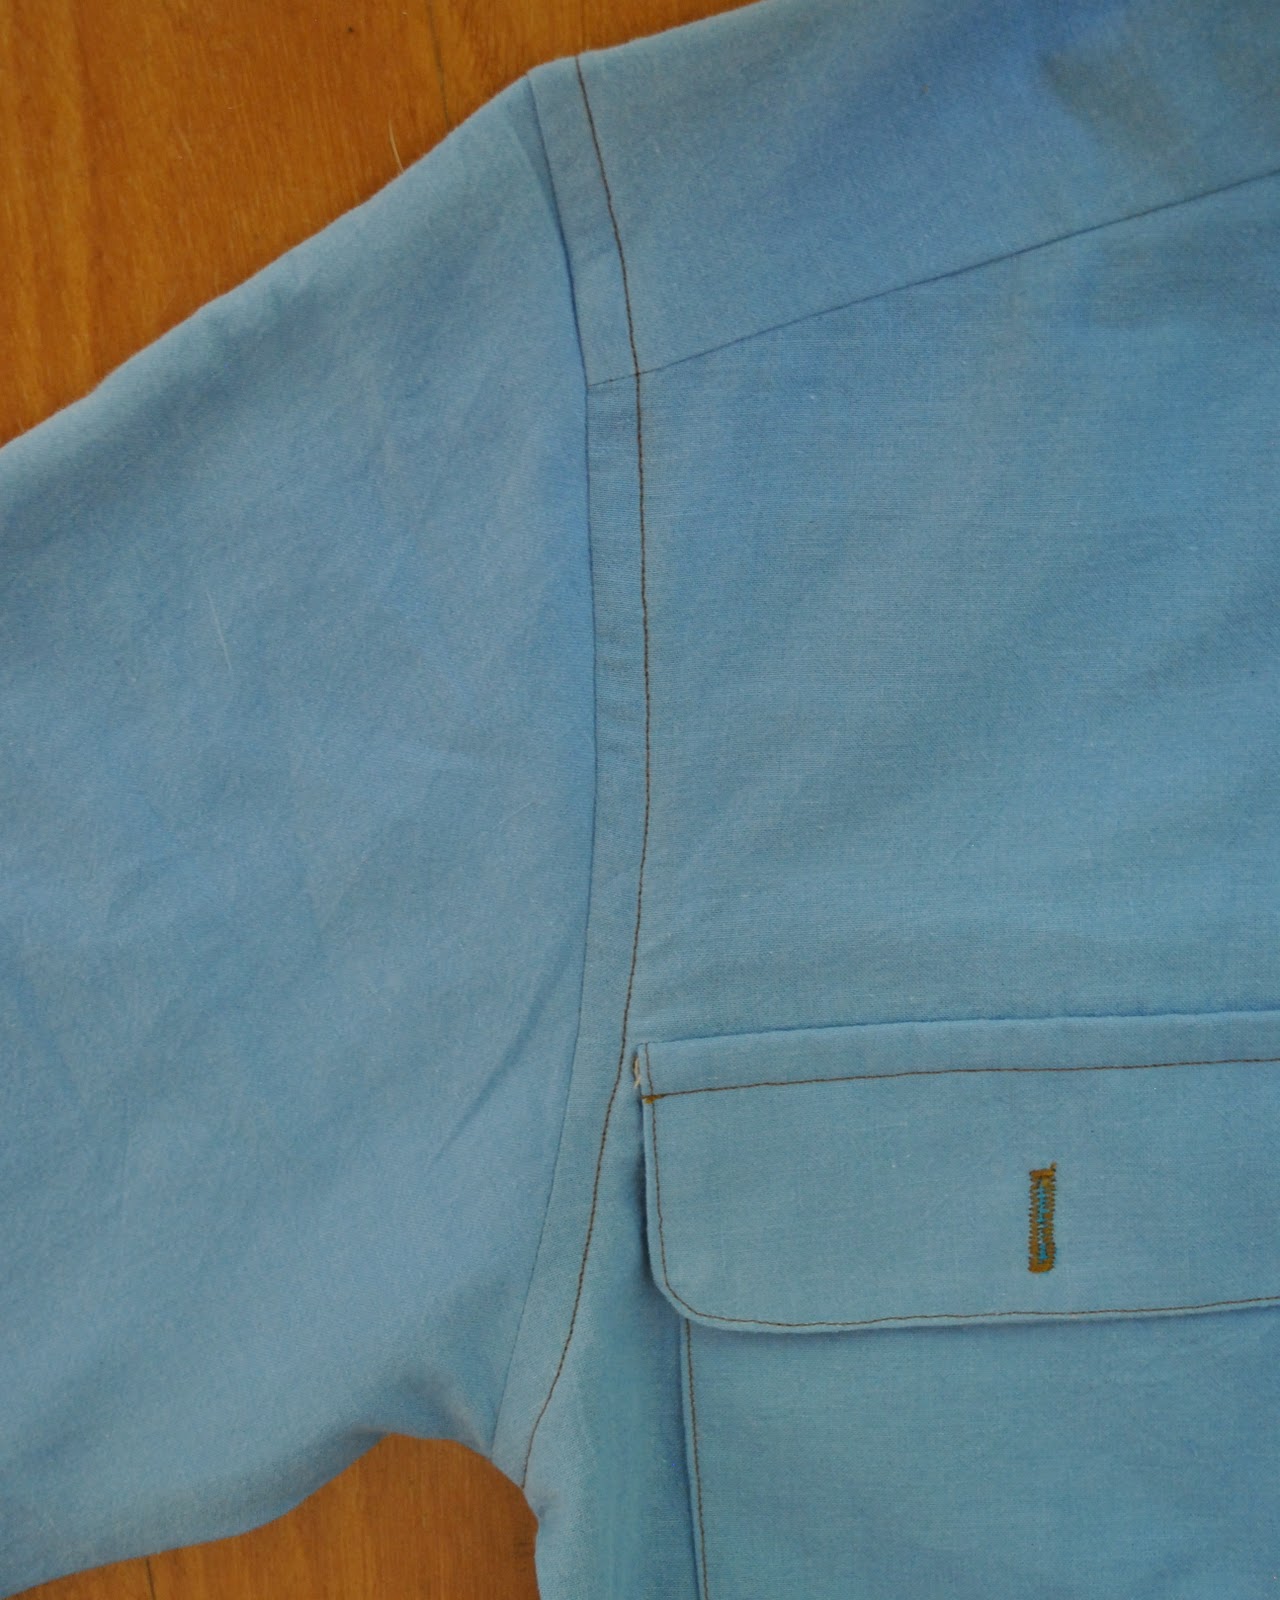
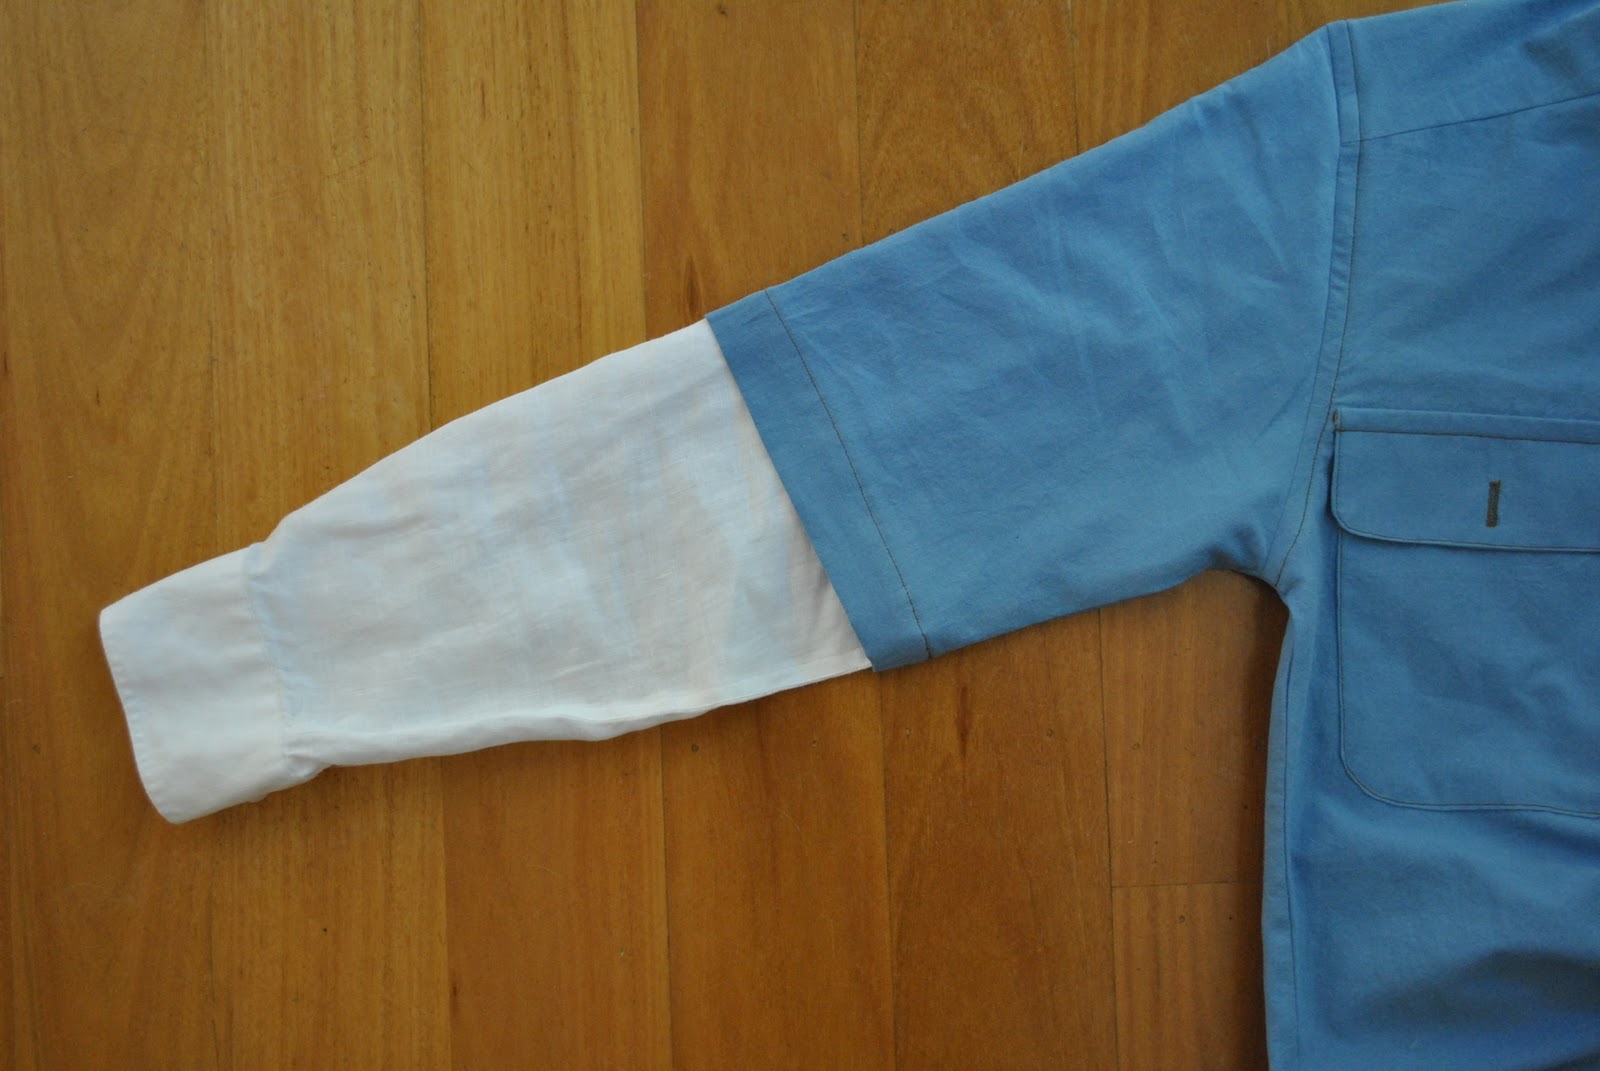
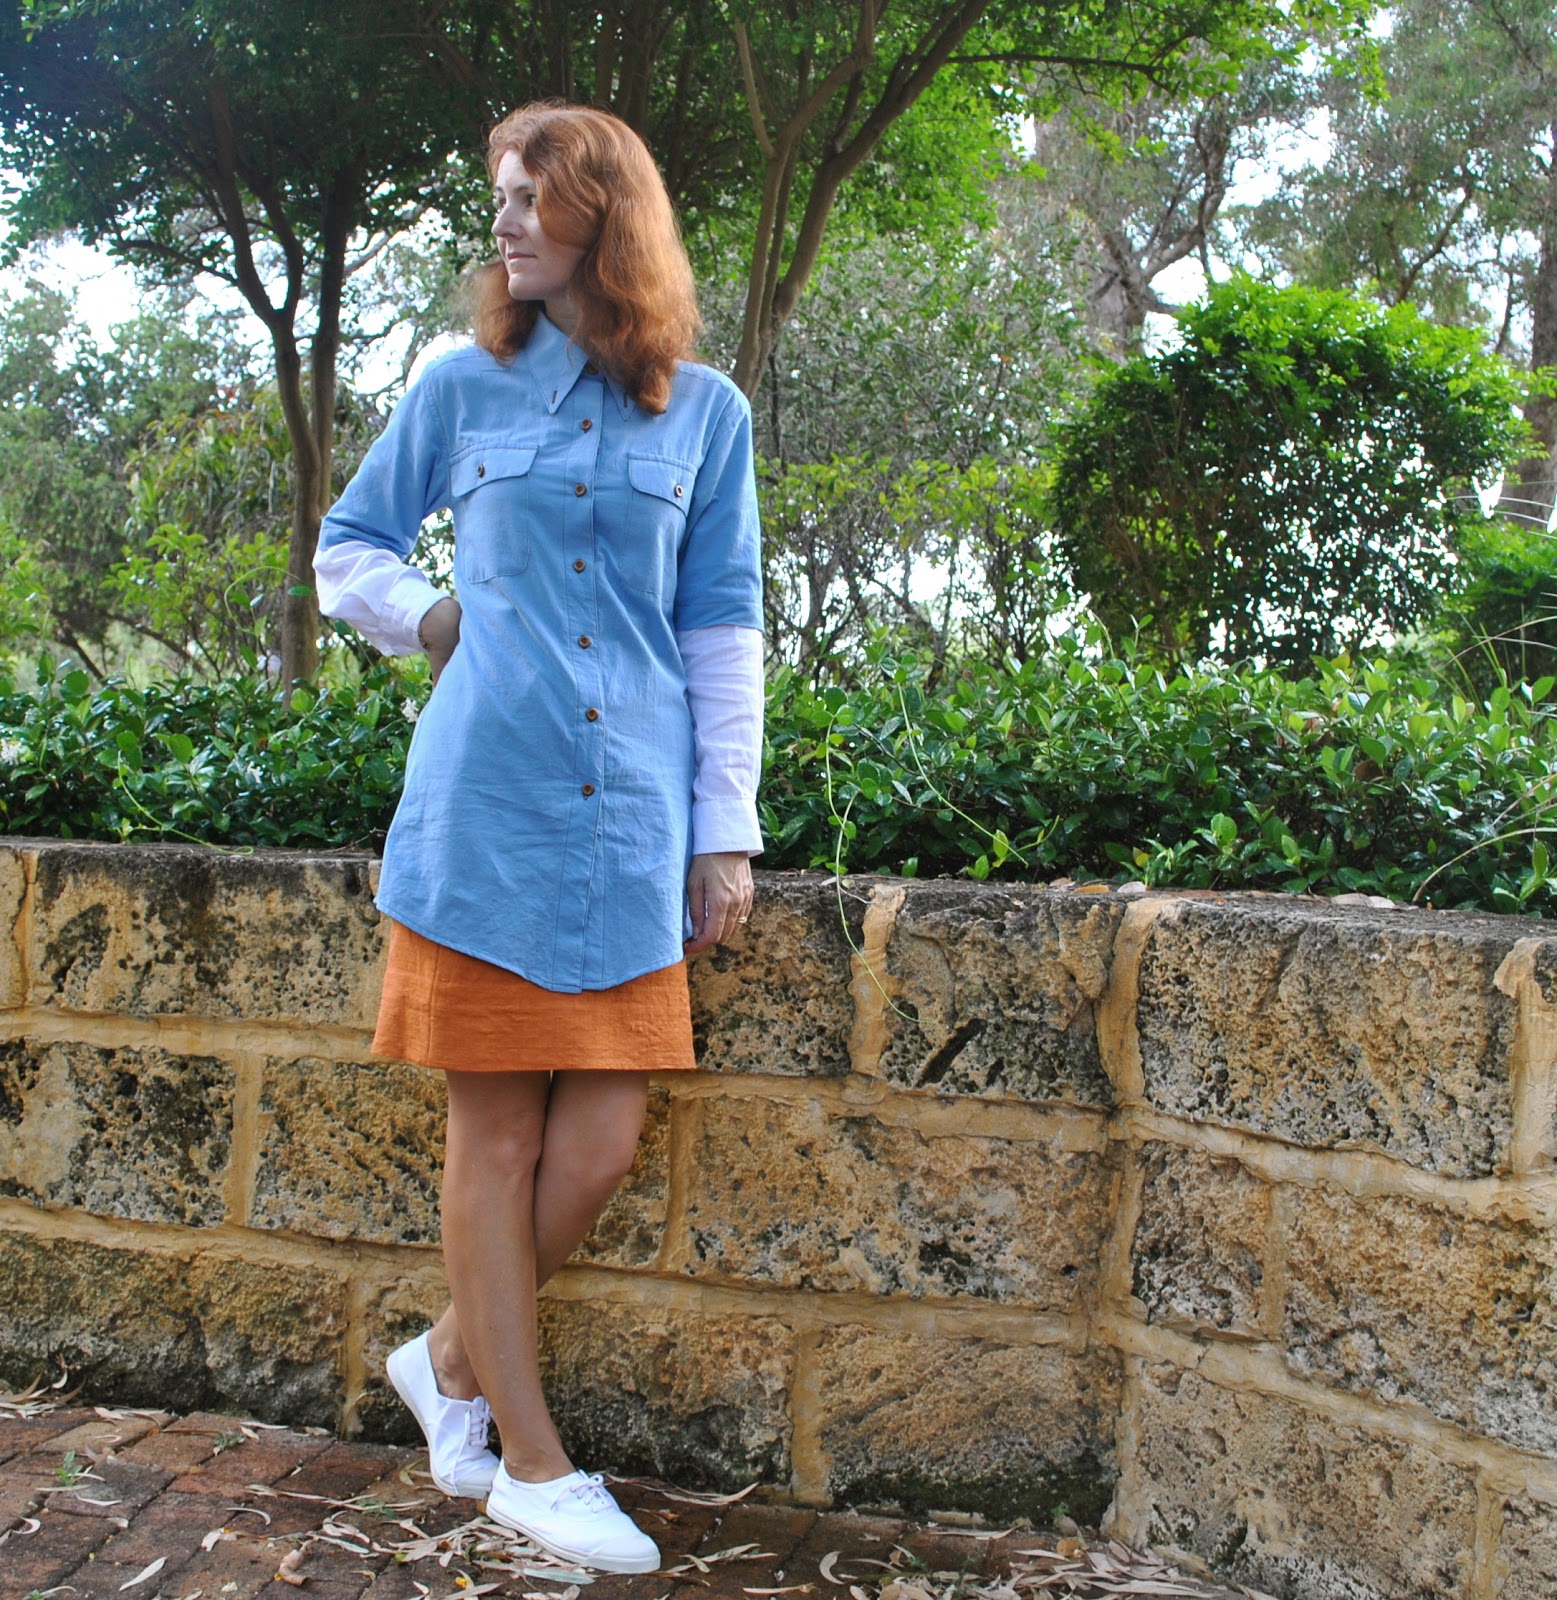
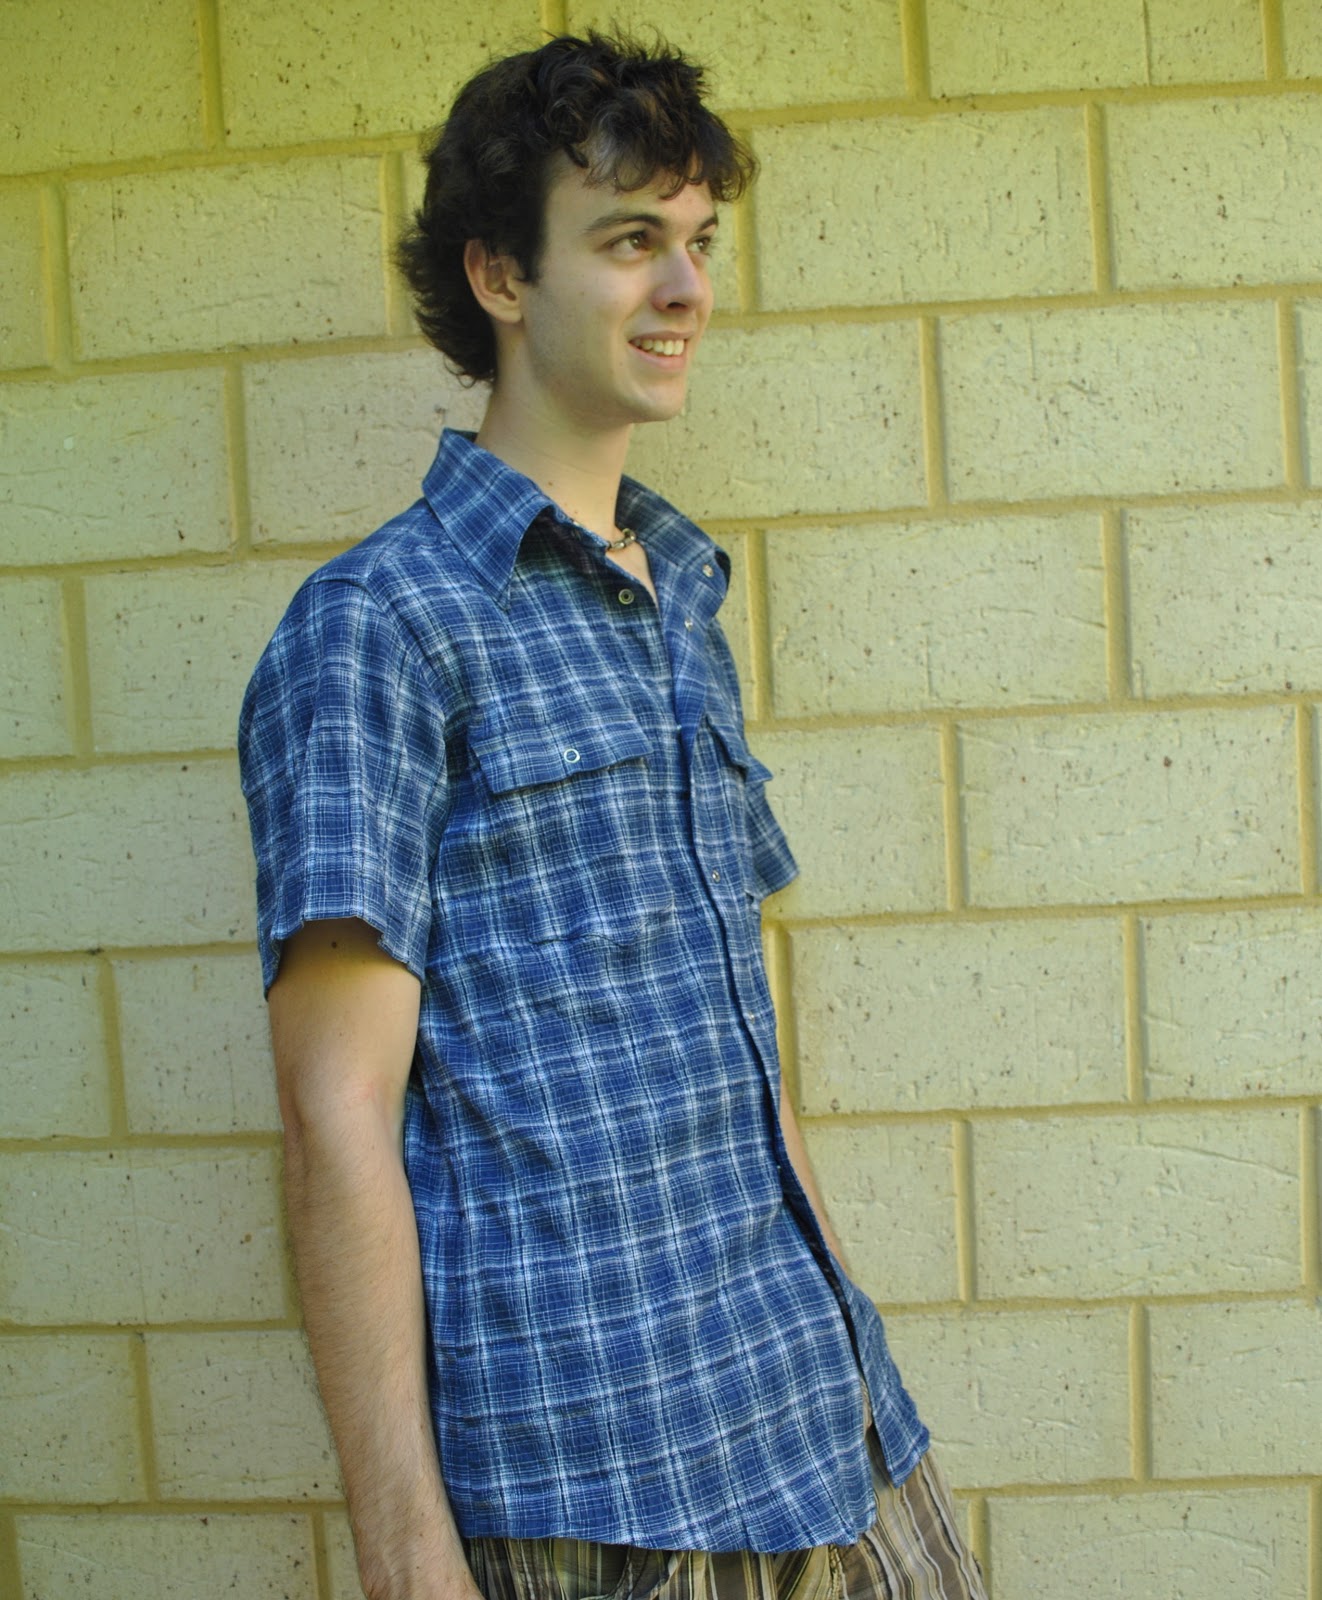
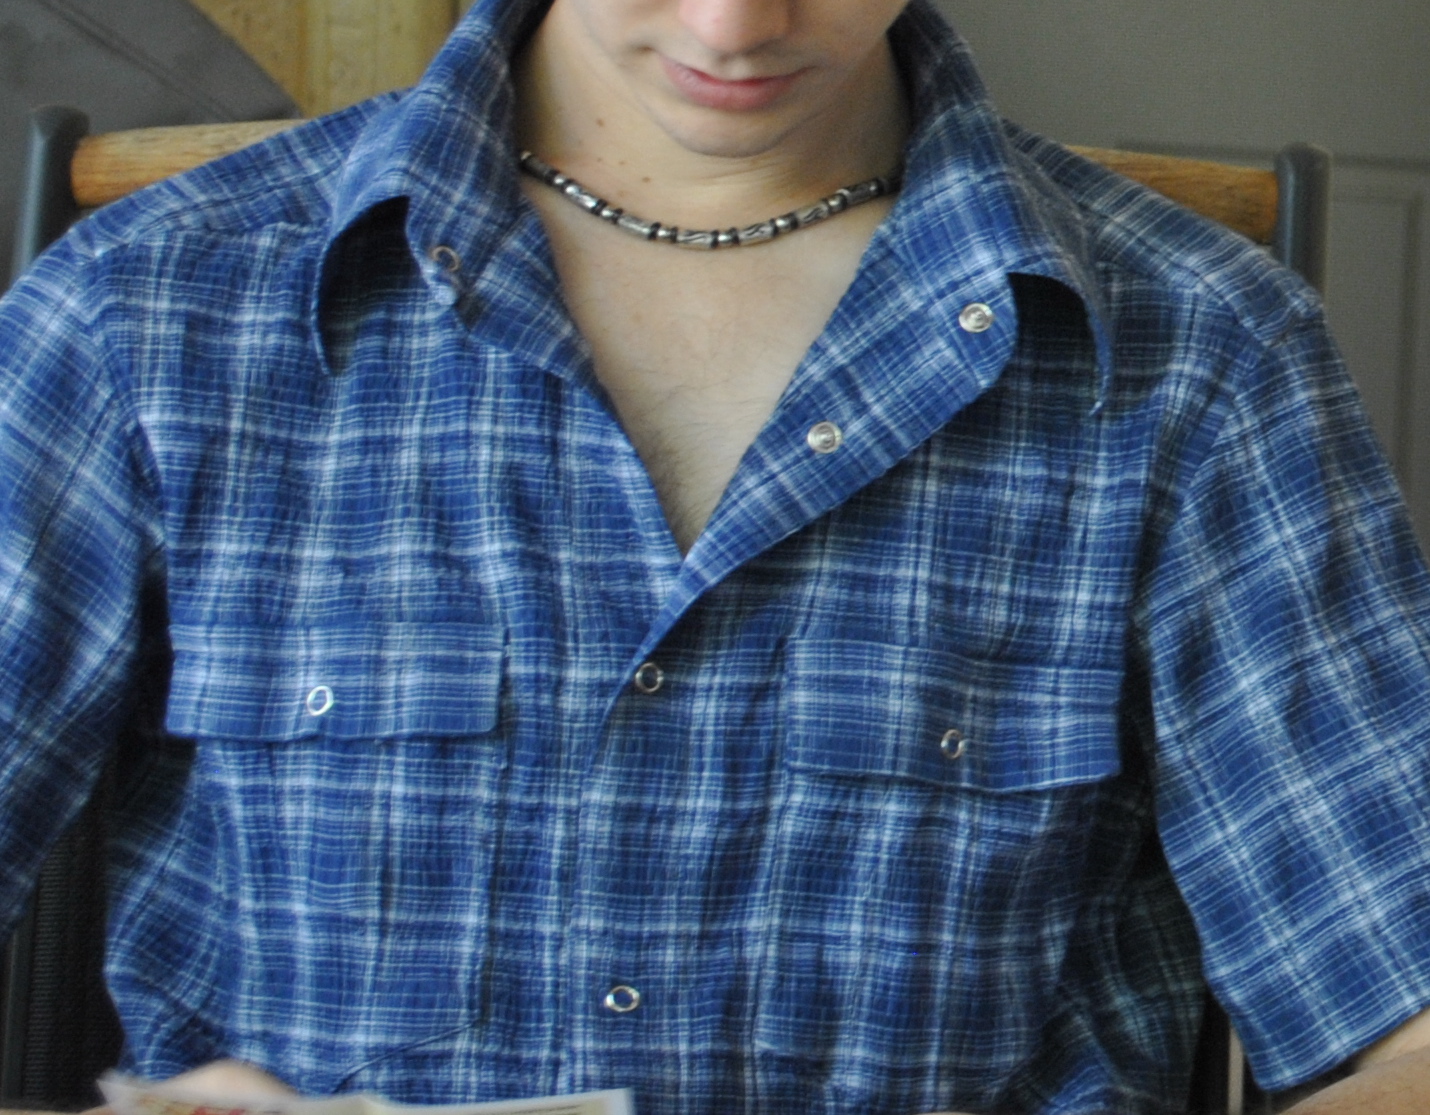
Ahem, I wasn’t sure whether to write about this here or not, since I don’t like to be all sulky sad-face here, buuuut… my double sleeved shirt got such a low rating on Burdastyle that I removed the project. I just felt so depressed about it. Actually I don’t whether to even continue on that site. I’m just losing faith in it a bit. OK, a lot. The ratings system is just too awful. I know they’ve copped a lot of flack for having that rating system, I’ve been reading the complaints for years, but it is still there. I don’t rate other people’s projects myself because I think to give a low rating is mean and counter-productive and often completely governed by personal taste. One might not choose to make or wear someone else’s project, but I reckon that is not a good enough reason to give it the thumbs down. Speaking on behalf of my shirt, it was pretty darn well-made if I say so myself. A tailored shirt is not an easy project, and is something that’s taken me a few shirts to perfect. Particularly when I’m going to the effort to custom fit. Which I am. And as well, anyone who has attempted refashioning with an old garment will know it is way more of a challenge to get a good result than with a perfect piece of untouched new fabric.
Soooo, there it is. Rant over. Sorry about that. Good natured posts should resume soon… once I’ve got over it.
Have a great day, everybody!