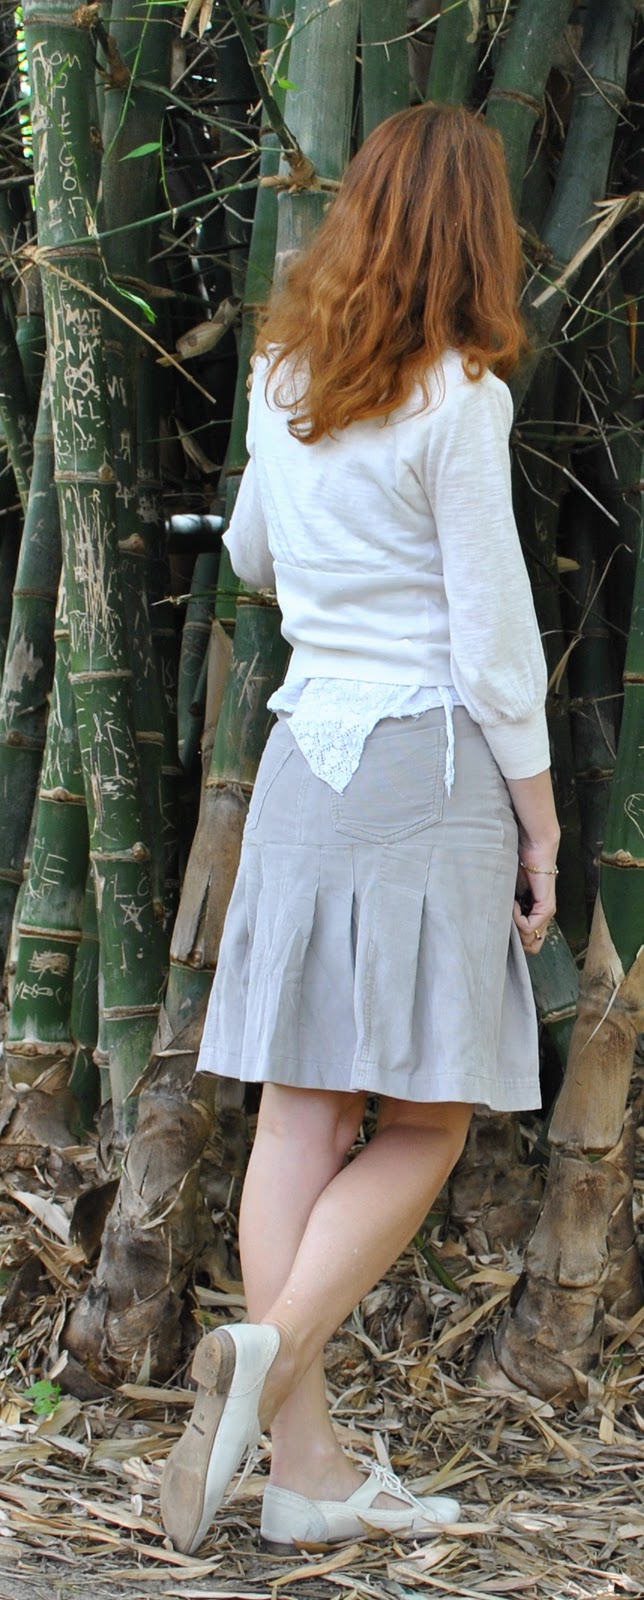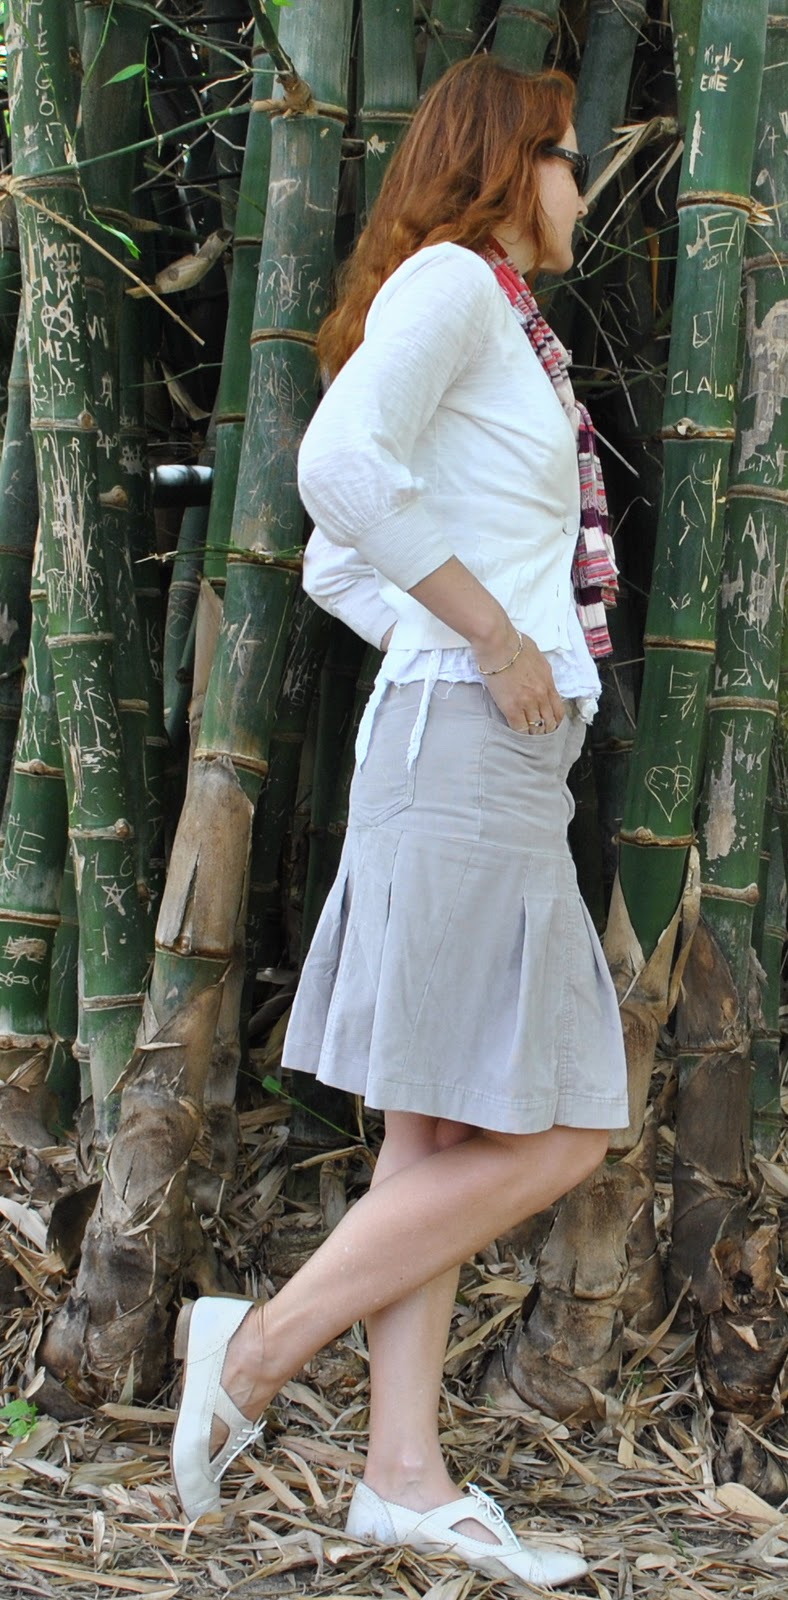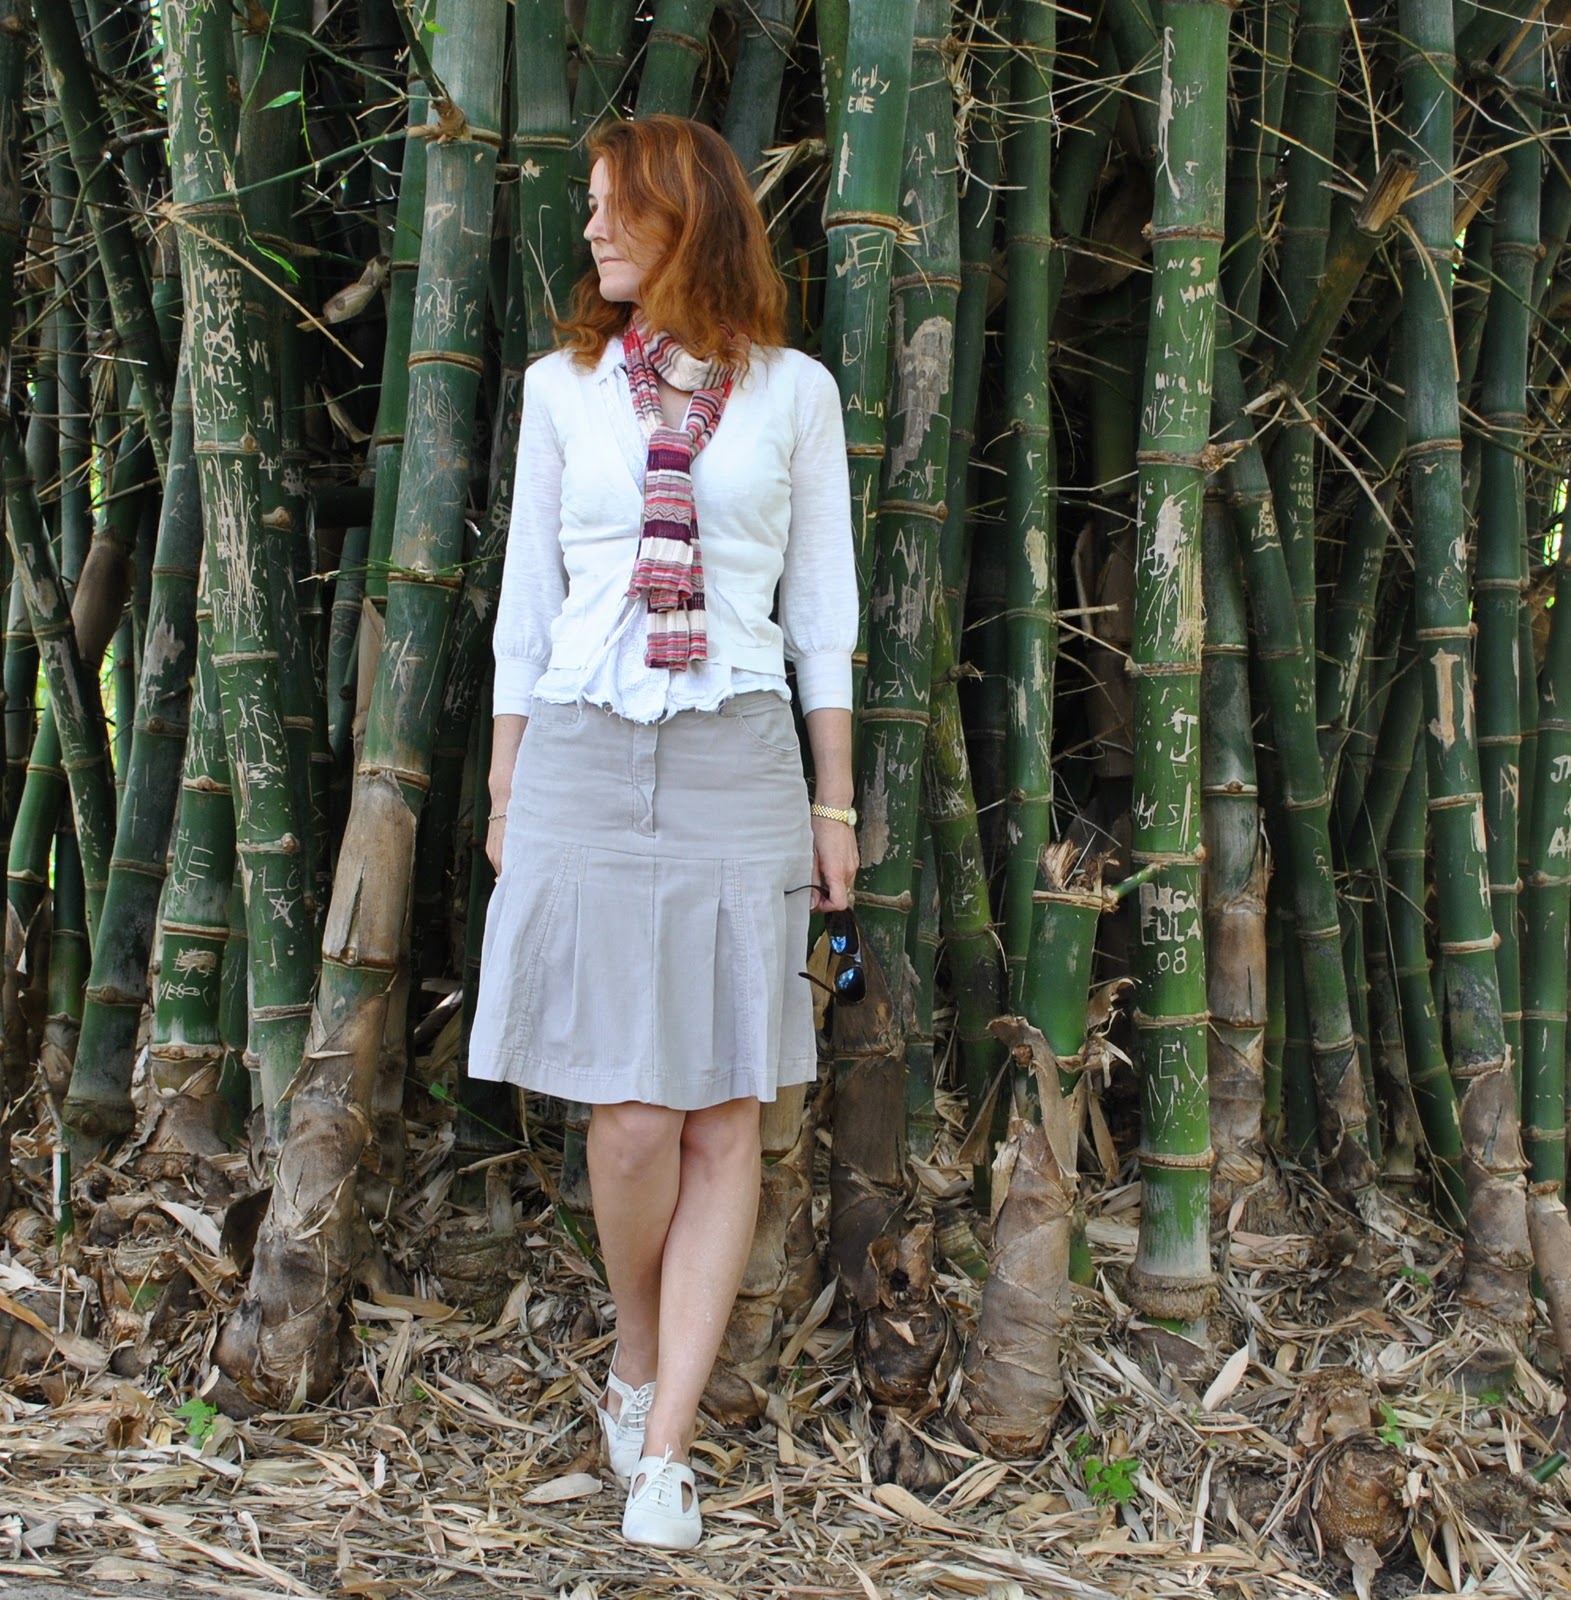
 … I decided it was high time for another refashion since I still have a small mountain of perfectly good fabric in the form of old clothing sitting in my stash. eep! Do you remember these jeans? They had got a bit saggy and baggy about the crotch and seat area, thanks to me using almost-stretchless fabric. Thus I learnt jeans really are so much better with a bit of stretch in them… anyhoo so I could barely stand to see myself in them as jeans anymore but the corduroy was still in pretty good knick overall, and I still absolutely looooove the colour. It’s the perfect “white” for me, a sort of warm shade of grey-white that I love. Oyster white, to get all referentially descriptive, if you like that sort of thing. Yeah, I do too 🙂
So. I’ve seen dozens of jeans-to-skirt refashions on the net but none of them have ever ever appealed to me. Why? People can’t get past dealing with that big curved crotch seam, and will just leave it there, sew it down boom onto the front of their new skirt as is, and I just can’t bear that look. When I do a refashion I want it to actually look like a skirt, thanks, and not for people to look at it and go, “oh, she obviously converted her old jeans into a skirt, yeah. Hmmm. Okaaaaay… No attempt to do anything at all about that crotch seam…. And what about the rest of the fabric from the legs? Why not make use of that somehow?”
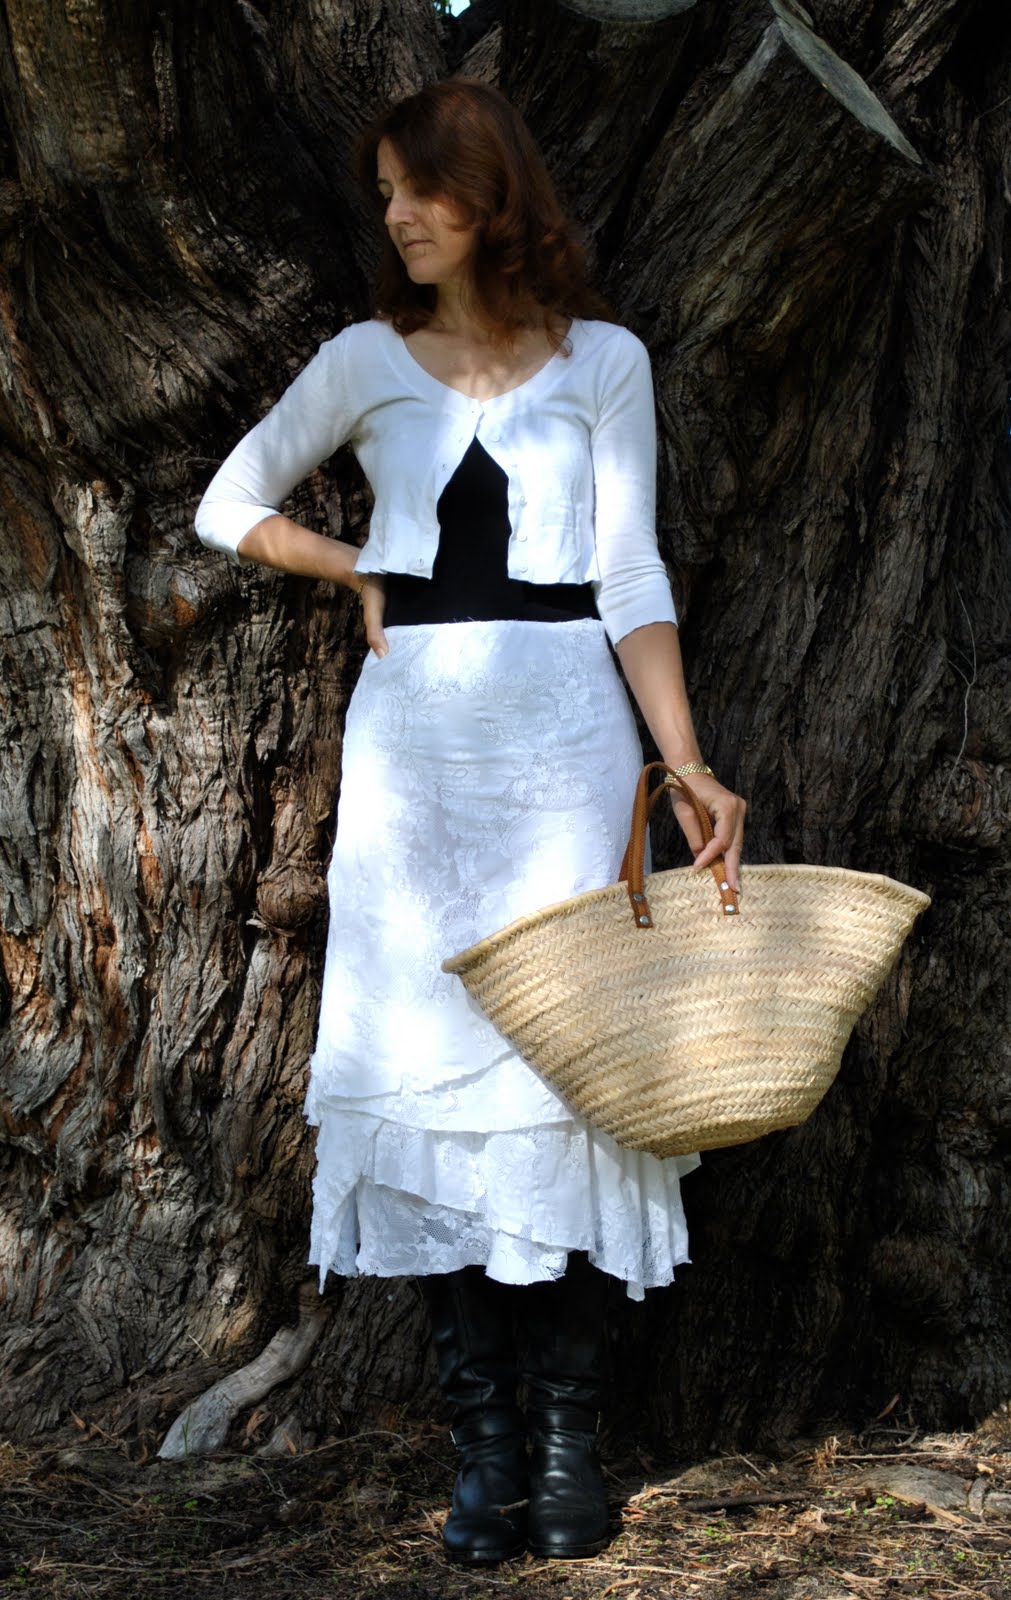
So I gave it some thought and came up with this refashion (details below), that actually used up nearly all of the fabric from my old jeans. The whole top bit, with the waistband, fly, side pockets, coin pocket and rear patch pockets is still there completely intact too. I think it ended up looking quite fun and flippy, and almost sporty too, don’t you?
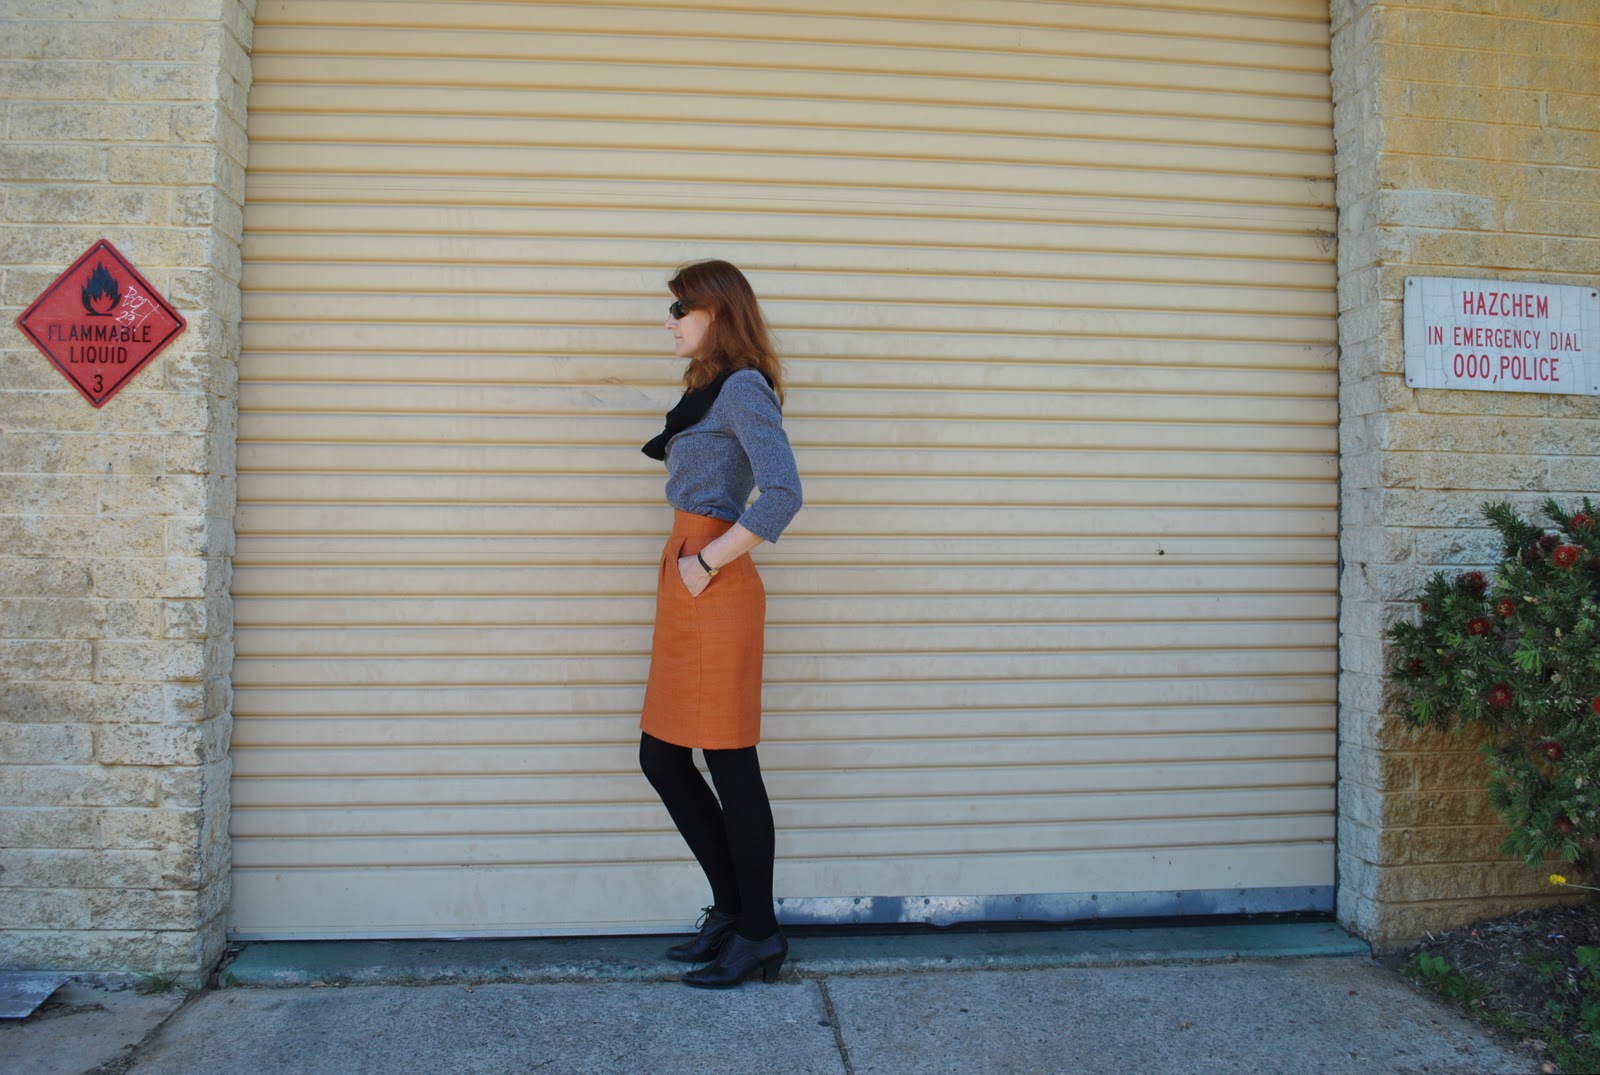
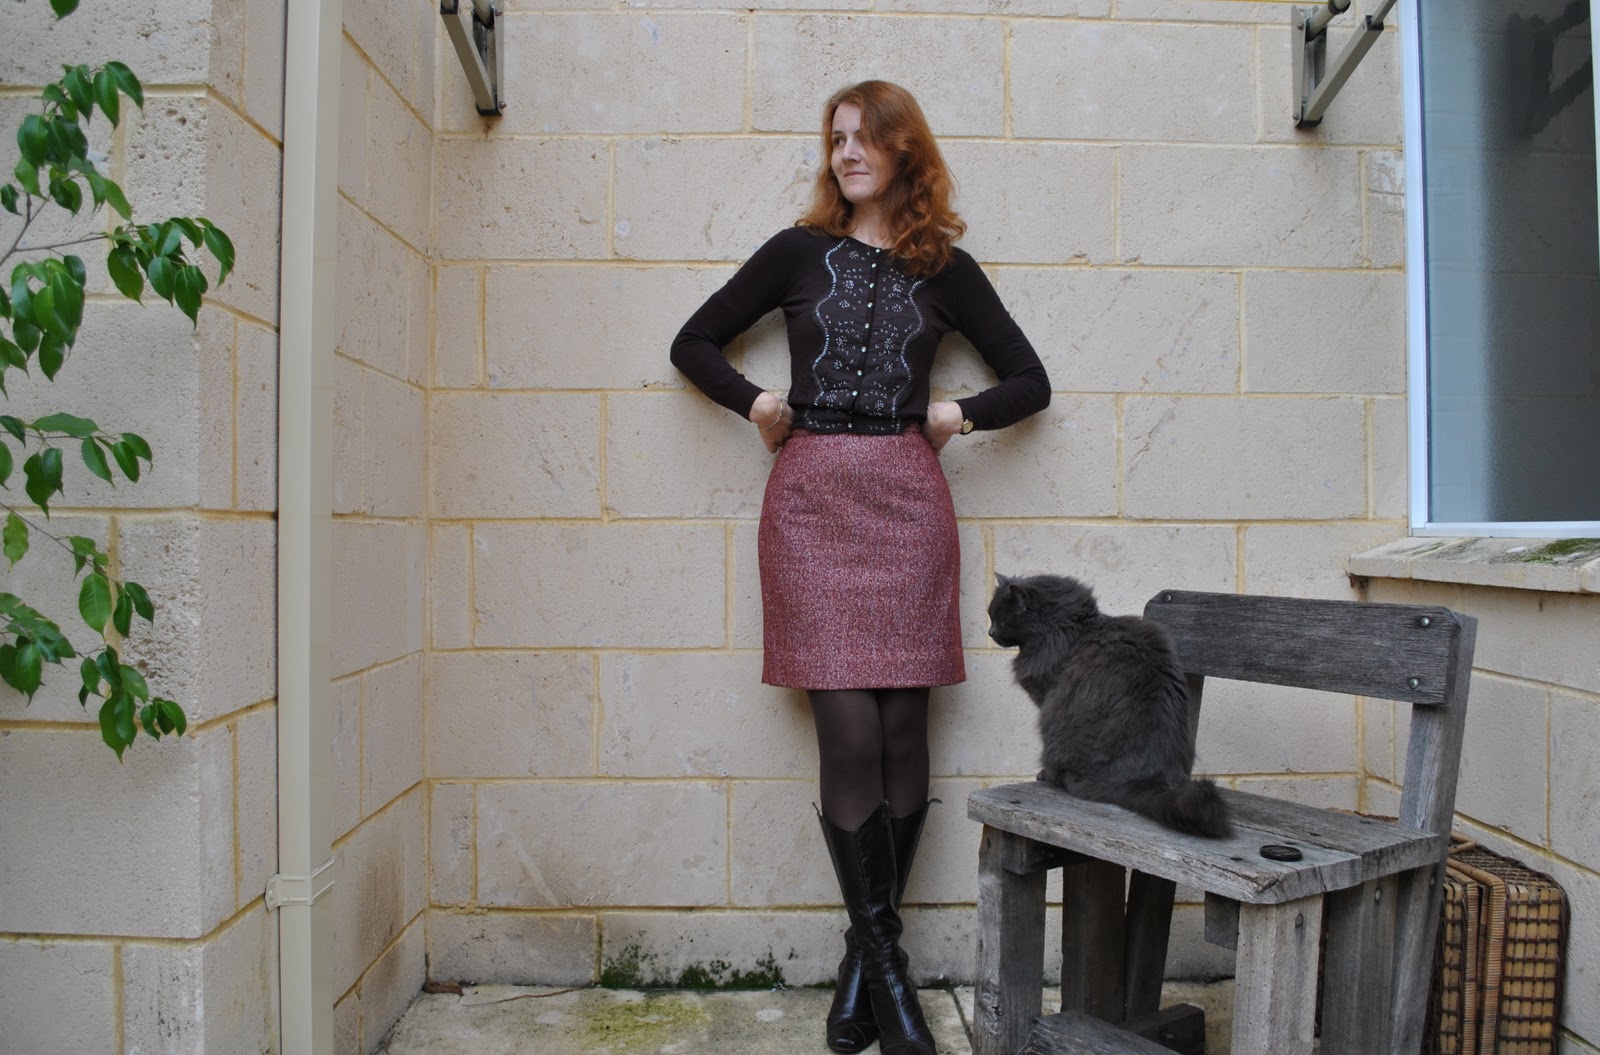
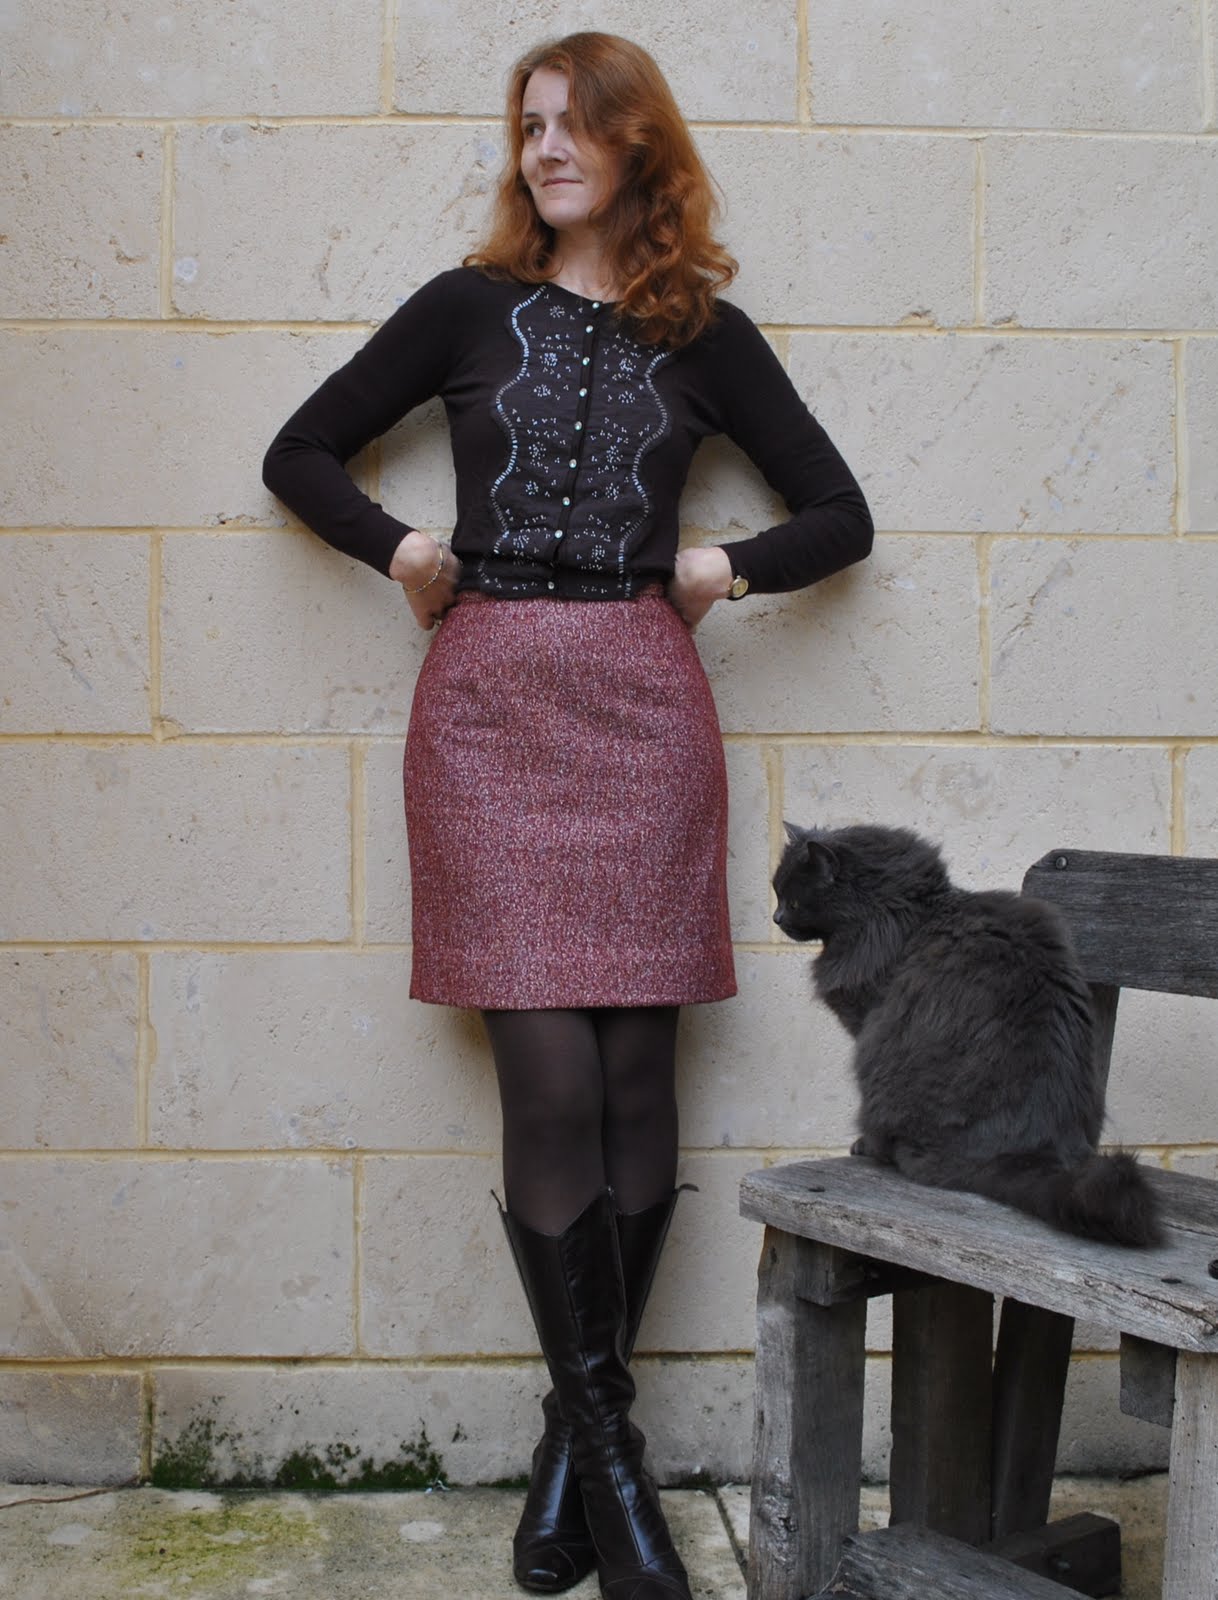
Details:
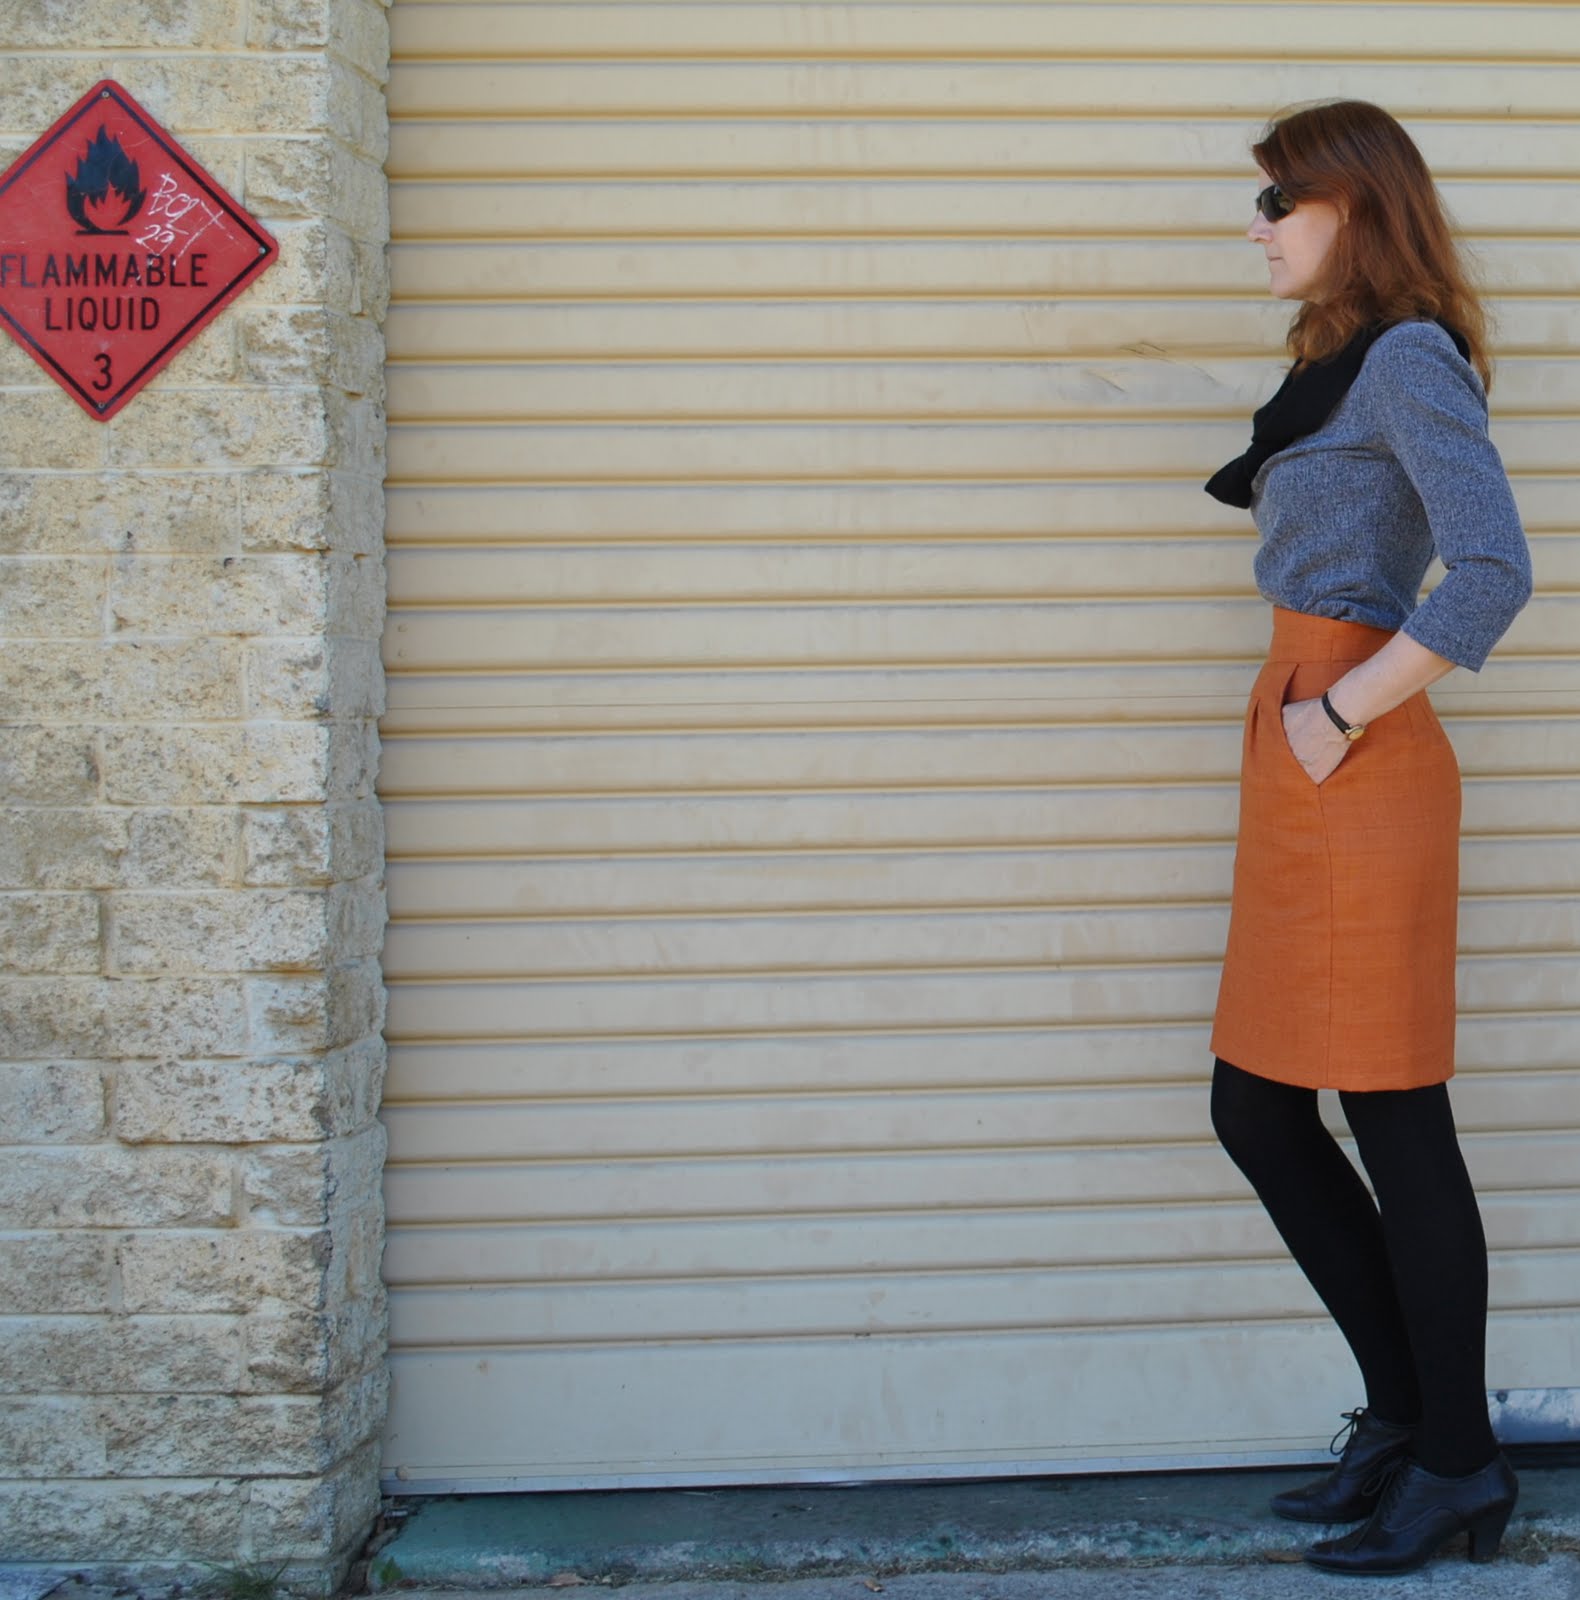
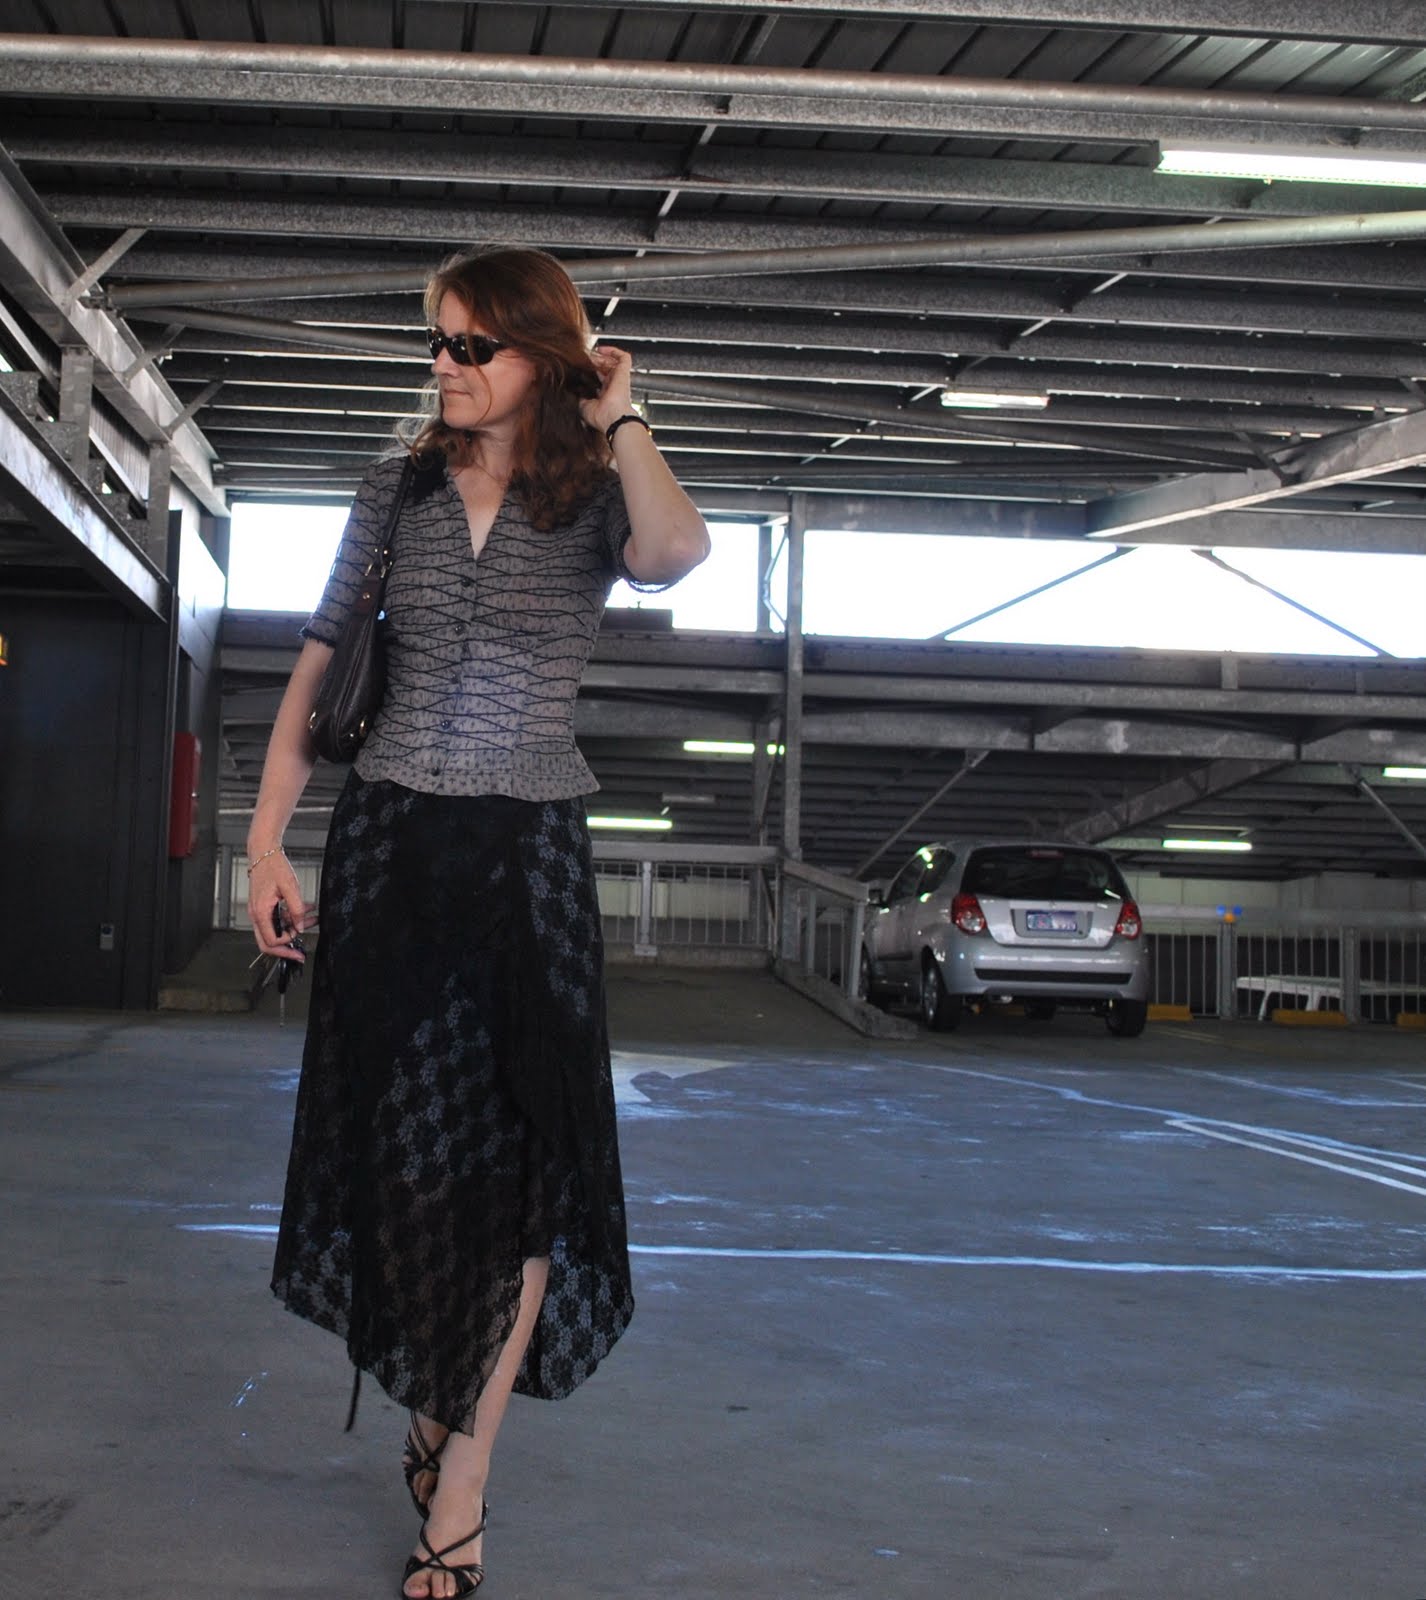
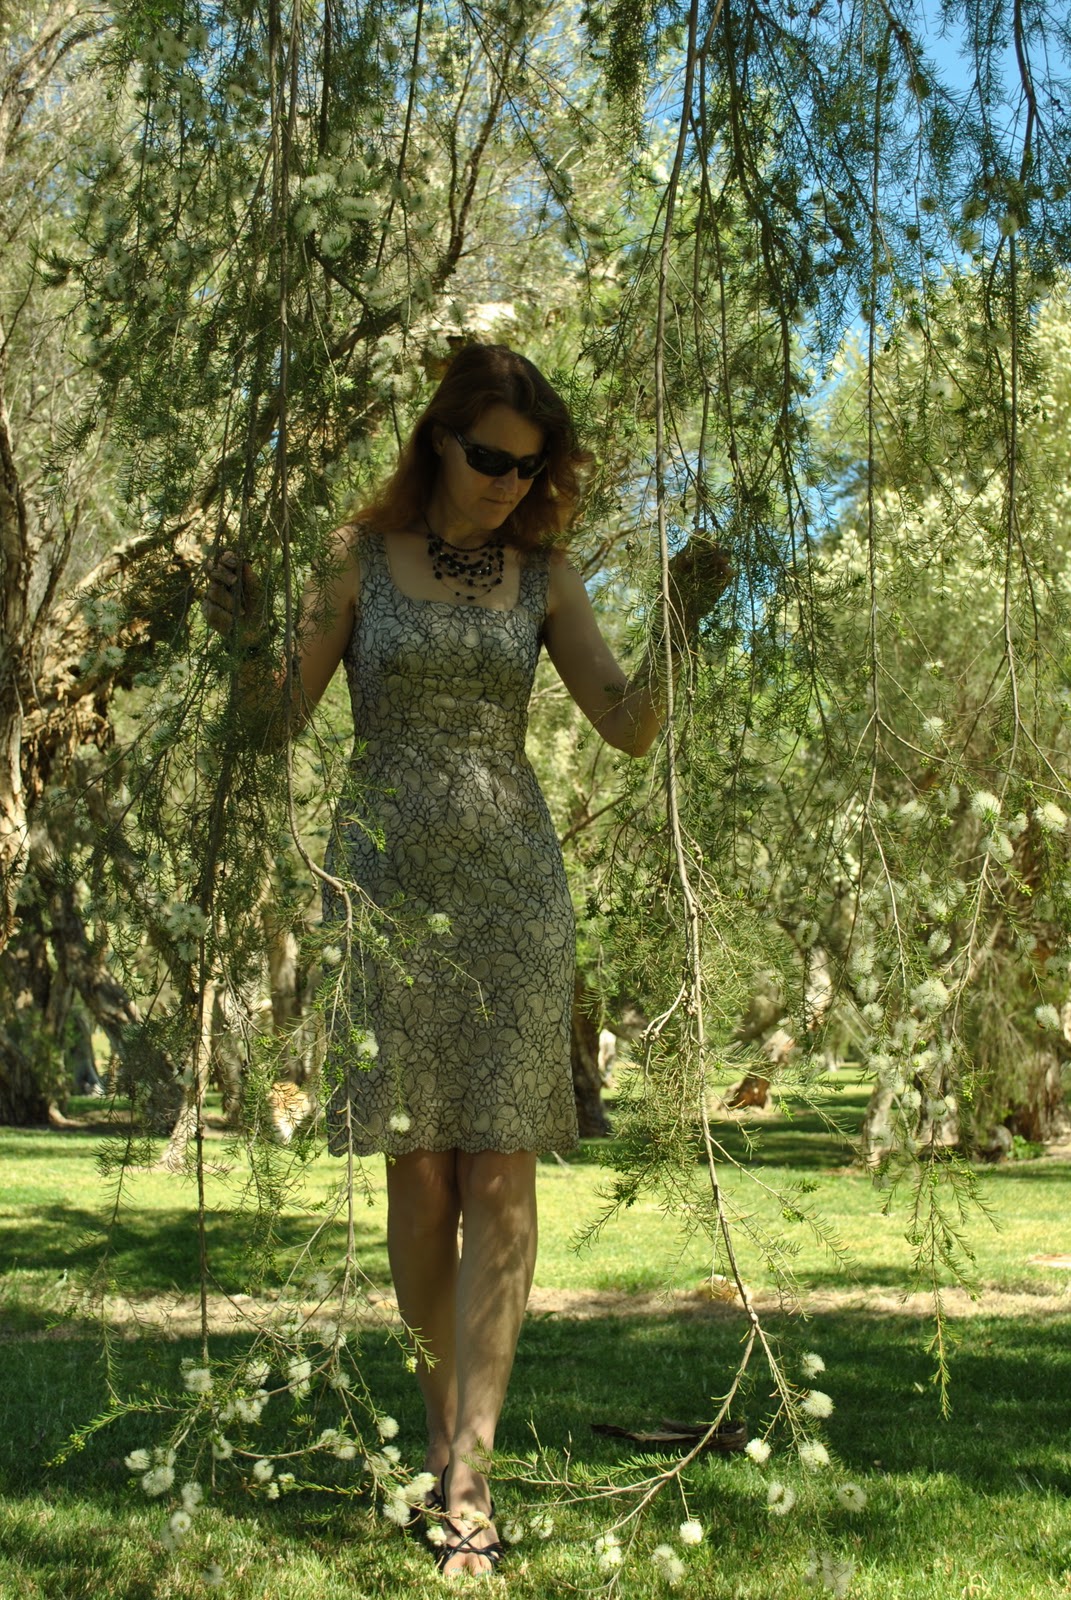
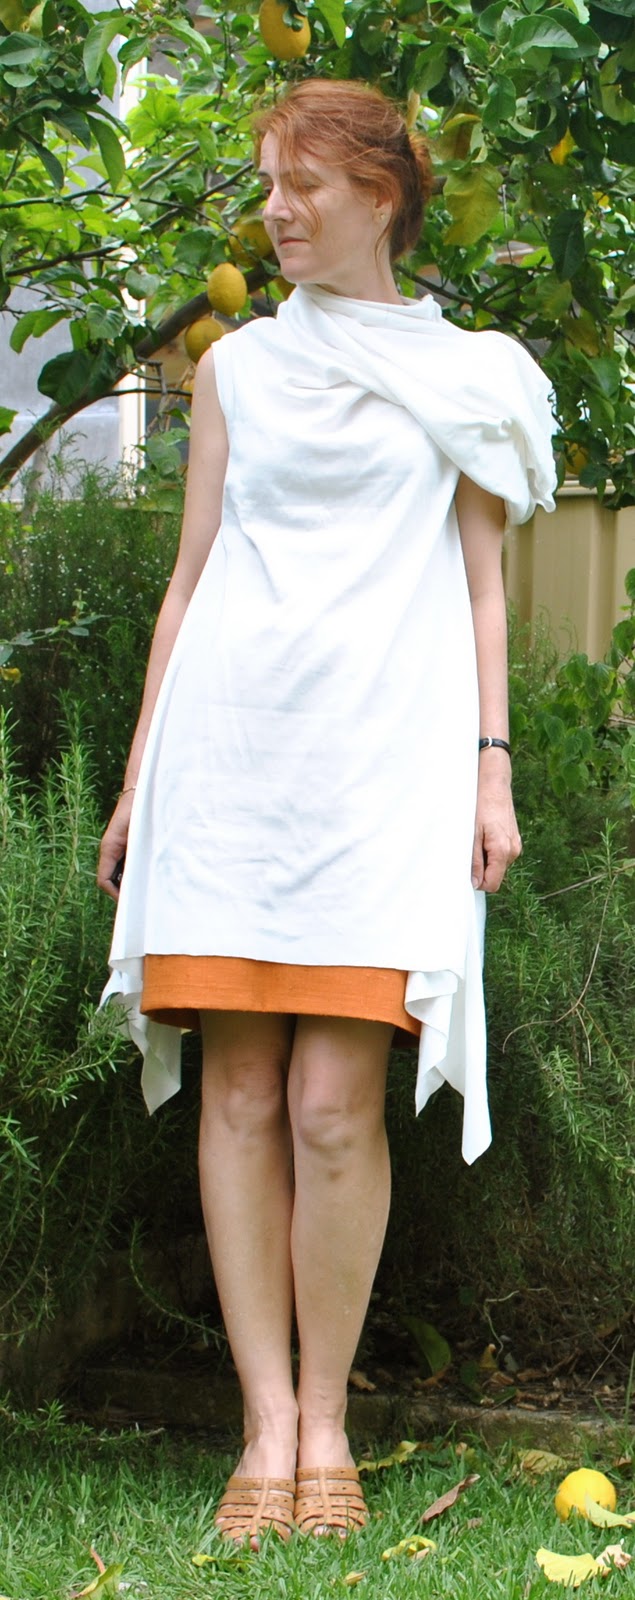
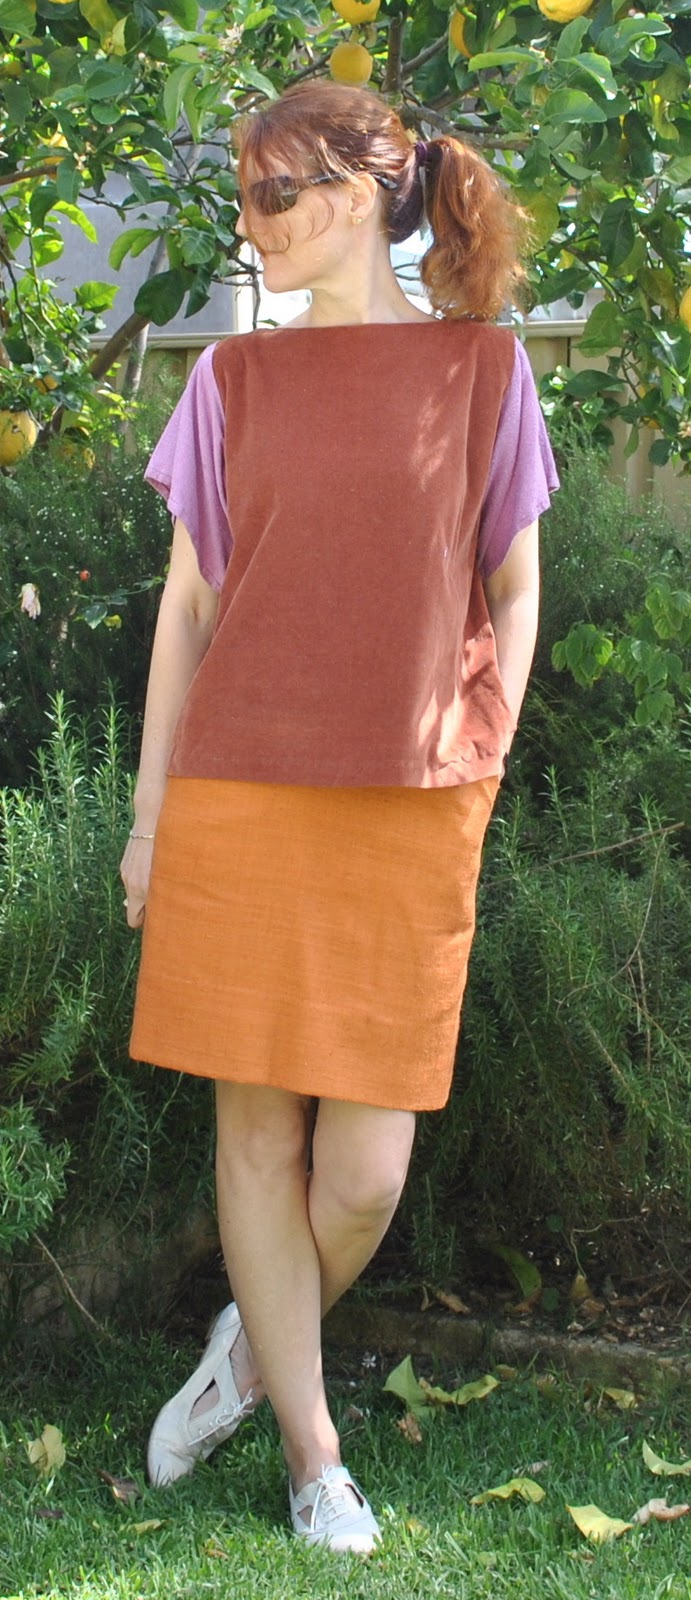
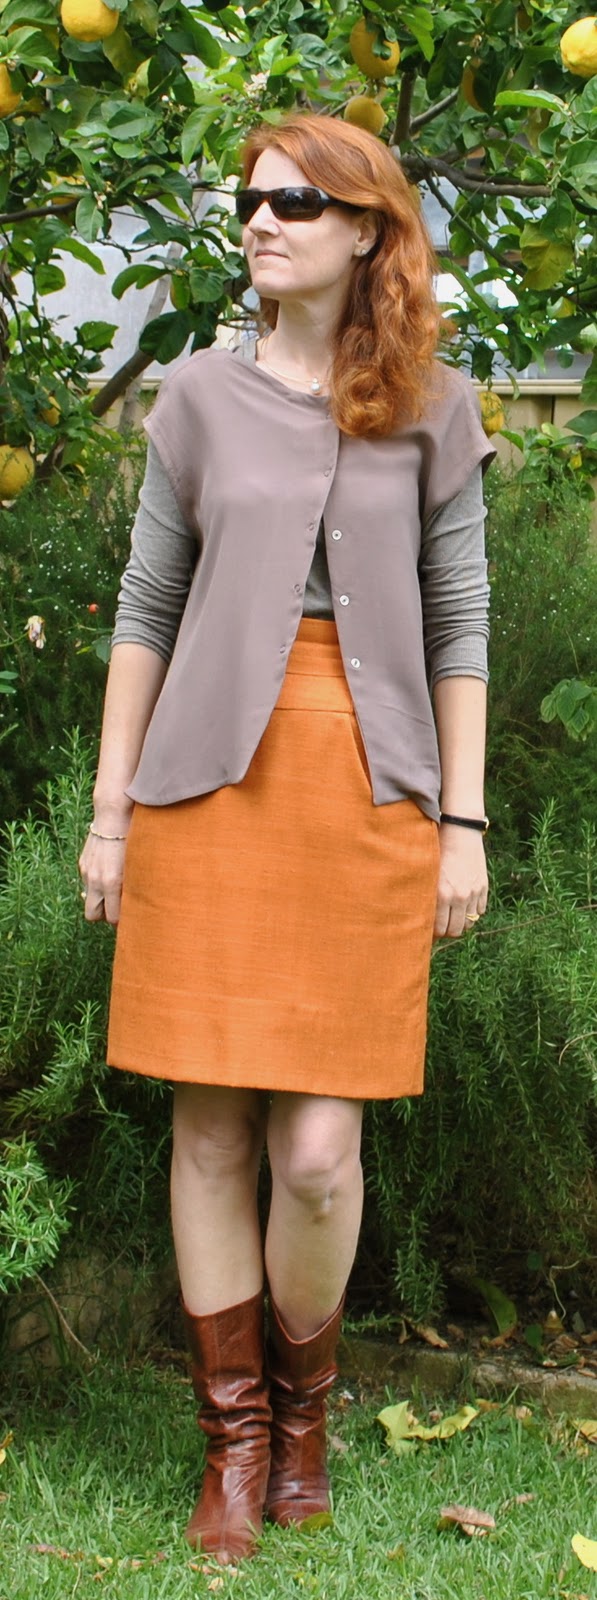
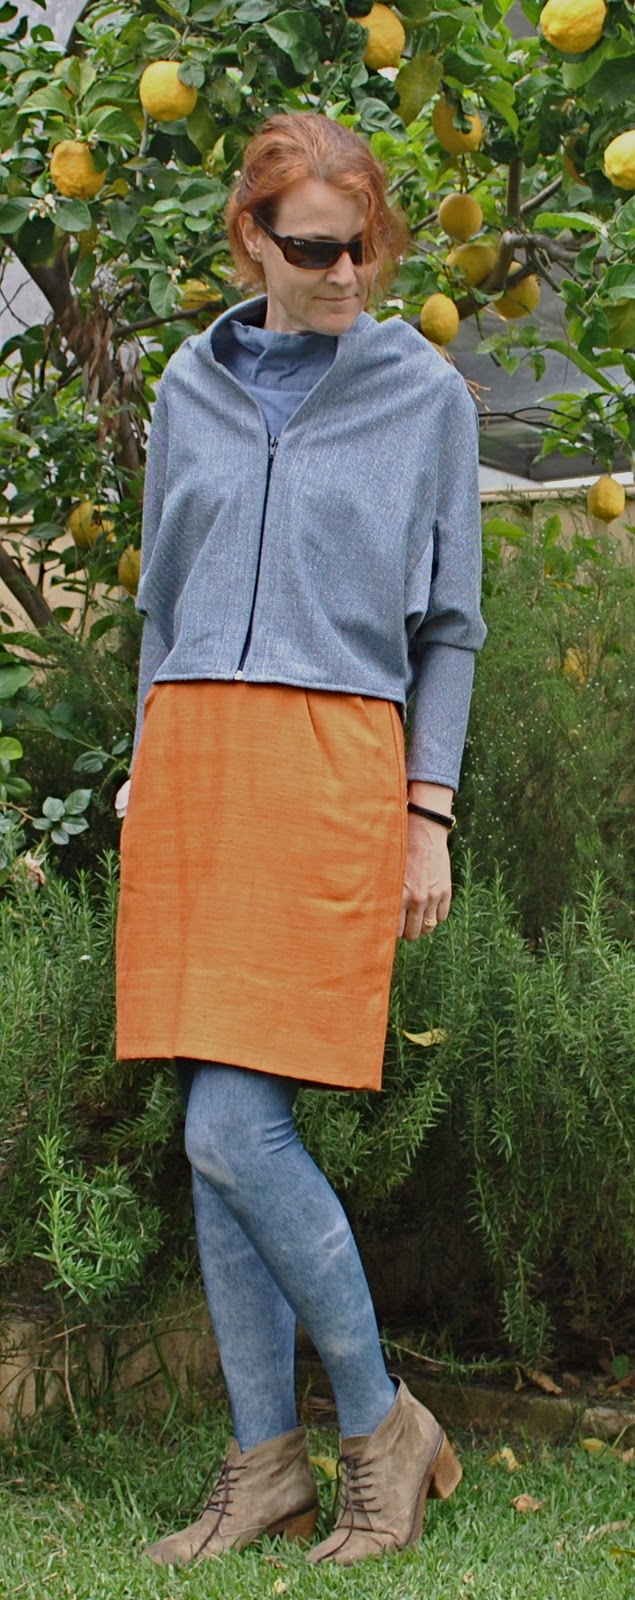
Skirt; my own design, a refashion of an old pair of off-white corduroy jeans (originally made by me too, using Burda 7863 here)
Blouse; Butterick 4985, ivory eyelet cheesecloth with lace trim
Cardigan; Country Road
Scarf; Missoni
Shoes; Bronx, from Zomp shoes


It was a pretty simple refashion…. firstly I cut off the top bit, and unpicked the curved part of that offending crotch seam.
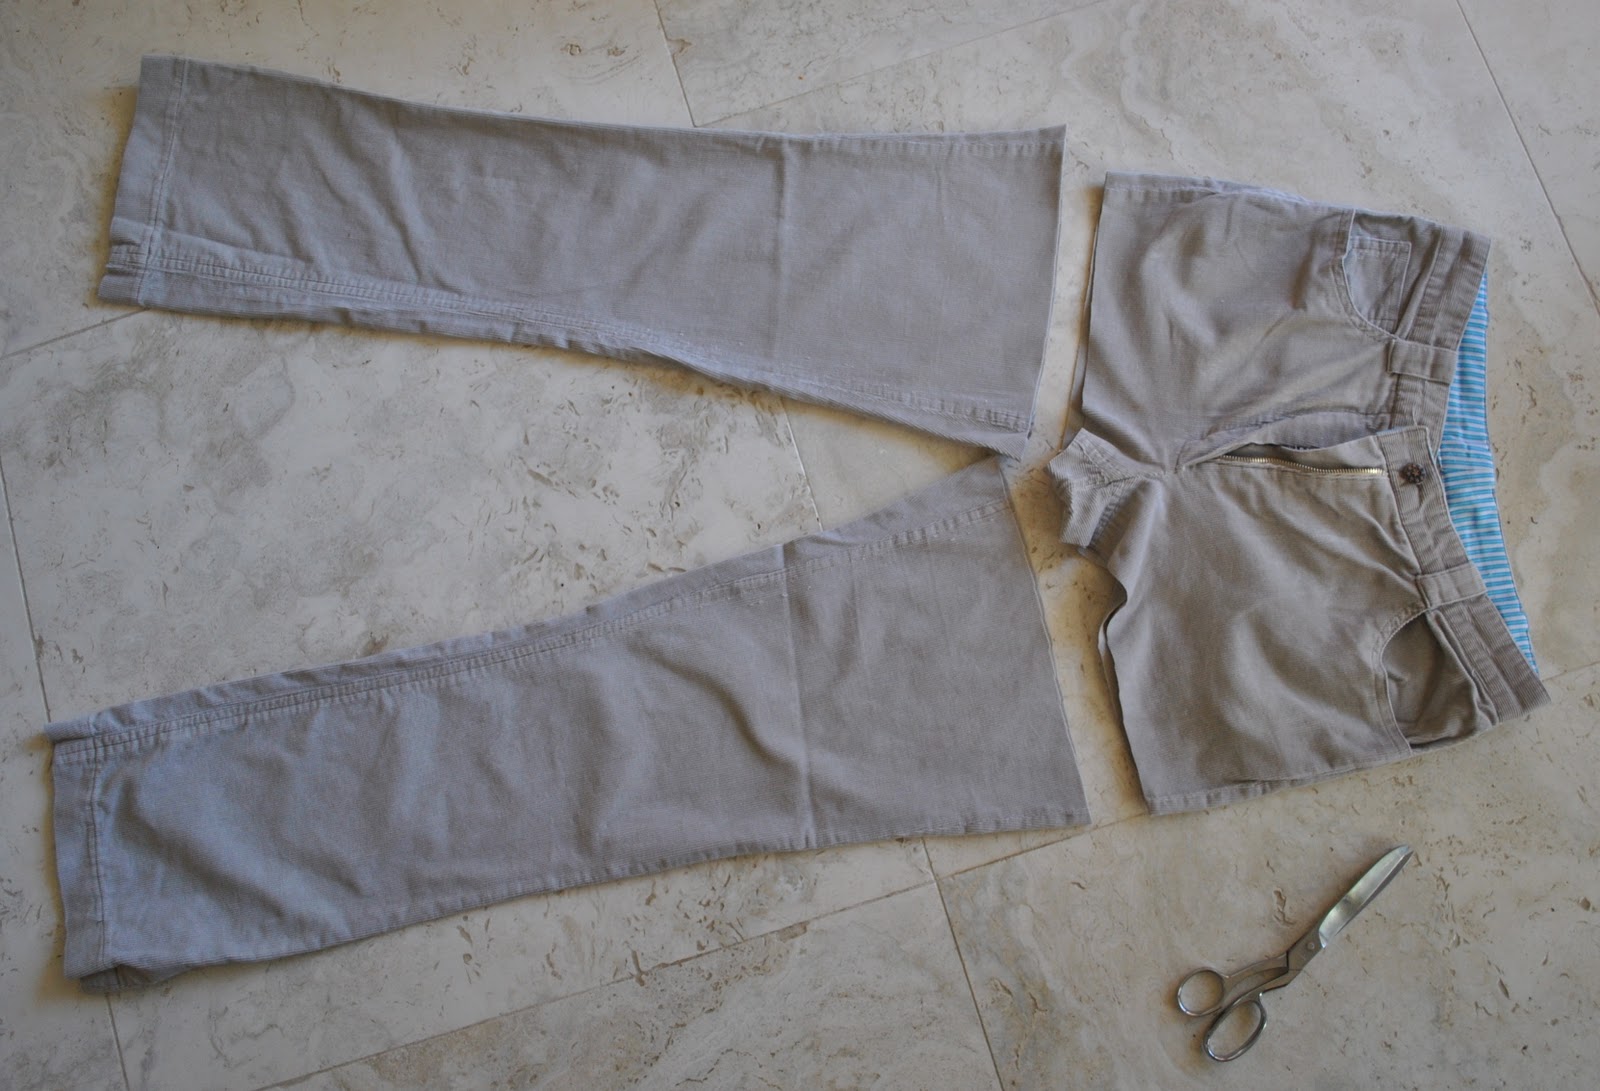

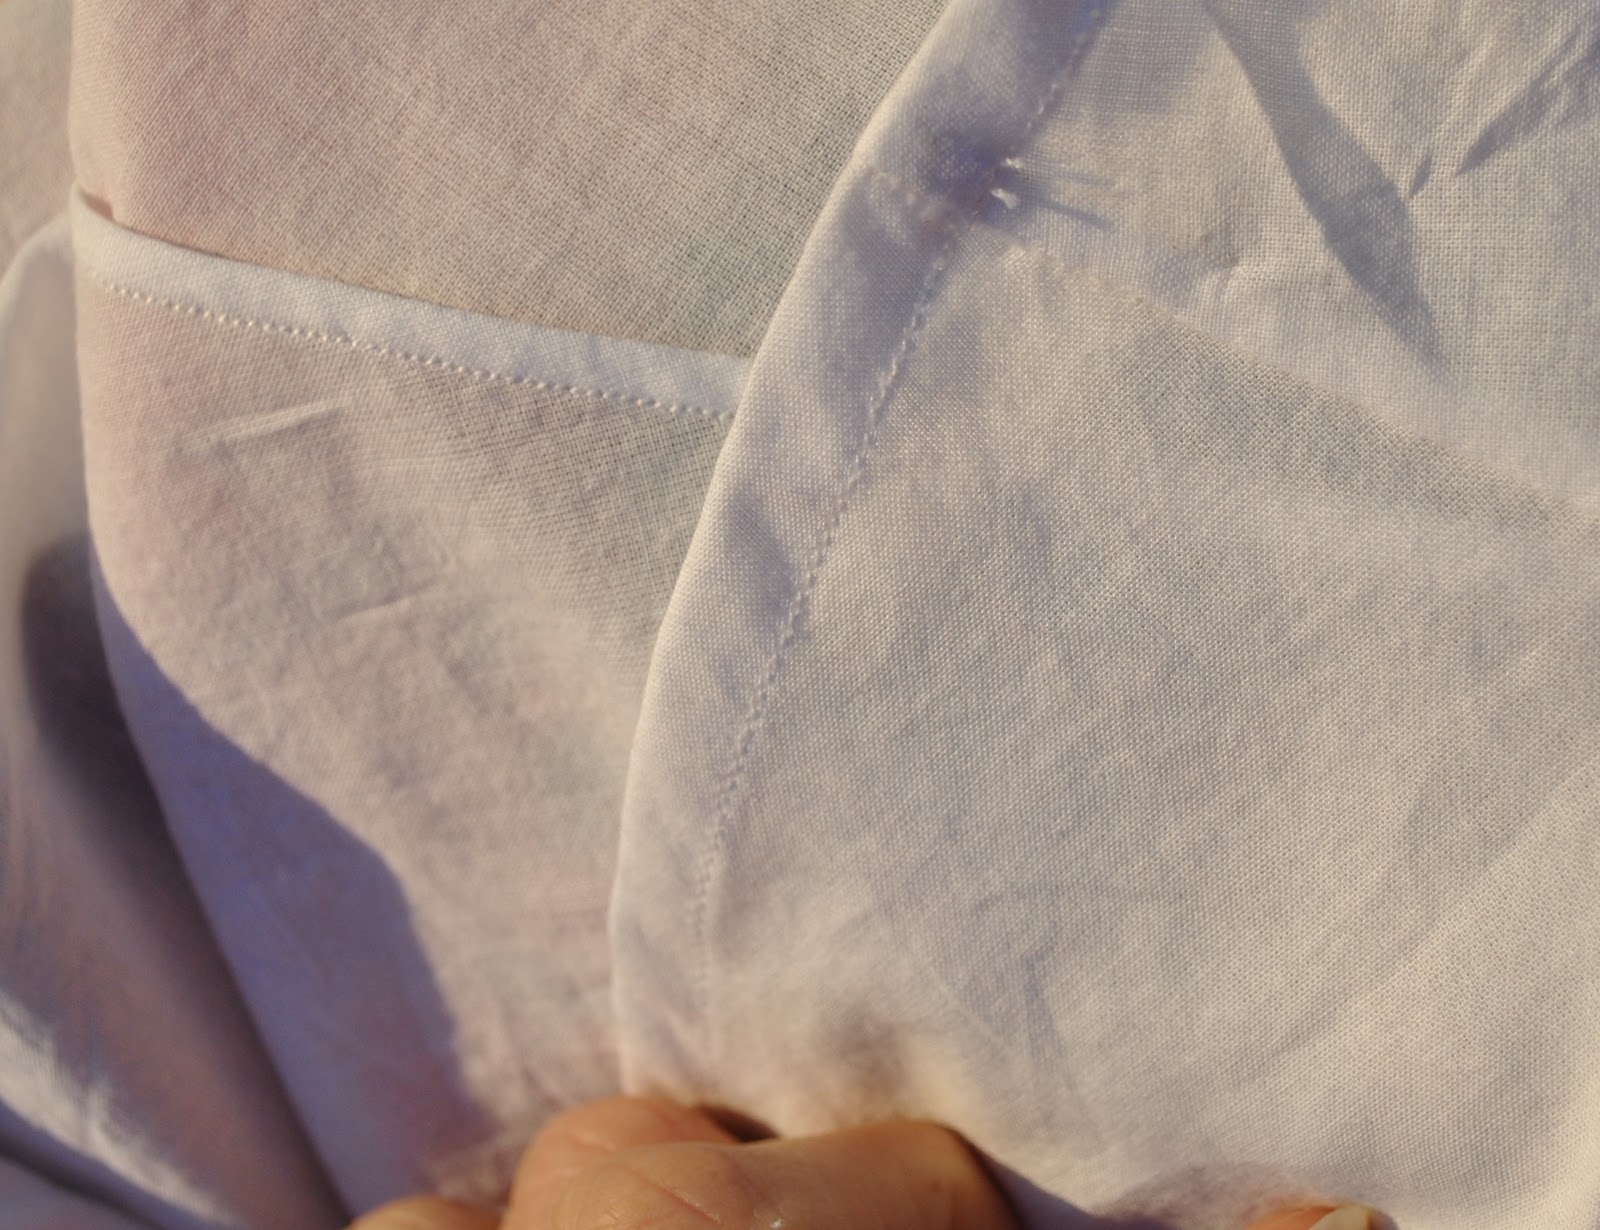
Pinned and resewed centre front and centre back respectively into a straight front and back seam… aaah; already, things are looking a lot more skirt-like here, right? I also re-double-topstitched that centre back seam down again to match how it was originally…

Now for the legs bit…
Measuring and allowing for an equal depth hem cut each two leg pieces in almost-half horizontally.
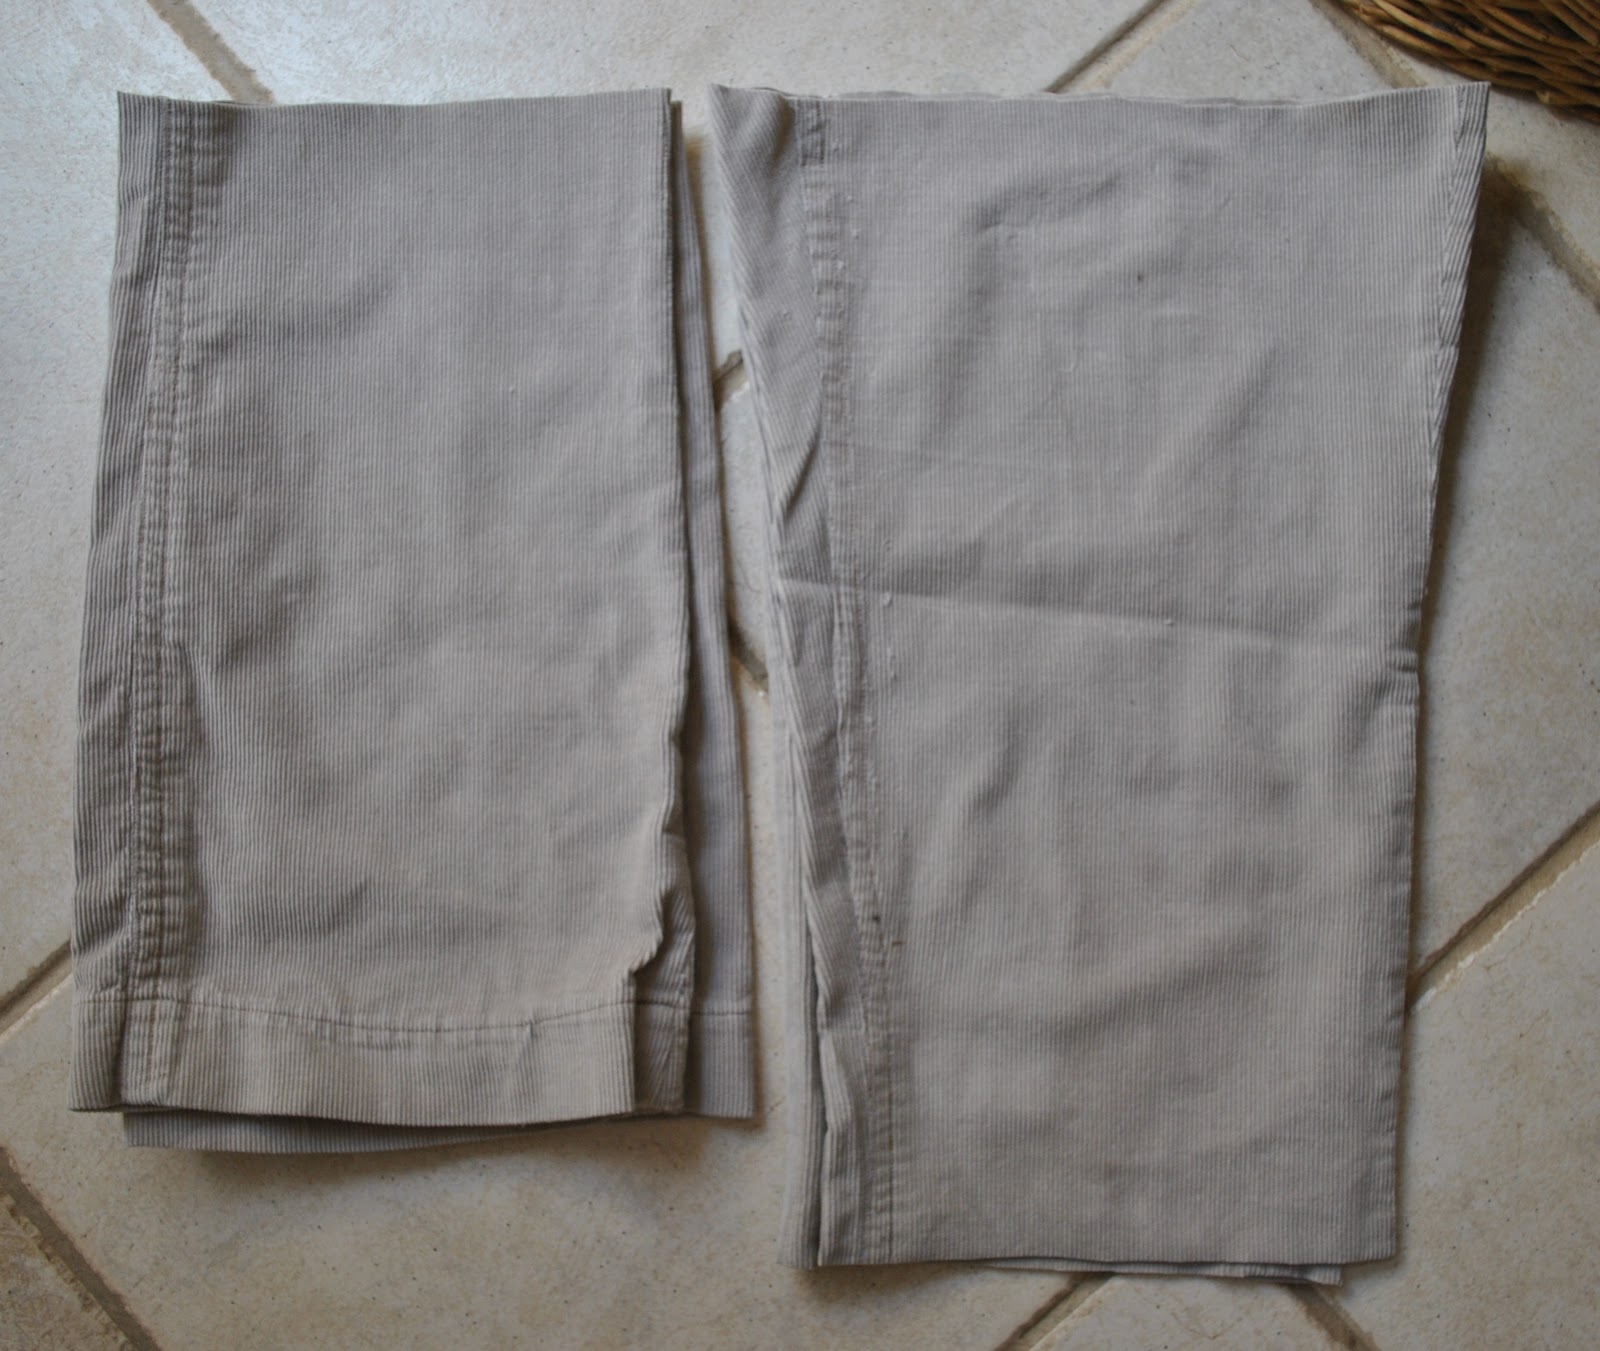
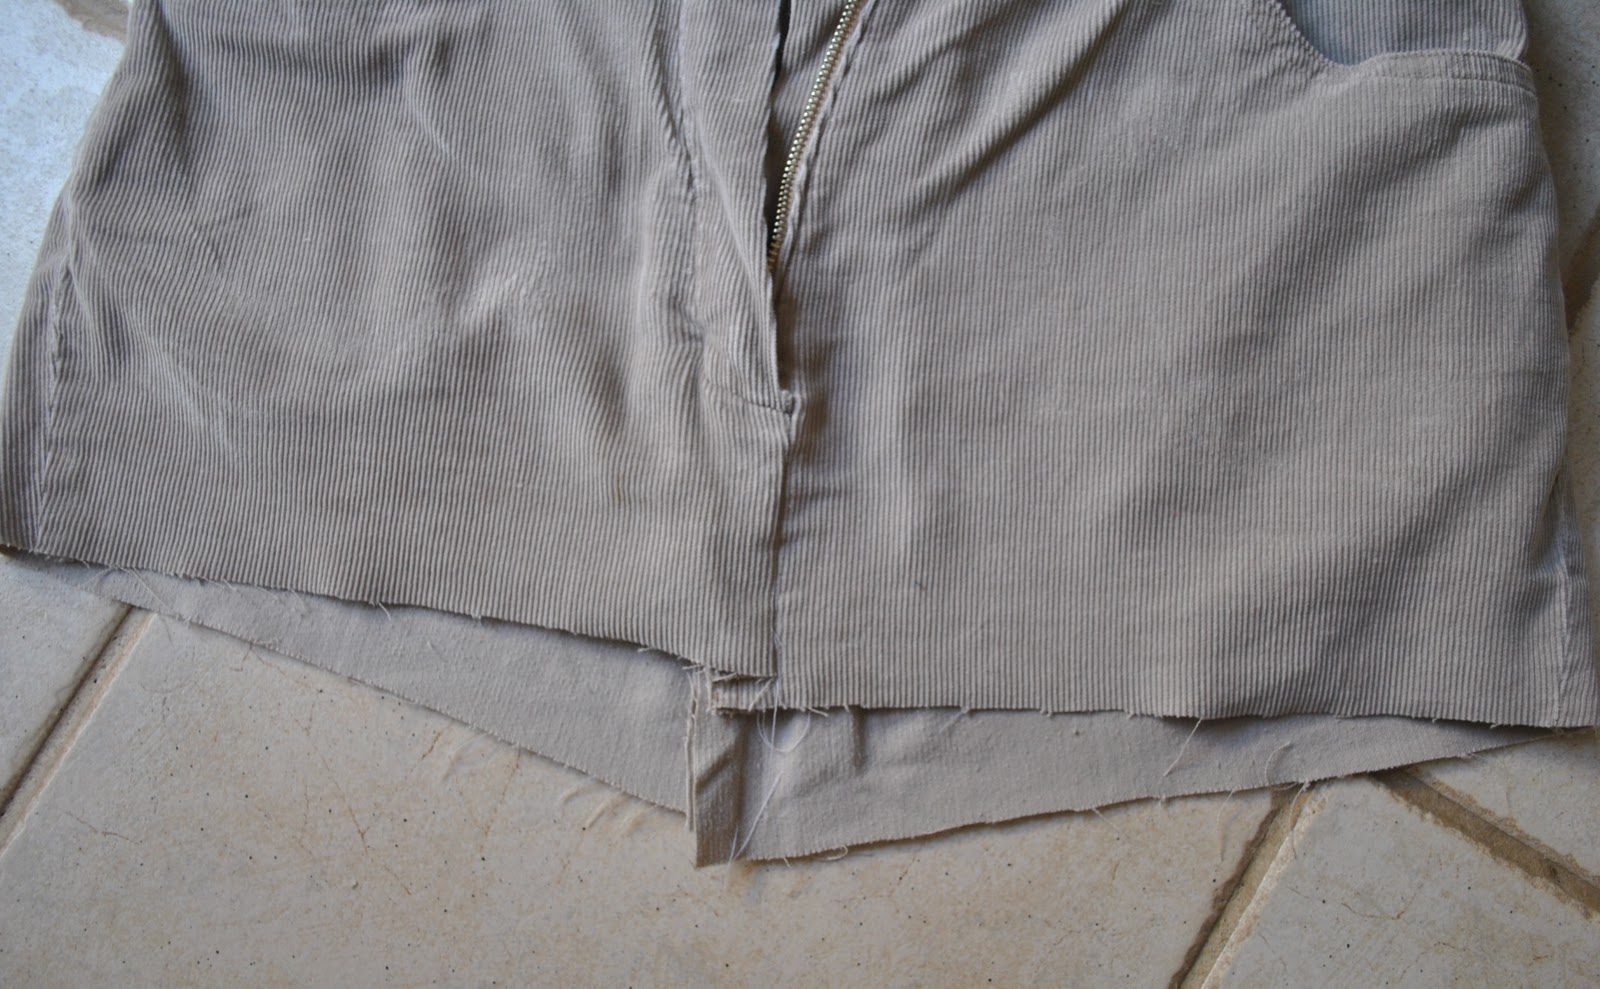
I wanted to keep the original hem down at the bottom of the legs intact, and so just unpicked a small area of hem near the outside leg seam… so I could unpick that long outside leg seam. I chose the outside leg seam for unpicking like this since I had originally double-topstitched the inside leg seam down, and so the outer leg seam was a far easier option here…!! And those double topstitched seams makes a nice random feature on the final skirt too.This gave me four largish pieces of leg, in pairs of two mirror images. I used the lower leg pieces (with the hem mostly intact) for the skirt front and the upper leg pieces (which as yet have no hem) for the skirt back, and checking to make sure the nap of the corduroy is all the same way as each other and the top of the skirt, sewed up the side seams, and centre front and back seams.
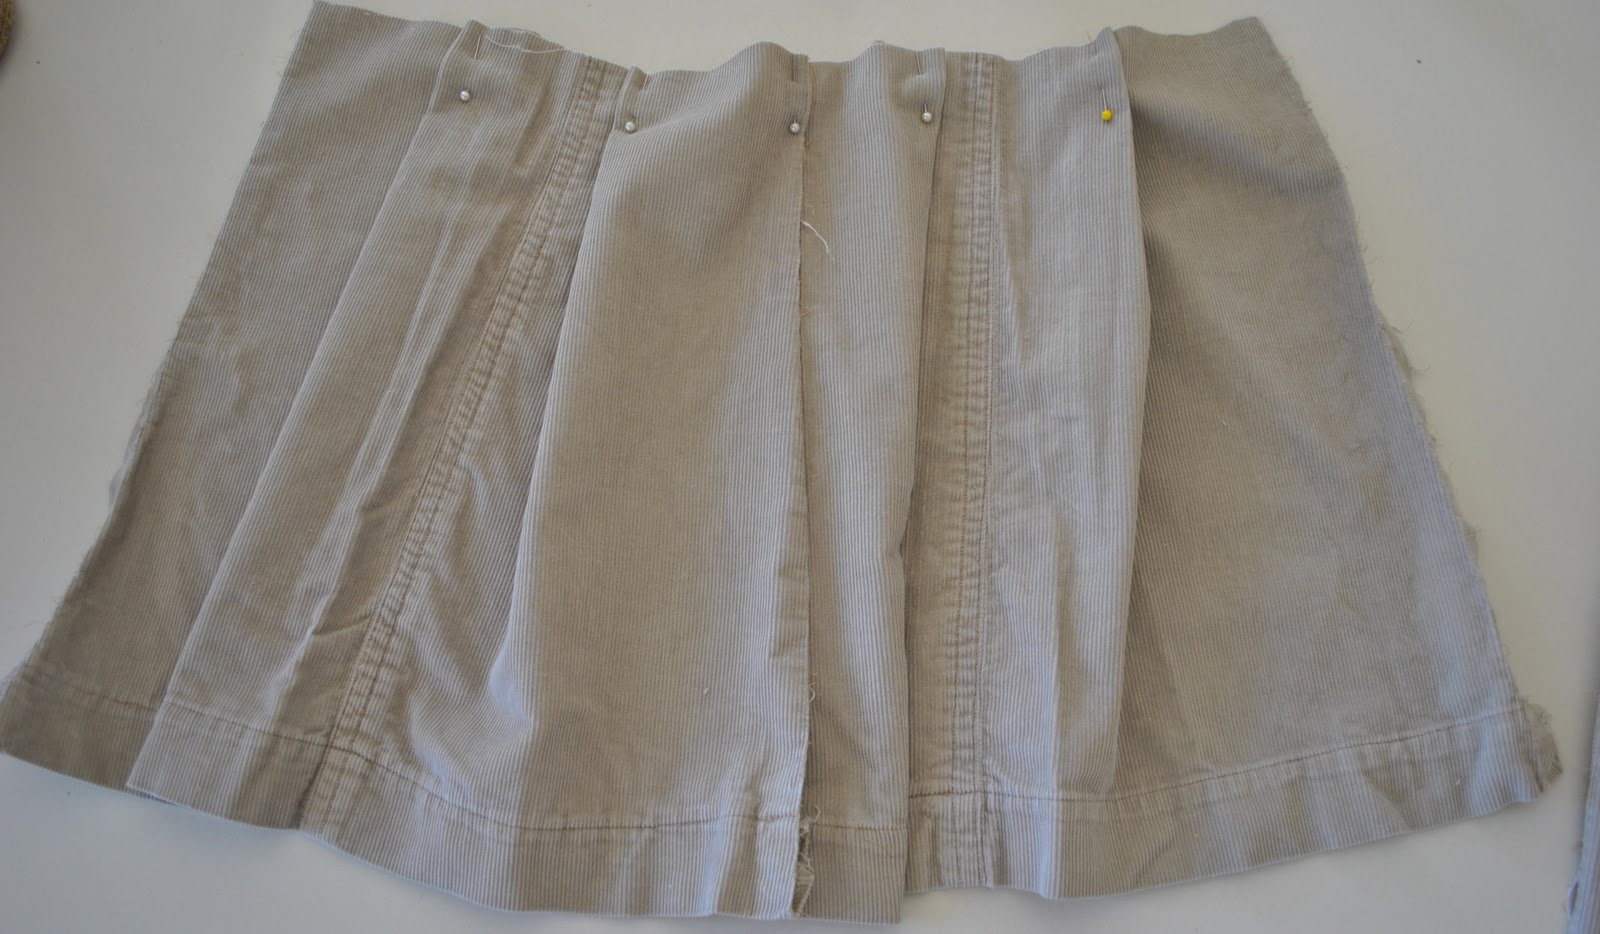
The next step was to arrange the excess fabric in the lower skirt piece into folds so that it fitted the upper skirt piece. This was just a matter of measuring and arranging the folds to be as near as perfect mirror images of each other, front and back, and checking every now and again to see that it was fitting into the top section.
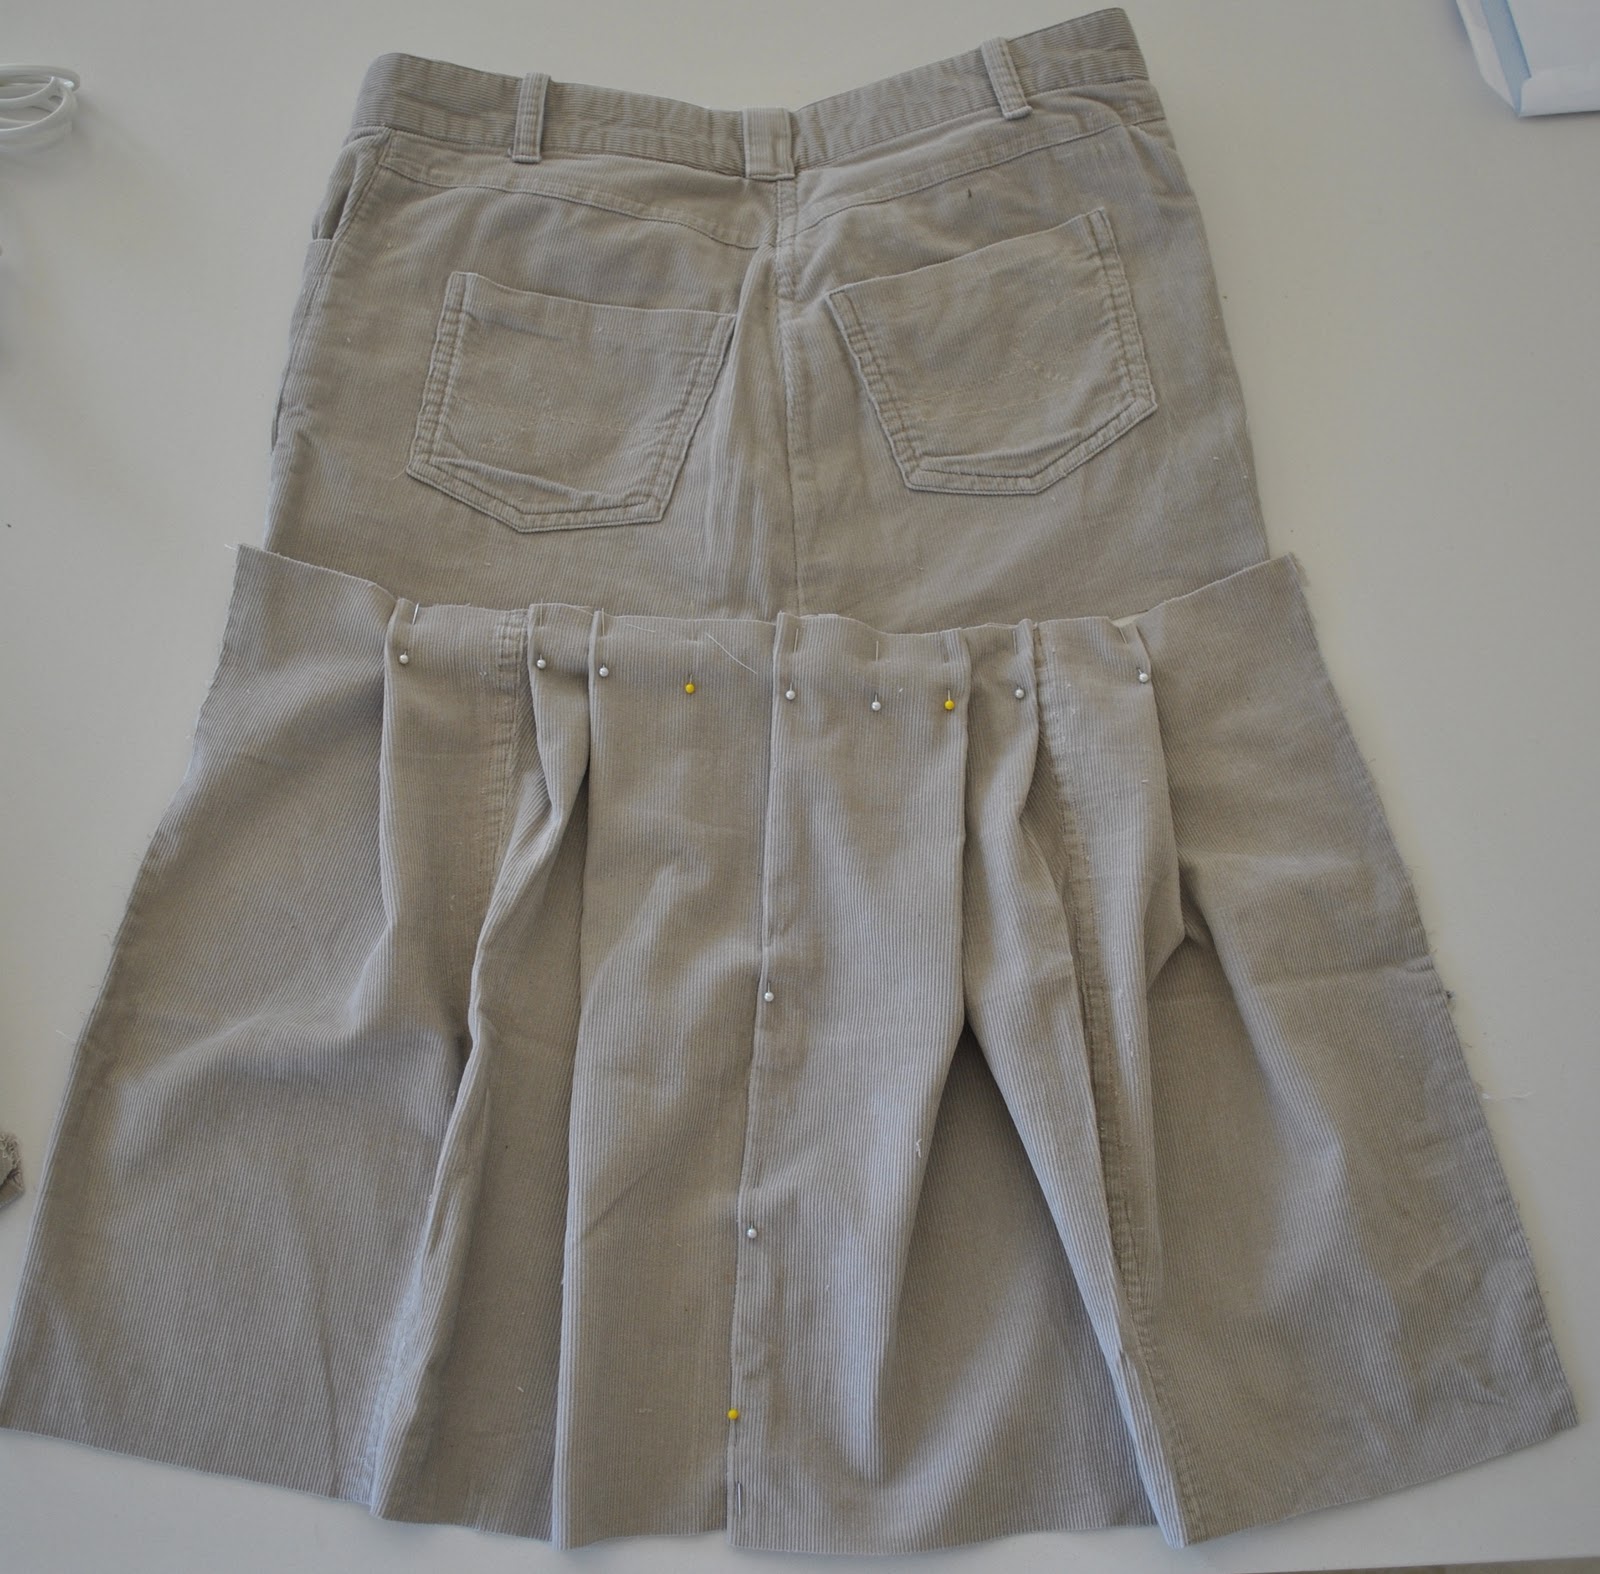
Once the folds were all evenly in place I basted them all and then sewed the skirt top and skirt bottom together. I top-stitched each fold down in place by about 5cm vertically, some single- and some of them double-topstitching. Then hemmed the skirt back, to match the hem of the skirt front (which is already in place, and only required the centre front bit of the hem to be sewn into place…)
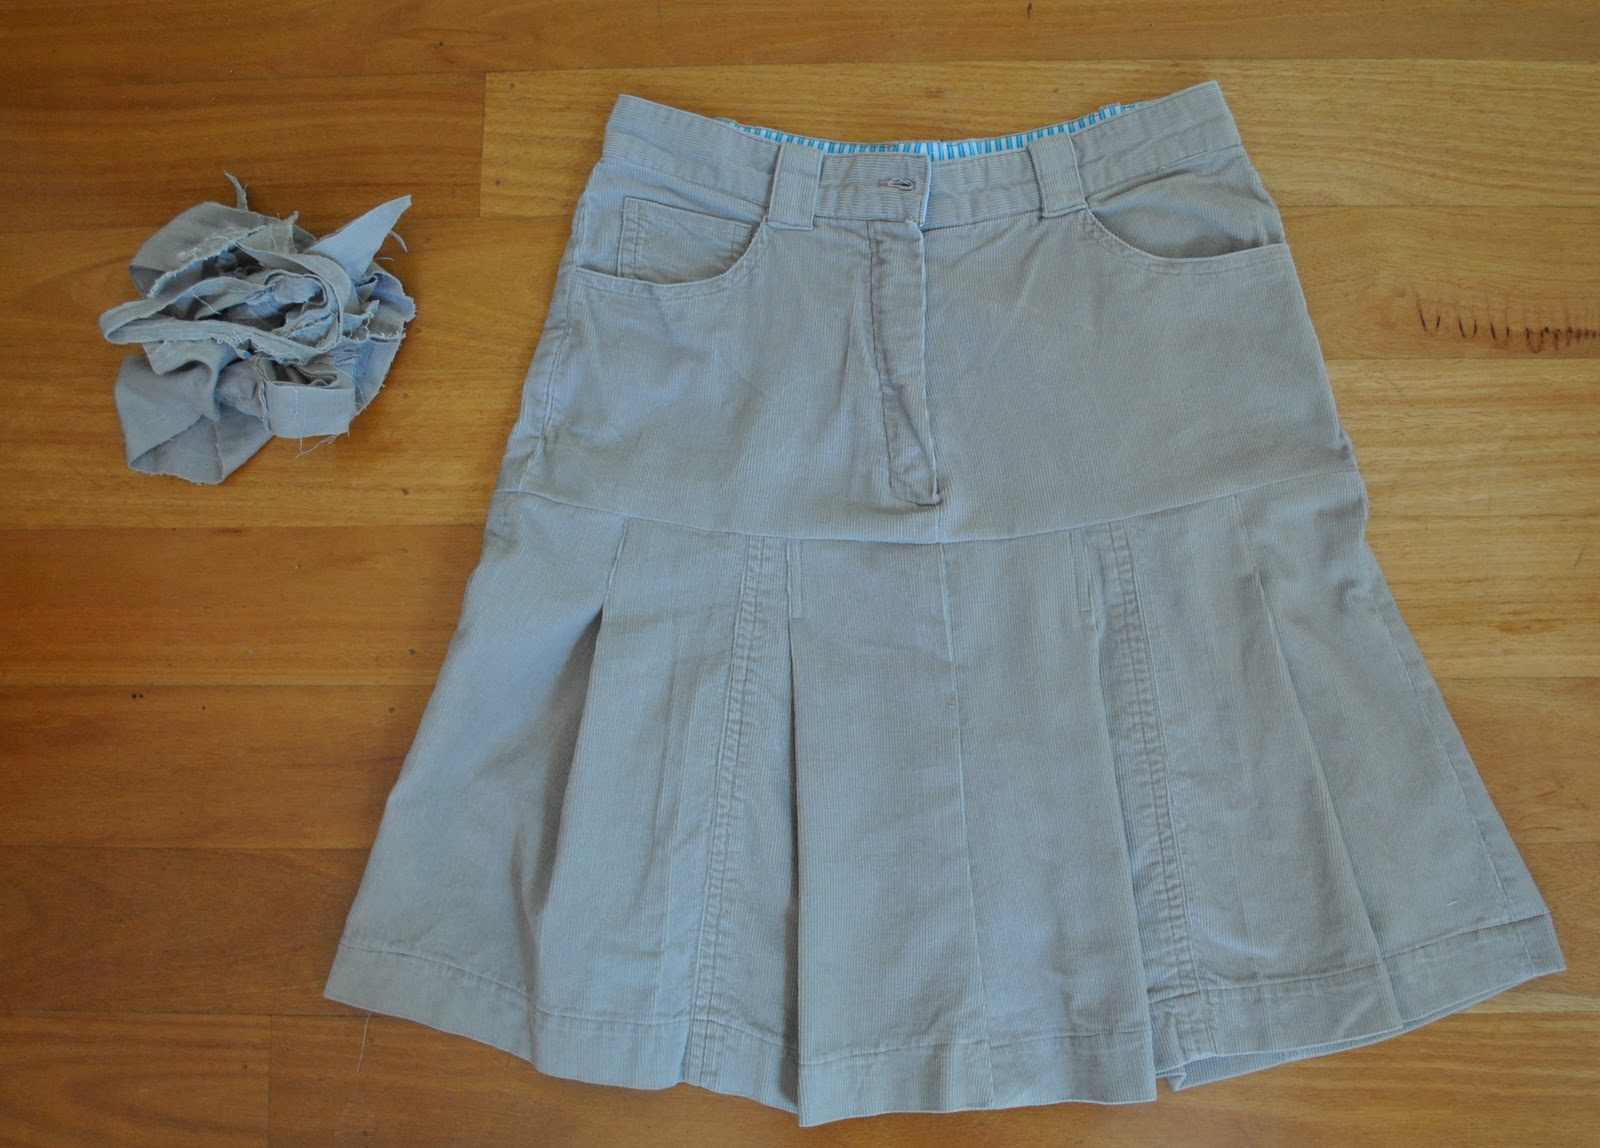
Voila! A new skirt, and with very little waste! The only waste fabric was from the crotch area, plus I ended up shaving a few inches off the top of the lower skirt section also to get a length that pleased me. Note, I took length off the top of the skirt, not the bottom, since I was keeping that existing lower hem in place. When re-fashioning a garment it is well worth incorporating those existing hems into your new garment somehow, since years of washing and wearing creates a permanent and very visible line of wear into the fabric, and a fold that will never ever iron out … thus removing length from that top area (that will just be disappearing into the joining seam anyway) is definitely the way to go here.