AT (After Trek) update

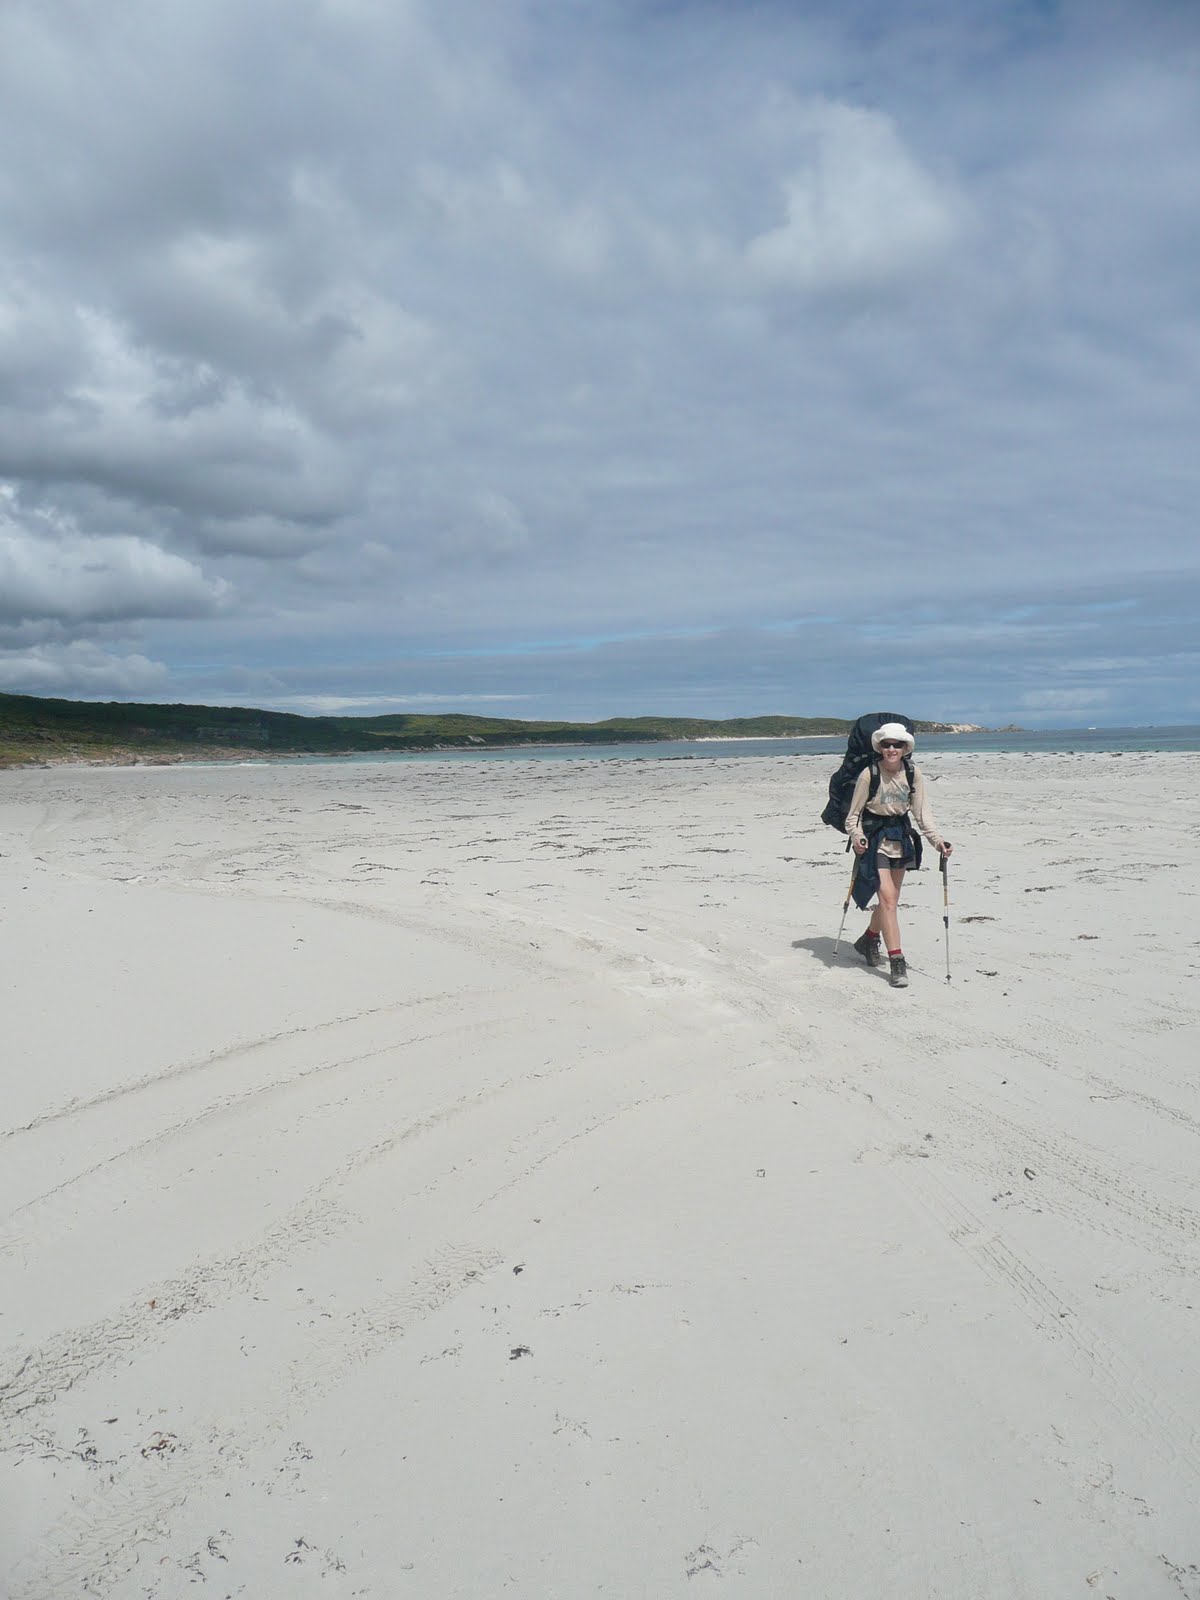
I’m back from our “holiday”!  I’ve just looked at my last post BT (before trek) and noticed that I wrote we were trekking 120km.    120km?  How disgracefully inaccurate.  The correct and official distance of the Cape to Cape is 134.5km.  That extra 14.5km is not to be dismissed lightly.  Particularly not if it counts as some of the very long, very soft sandy beaches and very steep sandy dunes we scaled.  Or the very rocky stretches of coast, which have one leaping gazelle-like (ha ha!) from boulder to boulder.  Or the very steep hills leading to the tops of, like, every potential lookout, heaven forbid we should miss out on even one scenic outlook, no, no skirting about bases of hills for this trek, each and every elevation simply must be scaled, yessirree.  All of this with 16kg backpacks on our backs.  Yeah.
I do love camping.  I planned our meals down to the nth degree and I’m happy to say we walked into Dunsborough having just consumed our last morsel, pretty much.  (Dunsborough?  Oh yeah, we did the trek back-to-front, starting at Augusta and finishing at Dunsborough!  Not that that makes any difference…)
If I’m honest there were times we questioned our sanity in doing this trek, but it’s also true that we now feel on top of the world that we have done it.  I feel fitter and stronger than I have in a long time.  It was the biggest physical challenge I’ve faced in my life, but we are both so proud of ourselves and so happy that we met the challenge and were equal to it.
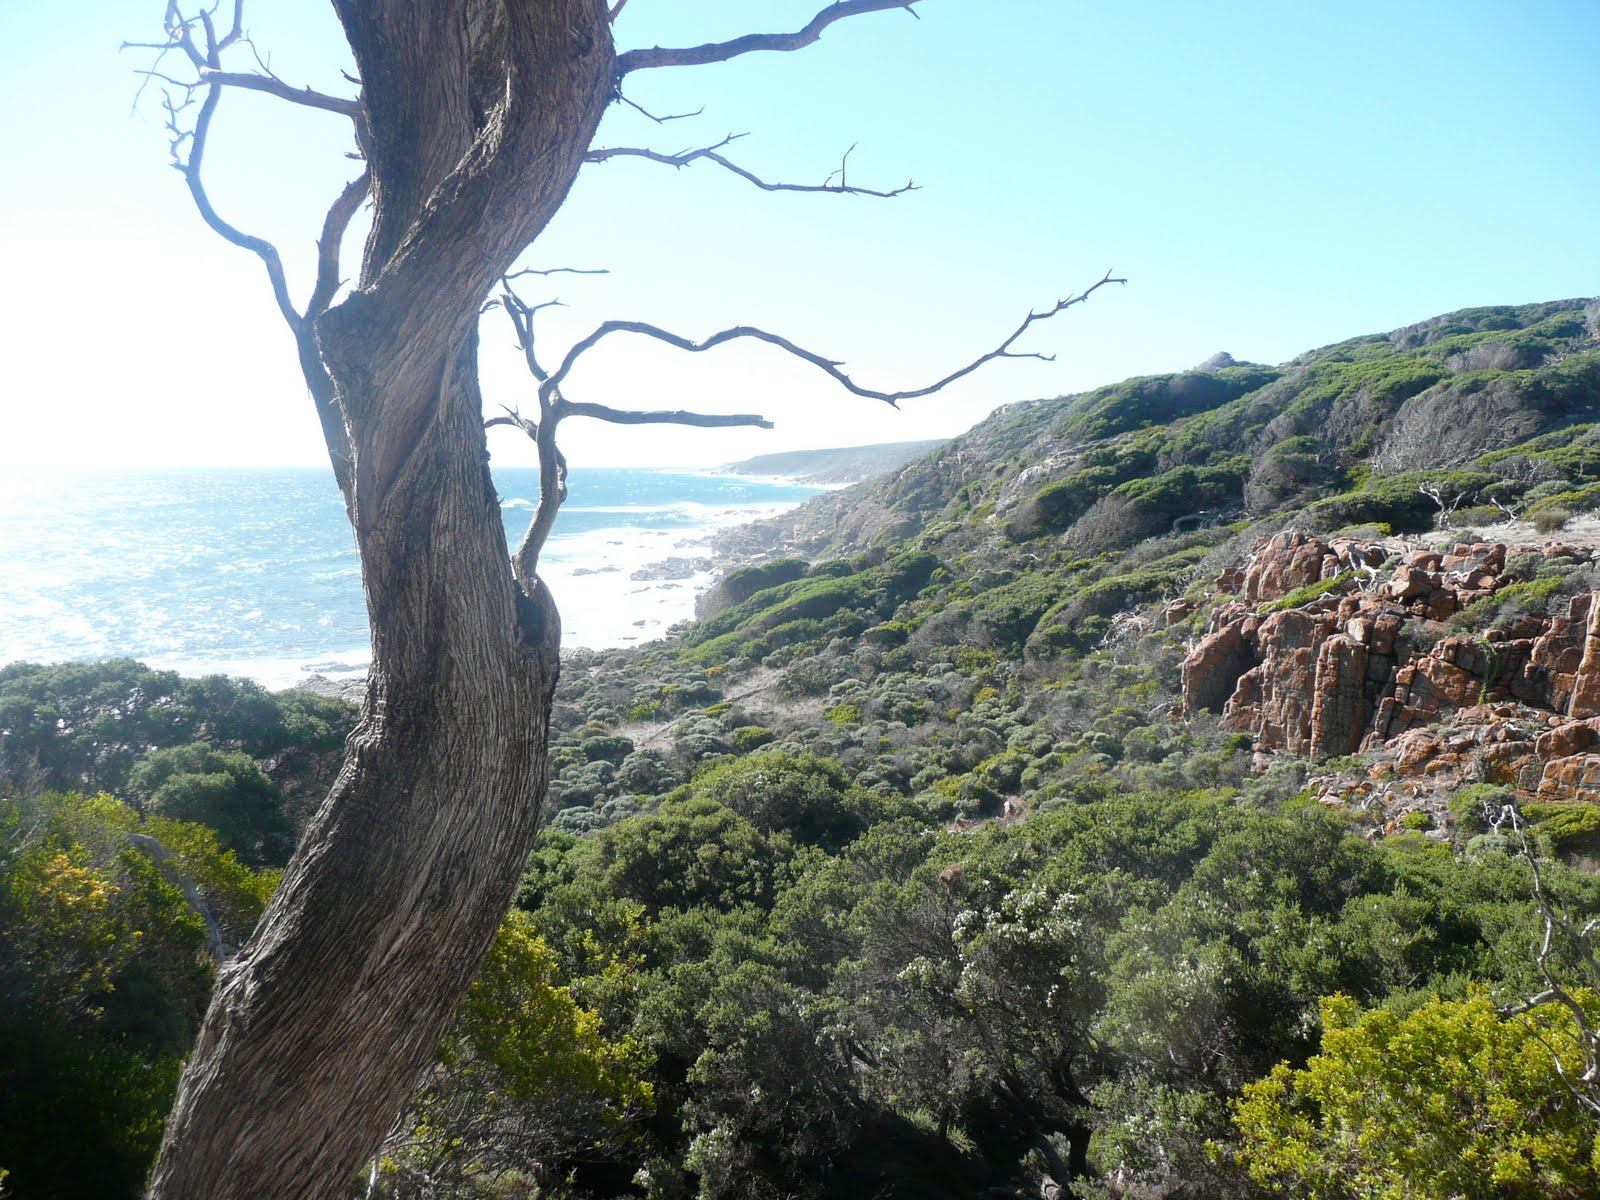
On top of that we were privileged to walk through some of the most beautiful scenery imaginable.  Pristine white beaches, piles of huge rust-red boulders scattered together like an abandoned giant-child’s marble game, tall forests of fresh, green coolness, fields of blackened tree trunks adorned with new green foliage after a bushfire…  And 99.9% of the time we had it all to ourselves with not another soul in sight.  Each day we came across no more than a handful of people, tops.  Not counting the three towns of Prevelly, Gracetown and Yallingup that is, and even they were very quiet considering it was the school holidays.  We wondered where everyone was, whether people now all go to Bali for their holidays…
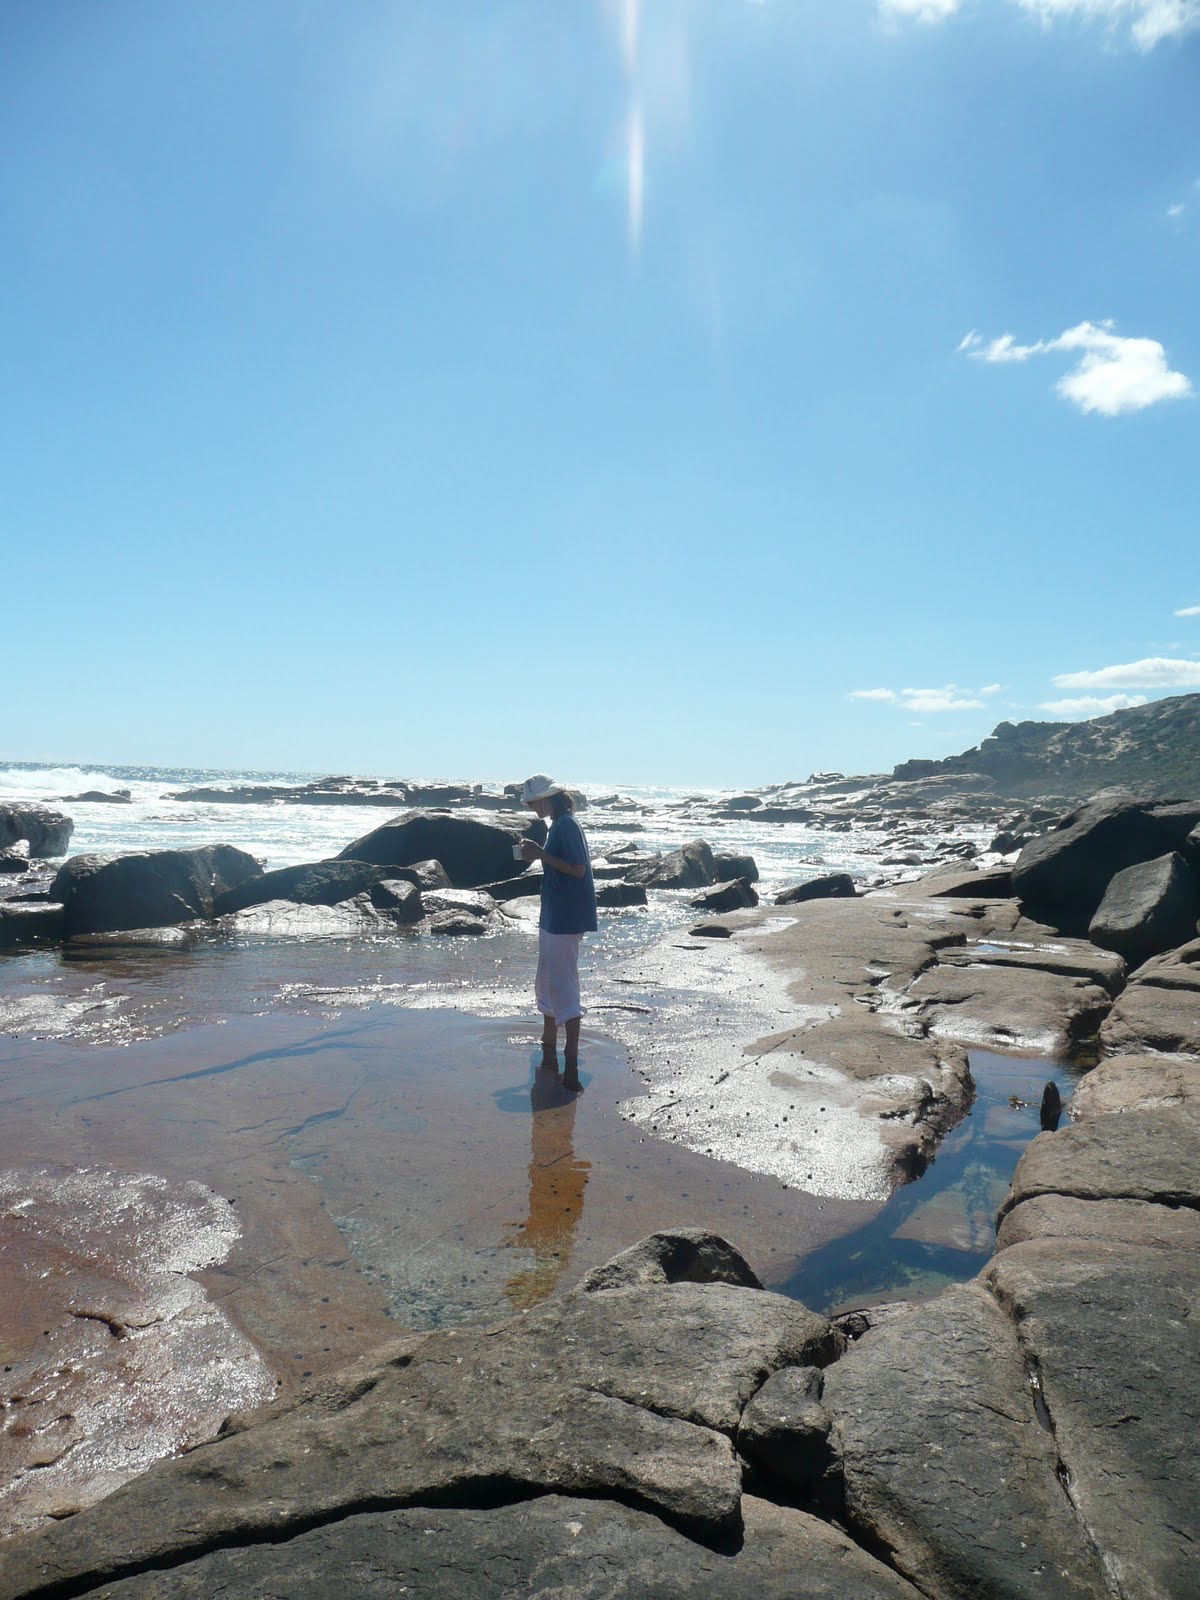
Anyhoo, I apologise for the general holiday ranting and rambling and lack of hand-makingness about this post.  Just a few, hopefully non-boring photos (lots of people hate holiday snaps with a passion so I promise not to force heaps and heaps upon you)  There is a tiny element of “handmade” in my past week.  The shorts I’m wearing here are my gabardine shorts re-fashioned from my daughter’s old charcoal puff-skirt first posted about here.  I’m pleased they have proved themselves to be tough and practical.
Back to normal posting tomorrow.  I’ve noticed that while I was out of internet action Wardrobe Refashion has proposed some big changes!  I wonder how this is going to pan out…?
pinterestmail

Easter sojourn

Hey peeps!
No photo today…  This is a quick note that we are off on a trek for a week and I’ll be away from my blog.  In fact away from all electronic stimuli, totally, 100%.  Yippee!!
We’ll be walking the Cape to Cape walk, which is 120km up the south west coast of Western Australia, carrying our own tent and all our own food etc.  Needless to say I won’t be wearing any jazzy clothes or high heels!!
I’ll be back to civilisation by next weekend, and back to normal hand-making business…  I’m already looking forward to seeing what all of you create.

Happy Easter everyone, and wishing you all a safe and pleasant weekend with your loved ones. 

pinterestmail

Menswear; linen shirt no. 3

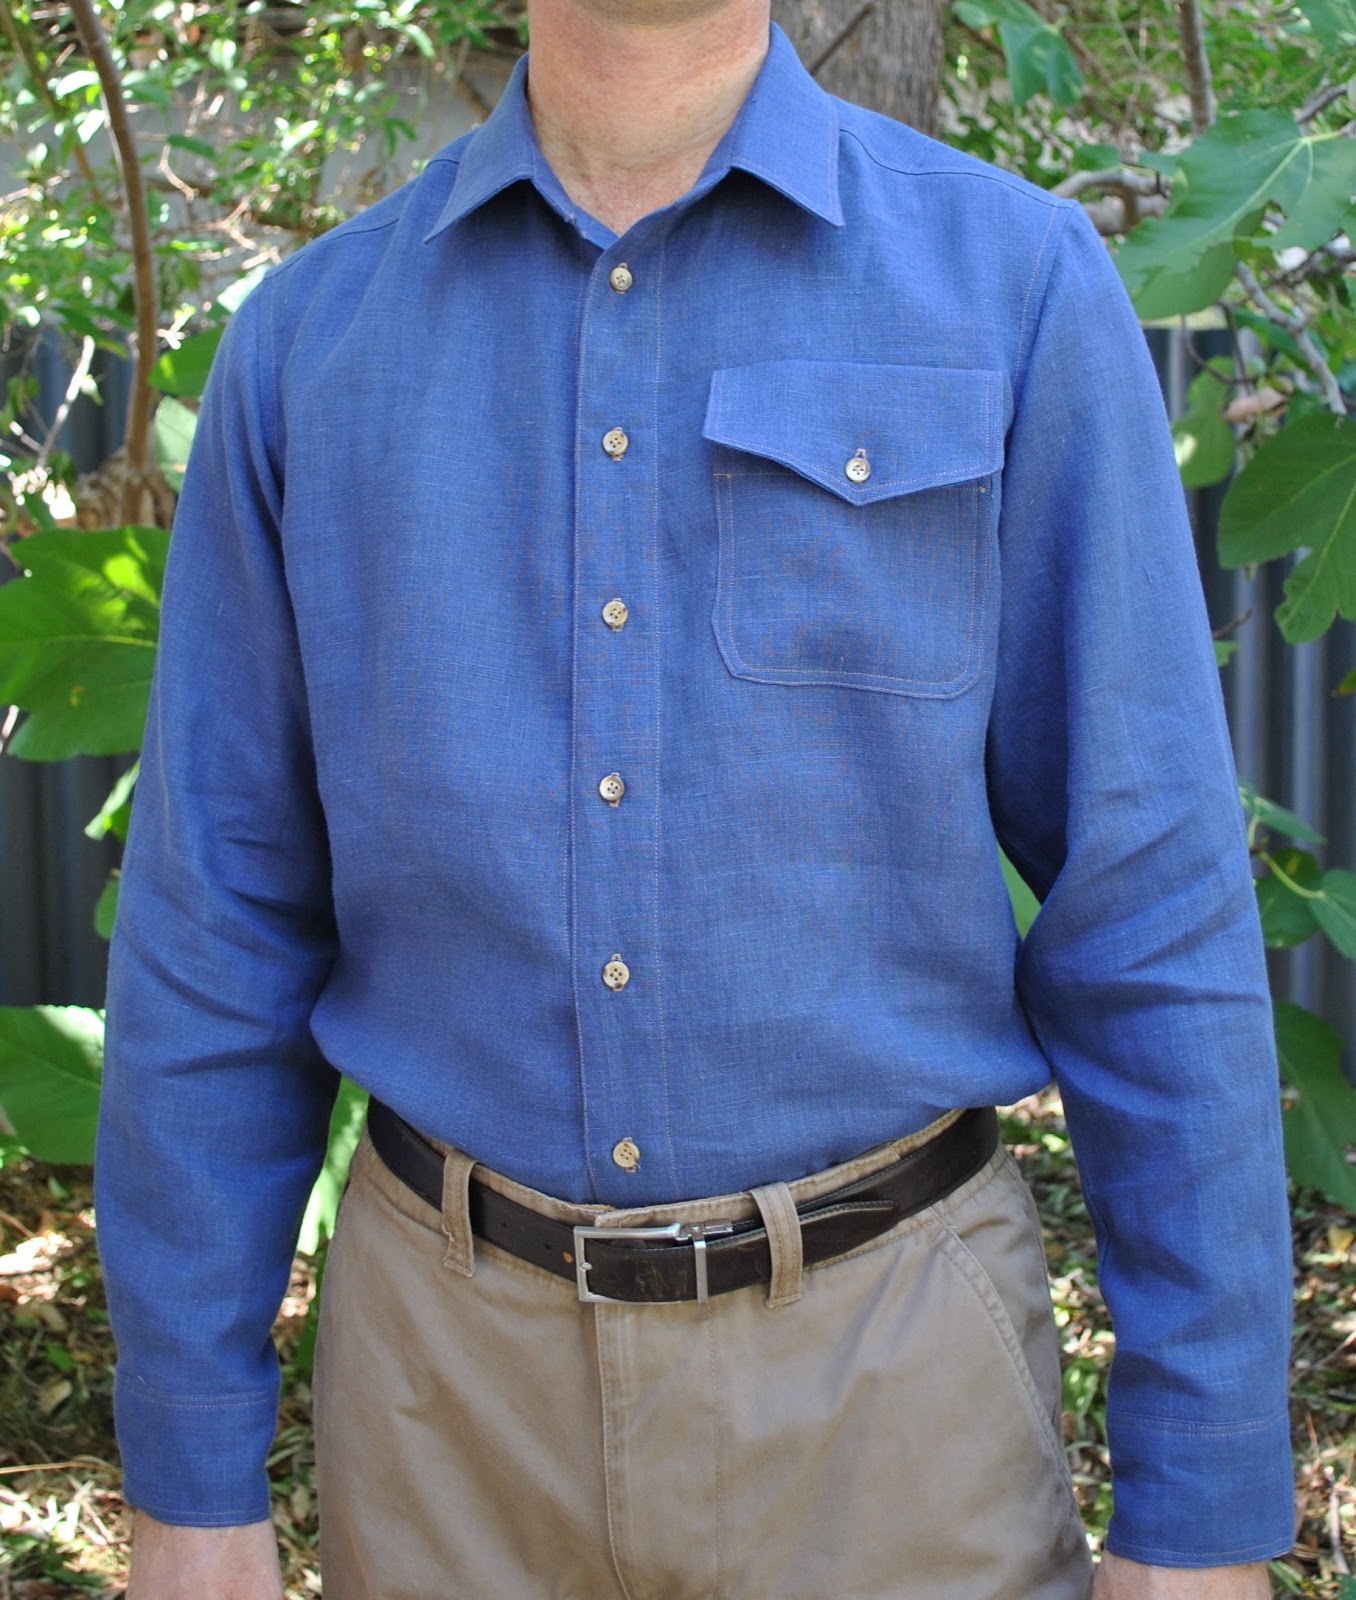
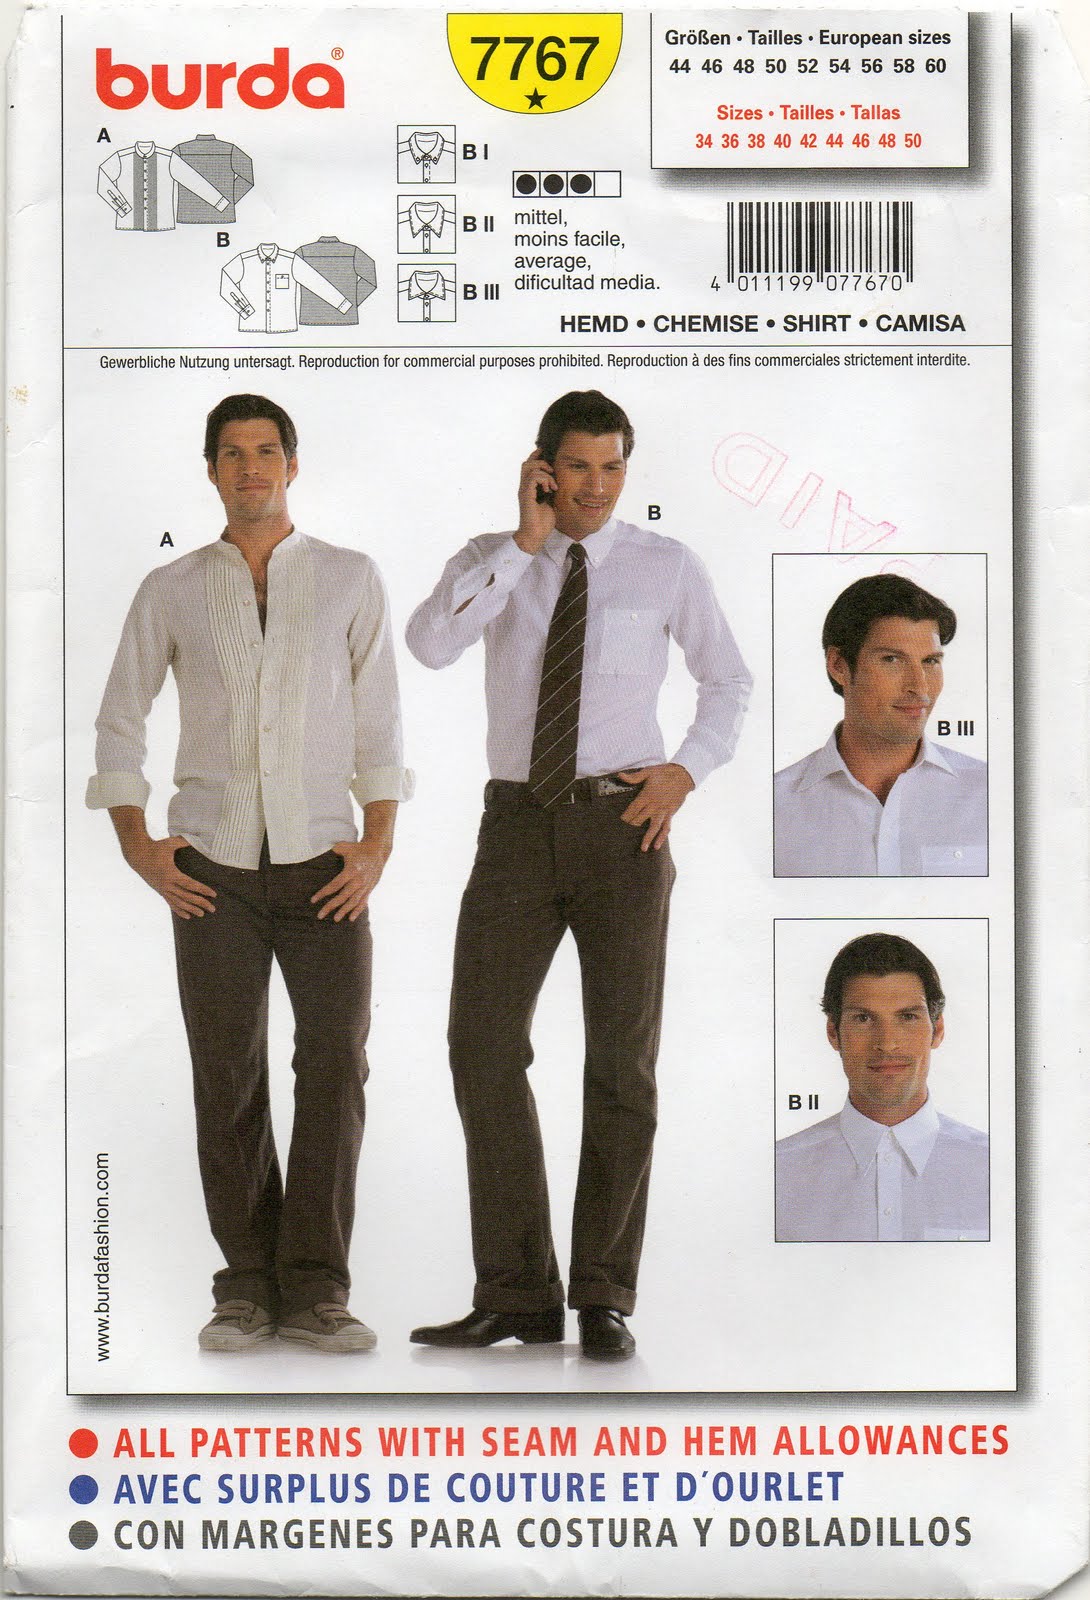
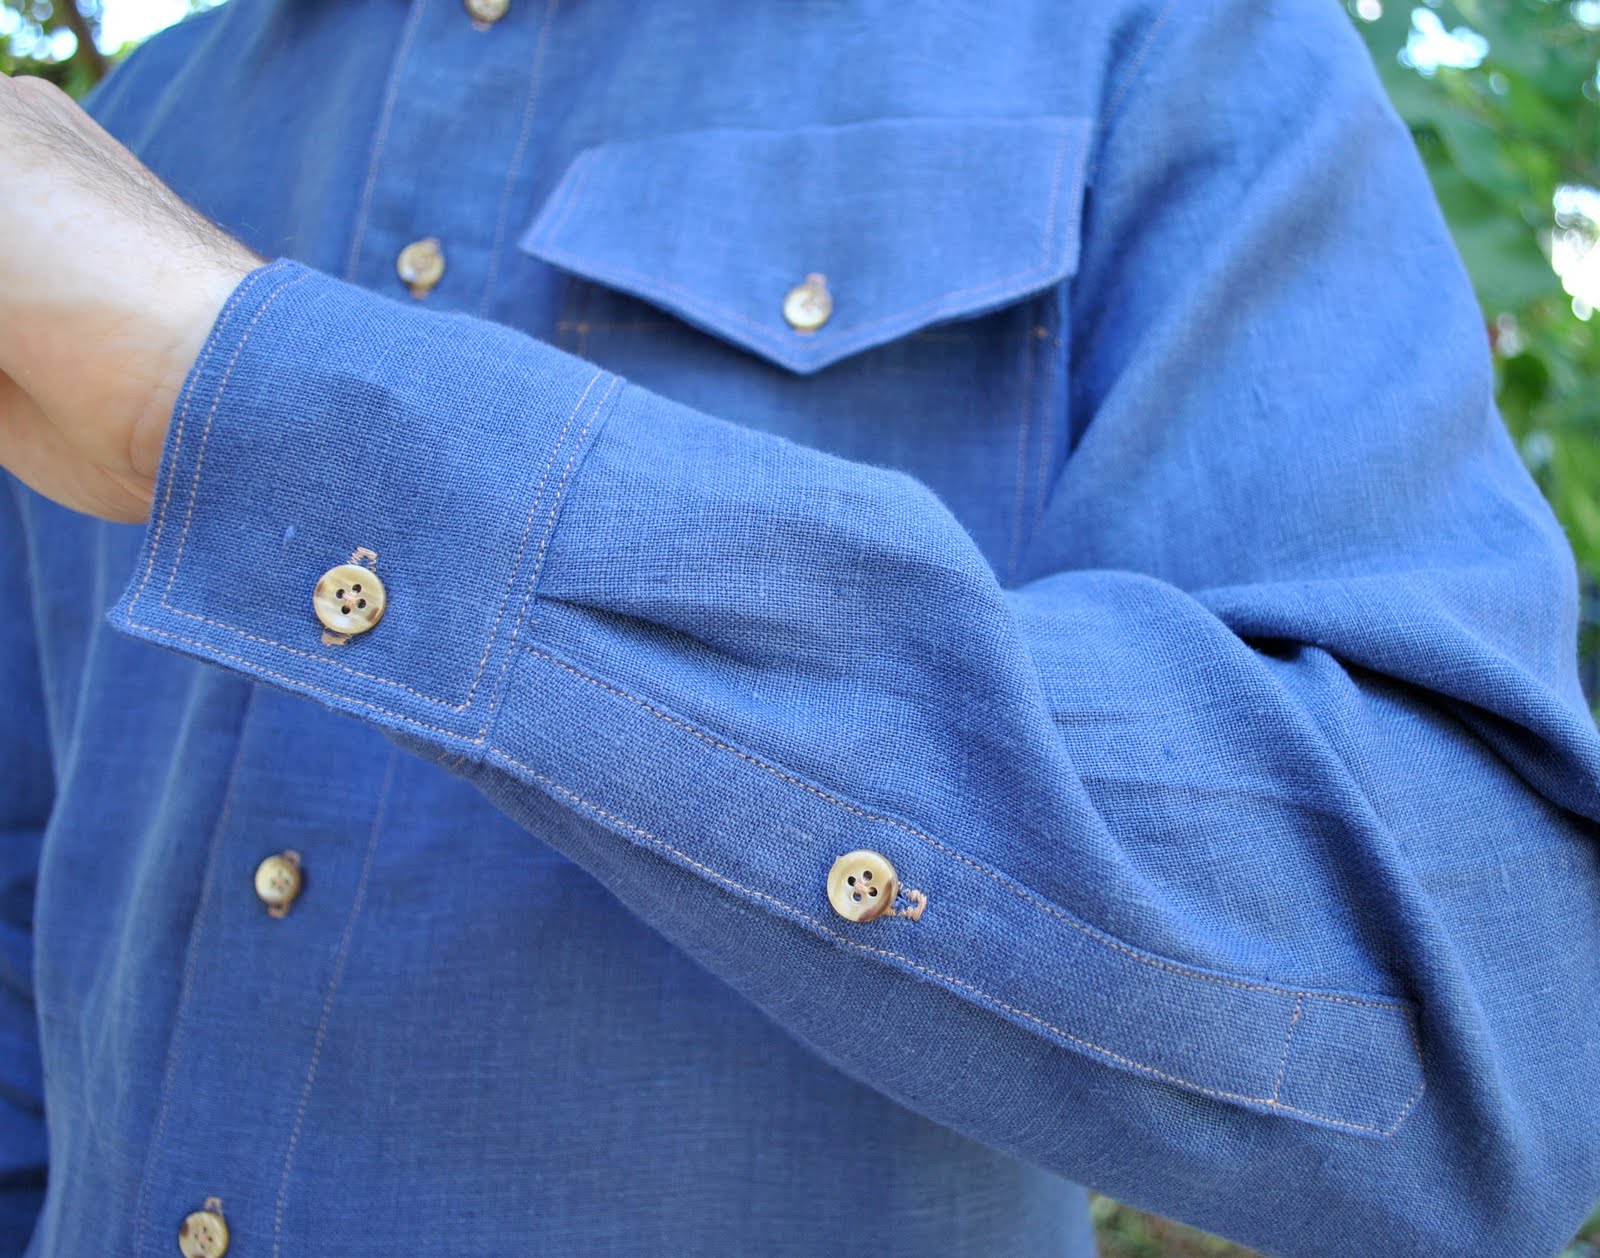
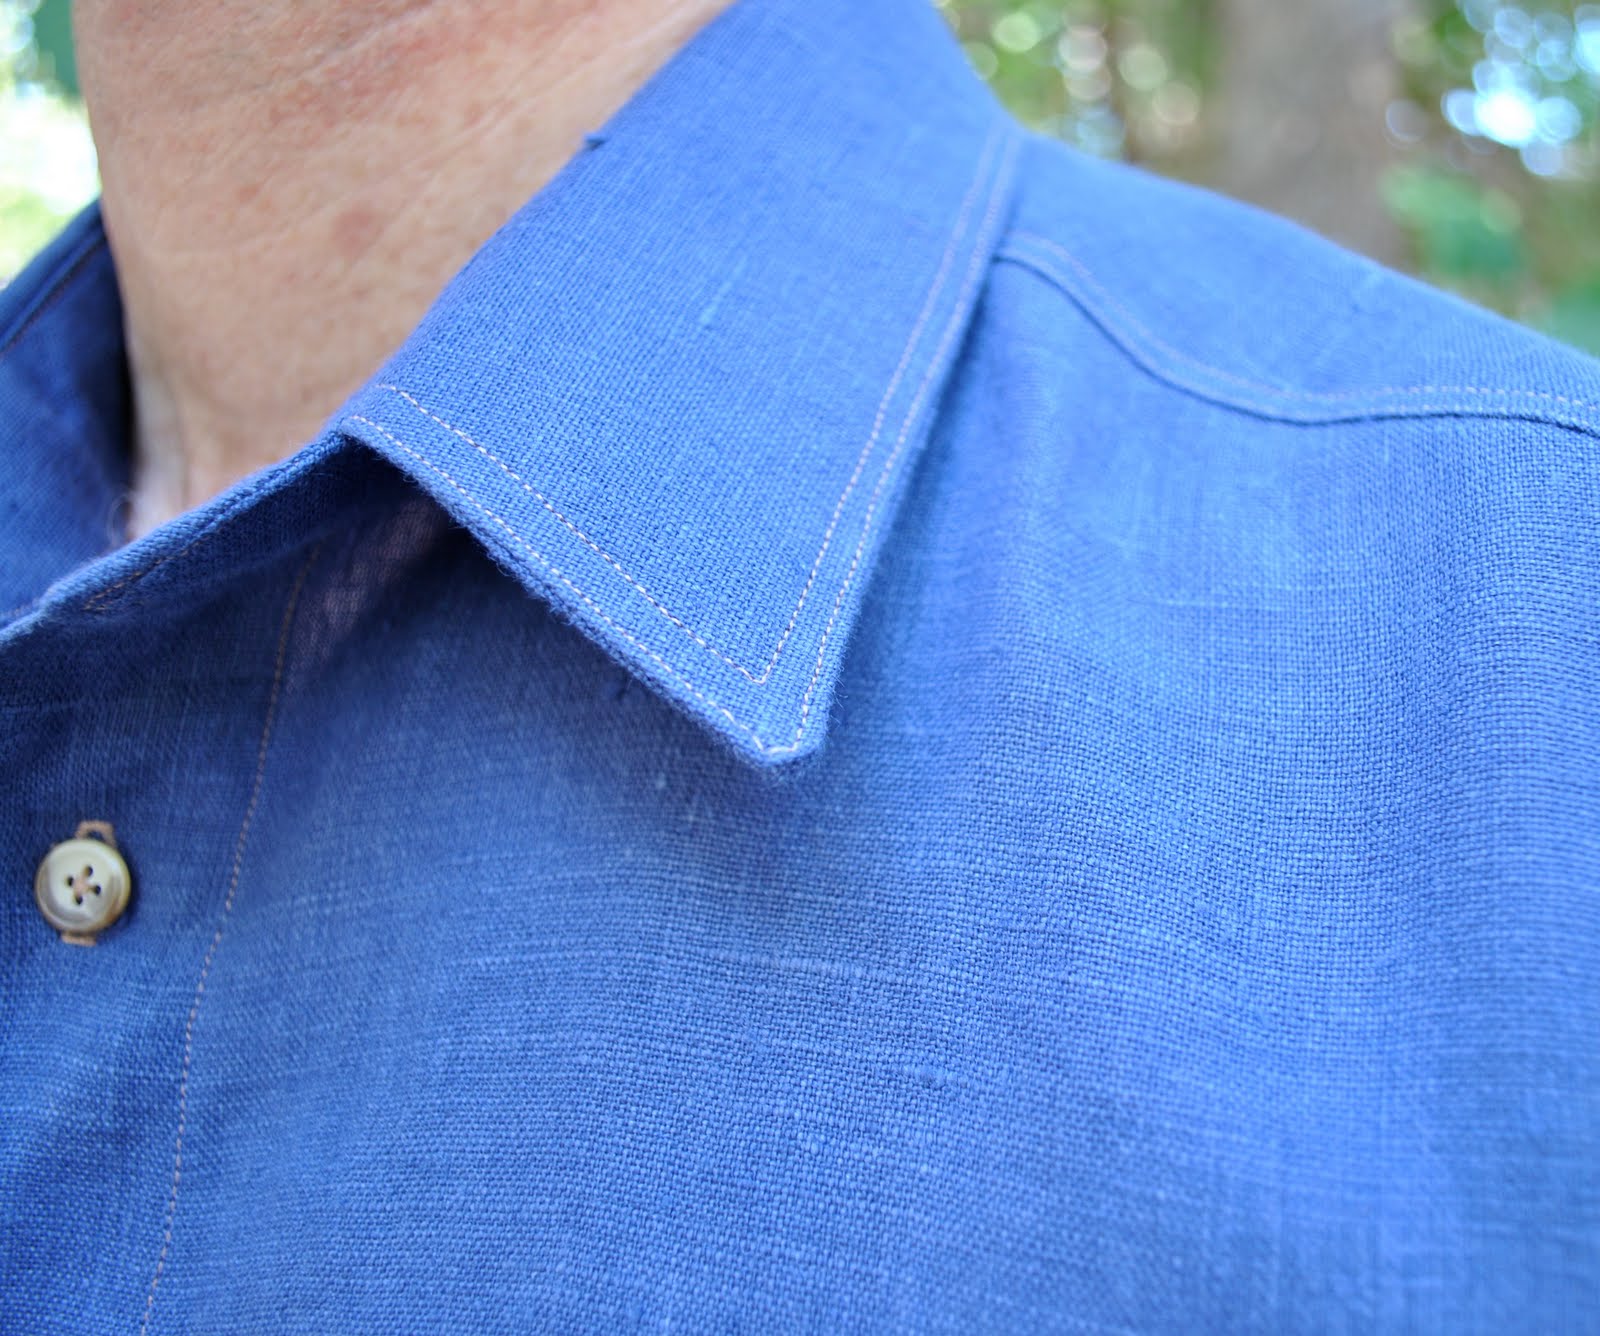
Here is my husband’s new shirt.  It was made using Burda 7767 (again, such a great pattern!) with the fit variations I perfected making the last shirt.  I altered the collar size slightly; the pattern comes with three collar variations and this one is midway between the two smaller options.  I also rounded the pocket and added a pointy arrowhead collar flap.  The other day I saw a man’s shirt with a single welt pocket and a button with a tiny fabric loop; it looked really cool and I’ve filed it away for a future shirt…
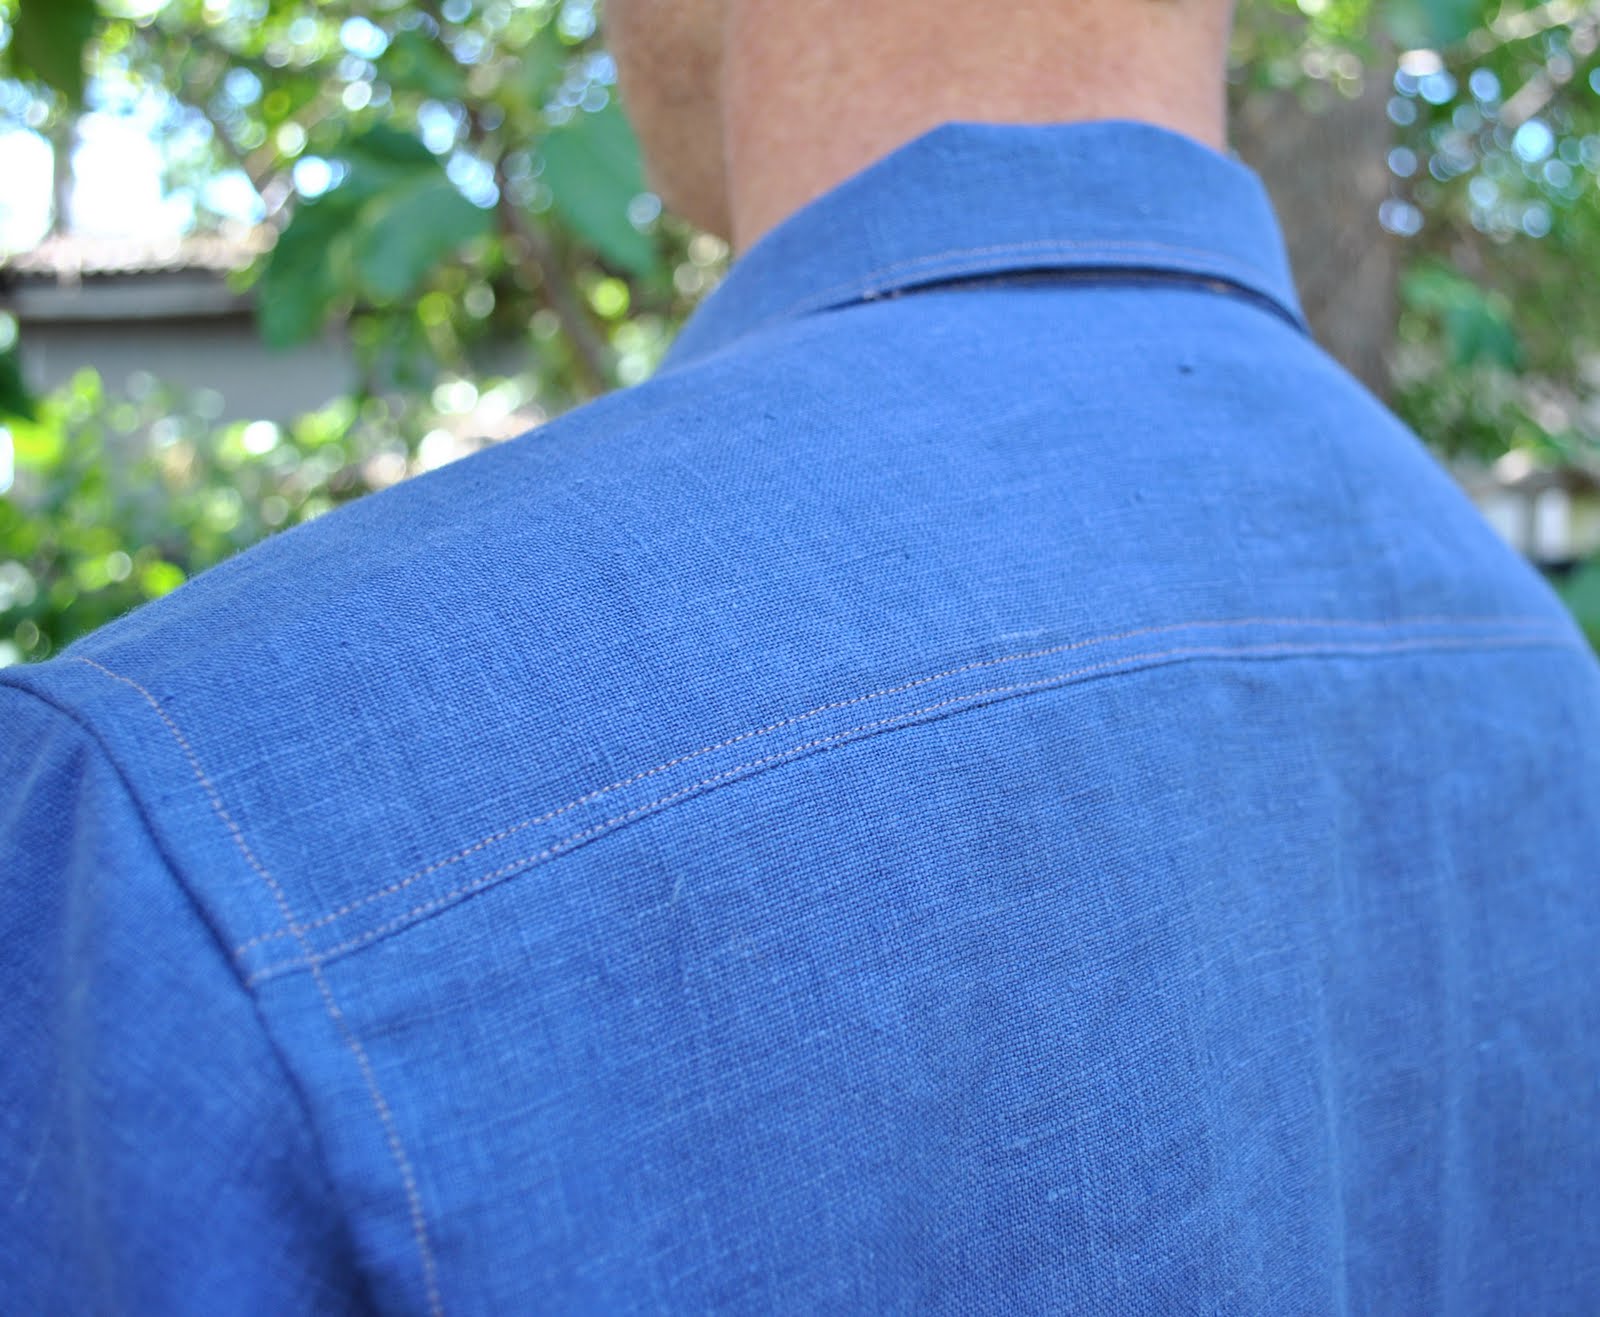
The double topstitching here has a slightly different gap this time.  I’m super happy with my topstitching in this version, it’s as close to perfect as I can get it.  Topstitching is a real meditative process; you’re hunched over the machine, eyeballing your first row of stitching and just mentally gauging and controlling that second row at an dead even gap…. almost as good as yoga.  Except yoga you’re supposed to be concentrating on nothing.  And with topstitching you’re full-on concentrating.  OK, not quite the same.  But it’s still kind of the same outcome, a calm stillness in which all other stimuli is blocked out.
Hmm, sewing as a therapeutic meditative tool; yeah, moving right along…
I used linen, part of the batch that I bought online a few months ago.  I chose caramel brown contrasting thread and blotchy brown and cream, tortoise-shelly like buttons as a contrast.  I just love brown and blue together.  I think he will be able to wear this shirt as a business shirt, because it’s linen and quite classical in its detailing, but it will still look fine as a casual shirt, because of the colour; sort of reminiscent of the classic Levi’s chambray shirts.

Details:
Shirt; Burda 7767 with minor variations, mid-weight “crown blue” linen

pinterestmail

“Moody Milkmaid” … refashioned

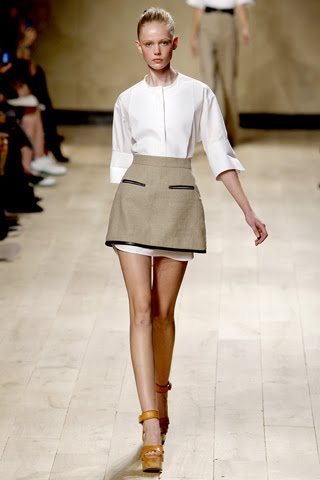
Call me crazy.  I am crazy.  I’m insane.  Sometimes I swear I am a complete and utter lunatic.  I took my photos this morning and posted about my skirt (see below).  I even posted on Wardrobe Refashion.  I kept looking at the photos.  I wasn’t happy.  My skirt looked somehow unsatisfactory.  The original Celine skirt has a waistband.  I knew this.  I made a conscious decision when I made my skirt that I wouldn’t have a waistband.  I didn’t want to do a complete knock-off, for heaven’s sake.  But my skirt looked … wrong.
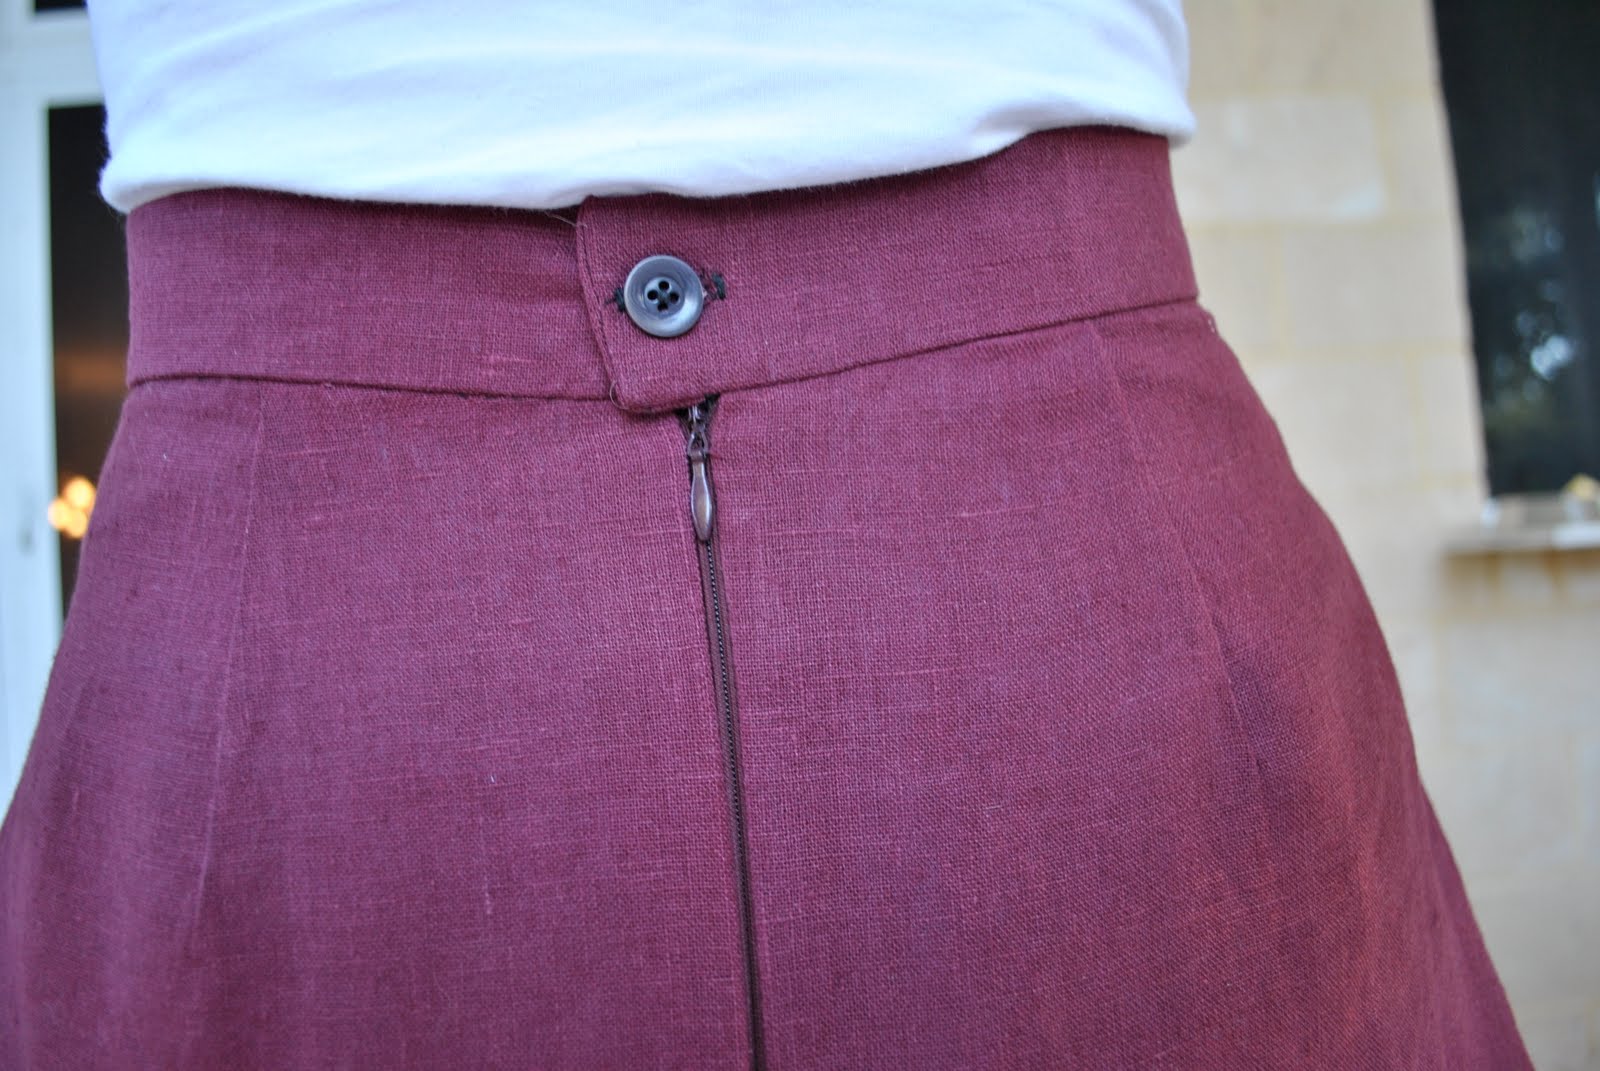
So I attacked it.  I know!  Crazy!  After finishing up in the office, I took up the unpicker and removed the facings from the skirt.  By some miracle there was just enough of the port wine linen left to make a waistband.  Ironed on the interfacing.  Took in the waist darts front and back to bring the top up to waist level.  Attached the waistband, sewed a buttonhole, and added an old button.  You know what?  It looks so much better now.  Celine’s Phoebe Philo was right.  The waistband was necessary.
(This photo was taken about seven hours after this morning’s photo.  Crazy woman!)

Details: same as this morning!!!

pinterestmail

“Moody Milkmaid” skirt

I know I’m not the only one to be completely inspired by the Celine spring/summer 2010 collection.  A deceptively bare collection, almost monastic in its simplicity but oh-so stylish and oh-so now.  Minus the fussy design details and opulent prints that have marked recent collections of other designers, marking defiance in the face of economic crisis; what Celine has realised, in a perceptive streak of genius, is that women do not want to look “fancy” in times of financial hardship, but casually glamourous in well constructed and quietly tasteful apparel.
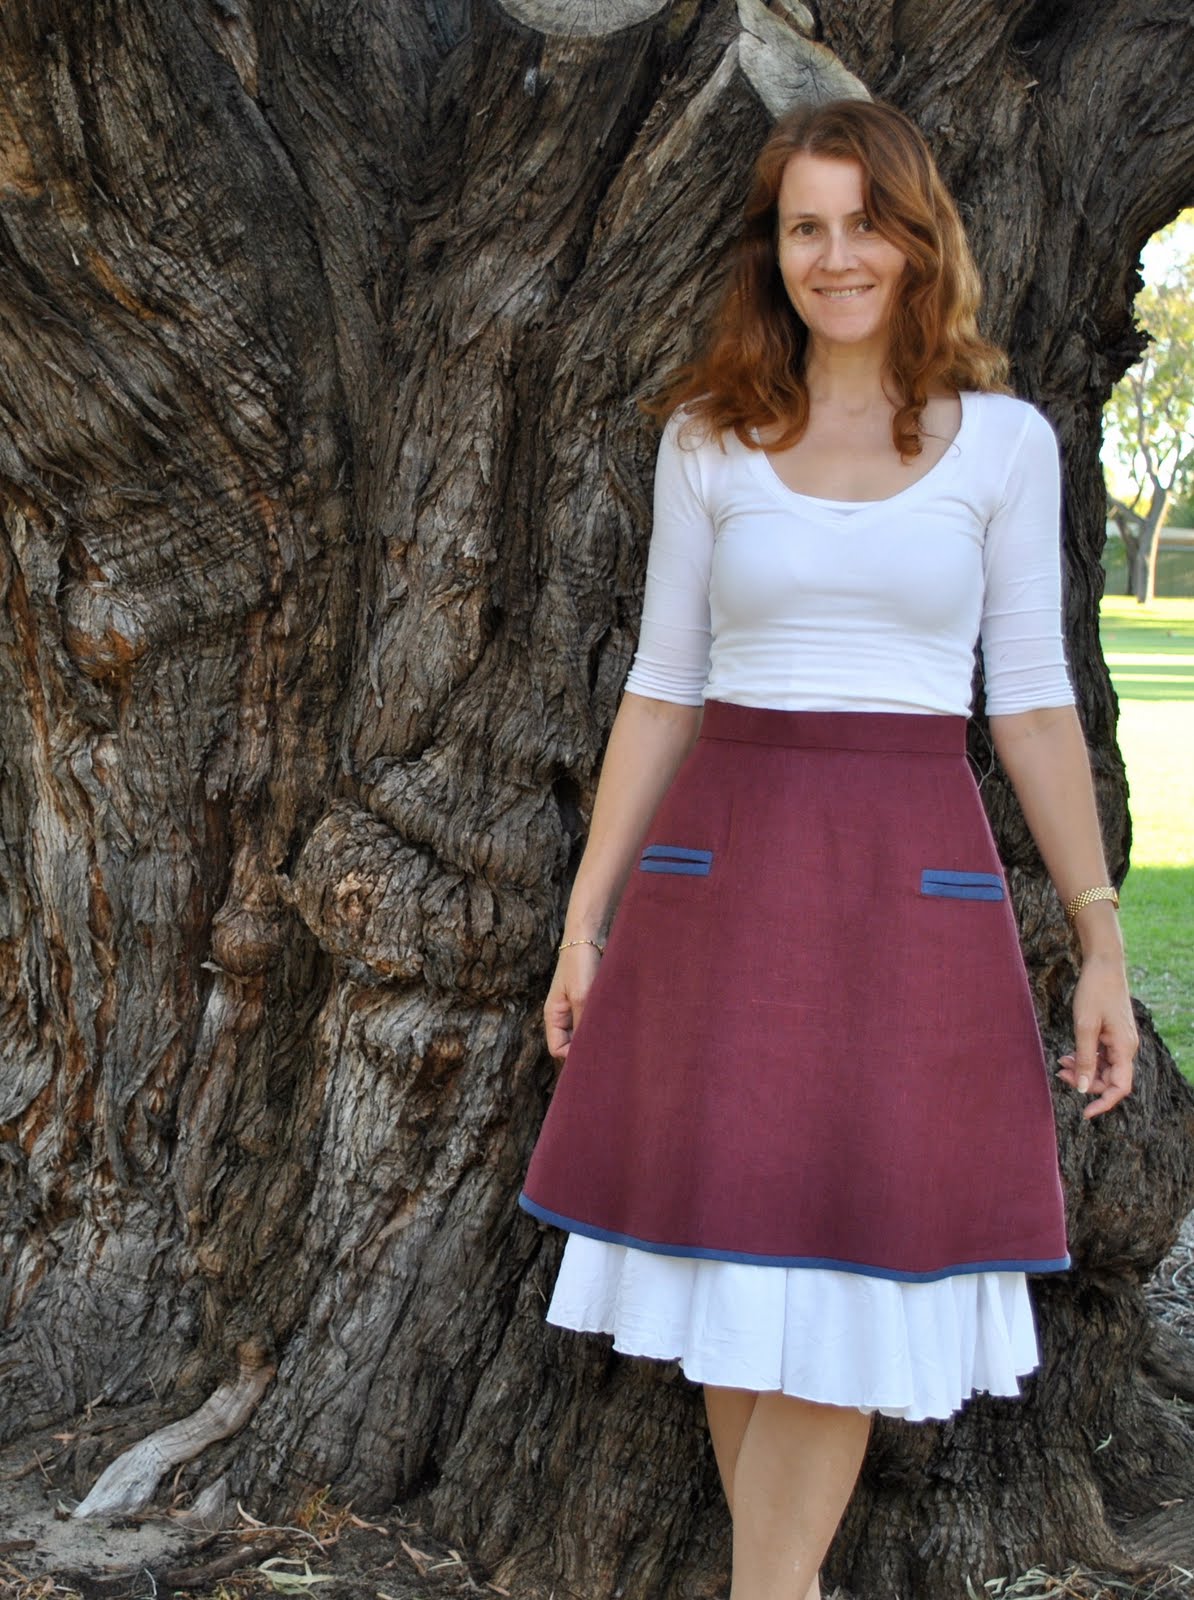
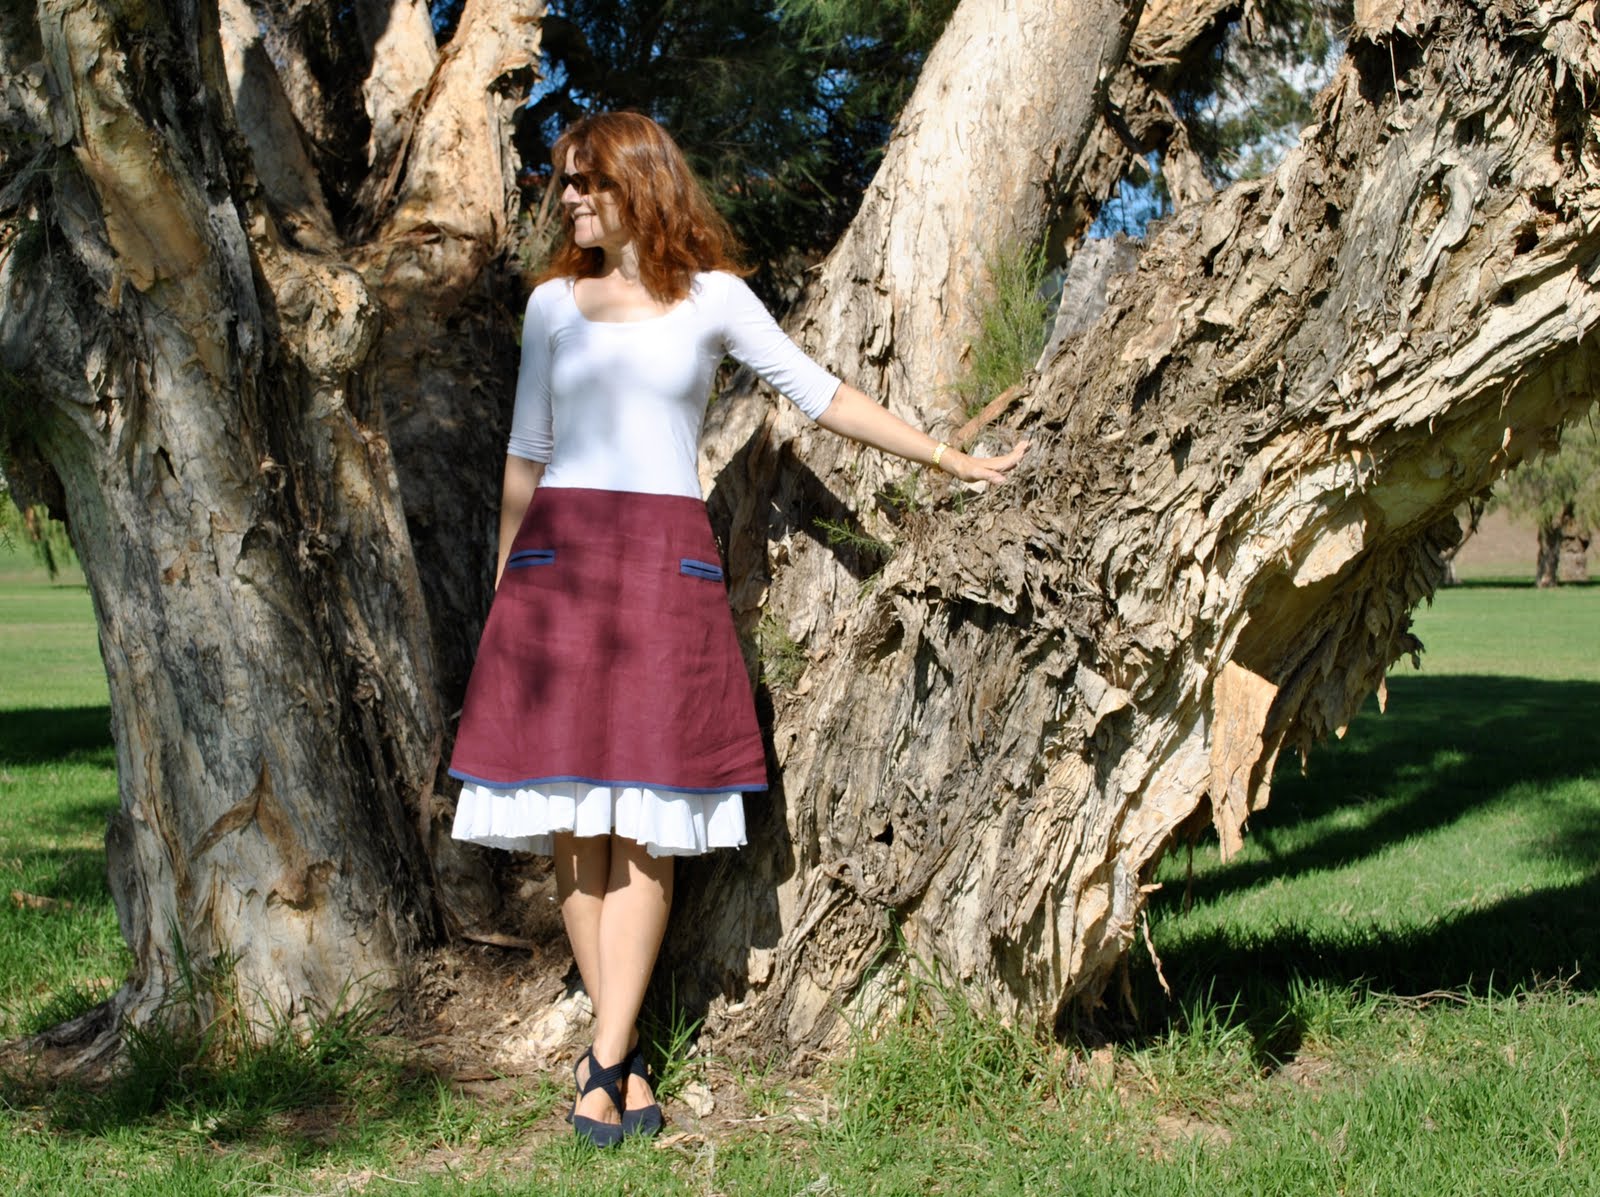
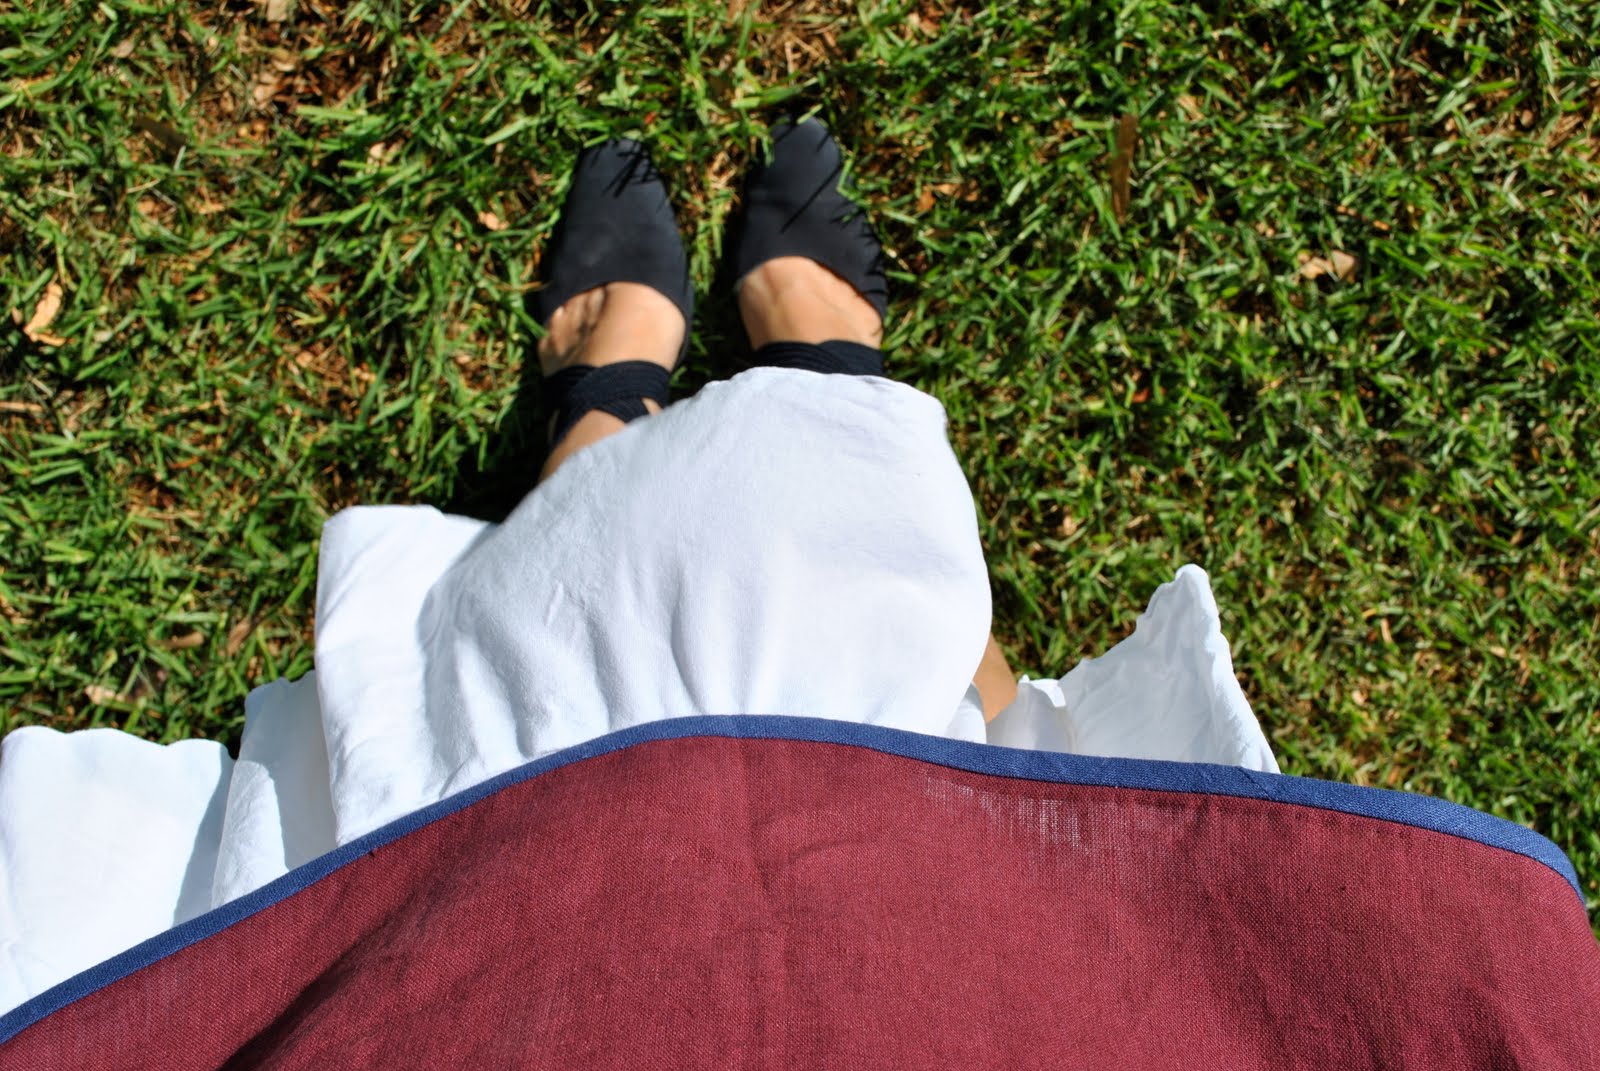
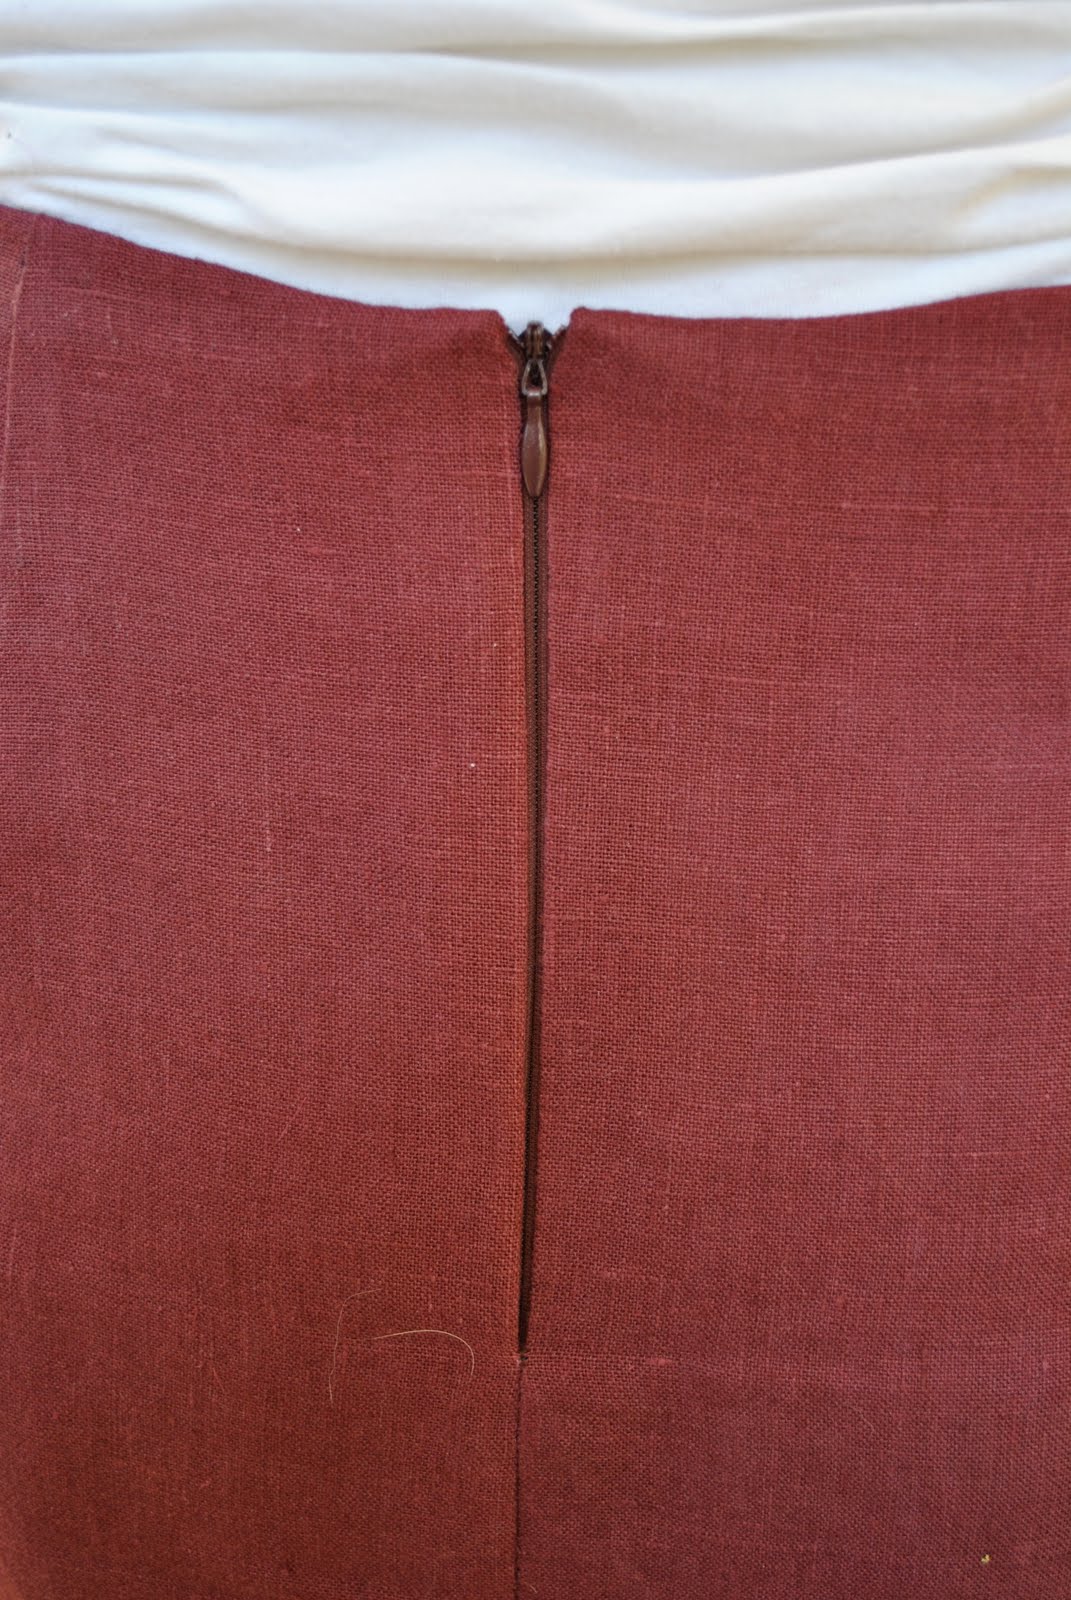
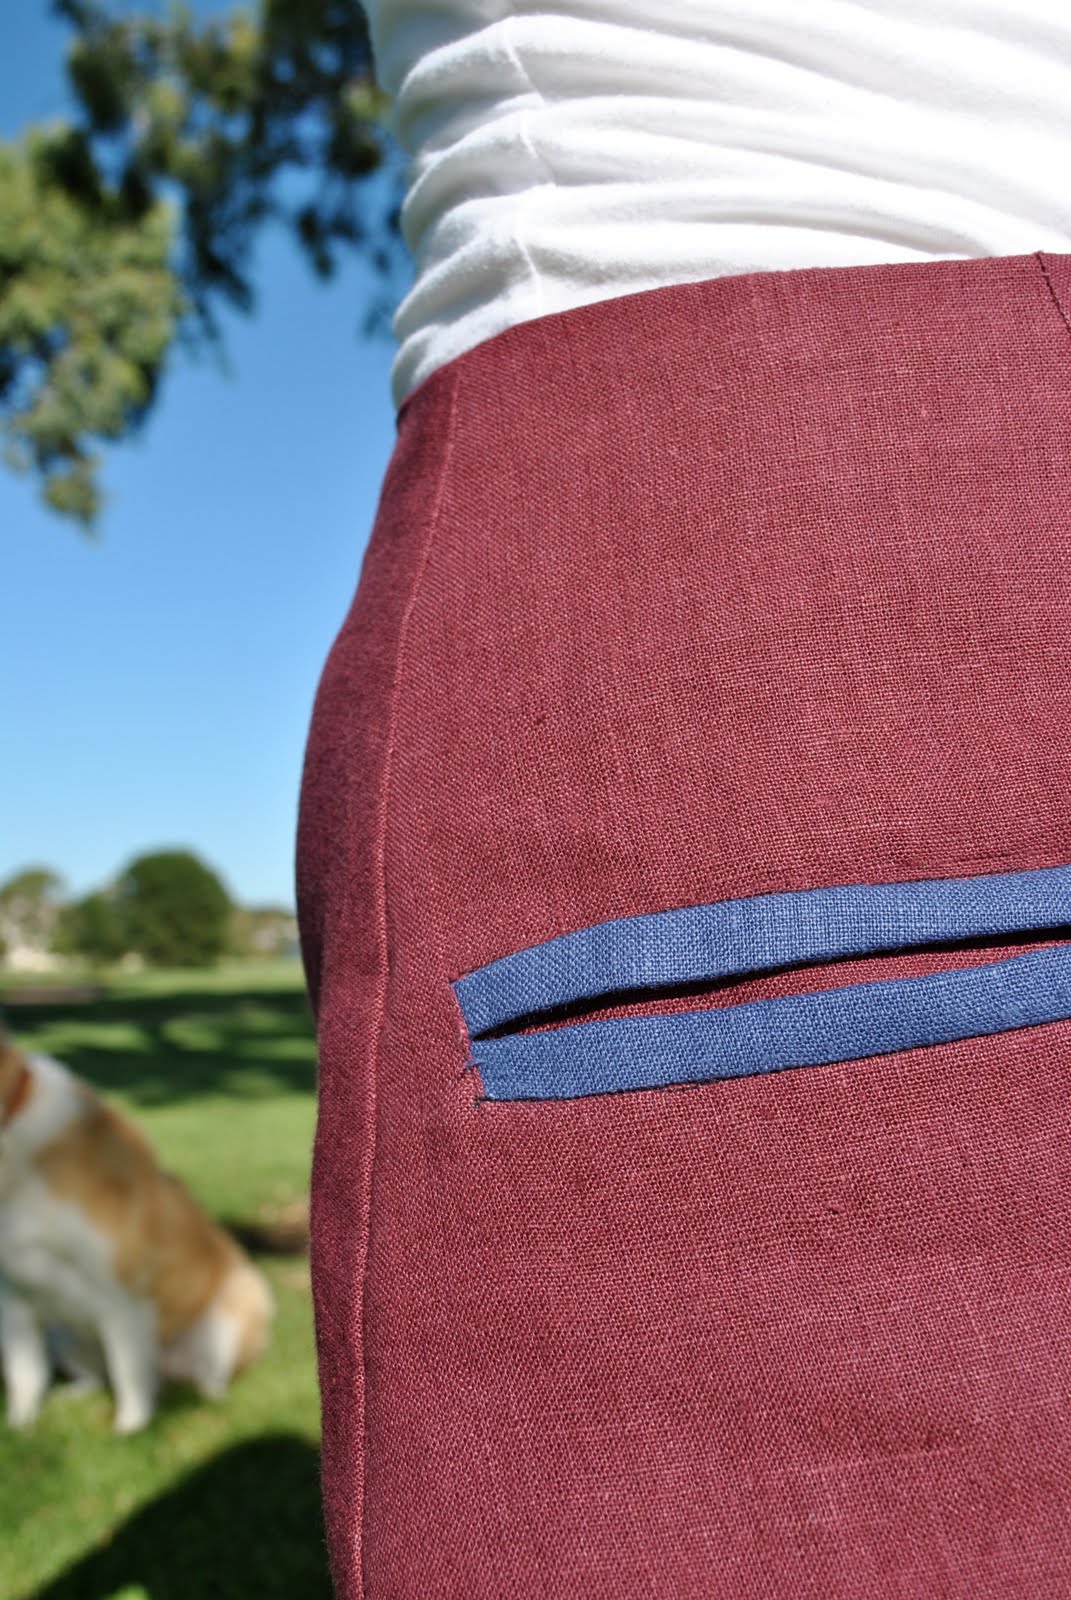
This skirt first caught my eye when I saw it in Vogue, and I instantly wanted something sort of like it.  Not wishing to buy new fabric I made do with scraps and leftovers.  This is the tawny port linen, left over from the shirt I made for my husband here.  The contrasting bias binding I used for around the hemline and for the welt pockets is leftover from the crown blue linen that I used for my husband’s new shirt, which is nearly-but-not-quite-finished, (should be able to show this off tomorrow.)  I’m pretty proud of this skirt since I drafted the pattern myself!
I really like how in Celine’s styling of this outfit the bottom of the white shirt worn can be seen poking out of the bottom of the skirt, a sort of ersatz petticoat effect.  I don’t have a shirt long enough for this look, and besides I made my skirt longer than the Celine version which is way too short for my tastes anyhow, so I wore my skirt today with a long petticoat underneath to get the same feel.  Looking at my picture I think I look a little milkmaid-y. My husband suggested “The Hills are Alive” as a title.
Btw, my hemline looks a bit wonky in this photo, please let me point out this is thanks to my posture and the way the skirt is sitting, and the hemline is actually PERFECTLY straight!!

Details:
Skirt; drafted by me, linen
Petticoat; Metalicus
Top; Cotton On, tossed out by my daughter and rescued by me
Shoes; Sandler, op shop

pinterestmail

Knotted rope necklace; a tutorial

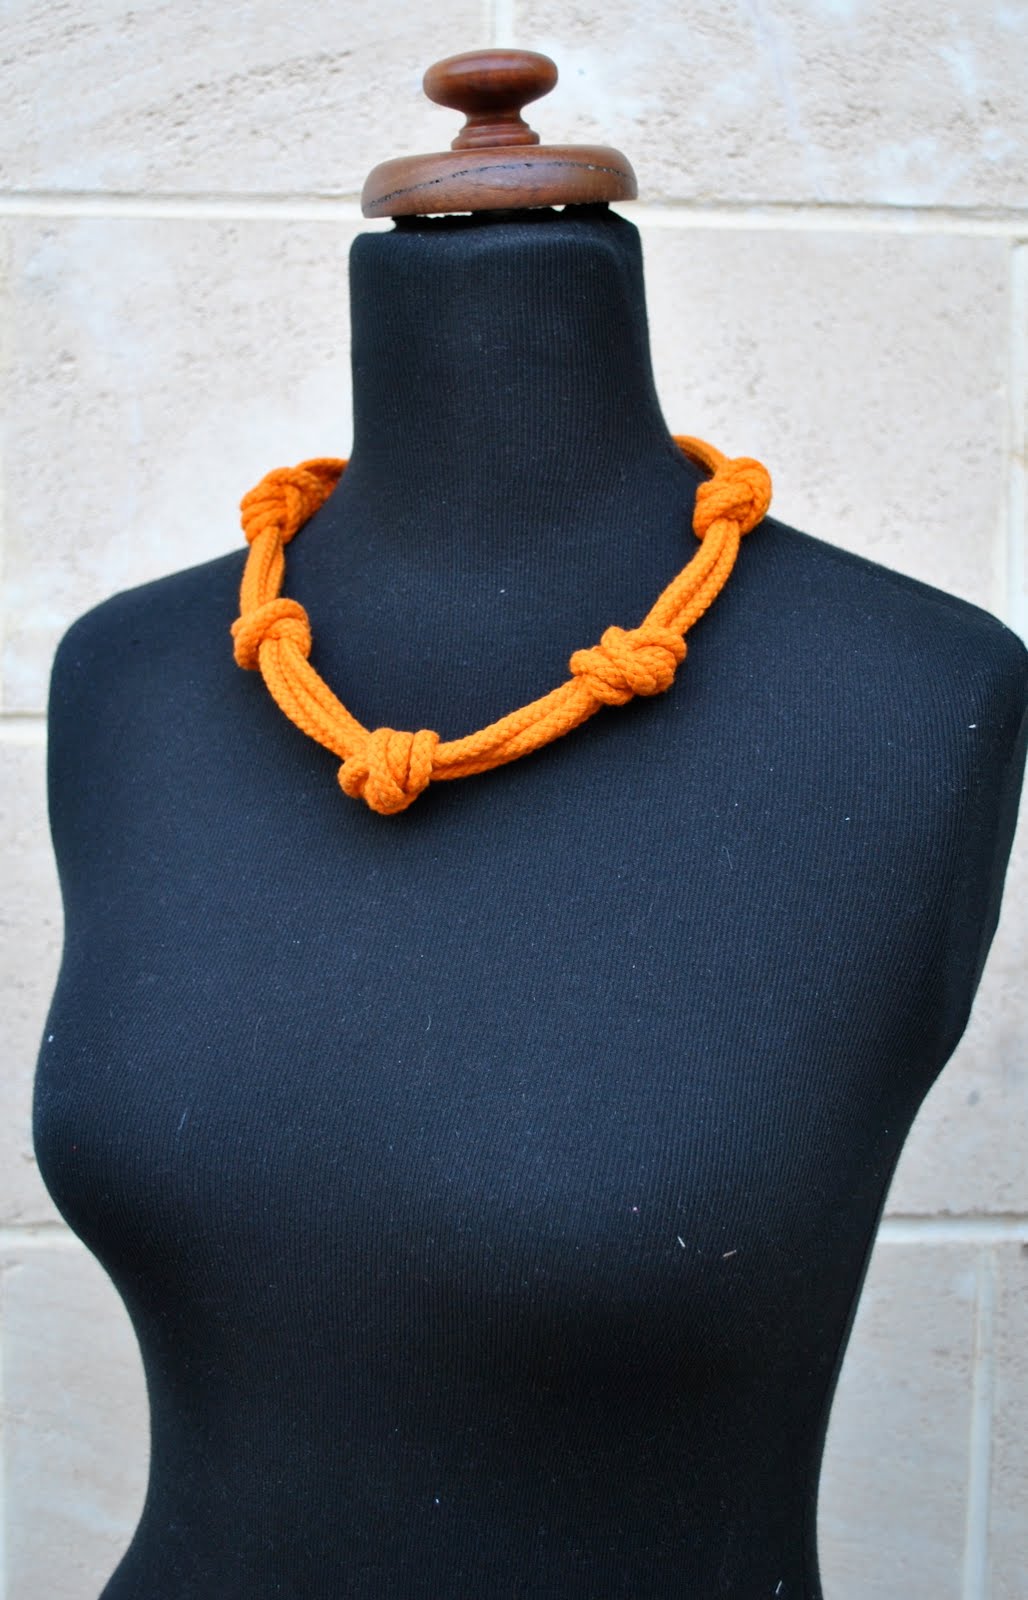
Even though we are technically well into autumn, with a forecast of 32C today it’s still feeling a lot like summer.  Not counting last week’s storm, that is.  The past week has been absolutely glorious.  So everyone is still dressing in summer type gear.  When you live here, that often means beachy inspired stuff. Beachside fashion is huge in Australia.  Particularly with teenagers.  I have no wish to go around looking like a teenager, but some beach and surf gear can be quite sophisticated and still fun.  The March issue of Vogue was all surf inspired, and I caught sight of this necklace.  You may be able to read the price of this thing printed there in the middle.  Yes, $110.  Hooley dooley!

This piece is interesting, colourful and ripe for a DIY.  Right up my alley.  Actually, confession, I bought the bits and pieces for this DIY about three weeks ago, and am just only getting around to it now, my experience at making my Chanel style chain belt put me off jewellery making for a while… but I needn’t have stressed as this was a breeze.
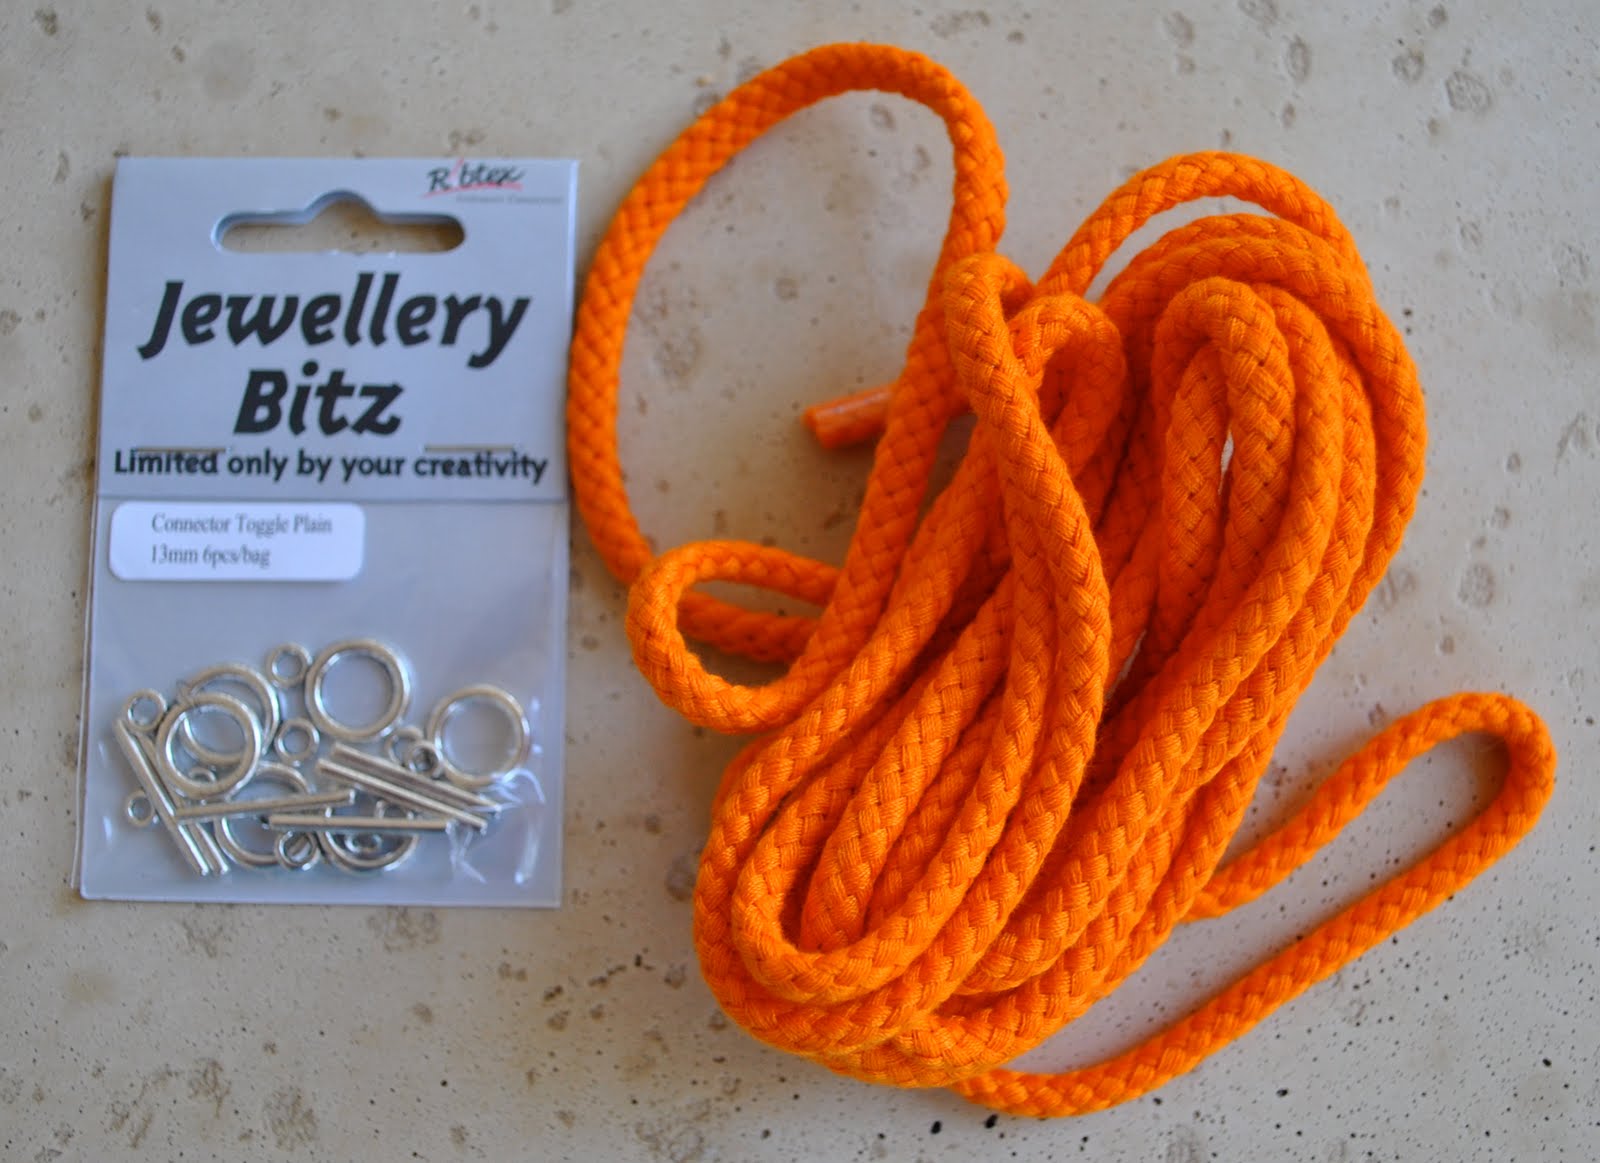
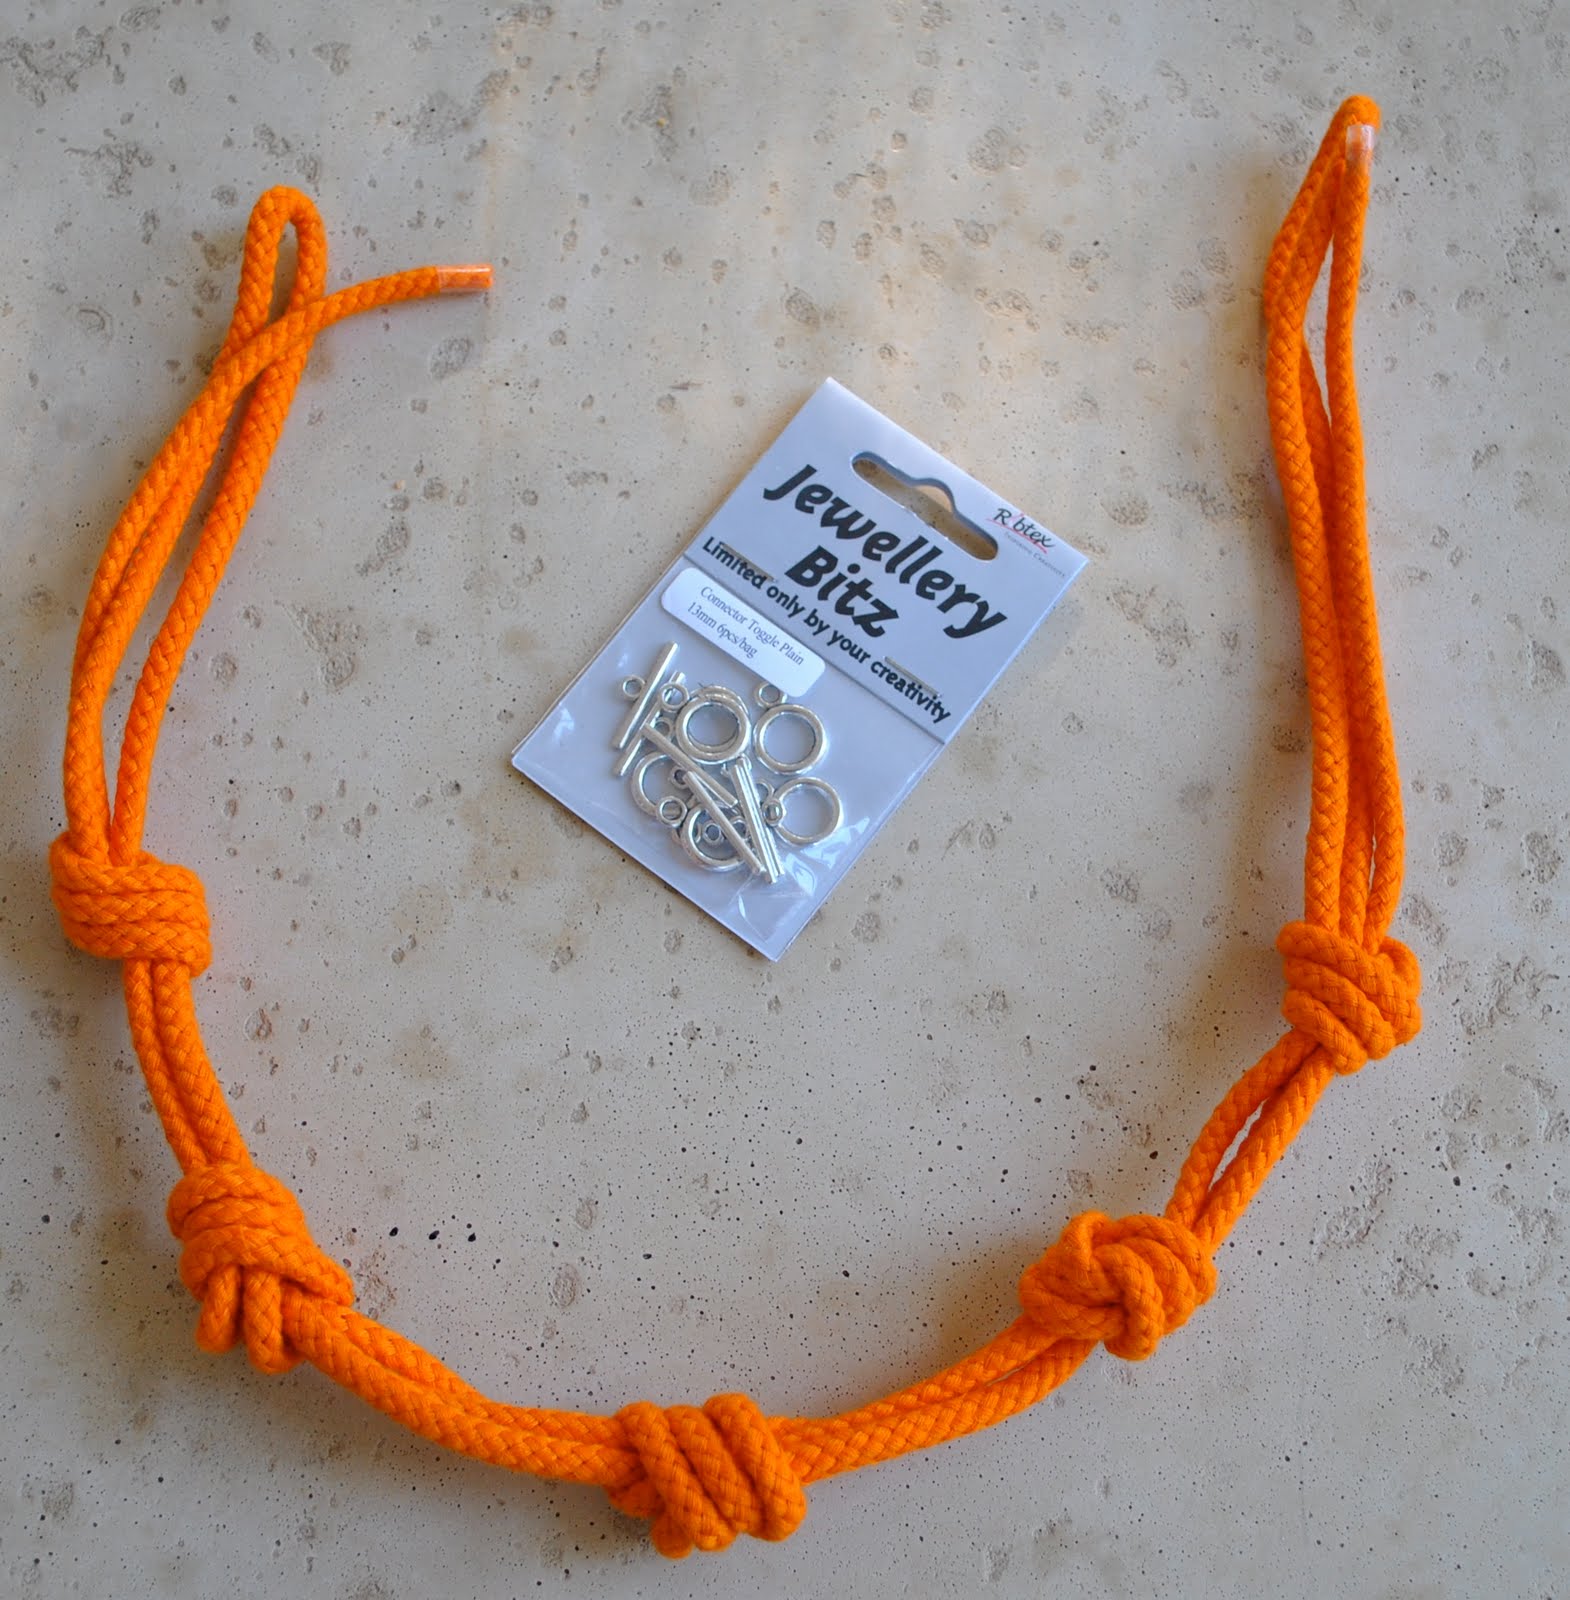
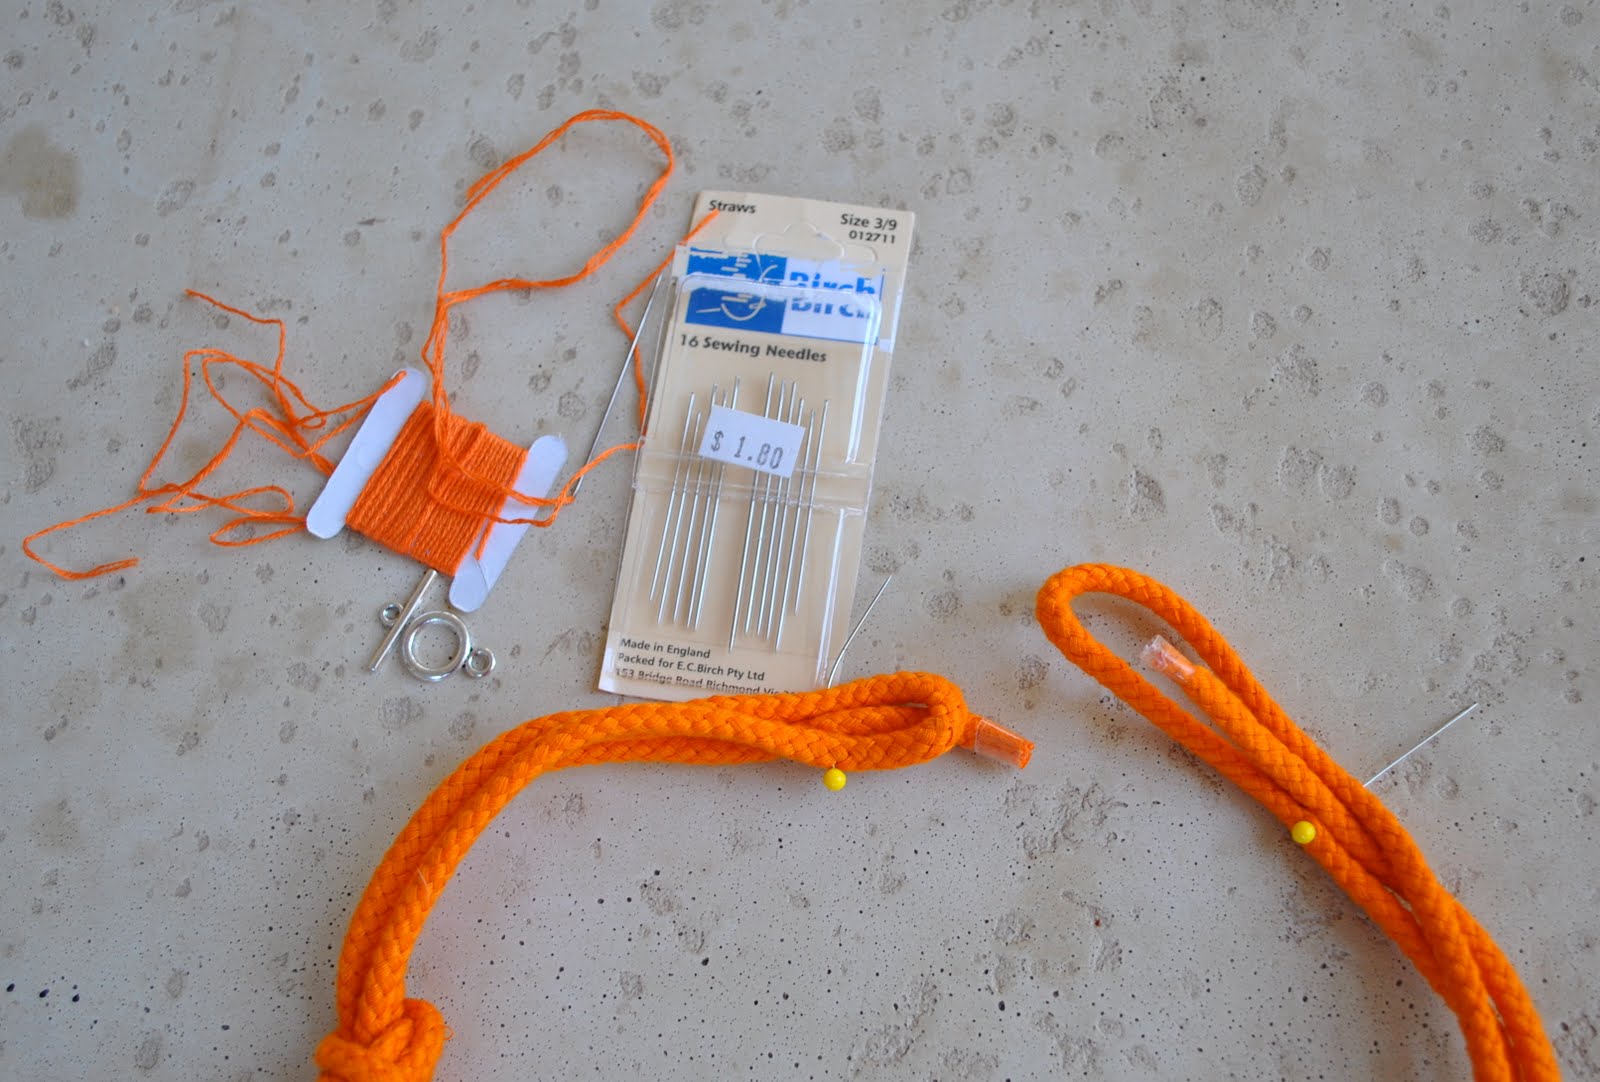
I bought 3m of brightly coloured cotton rope and some end bits.  This cost me about $10.  Not pictured here, but you also need a needle, scissors and matching thread.  I used embroidery thread, but that’s because I inherited a lifetime supply of this from my great-aunt and my grandmother, any thread would do.

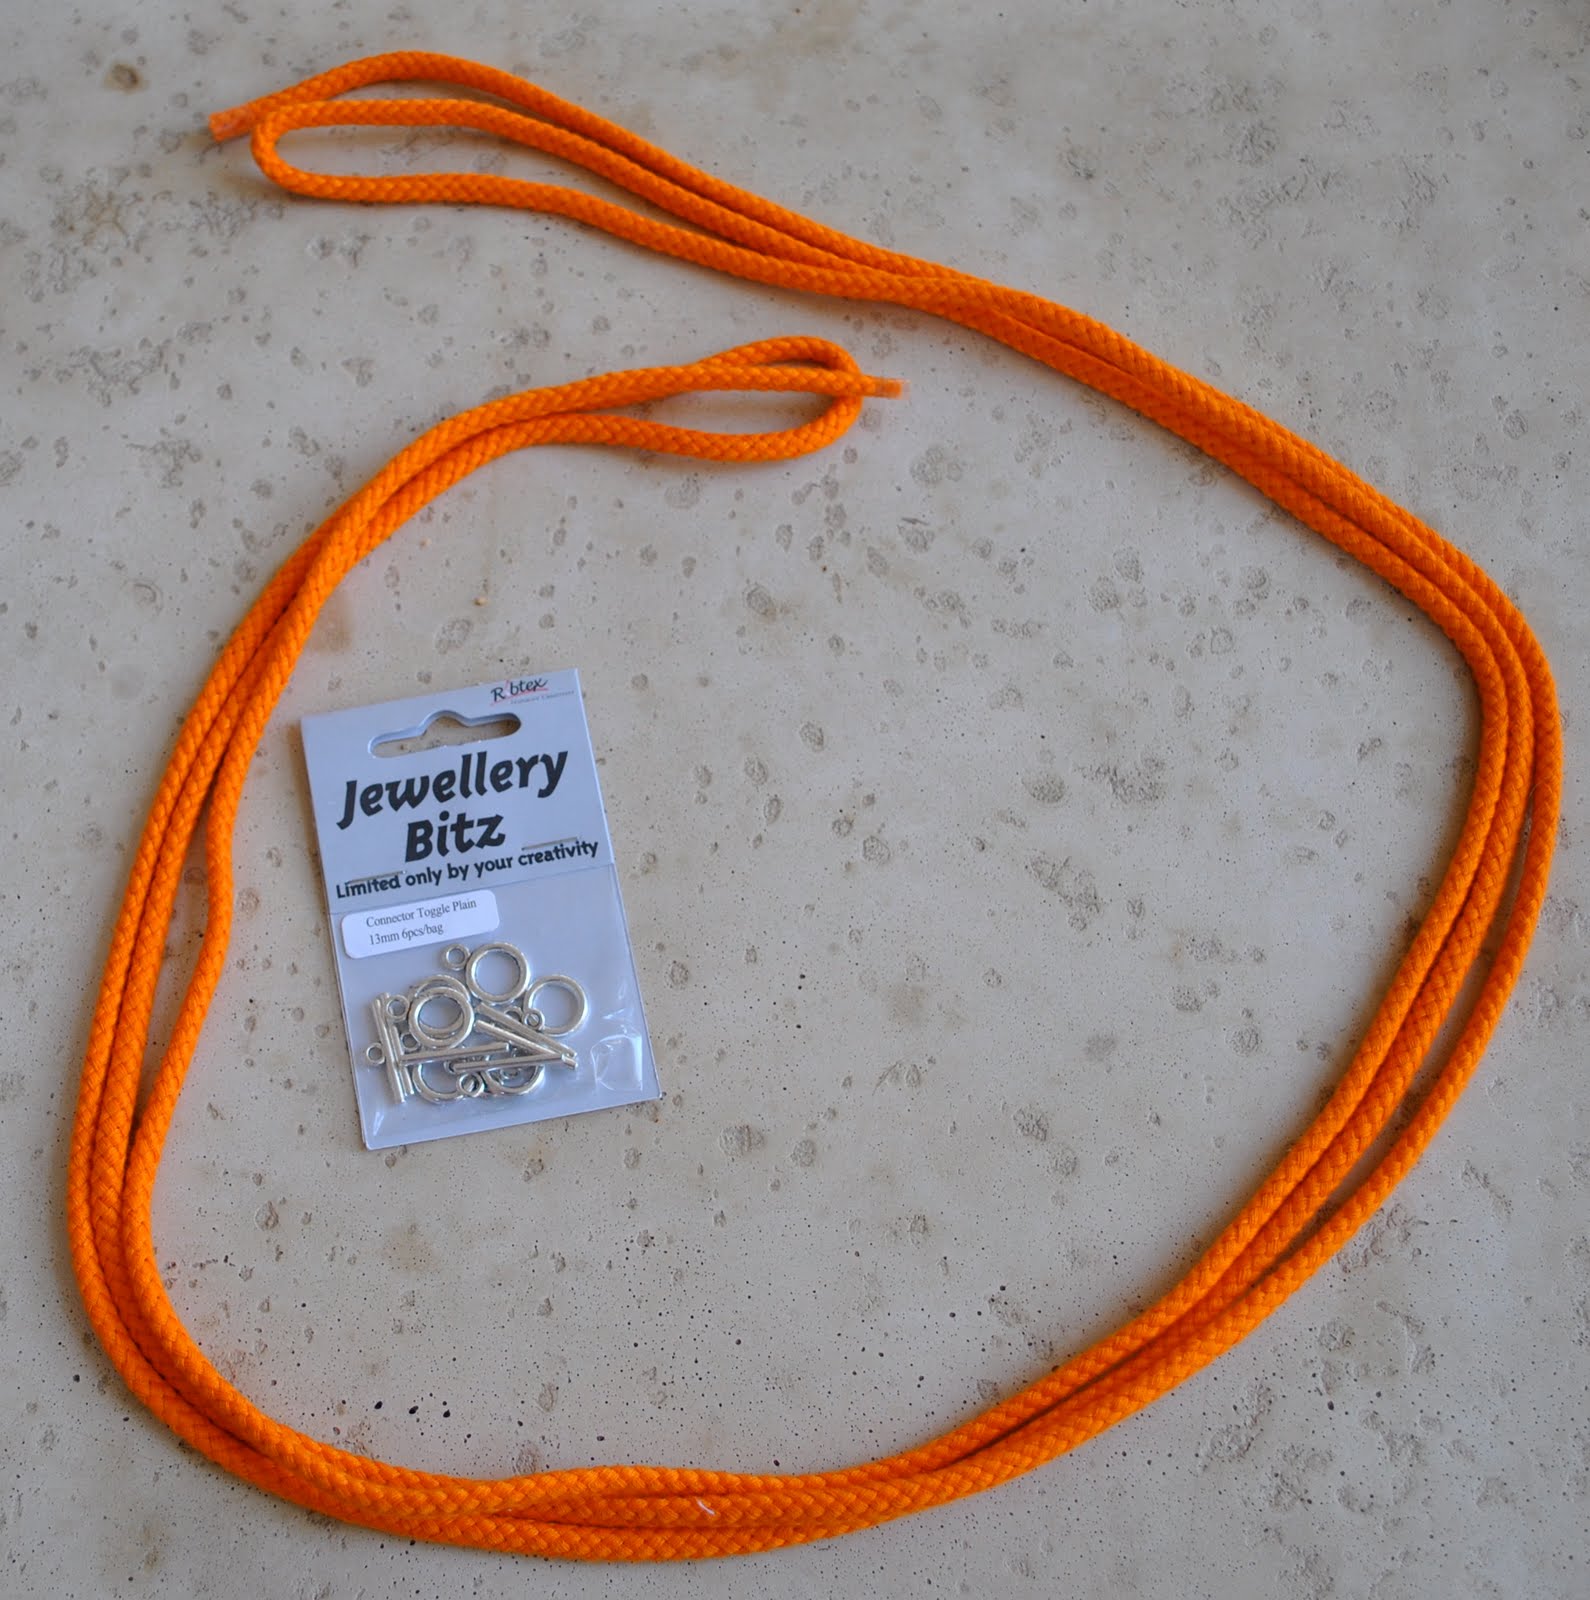
Fold the rope into three equal lengths.

Simply knot the rope in five evenly spaced knots.  I spent a bit of time getting them exactly even but I’m a bit obsessive that way, and it would probably look just as good a bit more randomly spaced…

Measure around your neck where you want the necklace to hang and mark each of the ends with a pin.

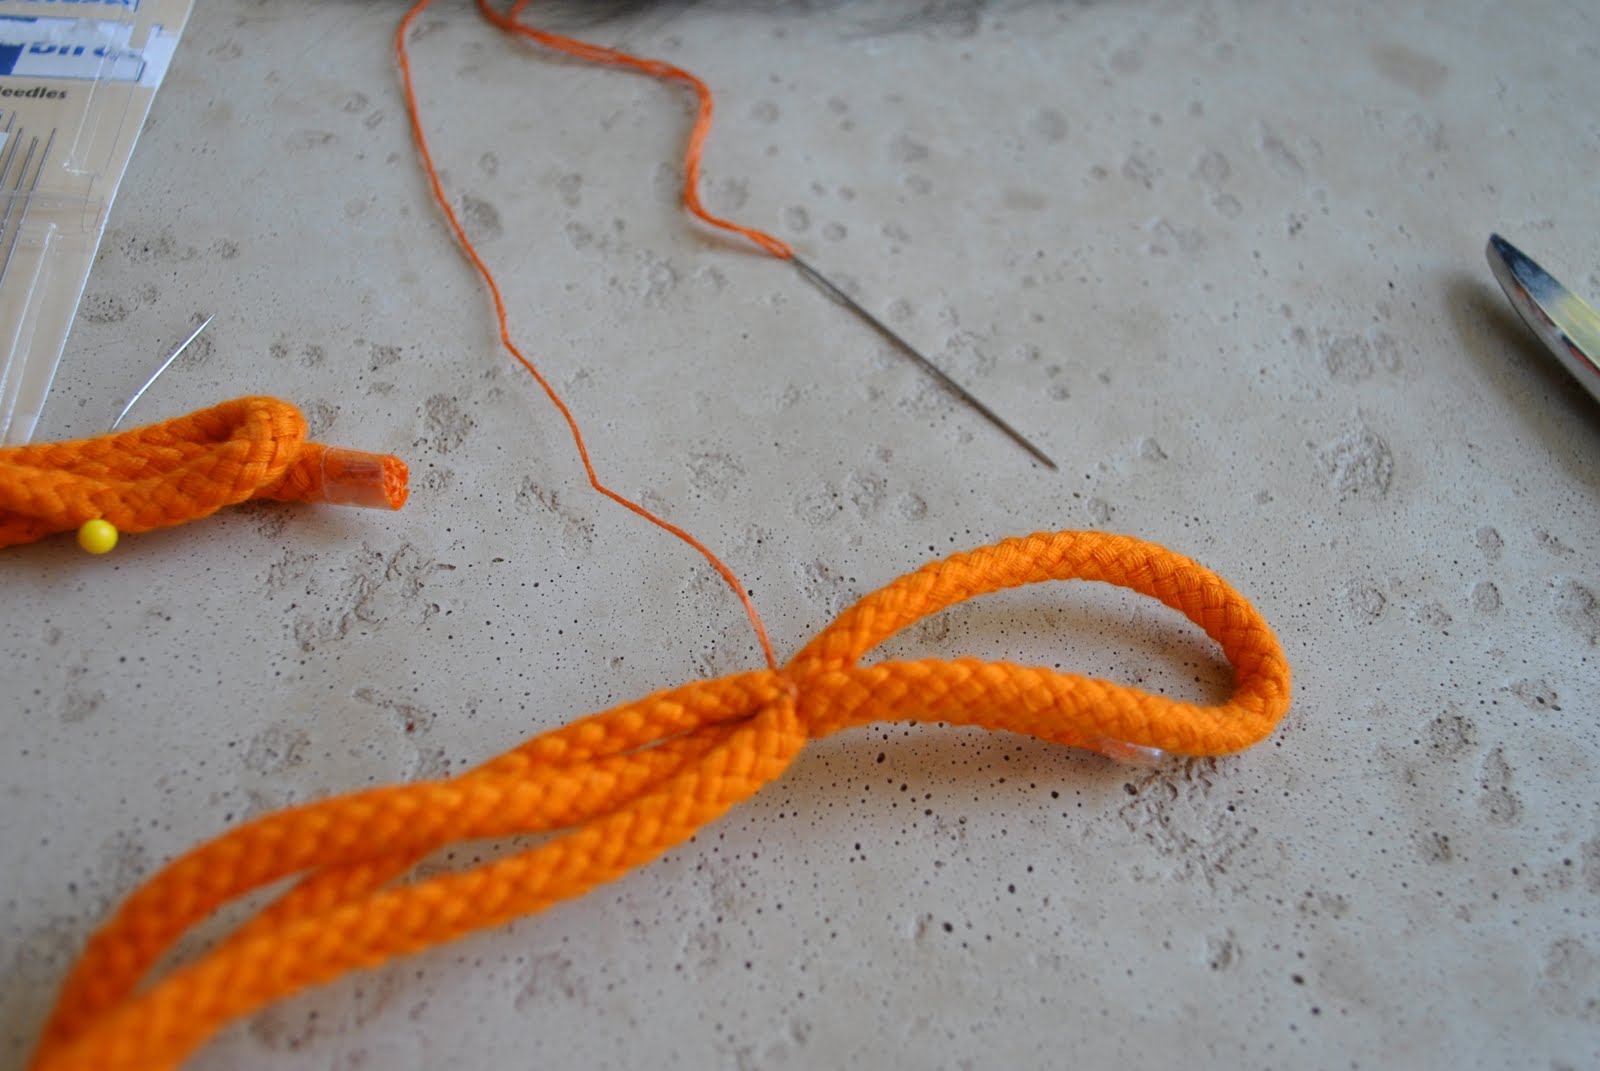
Using your matching thread sew a few firm stitches through all layers to secure them together.

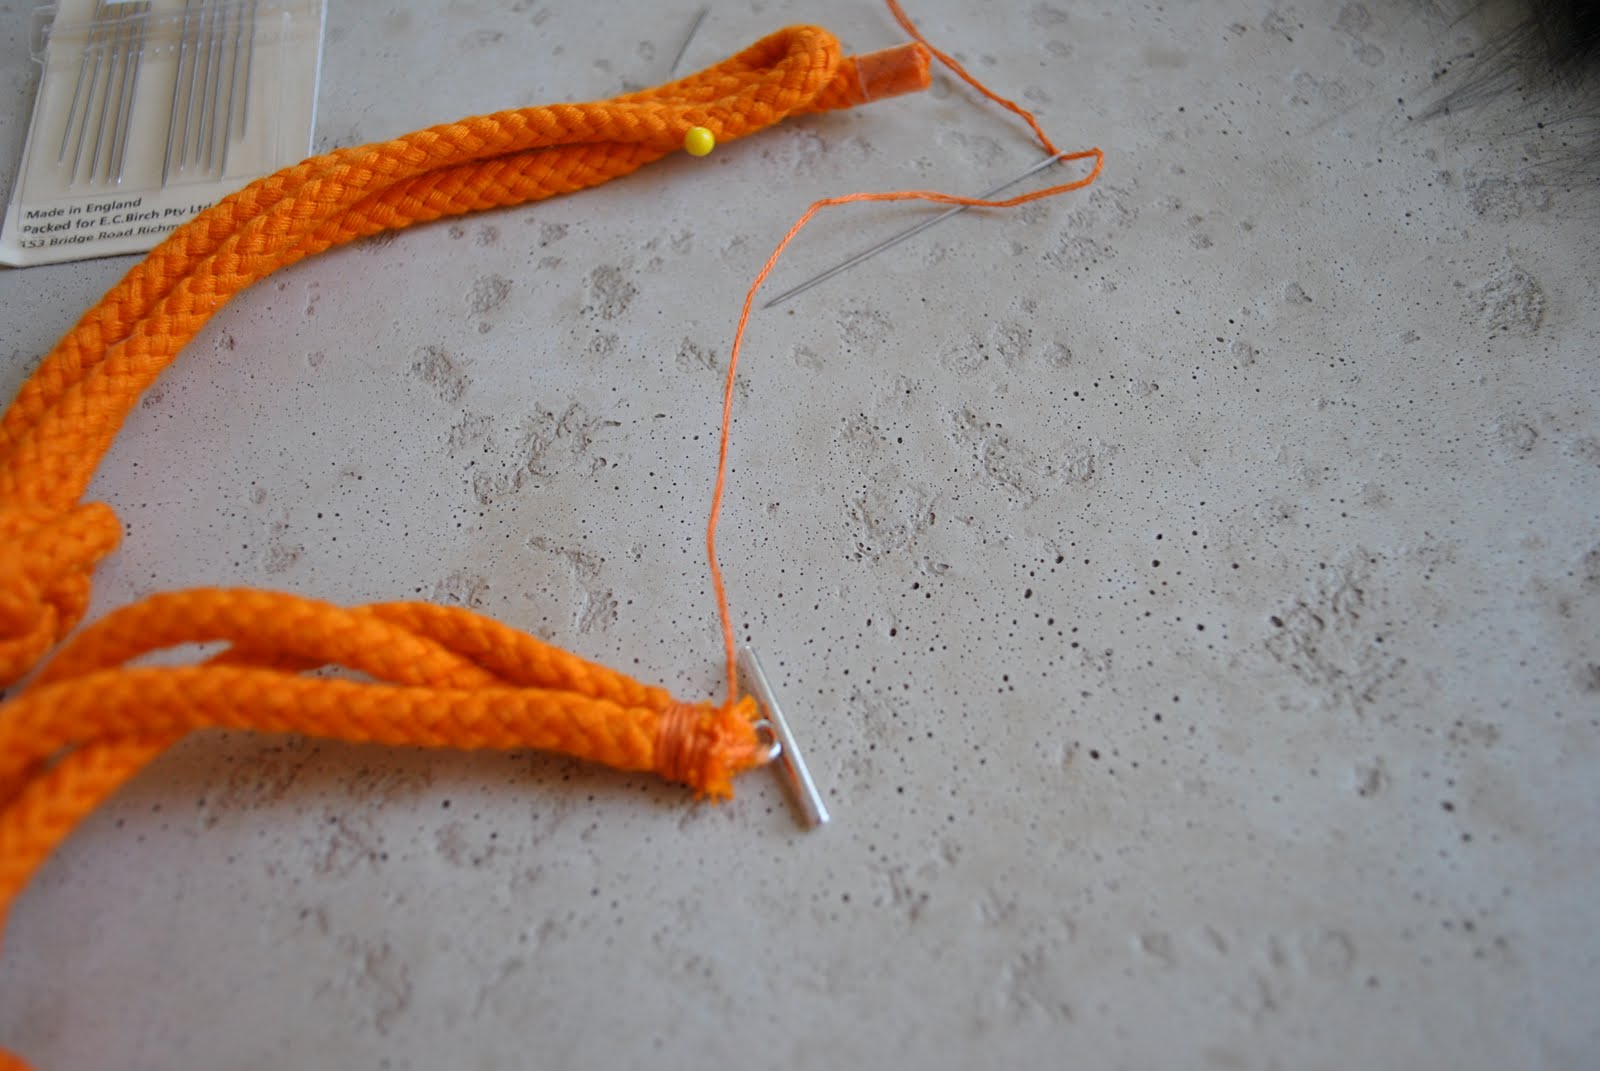
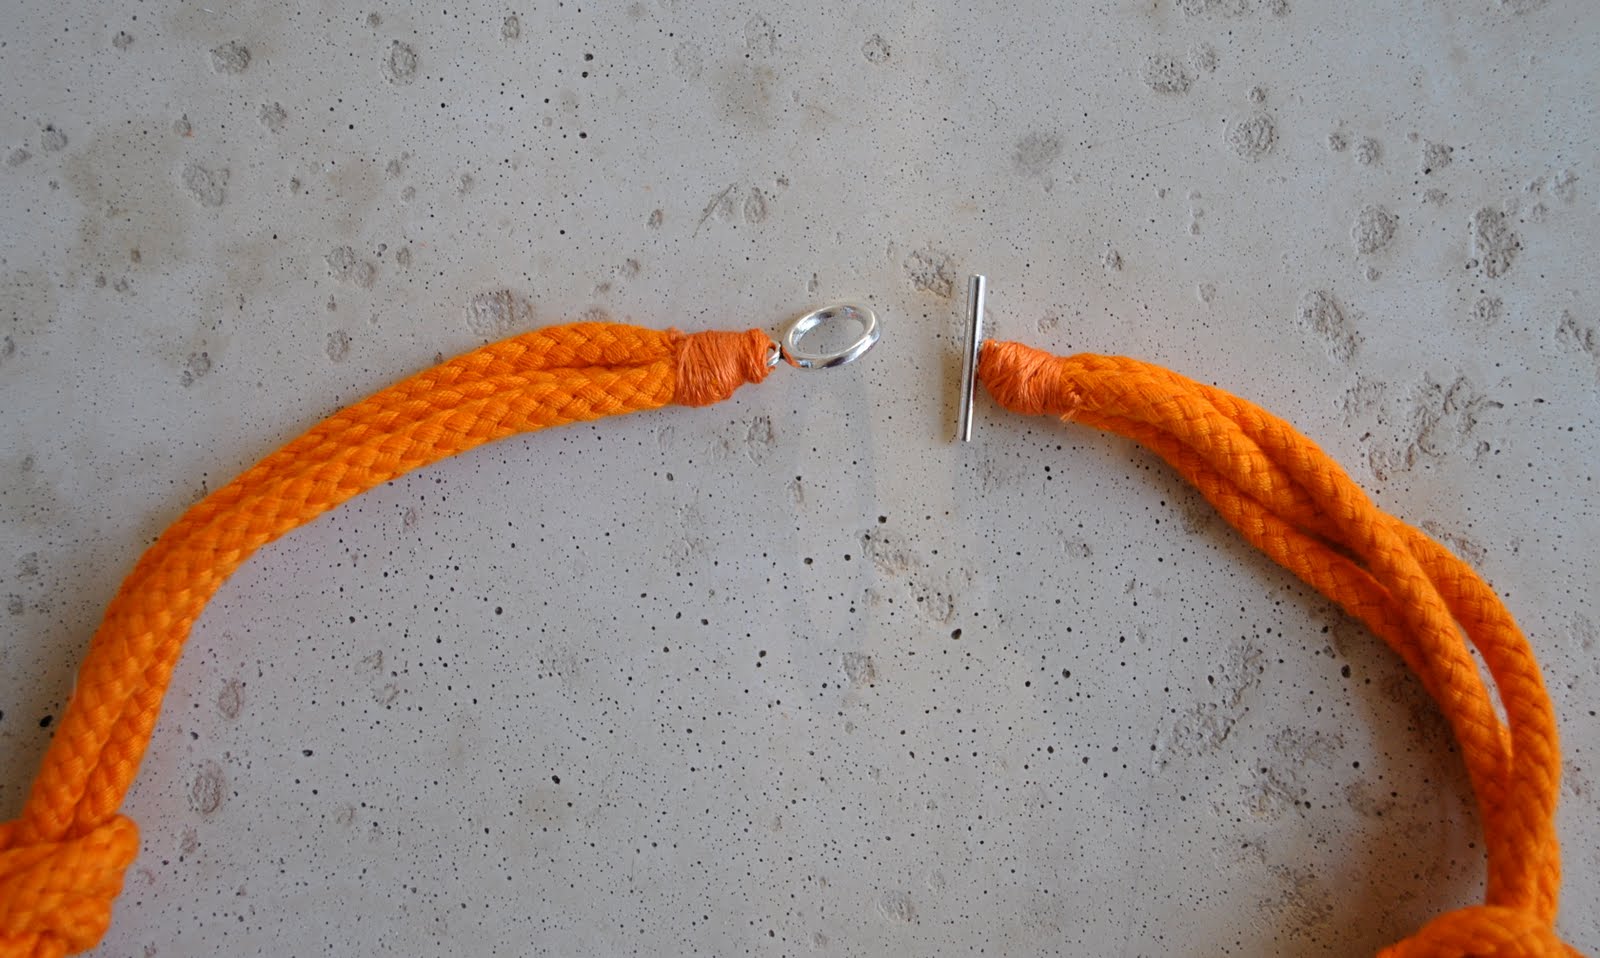
Cut the ends off, and sew on an end piece, using loose stitches so it stands away a bit from your rope end.

Finish off by winding the thread tightly around the rope ends to bind down any loose ends poking out, and secure the ends.

Voila and ready to wear!  Even though I attached jewellery ends to the necklace I find I can still slip it over my head pretty easily without having to undo the catch.
I like the funky, casual, different look of this necklace; its not your average kind of accessory (and so the perfect accessory for me) and cost a lot less than the original.  Win!

pinterestmail

An intense shot of colour

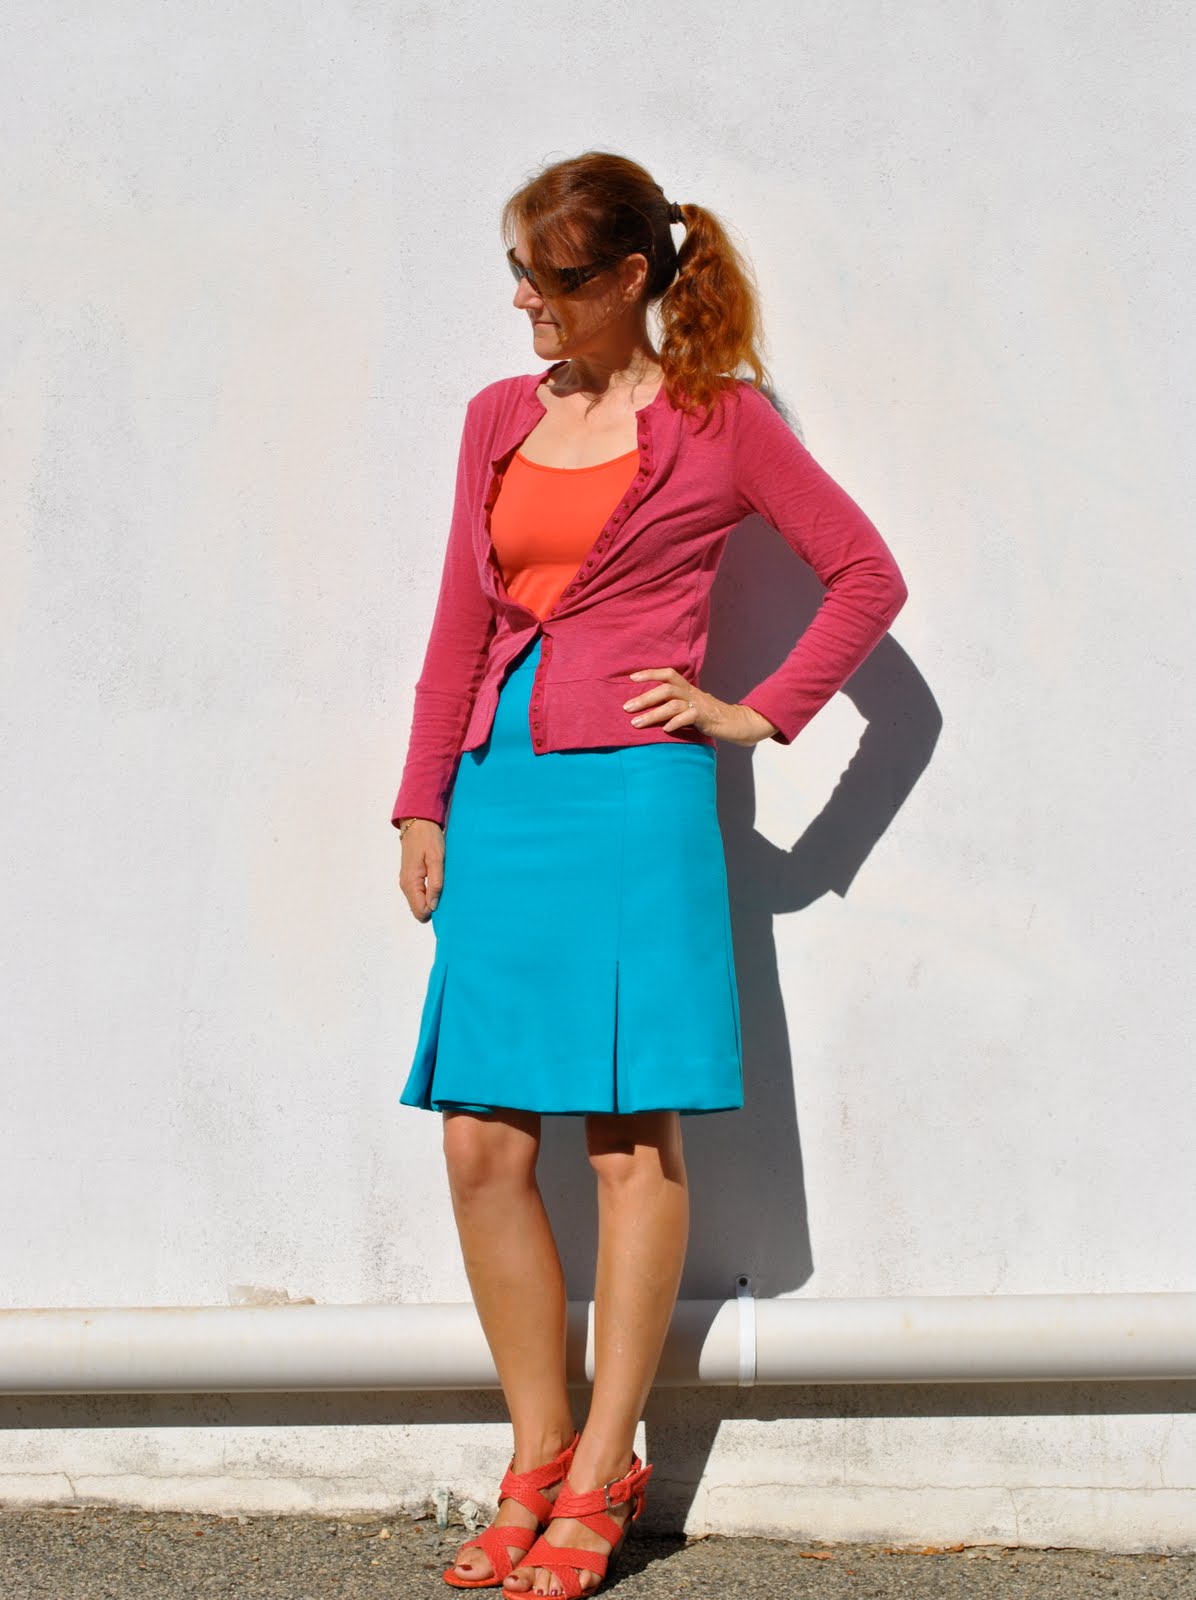
COLOUR!!  Get out your sunnies!  This saturation of colour I’m wearing today was a vaguely imagined “hope for” when I made this skirt.  I’ve really progressed in my fashion choices since I started writing this blog.  I’m challenging myself to wear all of my clothes I make, to stretch my imagination as far as colour goes and to let go of my beloved neutrals.  Not that I’m ever going to stop wearing my neutrals, mind, but six months ago I wouldn’t have dreamed of wearing this particular colour combination.  This would have been completely out of my comfort zone.  So I’ve grown, fashion-wise.  I’m not trying to be the most noticeable or the most avant-garde person around, but I like to look nice and it’s easy to get stuck in a rut with one’s wardrobe.  Time after time, I’m reaching for the same old same old.  Not this time!
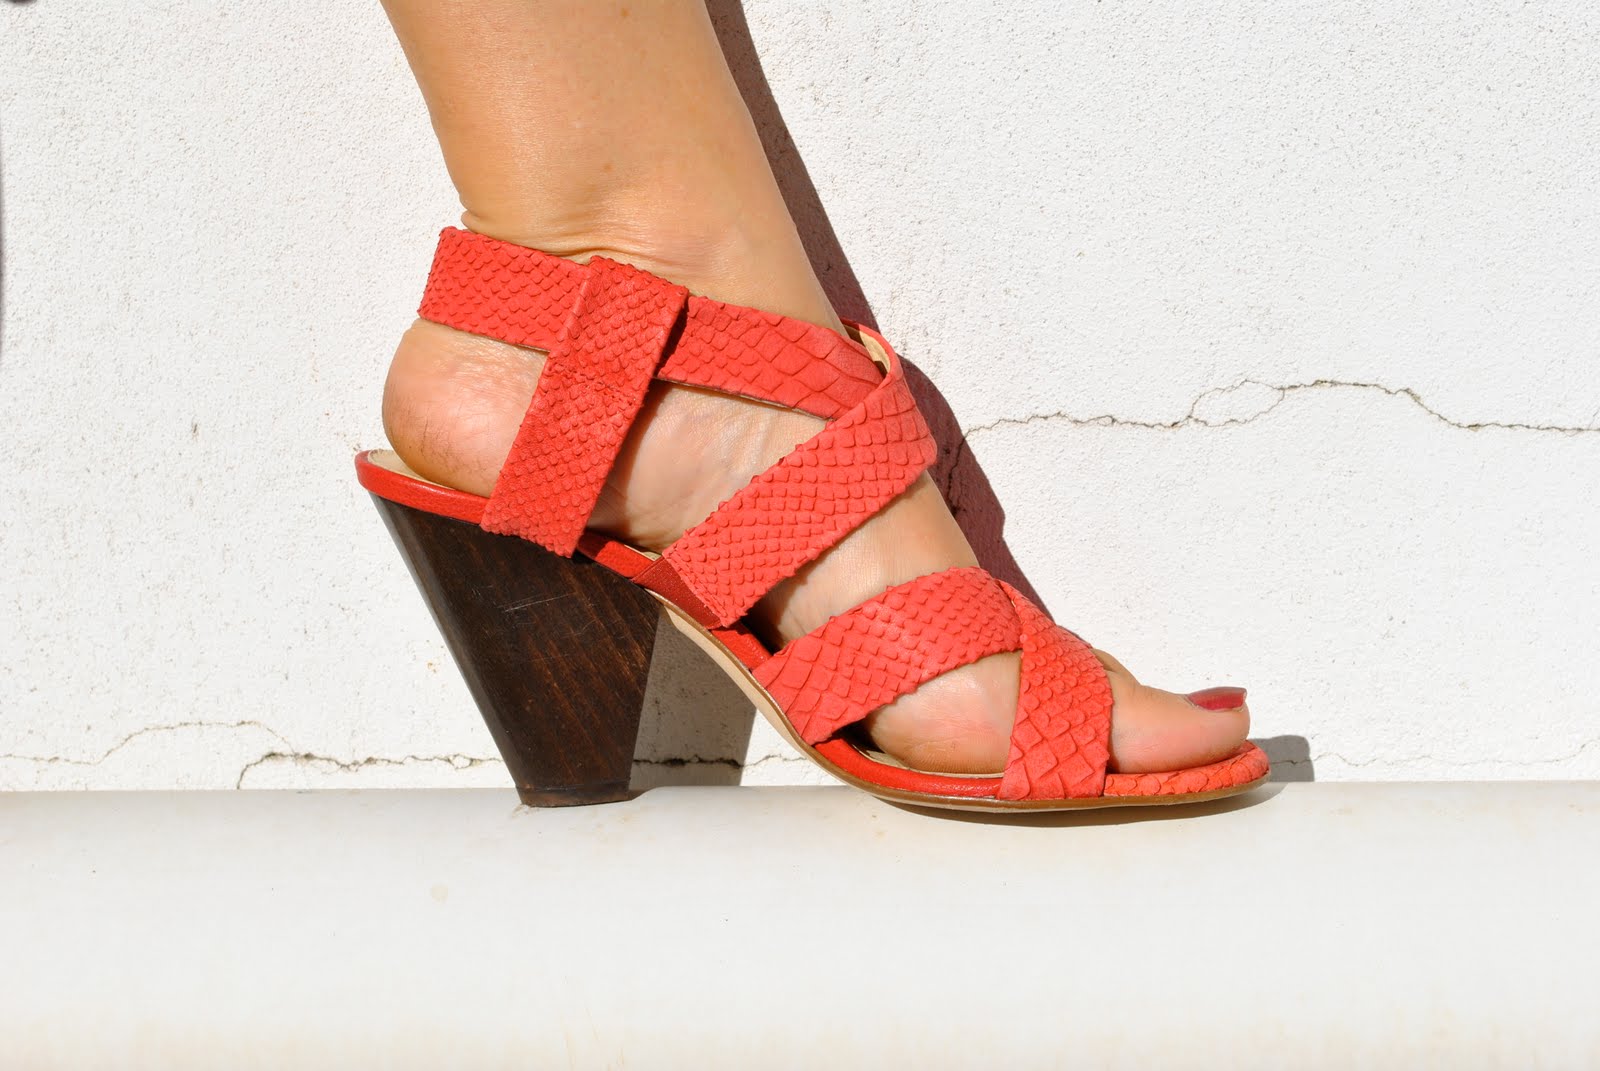
And I bought some new shoes!  I haven’t bought any new clothes in over six months, apart from a few Country Road camisoles.  I consider these camisoles a wardrobe essential, I wear them such a lot during summer, and daily all through winter as an extra layer under everything else, for warmth.  So I felt OK about buying these new sandals!  I bought two pairs of summer sandals, actually, both half price.  The best time to buy summer shoes is now, just as the best time to buy winter shoes is in October.  Which is when I bought two pairs of winter boots, so I’m all set for winter!
Looking forward to a nice birthday morning tea for my friend L today.  So since it’s such a beautiful day I’m popping these shoes in my bag and walking to the cafe in my thongs (flipflops); these beauties are sadly not made for walking!!

Details:
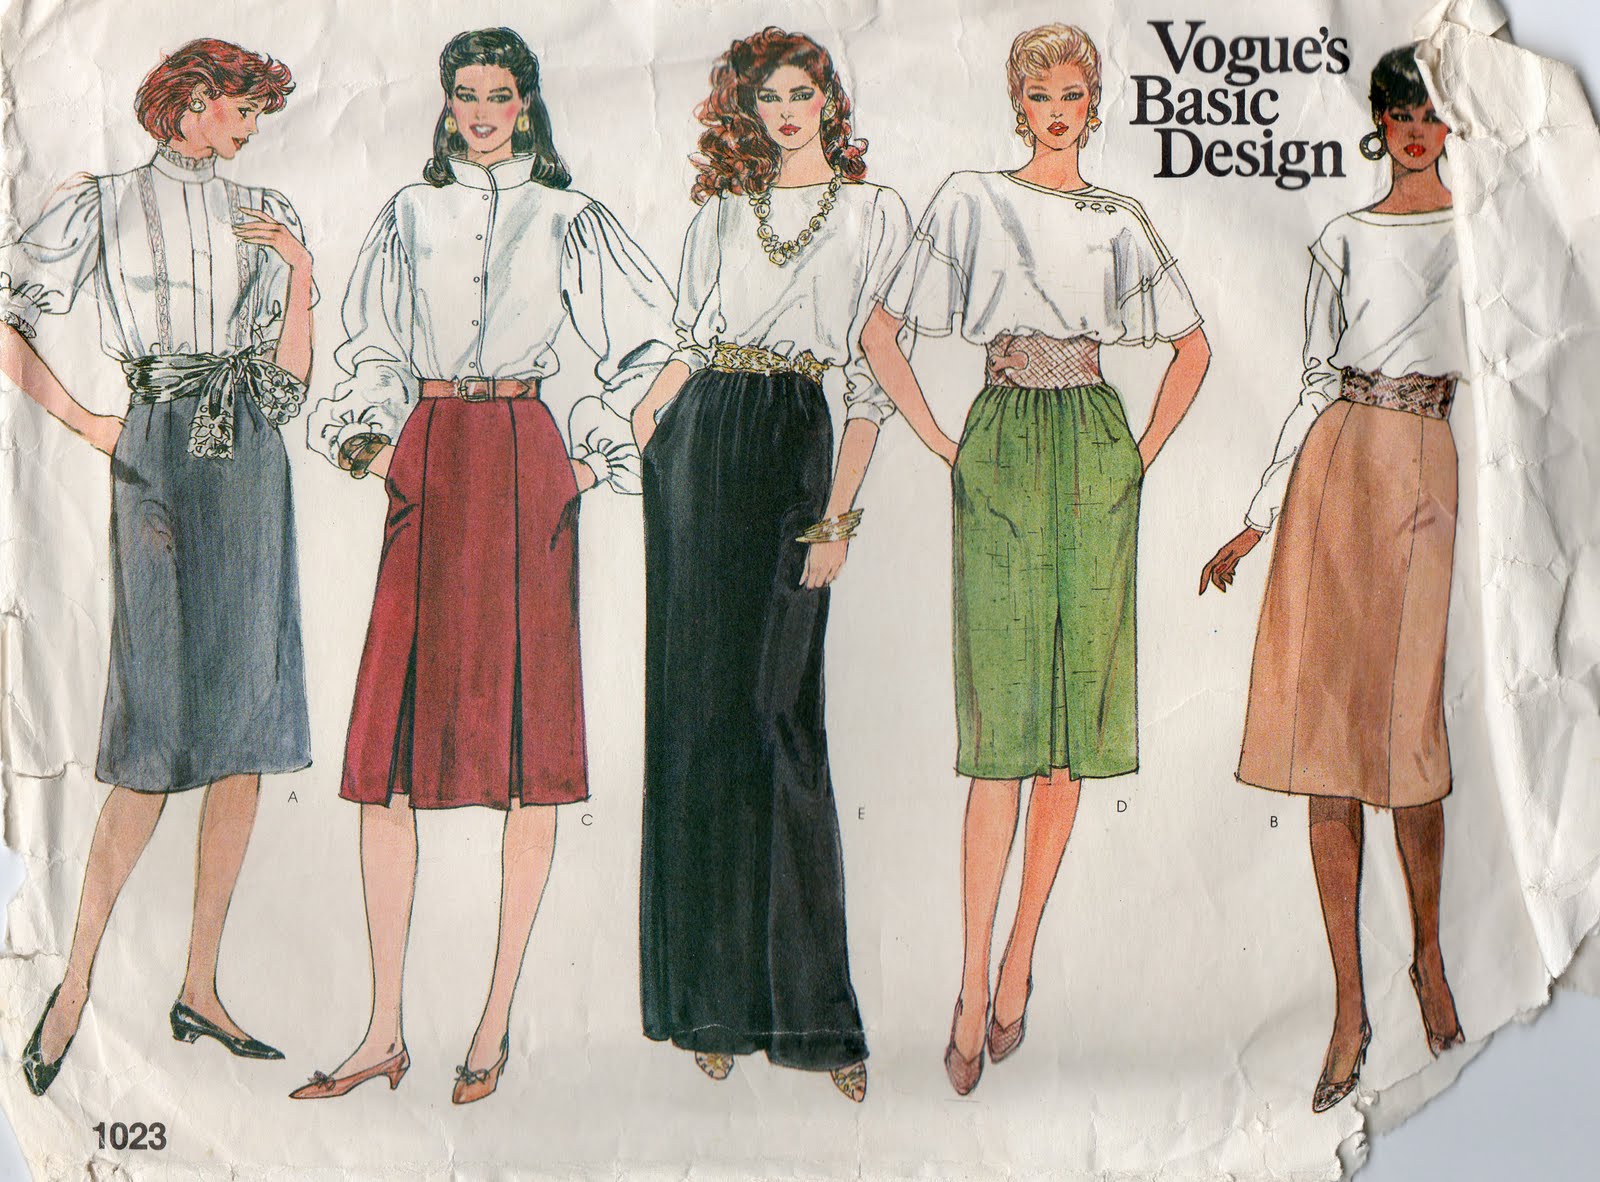
Skirt; Vogue 1023 view C, turquoise polycotton
Camisole; Country Road
Cardigan; Metalicus
Sandals; Pedro Miralles, from Soletta shoes

pinterestmail

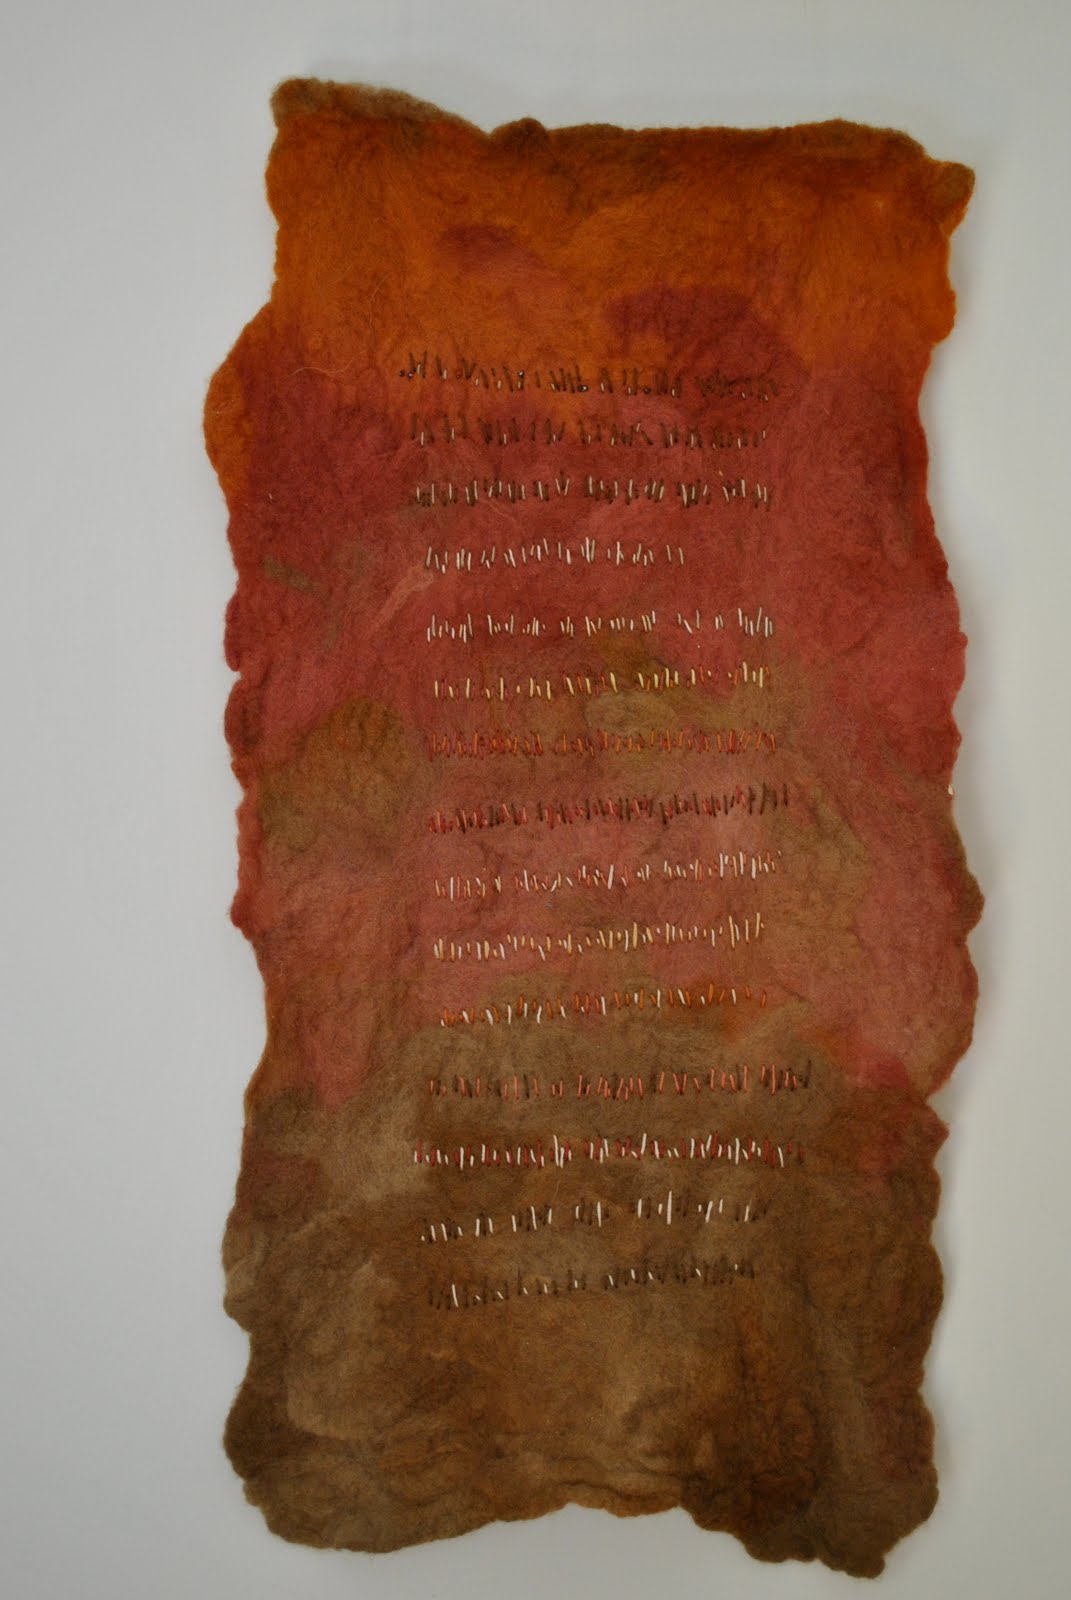
Felted wall hanging

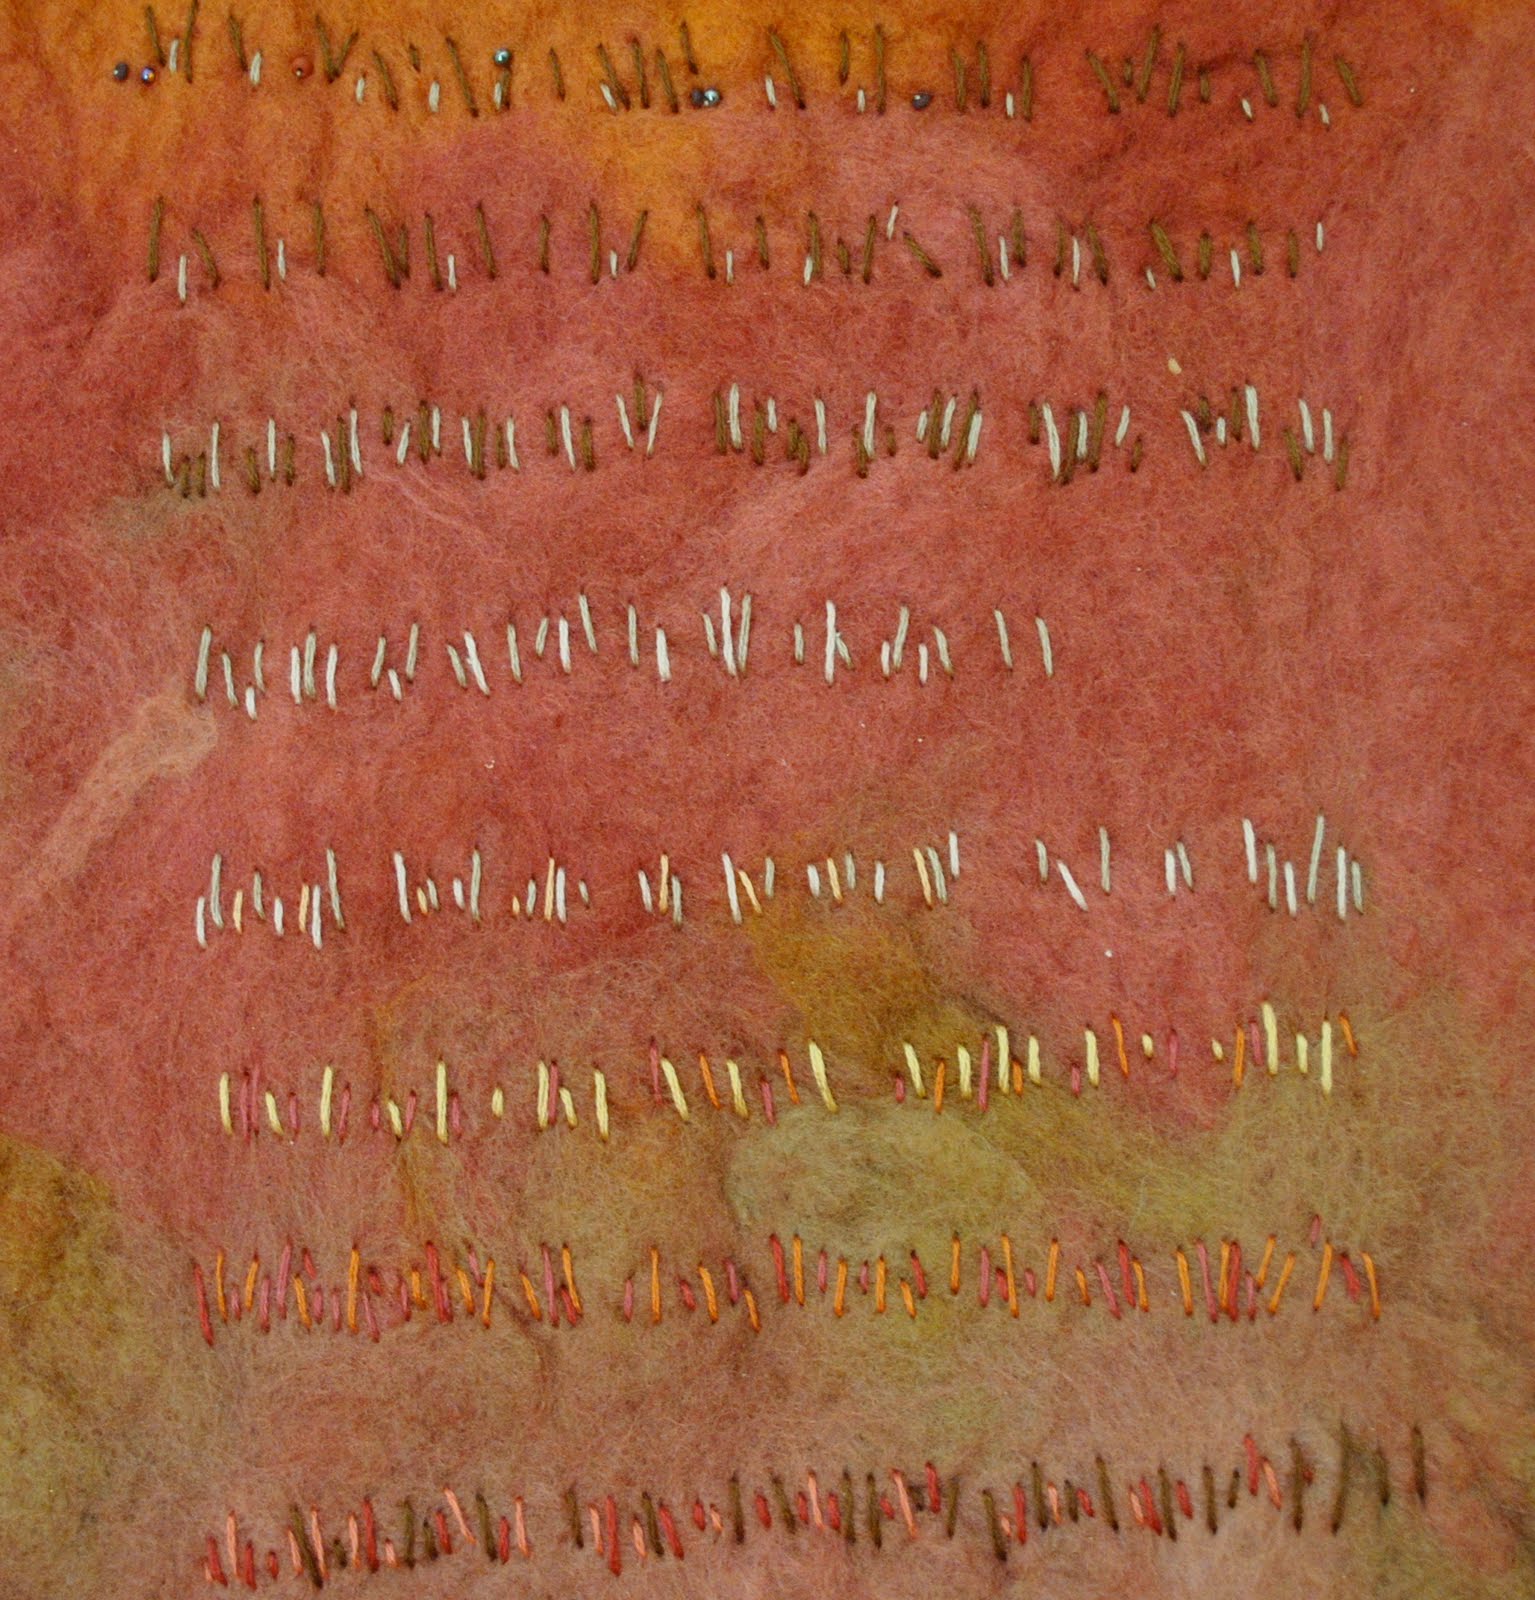
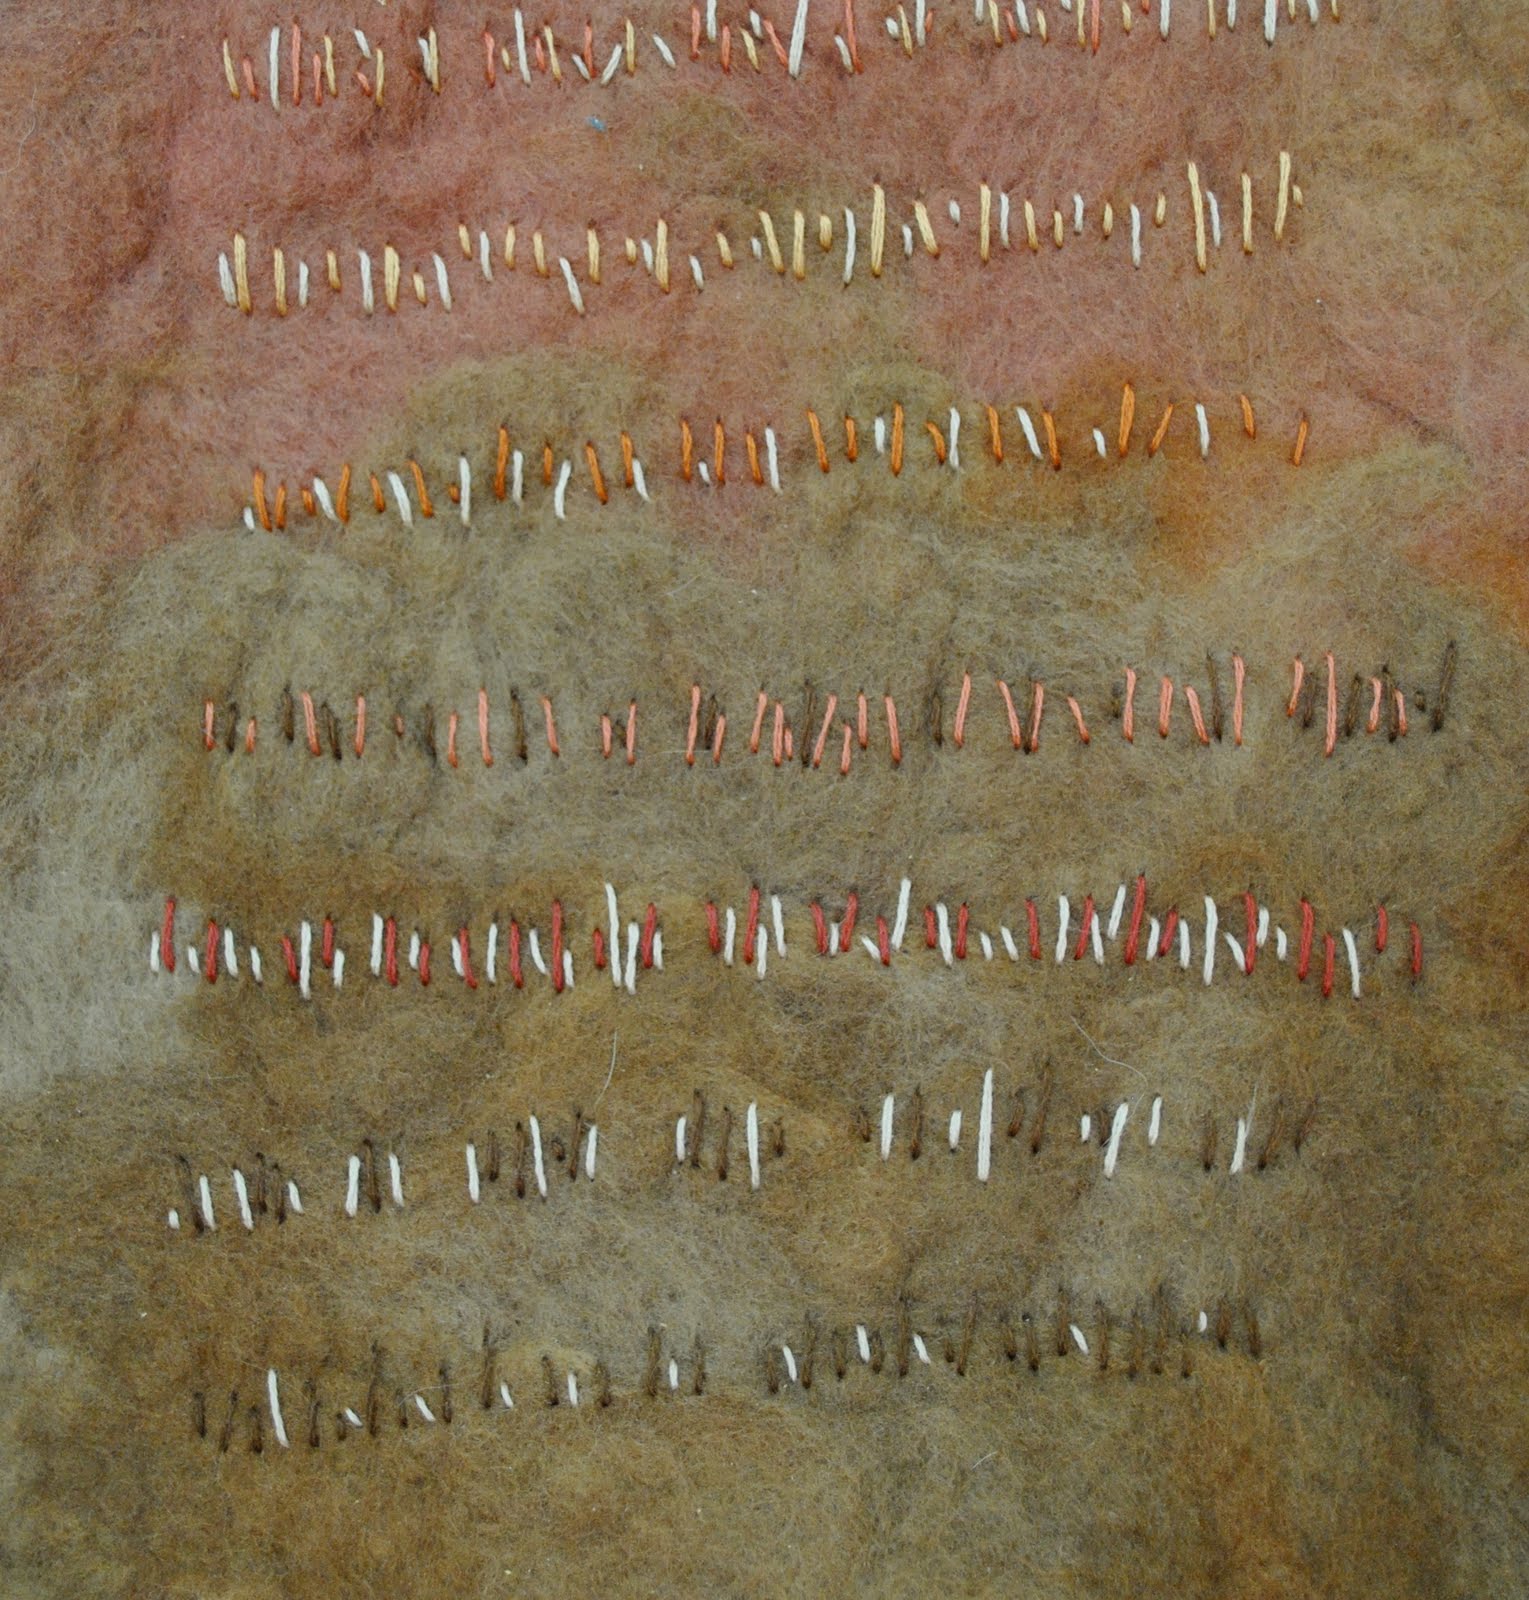
Another felted thing.  I made this last year some time.  This is hanging on the wall in our front room, to be admired by visitors (hehe).  I really enjoyed the process of making this because by this time I had worked out how forgiving felting is and that you really can’t mistreat it; as long as you’re working with colours you love you really can’t go wrong here.
I envisaged this to be a sort of textile visual document in no language, a sort of crafted poem; a felted “page” with embroidered strokes and/or marks and dashes making a “text” on its surface.  I like how the the progression of colours turned out in the felted background and intended the vertical stitches of the embroidery as a kind of visual progression of colours and form in themselves… They bring to mind the tally of days that long-term prisoners scratch out on their cell walls; or the painted wall markings that are sometimes found in pre-historic caves, the homes of primitive people.  This could be a document from an undiscovered isolated culture, made by a people who use fabrics for their record making, and a language of strokes with colours, height and spacing forming an alphabet.
I sewed a bit of thick-ish wire across the top at back to stiffen it so it wouldn’t collapse when hanging, and it’s hanging from fishing wire which is almost invisible so the piece seems to be floating against the wall.  The size of this is roughly 52cmx28cm  (20.5in x 11in)

pinterestmail
Switch to mobile version
↓