Tag Archives: Coat

Operation Raincoat

Warning: distinctly un-humble and boastful post to follow…
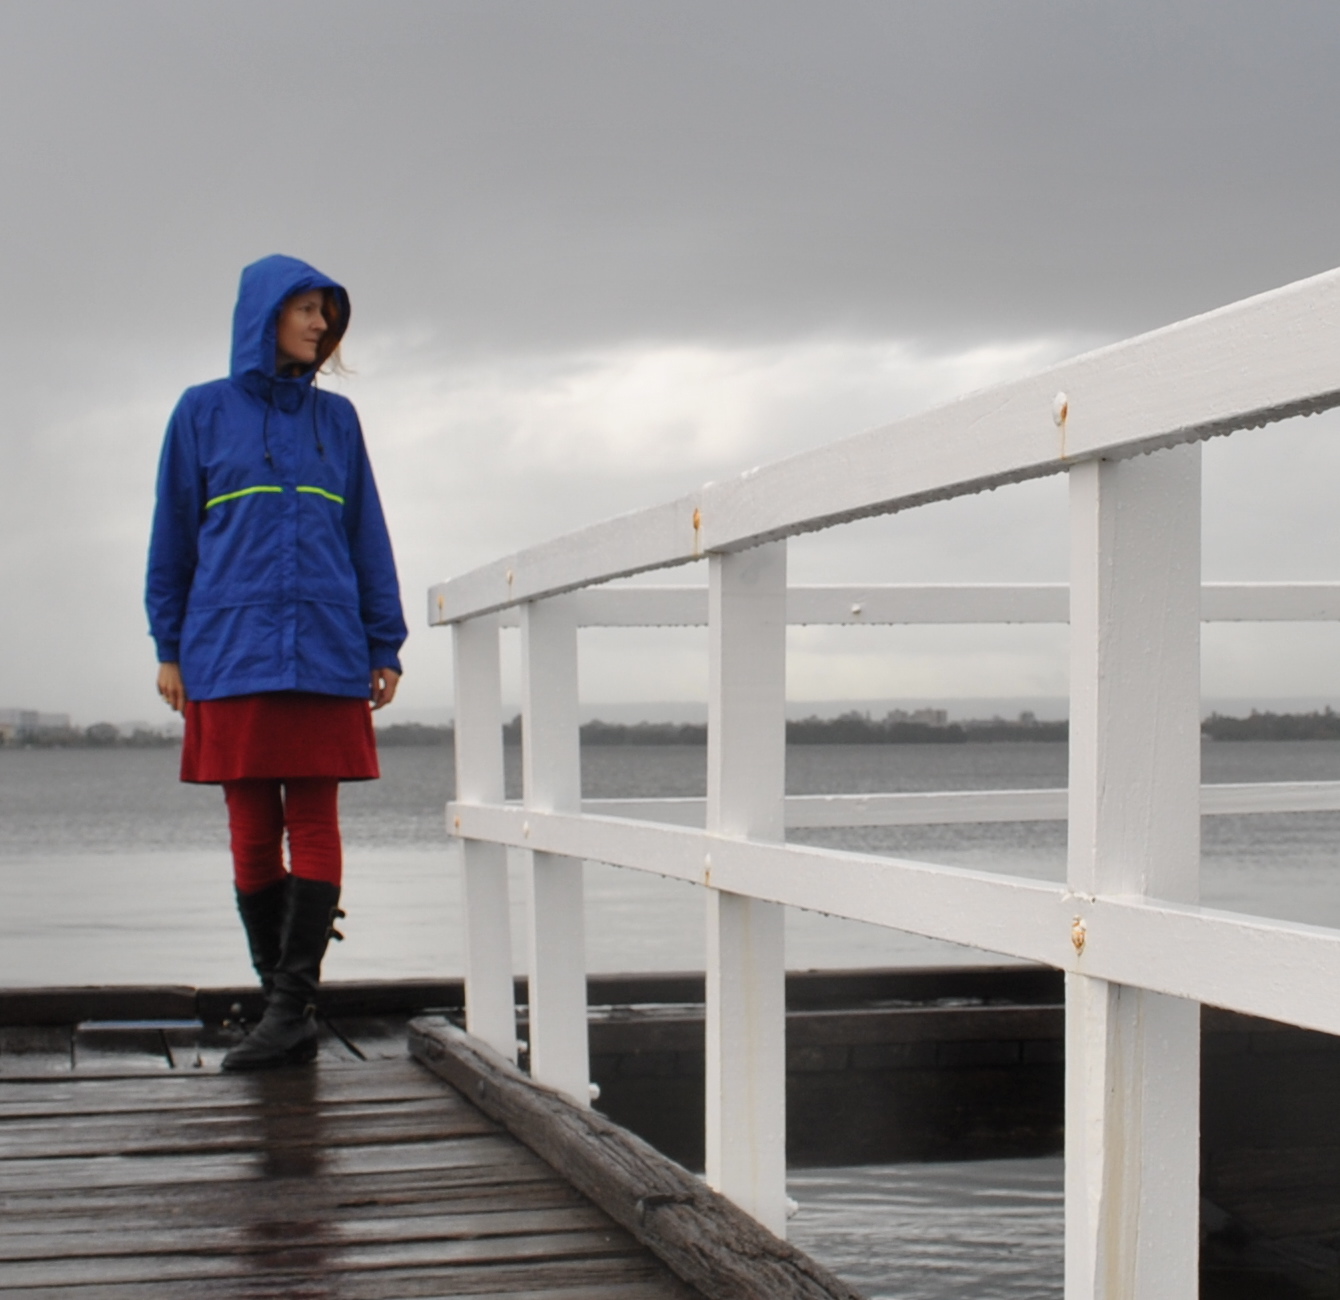
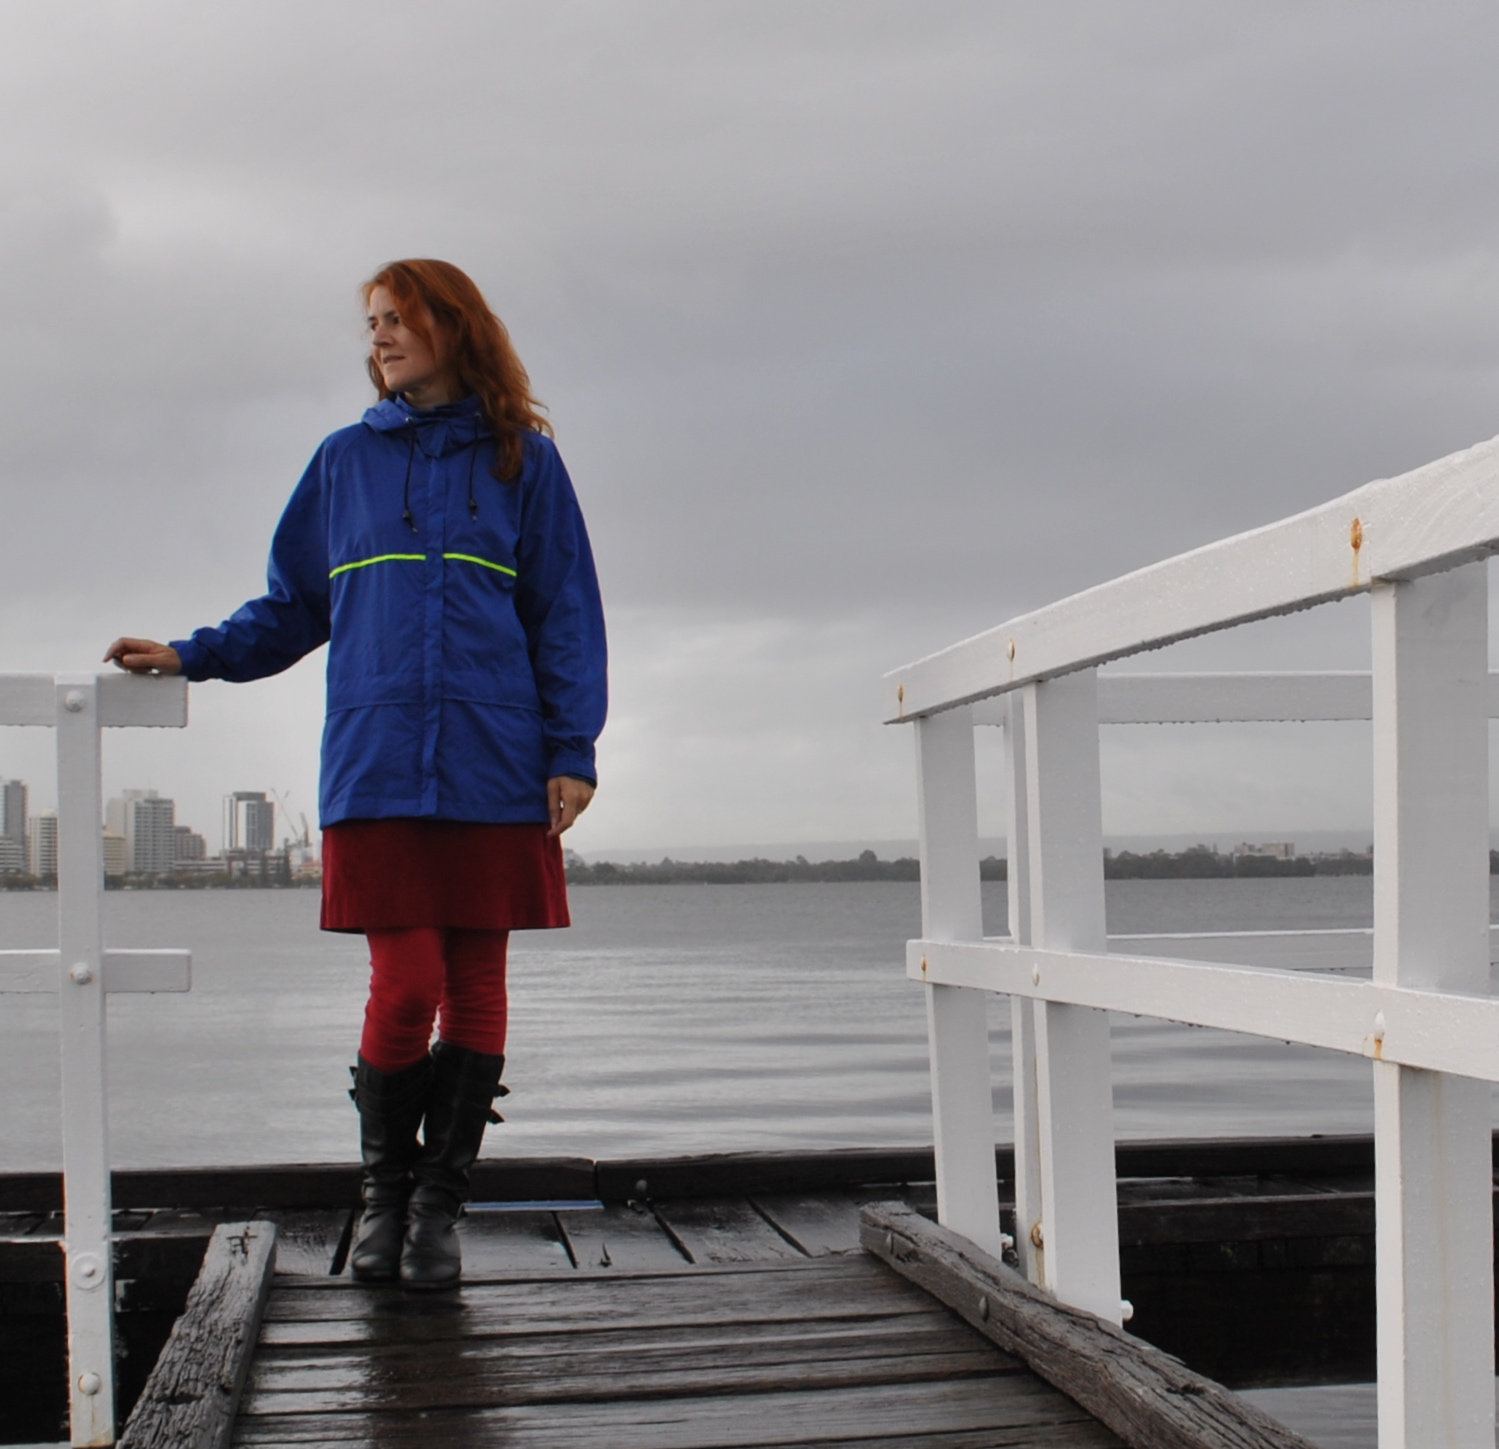
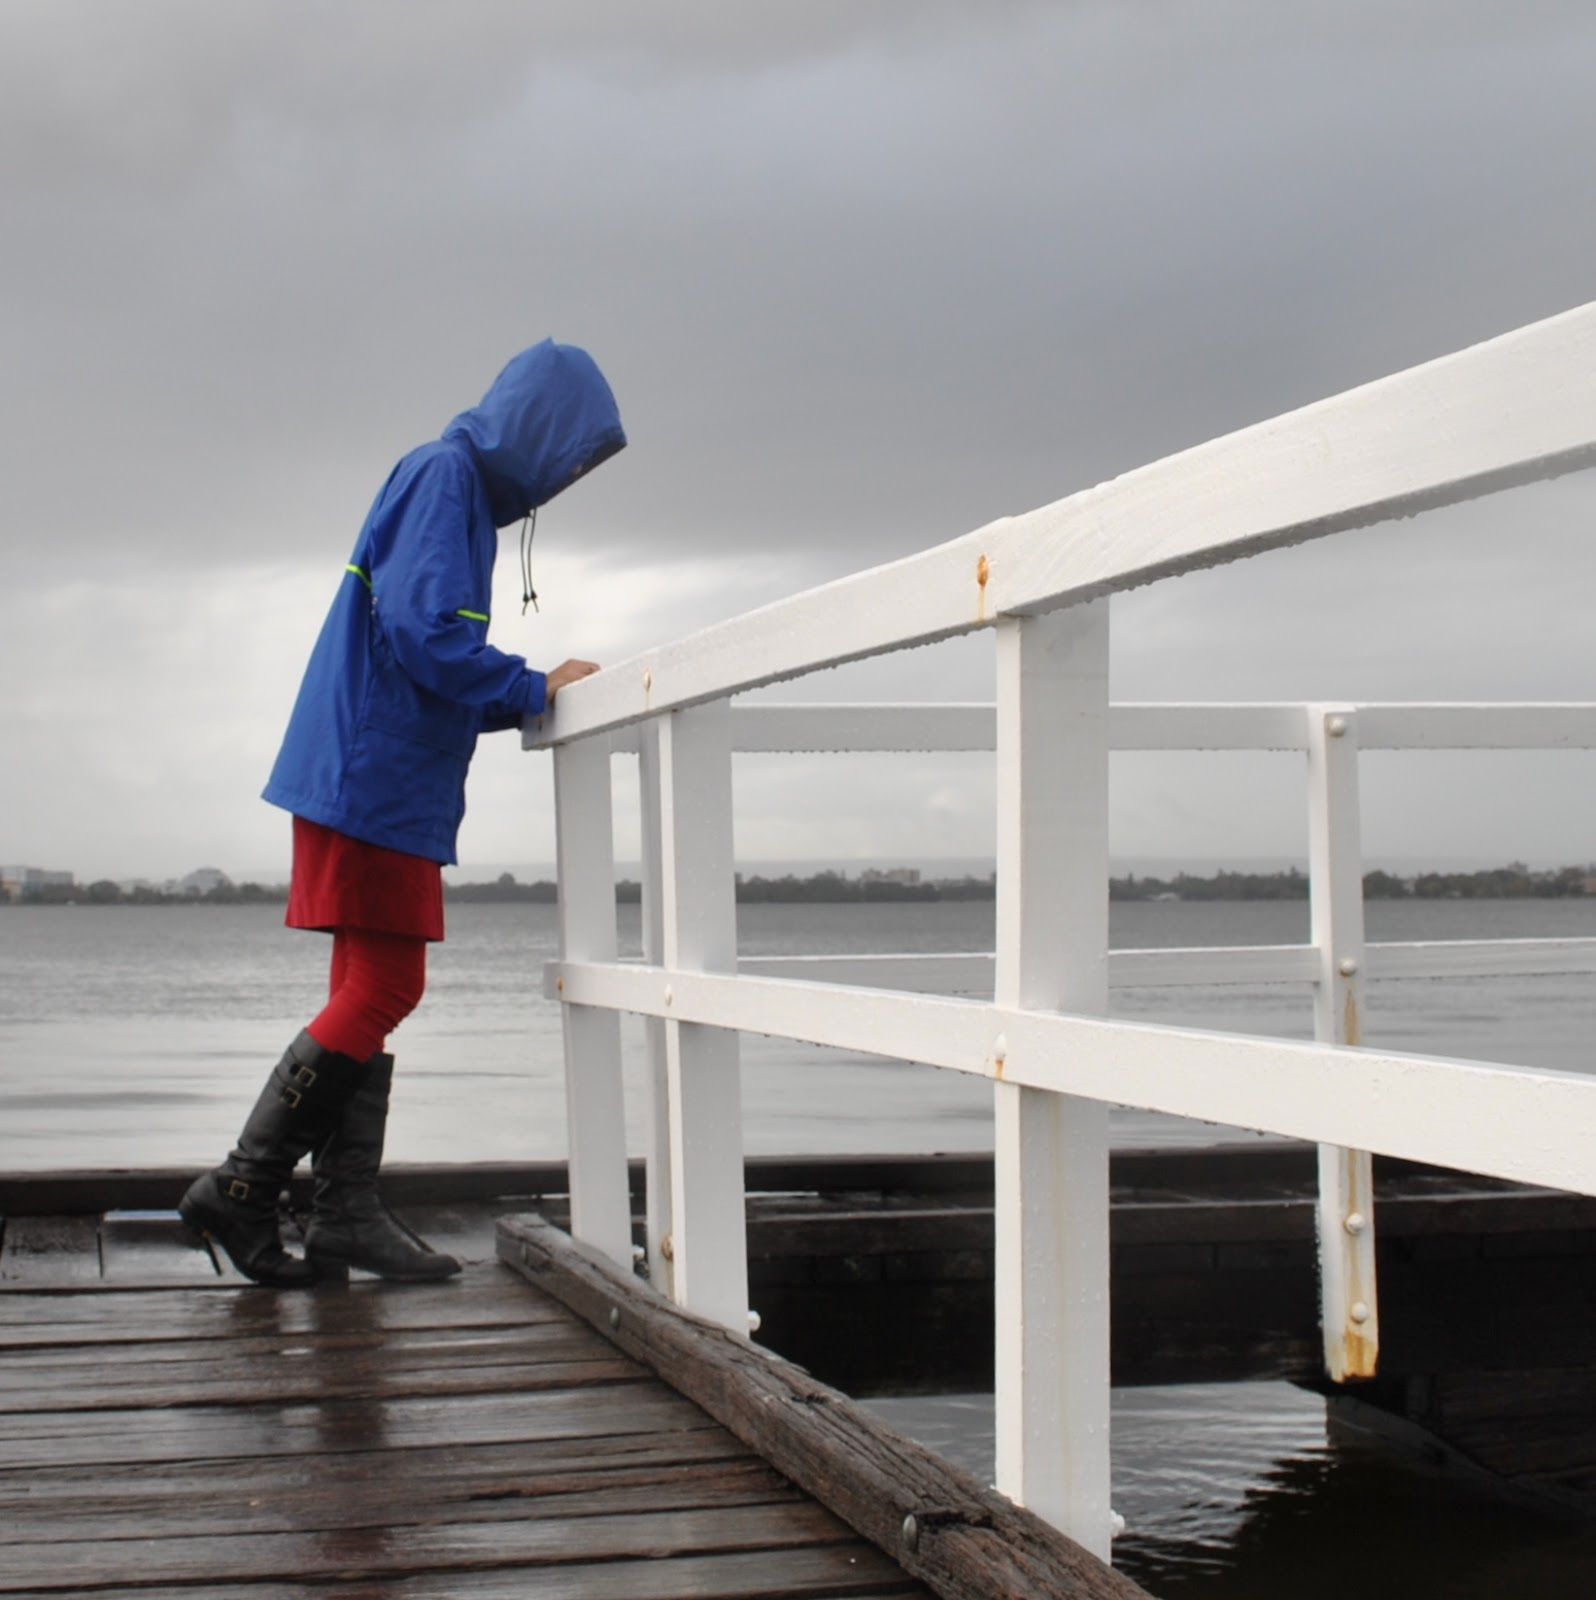
I have made this; my first ever raincoat…  :0 and I am thrilled!!!!! with how it turned out!
Making a raincoat is one of the scary things I have always wondered was too hard for me, whether the technicalities were beyond me.  Now I have successfully made one I feel like I have achieved another small step toward having an entirely me-made wardrobe.

Thank you so much to all who left a comment regarding good quality raincoat fabric sources  ðŸ™‚
I checked each and every one of your recommendations.
I found extremely helpful this article written by Caroline, the link sent to me by bloodsweatshoptears.  Caroline wrote about making a waterproof cycling jacket and included bundles of relevant and very interesting information for the outdoor-gear sewing newbie like myself.  And the jacket she made is so awesomely fantastic and inspiring…  
Caroline’s article included a link to another very very informative article on how to choose rainwear, which I read and reread.  This article really helped me to honestly assess what I actually wanted from my raincoat… which was: another raincoat almost exactly like my old one!
I had bought my previous old raincoat at Kmart for our eldest son Tim when he was about ten years old.  After he had worn it for a coupla years I had to buy him a new official school uniform one, so his old navy blue one became mine.  I have worn it and worn it pretty solidly every rainy winter’s day since … and Tim is now 22 years old, so you can see the old raincoat has done very good service!  The only reason I am replacing it is because it is finally starting to fall apart….  so, I did a close inspection of the old one to work out what to copy and what I could improve.  And this is what I did, and have learnt…

I used my old raincoat to help me draft a new pattern: I didn’t have to chop it up to do this, but this would be an excellent plan for someone who hasn’t done much self-drafting.  It has raglan sleeves, a hood and a high, inner collar.  I incorporated a few, very minor, fitting alterations and small design improvements at this stage.
I decided my raincoat doesn’t need to keep me warm, just dry; so: waterproof, non-breathable fabric, something like nylon ripstop would be the best.  I knew from my old one that this kind of fabric does keep one plenty warm enough in our climate already.
I wanted a full lining in my new raincoat.  My husband’s raincoat has a polyester net lining; something akin to the fabric school sports shirts are made of; that is smooth and comfortable and very nice against the skin.  I added this to my shopping list.
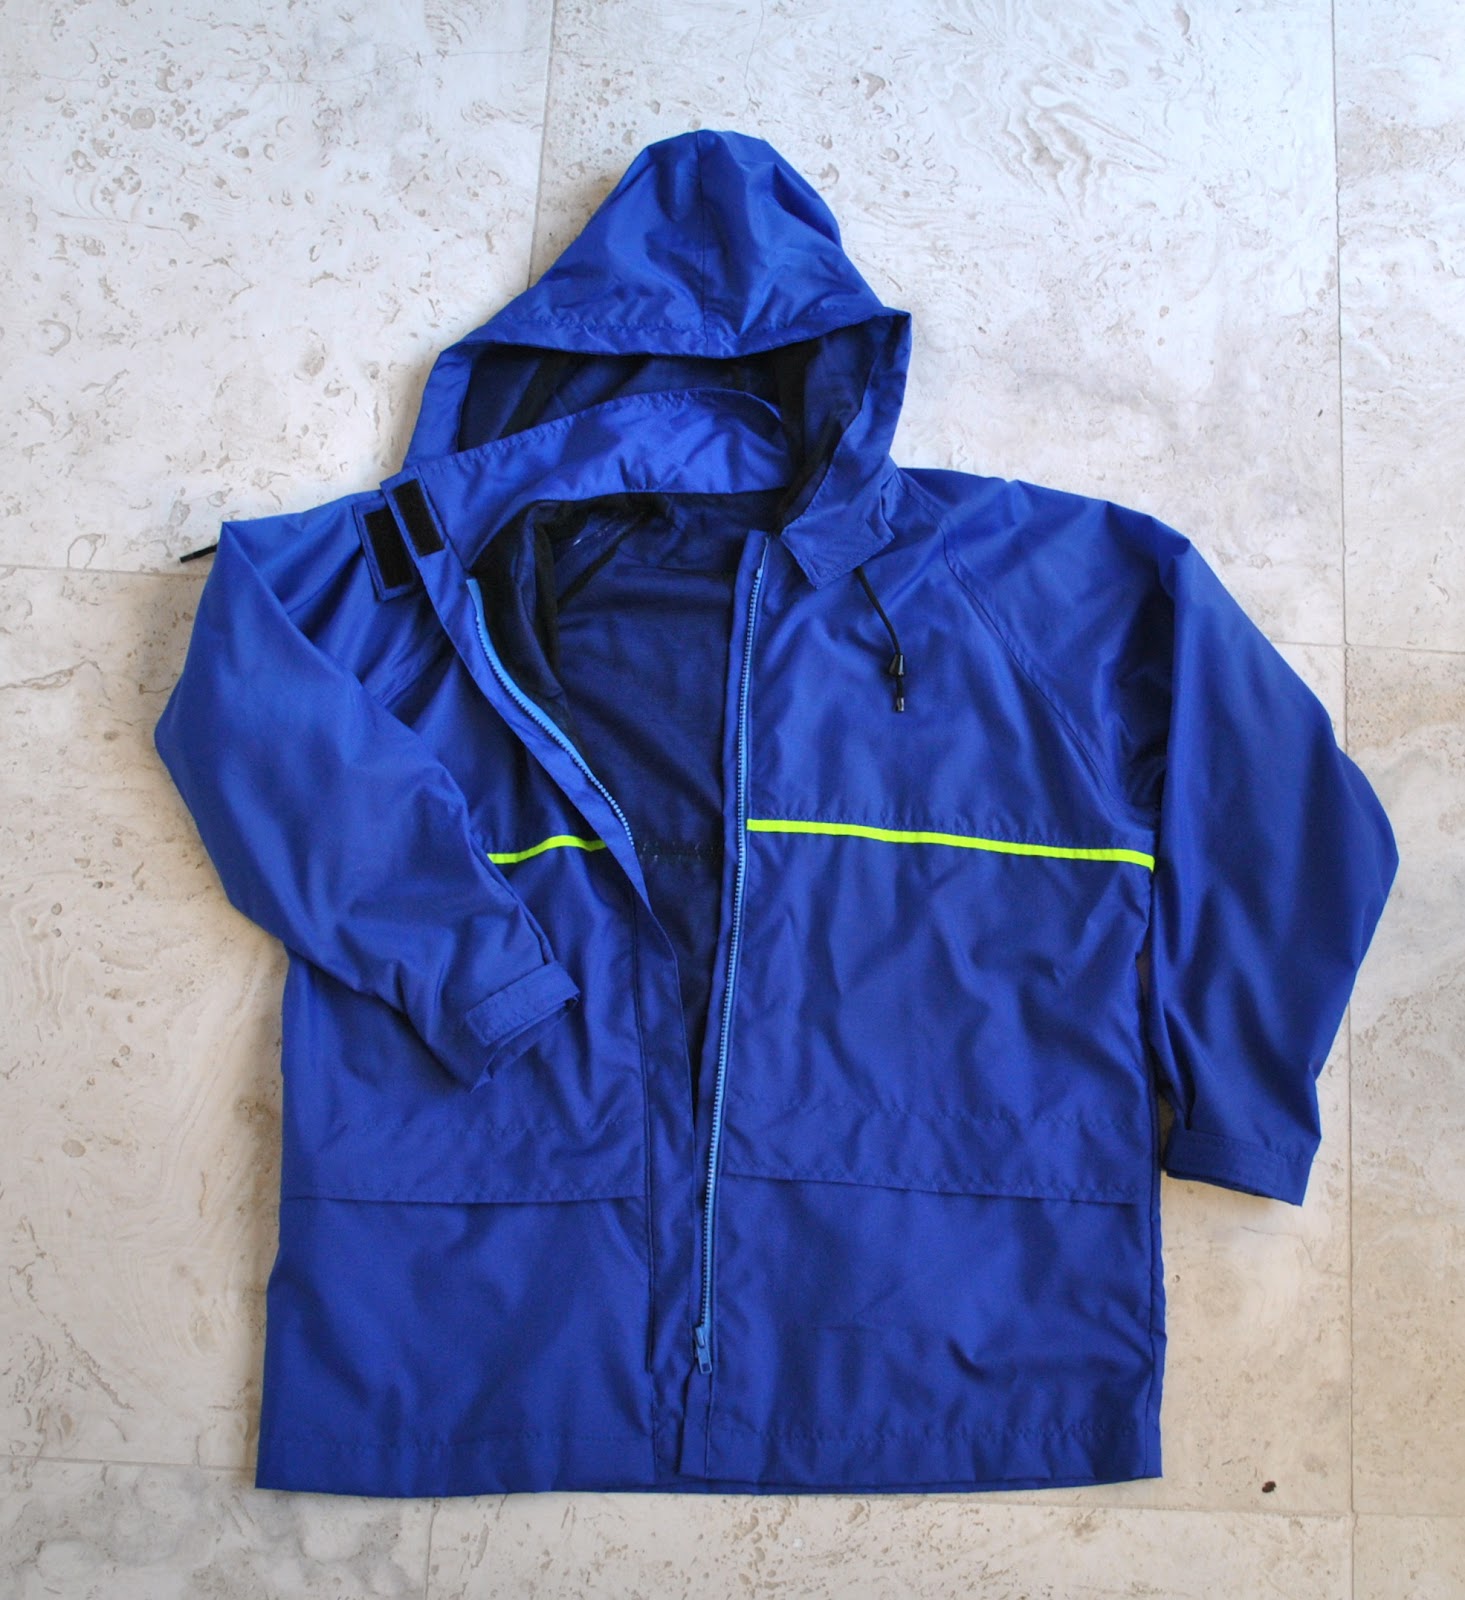
Now, I am sure everyone is dying to know where I bought this awesomely gorgeous fabric (hehe, kidding!
Well: I browsed the online fabric stores, and had even bookmarked a few and was pretty much all set to BUY, when, like, the next day, I happened to be passing Spotlight and thought it would be worth going in to check out the separating zips.  Well, you never know whether the ones you are buying online are dearer than Spotlight, and I’ve always found their zips, while not plentifully stocked, to be very reasonably priced.  And while I was there, I idly checked out the fabrics; and hey, whaddyaknow? Nylon ripstop!  The colour selection was not huge, but it was definitely cheaper than any I had seen online, so I picked up some royal blue plus a glow-in-the-dark green for trim, just for fun.  Polyester net?  They didn’t have exactly the same sort that was in my husband’s raincoat, but they did have some that seemed pretty good, so I picked that up too…  Velcro? check!  Zips? check!  Cording and cord-stops? check and check!  Spotlight is a much maligned store, and frequently by me, too  ðŸ™‚ but I have to eat my words now since they had almost everything I needed!  The only thing they did not have was some of that marvellous Seam Grip I have read about to waterproof my seams… but I recalled reading that its primary use is in tents and camping stuff, and barely 50m away from the front door of my Spotlight is a BCF store (Boating Camping and Fishing); practically next door.  So I popped in, and yes of course they had Seam Grip.  I promptly bought some.  I was all set!!
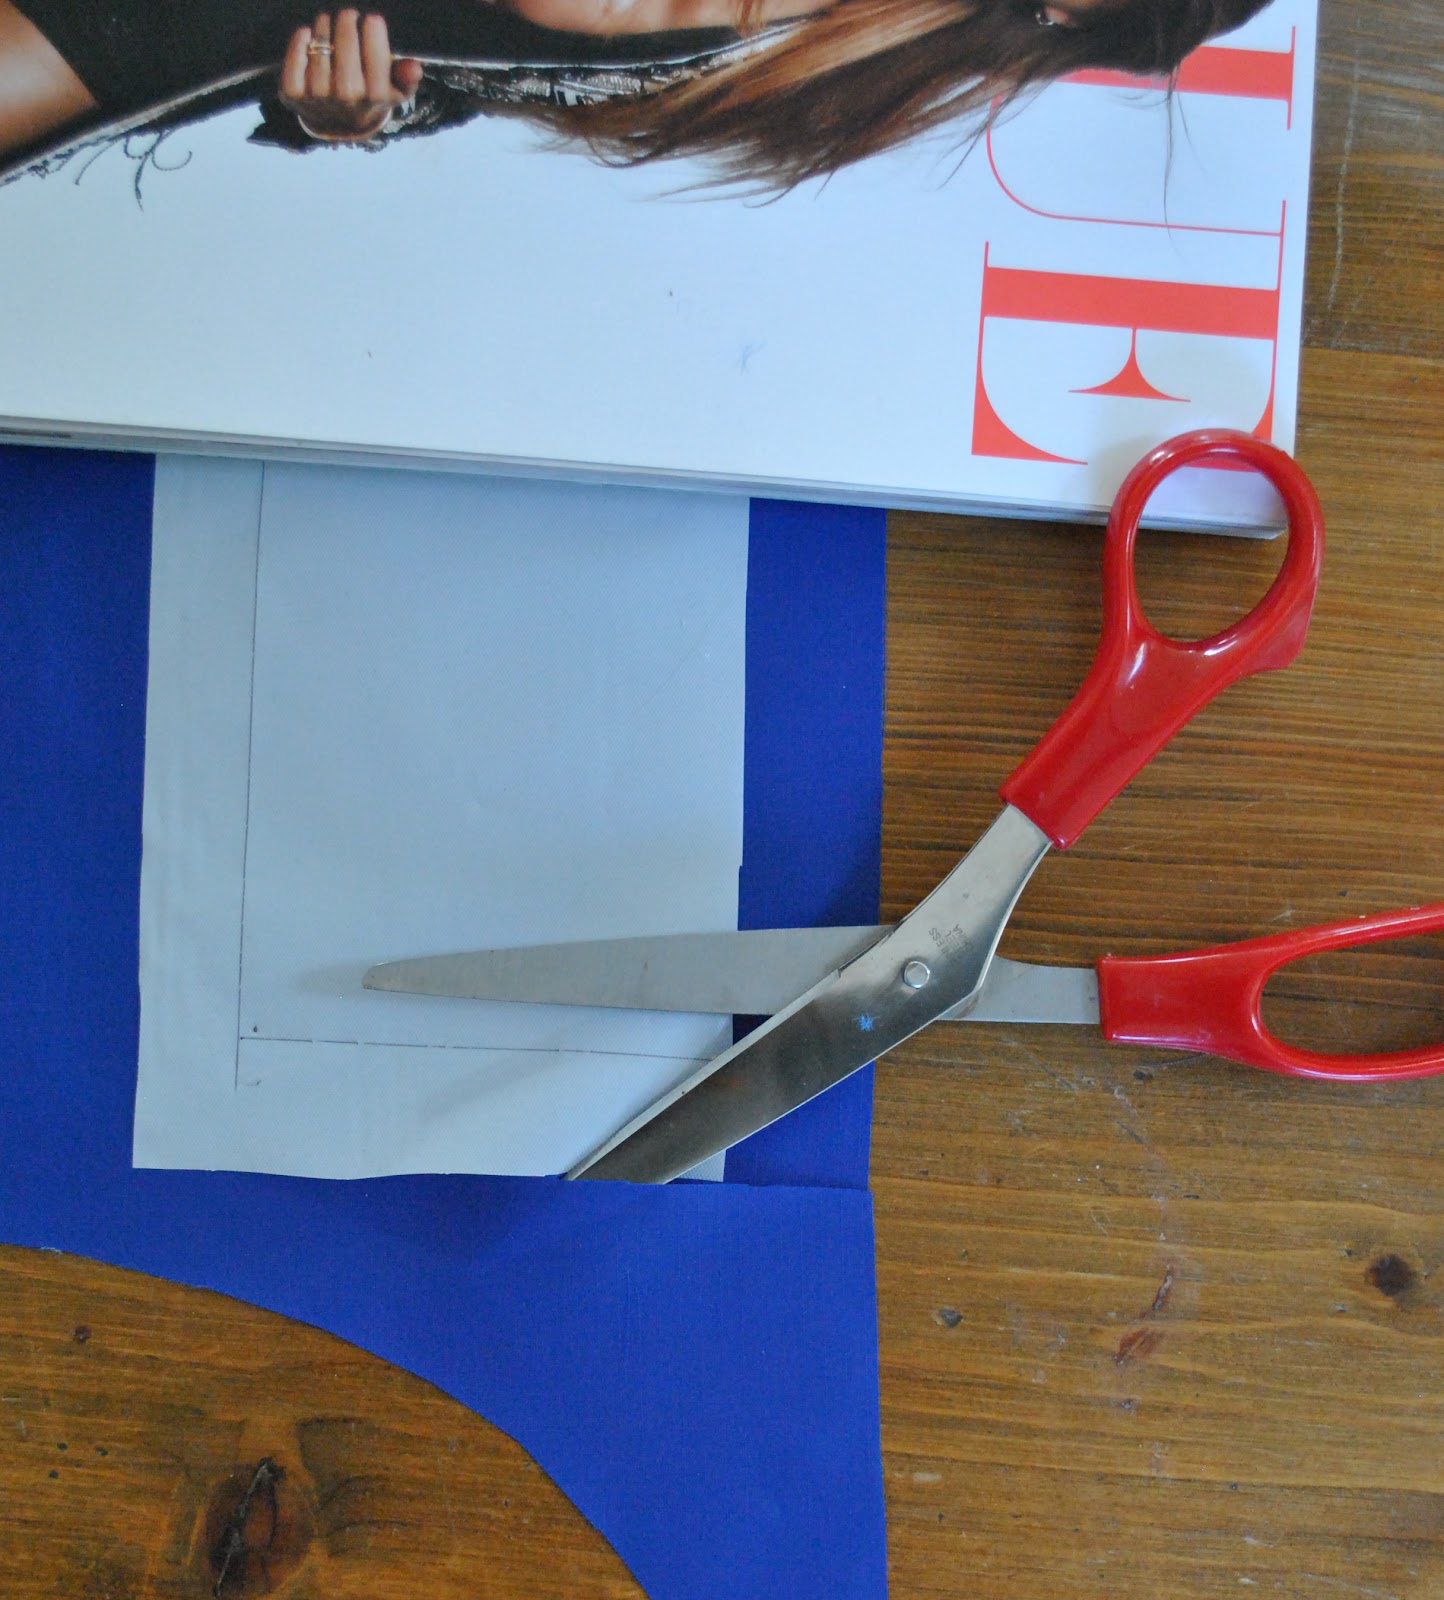
The nylon ripstop can be cut just with ordinary household scissors, so I did not blunt my good dressmaking shears on it… bonus!
One can’t use pins willynilly since it has to be waterproof!  But when necessary I pinned within the seam allowances.
Not for looks (since the raincoat is fully lined) but for extra waterproofing, I sewed all the seams as French seams; bar some of the internal pocket seams which are inside the coat and so are not a waterproofing issue.  
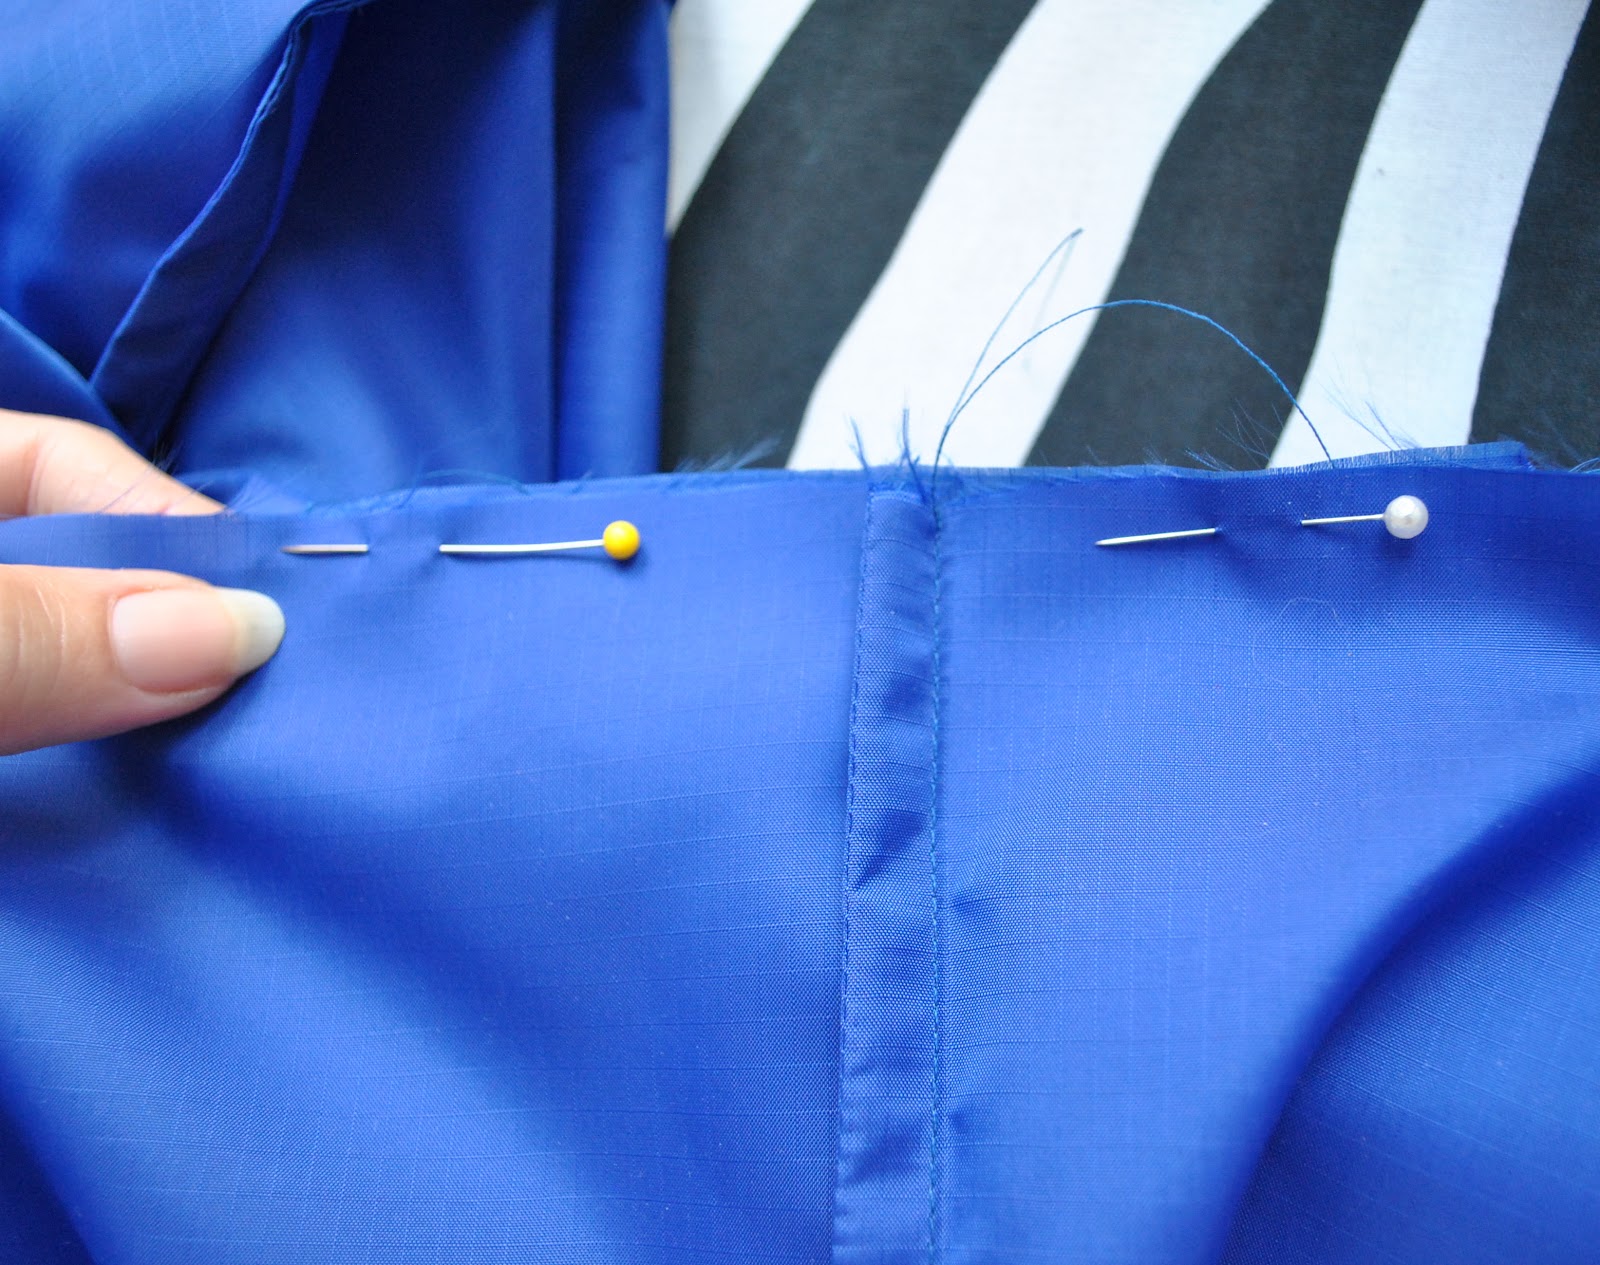
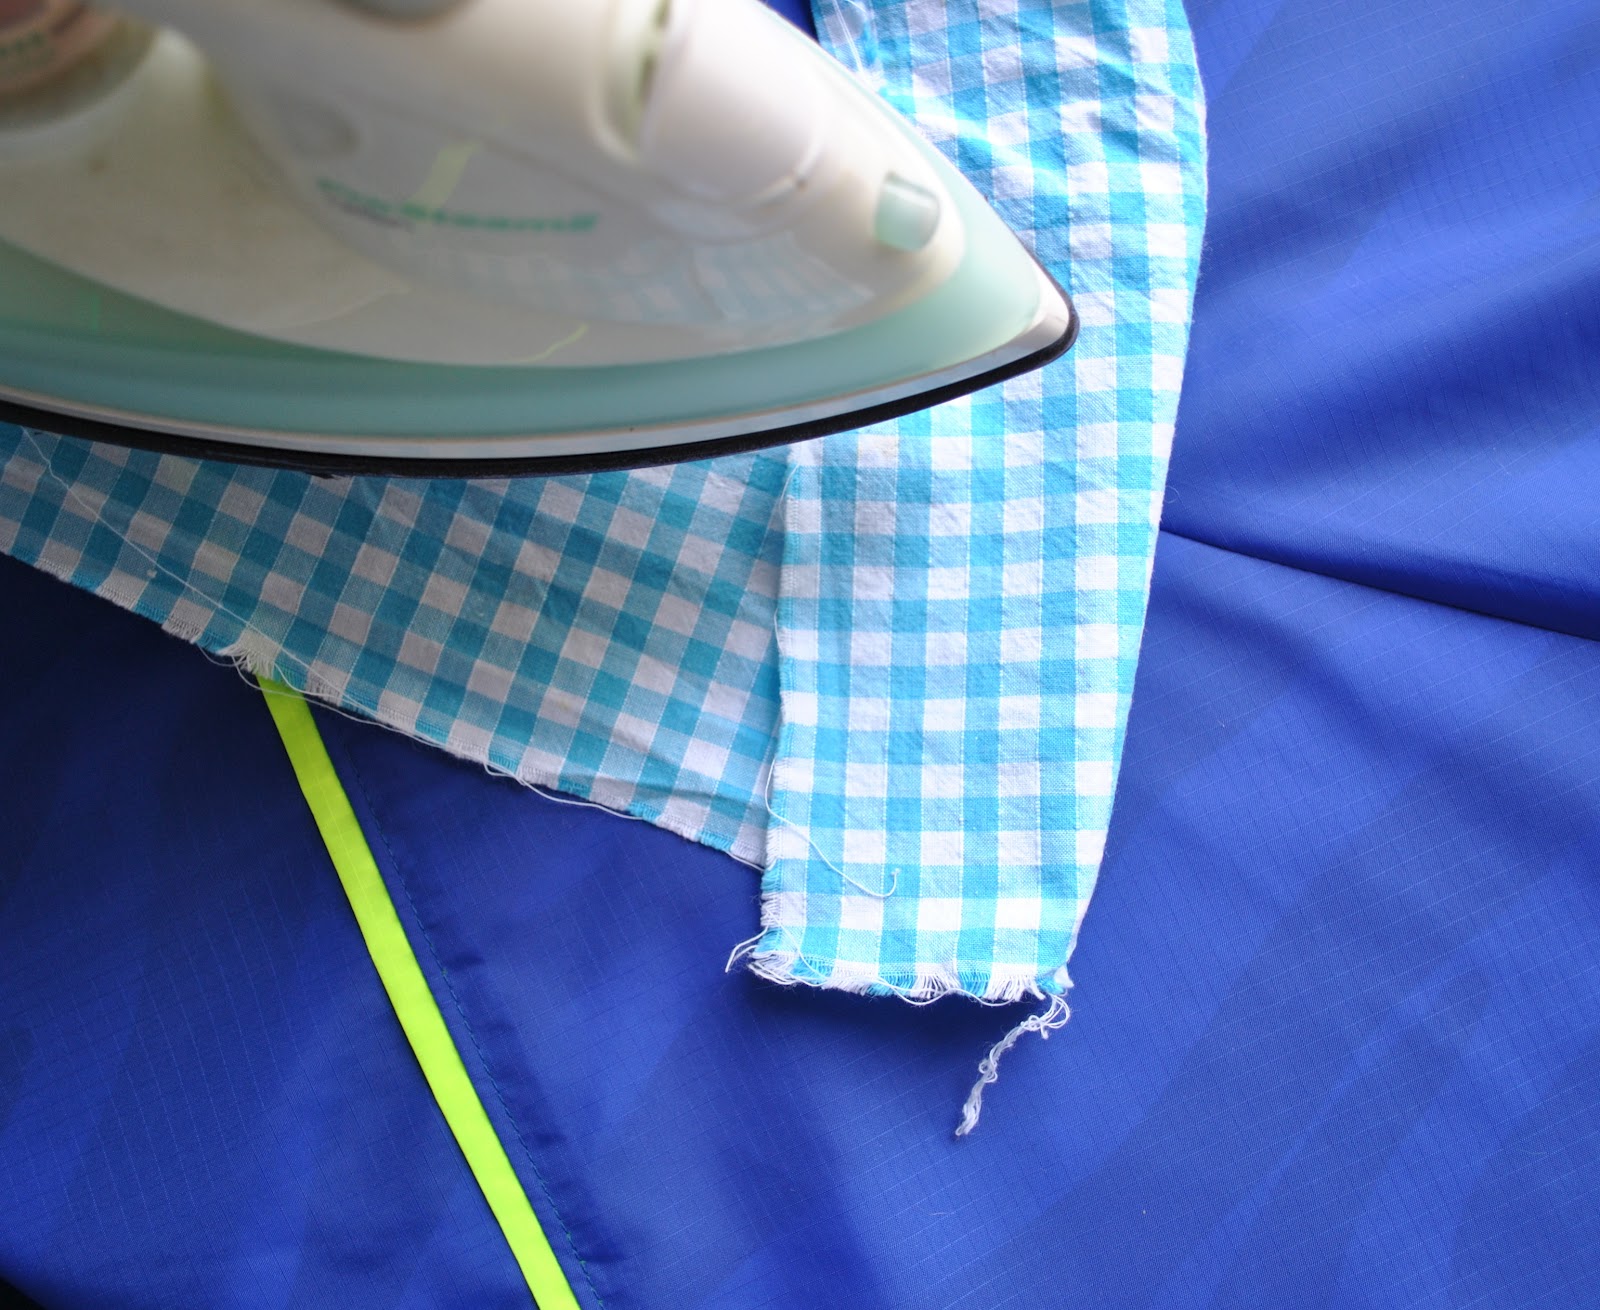
I ironed the seam allowances “up”, against gravity (another waterproofing tip) before topstitching in place.
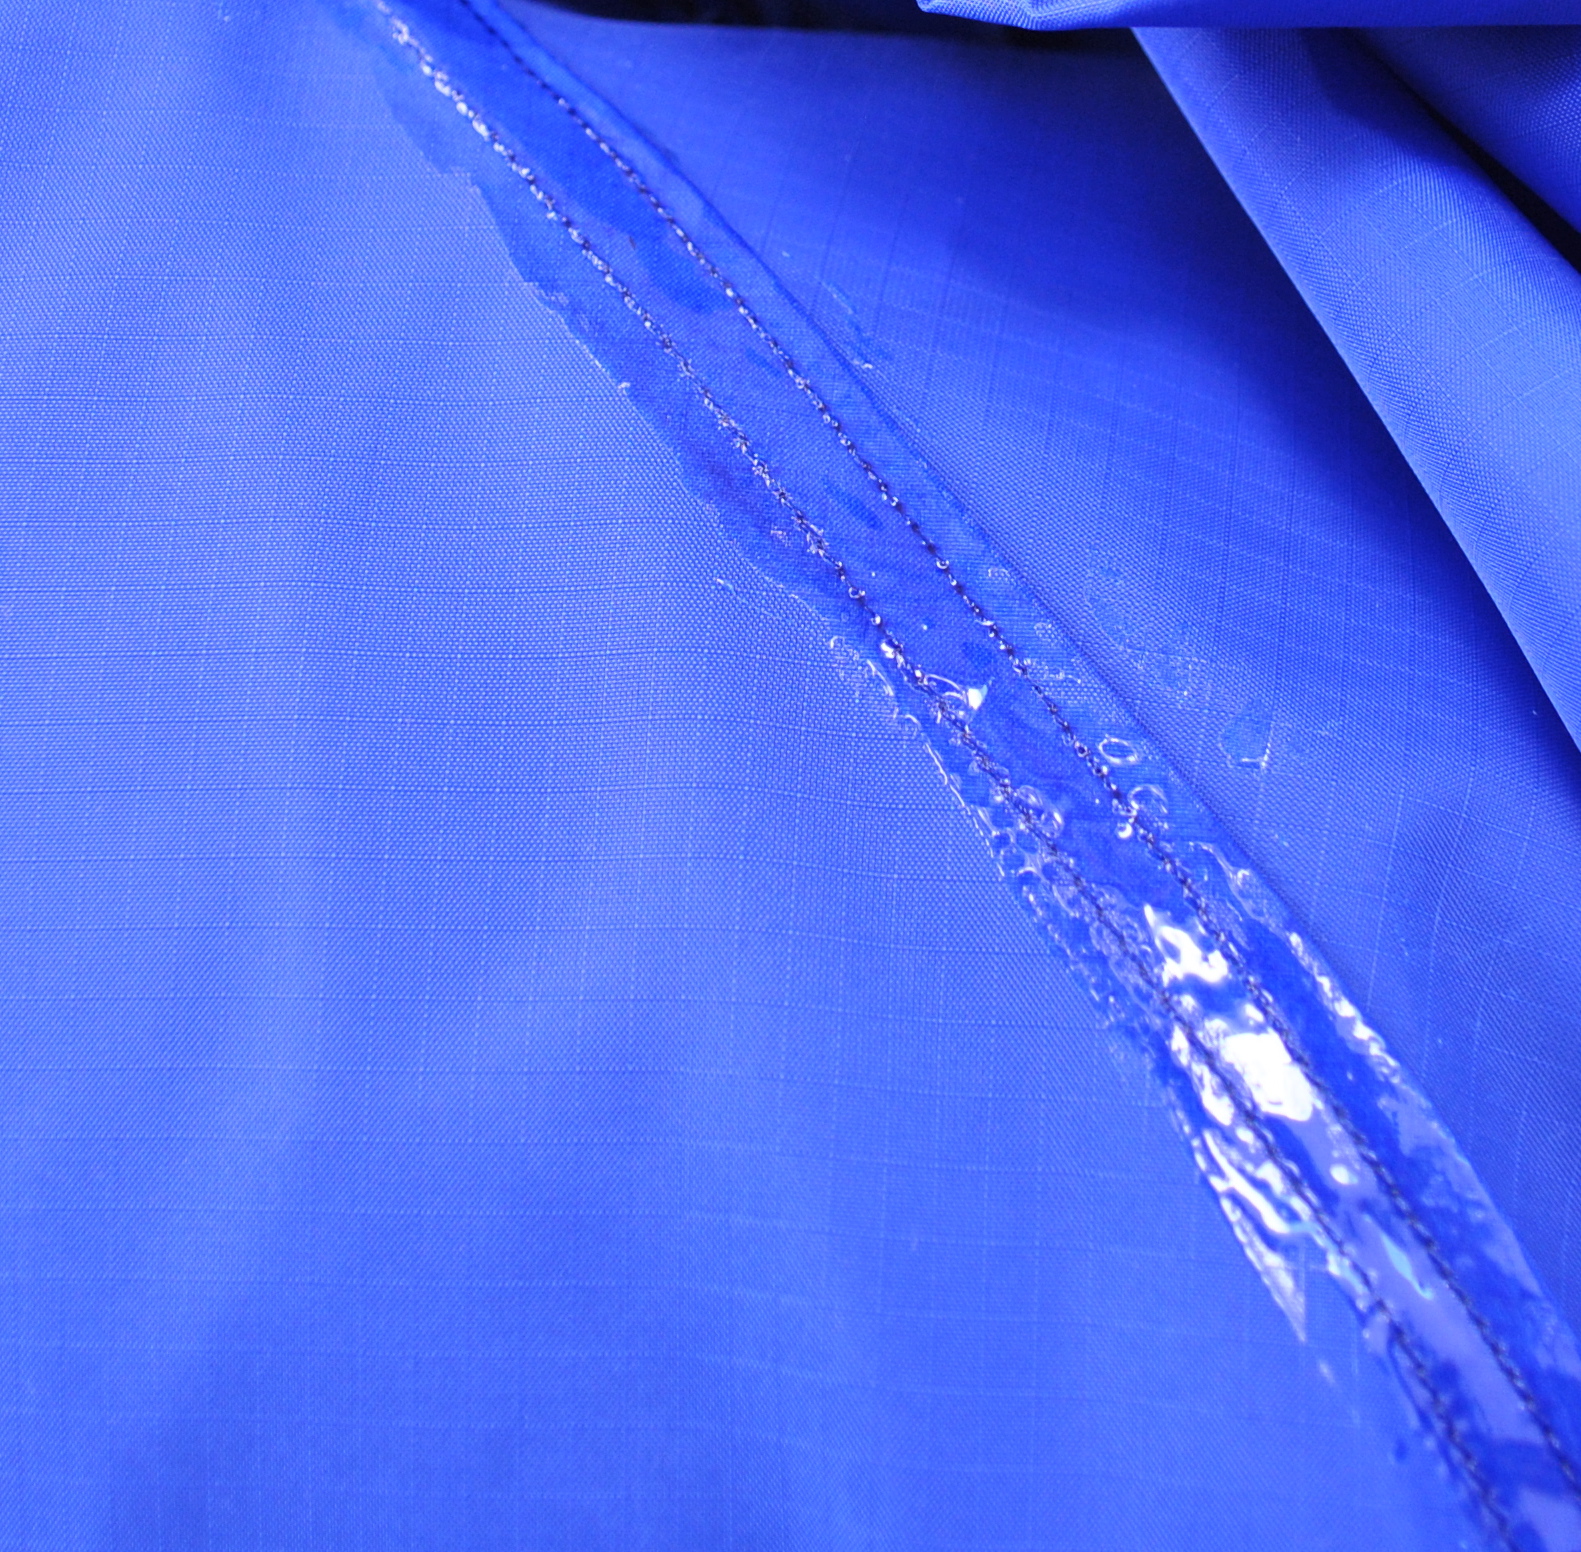
Seam Grip is messy stuff.  Apparently it is the best product around for this job, but check out the fine print; it contains toluene.  This is nasty… back in the dark ages when I was an analytical chemist I would have only opened a bottle of this substance in a fume-cupoboard.  Not having access to a fume cupboard anymore, I worked outside and used disposable rubber gloves.  I cloaked Bessie in plastic bags to protect her (not that she is susceptible to carcinogens….) and draped and pegged my half-finished coat inside out to do the seam sealing.  
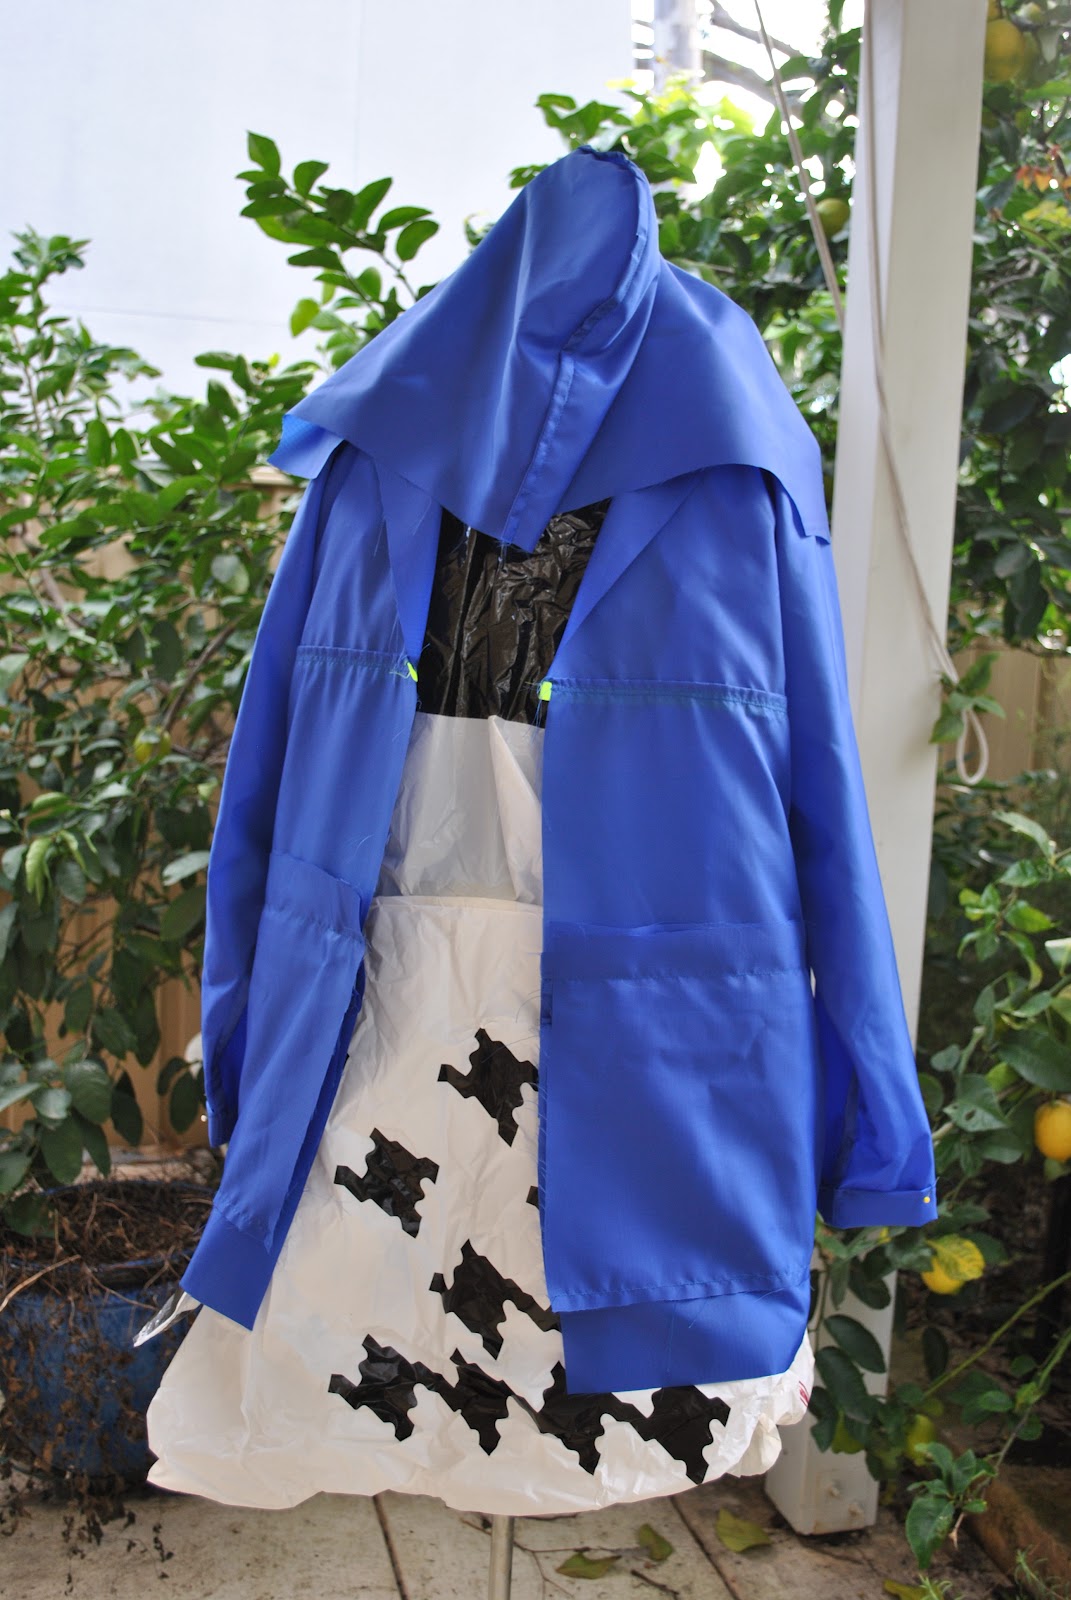
I left it to cure for 12 hours, and kept on going out regularly to pull apart the bits like the underarms, that were sticking to themselves; to ensure nothing became permanently glued together.  Even when fully set I have found the Seam Grip has a tendency to stick to itself.  Having the lining in has alleviated the problem somewhat, but not completely.  I sure hope it de-stickifies eventually  :S
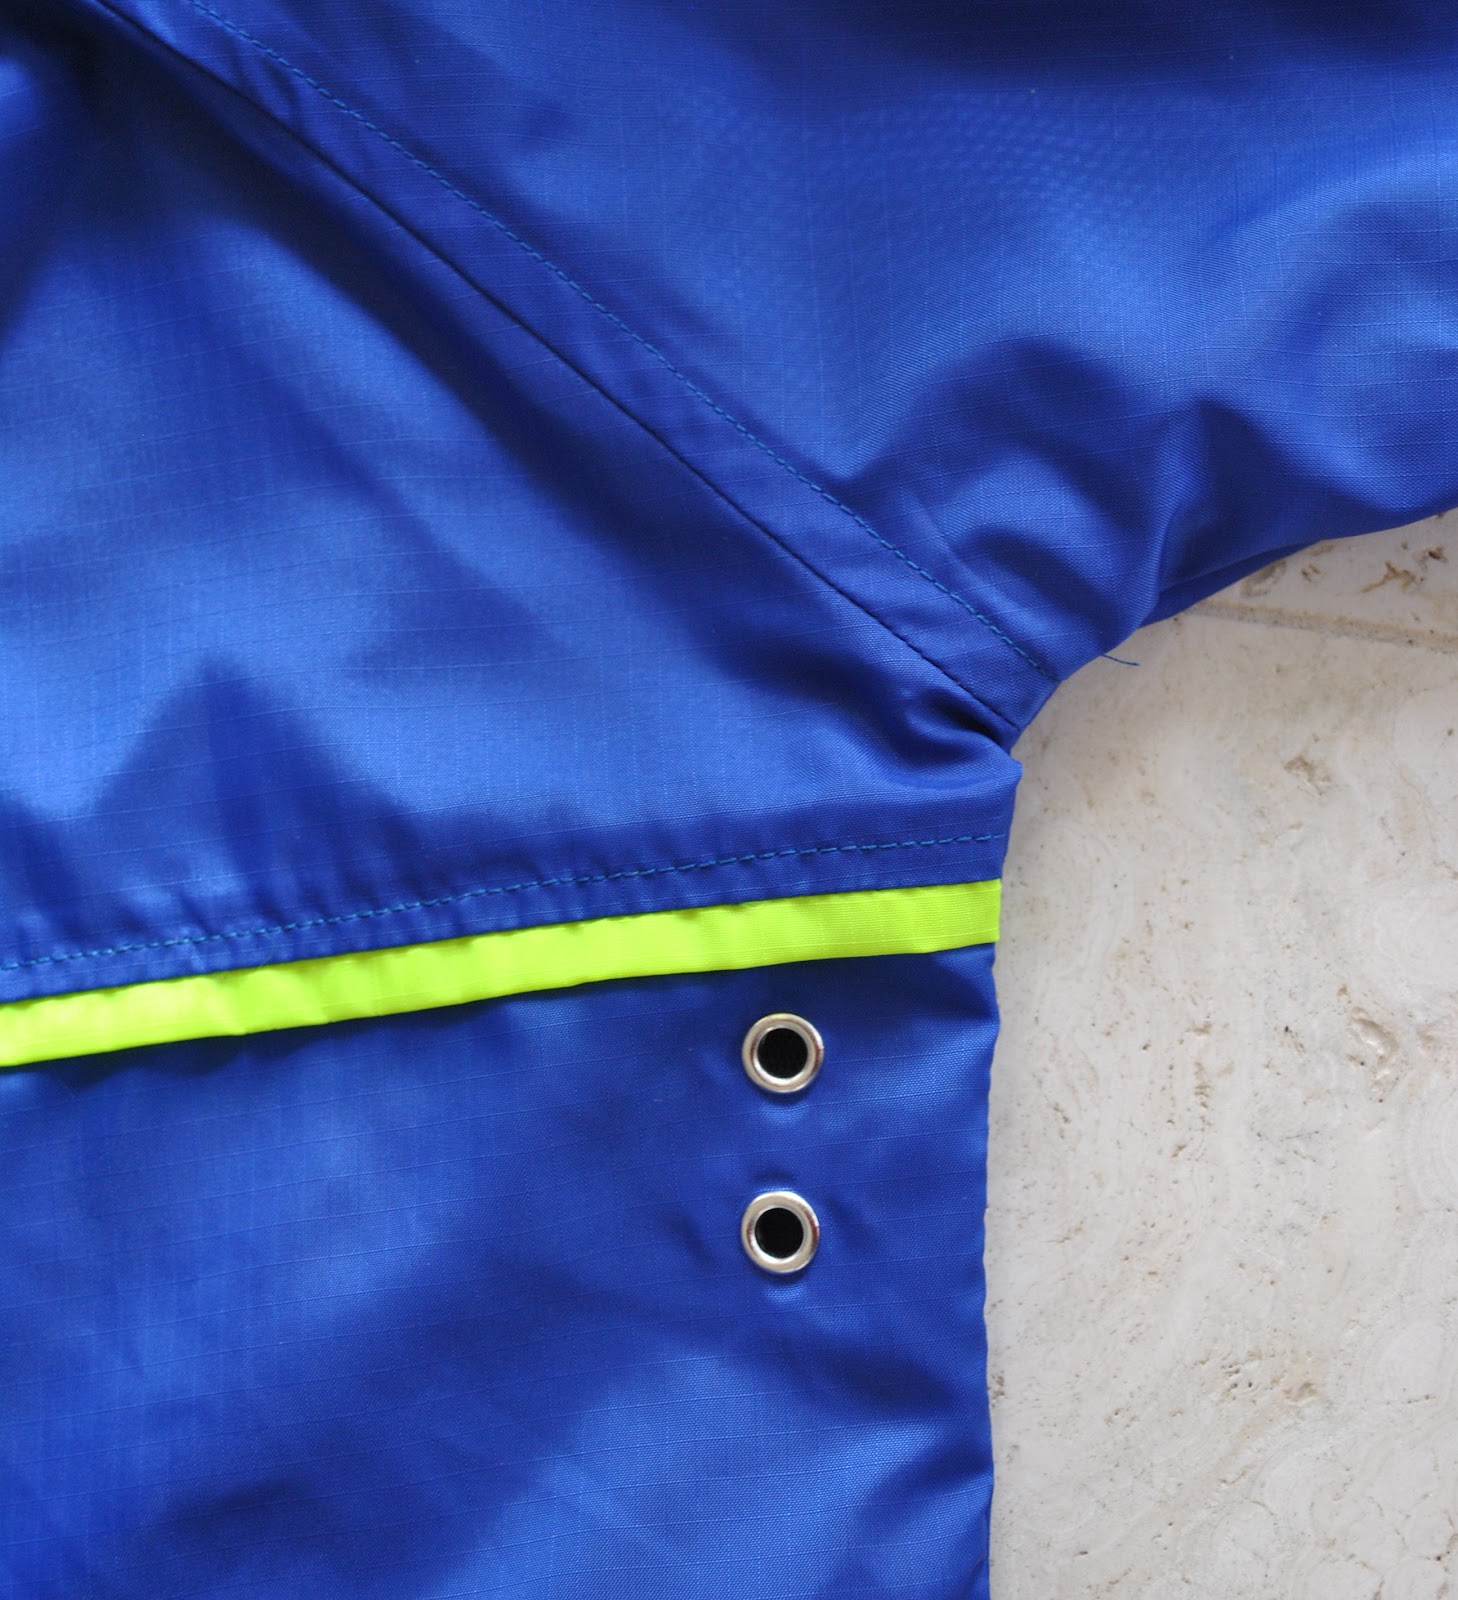
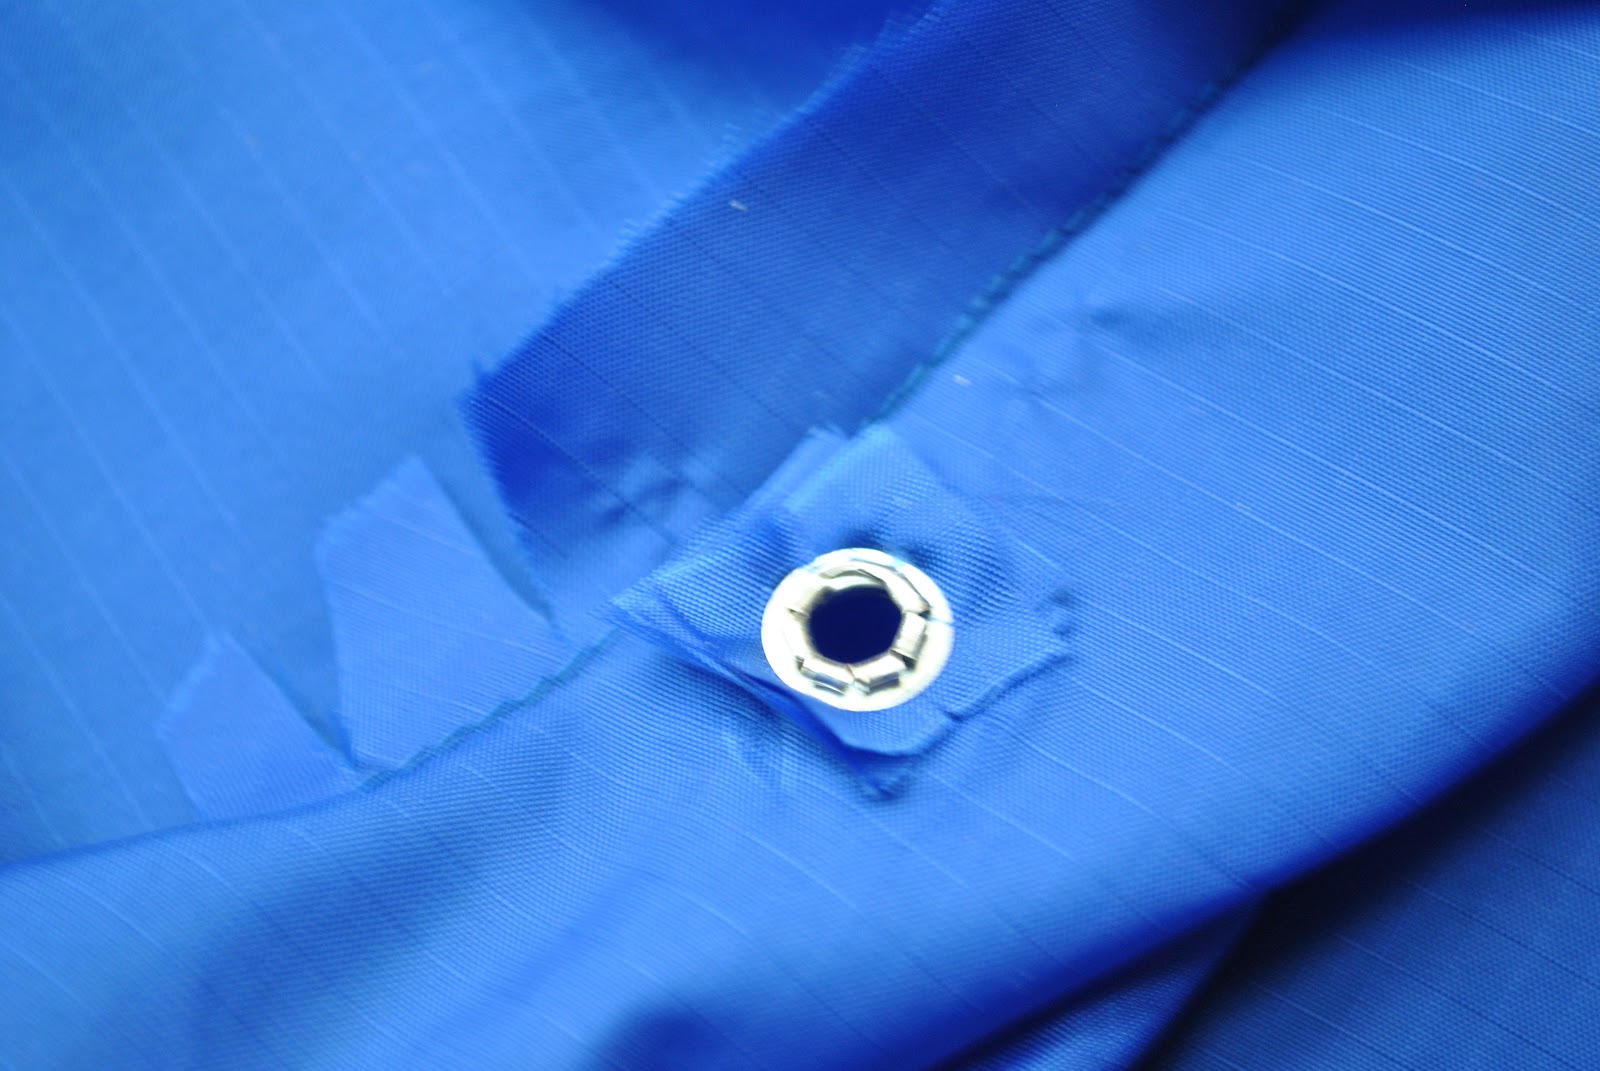
Ventilation: meaning, an aperture for one’s body heat to escape outside; is a must in waterproof non-breathable garments.  So I copied a feature from my old raincoat and hammered in two eyelets under each of the arms, at the back.  These, as well as the eyelets in the hood for the cording (pictured below), are each re-inforced on the inside with an extra four layers of self-fabric, for strength.
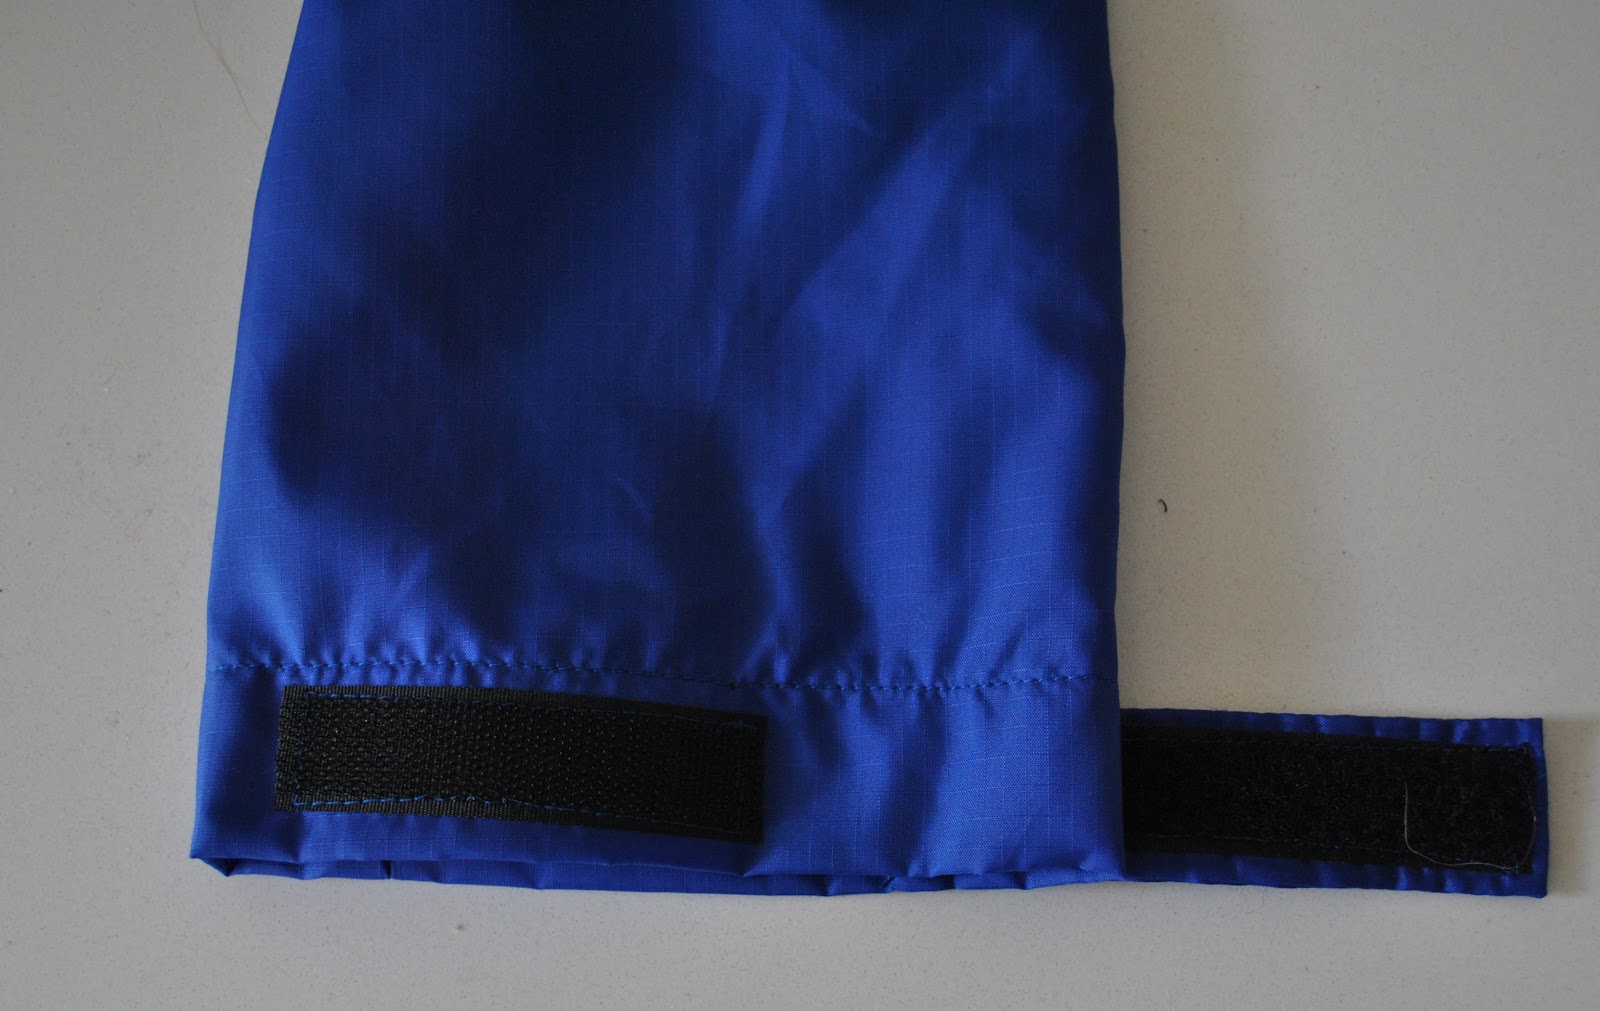
Quick and simple velcro-lined tabs to tighten the wrists.  I’ve used something like these on my old raincoat for the last dozen or so years: so they’re second nature to me and I am accustomed to them, so I copied them exactly for my new one.  No need to re-invent the wheel, right?
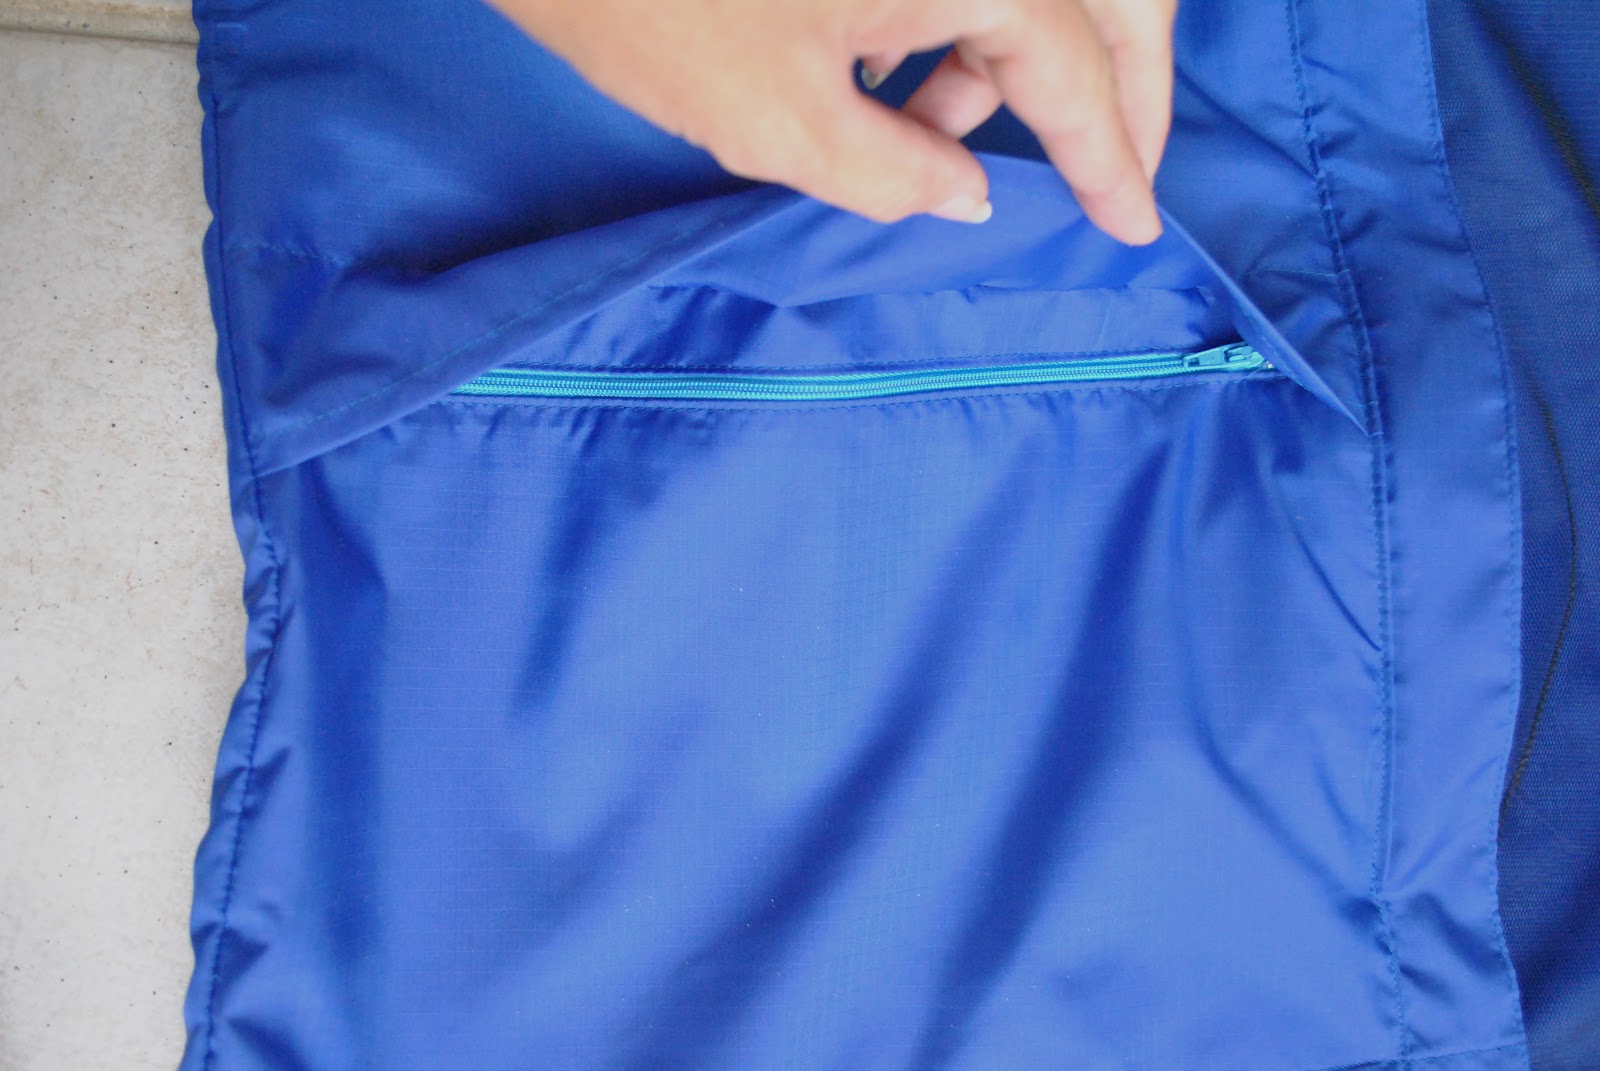
Waterproof pockets; an essential.  These have a full-width flap that is an extension of the upper front, covering a zippable pouch that is an extension of the lower front.  These are similar in design to the ones on my old raincoat; I simply extended them so they are much wider, thus eliminating seams.  In fact, at the sides they extend out to and in to, the side seams and the front placket.  Less stitching therefore simpler to construct and finish off, and you get wider pockets!  What’s not to love about that?  (I can do a tute on these pockets, if anyone is interested.  I’m frankly a bit terrified of doing tutes now, but I am pretty chuffed with how they turned out, so please let me know, ok?   🙂  )
This has been a fun learning curve.
Of course, eagle-eyed Perth readers will instantly see that I could not possibly have taken these photos during the last 4 days, since it has been unrelentingly sunny.  Truth: I raced out to take these during some early morning showers last Wednesday, but have been too apathetic to even look at my photos since then, let alone write up this post.  But anyway, here we are.  And I am sure we will get more rain soon.  Hopefully.
And yes, flushed with my own sewing success, another raincoat is already in the pipeline, this one for Cassie….  ðŸ˜‰  stay tuned!

Details:
Raincoat; self-drafted, with the help of an old one, nylon ripstop with polyester net lining
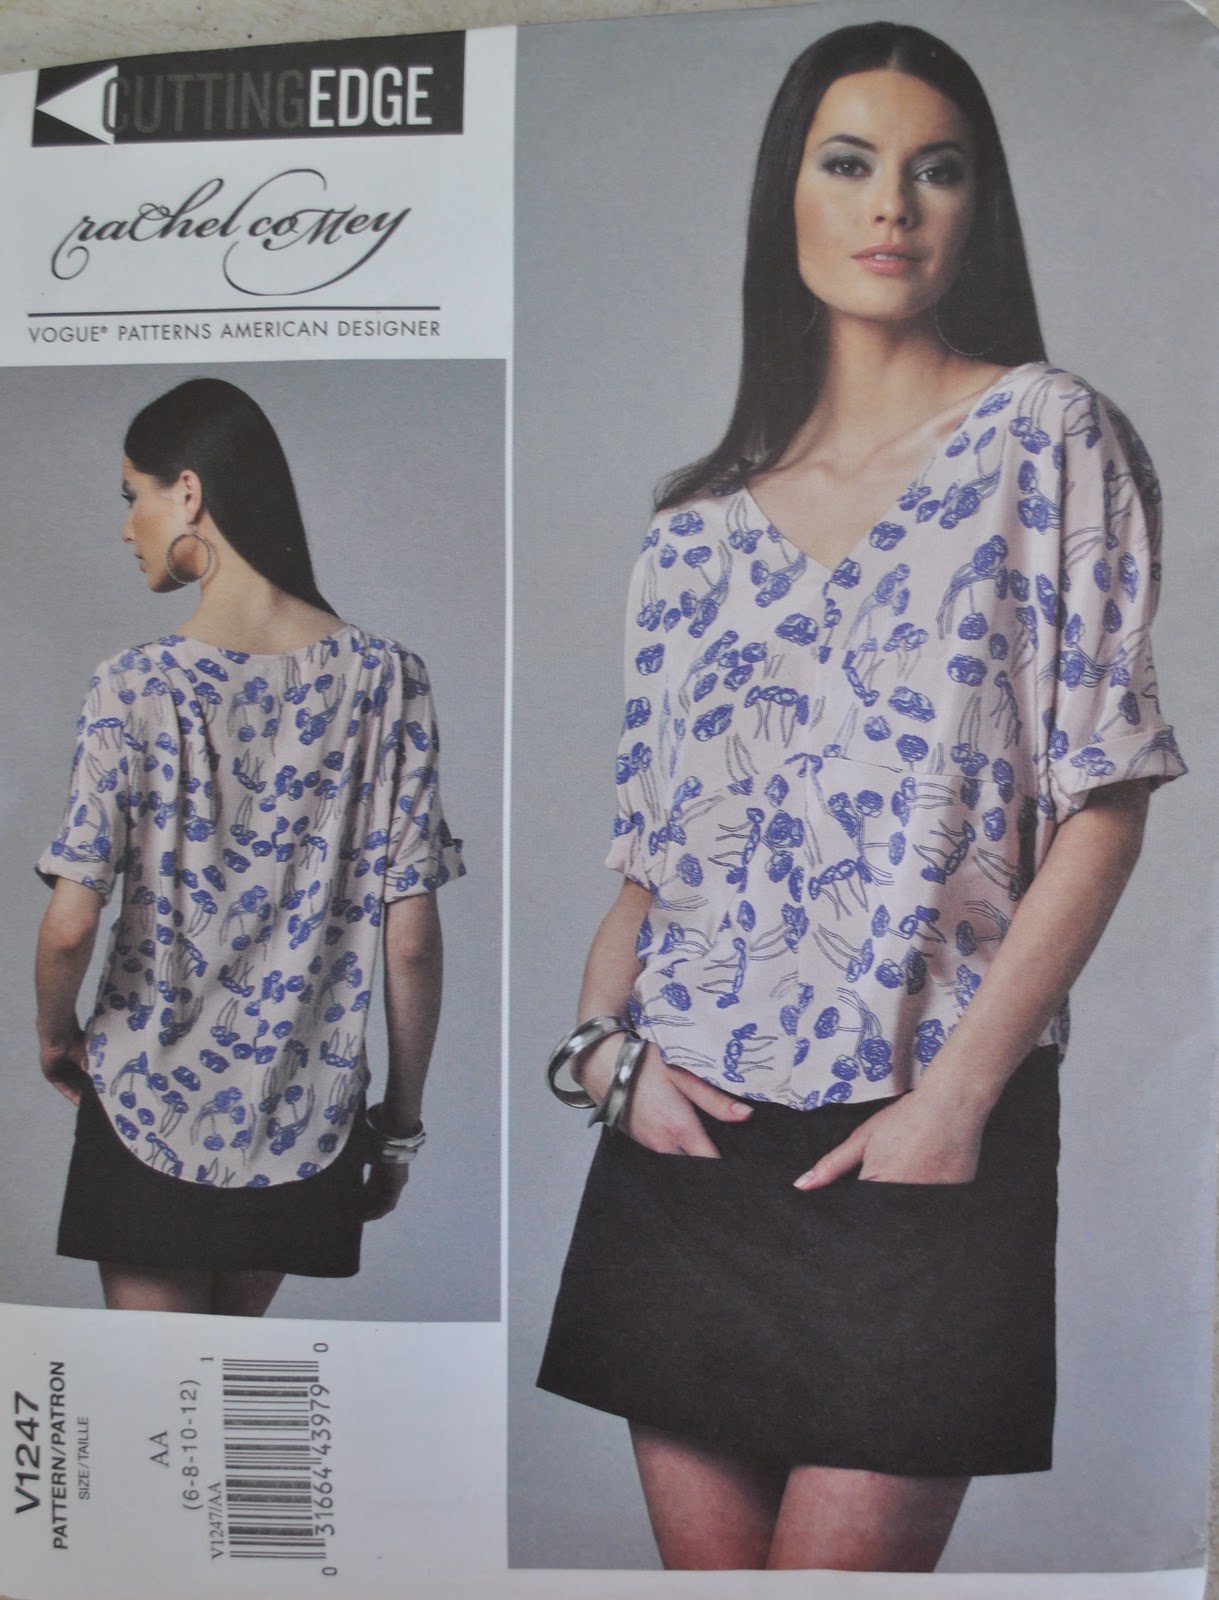
Skirt; Vogue 1247 lengthened and lined, red cotton velveteen ombre dyed brown, details here and my review of this pattern here
Leggings; self-drafted, red cotton jersey, details here
Boots; Andrea and Joen, from Uggies in Dunsborough (now renamed Eco-boutique)
pinterestmail

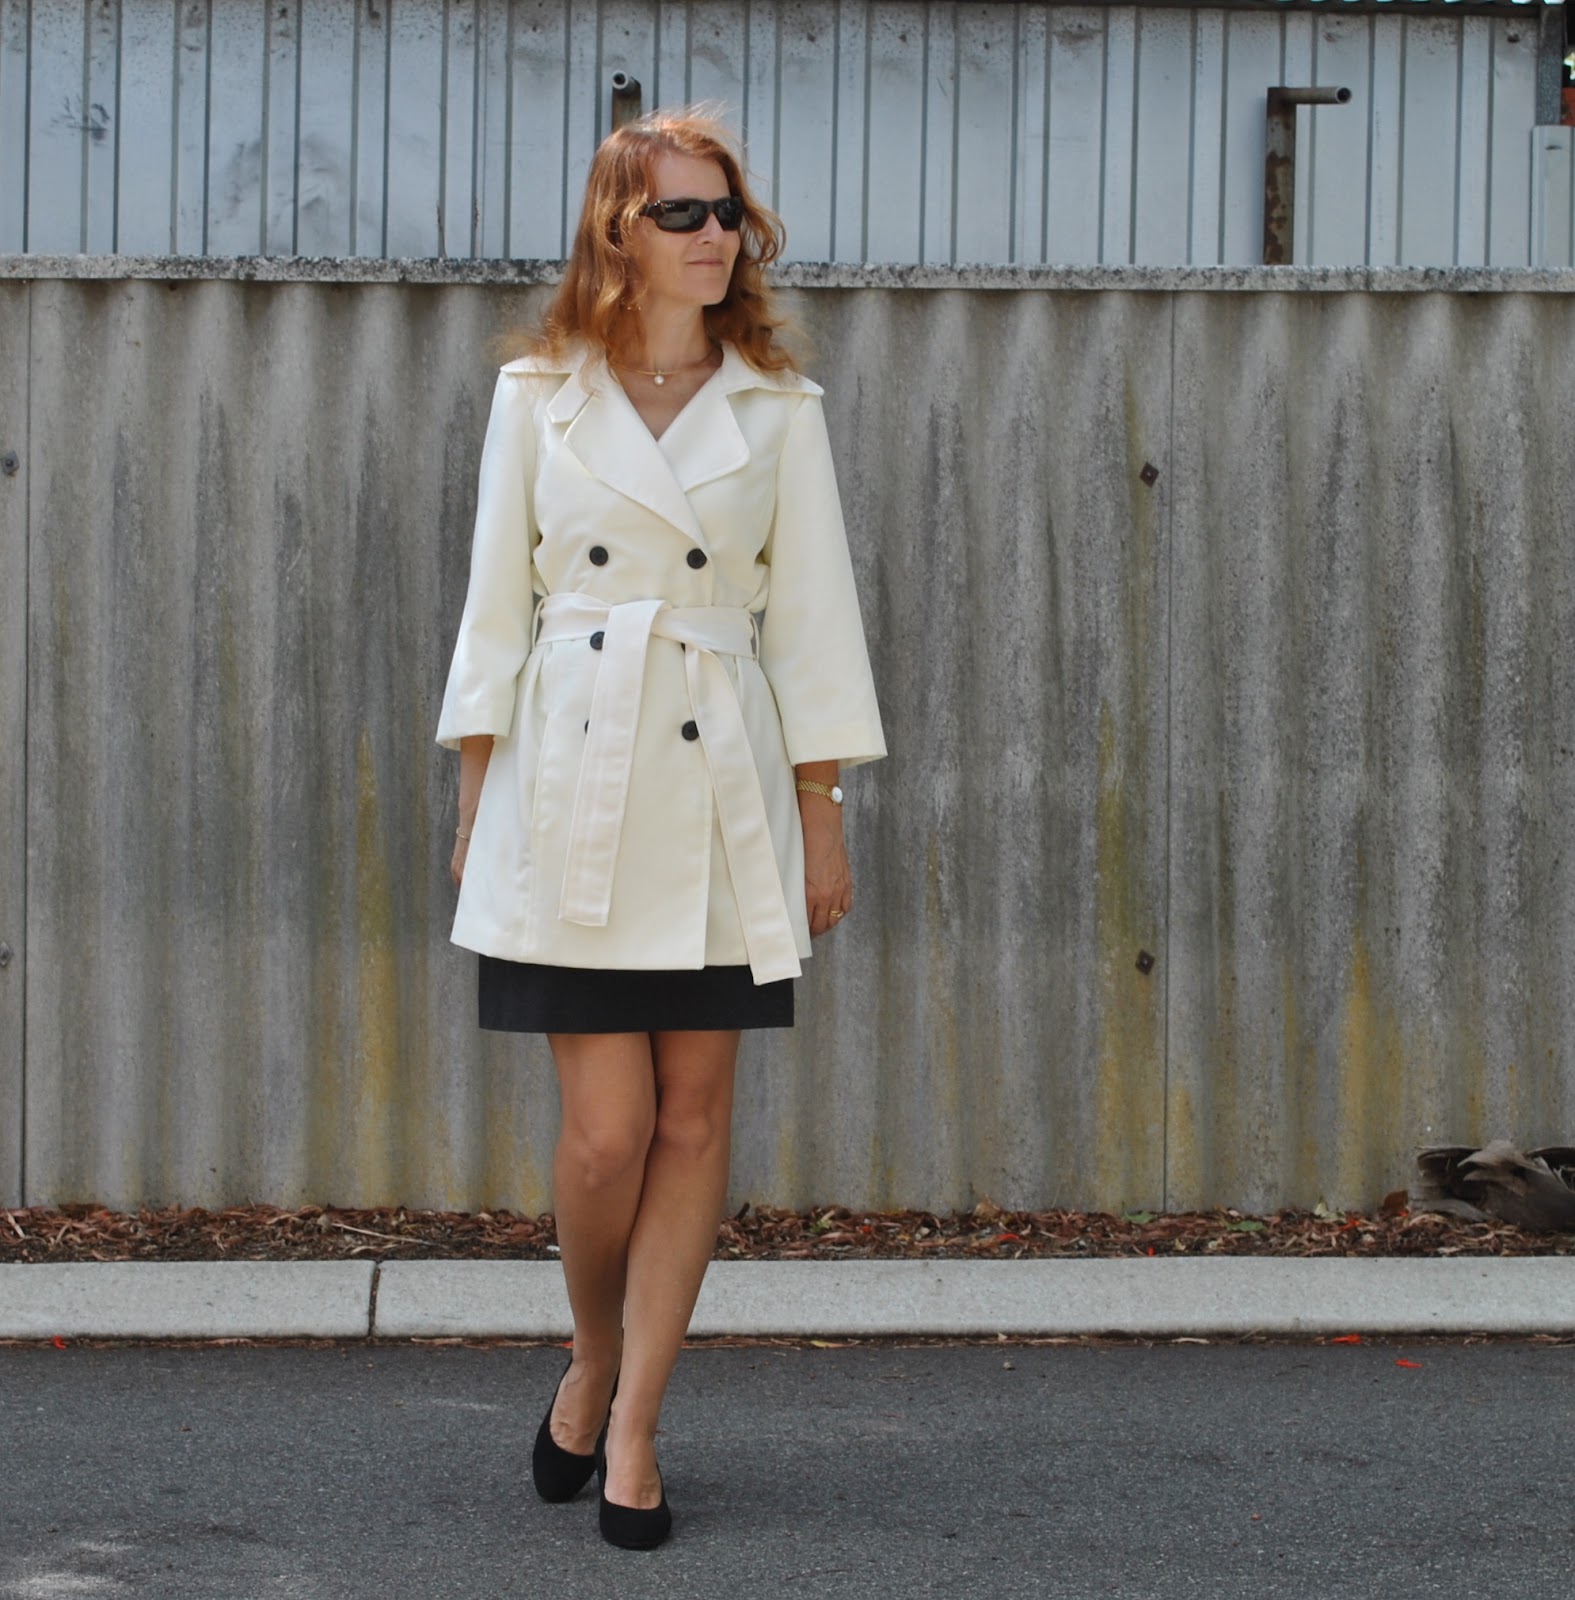
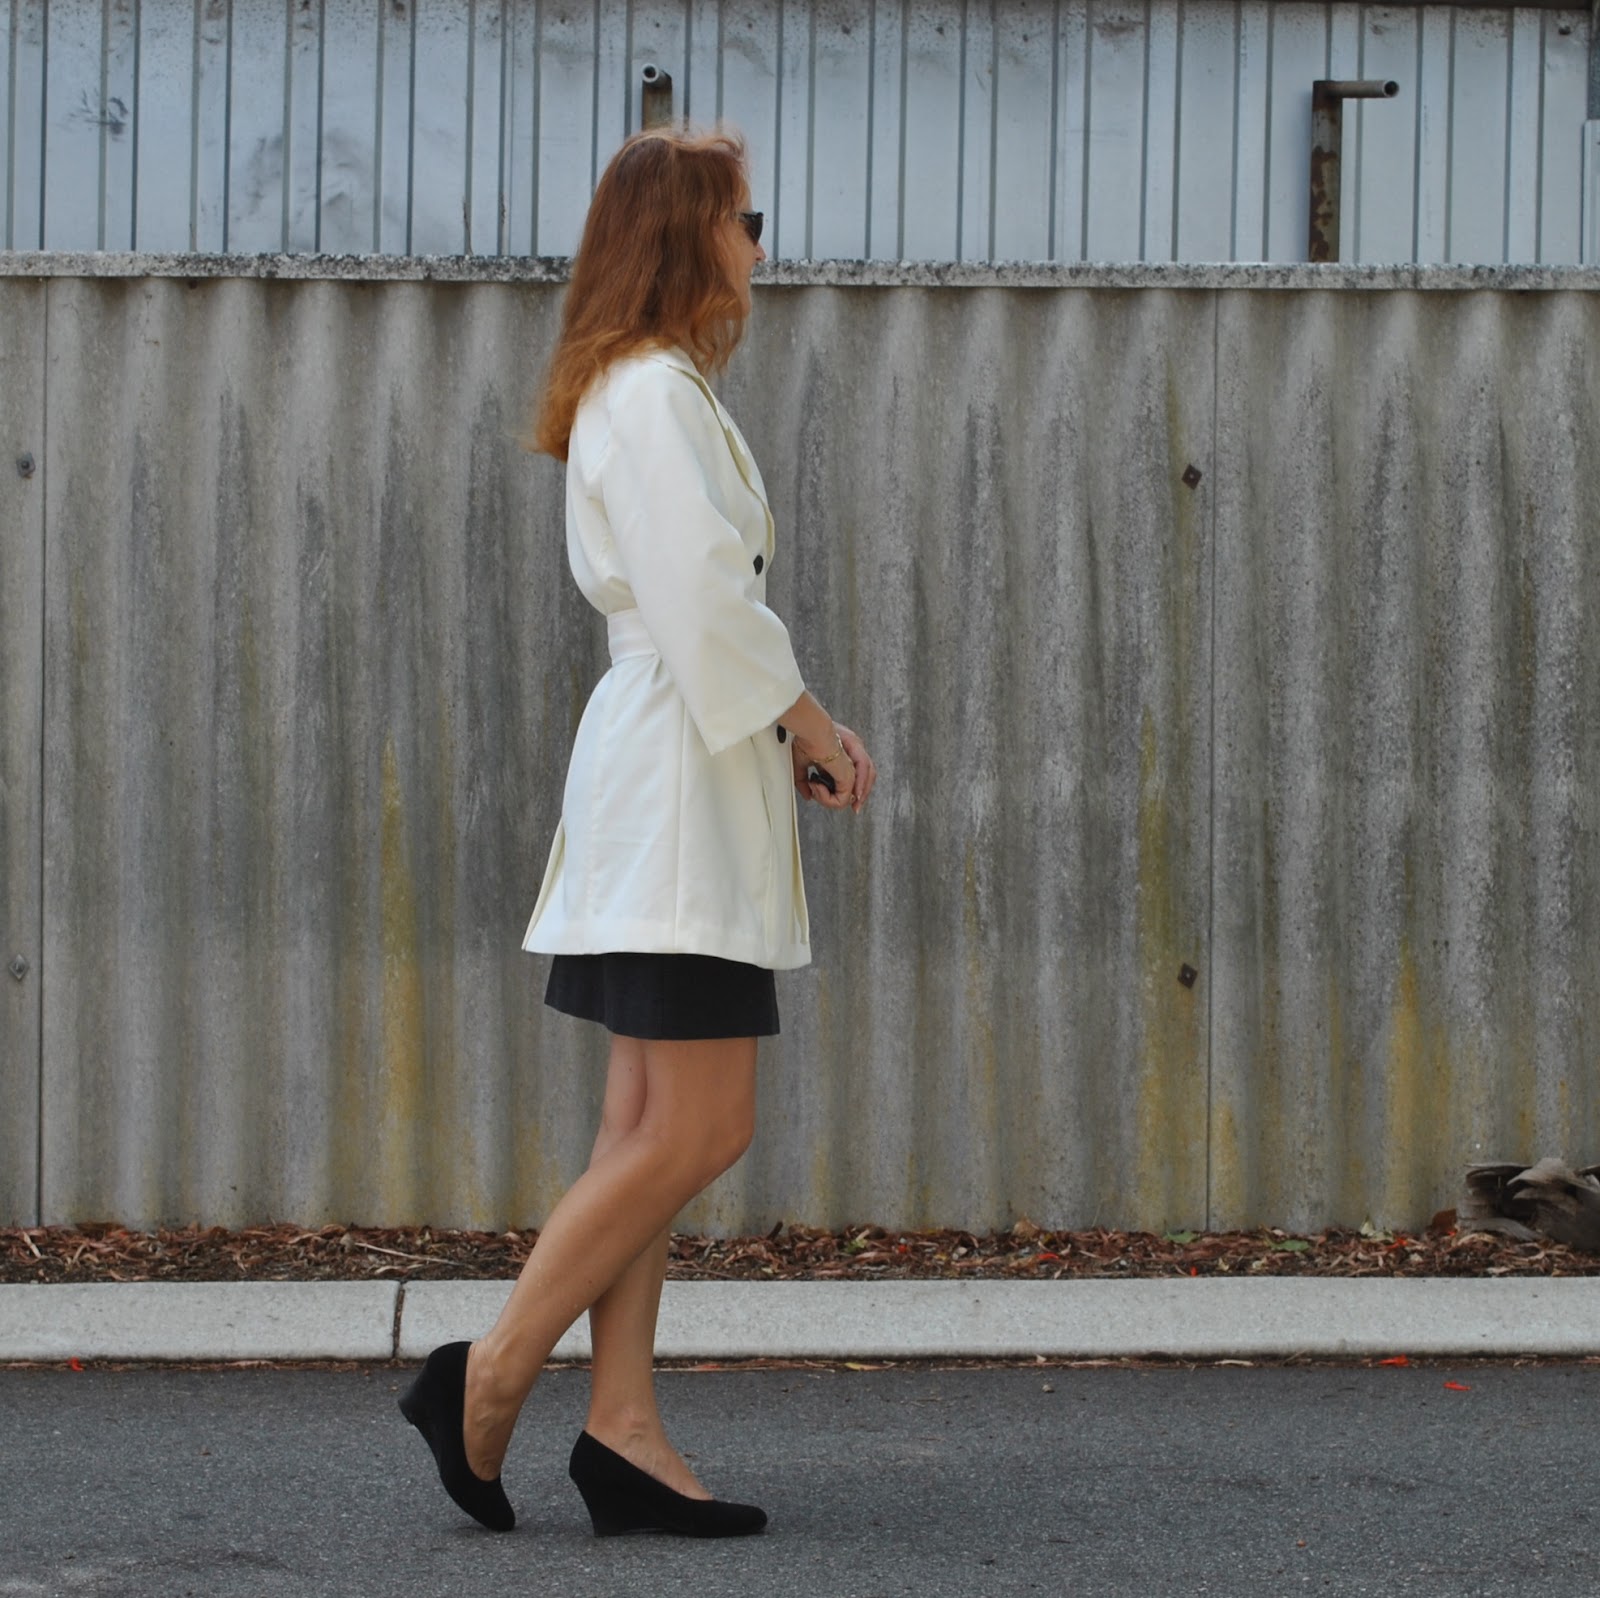
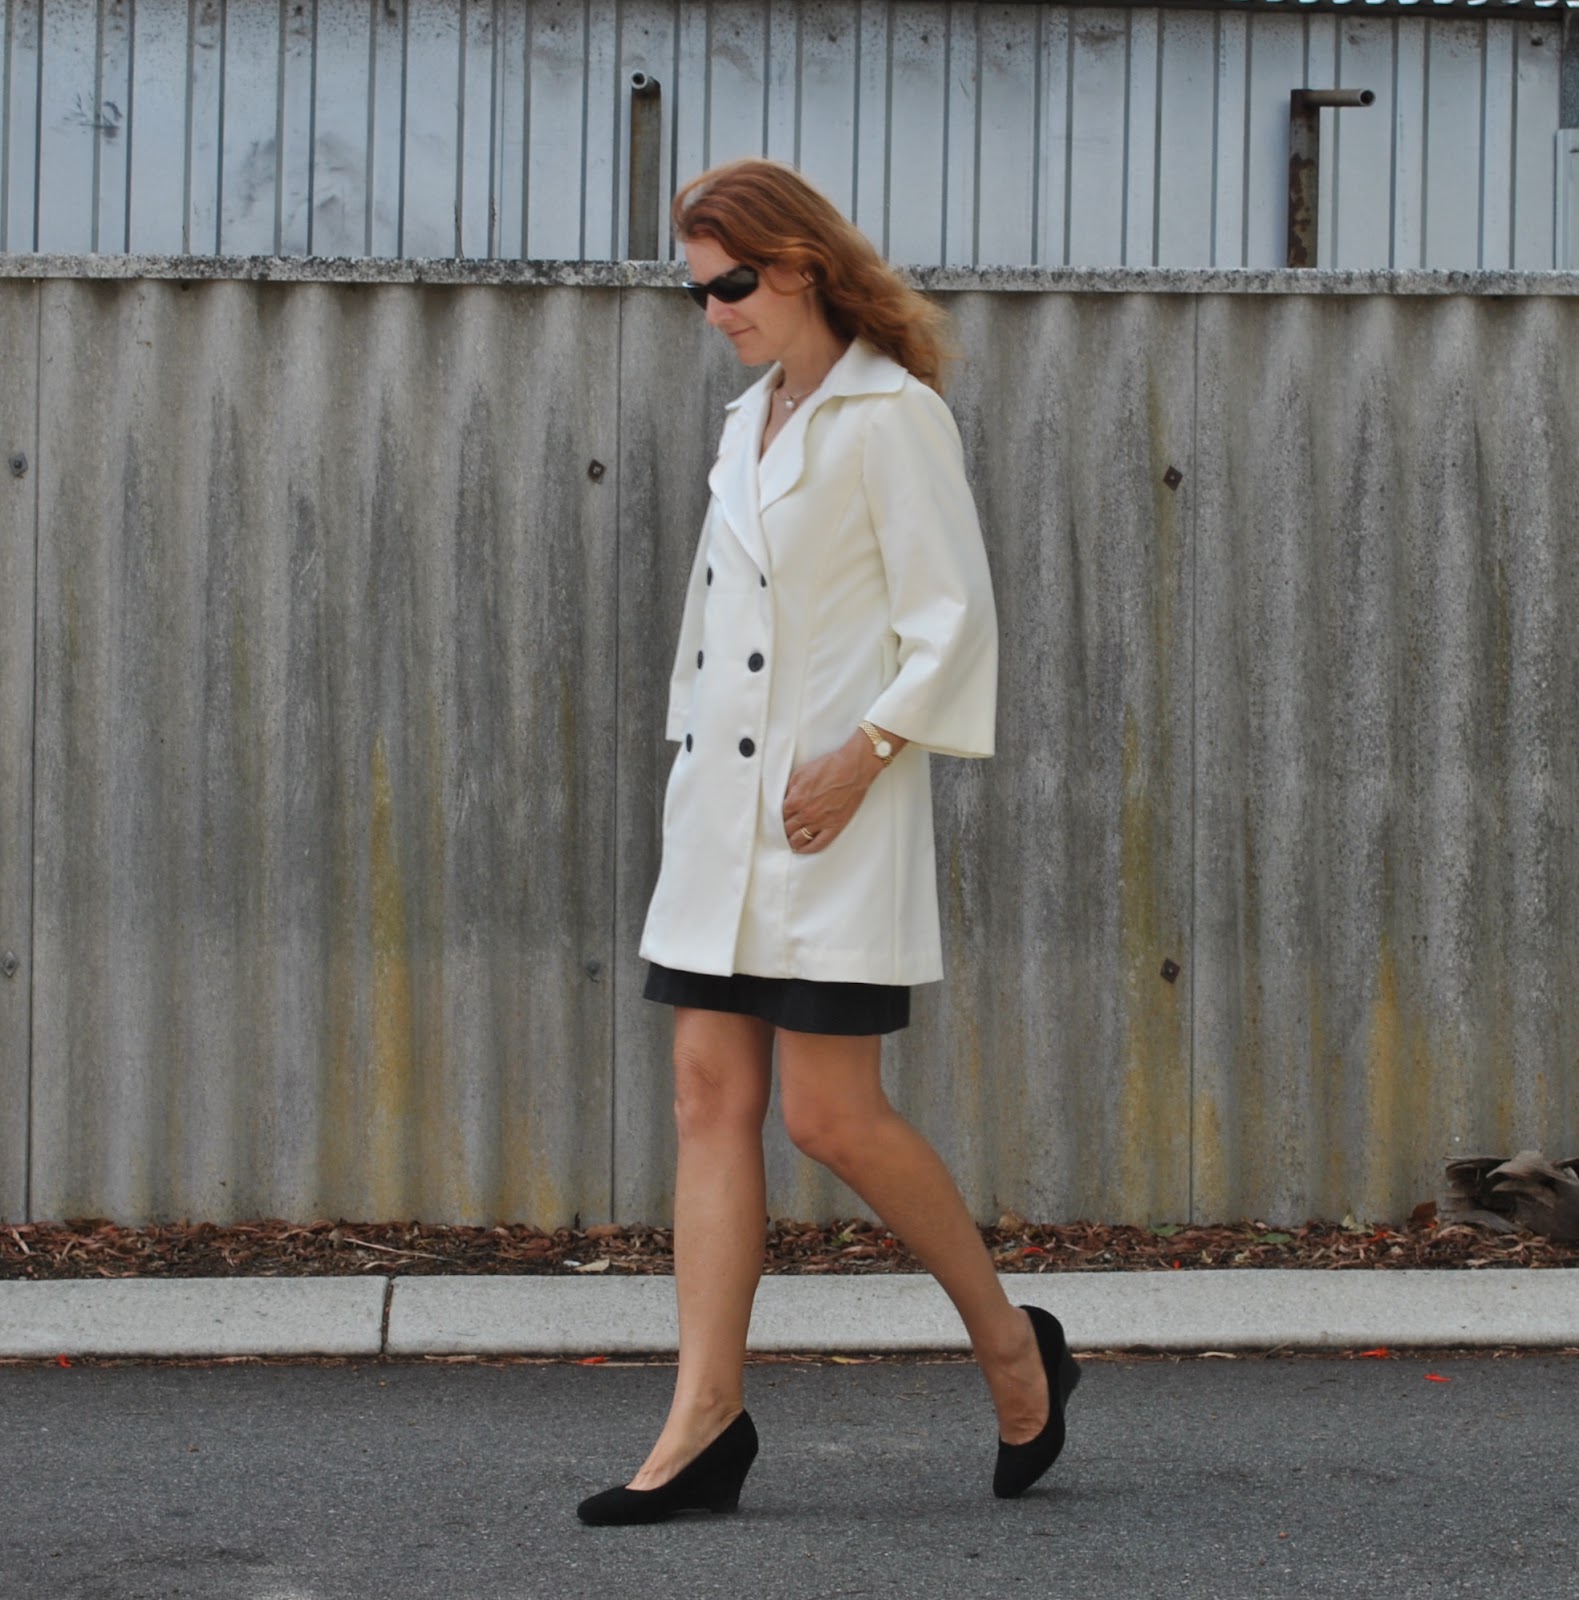
Ivory trench coat

My new coat!
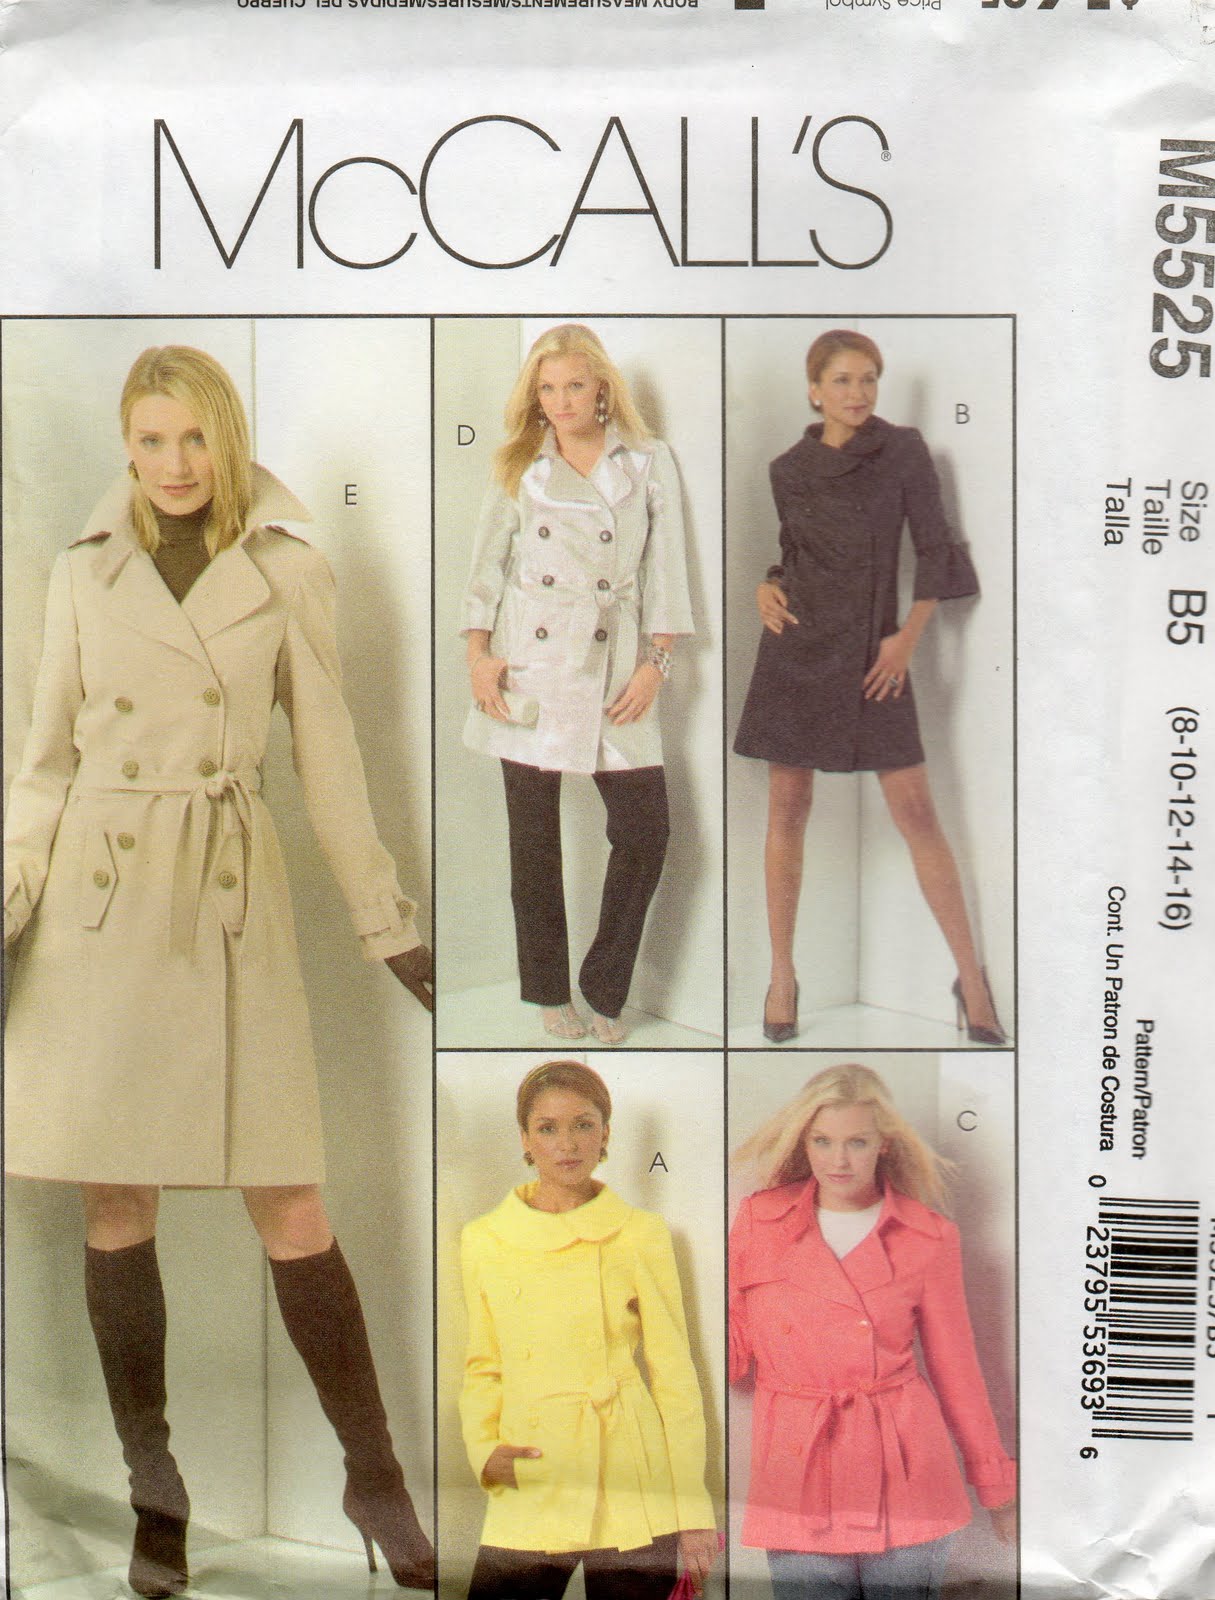
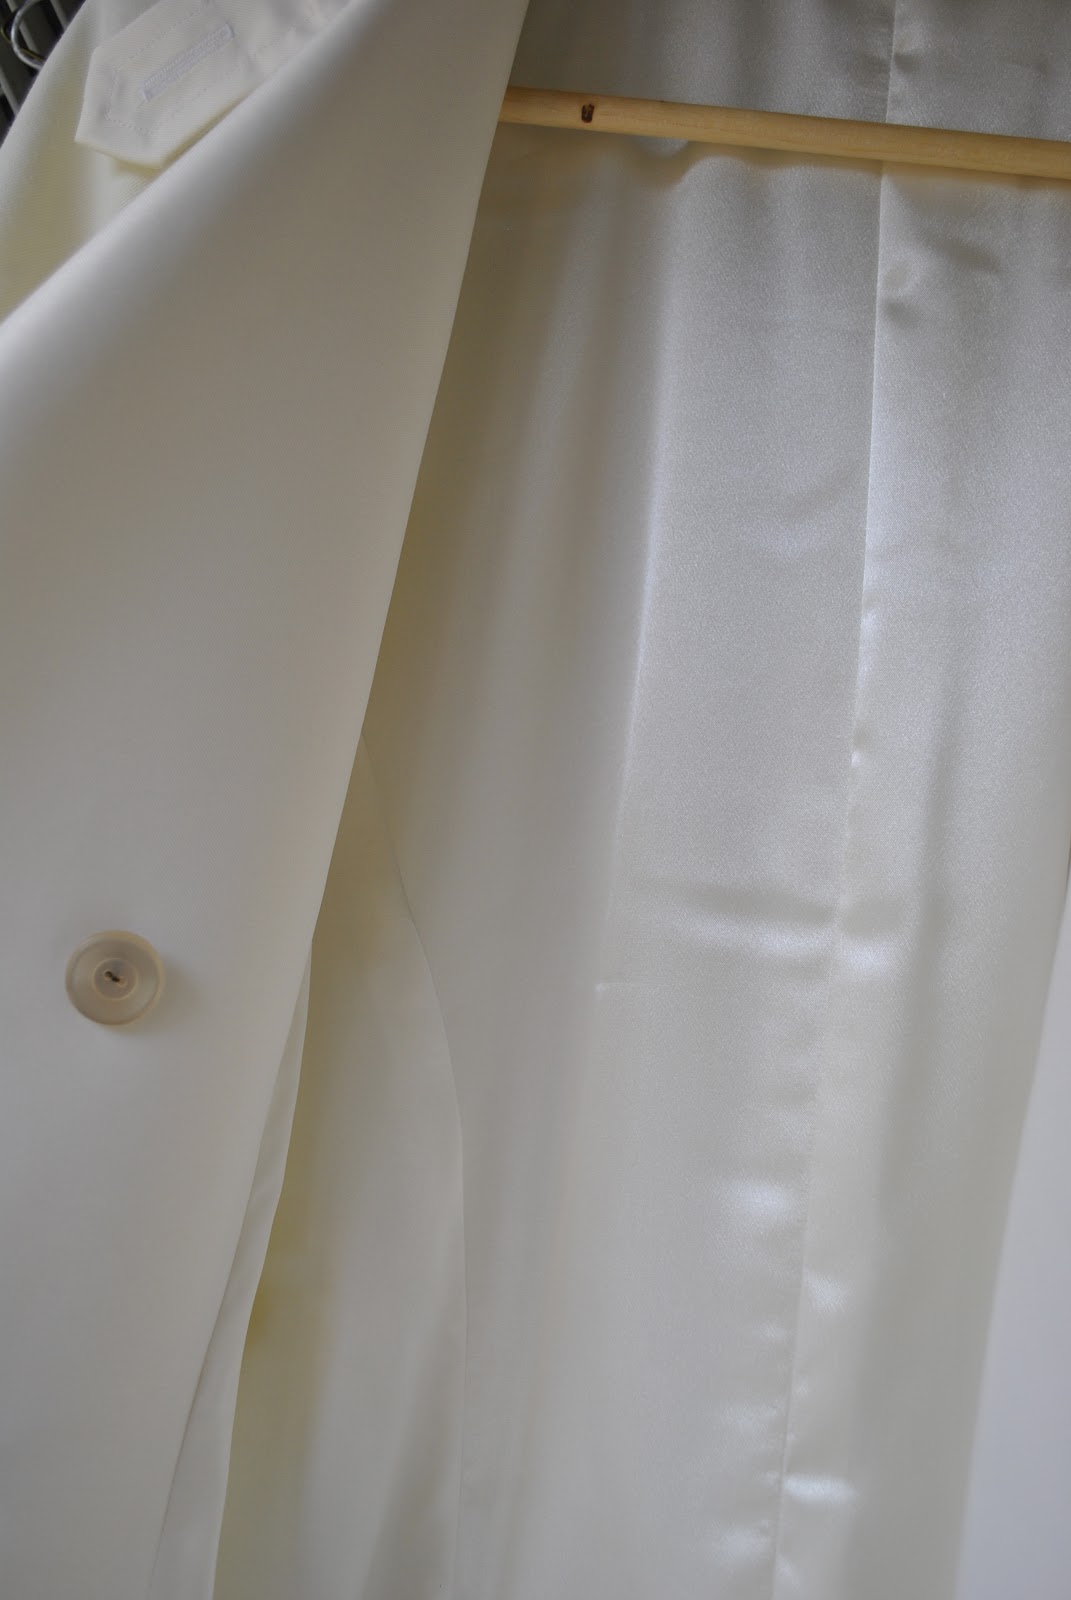
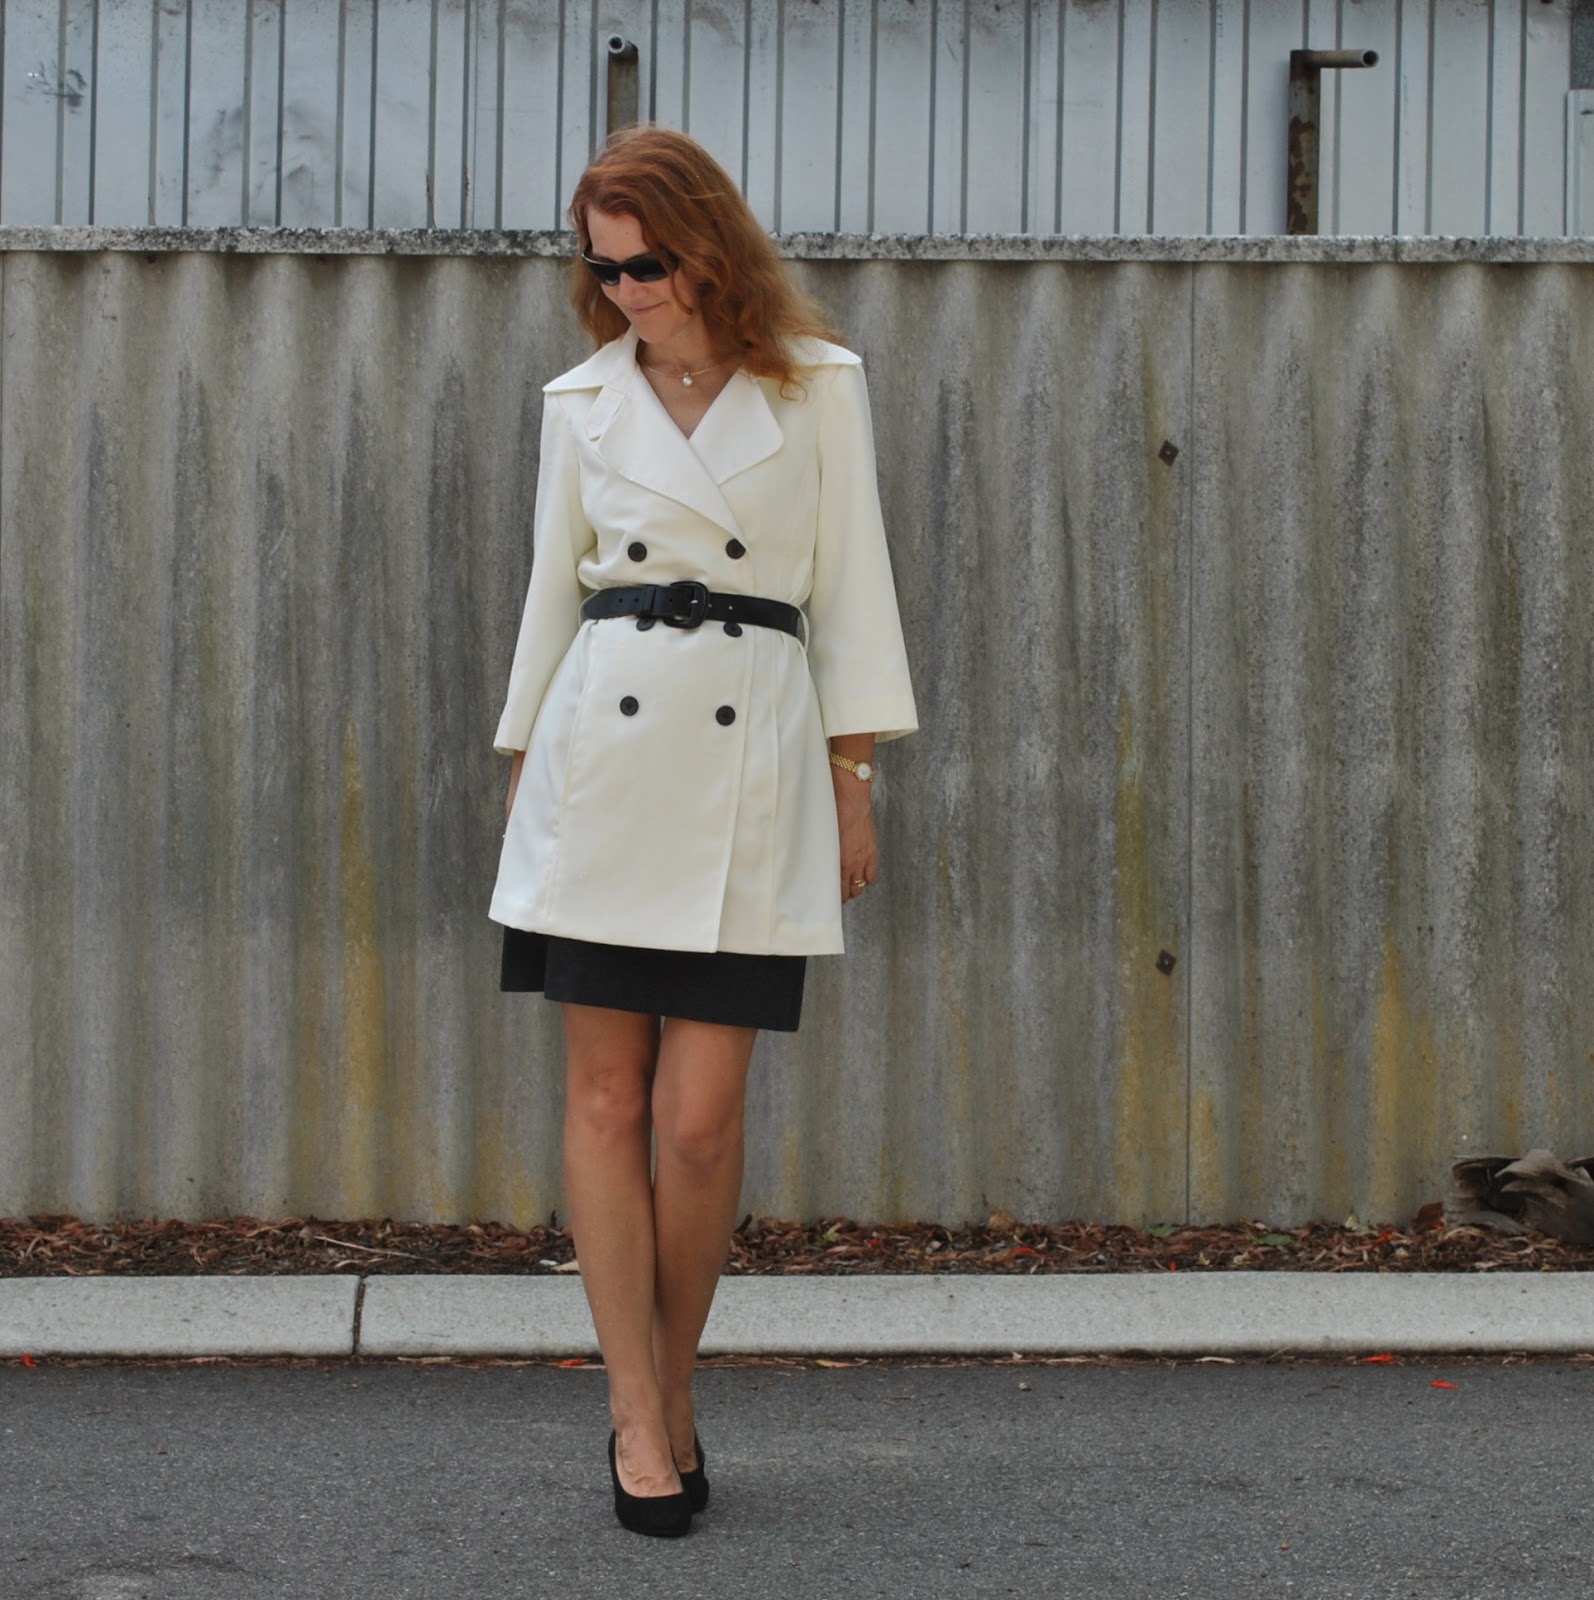
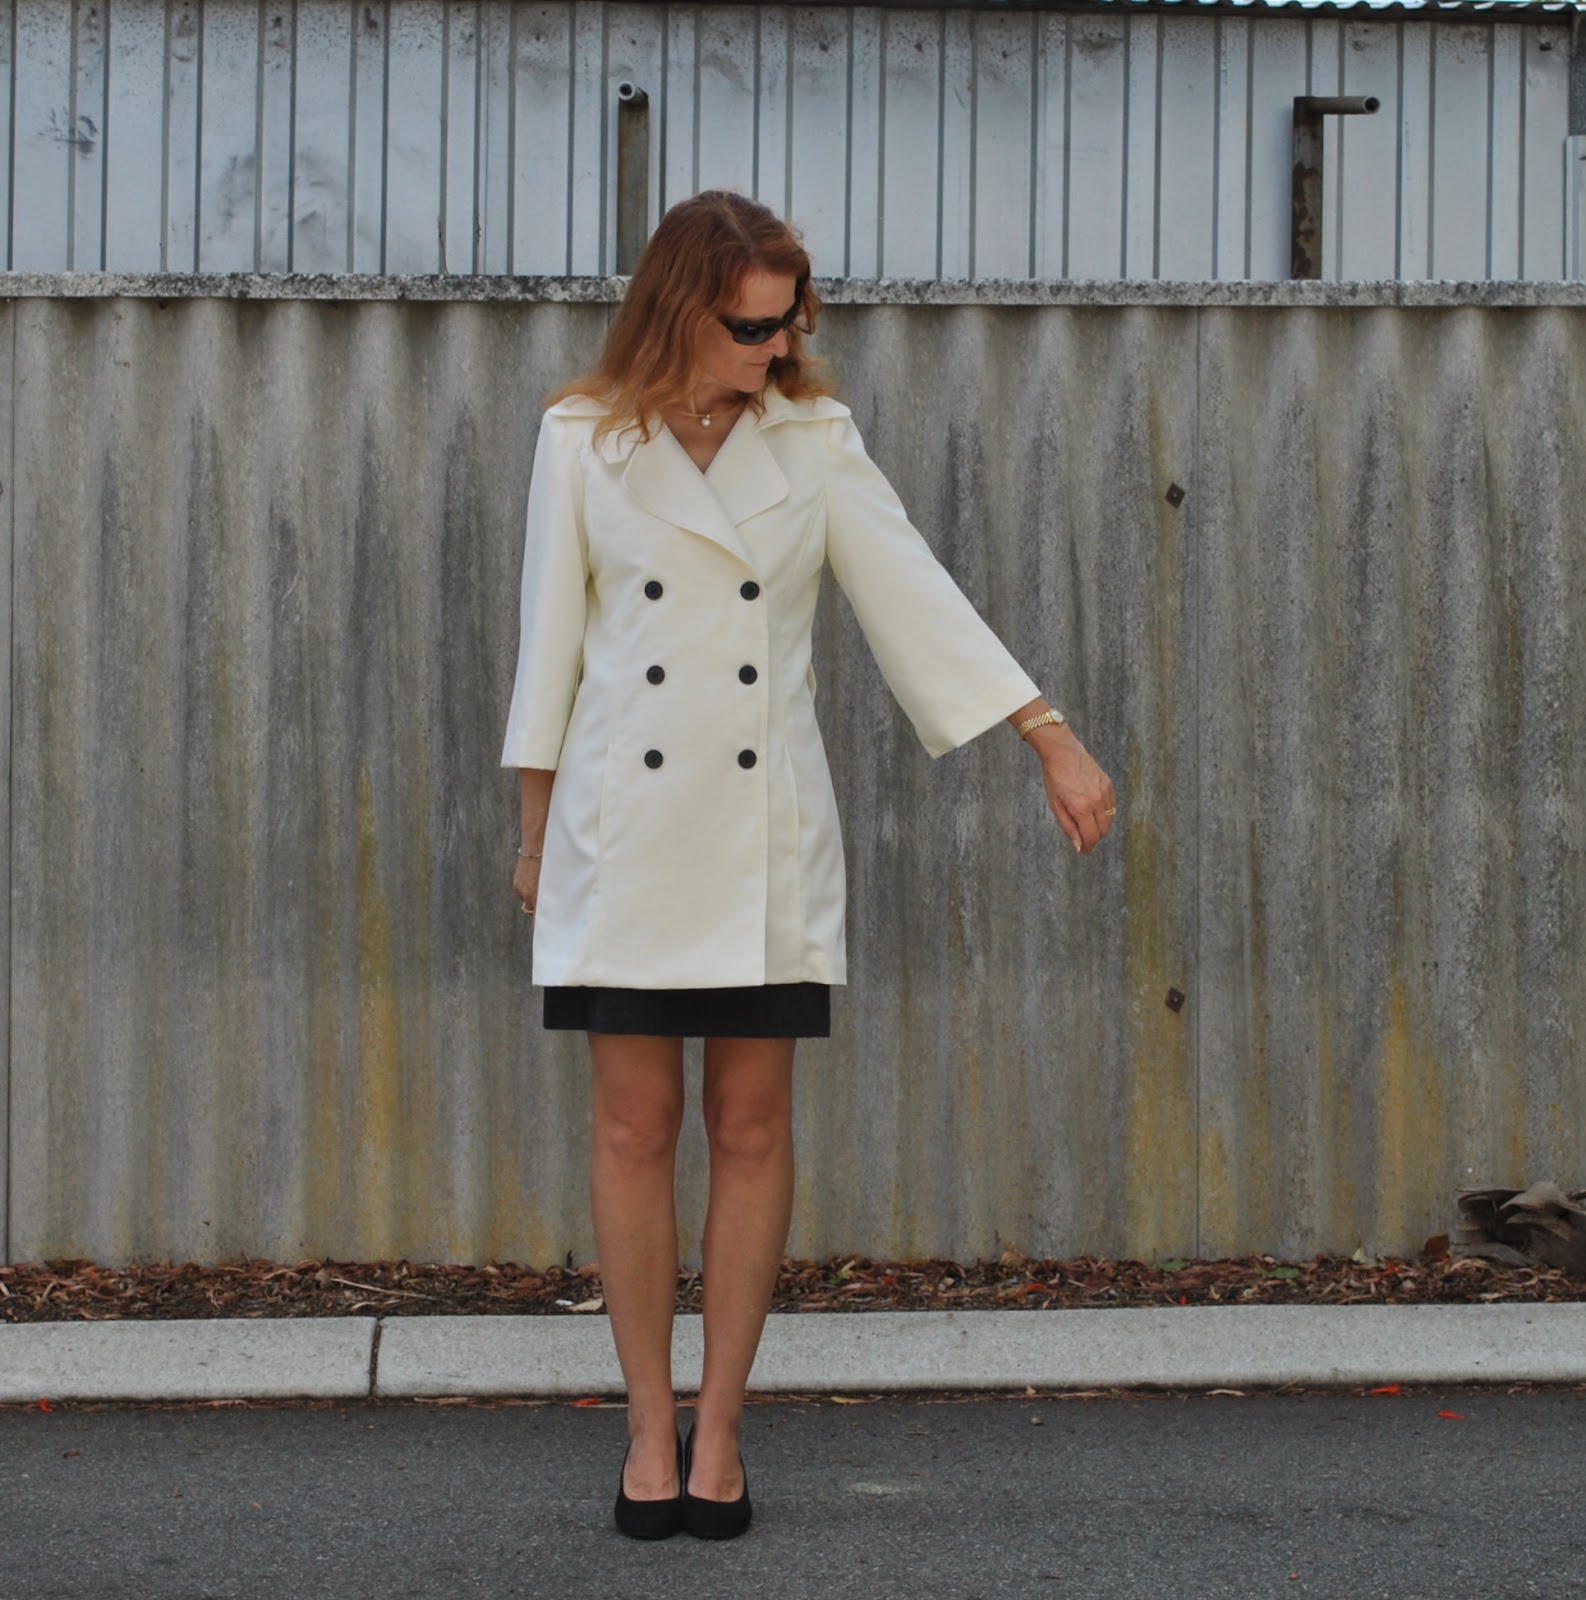
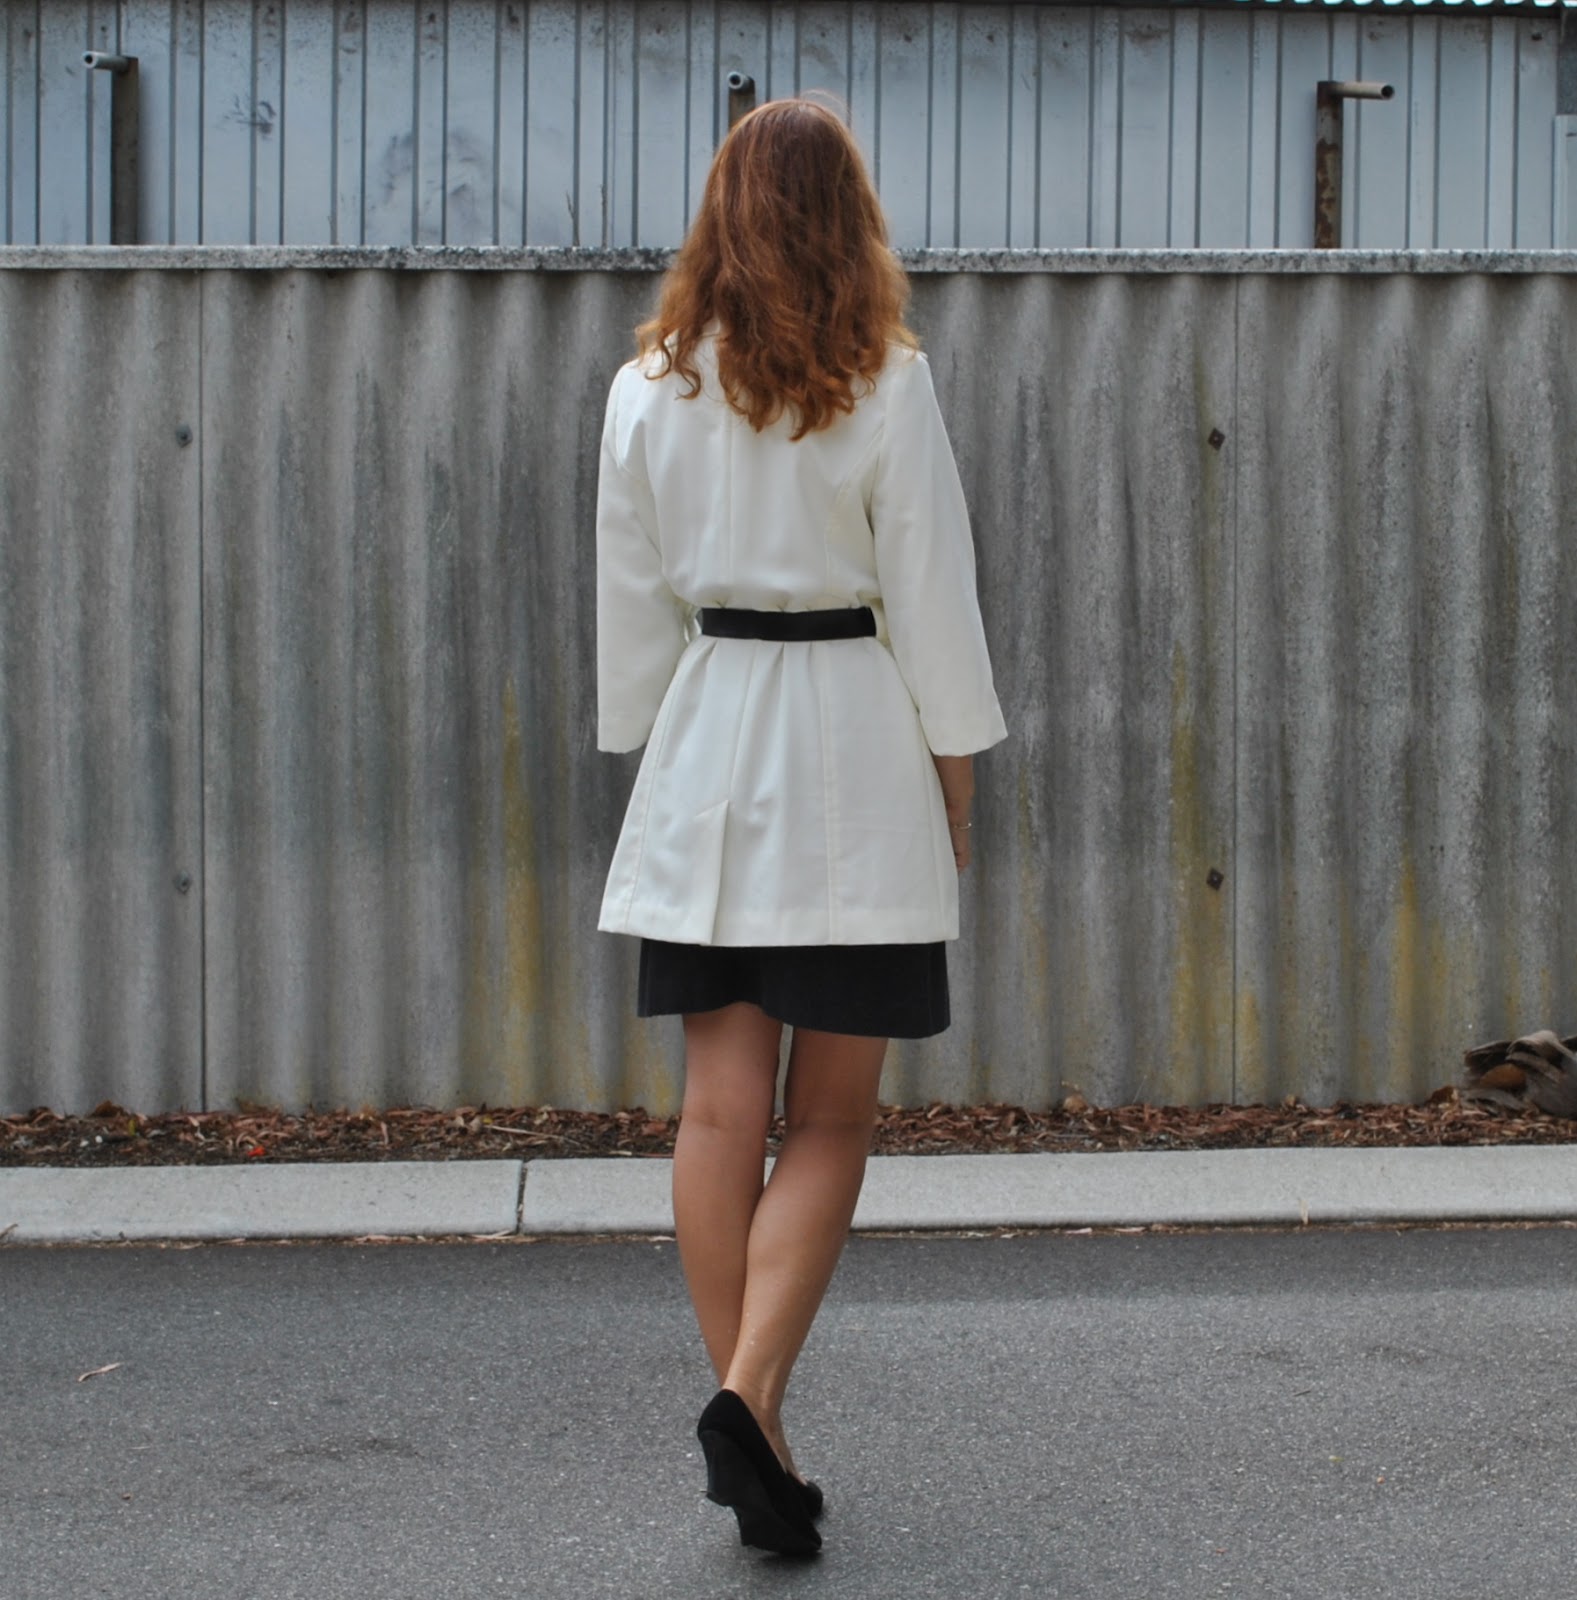
This is McCalls 5525, view D.  I have used this pattern before; my first version is view B, pictured here.  My second version here is mid-length also, and has the wide symmetrical collar with a button tab on the collar stand (in case it gets really cold, I suppose, so if you want to button it right up to the collar you can), and three-quarter length bell-shaped sleeves (pictured below).   I also made the in-princess-seam pockets a mite deeper and bigger than the pattern.  Have I said before how much I love this pattern?  Oh my… I can see from the post on my previous version that I stated I would be making this pattern again.  I can’t believe it has taken me this long!  I love trench coats.  I want more!
For my fabric, I used a lovely piece of cotton gabardine in a warm translucent-eggshell shade of ivory, that was in the bundle of fabrics given to me by my friend C from her late mother’s stash.  I knew the moment I laid eyes on it that it would be simply perfecto for a super stylish trench coat, like some of the oh-so dazzling white ones I have pinned from the last (Northern) winter.  Oh, did someone say “shows the dirt”?  Shushhhh!!  Banish those dirty thoughts!  Naturally my coat will stay pure as the driven snow all winter long since I am a master laundress (haha) and never ever indulge in outdoor activities (haha hahaha)  But what the hey, that is why Napisan was invented, no?  Ahh, Napisan, best friend of those addicted to pale clothes…. what would we do without you and your magical cleaning properties?
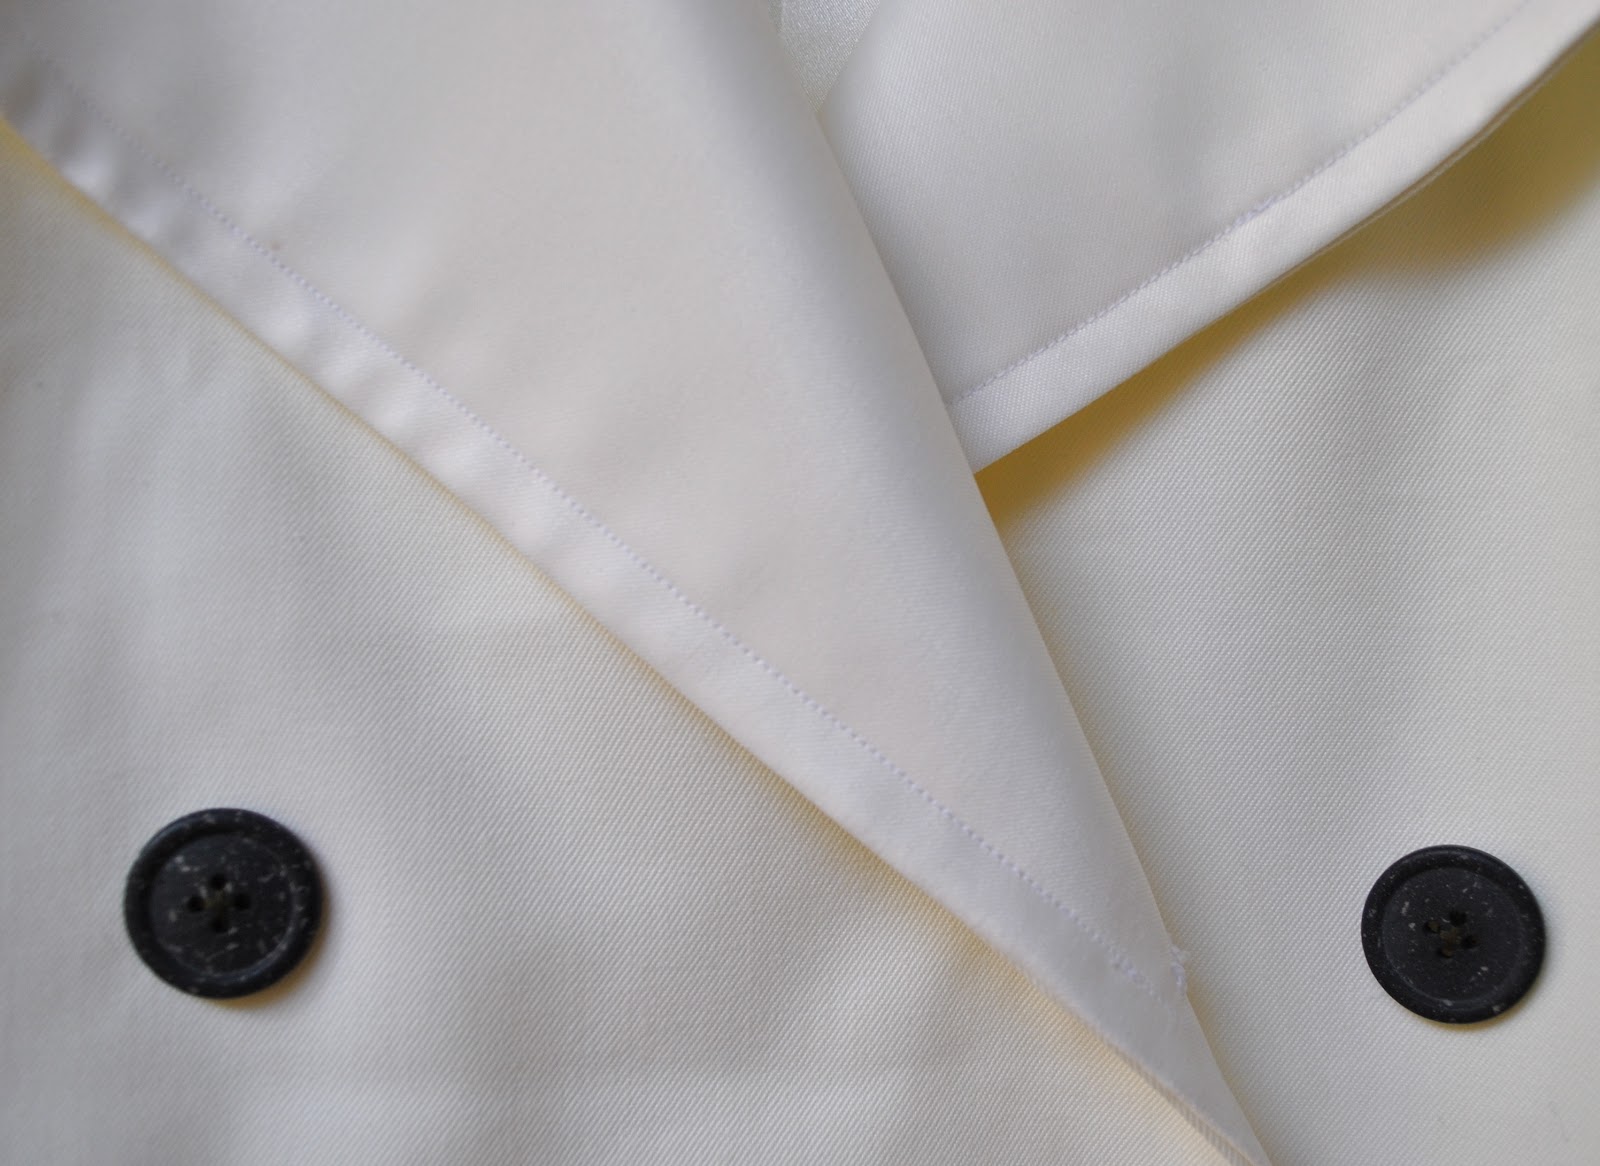
There was a hiccup to start.  Even though my piece of ivory loveliness was the perfect fabric for a trench coat, I did not have enough for an entire trench coat.   Hmmm.  A trifling setback.  But I resourcefully checked out the bridal section of Fabulous Fabrics… And y’know what? found some de-lustred satin, that was not only an almost pretty-darn-perfect match in colour and very acceptable match in texture, but also was of a thickness, stiffness and weight that was pretty darn identical what my gabardine would be like if block-fused with sturdy iron-on interfacing.  Which I joyfully realised that I then did not have to do.  Score!!!  So I cut all my pieces that required interfacing from the de-lustred satin, and saved myself that extra step of interfacing.  Such pieces being the front facings, collar stand and collar facings, tabs, and the self-fabric belt.  The other pieces were cut from my gabardine.
Funnily enough, I did this exact same thing, using two matching fabrics of different weights the first time I made up this pattern.  Life repeating itself…  ðŸ™‚
For the lining I used a medium weight ivory satin.  This is quite thick too, so I’m hoping this will make it warm enough to wear all winter.  (Please don’t write to tell me how pathetic our winters are.  Yes, even in the dead of winter we are still 2000 miles away from the nearest snow.  No need to rub it in)
The buttons; I did not want perfectly black buttons, and found these at Fabulous Fabrics.  They are a deep deep blue-y charcoal with little flecks of ivory.  They could not be more perfect.
So, I realise this is quite a picture heavy post.  Please excuse that.  I guess I’m a mite proud of how it turned out  ðŸ™‚  And to be fair you need a few pictures to address the all important question of which of these belts looks best with the coat; self-fabric belt (above), black leather belt (below), or even no belt at all (far below)?  Which do you think?

Details:
Coat; McCalls 5525, view D, ivory gabardine, ivory de-lustred satin, ivory satin lining, my review of this pattern here
Skirt; my own design, charcoal jersey knit, details here
Shoes; Misano, from Labels boutique

pinterestmail

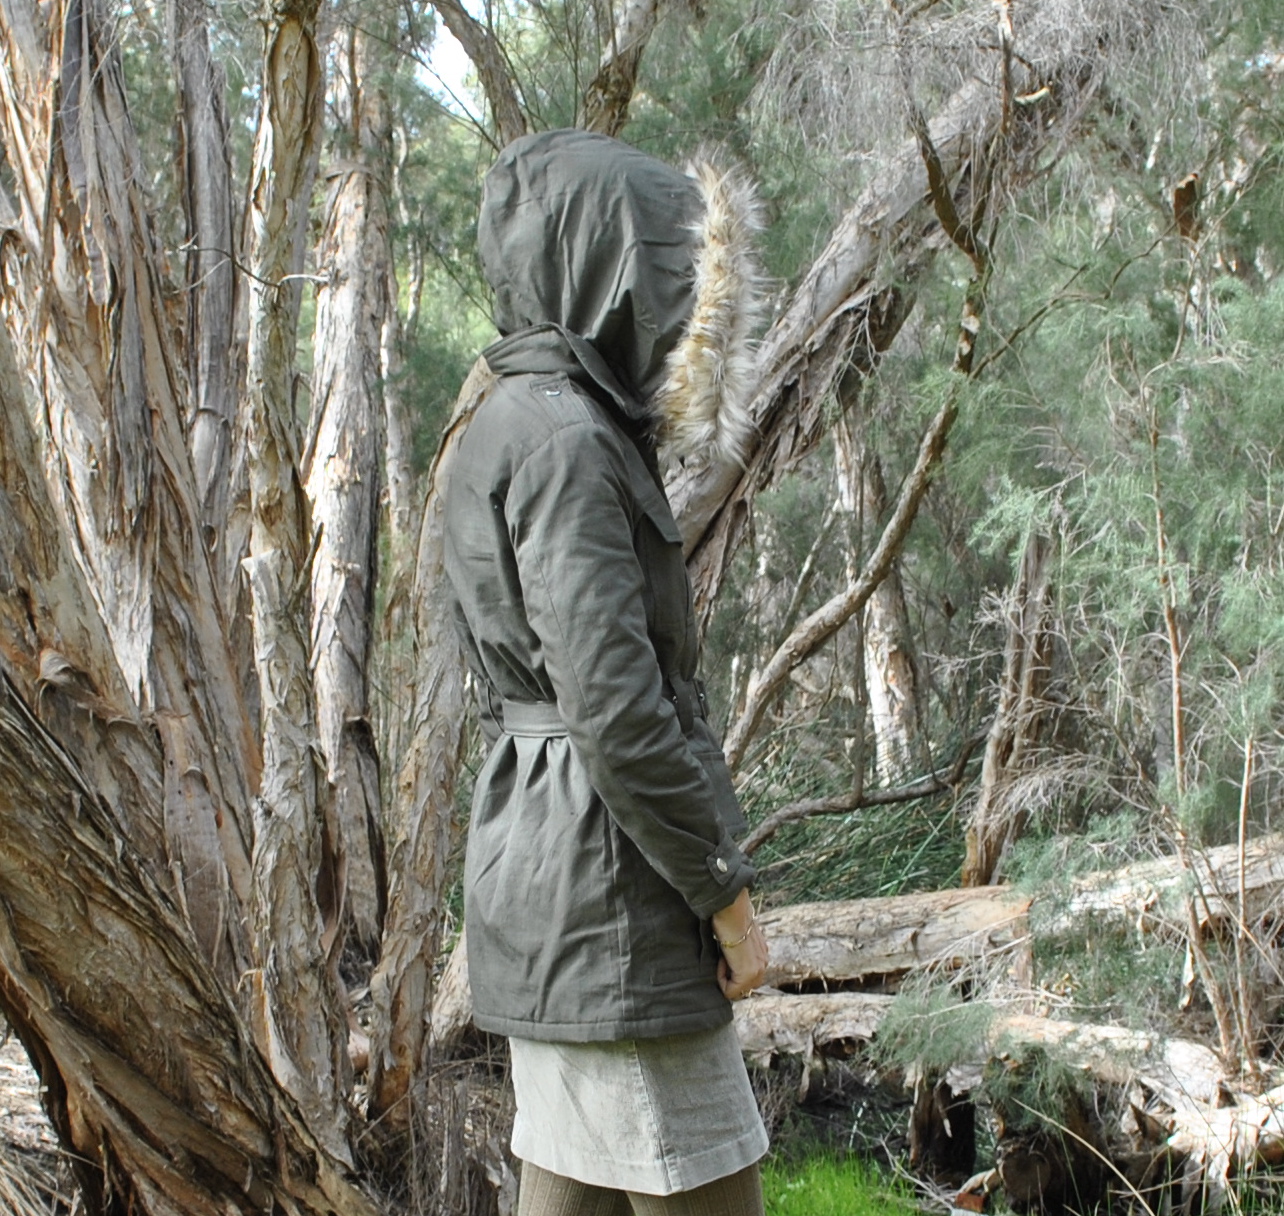
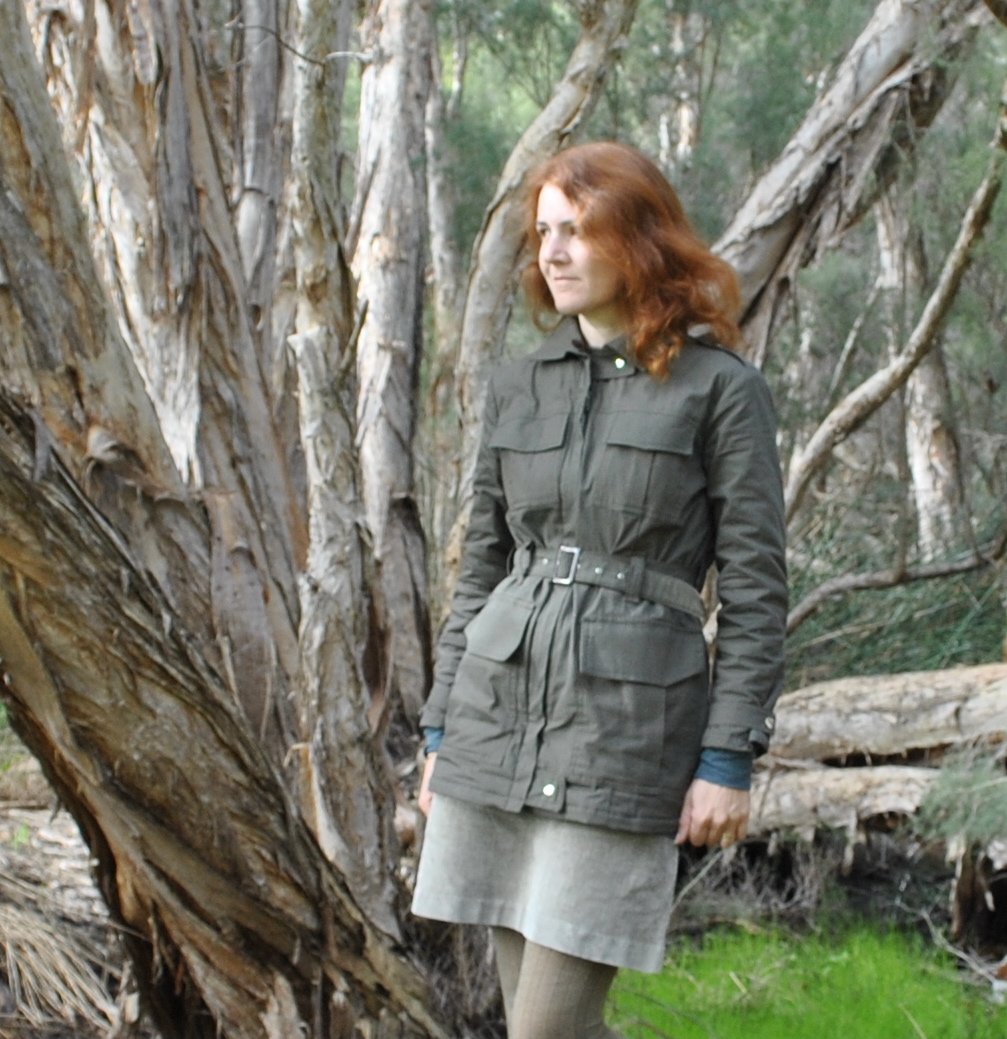
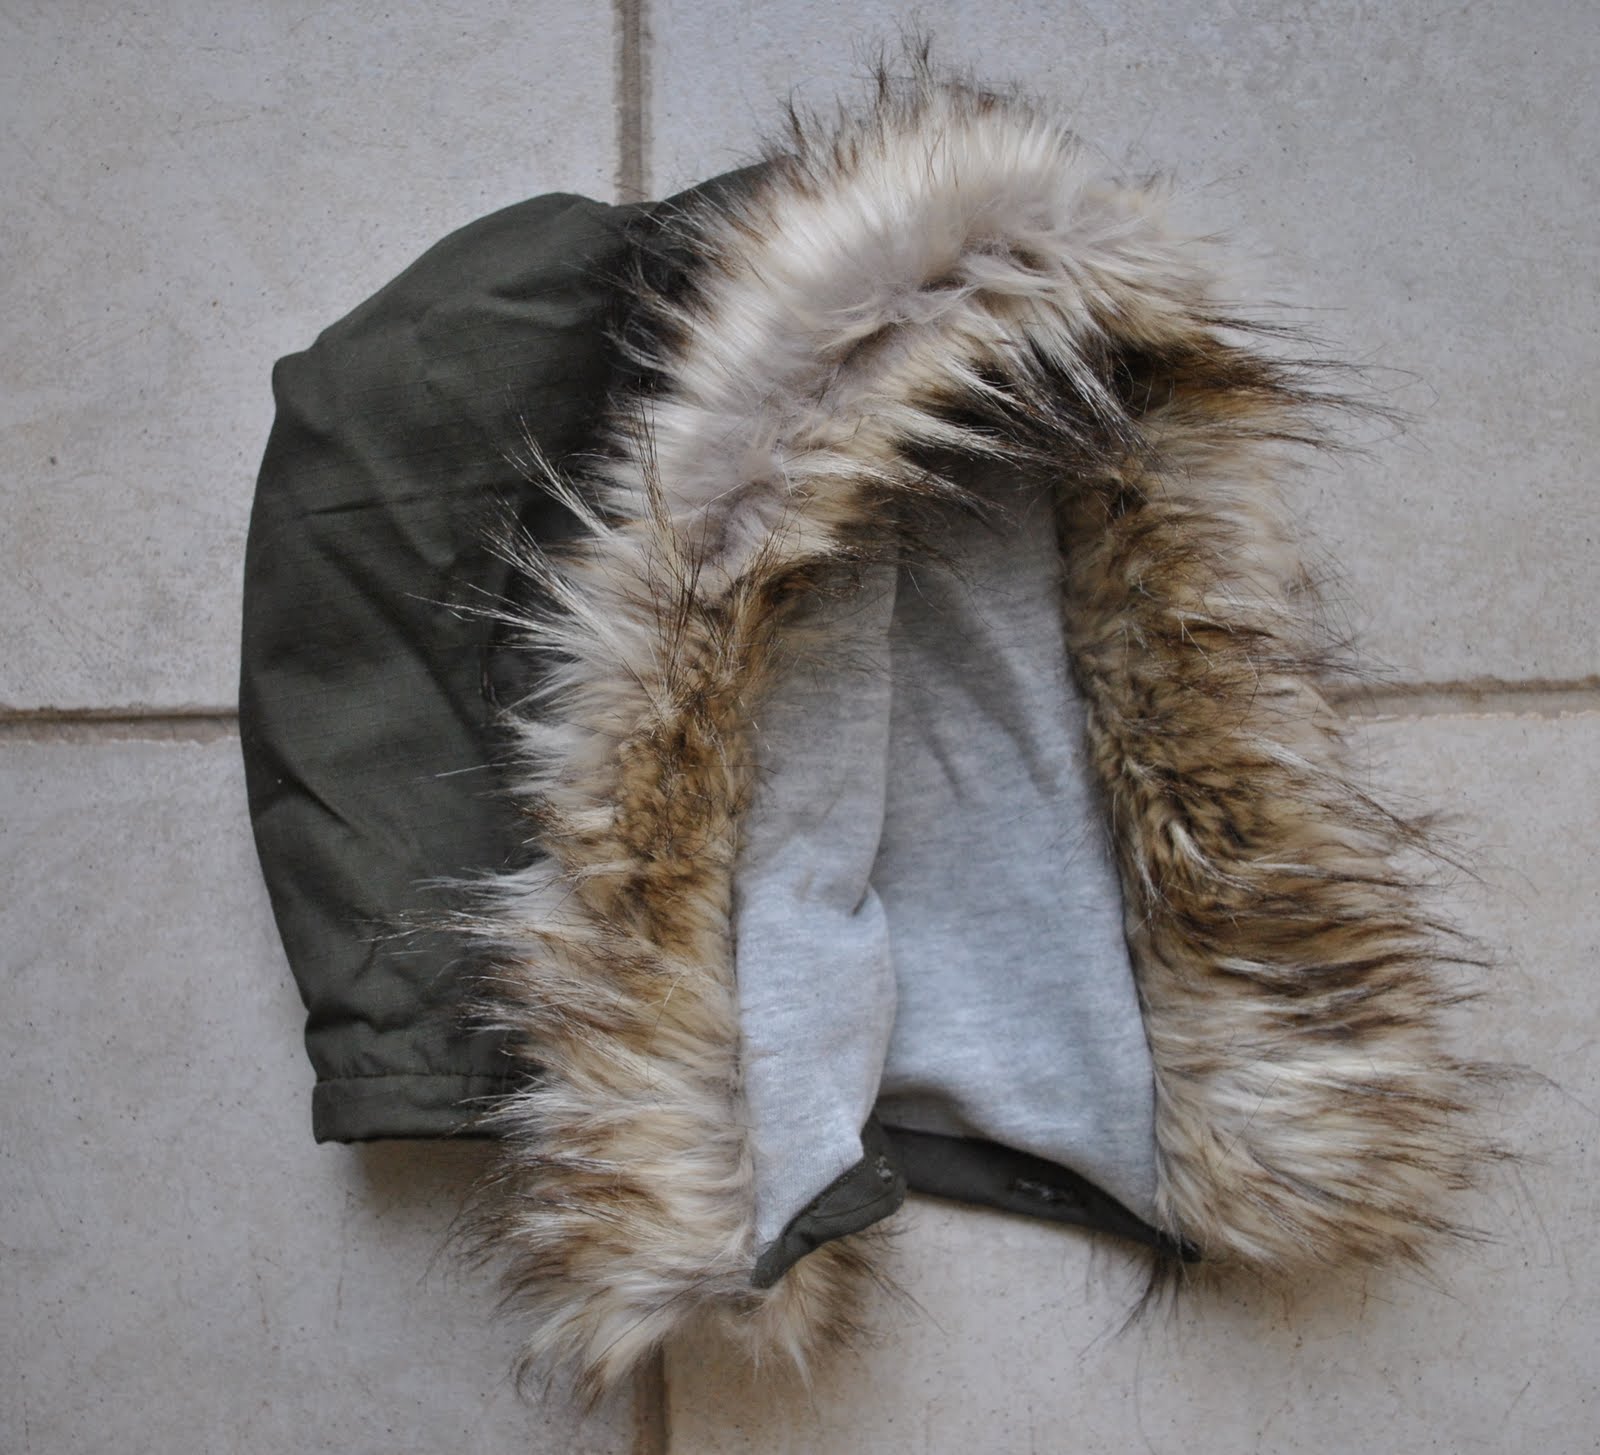
Army style jacket, with detachable (faux) fur-lined hood

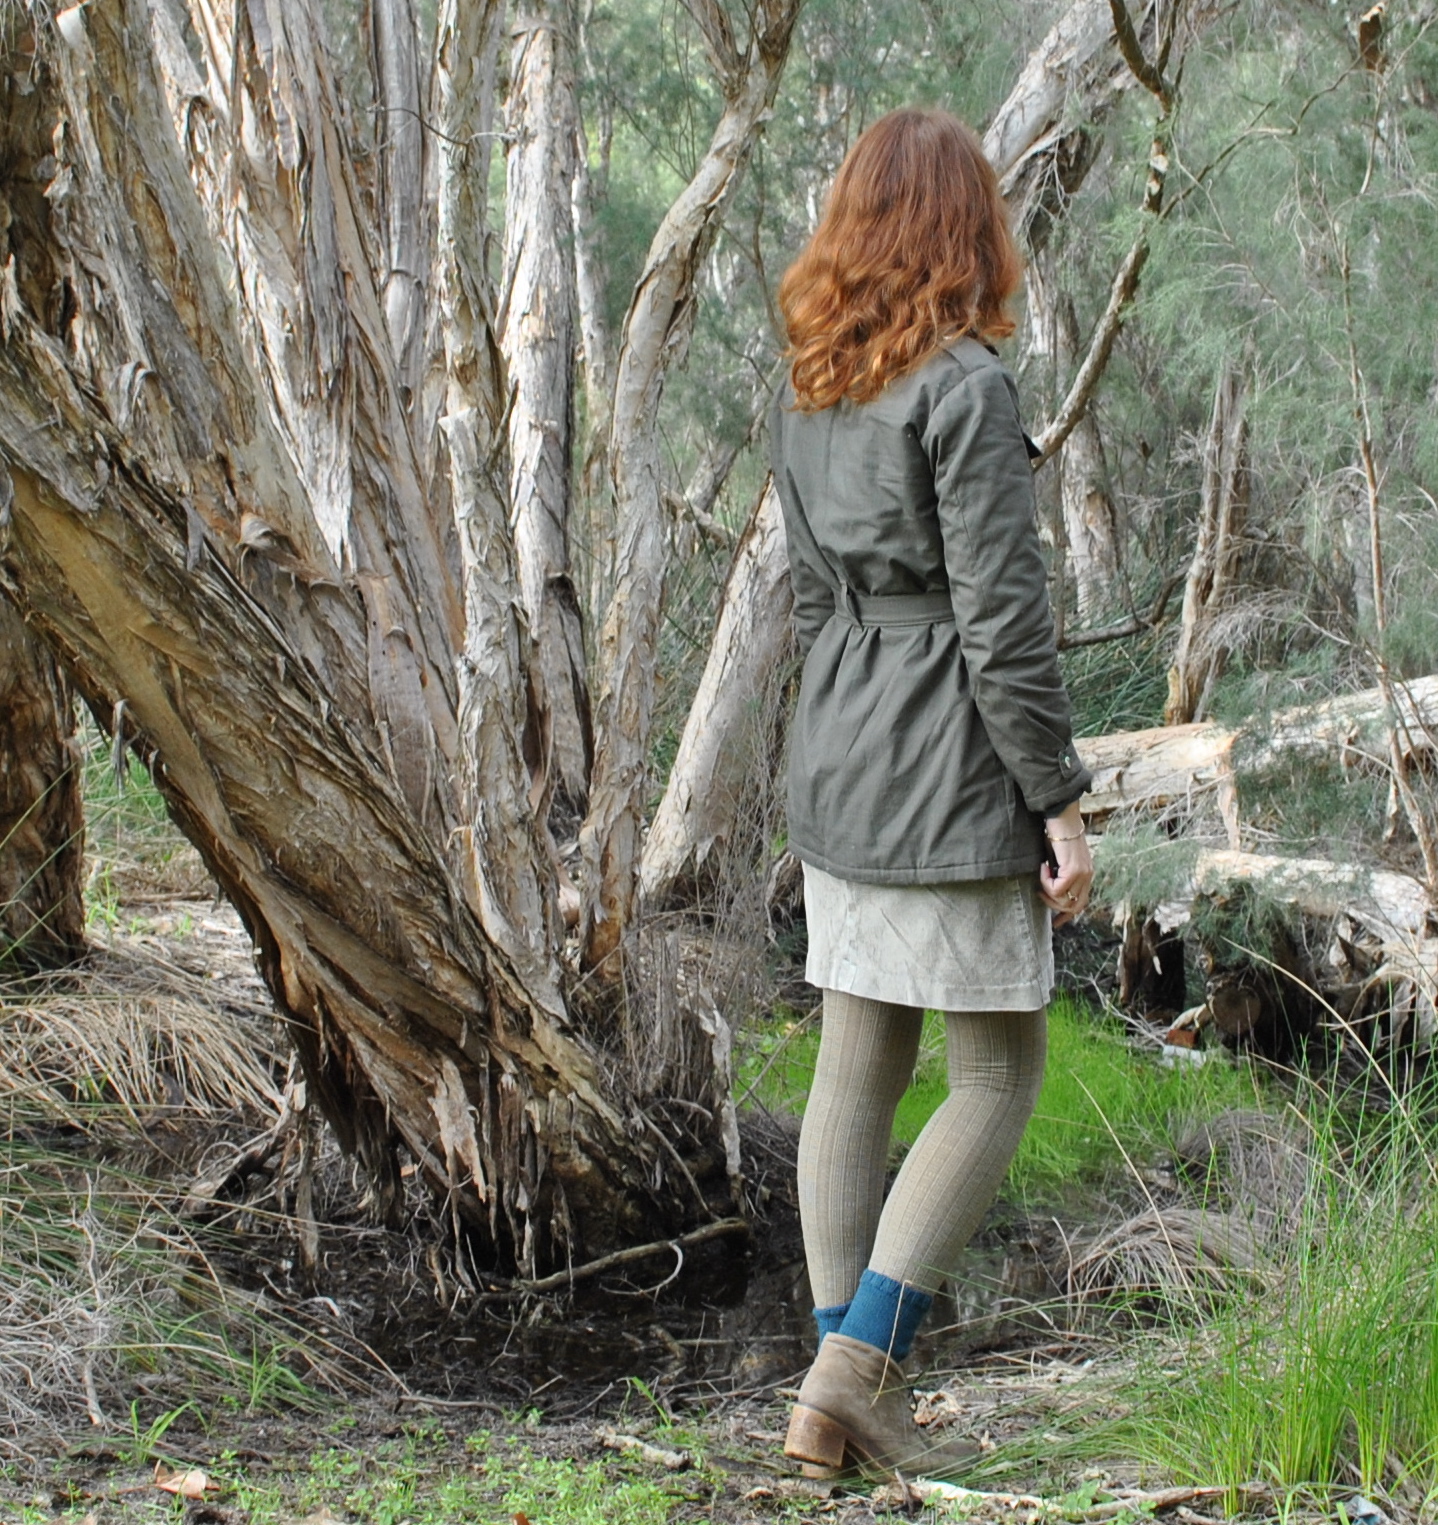
I mentioned some time ago my new army/military style jacket; finished way back in March, well, here it is!
When we were in Tokyo I saw all ages and both sexes, everywhere, sporting big khaki army type jackets.  All with military details, lots of pockets, cinched in waist belts and sometimes with fur-lined hoods, and I just fell in love with them and decided I just had to have my own.  They just looked so big and comfy and cosy looking, and the girls (and boys) wearing them looked so warm not to mention so so so too-cooool-for-school; casually and bulkily stylish…  I’m sure a lot of the ones I saw were real army jackets, possibly from army disposal stores or secondhand stores, but naturally with my DIY aesthetic I was always going to try to make my own… 😀
Of course what I wasn’t taking into account was that it doesn’t really get all that cold here and especially for the hoodie part of it!  I expect I will wear it without the hood for most of the time… but it was still fun to have a go at making a furry hood, and it just might come in handy for some mornings, and if we ever go down to the country.

Details:
Jacket; Burdastyle 05-2010-127 with my own modifications, khaki ripstop cotton and grey marle fleece lining
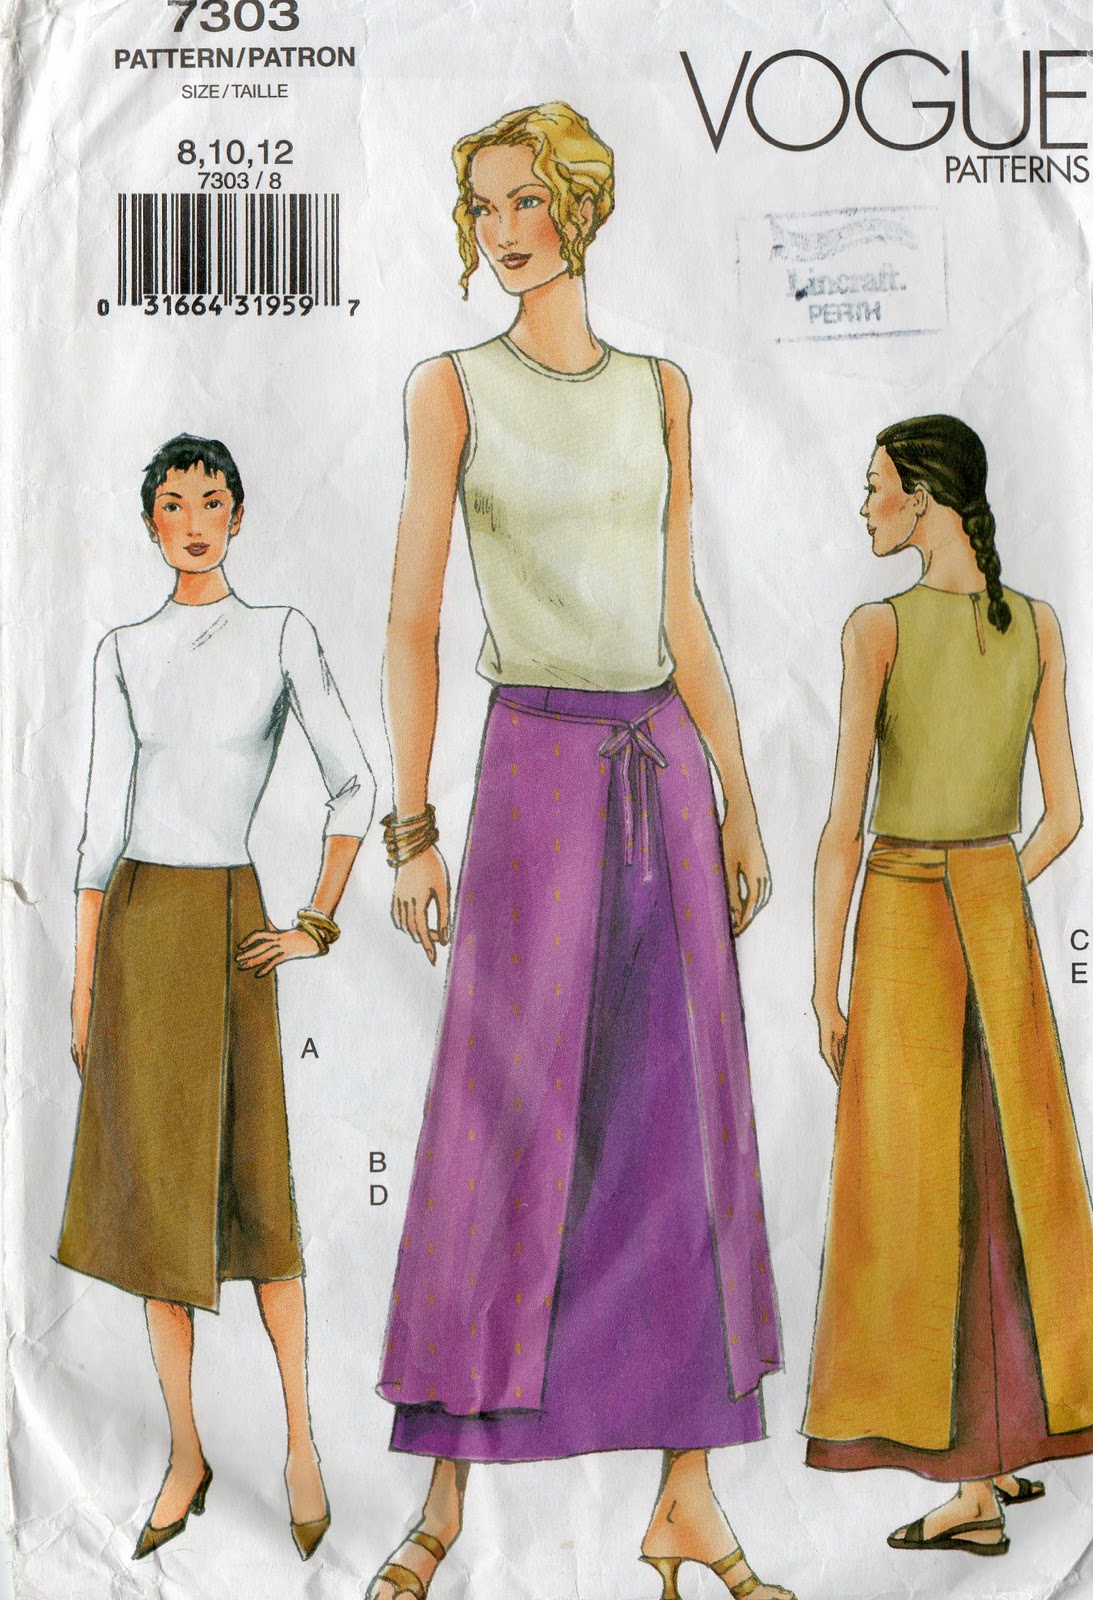
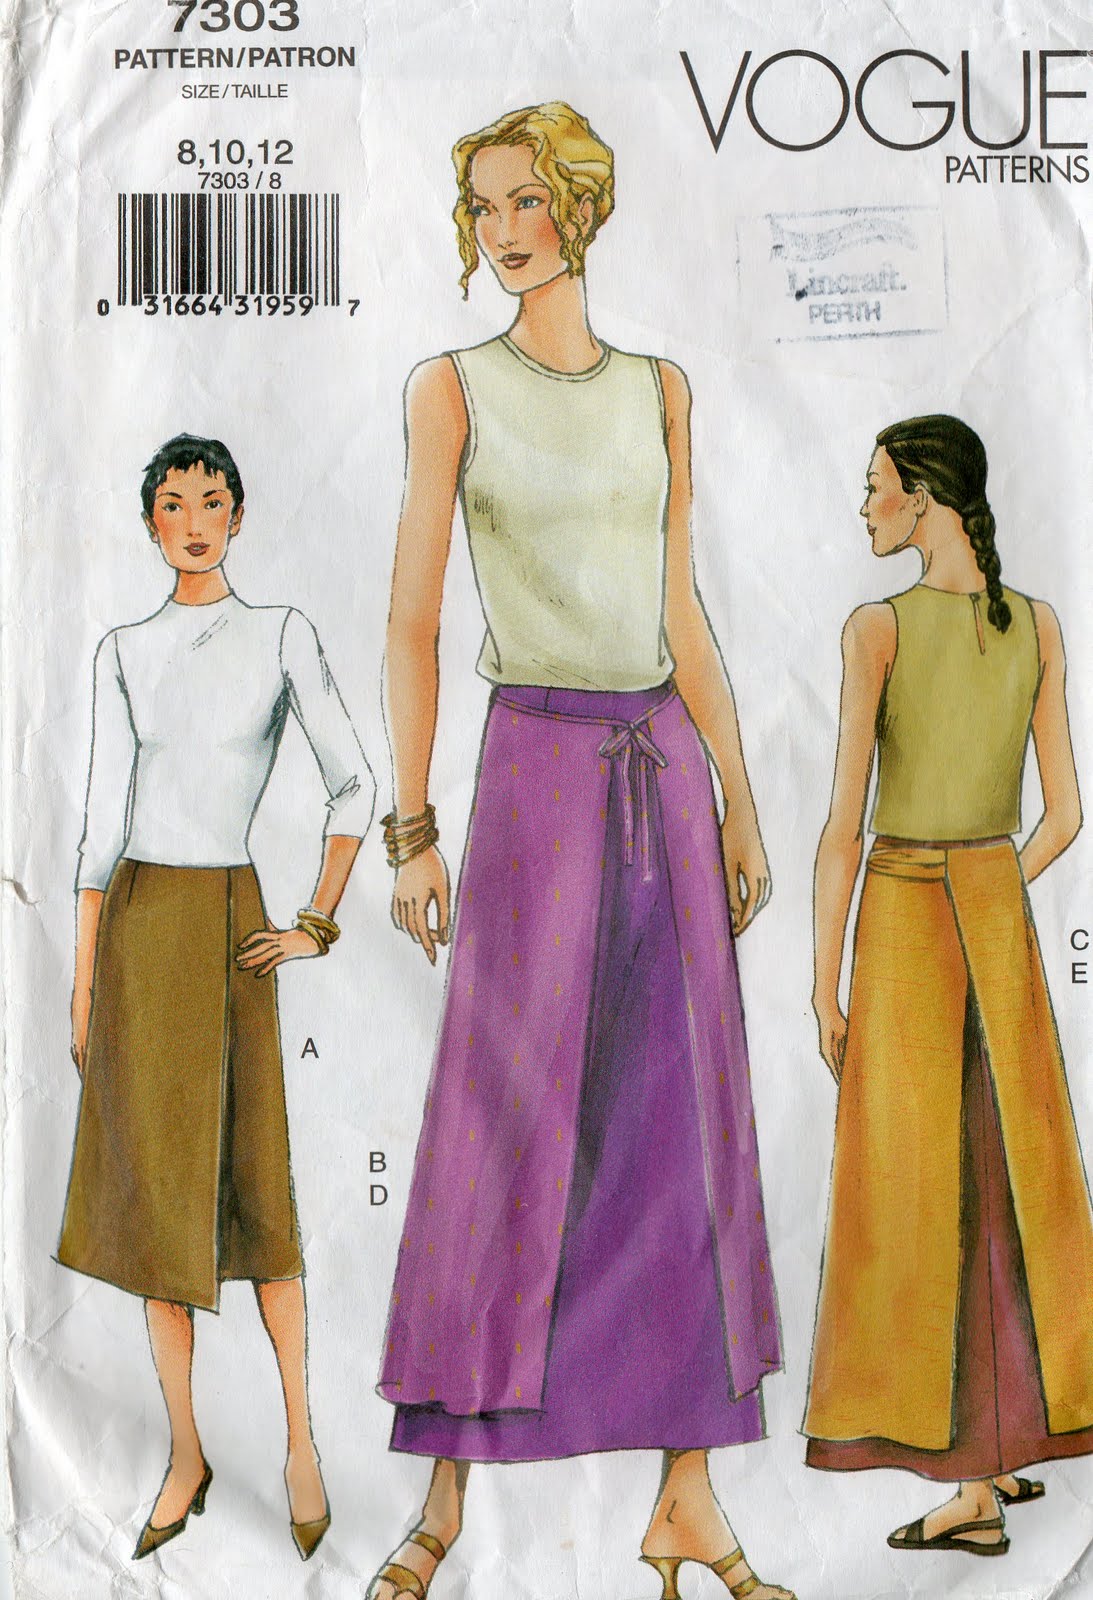
Skirt; Vogue 7303, olive green corduroy, to see this little skirt styled in 6 different ways go here
Top and tights; Metalicus
Socks, handknit by me, details here
Shoes; Francesco Morichetti, from Zomp shoes

Dressmaking details; if you want to know…
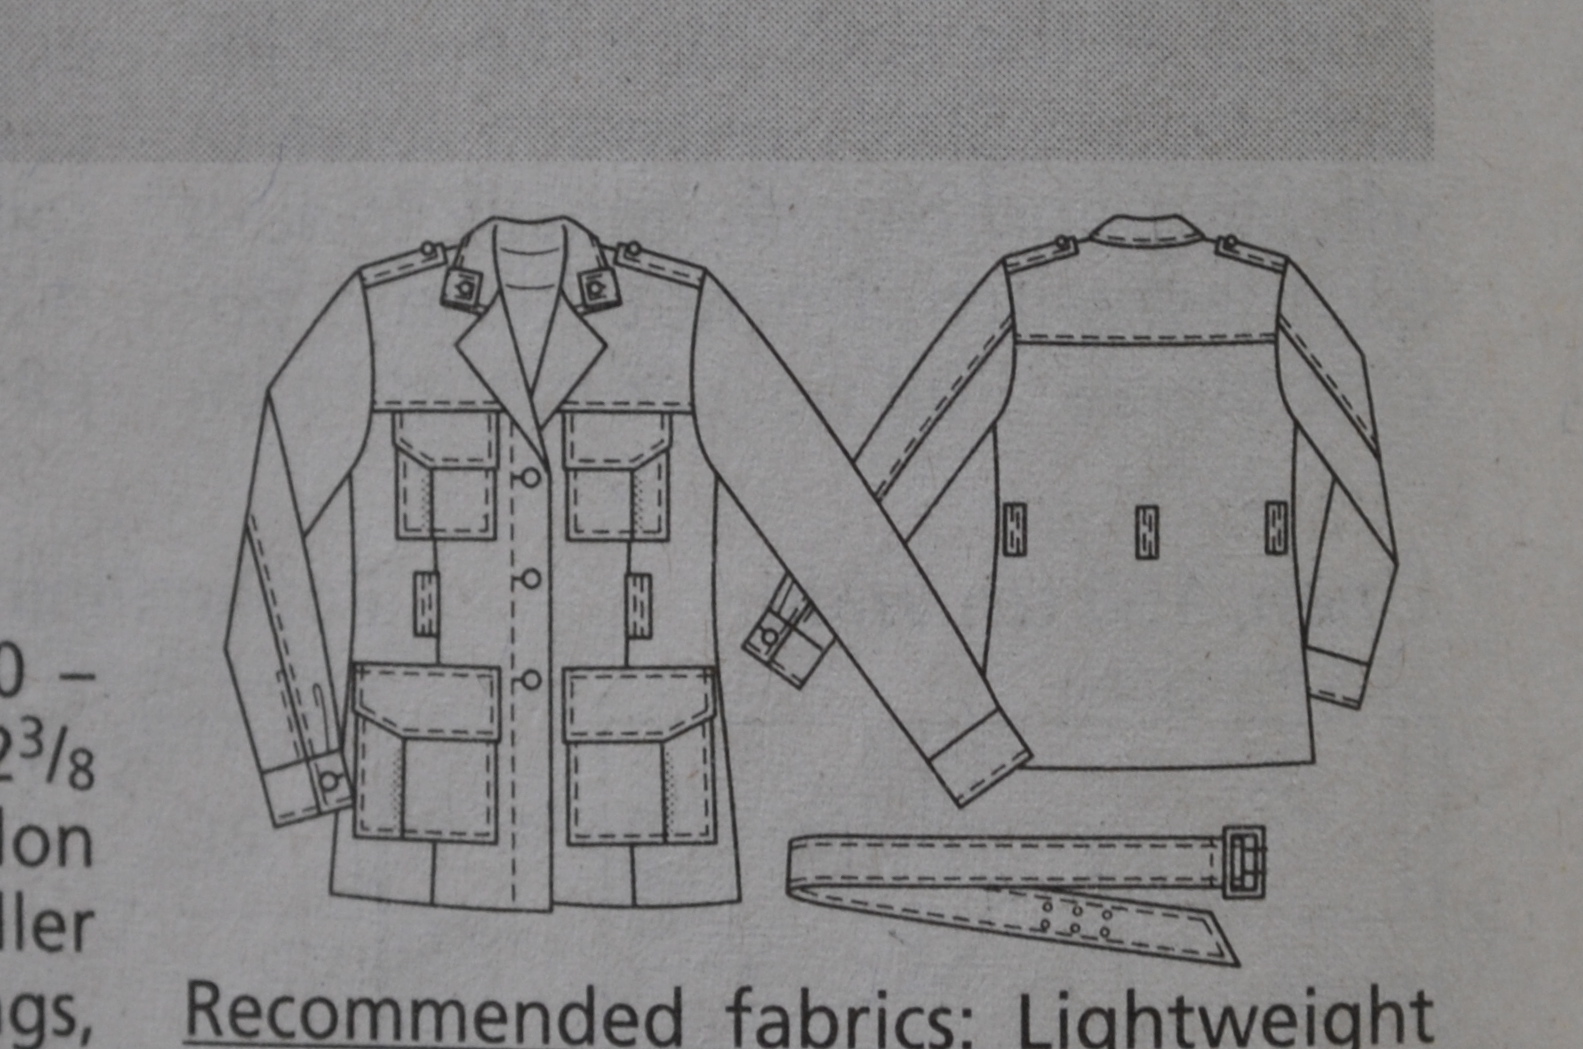
I used Burdastyle 05/2010, pattern 127 as a starting point, and as usual made a few modifications to get the army-style I envisioned, but as the bones of the jacket are essentially the same I think I can dare to write a review for this pattern??  I used ripstop cotton in khaki, a wonderful fabric both tough and hardwearing and so so so perfect for an army style jacket!  I have also made this and this from the exact same fabric, so I guess it is obvious I love it…!  I’d better not buy any more, hmmm?  The lining is a pale grey marle fleece, and the faux fur is… well, faux fur.  I think from memory, it was labelled silver fox.  All the materials are from Spotlight.
The modifications I made:
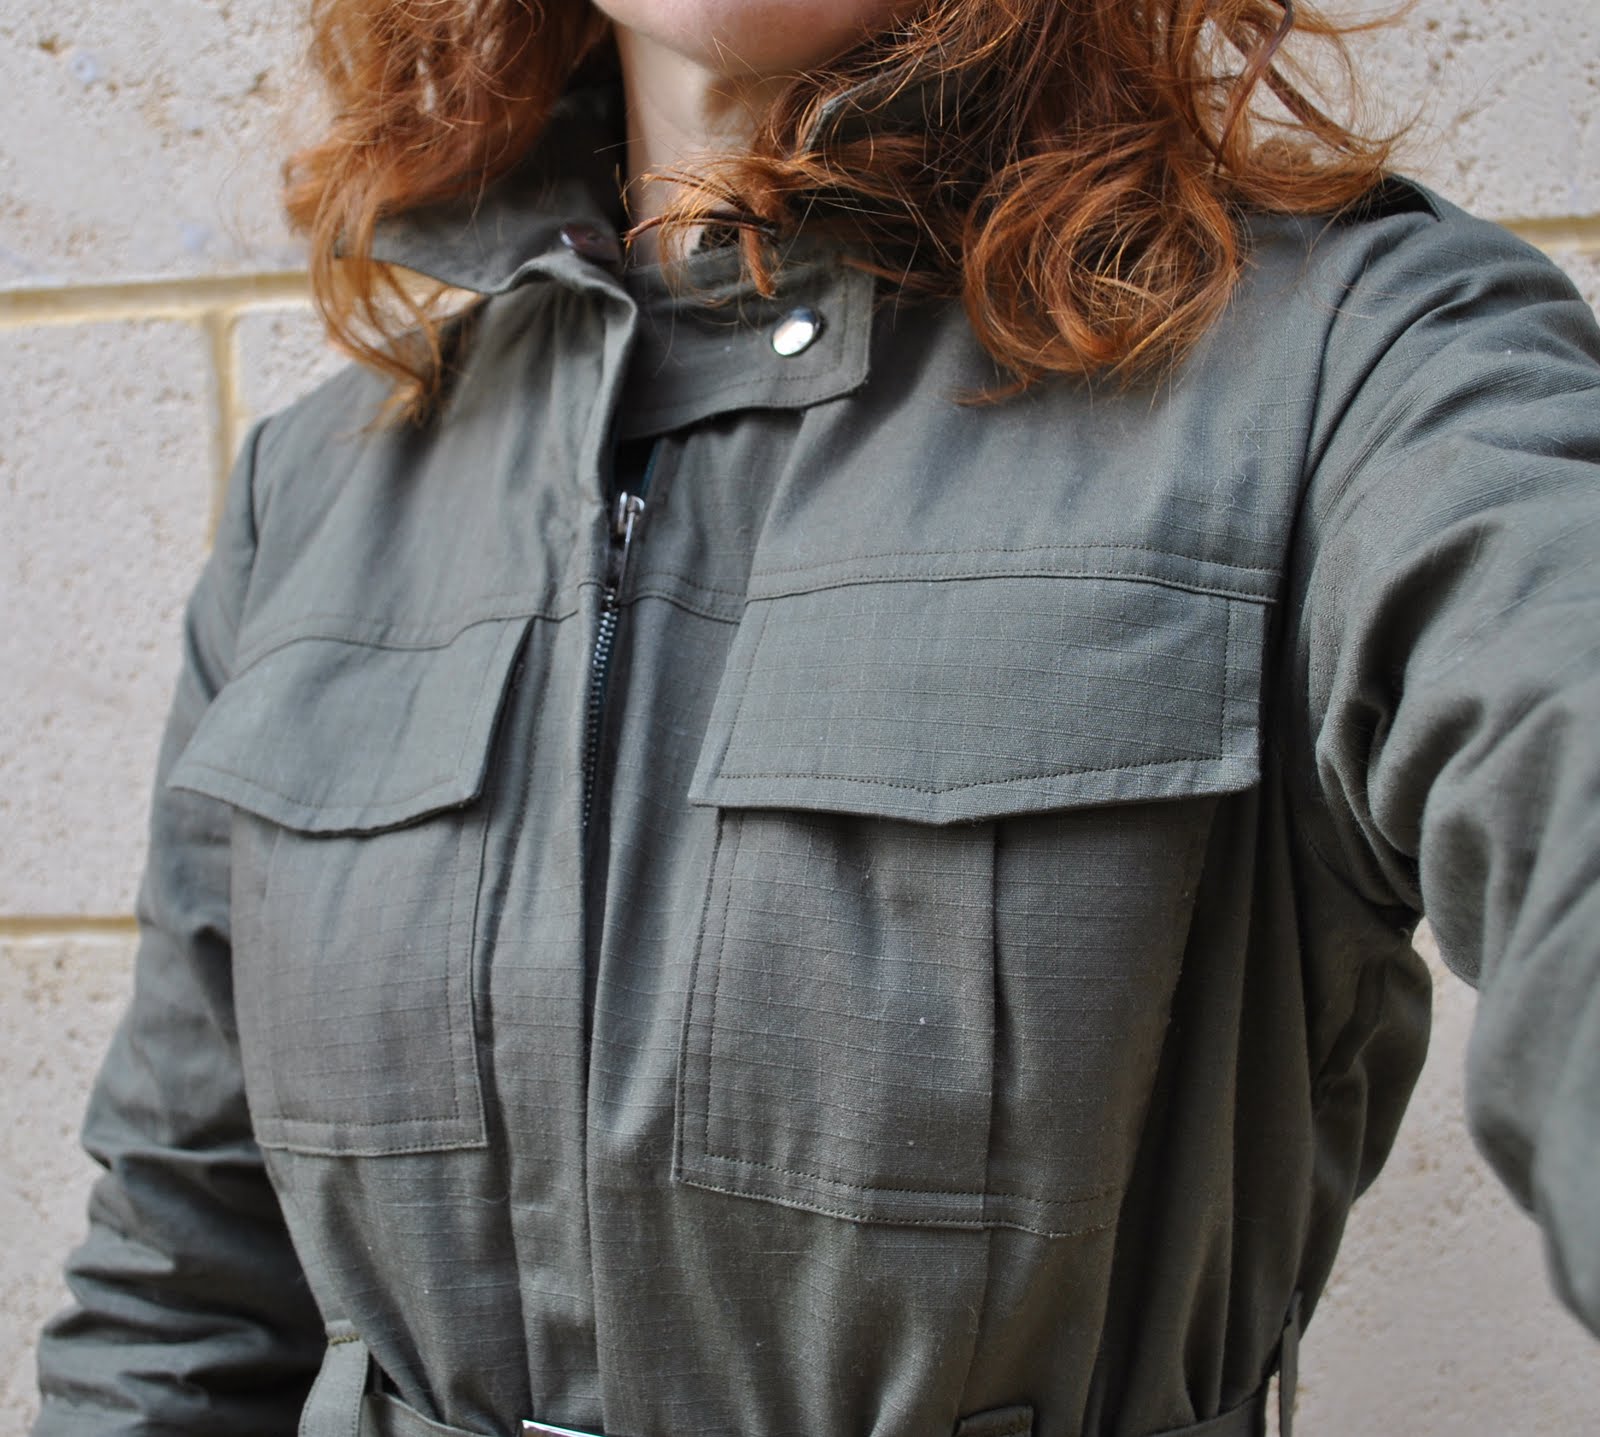
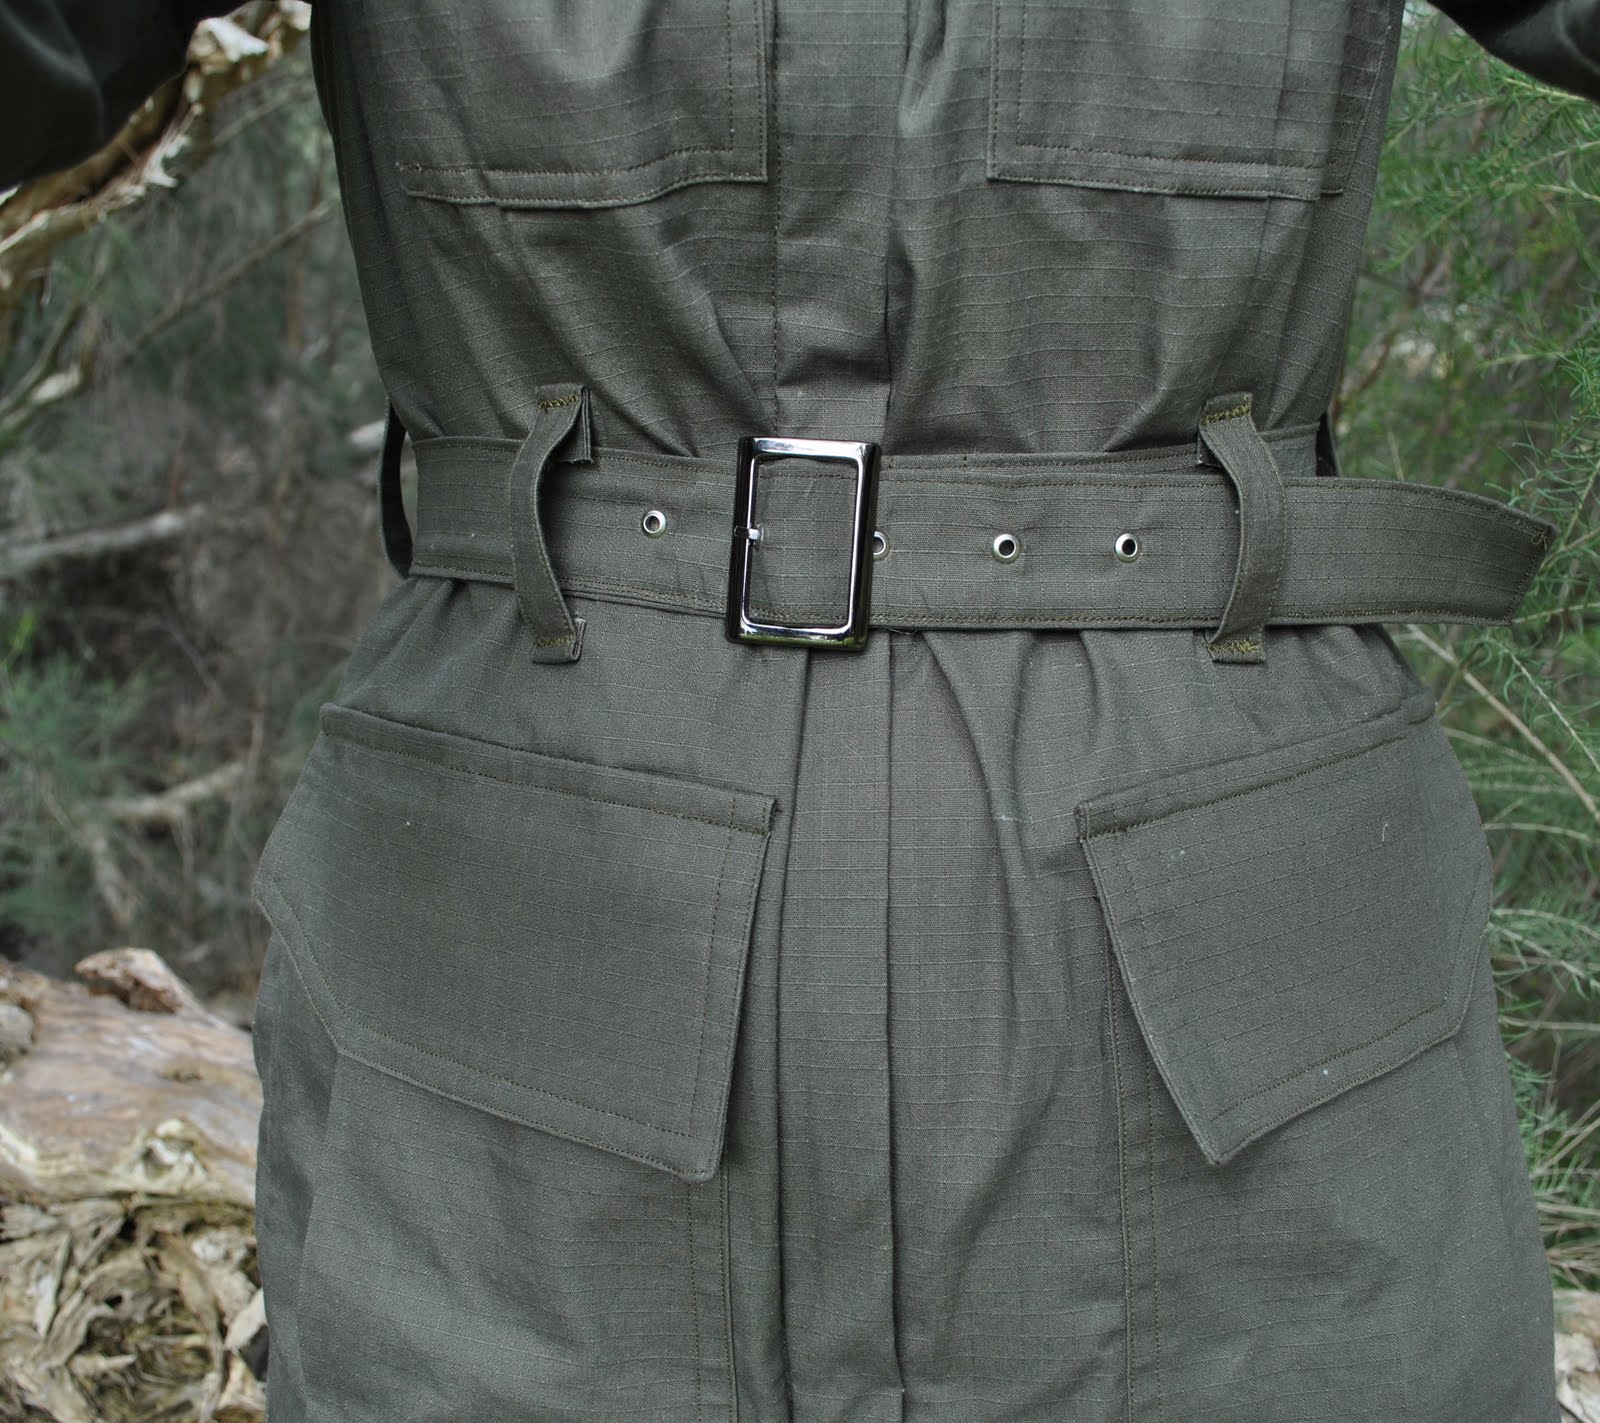
Lengthened the jacket by oooh, roughly 7cm? and also slightly enlarged (length-wise) and slightly lowered the lower front pockets.  I chose to enlarge these because I thought the original smaller ones would not have the right proportions on the lengthened jacket…
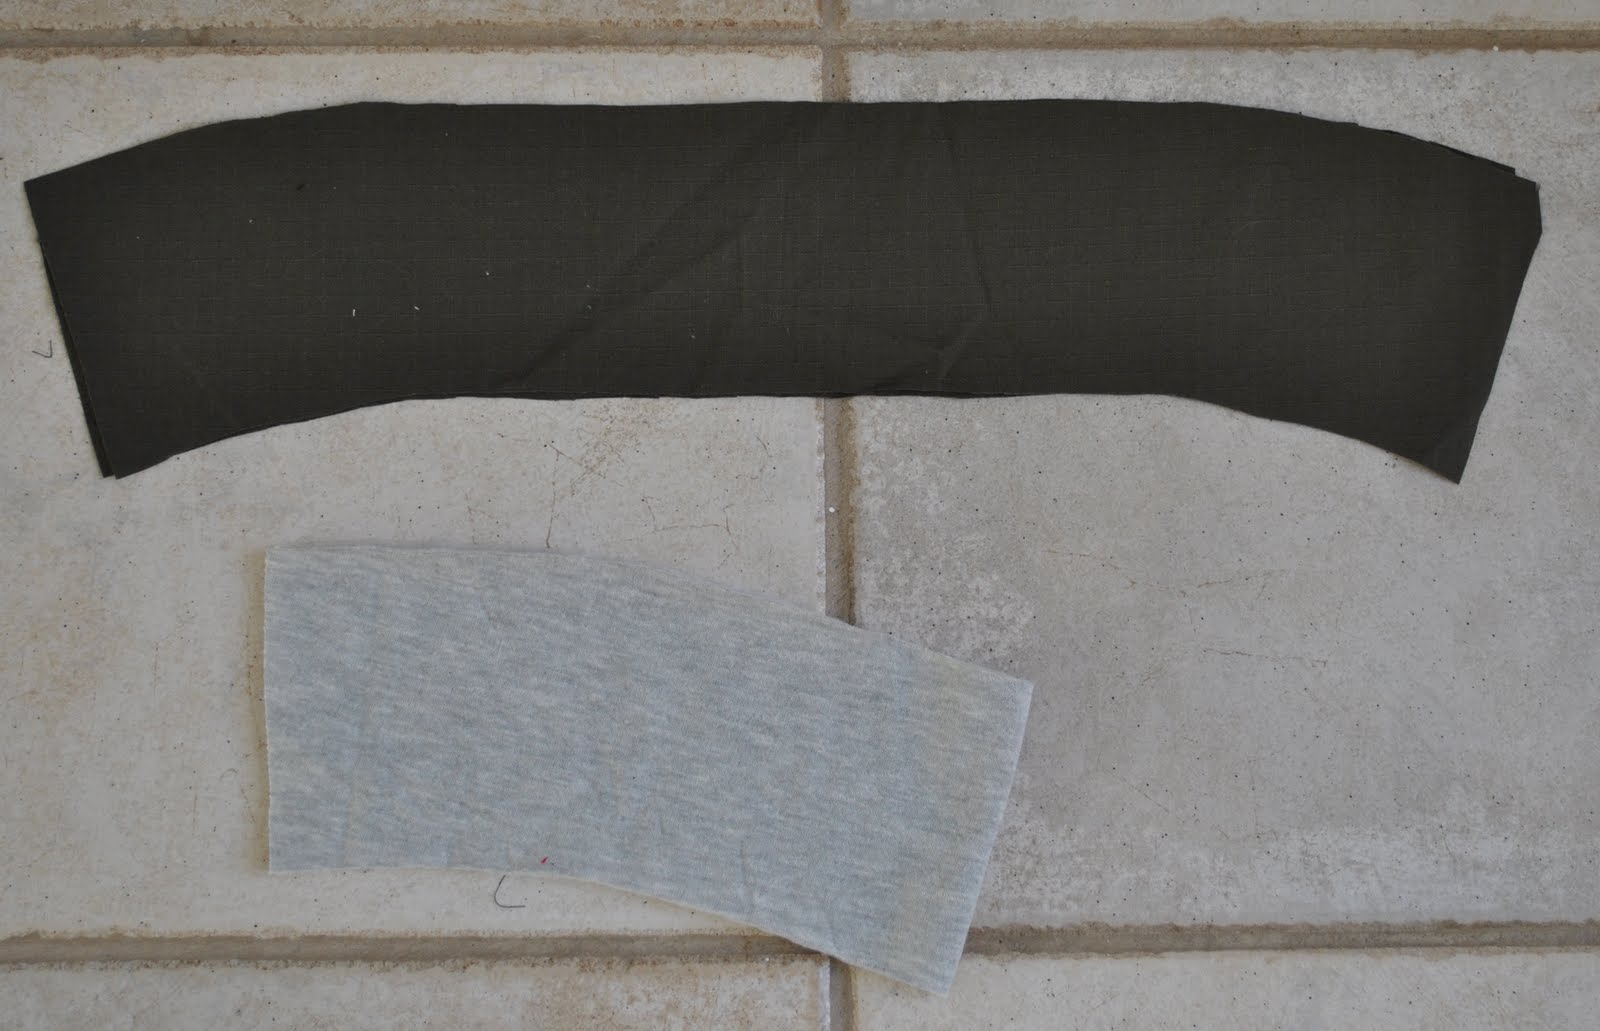
I drafted a completely different collar, a sorta slightly curved rectangle, because I wanted more of a wide standup collar than the little fold-down one in the pattern…

My sleeves are not vented or cuffed, and have a tab with snap closure, for more of a military-looking effect.
I did not incorporate buttons and buttonholes at the front as stipulated in the pattern, but instead inserted an open-ended zip, again inspired by the styling of army jackets I’ve seen around
My jacket is fully lined, with grey fleece (for warmth, and also to enhance that bulky look an army jacket is supposed to have)  as it turns out it is very warm!  I did not hem the lining, but enclosed the flat raw edges inside the sleeve and lower hems of the jacket.  The fleece was partly leftover from this project, I had to buy a bit more.

I added a tab at the lower edge, and another tab at the neck edge; both features I mentally noted from the army jackets I saw in Tokyo.  These both have snap closure.
The self-fabric belt is interfaced with the thickest, heaviest-duty iron-on interfacing I could find, and the buckle and eyelets were from Spotlight, like everything else.

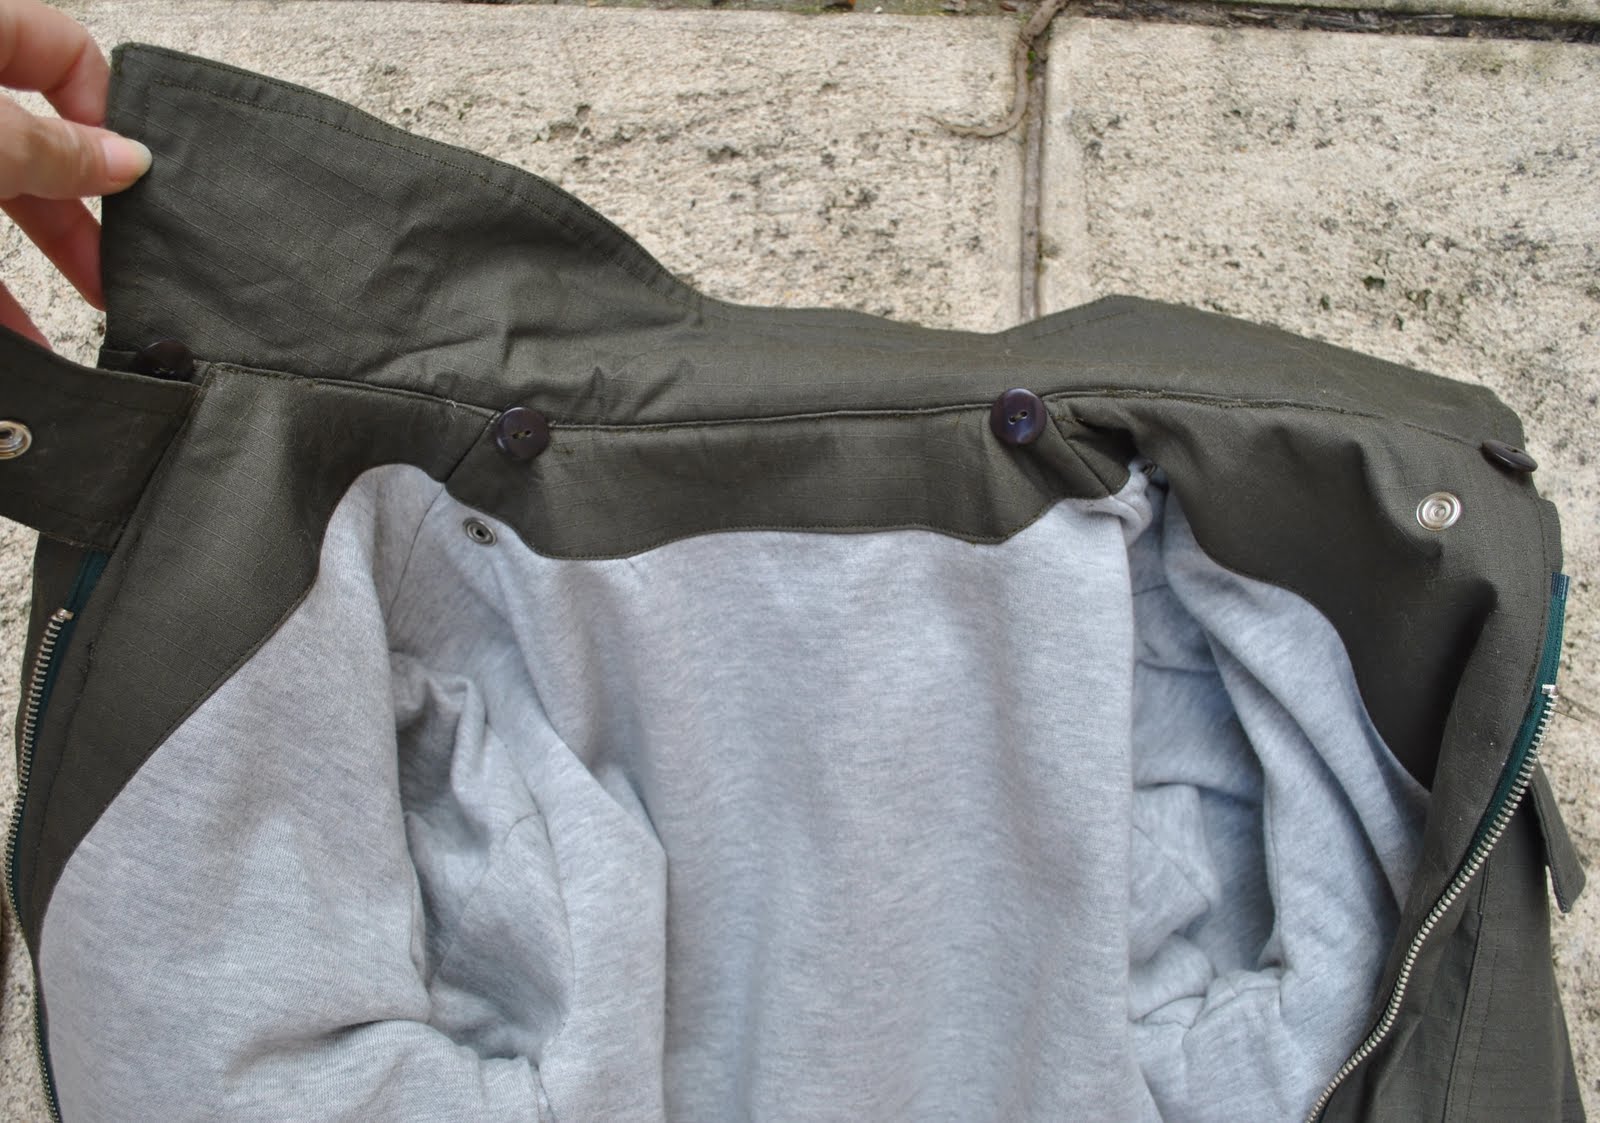
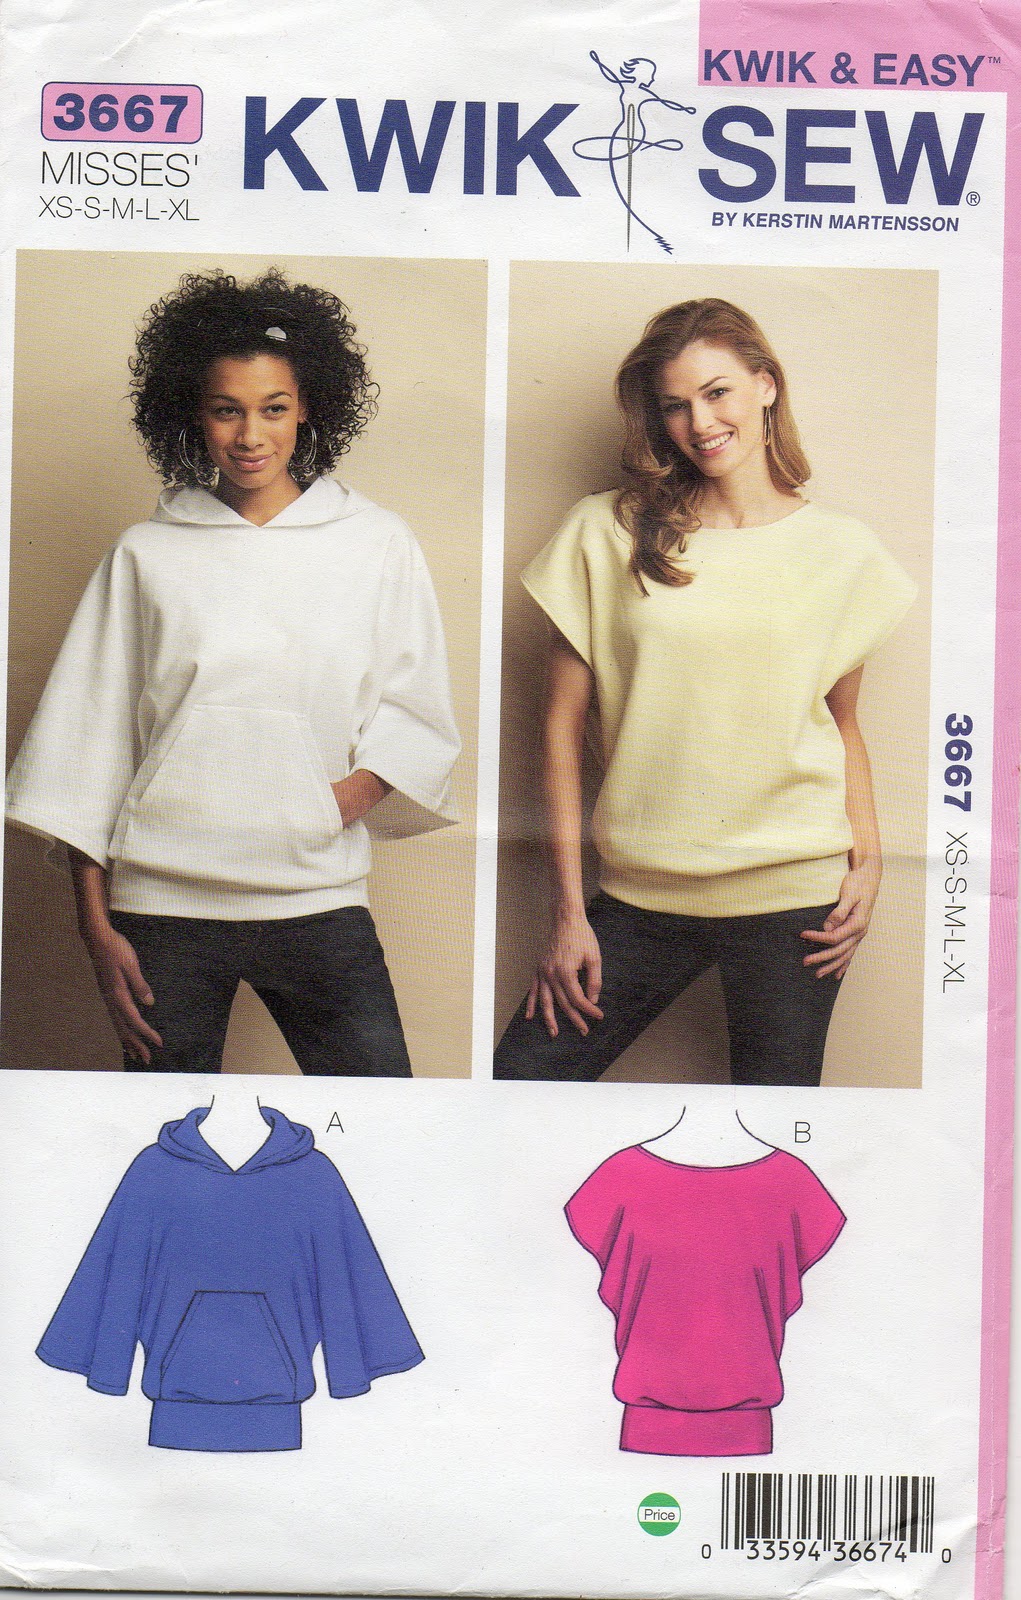
I made a detachable, (faux) fur-edged hood.  For this, I used a modified version of the hood from KwikSew 3667, with the lower edge cut flatter and a bit narrower to fit in with the neckline of my jacket.  It is also lined with fleece, and has buttonholes sewn in the bottom edge, which correspond with the buttons that I sewed inside the collar edge.  I realise the fur-edged hood is probably kinda silly in this climate, but I think it looks kinda cool, and it just may come in useful one day?

My review of this pattern, if you’re interested…

Pattern Description:
Unstructured long-sleeved jacket; with two piece sleeves with vents and buttoned cuffs, front buttons and buttonband, epaulettes, four flapped patch pockets at the front, belt loops at waist level for the self-fabric belt and a short, buttoned collar.
Pattern Sizing:
36-44.  I made a 38
Did it look like the photo/drawing on the pattern envelope once you had finished sewing it?
In essence, yes.  I made a few modifications.
Were the instructions easy to follow?
Yes.  I did some steps differently and in a different order, to accommodate my modifications…
What did you particularly like or dislike about the pattern?
I like everything about this pattern!  The basic bones of the pattern are great; being unstructured it is therefore very easy to fit, to put together and also easy to incorporate your own alterations.  The fun is in adding your own details.
Fabric Used:
Ripstop cotton, and fully lined with cotton/polyester fleece.  A strip of faux fur (silver fox) to edge the hood
Pattern alterations or any design changes you made:
Lengthened the jacket by about 7cm? and also slightly enlarged (length-wise) and slightly lowered the lower front pockets.  I chose to enlarge these not because I thought they were too small but because I thought the originals would not have the right proportions once I had lengthened the jacket…
Drafted a different, slightly curved rectangular collar, because I wanted a higher standup collar than the little fold down one in the pattern
Inserted tabs with snap closure in the top and bottom of the front edges
Instead of the front buttonband and buttons, extended the front opening edges slightly so I could insert an open-ended zip
Fully lined the jacket in a polyester cotton fleece
Added a hood, also fully lined with fleece, and edged in faux fur.  This has 4 buttonholes on the lower edge, and attaches to 4 buttons sewn around the neckline, inside of the collar
Left off the sleeve vent and cuffs, instead inserted tabs with snap closure inside the lower end of the sleeve seam, sewed the sleeves closed to the end and hemmed over the raw edges of the lining.  The lower hem of the jacket also encloses the raw edge of the jacket lining inside
Would you sew it again? Would you recommend it to others?
I would definitely recommend this to others!  I might sew it again, if I need another jacket like this.
Conclusion:
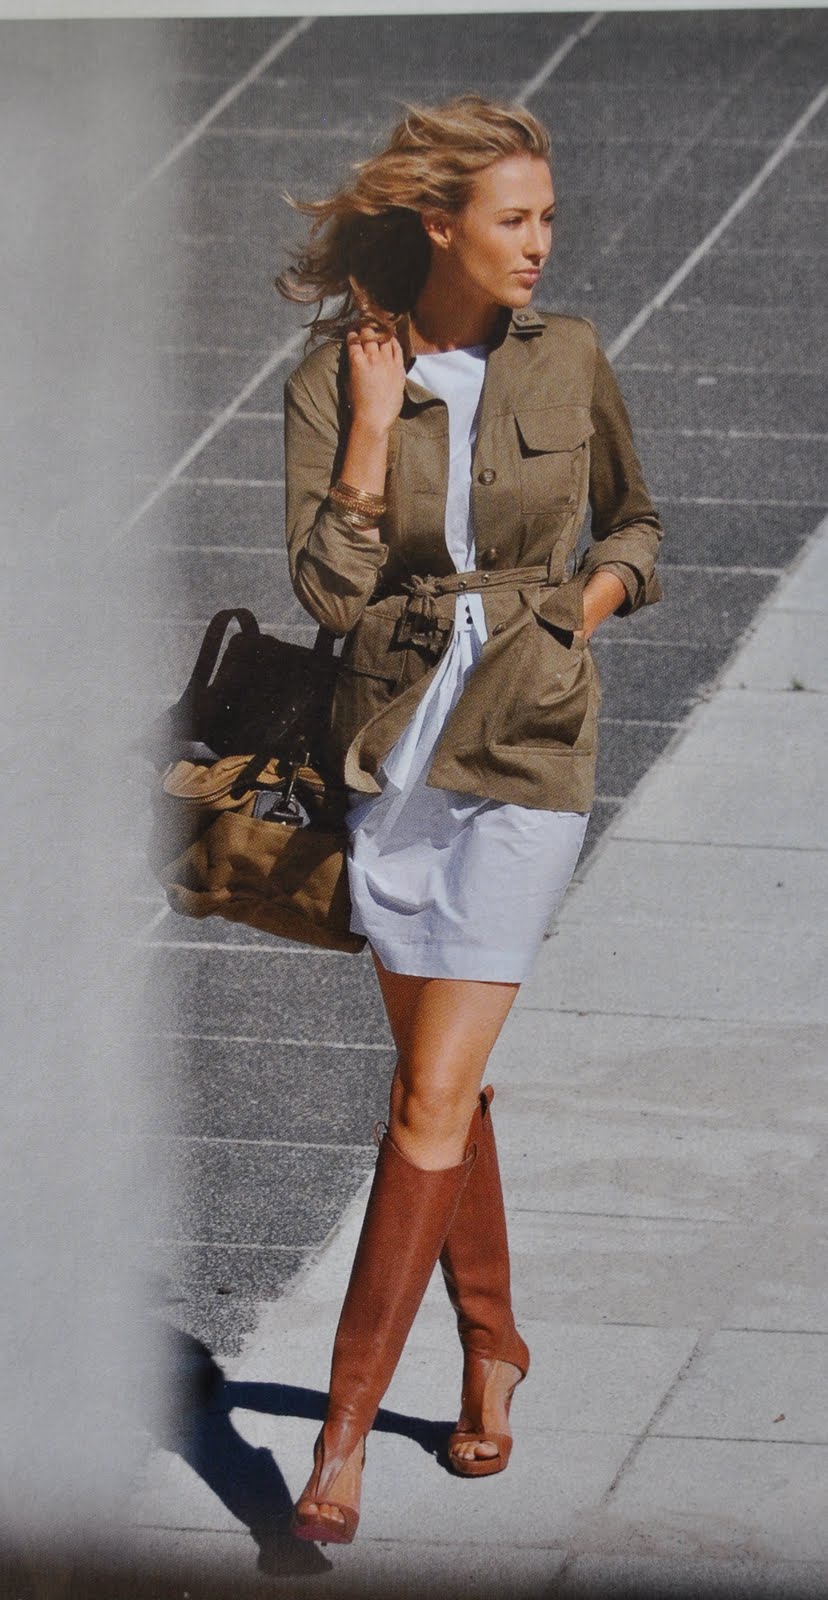
This pattern was one of the first to catch my eye in this magazine, and I always had a mind to make it.  After visiting Tokyo, and being totally inspired by the cool cool army/military style jackets I saw worn over there, I realised this was the perfect pattern I could adapt quite easily to get that style of jacket.  And I’m totally happy with how it turned out; even if the hood is not super appropriate for our climate I still love it, and am very pleased with the smart styling and warmth of the jacket even sans hood.  The waist belt is a nice finishing touch, although I am very glad I lengthened the jacket as I think the belt would have looked a bit funny on the shorter length.

pinterestmail

A burdensome expectation…

Since I stopped buying any new readymade clothes I am finding it easier and easier to dress completely self-stitched on a regular basis, as some of my older store-bought clothes are starting to bite the dust.  I’ve always found it difficult to throw out store-bought clothes.  Ironically, a garment I’ve made myself is far easier for me to toss out, because I can see all its faults and my inner perfectionist will judge it harshly for not exactly fitting my vision at the time of making it.  I look at some old thing I made years ago and see how tacky and “homemade” it looks (all seamstresses know the vast vast difference between the “handmade” and “homemade” look, I don’t need to go into that now, do I?) whereas a garment I’ve bought readymade I just accept happily for what it is.
Now on a similar train-of-thought, and I’d like to know if any other self-seamstresses ever get this too… since I’m known for making my own clothes I’m often queried by people as to whether or not I’ve made what I am wearing that day… and if on occasion I have to respond, “oh, not this, I actually bought this”; I’m not kidding, people will go, “oh”, all disappointed, and change the subject, moving right along, and seriously, I feel like I’m letting people down.  I feel like a failure, because I’m wearing something I didn’t make… oh dear, just not up to scratch today, hmmm? …  Is this ridiculous or what?!
Now tell me whether I’m alone here, or am I being too sensitive?  Does anyone else get this reaction from others when they wear store-bought clothes?

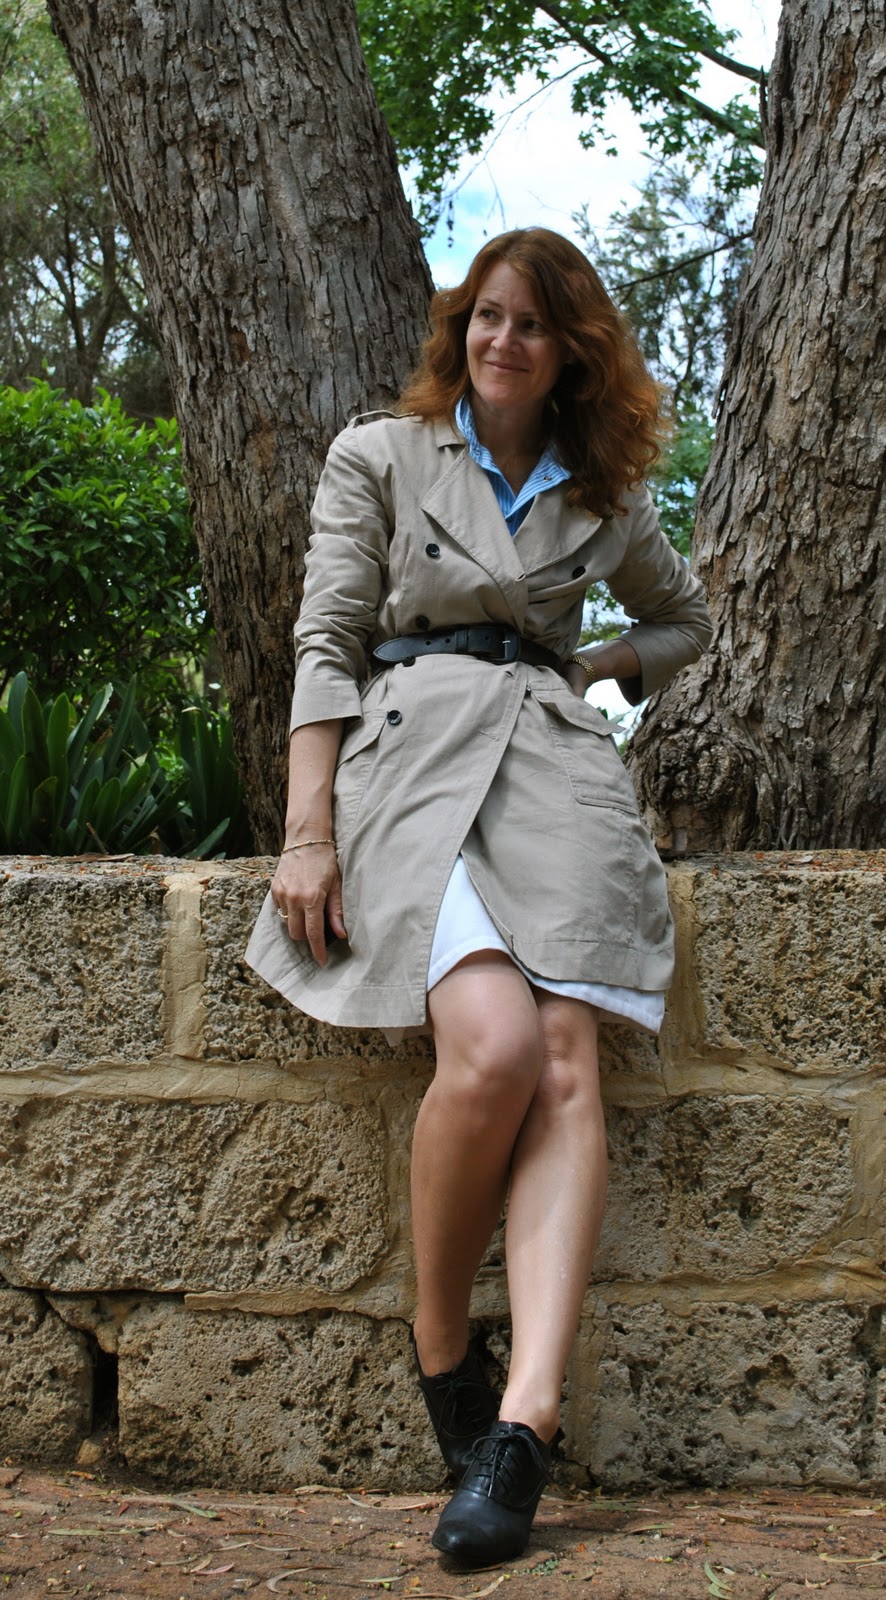
Details:
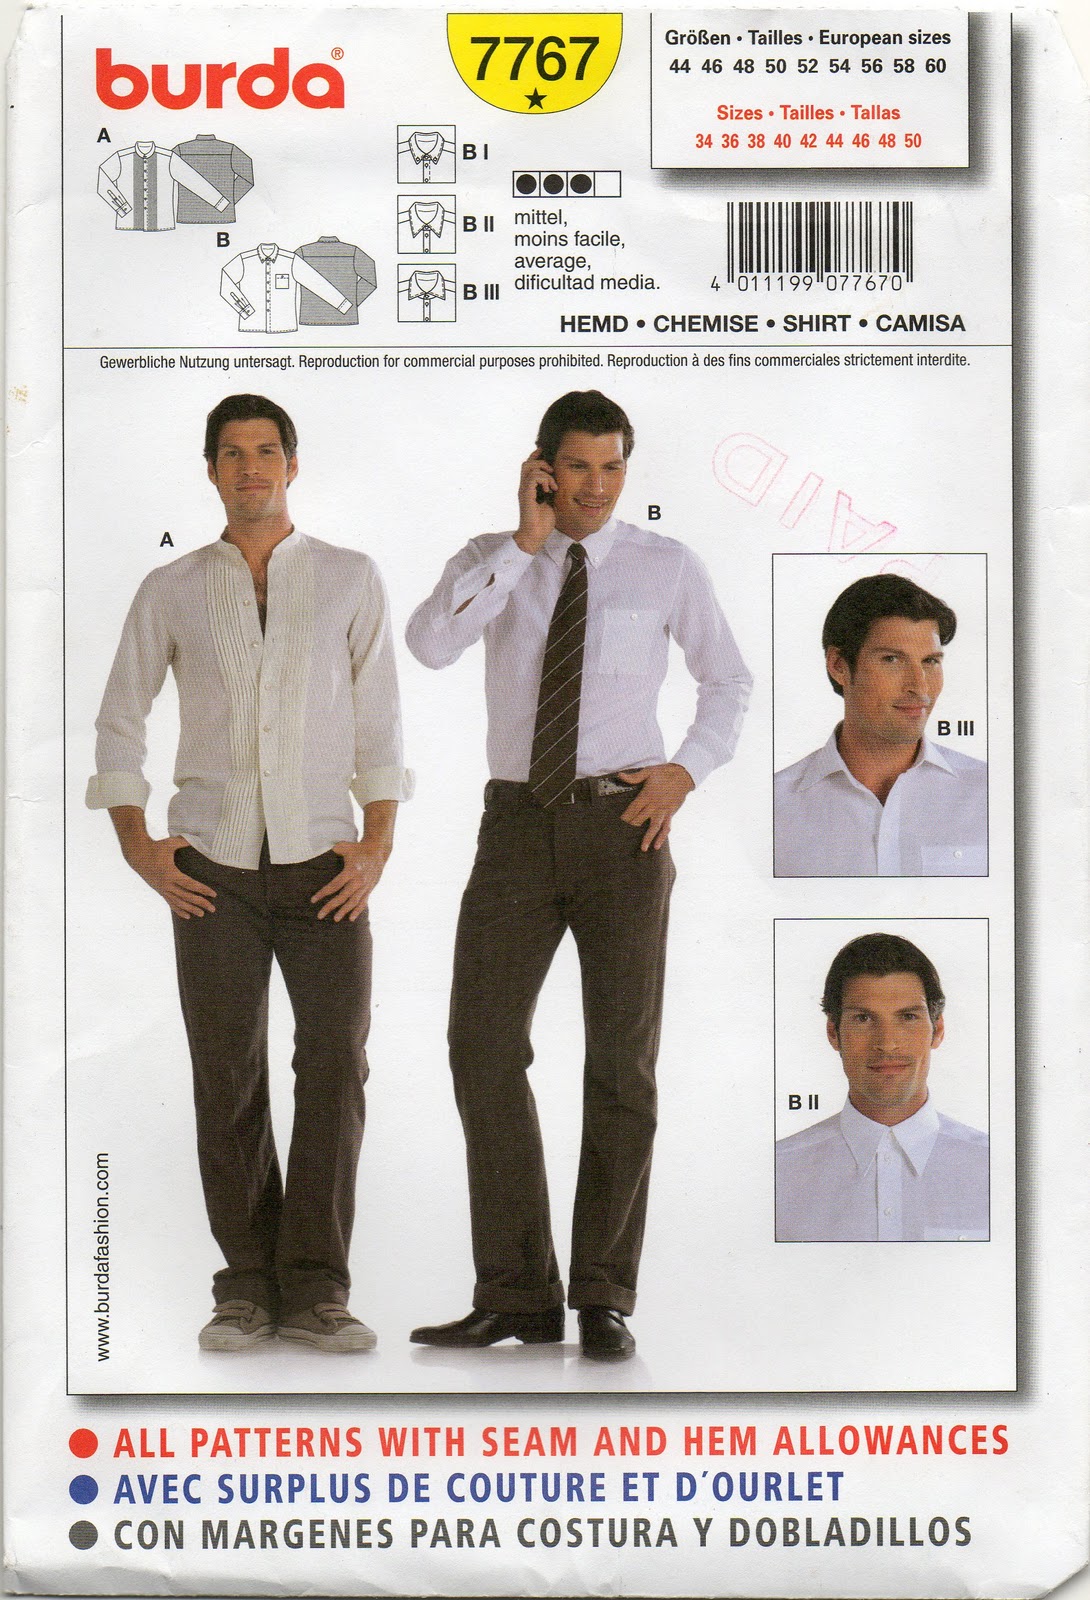
Shirt; Burda 7767, first seen here (borrowed from my son, he’s OK with it) turquoise striped cotton
Skirt; Vogue 7303, ivory wool blend
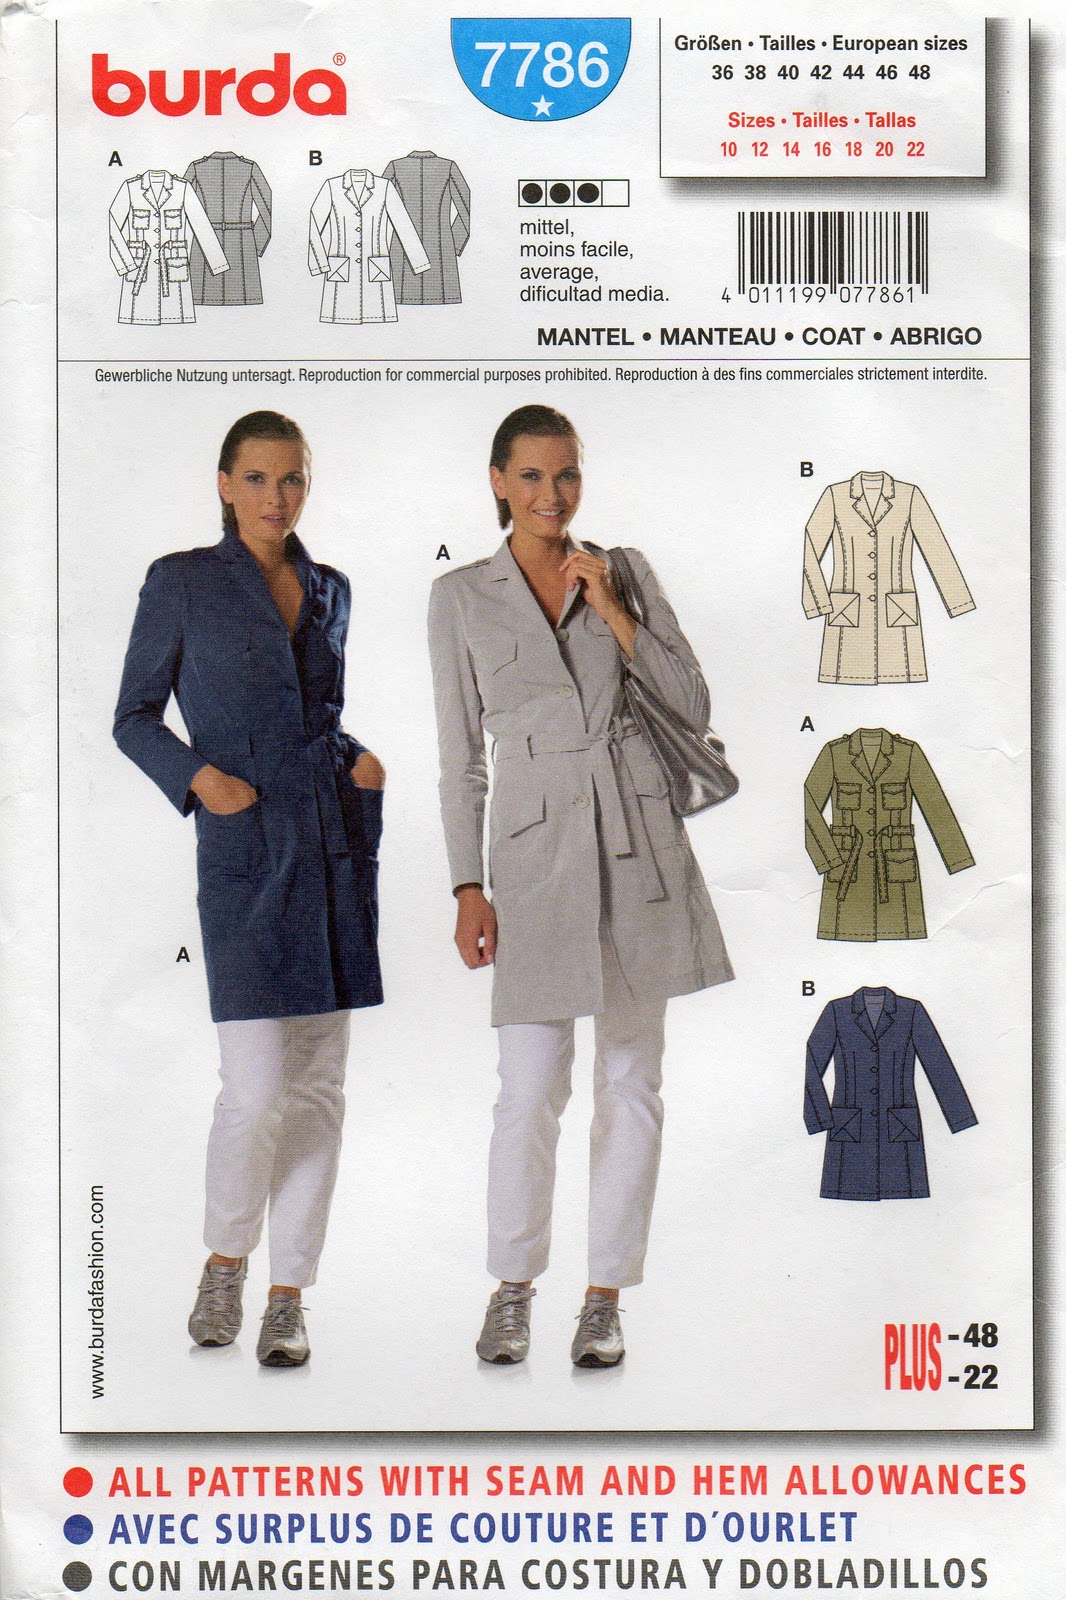
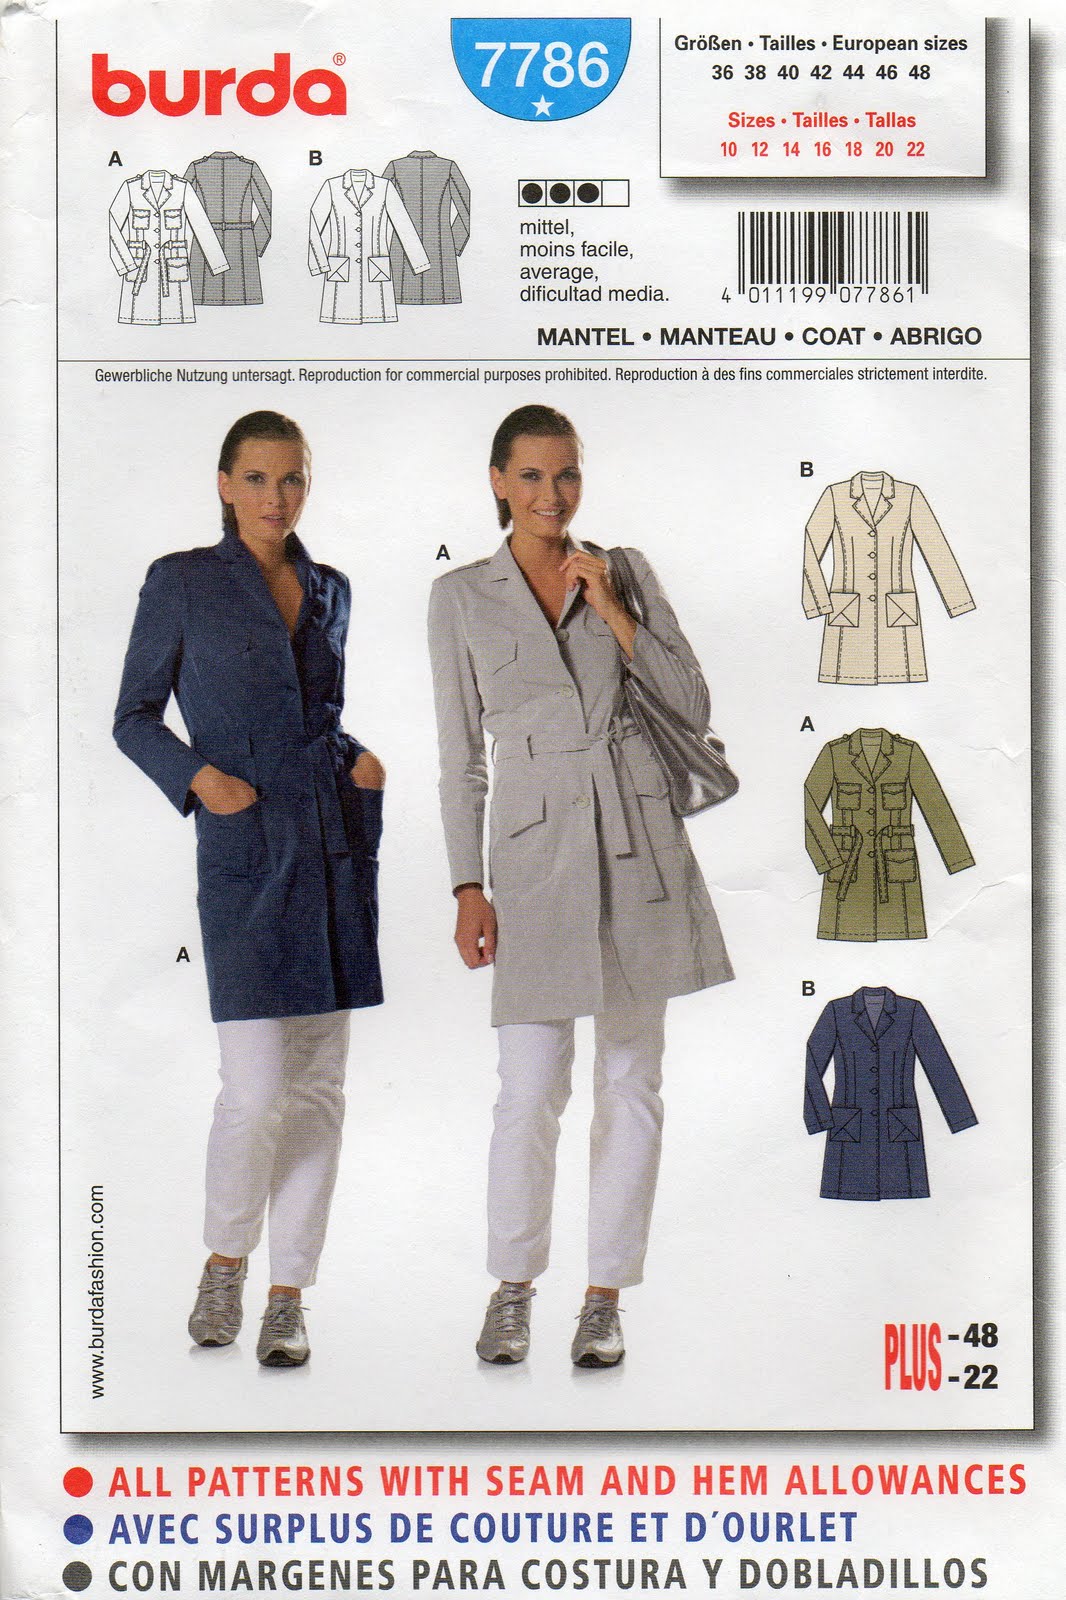
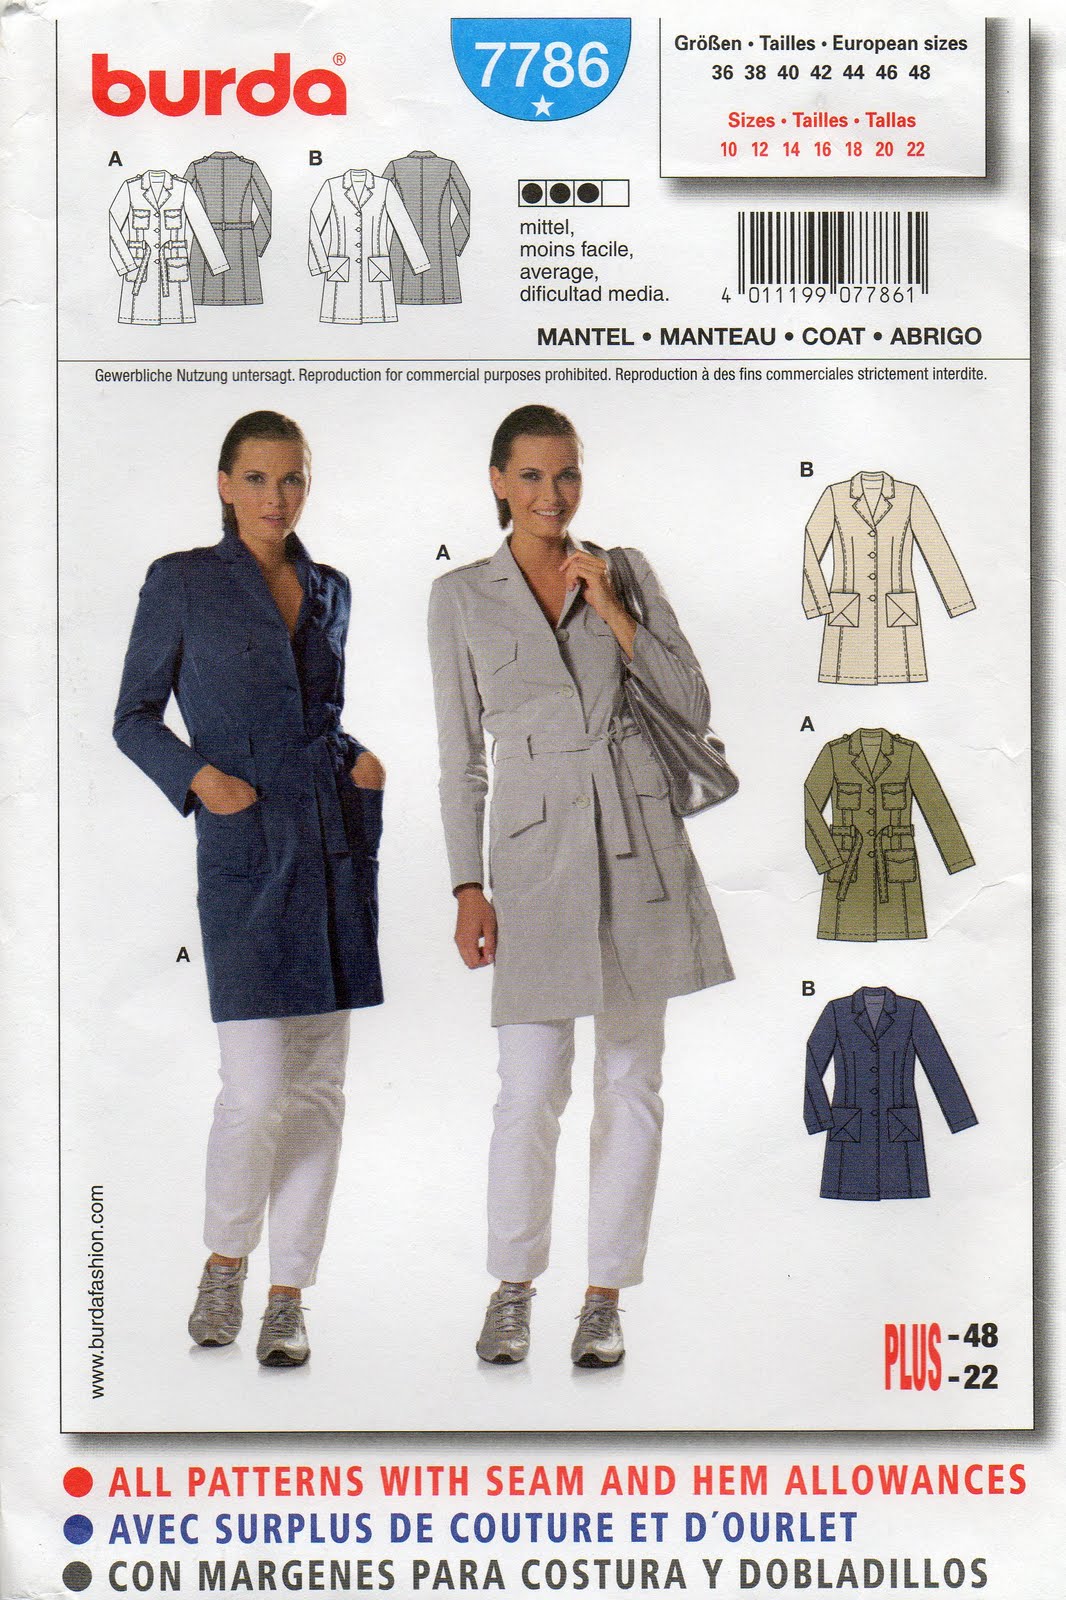
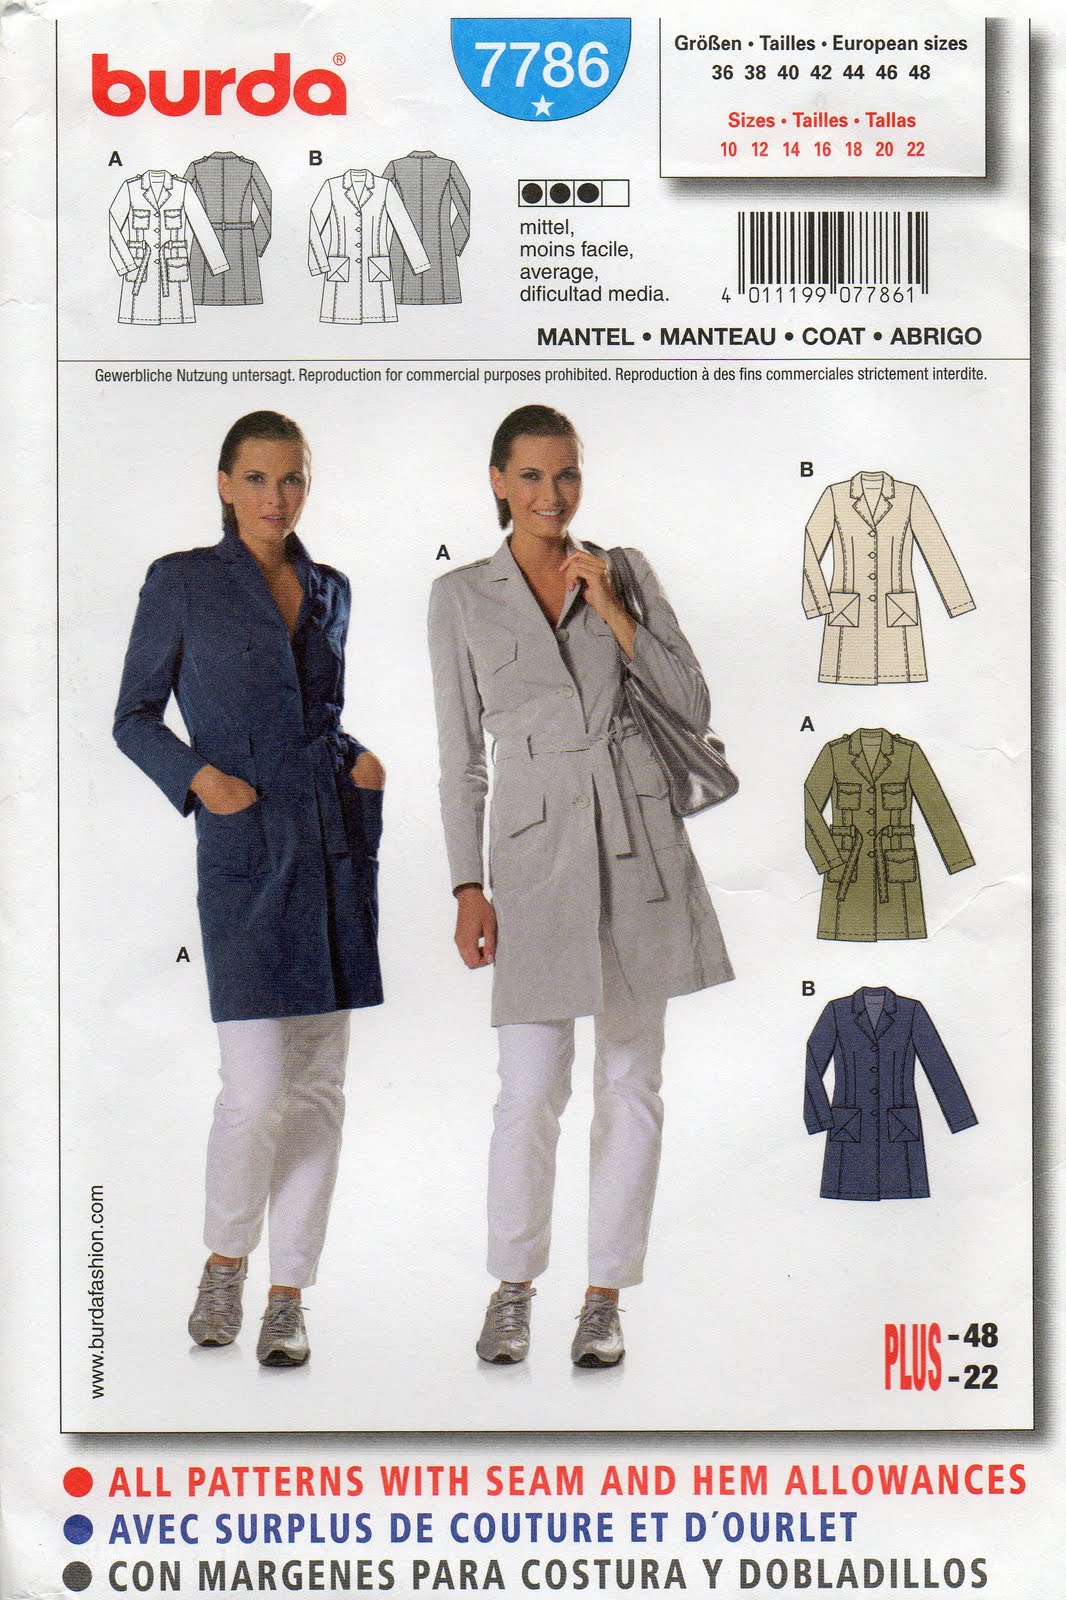
Coat; my own adaption of Burda 7786, beige cotton
Belt; had since teenager years
Booties; Django and Juliette, from Zomp shoes

pinterestmail

The colours of Spring

Today I attended a very glamourous luncheon and fashion parade with friends, and am now exhausted…   so please excuse any crazy bad spelling or random ungrammatical remarks in this post…
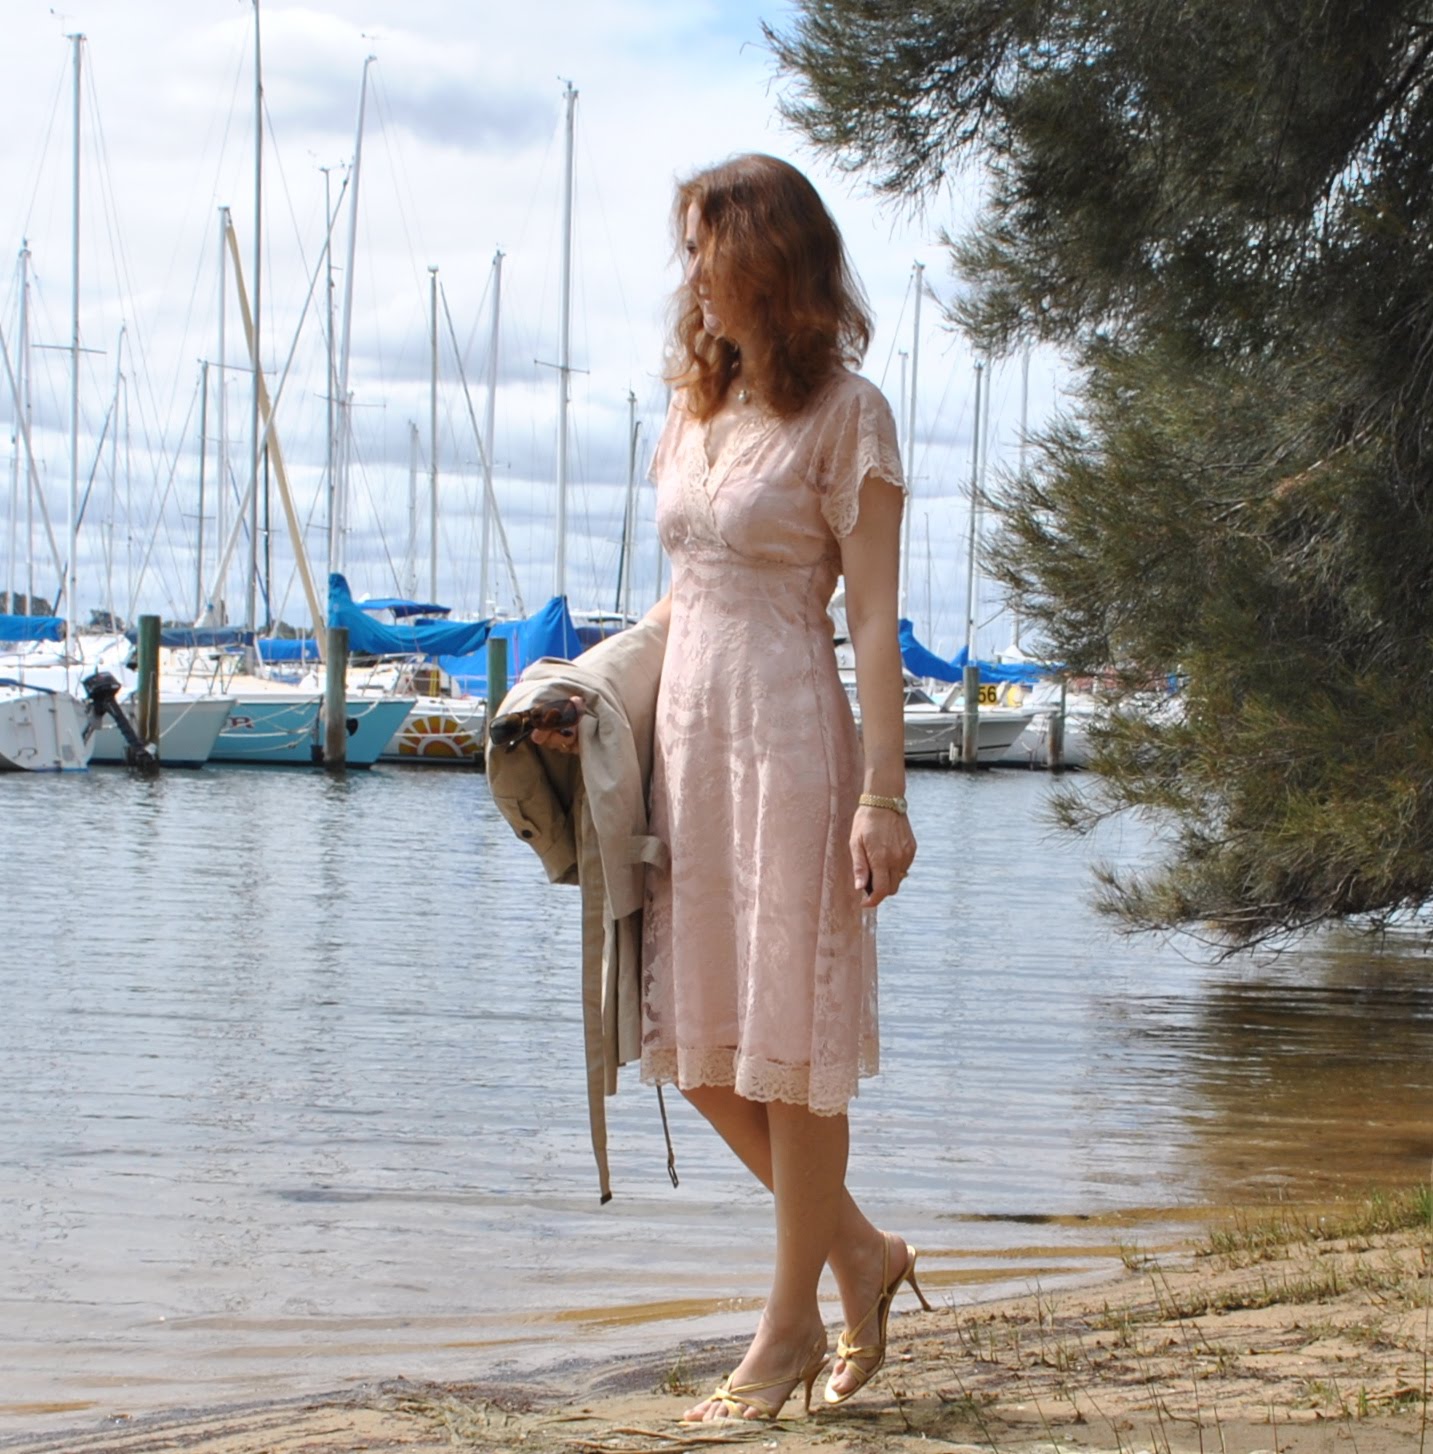
For this occasion I wore my new pink lace dress, and because it is still just barely into spring I took along my trench coat for the anticipated chill factor.  And ended up not wearing it… but here it is draped over my arm just in case (how many times do you take a coat “just in case” and it spends the entire function draped over the back of your chair?!)… 
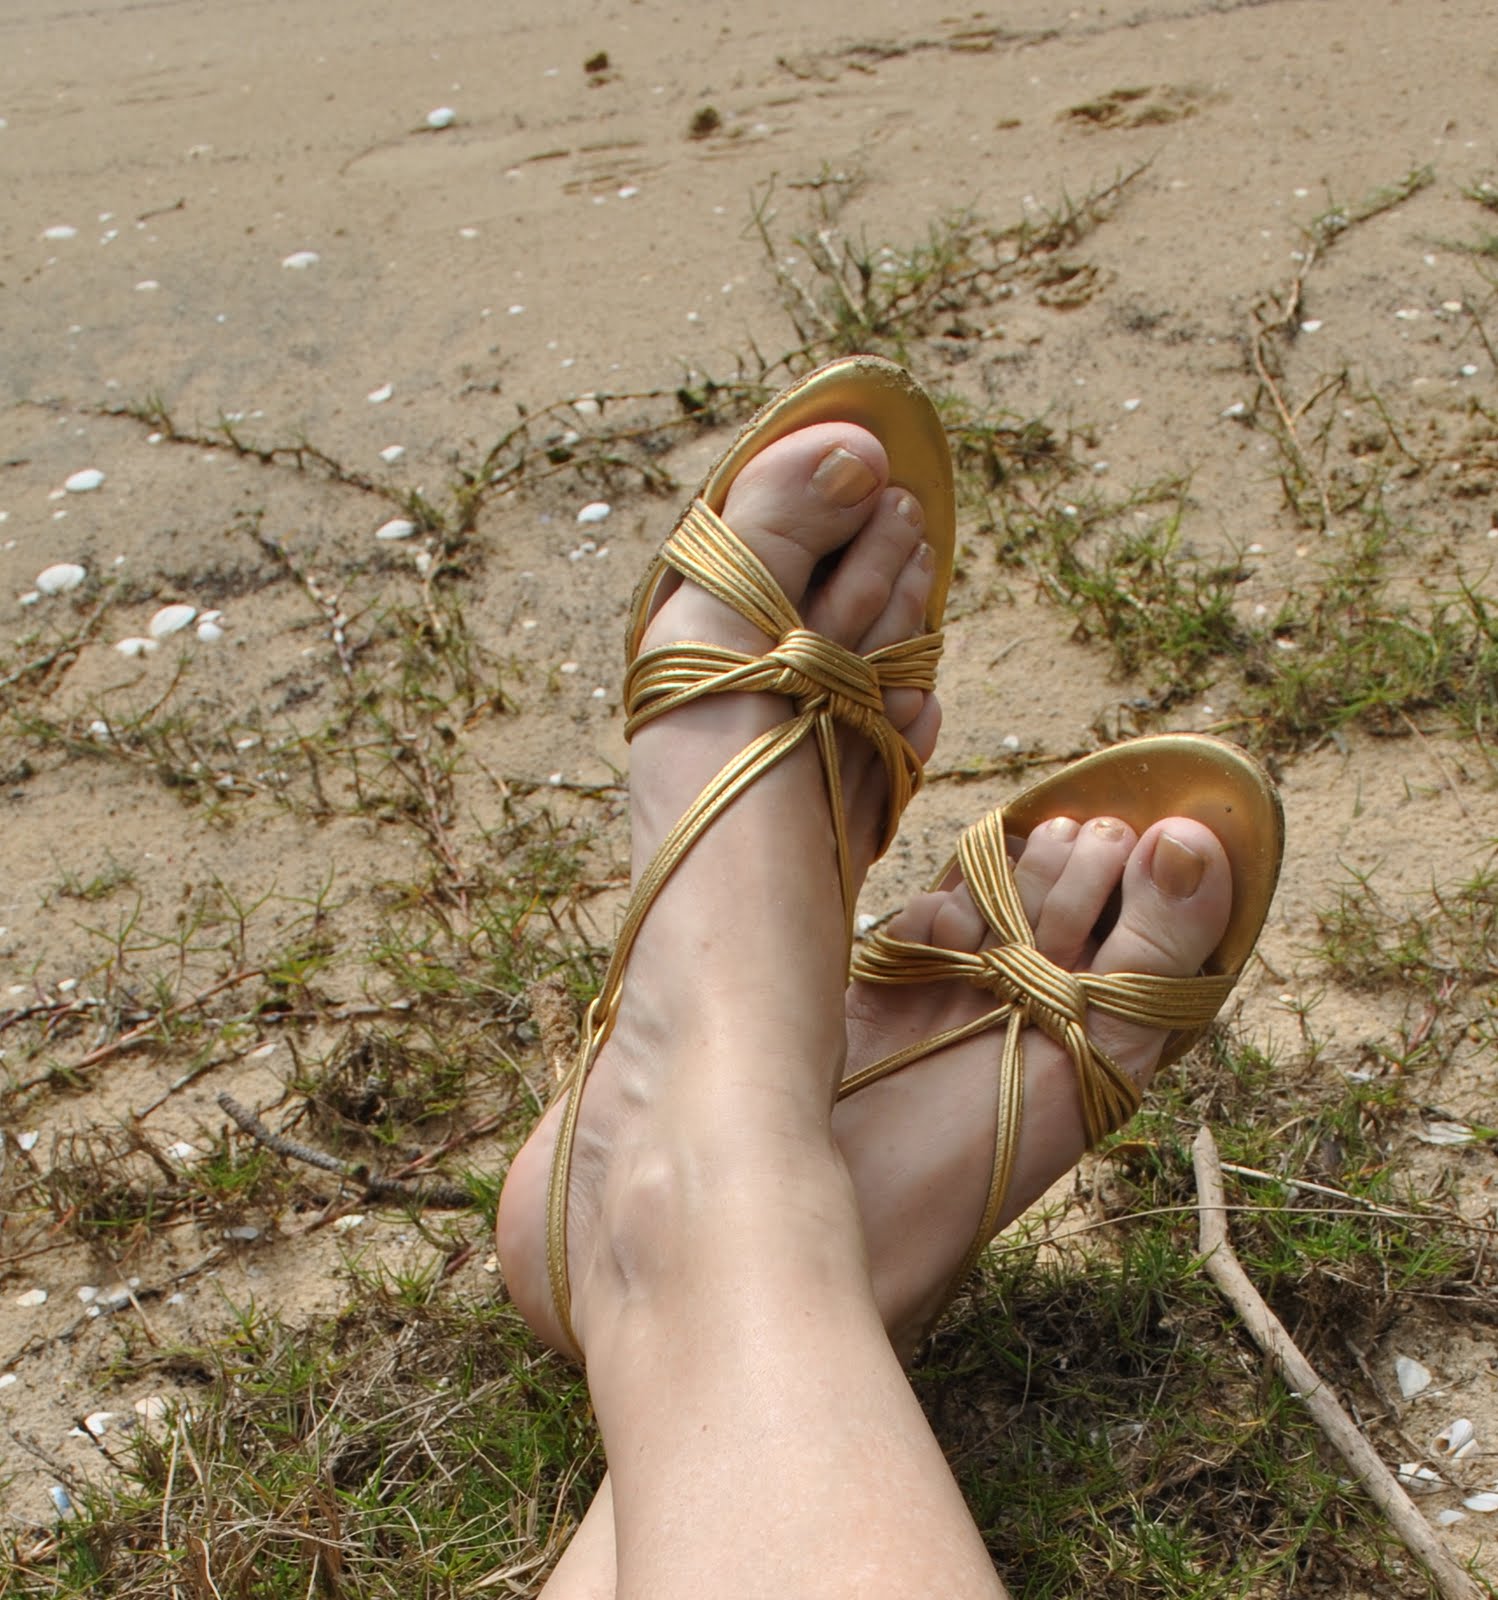
Also for this special occasion gave myself the first pedicure of the season, released my poor neglected feet from the comfort of their winter wooly socks and given them the once over, including a coat of varnish in a gorgeous golden springtime glow.
He he, this morning I walked the dog in this dress and with thongs (flipflops) on my feet and got a few sideways glances; when I mentioned it to a friend later she suggested that people might have thought I was wearing my nightie?!  What do you think?  Does this look like a nightie?

Details:
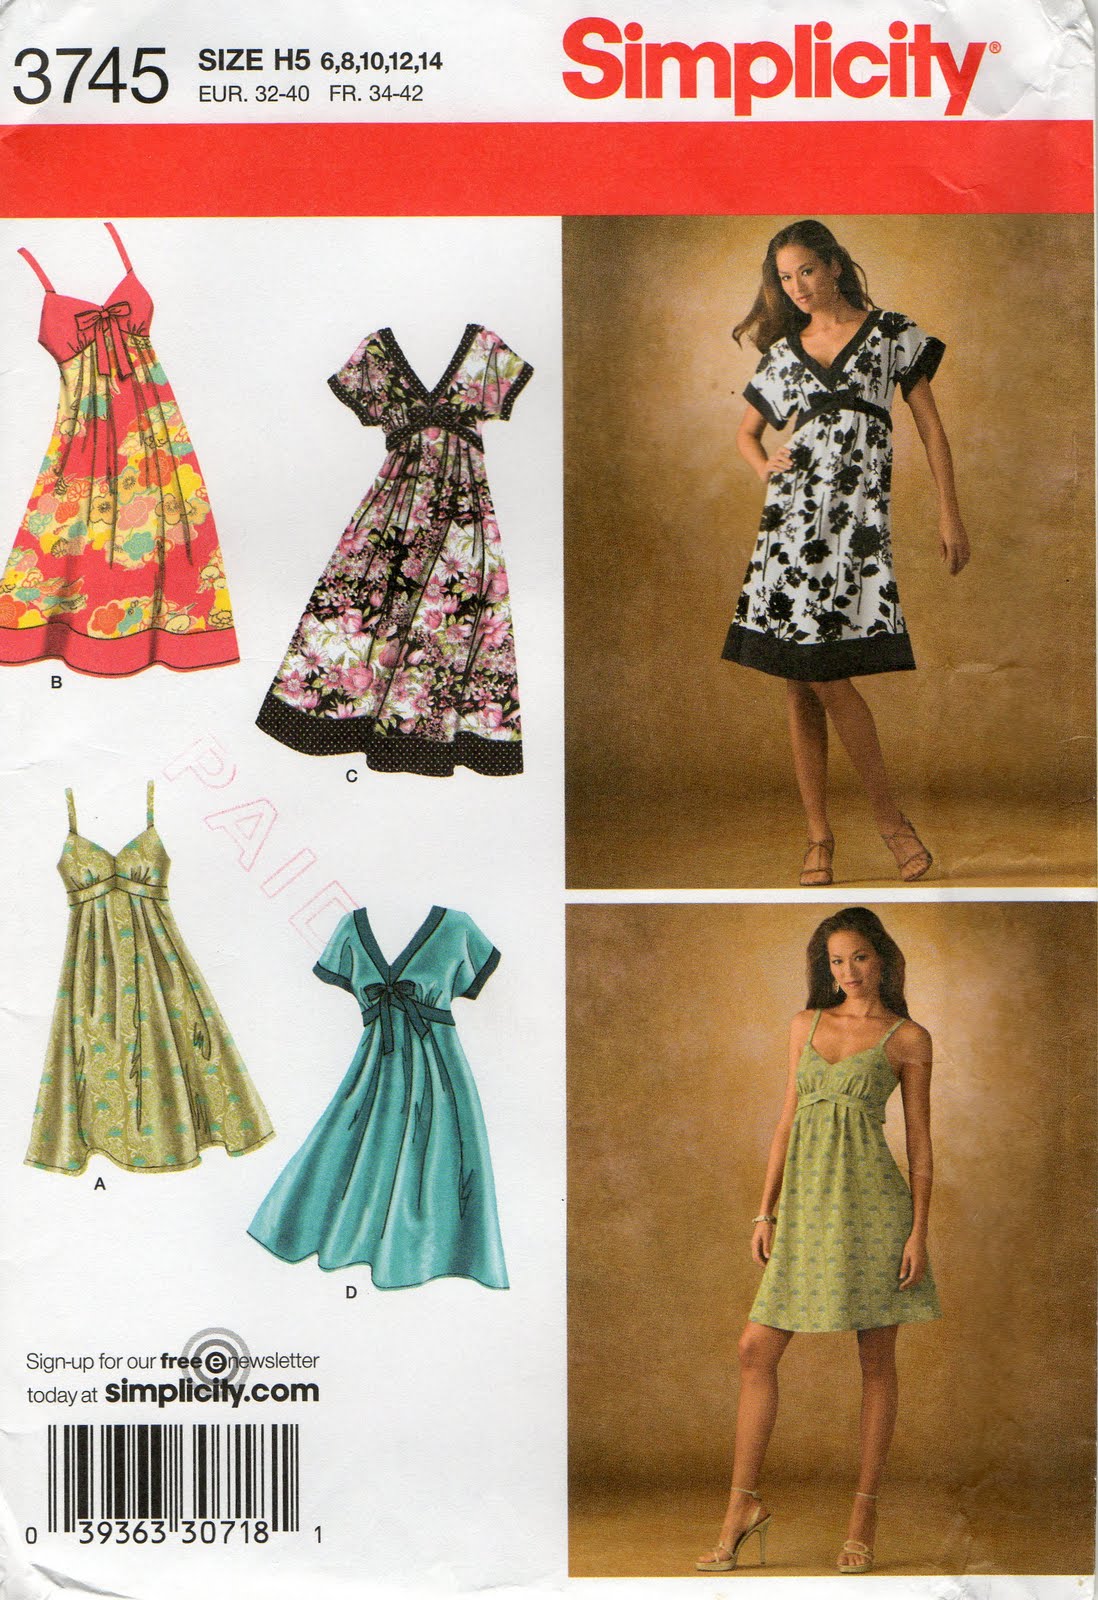
Dress; modified Simplicity 3745, pale pink and caramel lace, see here
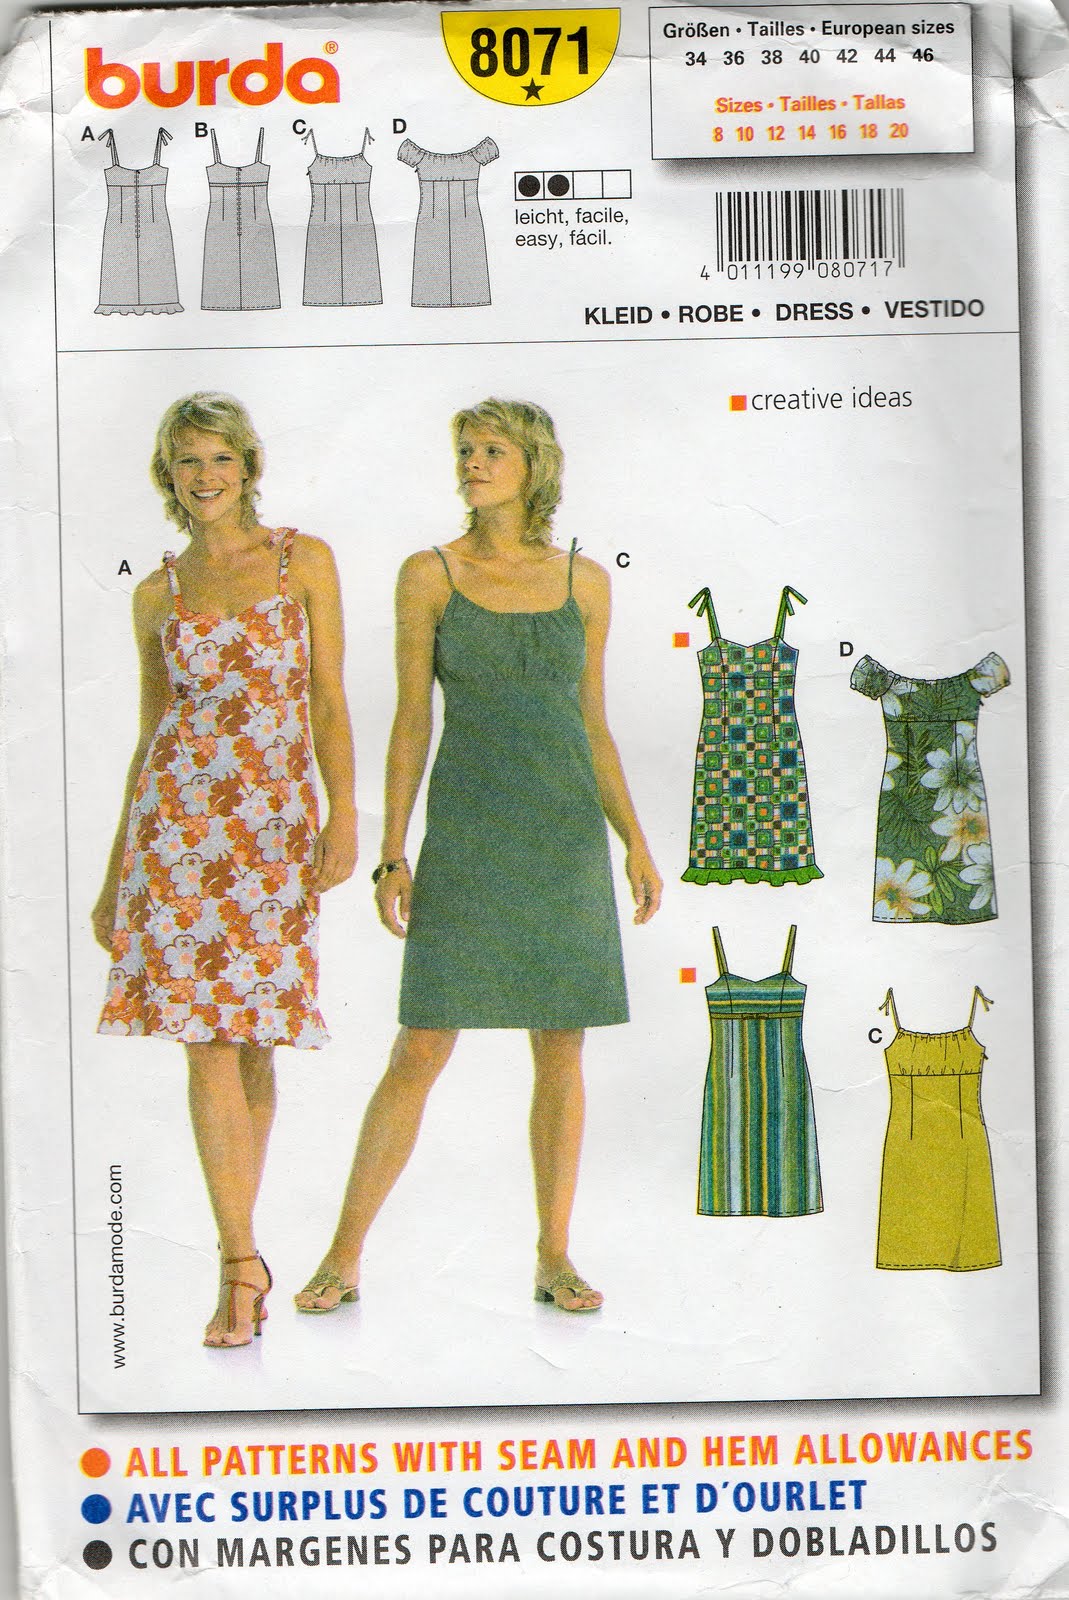
Petticoat; Burda 8071, pale pink satin
Trench coat; modified Burda 7786, beige cotton, see here
Sandals; Sachi, some little boutique in Melbourne
Necklace; gift from my husband
Nail varnish; Max Factor, Gold Peach

pinterestmail

Tennis, anyone?

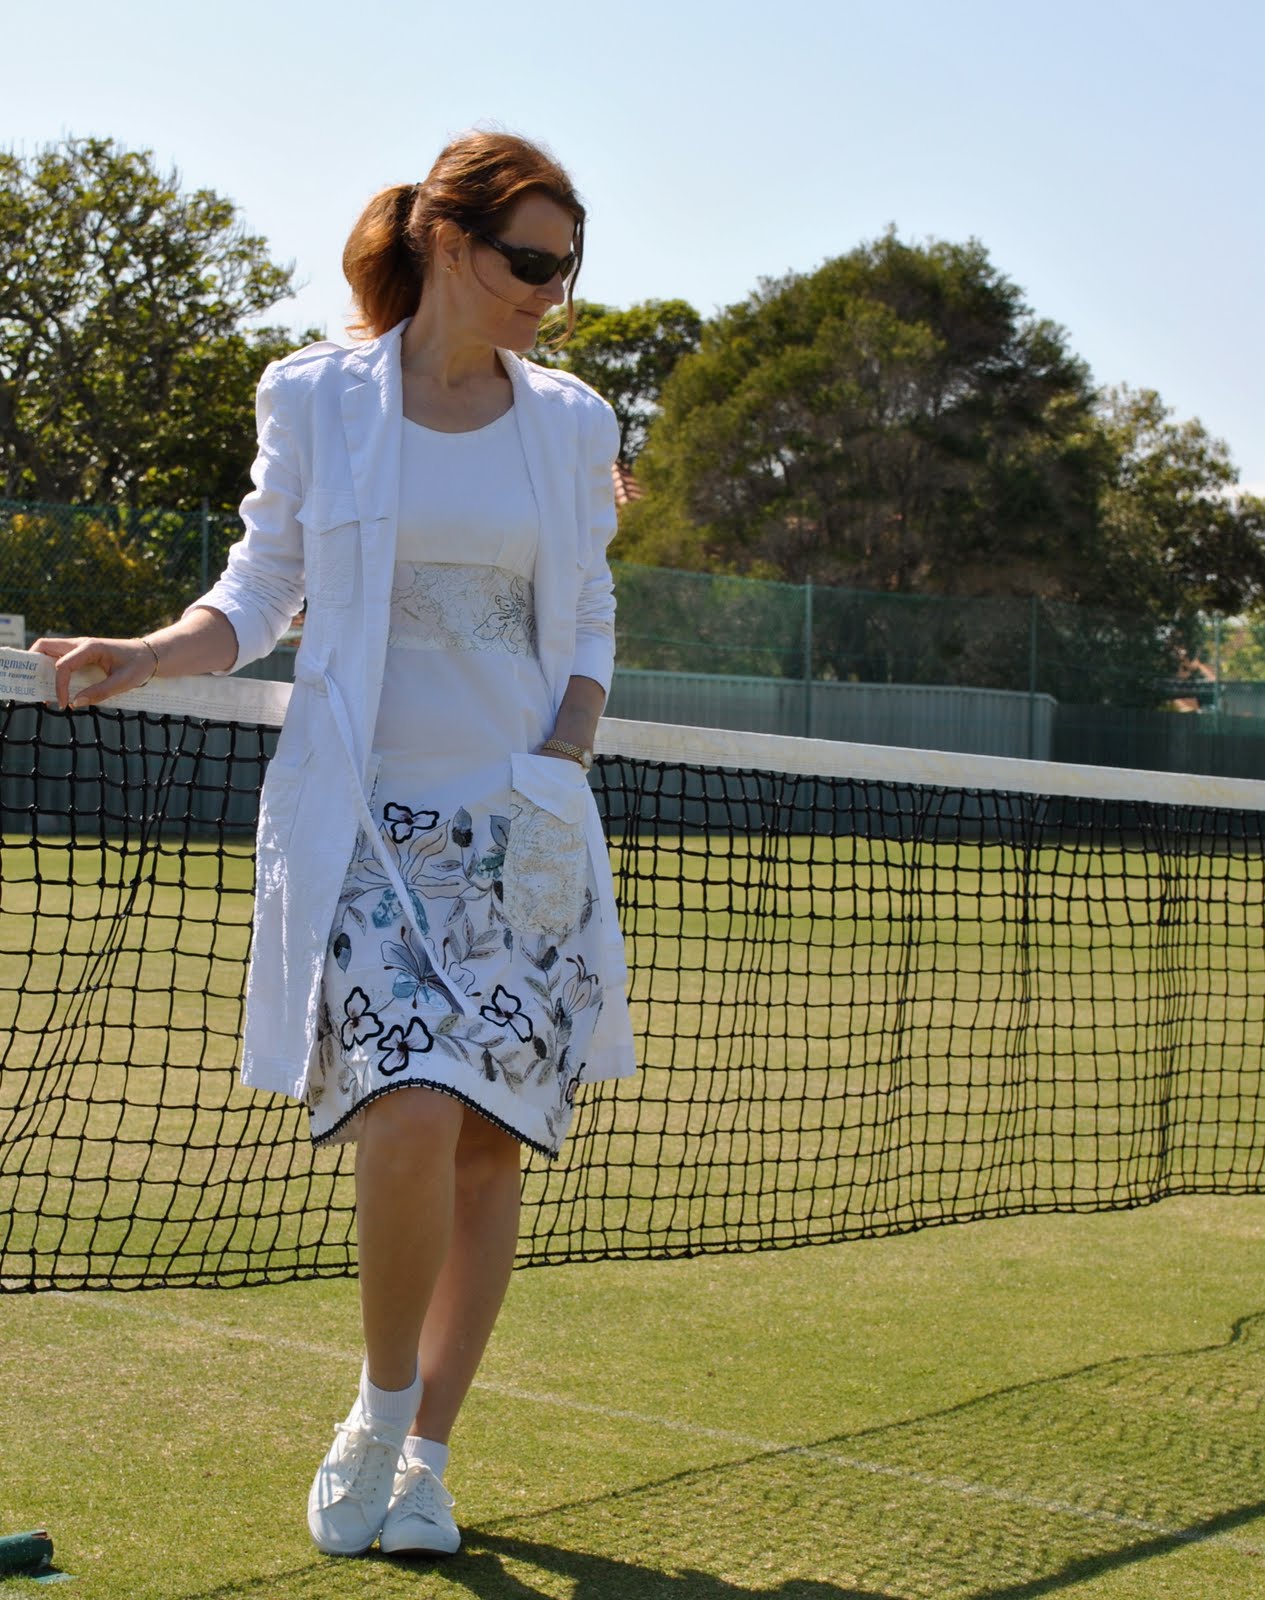
Day 3 of Self Stitched September! and OK, so with honesty I’m not actually playing tennis in this ensemble…
This dress was made for last summer; my own design variations based upon New Look 6699, for more details and a full view of the dress, see here.  This dress goes by the dubious moniker of the Straitjacket dress, for the reason that I installed a much too short zip in the side seam, and so it requires some degree of crazy struggling to get it on and off.  I know, I know, get with the programme, just buy a new zip and put it in already, but really the few minutes of undignified struggling in the dressing room is a minor inconvenience compared to to the prospect of the alternative; fiddling about with the unpicking and putting in of a new invisible zip, and this one is actually perfect (if I say so myself), with all seams on the bodice, midriff and skirt lining up so perfectly I just don’t have the heart to re-do it.  Ho hum, too many other more exciting projects await to be bothered with that, so…  the Straitjacket dress is here to stay as it is… !
And because the air is still a little brisk today I slipped on my seersucker trench coat, which I made for summer two years ago using Burda 7786, first seen here.
And roll on summer!

Details:
Dress; my own design variations based on New Look 6699, two different printed and embroidered cottons
Trench coat; Burda 7786, white seersucker

Shoes; Country Road
pinterestmail

Moebius strip, in wearable form

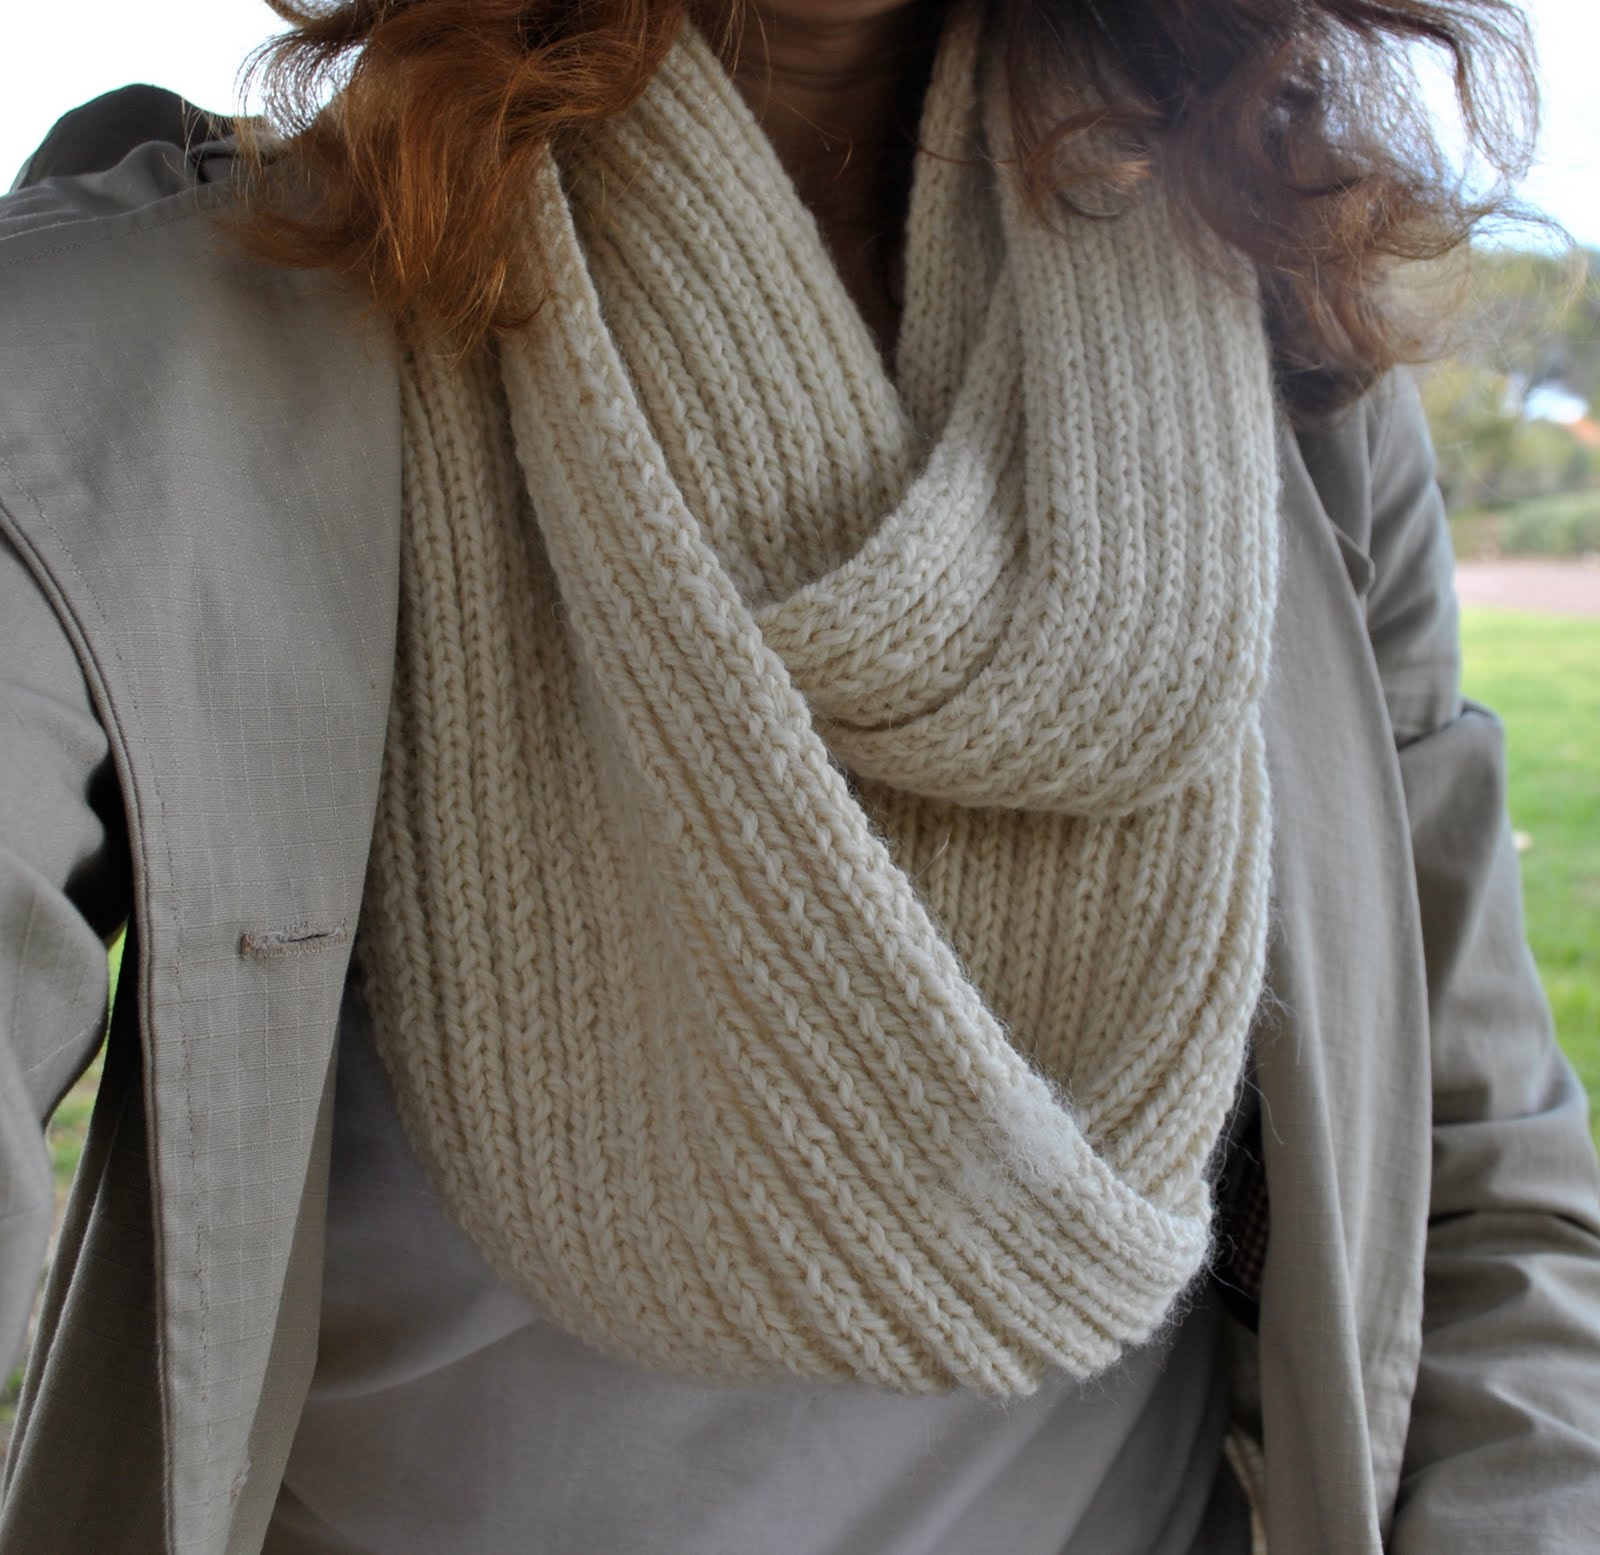
Oh, I finished a new scarf.  Or cowl, more accurately.  A ginormous cowl.  I finished it a coupla weeks back and put it in one of my photos yesterday, in the outfit that seemed to have been the most popular with my kind commenters. (and thanks all, for your comments!  I do love comments!)  But the cowl hasn’t been properly introduced here, so here it is in its own showcase post….

I used Patons Jet 100% wool, about six and a half balls.
Tension; 16 stitches to 10cm.

Cast on 50 stitches, K2 P2 ad infinitum until one reaches the required length.  I knitted mine to 175cm long.  Sew the ends together remembering to put one twist in the scarf before sewing up, so it’s really a giant Moebius strip rather than a loop.
Done!

I like it with two drapes around the neck, but it’s easily long enough for three drapes if I want.  It becomes more of a big pseudo-turtleneck collar with three loops.
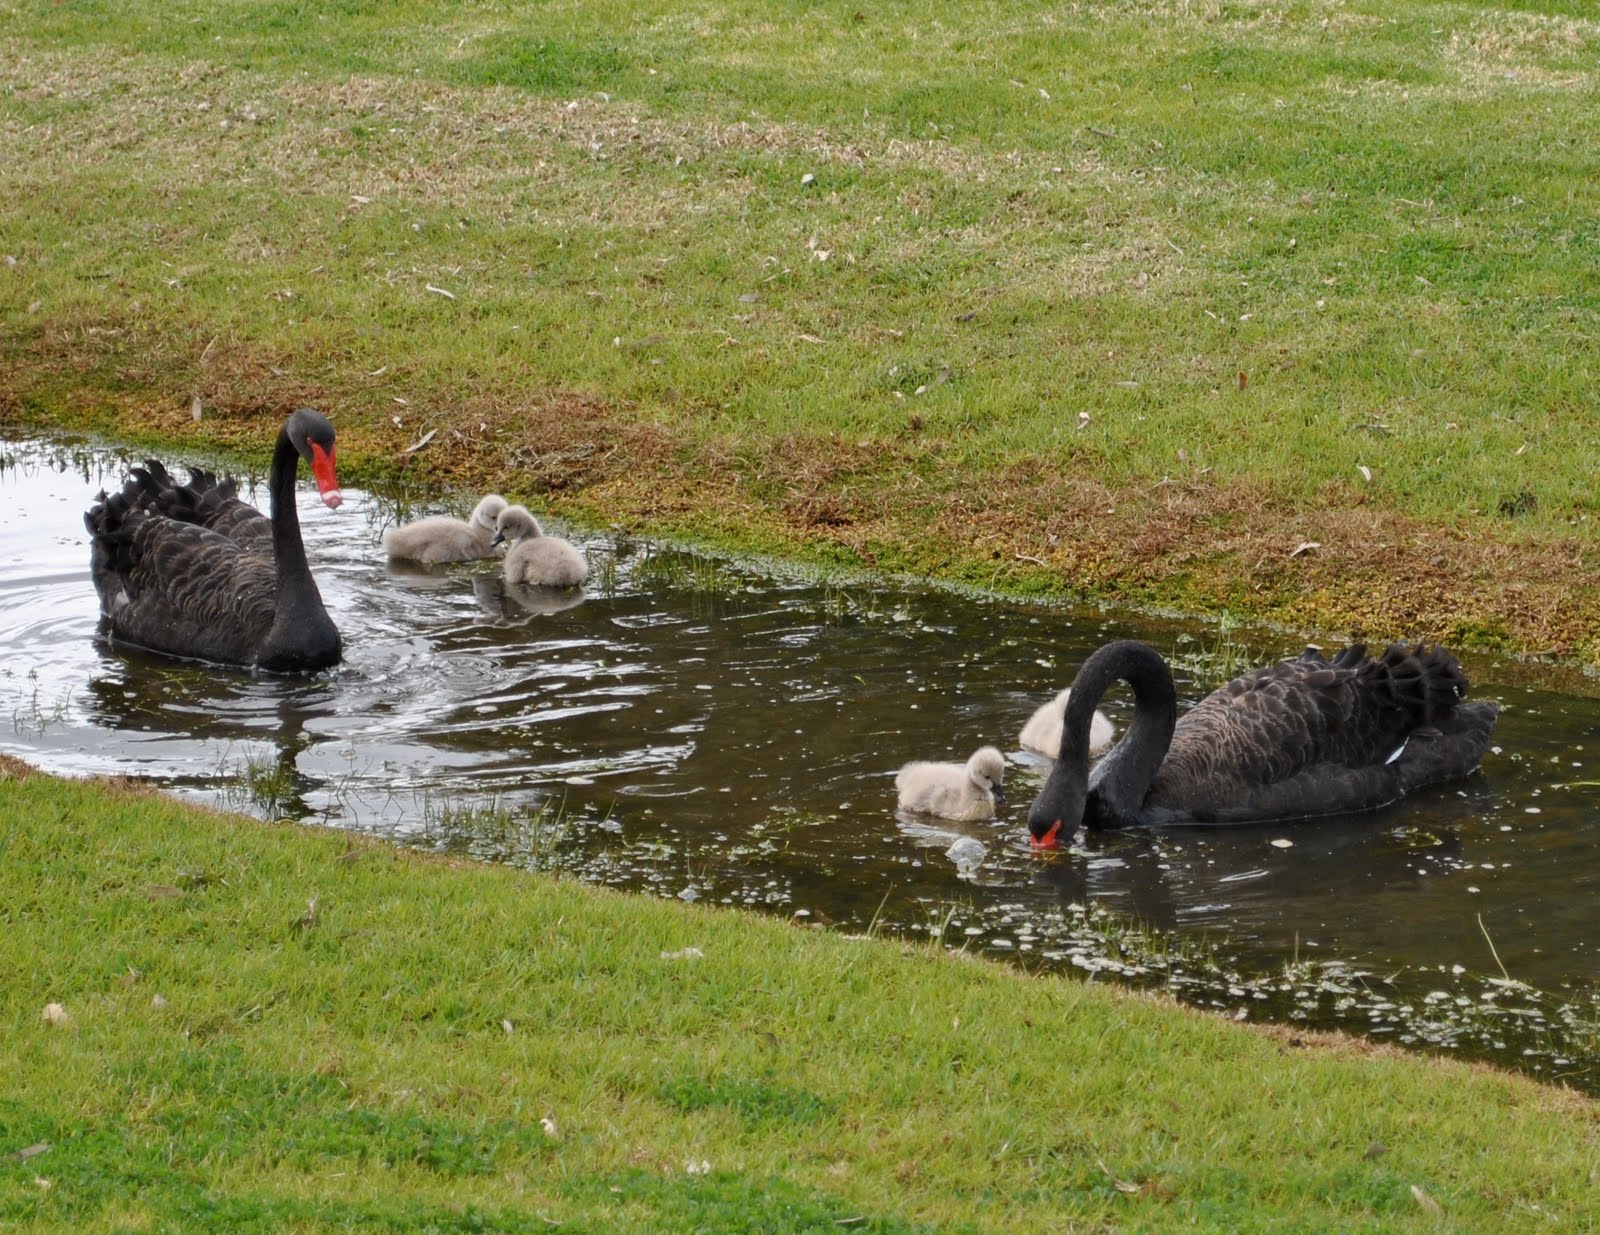
Seen on my walk this morning below: definitely signs of spring in the air, the arrival of the cygnets.  I love watching the new batches of cygnets grow into adulthood.

Details:
Skirt; my own design variations, based on Vogue 7303, pale pink damask
Top; Country Road
Trench; Burda 7786, modified to be double breasted and with added tabs, beige cotton
Scarf; my own design, cream wool
Boots; Andrea and Joen, from Uggies


pinterestmail

Jacket inspired by ?

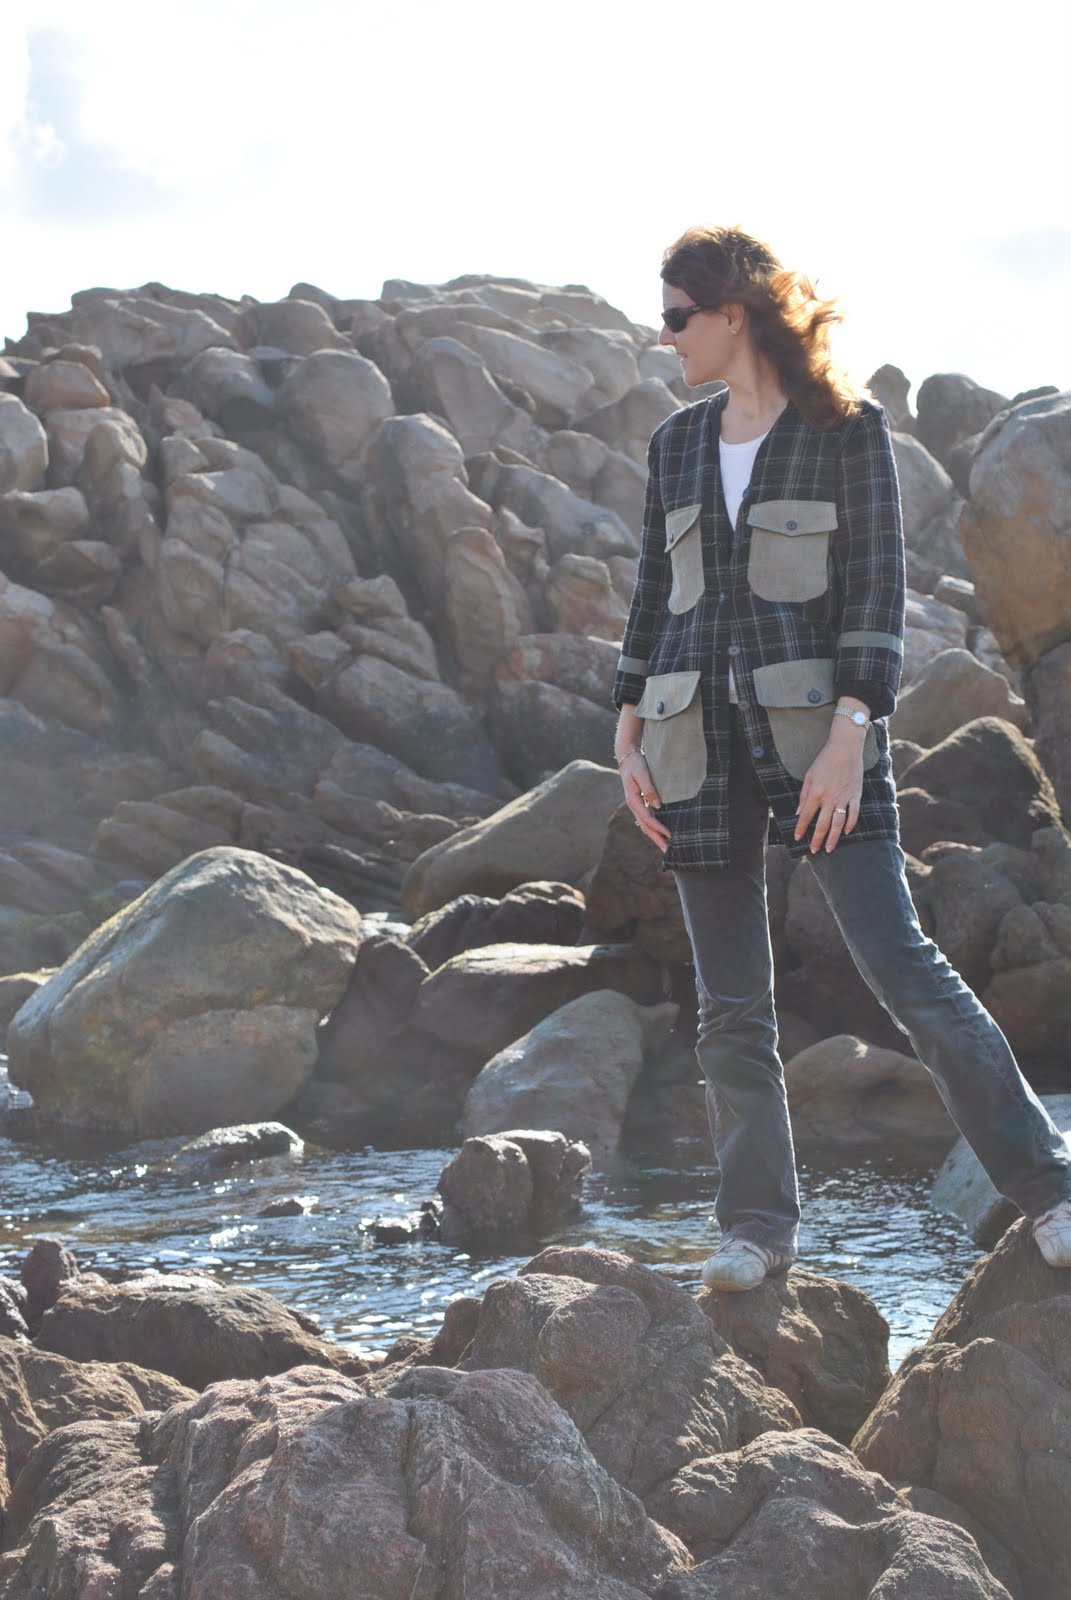
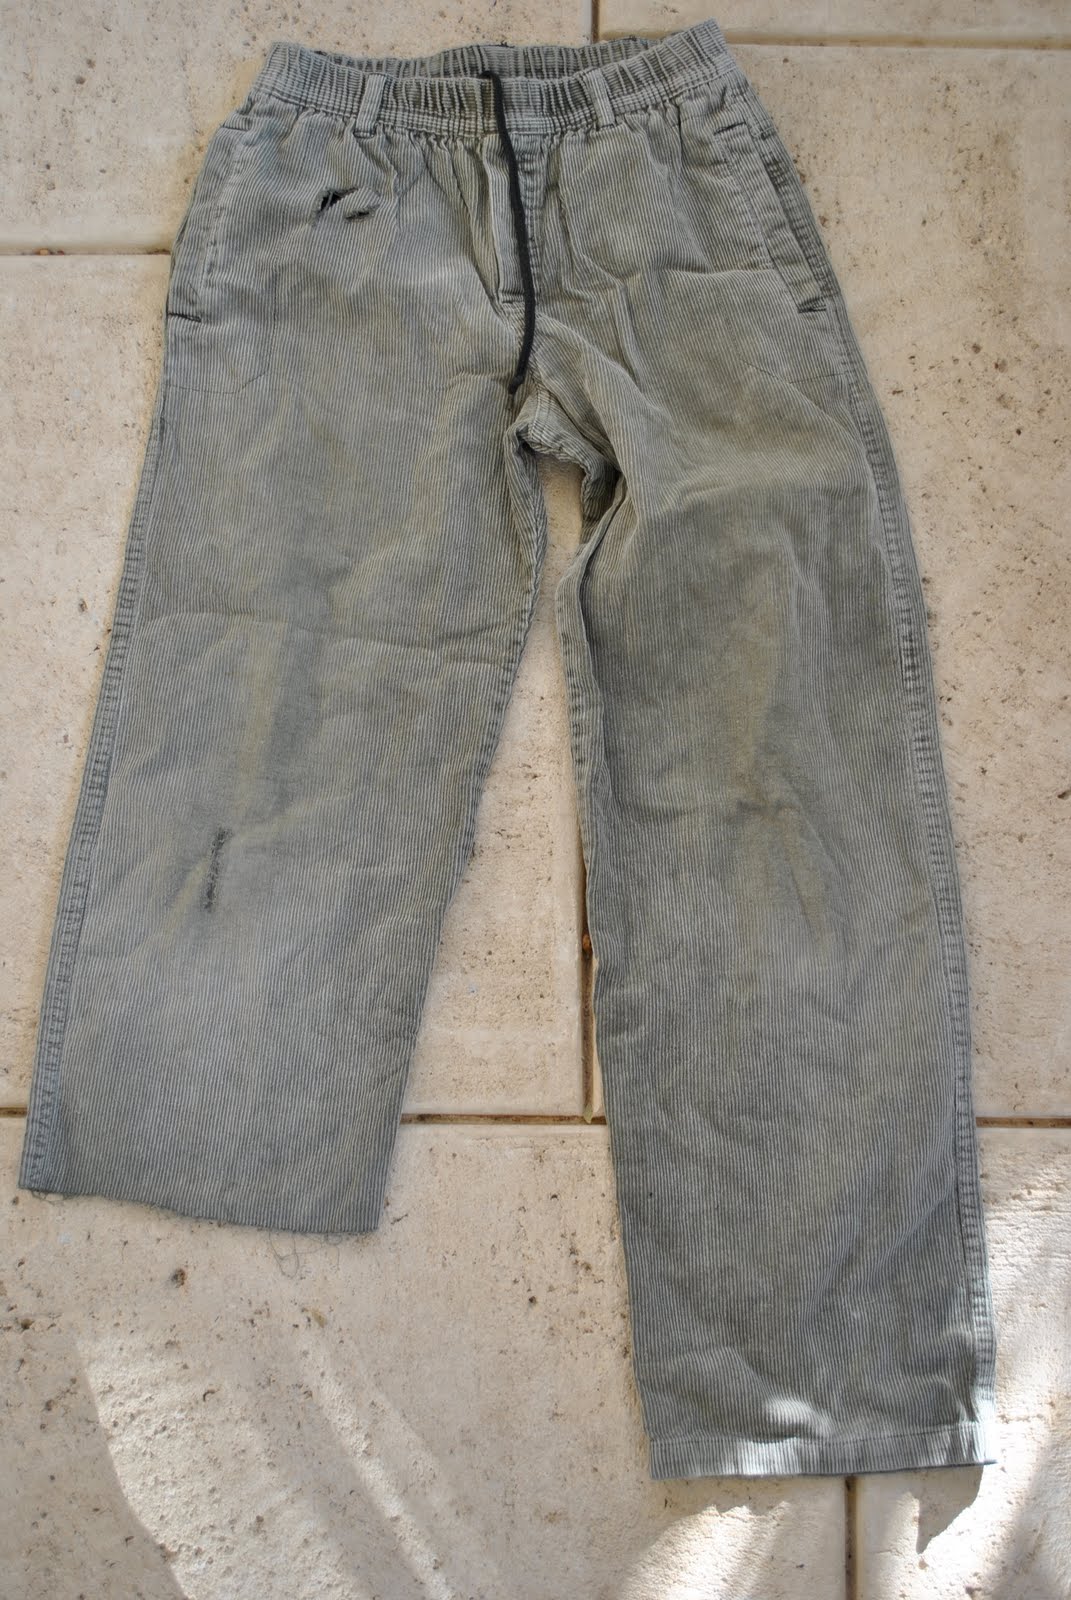
Well, I’ve reduced my refashioning bag by one half of an item; being that the pockets of this new jacket used up one leg of Sam’s old khaki corduroy pants that had holes in the knees…  so I’m gettin’ somewhere, if not very fast!!  I also managed to use up some stash fabric, which I’ve decided I don’t like very much…  Bit of a story behind this fabric; well, I’ve had a failure.  I don’t like to dwell on failures, but I’ll just mention it briefly then move quickly and smoothly right along and it will be in the past, never to be referred to again.  Right?  Right.
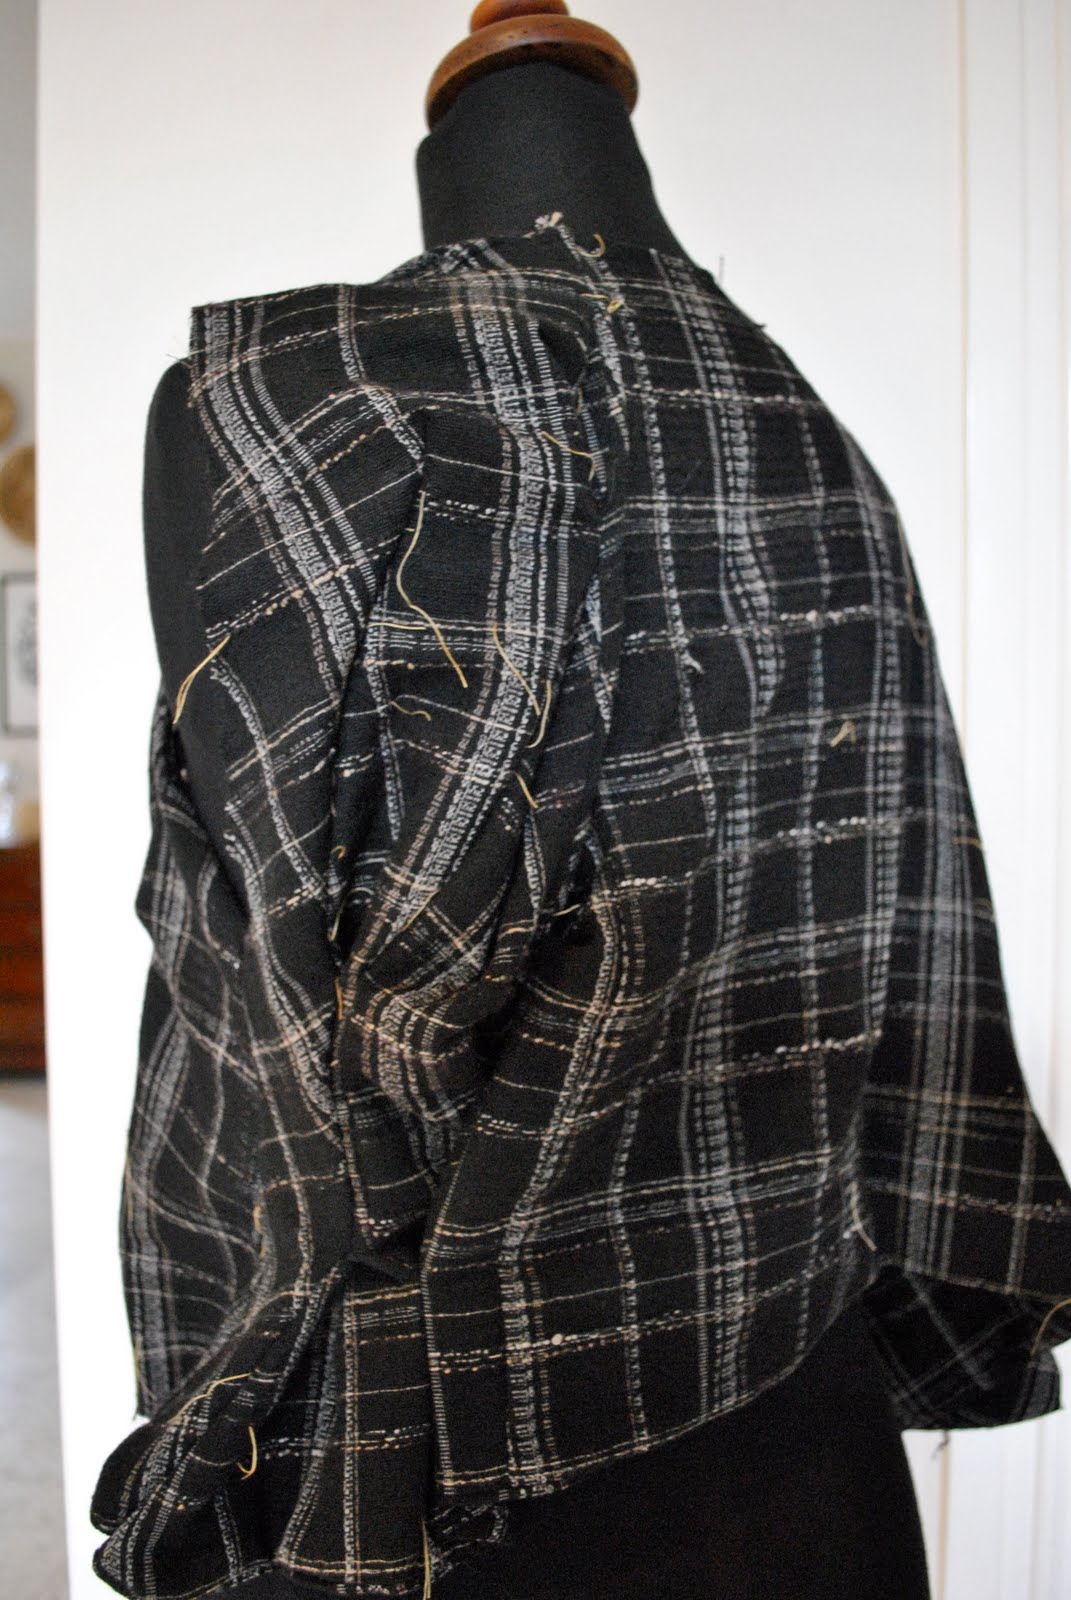
Well, I had downloaded a free Alexander McQueen jacket pattern at some point, the link is here; if anyone wishes to torture themselves with nightmare-ishly difficult patterns then feel free to go for it…  I think I missed out on some key page of the instructions, because after two attempts with lots of unpicking I still had something looking like this…

Hideous, no?  Well, we live and learn… I might still have another go at this pattern, using fabric that is not patterned, not so loosely woven and not a wee bit stretchy, all three qualities contributing to a very bad jacket-making experience.
So instead I stitched up the below very simple jacket pattern of my own design.  I don’t love this jacket.  I think it will be OK for casual warmth when I’m walking the dog, maybe I will come to love it more with use.  Its problematic genesis has prejudiced me against it, poor thing.

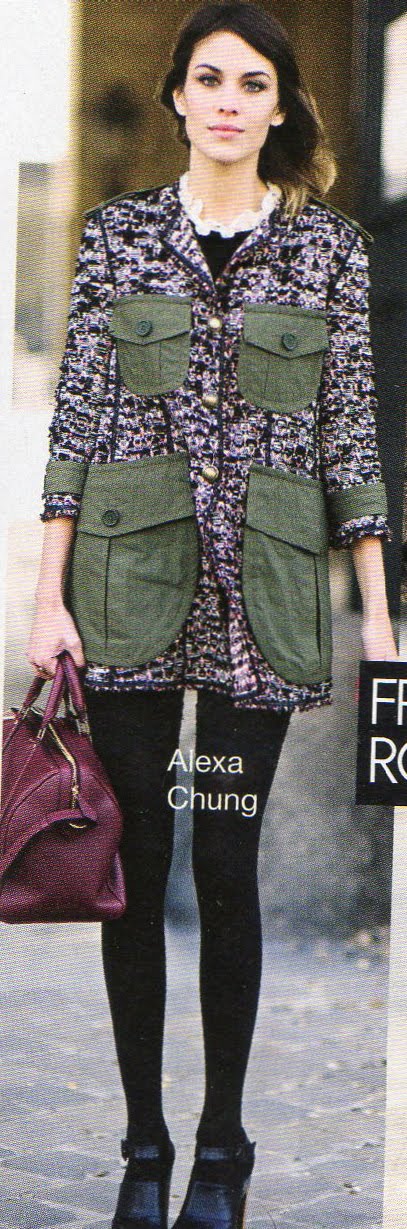
I basically copied the pocket design off a designer jacket I saw in Vogue magazine (although my pockets are not as ginormous, and the purpose of mine is to cover up seams of patched together fabric), but I don’t know who the original designer is, if anyone recognises it and can tell me I will gladly acknowledge the source…

Details:
Jacket; pattern drafted by me, pockets from Sam’s old childhood pants
Jeans; Country Road (these are going in the refashioning bag too, soon)
Top; Country Road
Shoes; Lute, from Betts and Betts

pinterestmail
Switch to mobile version
↓