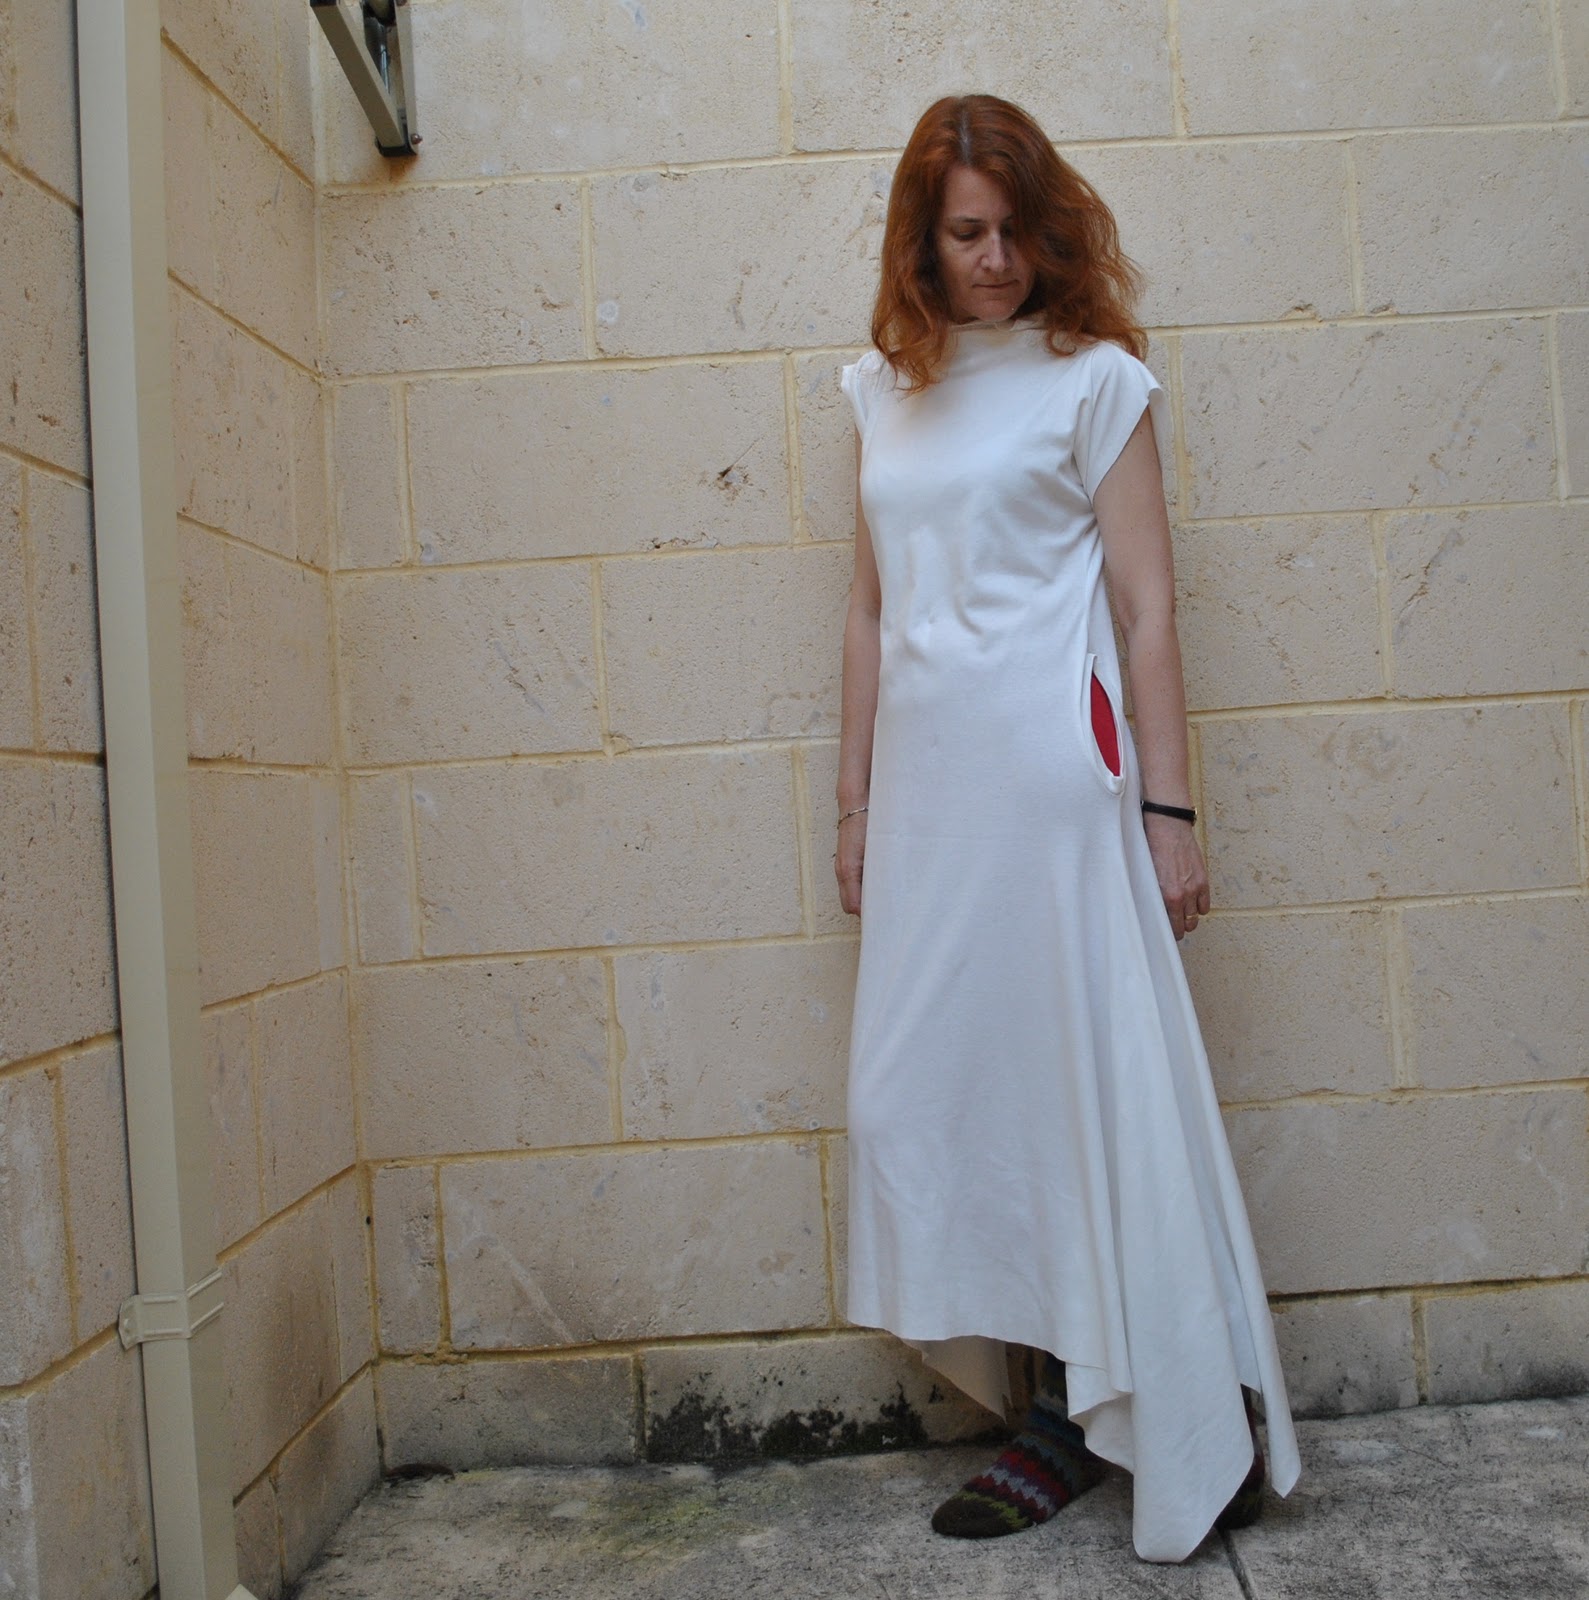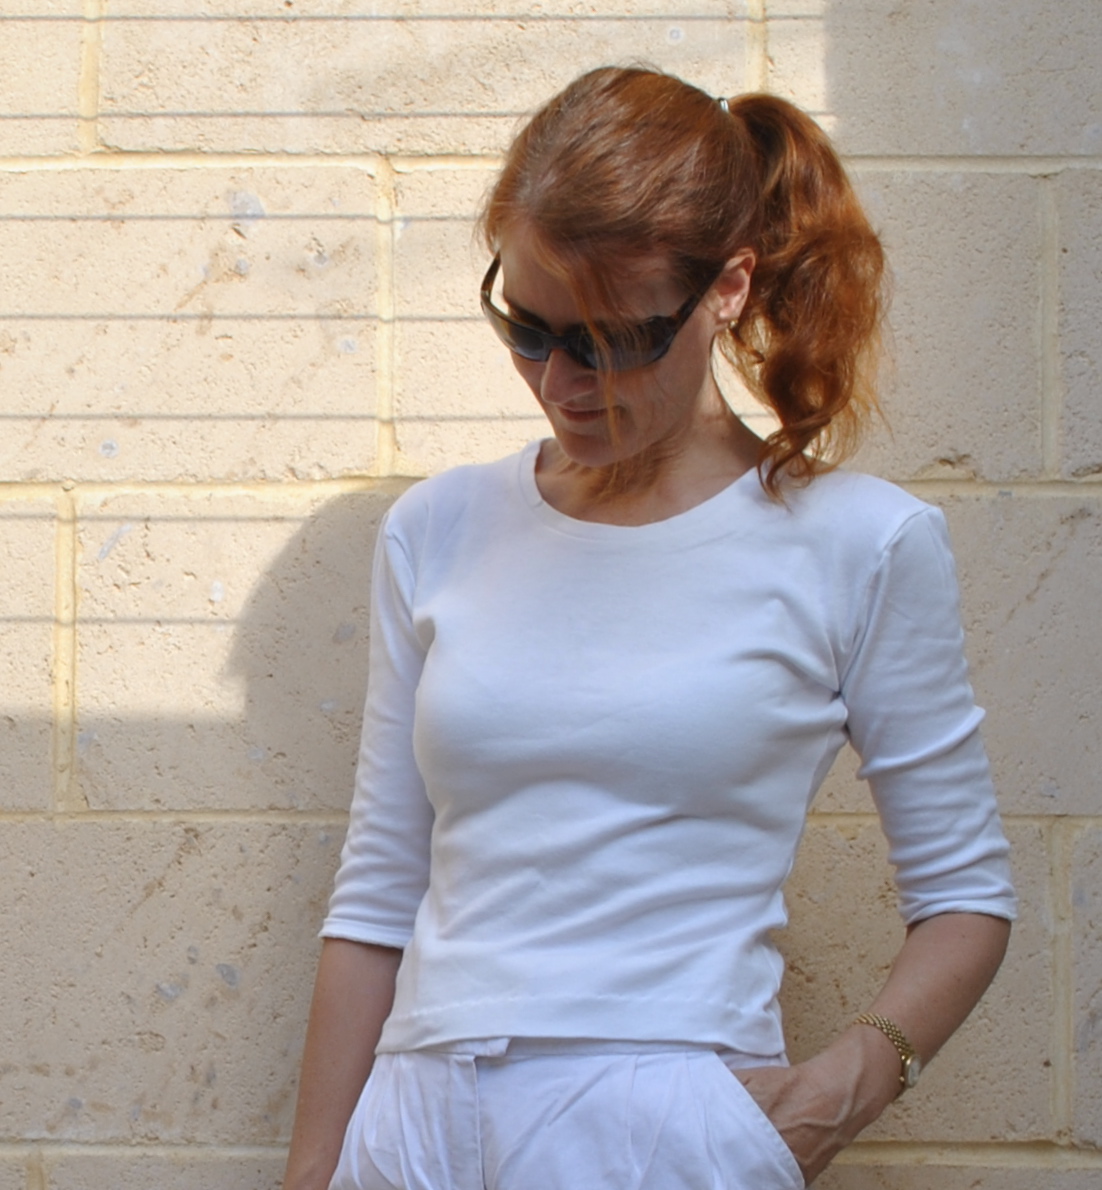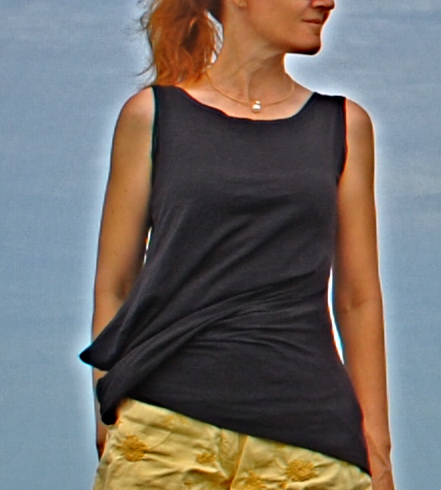
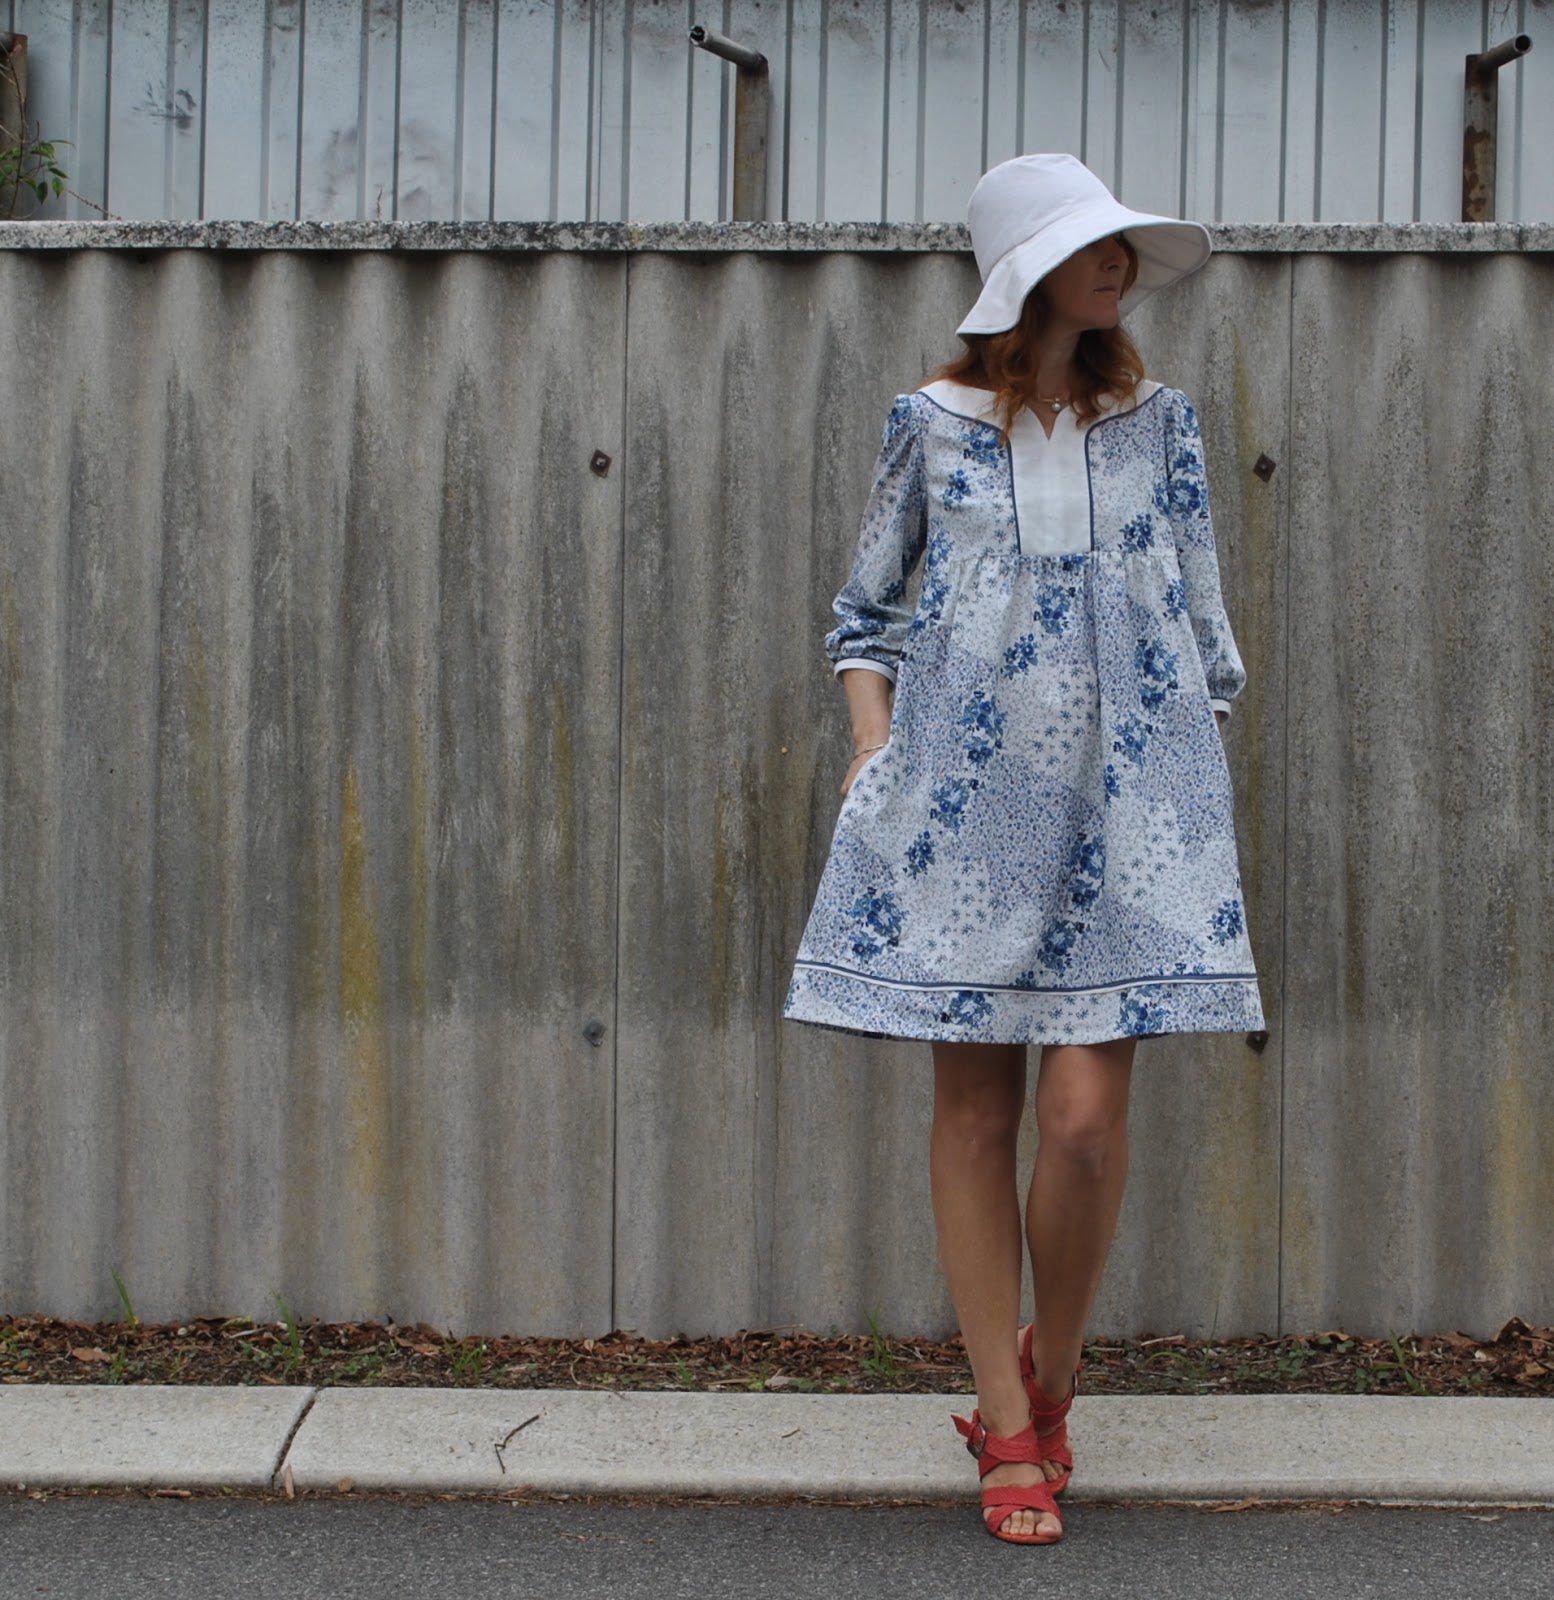
Remember my Sew Bossy dress, below? It was very… sweet, wasn’t it?
I mean, I wish I could wear really pretty things like that, but I think I cannot! But
I thought it had promise, it just needed de-twee-ing.
I mean, I wish I could wear really pretty things like that, but I think I cannot! But
I thought it had promise, it just needed de-twee-ing.
before
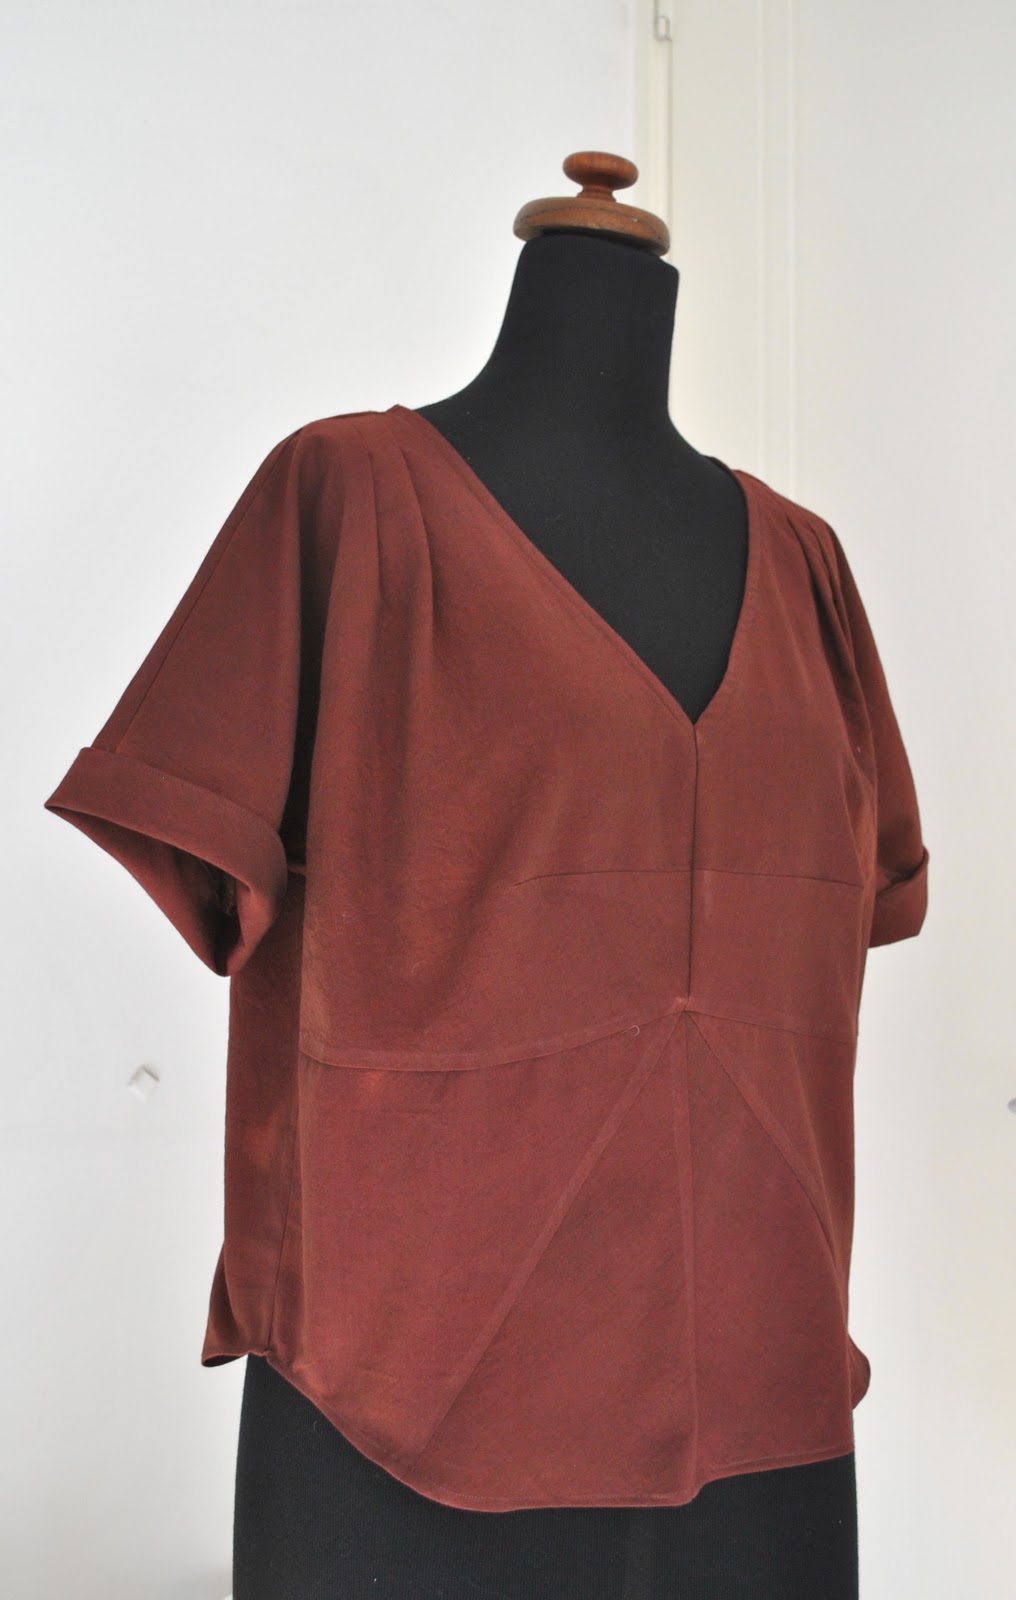
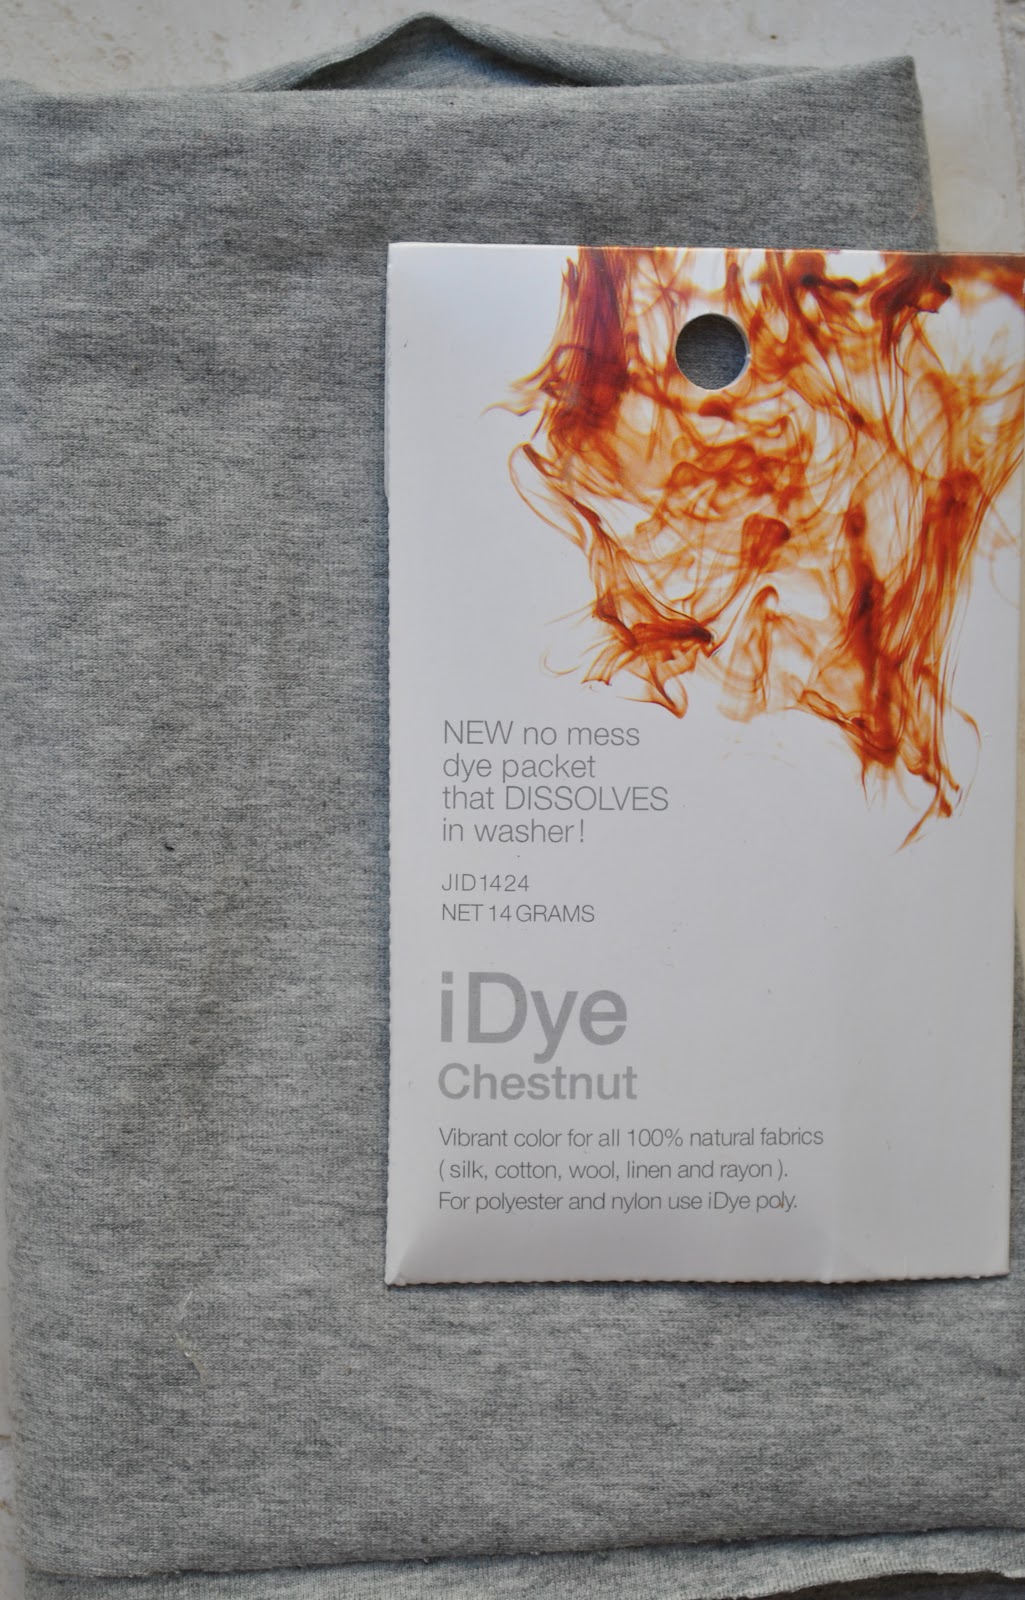
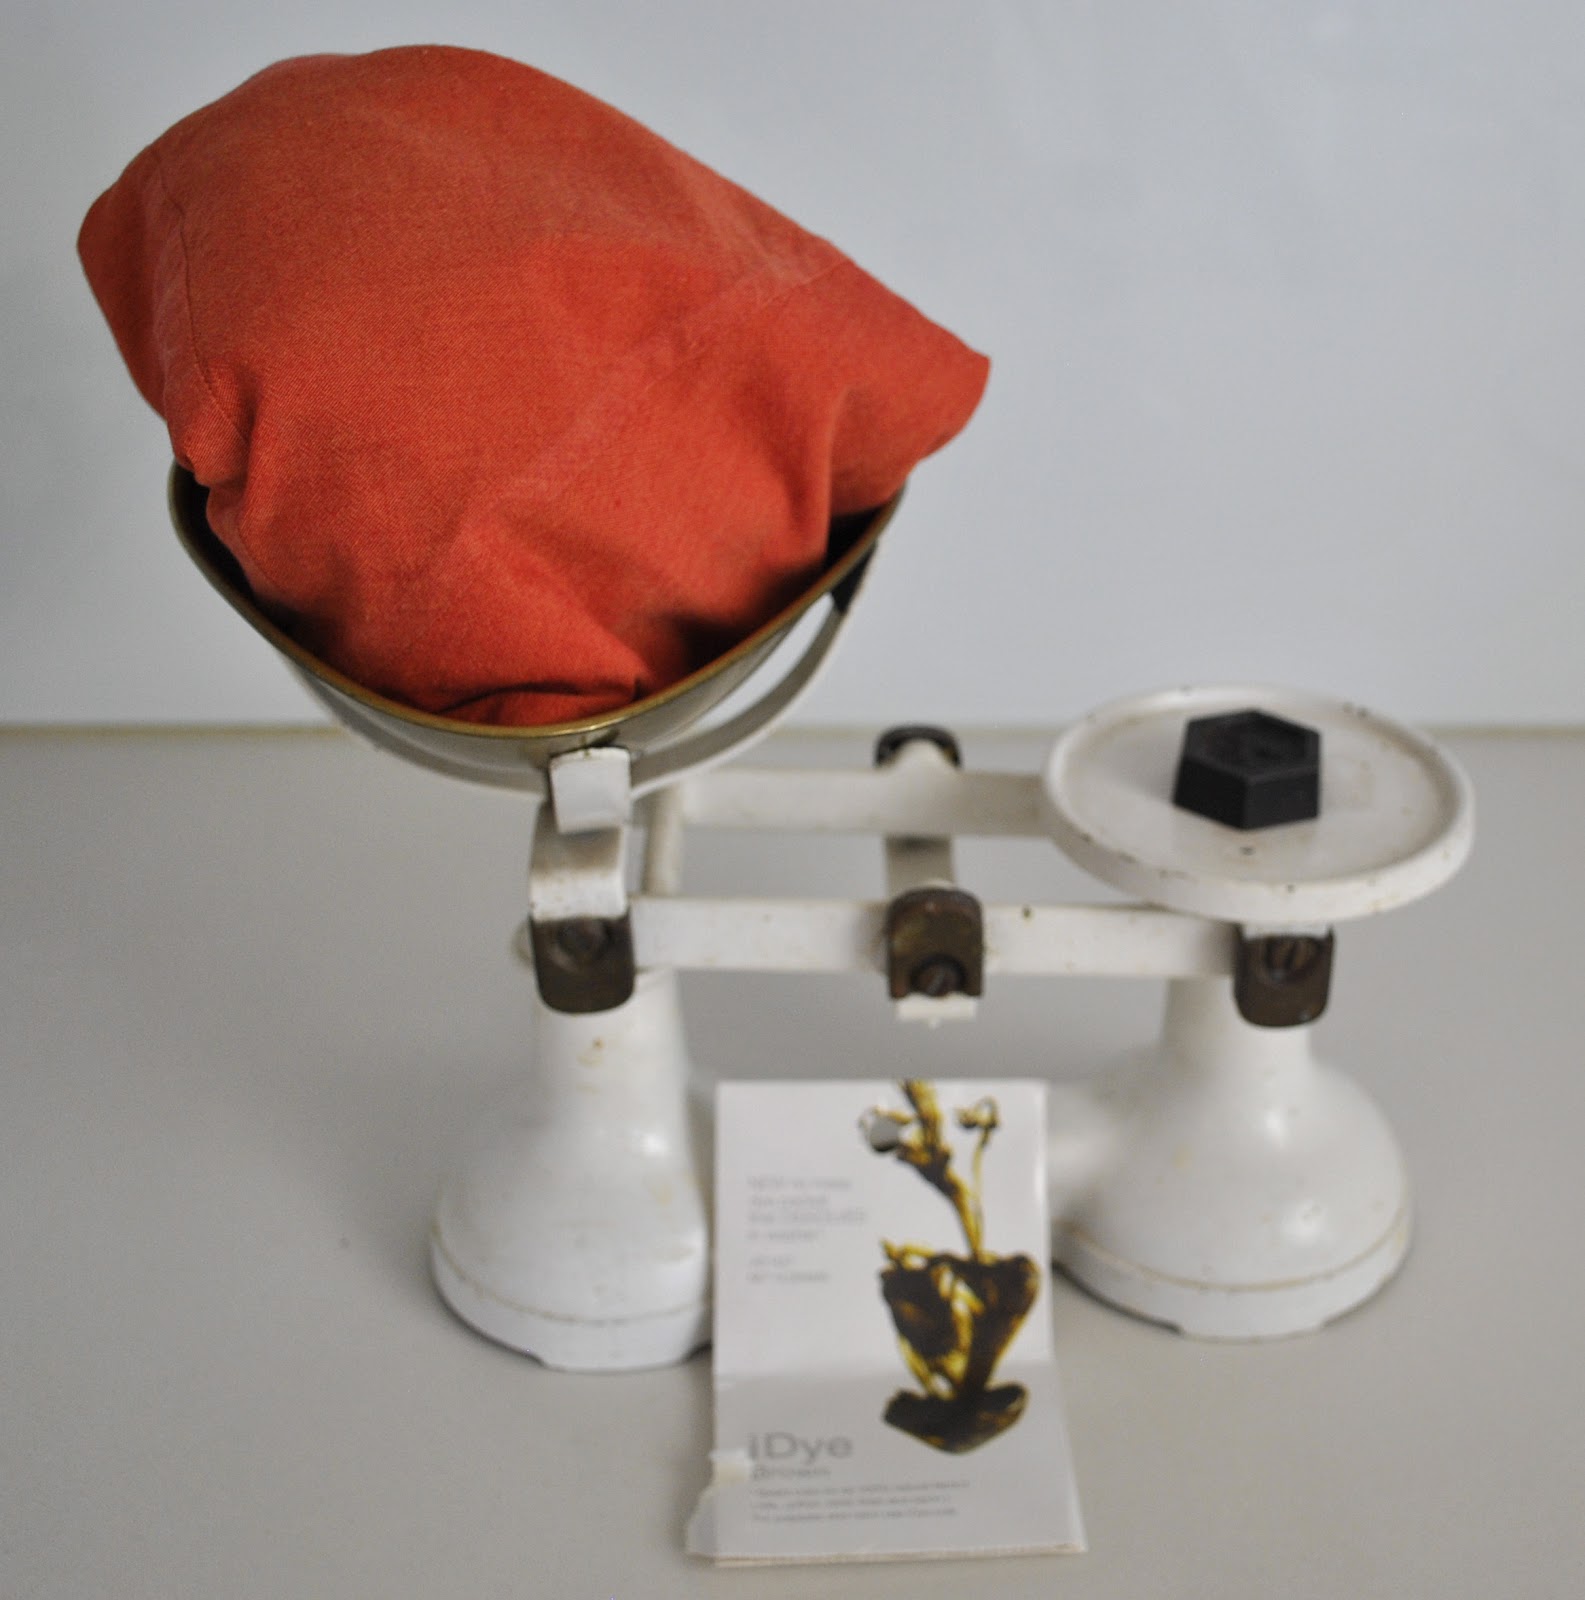
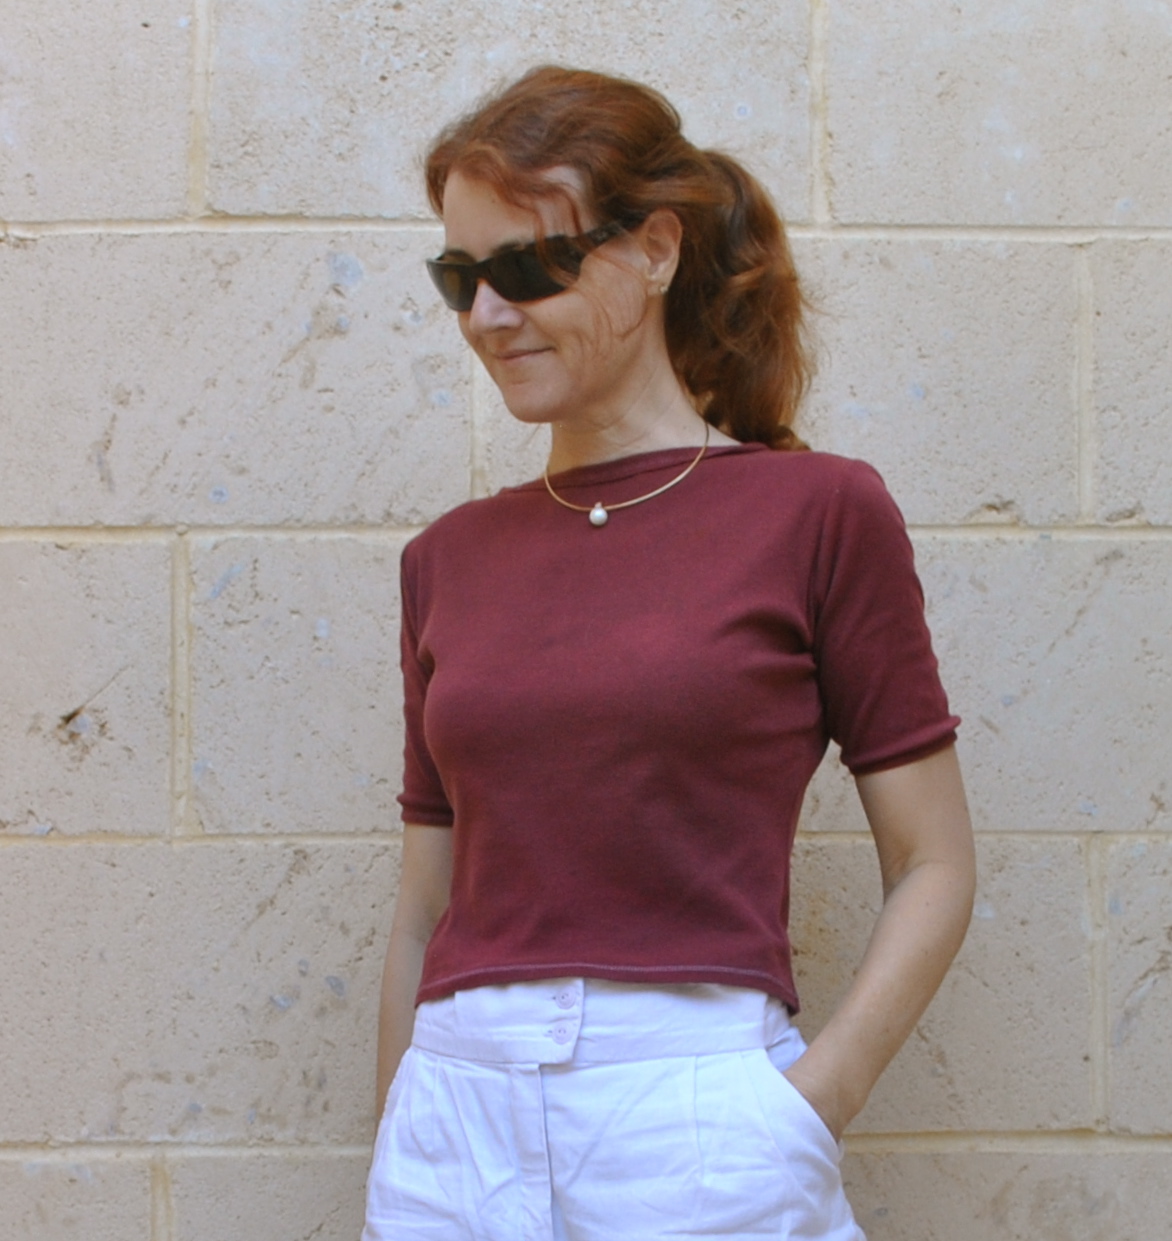
I lopped off
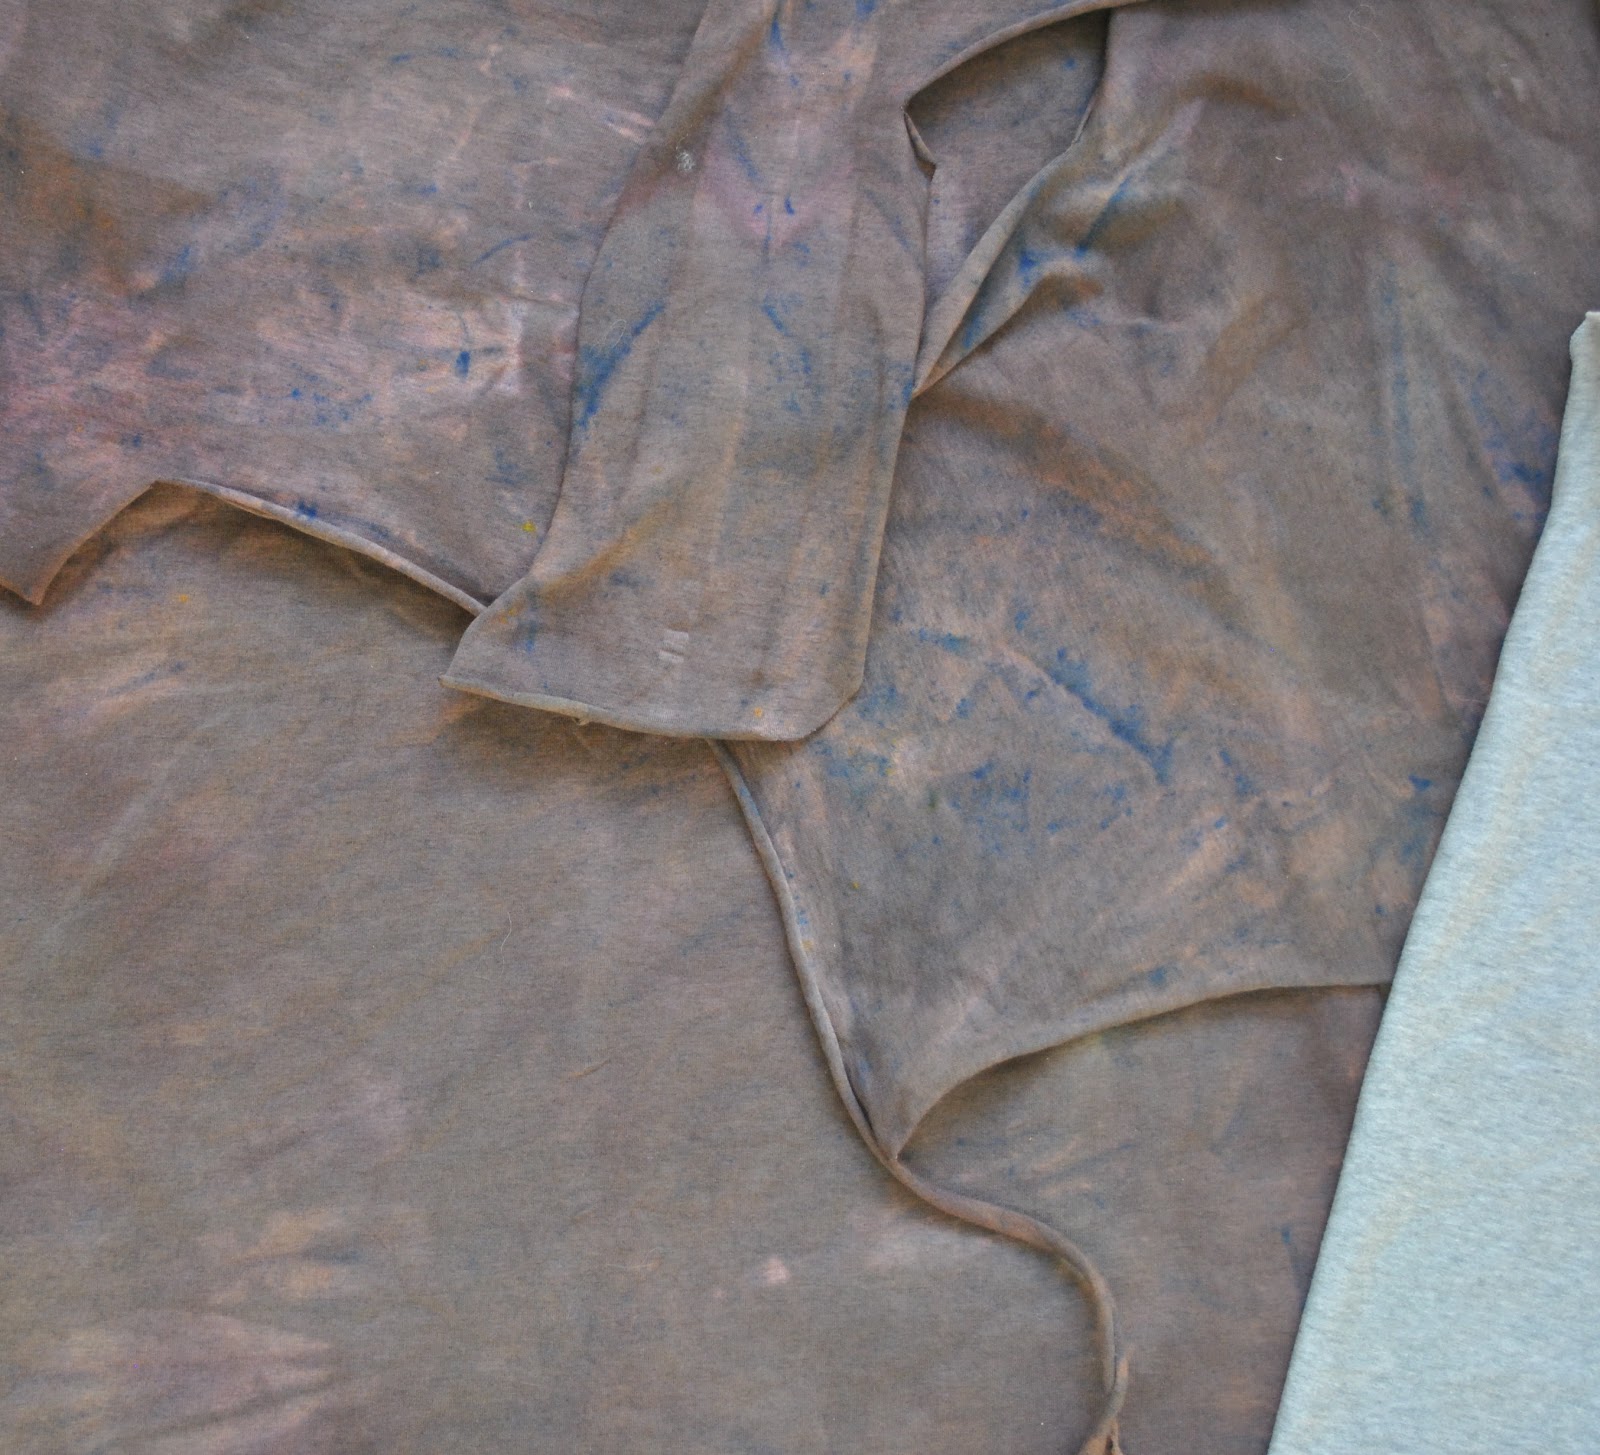
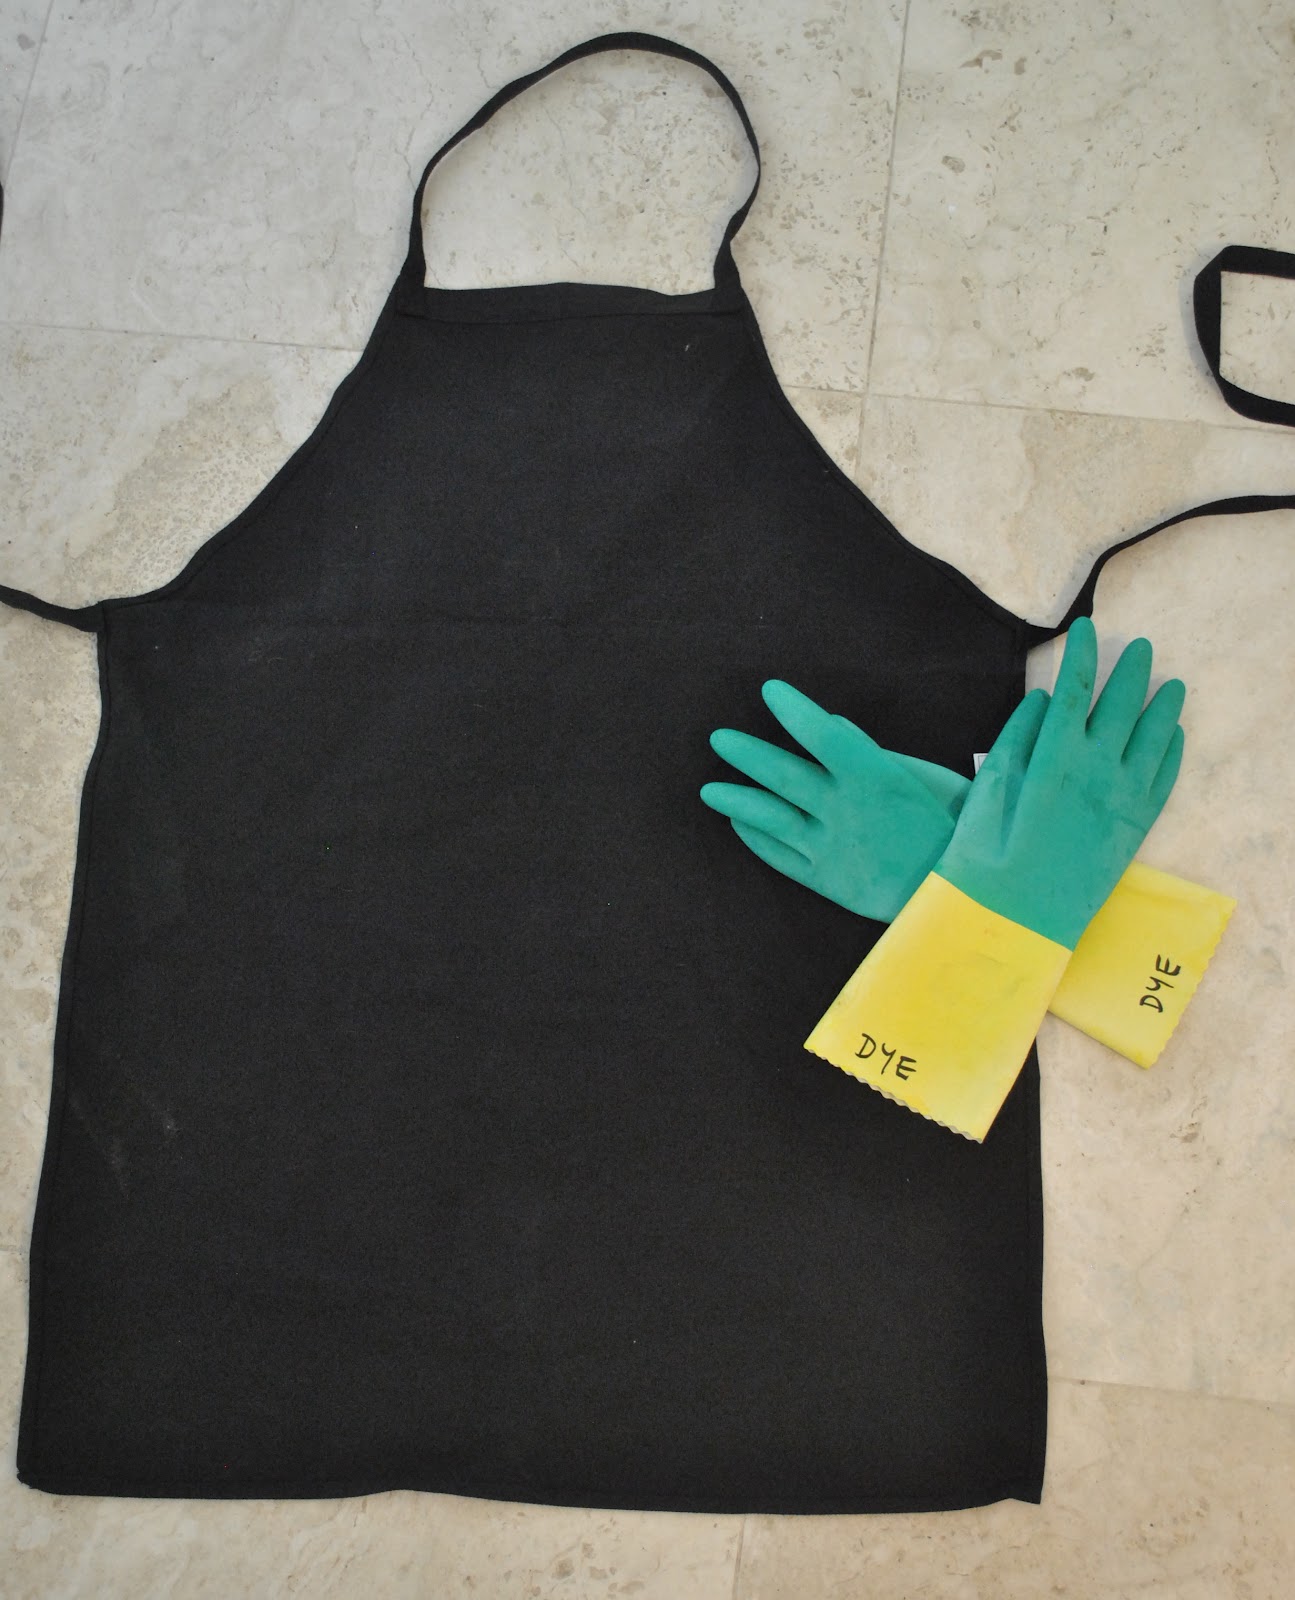
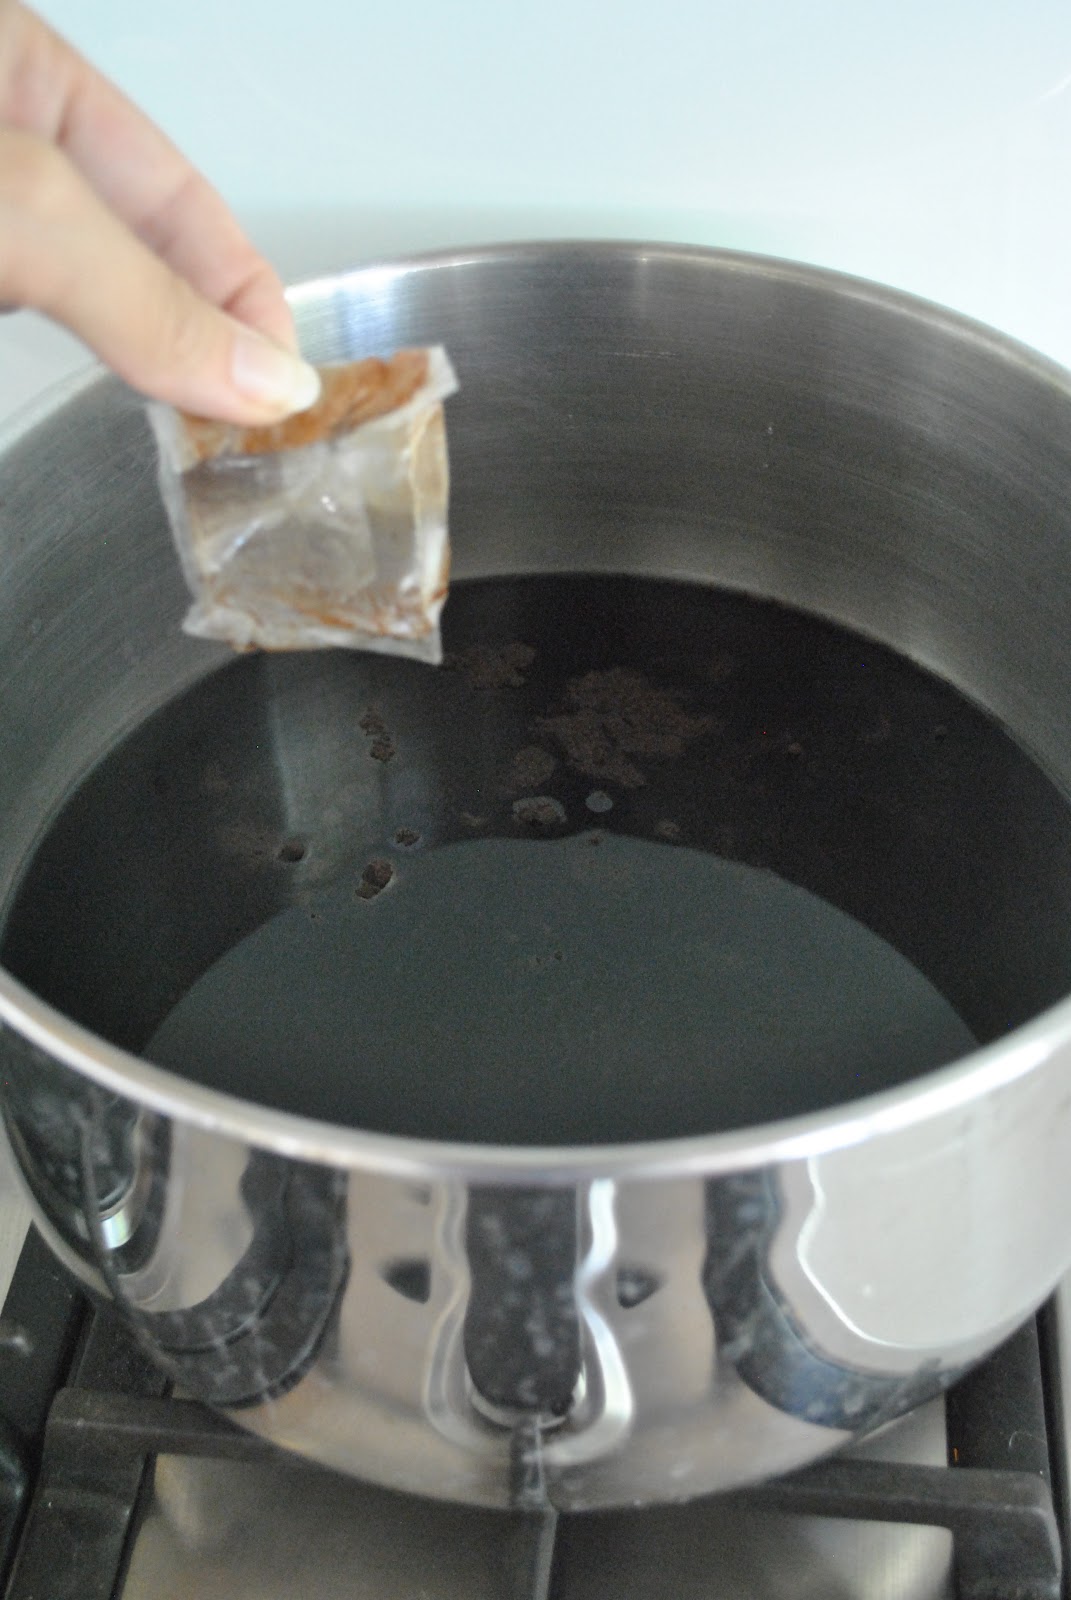
the sleeves, so now they are plain little cap sleeves; and then dyed the whole thing
brown, using iDye, colour Brown.
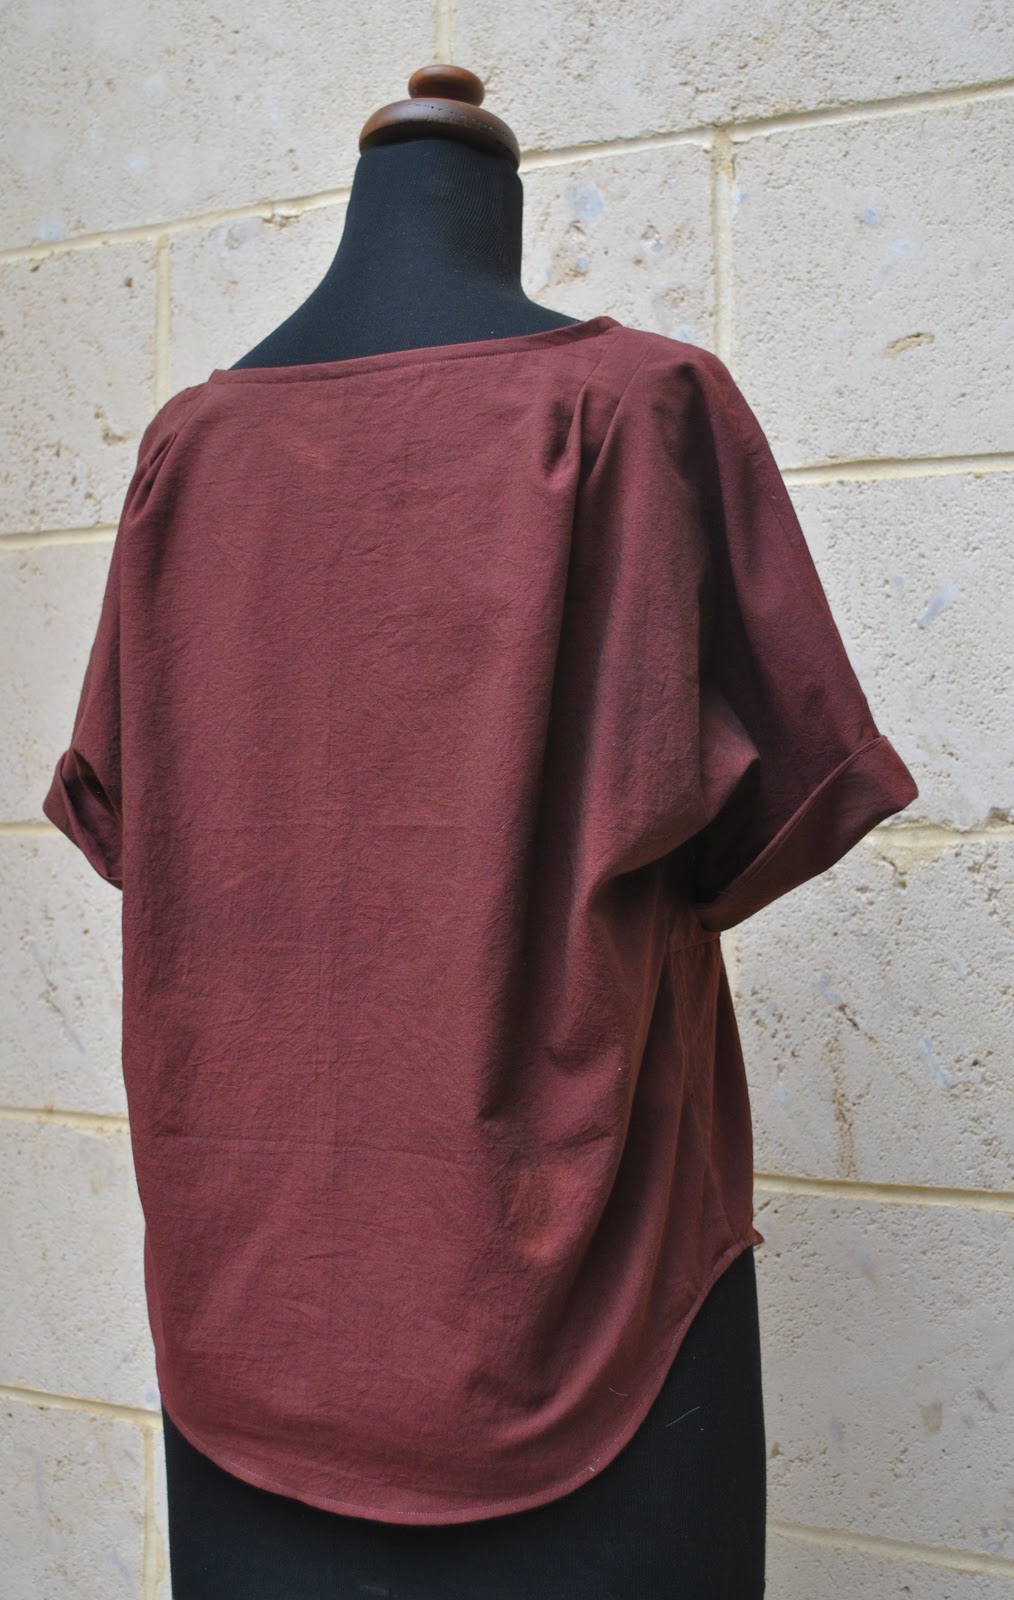
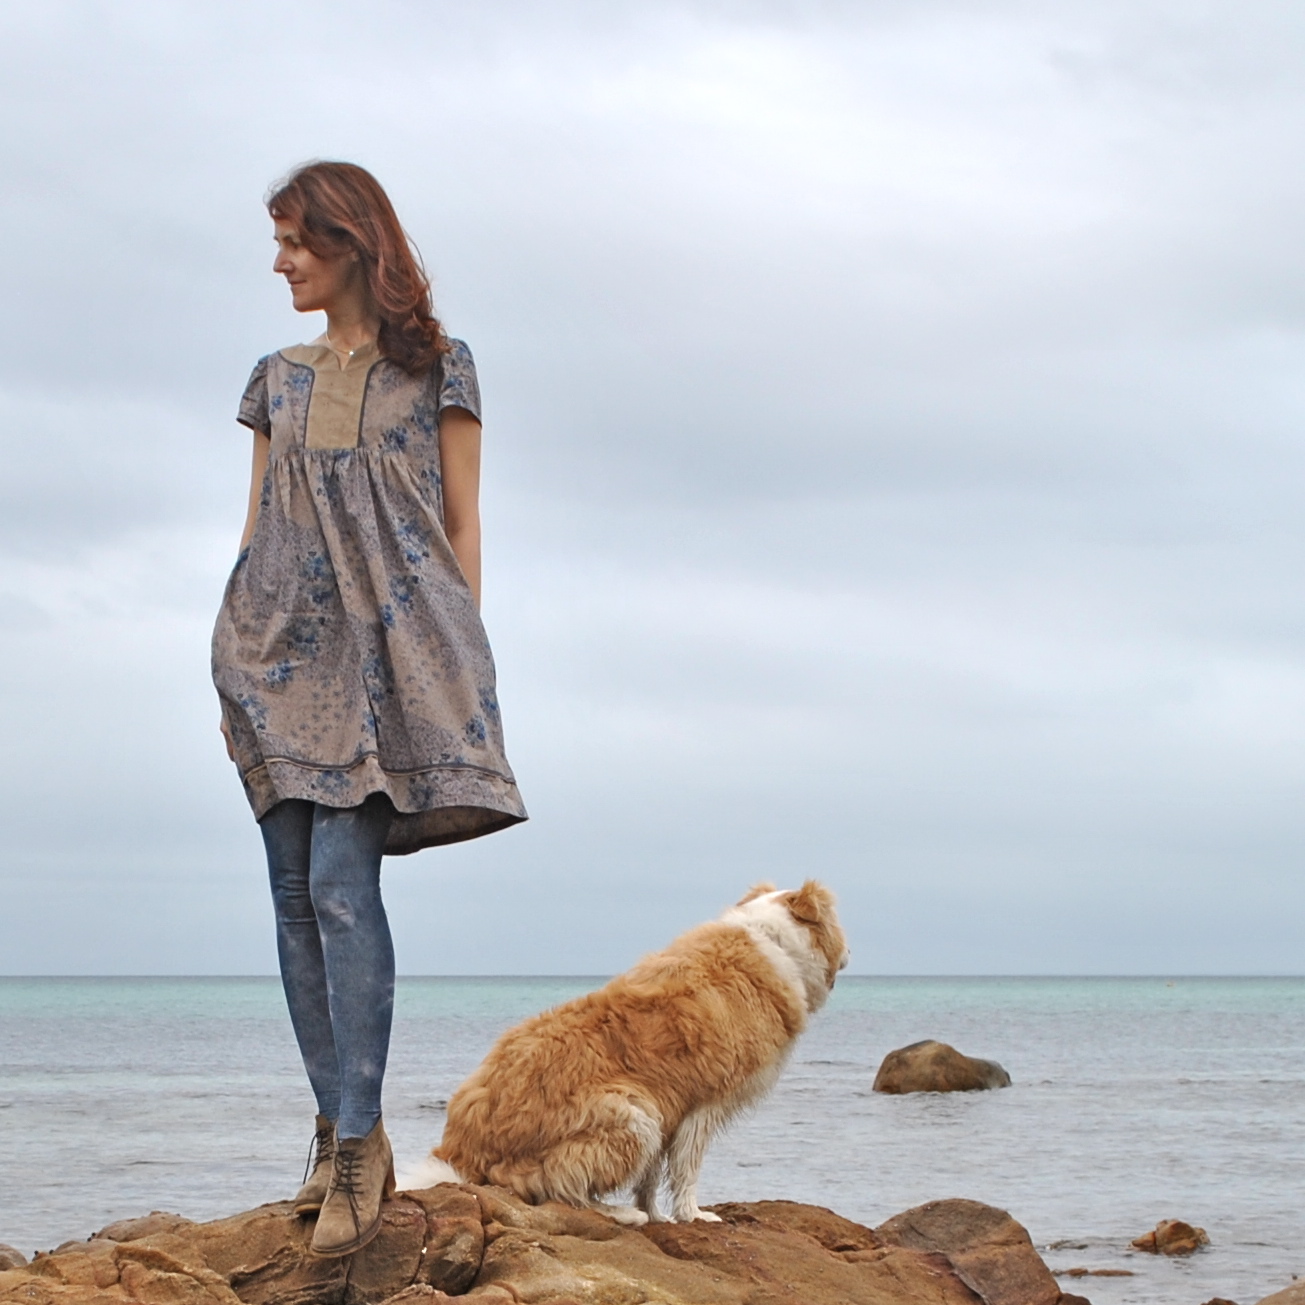
So, I didn’t do very much, but it’s definitely made a ginormous
difference to my resolve to actually wear it! I kinda love its new look, still with an old-fashioned charm, but in a less cute and more prosaic way, reminiscent of peeling sepia-d wallpaper in a decaying old farmhouse, or something.
the sleeves, so now they are plain little cap sleeves; and then dyed the whole thing
brown, using iDye, colour Brown.
So, I didn’t do very much, but it’s definitely made a ginormous
difference to my resolve to actually wear it! I kinda love its new look, still with an old-fashioned charm, but in a less cute and more prosaic way, reminiscent of peeling sepia-d wallpaper in a decaying old farmhouse, or something.
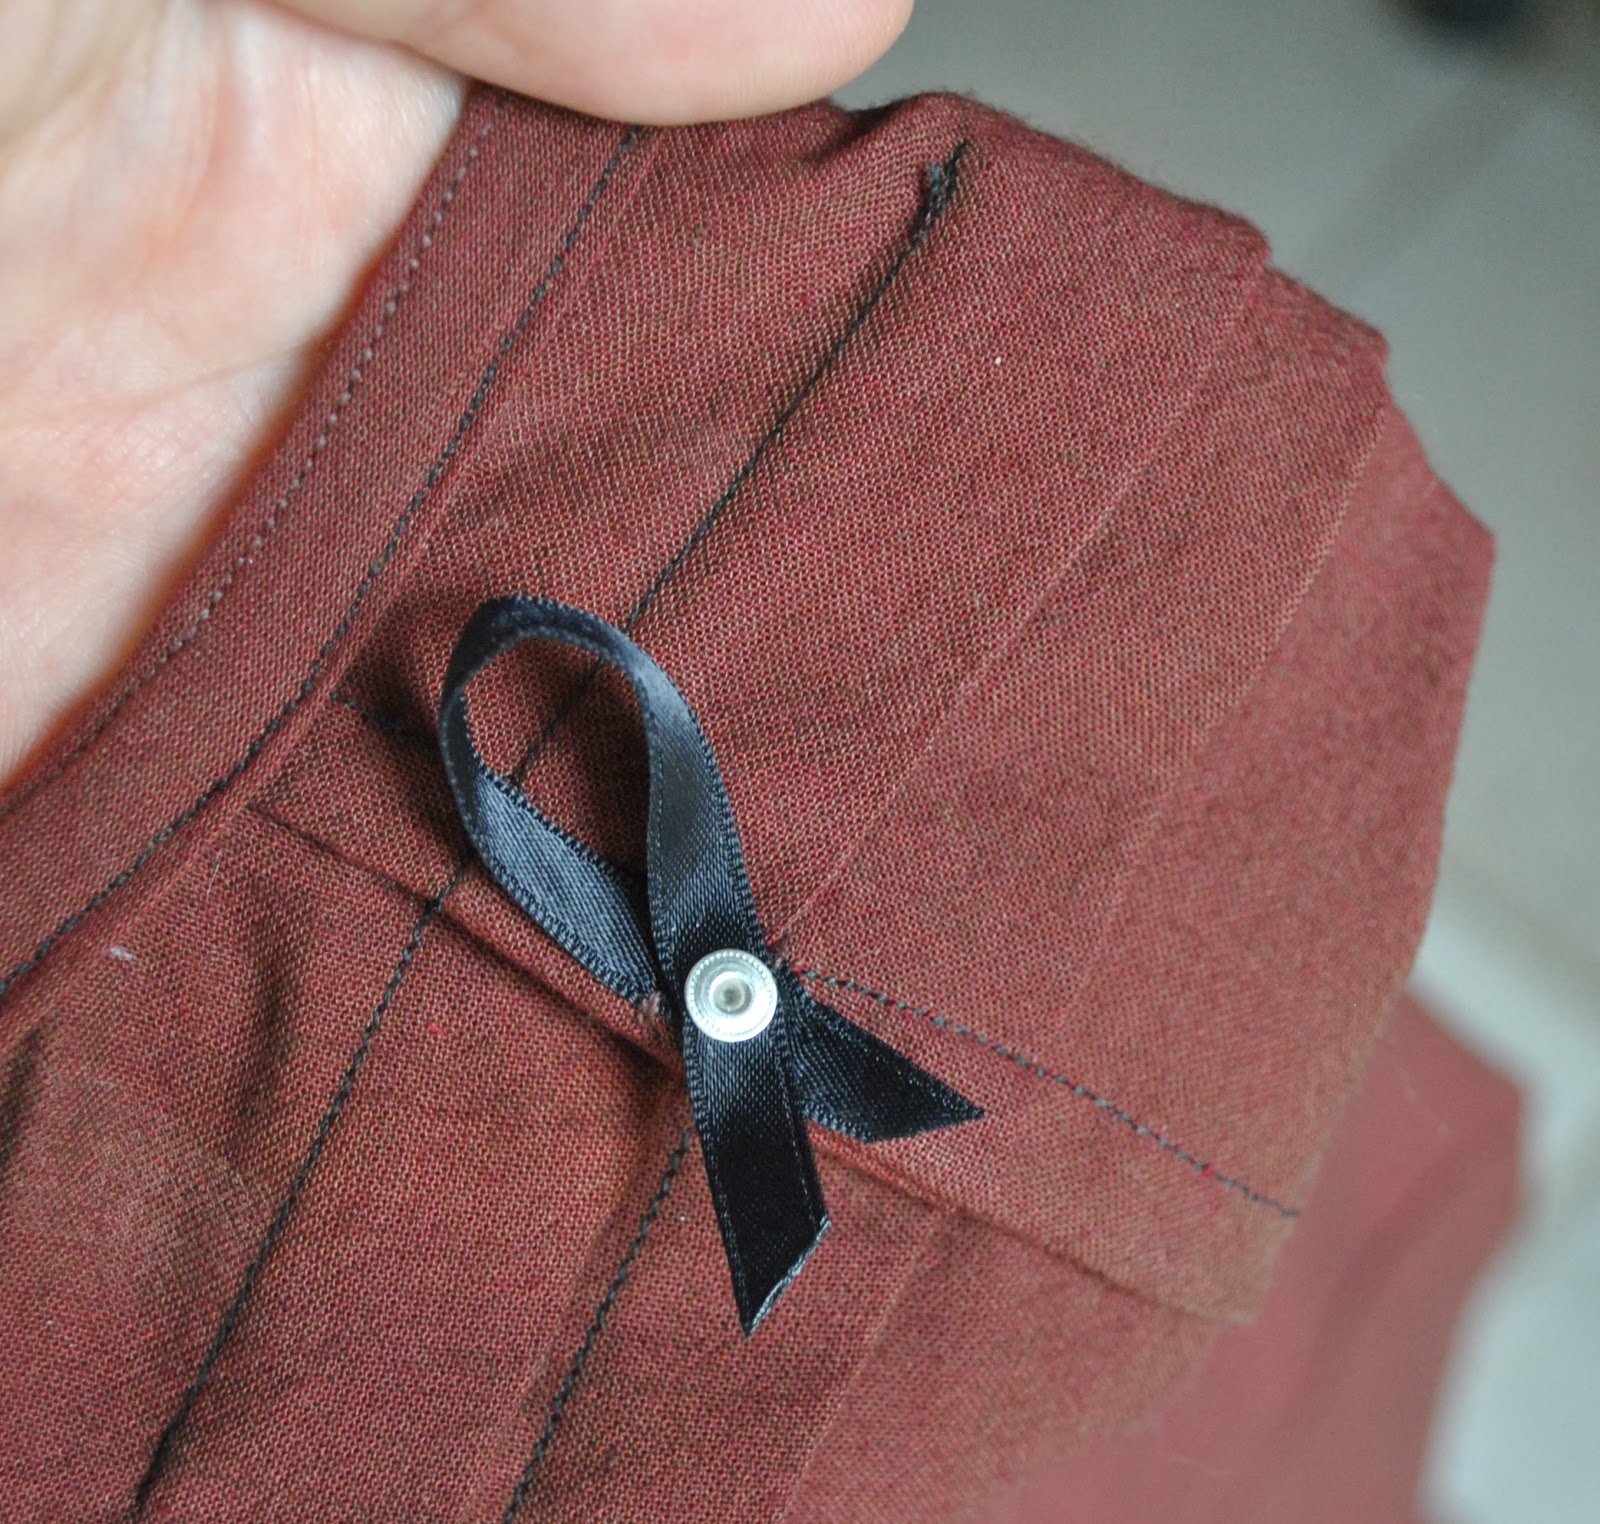
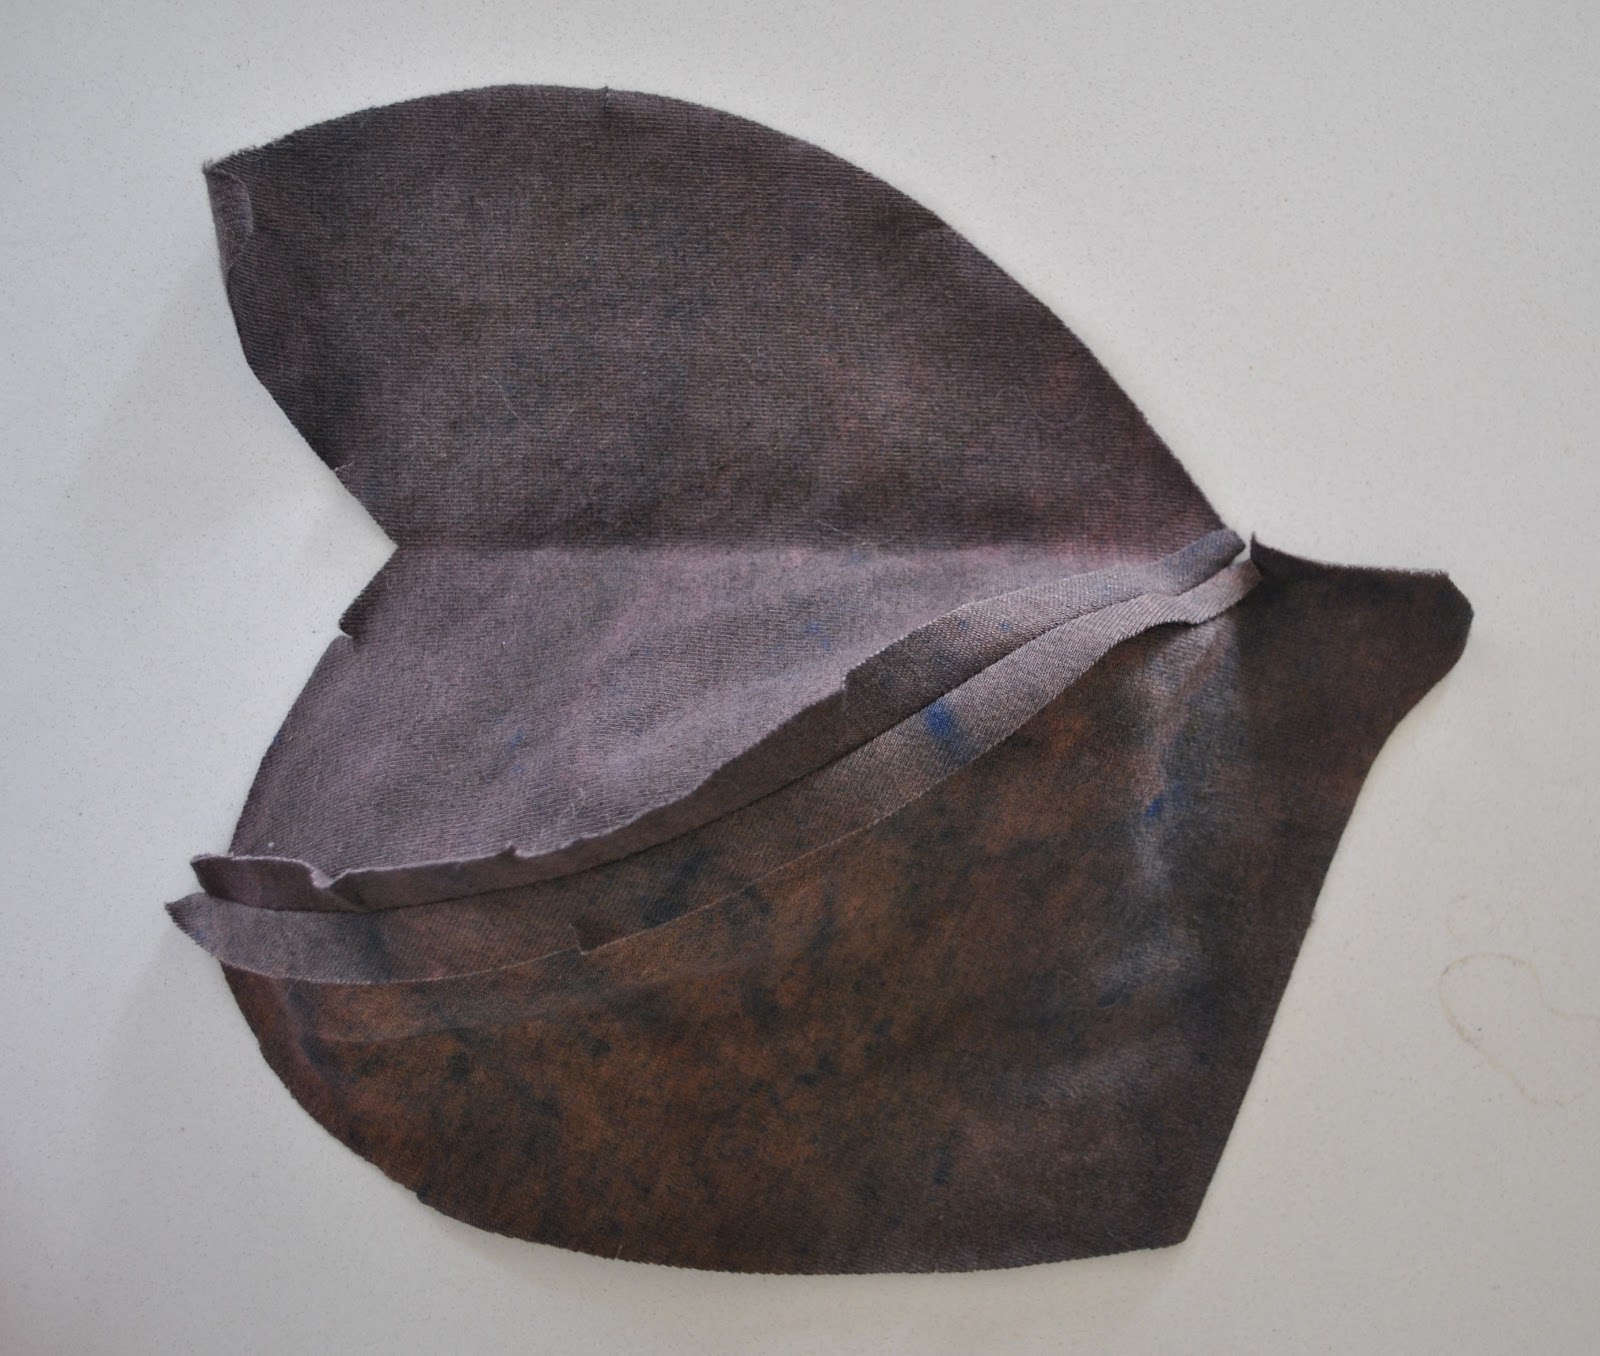
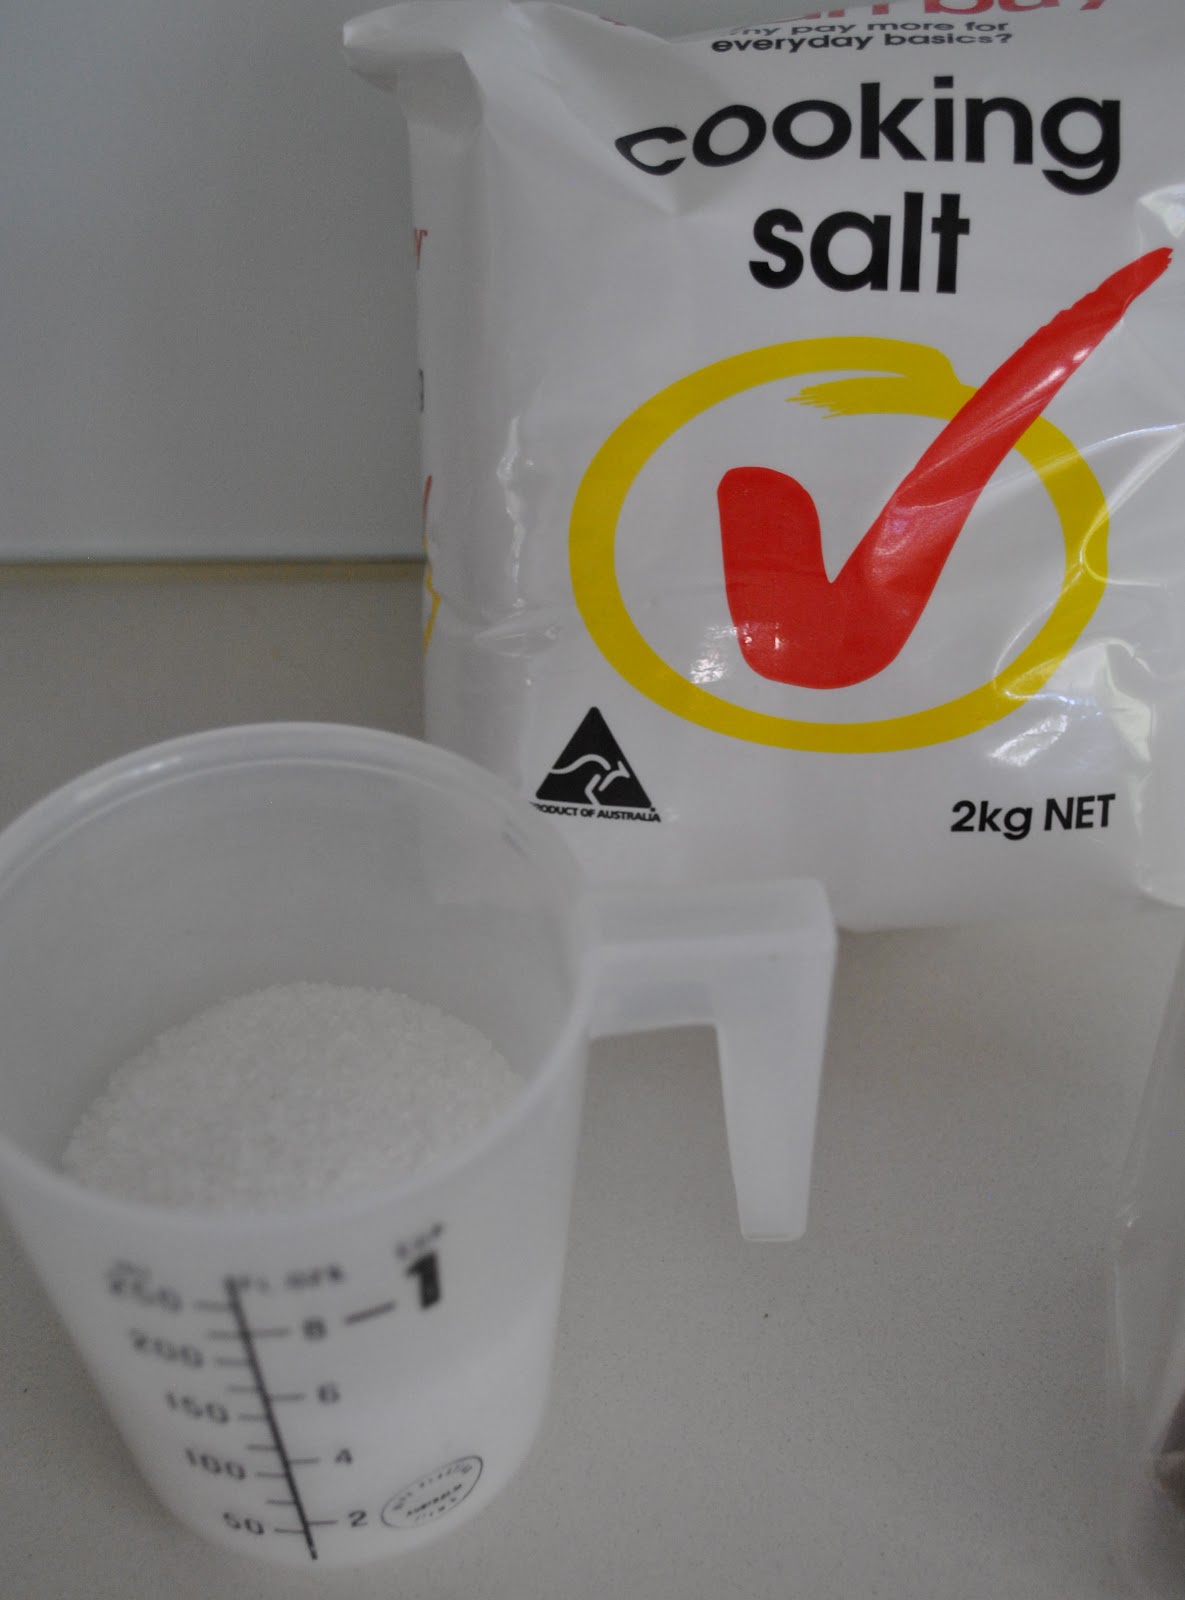
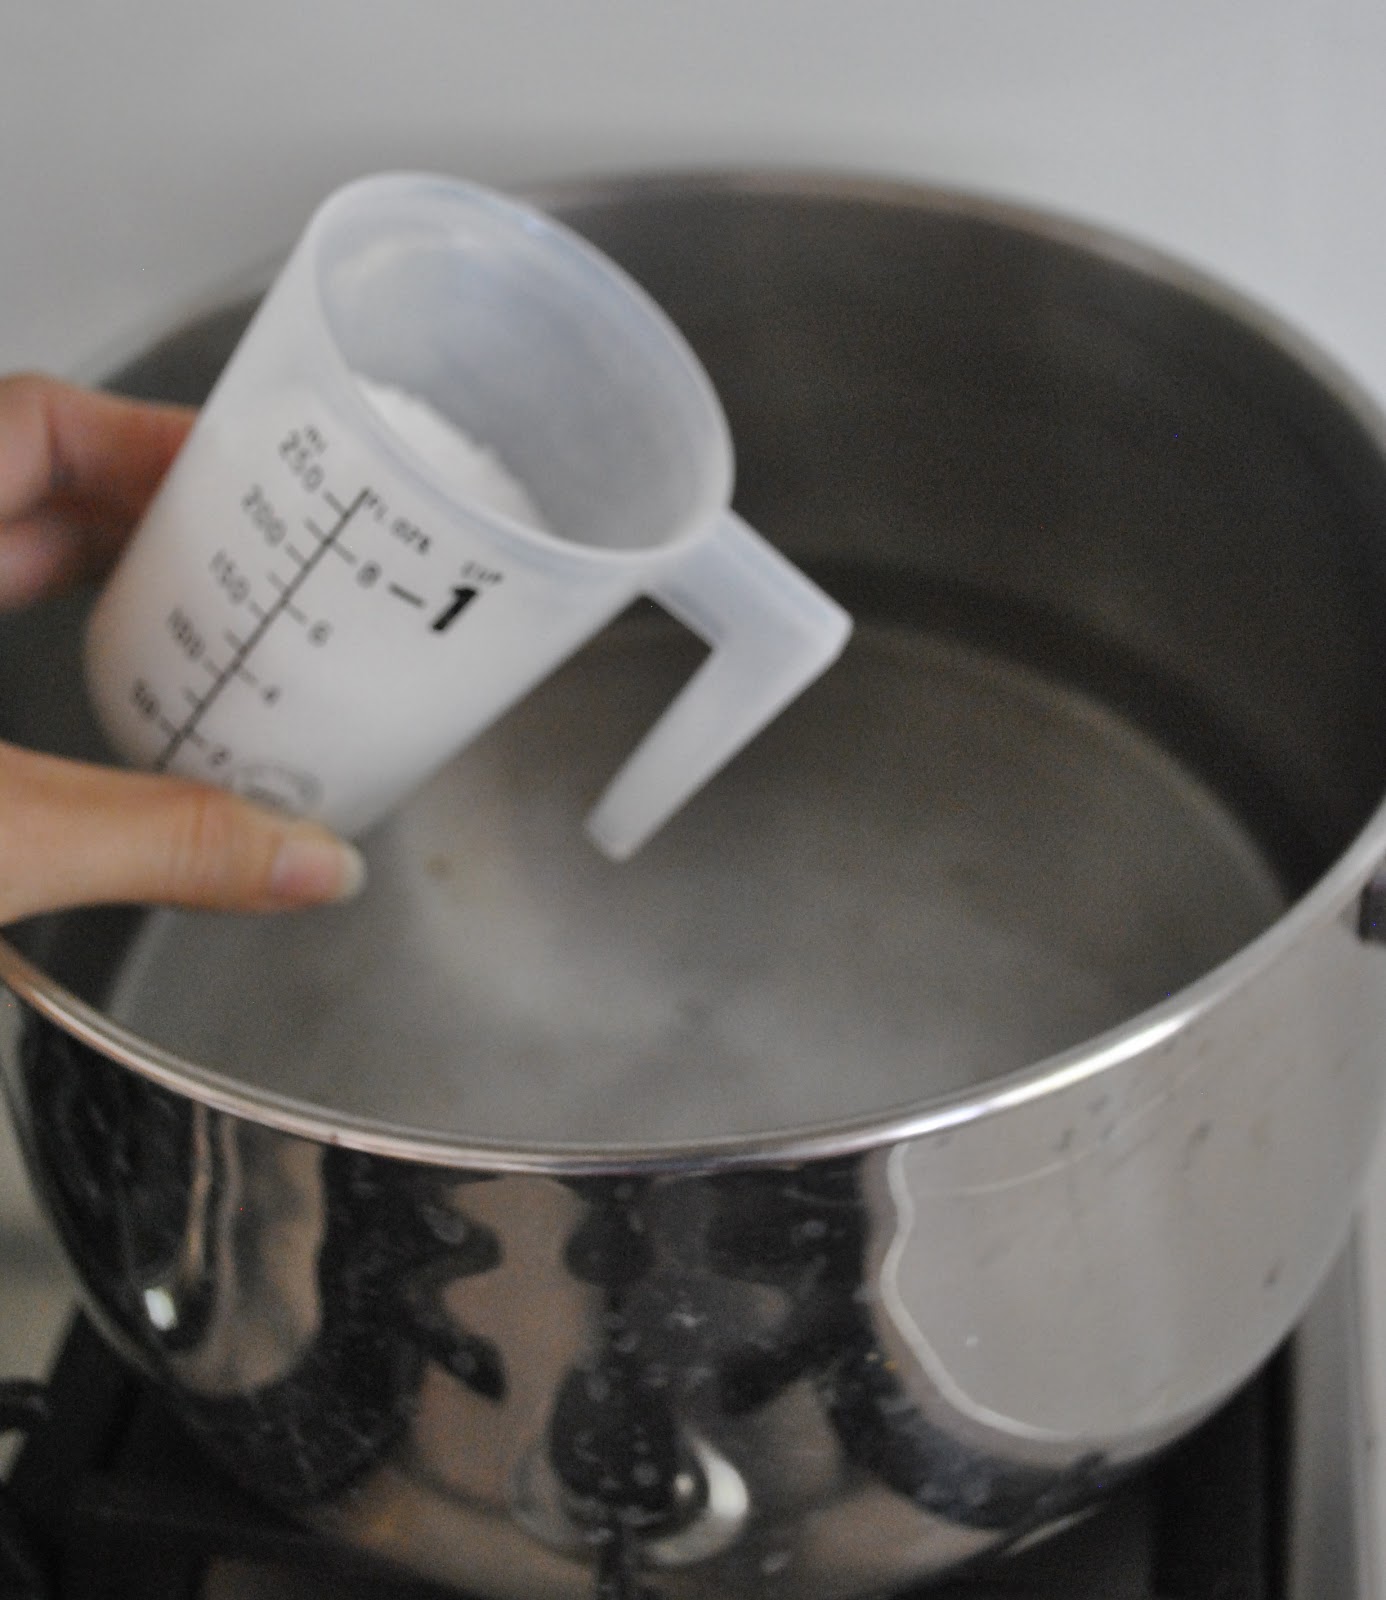
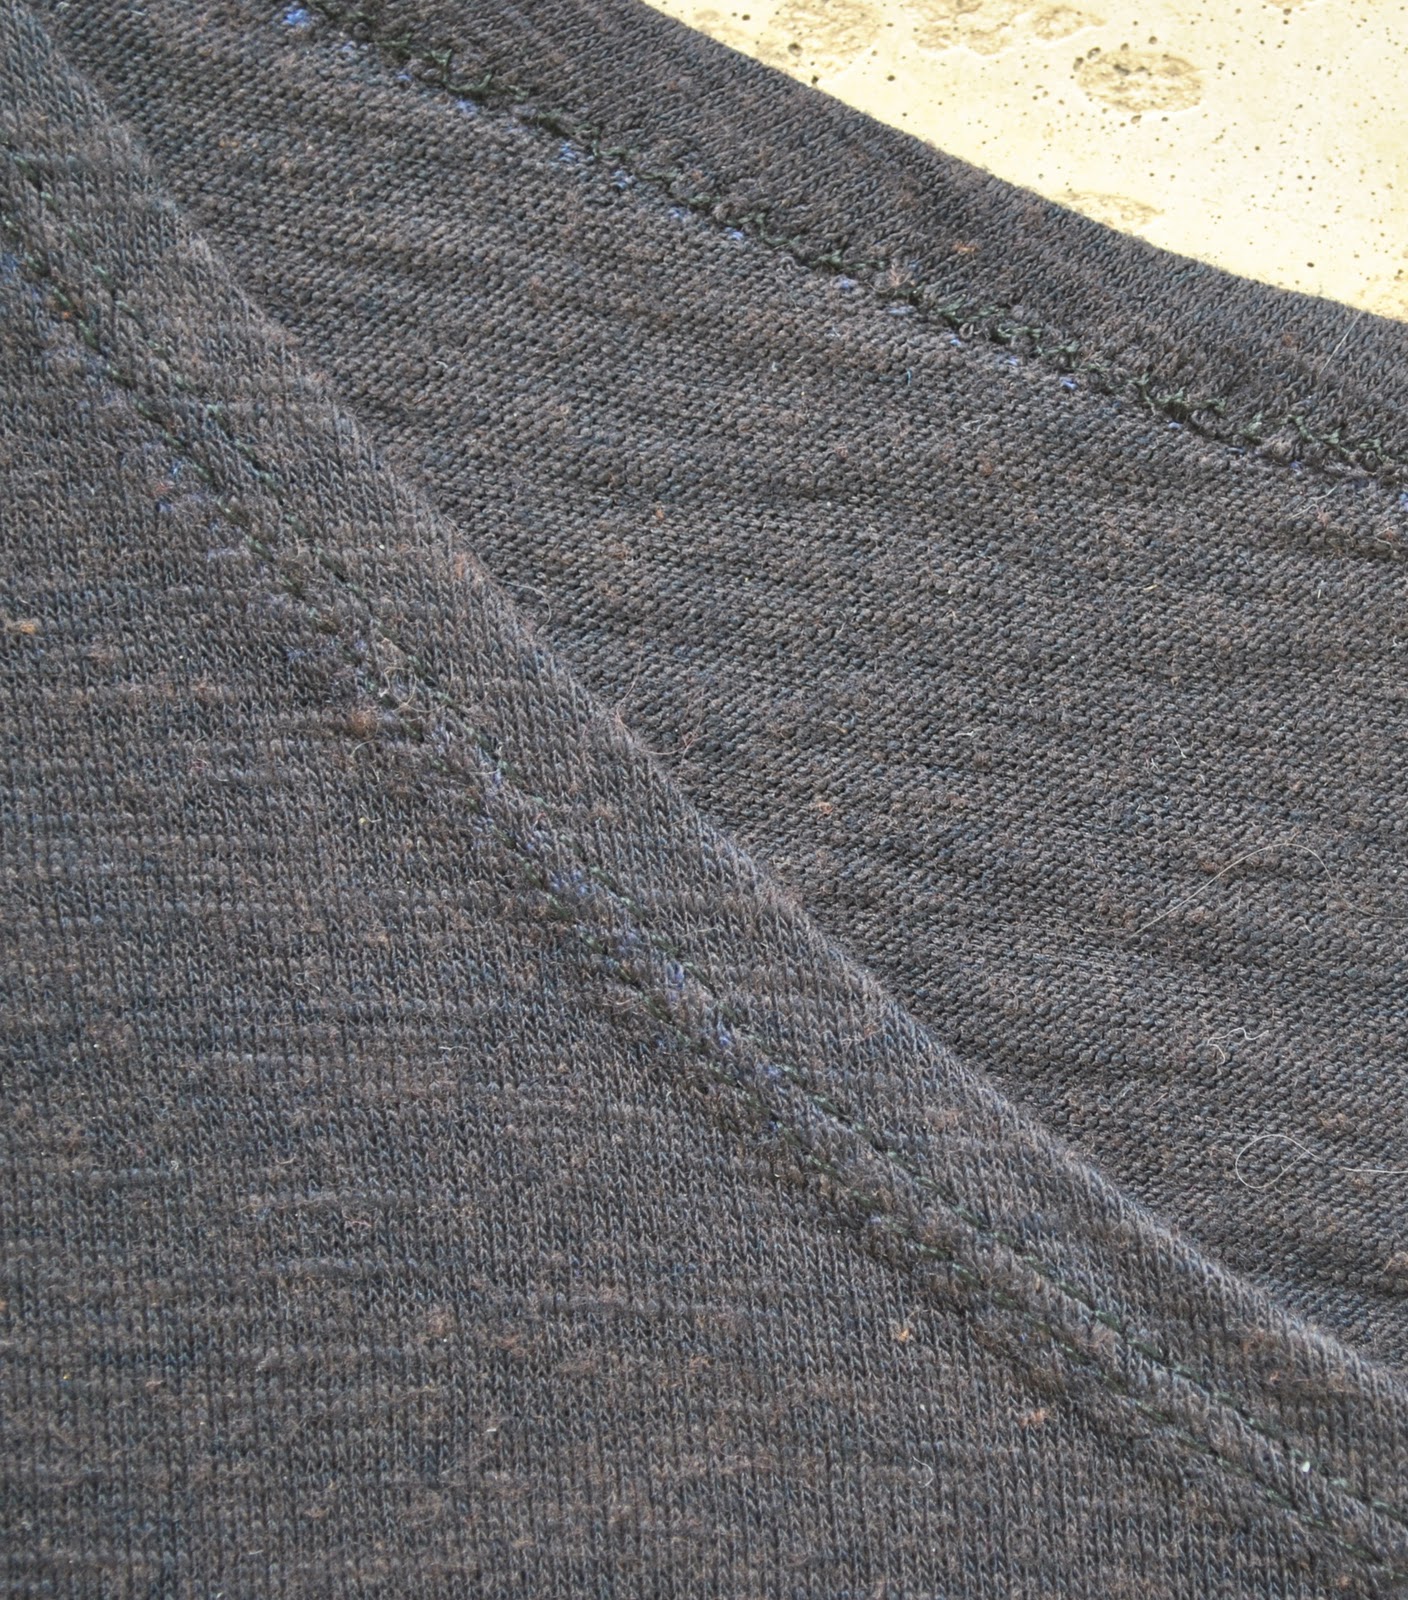
Since I had used ivory
coloured polyester thread to sew the entire dress, after dyeing the hem
stitching really stood out and looked awful. I unpicked all the visible ivory top-stitching and re-stitched
using coffee coloured thread.
coloured polyester thread to sew the entire dress, after dyeing the hem
stitching really stood out and looked awful. I unpicked all the visible ivory top-stitching and re-stitched
using coffee coloured thread.
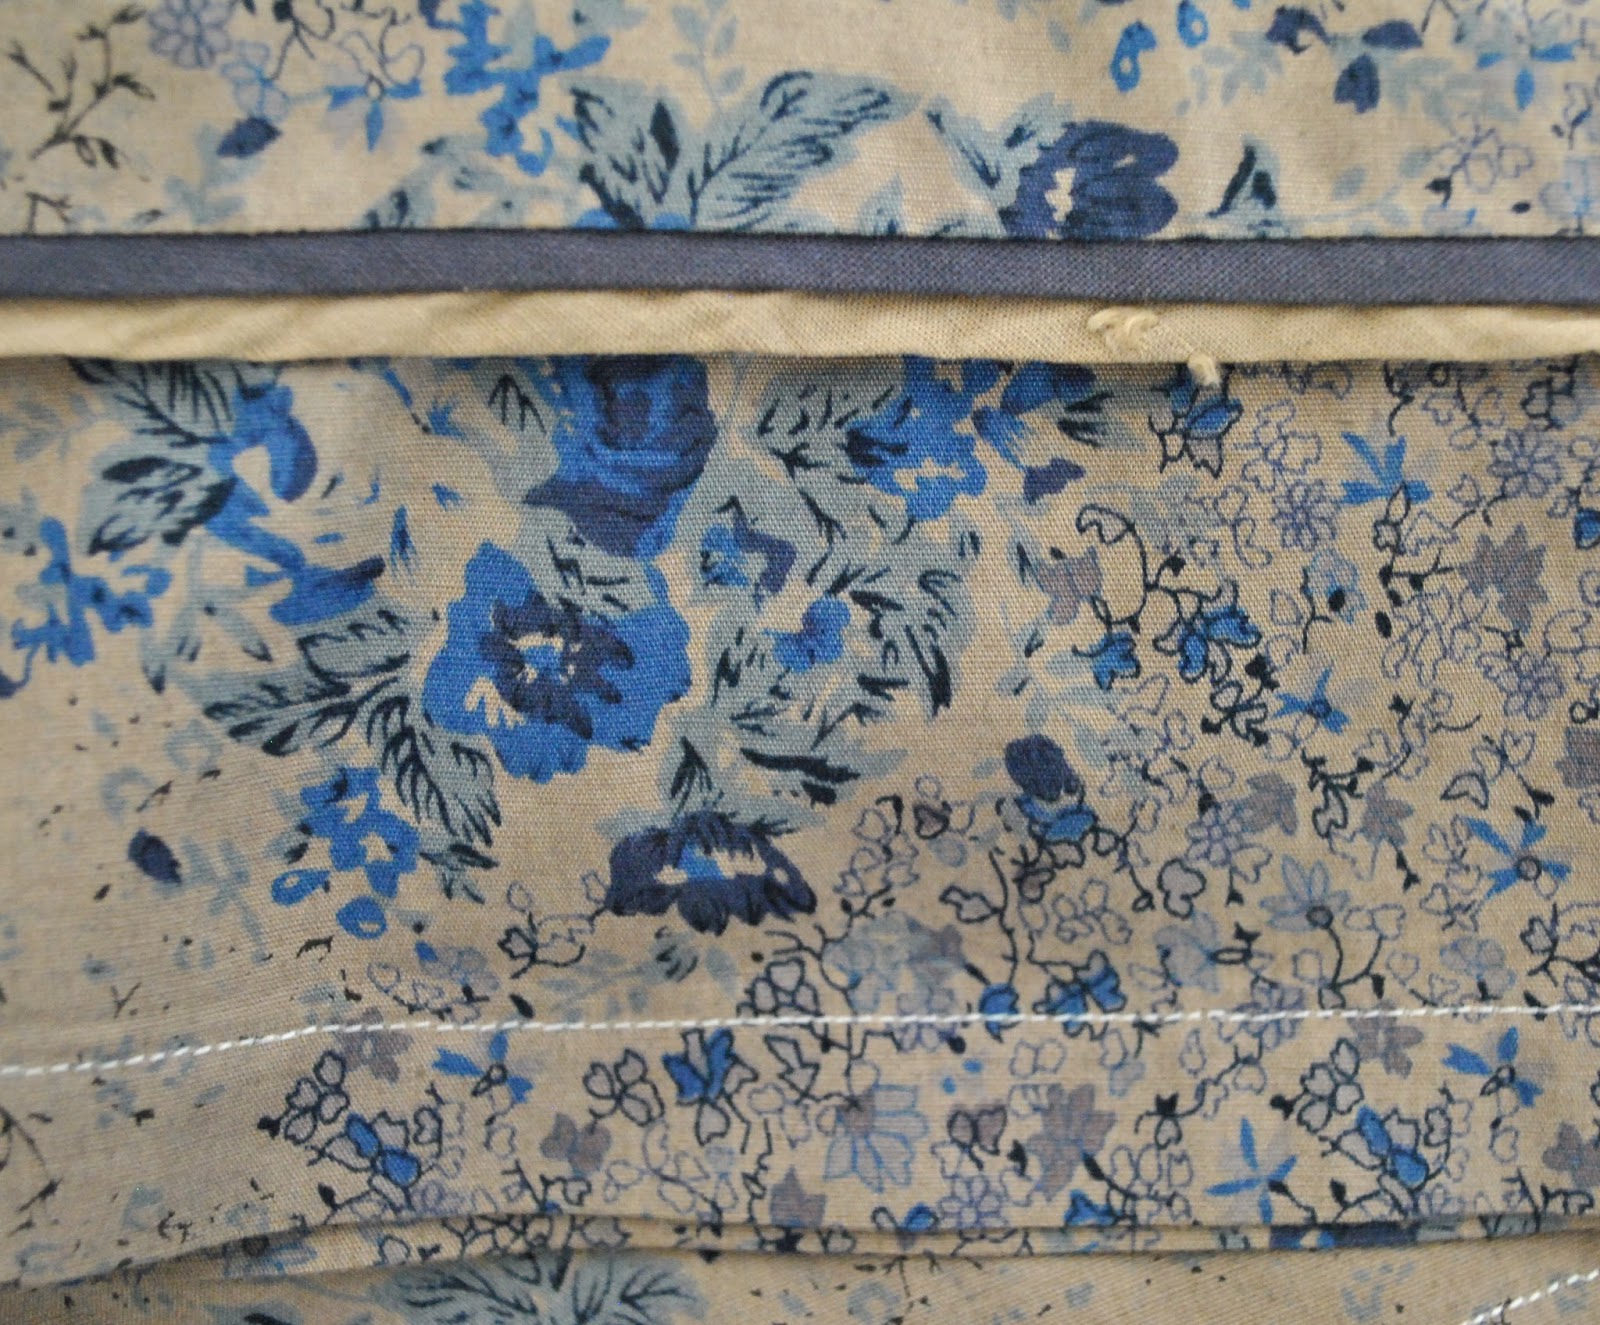
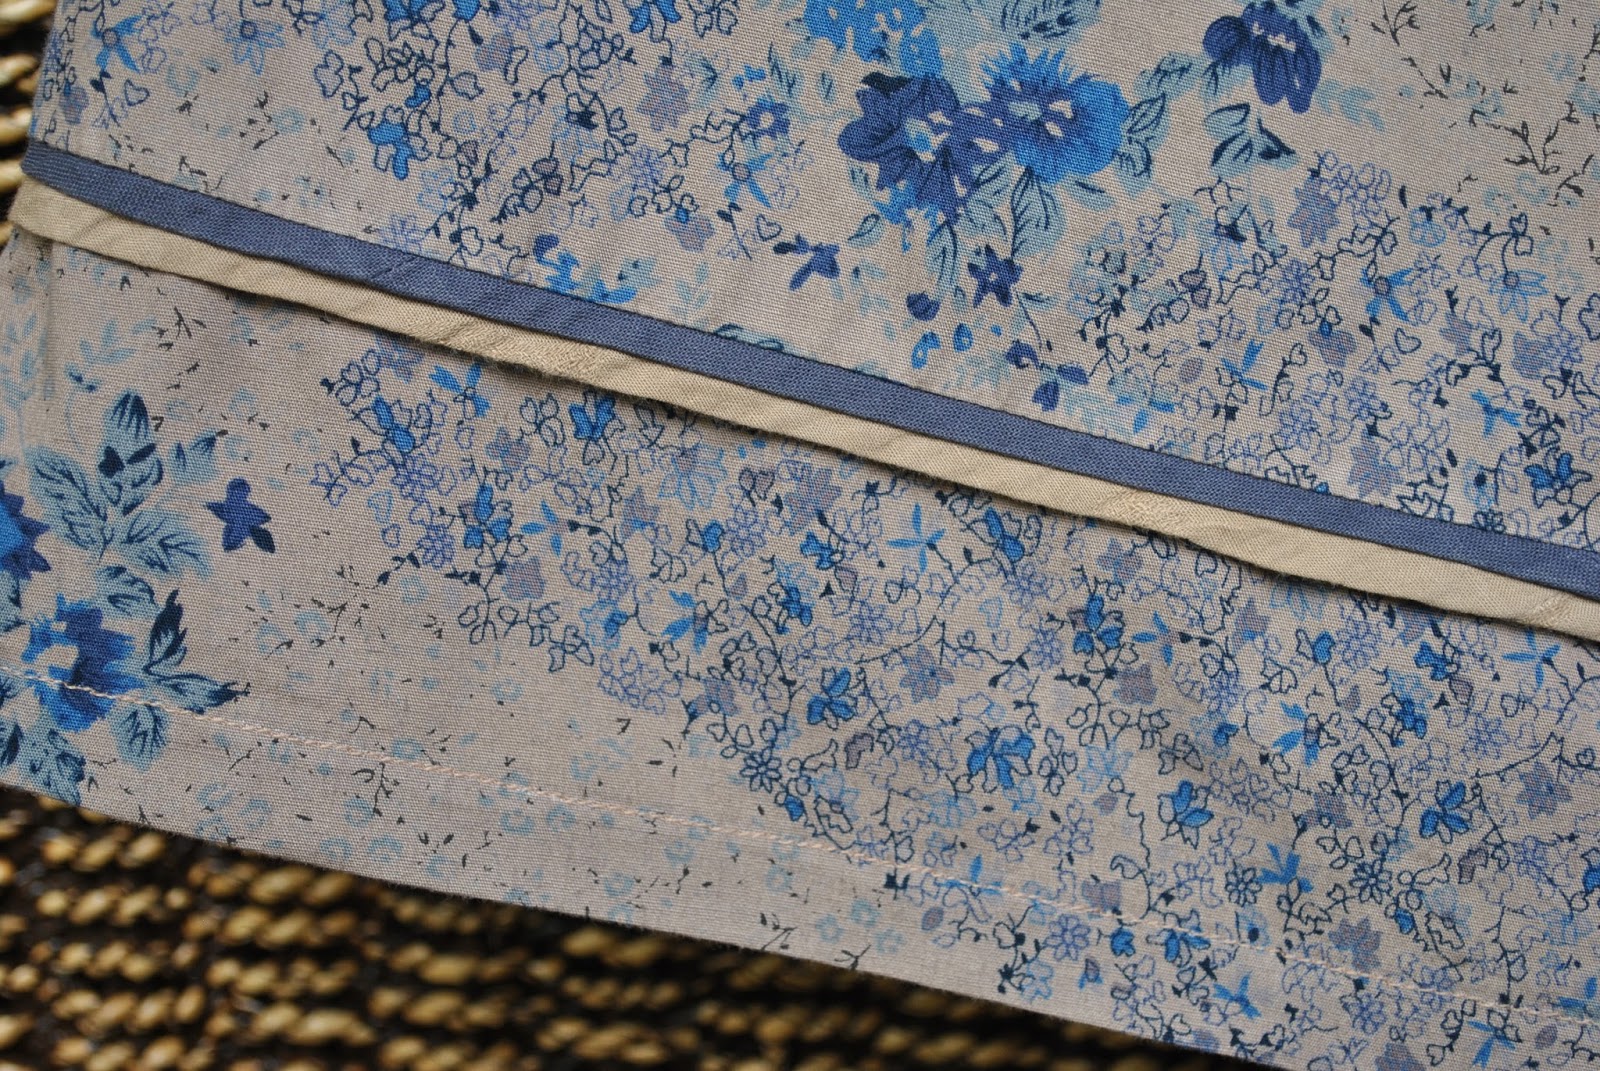
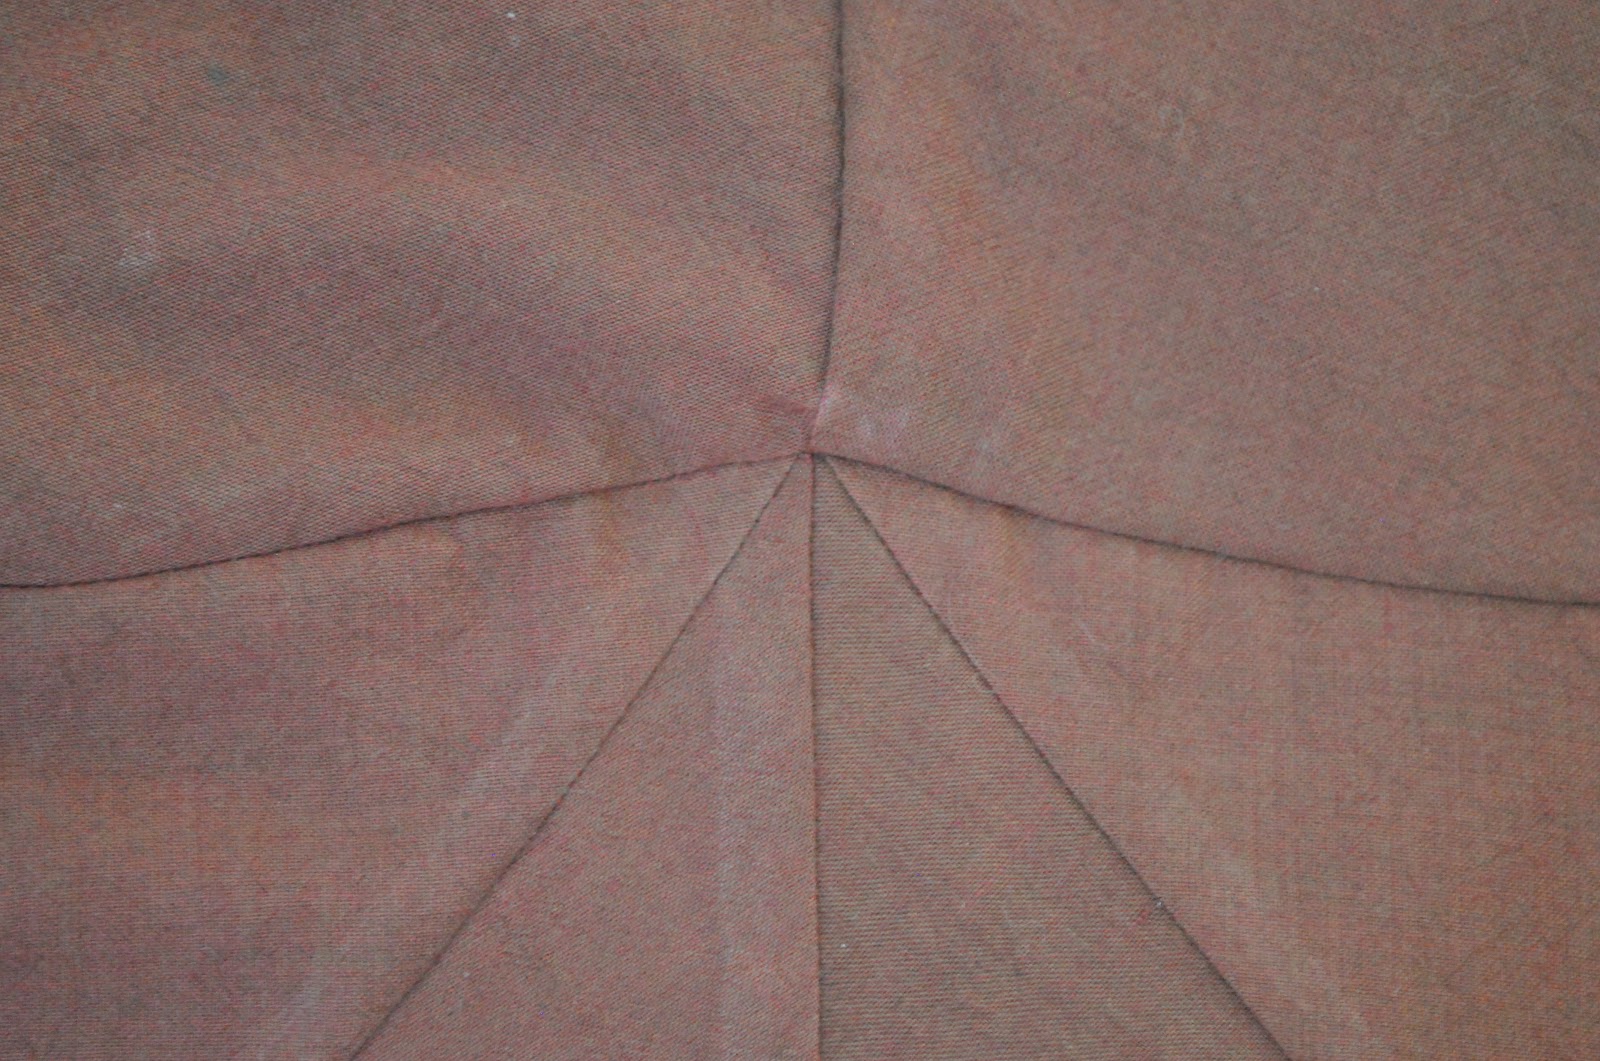
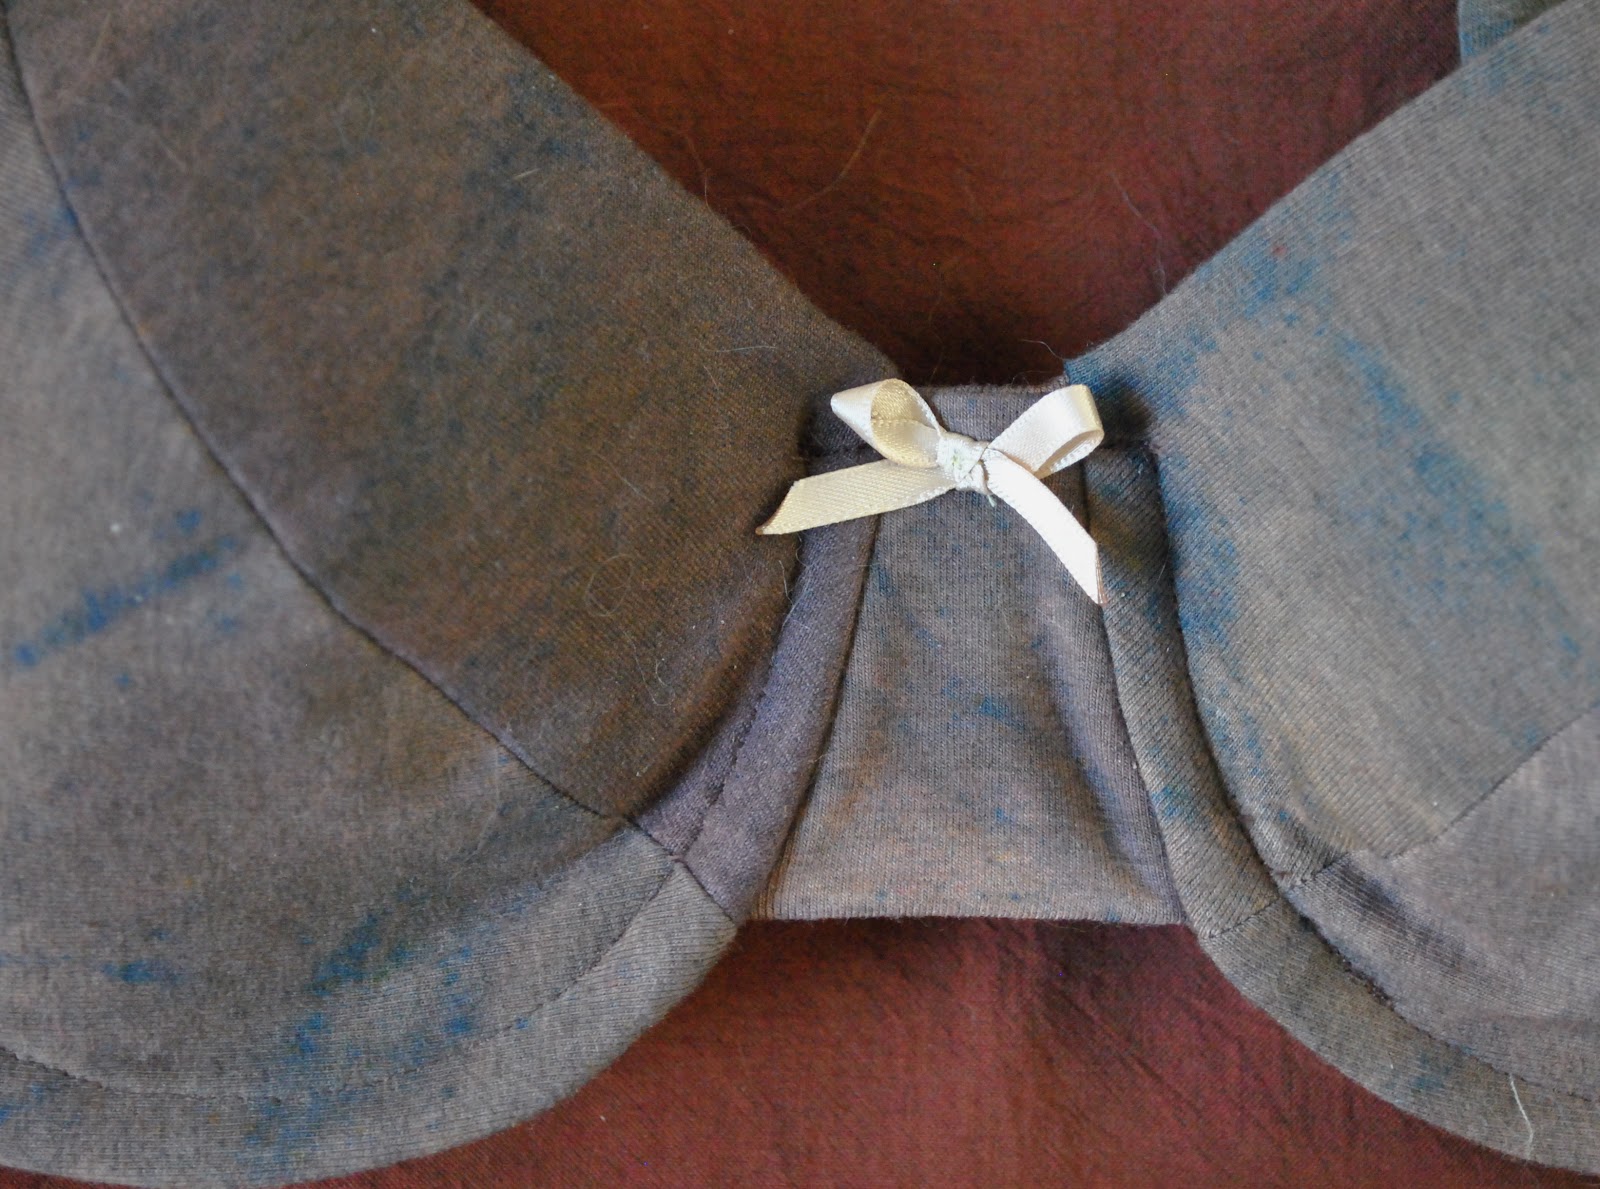
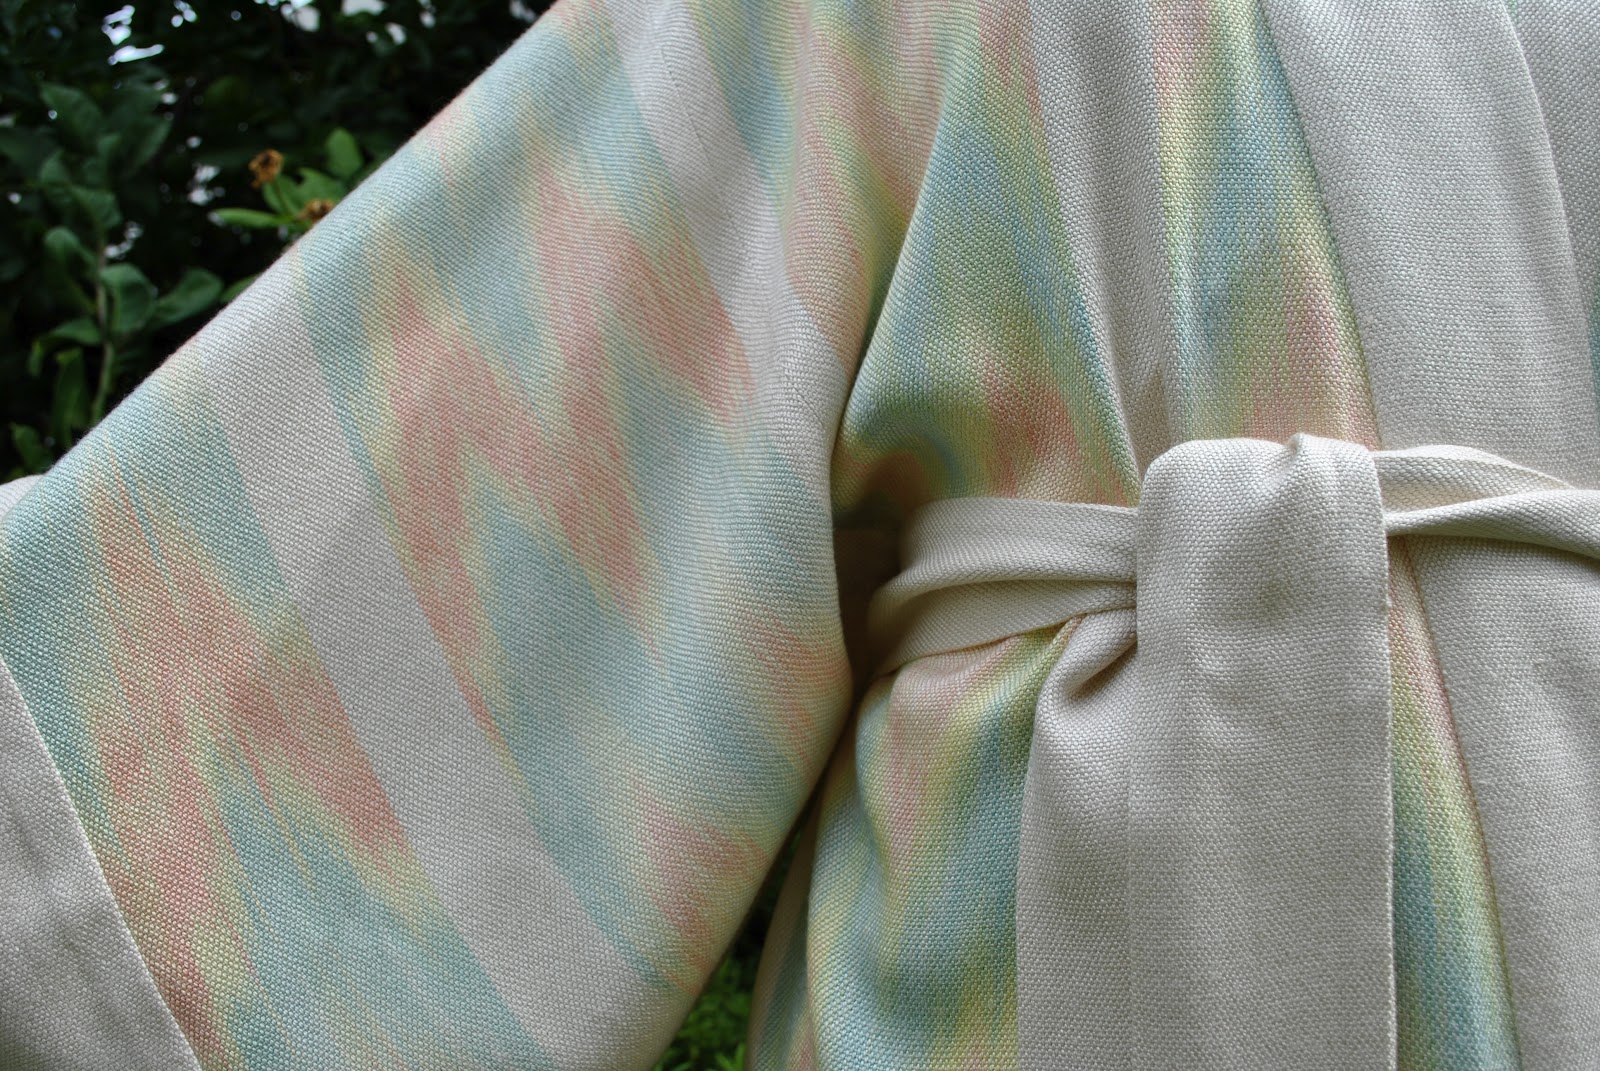
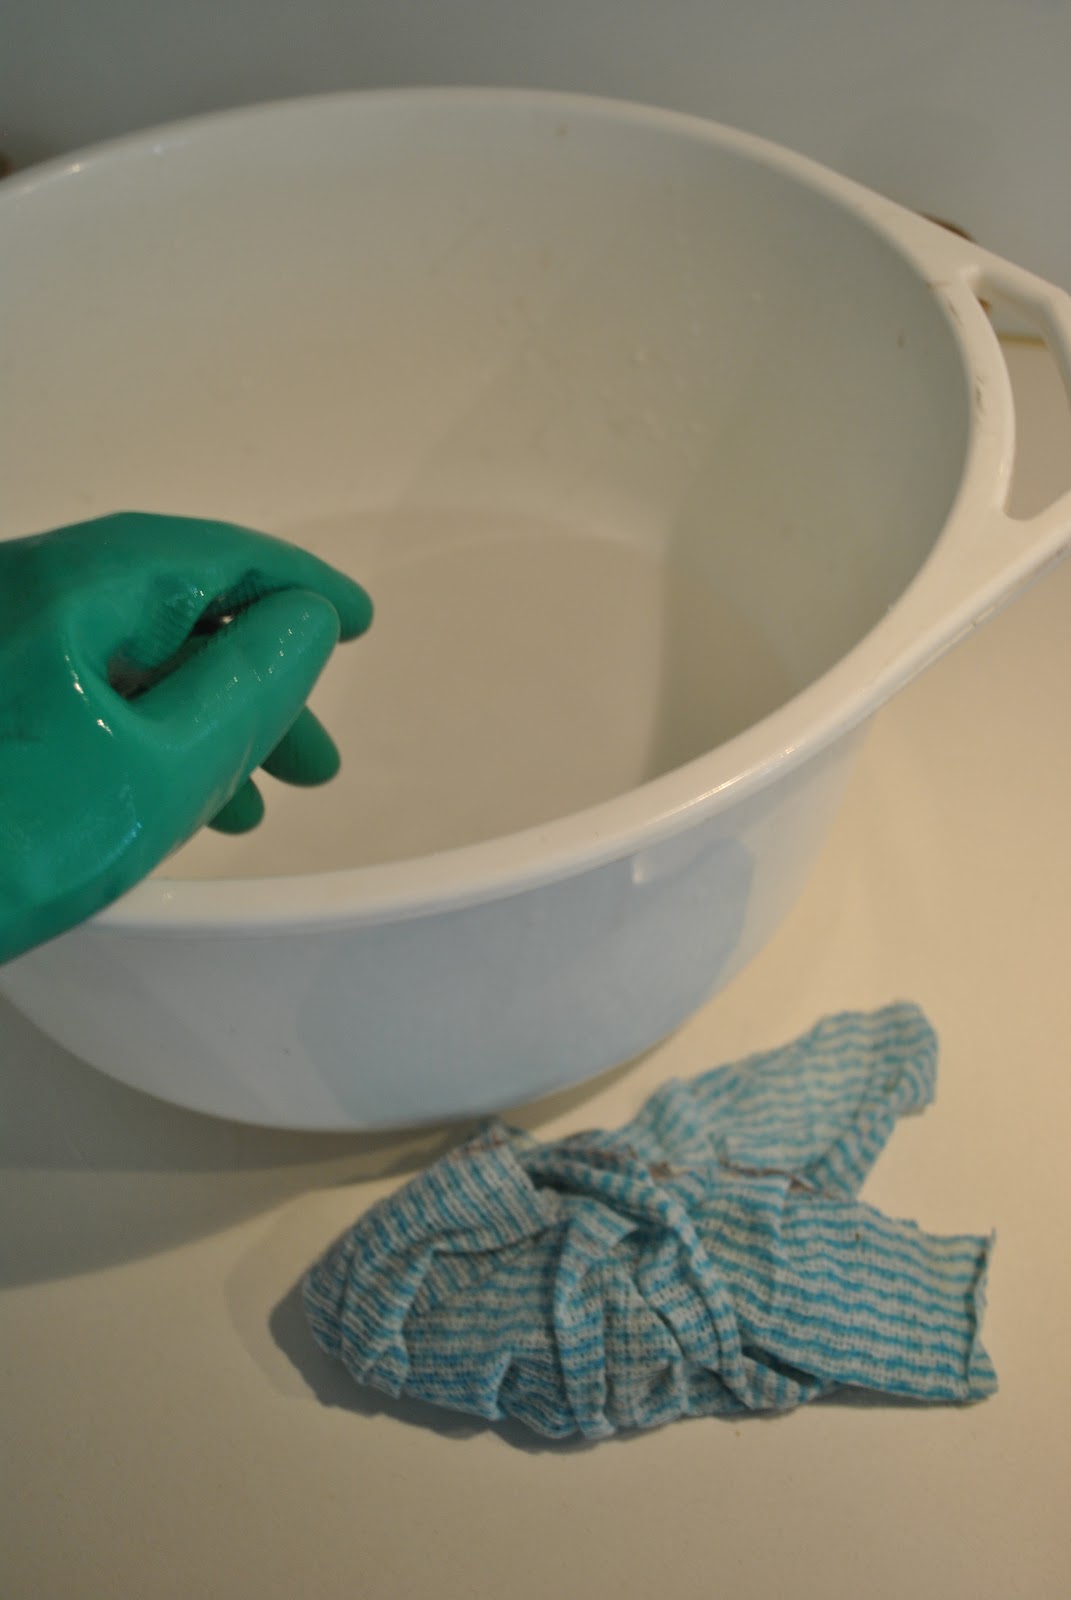
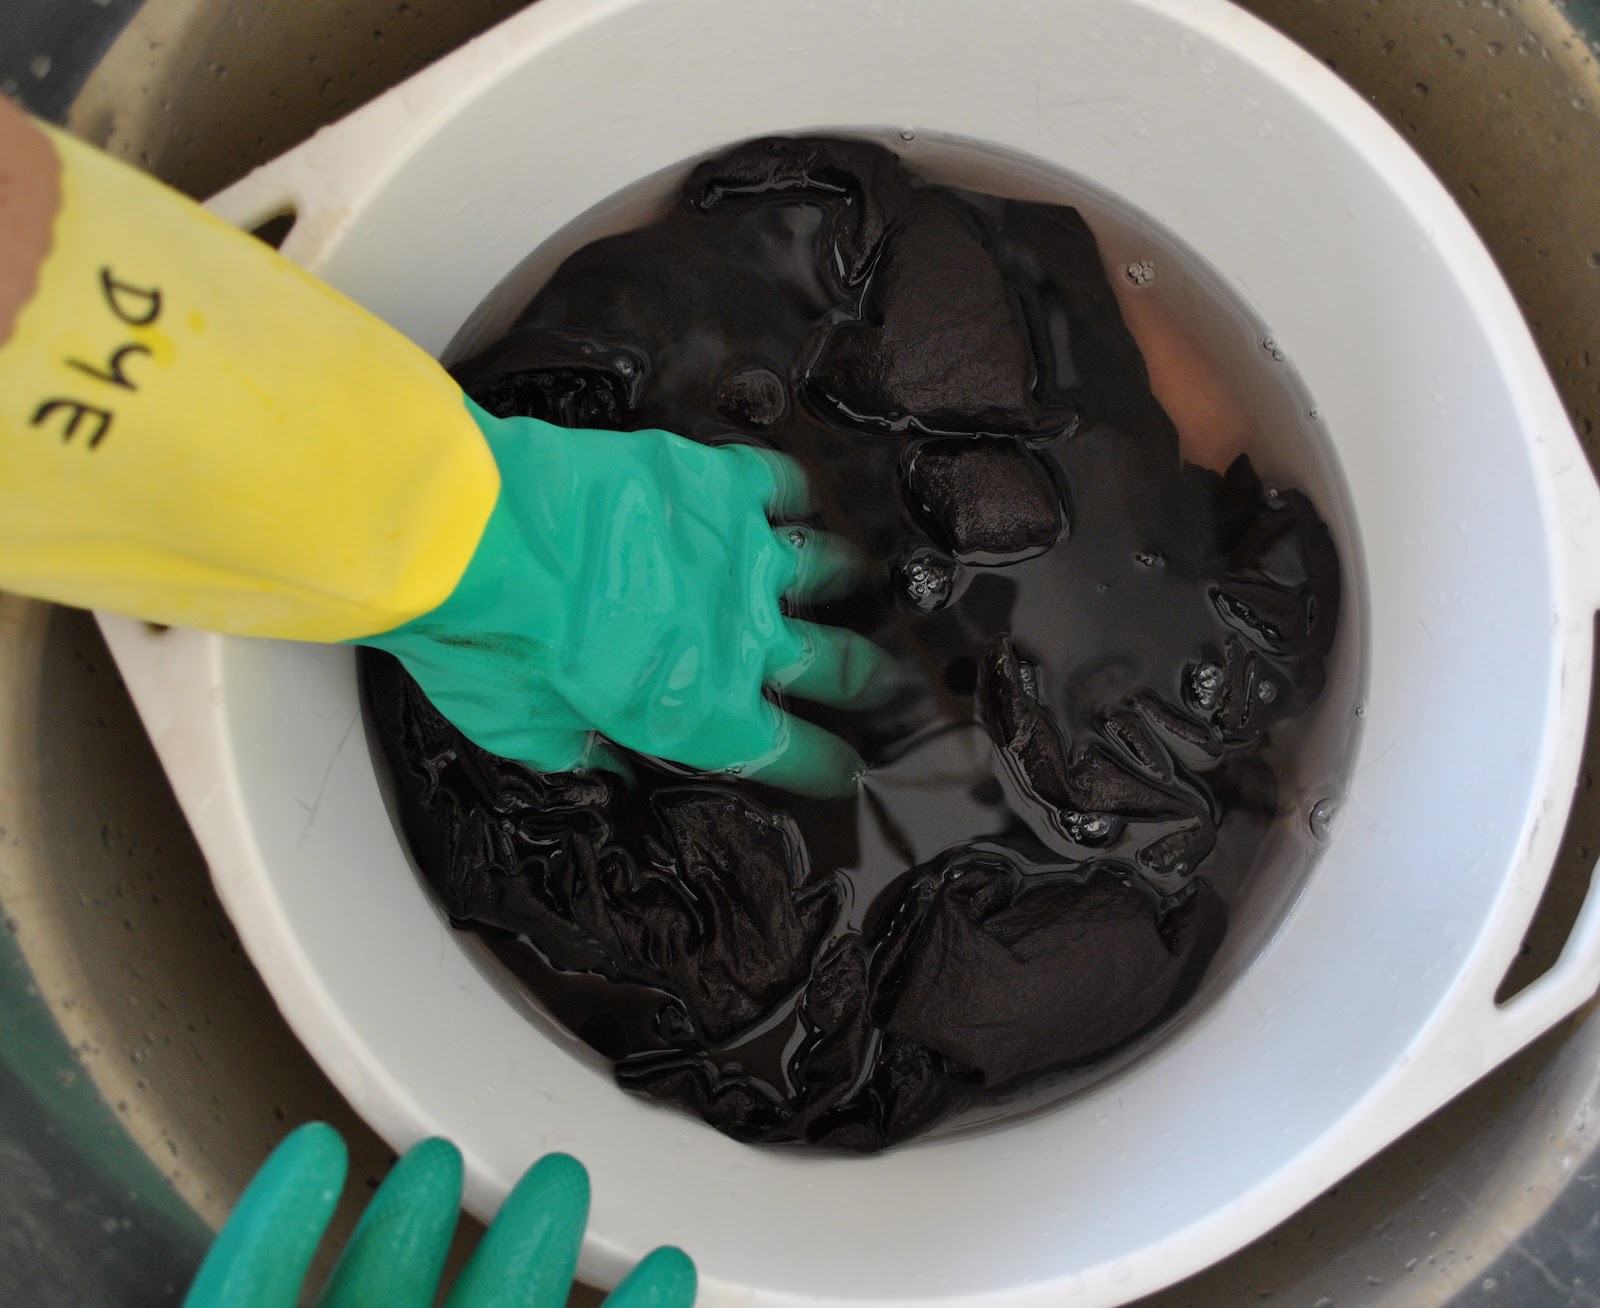
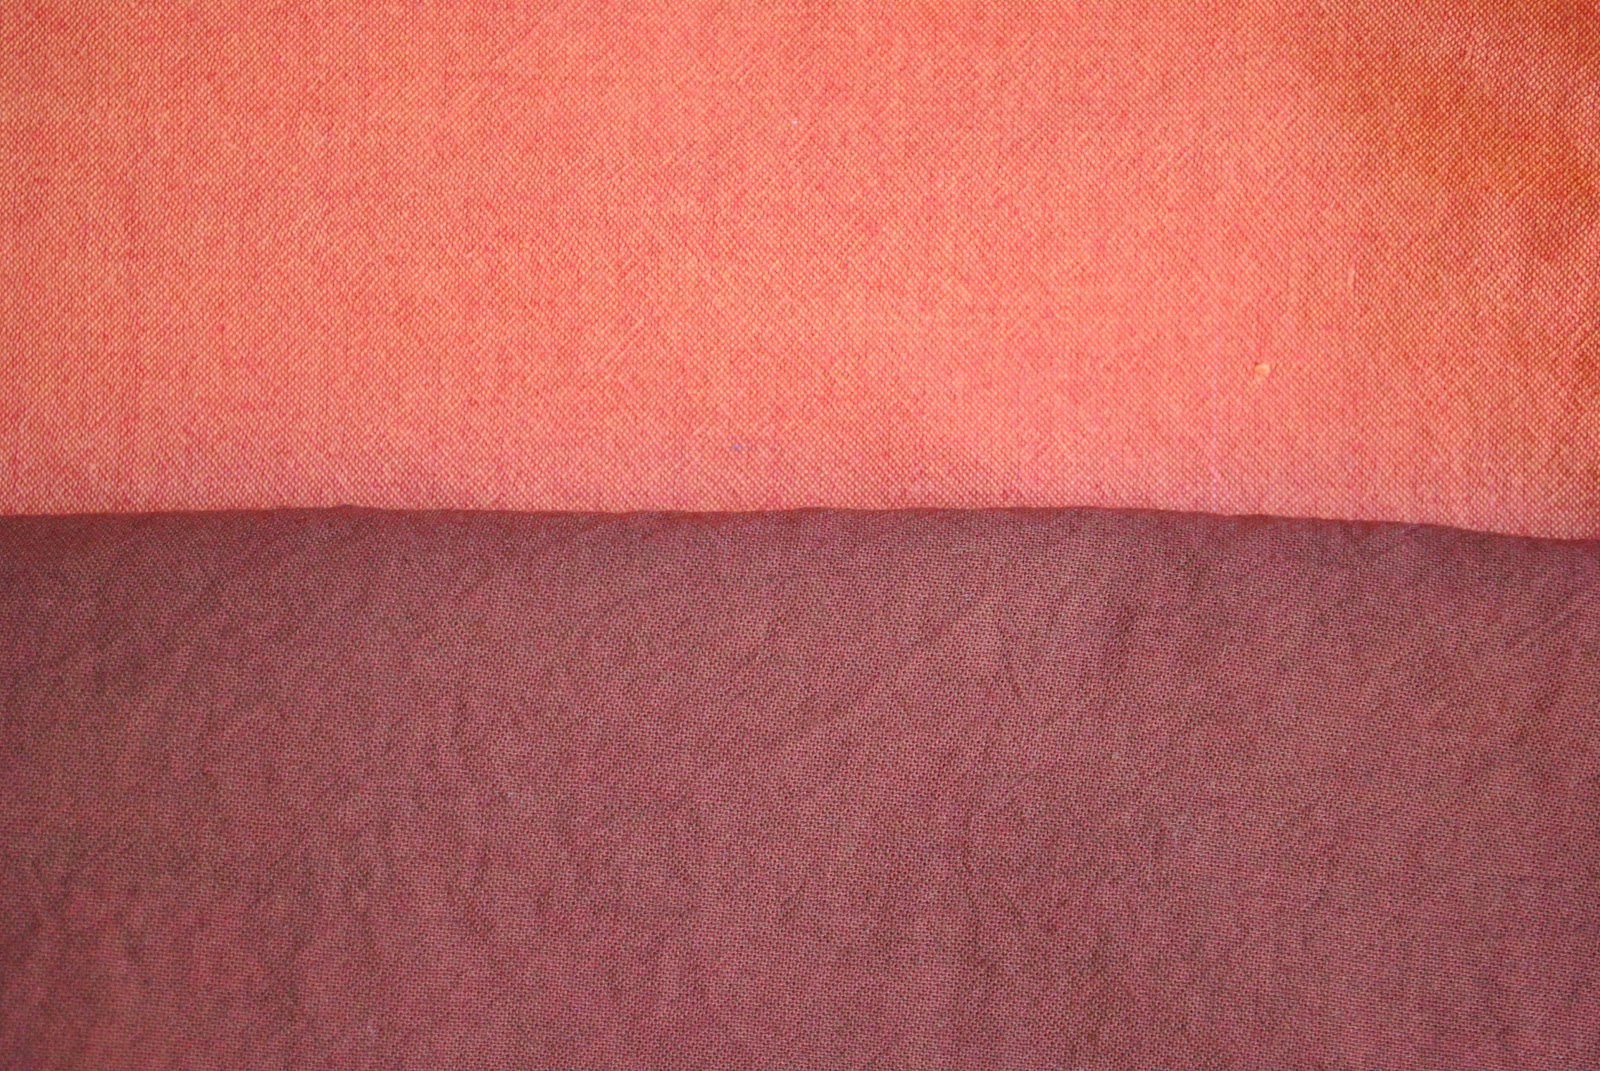
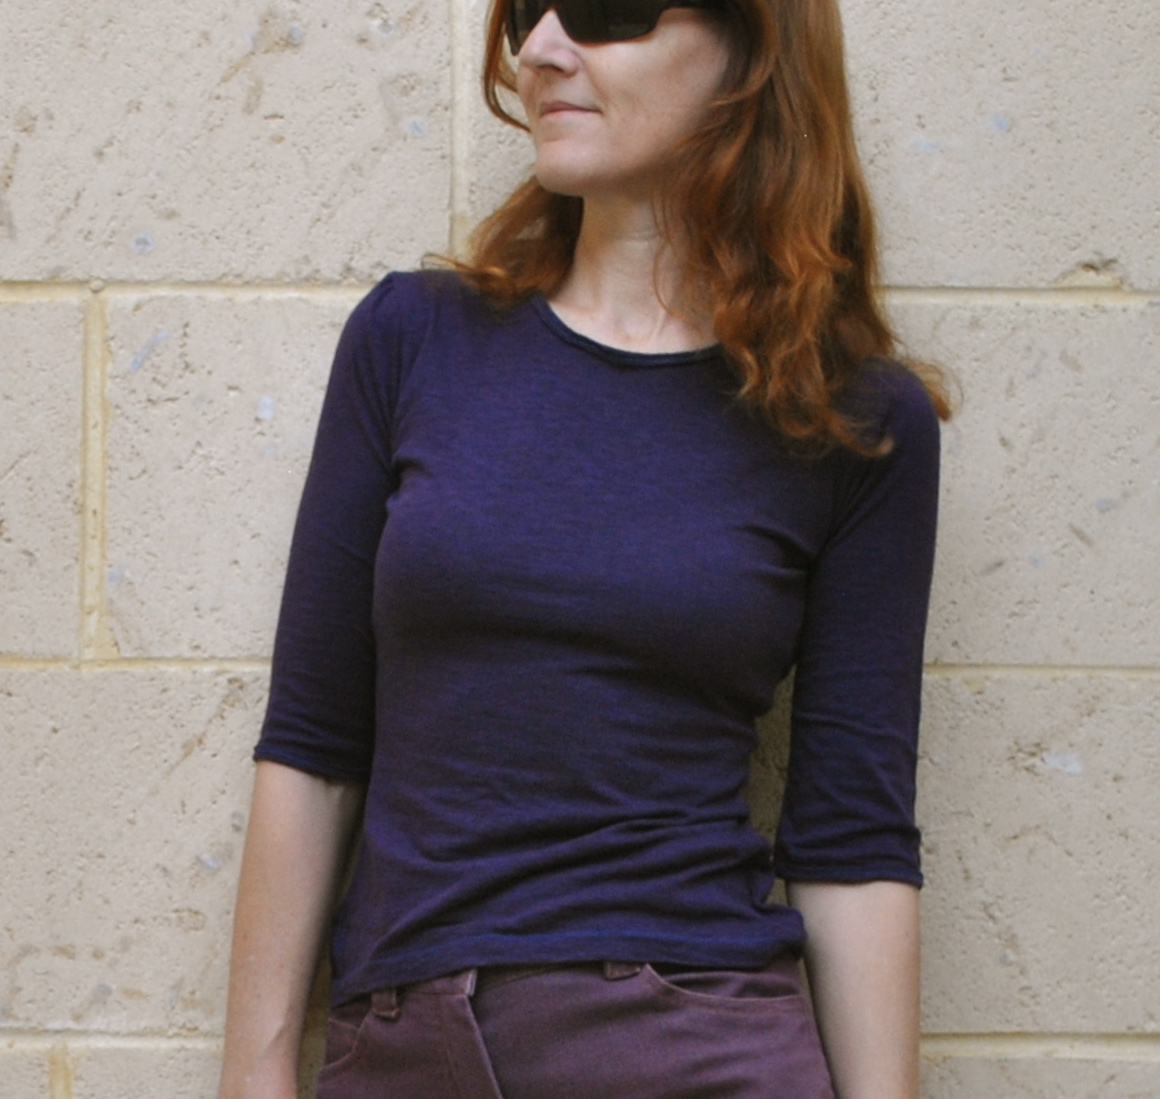
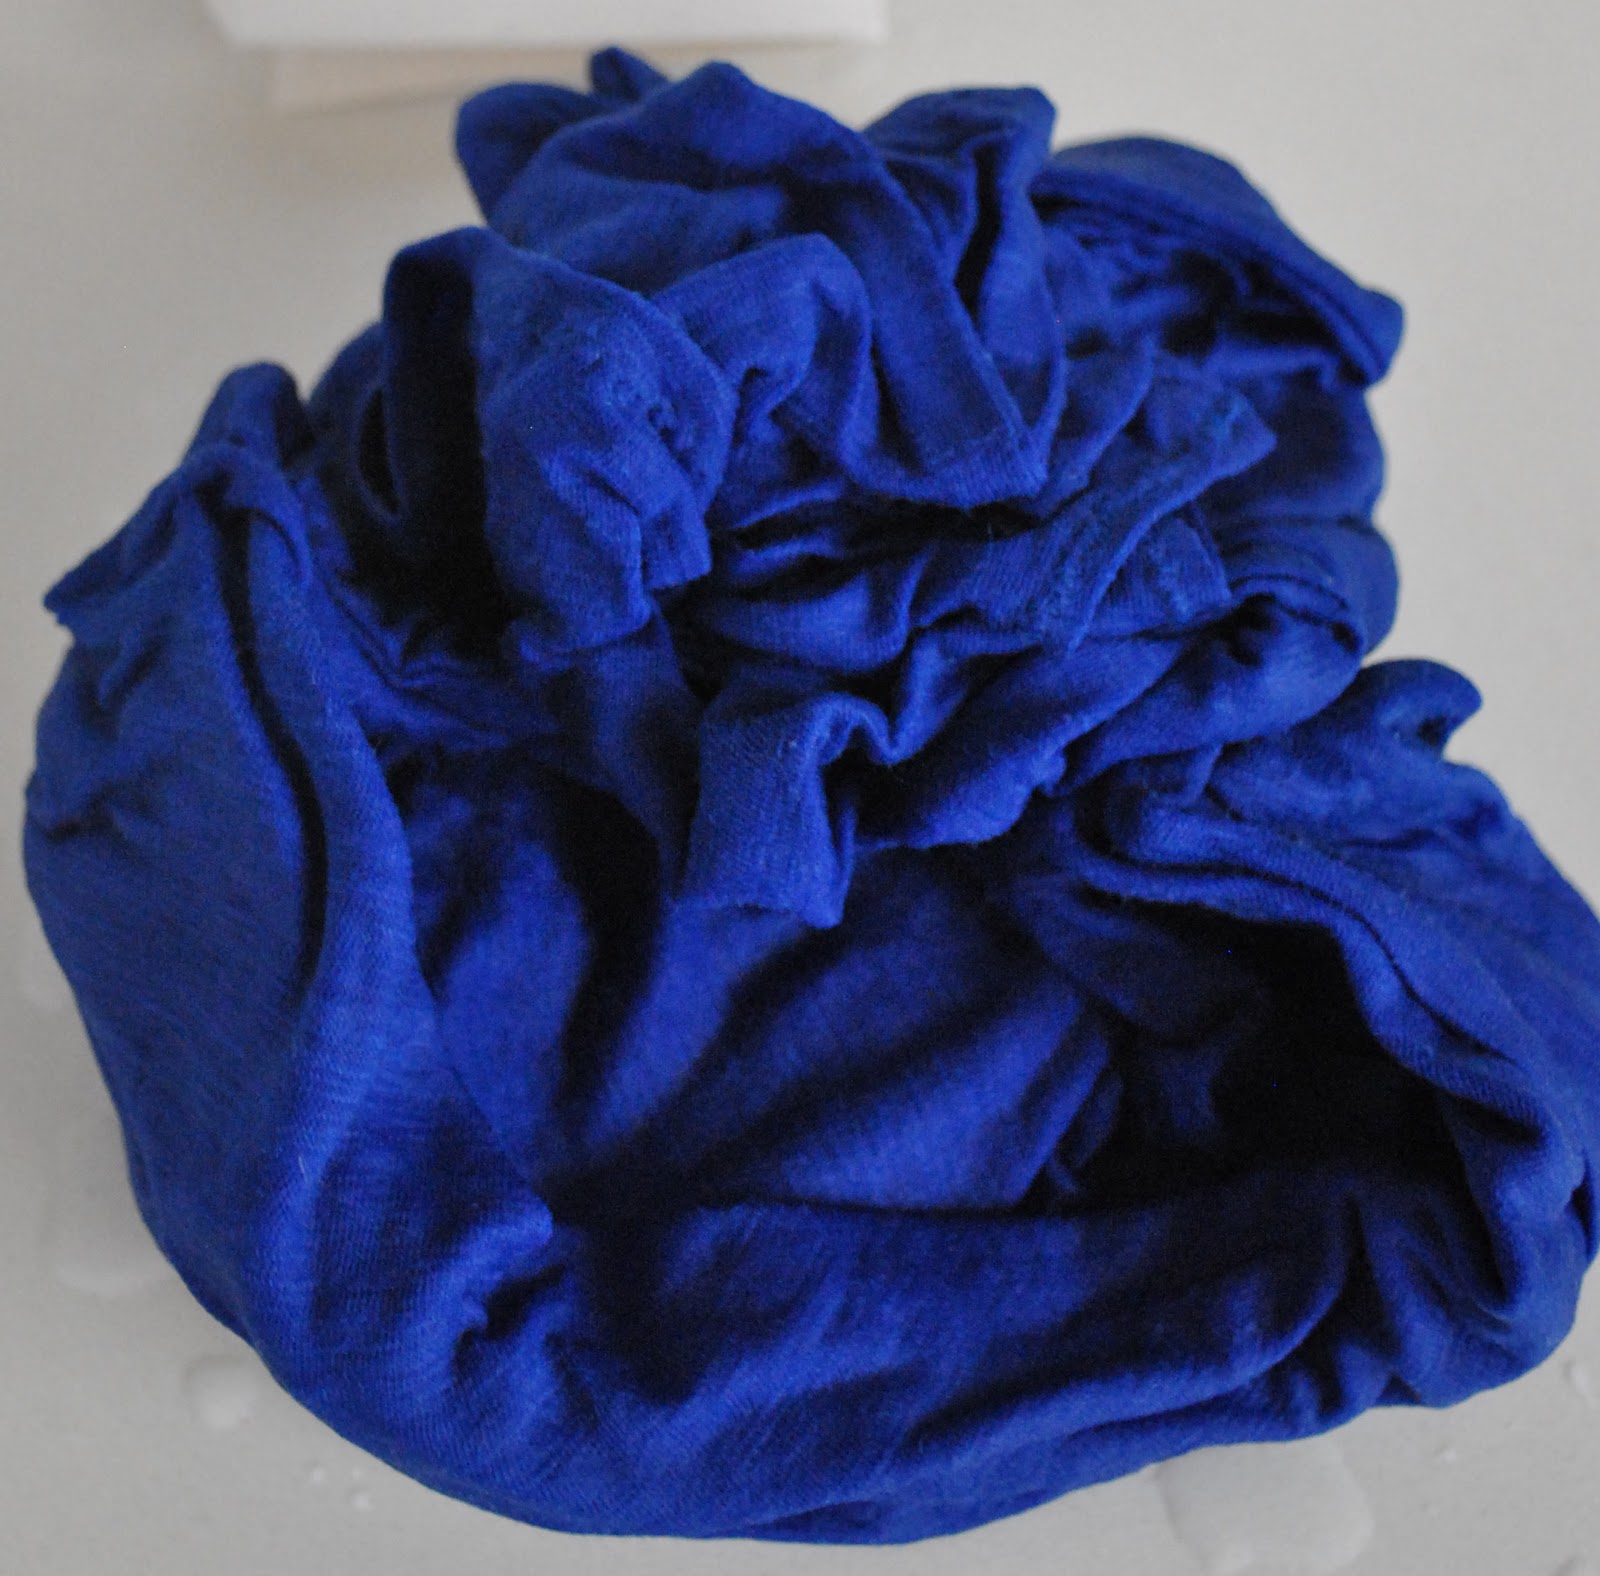
The little quirk of
dyeing is that you cannot always predict exactly what your results are going to
be. I found it interesting that
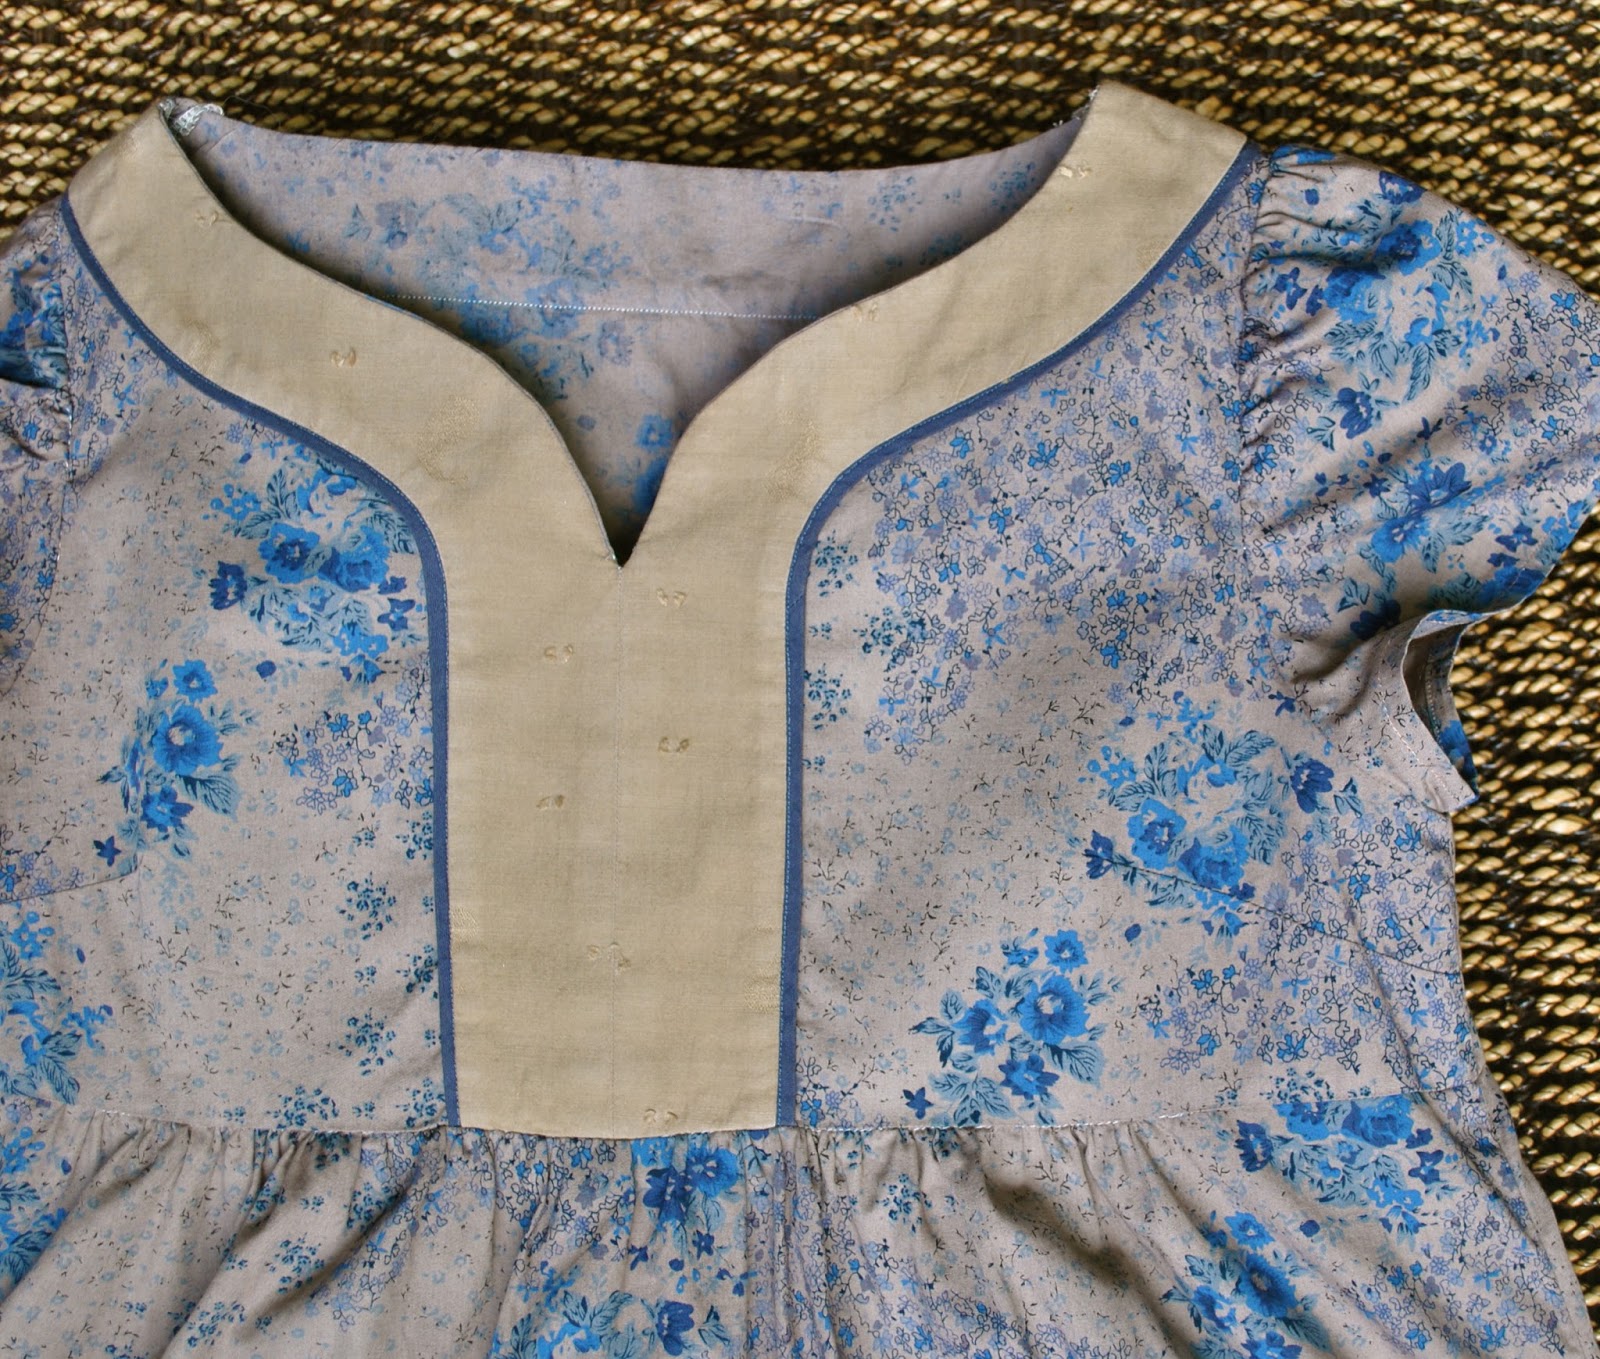
the ivory based print has come out a slightly purple-y shade of brown, while the
white cotton I used for the neckband and hemline piping has come out more of a
yellow-y, coffee colour. Aaah, the lucky
dip that is dyeing!
dyeing is that you cannot always predict exactly what your results are going to
be. I found it interesting that
the ivory based print has come out a slightly purple-y shade of brown, while the
white cotton I used for the neckband and hemline piping has come out more of a
yellow-y, coffee colour. Aaah, the lucky
dip that is dyeing!
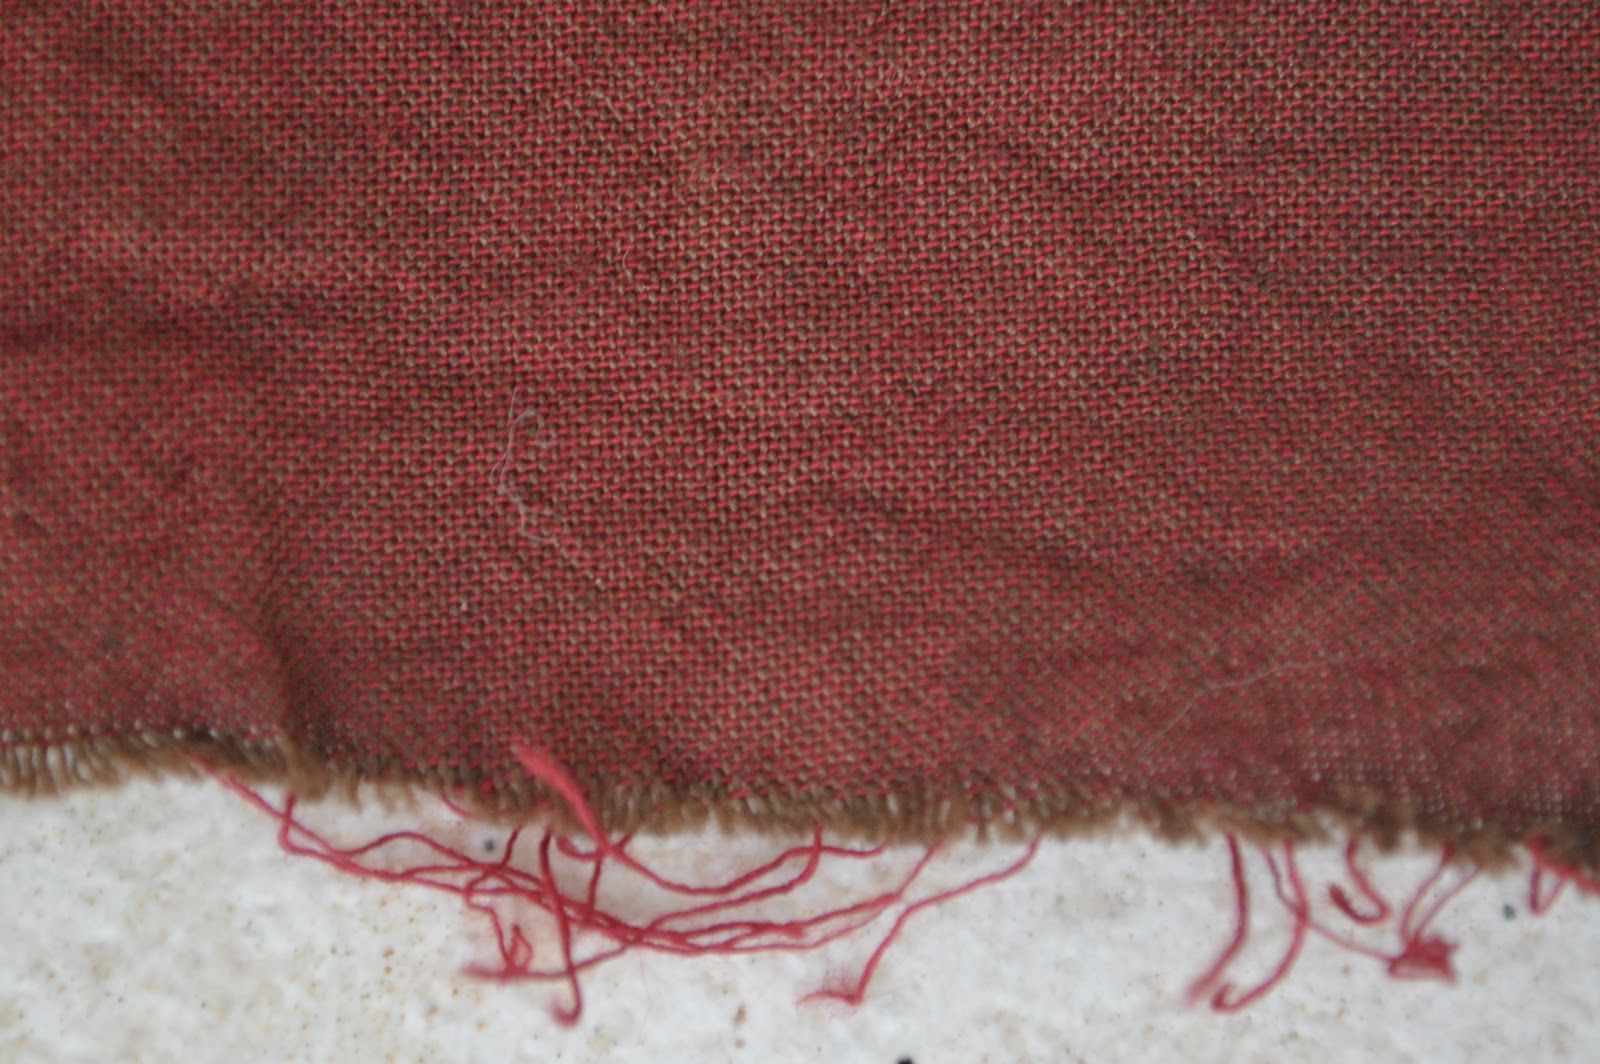
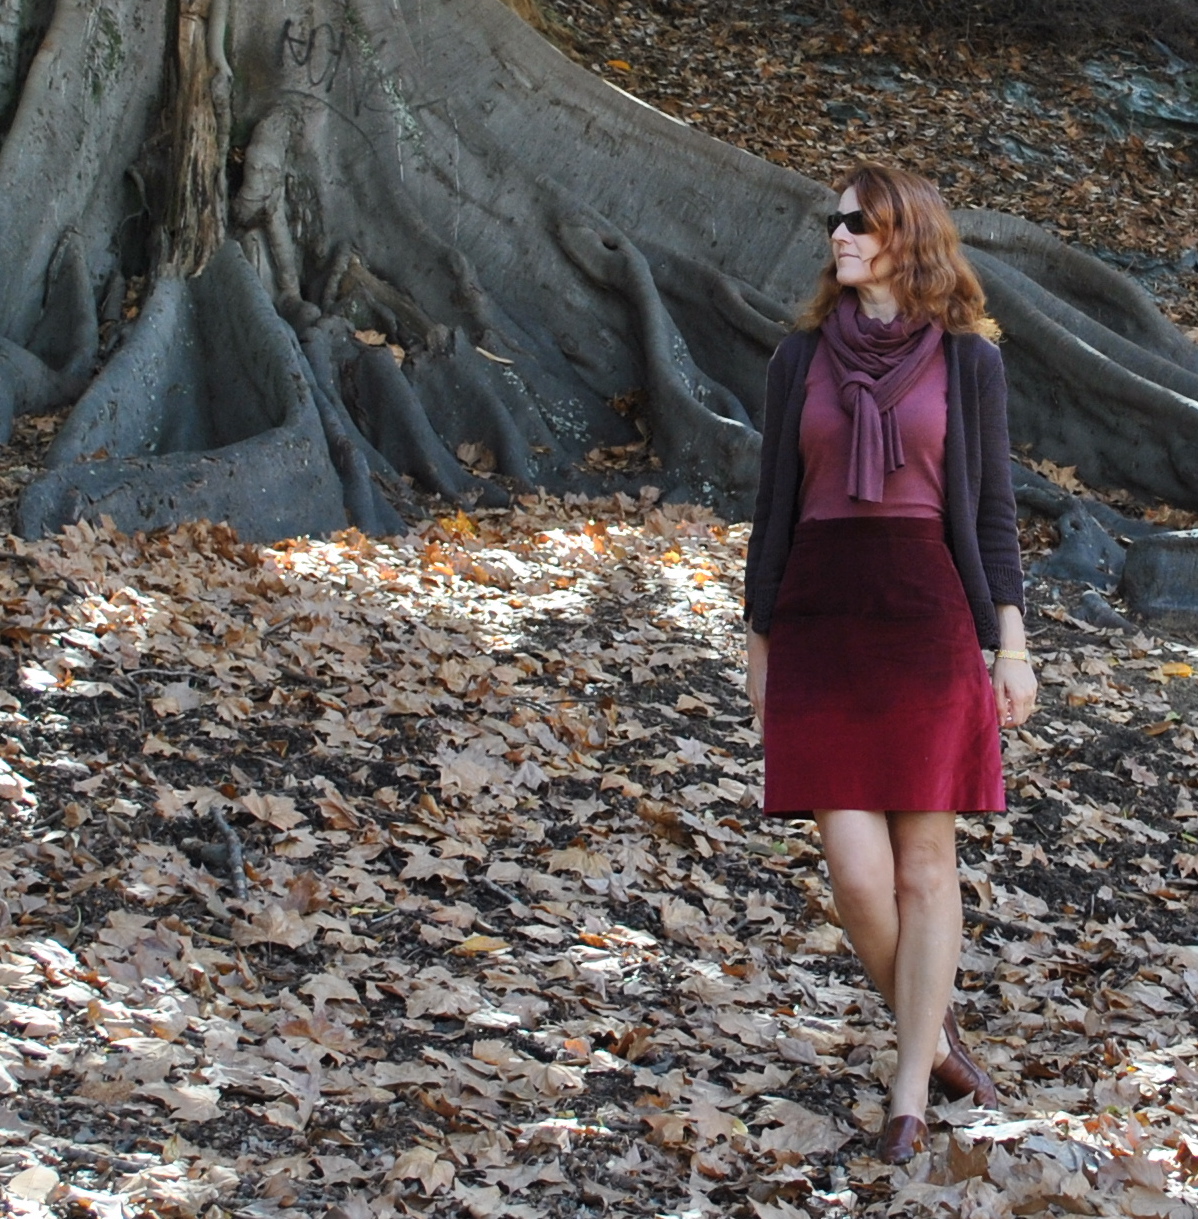
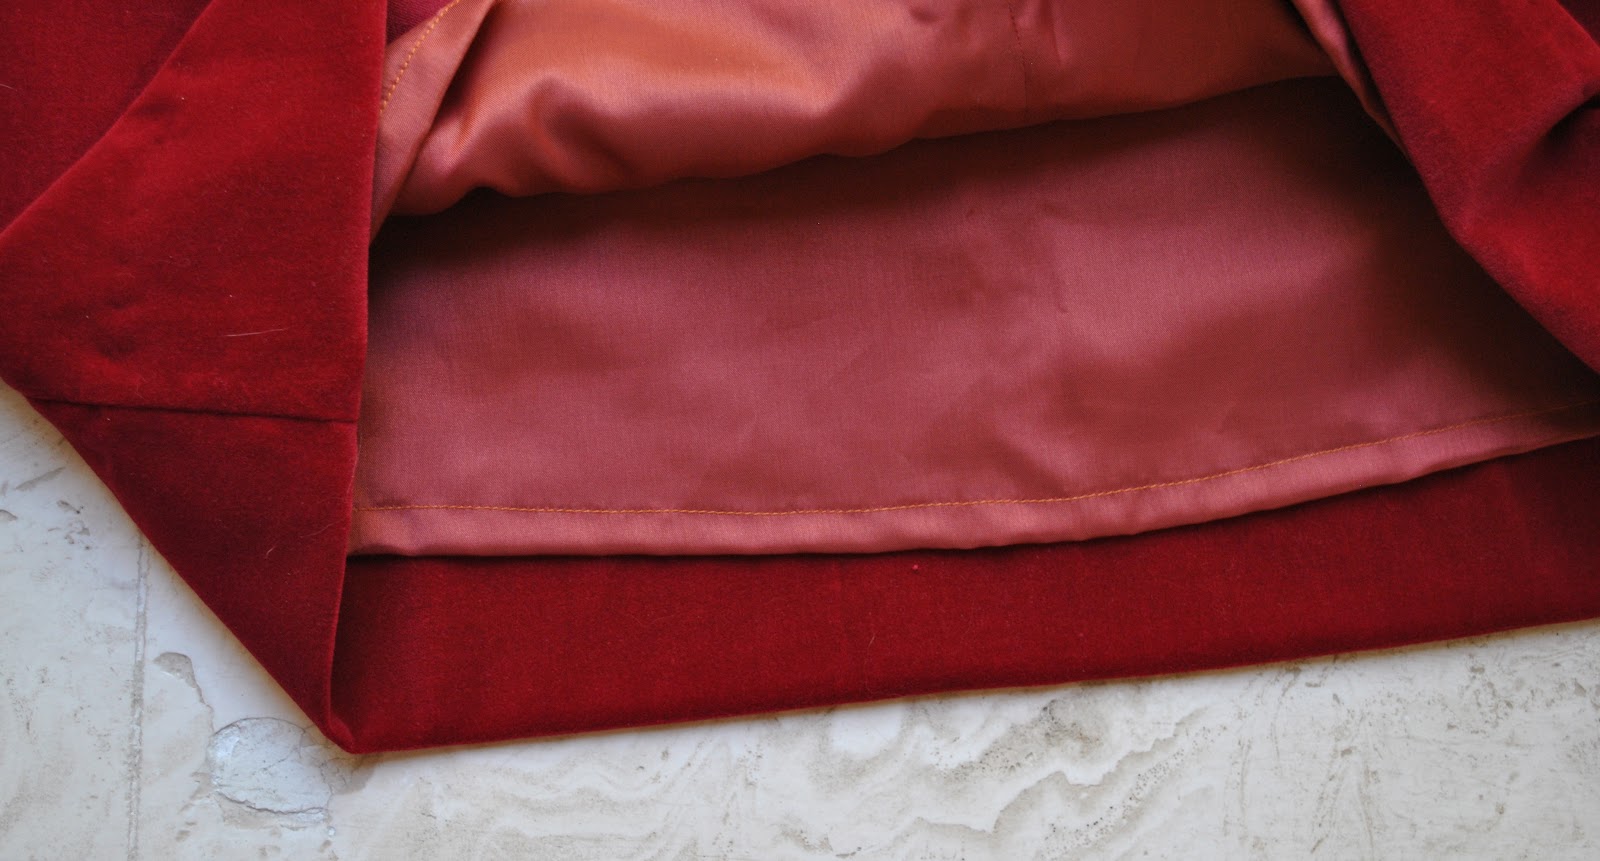
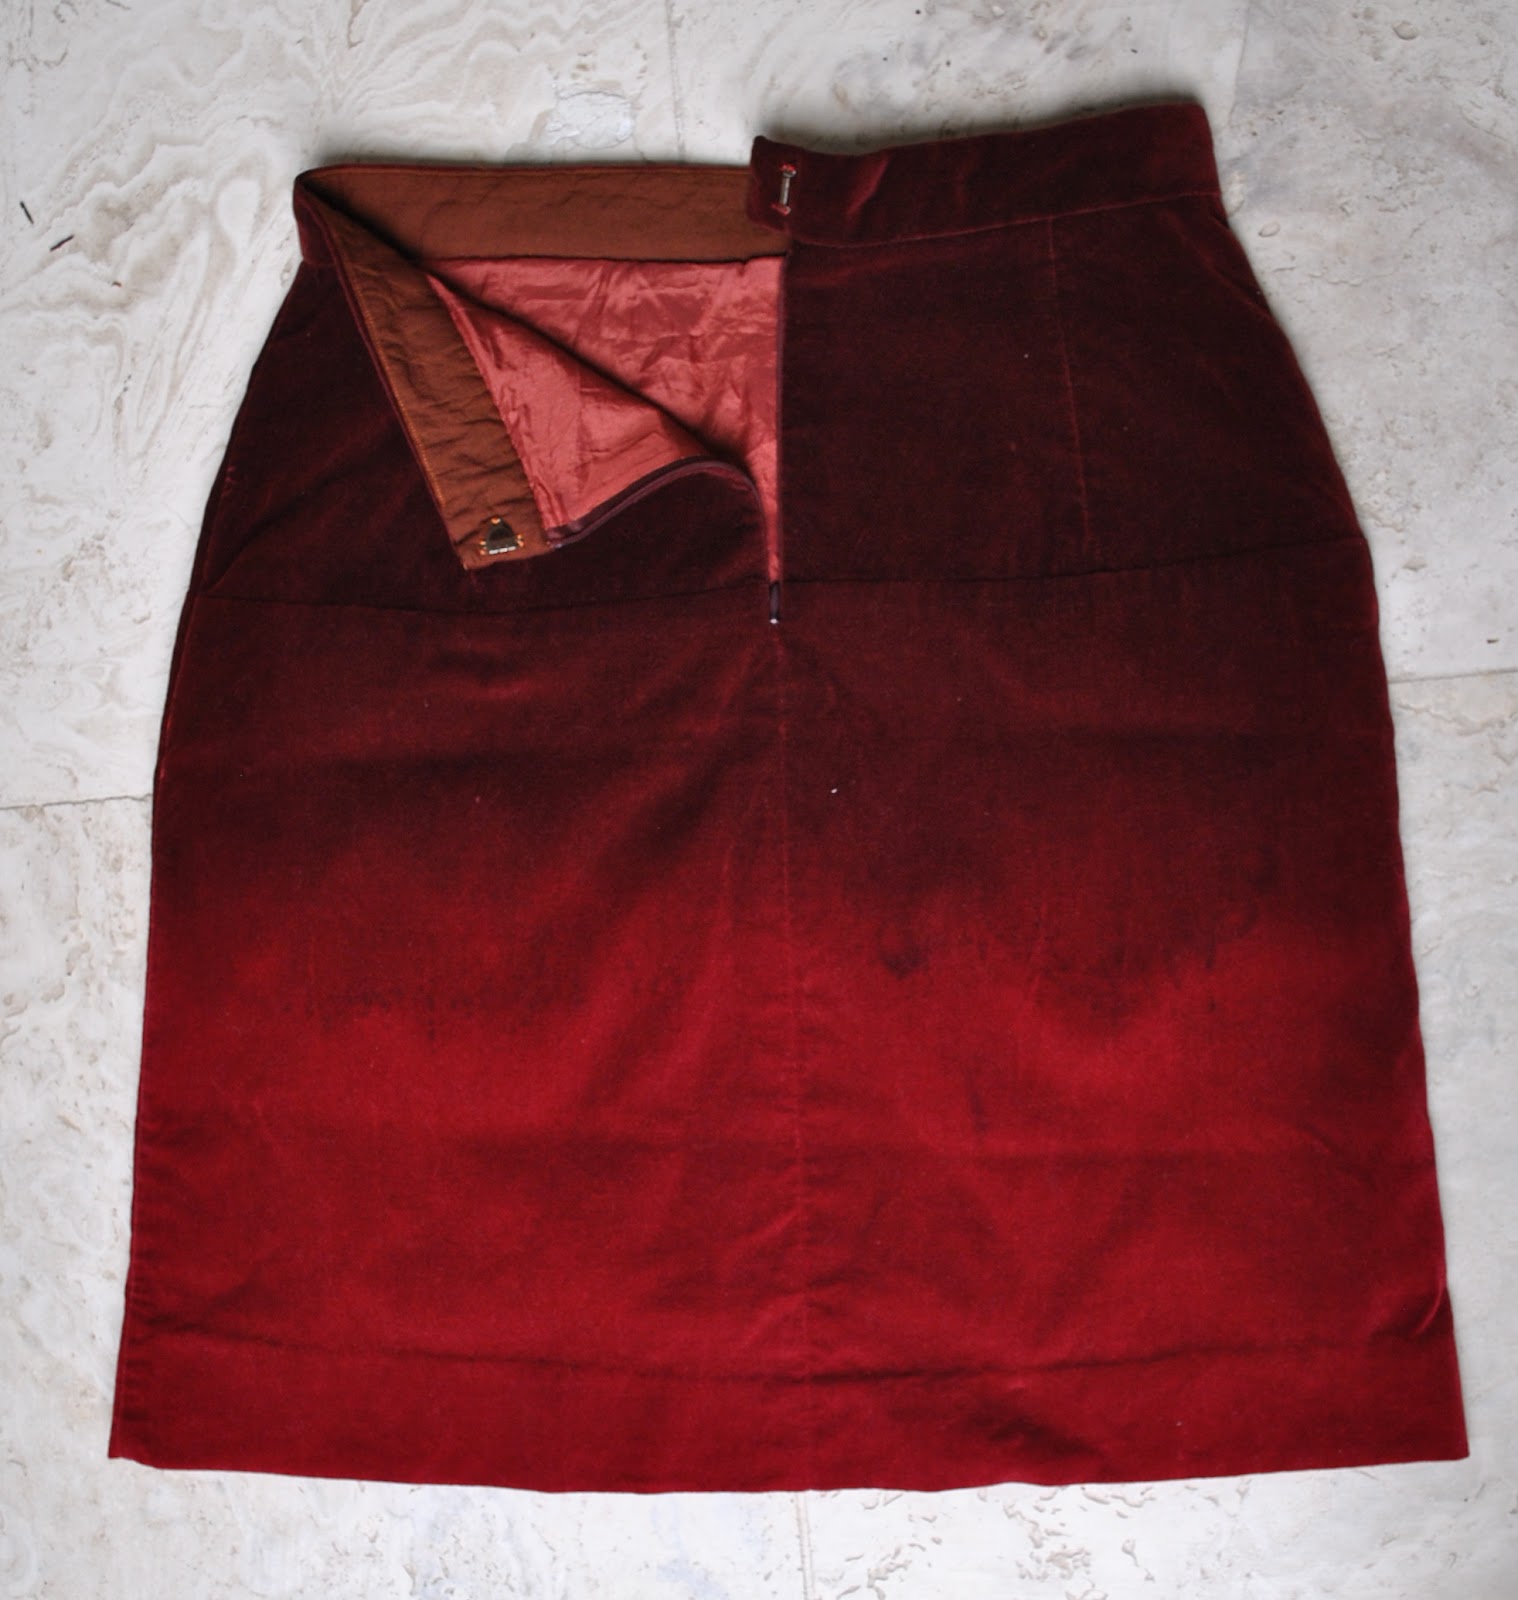
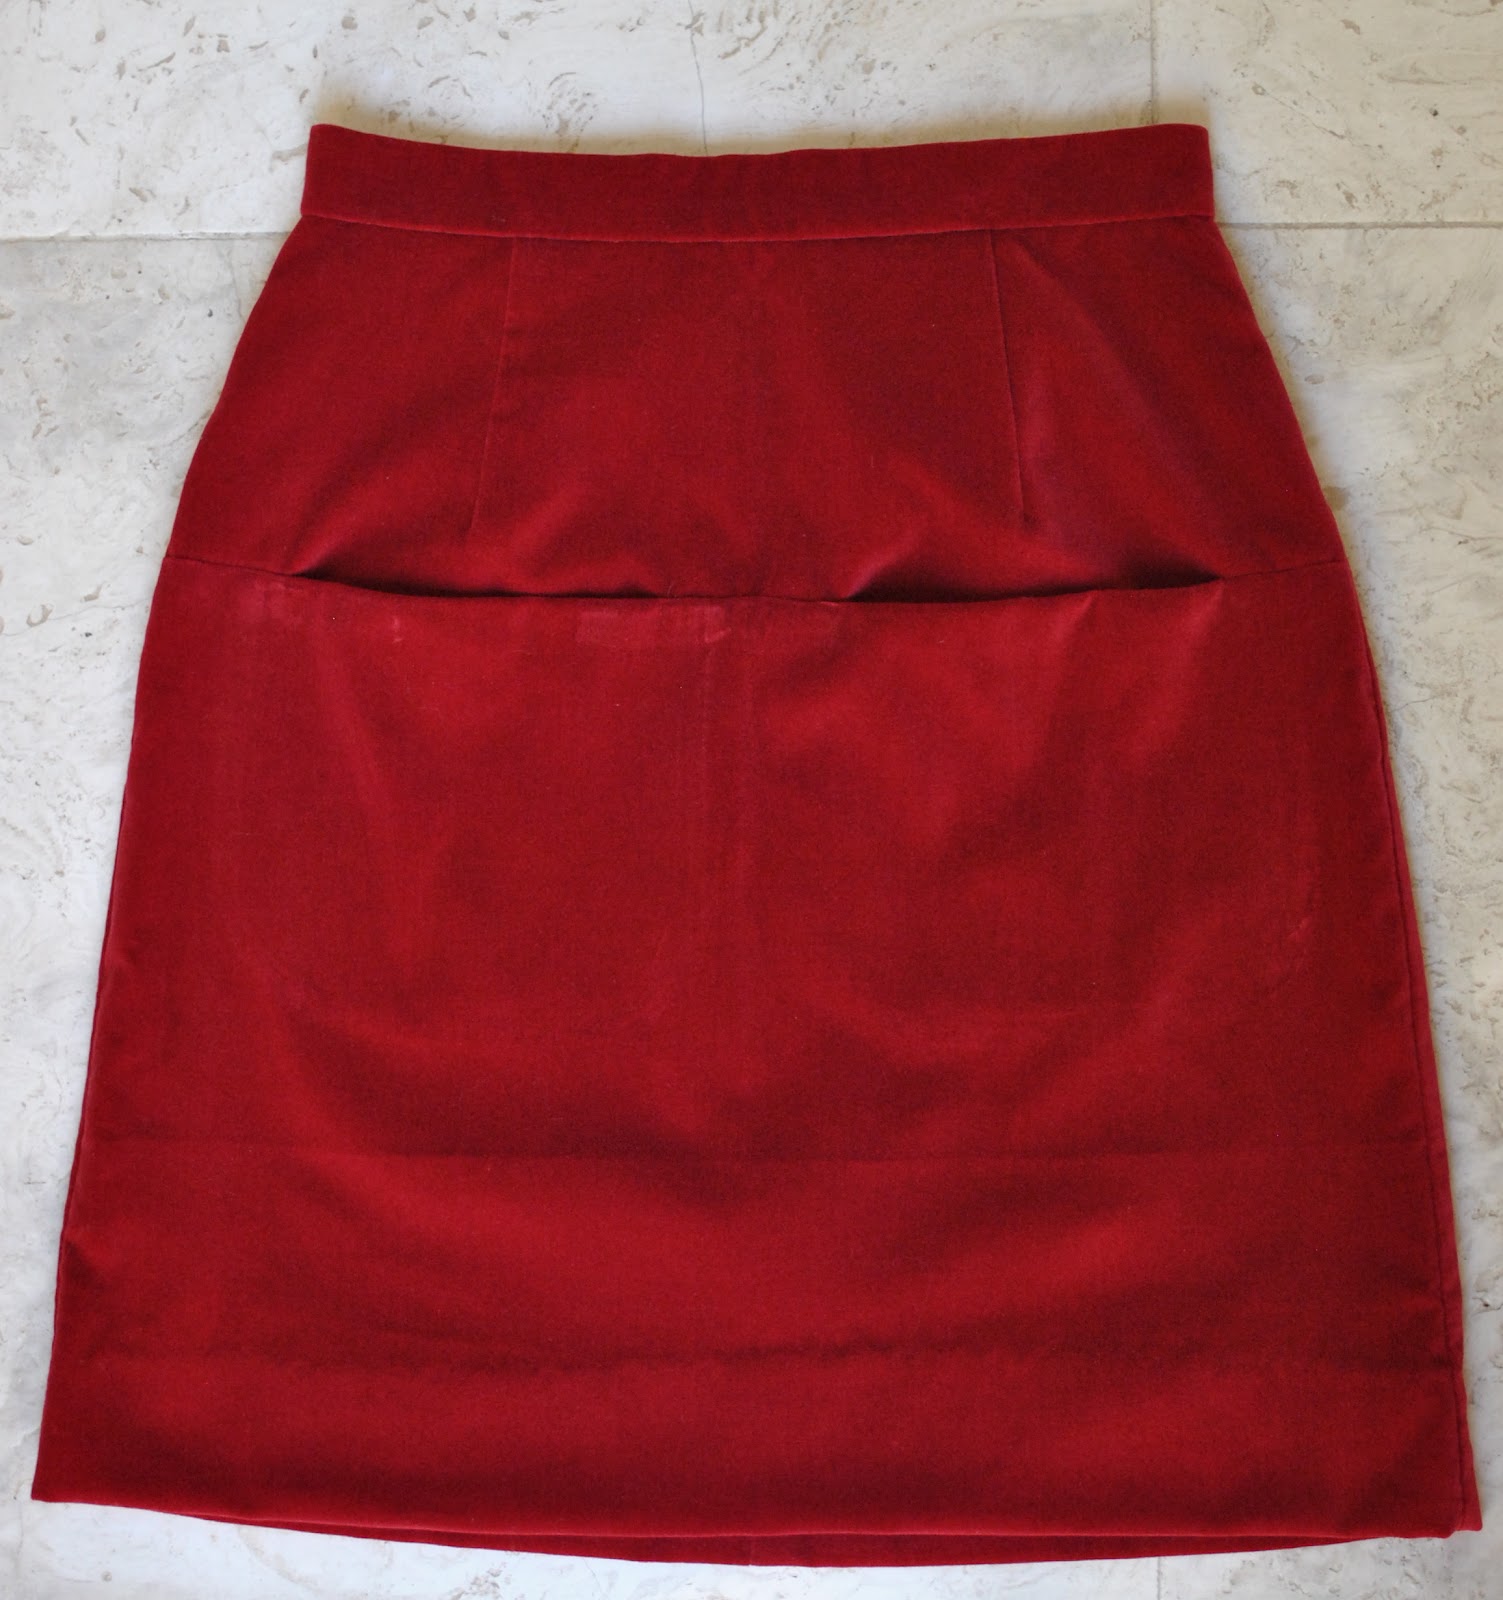
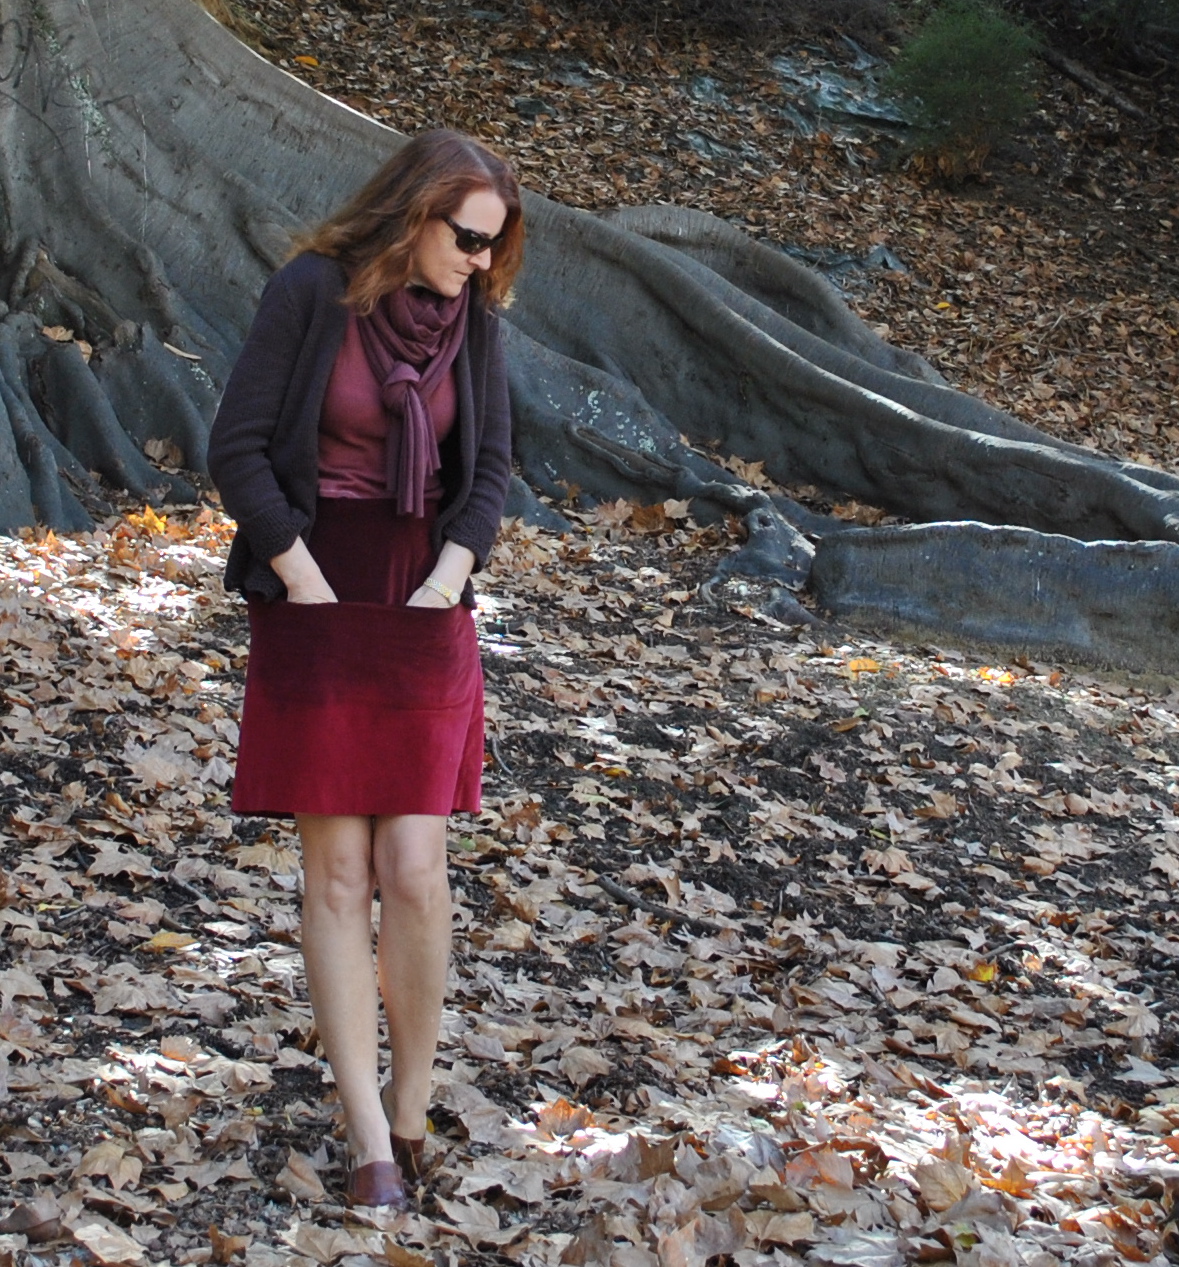
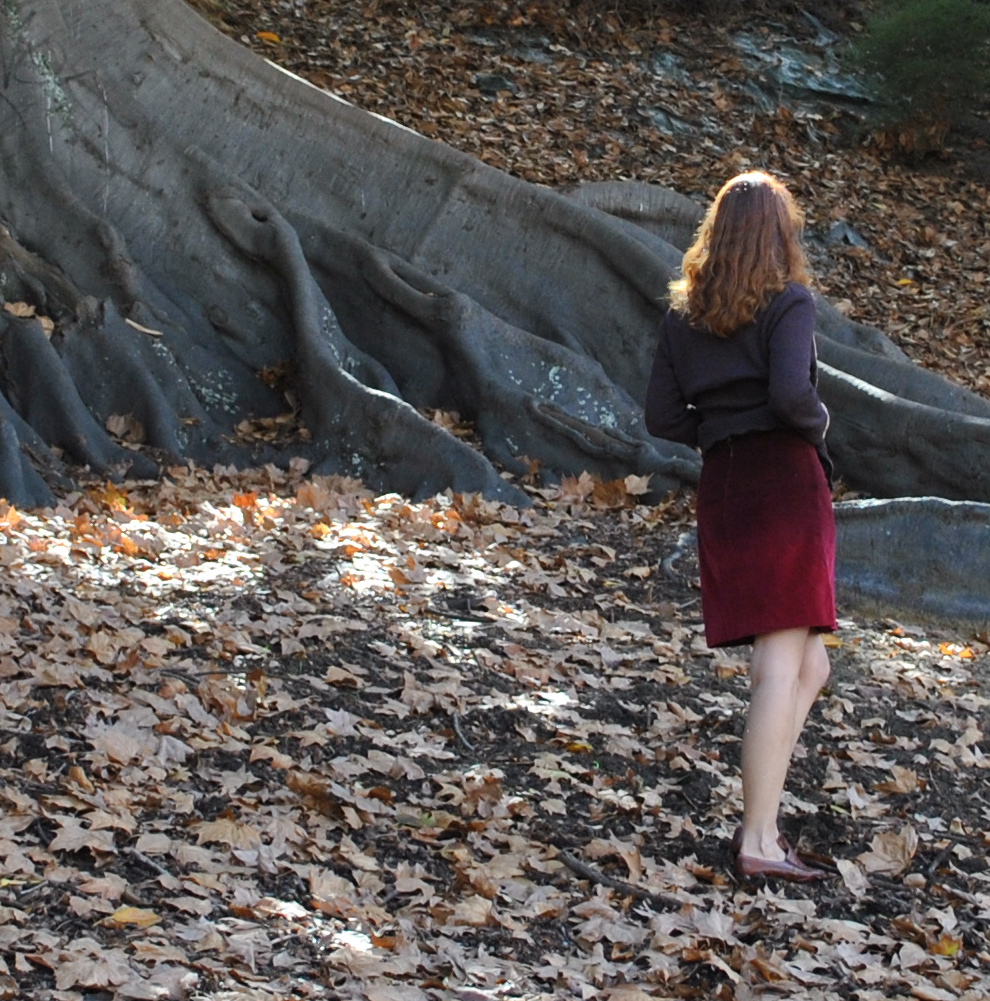
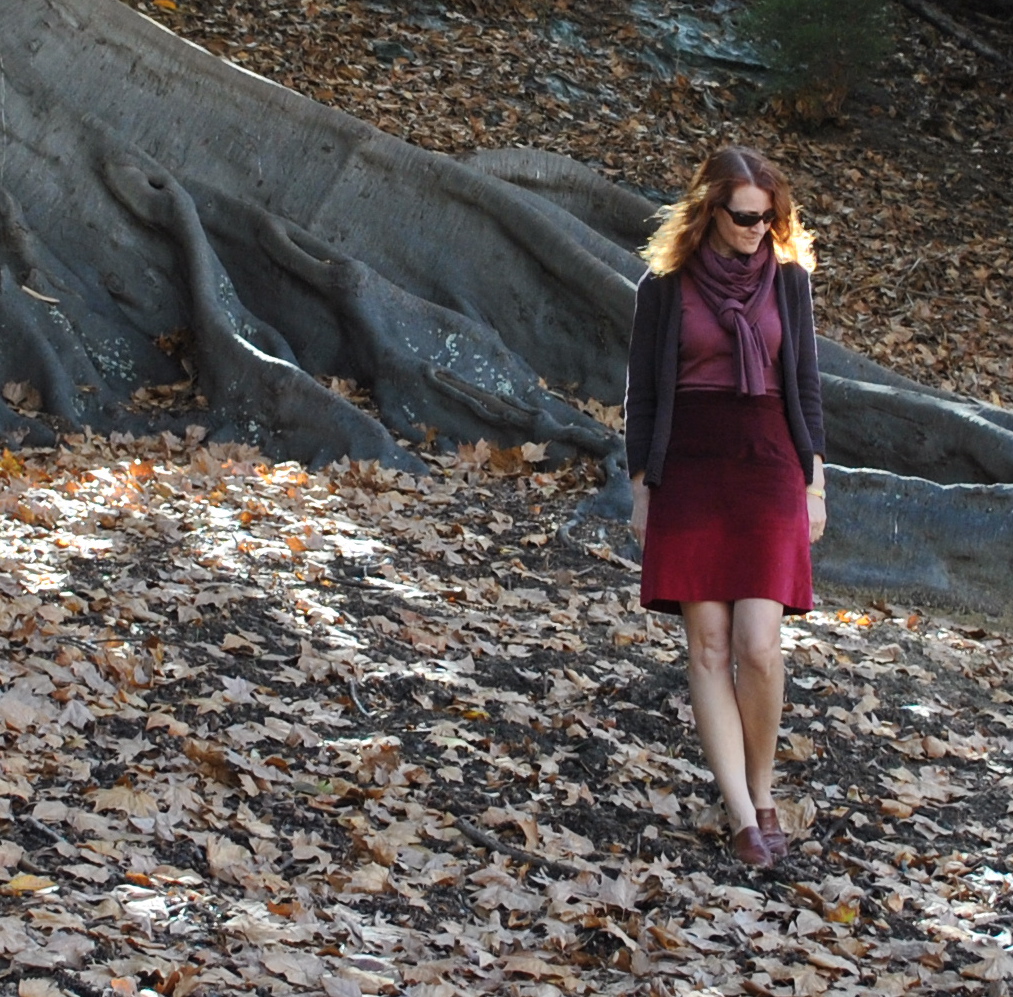
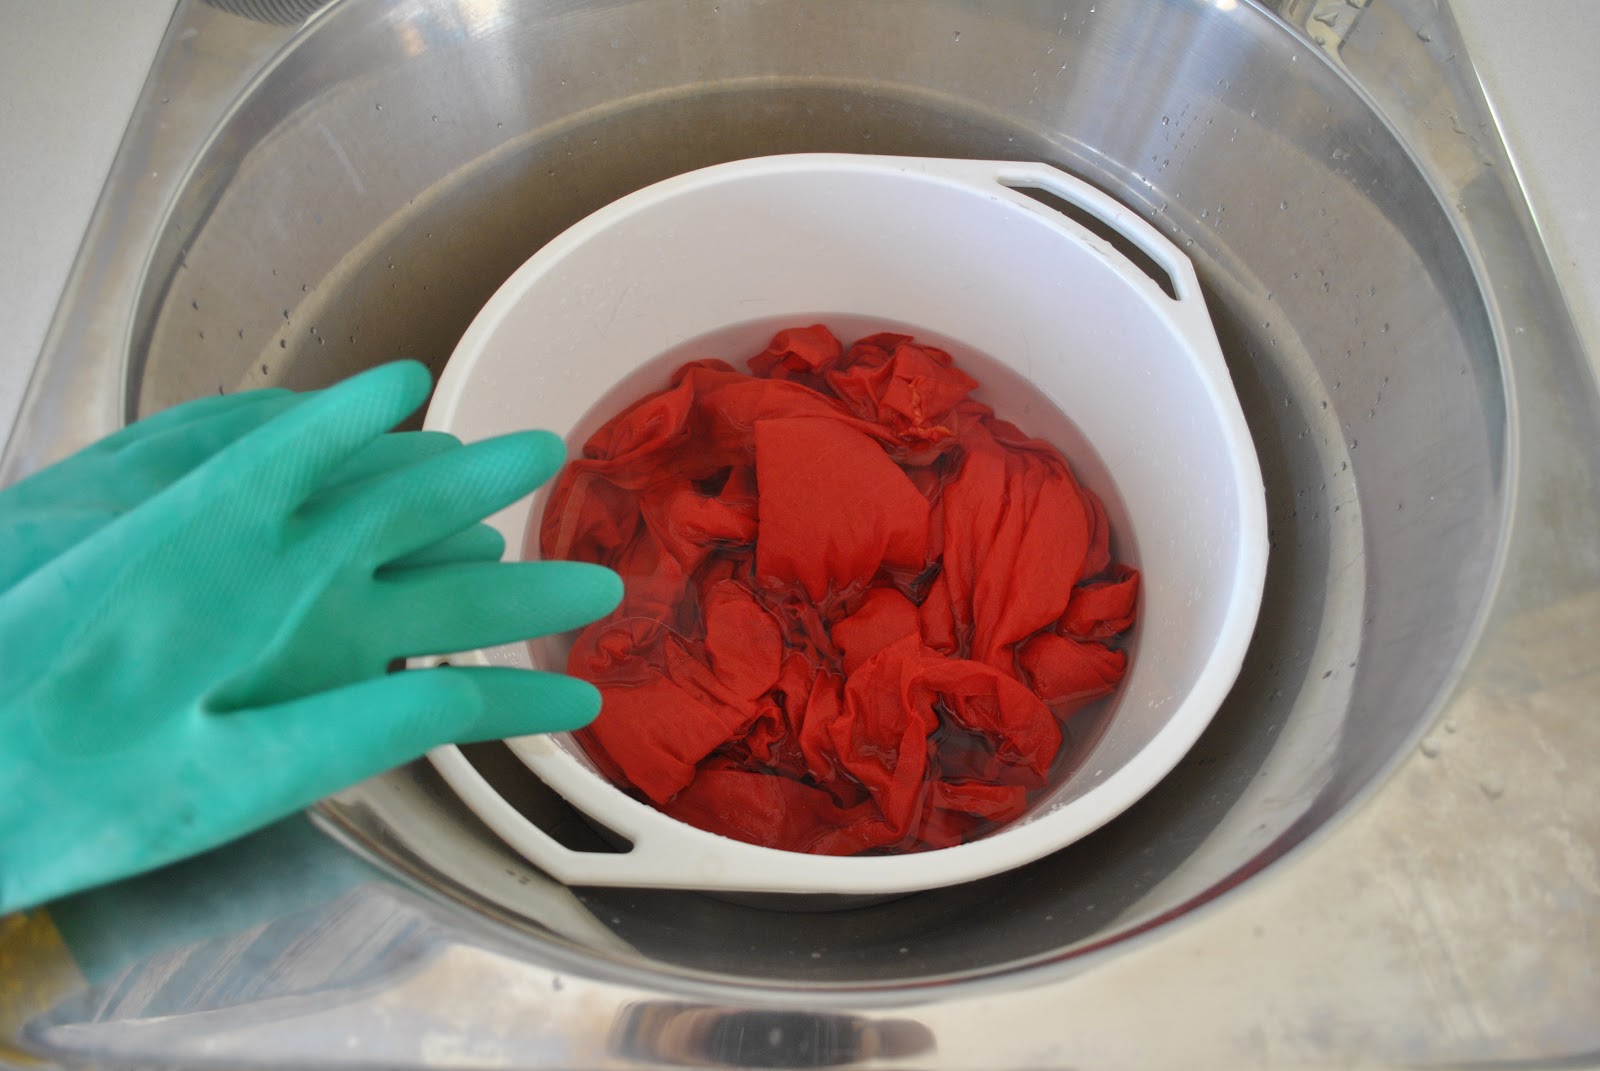
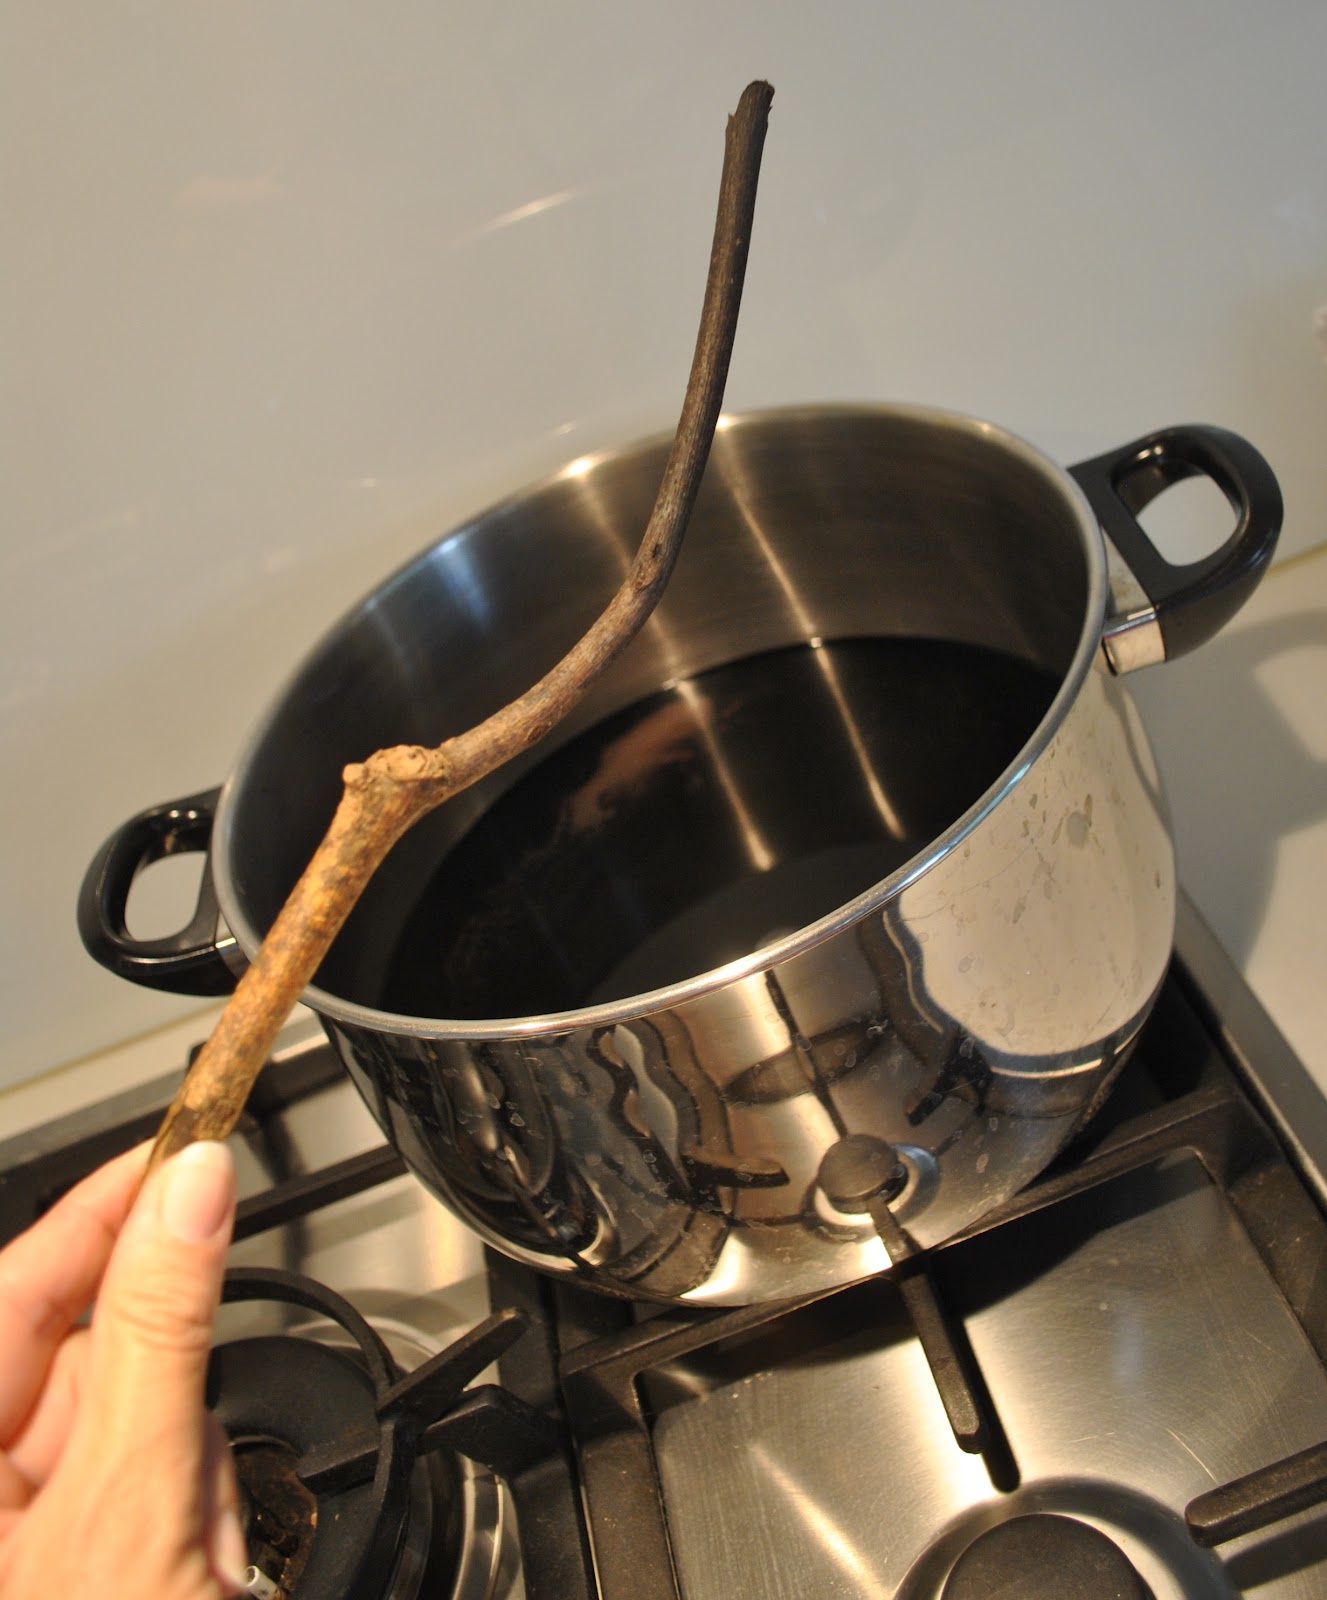
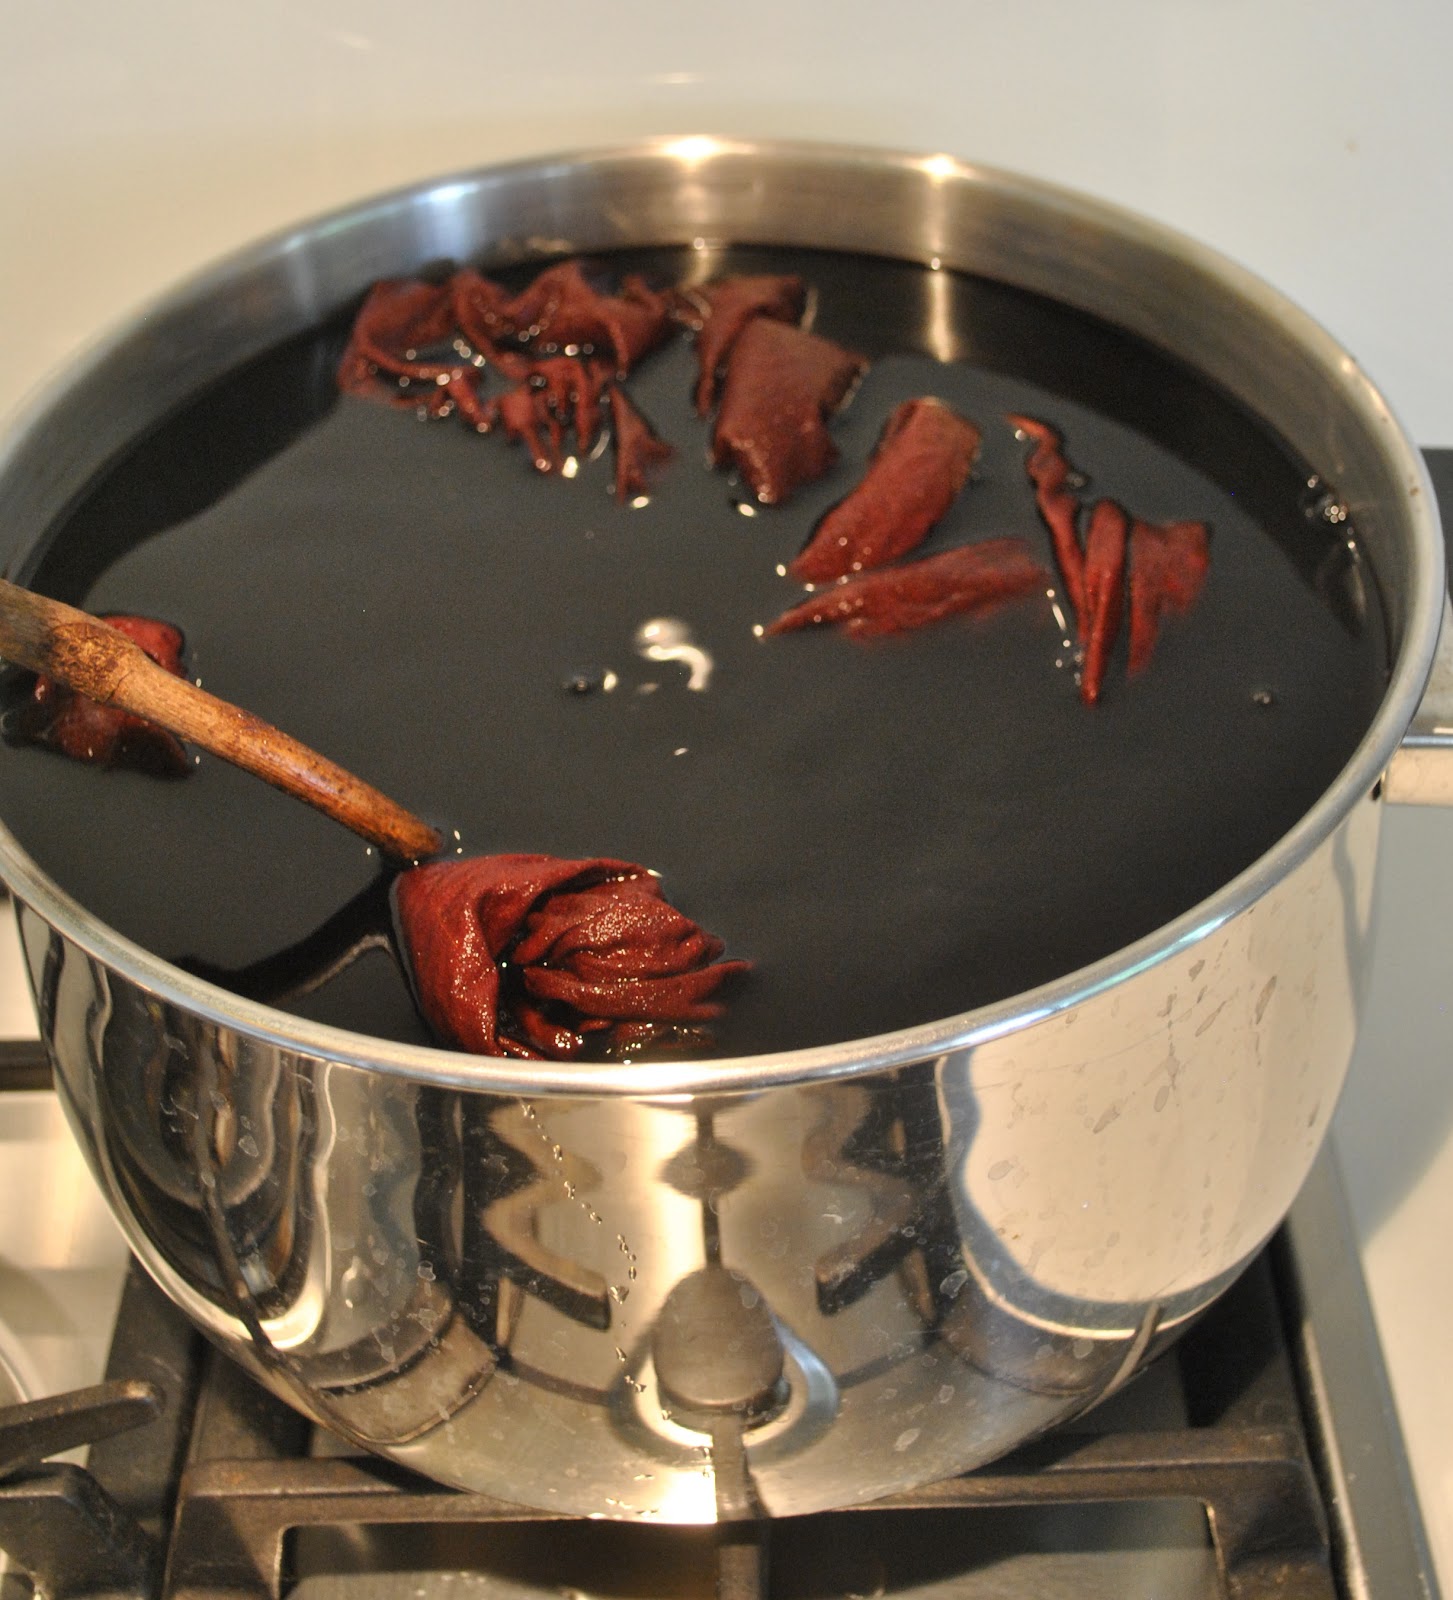
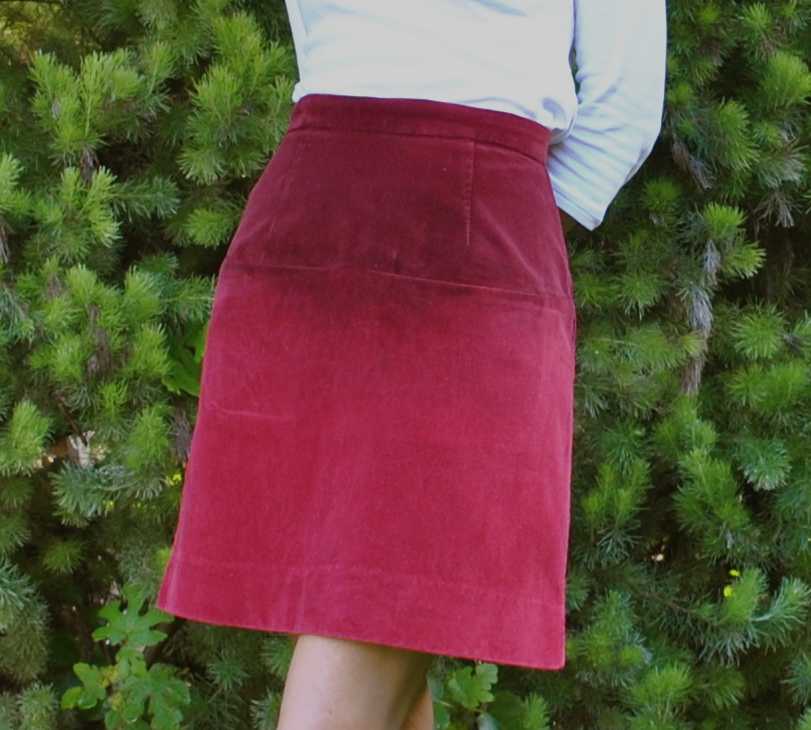
And while I had the dye pot and
dye out I also re-ombred the top of my red velveteen skirt, which had lost a bit of its intensity
since I first dyed it a year ago.
dye out I also re-ombred the top of my red velveteen skirt, which had lost a bit of its intensity
since I first dyed it a year ago.
I’m a big believer in the transformative powers of brown dye. Such wonderful stuff.
Details:
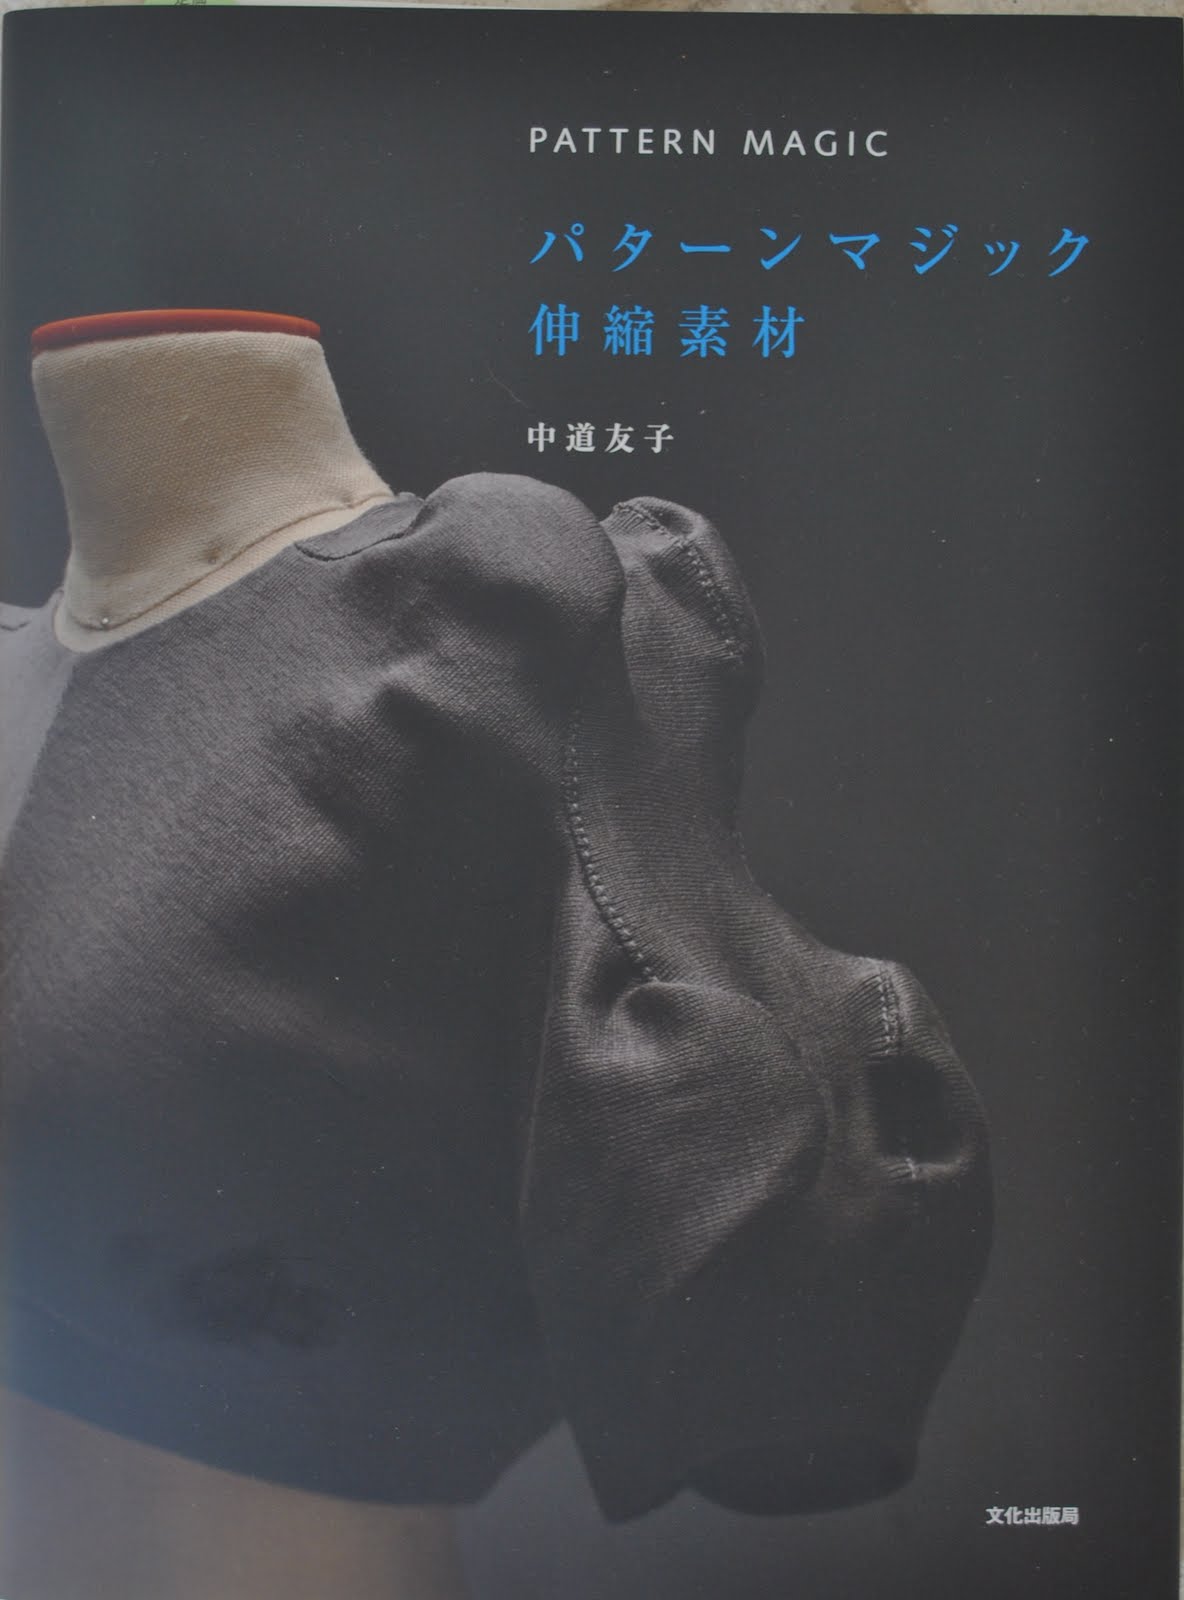
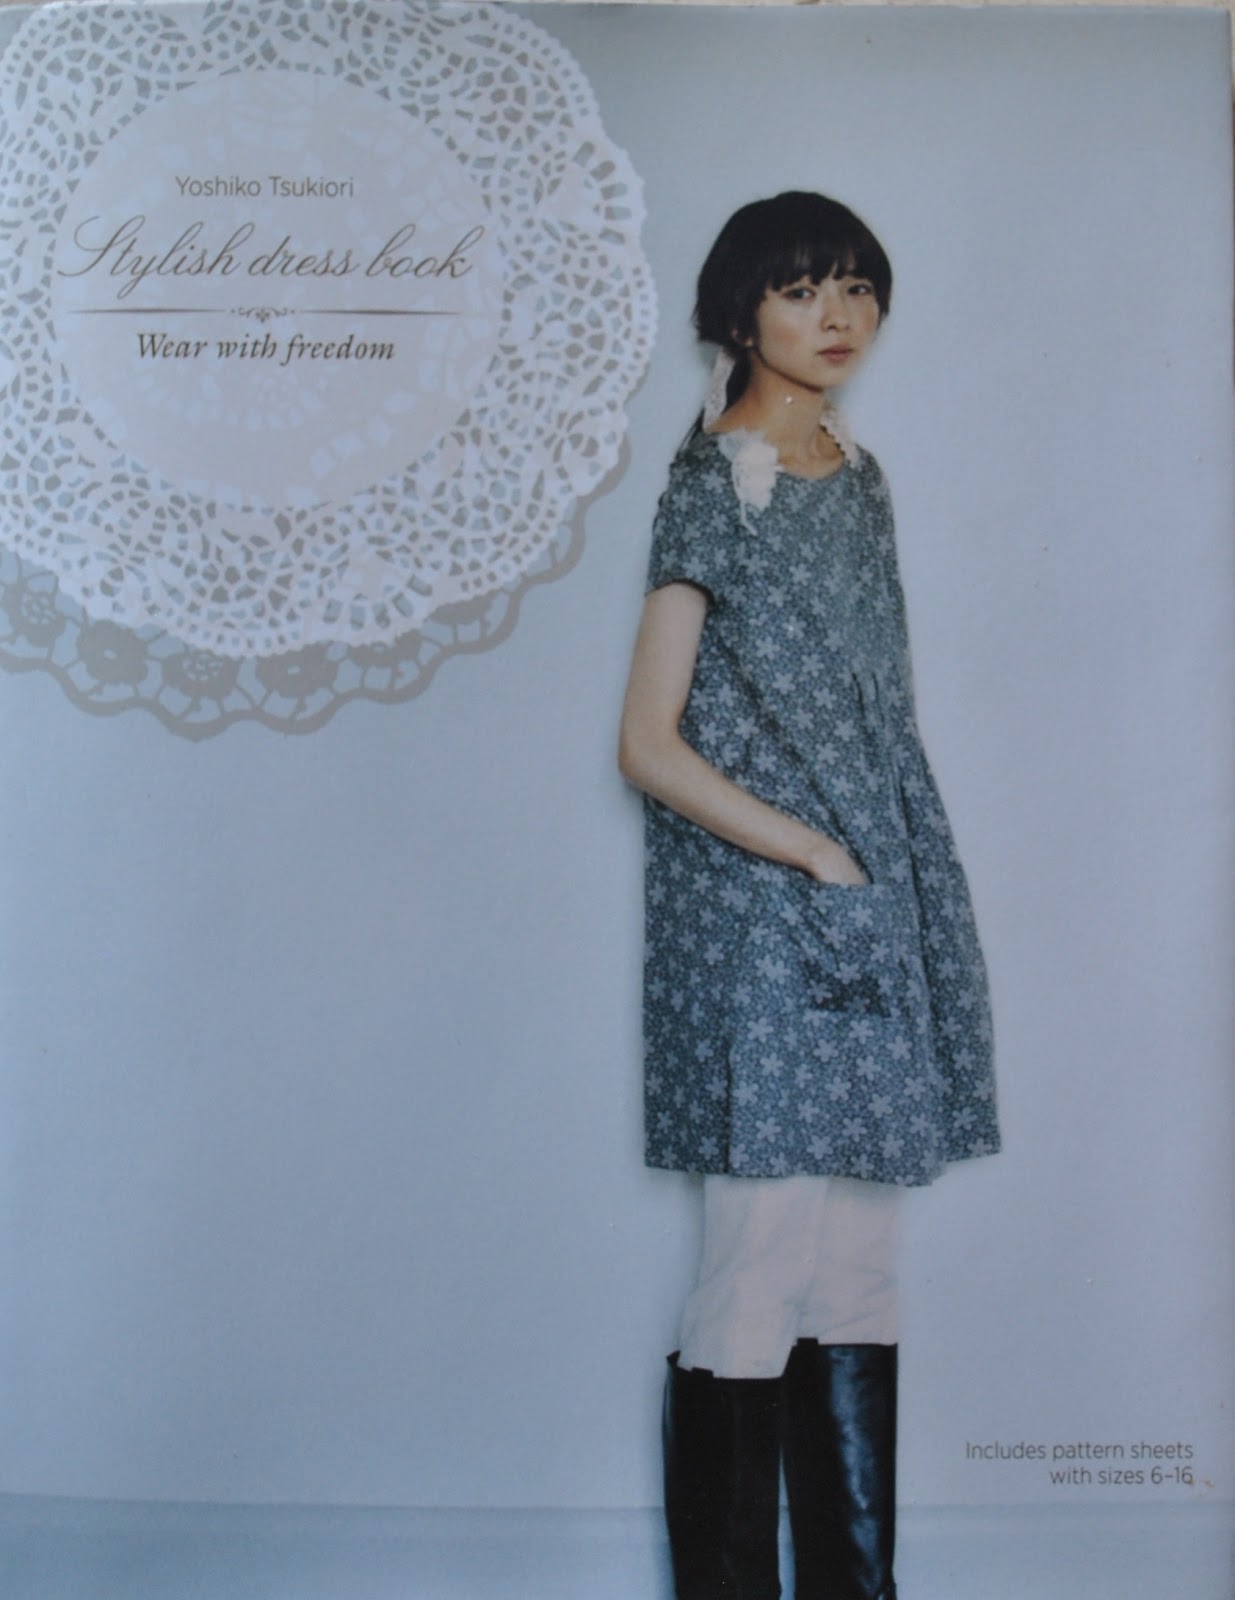
Dress; dress “T’ from the
Stylish dress book by Yoshiko Tsukiori, original post here; with short sleeves, blue sprigged cotton dyed brown. My tutorial for basic one colour dyeing is here.
Stylish dress book by Yoshiko Tsukiori, original post here; with short sleeves, blue sprigged cotton dyed brown. My tutorial for basic one colour dyeing is here.
Tights; self-drafted, of
denim look jersey knit, details and my tutorial for making your own custom fit tights here
denim look jersey knit, details and my tutorial for making your own custom fit tights here
Shoes; Francesco
Morichetti, from Zomp shoes
Morichetti, from Zomp shoes

Skirt; Vogue 1247, red
cotton velveteen dip-dyed with iDye in Brown, details here. My tutorial for dip-dyeing is here.
cotton velveteen dip-dyed with iDye in Brown, details here. My tutorial for dip-dyeing is here.