 Aries; the ram.
But… where is the
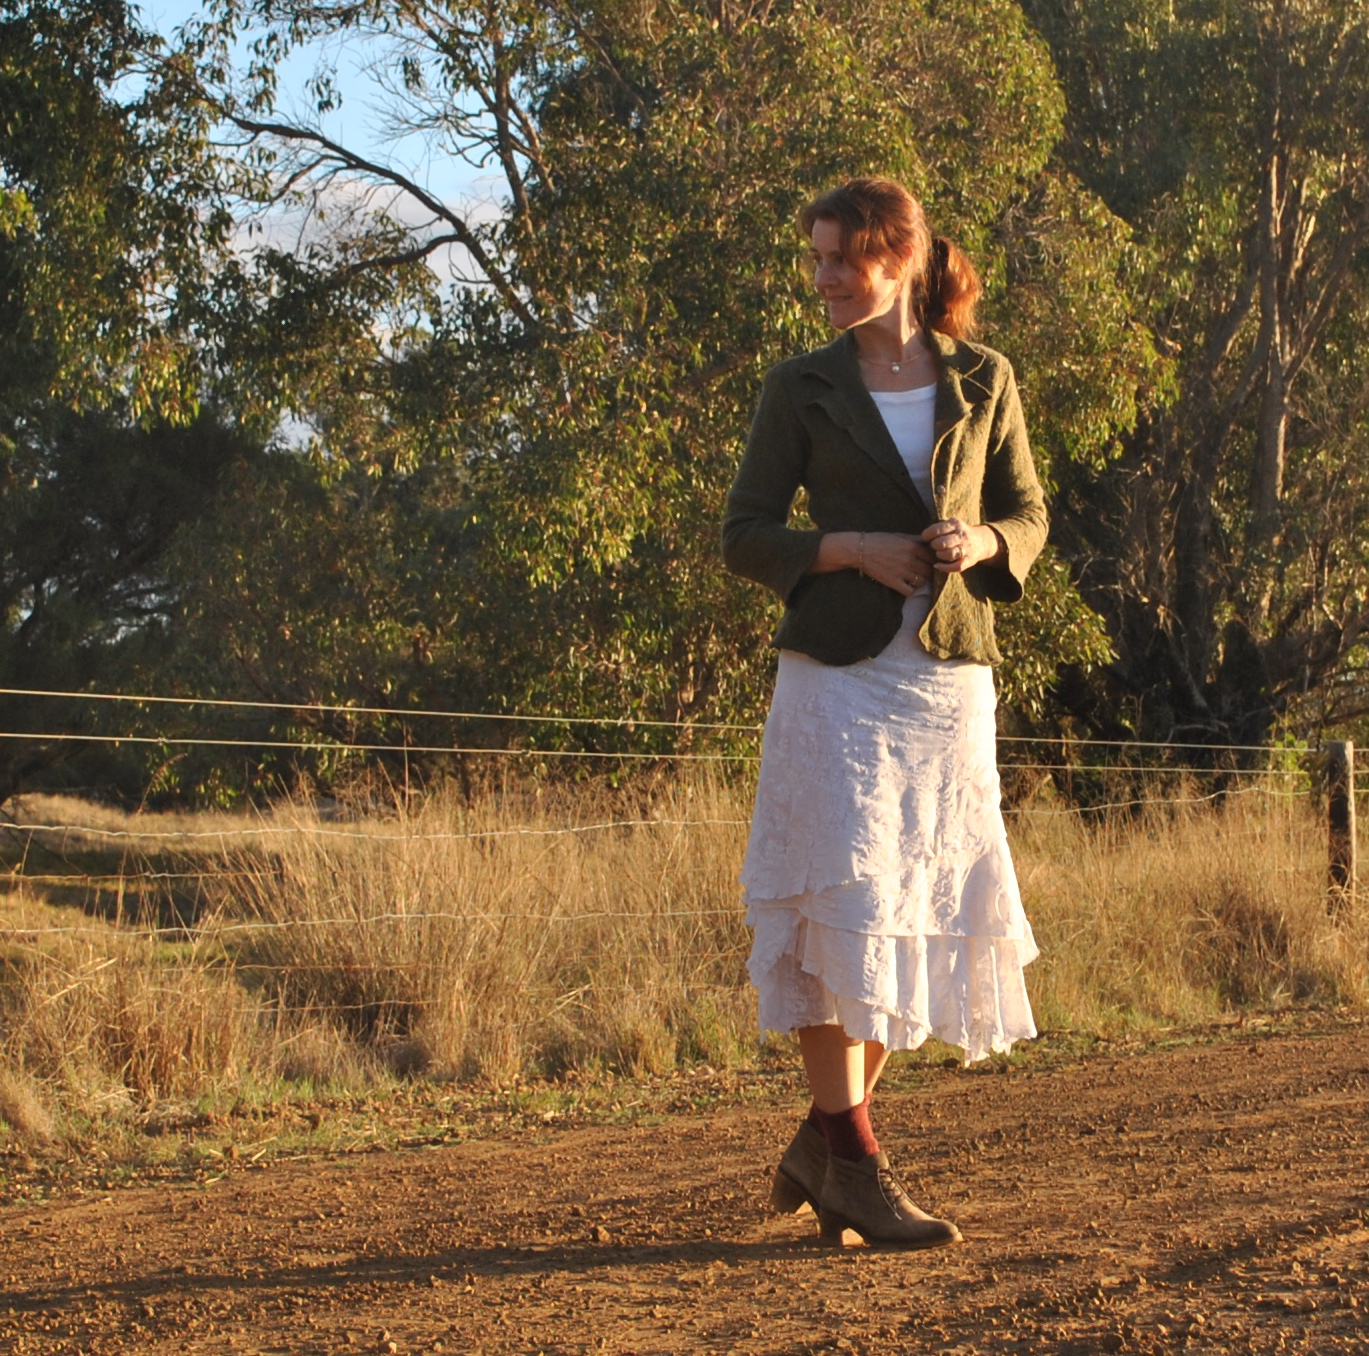
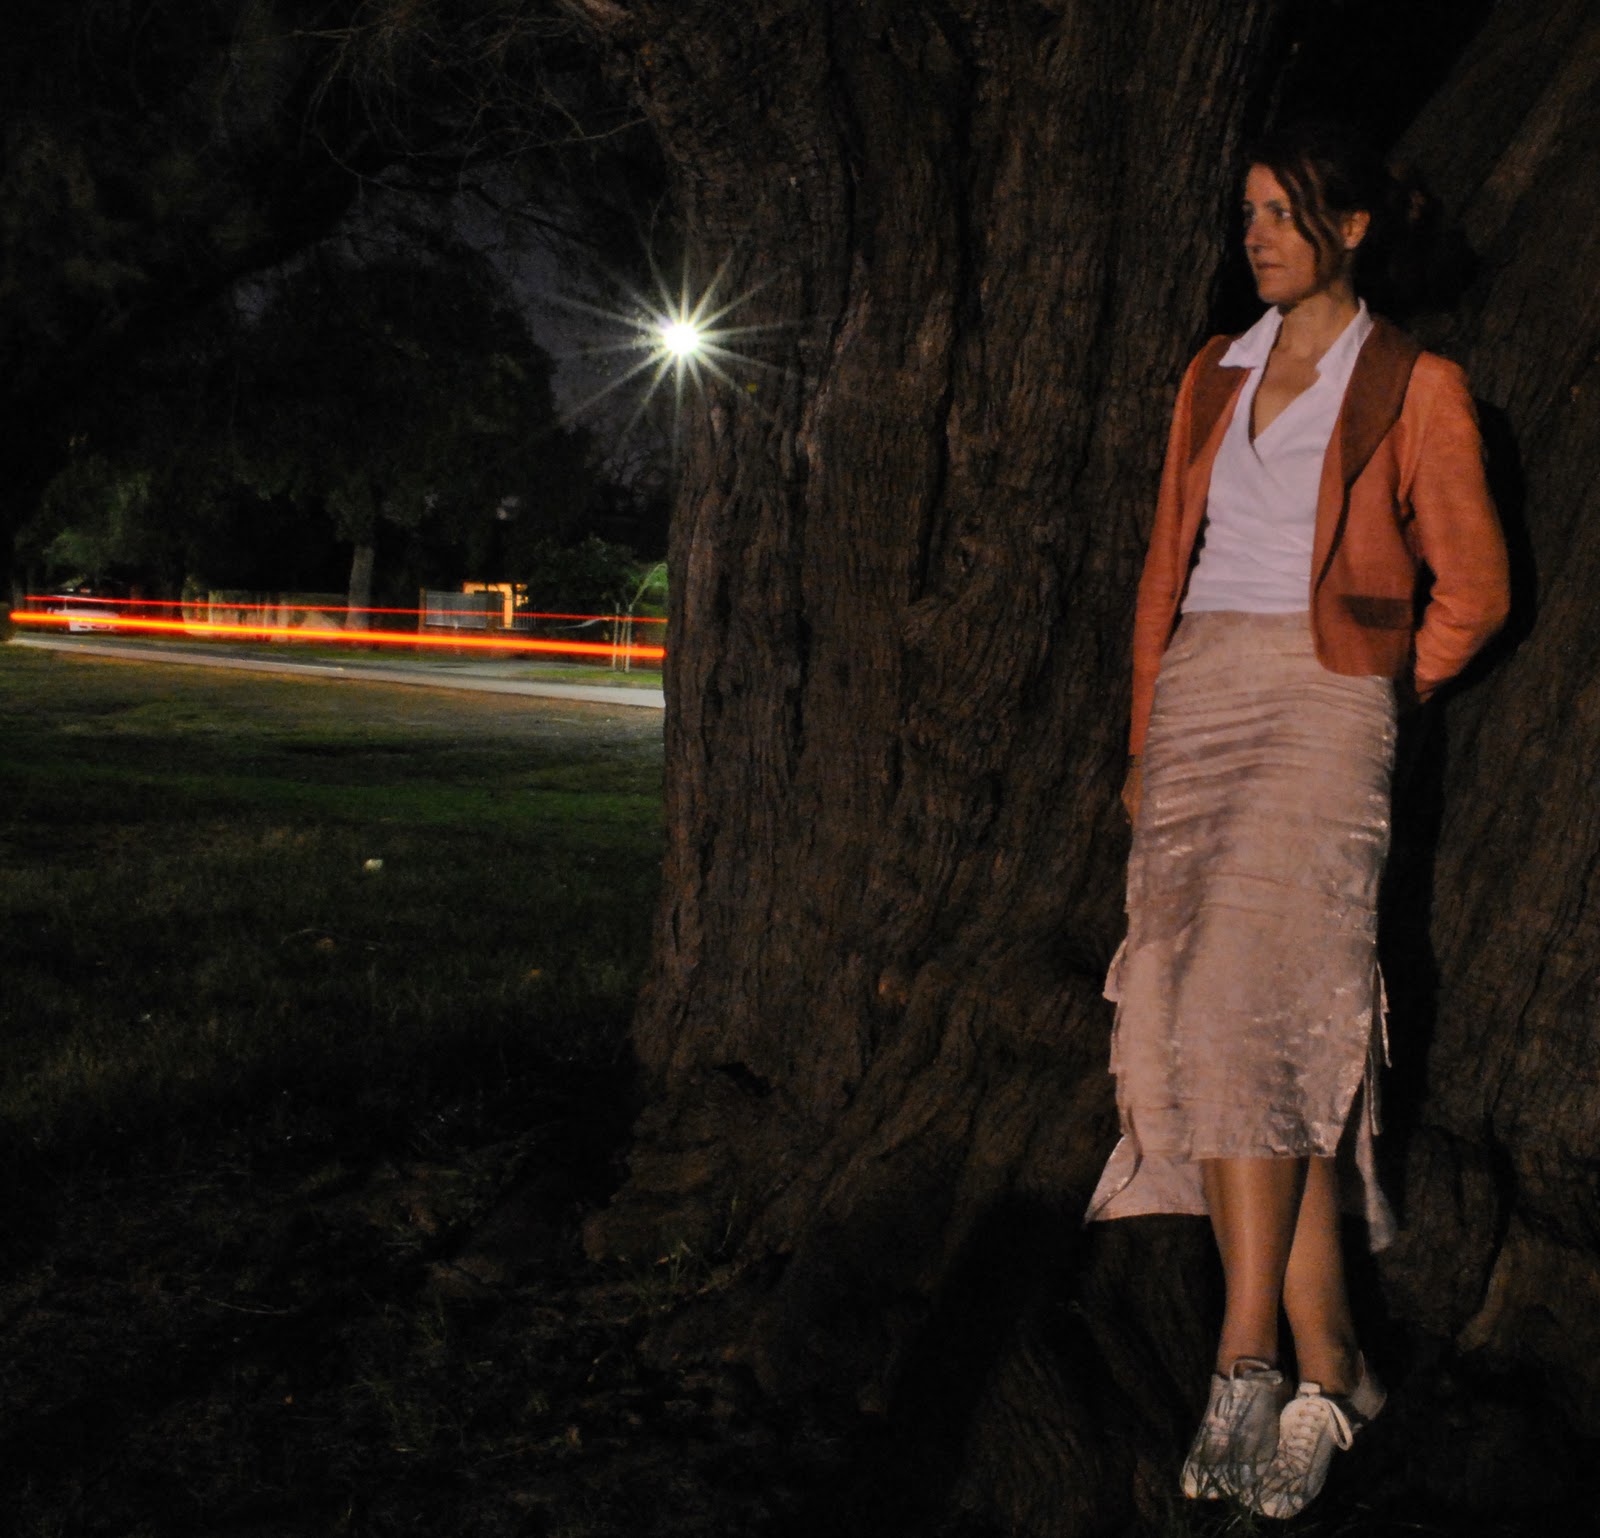
ram?? Well I am wearing him! In the form of my pure wool felt cardigan/jacket. Baa-aa!
ram?? Well I am wearing him! In the form of my pure wool felt cardigan/jacket. Baa-aa!
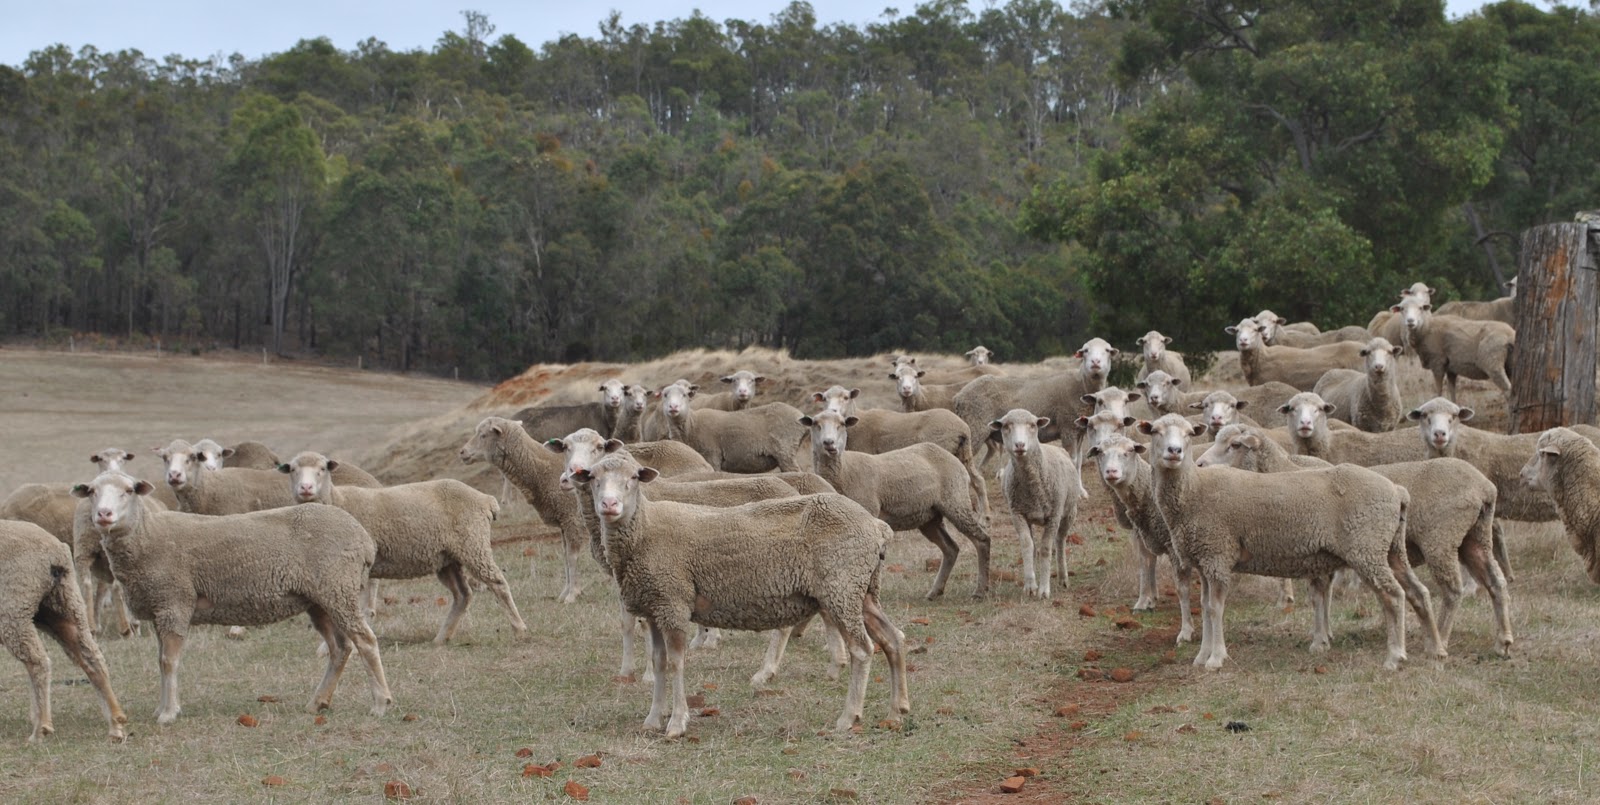
And I did take a picture
of this inquisitive flock of girls while I was driving up the driveway to my parents’ place this morning. We are here for a big family Easter
shin-dig 🙂
of this inquisitive flock of girls while I was driving up the driveway to my parents’ place this morning. We are here for a big family Easter
shin-dig 🙂
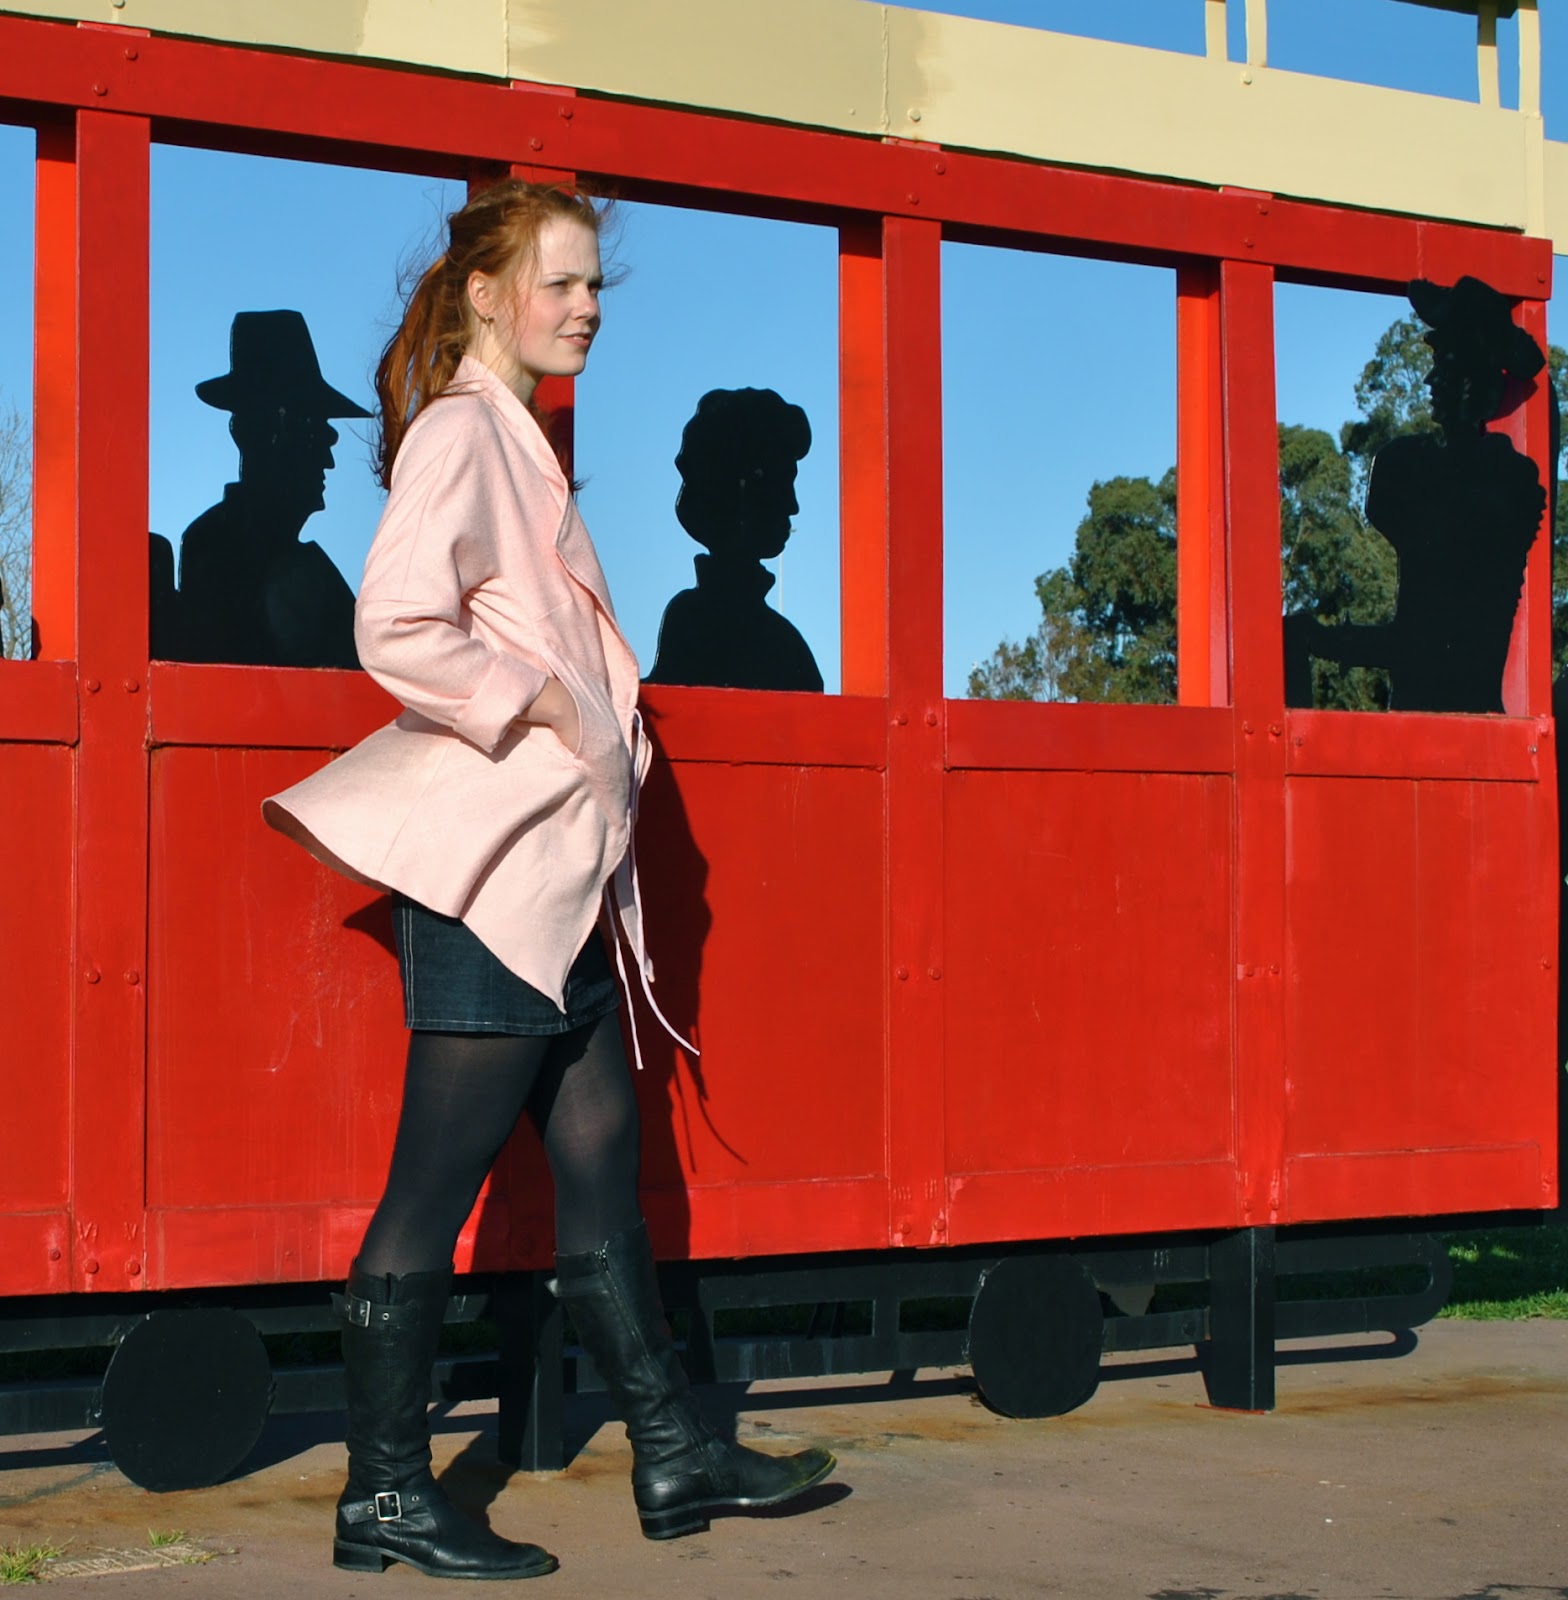
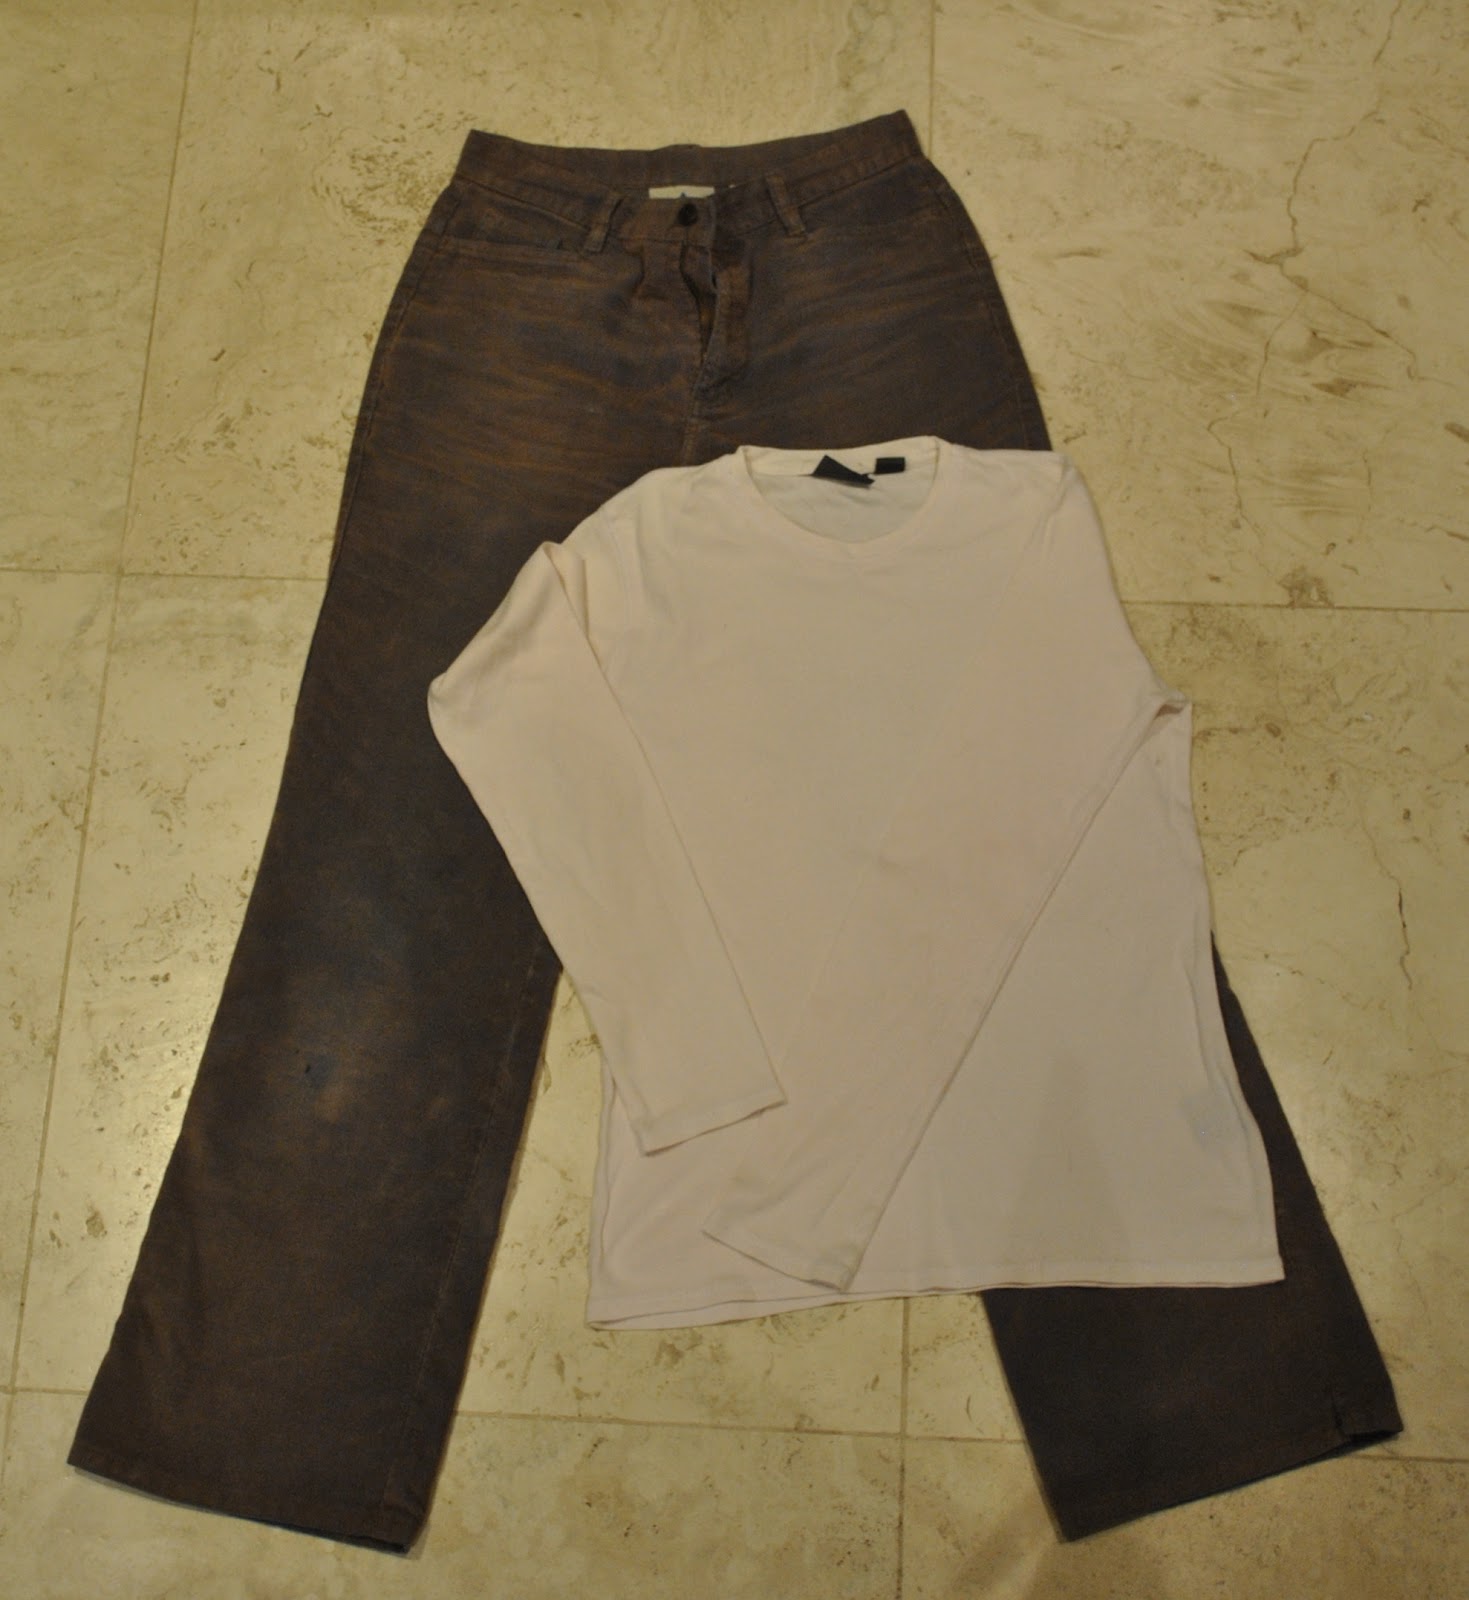
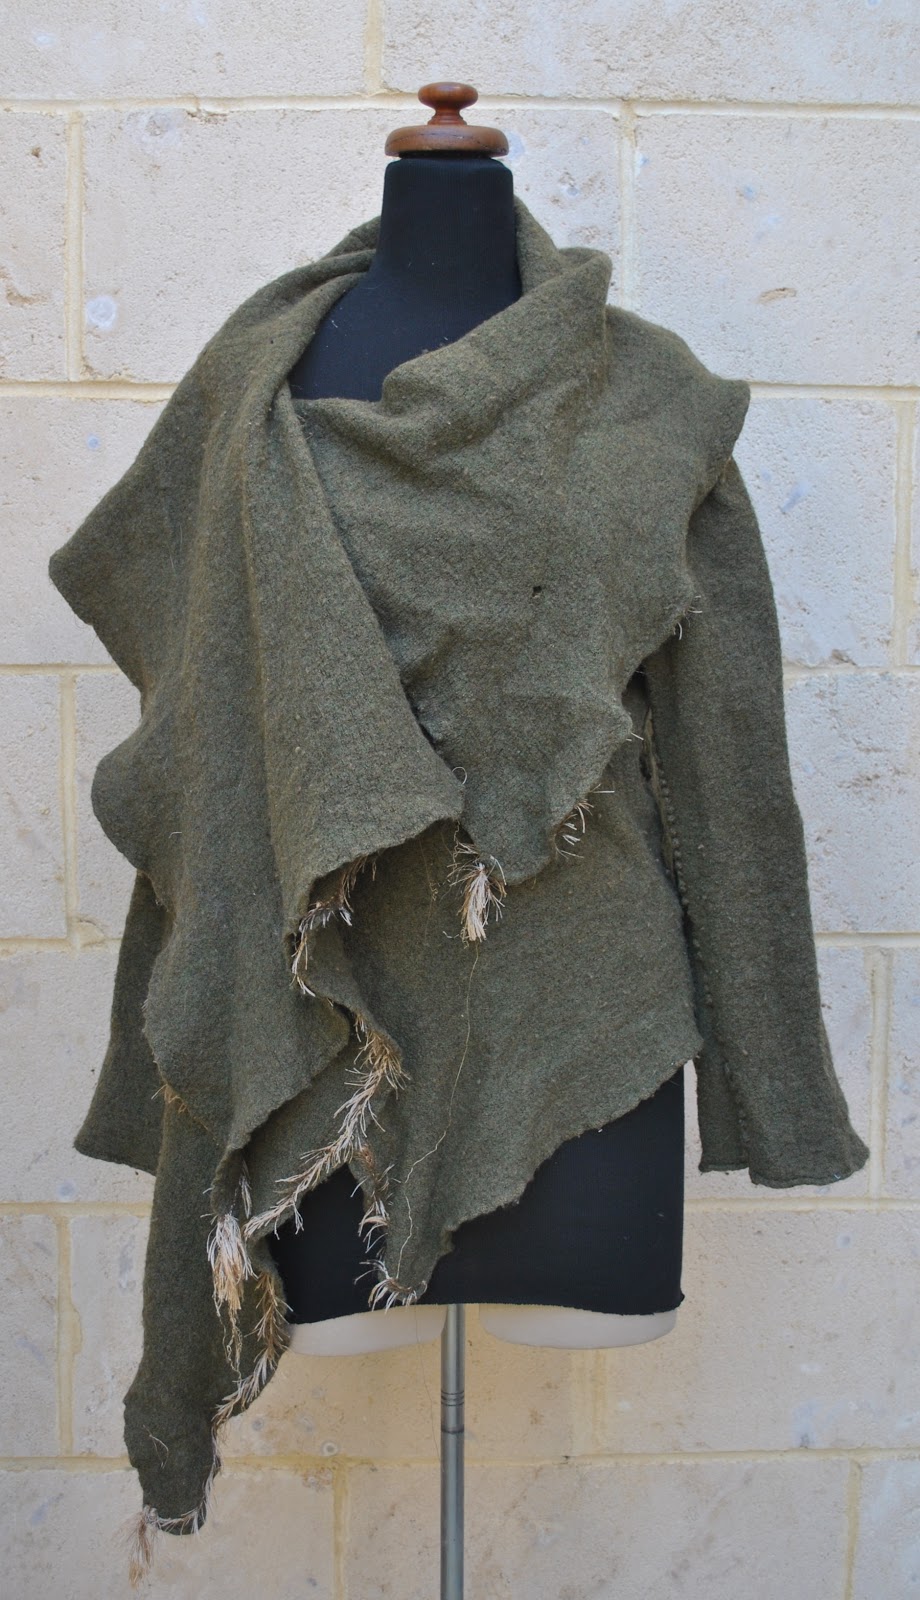
My cardigan was until very recently, a voluminous
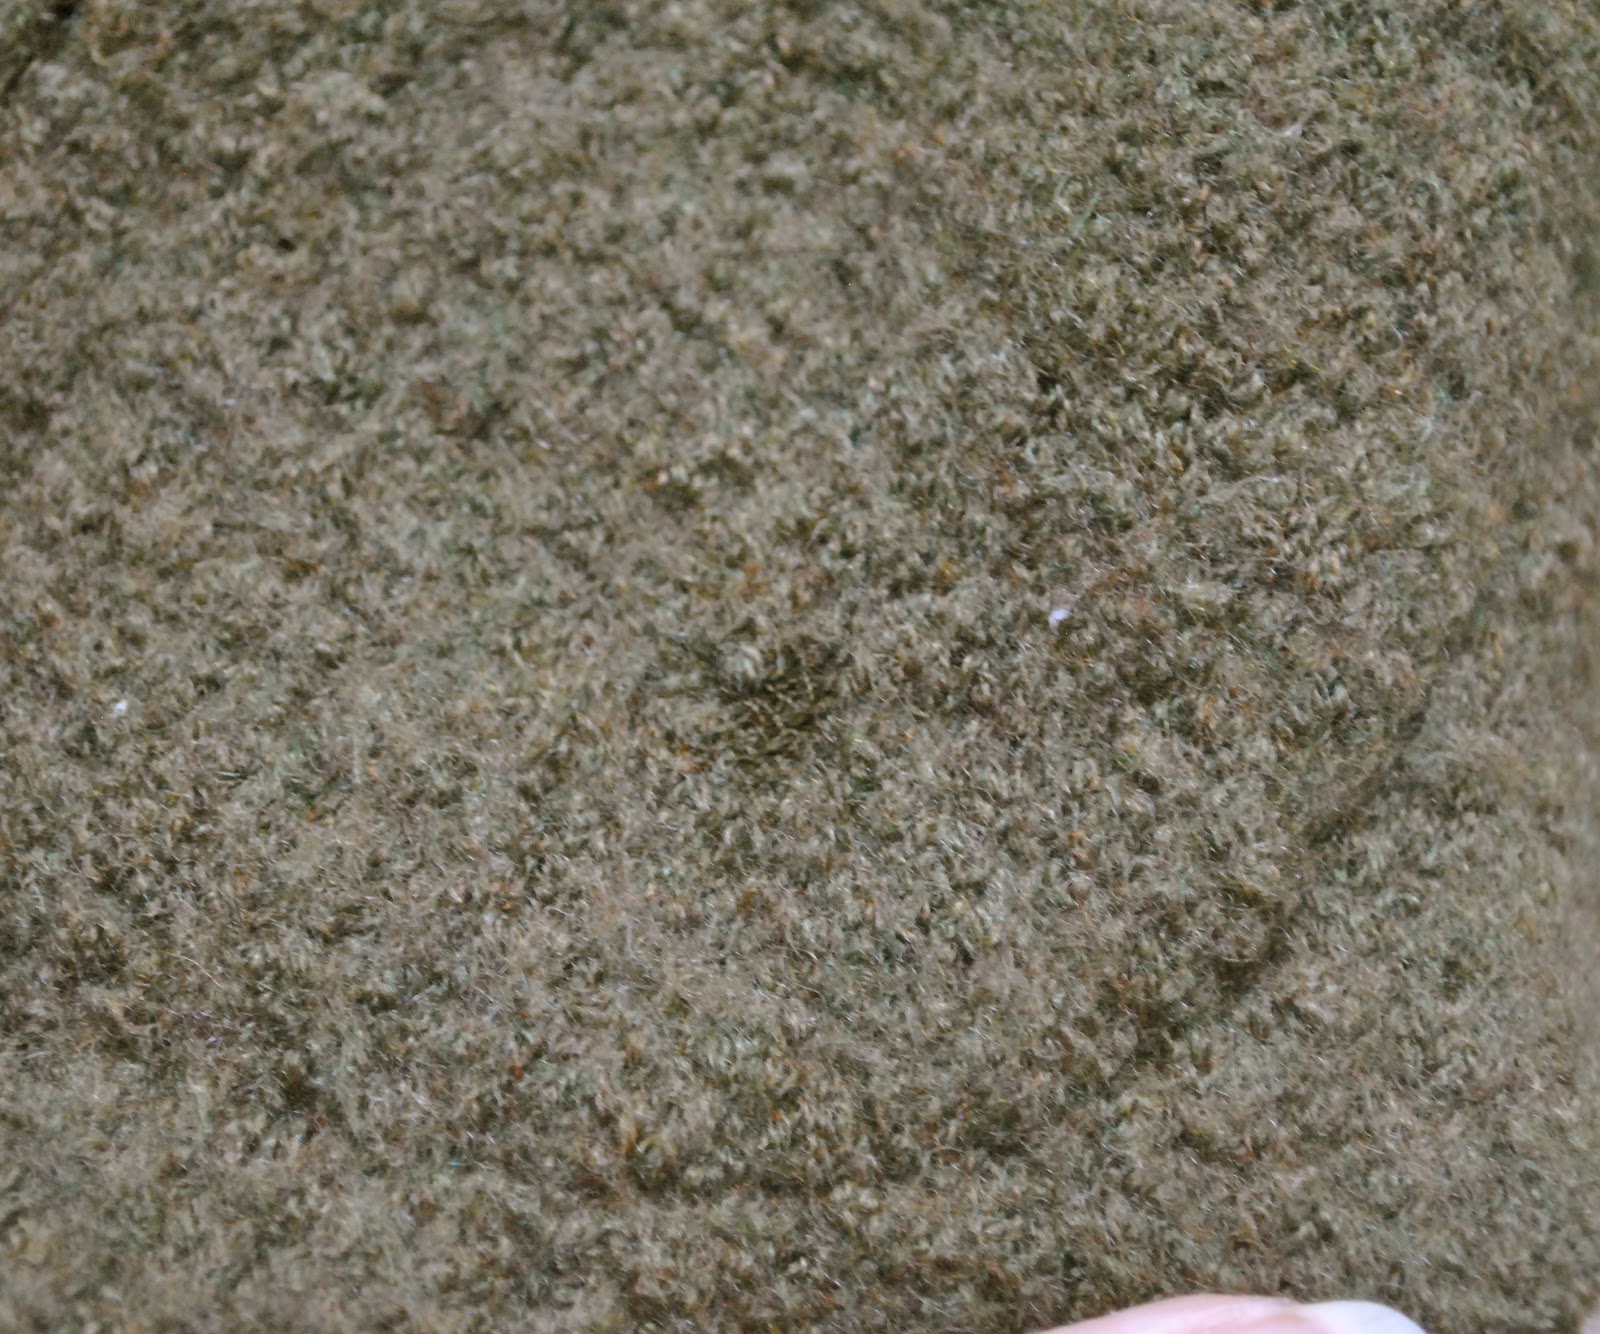
drape-y wrap, which I bought in New Zealand a few years ago. The fabric is so soft and snuggly,
making it beautifully warm and cosy, and I’ve always loved this deep olive
colour. But the shape, while very fashionable
at the time that I bought it, eventually became very not. I’m not going to
show you any pictures of me wearing it, as it was. Especially with my hair… so just picture Samwise Gamgee in
LOTR and you’re getting a pretty good idea! So unfortunately I have not worn it for aaaages and knew I
never would again either looking like that; but I still loved that soft wool and thought it definitely
deserved a second wind.
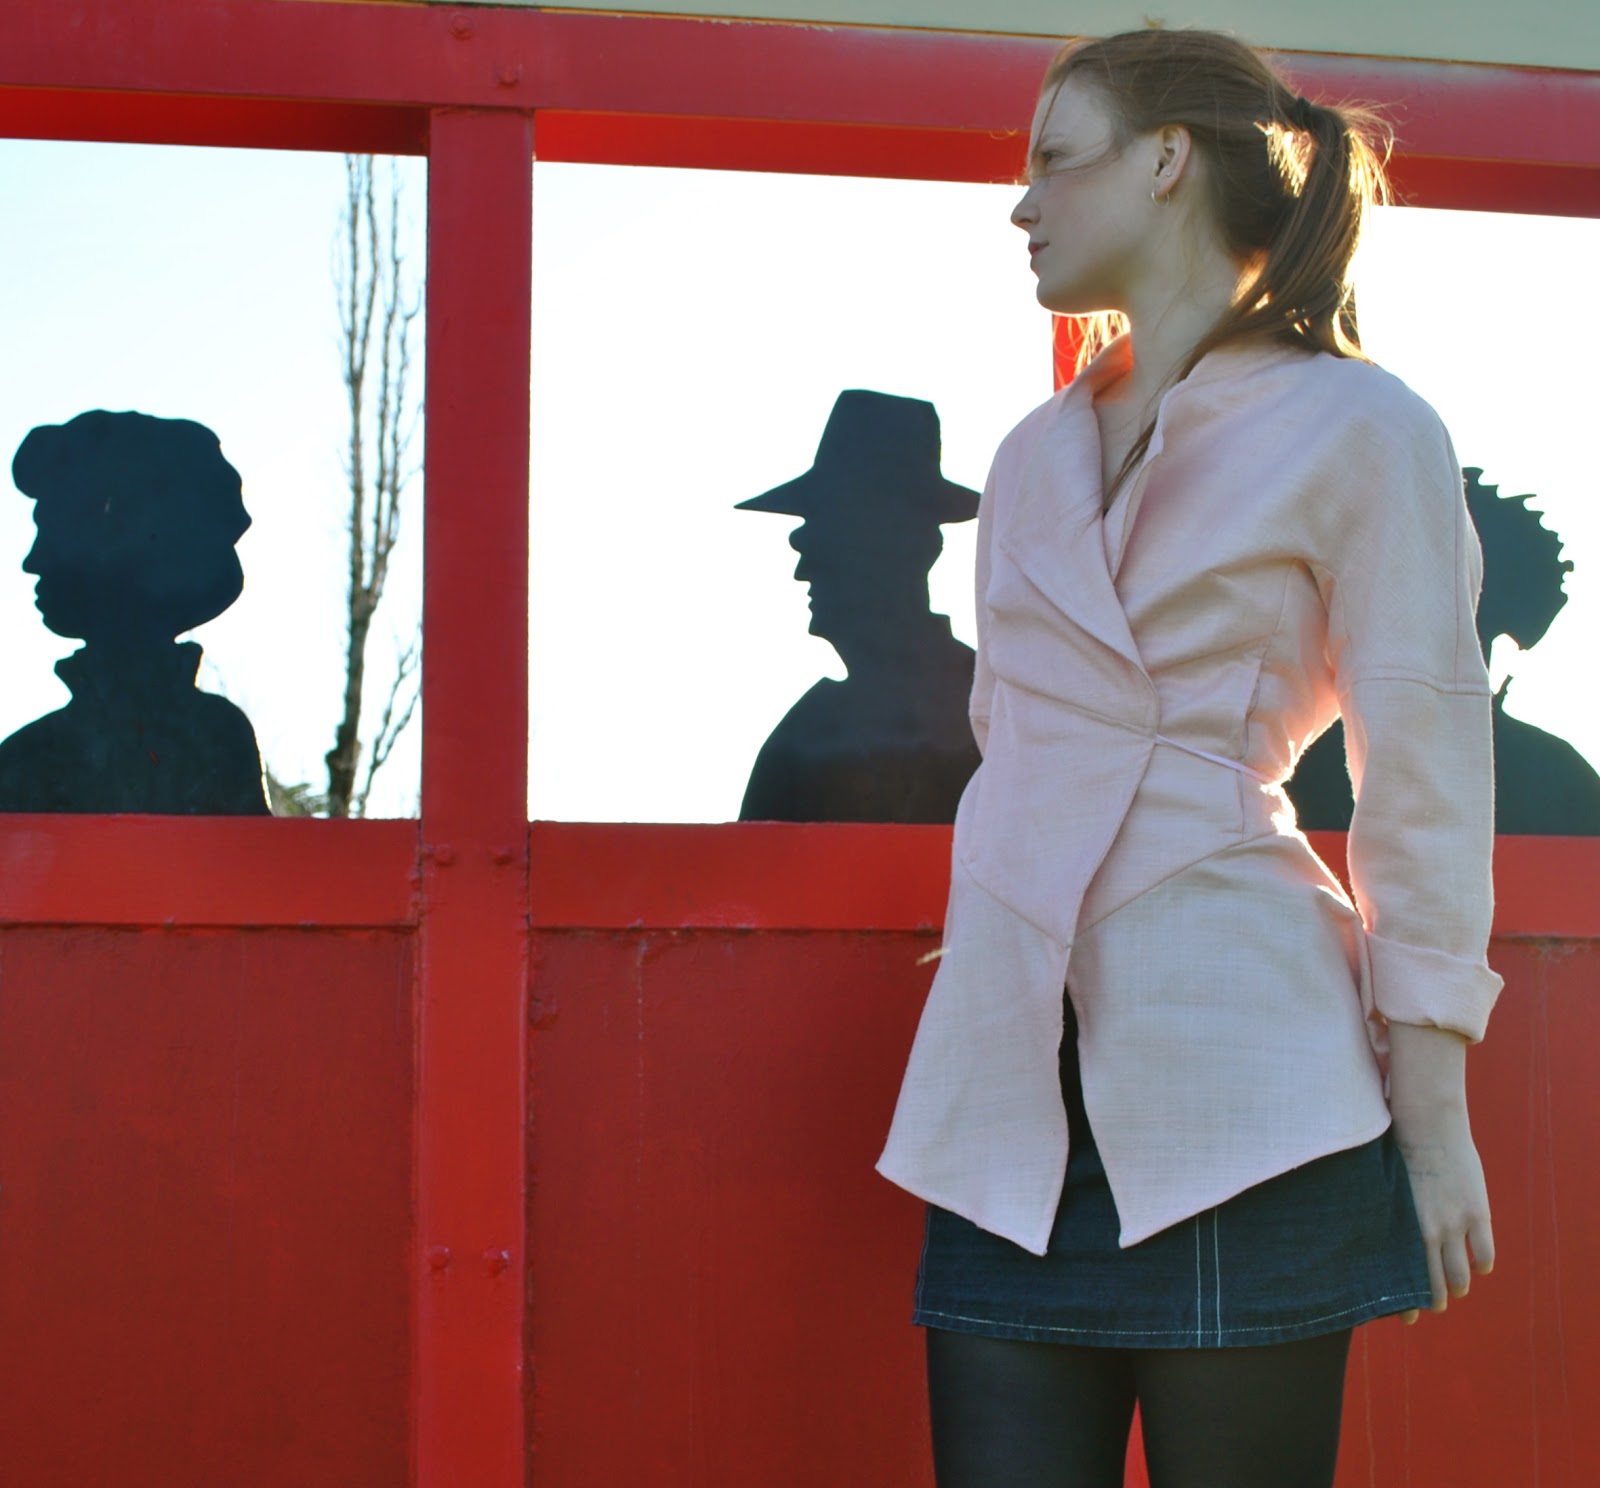
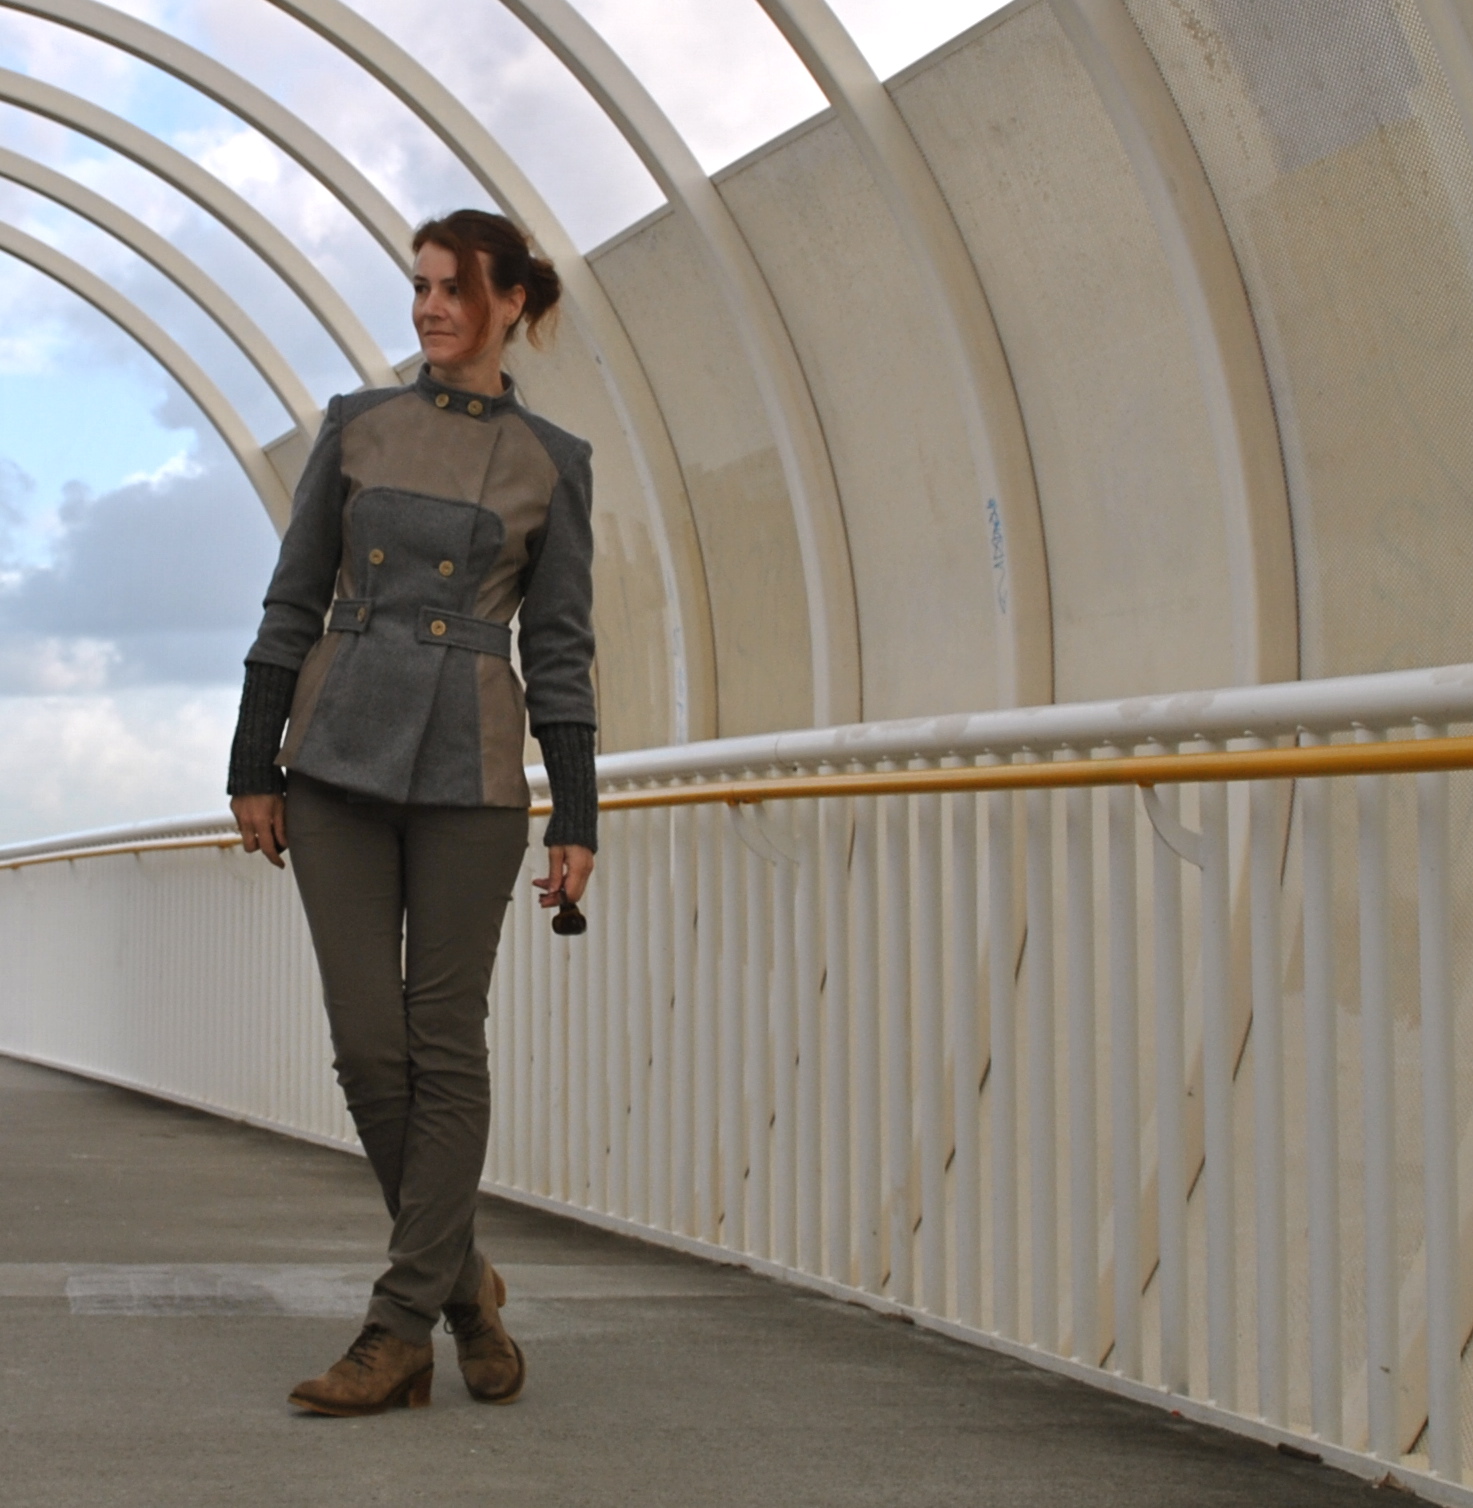
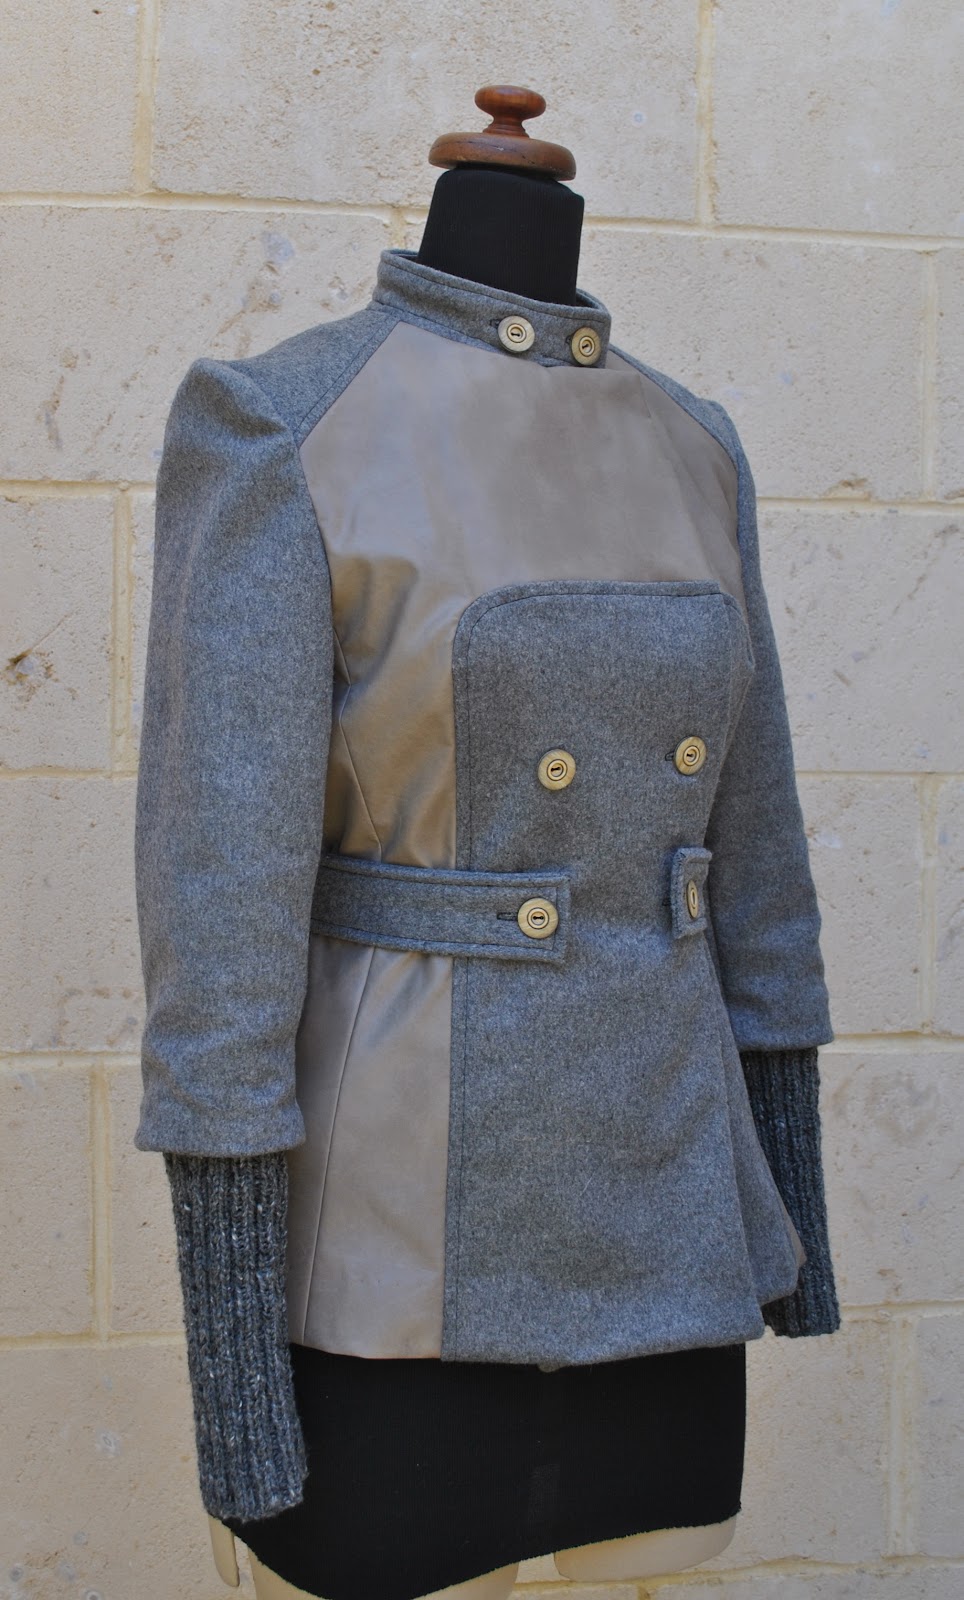
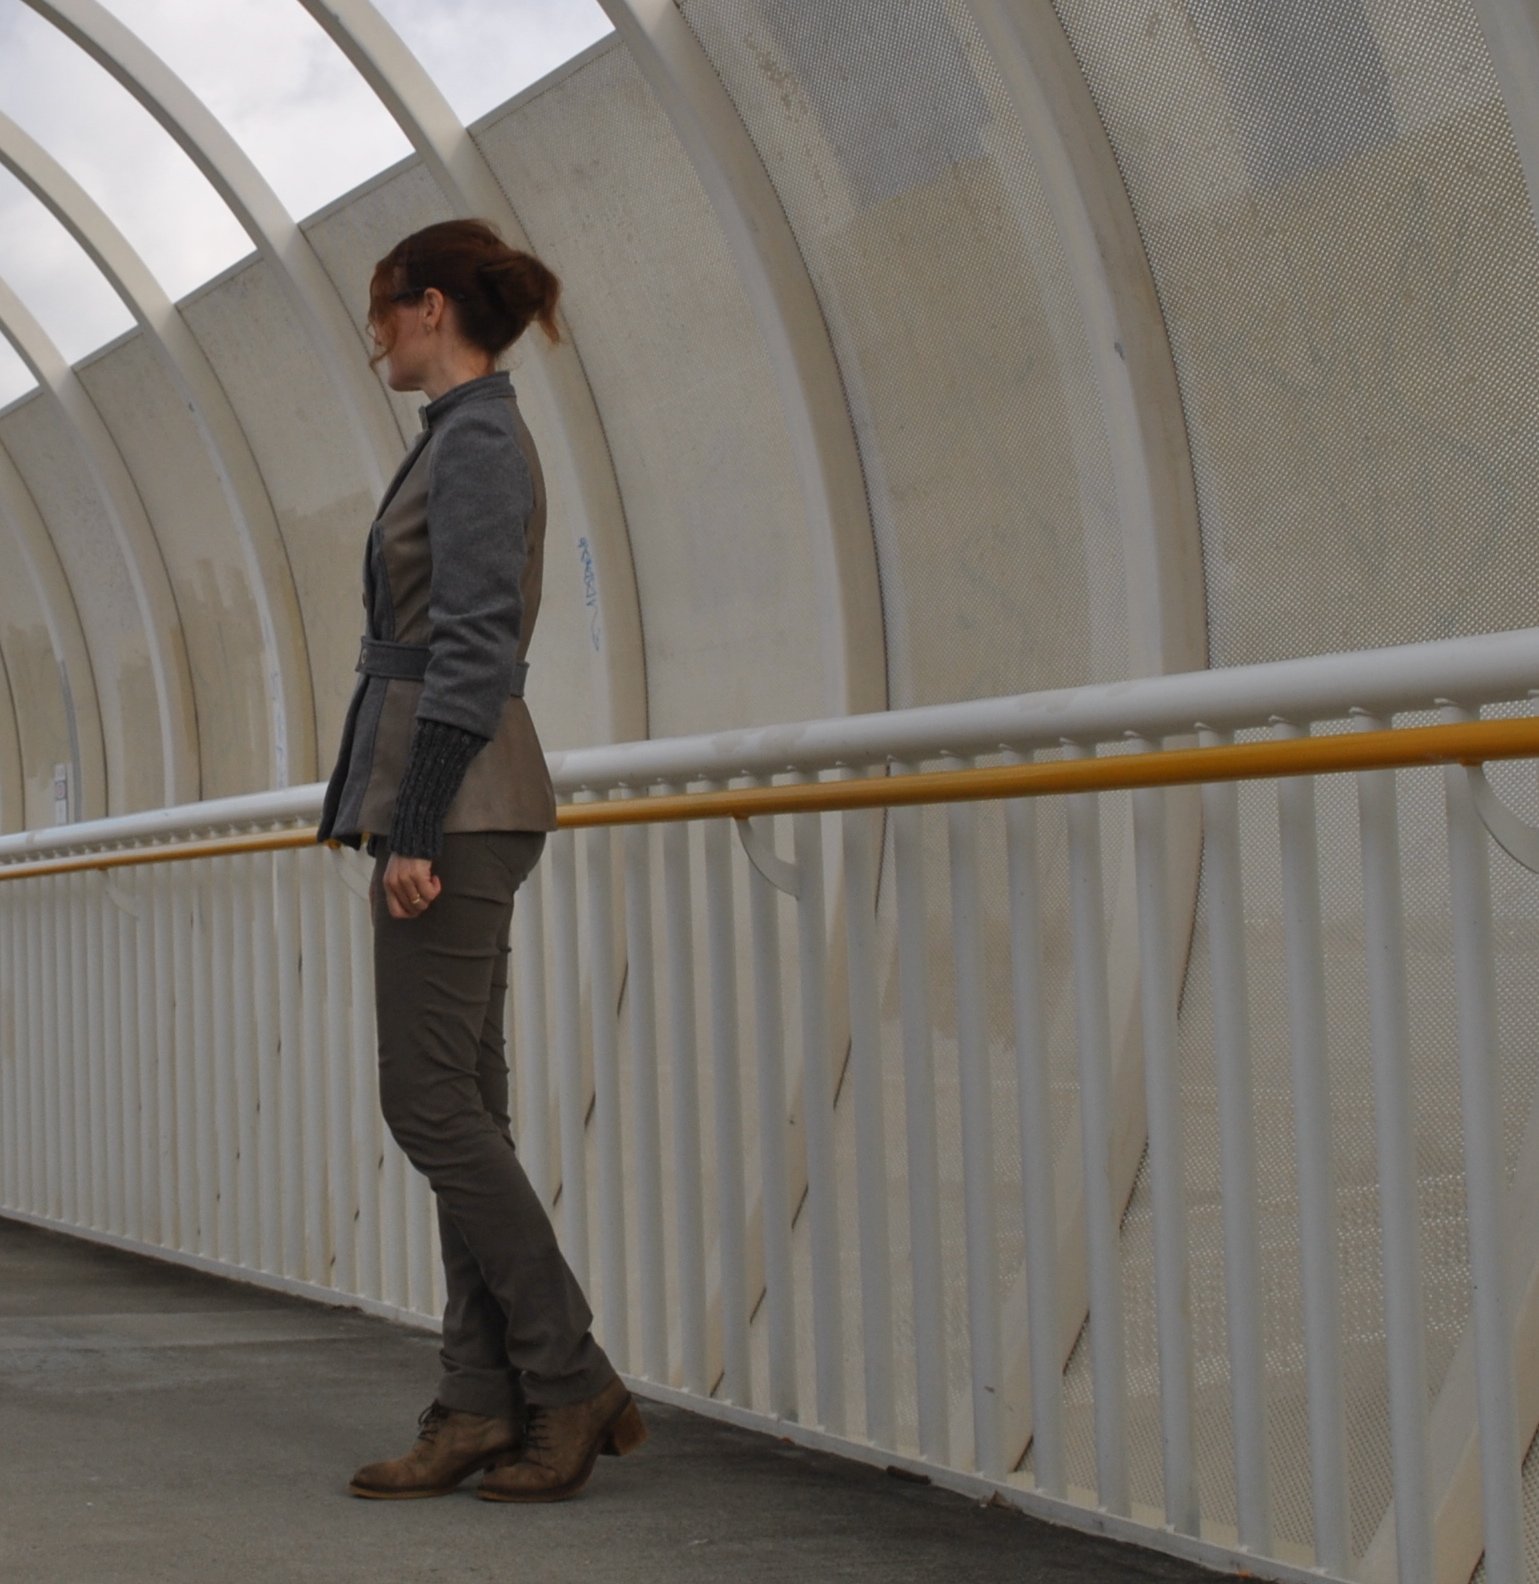
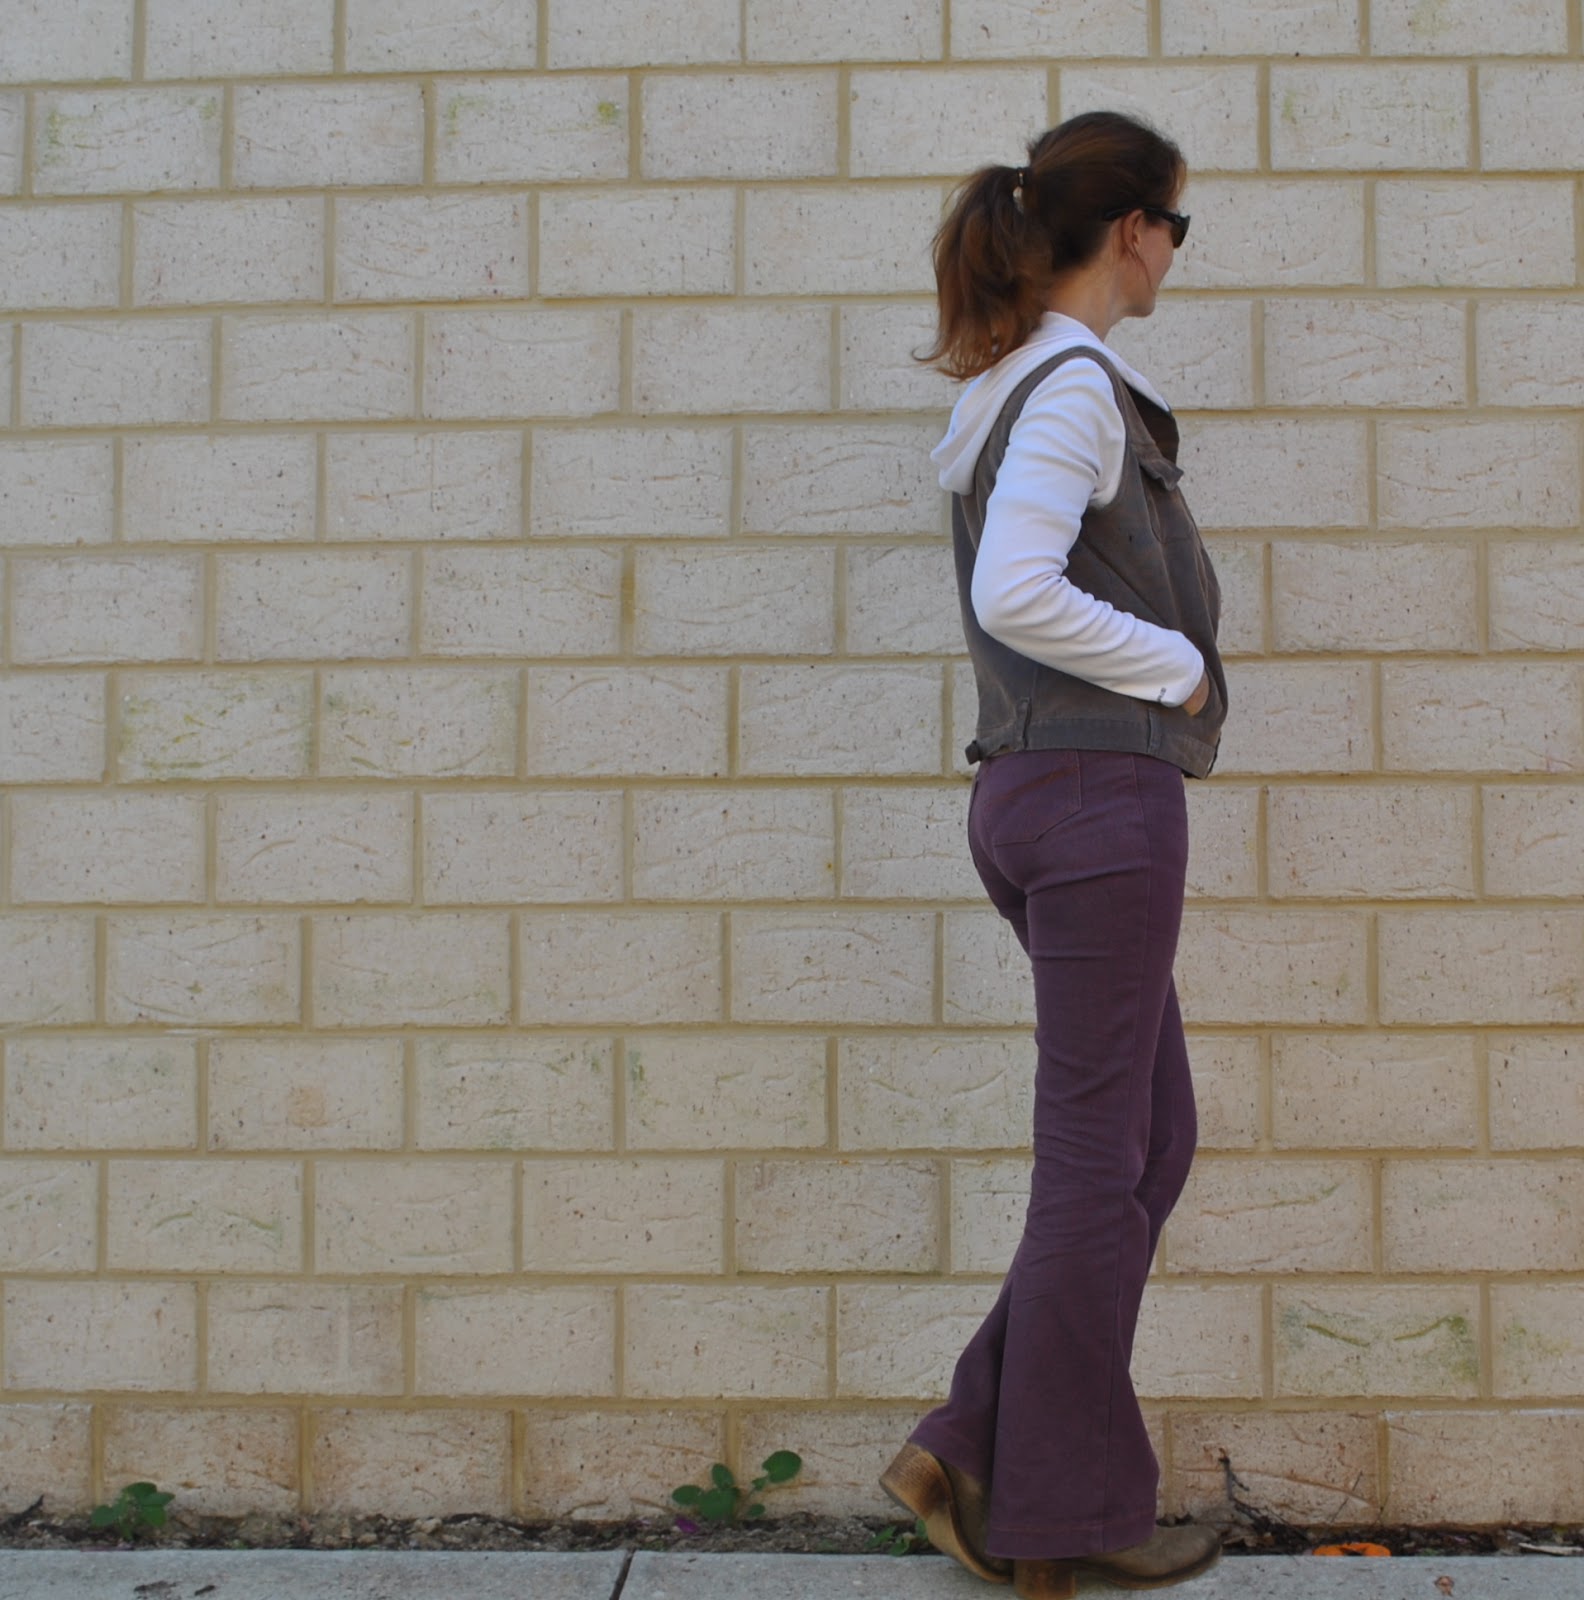
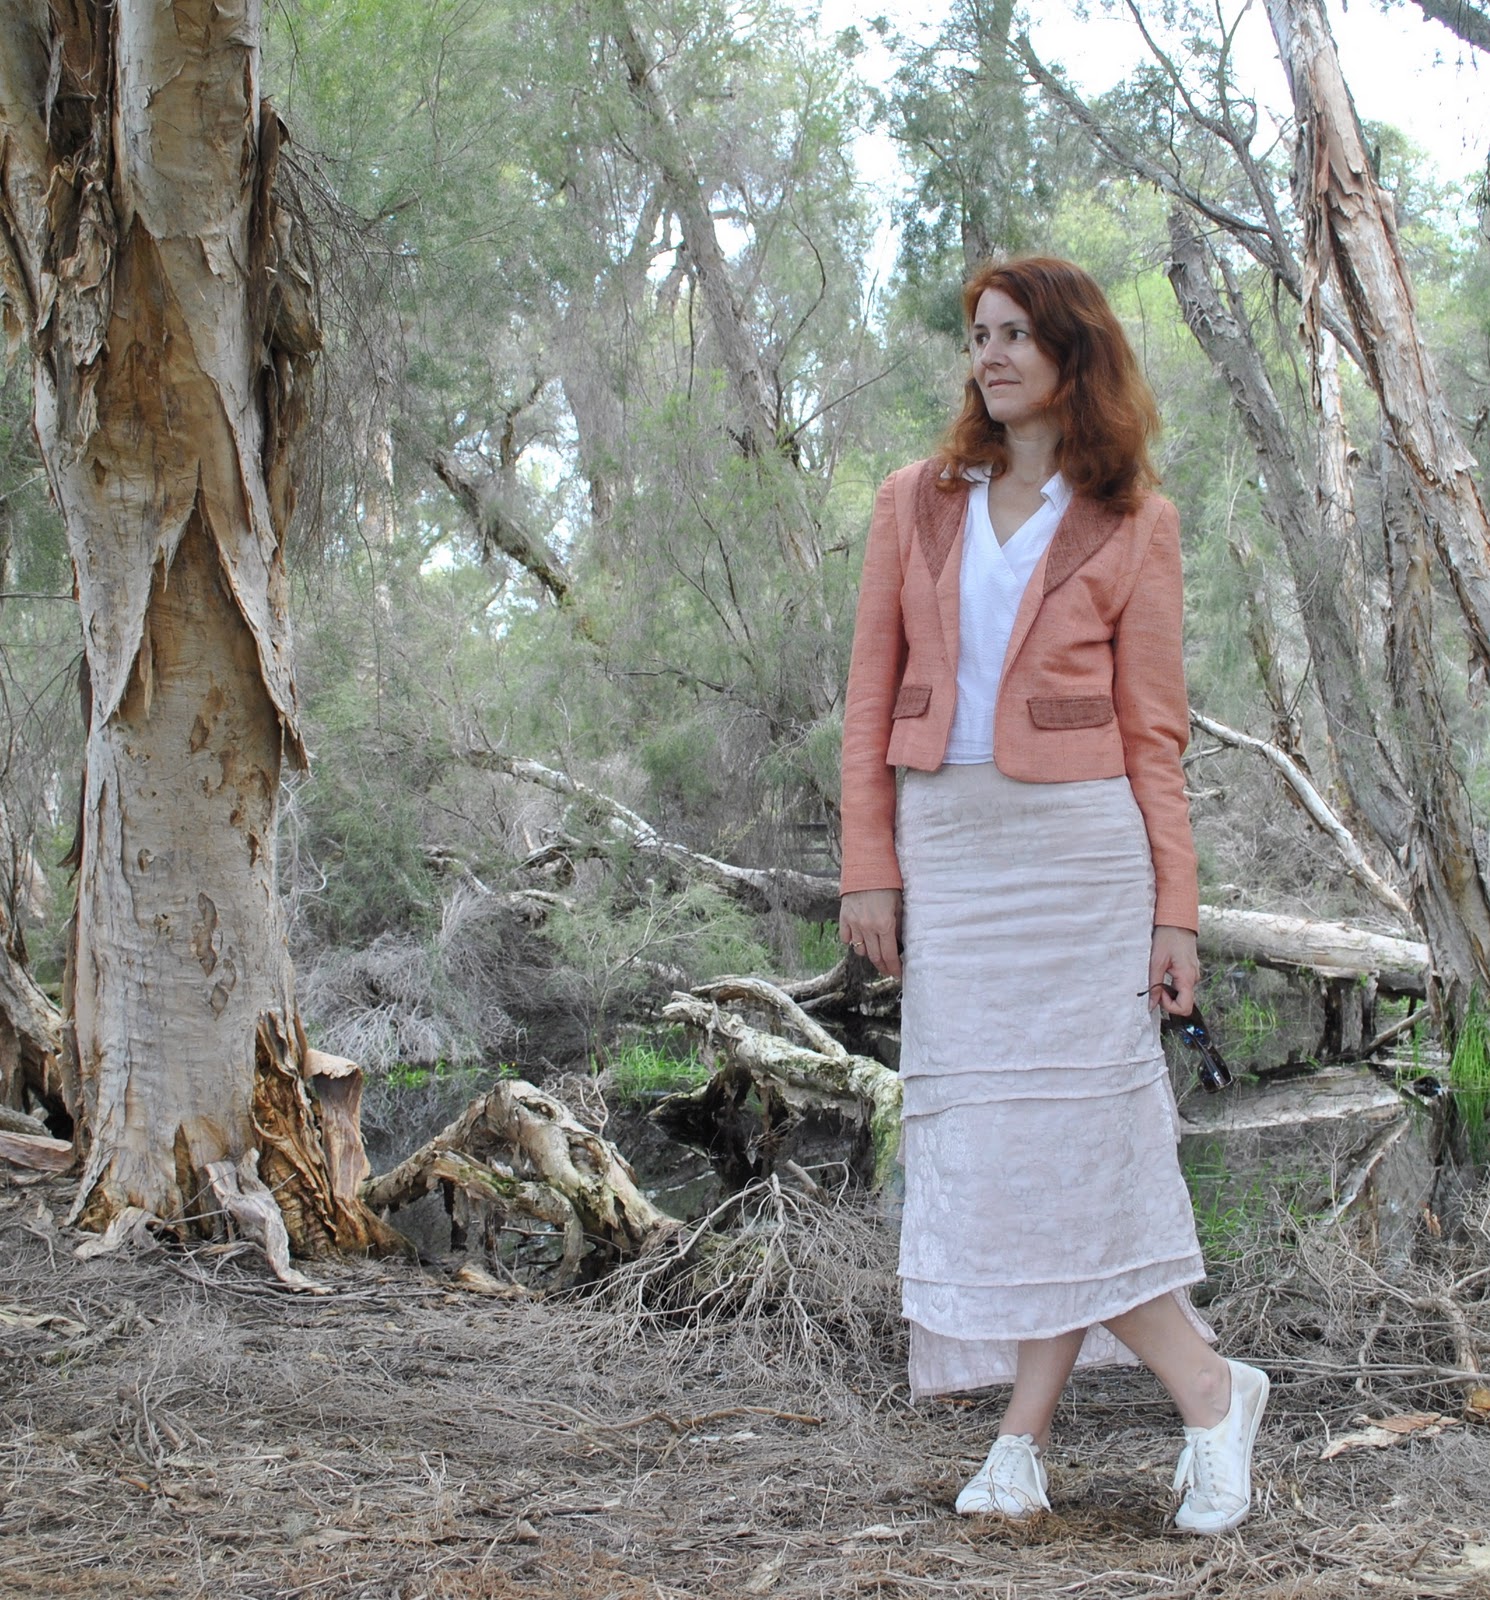
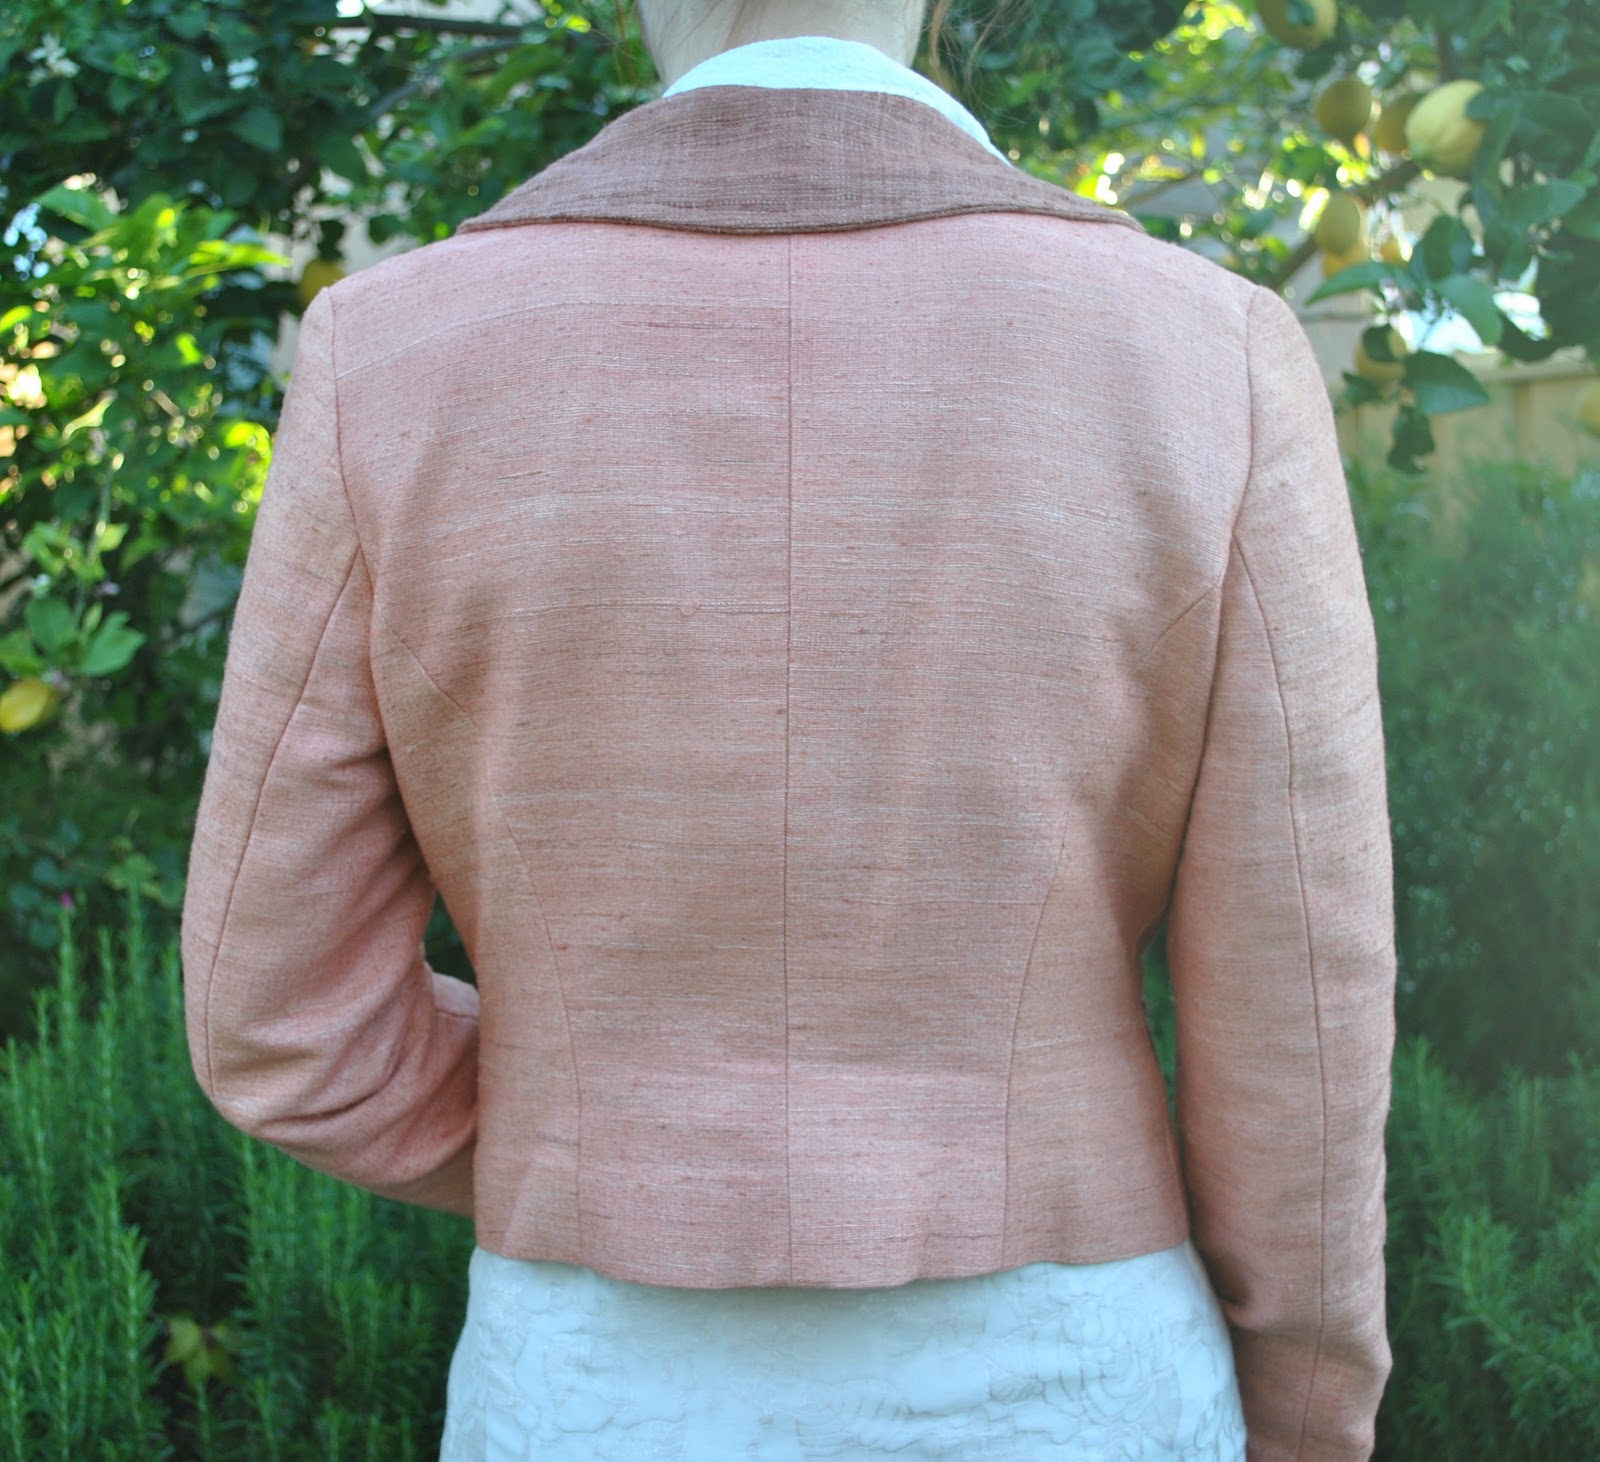
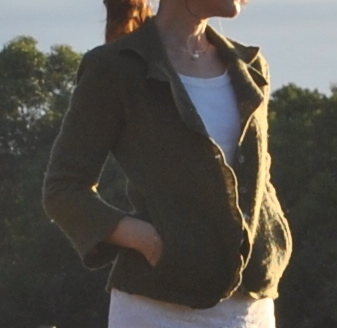
I like it all over again now. I think it turned out sorta like an unstructured
tweed jacket; a casual, playful, loose and floppy version of the landed
gentry’s countrywear, like a cheeky, irreverent, younger brother of the same, if you
like. And I still have my souvenir from New Zealand, in a newly wearable style 🙂
tweed jacket; a casual, playful, loose and floppy version of the landed
gentry’s countrywear, like a cheeky, irreverent, younger brother of the same, if you
like. And I still have my souvenir from New Zealand, in a newly wearable style 🙂
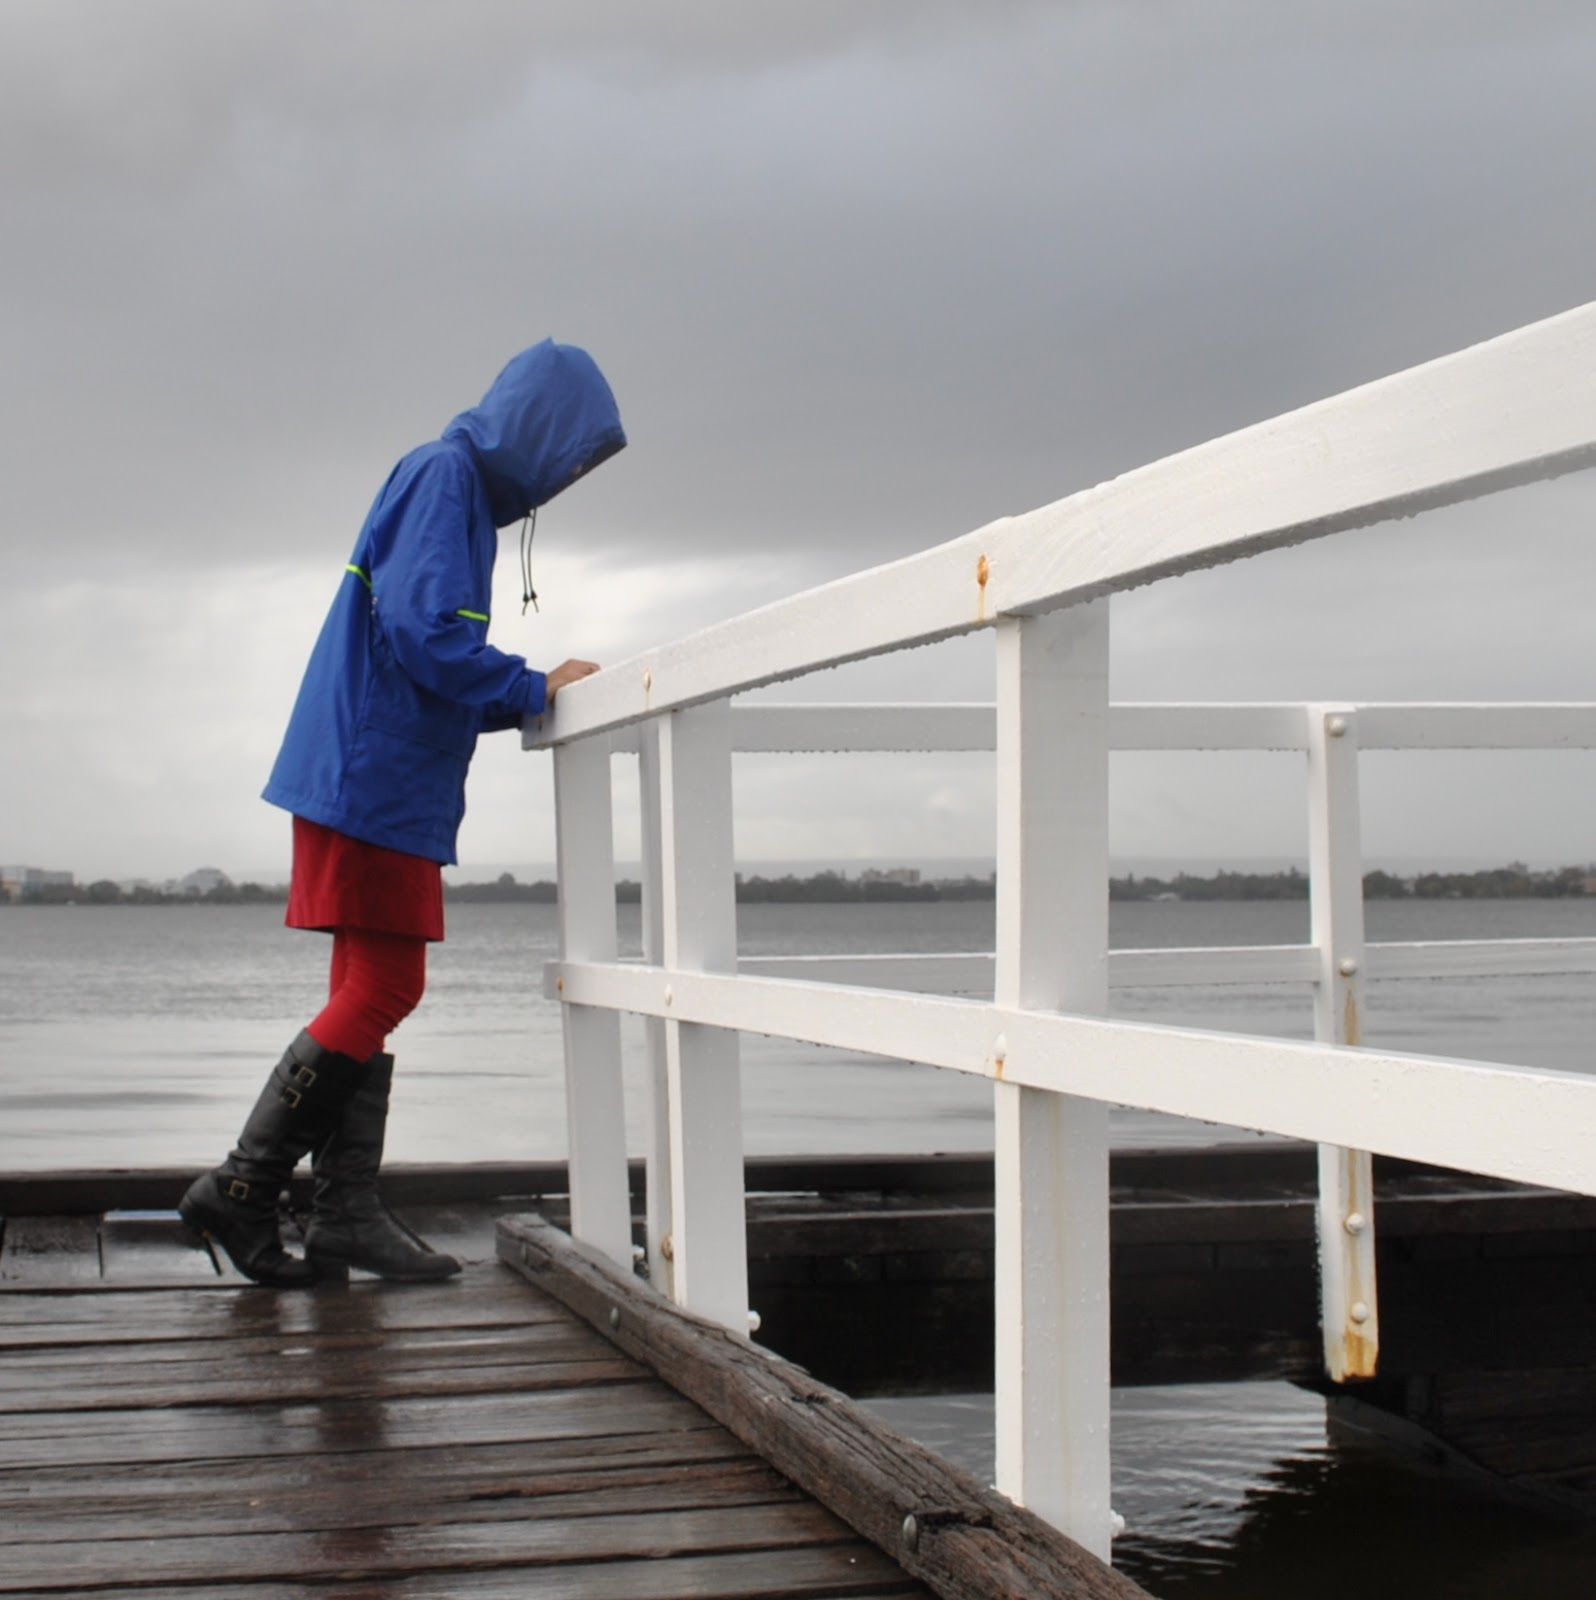
Details:
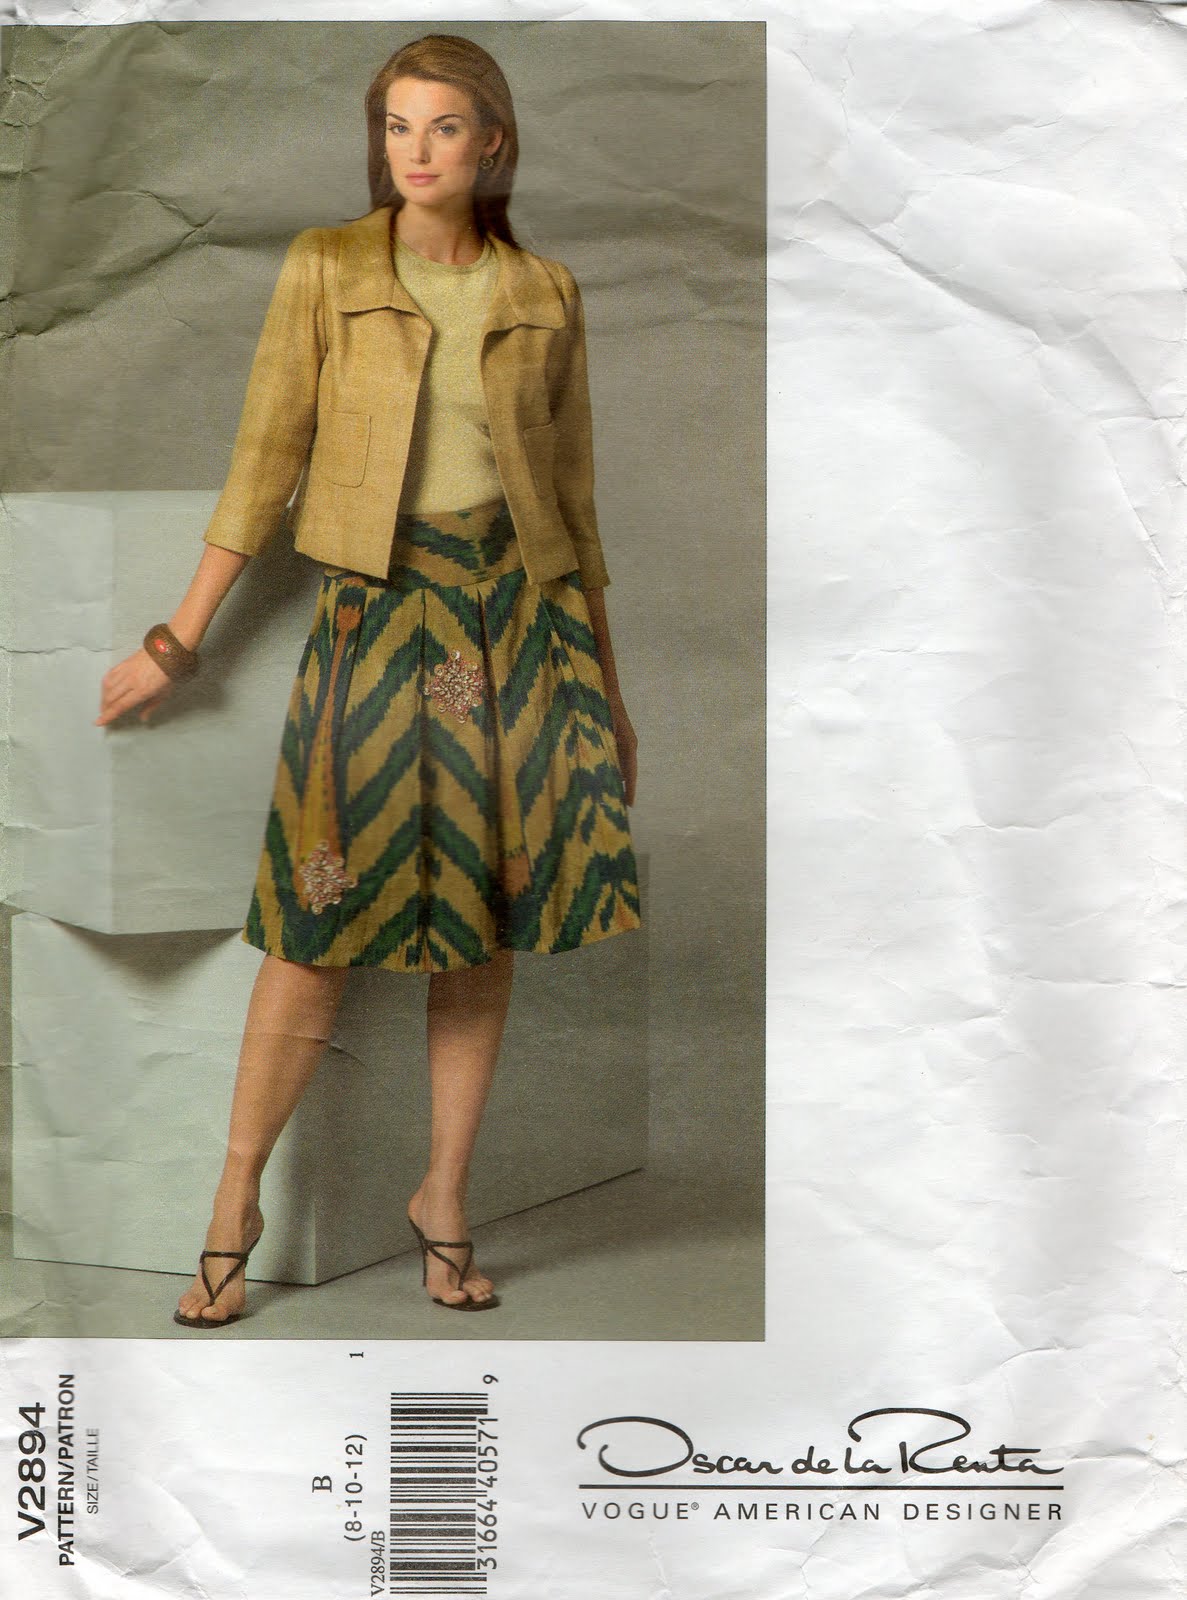
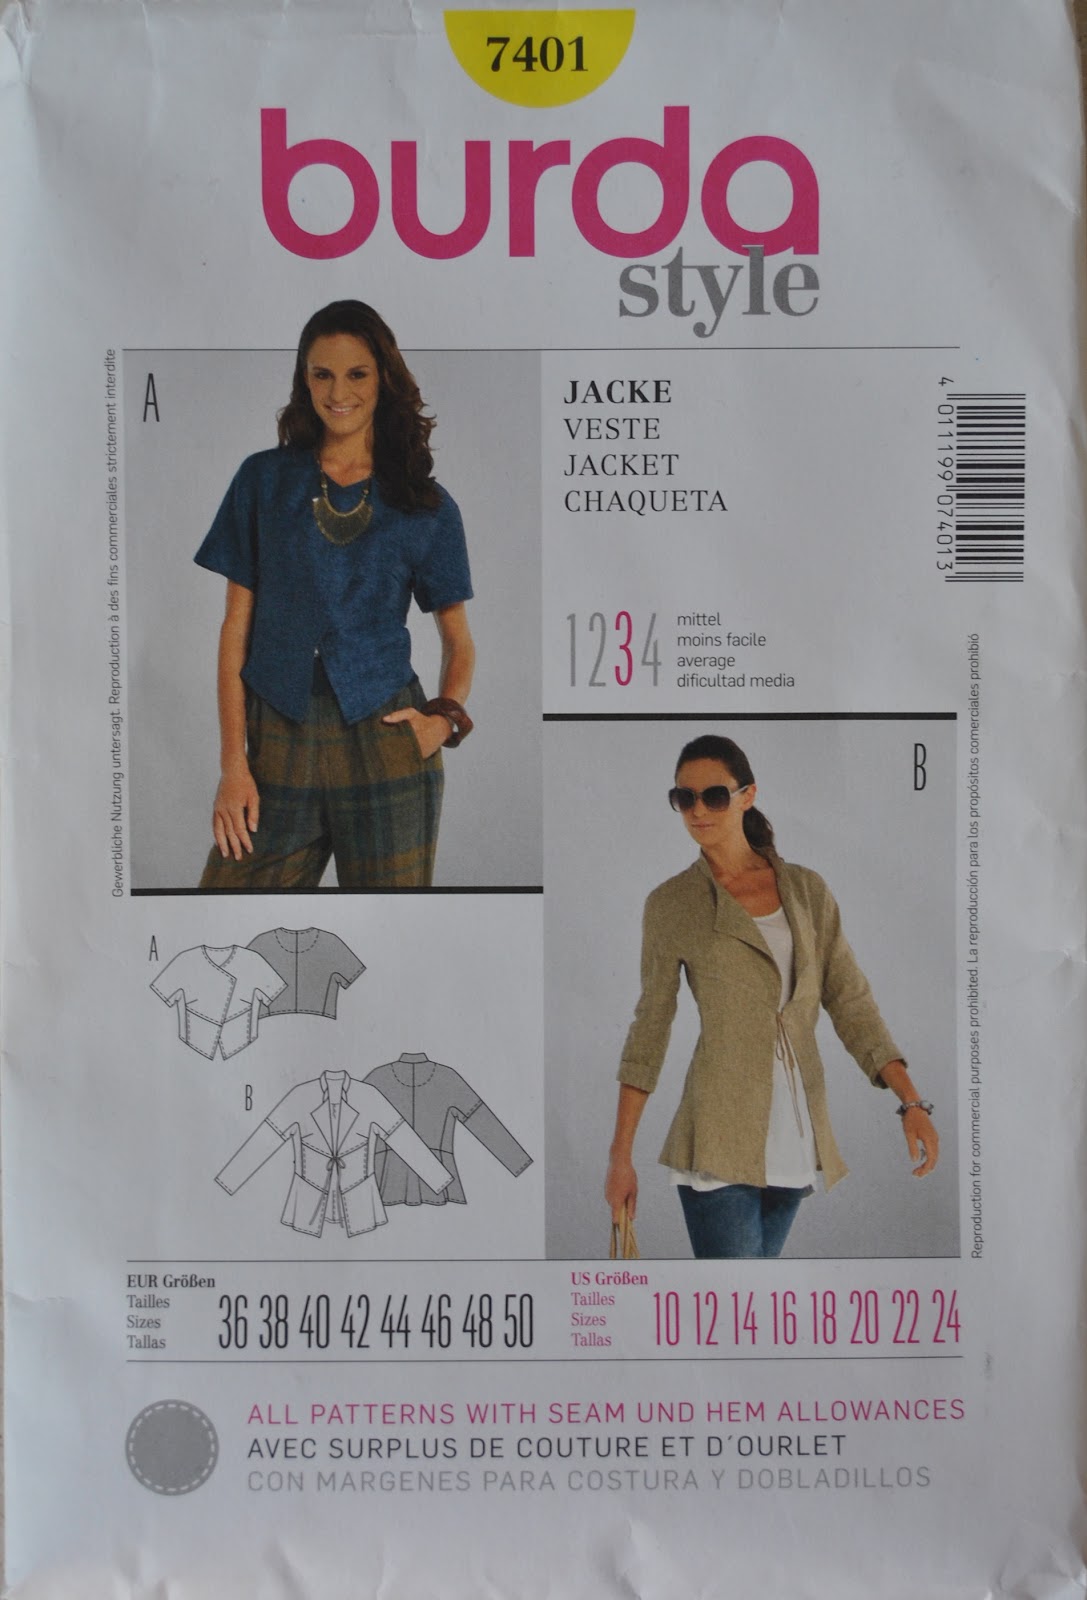
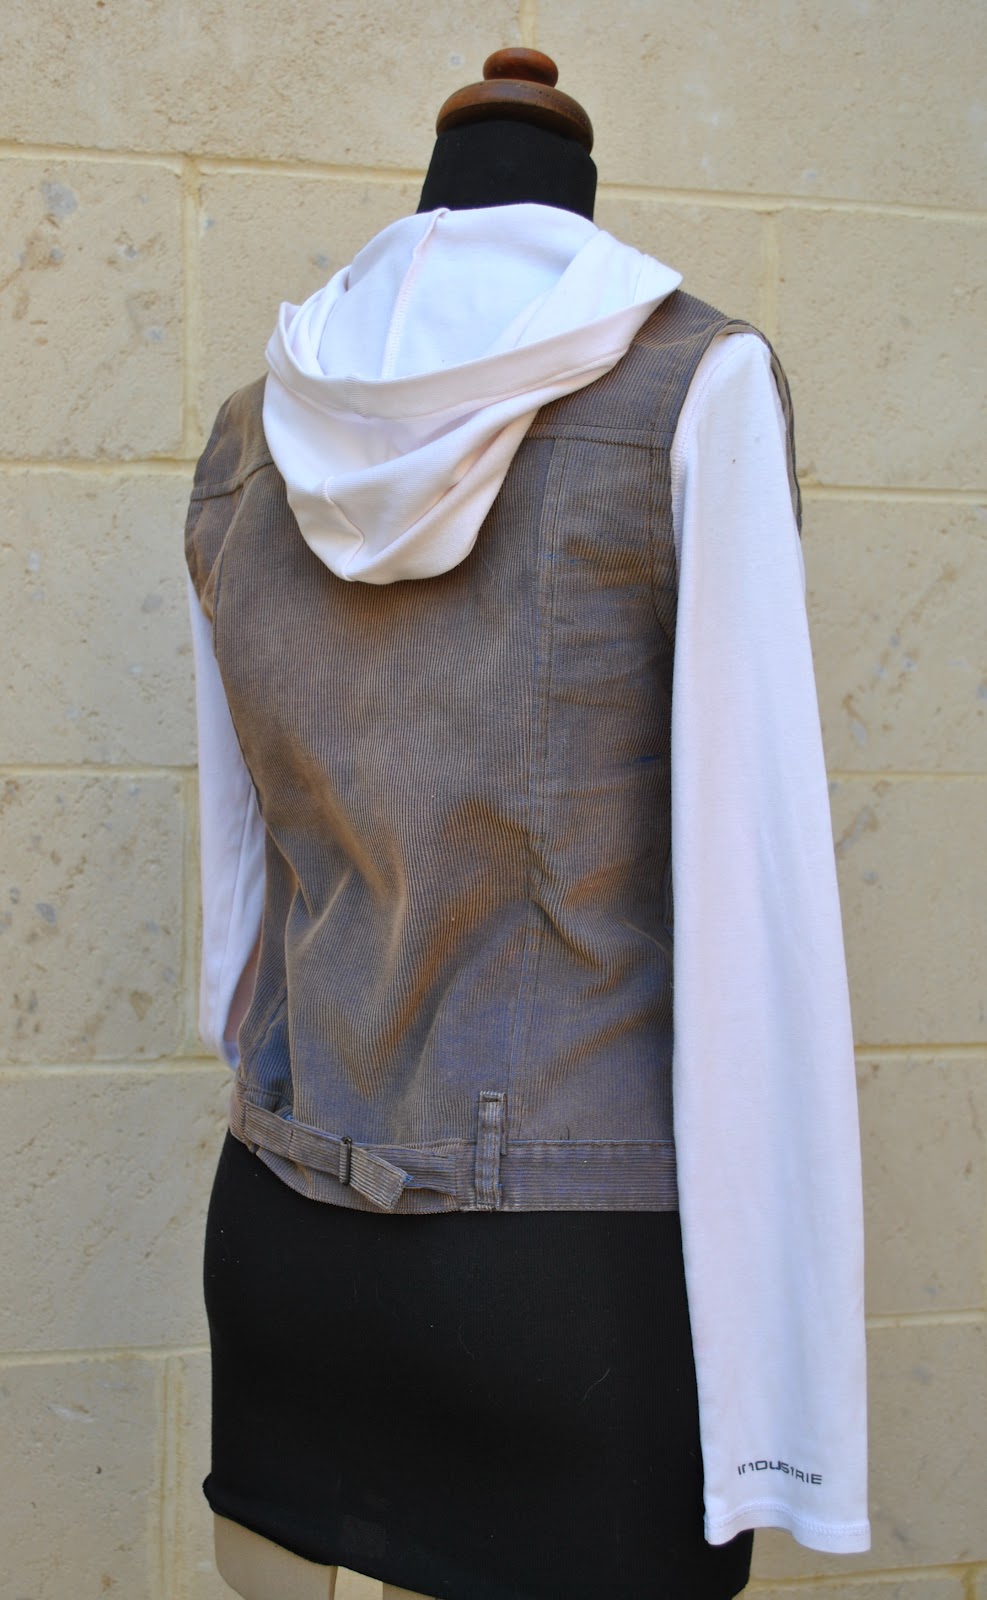
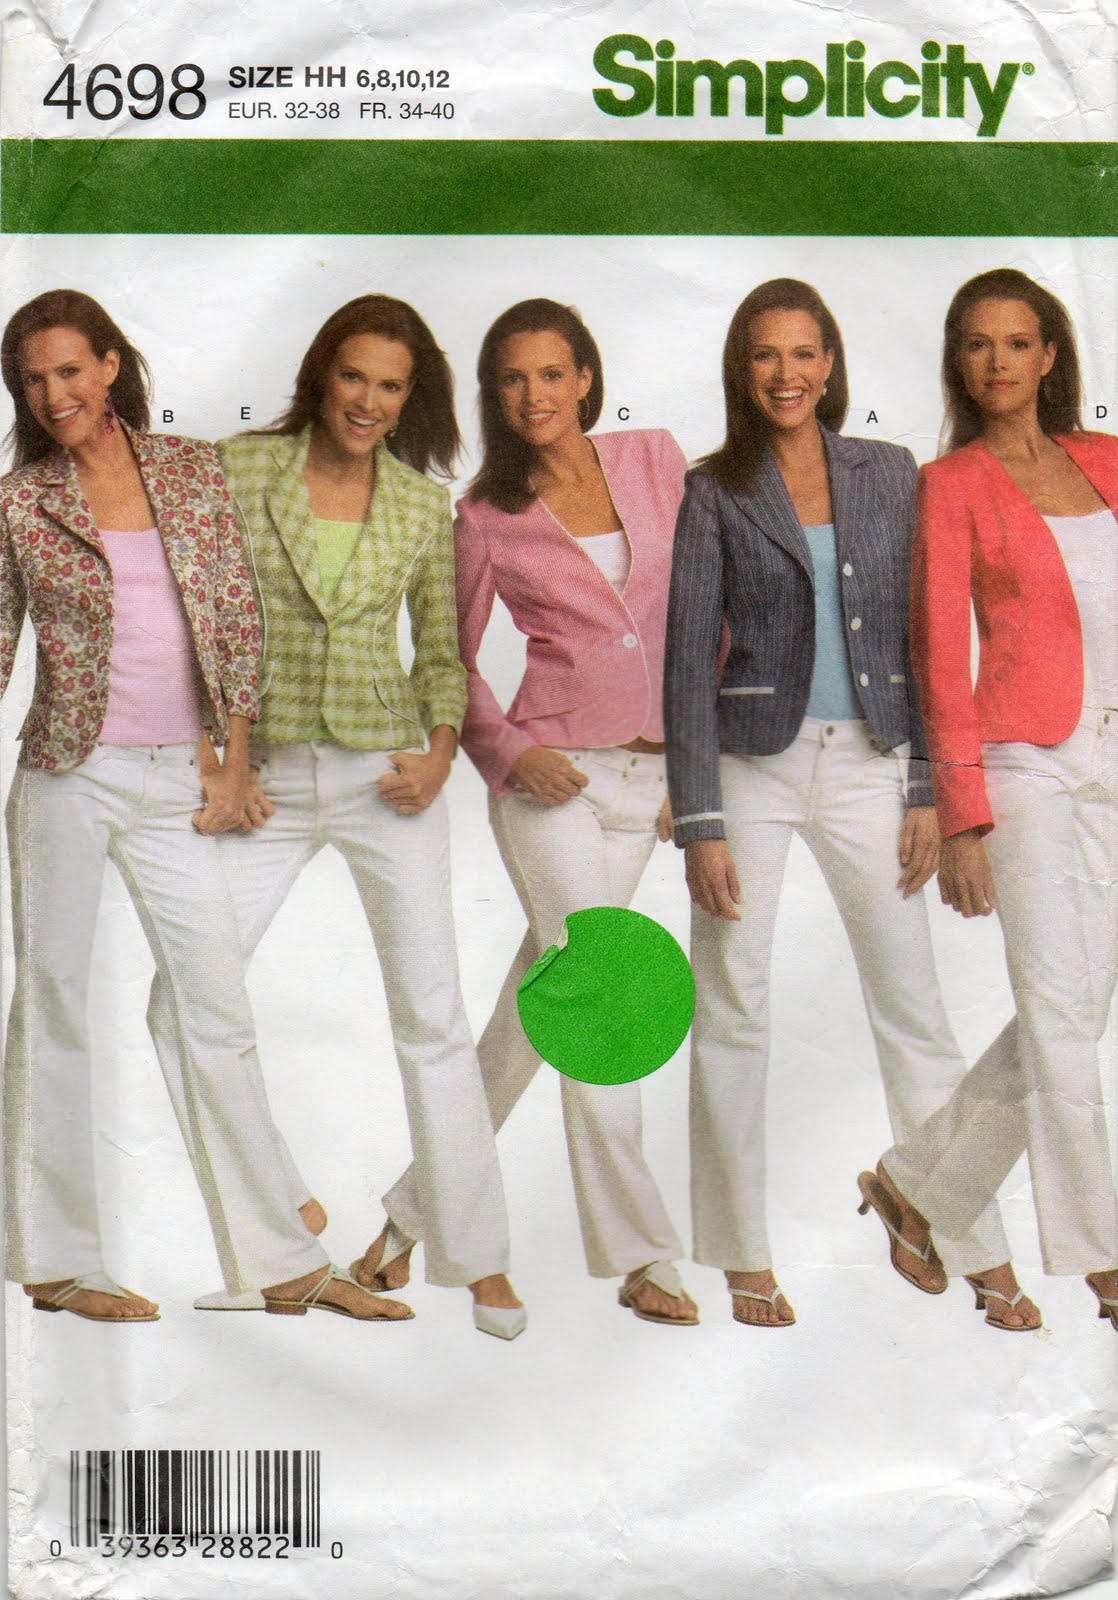
Jacket; based loosely on Simplicity 4698,
deep olive felted wool, refashioned from an old wrap
deep olive felted wool, refashioned from an old wrap
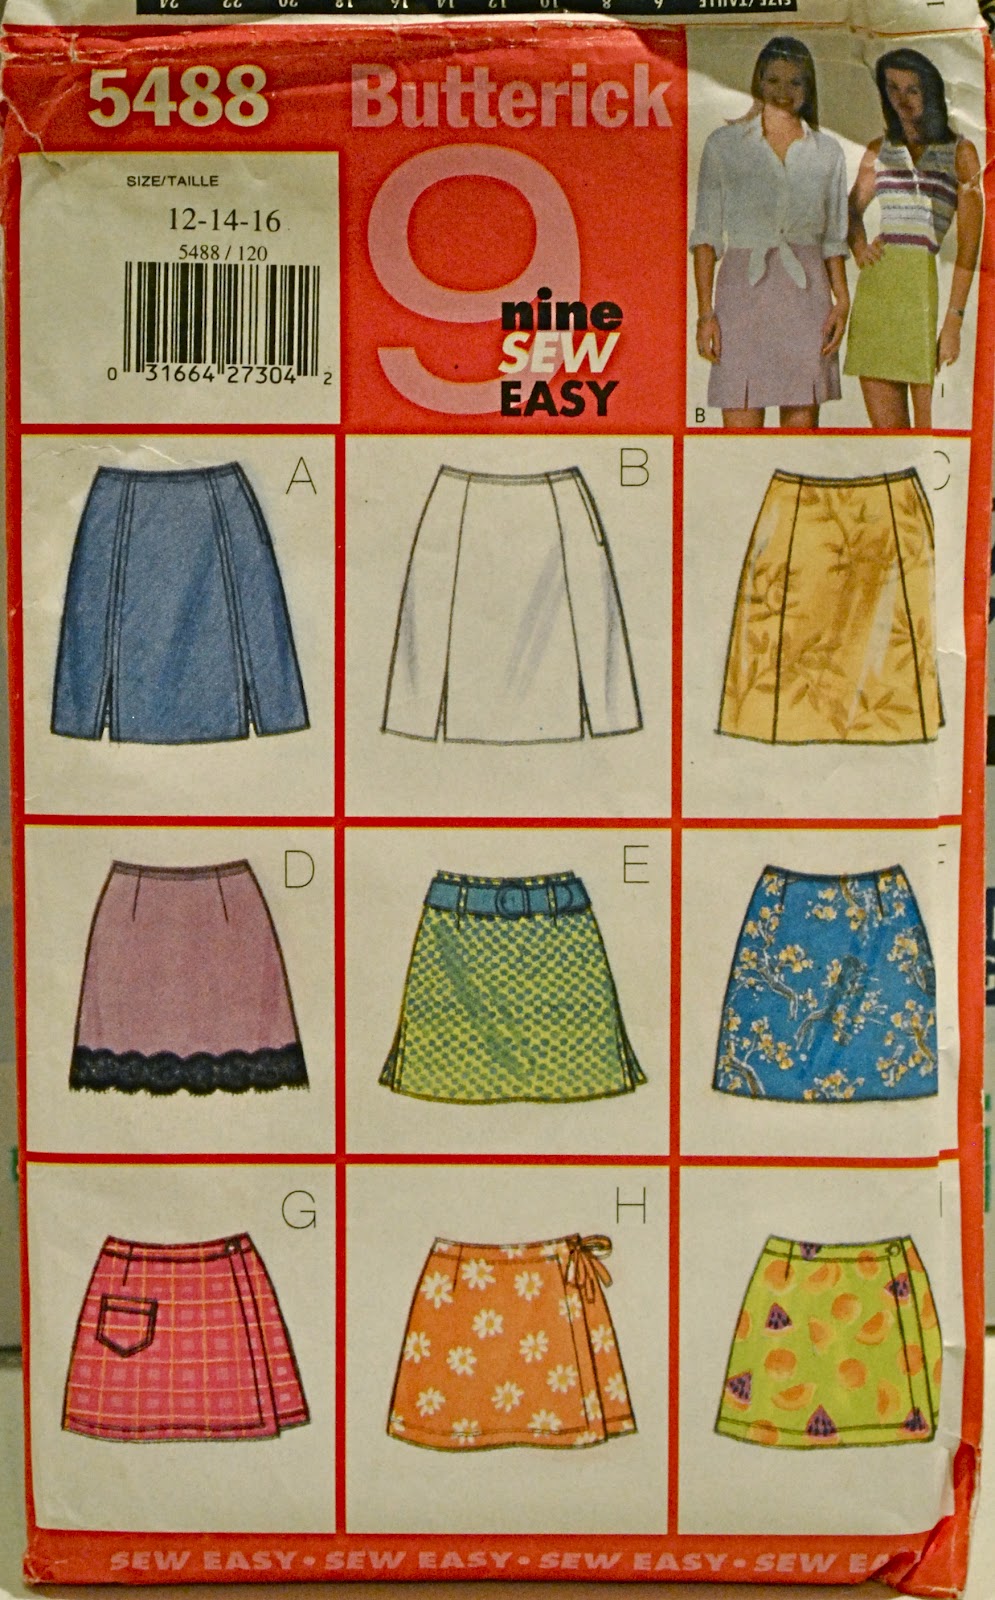
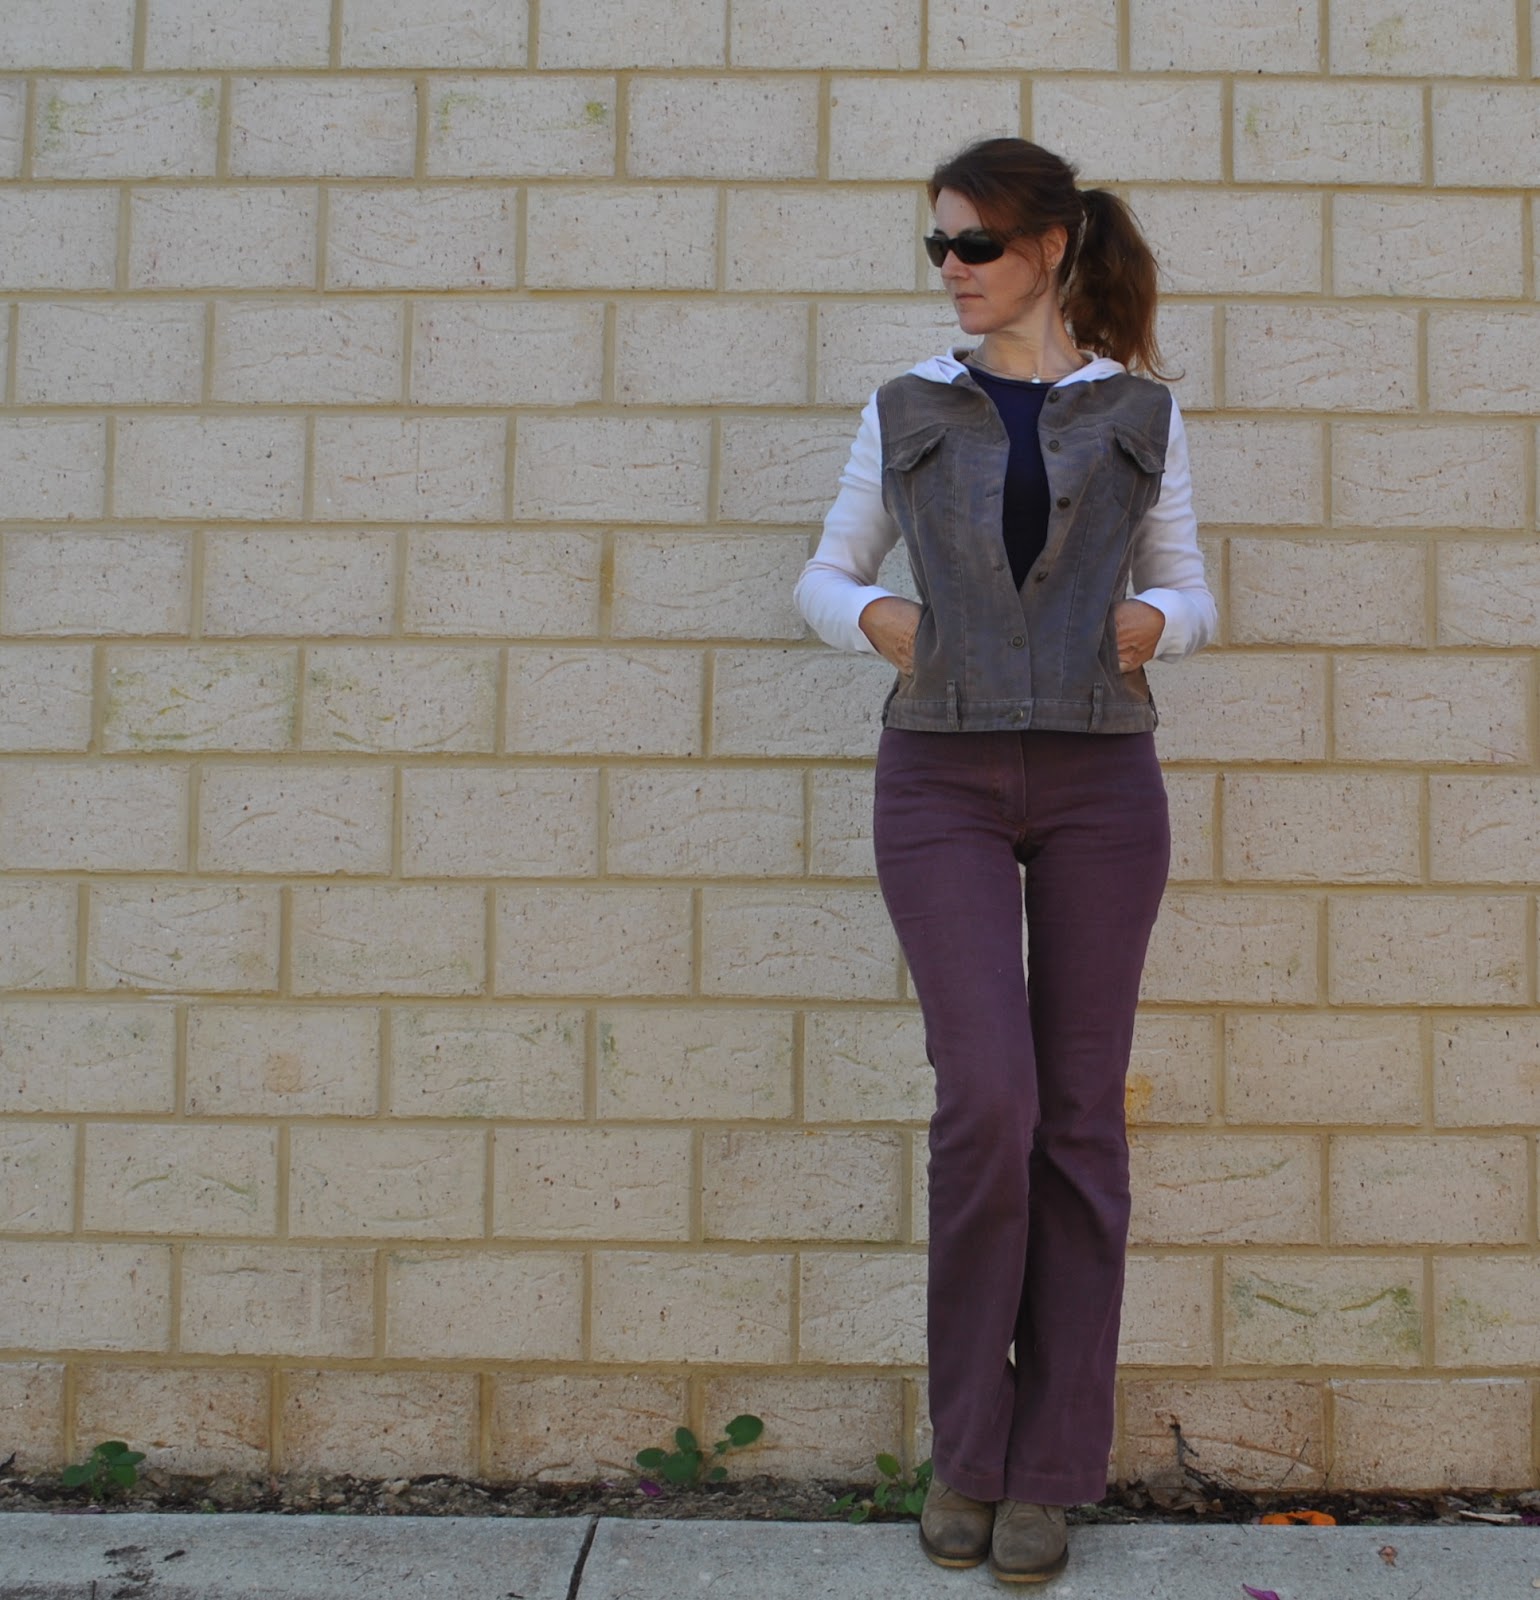
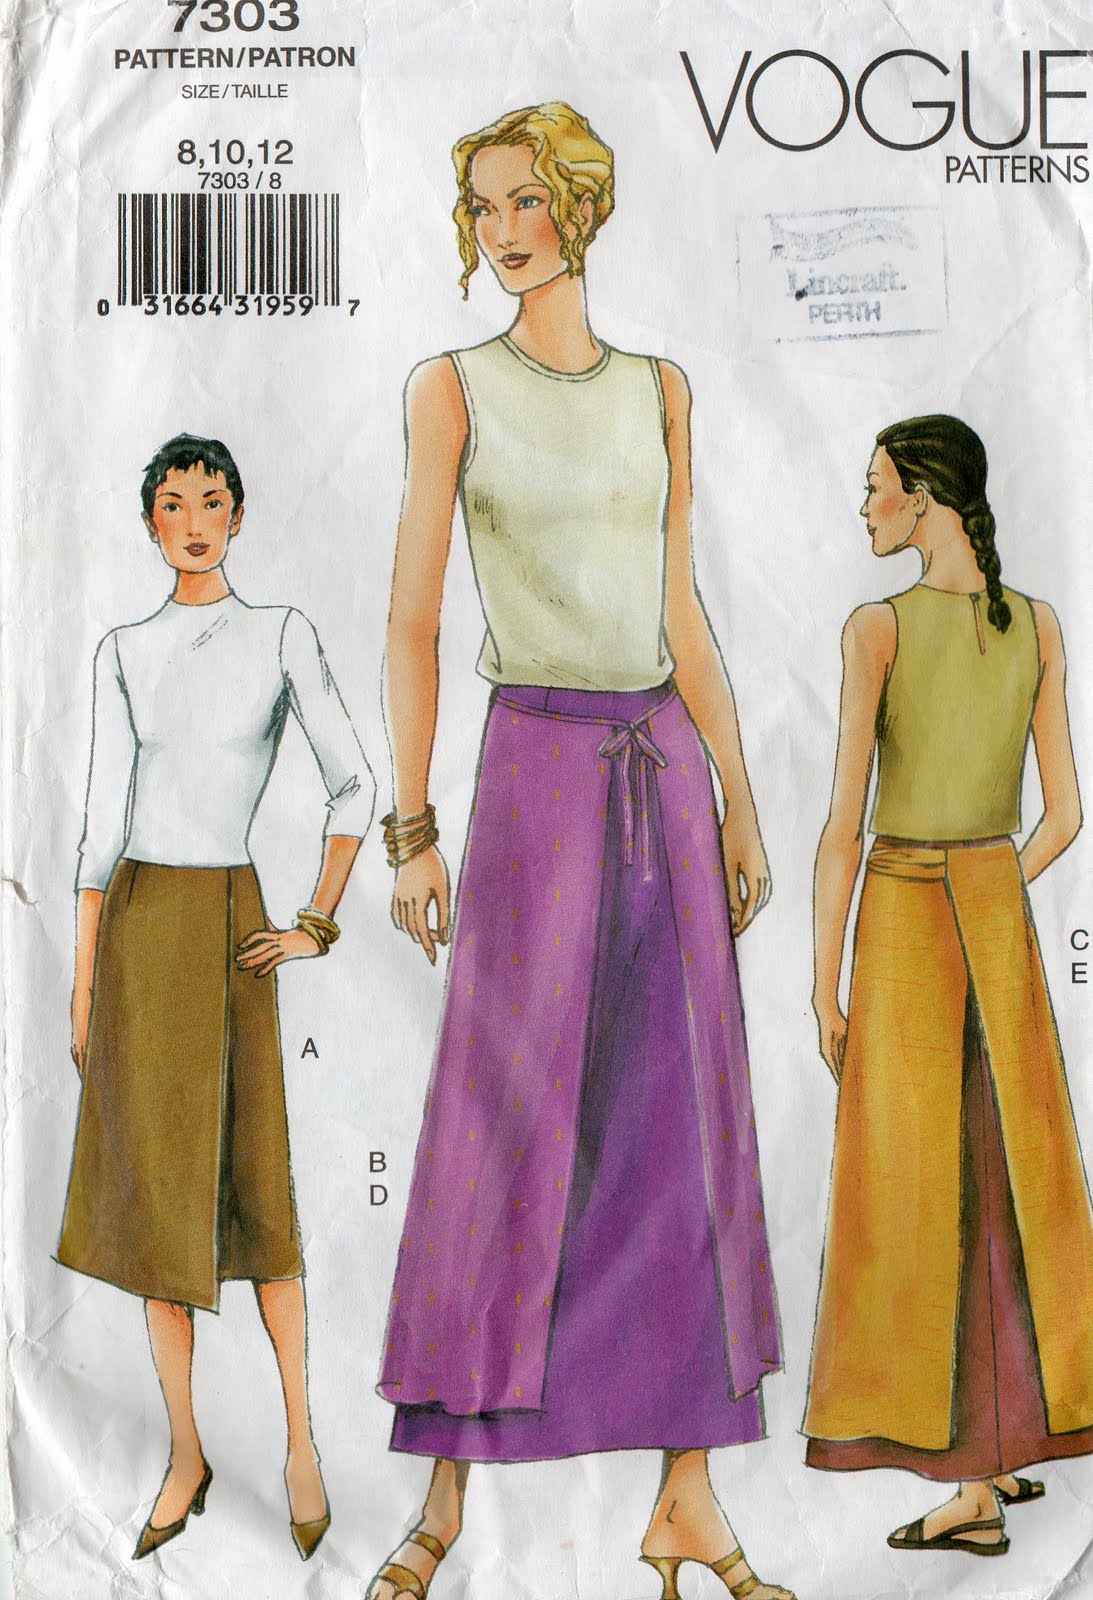
Skirt; my own design
based upon Vogue 7303, white stretch lace, details here
based upon Vogue 7303, white stretch lace, details here
Tshirt; self drafted,
white cotton jersey, details here
white cotton jersey, details here
Socks; handknitted by me,
to a 1960’s sock pattern, details here
to a 1960’s sock pattern, details here
Shoes; Francesco
Morichetti, from Zomp shoes

Morichetti, from Zomp shoes

Warning; technical sewing blahdy-blah from here on 🙂
There were a few little holes, which I darned before doing anything else.
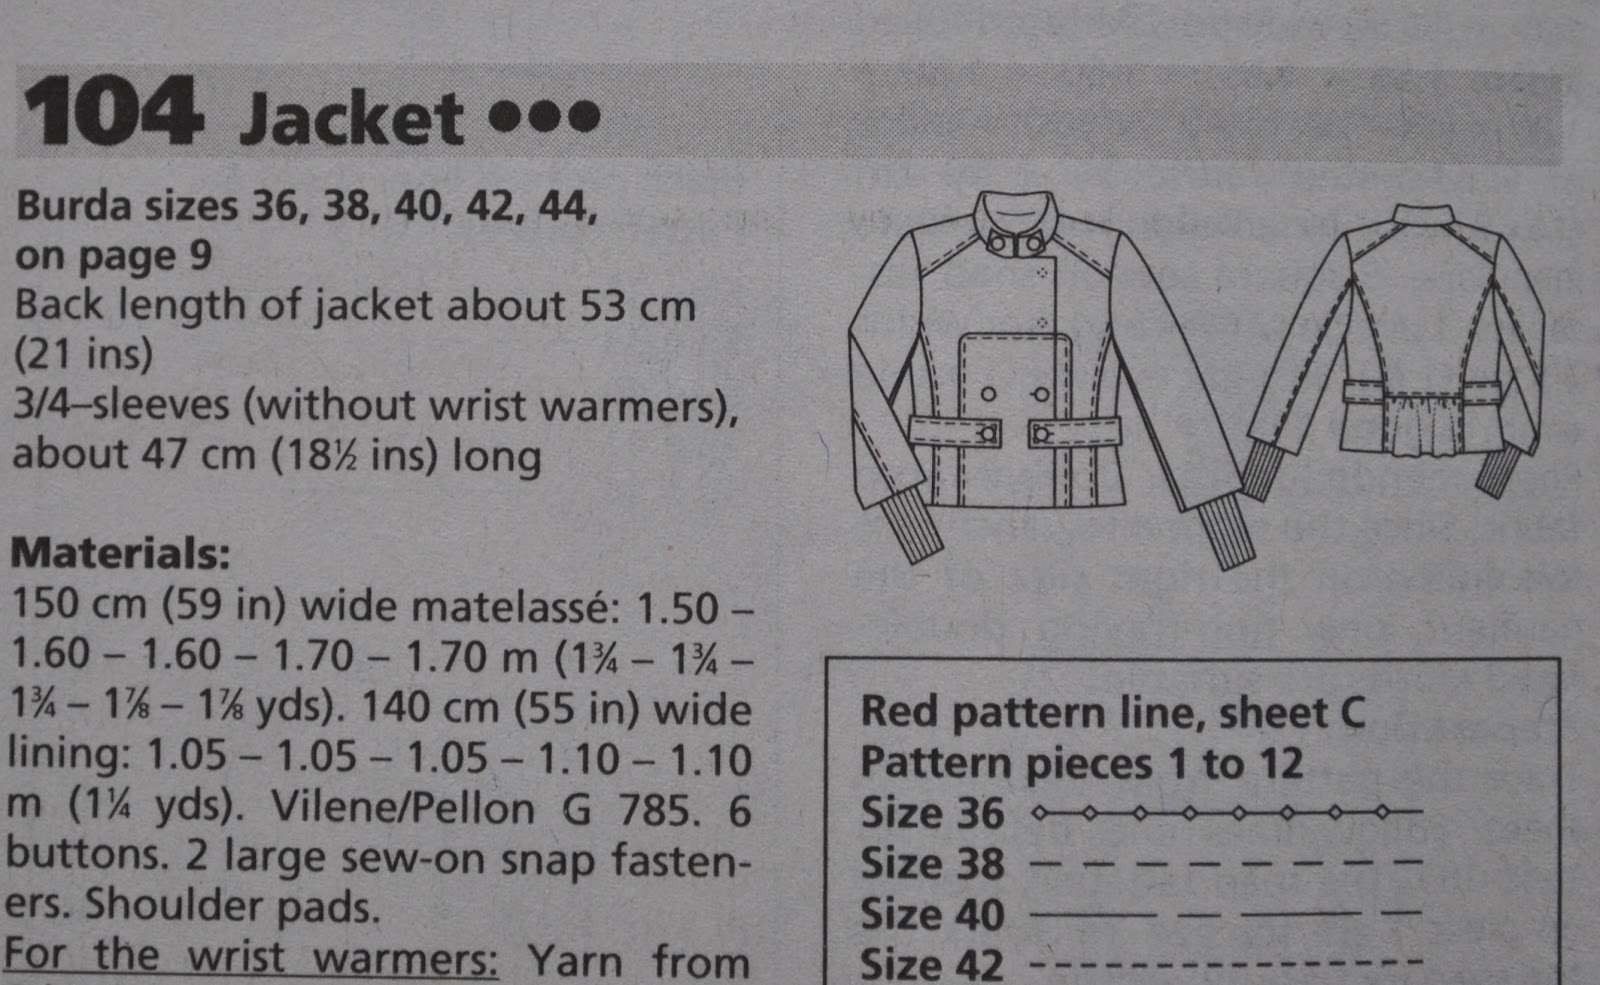
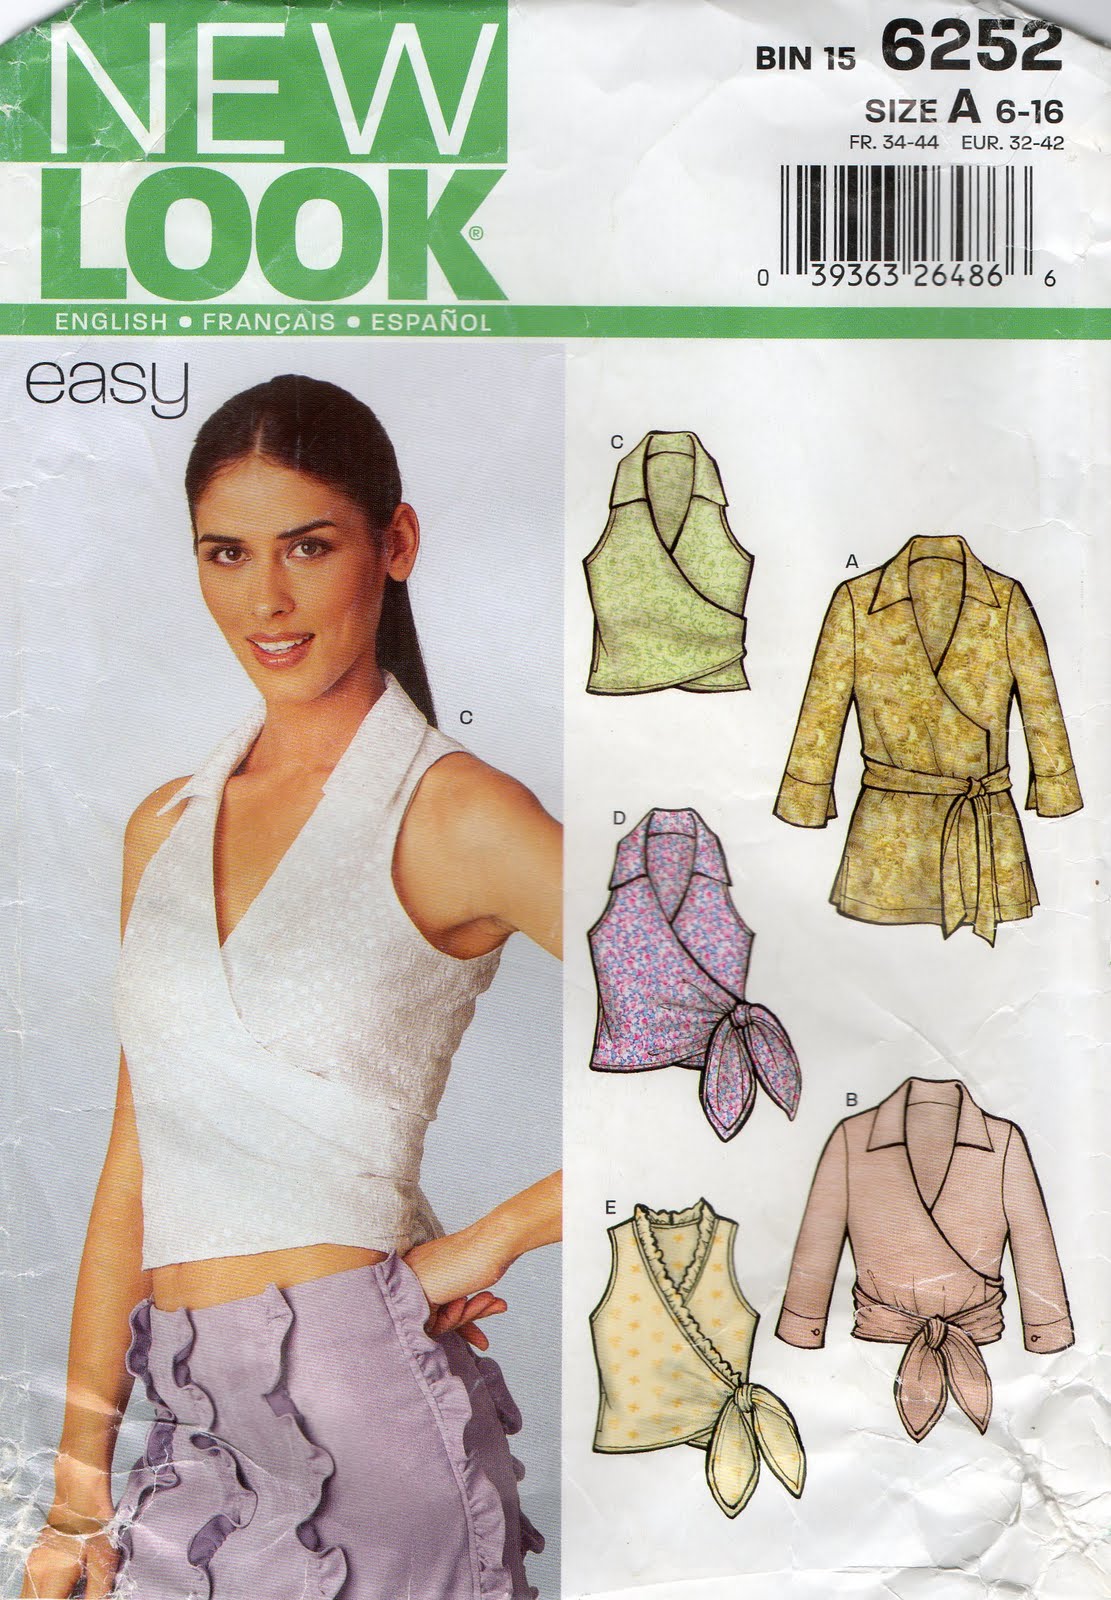
The new design is
partially based on the pattern Simplicity 4698 with major alterations. Needed partly because of a severe lack of
fabric, and partly because the felt is so thick and spongy it just would not
suit a properly lined and tailored suit jacket anyway. I have made this pattern up previously four times I
think, only one of which I still have
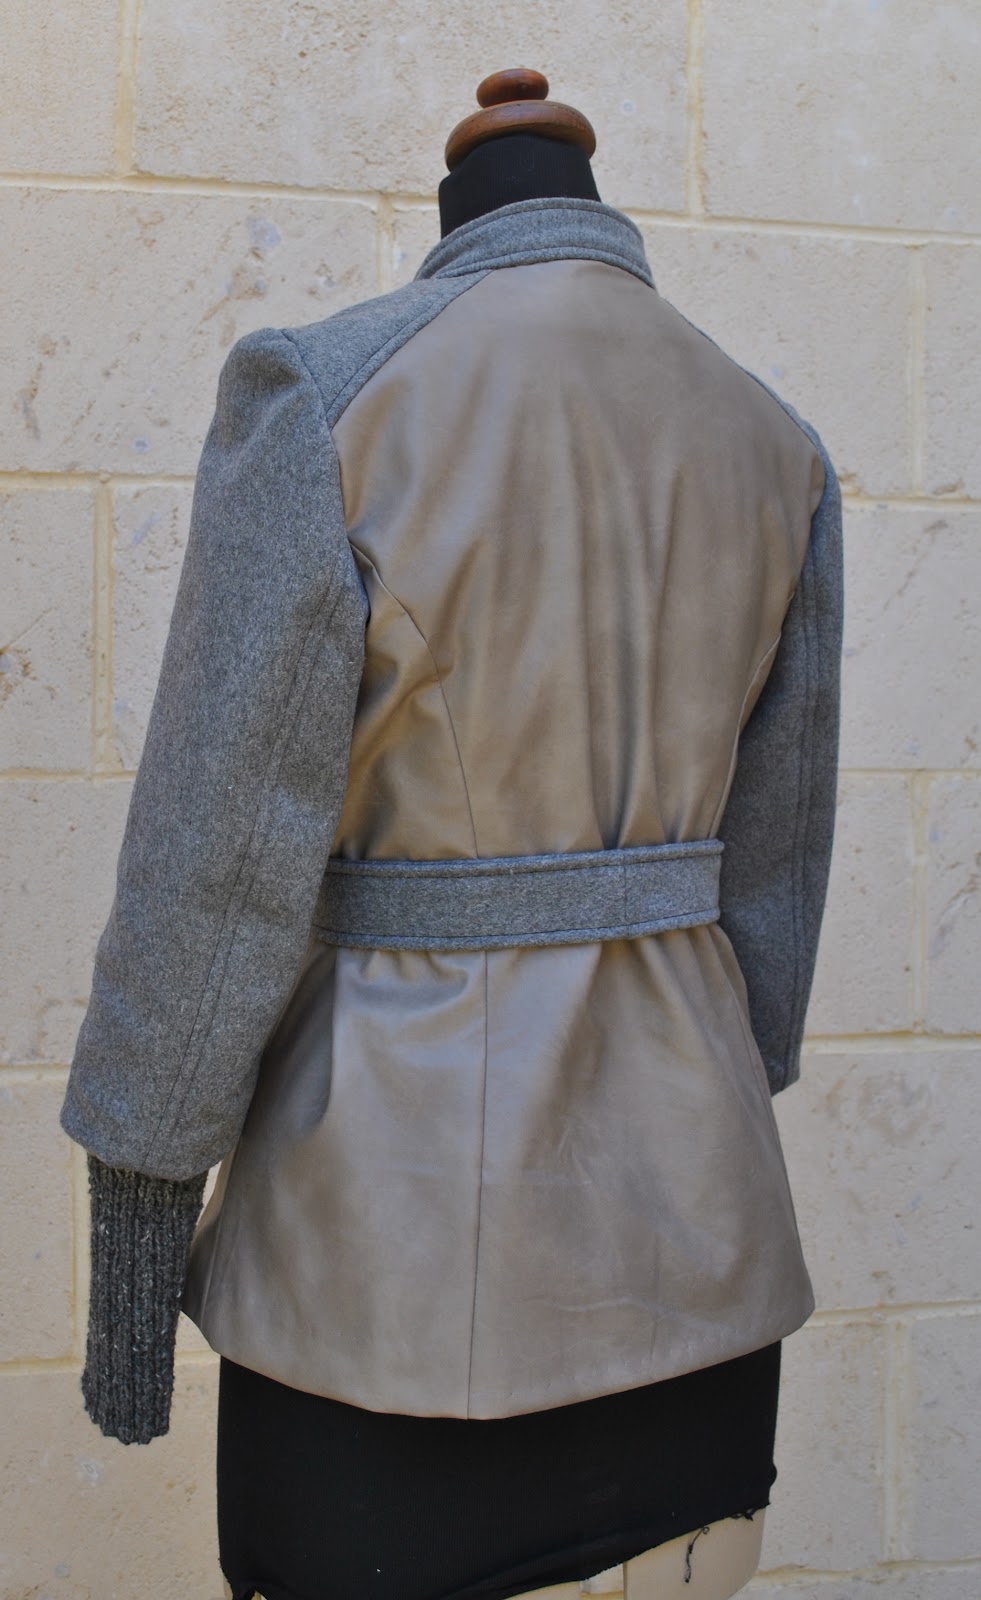
The pieces were all
reduced in size a lot, basically to match
the regular cardigan size that I wear, and the back princess seams and outer sleeve seams were eliminated.
reduced in size a lot, basically to match
the regular cardigan size that I wear, and the back princess seams and outer sleeve seams were eliminated.

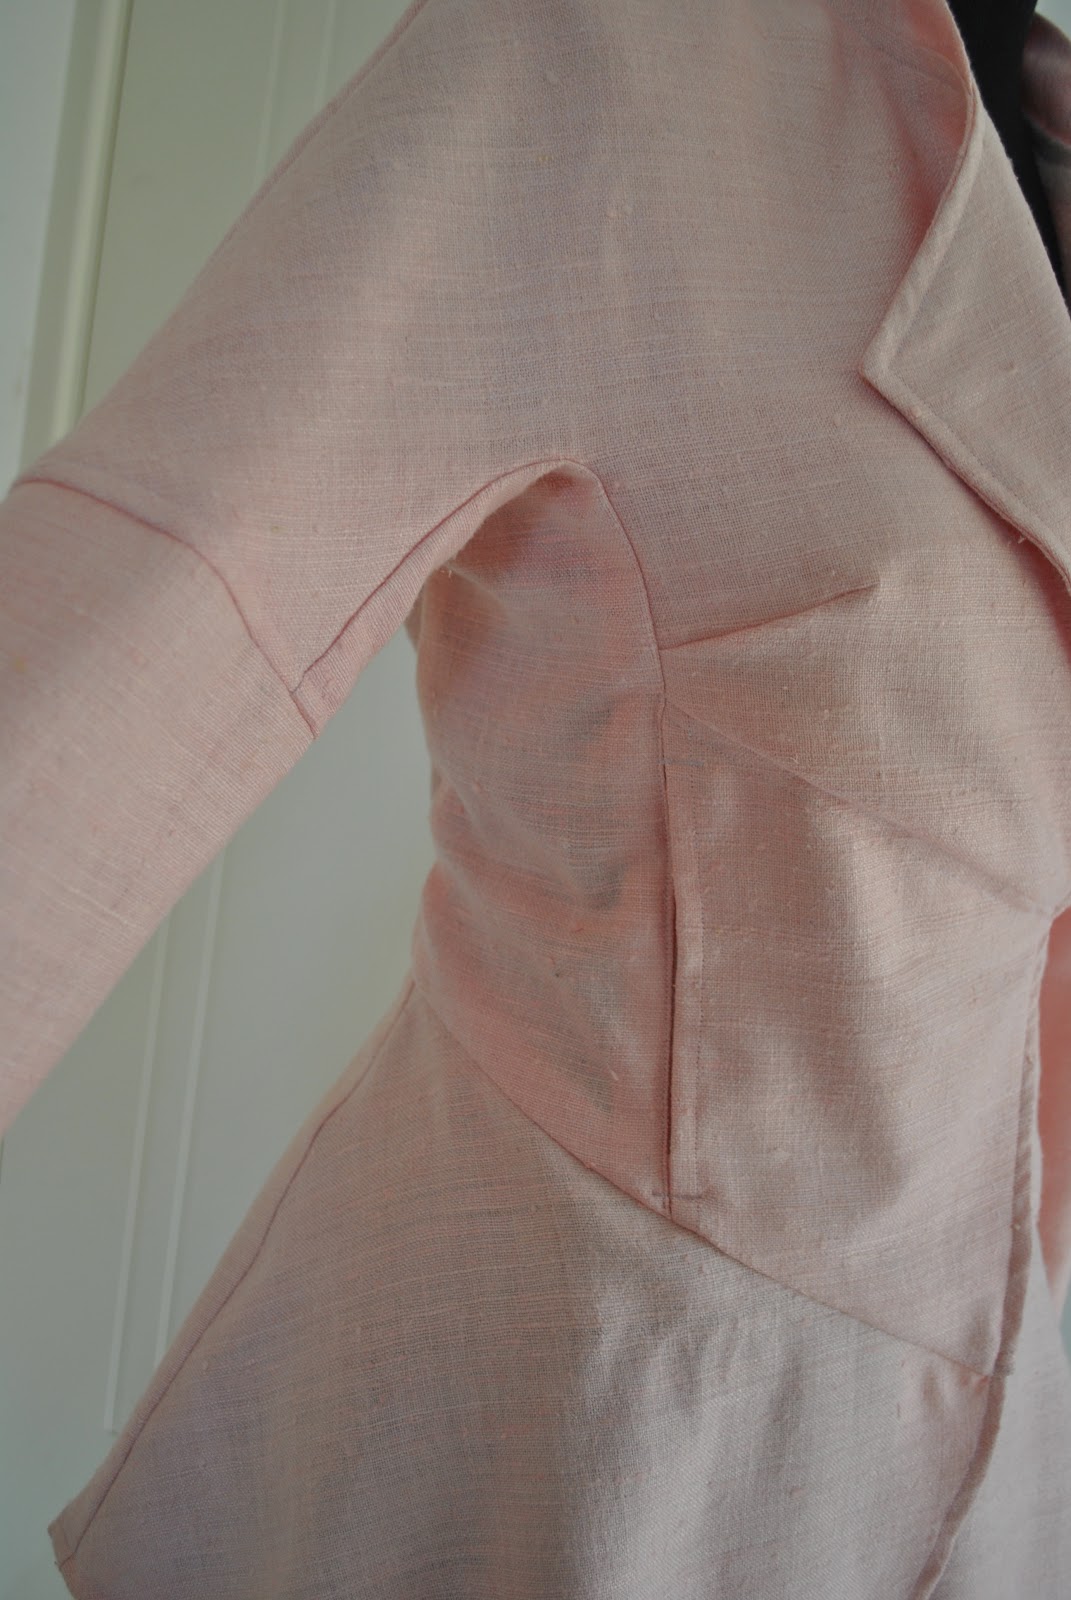
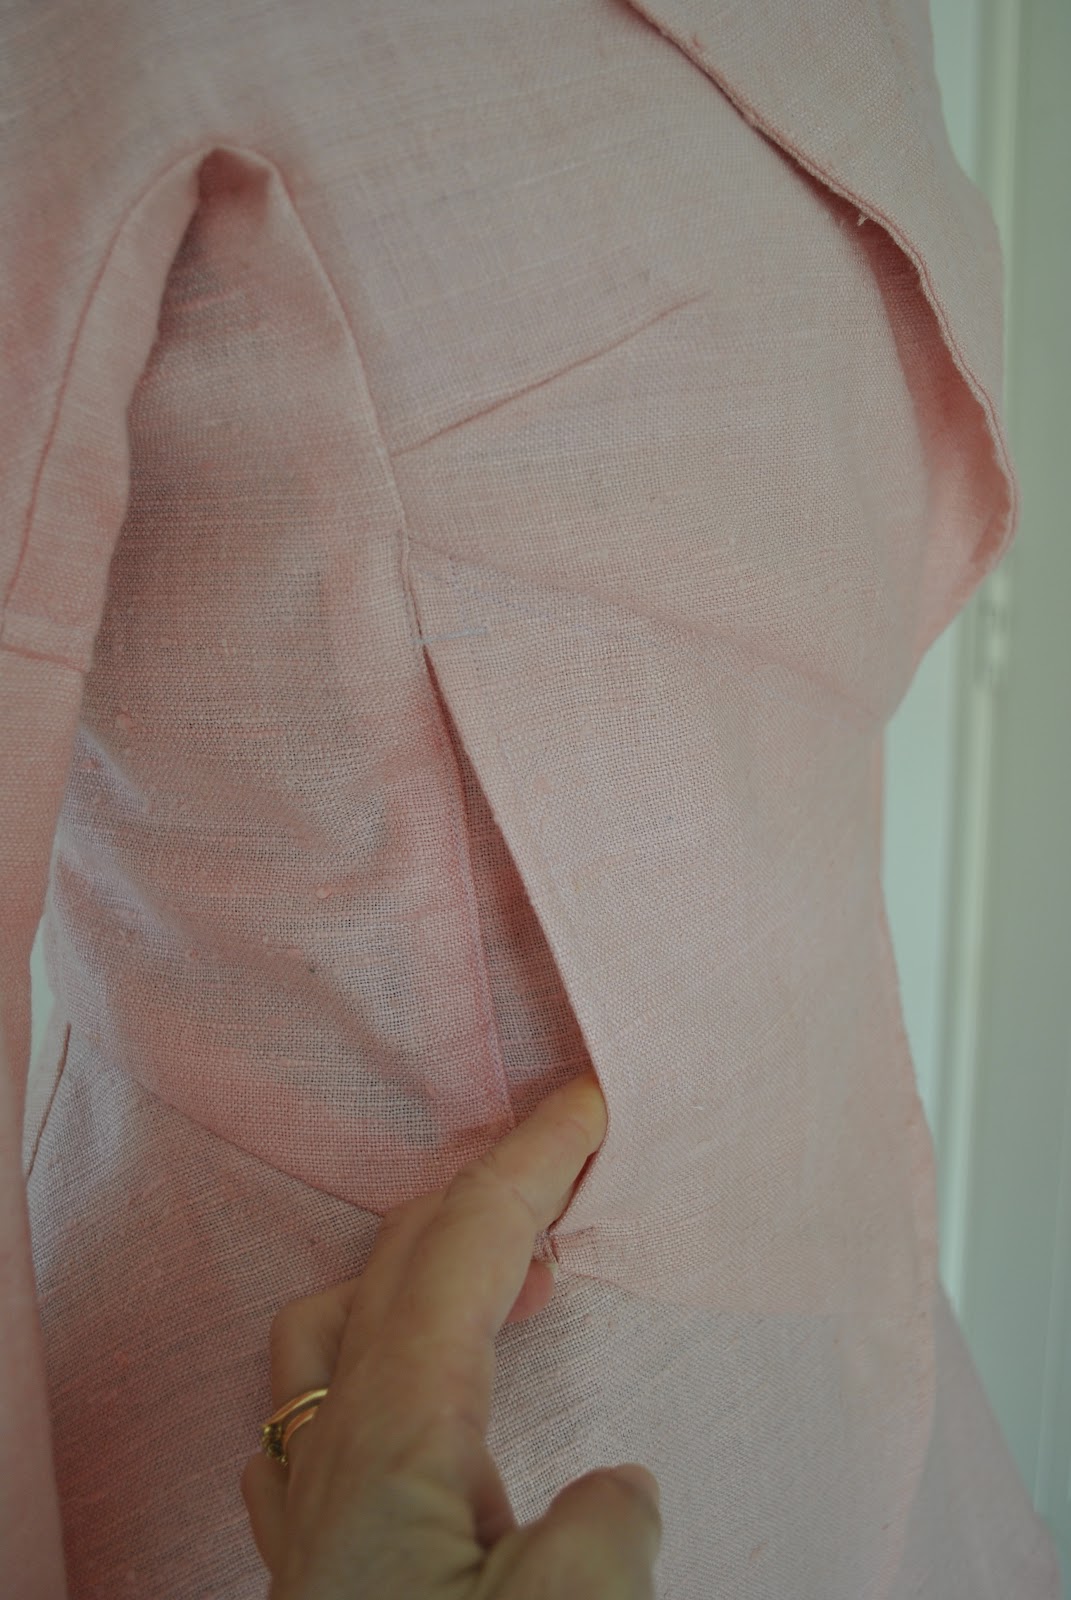
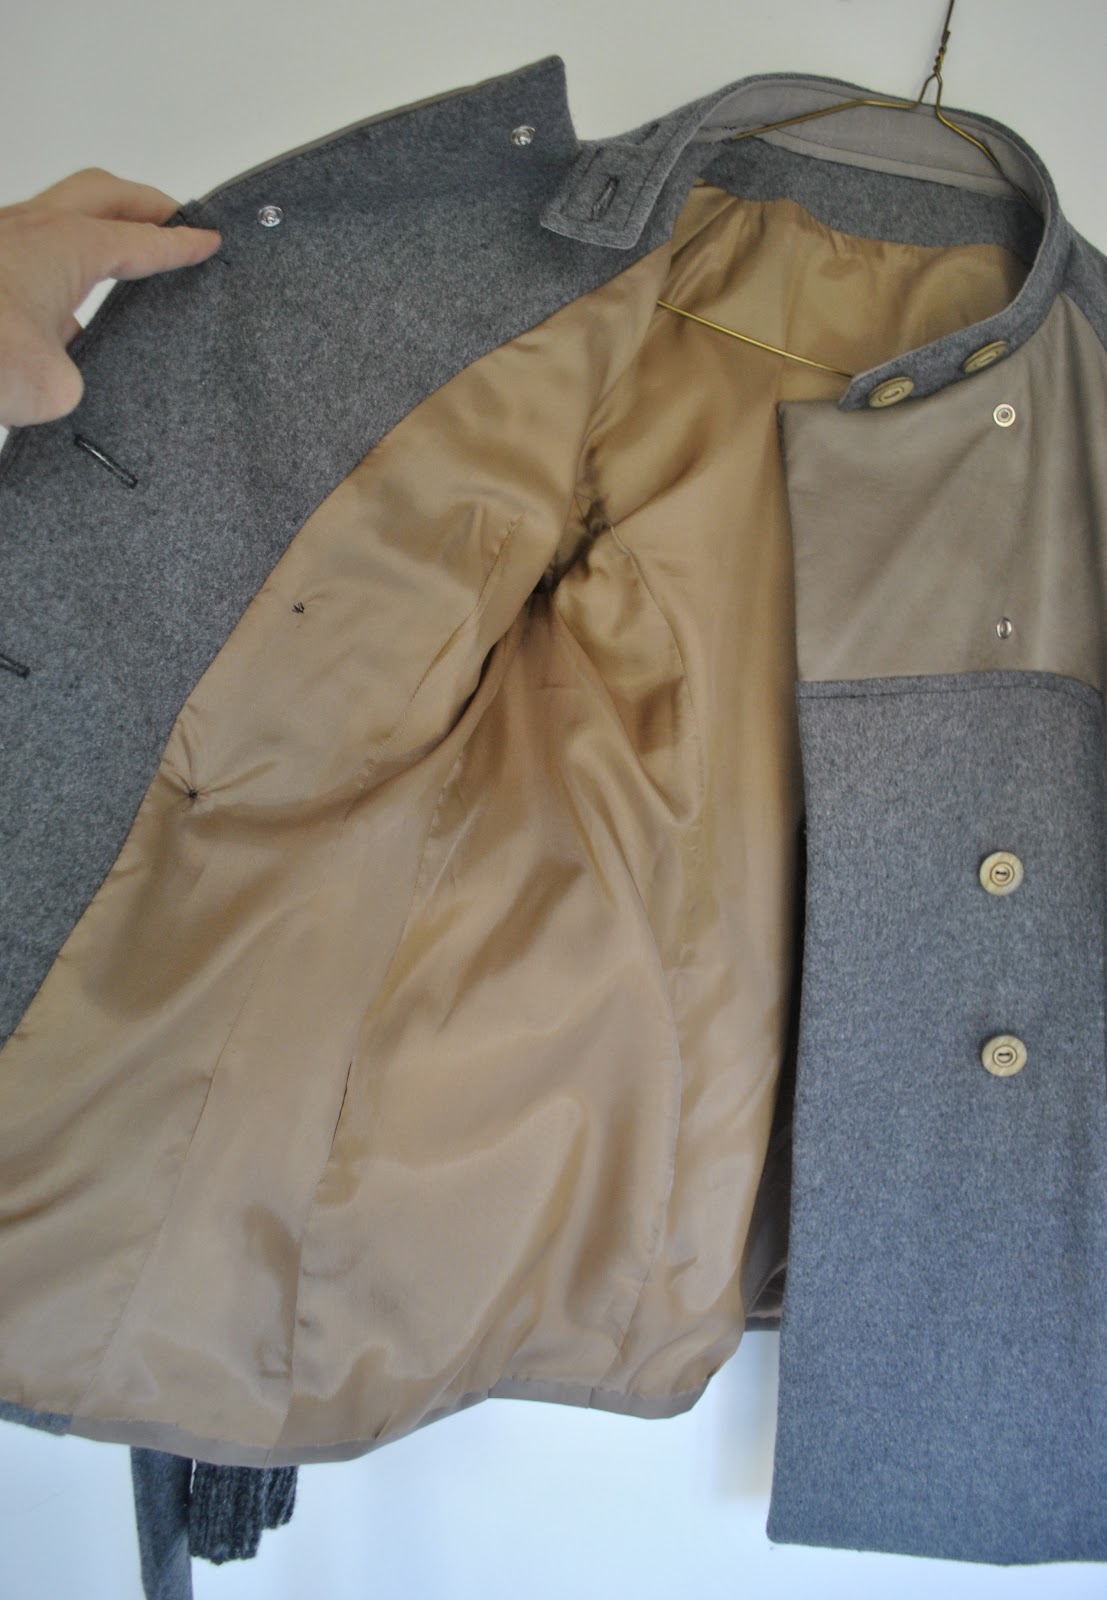
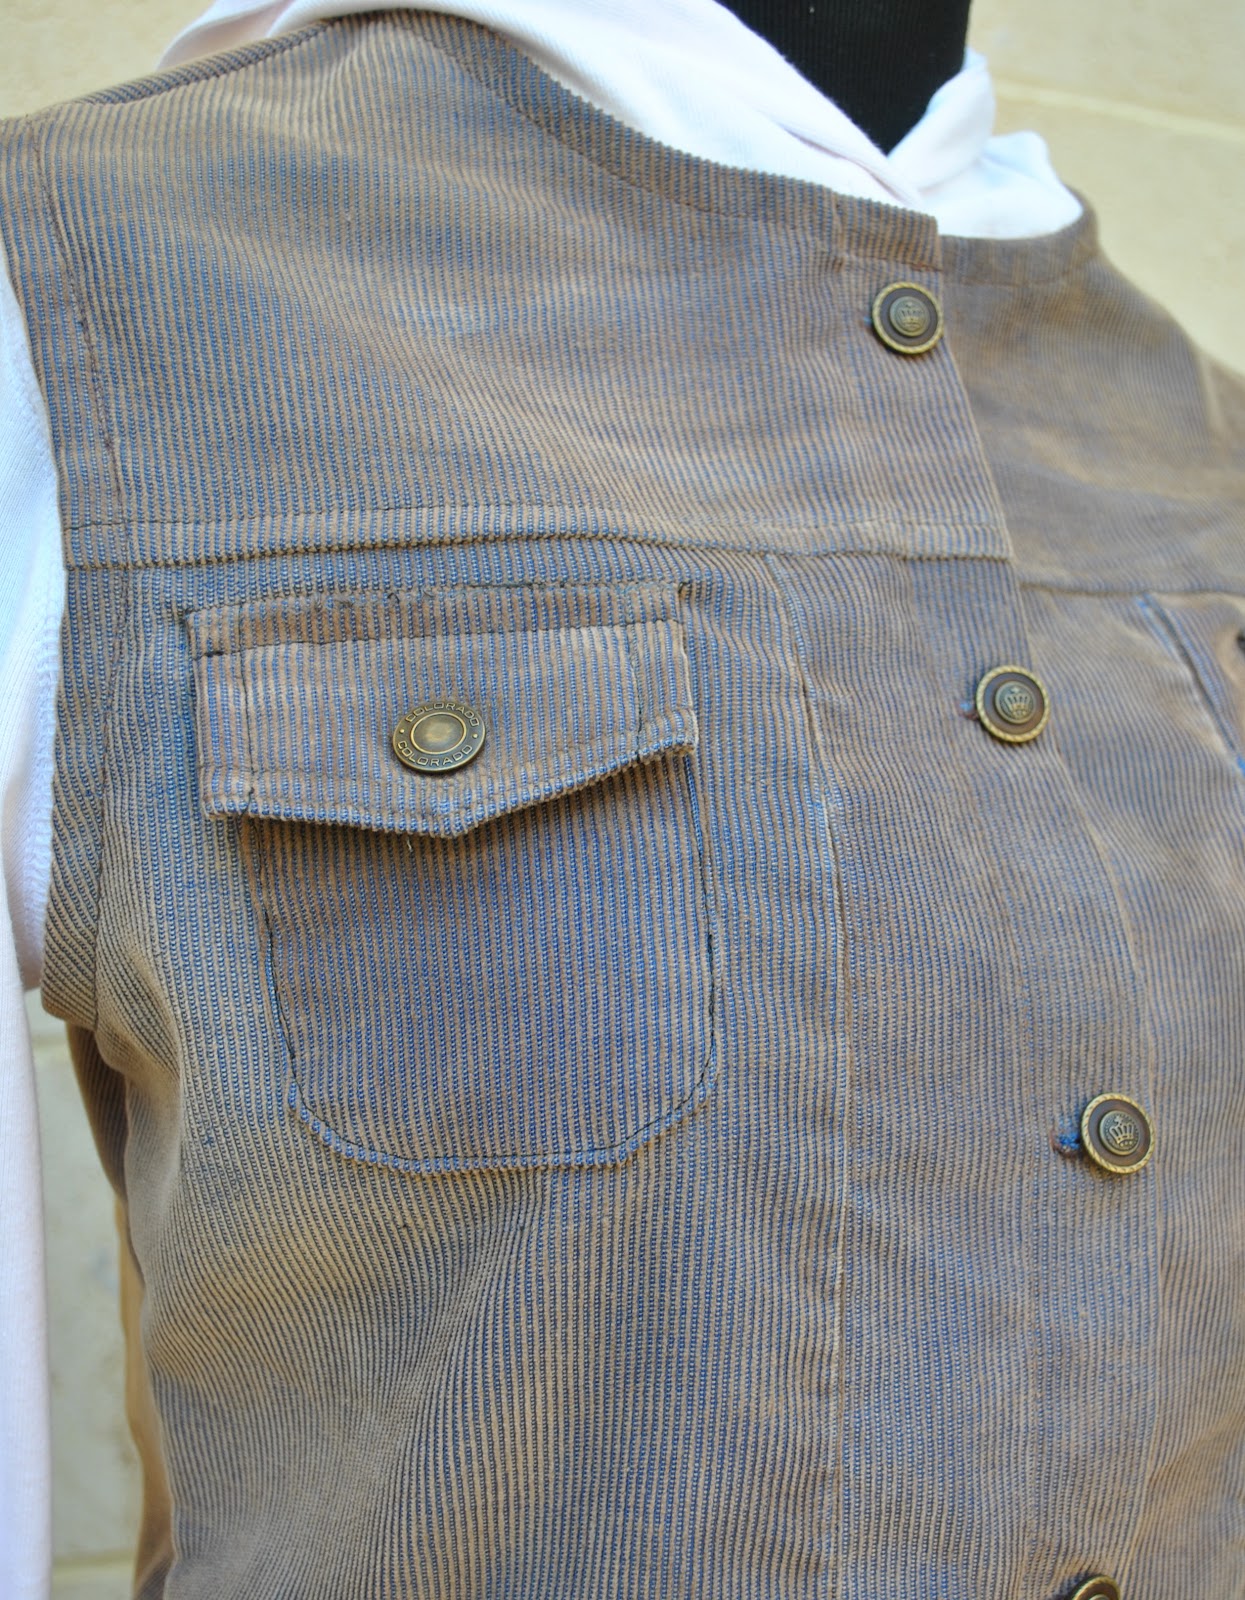
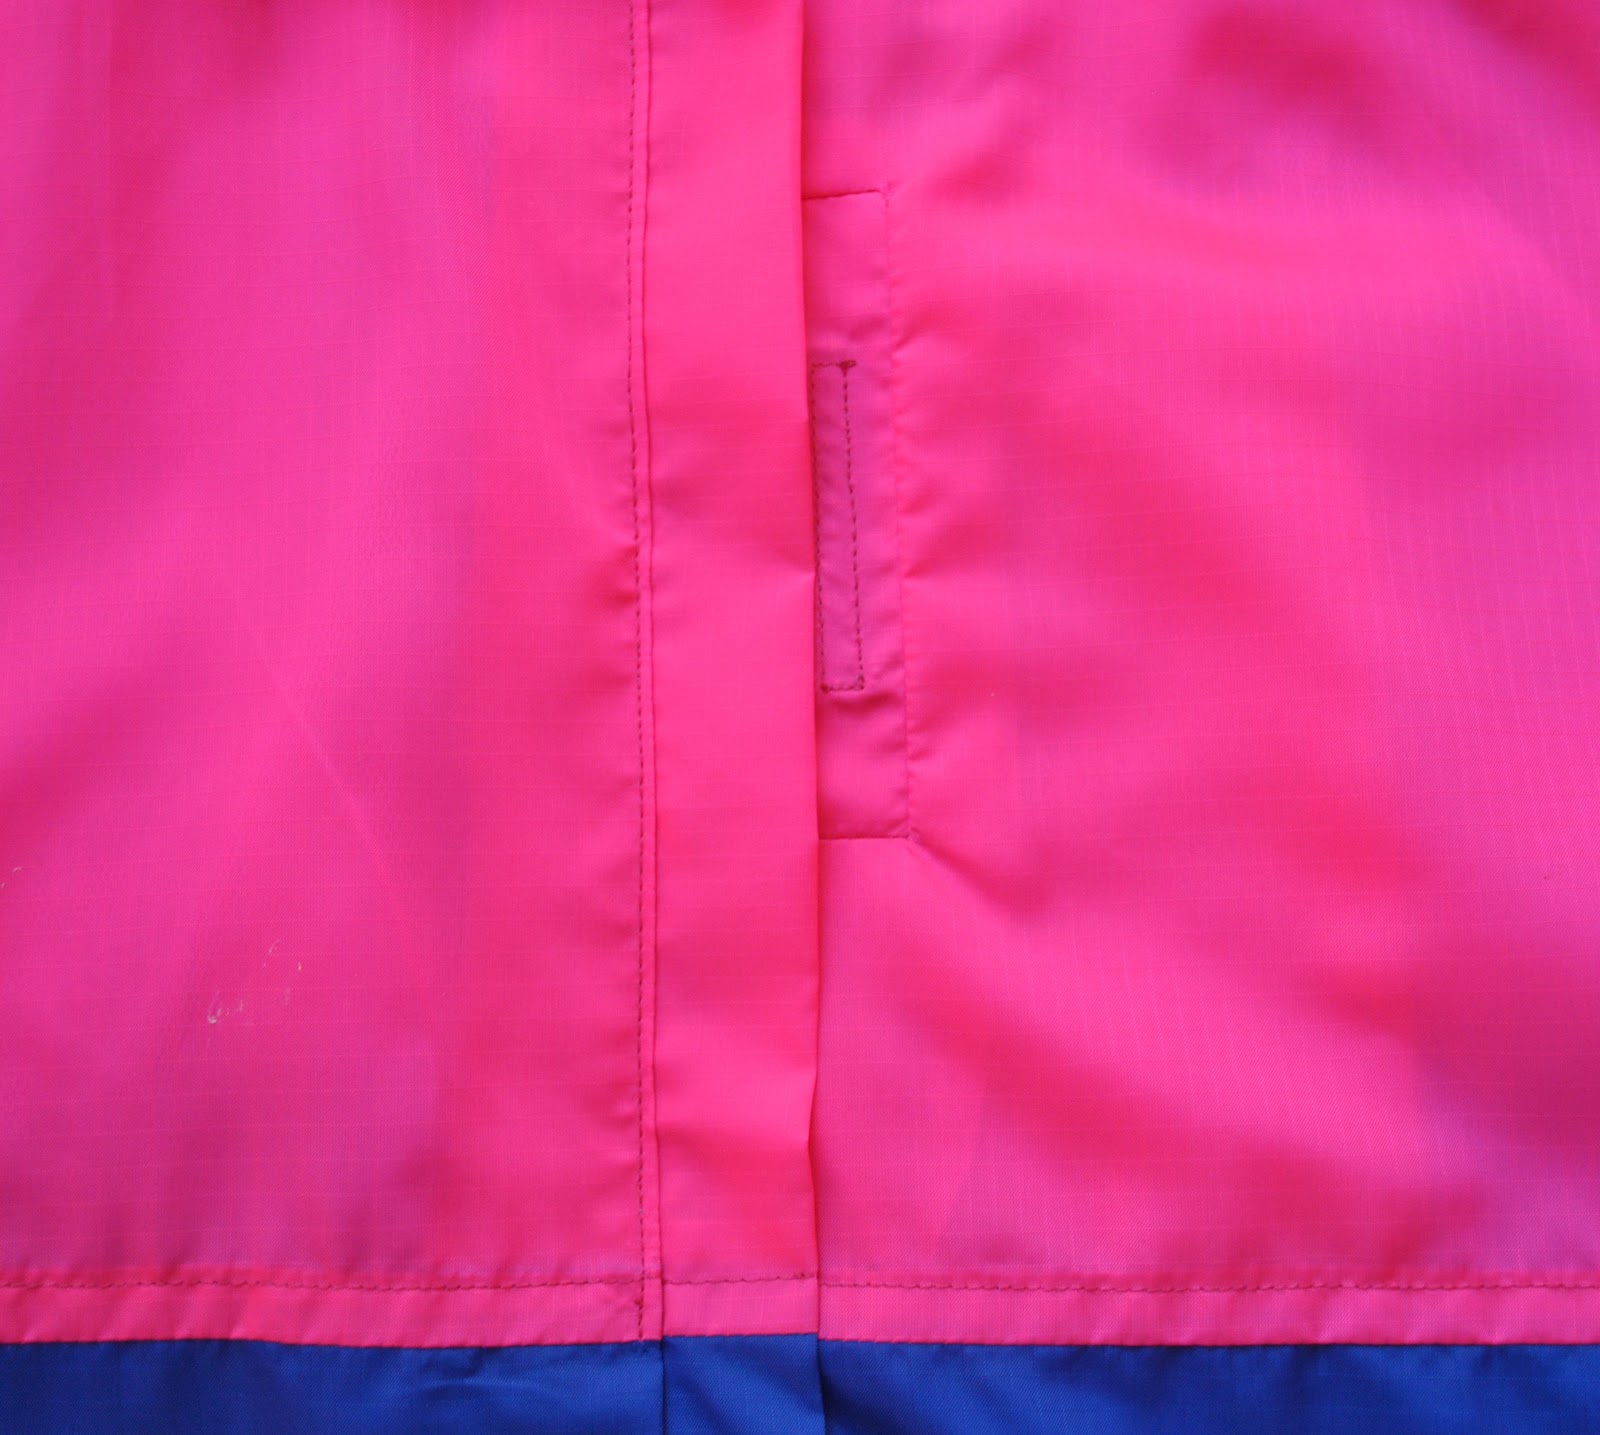
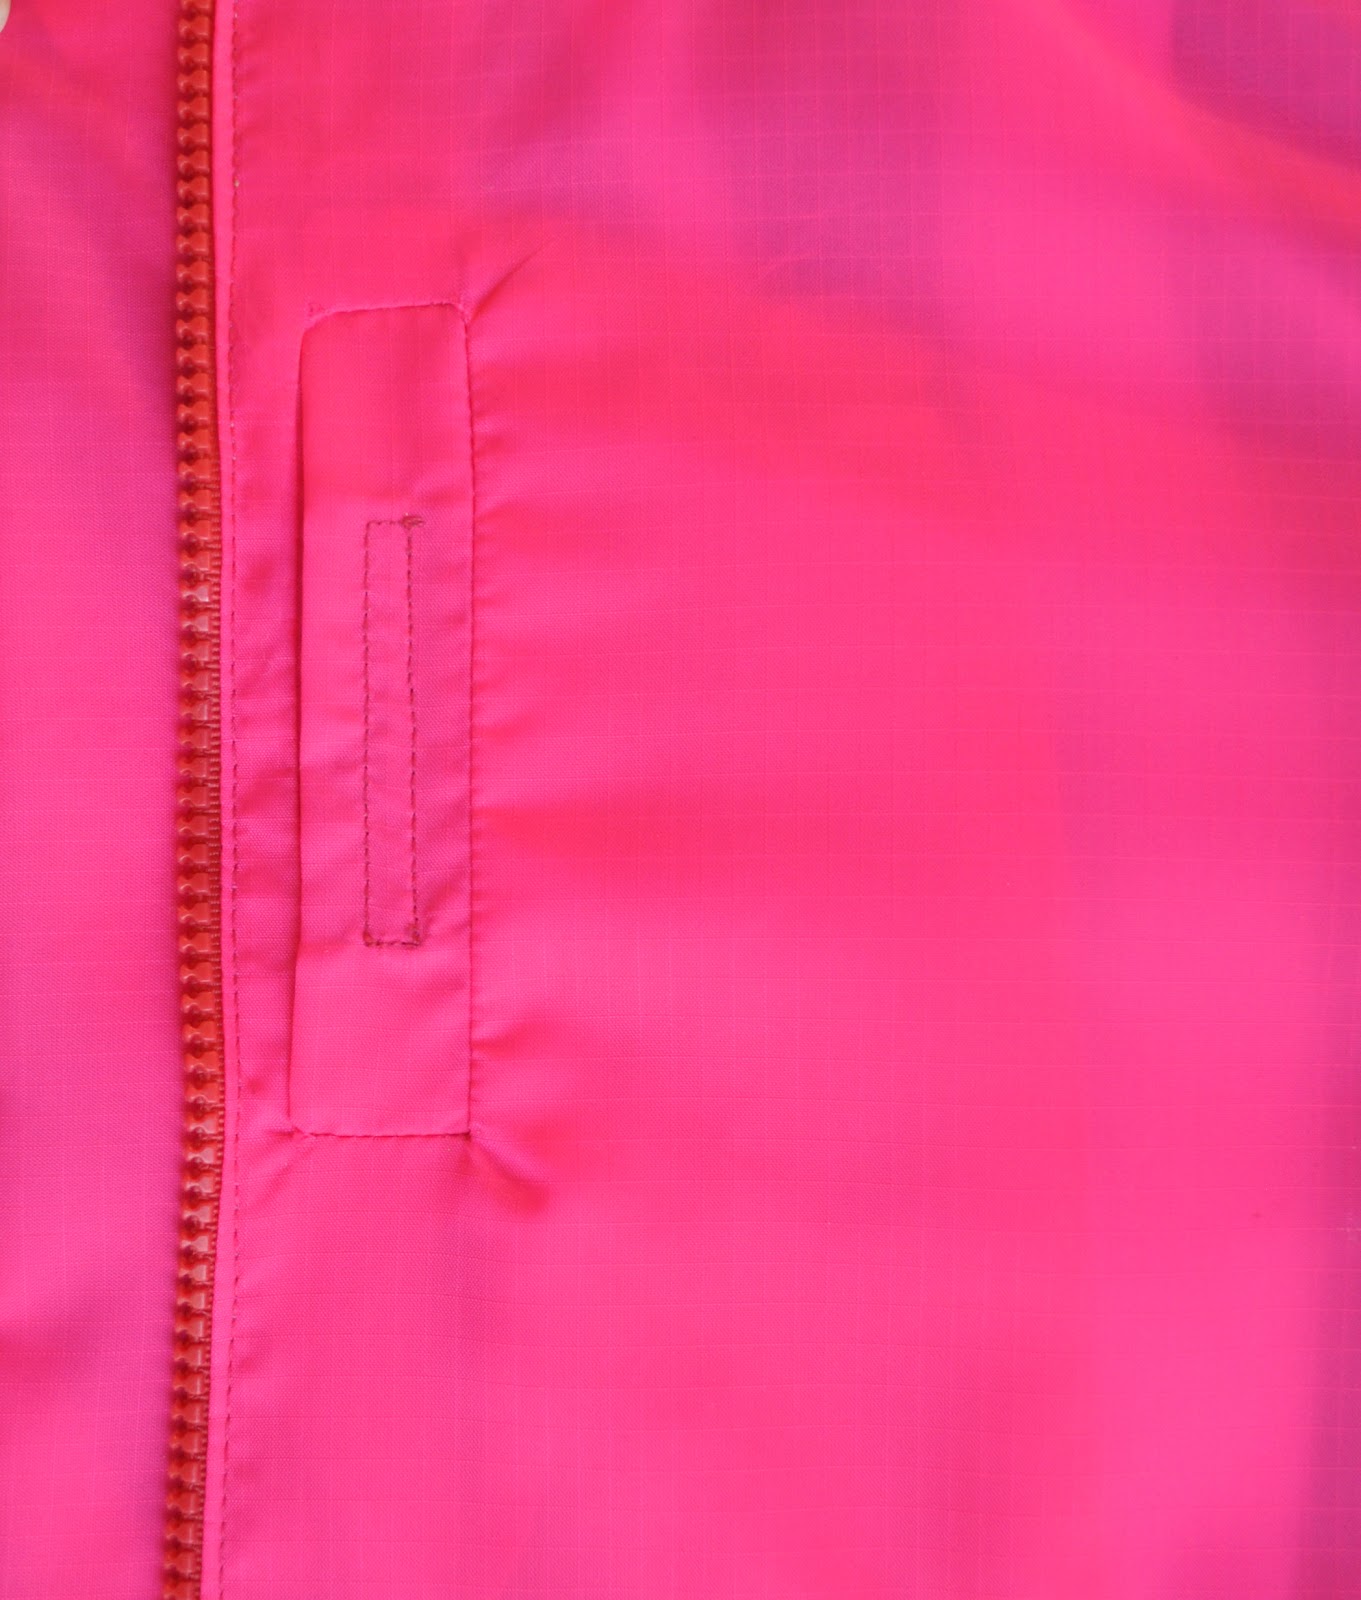
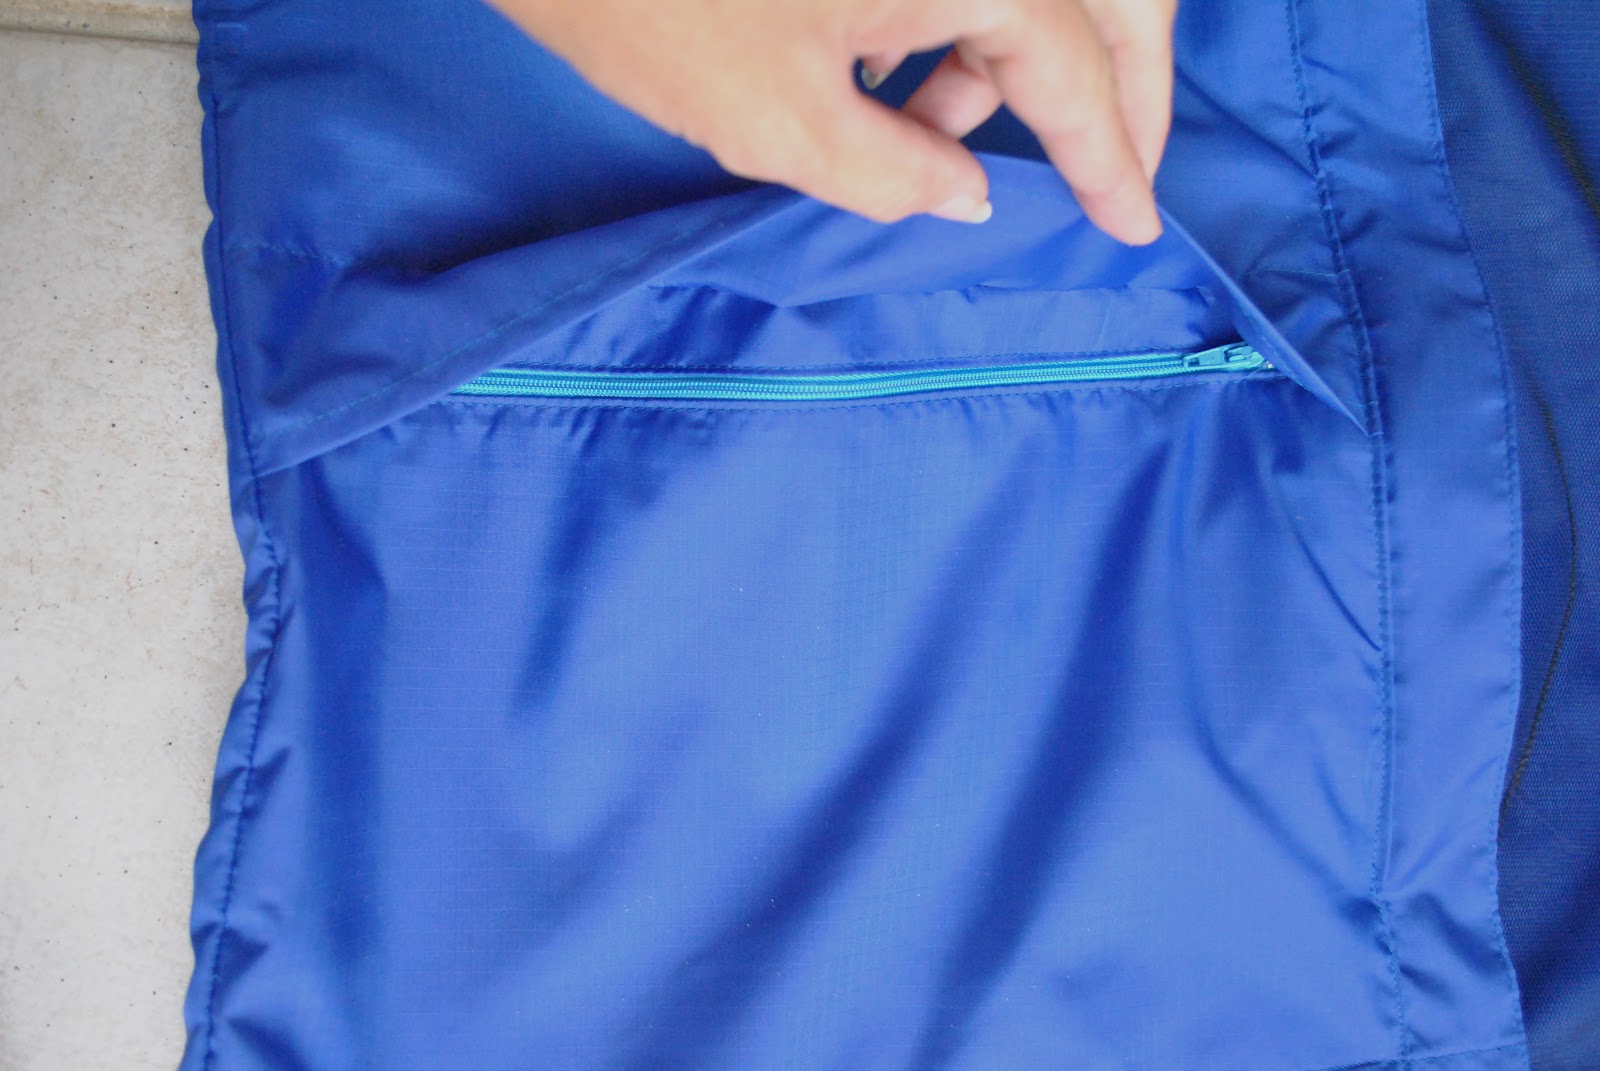
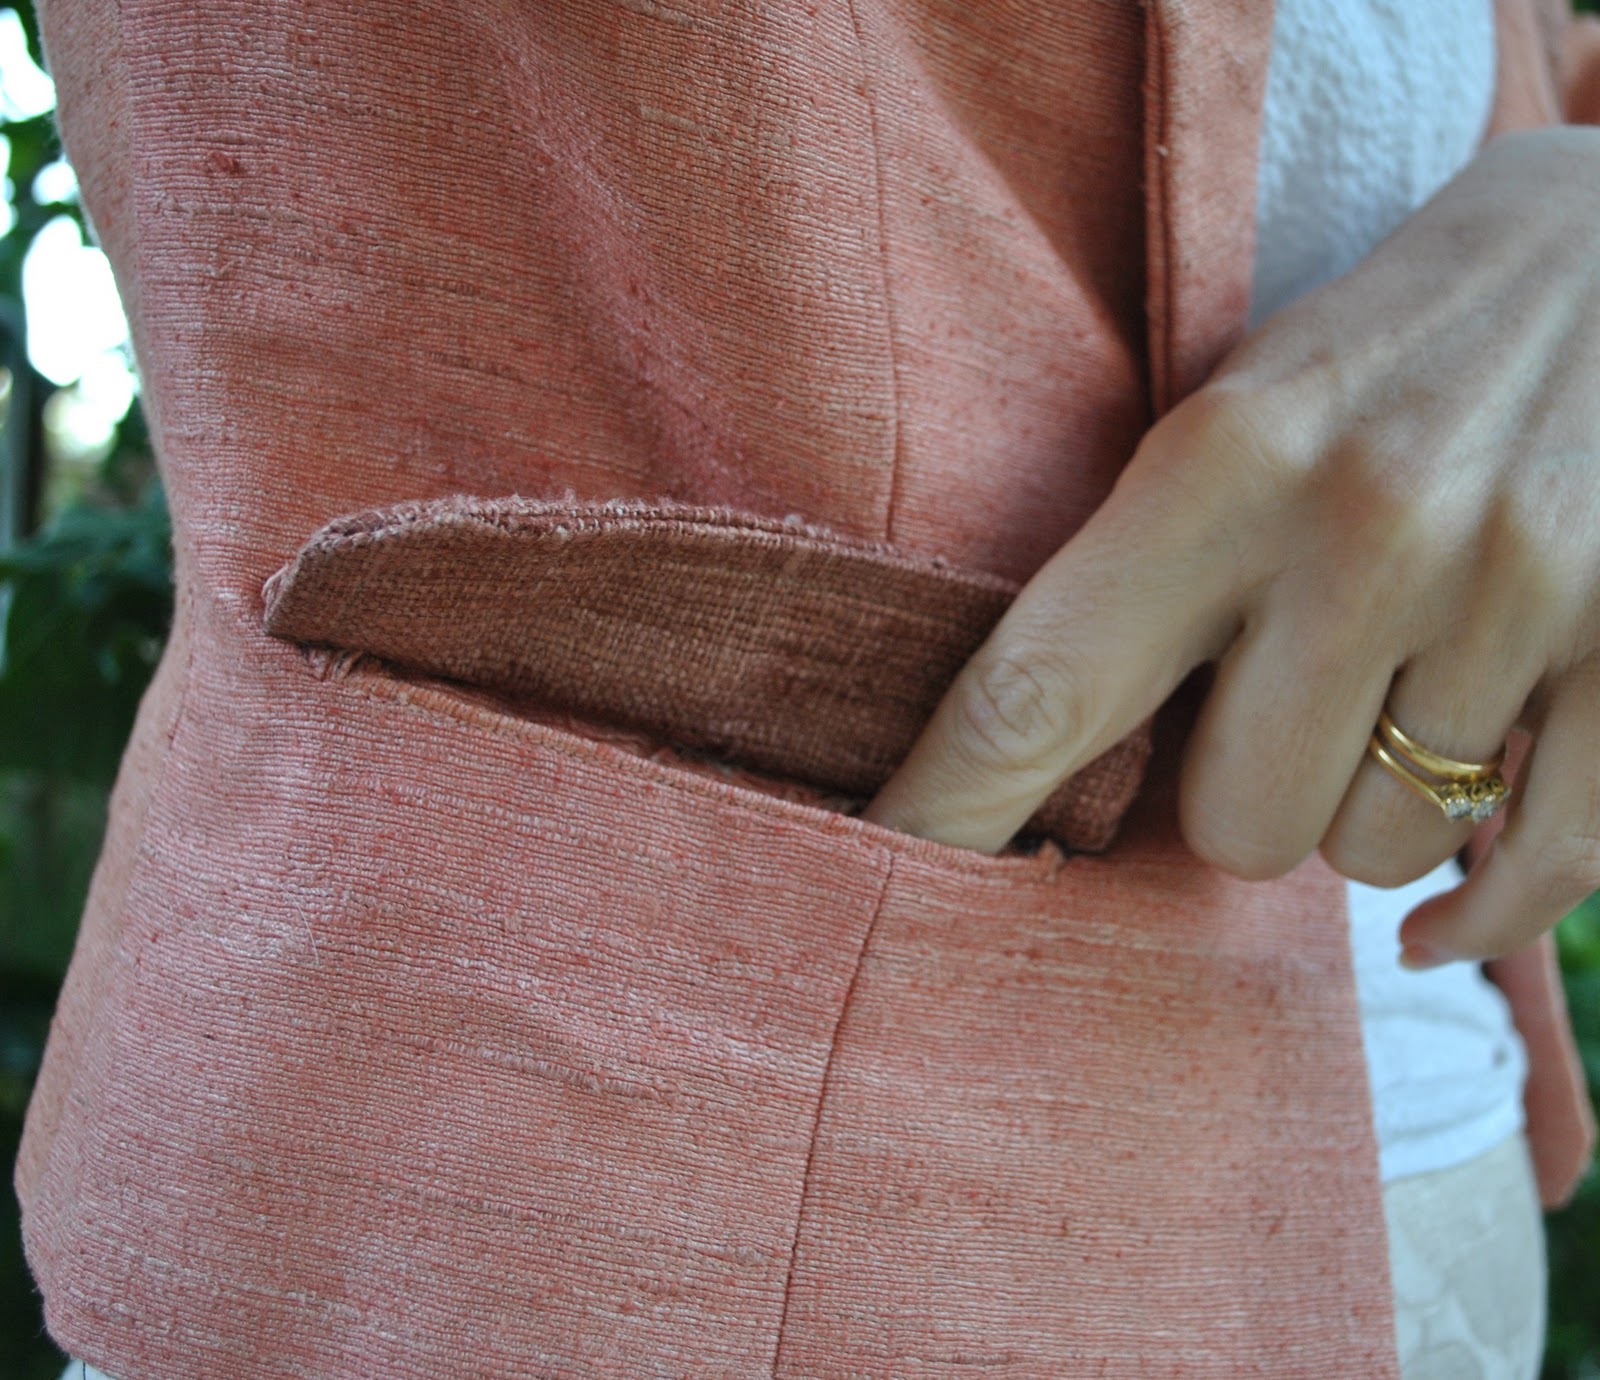
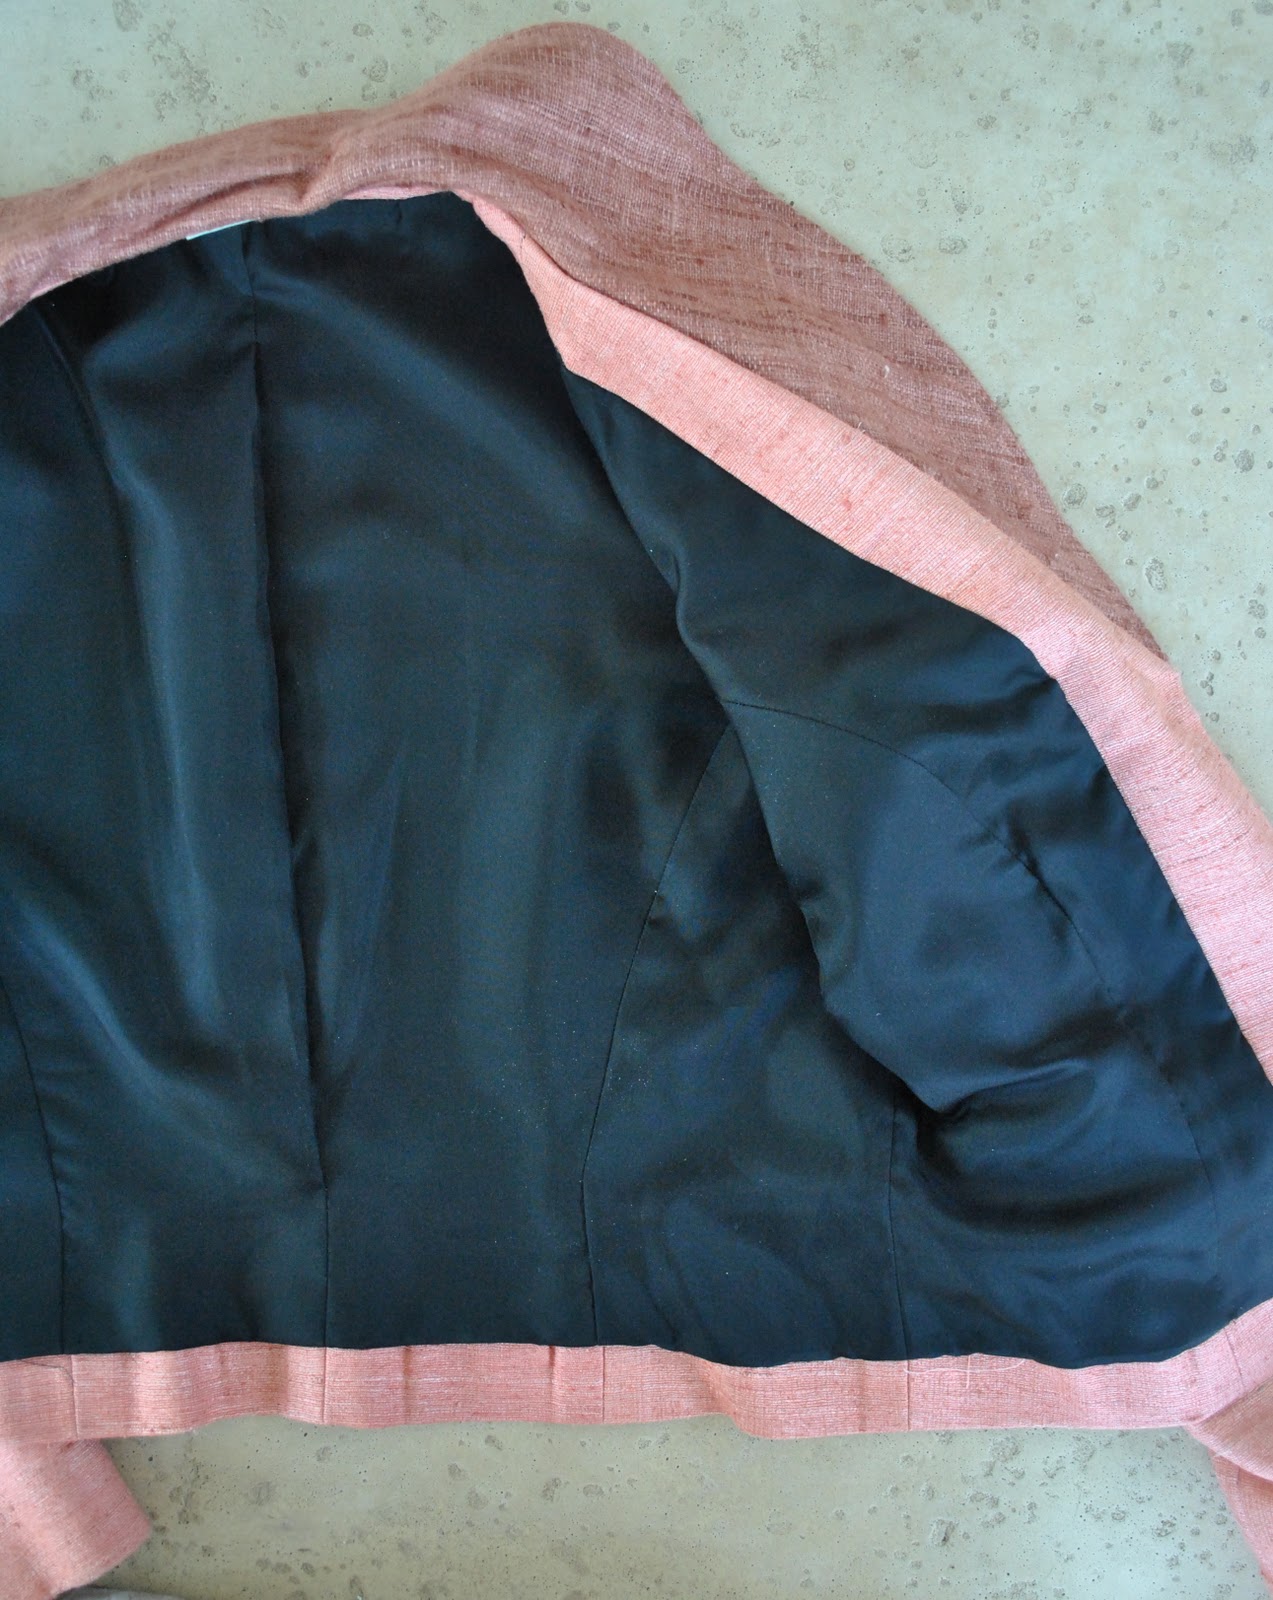
I made it as a completely
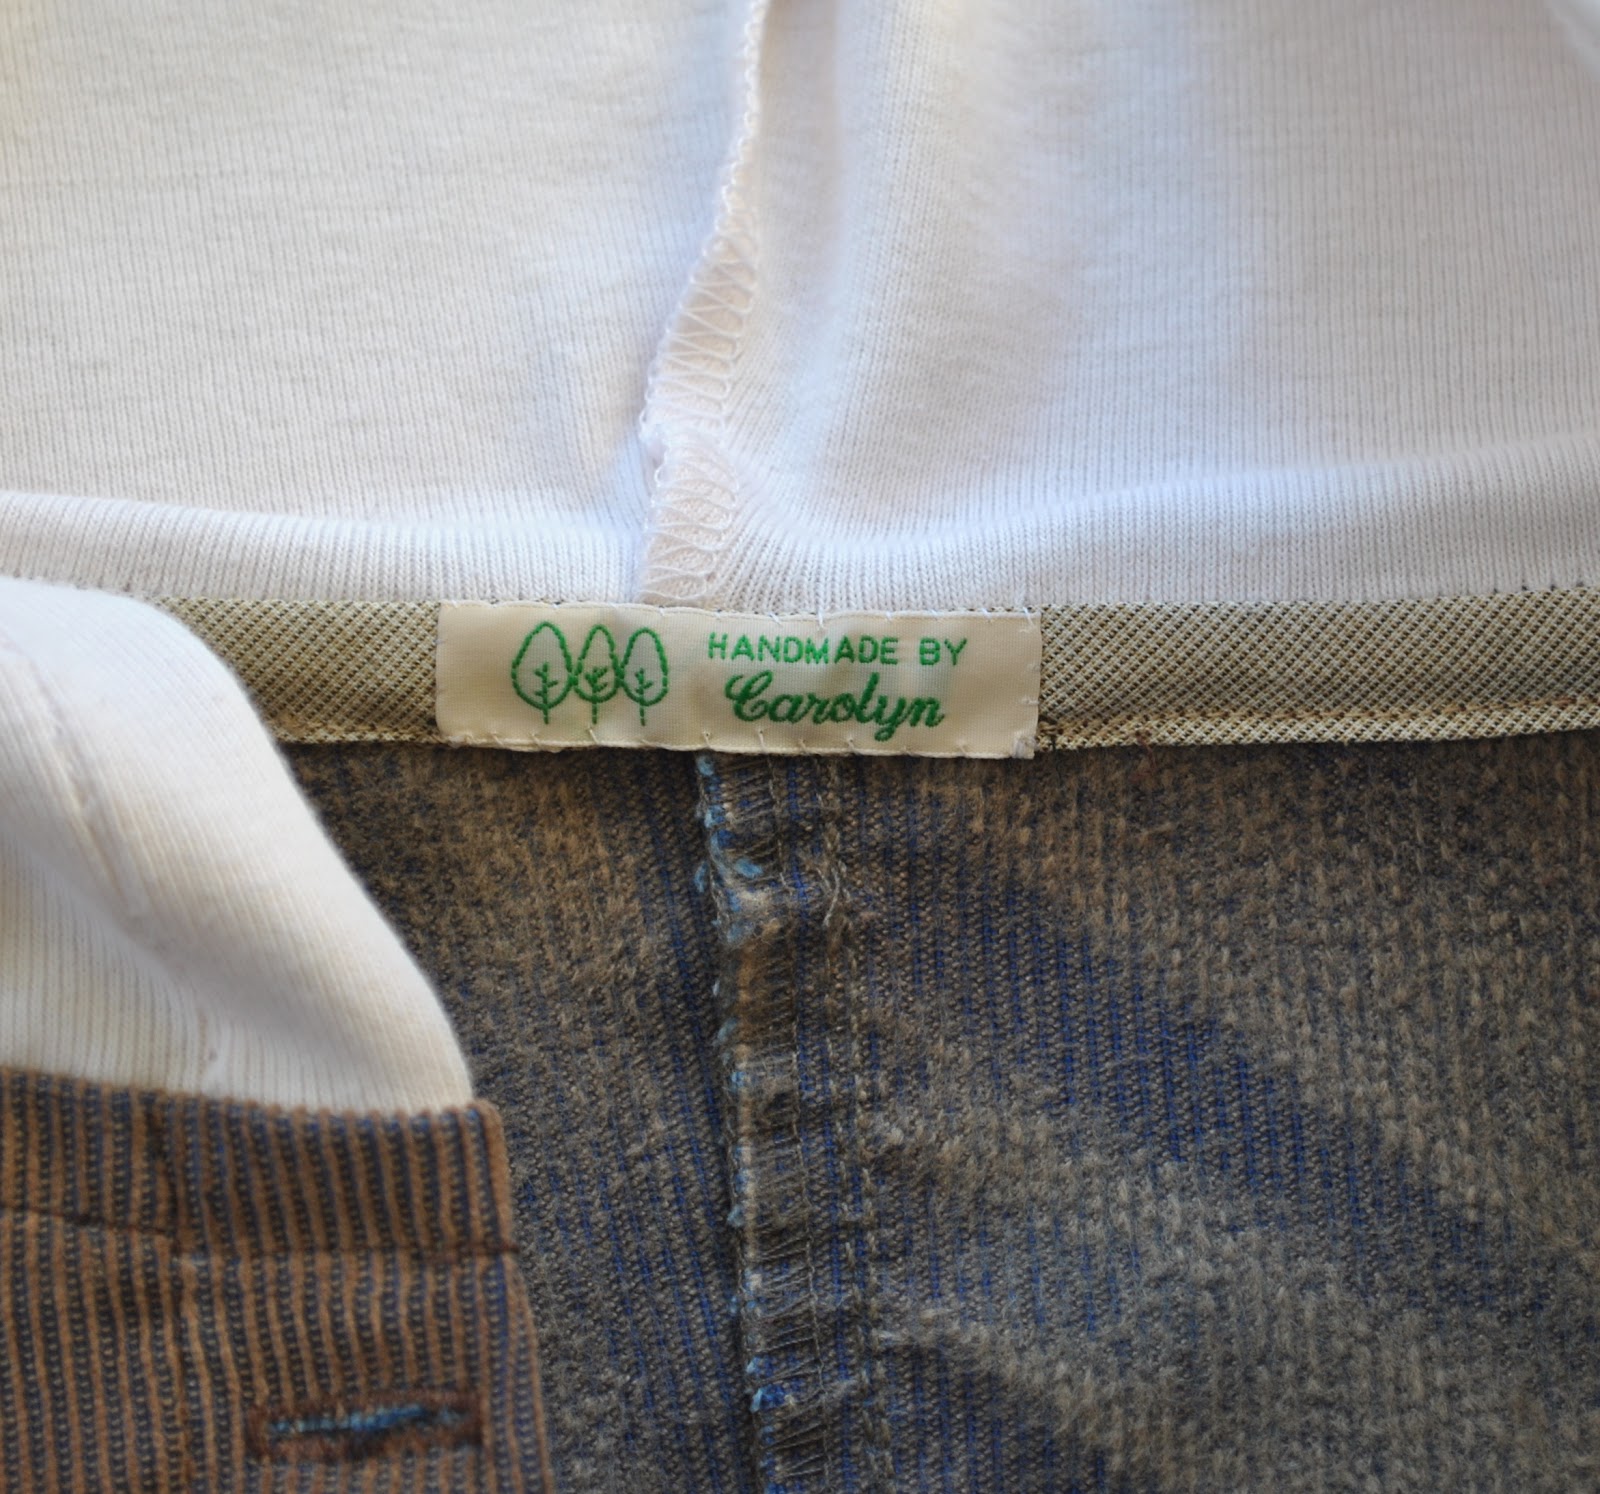
unlined cardigan, with welt pockets. The sewing lines of the welt are stabilised with a strip of corduroy.
unlined cardigan, with welt pockets. The sewing lines of the welt are stabilised with a strip of corduroy.
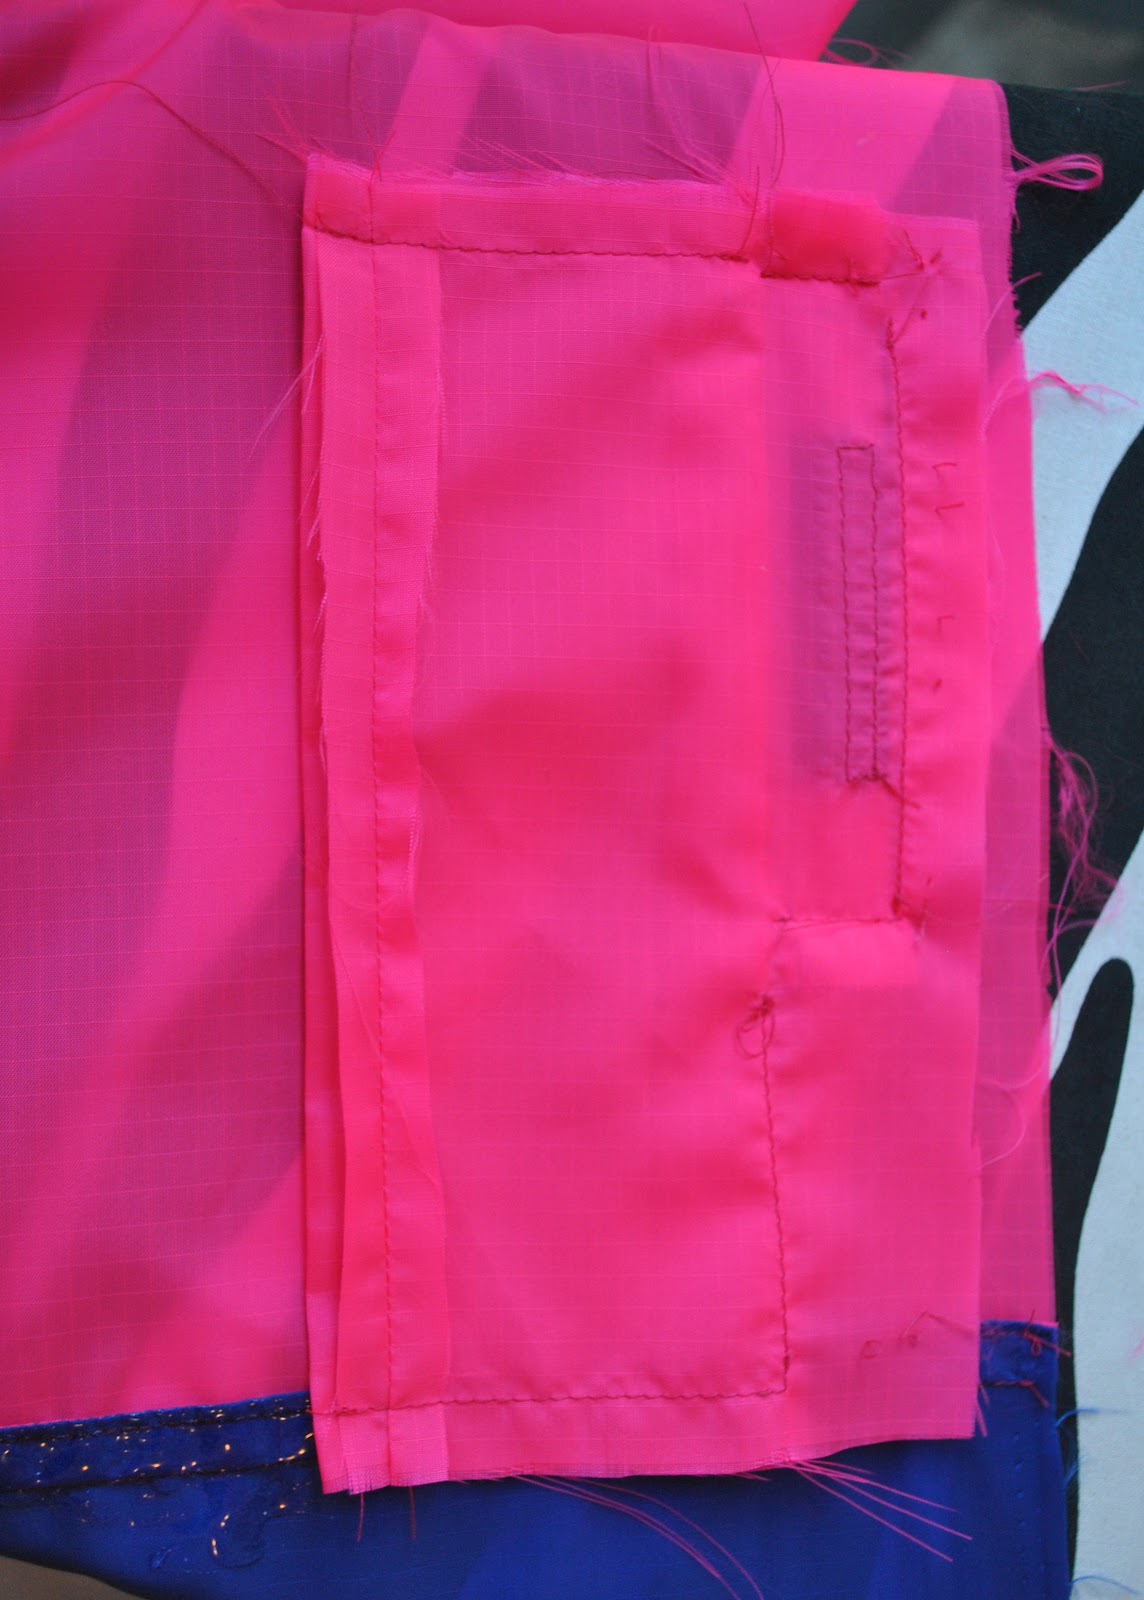
To reduce bulk, because
the fabric really is very very thick! the pockets themselves are just a single
layer inside, sewn directly to the jacket front invisibly by hand. I used lots of tightly spaced, tiny
stitches around the pockets but hid them inside the felt so they only show up as the faintest shadow on
the right side of the
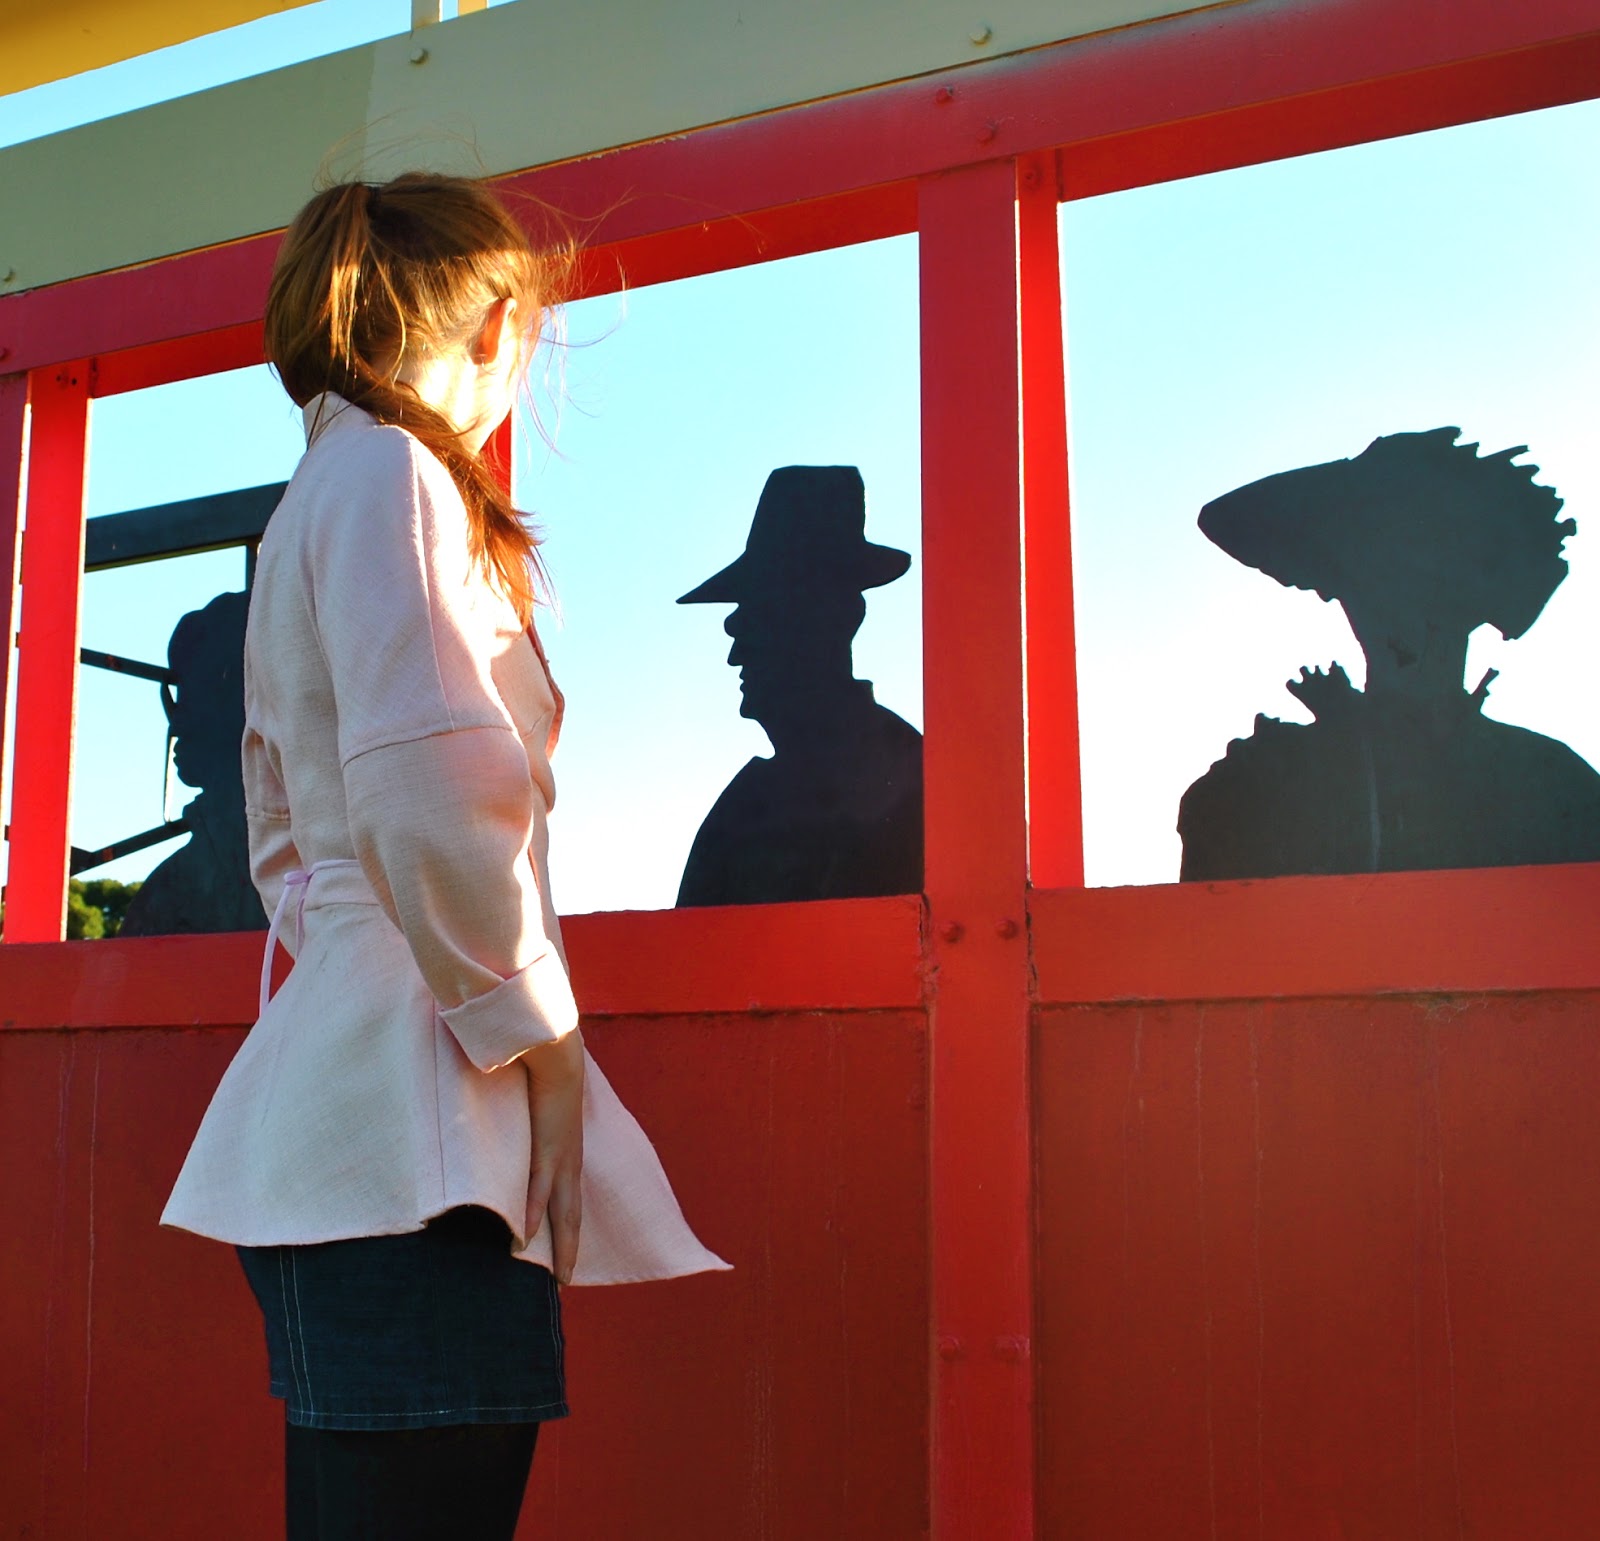
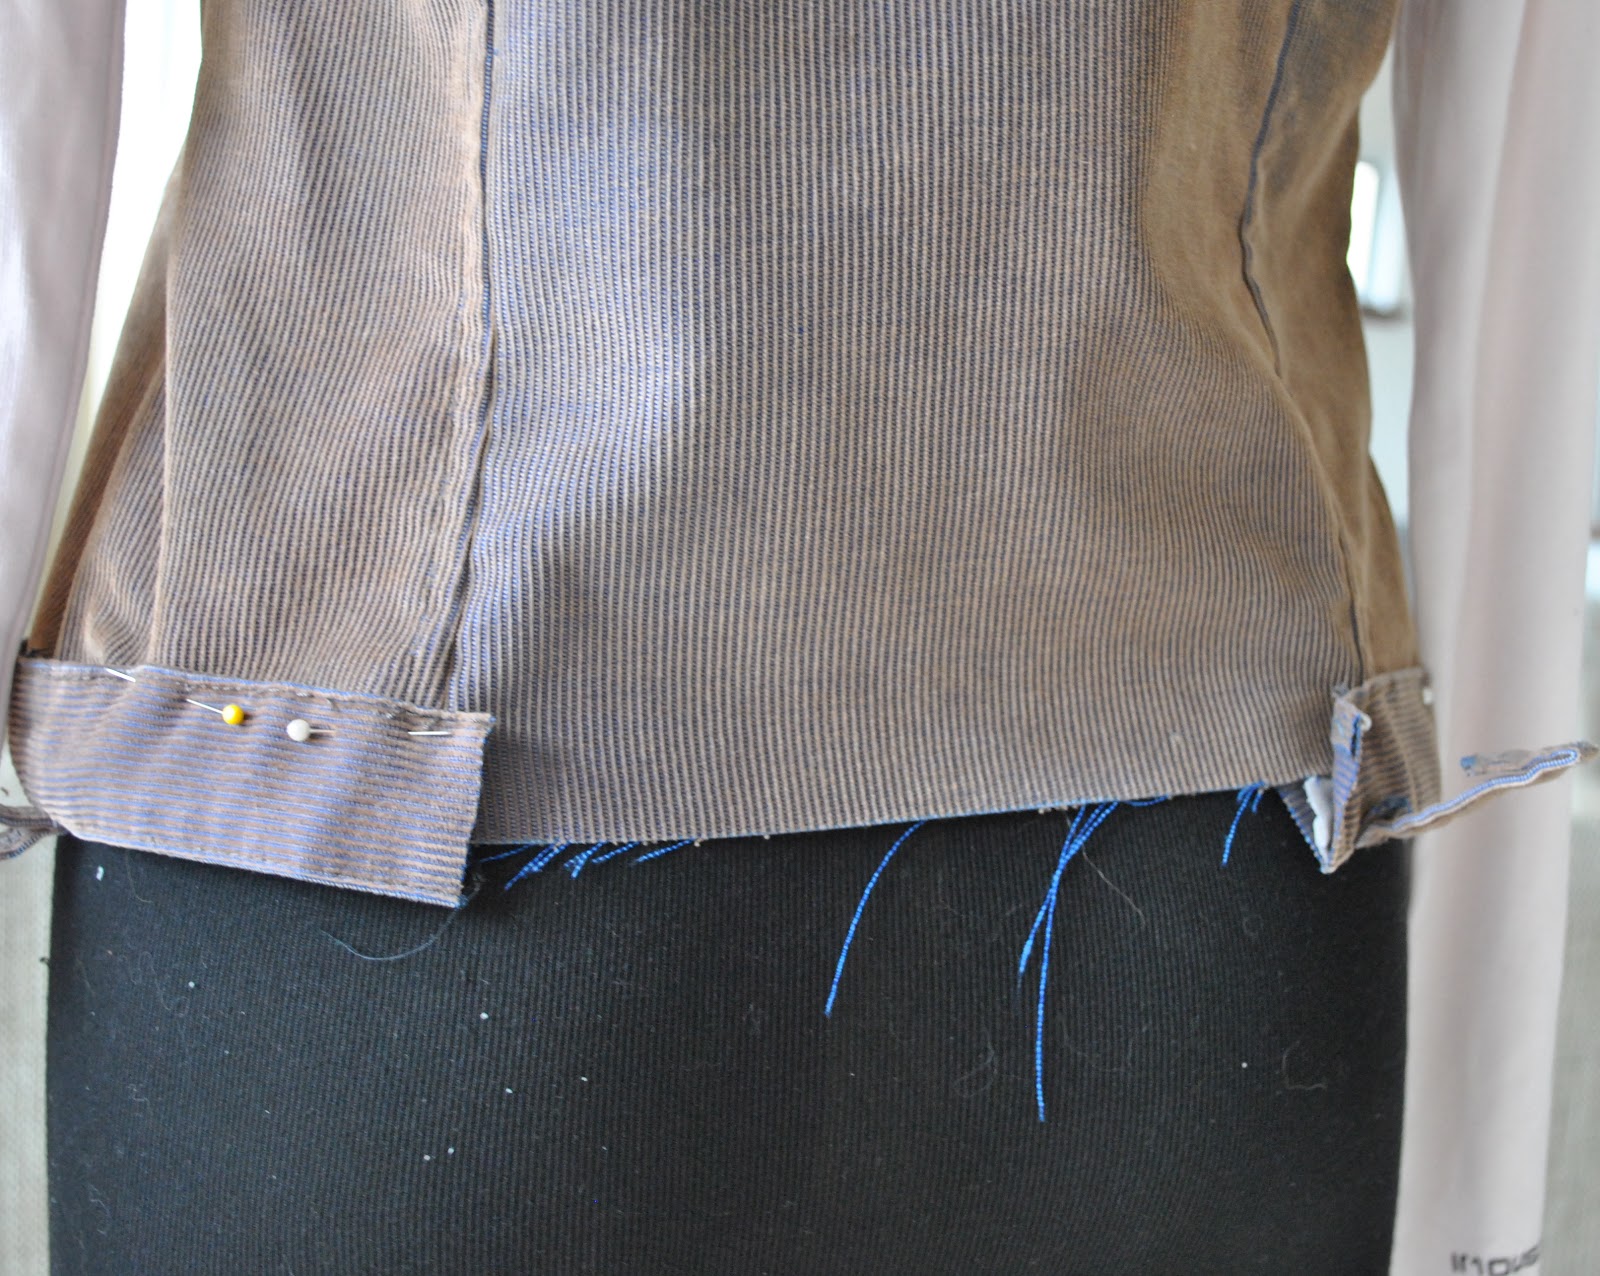
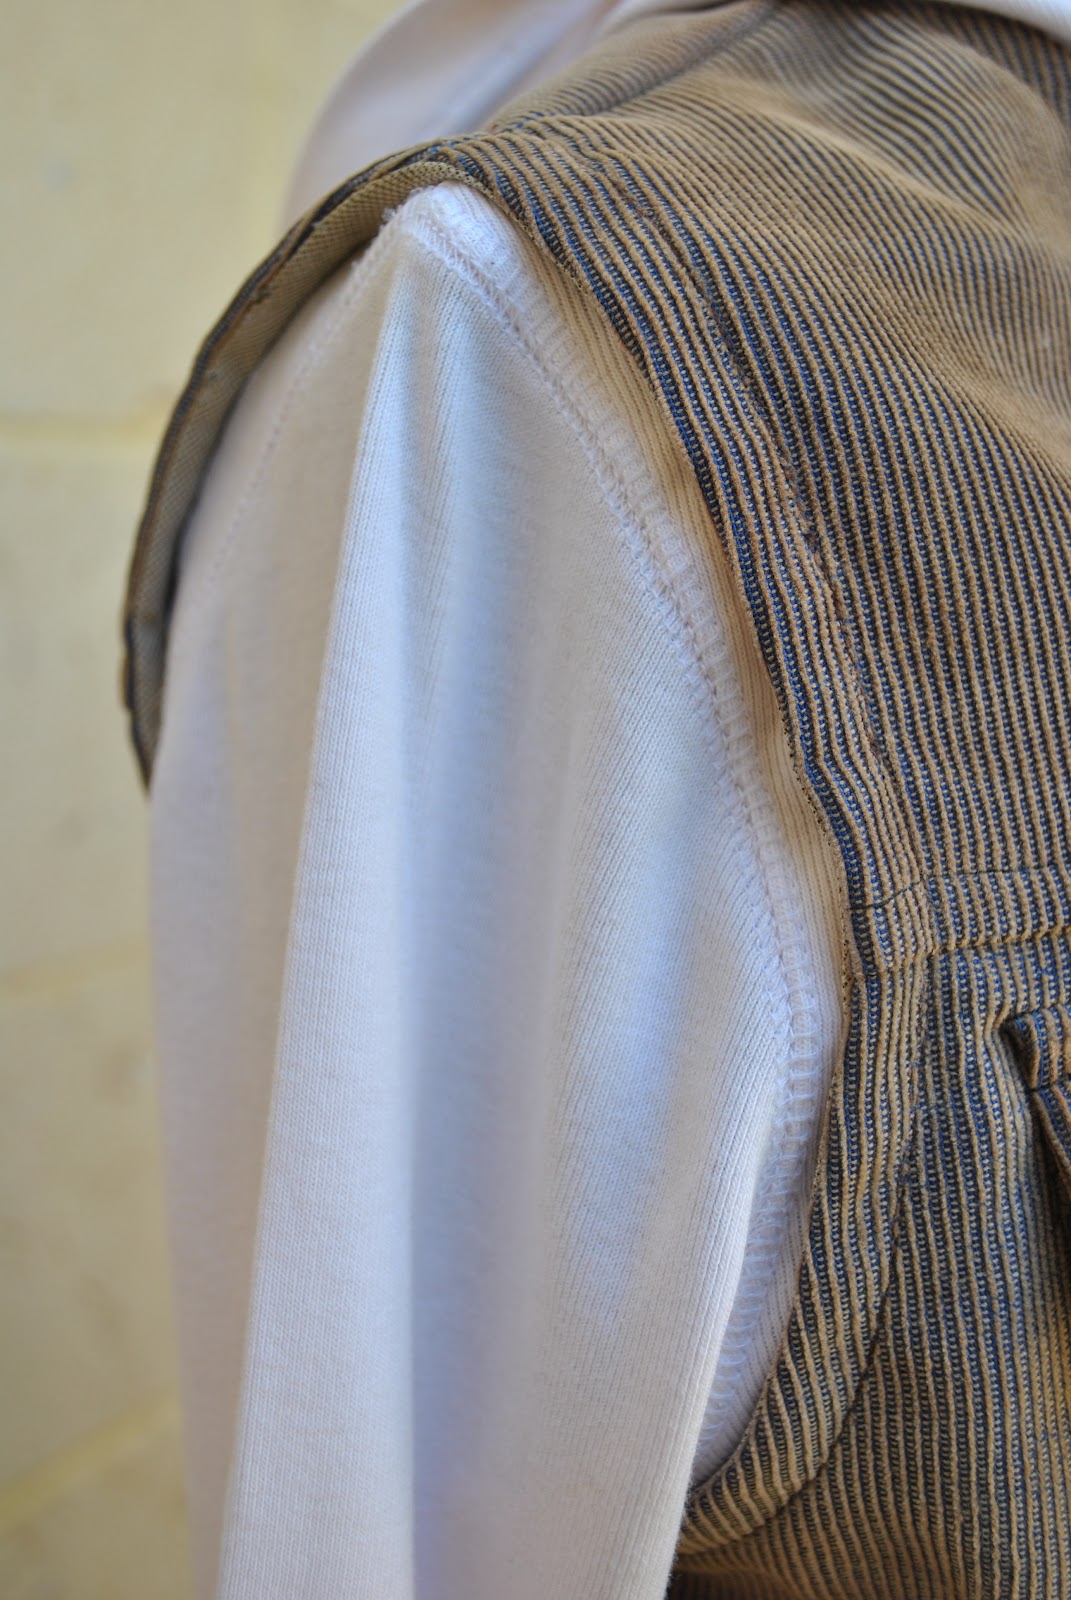
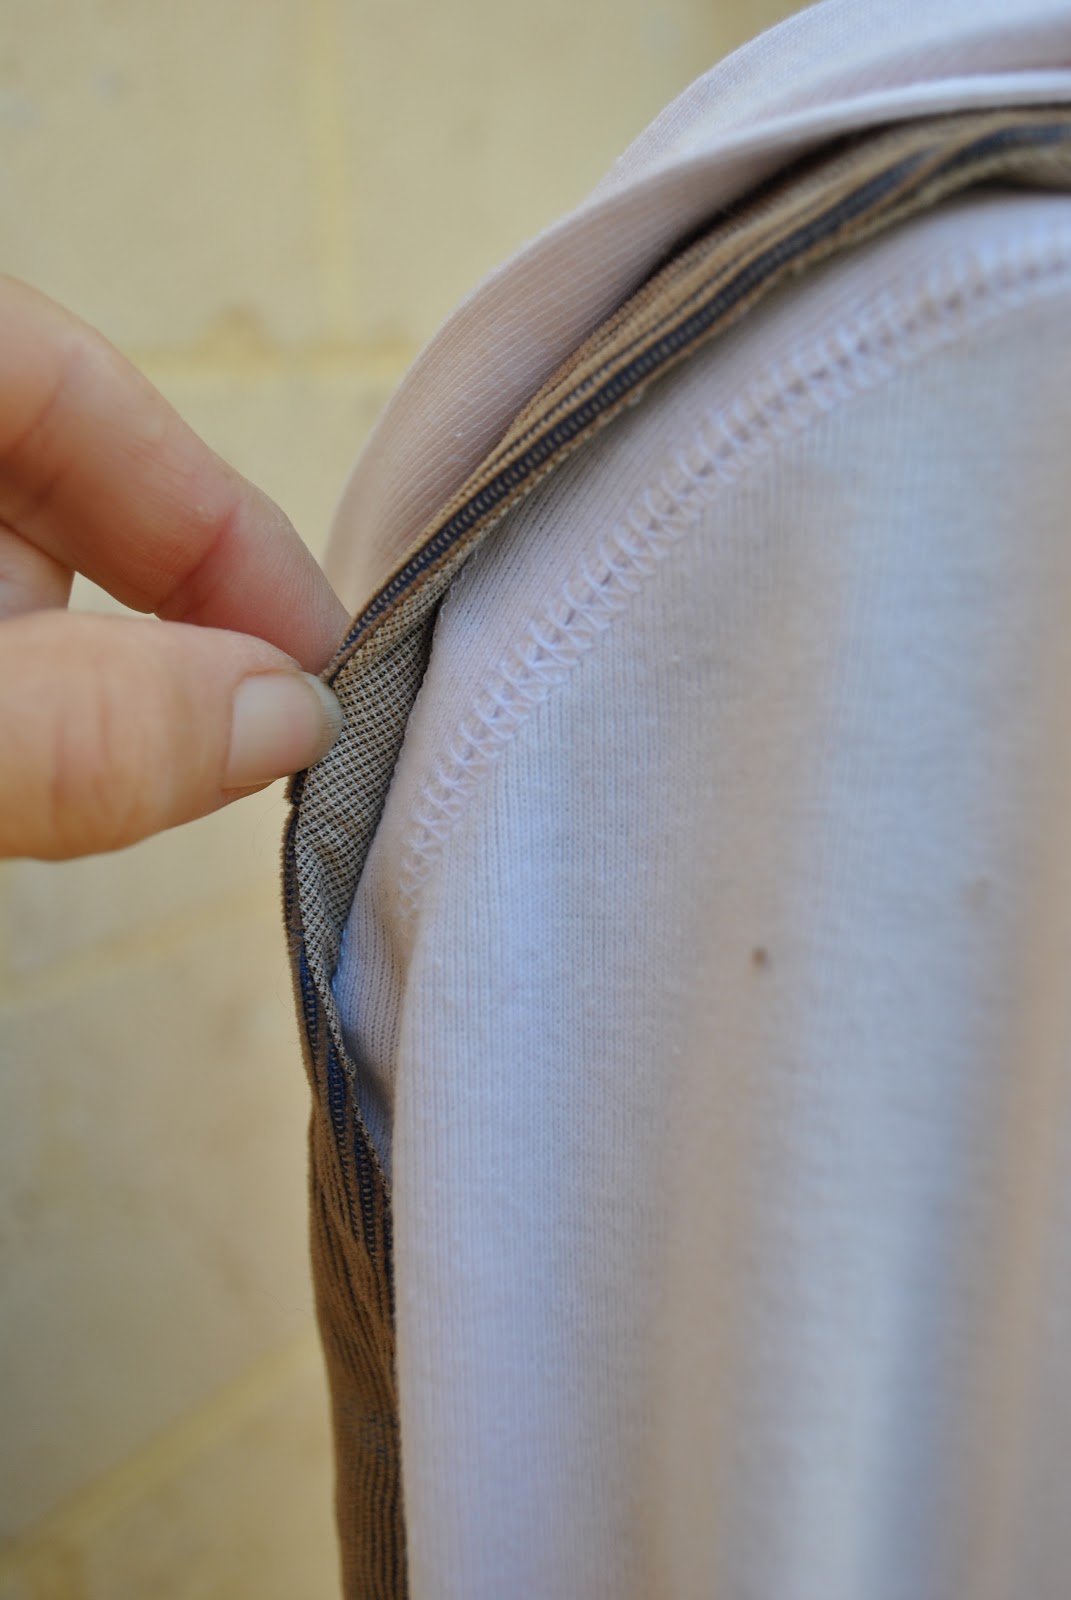
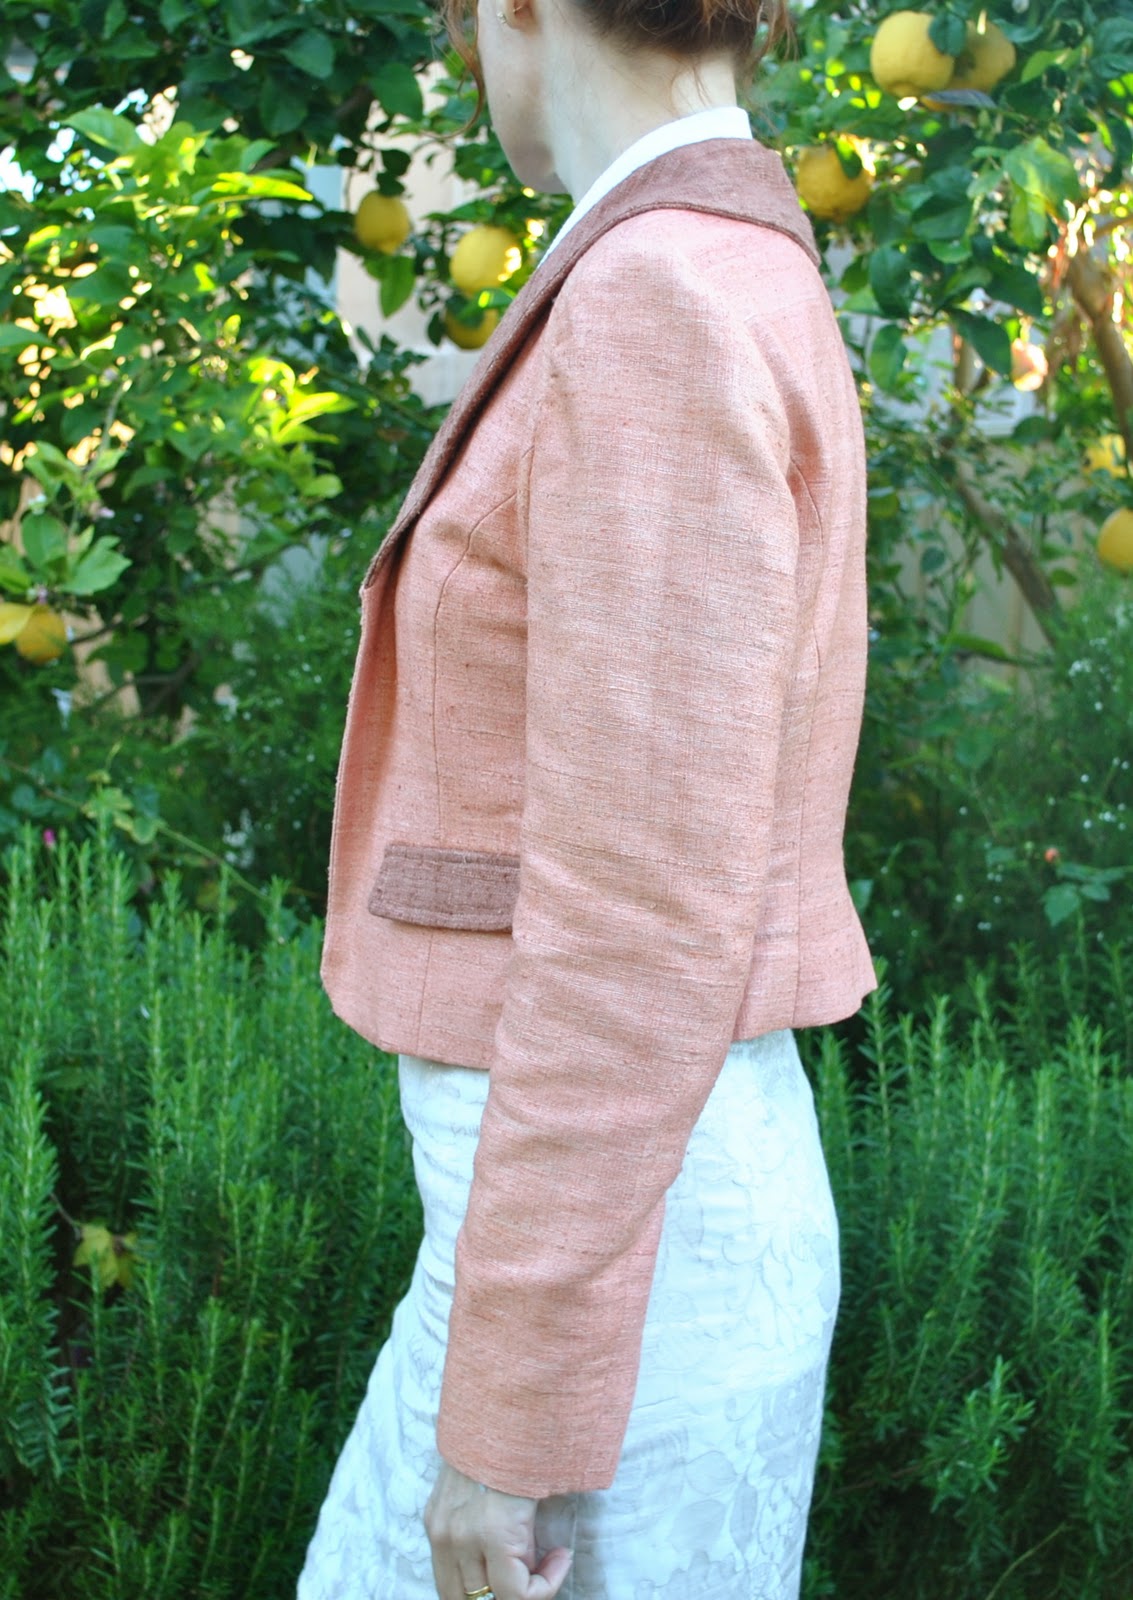
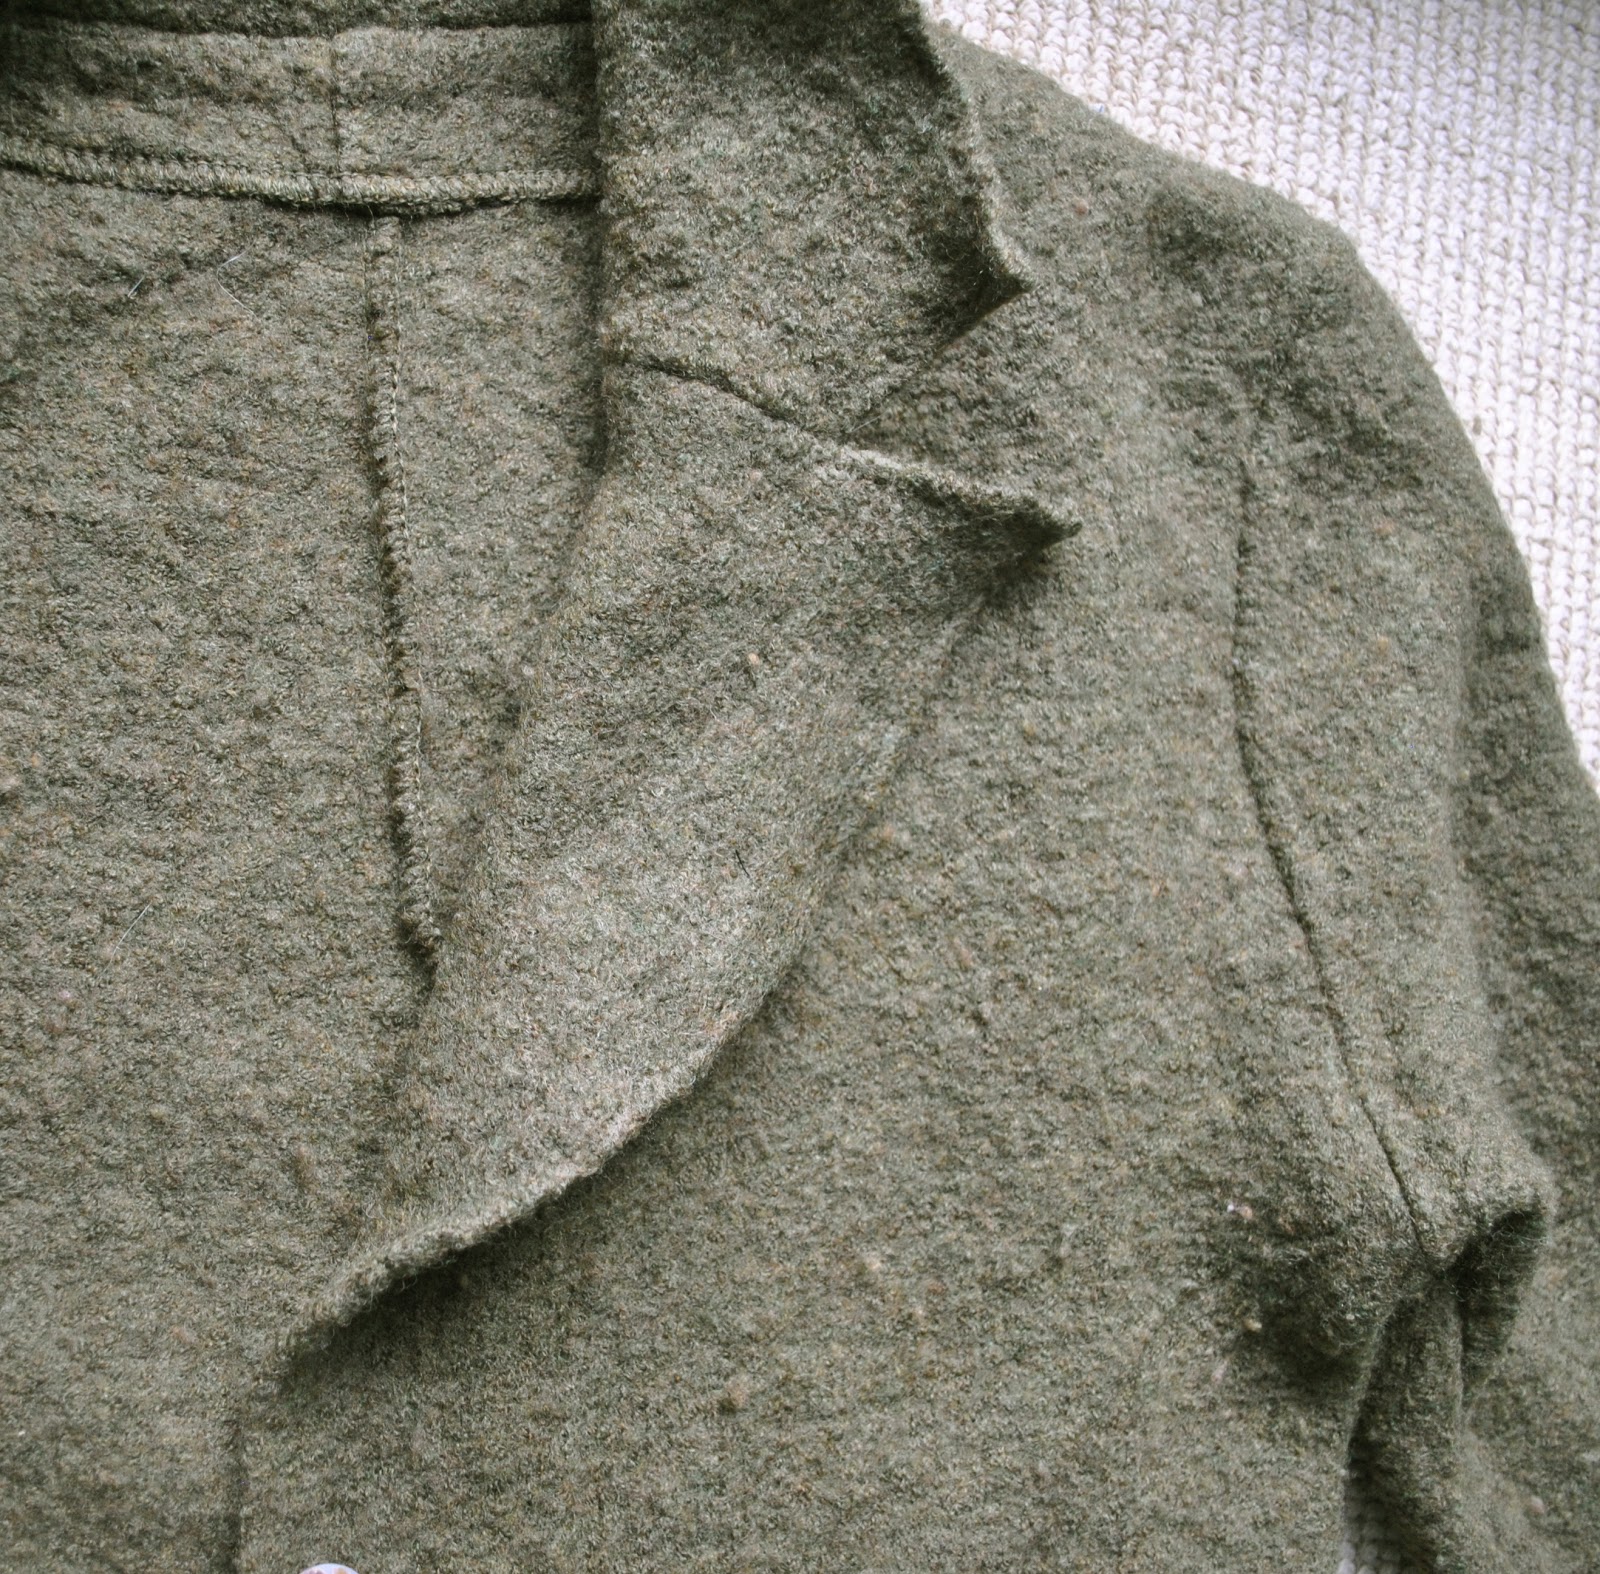
garment. I edged the entire front,
collar, hemline and sleeve hems by turning under a tiny roll of fabric under
the edge and slip-stitching by hand.
At the roll-point of the collar I switched the turn under to the other
side, to allow the front turnback of the collar to lie flat and true. Those overlocked seams are remnants of original seams.

the fabric really is very very thick! the pockets themselves are just a single
layer inside, sewn directly to the jacket front invisibly by hand. I used lots of tightly spaced, tiny
stitches around the pockets but hid them inside the felt so they only show up as the faintest shadow on
the right side of the
garment. I edged the entire front,
collar, hemline and sleeve hems by turning under a tiny roll of fabric under
the edge and slip-stitching by hand.
At the roll-point of the collar I switched the turn under to the other
side, to allow the front turnback of the collar to lie flat and true. Those overlocked seams are remnants of original seams.
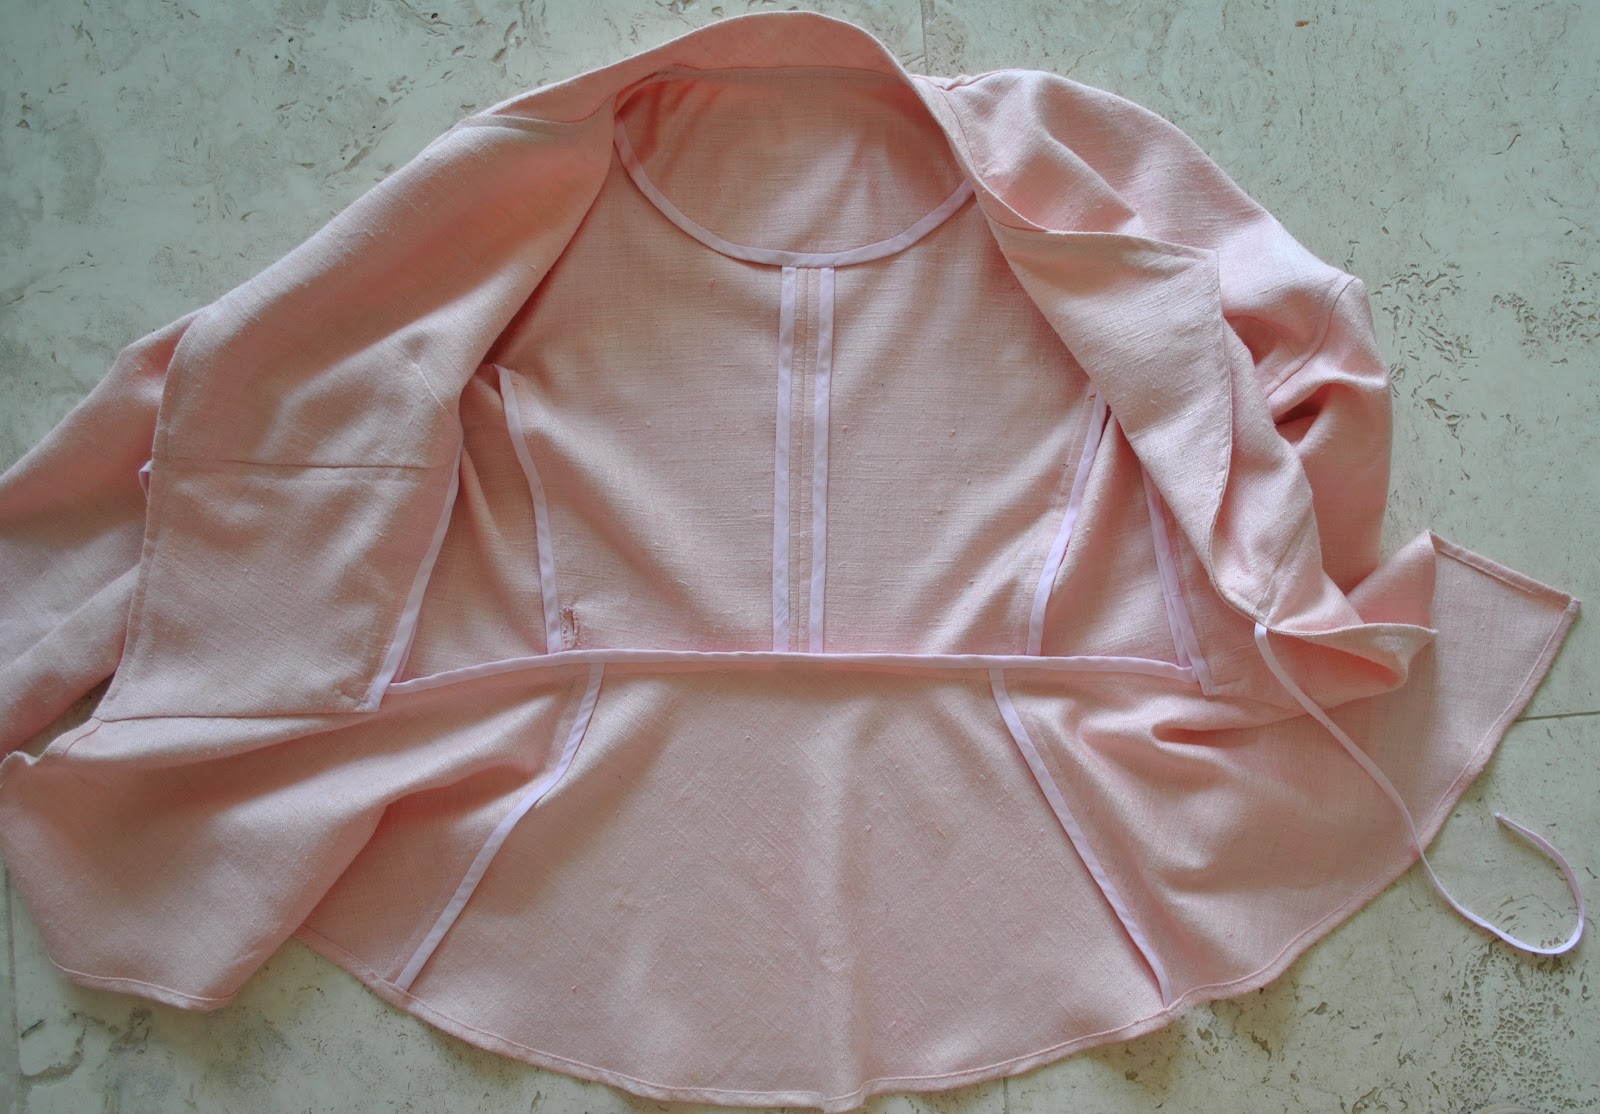
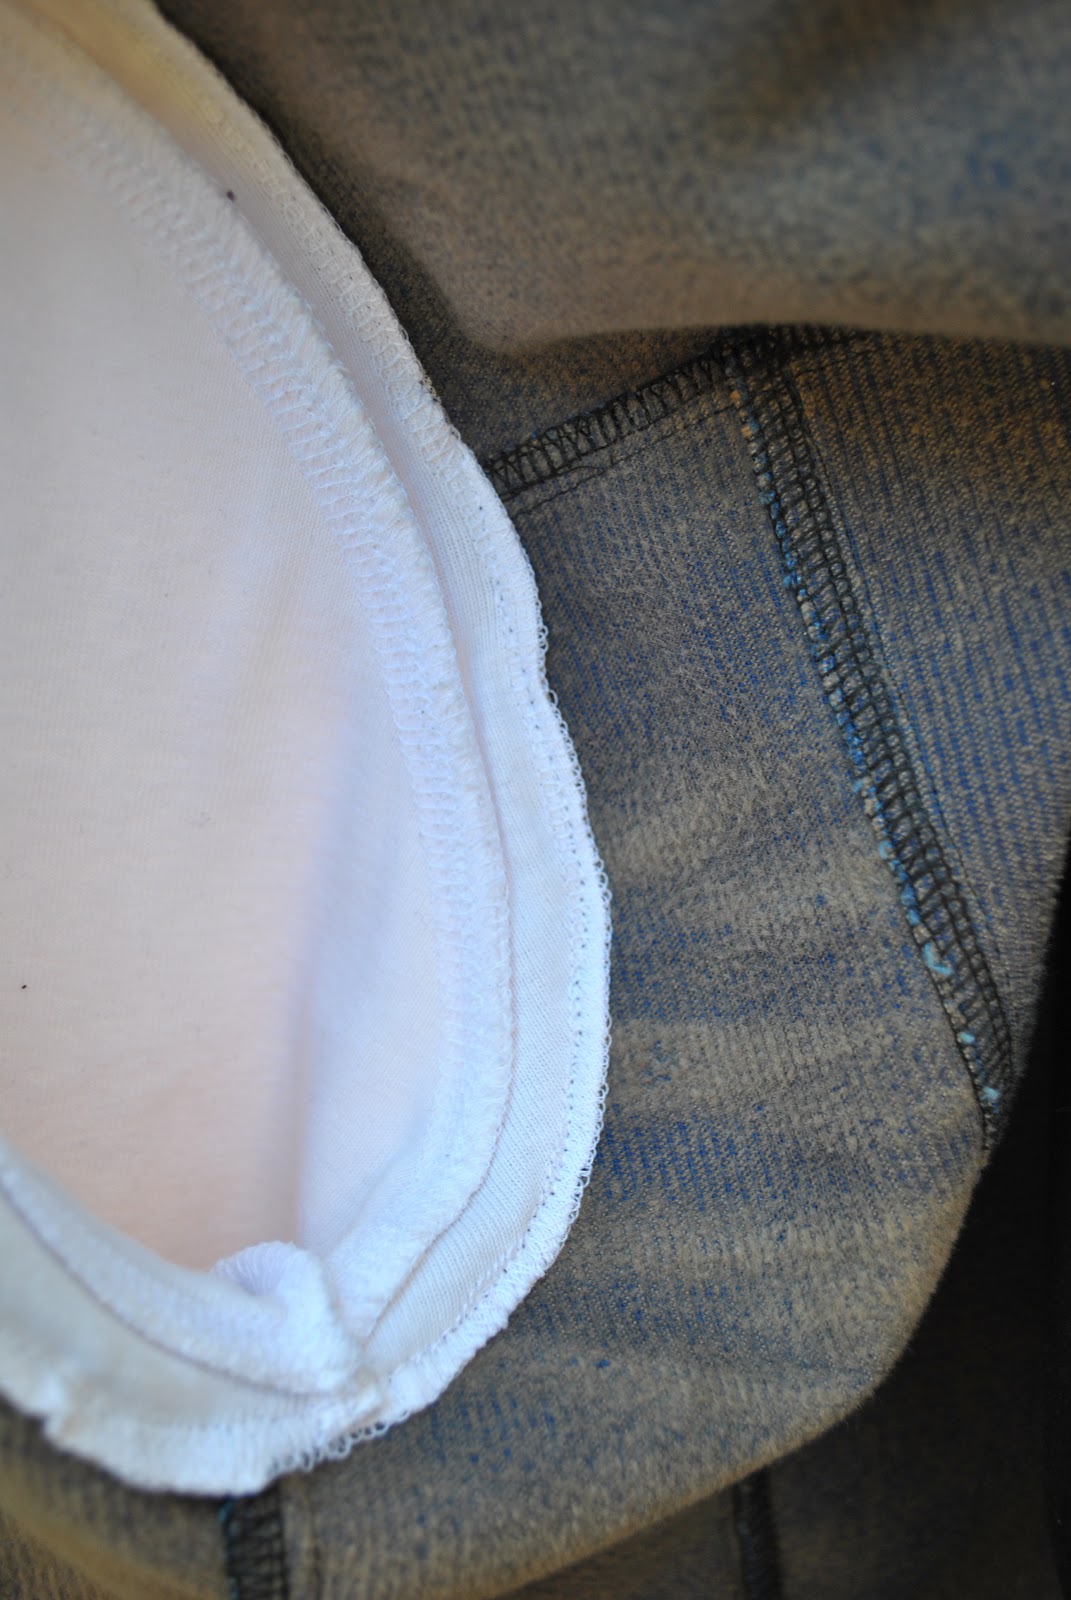
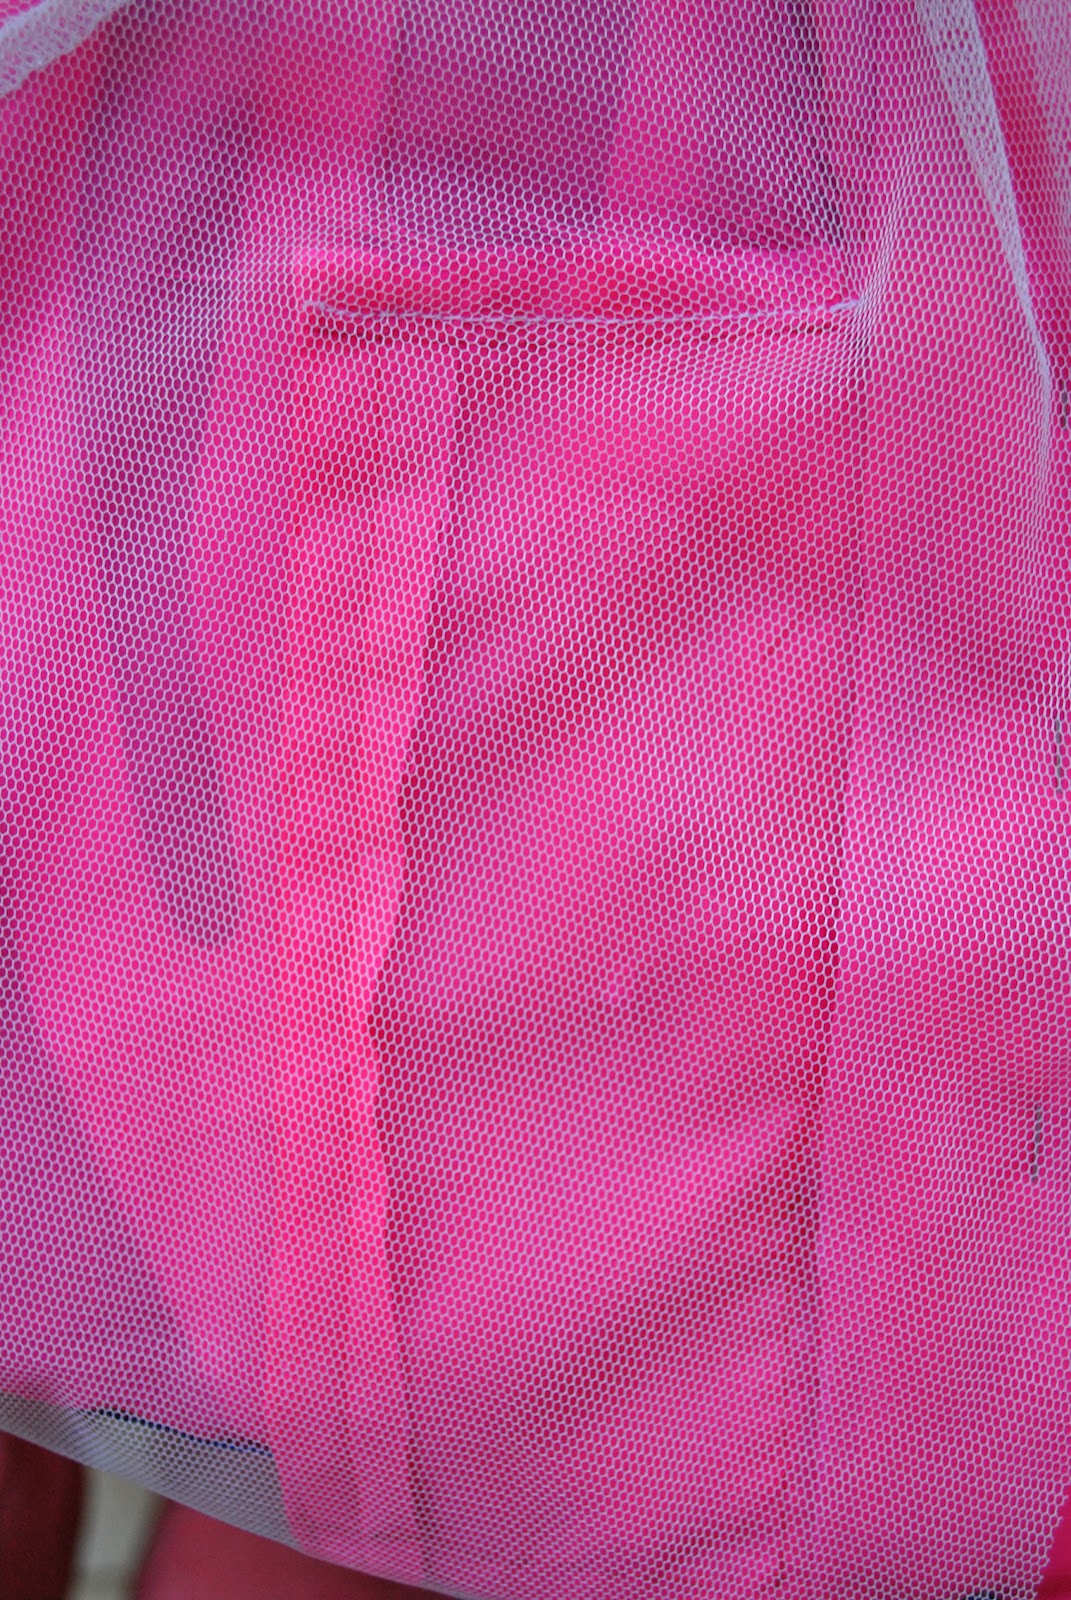
On the inside, I hand
slip-stitched all the new seam allowances down to “disappear” as invisibly as possible
against the cardigan, for a neat and tidy inner finish. Maybe neater than the original overlocked finish, I think 😉
slip-stitched all the new seam allowances down to “disappear” as invisibly as possible
against the cardigan, for a neat and tidy inner finish. Maybe neater than the original overlocked finish, I think 😉

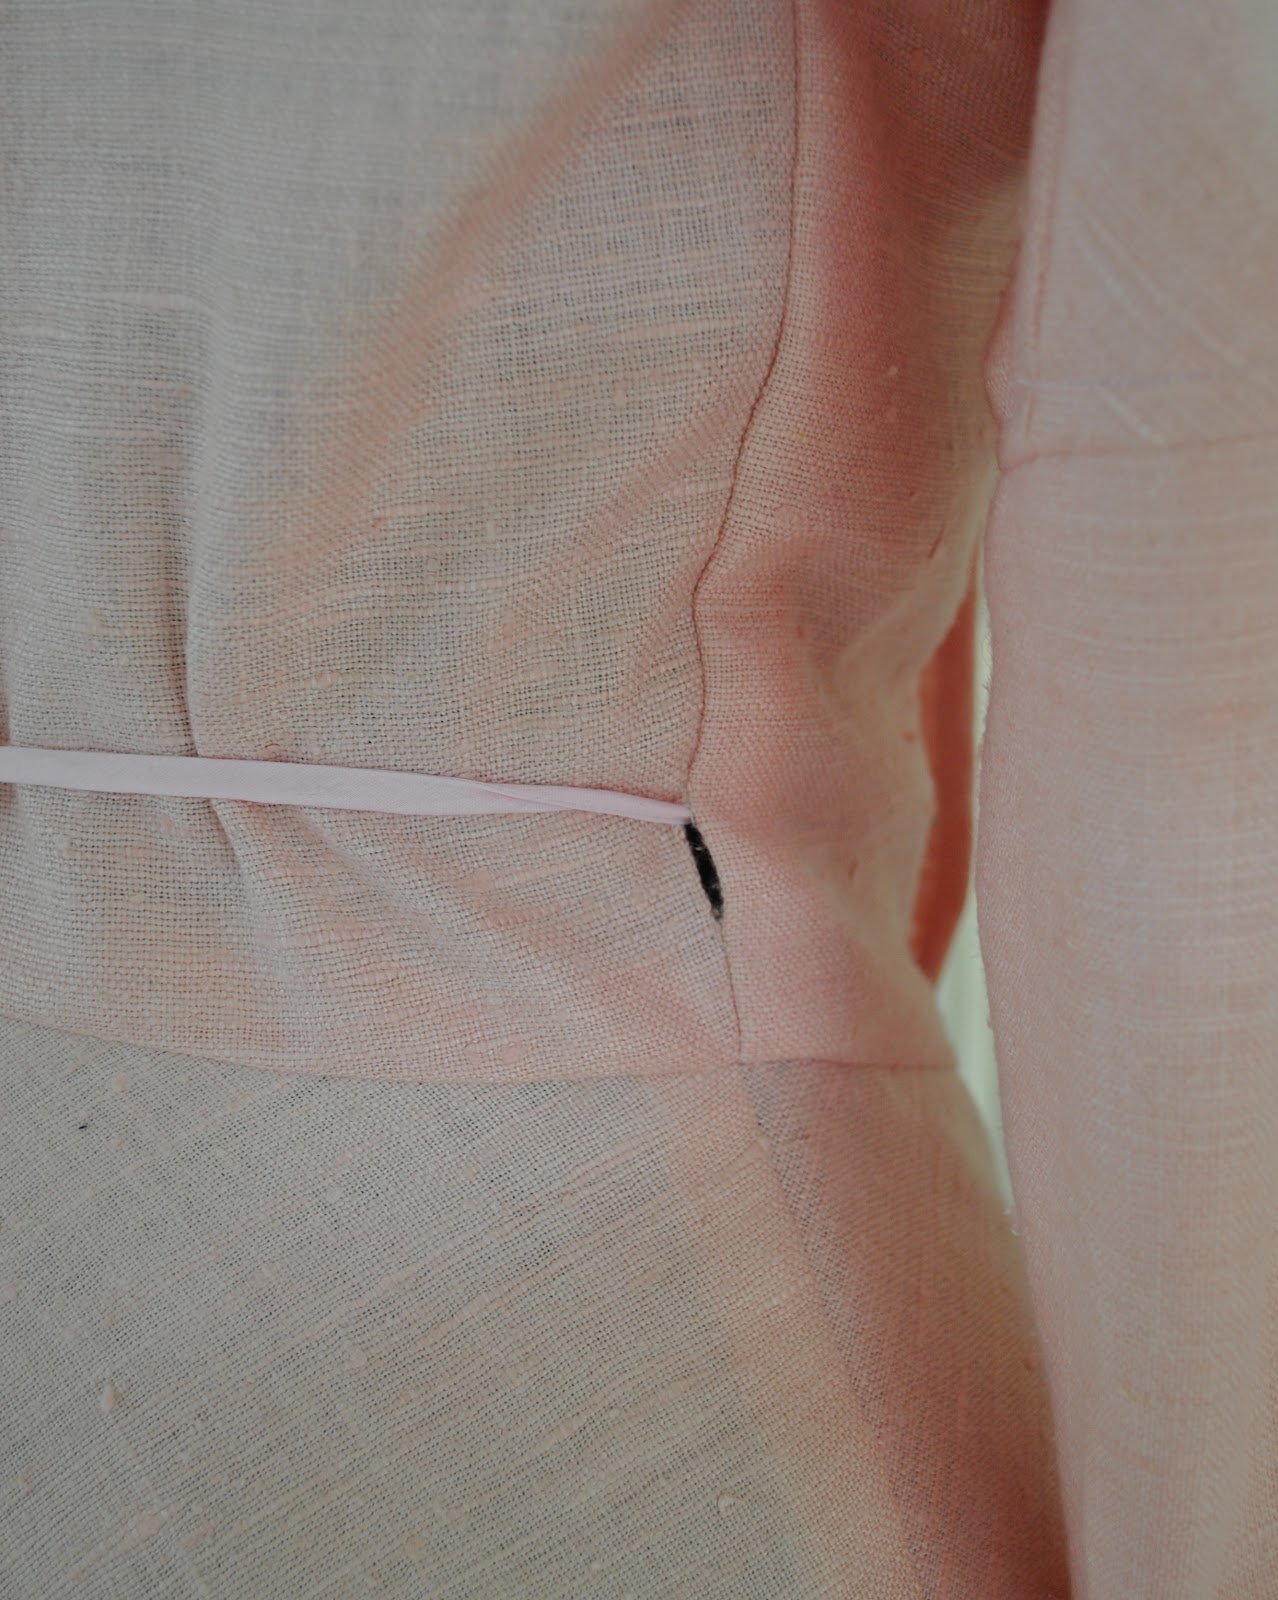
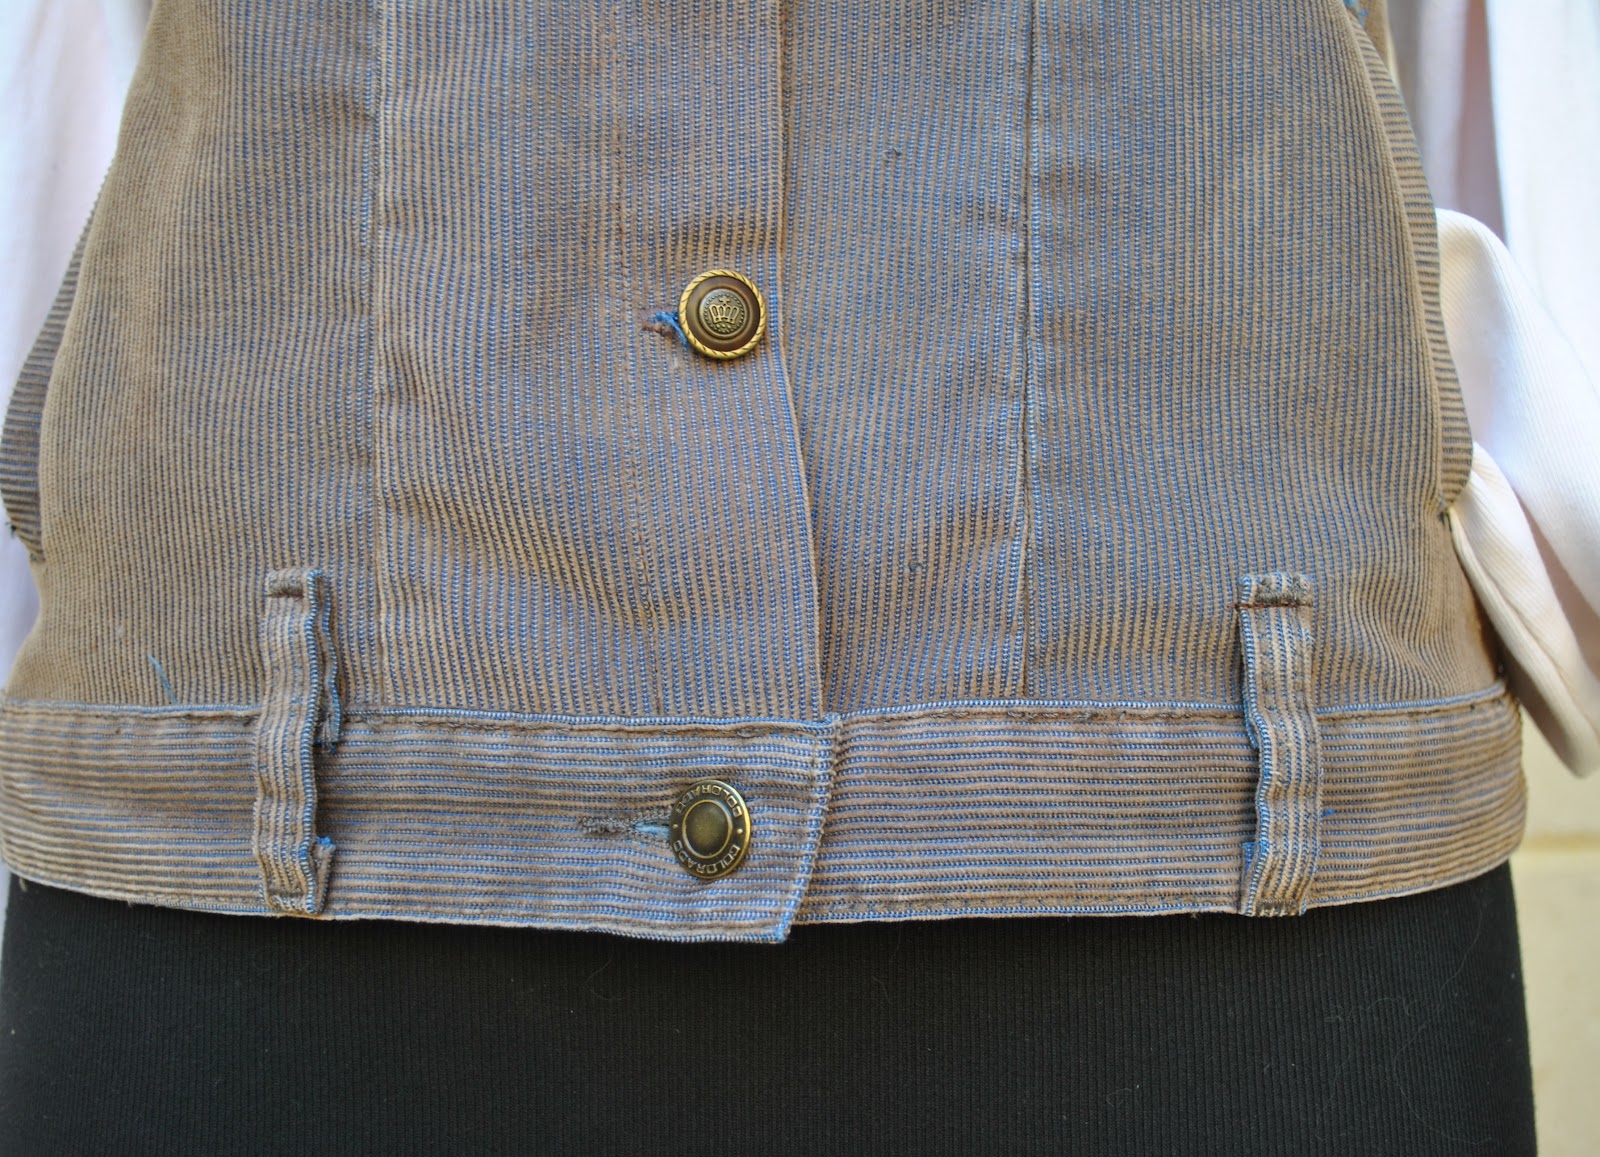
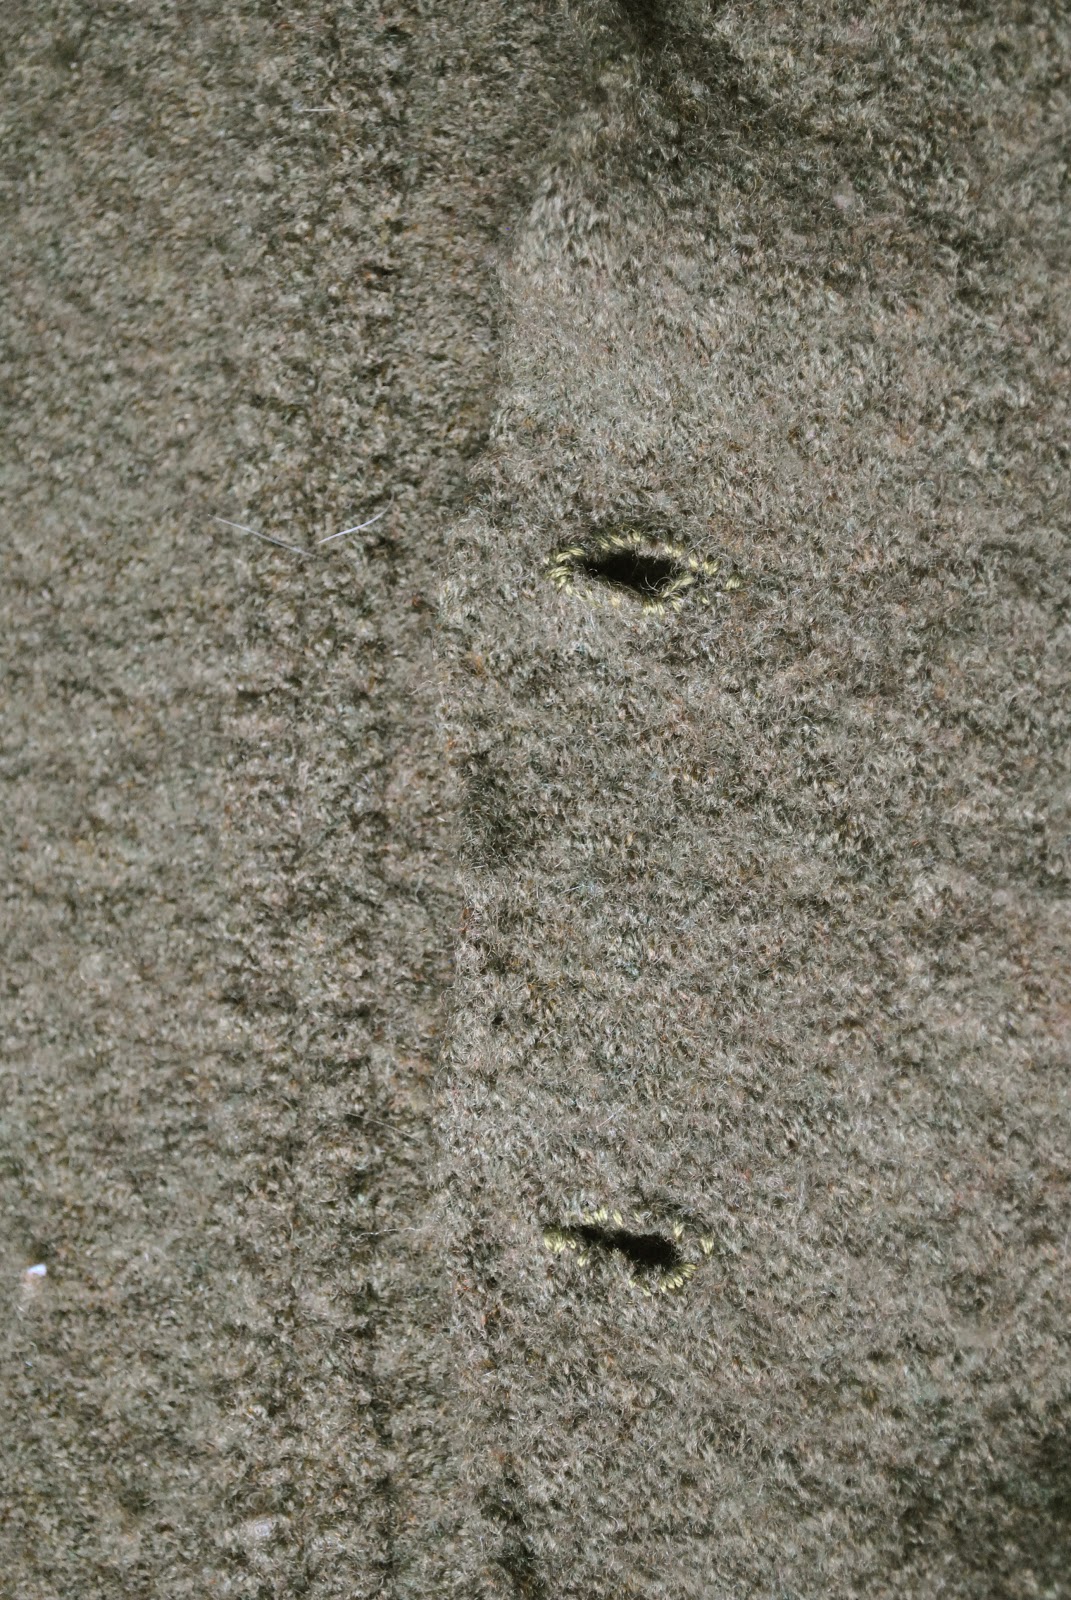
The buttonholes are all
embroidered by hand using 2 strands of embroidery floss, and the buttons are
nacre; sewed on upside down because the rough hewn wrong side of the buttons
was stylistically perfect for the rustic style I was going for.
embroidered by hand using 2 strands of embroidery floss, and the buttons are
nacre; sewed on upside down because the rough hewn wrong side of the buttons
was stylistically perfect for the rustic style I was going for.
It is quite a simple
re-fashion, basically a wrap front cardigan has been transformed to a suit
jacket style cardigan. Not exactly
earth-shattering stoof here. But I
am happy, since the new style means I am in love with it all over again and
will get a few more years wear out of it!