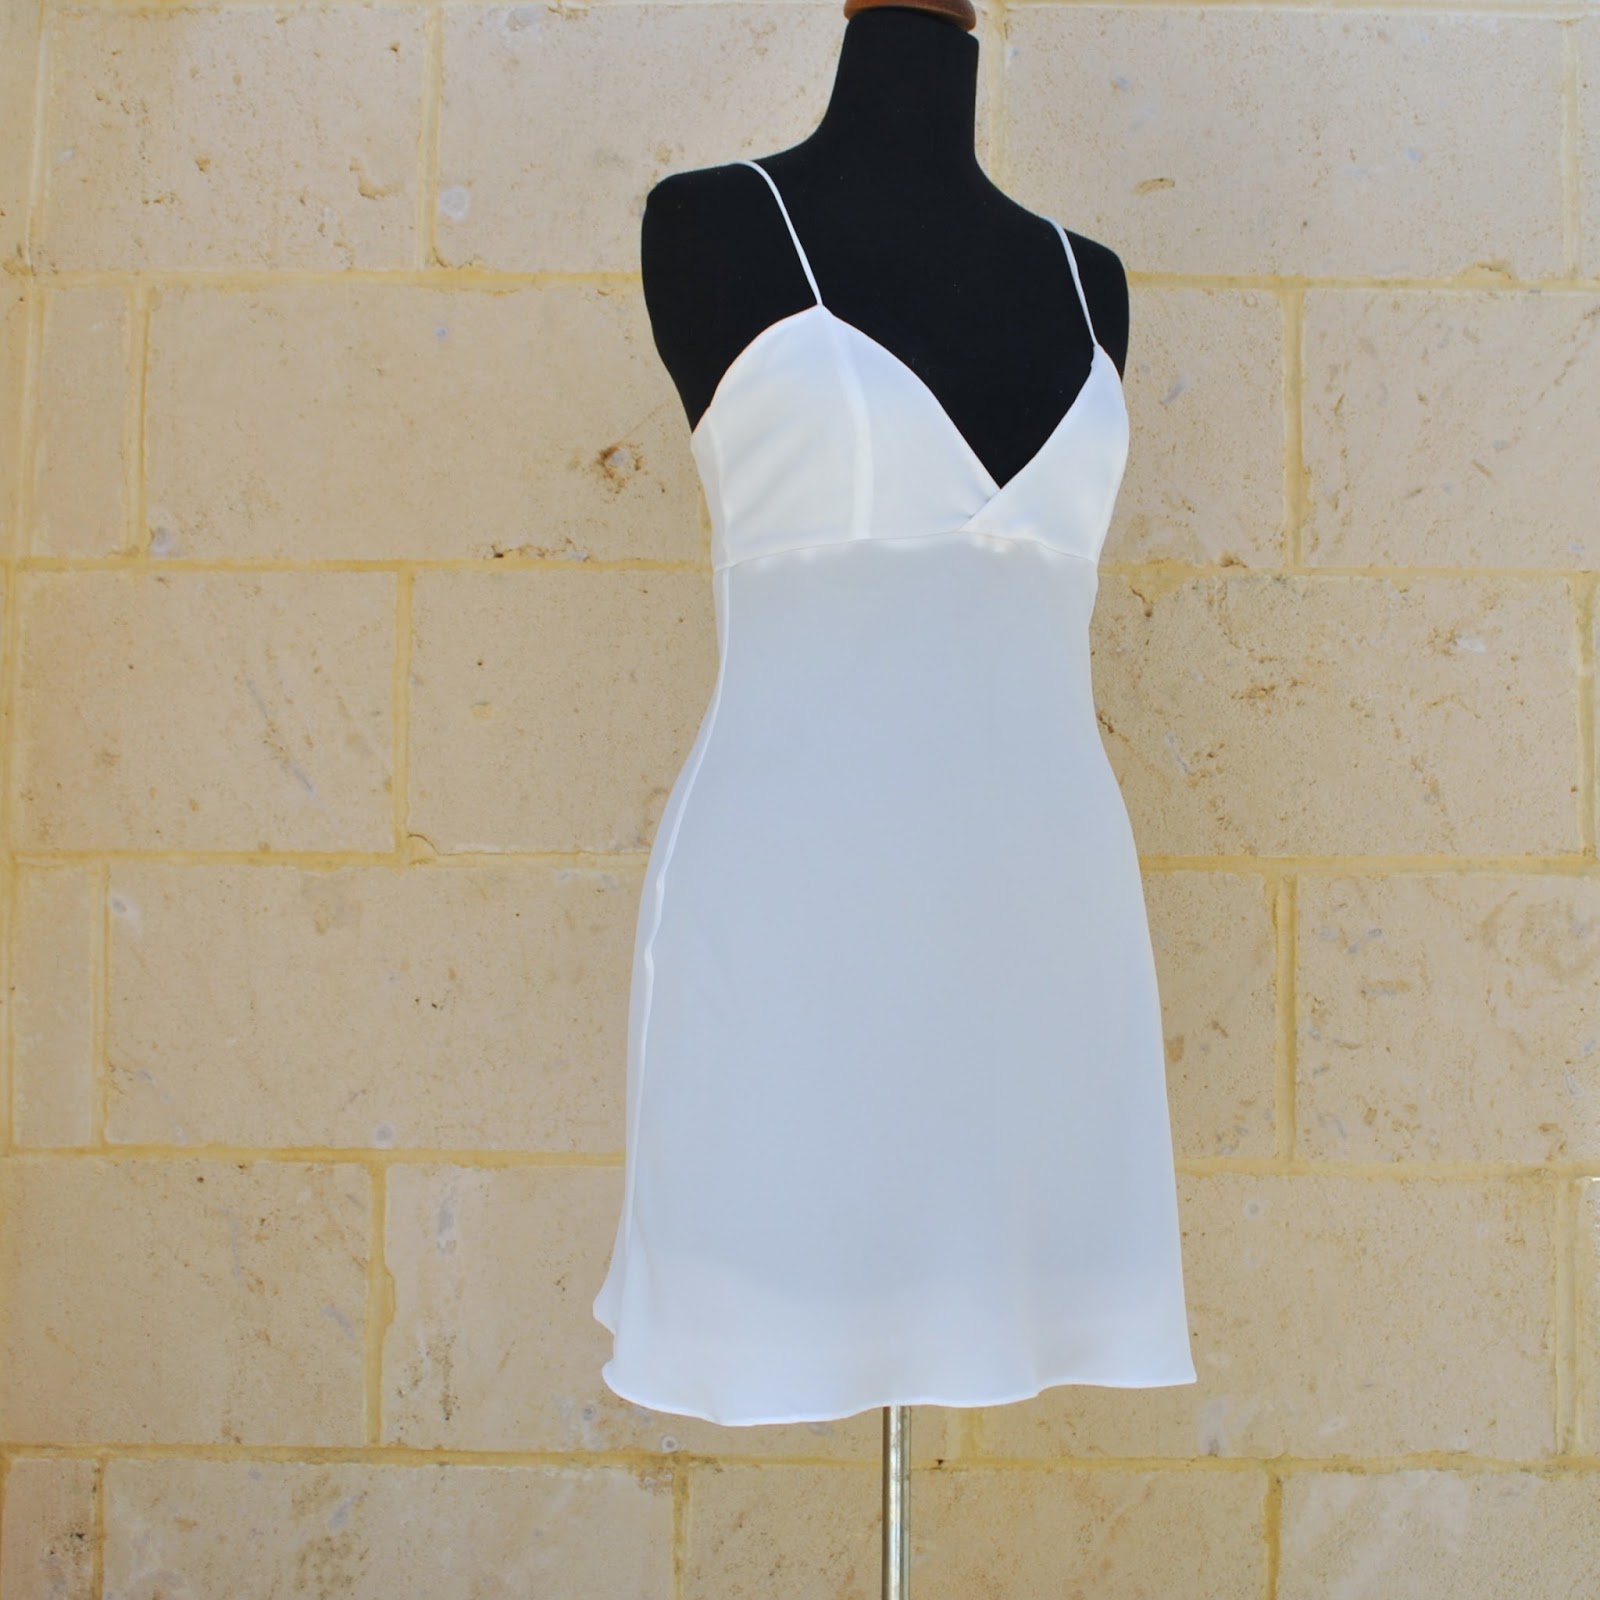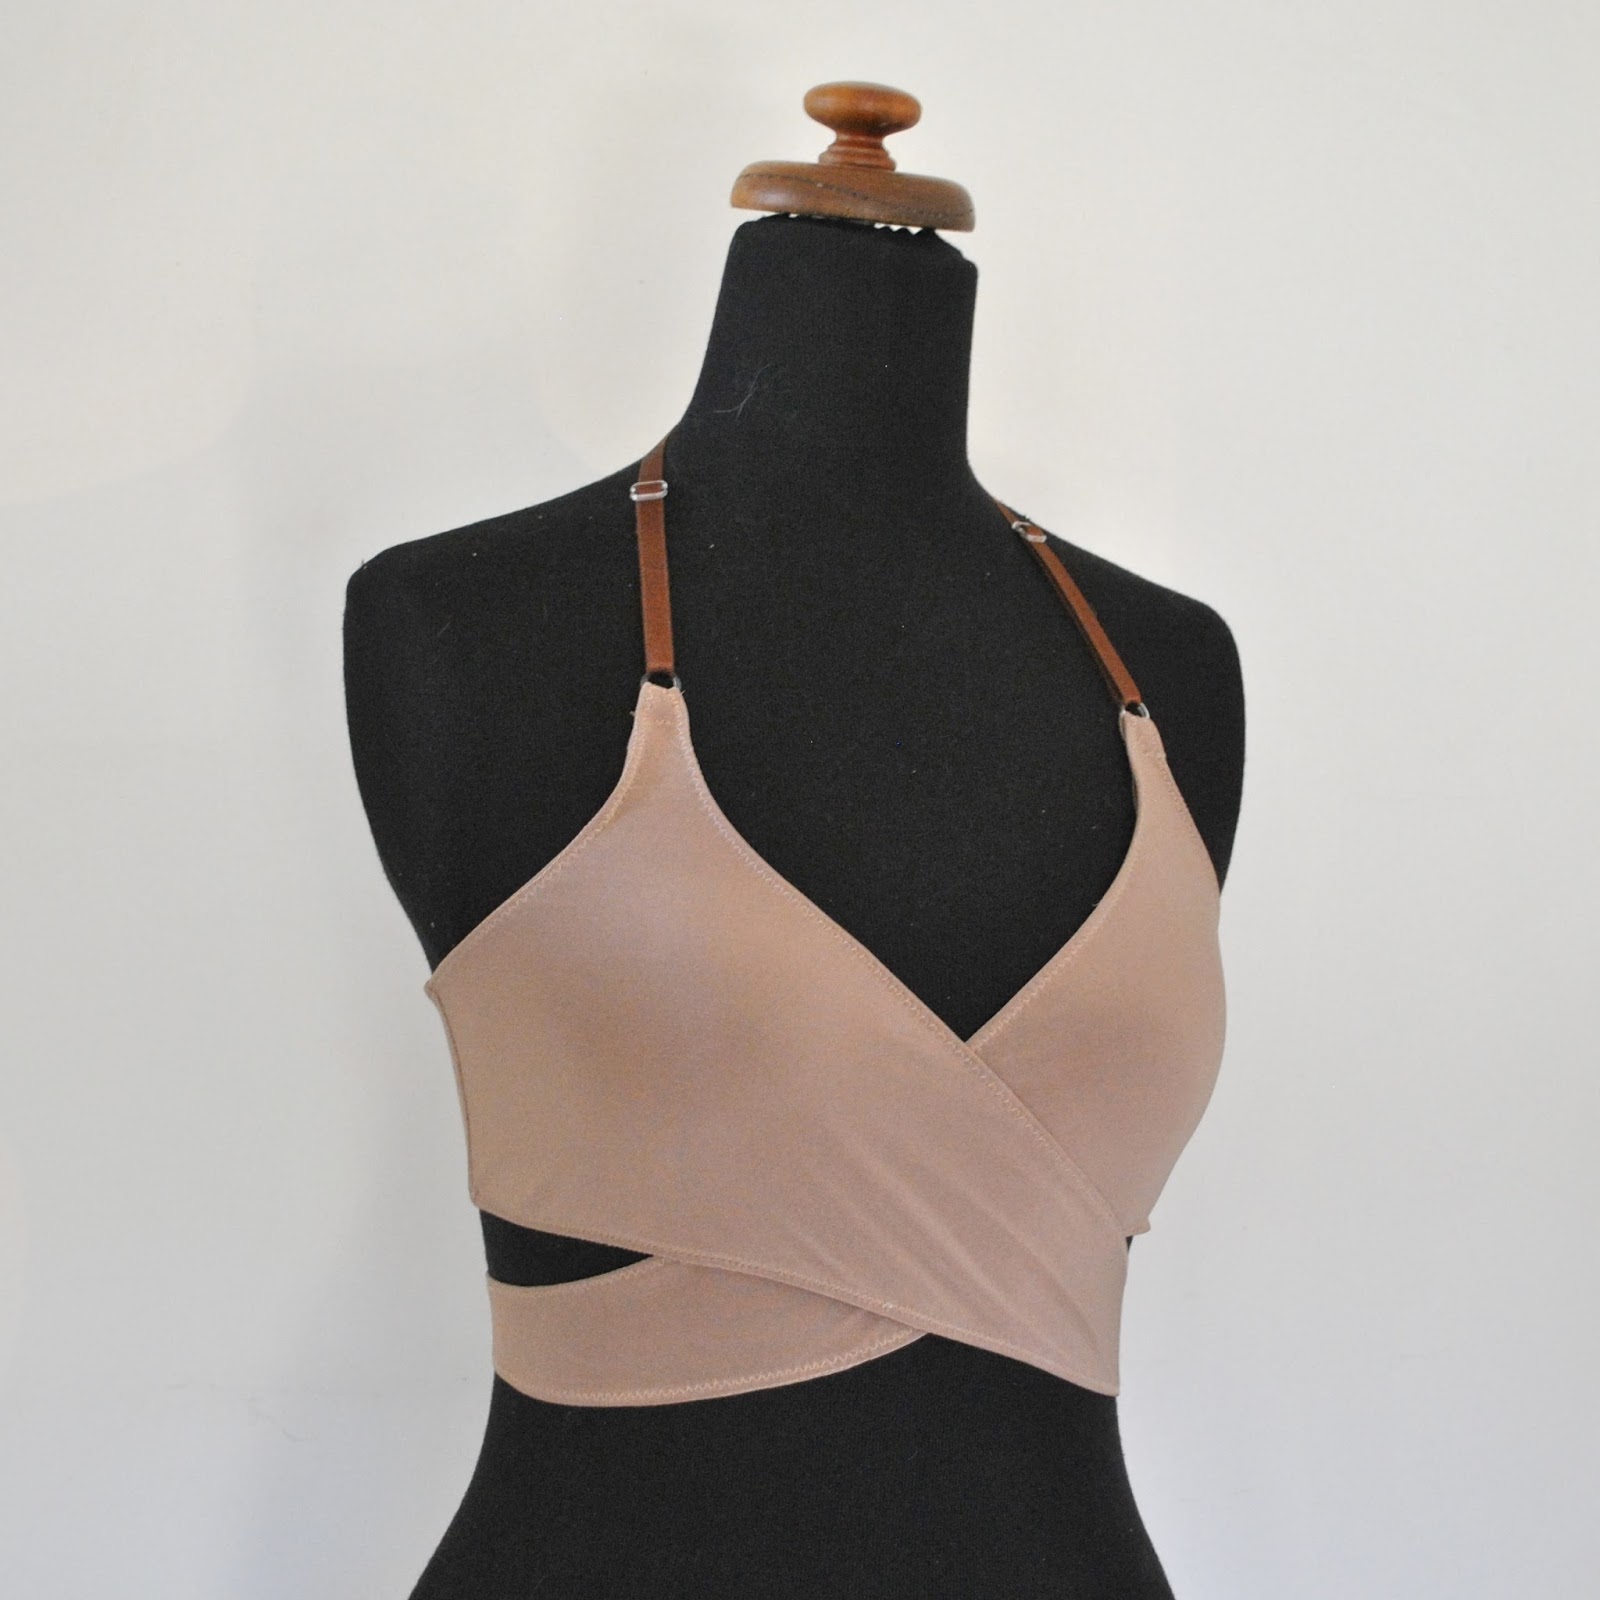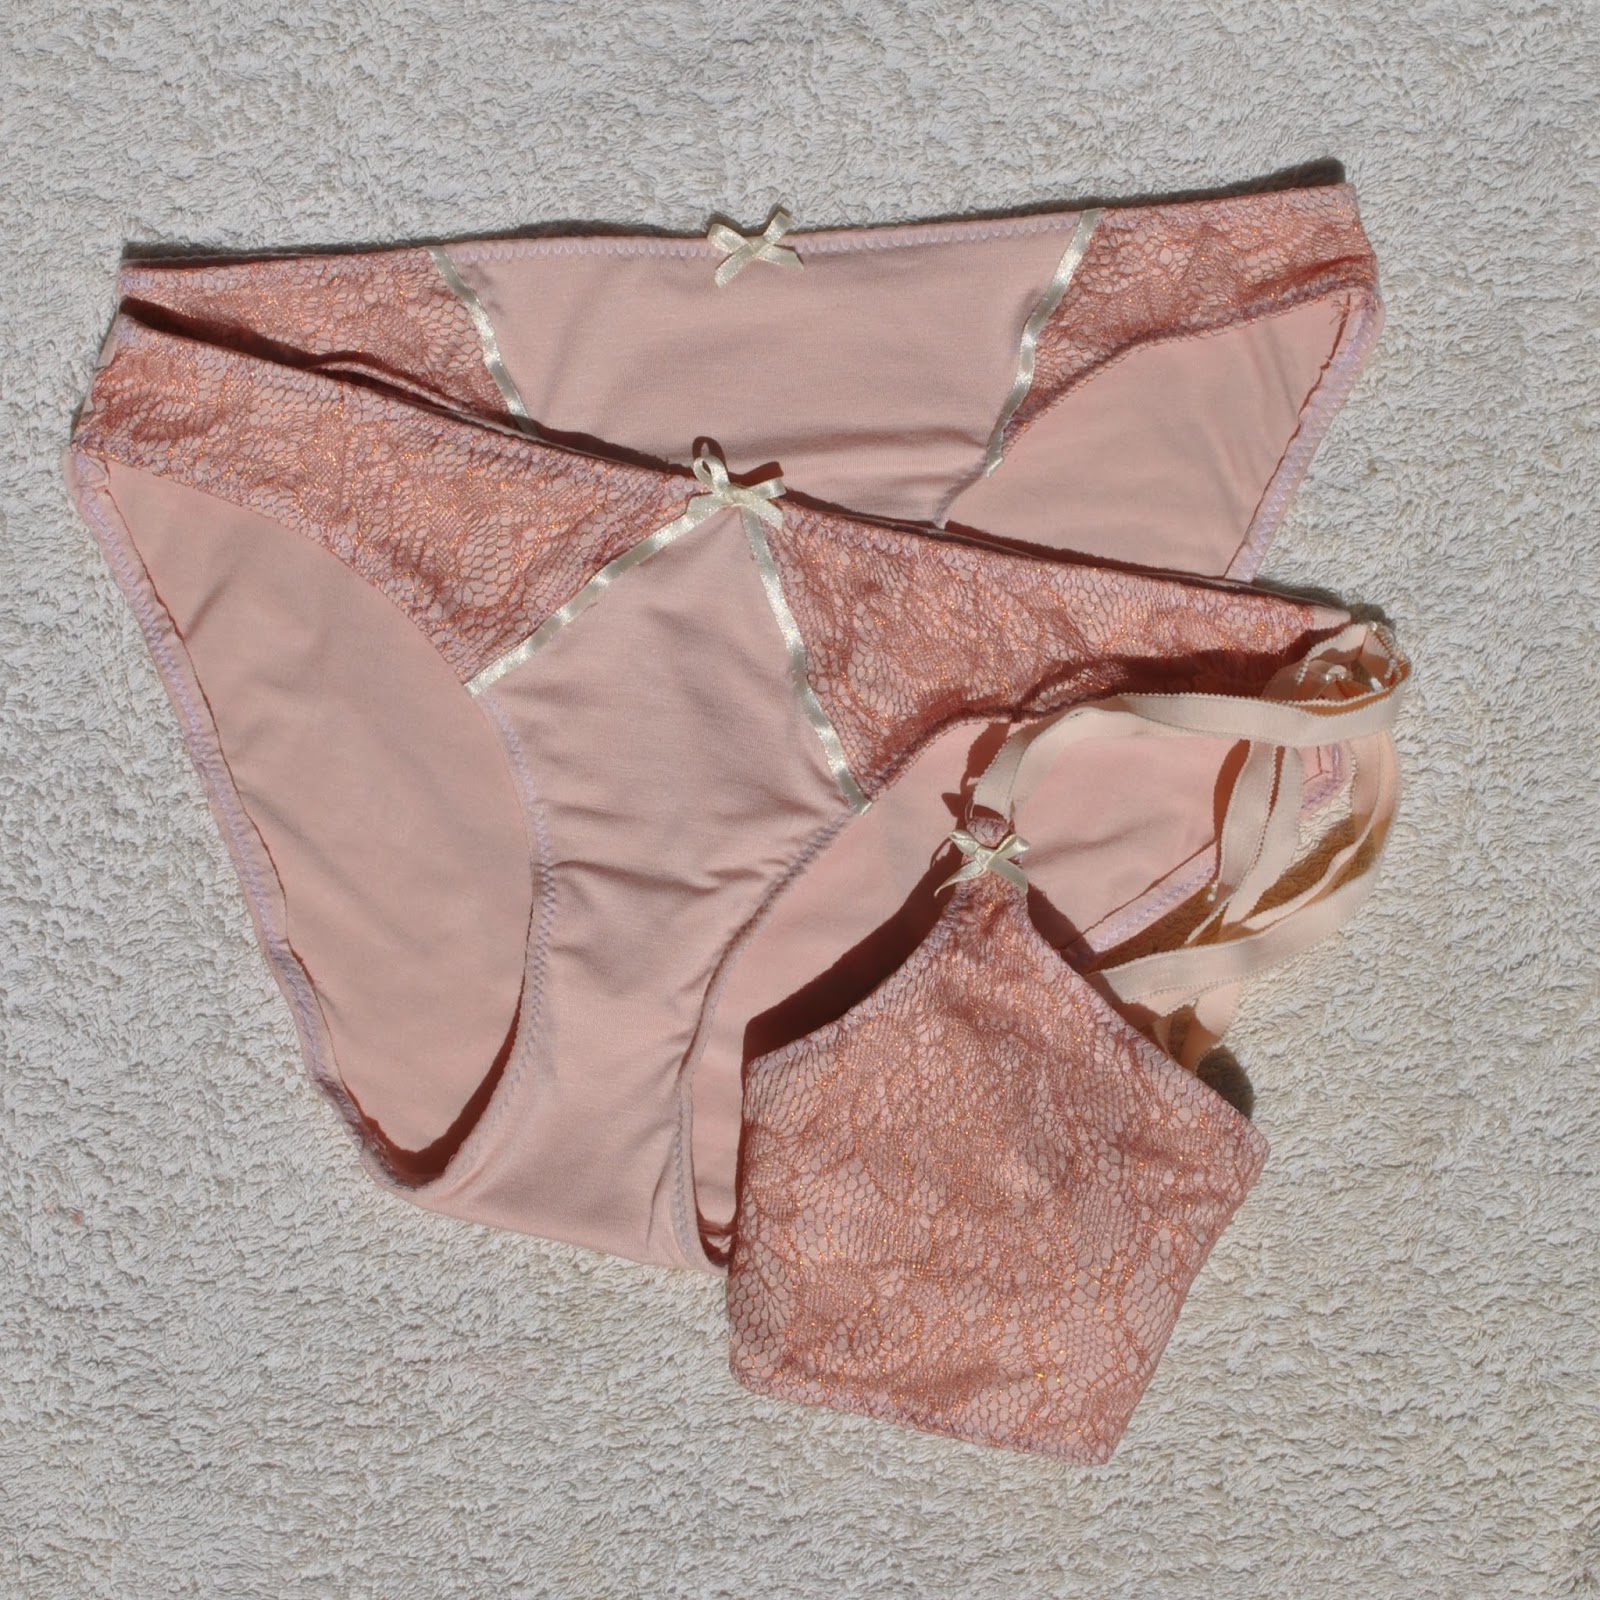
A new lingerie set…
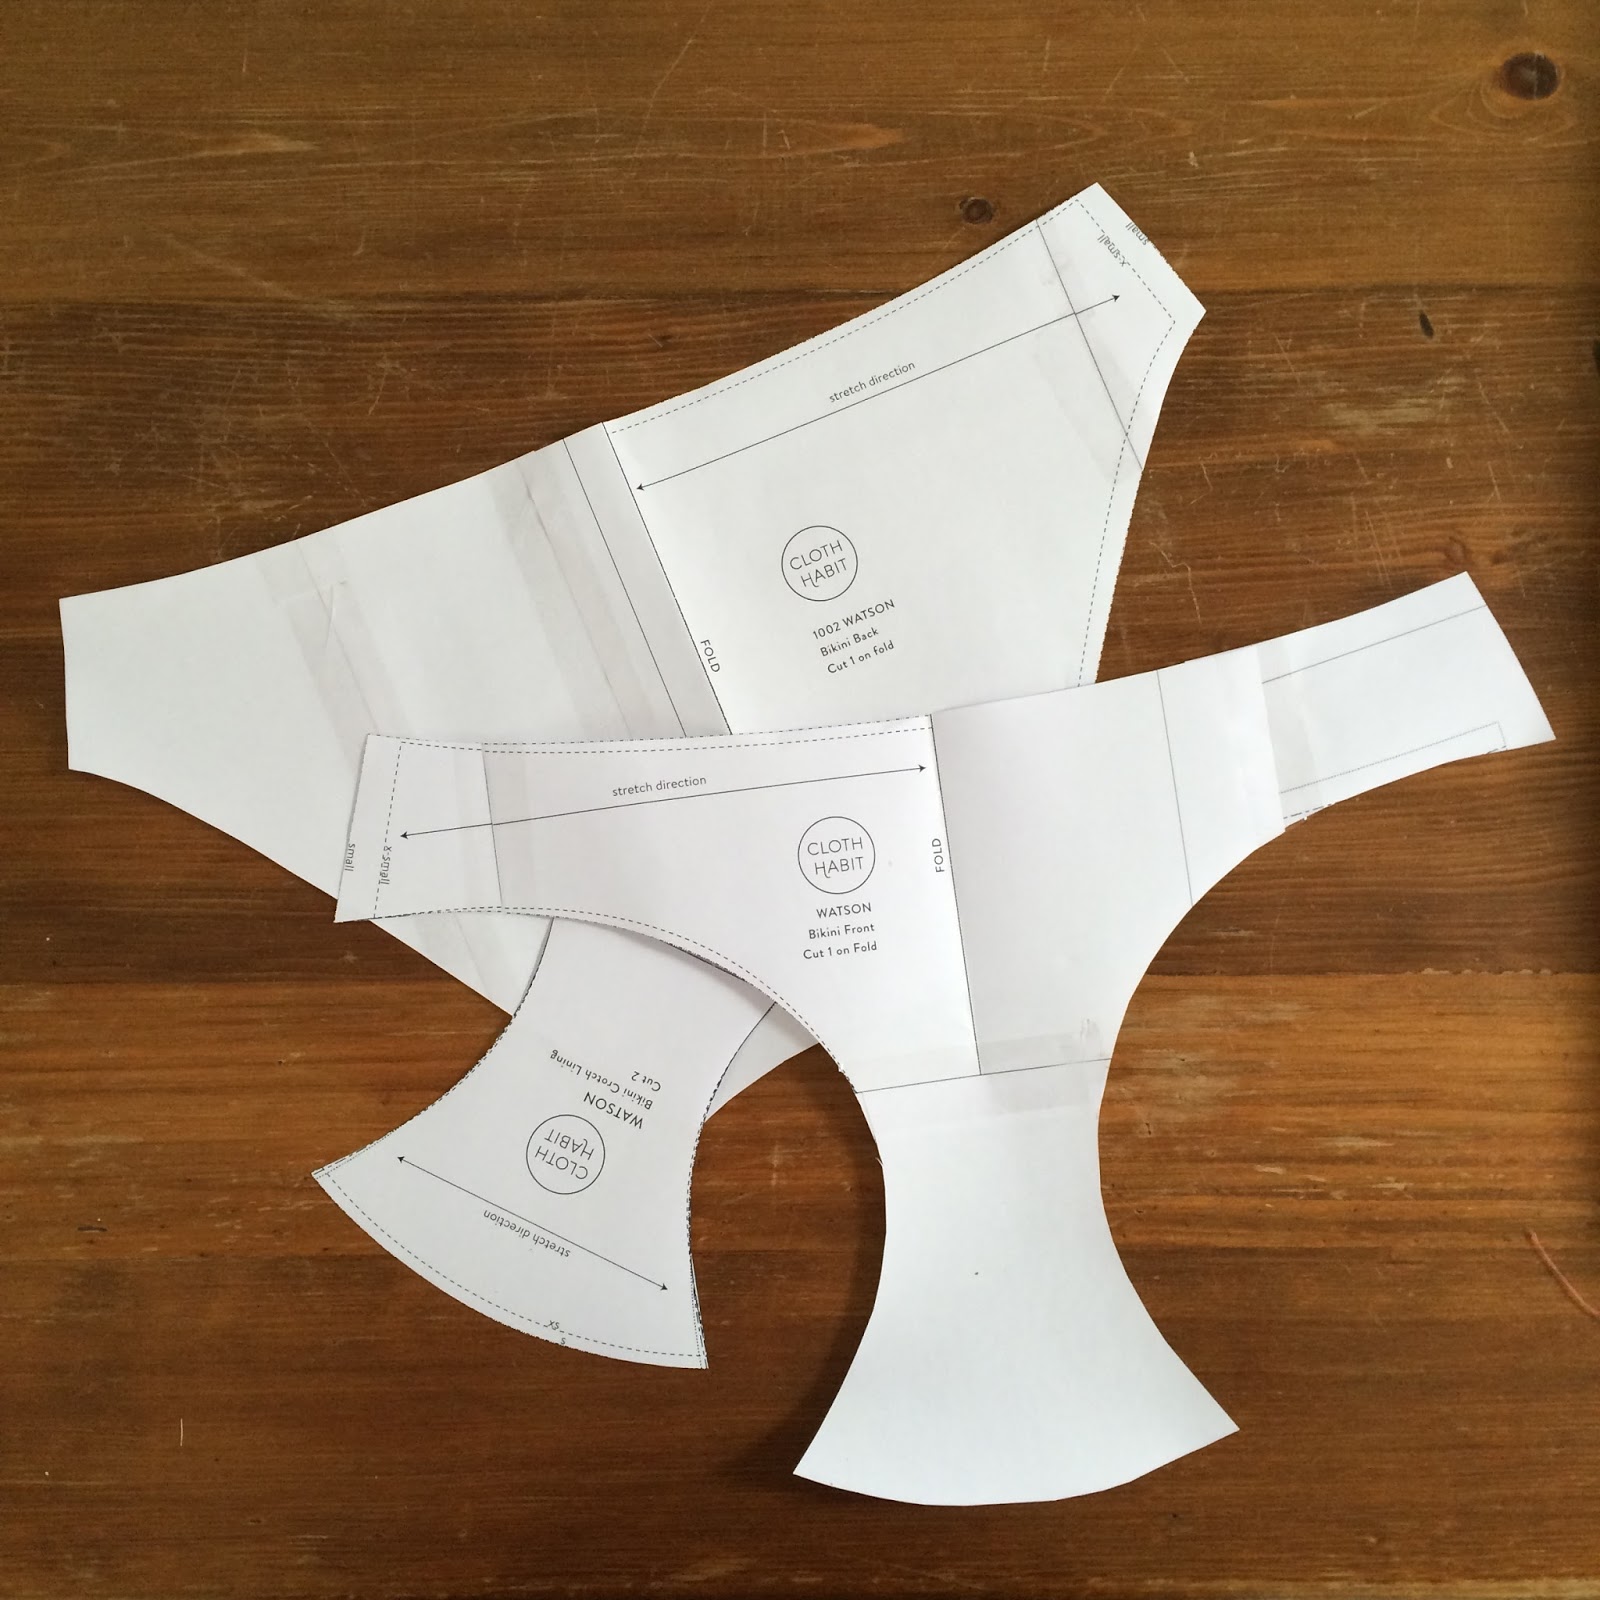
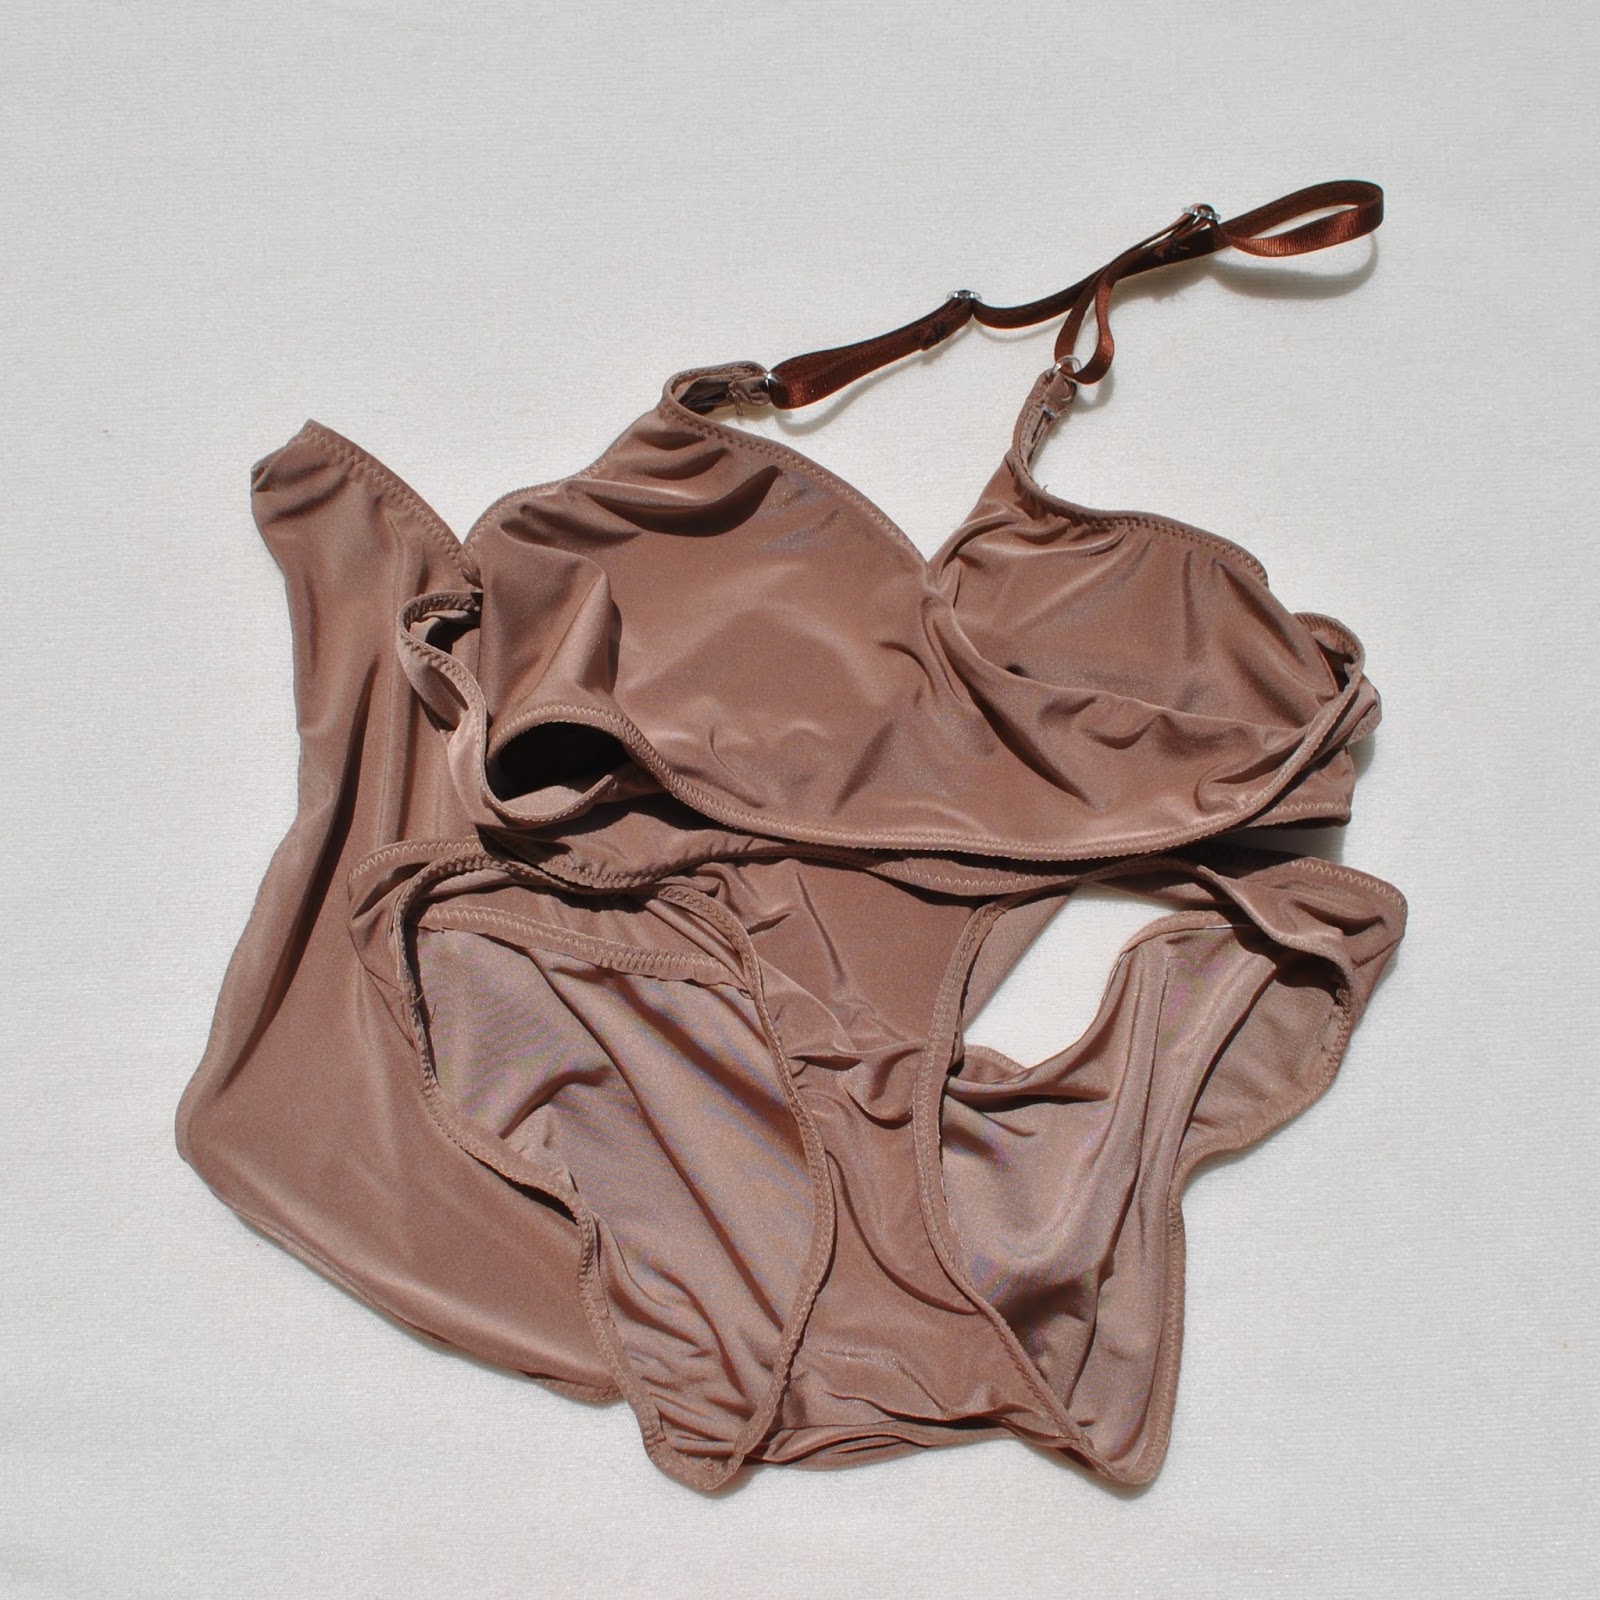
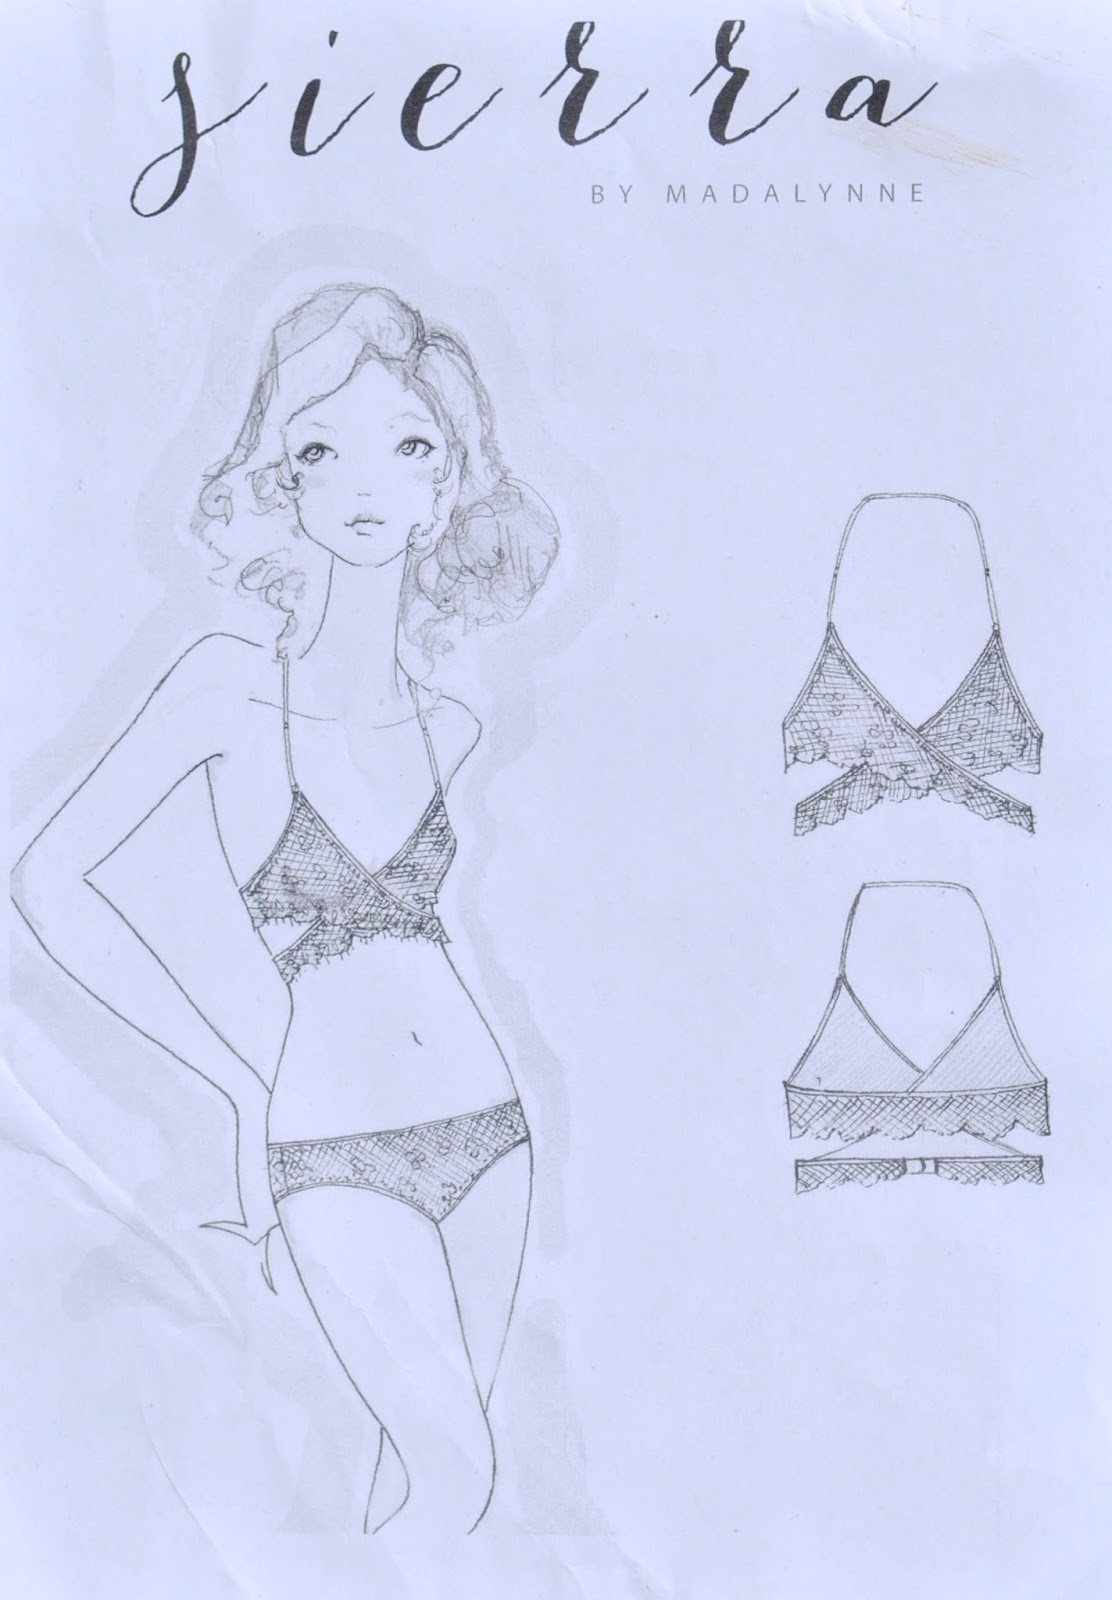
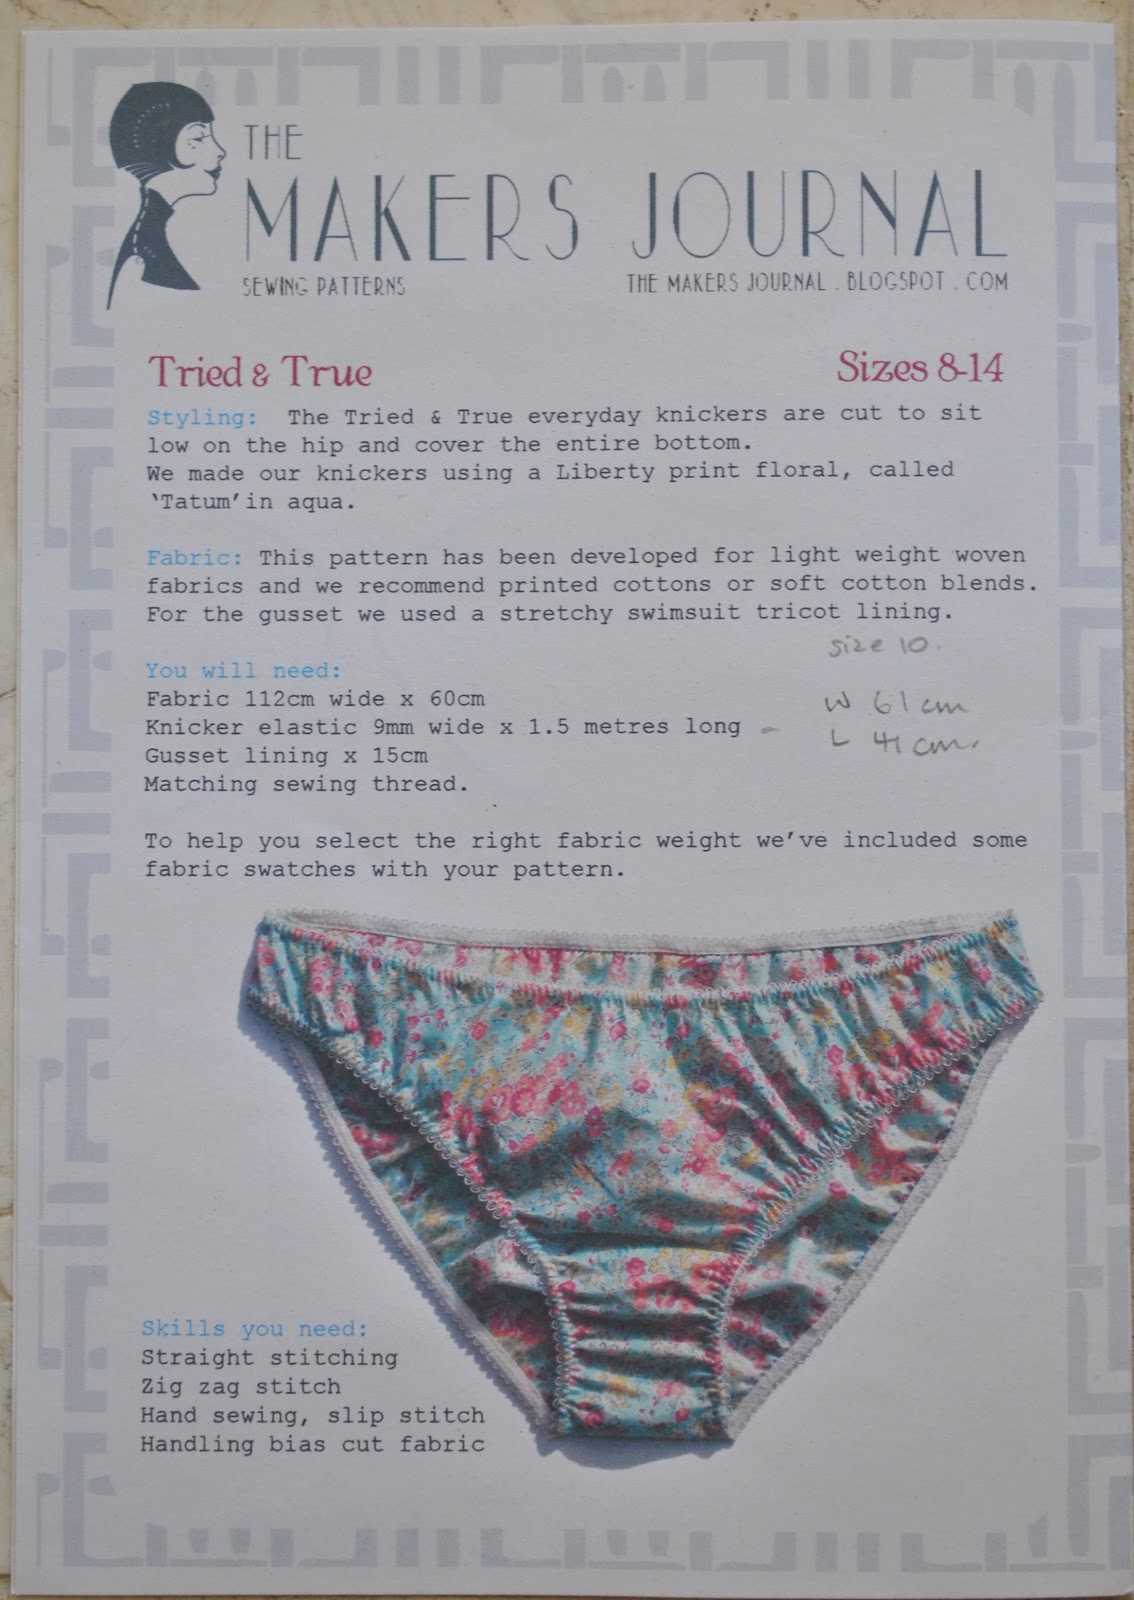
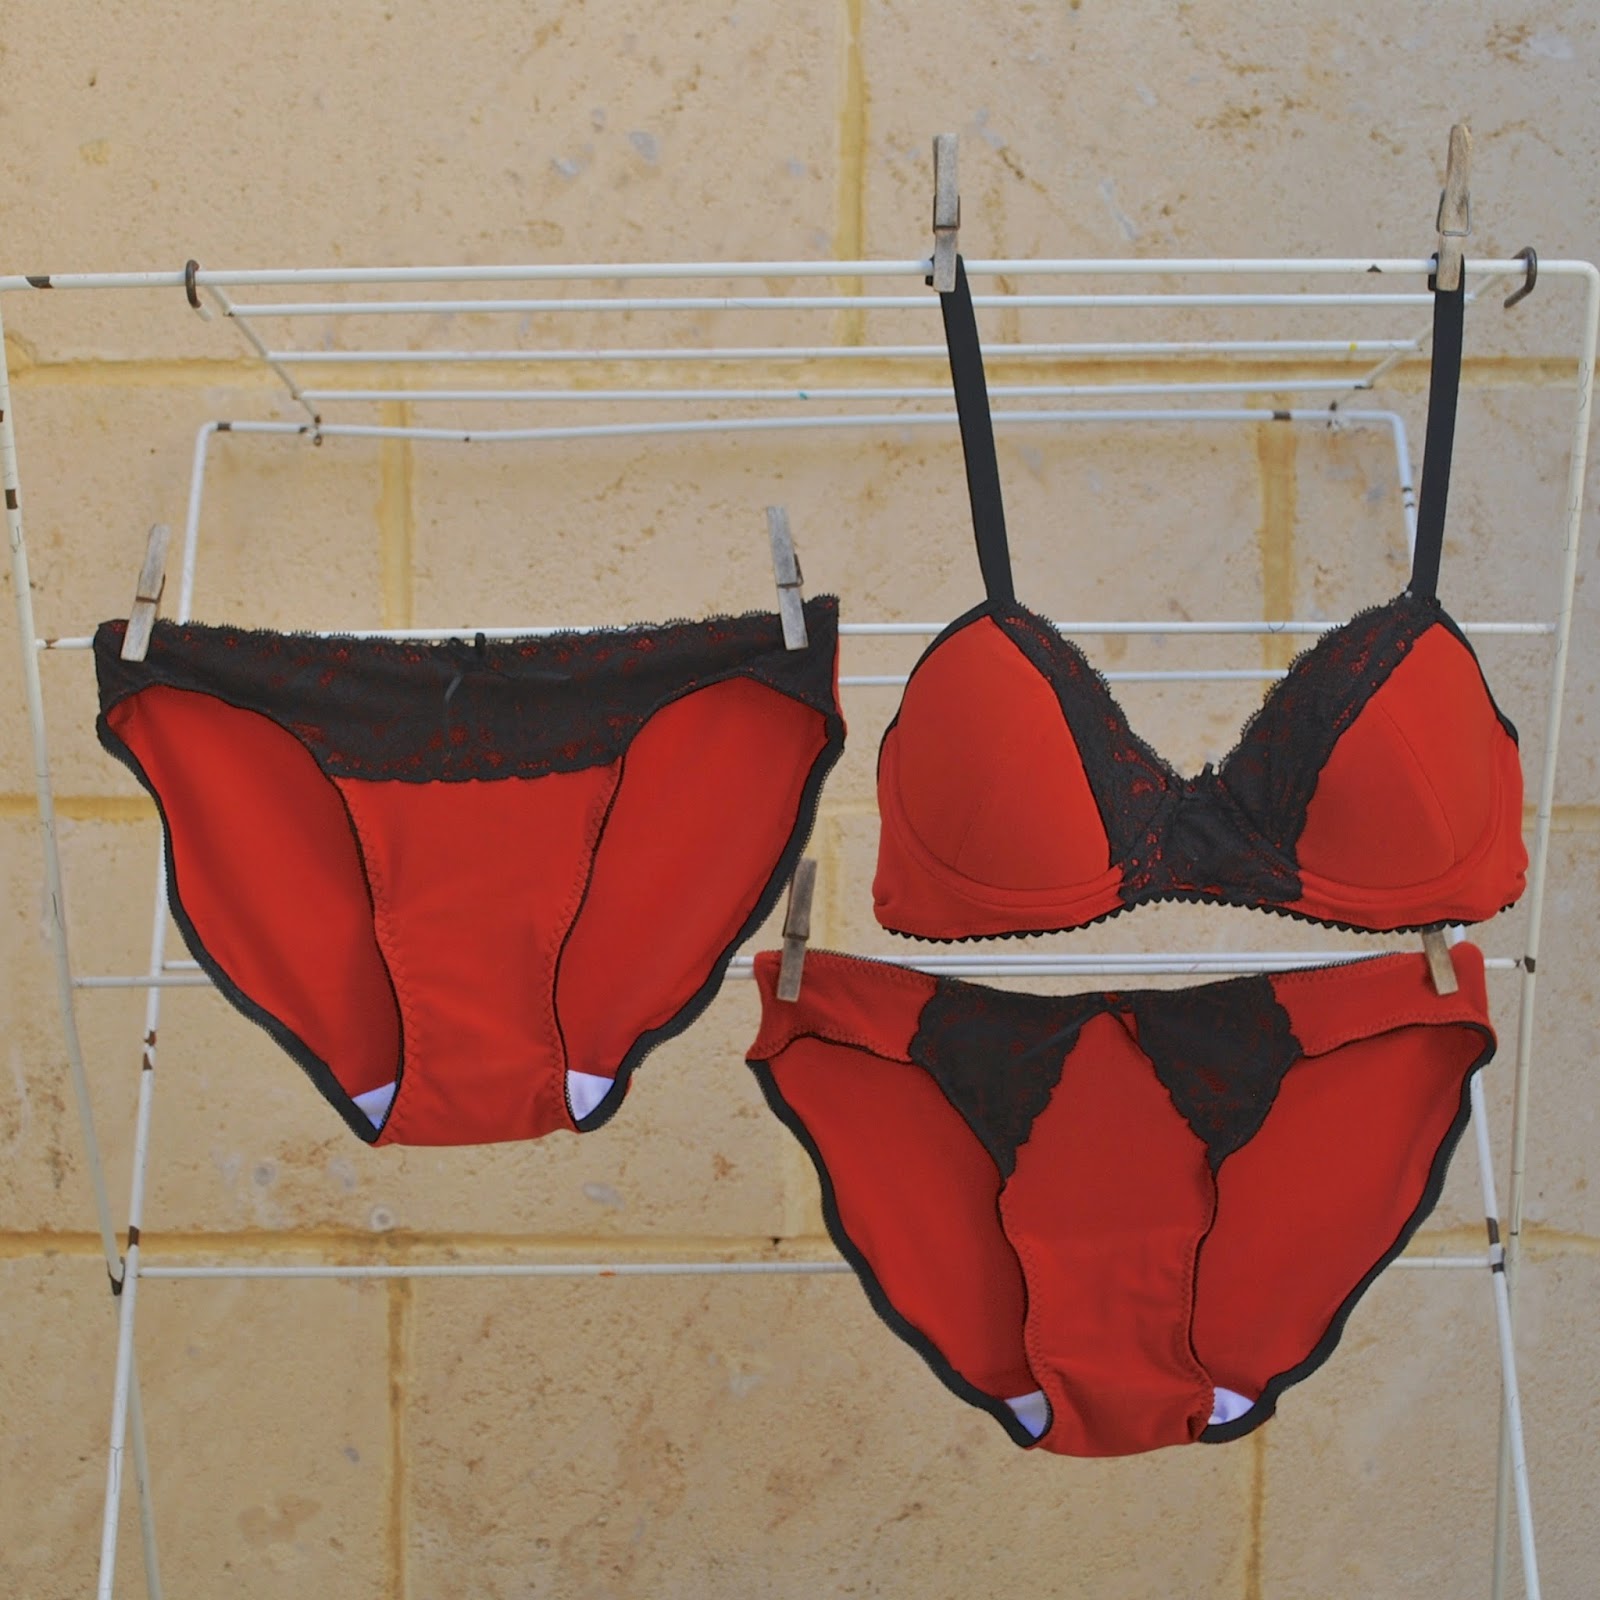
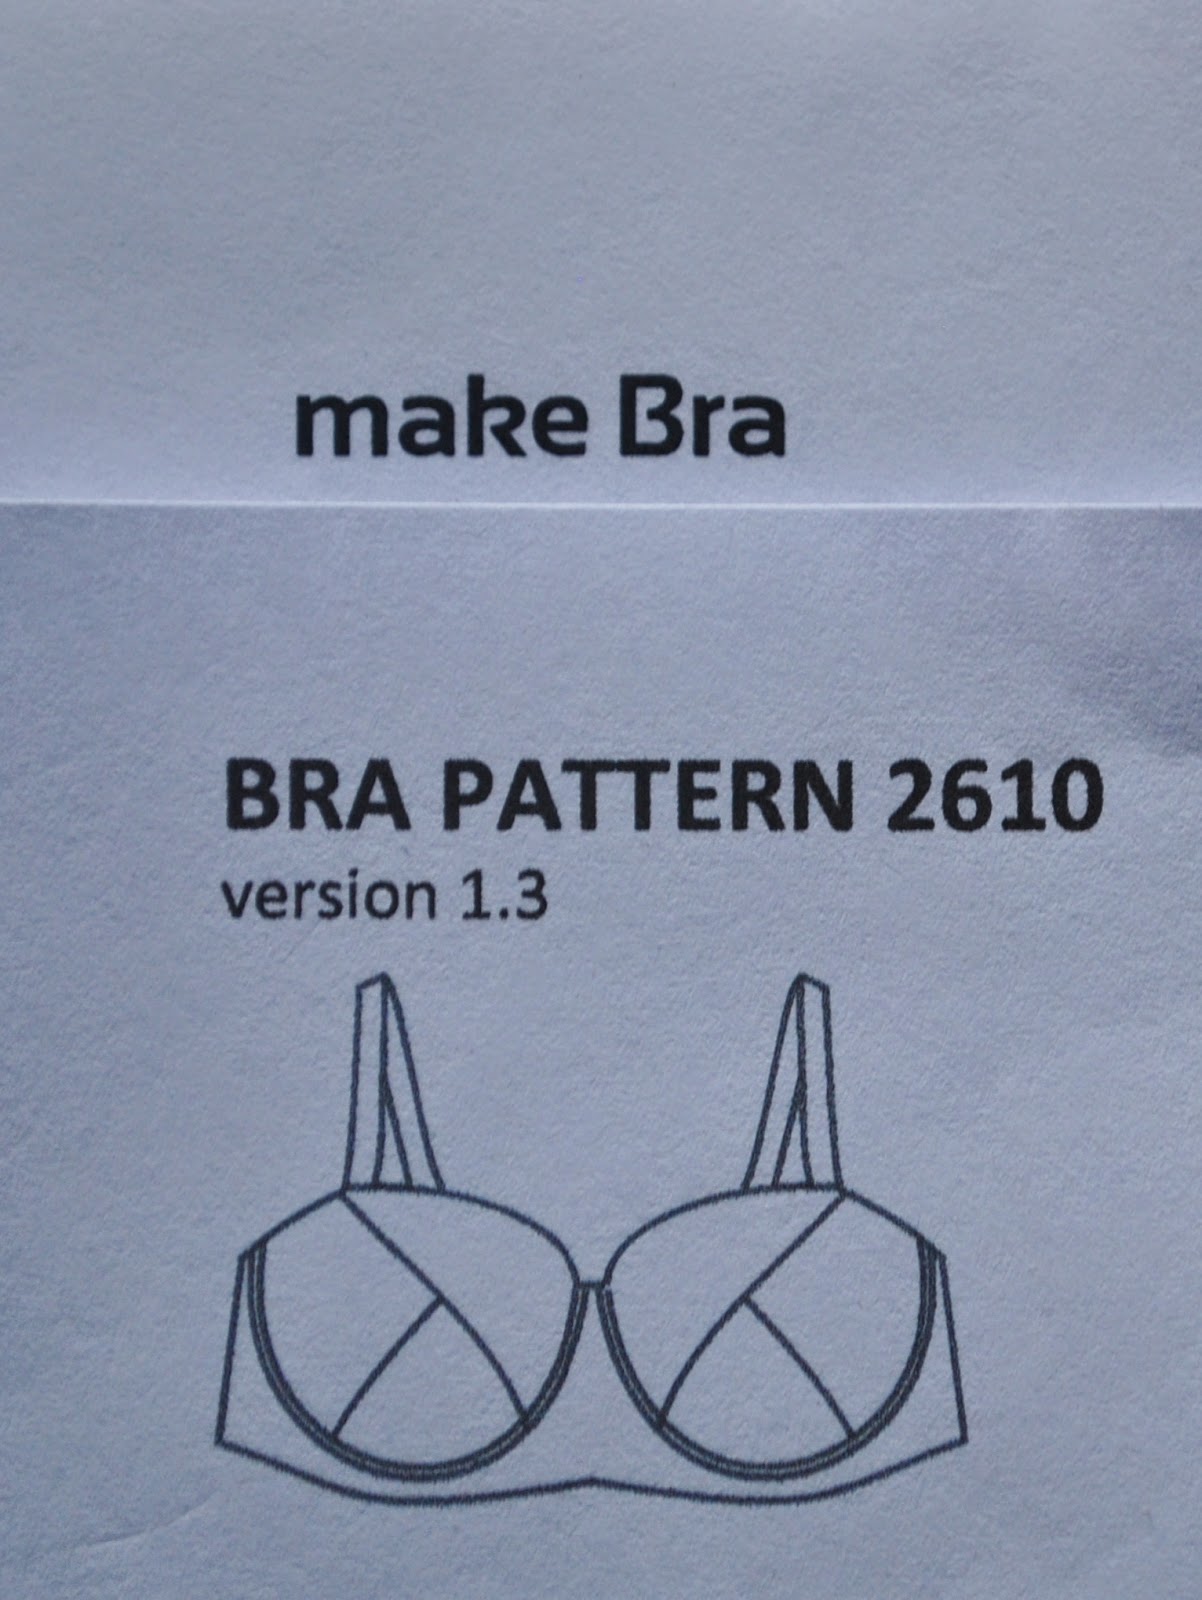
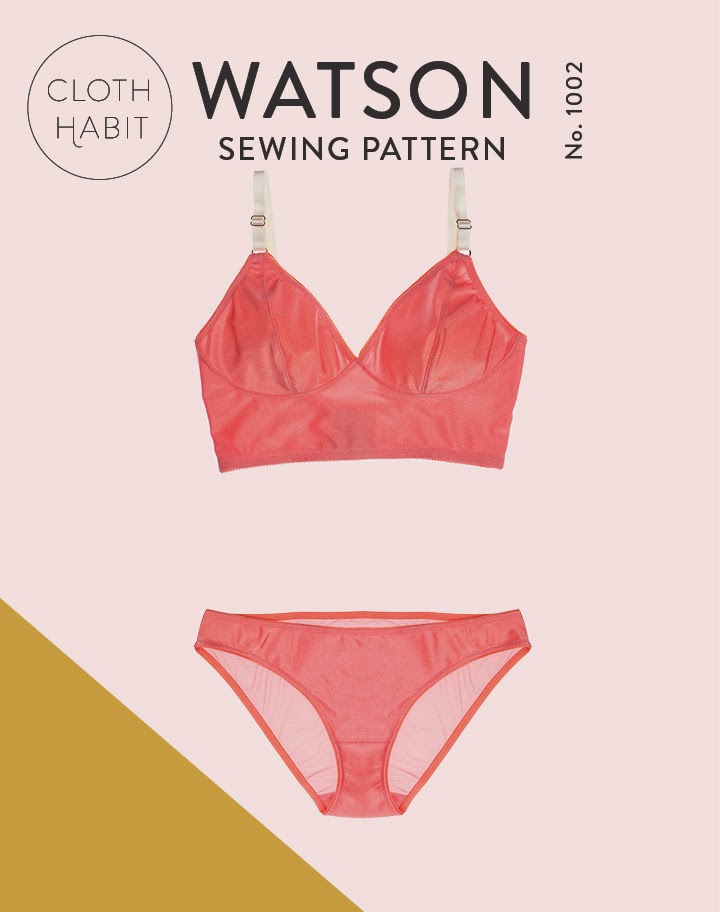
Patterns; bra is the Watson, by cloth habit; the longline version, and the ultra-cute knickers; which appear superficially like ginormous granny-knickers on the flat but seriously, they’re adorable on! are Tanga, a free pattern downloadable from Burda.
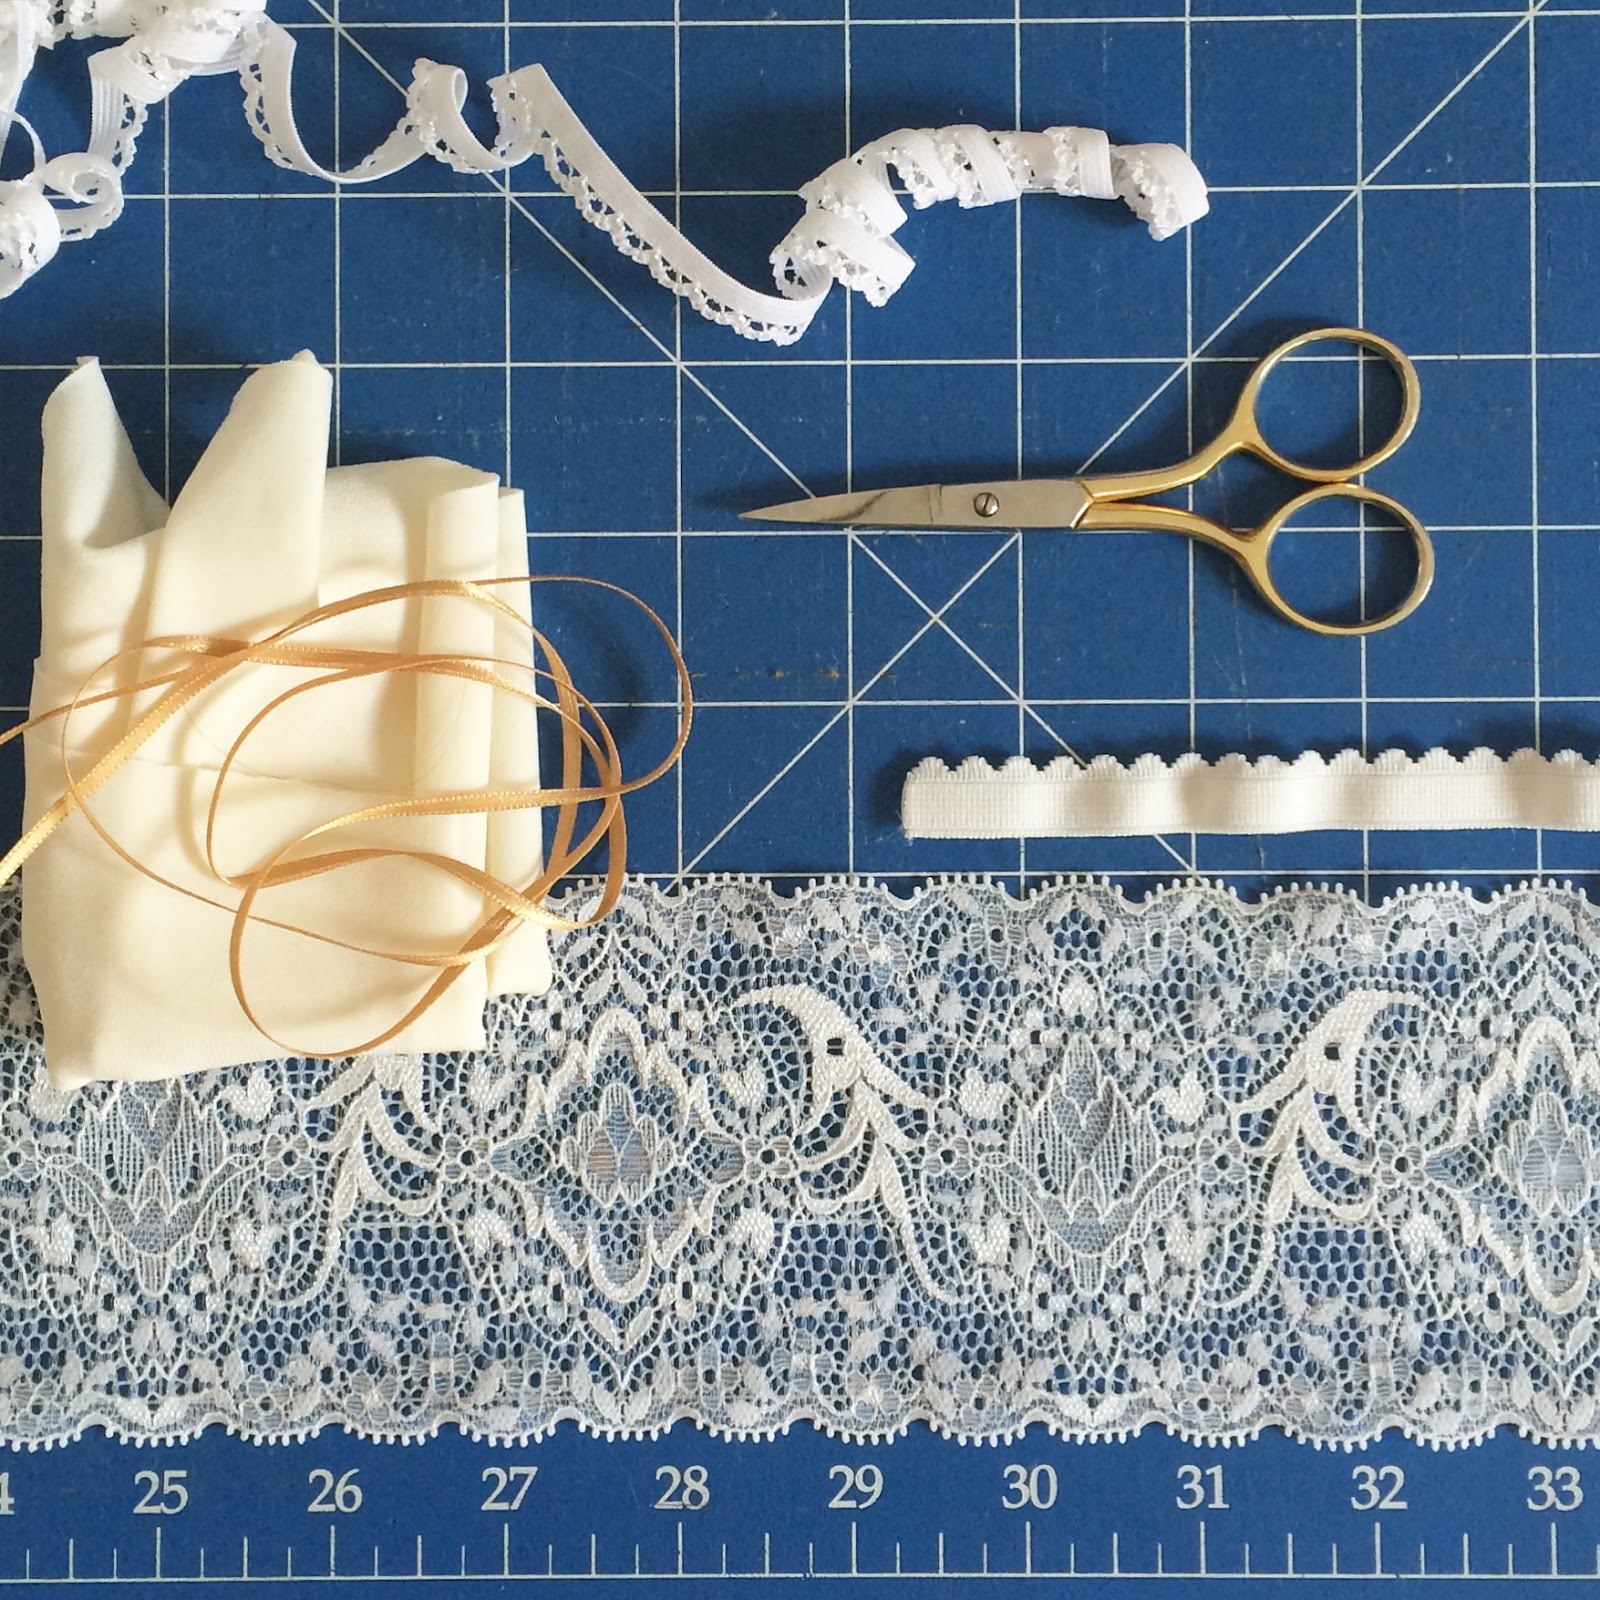
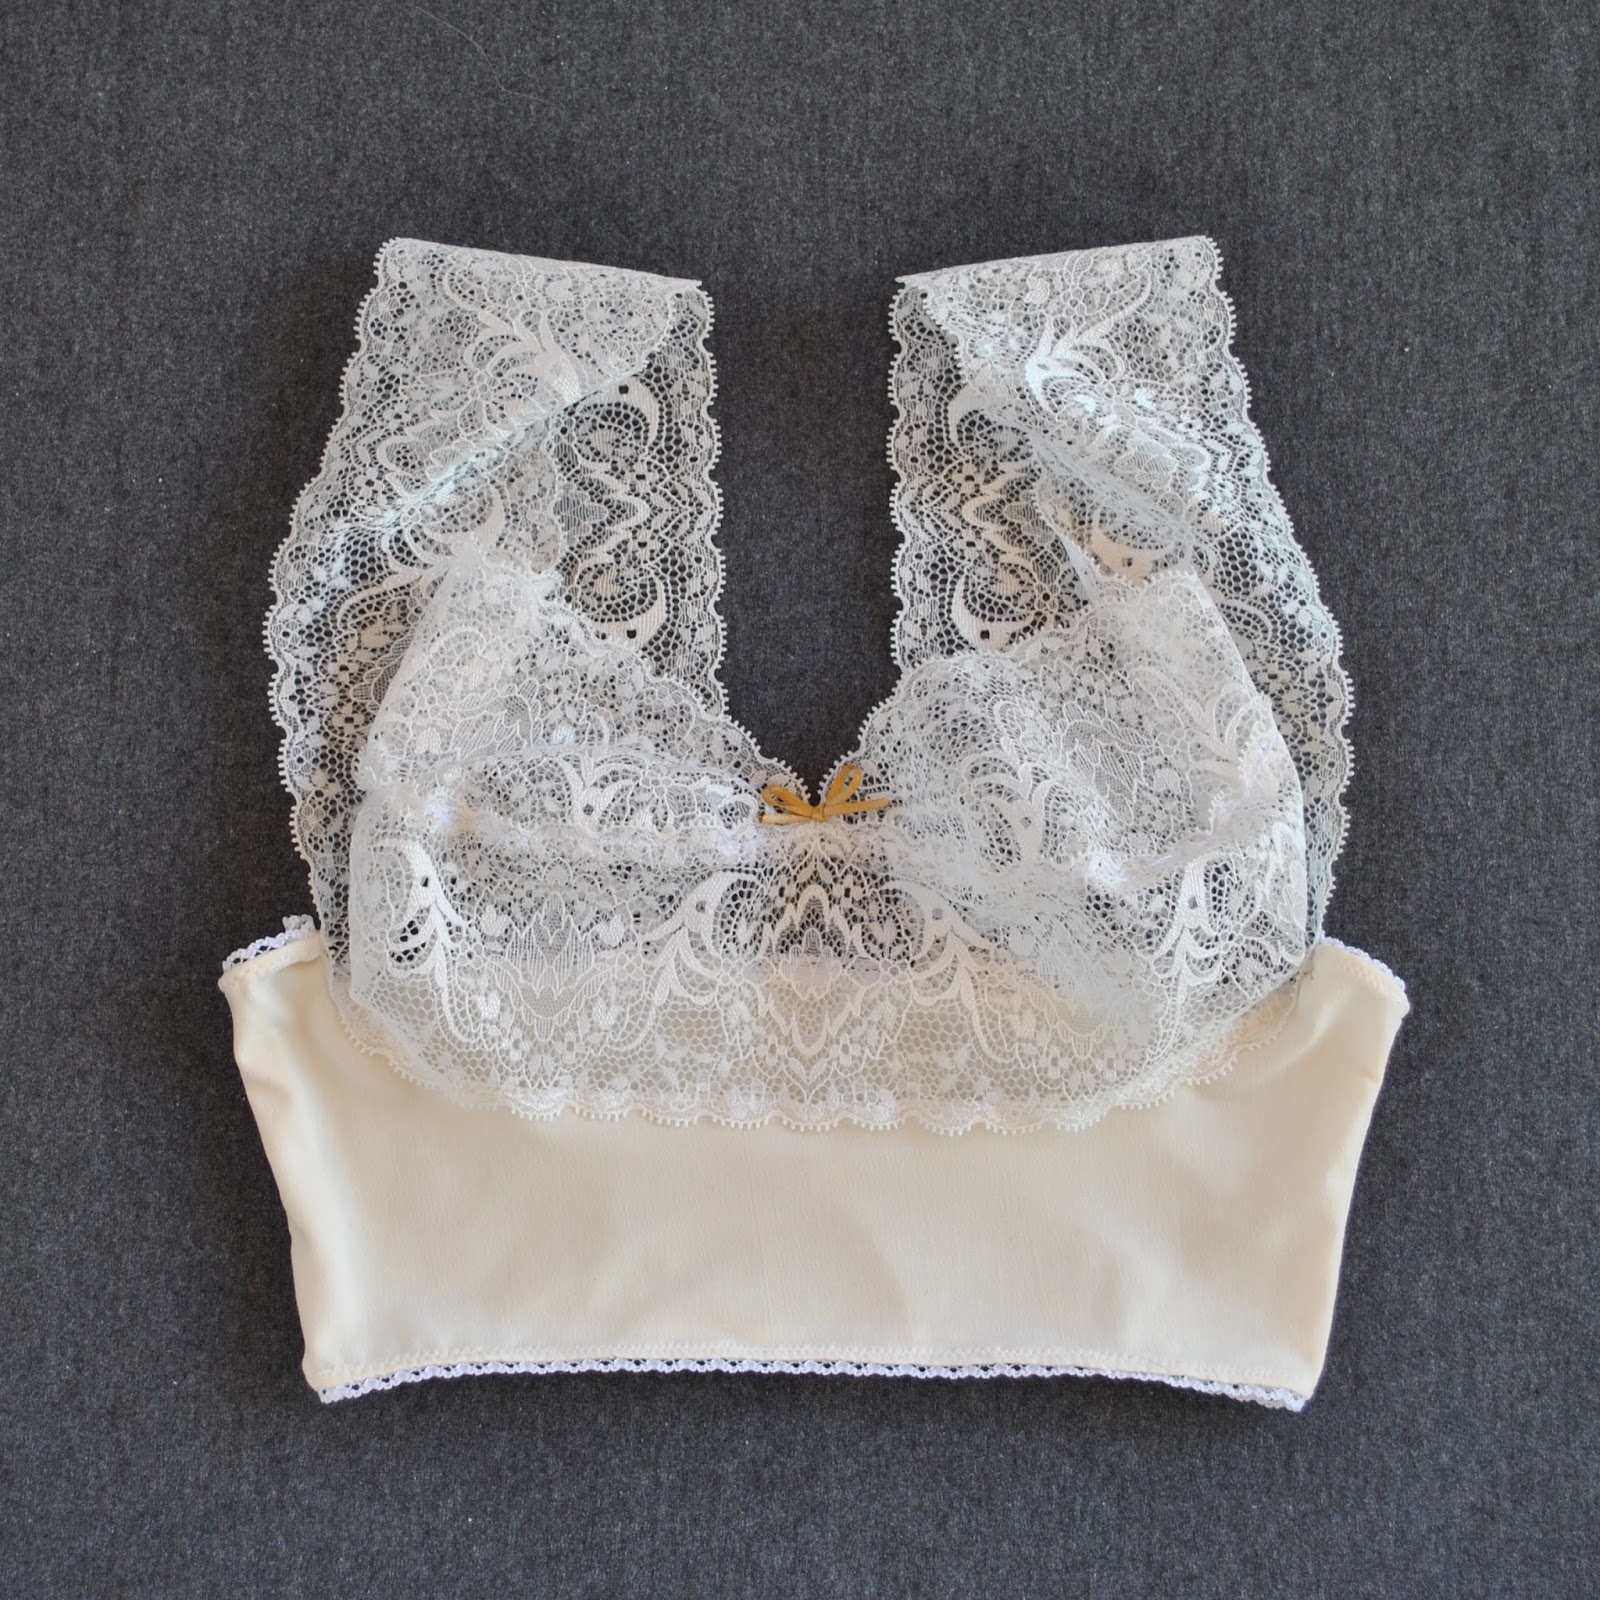
Fabrics; I’ve wanted an all-lace set and bought this lovely green lace aaaaaages ago, gathered all the bits and bobs and cut out the pieces; and then we were going away, I shoved the whole shebang in a bag and forgot about it. Doh! Imagine my delight when recently I found it again… woot! I got cracking and finished it off.
Palest of the pale, grey/green lace, white shoulder strap elastic, rings and sliders; Homecraft Textiles. Picot elastic, beige jersey lining; Fabulous Fabrics. Satin ribbon; scraps found in stash, as old as the hills.
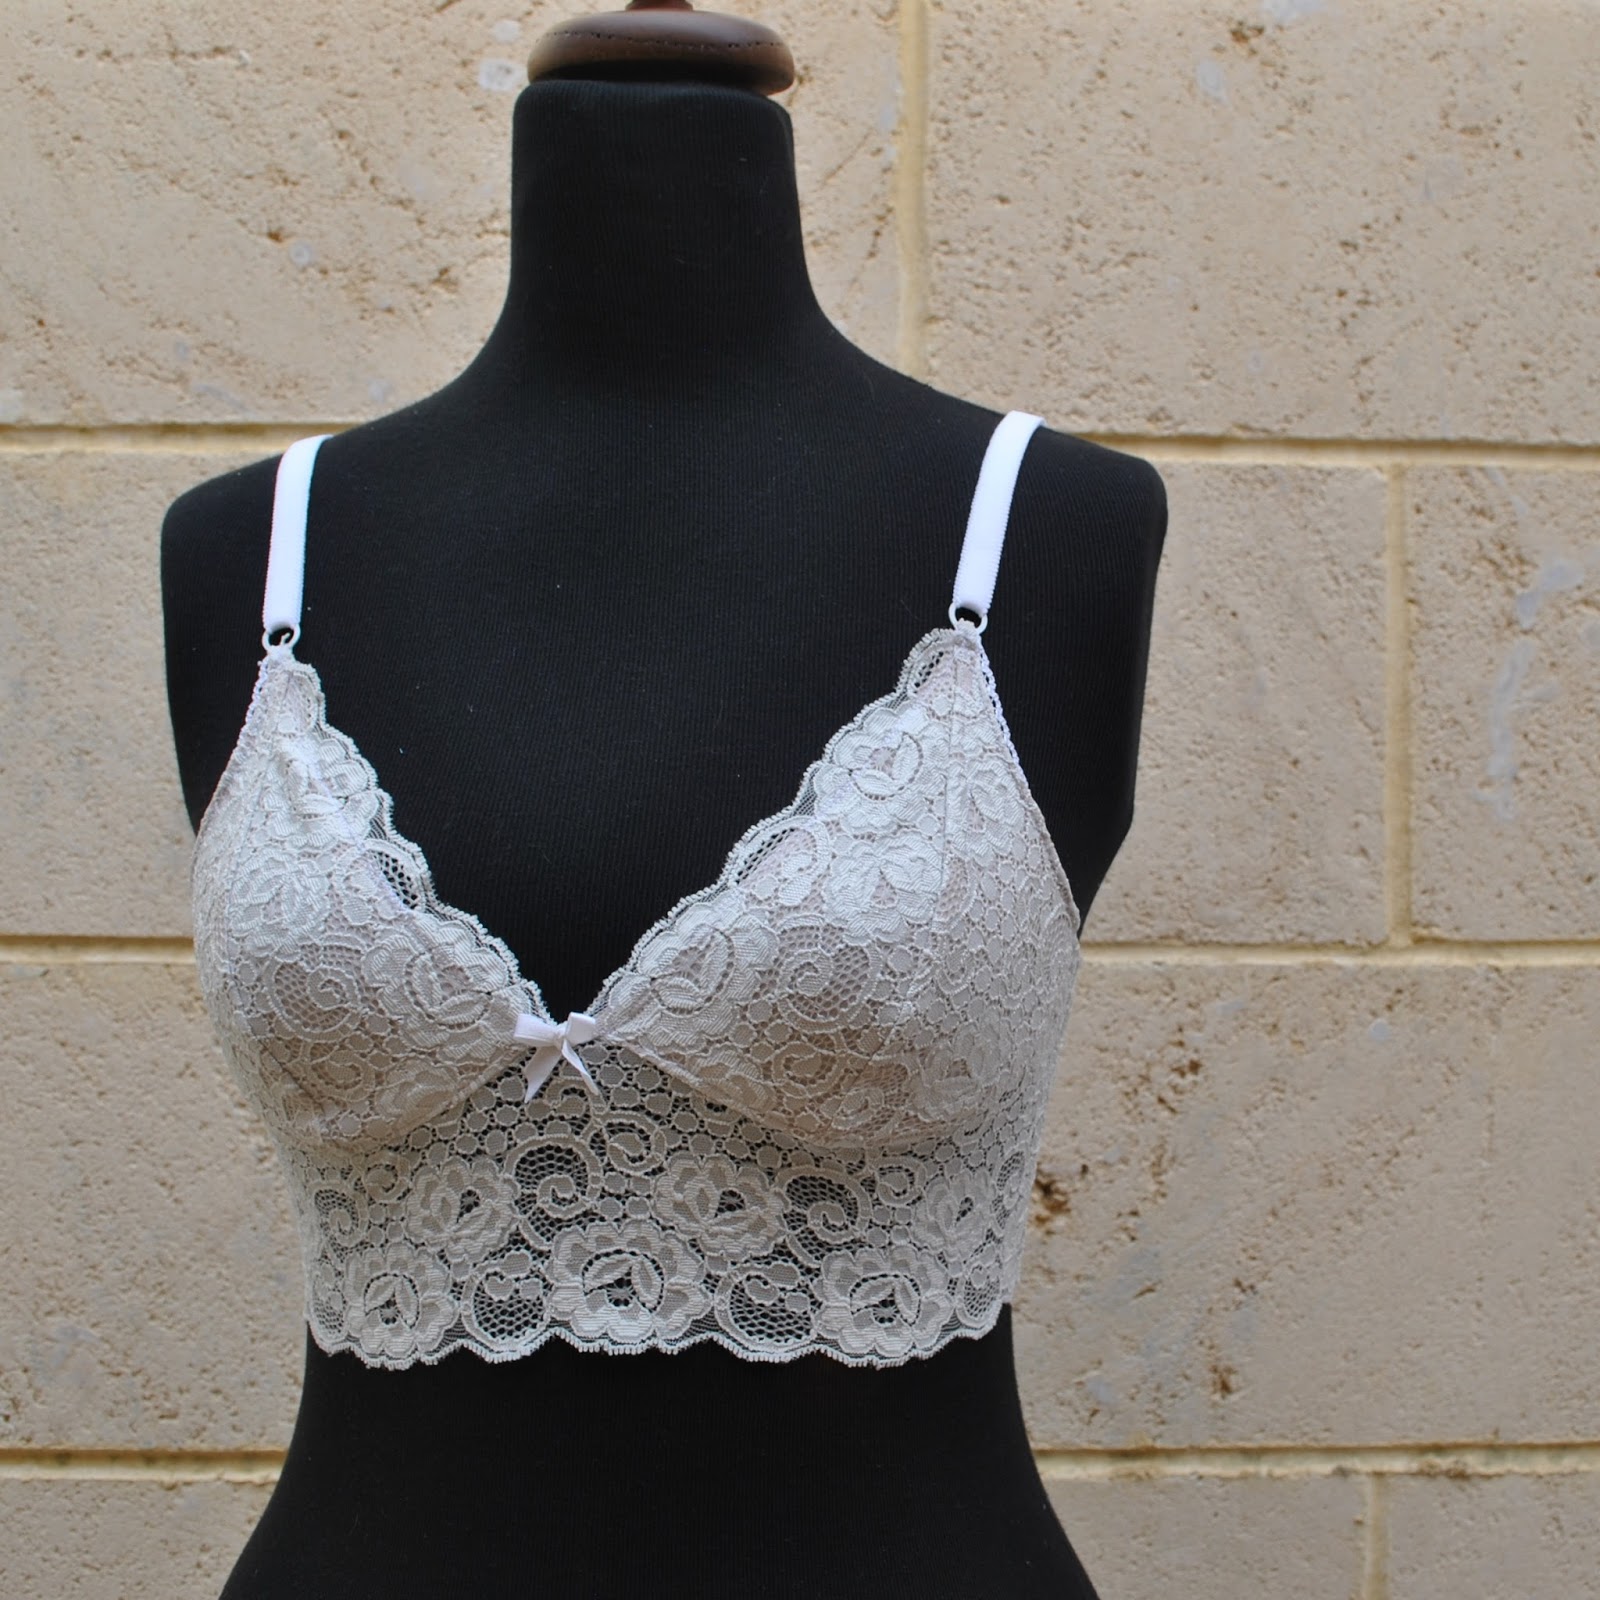
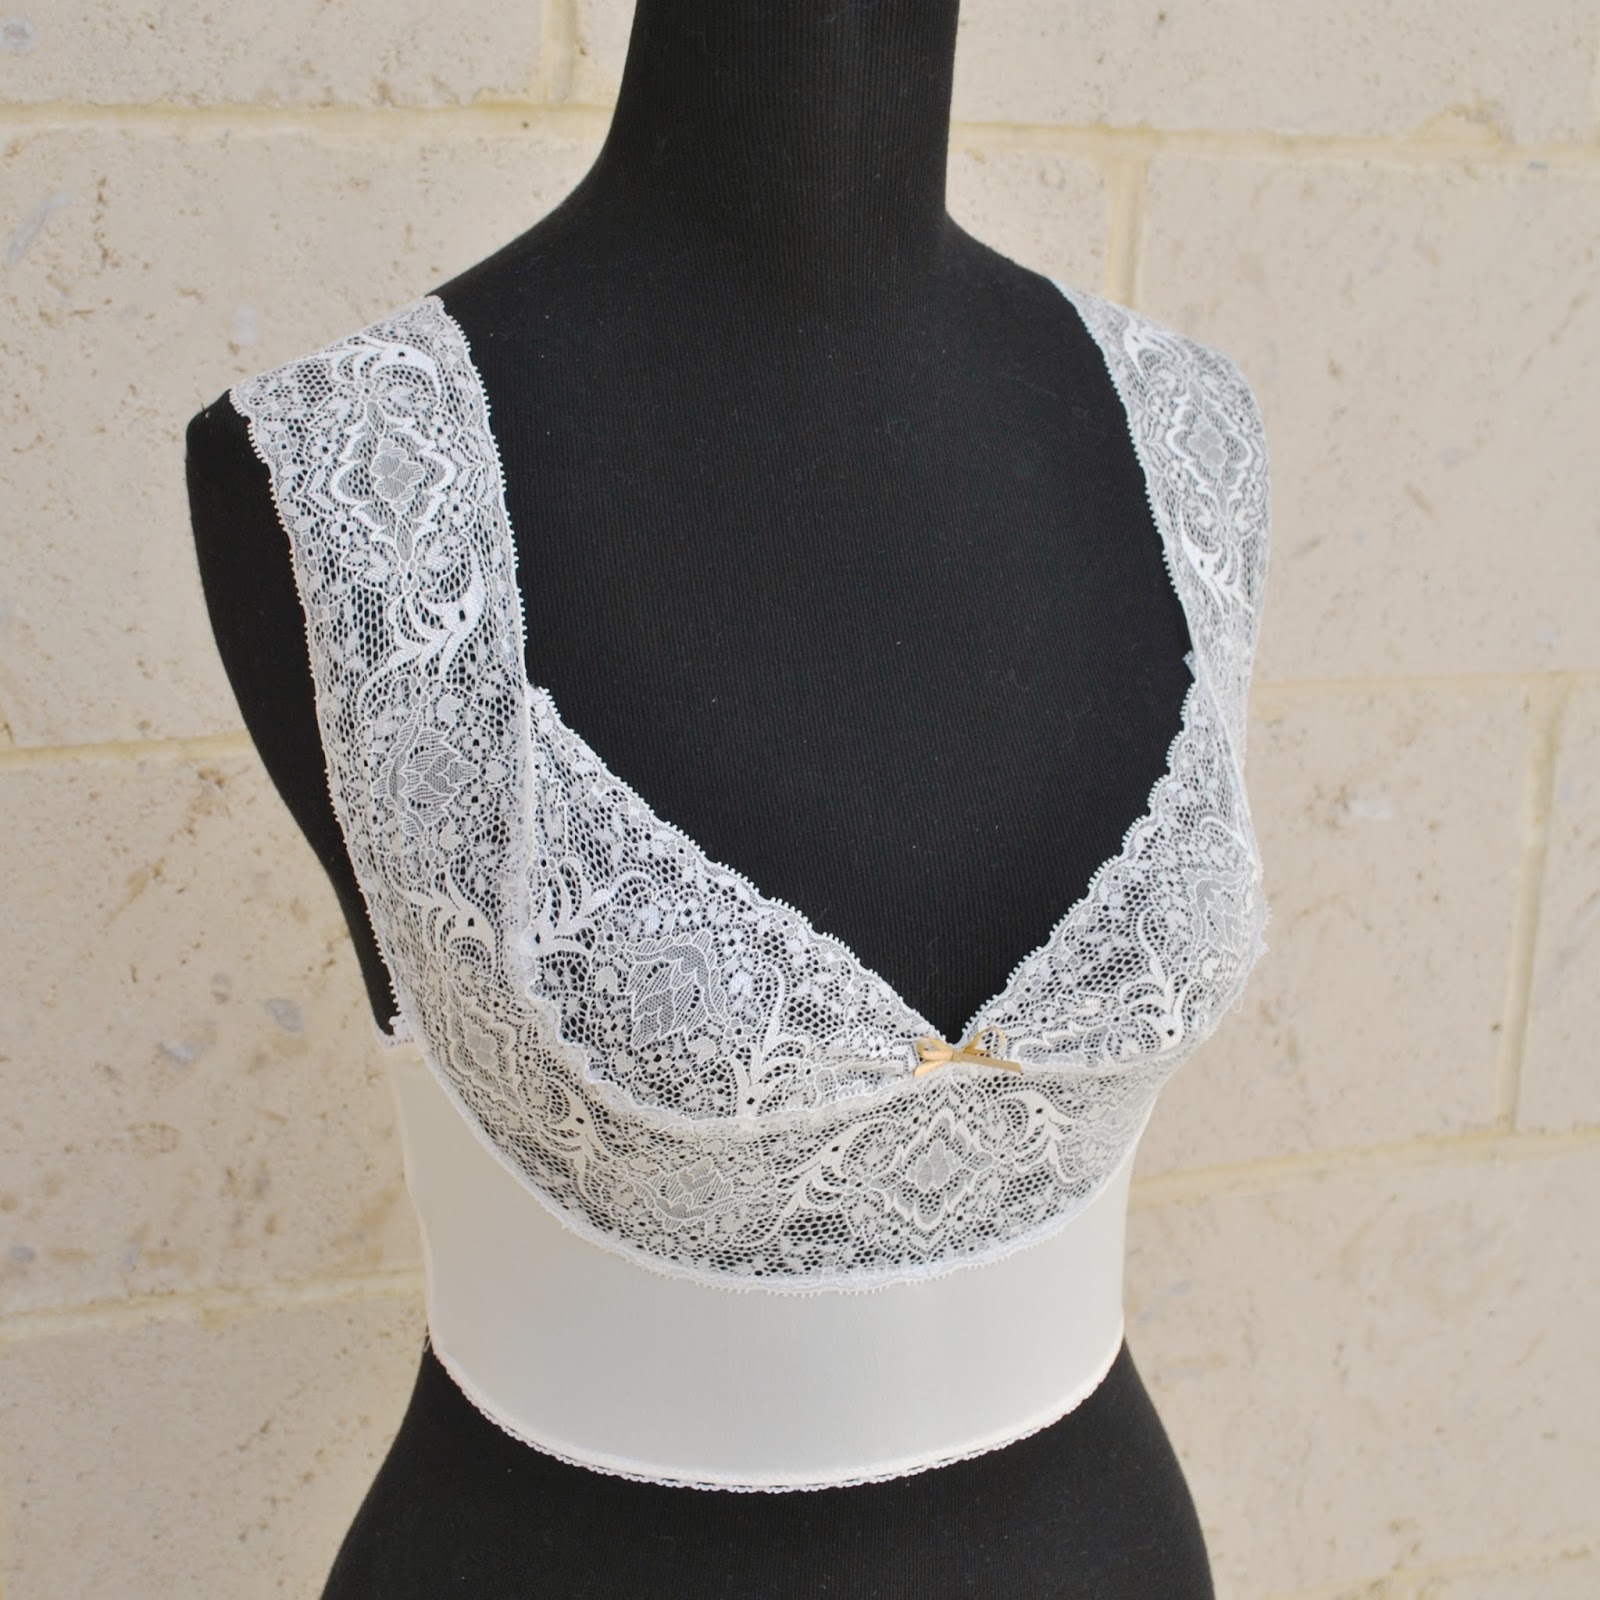
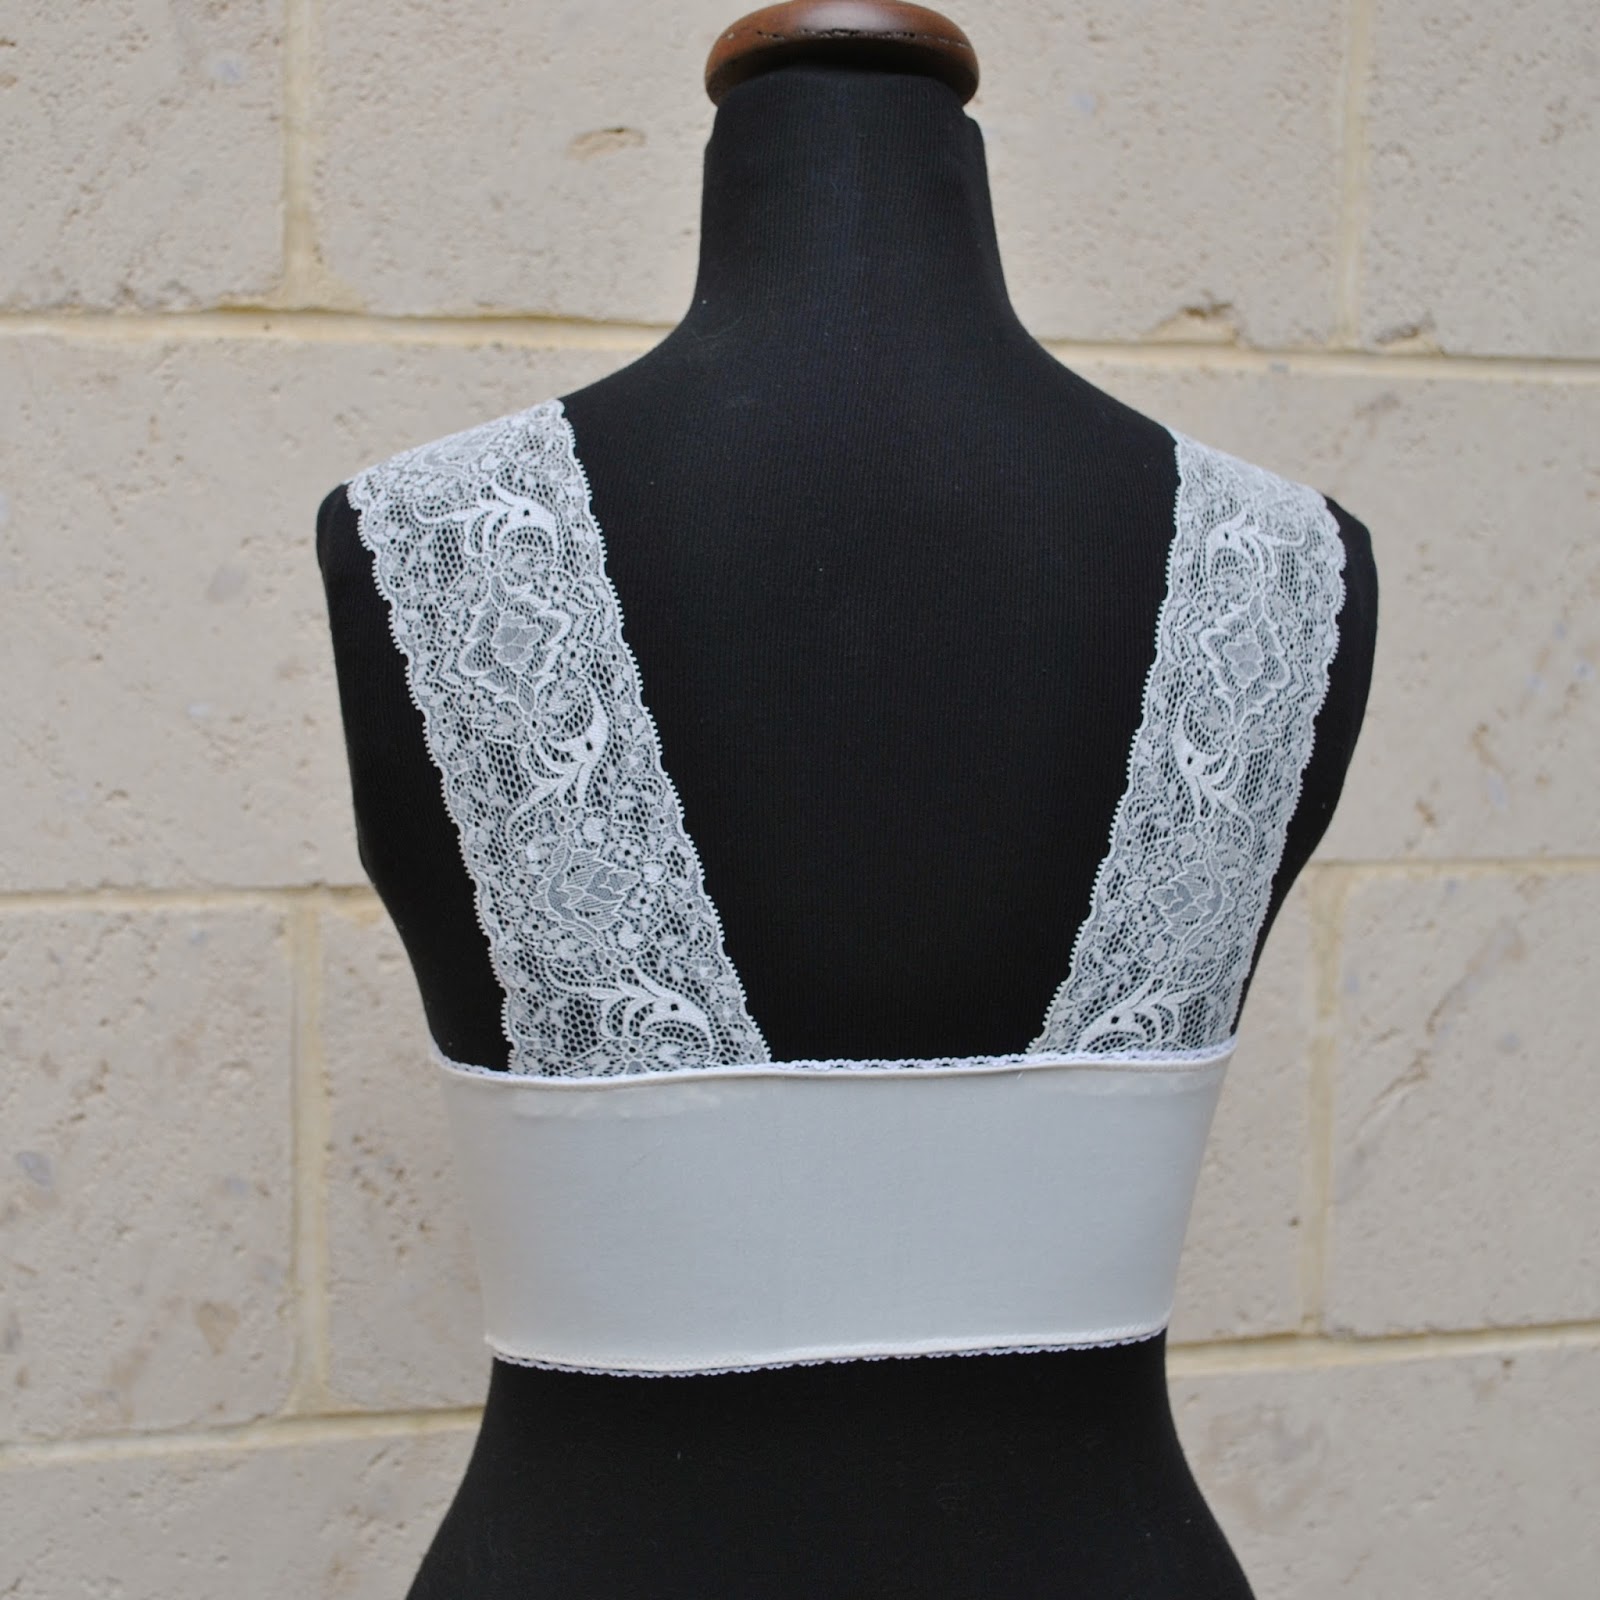
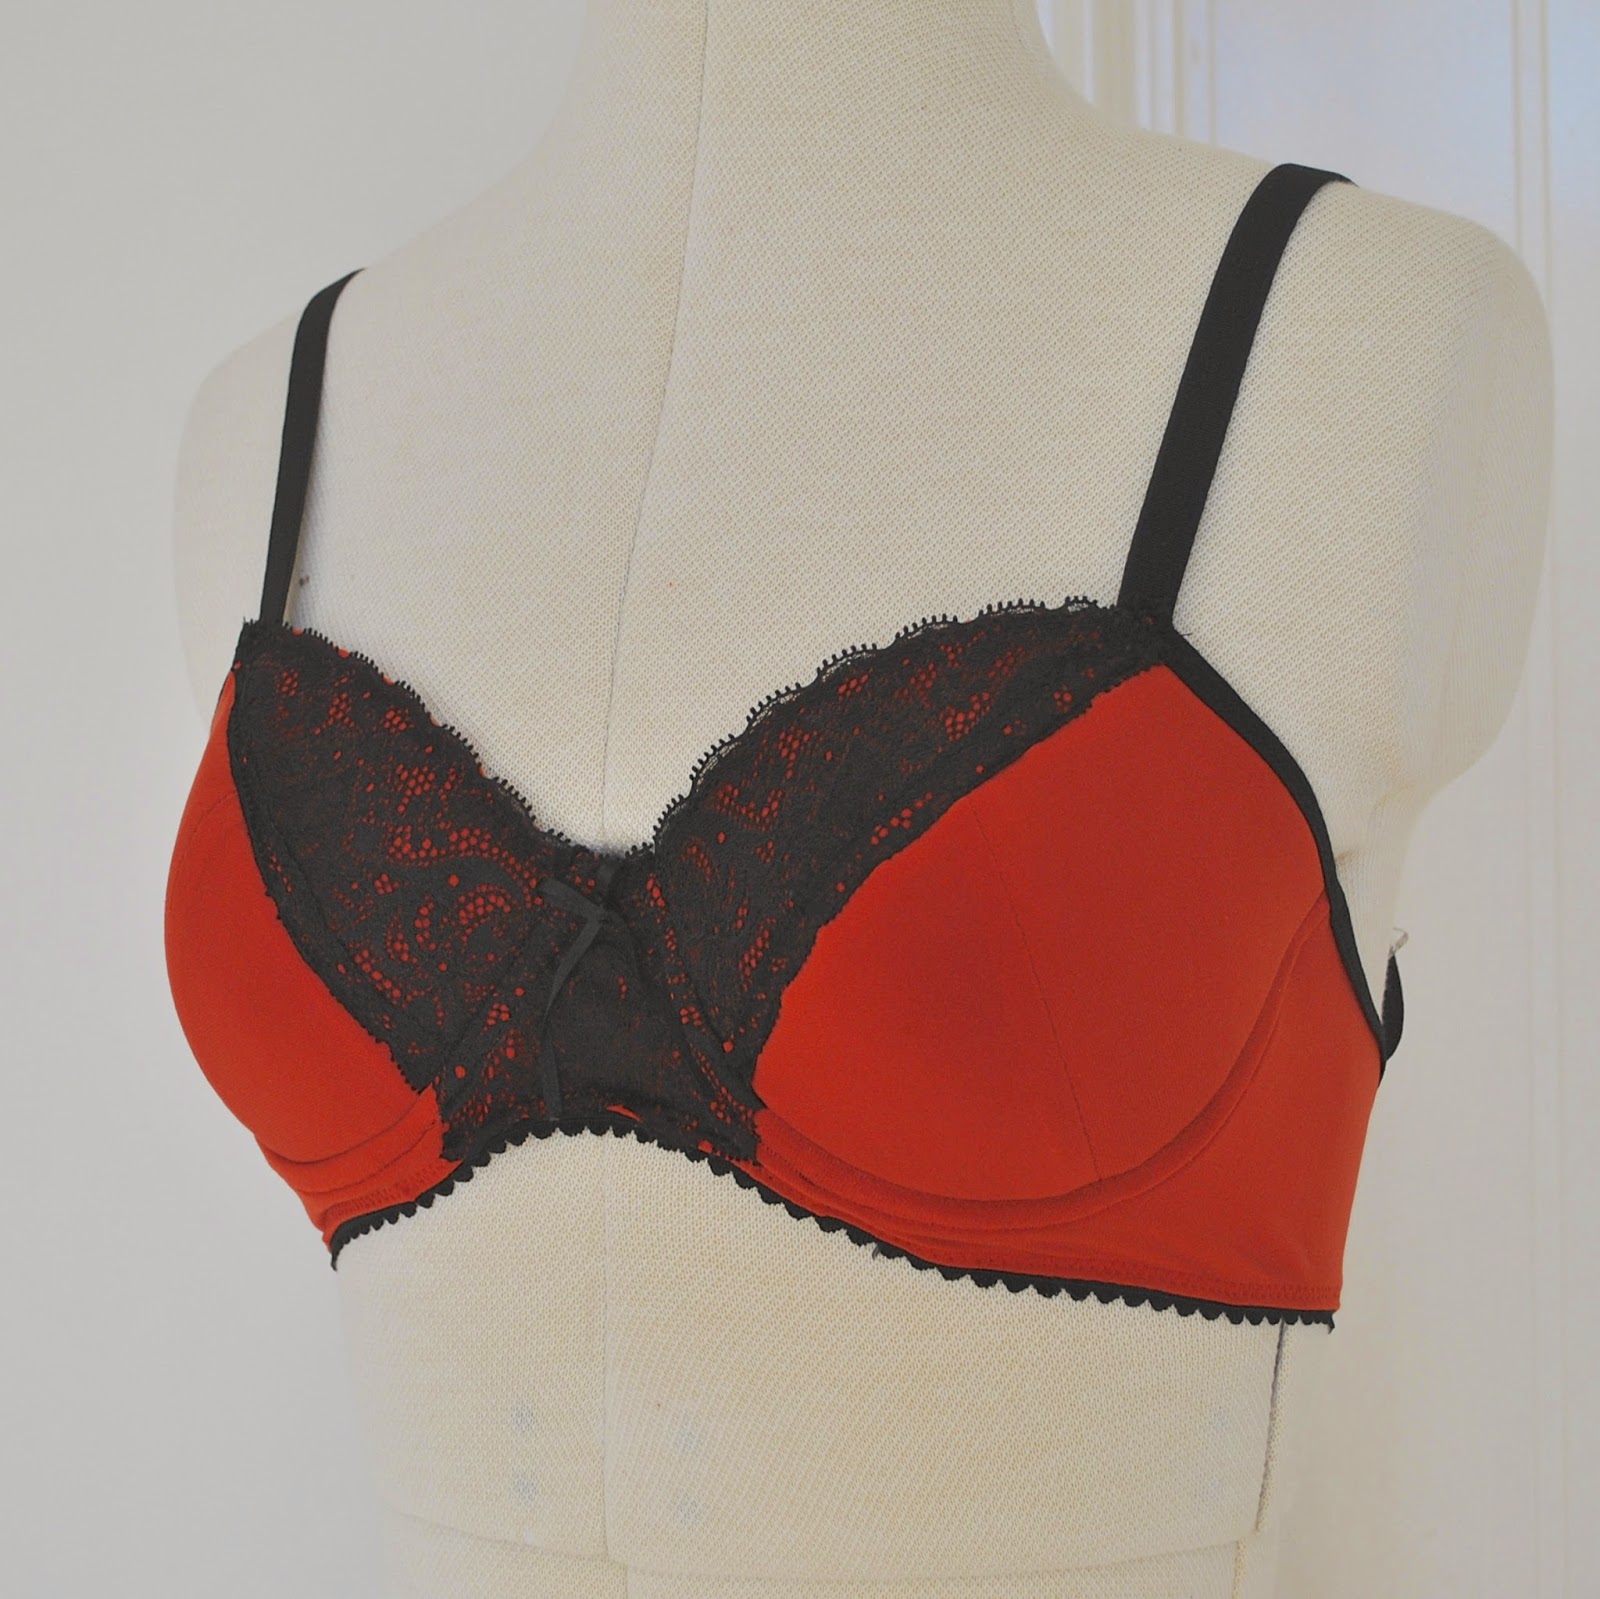
Thoughts; so this is my second Watson bra, the first longline … I LOVE the look of it, well duh, LAAAACE!!! so that’s a plus. A surprise downside is the much wider hook and eye closure is SO MUCH HARDER for me to do up and undo. I didn’t expect that! but probably should have… the thing is; I’ve only ever used a two hook closure up until now, meaning that it’s second nature to me and my hands automatically operate the 2-hooks easily and breezily. A 3-hook is like a whole new brain pattern which my hands have never learned and I’m fumbling away, almost like I’ve never worn a bra before in my life… well, you know what they say about old dogs and new tricks. I’m tempted to think that for a soft, longline style like this I might even prefer my funny, basic little pull-on camisole bralette, simple and easy, save myself the trouble and expense of the hook and eye closure and the style still works perfectly fine for my likes and meagre needs.
I’m still going to wear this new set to bits obviously! just an observation.
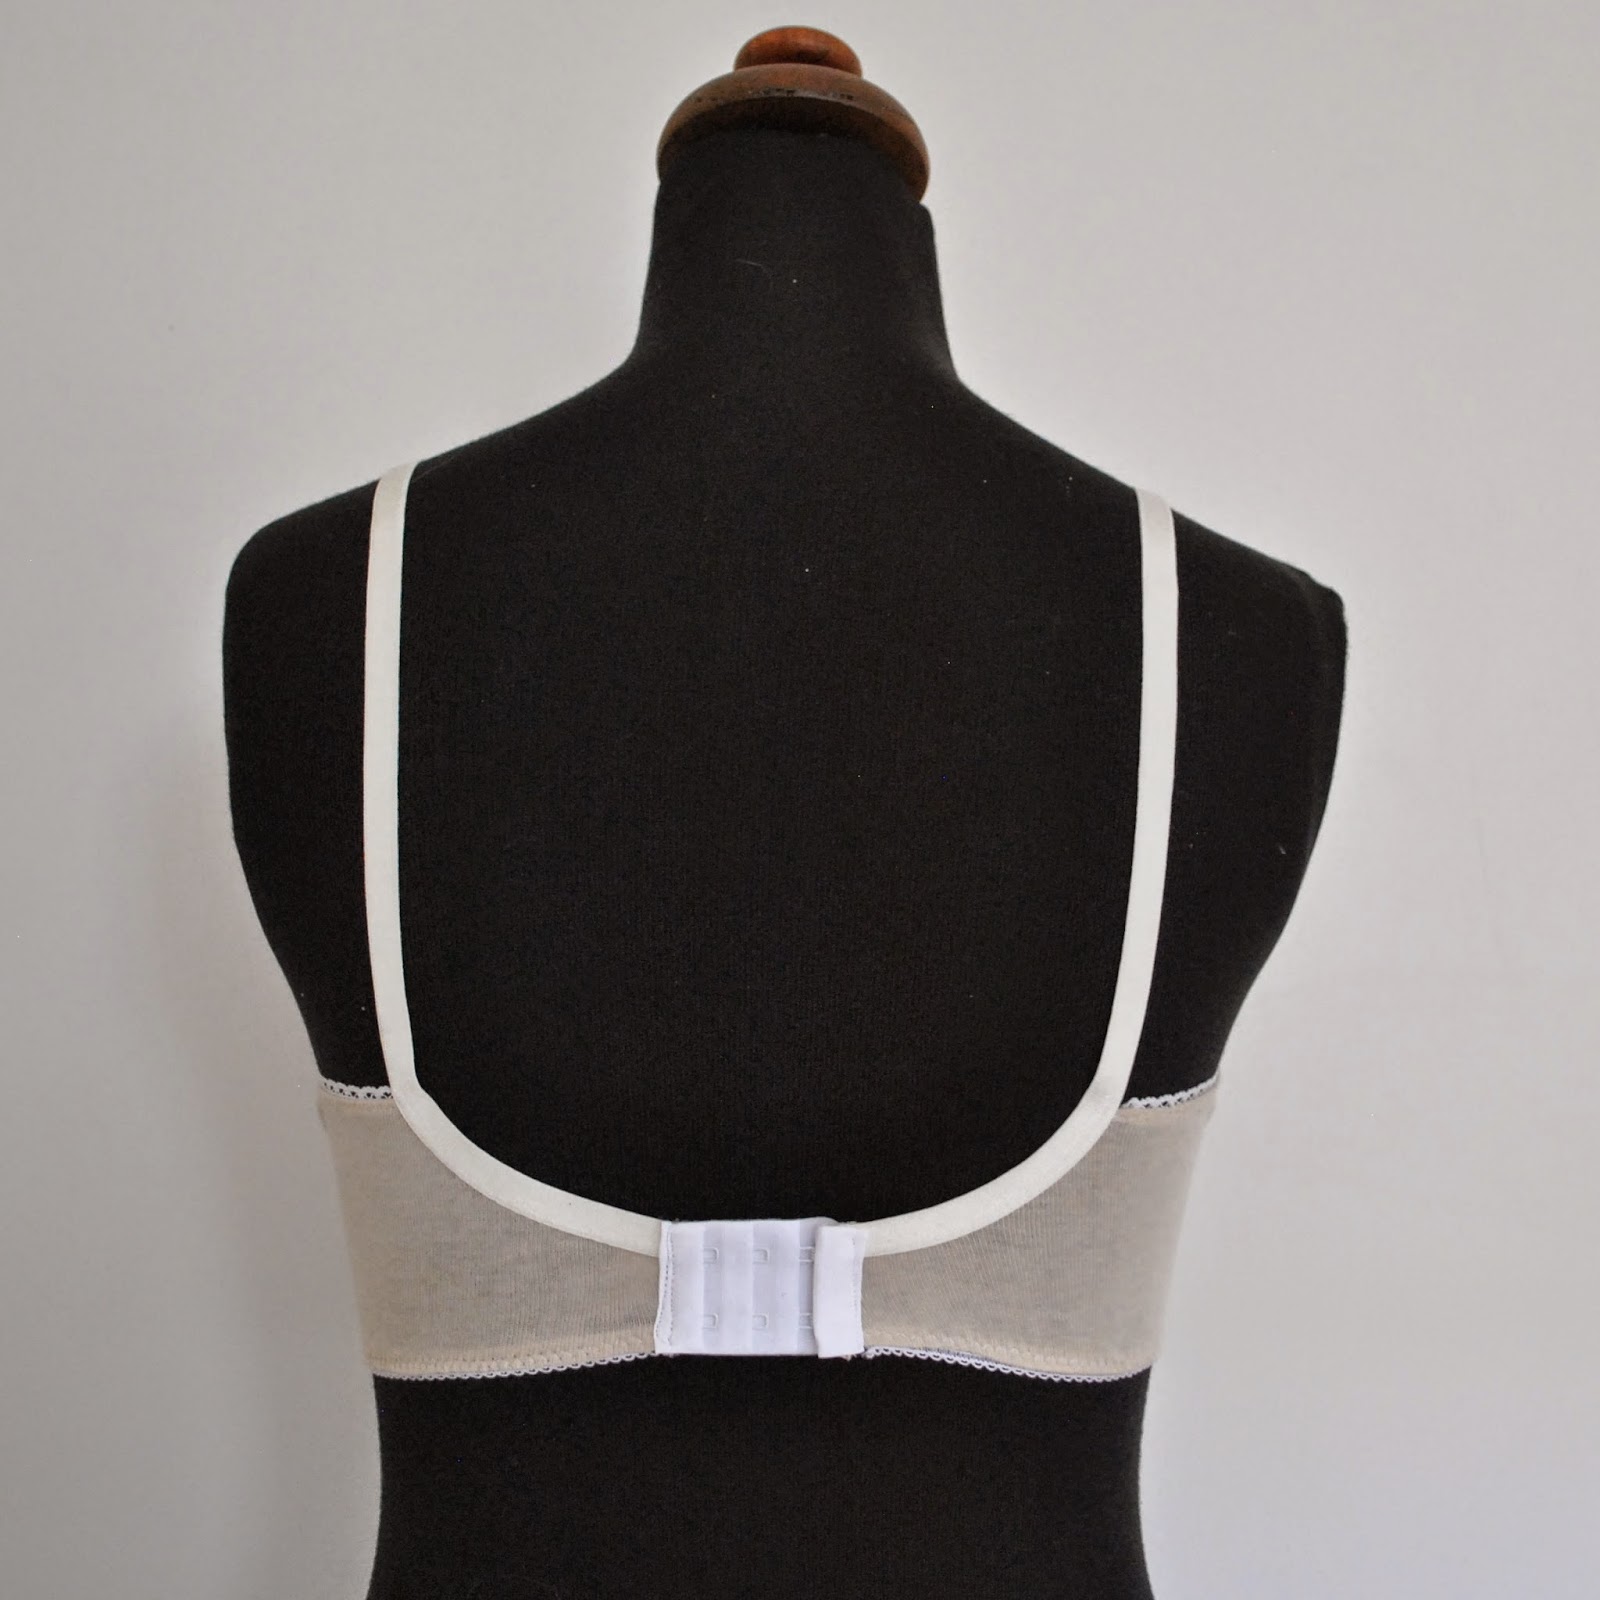
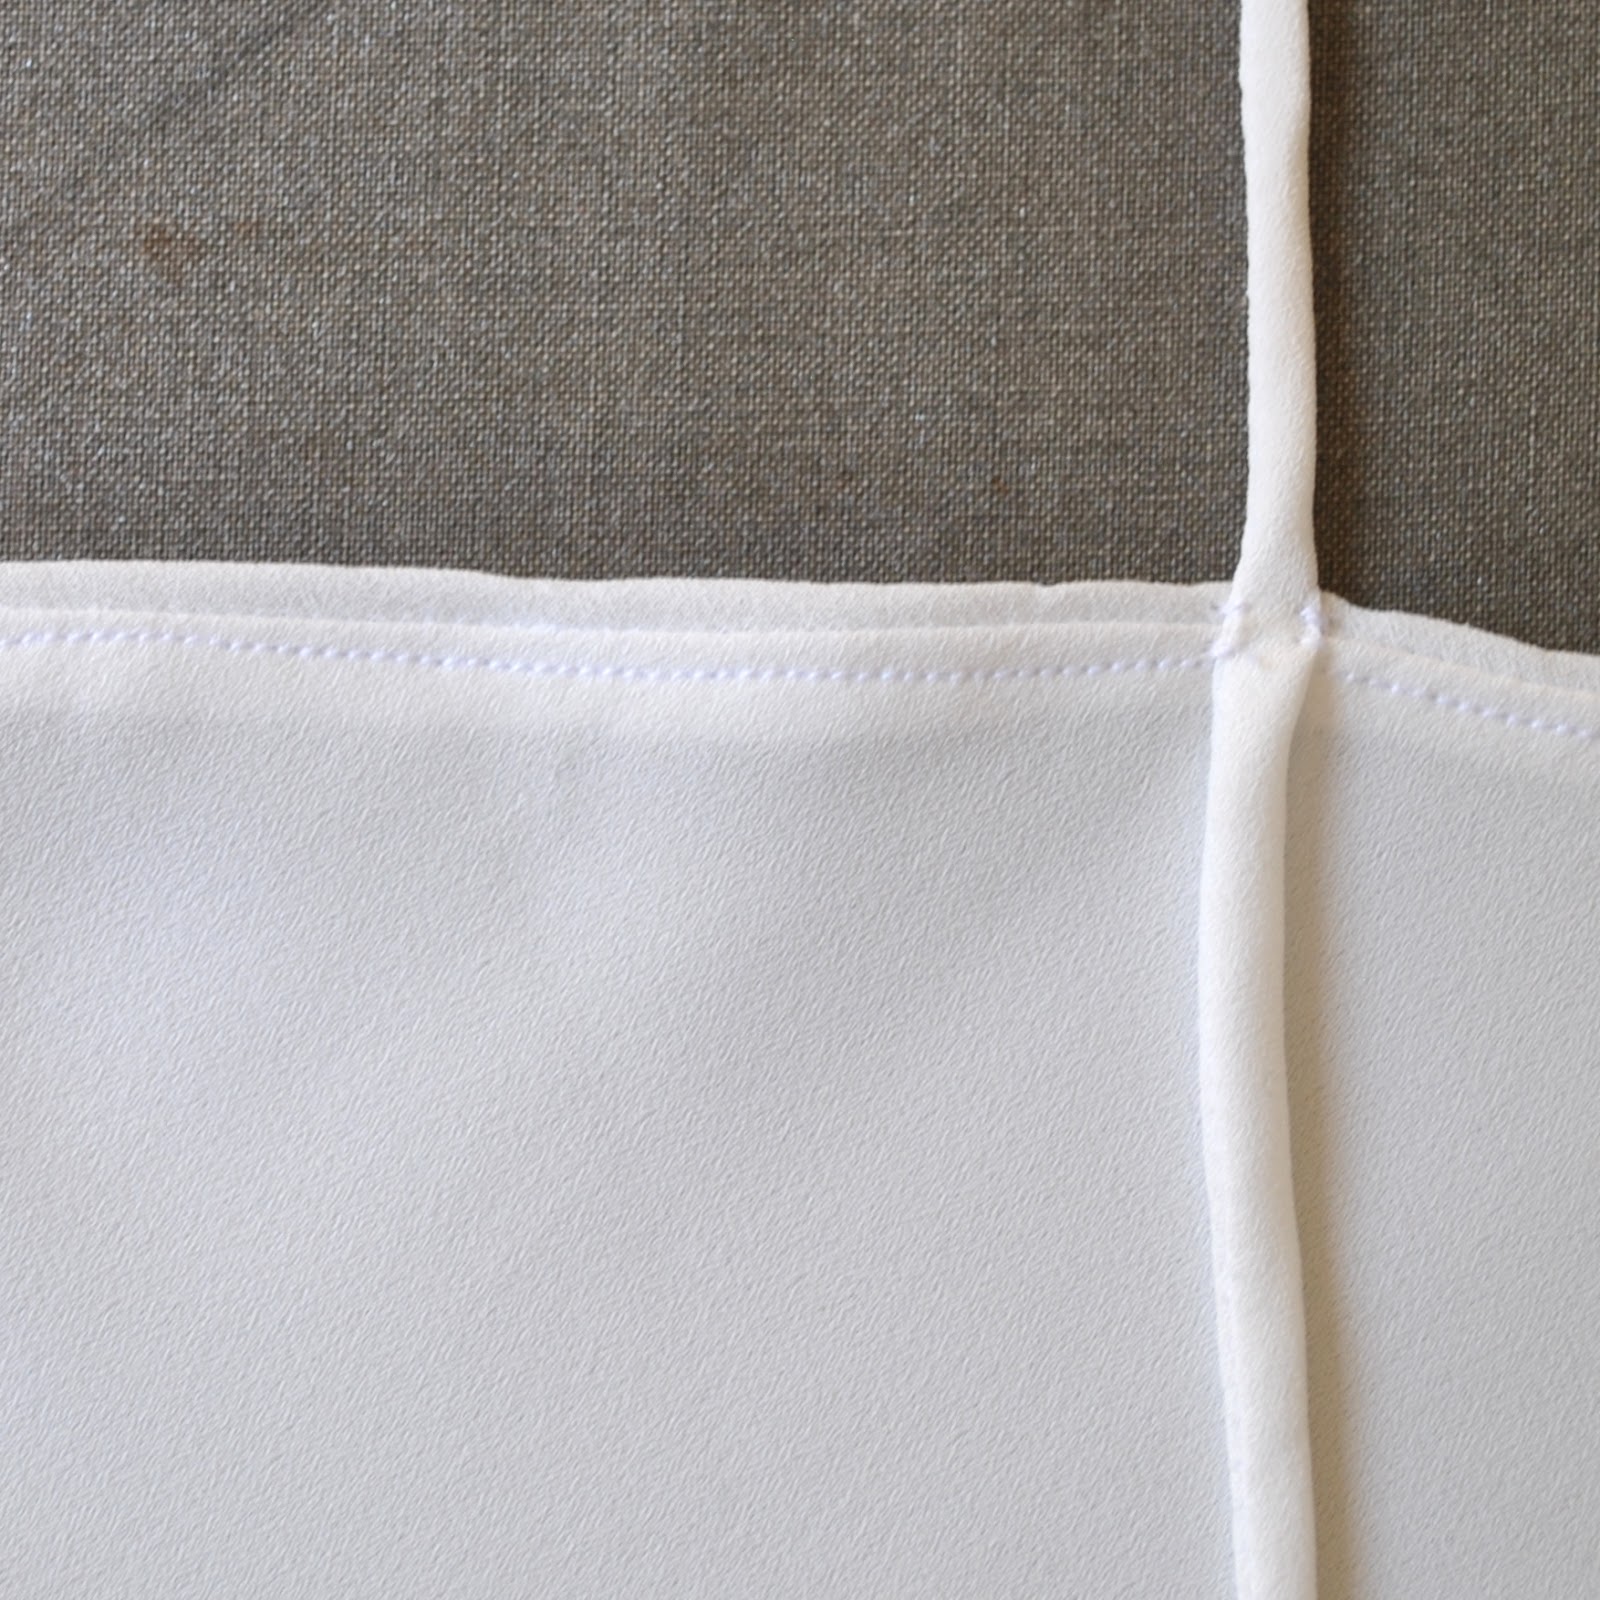
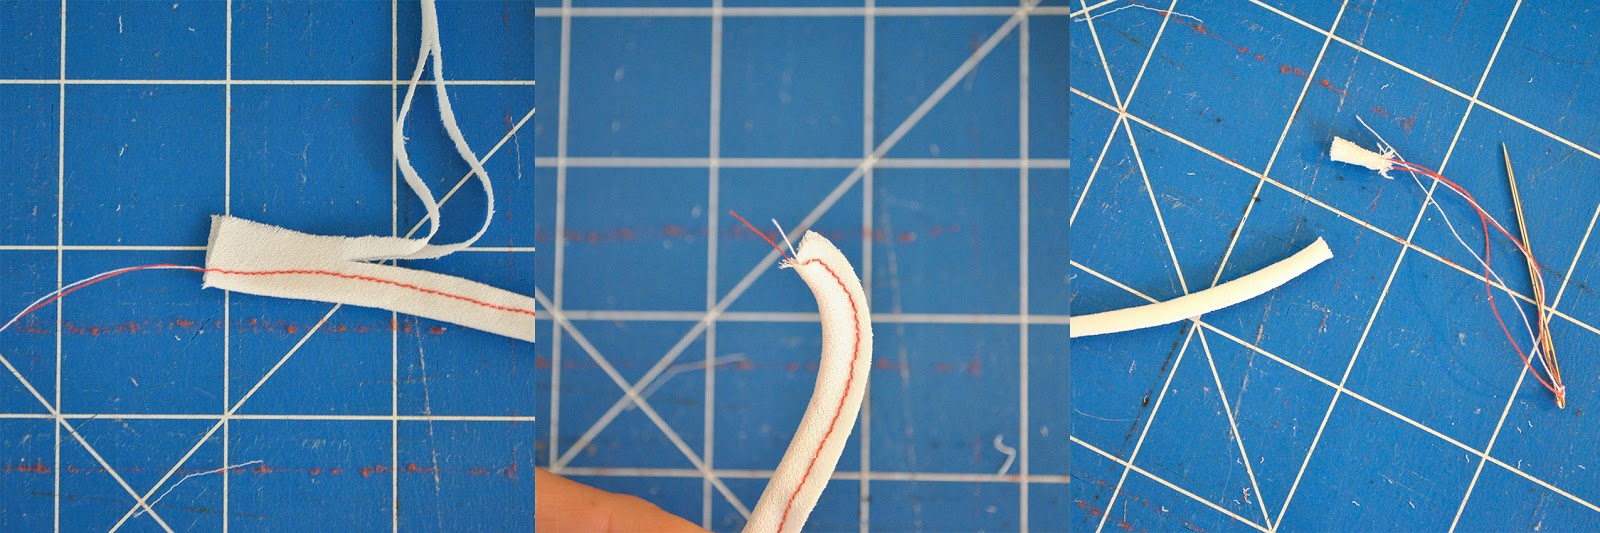
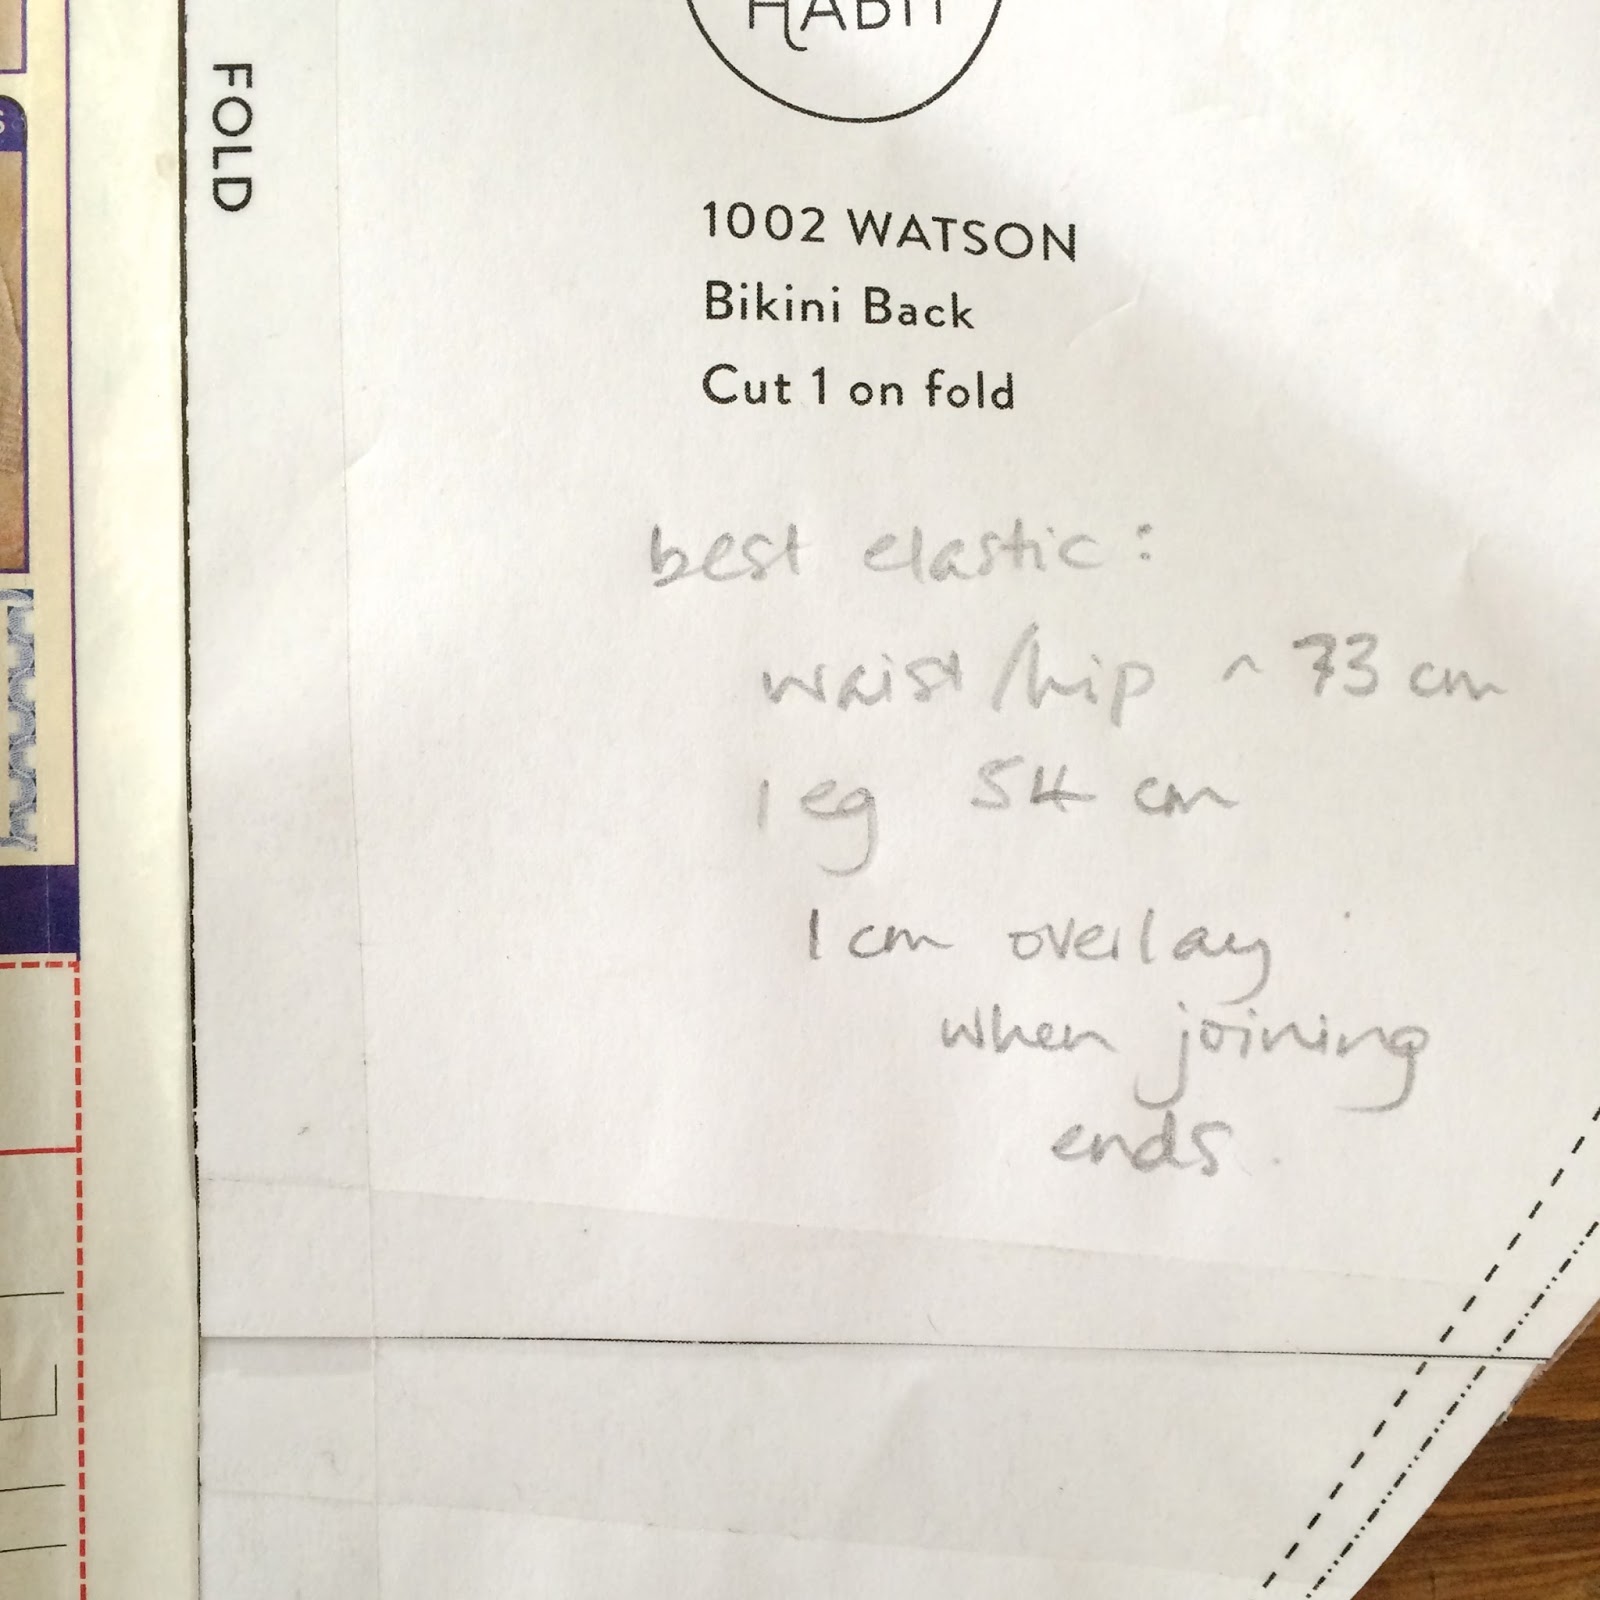
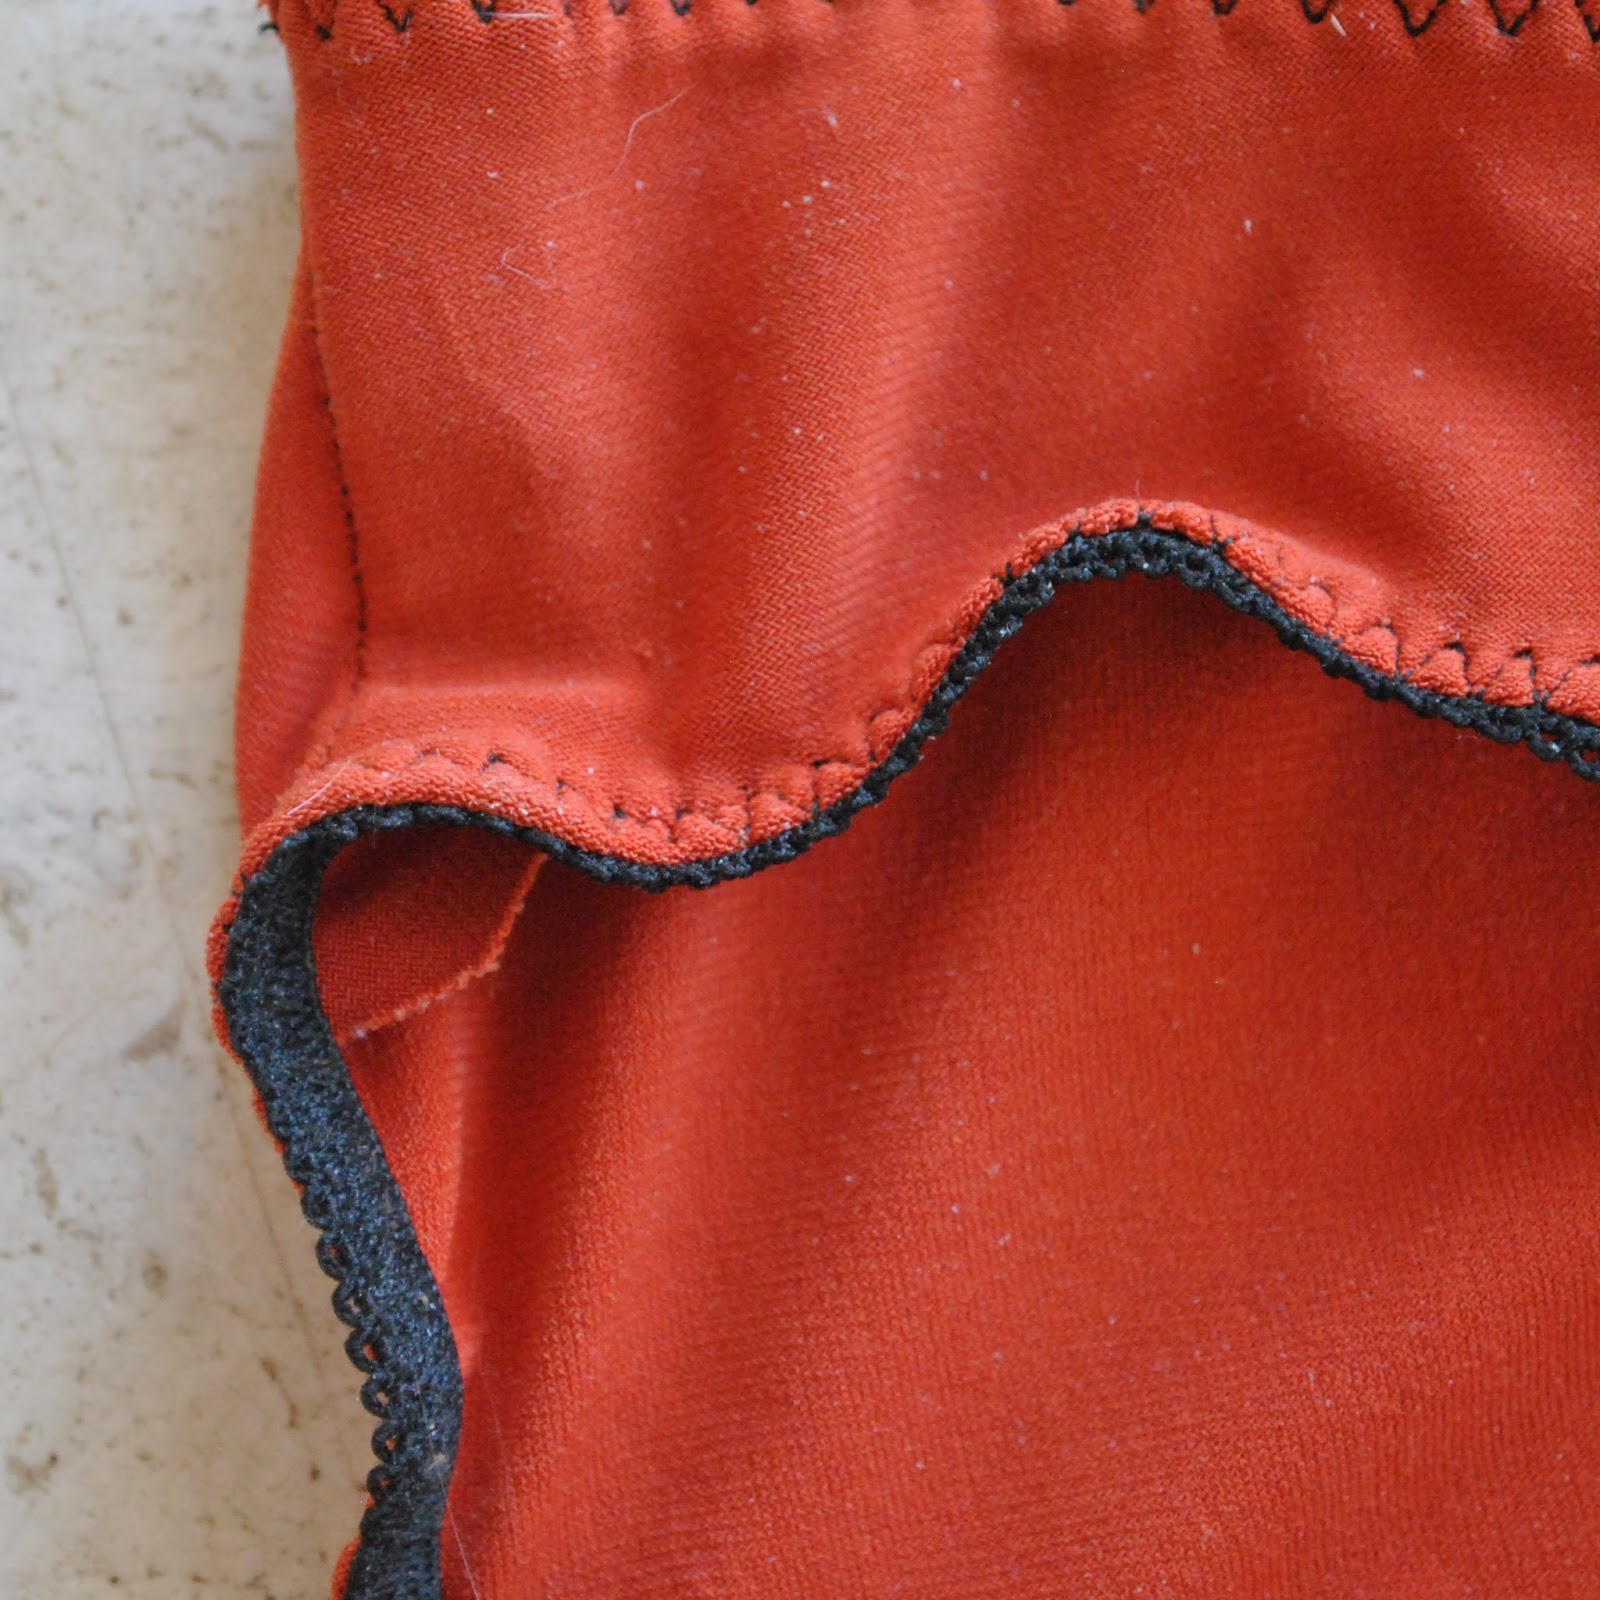
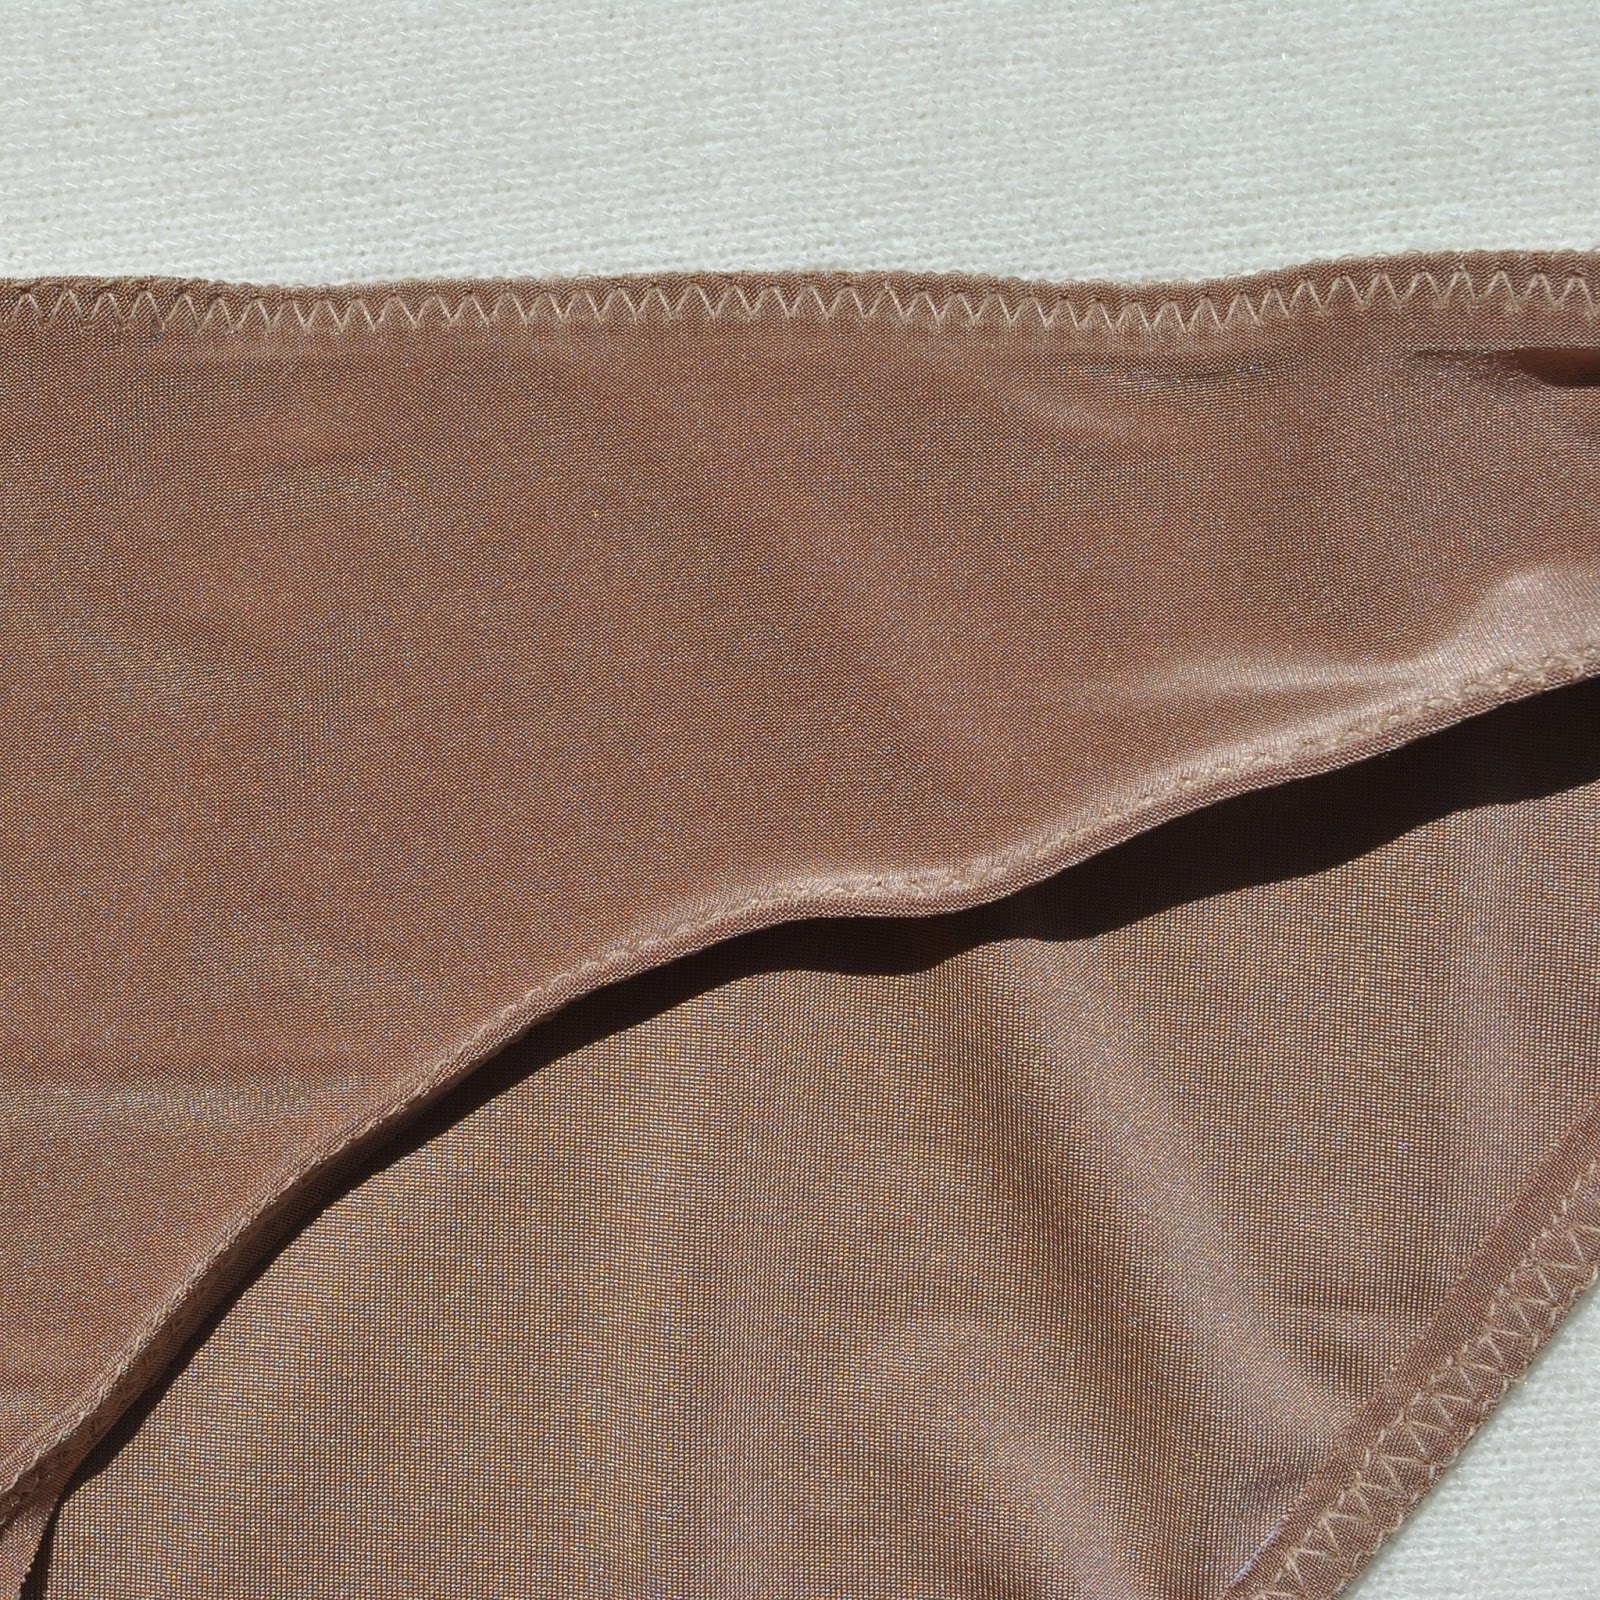
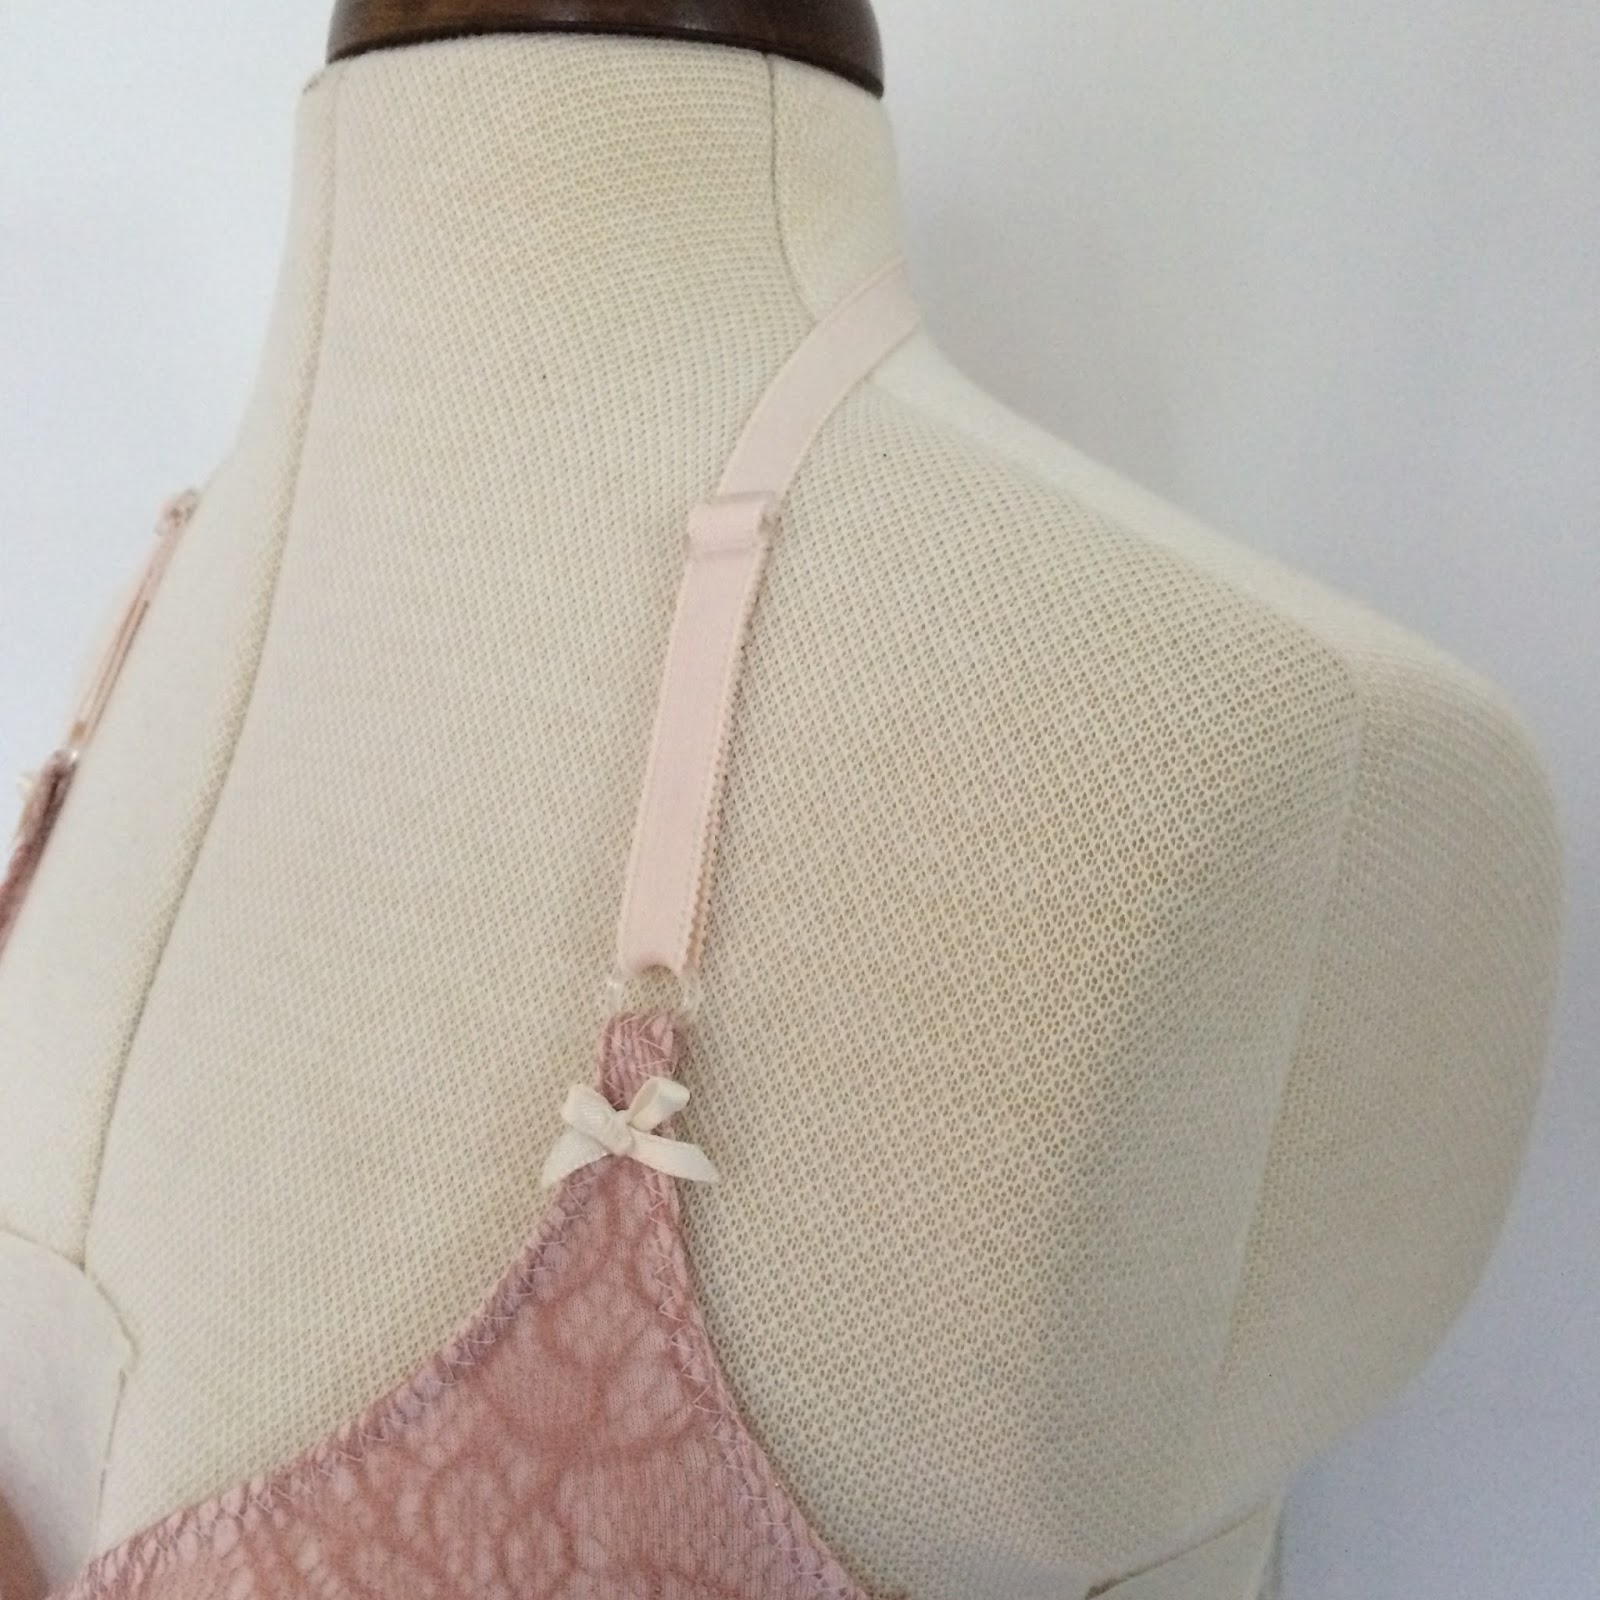
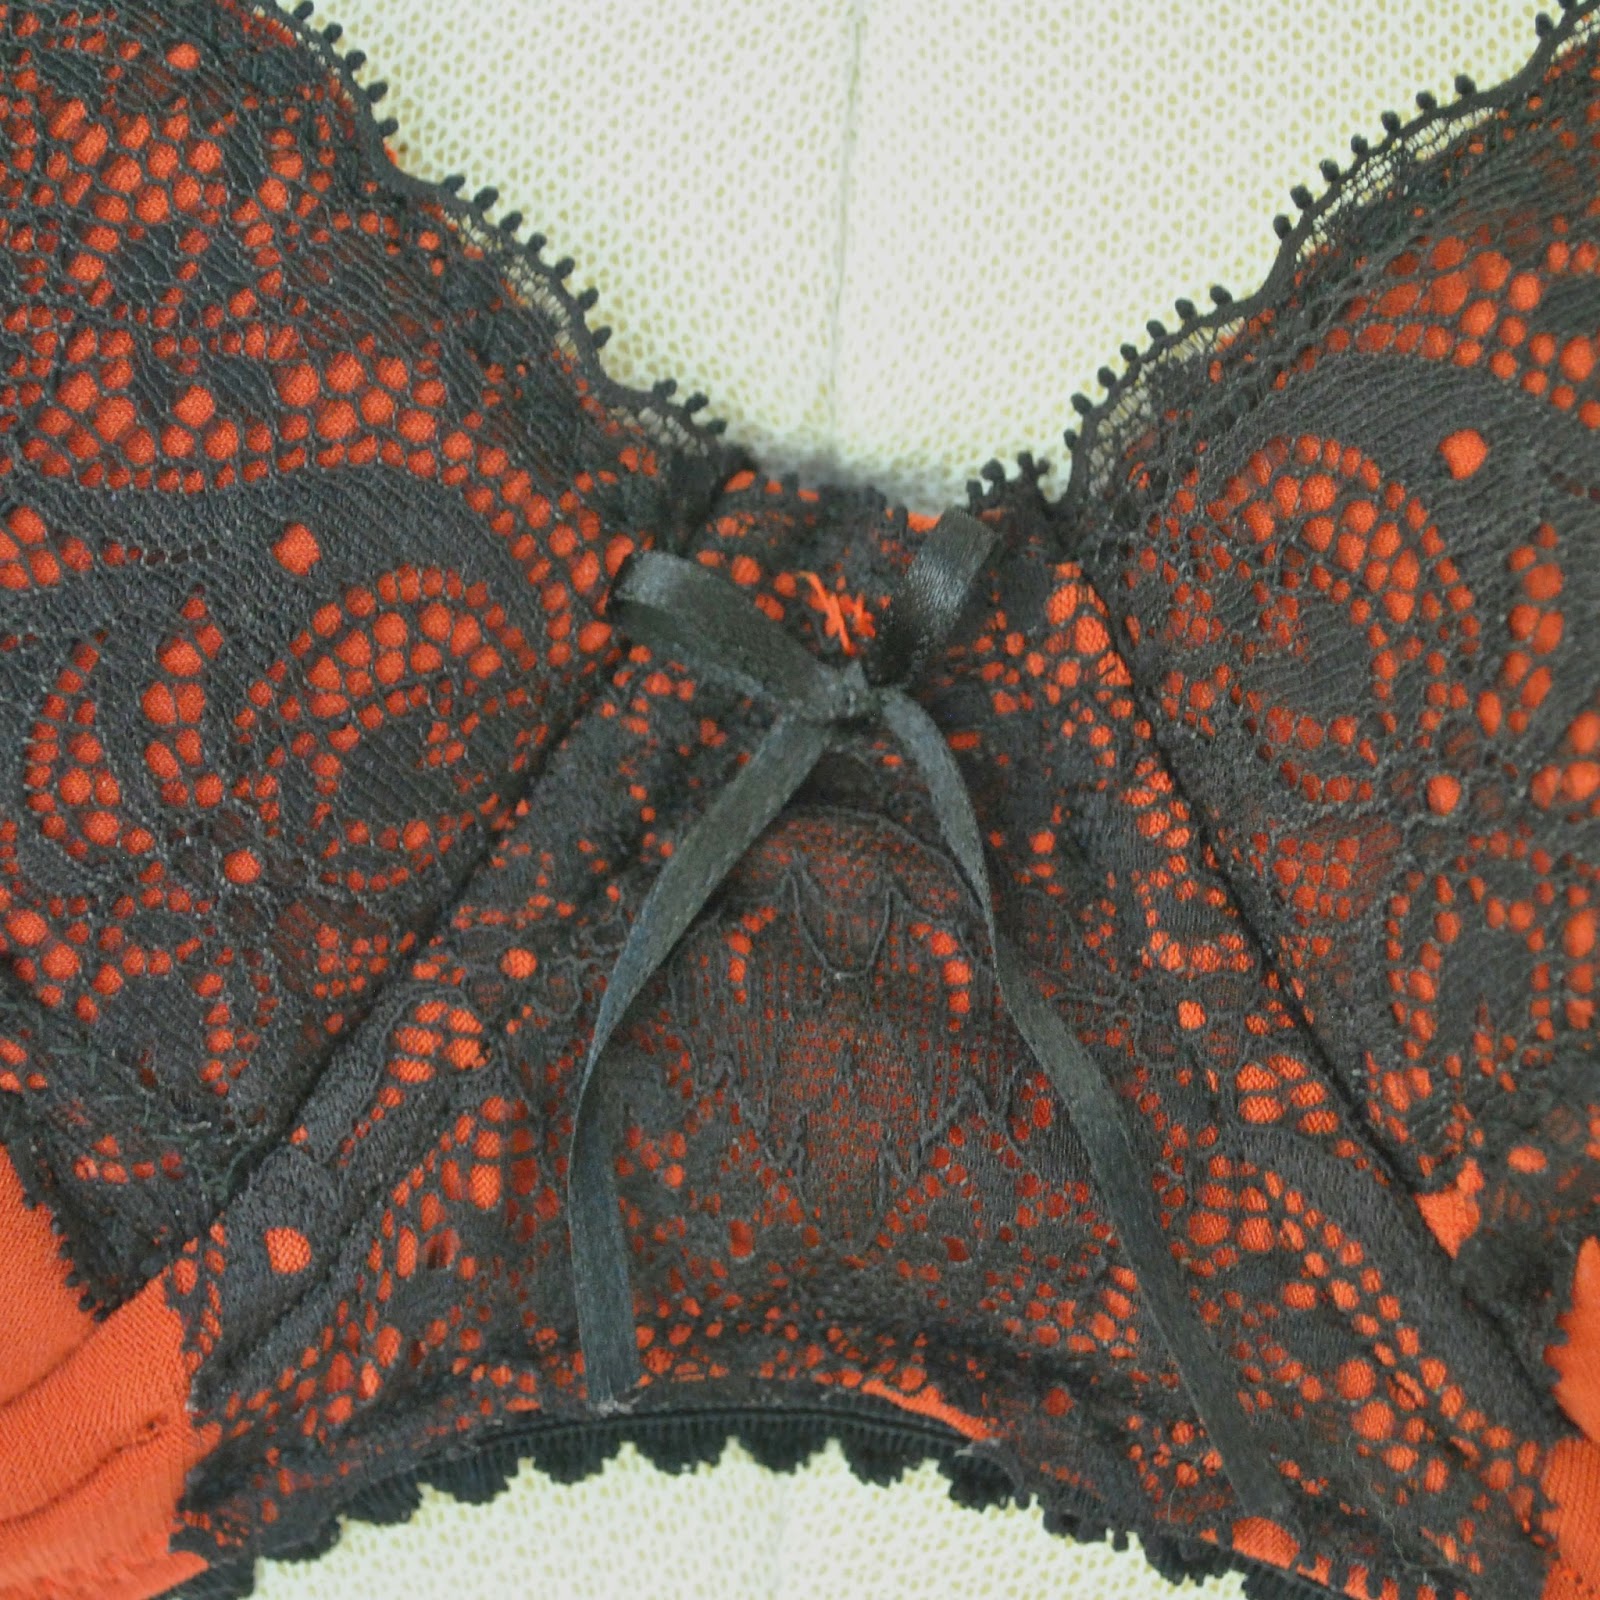
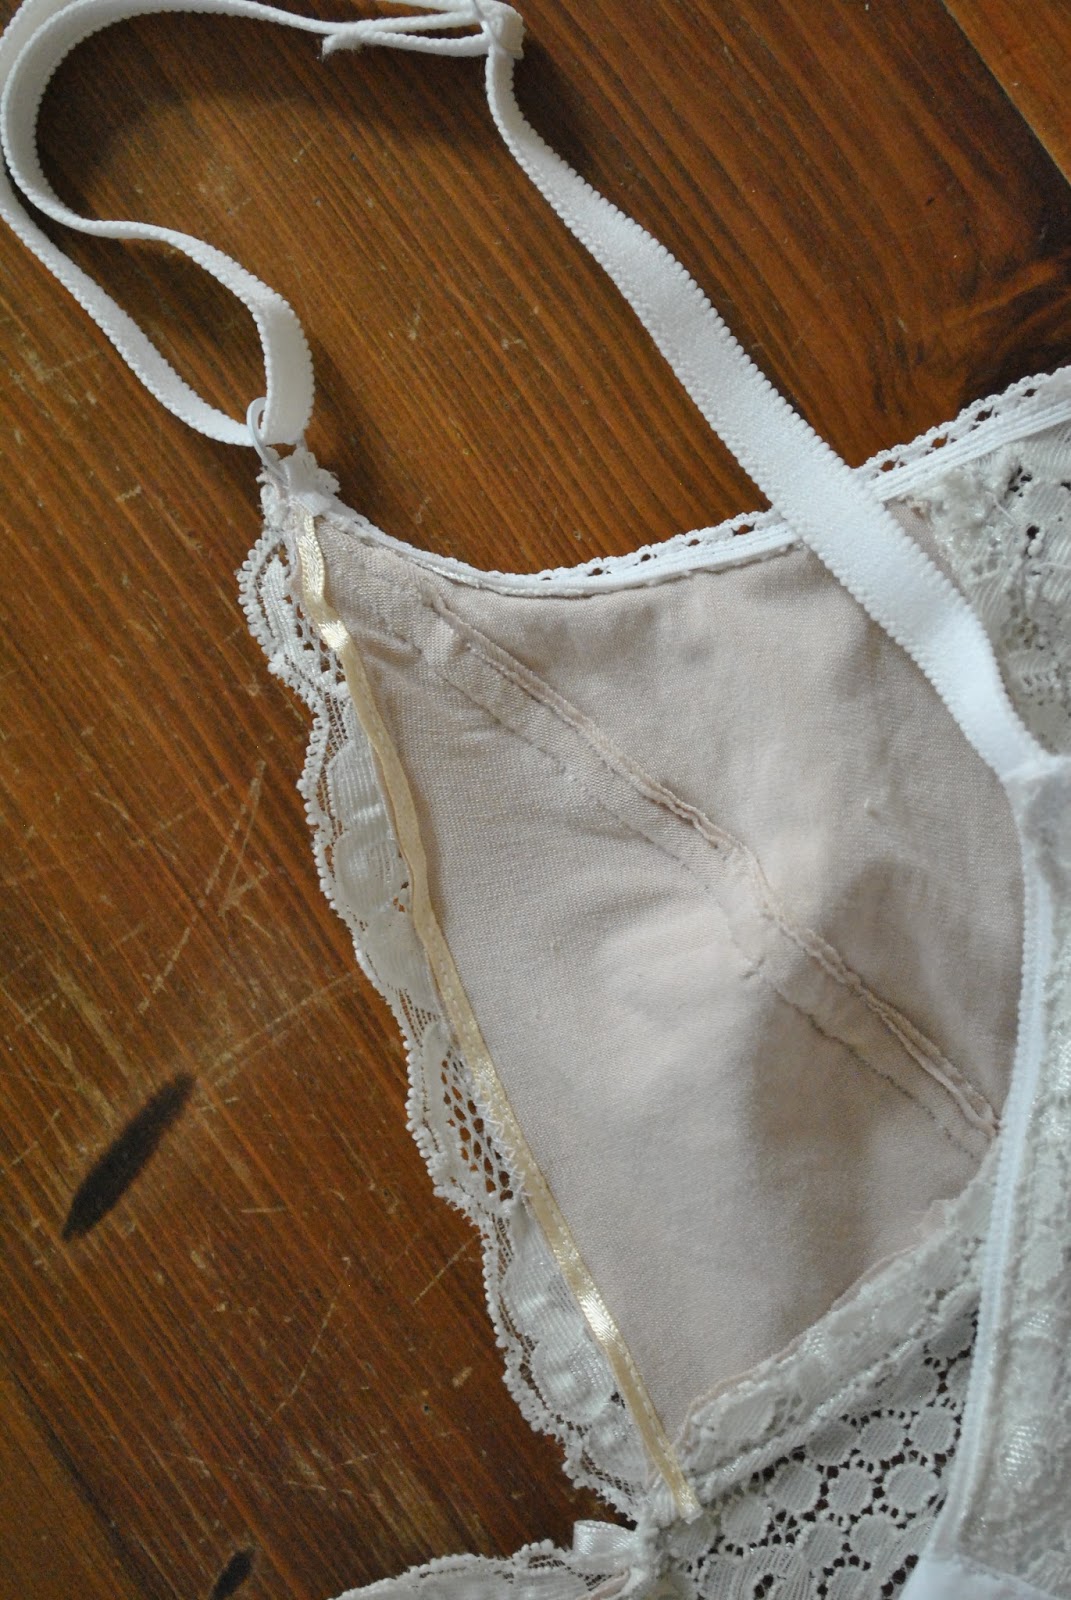
Also, the back elastics; with the Watson you’re supposed to commence sewing them horizontally along the back from the centre back and they continue on, curving up and over the shoulders to become the shoulder straps, as pictured above. Now I don’t know if anyone else has come up with this problem too; but when I’m wearing it, the elastic does not sit flat against your body, but instead “folds” around the corner and so forms a little lumpy bump as it does so. These bumps can just be seen in the above picture, at the sharpest point of the curve where it starts being a strap. It’s a small thing but a little annoying nonetheless. SO, for this version I cut and sewed the back elastic and shoulder strap elastic on as two separate pieces. Not quite as smart looking, but the bump problem is solved so I’m not stressing over it.
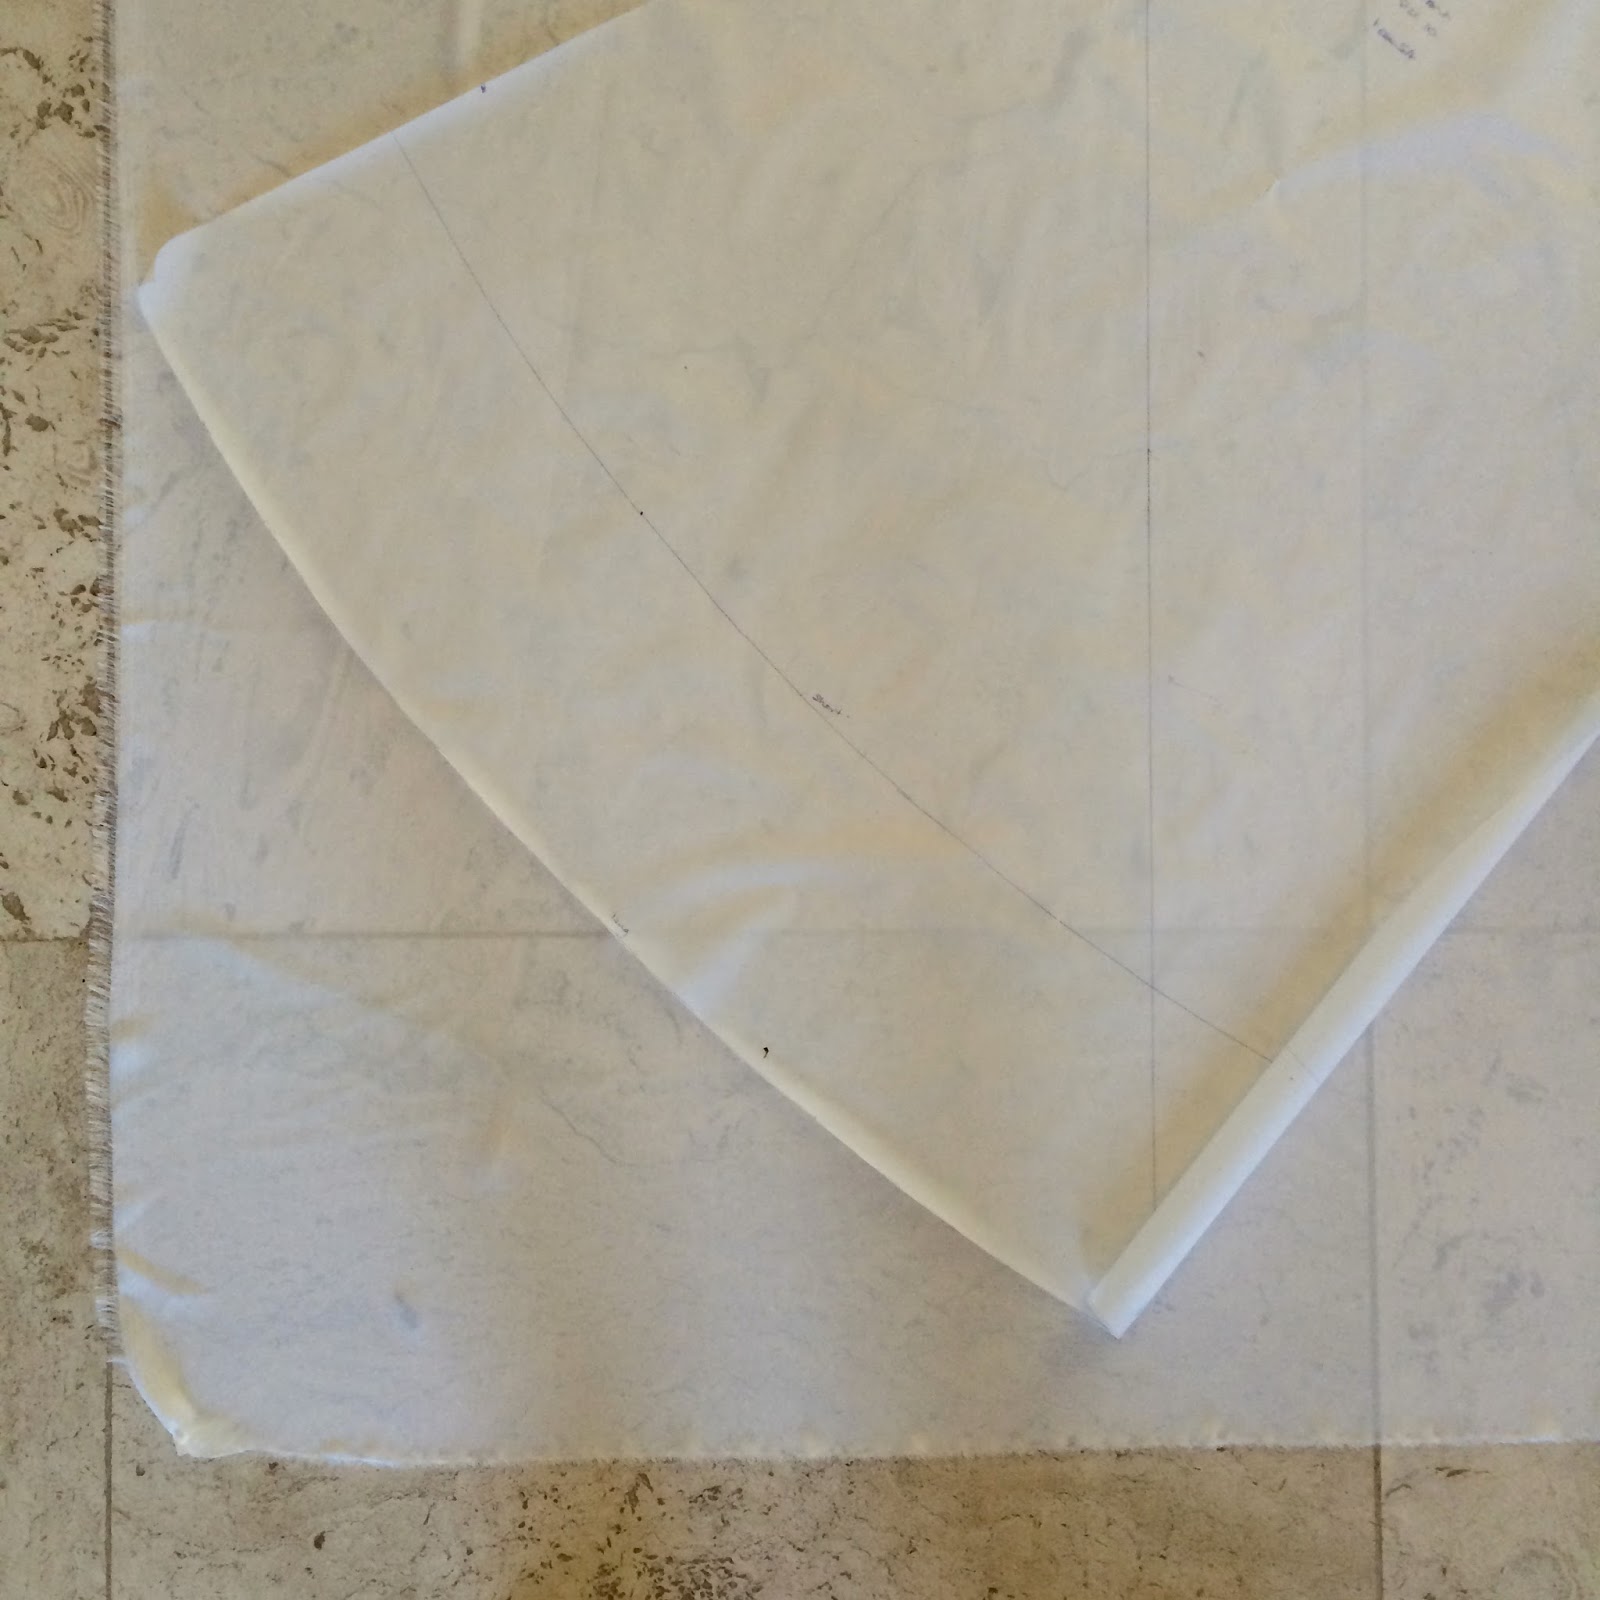
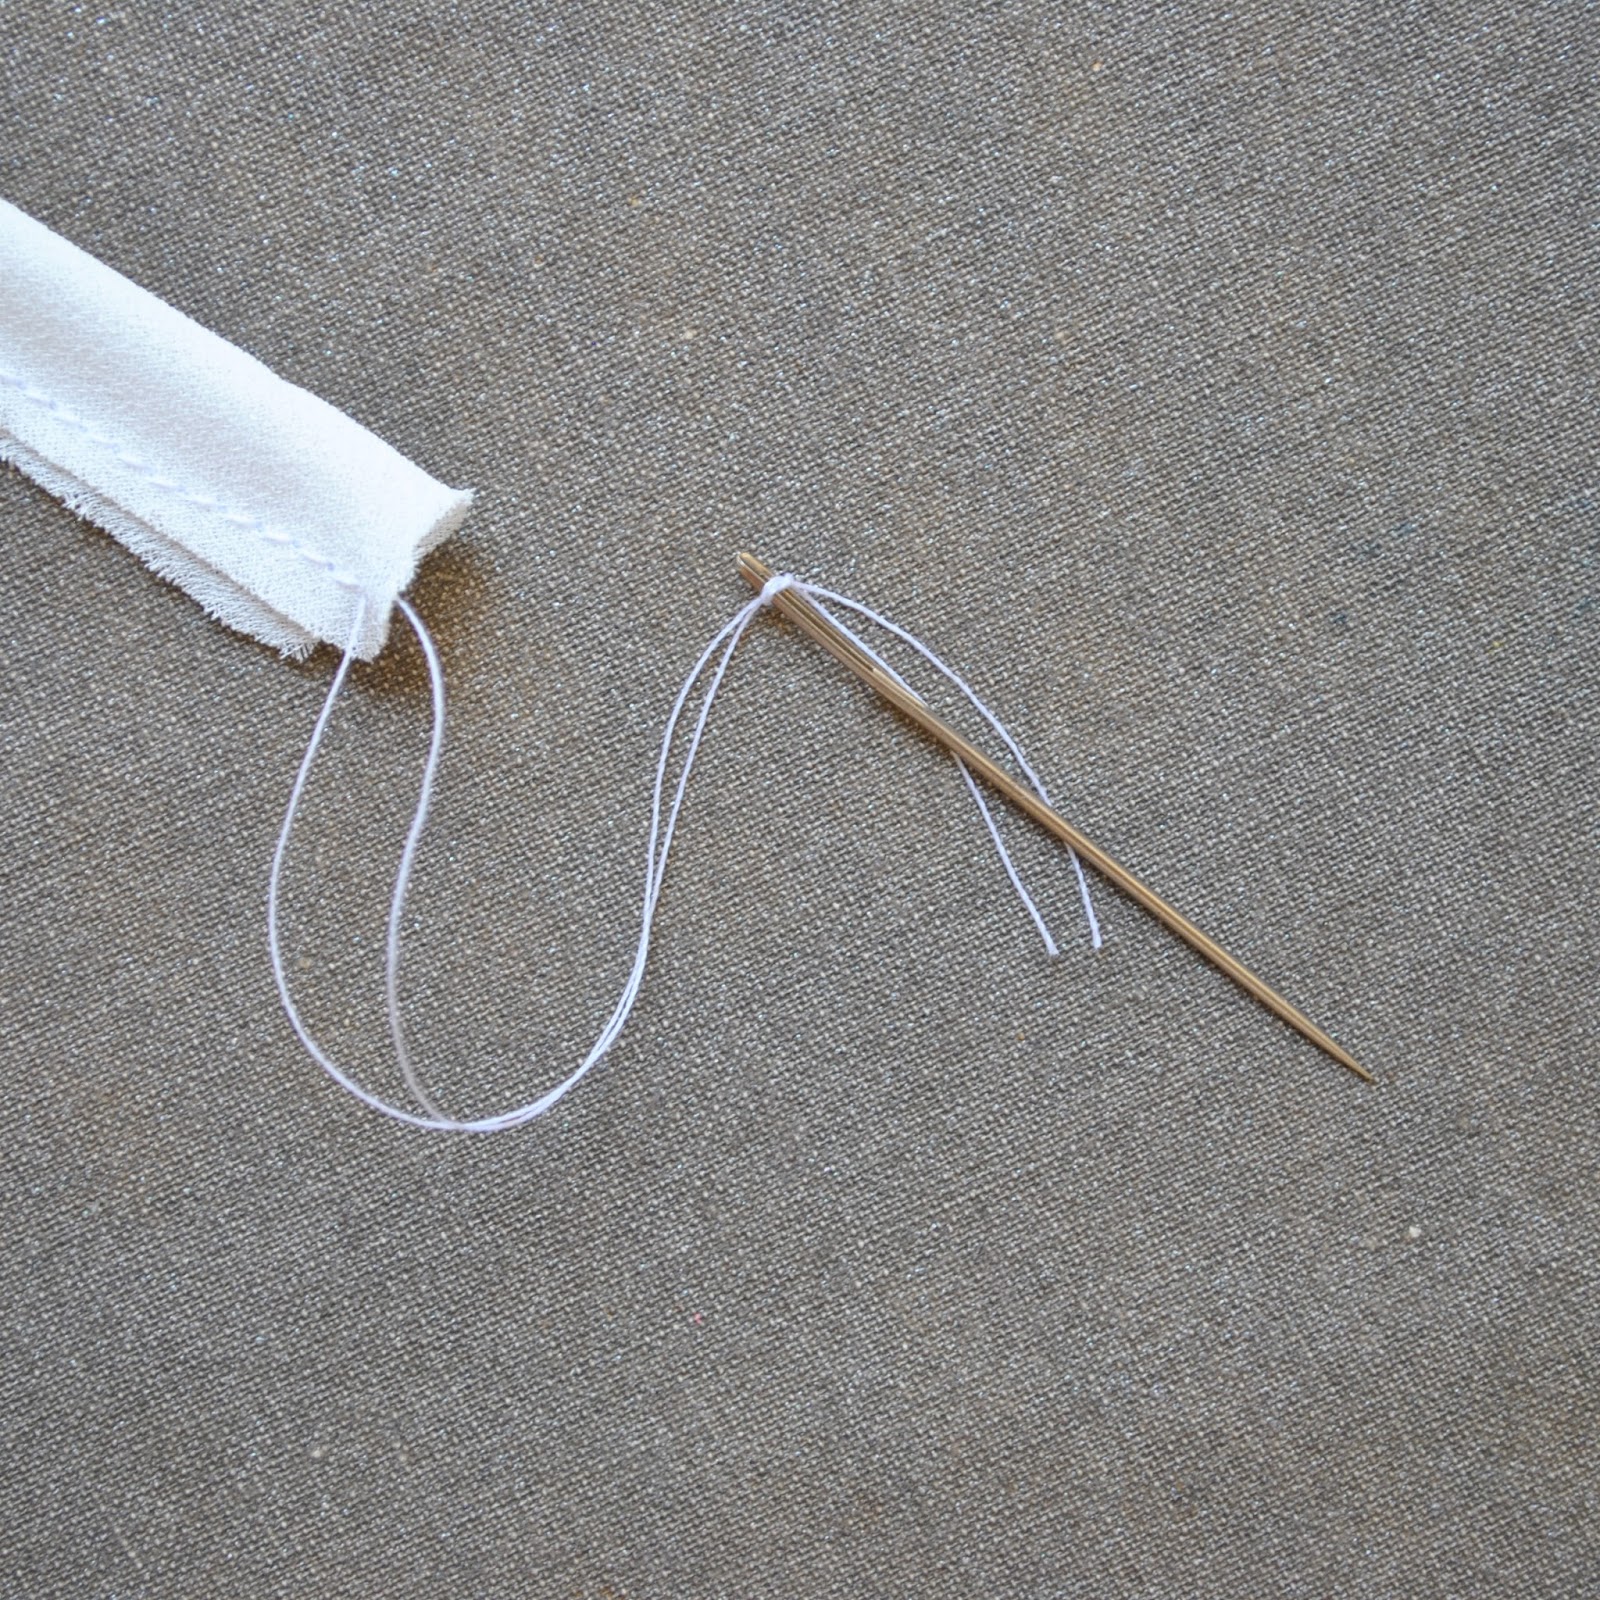
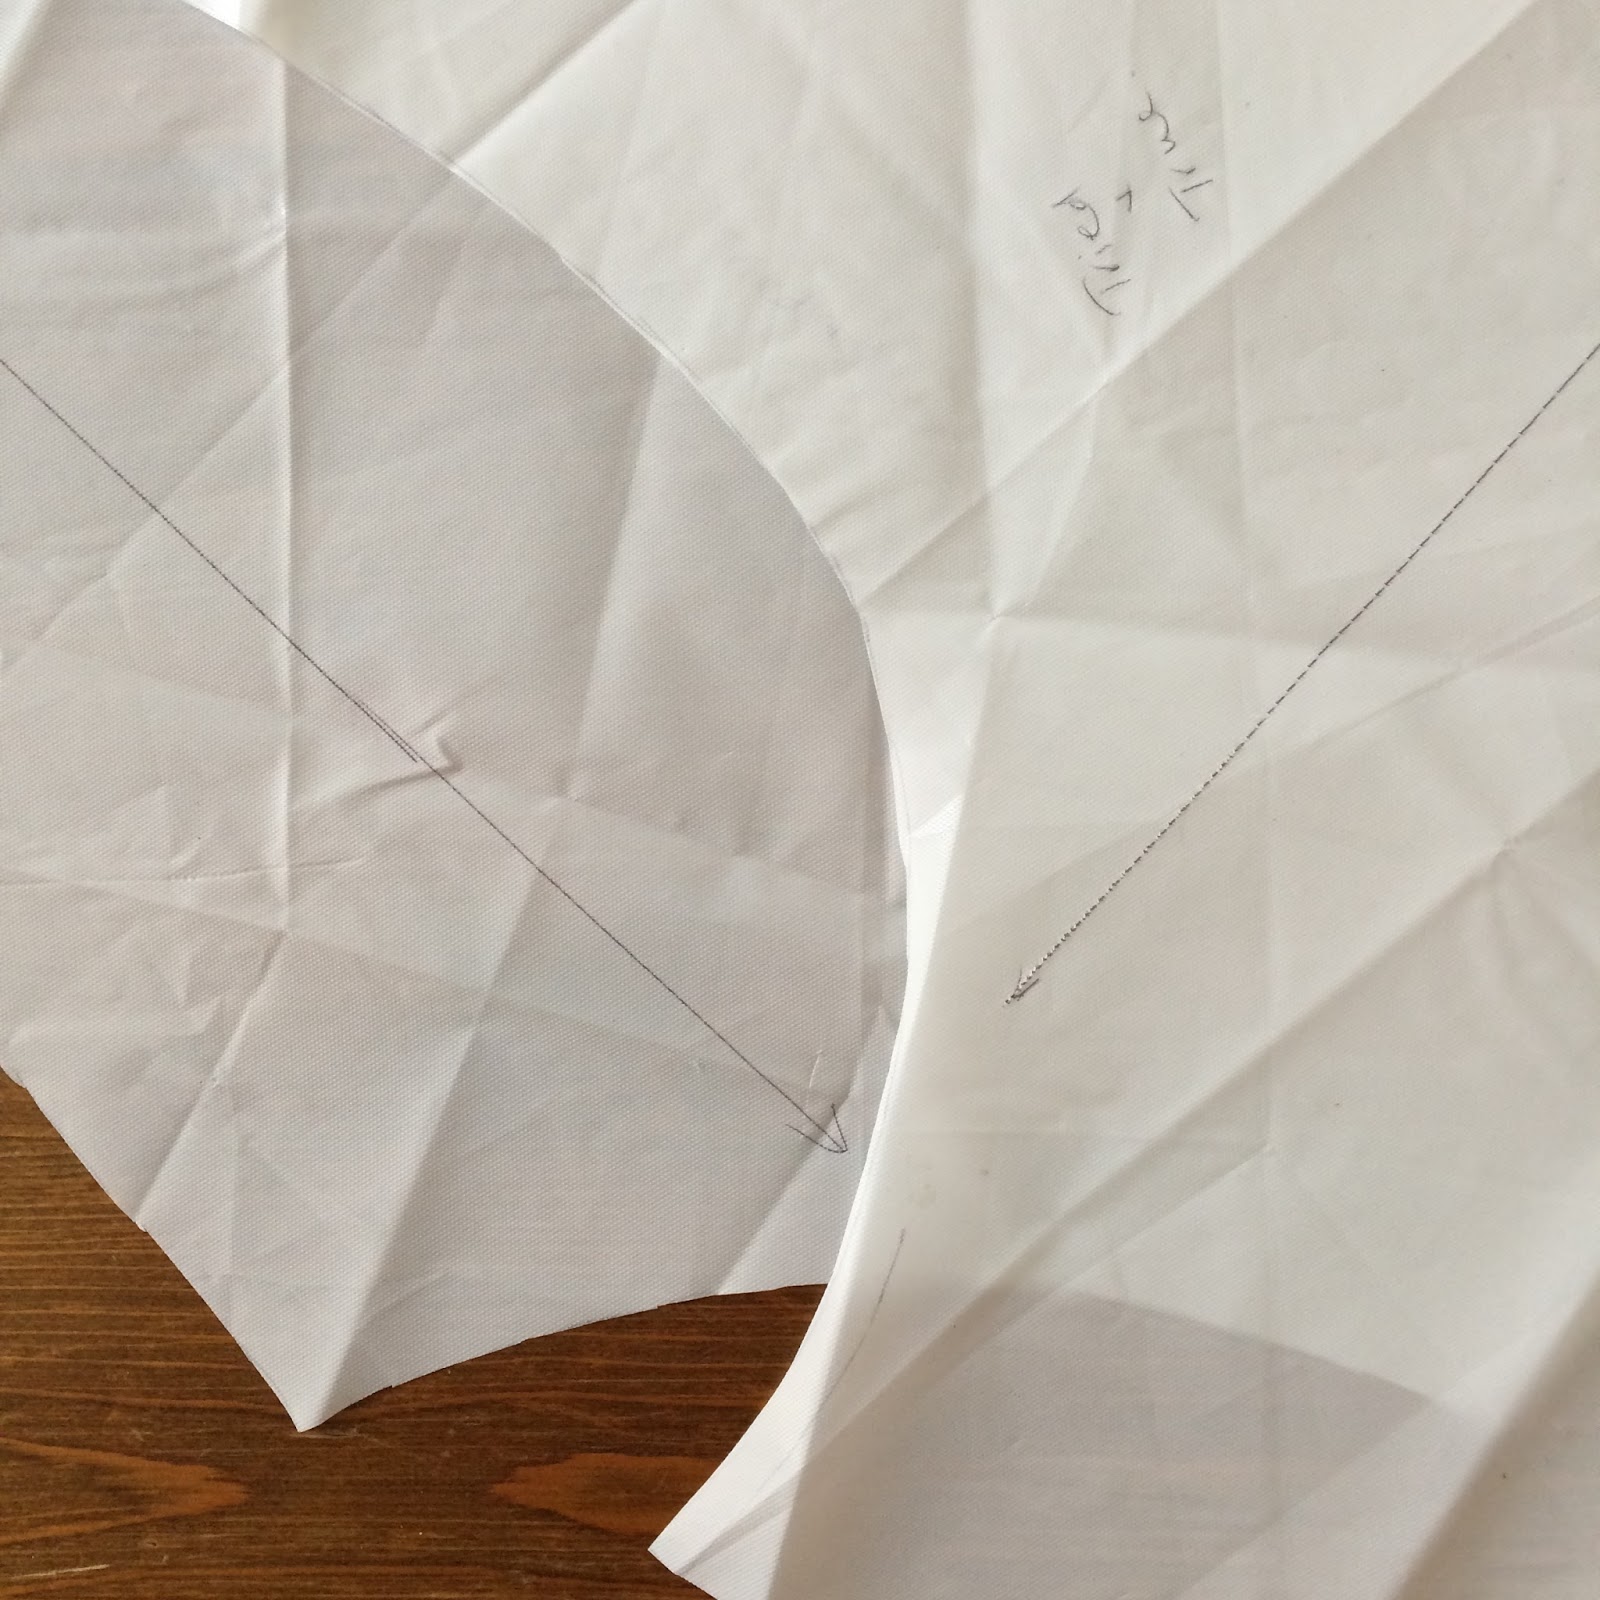
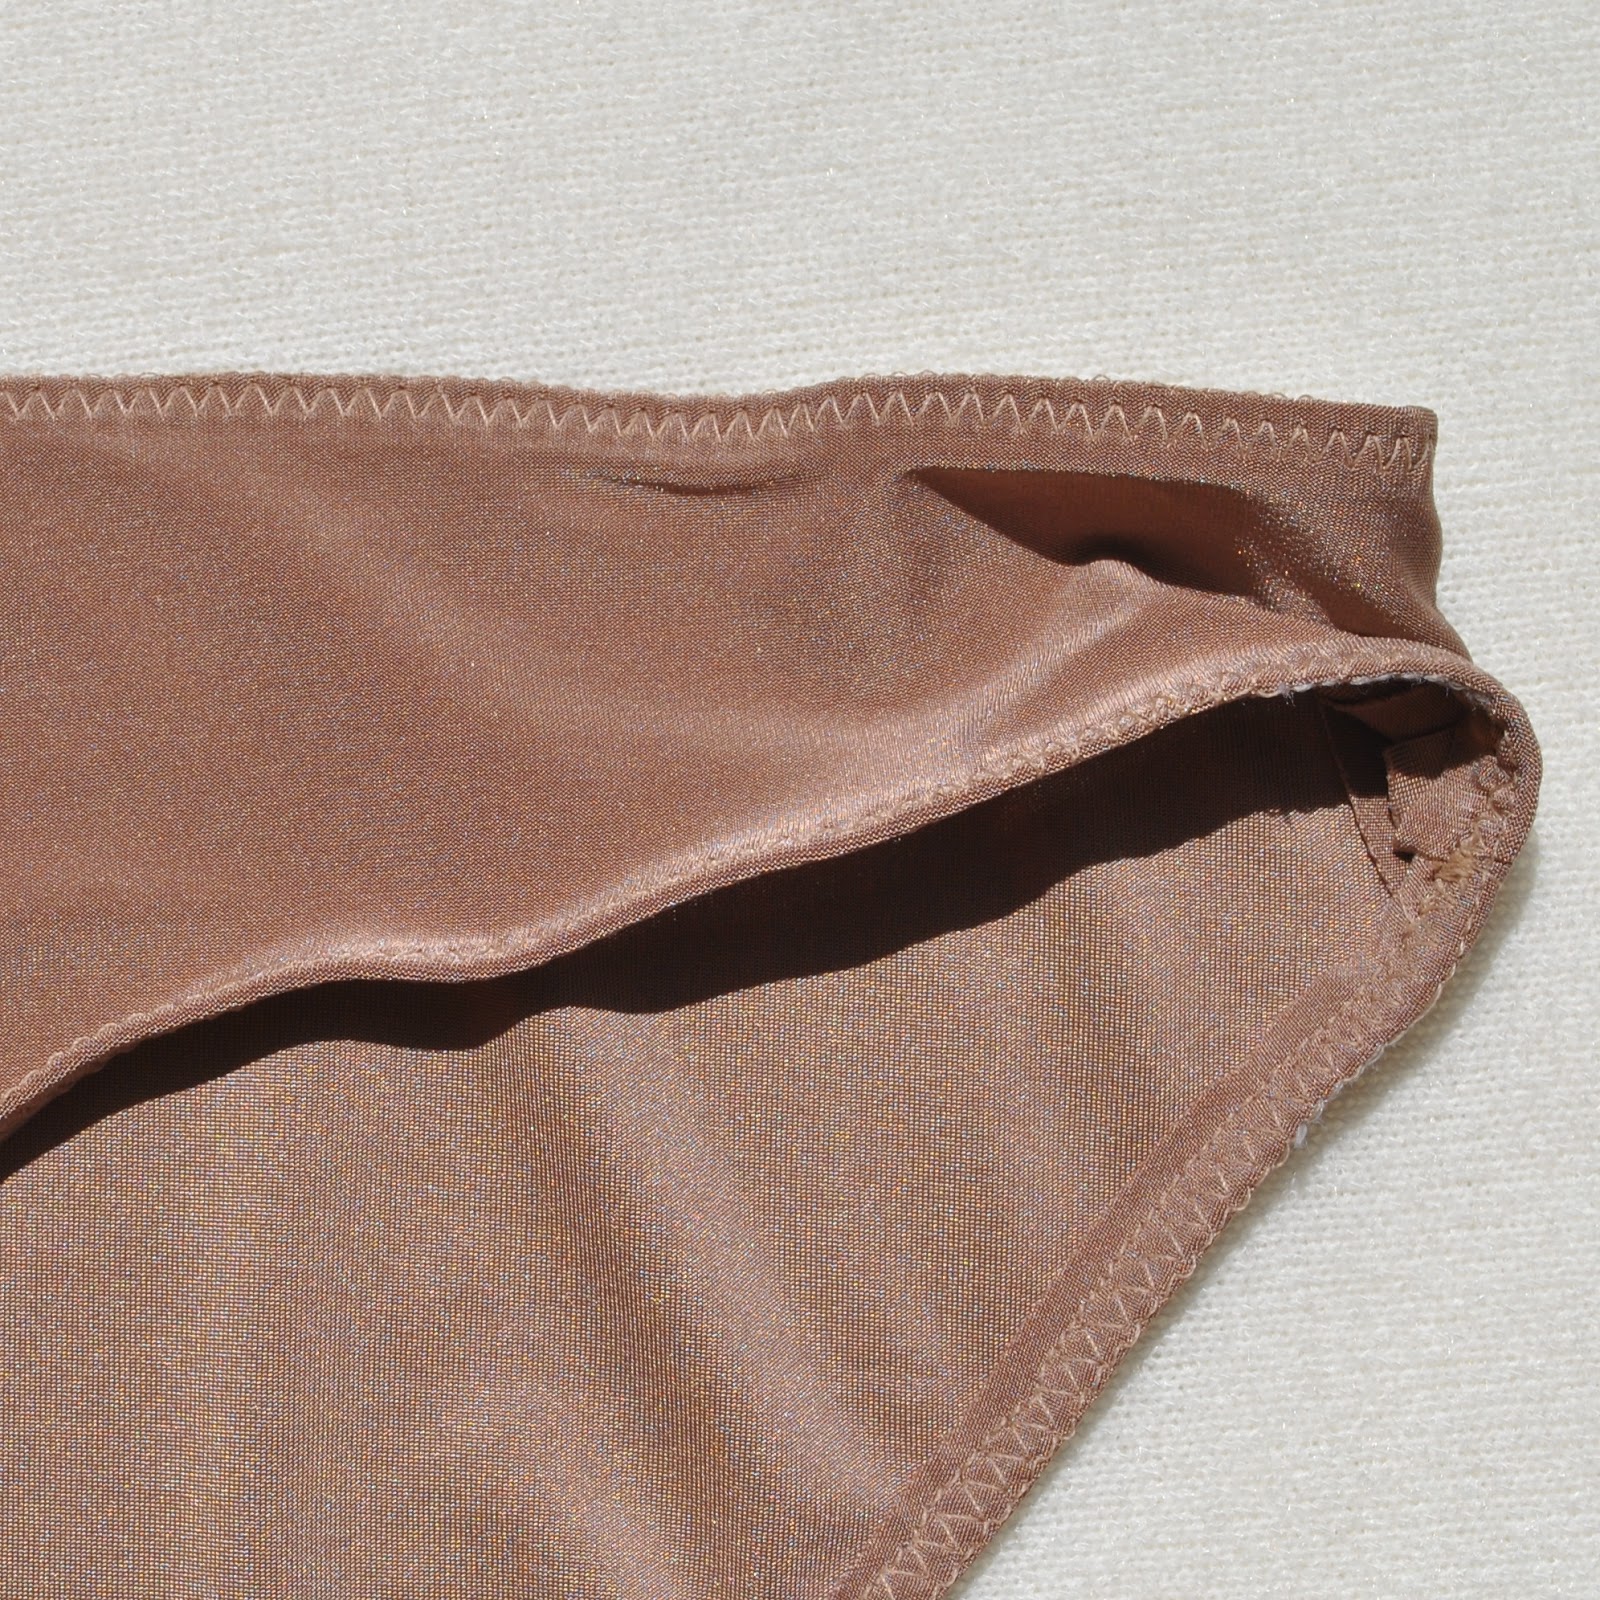
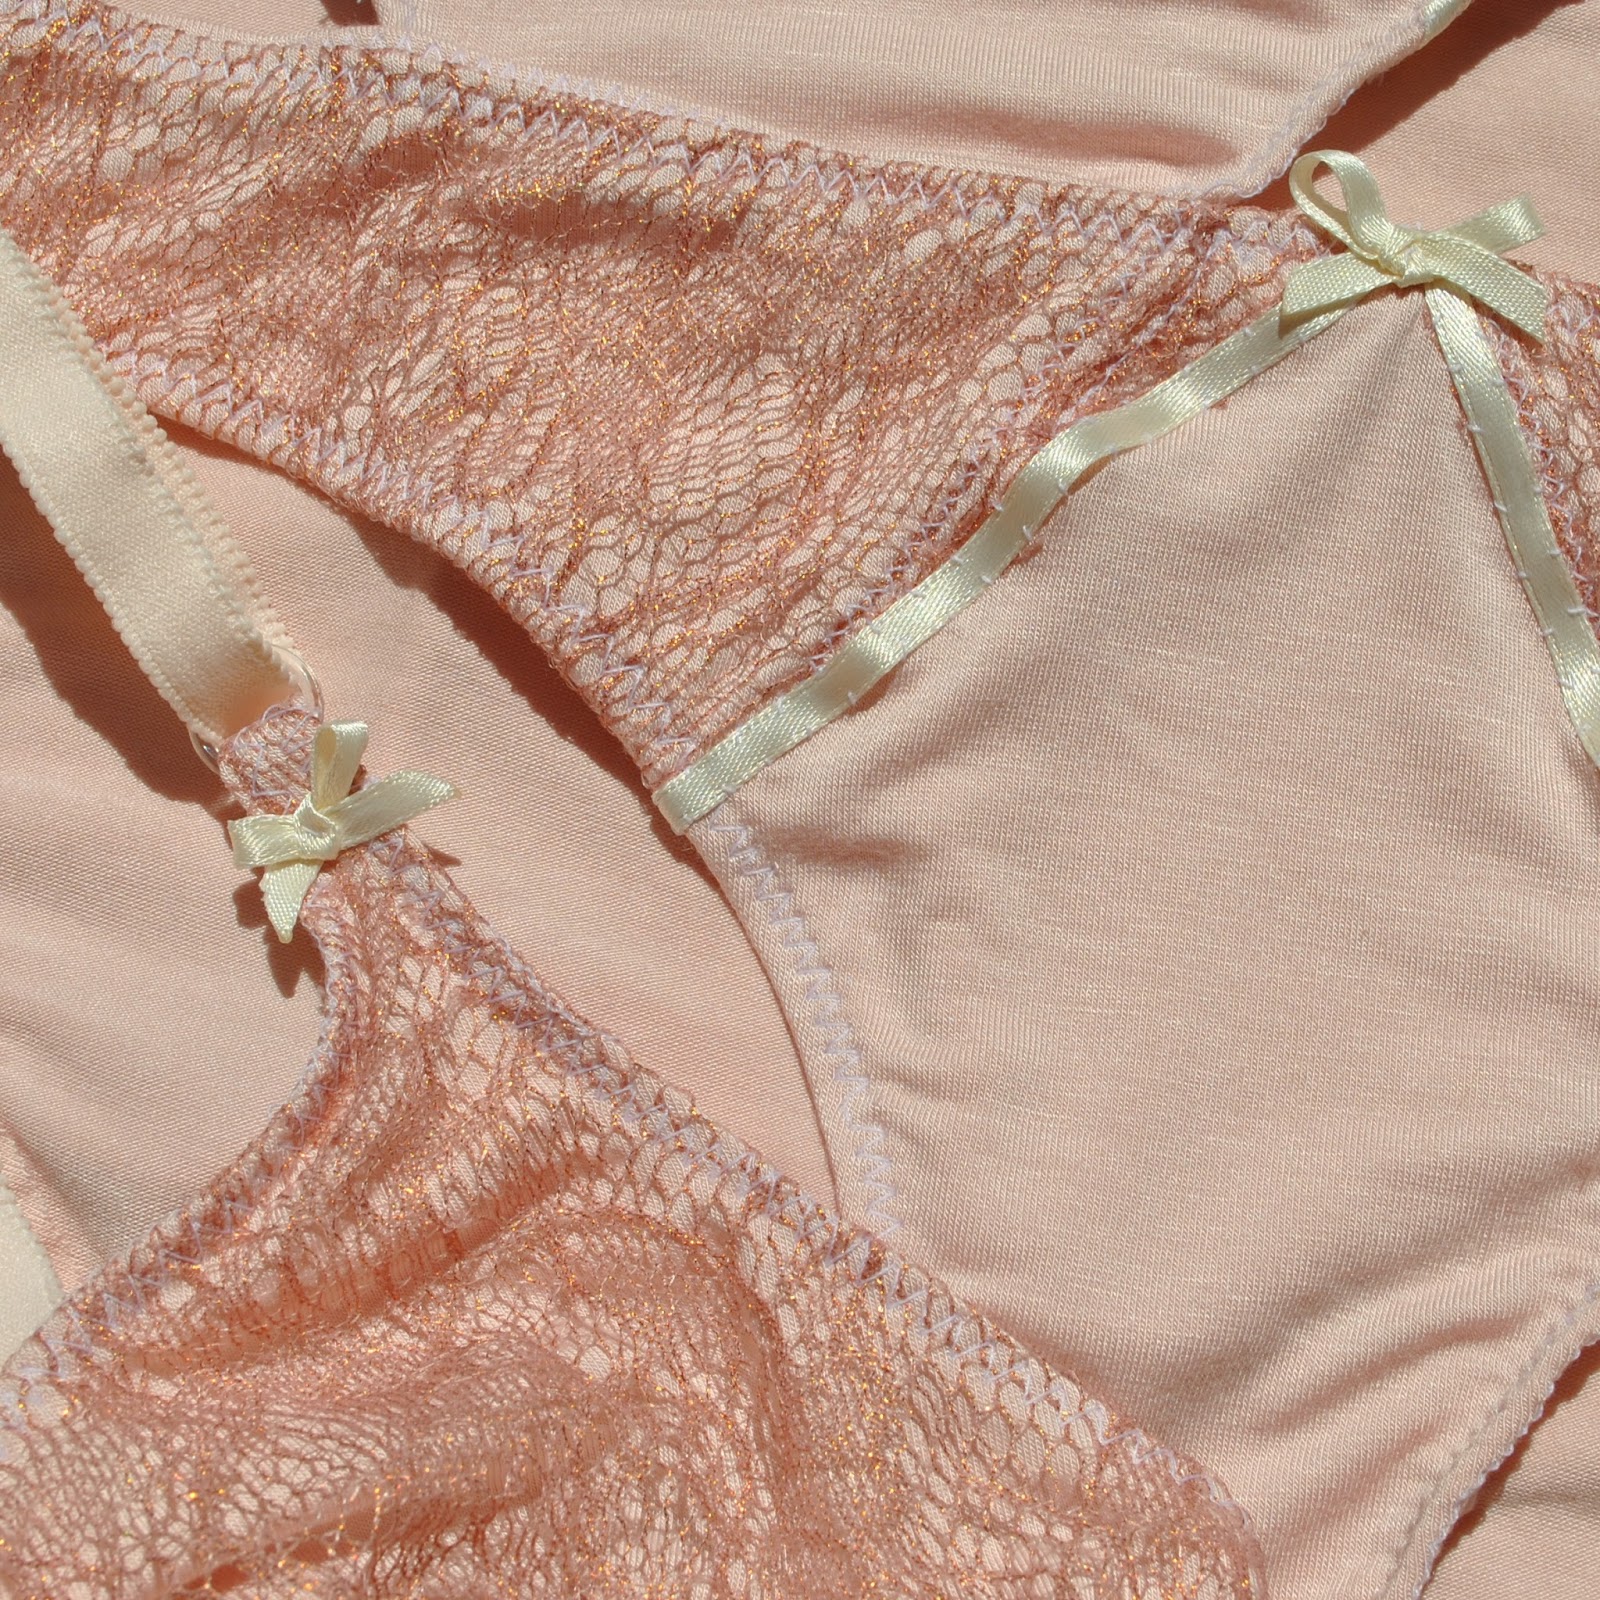
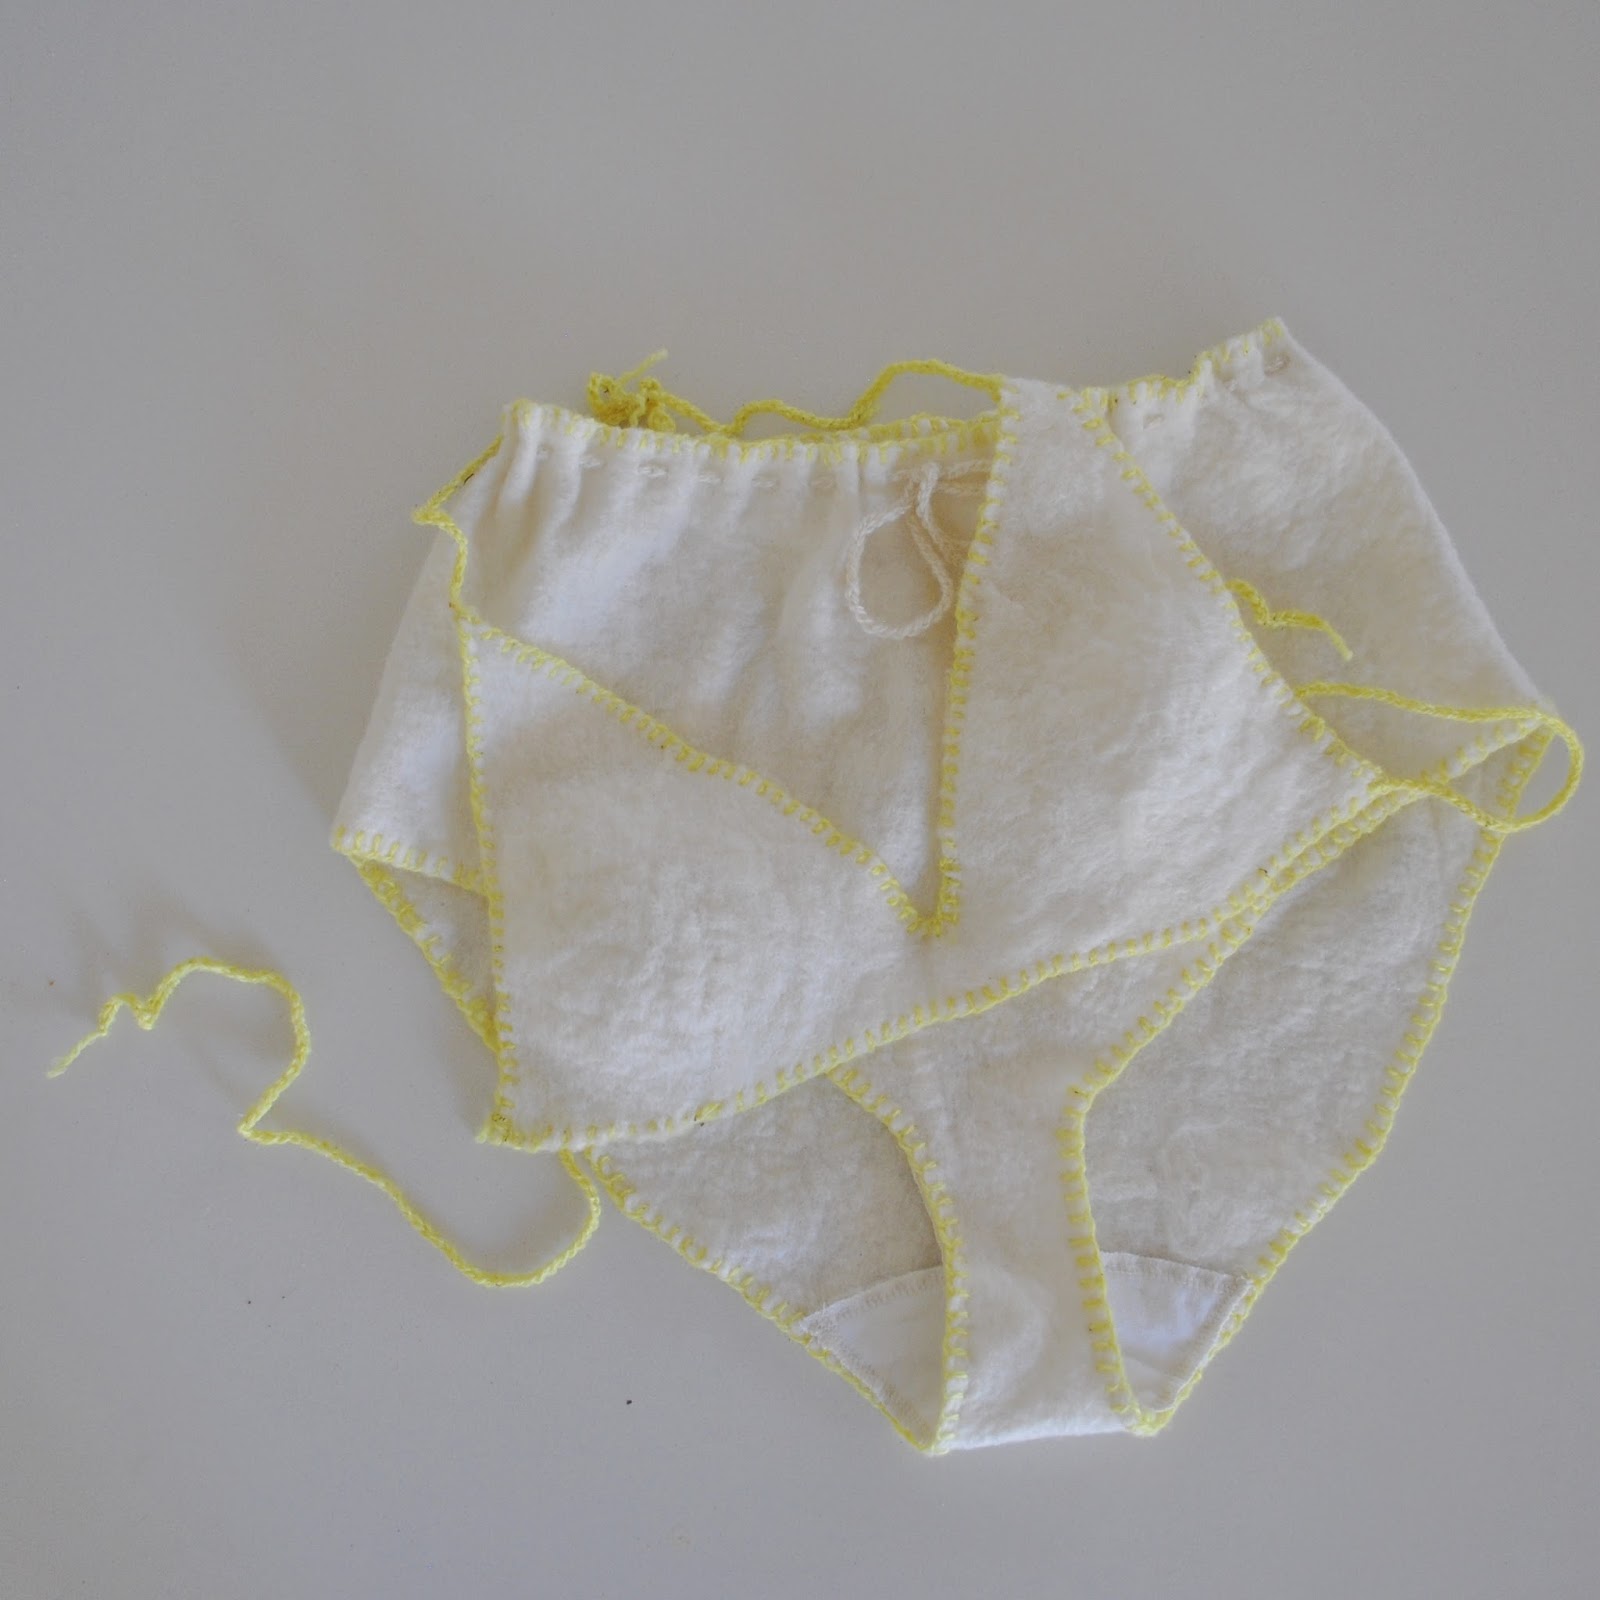
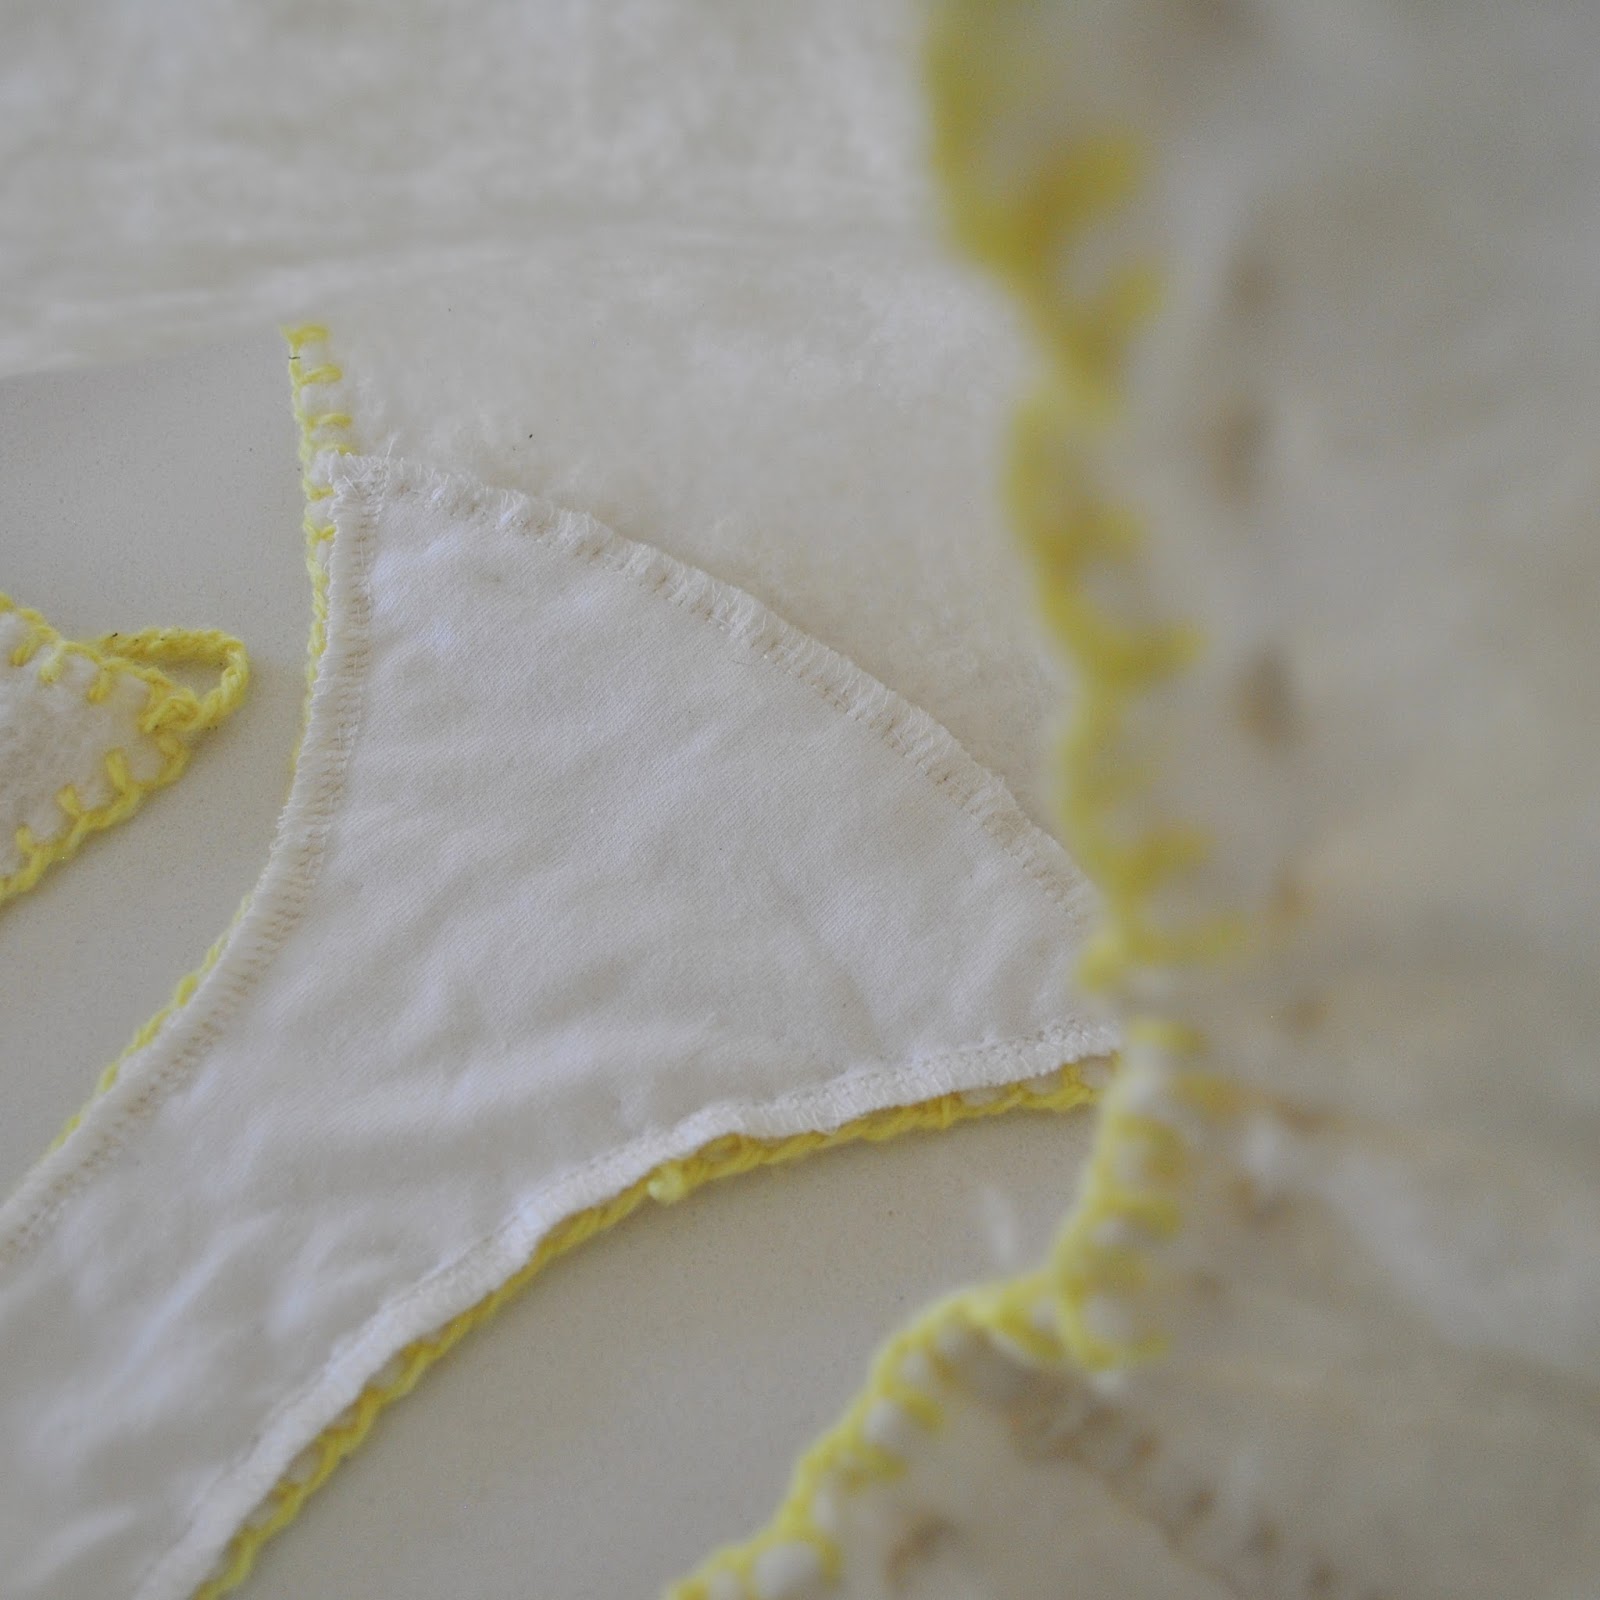
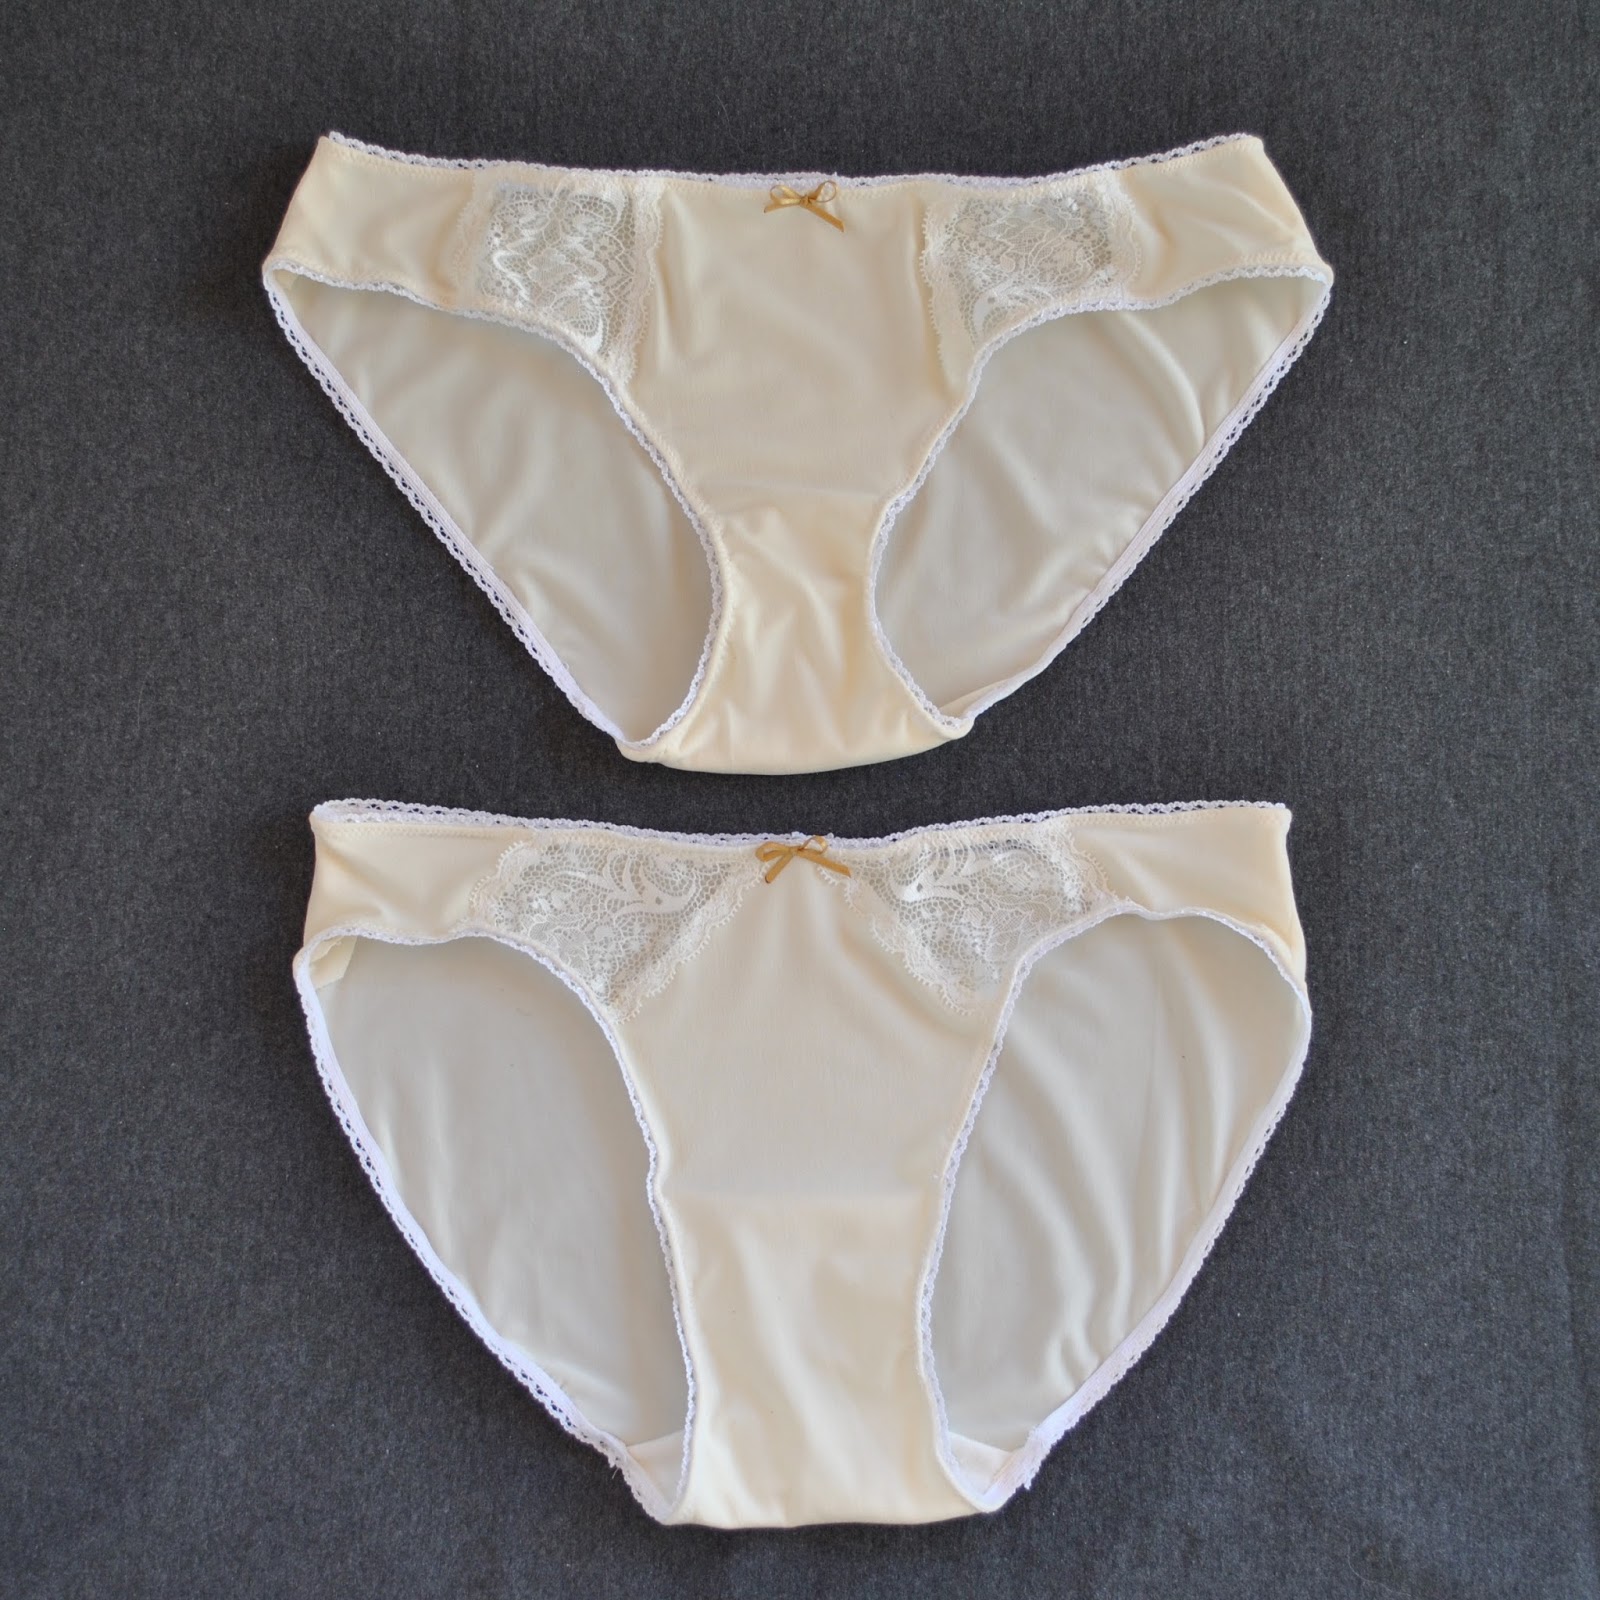
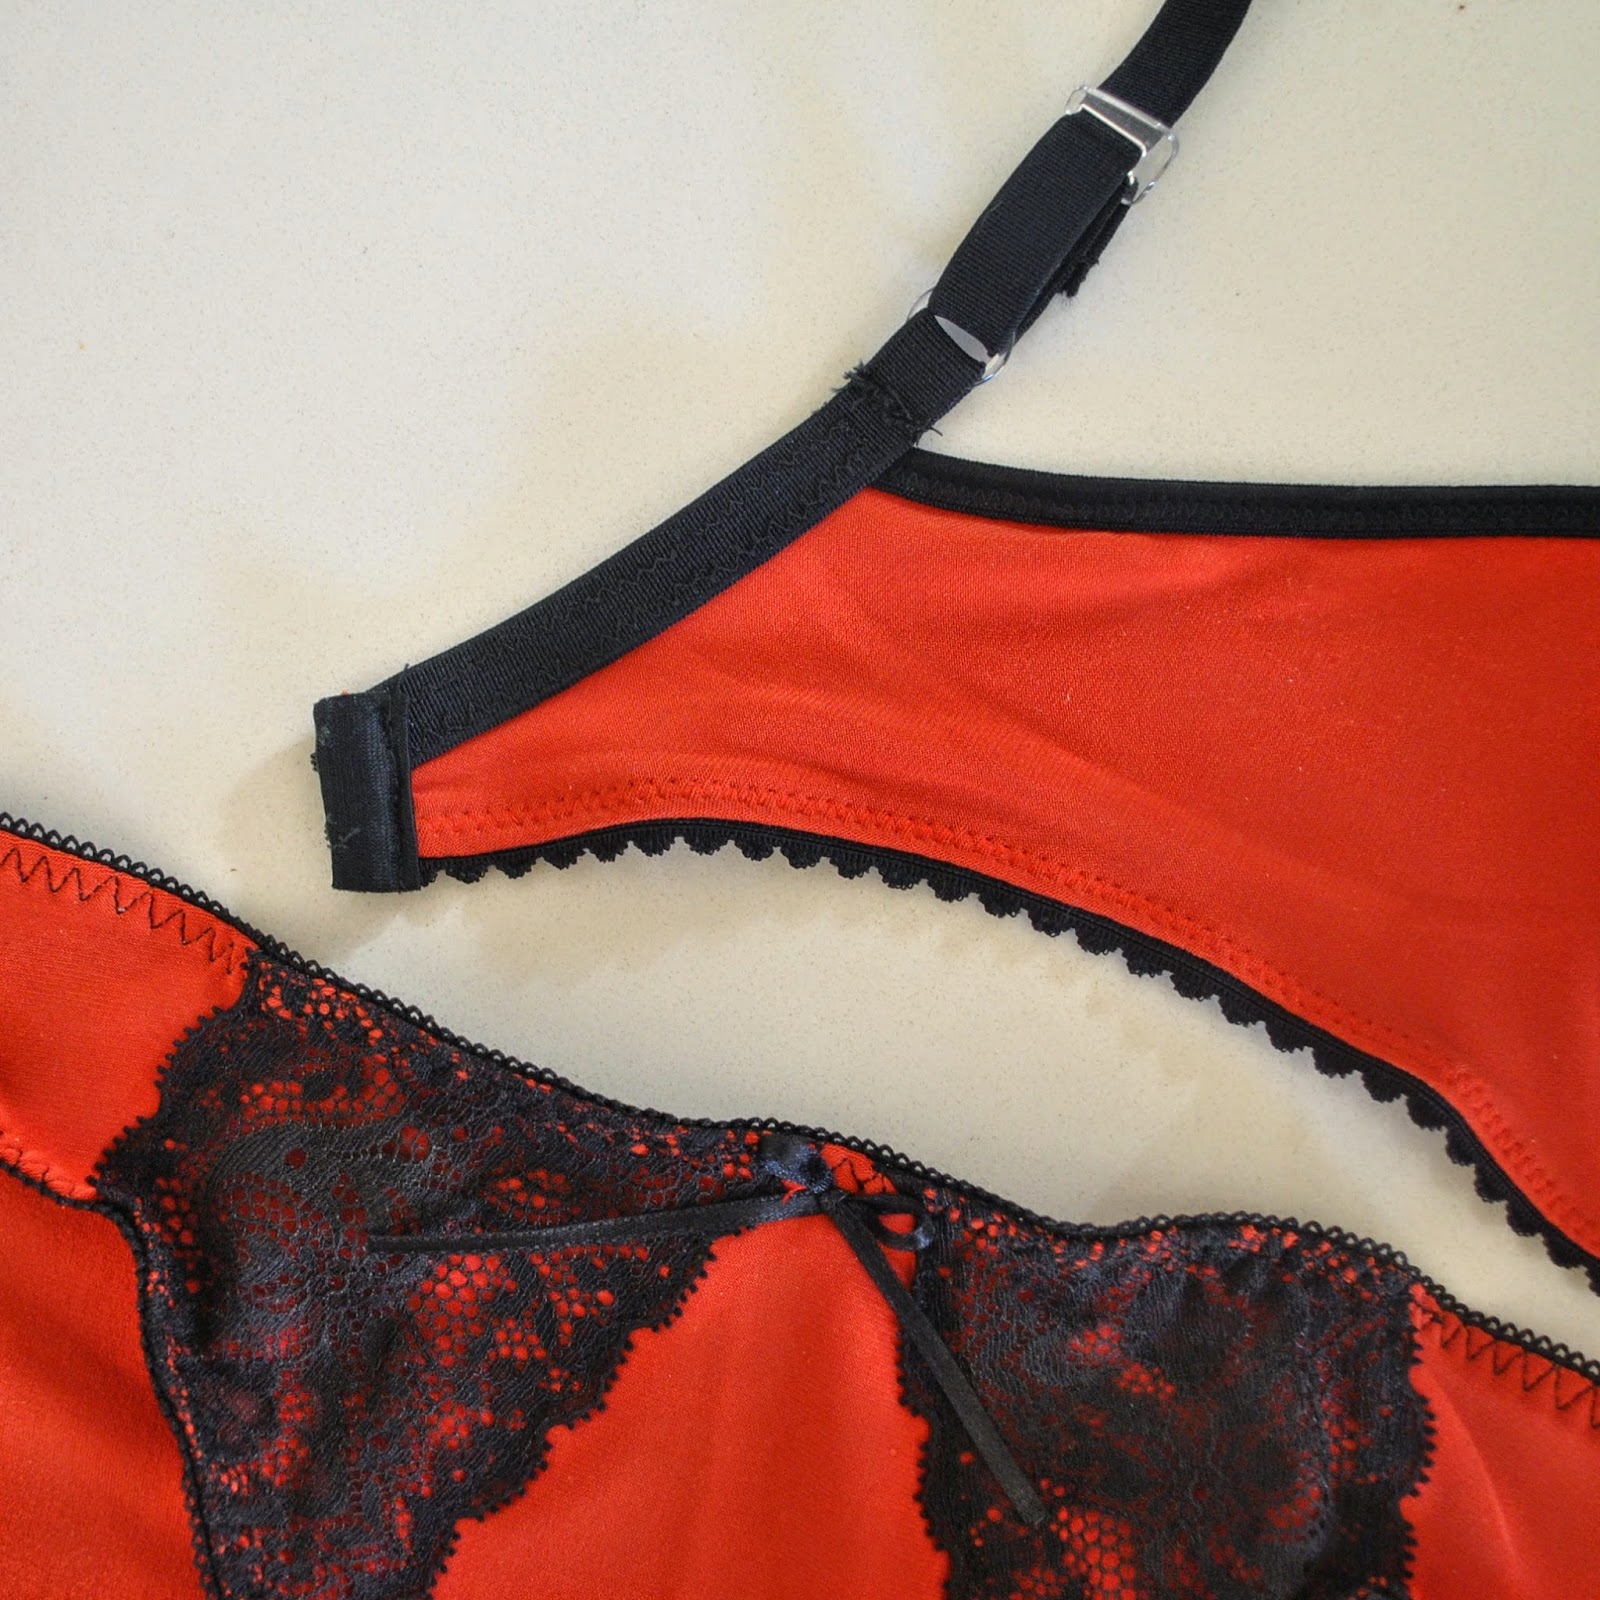
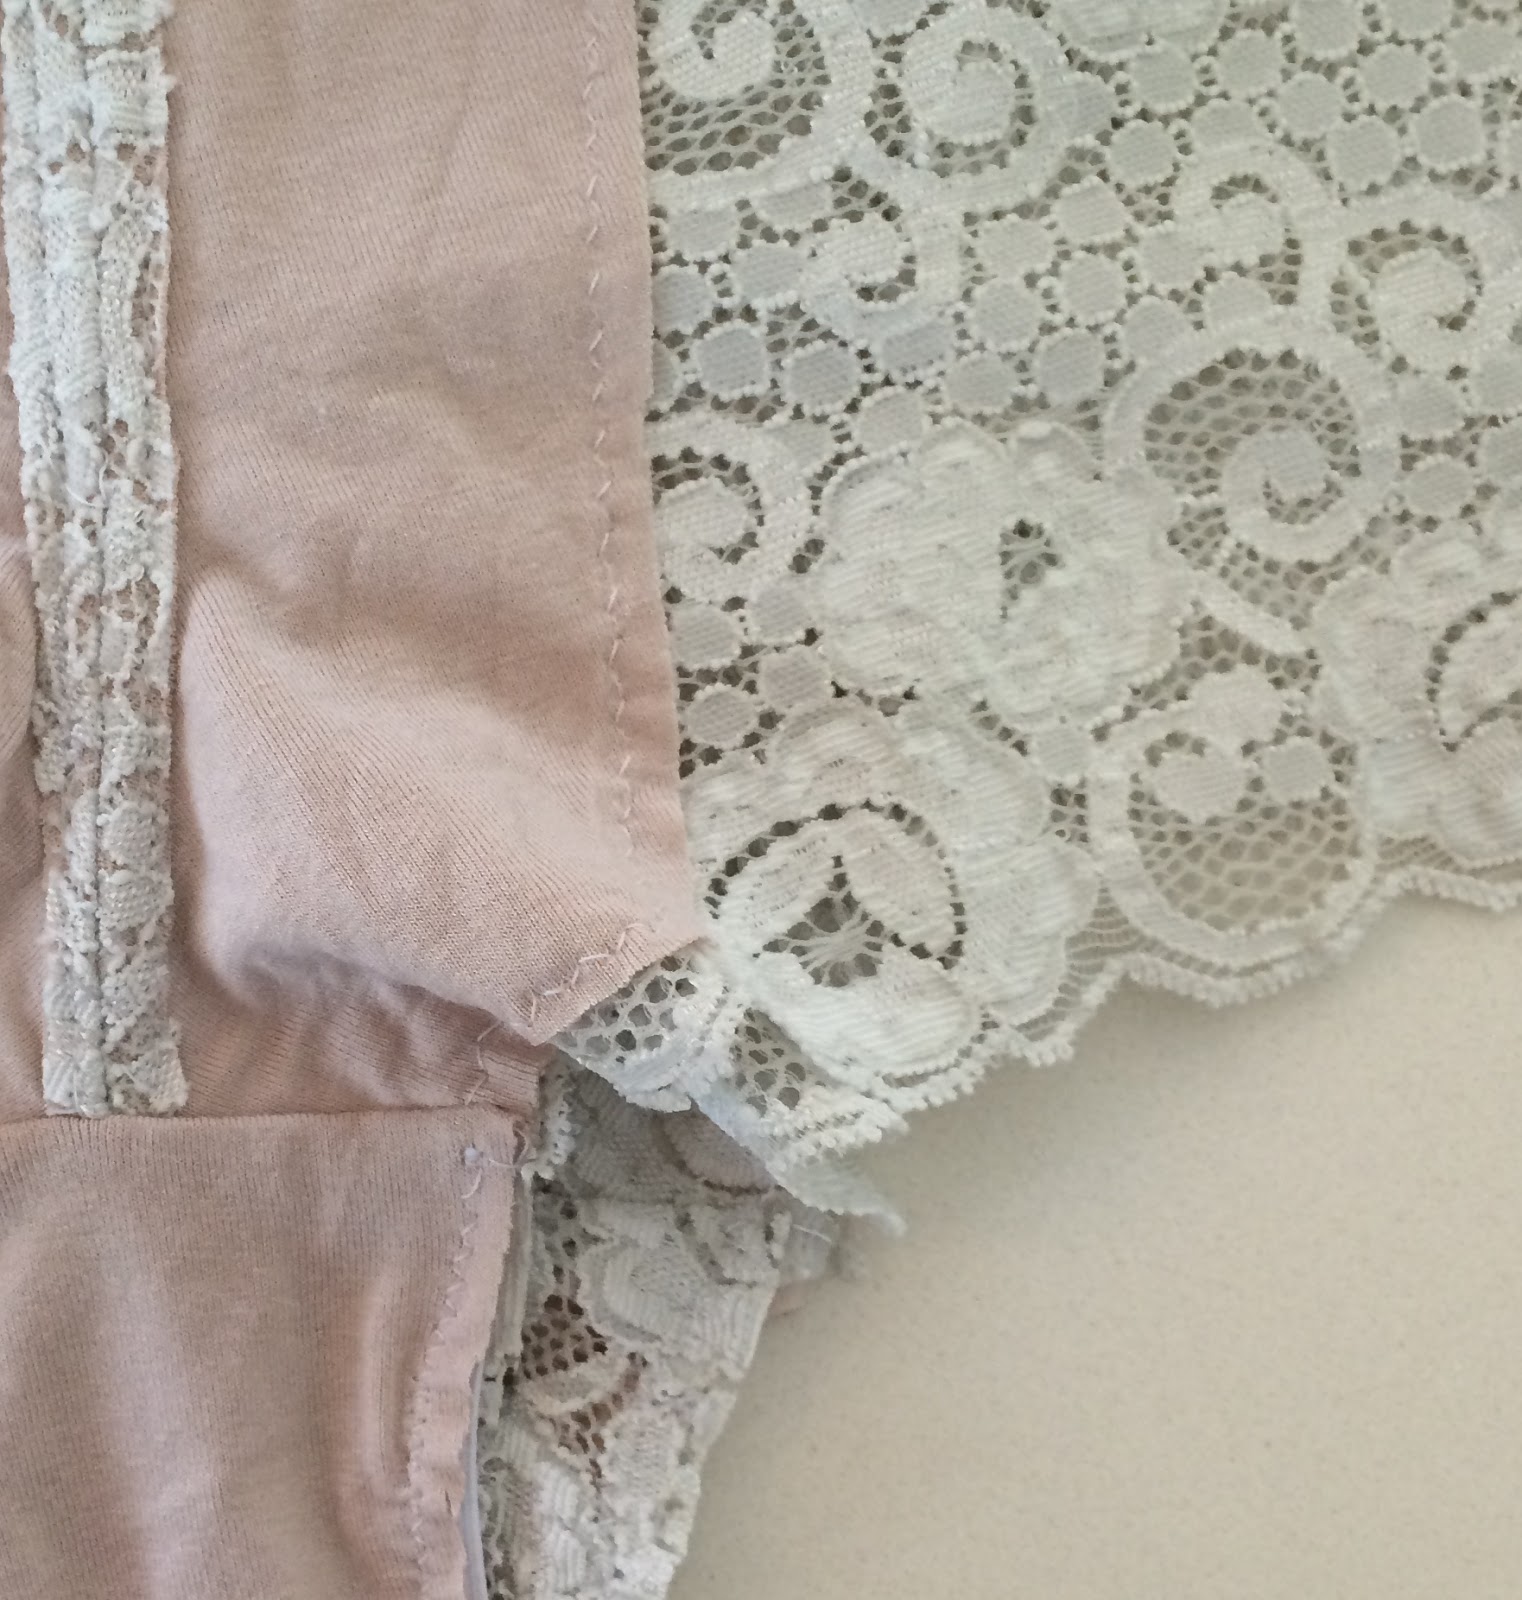
The last time I made Tanga undies I discovered what a bad bad bad idea it was to situate a longitudinal seam in the crotch area … worst design concept, evah! anyway, I wrote about how I fixed that first pair by cutting out a new, seamless crotch using the liner piece. SO MUCH BETTER, and I did the same for this pair too. I cut two lengths of 5mm elastic to be 10% shorter than the side edges and zig-zagged it along the edges, between the lace and beige jersey liner. I know from experience that this is about 1000000 times more comfortable than to do it like the pattern tells you.

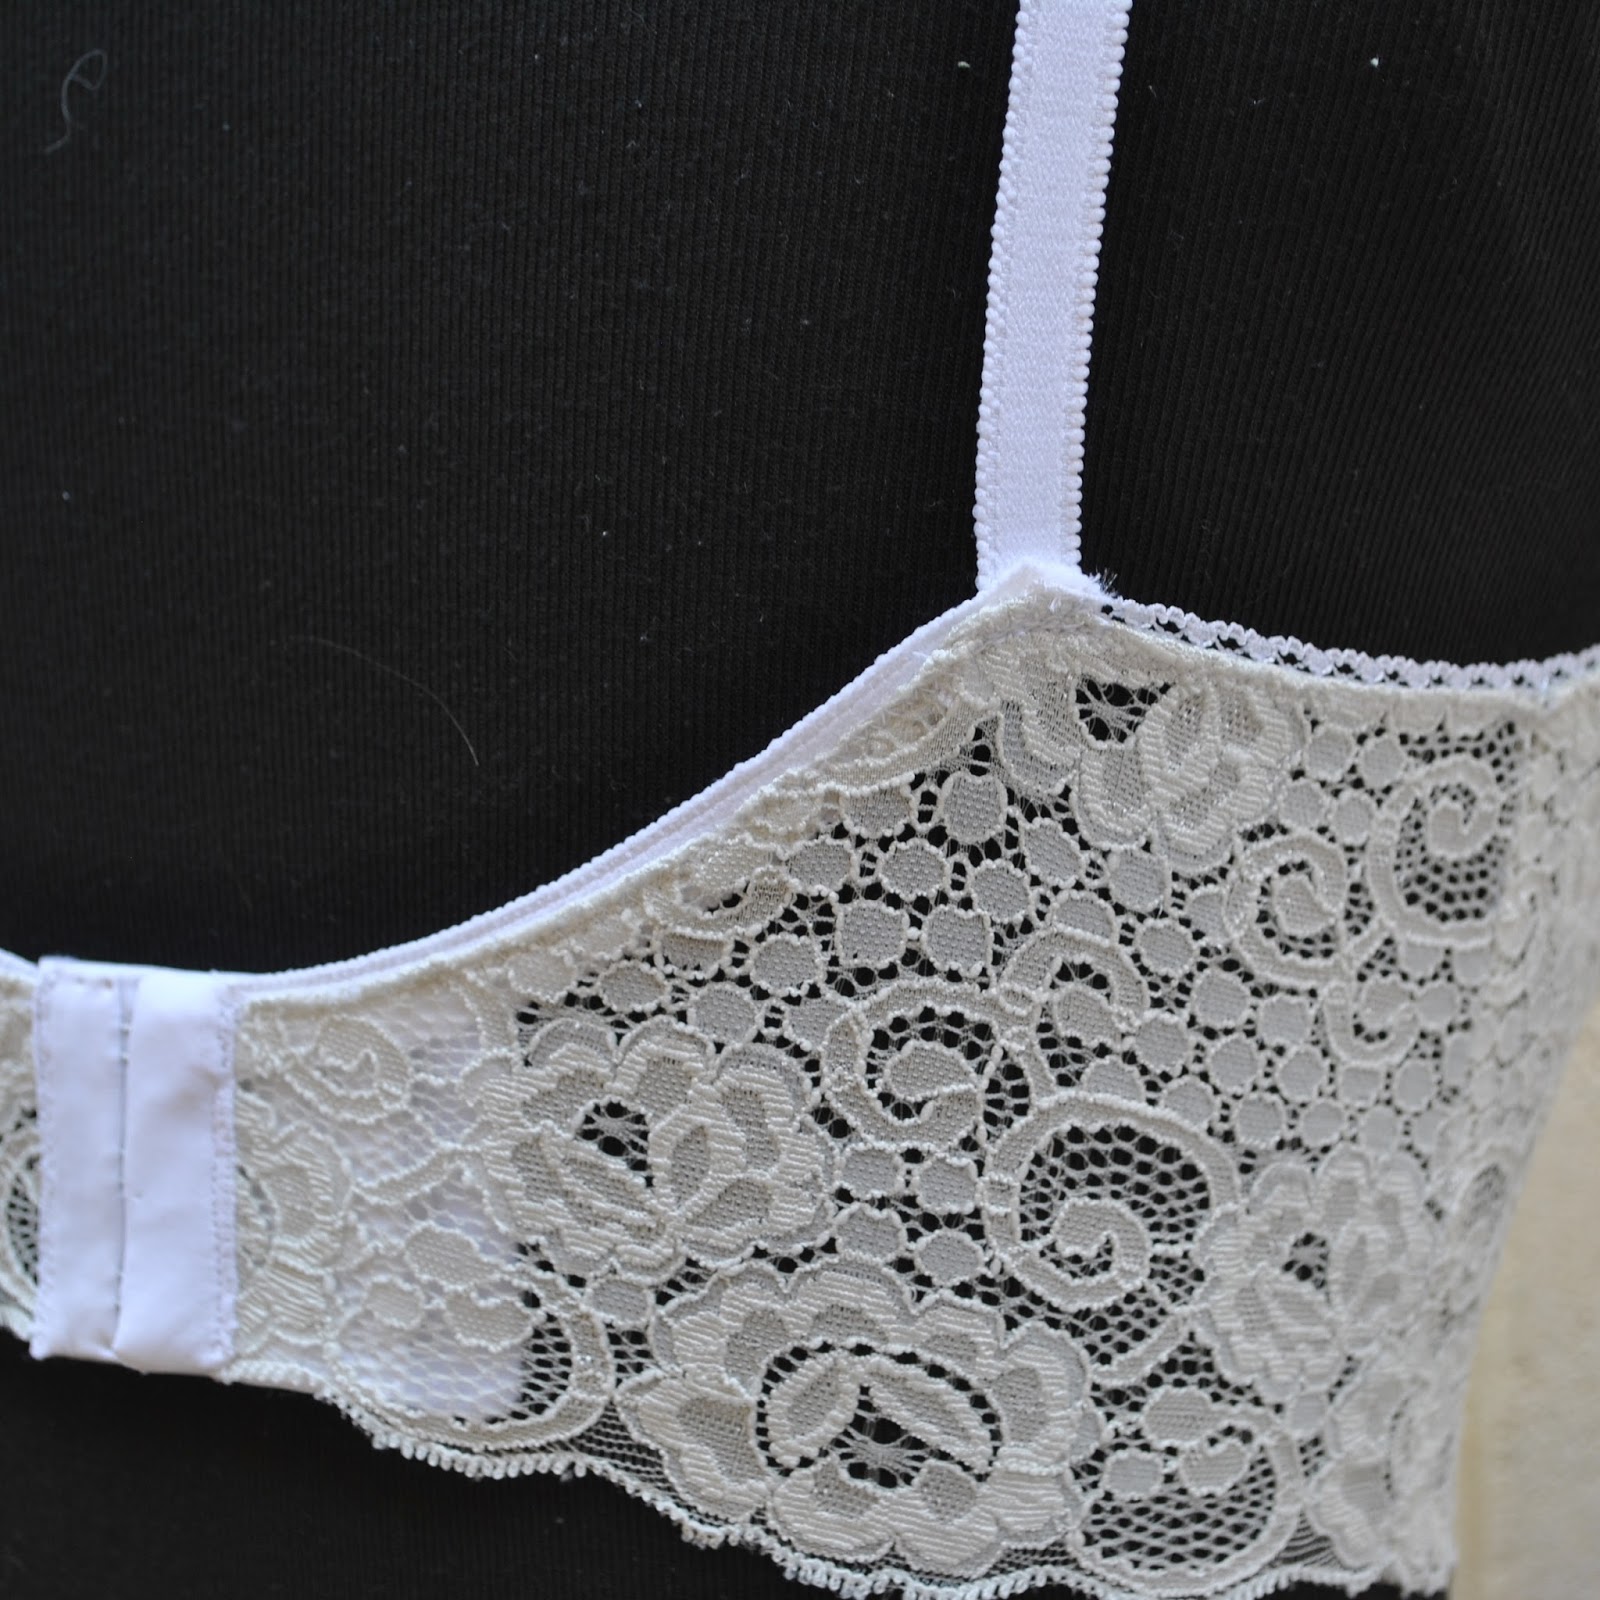
I used beige jersey to line the bra cups and knickers liner as well as to partially line inside the front of the knickers. This was cut using my rotary cutter to achieve sharp and clean-cut edges, and is simply zig-zagged down inside the lace. This stuff is a very good match to my skin colour so it was such a great find! Note to self; remember to keep checking Fabulous Fabrics to see if they get any more in stock…
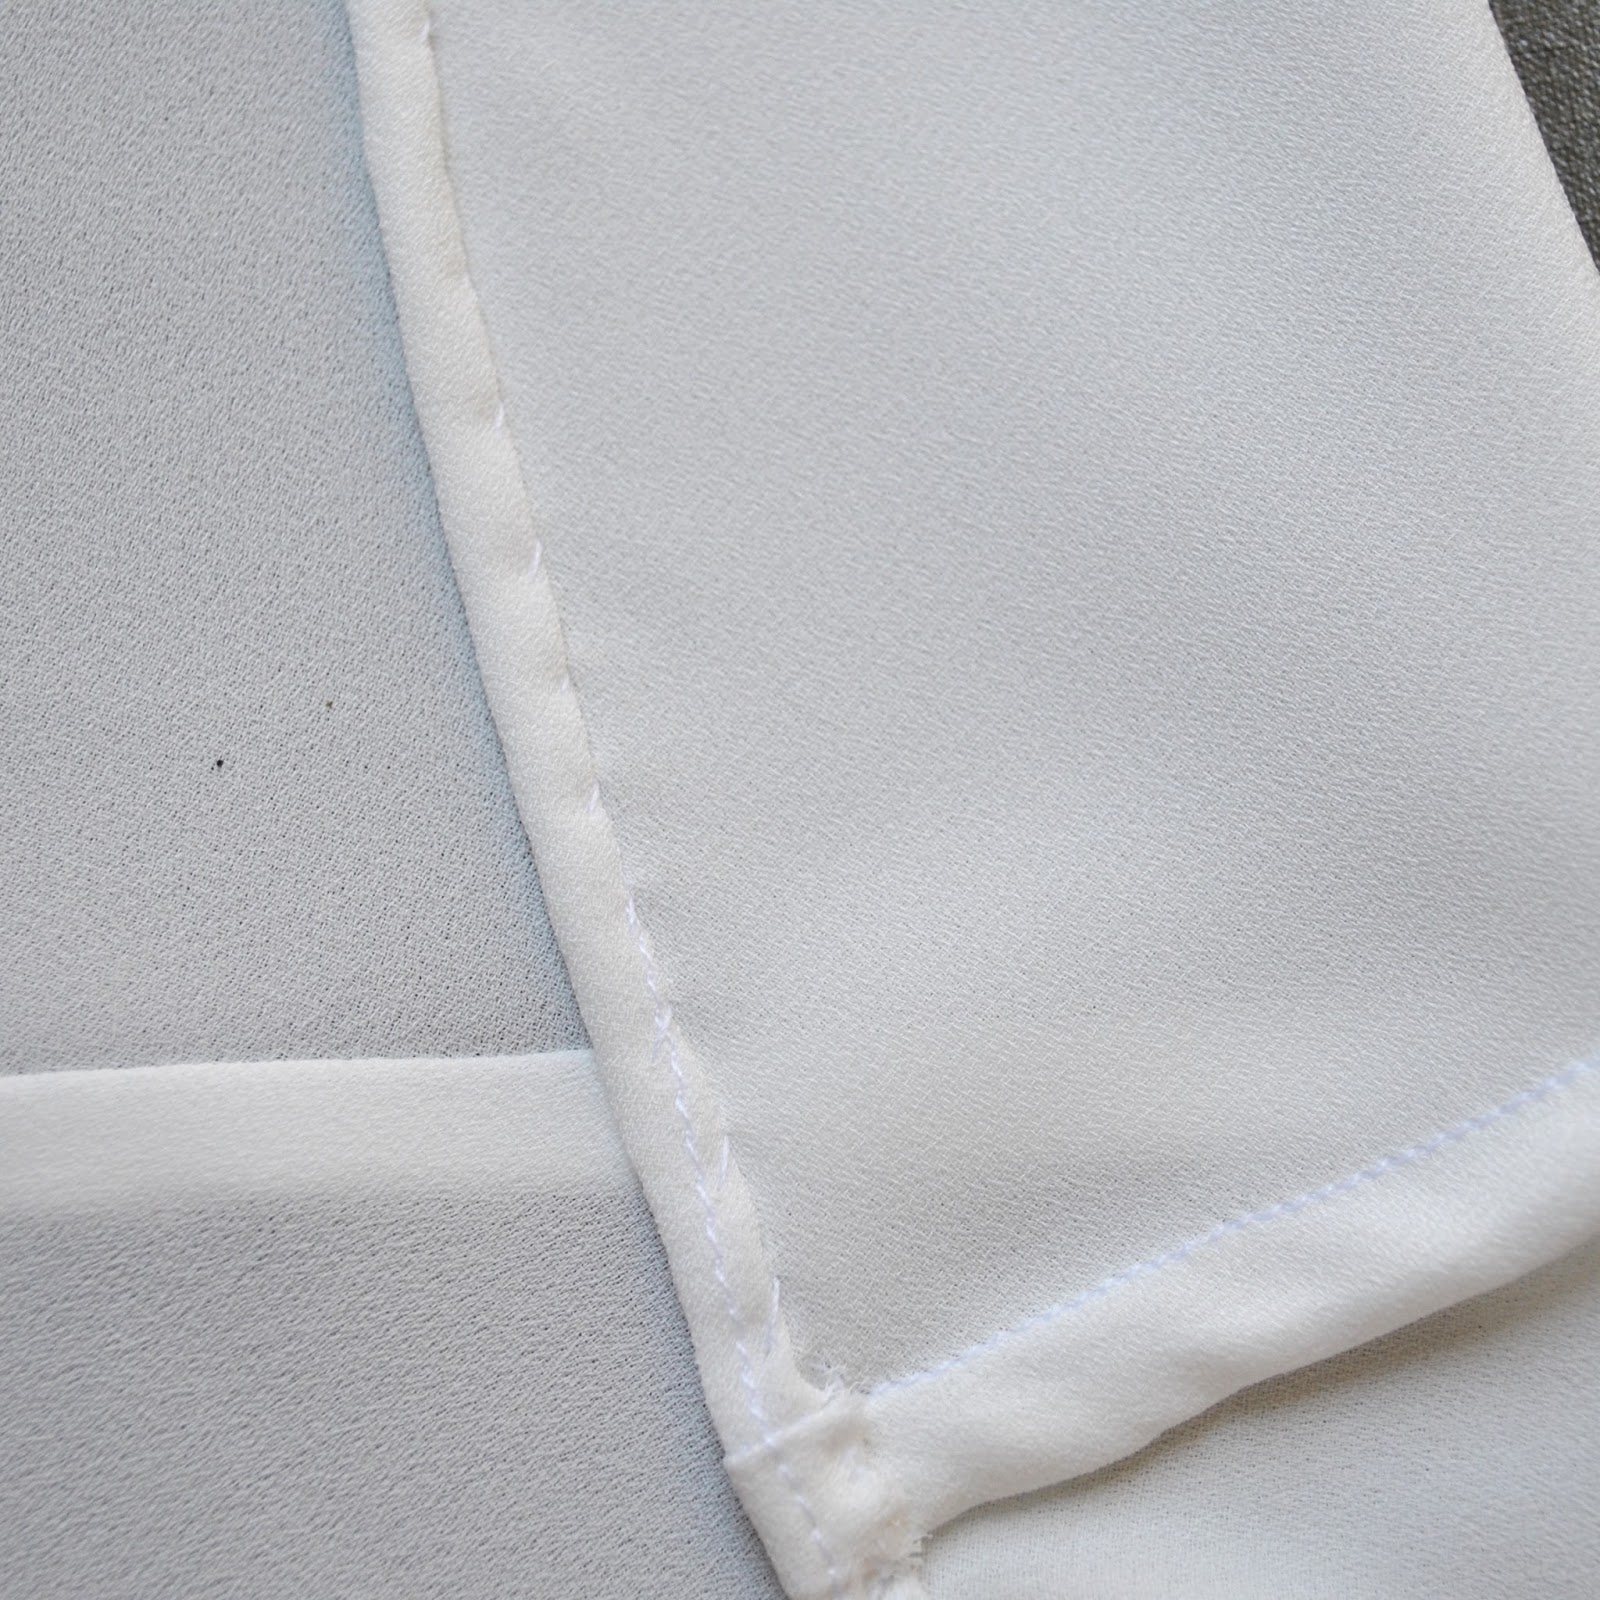
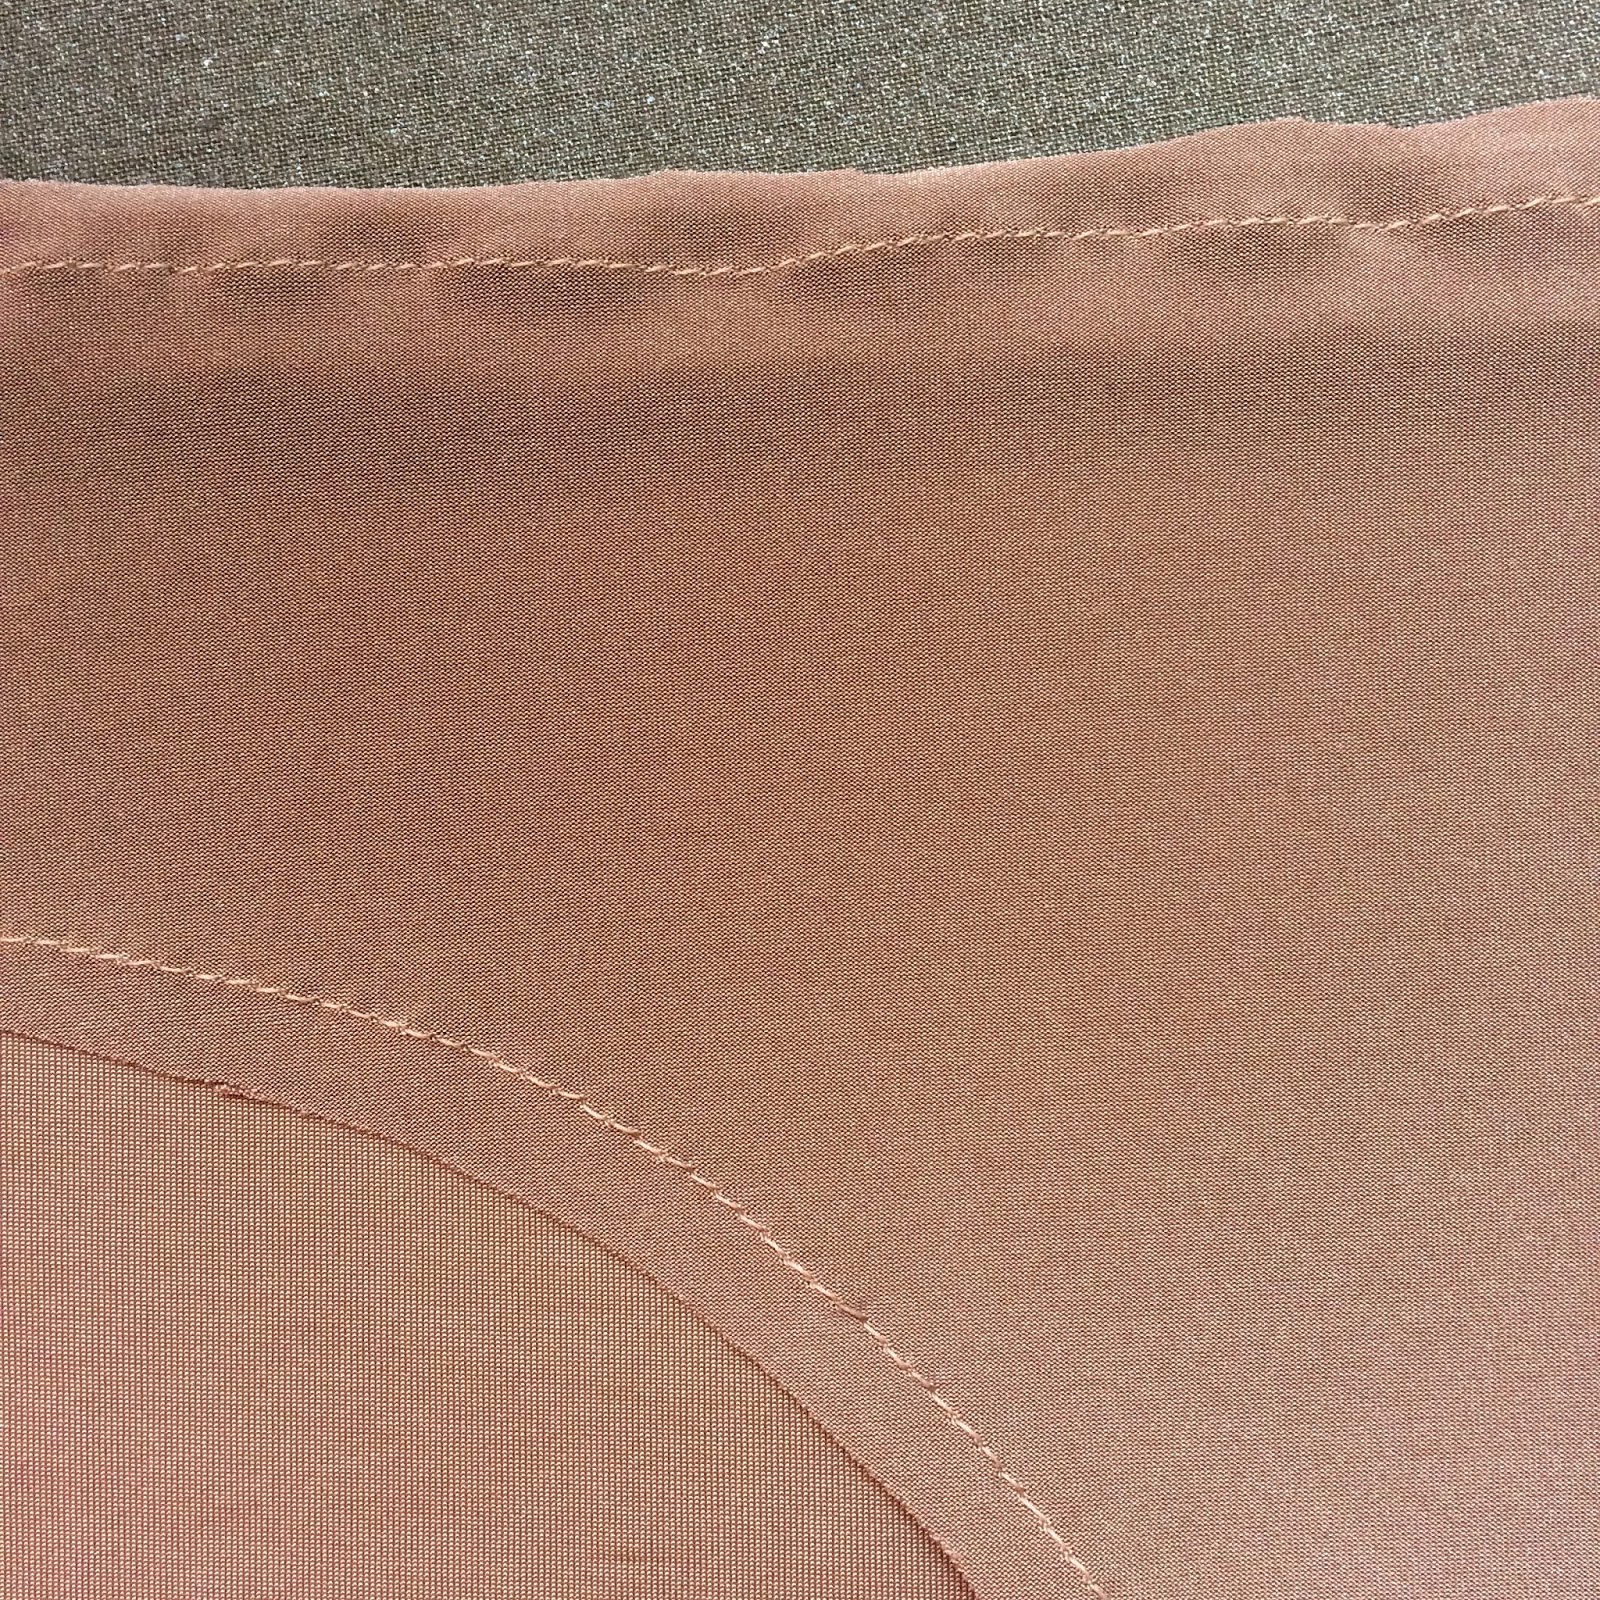
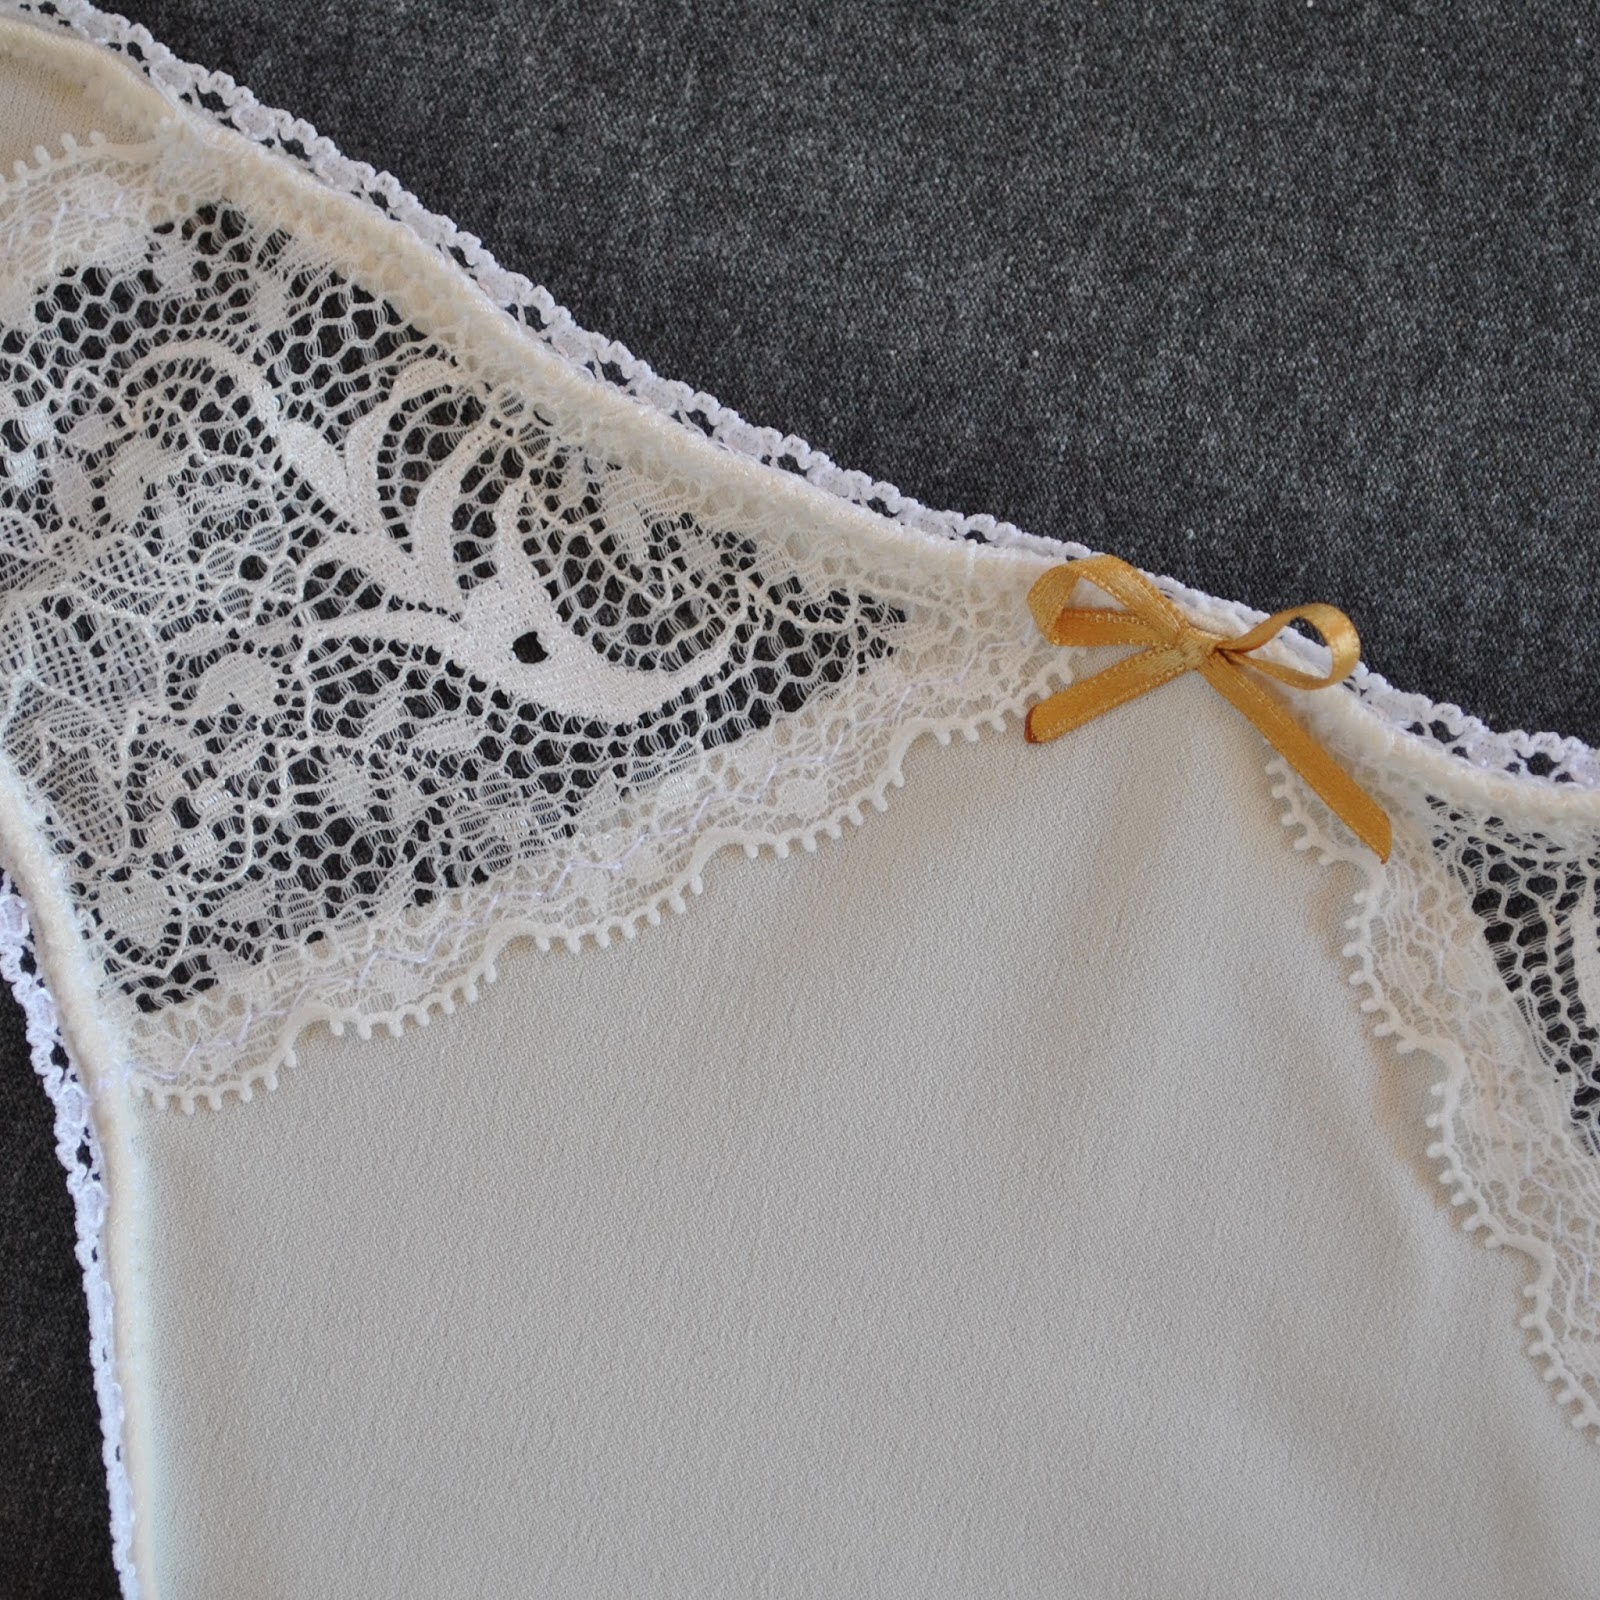
Having a lining also helps to hide the seams, because I treated it like an underlining; the lace/linings seams are inside the garments and not between the layers. I LOVE having the neatest insides possible but sometimes you just have to sacrifice the insides for the outsides, haha.
I know, weird, right? Who even does that?!!
I faux-felled all the seams on the inside, by stitching them down lightly and trimming the raw edges close to the stitching. This is not as neat overall than if they were sandwiched between the layers but looks much better from the right side, with no seam allowances visible through the holes of the lace.
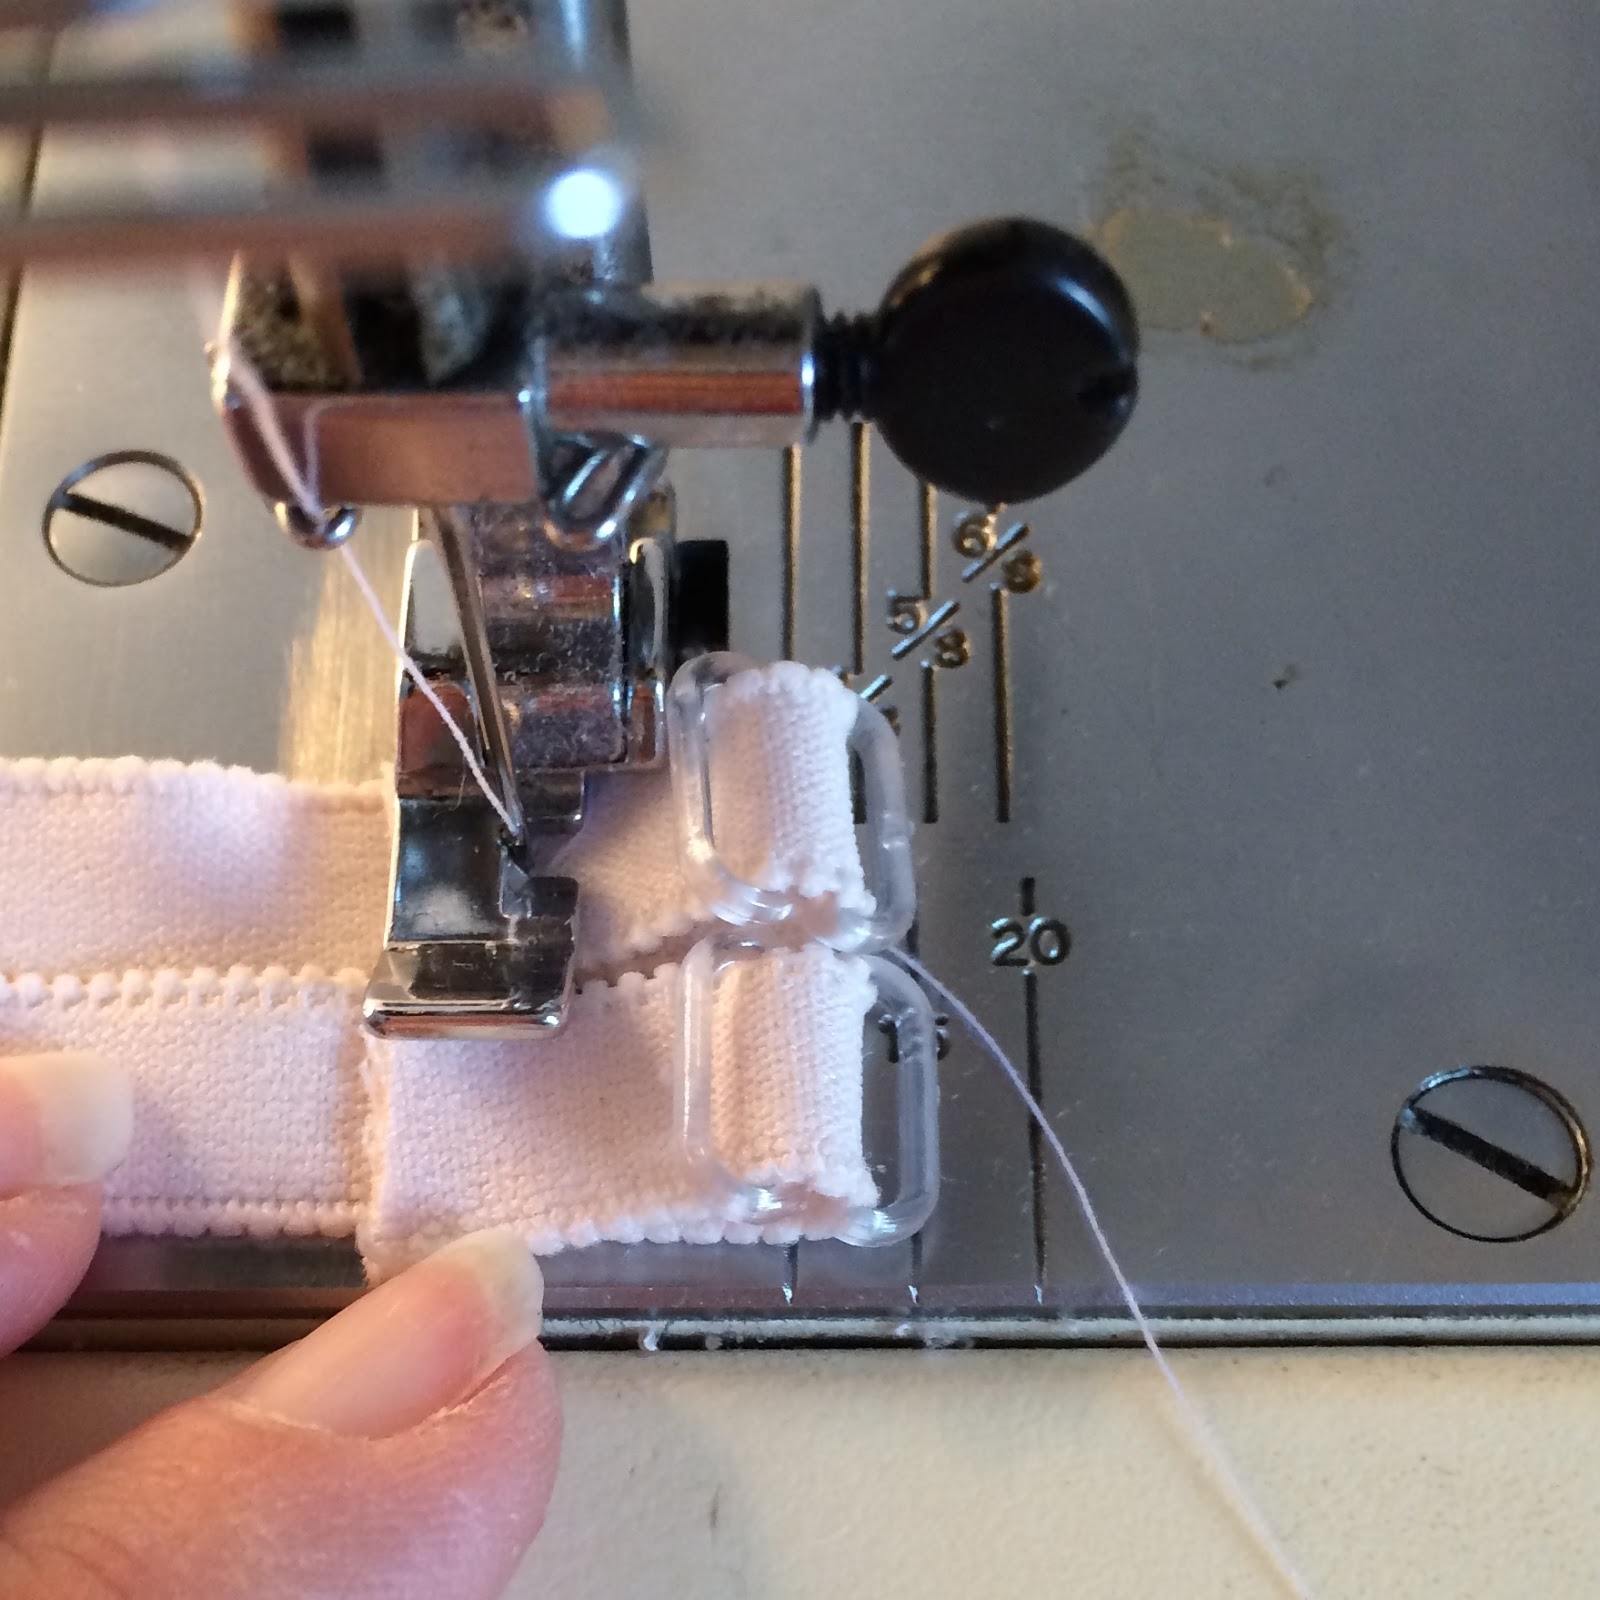
To stabilise the cup edges, I stitched short lengths of satin ribbon along the jersey edge inside.

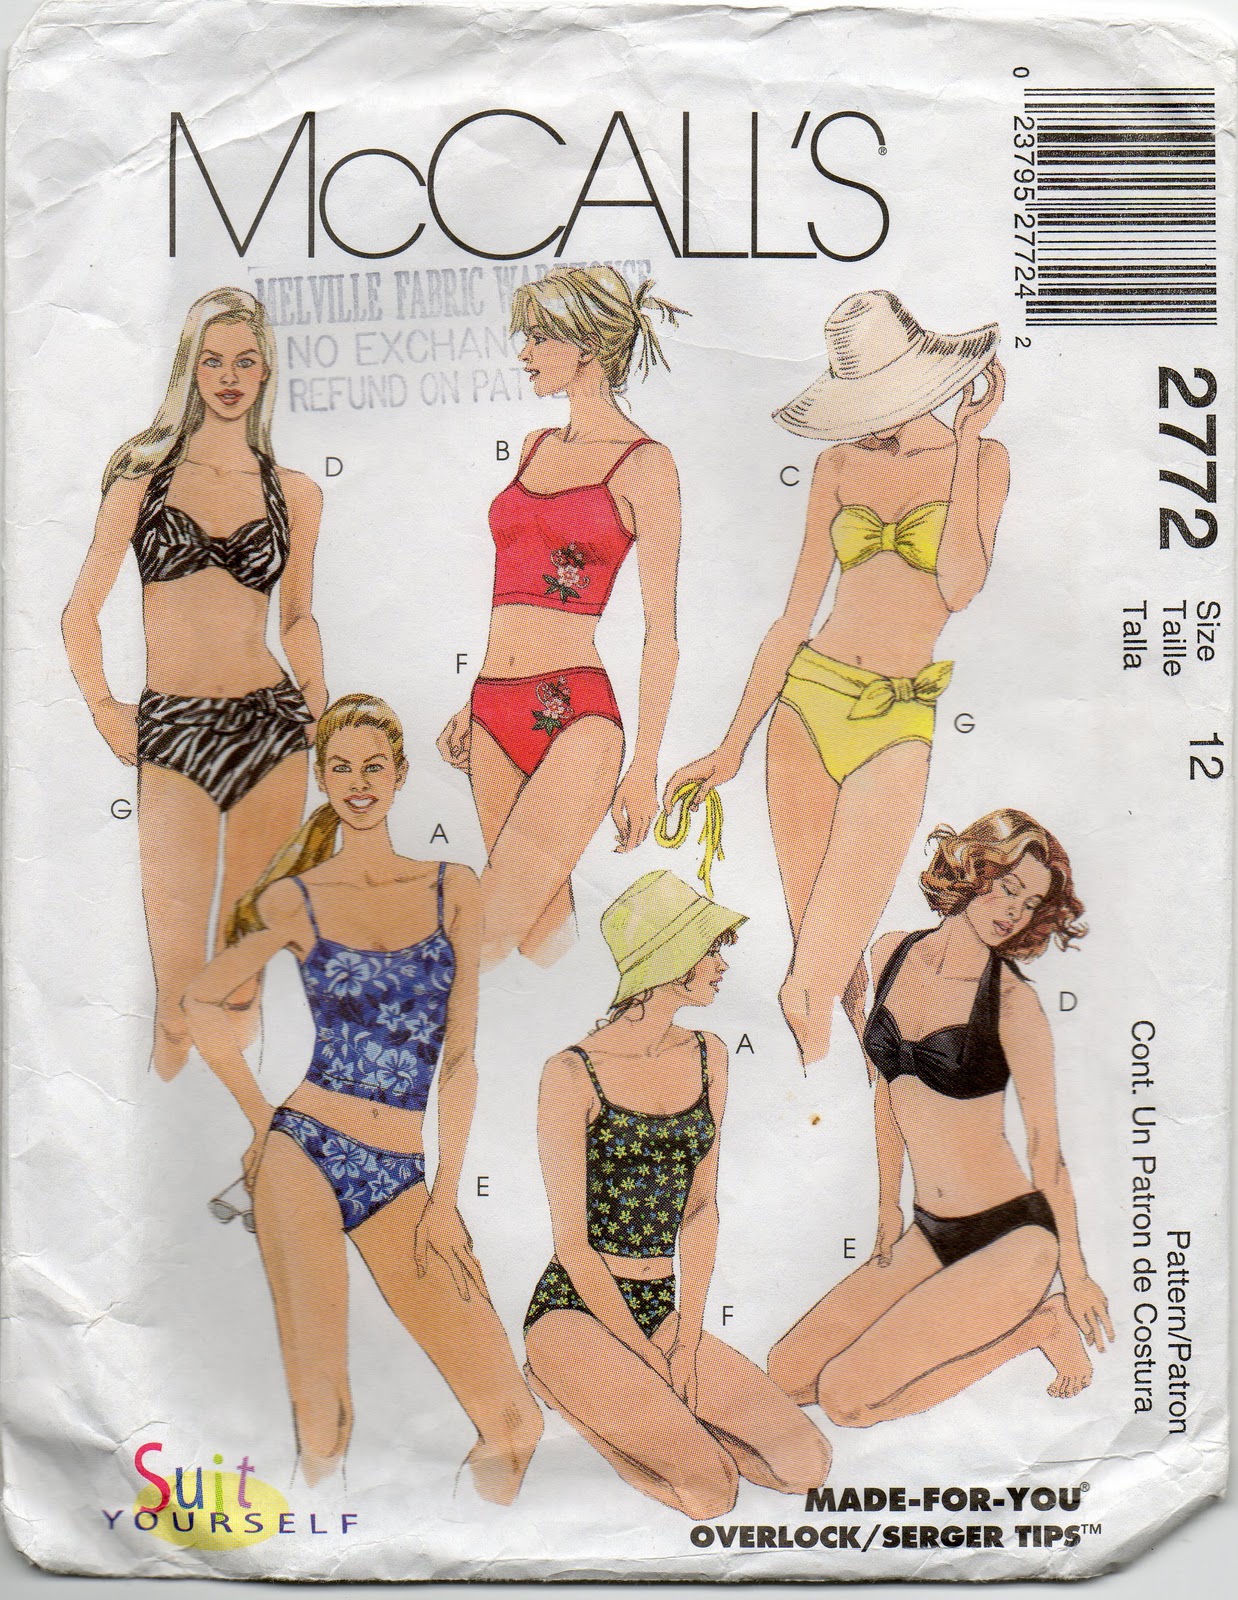
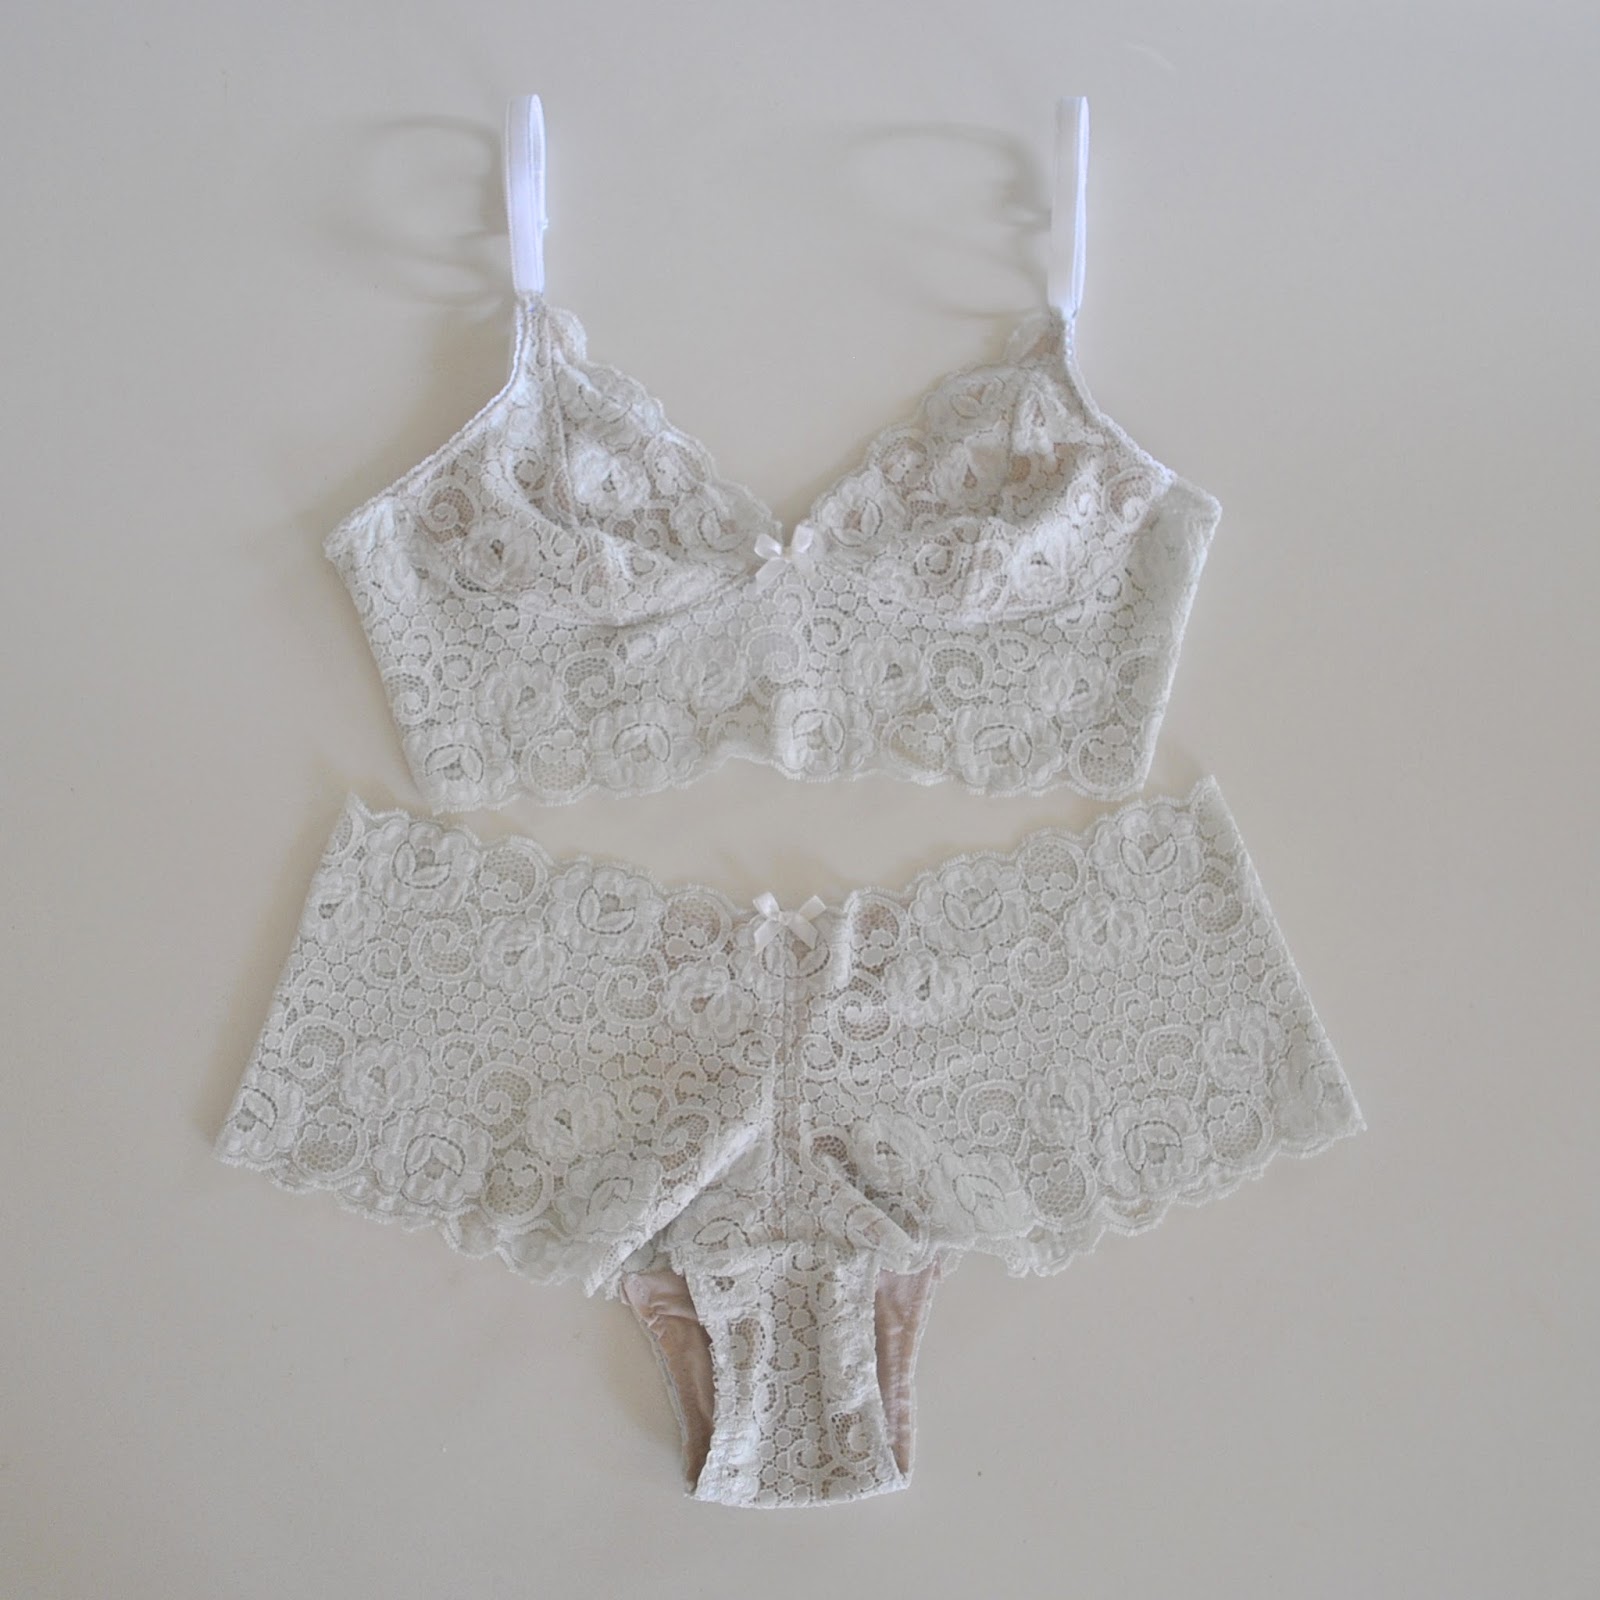
btw; that is the stock picture of the Tanga knickers above right. It makes me slightly anxious every time I look at it… however don’t let the non-pattern matching distract you, this is a cute pattern which is free and available to all; and that’s the important thing here!
Now for some housekeeping… dk’s wife, could you please email me regarding the hedgehog pattern? thanks. 🙂
Also, I’ve received lots of emails from kind readers letting me know that commenting is working only rarely on my blog… I’m so sorry! 🙁 Like everyone, I love comments! so please know, I am working on a site update to fix the problem. It may take a short while though since I’m a complete computer dummy, but I am on it!