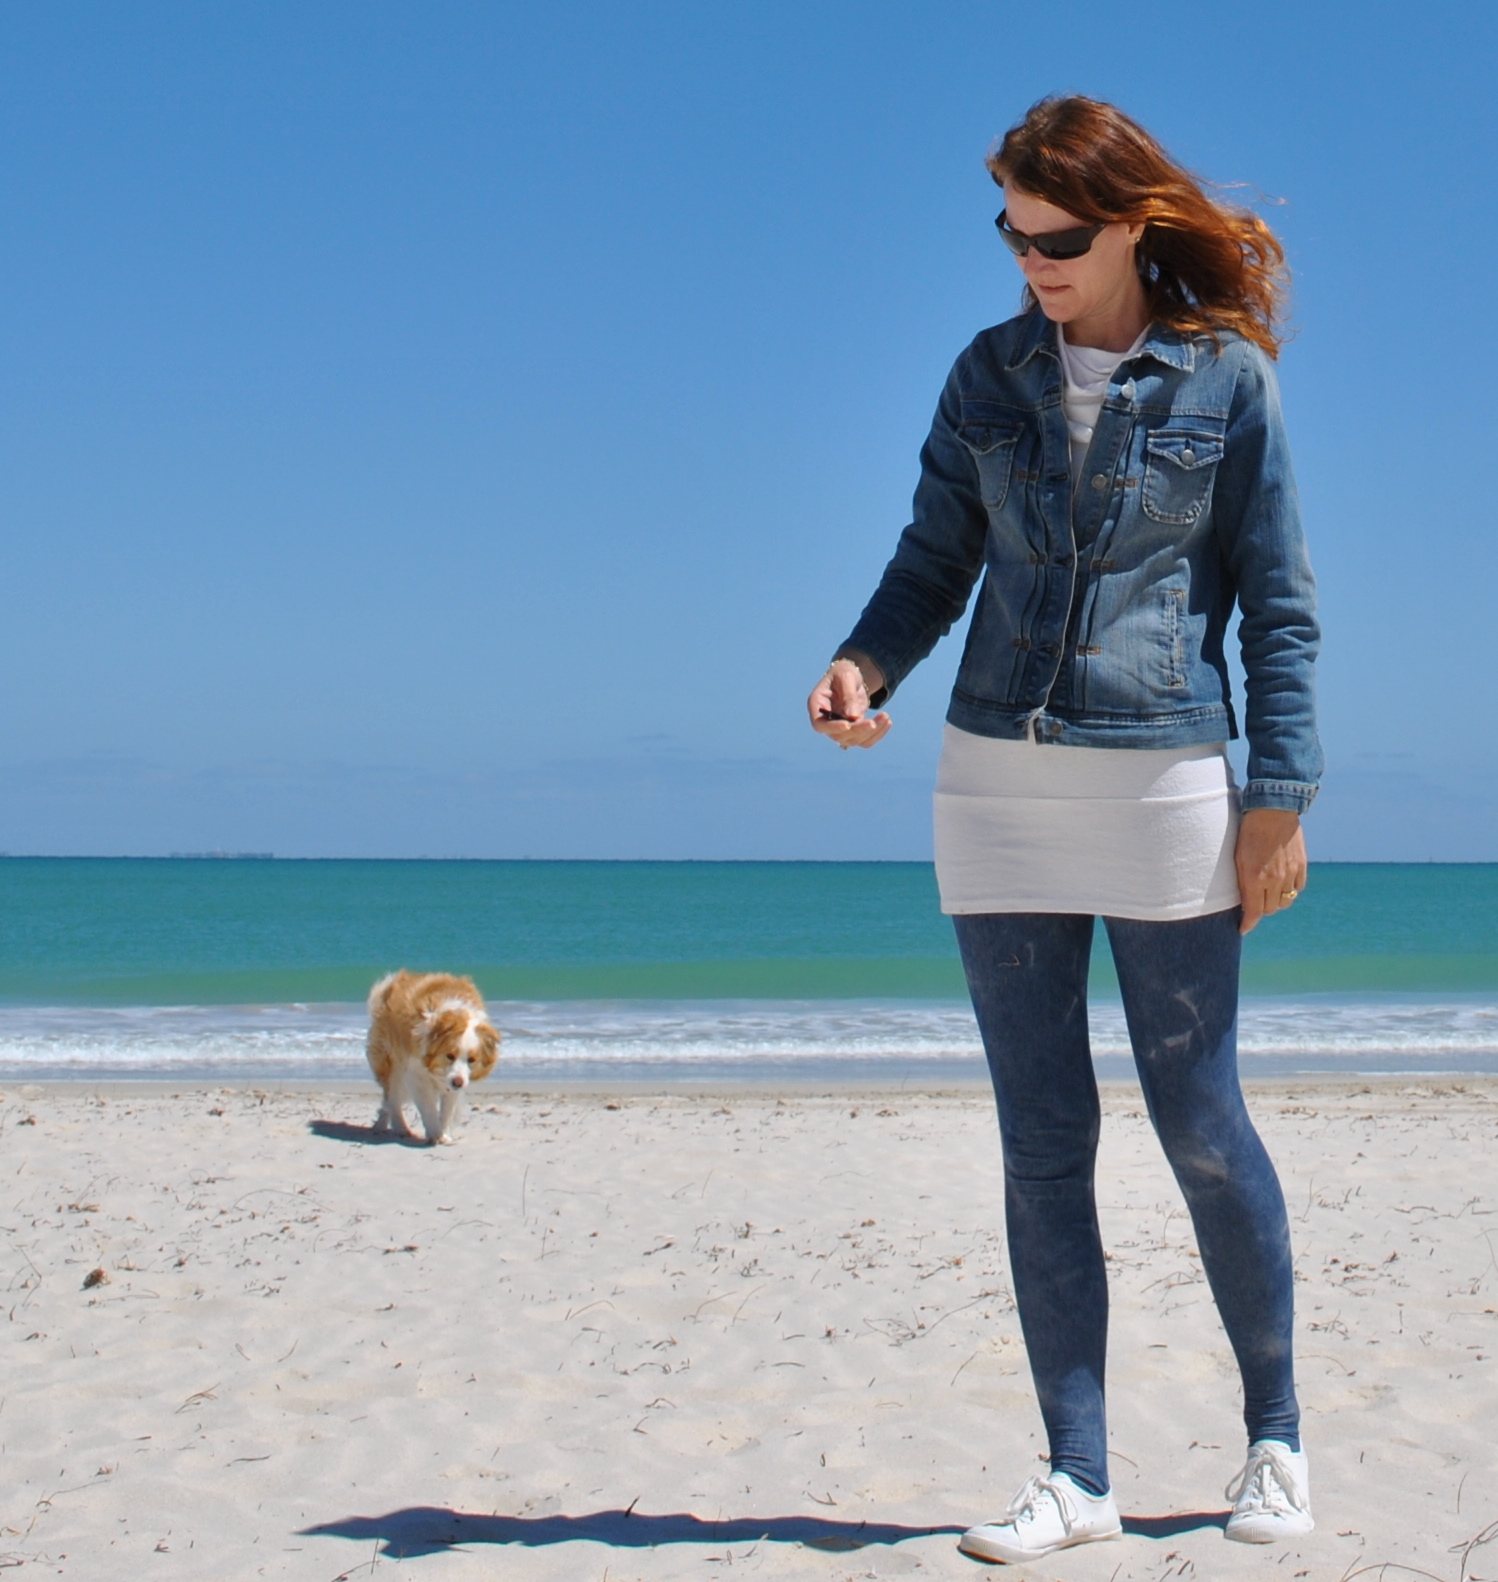
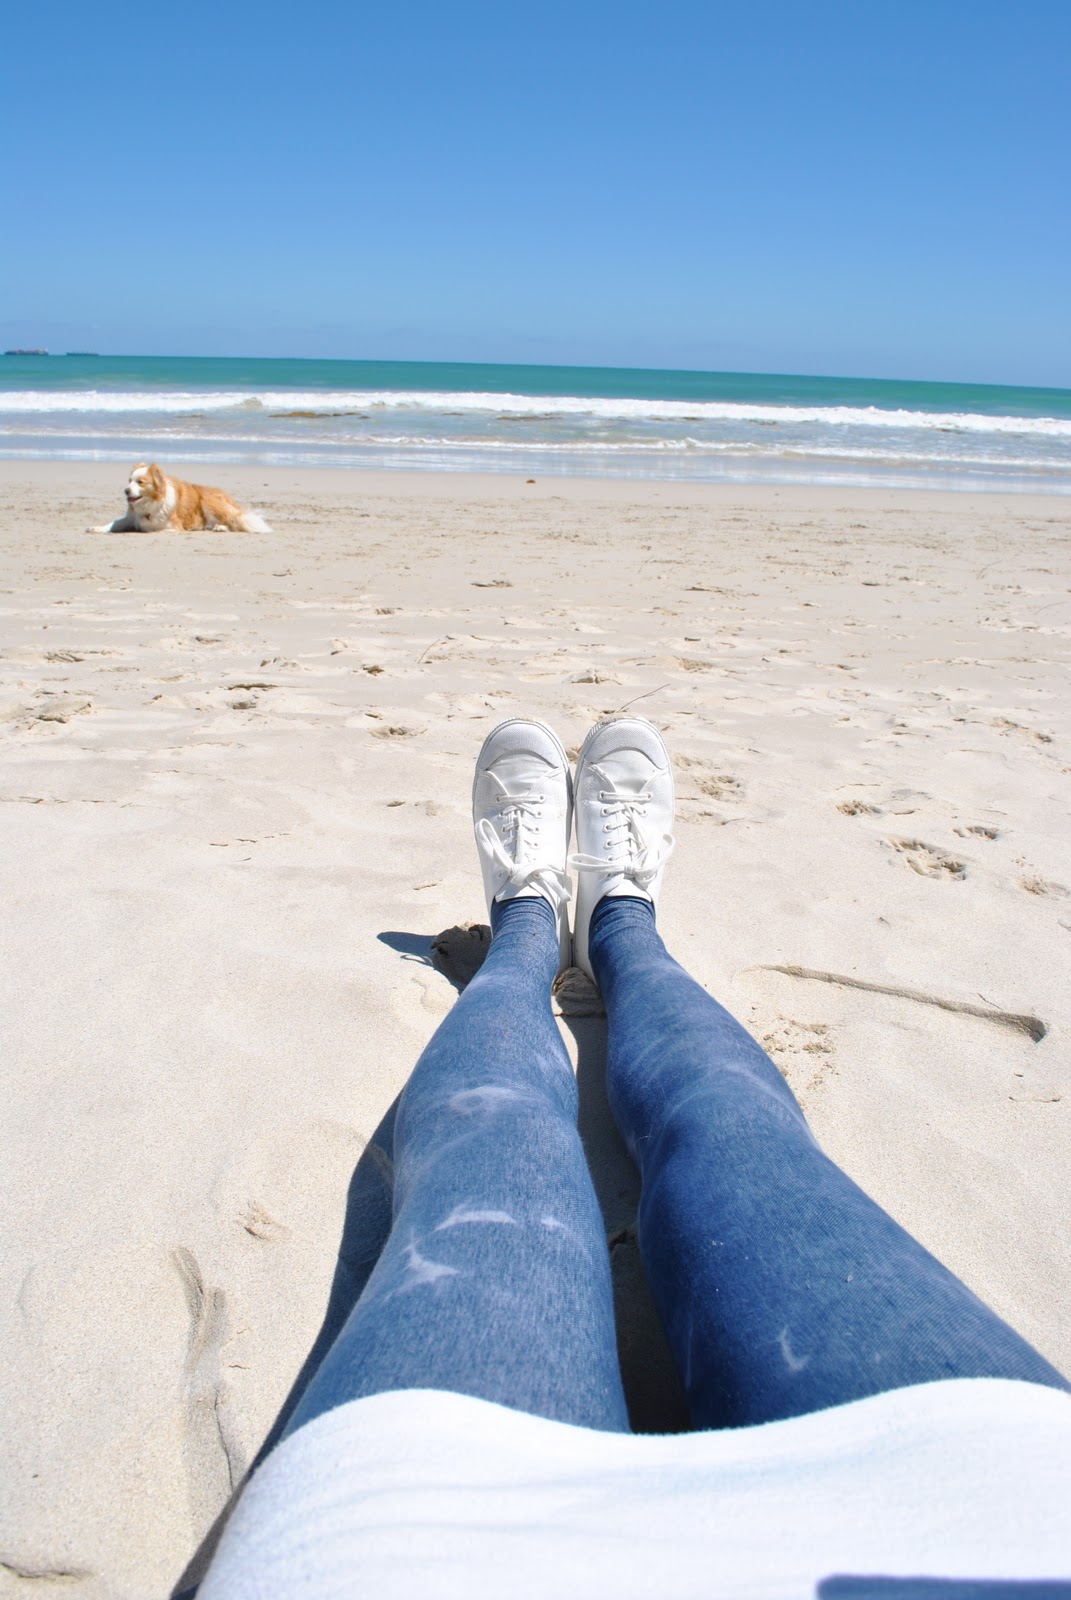
Before I went to Melbourne I had bought from Fabulous Fabrics some wonderful stretch jersey, printed to look like distressed denim, and I knew it just had to be tights…
When I made my last tights I had a few requests for a pattern on Burda style, so this time I put together a little tutorial on how to draft for yourself a leggings or tights pattern that is customised to fit you perfectly.
This project is suitable for two way stretch knits only, that is fabric that stretches BOTH crosswise and lengthwise.
Firstly you must take your measurement around the top of your leg at crotch level. This will be the widest point of your leg piece. Whatever this measurement is, double it. This is how much fabric you will need to buy. (once you have worked out your pattern you may be able to buy less for future tights projects; by flipping your pattern lengthwise on the fabric if the print allows you this flexibility)
If you’re not very experienced at fitting and/or pinning to yourself it’s a good idea to get someone you trust to help. Put on some leggings before you start, or some other skintight garment.
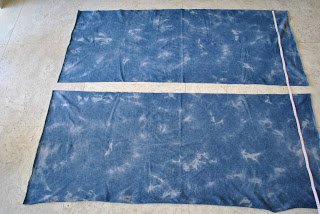
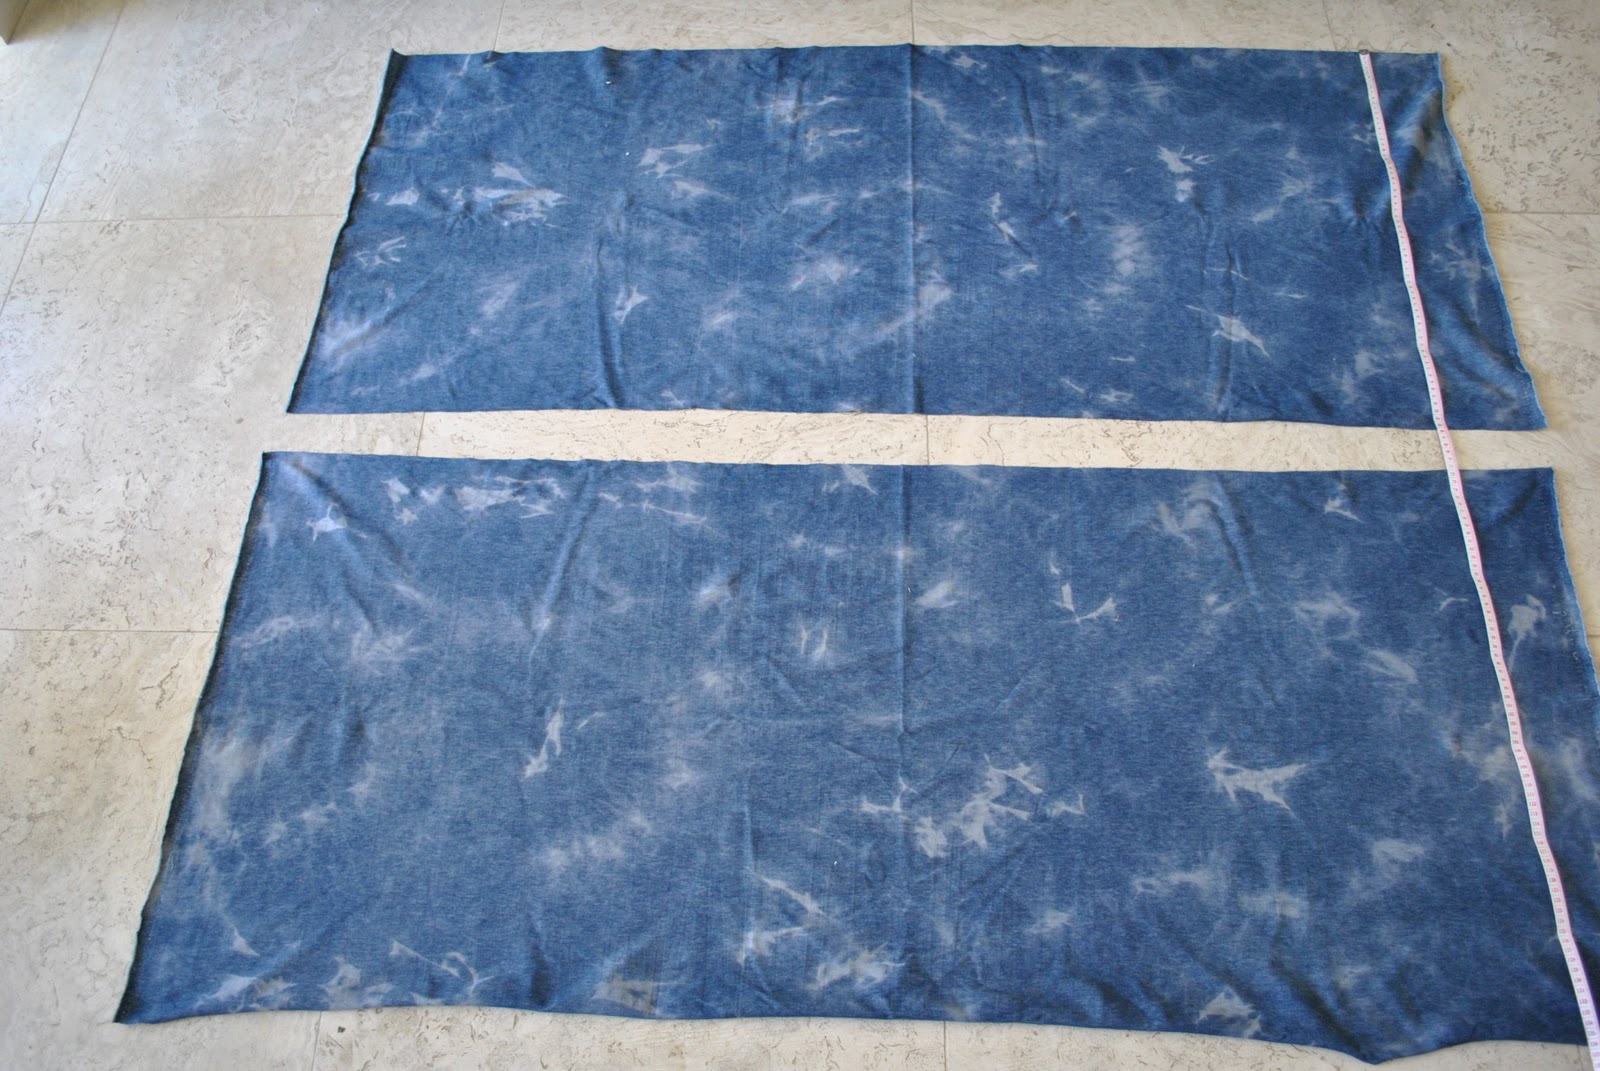
Lay your fabric down and cut it in half, cutting from selvedge to selvedge.
(Note that for this example the grainline will be running around my body, as opposed to up and down my body. If you want your pattern print to go the other way, then you will have to layout and cut your fabric pieces accordingly)
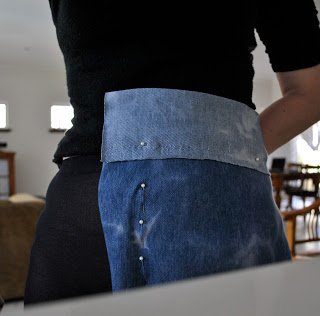
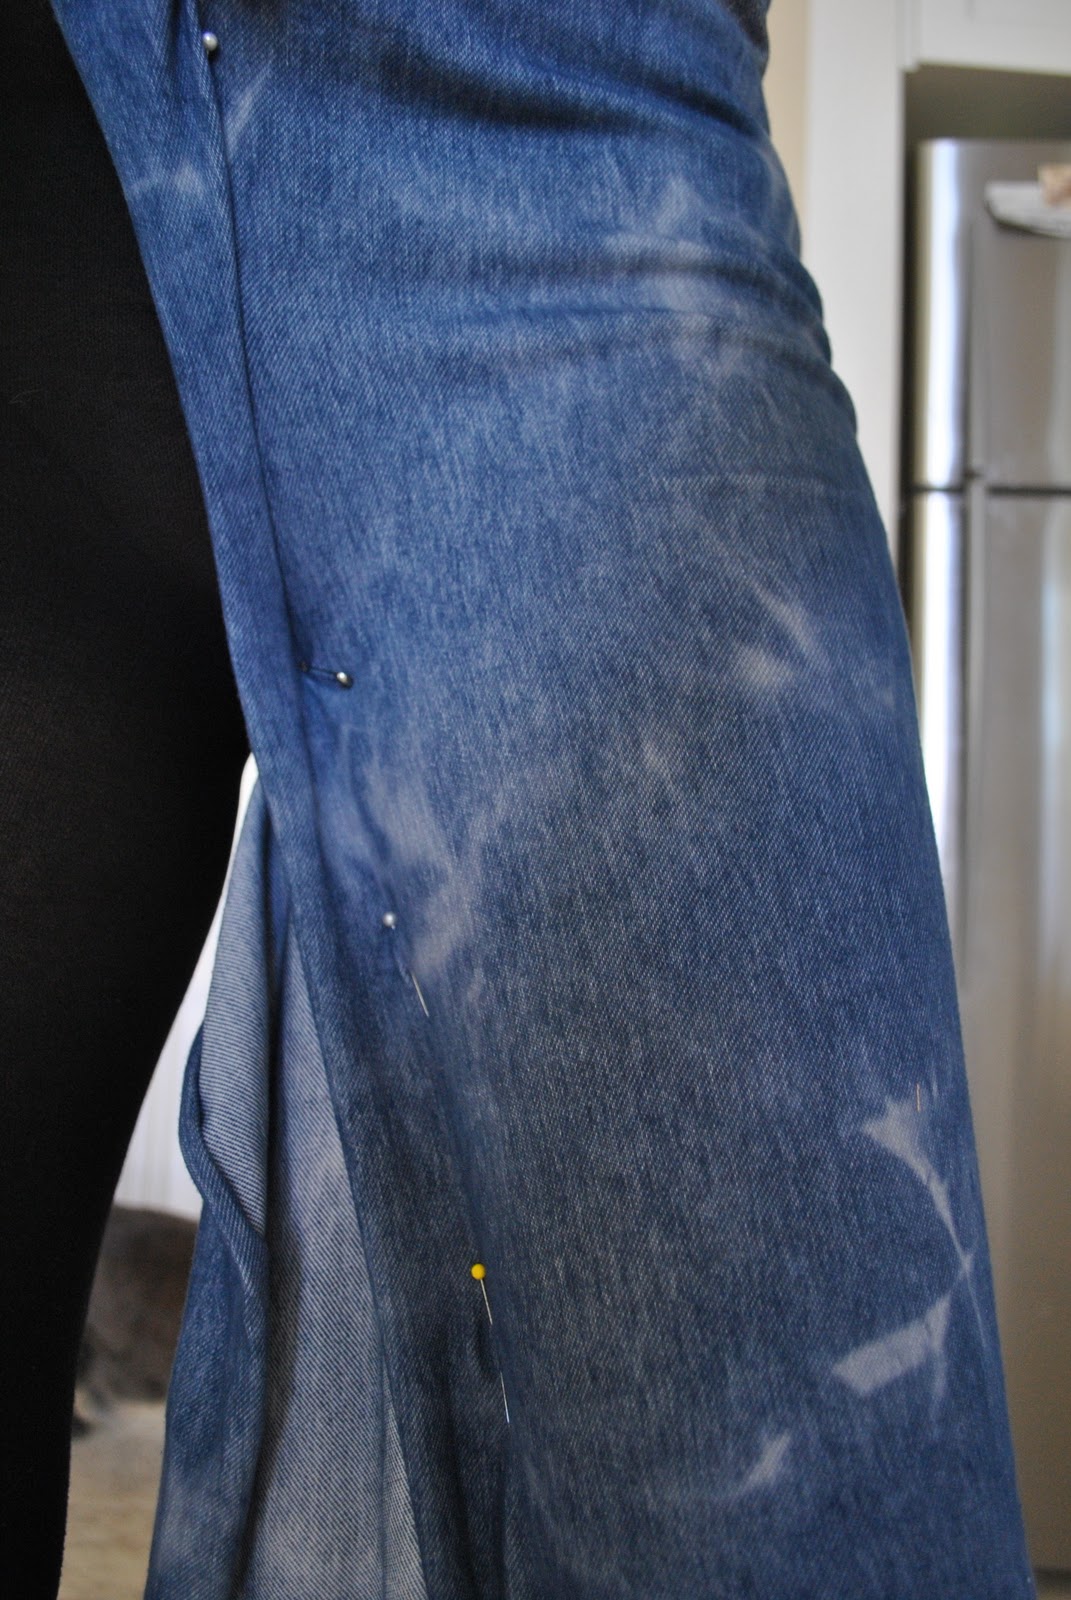
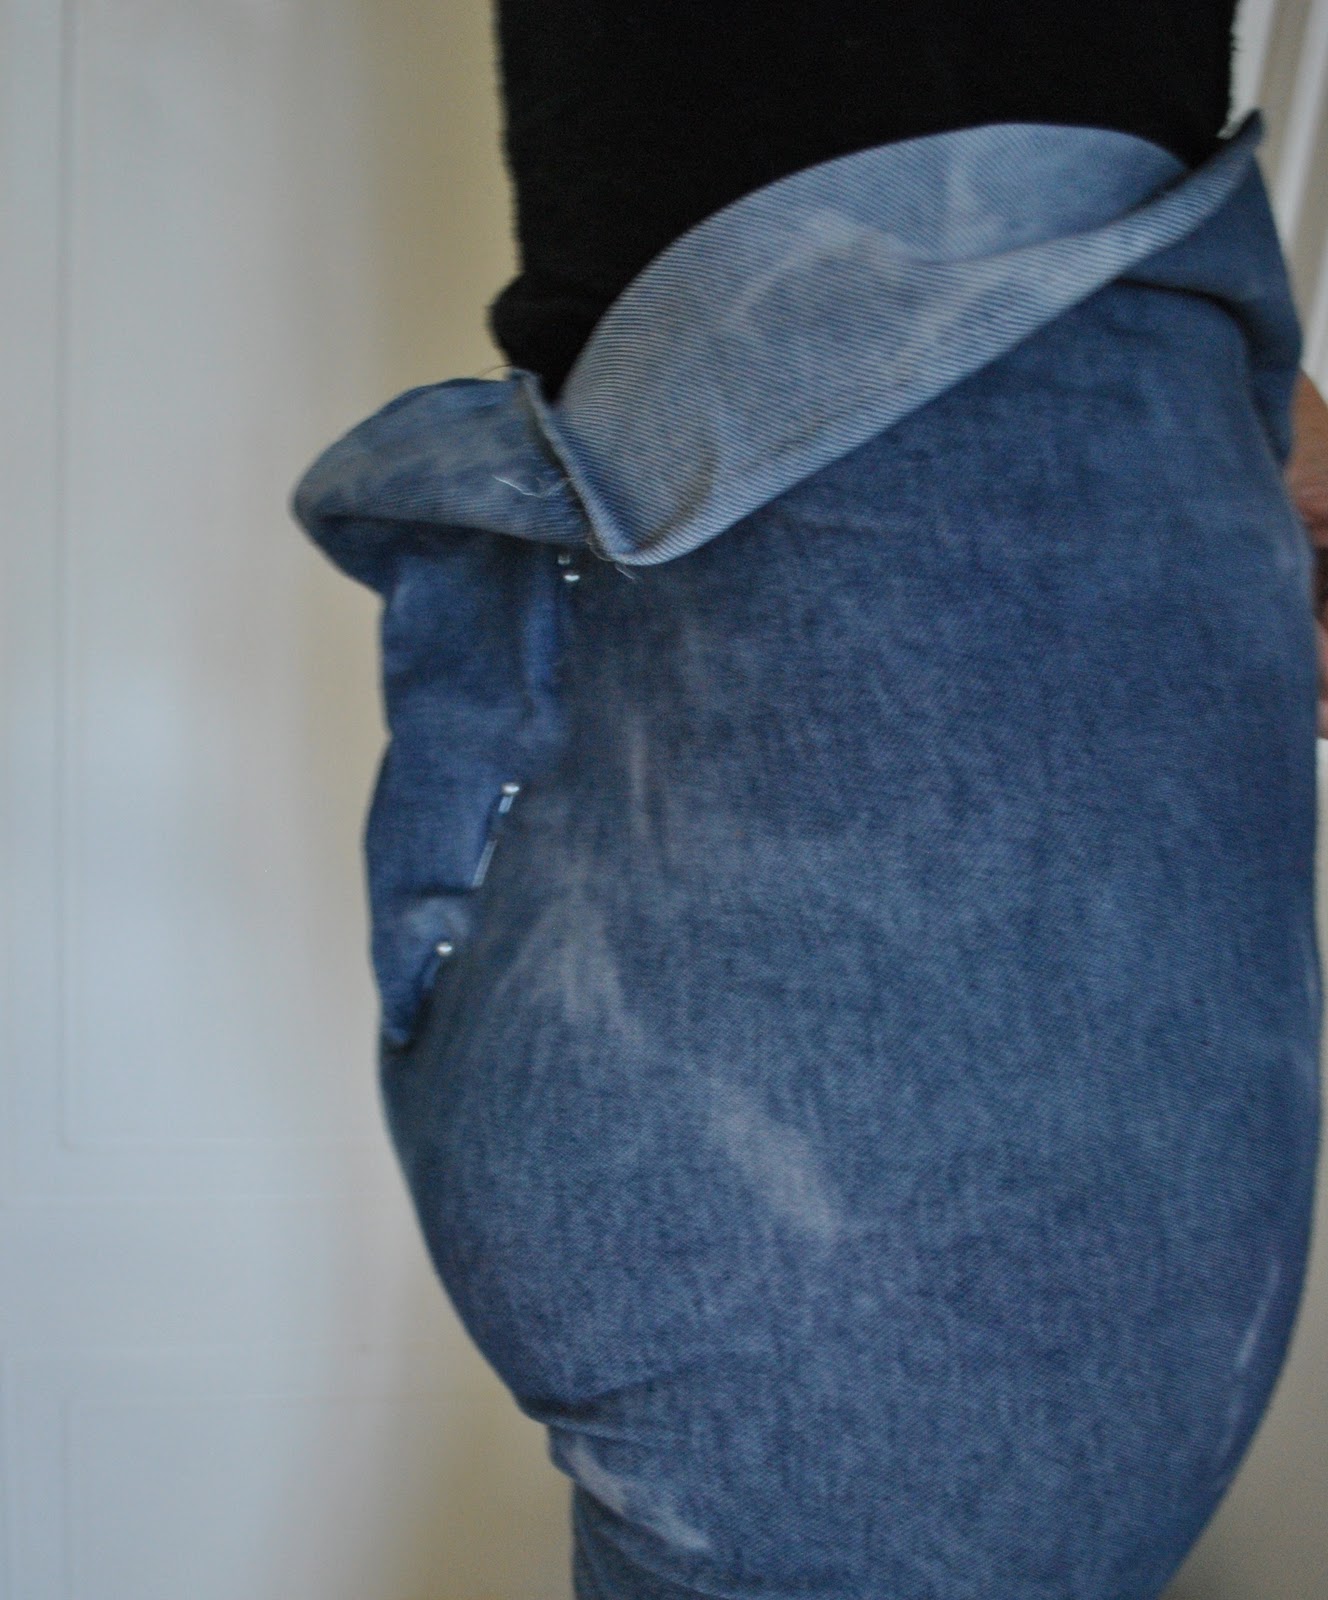
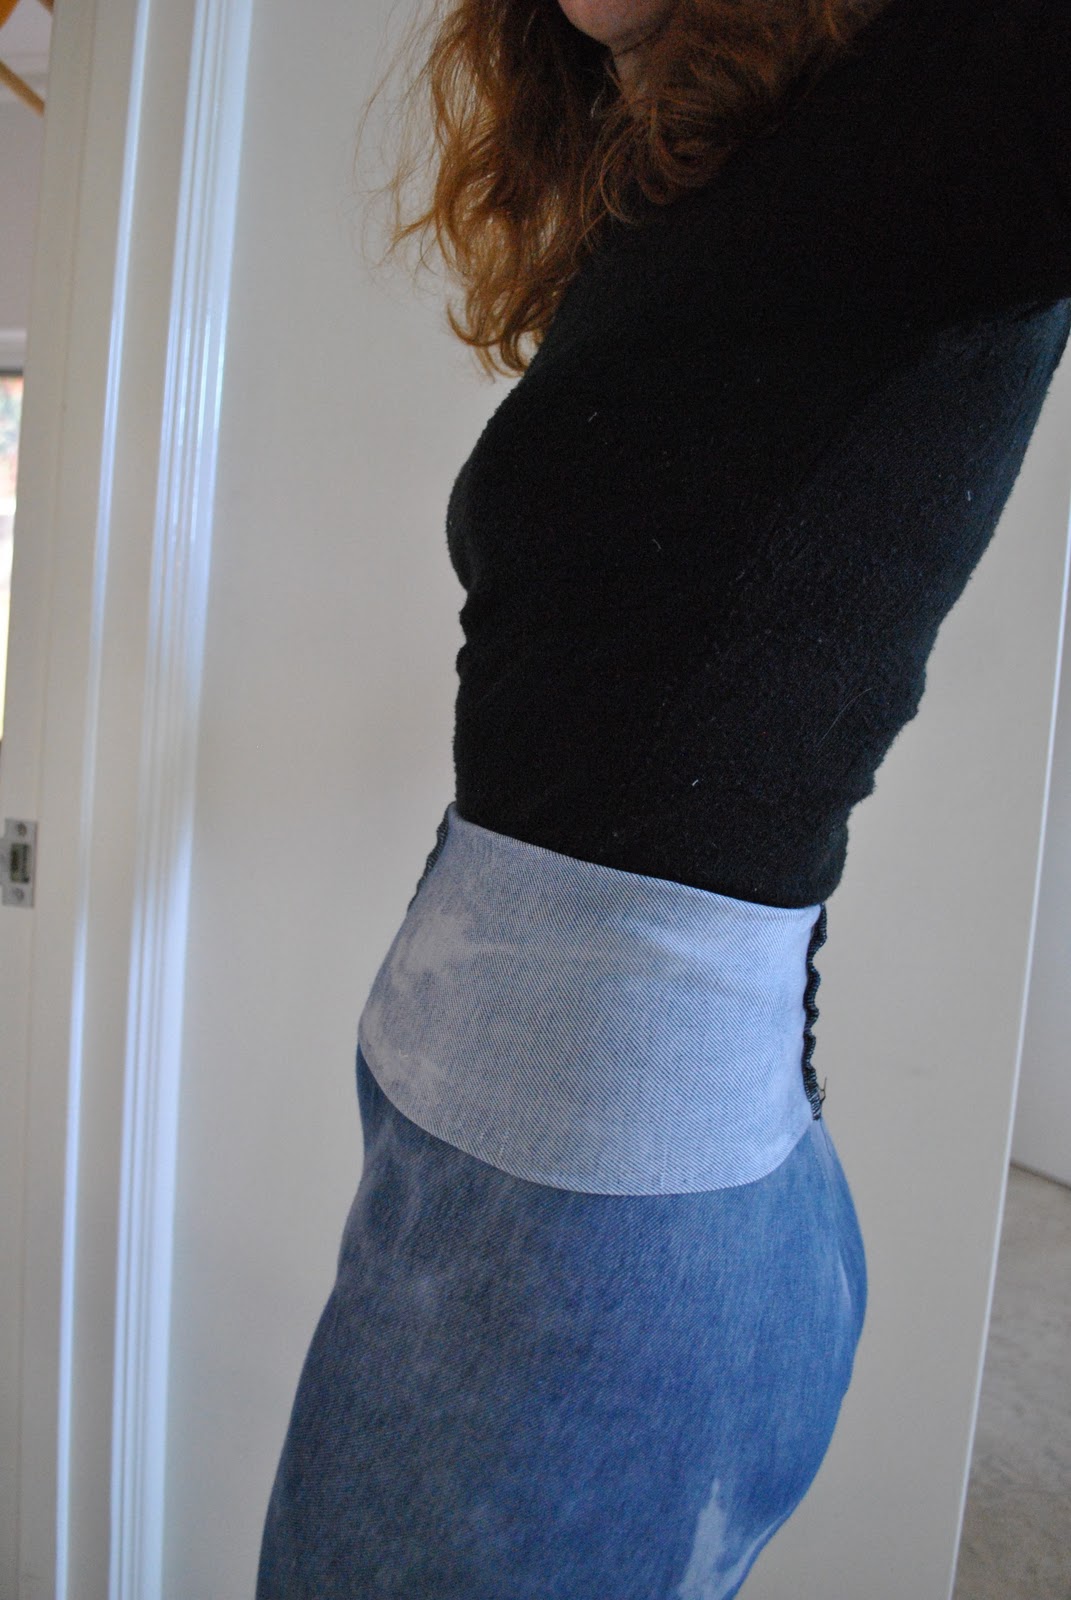
Take one of these and fold over one selvedge to allow for a generous amount of excess and pin this fold loosely in place. I folded over about 9cm (3.5inches) Wrap this fabric around one side of your hip, pinning the folded over edge at about waist level. Don’t aim for tight-fitting at this point, you just want the fabric to be hanging evenly down from your waist level, with the excess fold of fabric over your waist level at the top for your waist casing later. Pin the fabric to your leggings in a vertical line down the centre front (use your leggings seam as a guide). Do the same at the back. The back bit is kind of tricky, but don’t panic about super accuracy. You are aiming for as close to middle line as possible and vertical. Use a mirror to check the your pins both front and back are in as straight as vertical line as possible. Do not be super tight at this stage either, a bit loose is desirable for reasons I’ll explain later. I’ll call this part the “abdomen pinning”
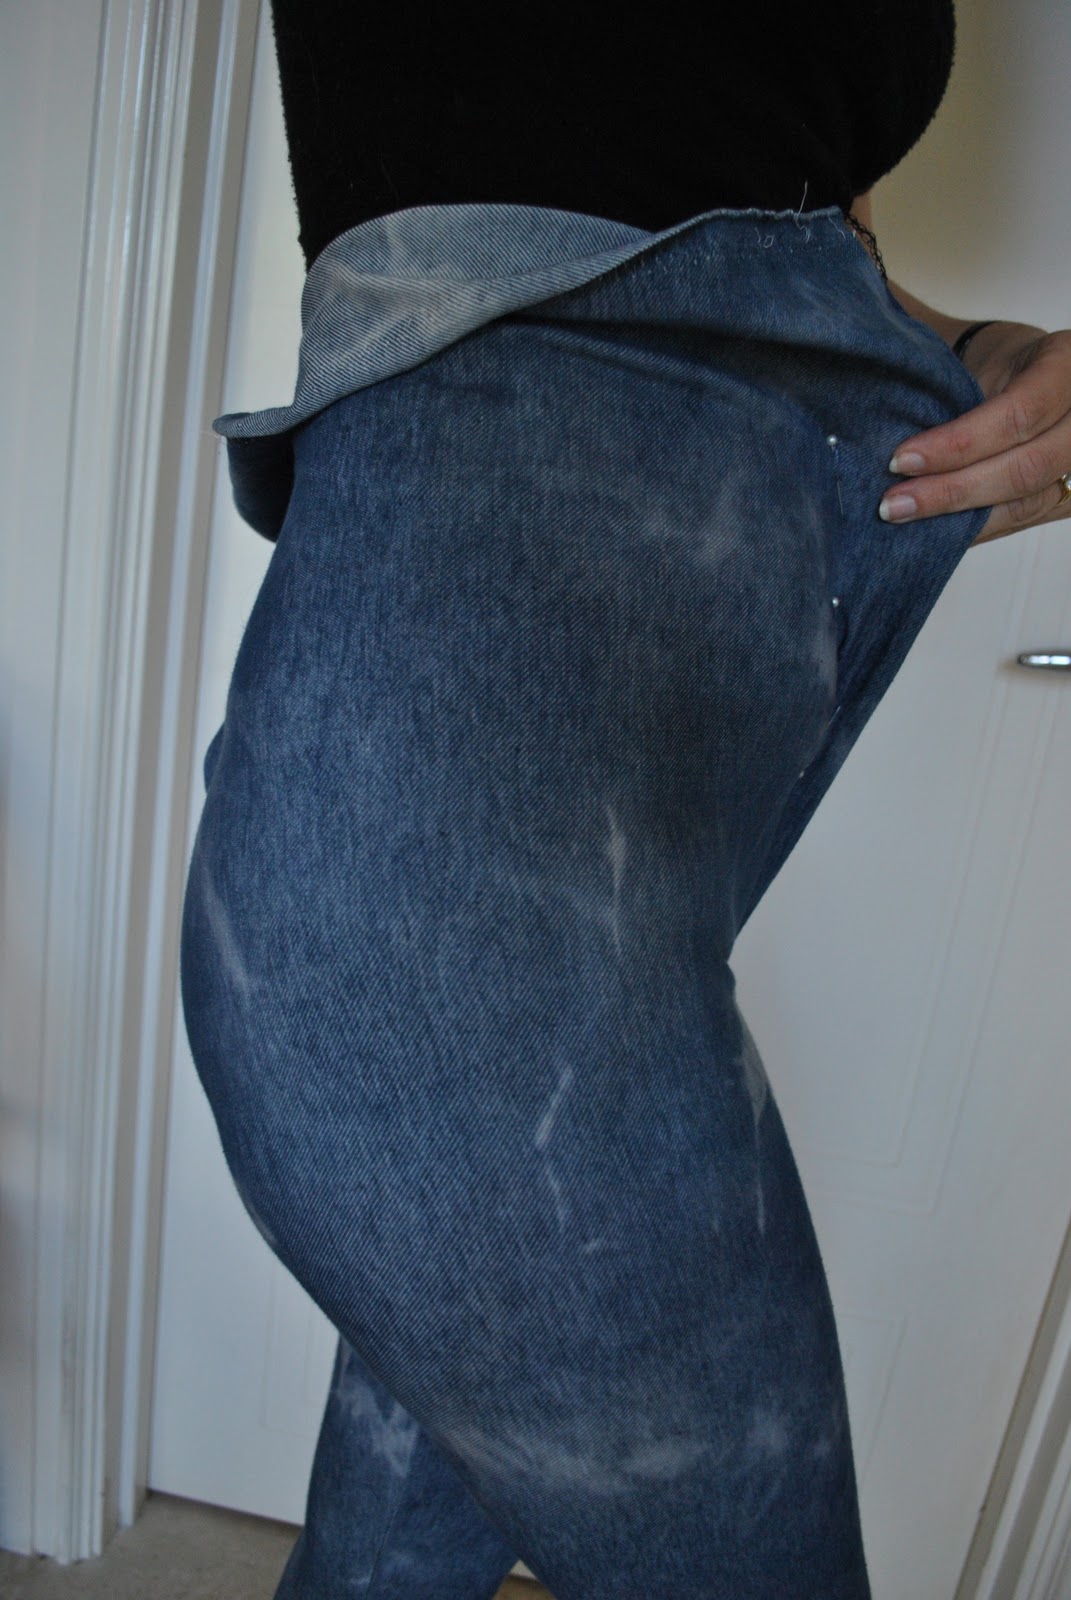
Now pull in the fabric firmly around your upper leg and in at the crotch, and pin. I recommend you use a safety pin at this point for obvious reasons…
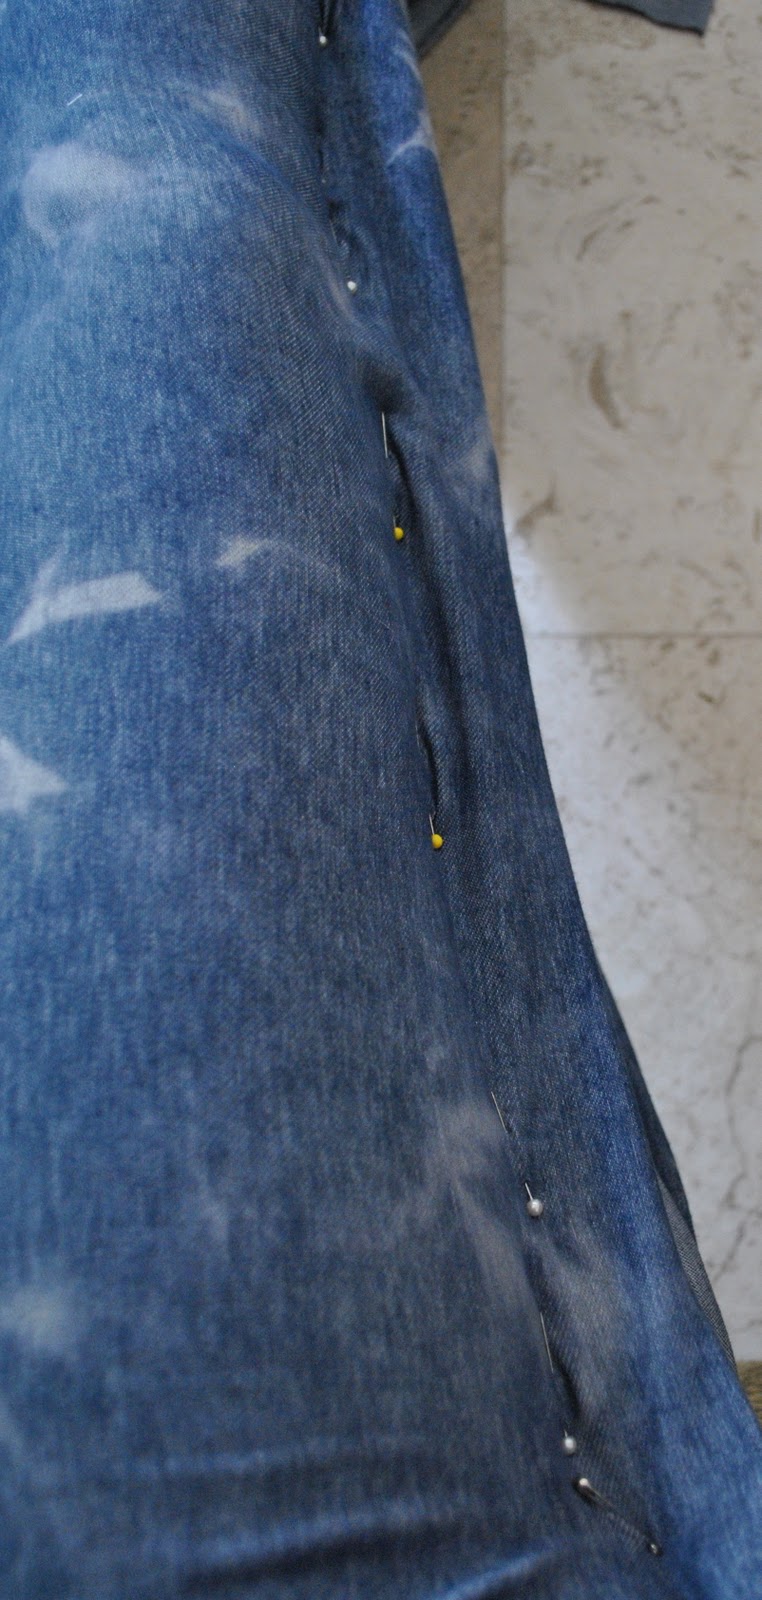
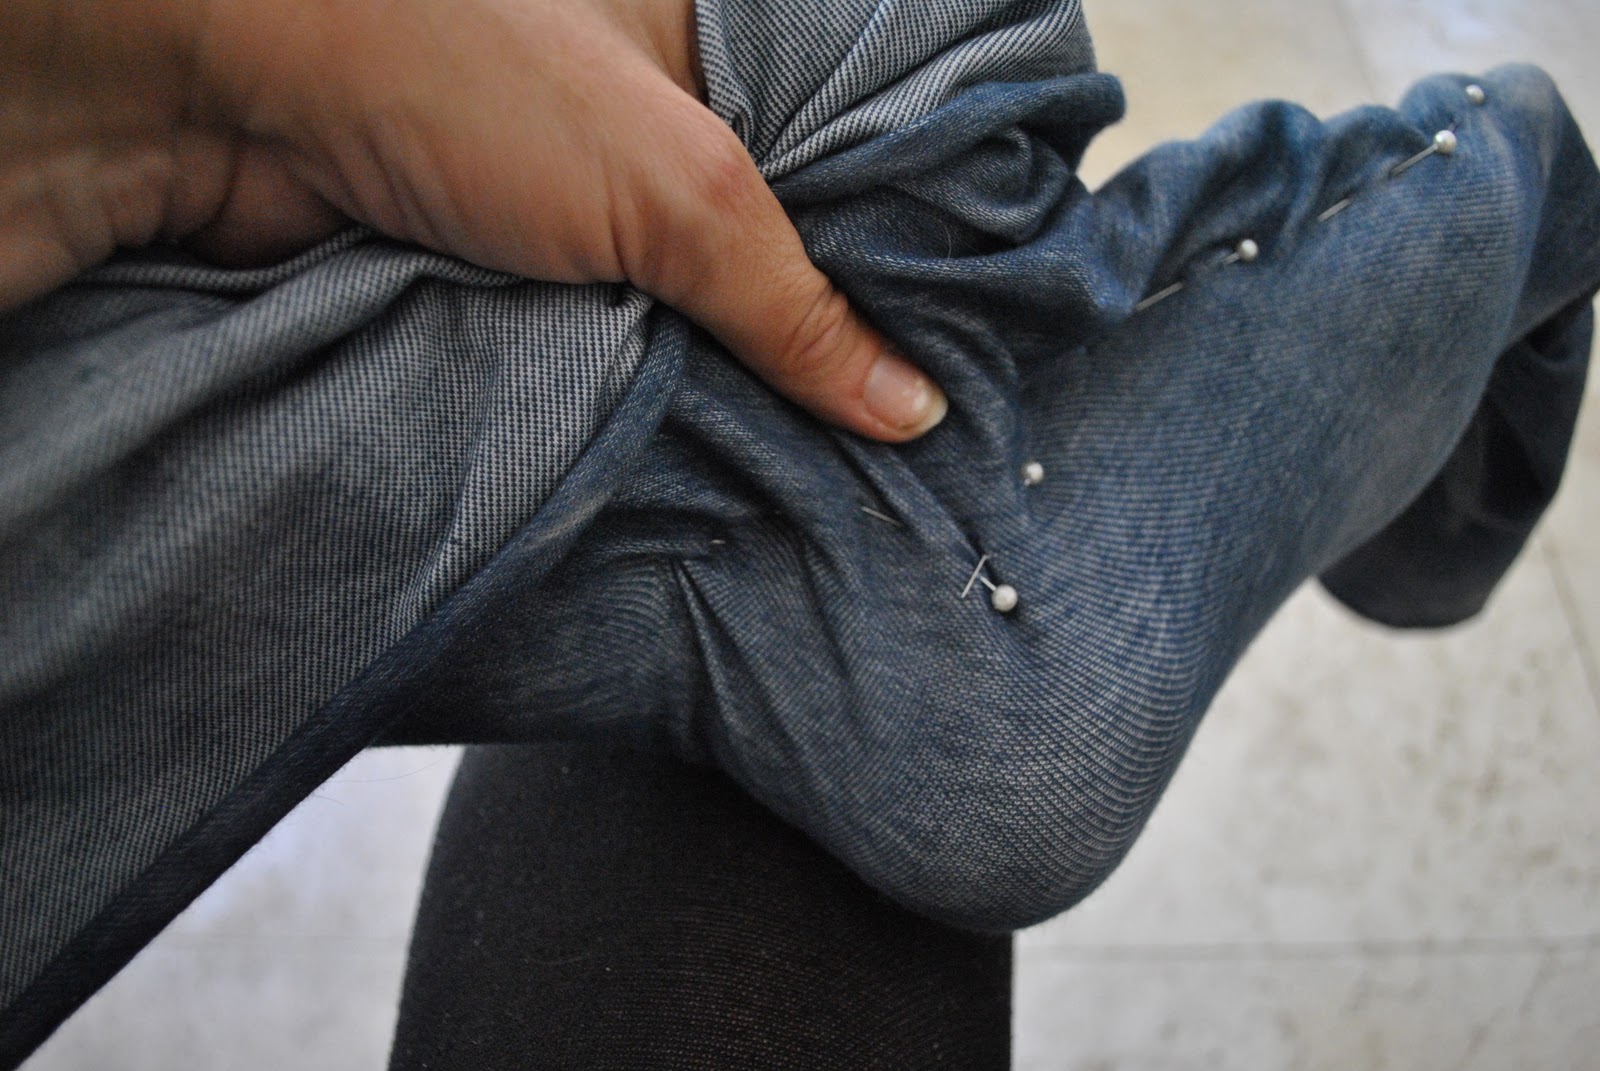
Start pulling the edges of the fabric together around your leg, and working from the top down pin together down the inner leg seam. From this point on make the fabric quite tight and check constantly in a mirror that the fabric is sitting smoothly all the way around the leg. From now on down you are aiming for close-fitting and smooth.
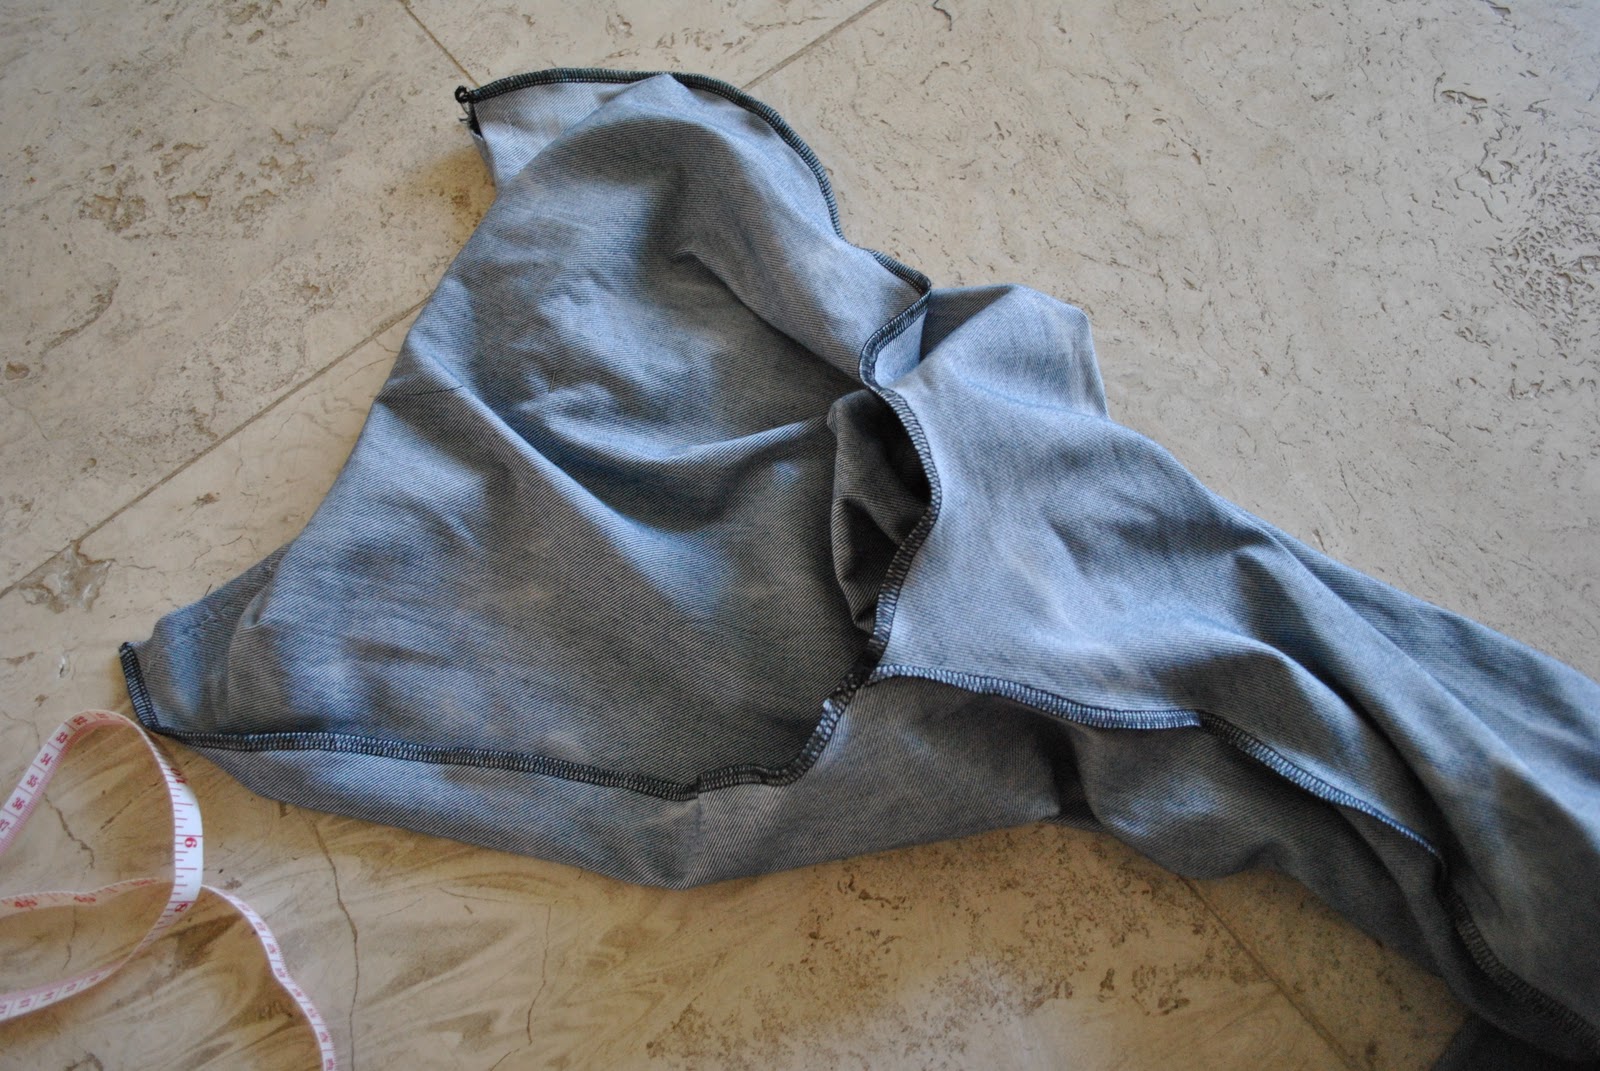
The heel and ankle are the trickiest bits to accomodate. I’ve got smoothest results when the fabric is pinned with a right angle turn at the inner ankle level. See in the picture, the inner leg seam is pinned down vertically to just below (about 2.5cm, or 1inch) the ankle bone, then I’ve made a right turn to start pinning down the inner side of my foot. Pin securely and tightly at these points, again aiming for tight and smooth above all else. Pin down the inner side of the foot to your big toe, then turn again and pin across the top of your toes, finishing your pinning at the fold on the outer edge of your foot.
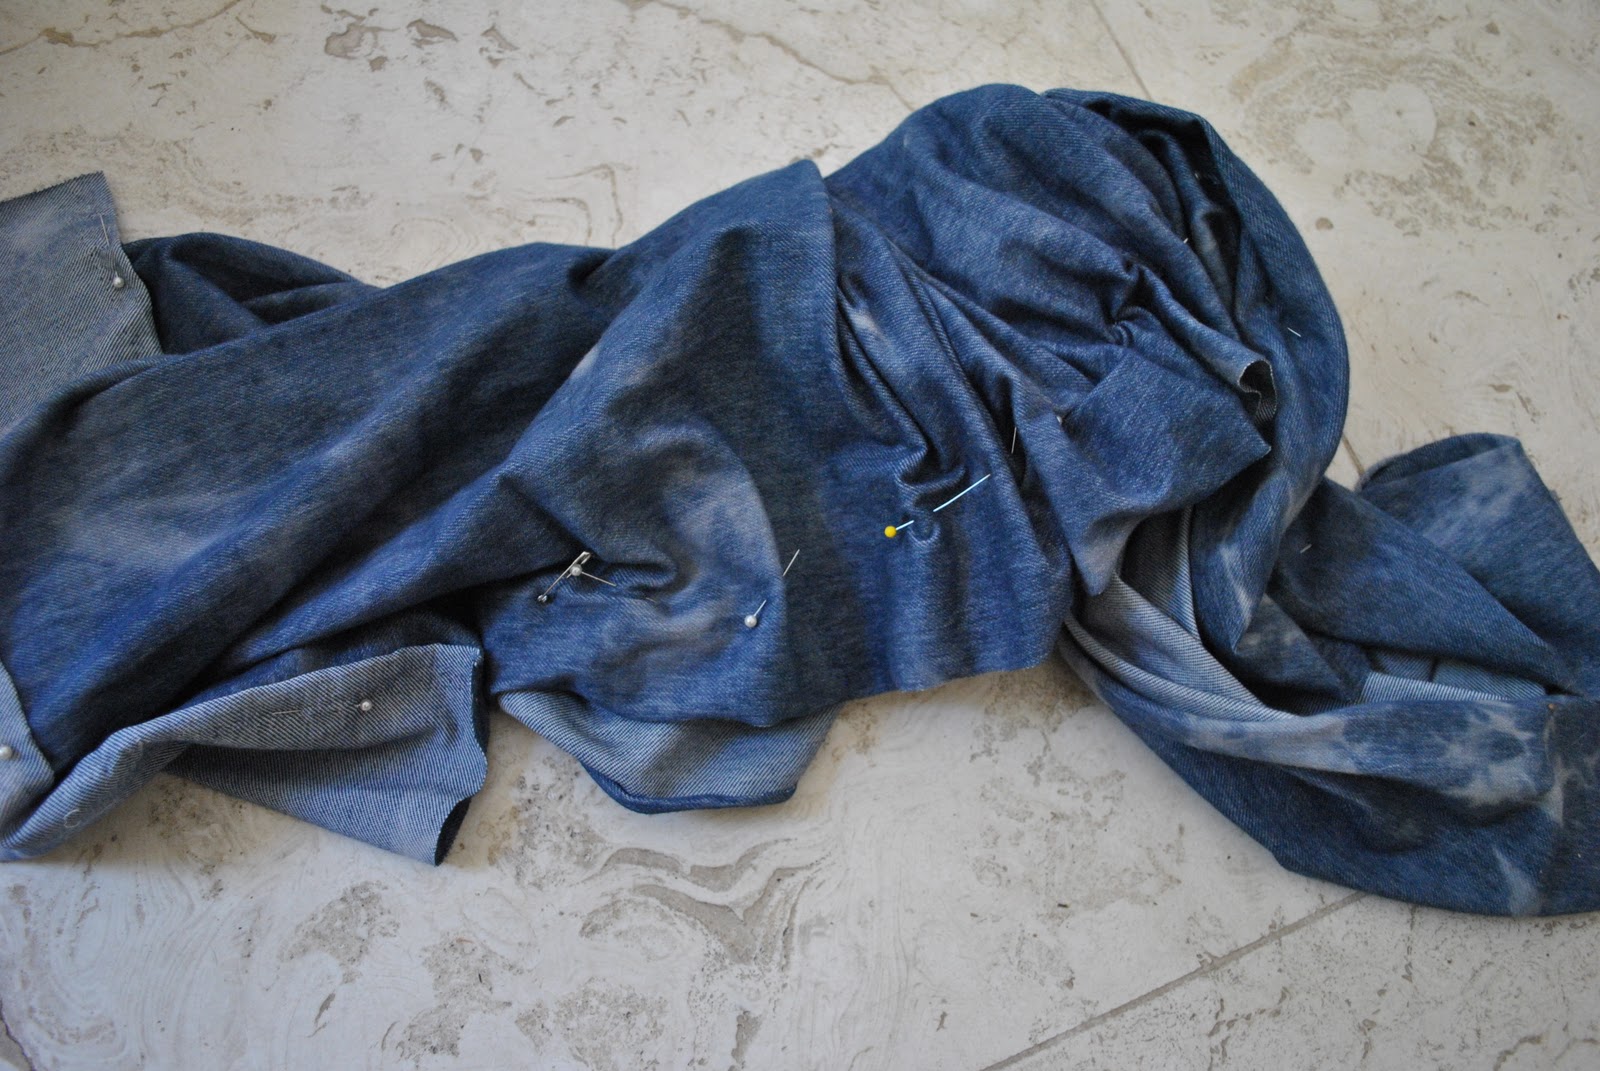
Now unpin the “abdomen pinning” from your leggings at the top, and replace each pin carefully back in the same spot in the fabric as you separate it from the leggings you are wearing. Now carefully slide the whole thing off. Try not to lose any pins in the process. (this is why loose-fitting around the abdomen works best…)
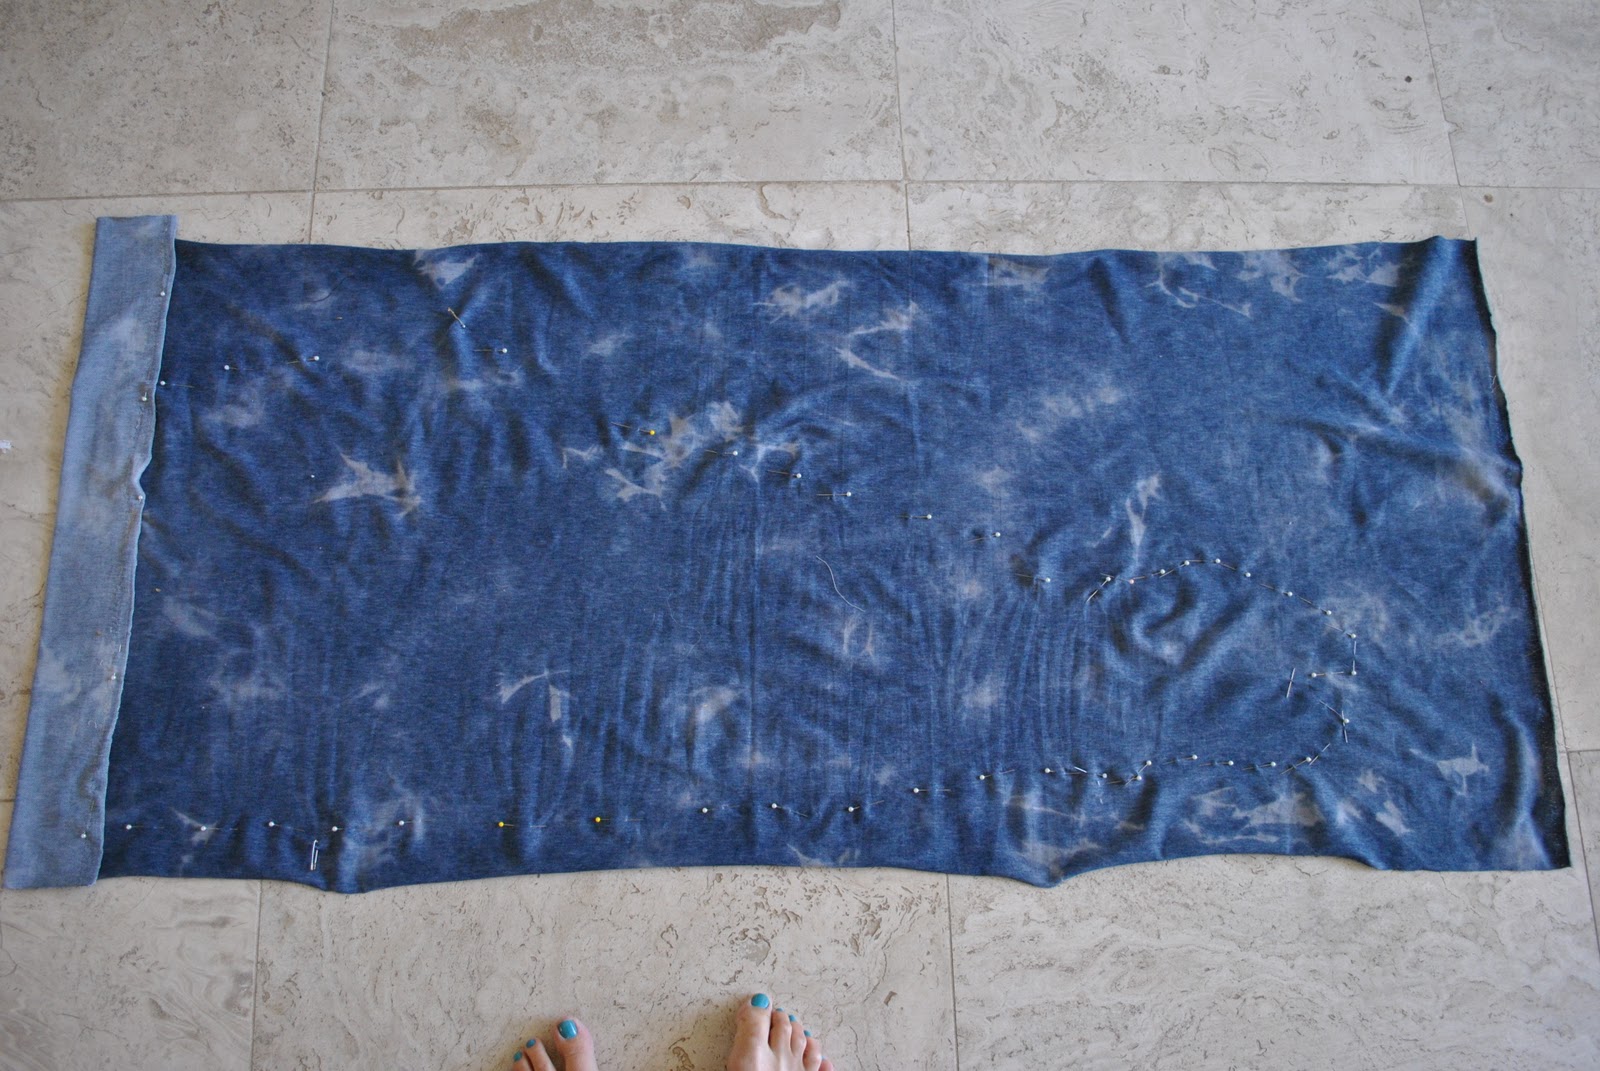
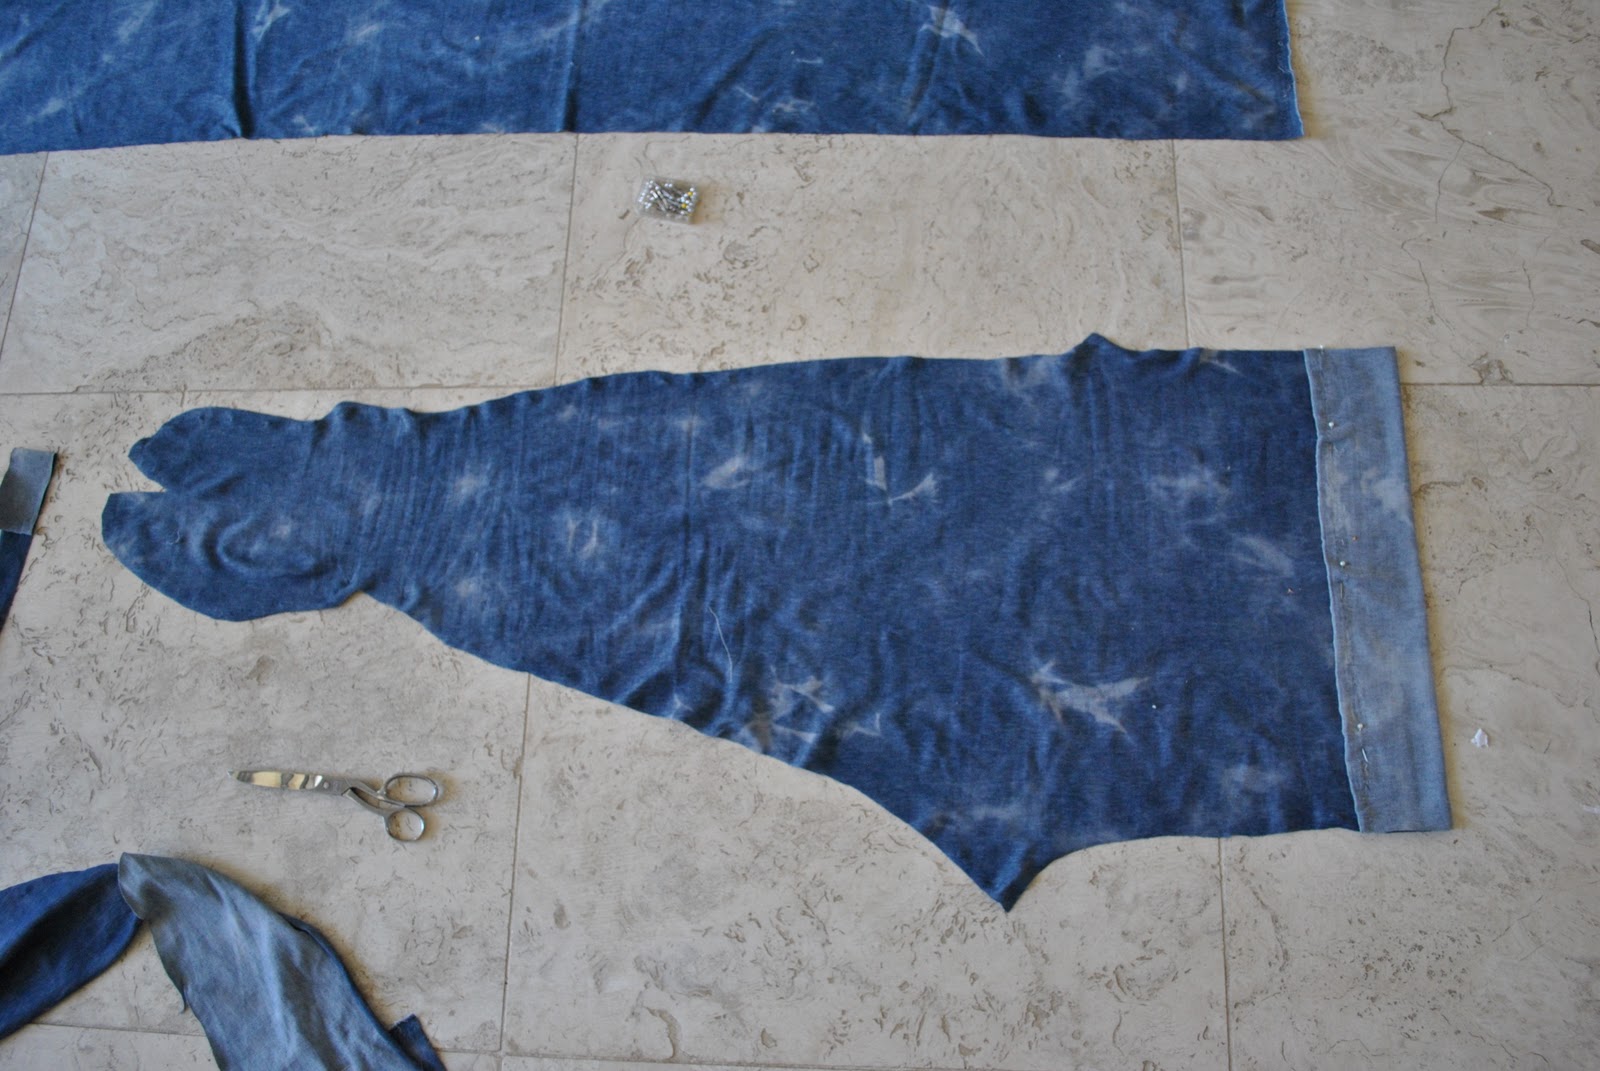
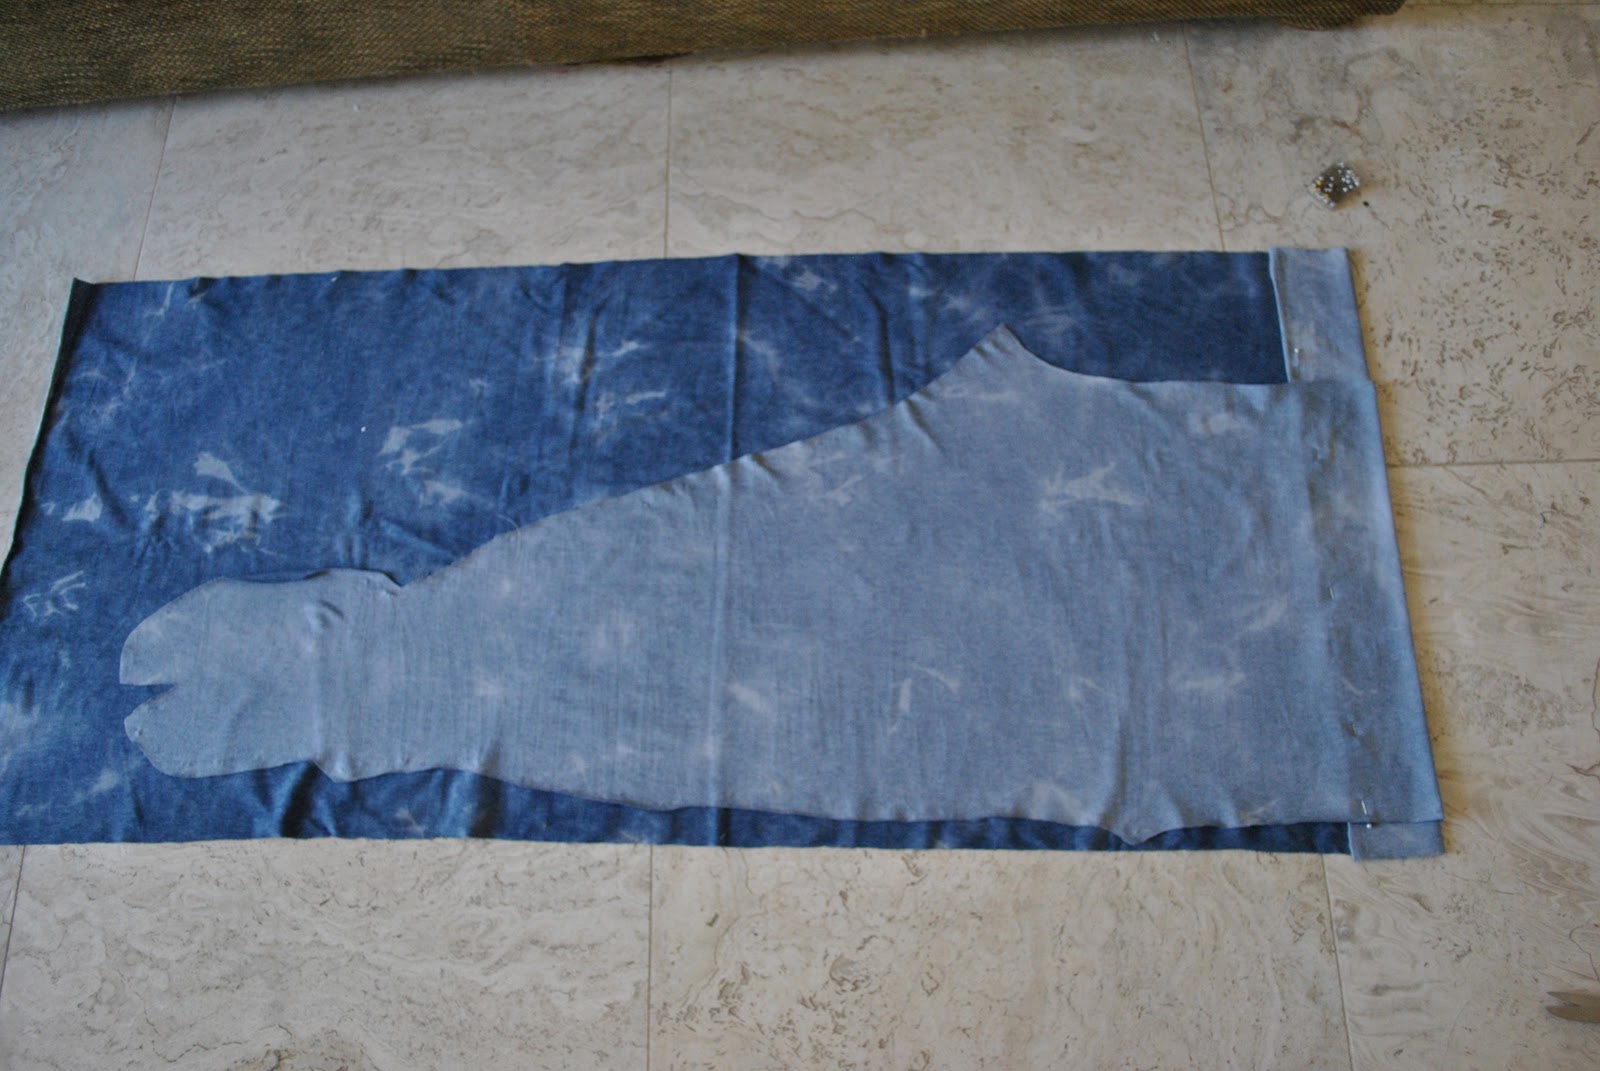
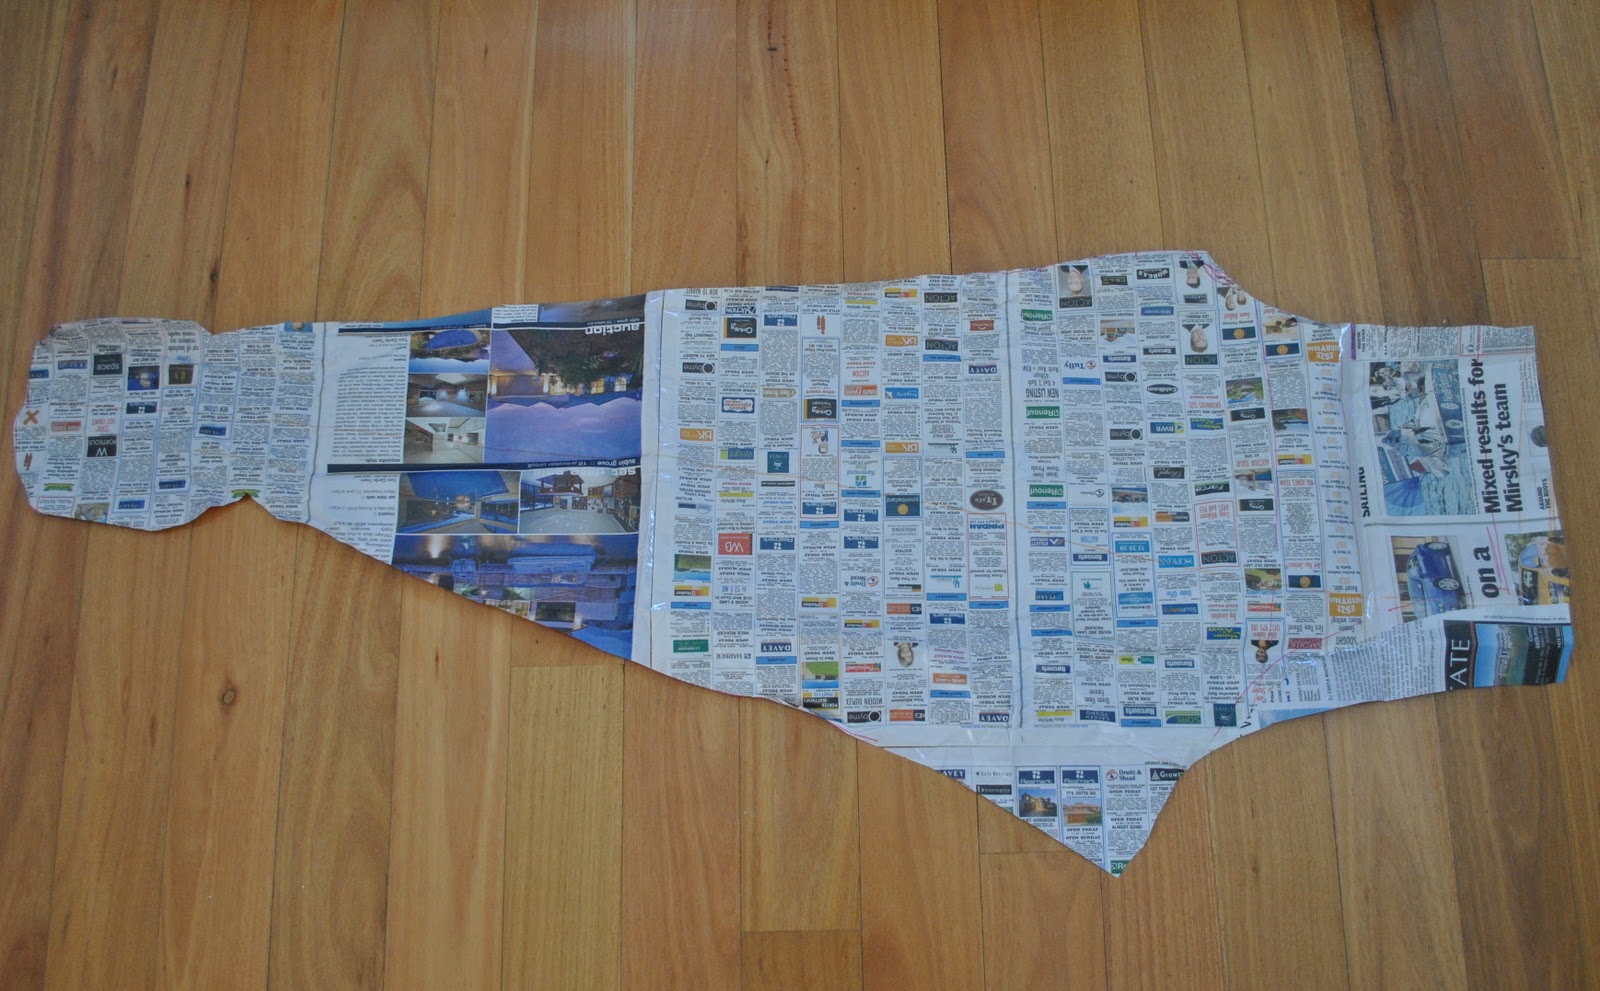
Open up the leg, marking each pinning point with pins on both sides as accurately and as exactly as possible. Leaving about 1cm (3/8″) seam allowance cut around your pinned lines, cutting a smooth curve down and around to each crotch point. And voila, you have a leg! Take a deep breath and try not to panic as you look at your leg pattern. I know it looks shocking if you’ve never seen it flat like this! Have a cup of tea to congratulate yourself for having got this far…
If you have any reason to believe your legs are different to each other, then you should do this whole process for the other leg too. Otherwise, just lay this leg piece right sides together on the other half of fabric and cut out another leg. It’s a good idea to make a paper pattern for your customised tights at this stage too, you know, so you don’t have to go through this whole rigmarole a second time…
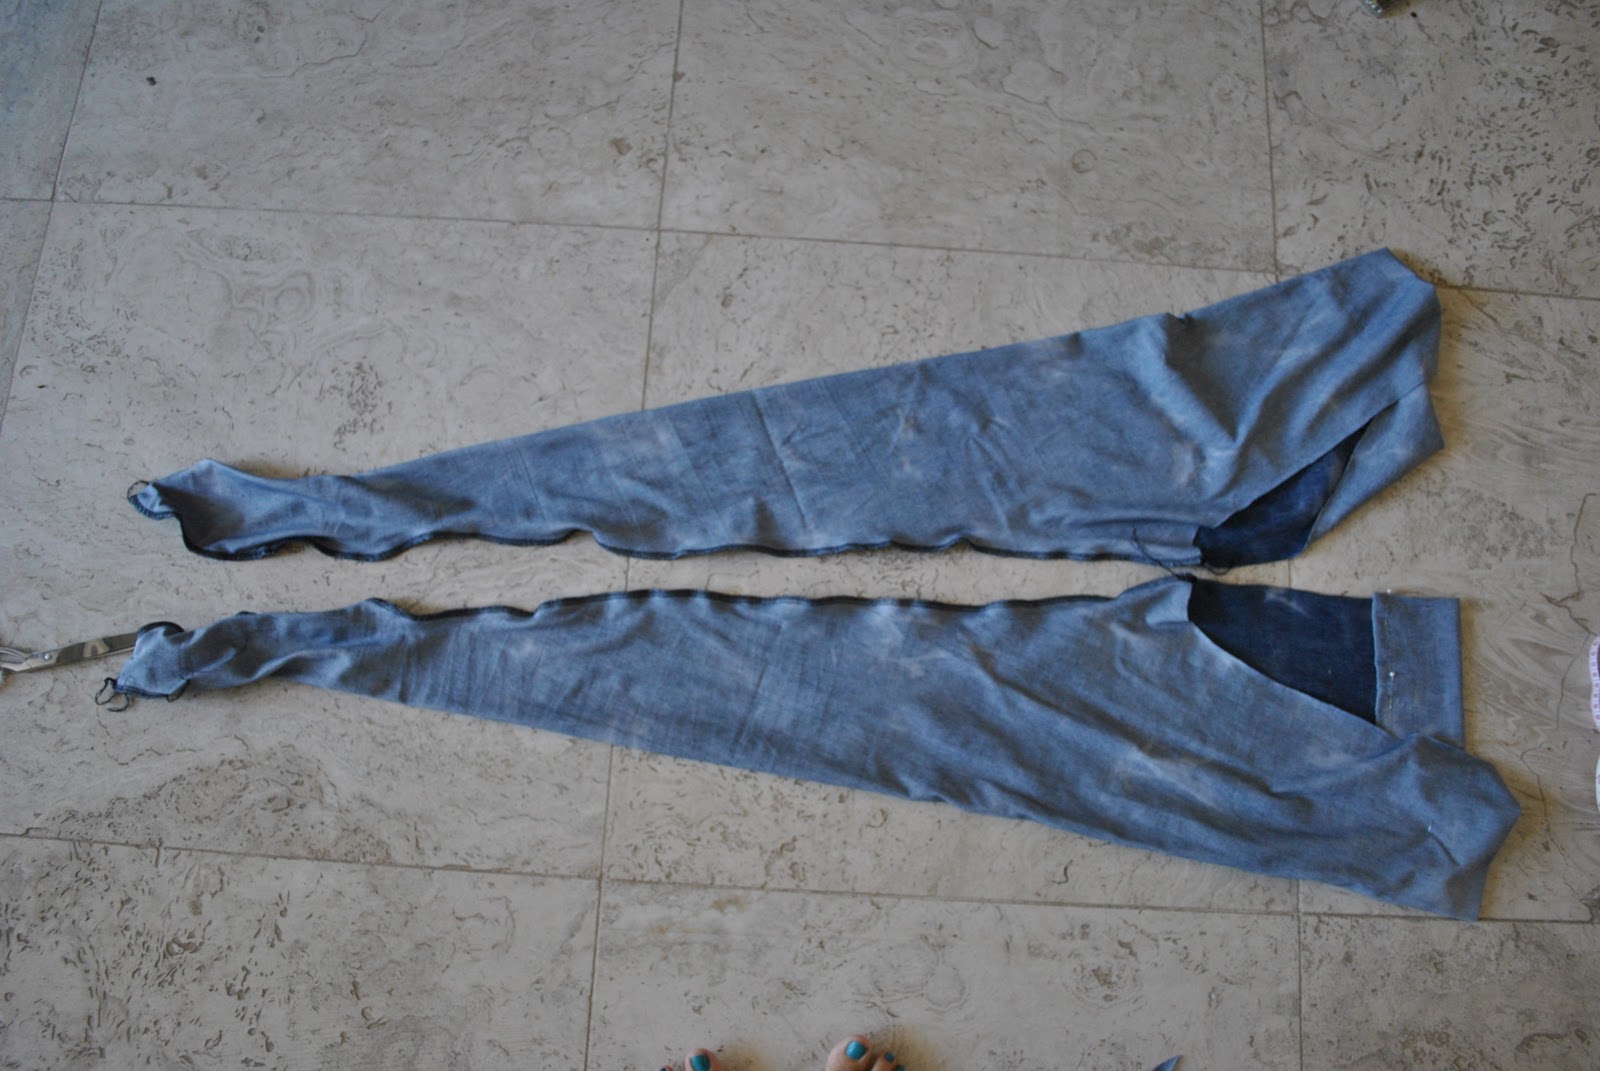
Pin, and sew up the inner leg seam of each leg. Either serge as I did, or use the stretch stitch specifications for your particular machine. Do from the big toe to the outer foot edge as a separate little seam.
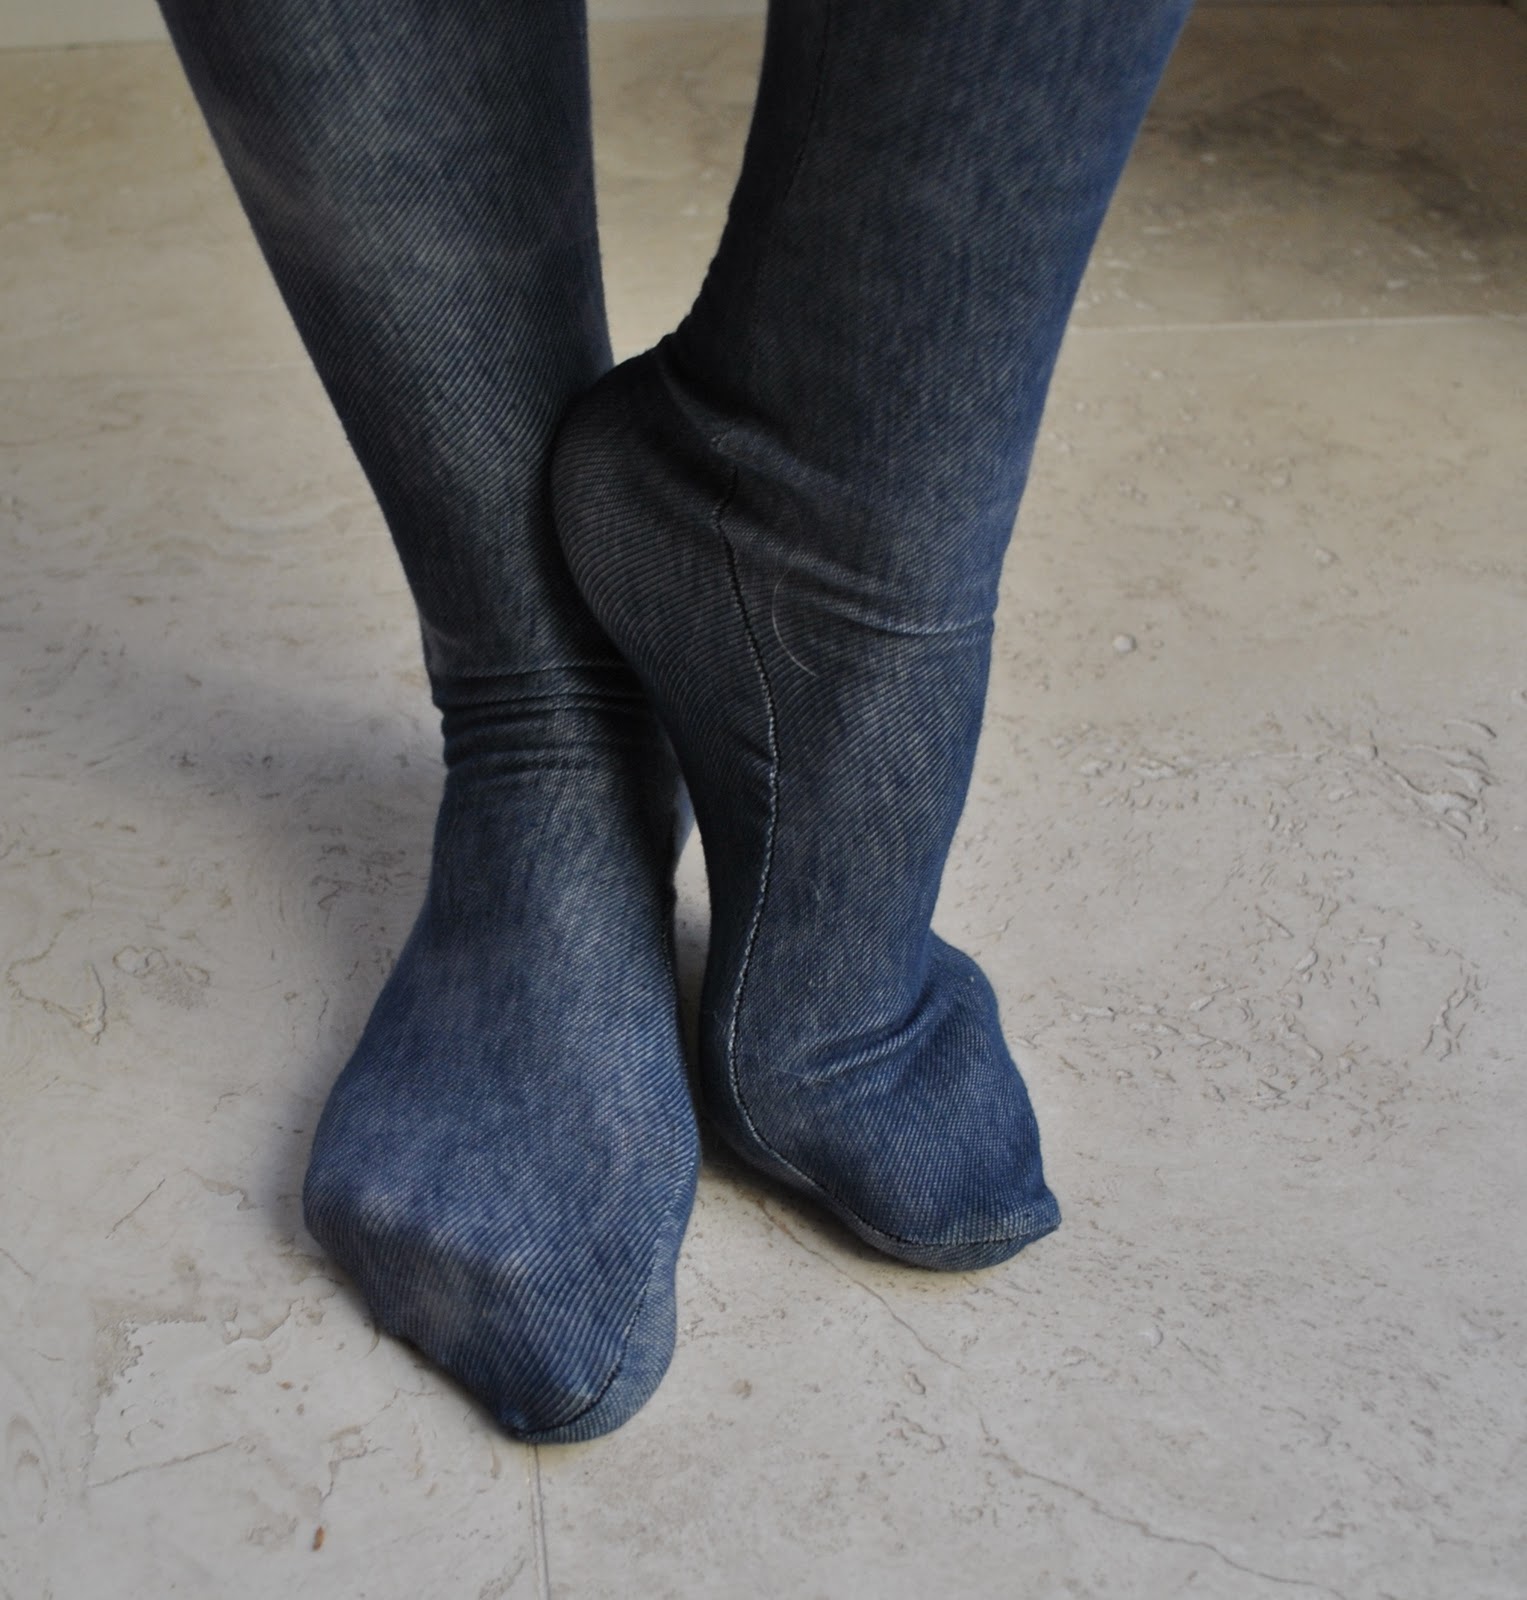
Try each leg on; just to check. The tightest part for most is getting the heel through the ankle section of the tights… and you will probably have to adjust that inner leg seam to sit straight and true.
With right sides together, and fronts and backs together, sew the two legs together around the crotch seam. Reinforce with an extra row of machine stretch stitching.
Try the tights on. Now is the time to adjust and tighten the abdomen area; the waist will probably be too big and loose to work as tights. Pull it in nice and as tight as you prefer at the centre front and centre back seam; pin and stitch. Using the offcuts, similarly adjust the waistline of your paper pattern, taking away this amount at the front and back of the top of the pattern.
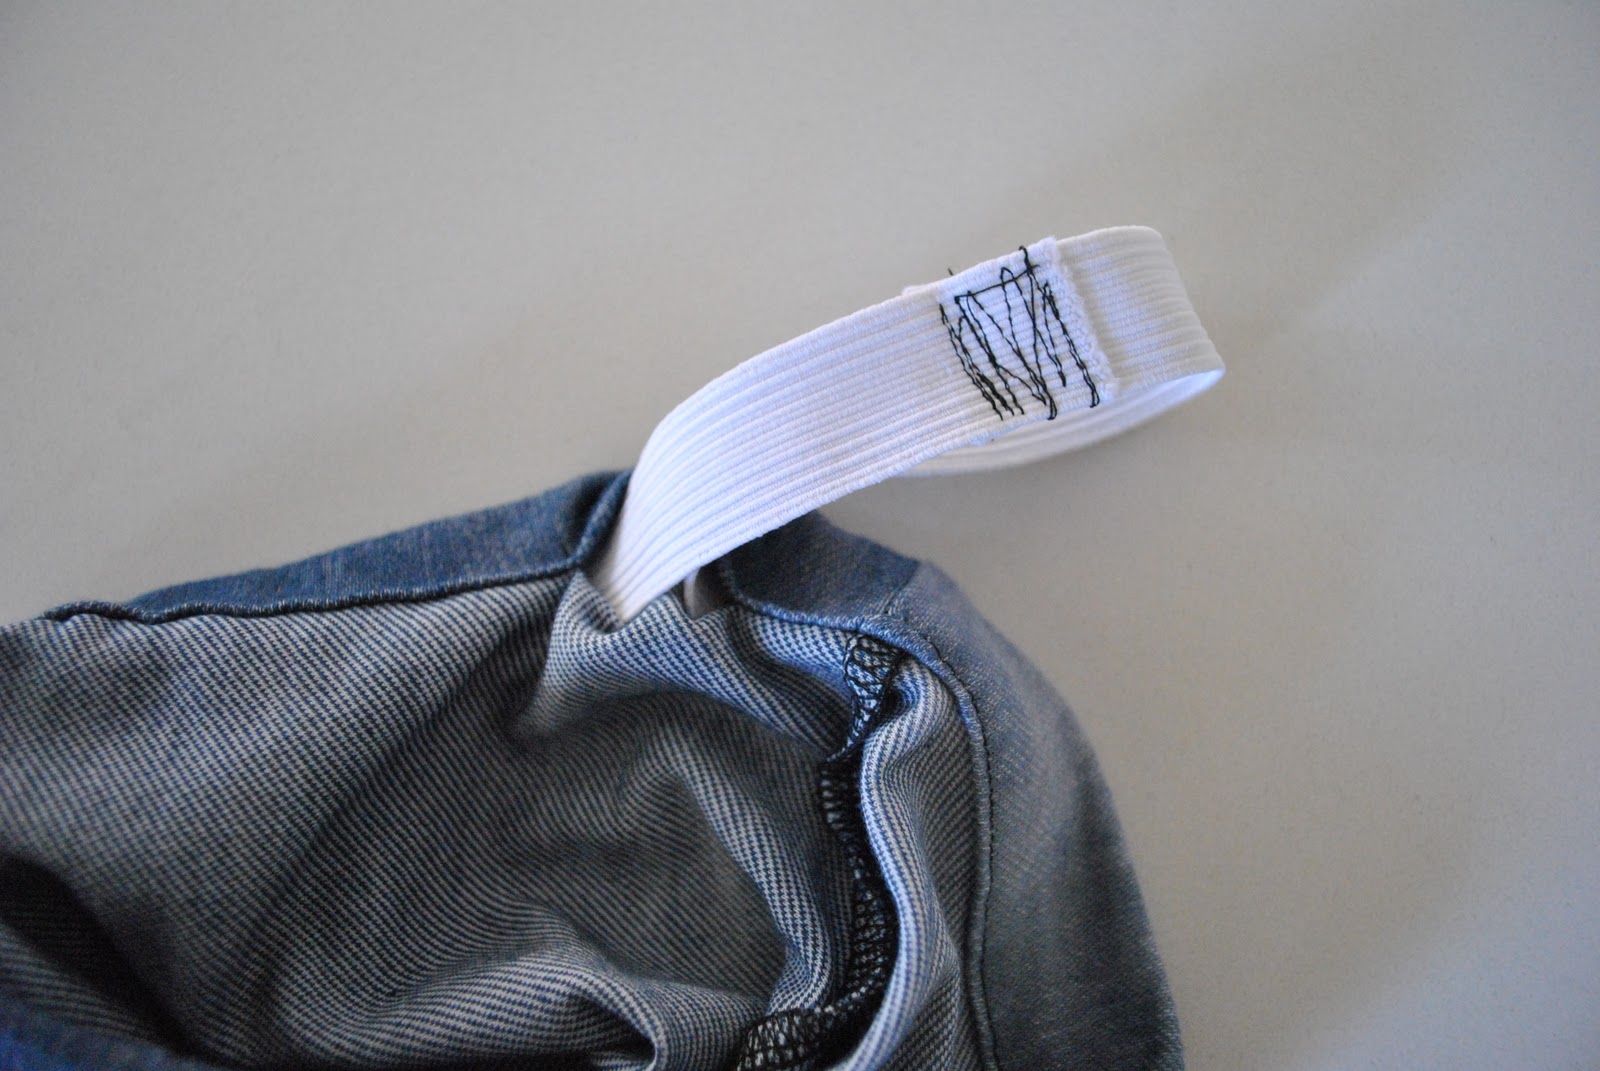
Now it is the time to sew a waist casing for your elastic, do this in the normal way as you would for any elastic waistband. To keep the elastic straight in its casing, I always sew a line of vertical stitching over the casing with the elastic inside along the centre front seam and also at the back. Furthermore, I sew a cross at the back of the waistband, or some similar marking, so I can tell at a glance which is the back of the tights when I am pulling them on to wear.


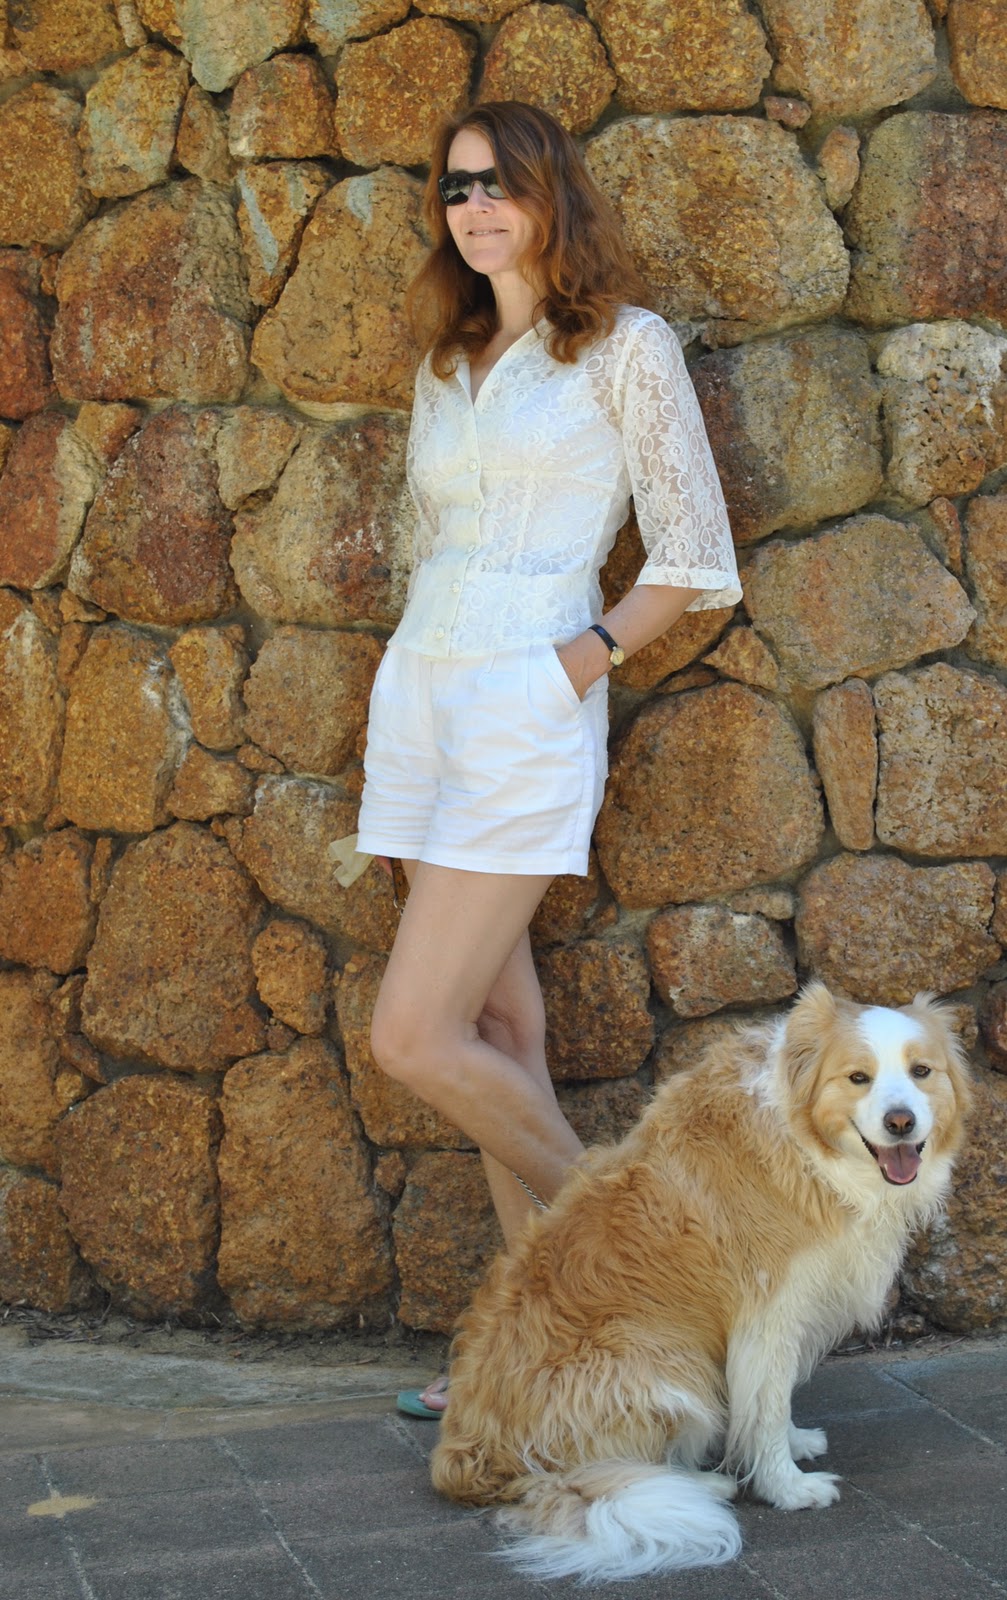
 Hehe, in order to avoid falling into a rut and boring you with repeat photos of the beach I’m making an effort to seek out new locations, variety is the spice of life, so they say. Thus, the toasty tones of my lovely rocky wall backdrop setting off the all-white ensemble here. Beautiful wall, no? It is actually the outer wall of the toilet block down here at the beach. Yeeeeah, I’m so sorry to completely ruin any romantic notions you may be entertaining about my “picturesque” backdrops… ! honesty in blogging, and all that… the same beach from yesterday is a mere stone’s throw away from this spot. That’s even for a pathetic stone-thrower like me with a truly “girly” throwing arm…
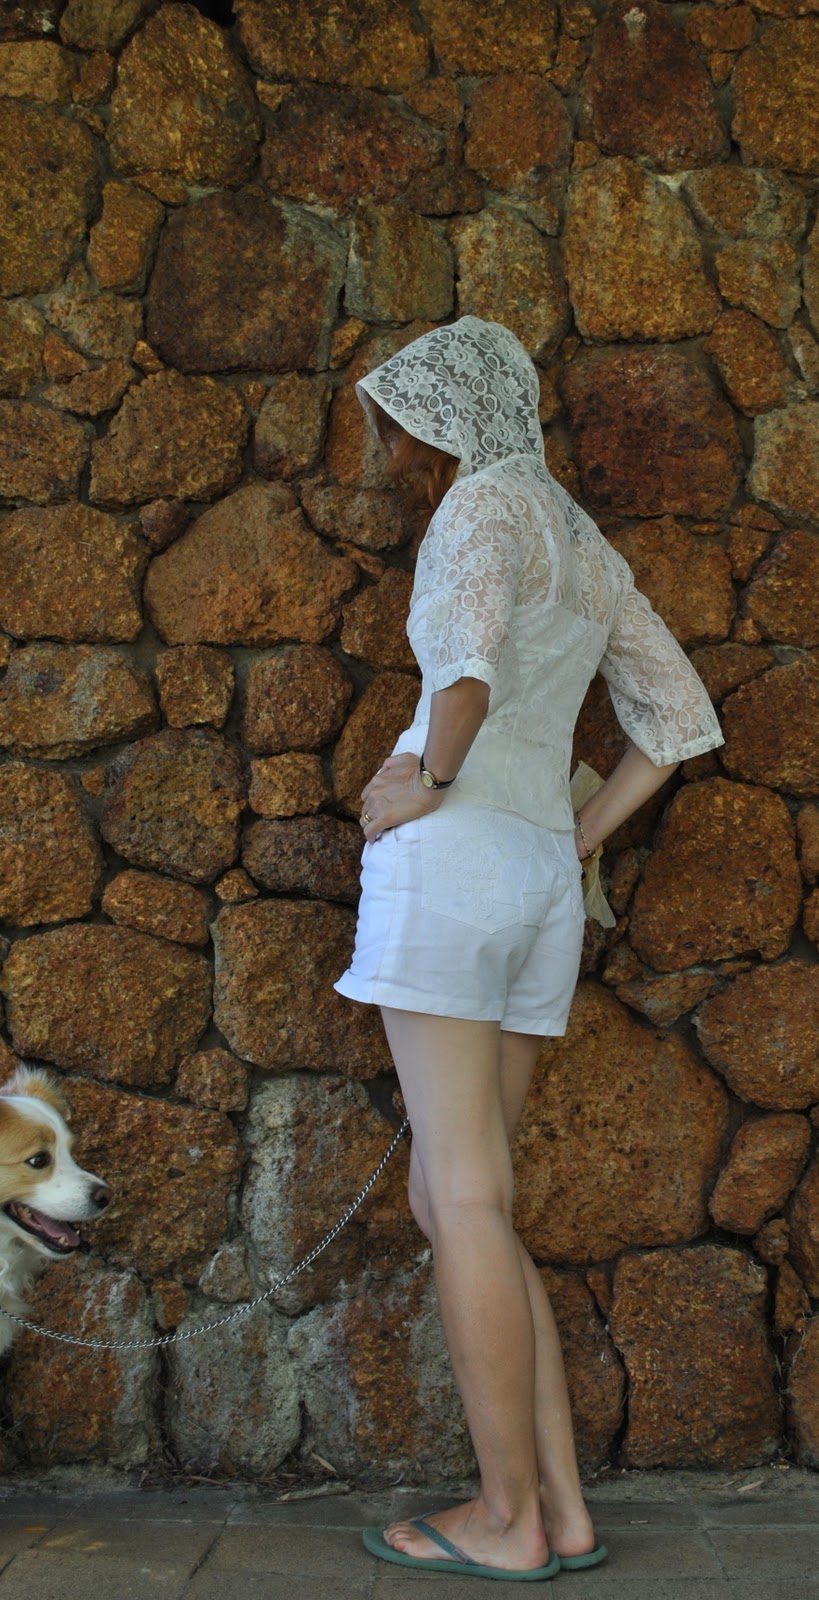

.jpg)


.jpg)