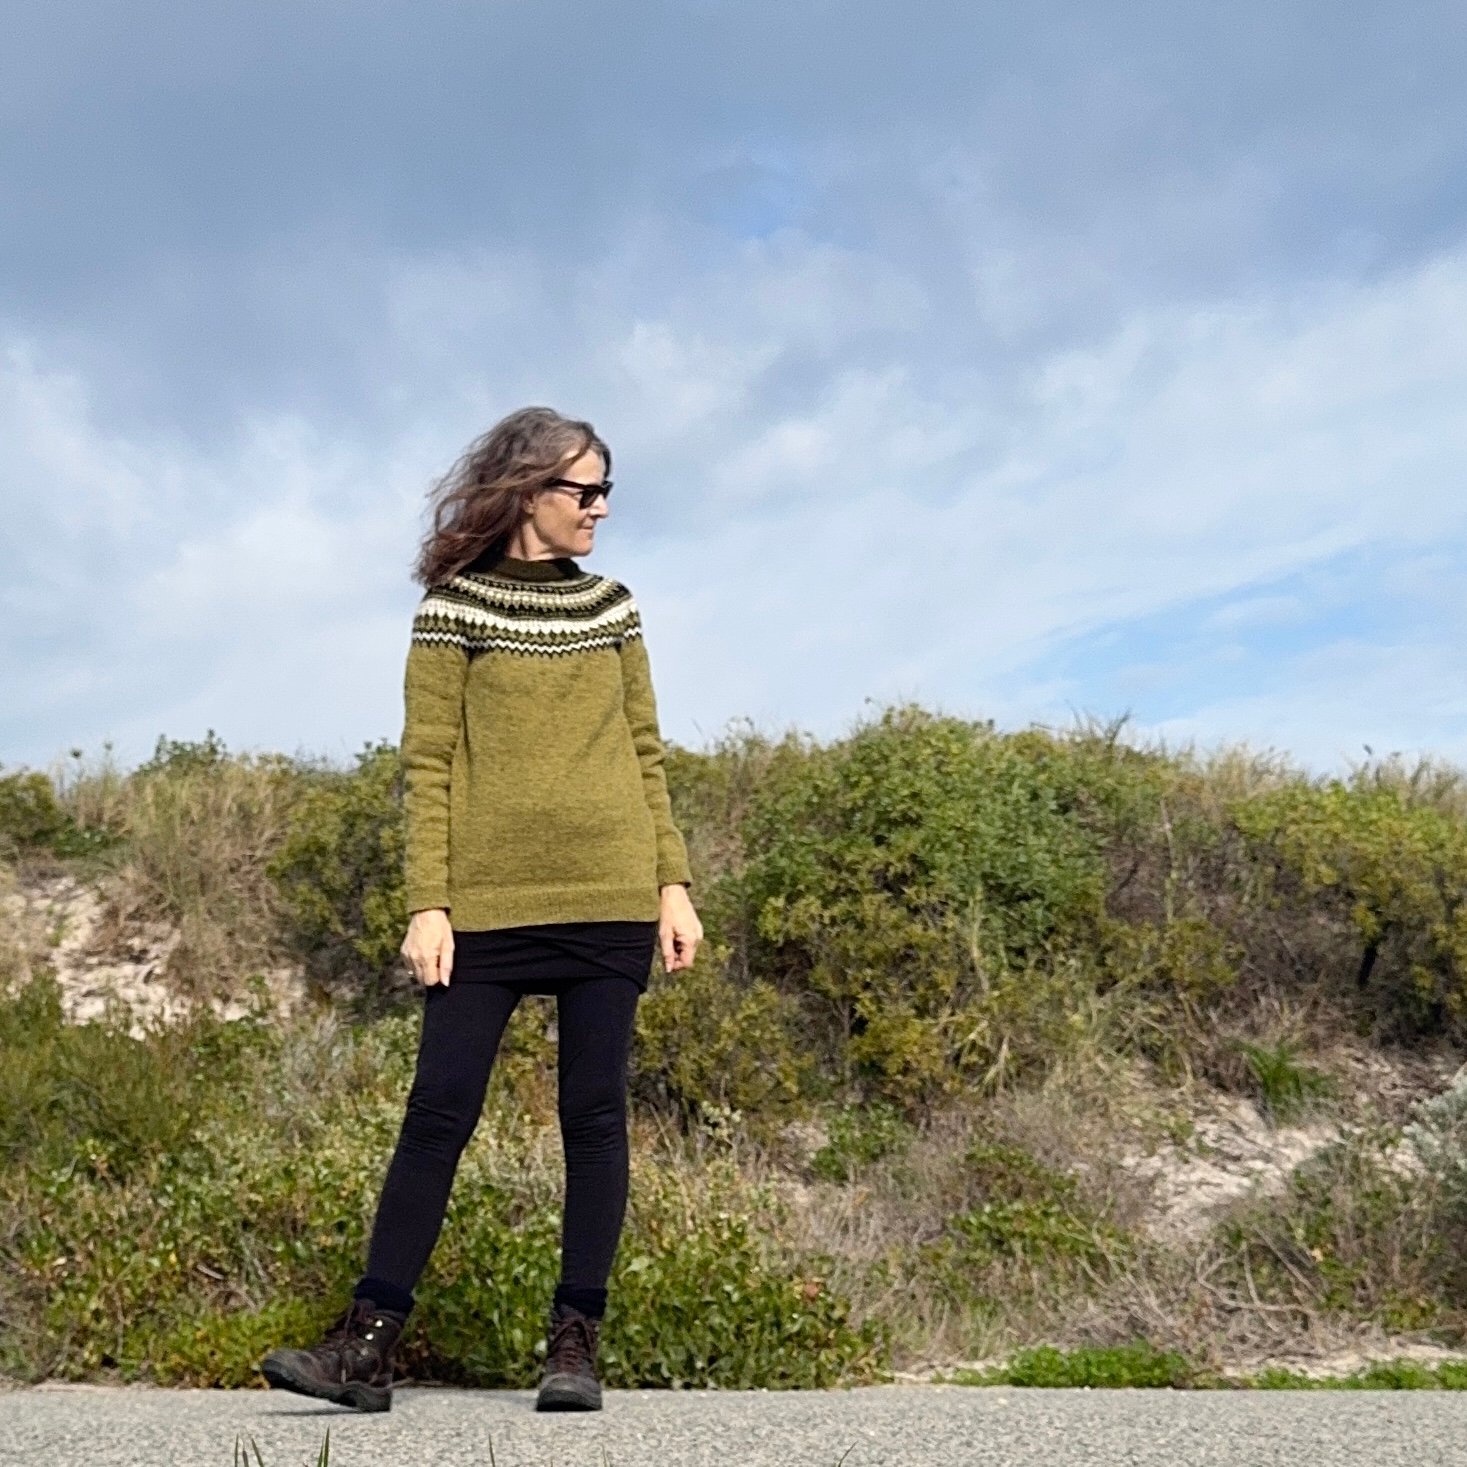

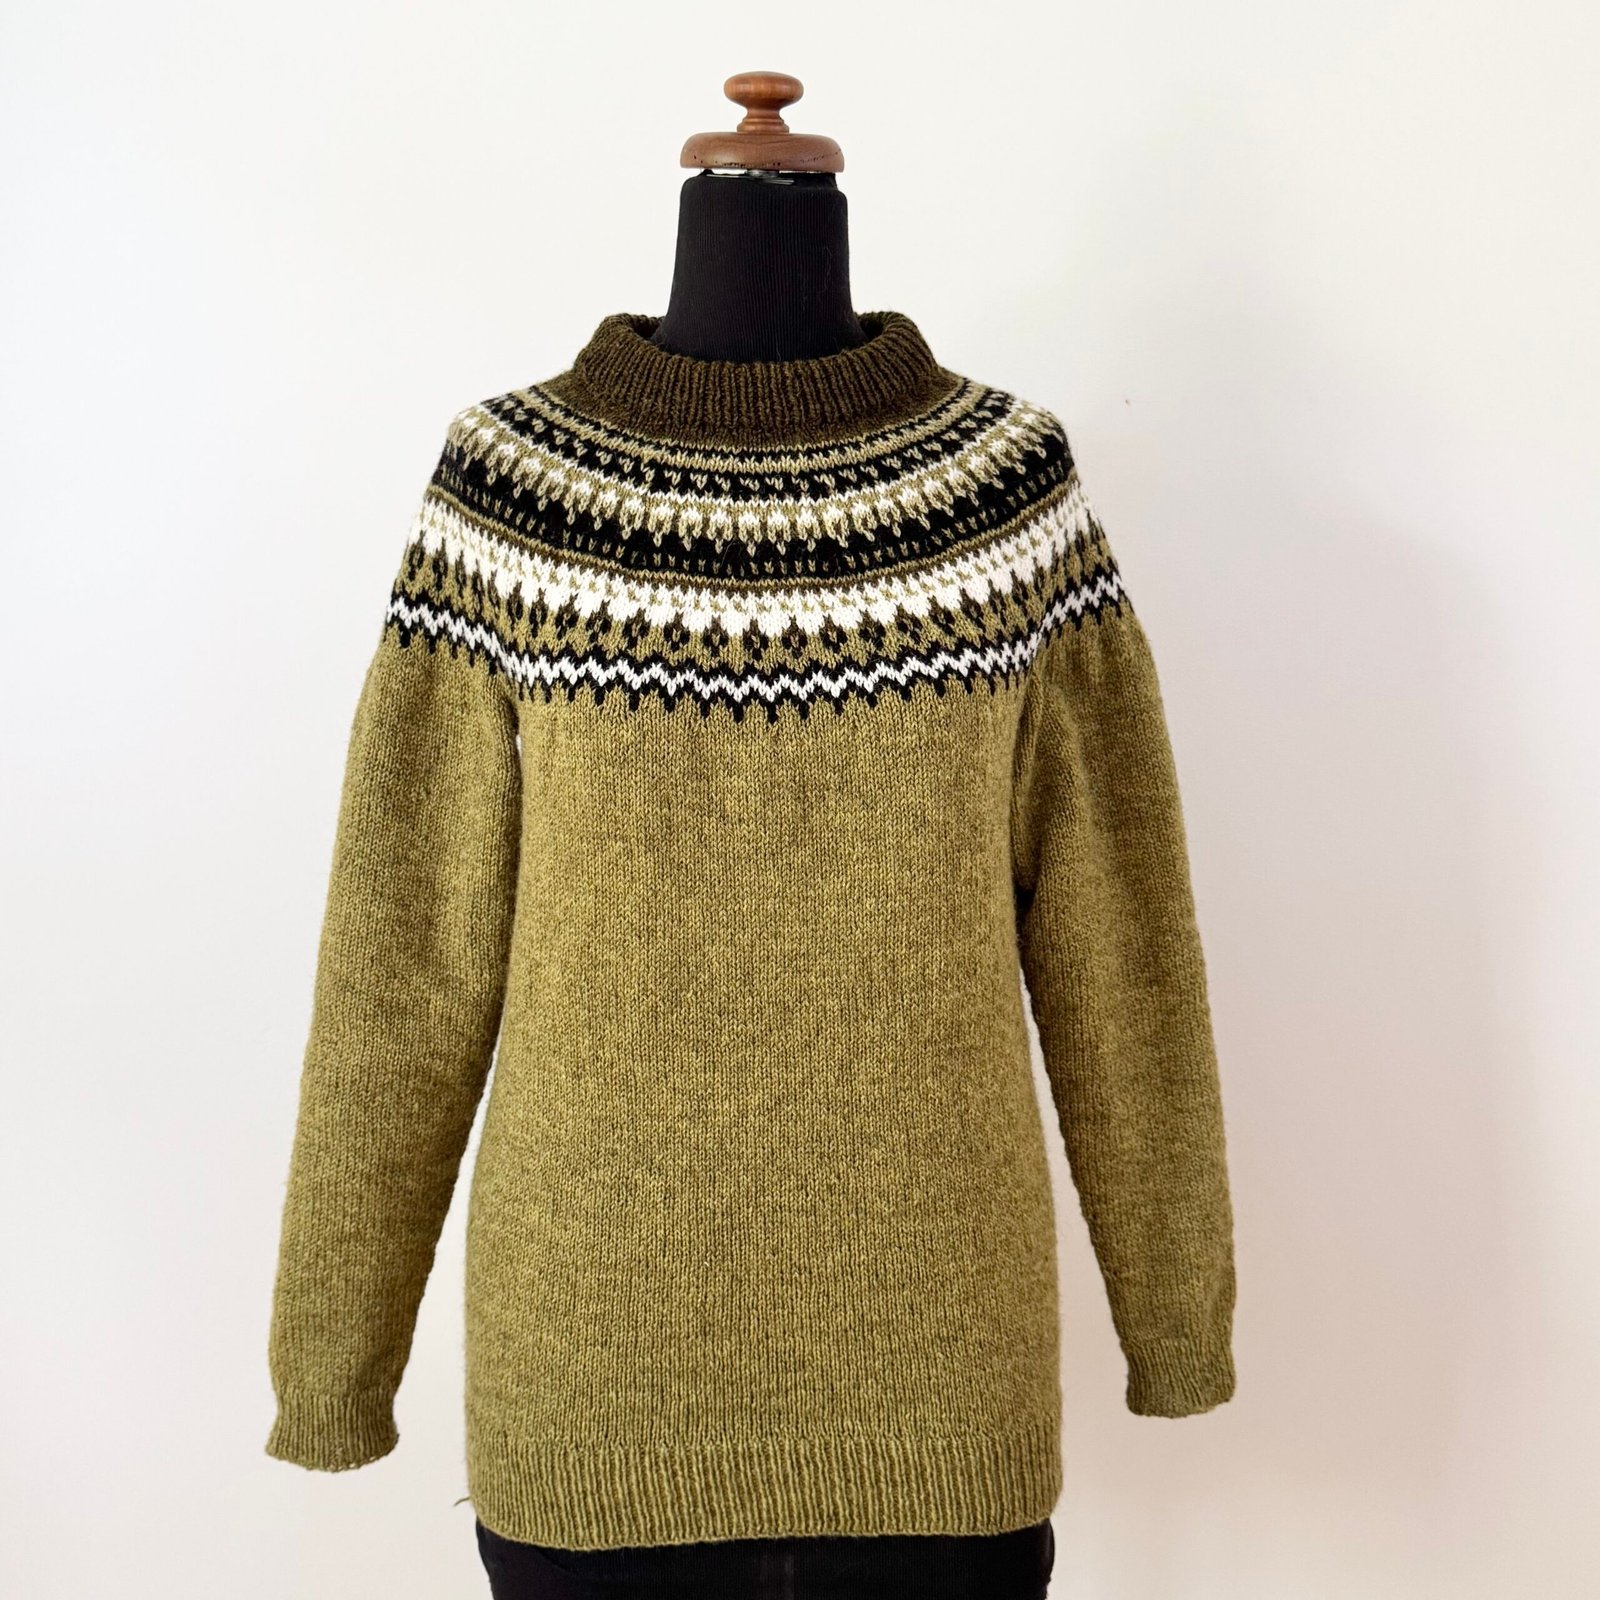
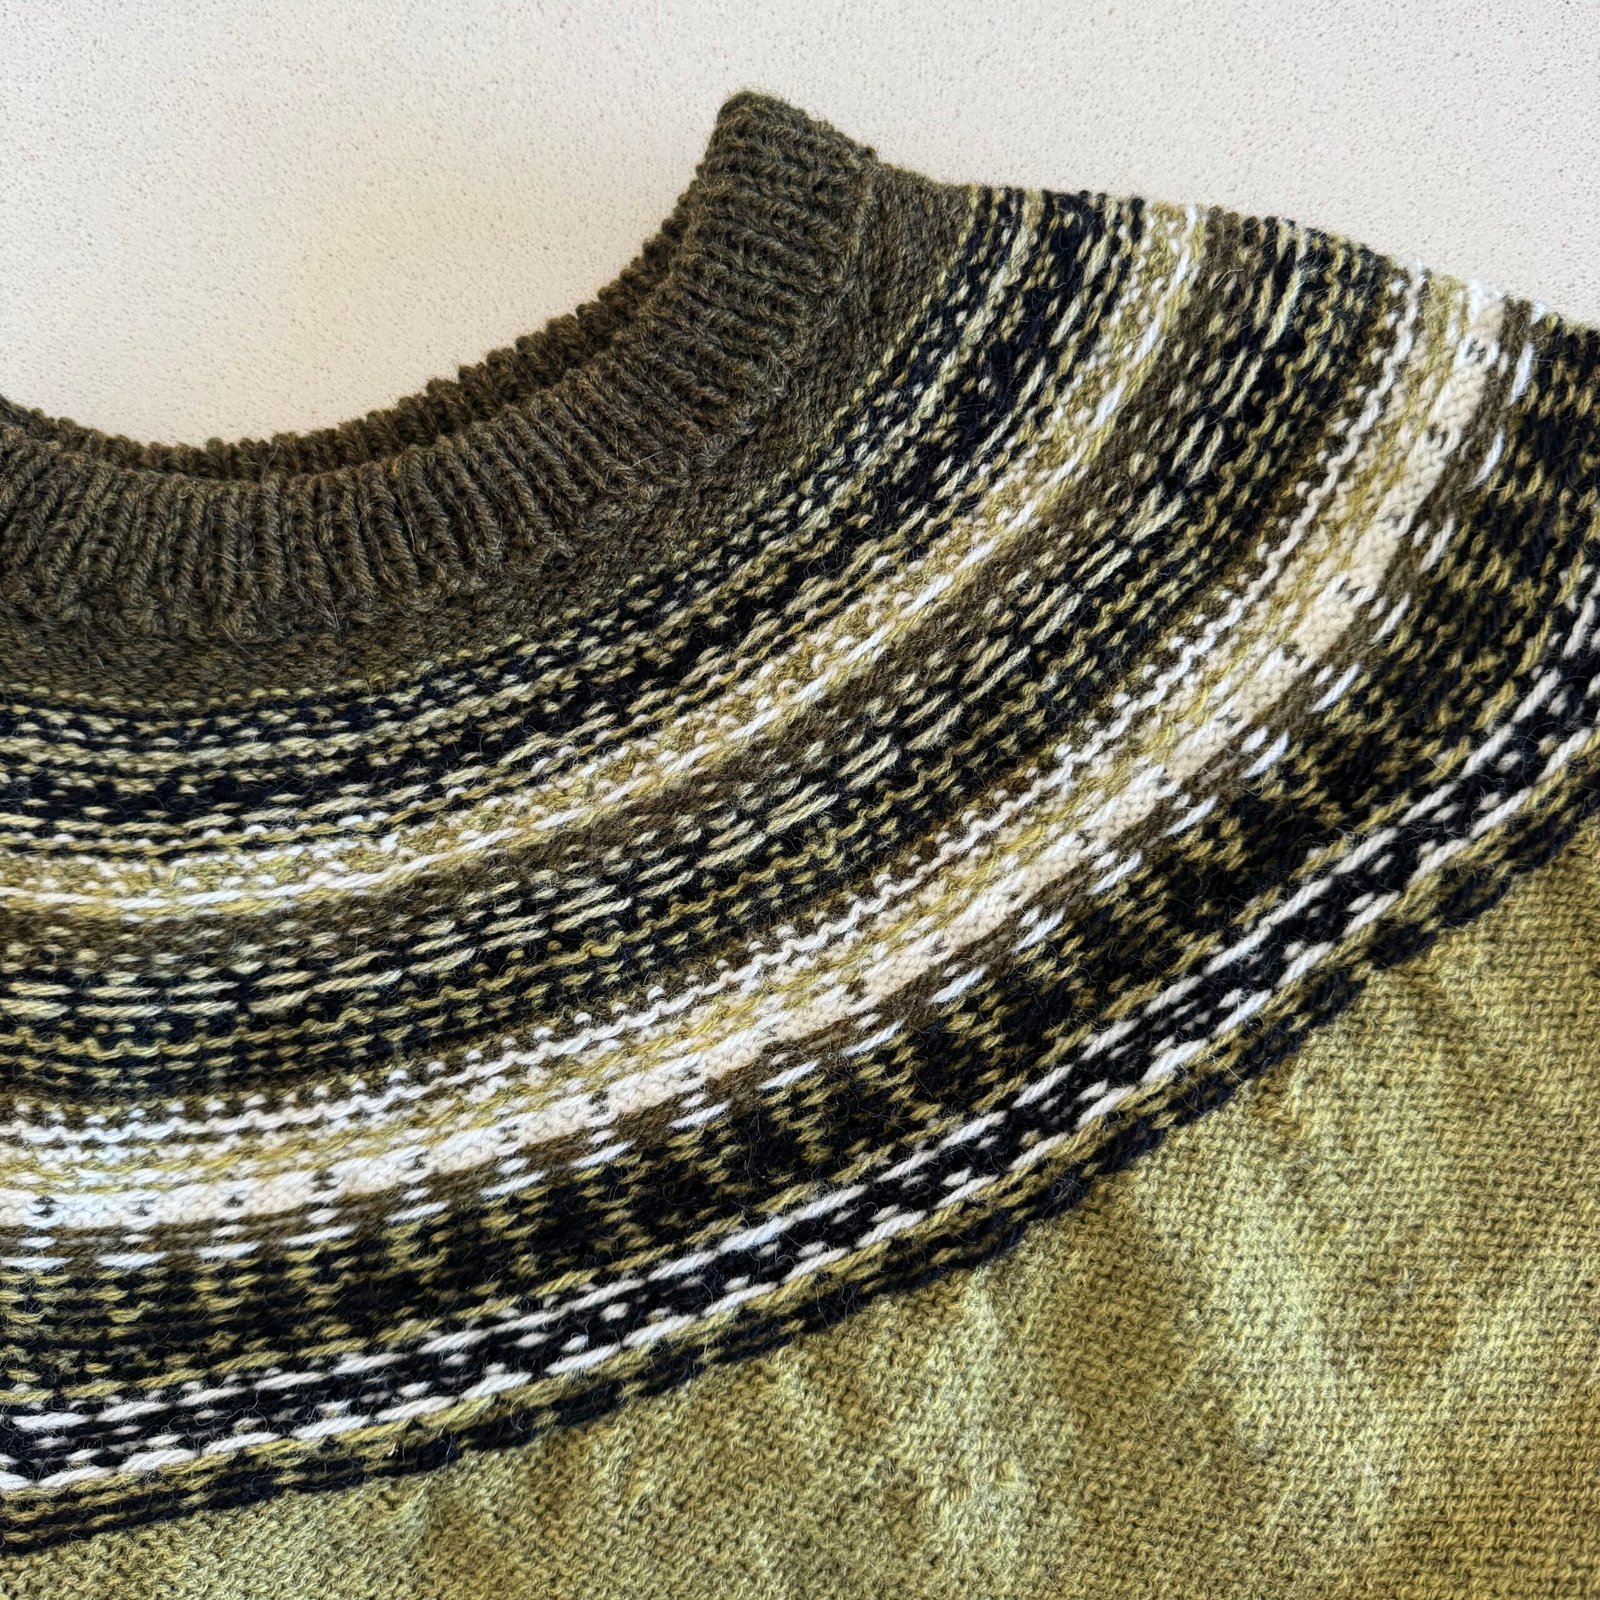
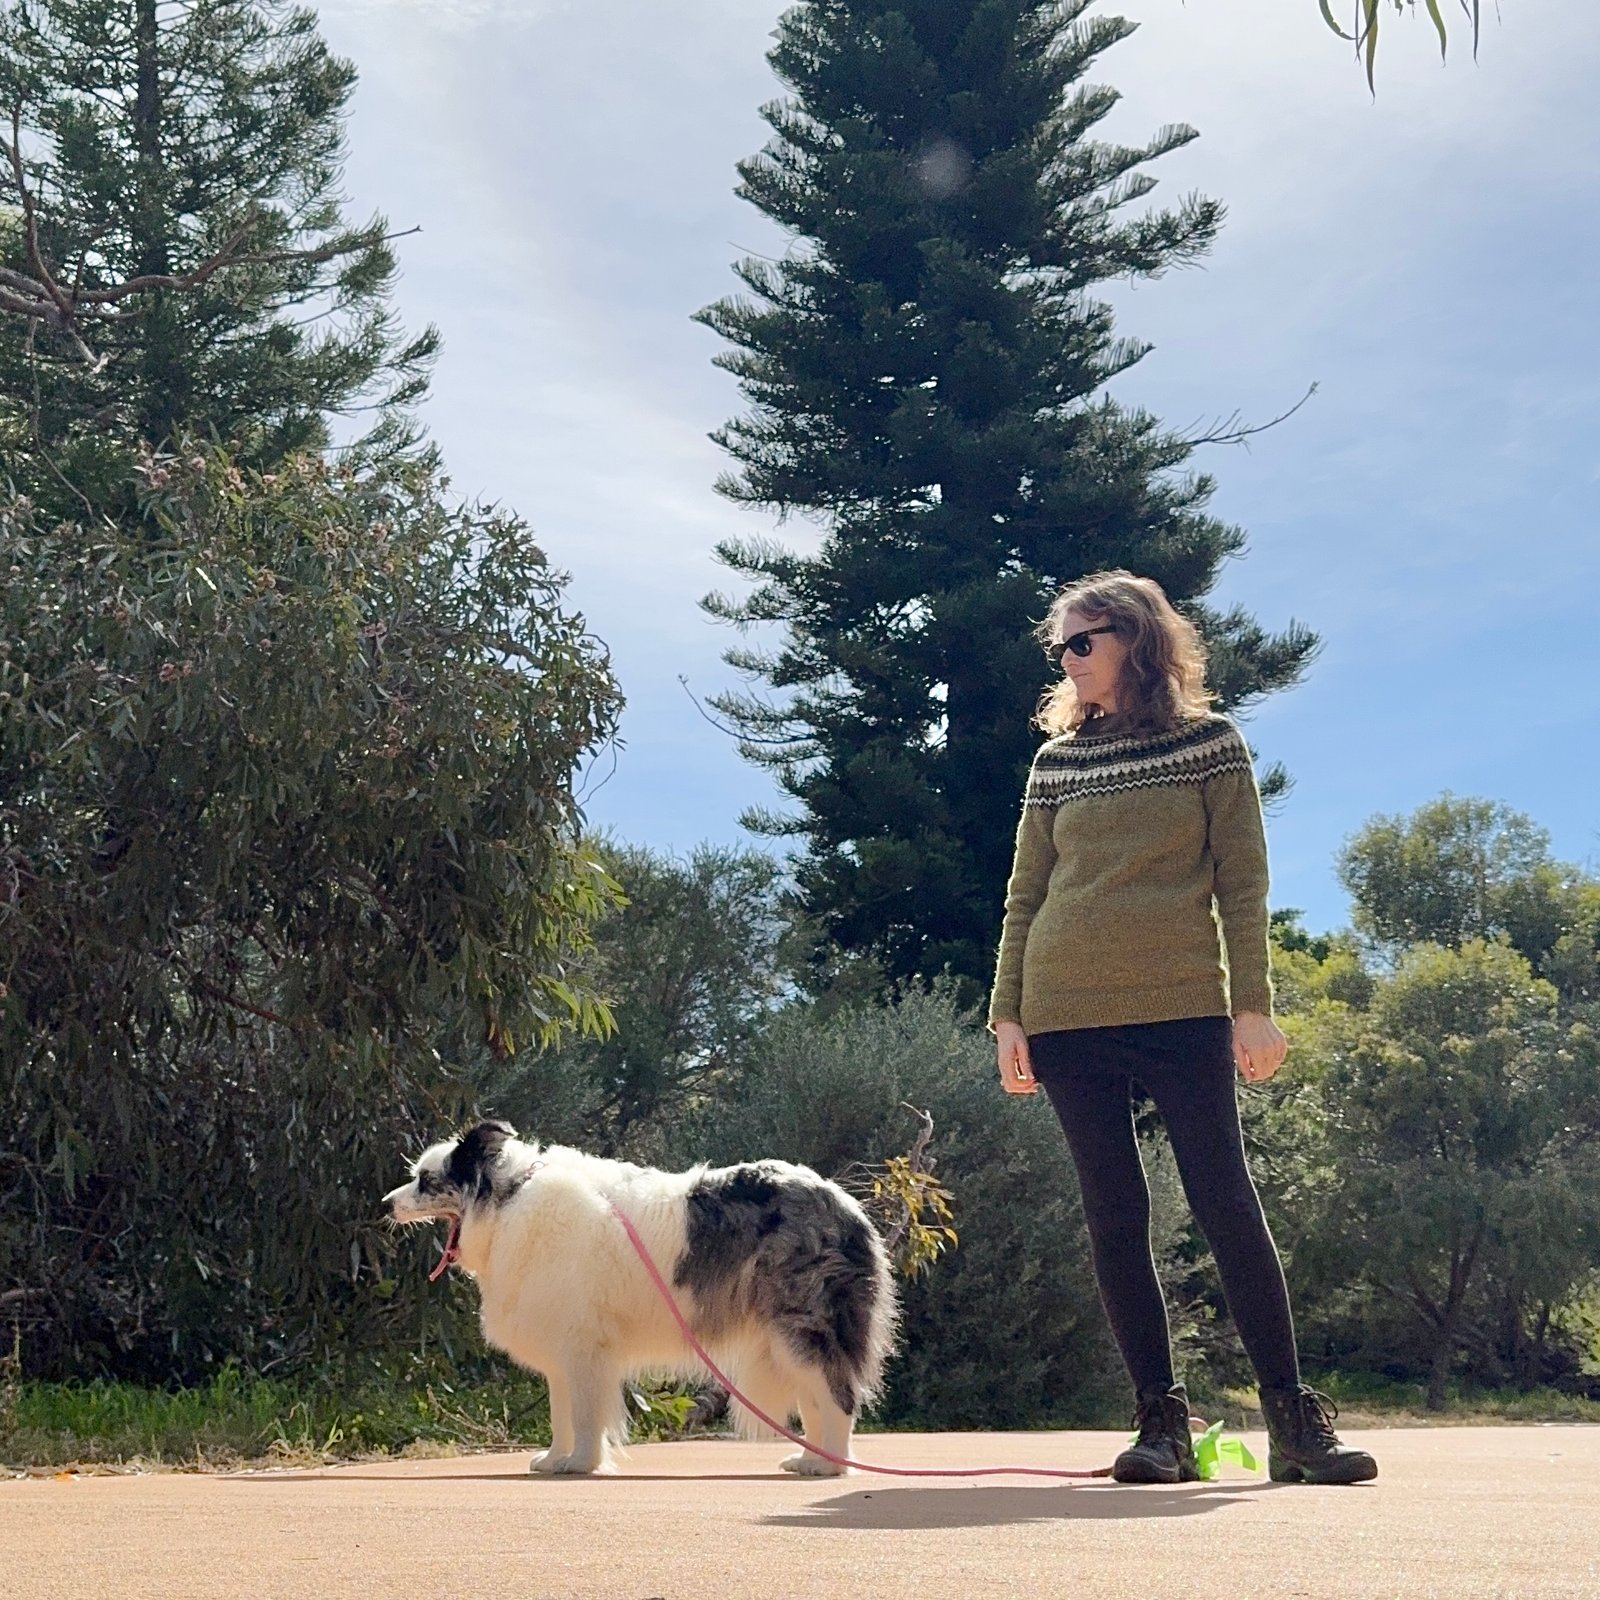
Hello! I’ve been making new things, including this new jumper that I knitting using wool bought during our holiday in Norway last year… I posted about the wool purchase during my travel wardrobe post here, and finished it about four months ago. And finally, I took some pictures!
(I must apologise… it’s been a really long time since I wrote anything here. A series of separate and unrelated things have happened in mine and my family’s lives, mostly not good. It’s not worth going into all the details because none of them are things I want to dwell on. However I have actually managed to make a few things since I last blogged, and I’ll try to document them all bit by bit. My camera stopped working last year too, and since cameras are like dinosaurs nowadays I probably won’t replace it but just rely on my phone camera. I hope it’s good enough!)
One very good thing that has happened is this adorable little thing…
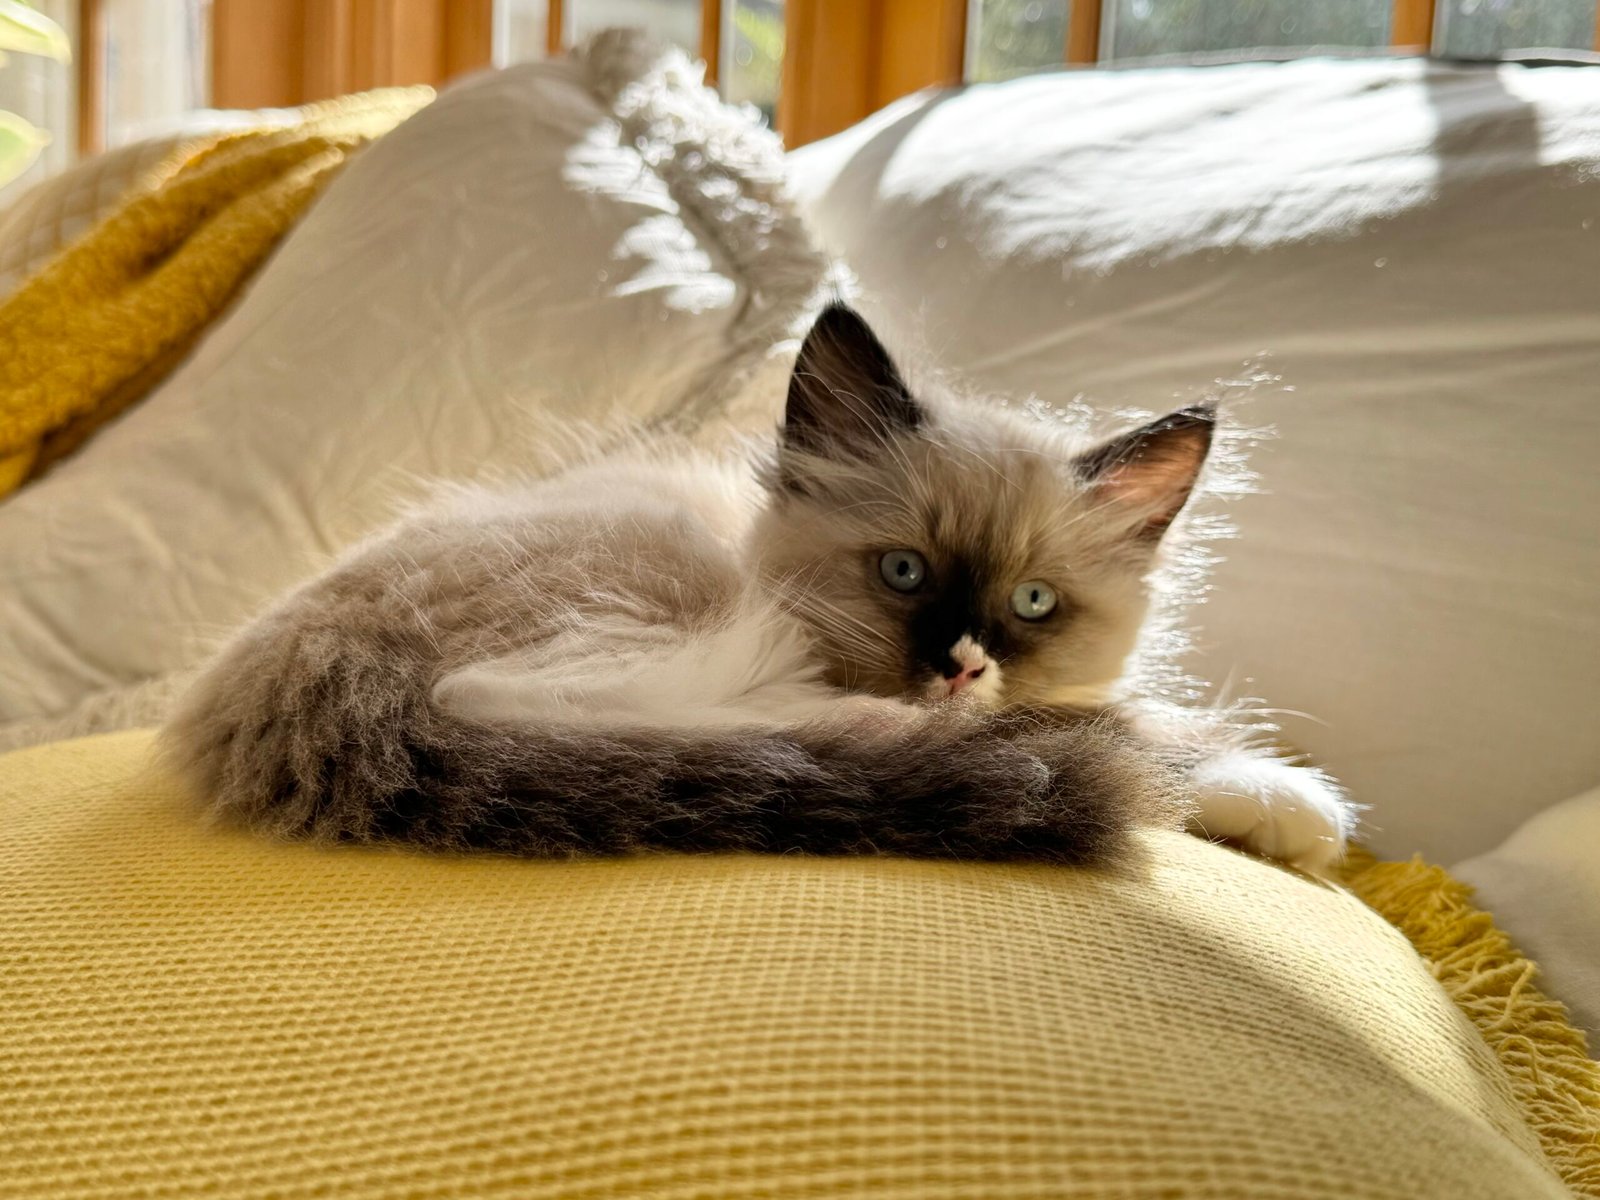
please say hi to Wendy…
Anyway… sewing/knitting updates, let’s go! Last June/July, my husband and I went on a long hiking holiday through Italy and later Norway, and I bought some wool in Oslo with a view to knitting a Norwegian jumper for myself.
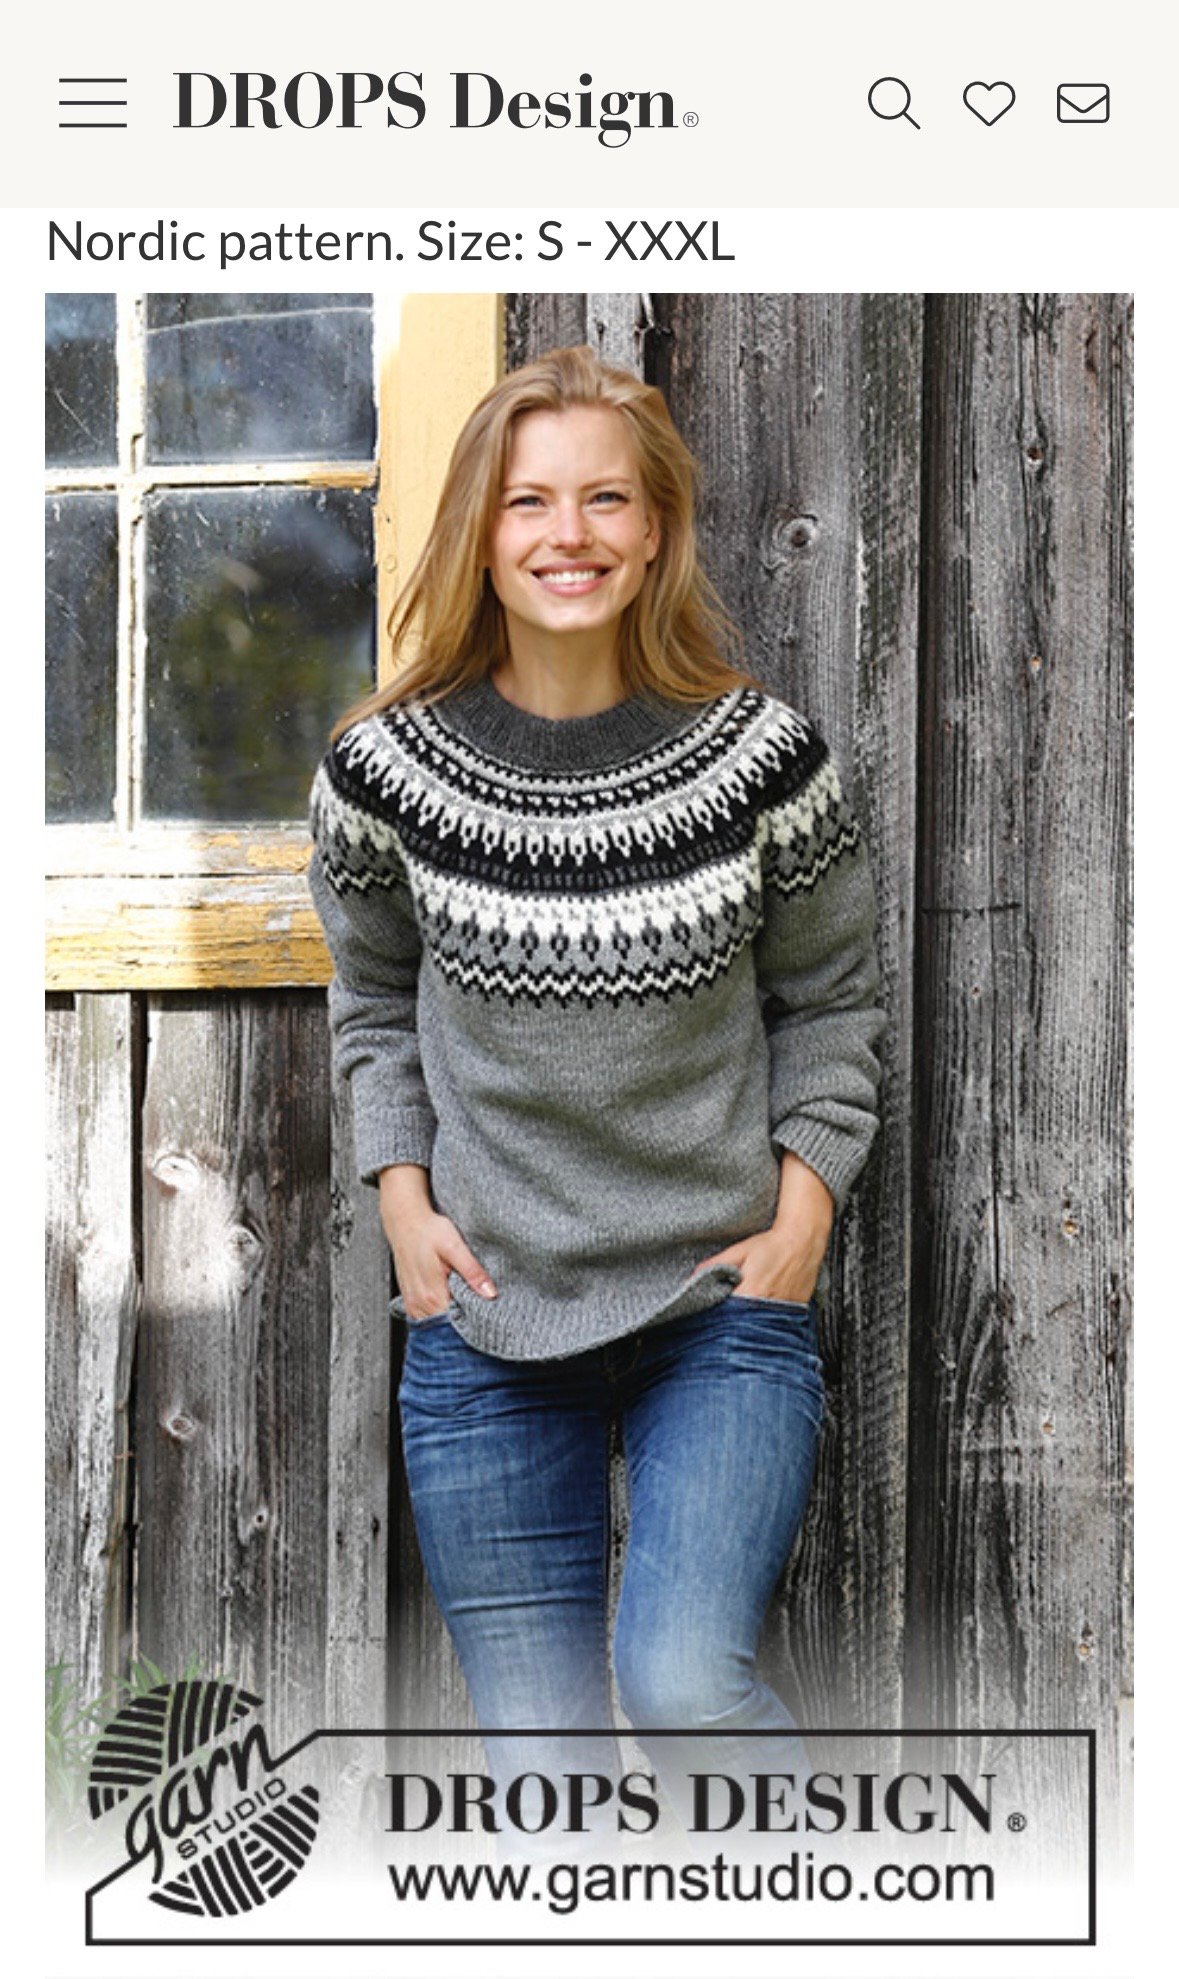
 I’d researched patterns for Norwegian jumpers and chosen this one … Night Shades (Drops 195-19 by Drops Design, a currently free pattern. I also researched yarn stores and visited several of them in Oslo. I found the above yarn in Fru Kvist, and Craig was so patient while I spent hours looking through all the offerings to find what was needed for the pattern! In the end, this particular yarn is actually Danish, Isager by Jensen yarn, but we won’t worry about that… I BOUGHT it in Norway and I’m just calling myself satisfied with that. The colours are 40S (heathered yellow-green) 0 (natural white), 82 (dark yellow green) 29S (light yellow green), 30 (black).
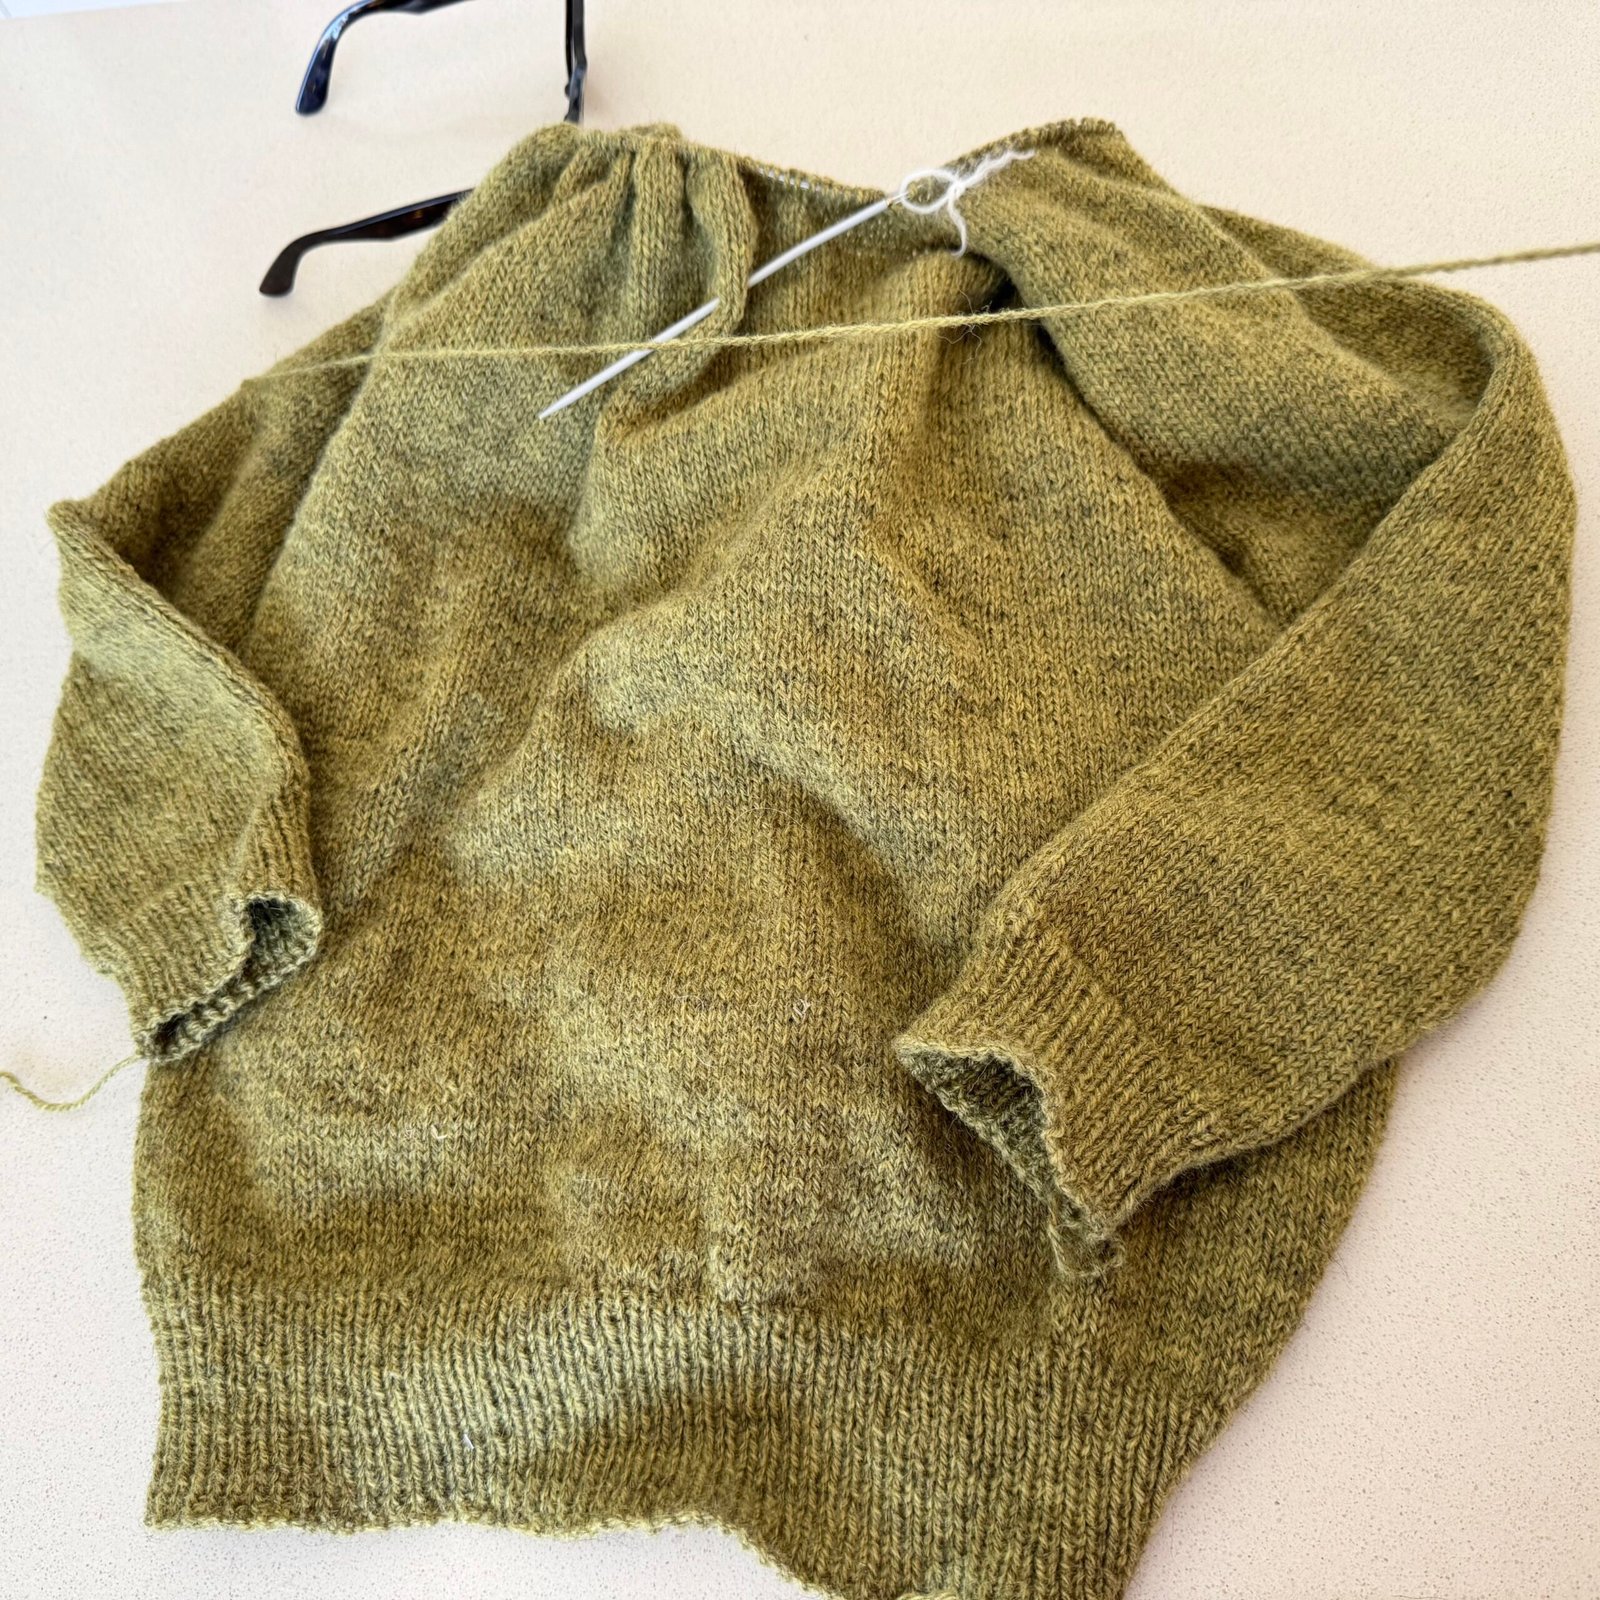
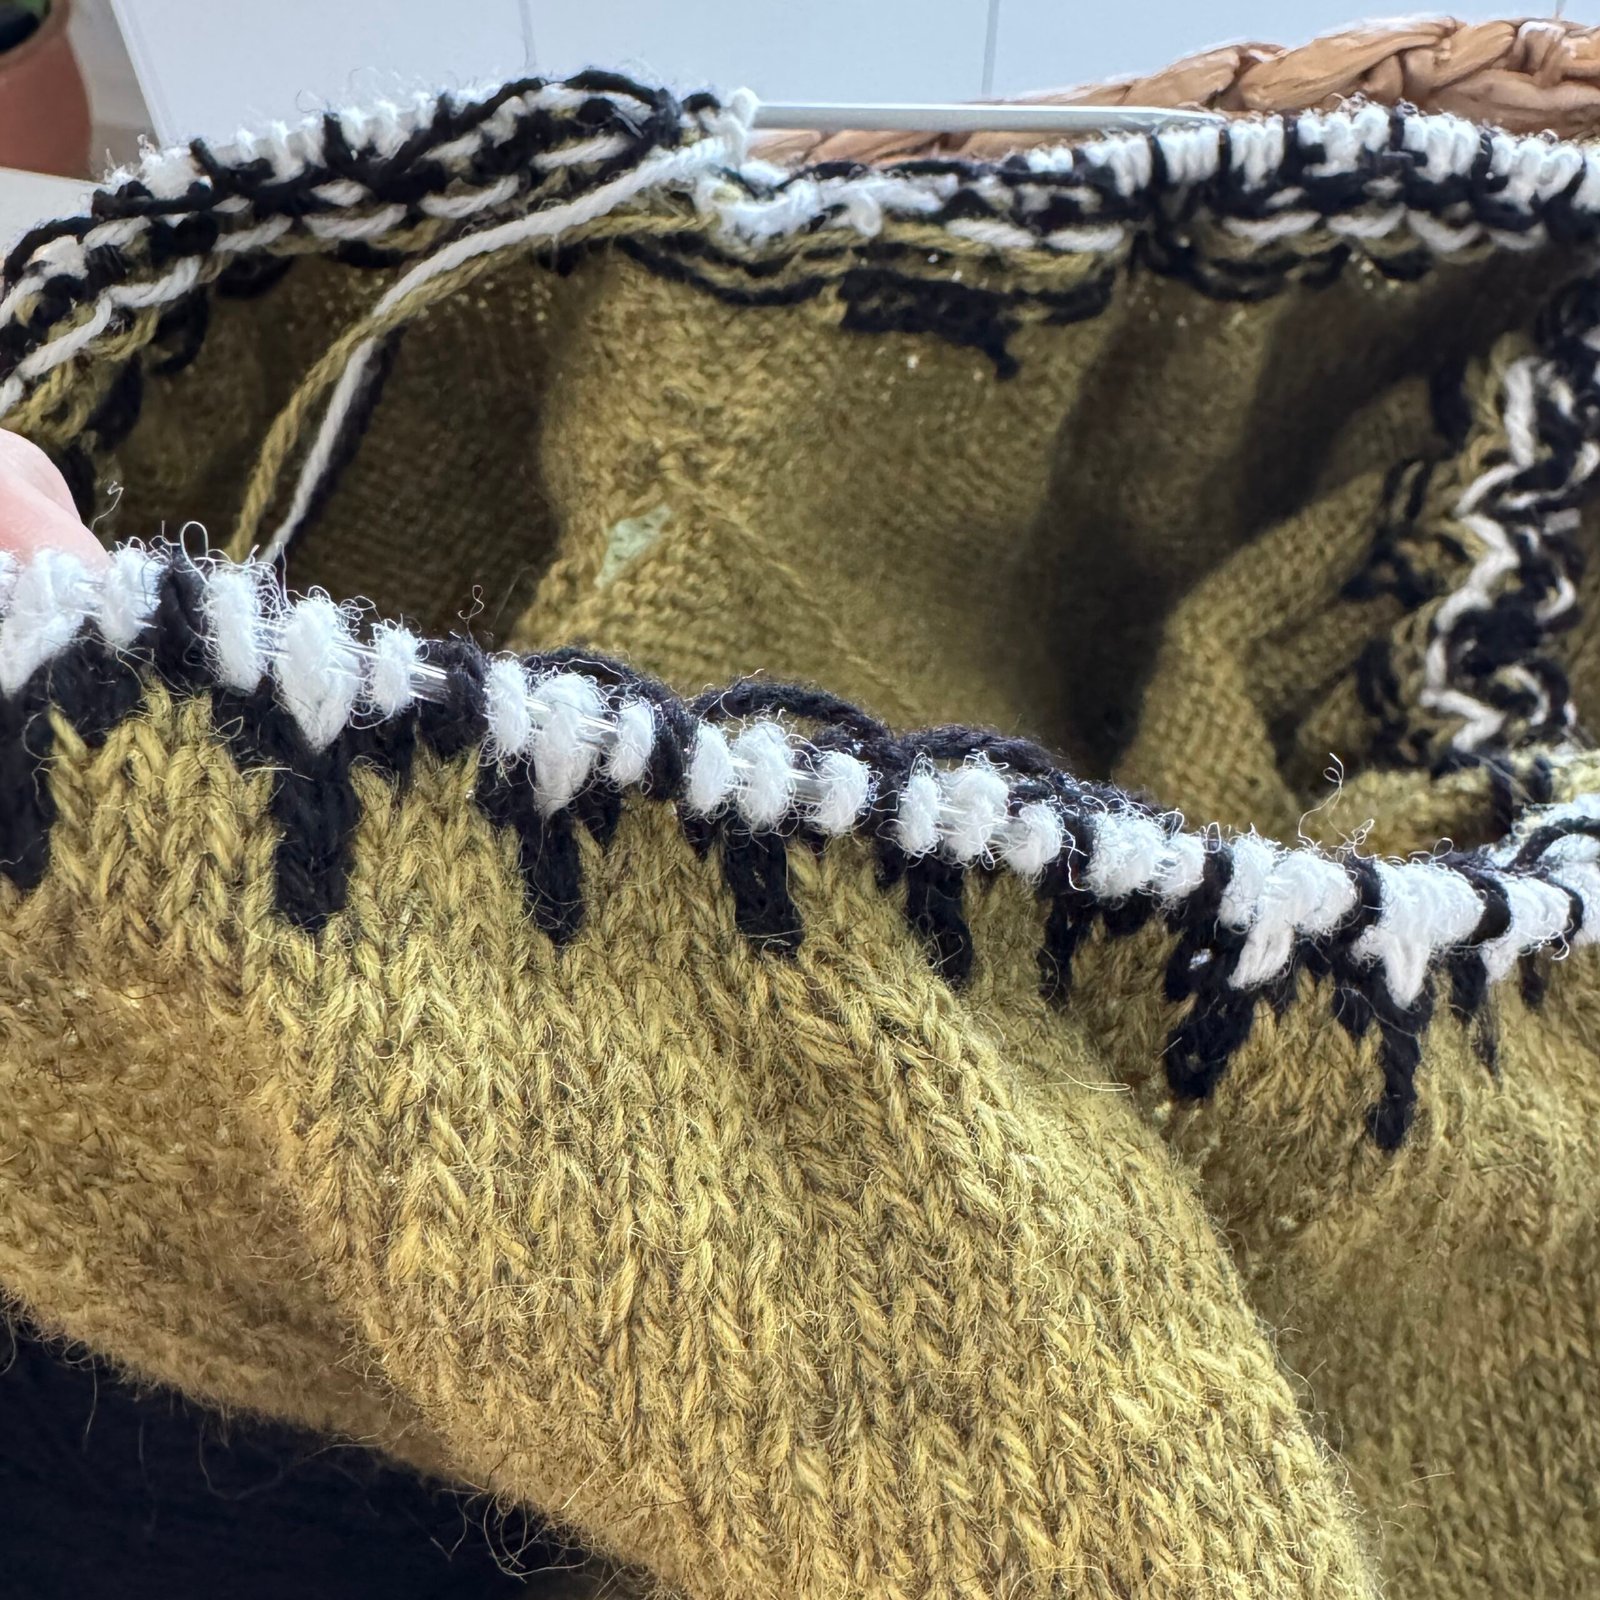
I took precisely two progress photos, whoops… Most of the main colour is one dye-lot, and a smaller ball of another dye-lot made up the required amount. I actually couldn’t tell the difference in colour, although the lady in the yarn store was quite concerned. My solution; I stitched alternate rows in the two colour ways for the torso until I’d used up all the second dye-lot, and then continued in the main dye-lot for the remainder. I know this is a lengthy explanation for something that seems kinda insignificant, but knitters are usually quite strongly opinionated about this sort of thing so I thought it necessary to mention, at least.
I knitted the body and both arms right up to the pattern yoke with some enthusiasm, and then kinda abandoned it for a few months. Silly, because the yoke is the interesting bit! Then my friend started messaging me with progress on baby blankets she was knitting for her expected twin grandchildren… and it inspired me to pick up my own knitting project again too. Of course the yoke was easy and fun to knit and I finished it pretty quickly after that!
The pattern is good, but I had to alter the body part a bit. Mine is considerably longer in the torso and arms. The yoke is pretty identical though. The front and the back at the neckline have short rows to make the back a higher fit, which I really like.
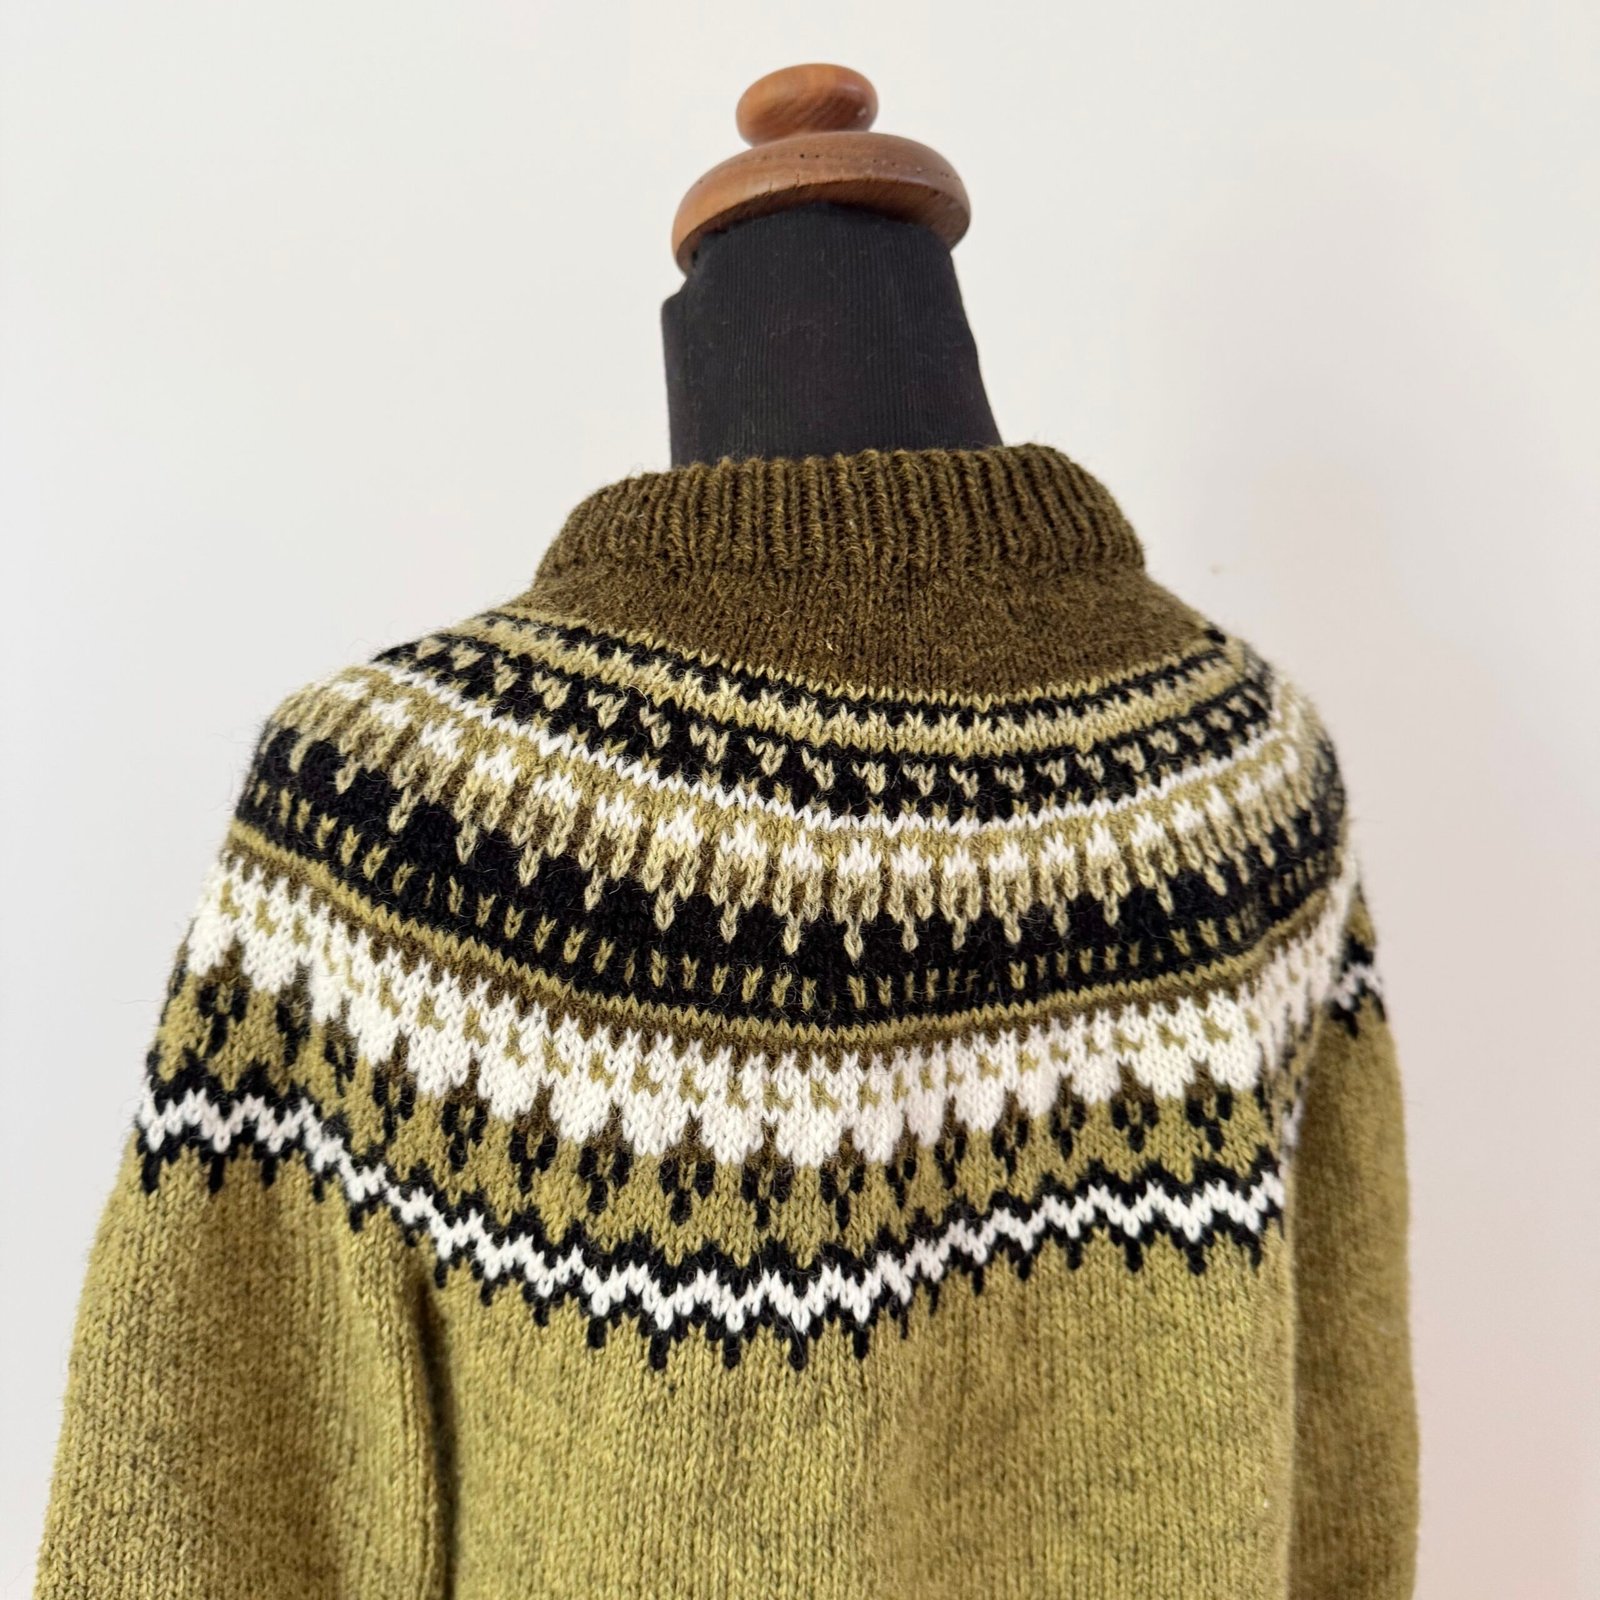
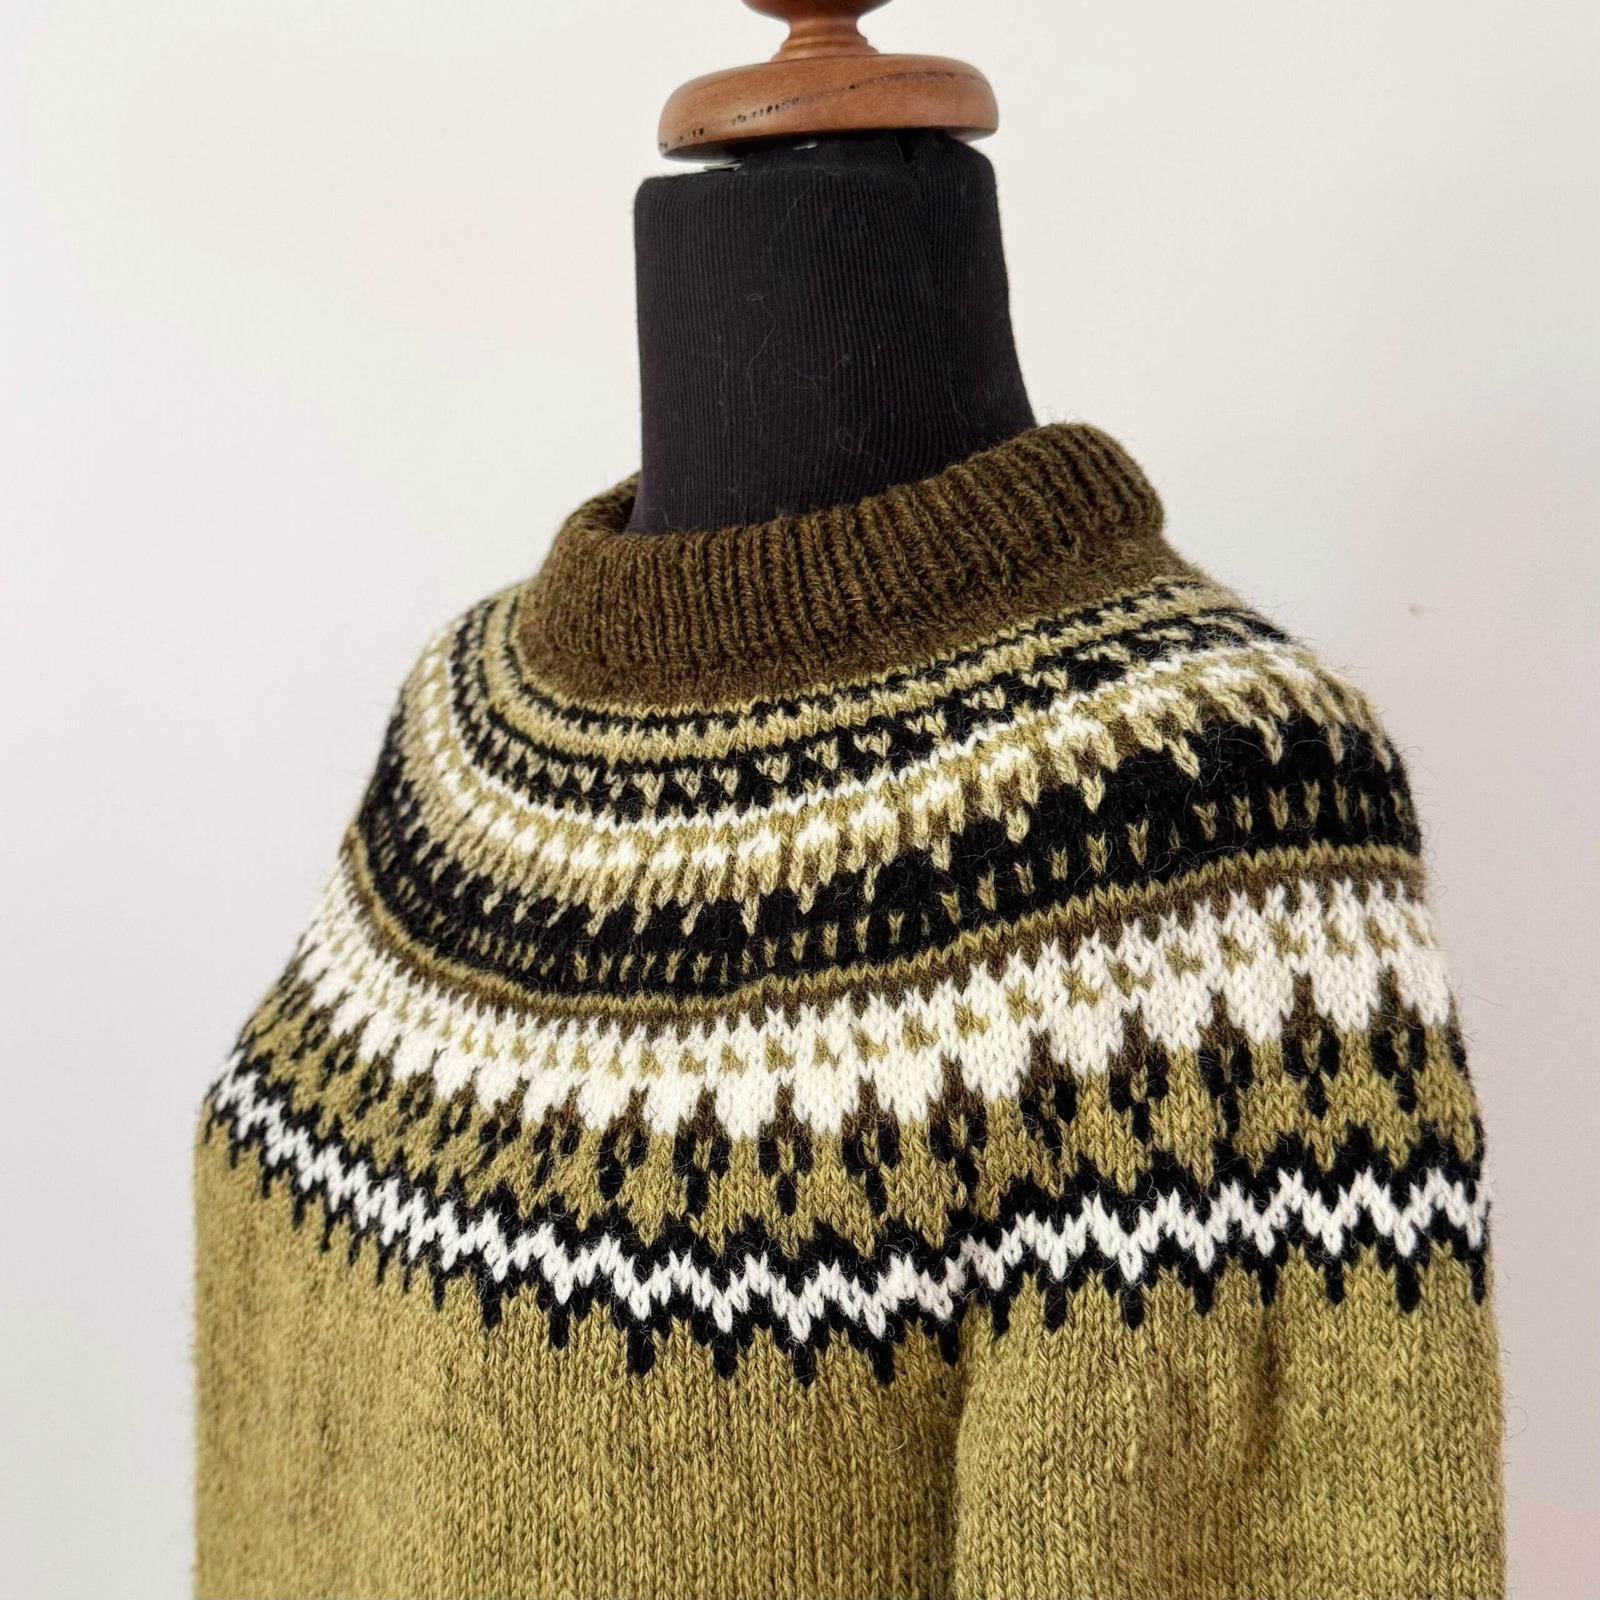 Pictures of the wrong side… just because
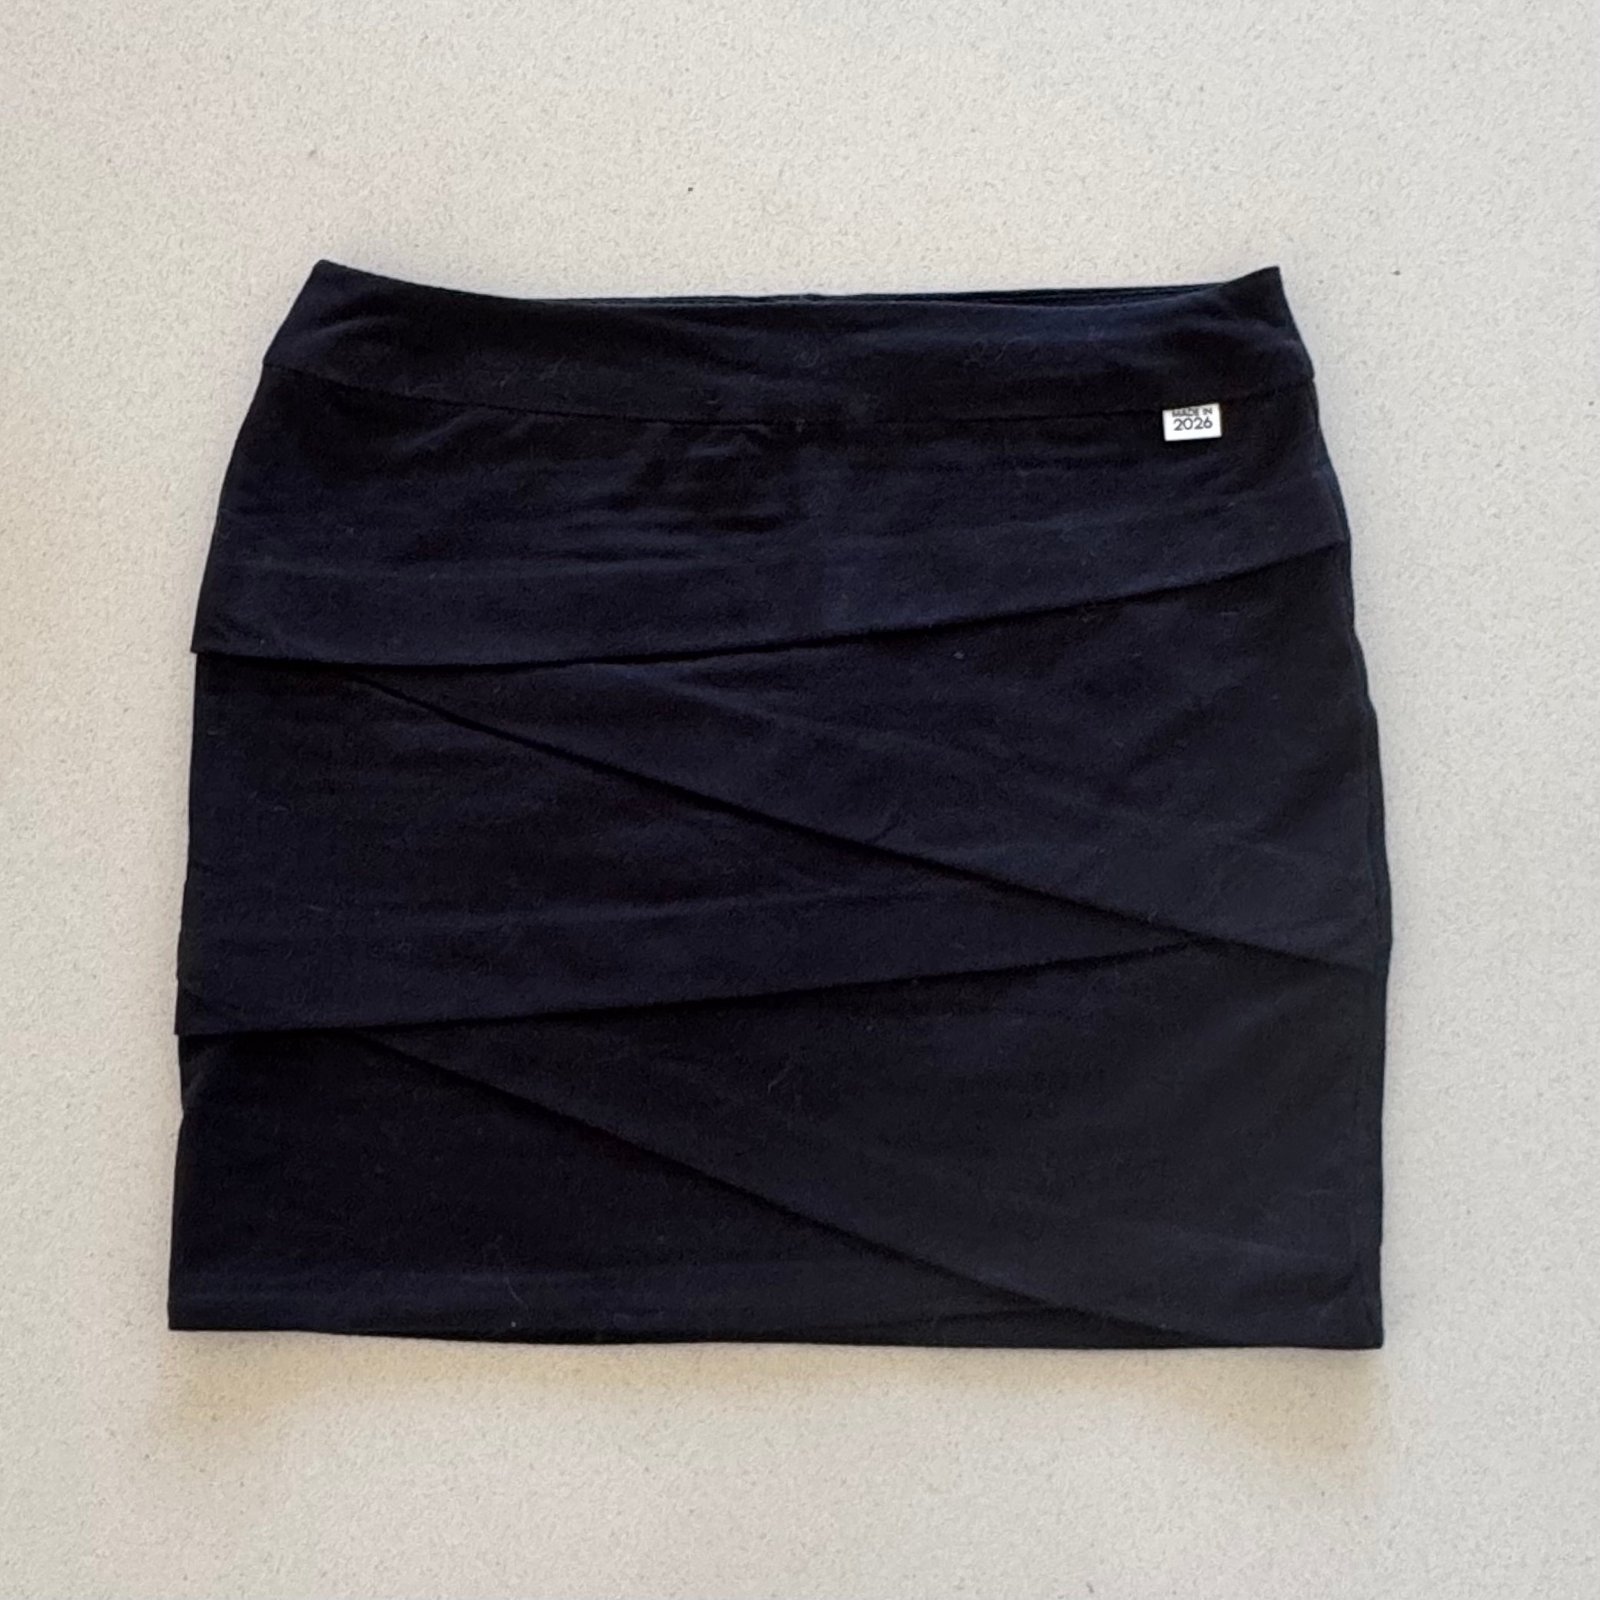
 I thought what this jumper needed was a little black mini skirt to go with it, so whipped one up! The advantages of sewing your own clothes is that you can just make something you need without having to search the shops for that one perfect thing! This is made using one of my favourite mini skirt patterns, the Jade mini skirt by Paprika Patterns. Black cotton jersey an old resident from my stash.
I’ve worn this outfit multiple times and really love it!
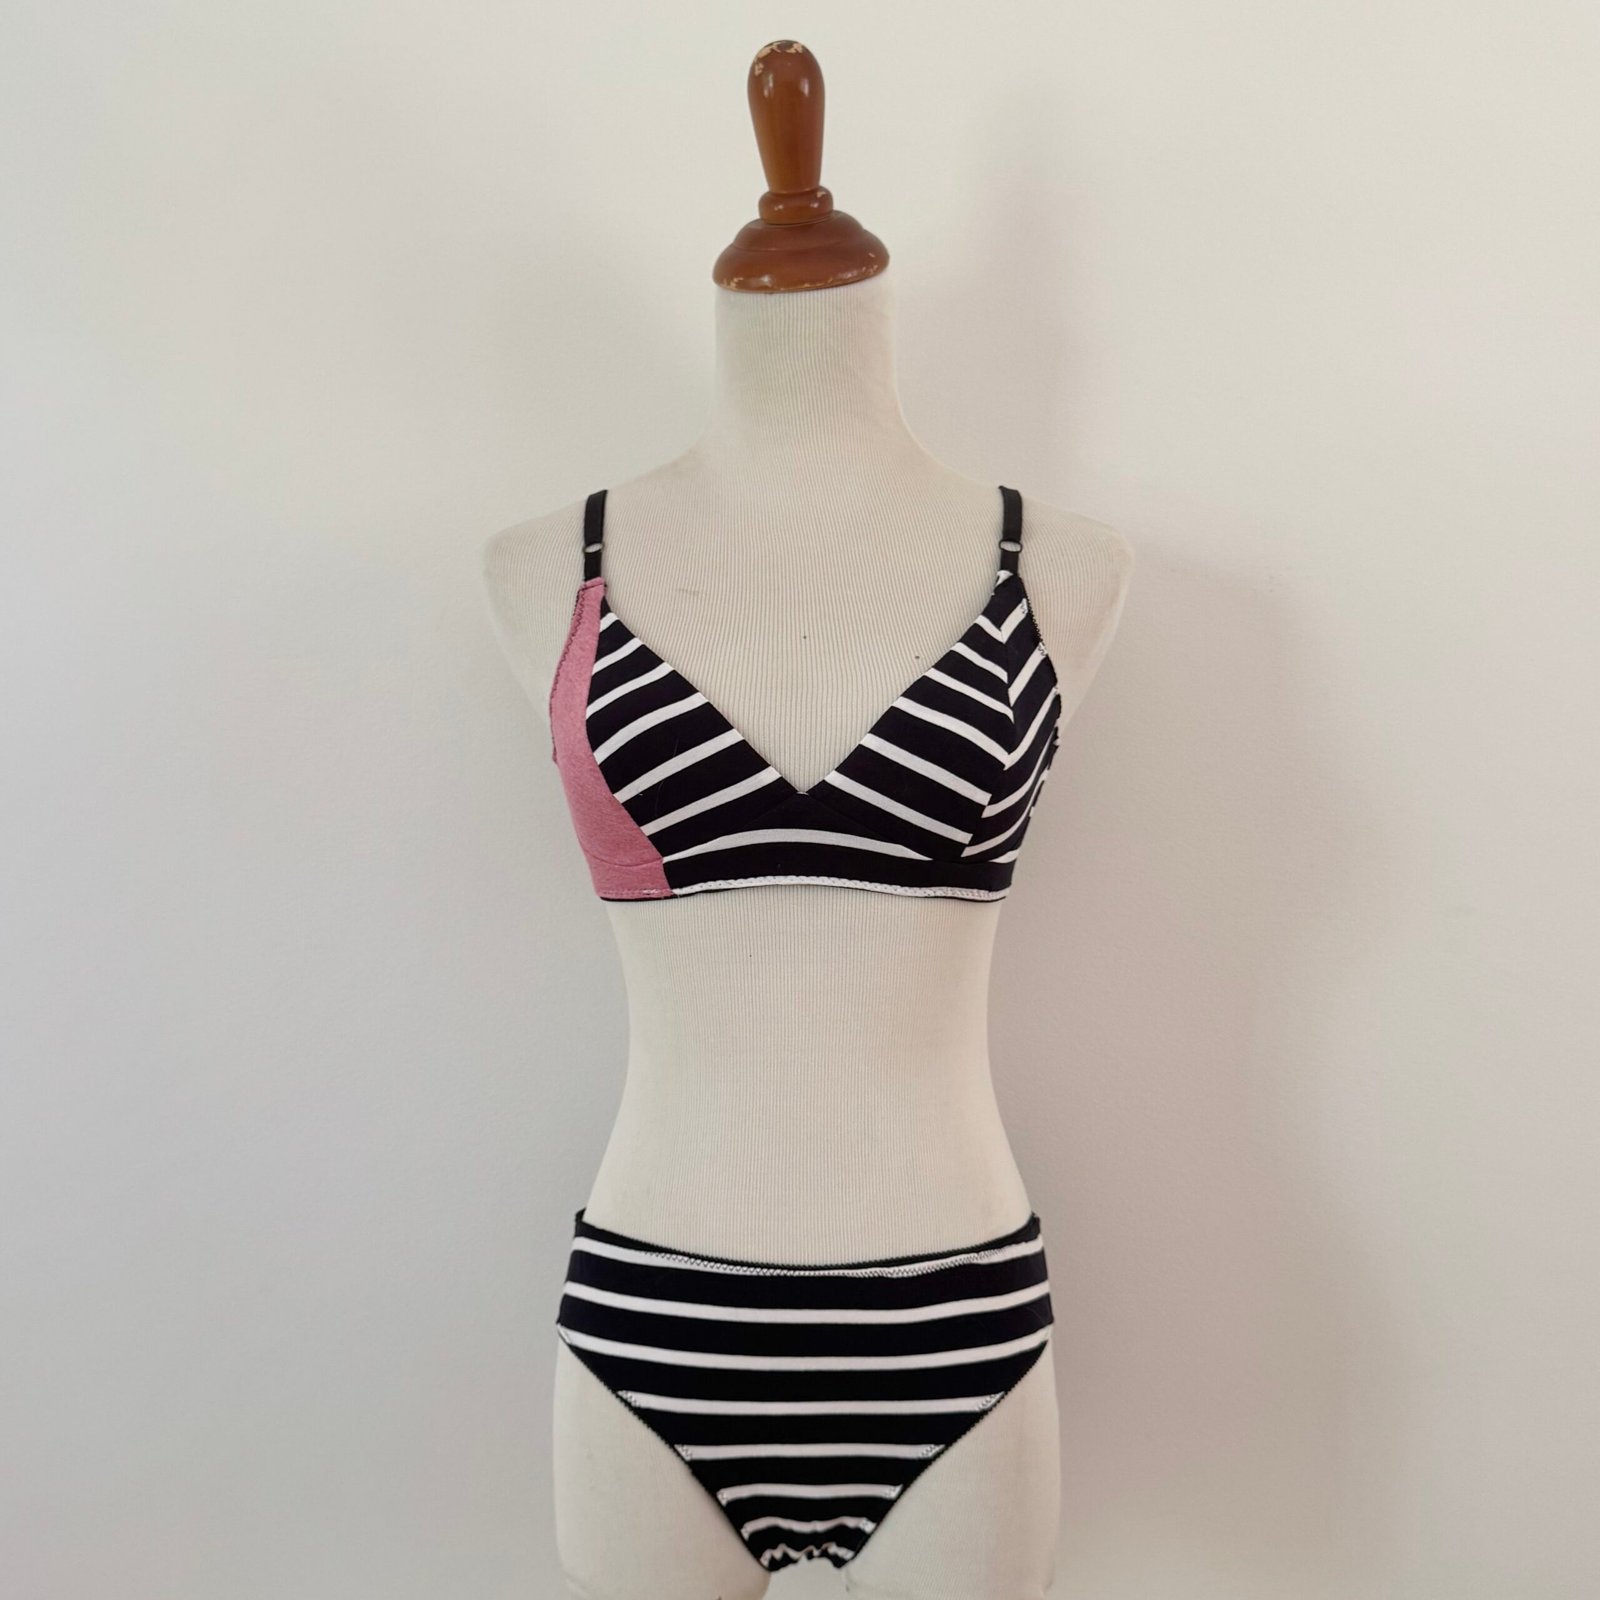
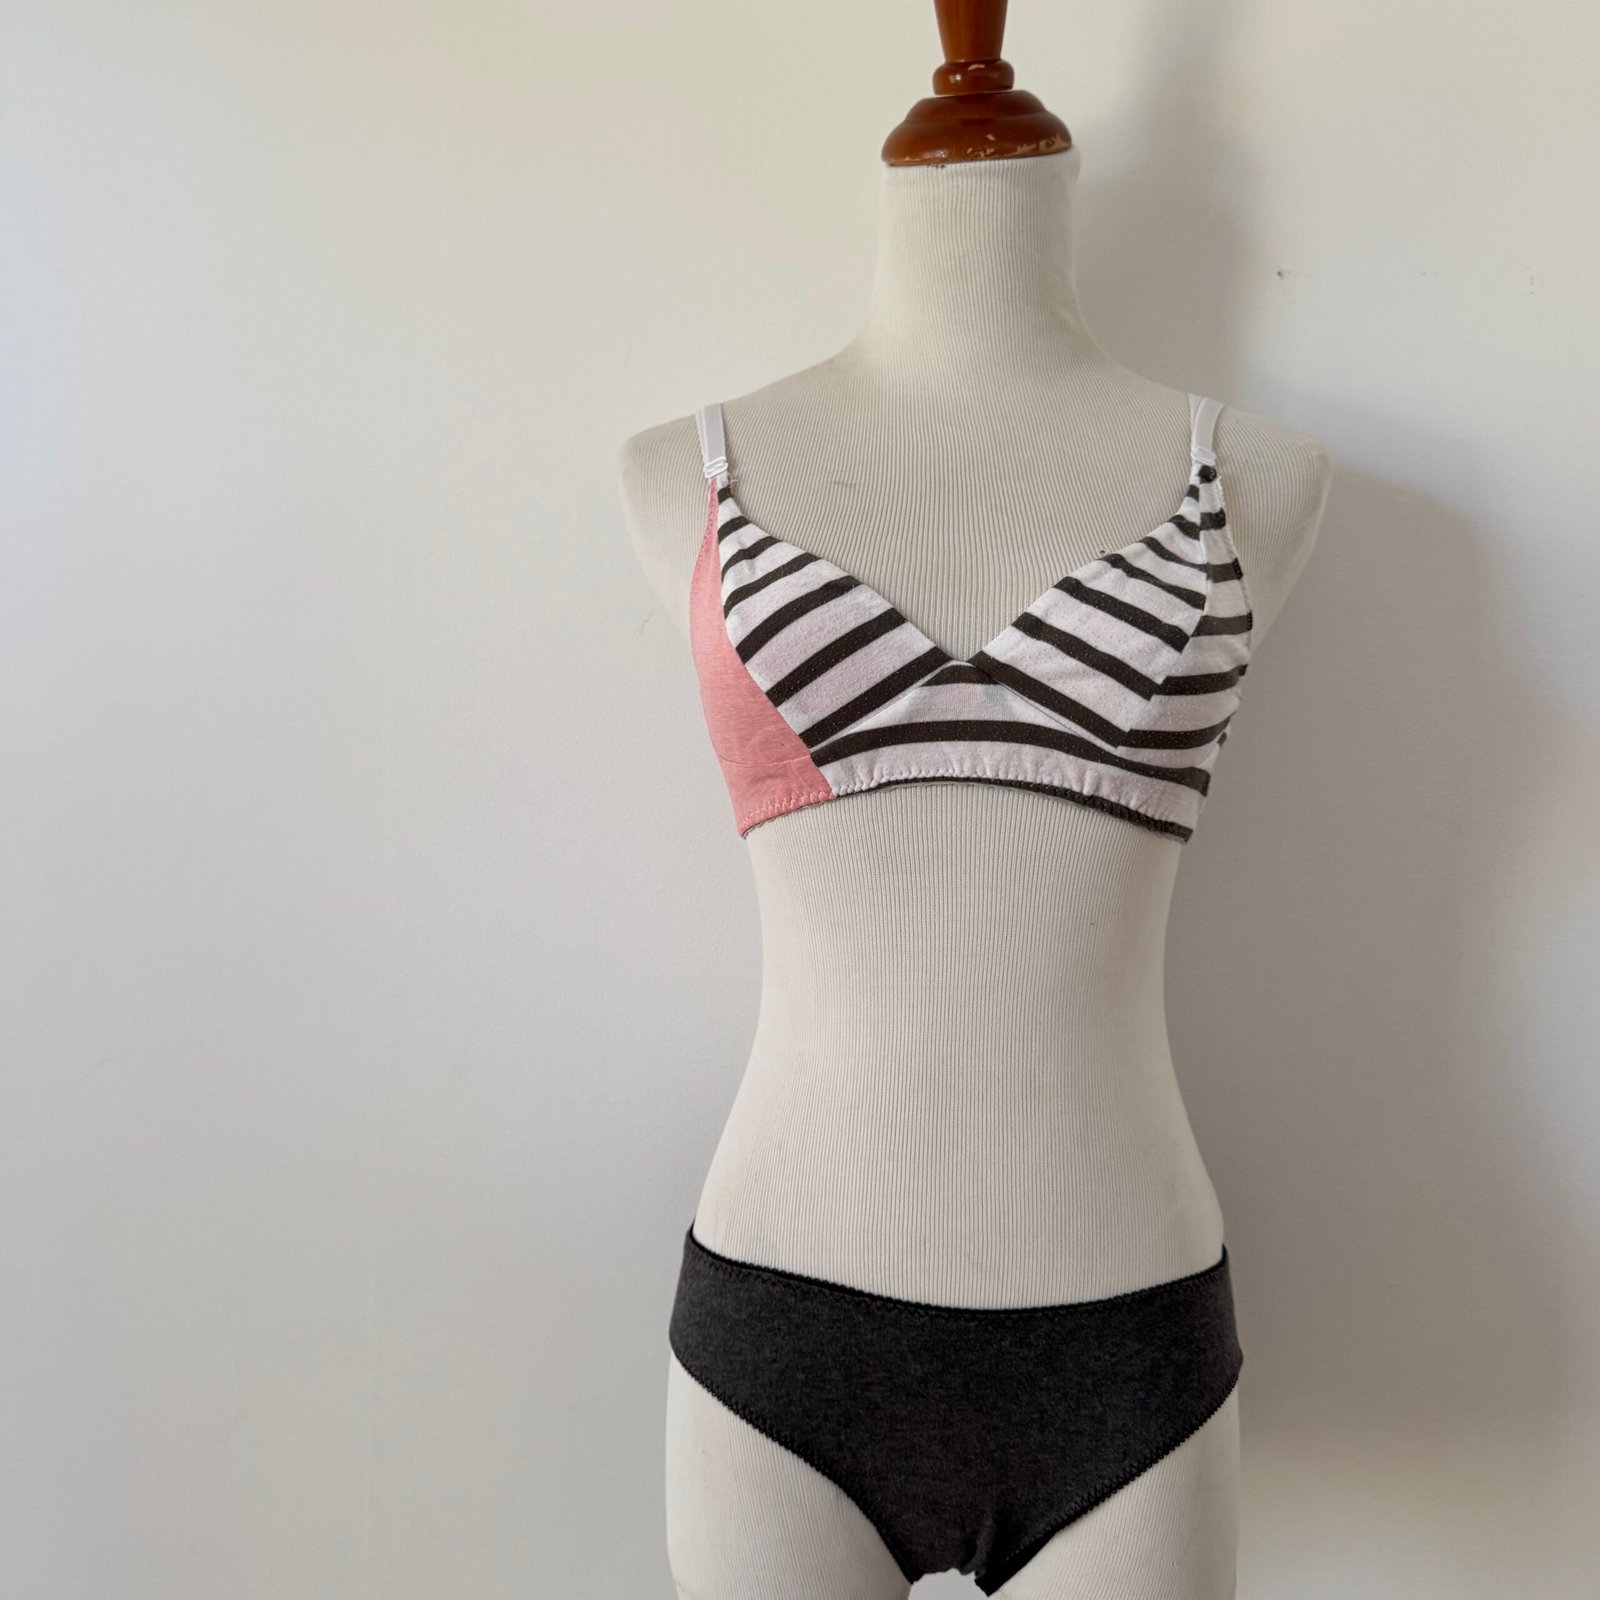
Also made at some point during the past months; a new set of underwear, made using the Cloth Habit Watson pattern and old cotton jerseys left over from previous projects. Everything from stash.
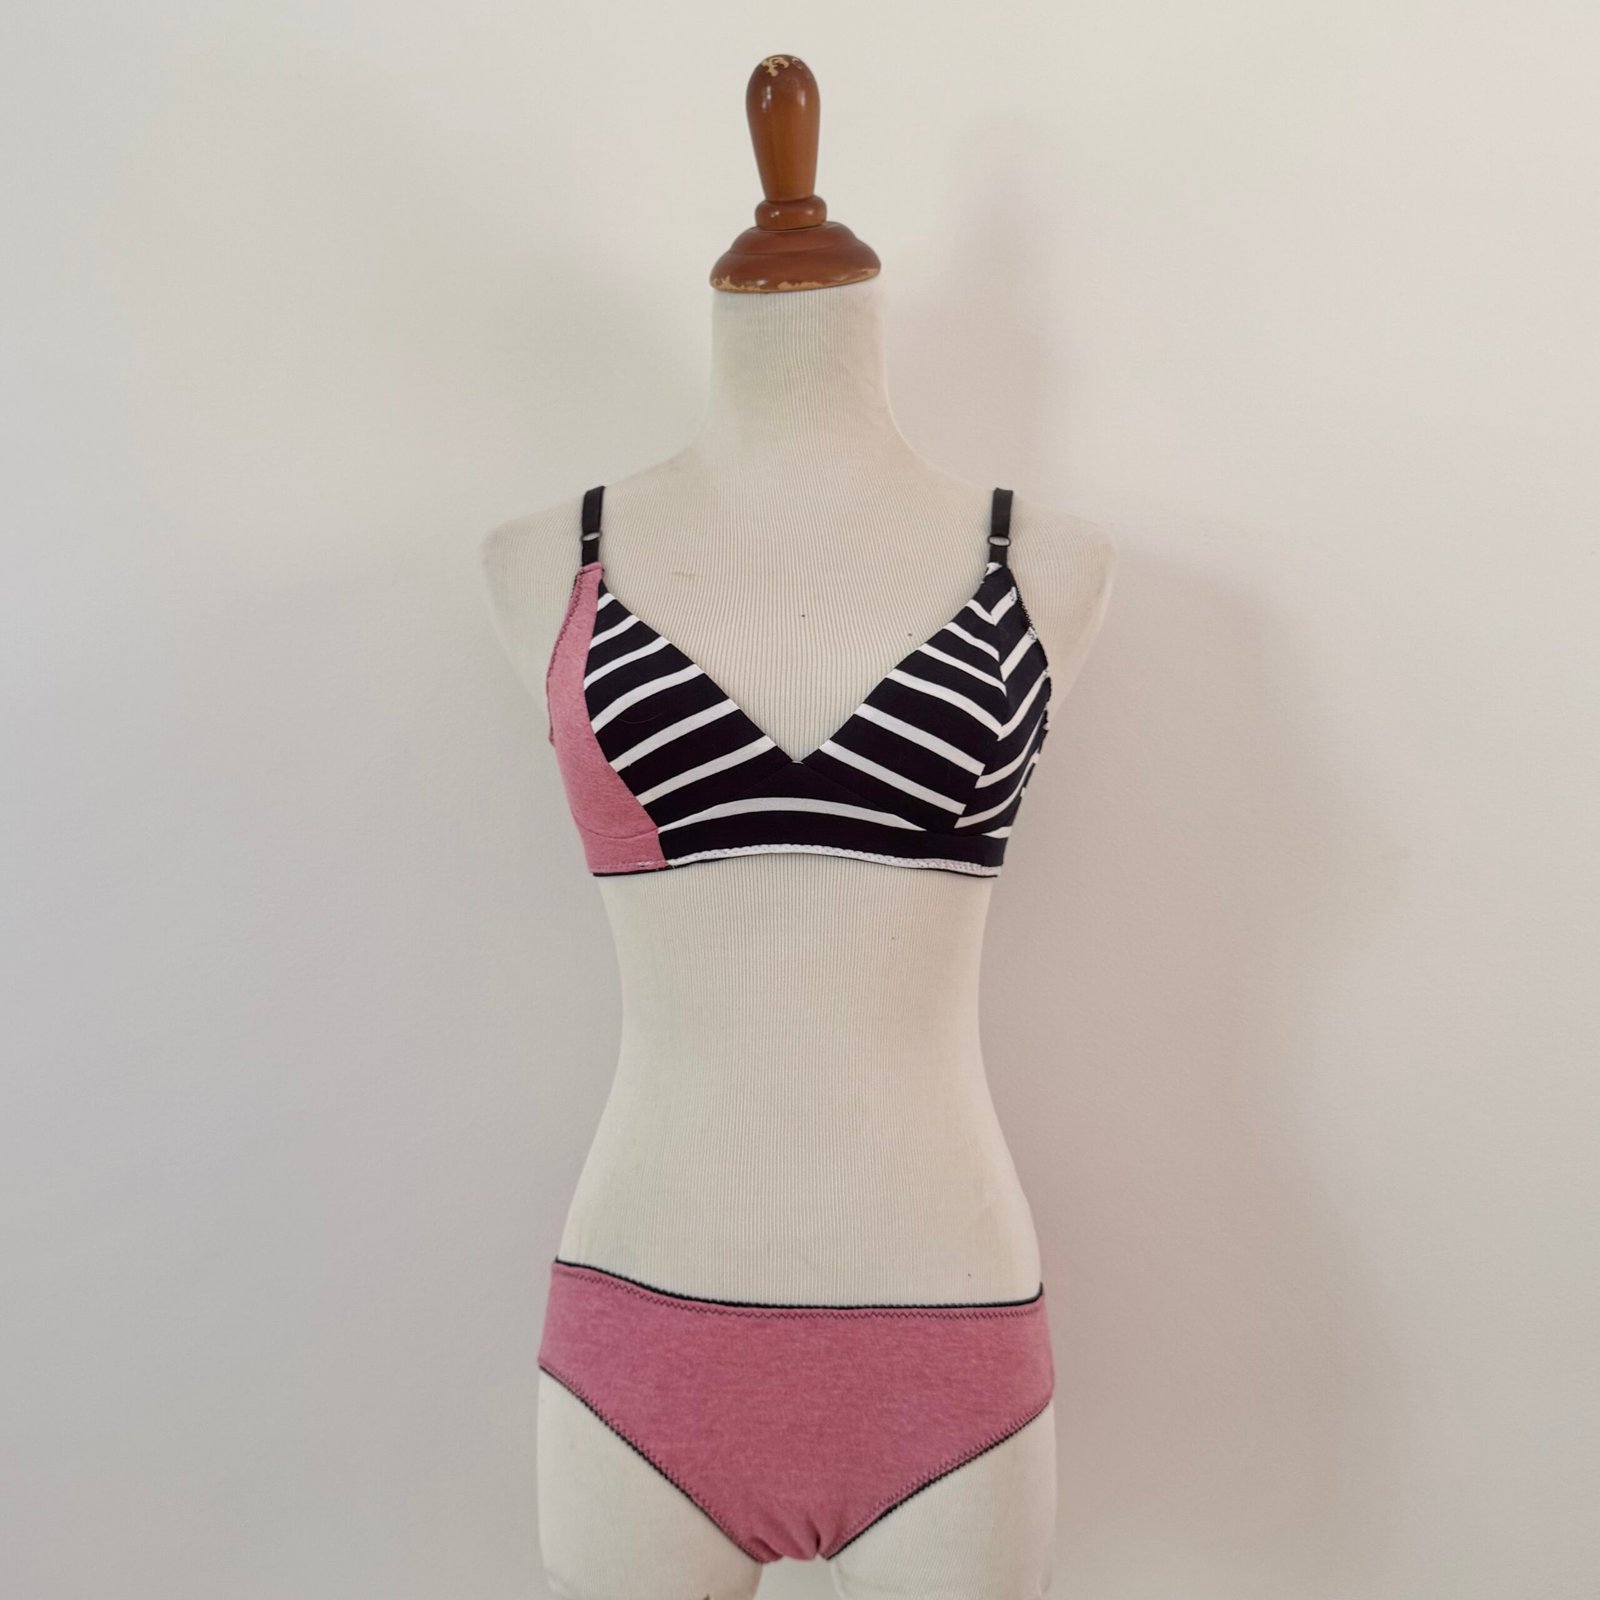
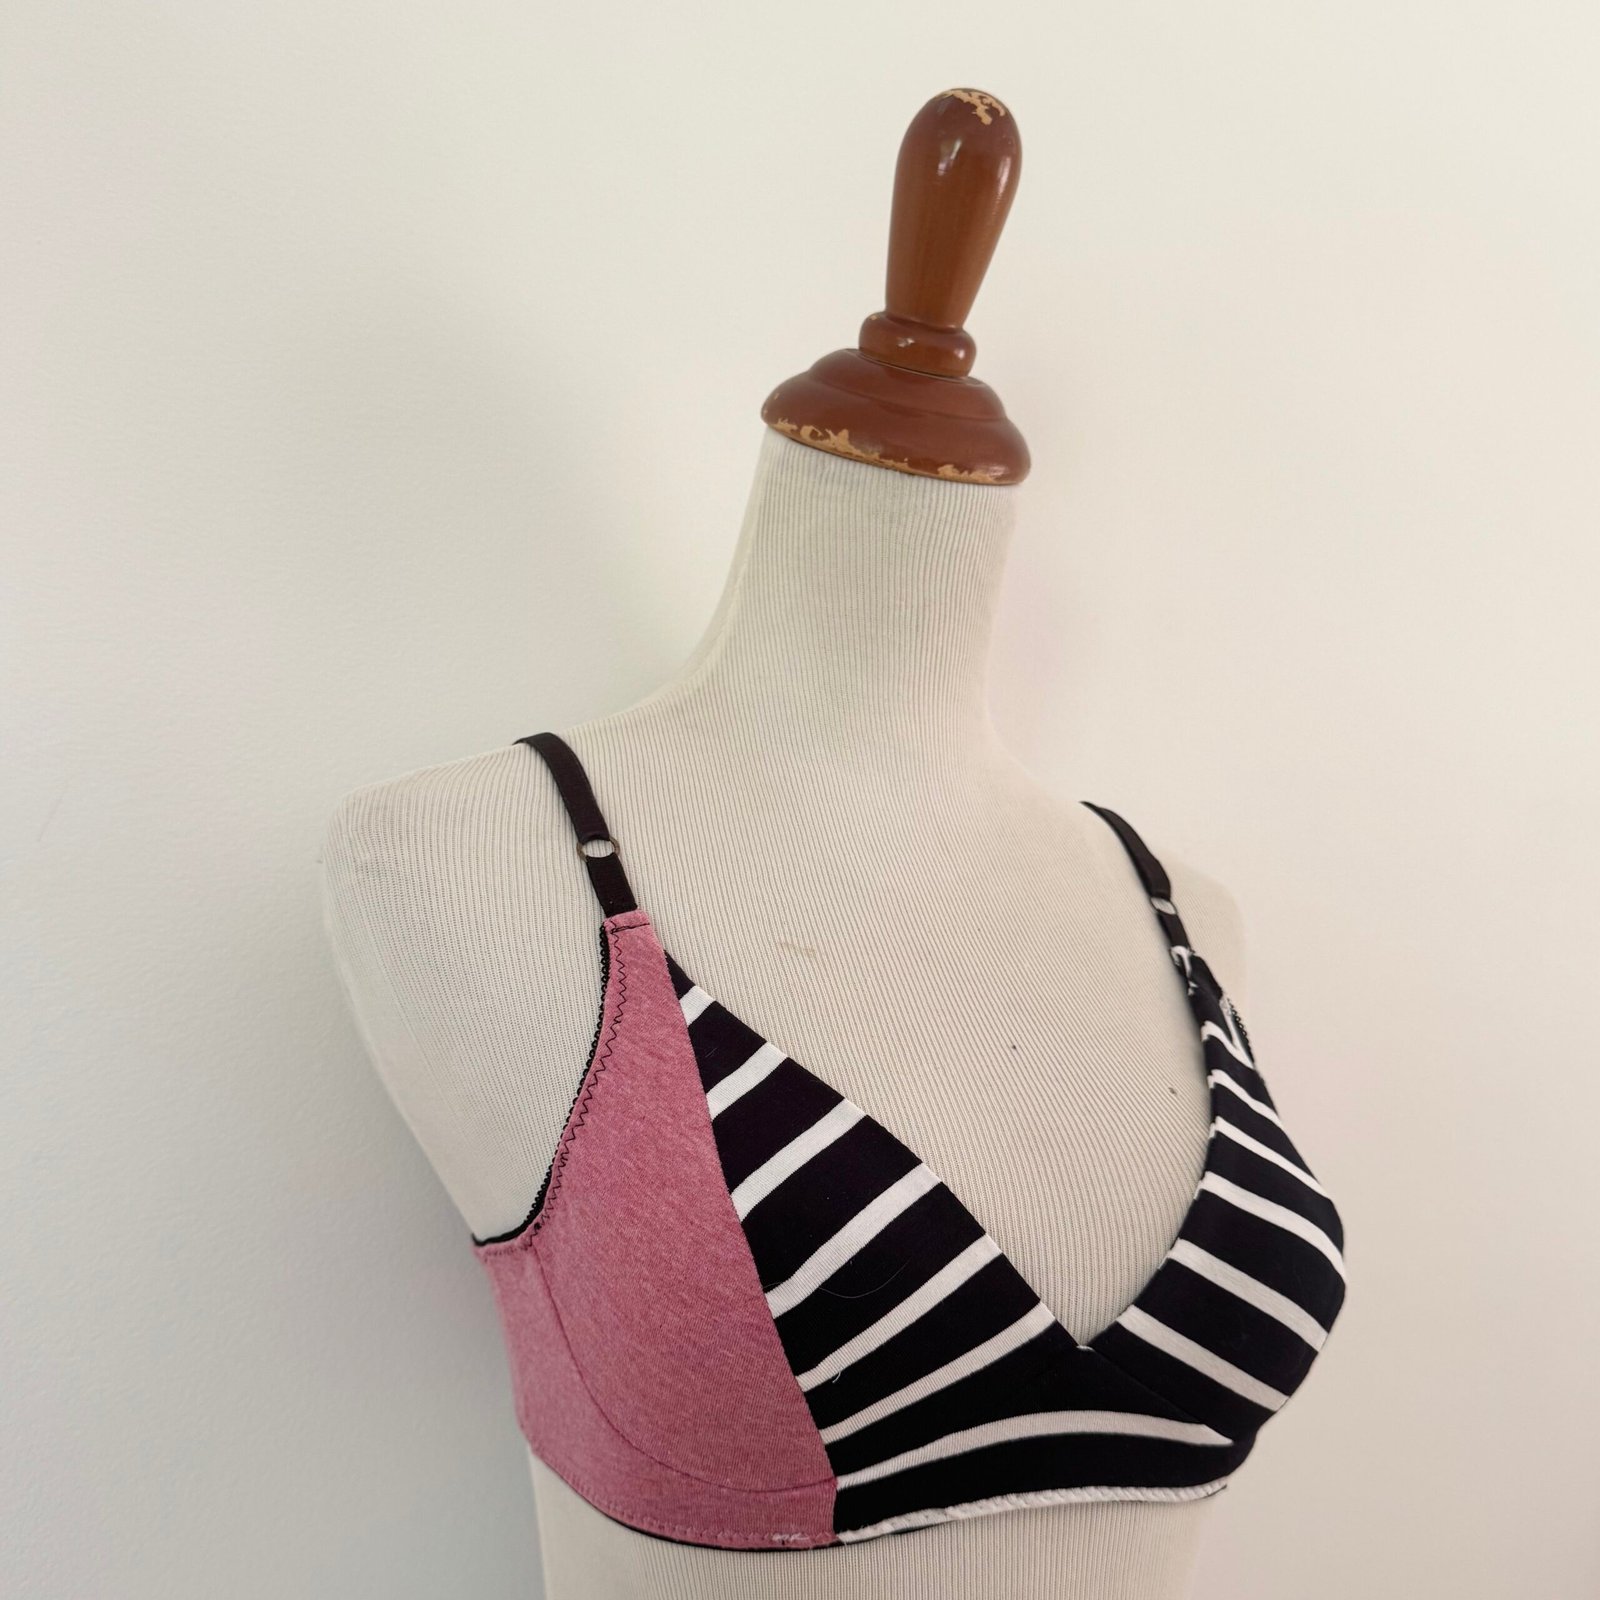 Also using the same pattern, several new pairs of plain charcoal grey undies to replace some older undies whose matching bra is still going strong….
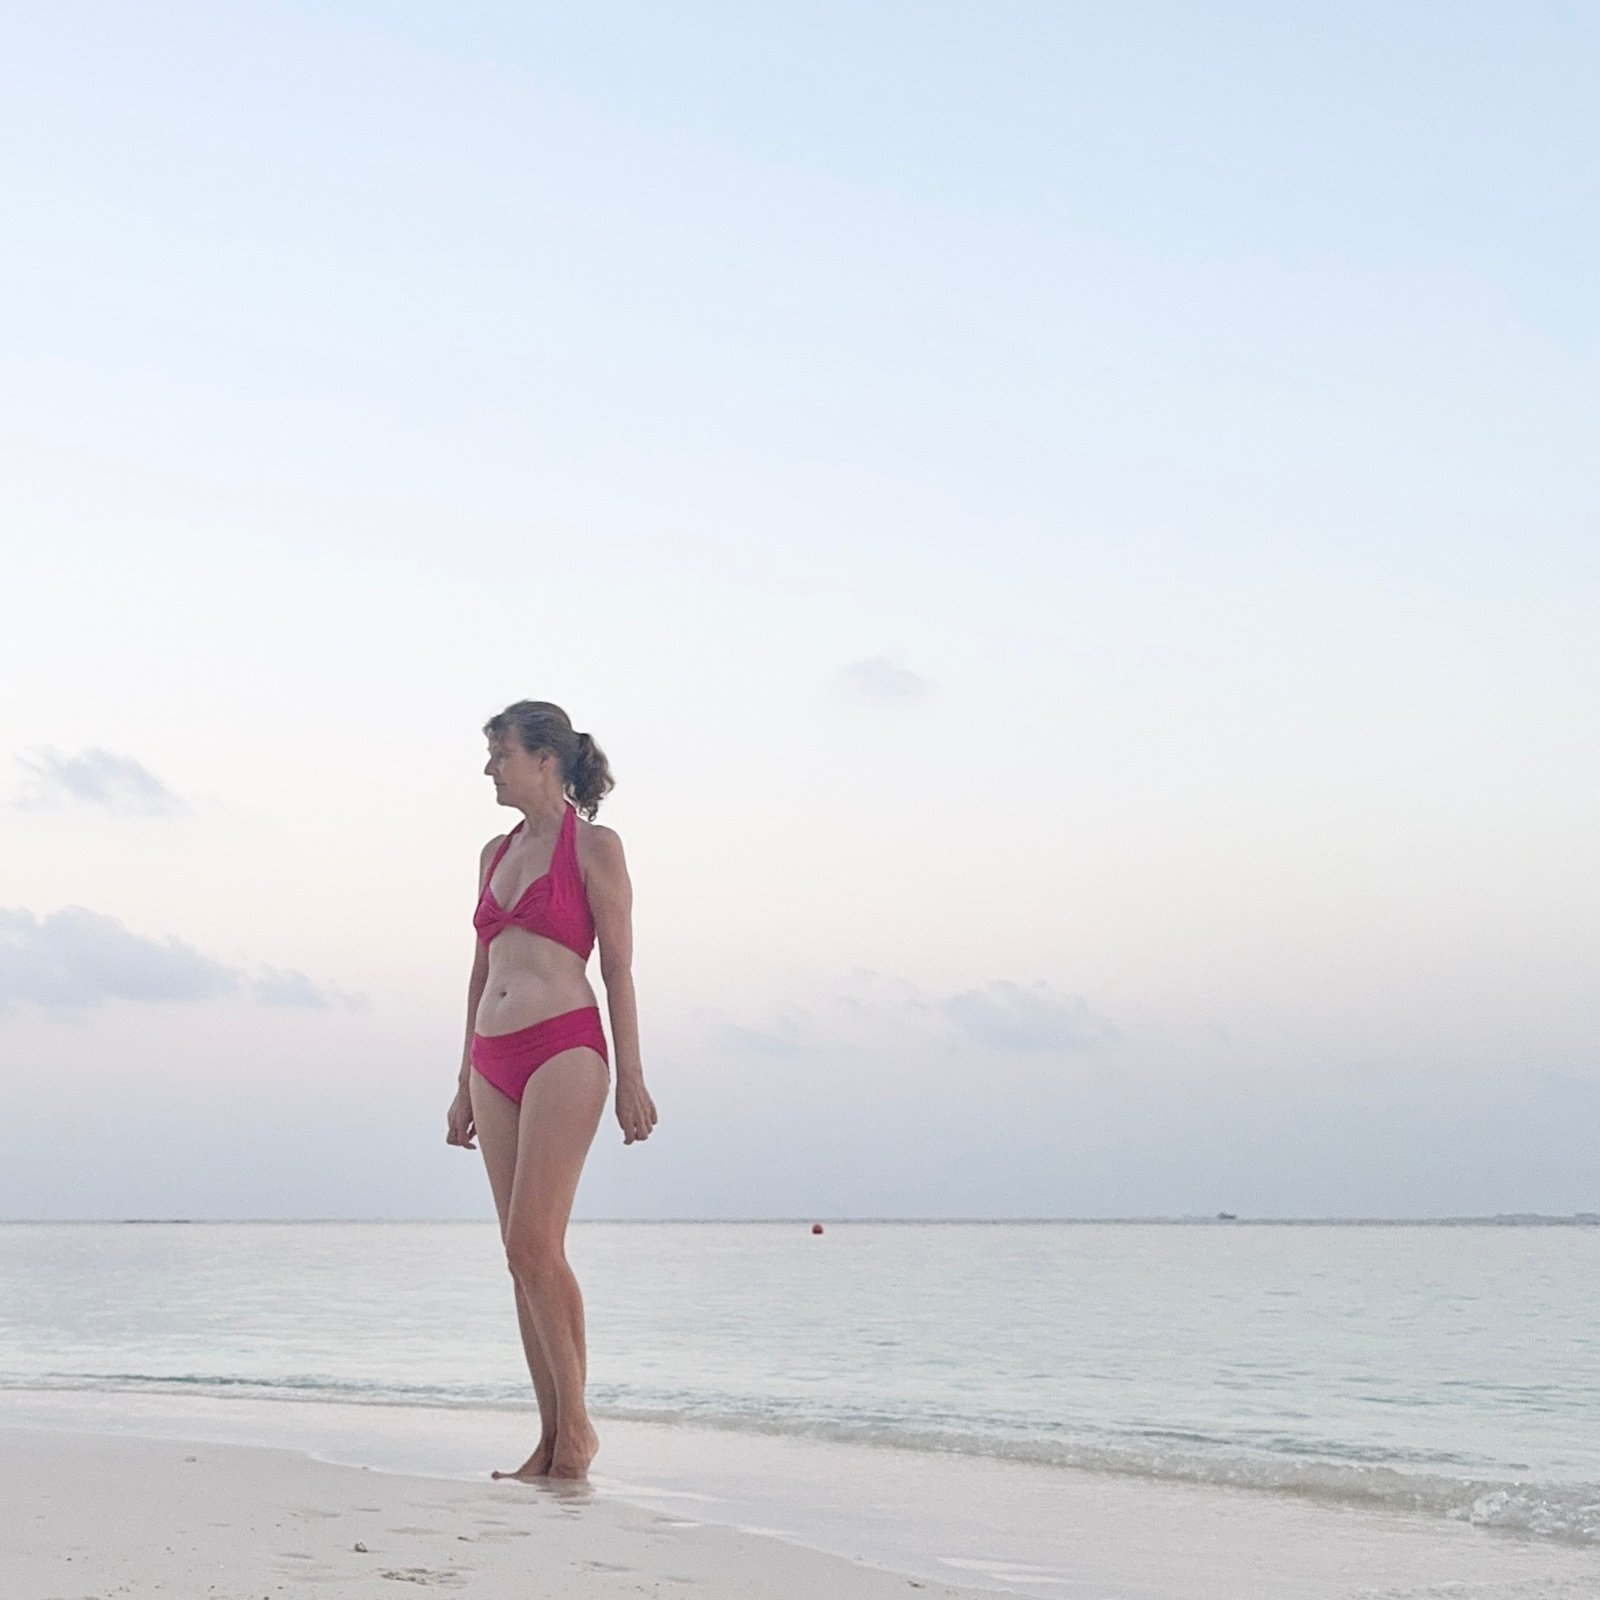
Also made back in February; we were going away and since I now swim daily I wanted an extra pair of bathers. I used my old standby McCalls 2772 and a length of Barbie pink stretch poly that I actually found in the stash… and, what was I thinking when I bought this? I honestly don’t know. They’re not the best finished things ever but I made them during a low point went I wasn’t really caring about gorgeousness very much and was just more focused on getting something… anything… done. I think I recovered from that now. Although I like the bikini style less that the tankini style, I’ve found them more convenient for swimming! and so I’ve gone on to wear these literally every single day for my early morning swim. The fabric was never ideal in the first place and also I really don’t take care of my bathers at all, so they’re now pretty worn out, seams failing, and ready to be replaced pretty soon.
 I’ve made several other things too, not photographed or blogged yet, and I’ll get onto them very soon!


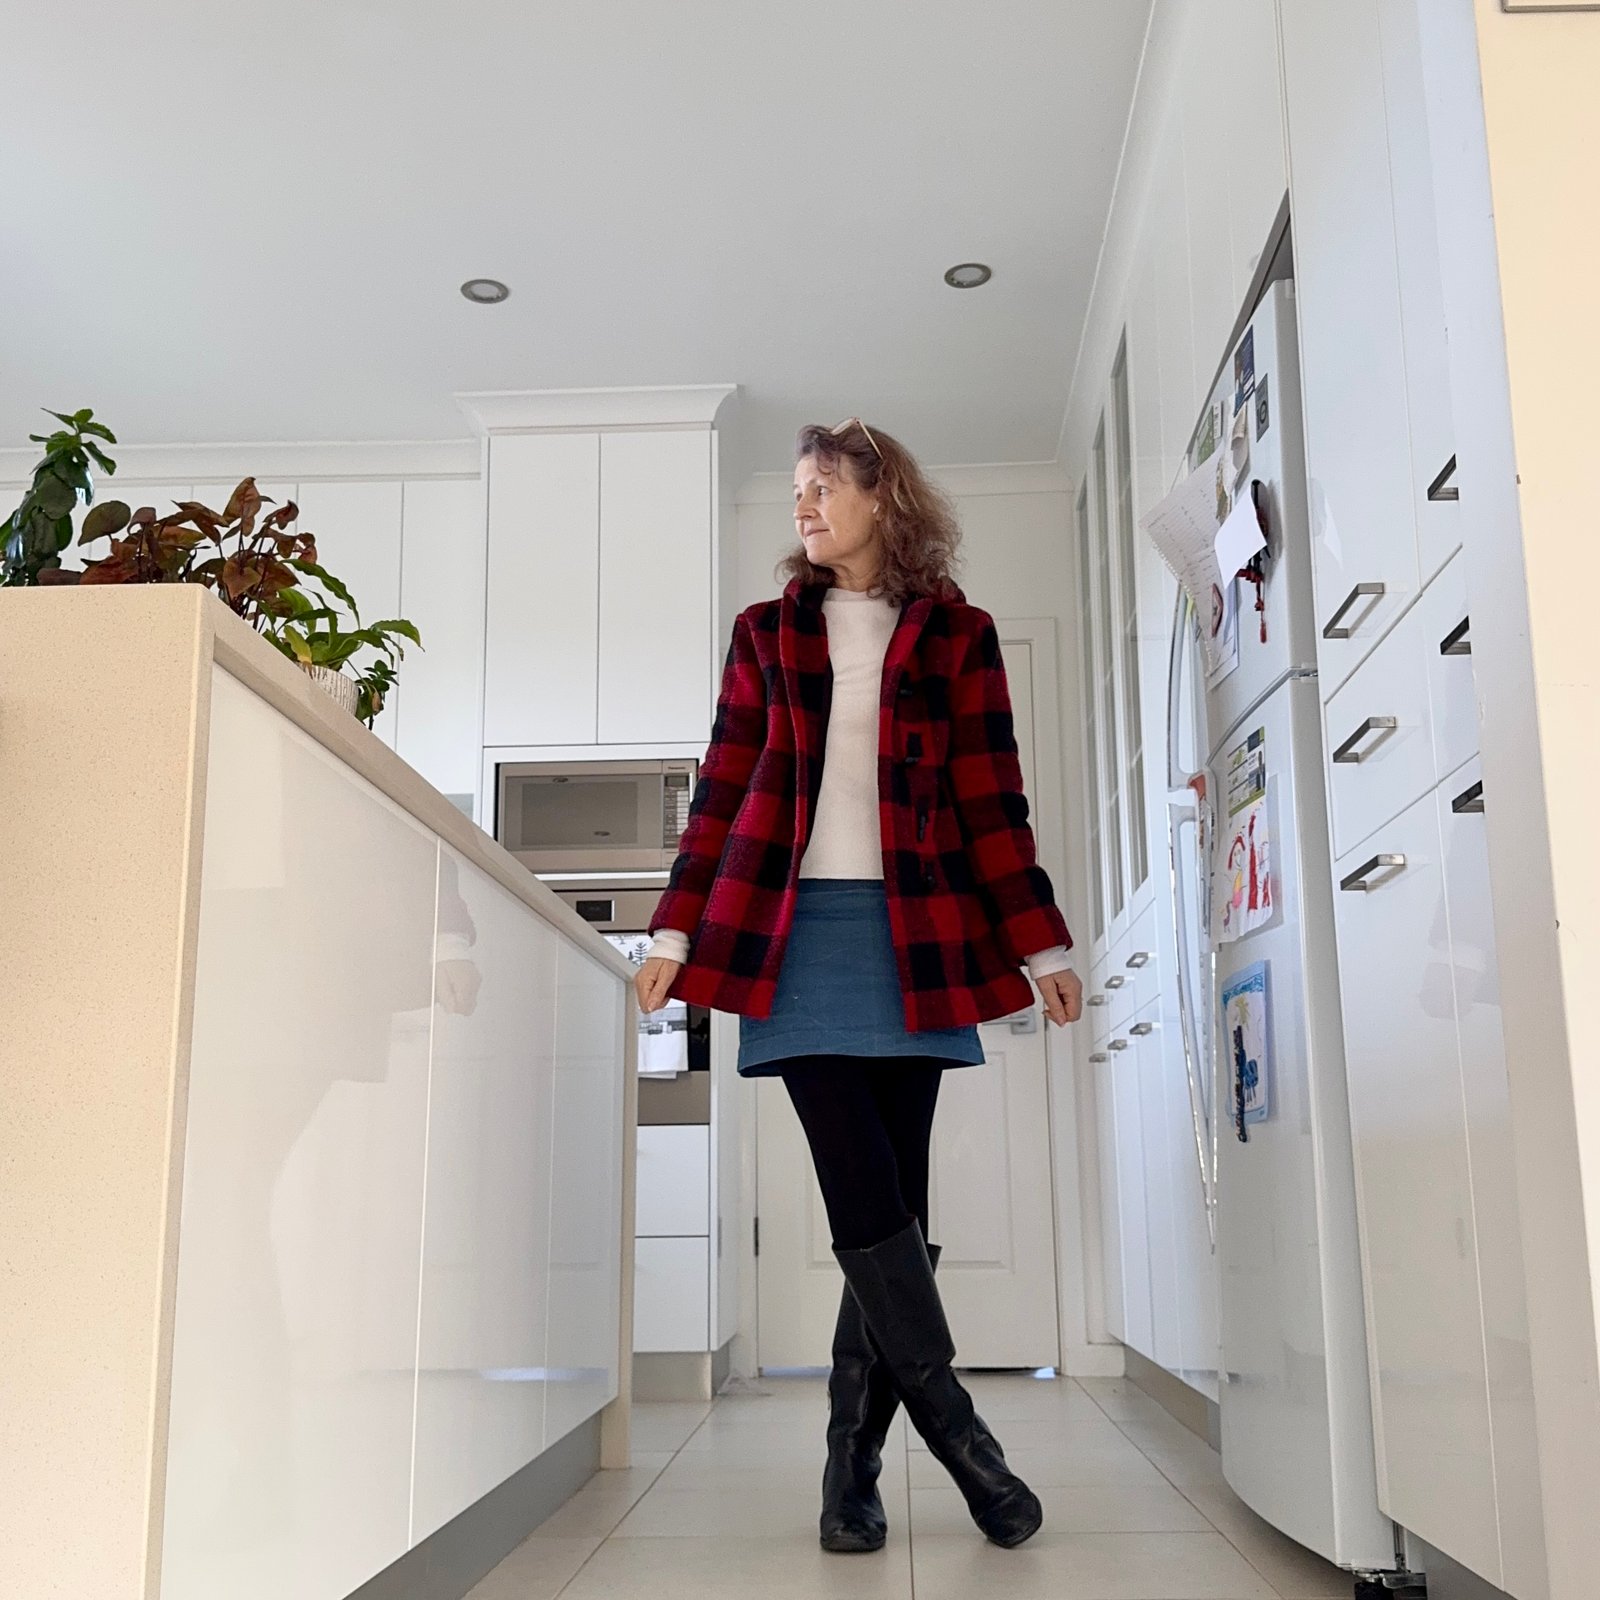

 I’ve made a few more things to wear this winter/early spring….
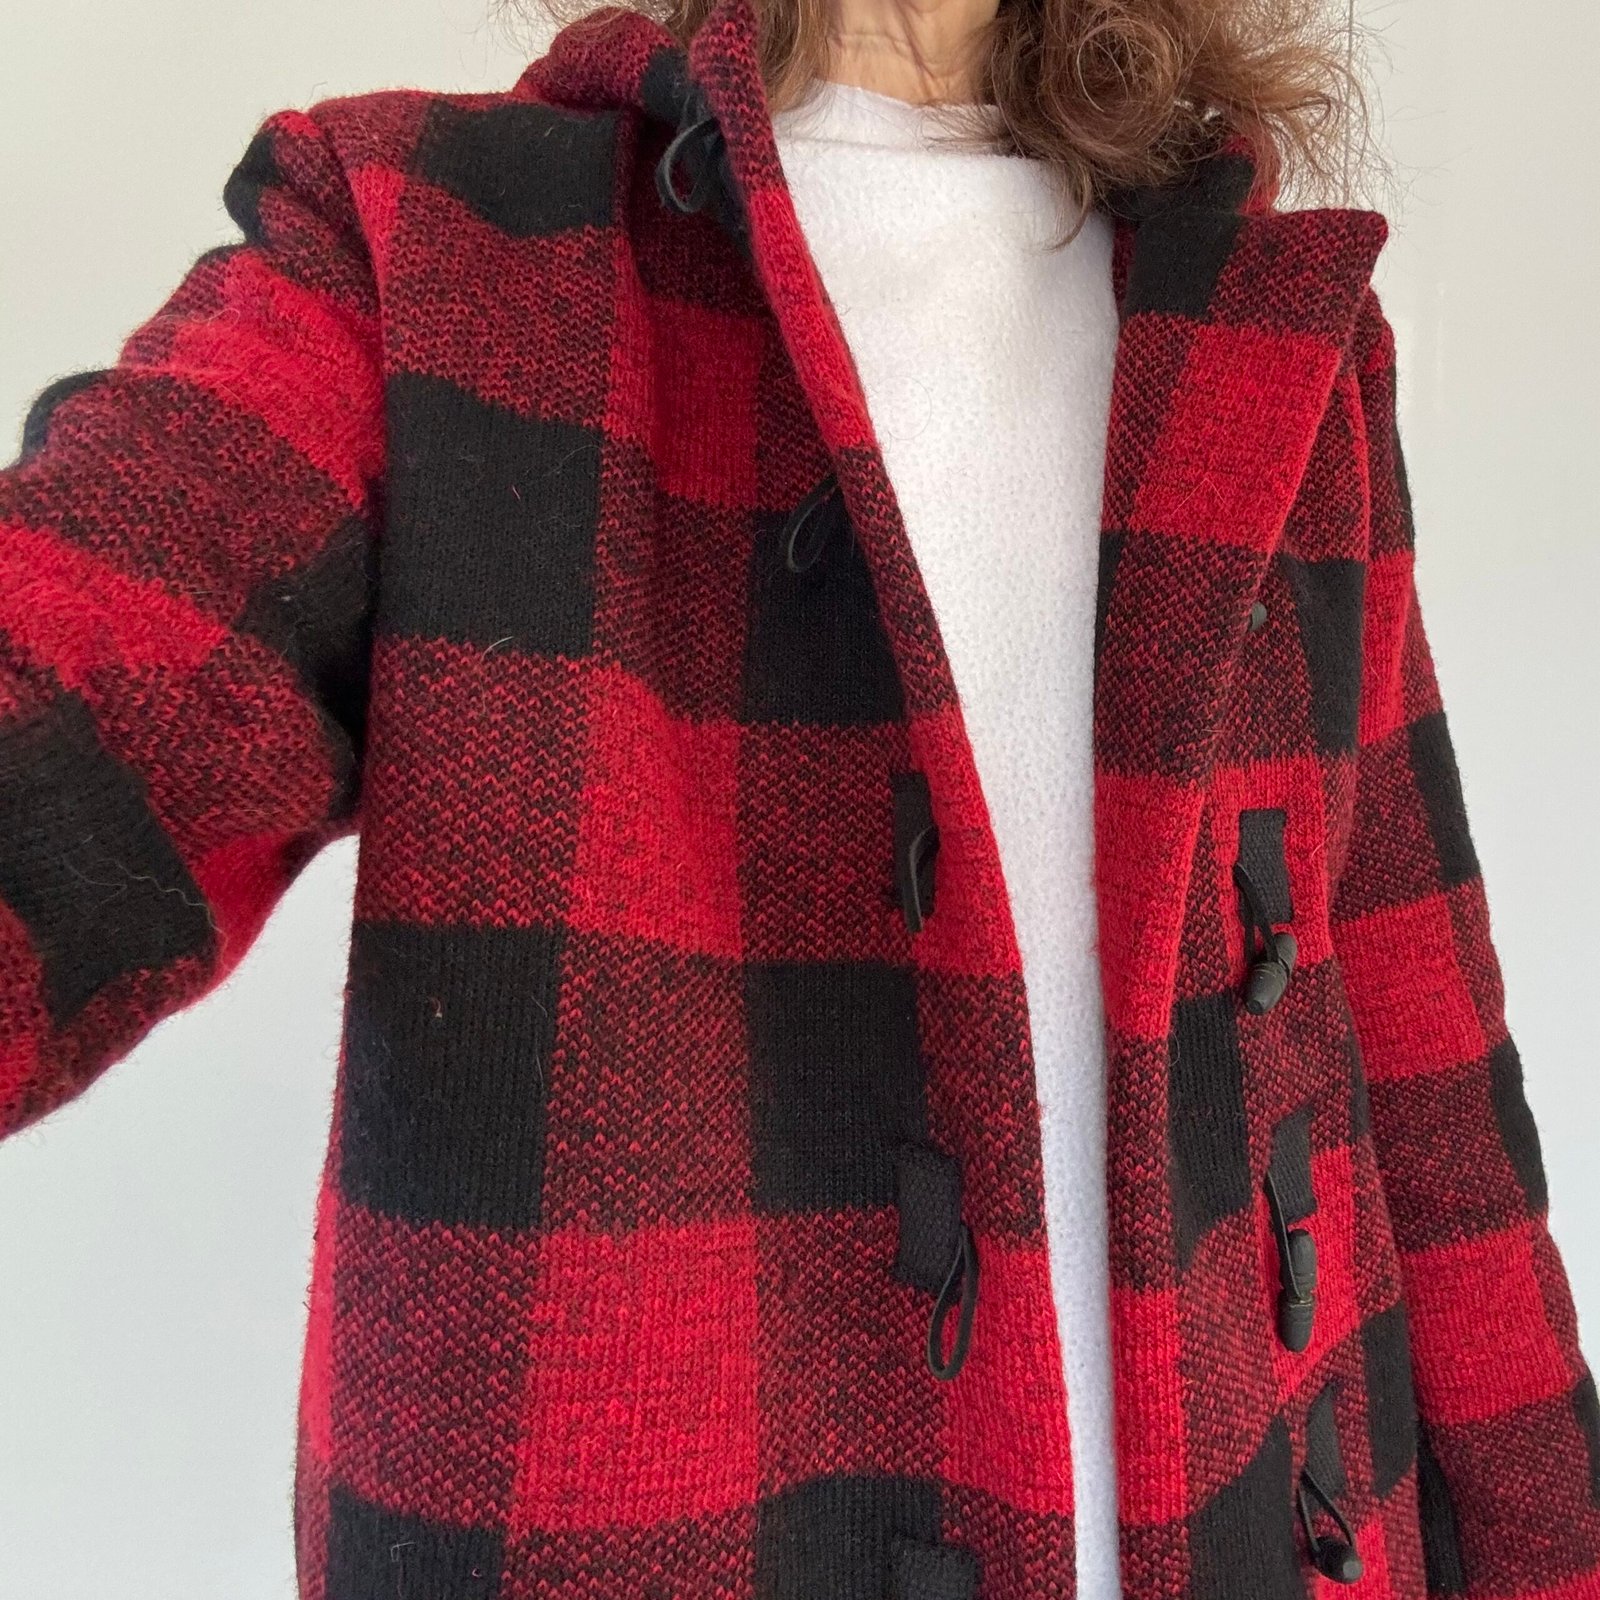
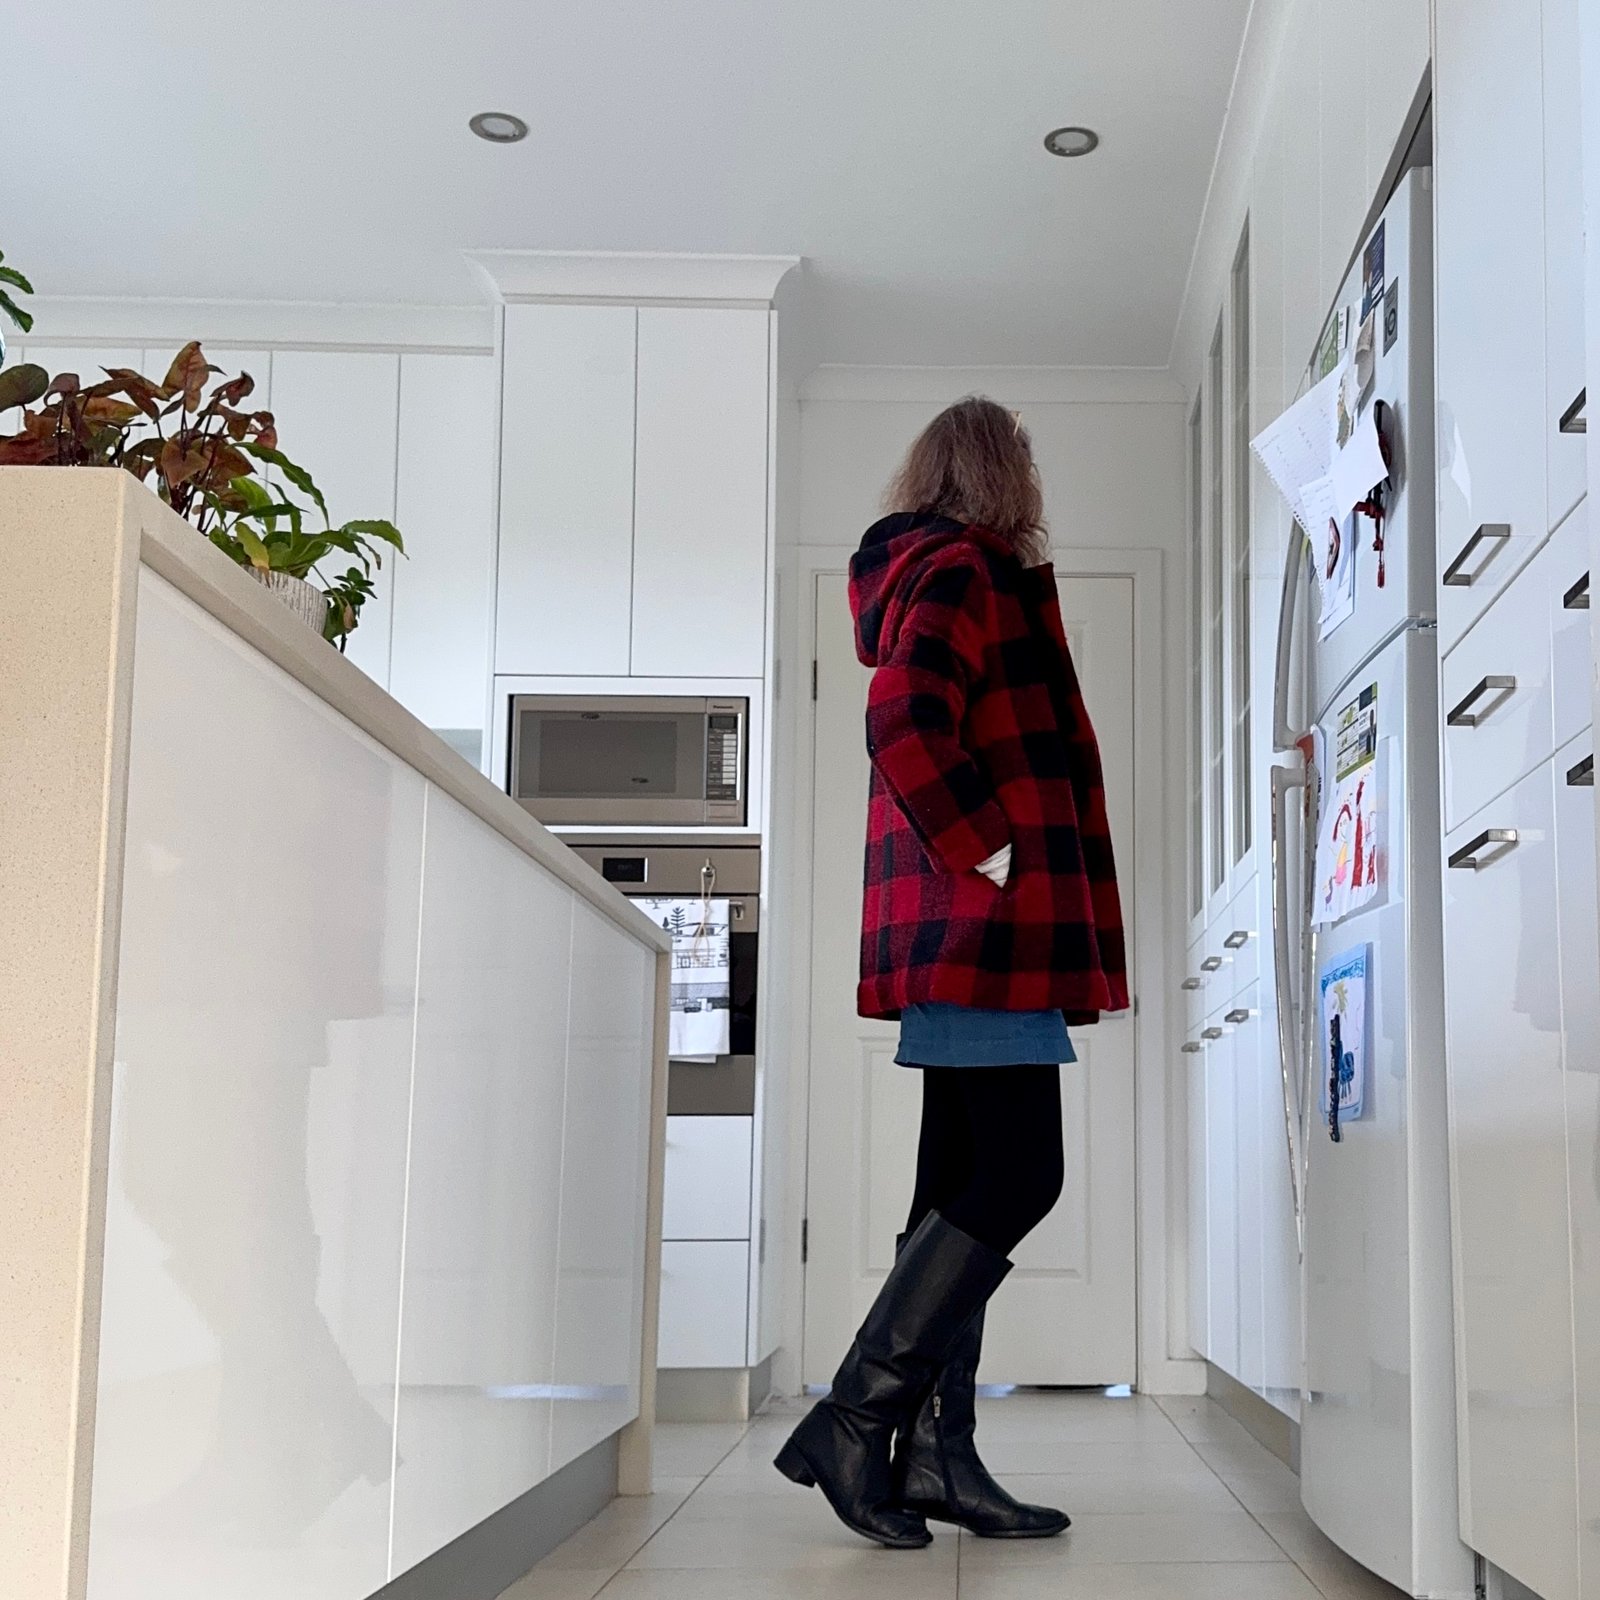
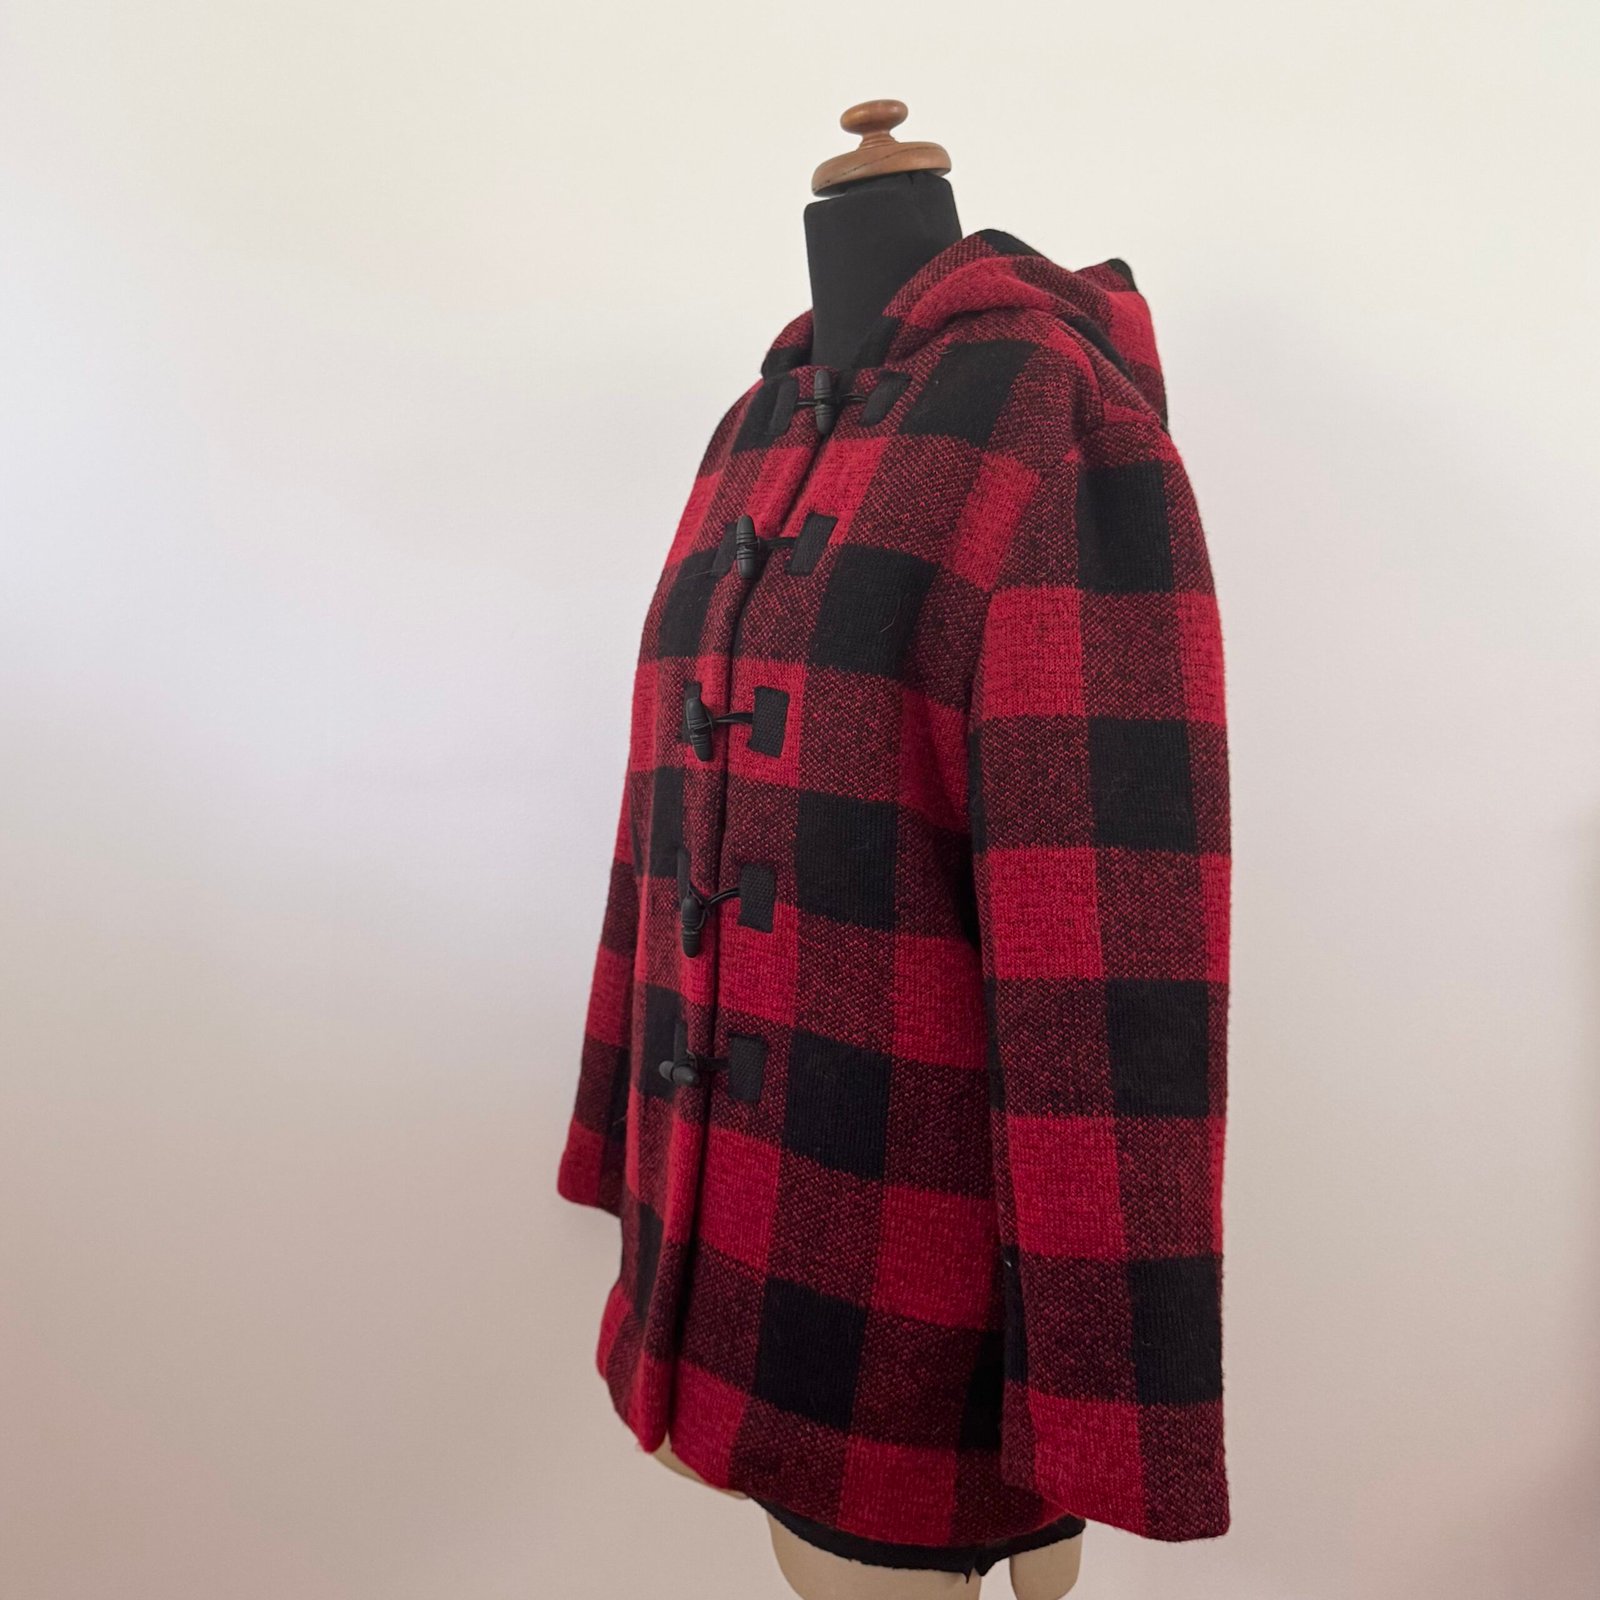 I used the Closet Core Sienna jacket pattern again, cutting the jacket style of my imagination which kind of blended all three views. I gave it inseam side pockets, fully lined it (kind of silky stuff from a Morrison clothing remnant sale) and added two inner patch breast pockets to the lining.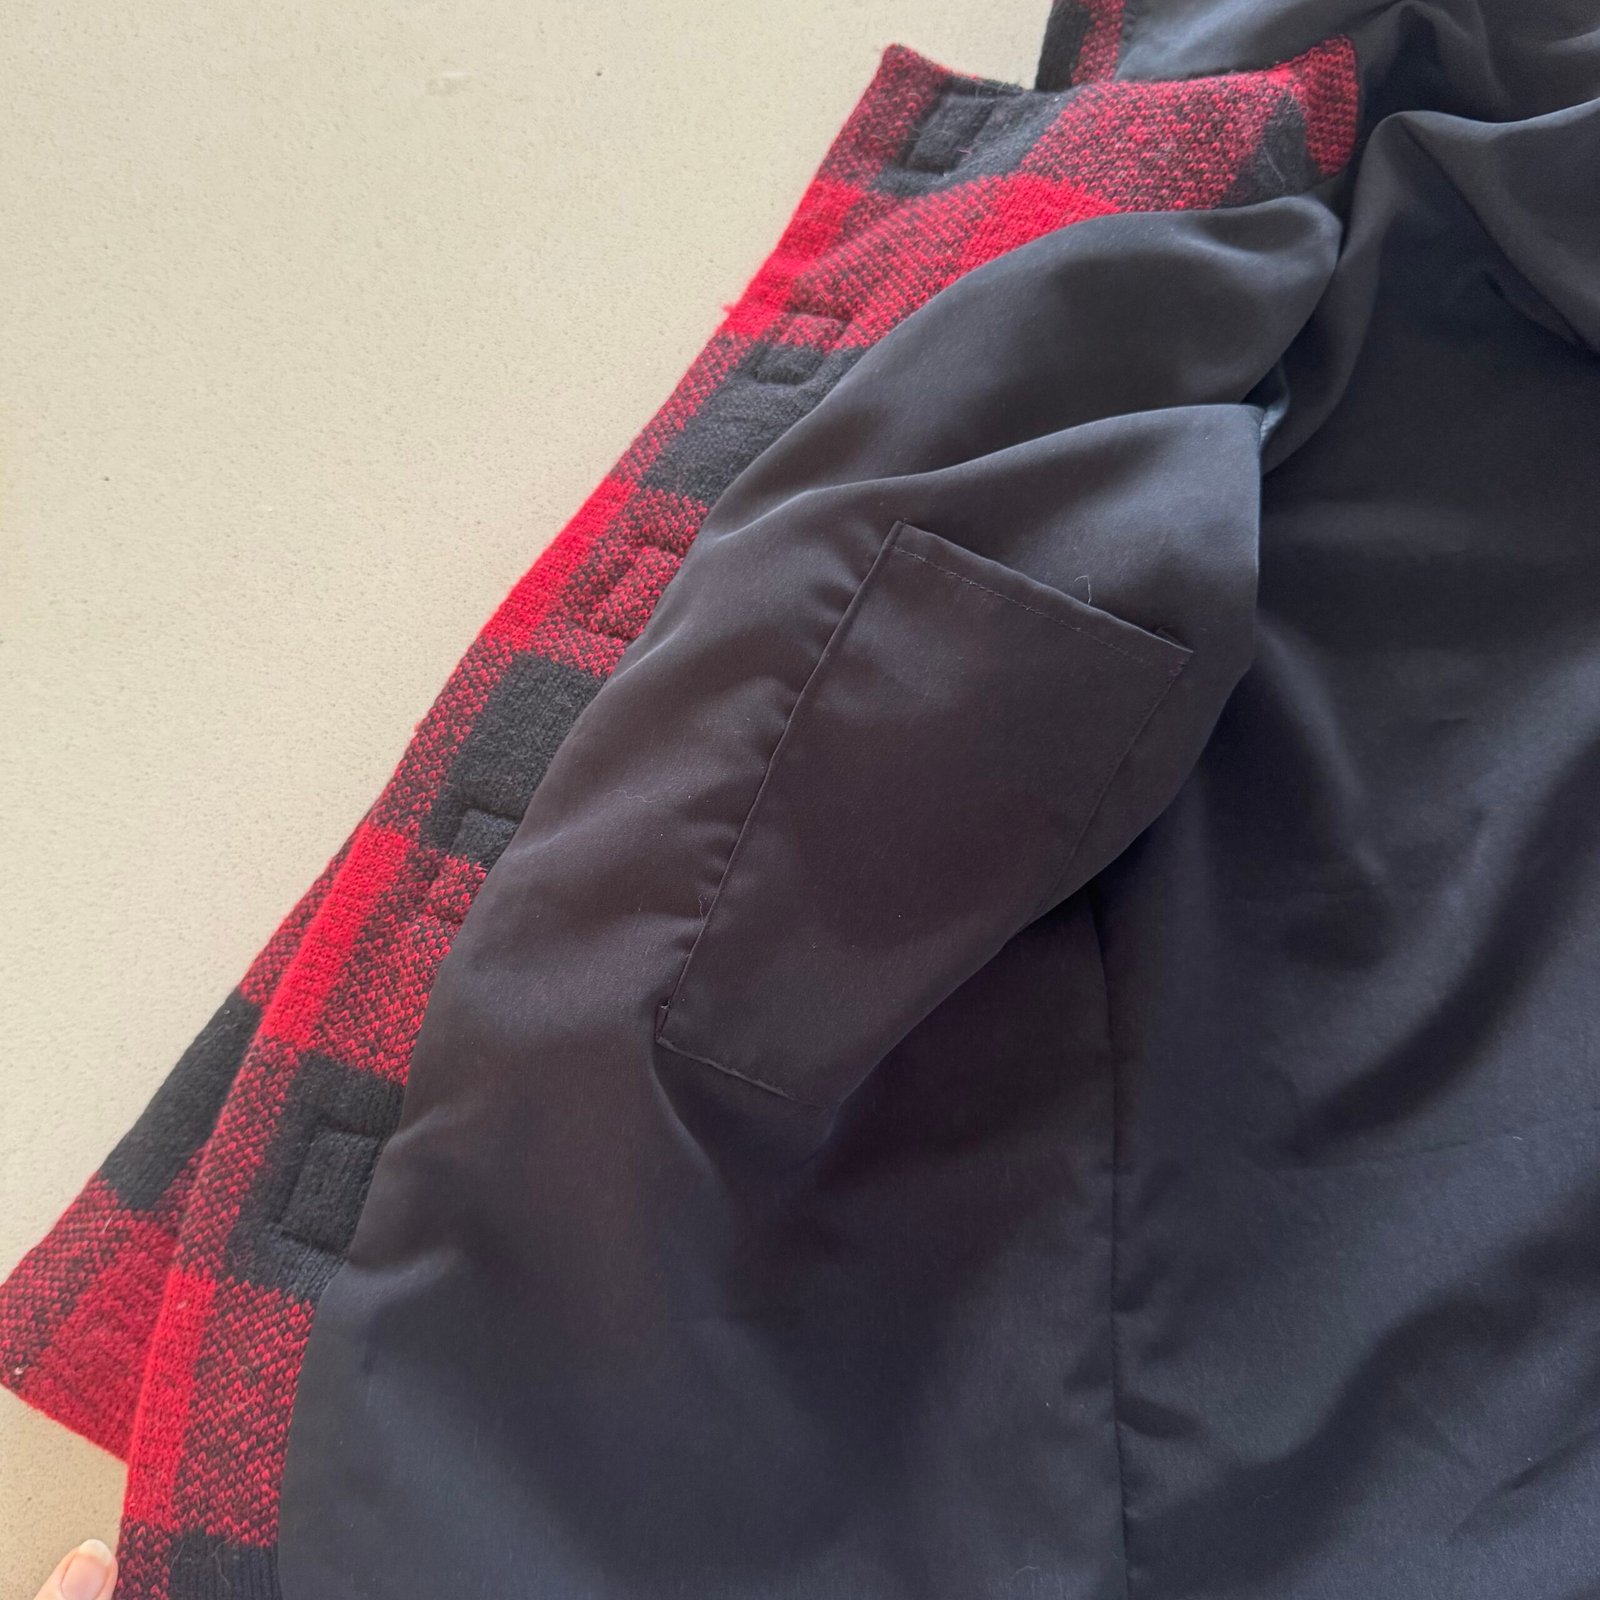
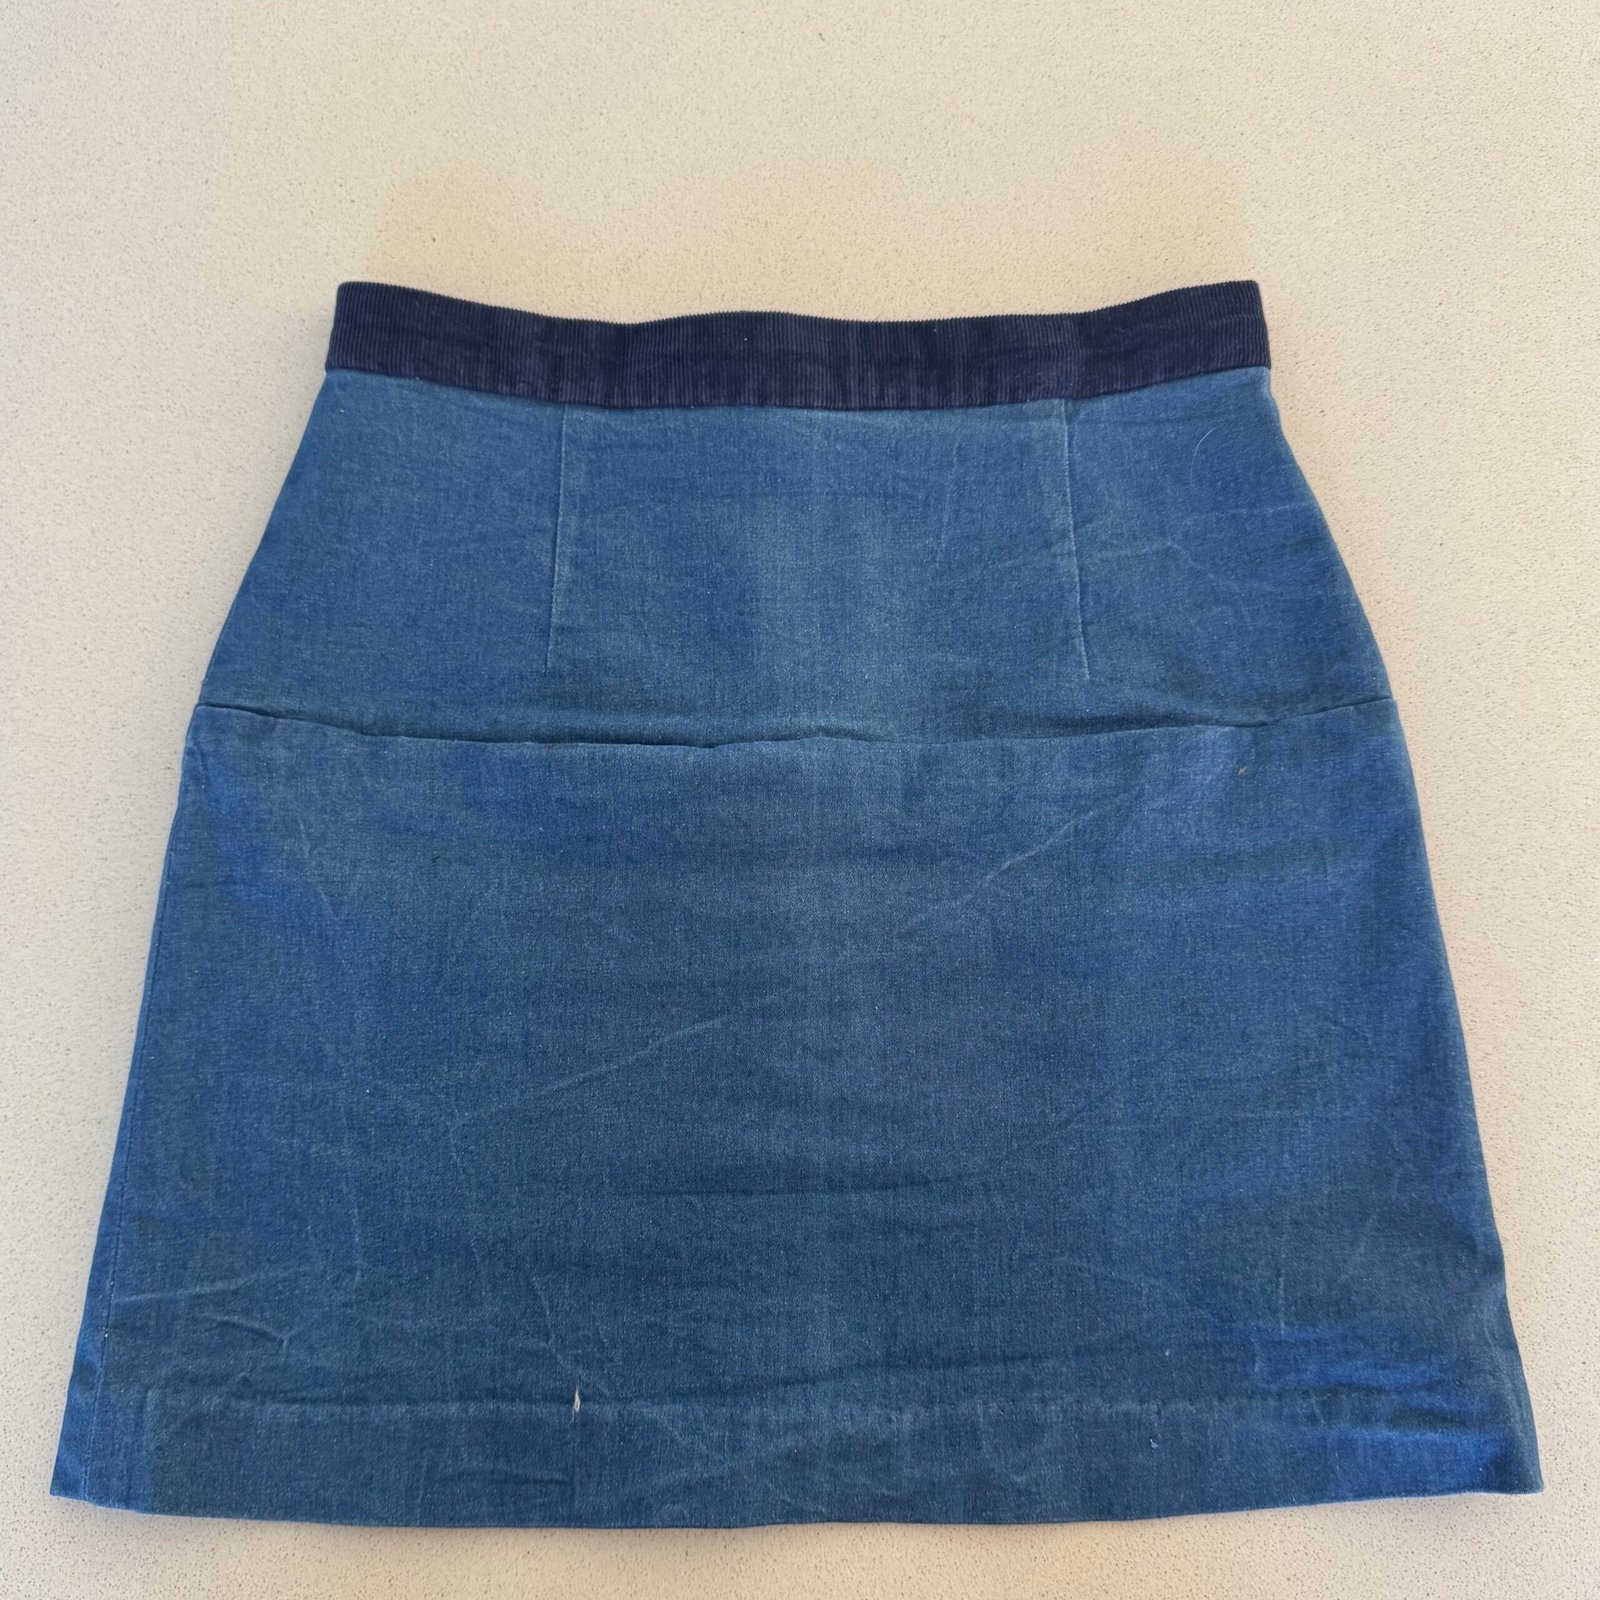
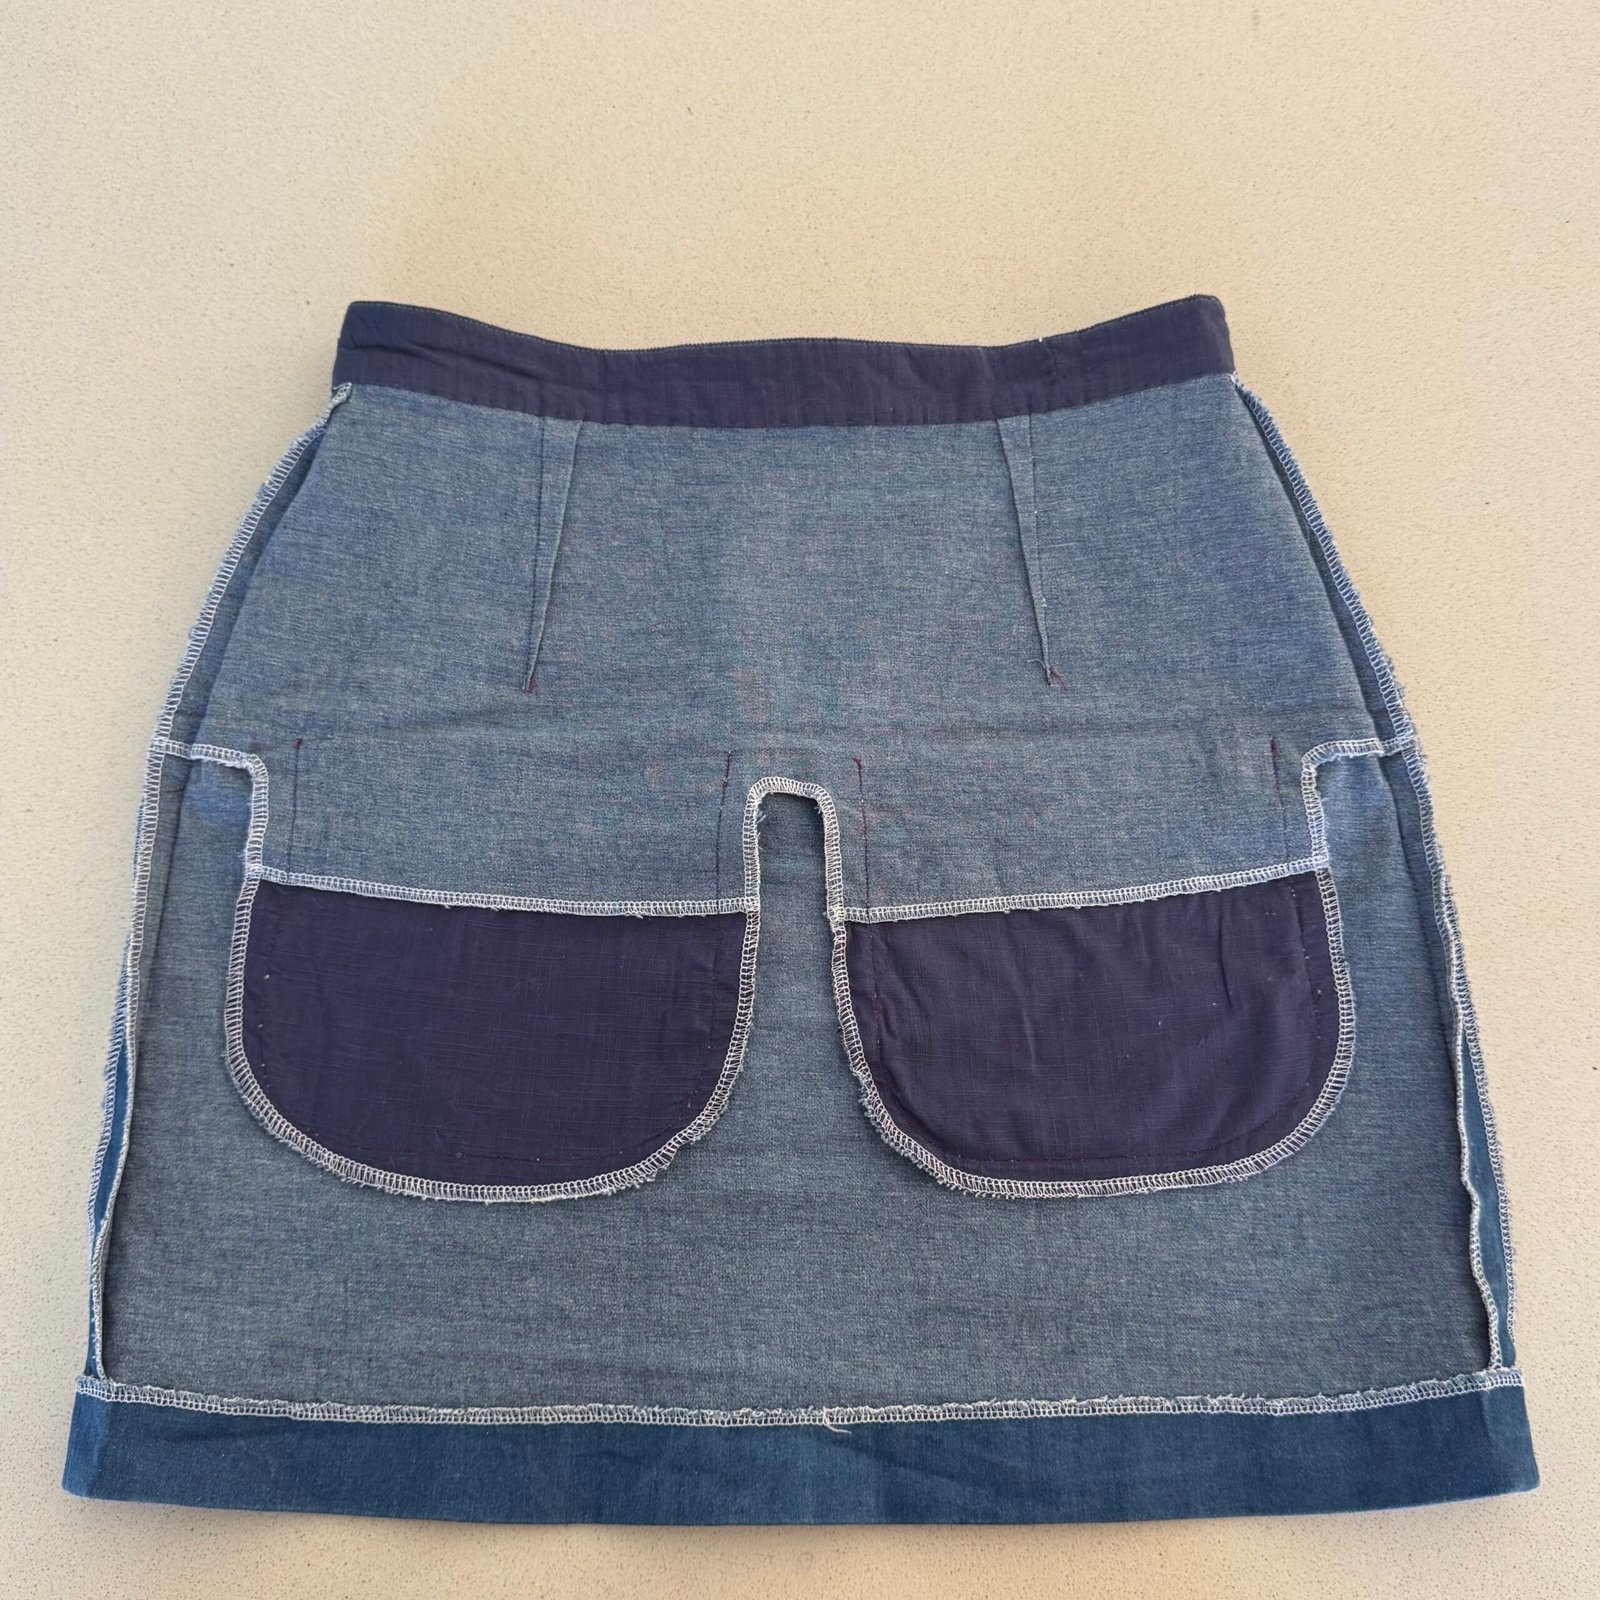


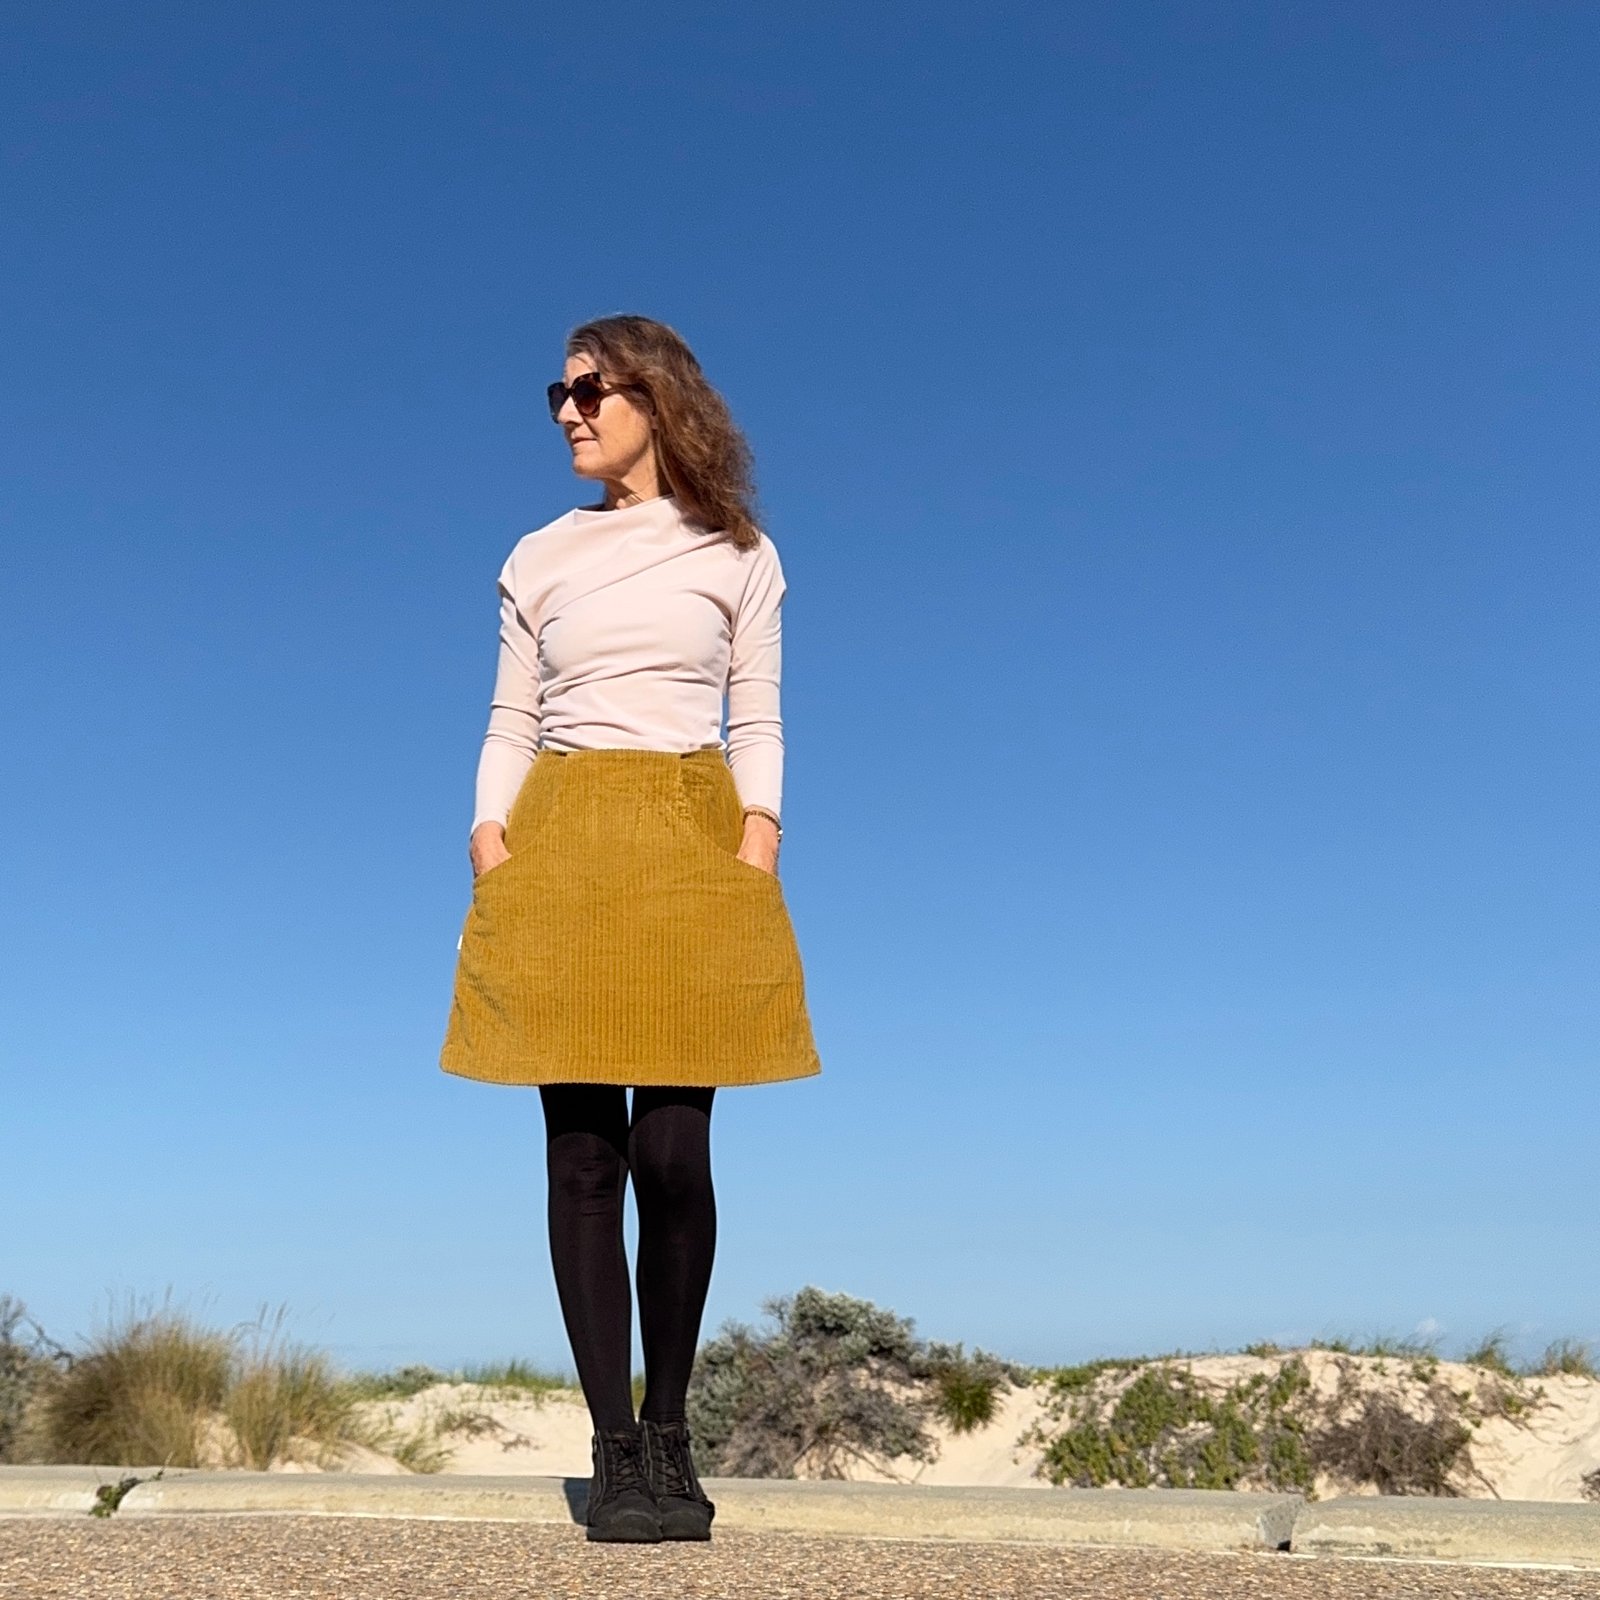
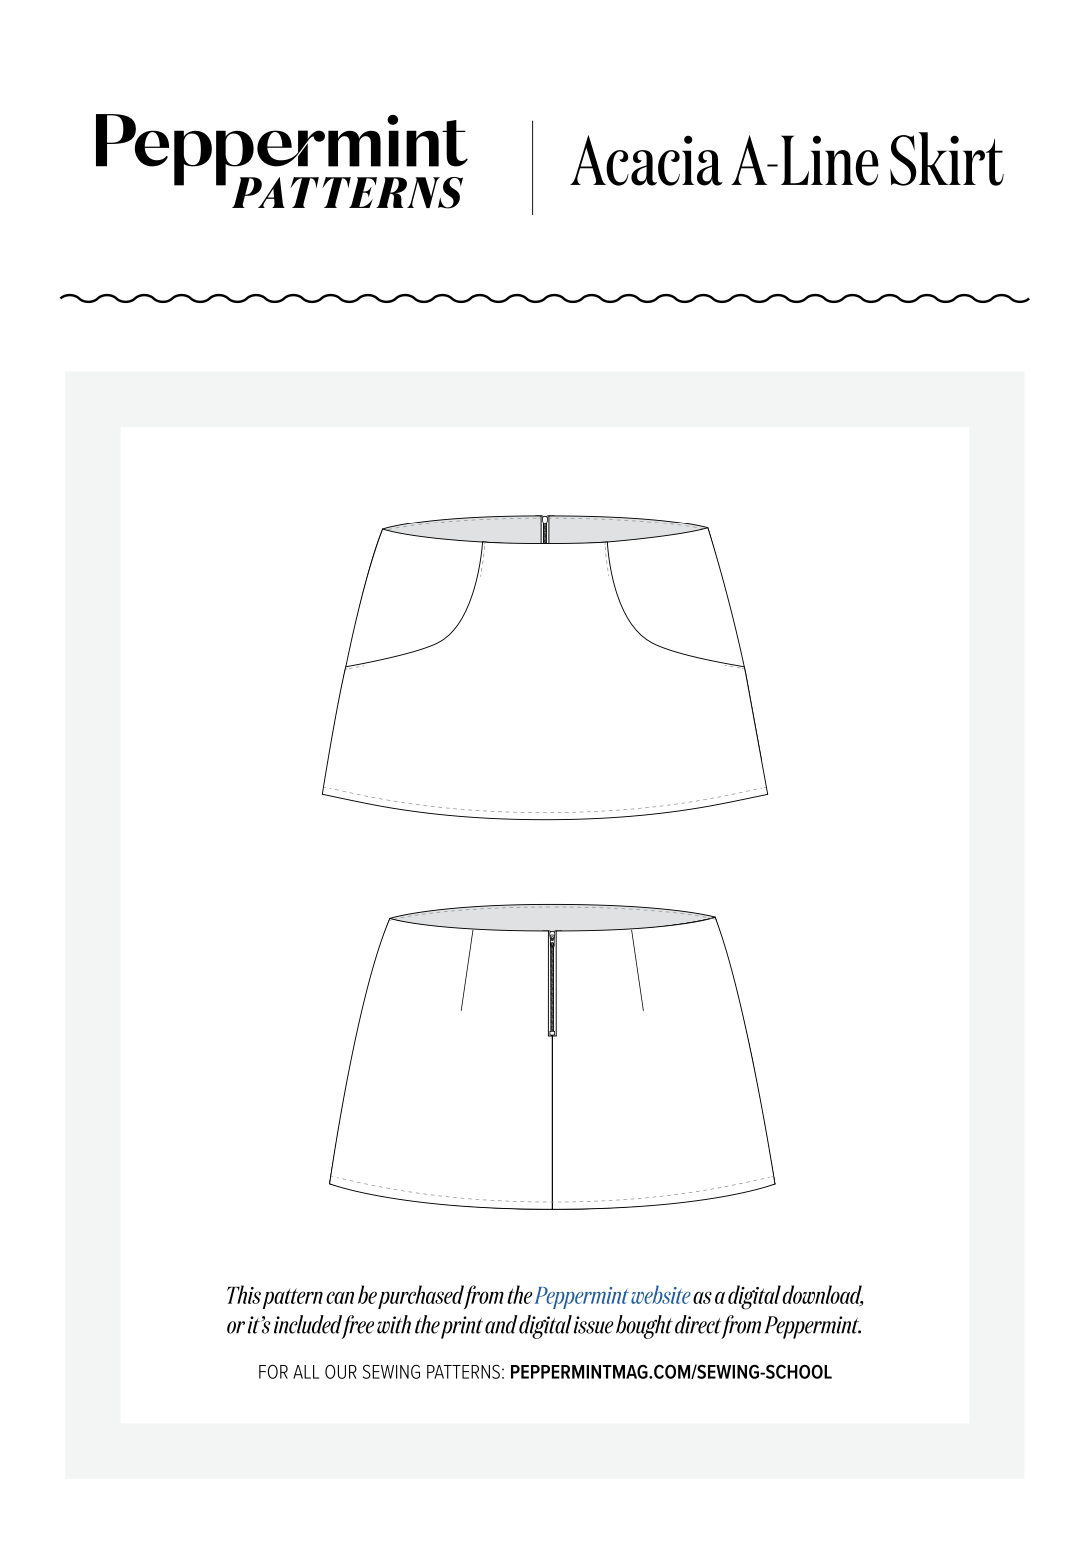 hello! I made a few new skirts, using a new pattern, the Acacia skirt. The pattern is a Peppermint magazine and Warp and Weft collaboration… available in the magazine for free, or as a pdf pattern from their website. It’s a cute little A-line miniskirt with deep deep pockets and a central back zip closure. Of course I’m always going to be interested in a winter miniskirt pattern with pockets! I couldn’t wait to try it out!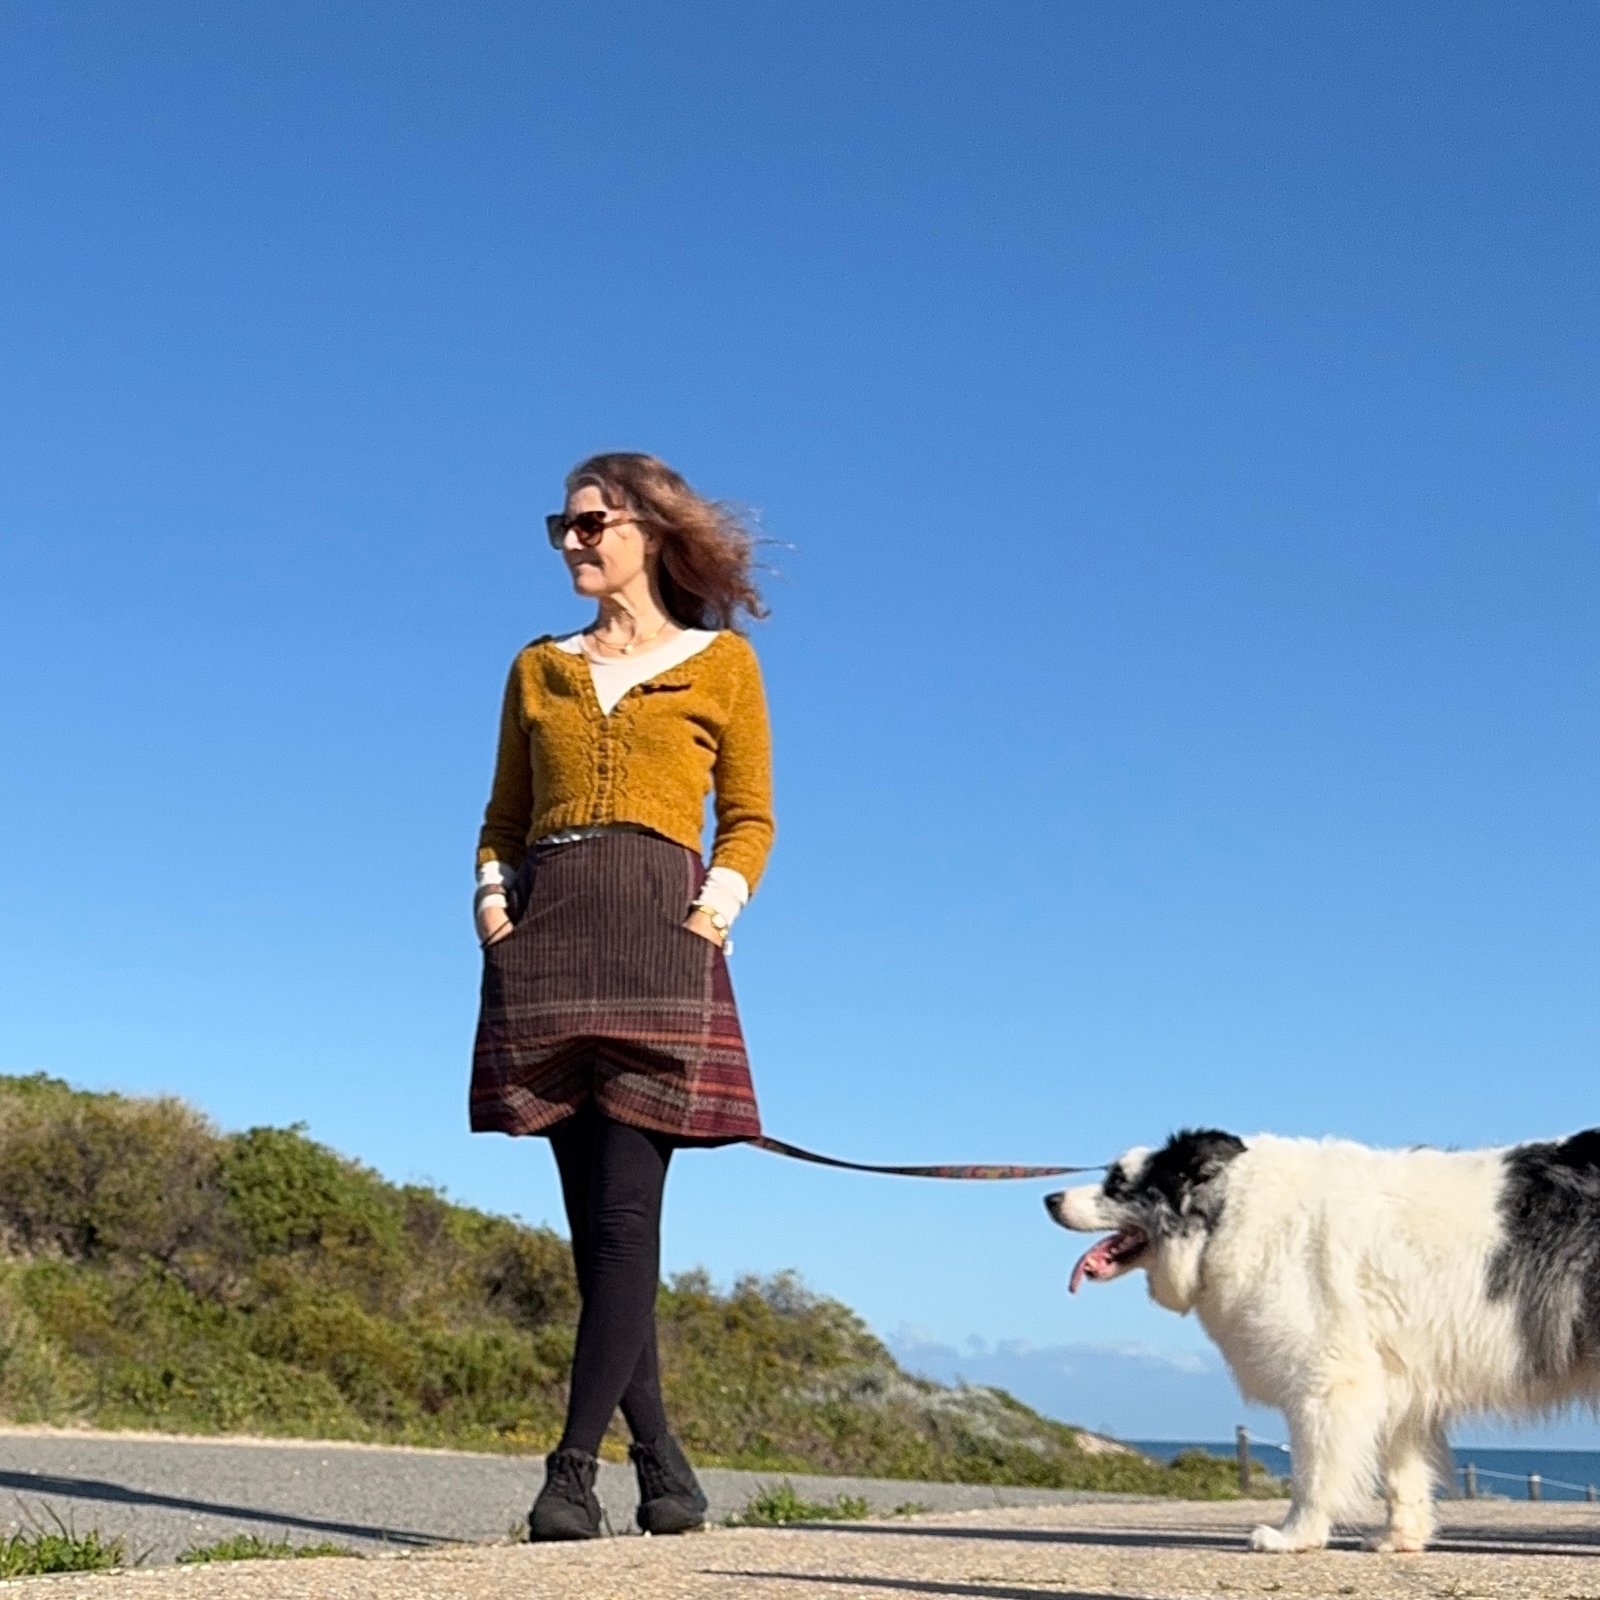
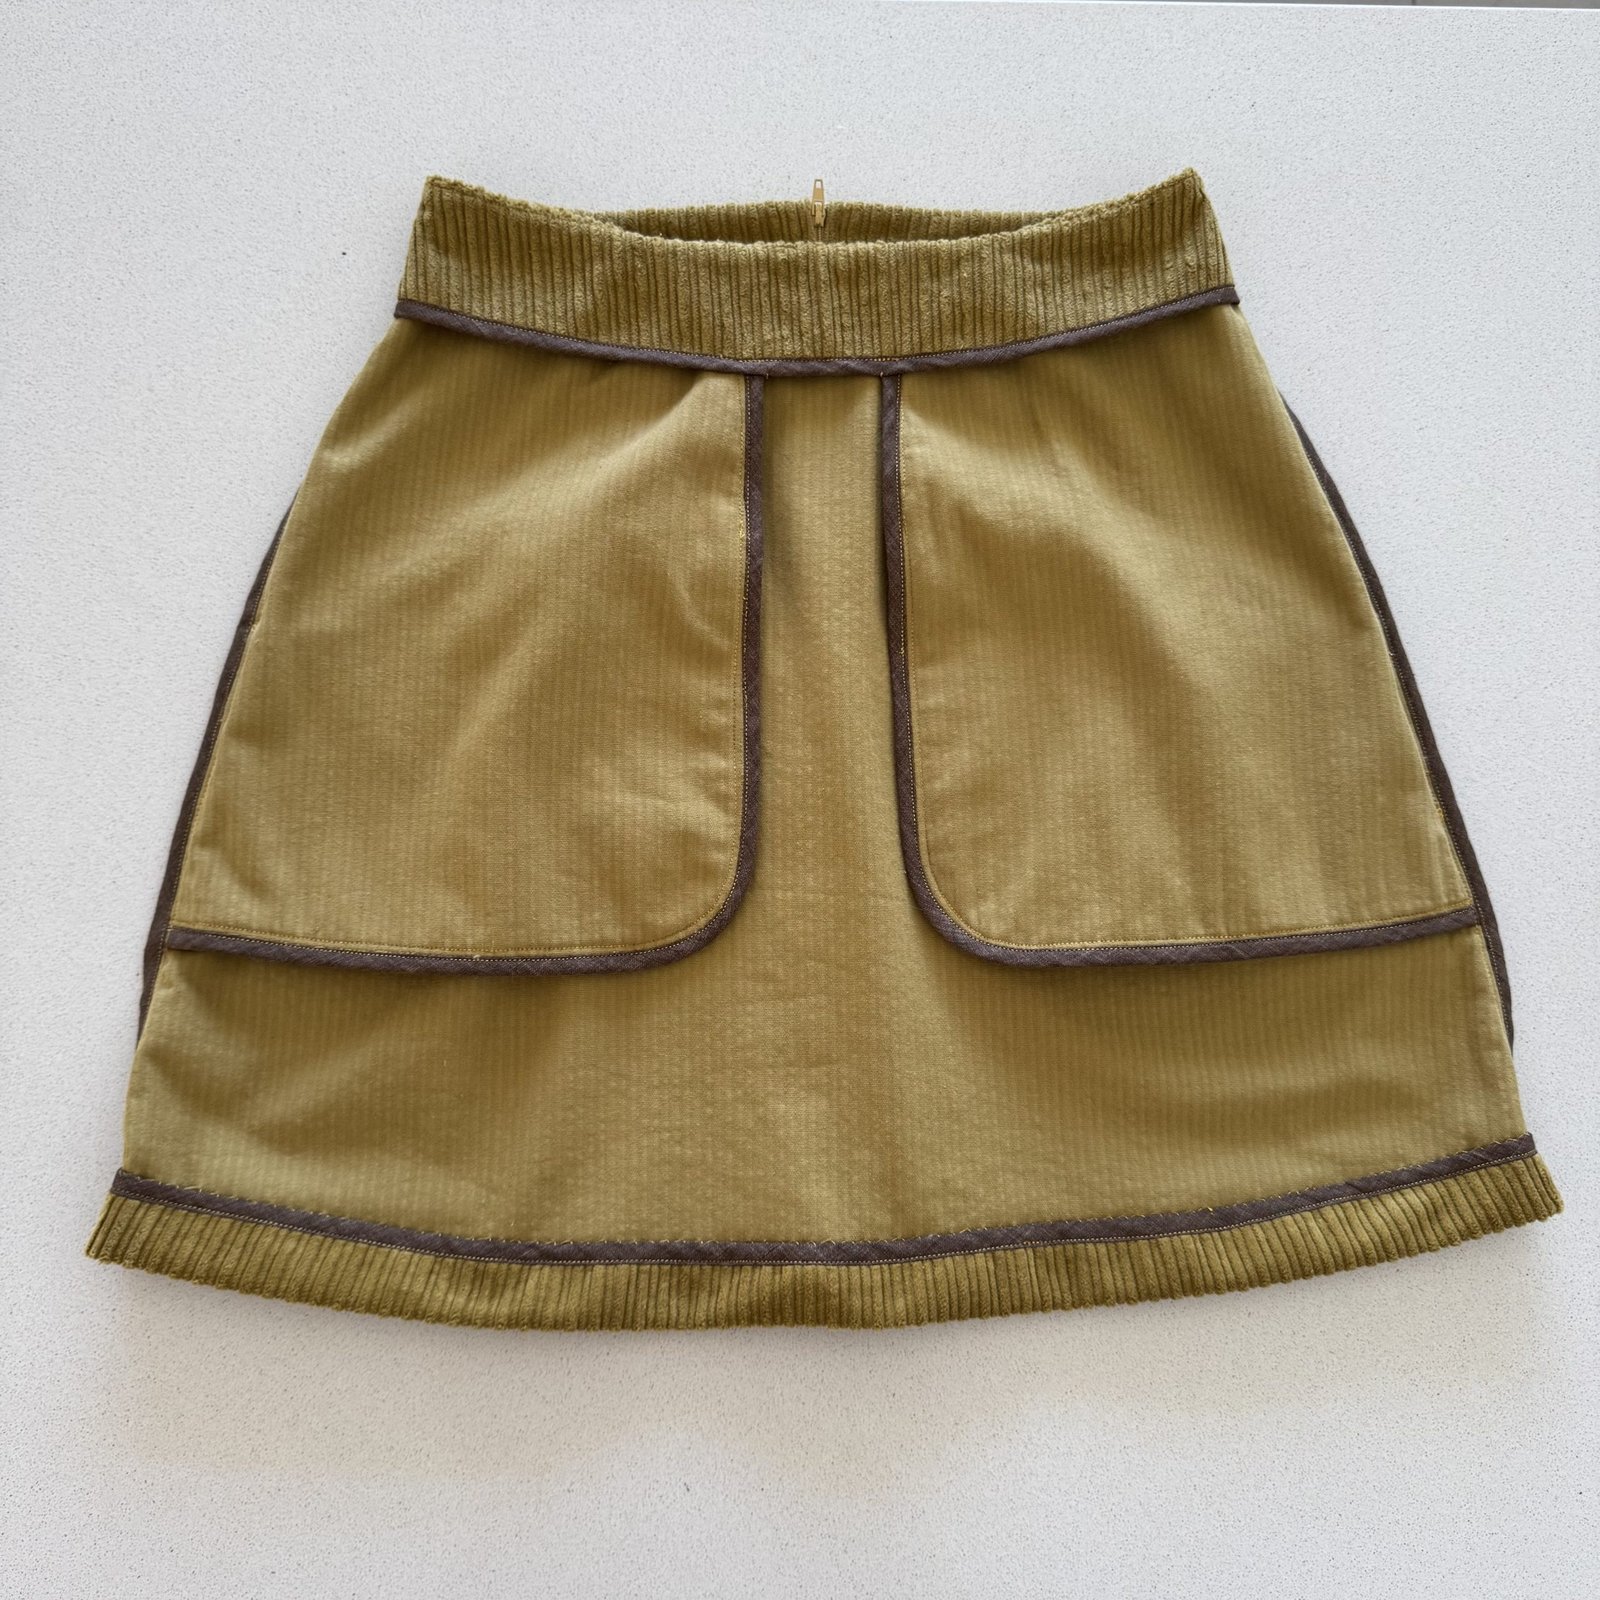 The wide wale corduroy I used for the “real” skirt is is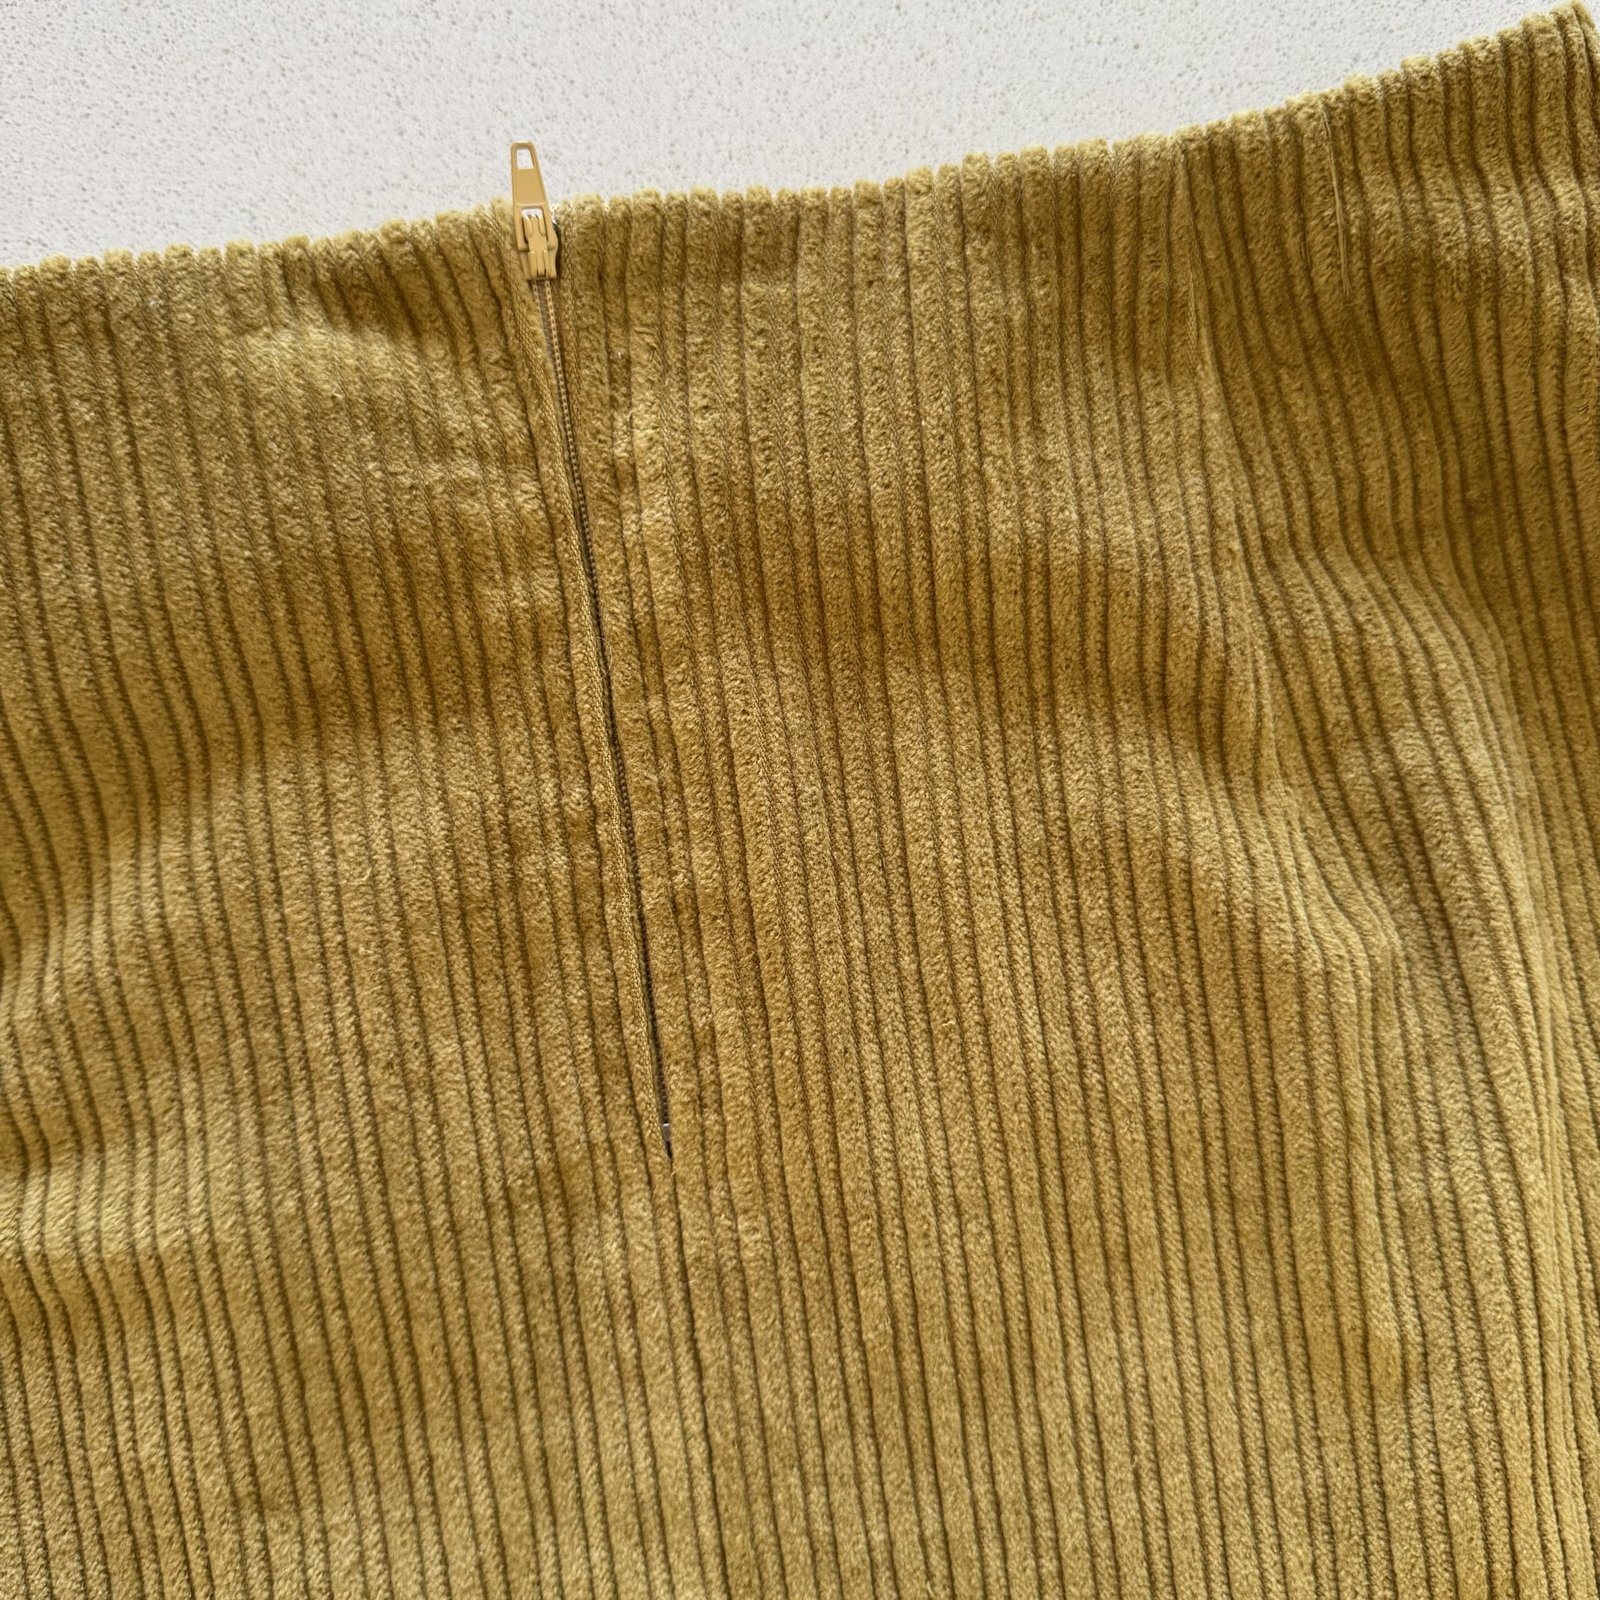
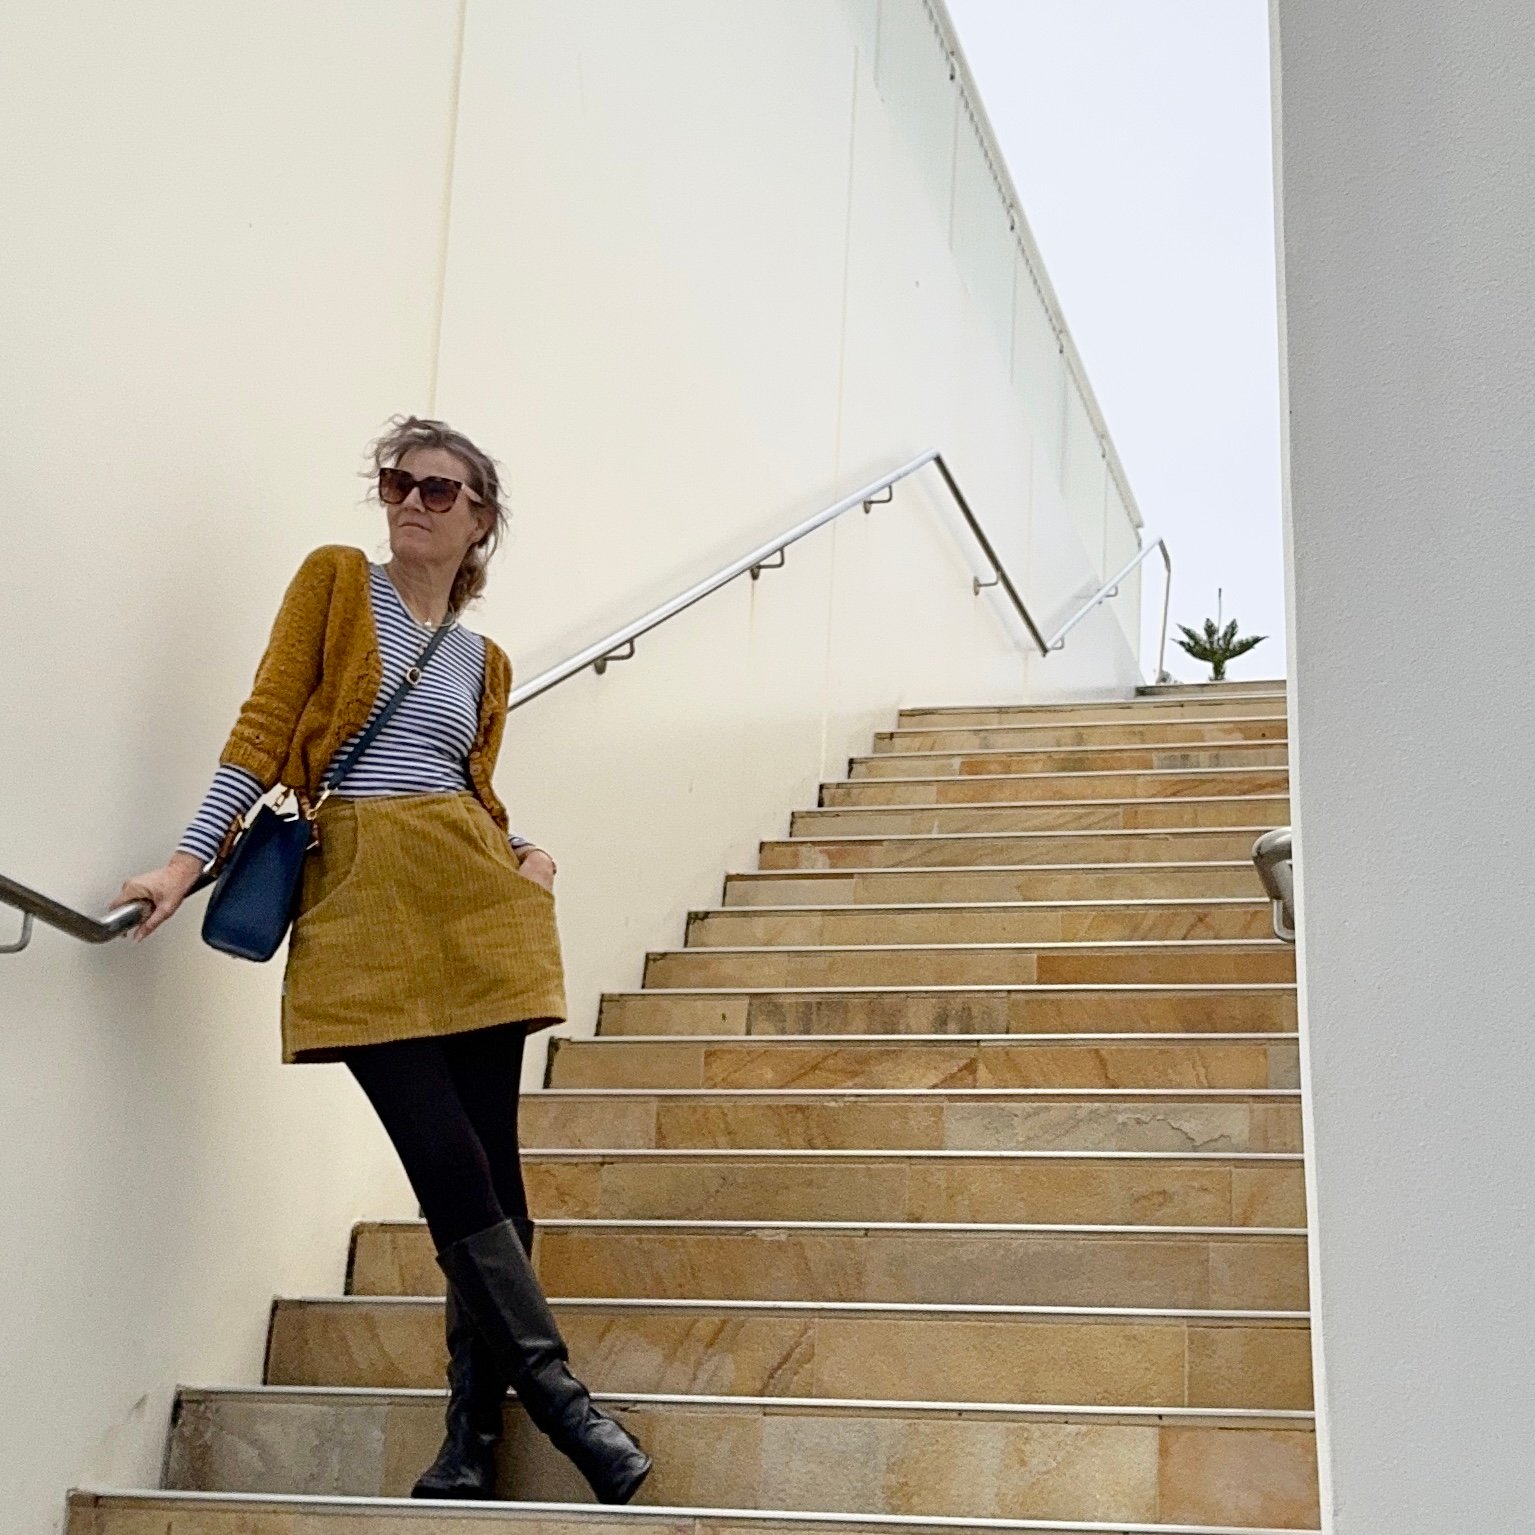
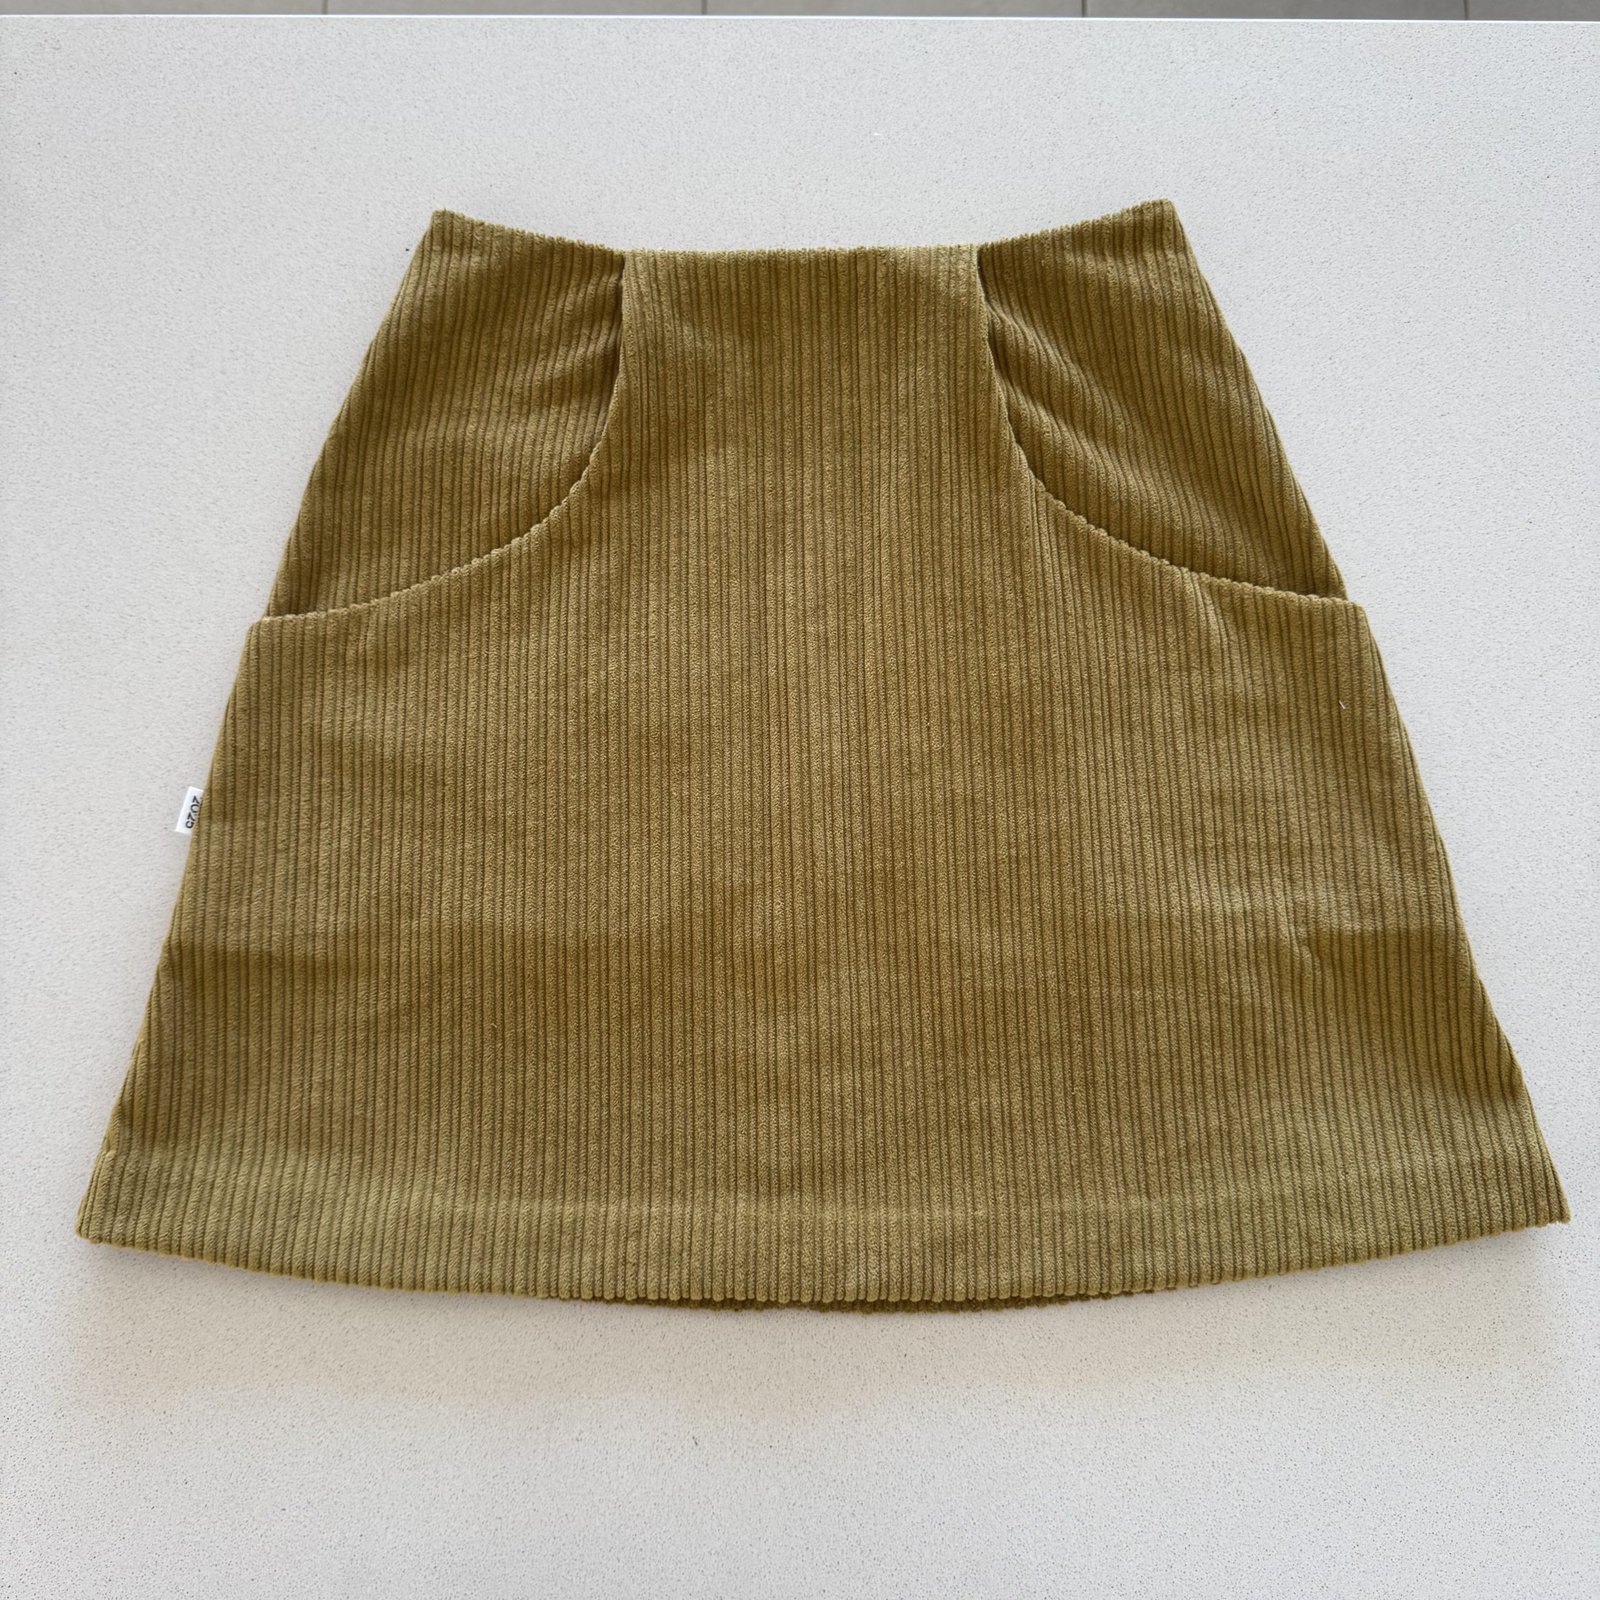
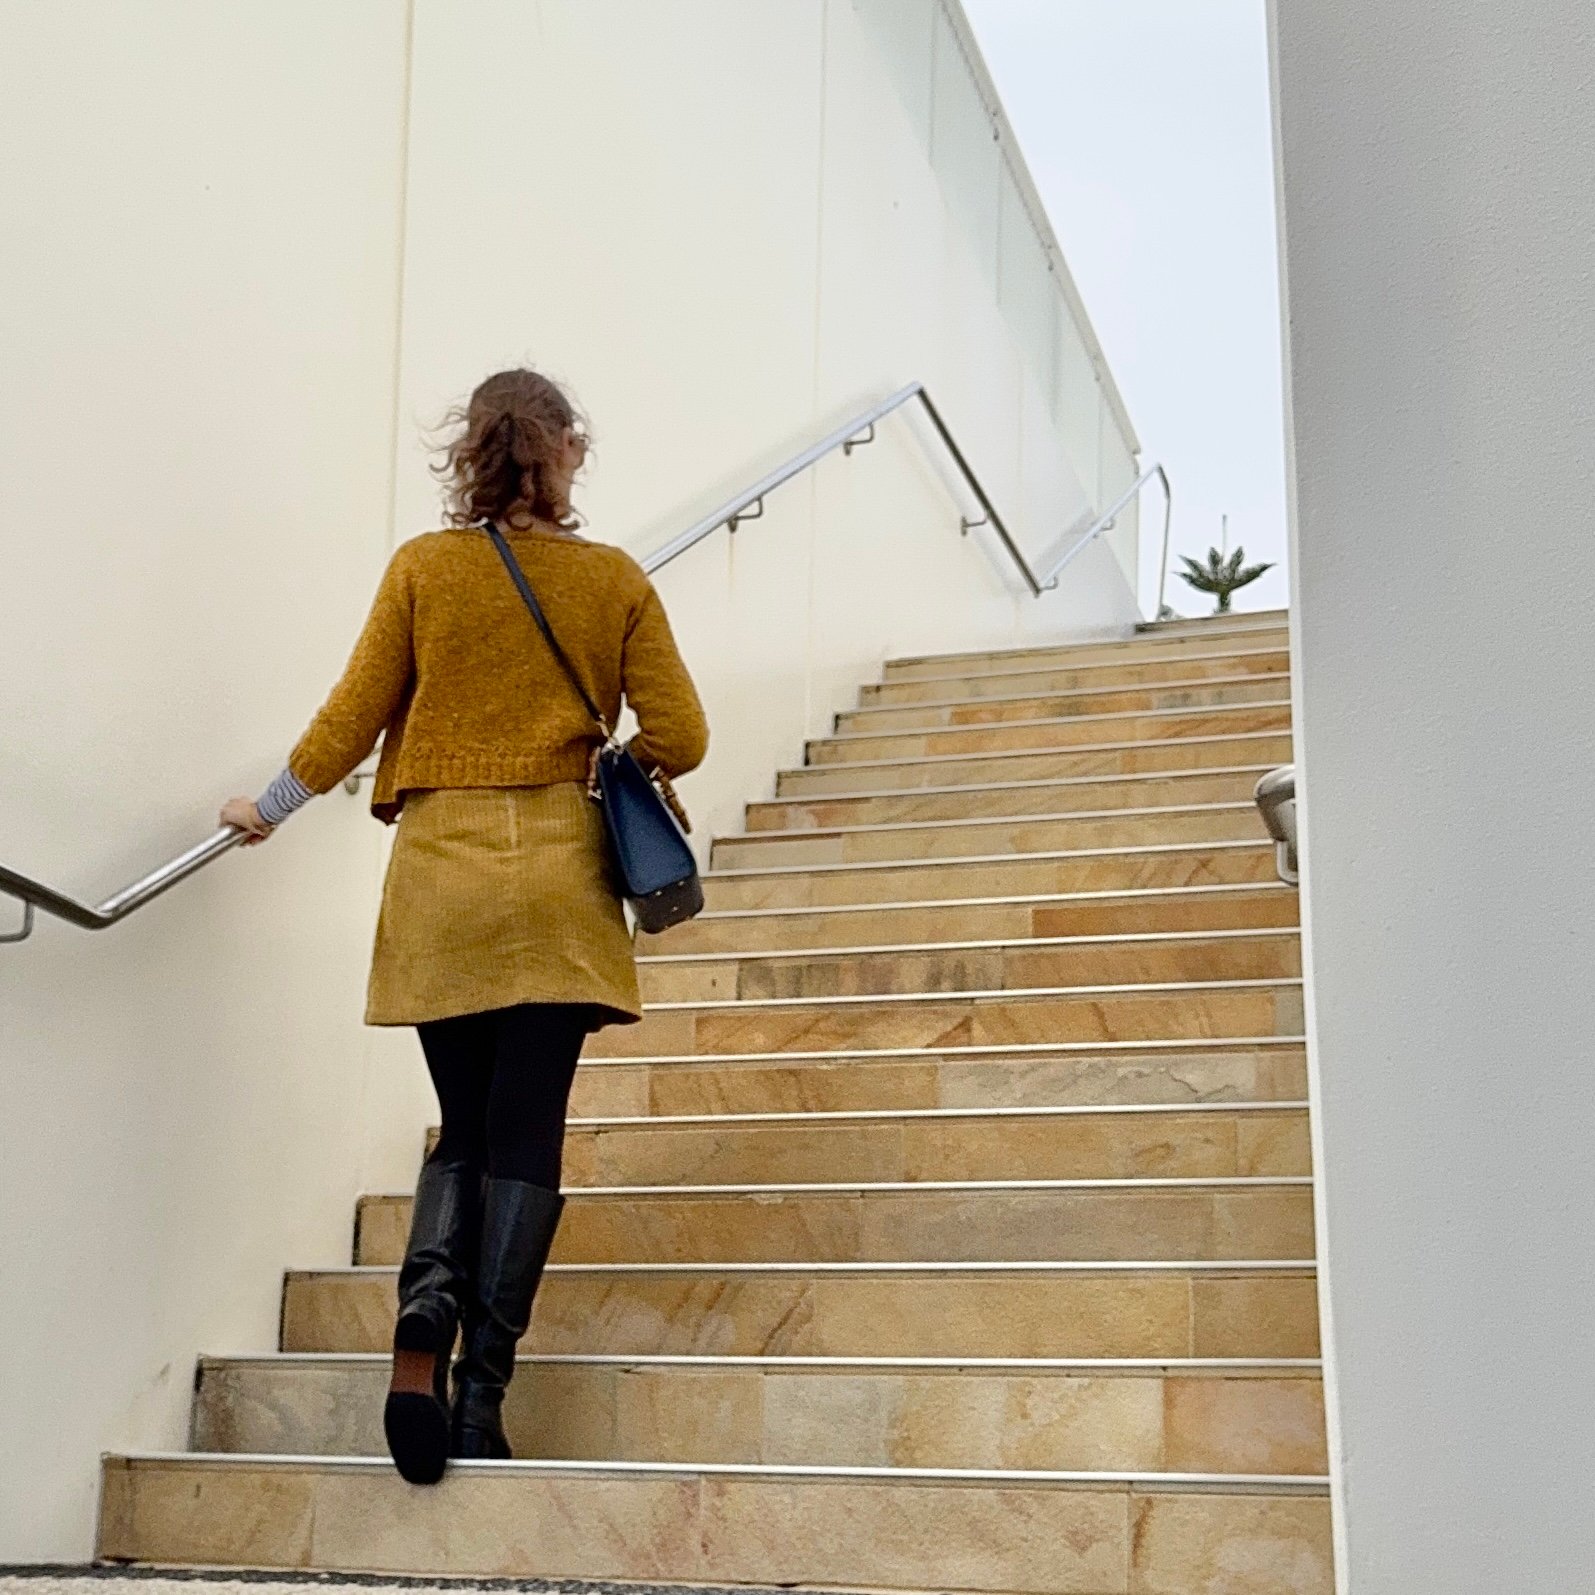


 I added a cotton pocket inside the skirt, this cut from an old worn out shirt of Sam’s. I’ve found some sort of pocket a useful addition to the skirt pattern previously although I haven’t used this one yet, in spite of wearing the skirt quite a lot already. As it turns out I always wore it with other garments with it that had more convenient pockets so didn’t need it. The Jade pattern is not ideal for pocket addition at all, but I’ve still tried to force one upon it a few times now. I’m confident that it will prove useful in future wears, though.
 The other new garment is a T-shirt, made from a blue and white striped jersey also from N. You may recognise it from G’s T-shirt in my previous post. For mine, I used our own Carolyn & Cassie Pinjarra pattern, sizing up because the fabric doesn’t have much stretch. I actually didn’t have much opportunity to take a photo of the T-shirt on our trip because it was rarely warm enough to wear it by itself! plus for some reason taking pictures of my outfits didn’t take a lot of priority in my mind. Is this a good sign? Am I maybe getting more mature?! All pictures featuring the Tshirt are pretty ordinary quality, haha…
 Anyway, both these pieces are obviously comfortable and nice to wear, and feel like really good new basics for my wardrobe.


 rhetorical question, don’t mind me. I actually love stripes, even though when I do sew with them I feel inextricably compelled to pin each and every stripe. It’s ok. A small amount of suffering is acceptable when it leads to nice things.


 The pattern I used is Butterick 5510, size M. This is the biggest size in the envelope, so I’ve realised I need to use it a few more times, and quickly too, before G grows out of it! I’d almost forgotten how much fun children’s clothes are to make, so quick and easy compared to adult clothes. I traced out the pattern and finished the shorts in about an hour, tops!


 I finally decided on a little skirt and naturally chose


 The hem of the skirt is the original hem of the jeans shorts, and I unpicked a little to sew the side seams, before resewing the original hem in place. The original topstitching on the jeans shorts was a mixture of navy blue and a kind of dull, mustard-y orange, but all my new topstitching is quite a brighter orange.
 It’s a bit daggy, let’s be real, but I guess I’m an 80’s girl at heart really so daggy is set in stone into my DNA. I’ll happily wear it as a knockabout skirt on the weekend and when I just feel like slouching around. It’s fun, very comfy, and I often kinda like that scruffy vibe anyway, hehe.


 The skirt is our very own Meelup pattern, which is currently my number one top favourite. It has all my desired features; deep pockets, no zip, and a streamlined, yet comfortable and roomy silhouette. I carefully lined up the pockets to match the pattern in the skirt front; Pattern Matching 101. The skirt is lined in deep green lining fabric, not a perfect match colour-wise but t’was already in the stash thus making it the perfect candidate.
 I also used a khaki cotton for the pocket lining and red buttons for the same reason… I know I know; the purist in me shrieks “NO!” however the thrifty-miss in me reassures myself that it’s not like you can ever see either of these wrongly coloured things when you’re wearing the skirt! I used the same khaki cotton to make bias binding to finish the raw edge of the hem inside…


 The little tee-top is kinda based on another old favourite, the epaulette top from “she has a mannish style” by Yuki Takada. I had enough tartan for the sleeves and two big patch pockets, and the body is cut from an ivory wool felt that has been such a very long-term stash resident that I cannot remember its provenance. I did not include the eponymous epaulettes, … also I lined the body fully with an ivory silk habotai (also long-term stash) because the ivory wool is really itchy.
 I stabilised the neckline with a biascut strip of cream cotton, then attached the lining to this, before stitching them all down to the top around the neckline.. yes, quite complicated but gives a nice finish, imo. The armscye of the lining is also stitched to that of the outer, and the remainder of the body and side seams float freely from each other. Having a silk lining makes it quite beautiful to wear!
 I finished the lower raw edge with cotton bias, just like with the skirt… You can see here how I used dark green thread in the bobbin to stitch on those patch pockets… and no that is not a mistake! I discovered that a cream coloured thread to match the wool showed up just very slightly on the outside of the pockets, not terribly but enough to bother me…so I unpicked that and re-did it with the green thread. Now the topstitching on the pockets is nicely invisible… 🙂
 I’ve also run up two new ivory merino T-shirts in the past week… this is another of our patterns, the Pinjarra twinset. These two items are of course the tee part of the pattern, and both have the scoop neckline. I basically made these to use up the last of a length of ivory merino that I’d bought a few years ago but only made one tee so far. Now it has happily realised the purpose it was bought for, at last!
 A few little moth holes had sprung up during its confinement to the stash, so while I could cut mostly around them, I darned the few unavoidable ones up before making my tops… The merino is so fine, I used regular stitching thread for darning… and even then it looks thicker than I’d like.
 Honestly, though, it really is near invisible, unless you get up really close! and I know these two items are going to work hard in my wardrobe next winter… btw, can you see how I used a white thread and and ivory thread in that double top-stitching? No?!






































