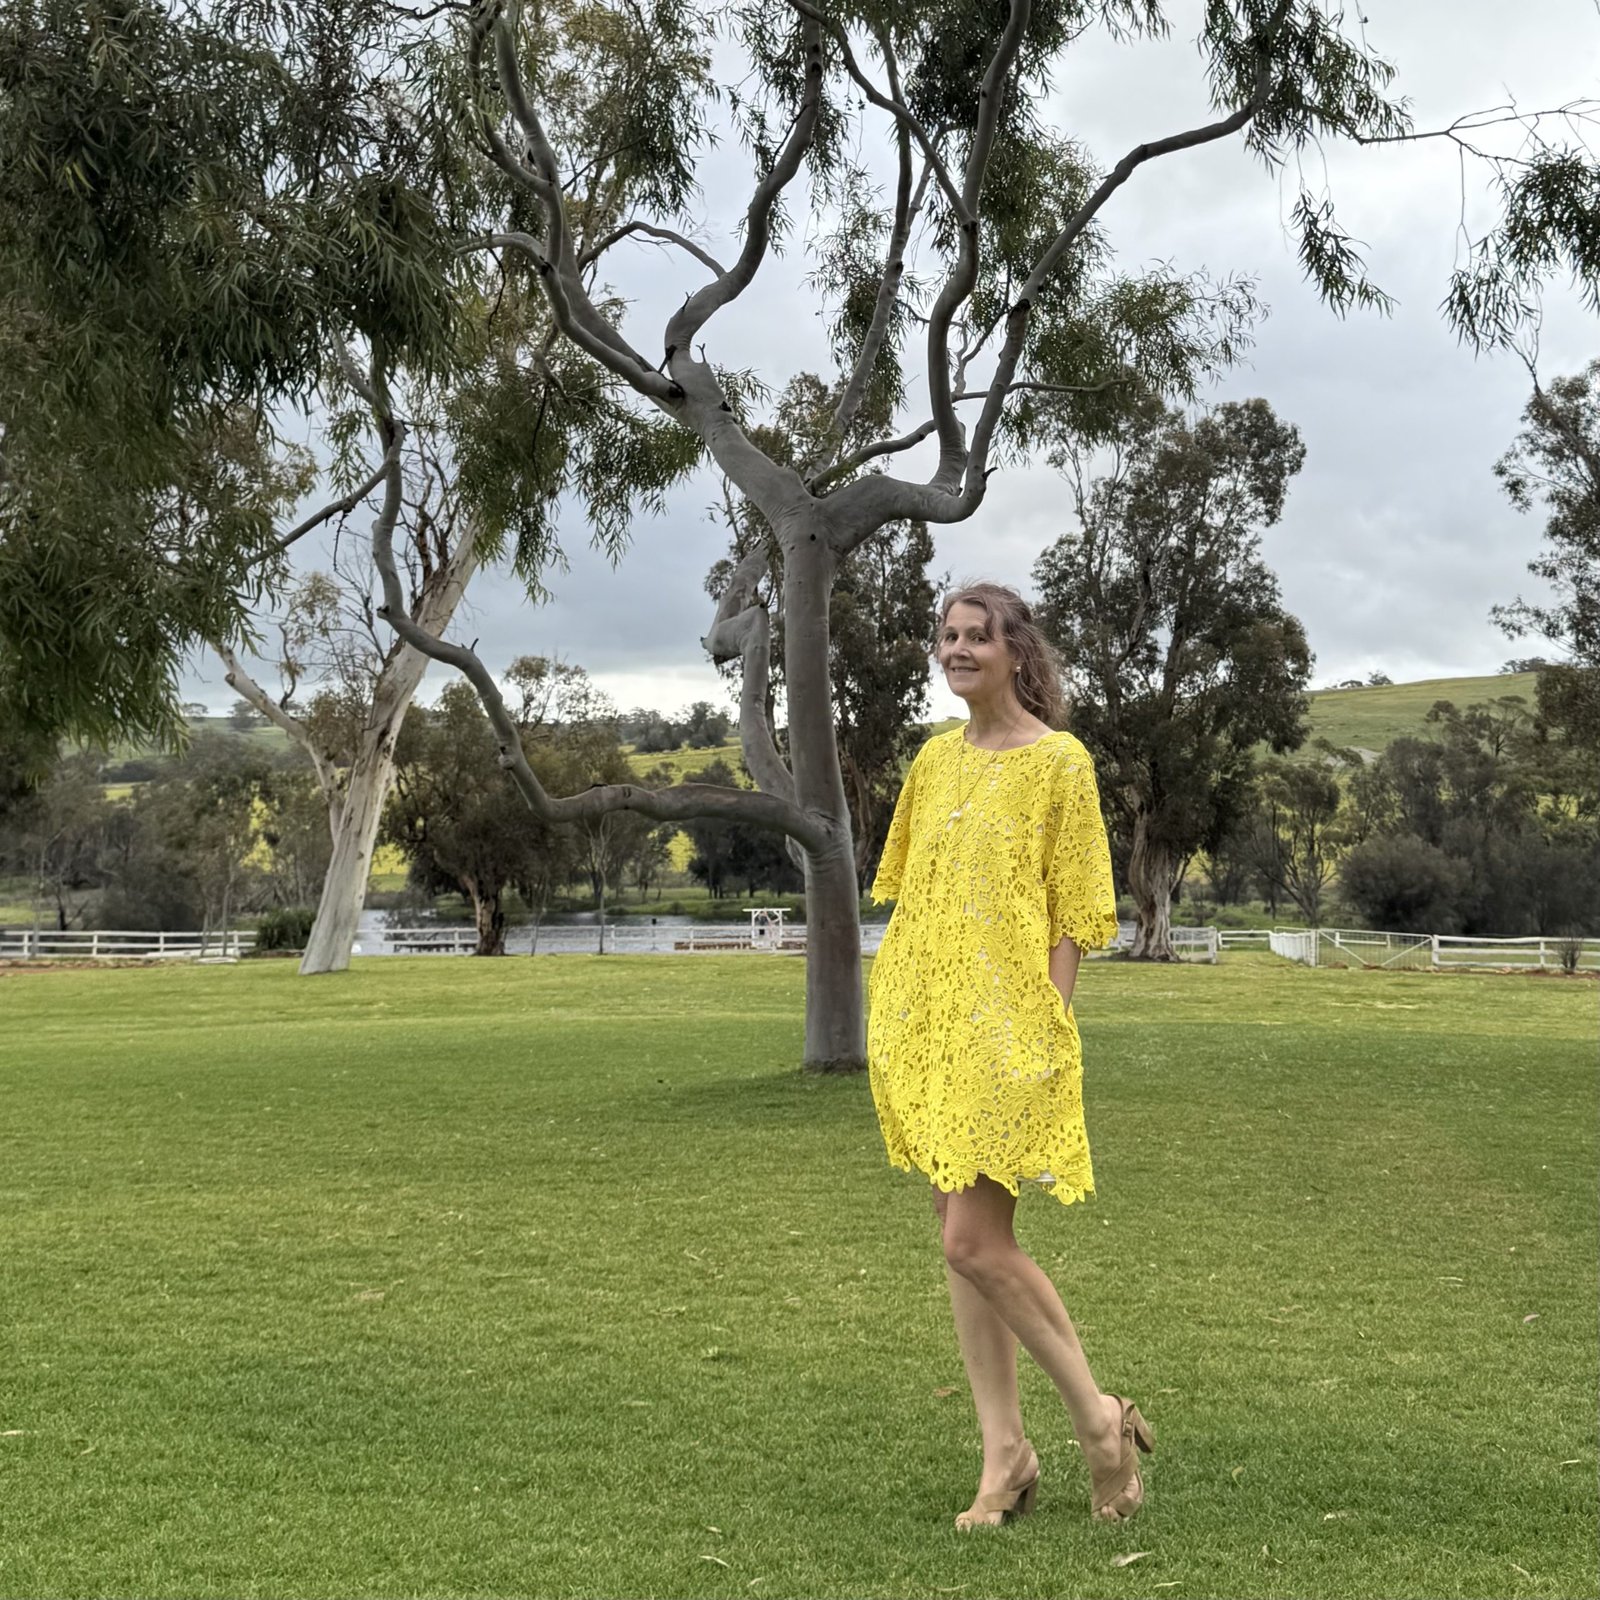
 hello! Recently my lovely niece J married her long-time man and so of course I had to make a new dress for myself for the occasion… I was vaguely toying with the idea of shopping for fabric before I remembered two things: 1. as everyone in our family knows, J’s favourite colour is famously yellow, and 2. I have a piece of very yellow, and happily wedding worthy fabric in my stash already!

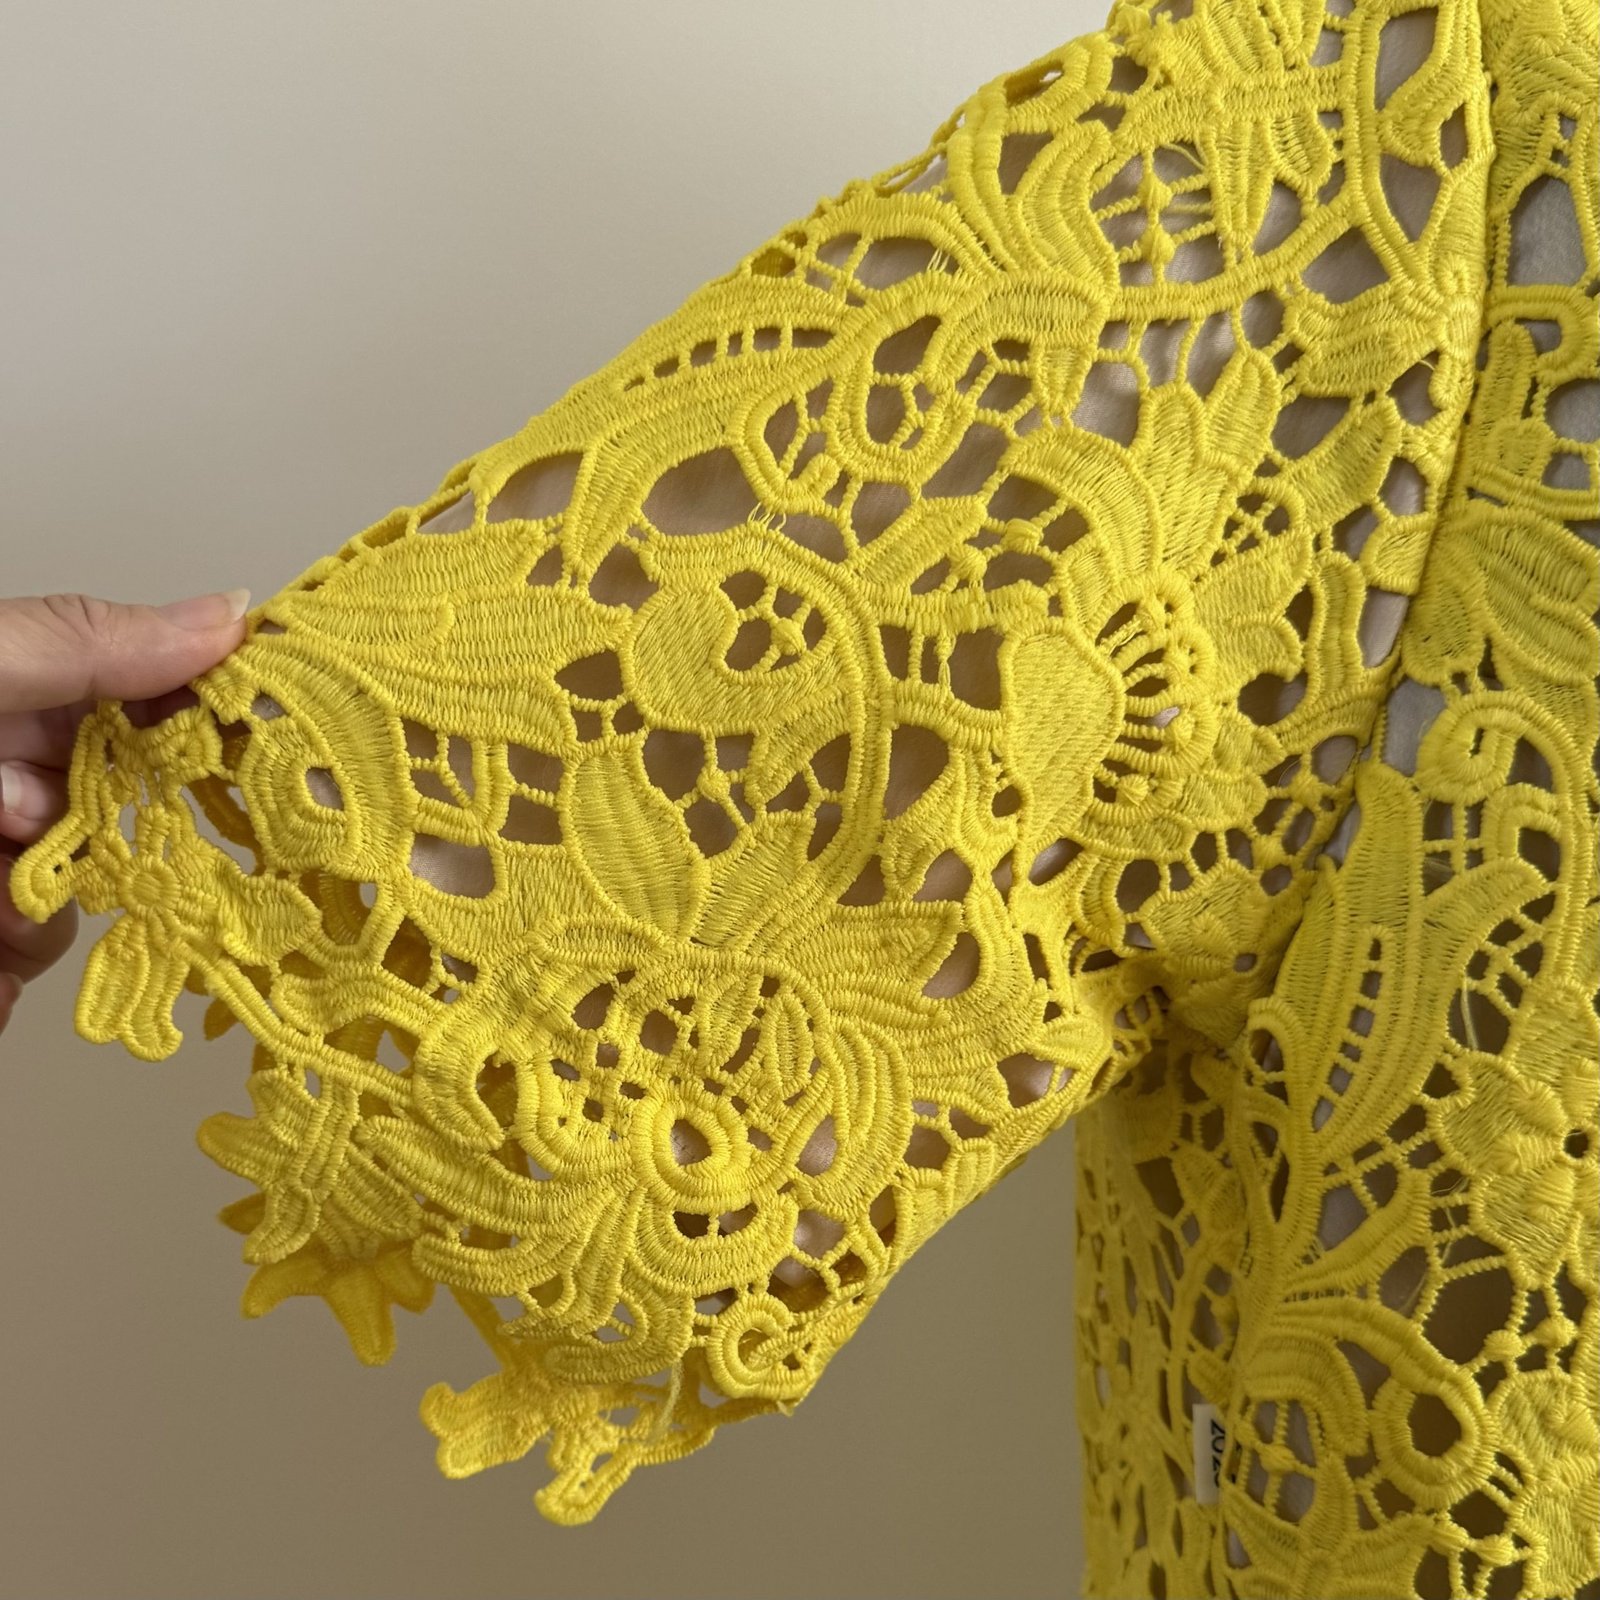
I bought this neon-bright yellow guipure lace from Mood Fabrics in New York City back in 2019, when I was over there with my friend Yoshimi… we met with other sewing ladies and they took us on a fabulous fabric shopping spree! Such fun. I wrote about it on my blog here… Originally I had envisioned making a little mini skirt from the lace but when the fabric was rolled out on the counter it turned out there was a pretty large chunk of the border cut out, so the salesperson basically threw that part of the fabric in for free. Meaning, I ended up with a lot longer length than I had needed. And obviously I couldn’t waste the extra bit by making that little mini, so it sat, awaiting some other project that could make use of it.Et voila!
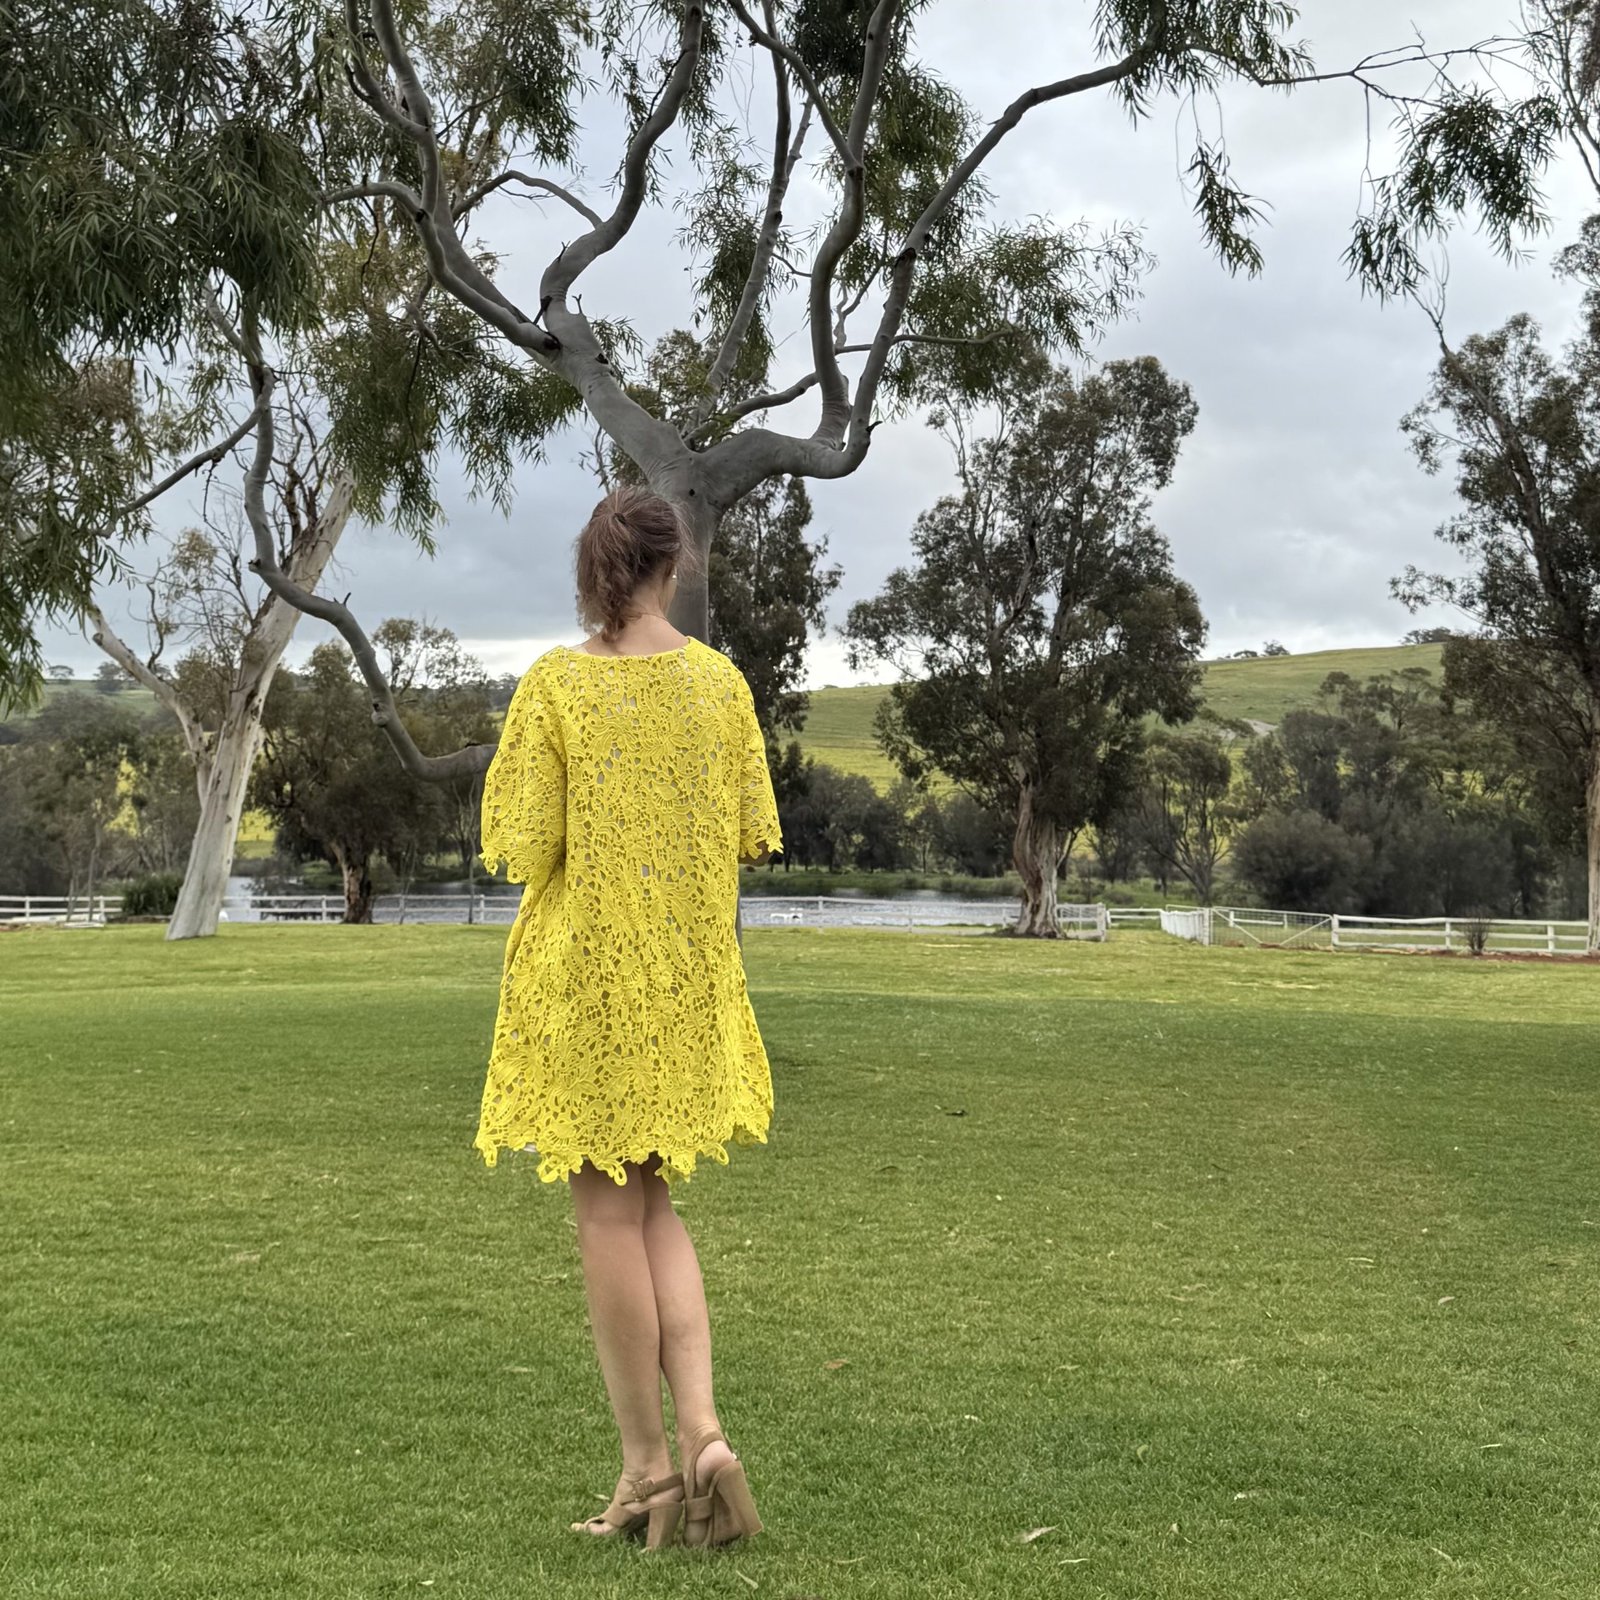
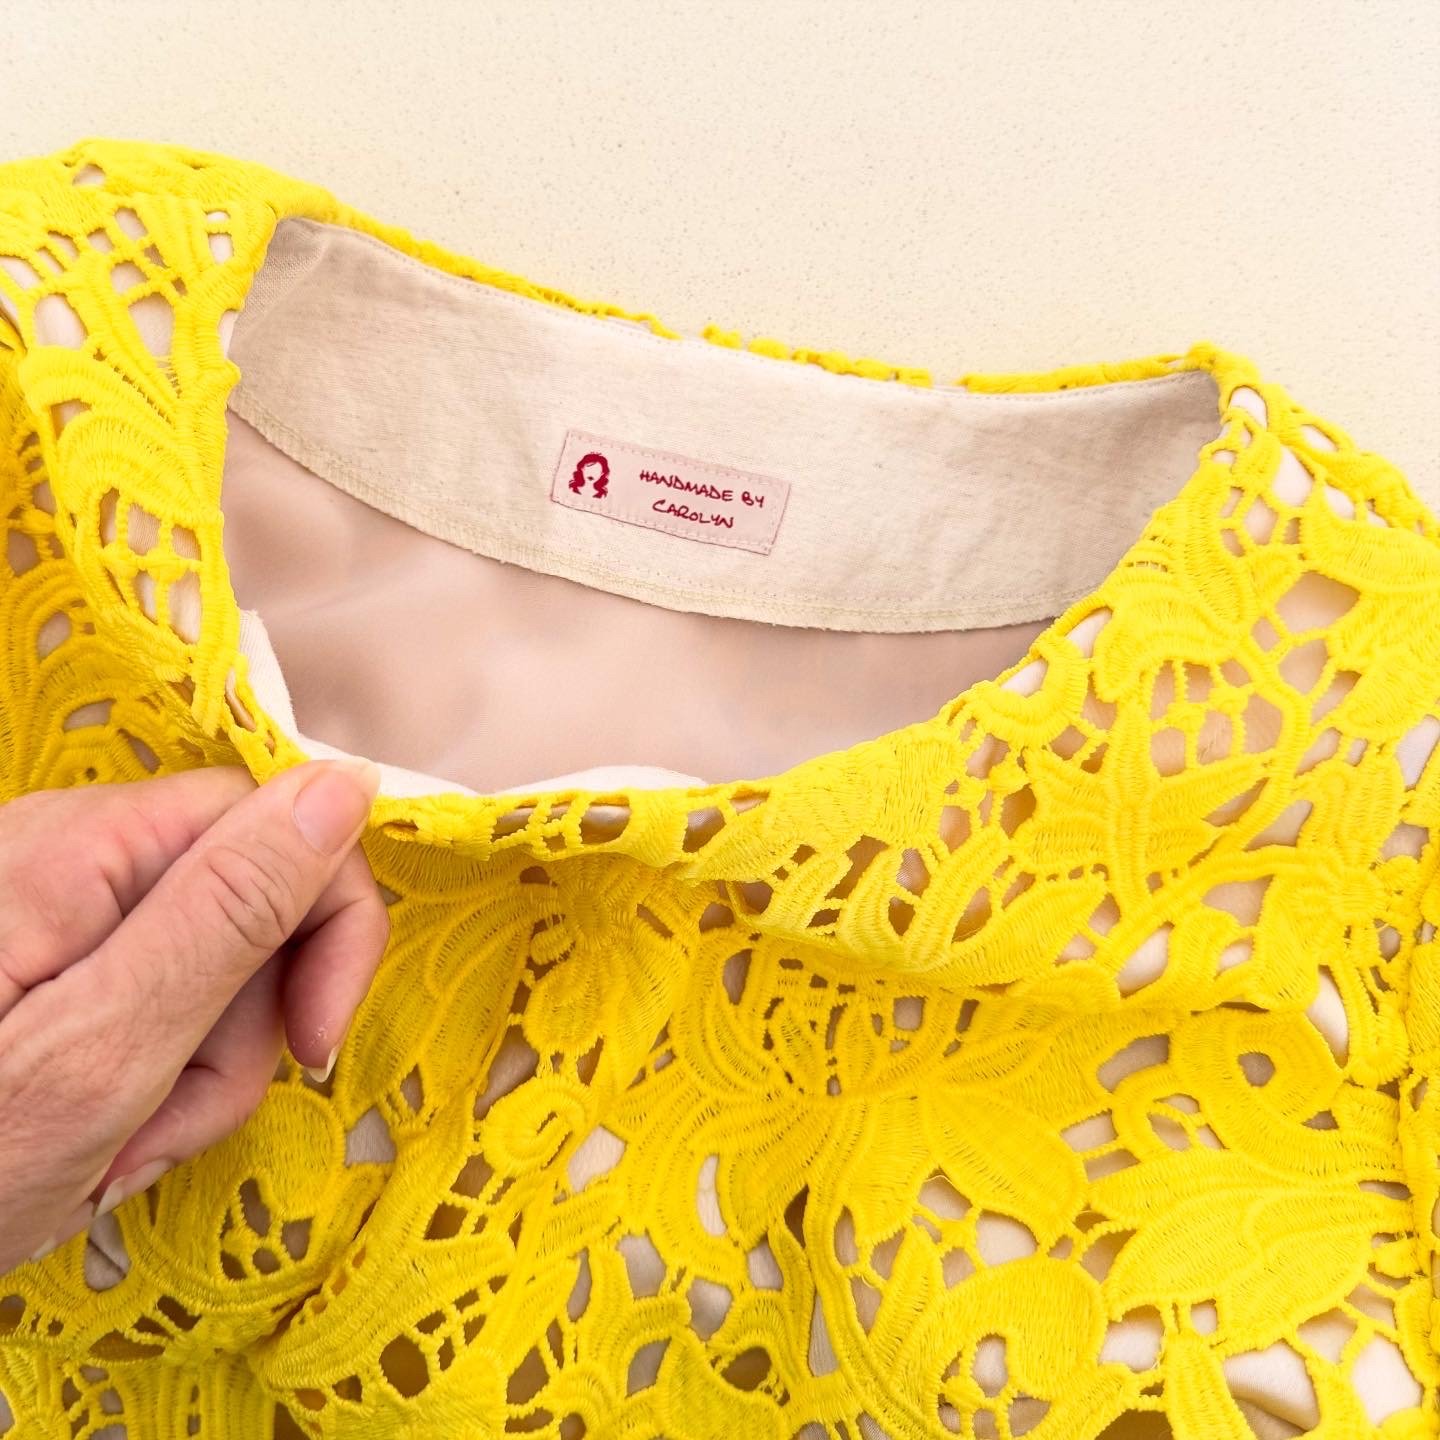
I used the Closet Core Ceilo pattern with a few small modifications… namely; spicing the back yoke and back pieces together to eliminate that seam, including inseam pockets in the side seams, and I also cut it to be a bit more flared. Oh, and I also traced a size up – or maybe two? can’t remember now – for that fashionable oversized look. The hemline, which is of course the natural border of the lace, was determined by how much length I could get, and I also managed to get the sleeves on a border. It only took a little bit of pattern Tetris but I’m thrilled that I achieved what is one of my primary aims with any sewing project, which is to have minimal leftovers!
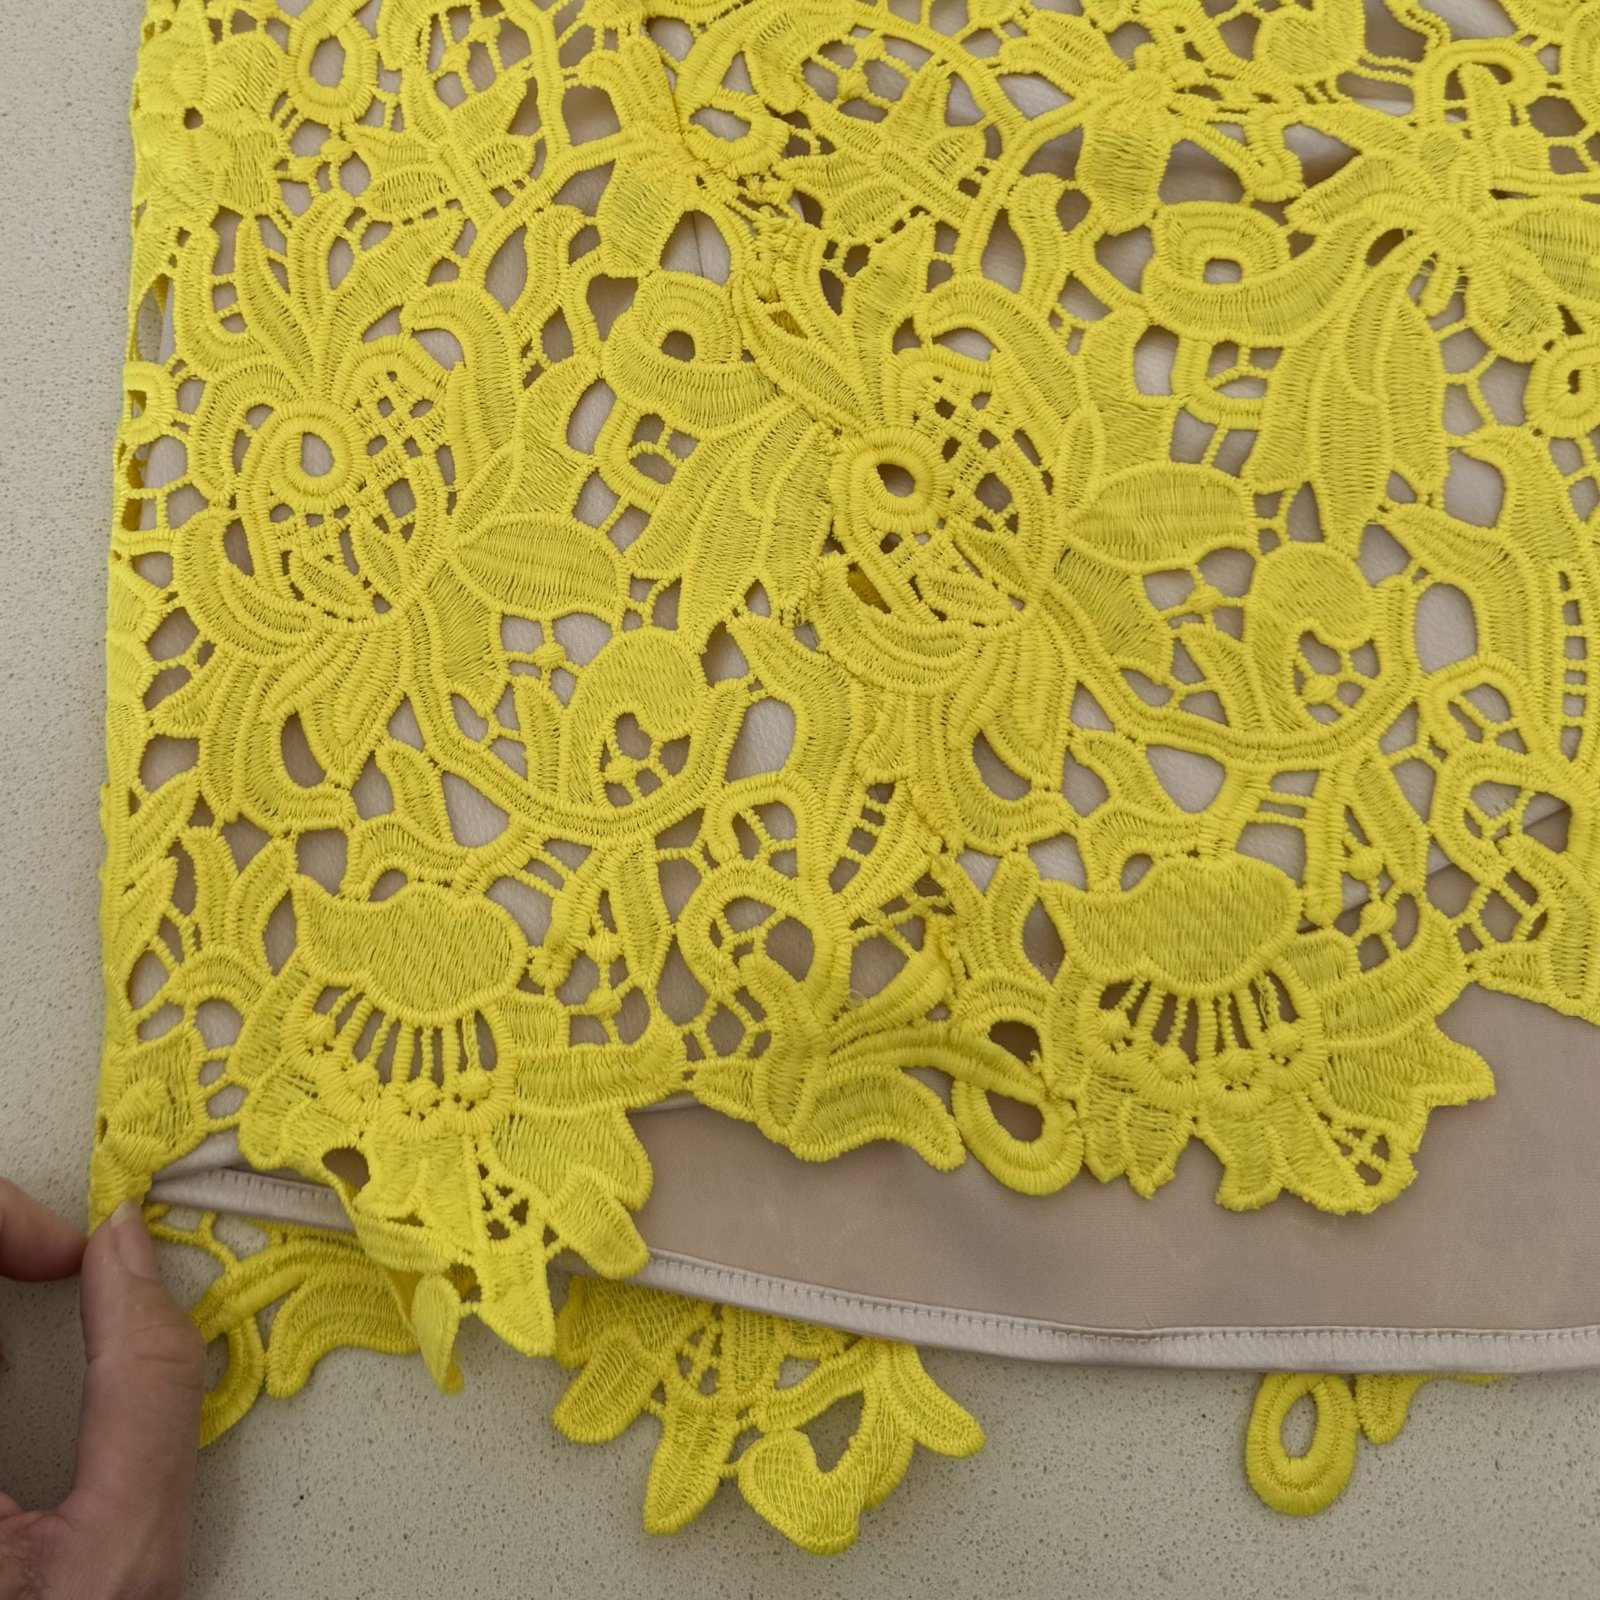
My dress is underlined completely with a pinkish/coffee coloured silk chartreuse that I bought from Fabulous Fabrics originally. I basted the lace and silk layers together within the seam allowance all around except for the side seams below the pockets, and then overlocked the edges before continuing to treat the two layers as one. The side seams below the pockets I stitched the layers separately and actually the lace is arranged so there’s not a “seam” in this part, but the lace motifs are arranged and hand stitched carefully so you can’t see a seam here.
 I cut the pockets and neckline facings from a natural cotton linen that I’ve had in the stash for years, saved specifically for this same sort of purpose.
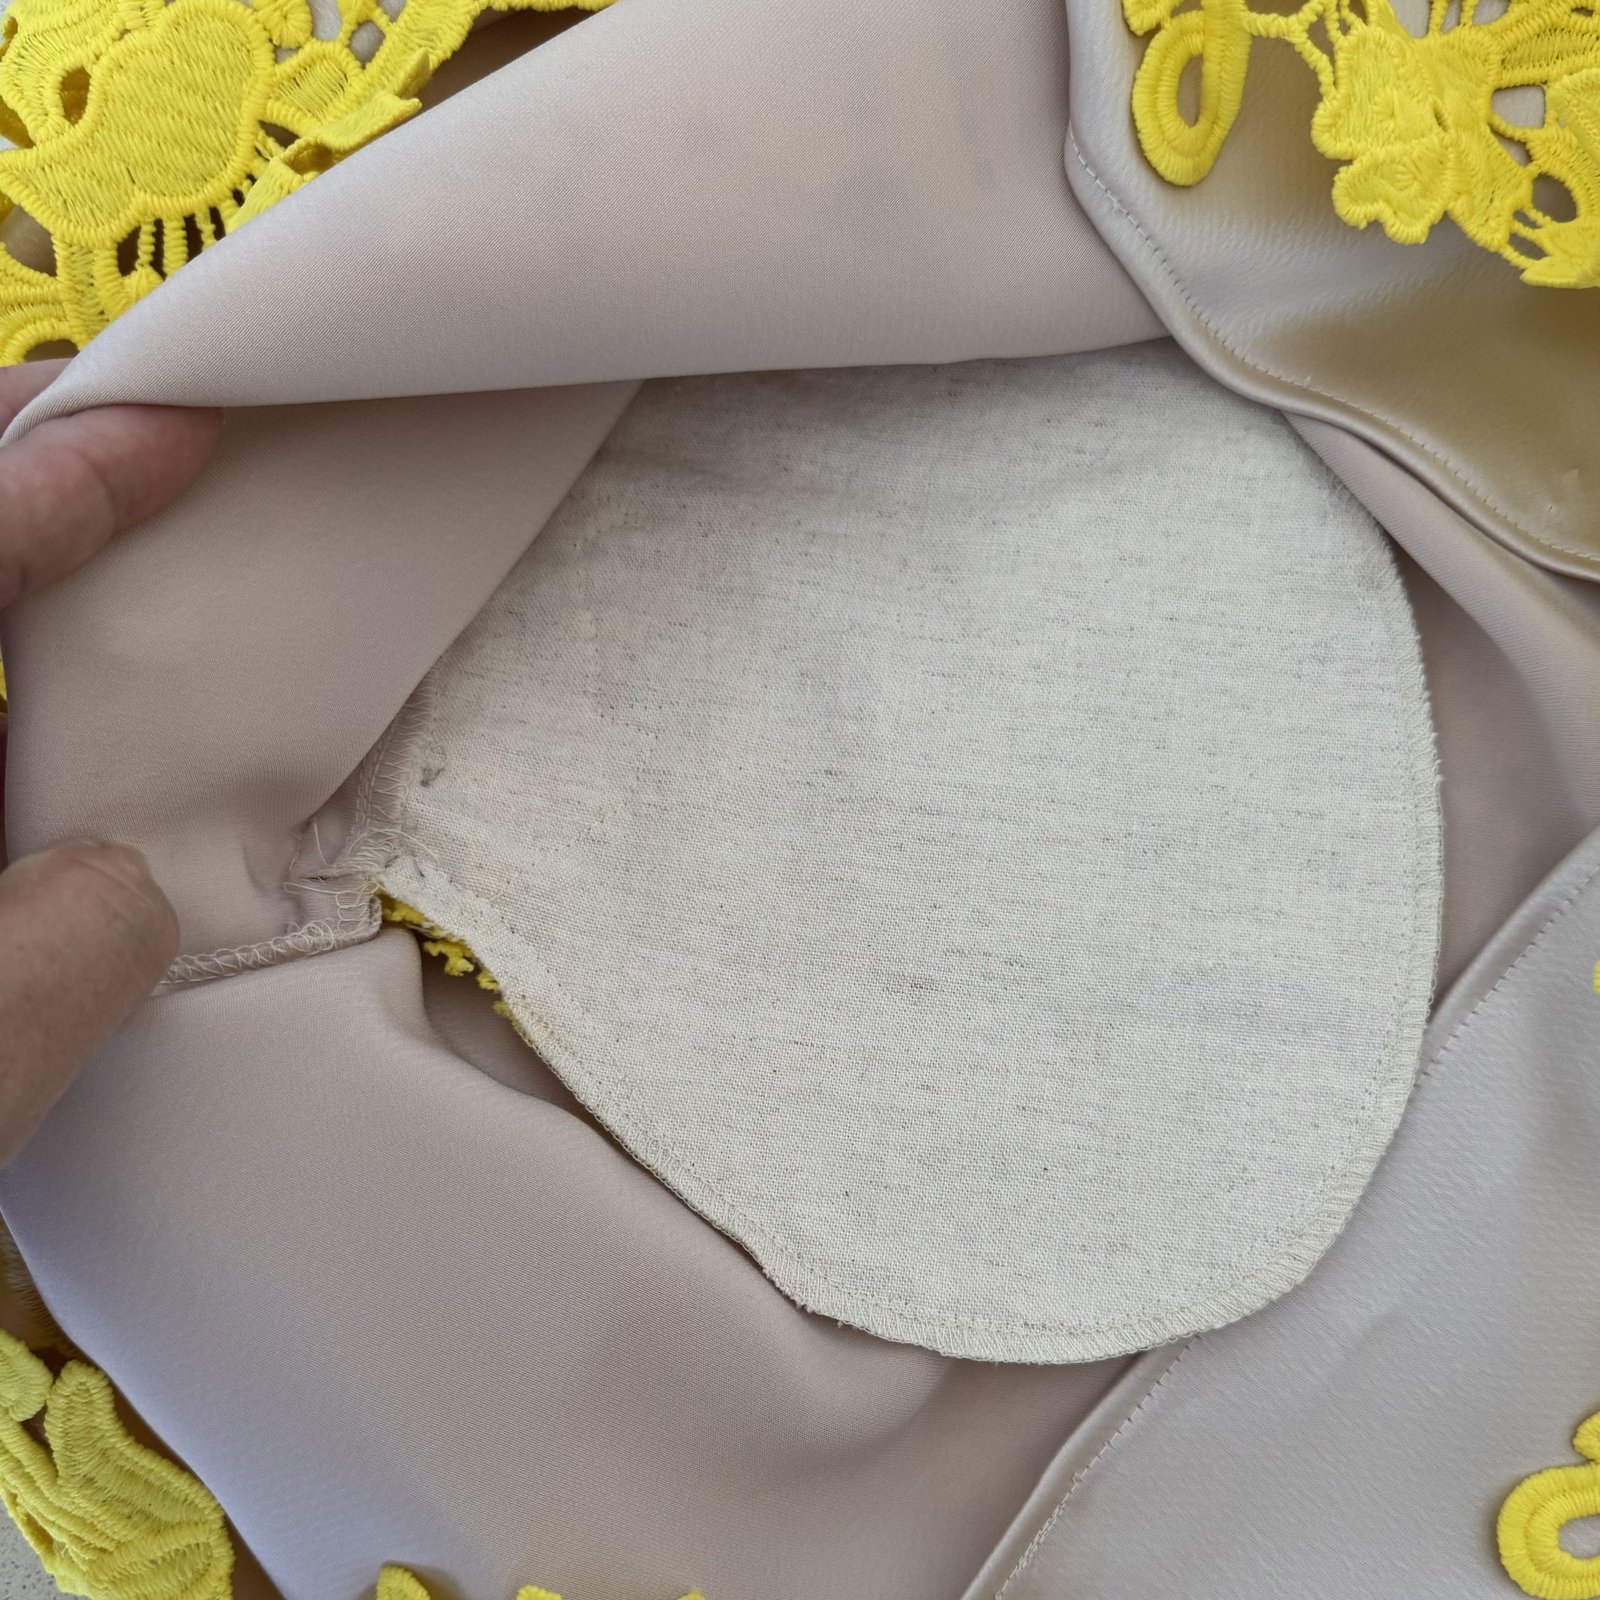
I chose this because the silk charmeuse wasn’t going to be stable enough in these areas – actually the lace is very heavy, far heavier than it looks! I cut the lace front and back to have side seam extensions along the pocket area and stitched it down carefully to the pockets inside. So, when you’re wearing the dress the lace appears to go all the way inside the pockets, no flash of offensive beige to be seen, so it looks really nice. 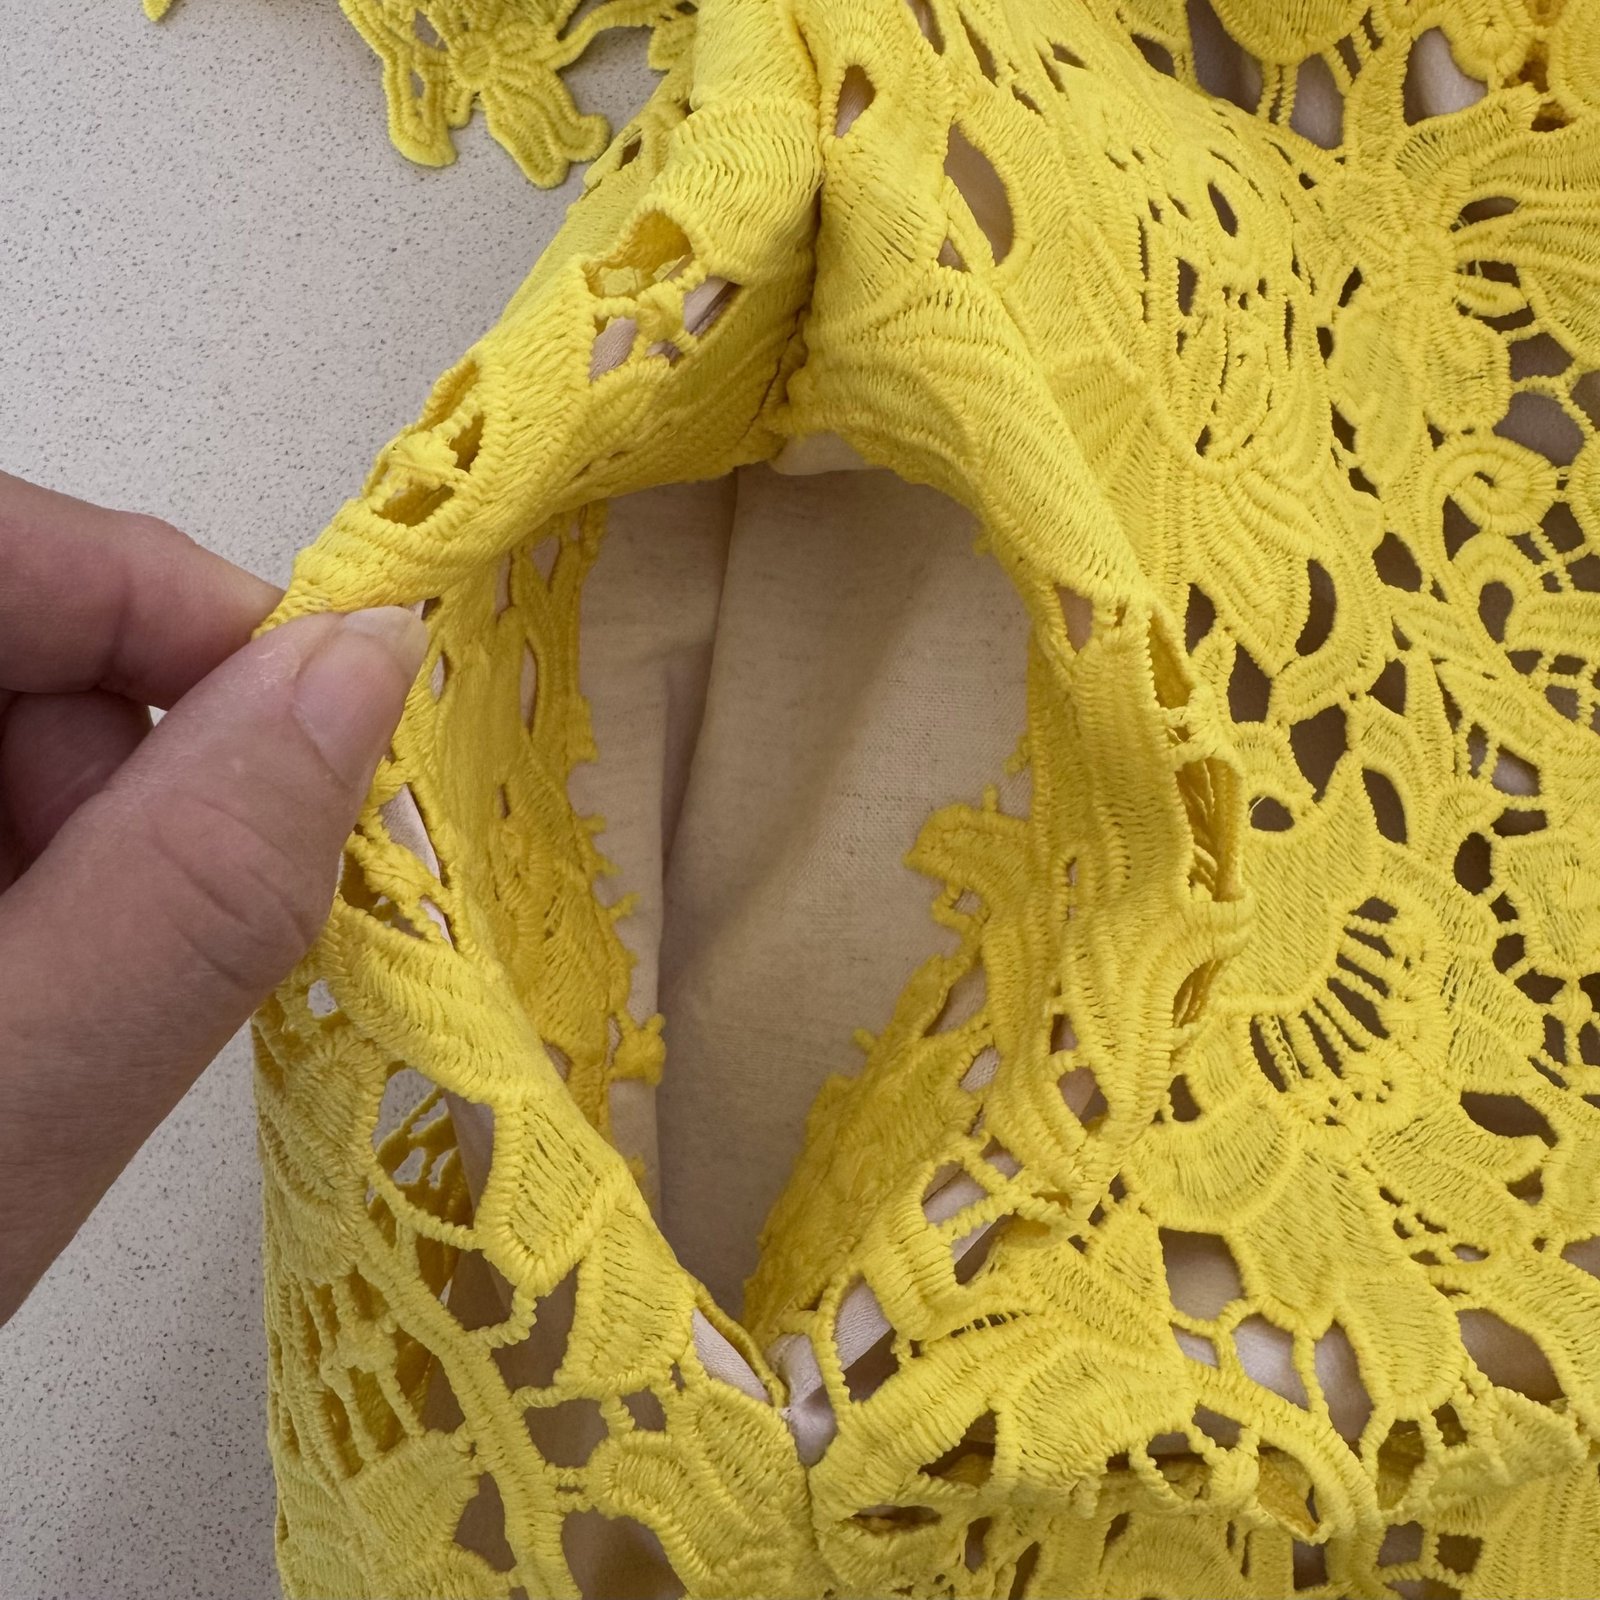
The seams allowances around the neckline, especially the shoulder seam area here are seriously bulky, and I trimmed, clipped and understitched aggressively to get everything to sit nice and flat! I also went back later and stitched the facing to the silk underlining as far around and as close as I could get to the shoulder seams.
 I’m including a picture of the happy couple because, although I did not make the dress, I did alter it to fit her and also did some minor repairs. This took three separate fittings and I took precisely zero photos of the process or anything. My only excuse is that I was also working on my own dress and stressing a little bit that I wasn’t going to get it all done on time.
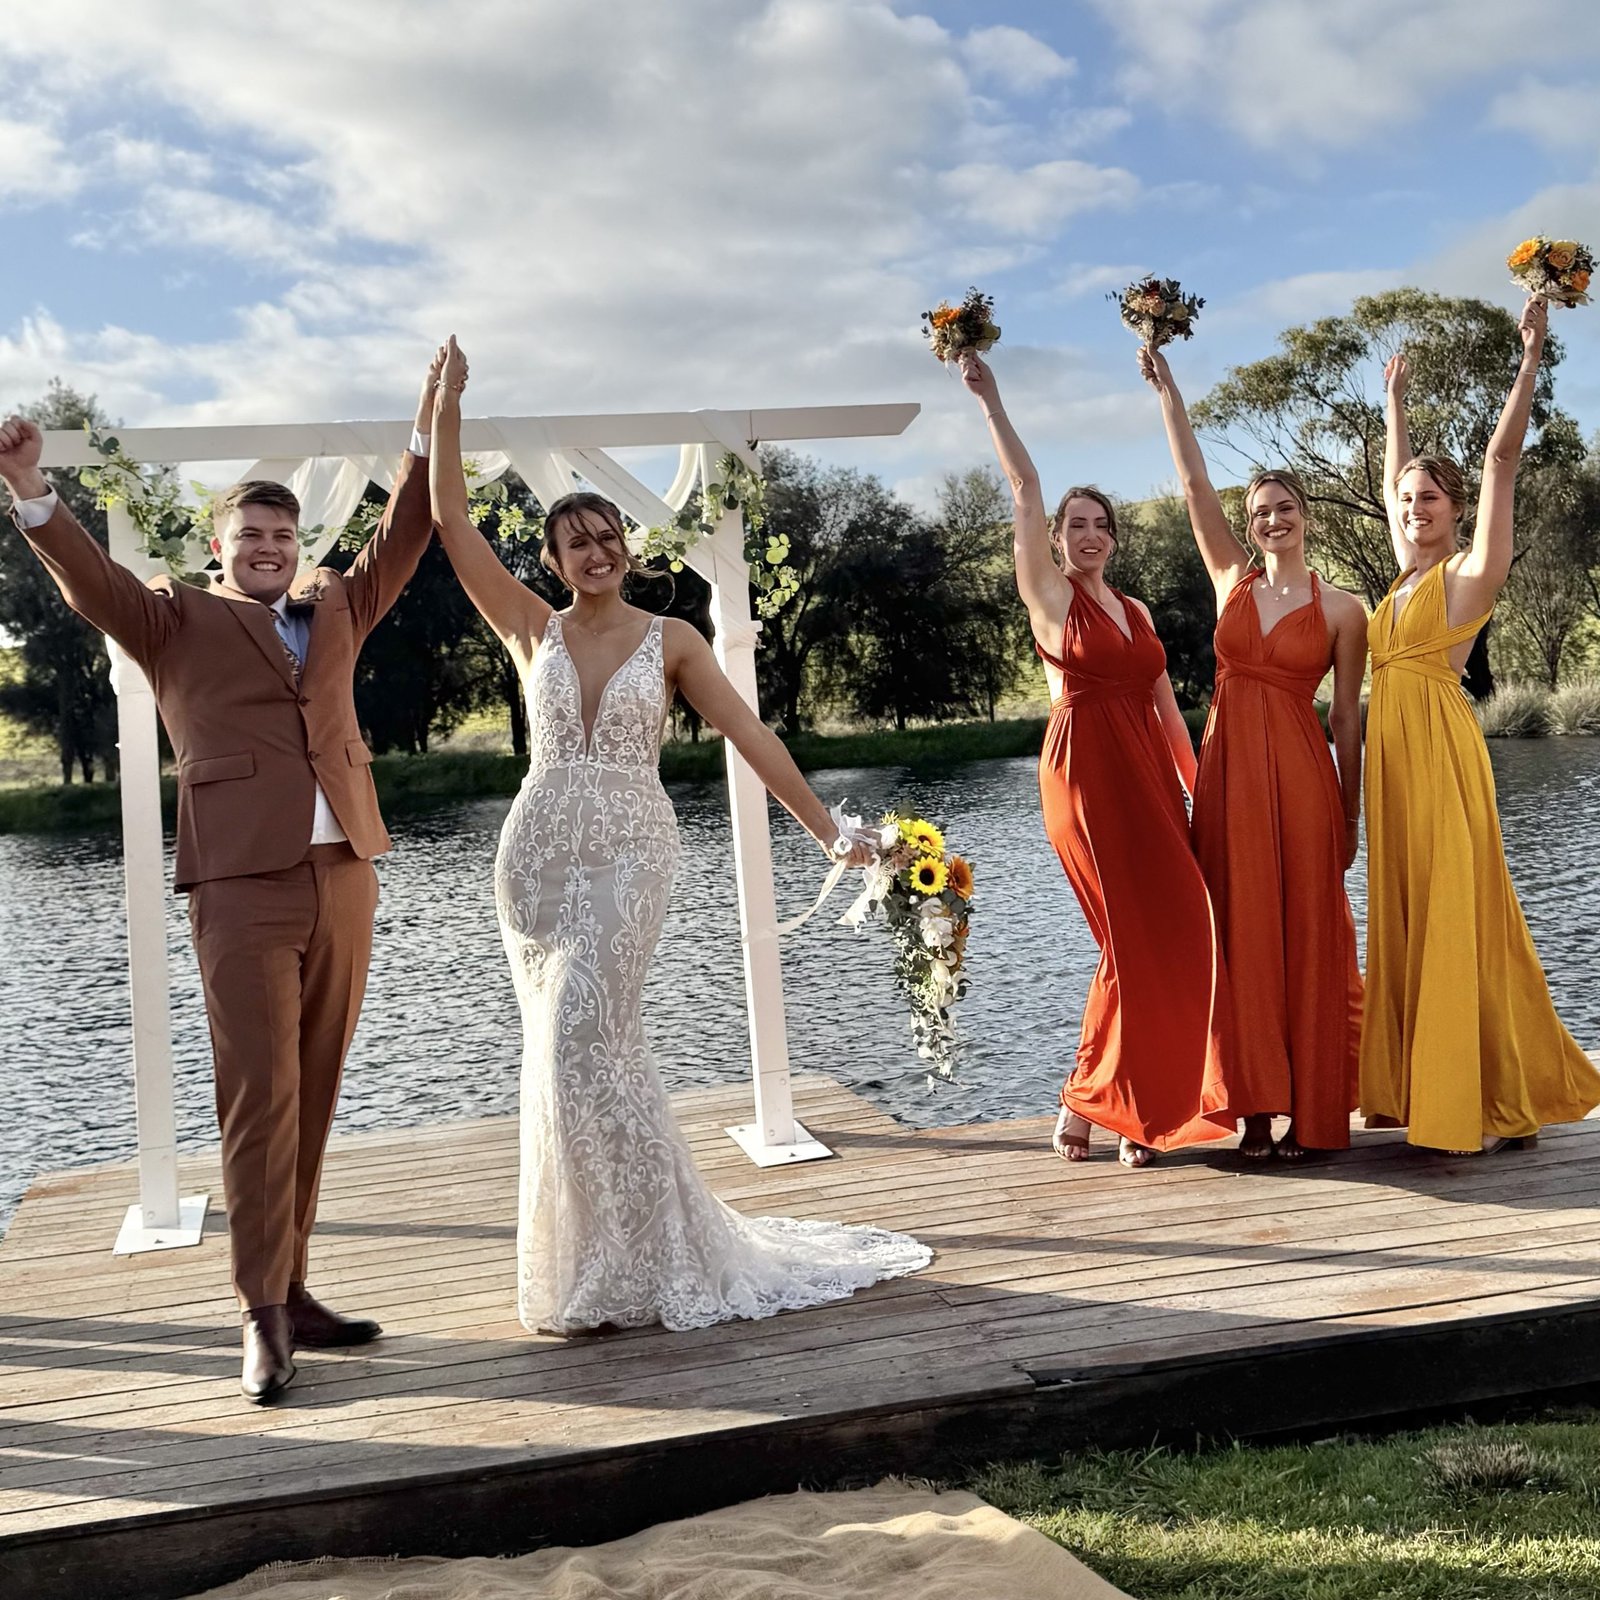
Thanks to its oversized and loose nature, my dress was so comfy to wear and to dance in, and I was so happy about that! and just saying, I only wore these high heeled sandals for the ceremony and photos. For the reception on the same property I went to our car and switched over to my white sandshoes with little socks, brought for this very purpose. Much warmer, and fabulously comfortable for dancing! I also wore my new pink wool Sienna jacket for the cooler temperatures that came as evening fell too, but no pictures of that I’m afraid. Anyway, I hope I can get more use our of this dress, which actually turned out more lovely than I thought. 🙂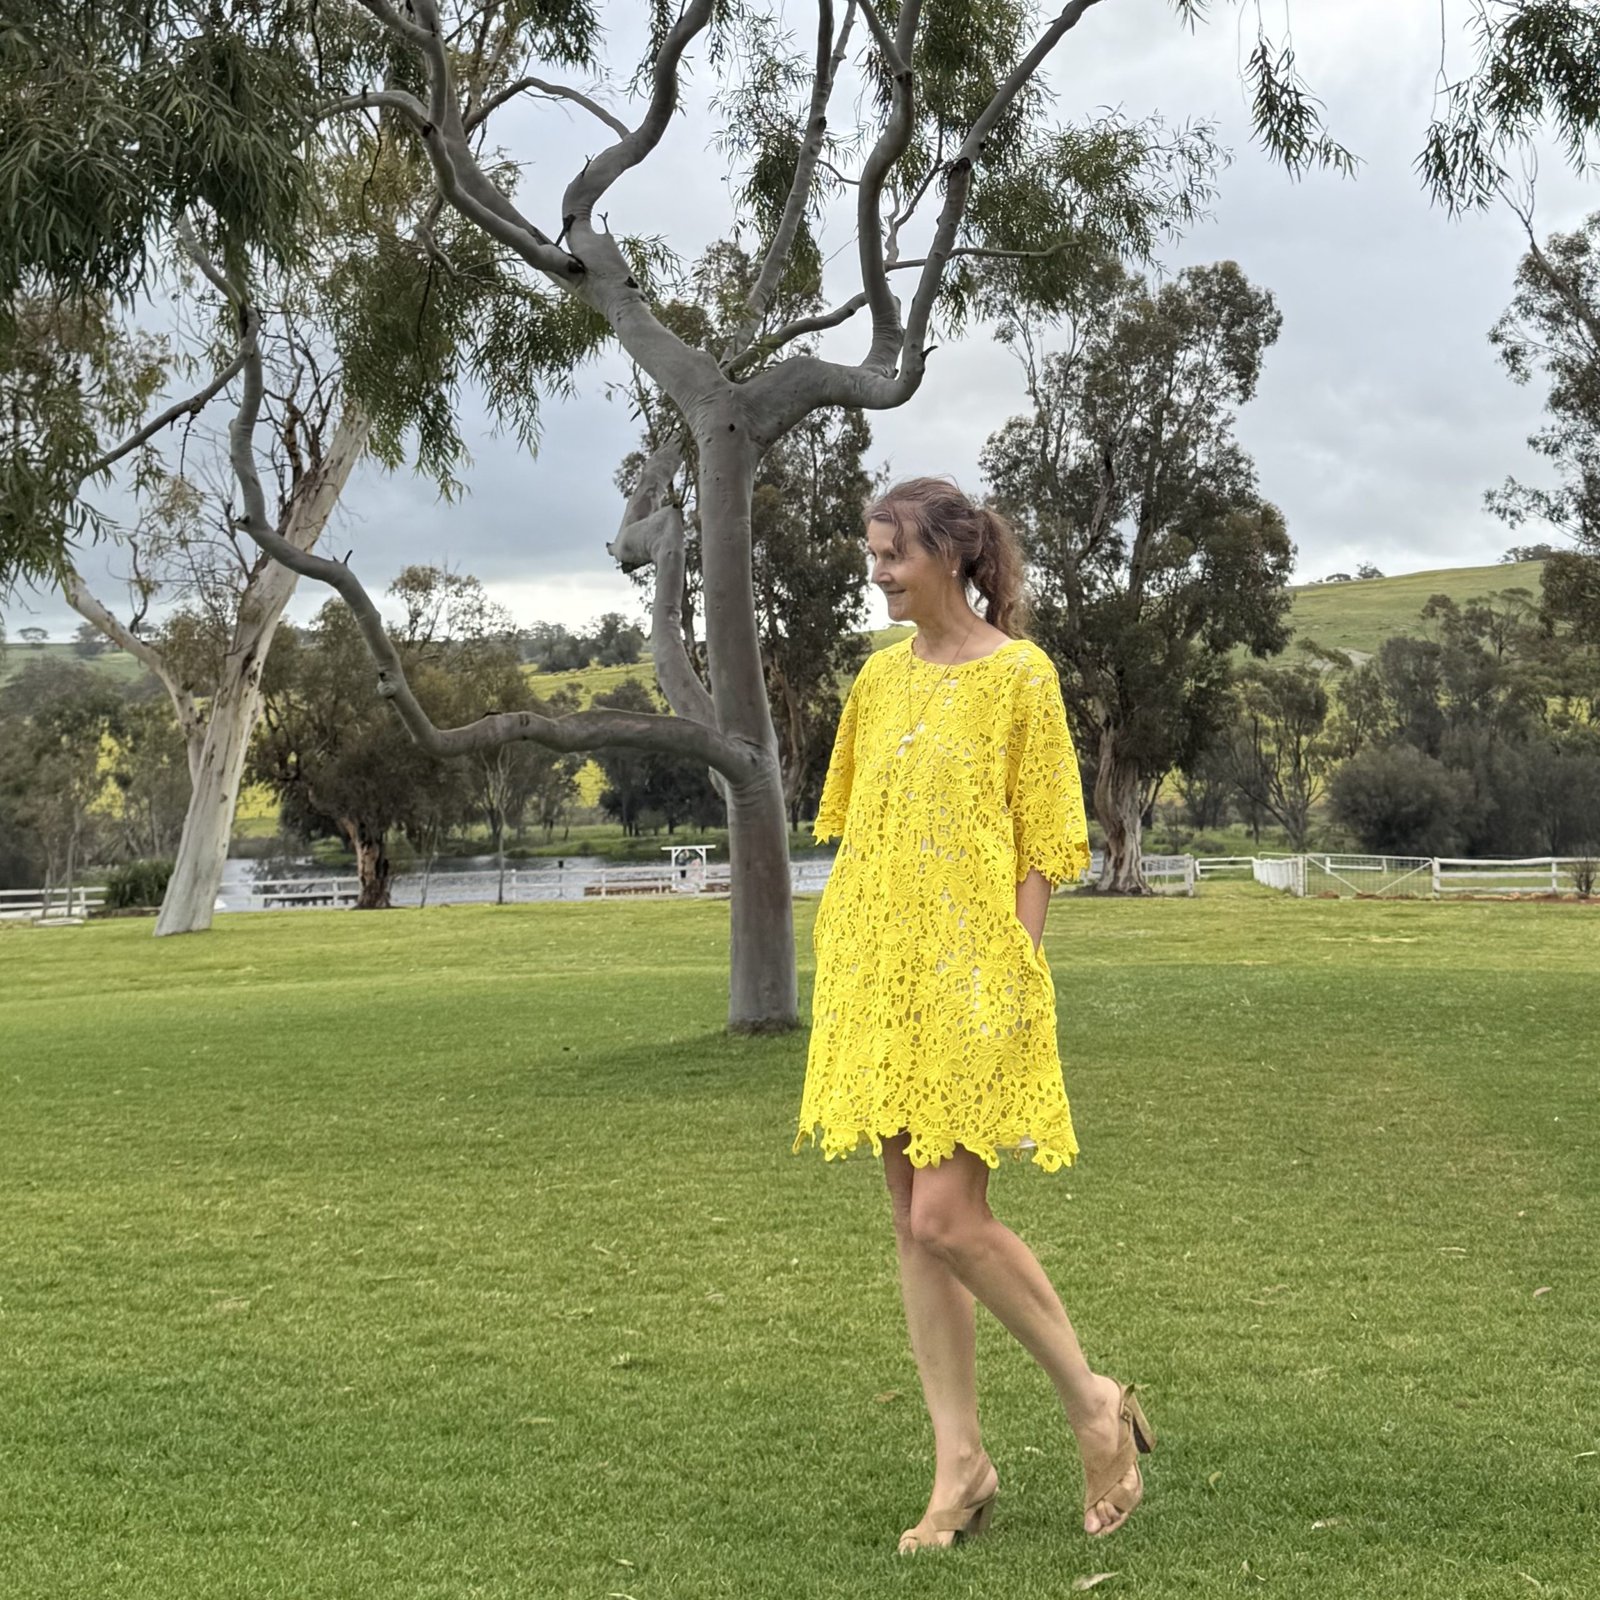

 hello!
 This one is a little different from the previous pink one, as well as being different from the pattern… I cut the front so as to have a straight edge and to have the front facing integral with the front. I also left off the collar and made a hood instead. I love hoodies and don’t have enough in my wardrobe! Honestly if I’d had enough fabric I definitely would have made my pink Sienna to have a hood too.
 for the hood, I turned under a seam and lined the hood completely with a black, sorta silky but not-silk stuff that is thin but nice and soft. I cut the back neckline facing from the same fabric. The hood edging is turned over the edge of the hood lining and simply topstitched in place. After stitching, I trimmed the hood edging inside close to the stitching.
 Similarly, the pocket flaps were made by laying the two flap pieces wrong sides together, and stitching together as normal; then trimming the seam allowances off neatly close to the stitching.


 I fully expect by September it will be just too hot for it… really I should have made it at the beginning of winter! In any case, it feels great to have taken the fabric from out of the stash, and into the wardrobe!


 hello! I’ve made some new things recently… firstly, some new winter pyjamas. 🙂


 hello! I’ve made a new outfit by refashioning some other previously worn old things… from a skirt and old jeans, I’ve made a new/old tunic top and some new/old shorts. I realise I probably I should be using some of the new fabric already in my stash instead of “already used” fabric – truthfully I am not very sensible a lot of the time – however if I really like a fabric but not the garment so much then I do feel like it just makes sense to reuse the latter if I can. Actually, I have been making a number of things lately, and from my stash! but just haven’t got around to taking photos or blogging them yet. For some reason, I’m finding taking photos to be the biggest challenge now.


 I could have sewn new covers, however… well, why not knit up some of my wool stash instead? You might recognise this orange-y coral pink cushion cover as my
  This bright unicorn-pastel one was from a stash given to me by my daughter-in-law Lainey… anyone remember the Flurry yarn? I don’t know about outside Australia, but here there was a short-lived fashion for wearing scarves made from this type of wool. There was actually just over three balls of the same colour way in the box Lainey gave to me, which I thought could be enough for a cushion cover. I felt it looked quite nice with the other cushion too. The gods were smiling upon me, because there was the perfect amount for a second cover, with zero leftovers. I knitting in the round, then grafted with Kitchener stitch at the bottom end, I then stuffed in the old cushion insert and stitched up the top end with the leftover wool. So no, you can’t get the cushion inserts out again without undoing a seam, but I’ll probably just hand wash the cover and insert all together and I’m sure it will be fine.


 hello! Once again I am presenting an odd assortment of disparate things made recently…
 Love this cute and yet chic little pattern! I know it’s mine and I shouldn’t be too self-congratulatory, but I really really love it so I just have to gush occasionally. I’ll stop now.
 Items 3, 4 and 5, or should I just call this item 3? I’m never quite sure…
 anyway, I made a new set of one Watson bra plus two pairs of matching undies. I used some of the leftover pink cotton jersey, from those aforementioned pink tops, and some striped jersey, that I’ve had for a long long time (actually made this striped shirt from it). And whipped up a mixed fabrics set… actually I want to make more things like this at the moment, mixing up different fabrics.


 Mum wove this length of beautiful lilac/blue fabric with her own two hands many years ago, and had partially made a dress or tunic or something out of it.

 my new summer nightie! So I really really love this and it feels so lovely to wear! I used a short length of silk from Le Stash, originally from (I think) Tessuti fabrics of Melbourne, from years ago. With some clever pattern placement I managed to cut a Closet Core Simone slip. I French seamed the side seams, and was very careful to match stripes all around. It feels incredibly luxe! Why have I never made silk sleepwear before?!


