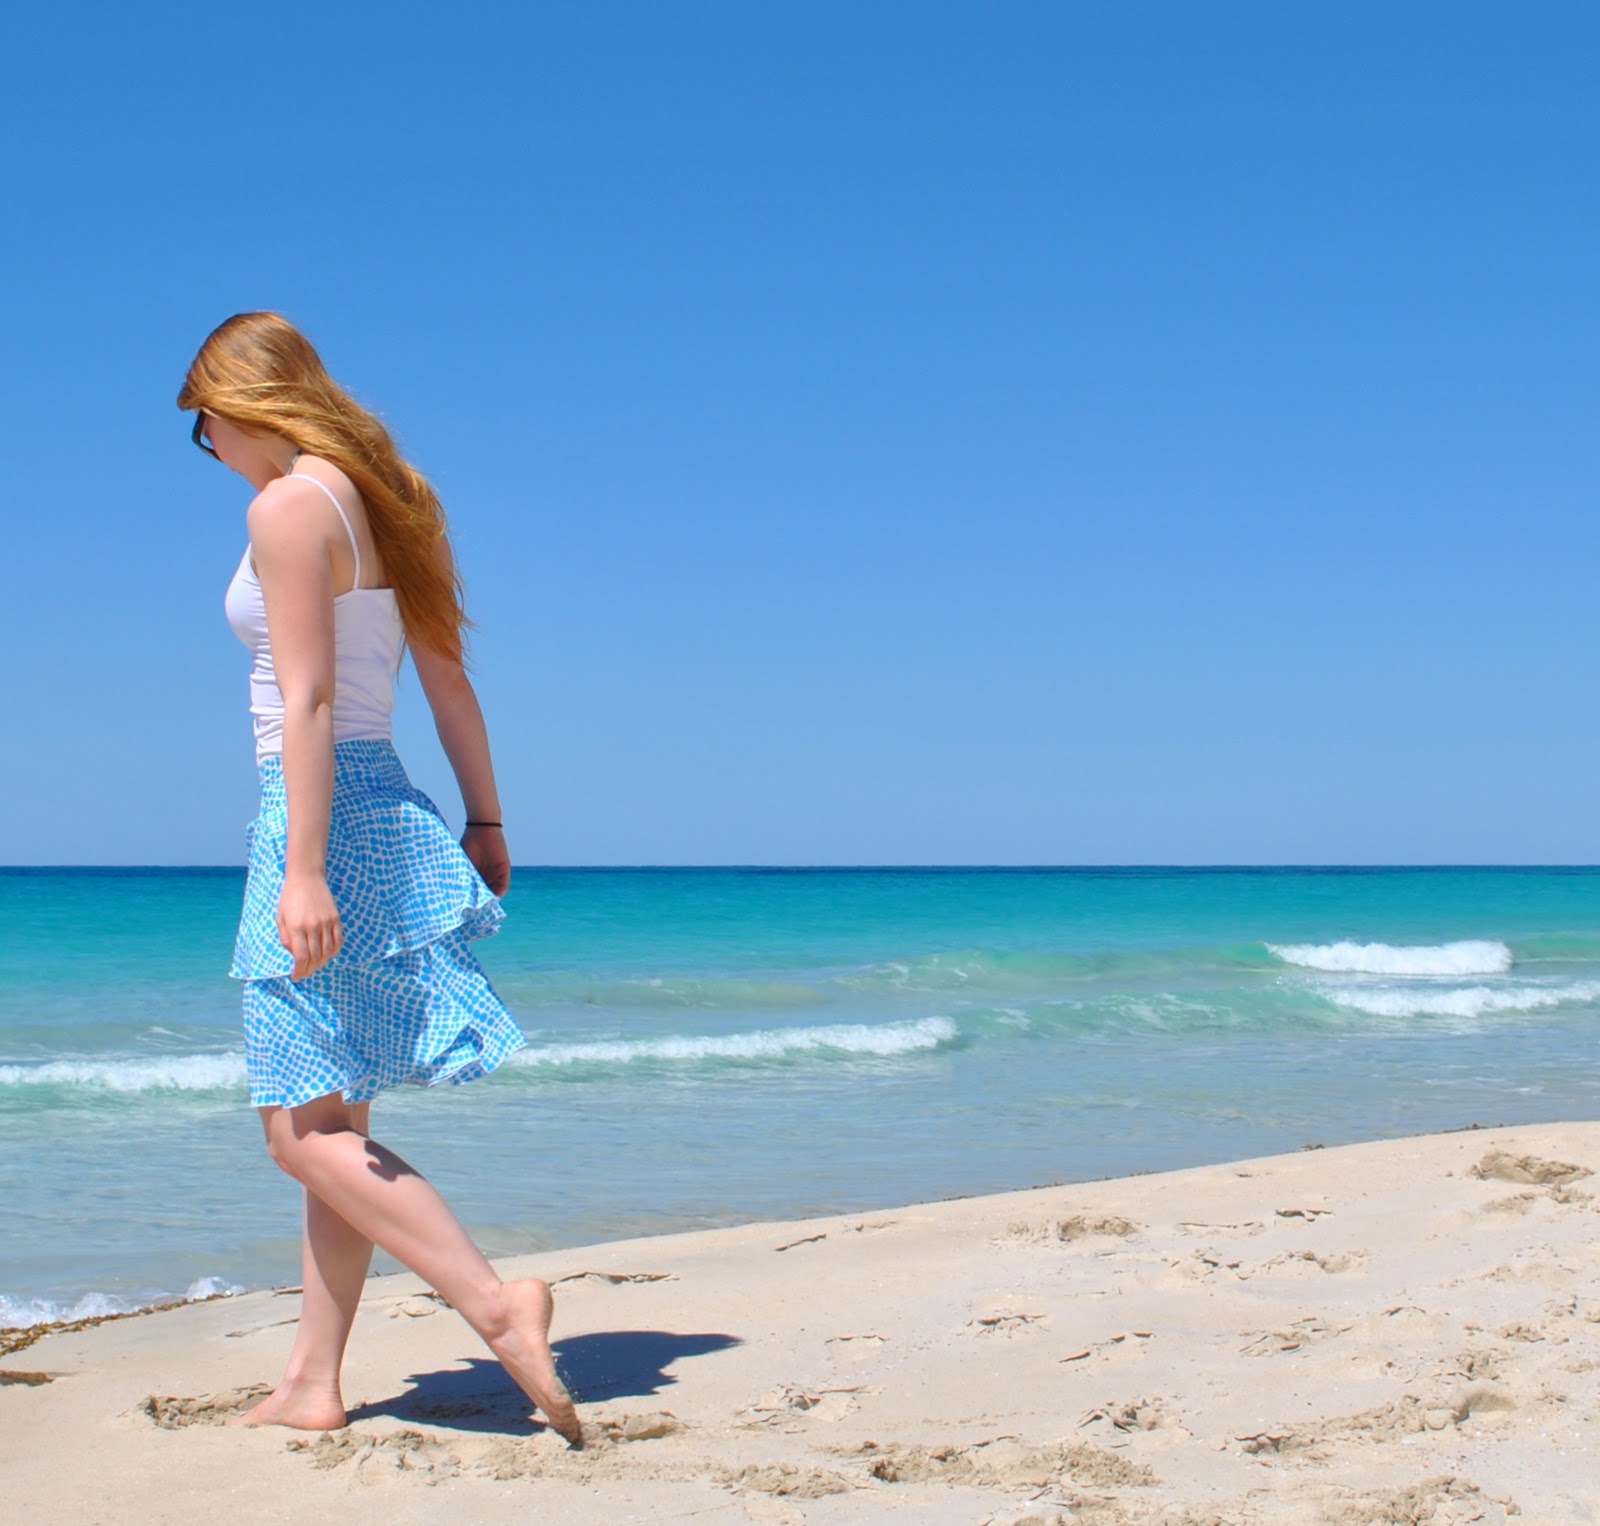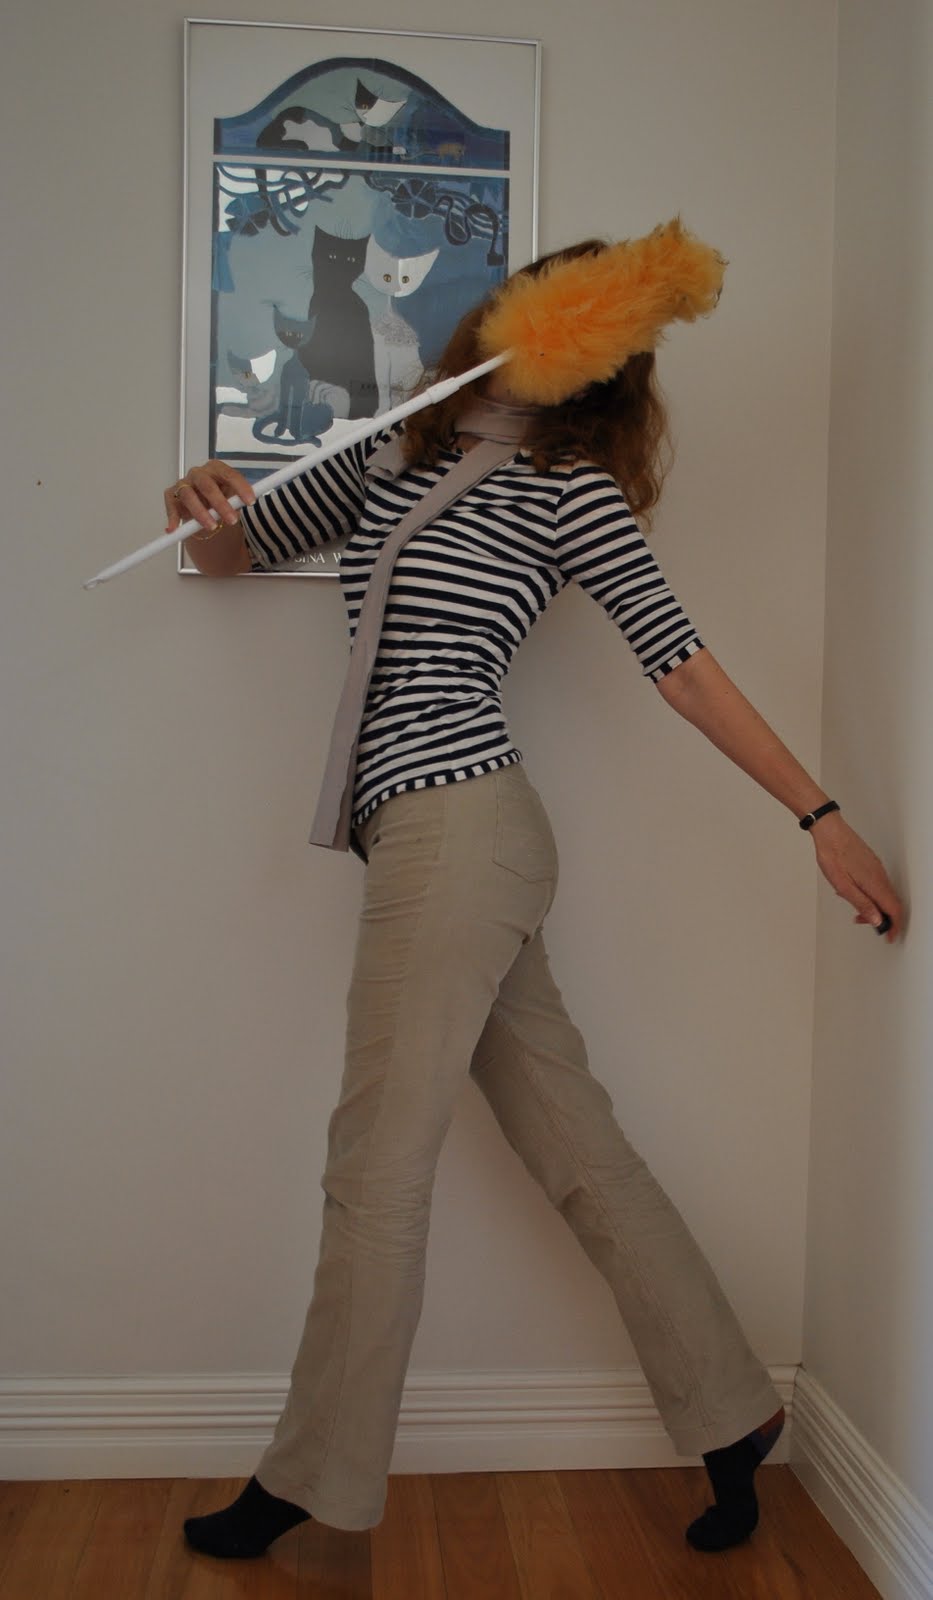
 Hooo boy. We are having an insane heatwave right now… been 37C or above for over a week now. Australia Day was 42C, phew… We all spent the entire day in bathers, in and out of the pool. The fireworks teetered on being cancelled because of the fire risk, but luckily at the last minute some clouds rolled in, the temps dropped and we even got a few fat raindrops! And then the fireworks competed with an amazing lightning display (pictured below) Today is supposed to be another 42C-er, so I am in my bathers … again!
But unable to resist a smidge of sewing, as can be seen. And dyeing.
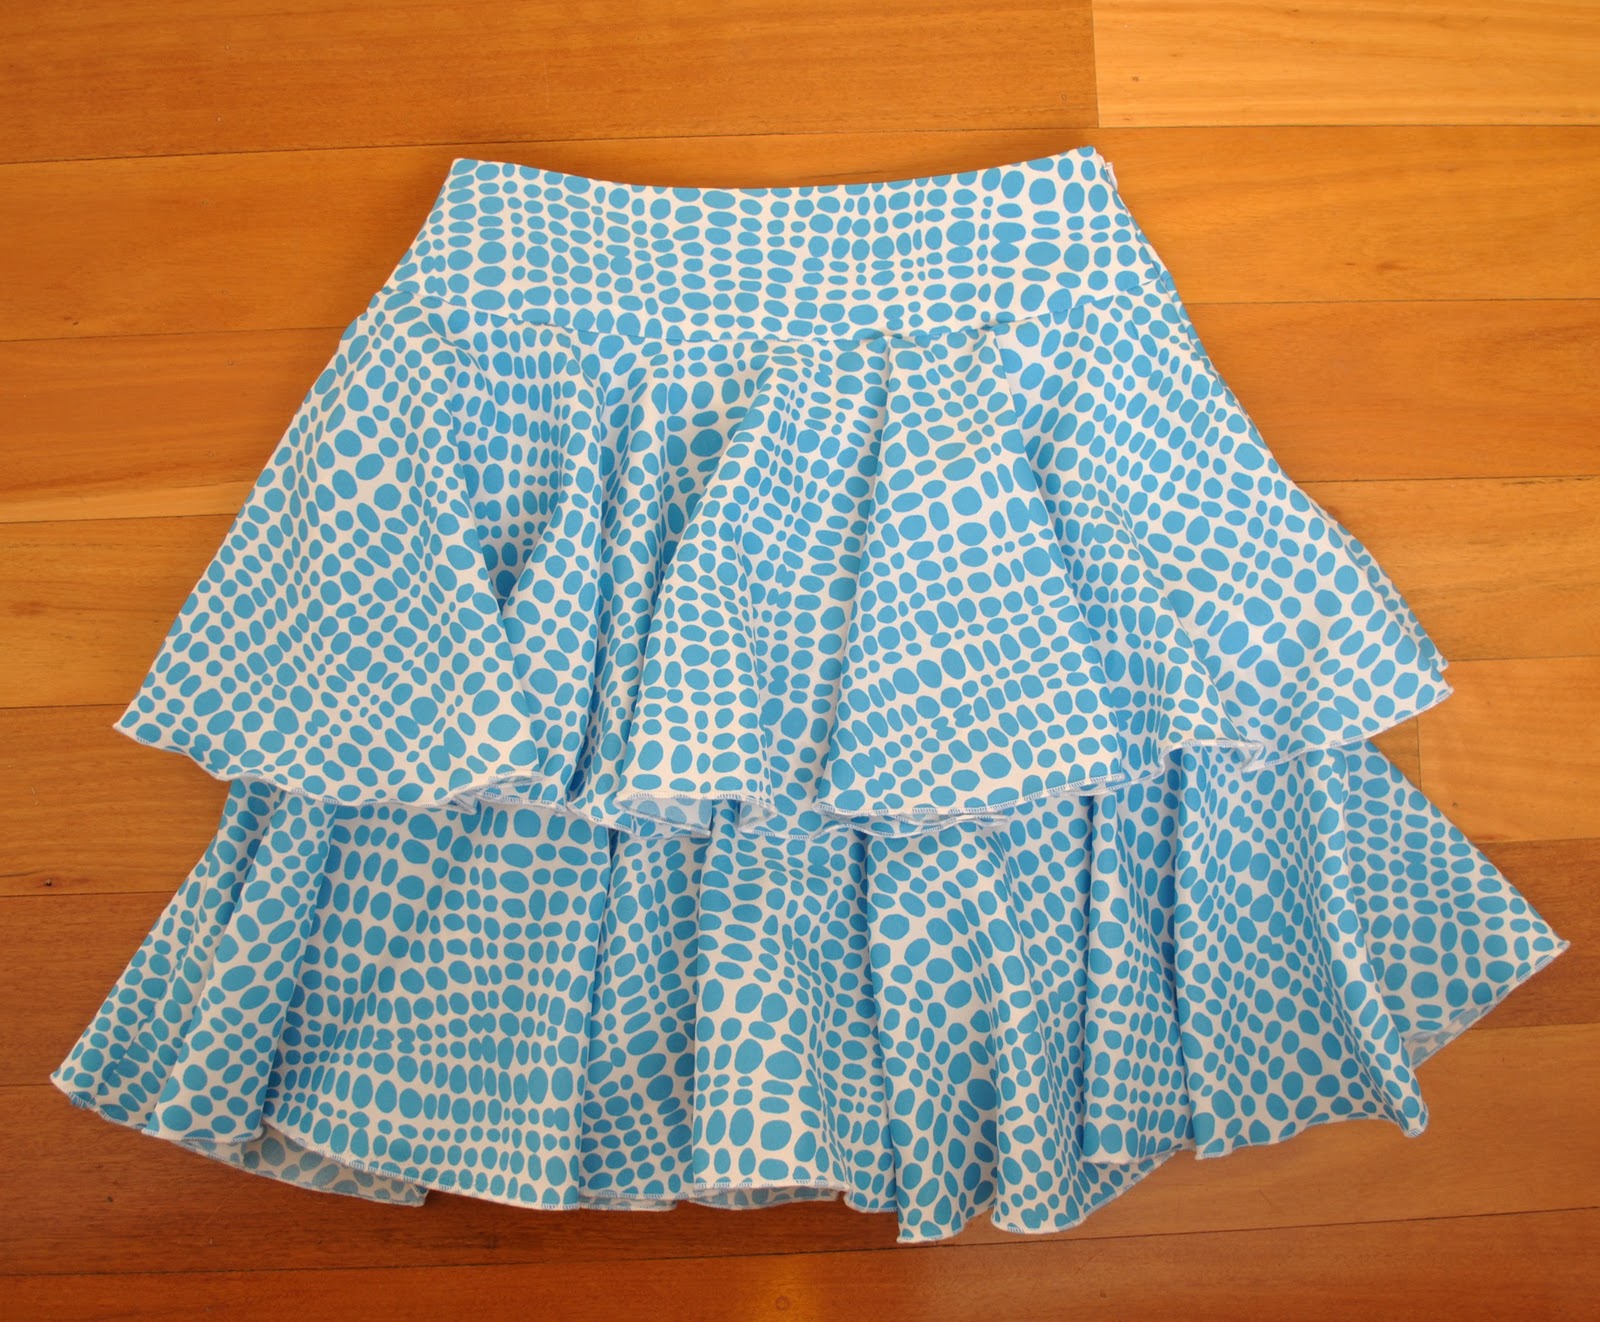
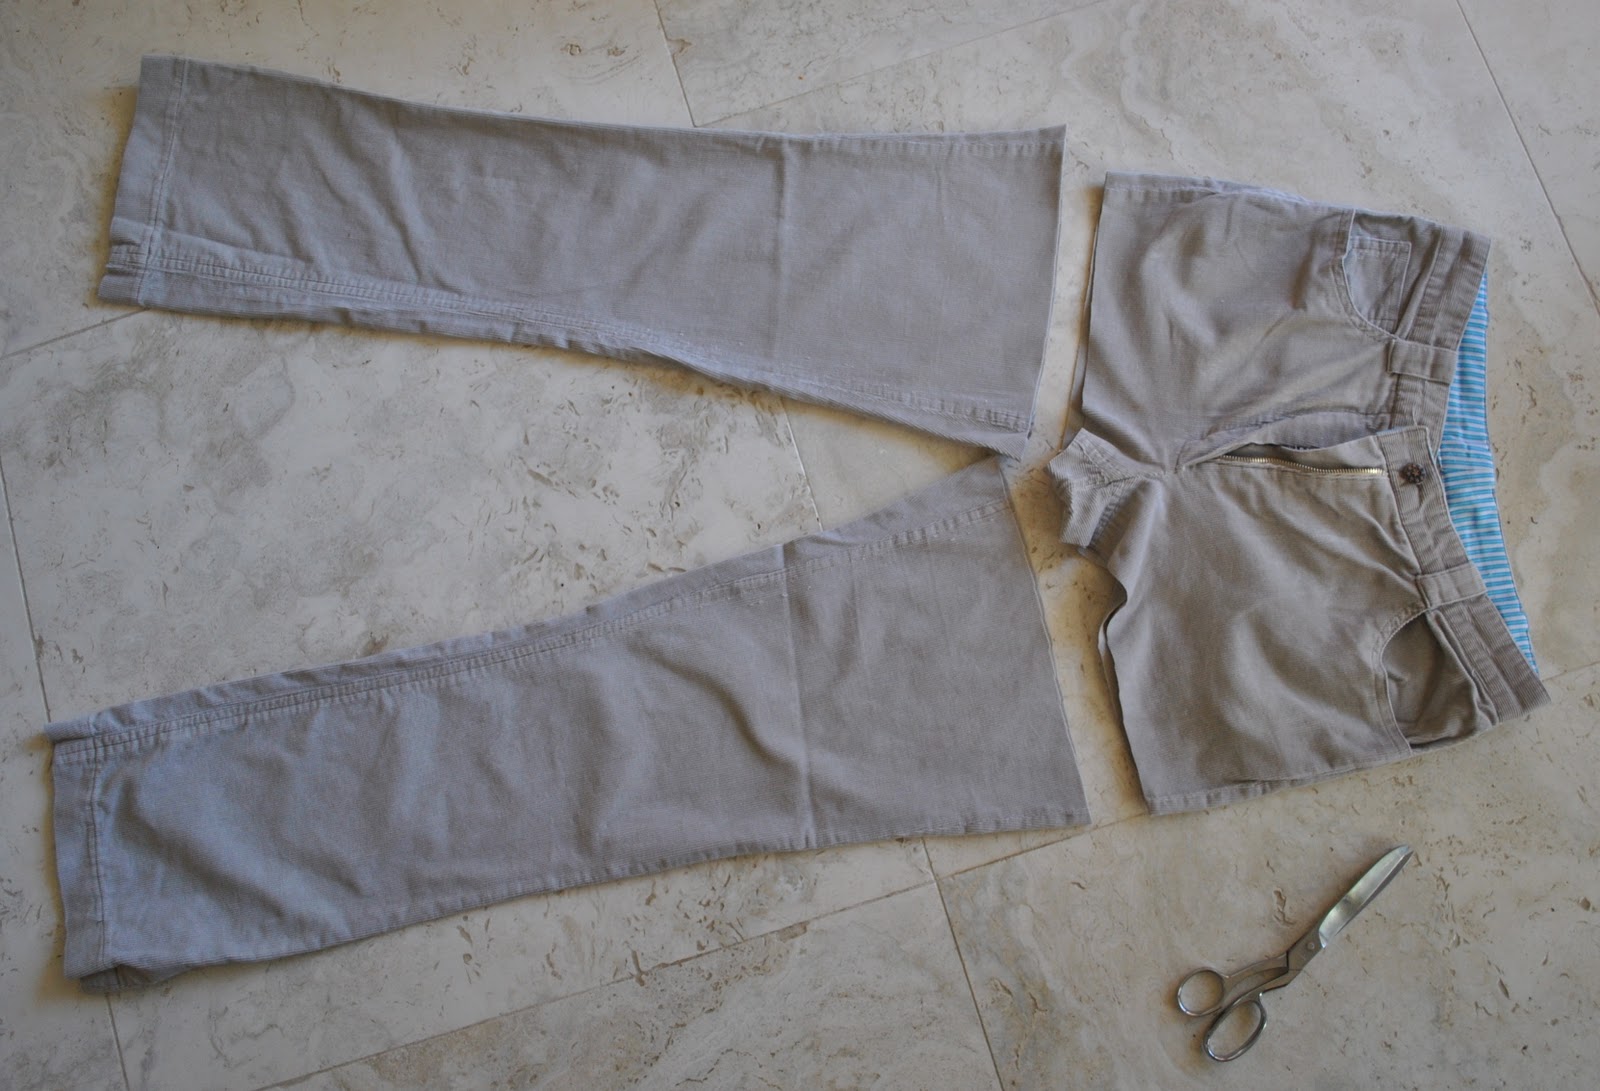
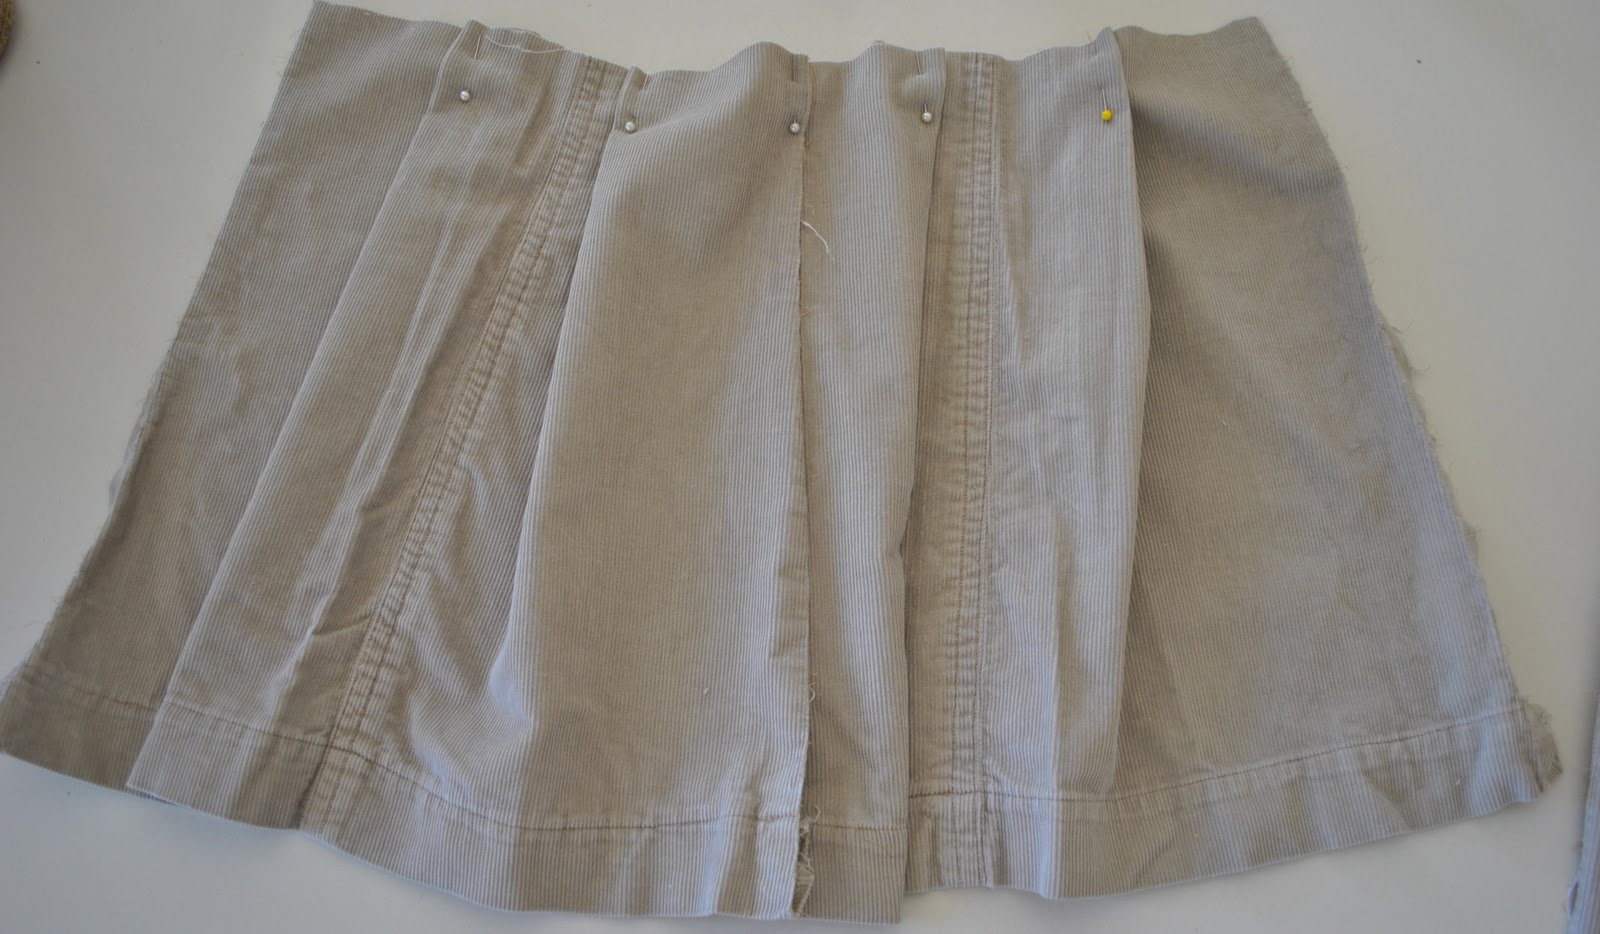
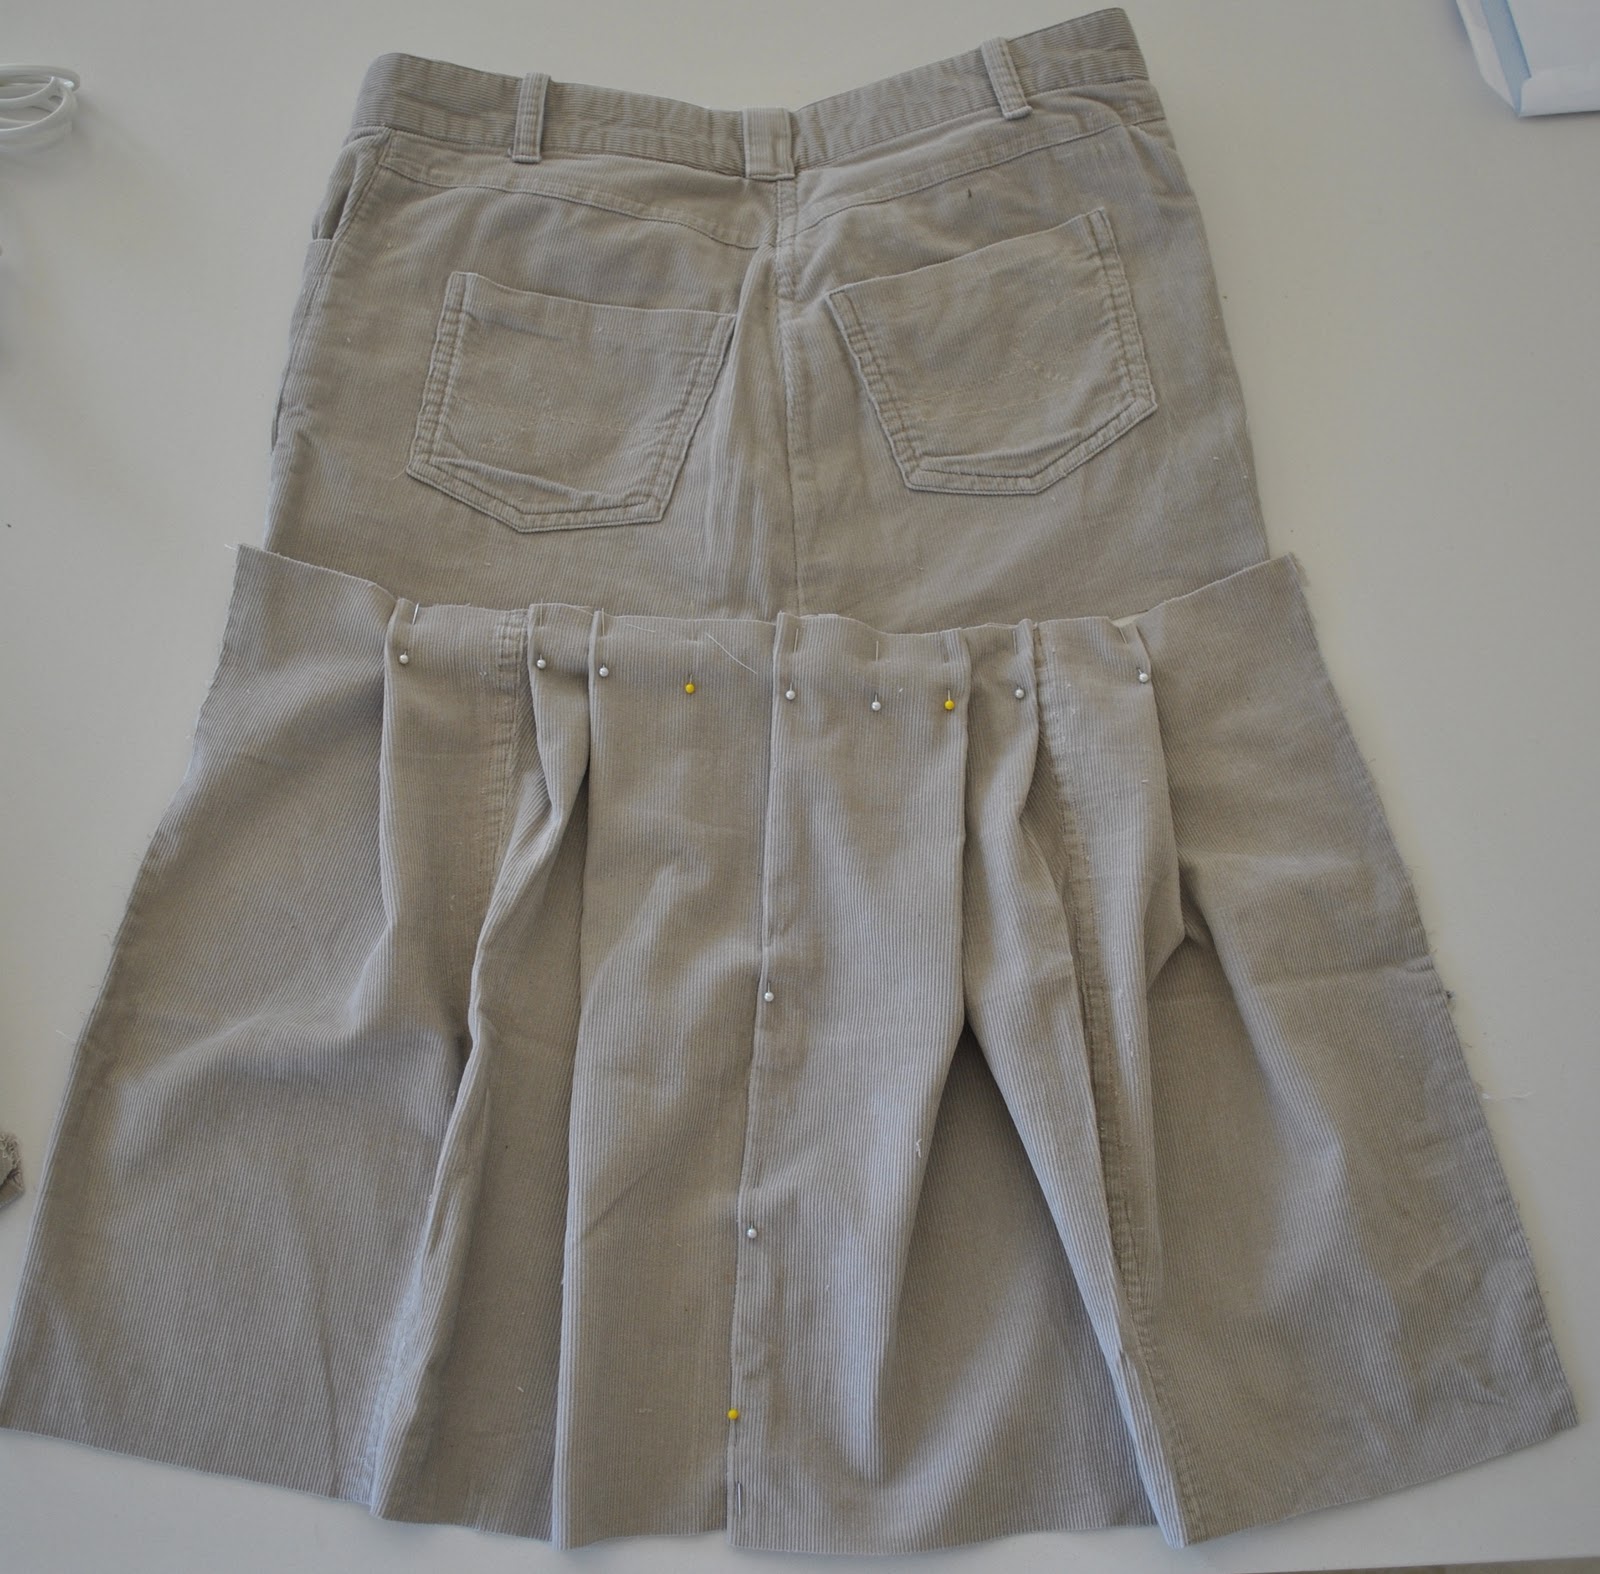
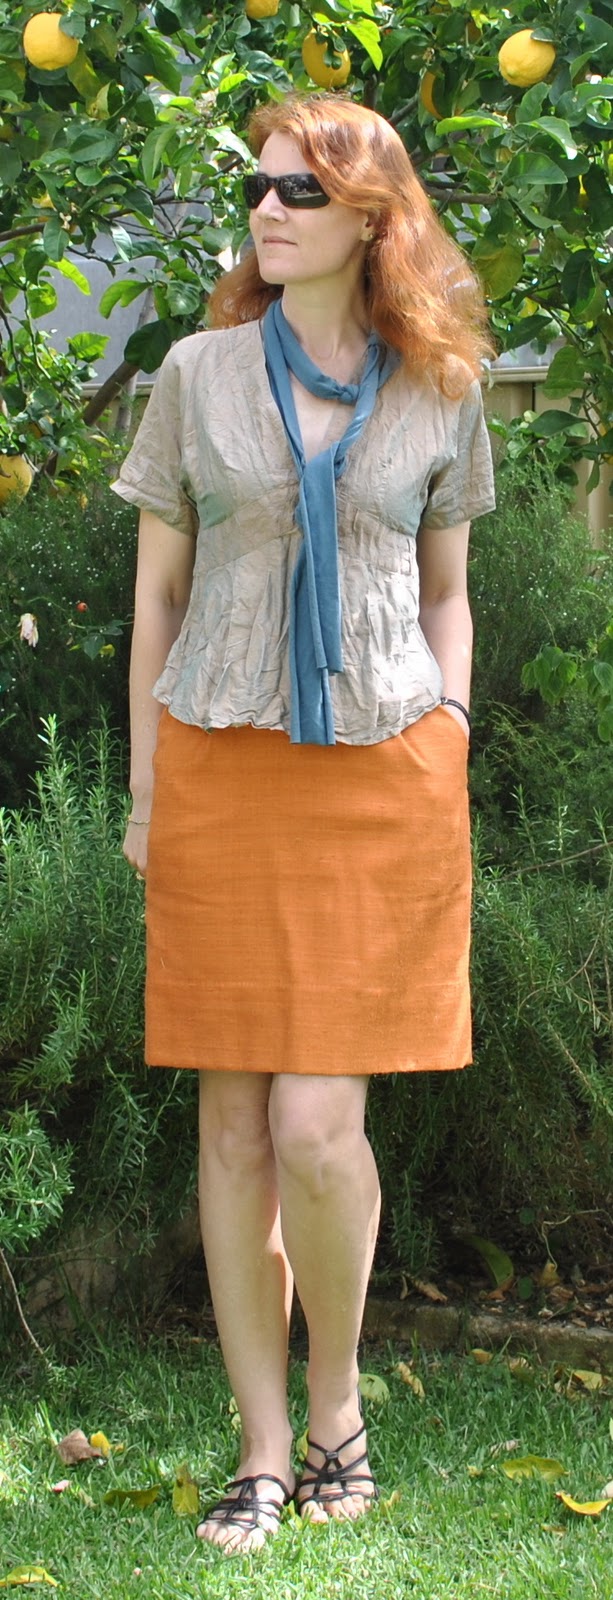
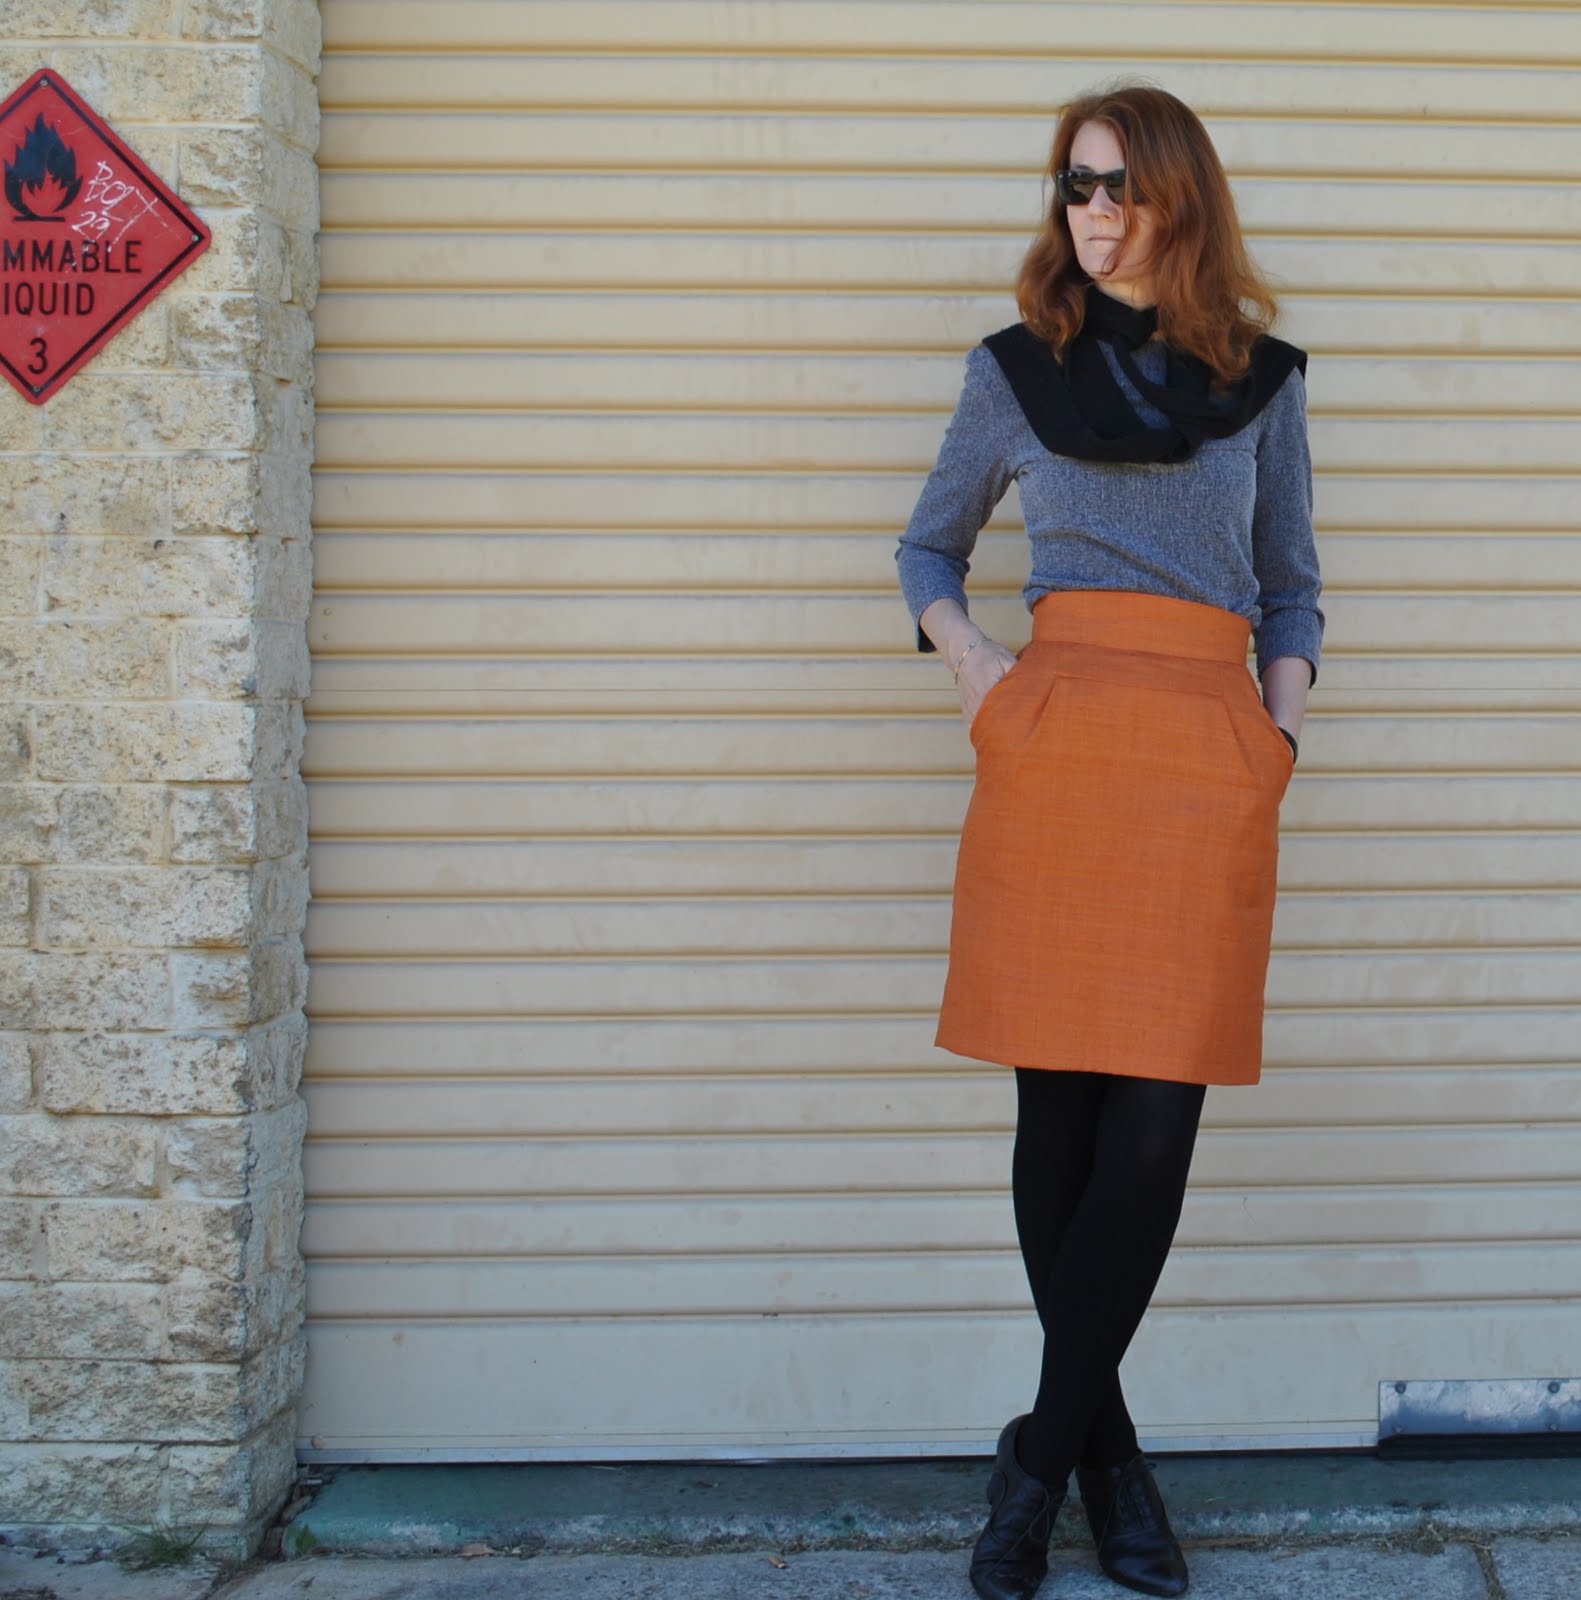
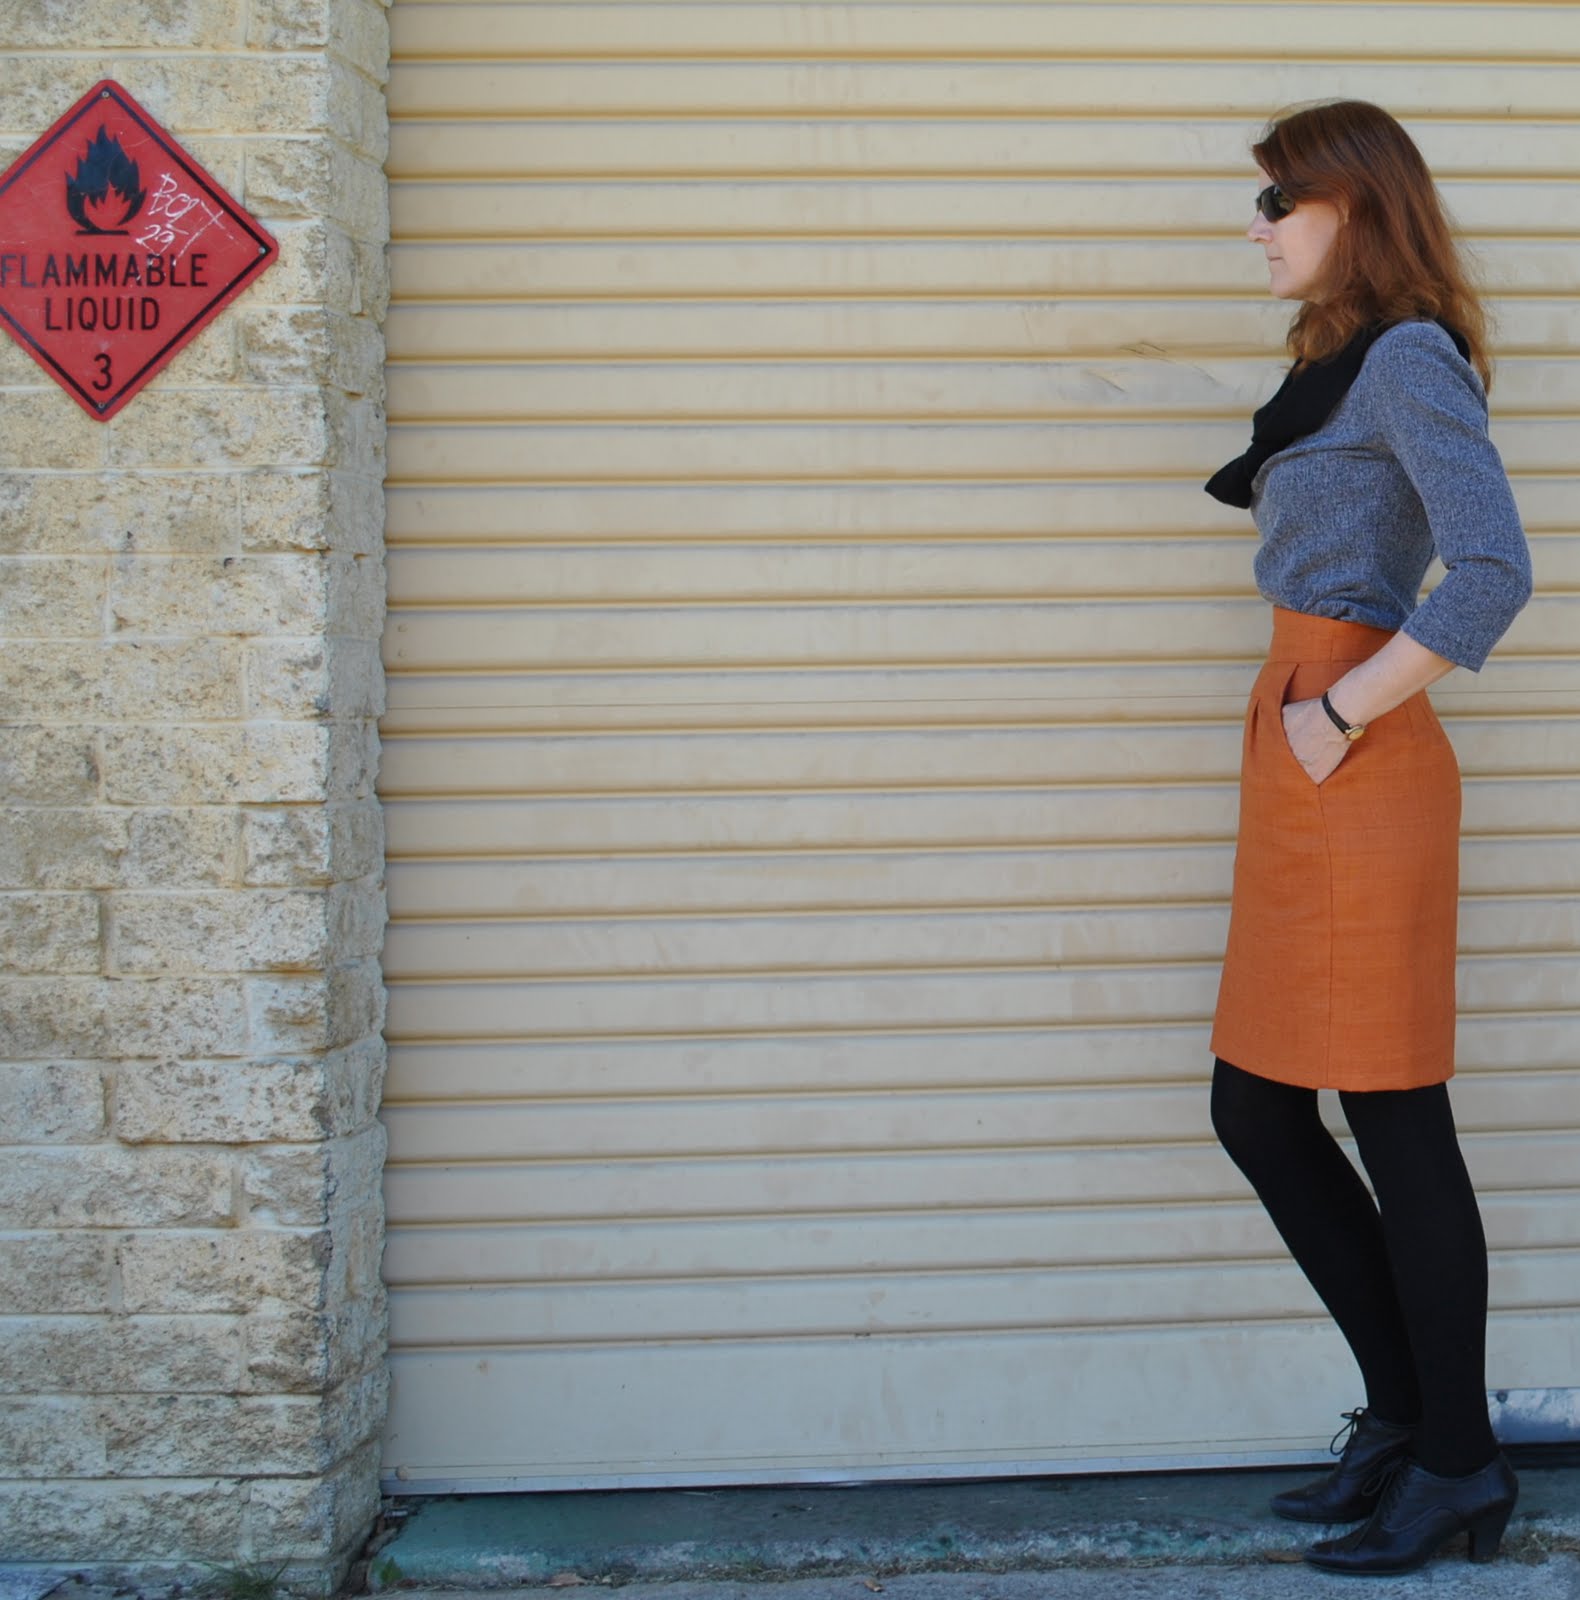
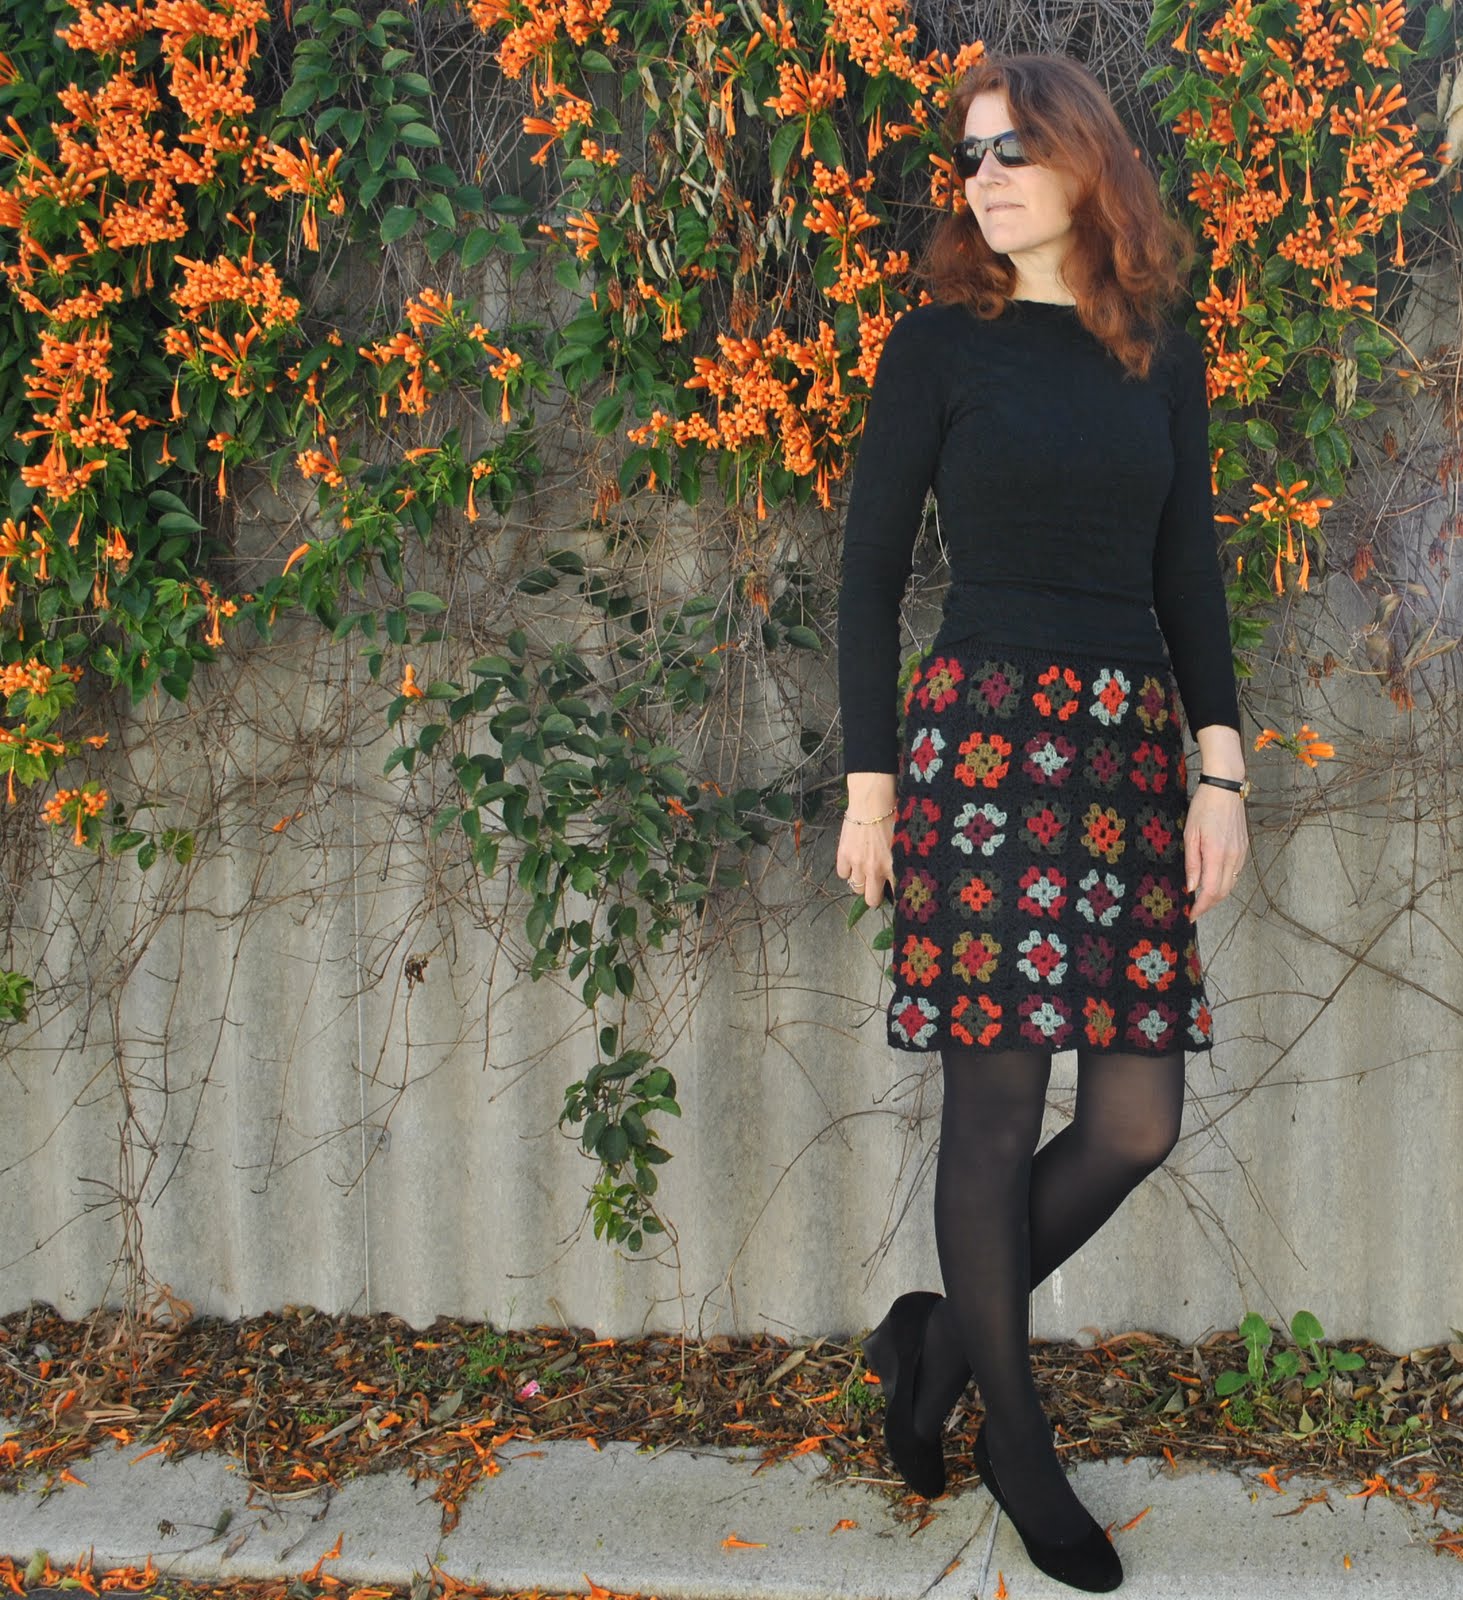
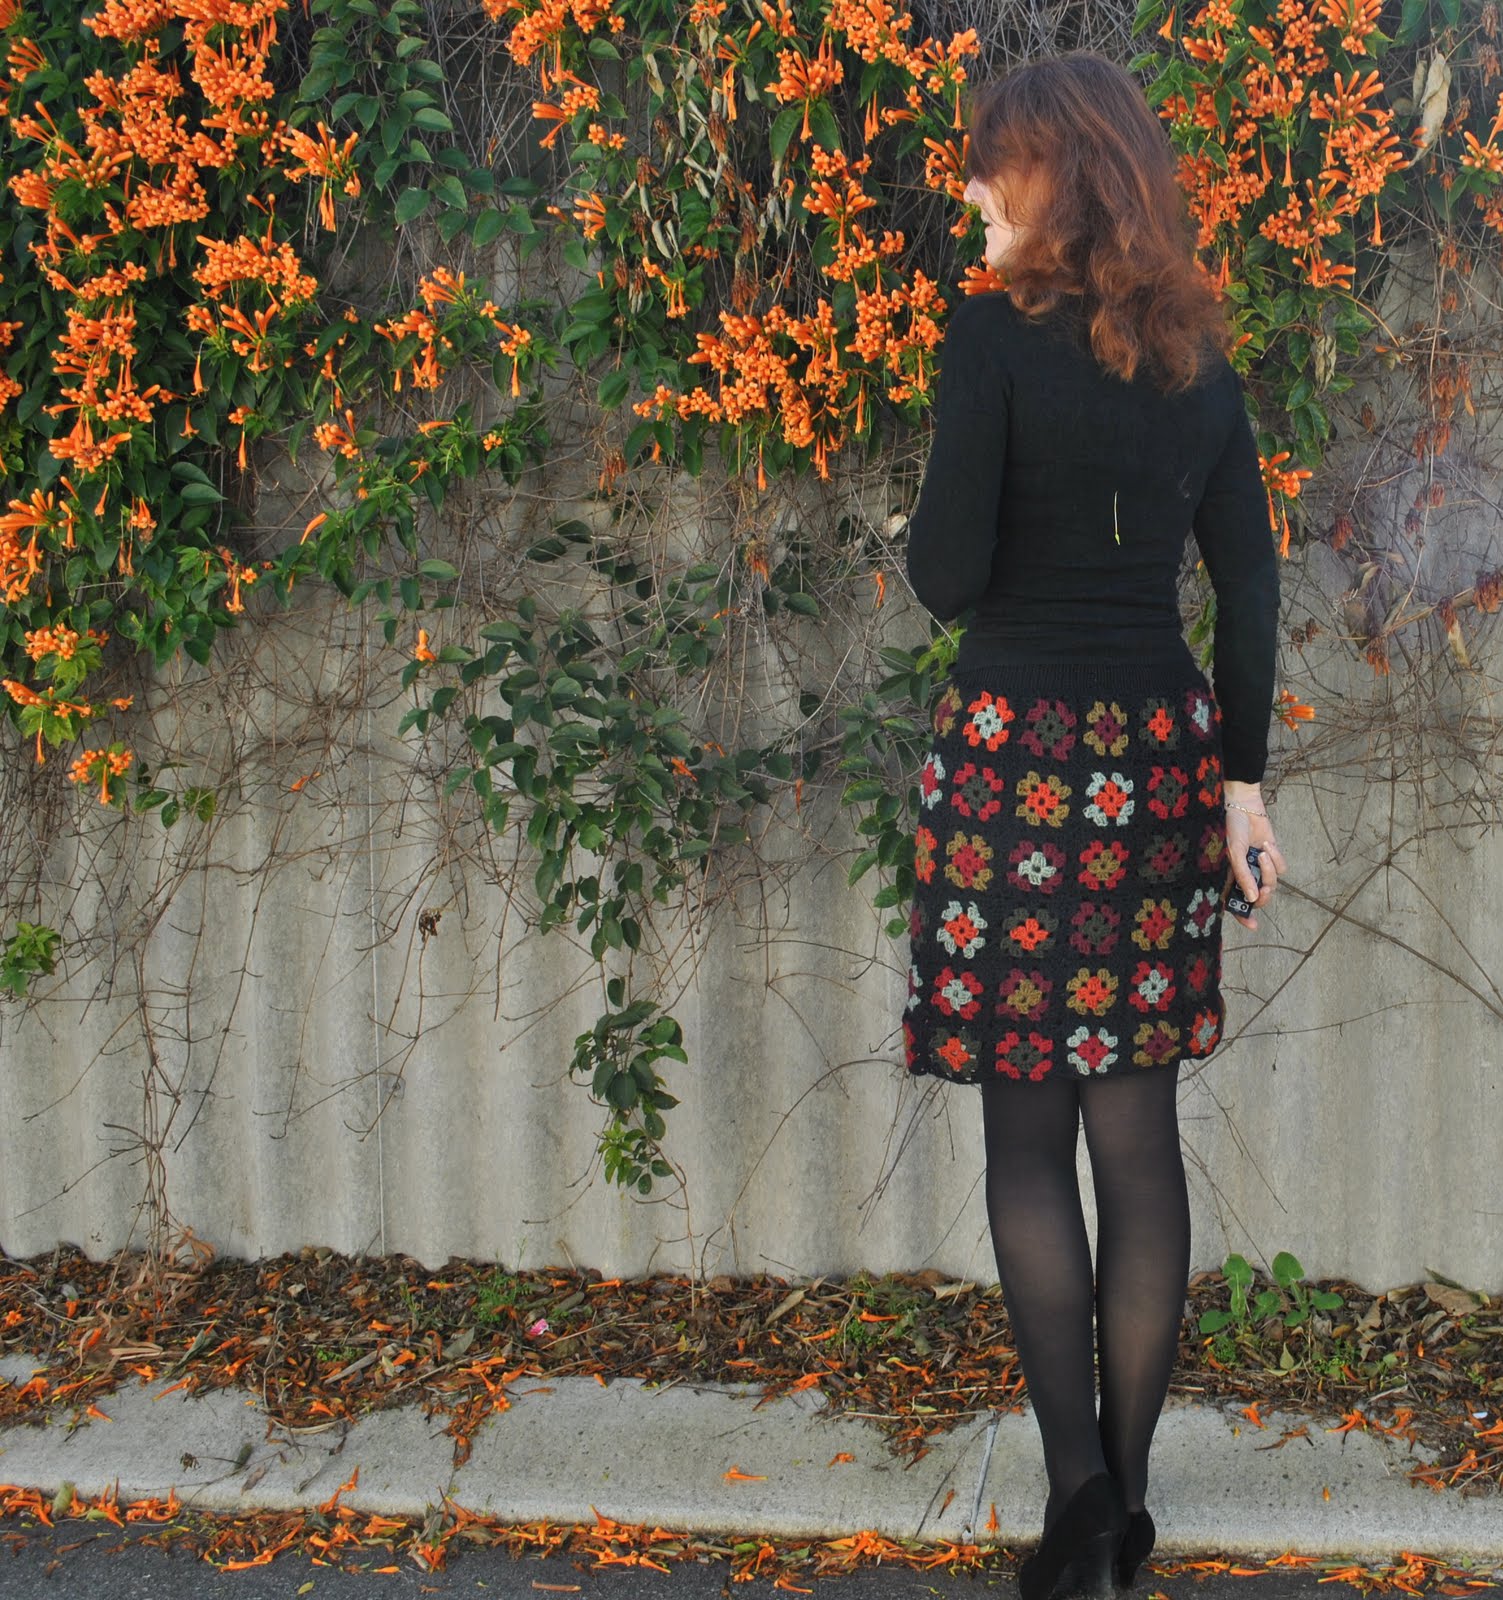
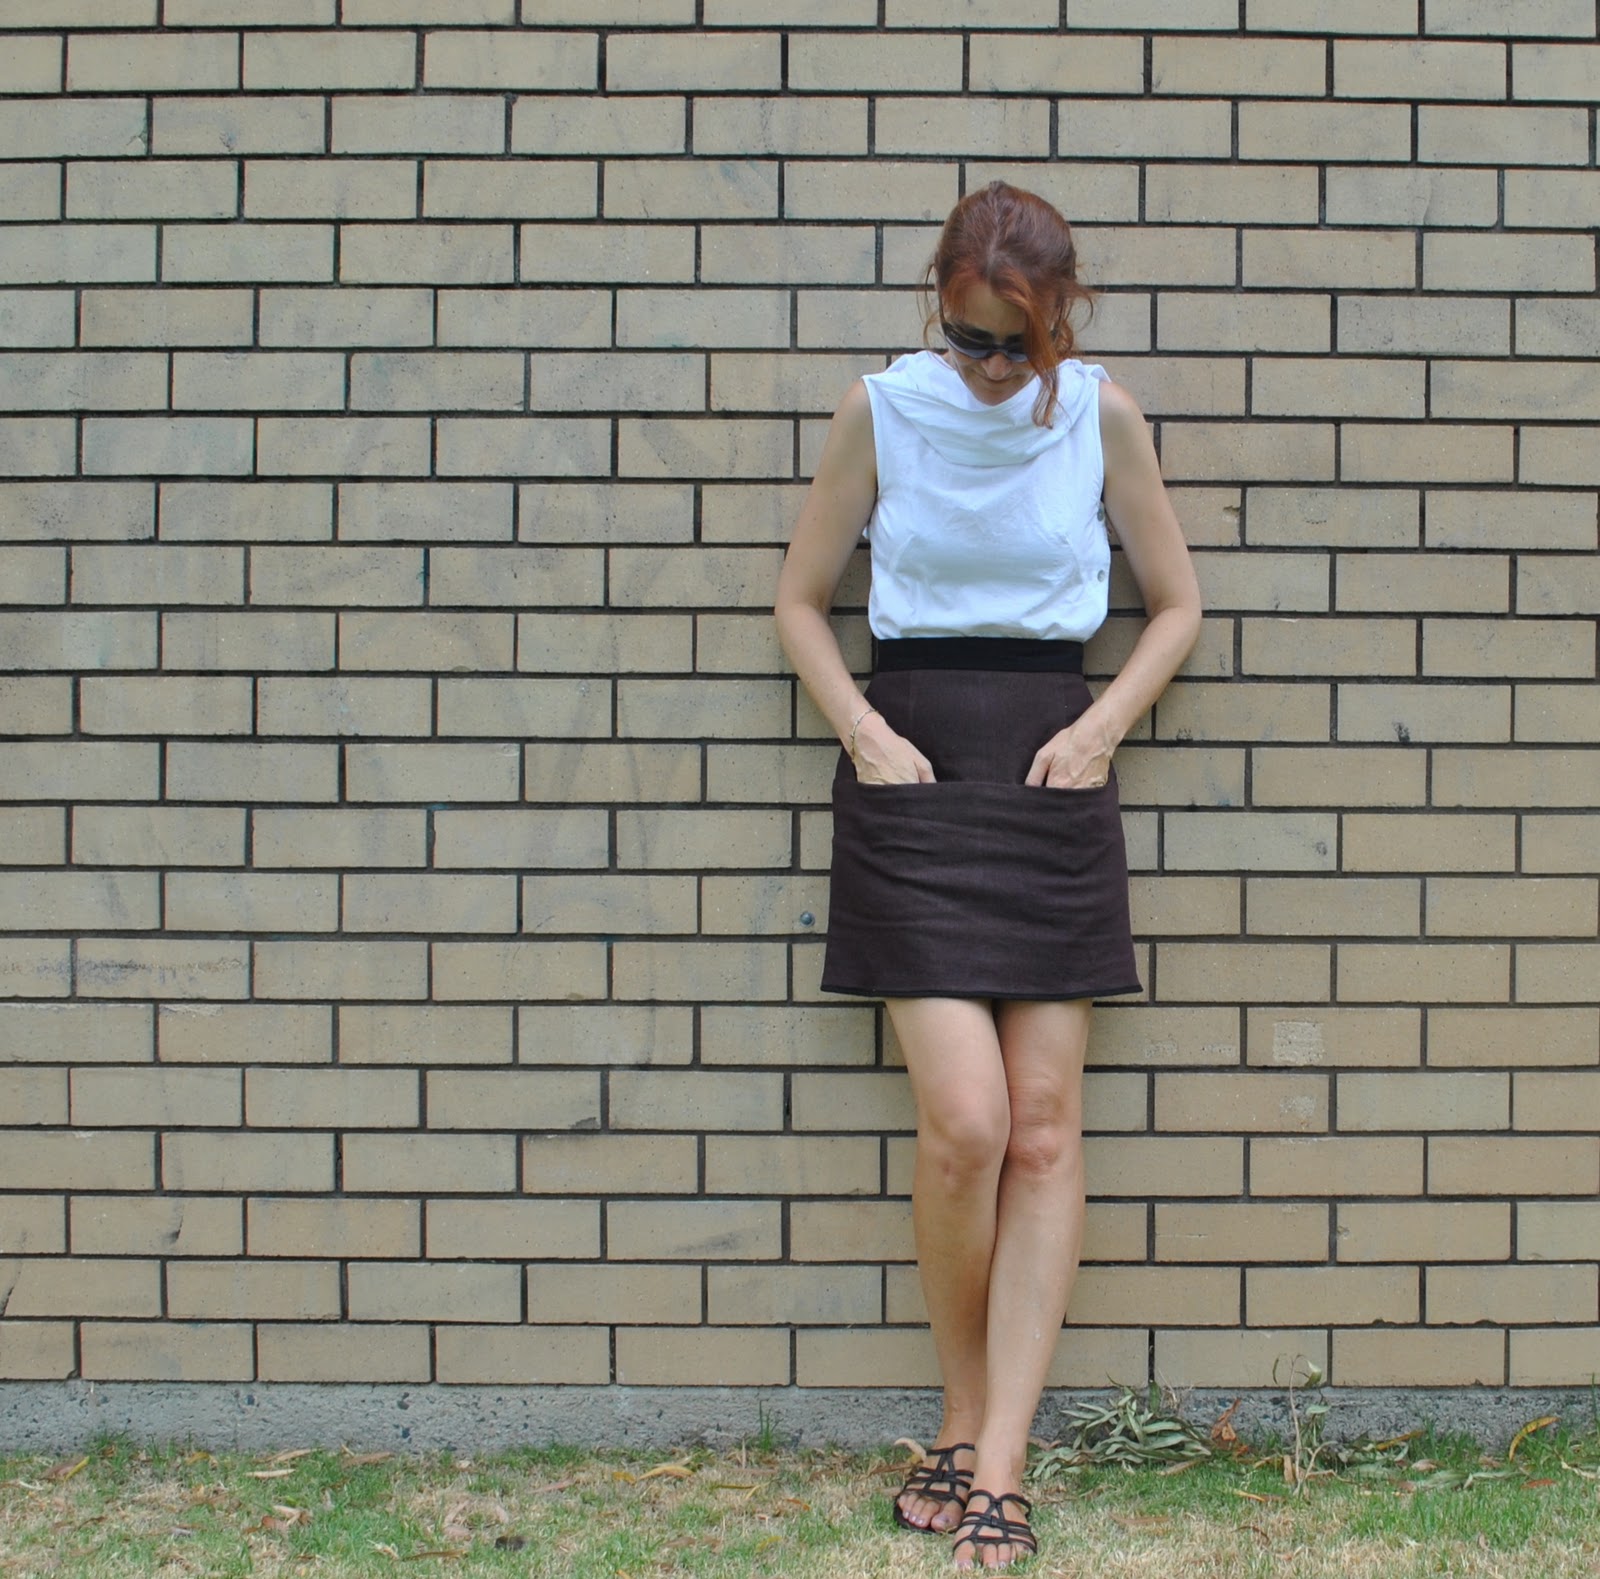
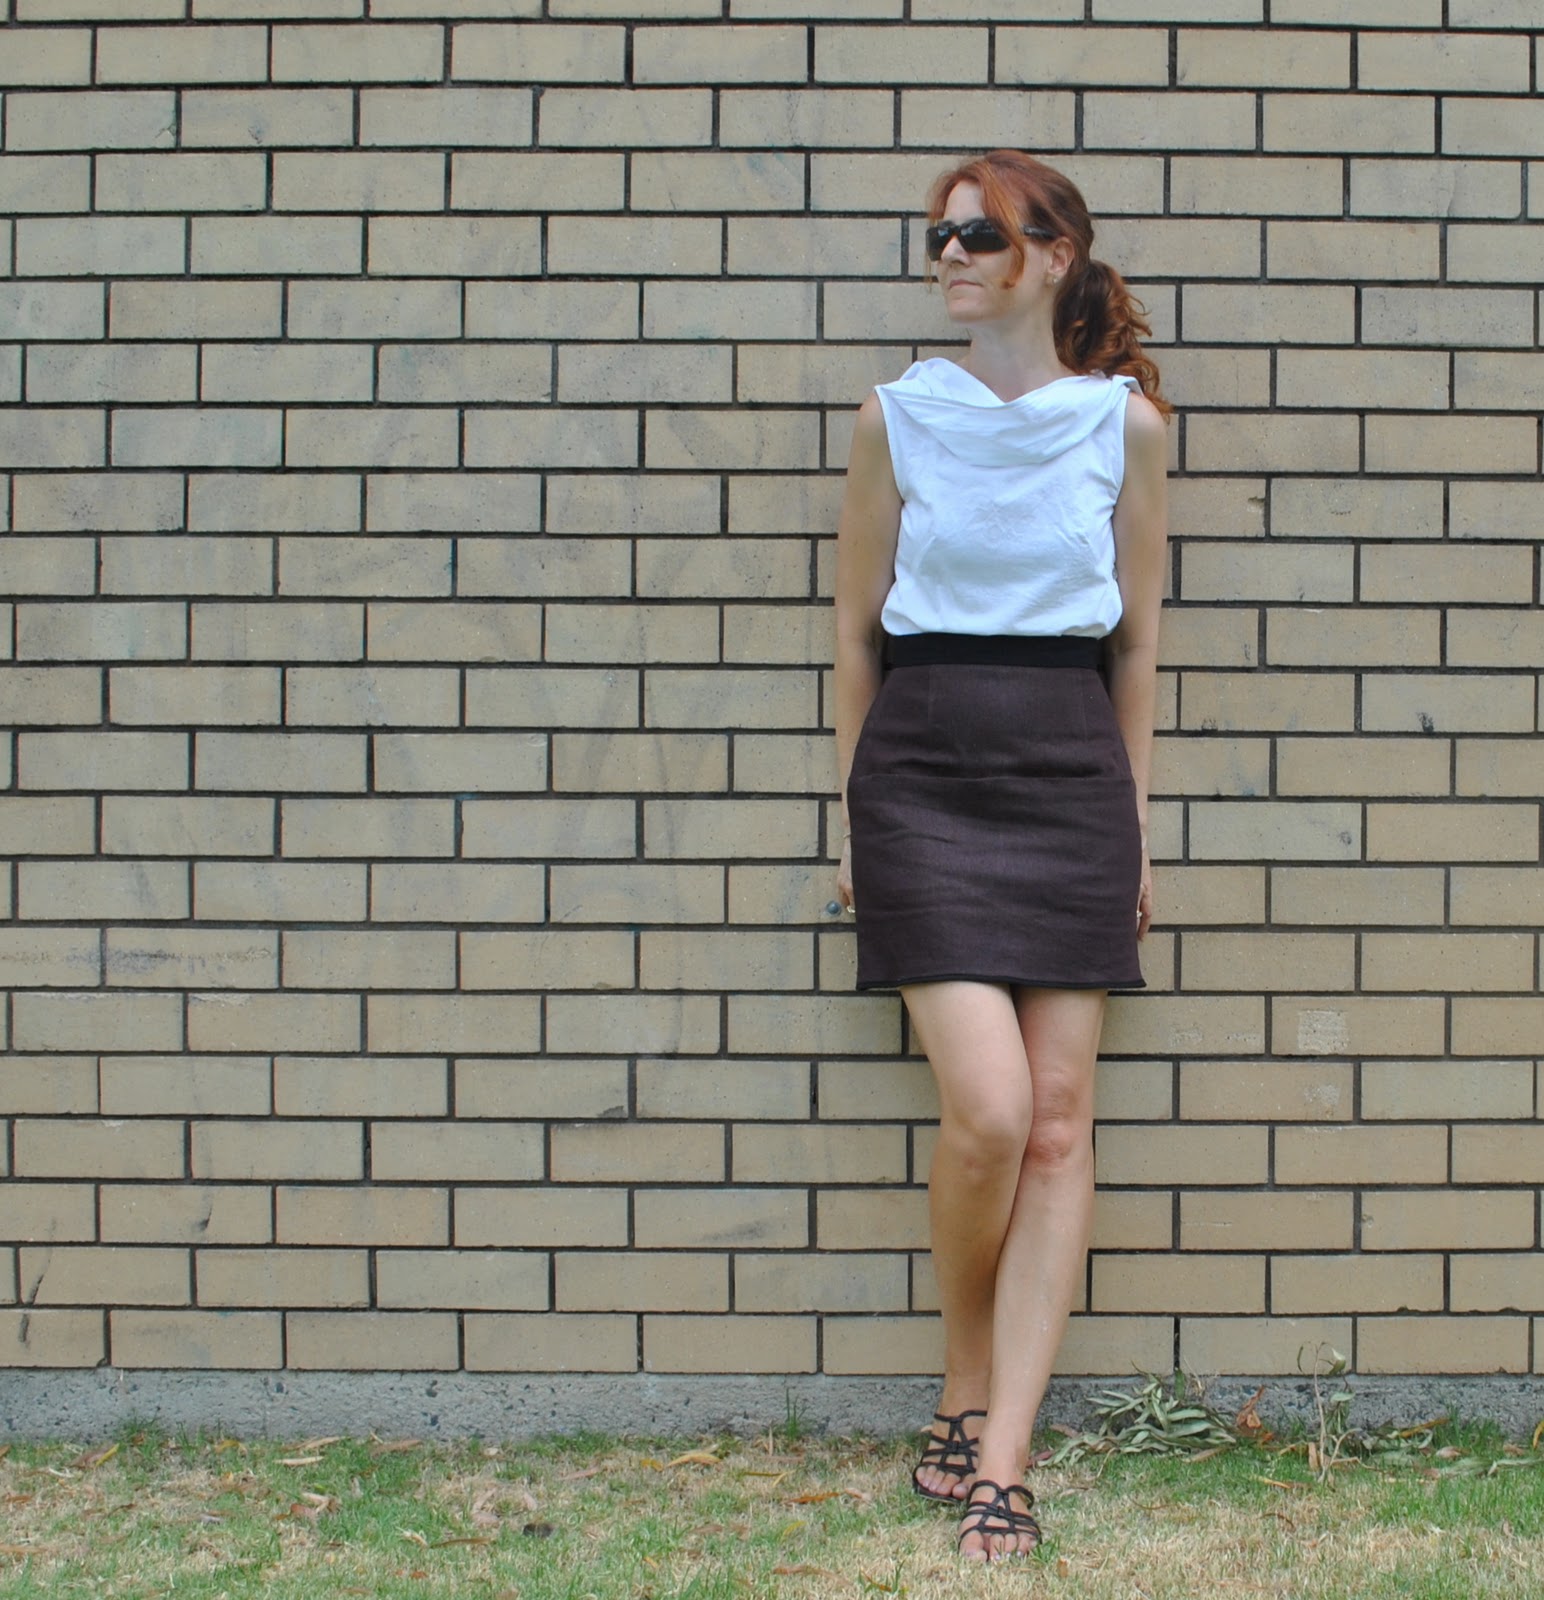
 I’ve made a skirt. Now, it probably doesn’t look very exciting, but I know this will be a wardrobe staple that I will wear into the ground…. You see, part of building up a wardrobe that is well-suited to each individual woman, that you enjoy wearing and is versatile and comfortable, is recognising items of clothing that are indispensable for you and your own particular style. For a while now I’ve been wanting to replace an item that I determined long ago is one of my own indispensables; a short straight sludgy coloured skirt. I was pretty sad when my old khaki corduroy one finally died, it got all stretched out around the waist in an ill-fitting and ugly way, and for the last six months of its life I could only wear it with long shirts hanging out over the top, which was an utterly ridiculous state of affairs, so I finally said goodbye to it. I tried to move on, do without it, but eventually conceded I really wanted another skirt just about exactly like that old one, and soon!
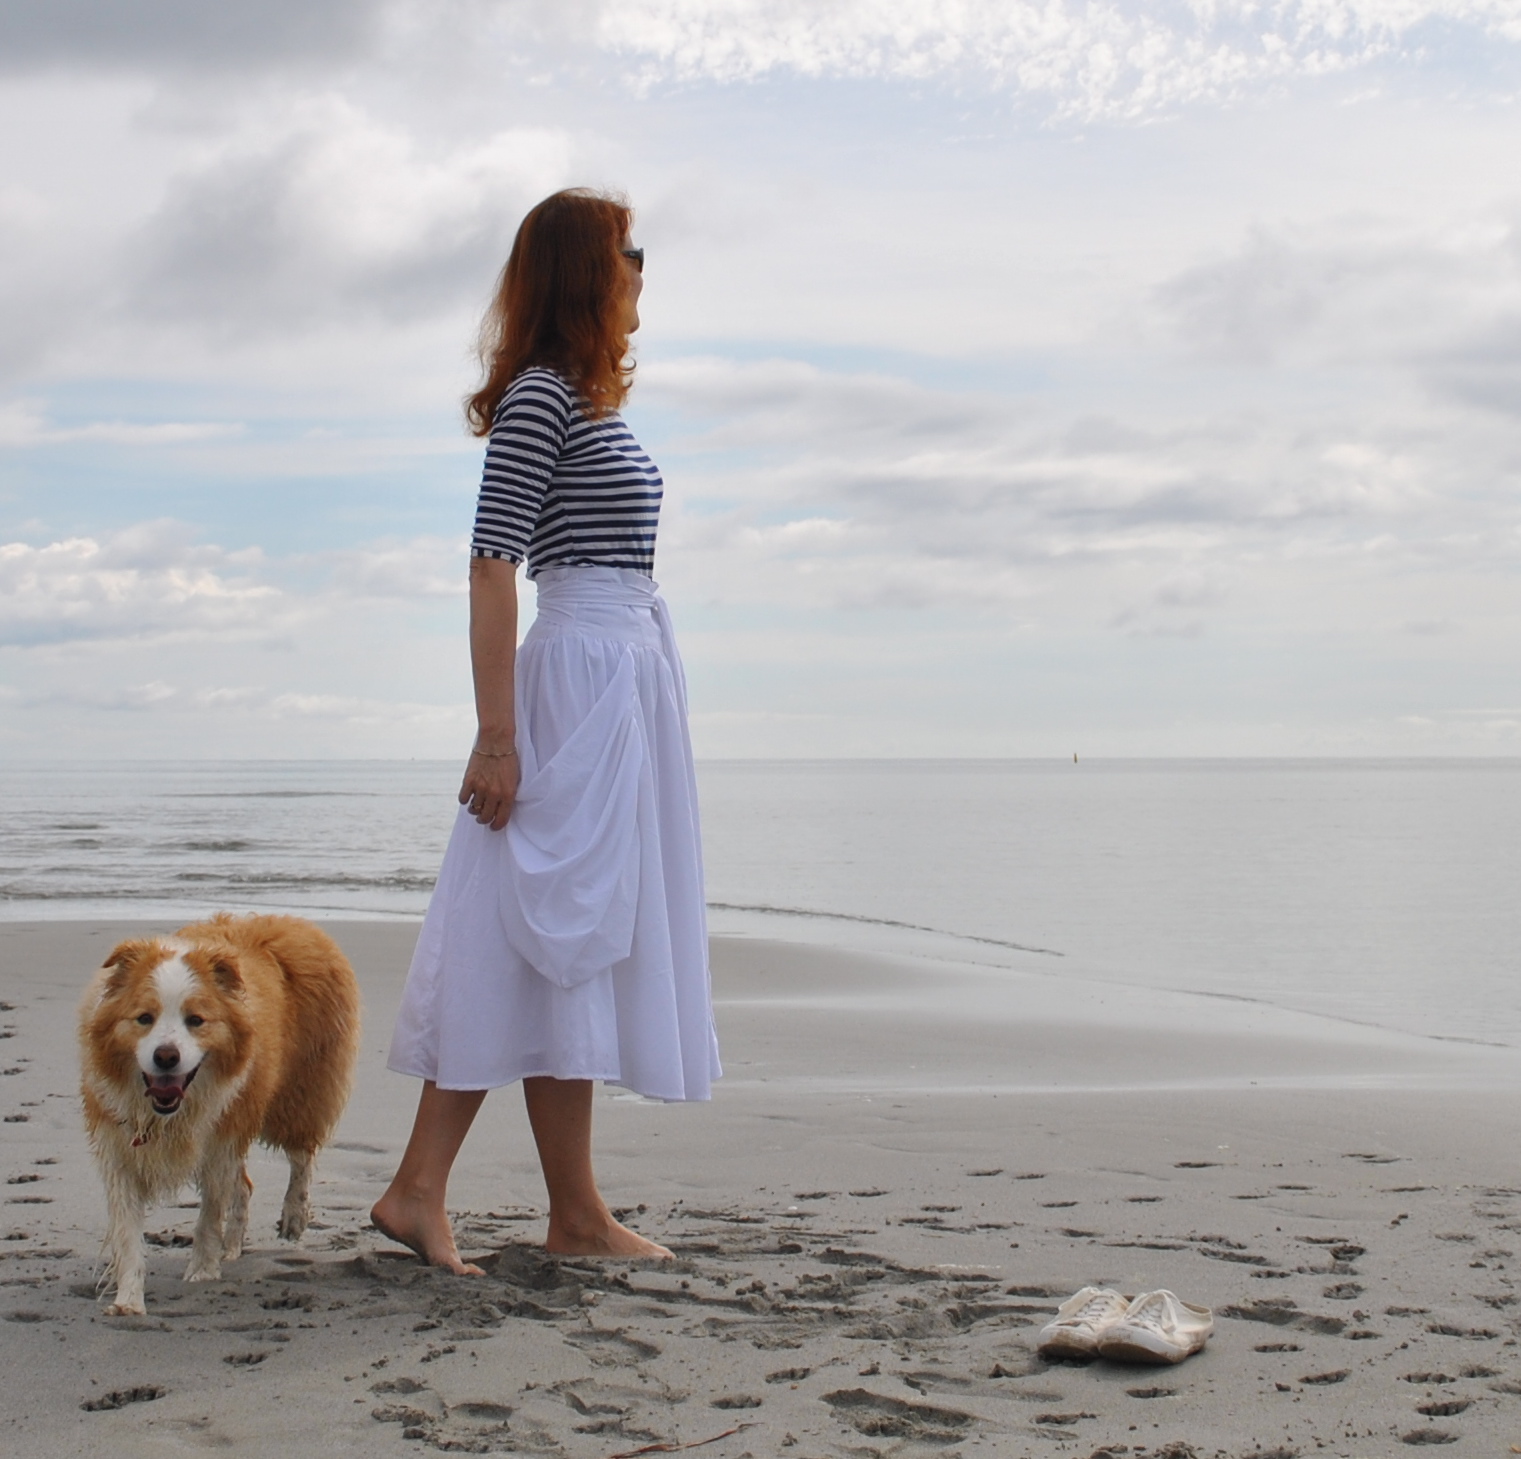
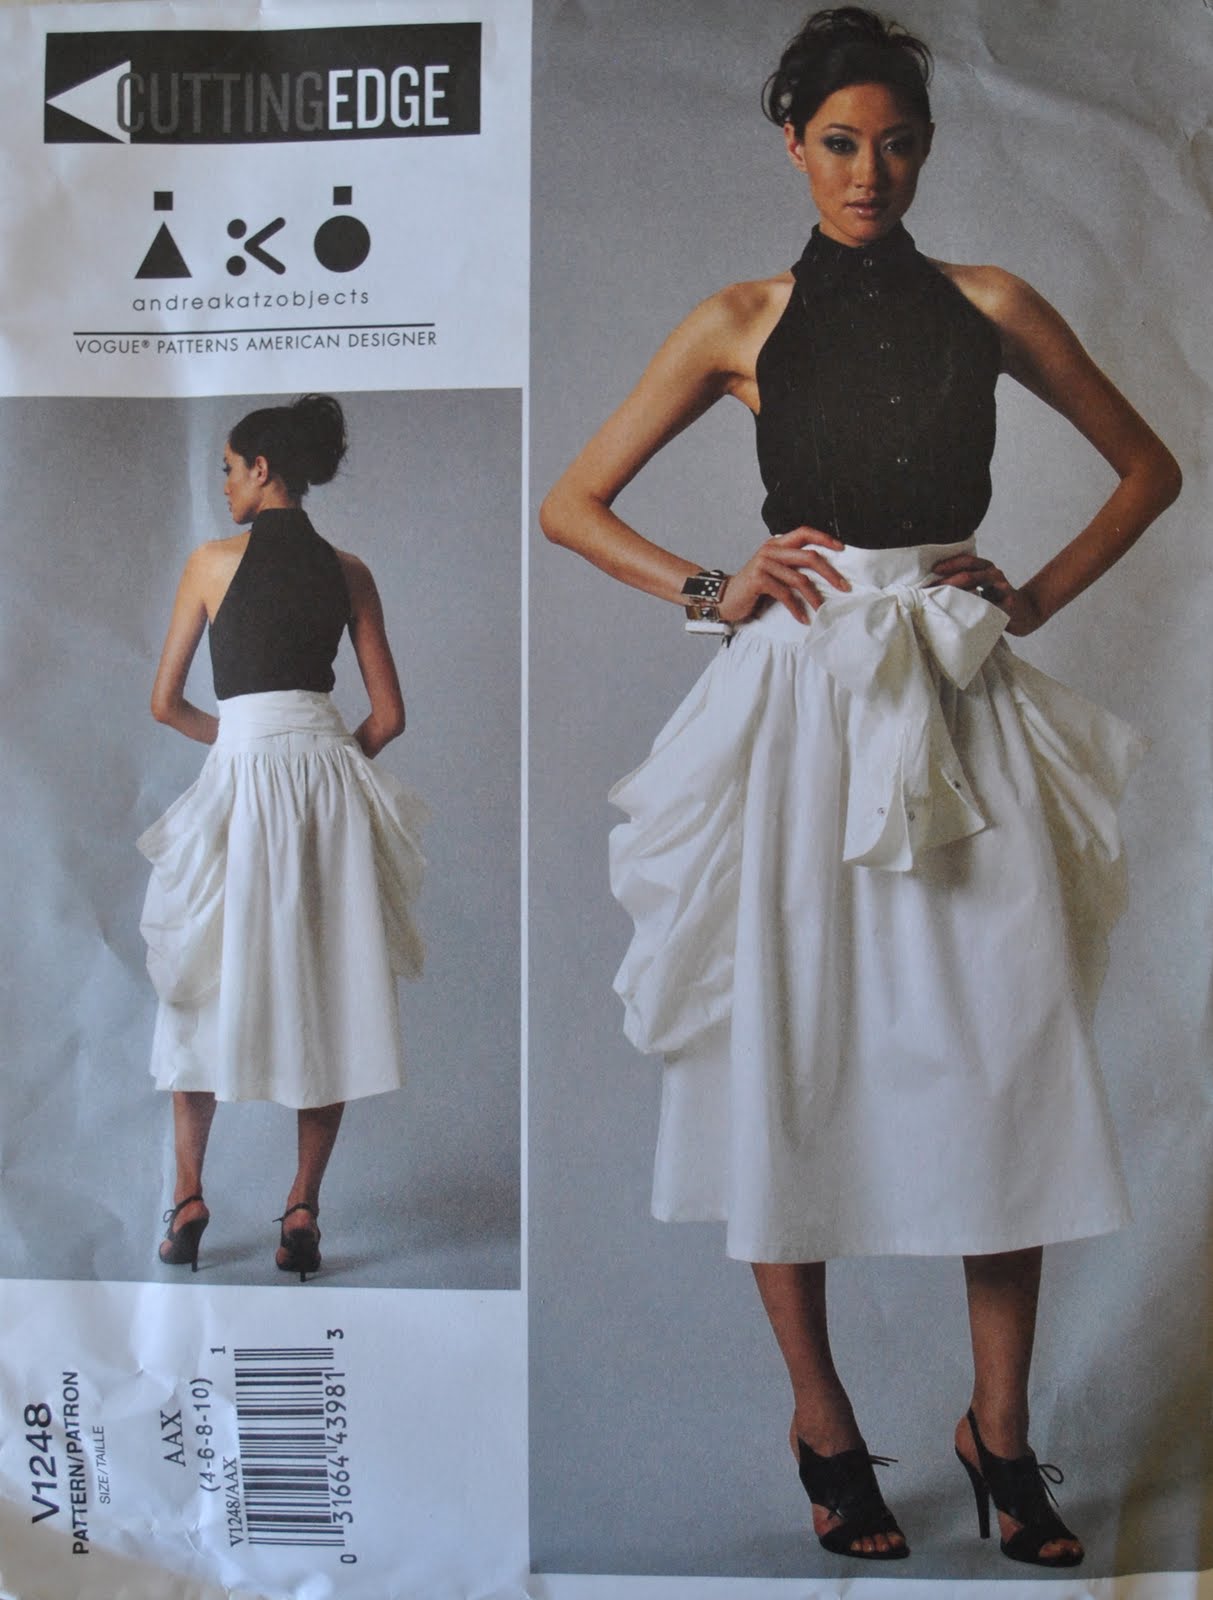
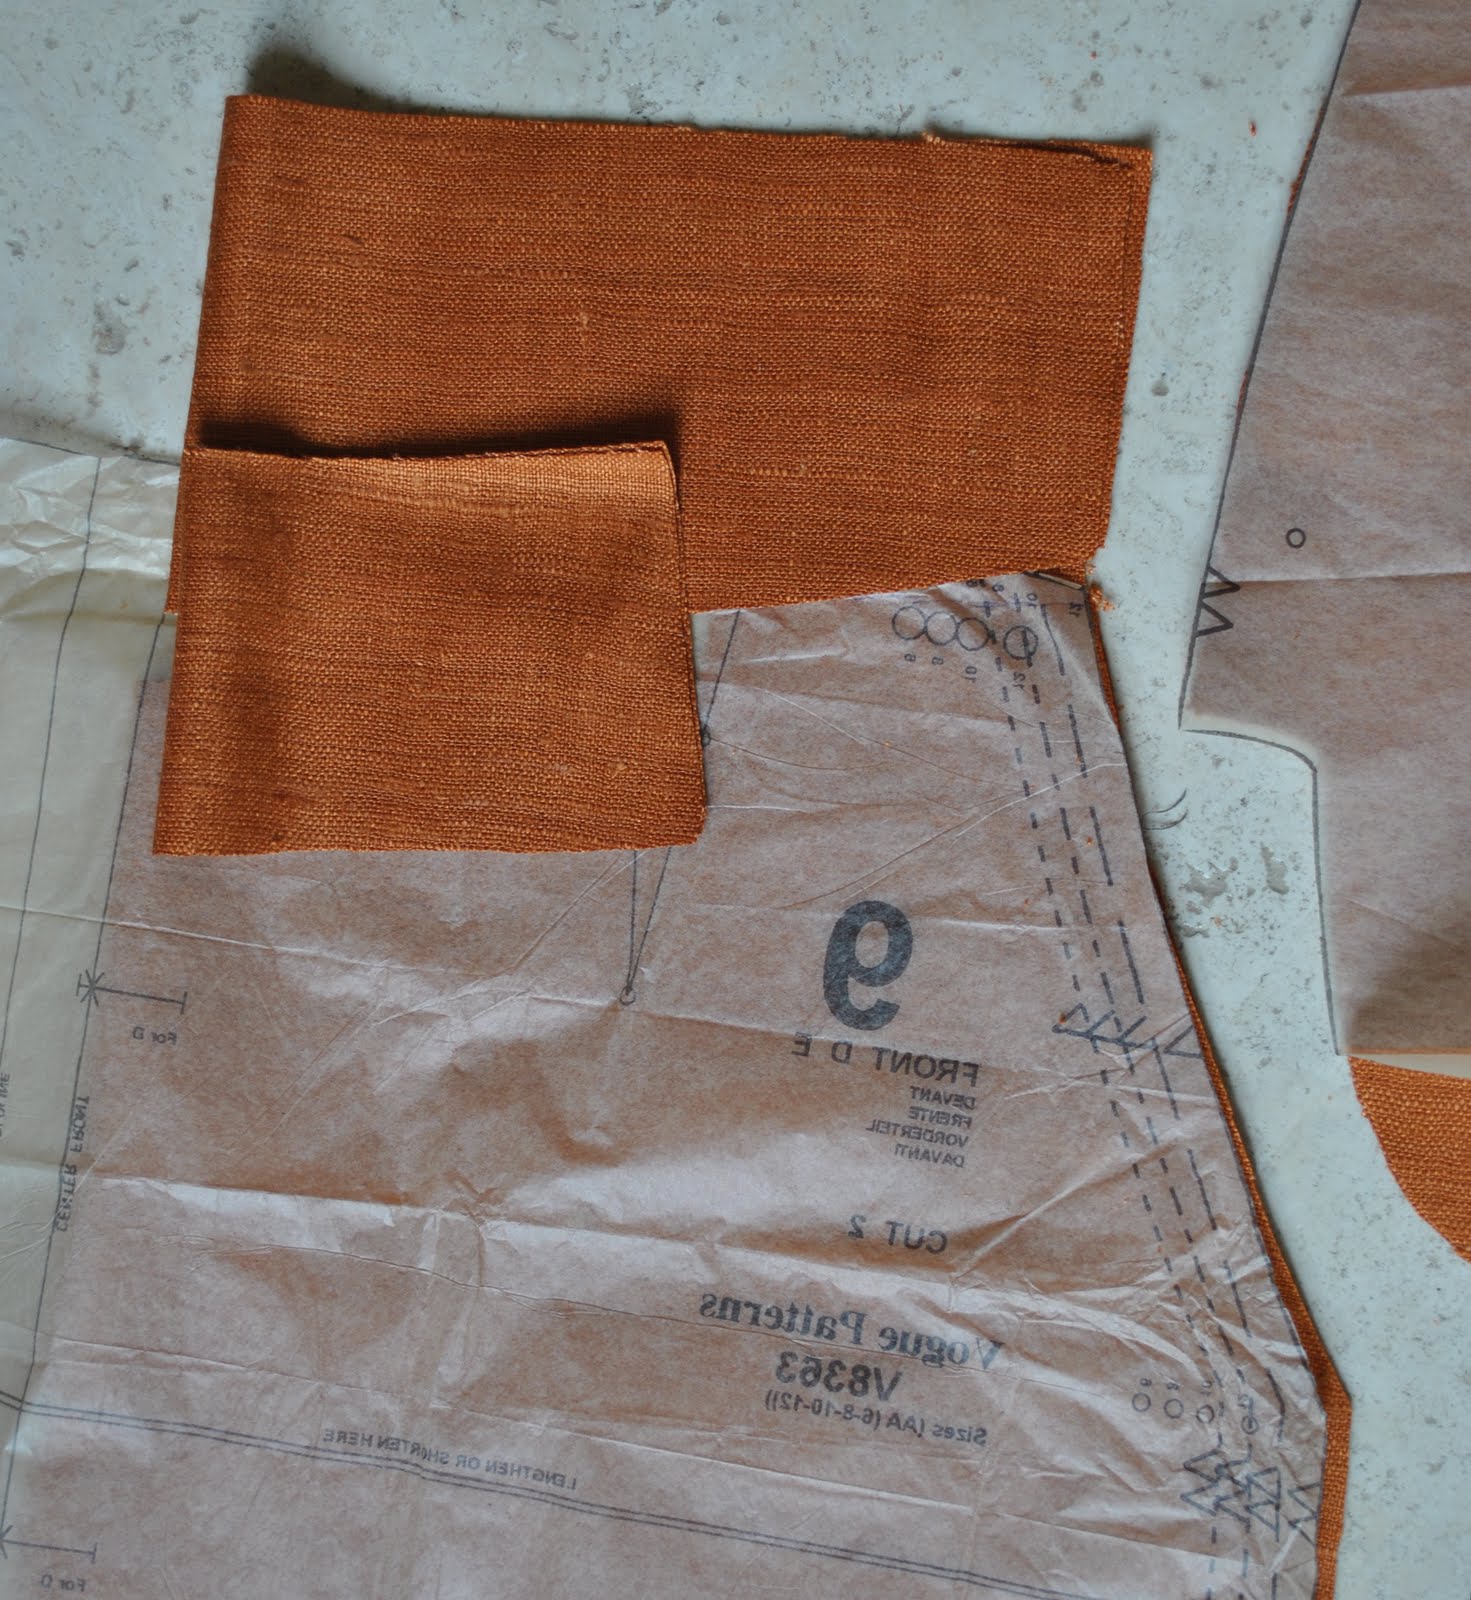
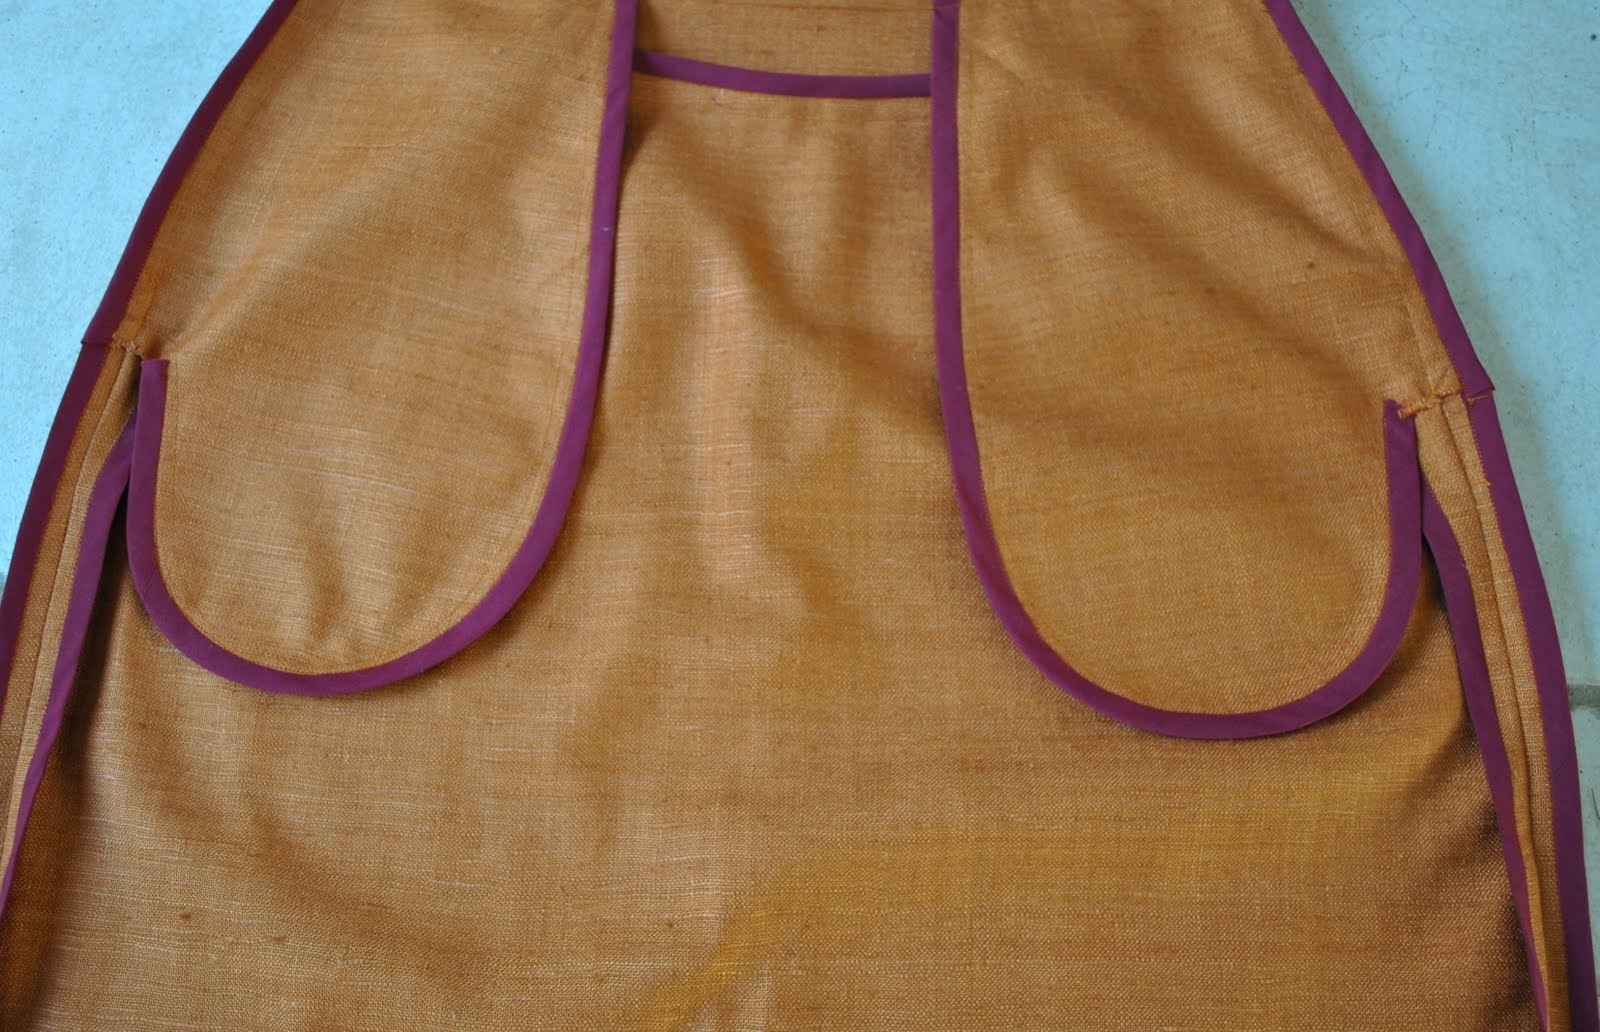
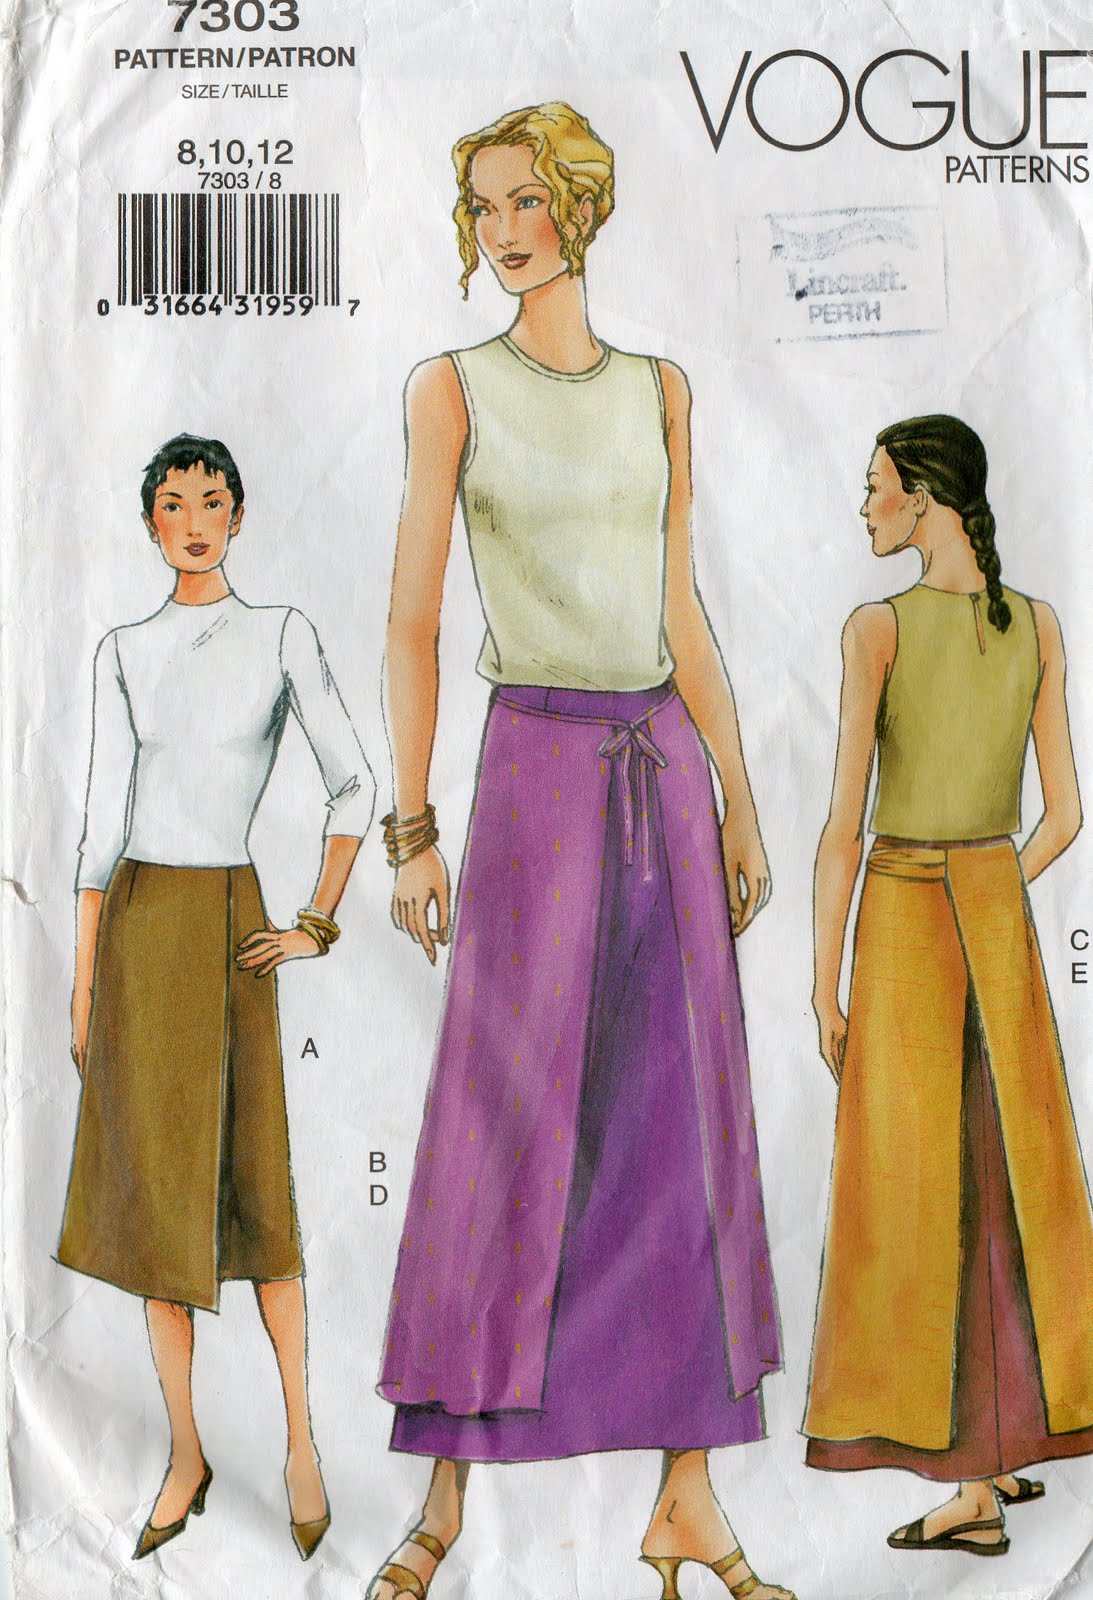
That skirt was thisclose to perfect, but of course a skirt does not qualify as actually perfect in my opinion unless it has pockets. When I checked out the line drawing of the skirt in Vogue 1247; I was pretty excited … Little skirt; check! Plain and basic; check! Pockets; check AND check!!!! These are all the features adding up to the perfect little skirt in my book… and it also has a waistband, something I am currently into in my skirts…. WIN!
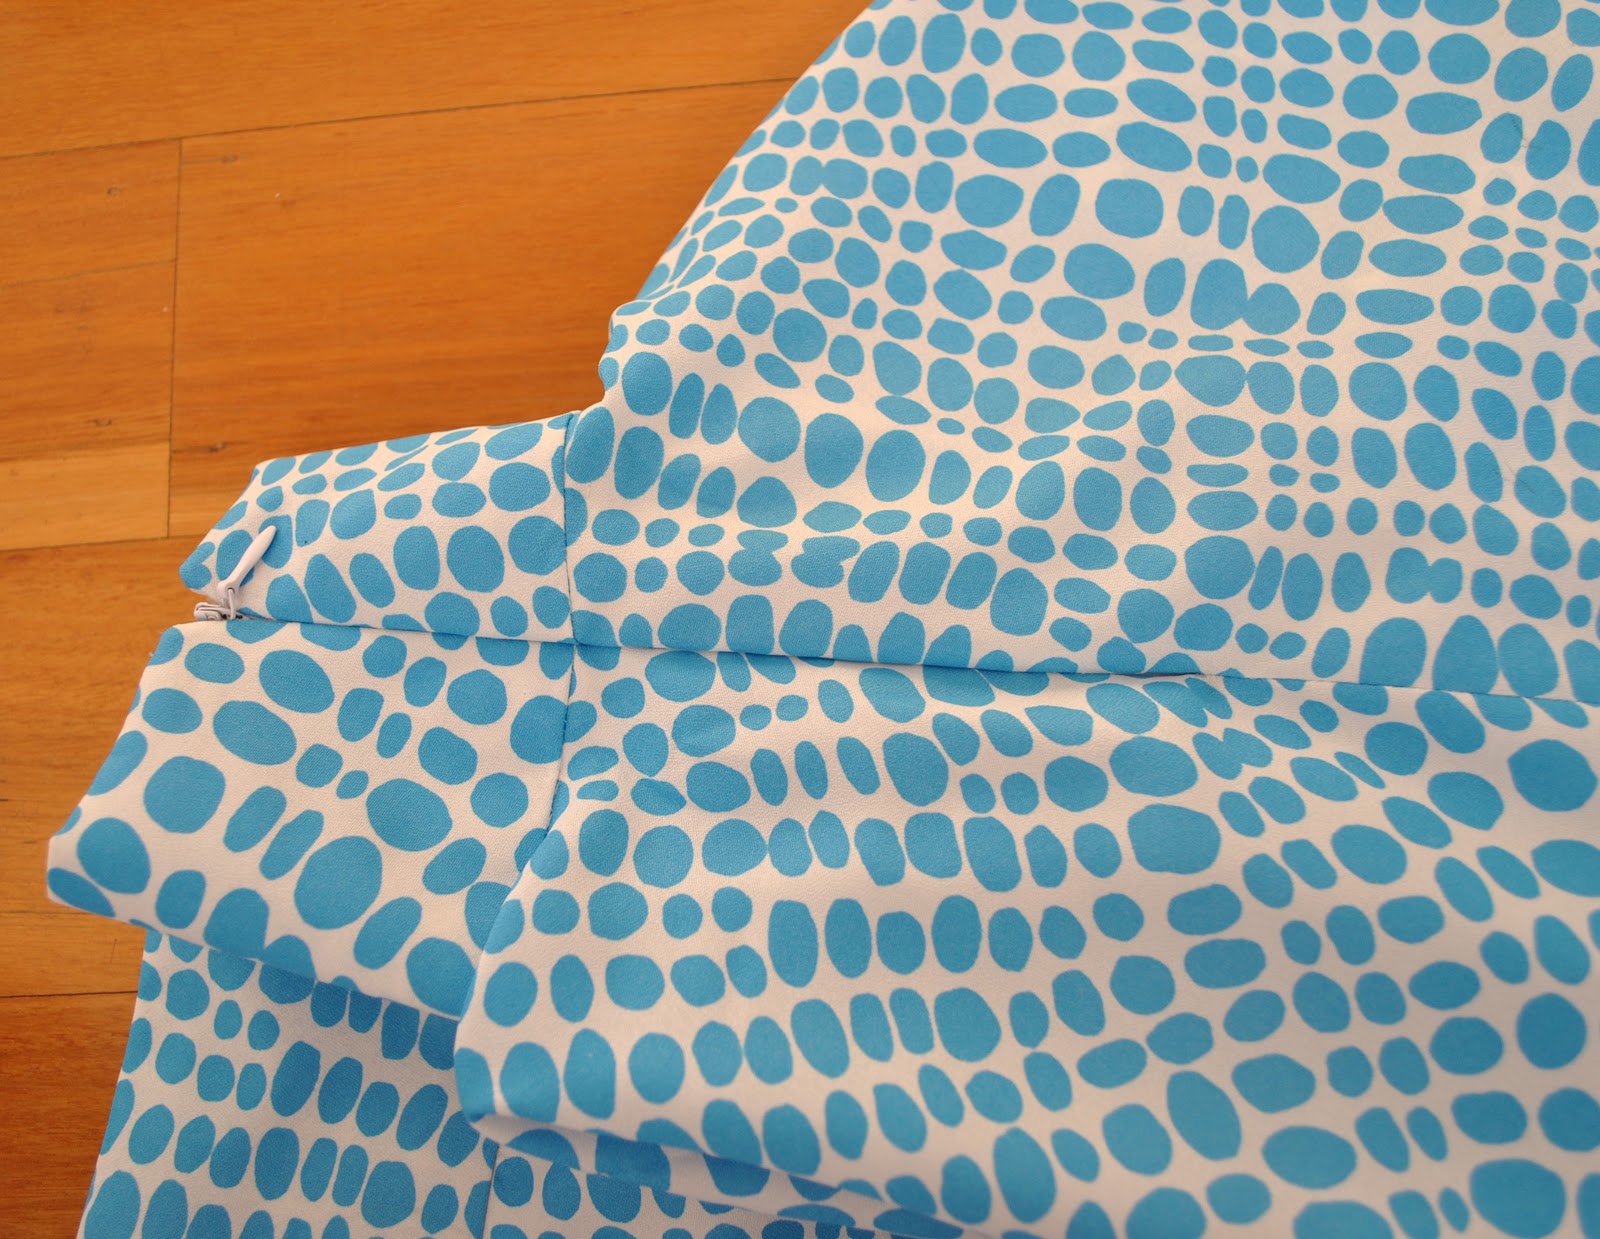
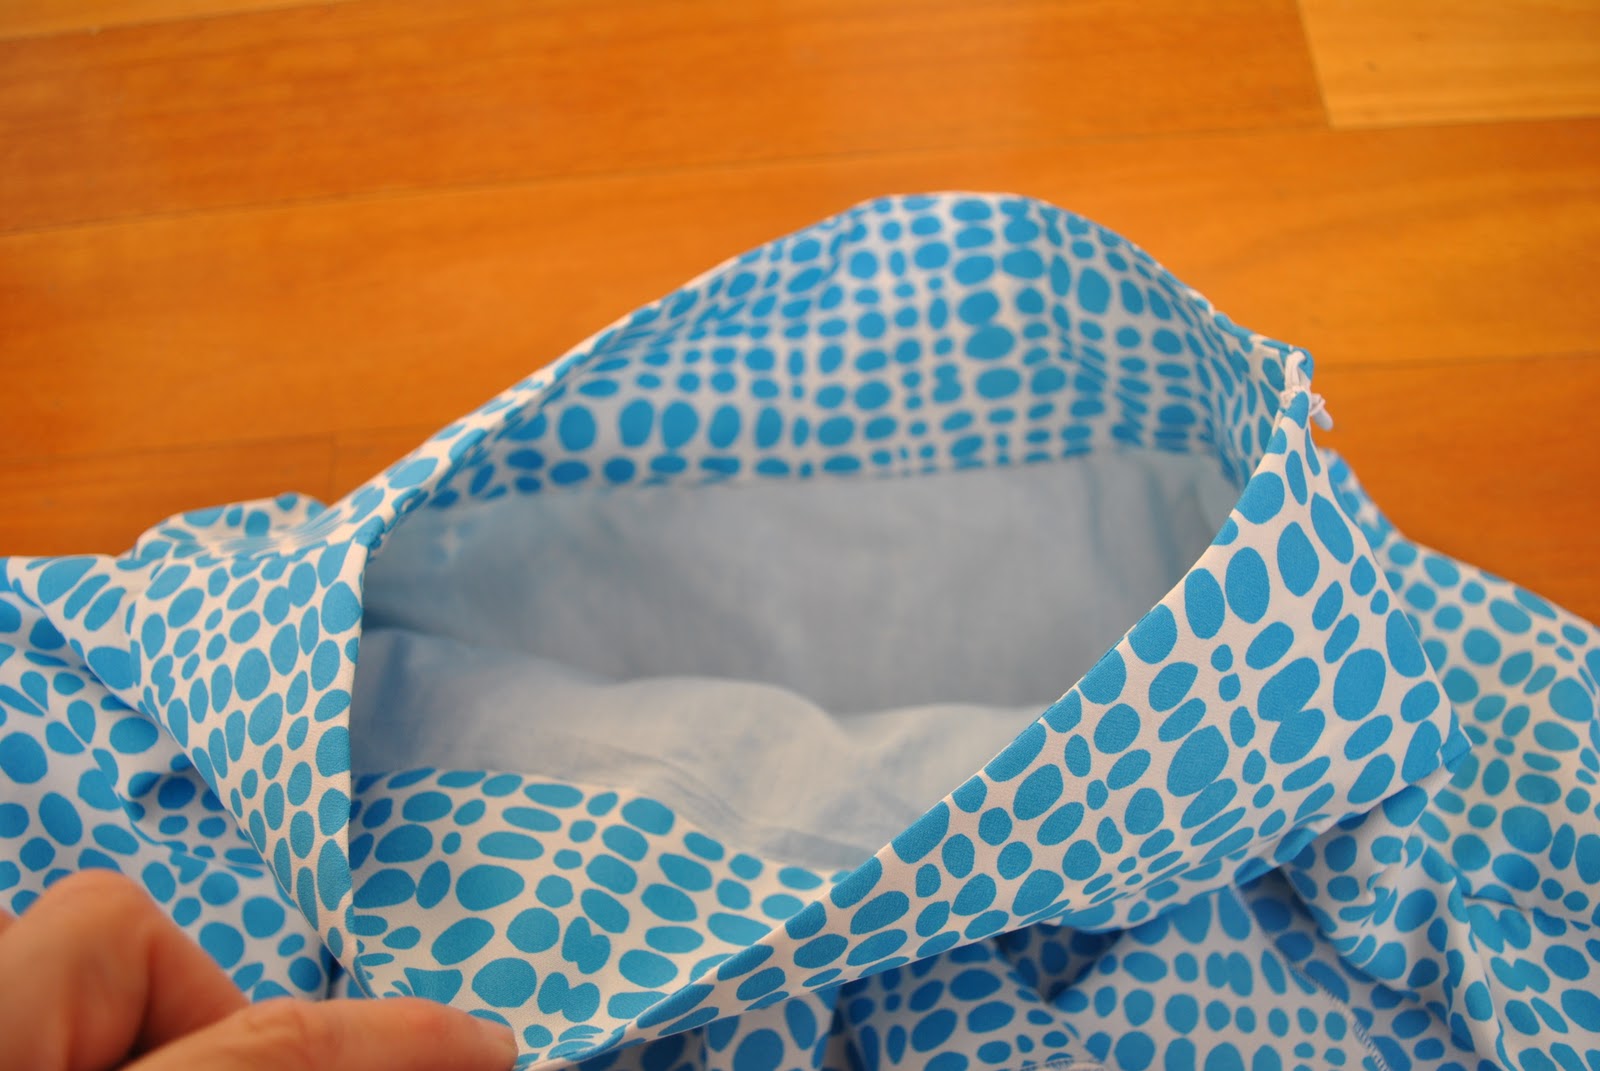
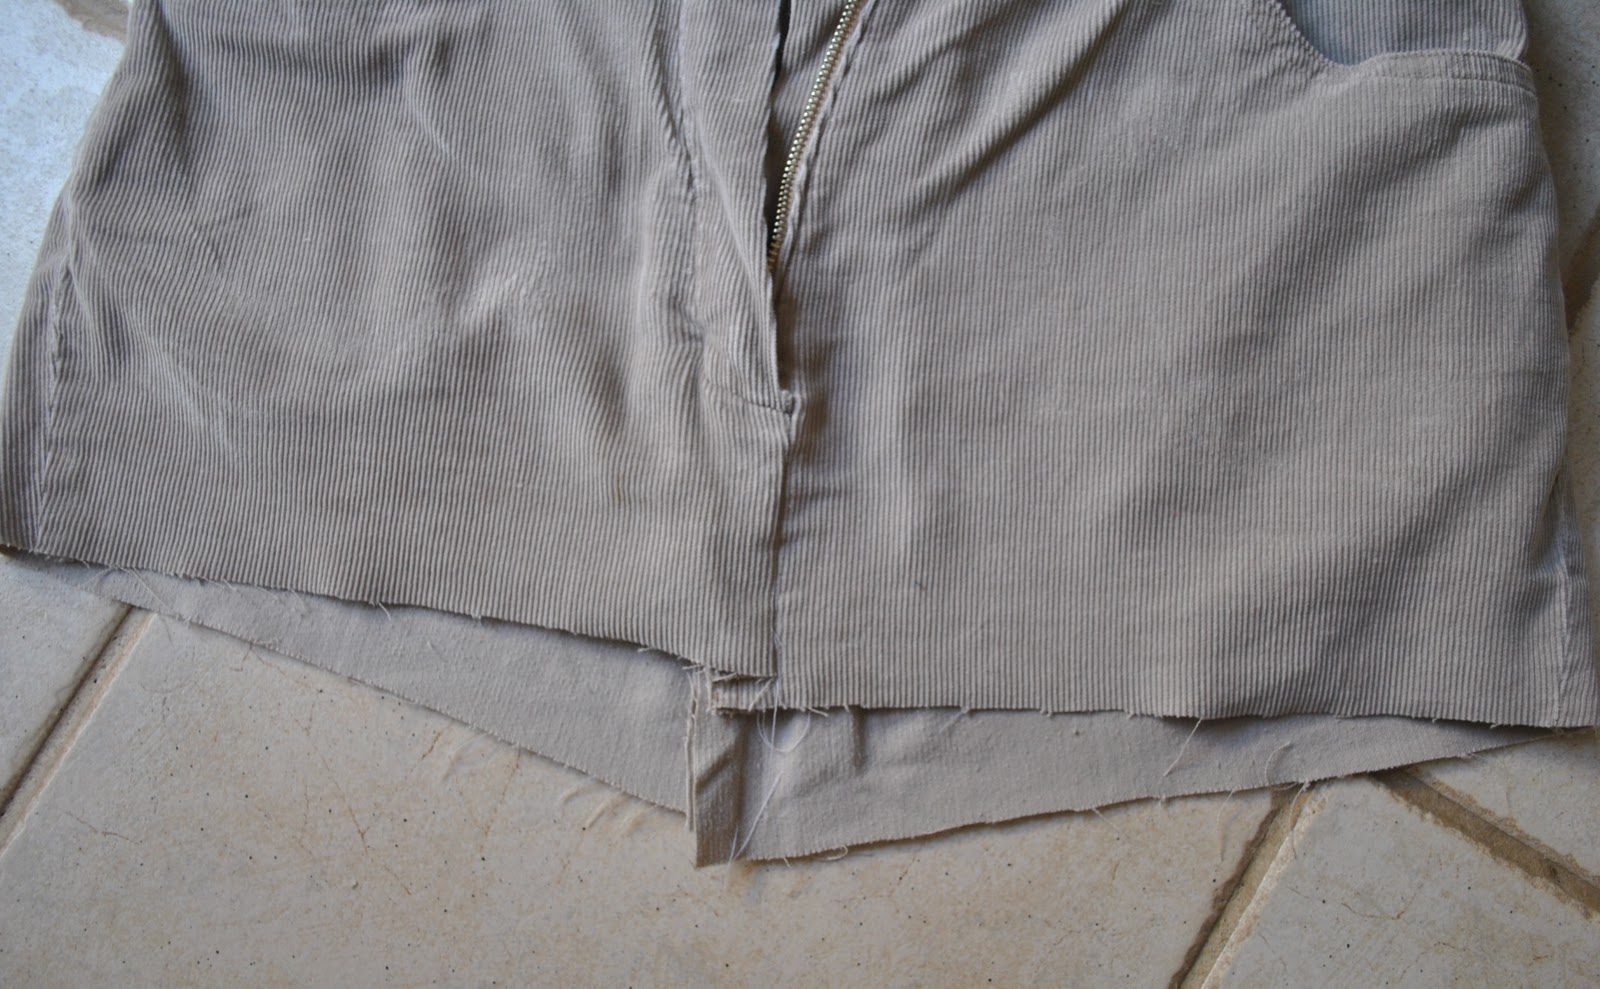
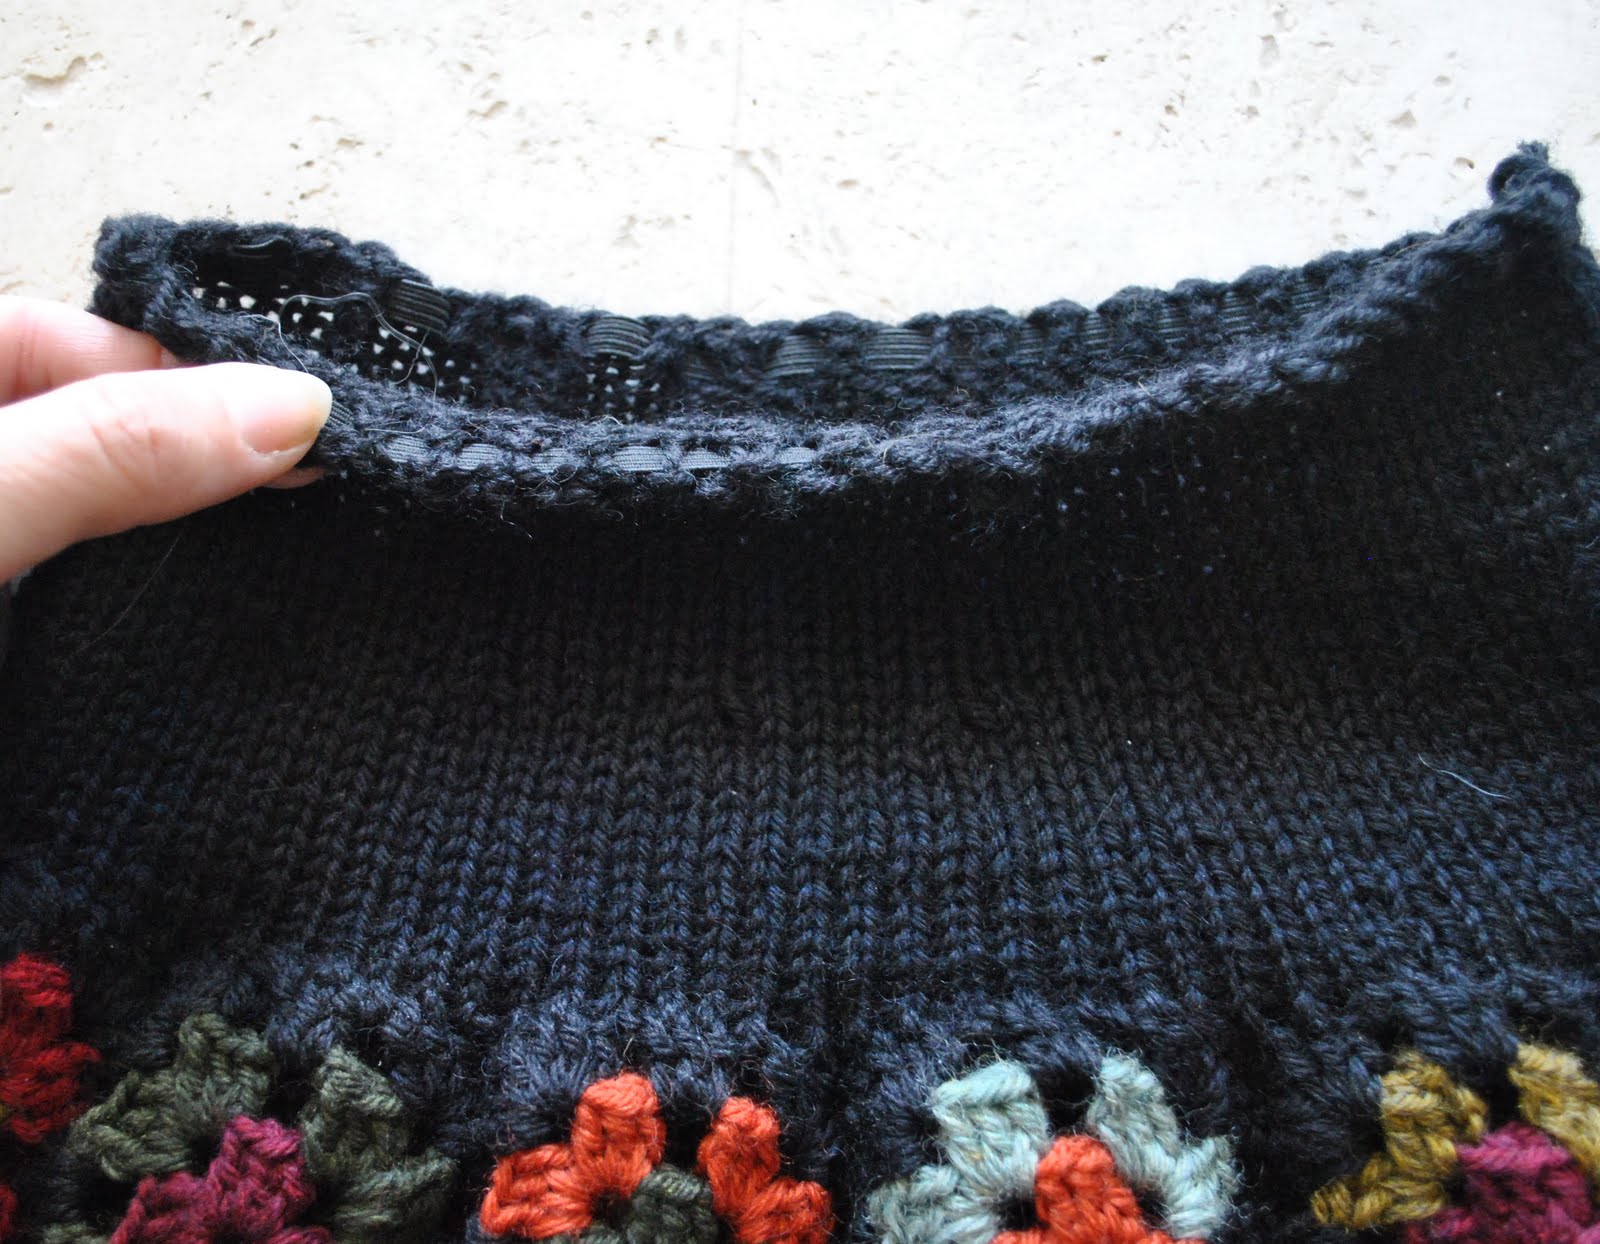
I made the skirt from purple stretchy denim, the leftovers from my plum jeans here. The waistband is black corduroy, with its wrong non-fluffy side out, leftovers from these jeans, and instead of folding the waistband in half so it is self-faced as suggested in the pattern, I pieced the waistband in half horizontally with a lightweight cotton (shot cotton in Ice, also a leftover) to reduce bulk around the waist… just a personal preference. The pockets are lined with the same lightweight cotton.
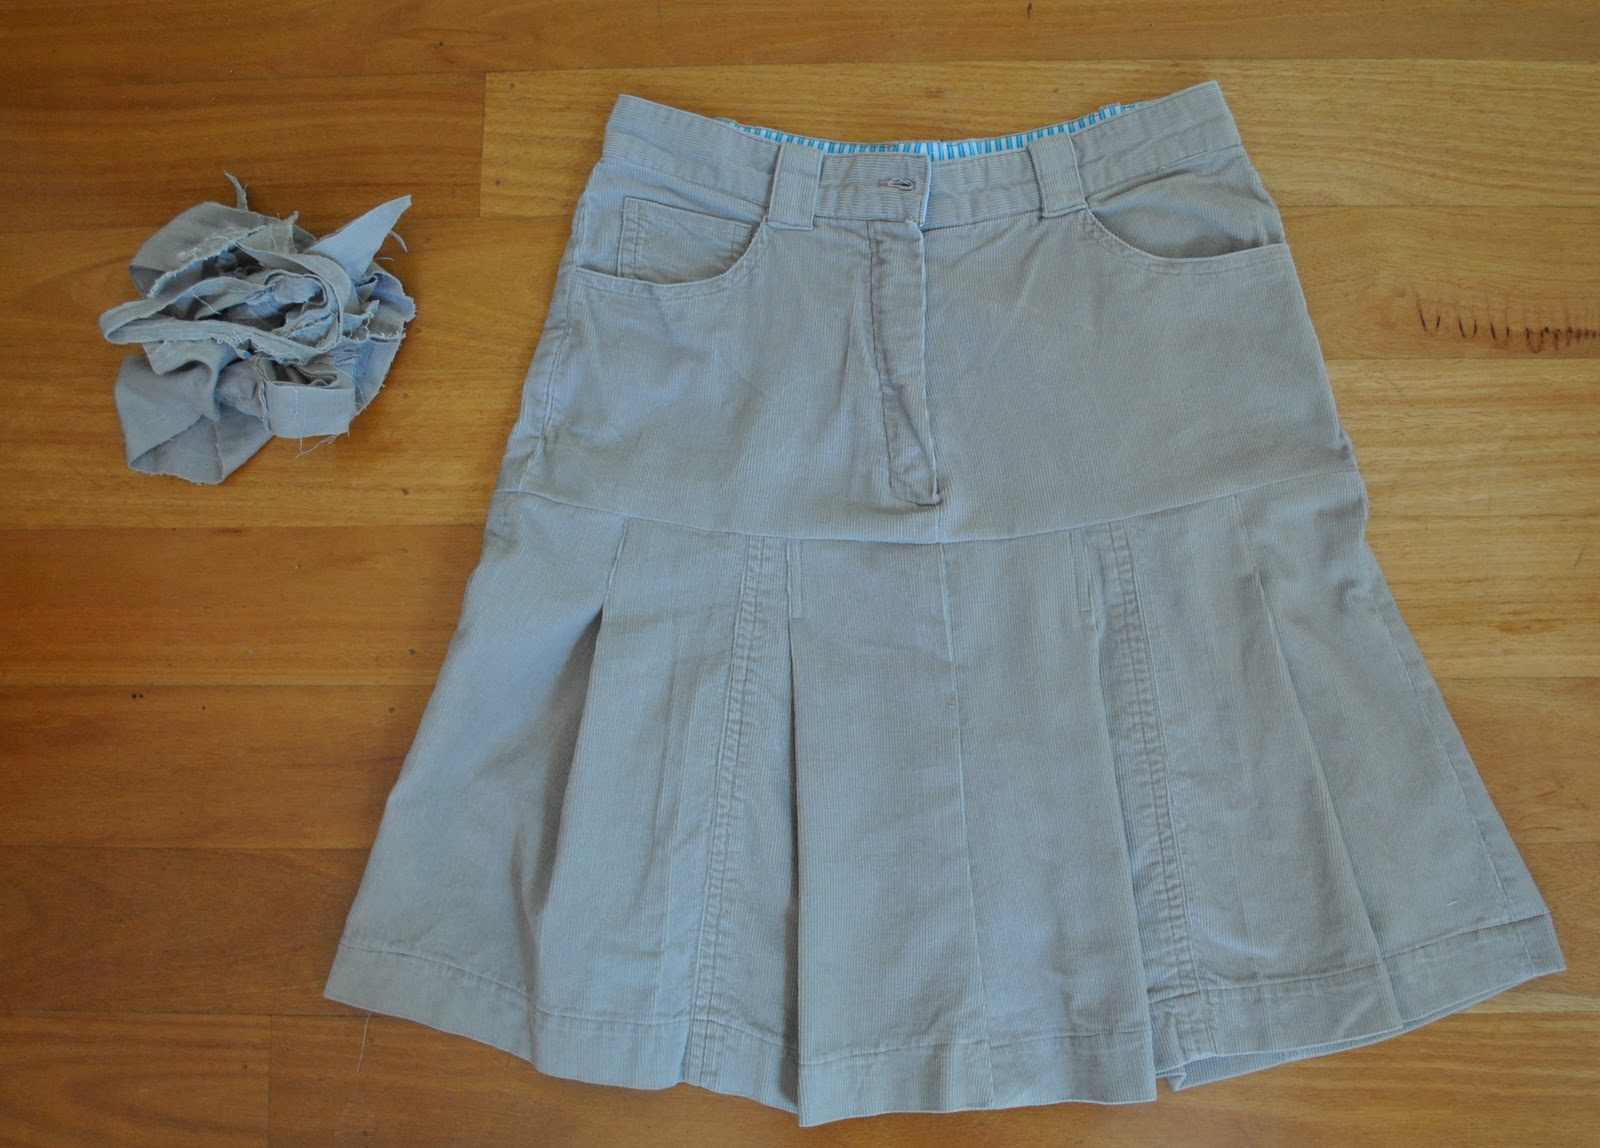
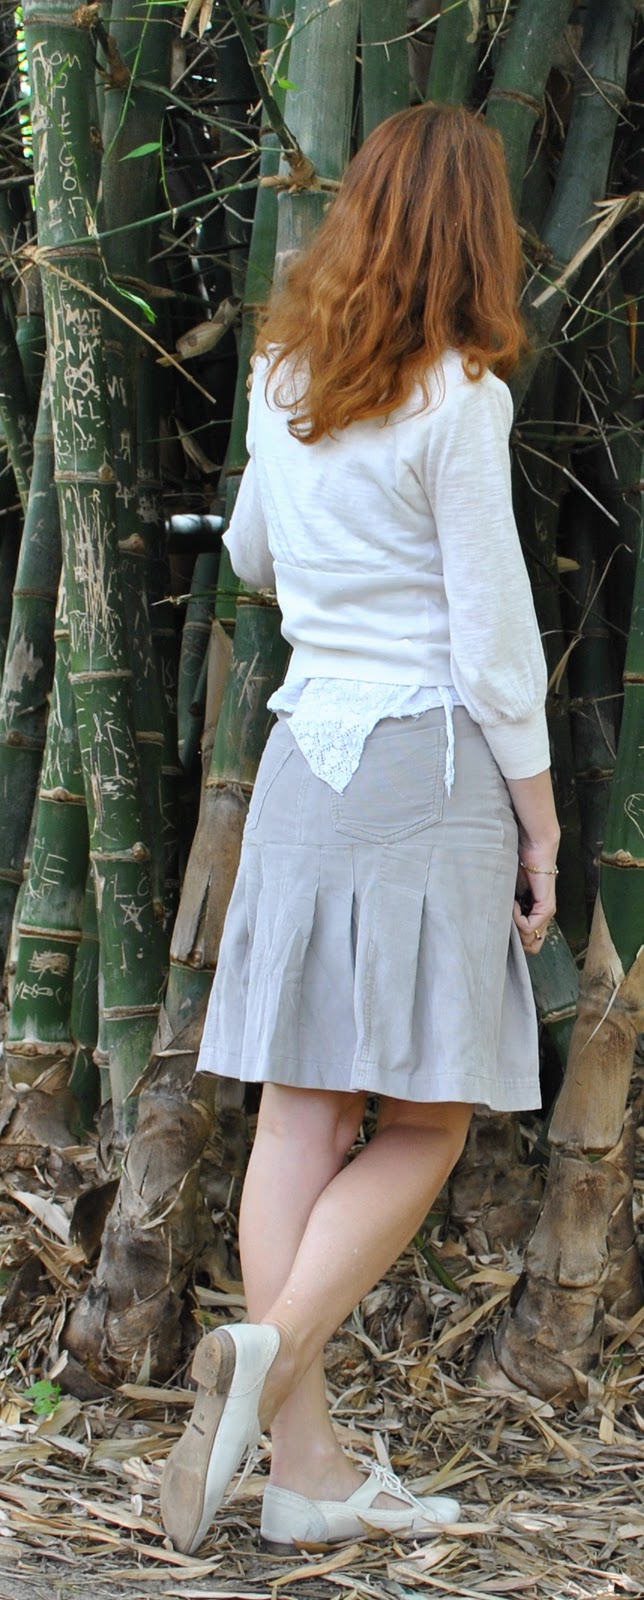
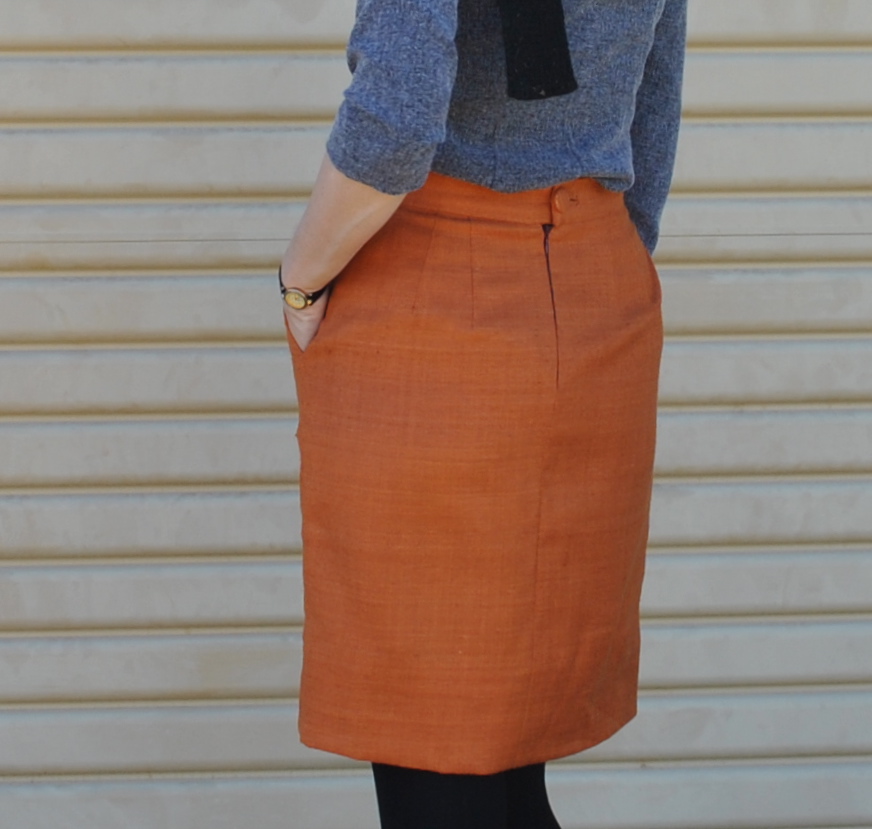
I dyed the finished skirt using 1/4 tsp of iDye in Brown. I’m very happy with this final colour. It is very satisfyingly muddy and richly sludge-y, wouldn’t you say? I would describe it as eggplant, rather than either brown or purple. A sort of deep n’ dirty purple, that reads as a strong chocolate brown on first sight, but still recognisably has that warm purple-y base underneath when you look at it more closely.
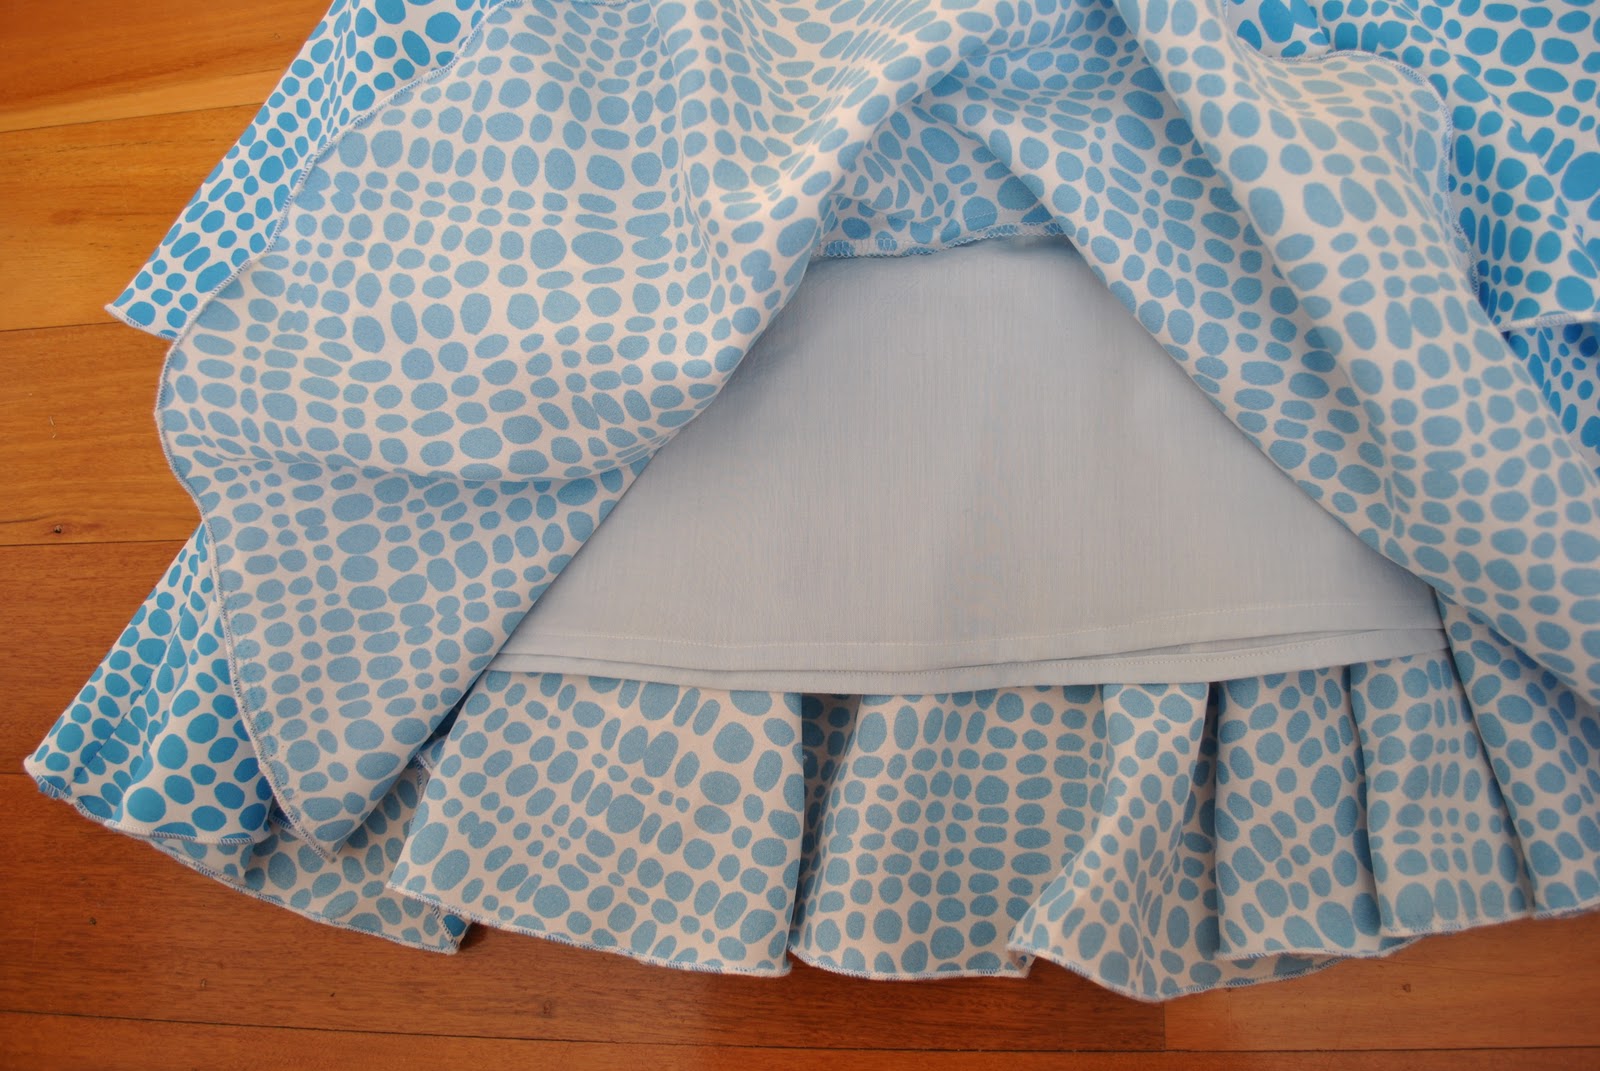
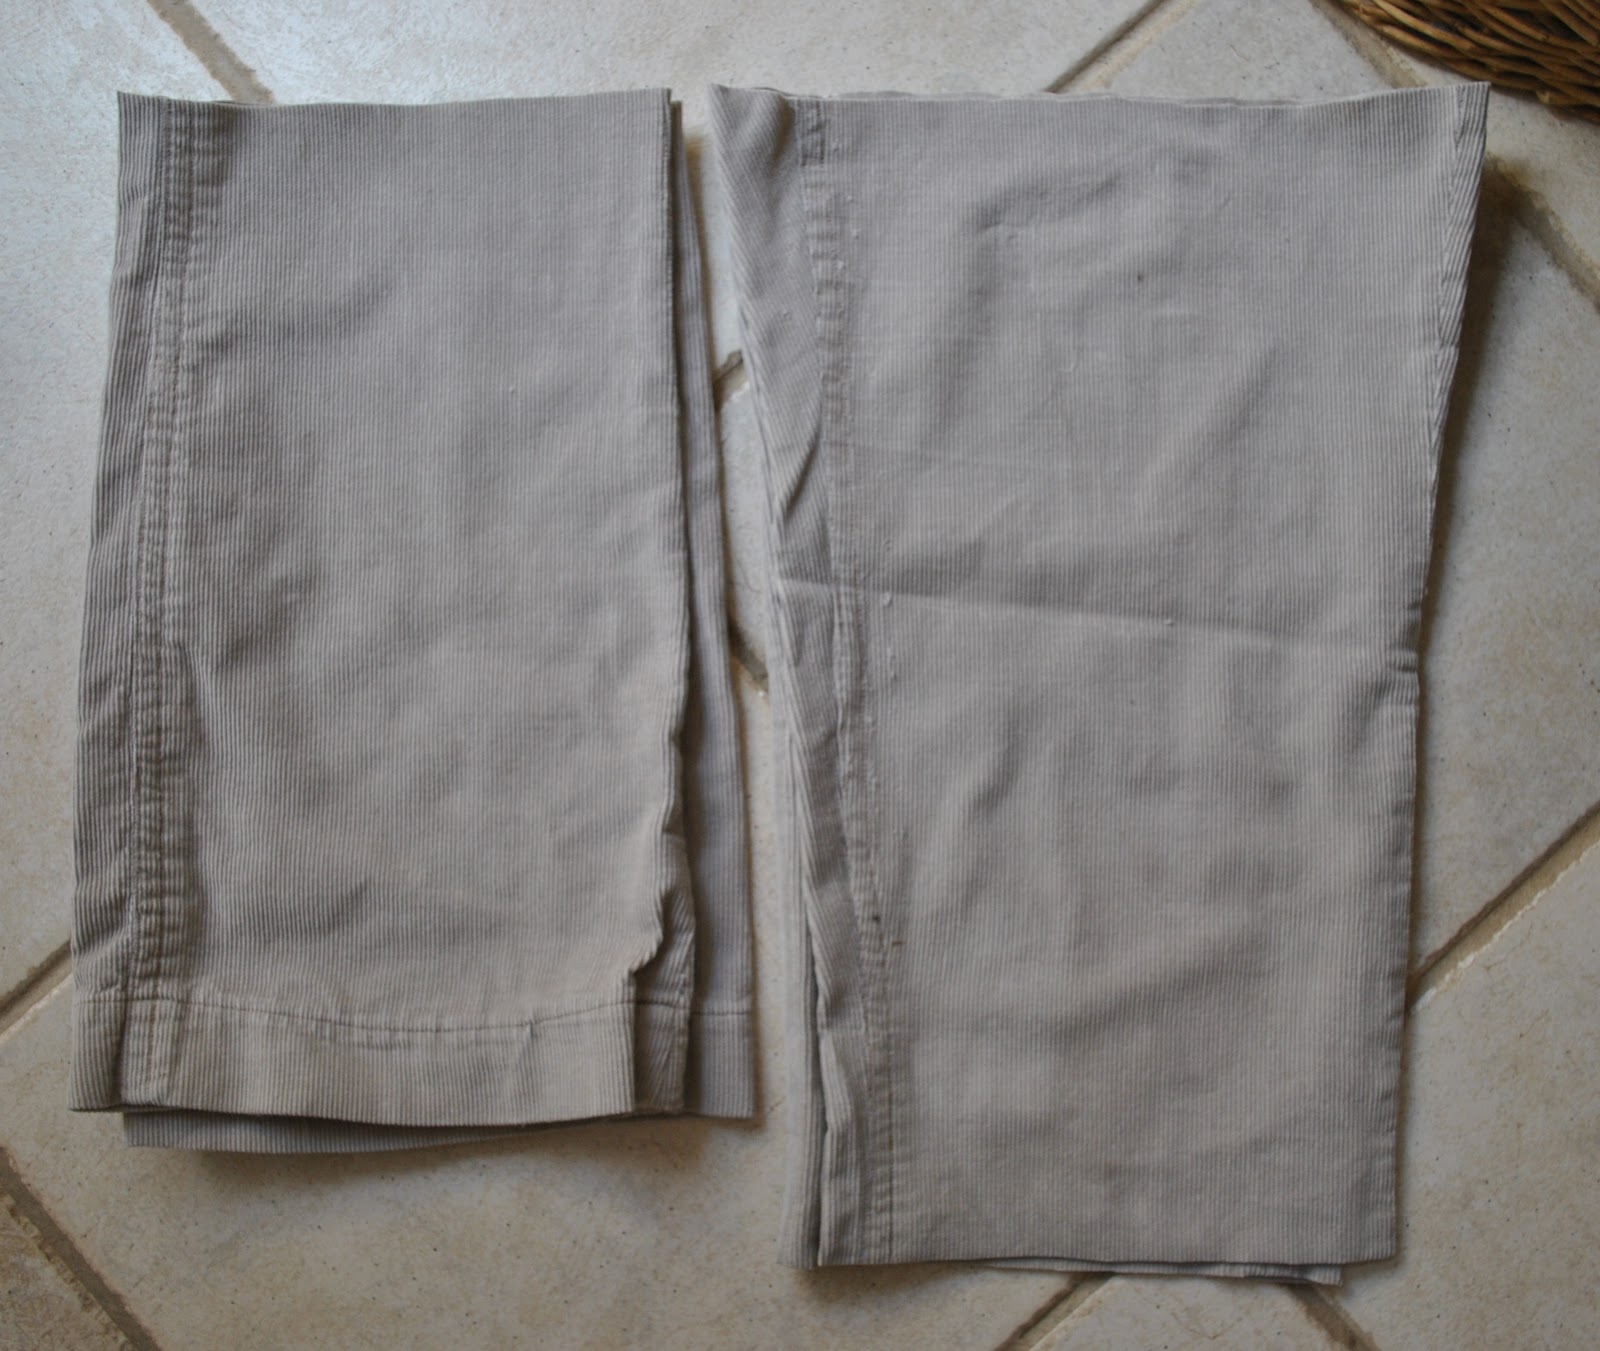
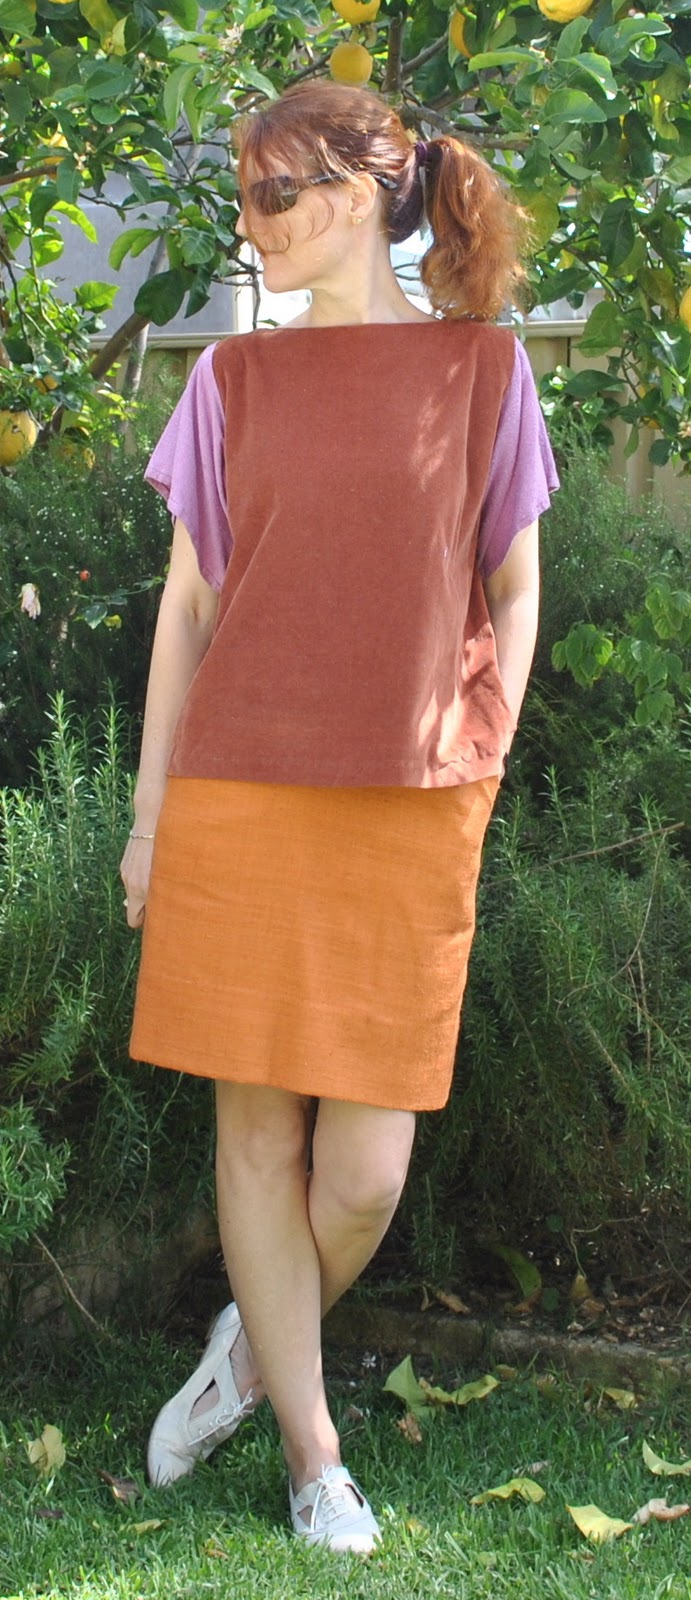
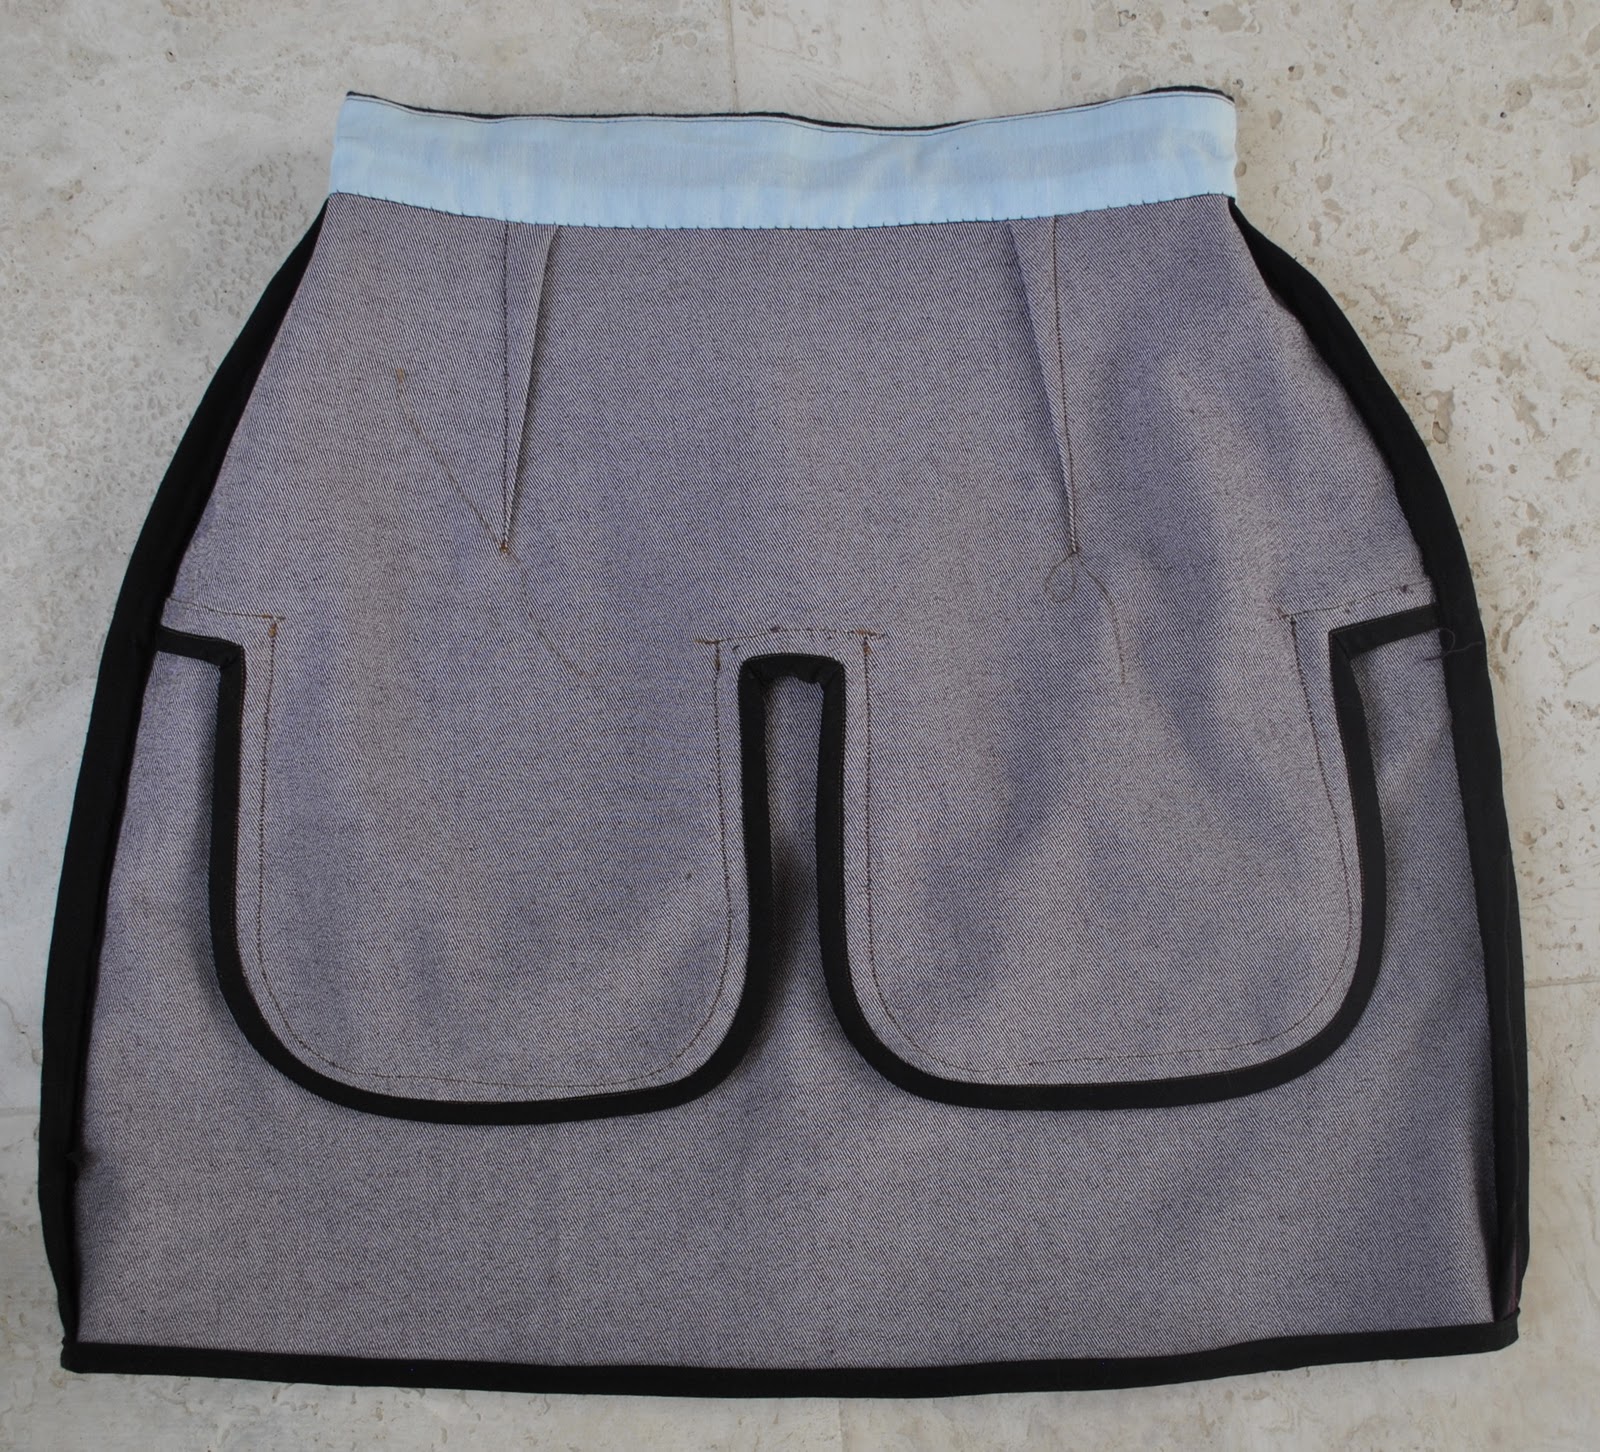
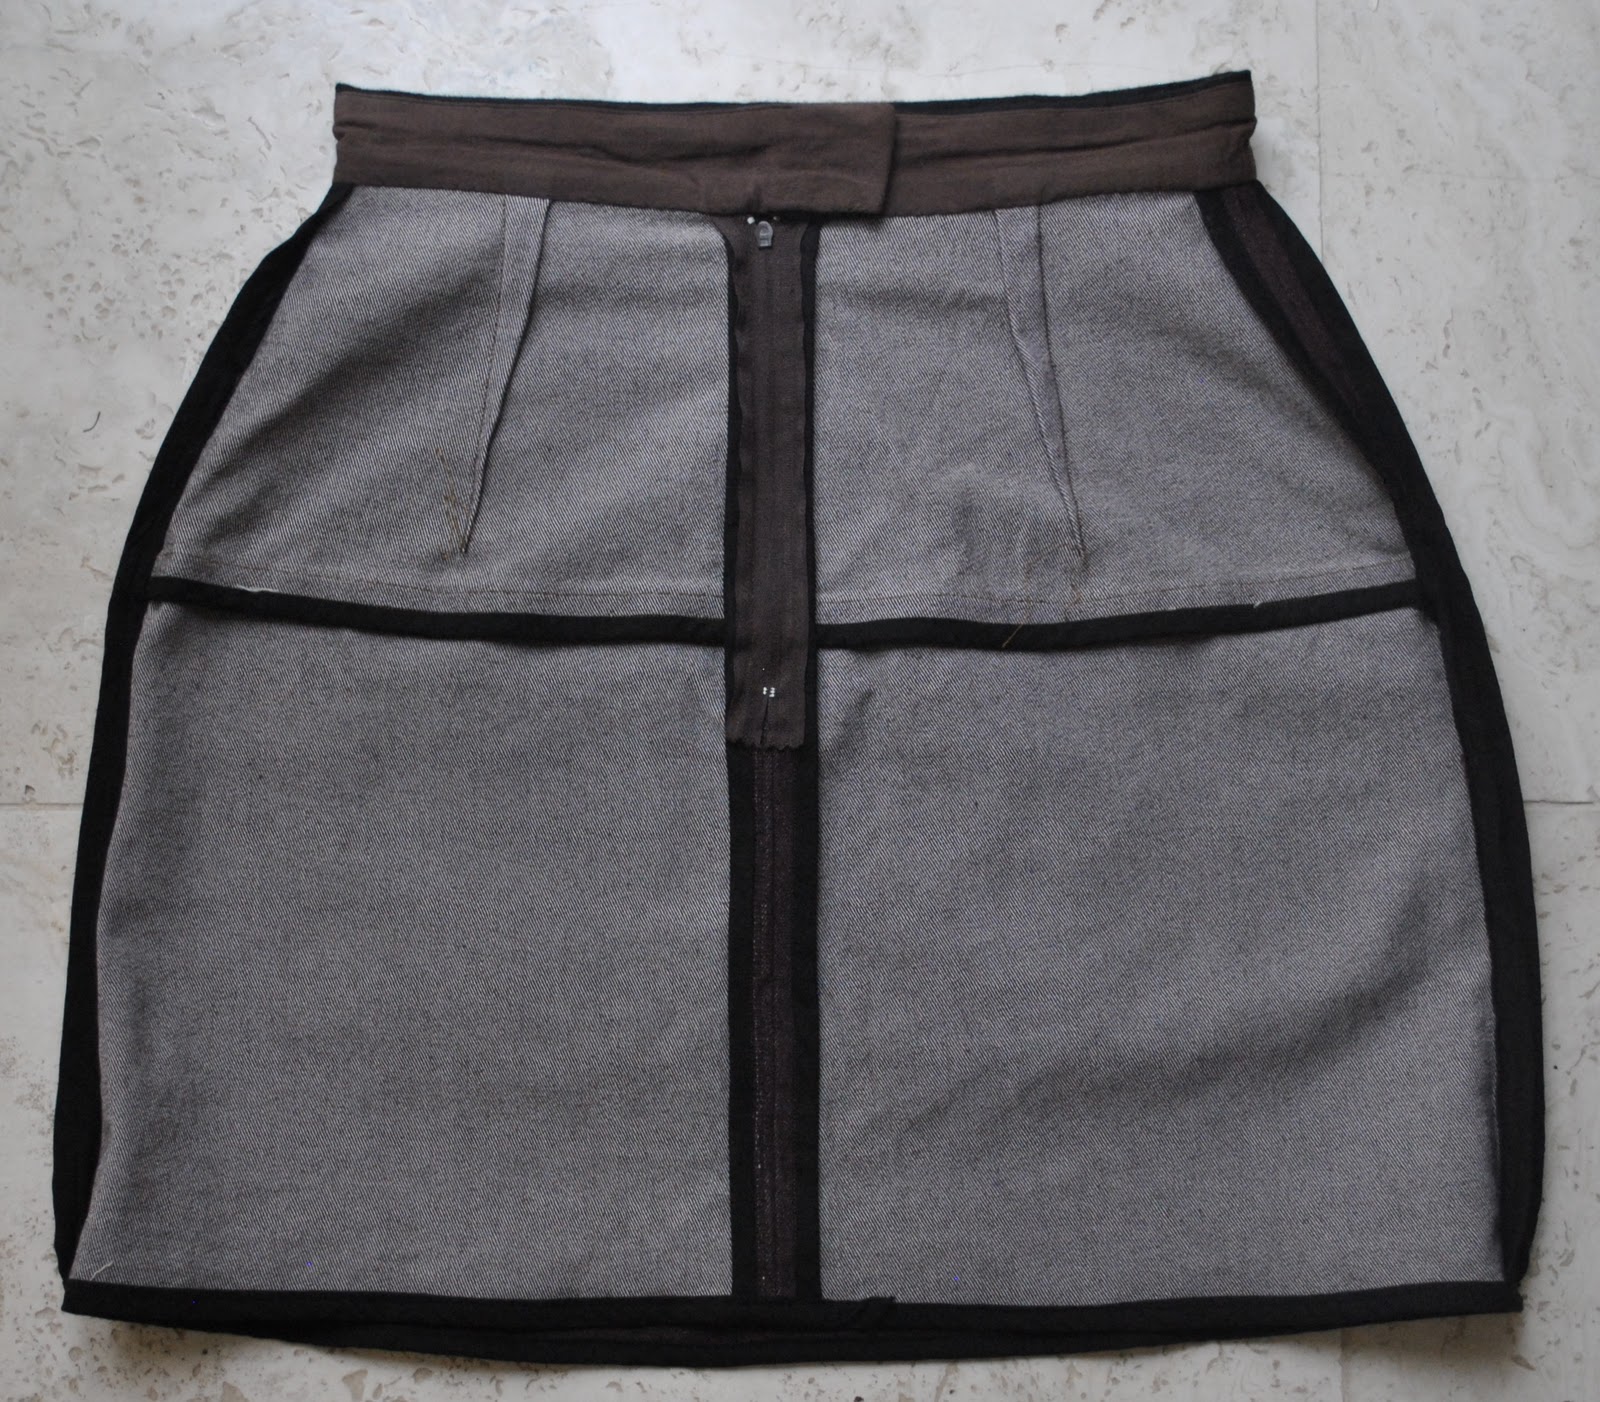
(at left: front, before dyeing, at right; the back after dyeing)


Inside the skirt: at left; the front, before dyeing, and see the pale blue waistband facing? and at right, the back view after dyeing the skirt… that 100% cotton waistband really picked up the brown dye beautifully compared to the denim, which having some synthetic elastane in it didn’t pick up the colour quite as vividly….
Details:
Skirt; Vogue 1247, purple stretch denim and black corduroy waistband; dyed with iDye in Brown
Top; top “a” from Unique Clothes Any Way You Like by Natsuno Hiraiwa, of white cotton, details here
Sandals; Micam by Joanne Mercer, from Hobbs shoes, details here
I like the HongKong seaming in the skirt and the French seaming in the top; that the instructions are encouraging users to finish their garment to high standards.
Would you sew it again? Would you recommend it to others?
For interest: the lightning vs. fireworks over Perth on Australia Day…