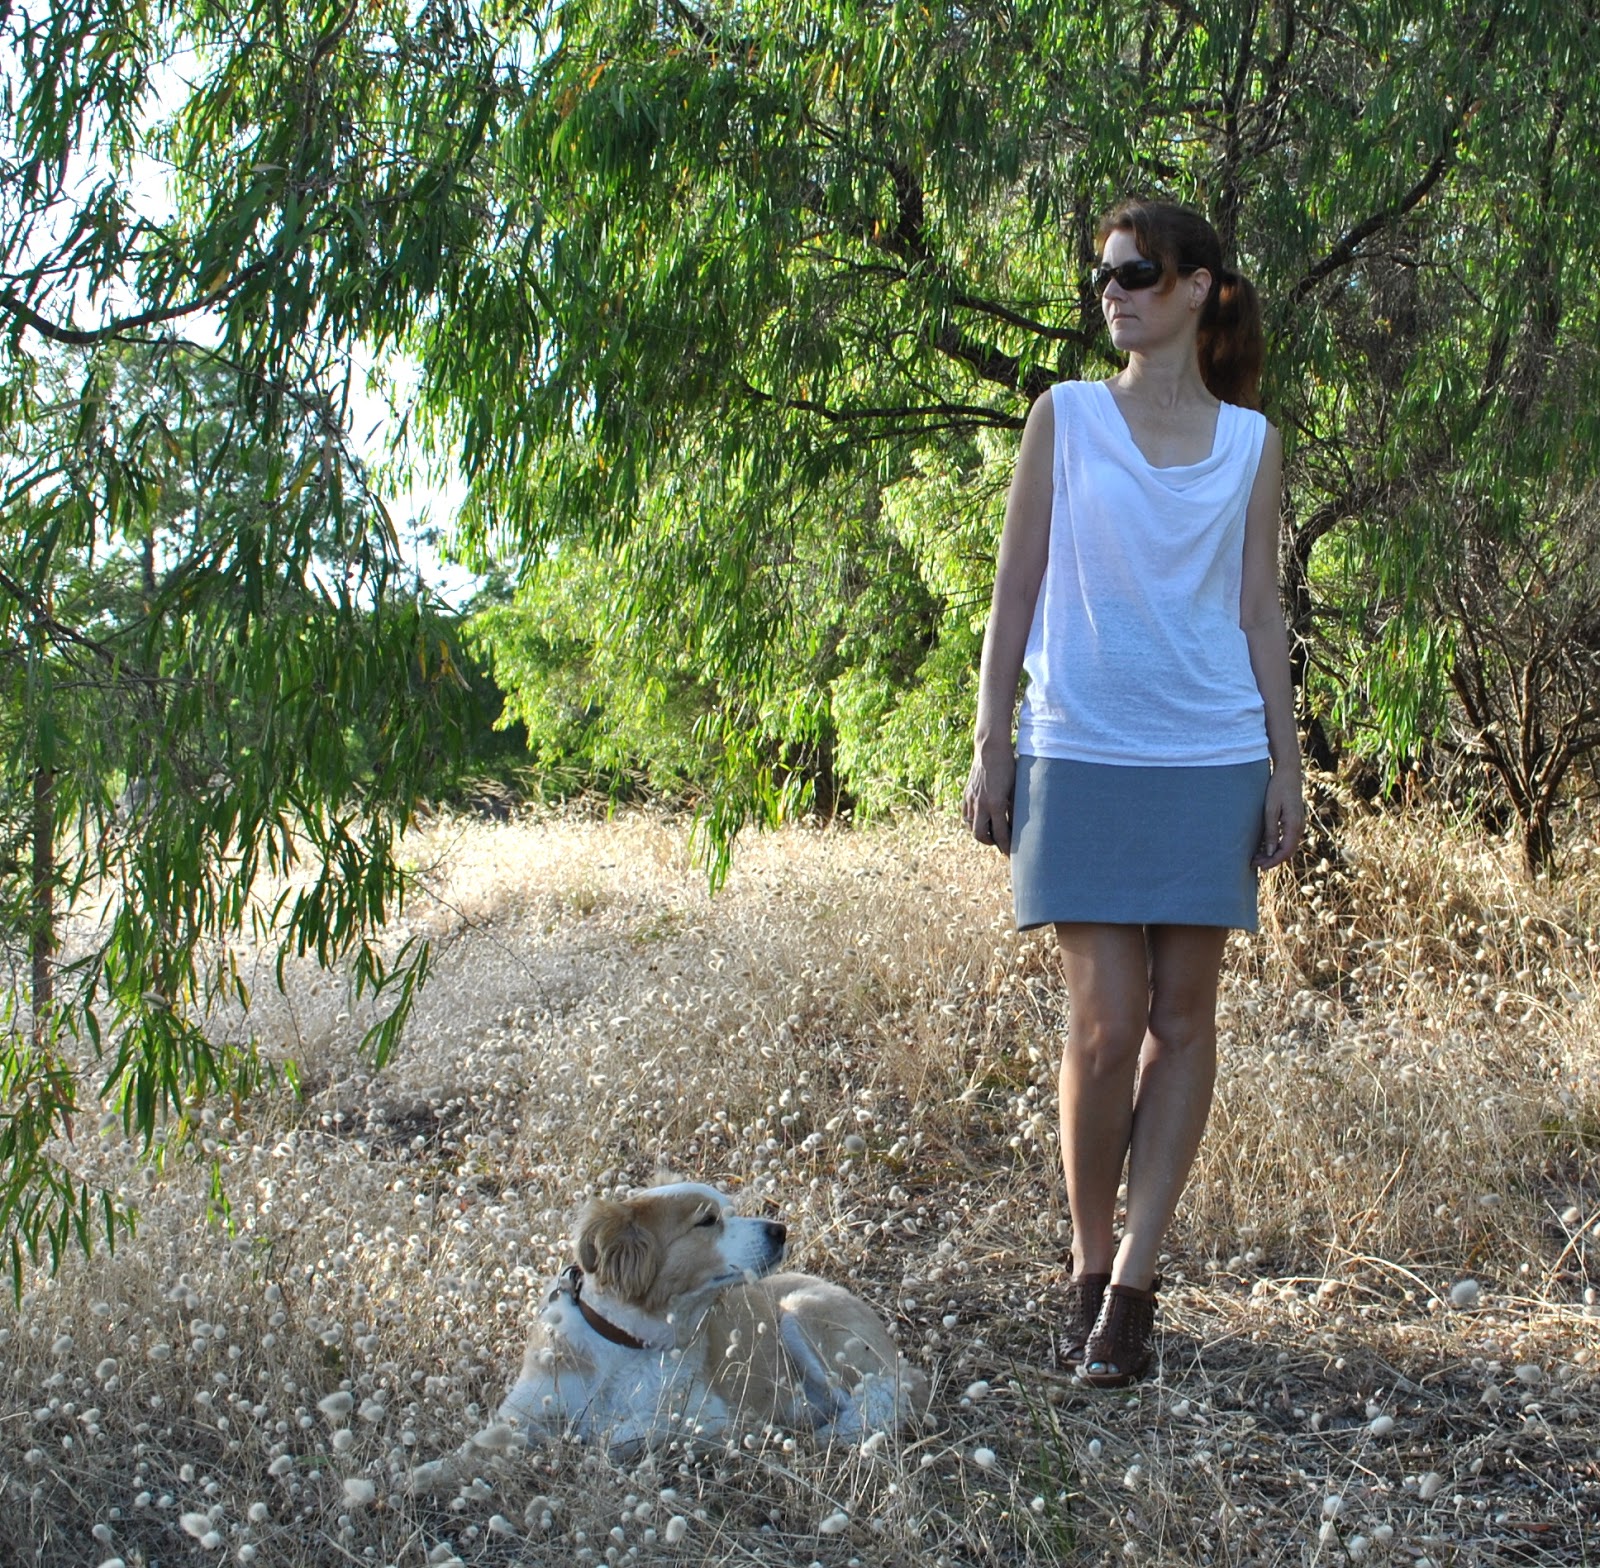
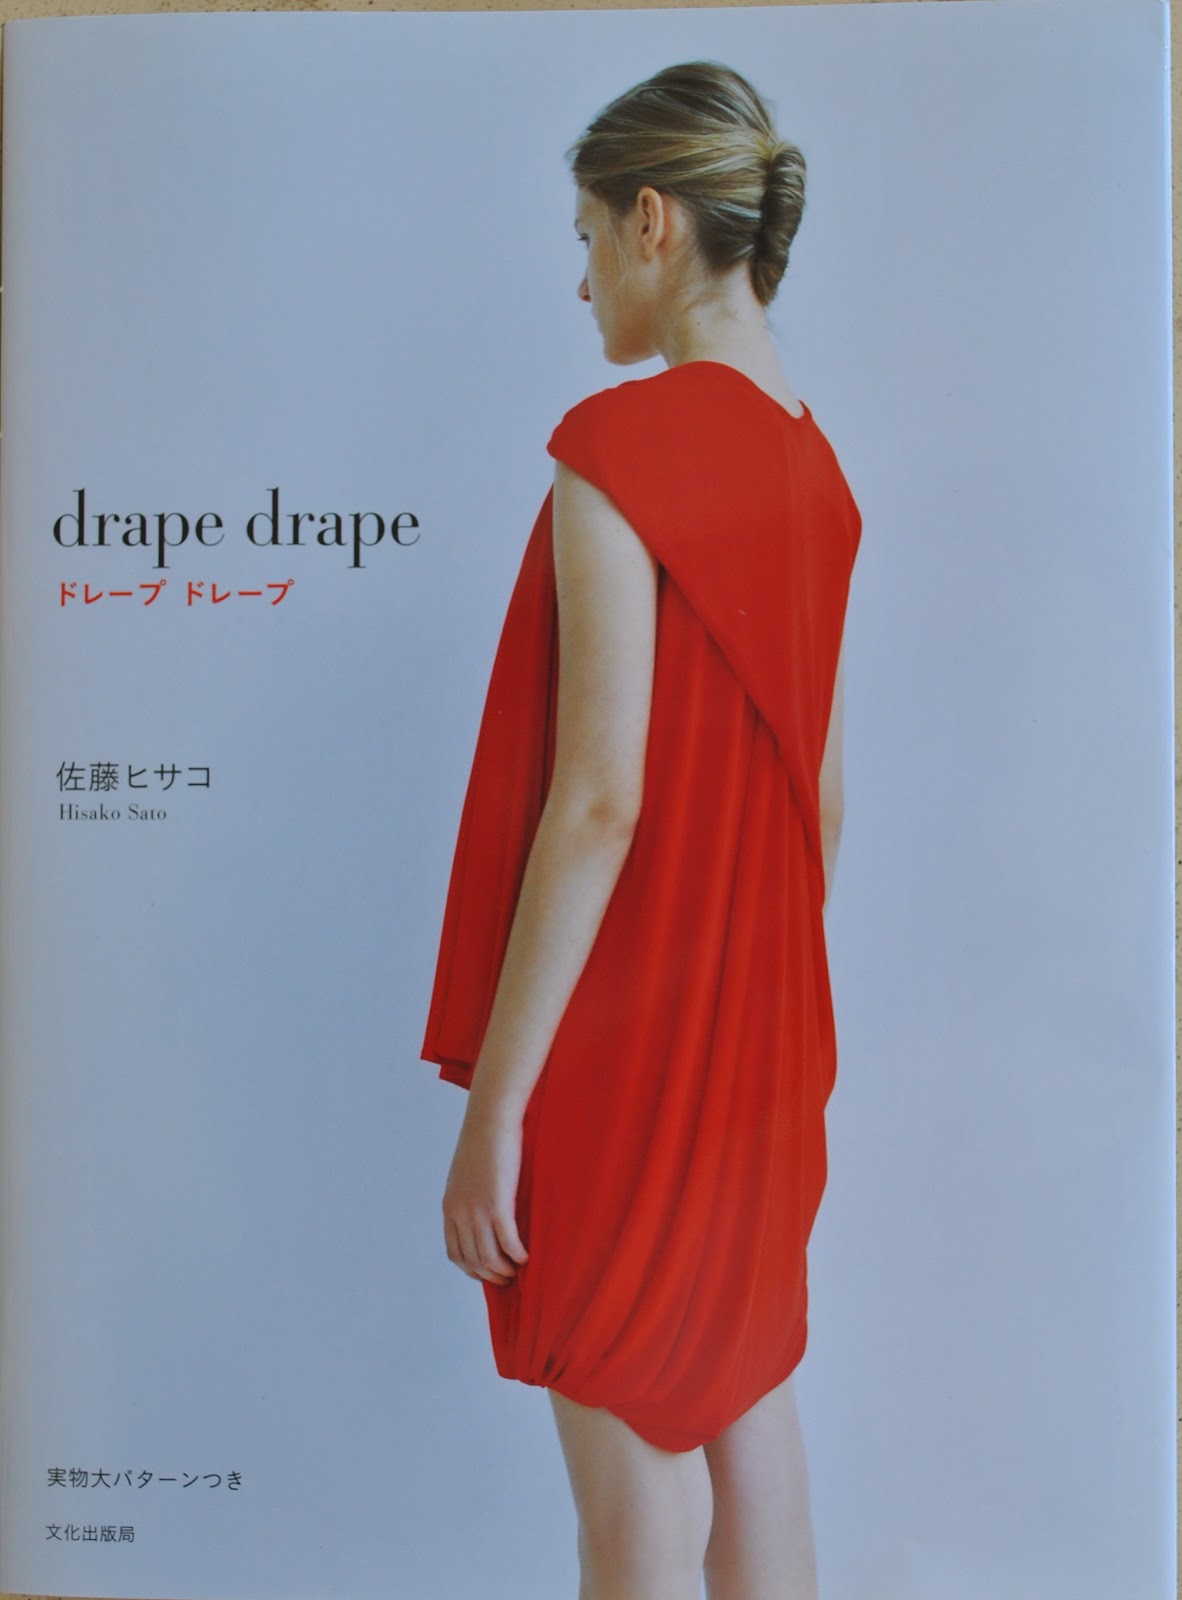
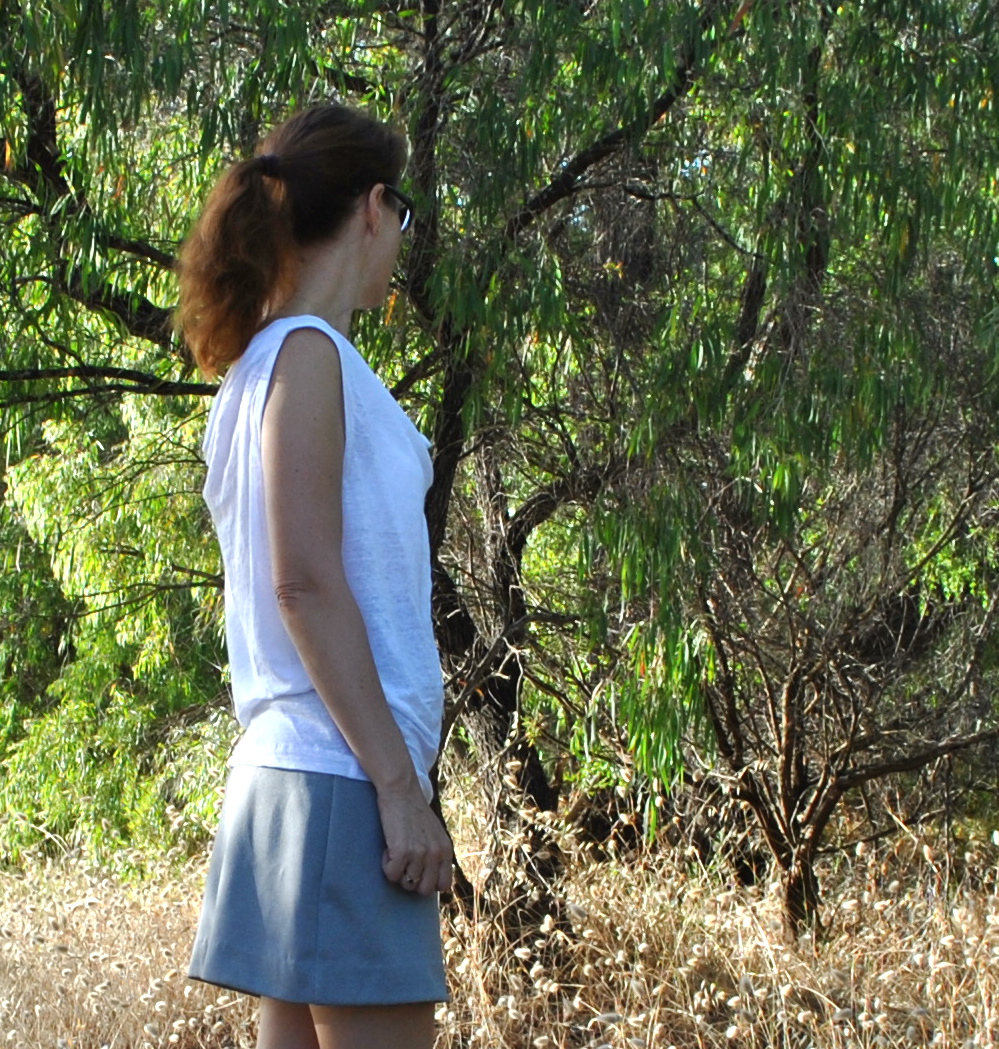
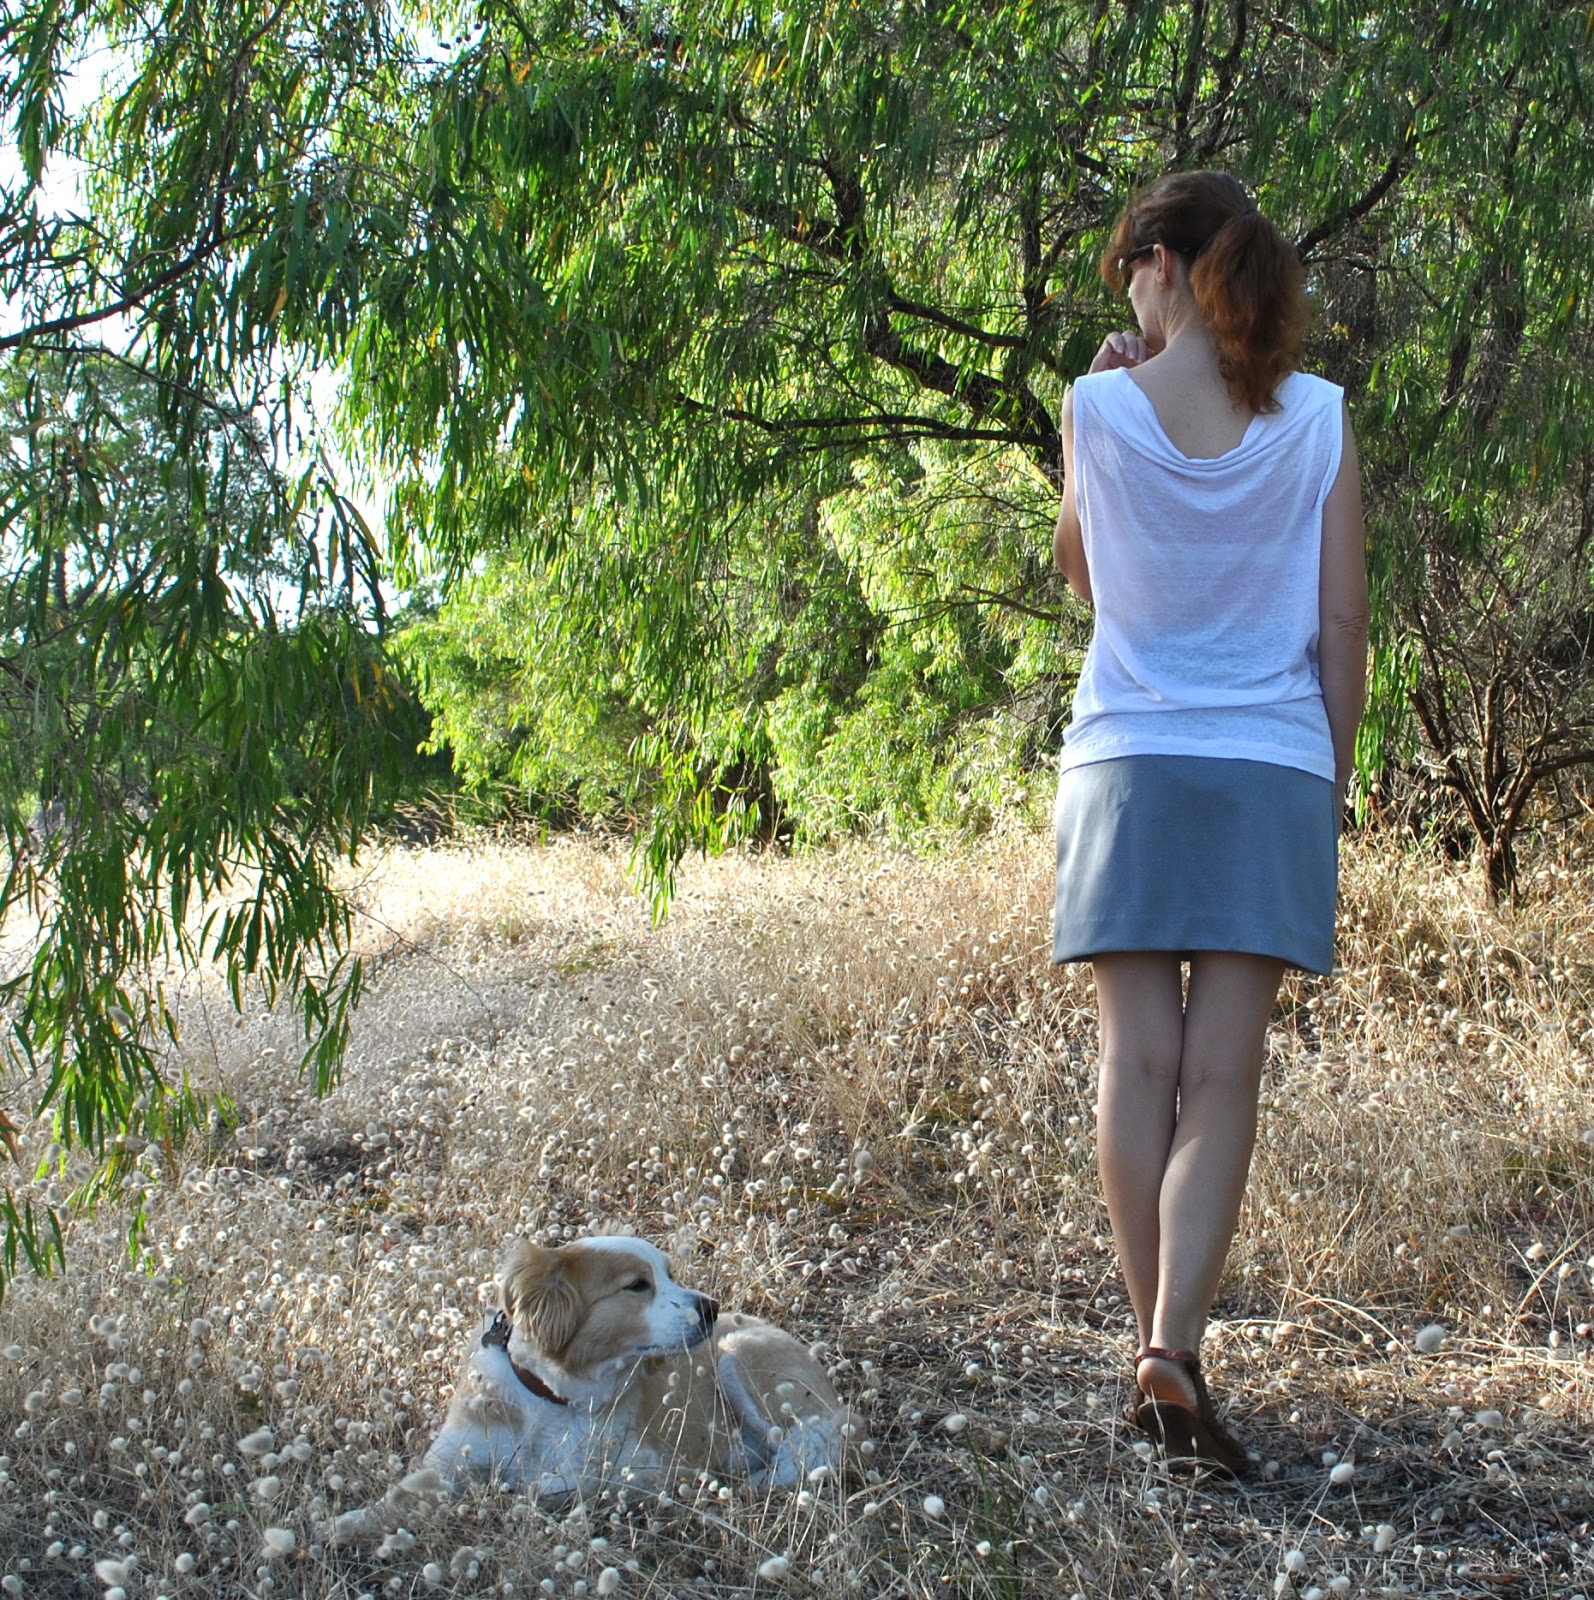
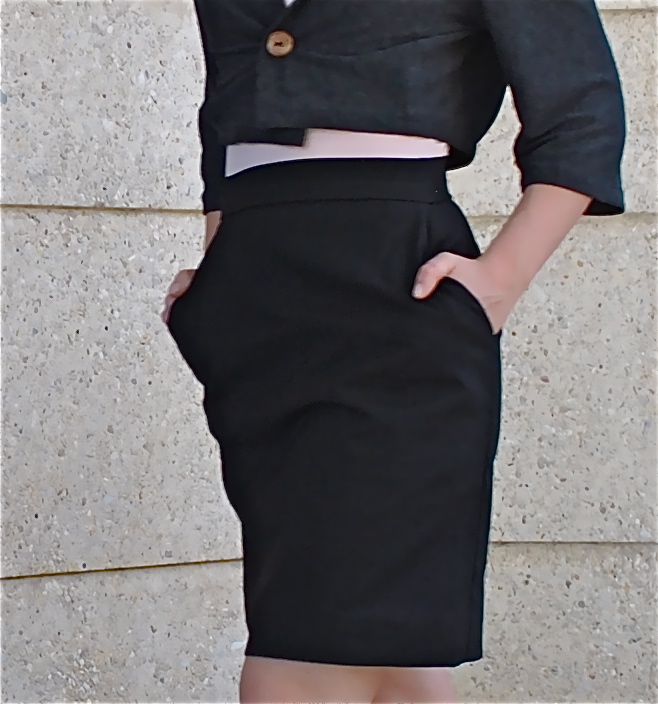
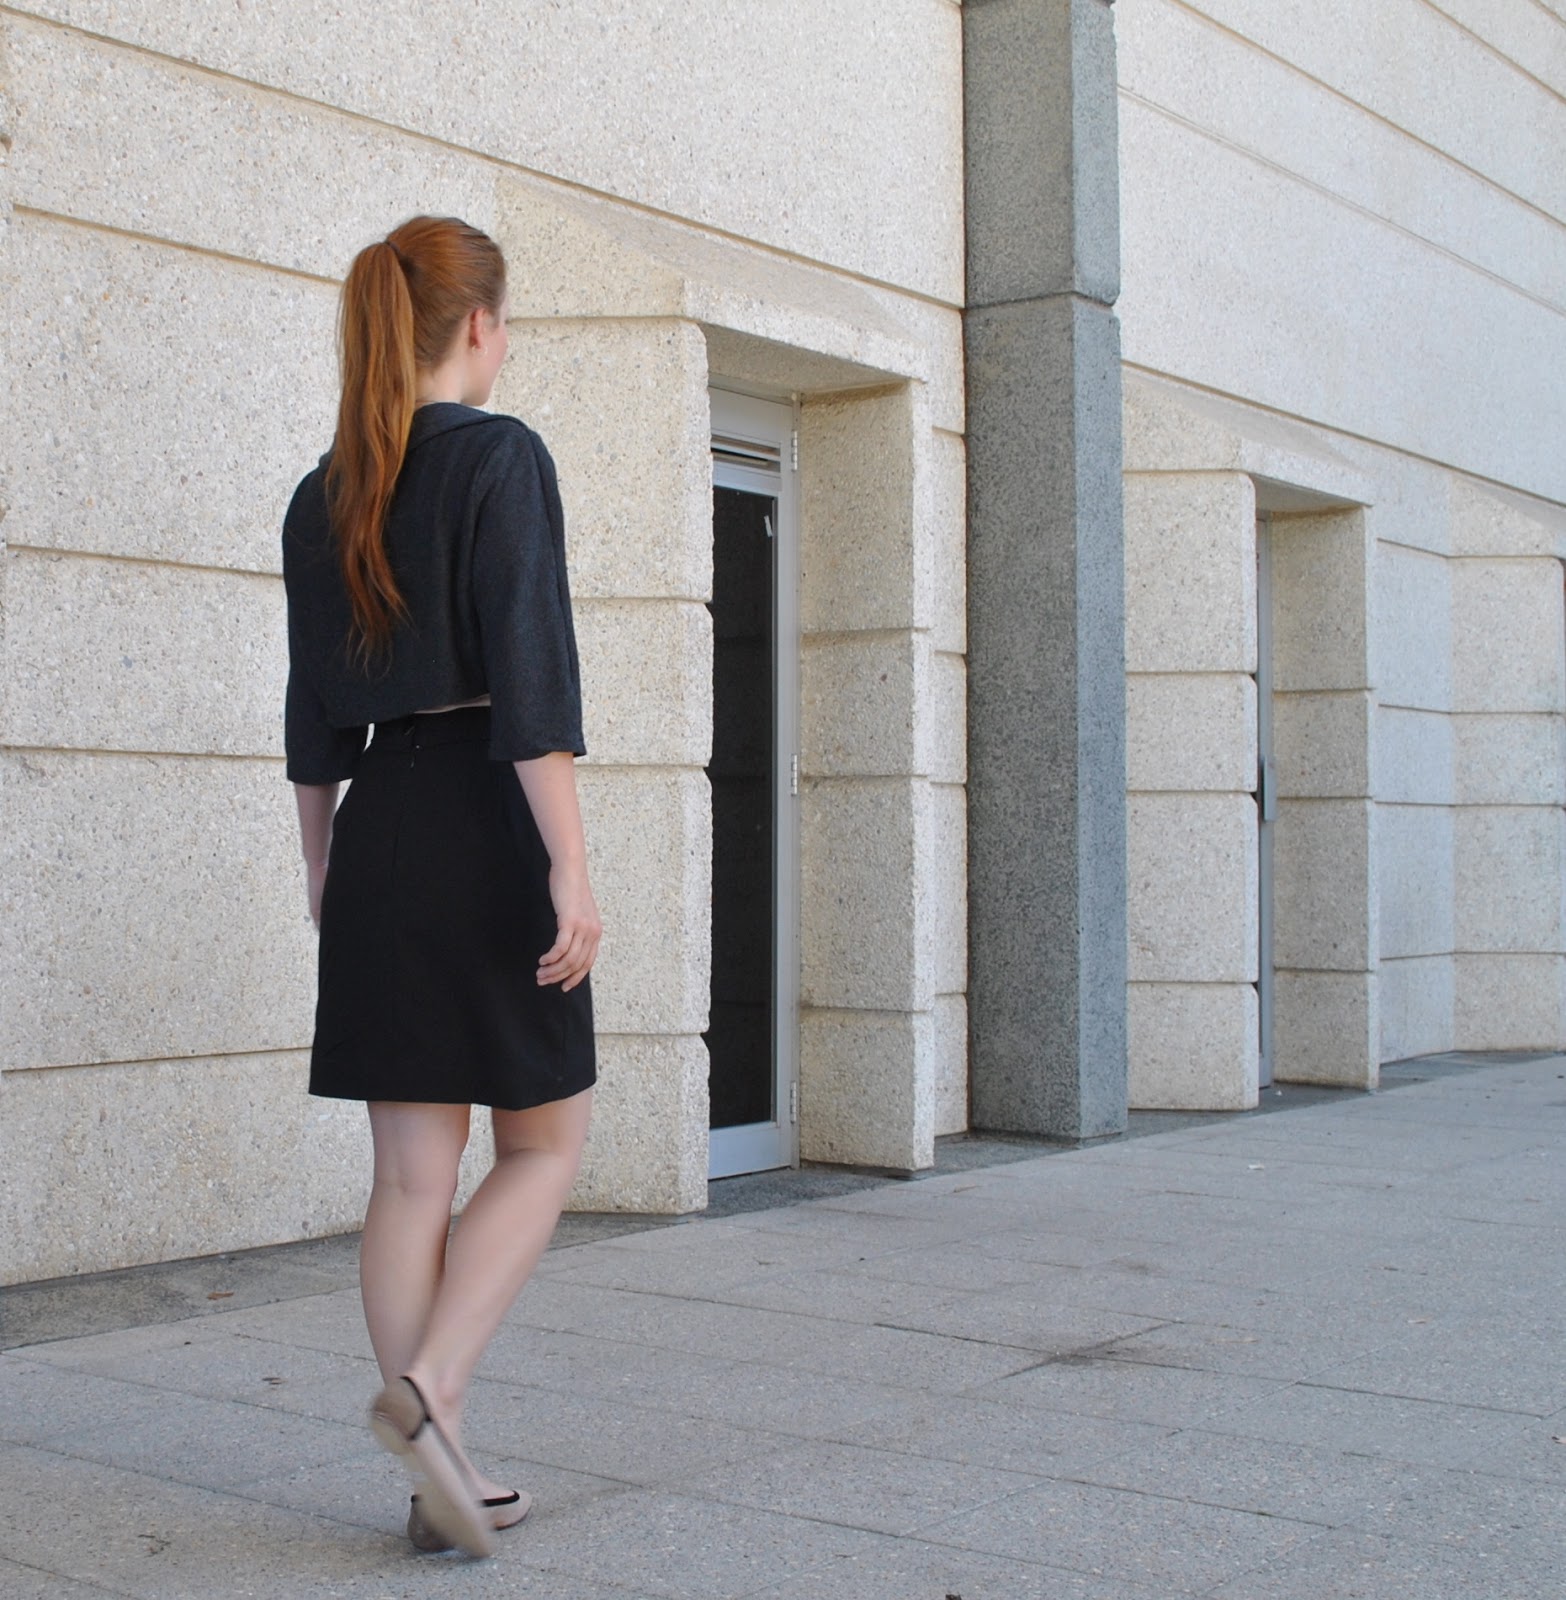
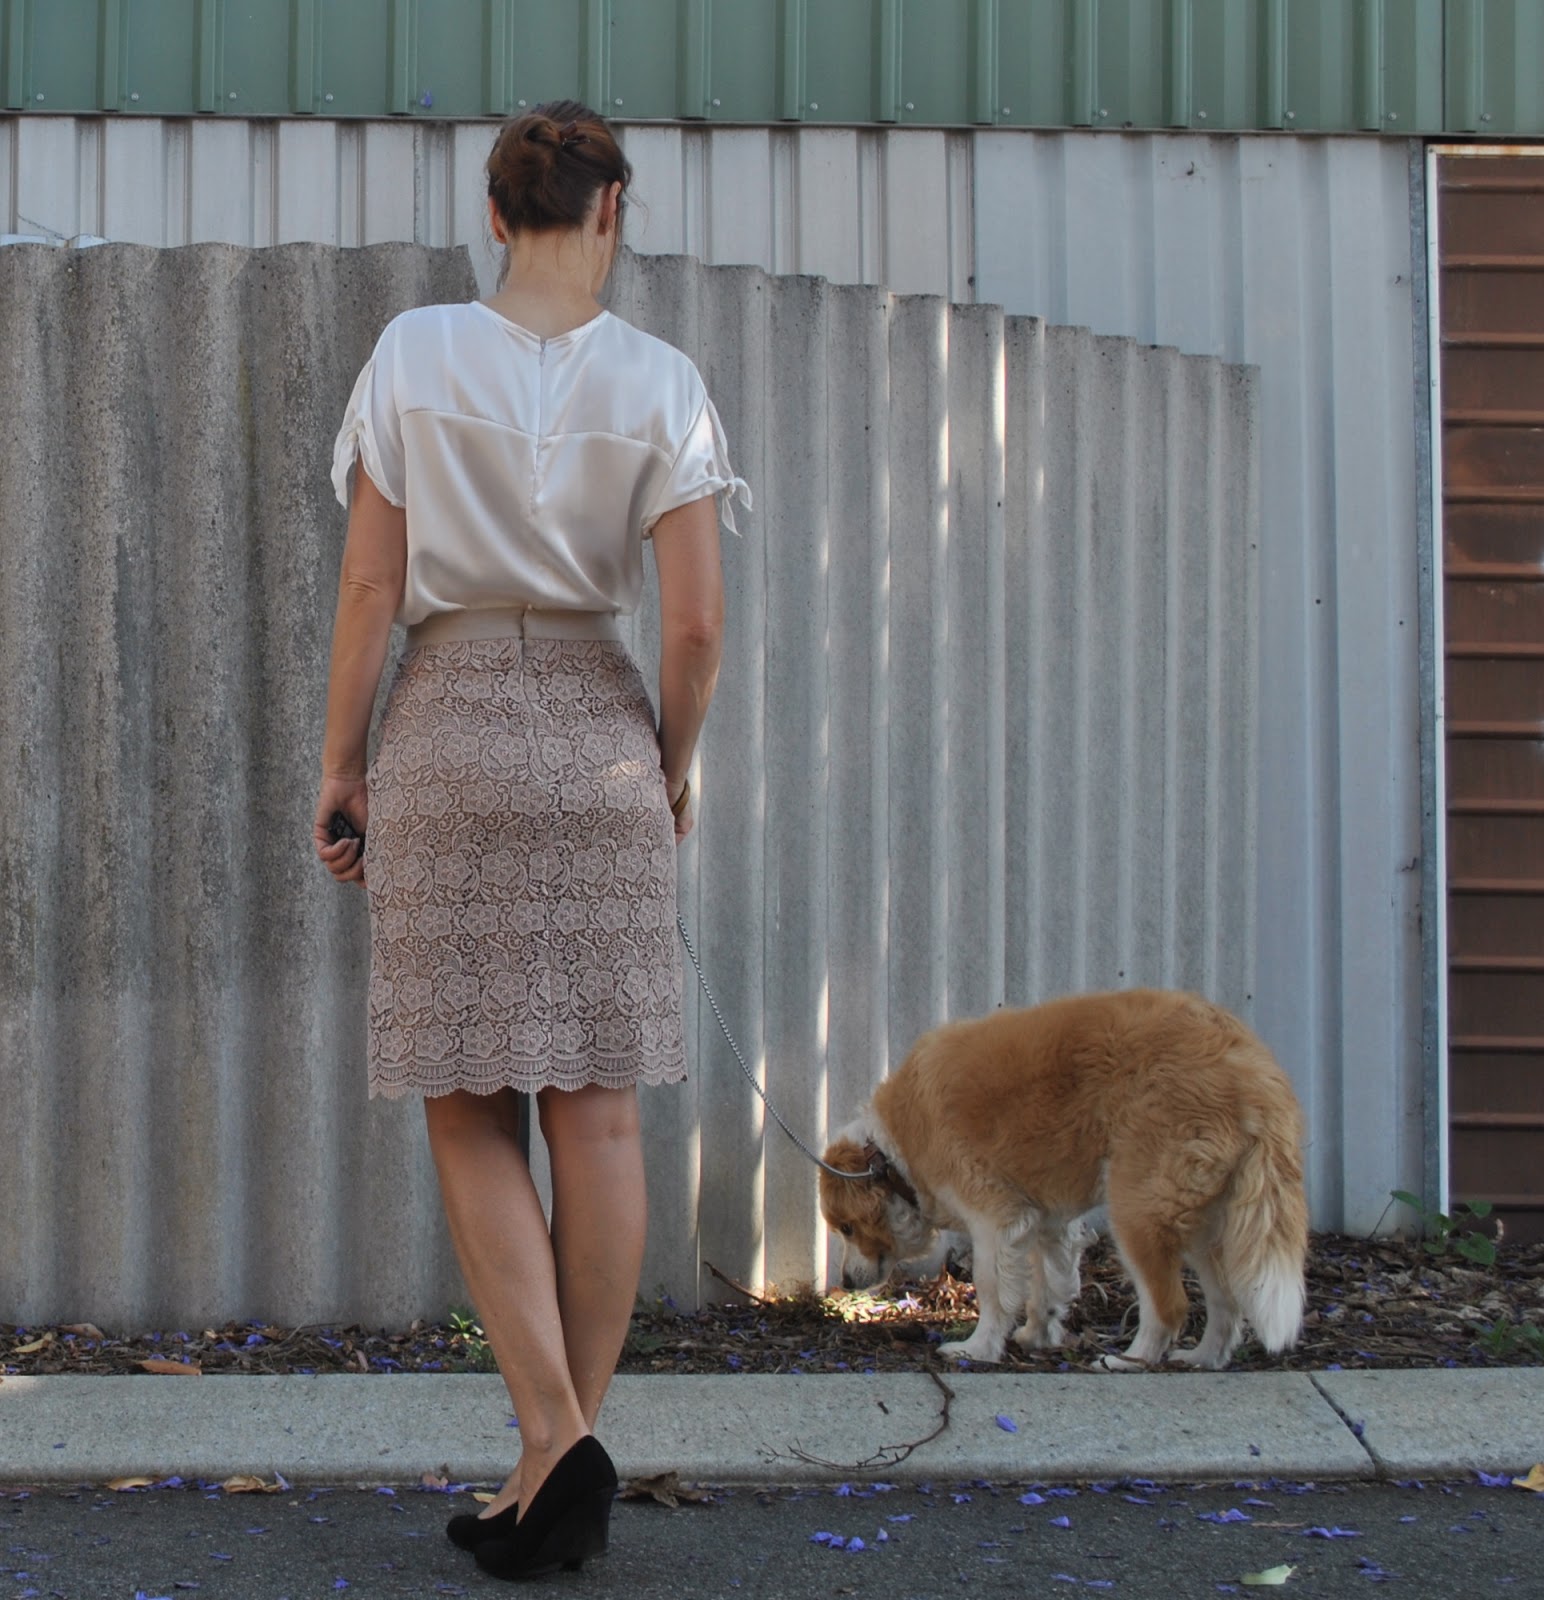
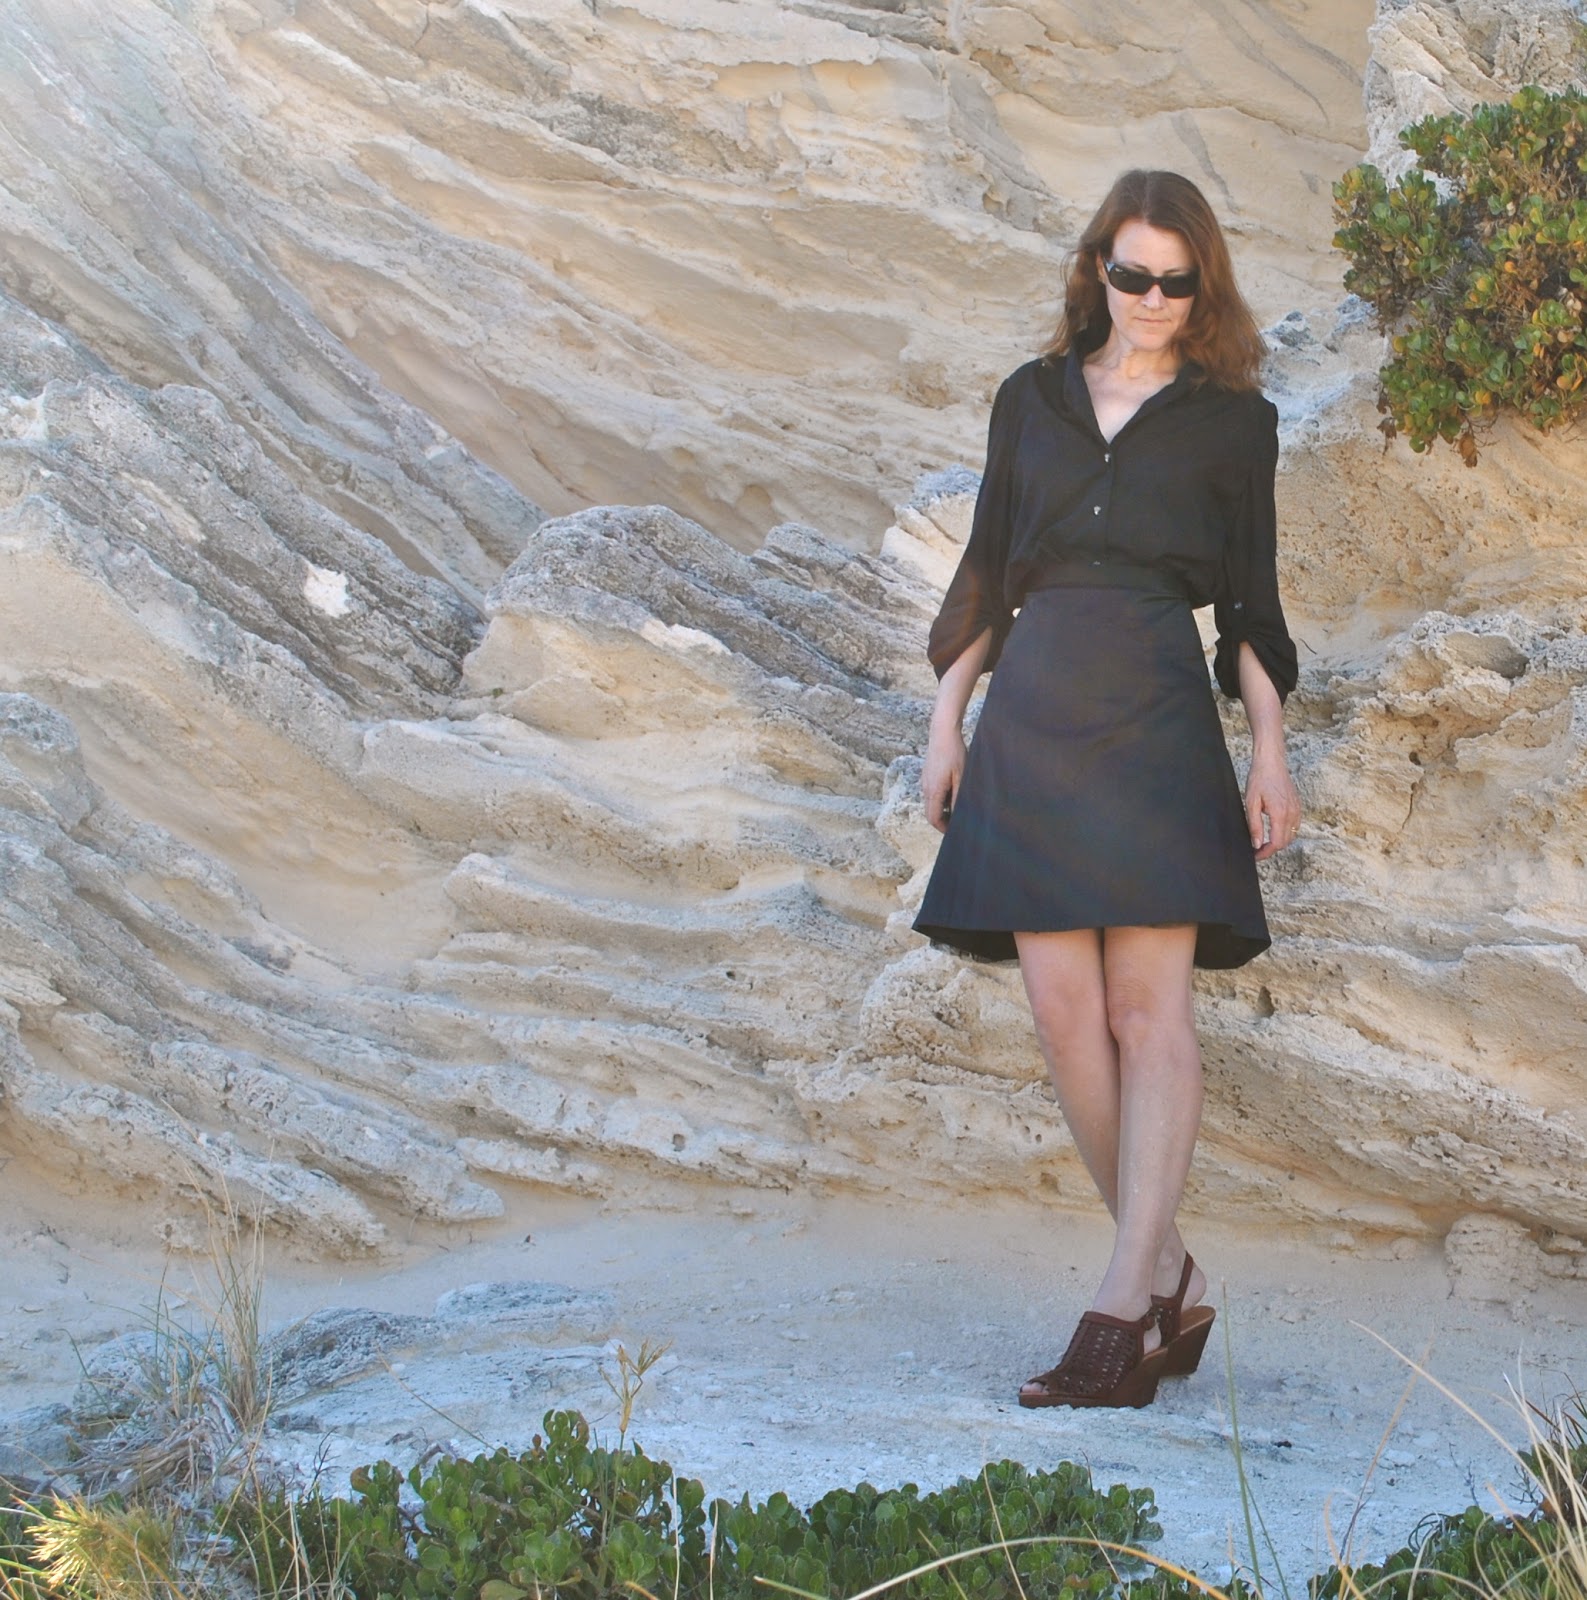
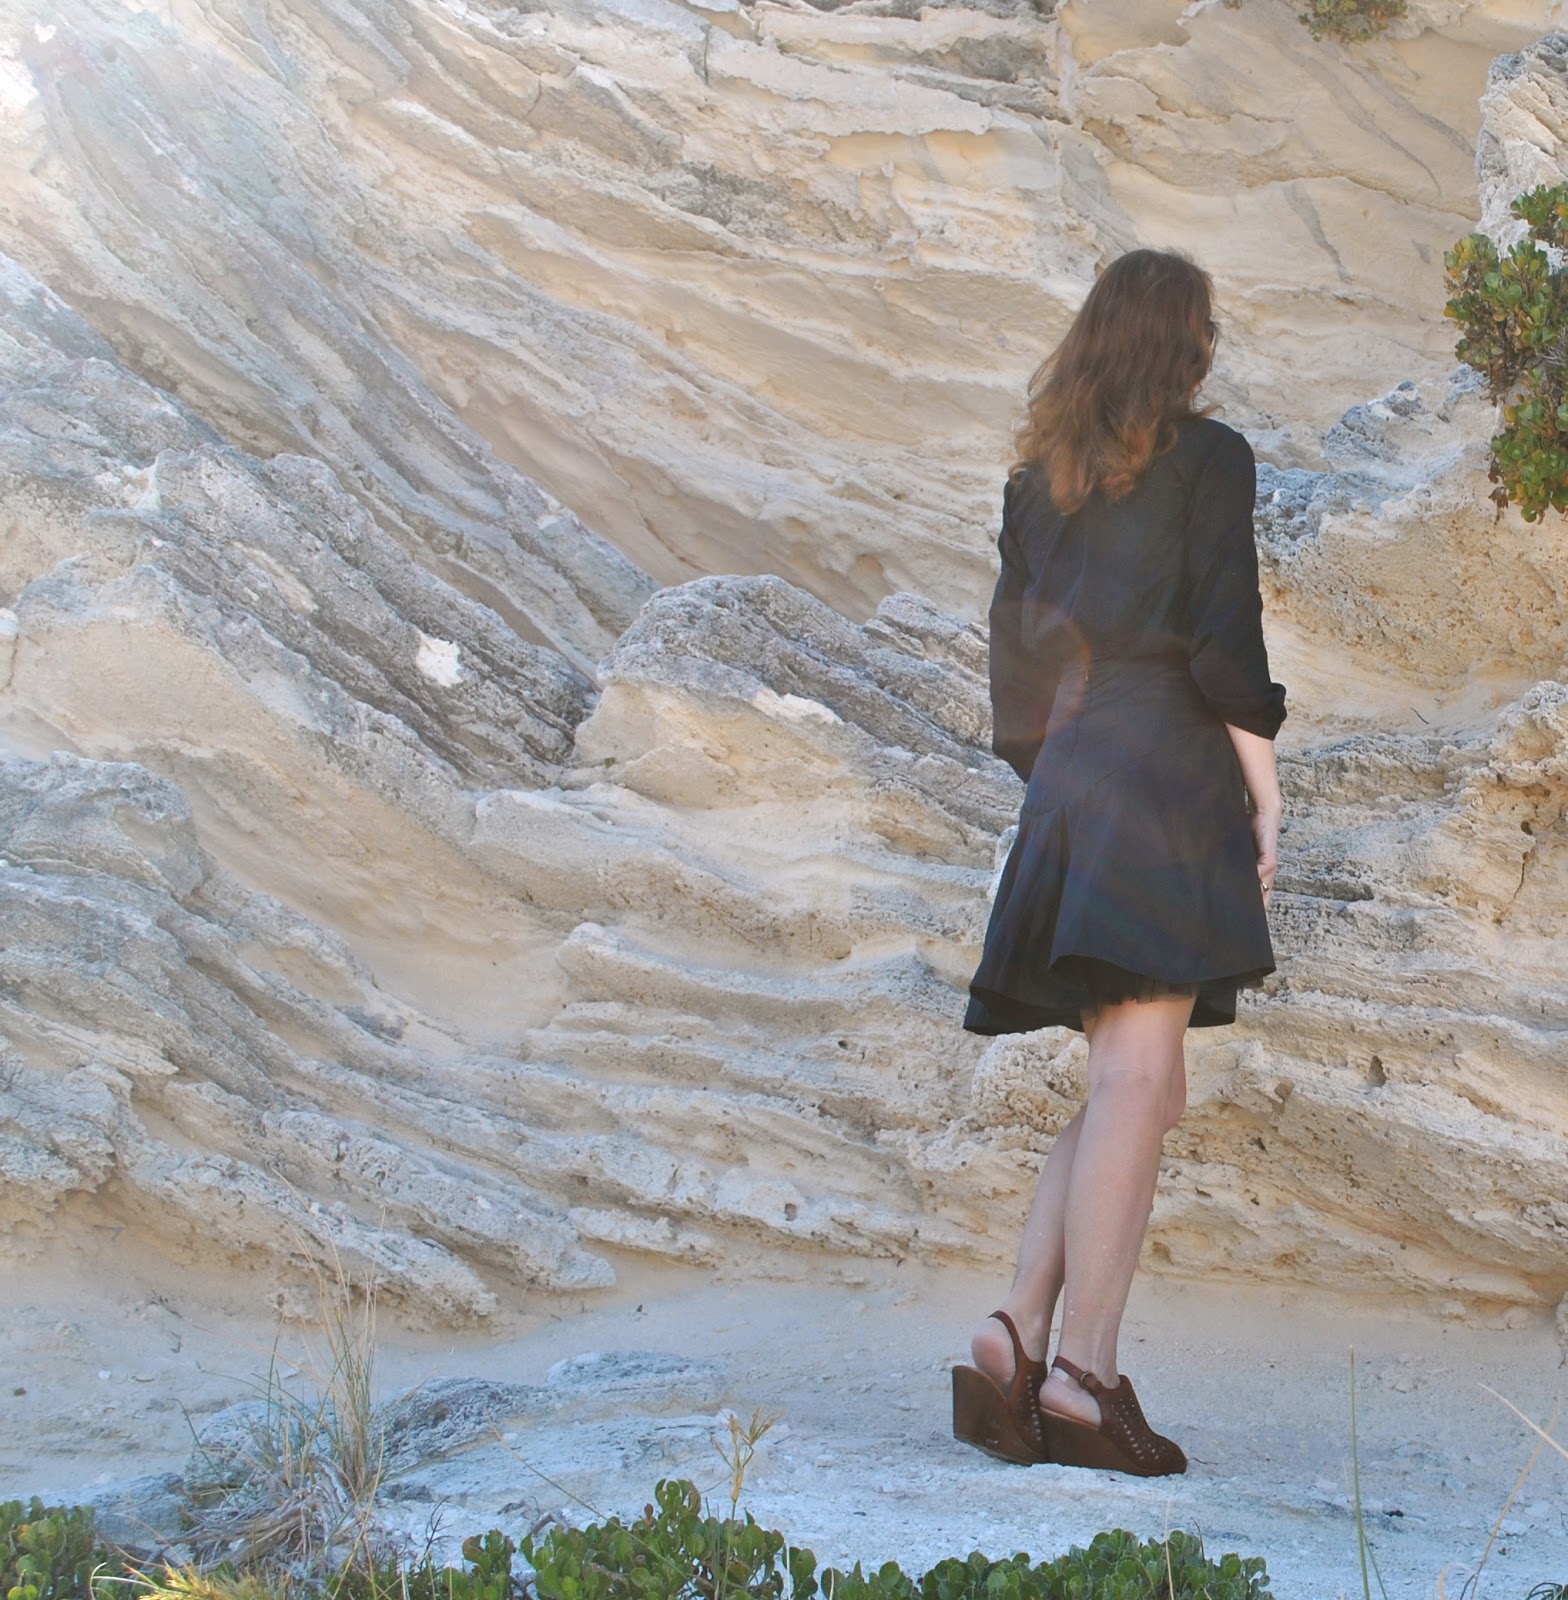
 I have made a new top and a new skirt! and am combining the two new garments in one post; since they kinda go together so well and all, and actually the skirt is so… well, bland and basic that frankly it doesn’t deserve its own post. My top is a modified version of the loose drape top, pattern no. 1 from drape drape, by Hisako Sato. I used a soft slightly crinkly white cotton jersey, bought from the Fabric Store in Melbourne during my most recent trip. Regarding the design; I really loved those lovely soft drapes of that front and back neckline, however, like JenC noted in a comment, this top made up as per the pattern is a … er, raaaather revealing garment. As in, very very revealing. The photographs in the book have been carefully selected, but it’s plain to see that the model is a hair’s breadth away from being topless. And more, the top would be falling off one’s shoulders, only like, all the time.
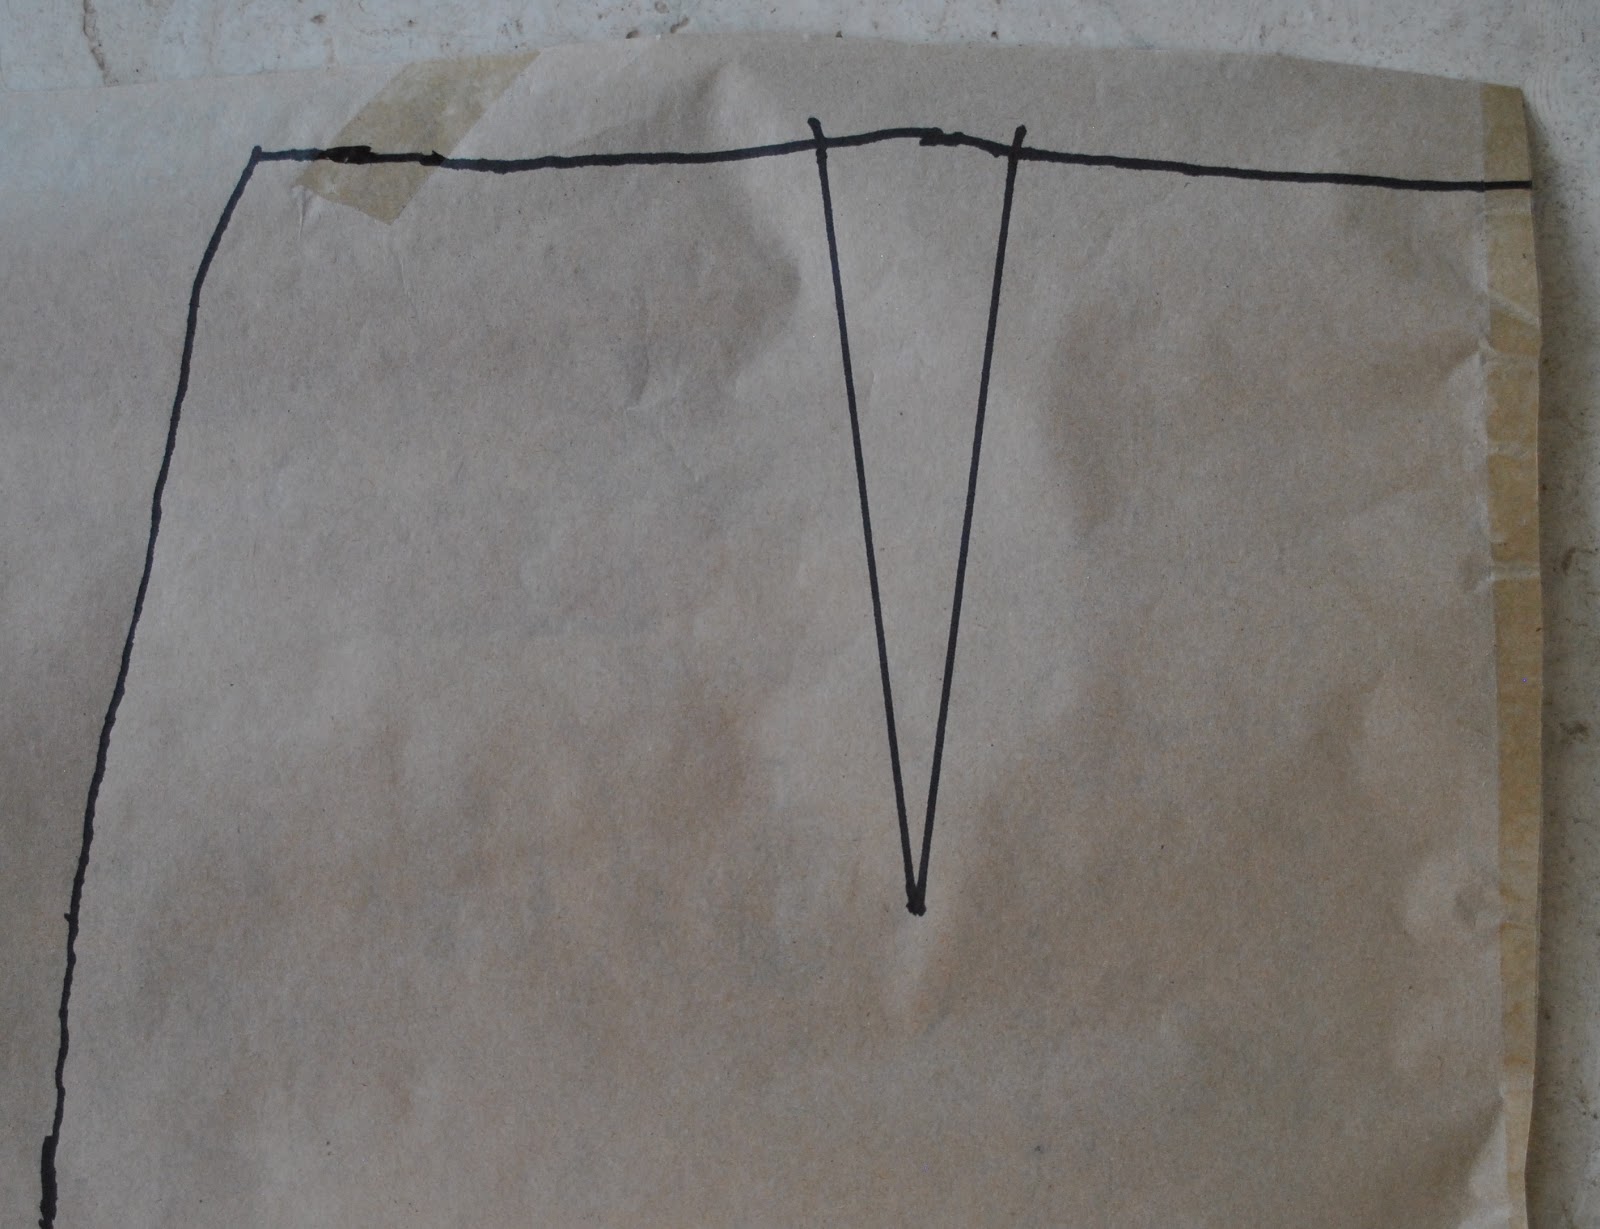
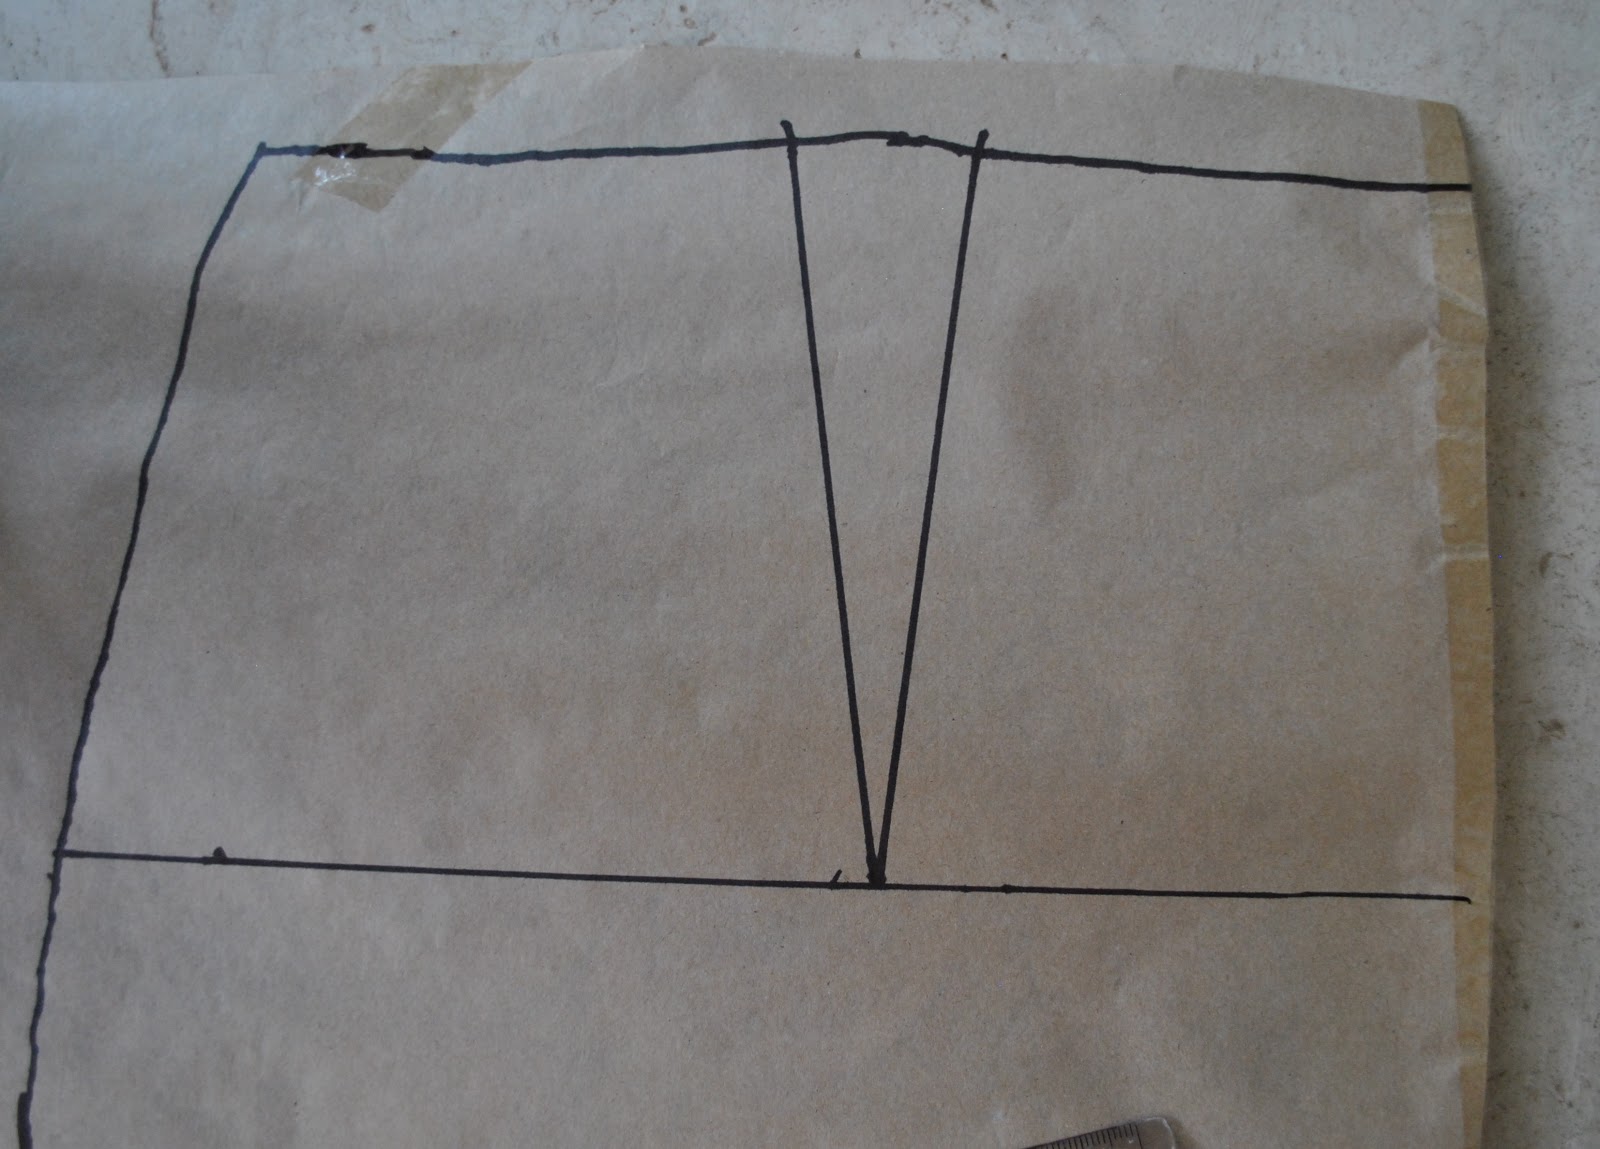
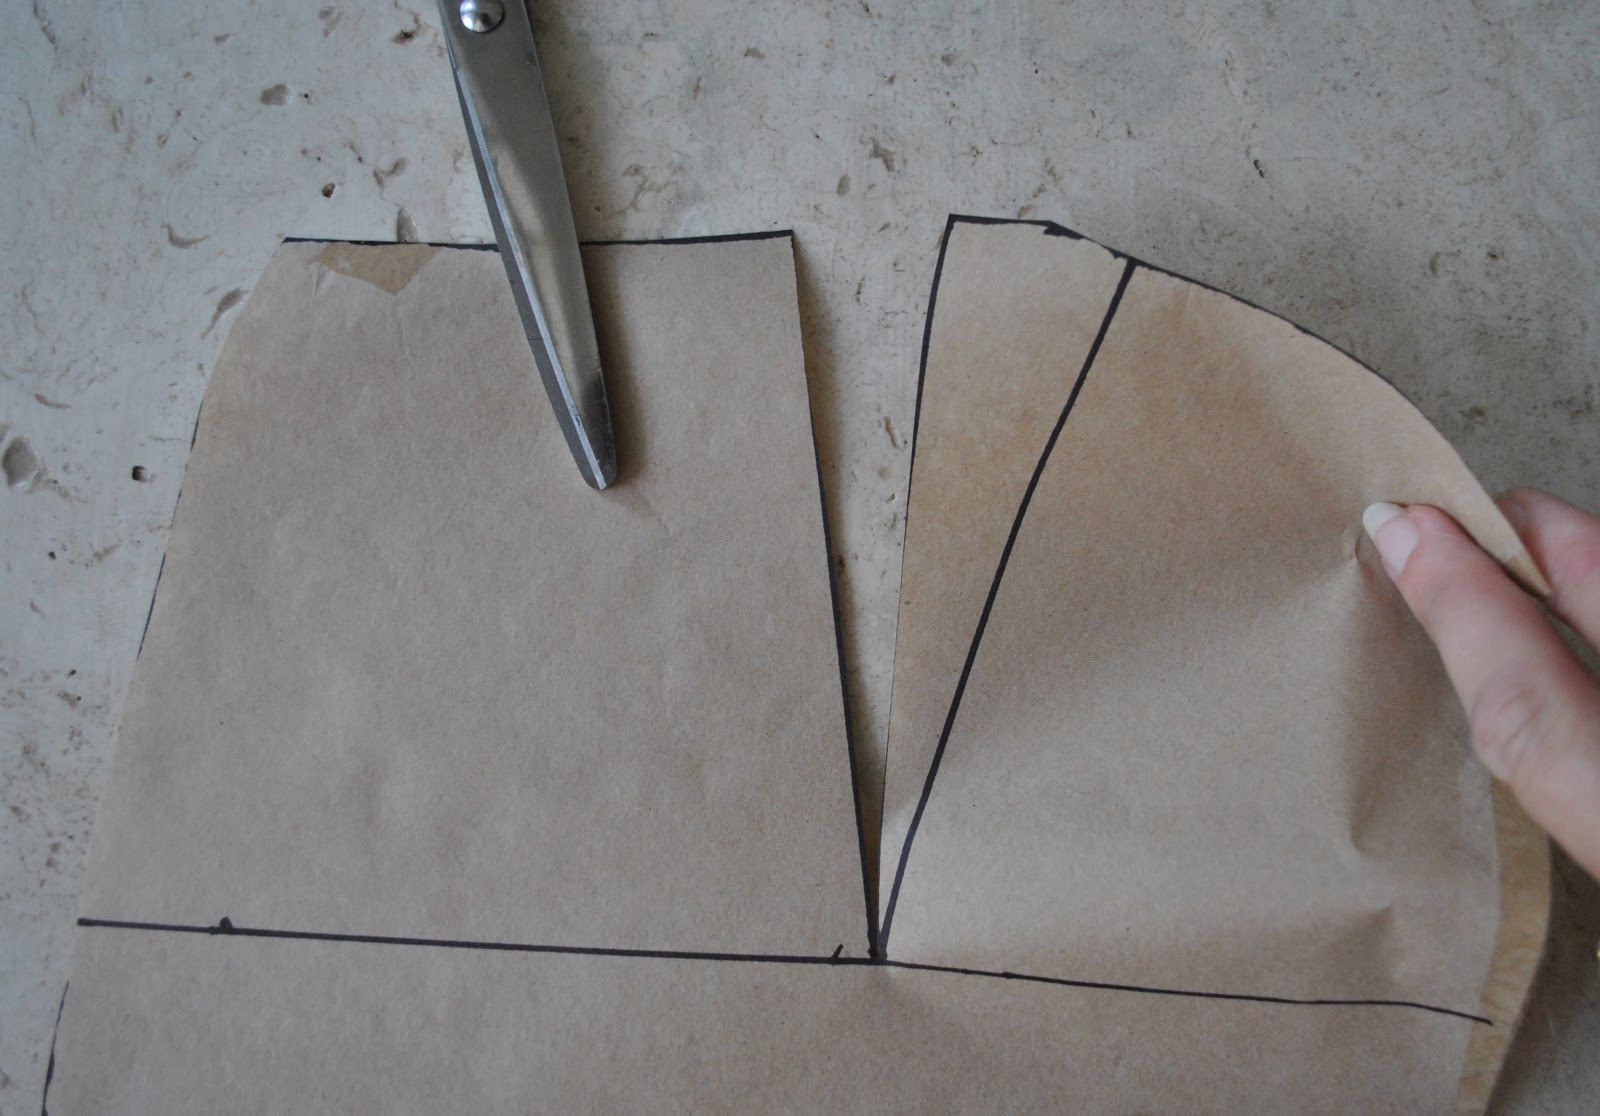
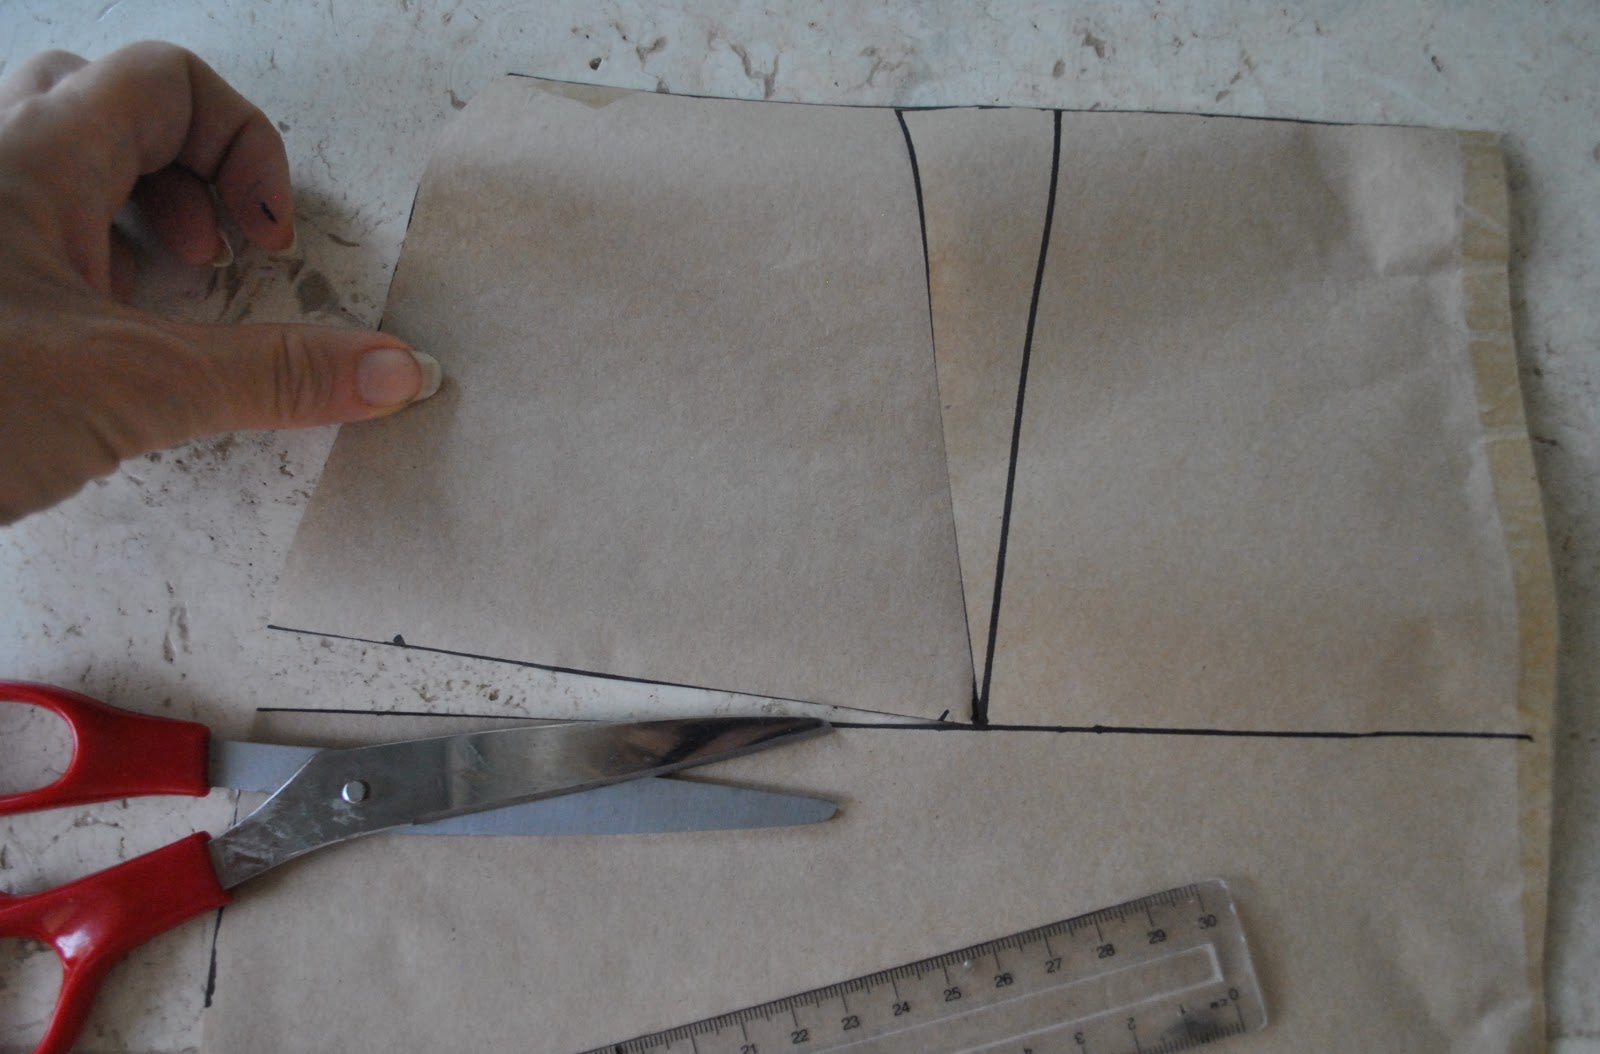
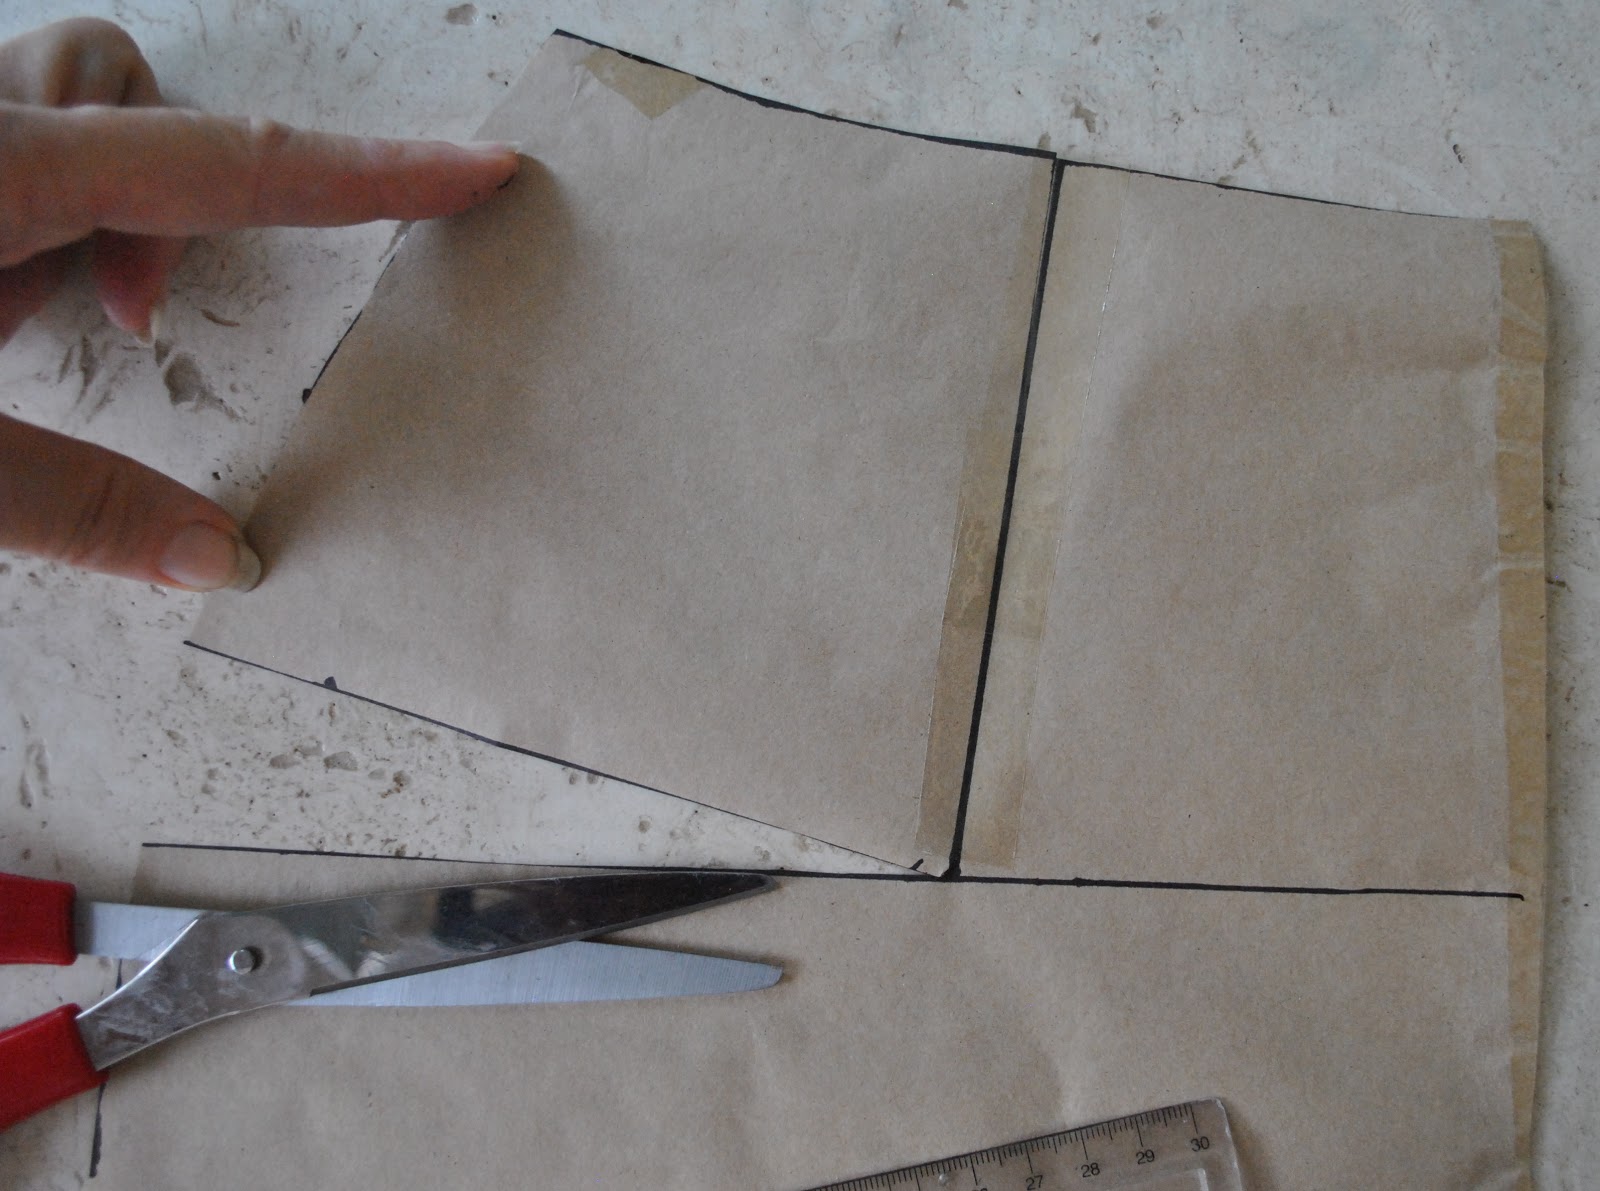
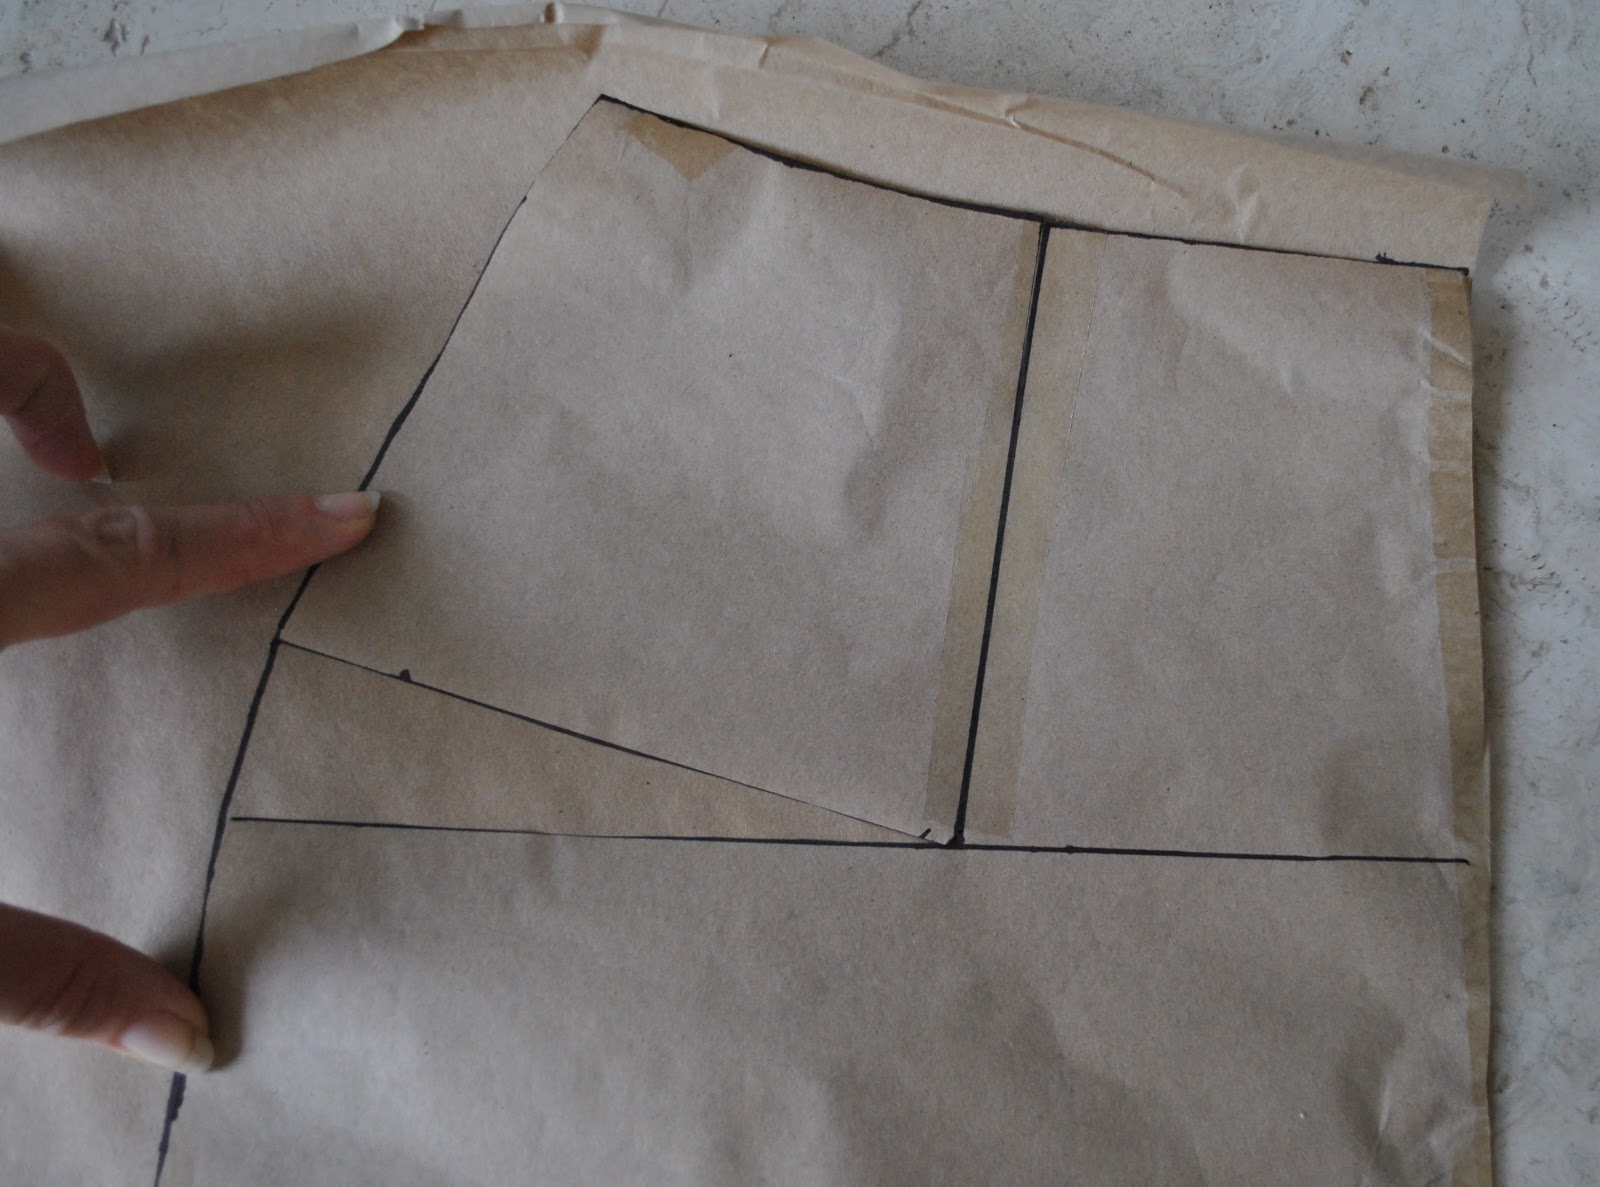
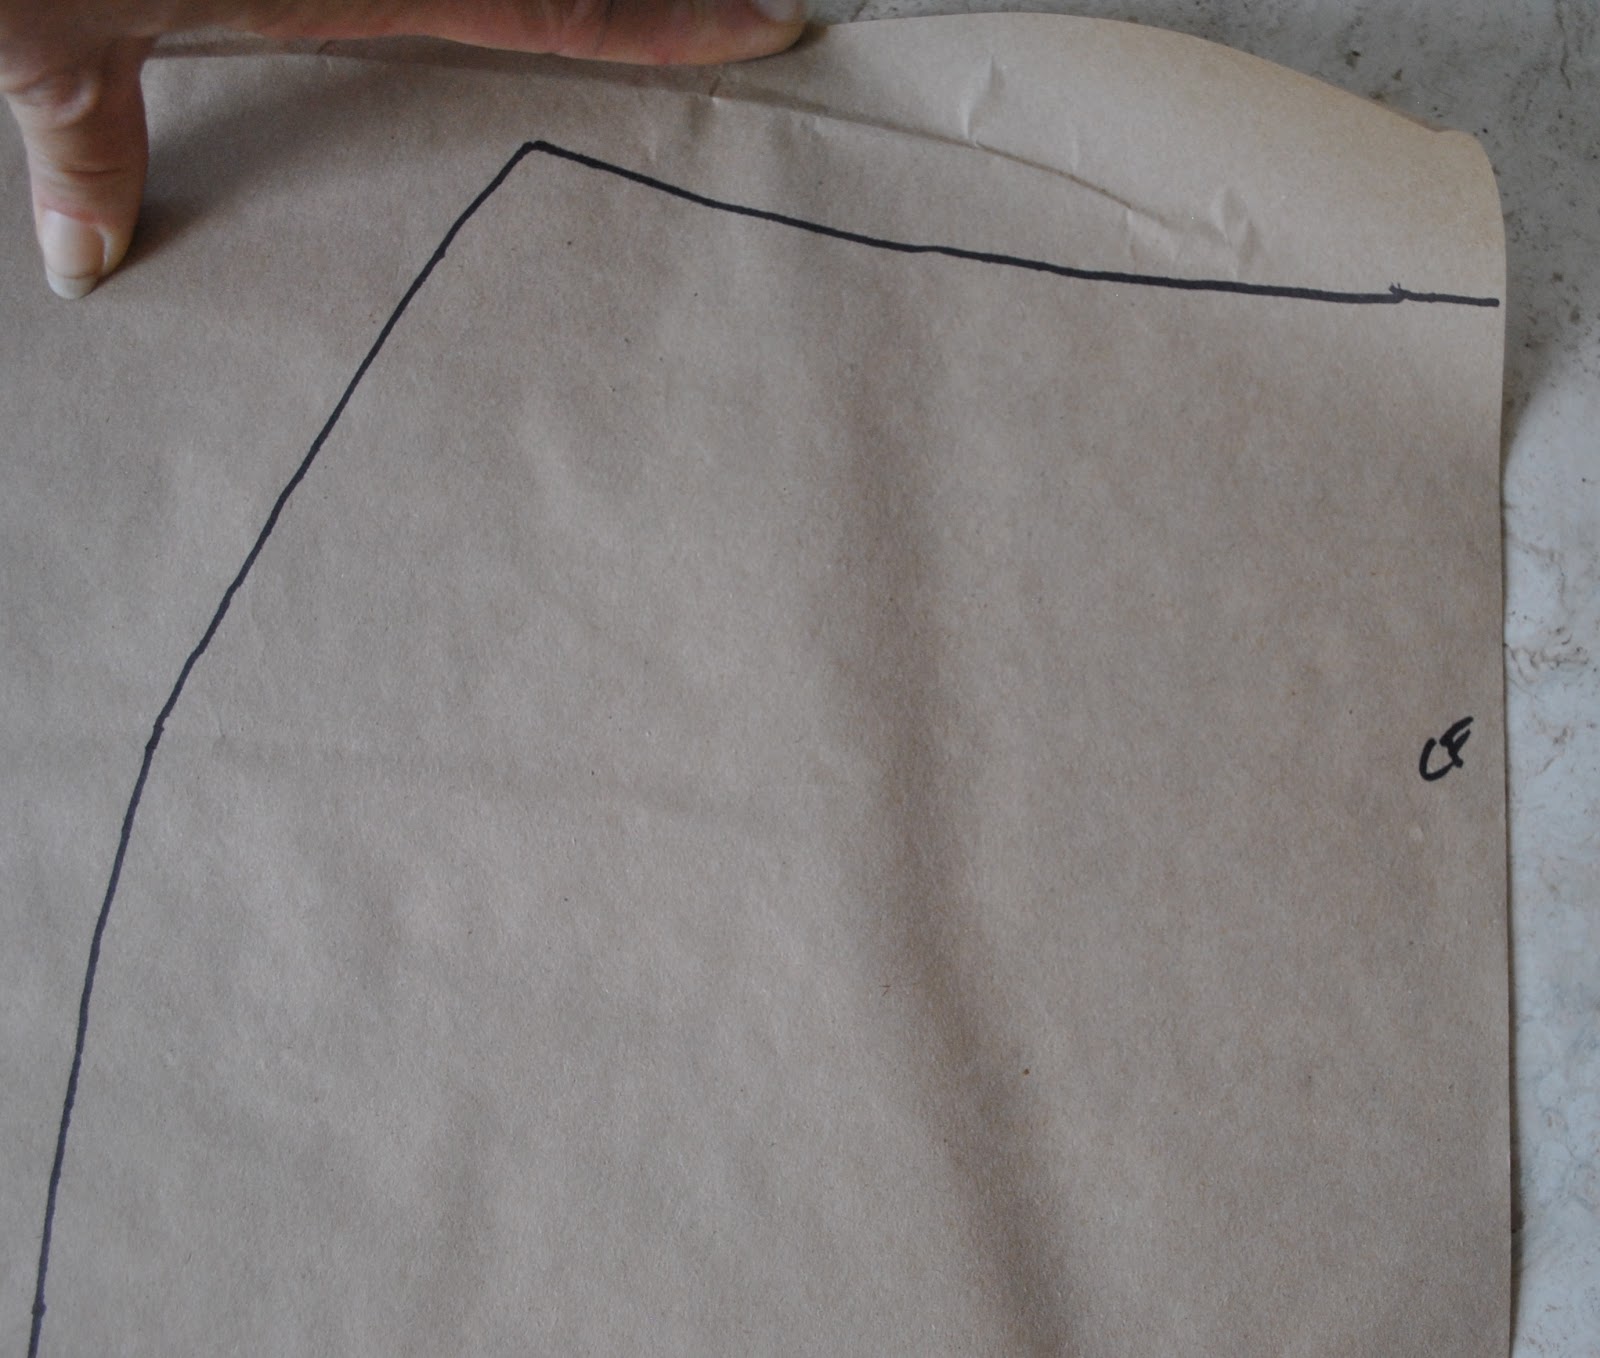
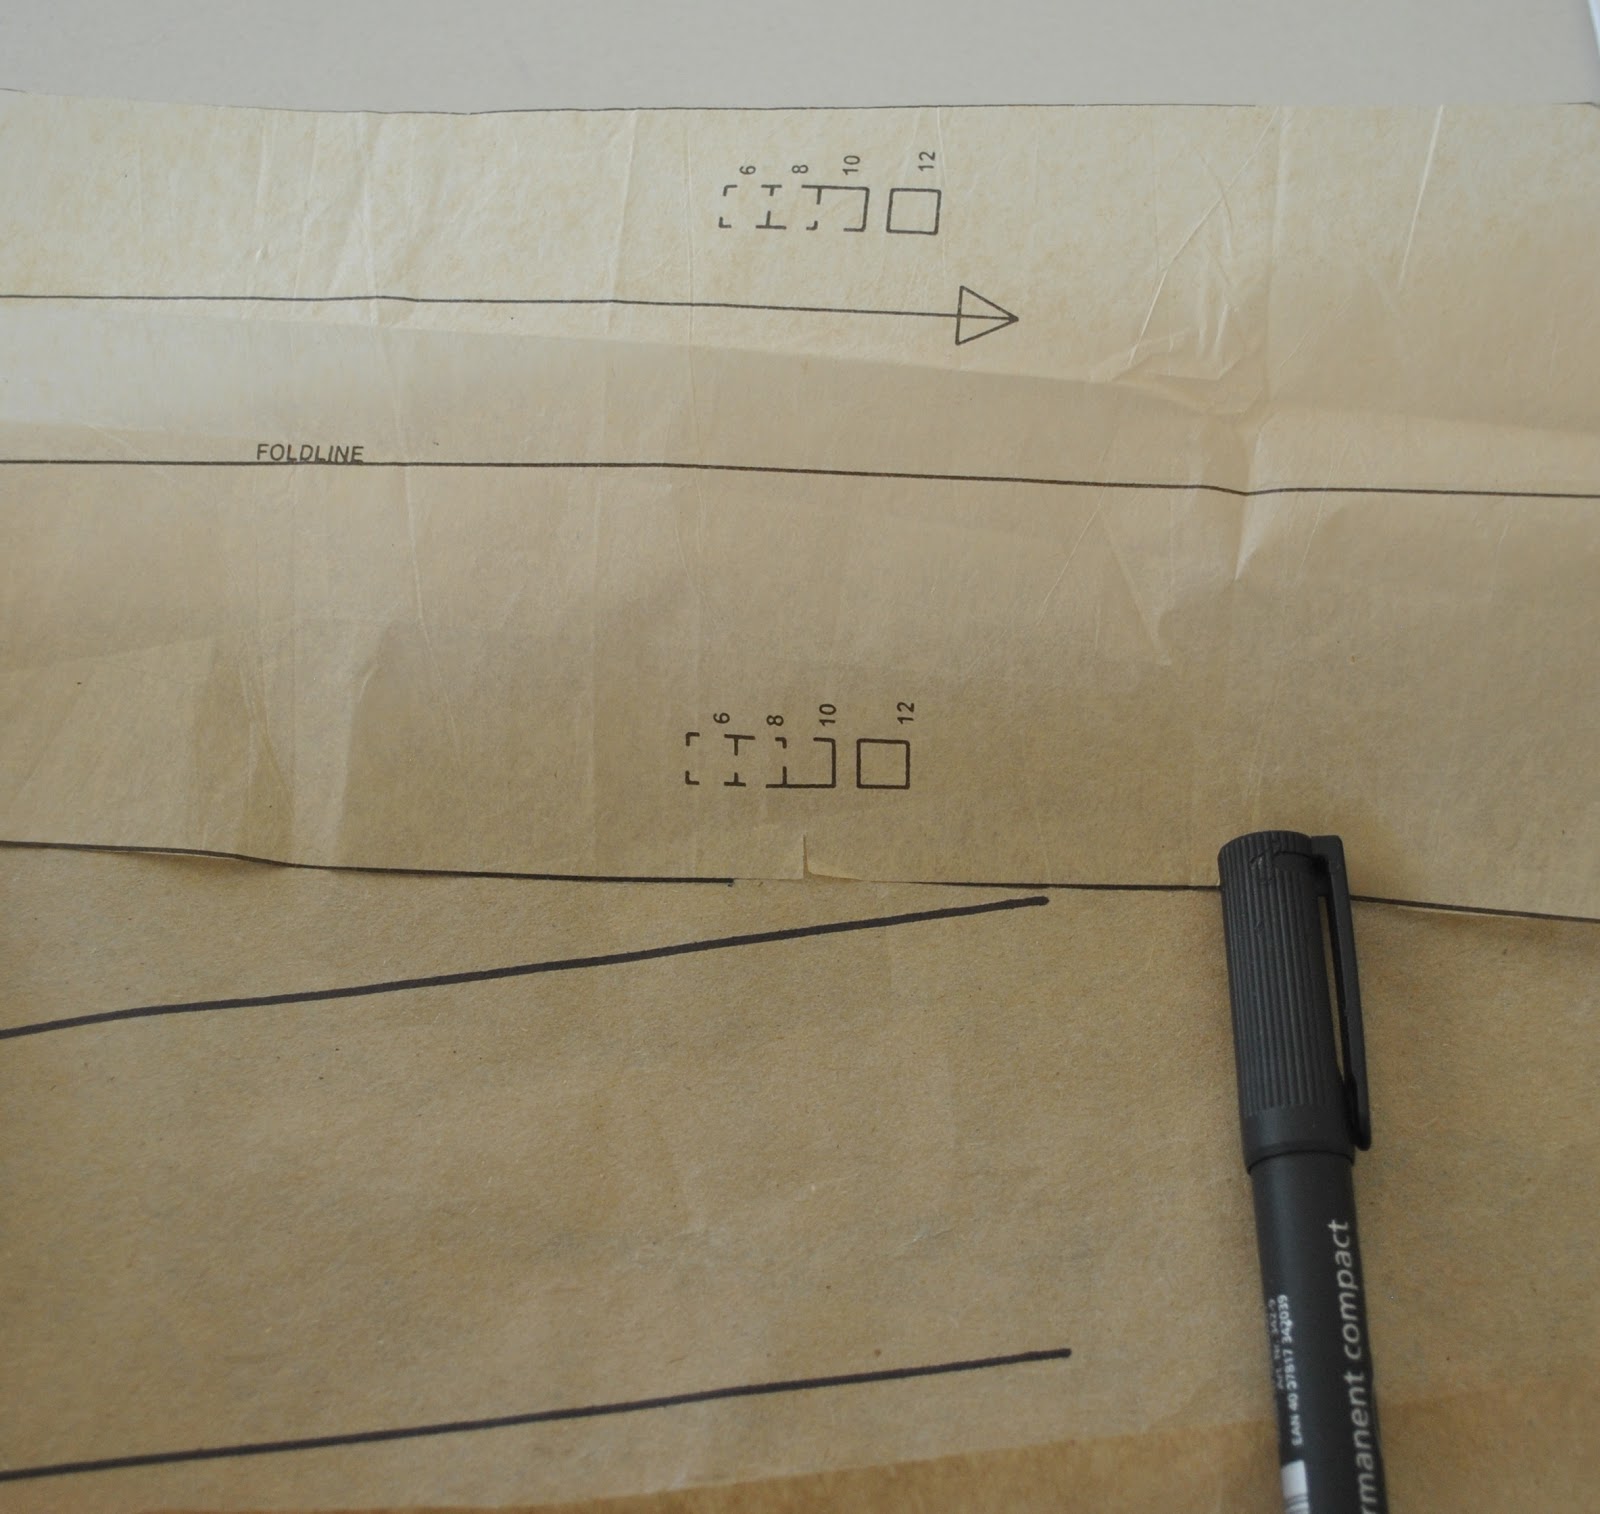
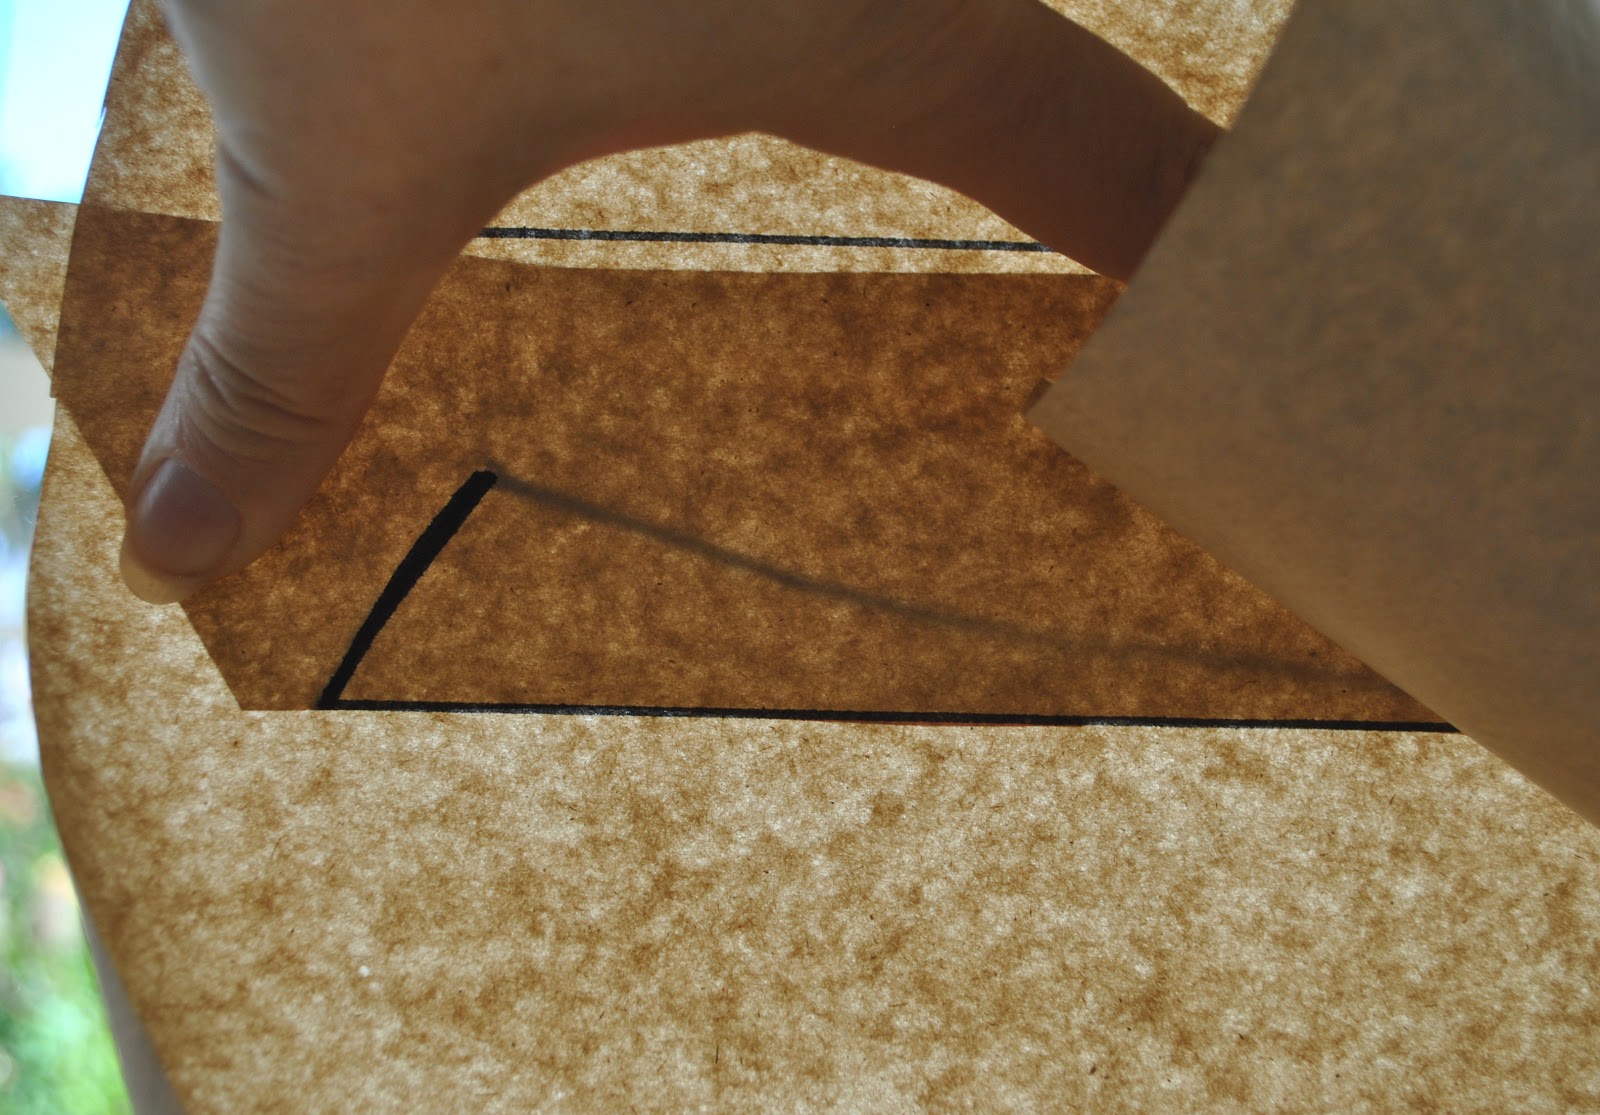
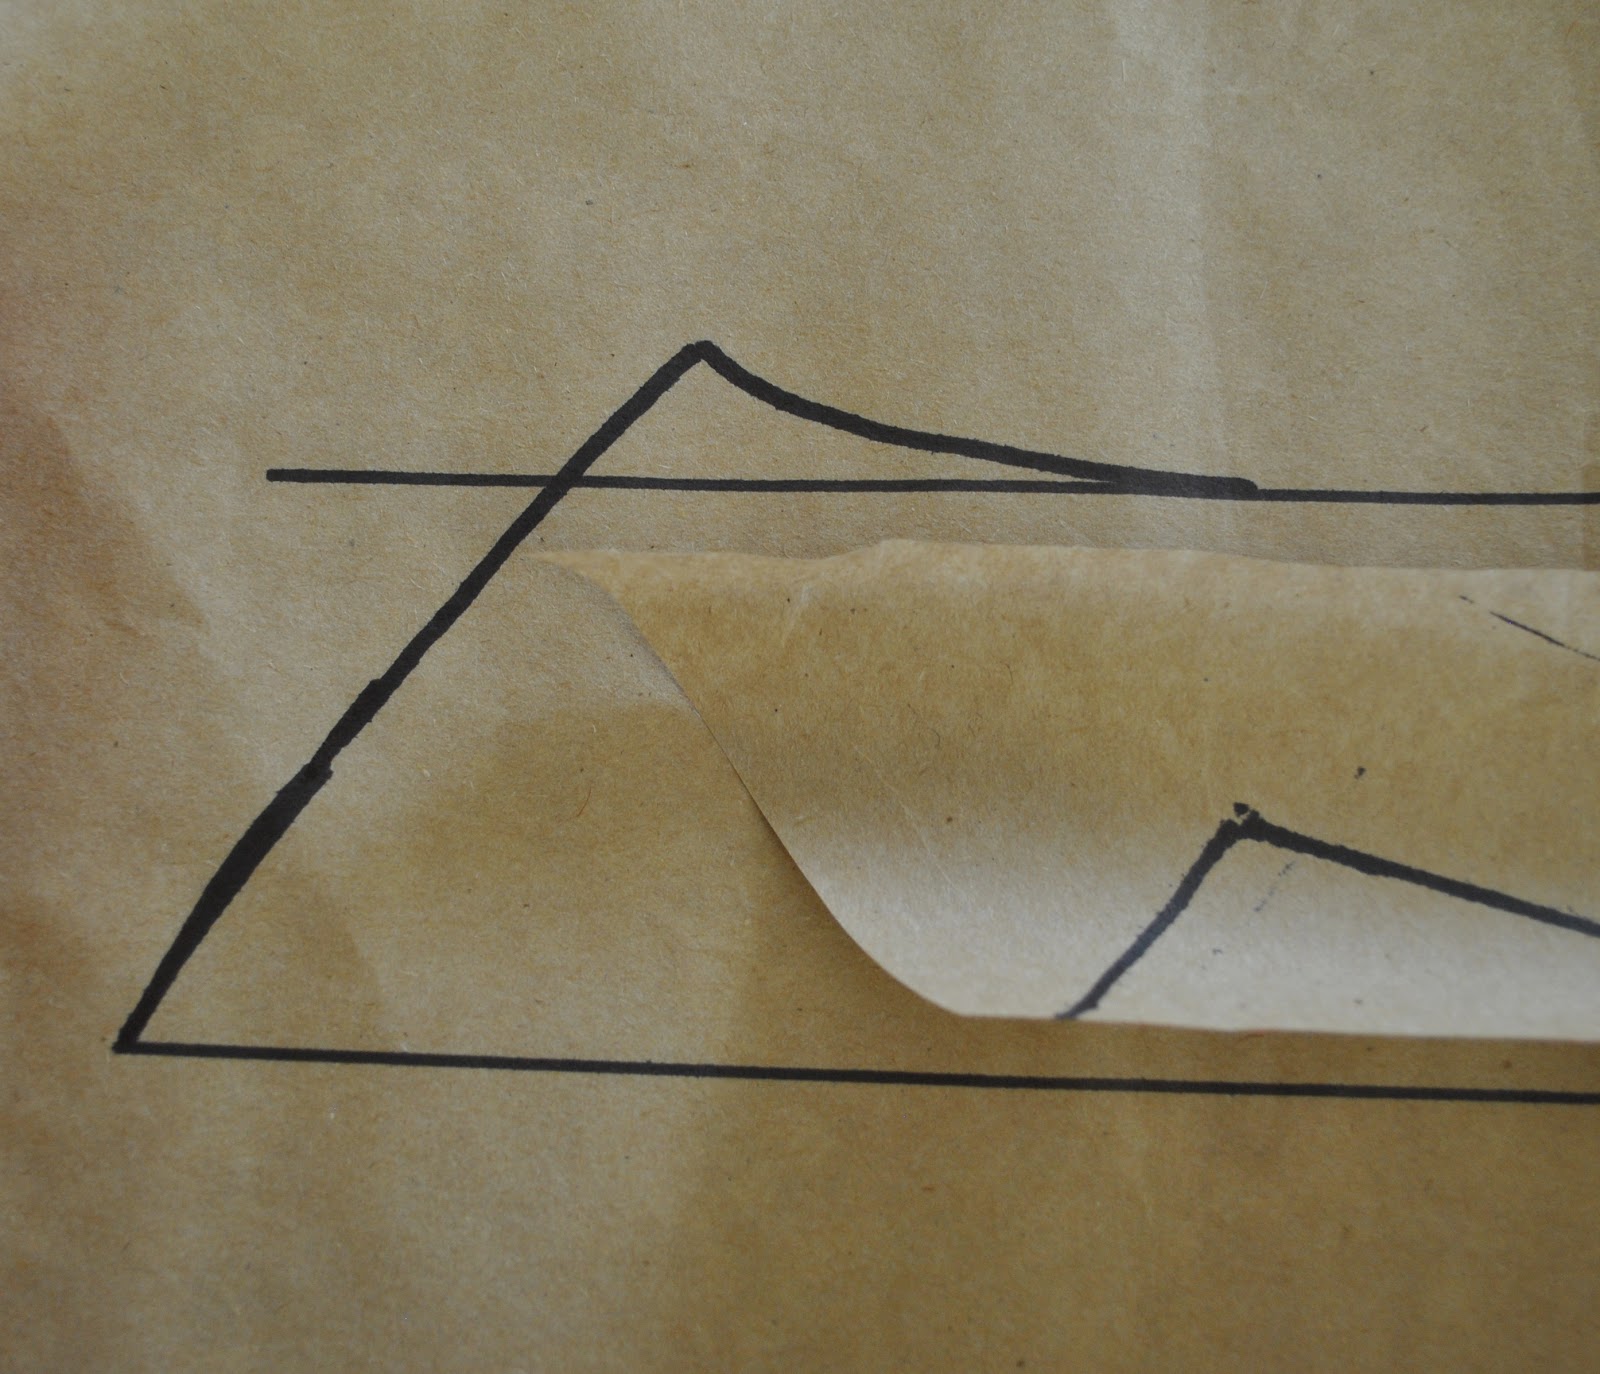
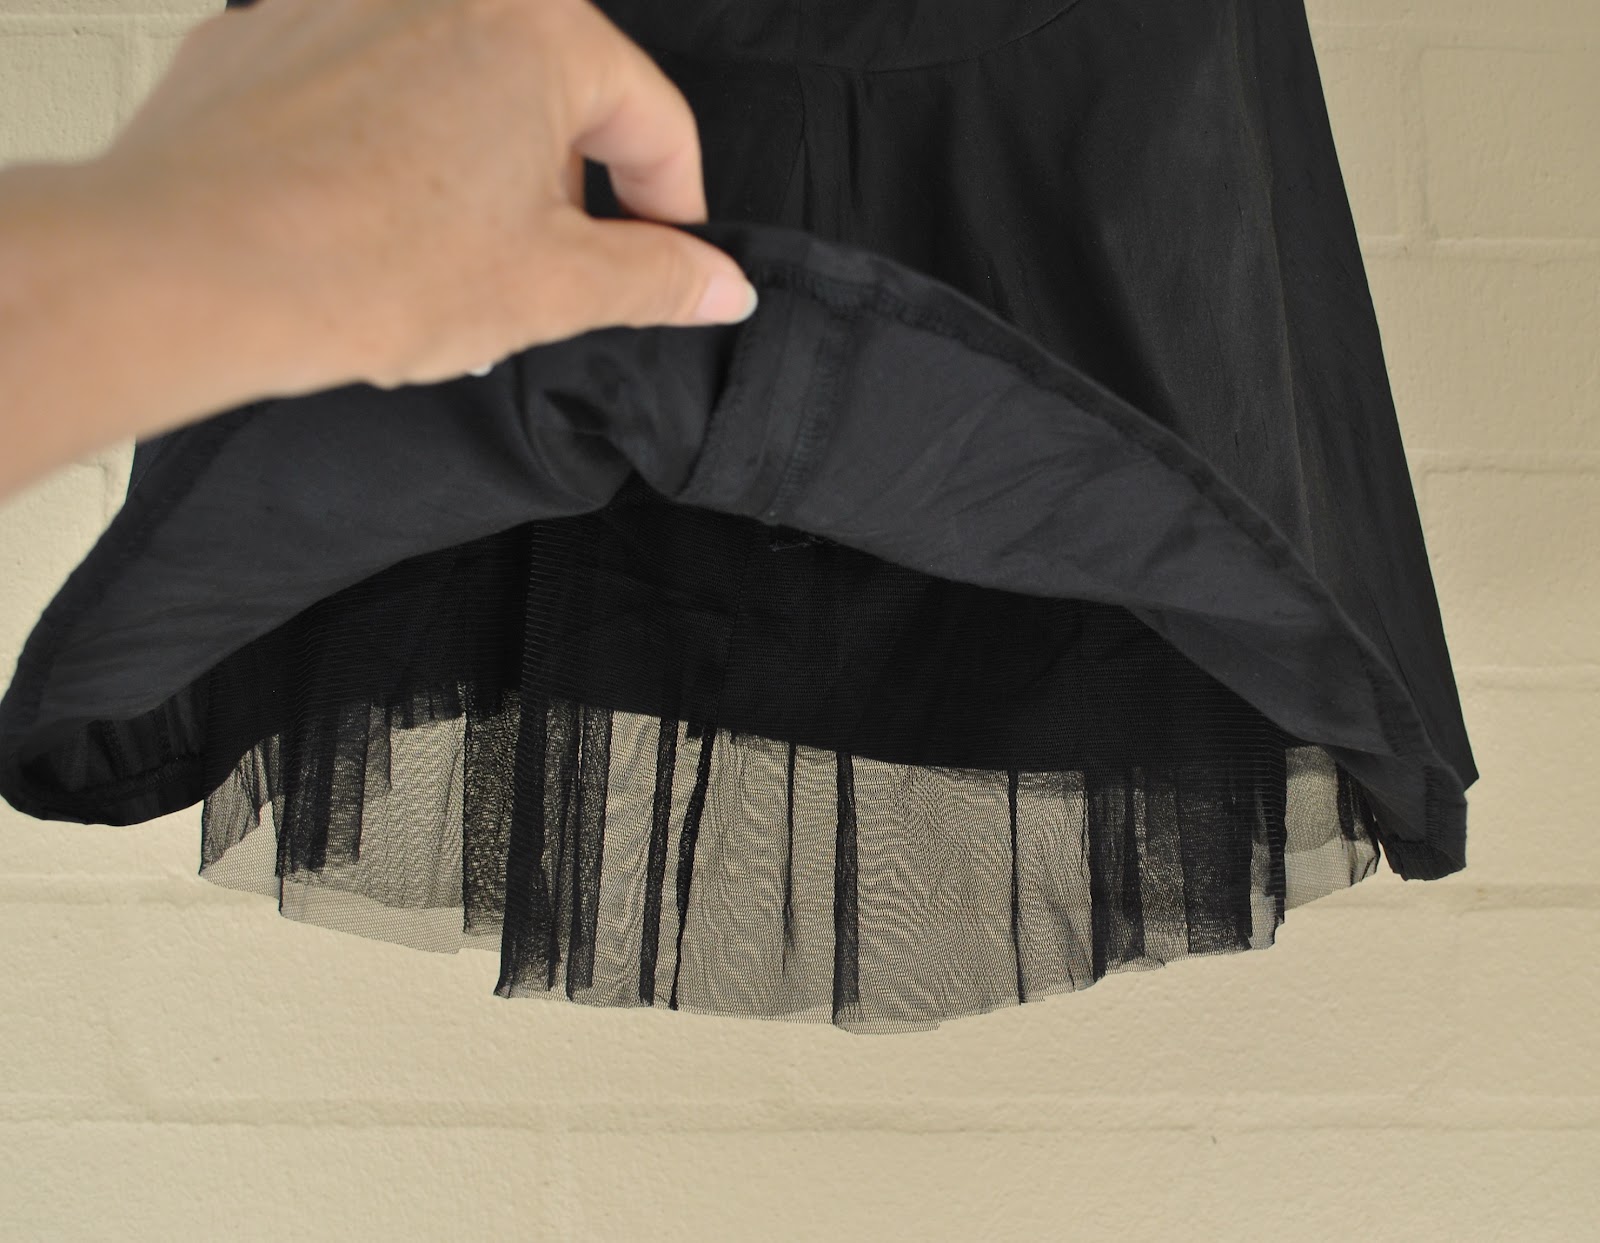
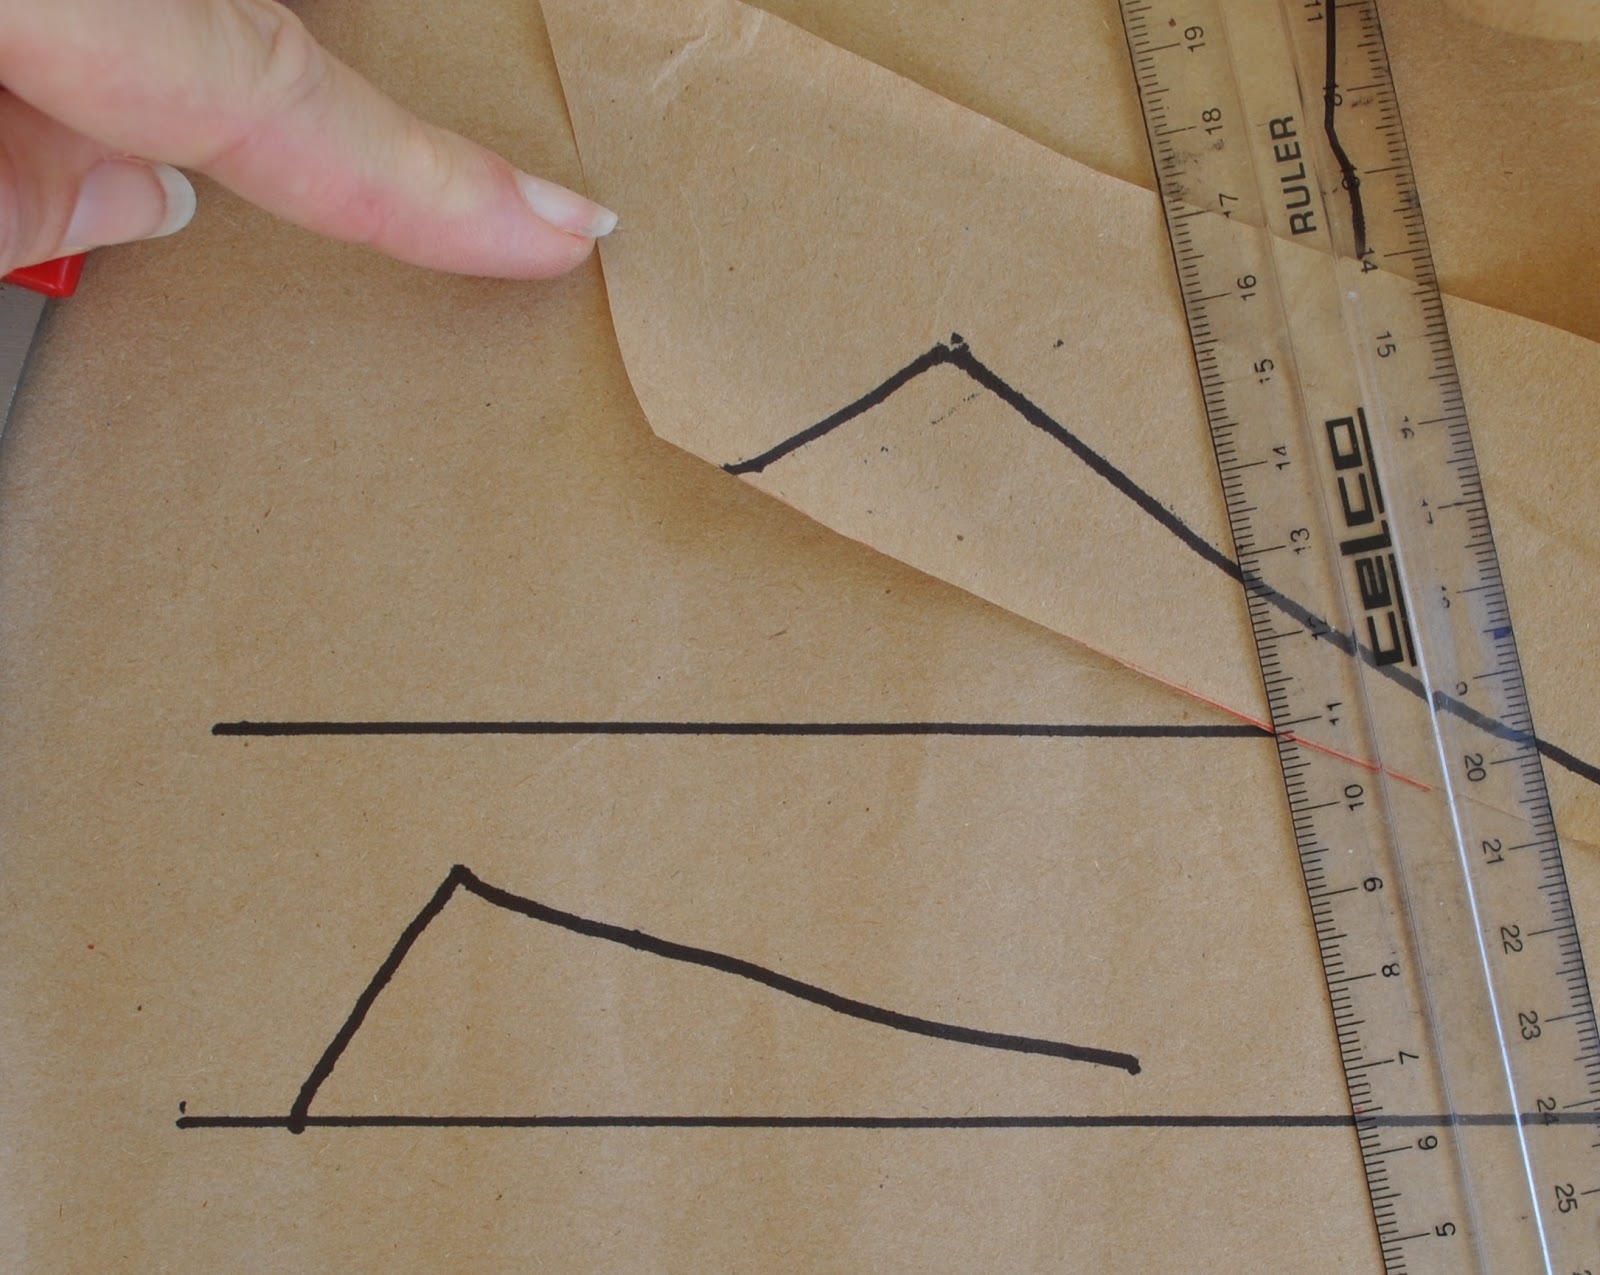
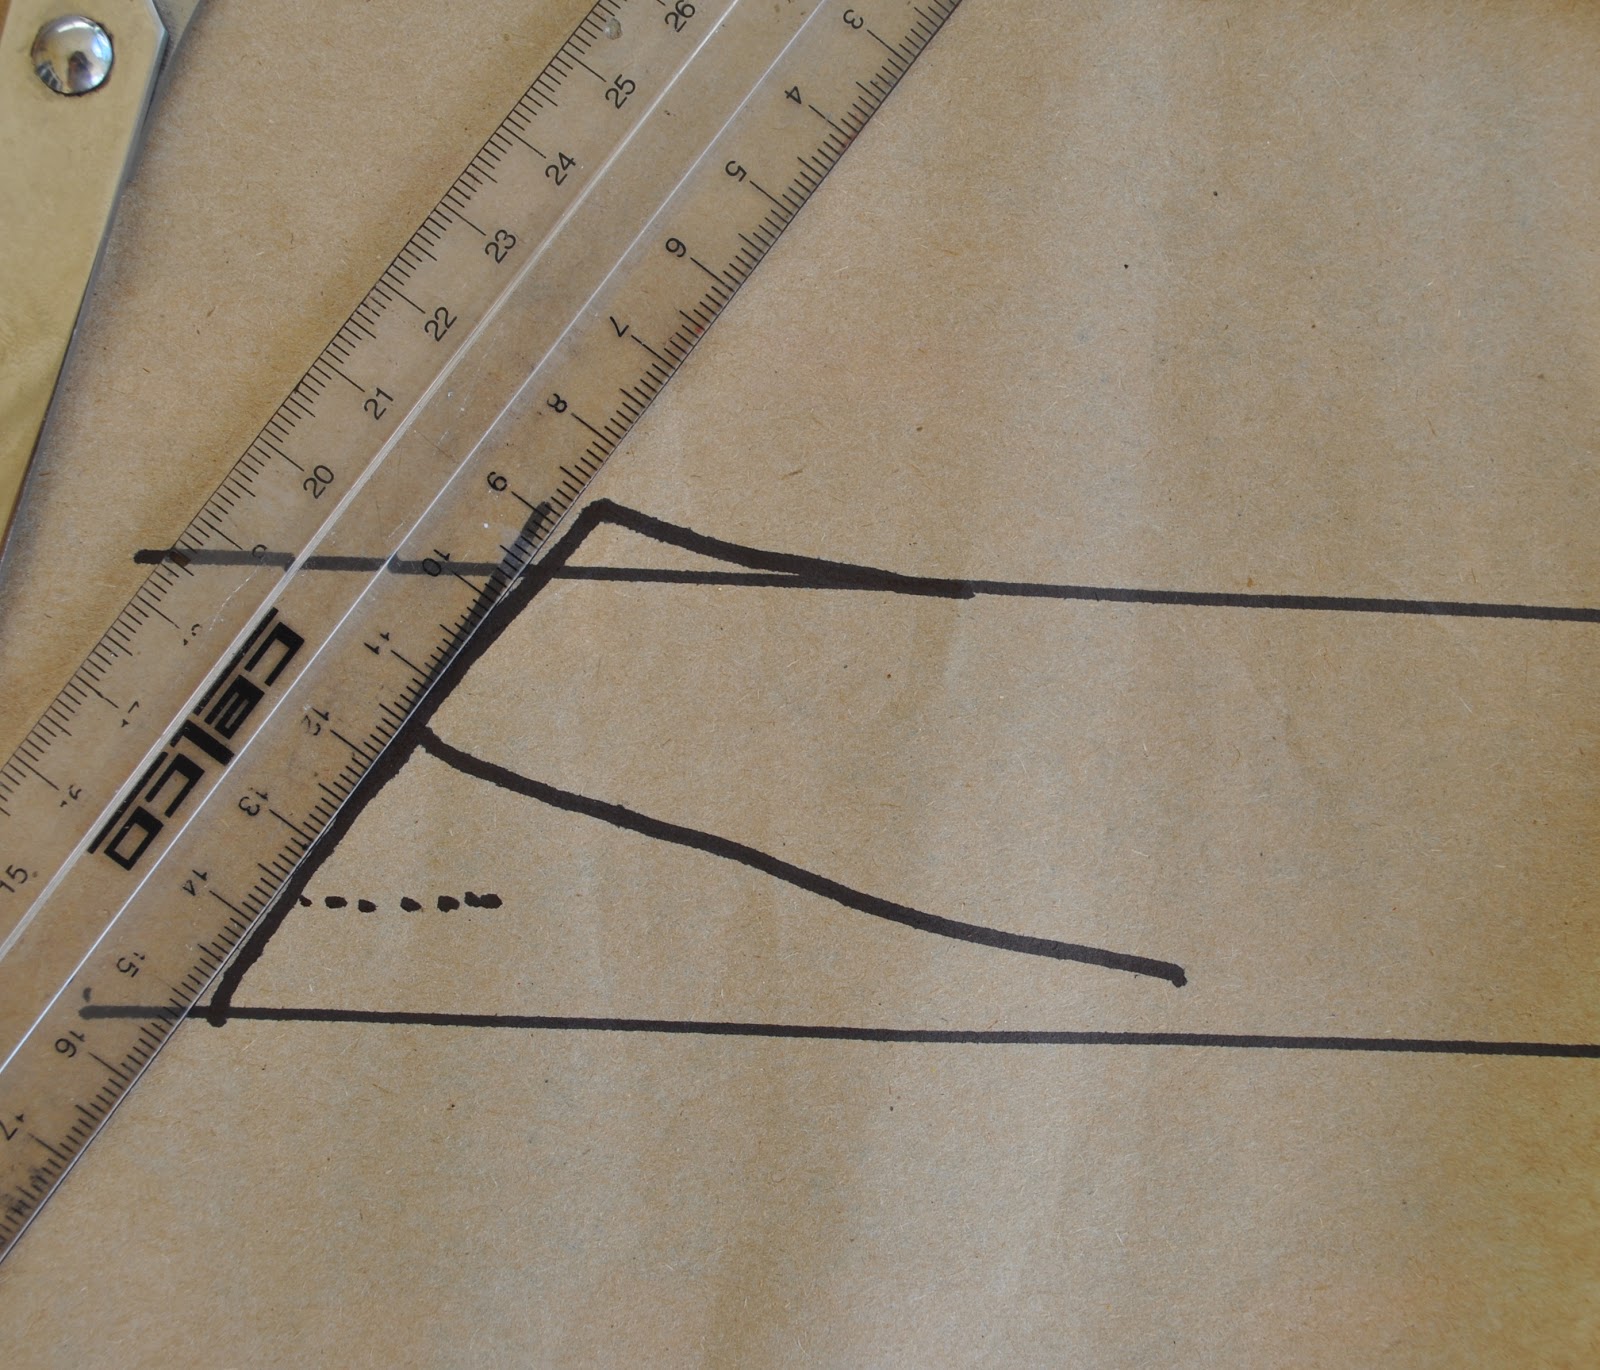
But I thought it would be pretty easy to alter the pattern to be less revealing while still maintaining the essence of those beautifully soft falls of fabric at the neckline. I took out a good 20cm in width from the horizontal line of the front drape, and close to 30cm from the back drape, re-drawing in the armhole and side seams to be the same as the original, tapering out to the same hemline, and keeping those neckline edges cut straight on the cross so as to keep the self-facing as part of the same pattern piece, on a fold. Terrific design feature btw, for those frightened of finishing knits this is an excellent easy way out!
Reducing the width has given me a top with the same flavour that attracted me to the original, but with coverage… yes, I may have some nice lingerie now, but I don’t want to be modelling it out in public for everyone on the street!
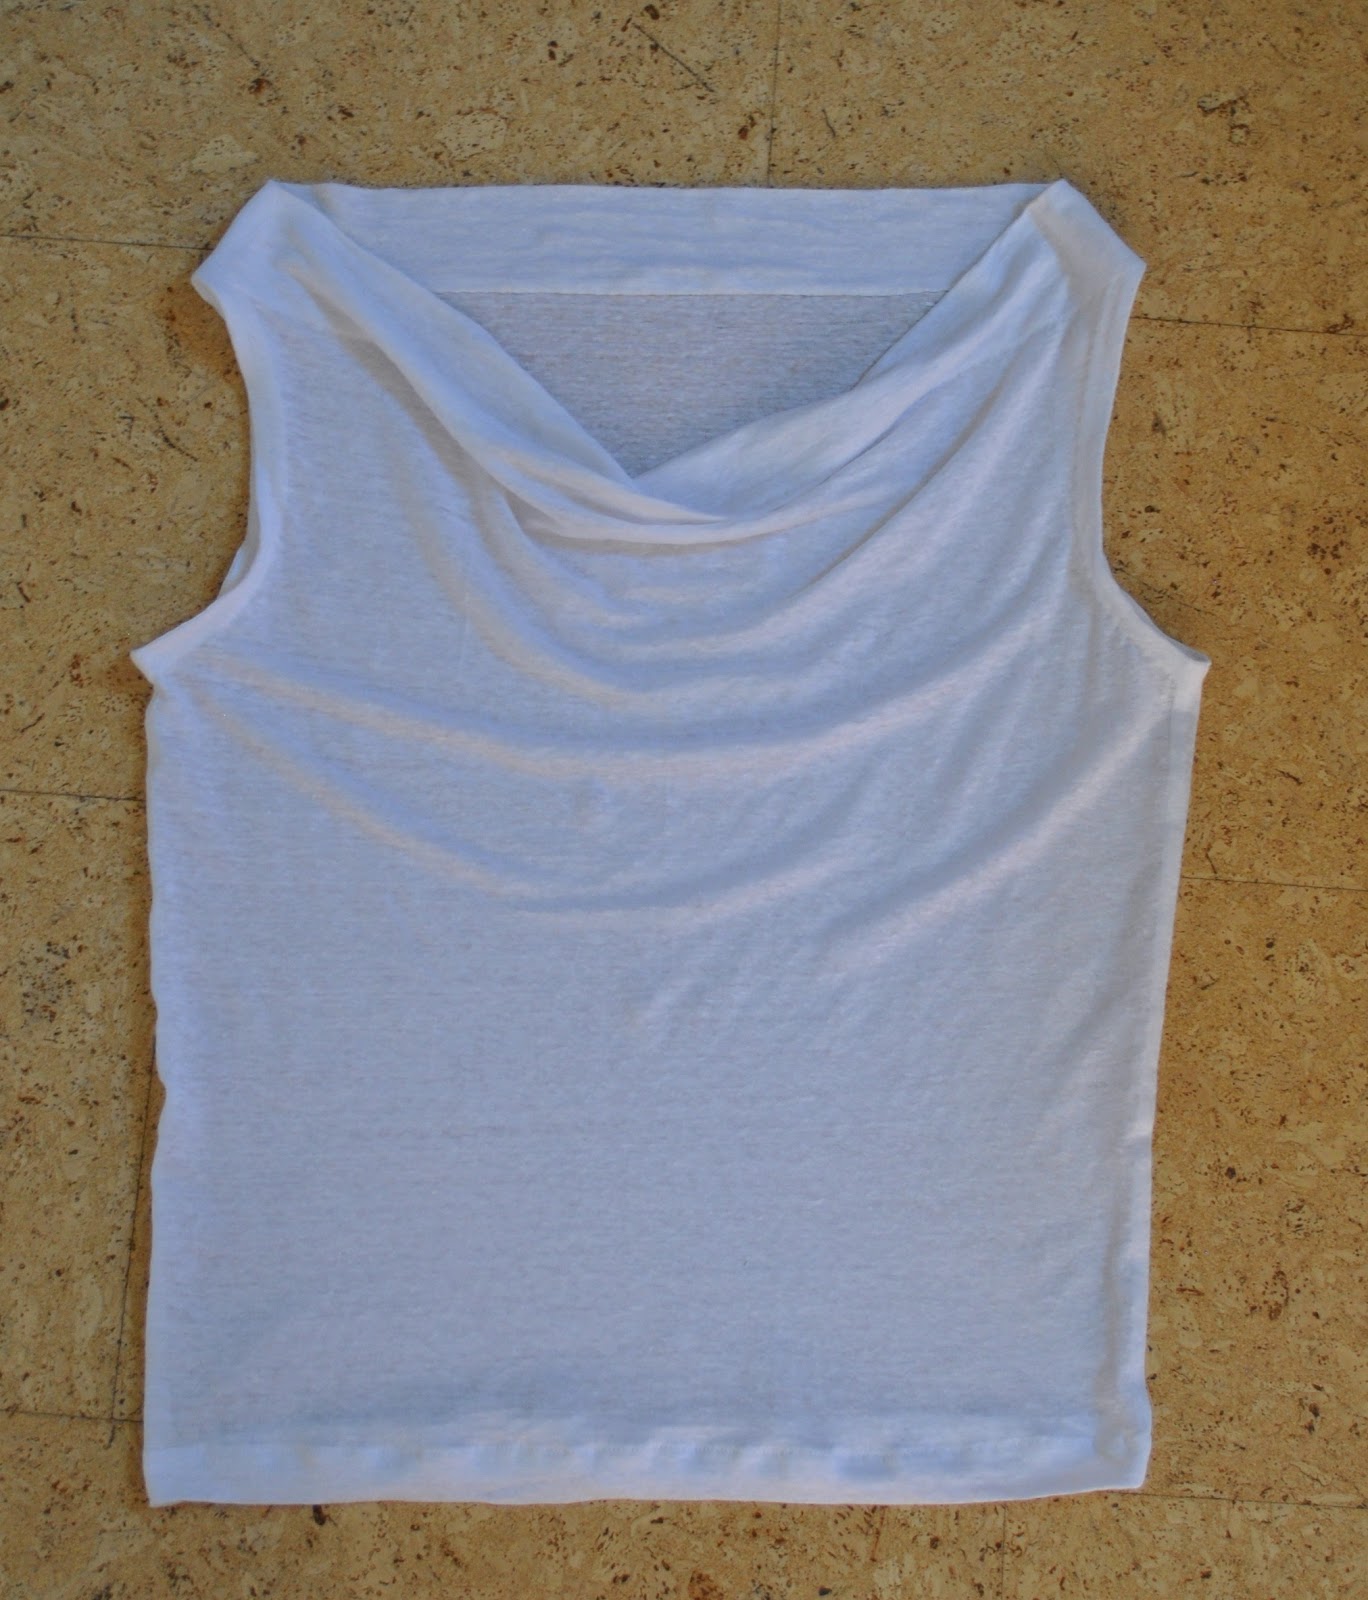
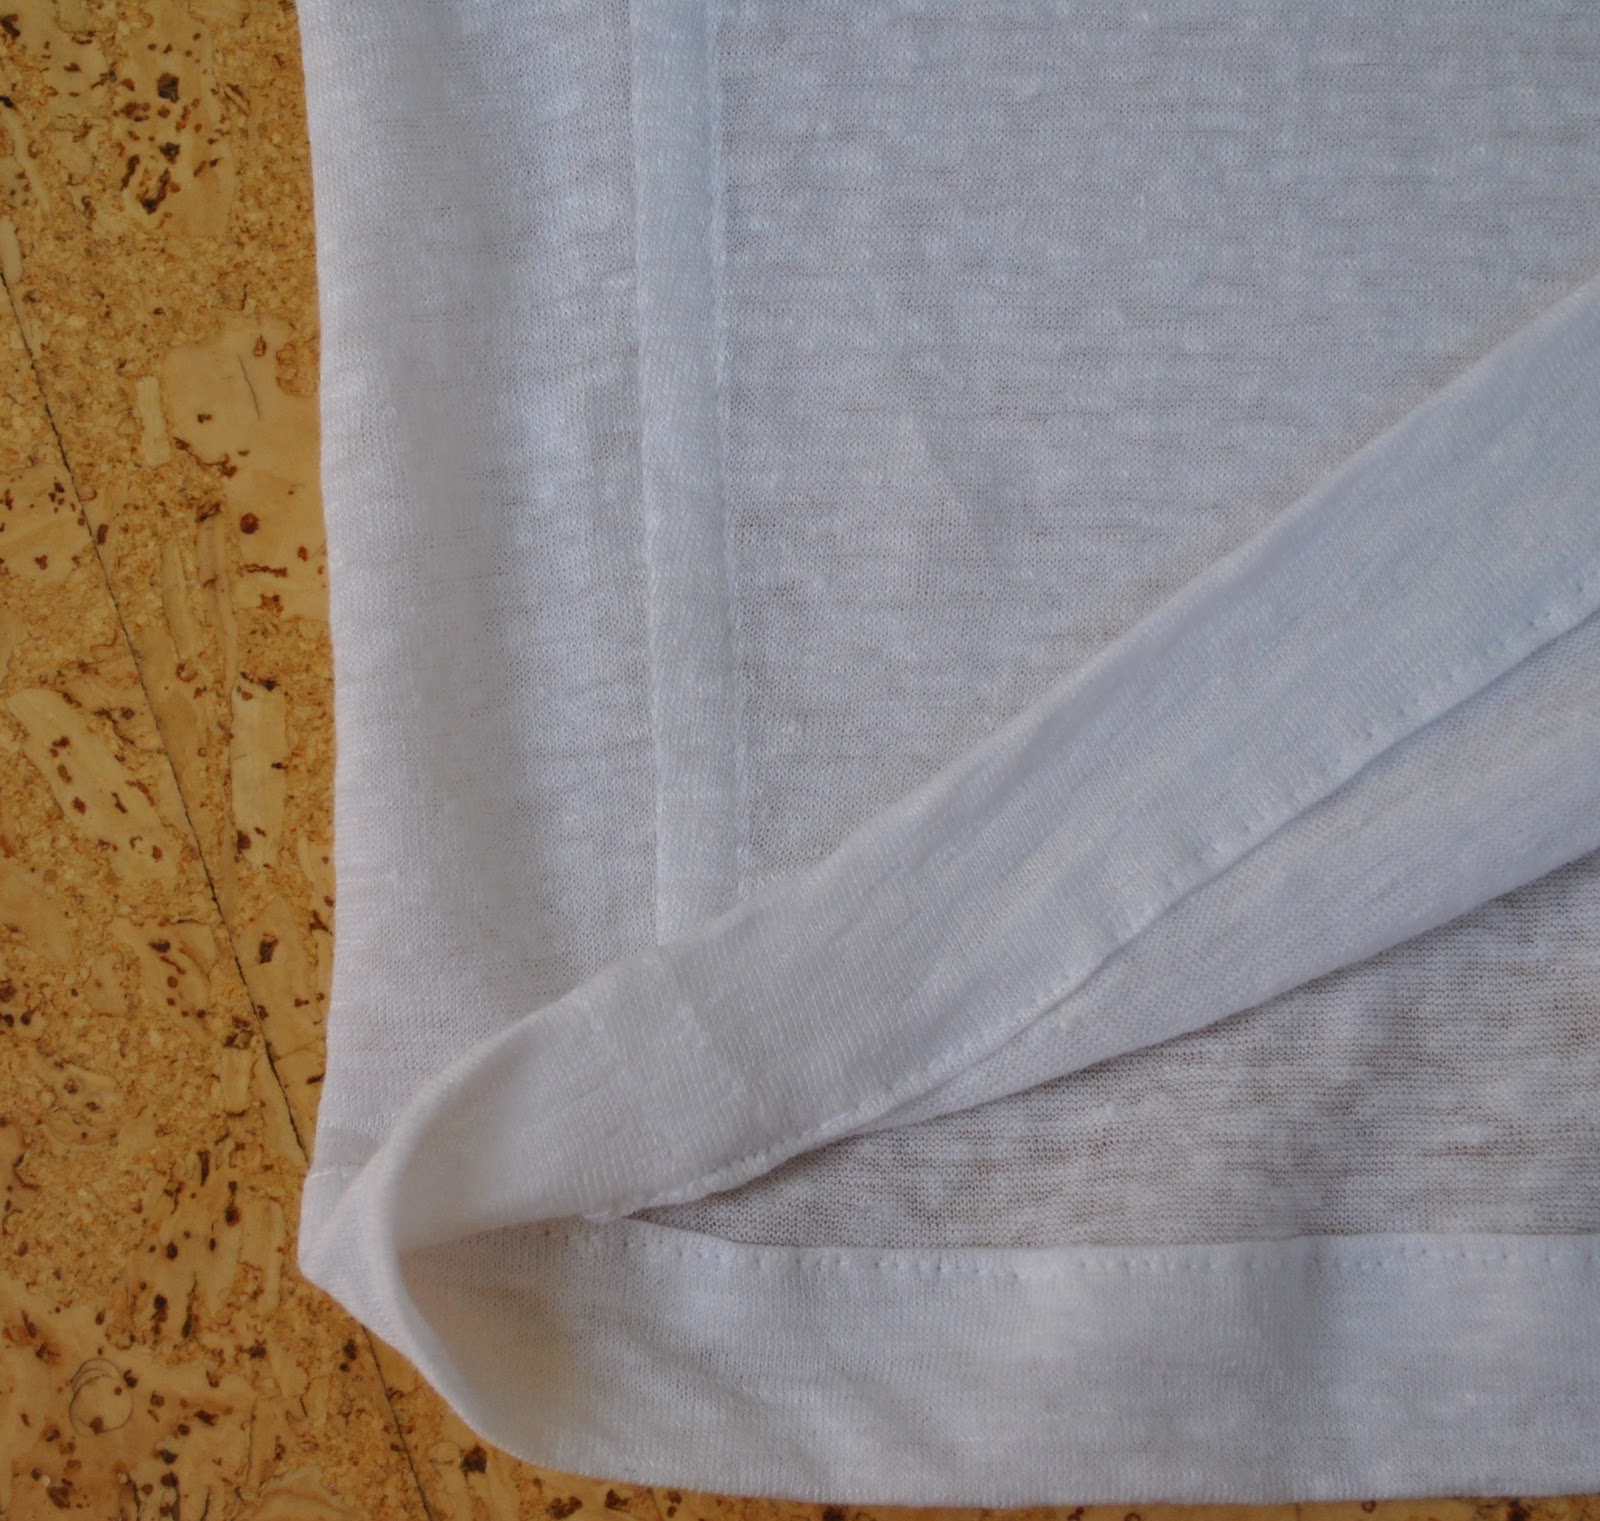
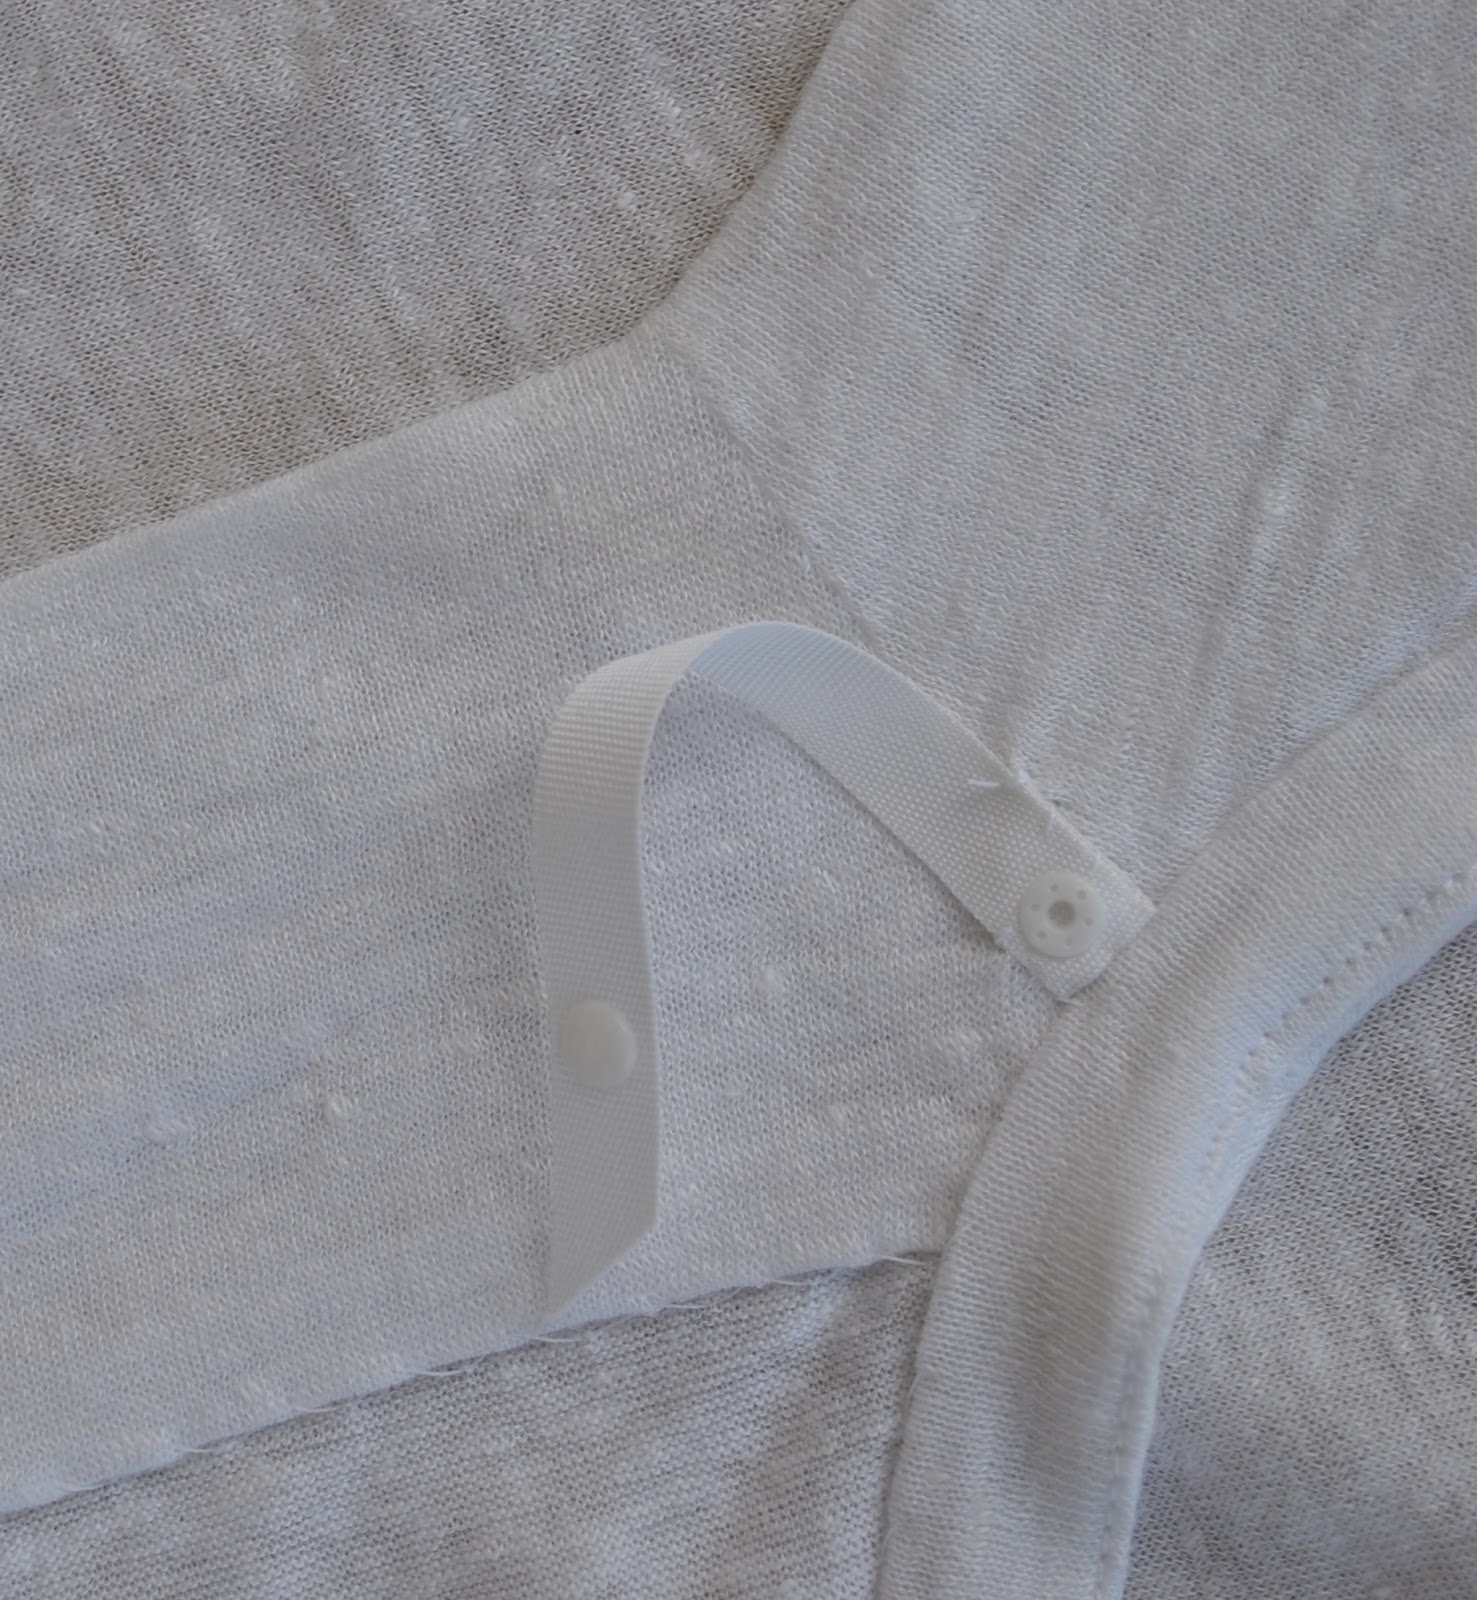
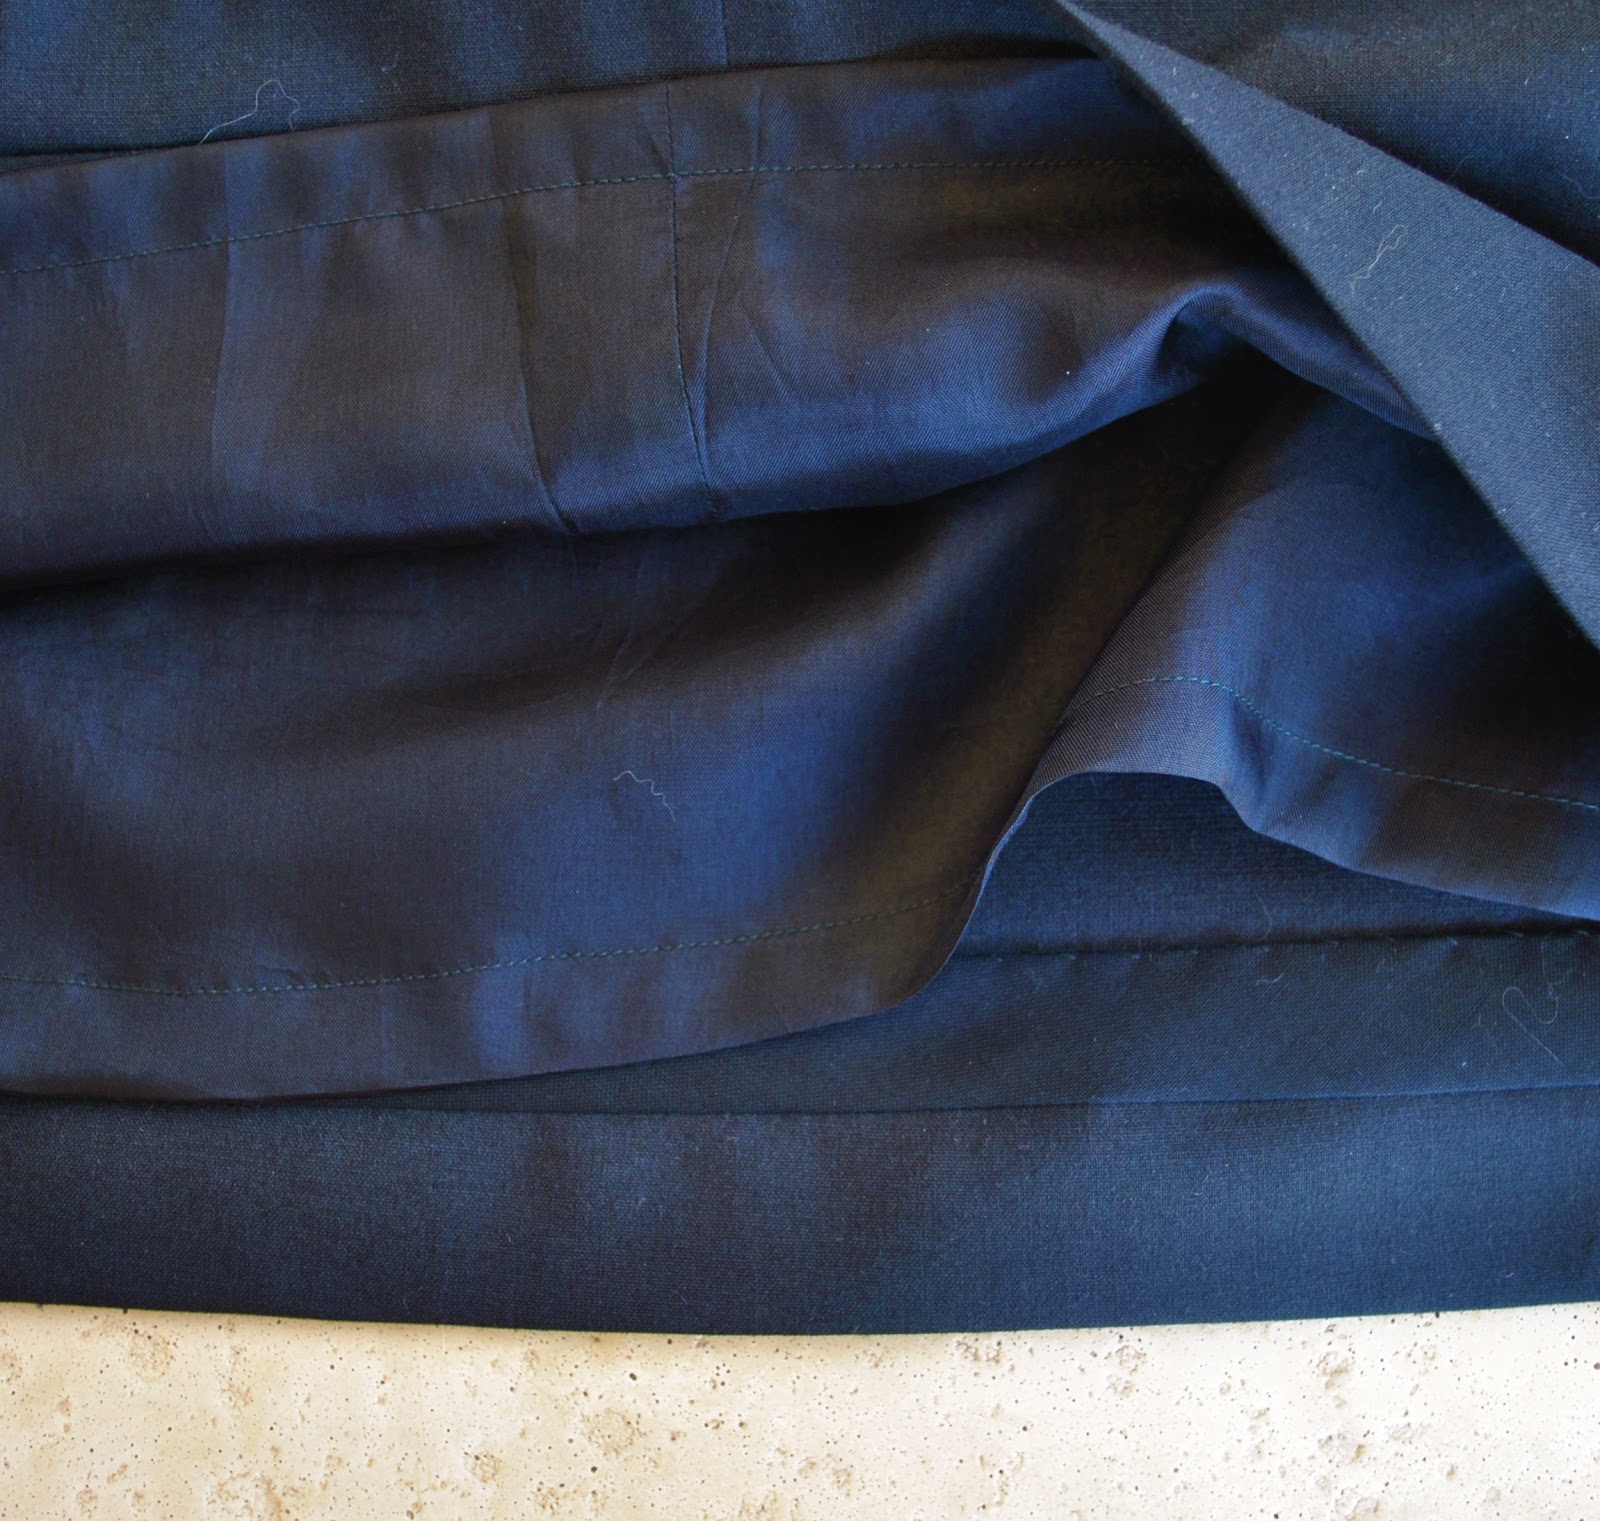
The side seams are flat felled, and I hand slipstitched the facings and armhole bindings in place for a smooth clean look on the outside. I also added lingerie straps to the shoulder seams inside to prevent the top slipping off my shoulders, since in spite of taking out a whole lotta drape it is still that kind of design!
And I’m very happy with the result. Such a cool and elegant design. I can see this being lengthened very successfully, to make a simply gorgeous little cocktail sheath; how lovely would that look?
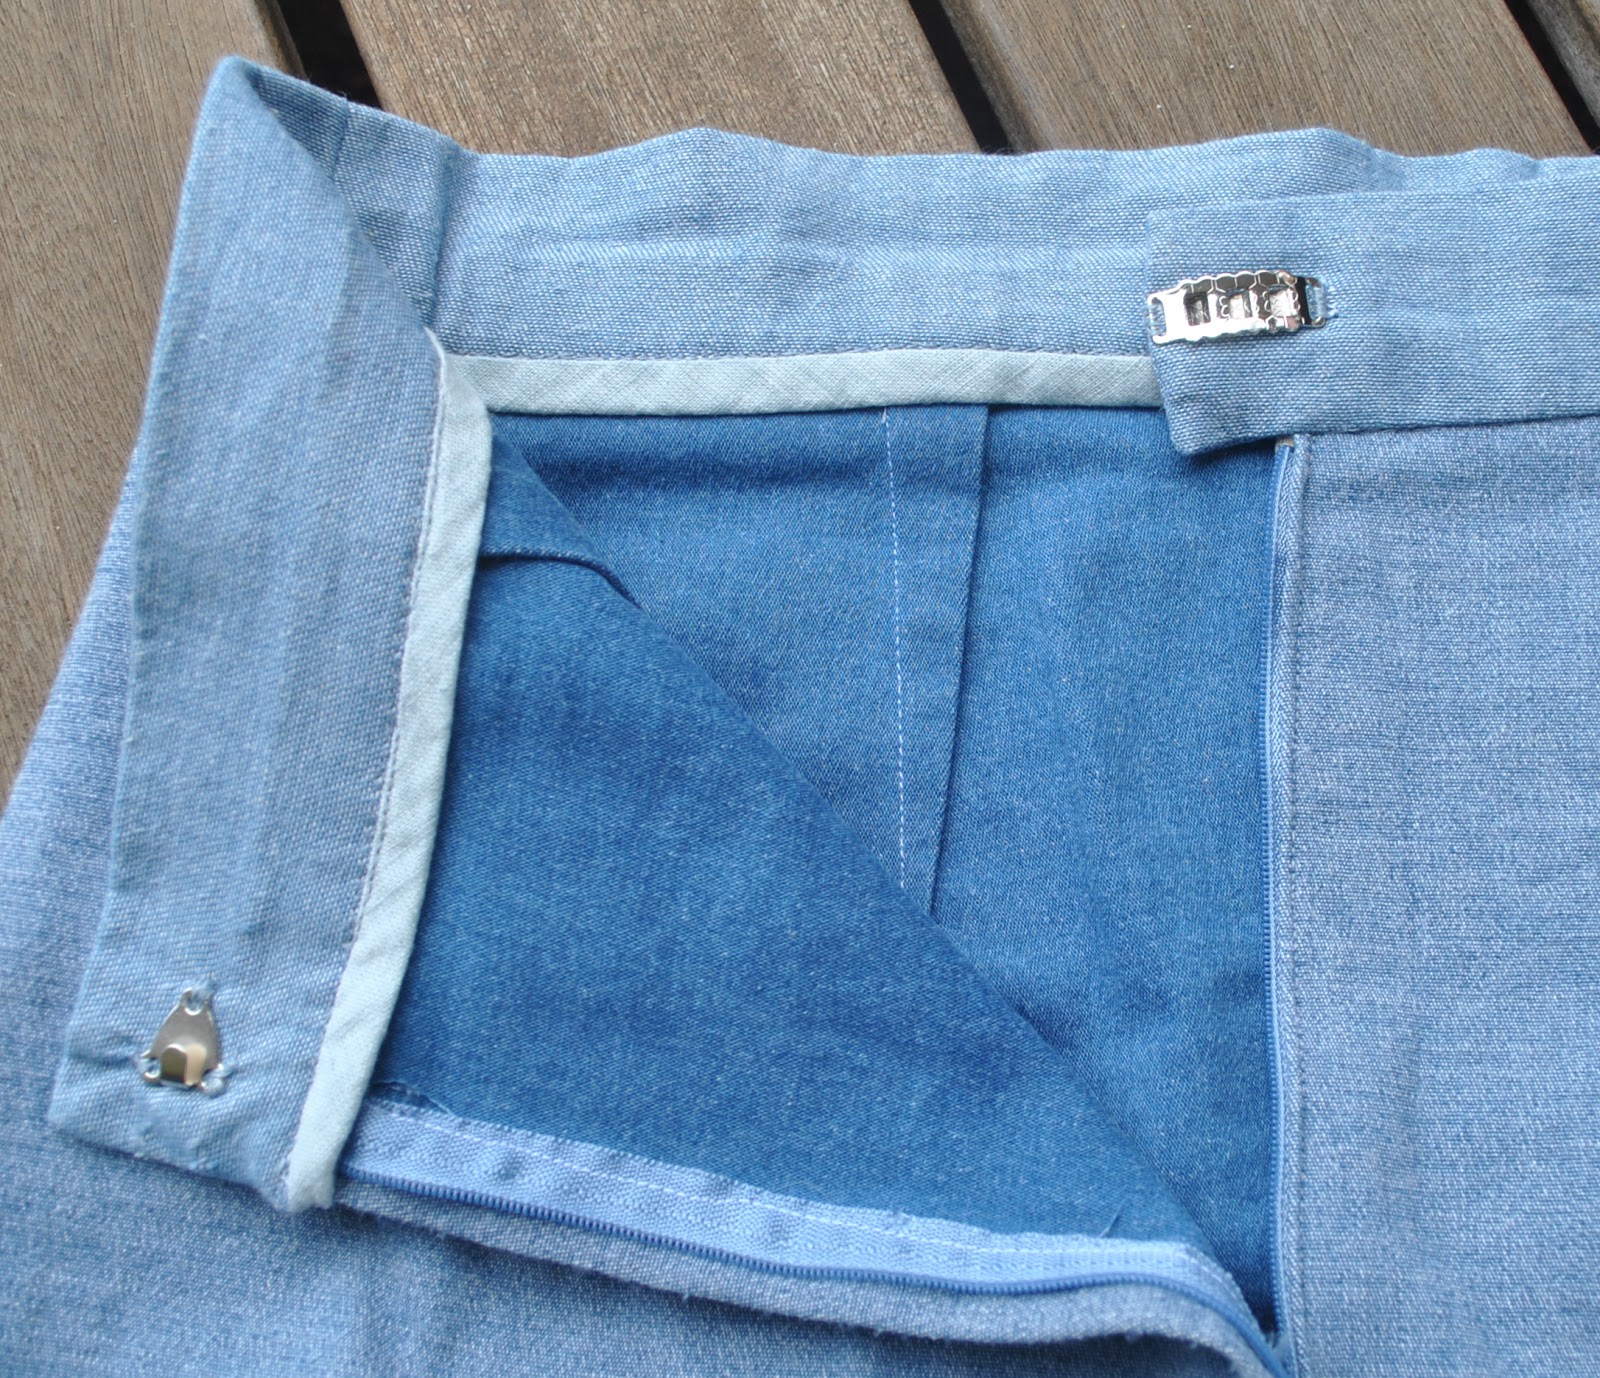
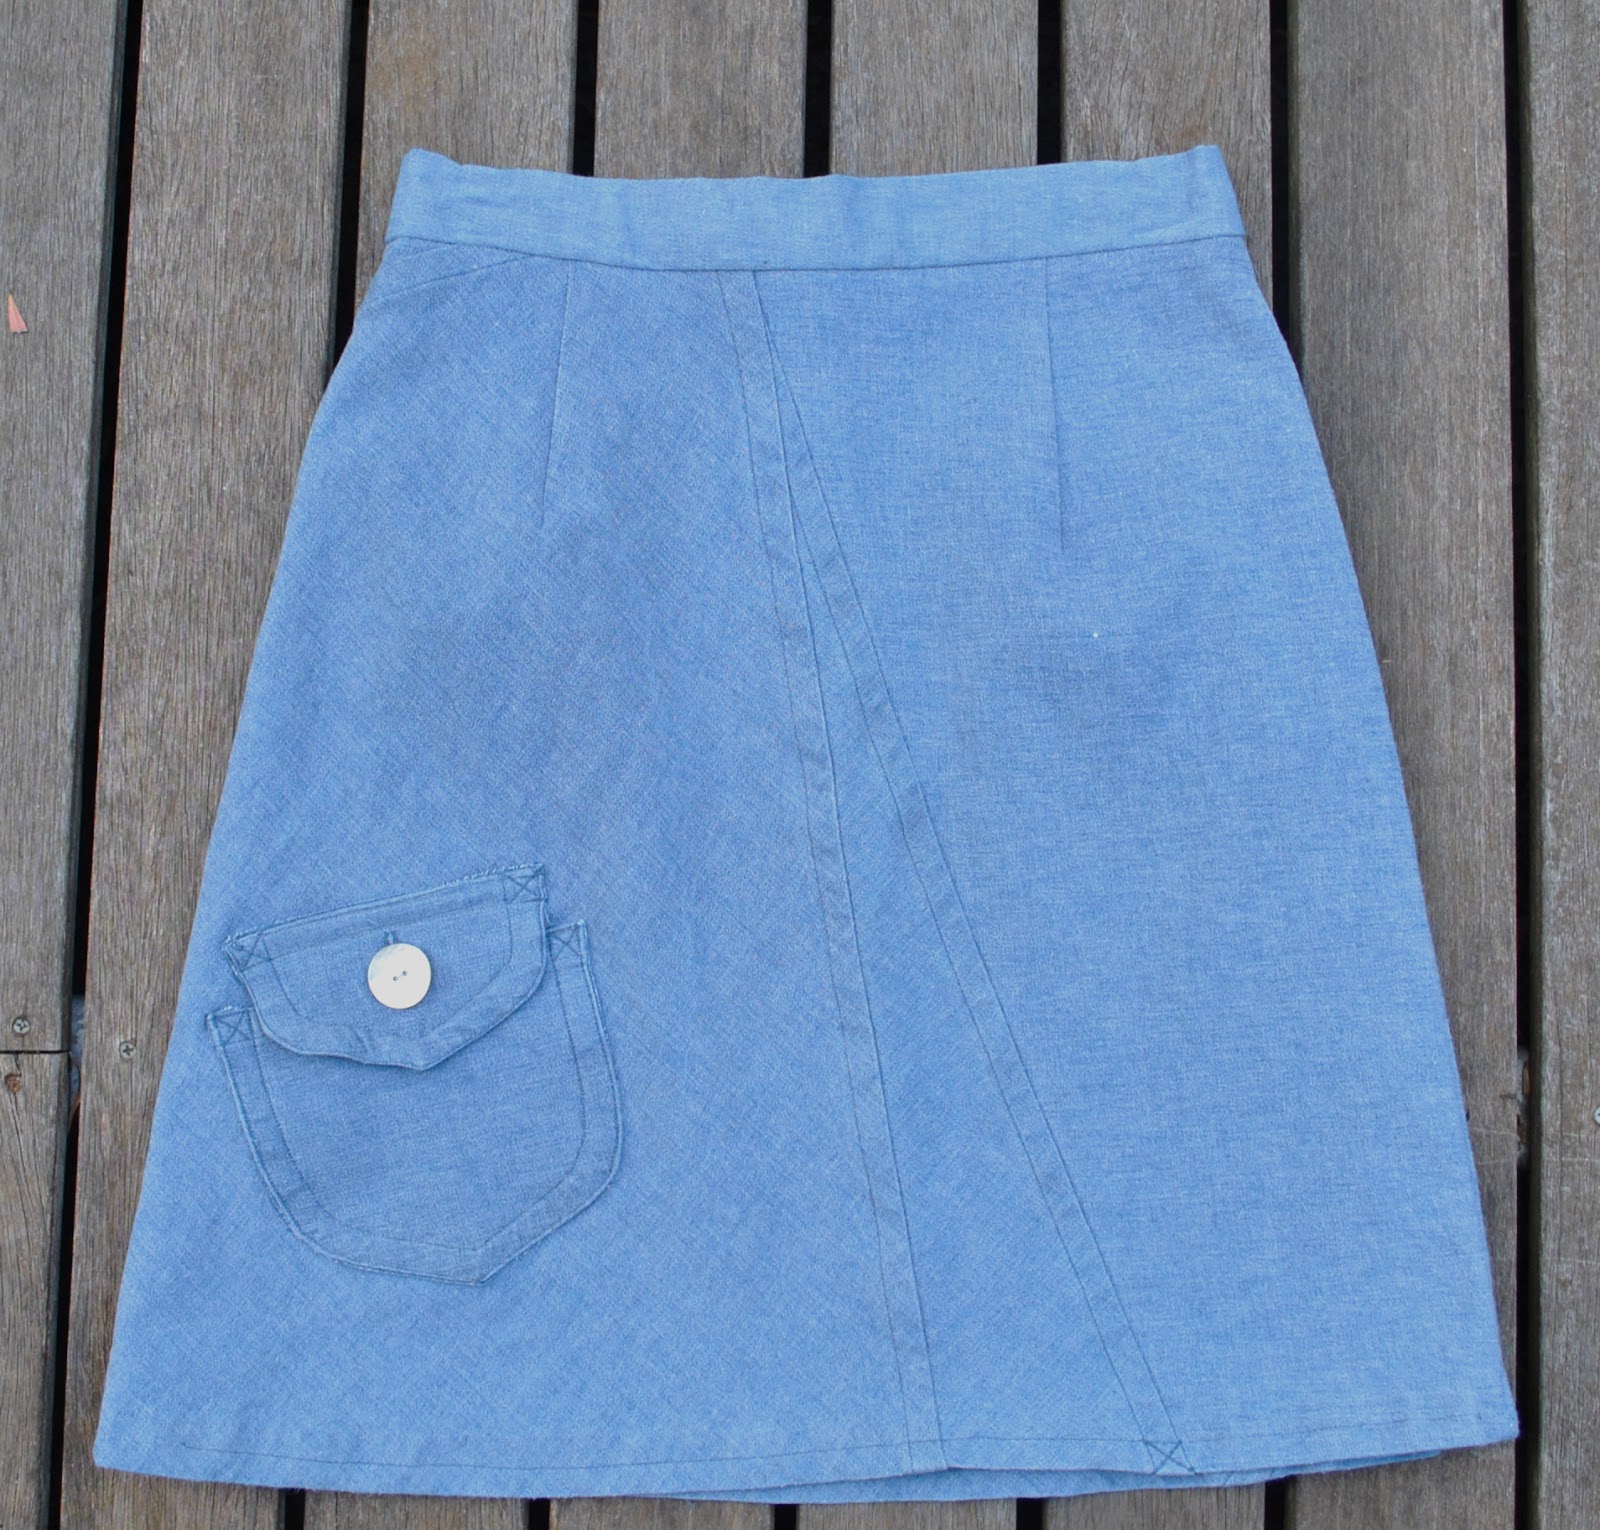
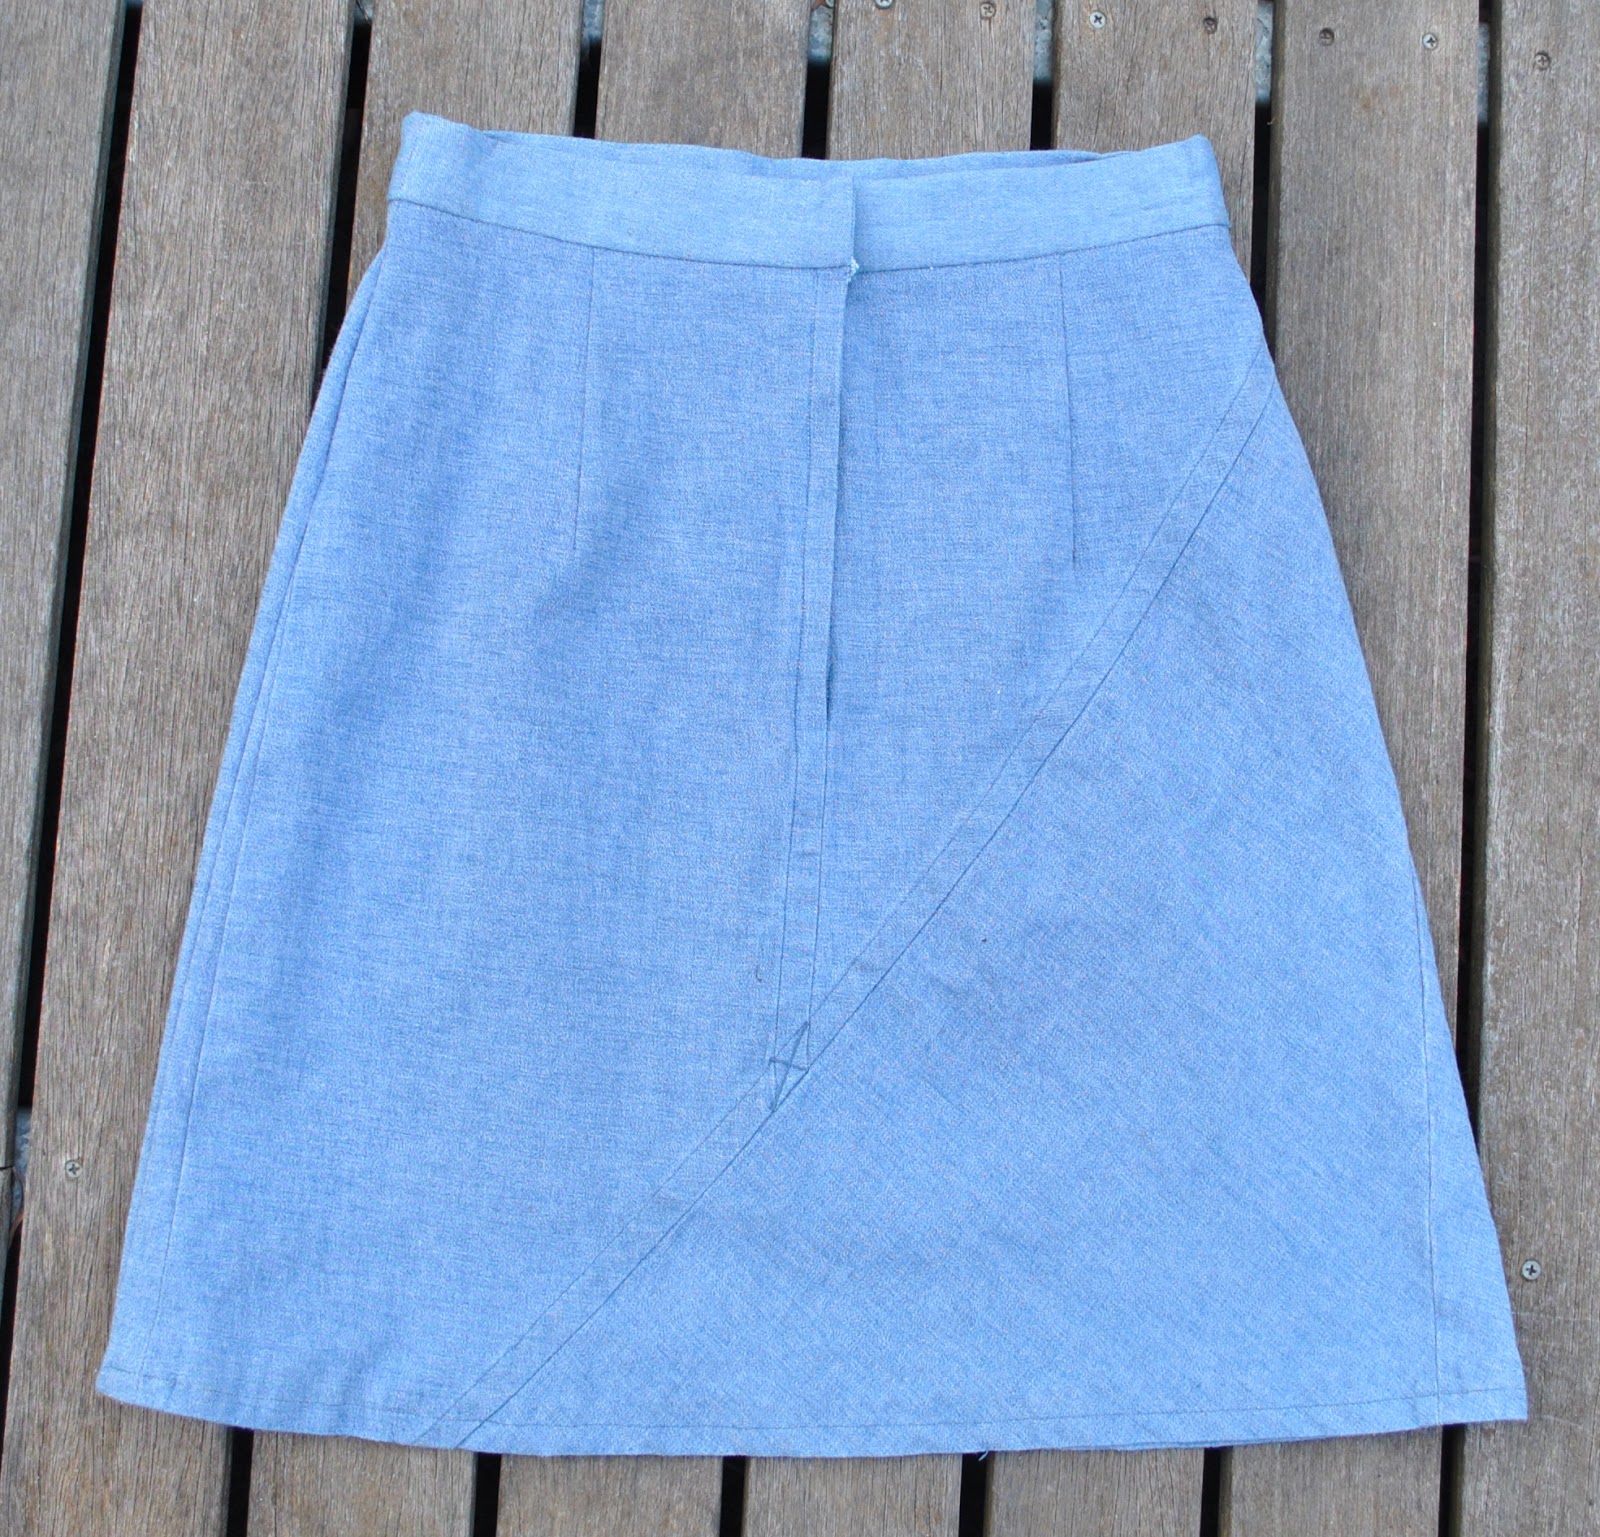
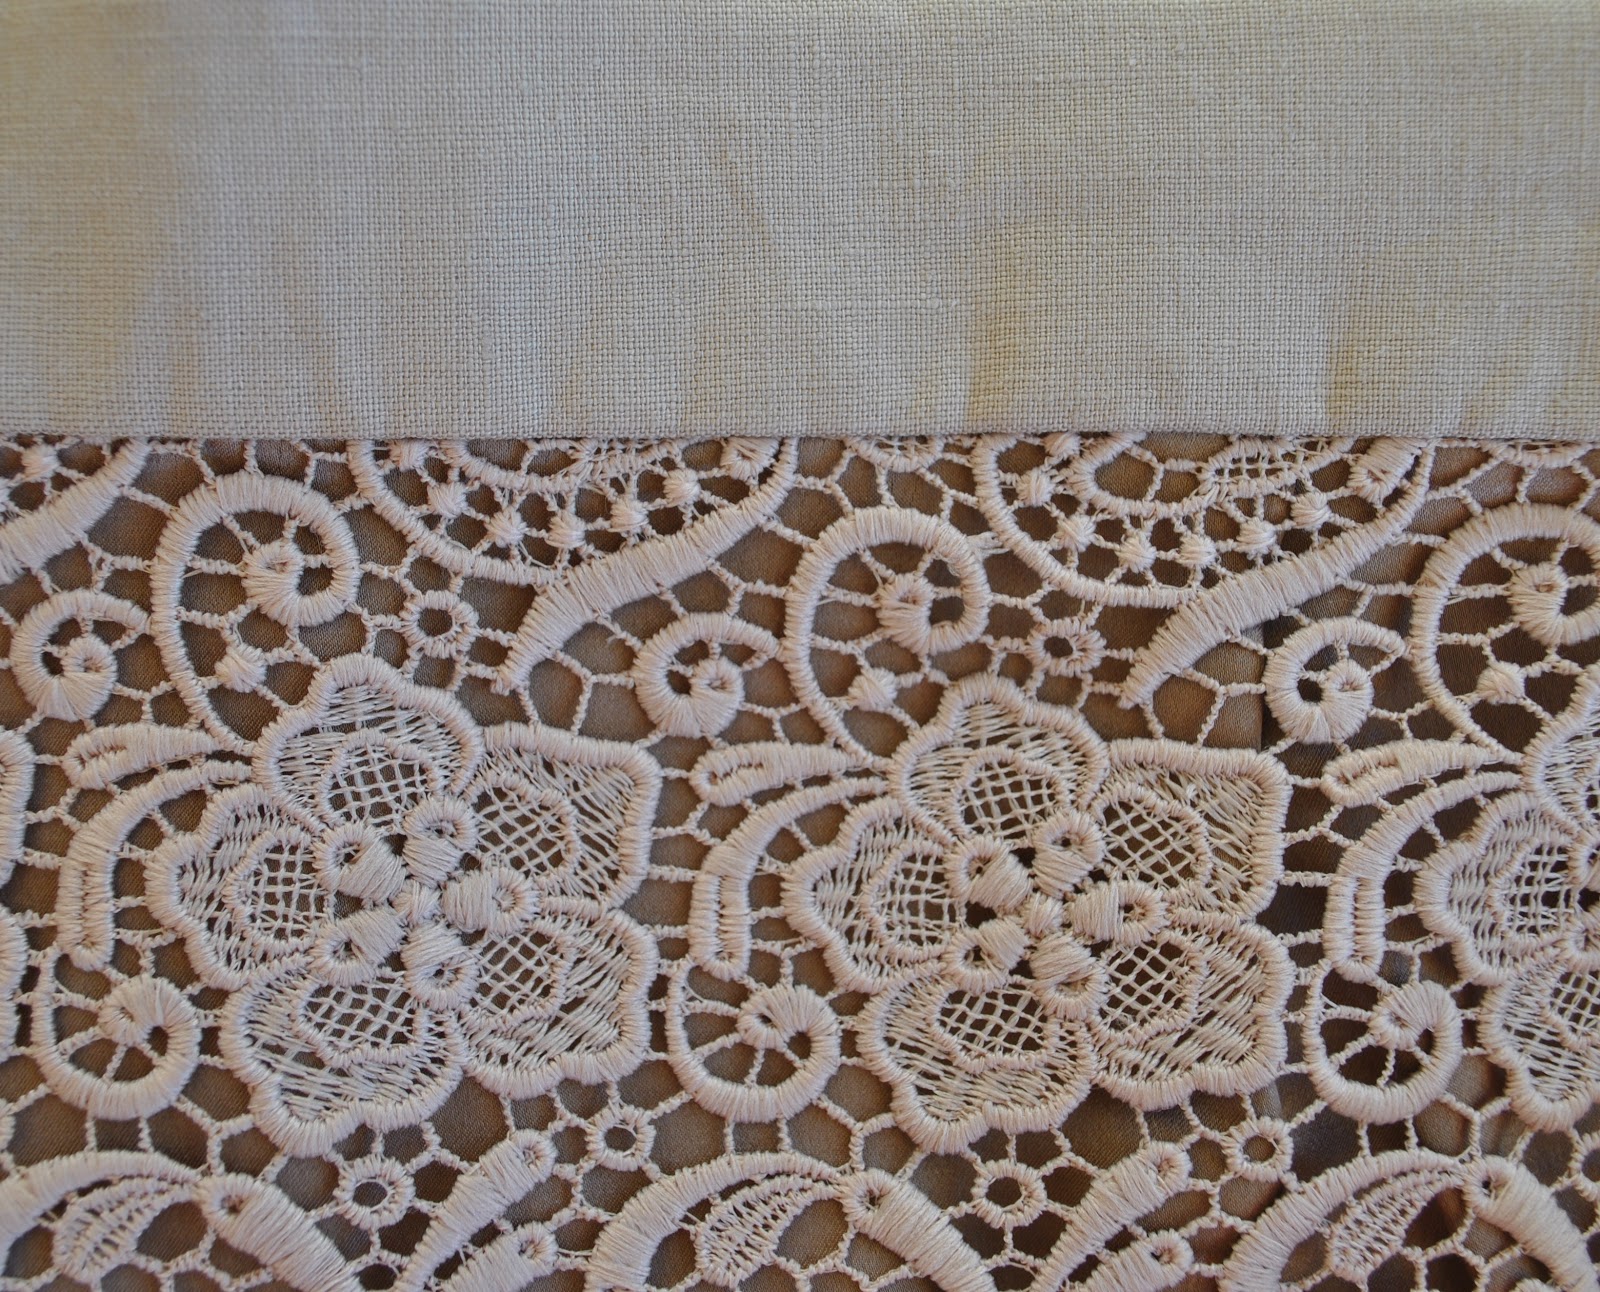
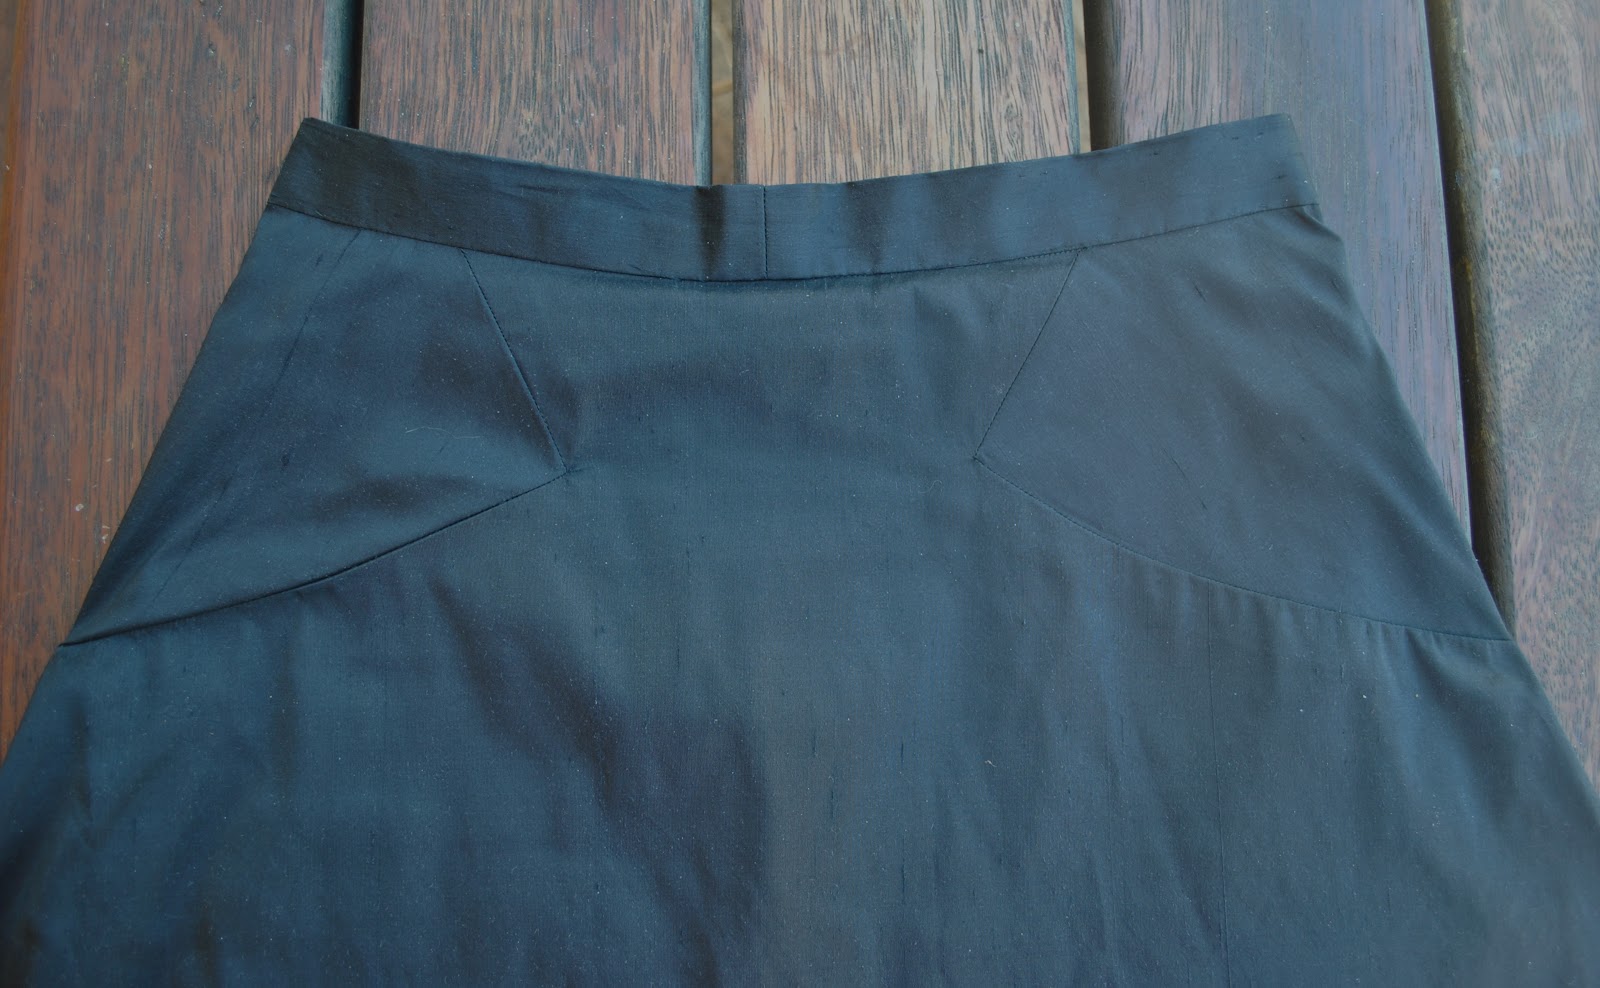
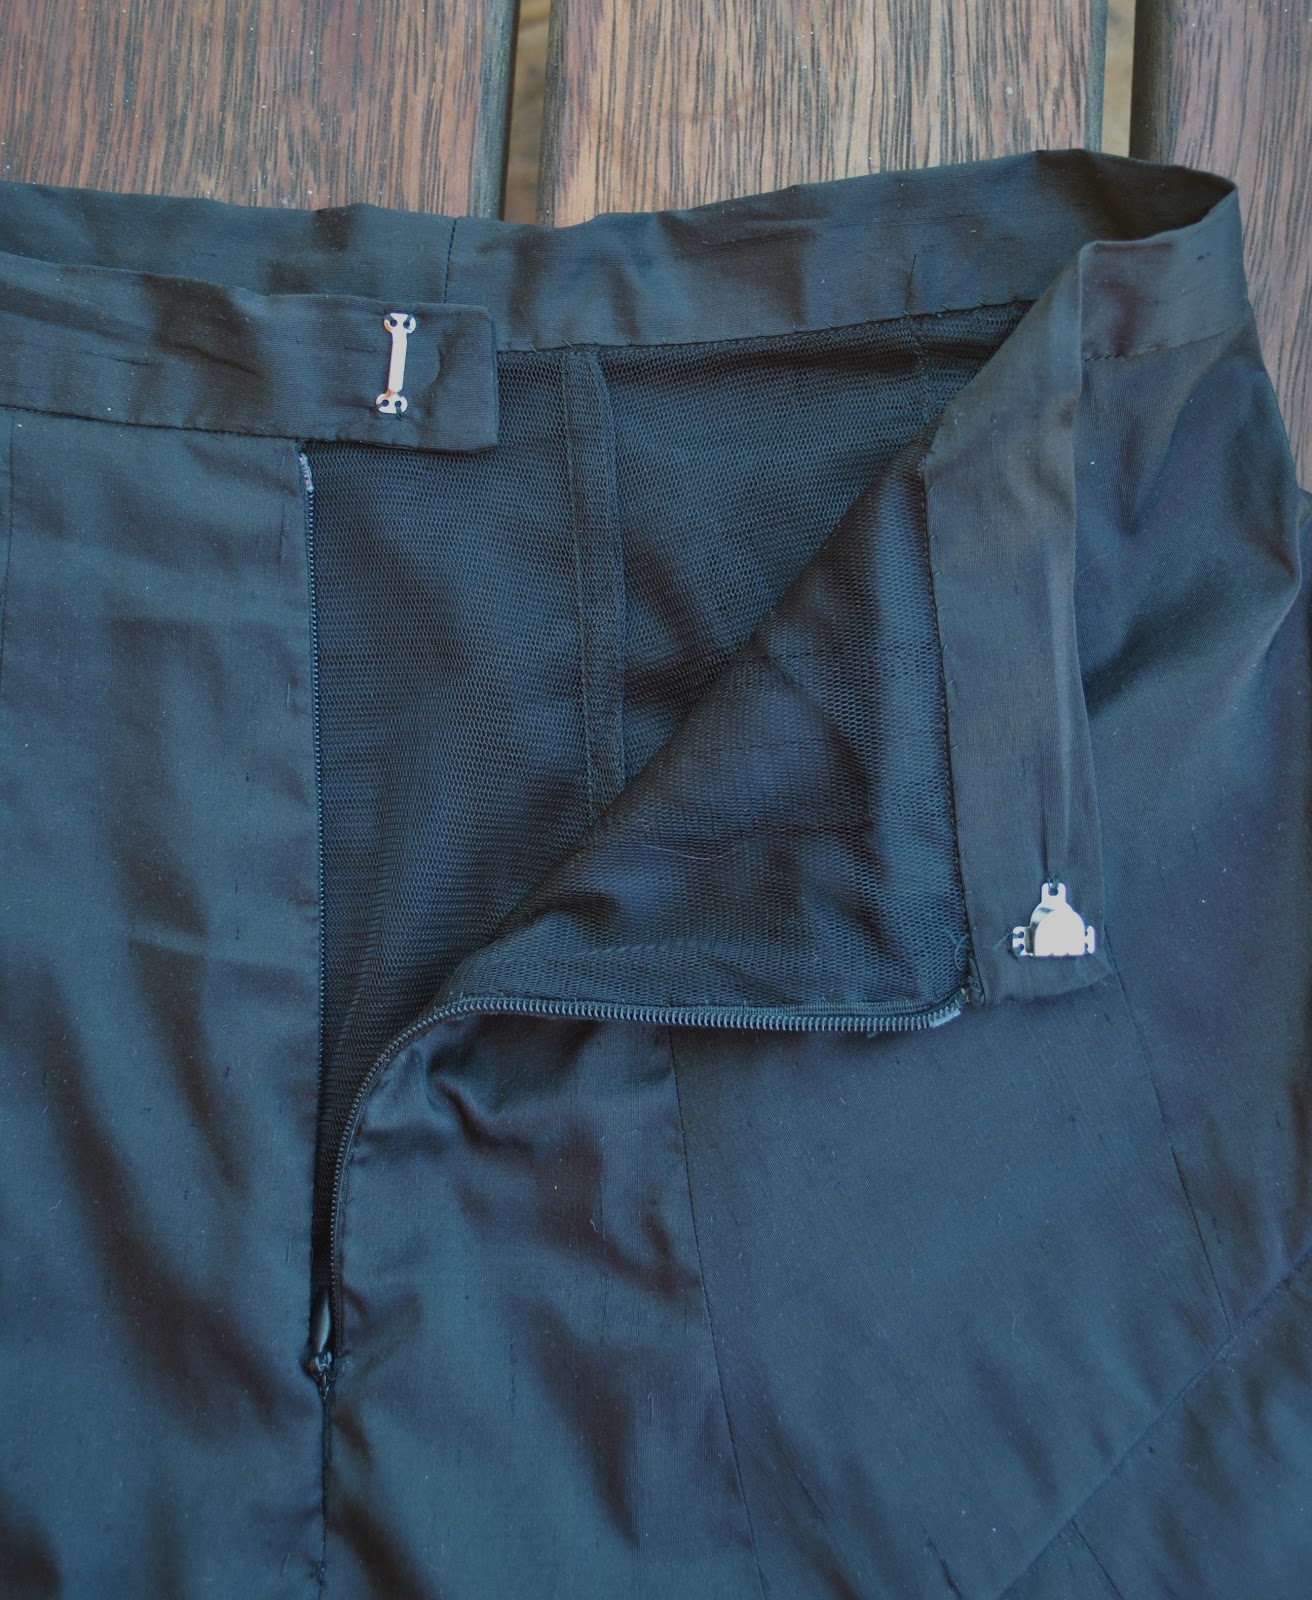
The skirt. Less exciting. But ironically, its the bland and boring stuff that often turns into the amazingly useful and versatile stuff too, though; don’t you think? The skirt is self-drafted, and identical in every way to this charcoal skirt from a few years ago, that has been utterly indispensible for layering and mixing and matching in my handmade wardrobe. Indispensible, I tell you! I used a piece of mystery fabric, part of the bundle given to me by my friend C from her late mother’s stash, and it is also the leftovers from this little Pattern Magic jacket. Thus qualifying it for an itty bitty stash-busting garment! Actually the top was also made using an itty bitty piece of fabric, less than 1m, but since I bought that fabric only three months ago I don’t know if it truly qualifies as “stash” What do you think? How long should fabric be in the stash before one can safely attribute it Stash Status?? One month? Six months? More than a year?
But the skirt is a definite stash-buster… goodness only knows how old that fabric is. This grey side is the reverse side to that I used for the “wearing a square” jacket, a smooth, blue-grey colour, with a double-knit look to its texture.
Details:
Top; modified version of the loose drape top, pattern no.1 from drape drape by Hisako Sato, white cotton
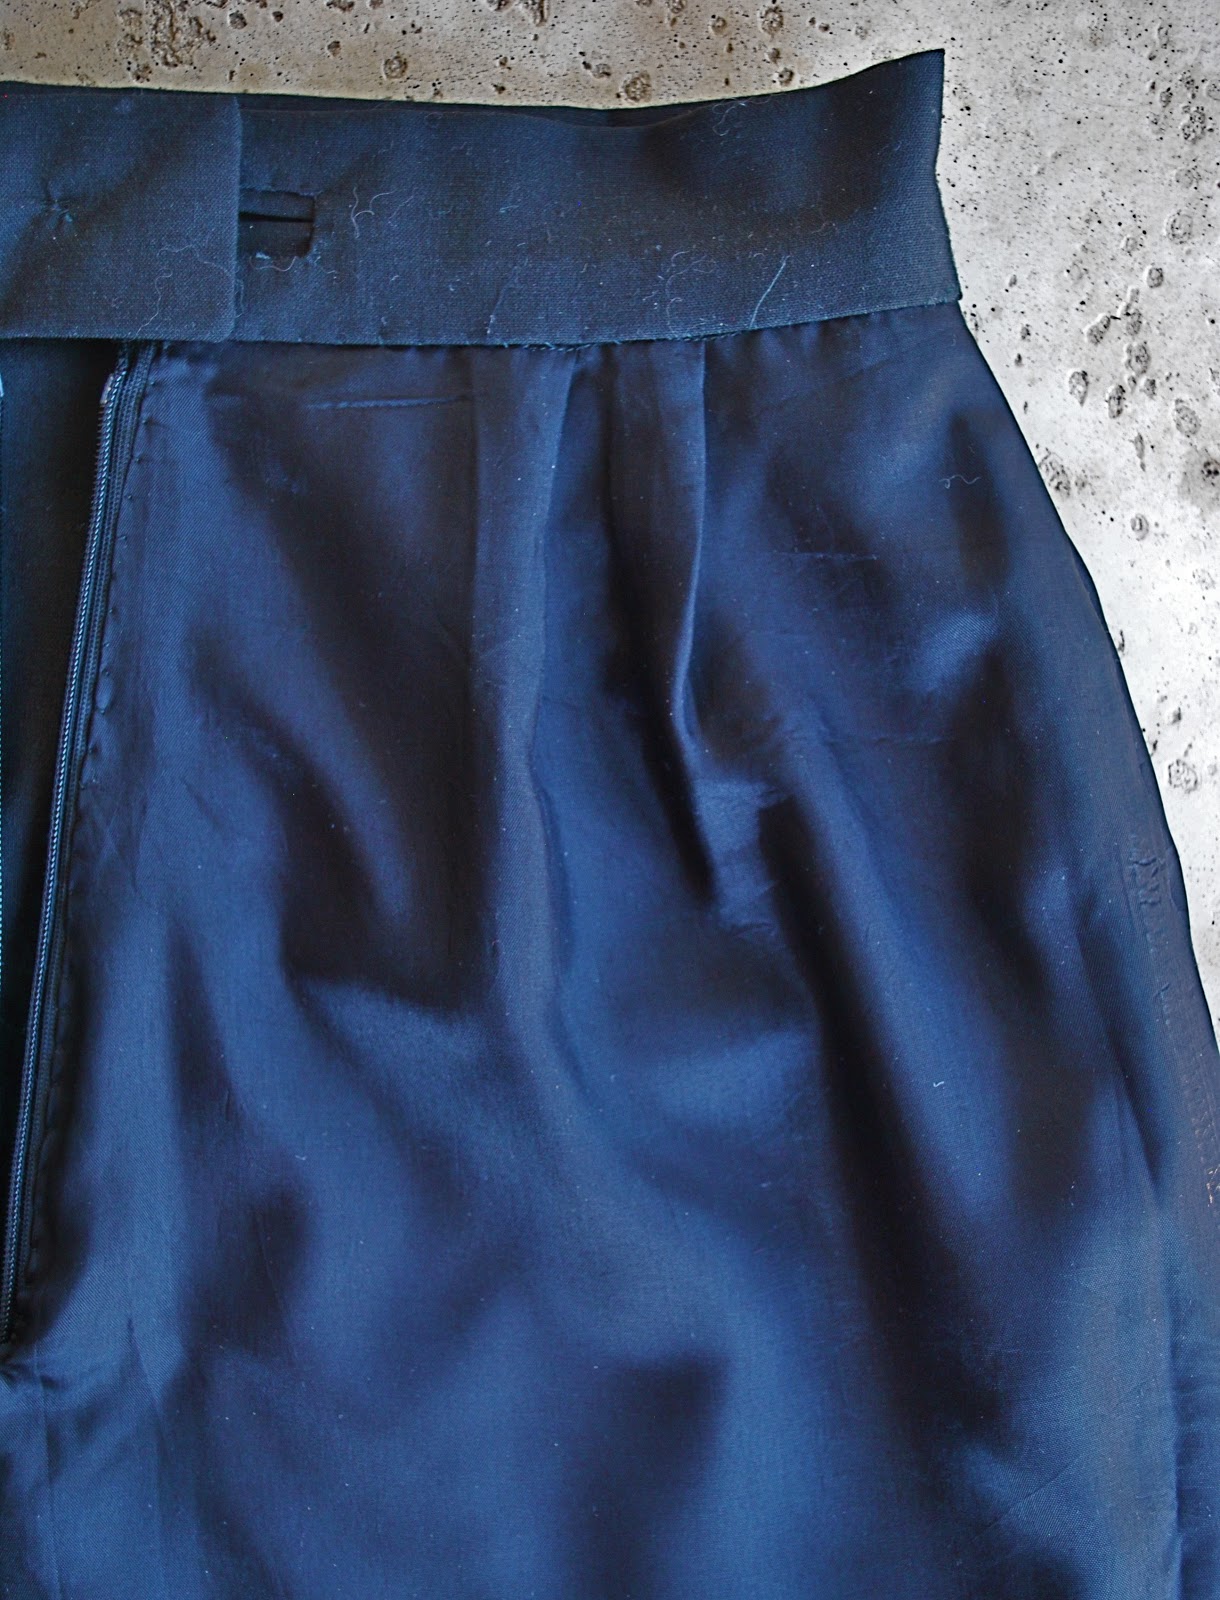
Skirt; my own design, blue grey double-knitty type of stuff.
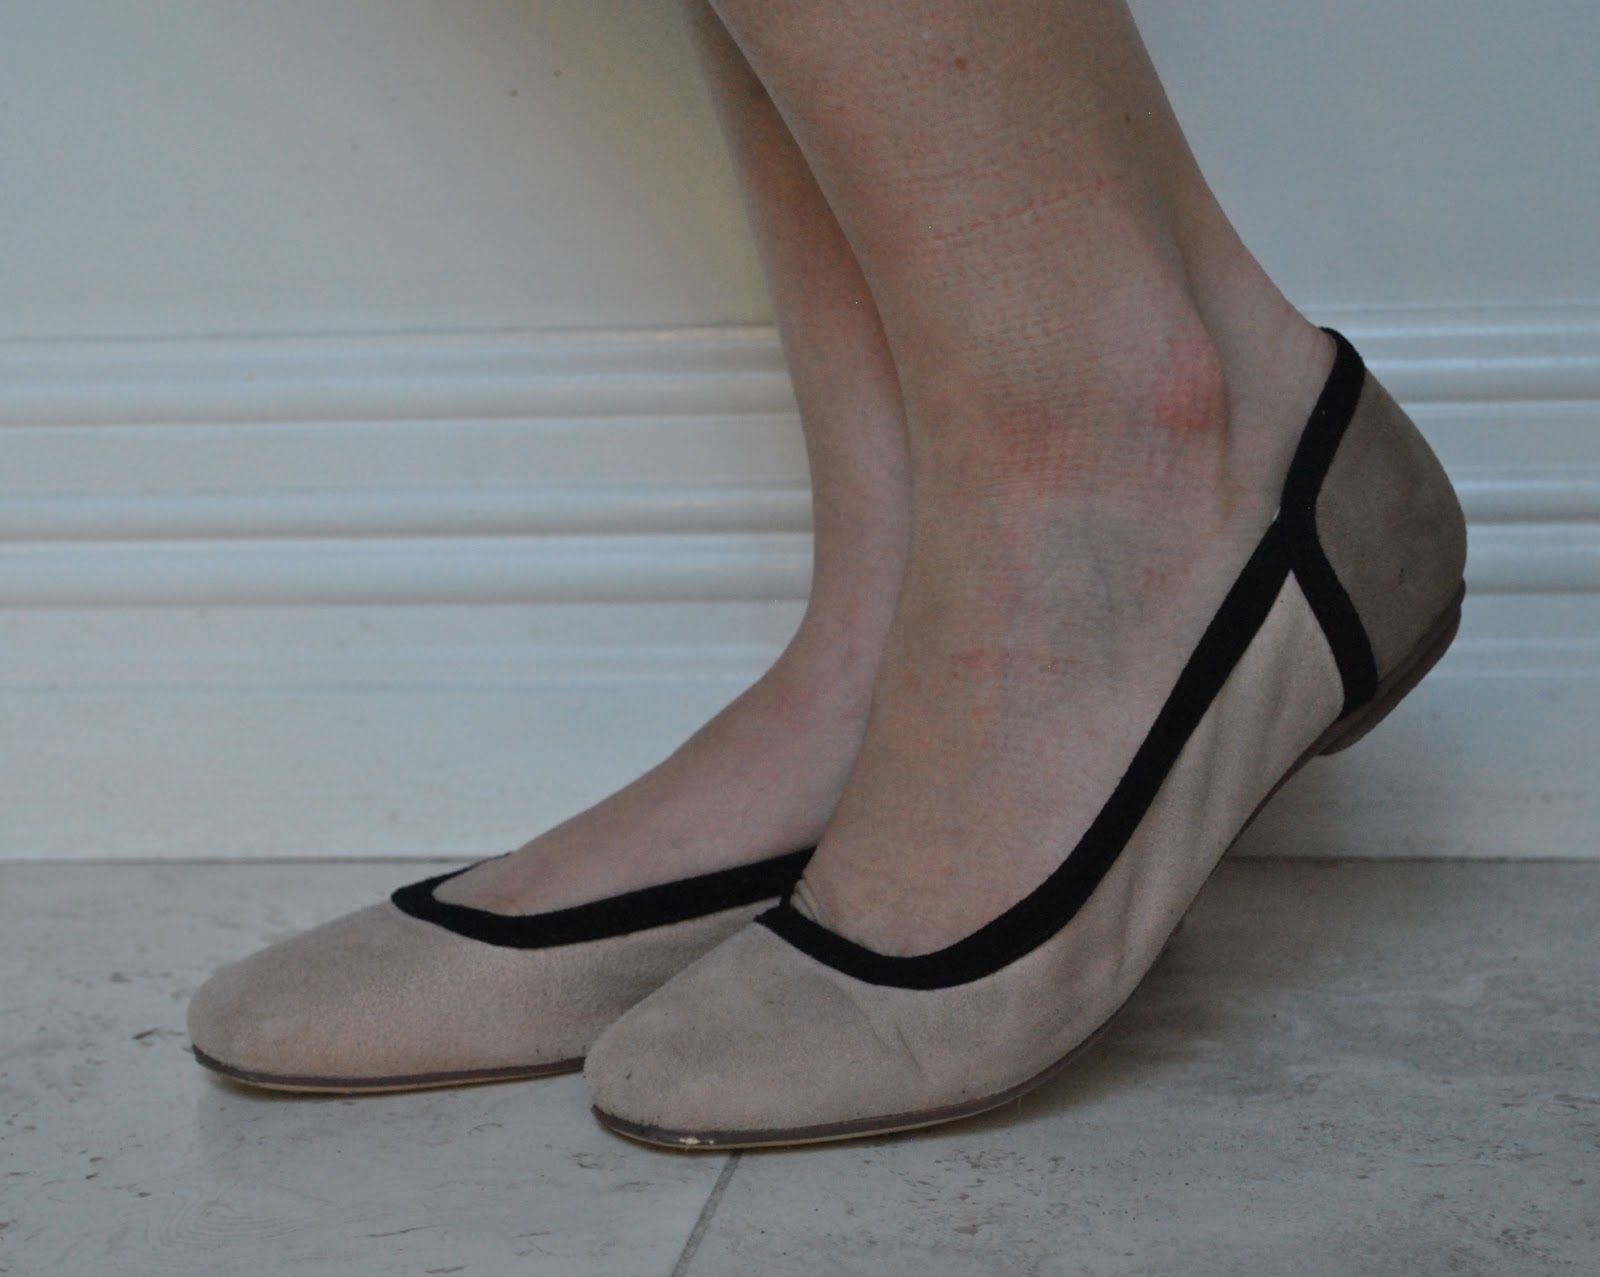
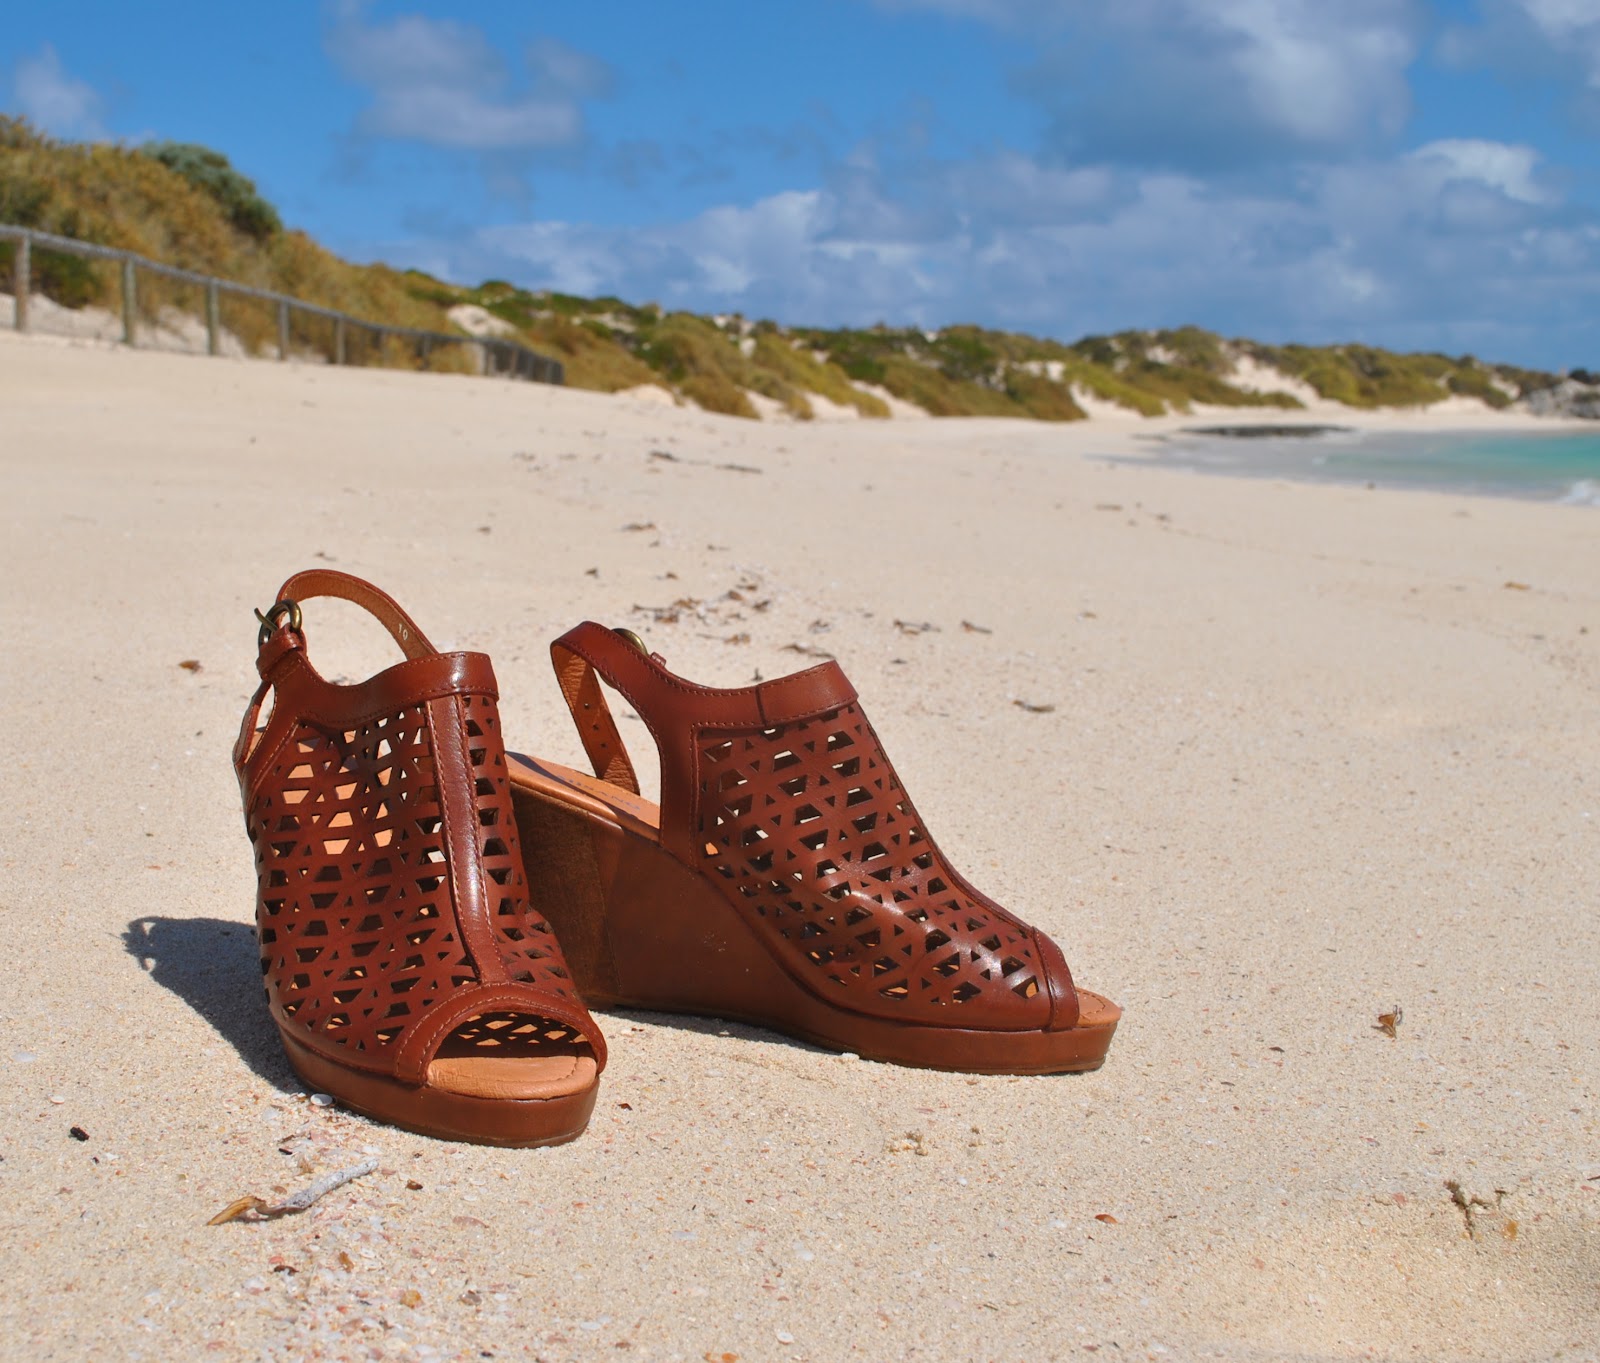
Sandals; c/o Misano


