Category Archives: Uncategorized

Purple jeans; 6 different ways

My purple flares have been such favourites ever since they rolled off the sewing machine; an unlikely wardrobe staple.  Who would’ve thunk purple jeans would turn out to be such useful things in my life??  Ask the ignorant old-me back then and she probably would have been doubtful…   anyhow they have been and I’m rewarding them with a little retrospective.
I made them originally in 2011 using Burda 7863, and in addition to these outfits here they have appeared in a supporting role in several other of my 6 different ways posts too.  A few of the following pics are from previous me-made months, some not…
Below, at left; worn with a rusty corduroy tunic top.  Boy that top was gorgeously toasty warm.  I need another one before next winter; at right; worn with a little self-scarfed top and my brindle knitted cardigan.

purple1a
Below: at left; worn with a purple Tshirt and a hoodie refashioned from a pair of jeans, at centre; with a grey-dyed-yellow woollen top, and at right; with a plain white Tshirt and thongs on my feet.  Admittedly uninspiring, but I included it because this latter outfit has pretty much been my lifetime uniform and so is probably the most “me” ensemble here!
purple2a
Below: at left; tucked into biker boots and with a long white top and my f-leather jacket, At right; and yup, this one does make seven different ways but (shrug)  I almost didn’t include this last picture, they’re on the saggy and baggy side and look a bit awful now, and so faded!!! but I guess that just shows how much they’ve been loved.  Worn with my green jacket-thing (later dyed) and a raspberry jersey scarf.
purple3a
Hmmm; what colour to make next, I wonder… ?
pinterestmail

A horse, and other news

The lovely Yoshimi the Flying Squirrel will be literally flying! and over here!  She has revealed her travel plans, so now I may say something too…  I am thrilled to say that she is coming to visit me on her way to the bloggers meet-up in Melbourne.  I will be so happy to see her again, and am super excited to show her around Perth!  I’m planning for, and hoping that she will have a really wonderful time here, and I know she will have an absolutely brilliant and fun weekend at the Melbourne meetup with TJ and Maria and all the other Melbourne gals too.  Exciting stuff!  😀

In current doings, I’ve been mucking about with fabric paint again today…

I bought this lightweight mustardy-chartreuse silk in ?Tessuti’s? I think? during my girly trip to Melbourne with Mum and Cassie last year and it’s been burning a hole in my conscience.  I’ve reeeeally wanted to make something interesting with it but couldn’t think what and it was fast becoming too precious to cut up.  Finally I’ve thought of something… hopefully this will turn out cool in the end.
My initial grand plan was of a more realistically shaded horse, with sharply defined edges outlining rippling equine muscles and tendrils of mane billowing gorgeously in the slipstream…  those pie-in-the-sky ideas had to be abandoned when experiments revealed that the paint bled like the blazes on this silk.  Oh well.  Embrace the limitations, and all that!  And a serendipitous one; since the splodgily abstract nature of my print brings to my mind the markings of an Appaloosa horse.  Ok, I’m happy!
The technical blahdy-blah…
I drew my design, gave it a grid so I could enlarge it to a good size to fit my piece, and then traced it onto the fabric using water soluble pen, although tracing probably wasn’t necessary in the end.  I mixed a hefty blob of black fabric paint into about 2 cups of water, in a plastic spray bottle… just one of those cheapies you see in the gardening section of the supermarket for your seedlings.    Some experimenting was necessary to determine a good ratio, giving a solution that was thin enough to spray without clogging up the nozzle, and yet had enough paint to leave a mark on the fabric.  
Cut out my stencil and sprayed away.  I also sprayed the other pieces; and as lightly and as thinly as I could, painted in some mane and body contouring streaks with a paintbrush, separately.
 This will be appearing in wearable form, tout de suite… 

In other sewing news, I have decided that I might quietly do a stitchers guild SWAP this year.  I’ve bought a few Australian Stitches magazines over the years and, like lots of people, Lynn Cook’s wardrobe planning was always my favourite bit.  I discovered that following her example was an established sewing blog thing-to-do last year, with rules and a time frame and a competition as well!  man, I’m so behind the times  🙂   
Anyway, I’ve really admired everyone’s SWAP wardrobes, and thought that maybe my own rather random sewing efforts could do with a bit more planning…  so sensible! a new concept for me  🙂  I might not actually enter my SWAP into the official competition… I mean, you are only allowed to make one thing before 26th December, whaaa???  don’t know if I can wait that long!  But I do like the whole idea of following the rules and making a co-ordinating mini-wardrobe.  So I’ll see how I go.  The stash has been raided for some likely looking candidates and I’ve sketched out a plan of attack…
The horse-y fabric may or may not become the first “thing”  🙂

pinterestmail

the paper doll project

(I’ve pledged to wear only clothes handmade by me this year and to sketch my daily outfits in my Fashionary.  I’m calling this; the paper doll project)

24th-27th October
from left:
powder blue silk tunic top and dress
blue bell-sleeved top, refashioned denim skirt
chequered elisalex, black faux snakeskin cardigan, black wool tights
coffee lace skirt, white trees top
sage-green/oyster white ball gown
sew bossy dress

28th October-2nd November
from left:
Aquarius dress
top with golden curls, ivory curtaining skirt
giant polka dots dress
coffee lace skirt, royal blue PM hoodie
billowy black shirt, little charcoal skirt
billowy white shirt, wedgwood blue damask skirt

pinterestmail

A pale set

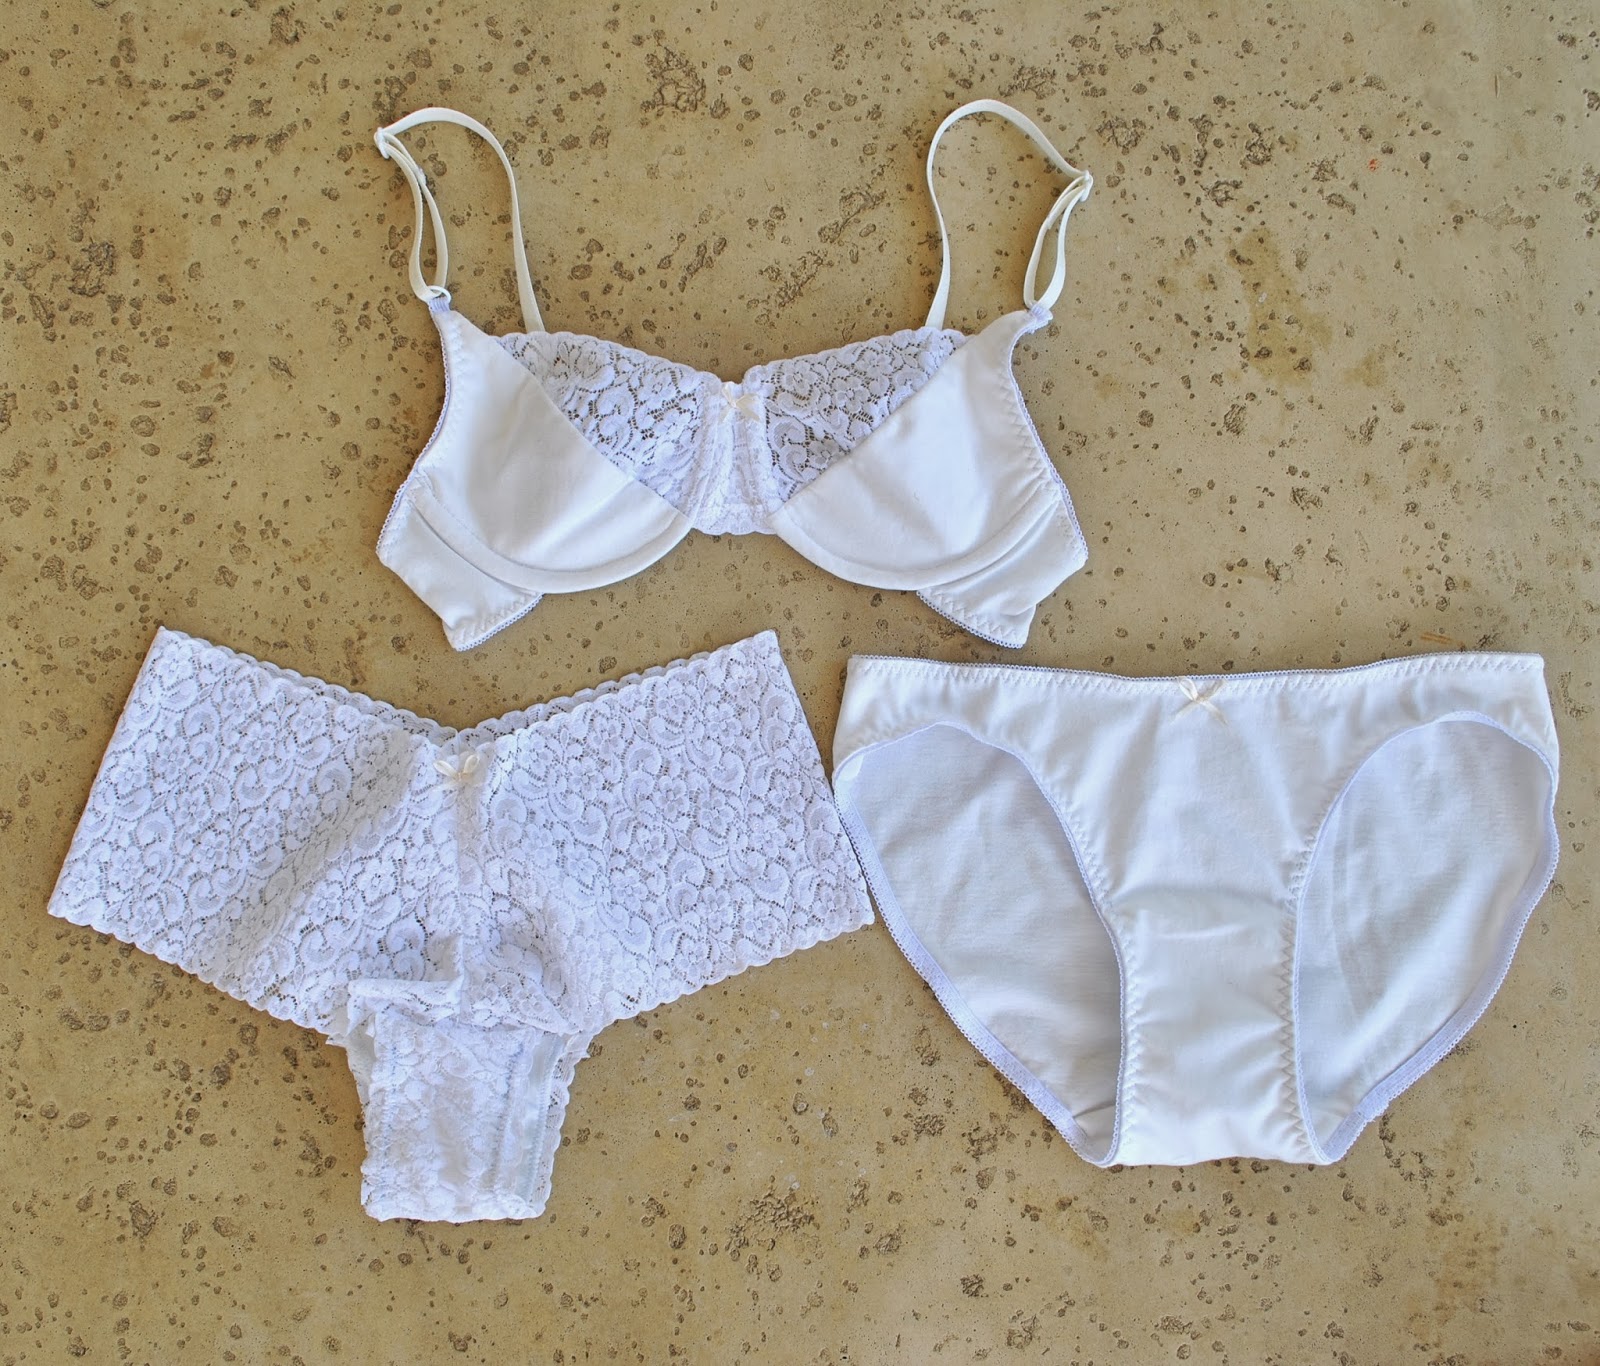
I’ve made another new set of lingerie…  fairly plain and simple and prosaic but that’s ok since plain, simple and prosaic are my middle names.  Three more of my middle names, that is.  I have lots of de facto middle names, deployed in this blog selectively and when it suits my purposes to describe the various facets of my personality and how it applies to my wardrobe. 
*eye roll at self-craziness*
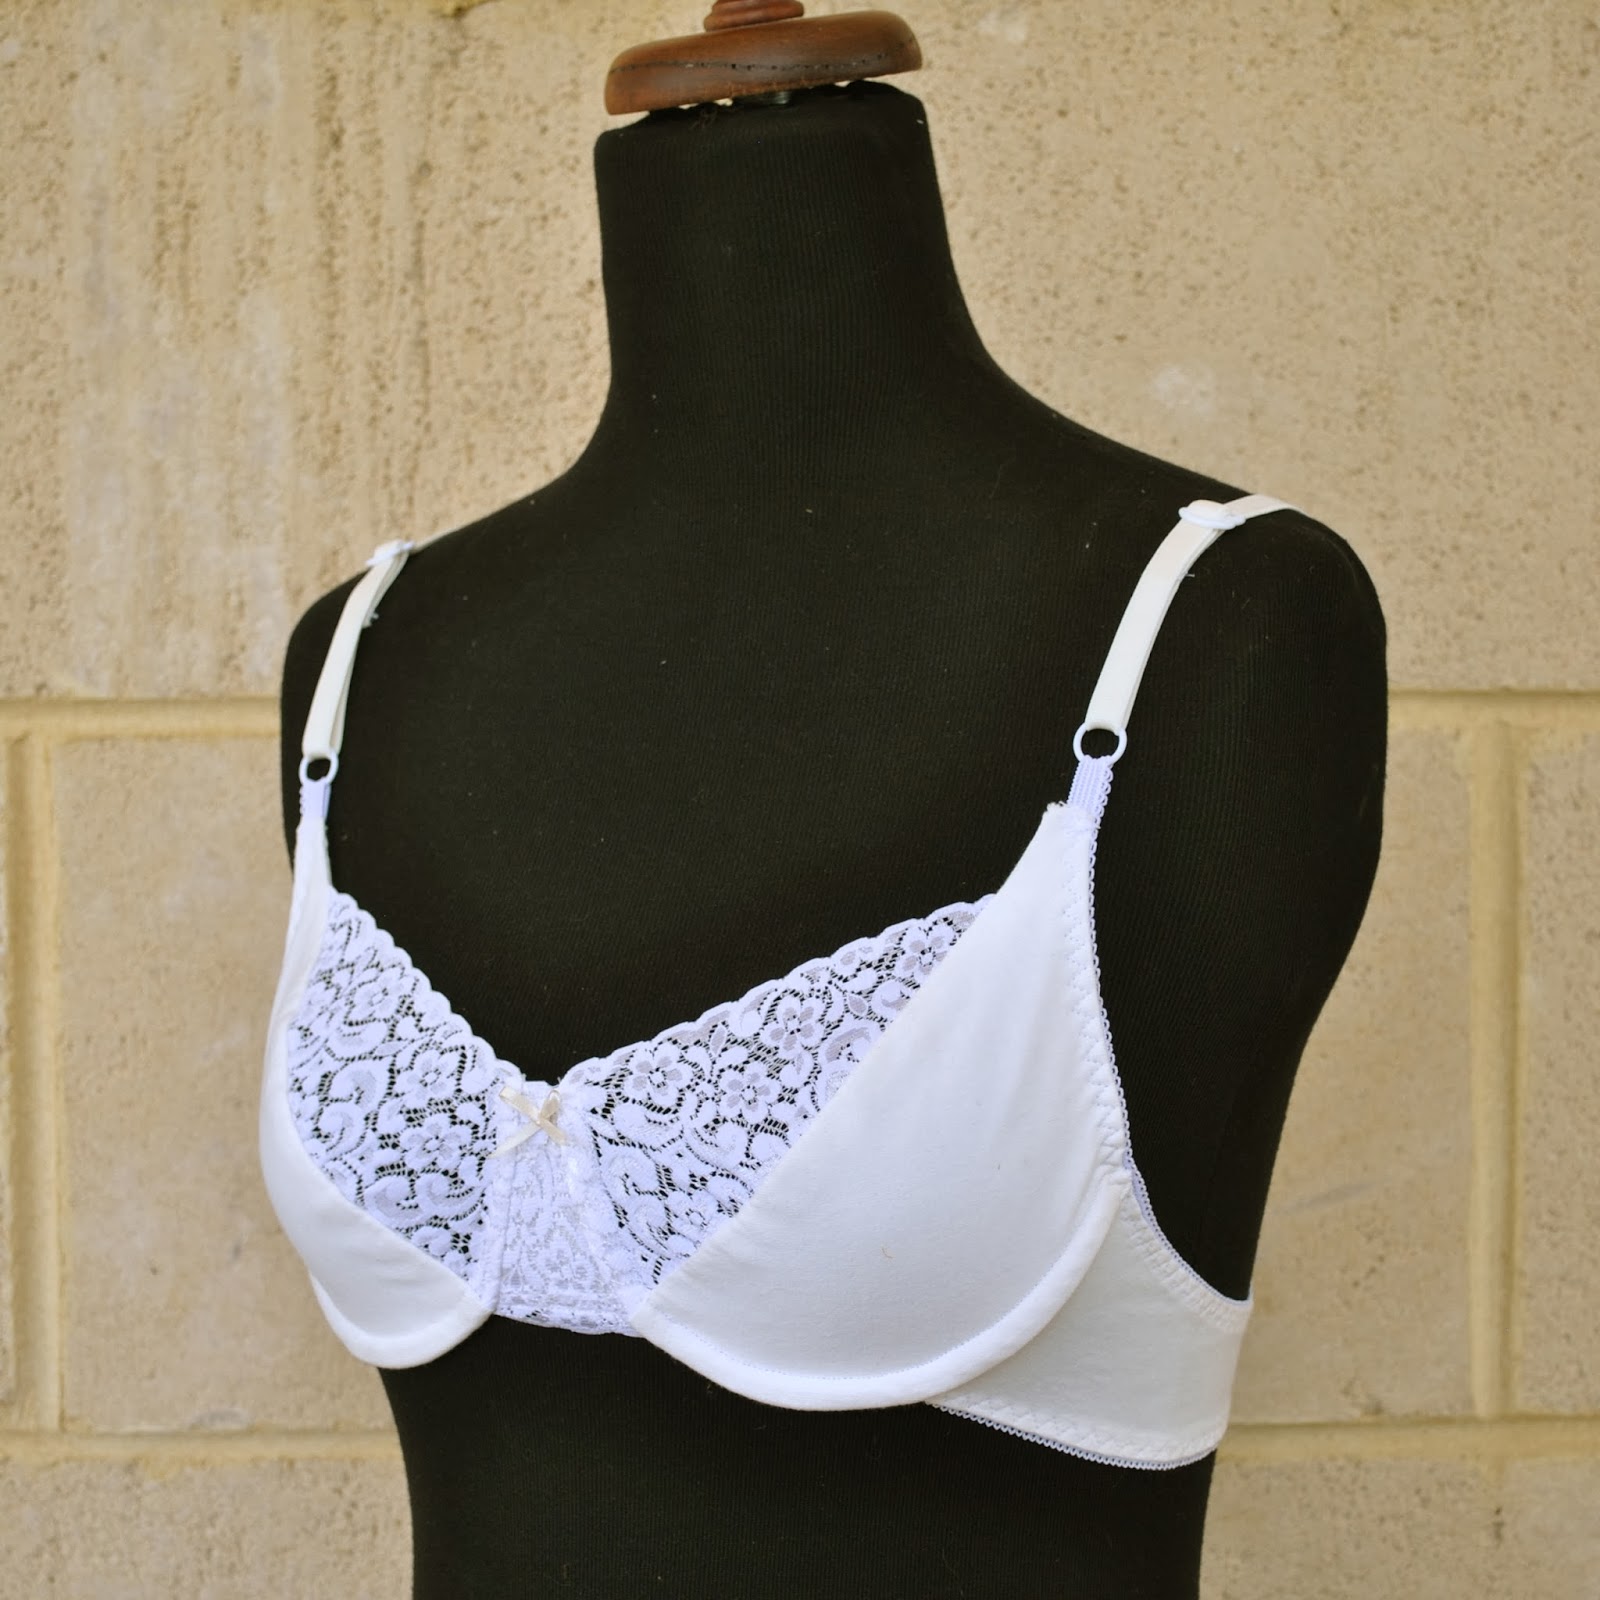
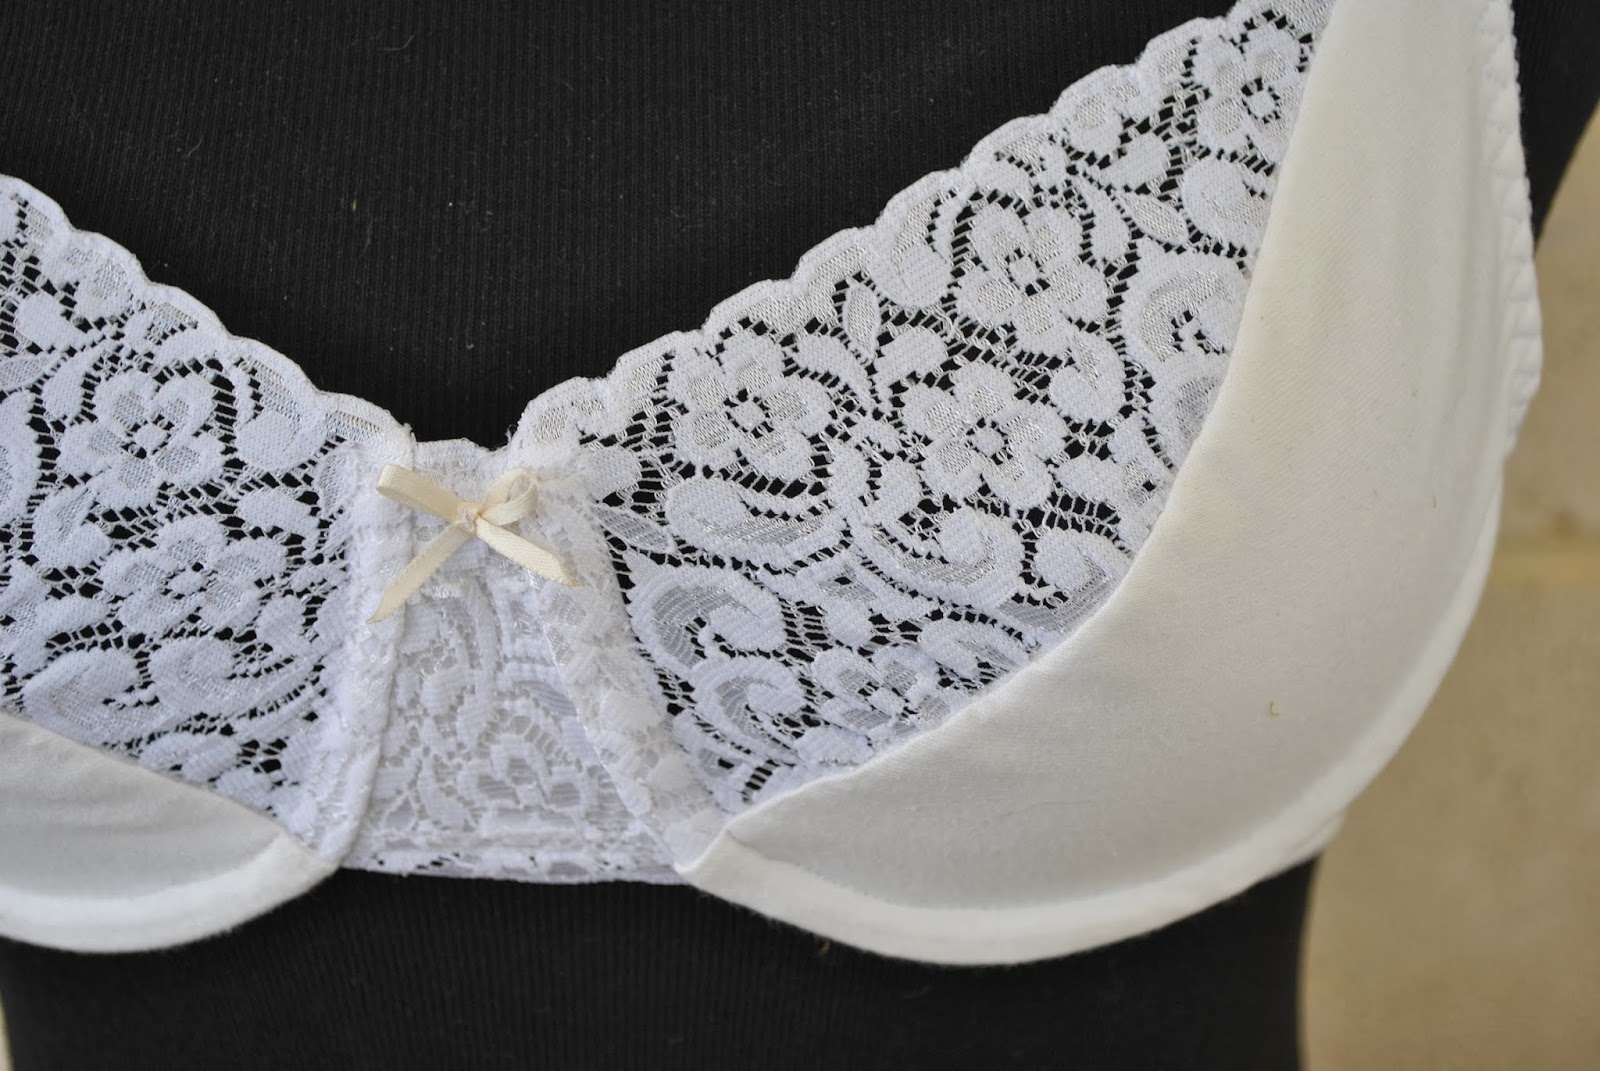
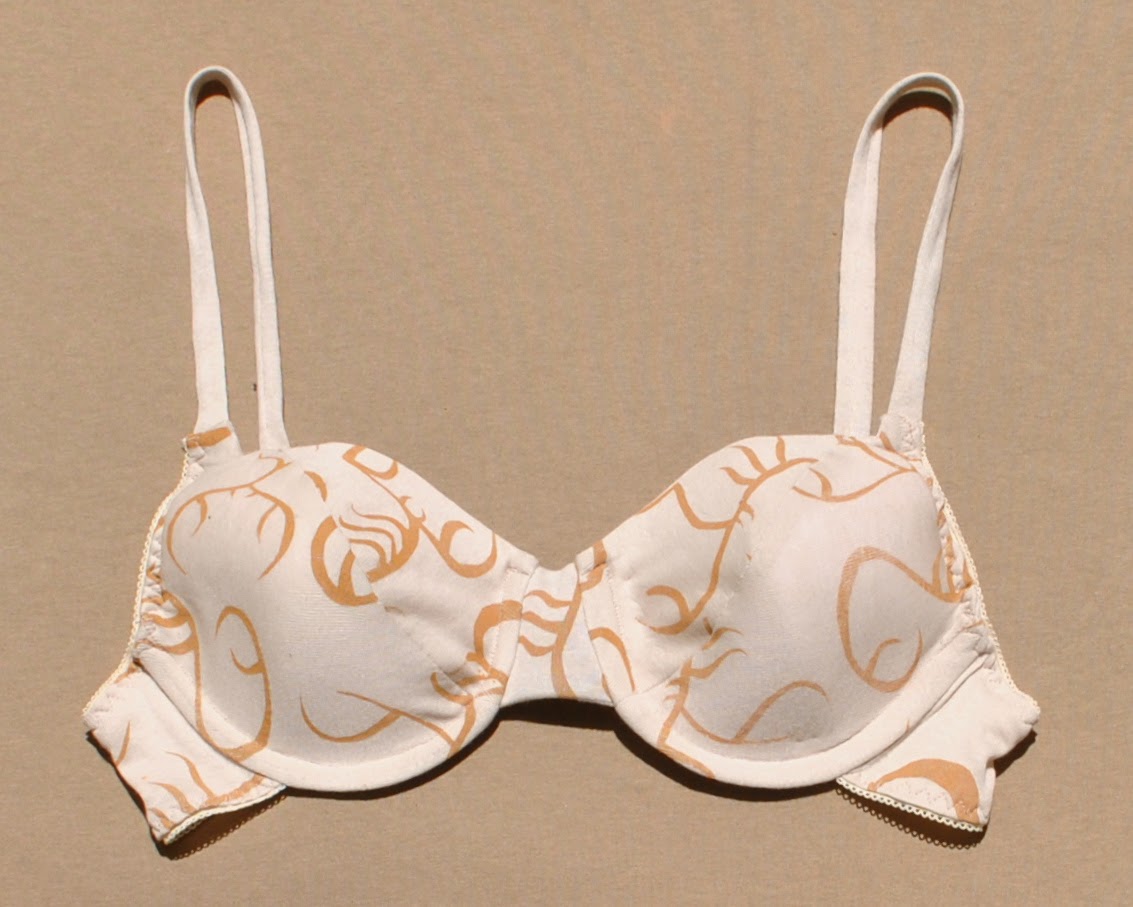
The bra has no foam insert, thus the sad, limp, popped-balloon kind of a look it has in its picture above…  It does have an extra, underlining layer of cotton jersey in the lower bra cup which gives it a nice thickness.  But no padding = no visual appeal, I do admit that.   Droopy and deflated  🙁  It looks heaps better on an actual body.

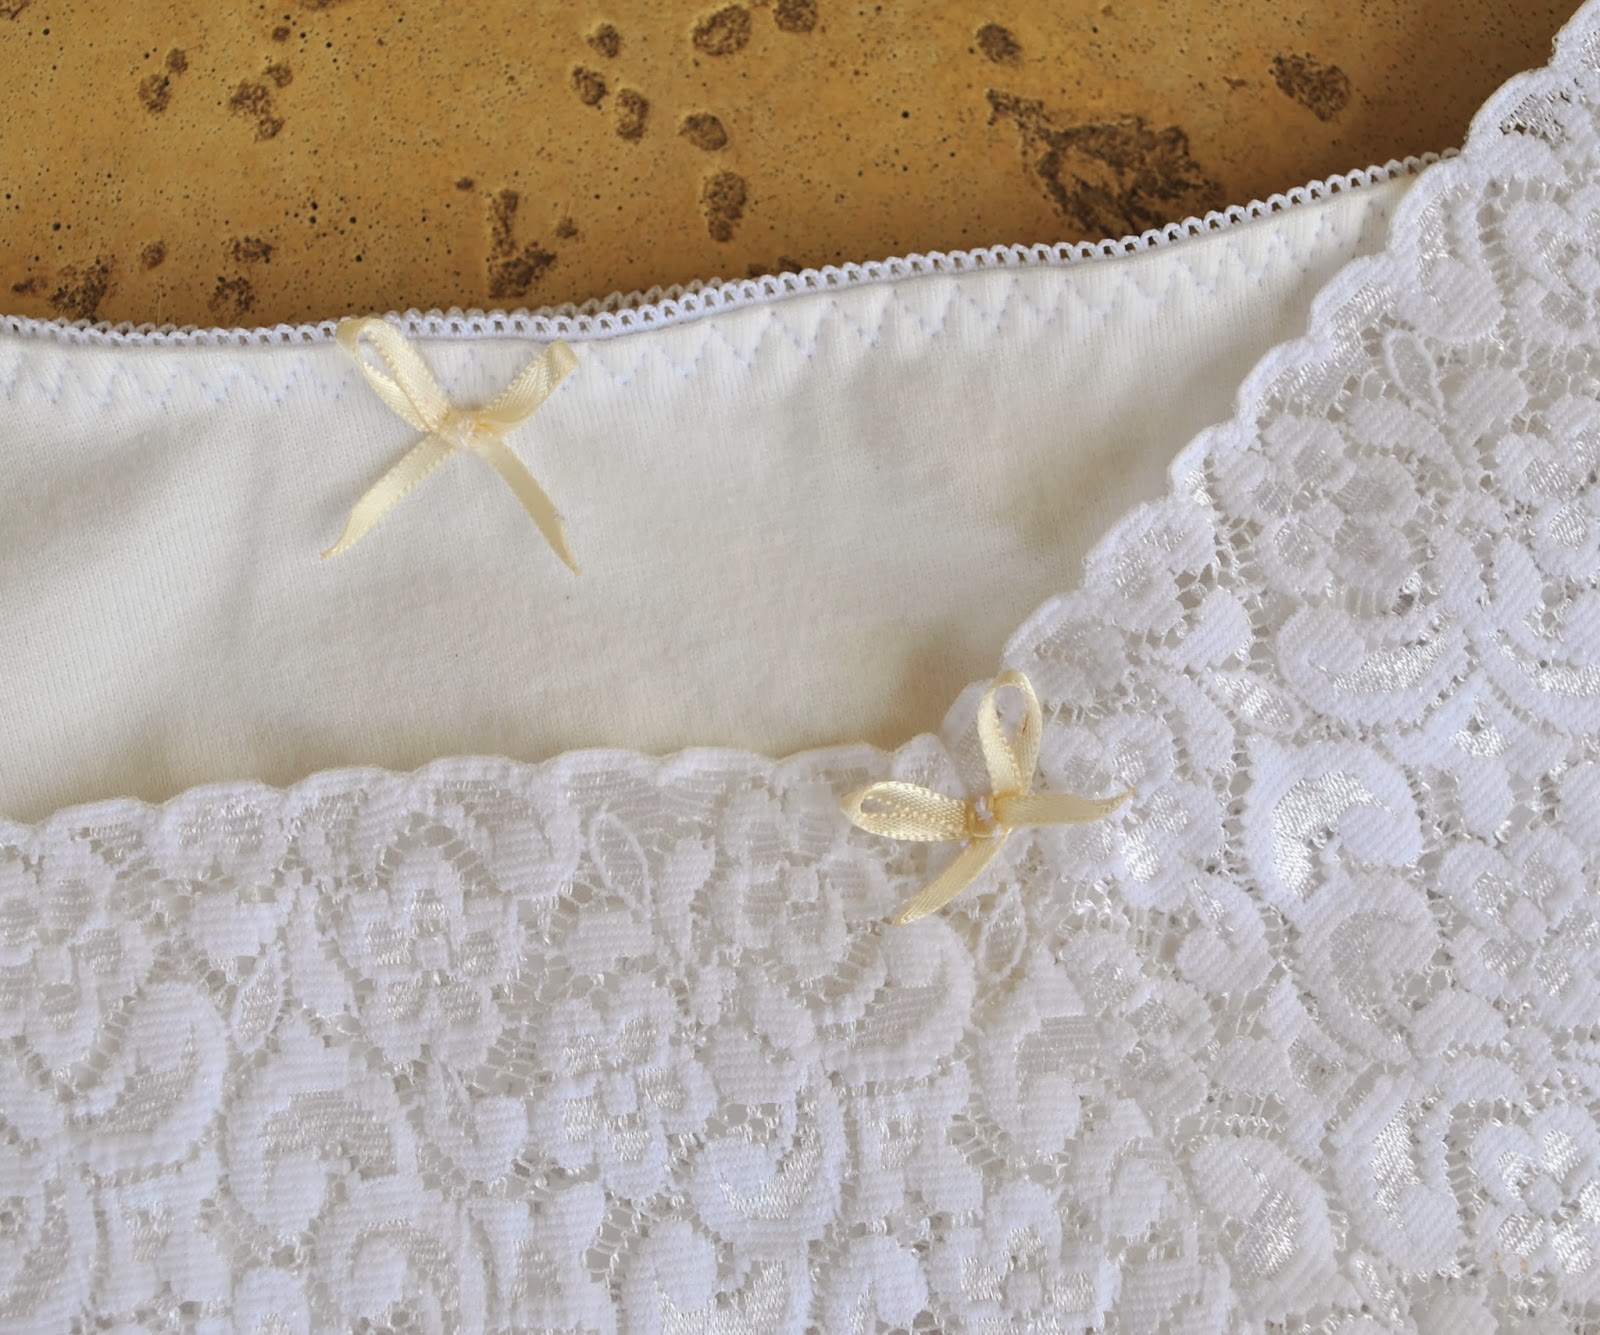
The fabrics have all been in my stash for yonks; an ivory coloured cotton jersey (Spotlight) that I’ve also used for all my white Tshirts and a white stretch lace (Fabulous Fabrics).   Also, white lingerie elastic and decorative mini-bows made using creamy-peach coloured ribbon.  Unlike my previous lingerie set which was all yellow-y, the presence of pure white here enabled me to use the bright white rings and sliders on the straps of the bra.  It’s a pain that Spotlight has such limited colour range; maybe I should get global and go internet-notion-shopping for other colours.  Maybe…
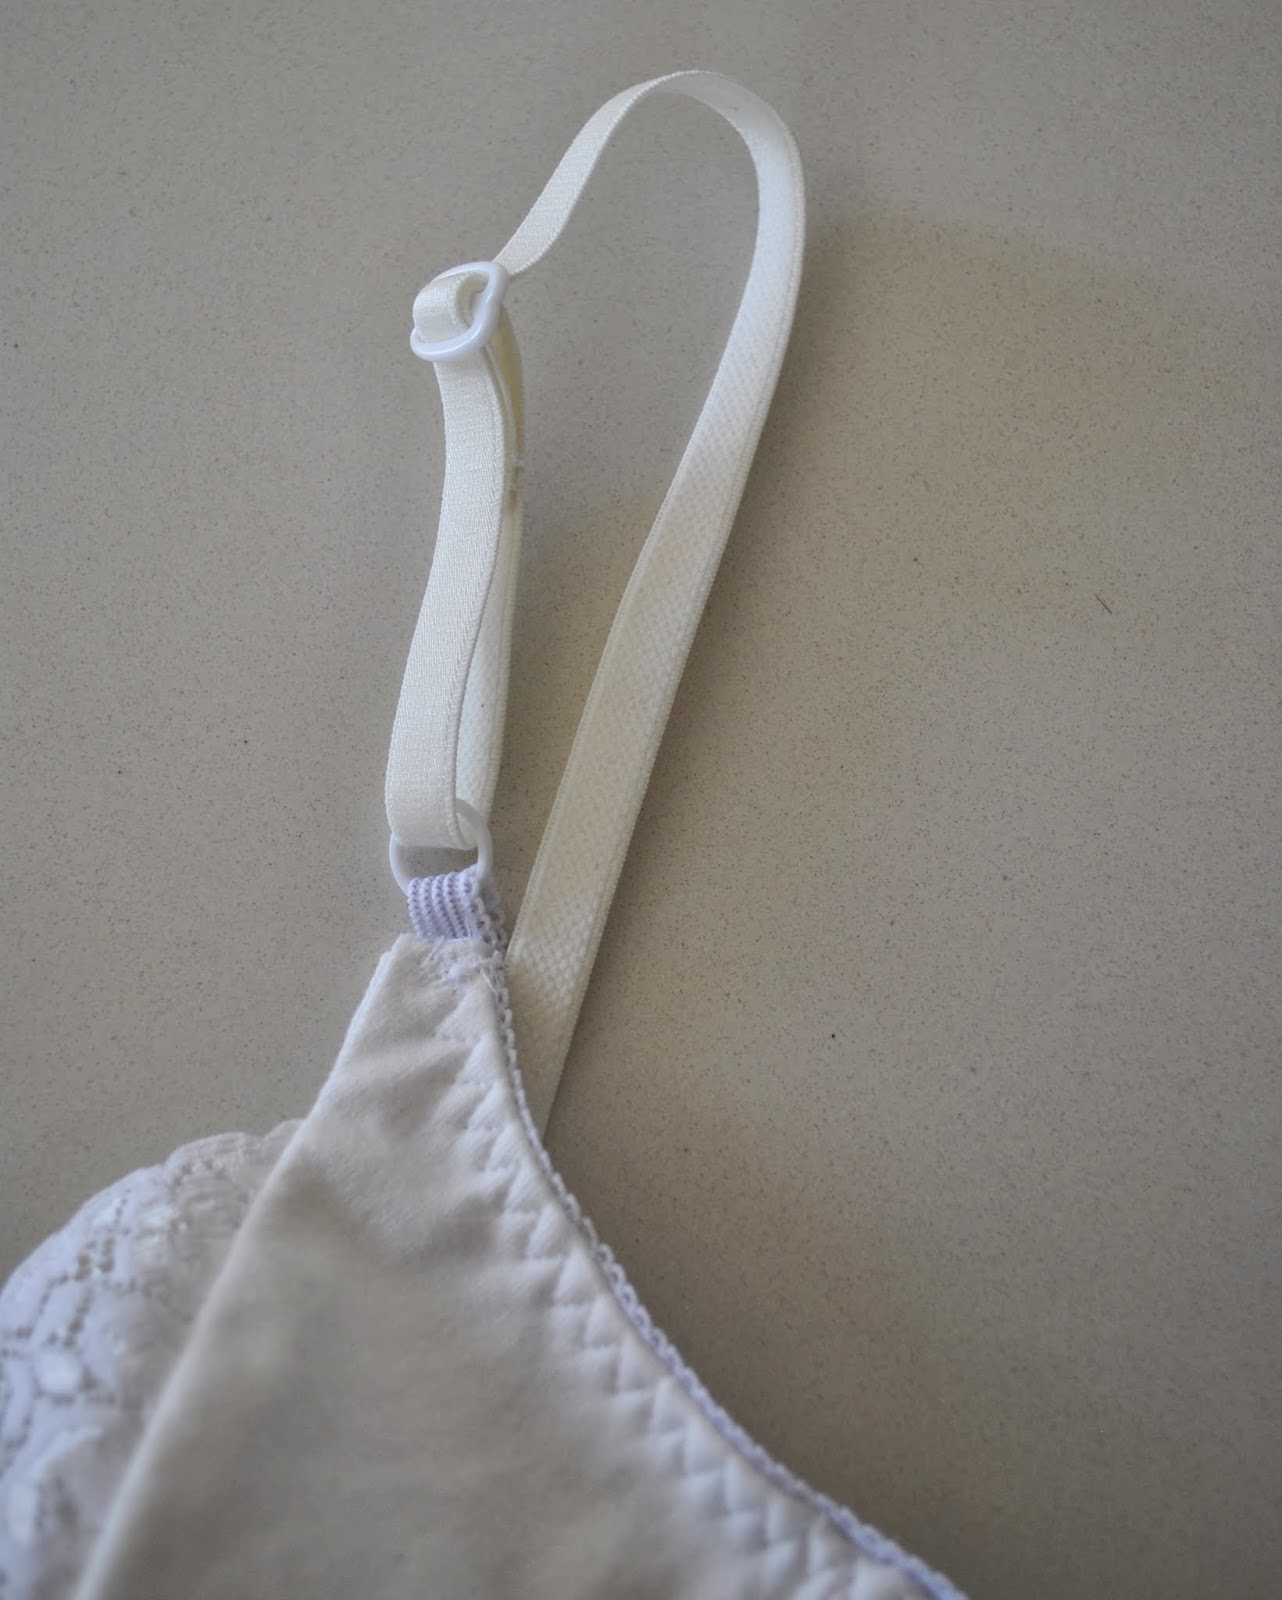
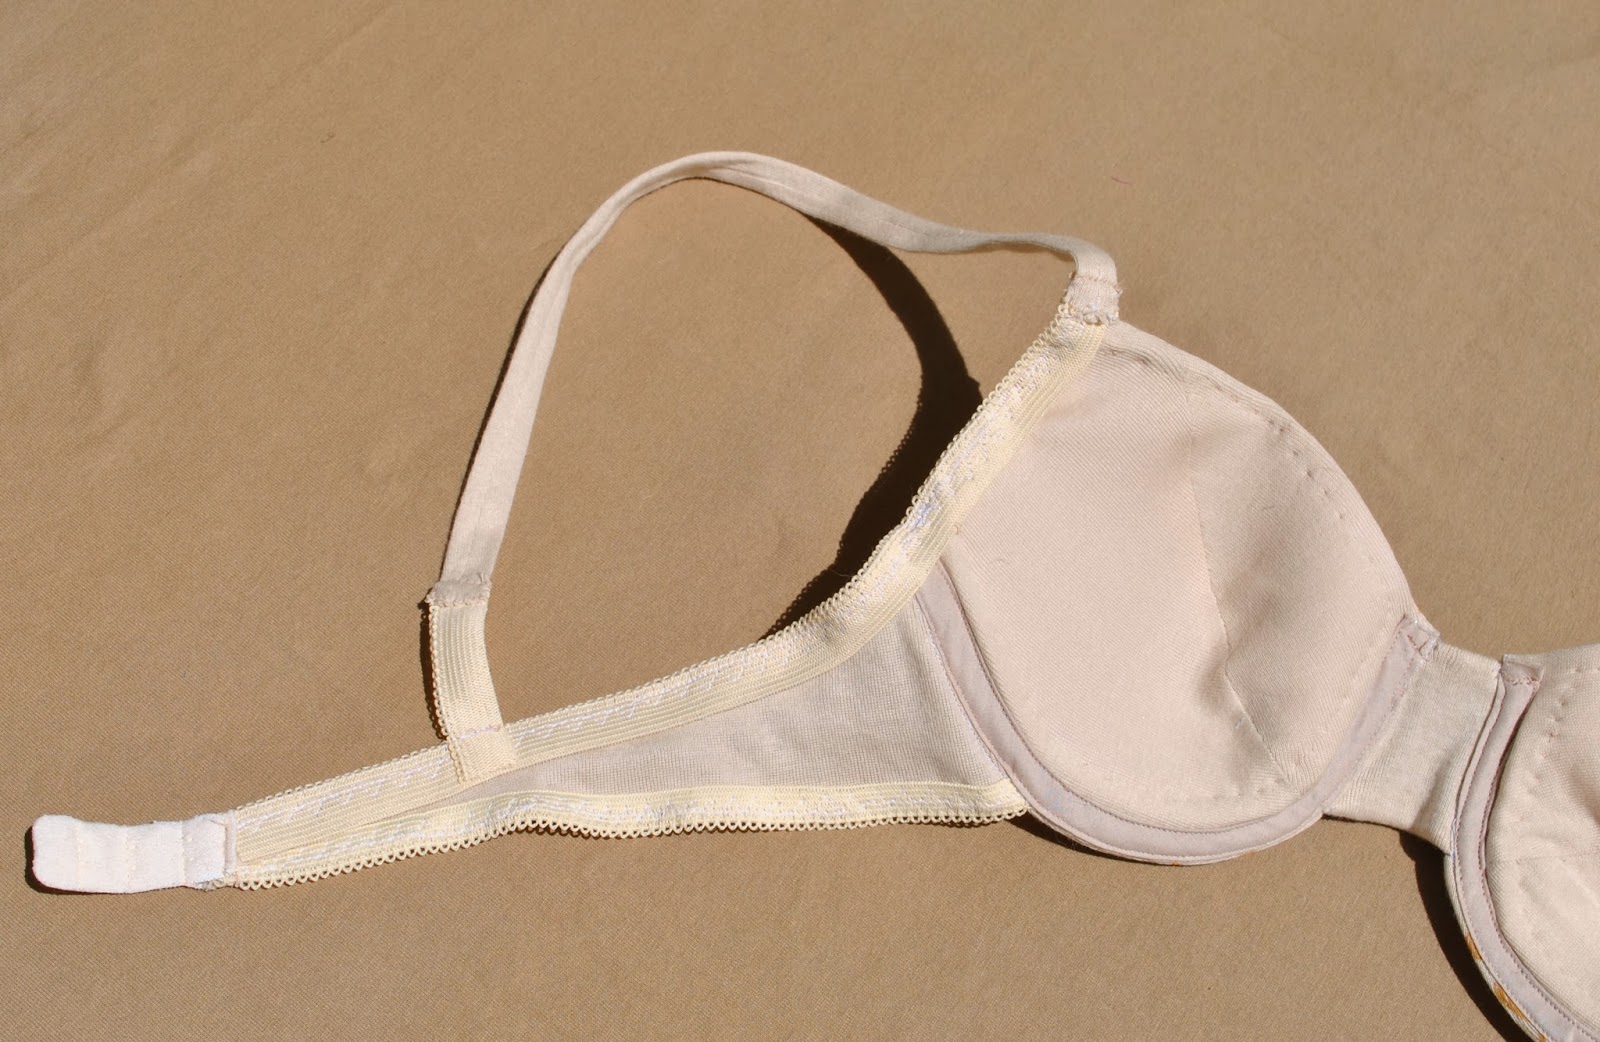
I made the straps using this very pro-looking ivory lingerie strap elastic.  I spotted it in Homecraft Textiles, and bought some to try it out.  

yo, looks like a REAL bra!!

Pros; it looks real clean and neat, and gives the bra more of a professional RTW look, plus it is very strong and sturdy and feels like it will last for aaaaages, even possibly outlive the bra itself and be re-cycled for future bras too.   
Cons; looks definitely “lingerie-y” if it was to peep out under a top, whereas I think a turned-out fabric strap looks like a little camisole and doesn’t scream “BRA!!!” quite so loudly.  Plus it’s more expensive to buy notions like this as opposed to making your own straps from the same fabric as your bra. Oh well, I bought enough to make one more bra, sometime down the track.

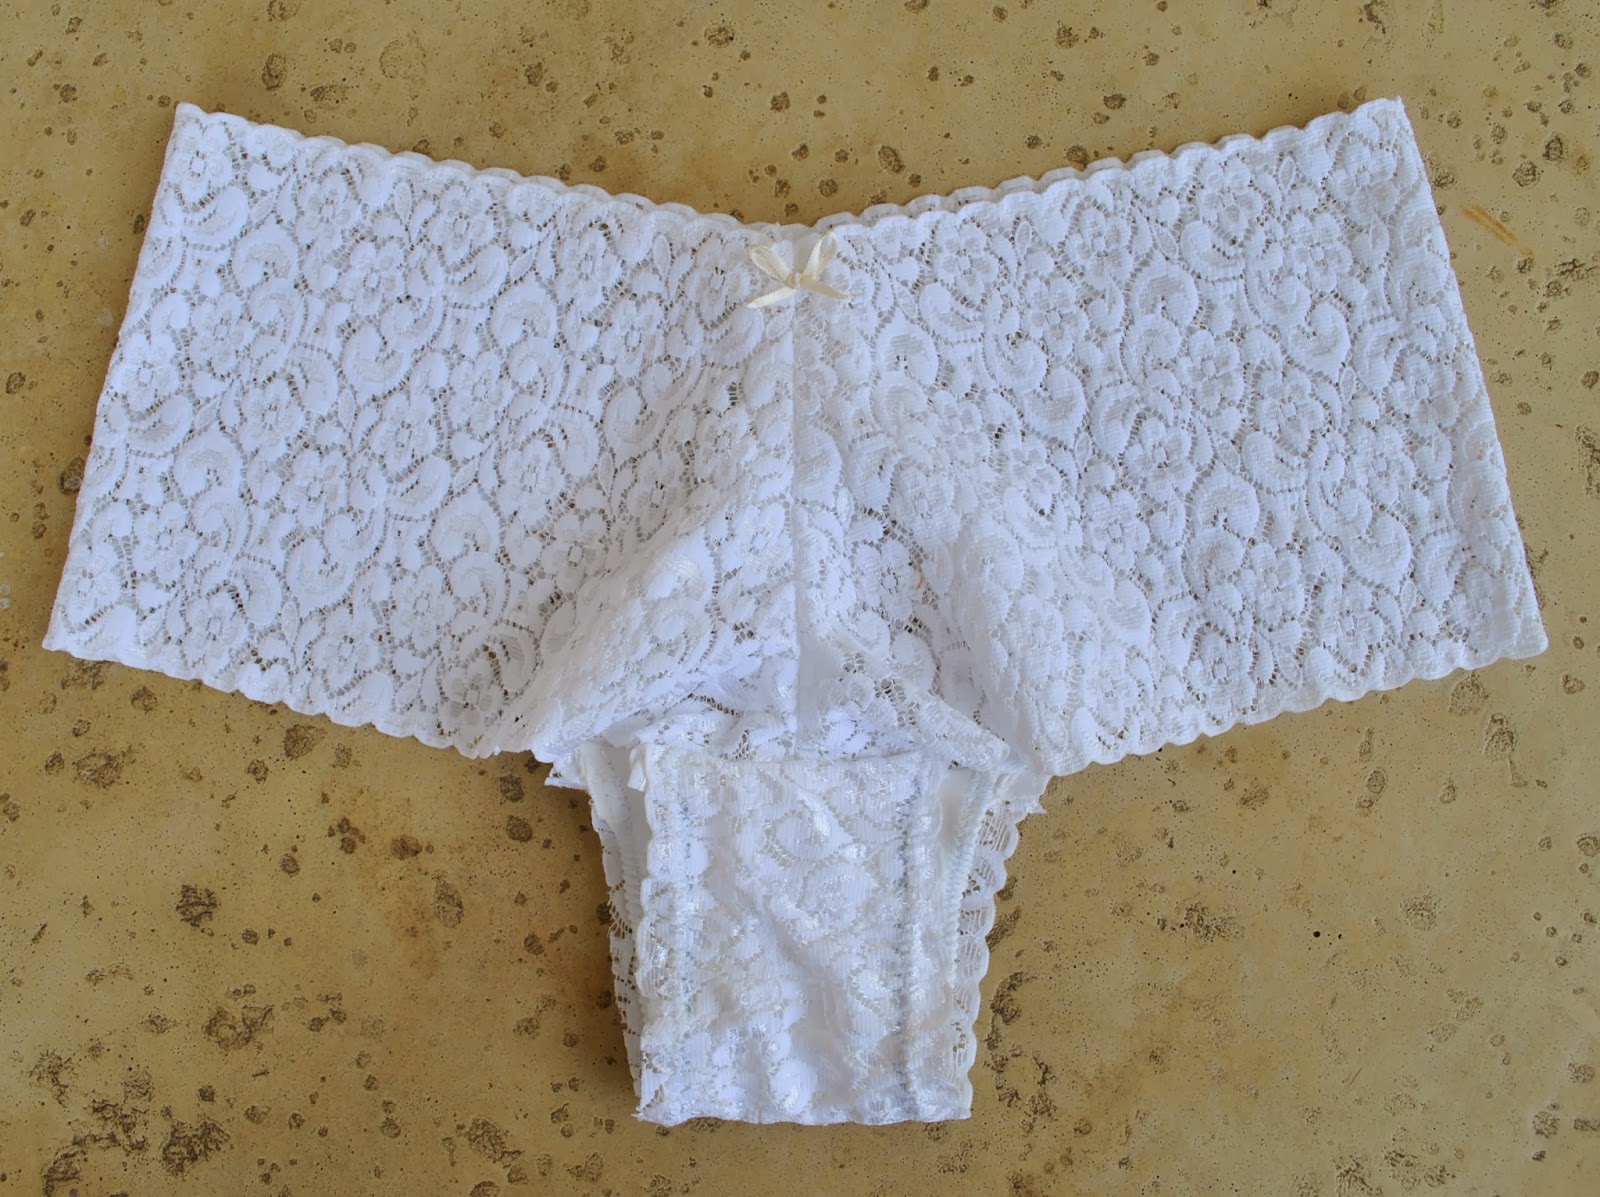
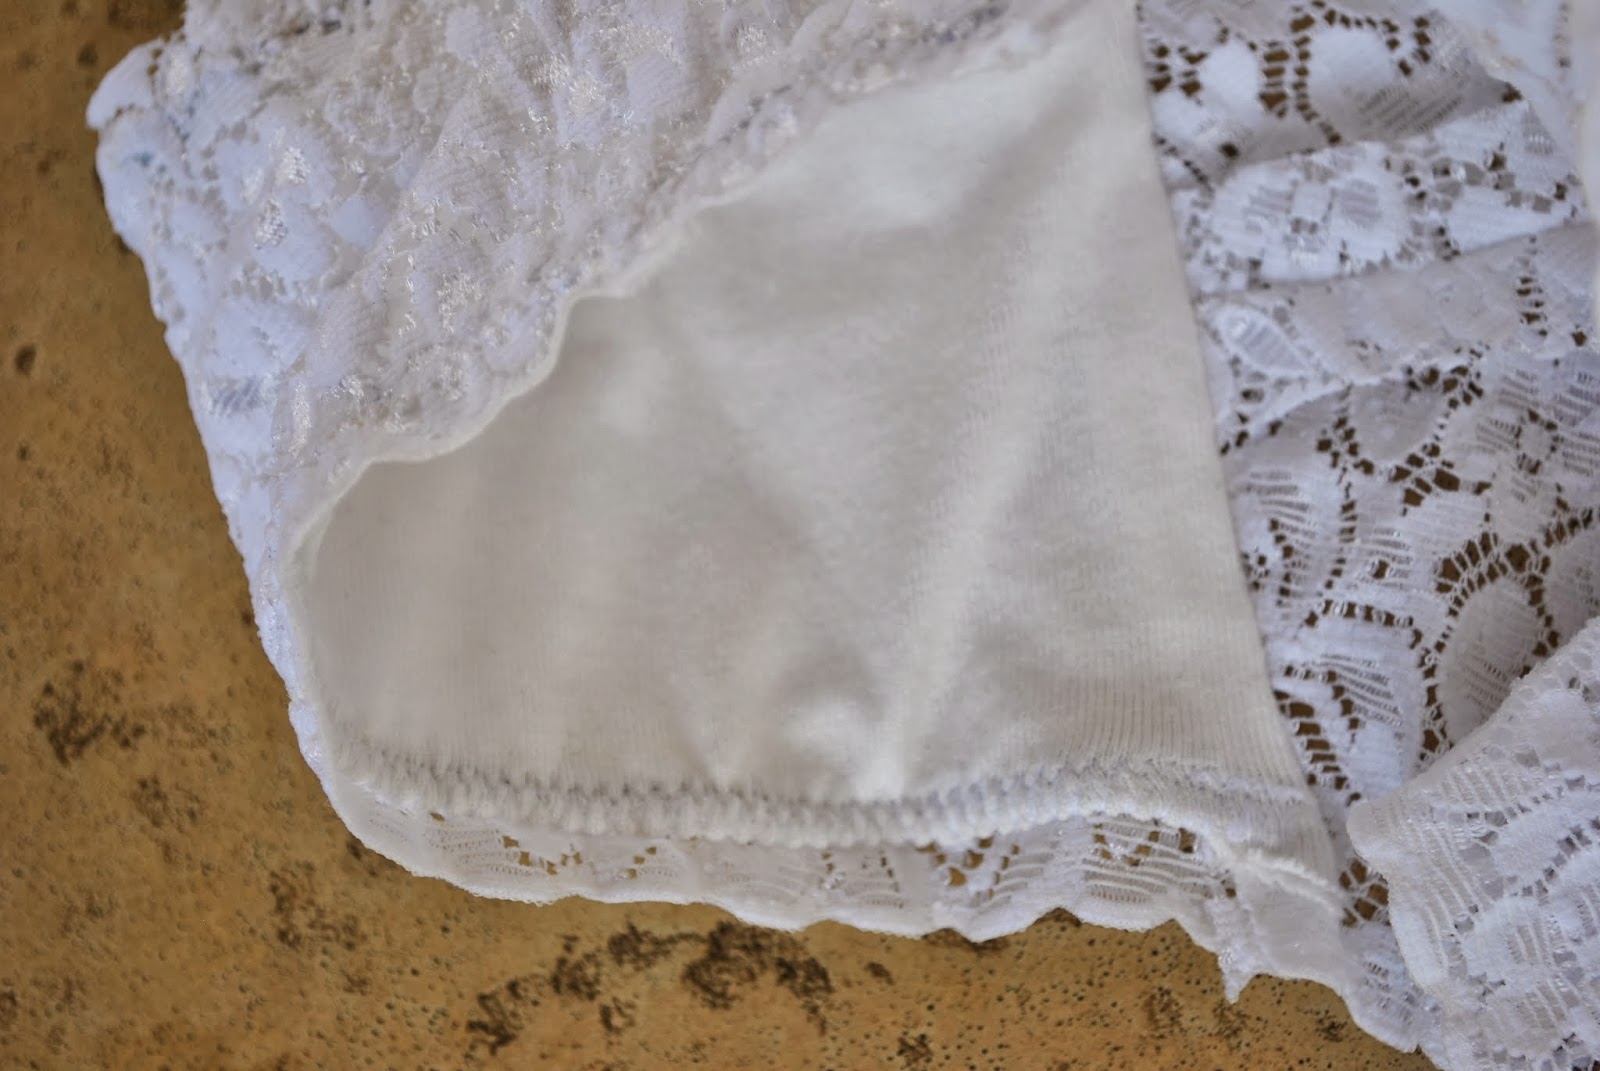
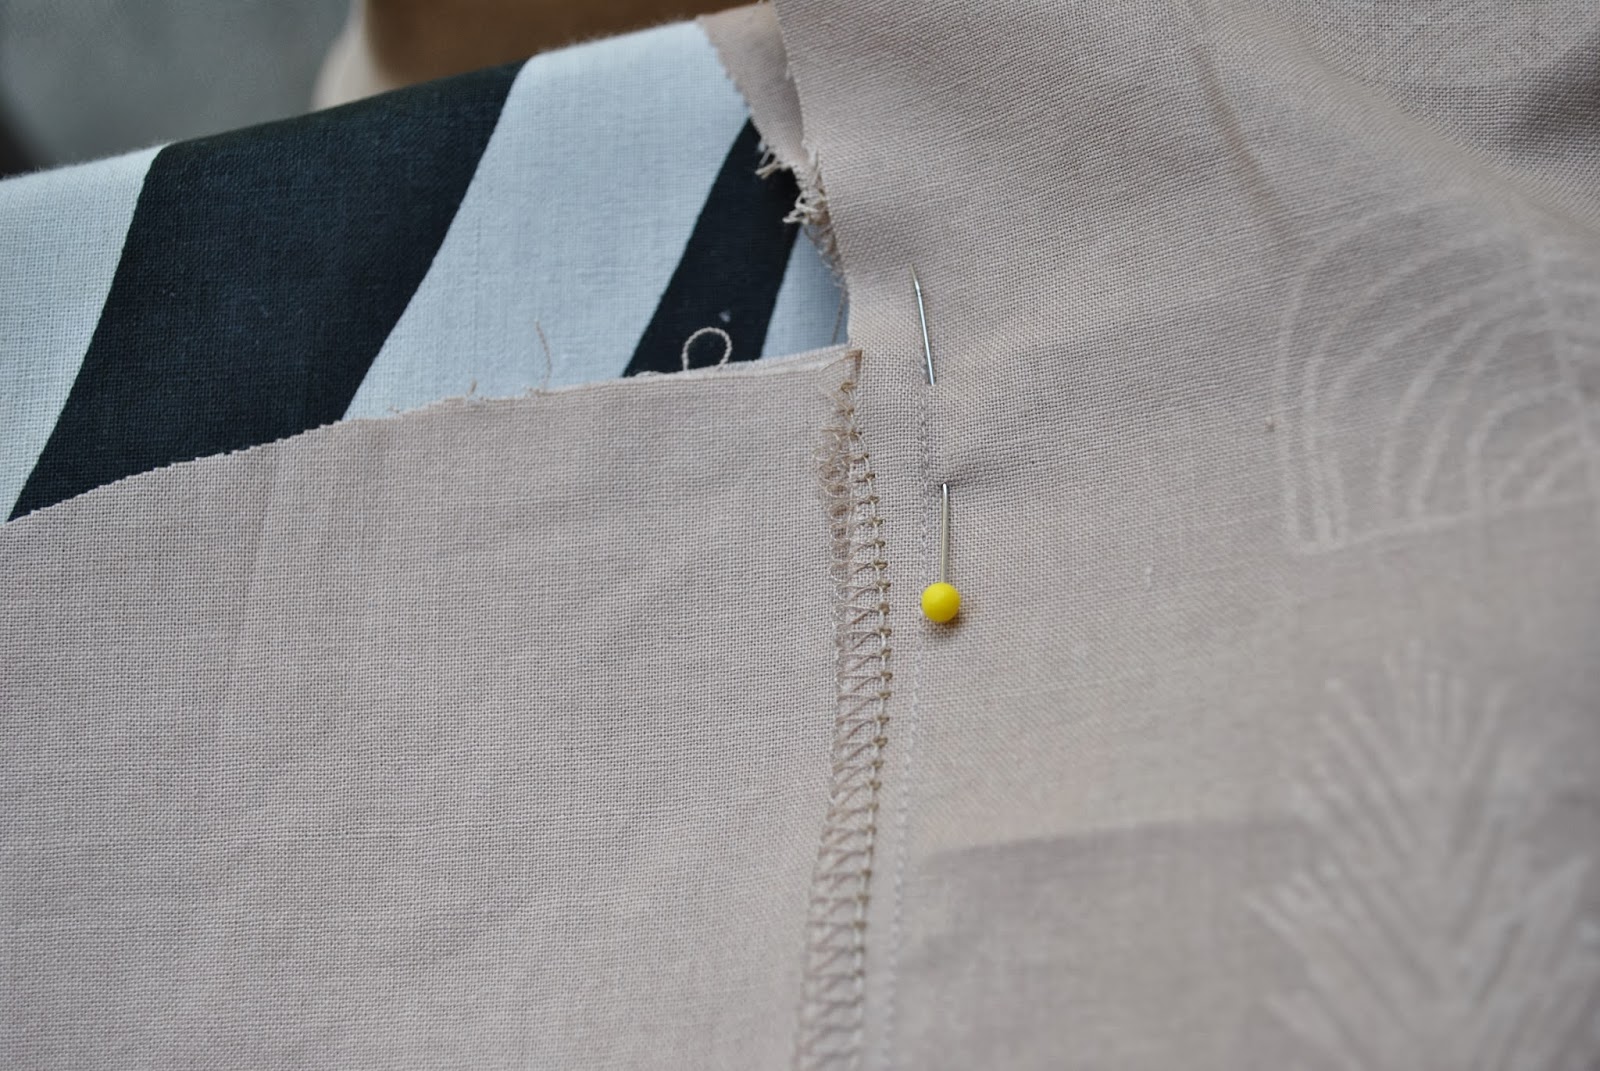
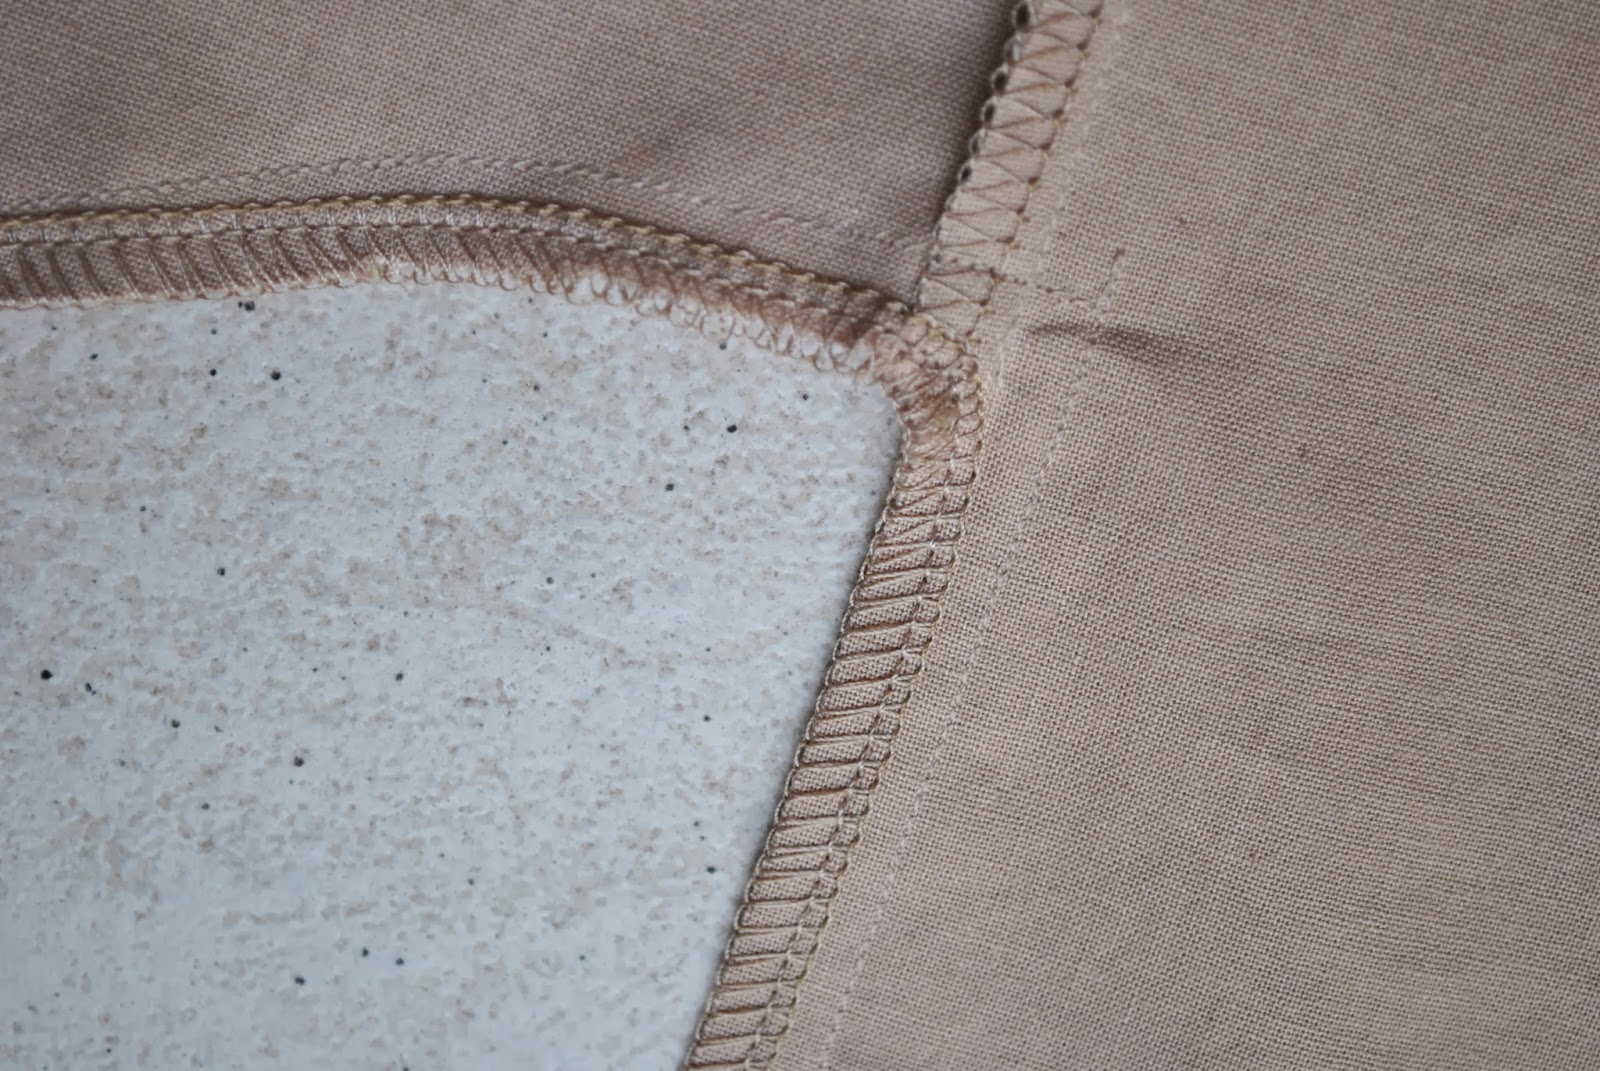
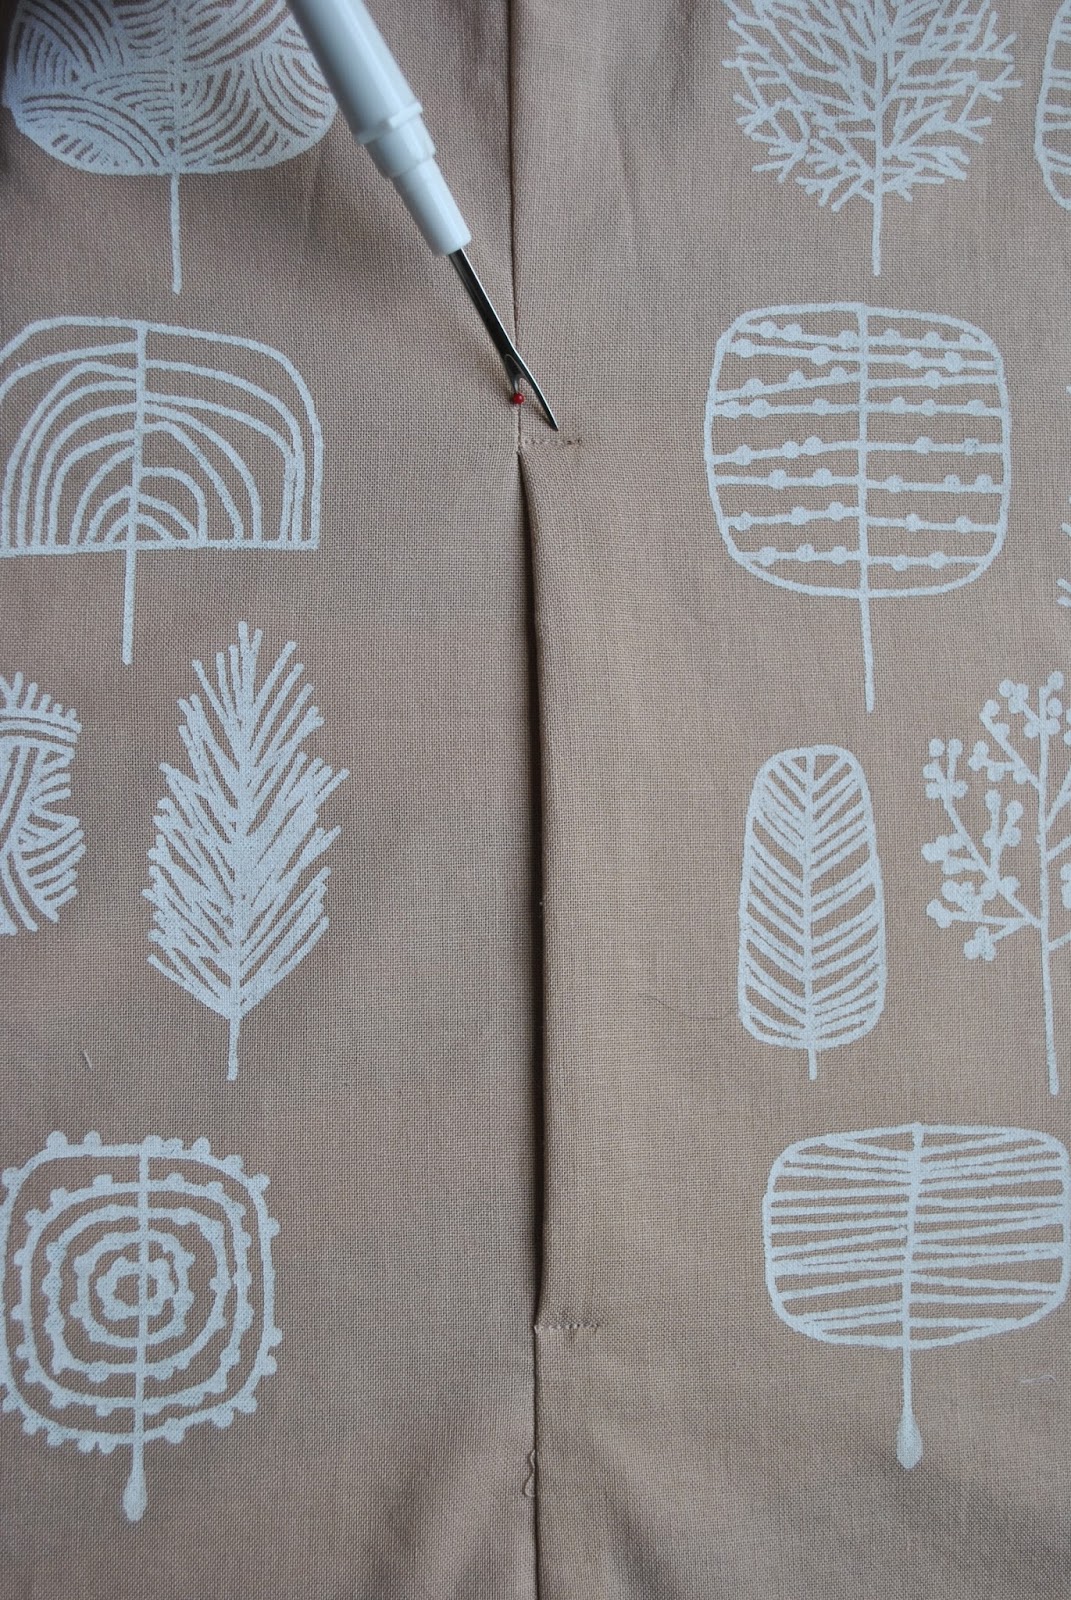
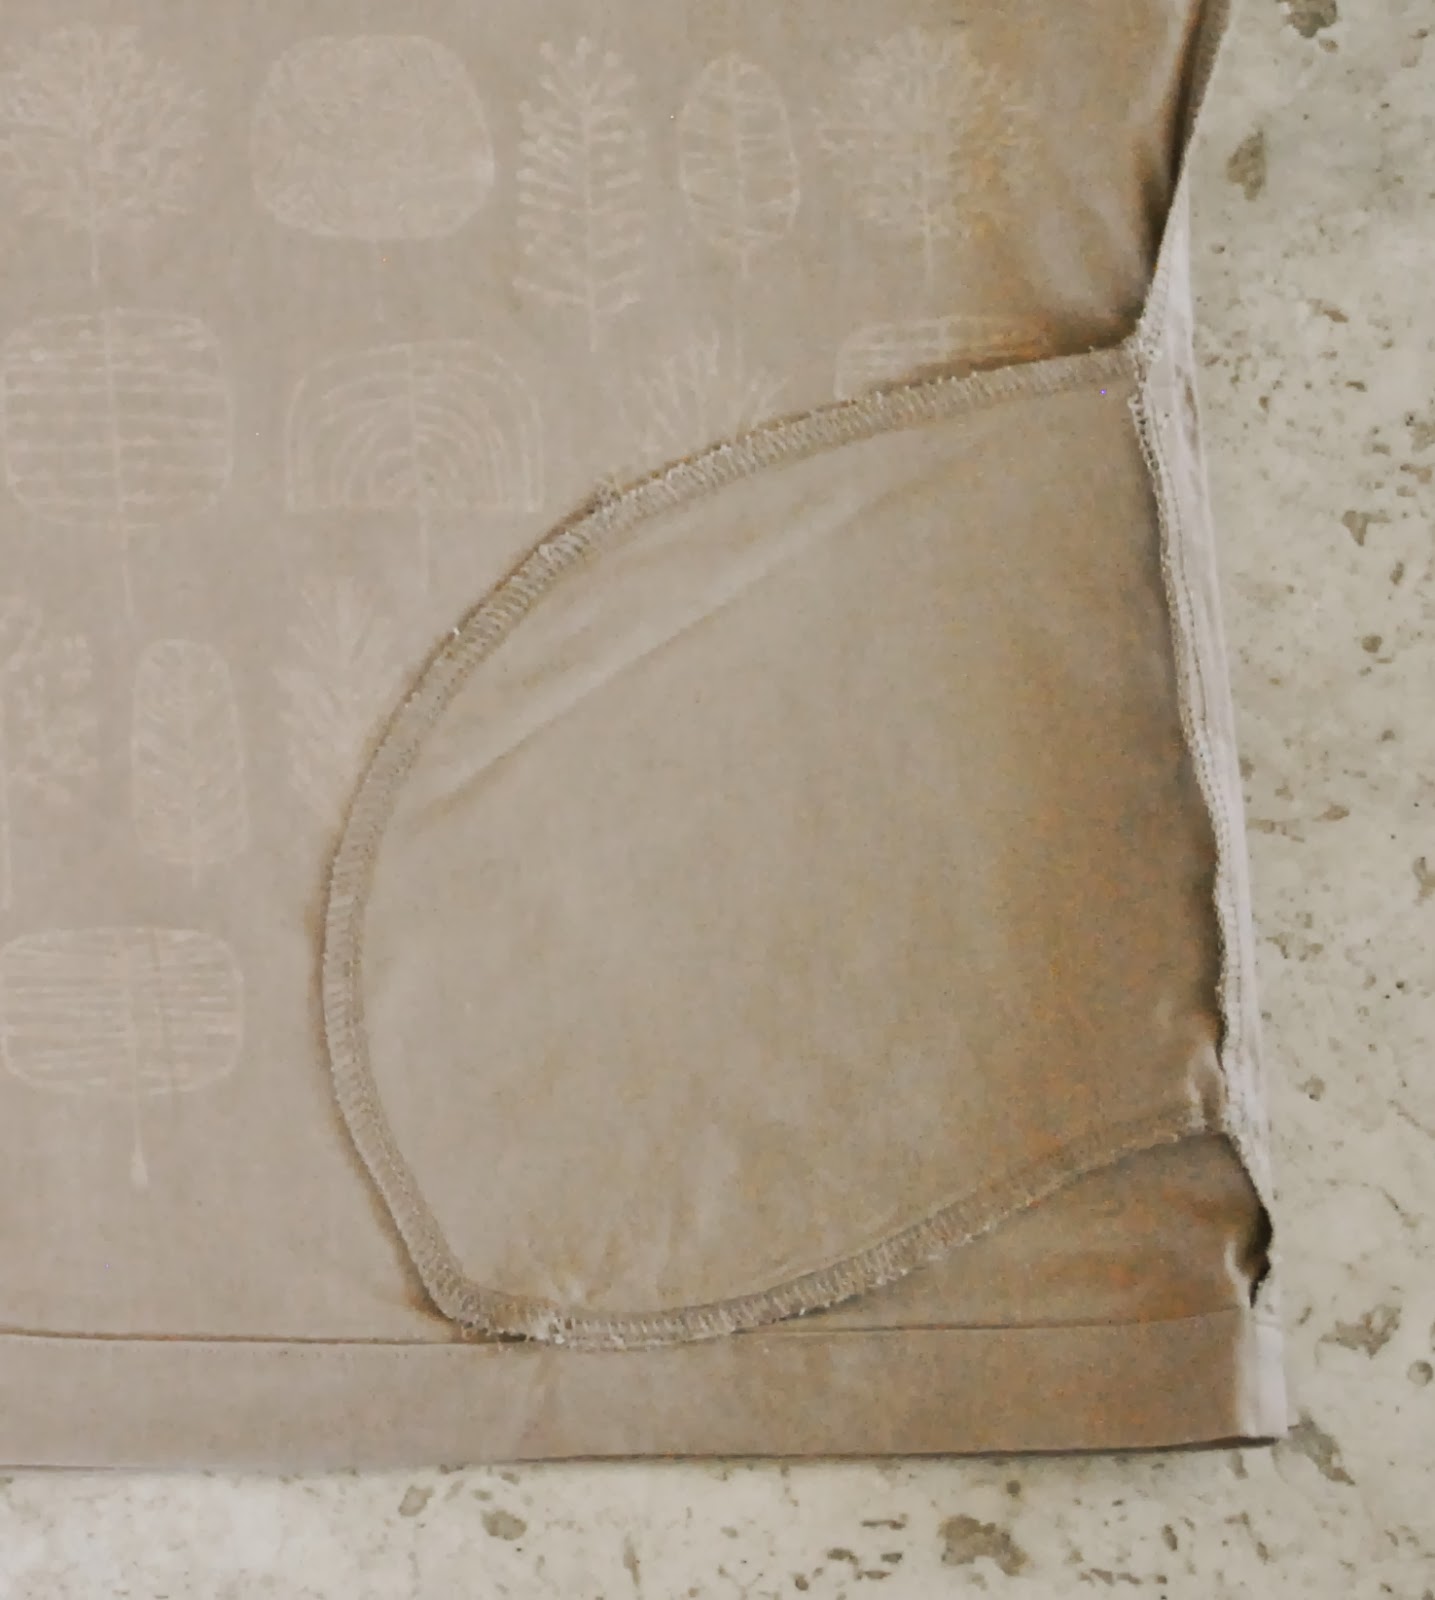
I bought the white stretch lace to fix up these undies, and there was so little left on the roll at the time I just bought the rest.  Fortunately, that happened to be just enough for the bra upper cup pieces and another pair of Tanga knickers.  These knickers are the easiest thing in the world to make and they look super cute on, but I hated that awful seamed crotch in my first pair and ended up re-constructing the whole crotch…  for this second pair I eliminated that crotch seam right from the word go.  I cut both the lace crotch and the cotton jersey panty liner using the panty liner pattern piece.  I cut two strips of regular elastic 10% shorter than the length of the crotch edge, laid them inside the edges of the panty liner, turned under to encase and pinned to the inside of the crotch piece and then zigzagged all layers together, stretching the elastic to fit.  This makes for a very comfy pair of knickers, with no.. er, wedgy issue  🙂

don’t worry, these are as yet pristine and unworn

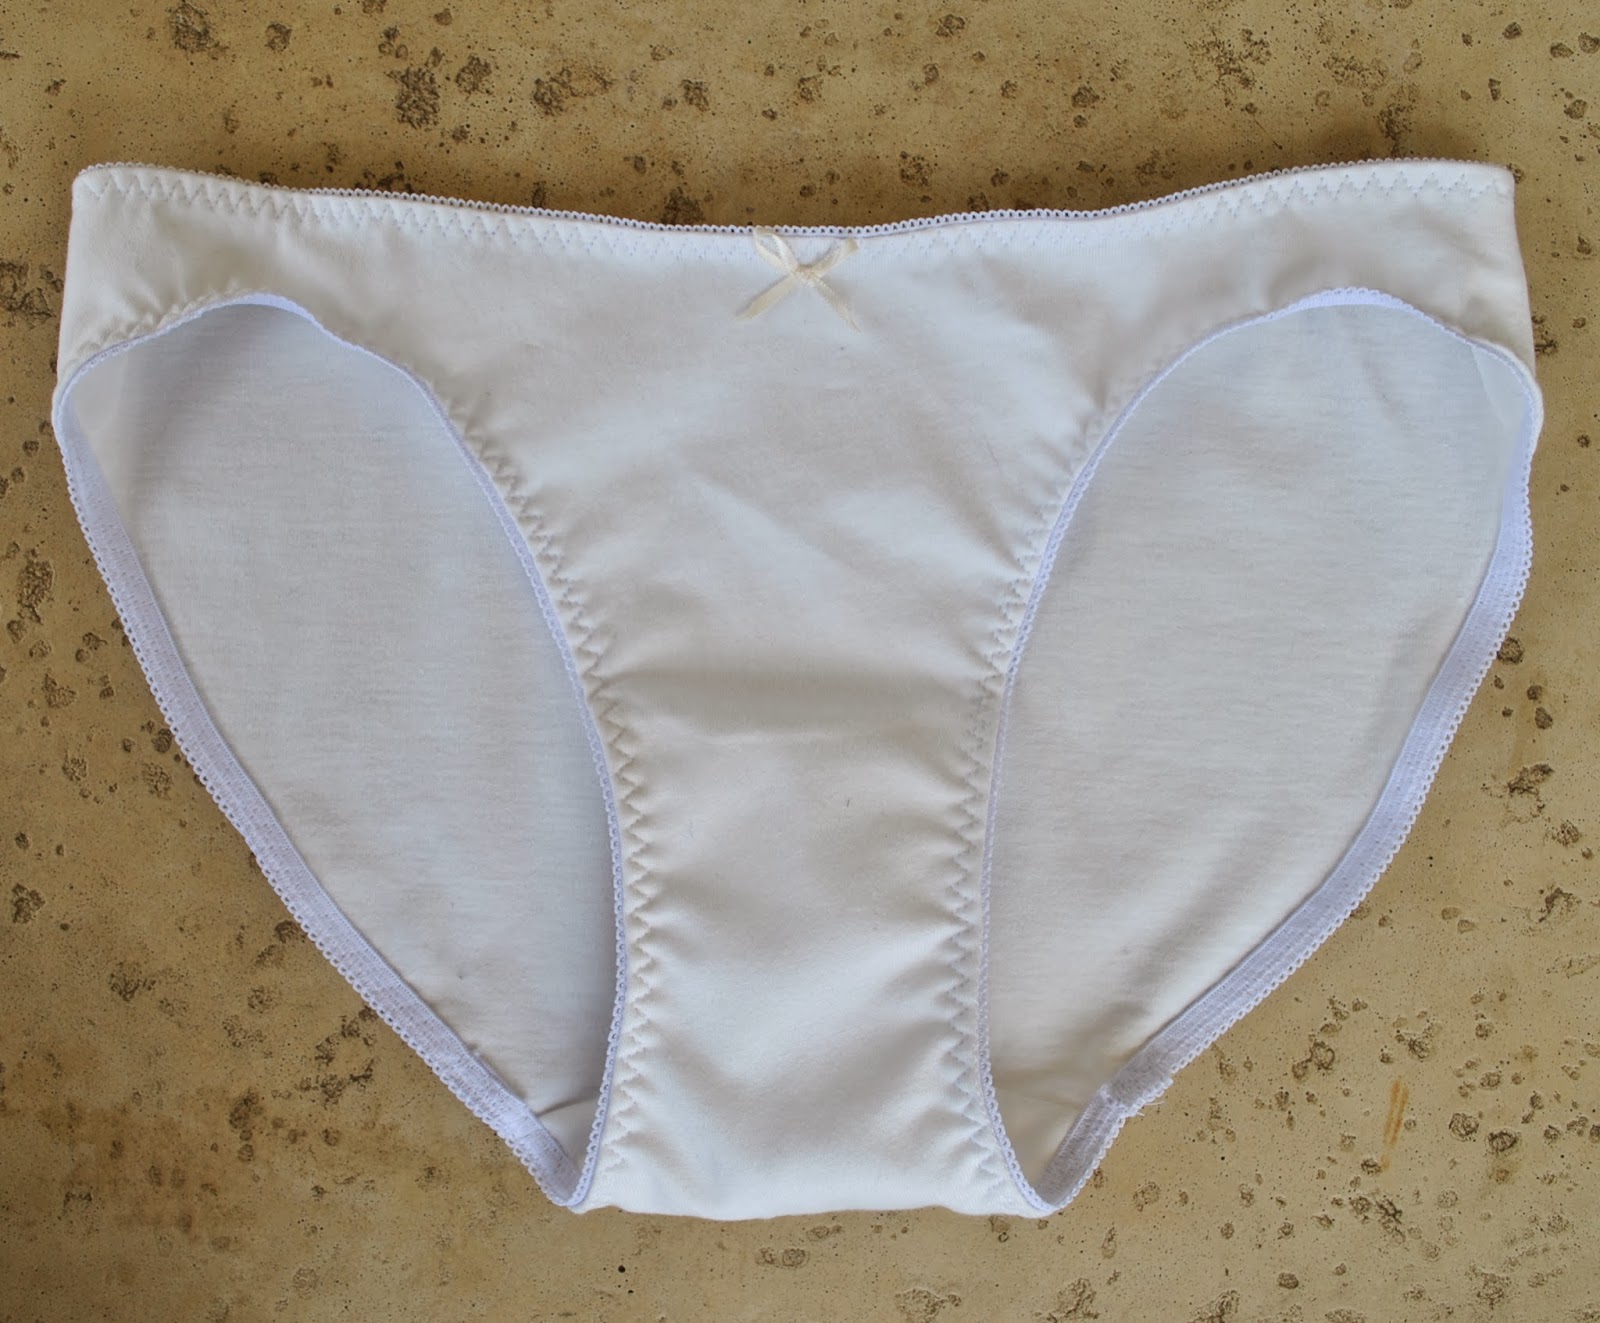
The other pair of matching knickers is the bikini bottoms of McCalls 2772, in the same ivory cotton jersey as the bra.  I really like my lingerie sets to co-ordinate together in some way, and it tickles me even more when the two pairs of undies in a set are different from each other but both still recognisably match the bra, somehow.  The mix of cream, white and ivory in this set is very peaceful and calm, and very pleasing to my eye.  And I expect it will be nicely unobtrusive under my pale summer wardrobe.

Details:
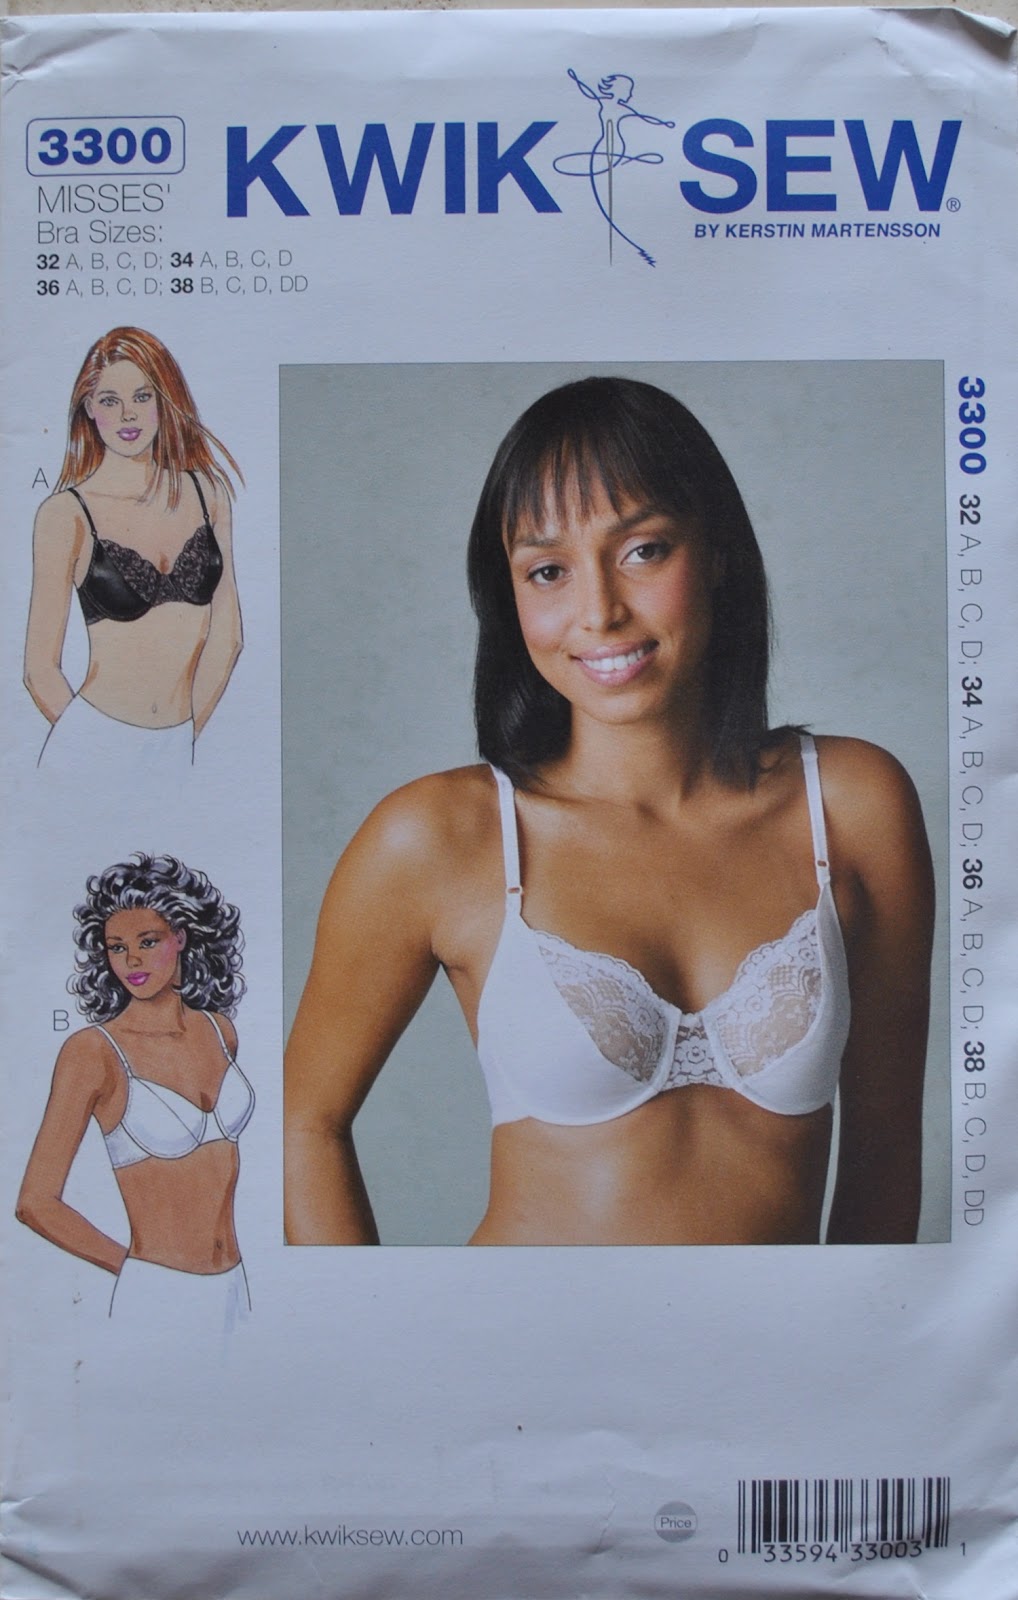
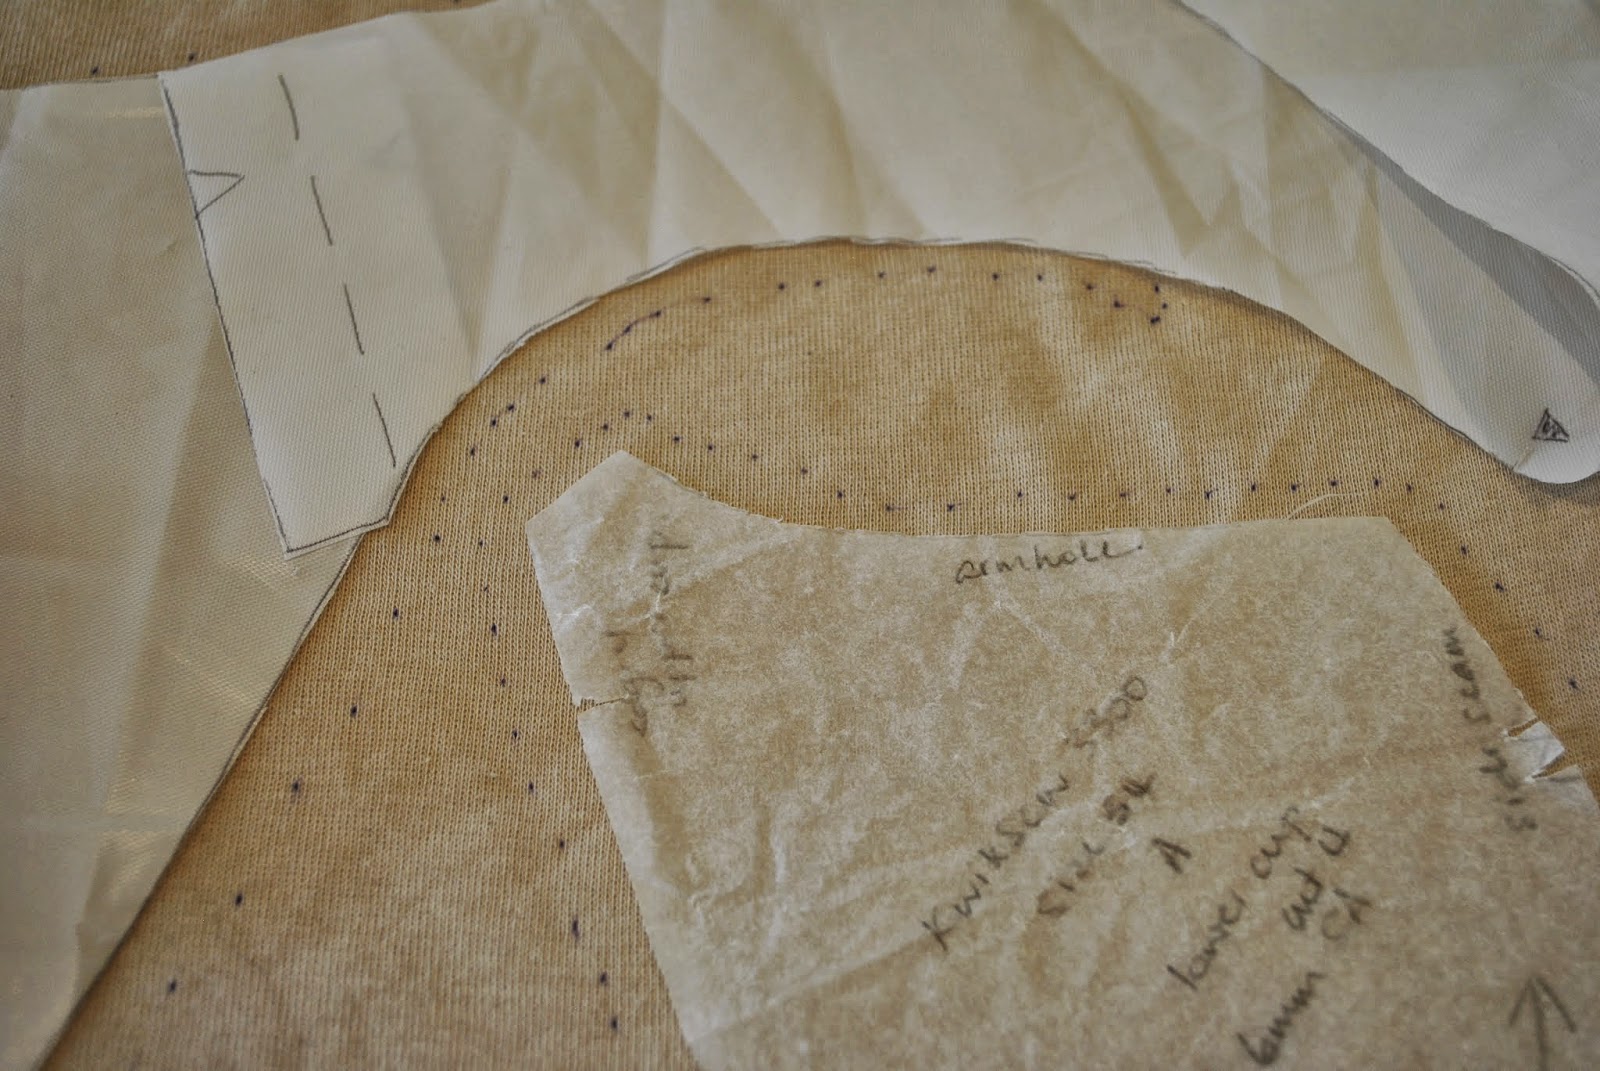
Bra; KwikSew 3300, cotton jersey and stretch lace, my review of this pattern here
Lace knickers; Tanga knickers, a free downloadable pattern here, modified to have no crotch seam
Jersey knickers; the bikini bottoms of McCalls 2772 with lingerie elastic attached as for knickers.
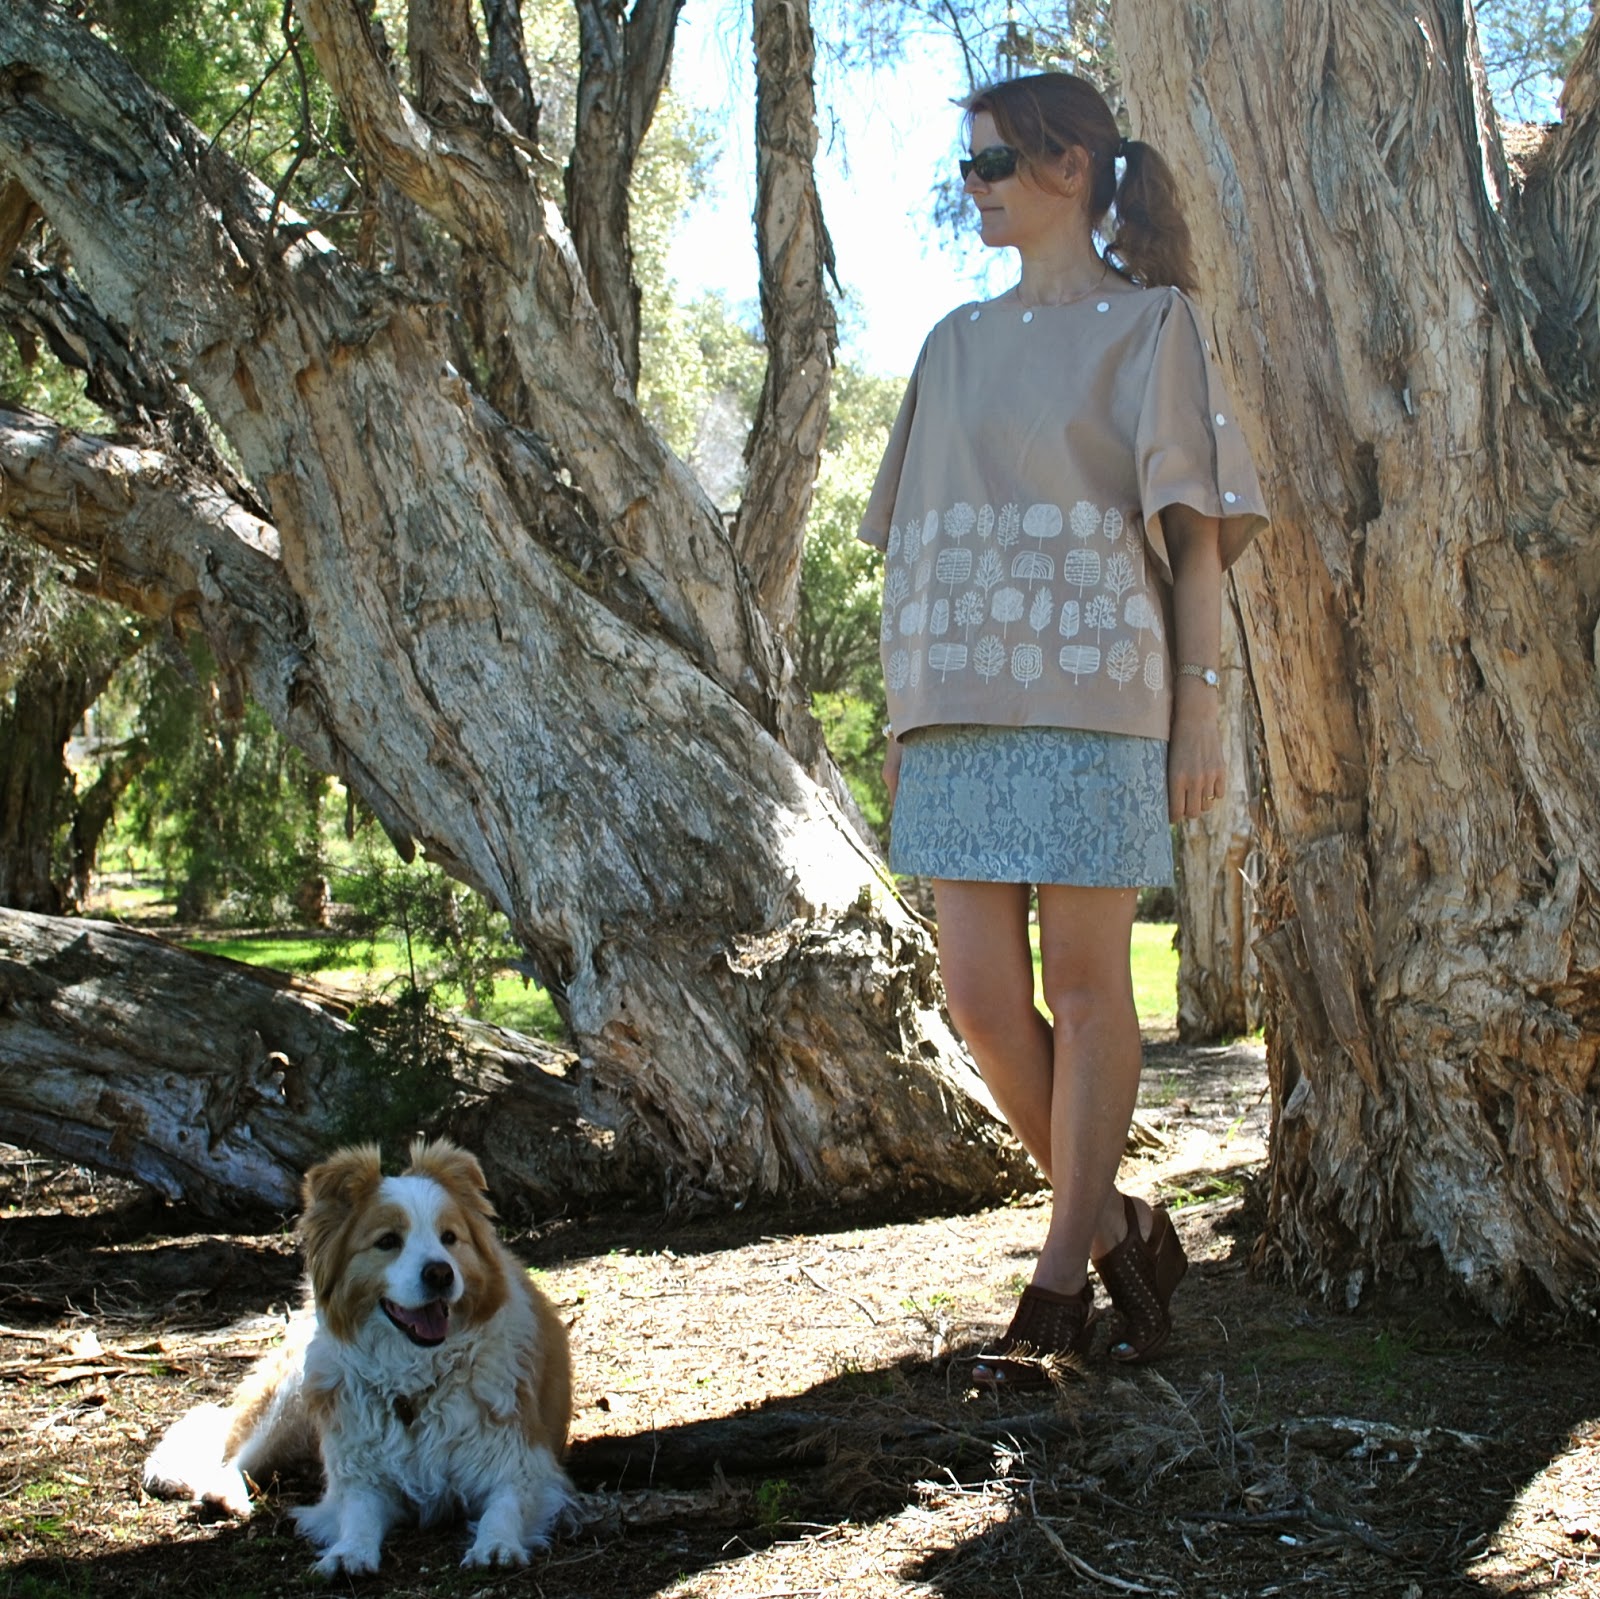
pinterestmail

Scorpio

… the sign of the scorpion.
Scorpio was always going to be the difficult one.  I literally had zero idea what to do, right up until about last week.  Googling scorpion images I did see some rather cool designs for scorpion tattoos that I quite liked.  Which led to doodling stylised scorpions and thinking that I could do some printing, and then the practical wardrobe consideration that some of my older lingerie sets are starting to get to the end of their life, underwires starting to work loose, picot edging on some pieces starting to unravel…  Boom, decision made.
I forgot to take many pictures of my design process … but these are two of my preliminary sketches for my scorpions.  My final design had seven writhing scorpions, which I applied to the fabric first one way and then the other, to lose any obvious repeatability in the print.  Ahem, probably a completely unnecessary thing to do considering the tiny pattern pieces in lingerie!
The fabric is a sandy coloured cotton jersey, bought as a huge roll at the Morrison remnant sale last year.  The set used but a teensy portion of this!  I wanted the scorpions’ colour to be sort of variegated, not flat; so I used two colours, an apricot-y pink and a yellow-y mustard, put down on the screen in unmixed blobs.  The marbling turned out to be real subtle.  You can just see it if you squint a bit  😉

To economise my print, I first laid out my pattern pieces in the most fabric economical layout I could, and roughly marked each piece out by dotting about a centimetre outside the cutting lines of each, using a purple water soluble pen.  This was to ensure that I covered each pattern piece with my print fully, as well during the printing process I cut out some pieces and printed them separately to achieve better placement of the print.
Patterns: the bra is KwikSew 3300, modified to have a foam cup insert as described here.  I left the straps plain and unprinted because I’ve got a couple of bra-strap-revealing summery tops, so a nice unobtrusive beige strap is just the ticket.  I left off the sliders because the only ones I could get were brilliantly snowy white. which would have looked awful.  So I just went with a plain strap, with a length of the lingerie elastic sewn between the back and the strap providing the wearing ease.  Both pairs of matching undies are the bikini portion of McCalls 2772, a pattern I’ve used a lot for undies.  I used unprinted self fabric for the panty liners but it blends in so perfectly you can’t even see them in the picture above!

I usually use 1cm lingerie elastic on my lingerie.. and when I went to get some more of the pale yellow, Spotlight only had the 1.5cm width; aaagh!… so I had to use this wider stuff on the upper sections of the bra.  Oh well (shrug) you can only see that it’s wider on the inside!
You can probably also see the hand pick-stitching around the perimeter, my version of under-stitching that secures the bra lining to the foam cup.  I don’t know if this stitching is necessary or not?but I just don’t like the idea of the foam cup not attached to anything, possibly floating about in the wash.  I stitch it all together, just in case.
I did make some teeny mini-bows using orange-y mustard coloured ribbon, and trialled sewing them on the set as decoration, but took them off.  That scorpion print is plenty busy enough already!

pinterestmail

In-seam pockets

An in-seam side pocket is a pretty simple, basic and close-to invisible pocket, and is a modification I make to a heckuvva lot of my own sewing projects.  It can be added to most garments that are loose enough to allow you to comfortably have your hands shoved inside  ie. not anything tight and close-fitting like a pencil skirt.
If you have a good-size-for-you pocket piece already, use this, otherwise just lay your hand down on the fabric and draw around it.  Give yourself a 1cm seam allowance, and allow a plenty wide opening straight edge at least the width of the very widest part of your hand… otherwise you may have trouble getting your hands into your pockets!  Yup, I learnt that one the hard way once….

Cut 4 pocket pieces with the straight opening edge on the grain.  If you don’t have enough fabric for 4 pieces, you can just cut 2 mirror image pocket pieces from the fashion fabric, and then cut the other two pocket facings from another, tonally unobtrusive fabric OR if your fabric is bulky, you can optionally cut the pocket facing pieces from a lightweight, thinner fabric to reduce the fabric bulk in your garment.
Decide where on your garment you want the pockets to sit.  Pin the pocket pieces (fashion fabric) to the back piece, and the corresponding pocket facings to the front piece and stitch together in a narrow 1cm (3/8″) seam allowance.
Finish the edge with overlocking or HongKong seaming, if desired, and press the pocket and pocket facing pieces out.

Pin front and back right sides together, aligning the pocket seams exactly.

Now sew the side seams of the garment in a regular 1.5cm (5/8″) seam allowance, to a point just a couple of stitches below the the junction of the side seam and where the pocket bag seam will start.  Back sew those few stitches to the start of the pocket bag seam, turn and continue sewing around the pocket bag.  Do the same back sew for a couple of stitches up in to the pocket opening at the lower edge of the pocket bag seam, and then continue sewing the remainder of the side seam.  The seam junctions, with the narrower pocket SA within the side SA, will look like so:

Finish the seam allowances with either overlocking or HongKong seaming, if desired.

Press the pocket bag and all seam allowances towards the garment front.  To keep the pocket bag permanently sitting frontwards, stitch all the seam allowances to the garment front, in a short row of stitches at the upper and lower pocket opening of the pocket.  Stitch from the right side of the garment, and just go forward and reverse a few times.

E finito!
Optional; I also stitched the lower edges of my pockets to the lower hem allowance of this top to give them an extra tethering point but you wouldn’t ordinarily do any more stitching.  I just lucked out with the size and space there!

pinterestmail

White trees and buttons

I’ve sewn up my white trees fabric… into a top! I drafted it myself but it is a pretty simple silhouette; basically a big oversized T-shape, with something interesting in the form of the completely open top edge.  The top edges of front and back have a full length button and buttonhole placket respectively, stretching from sleeve hem to sleeve hem along the whole neckline, and it’s partially buttoned up to close the top of the sleeves.  Technically, you could button the top edge up all the way, except that the neckline is curved as an anti-strangulation measure.  It’s funny though, when you’re wearing it you can’t really tell the neckline is curved, it reads as an almost straight edge.

It is based on several different sources of inspiration: years ago I had a Metalicus Tshirt that had an open top with snaps, that could open like this from sleeve right the way along the neckline; and also a few months ago Kirsty posted plans for her gorgeous top from the Japanese pattern book She has a Mannish Style, a top with a wide buttoned neckline although with separate closed sleeves.  I sorta combined those concepts in the design of my own top.

Most time consuming bit: I fiddled for aaaages with the spacing of the buttons/buttonhole, so it would both look “right” and also that I could have a button placed just at the point on my shoulders where I wanted it to go.

the back view is unexciting, but I know those of us who sew like to see this bit too….  

Since the front neckline has a lower dip than the back, the buttons are spaced a little more wide apart along the front curve than the corresponding buttonholes at the back.  I sewed up the rest of the top completely, before doing the button/buttonhole plackets along the top edge, this was the last step.  The top edges were interfaced with similarly shaped strips of iron-on interfacing and then I sewed the plackets on.
What else.  Oh, and it’s got pockets, too  (blush)
I fear I have some sort of weird pocket obsession…  is pocket-aholic a “thing”?   Guess I should sign myself up  ;D

Details:
Top; my own design, coffee cotton broadcloth, screen-printed by me with little white trees here
Skirt; Vogue 1247, blue damask, details here and my review of this pattern here
Sandals; c/o Misano

LATER EDIT:
this tee has received a bit of a makeover! Basically I hadn’t worn it in over a year, so I gave it a rejuvenating dunk in a pink dye bath… voila!!!  I love it all over again and it’s back in rotation…. yay!!!
wearing it with:
pinterestmail

the paper doll project

(I’ve pledged to wear only clothes handmade by me this year and to sketch my daily outfits in my Fashionary.  I’m calling this; the paper doll project)

6th-11th October
from left:
pale grey hoodie, grey skirt from jeans, white Tshirt
khaki linen shirt, grey/green floaty layered skirt
lace shirt-dress, pink petticoat, iceberg knitted jacket
blue knitted cardigan, petrol corduroy skirt, white Tshirt
emerald corduroy skirt, ecru boxy jacket from jeans, beige tshirt (unblogged)
watercolour floral dress, black wool tights, army jacket

12th-17th October
from left:
blue knitted cardigan, emerald corduroy skirt, beige tshirt (unblogged)

18th-23rd October
from left:
panelled corduroy dress, chocolate cardigan
corduroy/white hoodie (refashioned from jeans), navy corduroy skirt, white Tshirt (under), russet handknit socks
petrol blue corduroy skirt, purple Tshirt, paprika tights, iceberg knitted jacket
white trees top, wedgwood blue damask skirt
draped blue silk top, beige Tshirt (unblogged), beige corduroy skirt (from jeans)
emerald corduroy skirt, royal blue PM hoodie

O bliss…  the temperatures in the last coupla days have finally warmed up nicely to a level that I feel comfortable and happy in and at which I function the best.  I’m a warm weather bunny who feels the cold something awful, even when it’s not really cold; and this spring has been on the chilly side so far.  I’m hanging out for the days when I can pop my bathers on and take a dip in the ocean/pool… Funny thing, I’d almost forgotten about my new(ish) bathers… and was thinking the other day that it was getting close to swimming season and hmmmm, what would I make this year…?  when, oh yeah! I remembered that I do actually have some practically unworn, pristine new bathers already!  hehe  feels like its been aaaaages since I made them, well, probably because it has been ages; nearly 6 months now, and they haven’t even got wet yet!  I’m roooolly looking forward to taking them out on their maiden voyage…  when it warms up just a little bit more  😉

pinterestmail
Switch to mobile version
↓