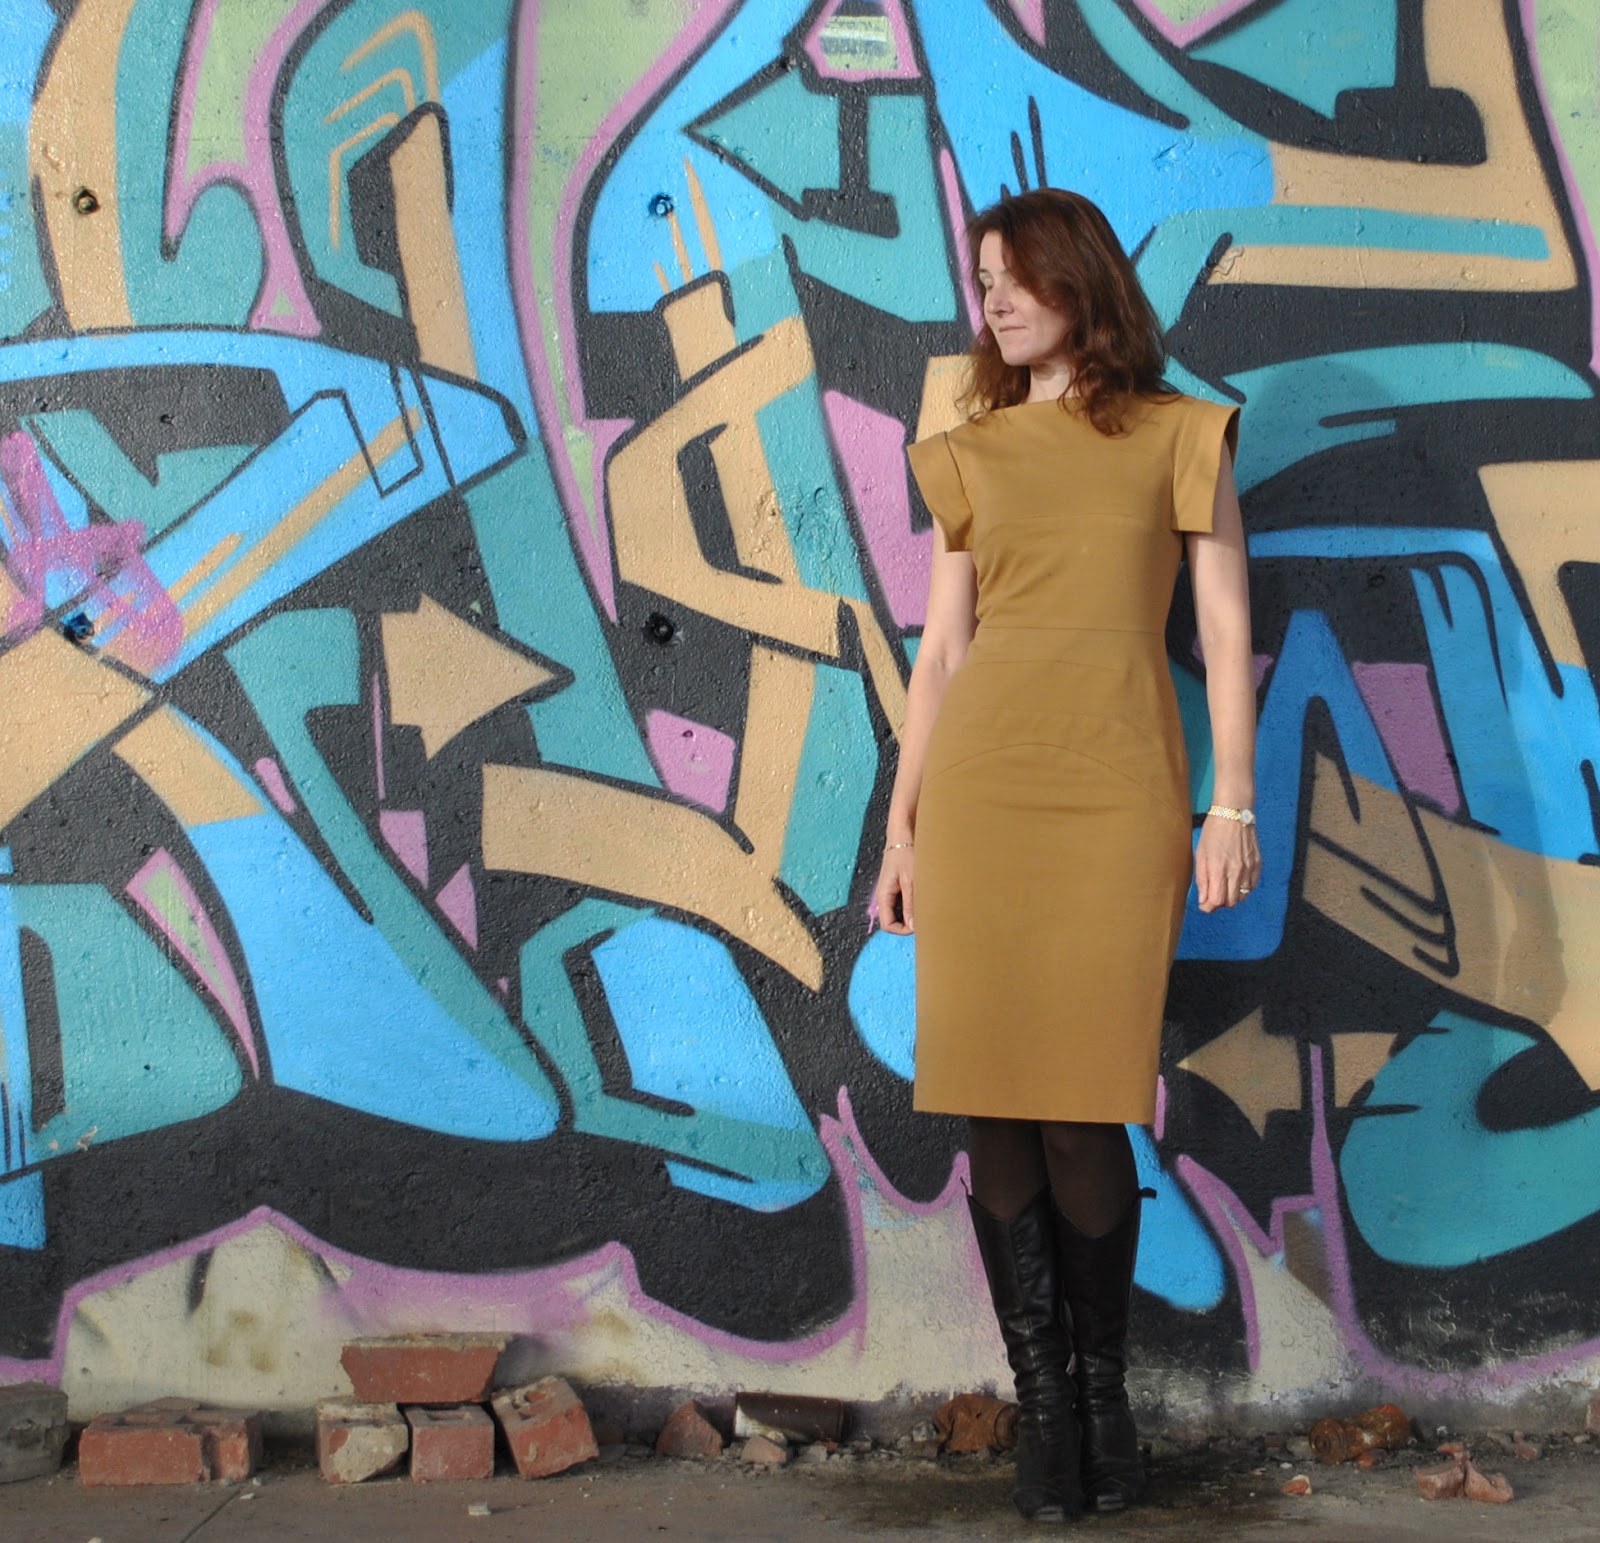
 A mustard plaster is of course an ancient herbal remedy for bronchitis, but I have borrowed and blended the phrase, and named my new dress the mustard bandage, since it reminds me of the Herve Leger bandage dresses that have been so iconic since the 80’s.
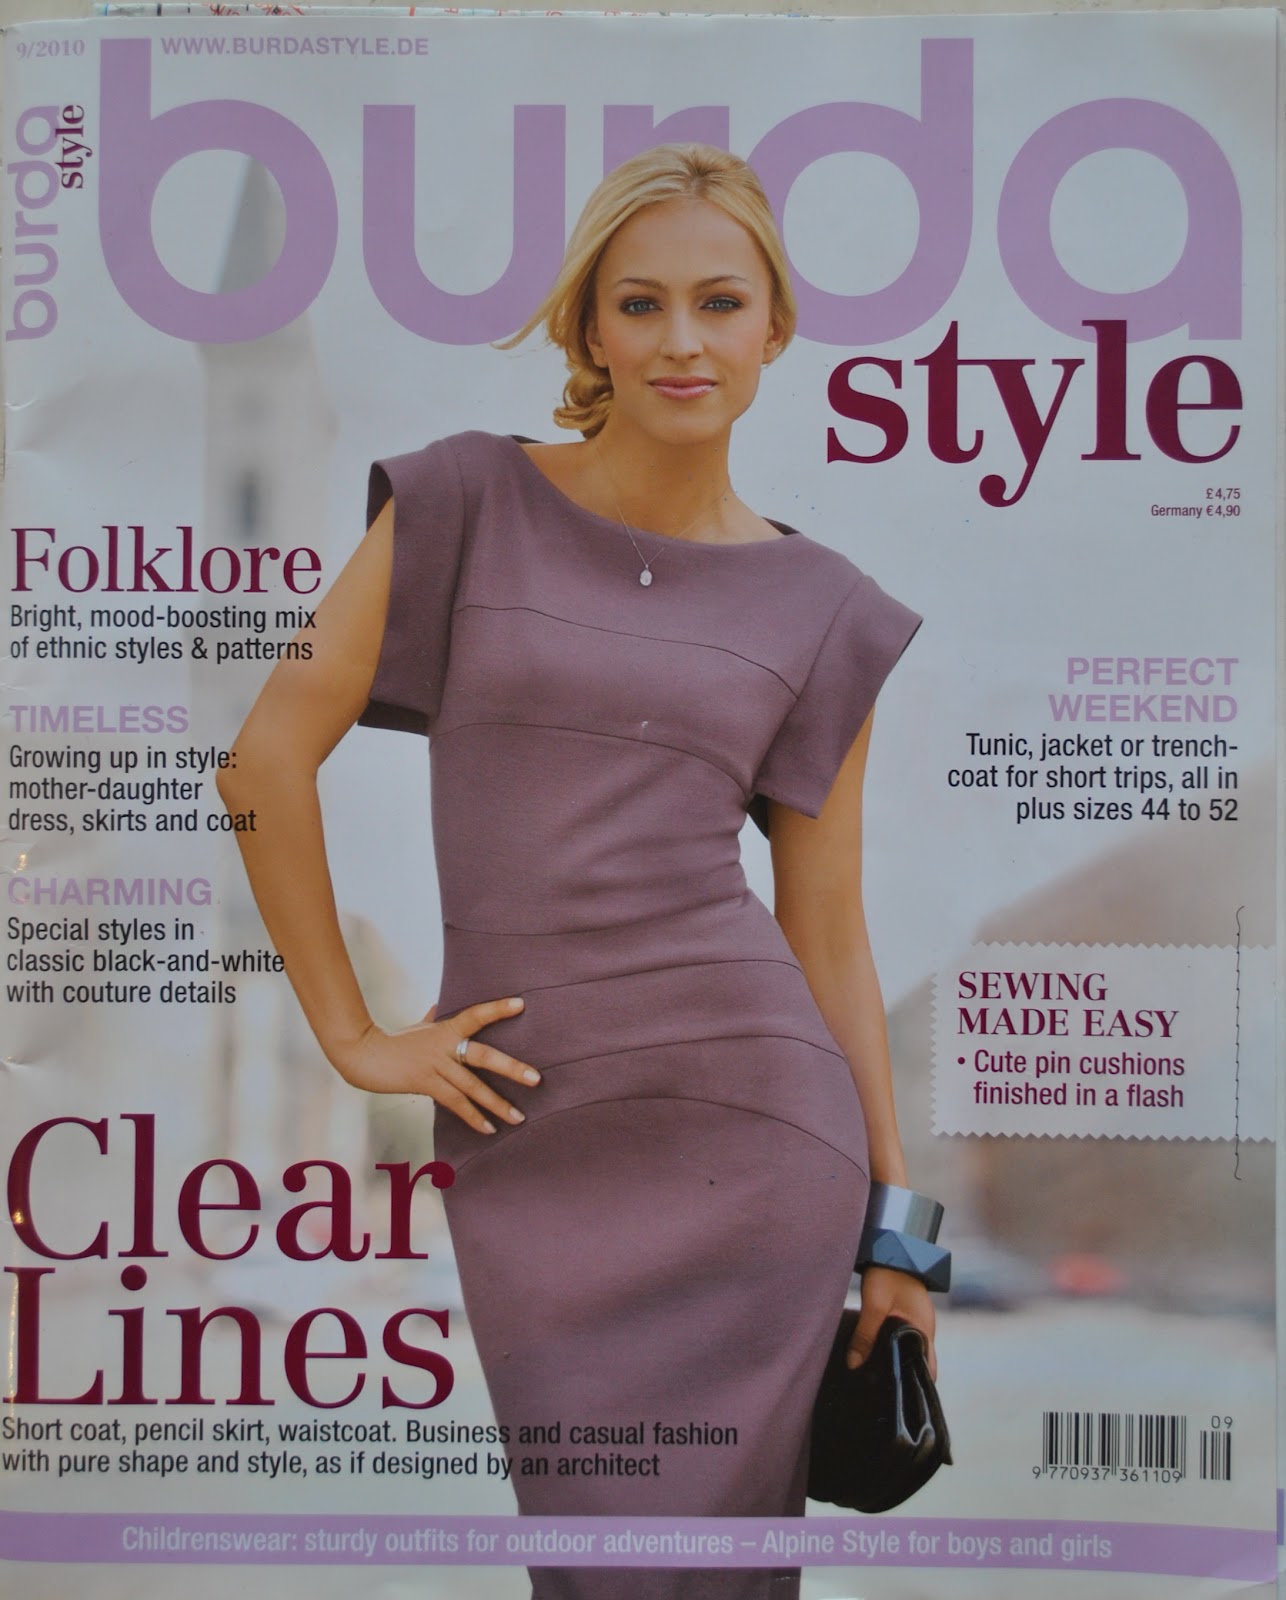
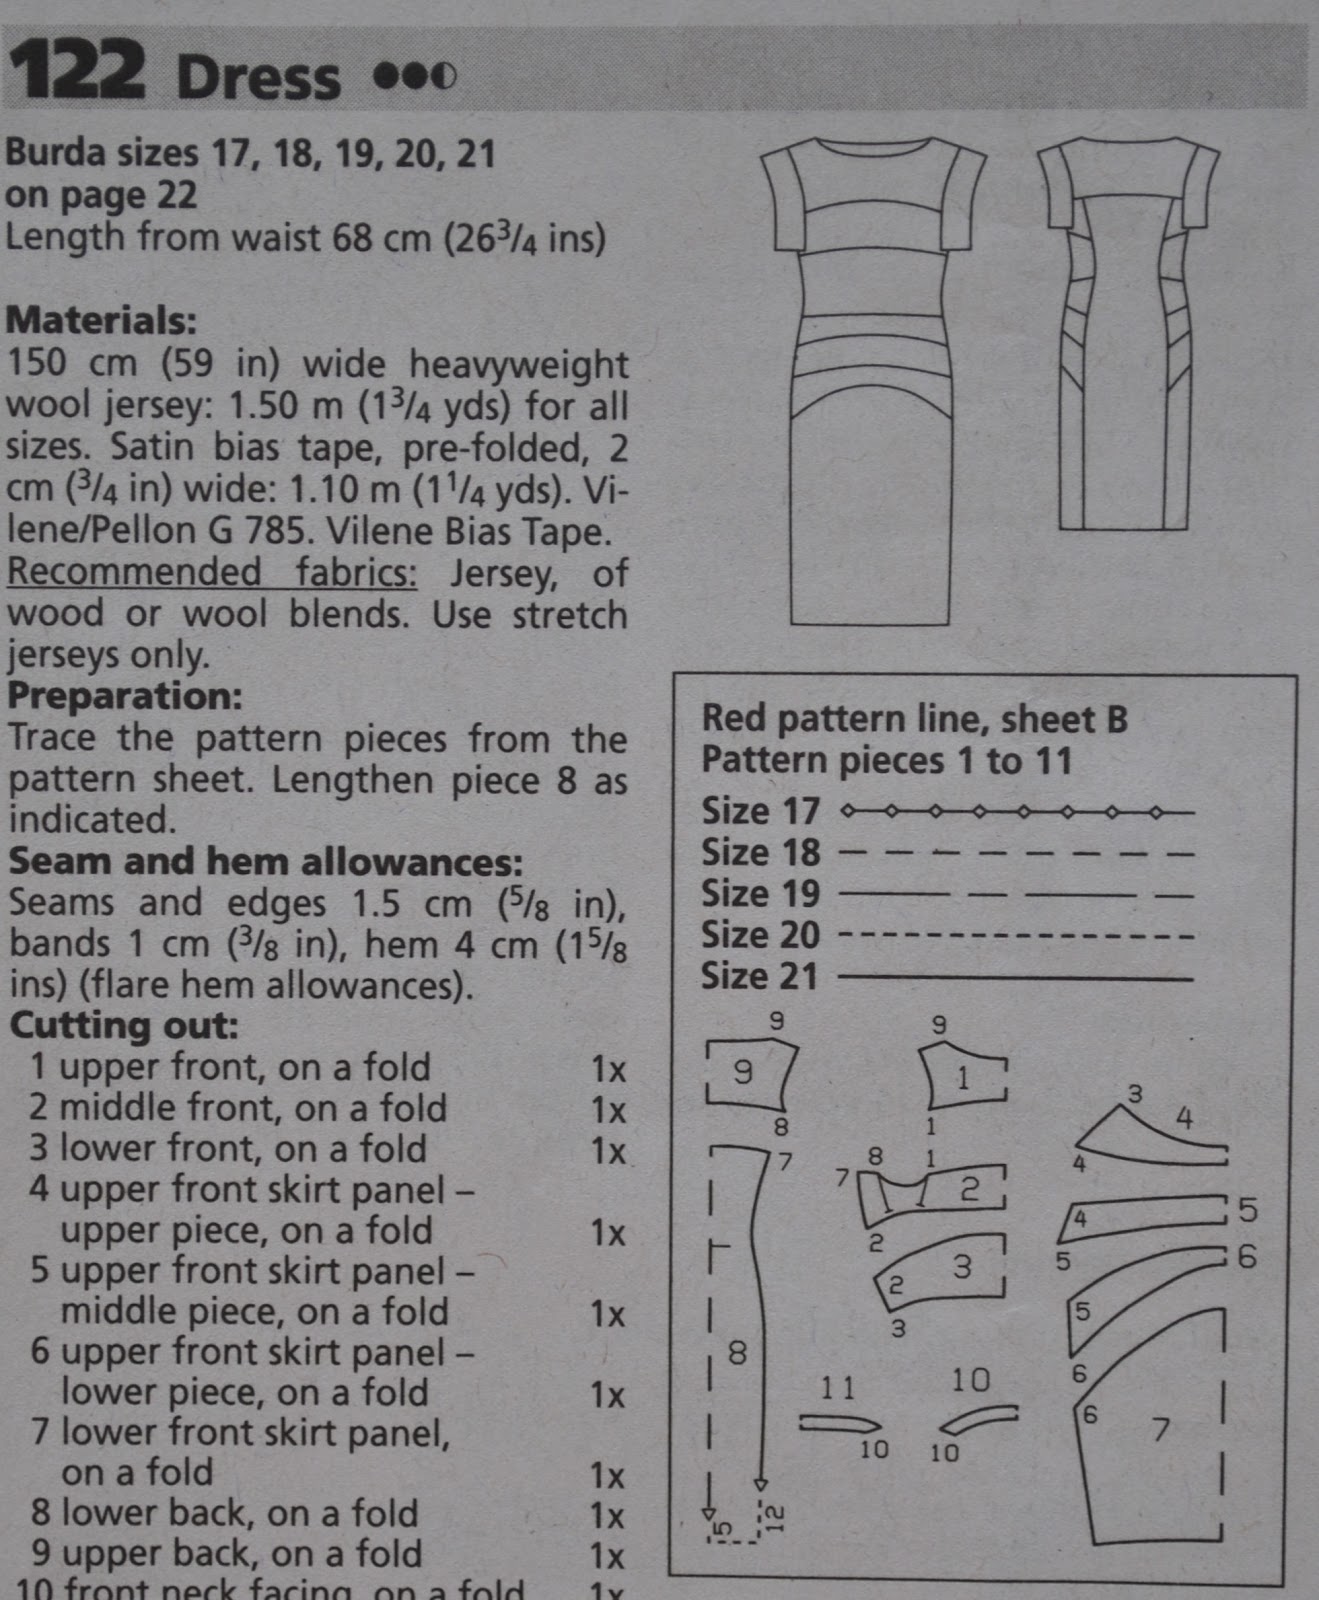
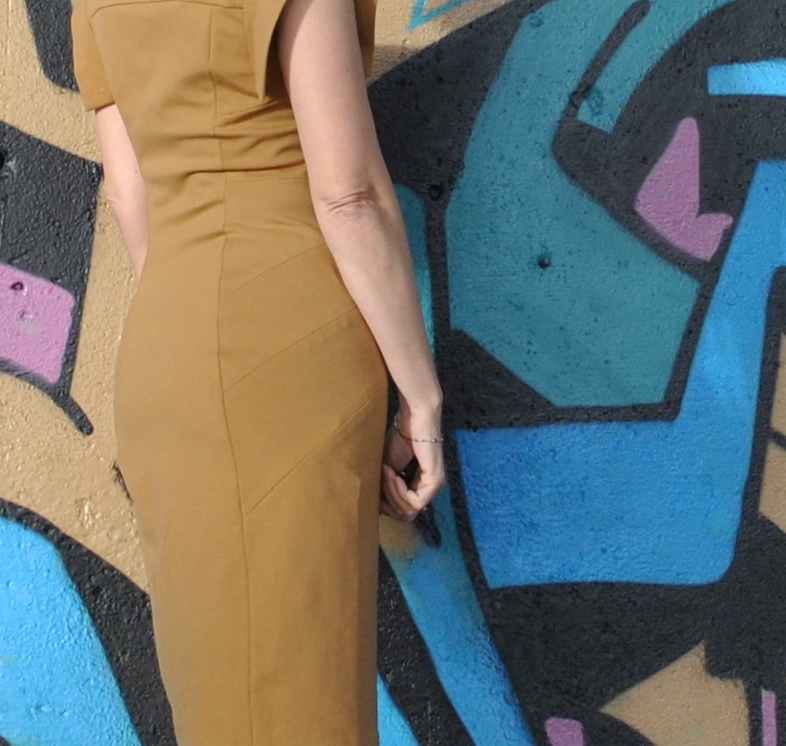
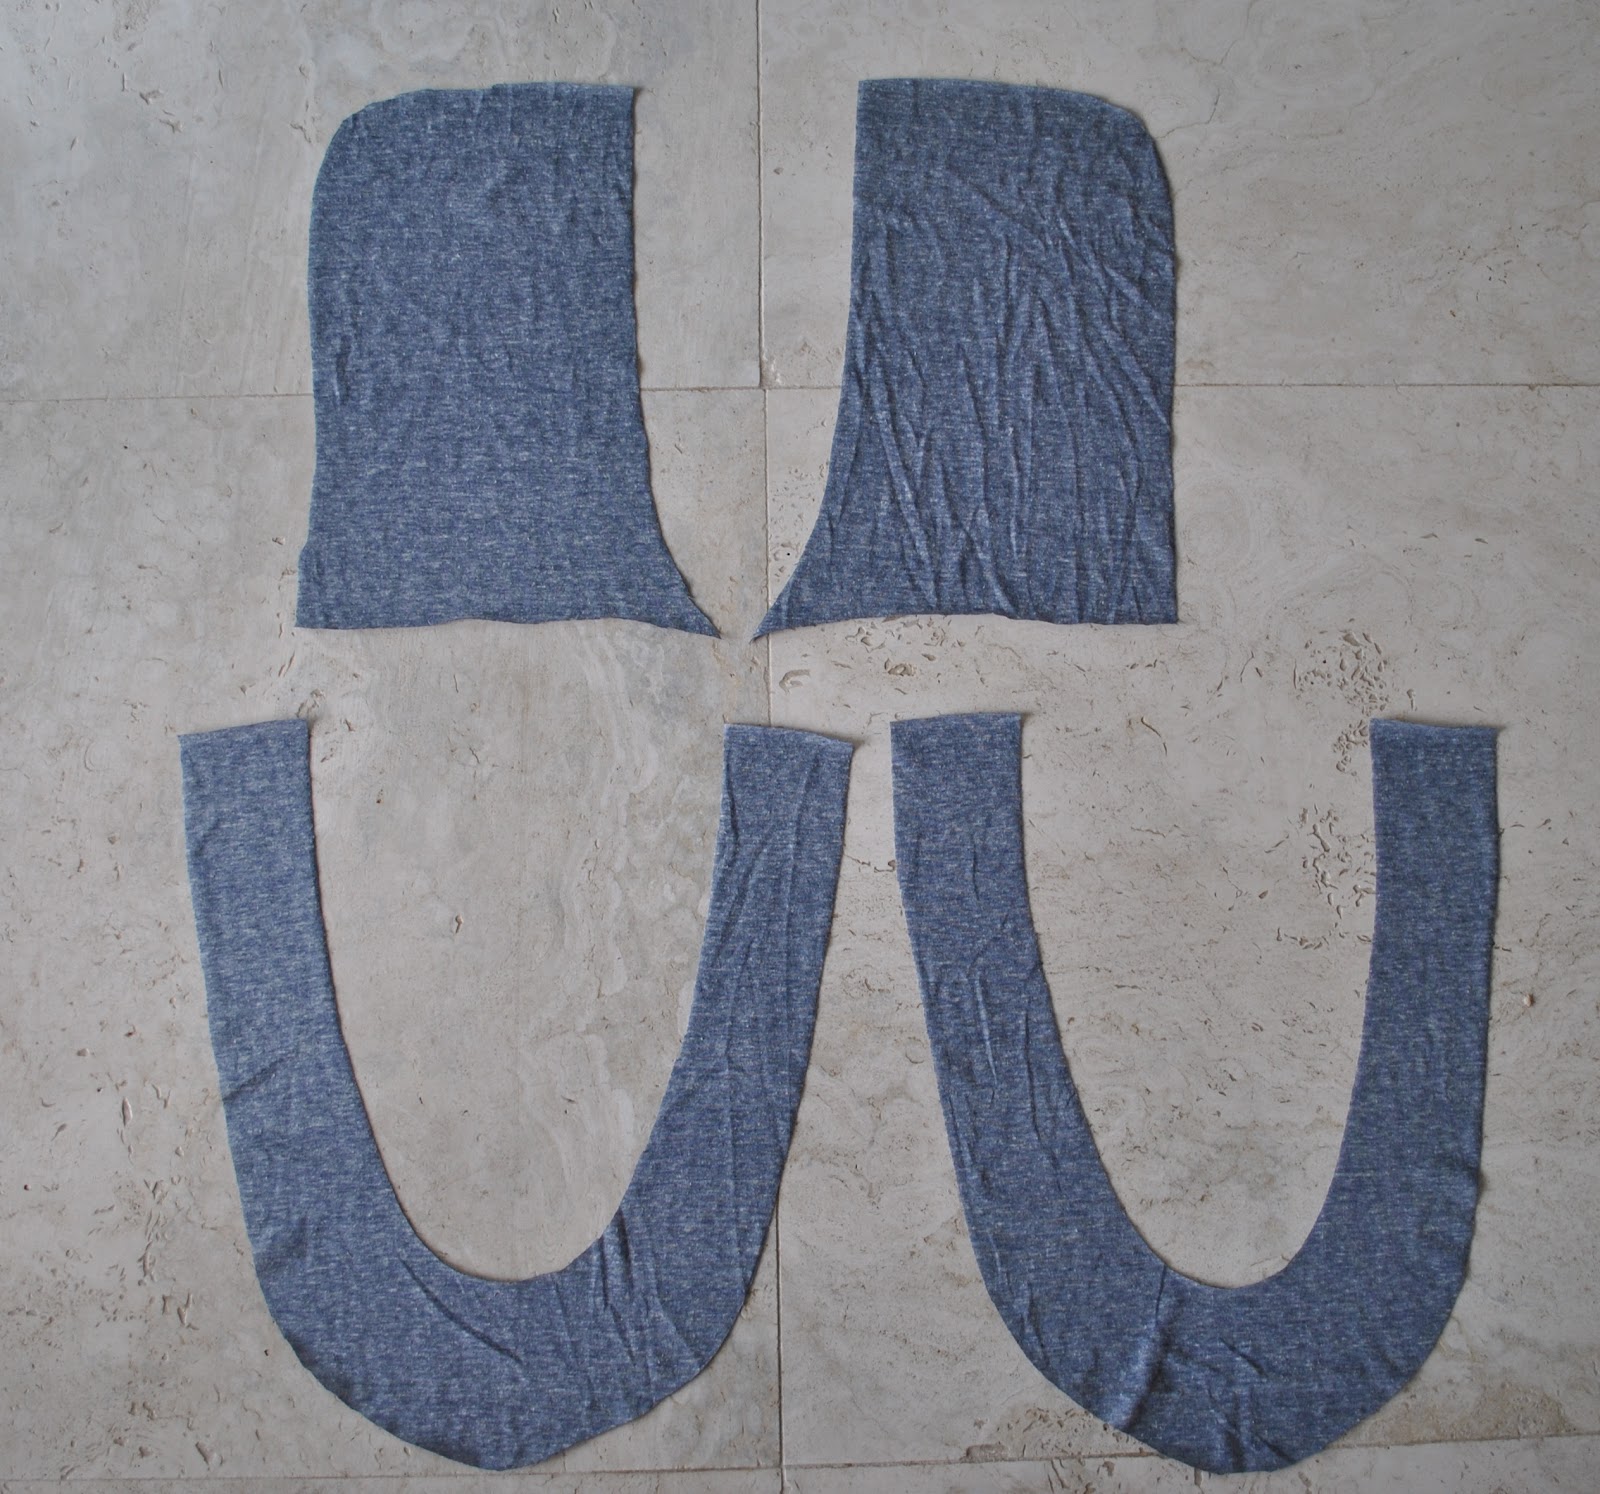
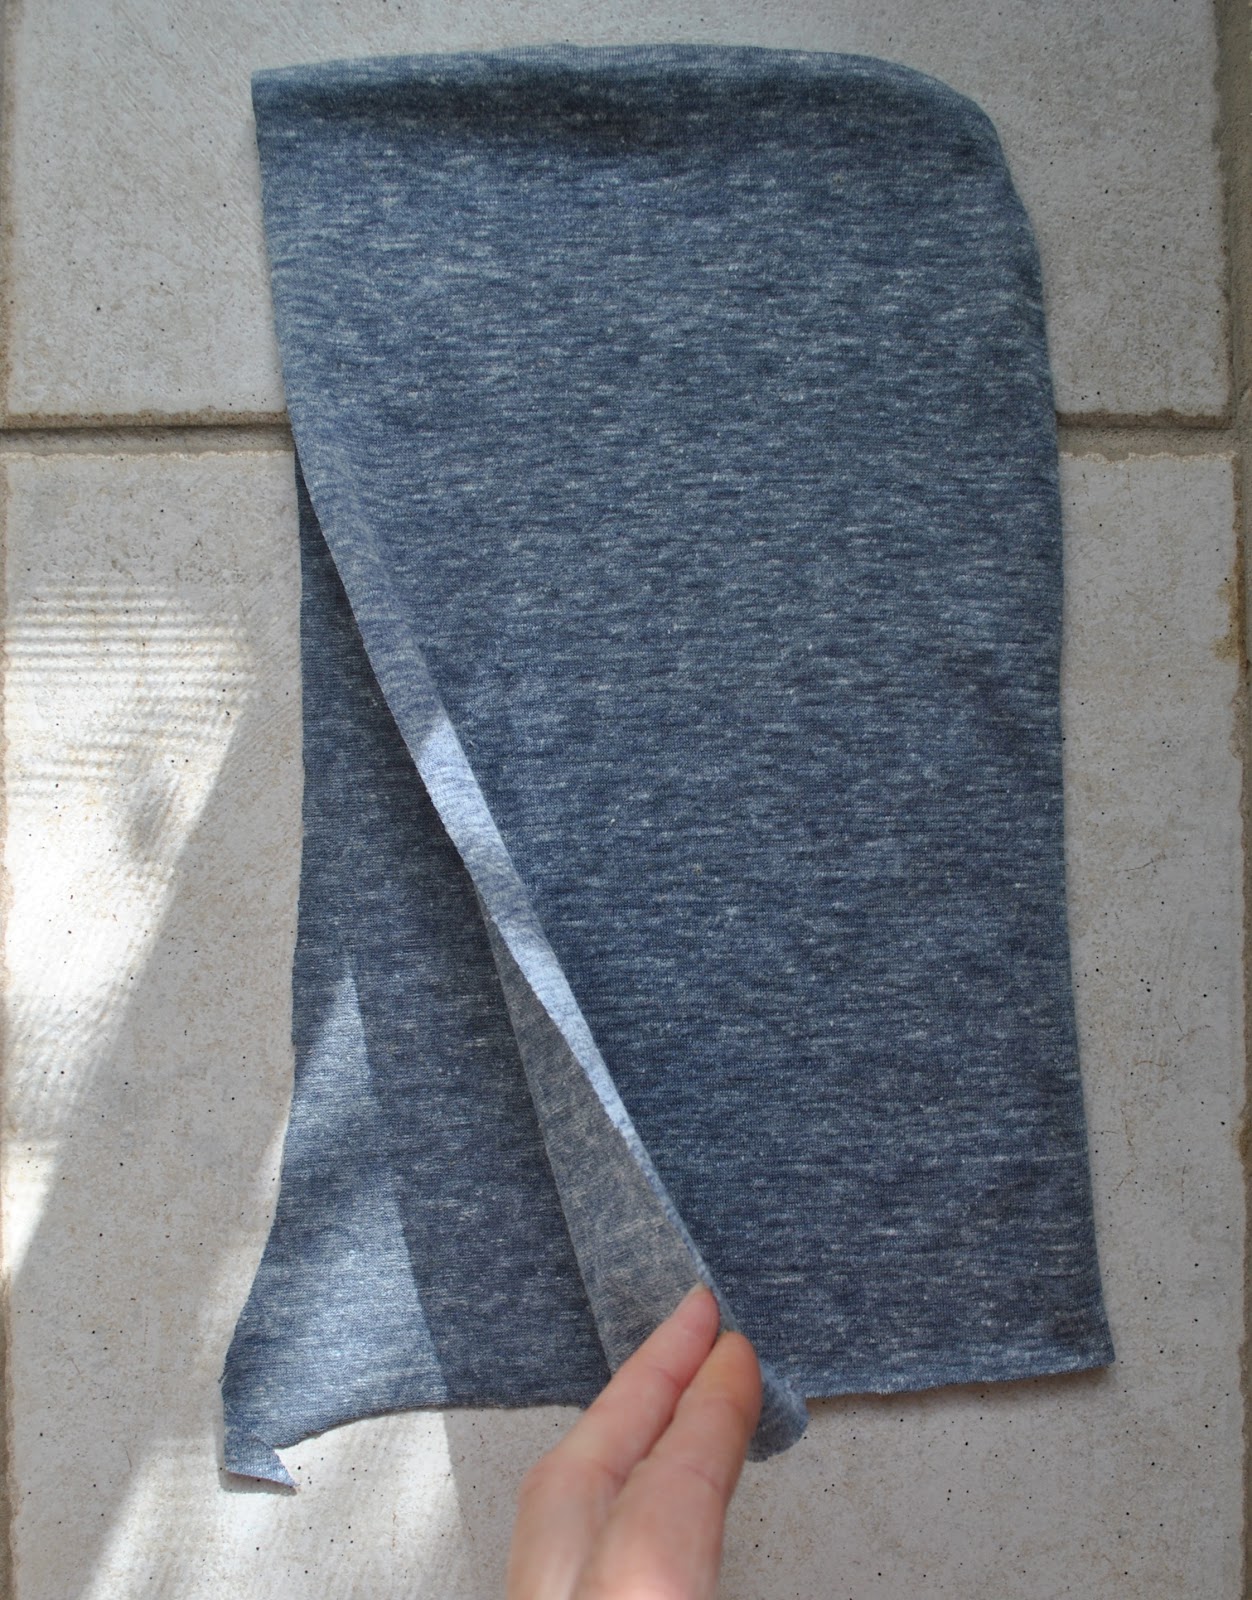
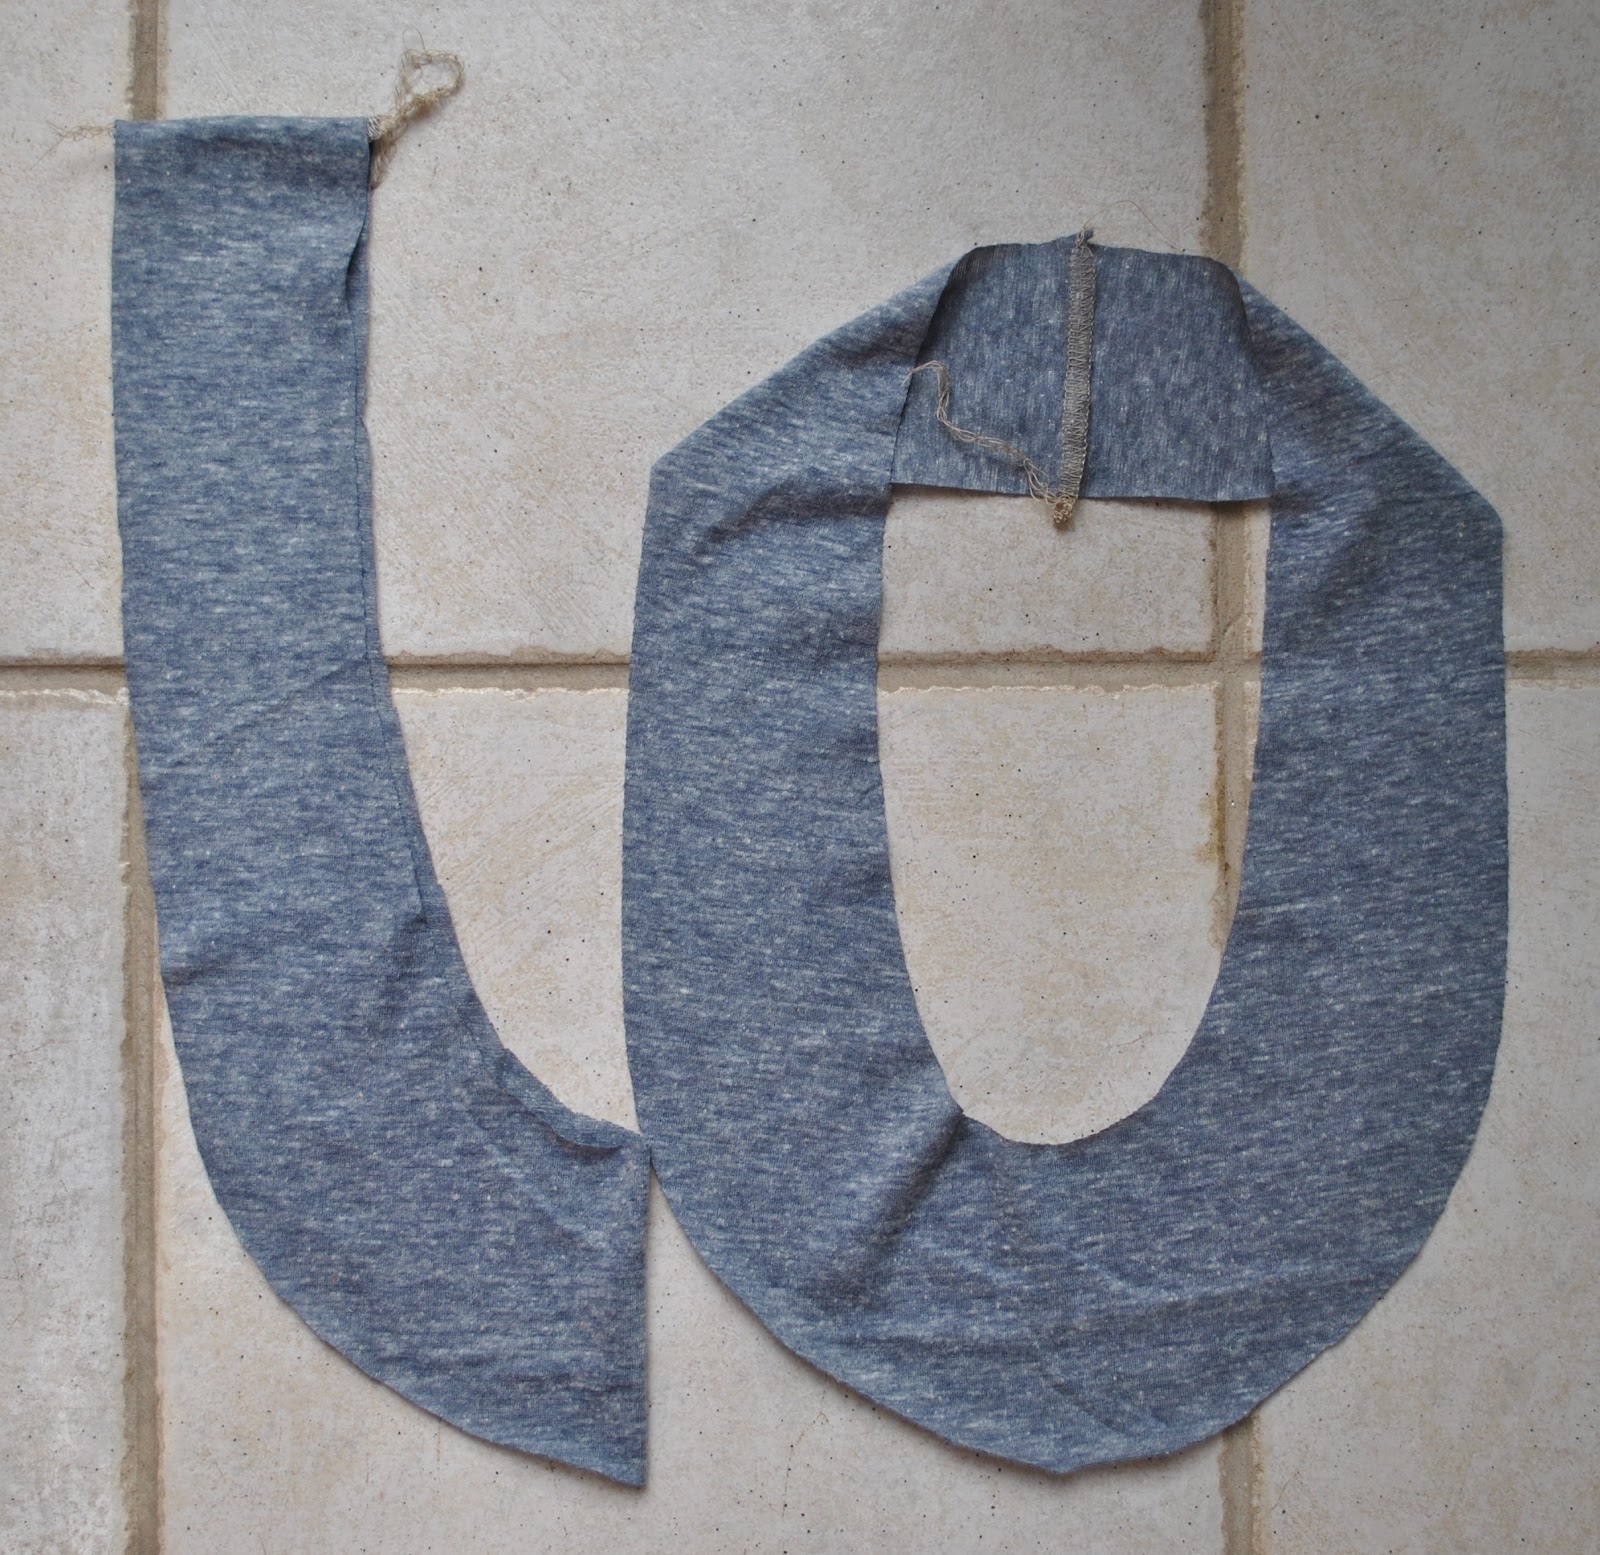
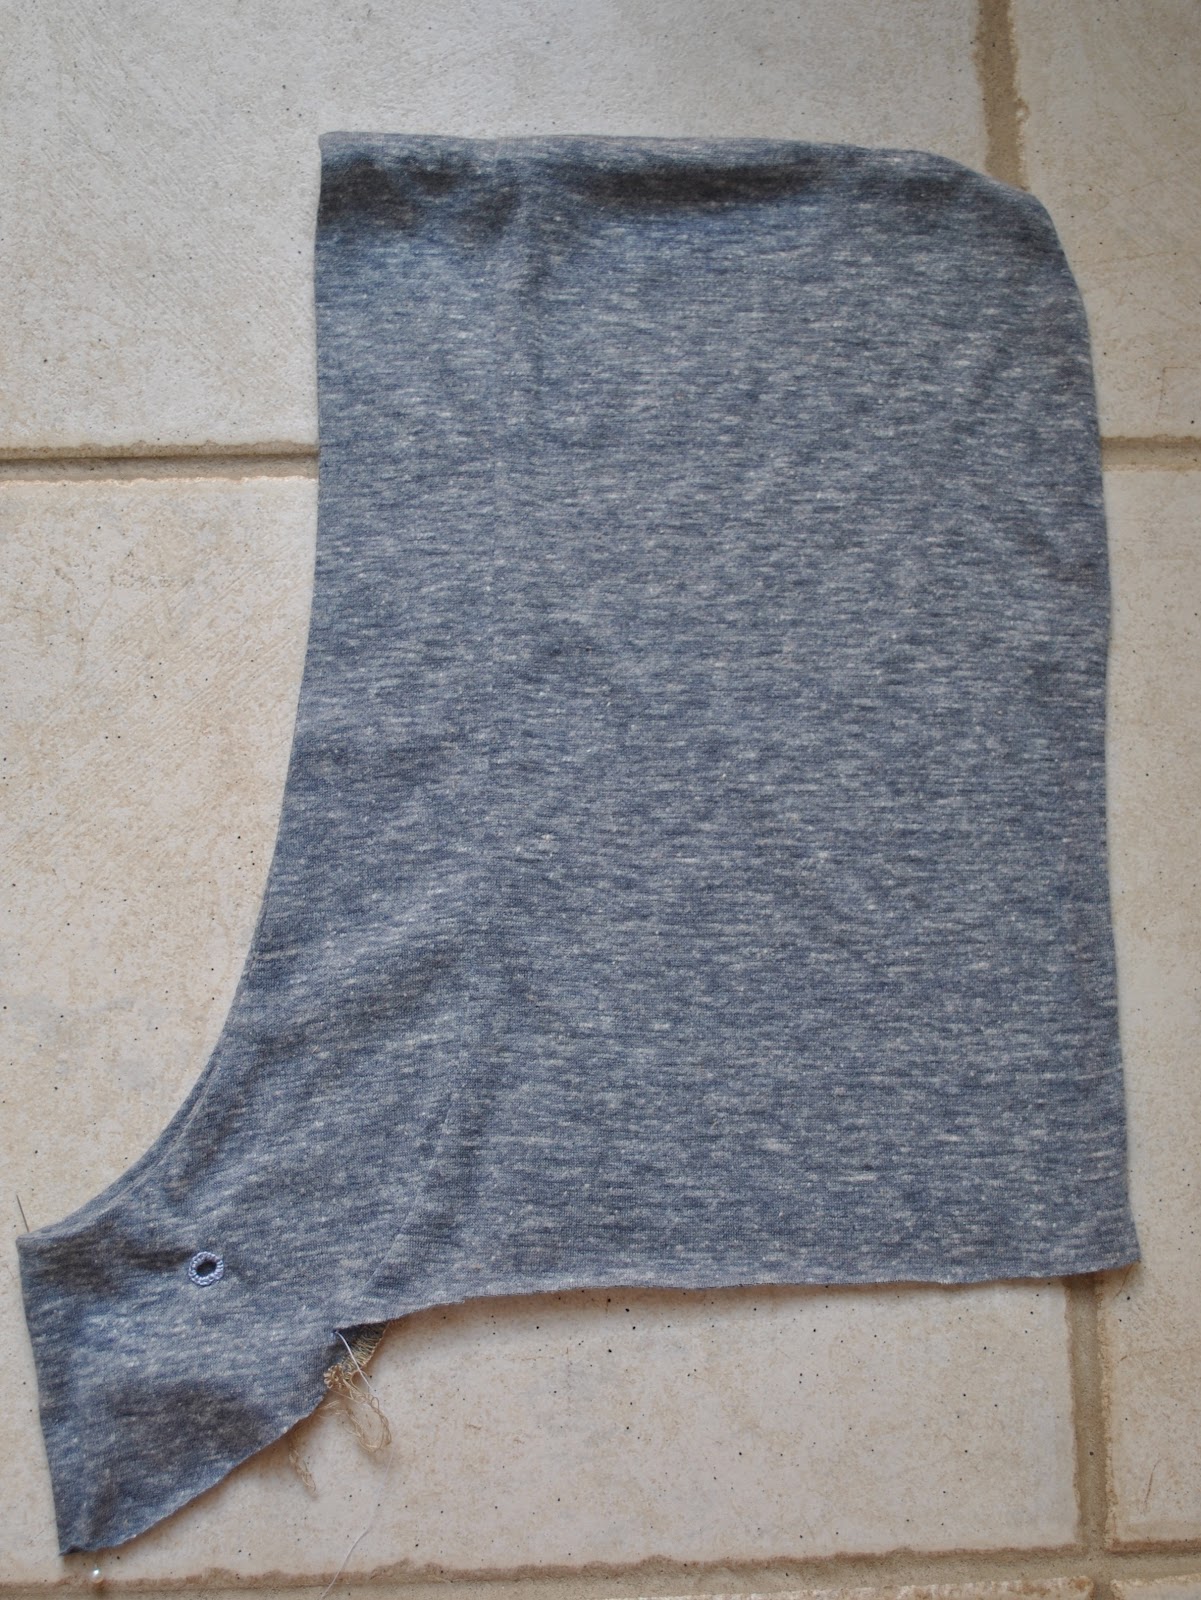
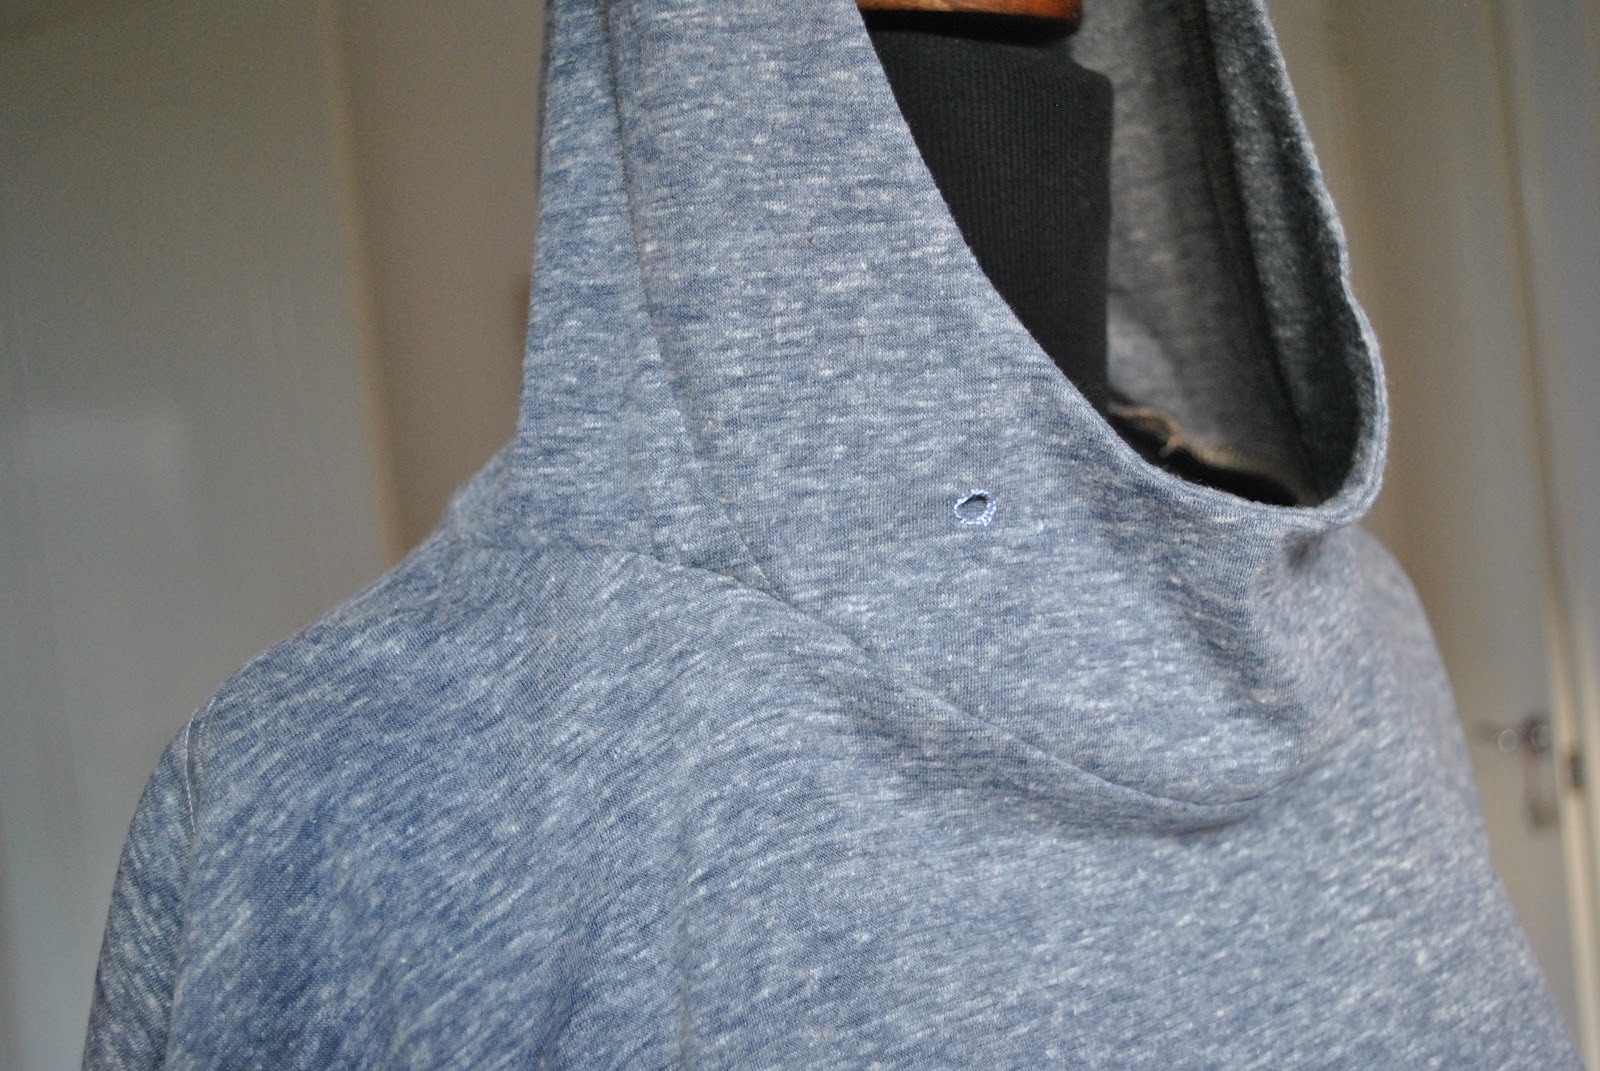
 The pattern is from the 09/2010 Burdastyle magazine, a gift in a recent giveaway from Alexandra Mason… thank you so much Alex! This is dress 122, the cover dress. It is a very modern, almost space-agey design, don’t you think? The dress has no side seams. Those curved front pieces wrap around the sides to the back and join onto the long, narrow, shaped central back piece. And I really love the disparate shapes; the juxtaposition of the blocky geometric angularity of those rectangular sleeve bands against the more organic, gently curved, nesting seam-lines on the body; a very visually pleasing effect to my eye and so interesting!


I used a piece of thick ponte knit given to me by my mother; the fabric originally given to her by a lady in her sewing group! I just love the rich tobacco/mustard shade, a colour that is one of my best.
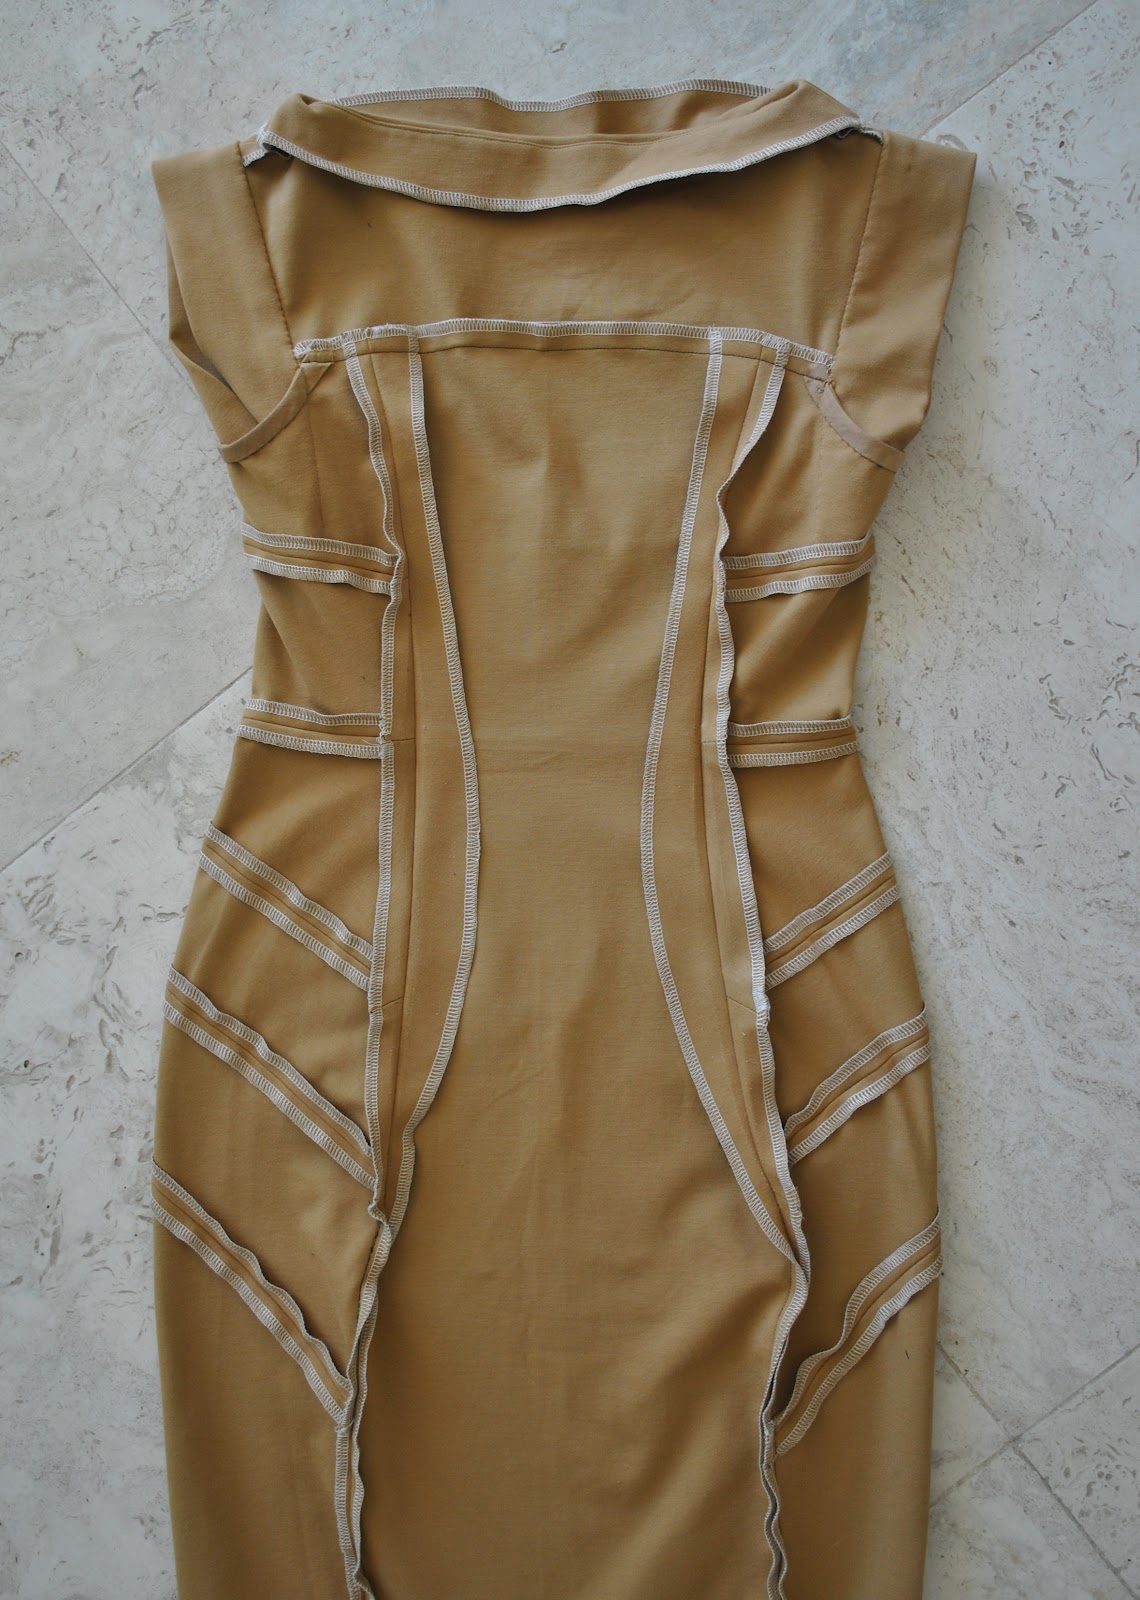
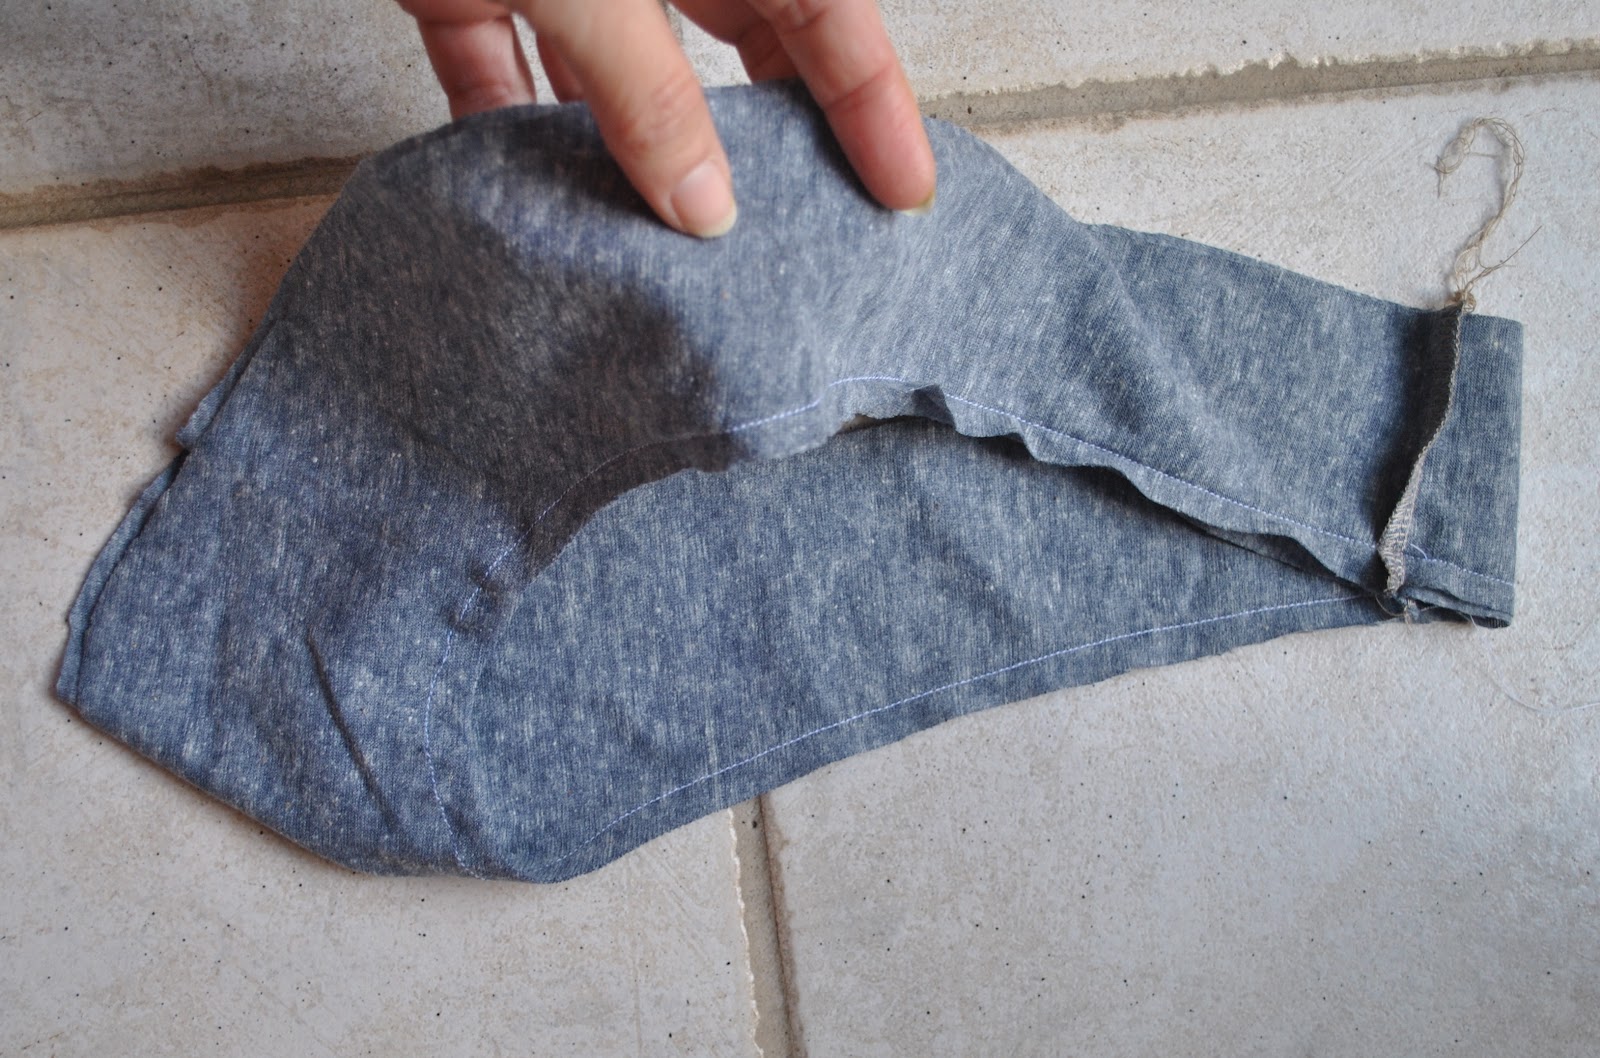
I finished all the raw edges for stability by overlocking before I started, and I like how this makes the insides of the dress look. That excess fabric in the seam allowance in the small-of-the-back (below right) was removed later on; I just included this picture to illustrate how I adjusted for fit through those long vertical seams in the back
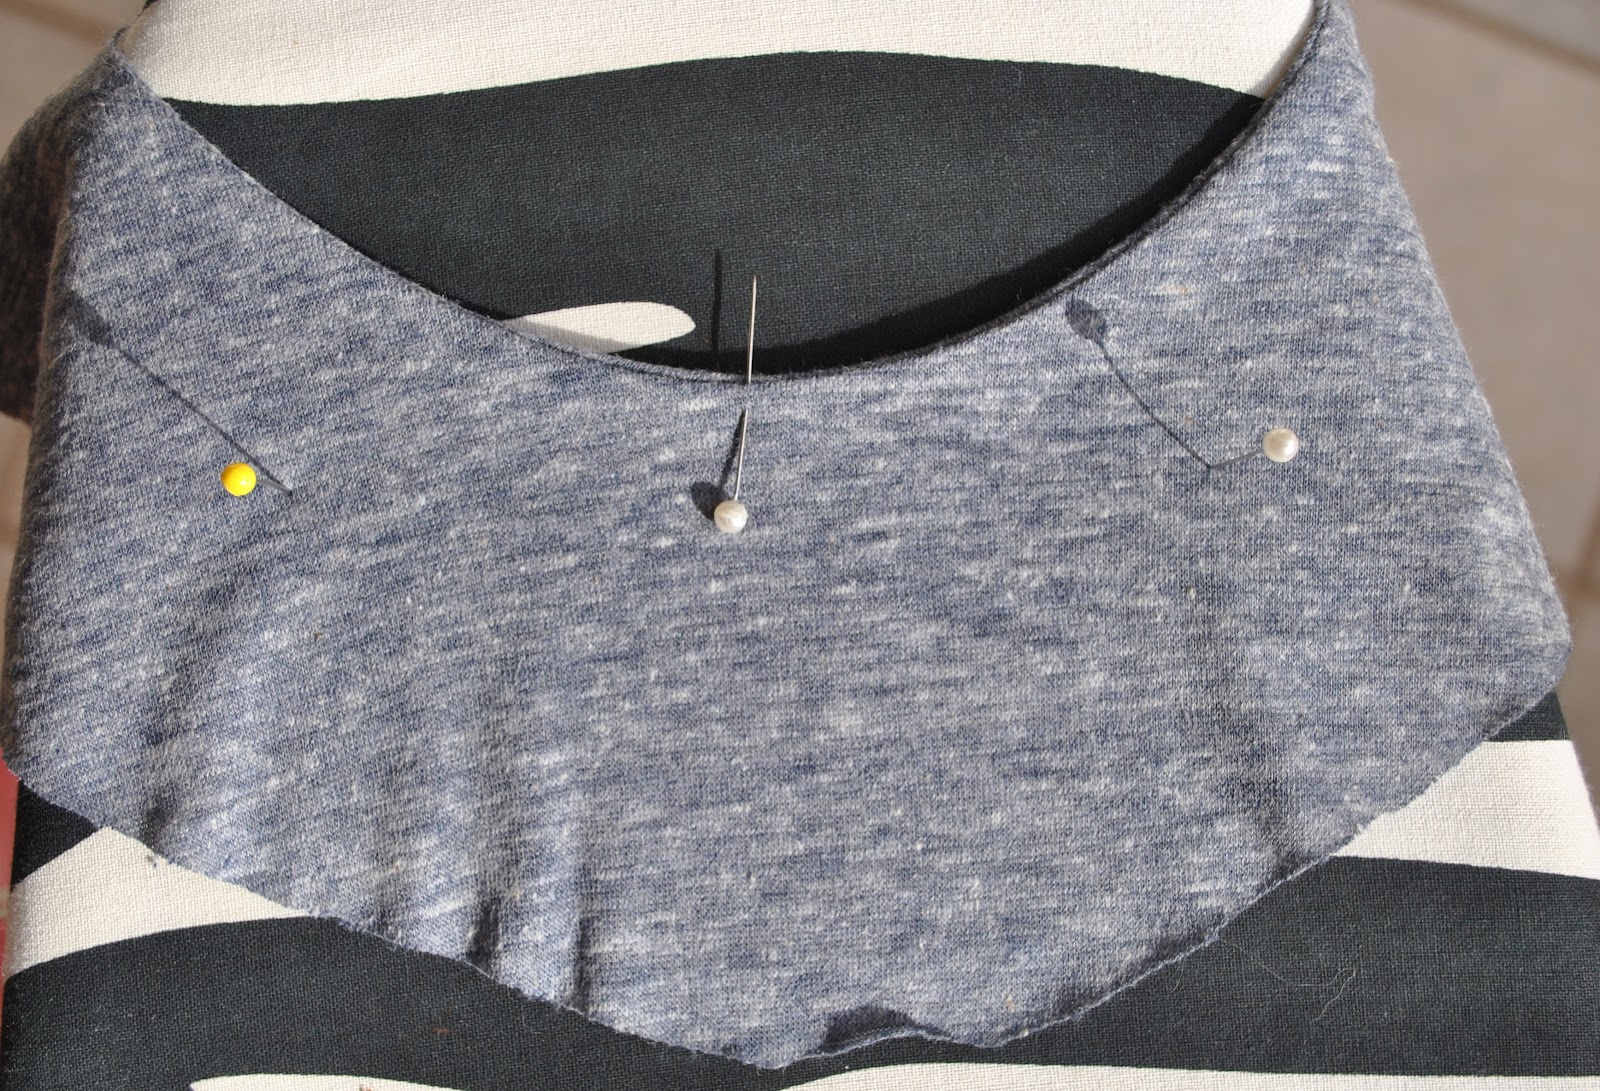
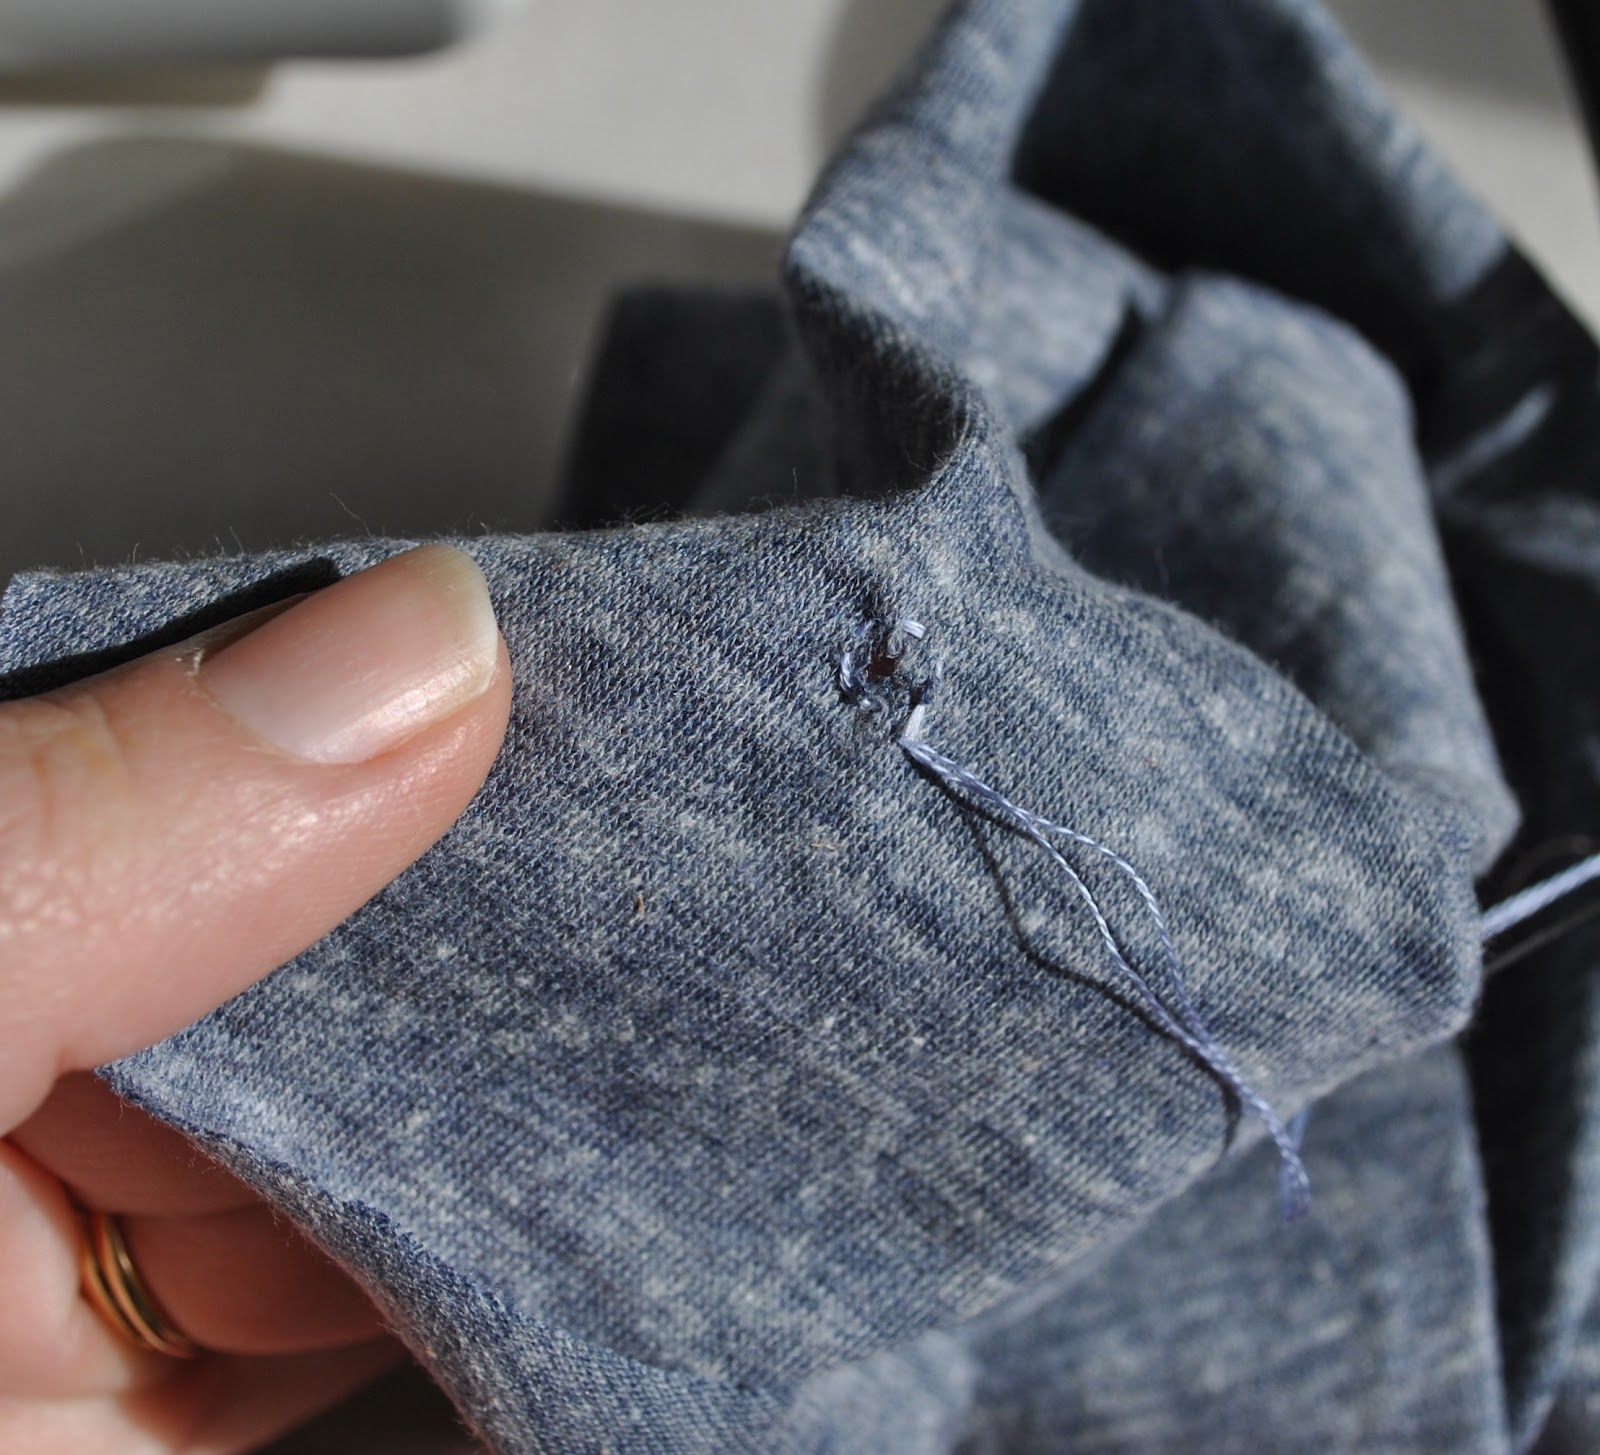
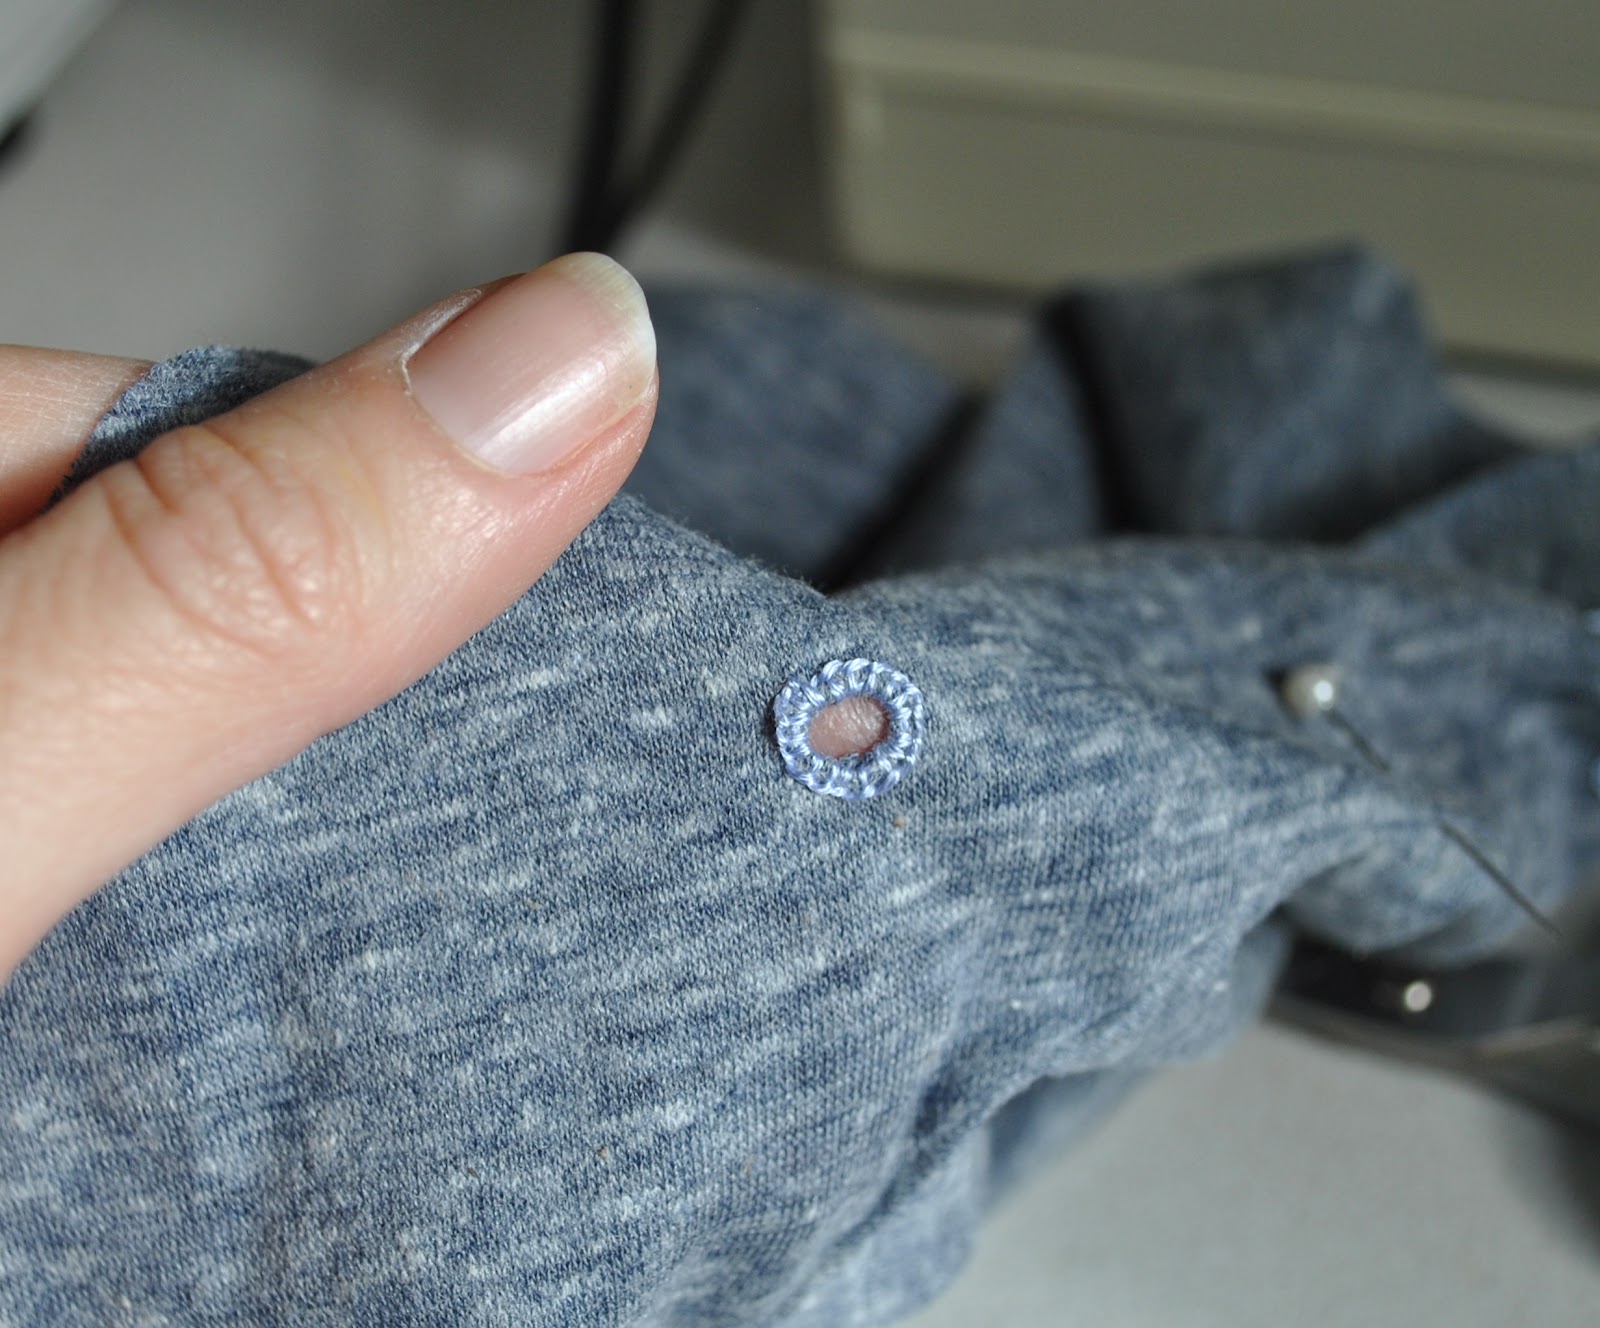
The instructions to finish the sleeve bands are vague; and if I read them correctly, seem to result in an unsatisfactory (to me) finish with raw edges showing. I finished mine in a way that the raw edges would be neatly hidden inside the sleeve band instead. Described in more detail in my review below, if you are interested 🙂

 There is one small issue with the dress, not enough to stop me from wearing it: Comparative
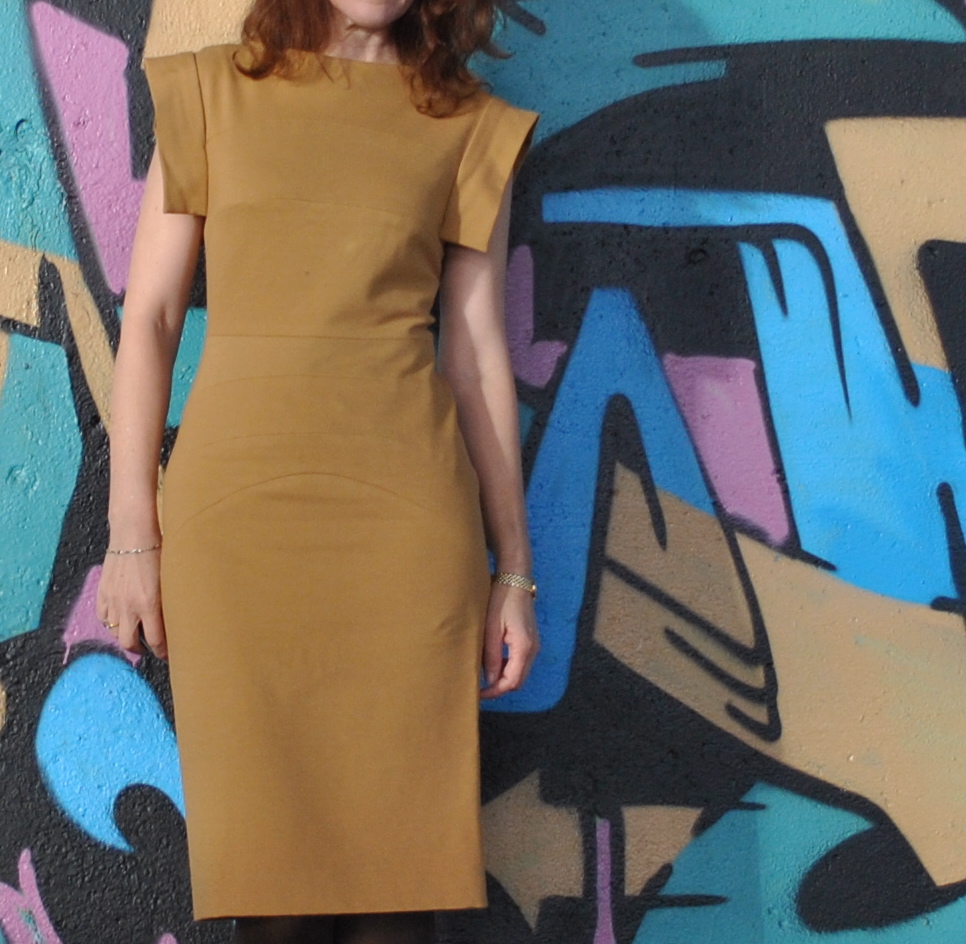
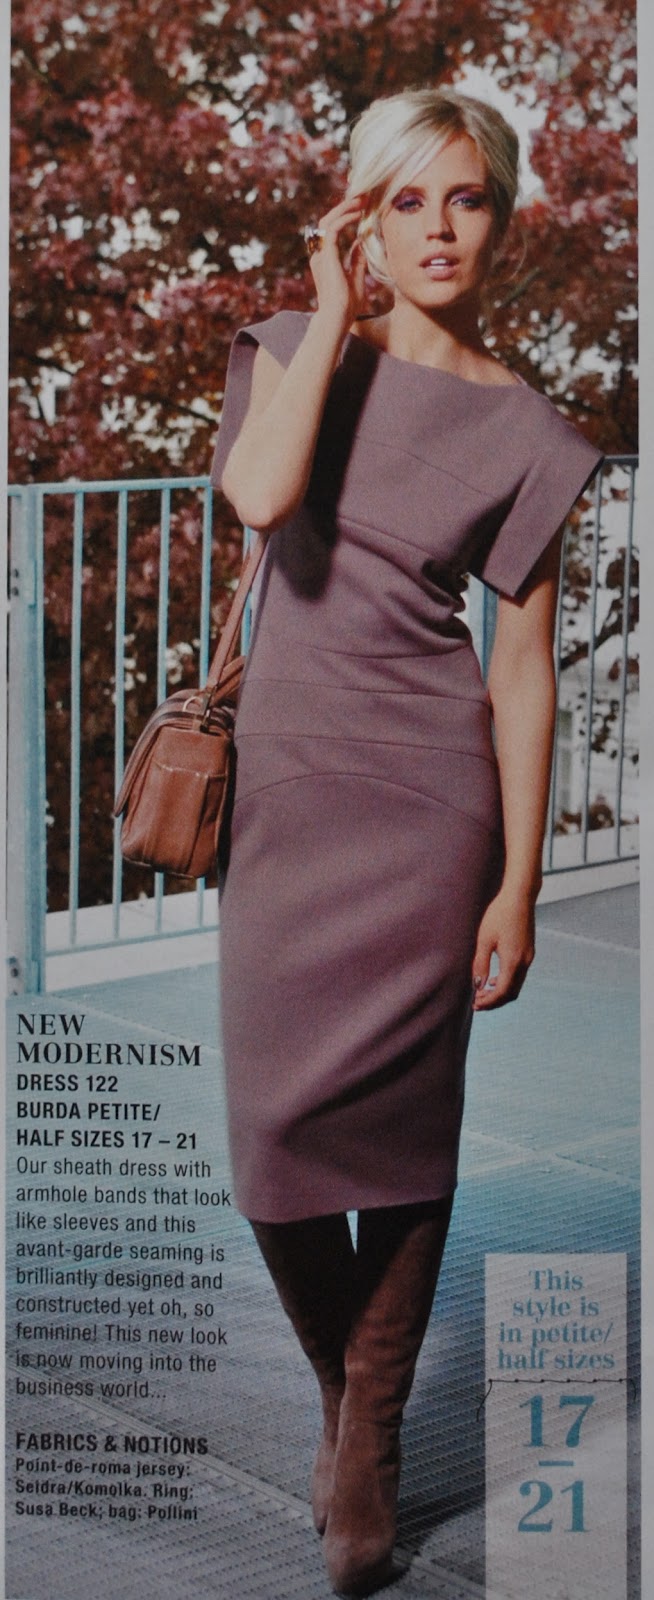
to the cover shot of the dress; the second seamline falls high, right on my
bustline, and the neckline also sits a lot higher on me. When I tug my dress down it looks like
the cover shot, but then it slowly and inexorably migrates back up again, all
by itself, like a sneaky puppy-dog onto the couch. Sure, I am not a petite, admittedly for whom the pattern is
designed, but I didn’t think that would make a difference up that high! Although, when you check out the shot of the dress inside the magazine (at right), that seamline is sitting at exactly the same point on the model as it does on me. So (shrug) mmm. Maybe they just tugged it down real firmly for the model in the cover shot too? 😀
Anyhoo, I don’t know if that says anything about my figure at all, but I don’t really care. Because:
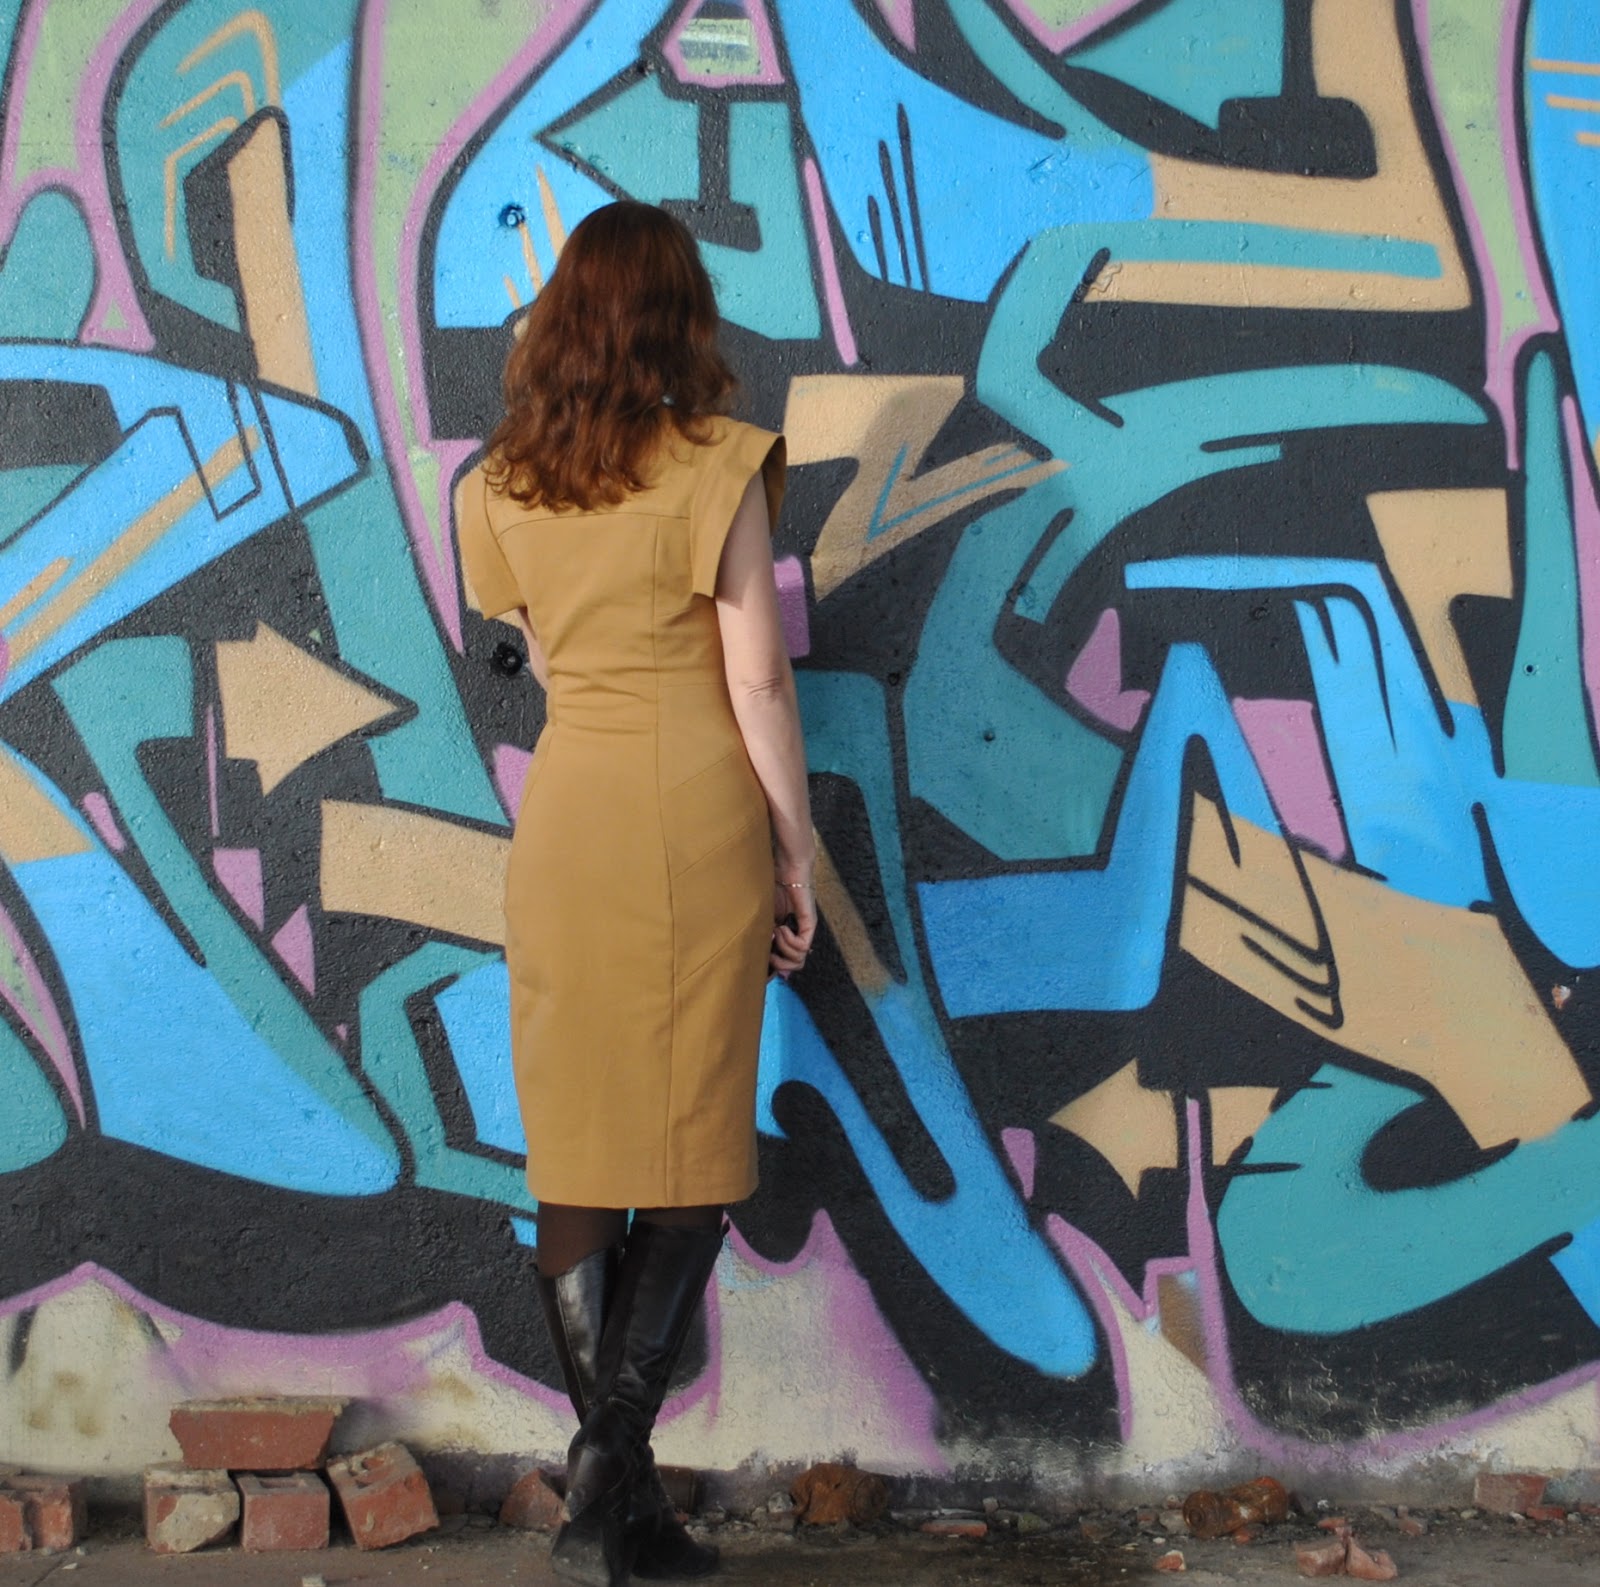
I feel goooood in this dress! It is a modest dress with plenty of coverage, and yet it still manages to be sorta svelte and sex-ay. That’s gotta be a very good thing, right?
Details:
Dress; Burdastyle 09/2010, dress 122; mustard ponte knit
Tights; Kolotex
Boots; di Sempre, from Zomp shoes
Pattern
Description:
Sheath
dress with armhole bands that look like sleeves and avant-garde seaming. There are no side seams and all the
shaping is achieved through the unusually shaped, curved seams.
Pattern
Sizing:
Burda
petite half sizes 17-21; I made the size 19
Did
it look like the photo/drawing on the pattern envelope once you had finished
sewing it?
Yes. Except that the seamlines fall on my
body in slightly different locations, ahem, which could be due to the pattern
being sized for a 160cm tall woman?
Were
the instructions easy to follow?
Yes,
the dress is an exceptionally easy construction; all the seams are numbered and
you pretty much just sew them in order from one to ten. The second-last step, the instructions
for adding the armhole bands, were verging on being head-scratchingly
convoluted in that manner Burdastyle sometimes employs… and seemed to indicate
that you ended up with a bias strip on view inside the finished armhole band,
which I did not like. I finished
mine in a way that meant all the seams allowances, including the armhole band
and upper armhole edge seam allowances; were nicely tucked away inside the band,
and hidden out of sight. Much more
pleasing!
What
did you particularly like or dislike about the pattern?
It is
such a flattering dress; with an interesting and very well thought out design.
The
pattern is exceptionally well drafted.
While I was sewing together those front bands I was just marveling at
how well the unusual shaped pieces went together so perfectly and achieved
“shape” with no darting or tucking needed. So clever!
The
pattern is sized for the Burdastyle petite woman 160cm tall. I am 172cm tall which does not put me
in the petite category so I had concerns about how the pattern was going to work
out for me. My piece of fabric was
barely big enough to squeeze out the pattern pieces, so I could not make any
major adjustments to my pattern pieces, but because it is a stretch knit and
the pictured dress was so long I figured that I could work out any little body
fitting issues as I was sewing it up. I needn’t have worried though, since it fits just fine 🙂
Fabric
Used:
Ponte knit.
Pattern
alterations or any design changes you made:
I had
to adjust the two vertical back seams to get a good fit for my sway-backed pear
shape; but this was pretty easy. I
took out about 4cm in total the lower rib cage area and the small of the back,
and graduated out to a fairly narrow hip seam allowance.
I sewed
the armhole bands on my own way, namely the right side of the armhole bands sewn
to the dress in one single seam, and no trimming but simply turned under the
seam allowance of the self facing (like you would a waistband facing) and hand
slip-stitched it back onto the band, enclosing the upper armhole seam allowance
inside the band as well, out of sight.
My way seemed simpler than the Burdastyle instructions, and ends up with
a neat clean finish.
Would
you sew it again? Would you recommend it to others?
I
wouldn’t rule out sewing this one again, although I think I need just the one
for now. I do recommend this
flattering and smart dress to others.
Conclusion:
I
love this design; very reminiscent of the Herve Leger bandage dresses of the
eighties, with their distinctive horizontal ‘bandage” bands making for a
slim-fitting, body conscious silhouette…
This
pattern is in the Business wear category, and I agree, this would make a great
little number to wear to the office; modest, smart and stylish, not too out-there
but still with unique lines and details.
I’m planning for mine to be an integral part of the coming Spring party
season; comfortable and easy to wear, while still edgy and interesting.


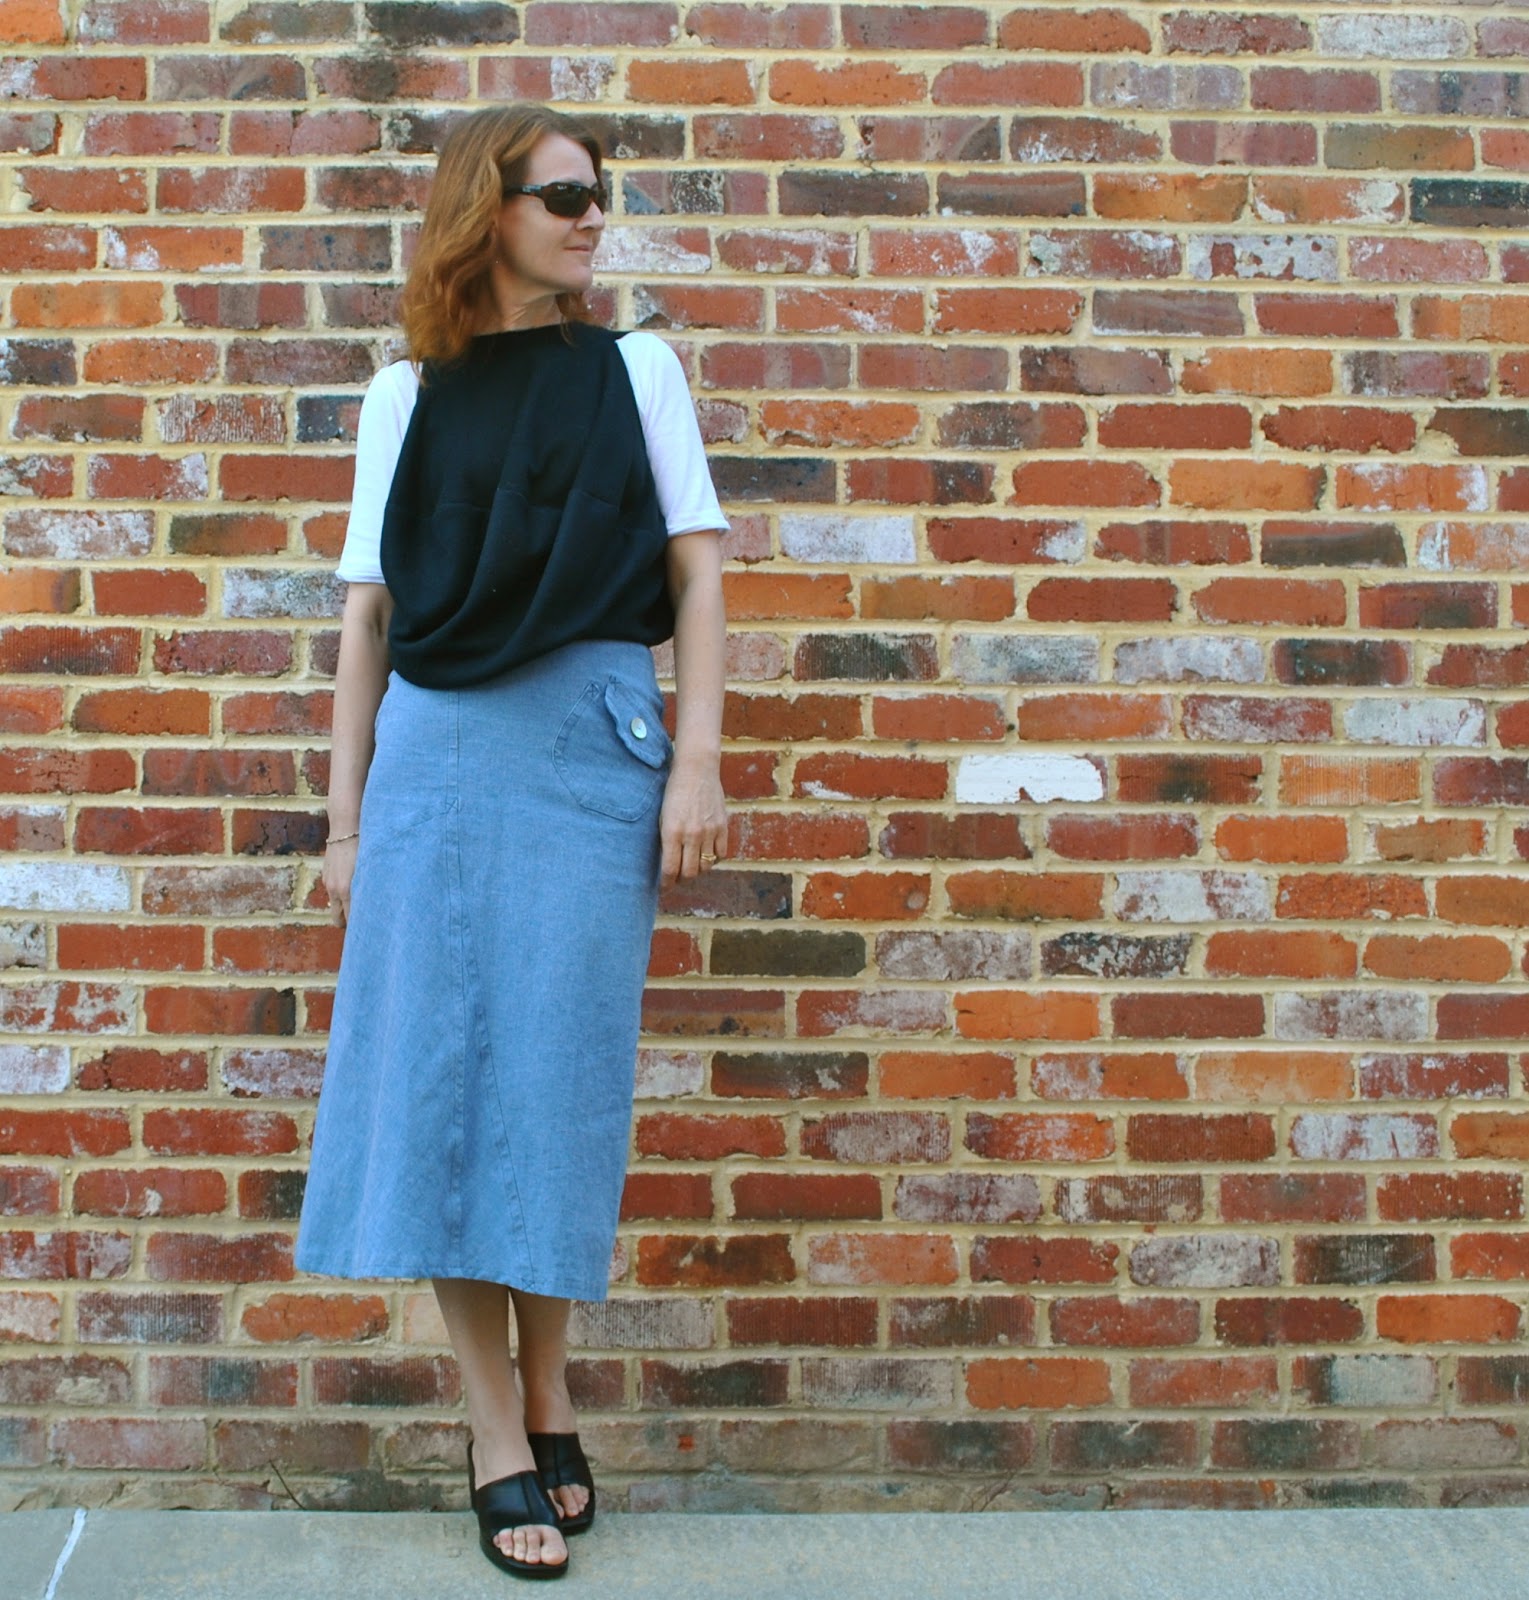
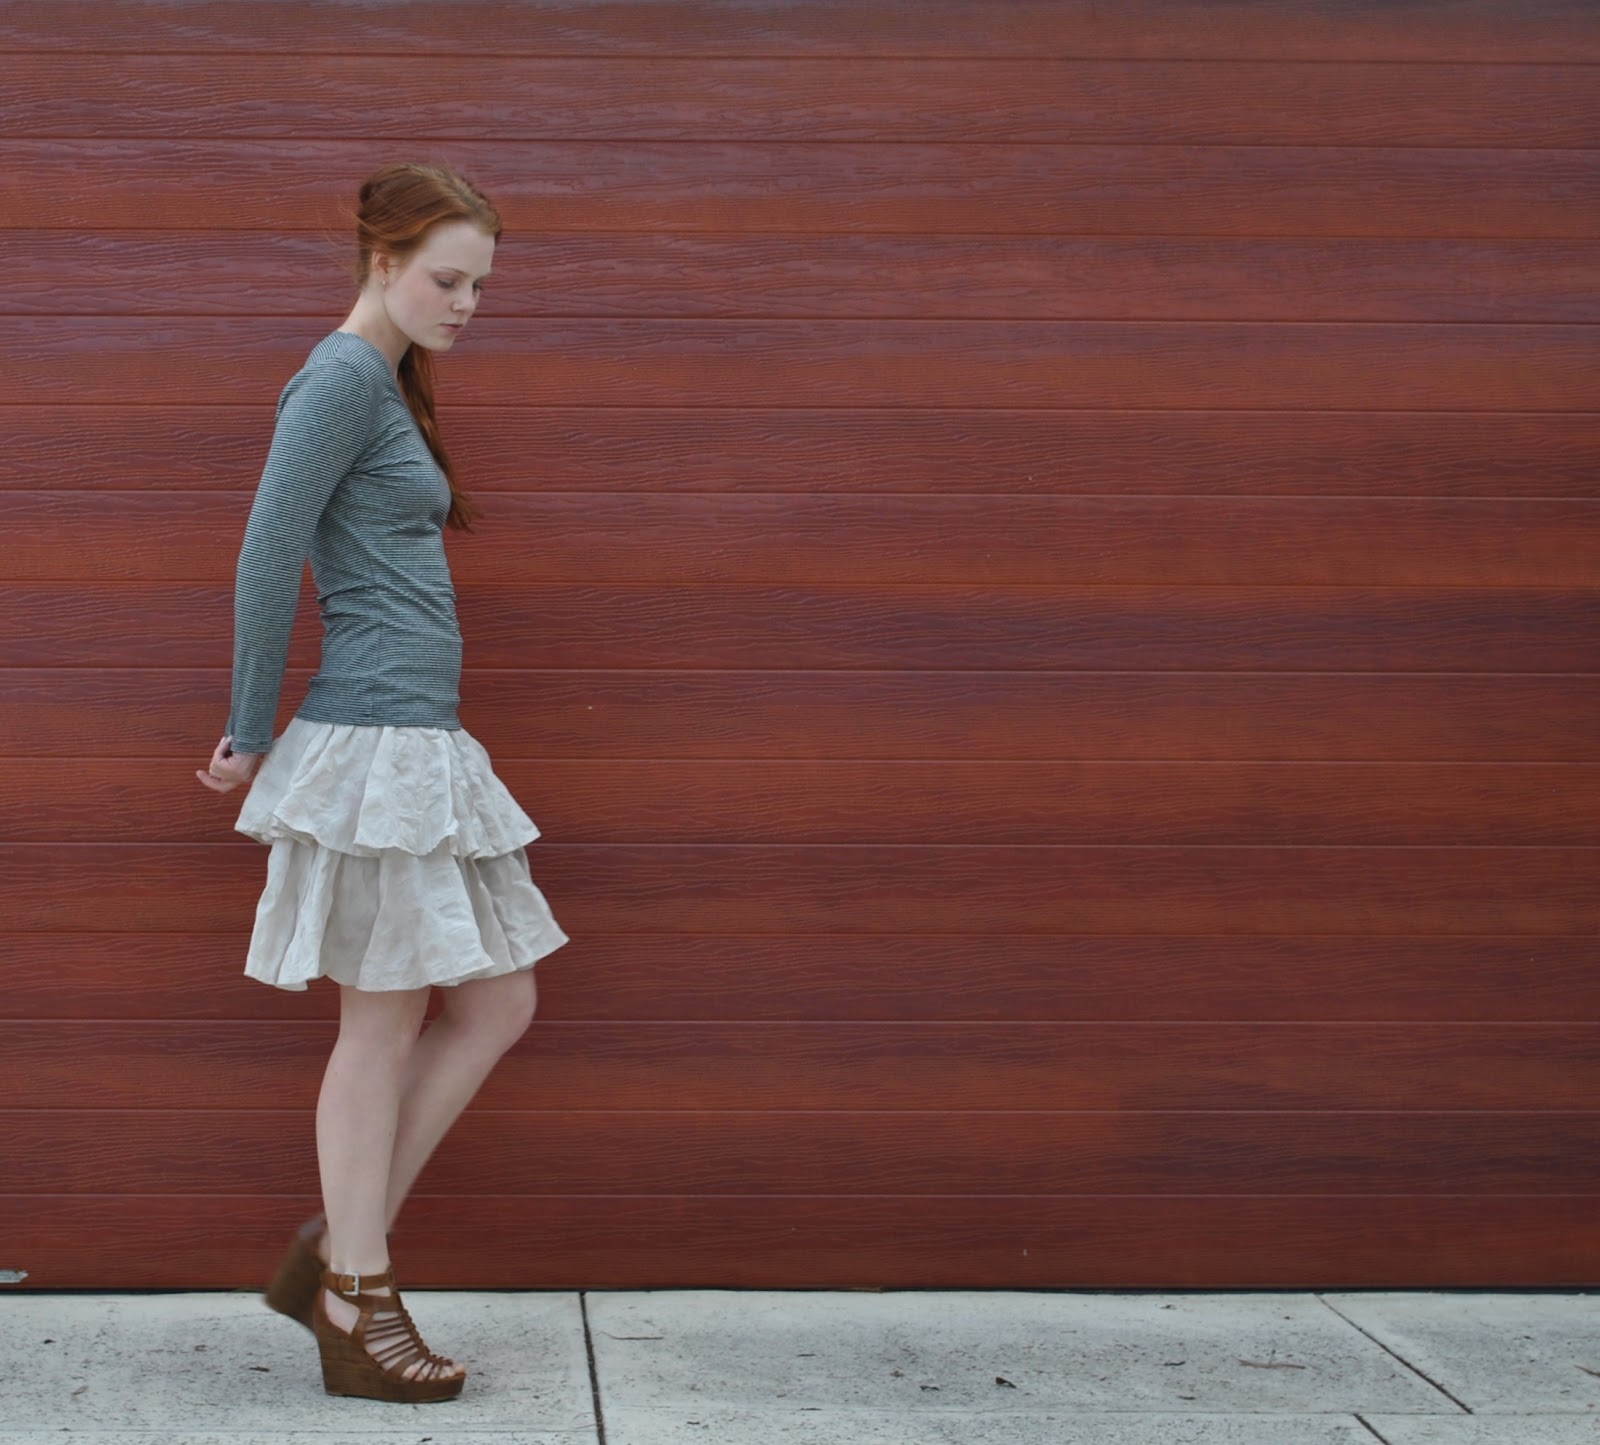
 Wow! As soon as I saw the re-styling suggestions in my comments I realised how right you all were… thank you! I can see now my outfit was a wee bit on the frumpy side. I guess I was being a lazy blogger; trying to kill two birds with one stone by forcing the two new things; the top and the skirt, together in one outfit and one post when they did not really want to be together… so I have taken your excellent advice to heart.
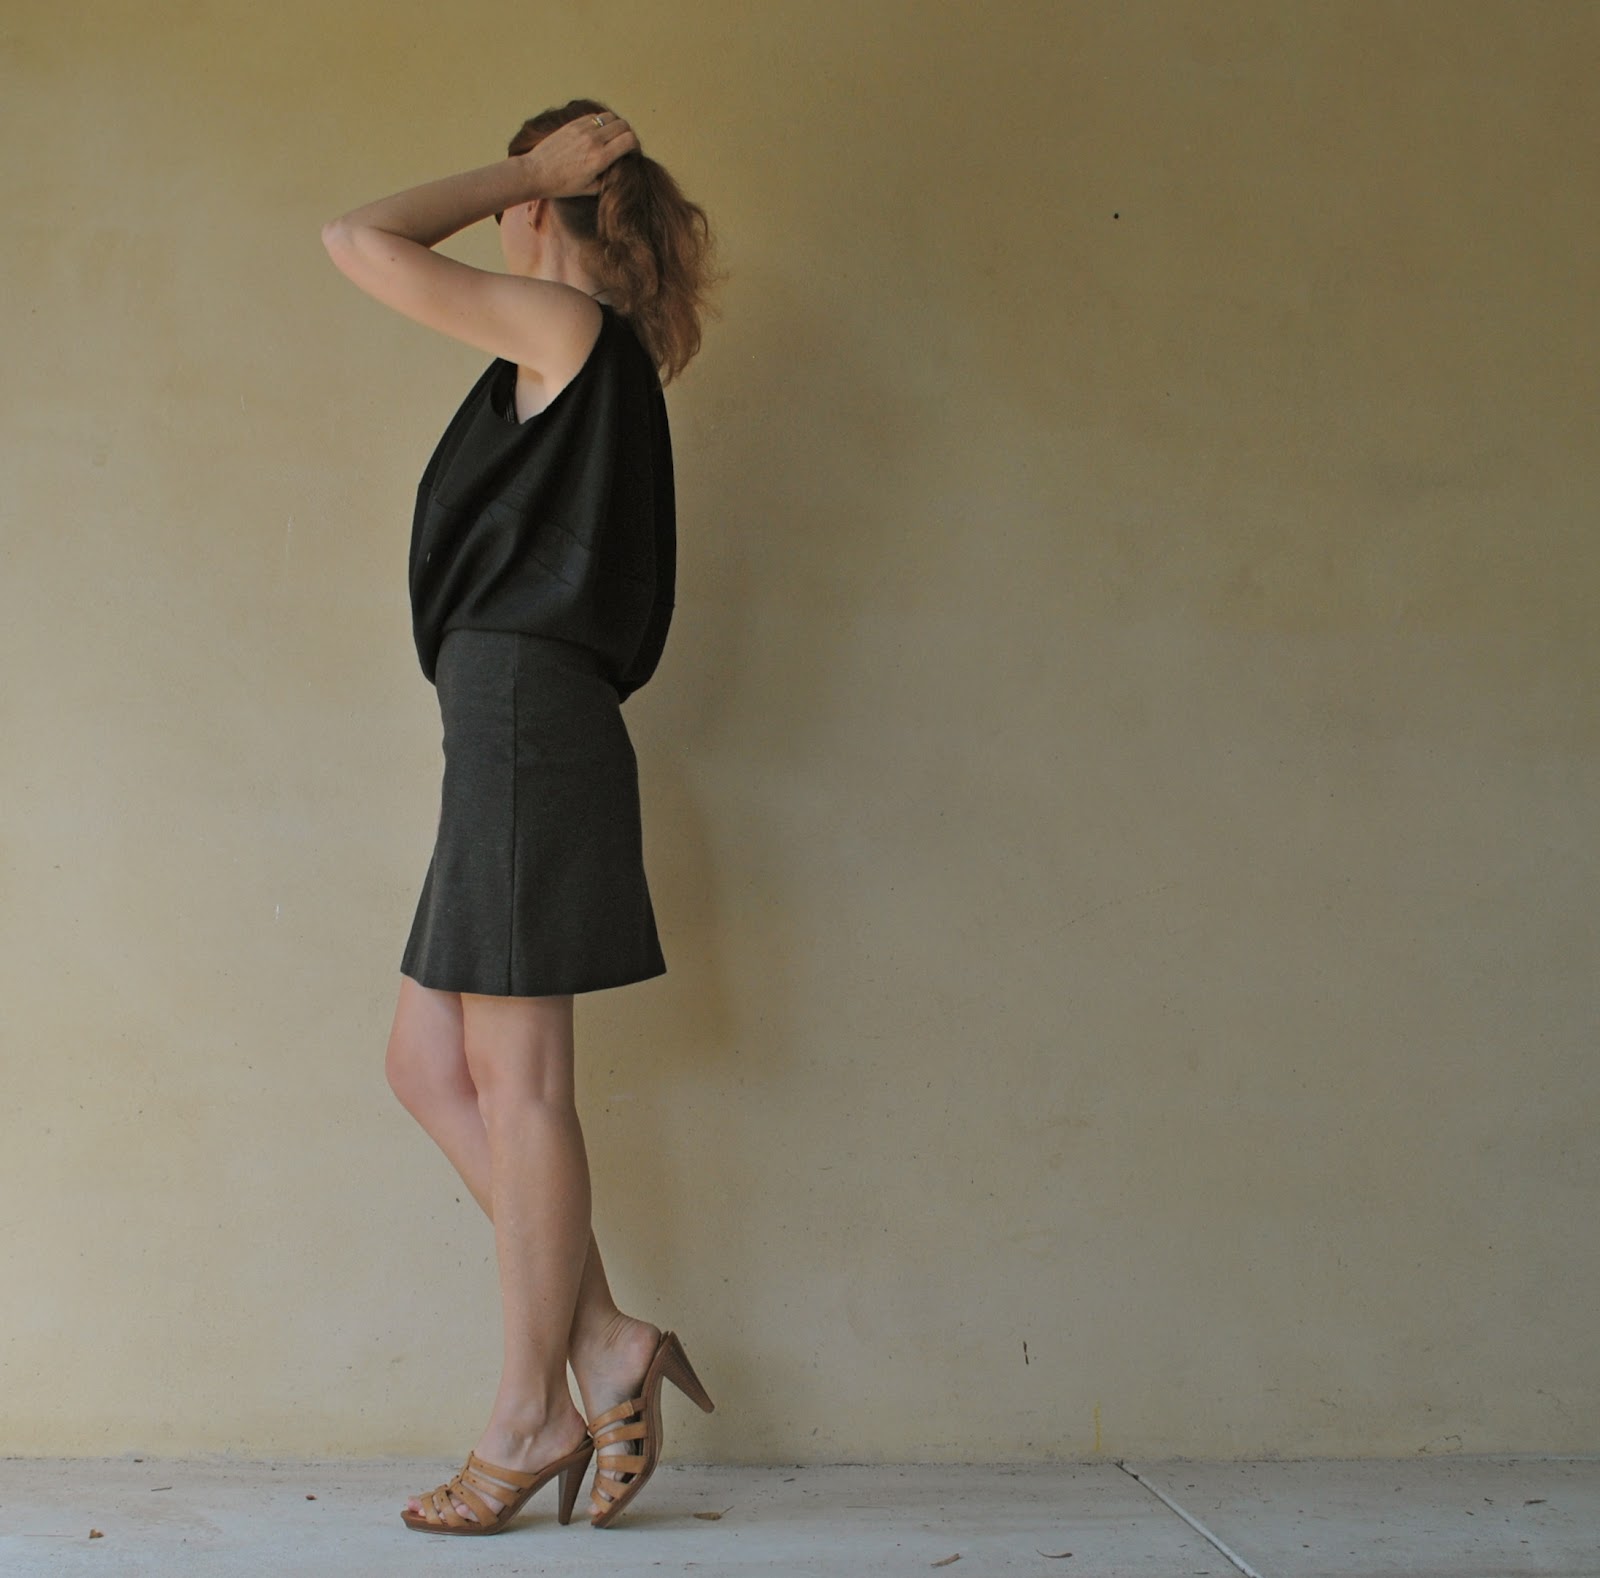


