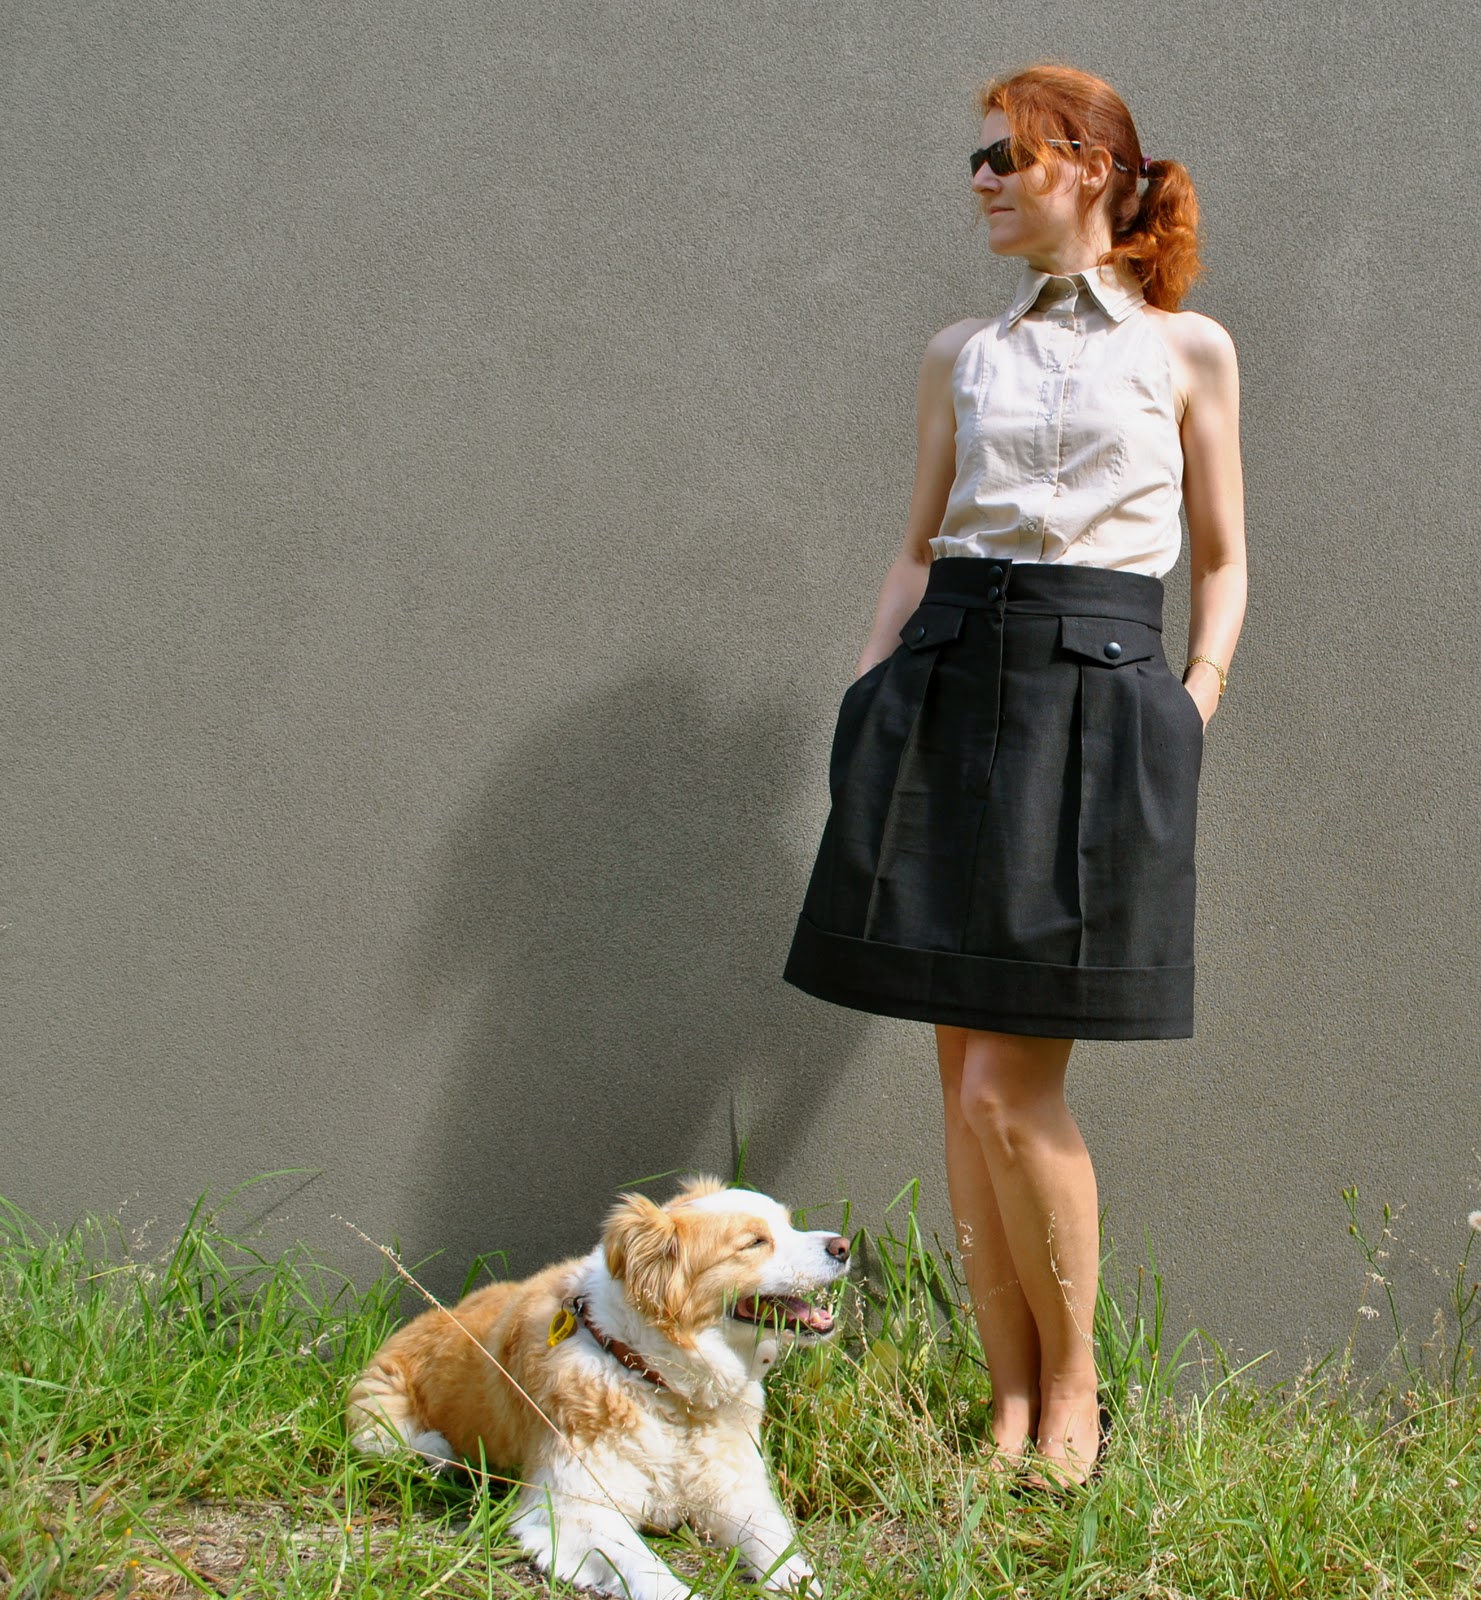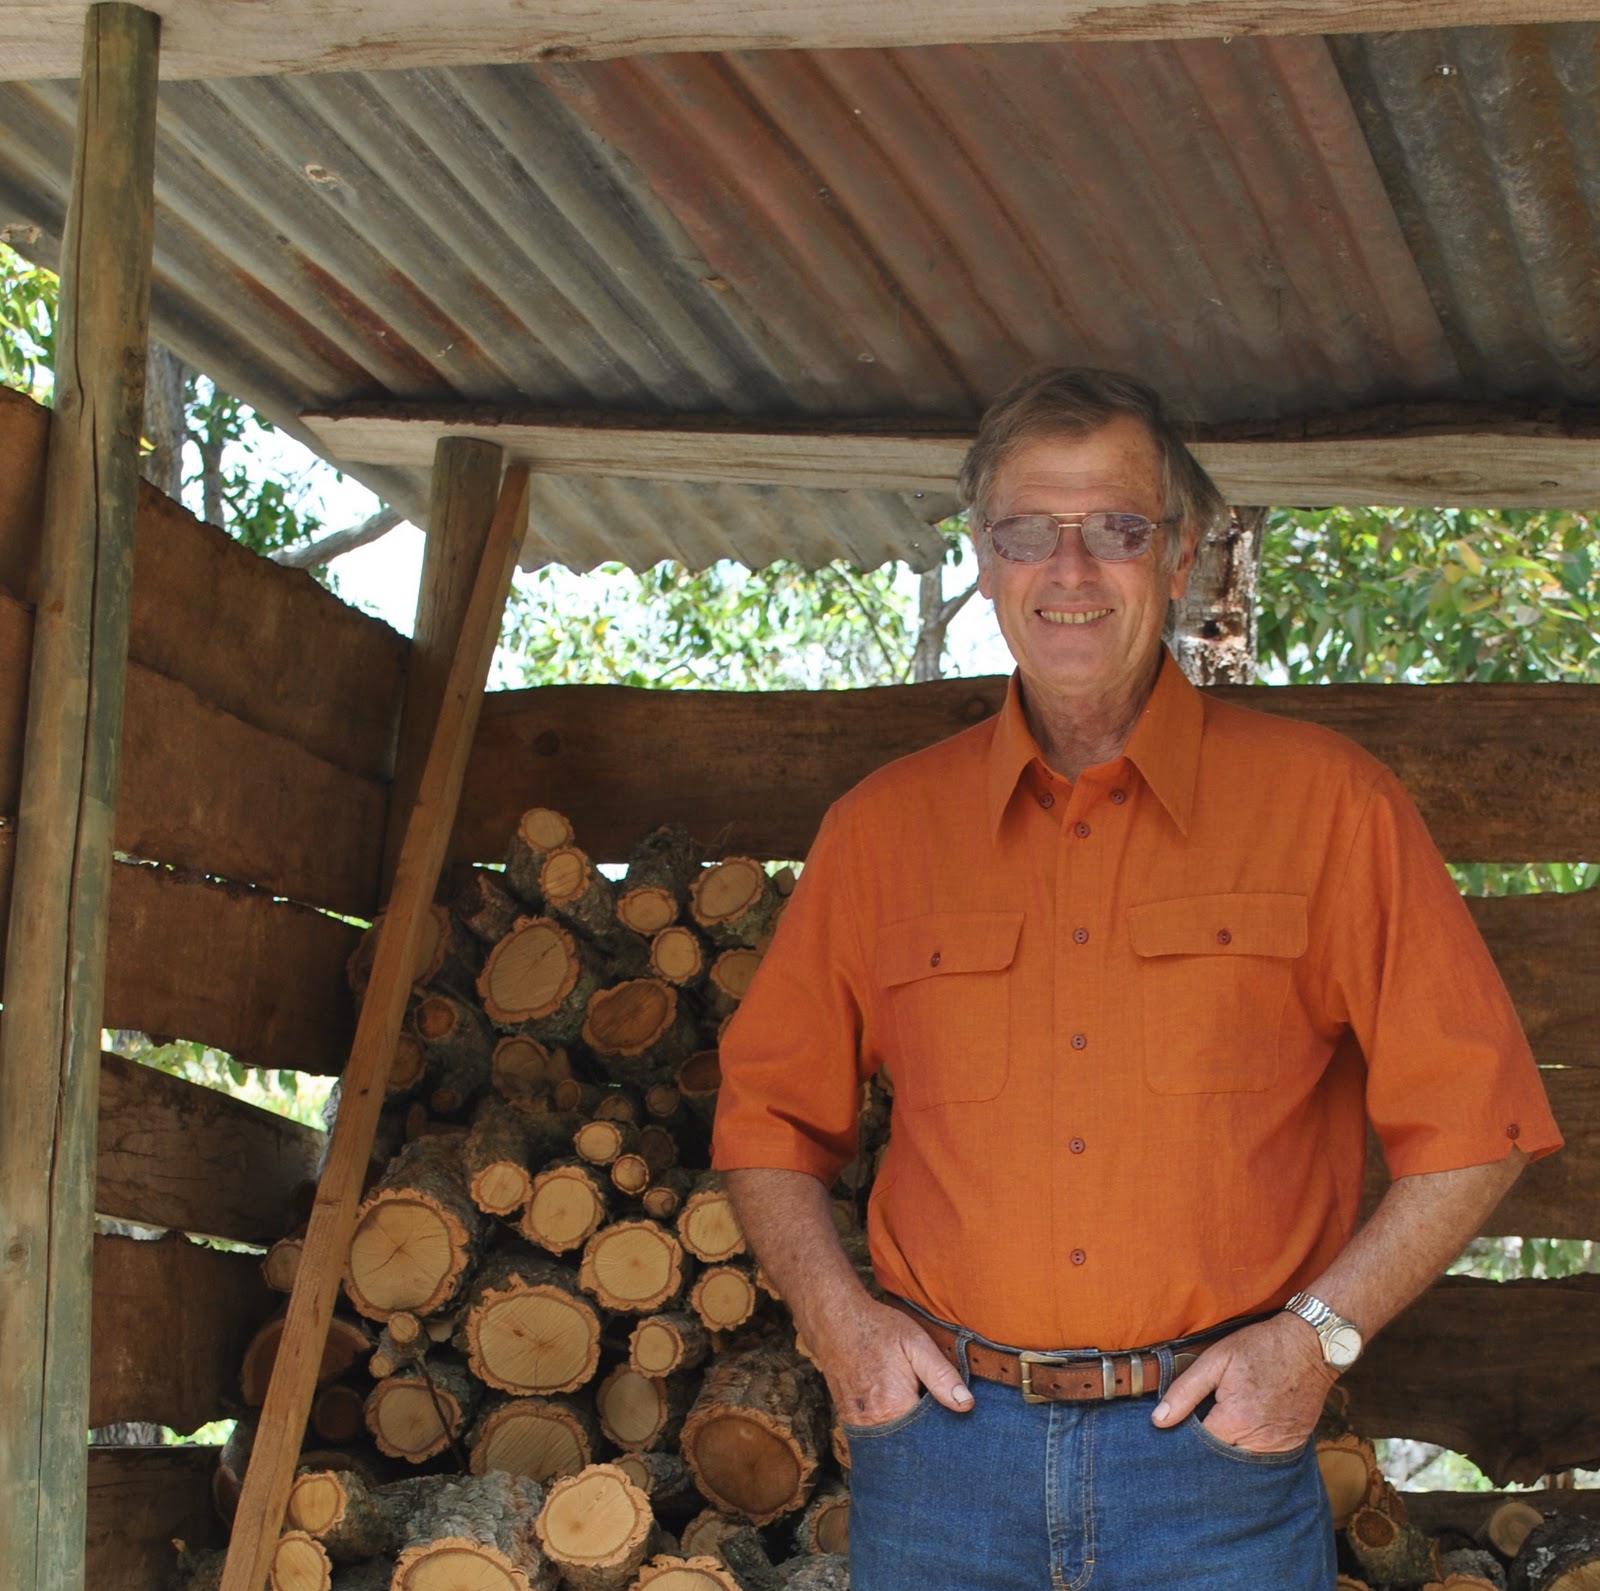
 Dad had a special birthday recently, and I made a shirt for him! Photographed here in his natural habitat…
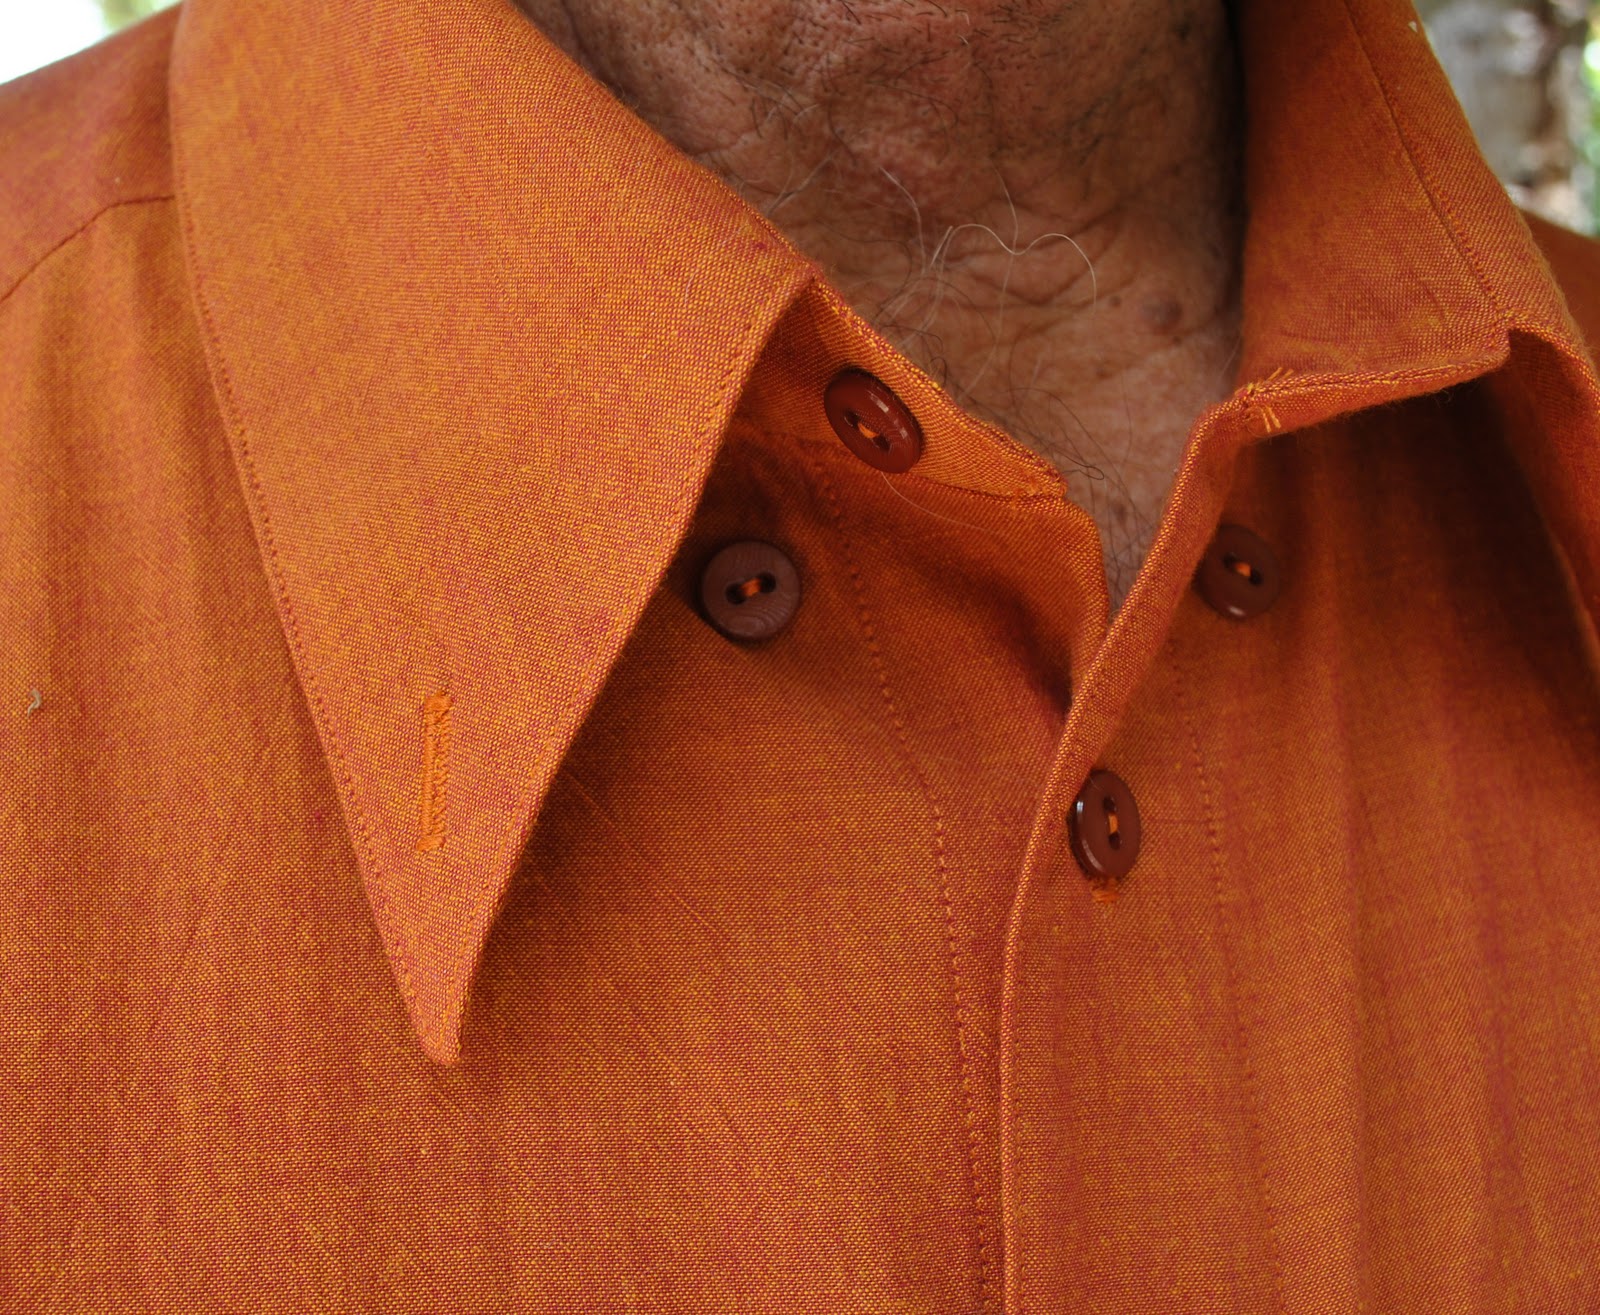
I used shot cotton in Ginger, which has a bright-ish ruby-red warp and an intensely curry-yellow weft; two colours which combine to make this wonderfully intense bronze-orange colour; perfect for my Dad’s olive skin and dark brown hair. I think he looks great in this colour!
And the fabric… well, can I just diverge into a rave for a tick? Ohmigosh! but this shot cotton is such a dream to work with…truly, every seamster needs at least one shot cotton shirt in their sewing career, just for the sheer pleasure of cutting, pinning together and sewing this stuff! I’ve made a couple of shirts of this fabric for Craig, here and here, and myself things from the leftovers, and I cannot get over how absolutely fab is this fabric. Seriously, sewing induced bliss or what, wow… (calms oneself)
Now, back to business…
There were some slightly nerve-racking fitting issues; since this was to be a surprise birthday prezzie I couldn’t actually measure up the birthday boy himself without giving it away, so Mum had given me some measurements over the phone. But I was still pretty nervous when it came time to take the scissors to this luscious fabric… and then Mum and Dad came up for a very fortuitously timed stay, and one time they were out I slyly tip-toed into the bedroom and feeling like a rather sneaky and devious sewing-sleuth, measured up all the dimensions of one of Dad’s shirts and jotted them down (maniacal laugh as I zoom out and back to the sewing room, tape measure a-flying…). And luckily the fit is spot-on and Dad reckons it’s pretty comfy and stylish!
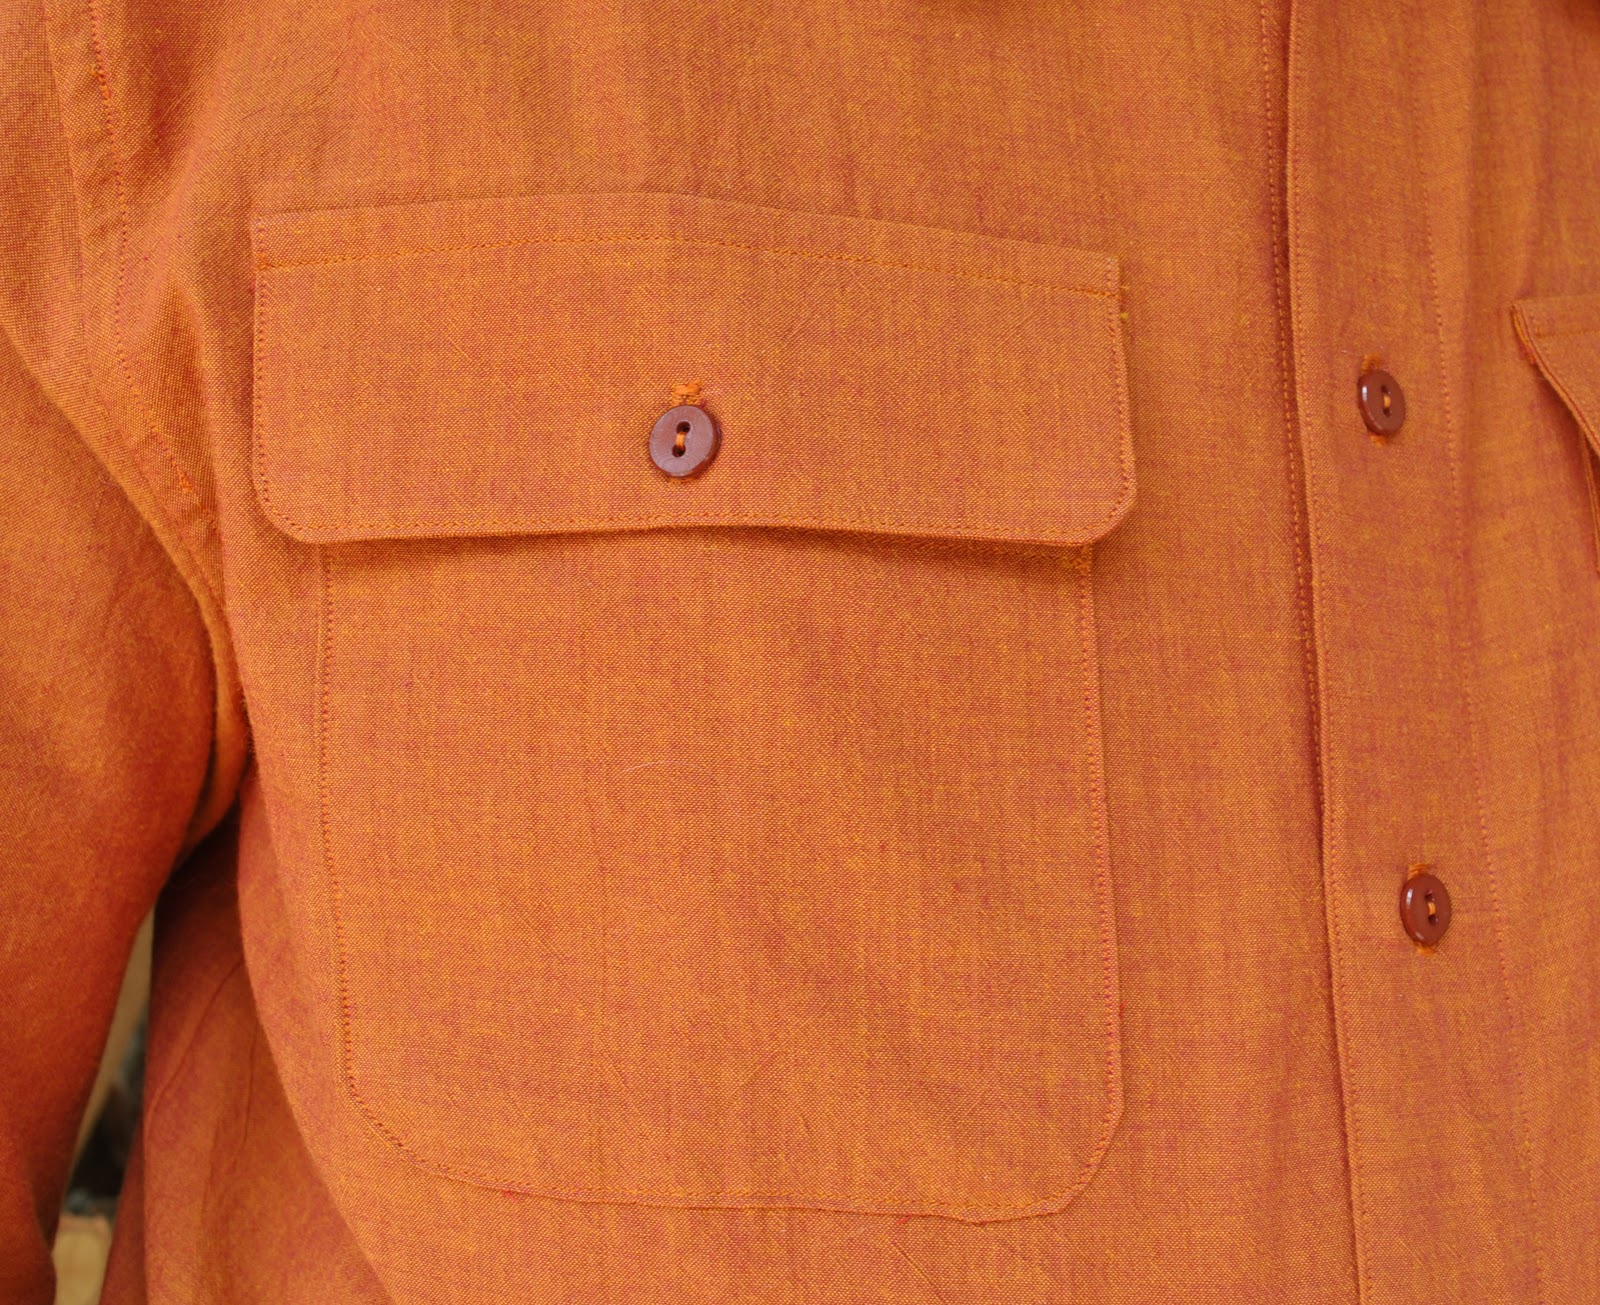
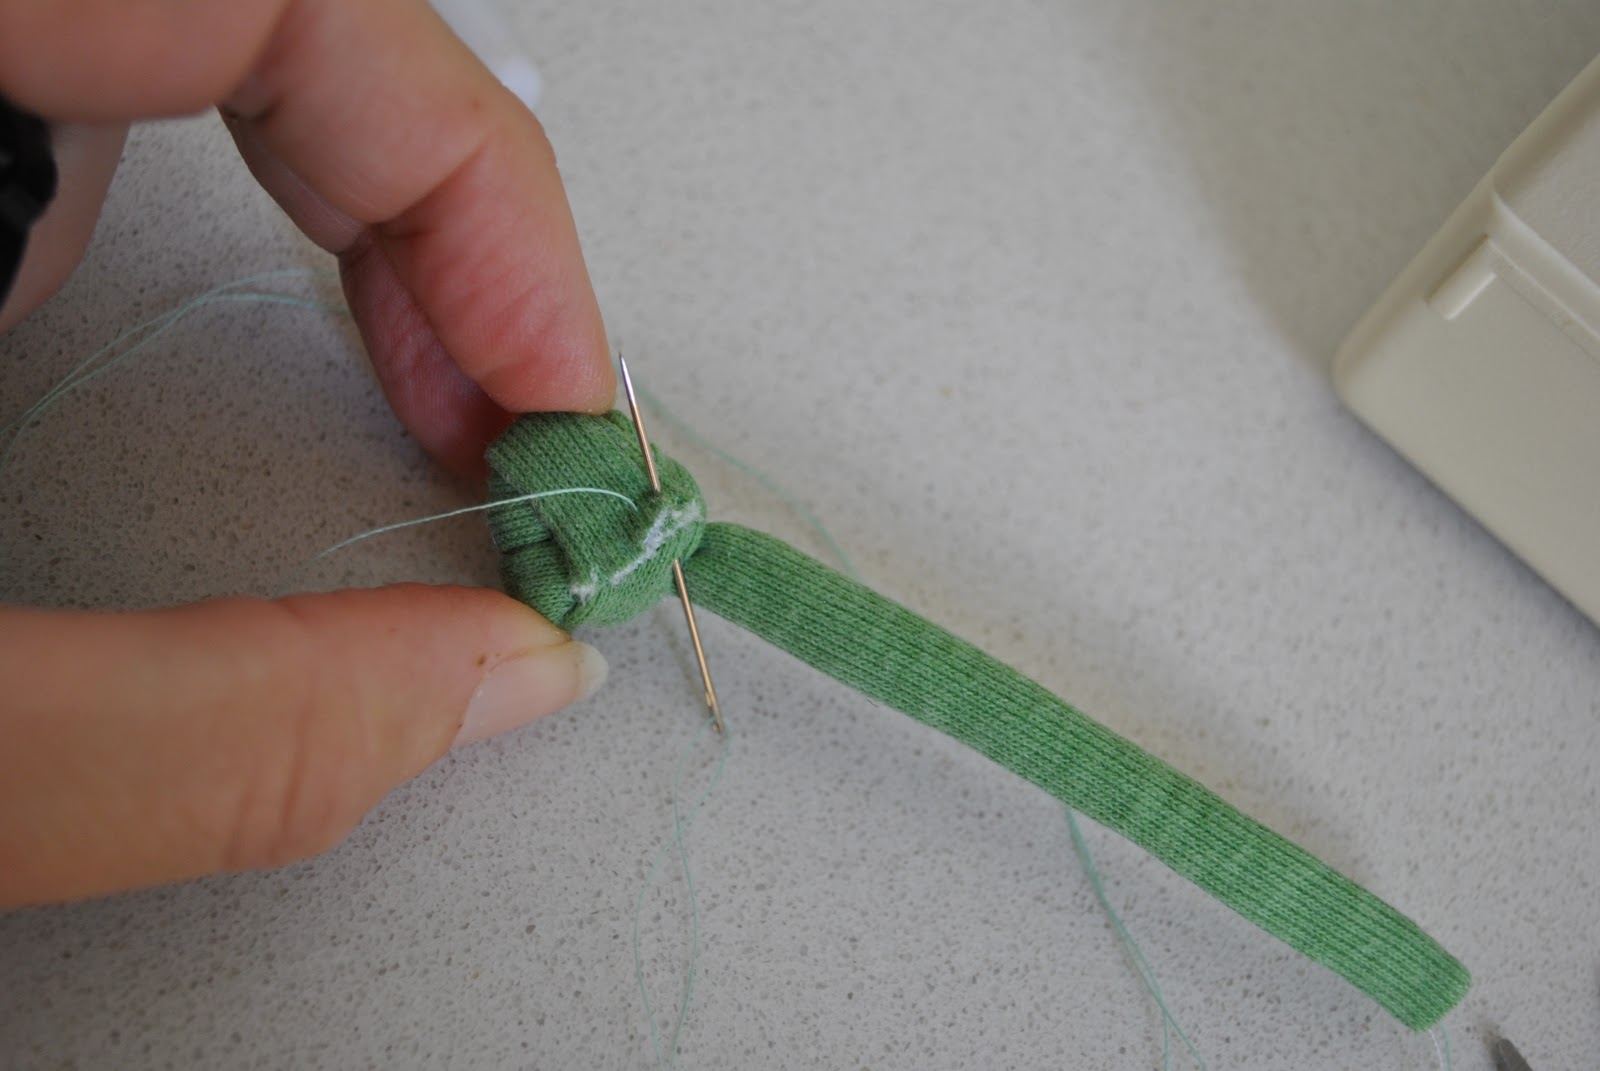
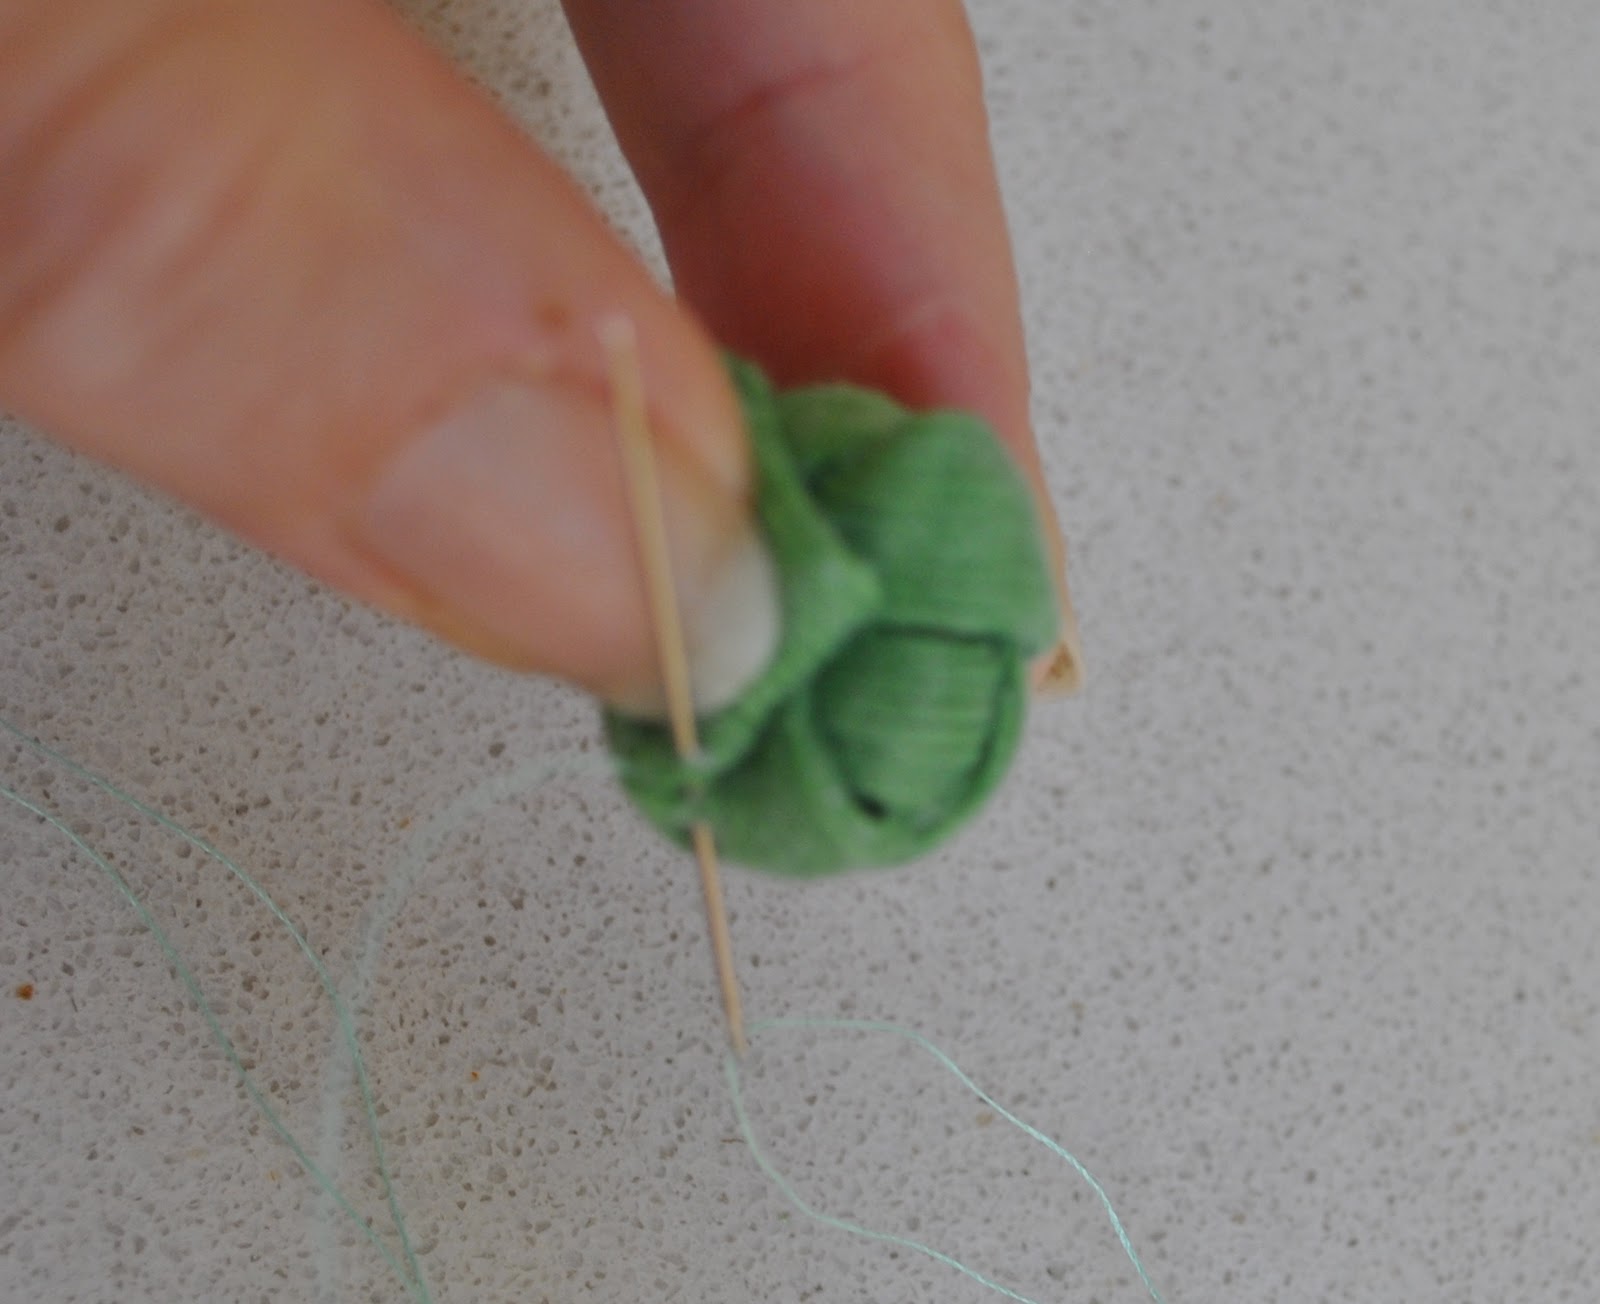
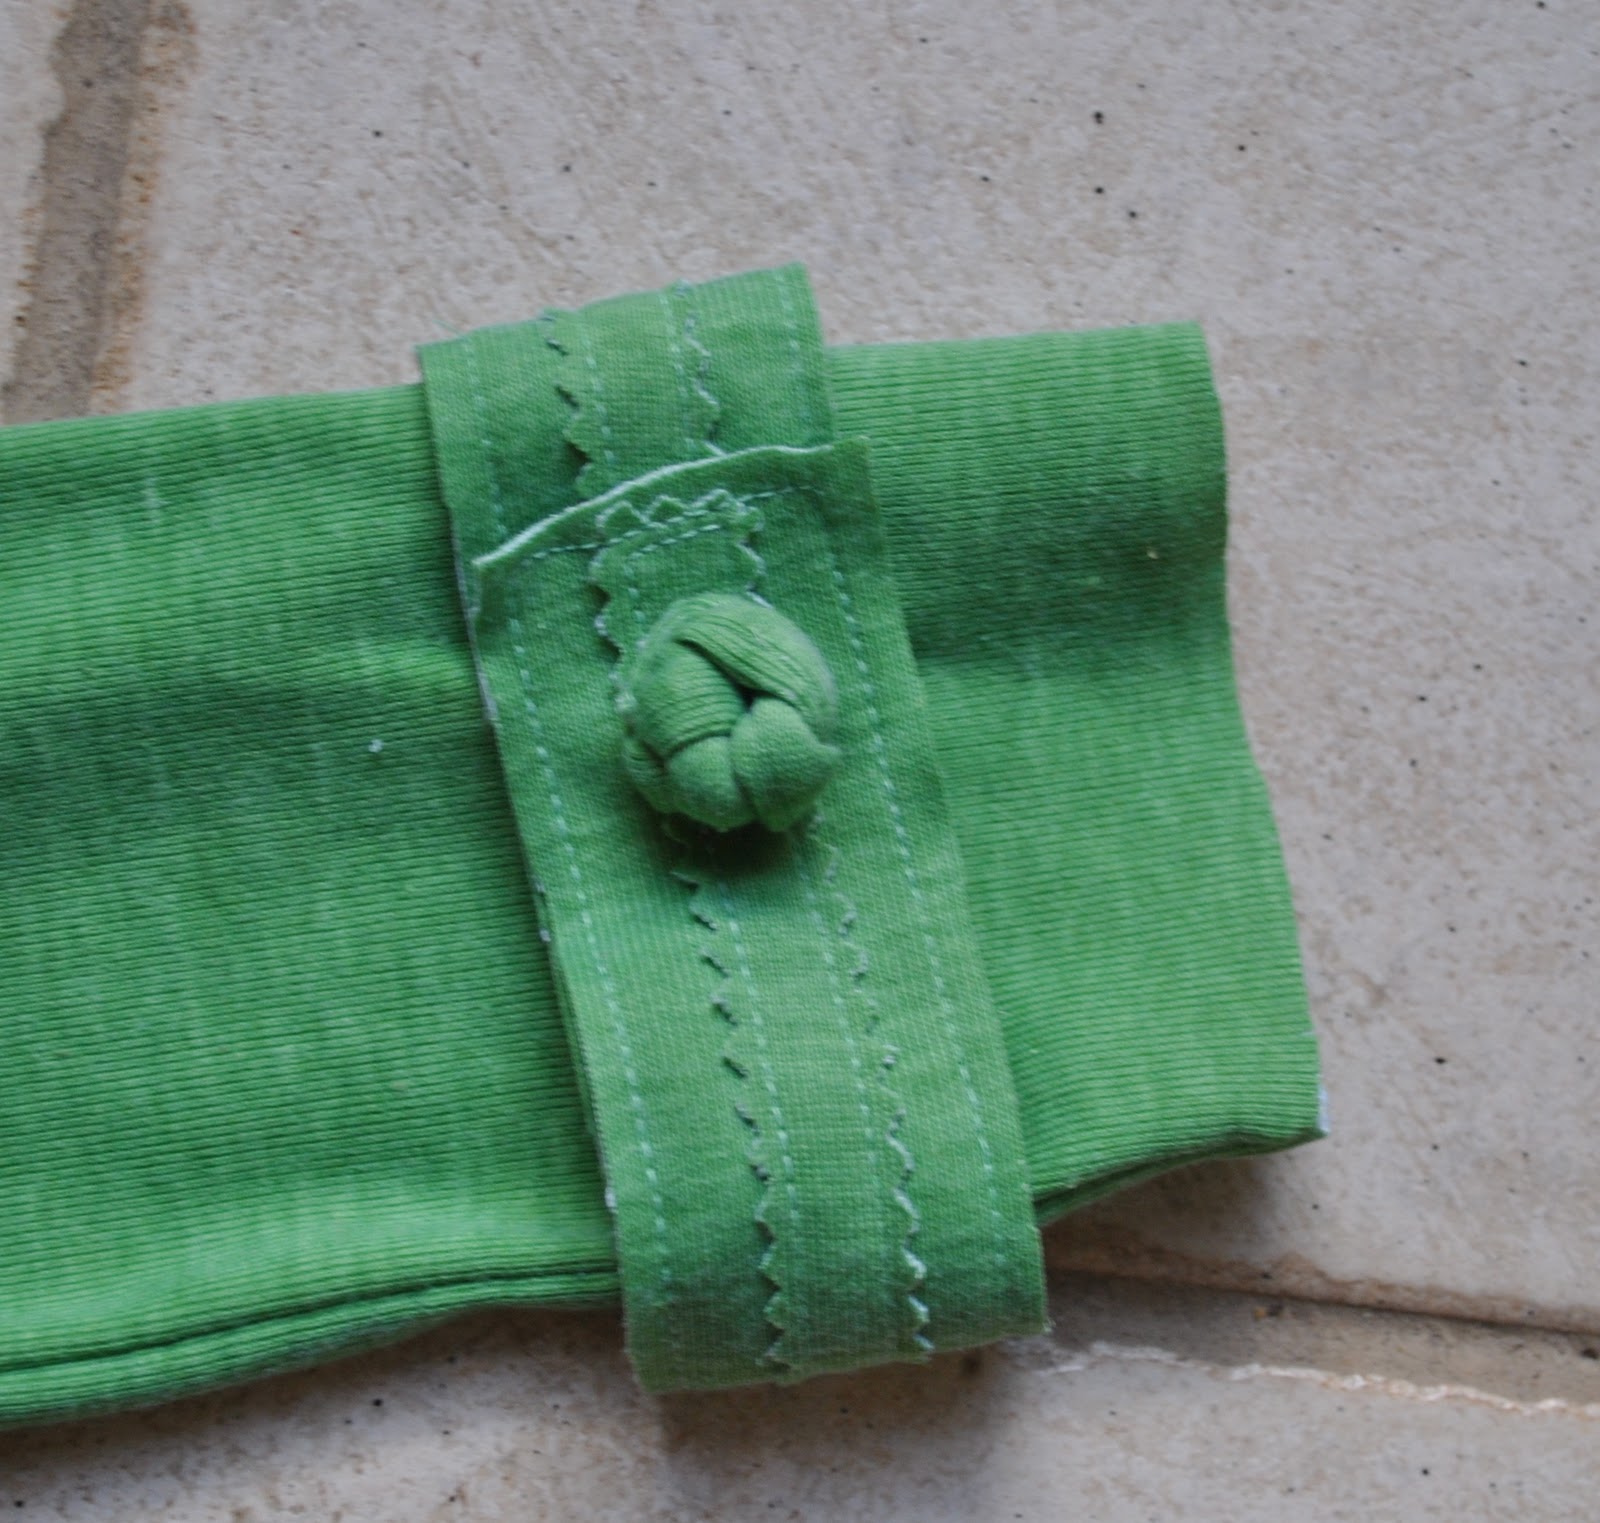
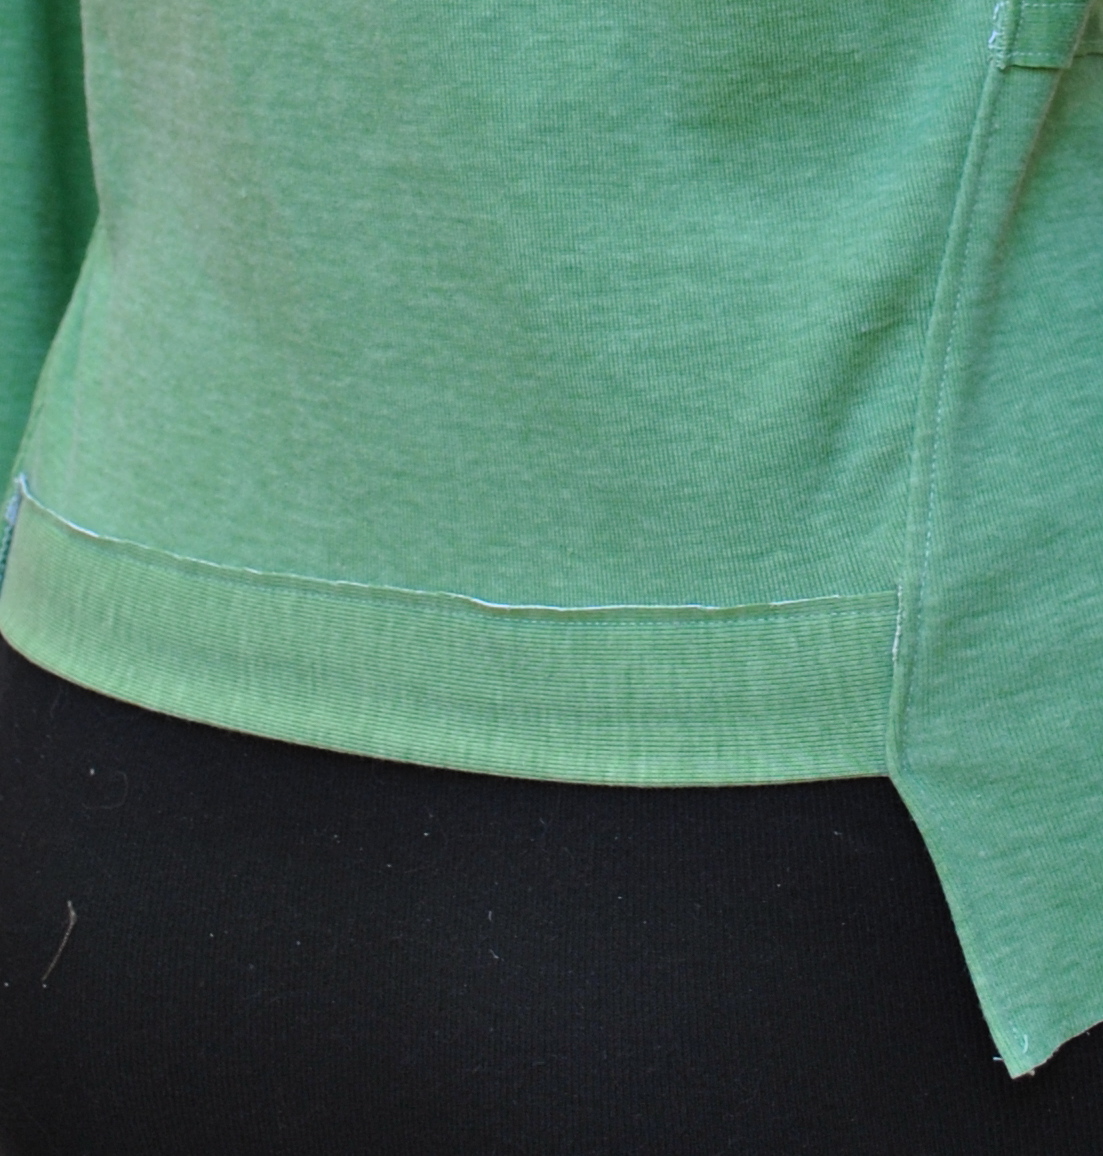
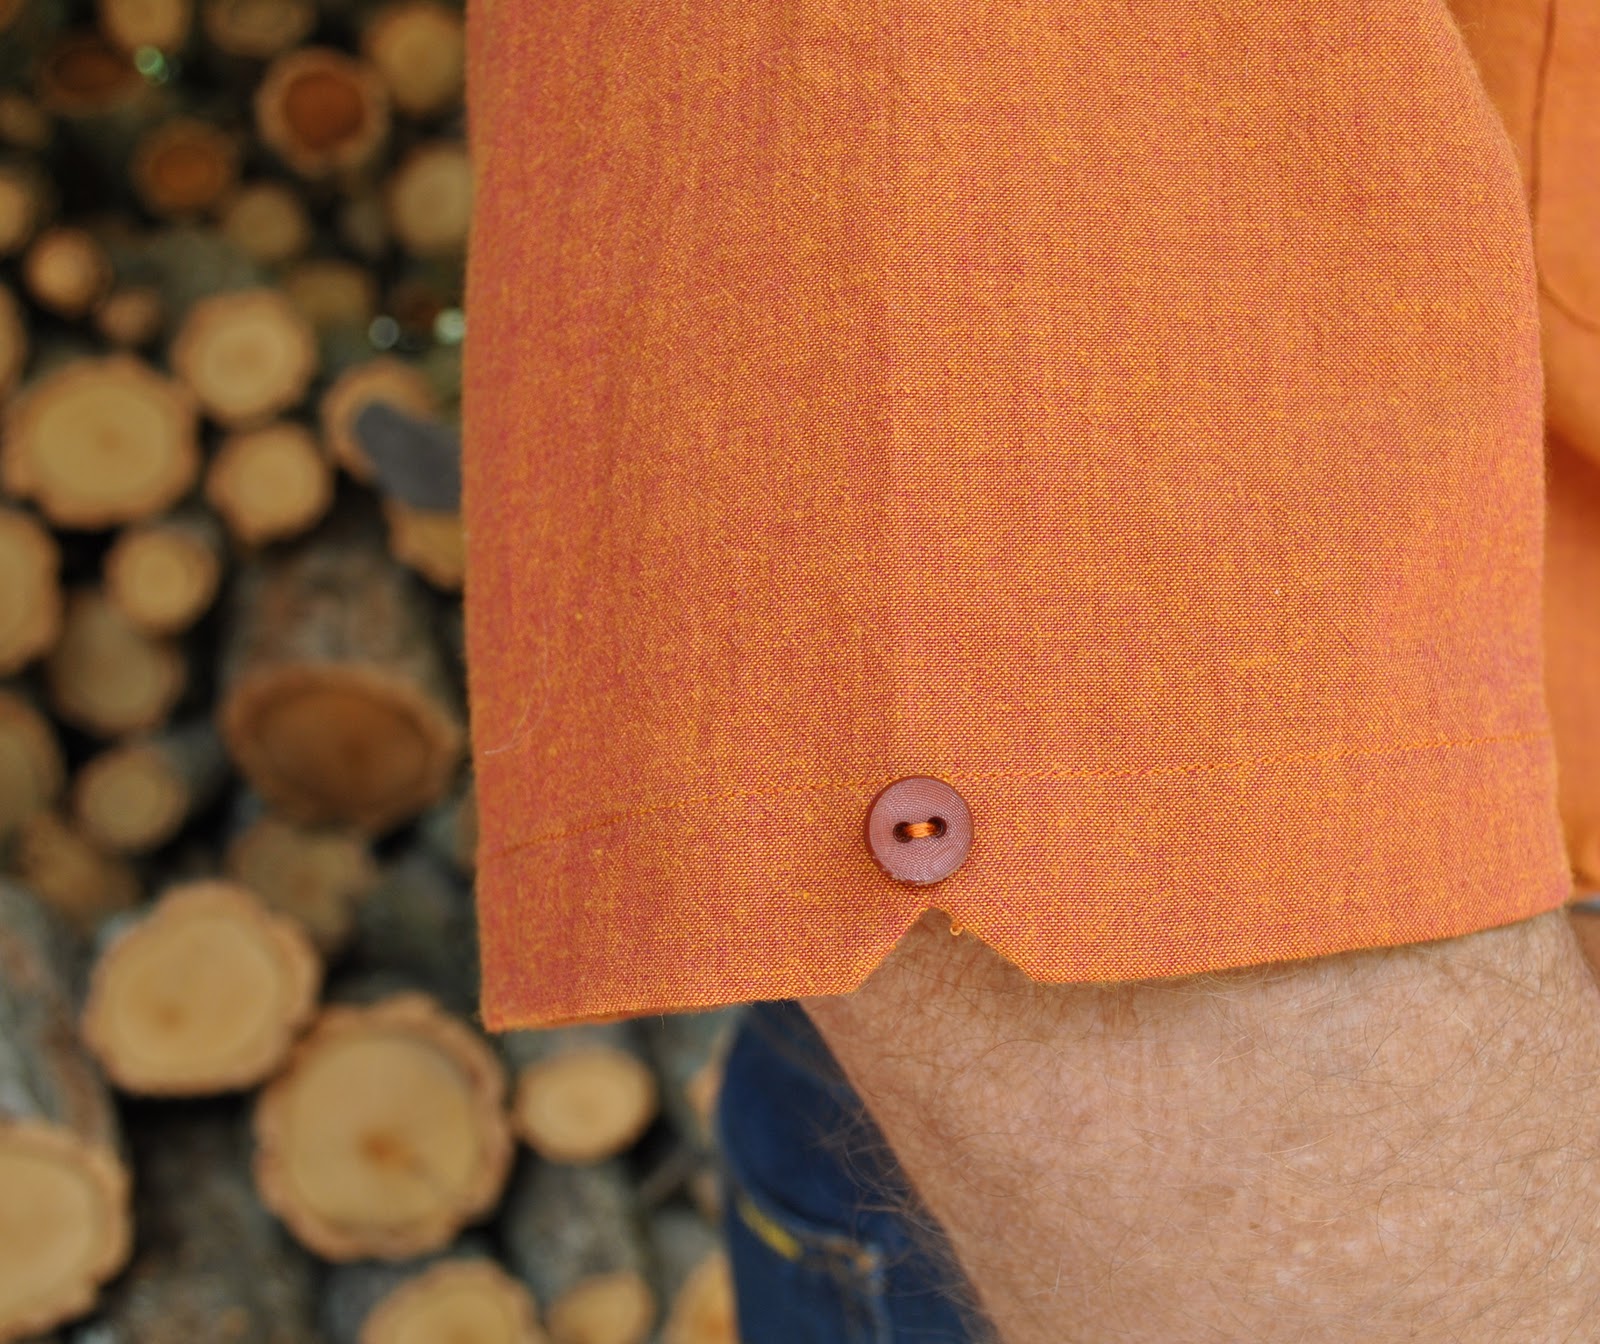
I used Burda 7767 again, (might have to start compiling yet another Rogue’s gallery for this pattern soon…) with a few adjustments; namely, added two breast pockets with curved lower edges and curve-edged pocket flaps, shaped the lower hemline in a shirtwaist curve, shortened the sleeves, and added a nice V-detail at the centre of the sleeve hems with a decorative button at the apex of the V, for which I wrote a tutorial here.
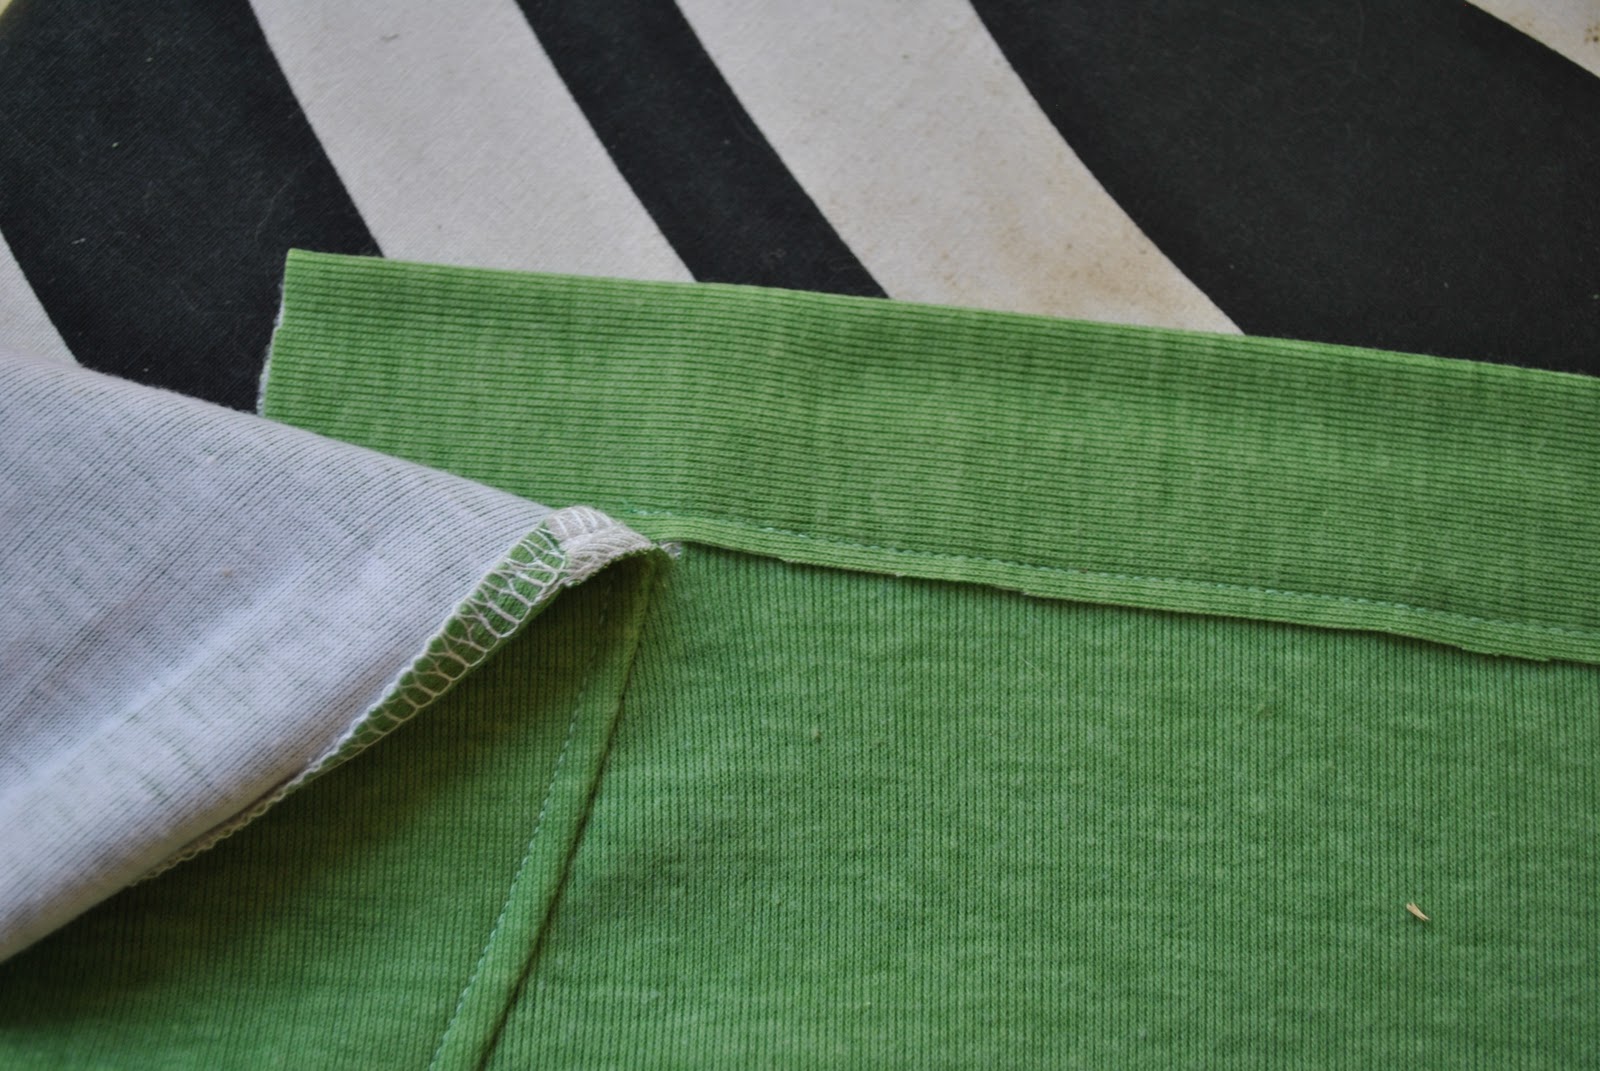
I flat-felled the armhole seam allowances, but I don’t know if I would do this again. Y’know, how sometimes you are so busy making the insides look perfect you start to forget that it is the appearance on the outside that is actually of paramount importance, yeah? My flat-felled seams do look pretty good (if I say so myself) but it was a fiddly process and topstitching from the inside impacted on the neatness on the outside. I wasn’t as happy as if I had just overlocked the armhole seam allowance, pinned them down and topstitched them down from the outside, like I usually do…
I debated about using either of the ruby-red or the curry-yellow colours for topstitching; I usually like some sort of contrasting colour, or at least something that stands out somehow, but I ended up going with a burnt orange that sorta matches the overall hue of the fabric. And with little matte chocolate brown buttons. And btw, those buttonholes on the collar are intentionally left uncut, since they are purely decorative and you are not supposed to do up those buttons on a casual shirt; I think they look neater that way.
Isn’t he a handsome bloke?
Details:
Shirt; Burda7767 with modifications, shot cotton