 I received a comment on my photo yesterday in the Self-Stitched September flickr group that read in part that my ensemble looked perfect “mostly due to the beach background” LOL! *
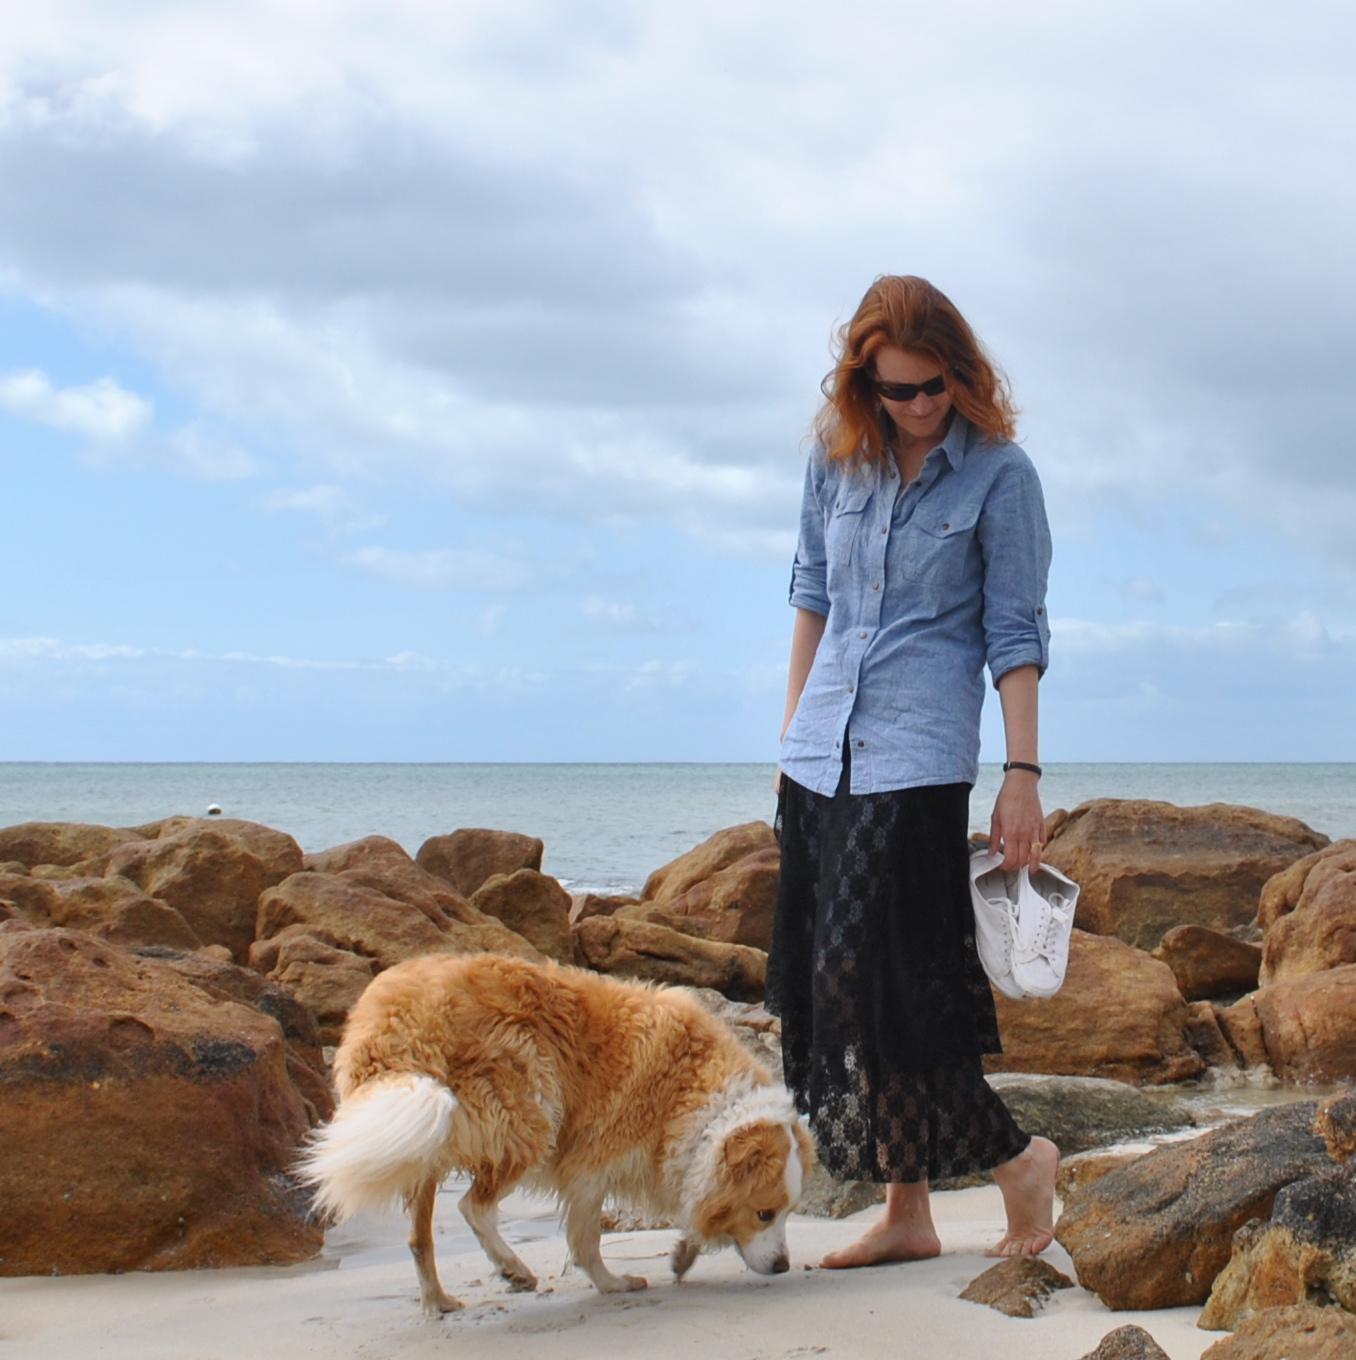
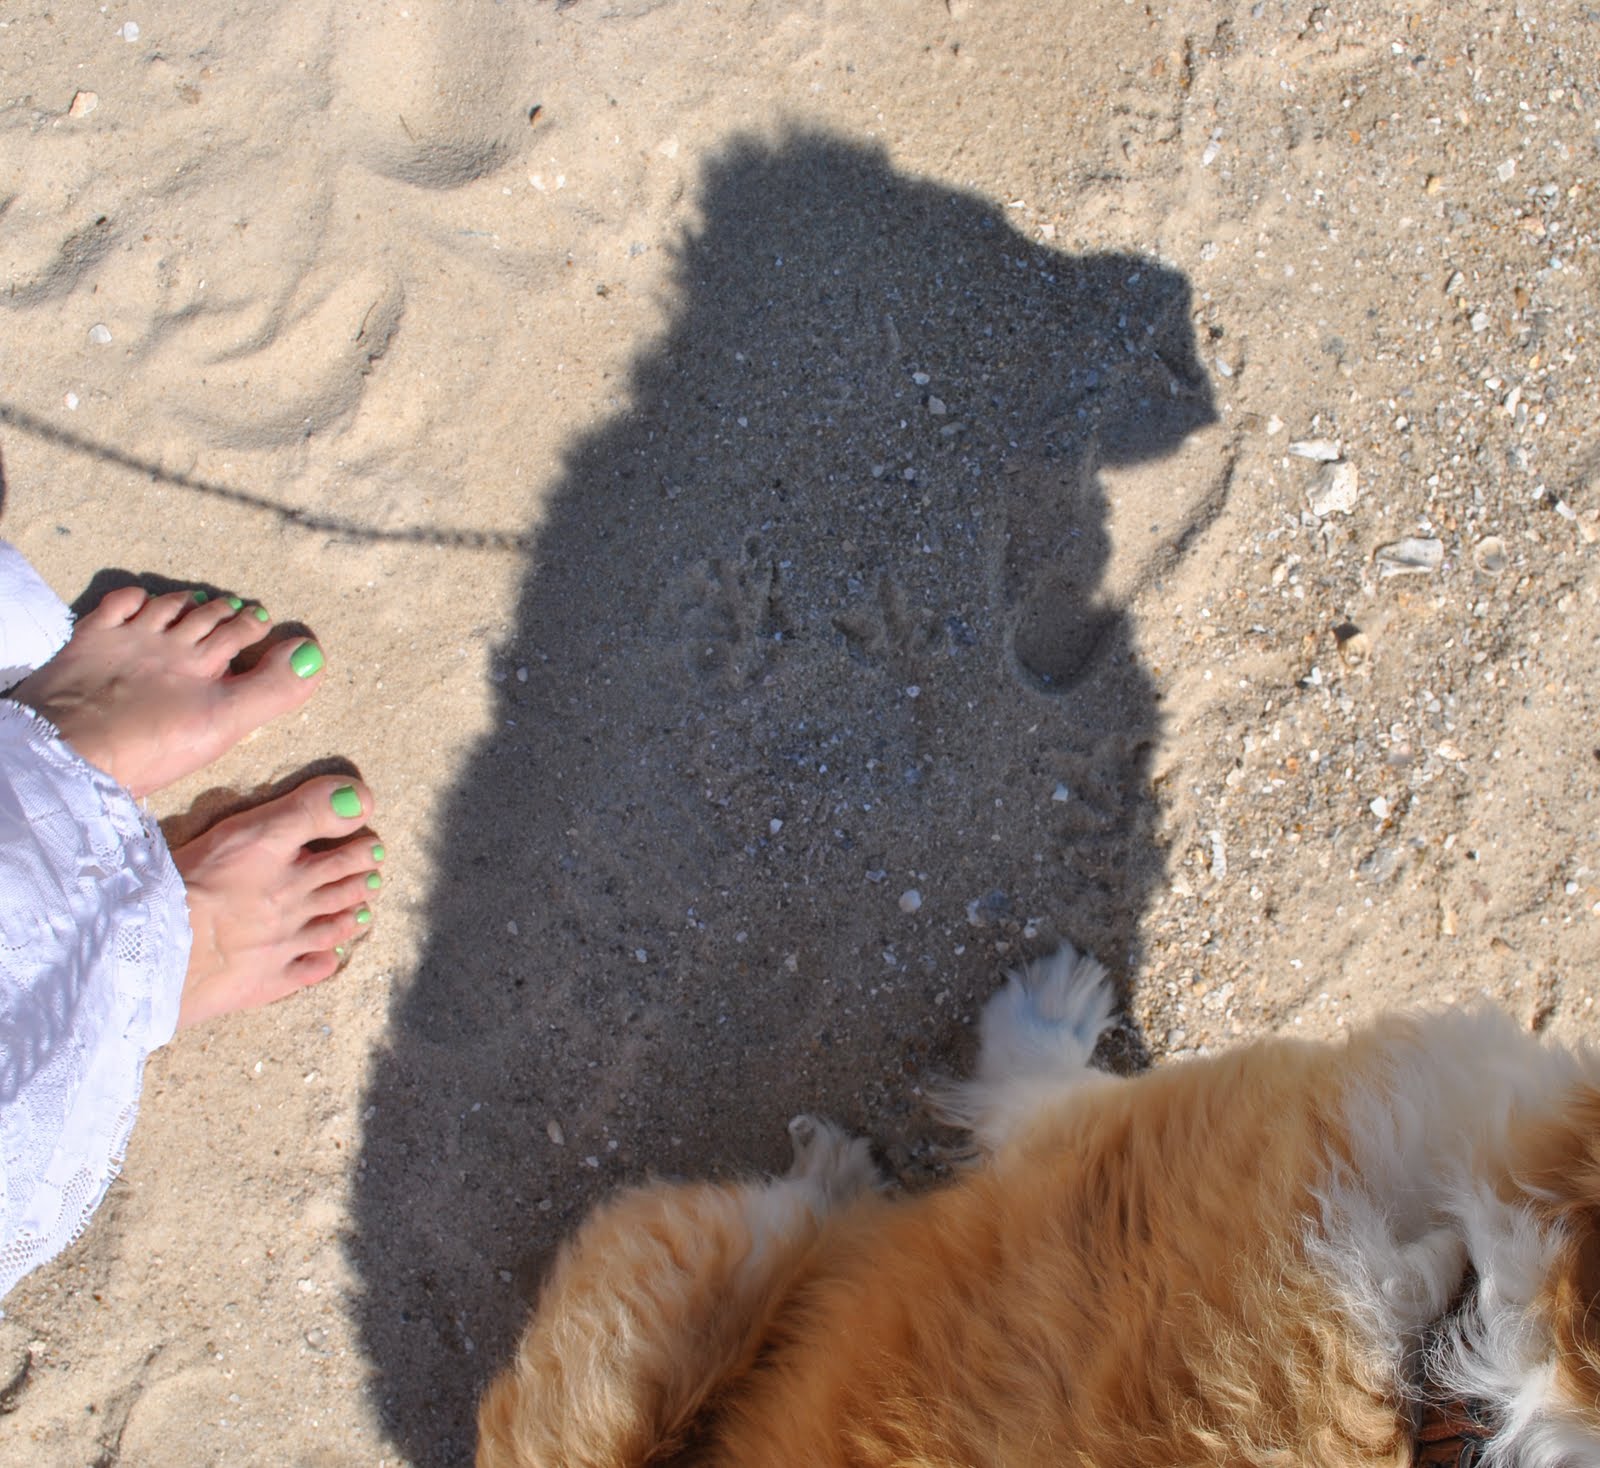
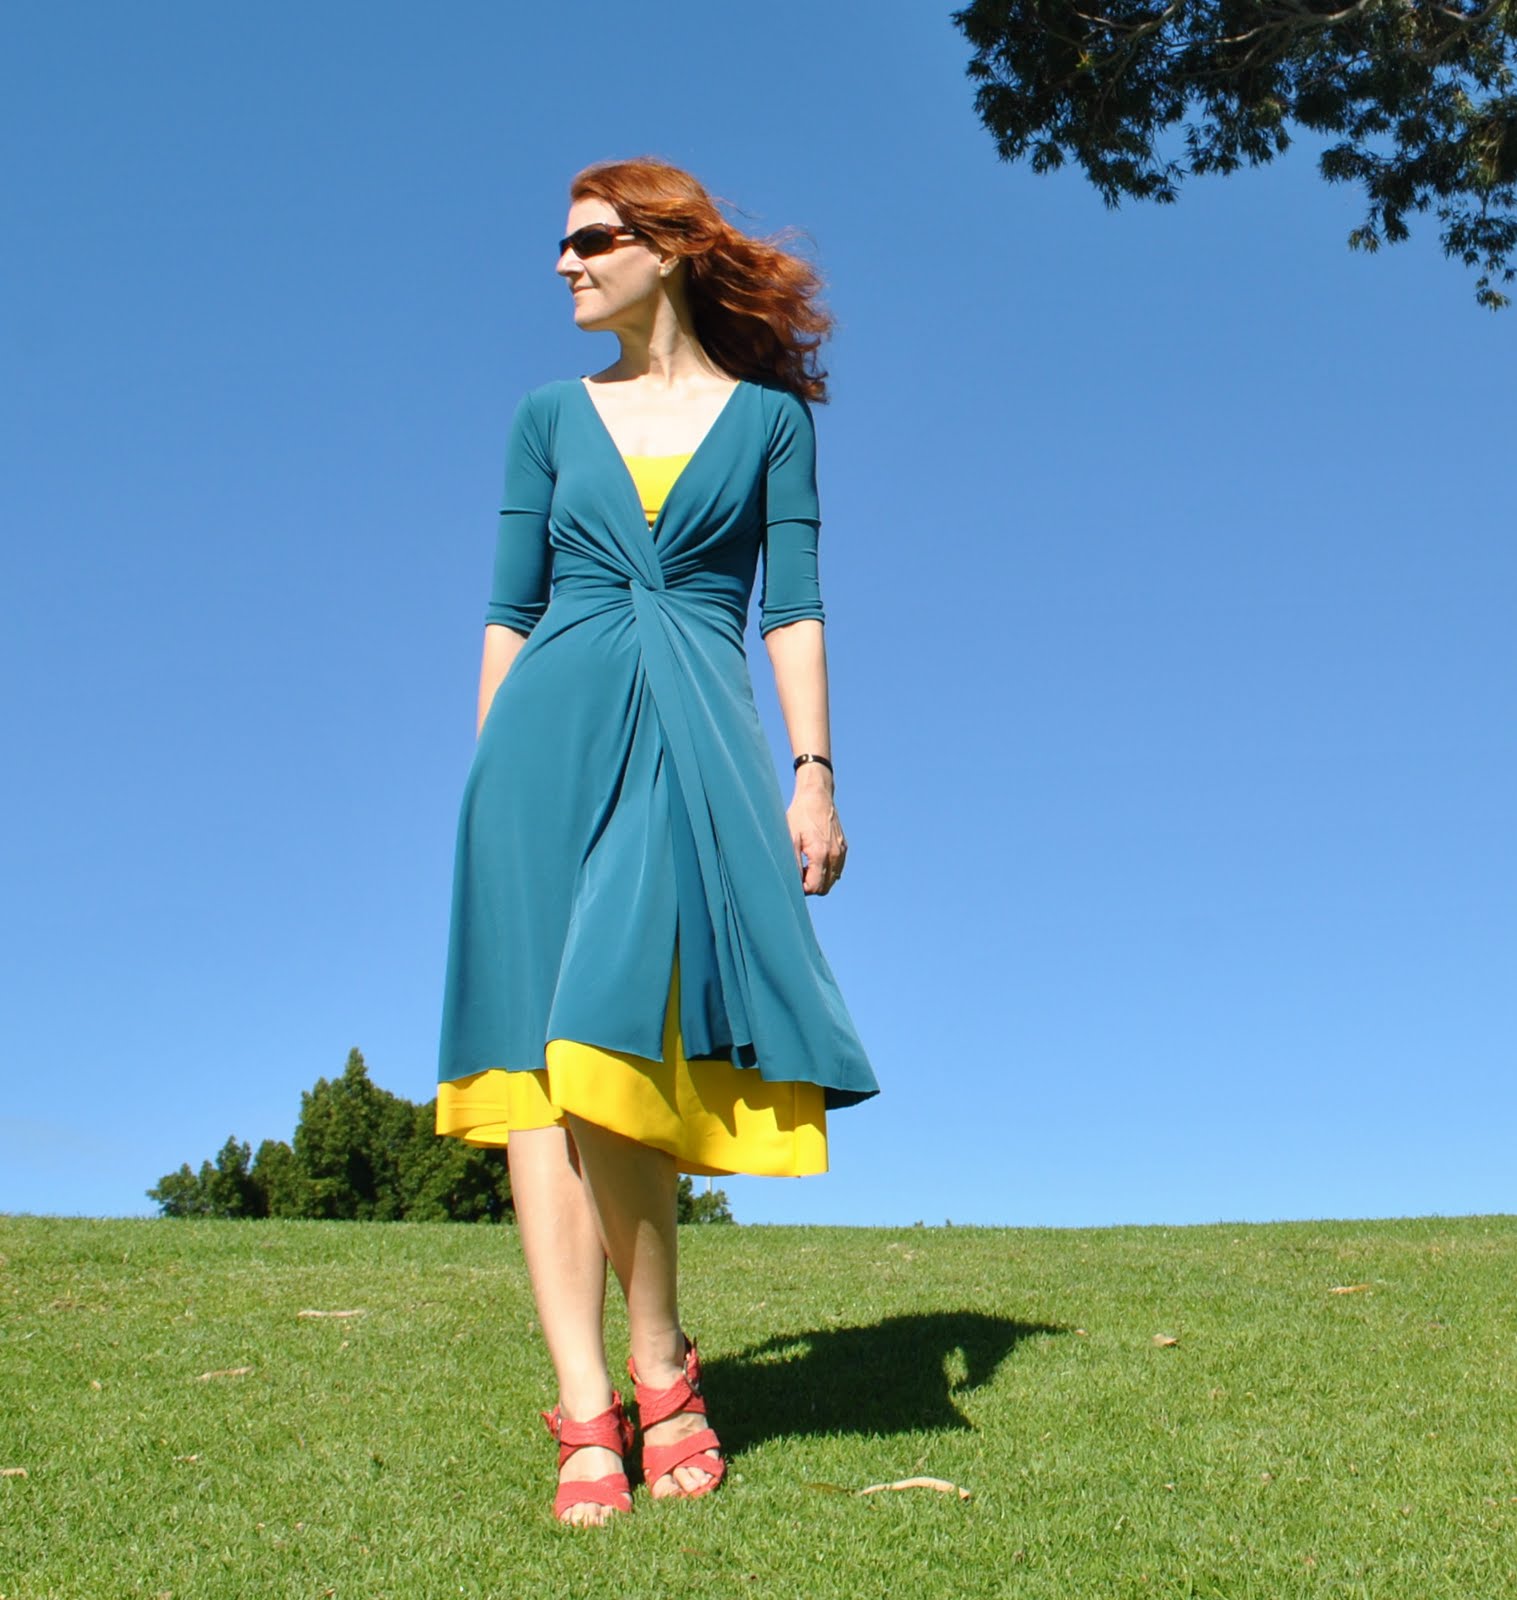
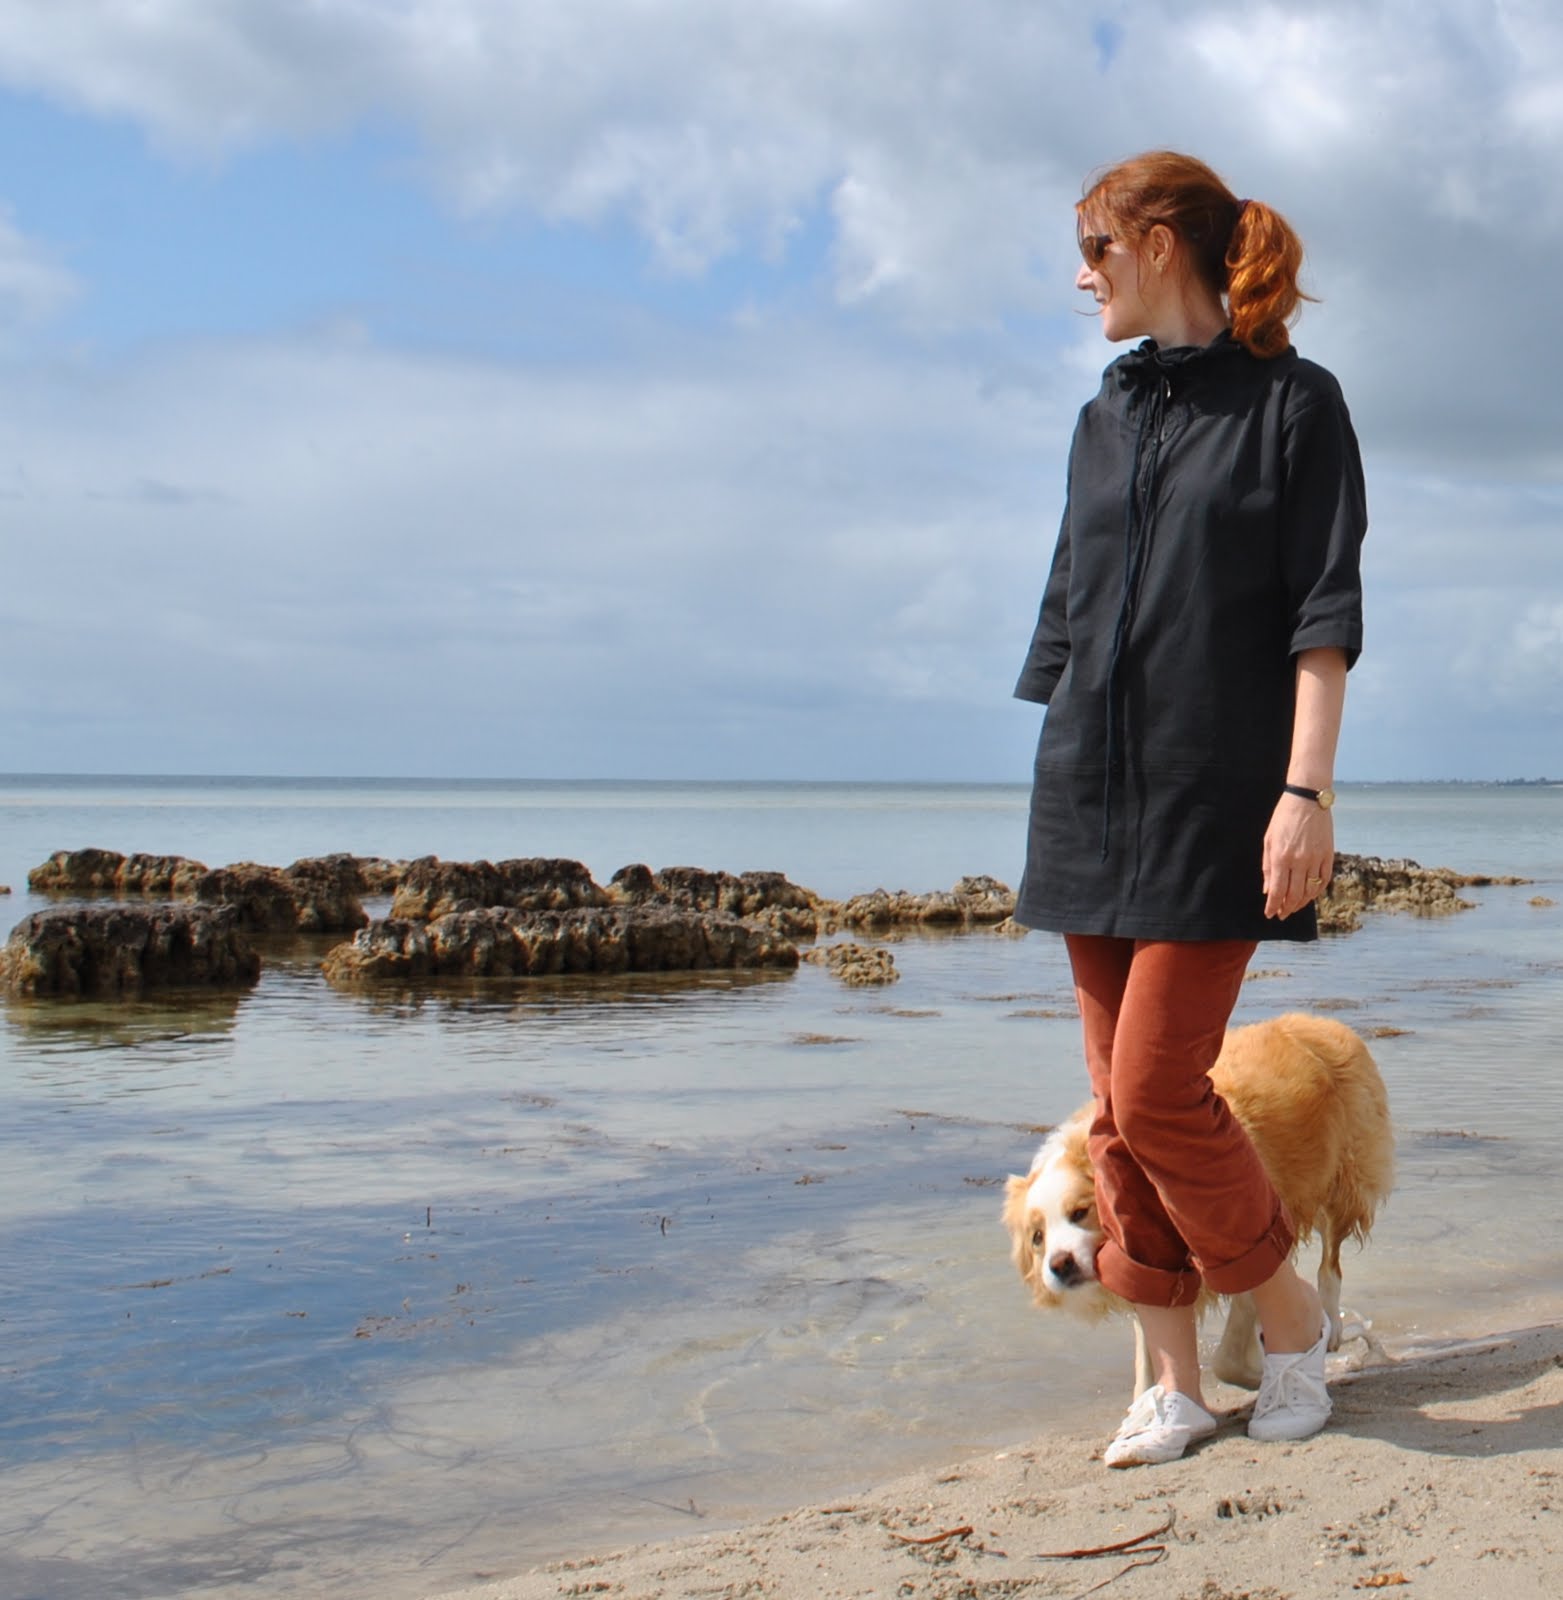
Well I’m afraid the beach is going to steal the show again today because when I am fortunate enough to be staying by the beach then I see no reason not to make full use of nature’s beautiful offerings, particularly when one is simply logging a mere outfit. I’m not vain enough to believe my sewing creations are going to elicit any Wow! factor all by themselves!
 So, today; I am using another little ploy for when one’s jeans have shrunk a tad, just roll them up a little bit and voila, the ankle-freezer factor has been happily disguised! Now they look as if they were meant to be like this… Another plus is that one can wade, which is as far as I will go in at this time of year. Shams asked if we swim at this beach, and yup we sure do! but it is still a tad chilly for full immersion. But the feel of cool salty water lapping about your ankles, and soft and squishy but still slight abrasive sand underfoot is always such a deliciously blissfully healthy feeling for your feet, don’t you think? I think it beats any foot pampering offered at any beauty spa, any day!
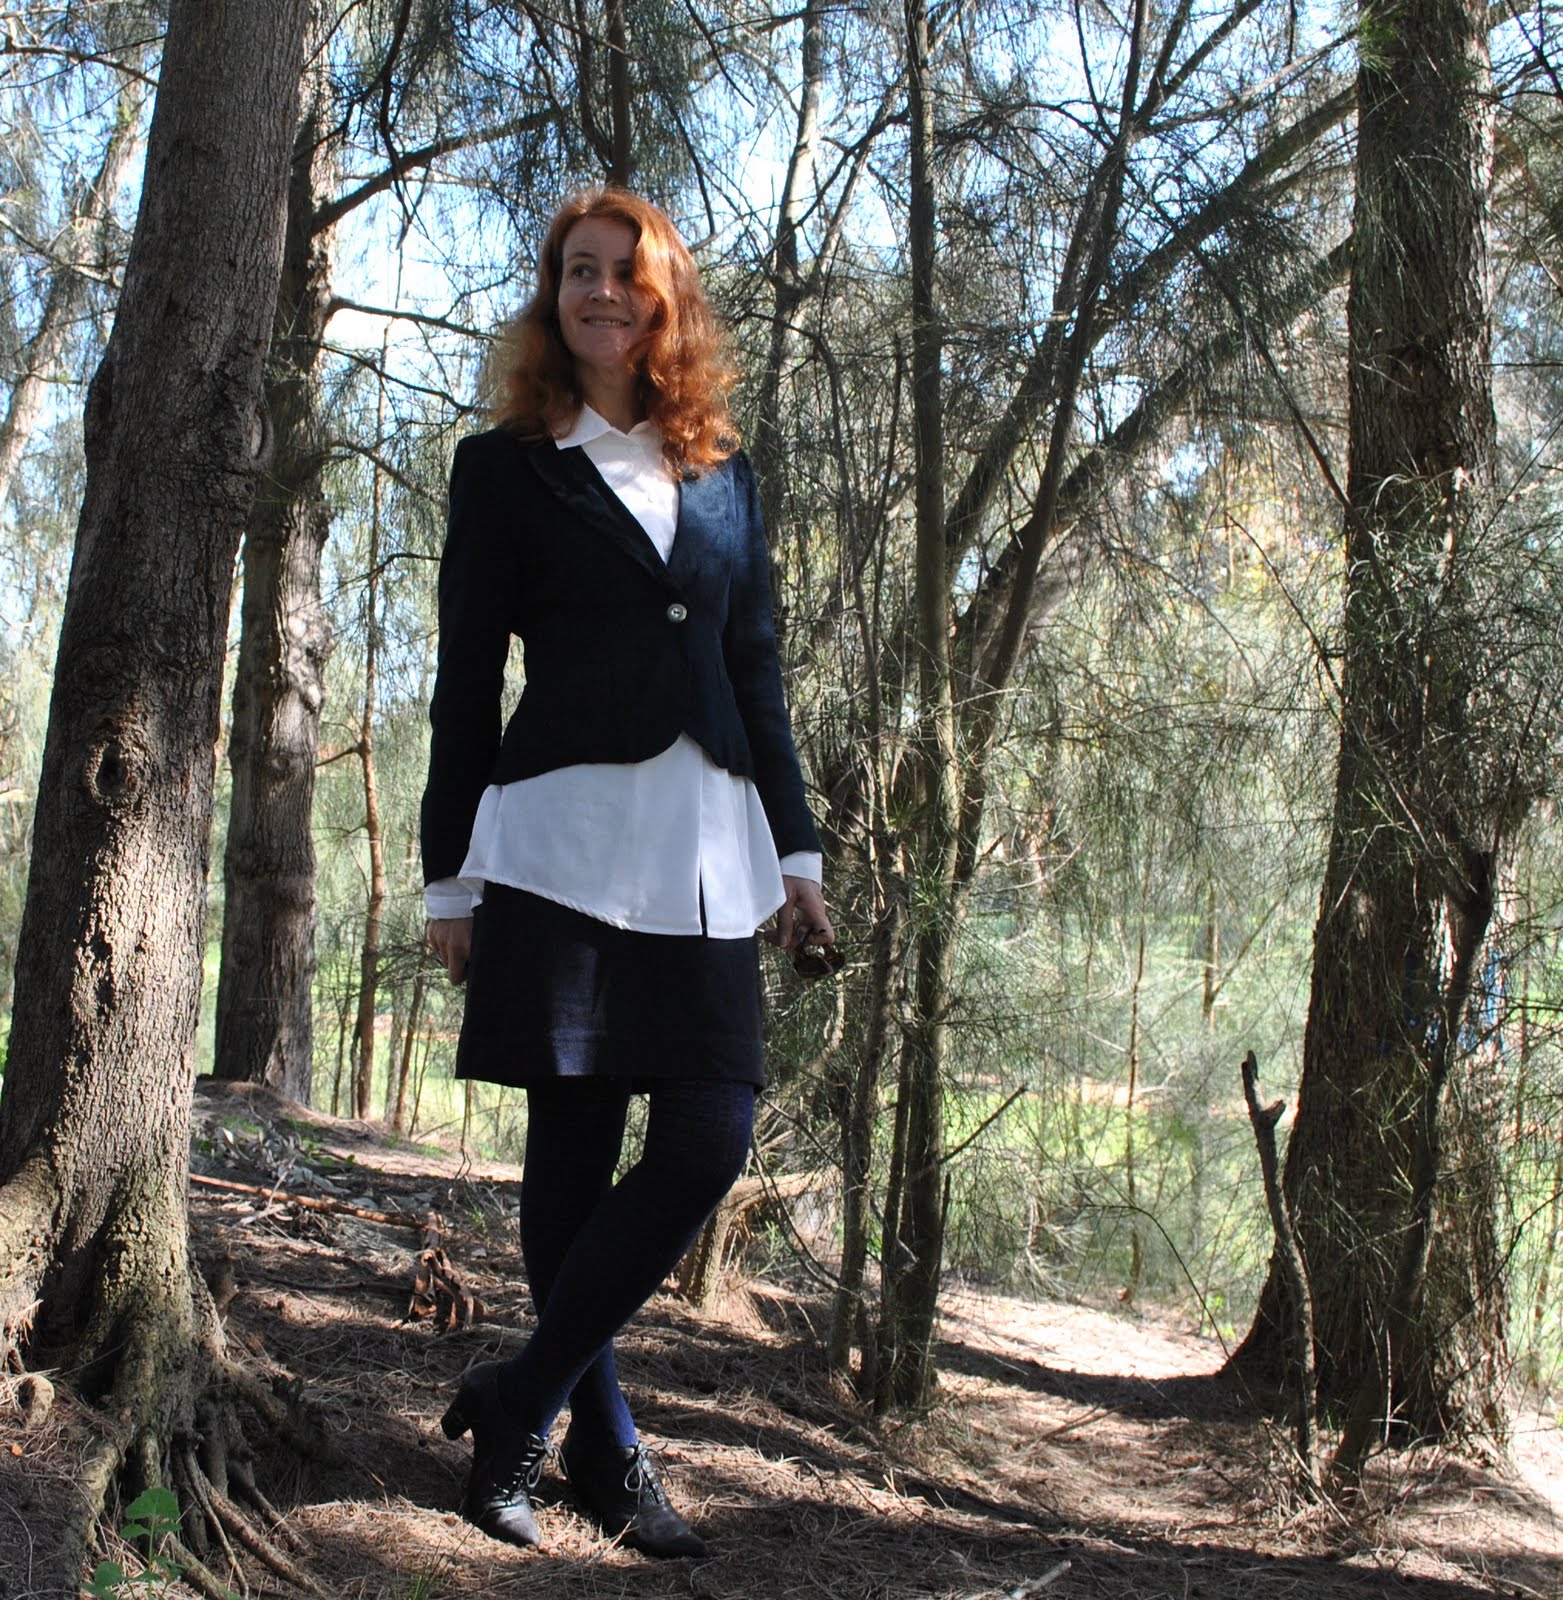
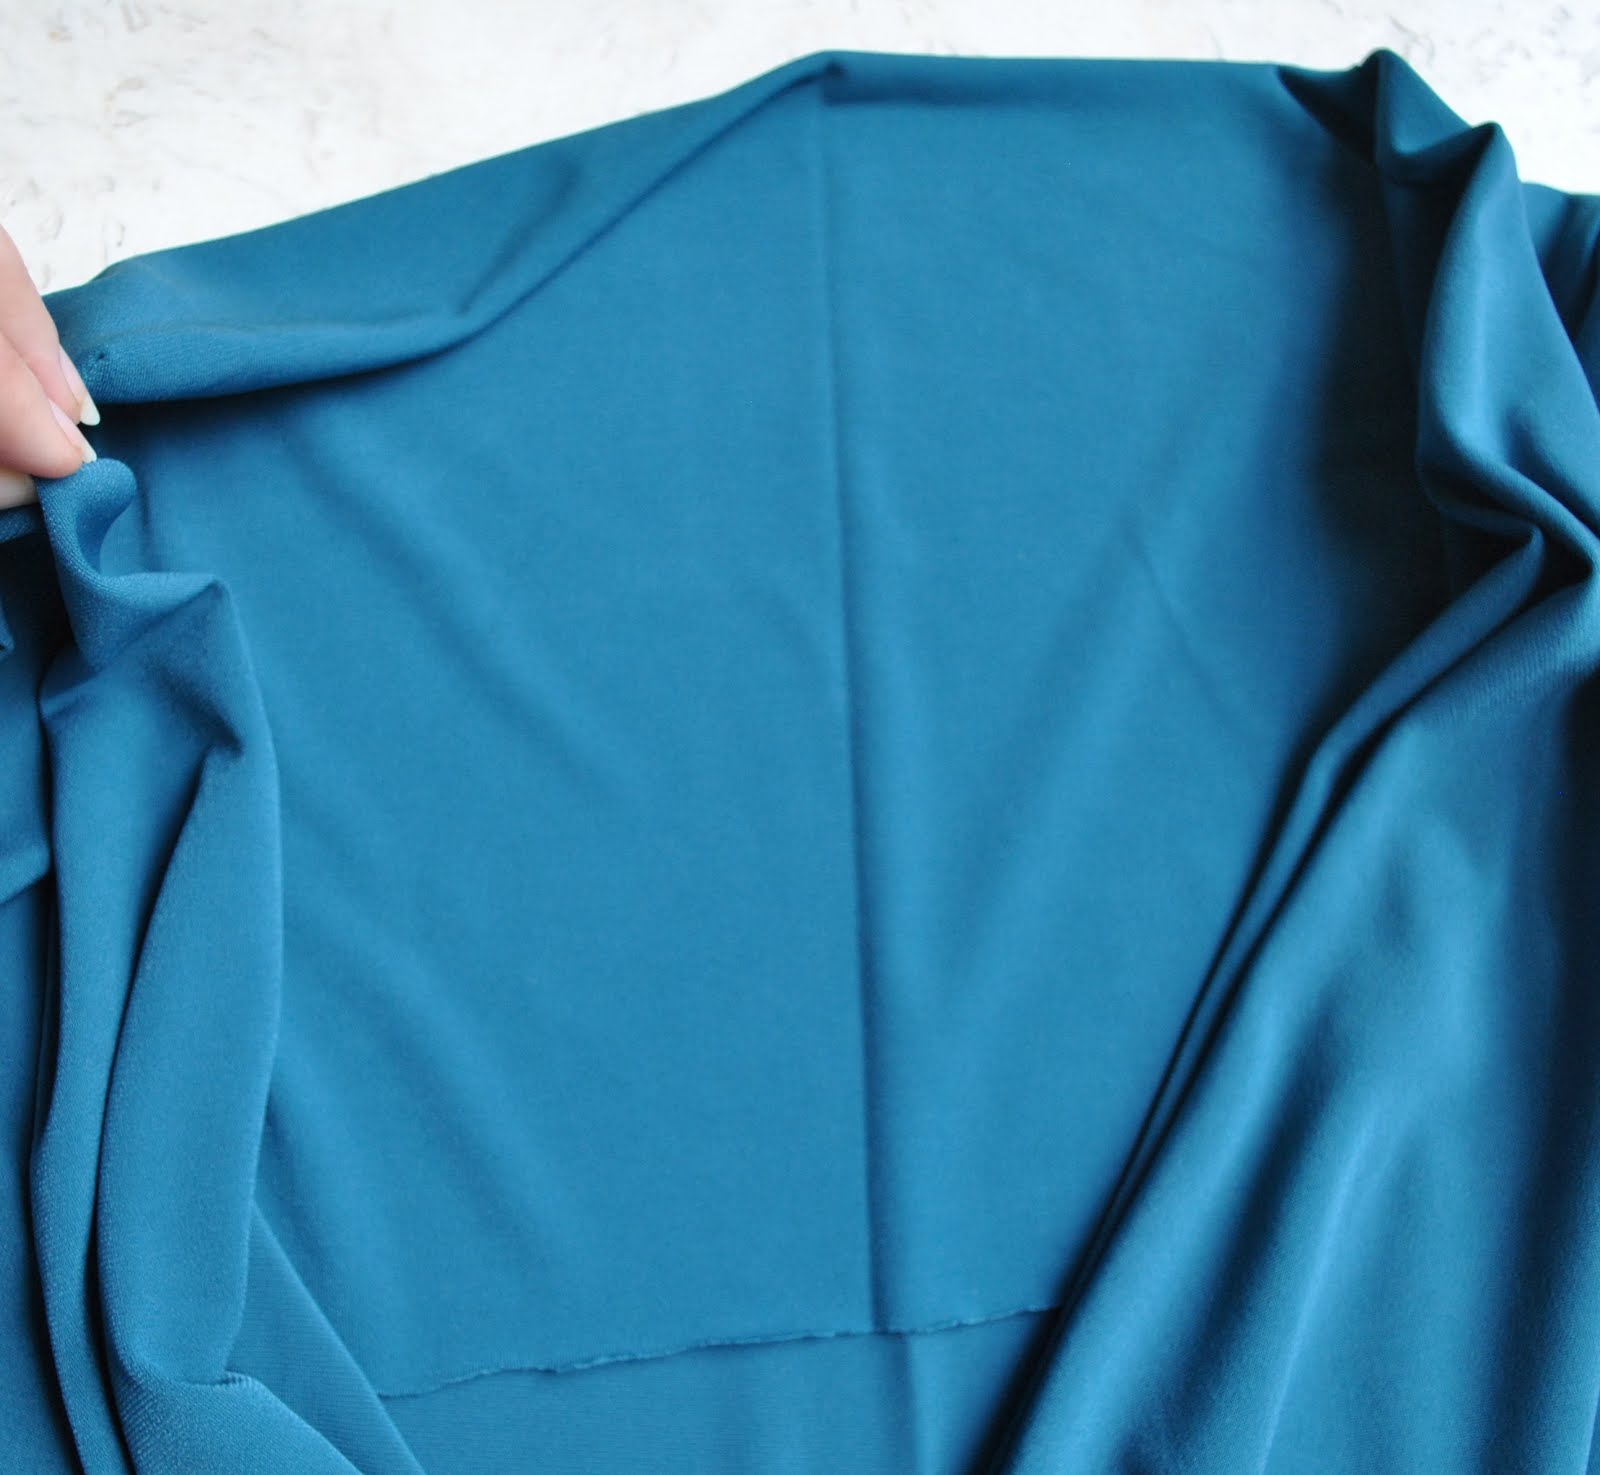
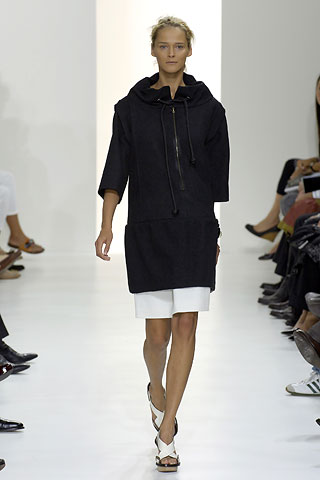
My half-zip-front parka is one I made about five years ago, and so it might be outdated but I still love it. It is self-drafted, but a completely slavish imitation of a Marni design from their Spring/Summer 2007 collection, so I feel I’m borrowing a bit of designer-style austere chic when I don this… . I really like how the high bunched up collar turned out. It’s basically a double layer rectangle cut to fit the neckline, sewn in, then with a lace inserted between the two layers and exiting through some tiny buttonholes to tie it loosely. It does have some piecing on the front, and all the seams are double topstitched, but it is probably hard to see it in this photo.
Details:
Parka; self drafted, a copy of this one at right, from Marni Spring/Summer 2007, black cotton
Jeans; Burda 7863 with modification, rust coloured stretch corduroy, details here
Sandshoes; Country Road
*Actually I’m sure the comment was intended to be a nice comment but I just couldn’t help but laugh when I read that bit…!