Thoughts on washing…

(Trying to get back into the swing of taking my own photos?  Mebbe…)
Something that is amazing about where I live is the ferocity, combined with the brevity, of storms.  It’s funny, my dog is quite protective of me when we are walking during a storm.  She sticks close by, is constantly checking over her shoulder to make sure I am still there, and comes running back to sit with me or even try to round me up if I pause to take a photo.  Well she is a sheep dog and rounding up is in her nature…
You will be pleased to know we walked back through our front door dry, if a tad windswept.  It’s a good thing I don’t have a hairstyle to speak of.
One the plus side, the kite-surfers are having a great day, and washing does dry very quickly around here, yes even during the winter time…
On the subject of washing… how often do you wash your clothes?  You might see that the little olive top I am wearing underneath the black one here is the same one I was wearing yesterday over the blue Metalicus one.  I reason that a top worn against my skin is dirty after a day of wear and needs washing, but that one worn over another top is OK to go for another day.  Obviously underwear, socks and tights are washed after one day of wear.  Dresses and skirts I judge by whether I am wearing tights or a top underneath (probably OK to last another day) or if it has been a hot sweaty day then I will wash.  Jeans I wear for two or even (gasp) three days if I haven’t been engaging in particularly strenuous activities or if it hasn’t been a sweaty hot day.  Not that jeans are ever worn on a hot sweaty day actually… The same goes for cardigans; I will do a wool wash for everybody’s jumpers and cardigan every few weeks.  I’m over the preciousness of my cotton trench coat and it now is tossed in the machine on a gentle cycle, probably a few times a year.  My woollen coat I plan to send to the dry-cleaner…  There is a very small population of one in my wardrobe, (er, my Chanel style jacket actually) which I am too frightened to wash, nor even to trust it to the dry-cleaner!  I don’t know what I am going to do about that thing!
What about you?  Do you have a rigid plan of attack to your washing, or a more laissez-faire approach?

Details:
Jeans; Burda 7863 modified, black stretch corduroy, details here
Olive top; Cue
Black top; Sexy Woman, found secondhand
Scarf; knitted by me, merino wool, details and my pattern here
Boots; Andrea and Joen, from Uggies in Dunsborough

pinterestmail

Doing what I want…

So I did give it a bit of thought (but not much) before I decided to leap back in and sign up again for Zoe’s new challenge, Self Stitched September 2011!
I know at the end of Me-Made June 11 I was feeling burnt out with taking my own photos like everybody else who participated, but then again if there was no difficulty involved then it wouldn’t be a challenge right?  I like challenges, and I like doing this one.
In the days leading up to the last one (or during, I can’t remember now) I read someone’s blog post that was a scathing criticism of the challenge, and also of the blogs who joined in, which did make me question myself and my own reasons for participating.  Do I lose my status as a “sewing blog” (inverted commas are intentionally ironic, there)  if I joined in a personal self-styling process?  Does taking photos of the clothes I have spent time and effort in making with my own two hands, constitute a shallow or egotistical attitude?  I have decided that it does not.  I’m proud that I make my own clothes, and I enjoy styling and mixing up my own creations in new and interesting ways.  Sure, some of my self-stylings work better than others, and I would be lying if I said that I didn’t occasionally look at some of my own outfit photos and cringe, but the truth is the bad outfits and photos have been very helpful to me.  Like everybody, I have got my favourite garments, which I sometimes hang on to for far longer than I should… well the camera doesn’t lie, and has been the impetus for the tossing of several of my less wonderful garments.
So yah… long and short of it; I’m going there again!

I, Carolyn of Handmade by Carolyn, sign up as a participant of Self-Stitched-Sept ’11. I endeavour to wear all handmade, barring undies and tights each day for the duration of September 2011. That is, I will be wearing undies and tights of course, but not of the handmade variety!!’


so, I’m allowing myself RTW undies and tights… neither of which are well represented in my me-made wardrobe.  I have huge admiration for people who make their own underwear but it is not something I have had time to have a go at, nor much interest in yet.  Too many other garments that I can wear for public display are on my sewing agenda for now!

Details:
Jeans; Burda 7863 slightly modified, rusty corduroy, details here
Top; Metalicus
Olive top; Cue (I’ve had this top literally for decades…)
Scarf; knitted by me, originally a wool kit from Calico and Ivy, details here
Shoes; Francesco Morichetti, from Zomp shoes

(below; random photos I took on our walk today…)

pinterestmail

Little house pillowcase, and old slipcover

I made this pillowcase for my niece when she was born five years ago, and have had it back the last few days for a few minor repairs…
Yes, the patchwork is intentionally wonky.  I am normally very obsessive about exact squares and perfectly matched corners and edges, so this sort of inexact “naive” style was a nice change.  I enjoyed the randomness of it!
The design is my own.  I had the vision in my head of a little pink cottage with a skewiff picket fence in a field of green; but made it up pretty much as I went along, based on a few similar sorts of designs that I’ve seen over the years in homewares magazines and such.  I chose the sharp lime green/hot raspberry pink colour scheme because it was fun and funky; and feminine without being too over-the-top girly.
D’ya wanna hear something funny?  My son asked if it was a Space Invader.  He’s thought it was one for years.  LOL!

The back view… and here it is perched on top of my very first attempt at a slipcover.  Don’t look too closely at the slipcover, because this is years old now.  It has served as a kitten scratch-post more than a few times, and is a bit thin in some places, a bit ripped in other places, has a few permanent stains, and has a few wonky seam-lines.  But I like the less than perfect look of it.  
At least I know no one’s been afraid to sit on it.

pinterestmail

Easiest knitted handwarmers, ever

So, I mentioned that I had plenty of socks already, but still some sock yarn kicking around… so I turned to another extremity on my person that really feels the cold; my hands.  I am definitely a cold-hand person… and can be relied on to lay a soothingly cool hand on the brow of a feverish sick person, anywhere, anytime.  Nice for any sick people in my life, but nonetheless I am forever engaging in some futile attempt to lift the temperature of my hands above that of a corpse.  This takes form in various procedures; whether it be slowly rotating my hands over the toaster in the morning, making myself a gazillion cups of tea not necessarily because I am thirsty but so that I have a hot china mug to clutch for a short while (warning; this particular hand-warming method greatly increases the required number of visits to the ladies room), walking about with my hands stuck weirdly in my armpits, or sitting on my hands, which by the way is good for warmth but not for maintaining any actual feeling in the fingers.
And yes there are gloves, some pairs of which I do have and are wonderful for warming the ol’ handies, but not when one is doing delicate stuff such as knitting, or working on a computer keyboard and one’s gloved fingers keep typing in such gems such as: “hekoo there., anmd how arte yourd tofdsy?”
Anyhoo, I brilliantly detected this gap in my wardrobe, and set to filling it…

Here is my pattern for these super-easy handwarmers, suitable for knitters of all levels of ability.  It really doesn’t get any easier than these things…

Yarn; 4 ply, I used Morris Empire Superwash Merino 4 ply
Quantity; 1-2 balls…  exactly how much yarn depends on how far up your arm you want your handwarmers to extend.
Set of 2mm double ended needles
Tension; 28 stitches and 36 rows to a 10x10cm square of stocking stitch

Cast on 60 stitches, distribute so there are 20 stitches over three needles.
Bringing the last stitch on the third needle round to join onto the first stitch on the first needle to start knitting in the round, commence in K2, P2.  Leave the long tail from your first slip stitch hanging loose without weaving in, this marks the starting point of your knitting and enables you to count rows more easily.
Continue in K2 P2 for 8 rows.
From the 9th row, K in every stitch.
Continue for 20 rows.
Row 29; turn and P 60 stitches.  Note for this stocking stitch section, always slip the first stitch purlwise on a purl row, and knitwise on a knit row)
Row 30; turn and K 60 stitches
Repeat last two rows until there are 20 rows of stocking stitch.
Row 50; join the work so you are knitting in the round once more, and continue knitting in each stitch until the work measures the desired length (in this example, 31cm from the beginning)
K2, P2; for the next 8 rows.
Cast off in K stitch loosely, and weave in the loose ends.

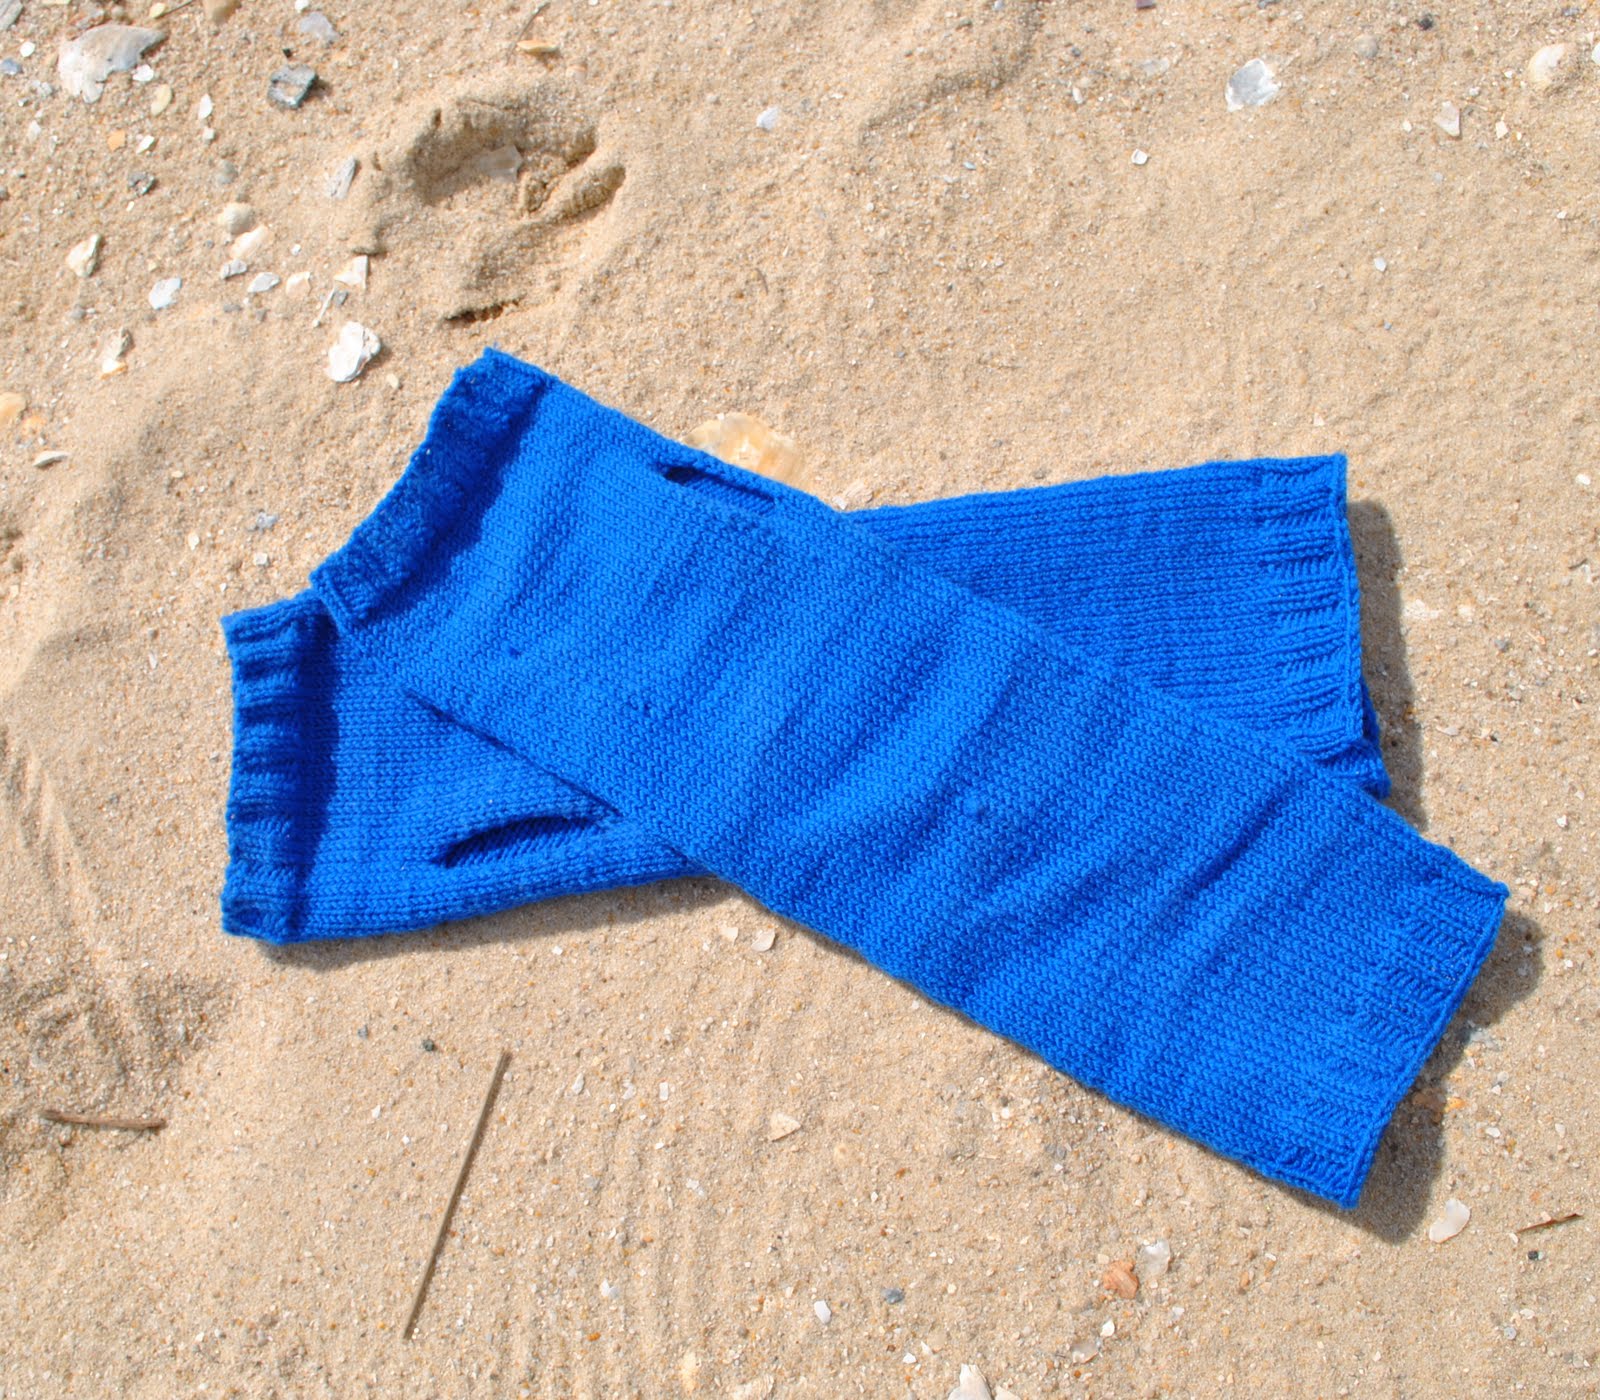
Voila, one handwarmer!  Now just repeat for the second one… if you want to get fancy it is pretty easy to incorporate a cable design or something down the backs of each hand, but this is the basic unadorned model to start with.  This is a super easy project that doesn’t require much thought at all, so is perfect for while your family is watching TV or something and you want something mindless to do… and your toasty warm hands will thank you in the winter!
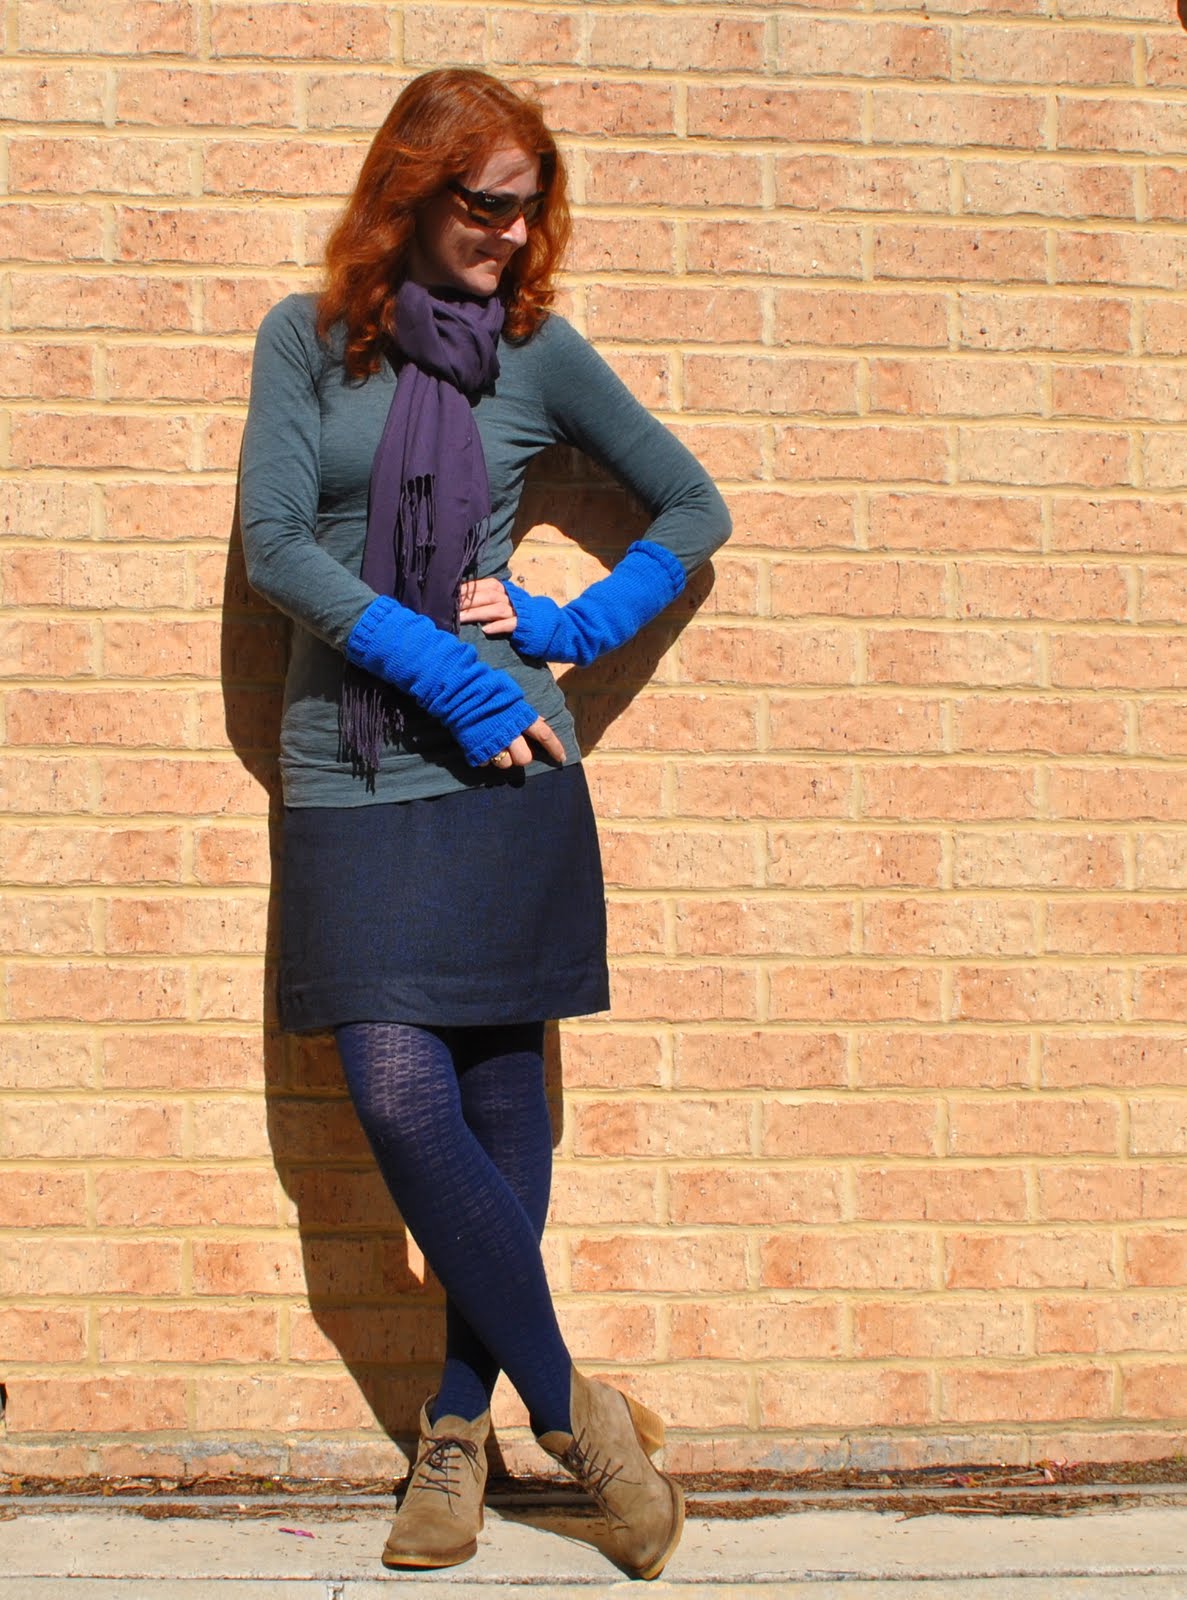
Details:
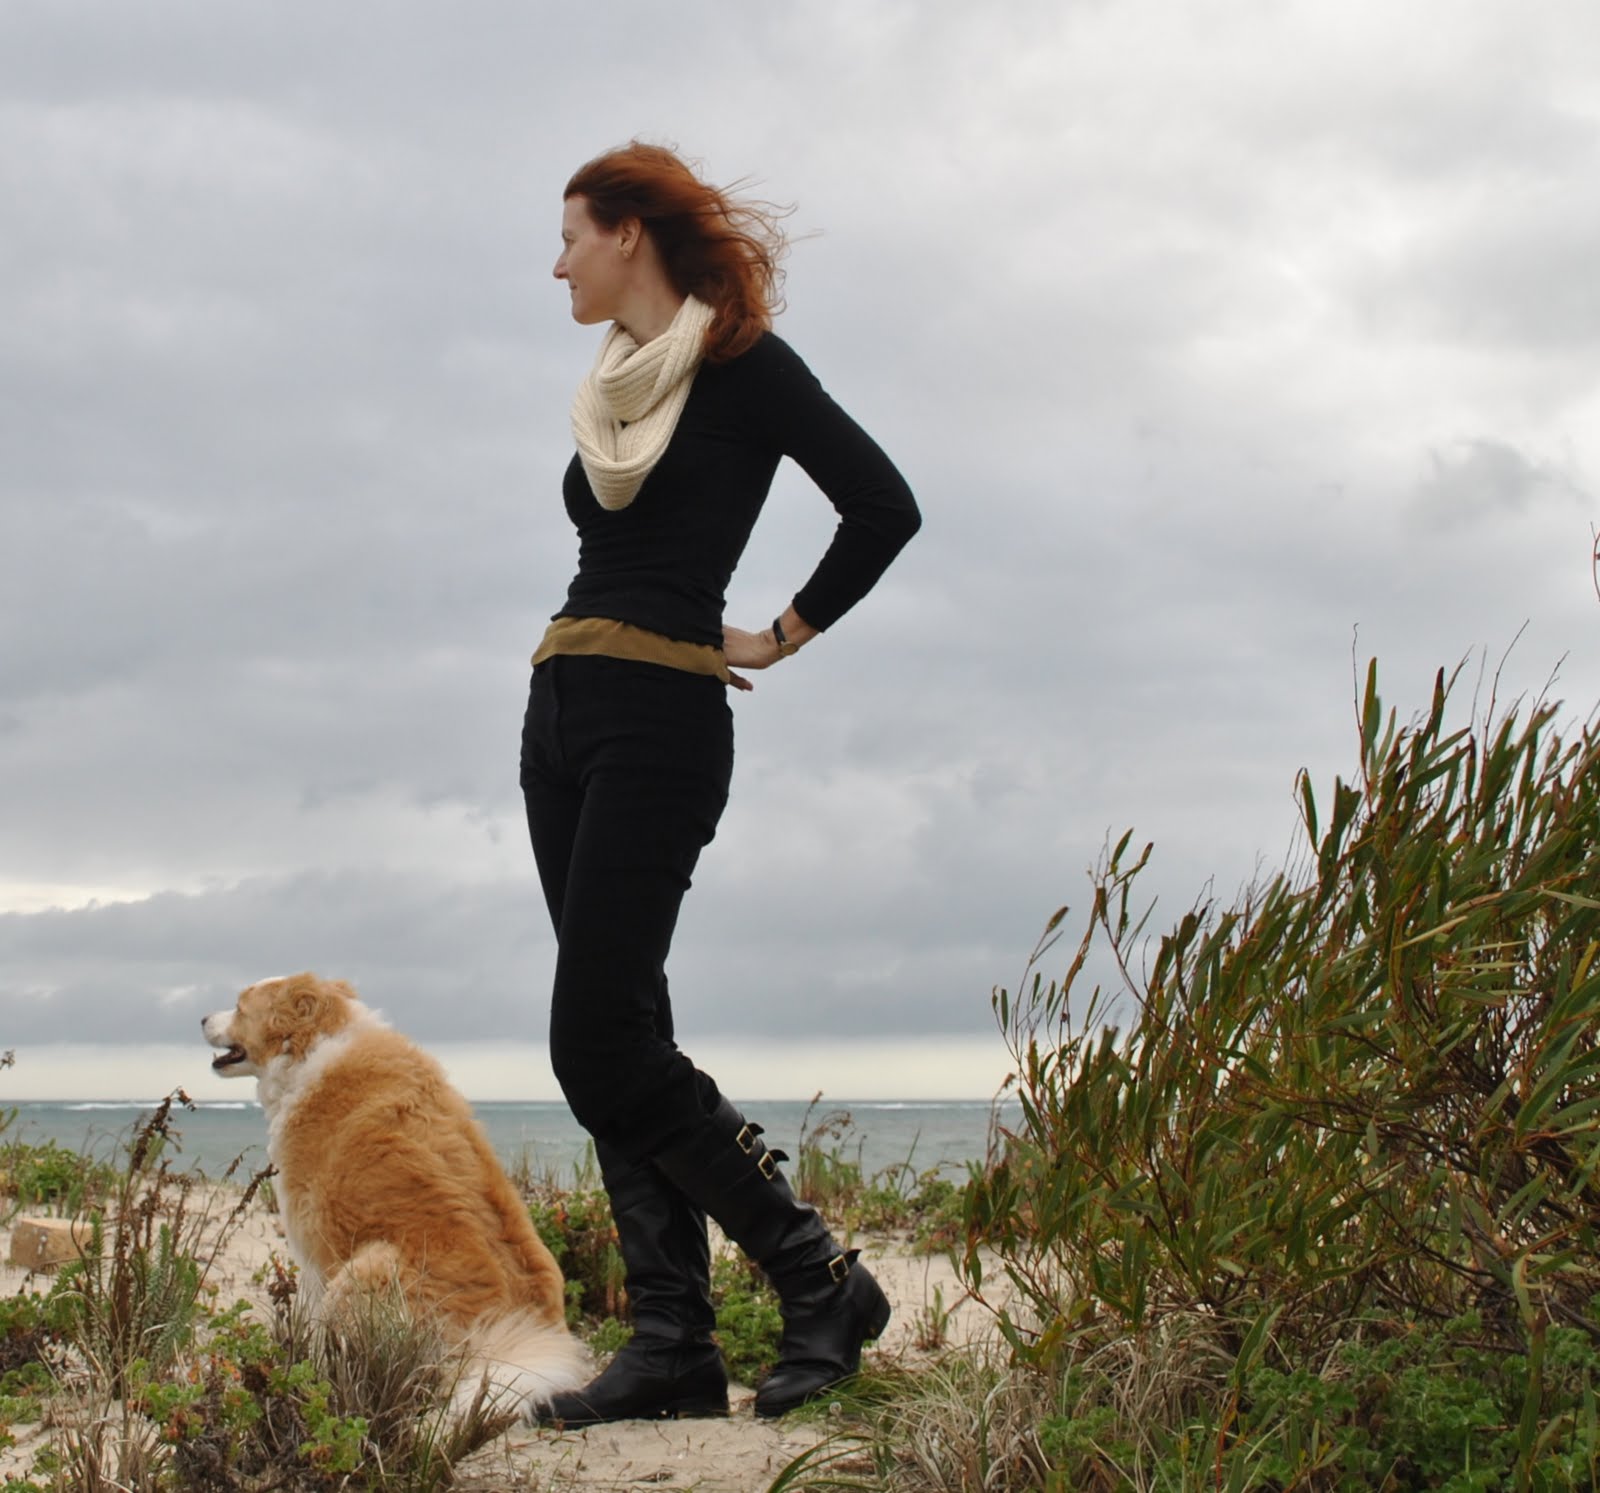
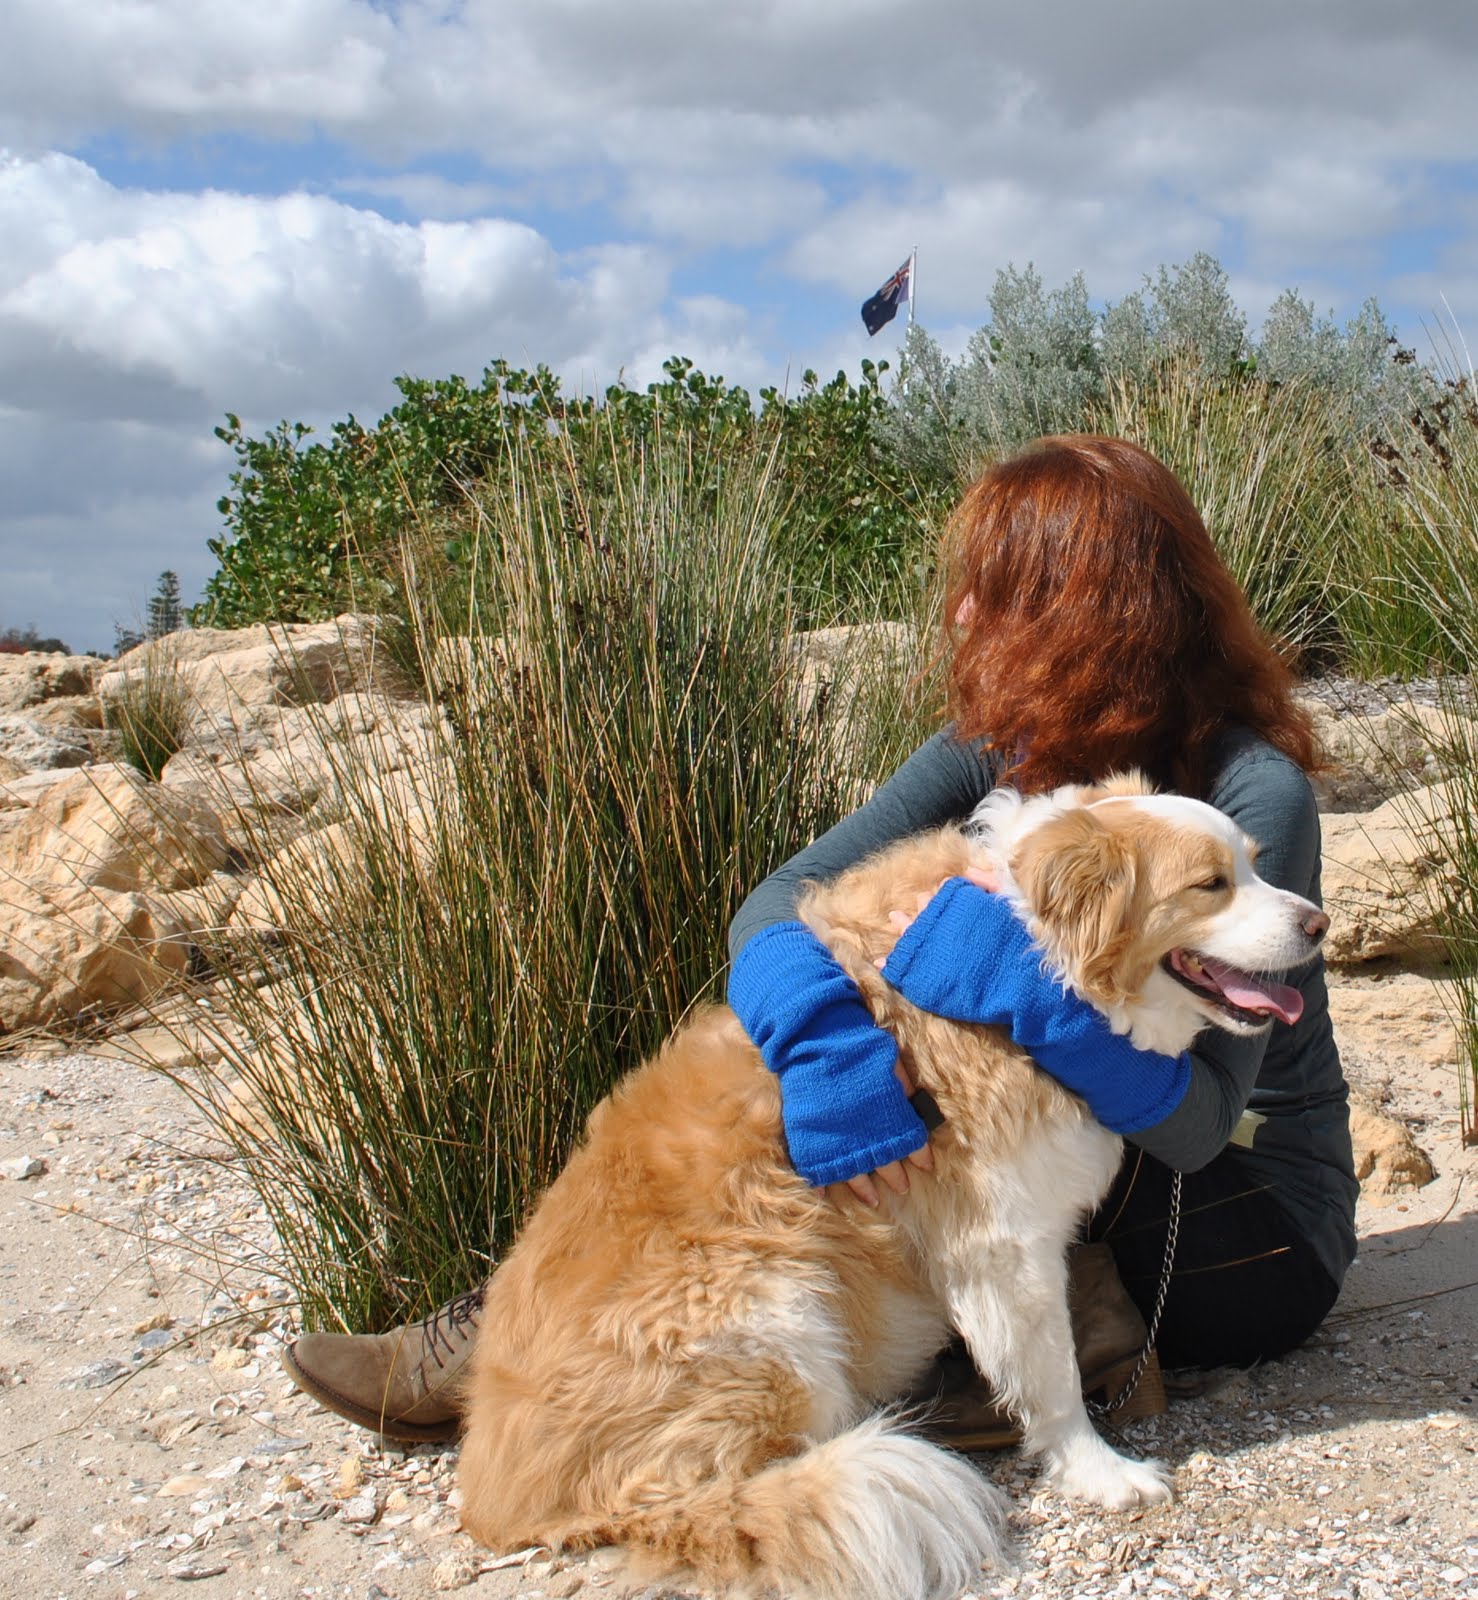
Handwarmers; my own design, knitted in Morris 4 ply merino, in Imperial Blue (col 424)
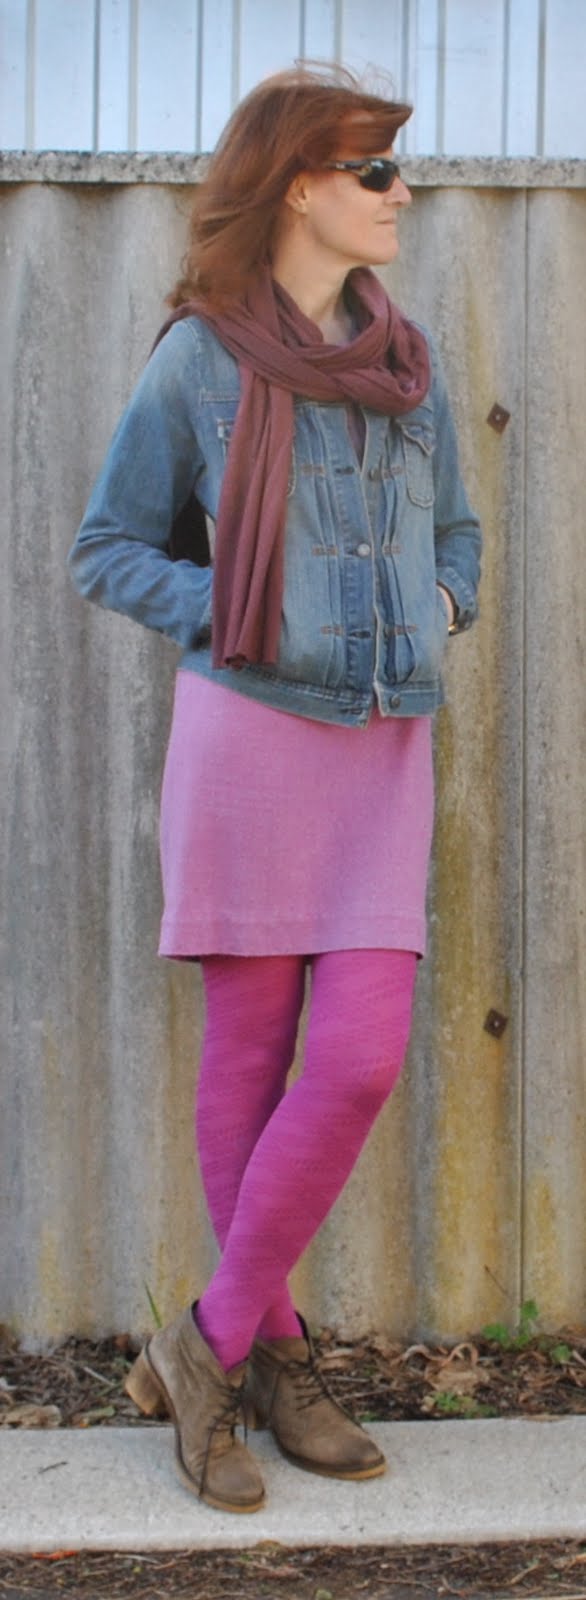
Top and tights; Metalicus
Skirt; Vogue 7303 in charcoal suiting, dyed blue by me here
Scarf; a gift
Boots; Francesco Morichetti, from Zomp shoes
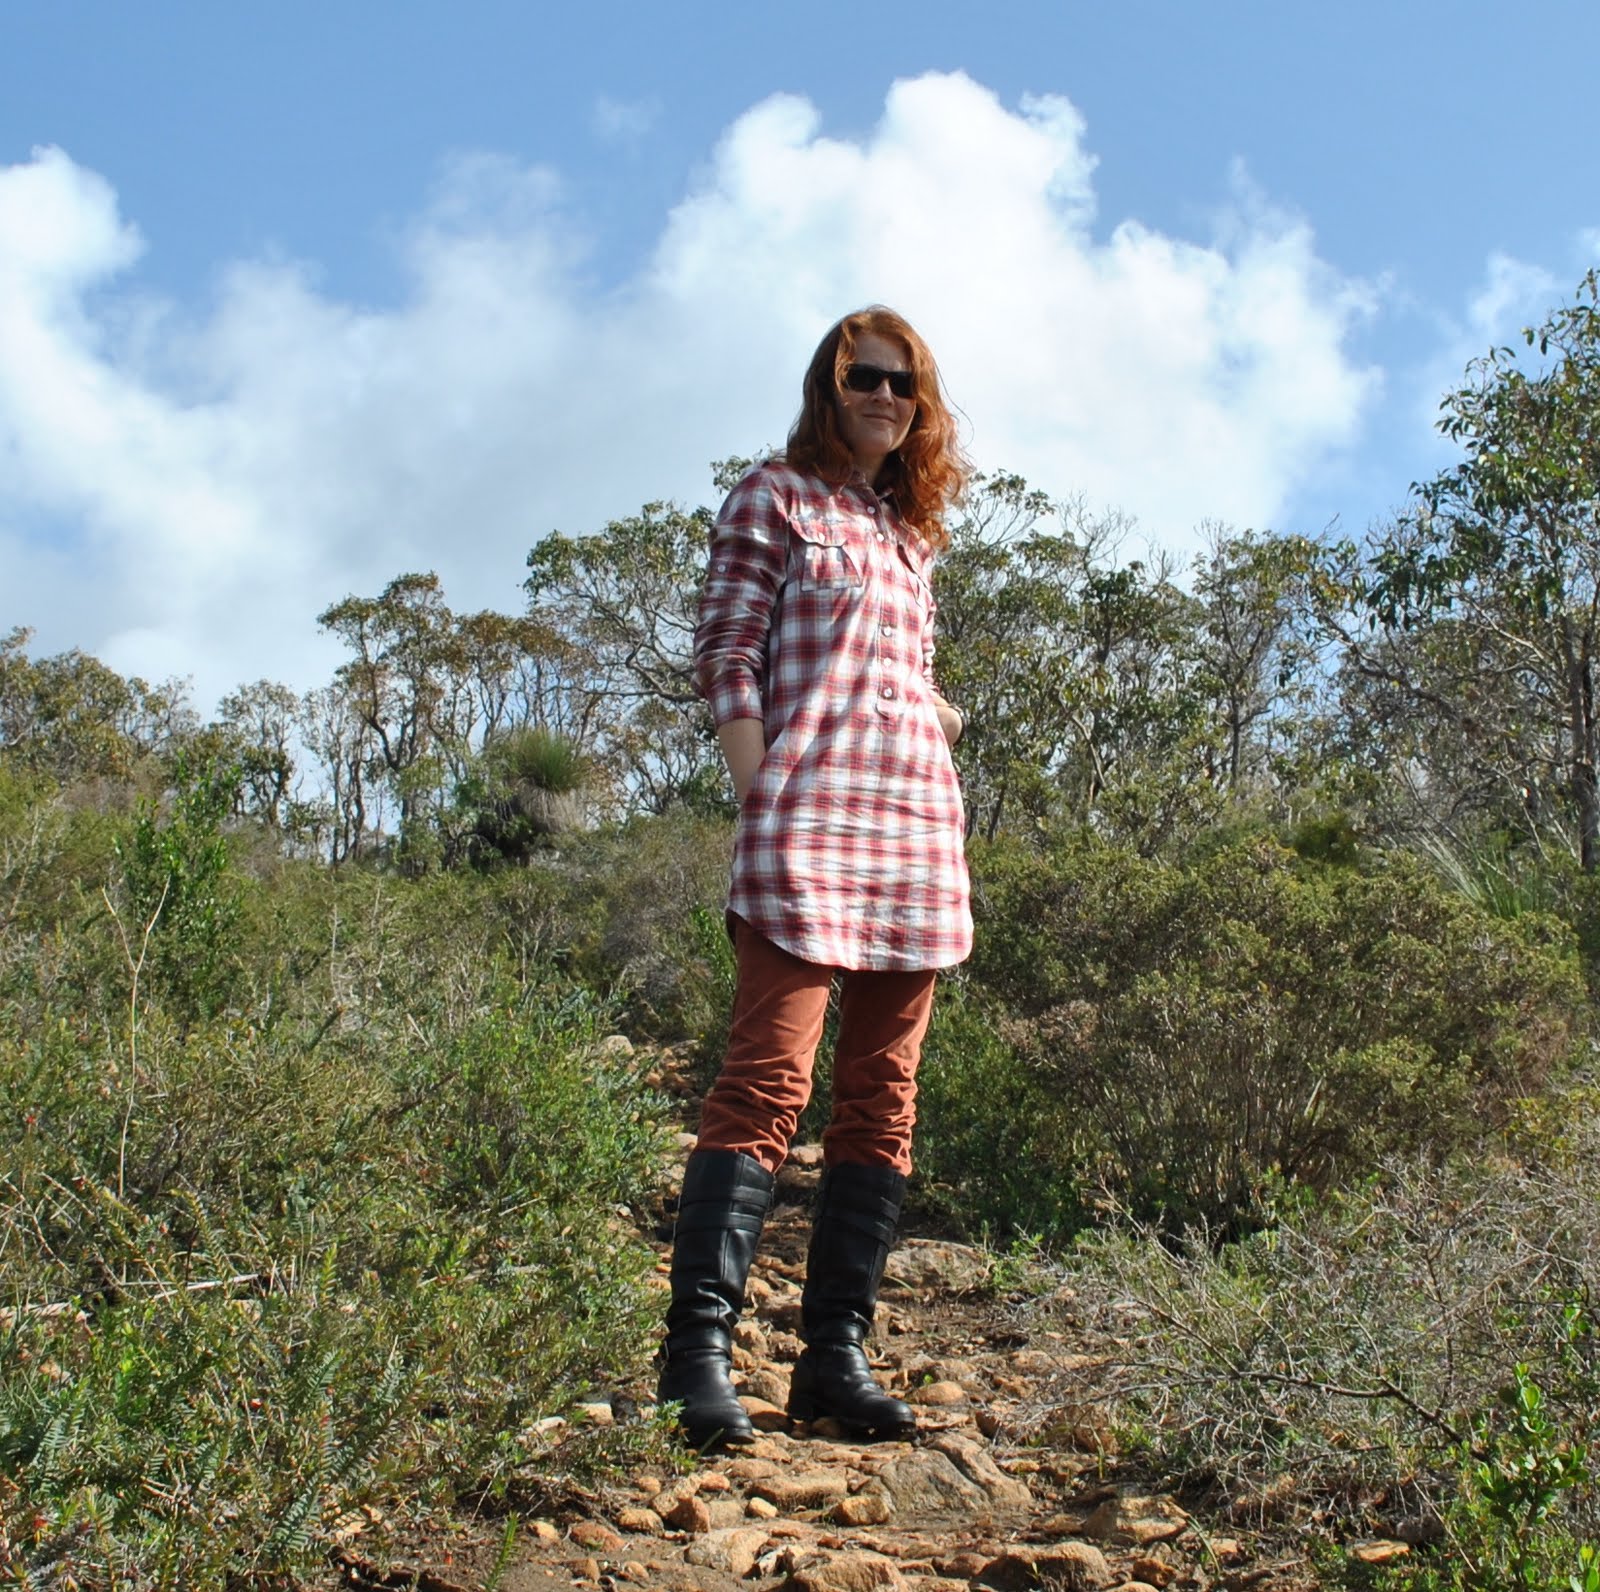
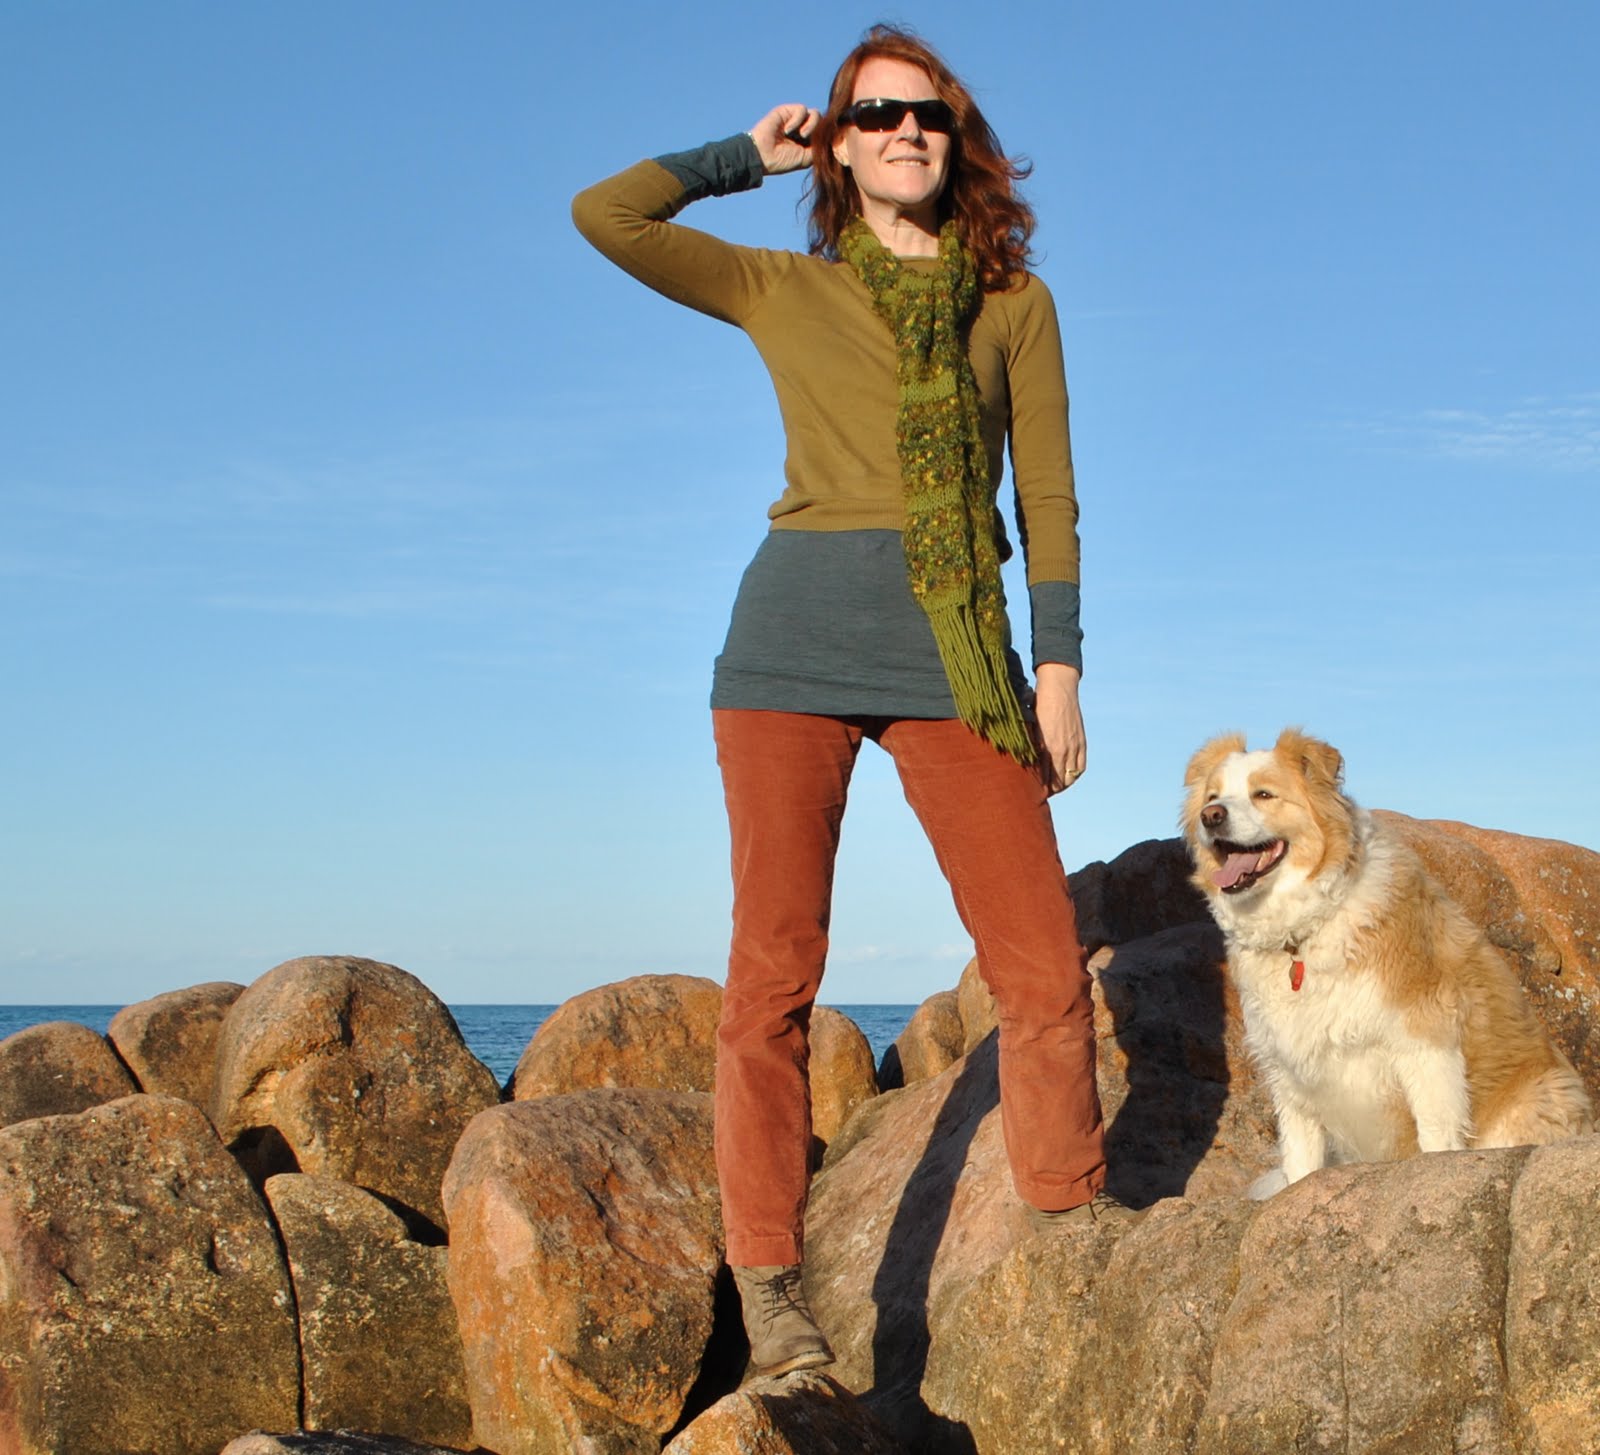
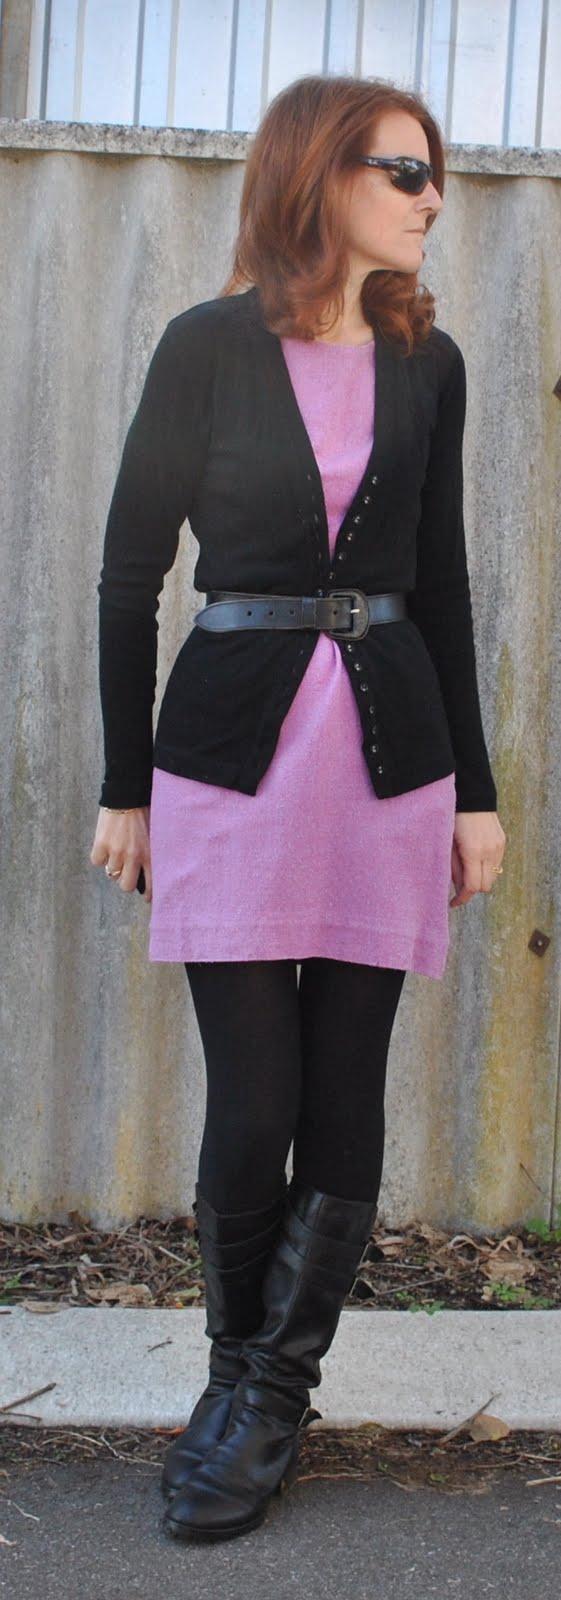
pinterestmail

Thanks for the memories…

…and all I can say that if it wasn’t for Christmas and birthday family get-togethers I would have almost no photos of my children in the clothes I have made them… these photos are all from the albums of our extended family, since we took very few ourselves!, and please be aware that the photos I have here on my blog represent about ten percent of the clothes I actually made for my children!  Of course I am disappointed that my photo taking was pretty slack in those days.  Photography wasn’t really on my radar back then.  Too busy taking care of my little ones and the household, no doubt.  Oh, and er, fitting in a bit of sewing too, I guess!
In the Christmas gathering pictured here, Tim is wearing a little ensemble comprising a white collarless button up shirt and tartan trousers.  The tartan pants have contrasting white piping in a curved insert in the side of the legs, and along each front pocket; and the shirt has tartan piping in the buttonband, plus a few tartan patches for good measure to really tie the whole outfit together.

The children’s cousin Michelle is wearing a little pink dress I had made her for a previous birthday; it had a button-up front, dropped waist, an attached white petticoat, and white sleeve cuffs and collar.  In the middle picture I am wearing white shorts and a big oversized (in the best 90’s tradition) blouse, both made by me.

Cassie is wearing a little dress and a big floppy gingham hat, both made by me.  The dress has smocking and embroidered grub roses on the front, and is one of the very few pieces of children’s clothing I have kept so I can include a close-up.  I was pretty proud of the smocking, and I can still recall obsessing over mastering the perfect grub rose in between chatting-while-supervising, fruit-cutting and nappy-changing sessions at playgroup.  The partially finished dress lived in the nappy bag so that I could be sure it accompanied us wherever we went and I could snatch a few more minutes working on it if the opportunity presented itself… 
All the children’s patterns are TopKids patterns, except for Cassie’s smocked dress which was some sort of heirloom pattern, the exact details of which I have no memory.

pinterestmail

Purple sheath dress; 6 different ways

I made this silk hessian dress using Burda 8511 about a year and a half ago and yes, this dress has appeared here in a number of mixes already.  I have found the simplicity of the design to be a wonderful canvas for accessorising and layering, and the colour has proven itself to be trans-seasonal.  (look at me, pulling out all those professional-sounding stylist-type words there, hmm?) Trans-seasonal, meaning the soft violet colour is quietly pretty enough to fit in happily into a neutral cold weather ensemble, but still has enough personality to hold its own with the stronger colours of the warmer seasons; and I’ve worn it on all but the hottest of days.  Being fully lined it is kind of unsuitable for the full-on heat of summer, but it’s been such a goodie for any day of lesser temperatures.  So here we go…
Firstly, and feeling uninspired, I went to my go-to smart/casual winter styling for this dress at left.  Hmm, well maybe it is a tad ho-hum, well of course any dress goes with all black accessories… at right my next, more summery attempt at styling this dress; well now lookeee, it goes well with ivory too!  T’ank you Captain Obvious.  I’m all set if I ever get an invite to a garden party here.  Anyhoo, you can see what I mean here about the neutral-friendliness of this colour…

OK, so now getting more adventurous with colour and thinking about the warmer days ahead here… how I would wear this for a typical day spent walking along the beach?, well like this, at left.  As well, the shape of the sheath is not overly fitted so the dress can work successfully as a tunic, and for a more dressy event on a summer’s evening it can be worn over a slightly longer A-line skirt for an extra layer of colour, and with an equally colourful necklace and heels to dress it up.

And finally for the cooler days we have been getting during winter, at left the colour is not an overwhelming look-at-me shade, so that it blends OK with other smudgy neutrals, at left; and at right, on a particularly cold winters day I can really rug myself up with a scarf and denim jacket, and with some bright cheerful tights to visually punch it up.  This last look is the one I am wearing today in soccer mum and weekend going out-and-about mode.  It was cold this morning, 5C!!!  I’m so over winter, sorry…

And happily my wardrobe brainstorming session has given me some new inspirations for different ways to wear this dress to see out winter and to welcome in the warmer days of spring!
Which look here do you like the best?

pinterestmail

A leopard print daughter…

We bought enough of this gorgeous leopard print stretchy stuff in lovely caramels and warm golden brown shades to make this little Cat-girl set; Cassie made the Tshirt herself, drafting her own design based on a Tshirt she already has and that fits her well, and I made the leopard print leggings using my own pattern.
The side and armhole seams of the Tshirt are overlocked, and Cassie hand slip-stitched the lower and sleeve hems, and the neckline down in place.
Theoretically, the leggings were made to my pattern and so fit me too, but I’m doubtful I have the edge factor to pull these off! … they will be living permanently in Cassie’s collection.

Details:
Tshirt; made by Cassie to her own design, print stretch stuff
Leggings; made by me to my own design, leopard print stretch stuff, my tutorial on making your own custom fit leggings here
Denim skirt; Just Jeans
Boots; bought in Japan… tres cool, no?

pinterestmail

Ivory blouse

I finished a new blouse.
This is a project that took me far longer than it should have, actually.  Been working on it for a few weeks! and that is not like me…  I had it nearly finished, and then toddled off to get buttons.  Got completely distracted by a sale on at Spotlight and the dye selection and, you guessed it, came home with a heap of new dyes and some other odds and sods, as you do, but no buttons… then it was a while before I could get back to the fabric store, blah blah blah.  Then I went off it for a bit, thinking it was awfully boring and uninspiring, and it came thisclose to getting dip-dyed on the weekend, but then I came to my senses.  I think I will be glad I kept it snowy white.  Everyone could use an ivory shirt in their collection, right?  And now my husband’s white linen shirt will finally be safe from my clutches…
The fabric is a light slightly fluffy brushed cotton, and I used pattern 102 from Burdastyle magazine 10/2010.  I have used this pattern partially before to make my black blouse, so I know it to be quite nice; billowy but still slightly mannish.  I do like that in a ladies’ shirt.
Because the fabric is slightly sheer I finished all the seams with French seaming, except for the armholes which were just overlocked.  I curved the top edge of the sleeve cuff and put on two buttons and buttonholes, one perpendicular to the other for a little touch of something interesting.  I did this because the sleeve cuff dimensions provided by the pattern are overly generous and I found them to be too long.  So rather than clipping them off to the right length I just kept them long and put in this double offset buttonhole feature for fun.

Details:
Blouse; Burdastyle magazine 10/2010, 102, ivory brushed cotton
Jeans; Burda 7863, khaki stretch gabardine, details here
Boots; Andrea and Joen, from Uggies in Dunsborough

Pattern Description:
Loose-fitting button-up blouse with two piece sleeves, cuffs, collar stand and collar
Pattern Sizing:
36-44, I made a straight 38
Did it look like the photo/drawing on the pattern envelope once you had finished sewing it?
I left off the breast pockets, but otherwise yes
Were the instructions easy to follow?
If you have made up a tailored shirt before, then yes.  For a beginner I would recommend getting a pattern with step by step illustrations, like one of the big 4 for example, for a first go at a tailored shirt.
What did you particularly like or dislike about the pattern?
I love the big blouse-y shape of this blouse!  If I was making it up again, I don’t know if I would bother with the two piece sleeves but instead go with a one piece sleeve with a slit and a separate placket piece for the vent, a procedure I am more familiar with.  And these sleeves are so loose-fitting that it doesn’t seem worth the effort of that little bit of shaping you get with having the two pieces.
Fabric Used:
lightweight, slightly fluffy, brushed cotton blend
Pattern alterations or any design changes you made:
I left off the breast pockets.
The method for putting together the front facing and collar stand was inefficient in my opinion, so I did it instead by turning the facing to the outside around the collar stand and sewing it in one seam, then turning the facing to the inside.  This not only means less fiddling about with slipstitching the collar stand seam allowance under, but also means the collar stand seam allowances are down inside the facing and not up inside the collar stand itself, meaning less bulk.  The usual issue of all those bulky seam allowances inside the collar stand are a slight pet peeve of mine, and I thought having a front self facing that branches up into the shoulder seam is a great solution to this small problem…
I also altered the button placement.
The pattern stipulates one yoke piece; I cut two and enclosed the seam allowances of the back piece and shoulder edges of the front pieces between the two yoke pieces.  A double thickness yoke is more stable too.
The cuff dimensions are generous and I found them to be too long; but I kept the extra length, curved off the top edge and just had two buttonholes and two buttons, for an interesting little feature.
Would you sew it again? Would you recommend it to others?
Probably I will sew this again sometime, and yes, I do recommend this to others!
Conclusion:
Nicely blouse-y and feminine, but still with a slightly tailored and mannish air about it, so I am pretty happy with the look of this lovely and flattering pattern.  I think I will get a tonne of wear out of this!

pinterestmail
Switch to mobile version
↓