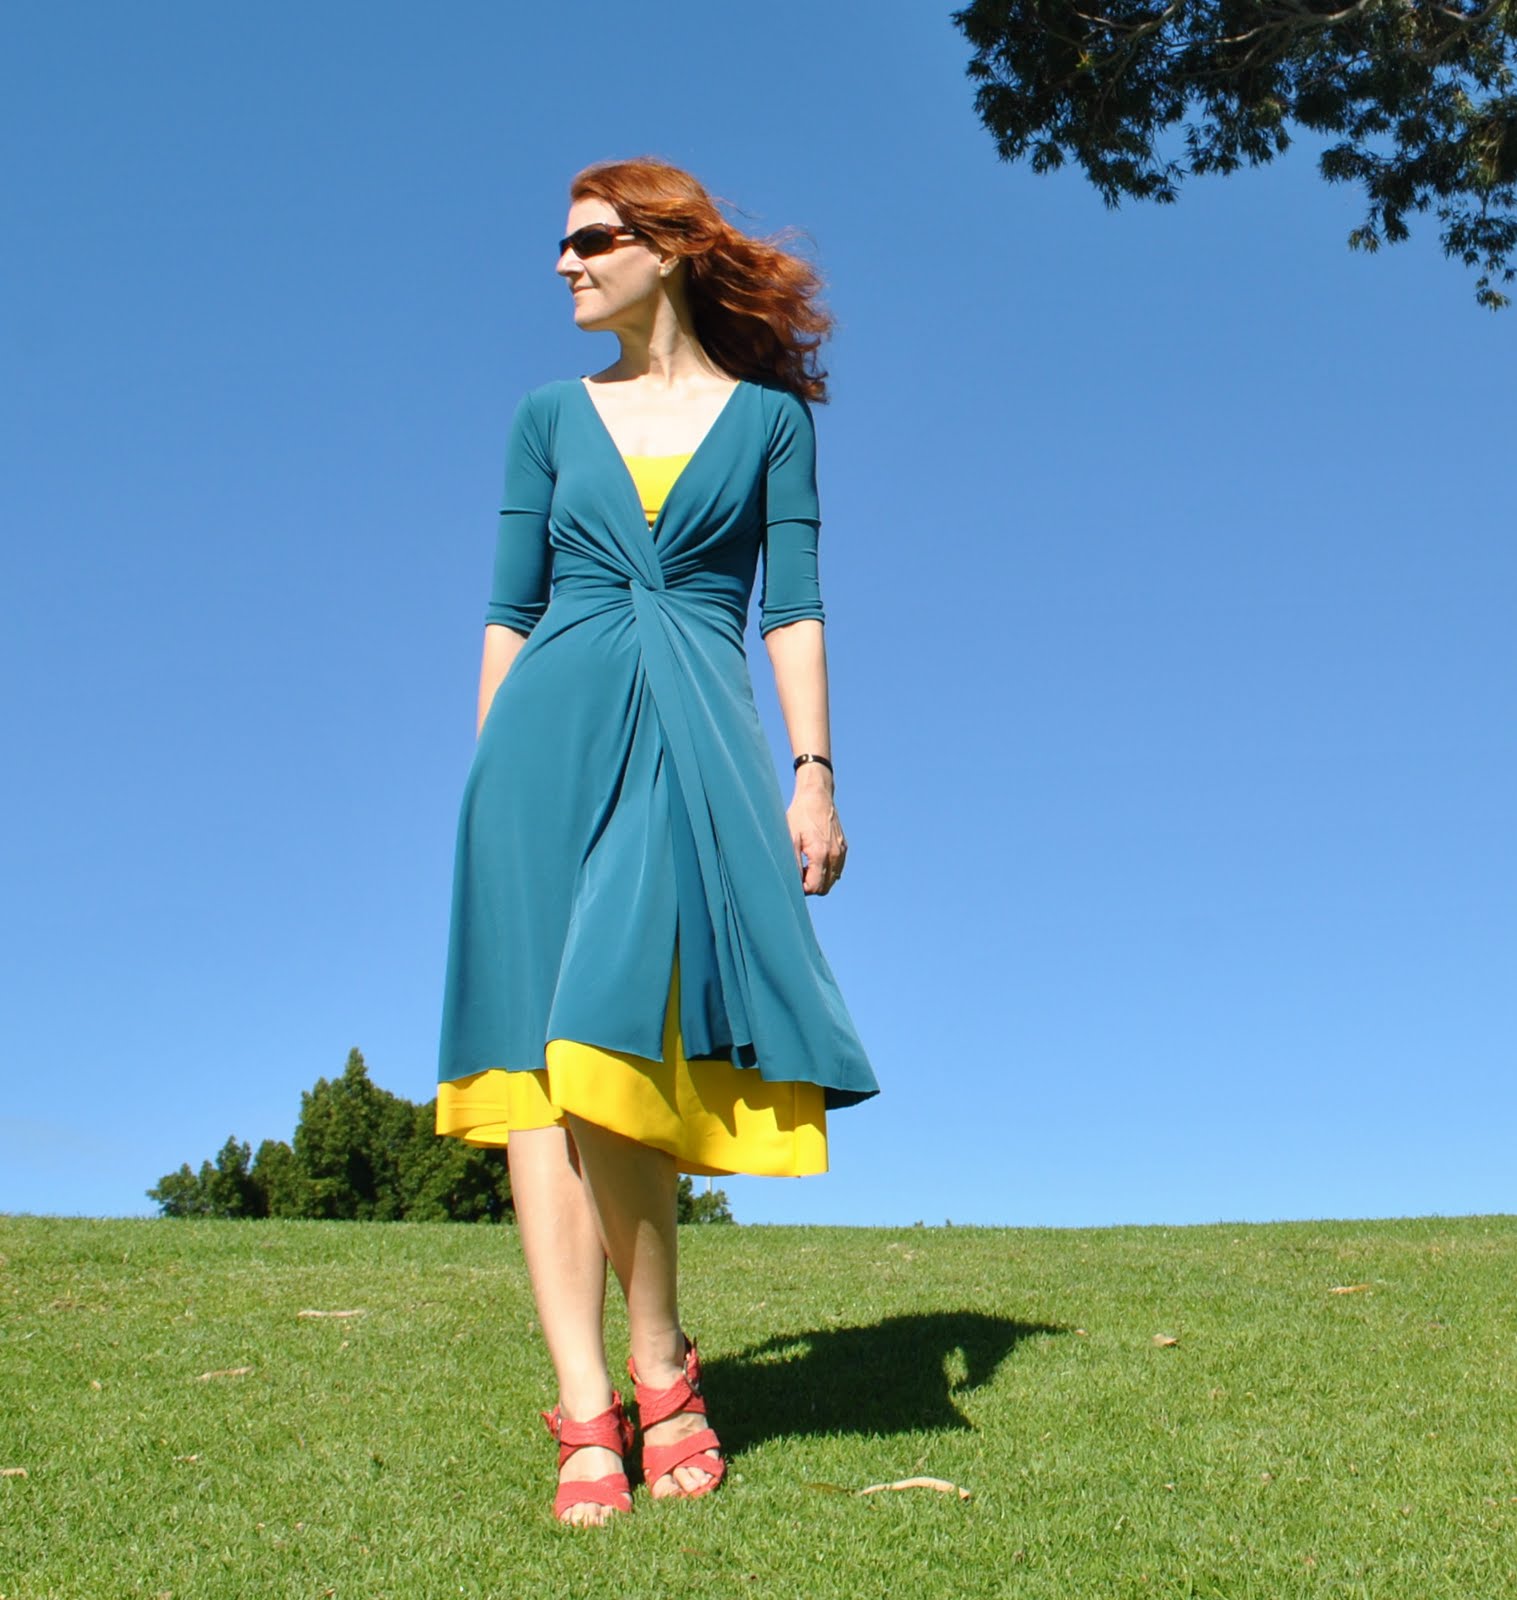
Pattern Magic linked-front dress

A new dress…!
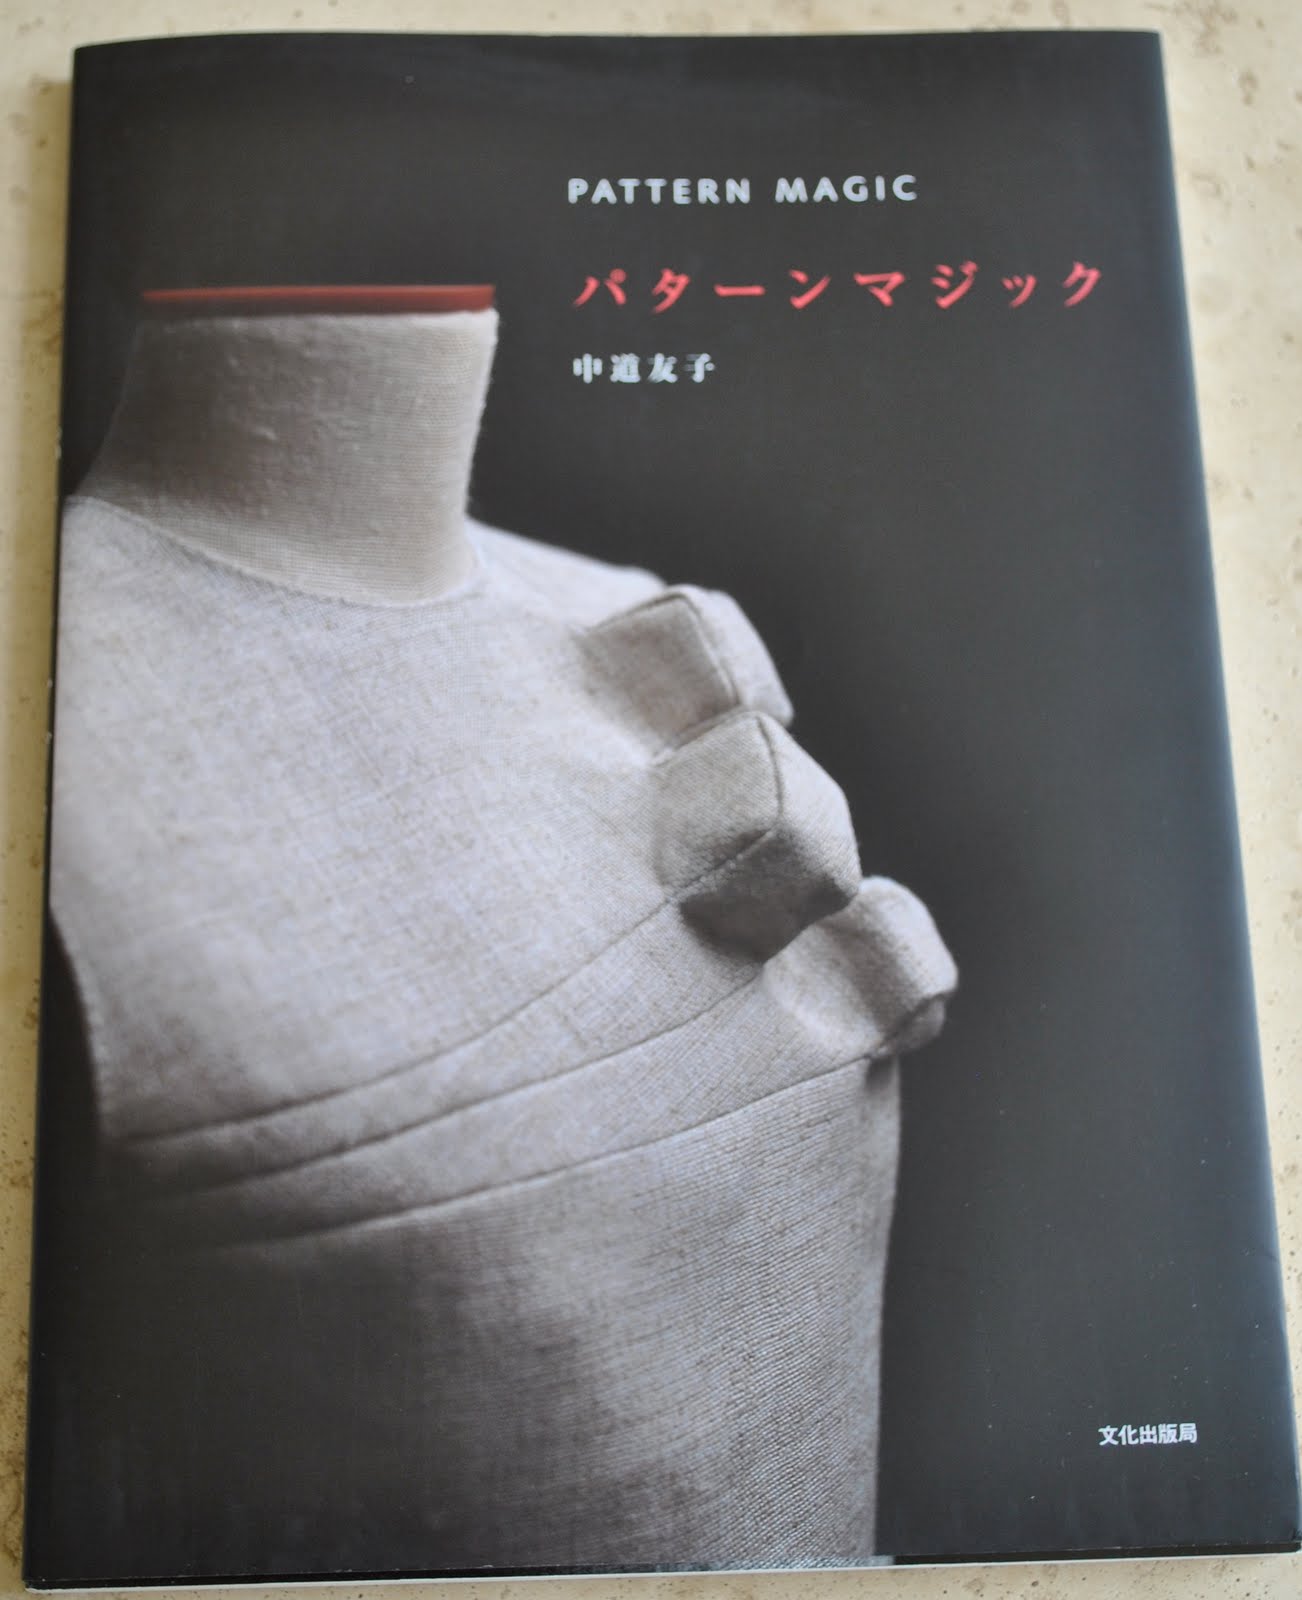
This is drafted from the Japanese pattern book Pattern Magic, by Tomoko Nakamichi.  Since mine is the Japanese version I don’t know its translated name, but it is the design on p49.  There is a bit of a story behind this thing…
confession time:
This is the second version of this dress I have made; the first was an unmitigated disaster.  I was planning a three quarter length version using white chiffon (polyester-y stuff, so it was cheap, thank heavens) which I decided needed underlining as well as lining, because the seams would have shown through the fabric otherwise.  I won’t bore you with the whole saga, just cut straight to the climax which was me heaving the whole thing in the bin during a bad case of sewing-rage one night.  I don’t want to talk about it because it is still a painful memory… and if you’re wondering… (wails) yeees! I do regret chucking it out!  After only a short bit of mulling it over, I realised how I could have solved the problem I was having and now wish I had not been so hasty, but as fate would have it the bin was picked up by the rubbish truck the very next morning while I was still in the “never want to even look at it again” mood.  Oh well.  C’est la vie.  I suspect I would have had plenty more issues with it to be honest, so maybe all was for the best…
This version is completely different.  I’ve had this teal silk jersey in my stash from about eighteen months ago, and I envisioned a quick, stretchy, Metalicus-like, pull-over dress with a full-ish skirt; no zips, no underling, no lining required.  Far less fuss!
I made a petticoat to go underneath, why?  Partly because the design has an extremely low neckline.  And also; well the dress in indoor or calm weather circumstances looks like the above, but in a stiff breeze like today…
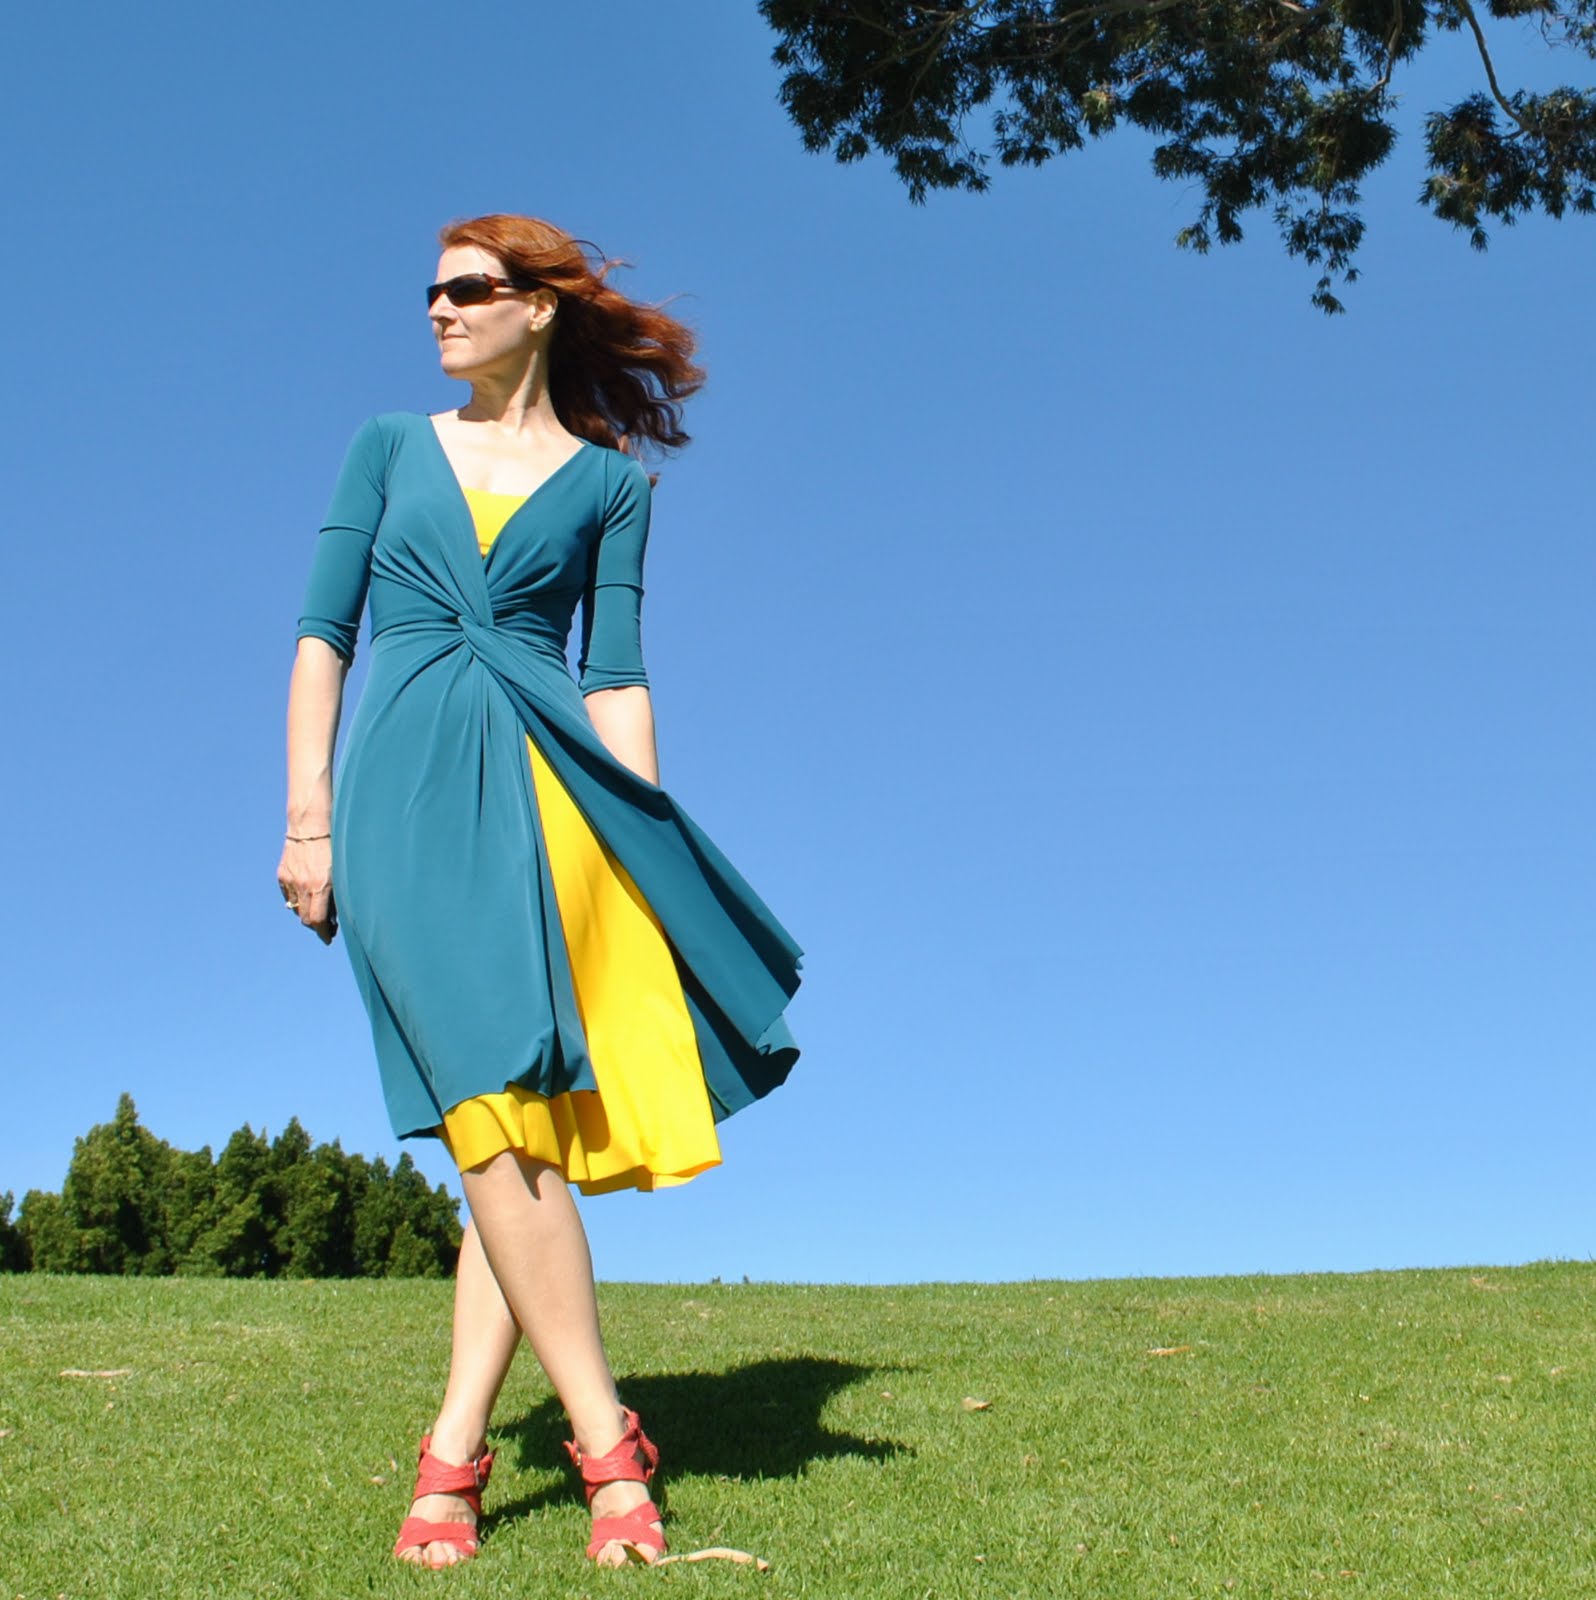
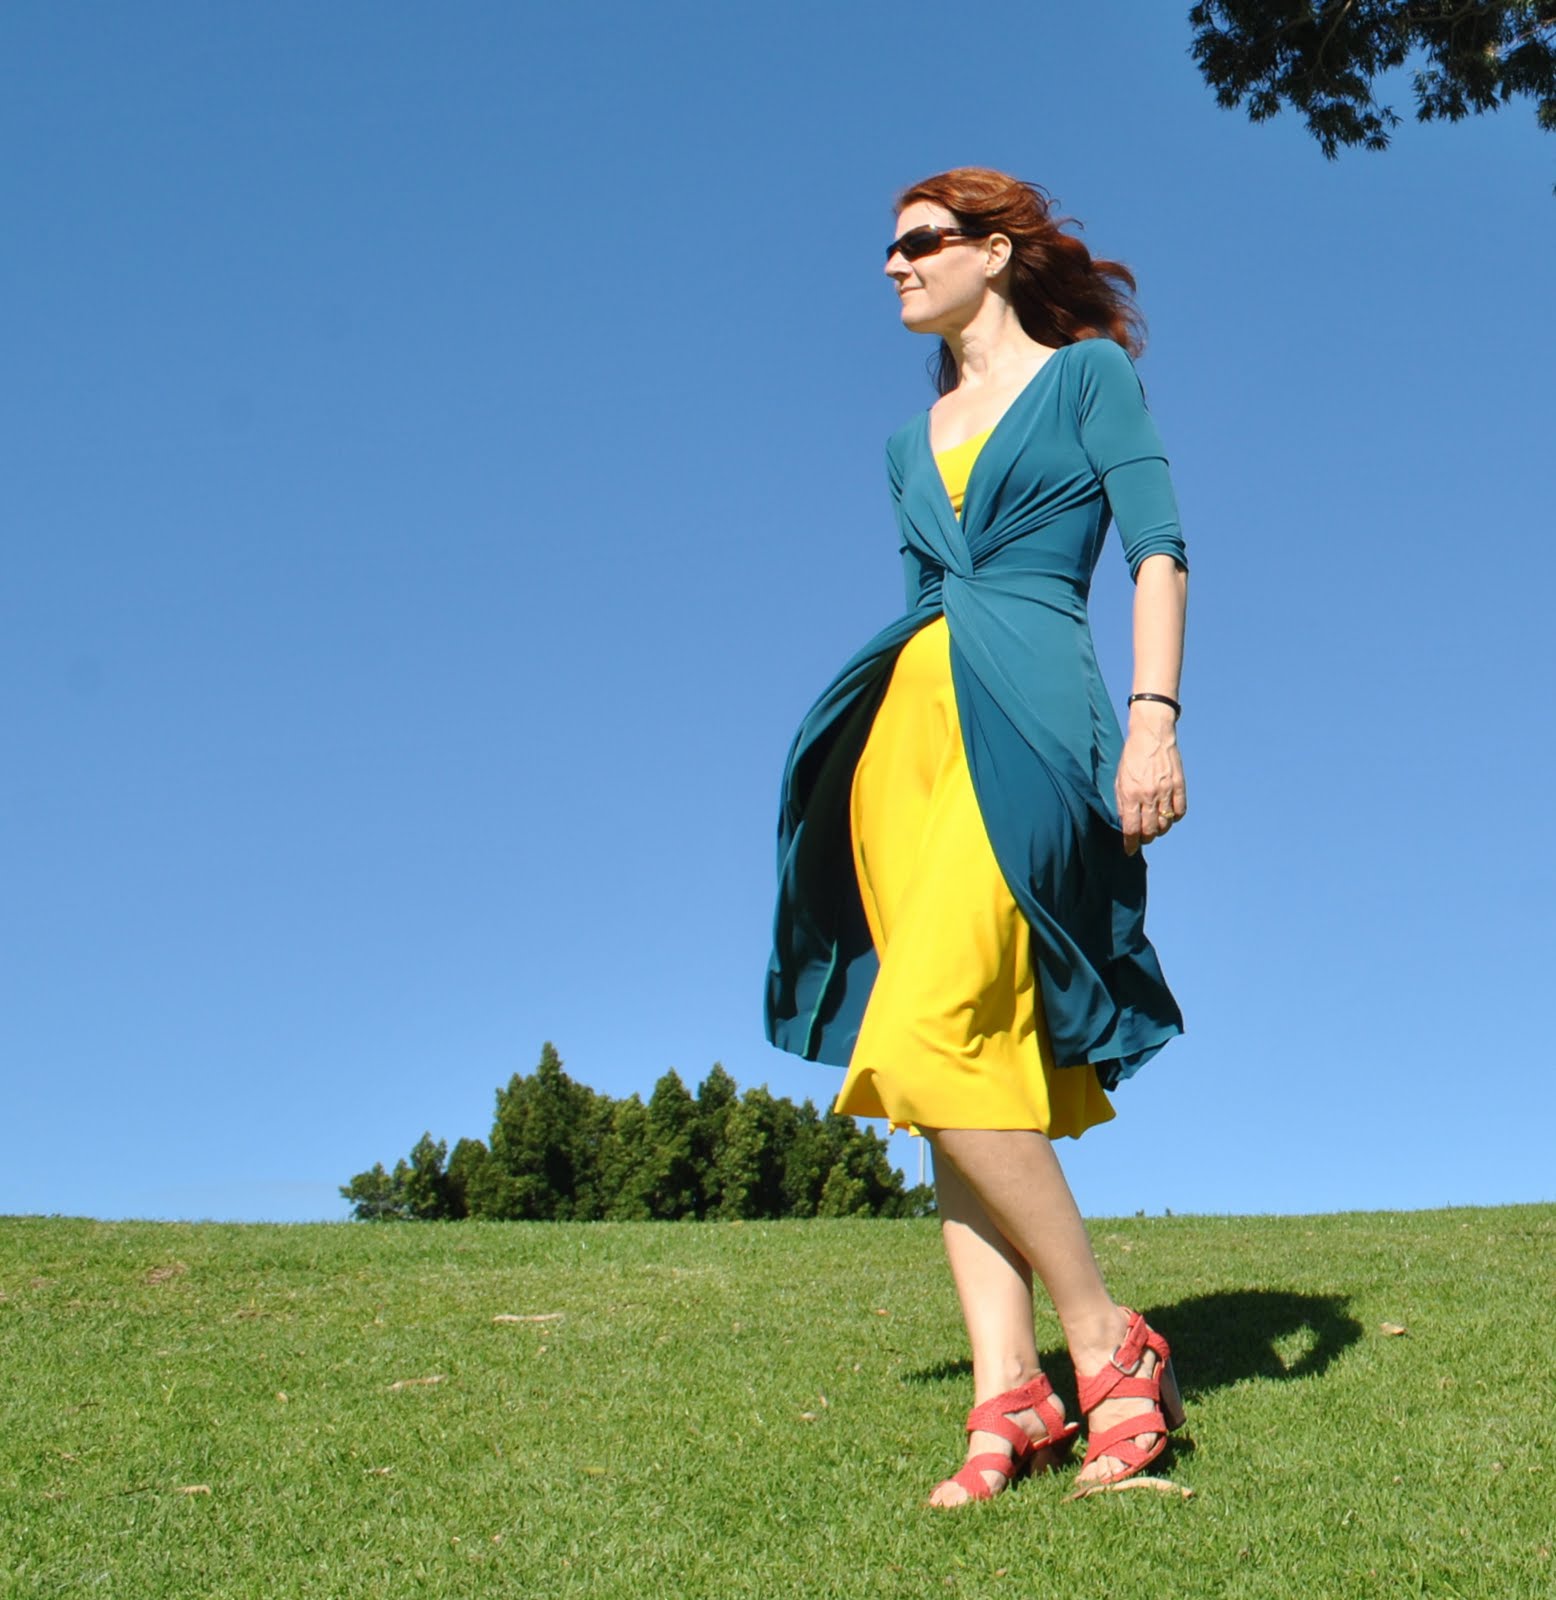
Lol!  And just so you know, stiff breezes are veeeerry common where I live, and especially during spring.  Yaas, just one of the reasons why hairstyles here are very much au naturel…  The design is completely open at the front, and whilst it would be a simple matter to sew up the front skirt seam I decided I like the idea of the contrasting colour to be a strong part of the final look.
Now, I’ve mentioned this before, but it is worth saying again; Pattern Magic is not for the fainthearted who need step-by-step instructions.  You need to have pretty solid sewing knowledge on how to construct and finish a garment before you have a go at these designs.  The designs as they are in the book give no clue about things like facings, closures, tips on construction, even details like sleeves (to sleeve or not to sleeve, that is the question) are often left up to the individual seamstress/seamster.  So for the sake of clarity I will give some details below as to how I finished off this garment… so you can skip this if you want.

Details:
Dress; drafted from Pattern Magic by Tomoko Nakamichi, teal silk jersey
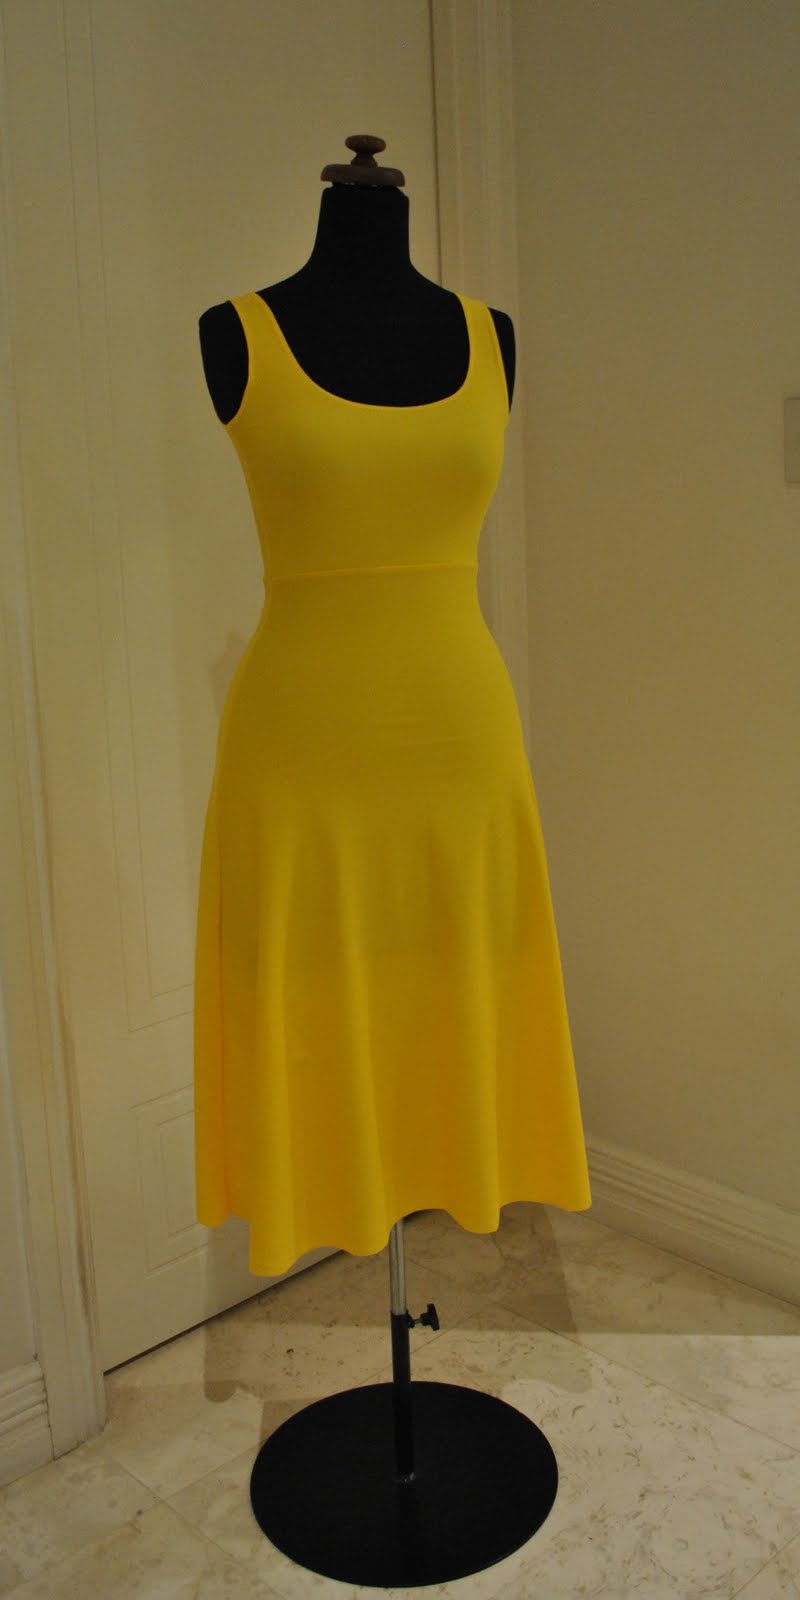
Petticoat; my own design, of yellow swimwear fabric (polyester? spandex?)
Sandals; Pedro Miralles, from Soletta shoes

I drafted and cut the front neckline edge facings as part of the fronts, and folded them to the inside of the dress so the shoulder edges sat wrong sides together…
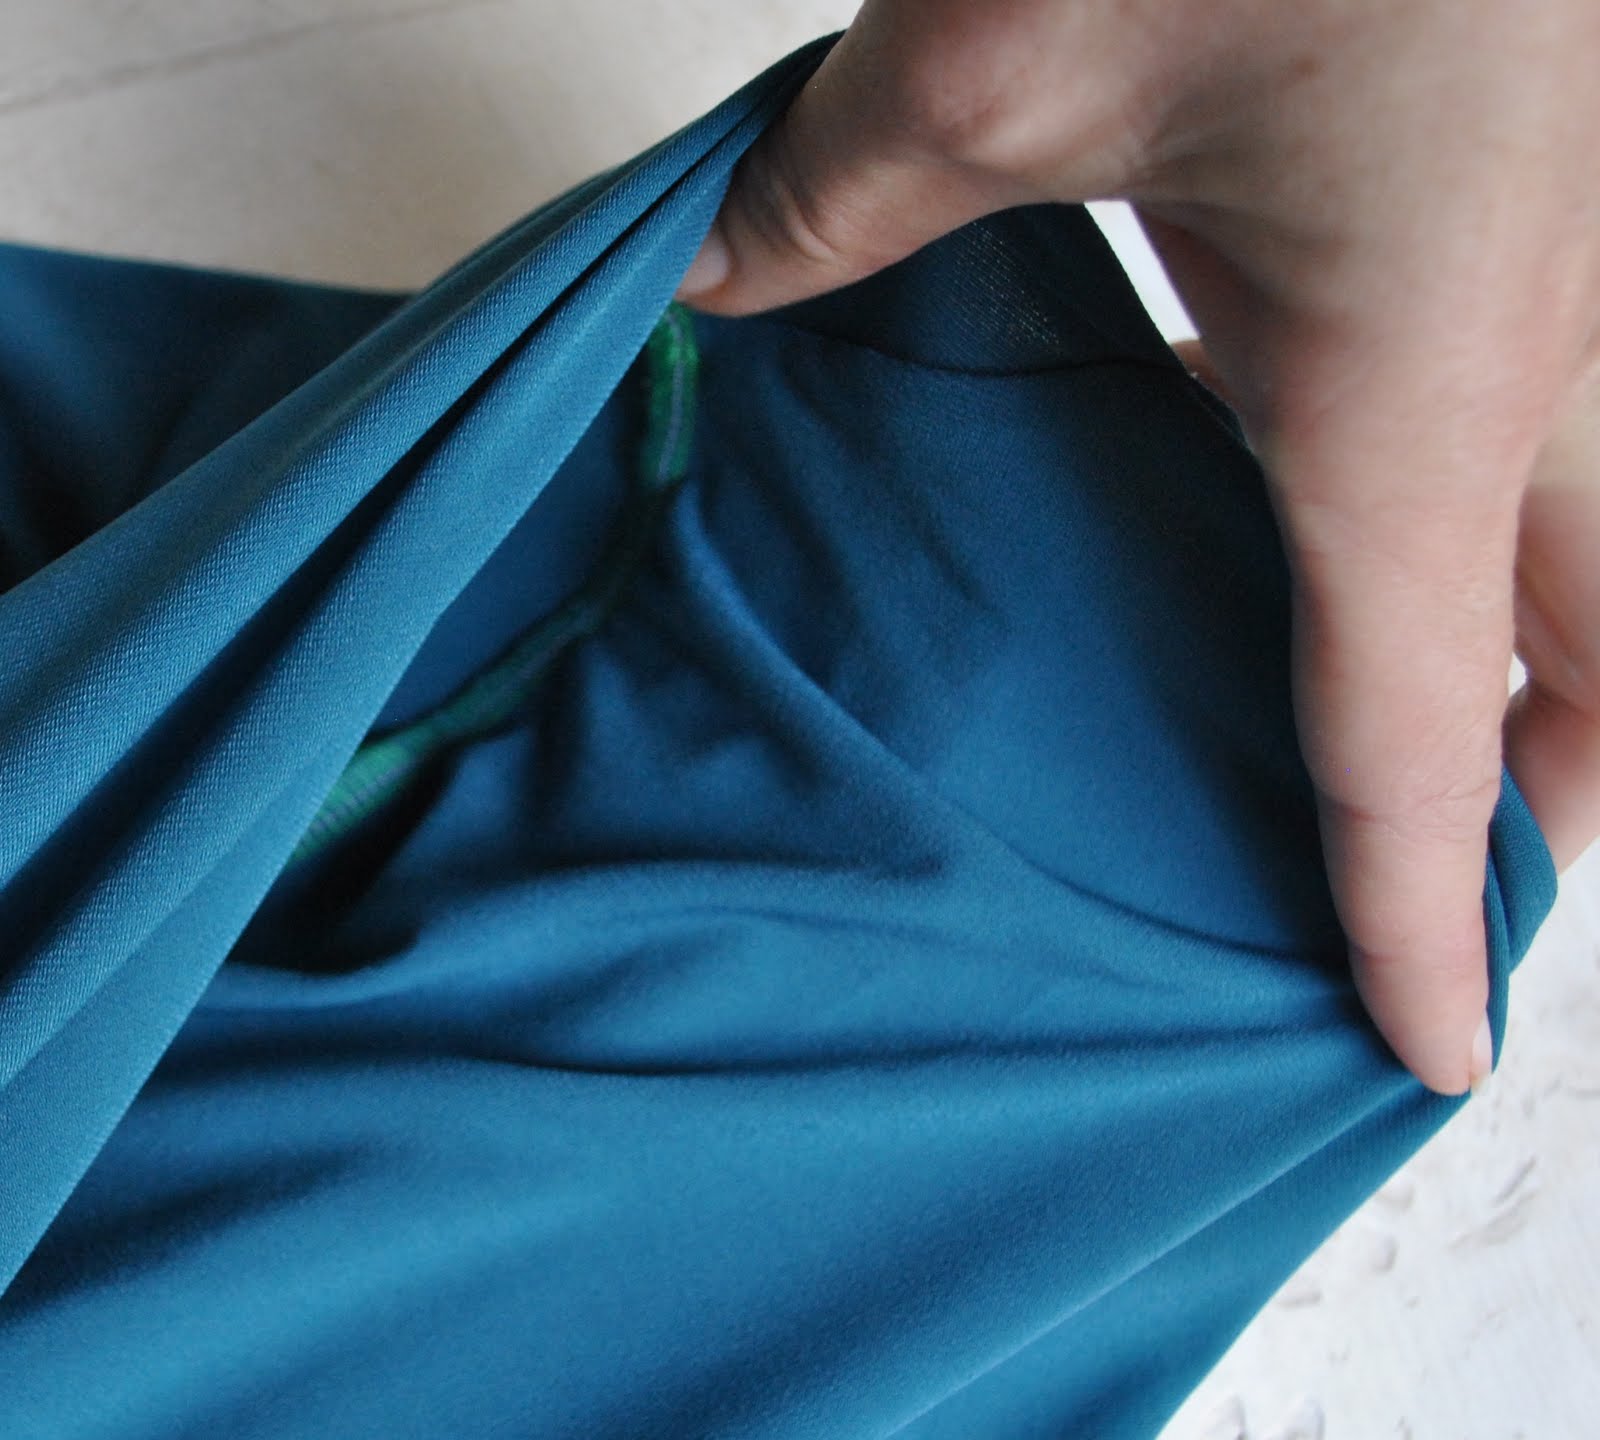
I also drafted and cut the back bodice partly on a horizontal fold, with the fold at the back neckline… so the facing of the back bodice is part of the back bodice also.  It finishes about halfway down the back bodice.  This saved having to finish off the back neckline, and also allowed me to enclose the front shoulder edges within the back shoulder edges in a nice clean close-in seam… see, the neckline has no seaming showing!  (self high five)
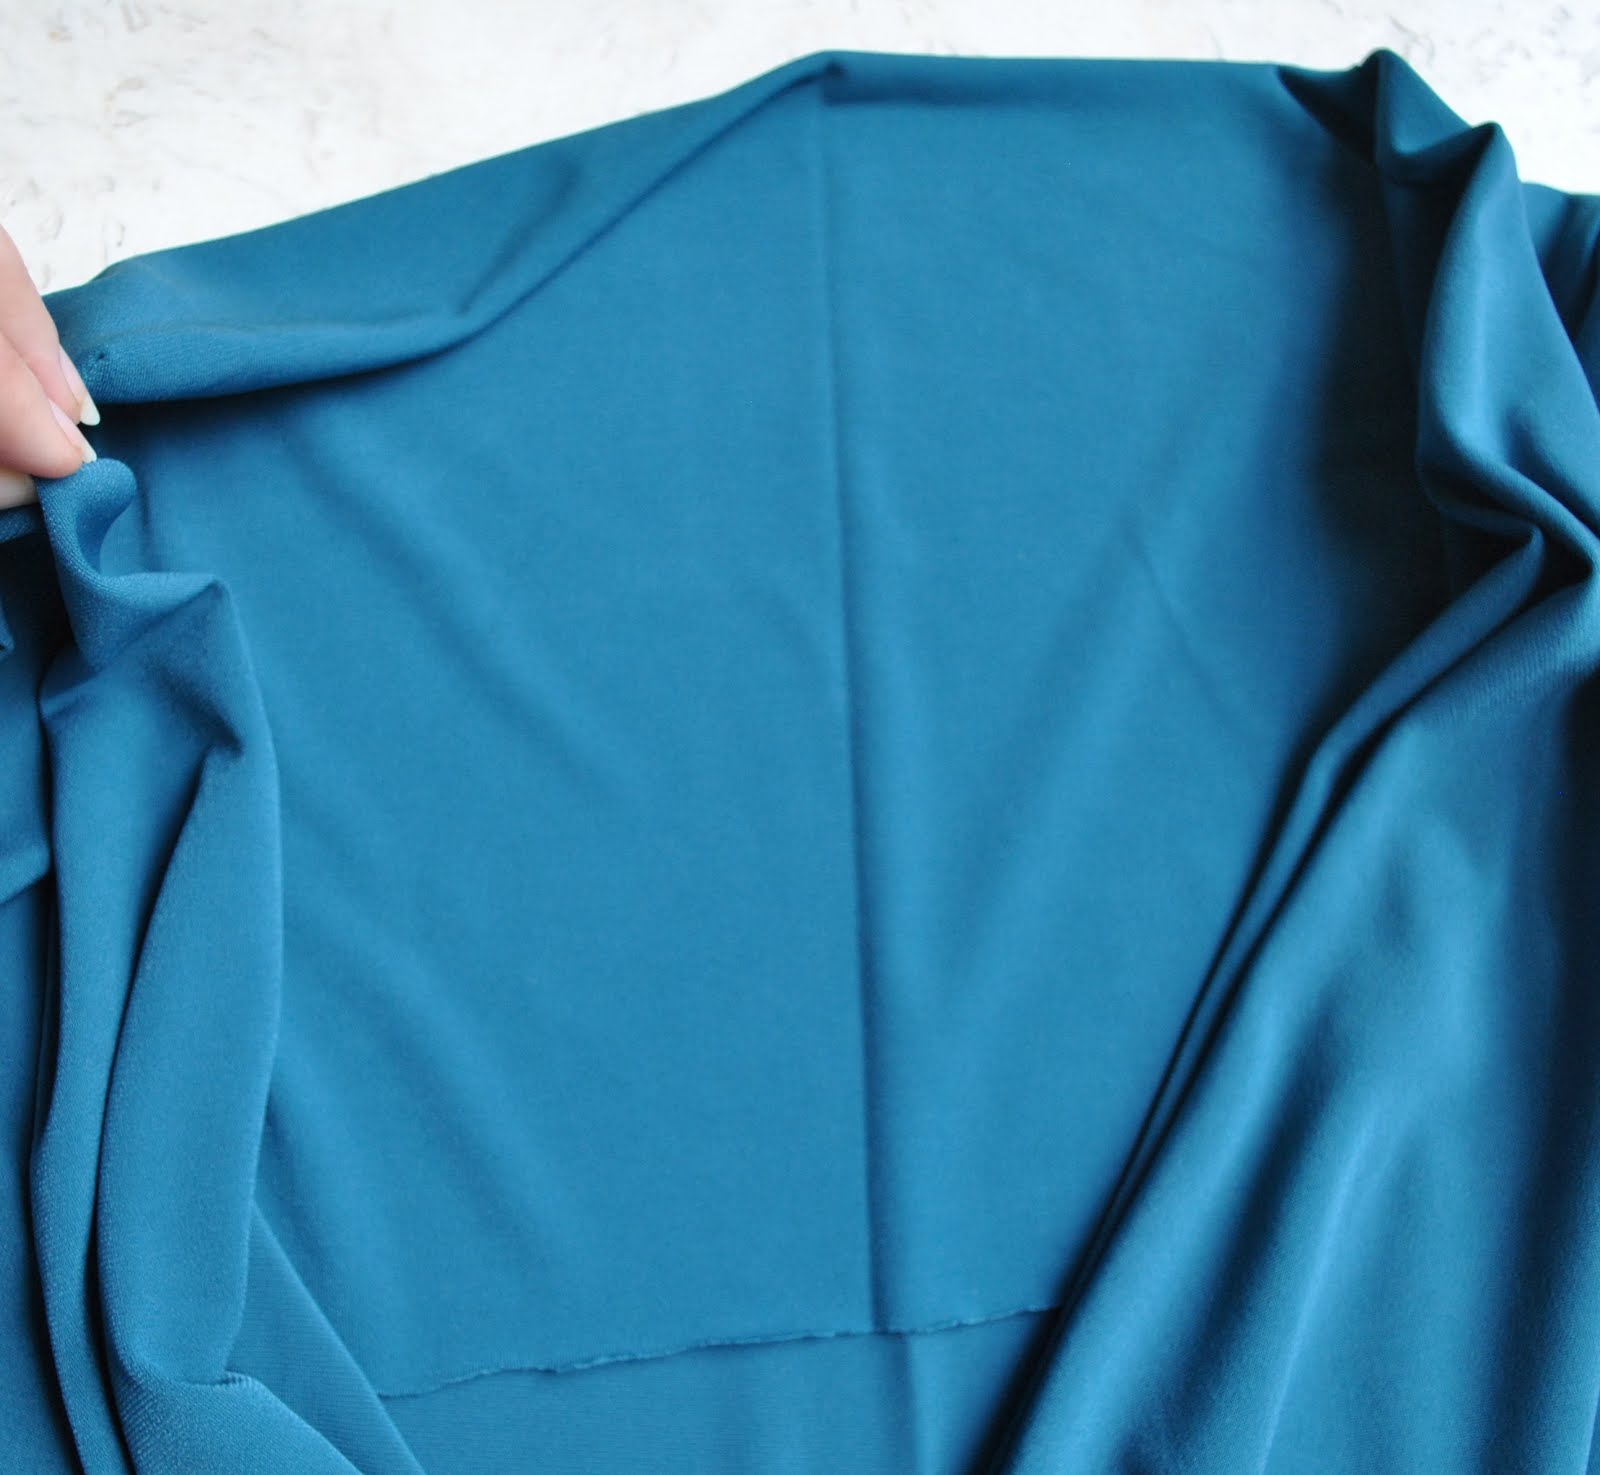
I felt pretty chuffed when this bit worked out OK.
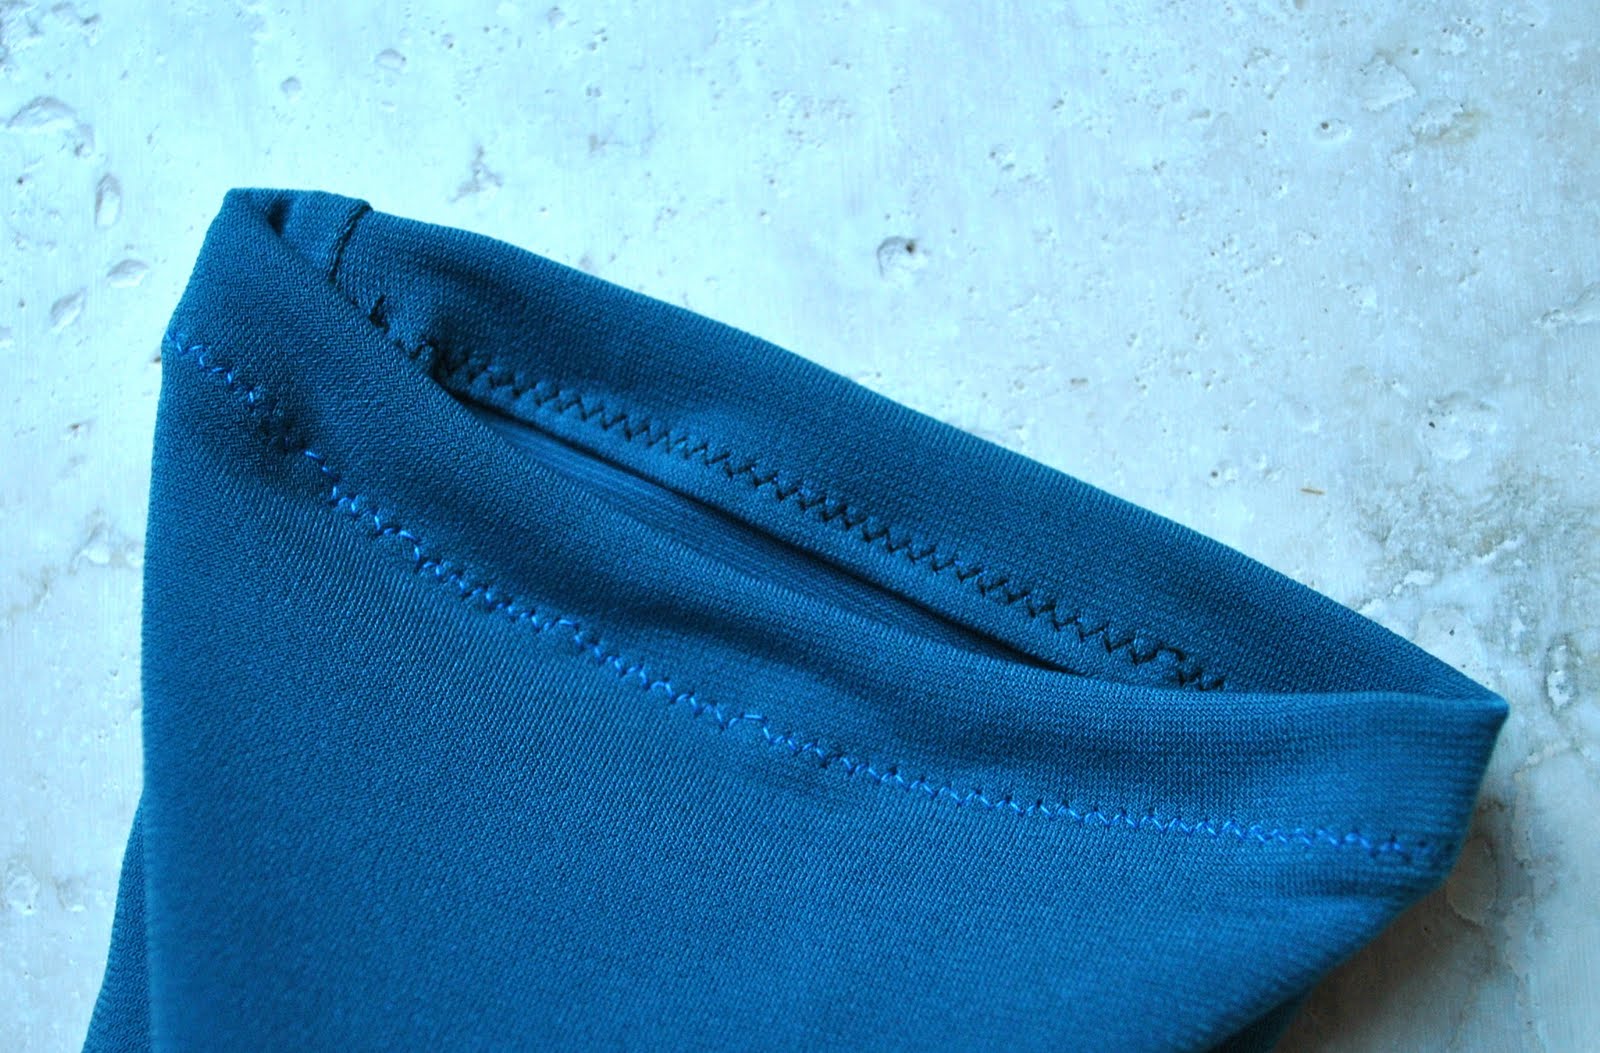
I drafted a sleeve using a Tshirt I already had; that green internal stitching you see above is the sleeve set-in.  The only topstitching on this garment are the sleeve hems.  These were simply twice folding in 1cm and topstitching with a zig-zag stitch.  The bobbin thread is black while the topstitching thread is blue; and yah, I’m okay with that.
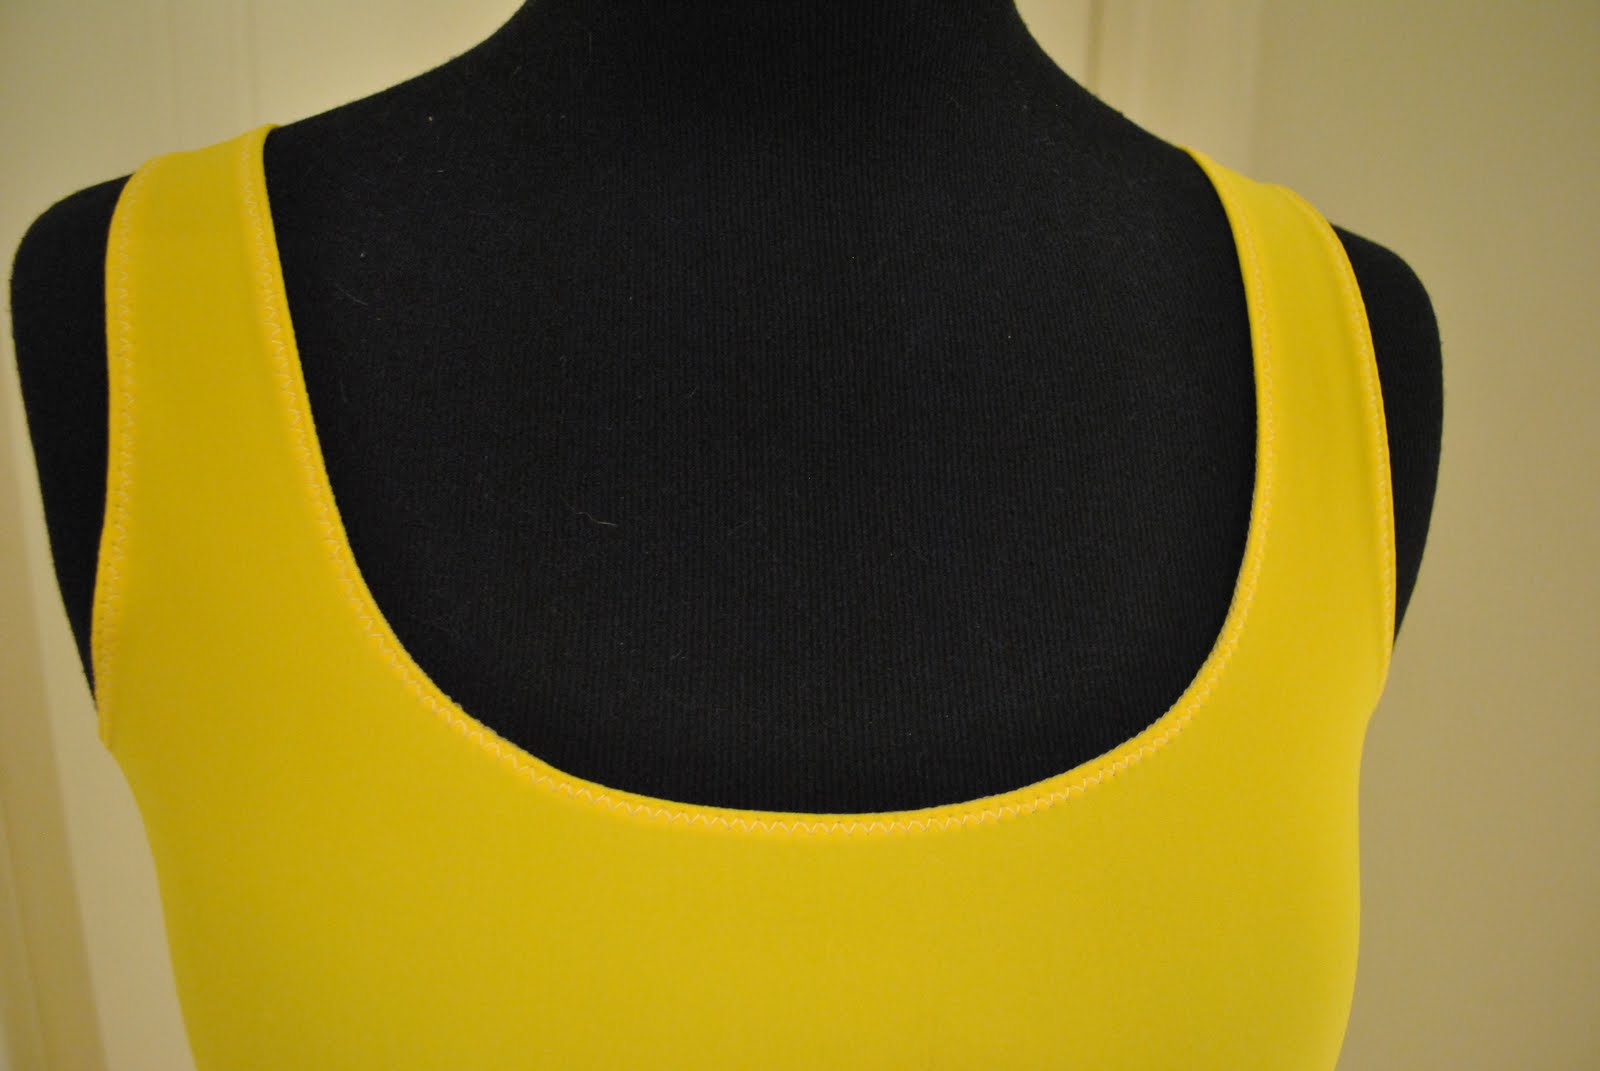
The petticoat is self-drafted, based partly on Tshirts I already had, as well as pinning and fitting to myself.  The bright yellow stretch fabric I used for the petticoat is actually swimwear fabric; so theoretically, on a hot day I can just flop in the pool in it!   It is a lot thicker than the turquoise silk jersey.  After experimenting with a few finishings for the neckline and armhole edges, I eventually settled for serging the edges to stabilise and then folding to the inside once and topstitching slowly with a wide zig-zag stitch, being careful not to stretch the fabric at all.  All the other seams are overlocked.
The lower hems on both dress and petticoat are not finished because these fabrics will not unravel or fray.  I just cut the fabric as straight and as smoothly as possible.
pinterestmail

Weddings, parties, and other special events…

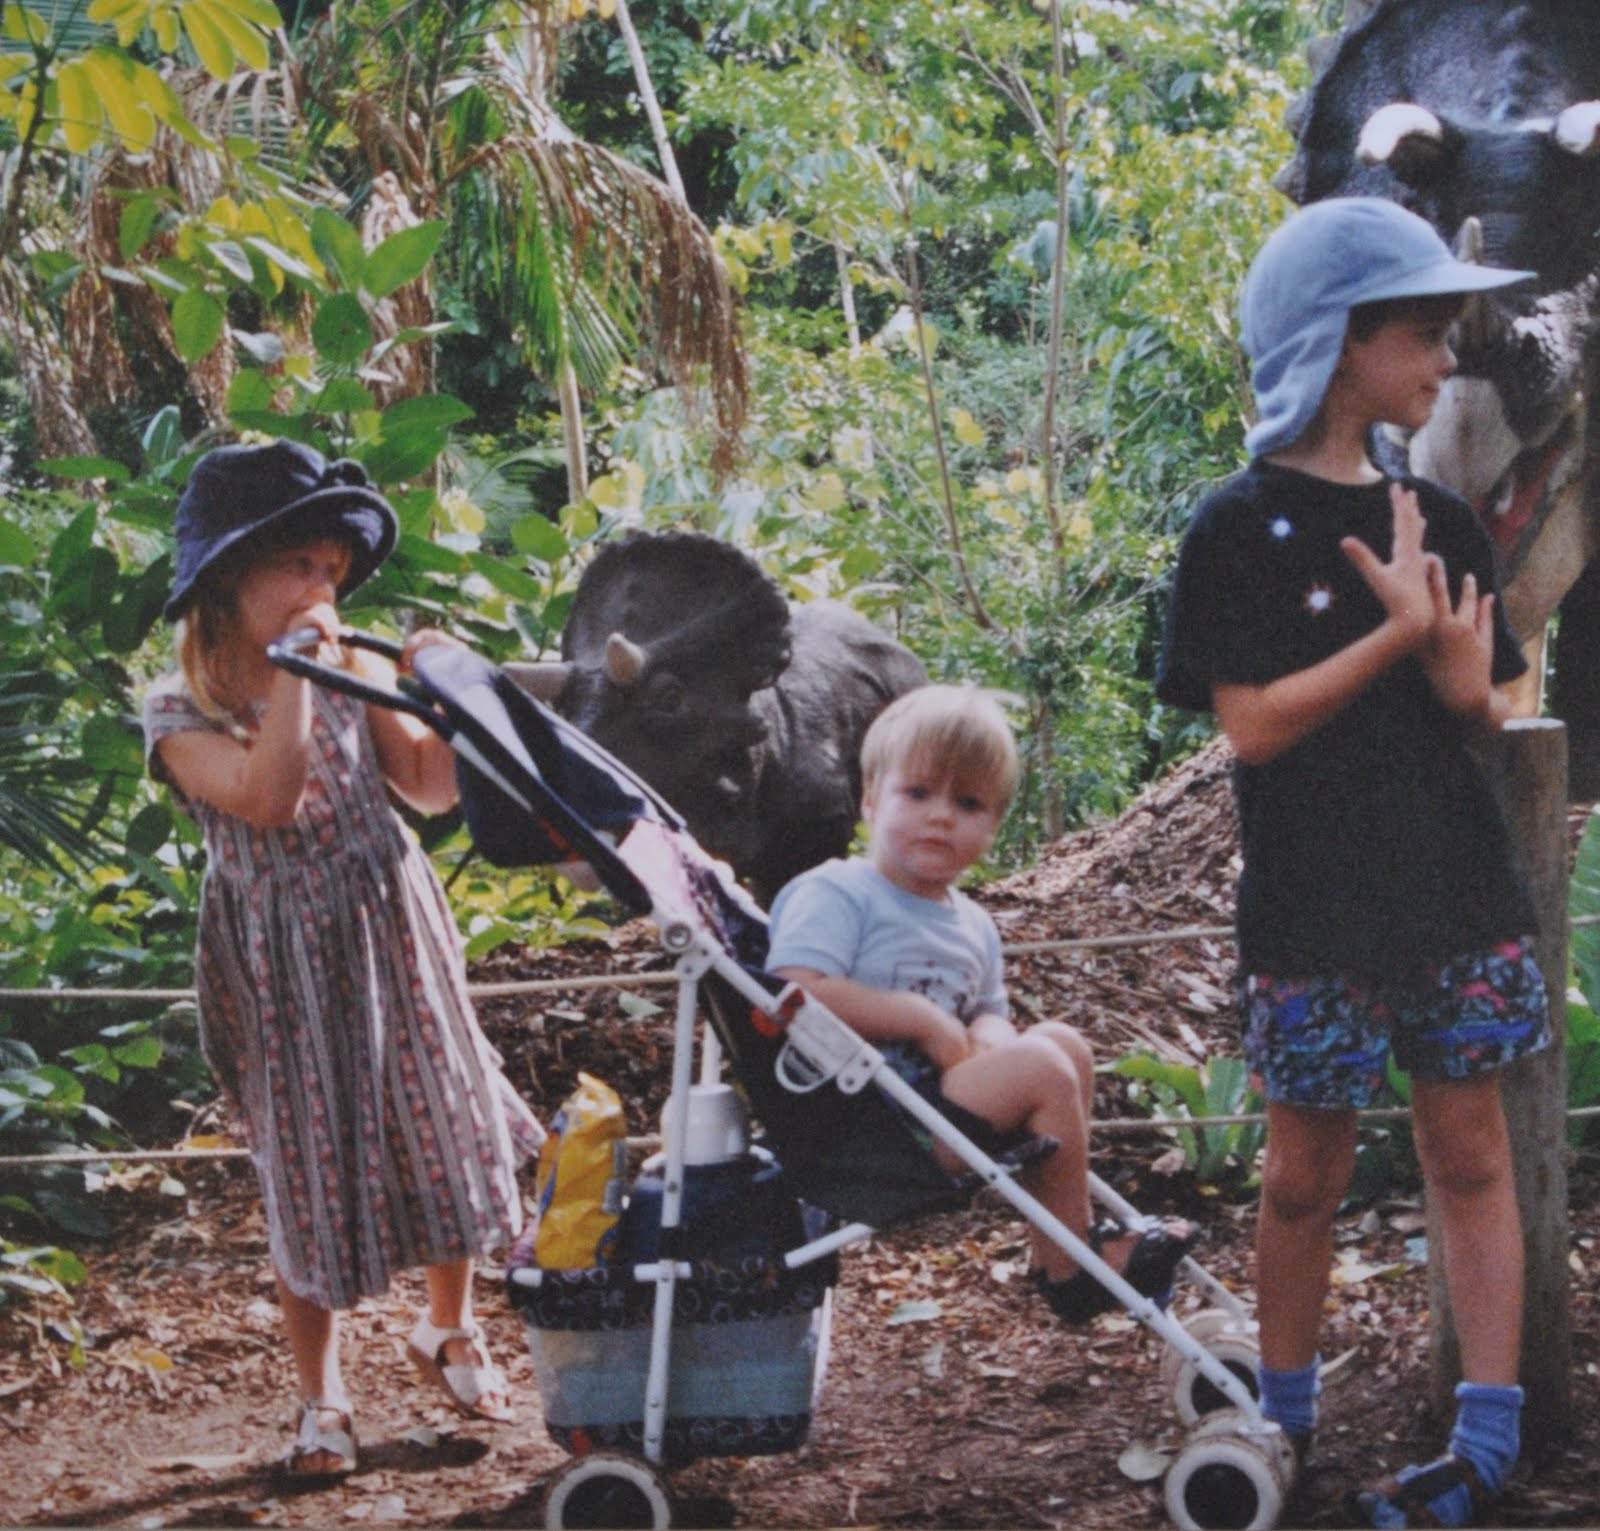
… seem to be the only times we ever took any photos of our family.  So thank goodness for those!  
I didn’t do a heck of a lot of sewing when I had three tiny children.  I do have an excuse.  I had three tiny children…
But I did manage to churn out a few little things.  Oh including, come to think of it, the quilts for all our beds.  They were major.  So I guess I still got a lot done.
Here are some other things:
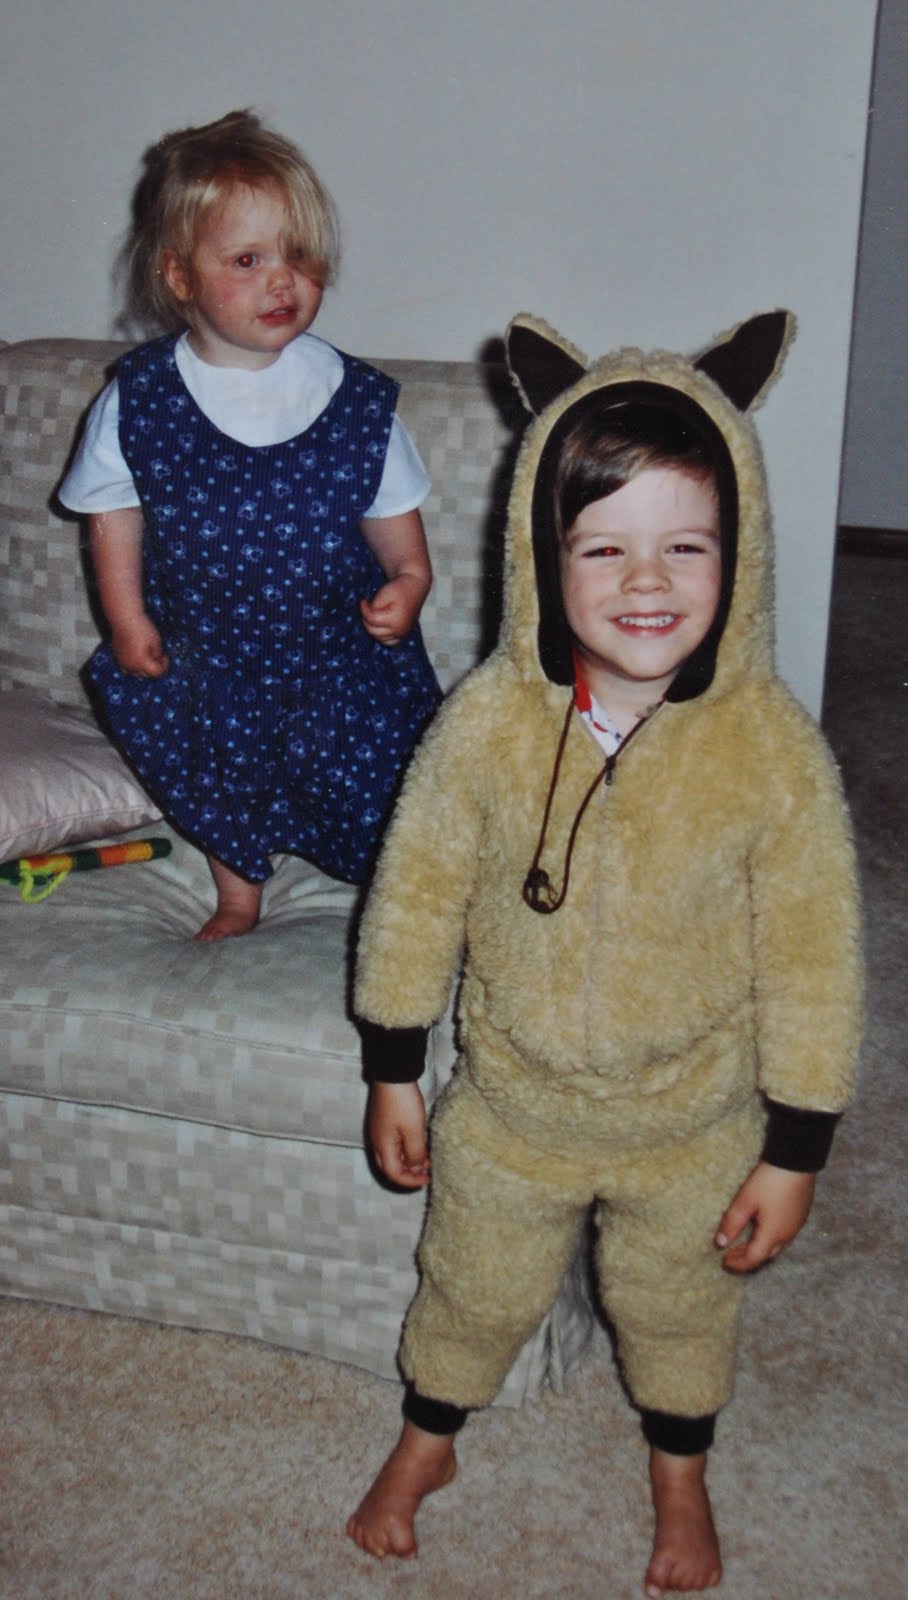
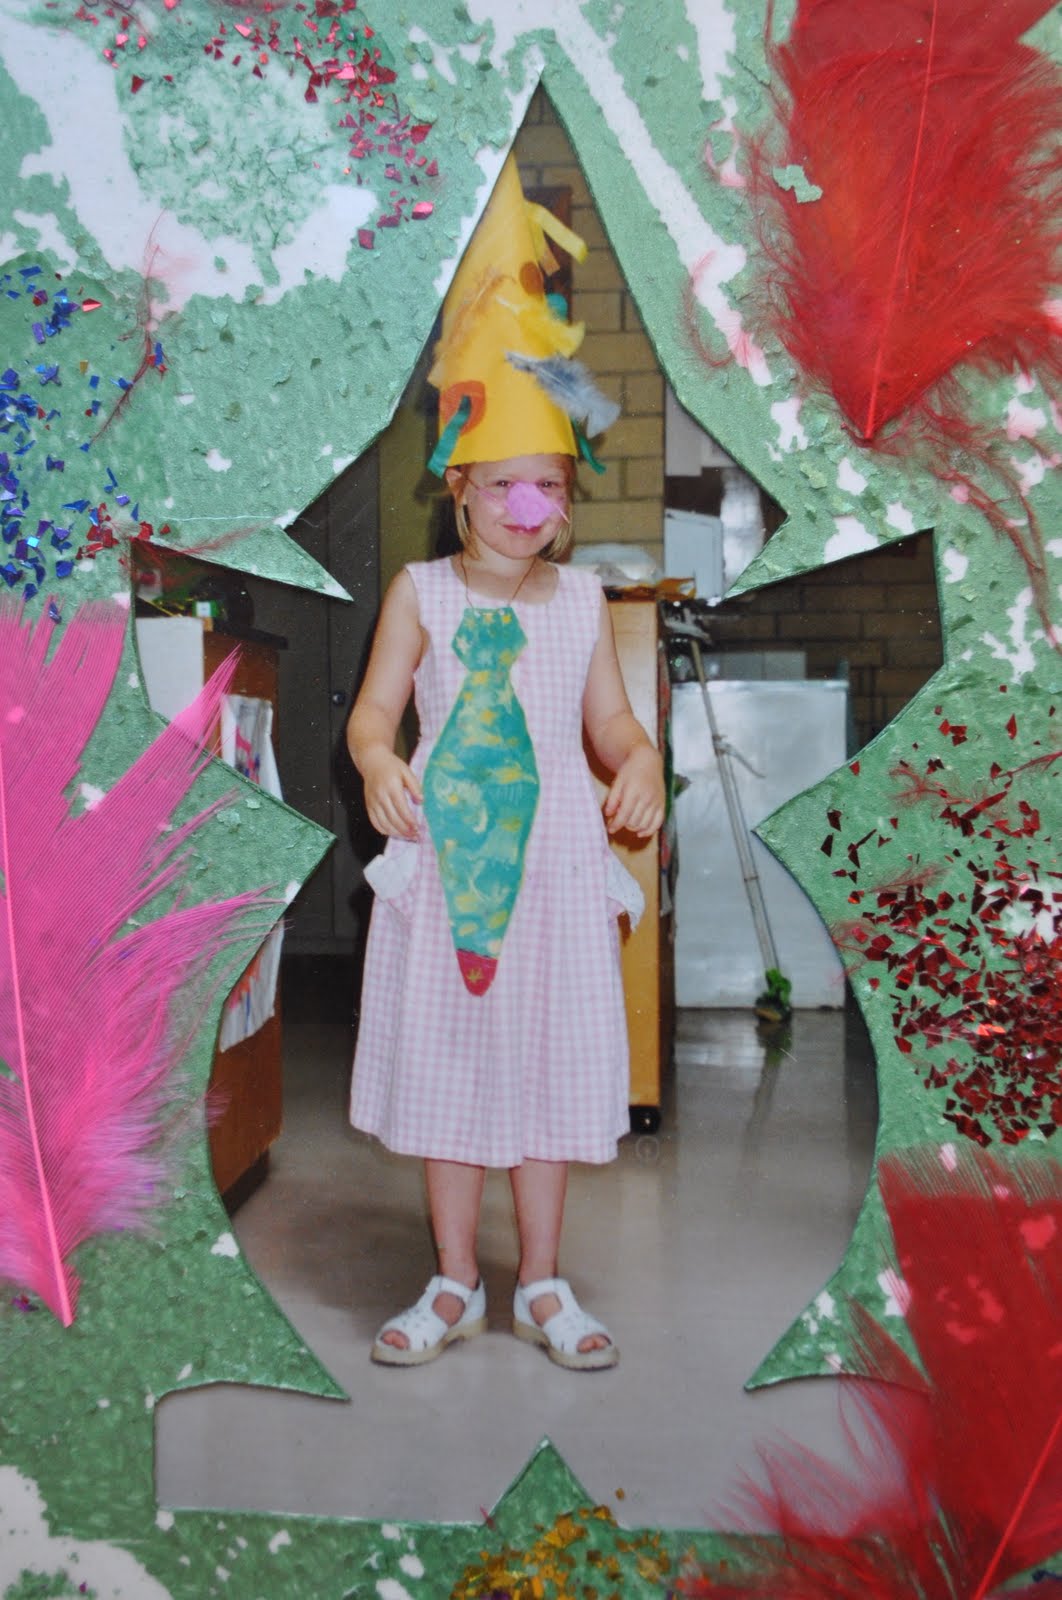
Book Week wasn’t a big thing when my children were little like it seems to be now.  But I recall a few sporadic requirements for costumes.  I didn’t make this fabulous dog costume, loaned from a friend, but I did make the little top and pinafore that my grubby little daughter is wearing in the background.  Another TopKids pattern.

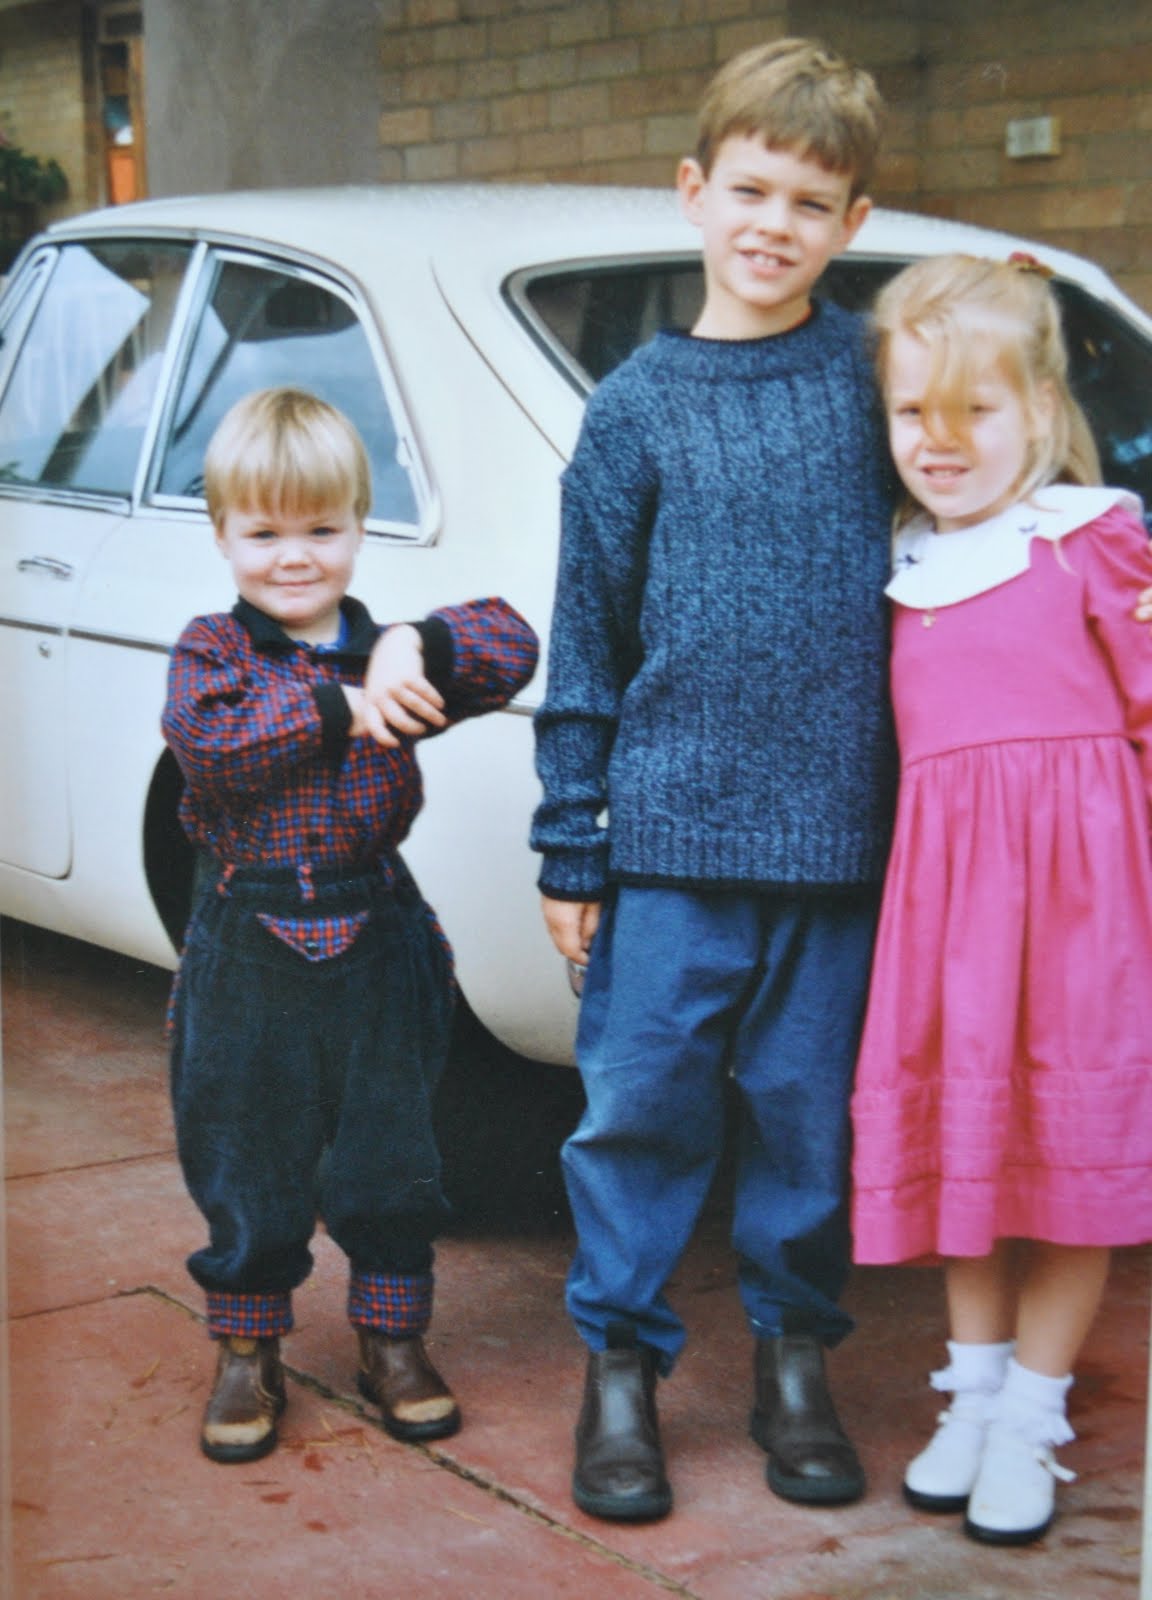
Here on the left is an outfit made just for Sam (see, he didn’t miss out!), a tartan button-up shirt and some navy corduroy jeans with some of the tartan using in the detailing, to make it a co-ordinating “outfit”.  I was into “outfits” for my kids back then, and always made tops and bottoms to match each other.  Both were using TopKids patterns.

Following are three little dresses I made for my daughter, using the same Simplicity pattern, a very nice design which had a button-up front bodice, and a sash inserted in the side seams to cinch in the waist with a lovely big bow at the back.  Or a rough knot of some kind, depending on how busy her mother was that morning… 

I customised the pink gingham version with lace edged pockets.  It was one of my favourite dresses for her at this time. 

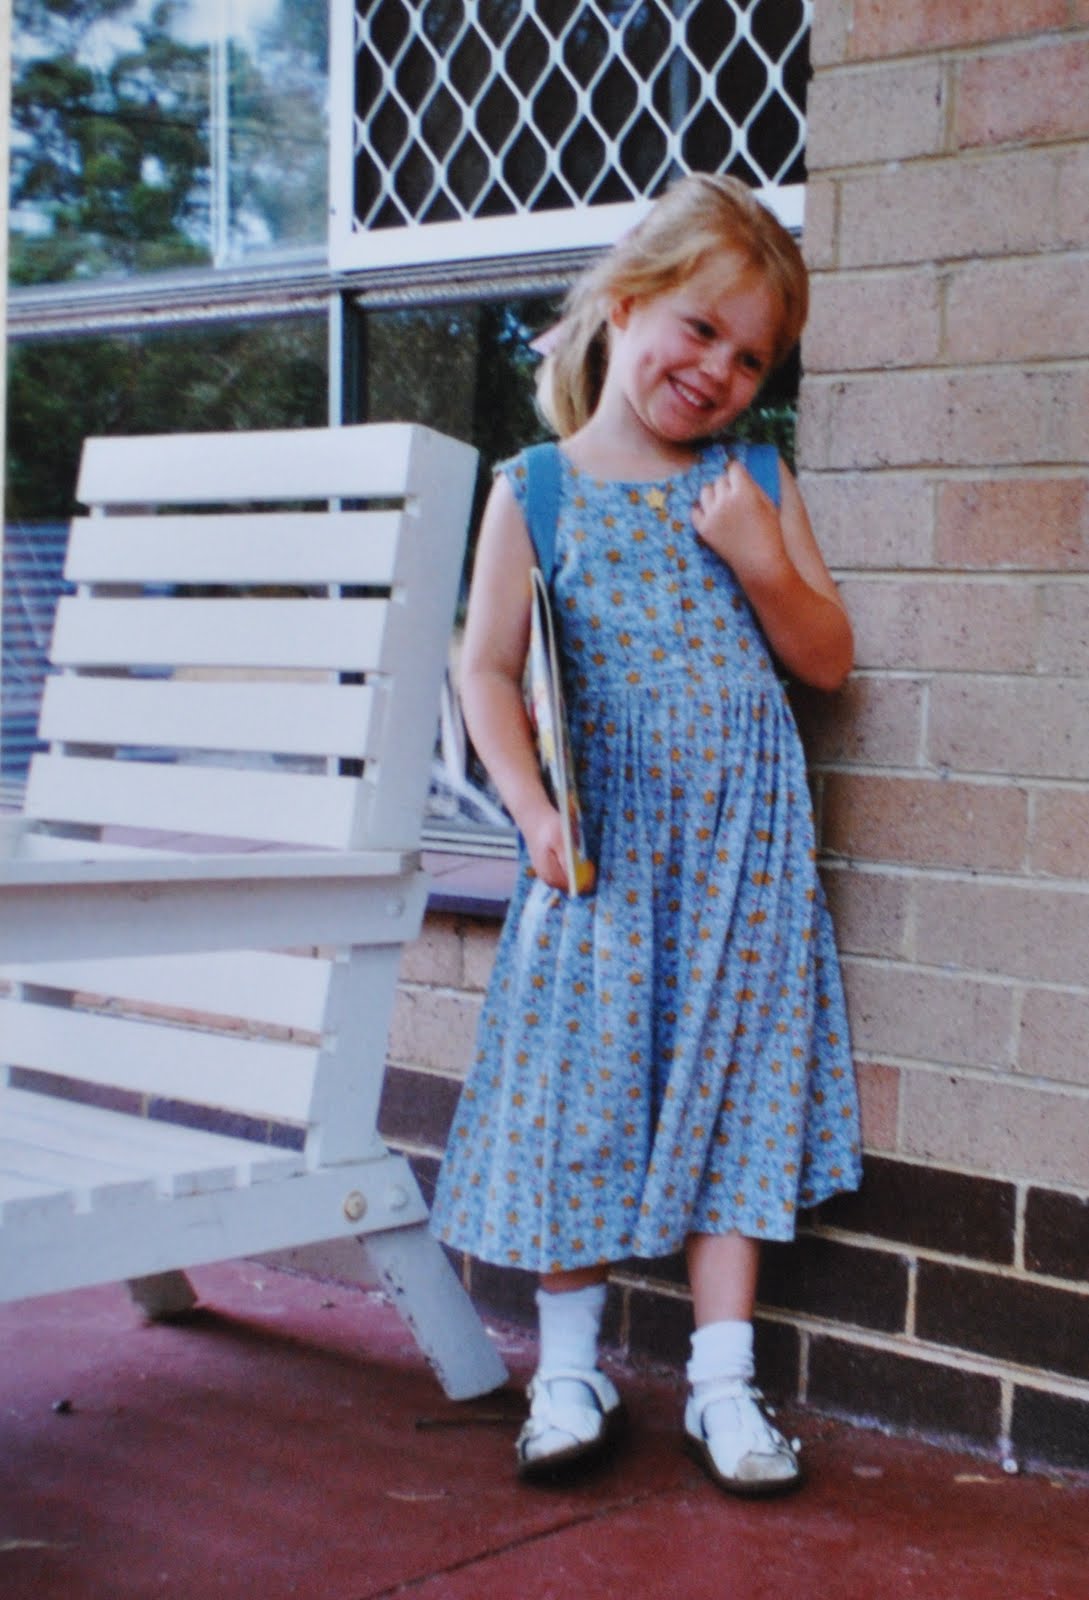
The blue one here had gold stars printed on the fabric, and I sewed on a single star shaped button at the top, like a brooch.  In this picture, her first day at pre-school, she is standing beside a white wooden chair that Craig made, and I painted.  It was made of jarrah, so it weighed a tonne!

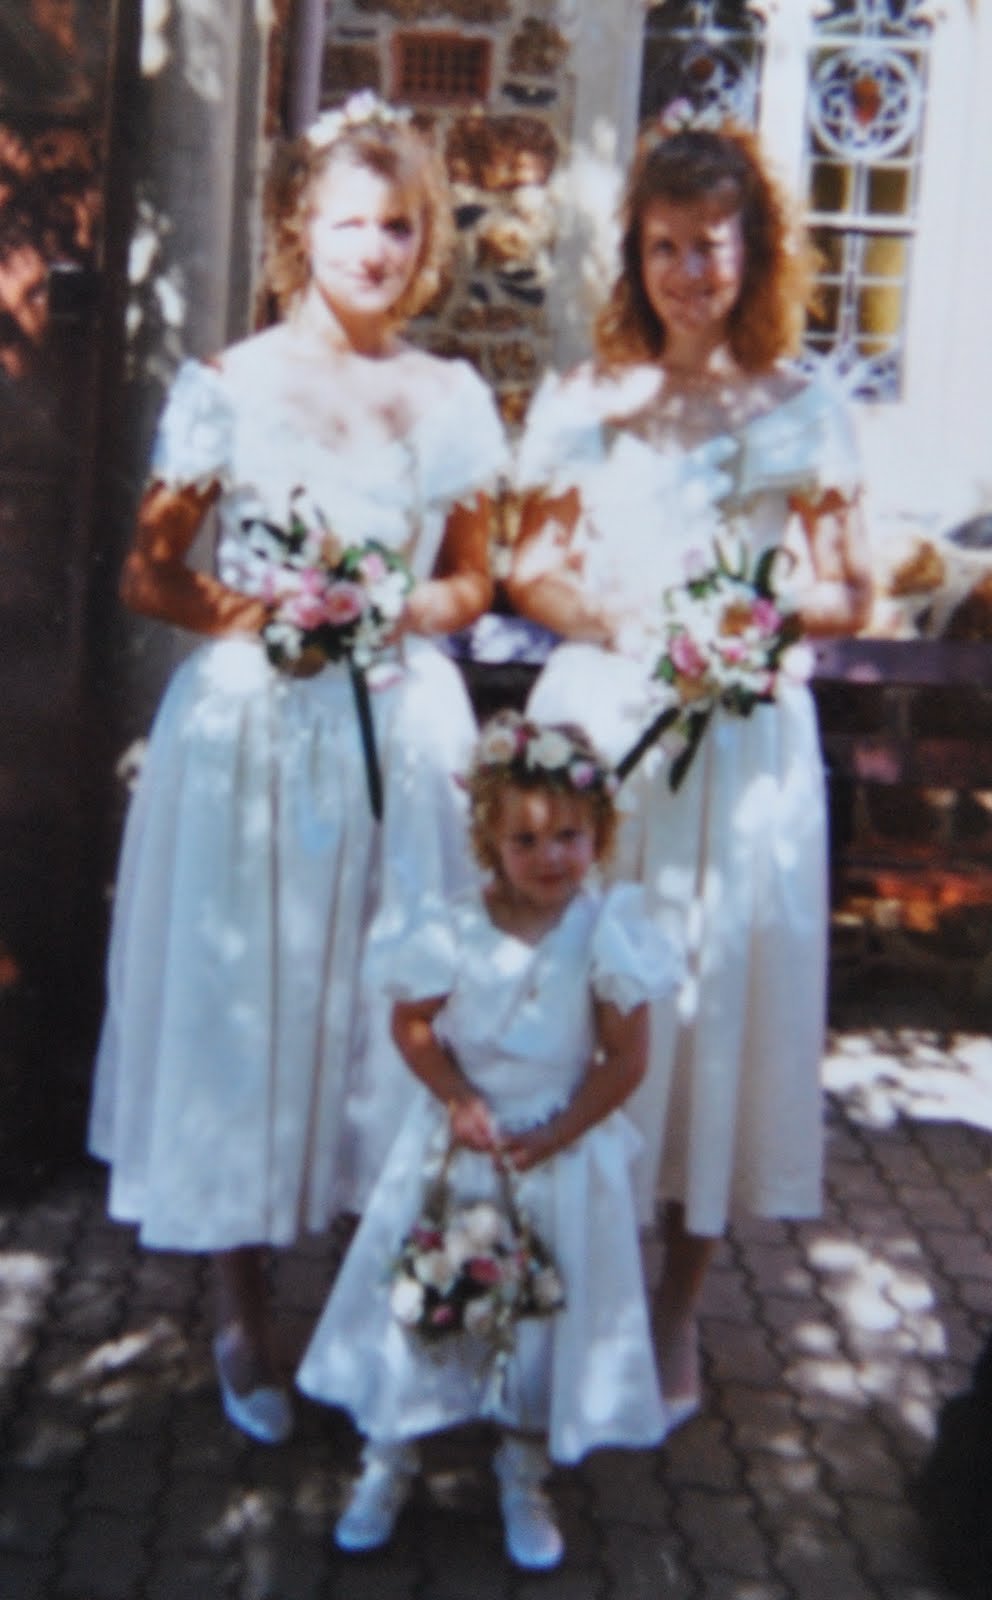
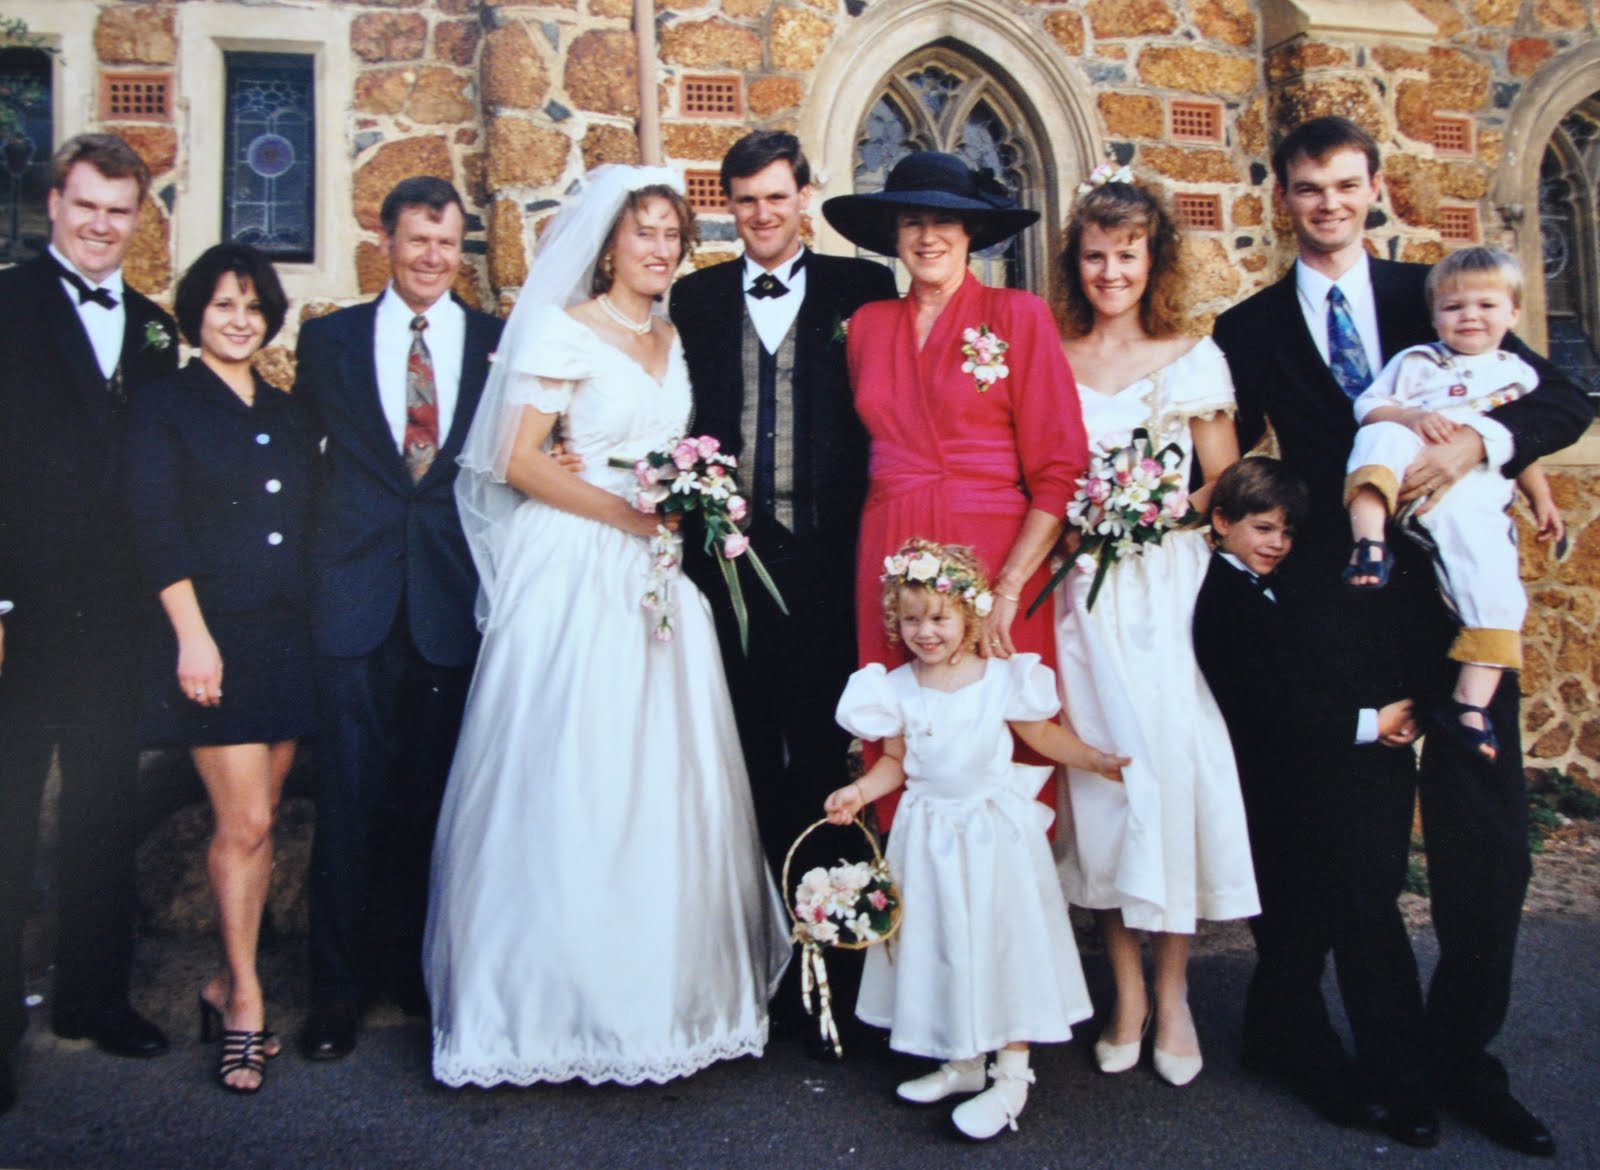
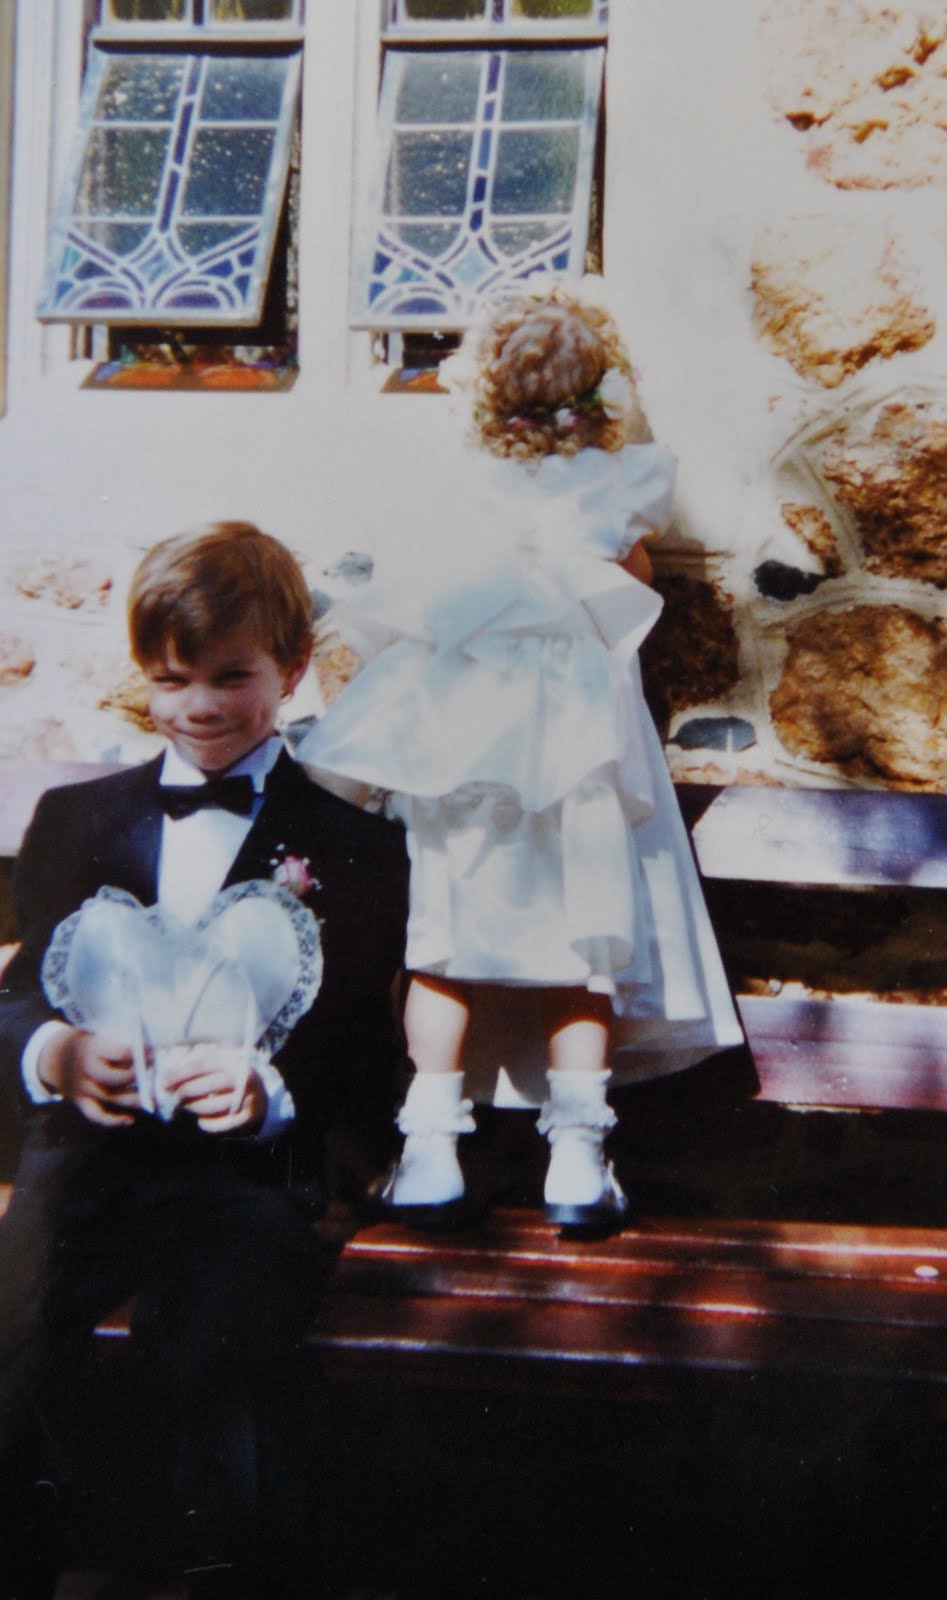
And my brother and sister-in-law’s wedding… I made the two bridesmaids dresses and the flower girls dress.  And yes, now I do wonder at my own sanity at attempting this feat when I had all those little children underfoot at home…  but I managed it!  (Sorry about the grainy picture, but this is the only one I have of all three of us)

(This isn’t necessarily illustrating any extra in the way of handmade-ness, but I included it because I just really love this picture.  This is my wonderful family, including my parents, my two brothers and my two sisters-in-law)

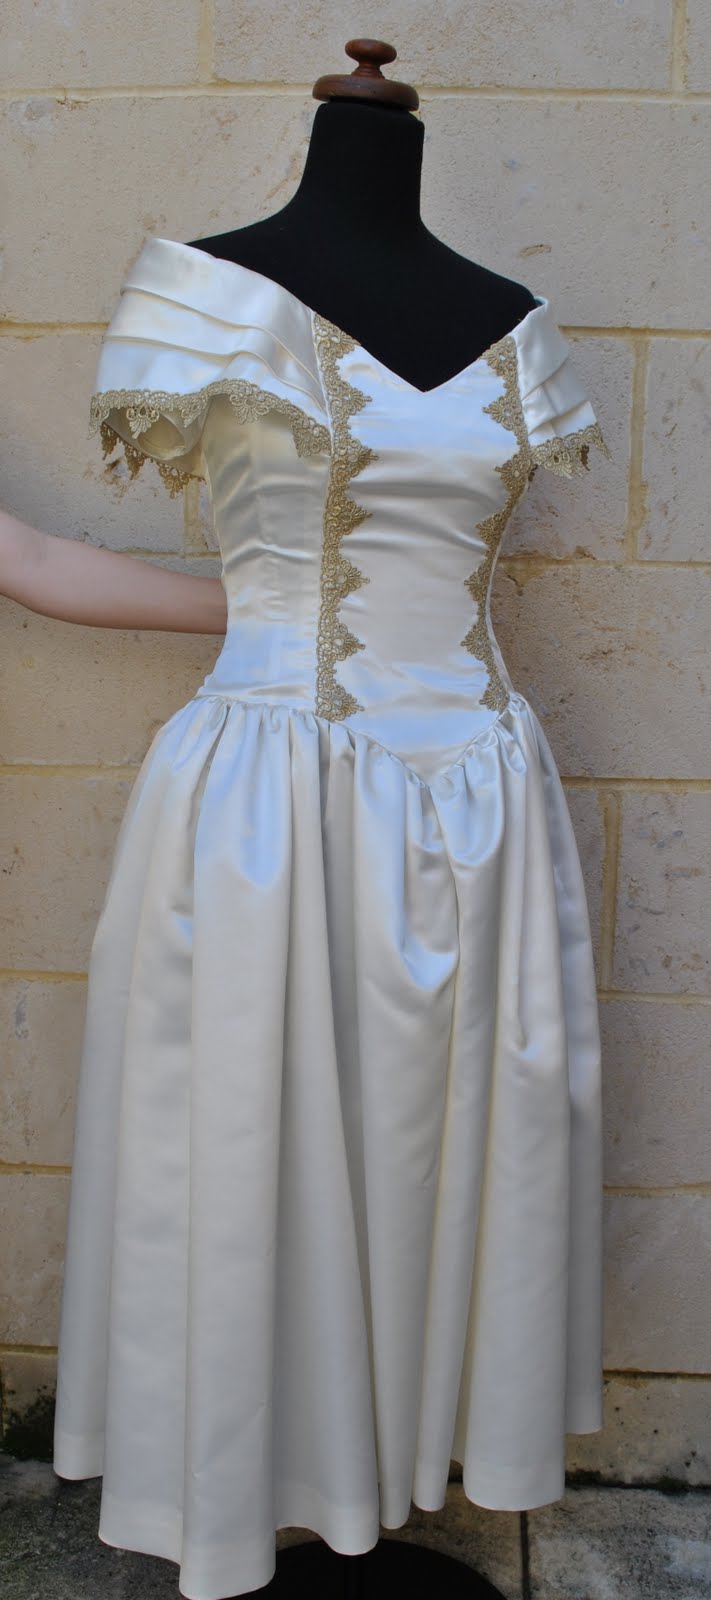
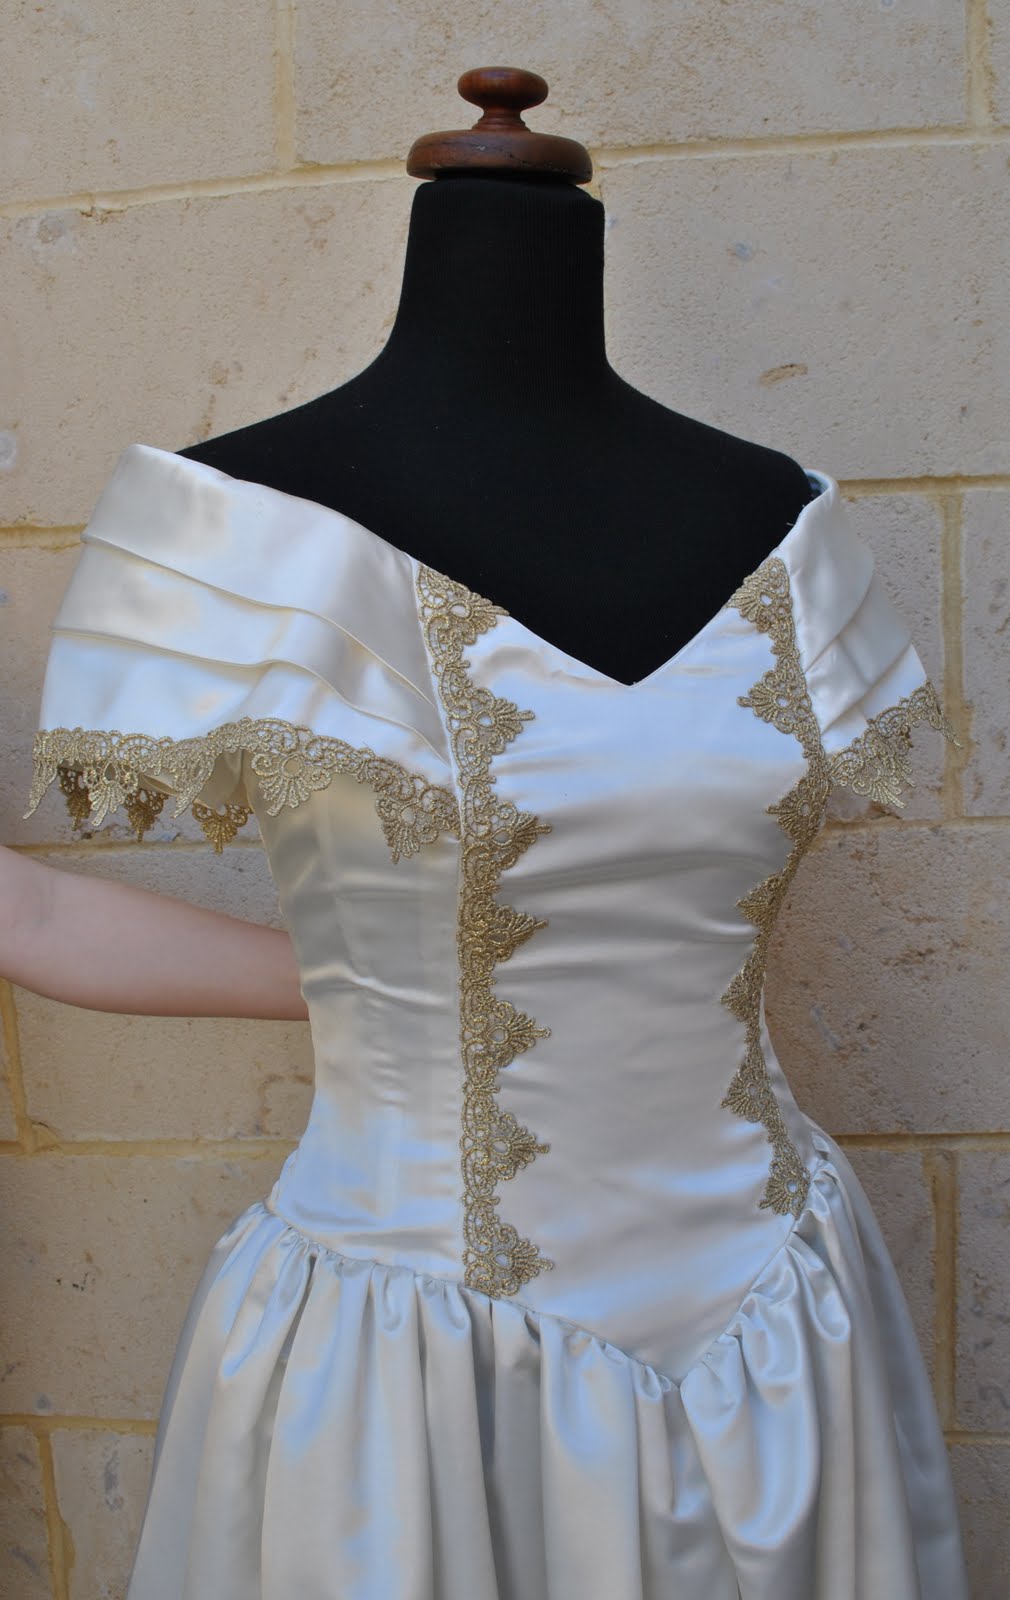
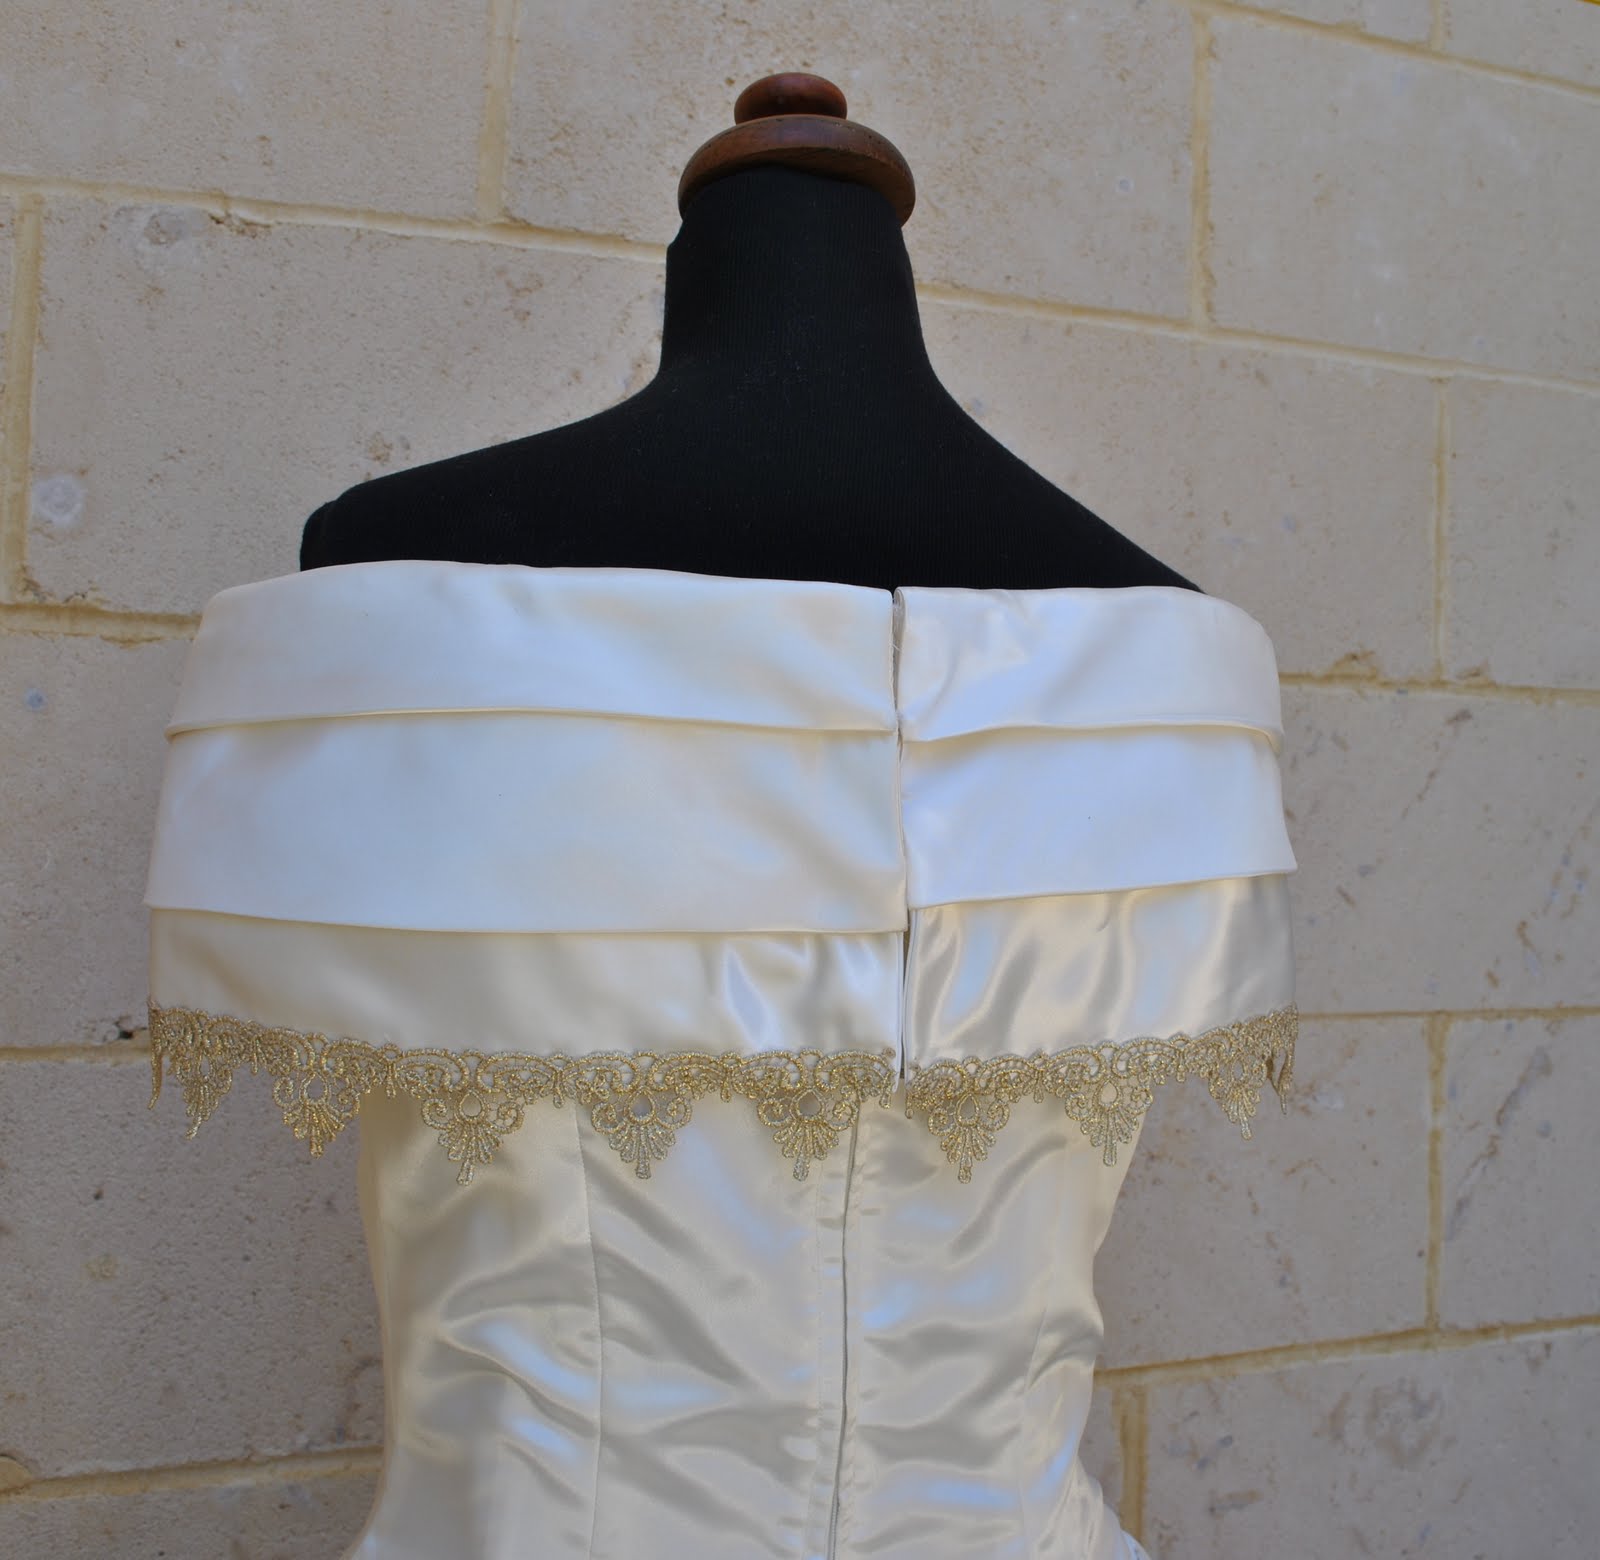
 The two bridesmaids dresses were from a Vogue pattern, and had boned bodices, with a lovely and very flattering folded portrait neckline.  I hand-sewed on all that gold lace, and miraculously got the motifs to fit perfectly on the two different sizes so I would not have to chop any in half.  Cassie’s little flower girl dress was adorable, and had a miniature sweetheart neckline, big puffy sleeves, cascading ruffles down the back of the skirt and a big bow tied in the small of her back.  Sigh…  both my dress and hers have been passed on, and I only have C’s dress (the other bridesmaid), which is pictured below.  It is a bigger size than Bessie who is modelling it here, thus necessitating Cassie’s hand you can see there unobtrusively pulling it in at the back to illustrate what it actually looks like when it fits the wearer.
Of course now I look at it and see multitude little imperfections, but at the time I was pretty darn proud of myself.

pinterestmail

Arrowhead tabs; or, Ways to fancy up your shirt

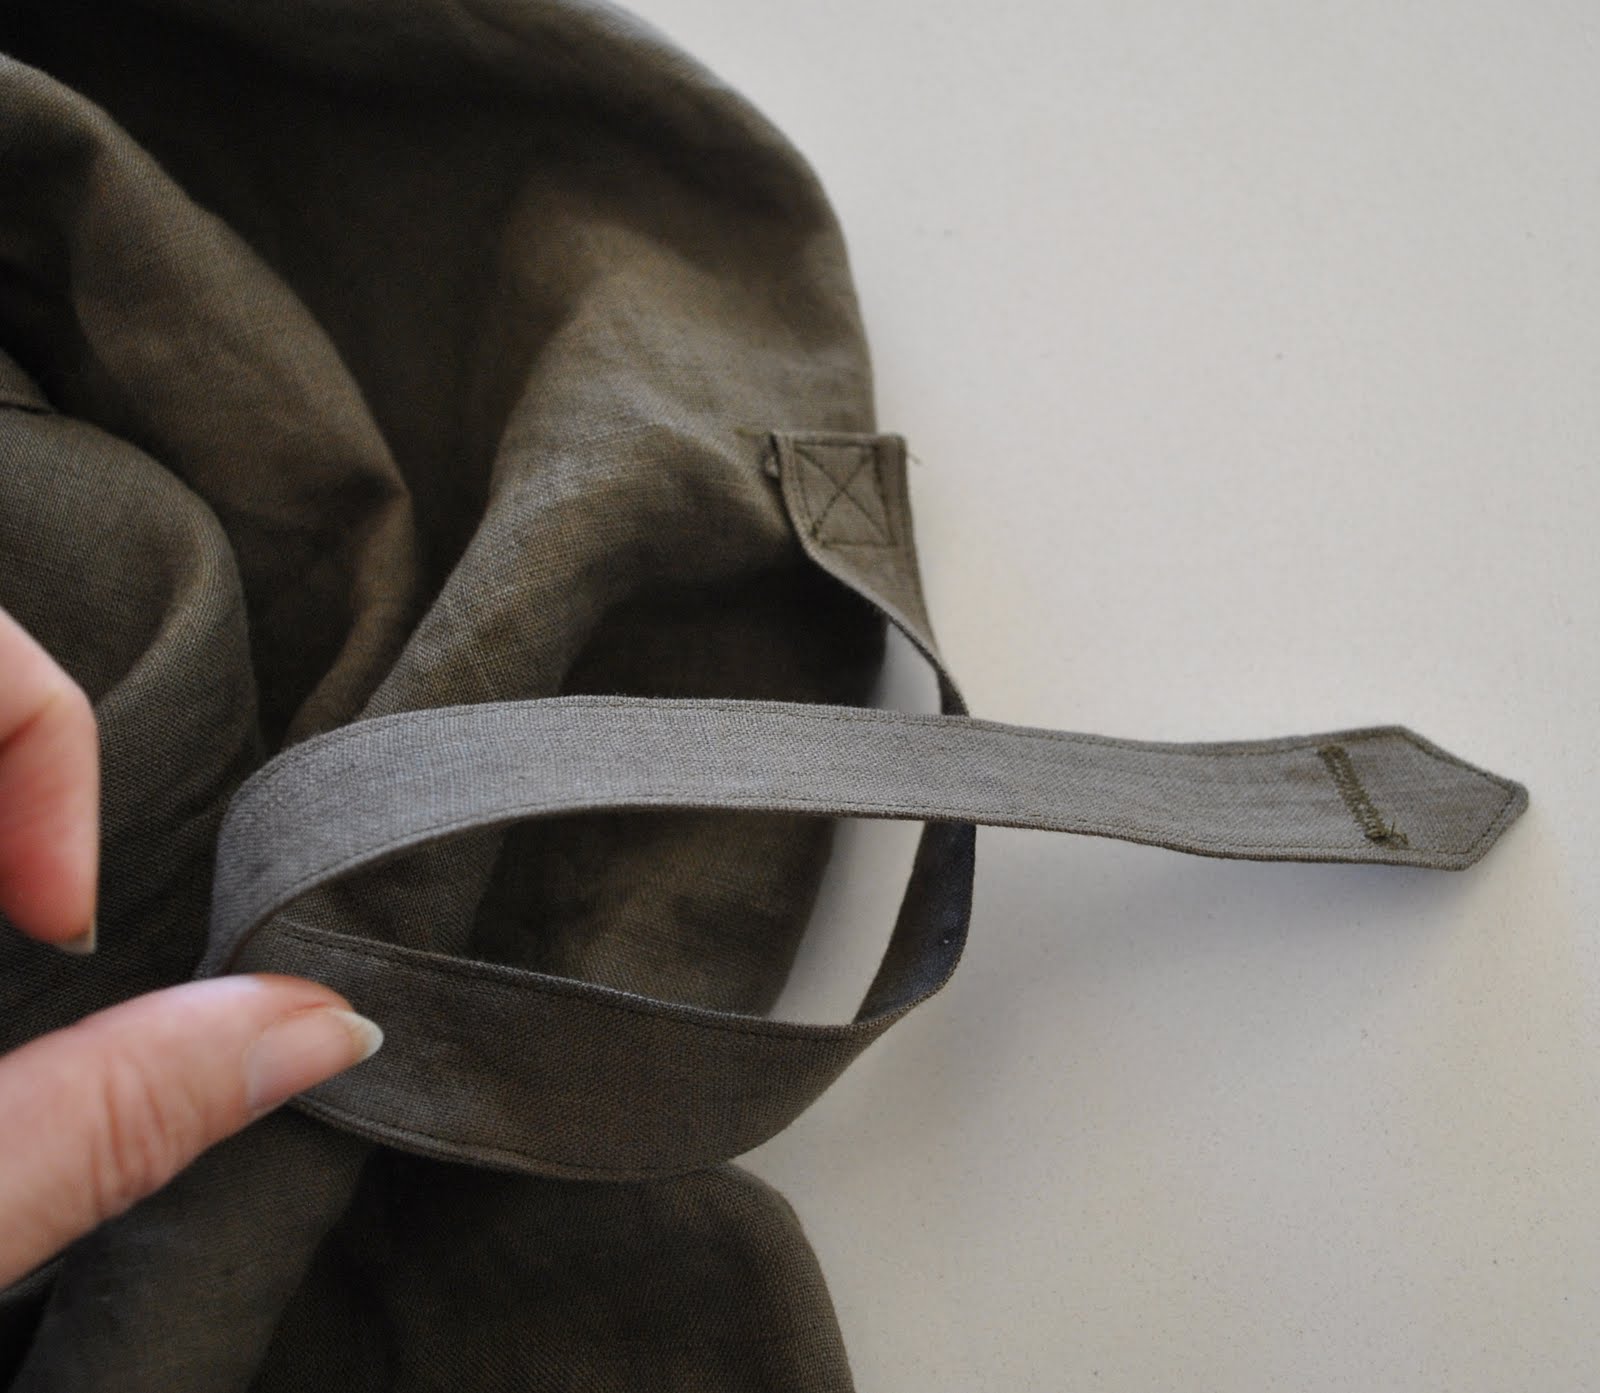
One of the easiest ways to add a little something extra to a plain man’s button-up shirt is to put on a few arrowhead button tabs.  My husband is a very classic dresser and prefers his shirts without embellishments such as these, but for my two boys a few tabs are just about mandatory!  A very plain casual shirt is tres frumpy, boring and old-fashioned from a young man’s point of view, so it is worth going to the small effort of putting a few on your shirts if you want your guys to love them.  I have to admit to being partial to the look of them on the men’s shirts I have made for me too, because I think that to overplay the masculinity of a menswear shirt that I am wearing myself will paradoxically enhance my own femininity.  Makes sense?  Well, I think so…
Another plus is that you are using up scrappy little offcuts that would otherwise be thrown away.
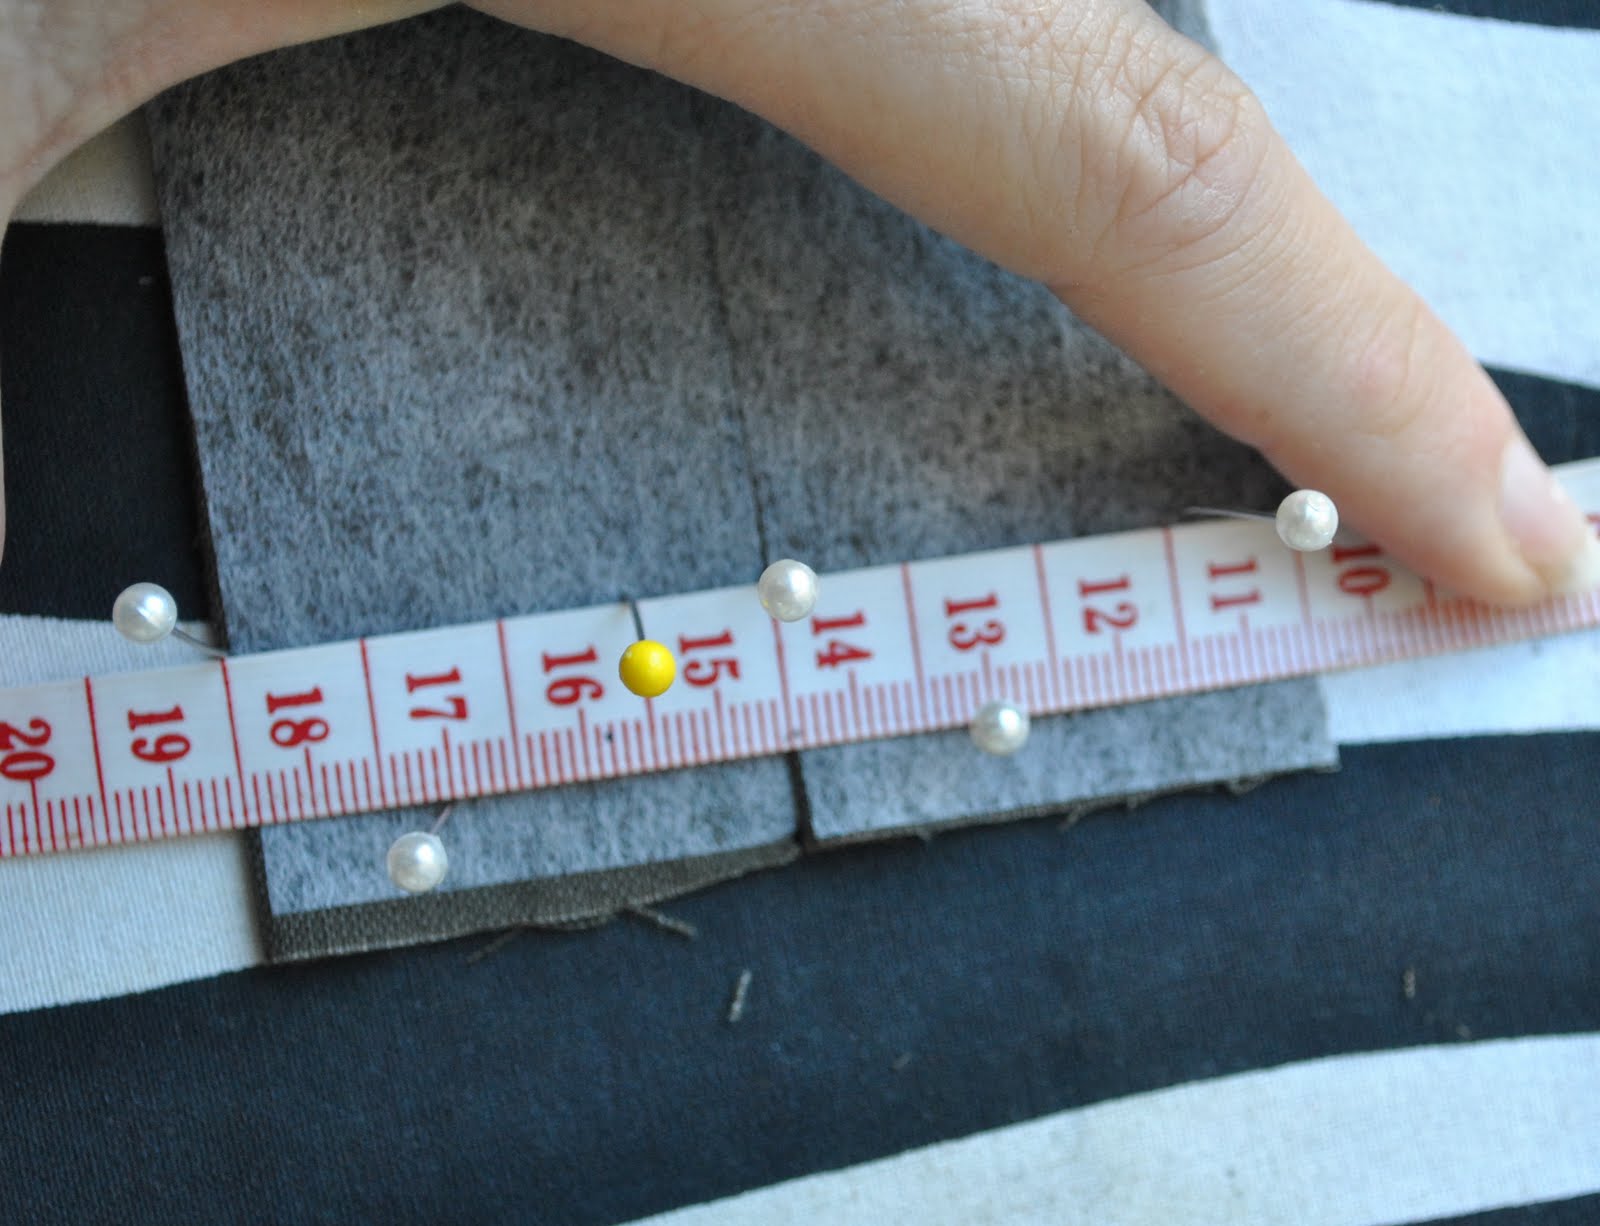
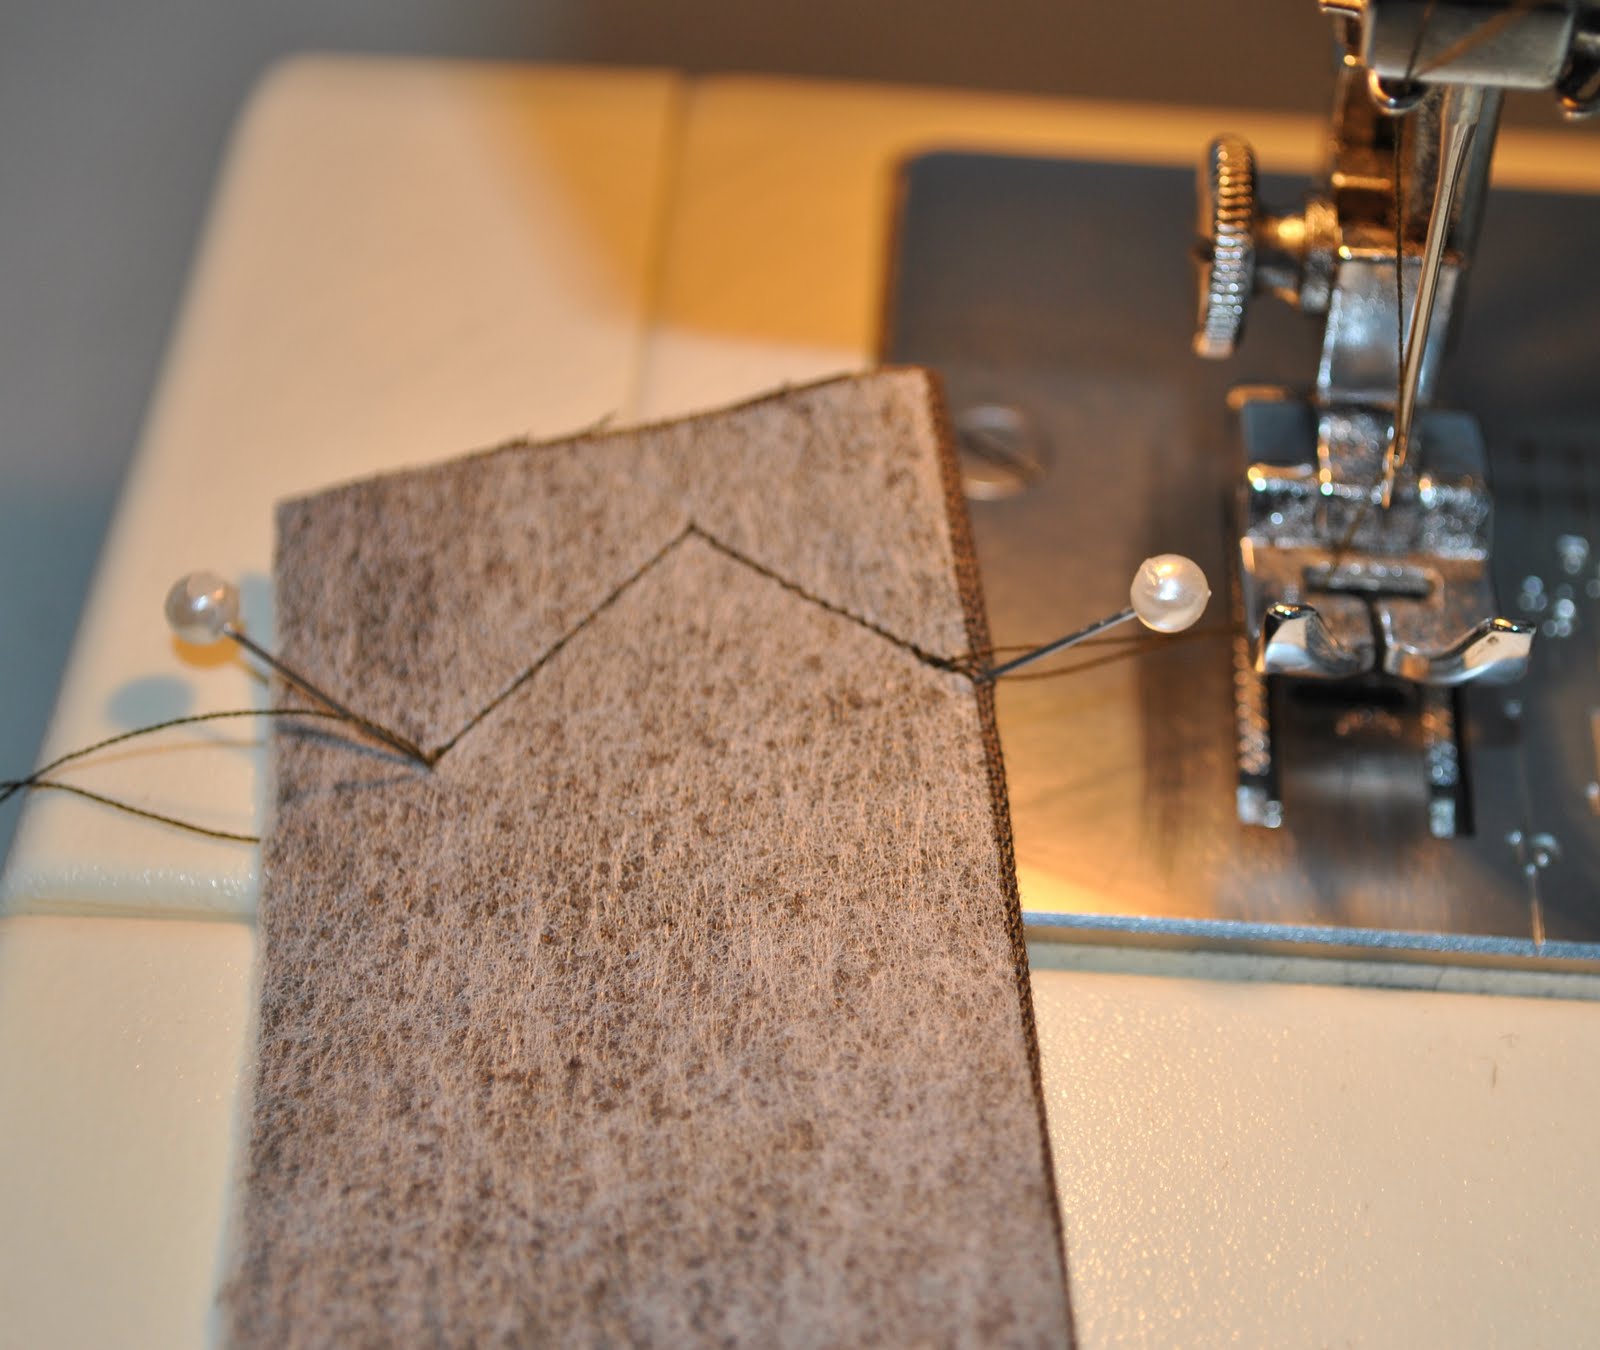
In my lazy and/or more hurried projects I have been known to wing the arrowhead tabs and hope for the best, but obviously the best results are gained from careful measurement.   Cut both tabs together to ensure they are identical in size, and apply interfacing.  (Later edit:  In this case, I have folded the tabs right sides together, and the fold forms one of the long sides of the tab.)  Then measure and mark out the arrowhead part as exactly as possible with pins…

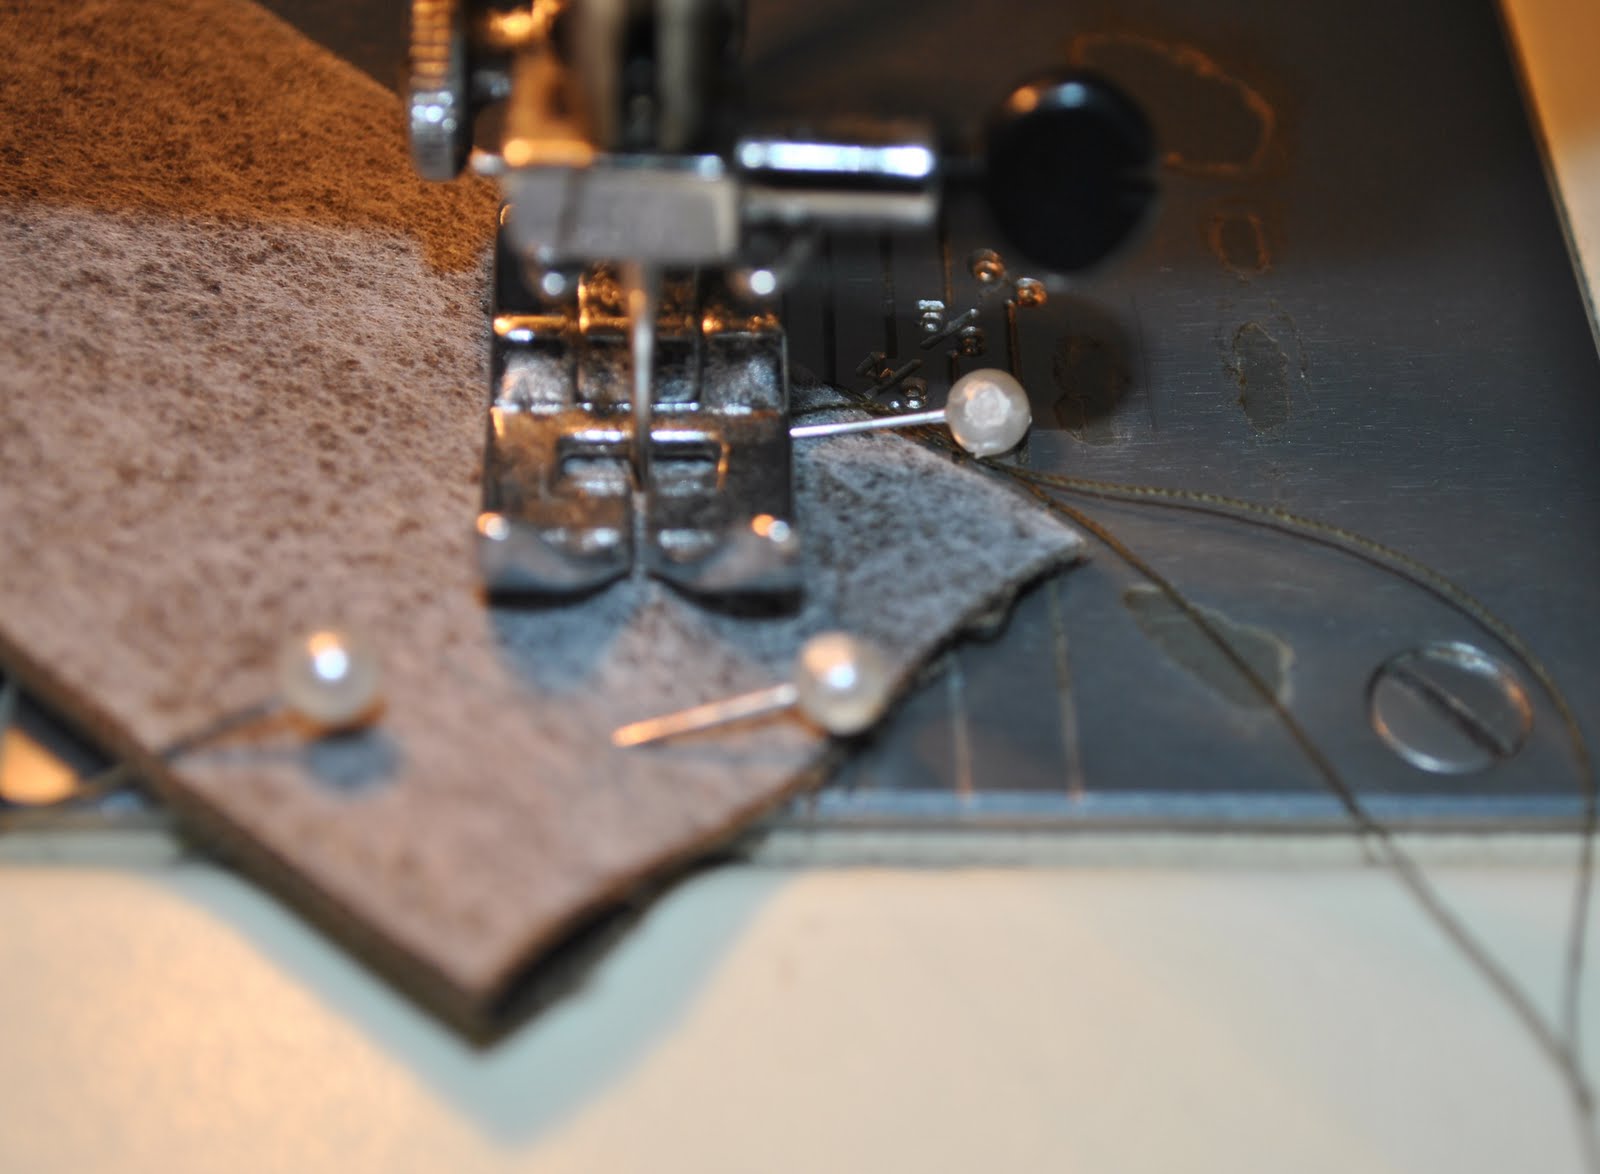
Start by manually inserting the needle right into that first pin mark.  Secure the end by going forward and back one or two stitches and then carefully sew in a straight line to the second pin.  Ensure the needle ends up exactly in second pin position; it may take lifting the presser foot and moving the tab slightly to really make sure the needle goes down in exactly the position you have marked…

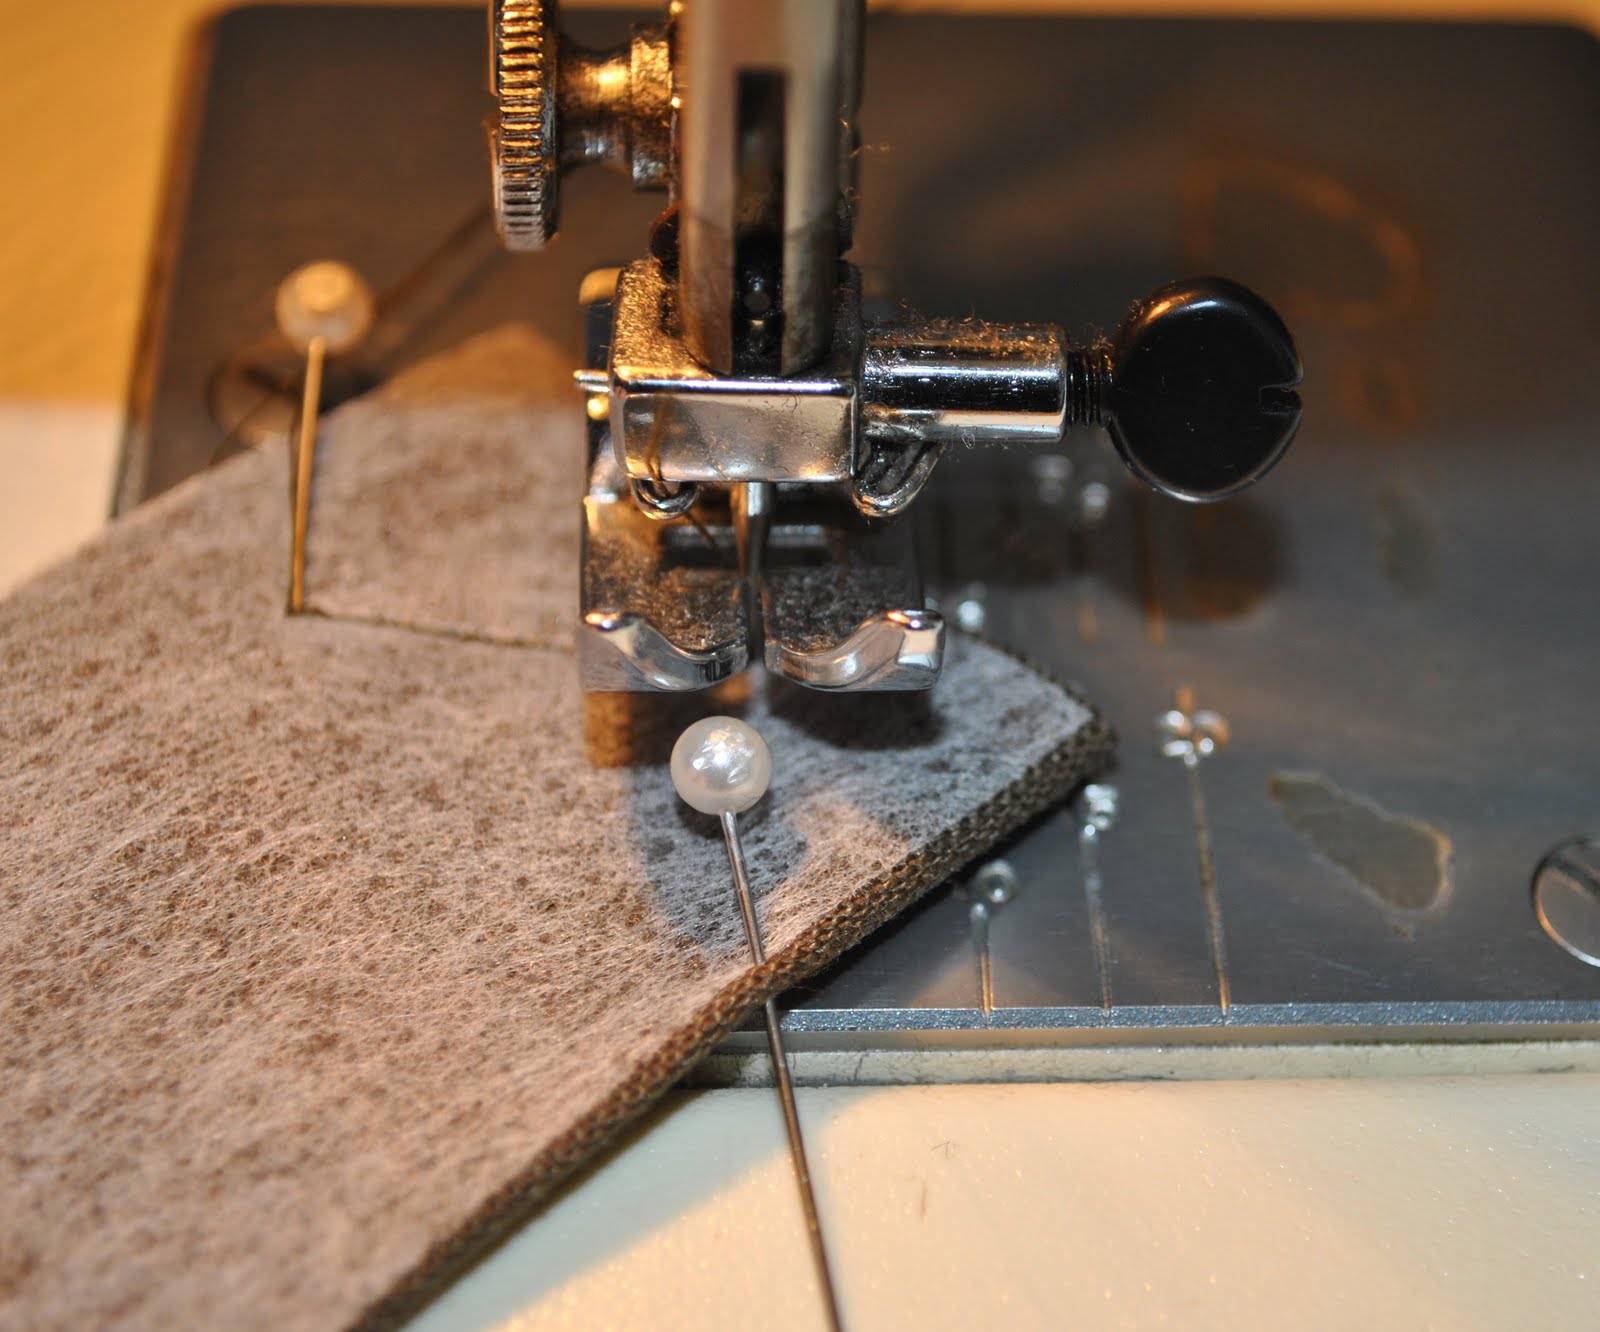
With the needle at its lowest point (to ensure that it has picked up the bobbin thread down below, and so that the stitch is completed) lift the presser foot and reorient the tab so you will be stitching down to the third pin position.  Lower the presser foot and stitch down to the third pin, again ensuring that you are finishing as exactly as possible into the third pinhole.  Secure the end by one or two careful backwards and forwards stitching.
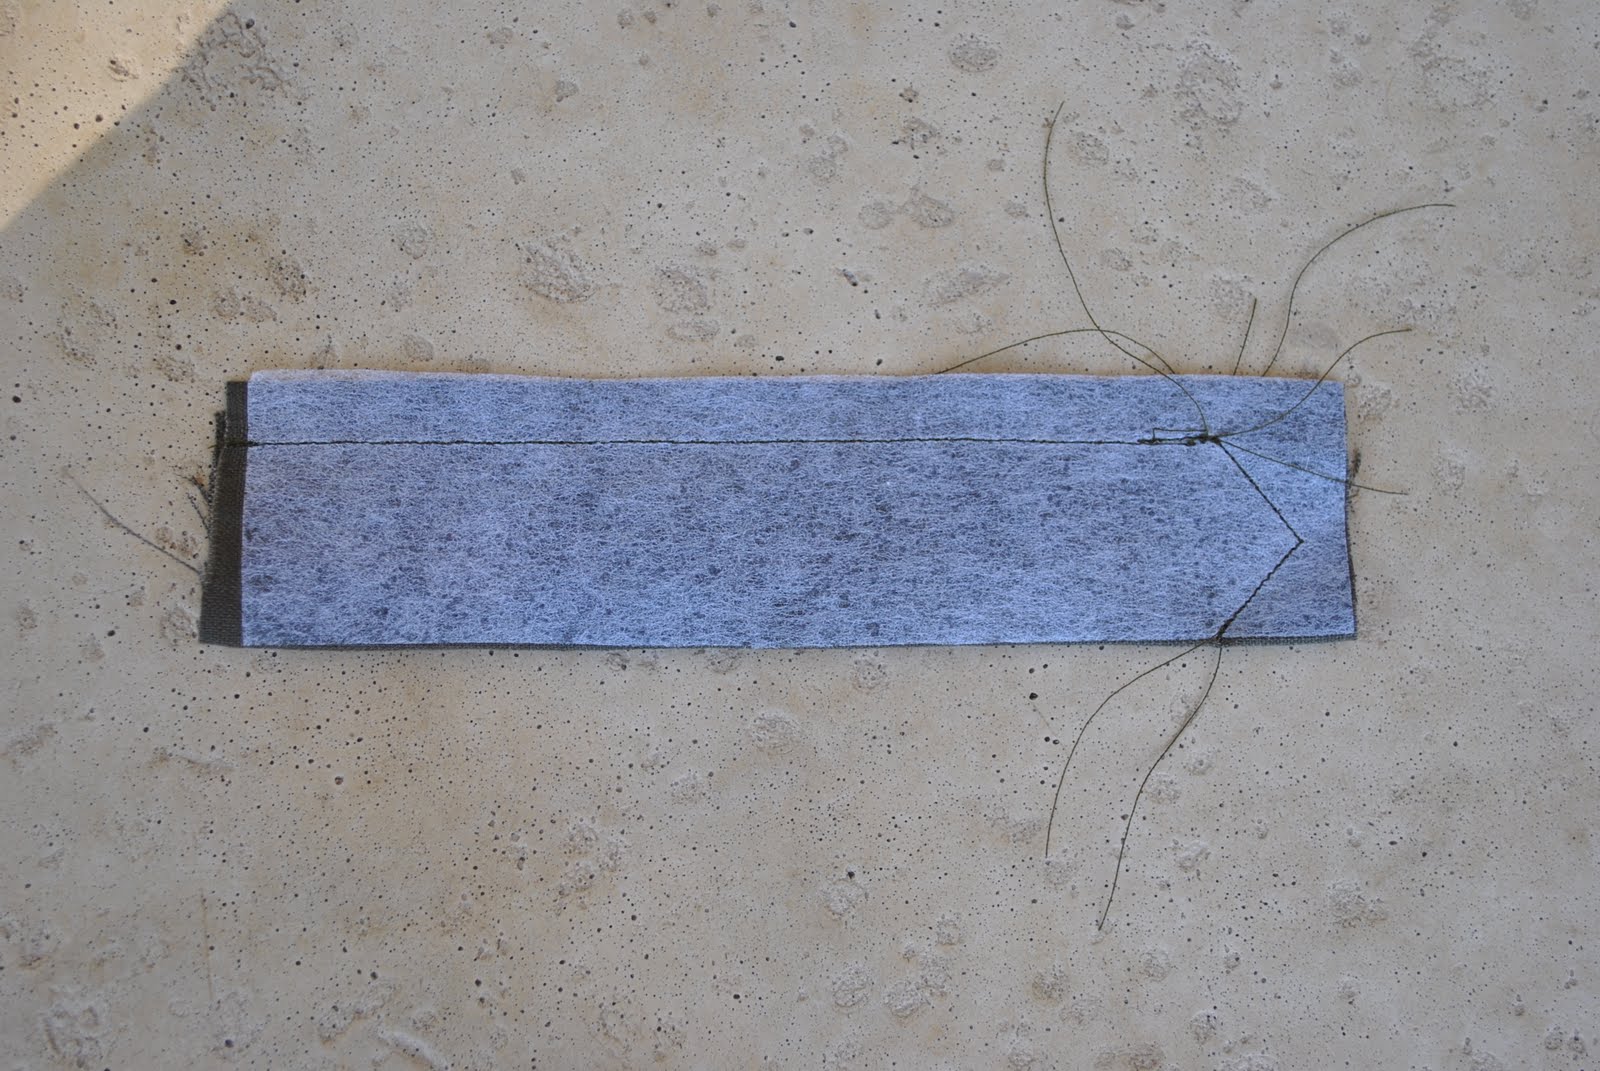
Now sew the long straight edge. (Later edit: That long lower edge with no stitching is the fold…)

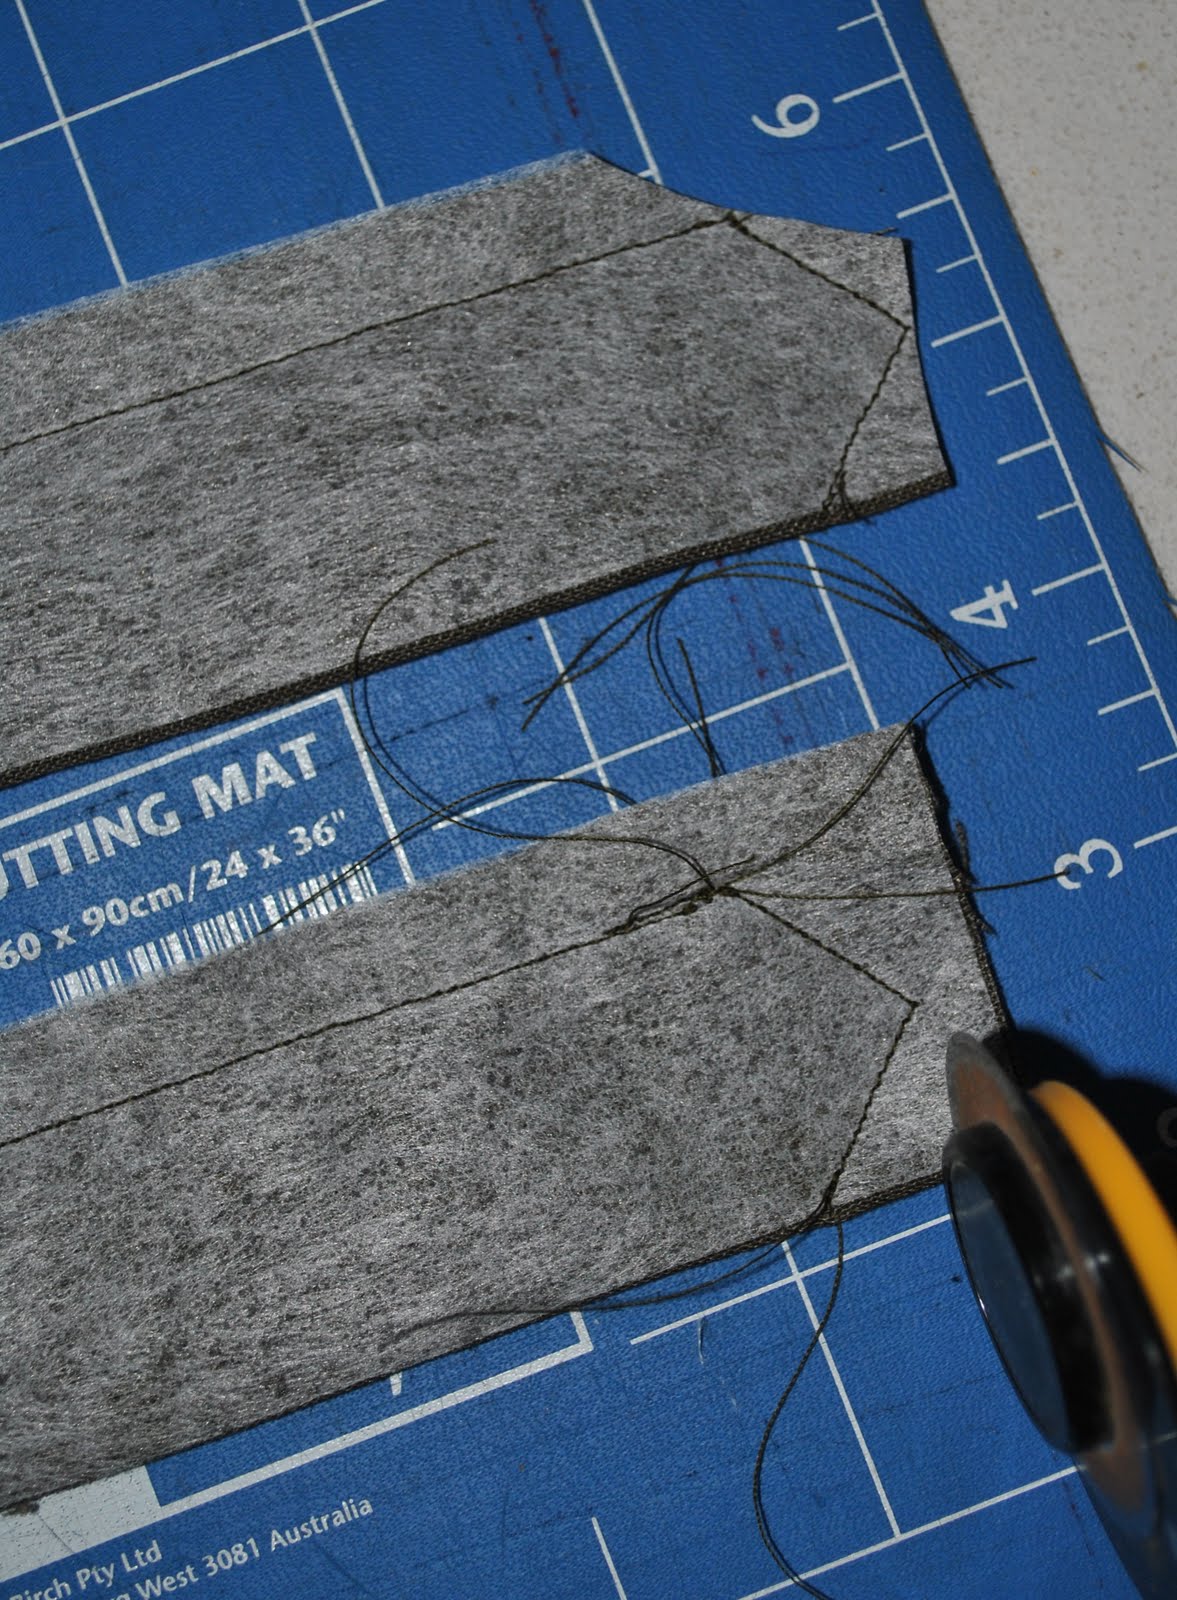
Clip the seam allowances, as close to the corners as possible, but obviously without cutting through your stitching!

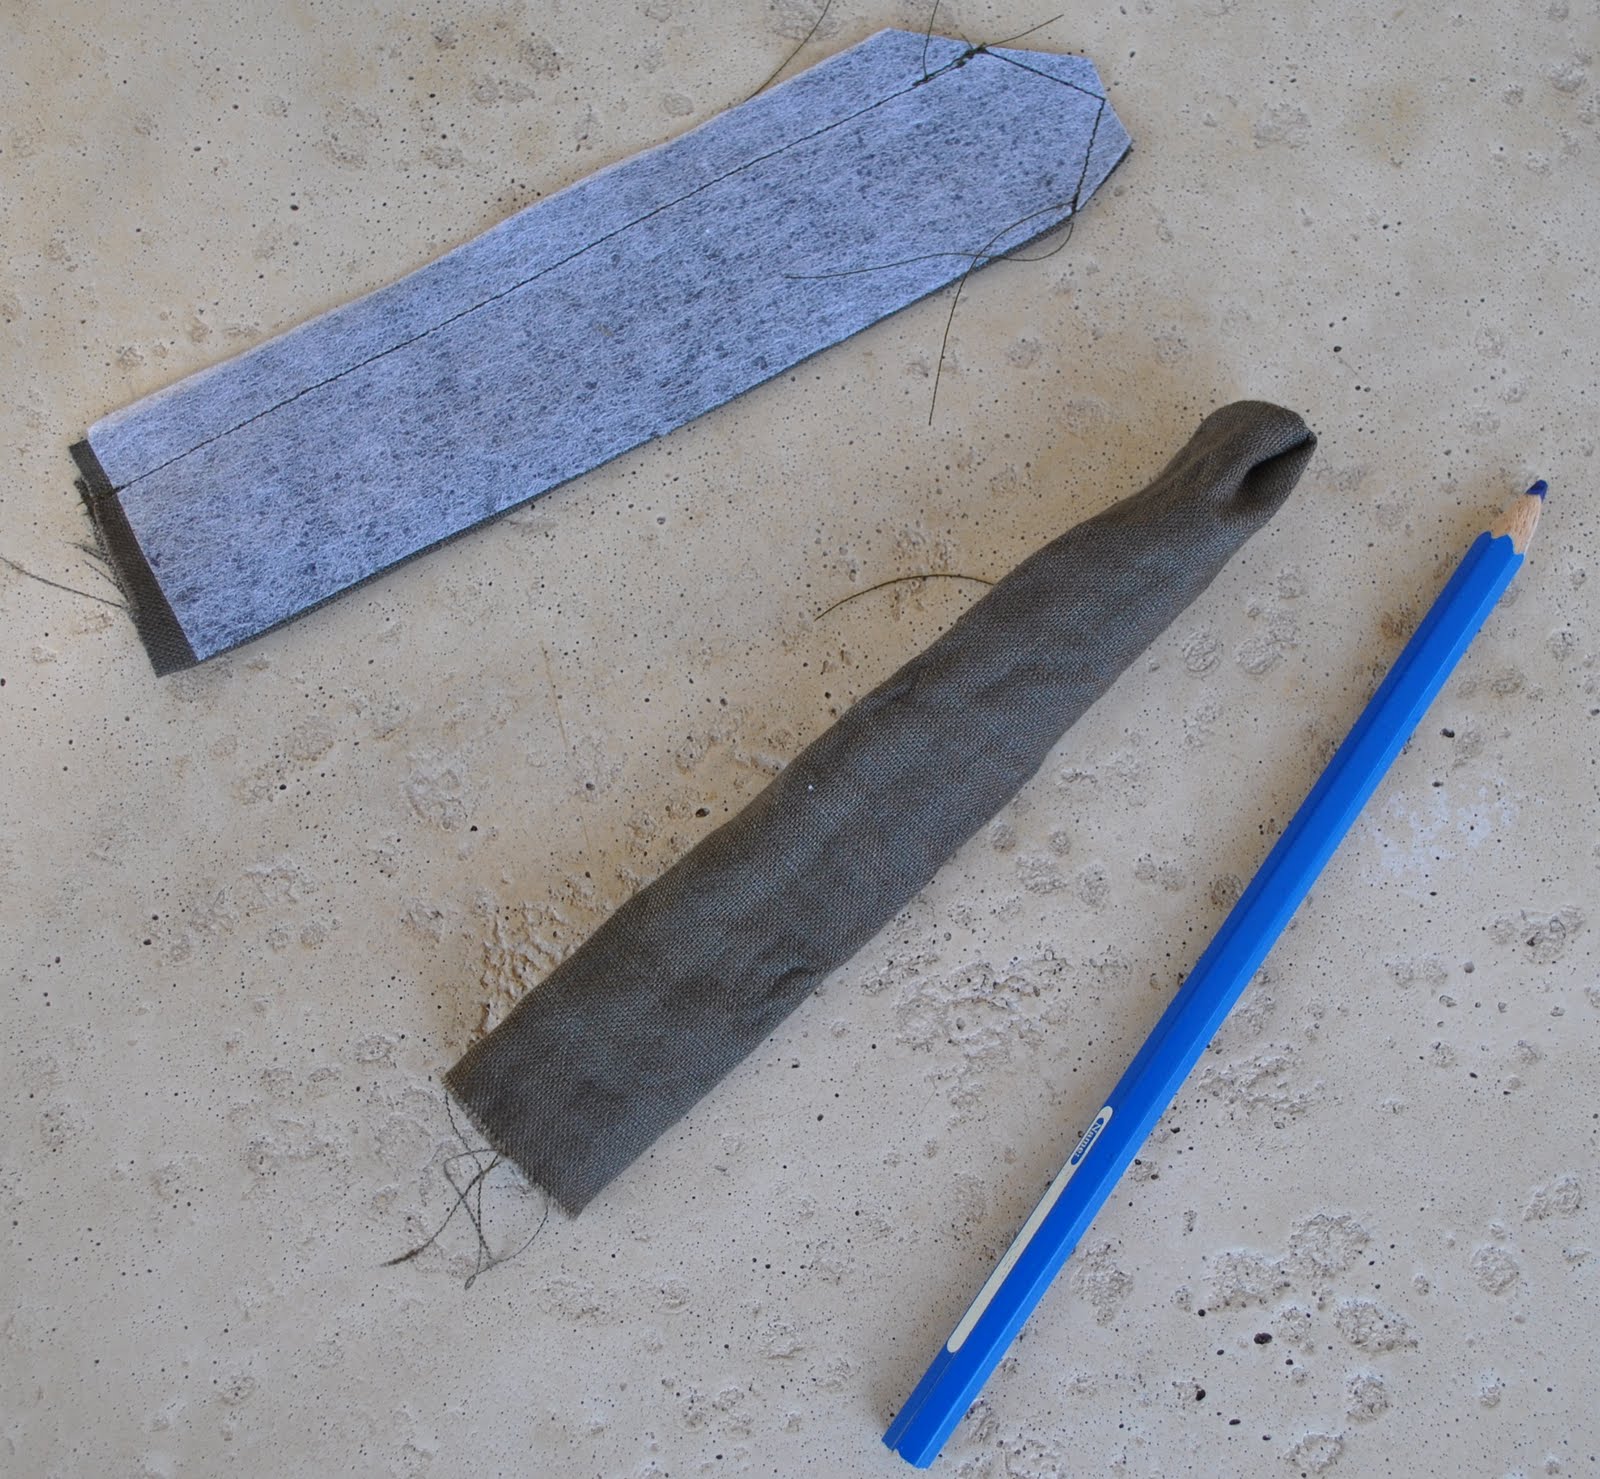
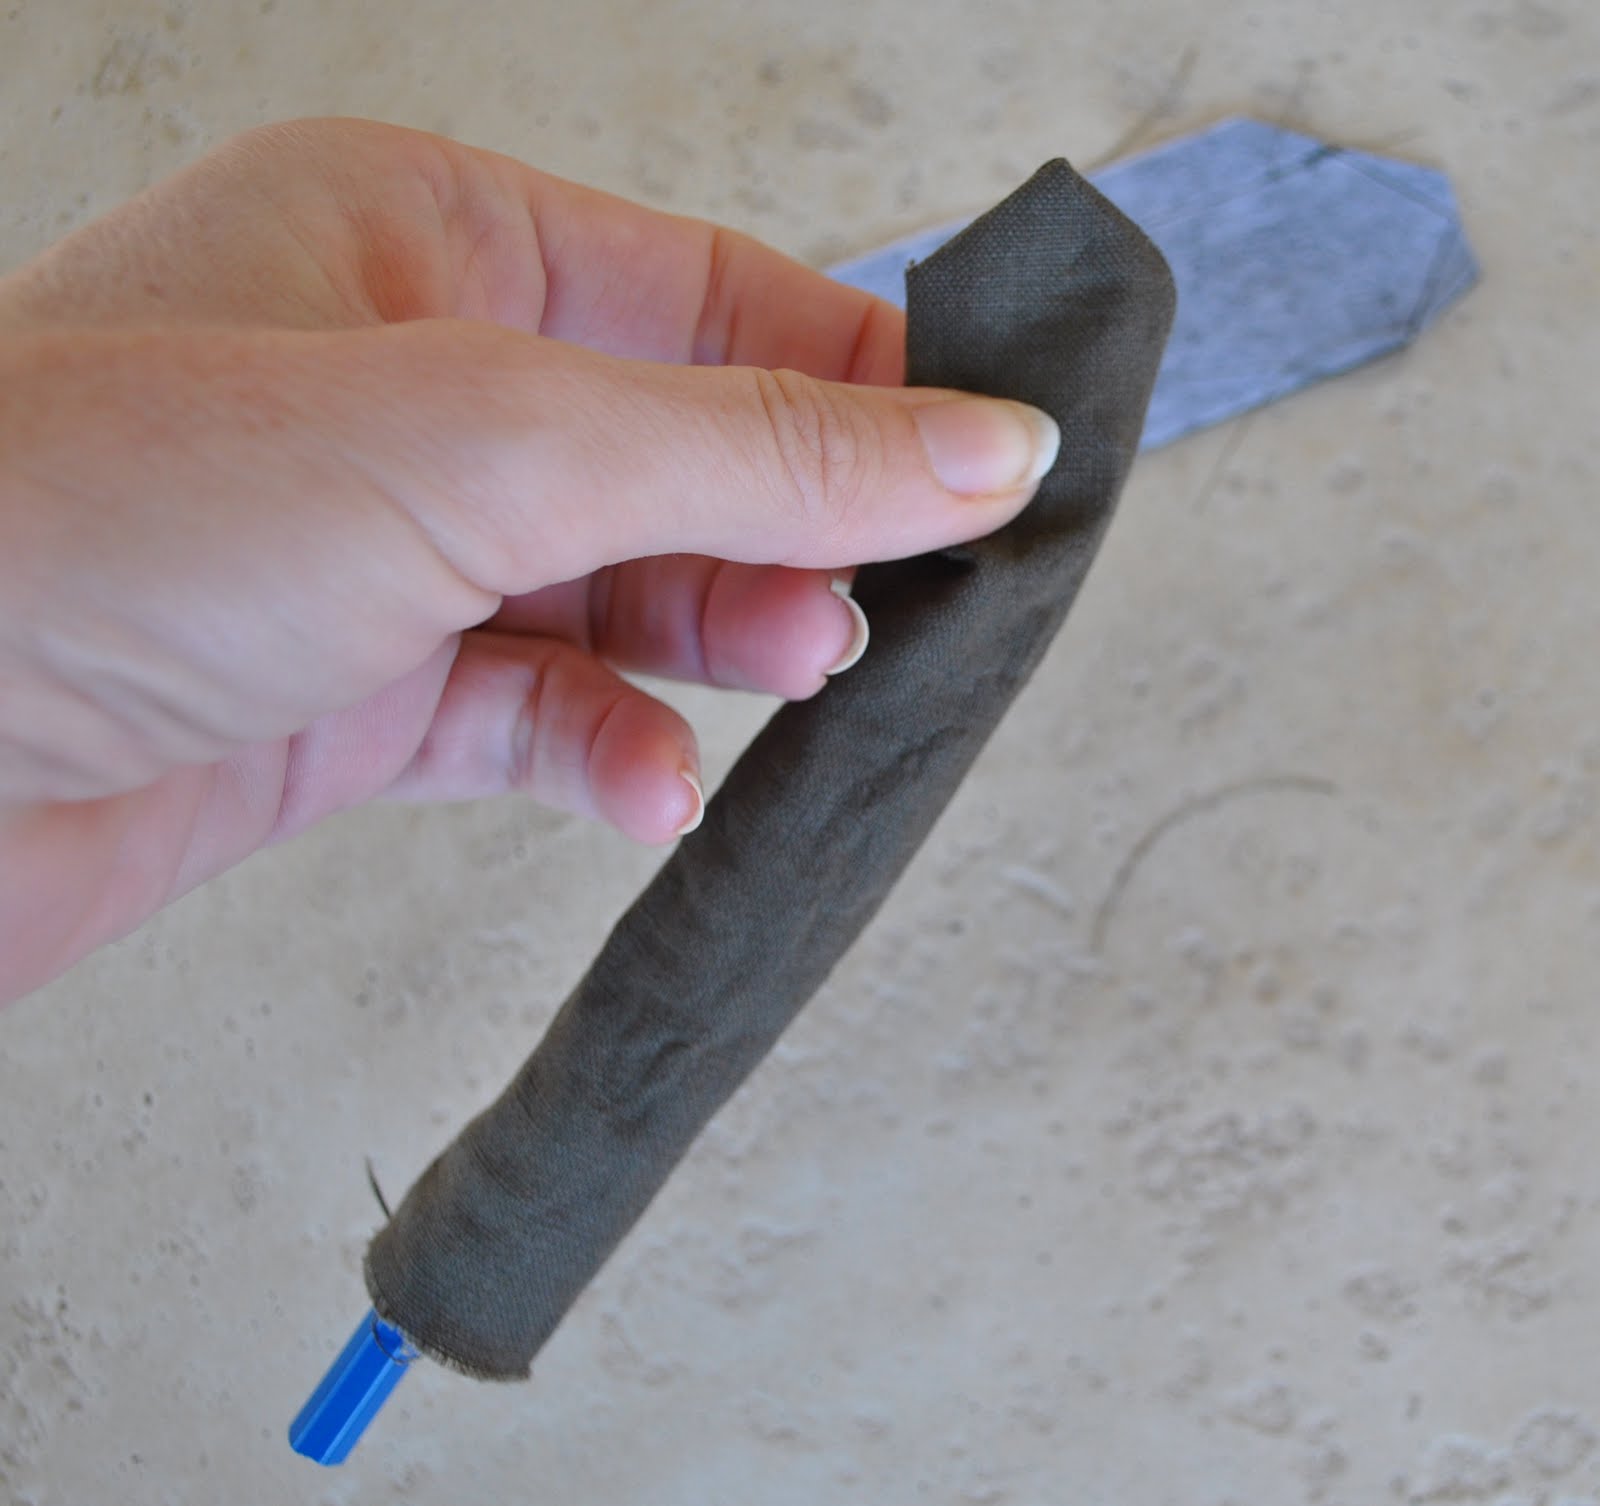
Turn the tabs right side out through that short open end.  I know there are proper tools for turning (which probably cost a bomb) but I use a not-too-sharp pencil for this job, and wiggle it carefully into the corners teasing them out, but not allowing it to burst through the stitches!
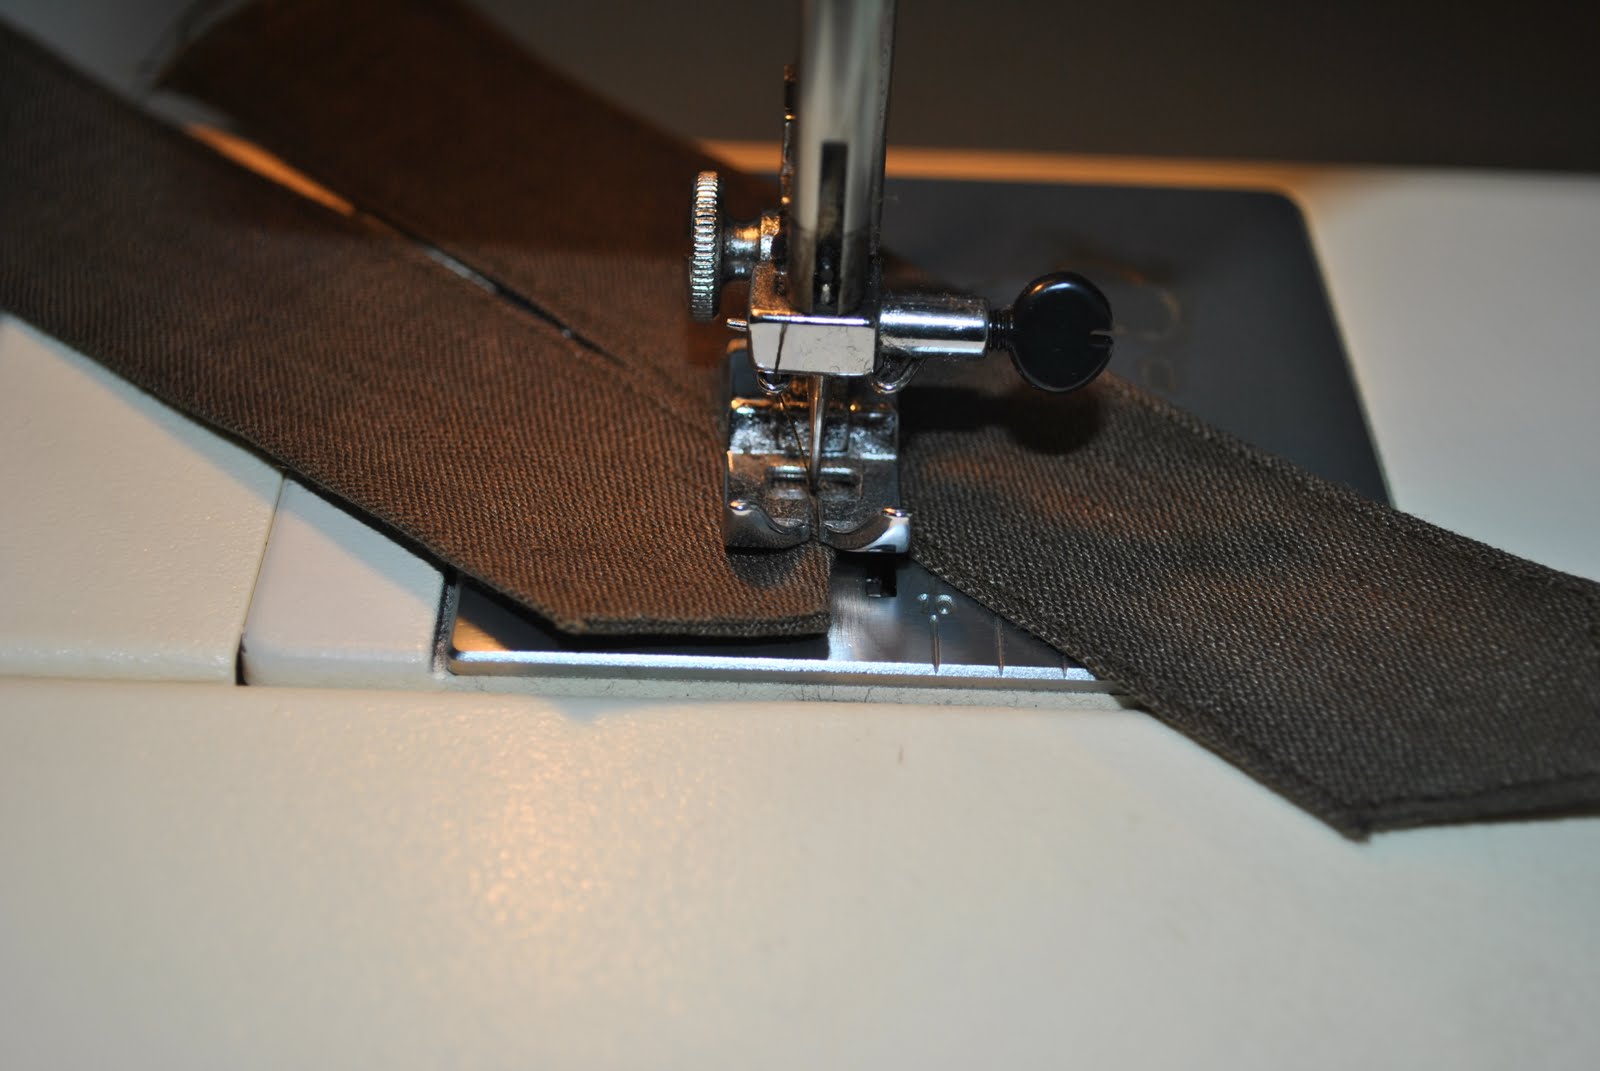
Press and topstitch the tabs.  Sometimes when one is topstitching close to the edge of a tab and you turn a corner, your feed dogs may have trouble “catching” the tab and getting started on the next straight bit.  This will be because you are stitching so close to the edge that there is no fabric underneath the presser foot, making contact with the feed dogs.  In this case I find it handy to use the second tab and just slip it behind the tab you are topstitching; over the feed dogs.  Just its presence there will allow your tab to slide smoothly along, no matter how close to the edge you are stitching.


On my army shirt I added a decorative strip to hold down the shoulder tabs, this was just zig-zagged firmly into position on the double thickness yoke area.  If your shirt pattern has only a single yoke piece you will need to reinforce this area underneath with a little strip of bias cut fabric; and also for the tab’s button when you sew it on.  In fact, if your pattern only stipulates a single thickness of fabric for the yoke I recommend you cut out two and sew them on together for more stability; as this area is subject to a lot of fabric strain in a man’s shirt.

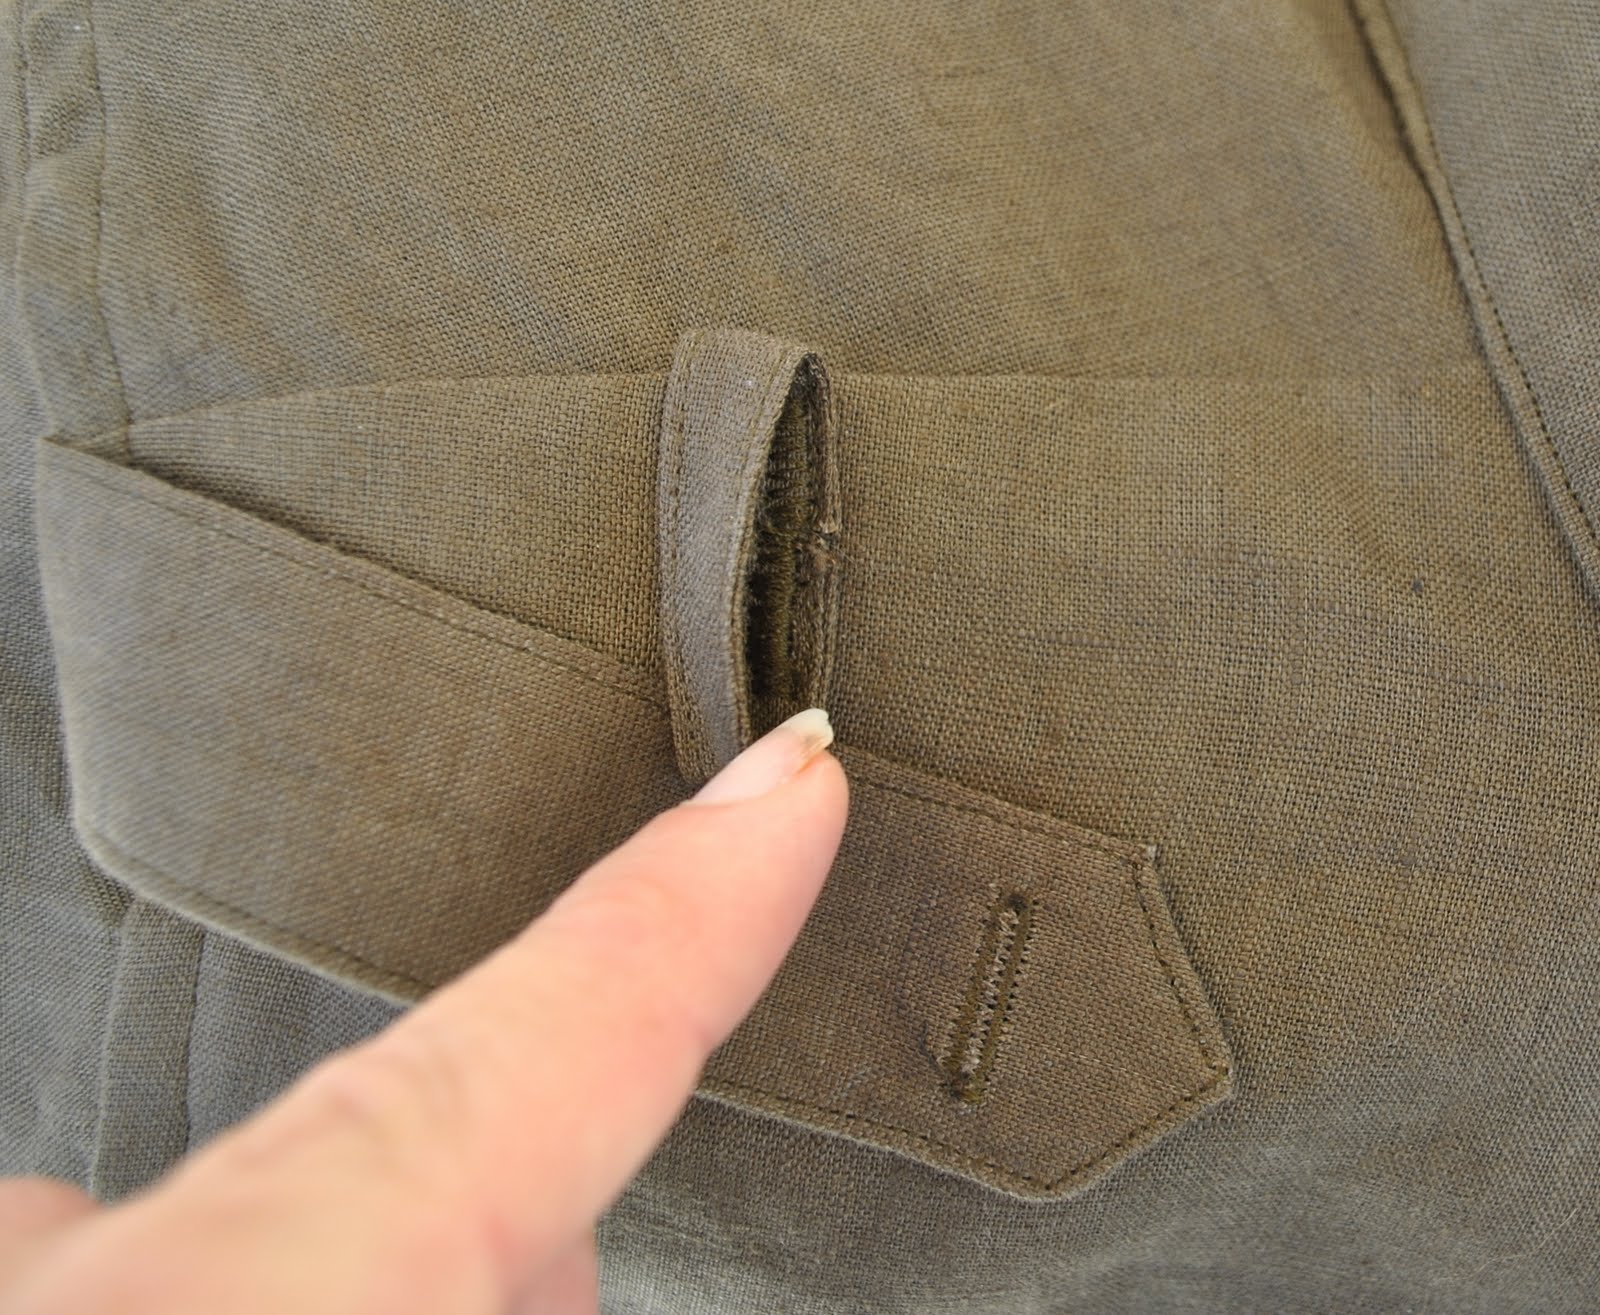
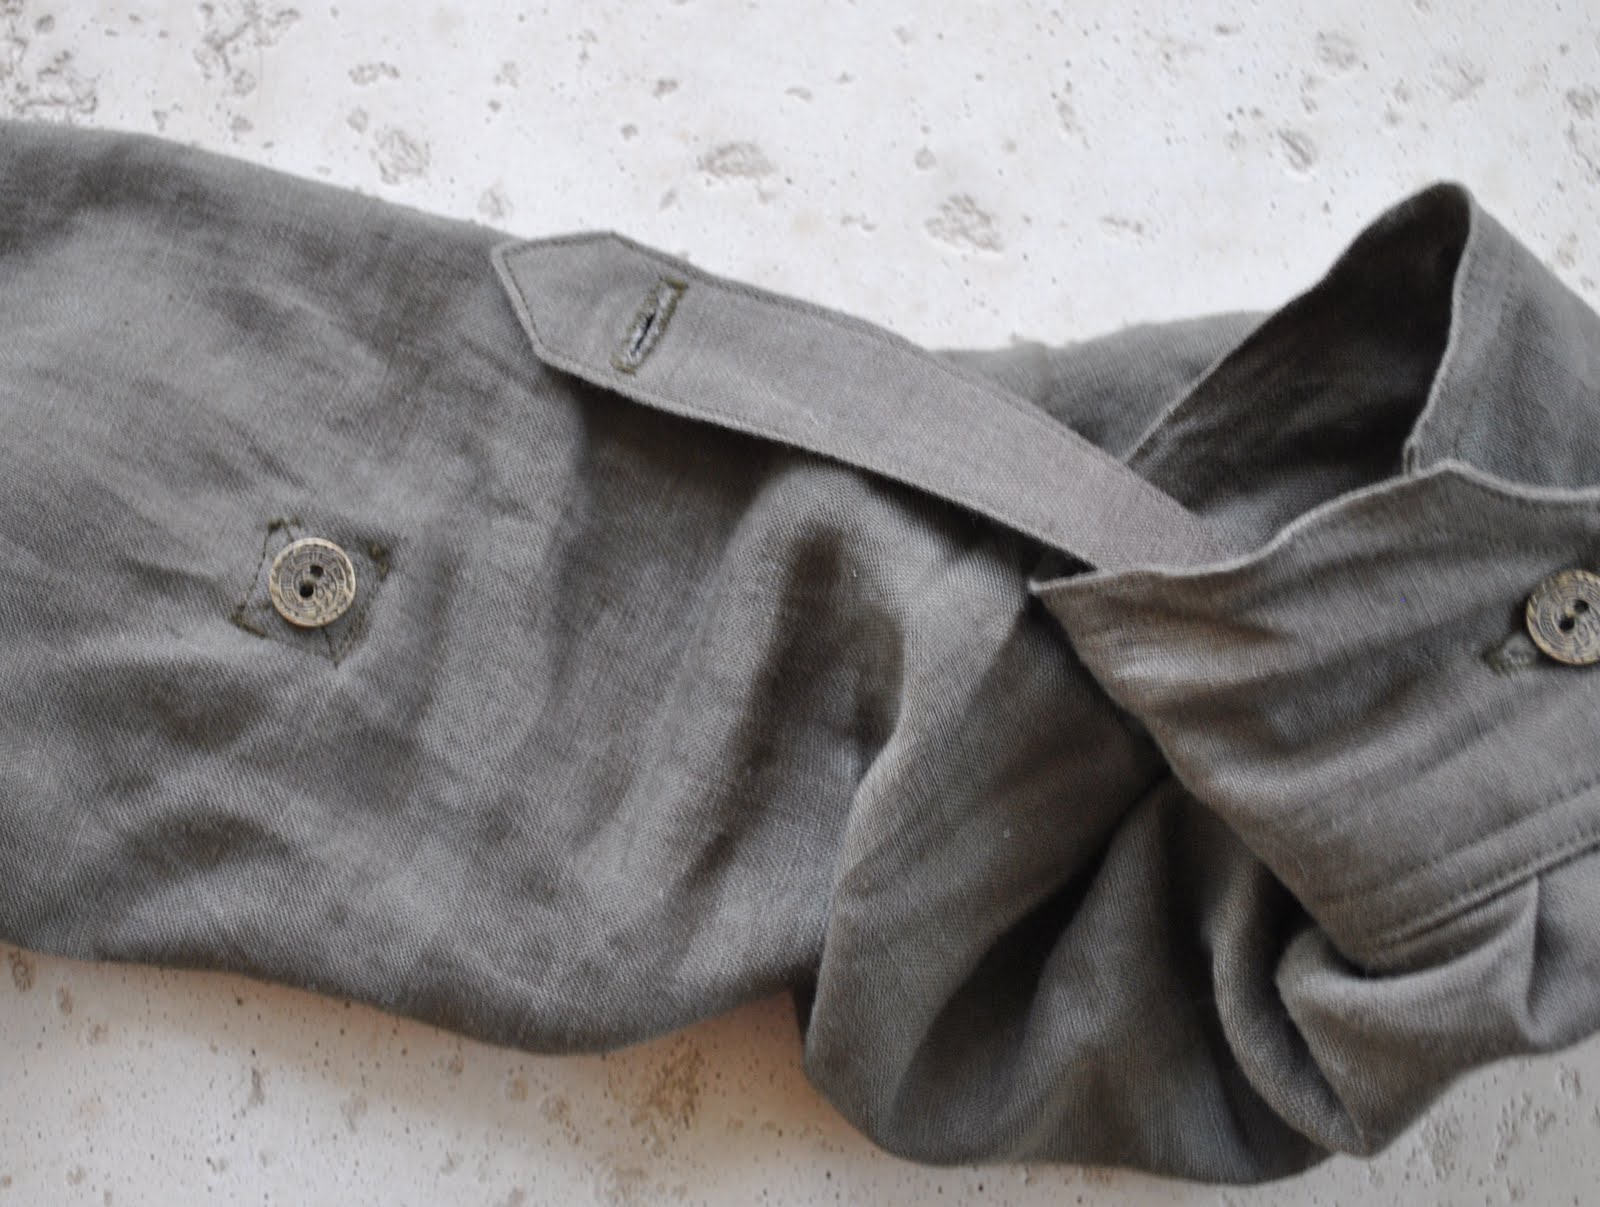
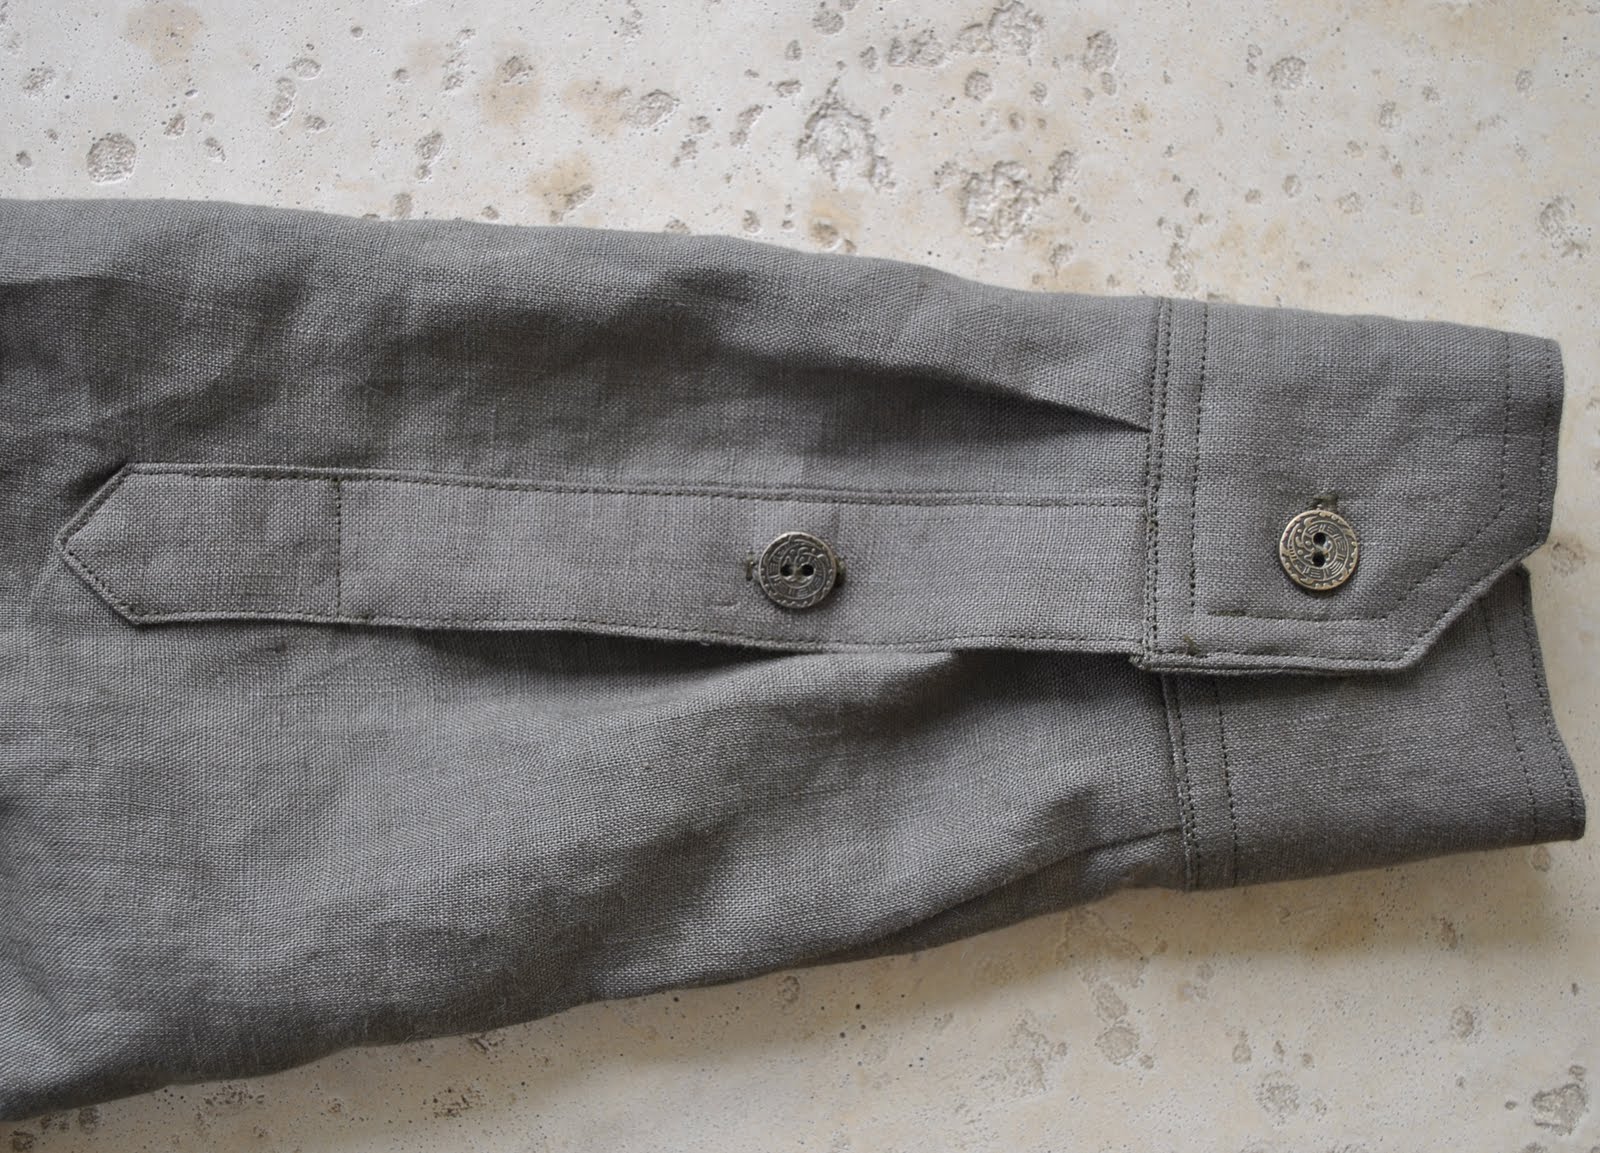
For the sleeve tabs; you can make your tabs as long or as short as you please, this is an individual preference and depends on how long you want your sleeves to sit when rolled or pushed up.  Whatever you choose, the tab is sewn, wrong sides together to the inside of the sleeve. Obviously it is easier to do this before you sew up the sleeve seam!  I like to sew a nice firm little cross within a square for a stable strong base to sew the button on.

pinterestmail

Army shirt (not really…)

… but my interpretation of a sorta military look.
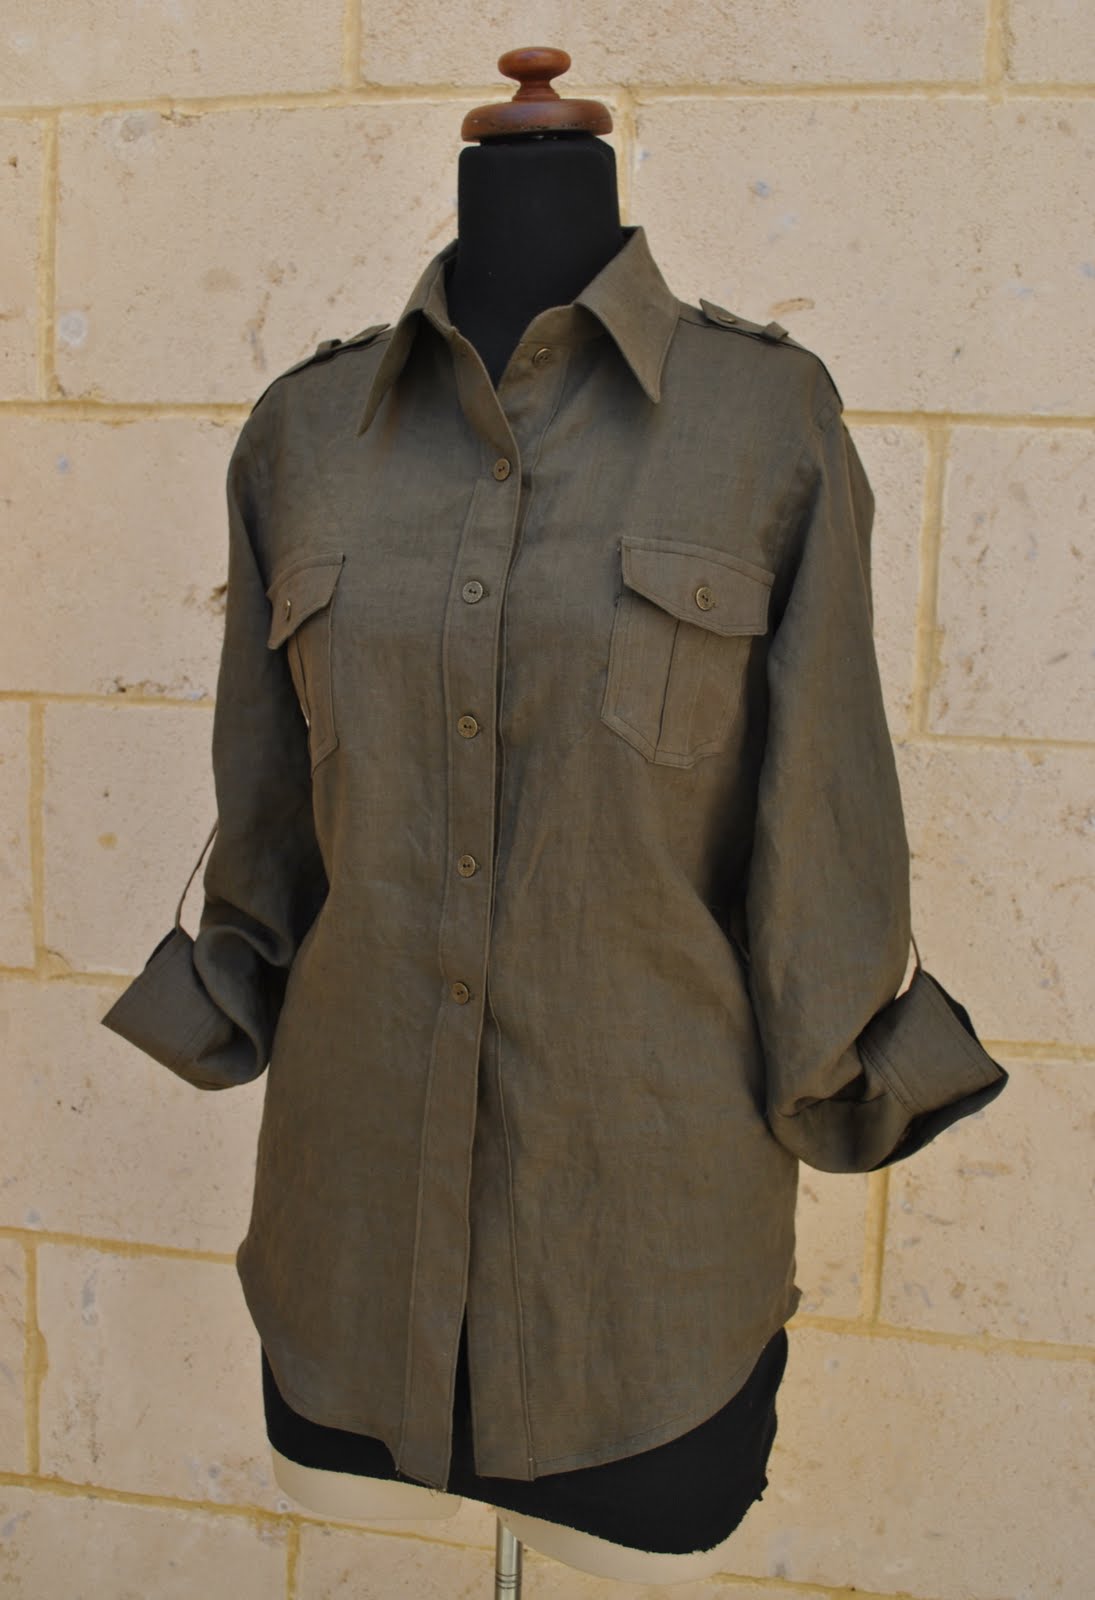
I love khaki and all muddy colours, and felt a khaki/muddy/sludgy coloured shirt would be just the thing; and once the military mindset had taken a hold on me it wasn’t long before vaguely uniform-y style details starting sneaking onto my new shirt too…
I used Burda 7767 again (and yes, this is version fifteen of this pattern that I was referring to in the rogue’s gallery of Burda 7767 here).
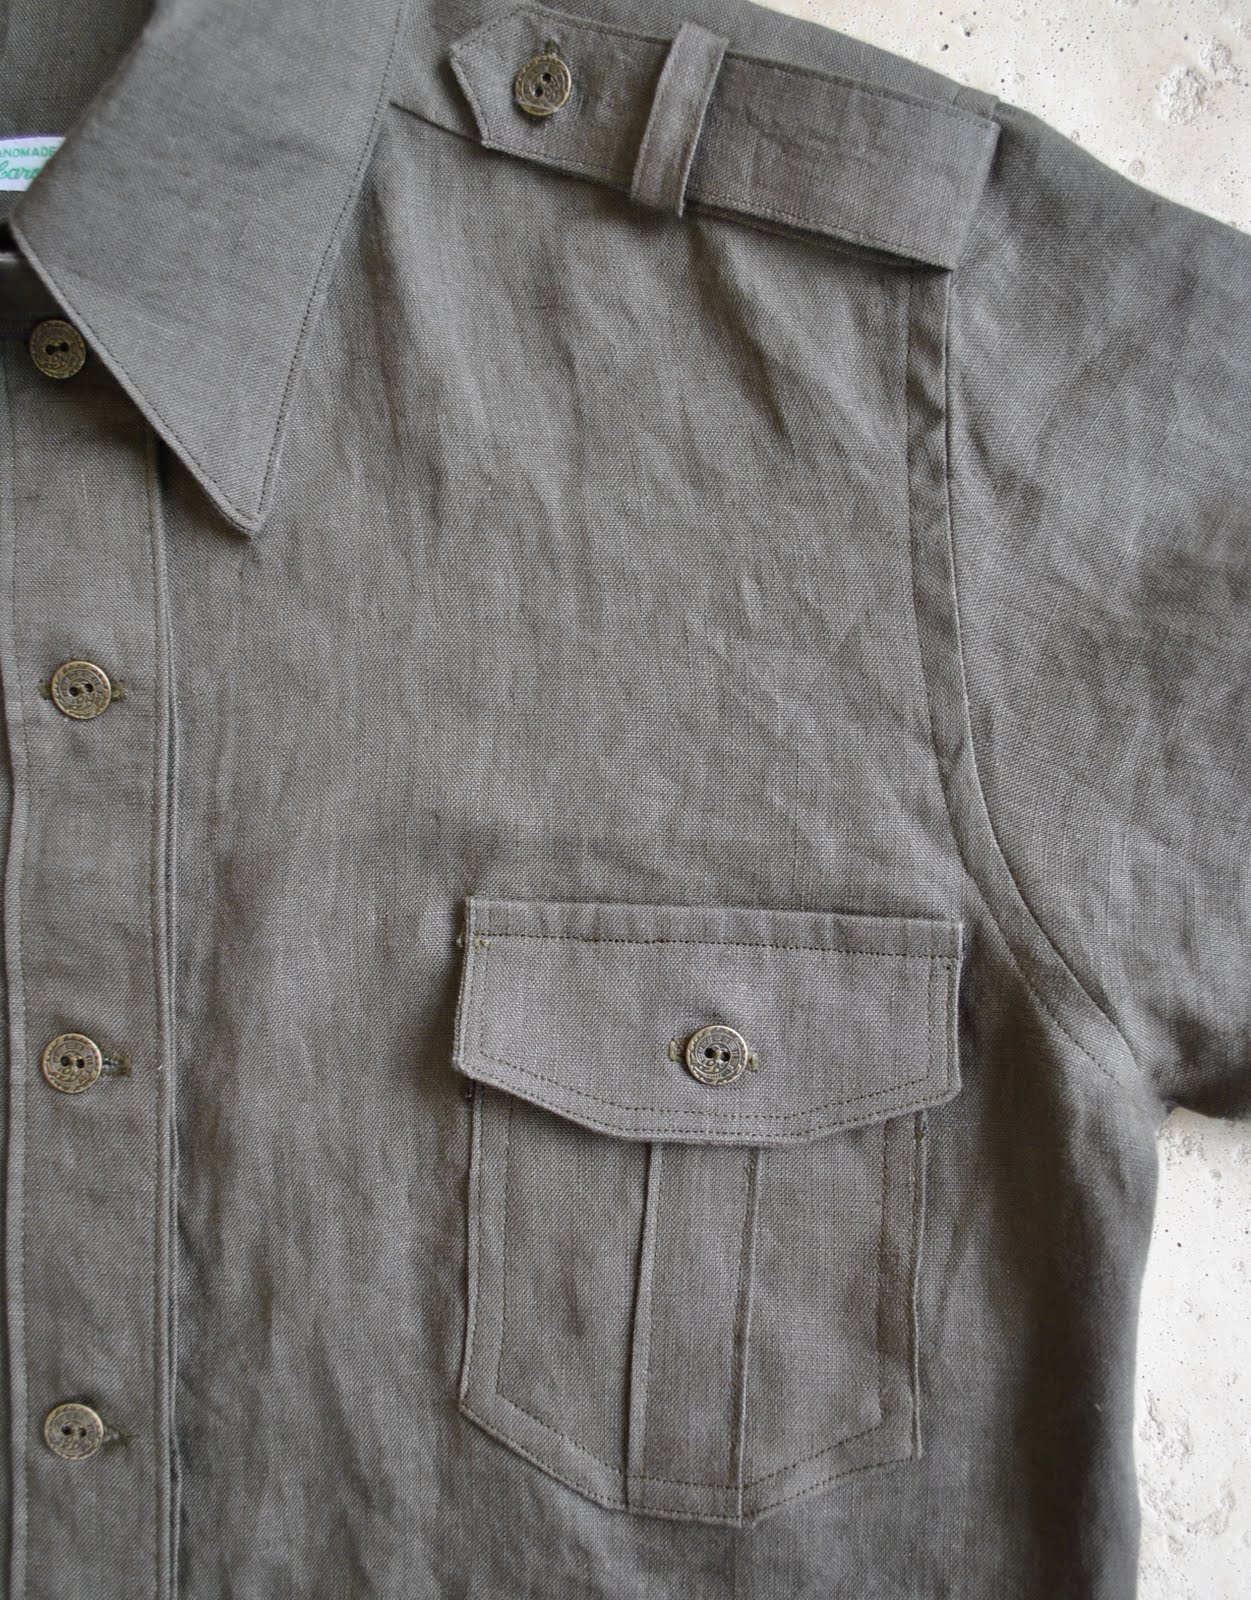
I added a few little touches; some shoulder tabs, held down with a decorative strip, sleeve tabs to keep those sleeves in place when pushed up halfway up my forearm just how I like it…  The bottom hem is curved.  The pockets have a folded bizzo down the centre front which is top-stitched in place, and I squared off the lower pocket corners.  This shape is echoed in the pocket flaps.  I also folded back the button band to the outside so I could get that look of a separate band, rather than that smooth look you get when it is turned to the inside, although this played havoc with my usual method of neatly finishing the button-band hem edge I worked it out OK in the end.

These buttons are fabulous, aren’t they?  I used 16 to finish this shirt, and if I could have invented ways of sneaking a few extra in here somehow then I probably would have!  They are brass, and are stamped to look somewhat like an ancient Chinese or ancient Roman coin.  Or something like that… am even vaguely toying with the idea of going back to Fabulous Fabrics and buying up every single one of them.  But mustn’t be greedy, must play nice and leave some for others now…  🙂
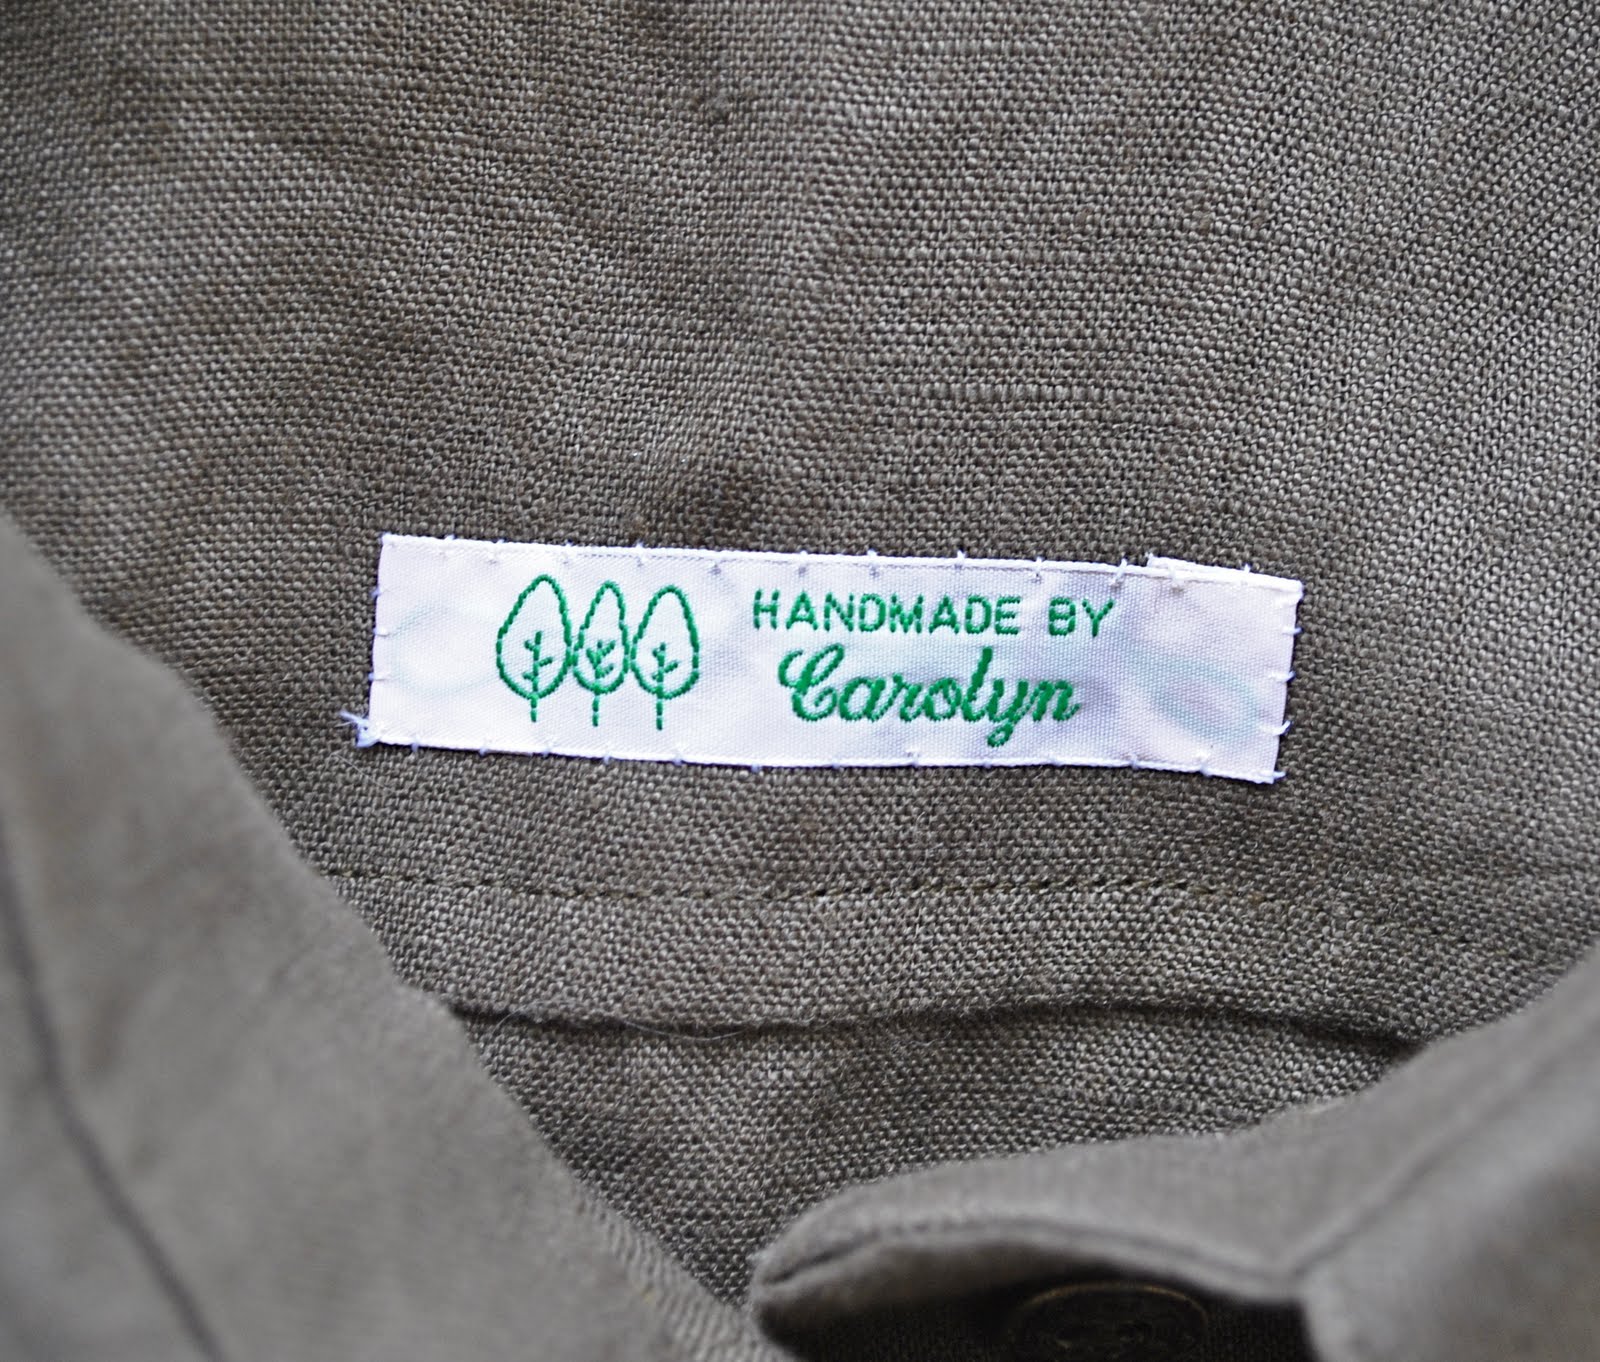
And take a sqizz at my new label! (thank you so much to my good friend Yoshimi who helped me to get these adorable things!  You have my unending gratitude!)  I LOVE them!  And I feel about them a bit like Elaine from Seinfeld when she found out her favourite contraceptive sponge had been discontinued, and she only had a limited supply left, and she then had to judge each new man she met on whether he was “sponge-worthy”.  Now I have to judge each new garment I make as to whether it is label-worthy or not.  I think my new shirt is label-worthy… What do you think?

Details:
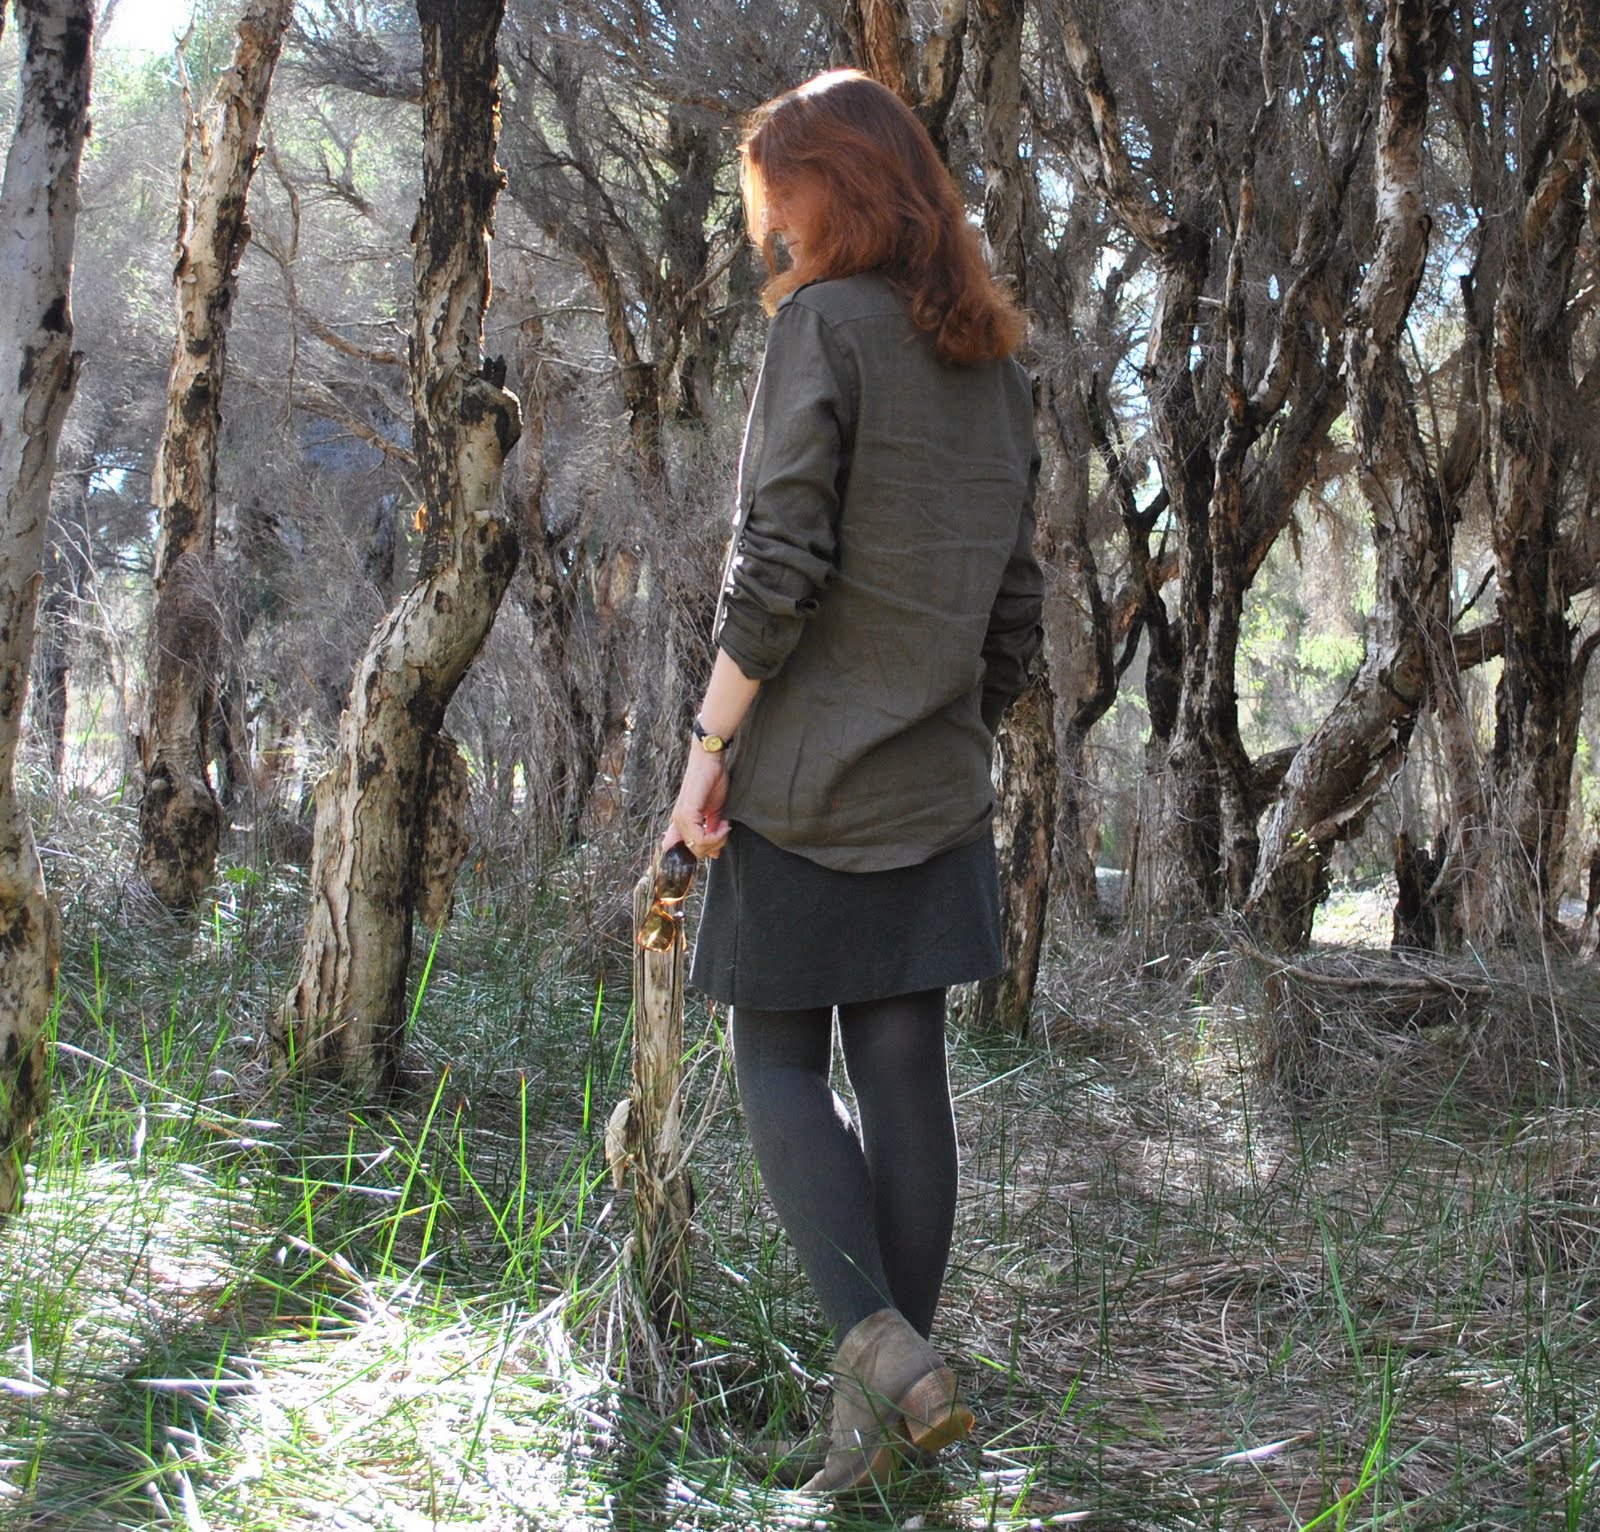
Shirt; Burda 7767 with modifications, dark khaki linen
Skirt; my own design; charcoal knit stuff
Tights; Spencer & Lacy
Shoes; Francesco Morichetti, from Zomp shoes
Sunnies; RayBan

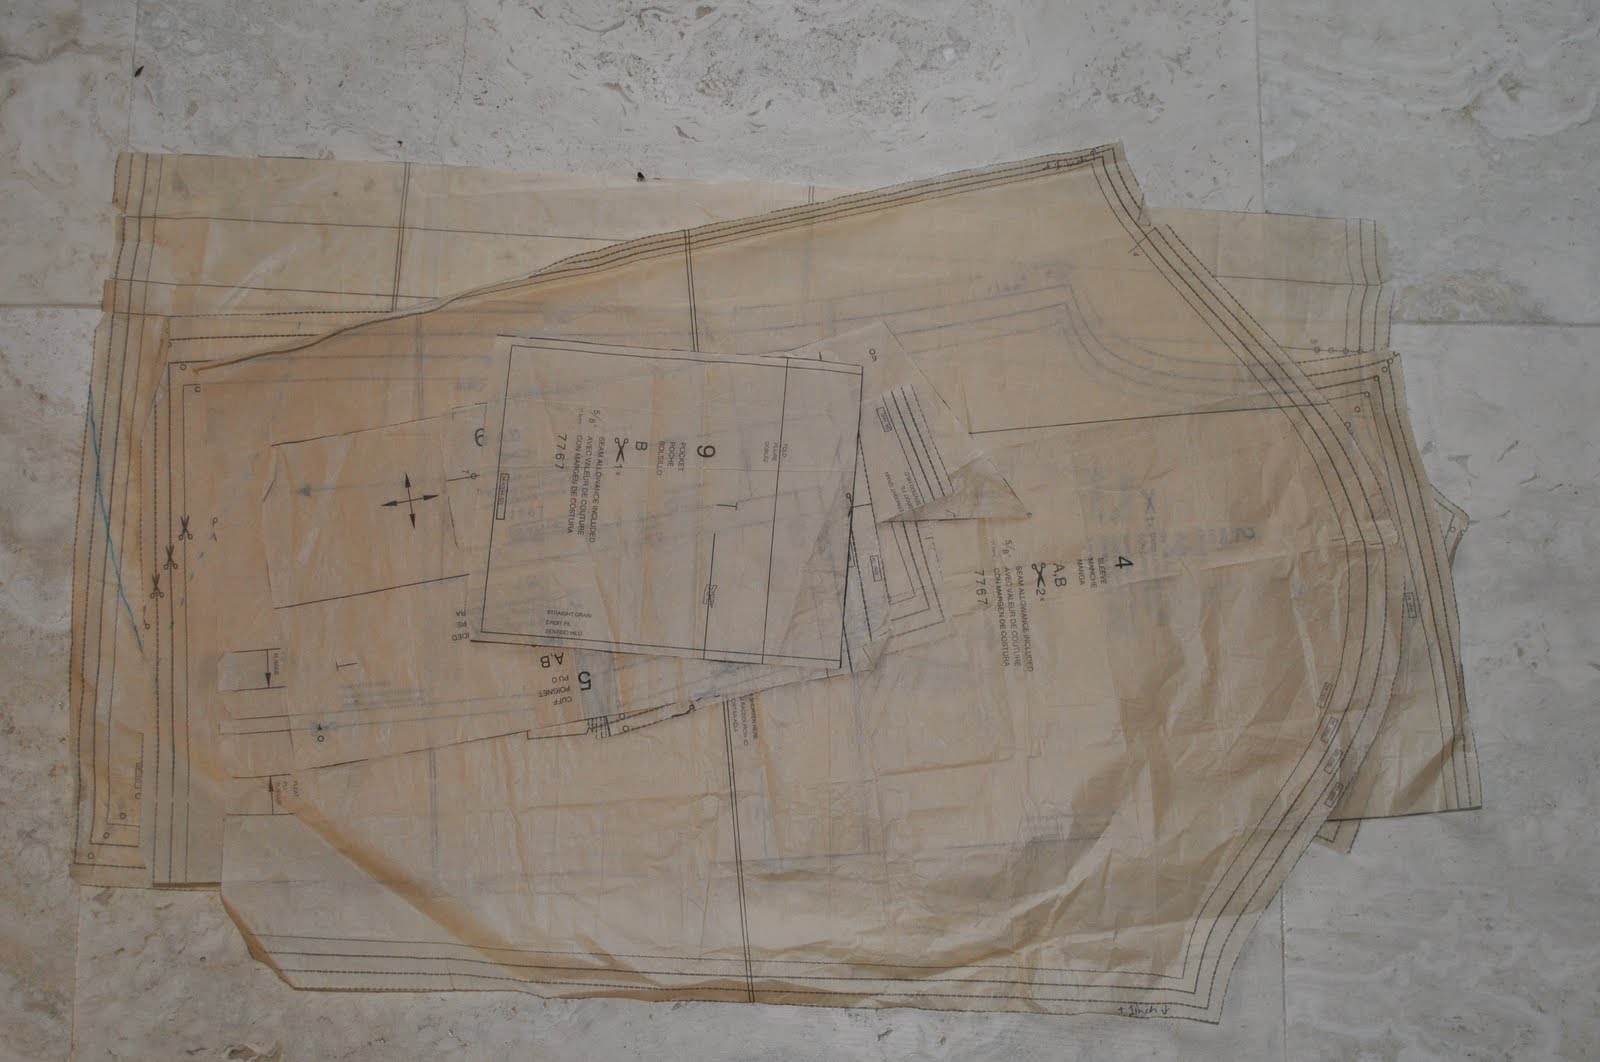
(and for those wondering if I had traced off this much used-pattern, lest it get all tattered and torn, I am using the original tissue every time and it is in pretty good nick still, see?  I take very good care of my patterns!)

pinterestmail

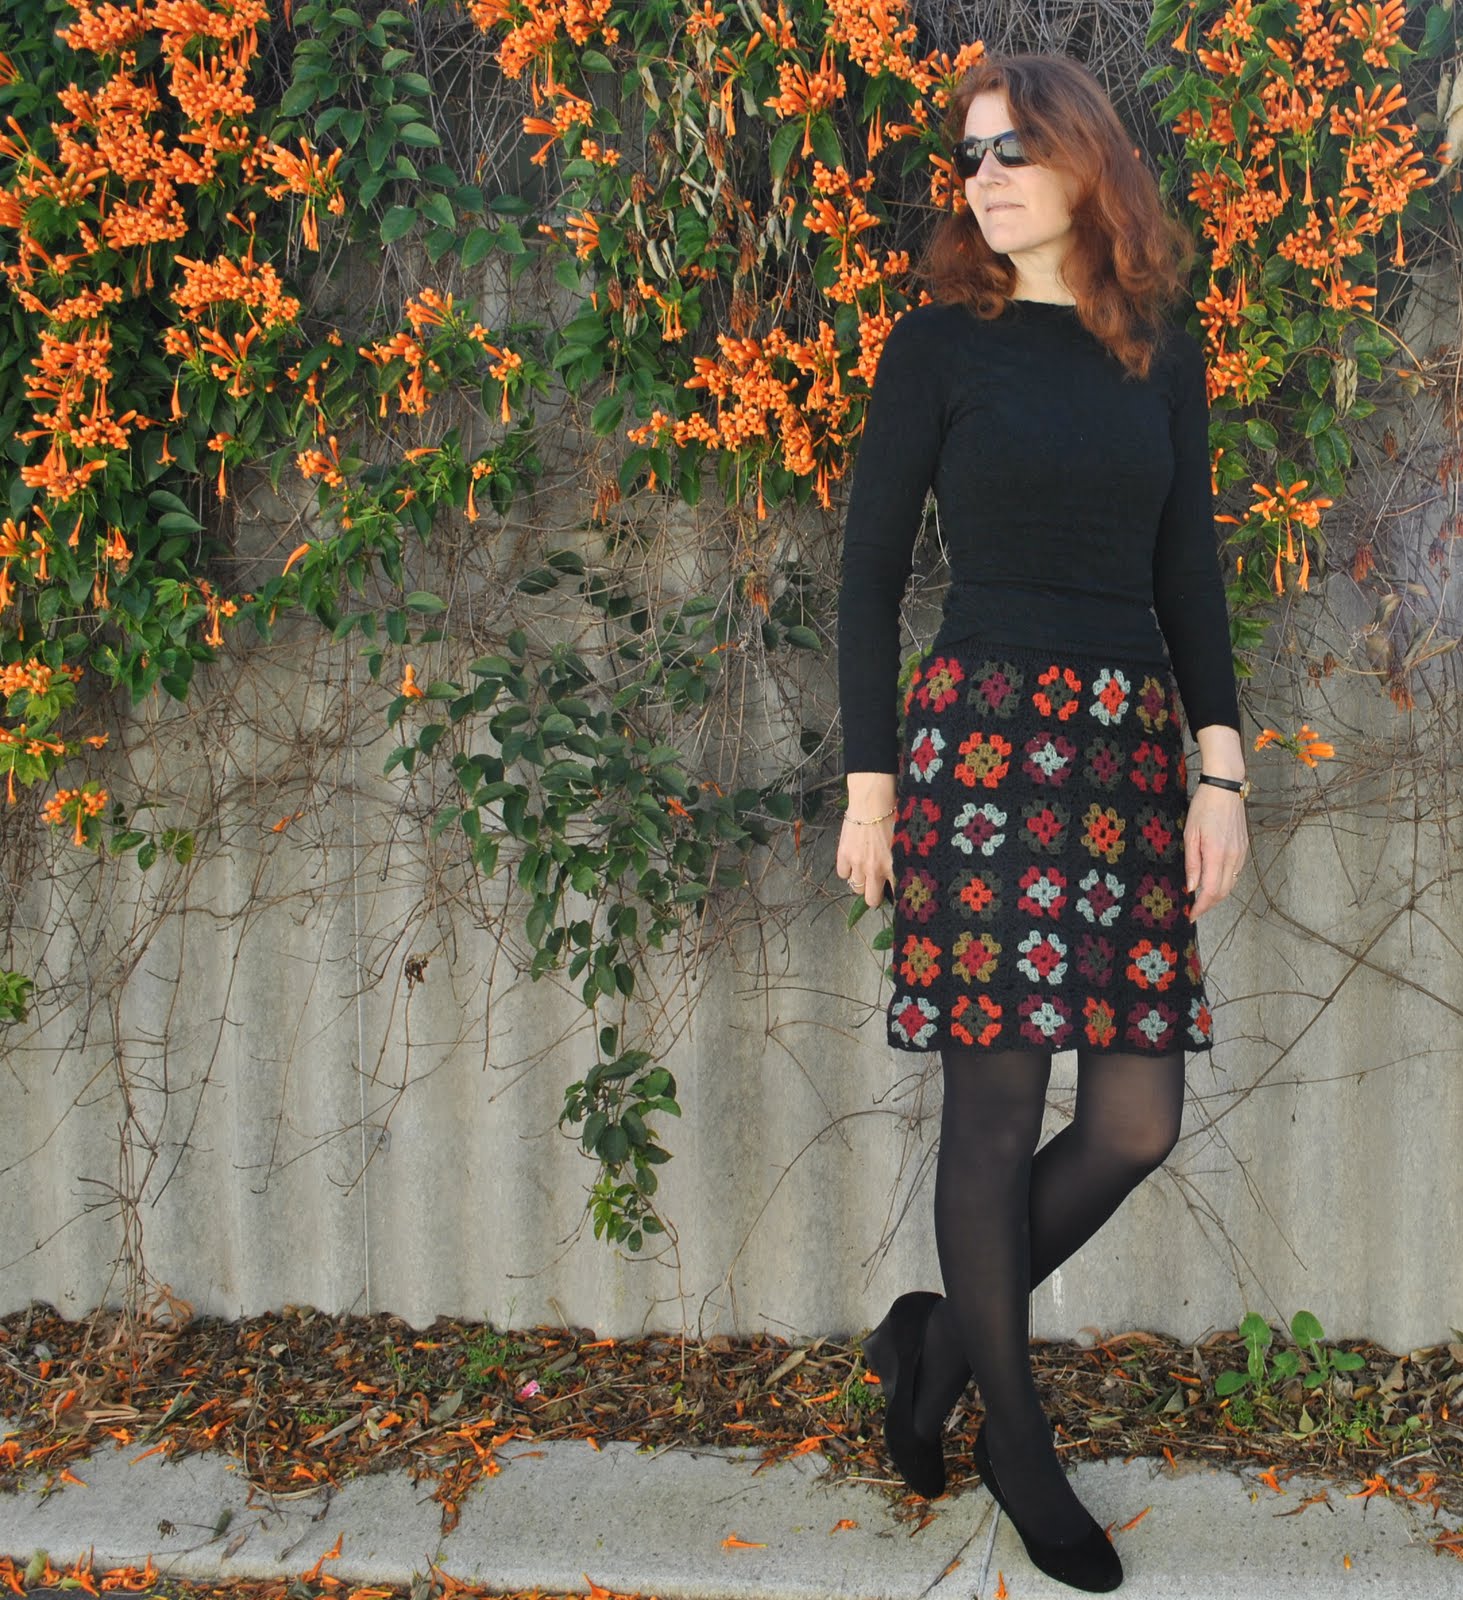
Crocheted Granny-squares skirt

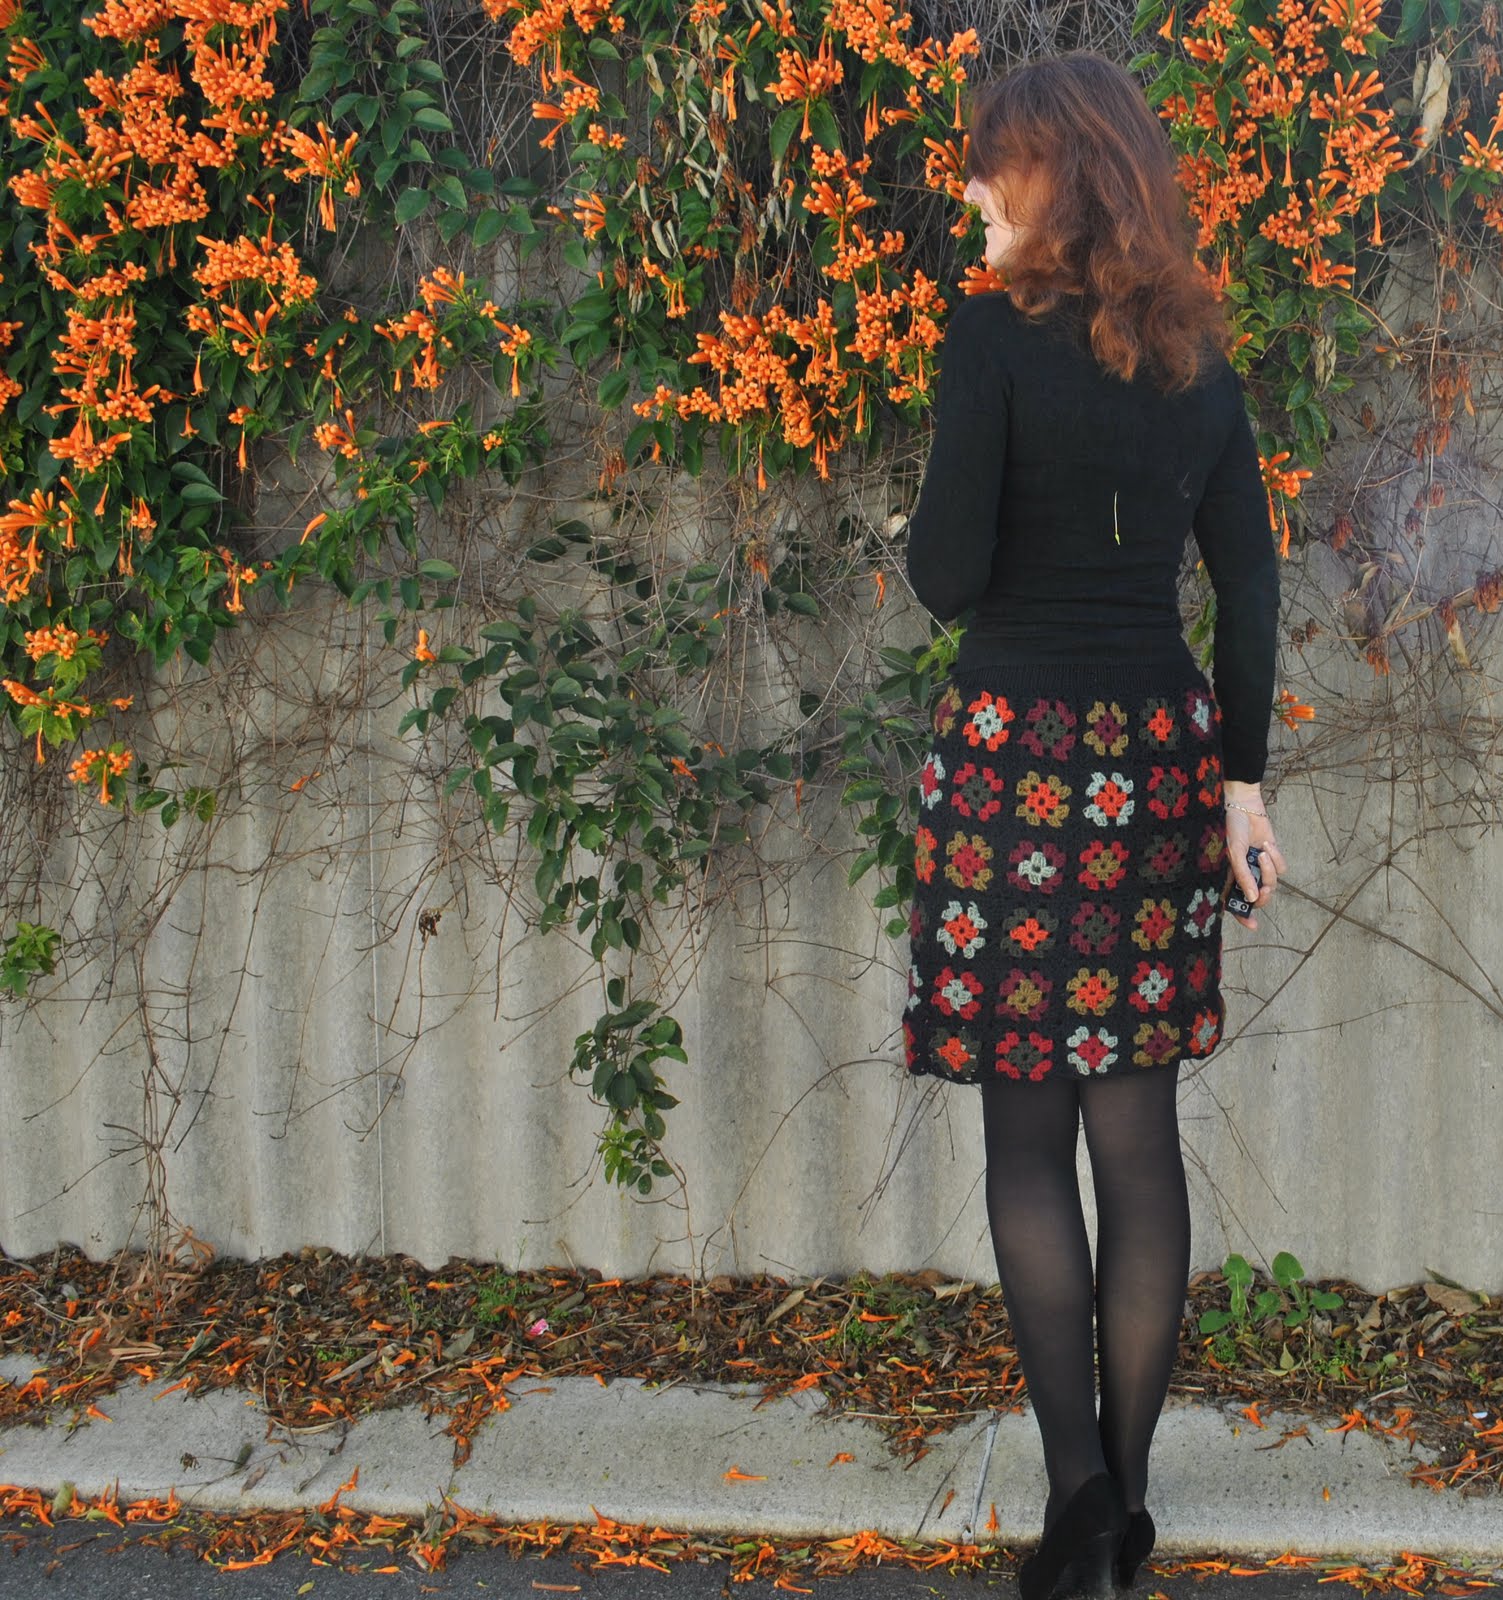
I crocheted a skirt!  Yup, a whole skirt…. almost can’t believe it myself, since crochet is not my forte.
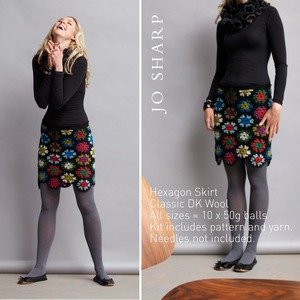
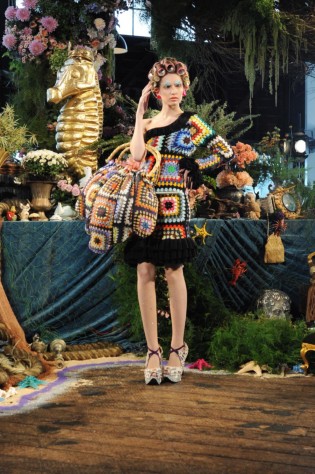
Now I was initially inspired by Jo Sharp’s Hexagon skirt, but have discovered this new-wave trend was set by Australian designers Romance was Born in their whimsical Spring/Summer 2009 collection, itself inspired by the crocheted granny-square rugs of the 1960’s and 1970’s.
I really love it! it’s so warm and cosy, and I love the unexpected jolt of seeing so-unhip-it’s-actually-kinda-hip granny-squares in a wearable item.  I think it is fun and funky; when I first posted my plans for this skirt I did get a comment that “these are everywhere right now” but I haven’t seen a single one out and about around where I live, so I guess the trend hasn’t caught on in Perth yet.  I feel happily unique so far.
Viva les granny-square!


Details:
Skirt; crocheted to my own design using Jo Sharp yarns, my pattern below
Top; Sexy Woman, found second hand
Tights; Voodoo
Shoes; Misano from Labels boutique

(at left, Jo Sharp’s Hexagon skirt; at right from Romance was Born Spring/Summer 2009)

I wrote down the pattern I used to make my own skirt if anyone is interested in making one too.  There are multiple small variations on the crocheted granny-square.  I trialled several different variations before settling on this one, but a granny-square is a granny-square is a granny-square really…

Crocheted Granny-Squares Skirt:

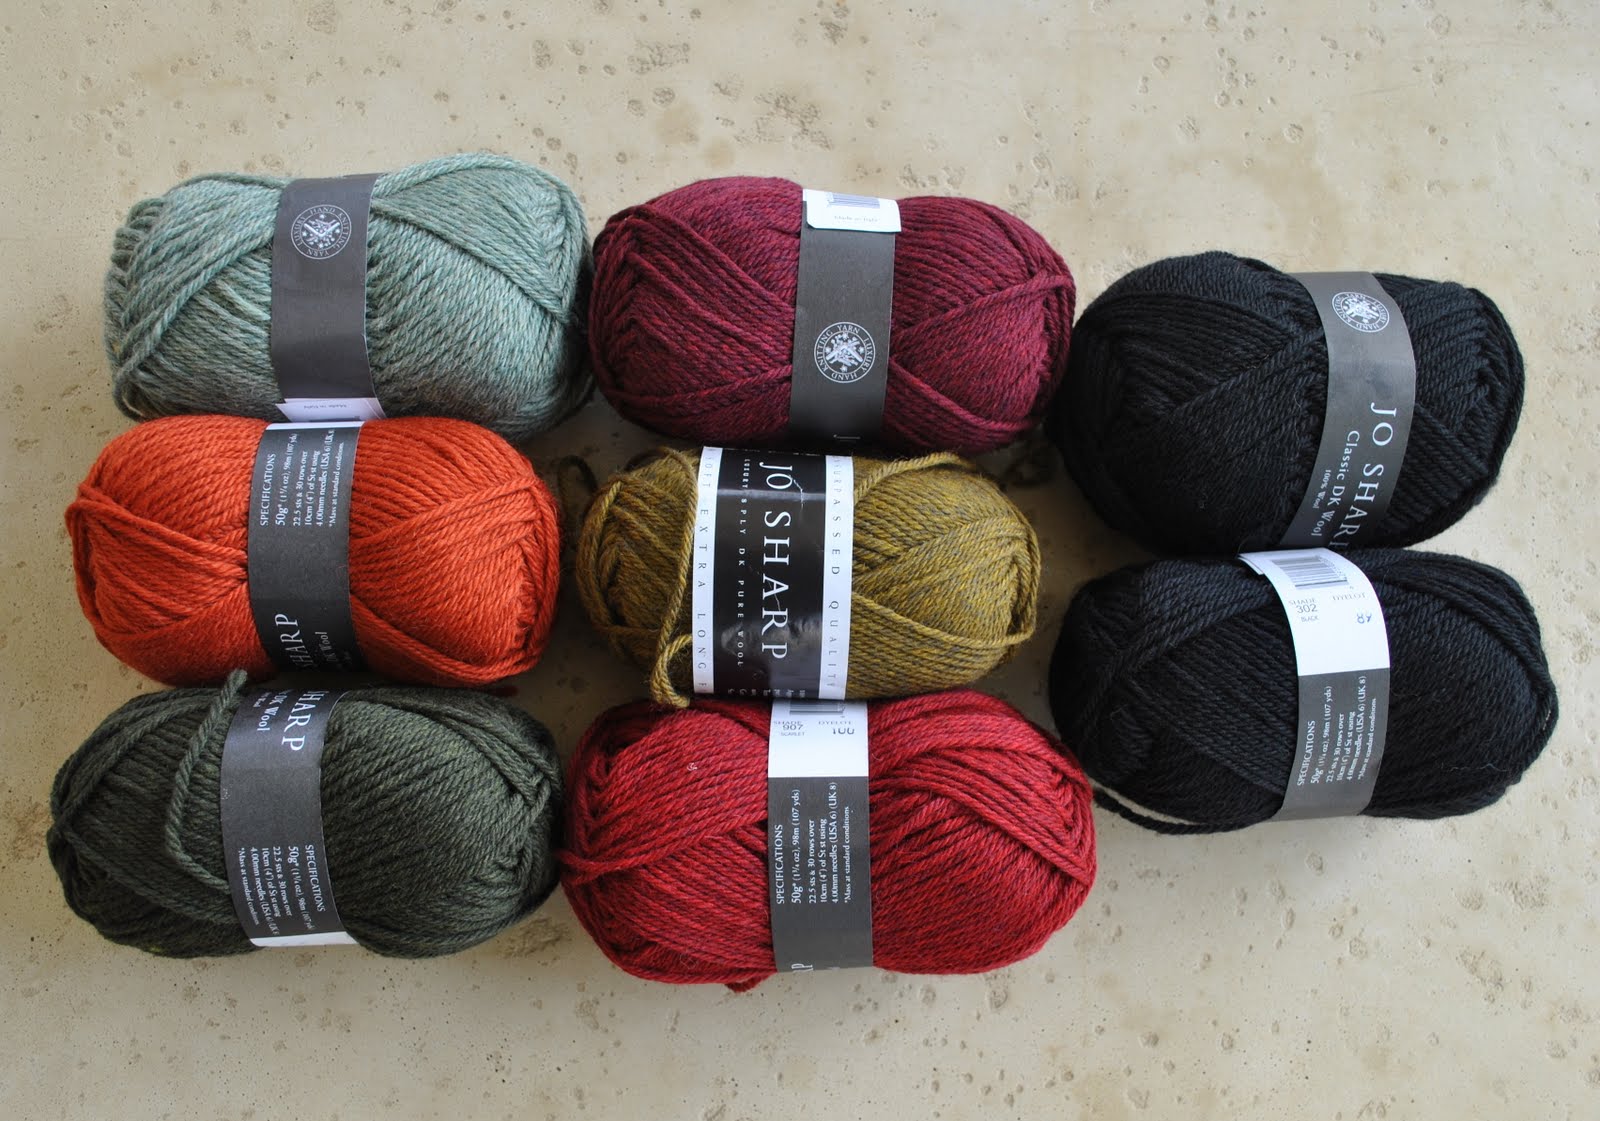
6 balls of coloured 8ply yarn
I used Jo Sharp  Classic DK Wool; 3 “greenish” shades (Glade, Lichen and Orchard), and 3 “reddish” shades (Brocade, Scarlet and Nasturtium)
3 balls of Black 8ply yarn
3.5mm crochet hook  *
3.5mm round needle  *
(*warning, I am an extremely loose knitter and crocheter, and a “normal” person would probably use a needle/hook 3 sizes bigger…)

Abbreviations:
ch; chain
tr; treble stitch (US double)
sl st; slip stitch

Using colour 1, ch 6, join with a slip stitch in the 1st chain to make a ring.
ch3, tr x2 into ring, (ch 3, tr x3 into ring) 3 times; ch 3.  Sl st into top of 3 ch at beginning, end wool.
Join 2nd colour into corner:
ch3, tr x2, ch 2, tr x3; (ch 2, tr x3 into next corner, ch2 tr x3 into same corner) 3 times,  ch 2, sl st into top of first ch 3 in this colour, end wool.
Using black, join into corner:
ch 3, tr x2 into corner , ch 2, tr x3 into same corner, ch 2; ( tr x3 into side, ch2, tr x3, ch 2, tr x 3 into next corner, ch 2, tr x3 into same corner, ch2) 3 times; ch 2, tr x3 into next side, ch 2, join with a sl st into top of first black ch 3, end wool.

Voila! you have a little granny square!

How many you need to make depends on the size of your granny-squares, your own hip measurement and how long you want your skirt to be; this is an individual requirement.
I made 78, having one “green” and one “red” shade in each one, and alternating to have equal-ish numbers of each variation. Then overstitched them together to make a tube of 6 x 13 squares.
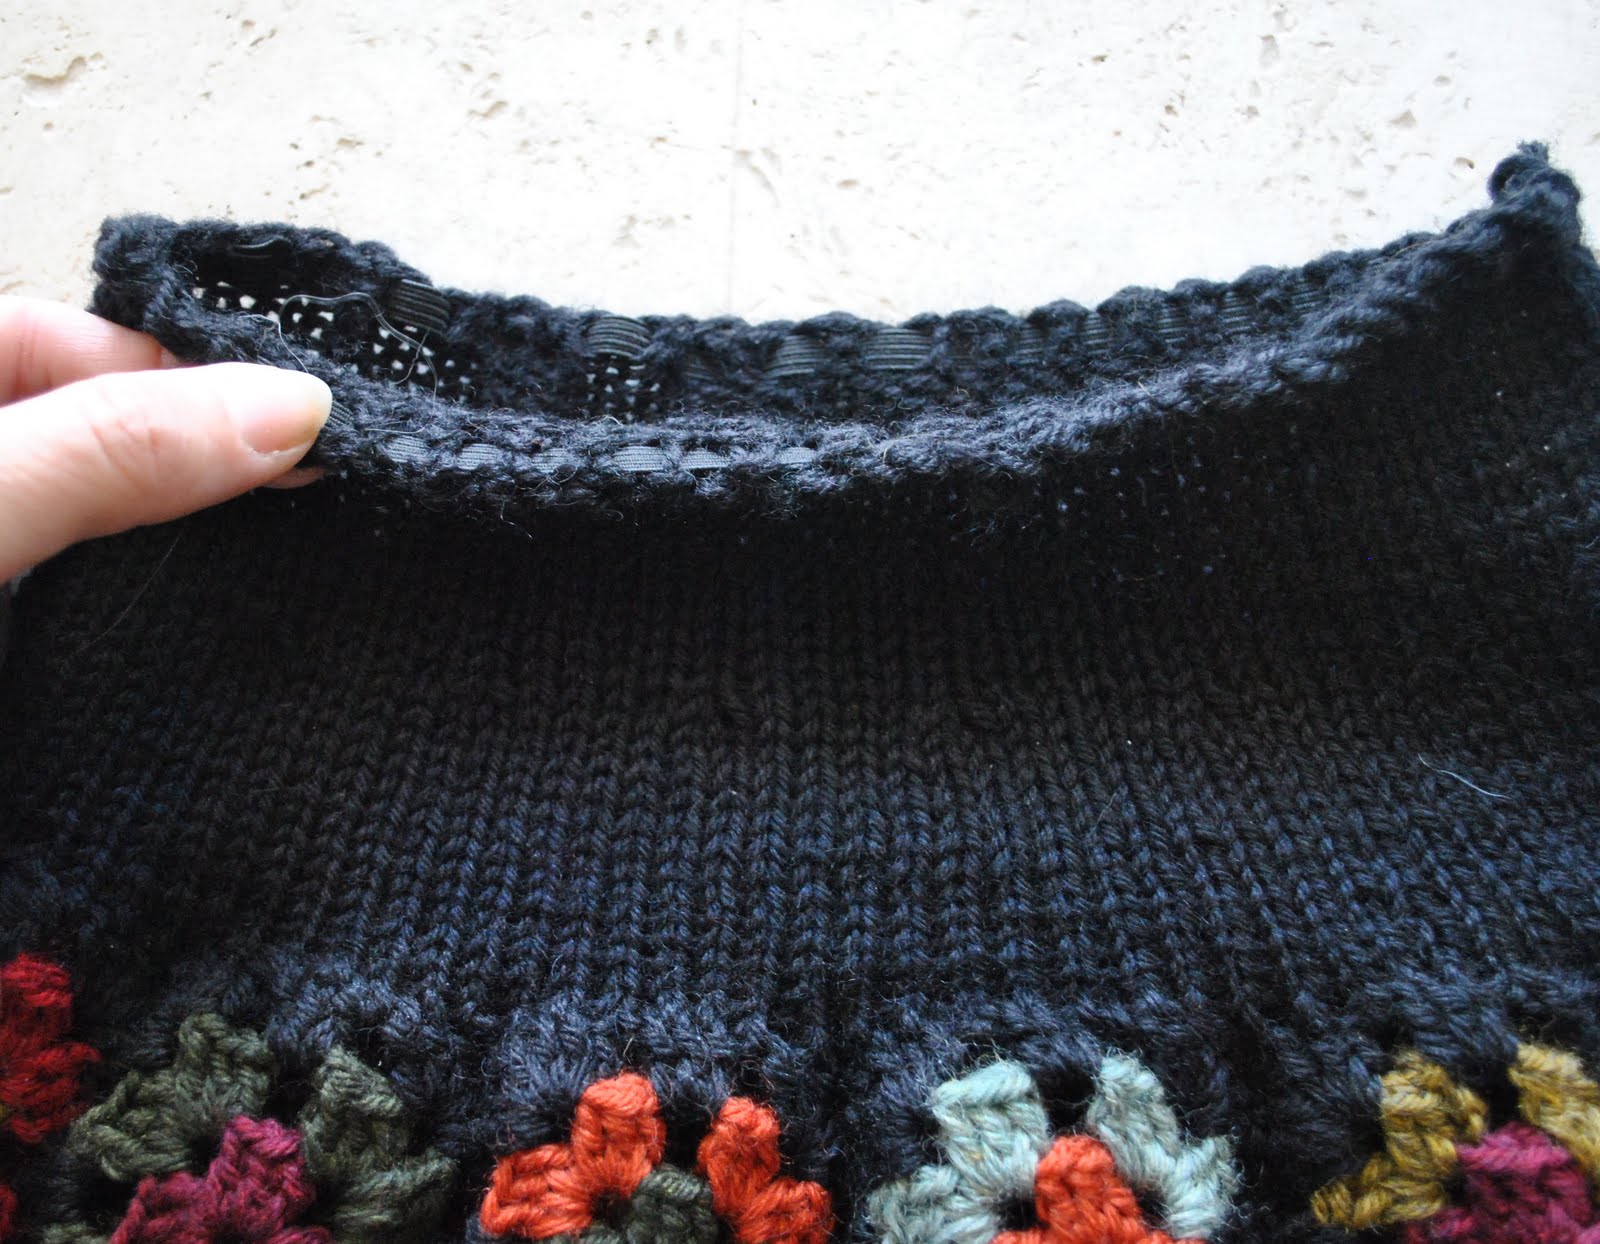
Then using a 3.5mm round needle, I picked up 92 stitches around the top (as a guide, 7 in each square and then 1 extra in the last),
K 15 rows in the round in black.
Row 16; (K4, K 2 tog) rep until you get to the last 2 st, K2  (78 st)
K 15 rows.
Cast off, veeeeery loosely (otherwise you won’t be able to fit the skirt over your hips!)
Take a piece of 2mm black elastic cut to fit your waist, and weave it in and out through the stitches in the second to top row, then machine zig-zag the ends together firmly.

The beauty of this is that it has no front or back, so there is less chance of developing a “seat” by sitting in the skirt the same way every time.  It can just be swivelled around any which way.  And since it is all wool and crocheted, it can be reshaped after laundering, if necessary.

SaveSave

SaveSave

pinterestmail

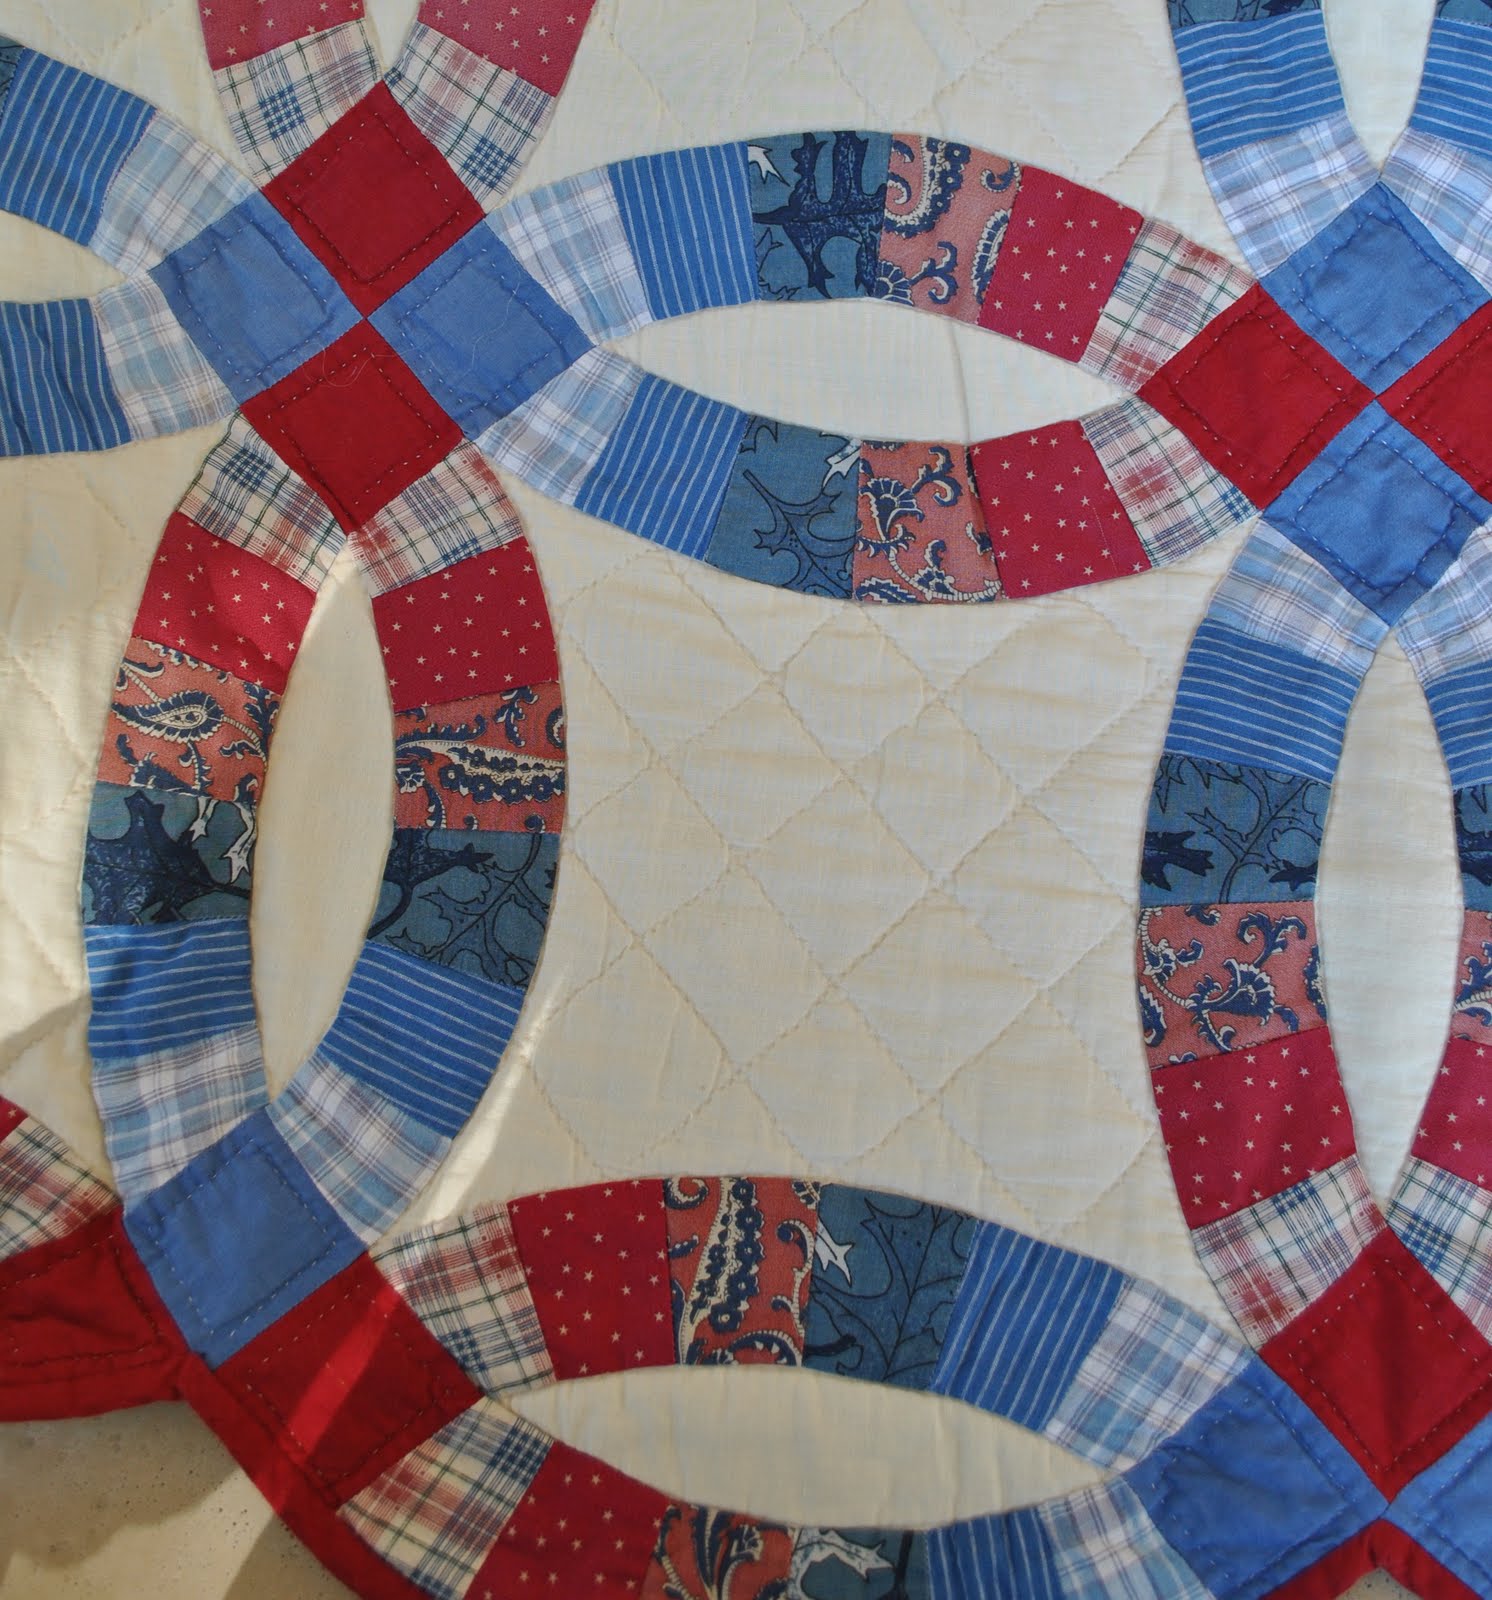
Double wedding ring quilt

So, to the penultimate in my quilting output…
I have only one more quilt in my repertoire after this but I will have to make an appointment to go and visit that one…
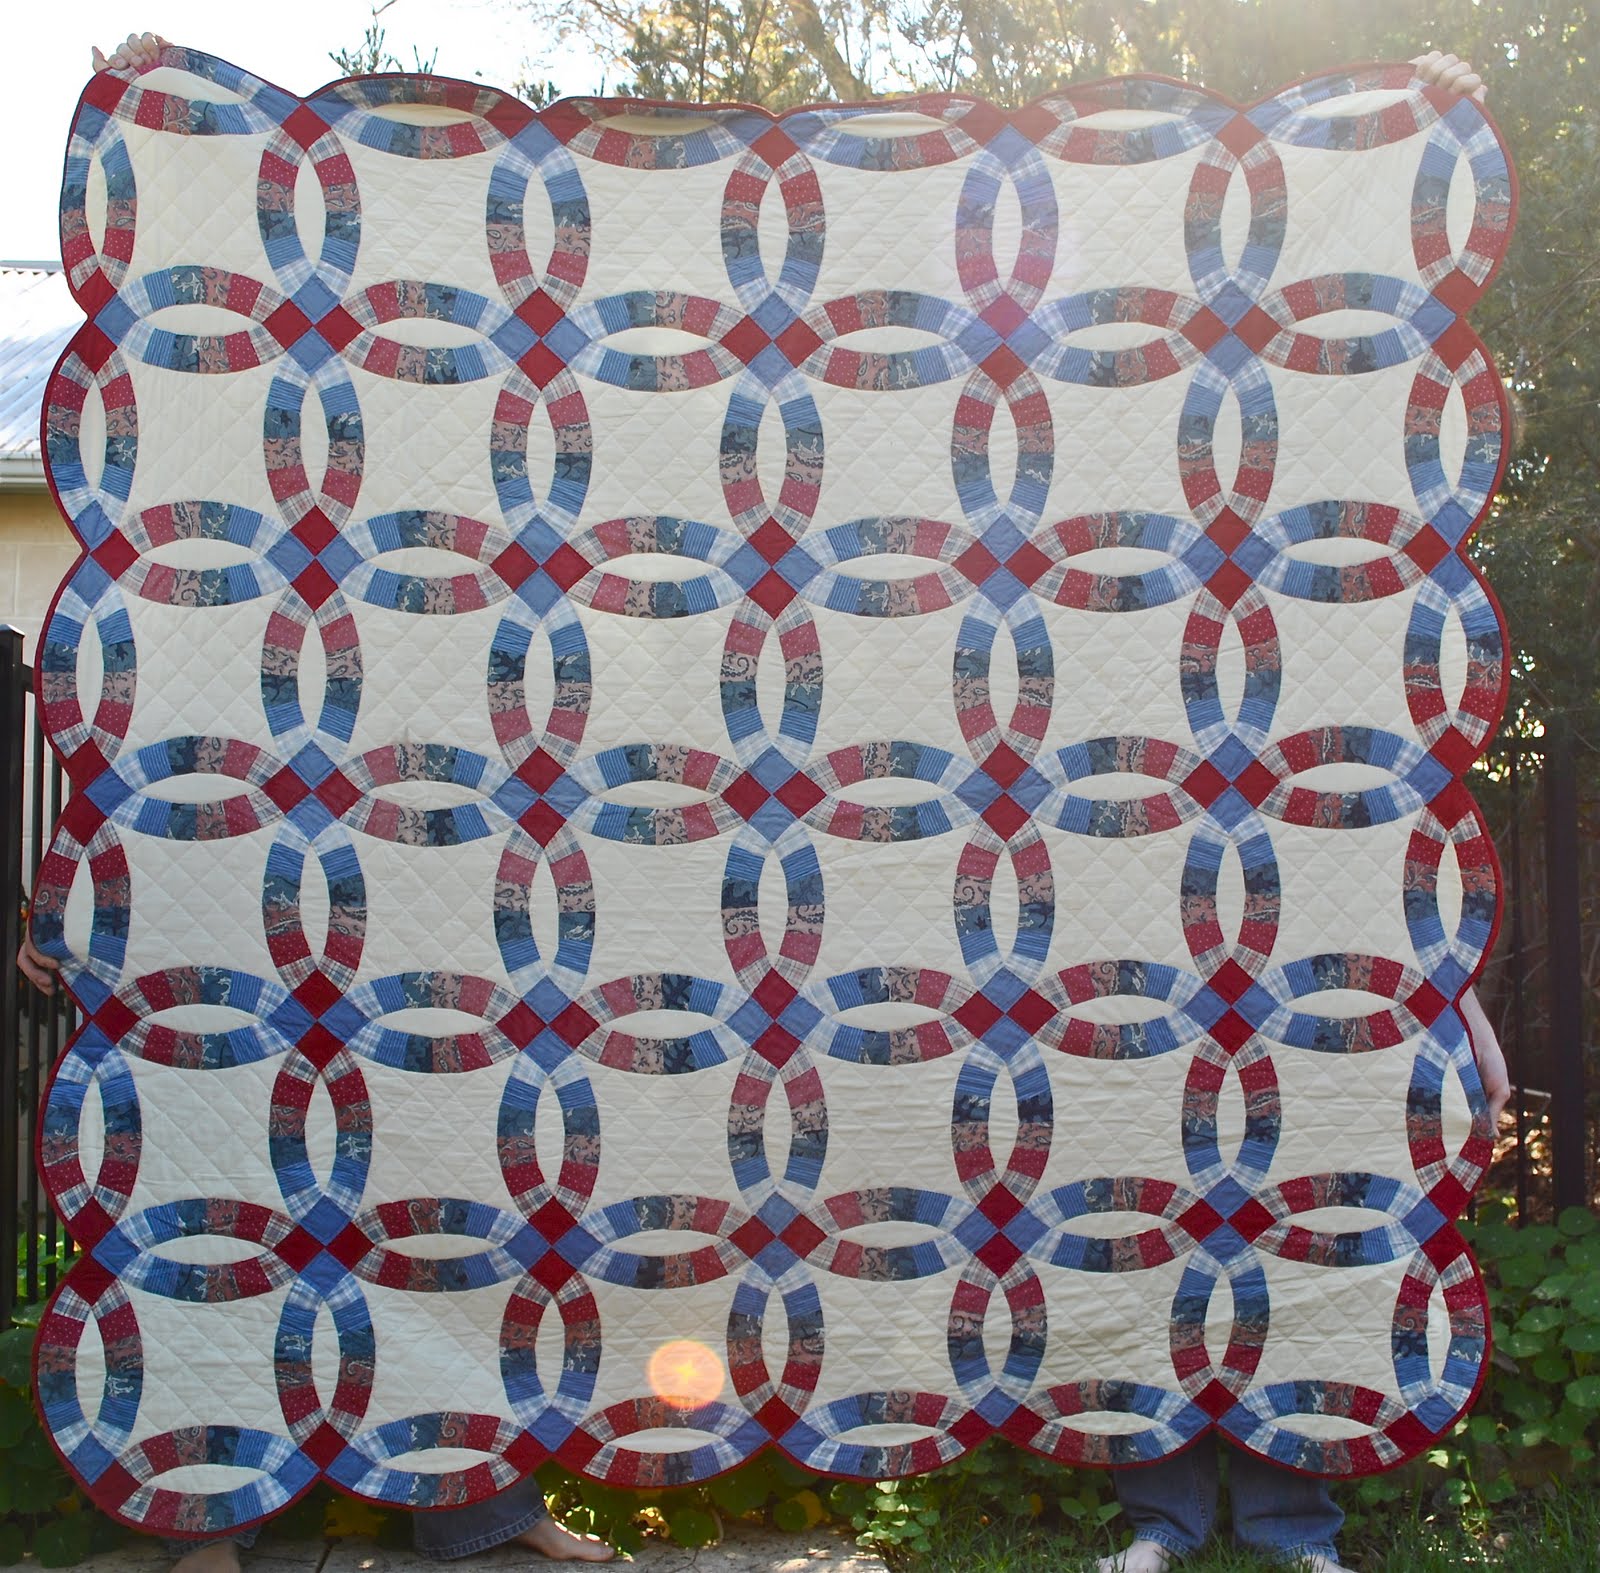
However, this one is far dearer to my heart anyway; it was made for our own bed and Craig chose the fabrics.  It was made during 1995, and was probably just about the only thing I managed to make in that year.
I used a book which gave a very quick piecing technique for the “rings”; you cut all the coloured patterned pieces in long strips, then joined the strips together lengthwise to make a piece with six rows of your different fabrics.  Then you cut this piece of fabric into strips the other way.  So you had a whole bunch of strips of squares joined together… Then you just resewed each seam with a small diagonal new seam adjustment, going from no adjustment to a few millimetres; bingo, you had all these perfectly proportioned curves.  The book had a table in it, depending on the size “rings” you were making. It was so much easier than I imagine if you had to cut out all those little patches to be just the exact right size from scratch…  This bit, and piecing the whole top together probably only took a few days.  Then for the quilting… 
quilting…
quilting…
about a year later…  
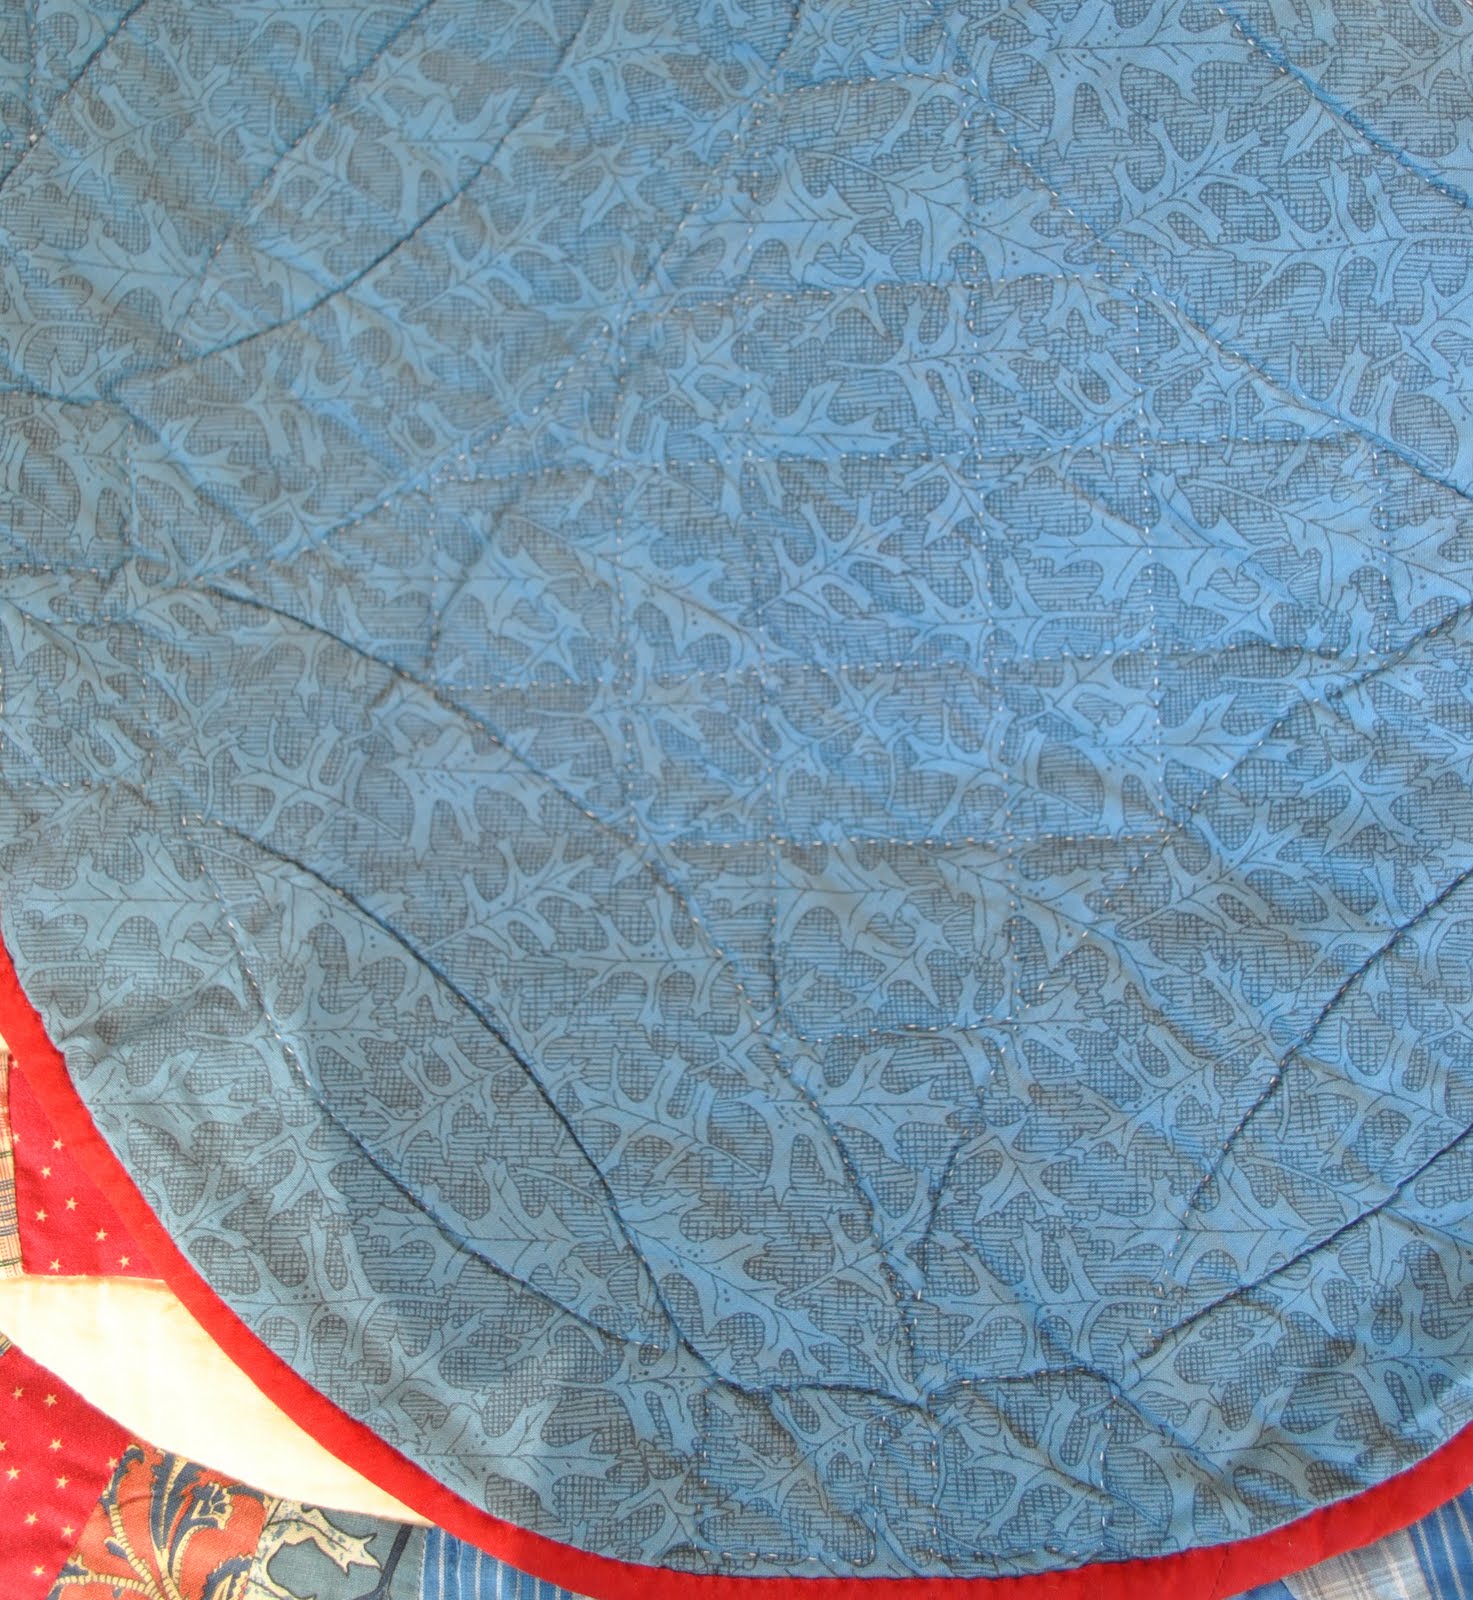
No, not the fastest quilter on the block, for sure! (oh, I should mention here that it is quilted entirely by hand… by me, natch)
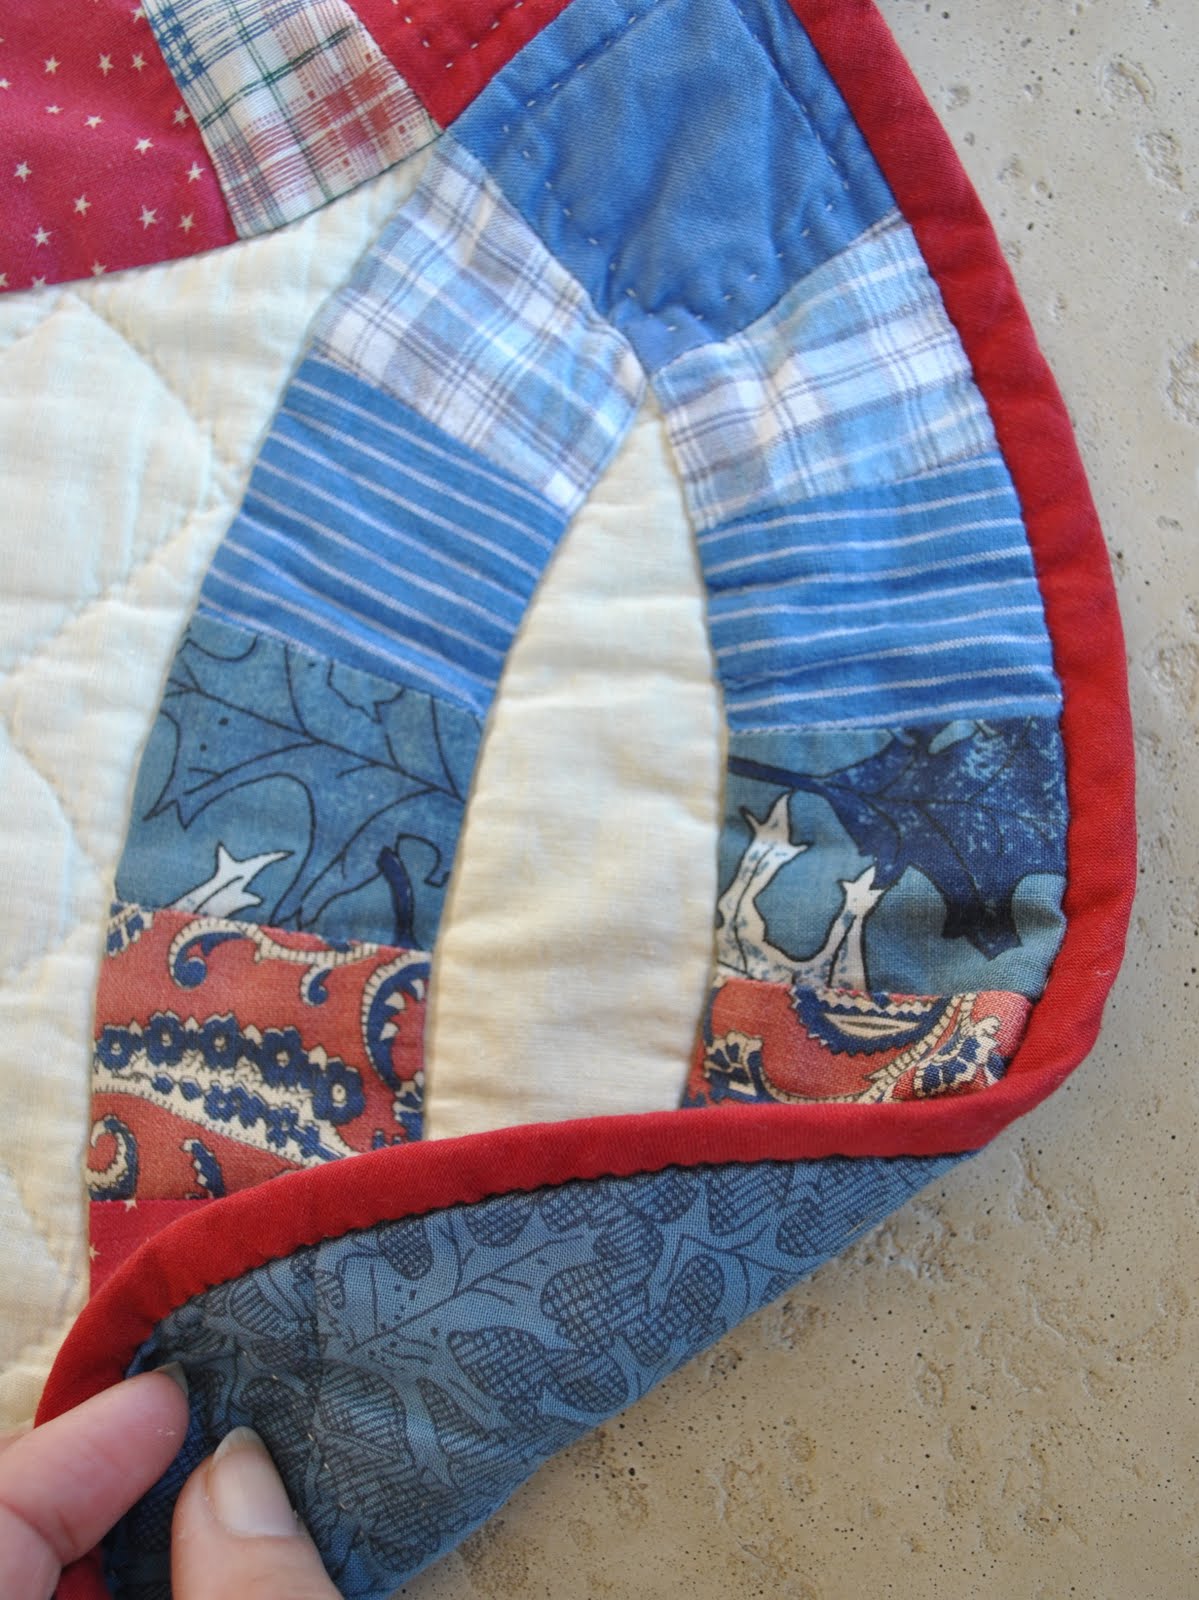
The quilt is edged with bias binding that I made from the same red cotton as in the 4-corner bizzoes.  It was attached by machine, and then handstitched in place over to the back.  The quilt measures 190cm x 190 cm (6’4″ x 6’4″)
It’s a bit old-fashioned for today’s sensibilities and we don’t have it on our bed any more.  But it is stored away for posterity.

pinterestmail

Scrumpled leggings

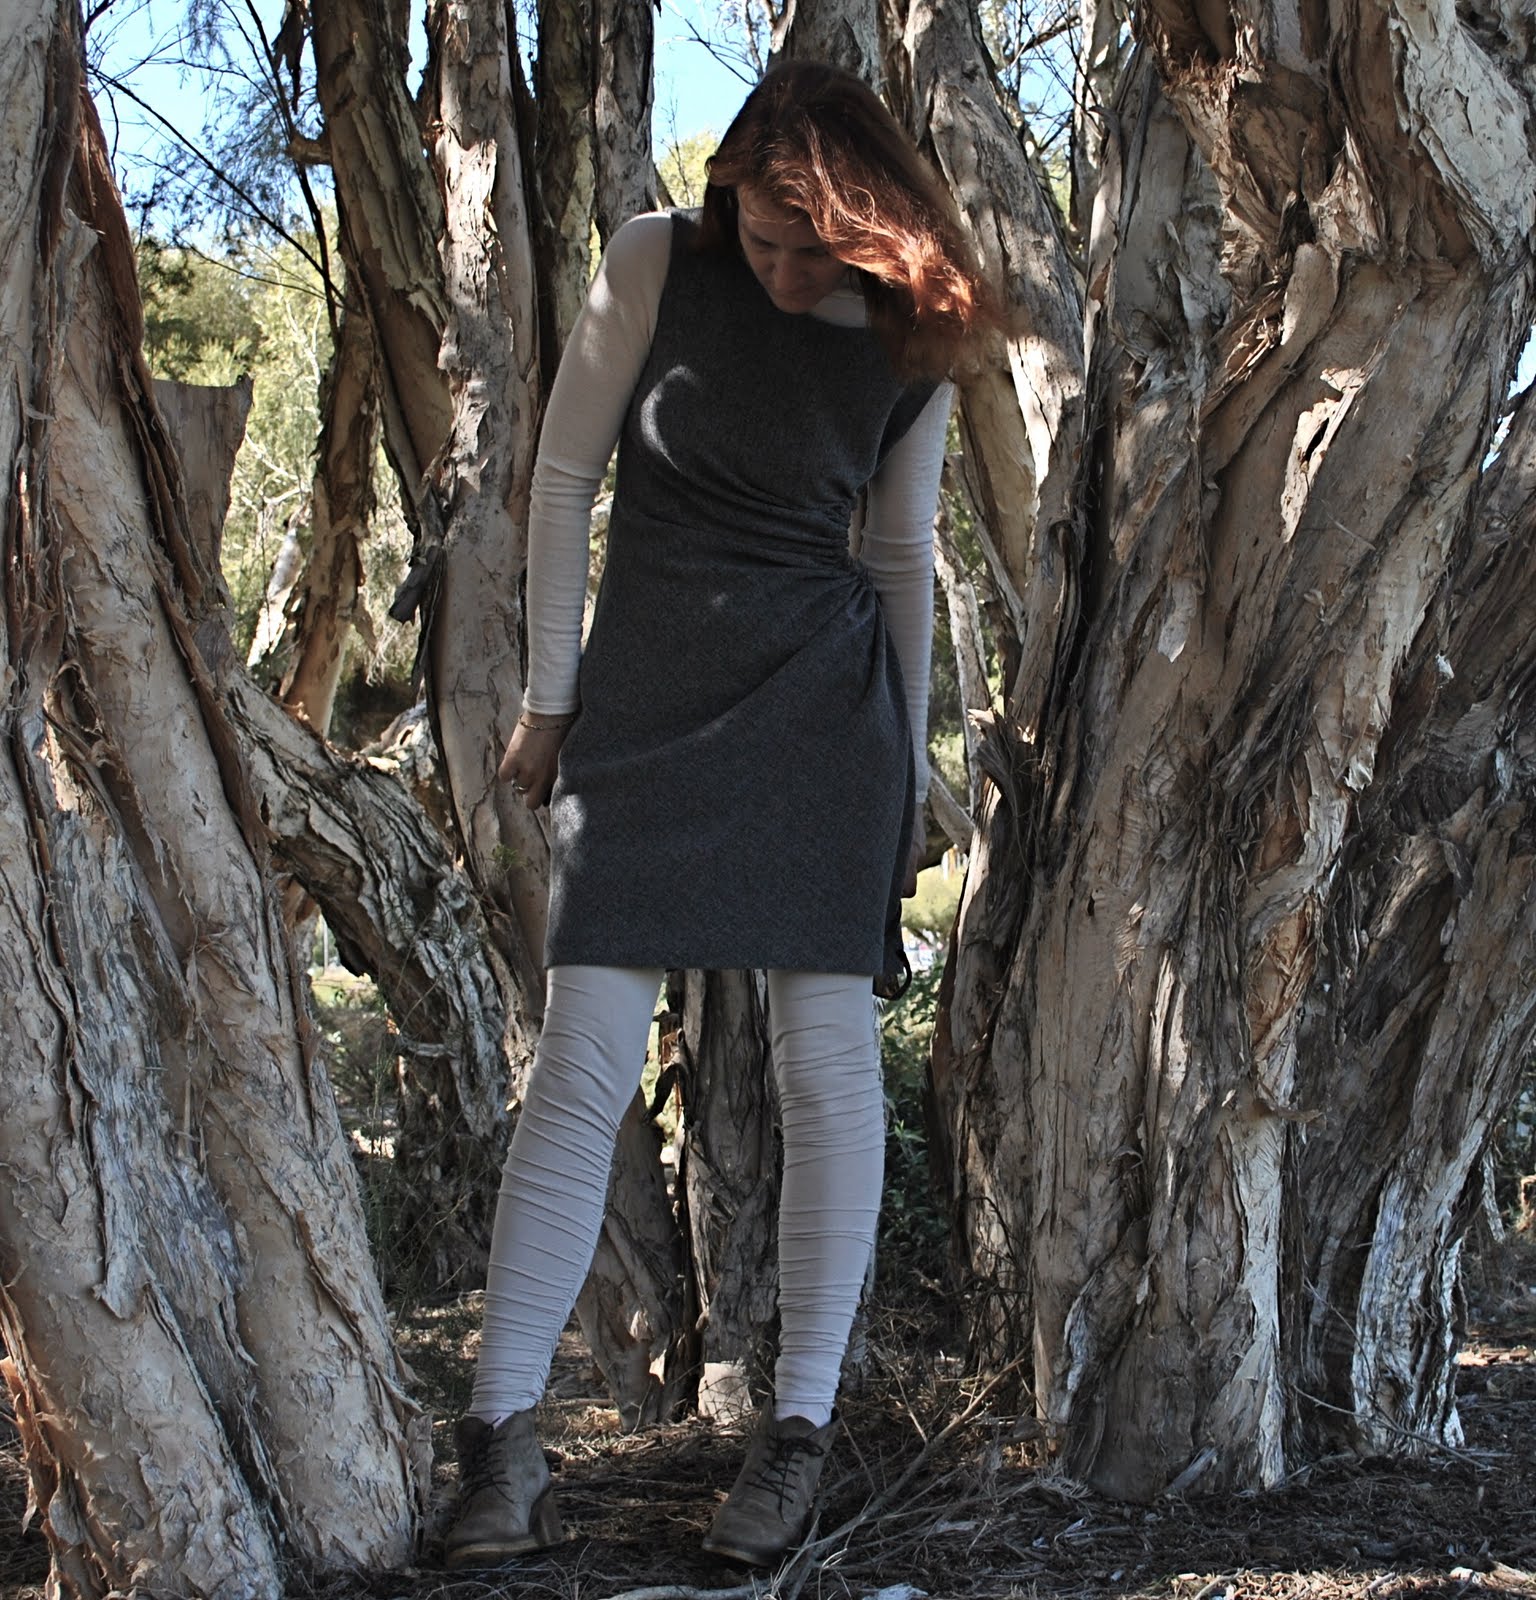
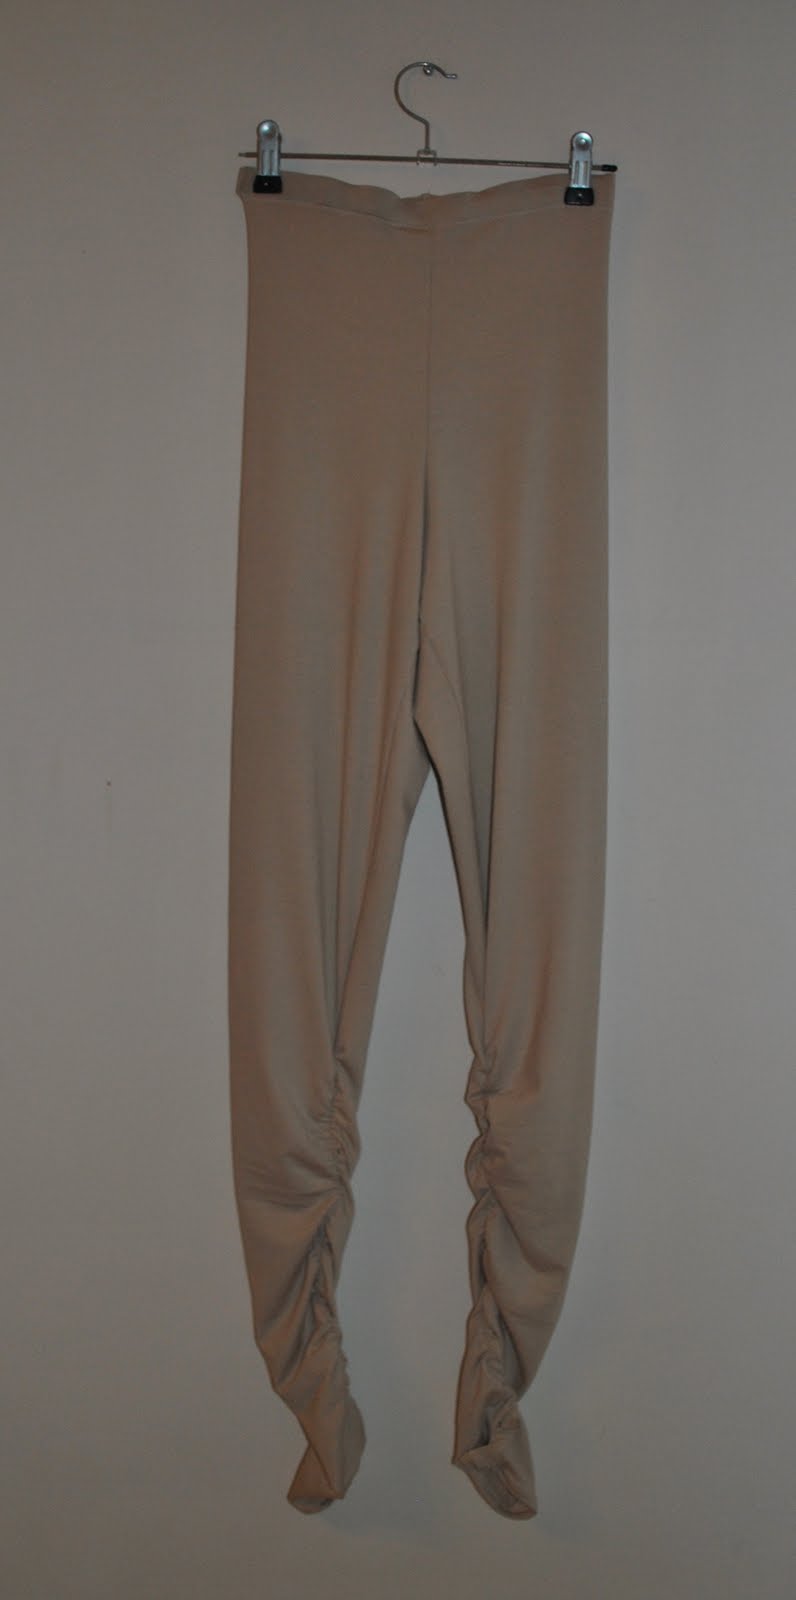
Ta da!  Scrumpled leggings!  You like?  I do!
And I think they fit in very nicely with my current seasonal aim of dressing to suit the natural colours and textures of my environment…
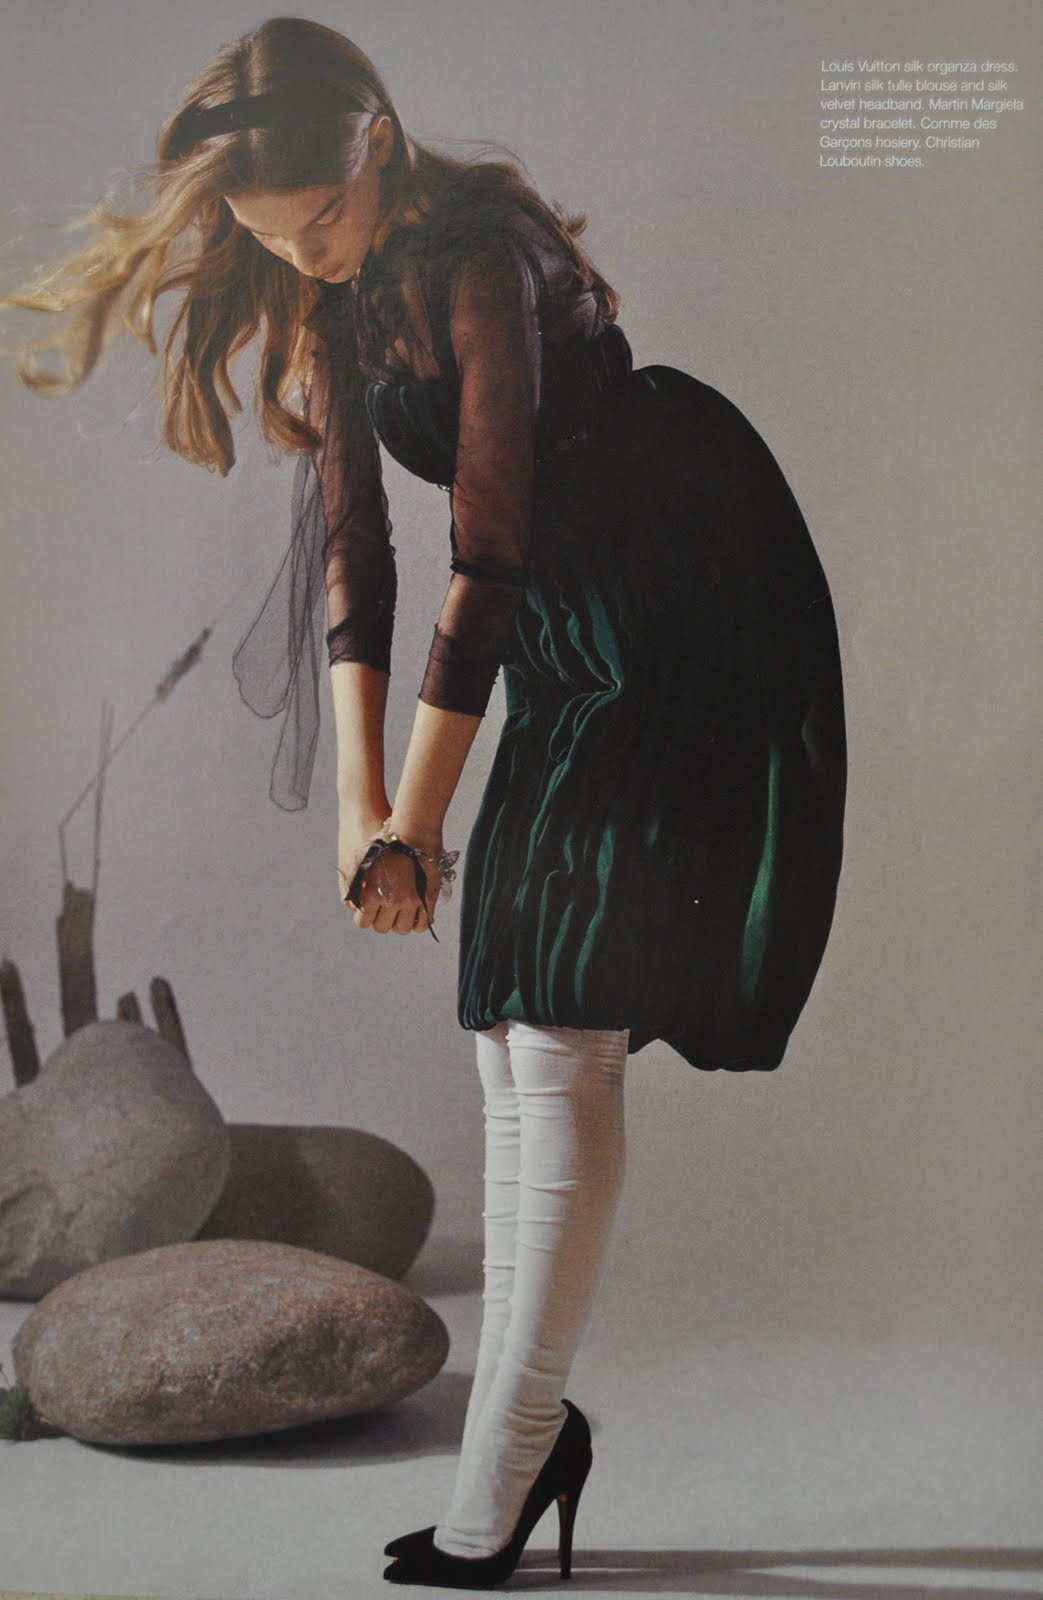
I know this is not a new look.  In fact I had a vague sense of deja vu when I first popped on my new scrumpled leggings… and went off to check, sure enough, here are some Comme des Garcons leggings from 2005 that I can remember being quite interested in when I first spied them in a Vogue magazine.  Yup six years ago… back then I wasn’t into making my own leggings, thinking they would be way too hard.  Little did I realise then how easy leggings are to make!  Also this kind of raaather avant garde stuff never ever ever appeared in a store here so I never bought some for myself.  Perth is kinda sleepy, you see.  Fashion-wise we are slowly waking up, but Harajuku we are not…
Speaking of, when Cassie and I had our fun day out with Yoshimi and Novita in Tokyo, as we parted ways Yoshimi pointed us in the direction of the Mitsukoshi department store, where we had a fabulous eye-opening hour or so oohing and aahing over fashion the likes of which are almost unknown around here. Unknown that is apart from some very expensive European clothing in certain boutiques…  Anyhoo Cassie found a pair of scrumpled leggings like these, and we thought they were so fun and different we bought some.  You’re wondering why I didn’t buy any for myself? well the leggings situation in Tokyo is the same as the shoes situation, if you are taller than 5’6 or have larger than a size 38 shoe, then forget about it
But scrumpled leggings had entered my radar once more…
And recently shams posted about a pair of leggings than she described as “pooled” because they ended up so long, and she liked them that way so left them long.  I liked them that way too.. and thus fully re-awakened my latent desire for a pair of scrumpled leggings…
Super easy.
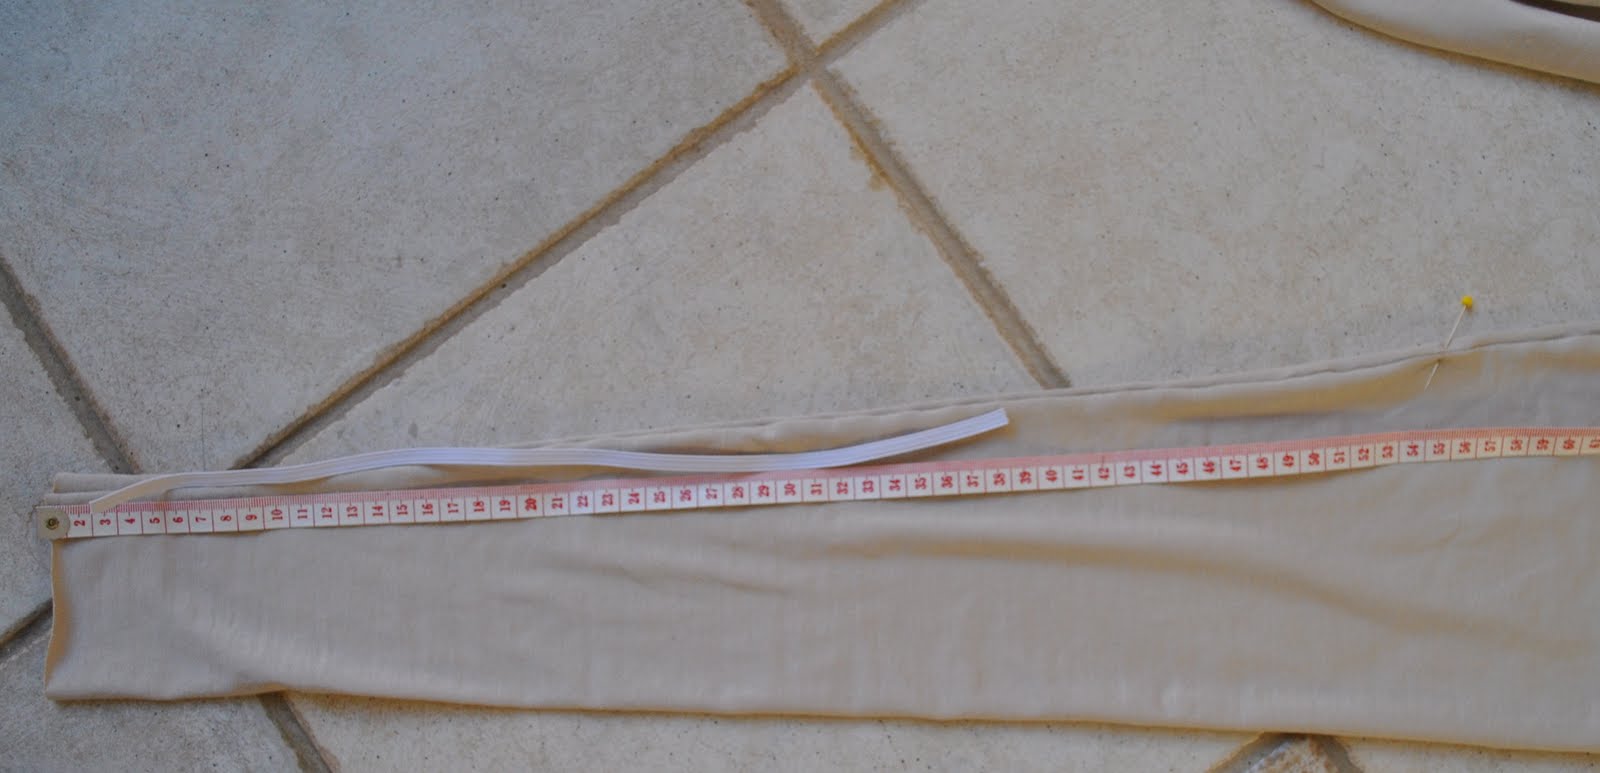
I used my own pattern that I drafted to fit me, but cut the legs pieces to have about an extra 20cm length from the ankle down, and in a less tapered shape than I had drafted for a tight legging, probably by about 1-2cm wider at the ankle point.  Sorry, inexact measurements I know,the truth is I was kinda winging it…
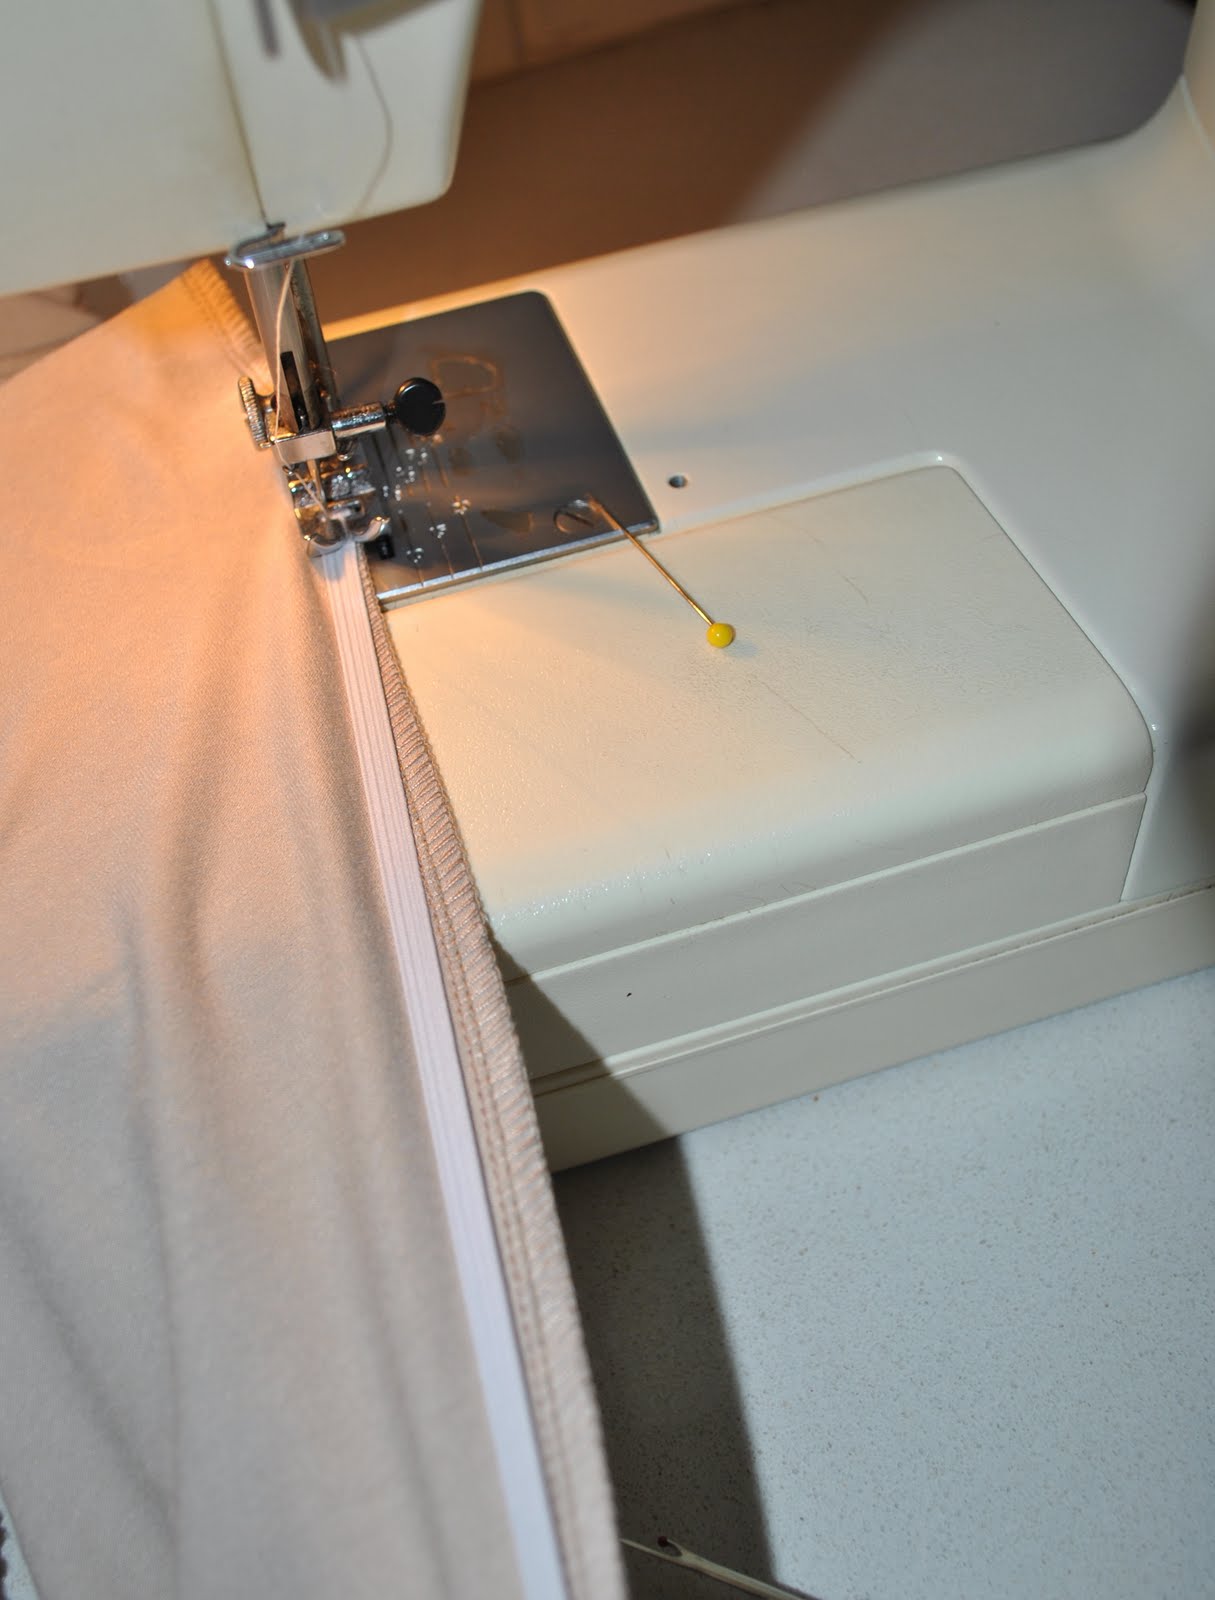
After sewing up the inner leg seams (simply whizzed on the serger in a matter of seconds!) I cut two roughly 27cm lengths of 6mm elastic.  These were zig-zagged to the inside of the inner leg seam from just below my knee level down to 2cm from the bottom.  Then I just hemmed the lower edge as normal by folding up the lower leg edge by 1cm twice to sit over the elastic and zig-zagged the hem.

(Comme des Garcons leggings at right, image from Vogue Australia Sept 2005, photo by Willy Vanderperre)

Details:
Leggings; my own design, beige knit stuff, from my own tutorial of making your own custom fit leggings here
Top; Ezibuy
Dress; drafted from “Pattern Magic” by Tomoko Nakamichi, of charcoal wool mix, details here
Shoes; Francesco Morichetti, from Zomp shoes

pinterestmail

Spring has sprung!

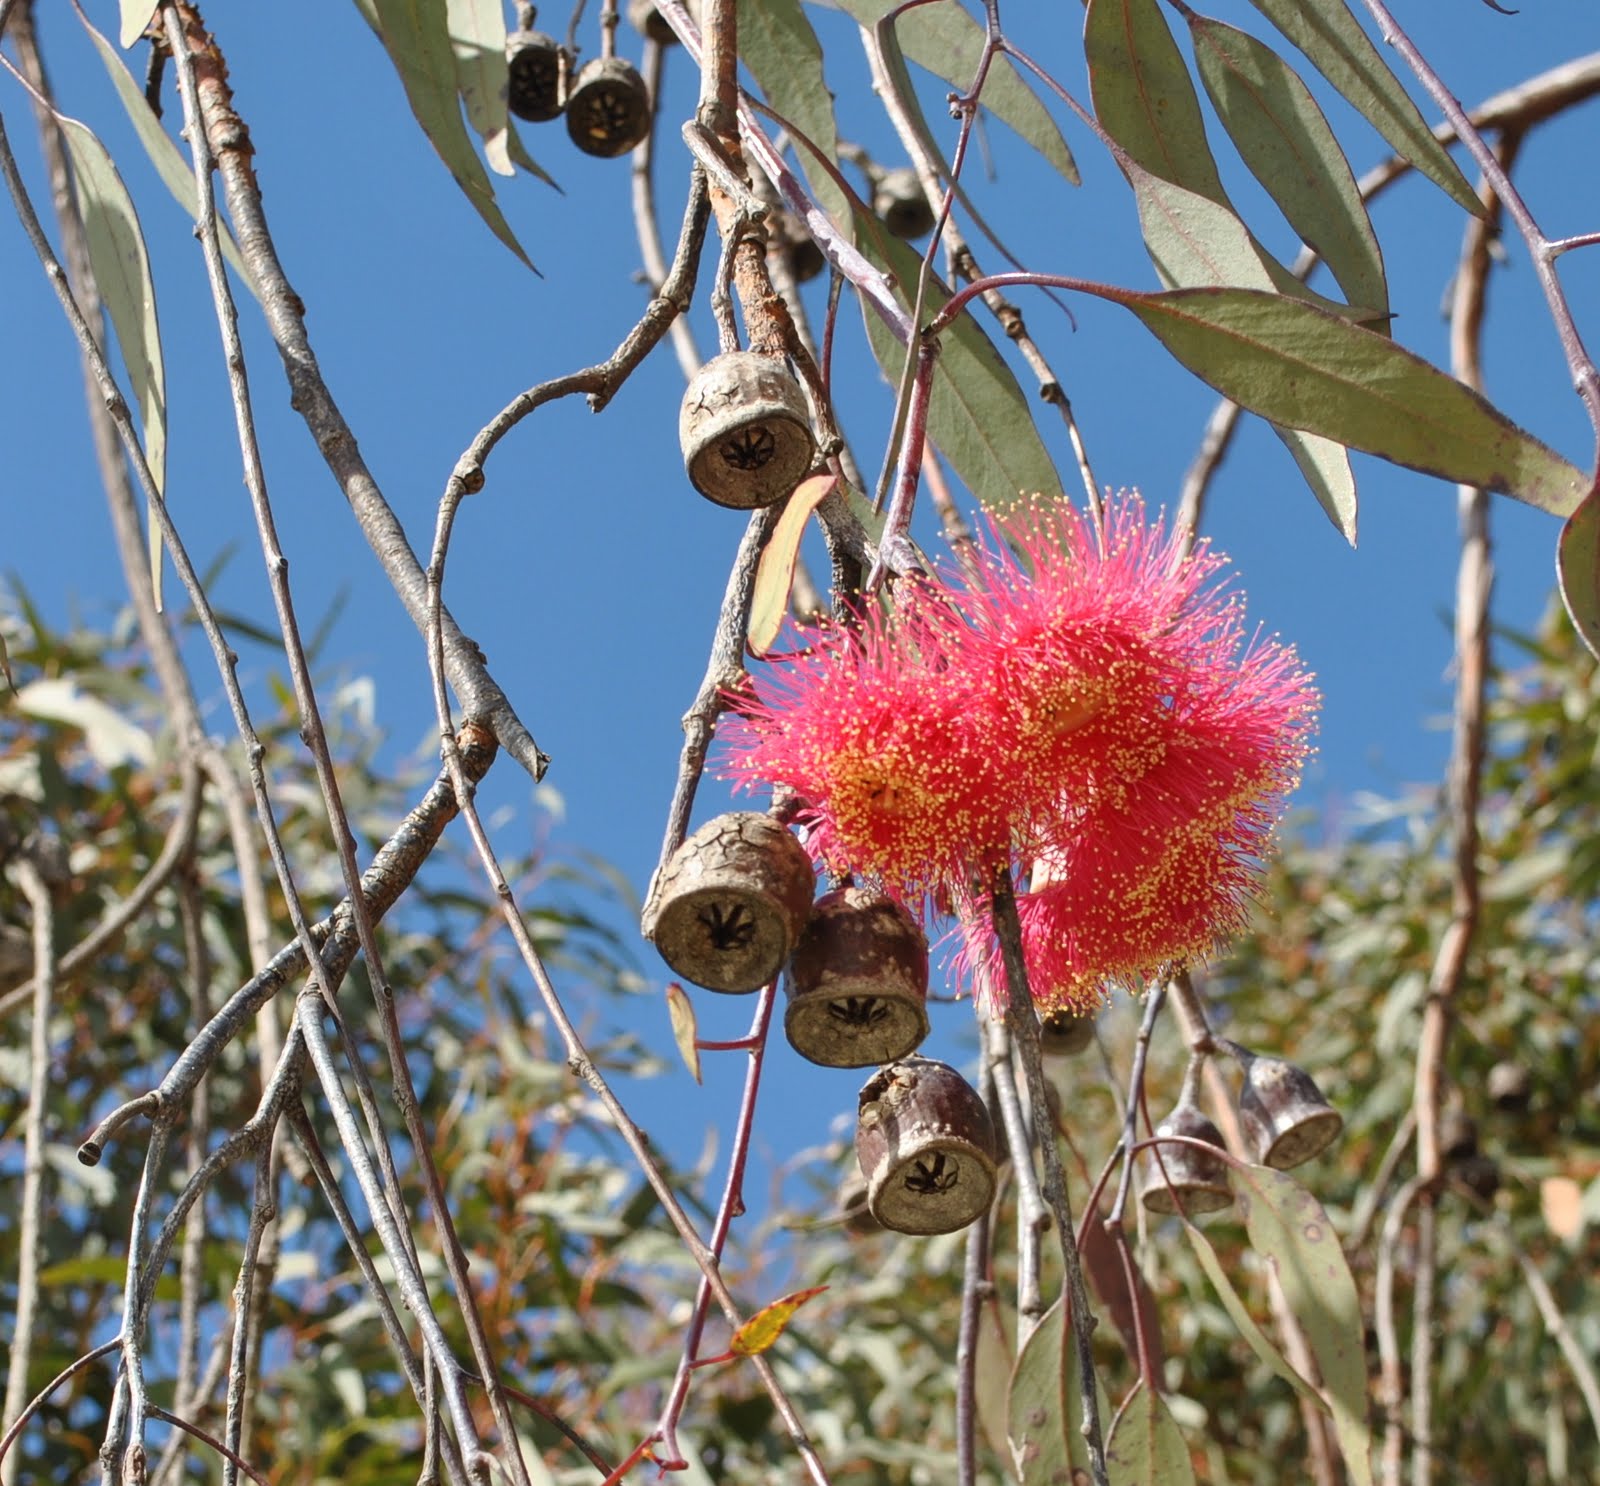
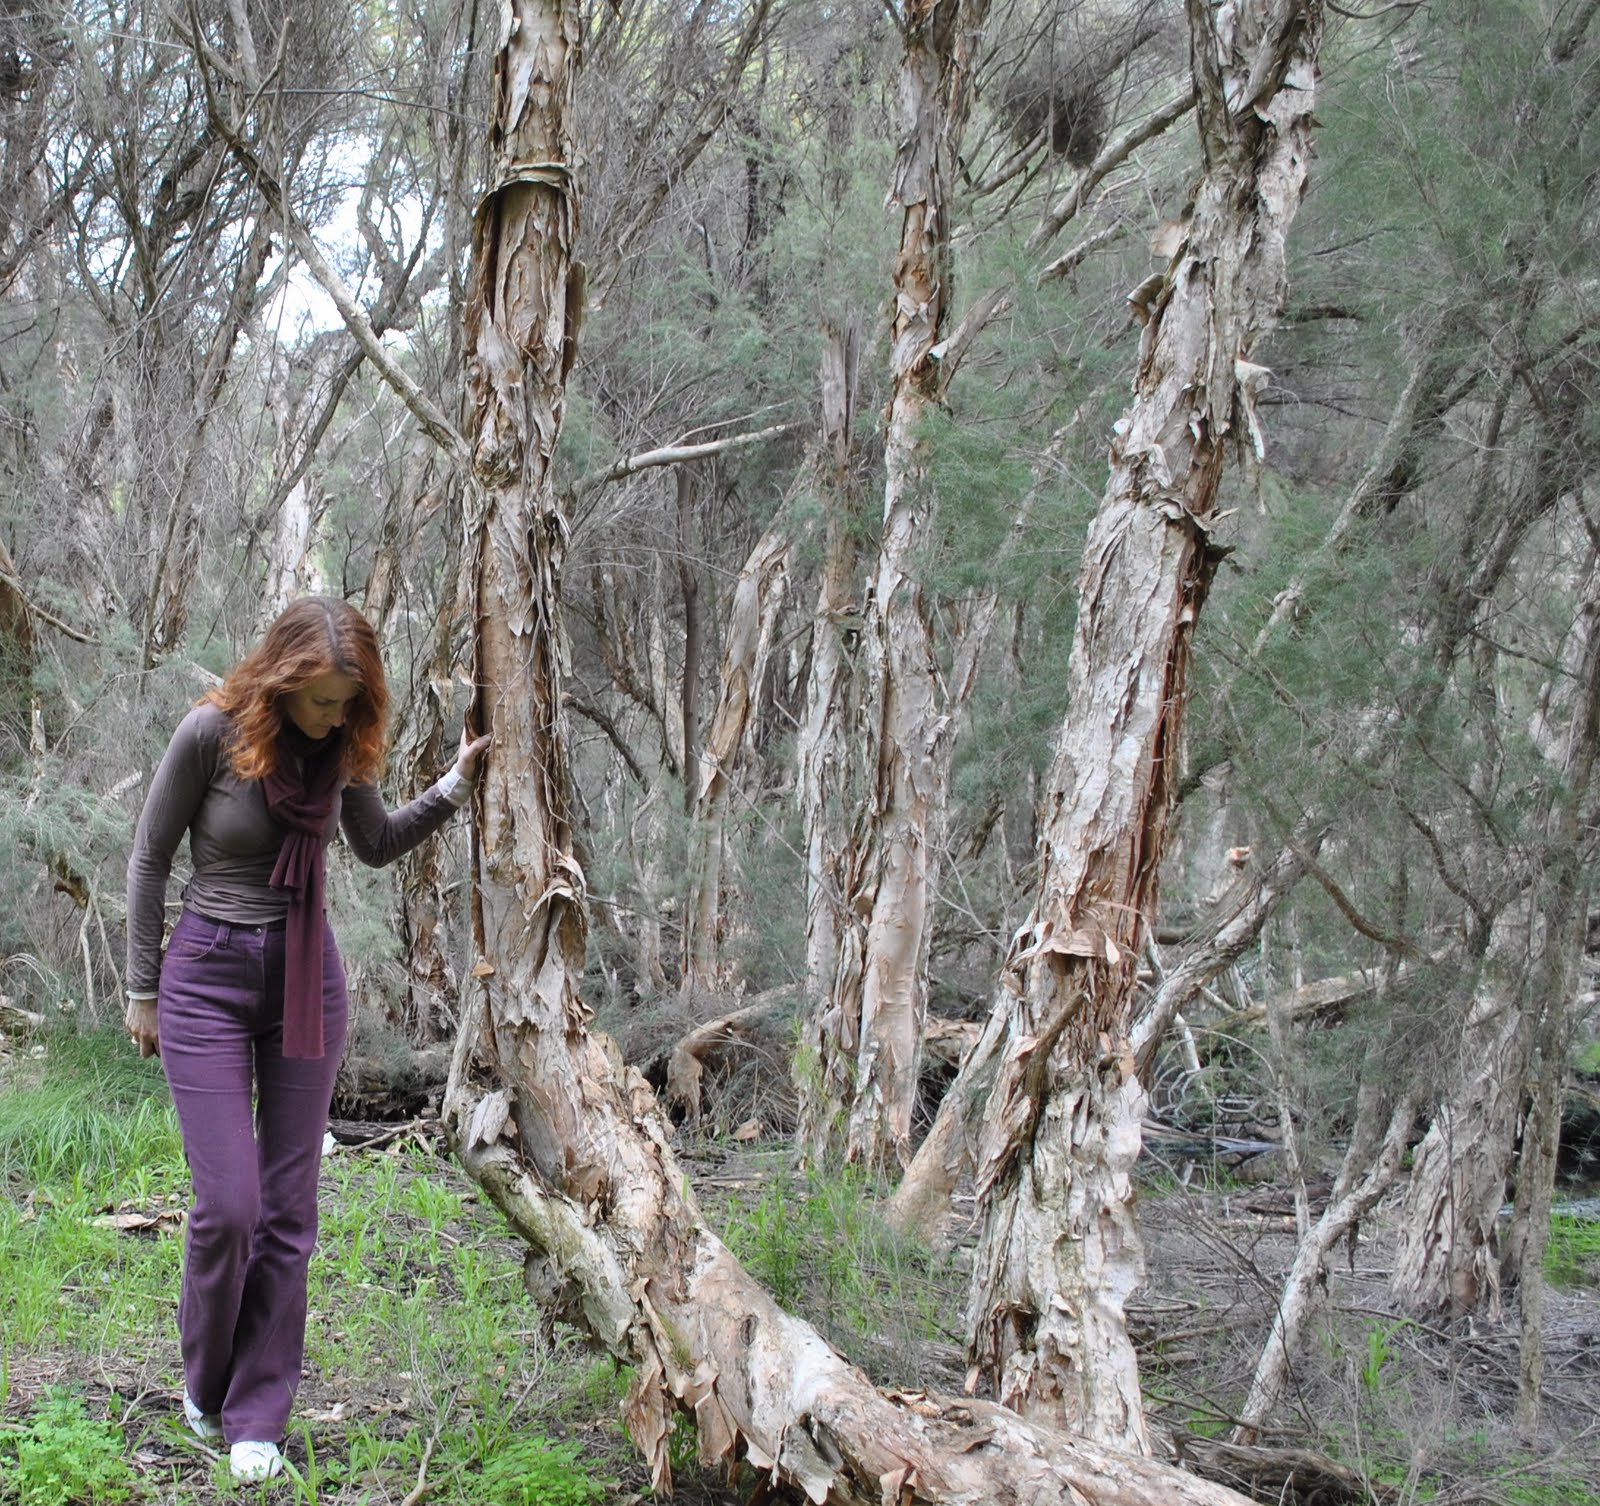
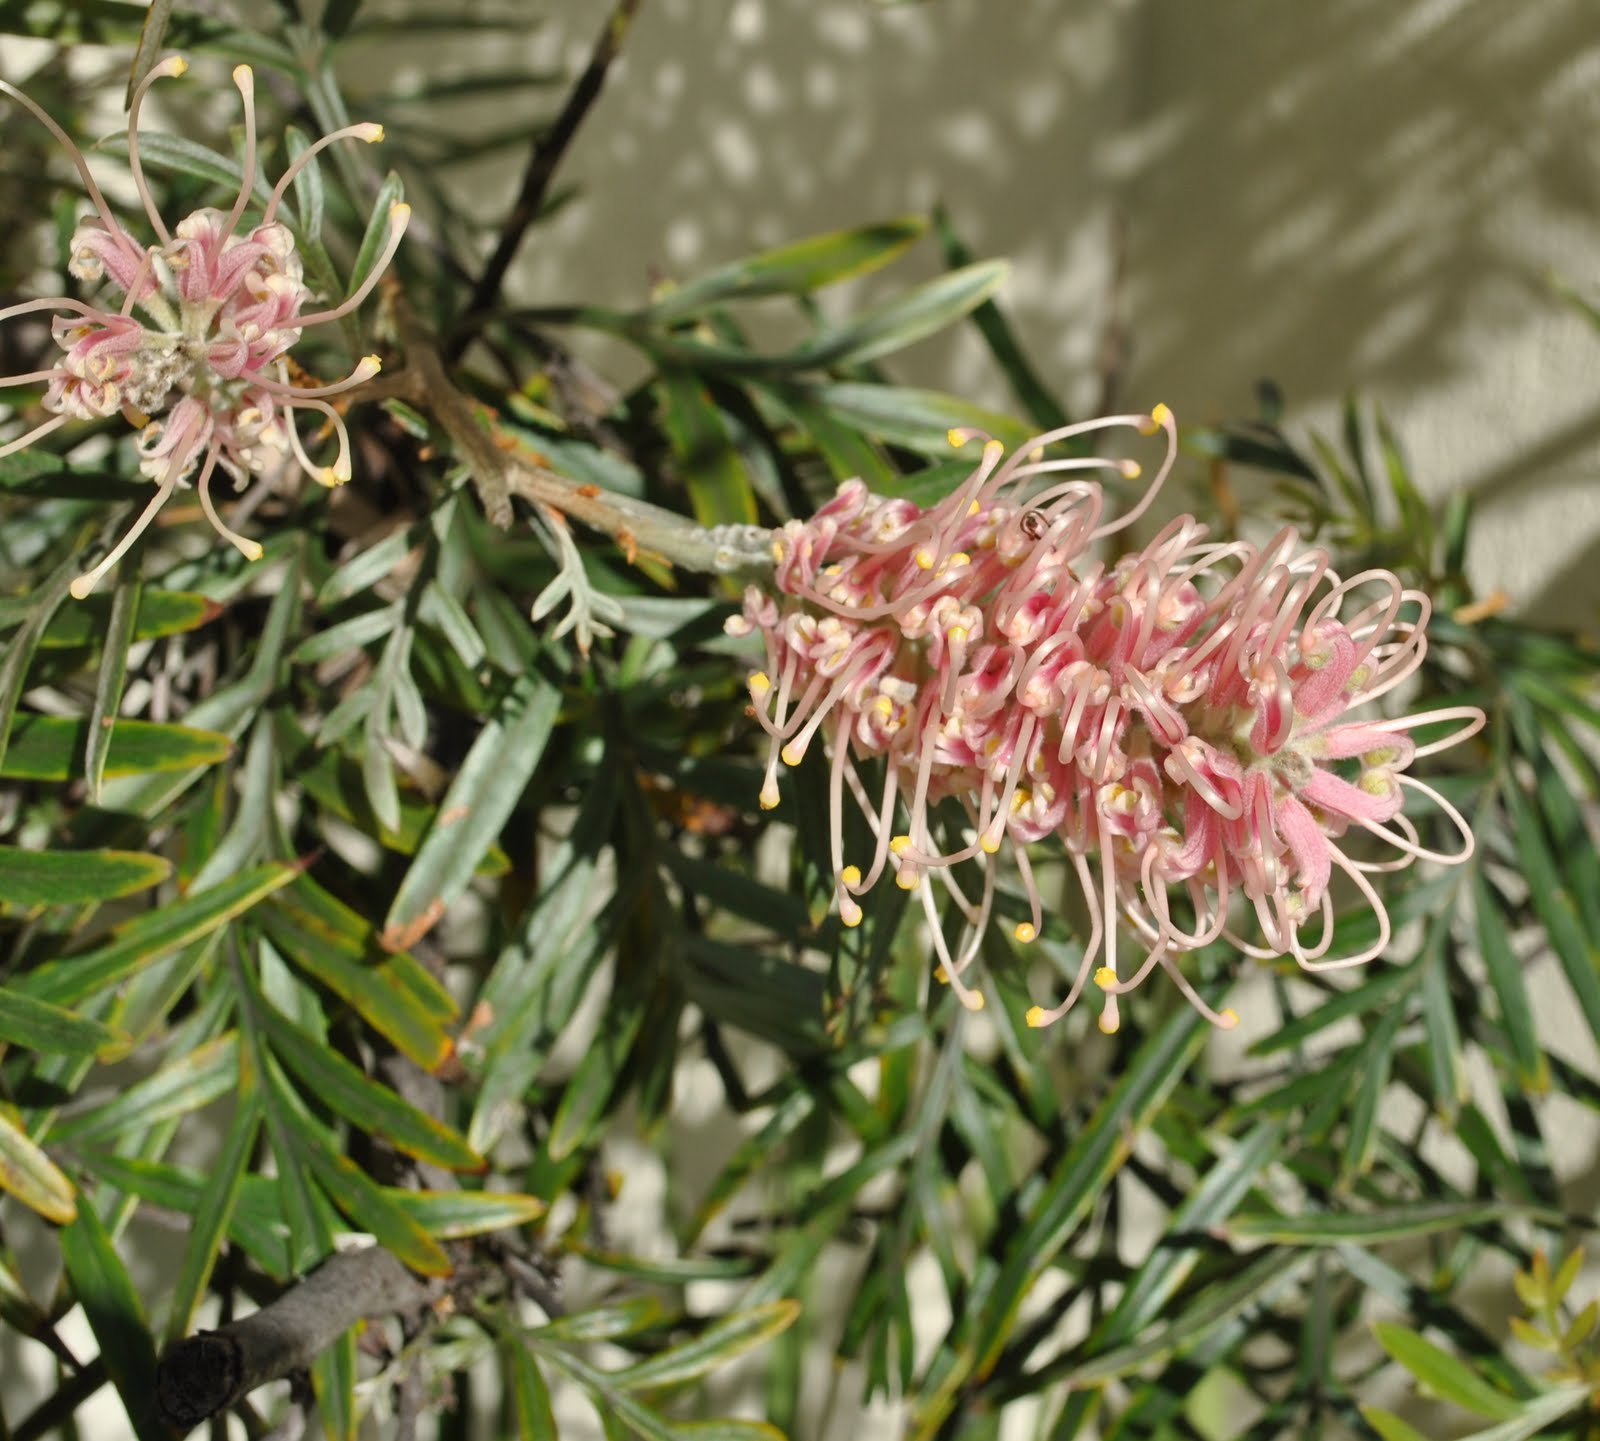
Ok, OK, so I know we aren’t supposed to even mention the S word until the 1st September but look at this floral fabulousness popping up all around!  I took all these photos here on my walkies this morning…
and obviously when those first tender buds of spring start to burst forth into colourful pretty profusion a woman’s thoughts turn inexorably to… her wardrobe.  Well, naturally!  To be honest it doesn’t take much of a push for my thoughts to turn to my wardrobe.
The weather is still a tad cold for flinging off those drab winter-y layers, but I’m getting pretty excited about what to incorporate into my wardrobe for the warmer weather that is creeping in.  I’m thinking my new spring and summer wardrobe will inspired by the colours of an Aussie spring environment, like pictured here.  Thus, a dose of sage greens, ivories and beiges (surprise!), some light dresses in muddy neutrals (surprise!) and I have a few sharp bright colours to throw into the mix as well.  A lot of my plans have been virtuously conceived from doing a thorough recce* of my stash, but I’m not going to completely close my mind to the possibilities of new fabrics and patterns and let’s face it, when have I ever?!  However I will attempt to use just some of the lovely fabrics in my collection that have been too intimidating to cut into.
What about you? Are you making sartorial plans for the changing season; whether it be spring, or autumn for the northern hemispheries?  And where do you take inspiration for your wardrobe plans?
*recce; Aussie slang for reconnaisance, pronounced “reckie”

Details:
Top; Metalicus
Jeans; Burda 7863 modified, purple denim, details here
Scarf; jersey offcut joined with french seam, details here
Sandshoes; Country Road

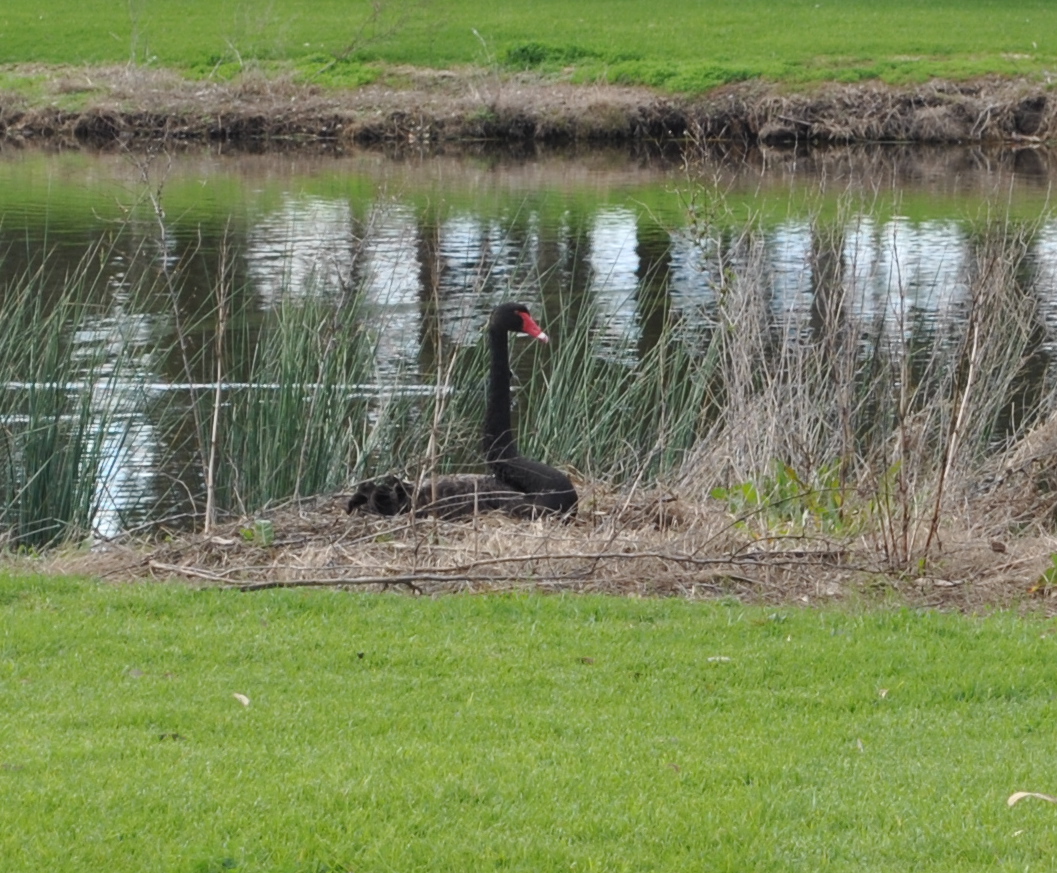
below; a nesting swan.  She’s been there for a few days, so soon there will be cygnets!
pinterestmail
Switch to mobile version
↓