Yesterday Yoshimi who is both a beautiful lady and an accomplished seamstress, wrote a post about a negative comment, and its effect on her. Of course I rushed to support her because she is my friend, and friends are supportive in times we are feeling low. But it made me think not for the first time about how just a small amount of negativity really brings you disproportionately down, and even in the face of overwhelming positivity and supportiveness even those of us who appear to be quite self-assured and strong can suffer after one mean comment.
When we blog we really put ourselves out there. We may feel we are documenting a personal journey, but of course even though we may be sitting quietly in our own homes, by ourselves, tapping away on our own keyboards; the “privacy” is an illusion. Anything on the internet is very very public, and trolls are free to judge us and say whatever they like.
I have received negative comments. Actually, I count myself to be extremely lucky to be part of the sewing/fashion community, which on the whole is a very supportive group, and I feel I have some real friends out there who I would get along with very well if we met in real life. But barbed, and sometimes outright rude comments creep in every now and again, and it is a huge downer.
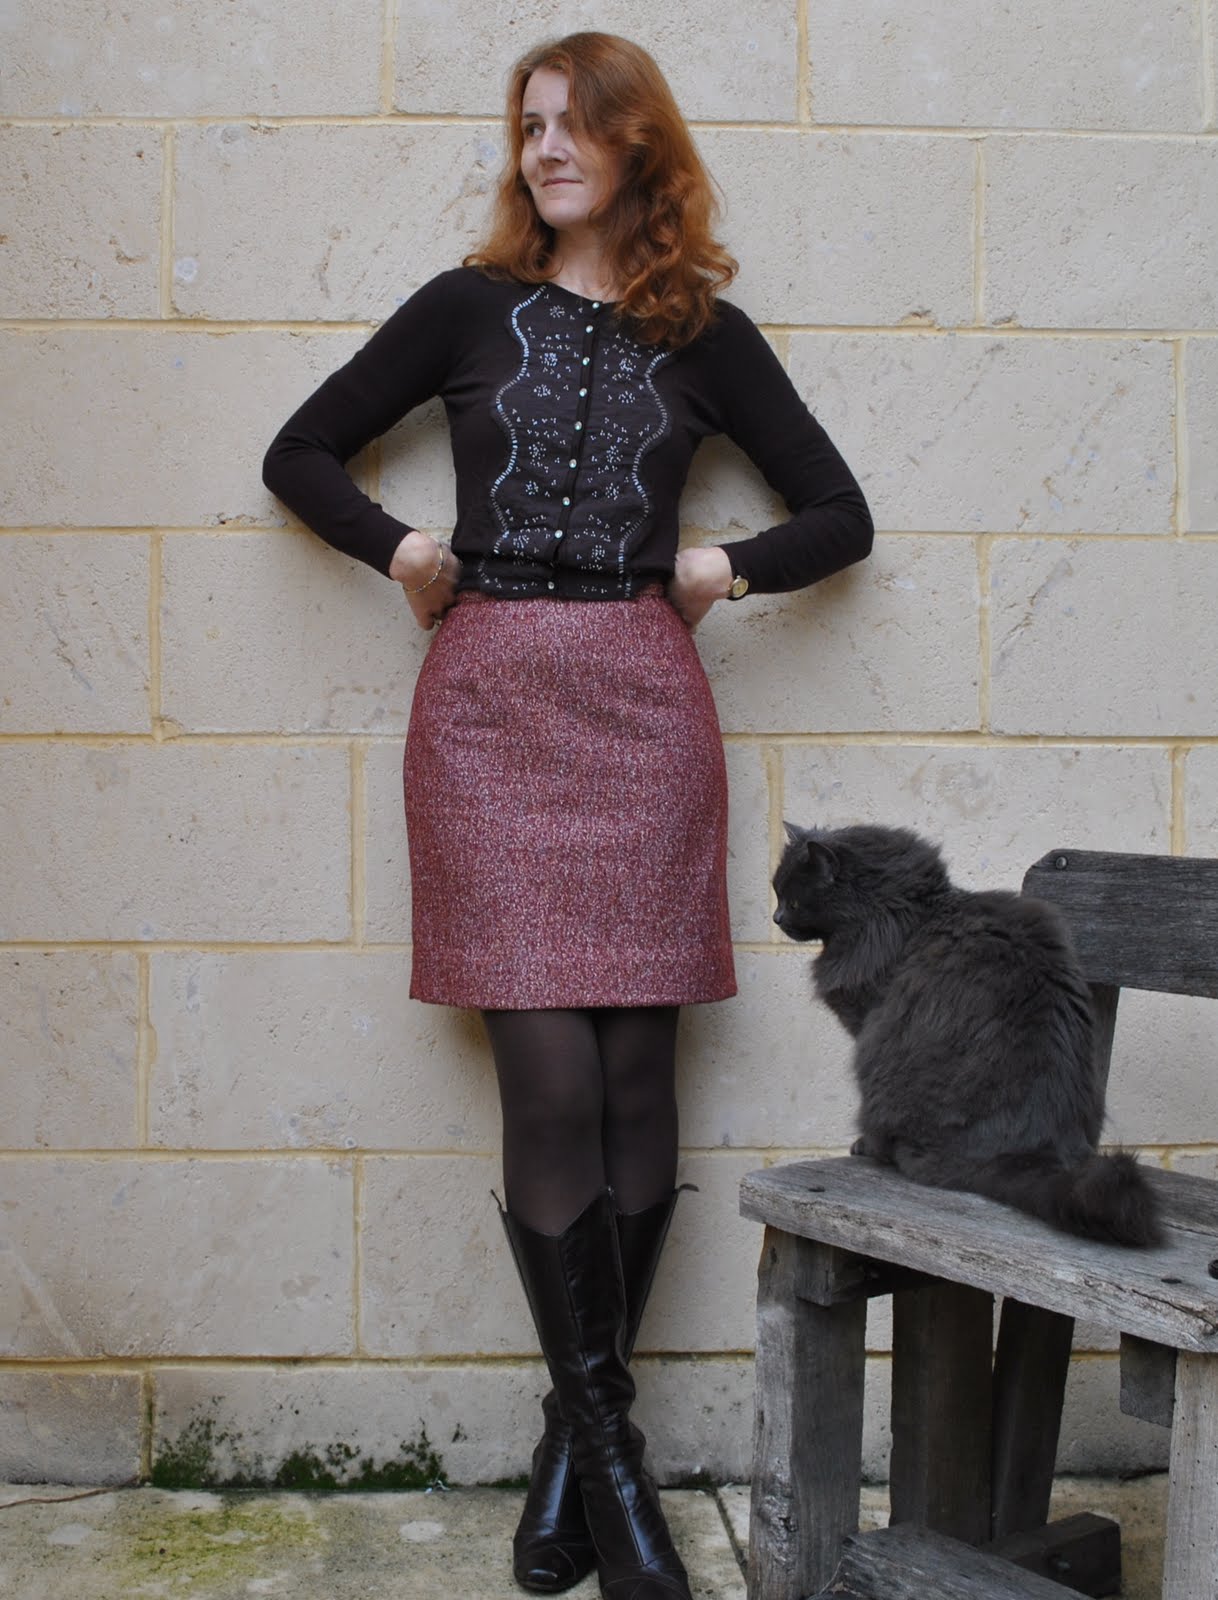
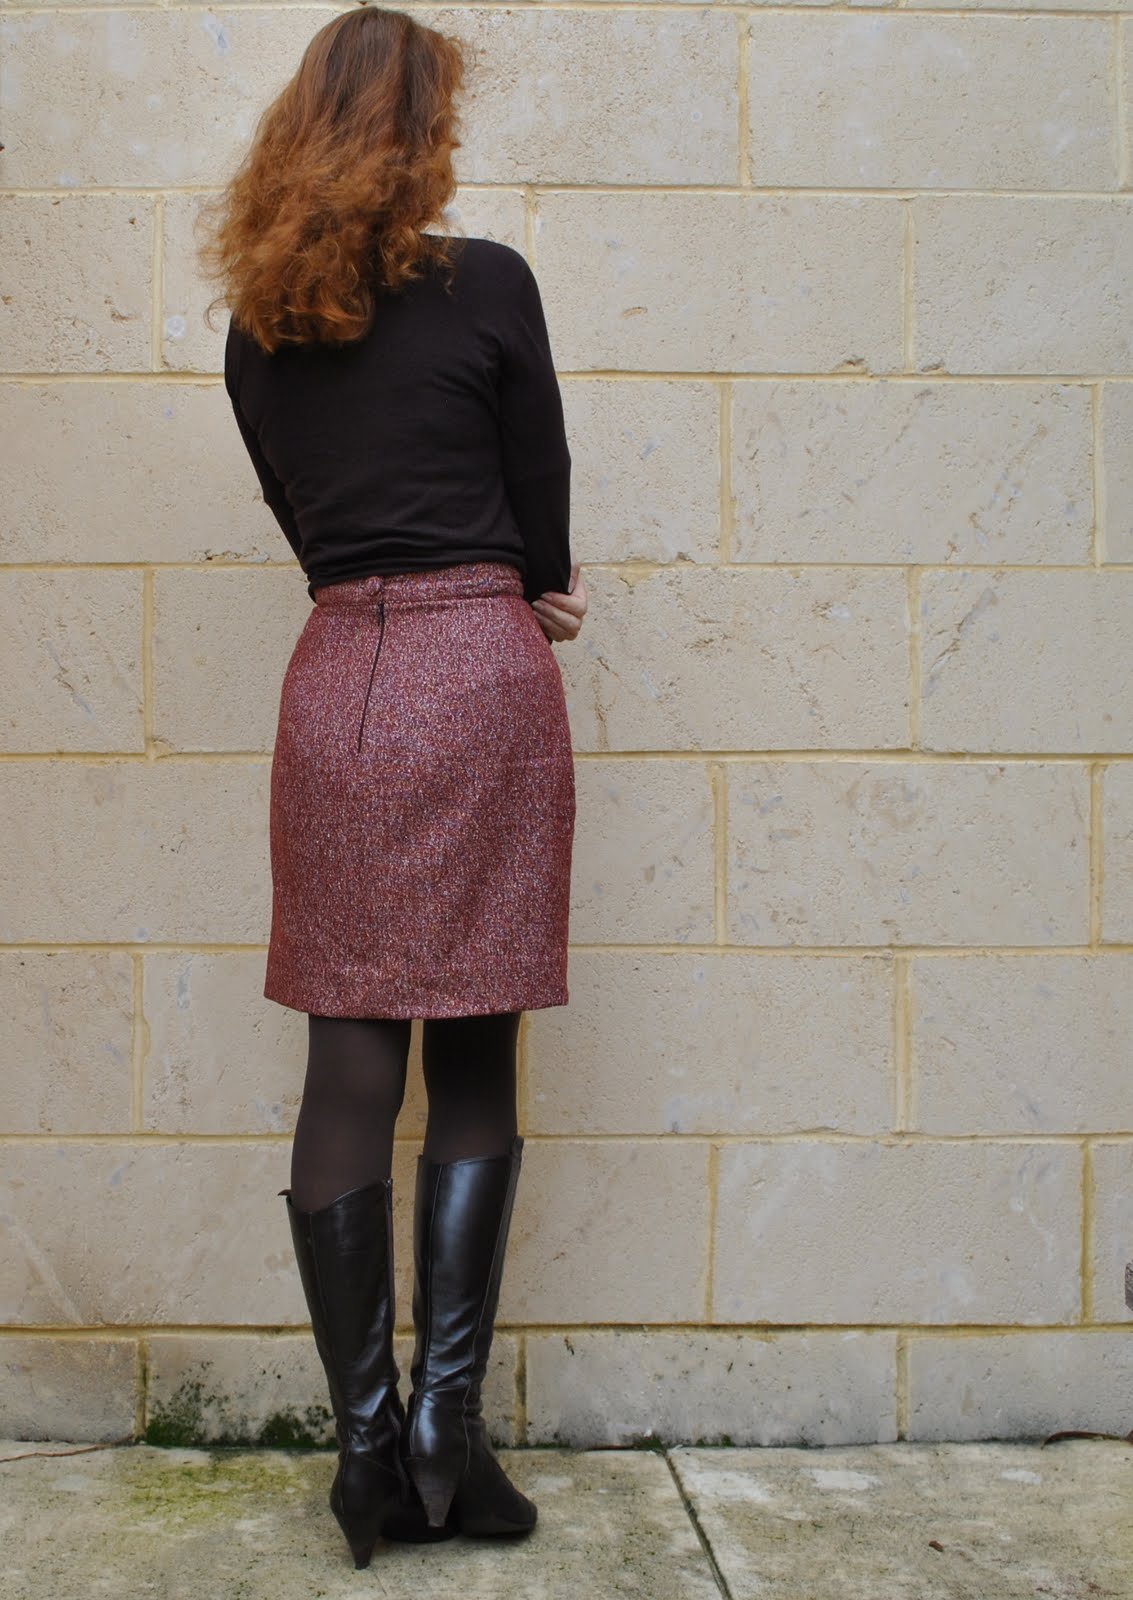
Even one’s real life “friends” might be having a bad day, and say something off that sticks with you… when I posted about my new little red wool skirt on Monday, I had worn it out that morning to a tea and feeling quite proud of myself; and somebody obliquely referred to me as “porky”. There were some raised eyebrows and horrified giggles within the group because it was not said in jest, and no explanation or apology came forth. It is ridiculous I know because it was obviously her bad day and not mine and should have stayed that way; but her remark transferred it into my bad day too. I felt attacked, and very down for the rest of the day.
Why are we so fragile? I feel I should be mature enough that I am above such petty things as a flippant comment here or there, and I shouldn’t need validation to be happy about myself. But I just do. I guess it is basic human nature to need approval. It makes us feel like we are accepted. The need to connect and belong is built in as part of our survival mechanism, and approval is part of that acceptance. Disapproval puts me into panic mode.
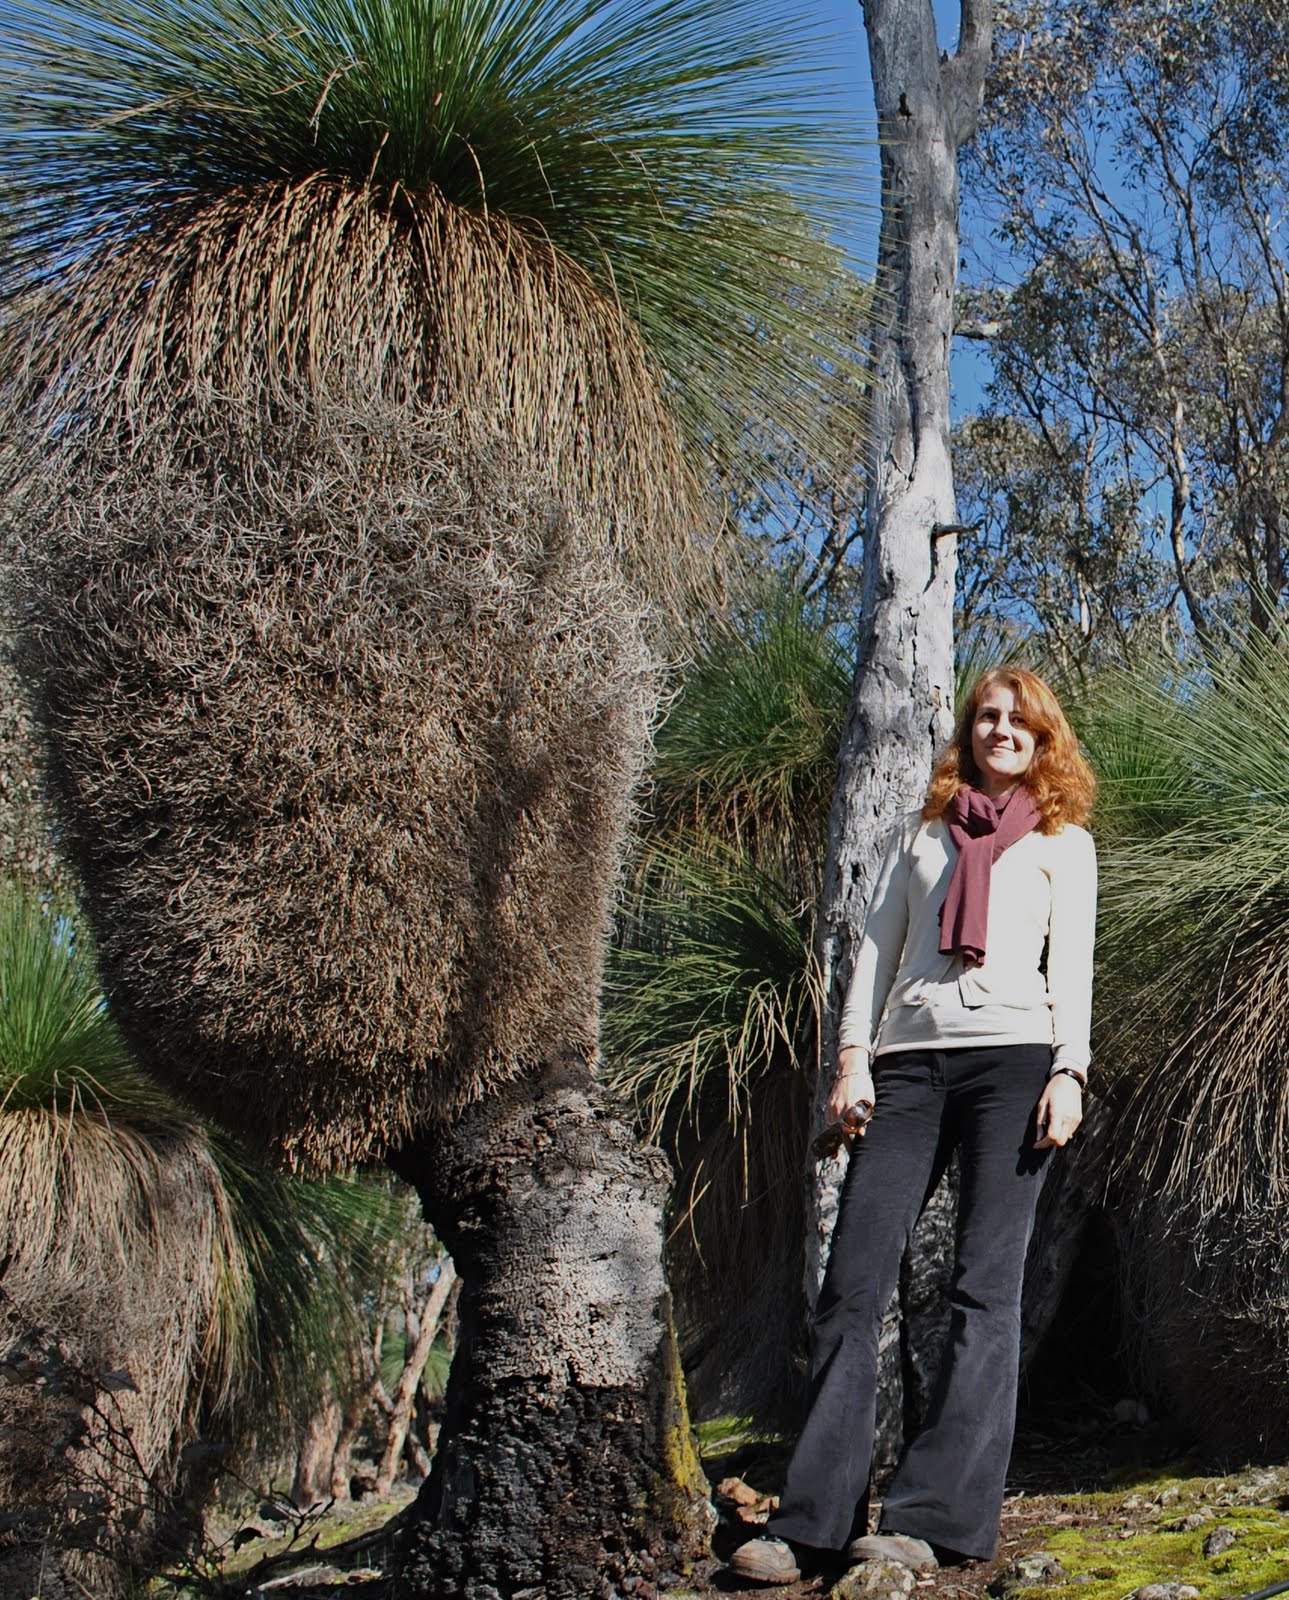
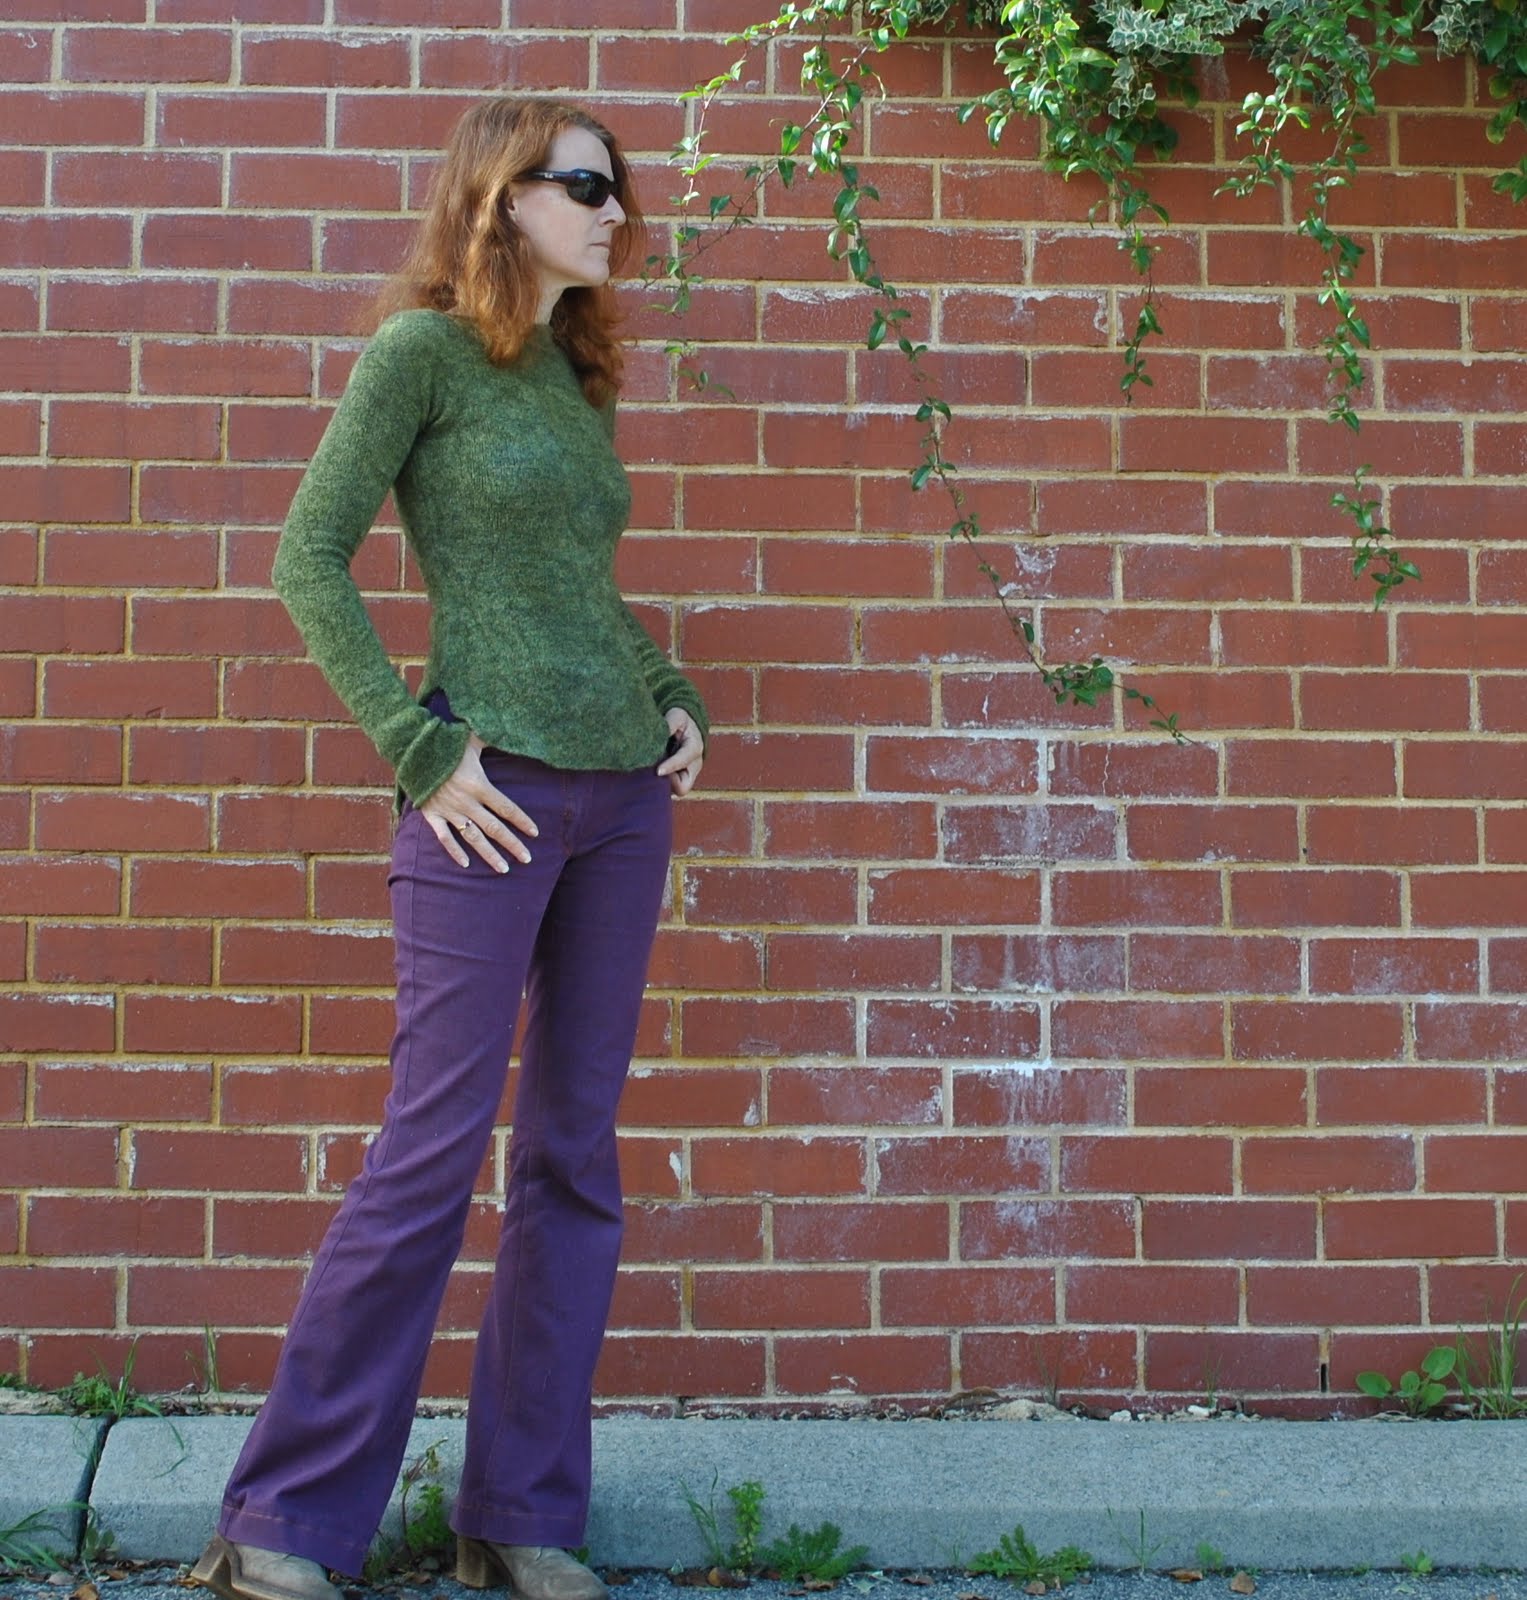
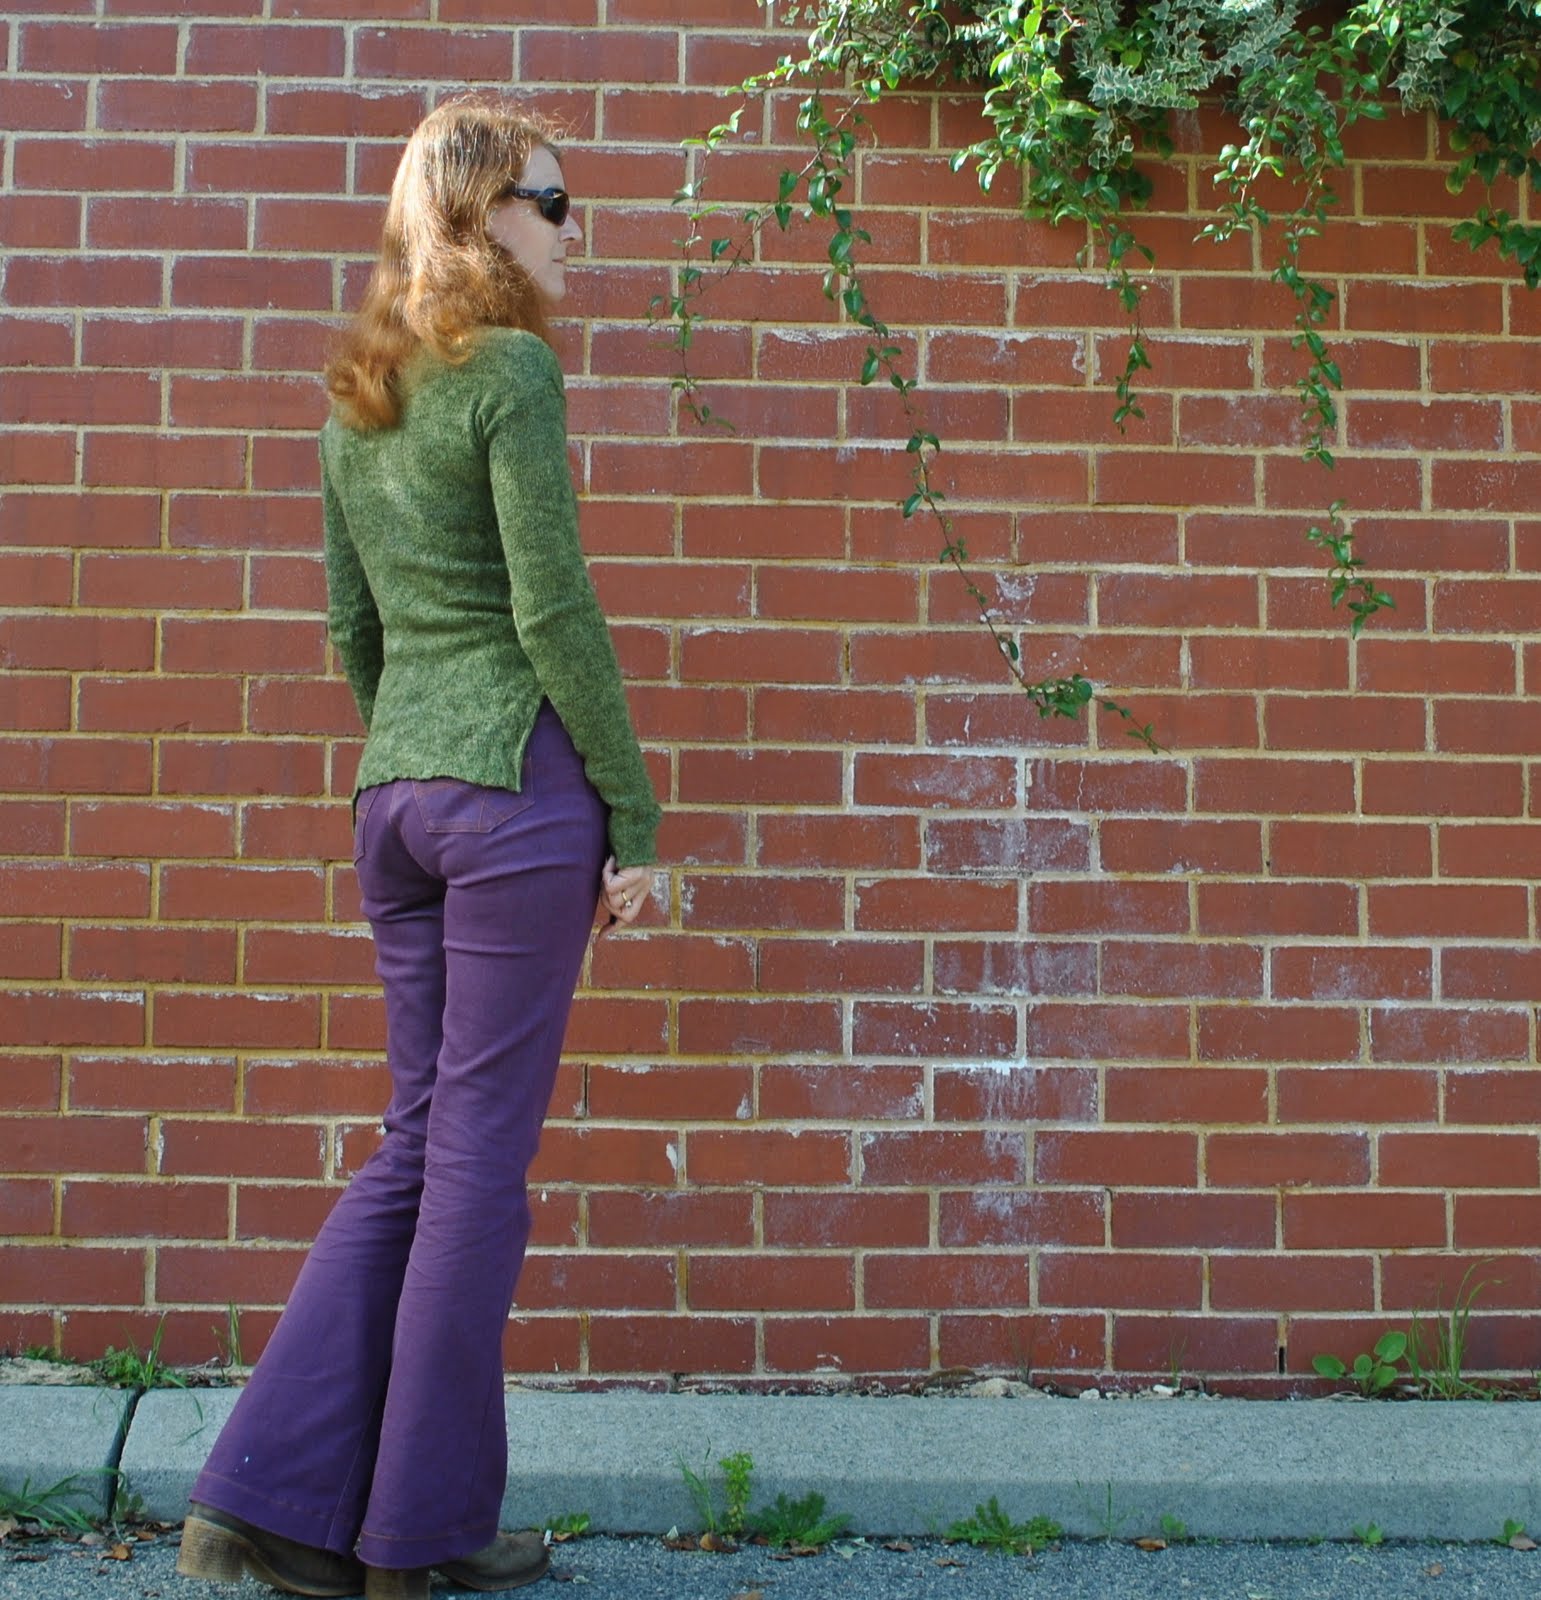
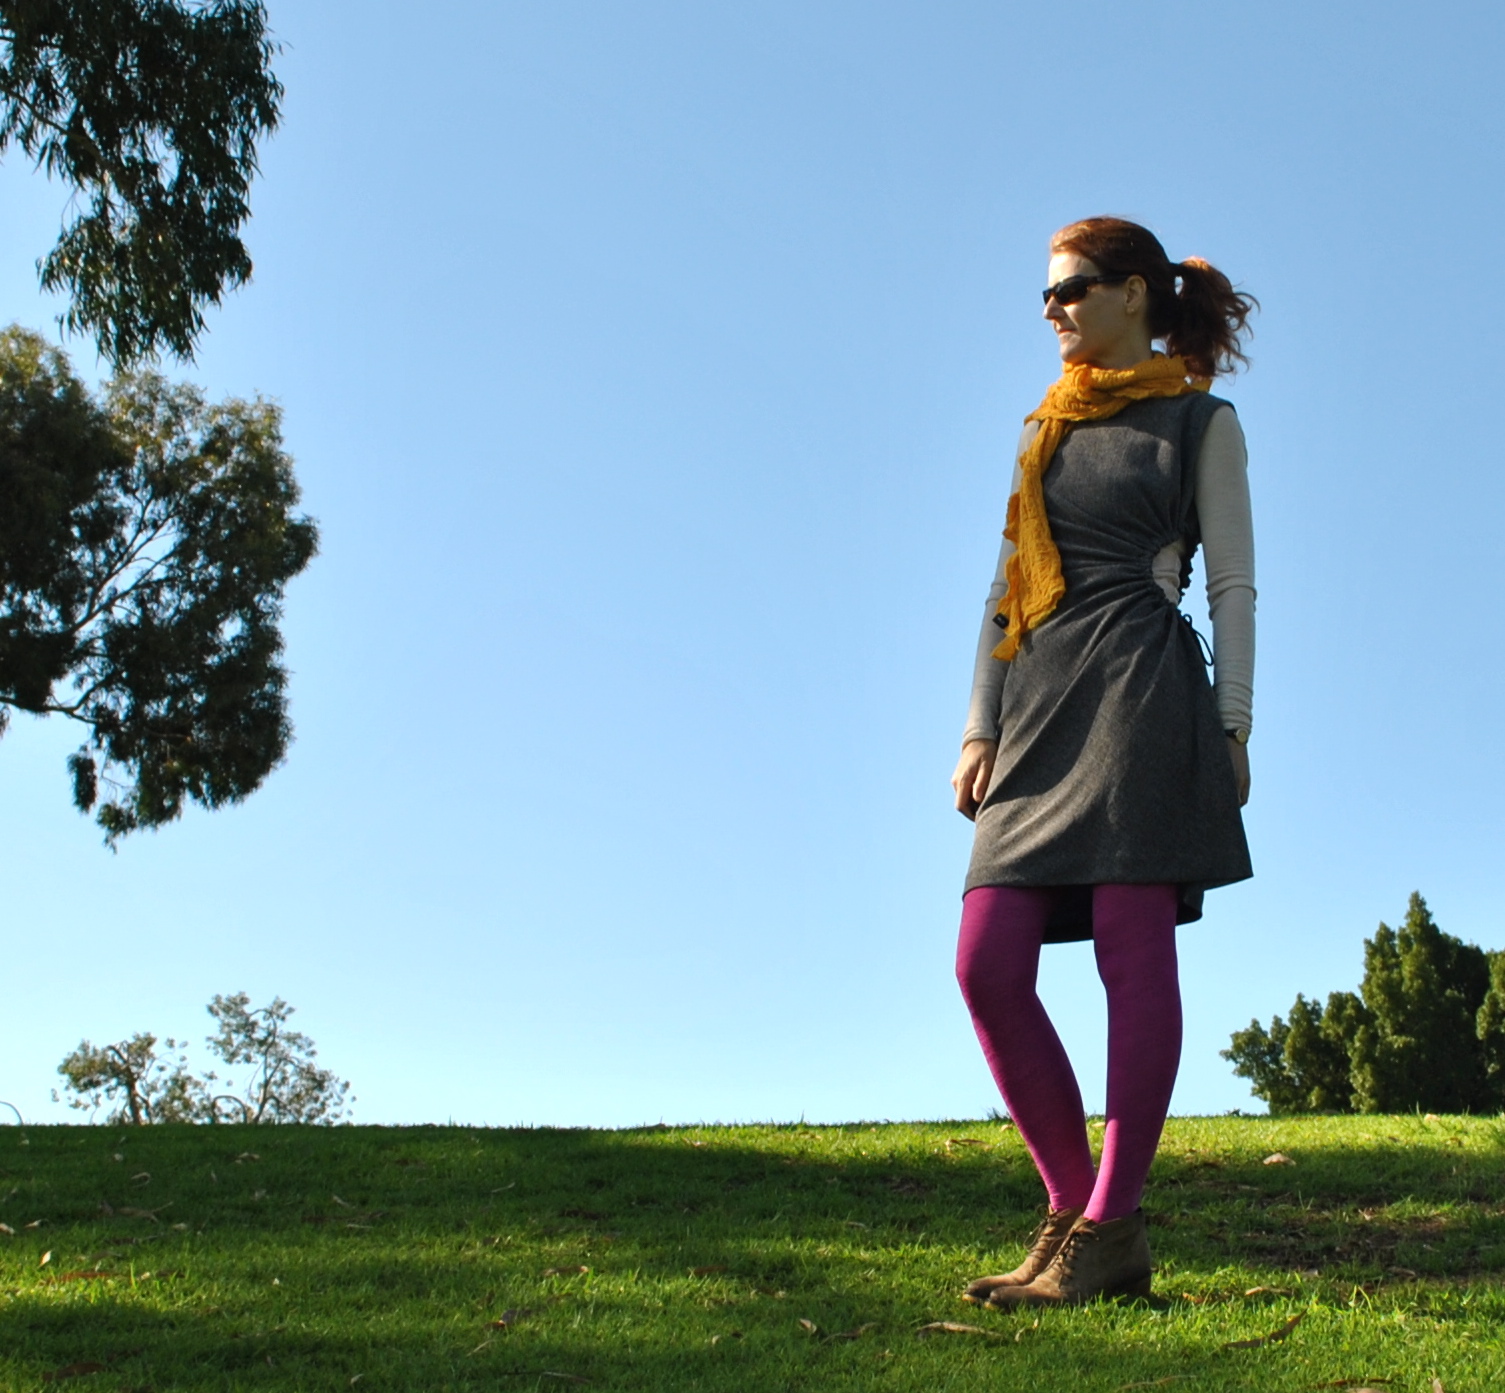
I am still defining my own personal style, but I do know a few things about it. I treat all drab colours as neutrals and love to wear them, but I also like to be occasionally colourful. I like clothes that have a twist, or something unusual about them. I like skirts to be either quite short or quite long, but not usually in-between. I think I am vaguely sporty or outdoors-y. I am emphatically not vintage or retro, nor am I particularly girly or dressy. I think today sits in that comfort zone.
Details:
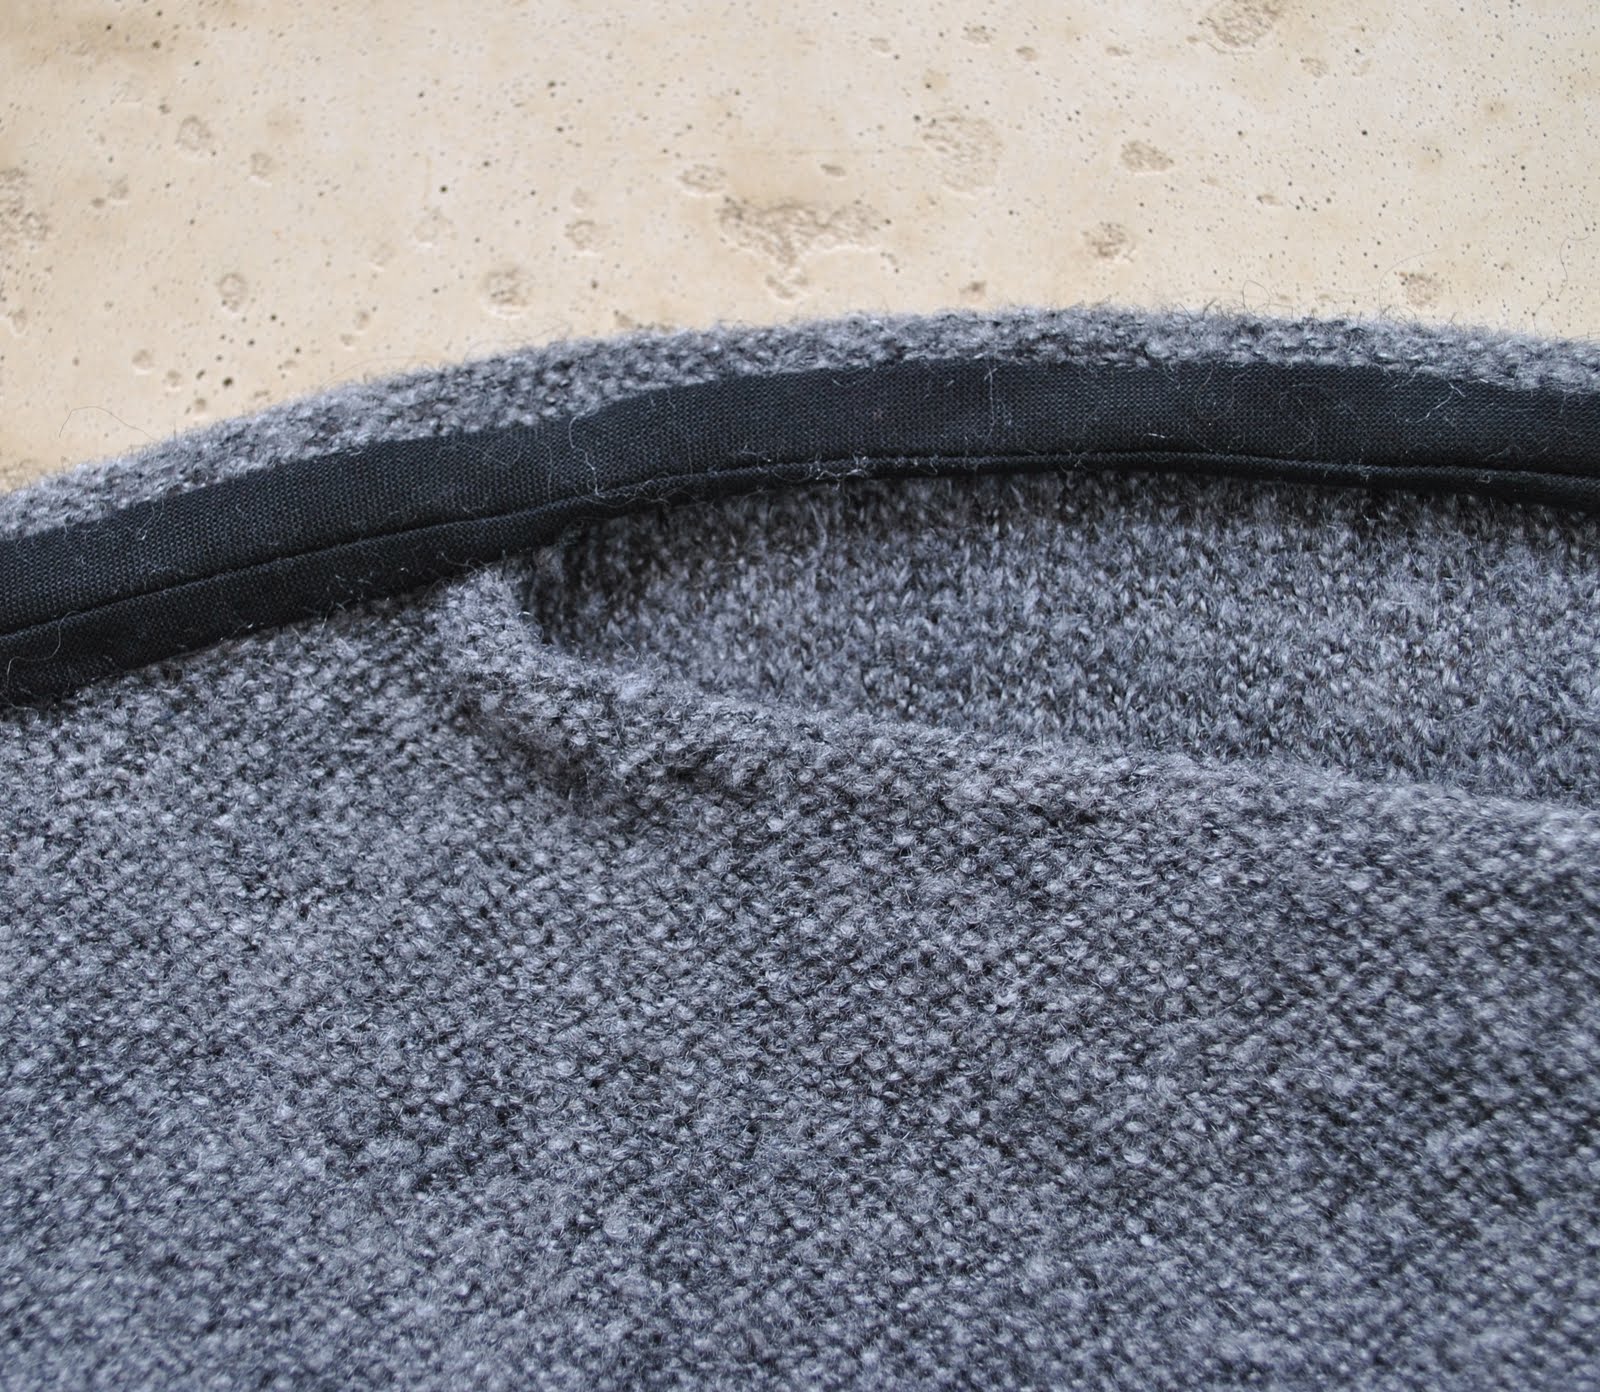
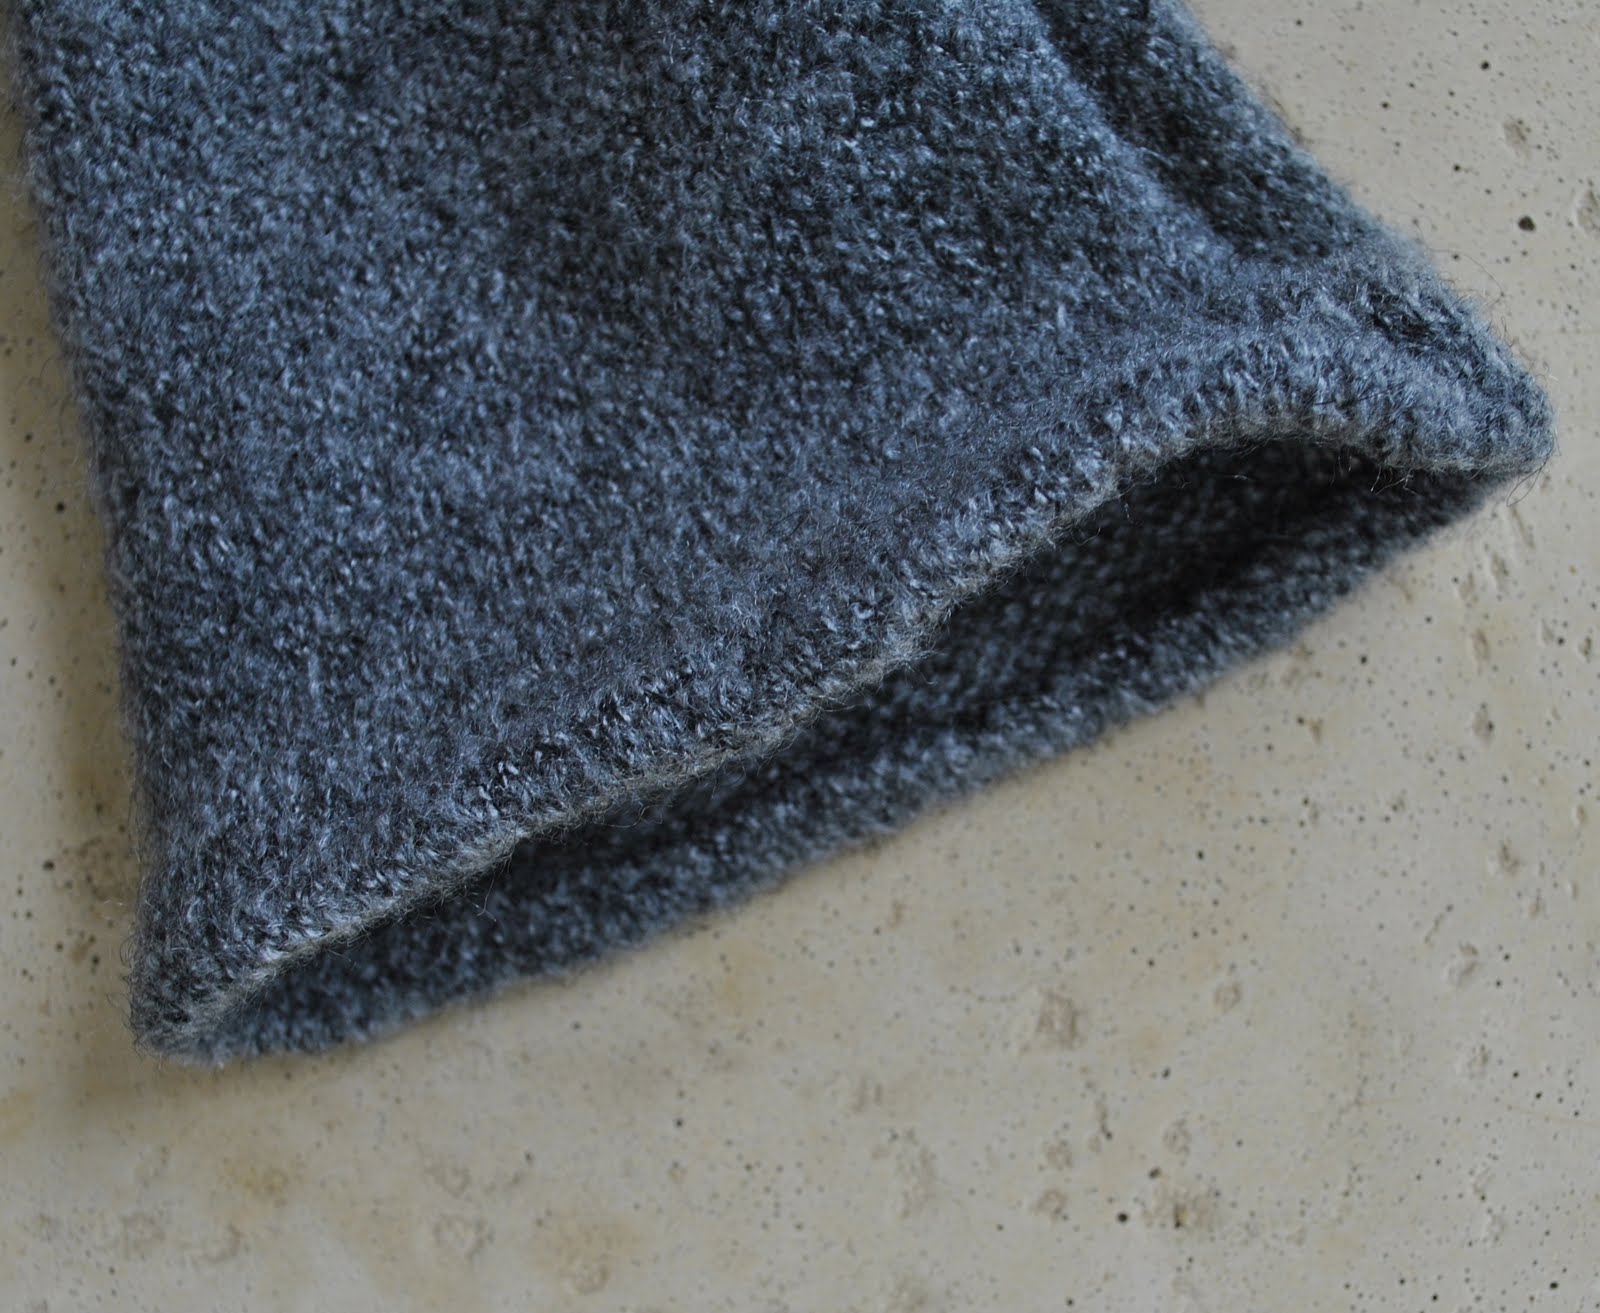
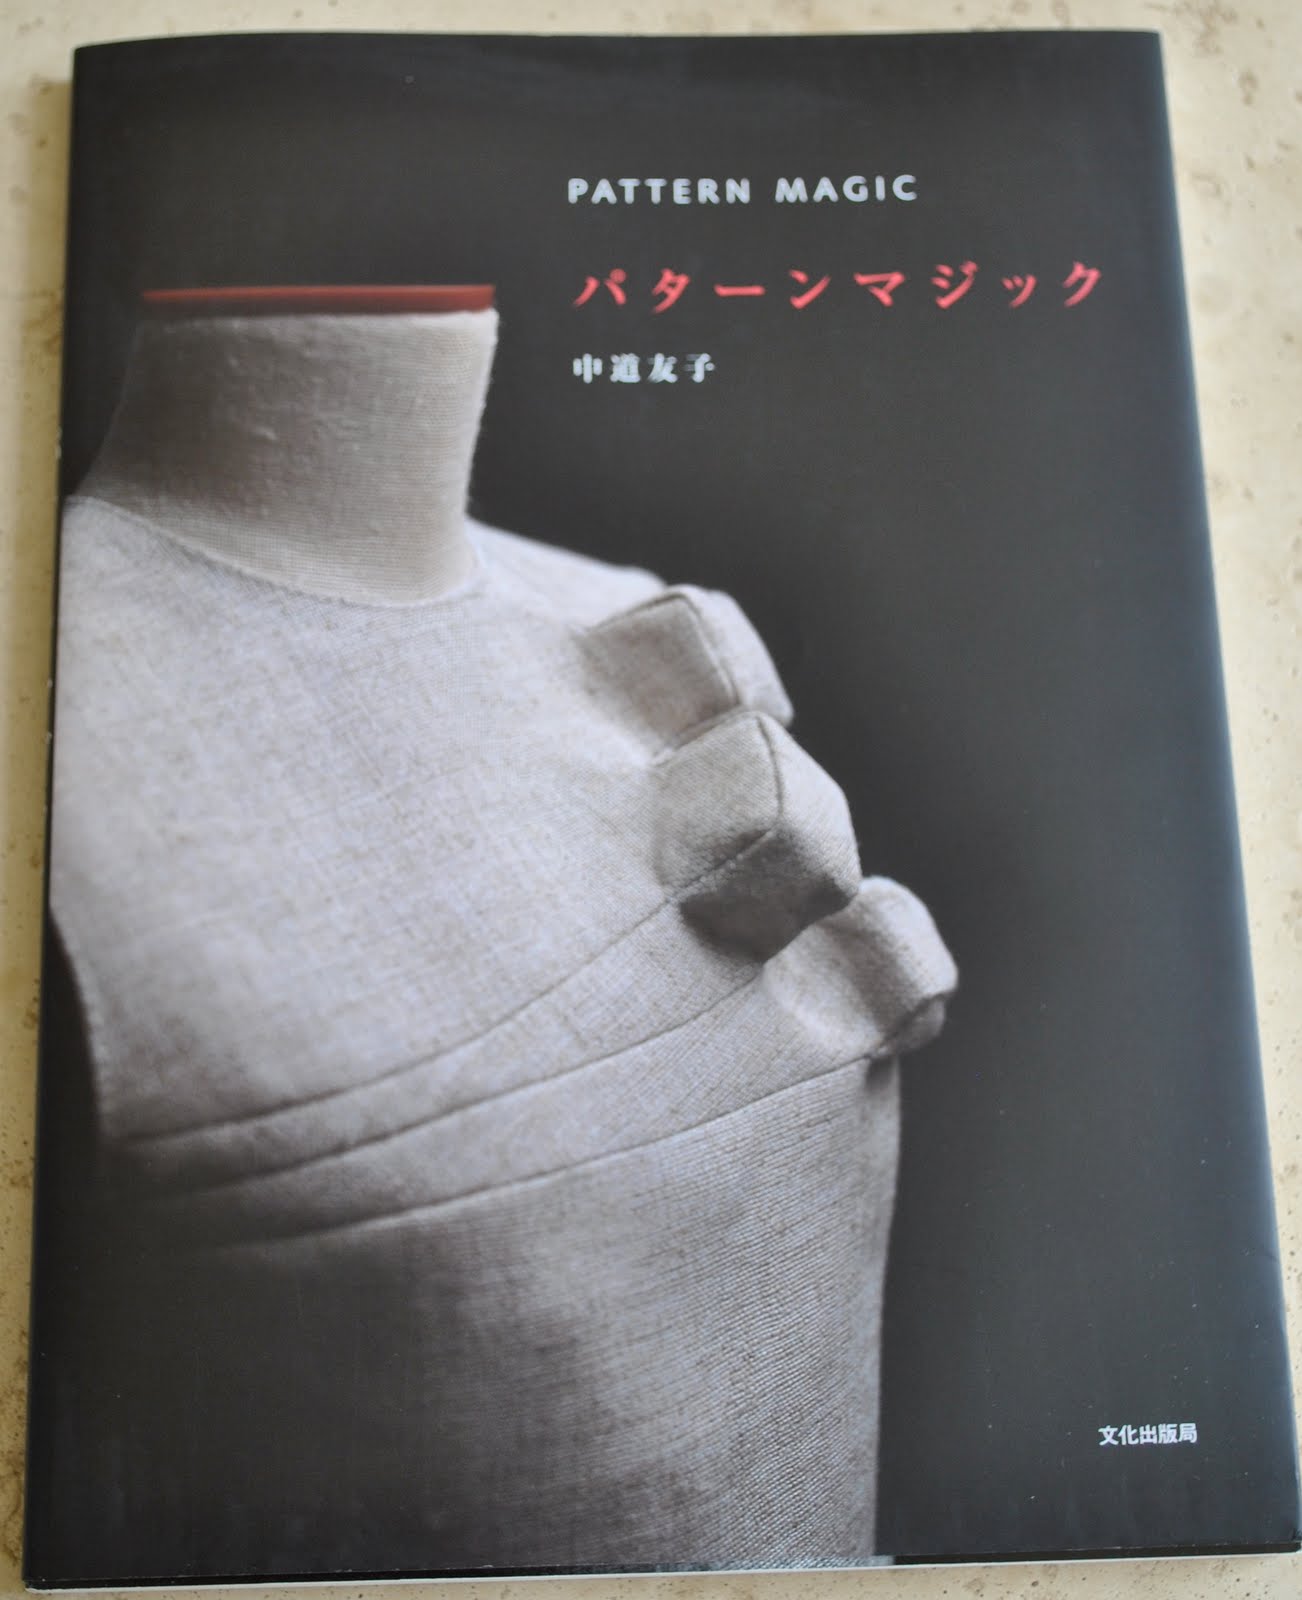
Dress; the “gathered hole” dress from Pattern Magic by Tomoko Nakamichi, charcoal wool mix, details here
Top; Ezibuy
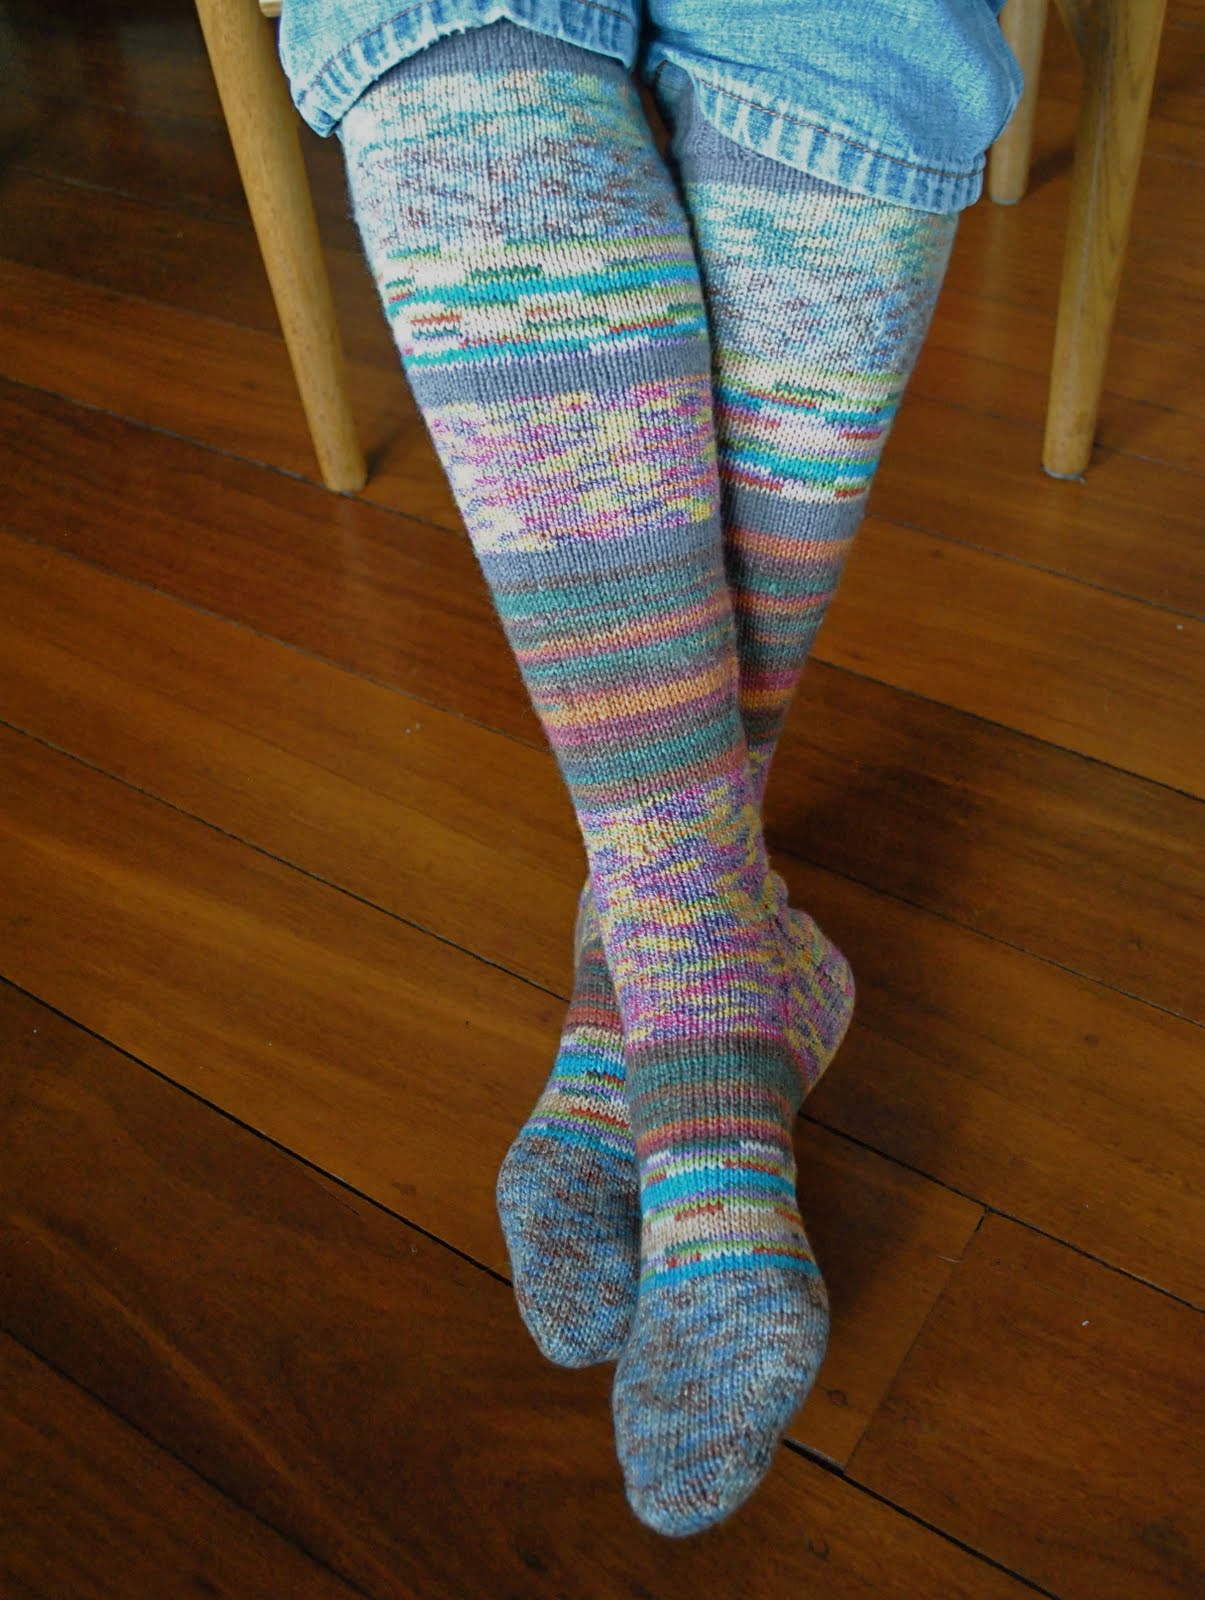
Tights; Metalicus
Scarf; d/lux, from Uggies in Dunsborough
Shoes; Francesco Morichetti, from Zomp shoes