Rocking the double denim look

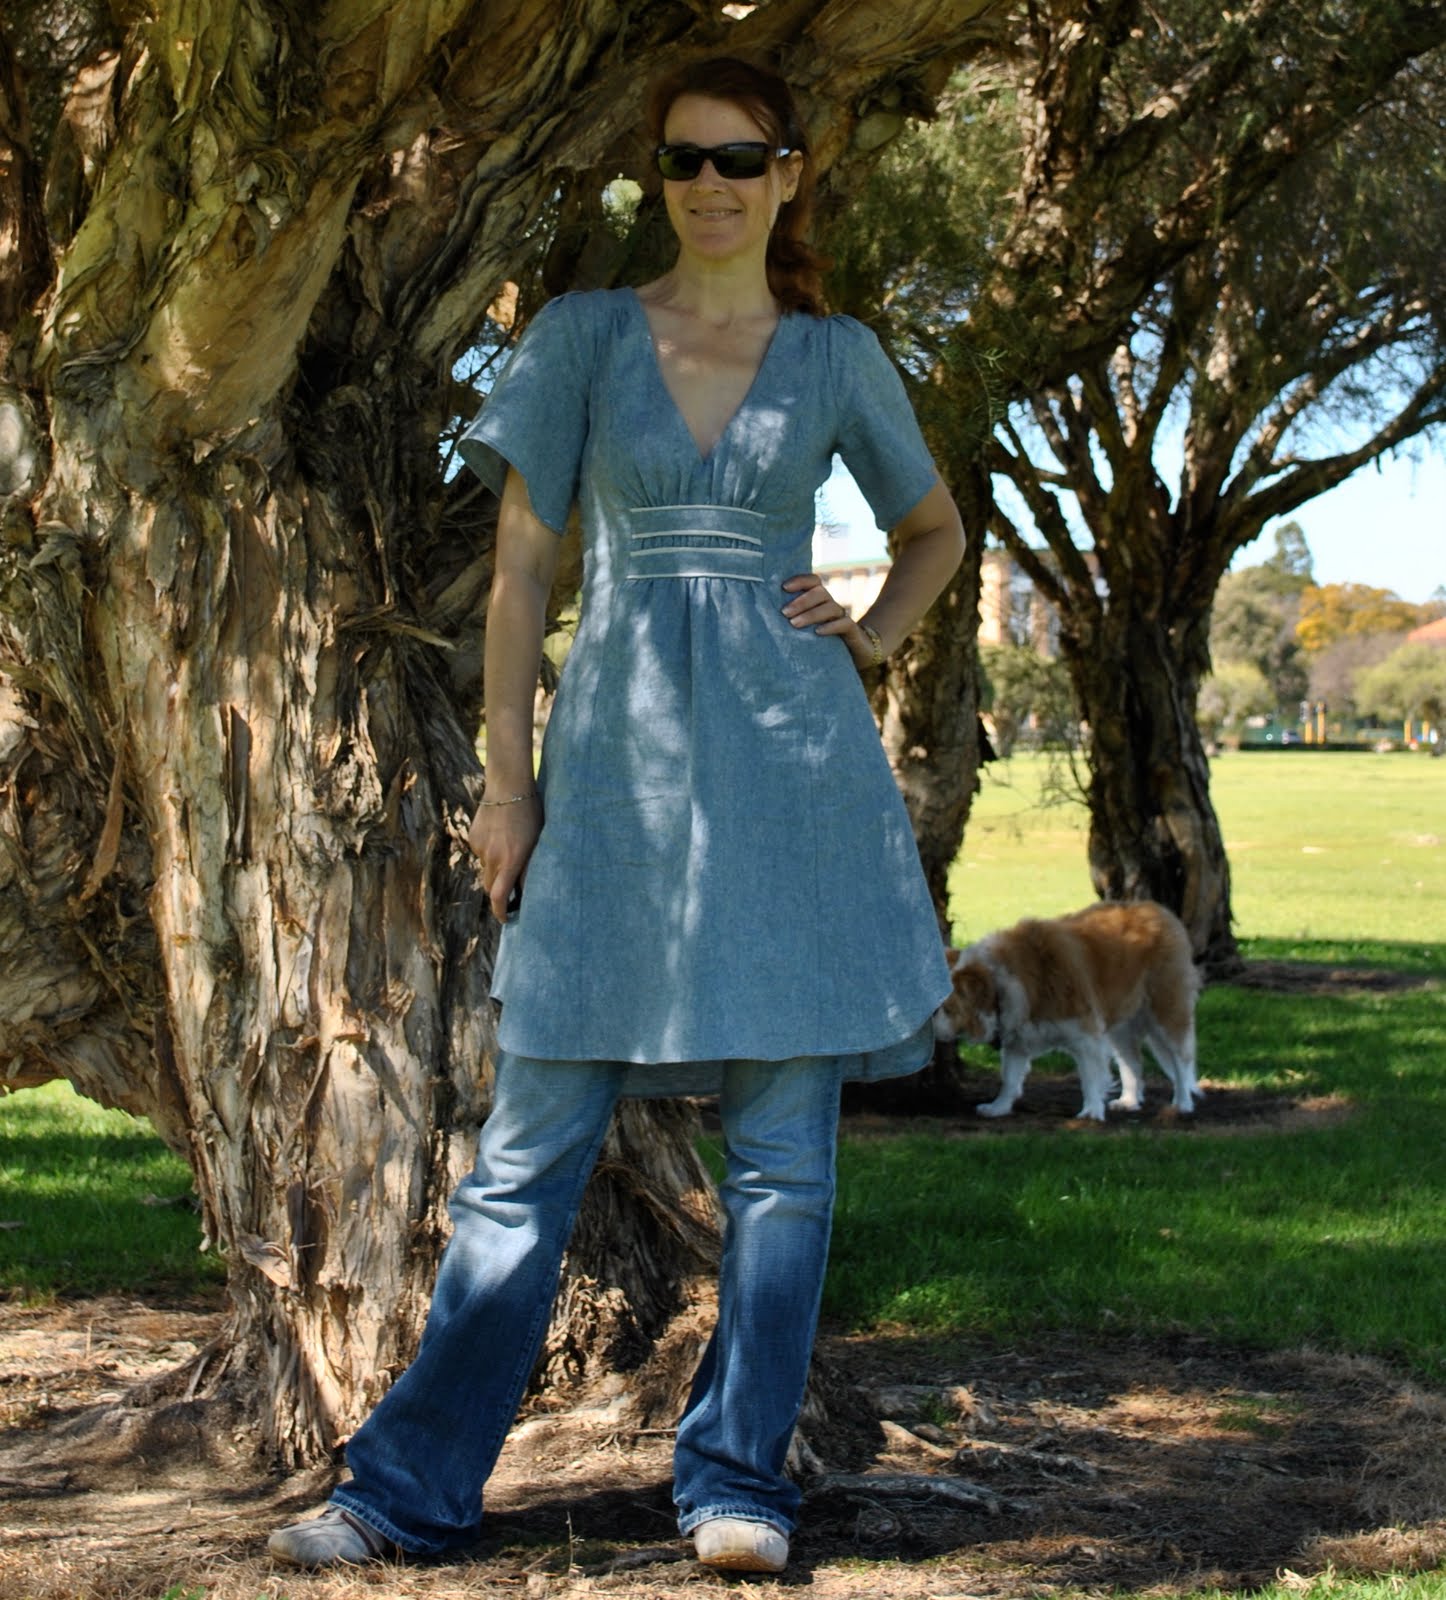
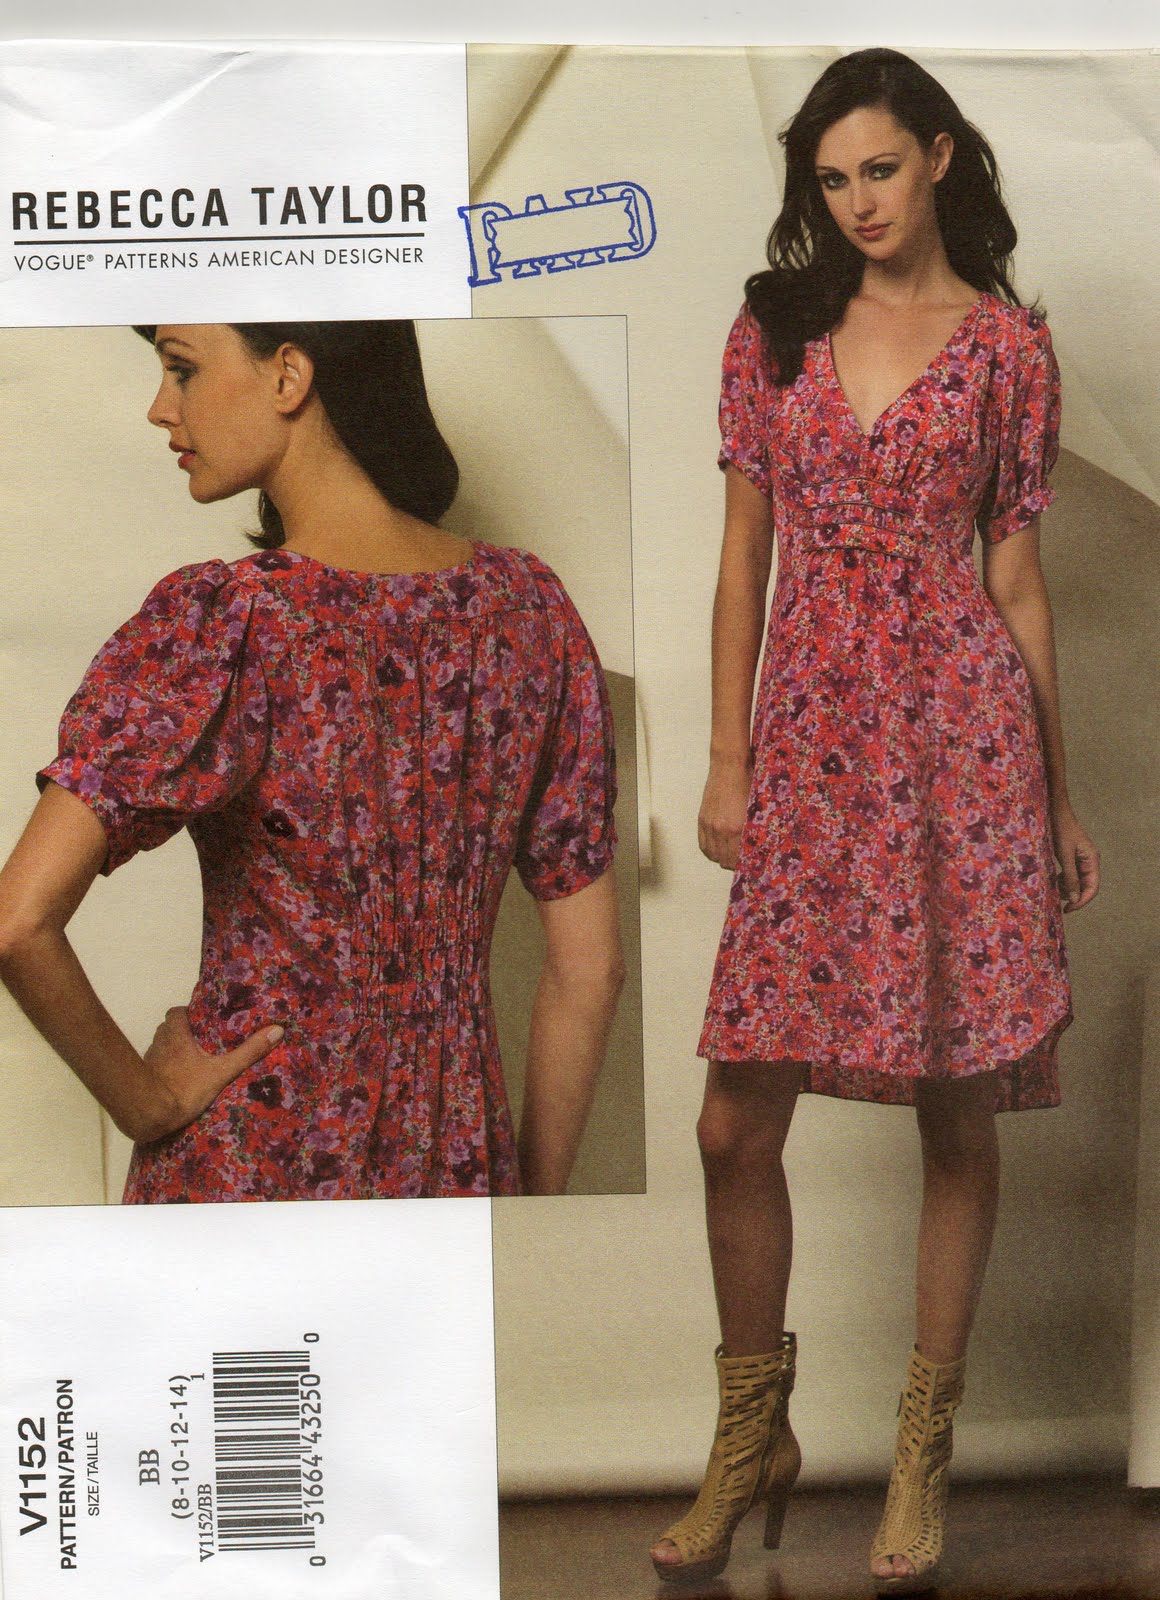
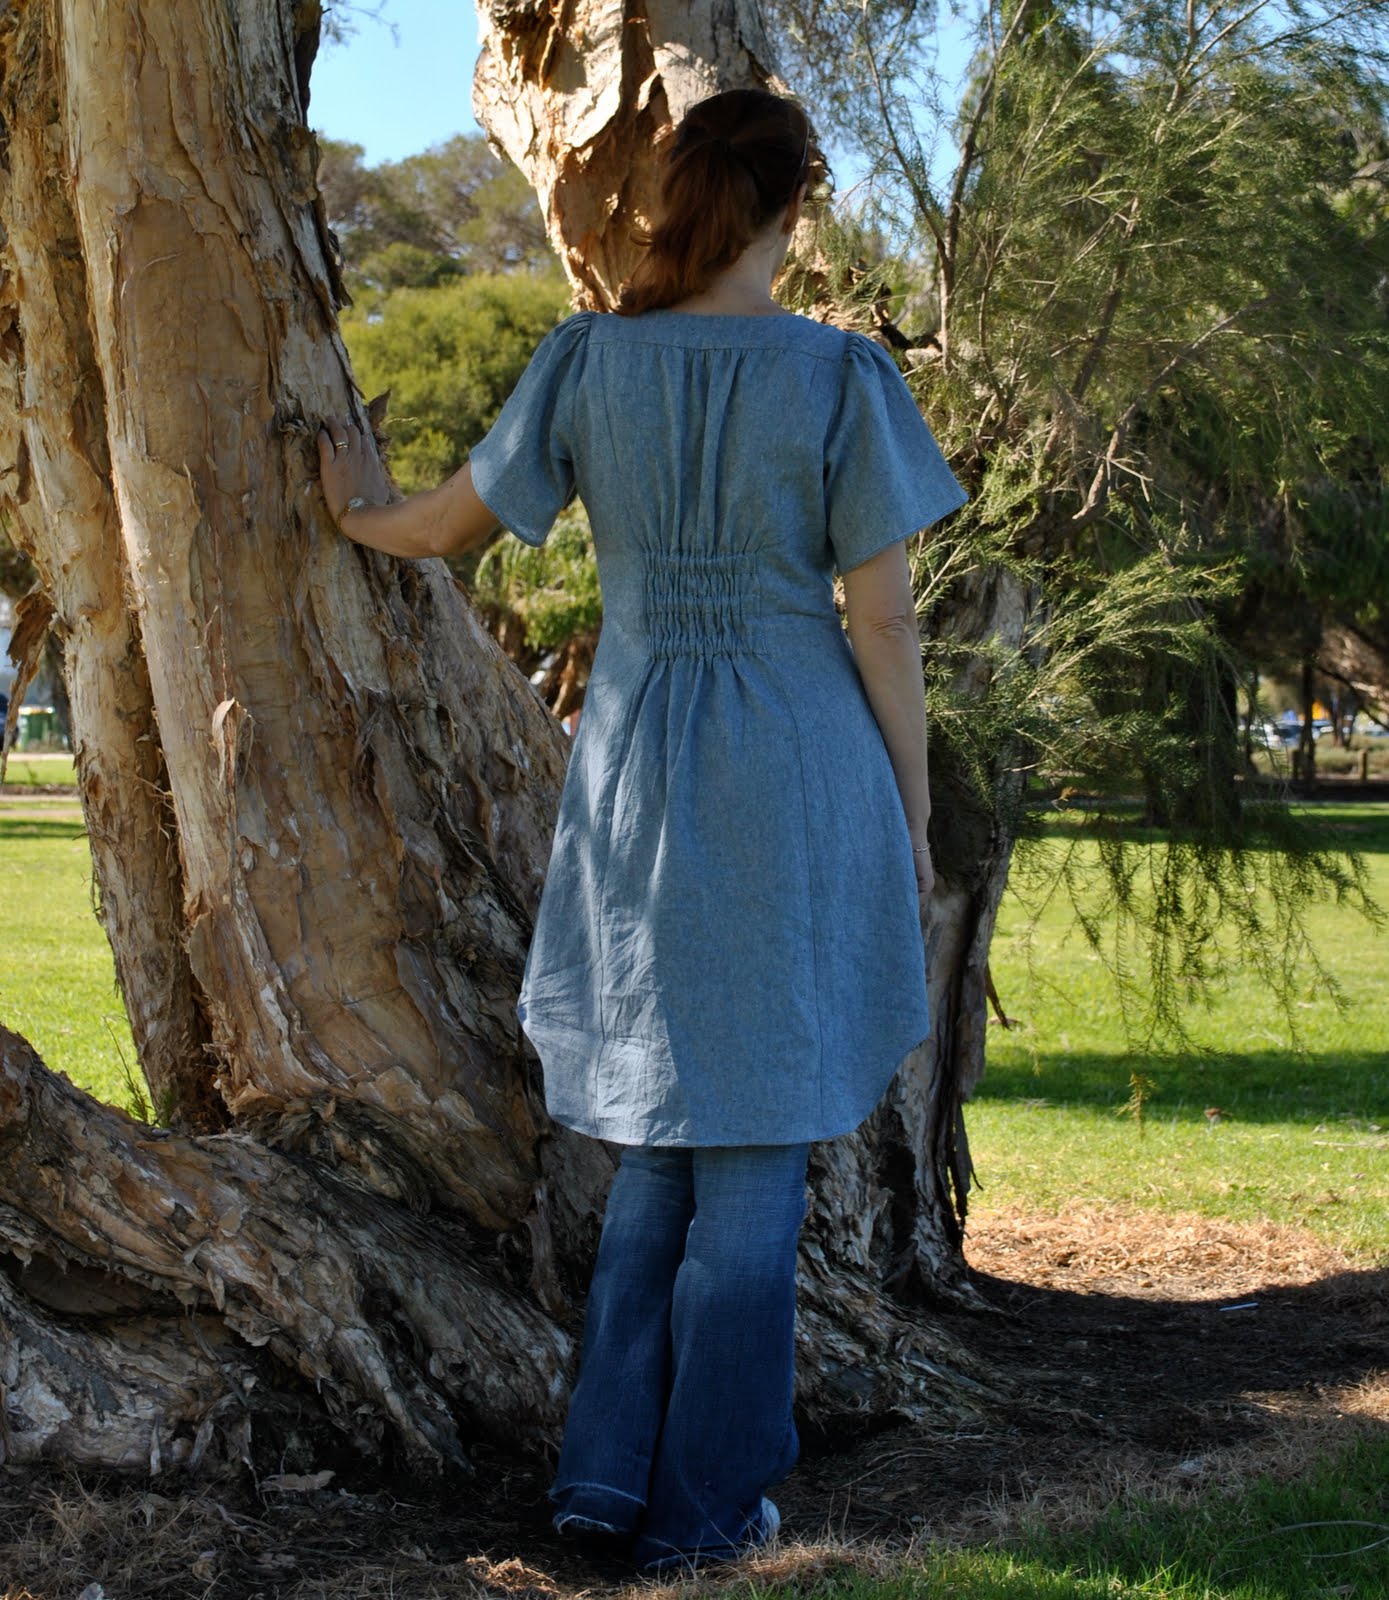
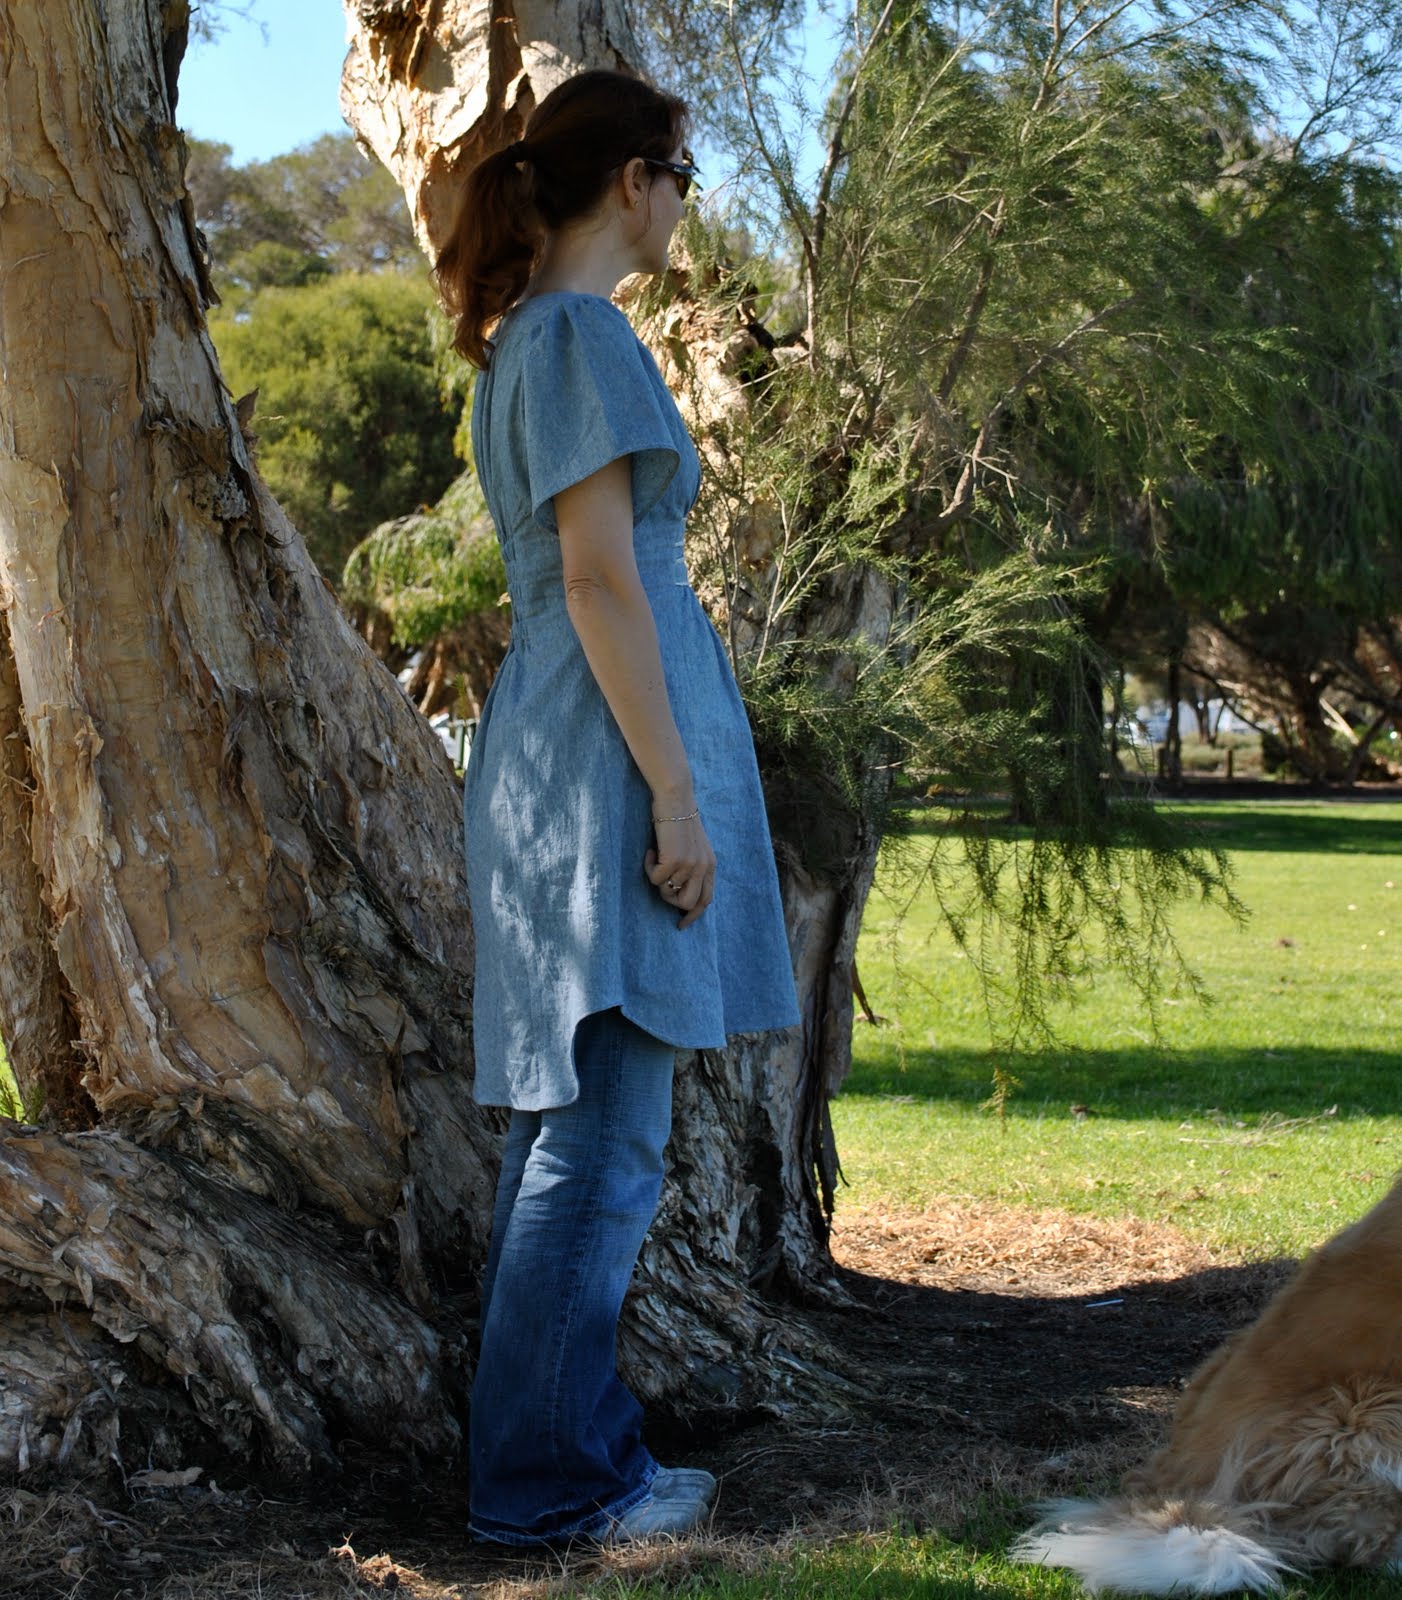
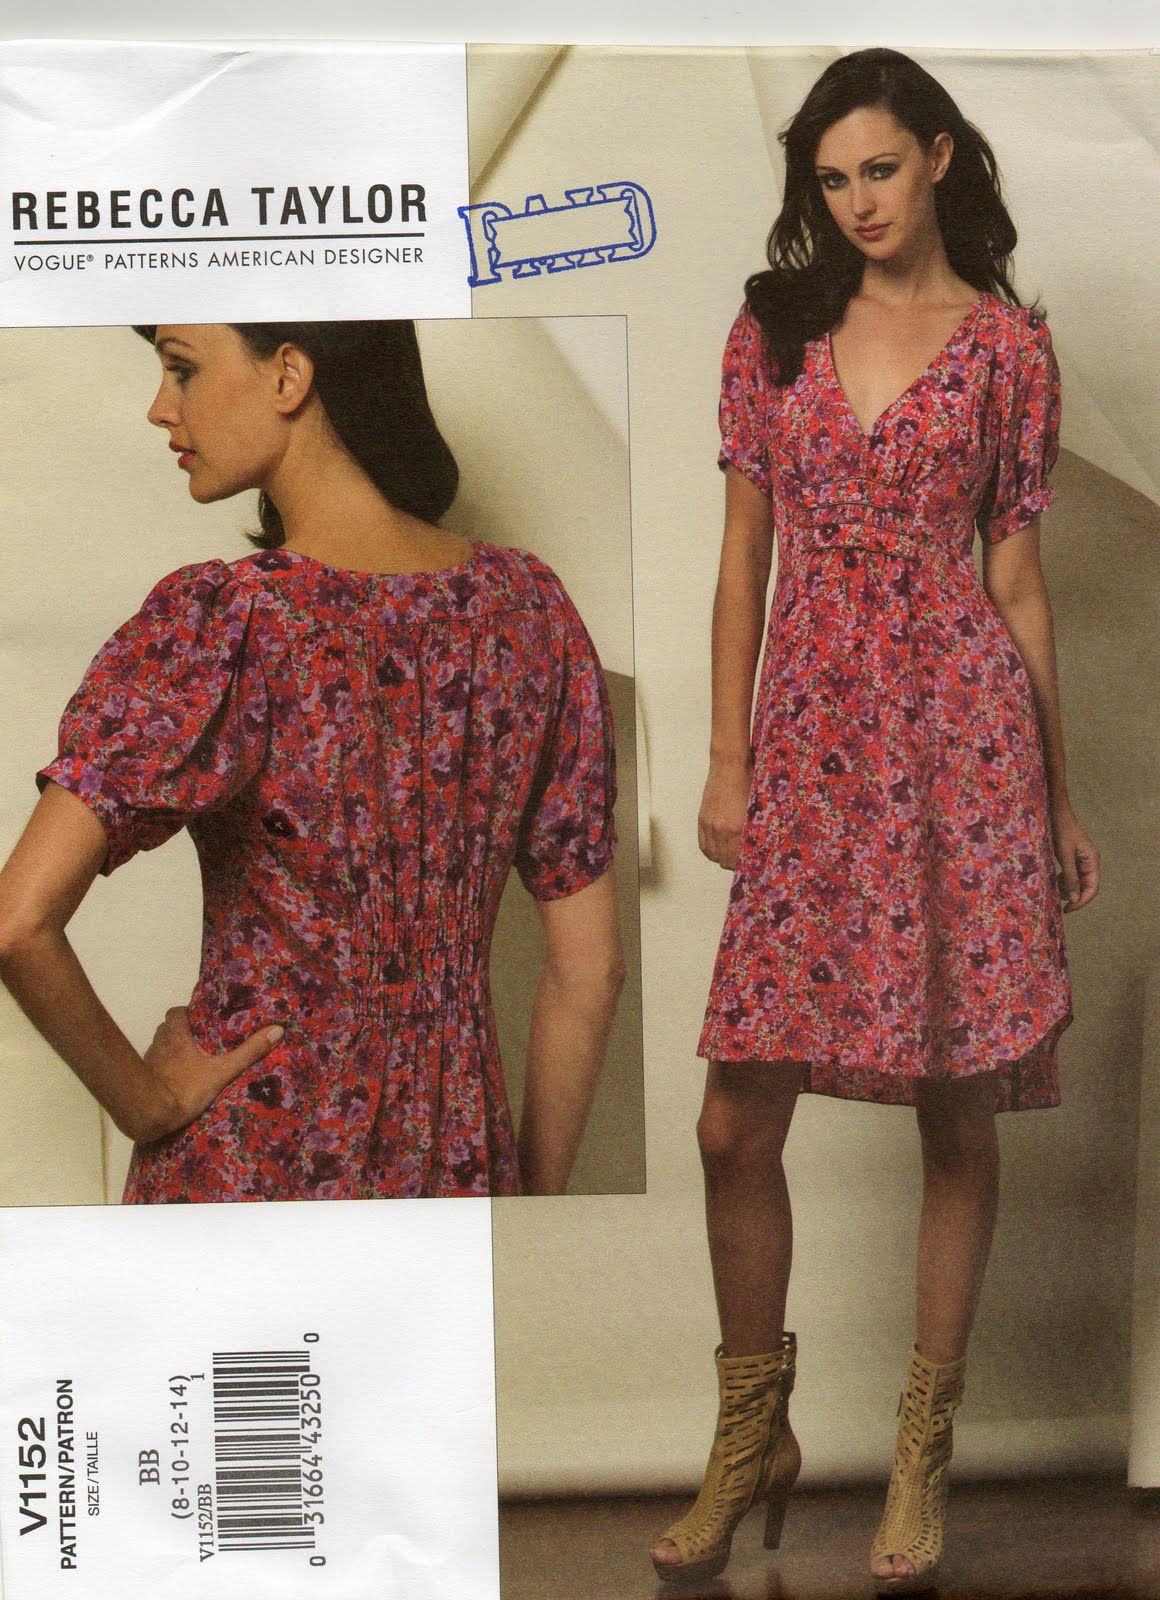
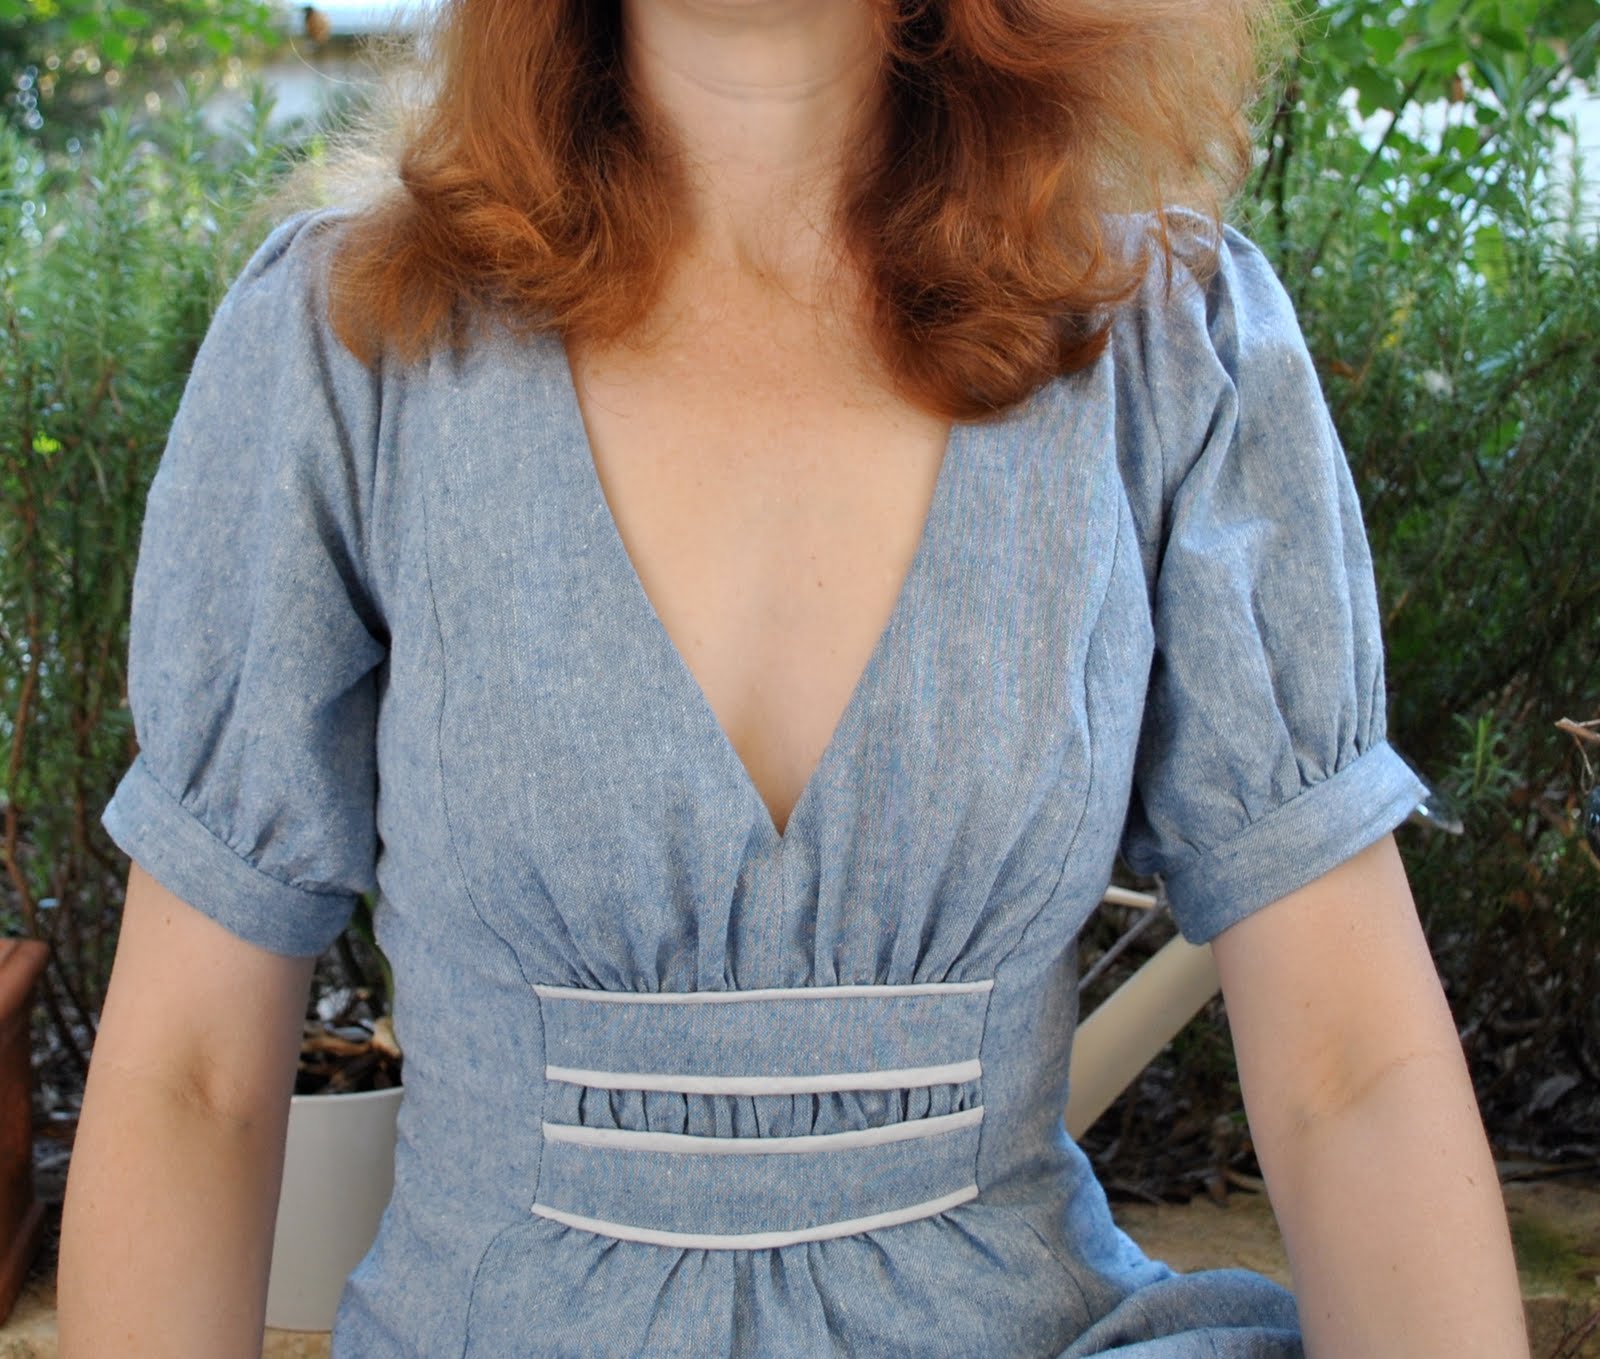
So here is my new dress, Vogue 1152, with more me-appropriate sleeves (for the “before sleeves”, see the post below).  I’m very happy with this now, will be perfect for a casual day-dress suited to the simple warm days not now very far off on the horizon…? (said hopefully)  Today being still just a little cool I’ve opted to try out at styling the latest double denim trend, and wear the new dress with my old jeans underneath… tres cool, no?
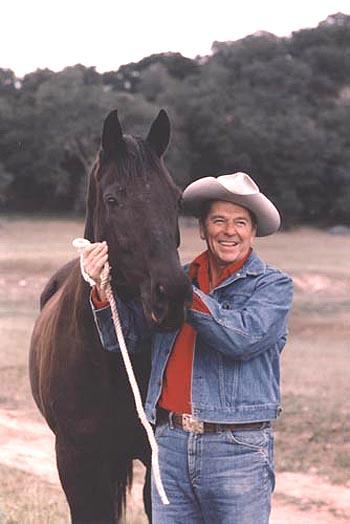
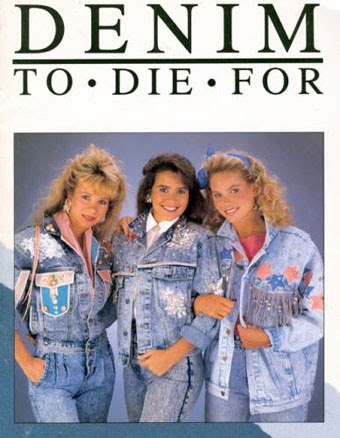
So the key to making the new double denim trend work is to definitely not have the same denim head to toe, take a look at the pictures just below…  no no, no and er, no.  Too avoid this very dated “denim suit” effect the modern interpretation is to mix it up in terms of colours/shades and texture.  So on the bottom half I am wearing my trusty ol’ denim jeans which have the two tone stone-washed look we knew and loved er… only a few years ago, and on the top half the lightweight chambray dress in a much paler shade of indigo.  And I’m thinking this isn’t tooooo bad!  But if the double denim thing still offends you;  relax, I will definitely be wearing this sans jeans before too long…!
Below is my review of this pattern.

Details:
Dress; Vogue 1152 with minor variations, cotton chambray
Jeans; Little Big, from Labels


Pattern Description

Loose-fitting dress has front and back princess seams, front and back gathers, front insets with contrast piping, back elastic casings, self-faced yoke, left side invisible zipper, short sleeves with pleated cap and gathered lower edge into self band and curved hem.  Length is 2″ above knee at centre front.
Pattern sizing
8-14.  I cut size 10
Did it look like the drawing/illustration on the pattern envelope once you had finished sewing it?
Essentially.  I altered the sleeves and fiddled about with the fit somewhat.  Also I have a suspicion the dress in the photo on the pattern envelope has a big bulldog clip at the back to make it nip in at the model’s waist like that… either that or the dress has been fitted to her shape like I did with mine.
Were the instructions easy to follow?
yes
What did you particularly like/dislike about this pattern?
I liked the look of it from the envelope photograph; the V-neck, the prettiness and the shirt-dress vibe it has without being a shirt-dress
After finishing I decided the puffy sleeves didn’t suit me, and ended up changing them.
The dress ended up being (for my taste, too) loose-fitting; just as described, and close to how it is illustrated in the line drawing on the back of the envelope but not in line with how the dress appears in the photo.  And the back elastic casings are situated too high I think.  I had to alter it to look less “maternity”
Fabric used:
Cotton chambray
Pattern alterations or any design changes you made:
Shaped the bodice sections to bring it in more at the waistline and also to take away some excess fabric in the bust-point.
Added another single casing with elastic on the back, additional to and underneath the double one stipulated in the pattern; also to help define the waistline better.
Eliminated about 1″ in sleeve width, and the lower gathering and sleeve bands completely.  I simply narrow hemmed the ungathered lower sleeve edge instead.
Would you sew it again?  Would you recommend it to others?
Yes I will sew this again.  I am planning to make this out of a light chiffon-y stuff for a fancy springtime lunch dress, but am going to implement even more design alterations than I did with this one.  I would recommend this pattern; as long as you are aware the dress is looser fitting than it appears in the photo.
Conclusion:
It might sound like a tale of woe, but I am very happy with this dress now.  I definitely prefer my version of the sleeves, although if the dress were out of a lighter weight fabric the sleeves may flop down like in the envelope photo and look better than they did in my cotton chambray version.

pinterestmail

On piping, and puffy sleeves…

I bought a second Vogue pattern during the recent half price sale, Vogue 1152 at right… and have been making it up using some cheap chambray cotton.  And was all happily whizzing along and halfway through when I realised I needed some piping to proceed.  And didn’t have any.  Fear not, I do not let piddly obstacles such as not having the correct materials at hand stop me from contriving some sort of substitute out of whatever is floating around in the laundry cupboard where my stash lives.  And is actually being chipped away at at a nice steady pace, thankyou for asking.  But I digress… back to the piping…  
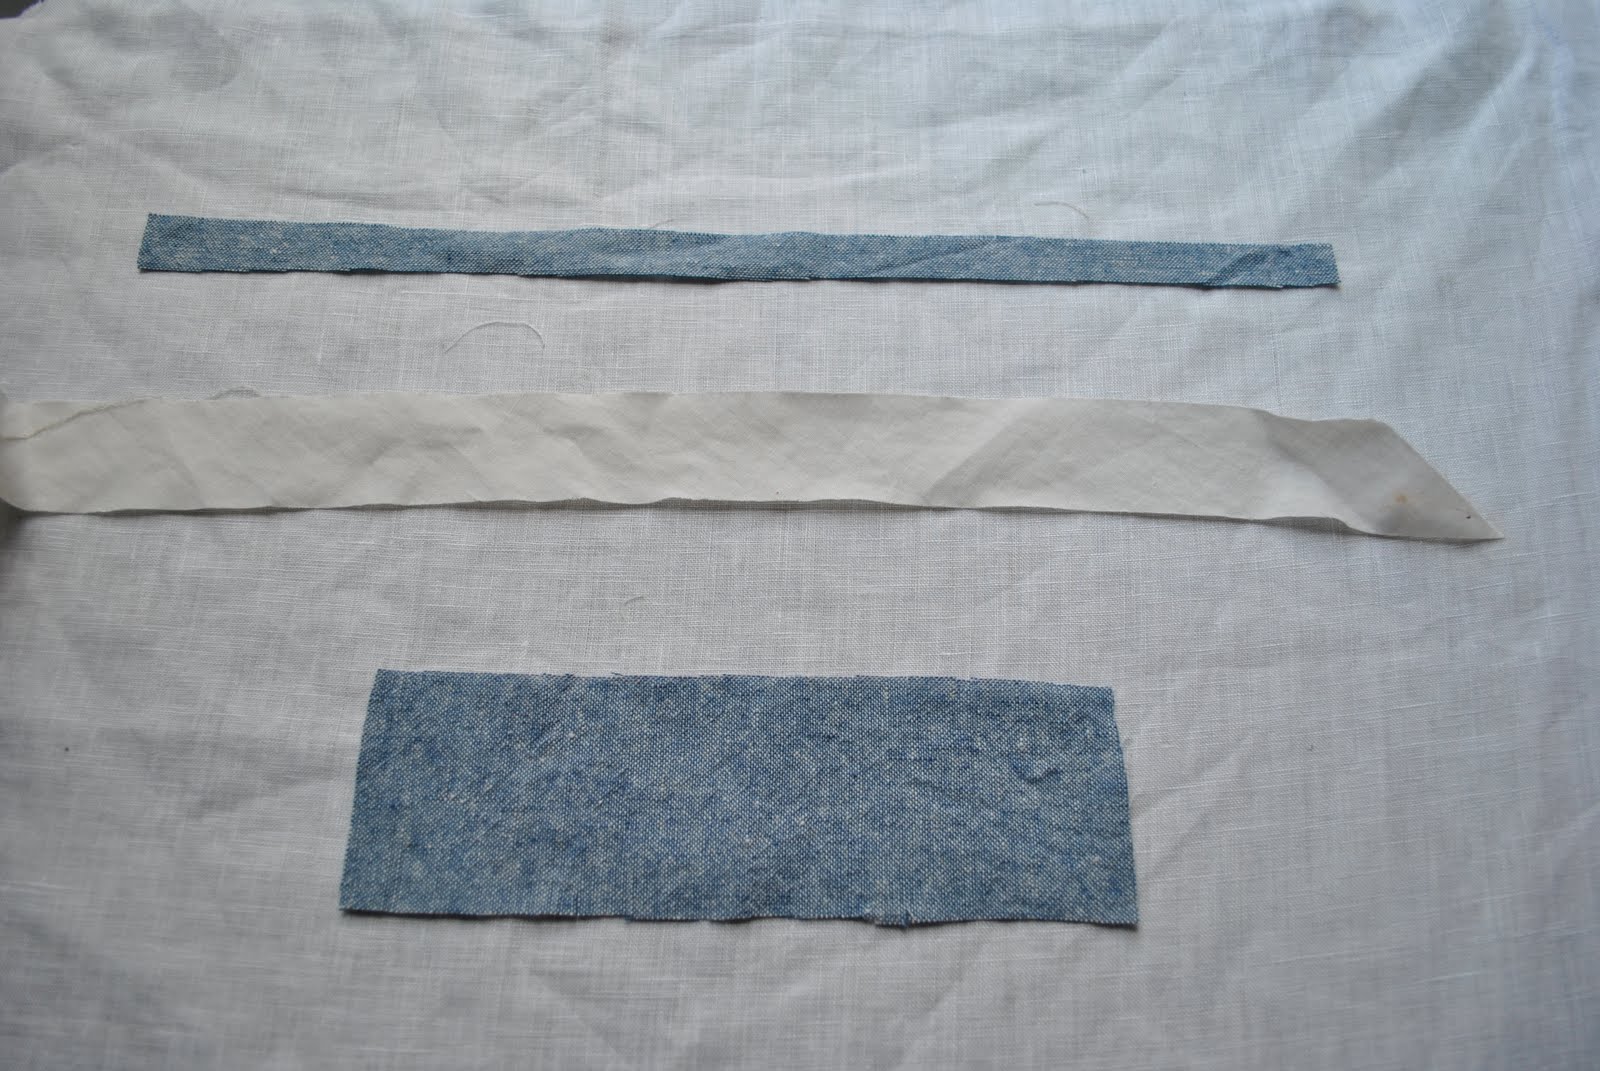
I fashioned my own piping out of leftover scraps of the chambray and thought to take a few photos to illustrate, as I think this is a cool way to use up small scraps that are otherwise useless and save, oh OK, only a few cents, but every little bit counts, right?  As well as saving planetary resources, etc.
At first I had the bright idea of making a twisted strip of piping.  I thought of doing this as the proper piping rope you buy is twisted…  So I just cut some strips of the length required, plus about a third (roughly), this extra is to allow for length lost by twisting.

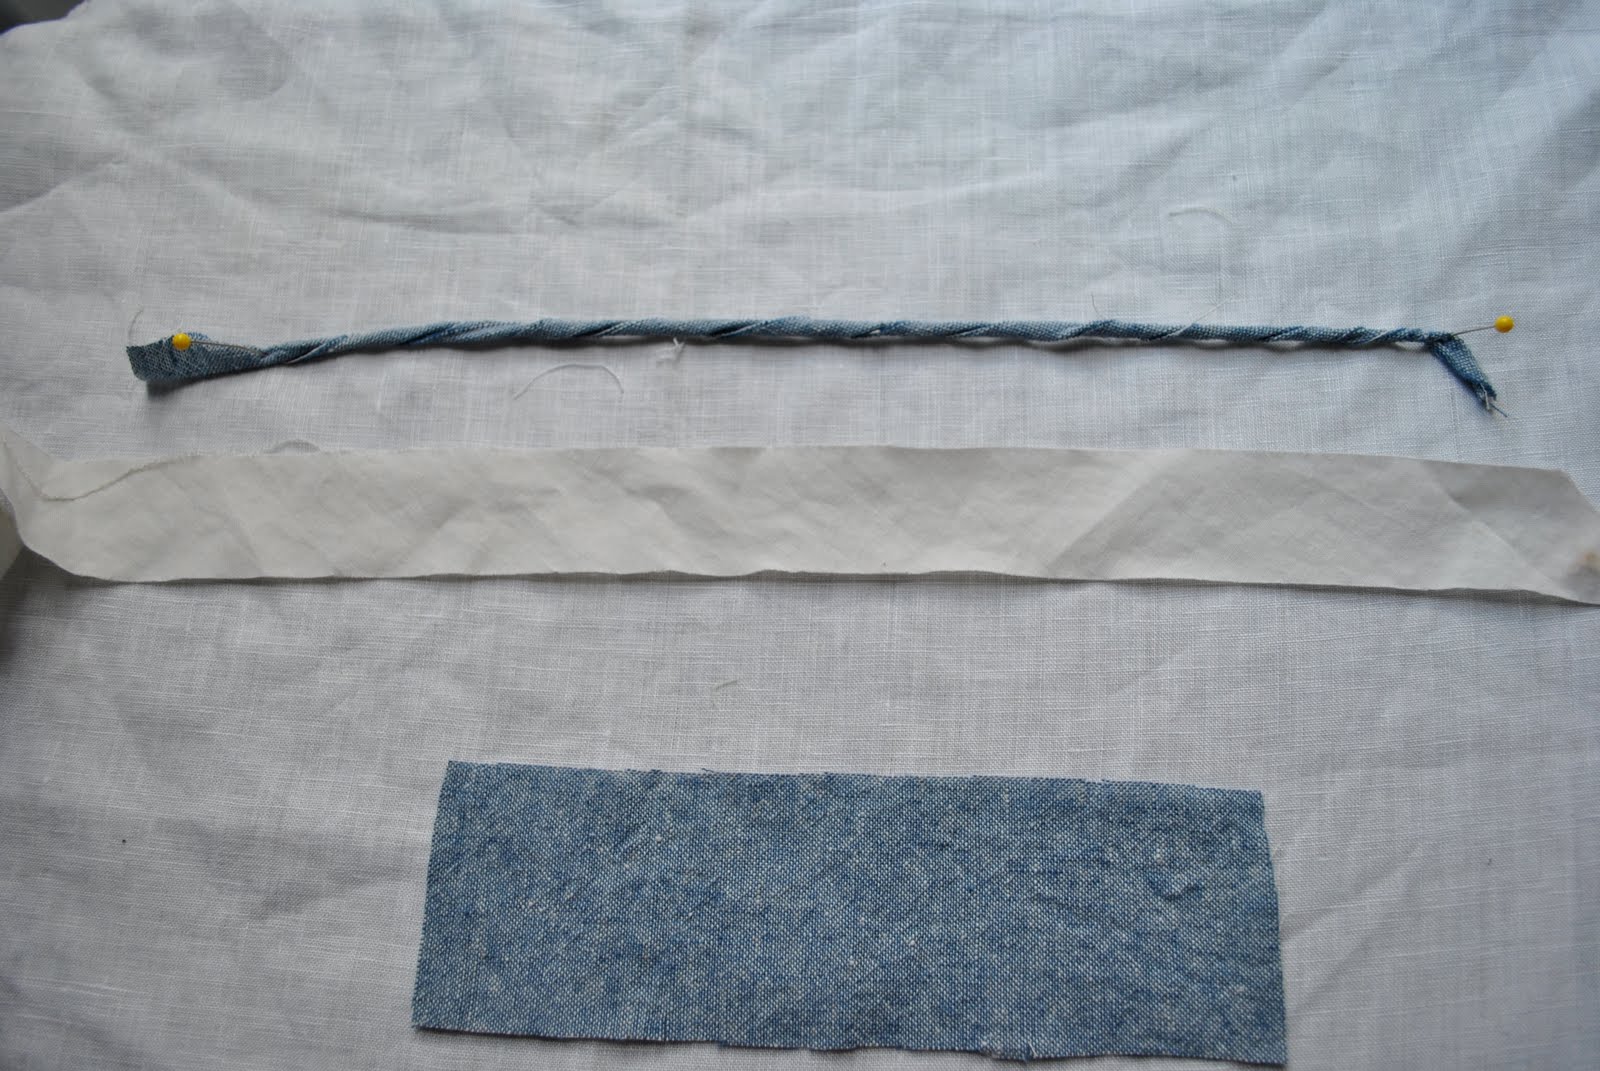
Twisted and ironed flat.  Immediately noticed was no good.  Now I think the ironing is where the problem lay.  The twisted strip appeared a nice even piece of cord and looked just right but when ironed, it flattened along the twists and developed lumps and bumps most undesirable in a piping cord… so this method had to be abandoned.

On to plan B.  Folded the strip carefully in equal thirds longwise and ironed just enough on low heat to make the creases a mere memory on the fabric…
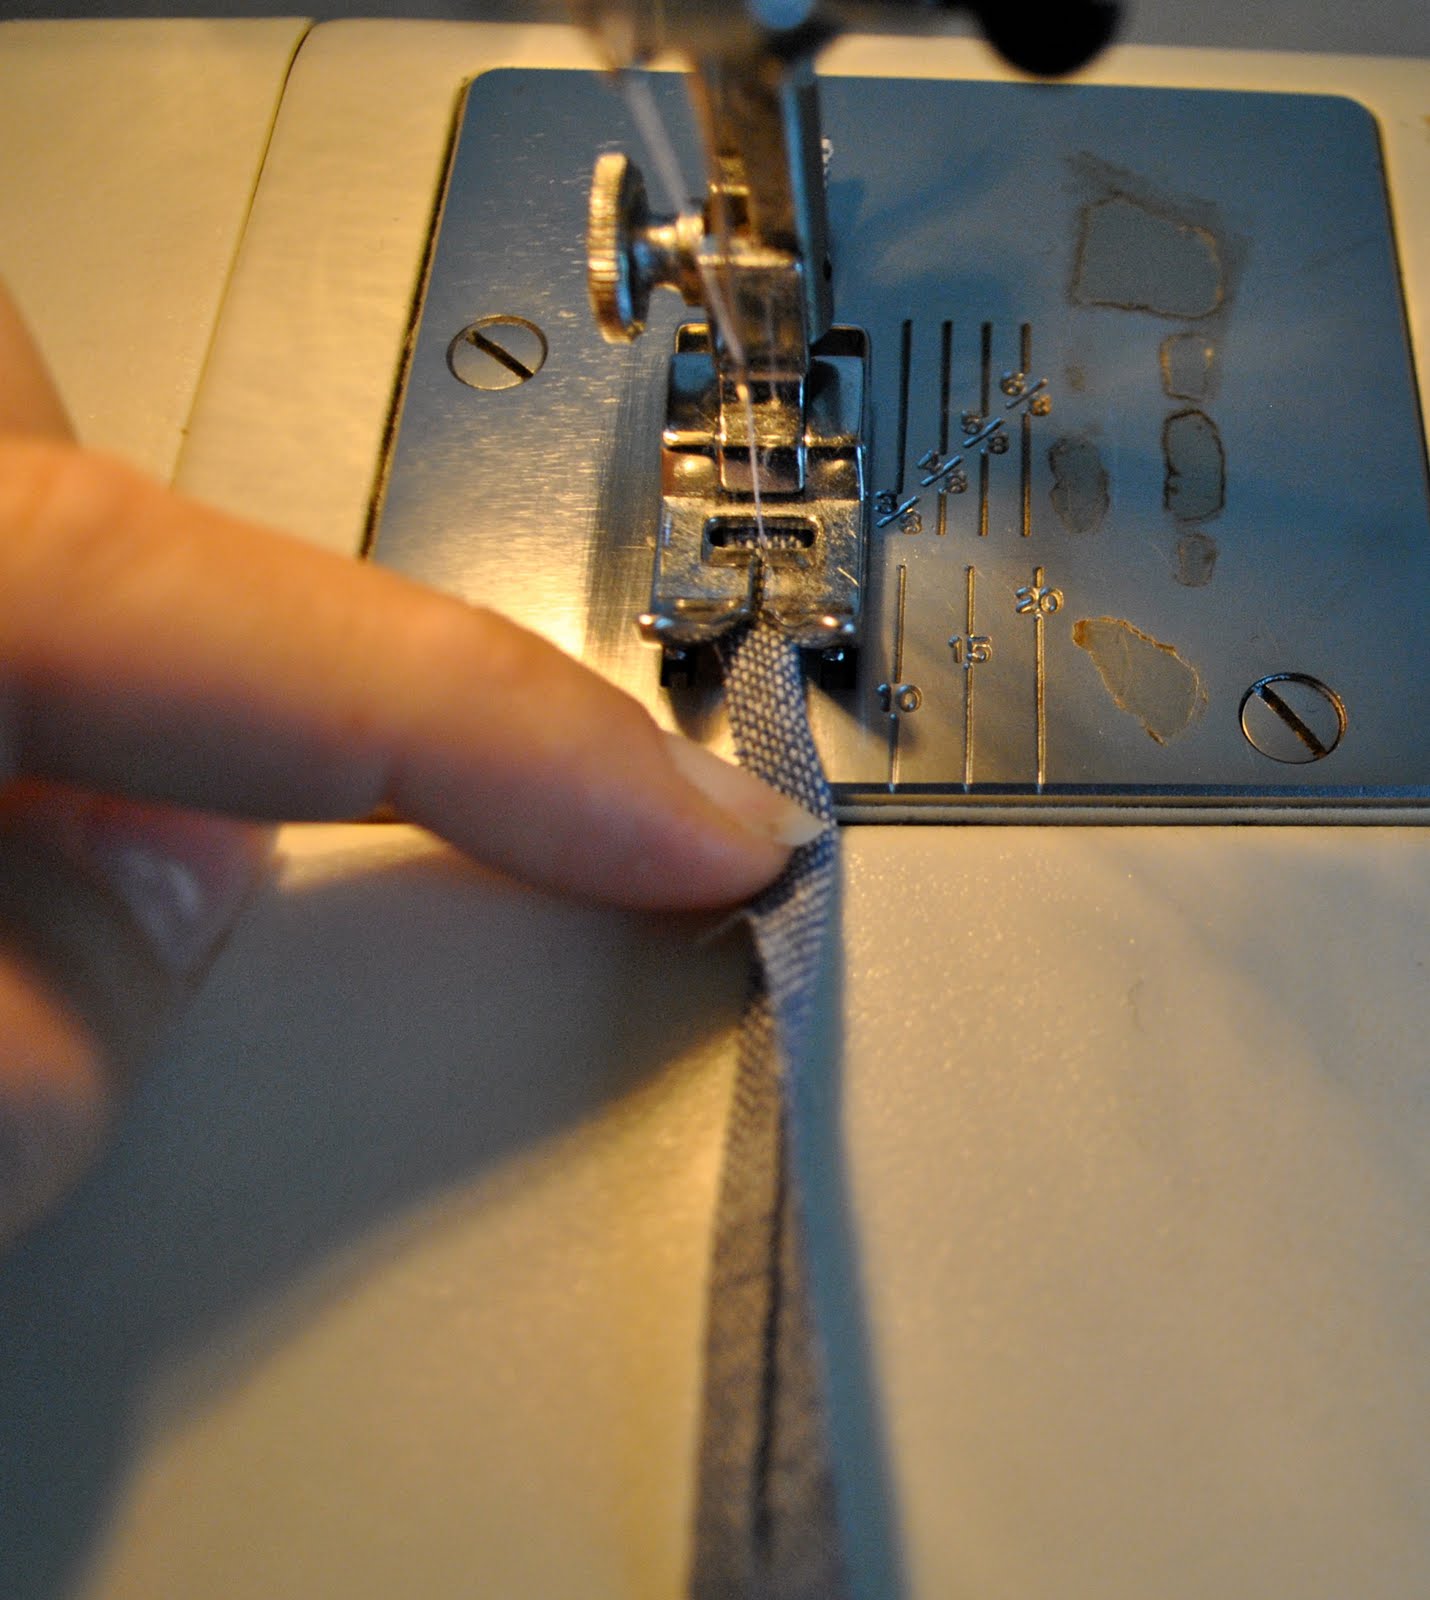
The set the machine stitching to as loose as possible and sewed down the centre of the strip.  This created a nice fat cord-like strip that had a nature pretty close to piping…

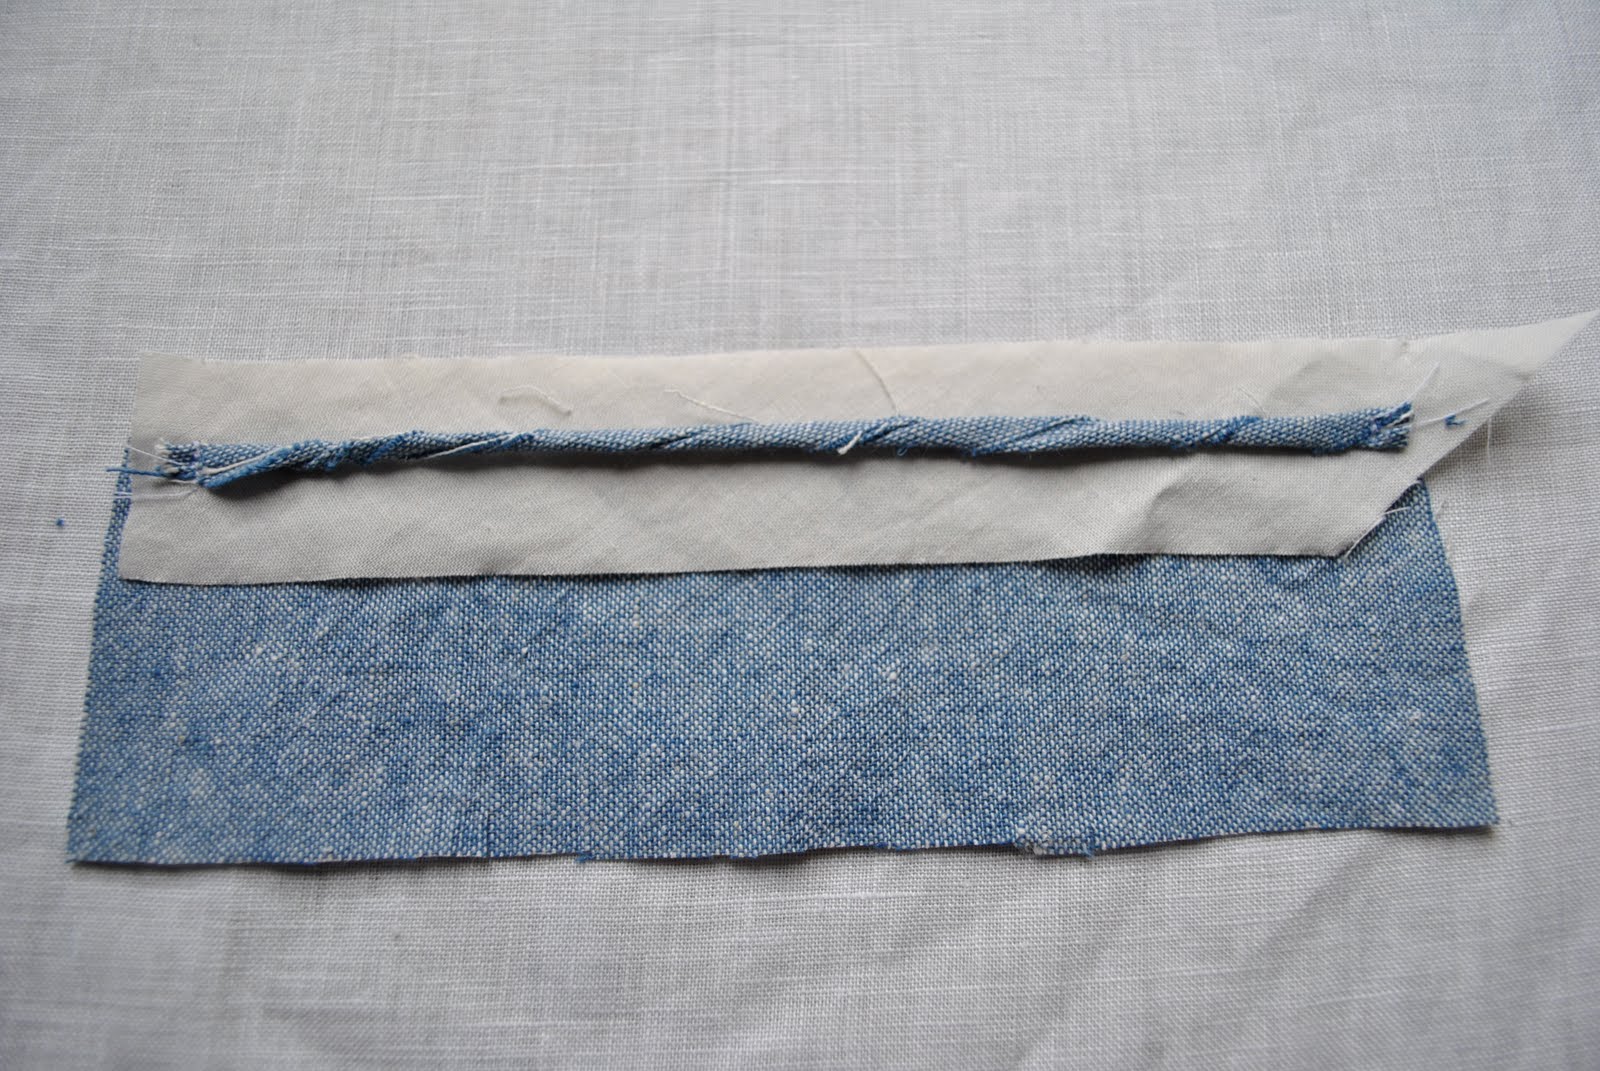
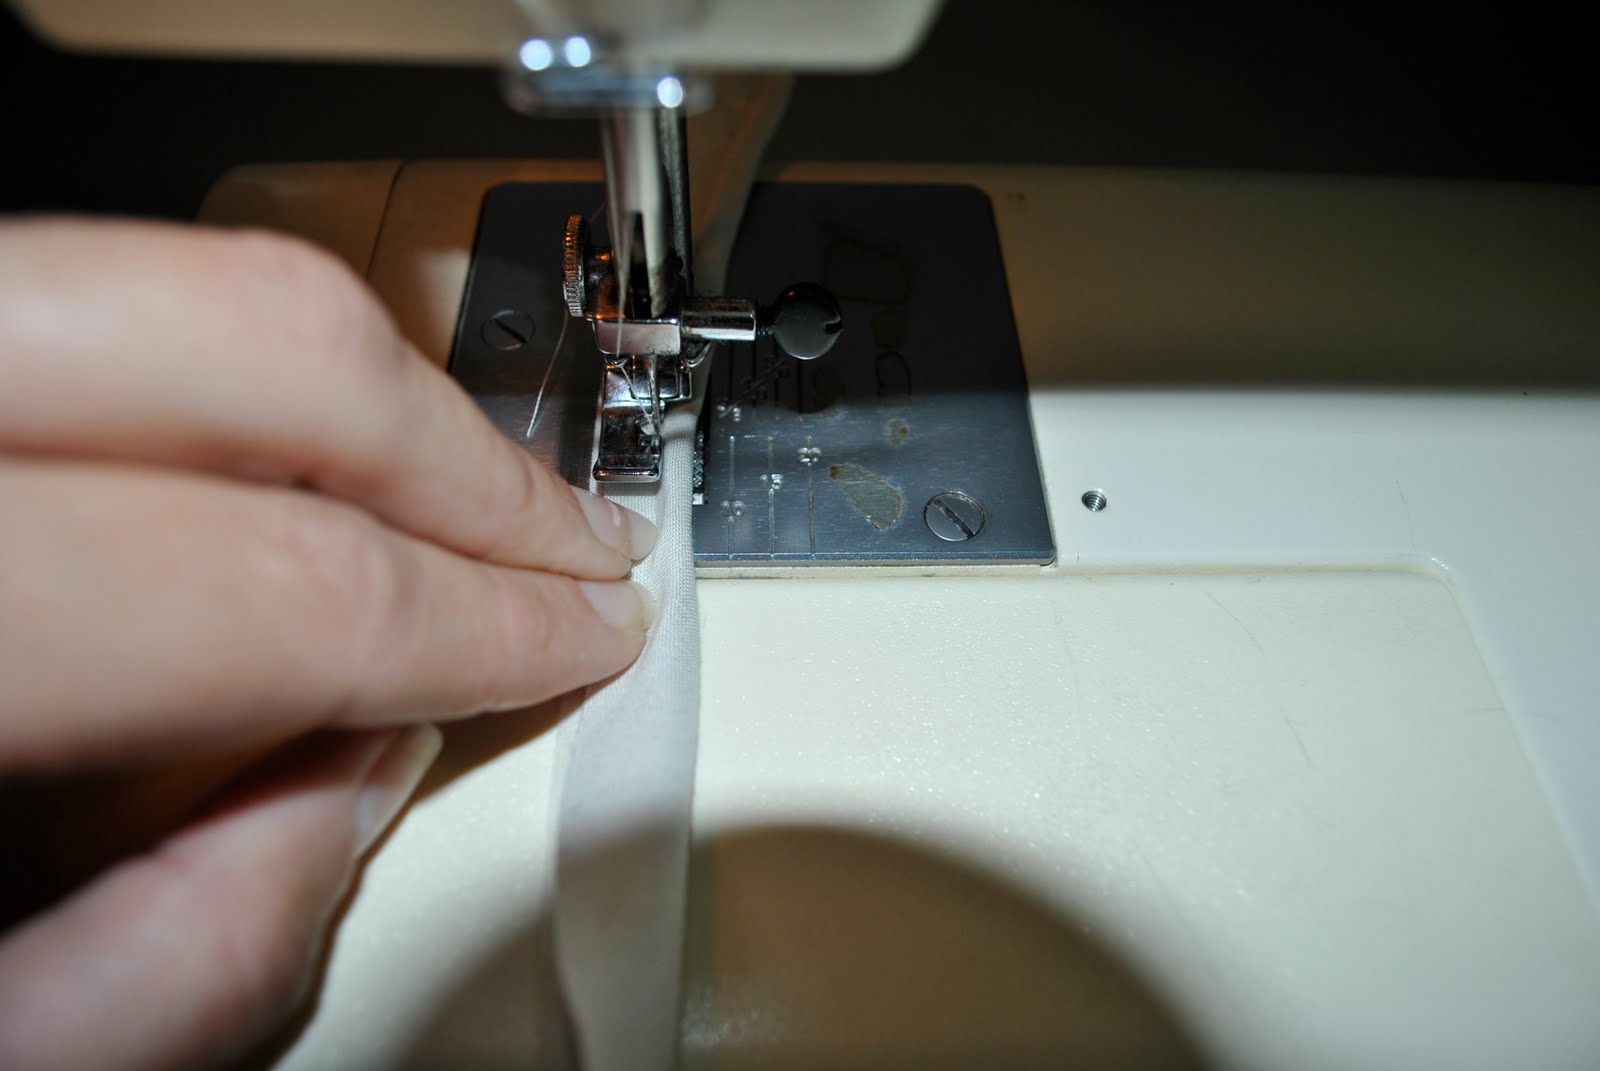
So went ahead and encased the wannabe piping in my contrast bias binding… 

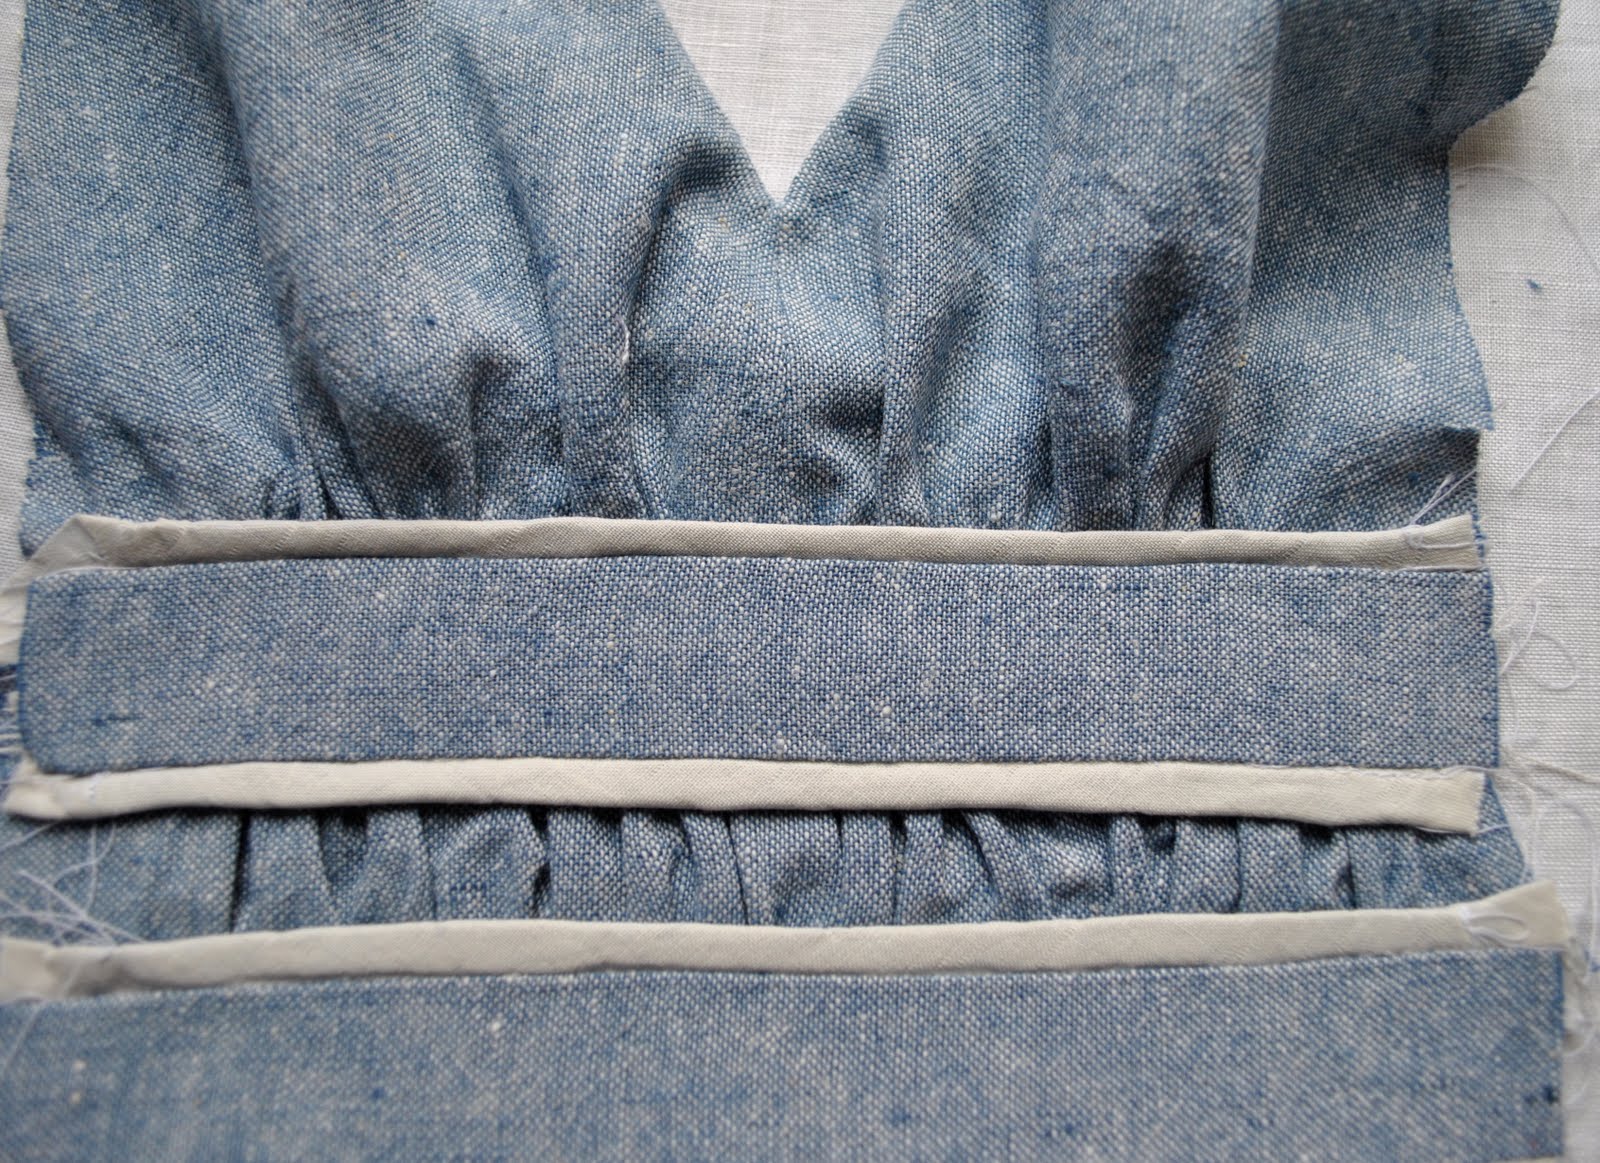
and Bob’s your uncle.  Not tooooo bad?  (They don’t look terribly even in this photo, but that is because the bottom two strips have been ironed flat while the top one was left unironed to avoid messing up those gathers above it … when I realised this I went back and hand-puffed some life back up into those two bottom contrast strips and now they match OK, for a day dress…)

So onwards and upwards.  I actually had finished this dress pretty much to the pattern, and look at these sleeves…

Anyone who knows me will know for sure that these sleeves are so not-me.  (Ha!  That was a fun sentence, no?)  So my next project is to fix up those sleeves.  And will show the finished result tomorrow…
It’s not that I don’t like puffy sleeves.  I think in the right fabric, say a very light floaty chiffon, the sleeves would flop down attractively like the dress on the pattern envelope and look fine. But in this chambray, which has a lot of body to it, the puffs are just not right.

pinterestmail

Communing with the lorikeets

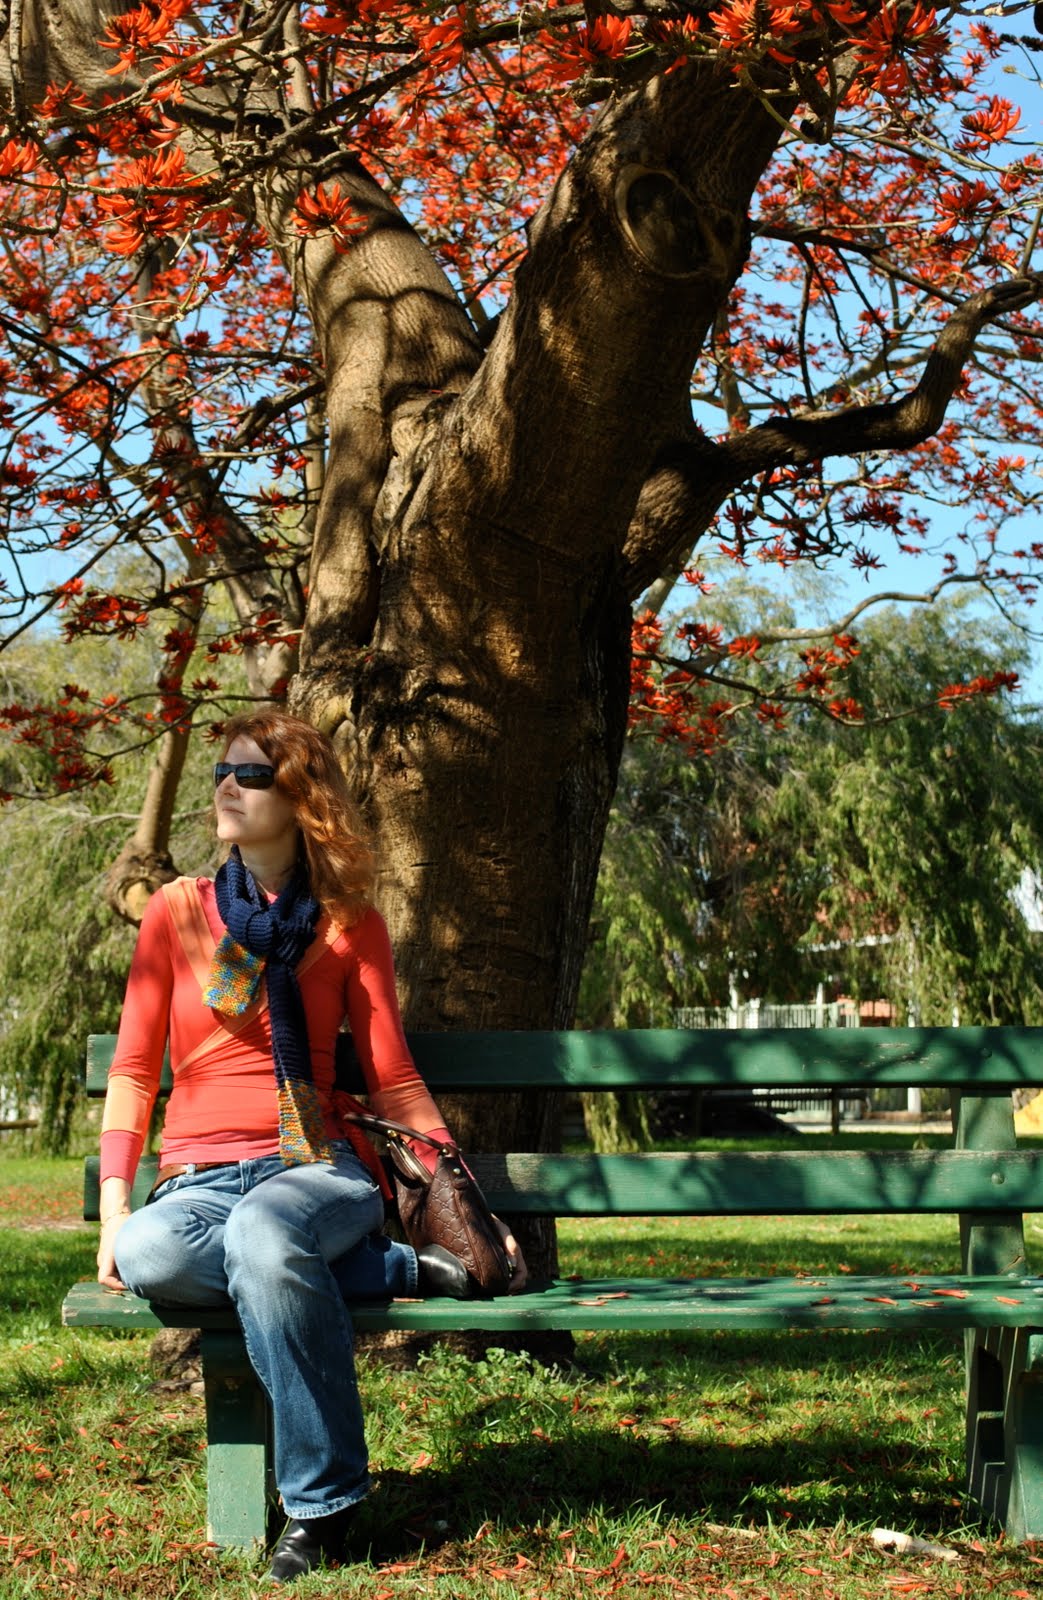
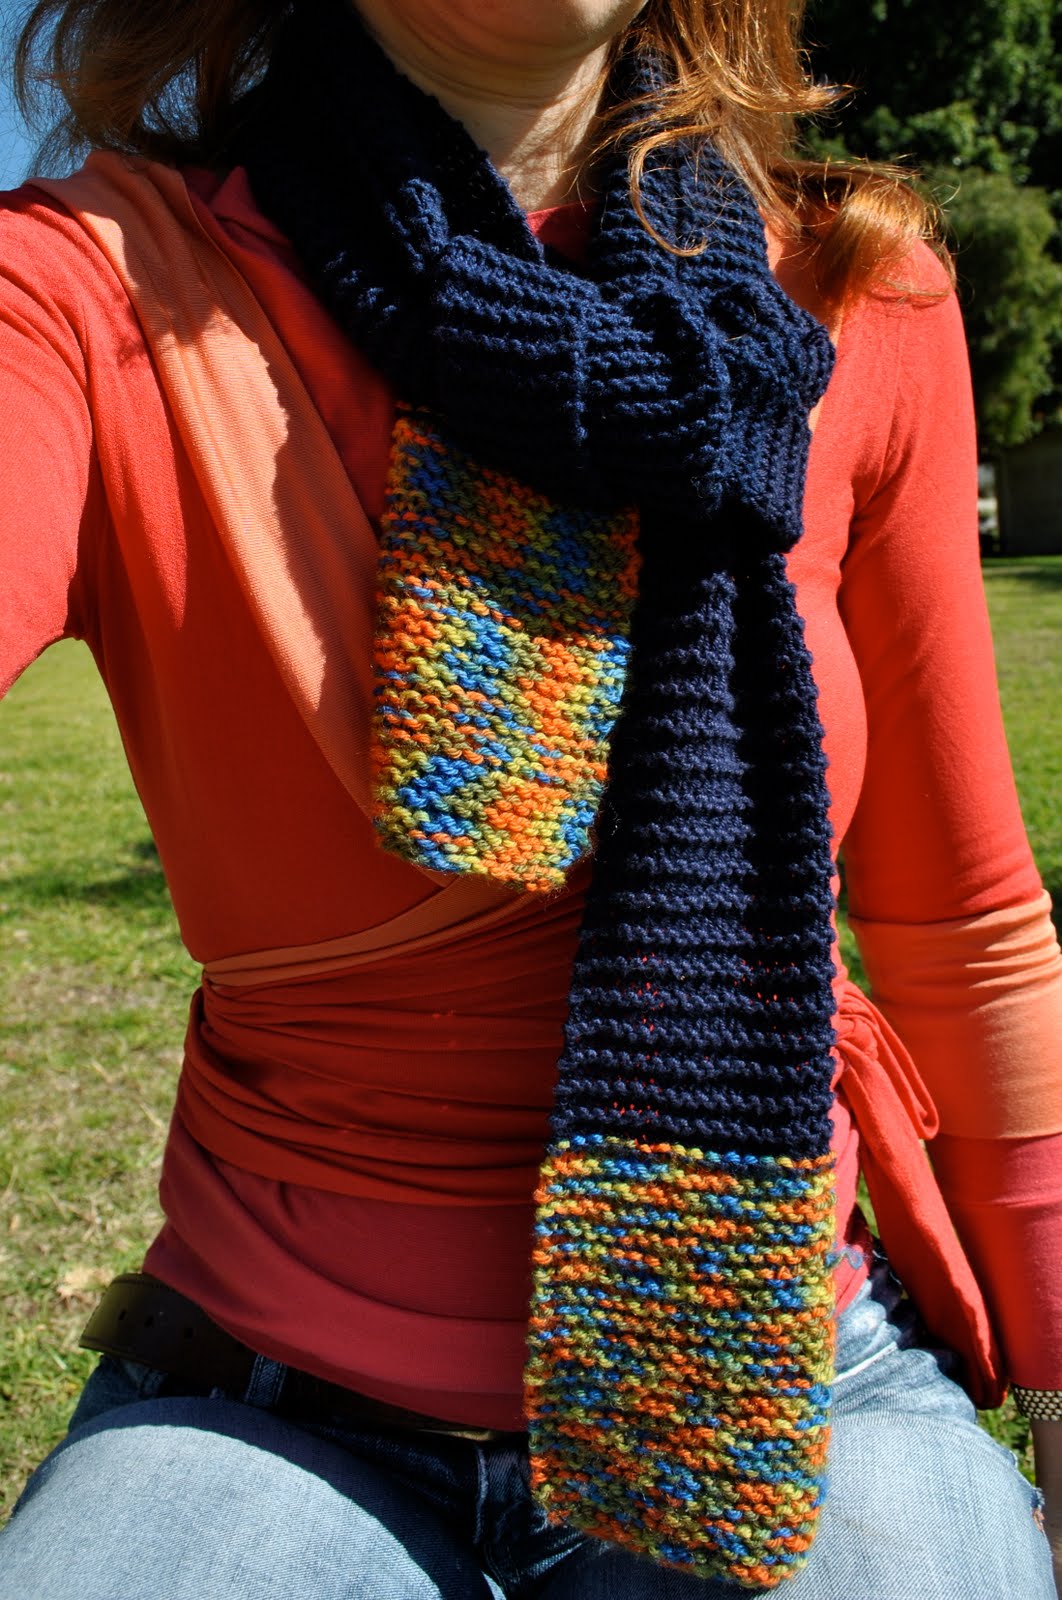
Today I asked Tim if I could borrow the scarf I made for him years ago to photograph for the blog here; he is far too busy for me to needle him to model it…  and found this lovely bench underneath the flame trees which are considerately blooming quite magnificently right now… the sight of the brilliant scarlet blossoms against drinkable blue skies was breathtaking in its sheer intensity; and above me was a flock of these little fellows feeding and squawking to each other.  The hues of the rainbow lorikeet provided an extra blast of saturated primary colour.  Flitting about from branch to bloom in vivid splendour, they were chatty and busy little bodies cheerfully banishing solitude…

Details:
Scarf; made for Tim from anny blatt pure wool bought when we were all in Paris
Tops; both Metalicus (the cardigan new to me but second hand!)
Jeans; Little Big, from Labels
Boots; Mina Martini, from Marie Claire shoes
Bag; Gucci

pinterestmail

A visit to the Art Gallery…

Paid a visit to the Art Gallery of WA today, to view an exhibition and also to celebrate a birthday of a dear friend in our group…
I won’t mention the name of the artist because to be blunt I thought the works were quite hideous and grotesque although on a small (very small) positive note they did make food for thought.  All I could think touring through the exhibits is how on earth the artist was getting funding to put out the work, because the works were very costly and labour intensive.  They were sculptures, mostly very realistic “monsters” made out of silicone and adorned with real human hair and glass eyes to look like horrible deformed creatures out of a very unethical geneticist’s chamber of horrors of cloning/genetic experimentation gone wrong…  just shudder-ous (not a real word, just describing my reaction)  Our tour guide was excellent, raising discussion questions about the future of genetic research and experimentation into issues such as cloning and surrogacy and how far we human beings are prepared to go in these areas, and how much more accepting are our children of scientific “fiddling about” with the natural order of things than the current generation.  These are issues that I, with my scientific background, am already fairly familiar with and have already had some debate …
Viewing this exhibition has made me wonder about the point of art, all over again.  Beauty or politics?  Political art is so far removed from artistic art that I wonder if we should find some other category for it to reside in…  I personally thought this artist’s talents would be put to better use for humanity manufacturing limbs and prostheses for landmine victims (say) or amputees and that is the pragmatist’s view…  but then the scientific debate is important, and how important is the art in the role of stimulating that debate?   There was no beauty and we are accustomed to expecting some beauty in our art.  I do like some beauty, sorry.

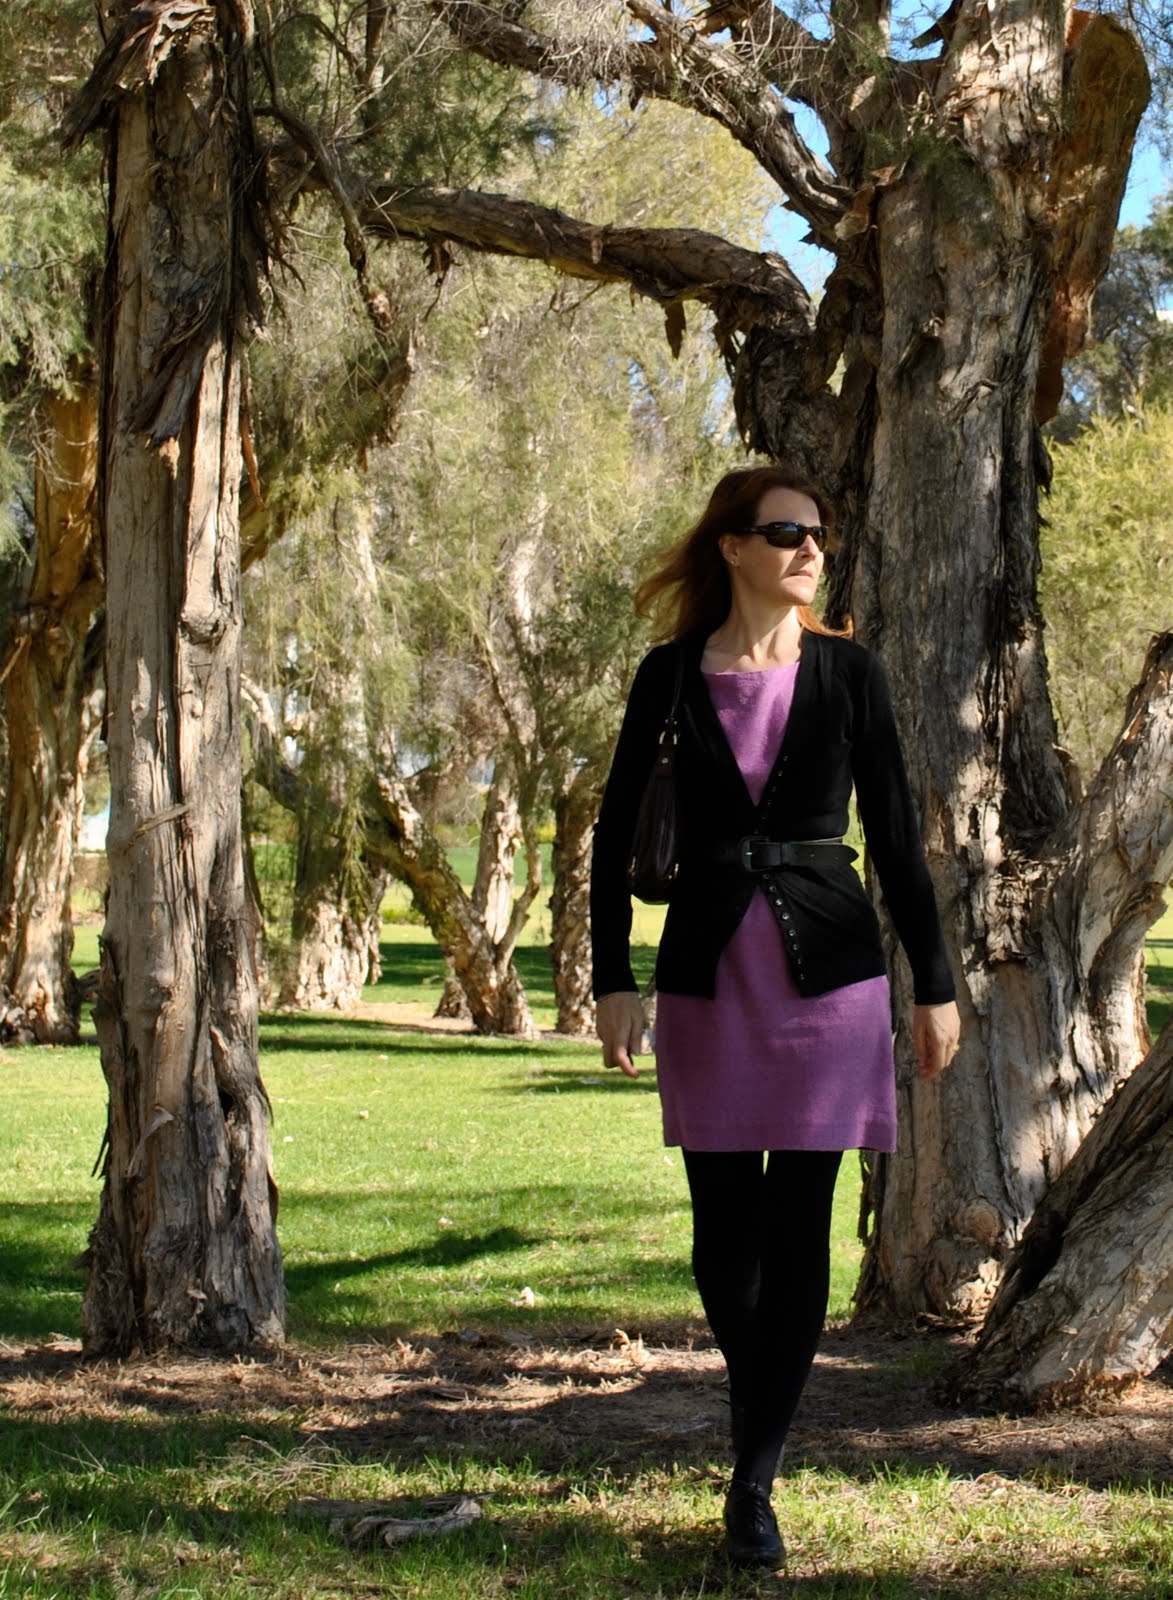
A definite feeling of spring in the air, today is practically hot!  Am feeling a bit too wintery in this outfit even…  I’m starting to think about the upcoming Self Stitched September.  Should I try to go all self stitched, or (as is my usual habit) incorporate a few store bought basics?  Maybe I’ll start out going all self-stitched and see how I go.  And as for taking my photo everyday… this will be a time challenge.  But I’m still excited about it.

Details:
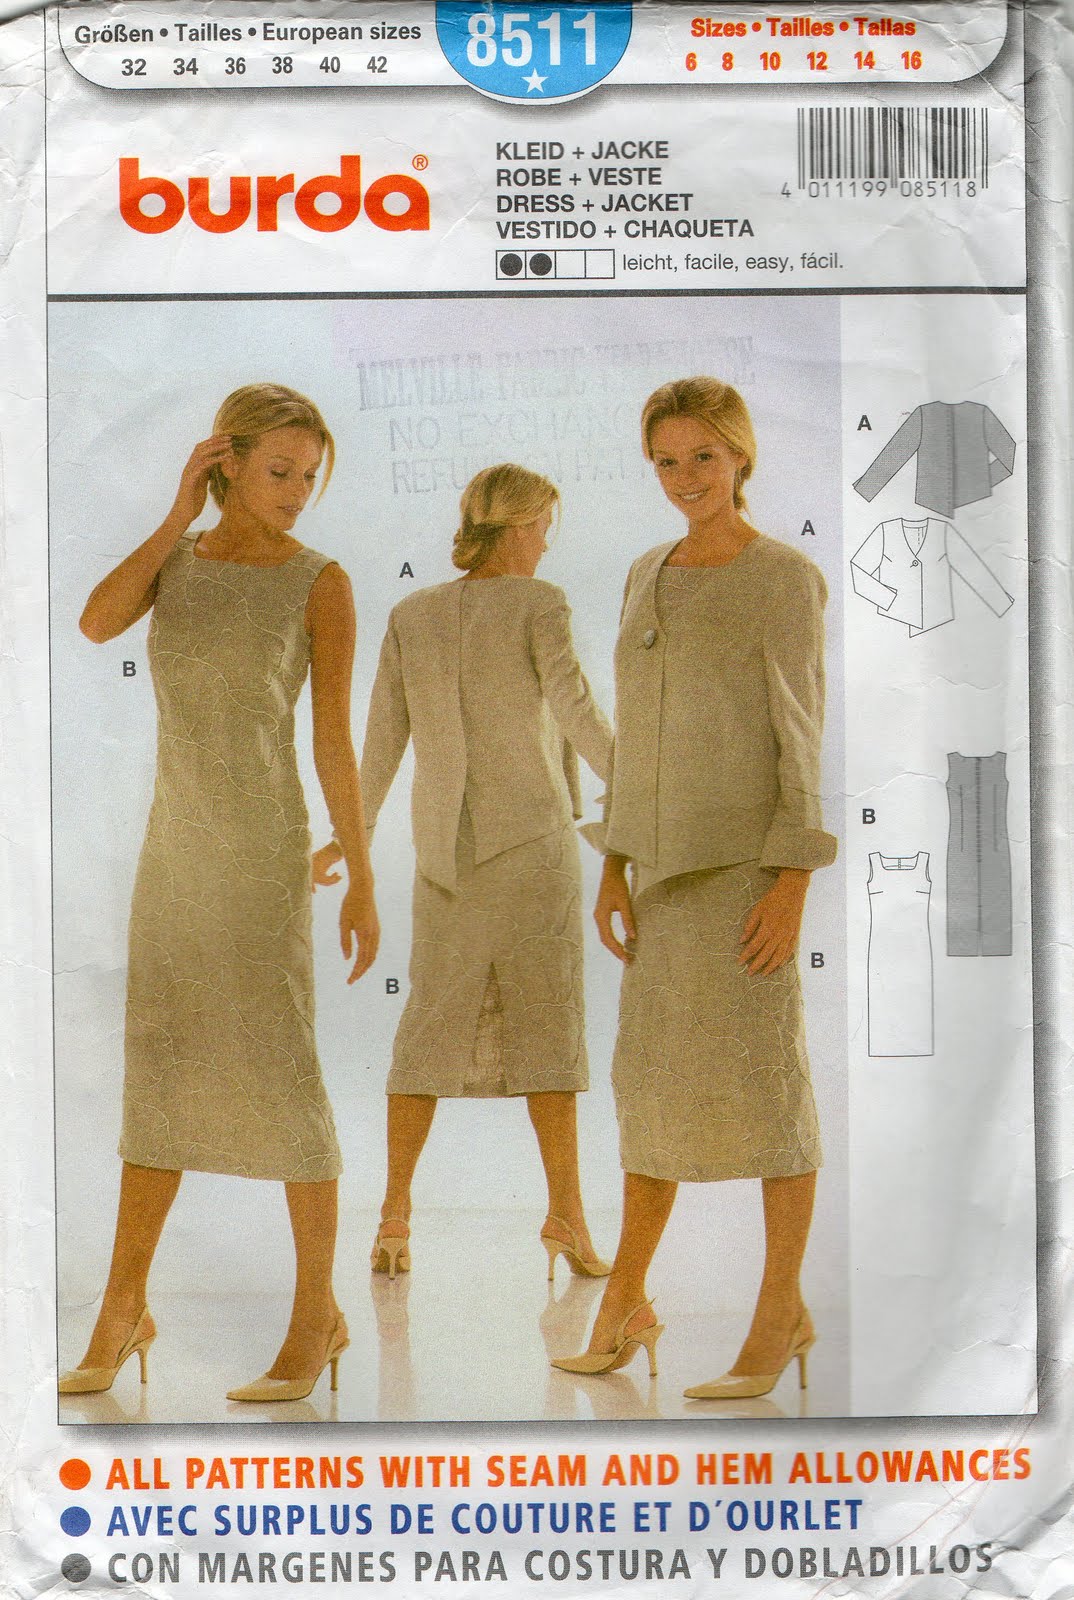
Dress; Burda 8511 with some modifications, purple silk hessian
Cardigan; Country Road
Belt; had since a teenager
Tights; Kolotex
Booties; Django and Juliette, from Zomp
Bag; Gucci

pinterestmail

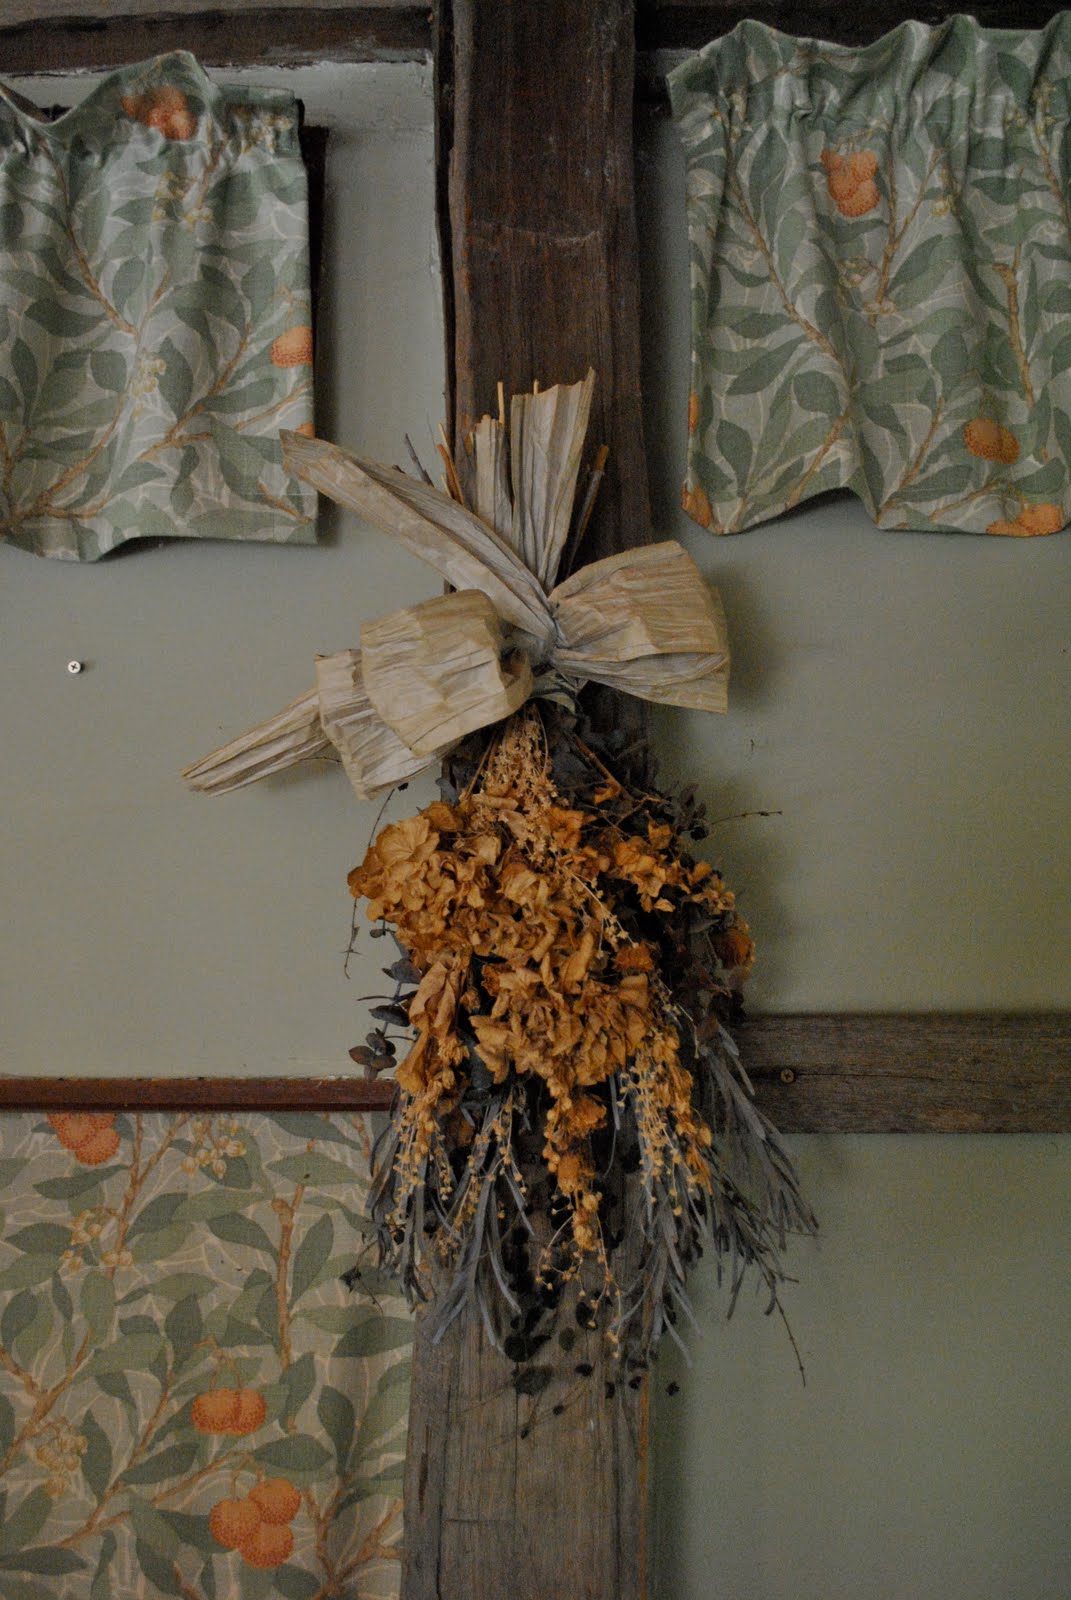
Desiccated art

The art of dried flower arrangements.  Did a few once (a few years ago now).  This is one made for my parents, and they are obviously much gentler in their housekeeping than me since this is the only one left out of several.  It has yellow, apricot and ivory flowers (these have faded a bit) against a soft background of blue/grey and sage green foliage.  I had also made a lovely one out of blue and red flowers and a background of soft grey green leaves on eucalyptus boughs and had it hanging in our lounge room.  One day I took it down for cleaning, accidentally dropped it and it was sadly no more; disintegrated into a million pieces.
There is an art to drying flowers in order that they retain a. their shape, and b. their colour, or their colour in at least some degree of intensity.  Some colour is essential in order for the arrangement to avoid looking like so much kindling…  The pieces done well can have a desiccated melancholy about them that can be charming.  The lifeless tissues of once blossoming things have a sadness clinging about them; the opposite reaction that a living flower arrangement incites, the optimism and freshness and glorious fruitfulness inherent in the beauty of a living thing…
Mum and Dad have managed to preserve it so well and I’m so glad it still suits the rustic charm of their cottage.

pinterestmail

Takes the Bronze

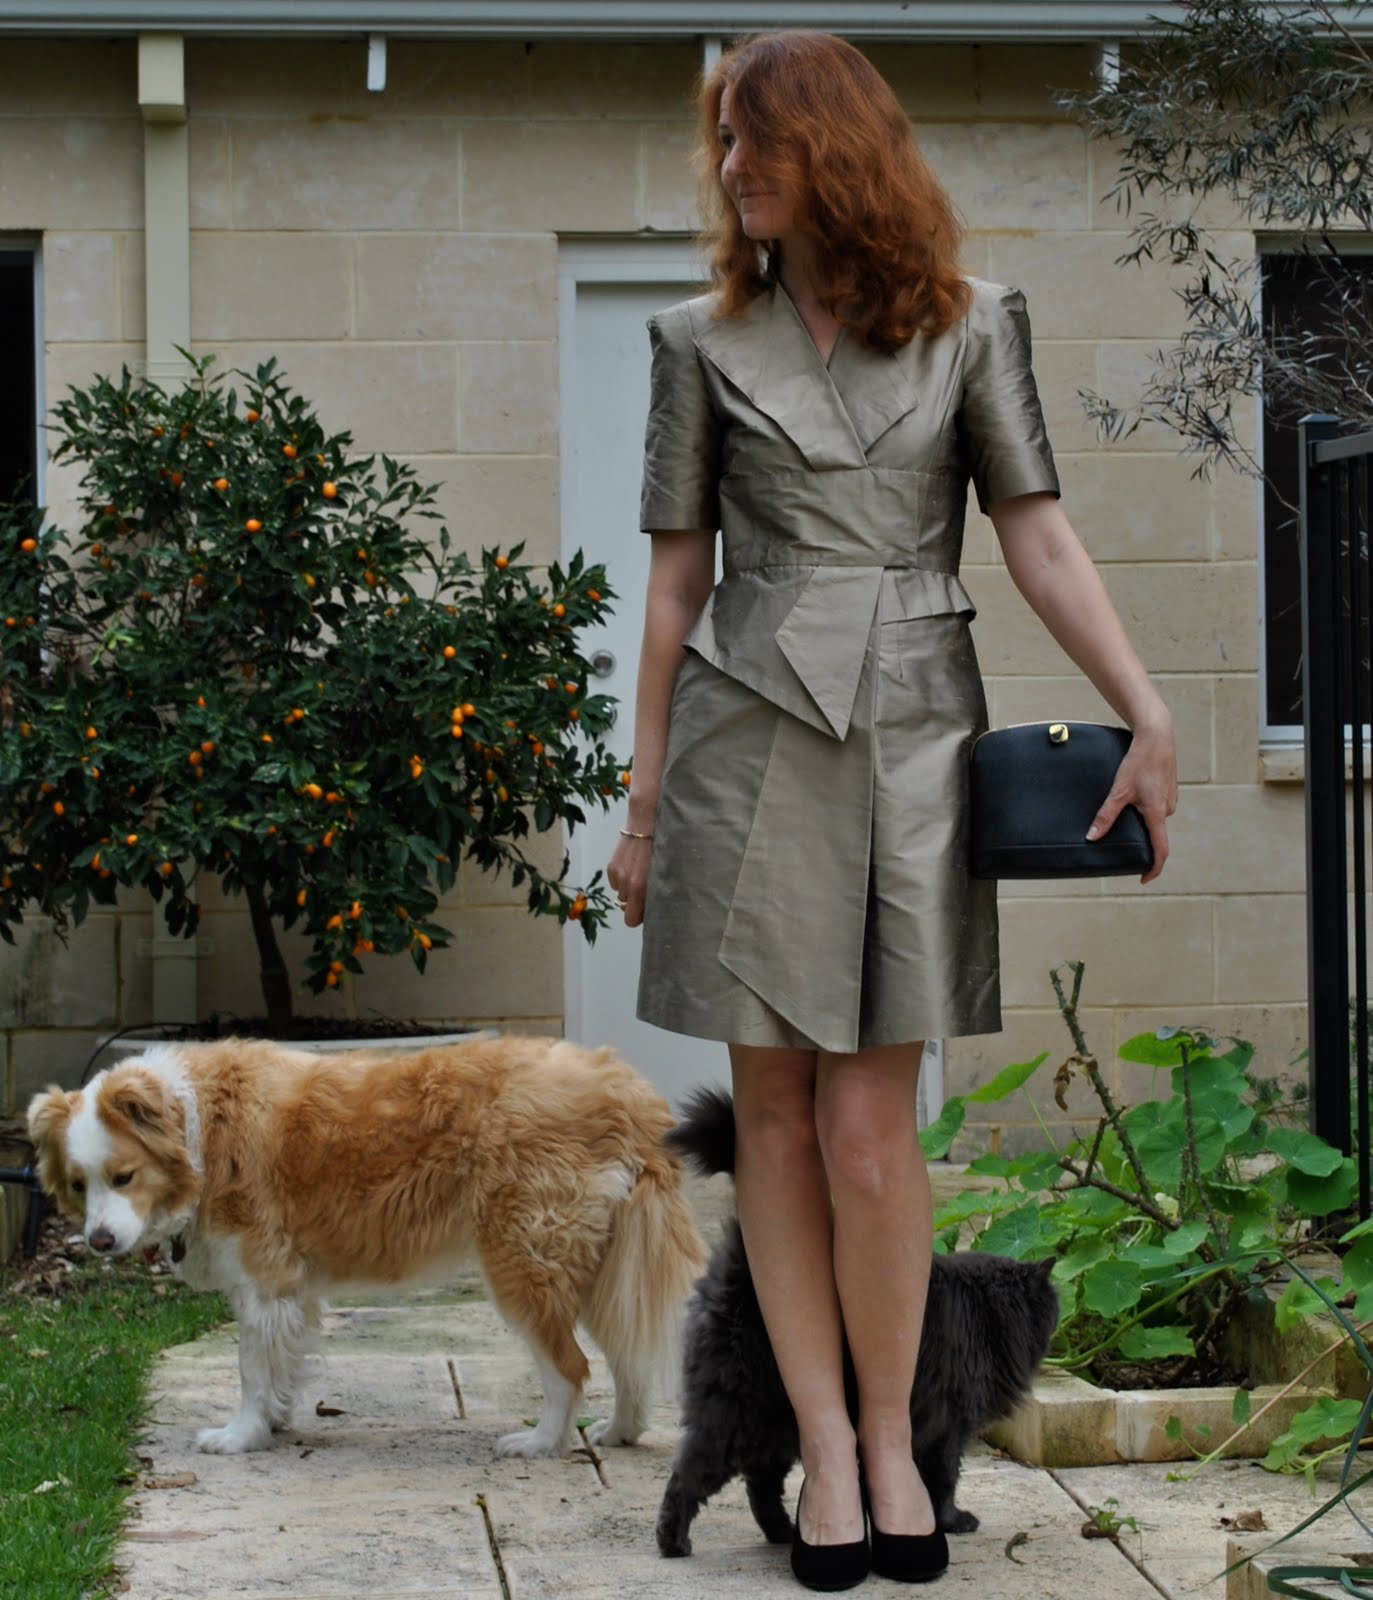
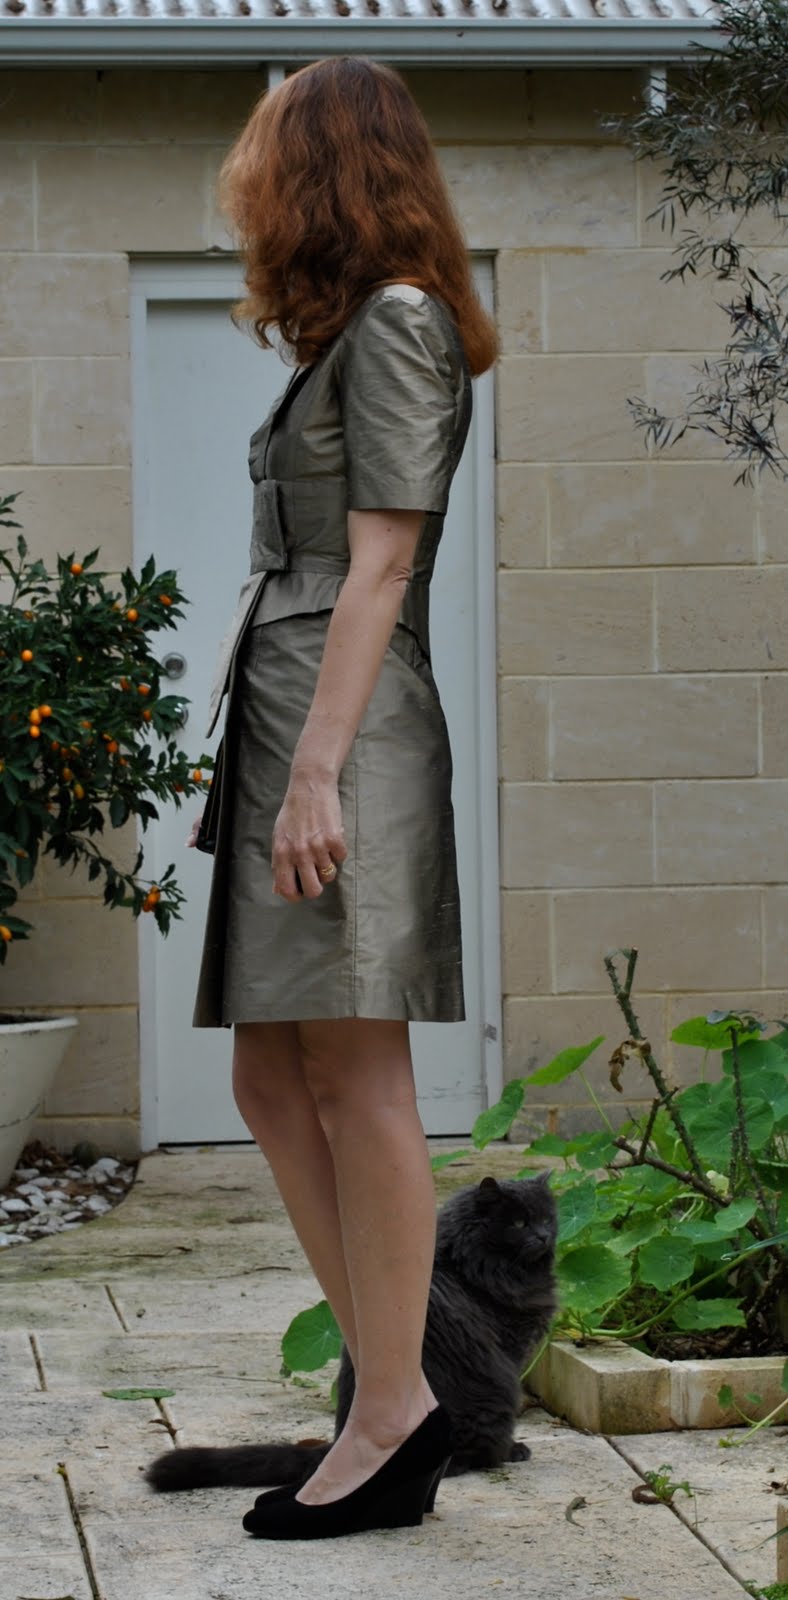
My new cocktail dress…
I’m kind of in love with it.  Wish I could be wearing it all day, if that was in all way appropriate (might attract a few sideways glances in the supermarket, for one)  And as for my work in the office… well the pussycats might appreciate that I went to the effort.  Oh, hey you look great, but really, you shouldn’t have.  Not for us.  Just going to be vying for prime position on your lap as usual, is all…
I did meet some gals for morning tea this morning, but as I was easily the most dressed up (in exactly this outfit, my new favourite since I finished it, and have worn it three times in the last three weeks now) then the new cocktail dress would have been a tad overkill.  Sadly.
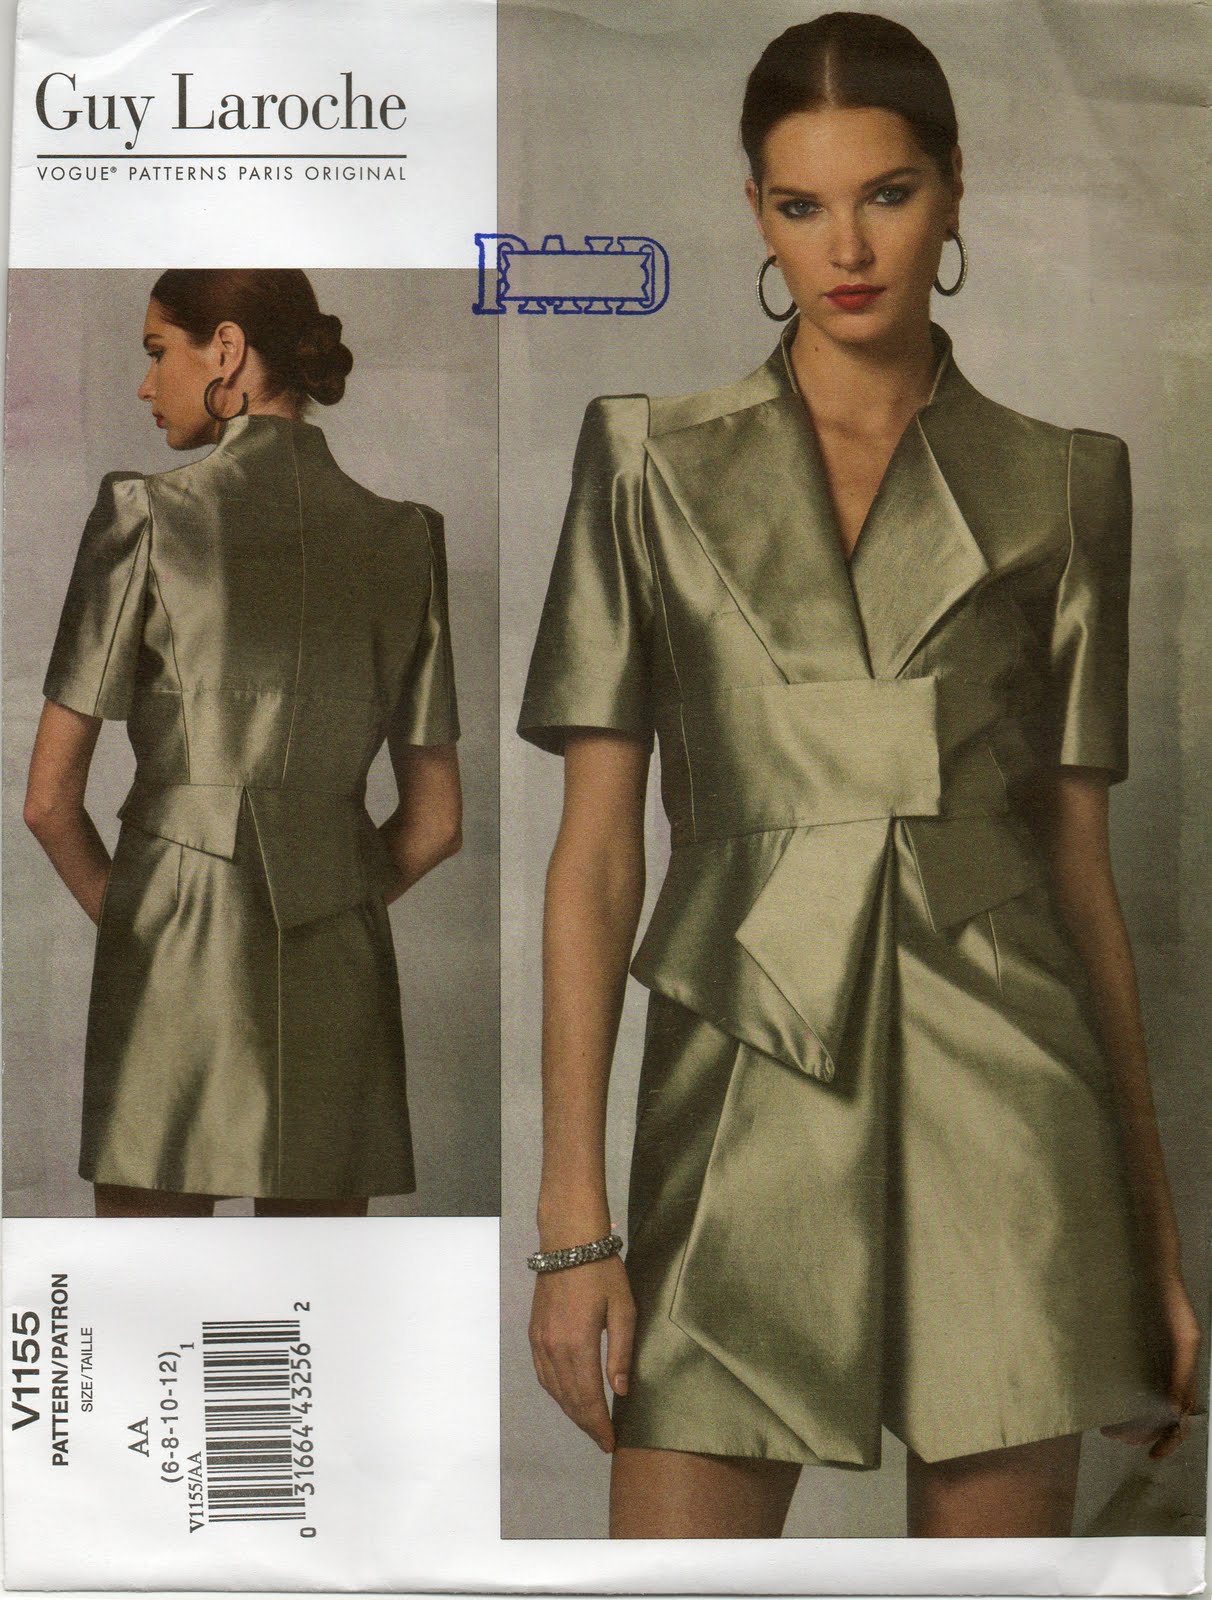
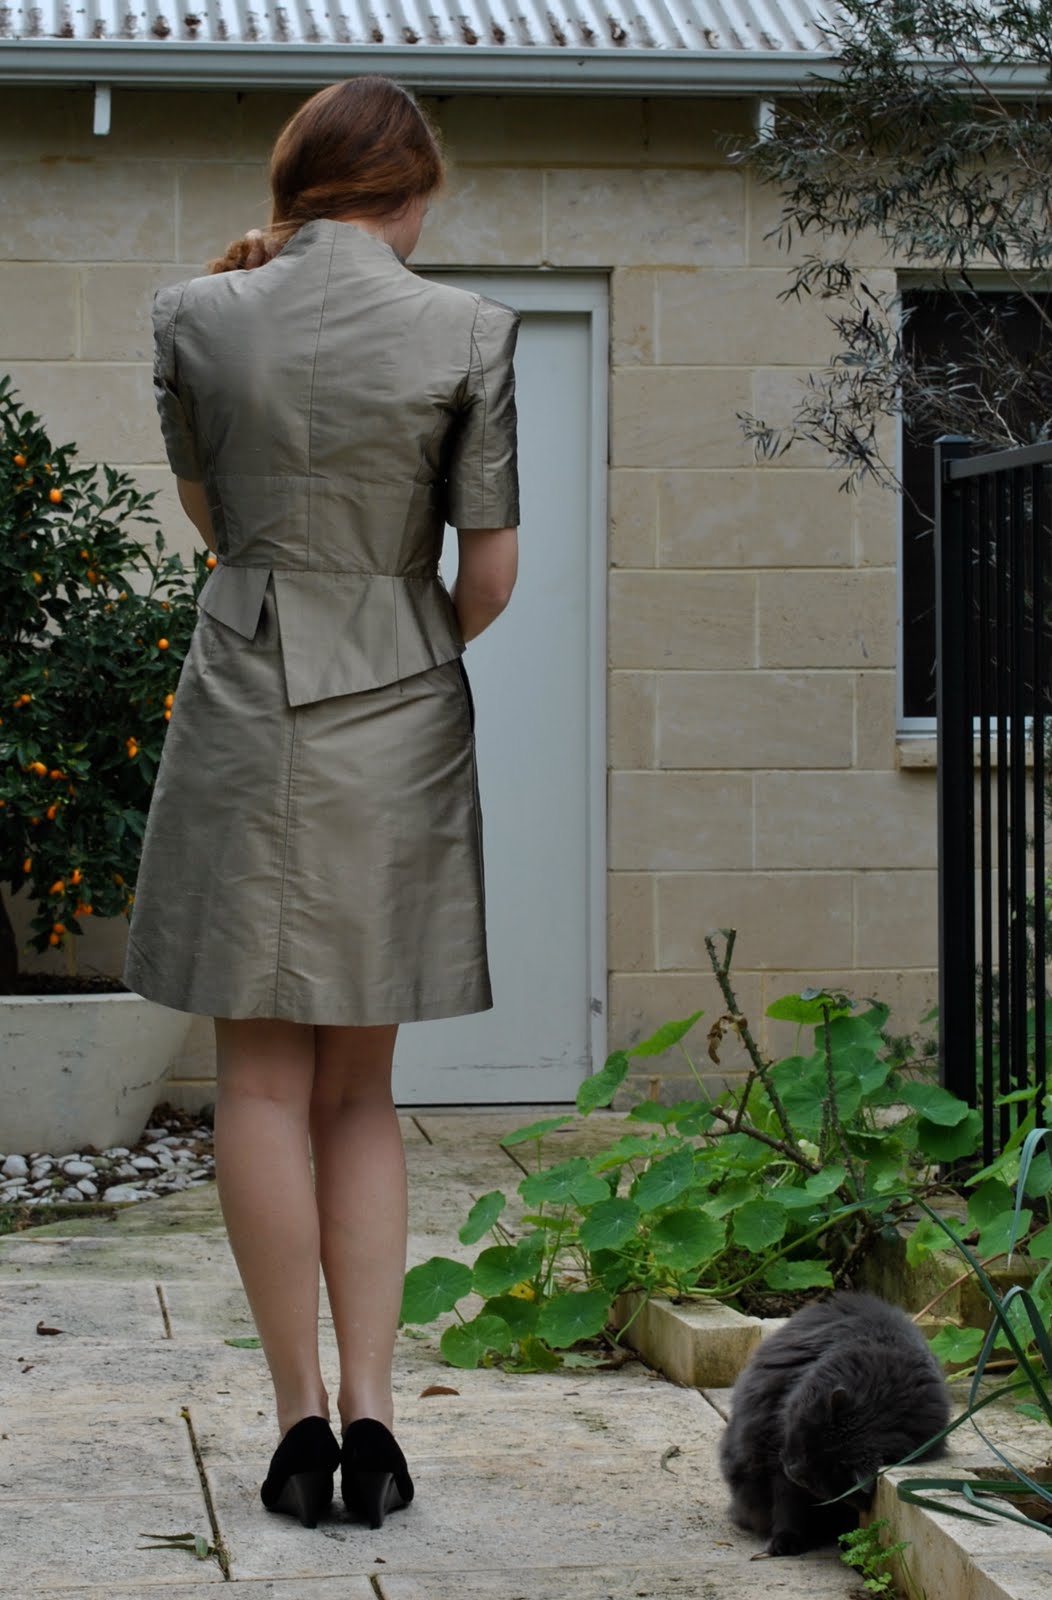
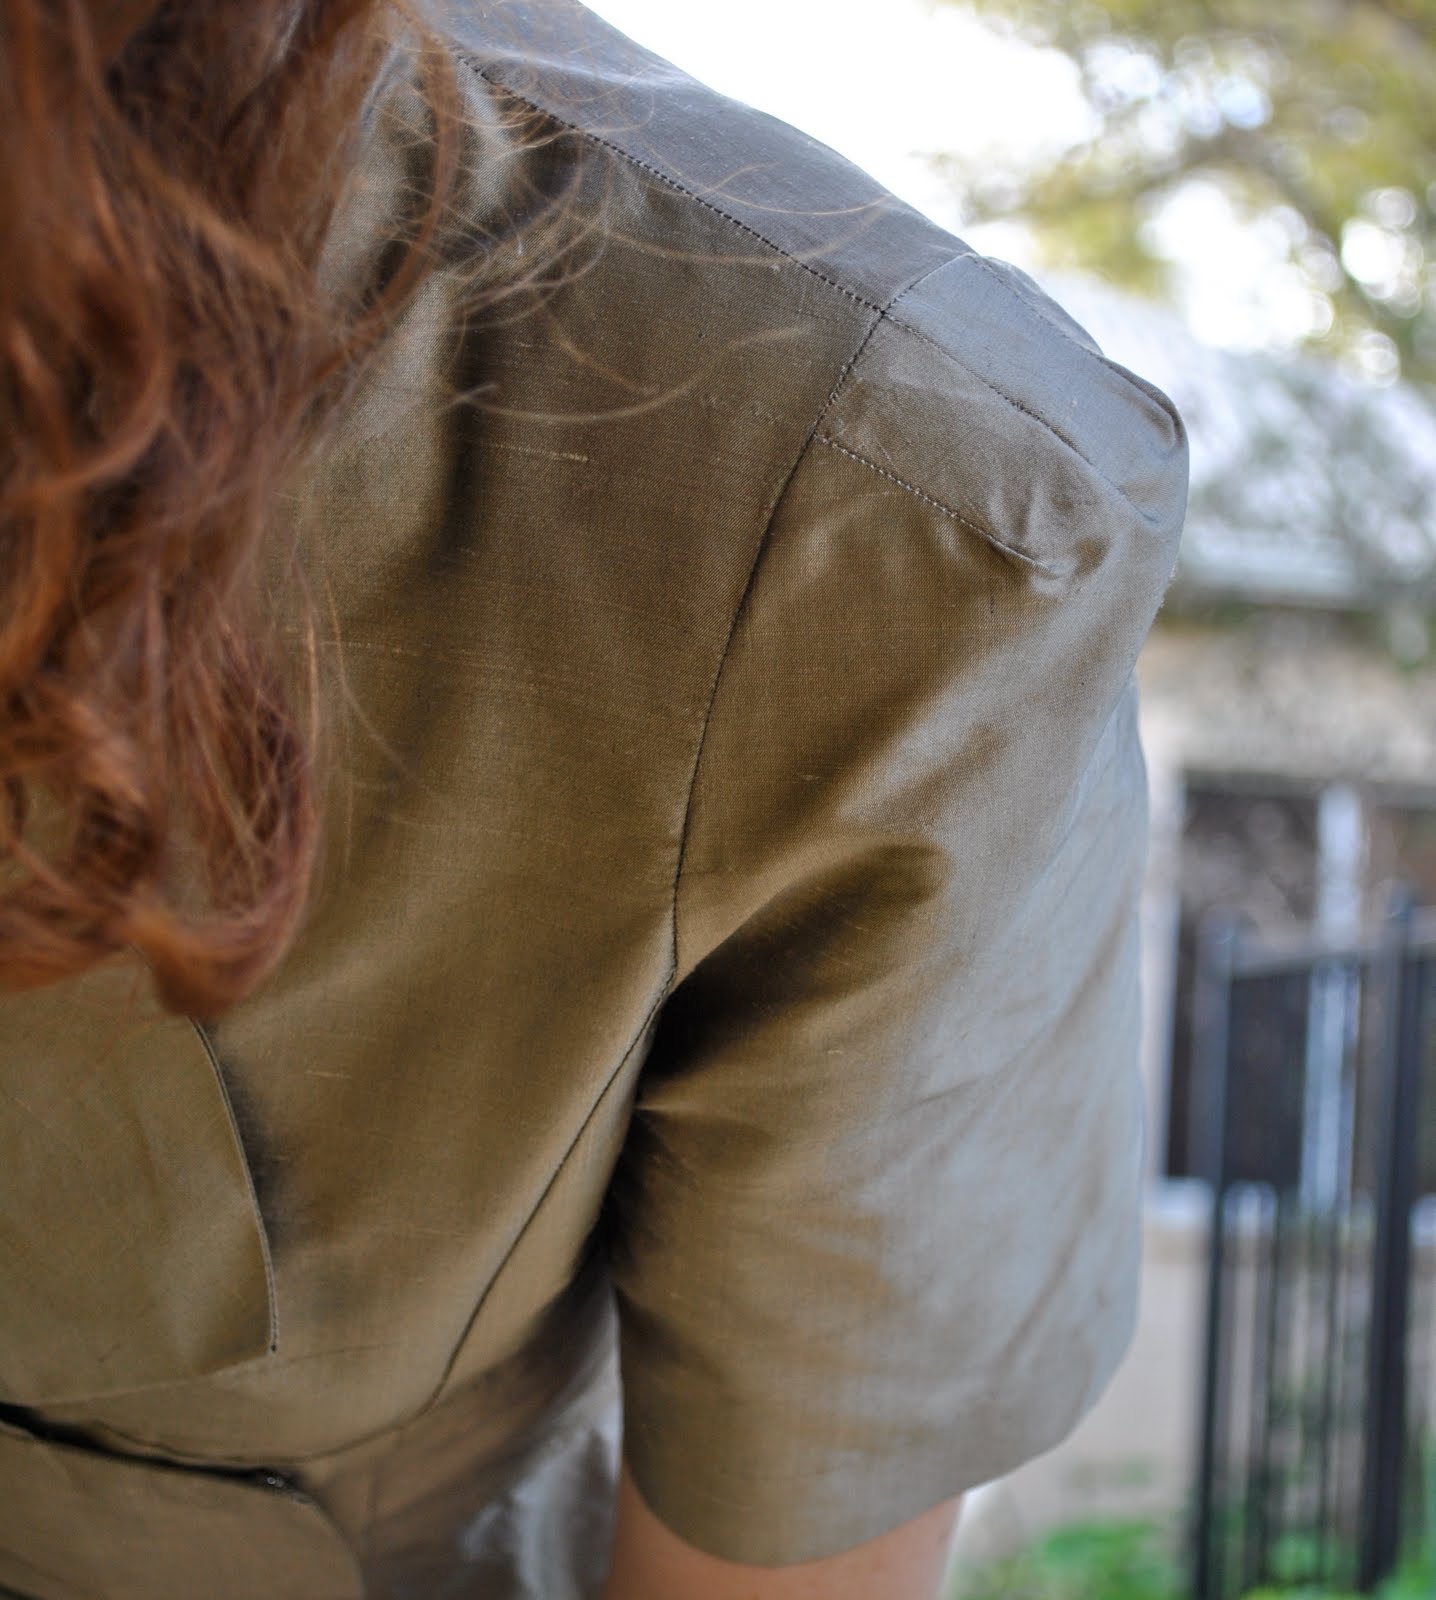
The flavour of this design is kinda eighties, I reckon.  The silhouette is reminiscent of the costumes we were treated to on Dynasty; the exaggerated shoulders (and how cool are they?!!!!) the peplum.  The mid-knee length.  The clever designer of this pattern however has taken the essence of that genre and given it a modern little twist.  The asymmetry of the collar treatment.  The jagged uneven teeth on that peplum.  I think that’s why I was drawn to this new design.  Classic shape but with an edgy funky strangeness about it.  A slightly off, not very faithful interpretation of a shape now considered way old hat.

Details:
Dress; Vogue 1155, “antique” silk taffeta
Shoes; Misano, from Labels
Bag; gift from my husband, early on in our marriage

Pattern Description
Semi-fitted, lined, above mid-knee length, fully interfaced dress has princess seams, midriff, peplums, two piece short sleeves, wrap front with buttons, hook and eye closures
Pattern sizing
6-12.  I cut size 10
Did it look like the drawing/illustration on the patten envelope after you had finished sewing it?
yes, except I had added 7.5 cm to the overall length, and ended up overlapping the fronts a bit more to get better coverage
Were the instructions easy to follow?
The instructions were clear.  Bear in mind this is an Advanced/Plus Difficile pattern.  There is a rather bewildering instruction in one part; steps 28-31 would have you sew the midriff section to the bodice, then sew the midriff facing at the ends of the midriff only, turn right side out and handsew the top level of the facing on the inside.  (??)  A far better method to complete this part is the traditional way, ie, right sides of the midriff and midriff facing together encasing the bodice, the sew the three layers together in one clean seam.  This is how I did it.
What did you particularly like/dislike about this pattern?
I love the design, and how it looks.  Totally love those sharp out-there shoulders.  It has pockets!  How many evening dresses have pockets? precious few and there should be more…
The shape is a little boxy for my tastes and not as fitted as I would have liked, so I made a few fitting alterations to get a bit more shape into it.  I  also didn’t like how the entire dress was to be interfaced.  Iron on interfacing has it’s rightful place, but for an entire dress?  I don’t think so…
Fabric used:
Silk taffeta, or silk dupion
Pattern alterations or any design changes you made:
The instruction to apply fusible interfacing to every piece gave me pause.  Eventually, because I was using very stiff fabric which has a lot of its own body already, I decided to just interface the facings, as traditionally.  I also interfaced the sleeve cap pleats once sewn in place, as these need to be quite stiff to look good.
I added 7.5cm to all skirt and skirt facing pieces, as I thought the dress looked very short on the pattern photograph.
Step 28-31, sewed the midriff facing and midriff to the bodice in one clean seam, rather than in the piecemeal method outlined in the instructions.
I have a narrow torso, and removed about 3cm width here overall,  graduated around each of the midriff sections. When it came to sewing on the buttons and hook and eye closures it was still a little loose about the midriff and the skirt gaped a little more than was comfortable for me, so I also overlapped the front pieces a little more (another 3cm) than indicated in the instructions.  Overlapping the fronts a bit more gave a better fit for me and made me feel better covered up.
Would you sew it again?  Would you recommend it to others?
I might sew it again.  I wouldn’t mind a black version now!  I would recommend this pattern to advanced seamstresses who like garments with an edgy look, as well as a sewing challenge.
Conclusion:
Well, I adore my dress!  Although I reckon this could be categorised as much a coat as a dress.  The construction is just like a lined coat.  And the closure, very coat-like too.  But I feel very modern and sharp in this and am excited about wearing it to special occasions!

Later edit: You WILL need a petticoat or slip with this dress as it gapes considerably when you are seated.  I made one using Burda 8071 in silk satin of the same colour, sitting 2cm shorter than the dress.  It works beautifully.  To see the slip, go here.

pinterestmail

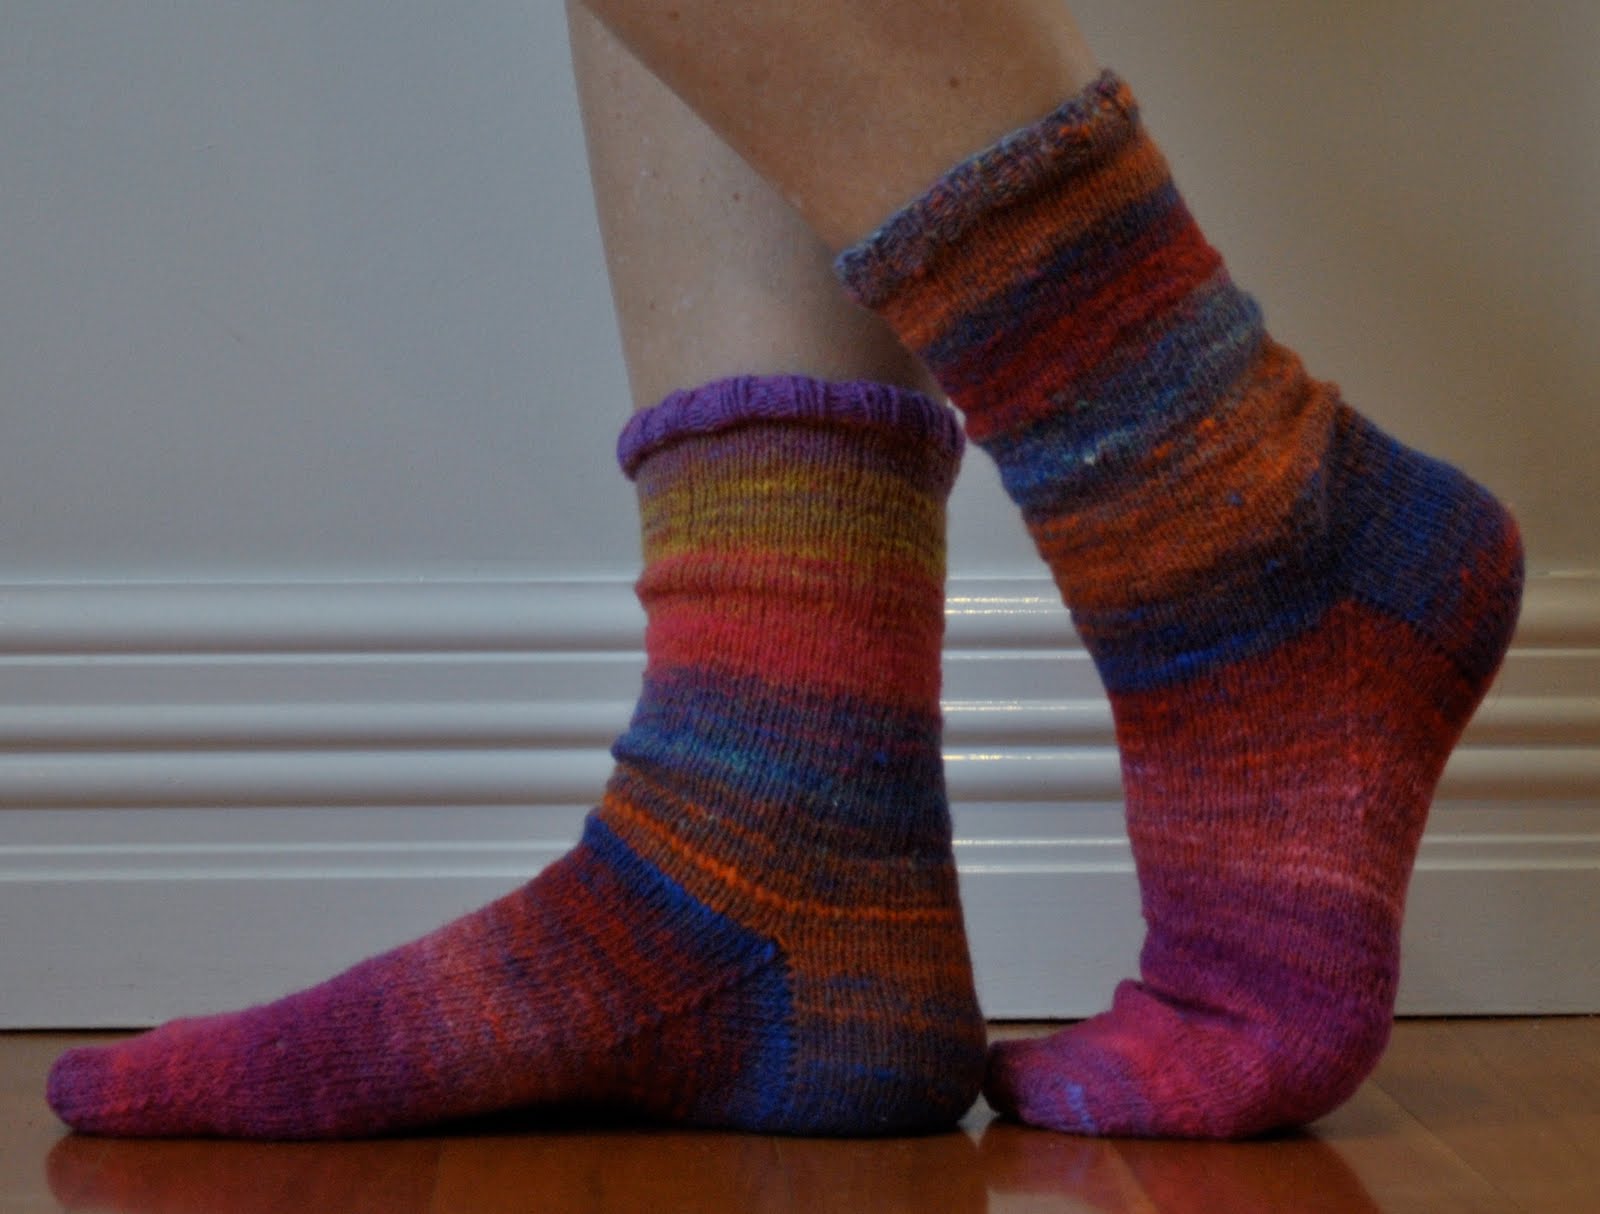
“Le Fauve” socks

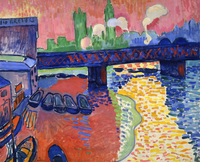
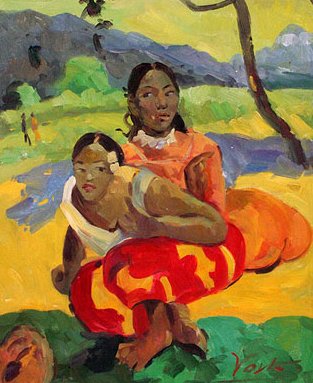
I decided to call my newest and latest sock project “Le Fauve” after the distinctive work of the school of painters of the same name.  The Fauvists painted in strong colours, using simple and often crude brush strokes, not letting realism get in the way of the beauty of strident, clashing and sometimes shocking blocks of colour.  At the time of its inception in the early twentieth century the work was seen as too shocking, garnering criticisms such as “A pot of paint has been flung in the face of the public” from the critic Camille Mauclair, but the spirit of this body of work still germinates of a lot of today’s art.
The colours of the Kureyon sock wool I used for these socks are slightly shocking in their intensity and refusal to blend into a nice tonal array of like complementary colours, but that is what drew me to this yarn in the first place.
Later edit: I thought “fauve”also meant “wild beast”, and on consulting a French dictionary I read “wildcat”.  So…  Reaooooooow! (snarling accompanied by claw-slash)

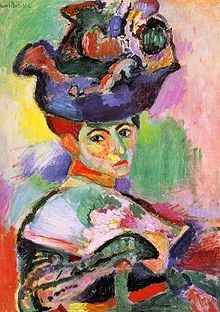
Below: at left, Woman with a Hat, Henri Matisse; at right, Charing Cross Bridge, Andre Derain; below a work by Paul Gaugin

pinterestmail

Black with rose-pink accents

My husband wittily suggested I title my post “Amish chic”, he he  cheeky…  It’s my hat.  But we’ve lived amongst the Amish and I never saw an Amish lady in jeans.  “Amish menswear chic”?  I hope not.  I prefer to think I look more …err, “kind of equestrian”?… yeah, well maybe.
 Yesterday I visited a second hand shop and op shop with my friend E, or “went thrifting” as Americans say…! (lol, I’m already imagining my grandmother, a stickler for correct English, giving me a strict grammar lesson on that one!  But hey, language is supposed to be an organic ever-changing tool for communication, right?  Right.)
Oh, back to the haul.  I got this hat in an op-shop, it’s of stiff felt and lovely.  I also picked up two Metalicus cardigans and a lovely beaded Wheels and Doll-baby cardigan second hand, the latter only needs a few buttons stitching on more firmly to be perfect.  Score!!  And I’m so thrilled I got my Metalicus fix without having to break my Wardrobe Re-fashion pledge!
This morning I noticed for the first time that this scarf actually goes beautifully with the little silk chiffon pockets on my cardigan.  A small detail.  Just a touch of rosy pink to warm up the black elsewhere.
And since lately we are having reasonably warm sunny weather today I’m wearing a summer top, a little white lacy short-sleeved thing, last seen here.  Believe it or not I still have three lengths of different white lace in my stash, awaiting my attention…  I’m really being very good about my stash.  I’ve cut out four more projects ready to go.  Unfortunately three of them still require a visit to the fabric shop, to pick up some needed extras such as a bit of extra lining for one, some matching braid or ribbon for another and some buttons and braid for the other.  I just hope I can escape from the store without succumbing to the siren call of all the new spring fabrics that I know will be there… wish me strength…

Details:
Top; my own design variations on New Look 6483, ivory cotton and crocheted lace inset strips
Cardigan; Alannah Hill
Scarf; knitted using 3 balls Colinette chenille
Jeans; Burda 7863, black denim
Boots; Andrea and Joen, from Uggies
Hat;  op shop

pinterestmail
Switch to mobile version
↓