A very simple cardigan

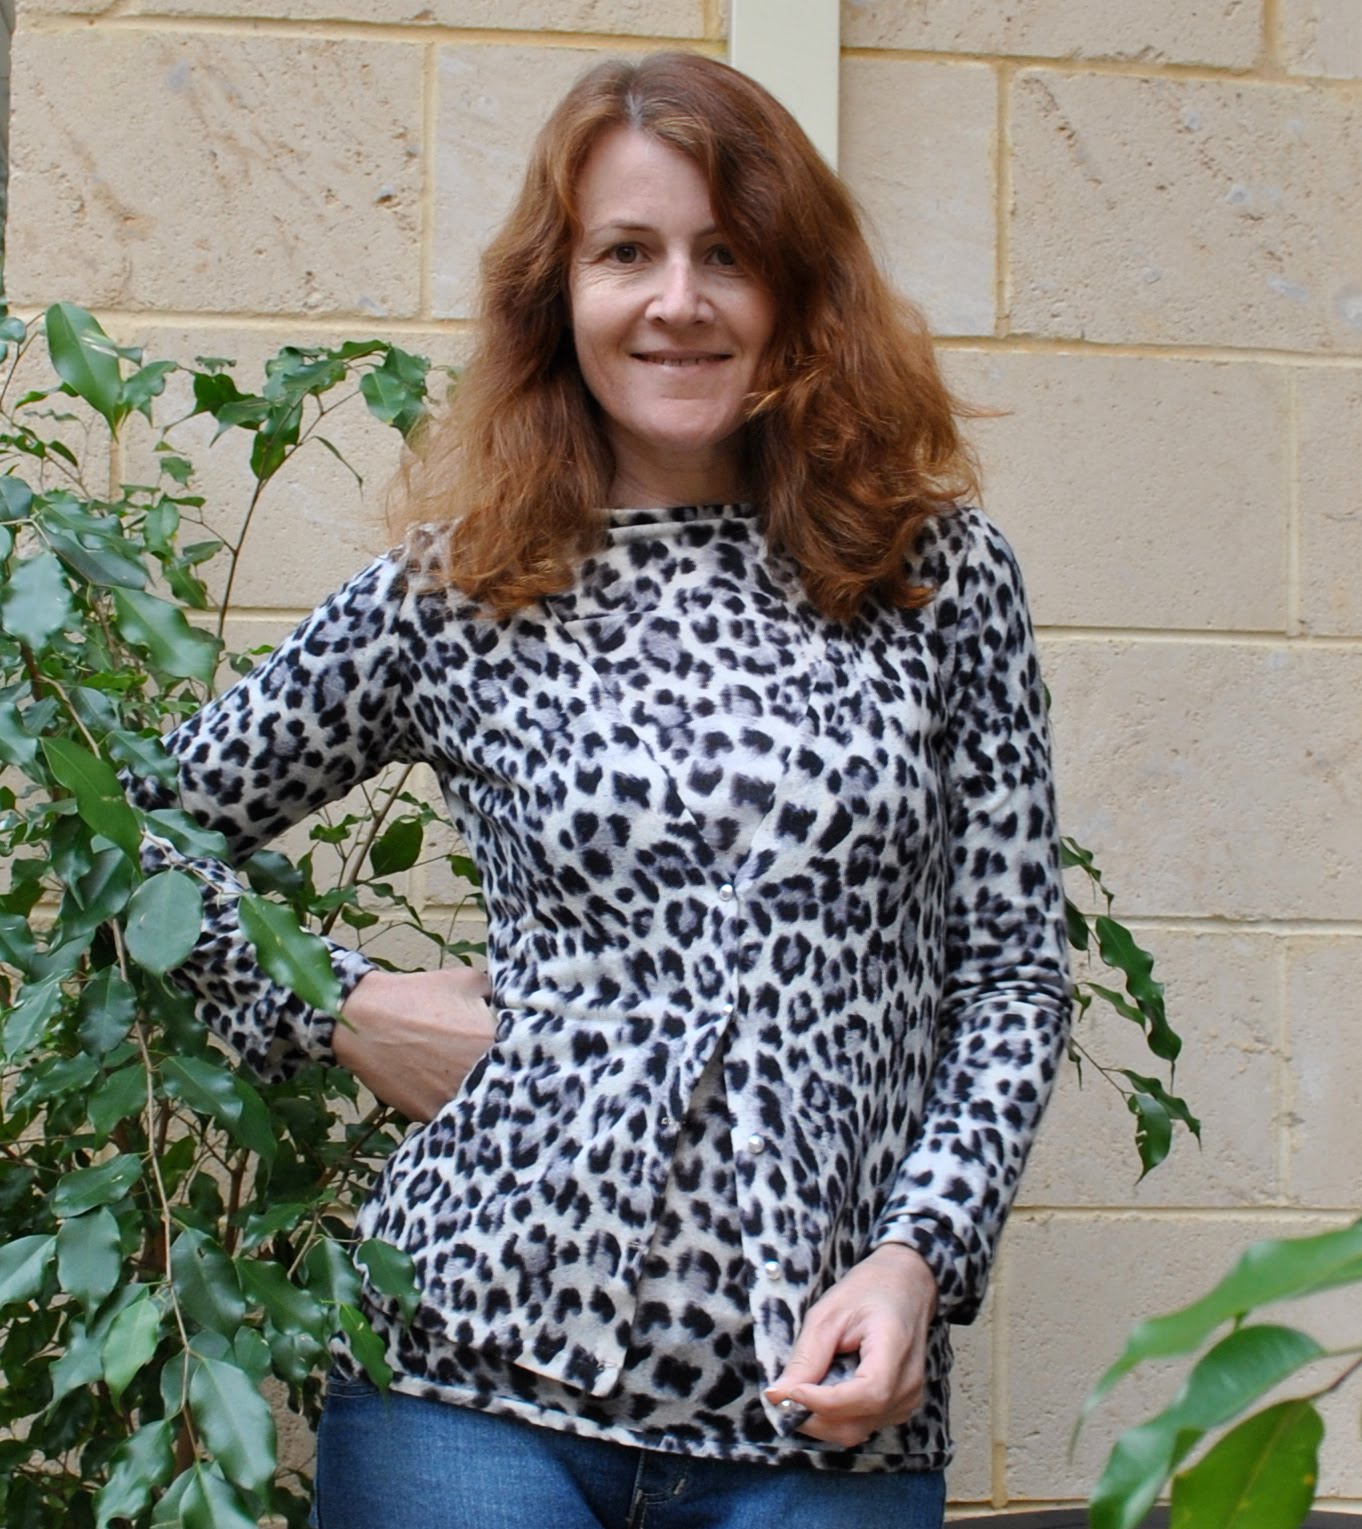
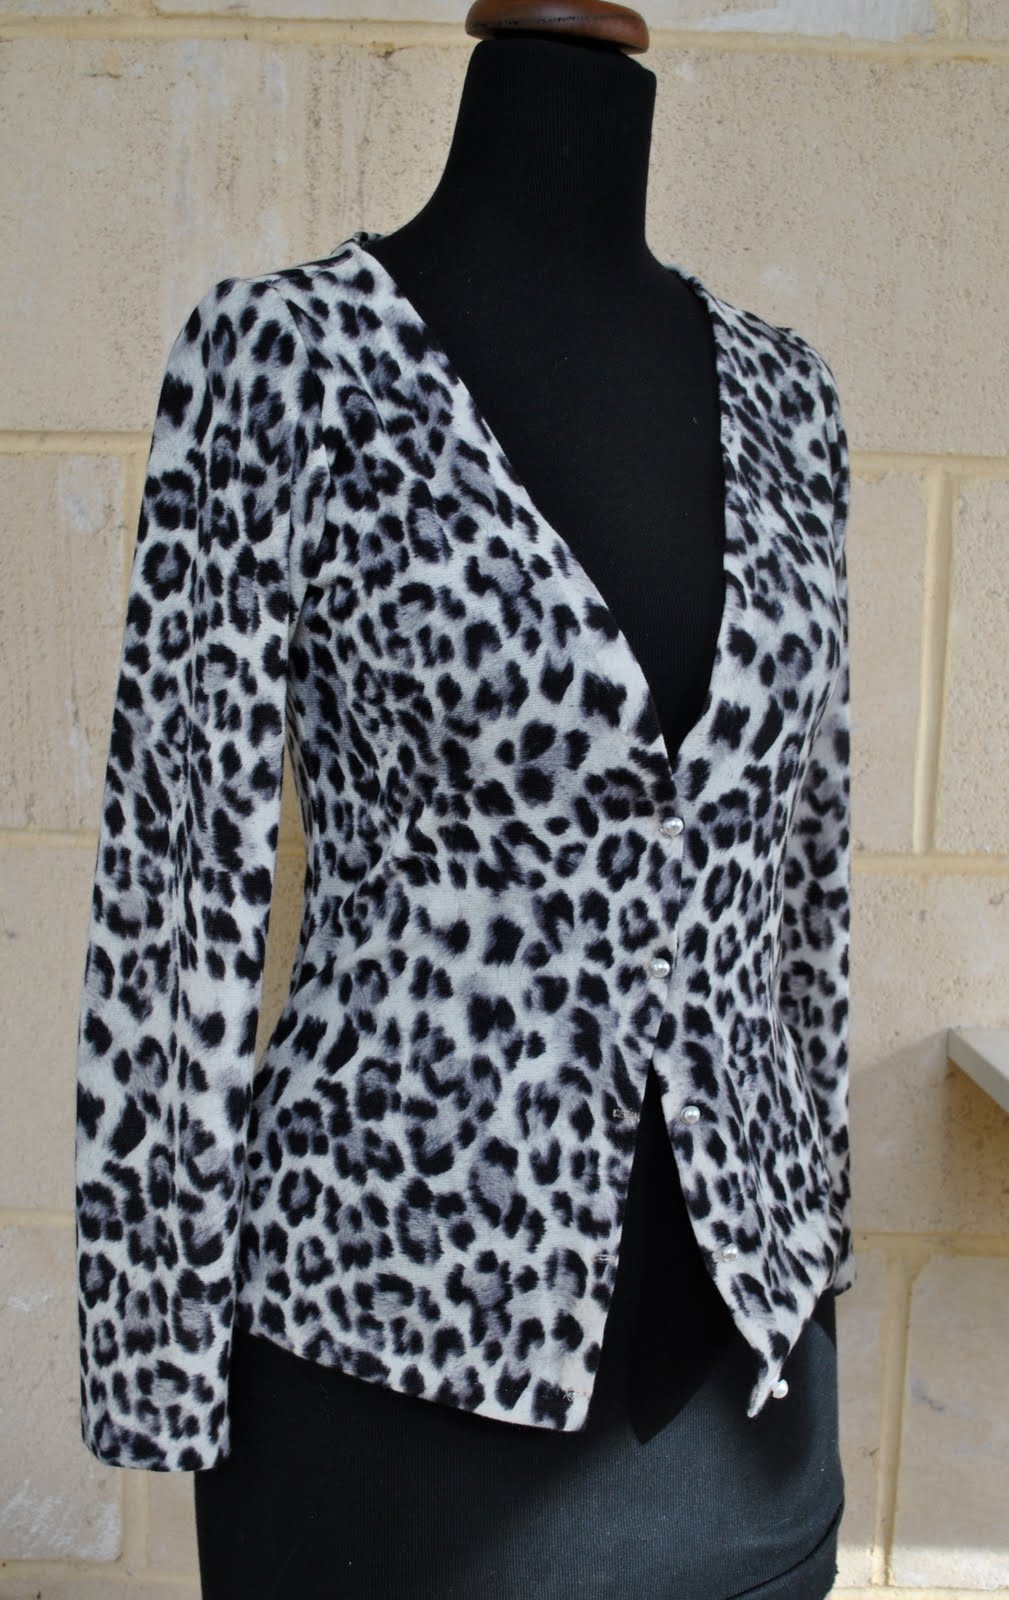
I made myself a cardigan; a quick fix project out of some stash fabric… and put together a little tutorial.  I did another cardigan tutorial back here, but this one is a leeetle different, although using the same pattern…
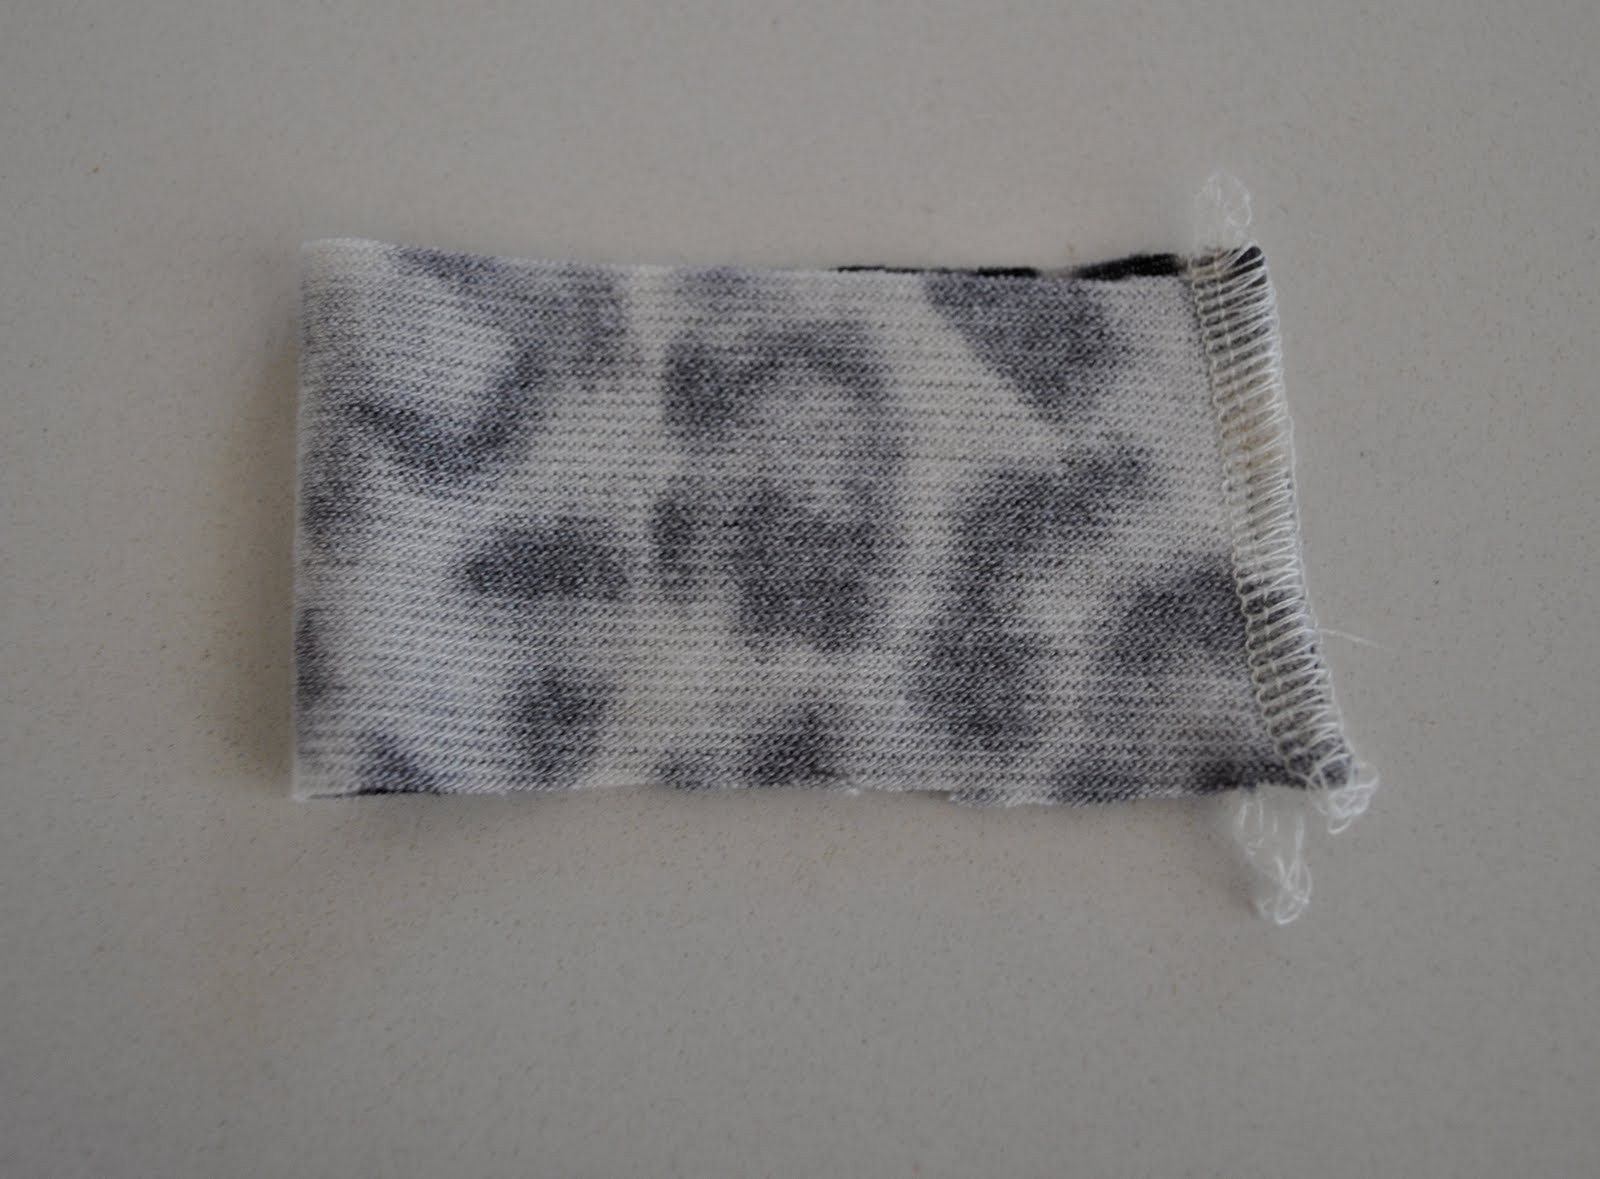
The fabric I am using is a thin but closely knit, slightly fluffy leopard print stretch jersey, and I have planned a simple single thickness cardigan.  I’m using grosgrain ribbon tape to strengthen and stabilise some seams, and have got five tiny pearl buttons to finish.
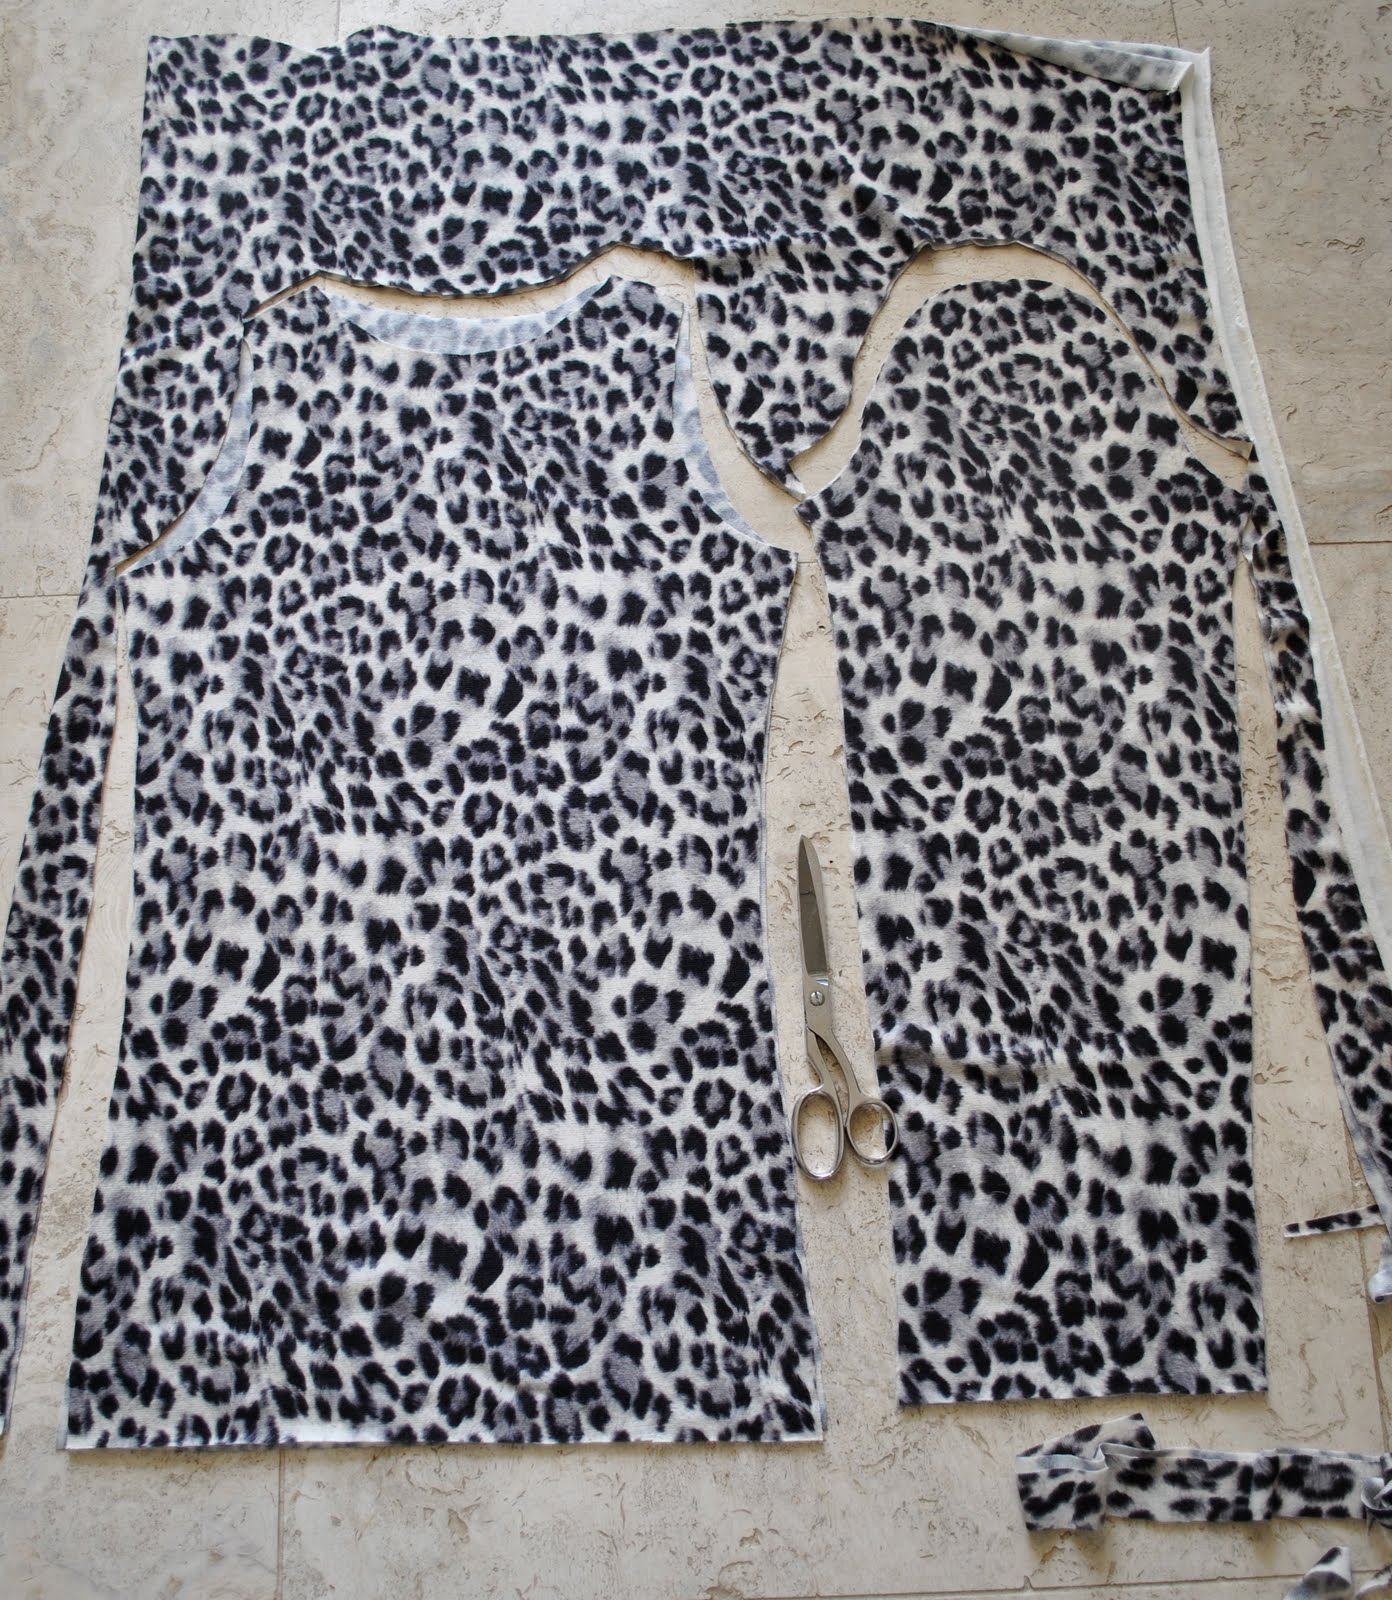
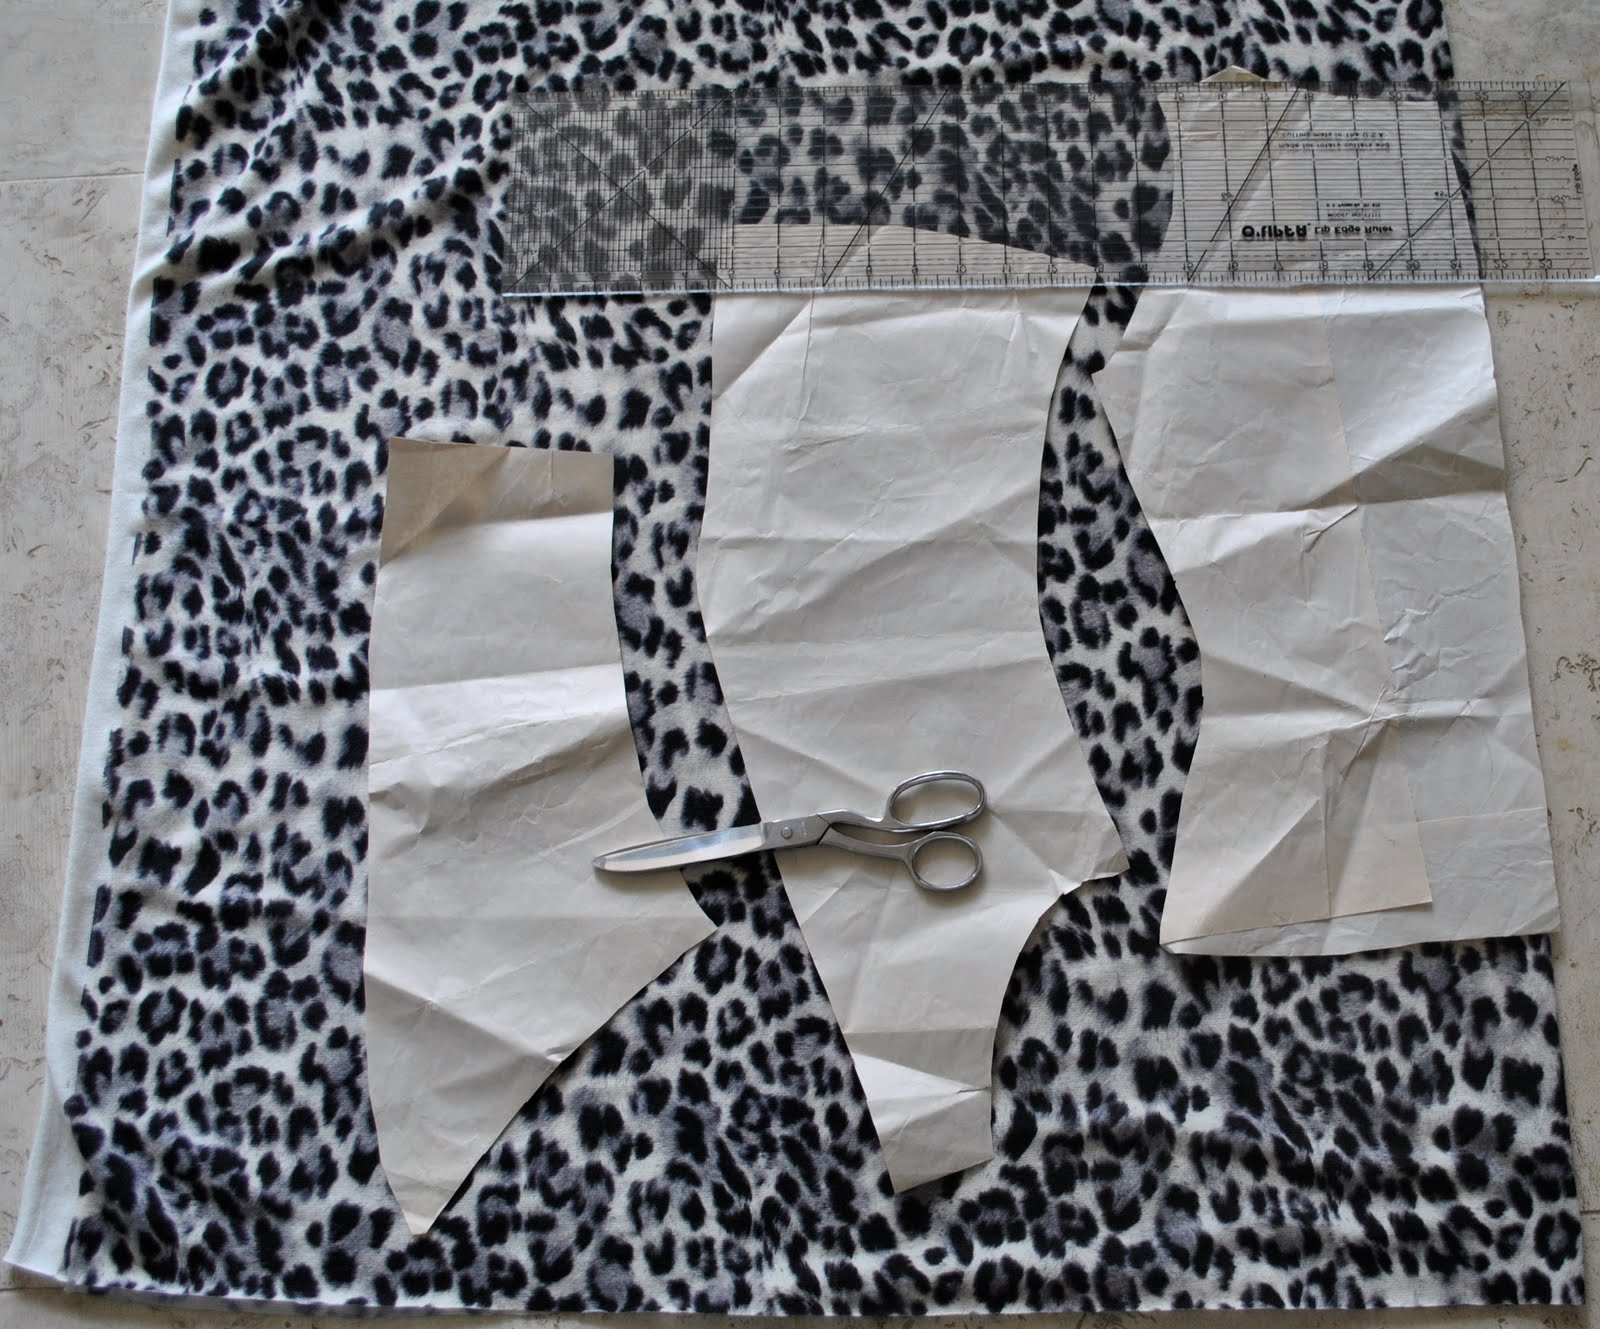
First I turned to my standby basic cardigan pattern; this I drafted using an old favourite cardigan as a basis.  I just laid down the cardigan as flat and as straight as possible and drew around all its edges… then once I had cut out the paper pattern I re-checked it against the original fabric cardigan to see it was close enough to the right dimensions.  This is a style and shape that has proven to fit me and (I think) to flatter me, so I’ve used it several times…  The back piece is laid on the fabric fold at right, the front is in the middle and the sleeve is laid out   left hand side of the fabric.  btw, this is a half sleeve, and has to be flipped over halfway through cutting to get the whole sleeve, er… now you can see how slapdash a cutter I can be…! lol.  Even though it looks a bit makeshift, and why don’t I get serious and just cut out a whole sleeve paper pattern piece; it has actually worked very well for me like this every time, so I haven’t bothered.  Lazy, I know…  Oh, and I cut the body and the sleeves longer than these pieces since I had enough fabric to do so.

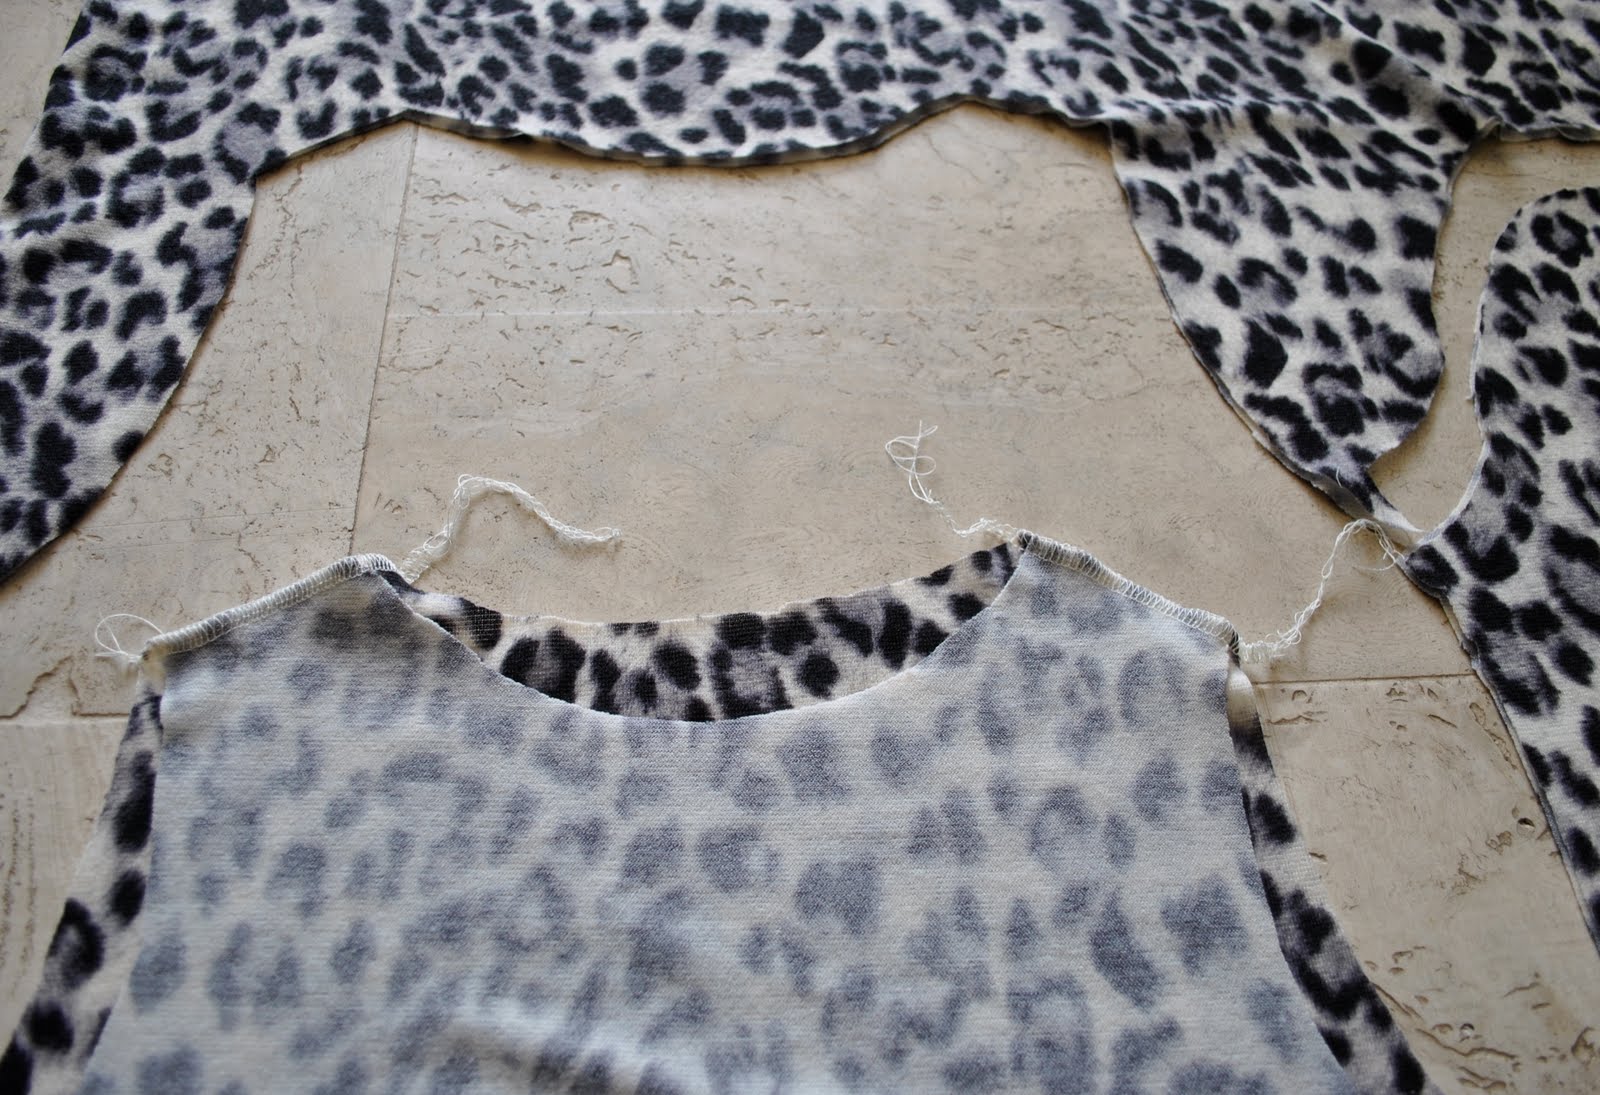
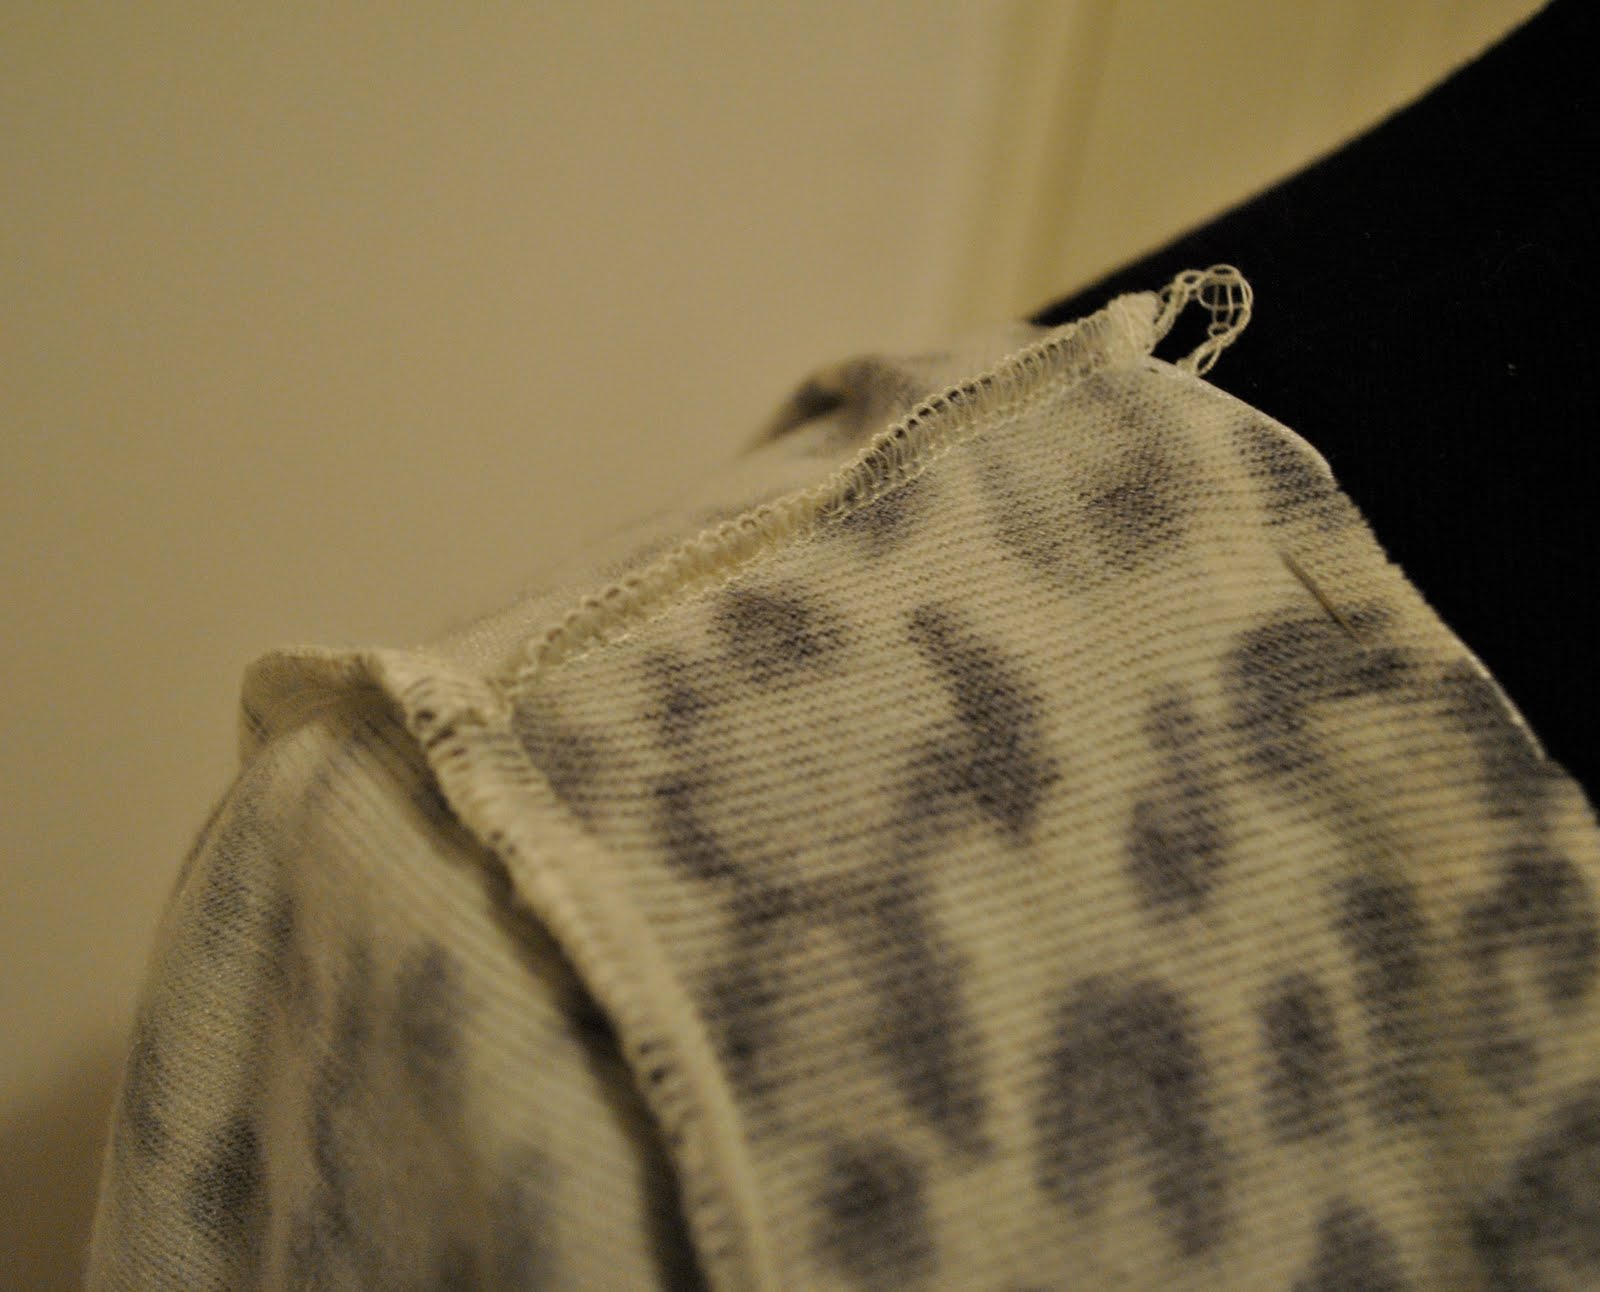
I sew the shoulder seams first, then fit the sleeve cap into the arm scye and sew these seams next…

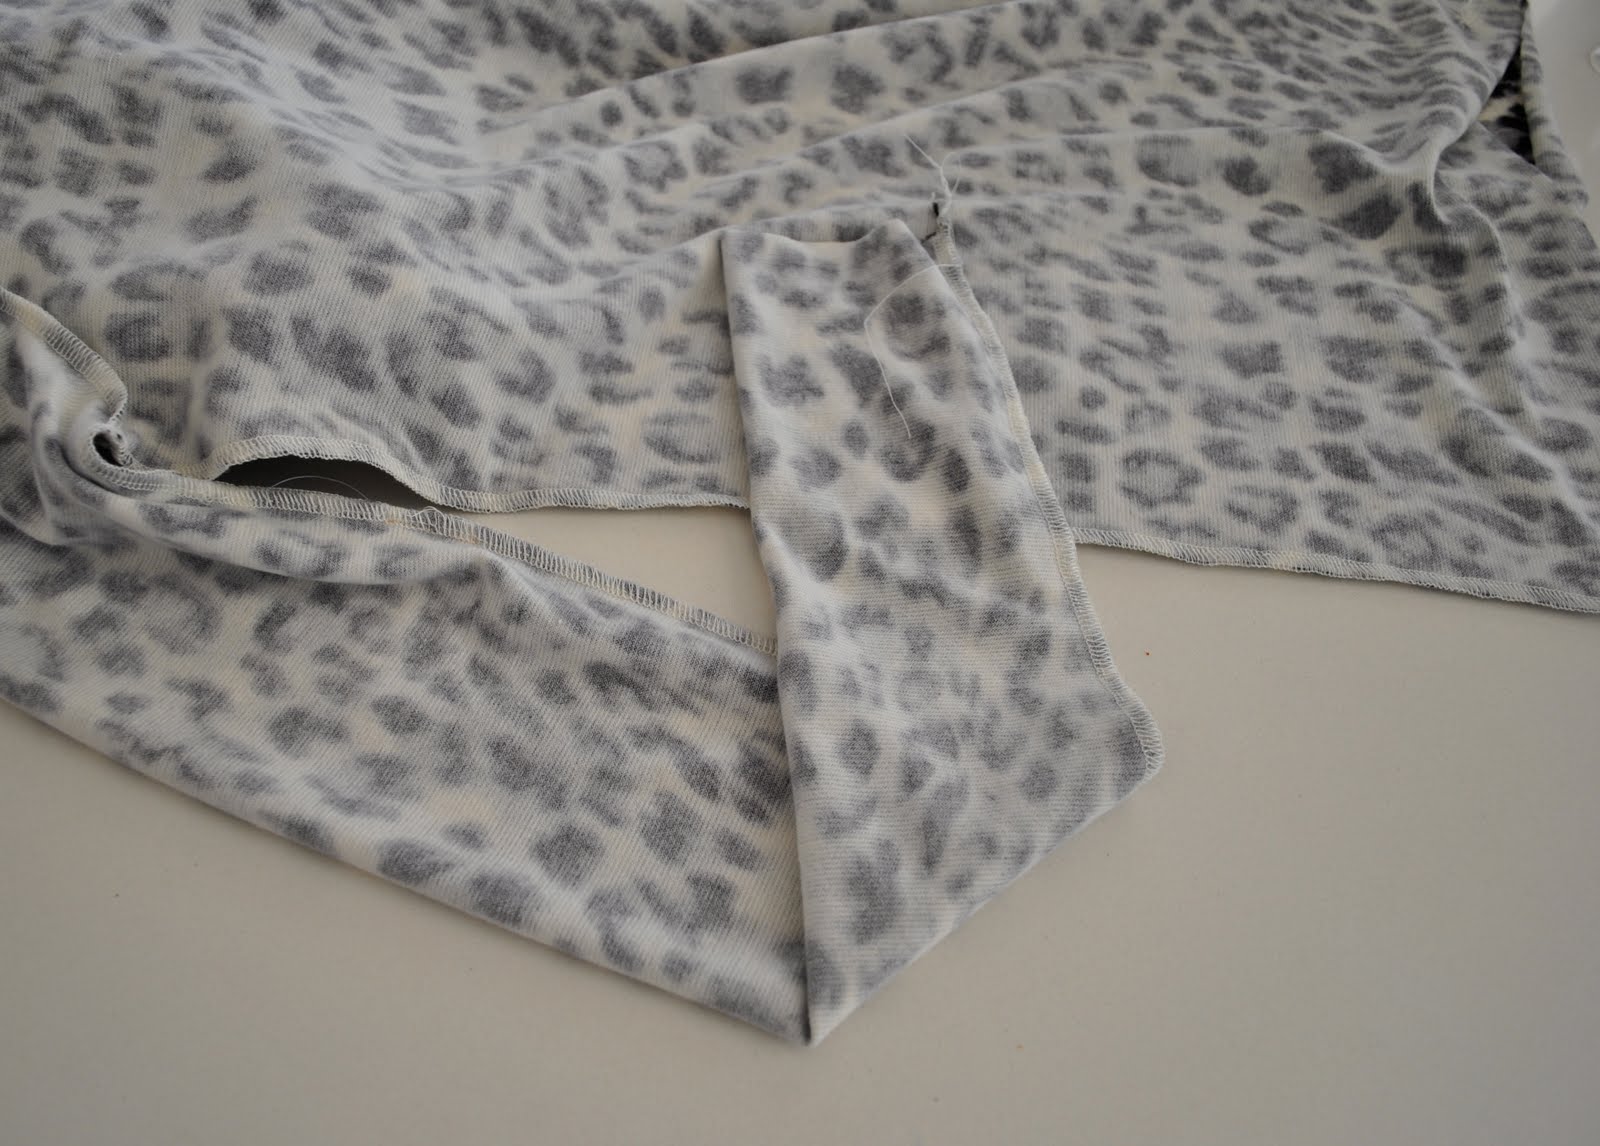
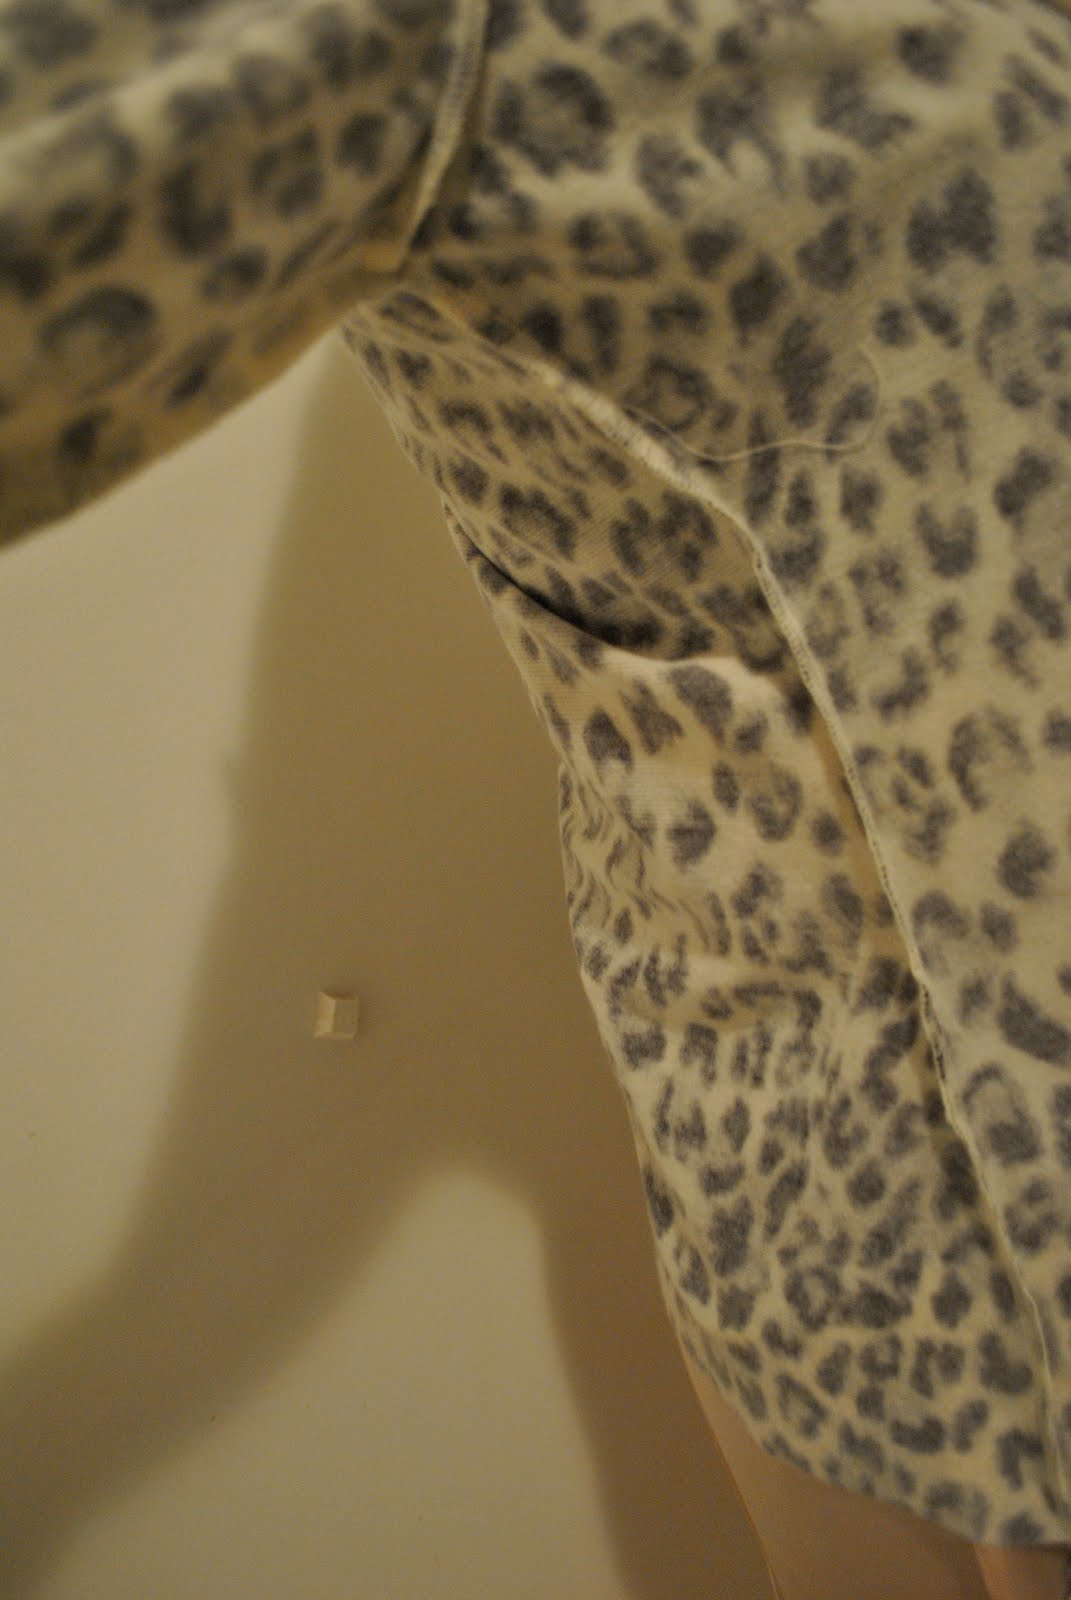
Then sew the underarm seam in one go, from the bottom hem edge right up the sides of the cardigan and on under the sleeve to the wrist edge, making sure to match up those sleeve-to-body seams to each other.

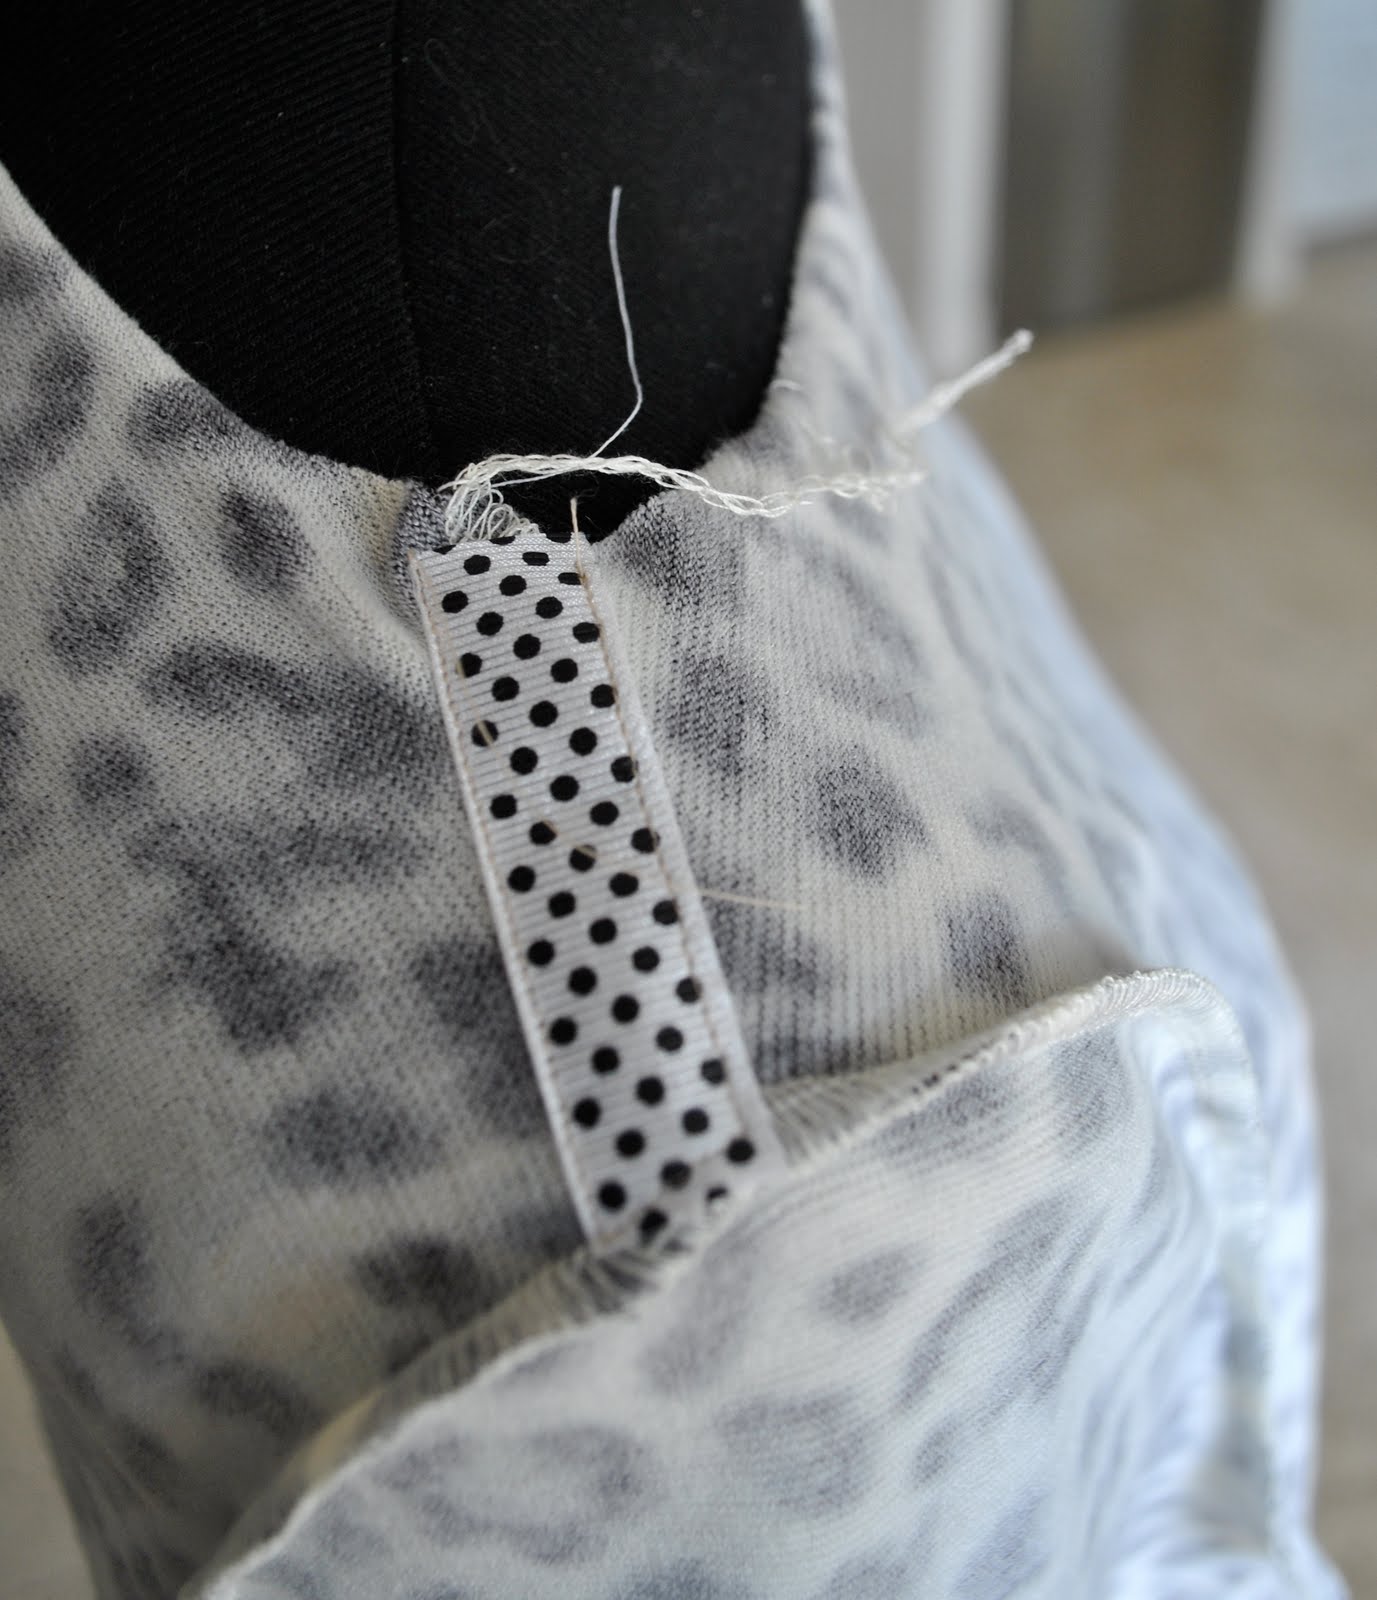
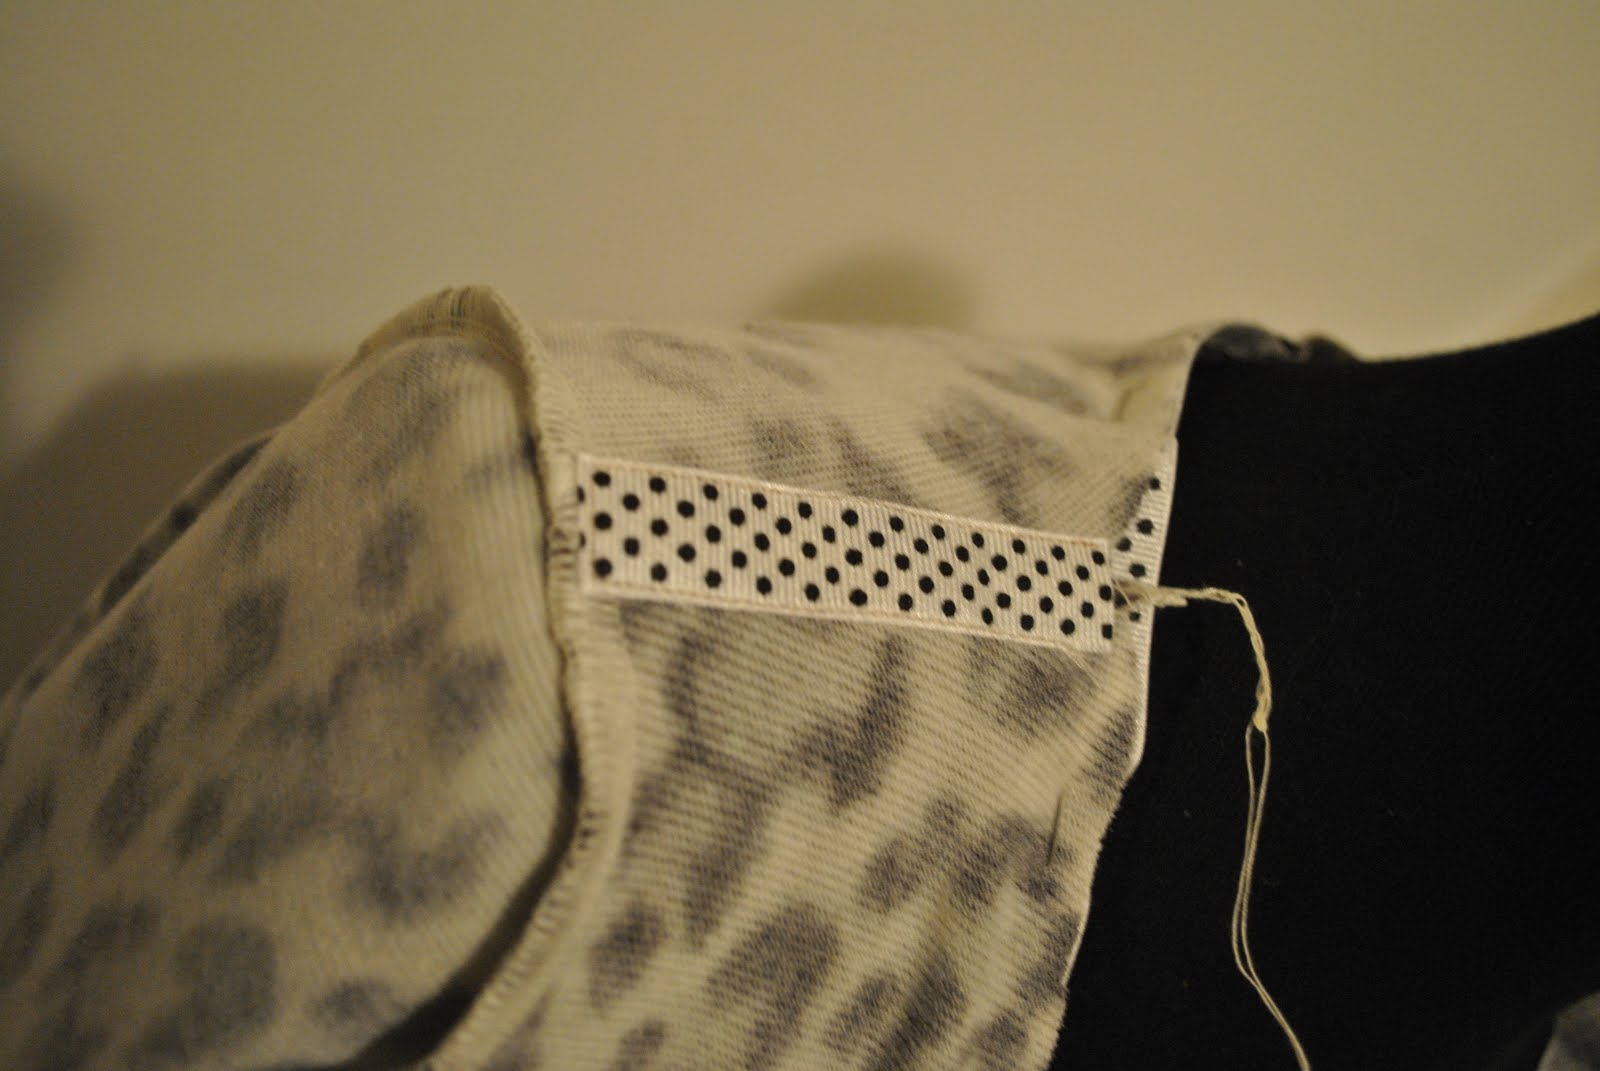
Use a short strip of grosgrain ribbon, sew it on over the shoulder seam and catching it under.  This will stabilise this seam and prevent it from stretching through wear…

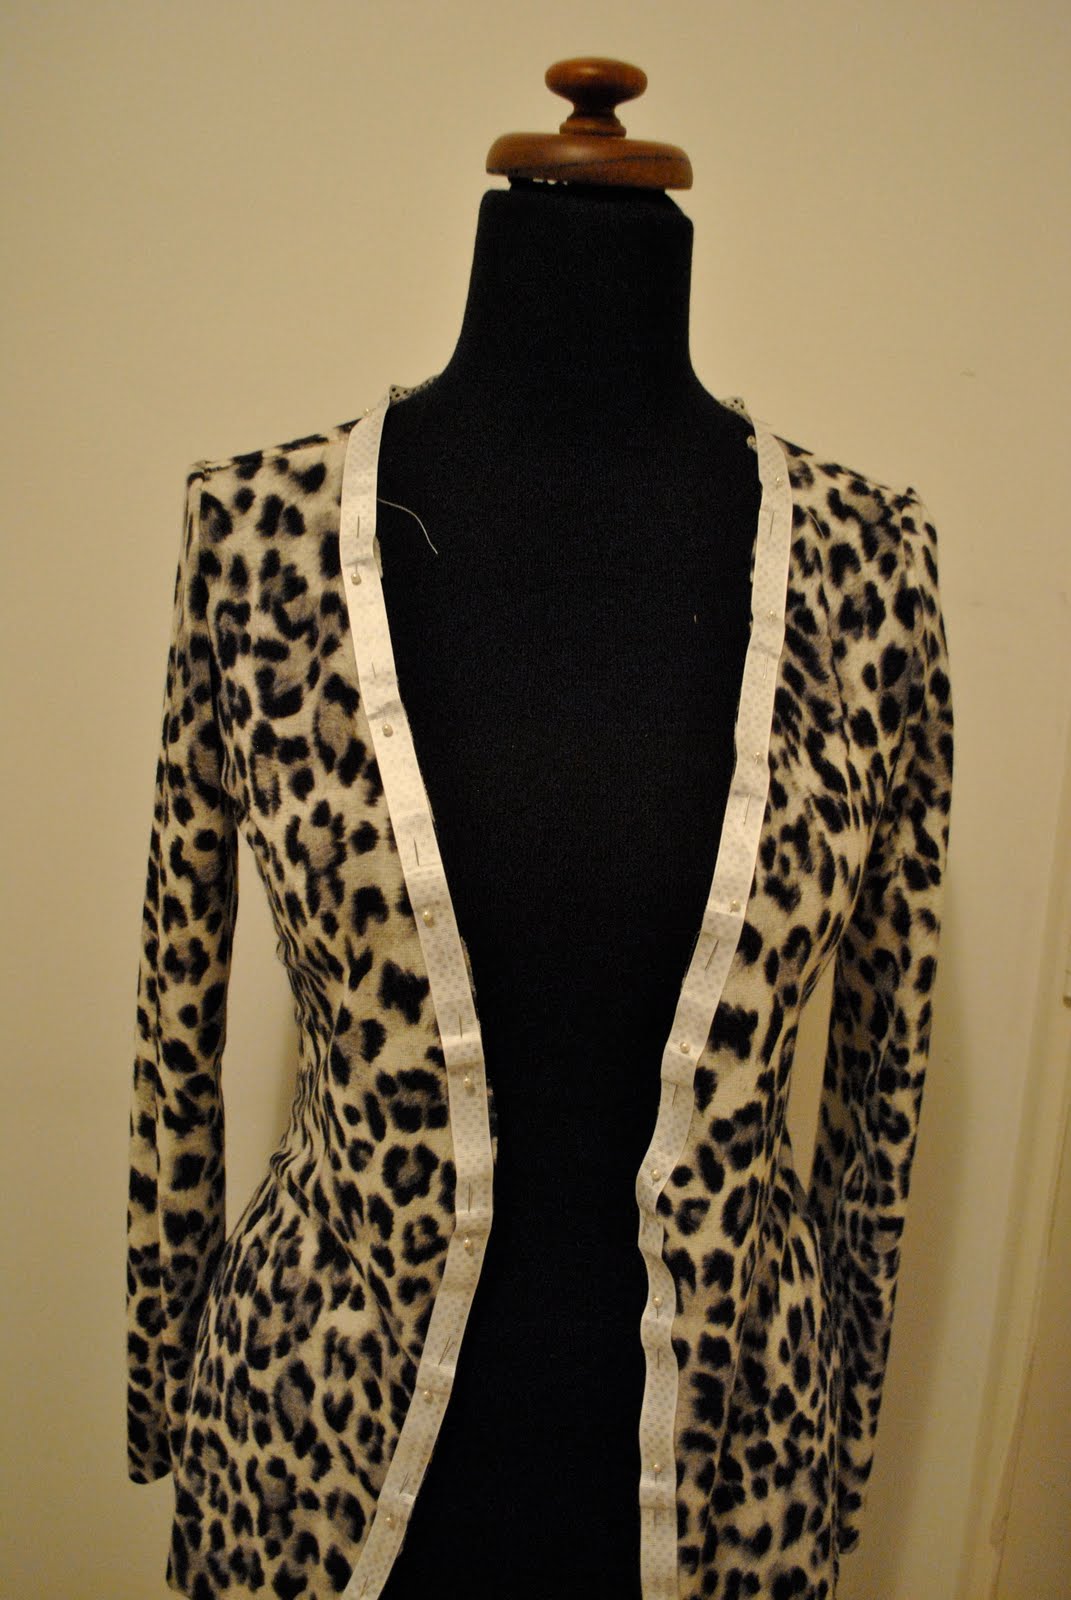
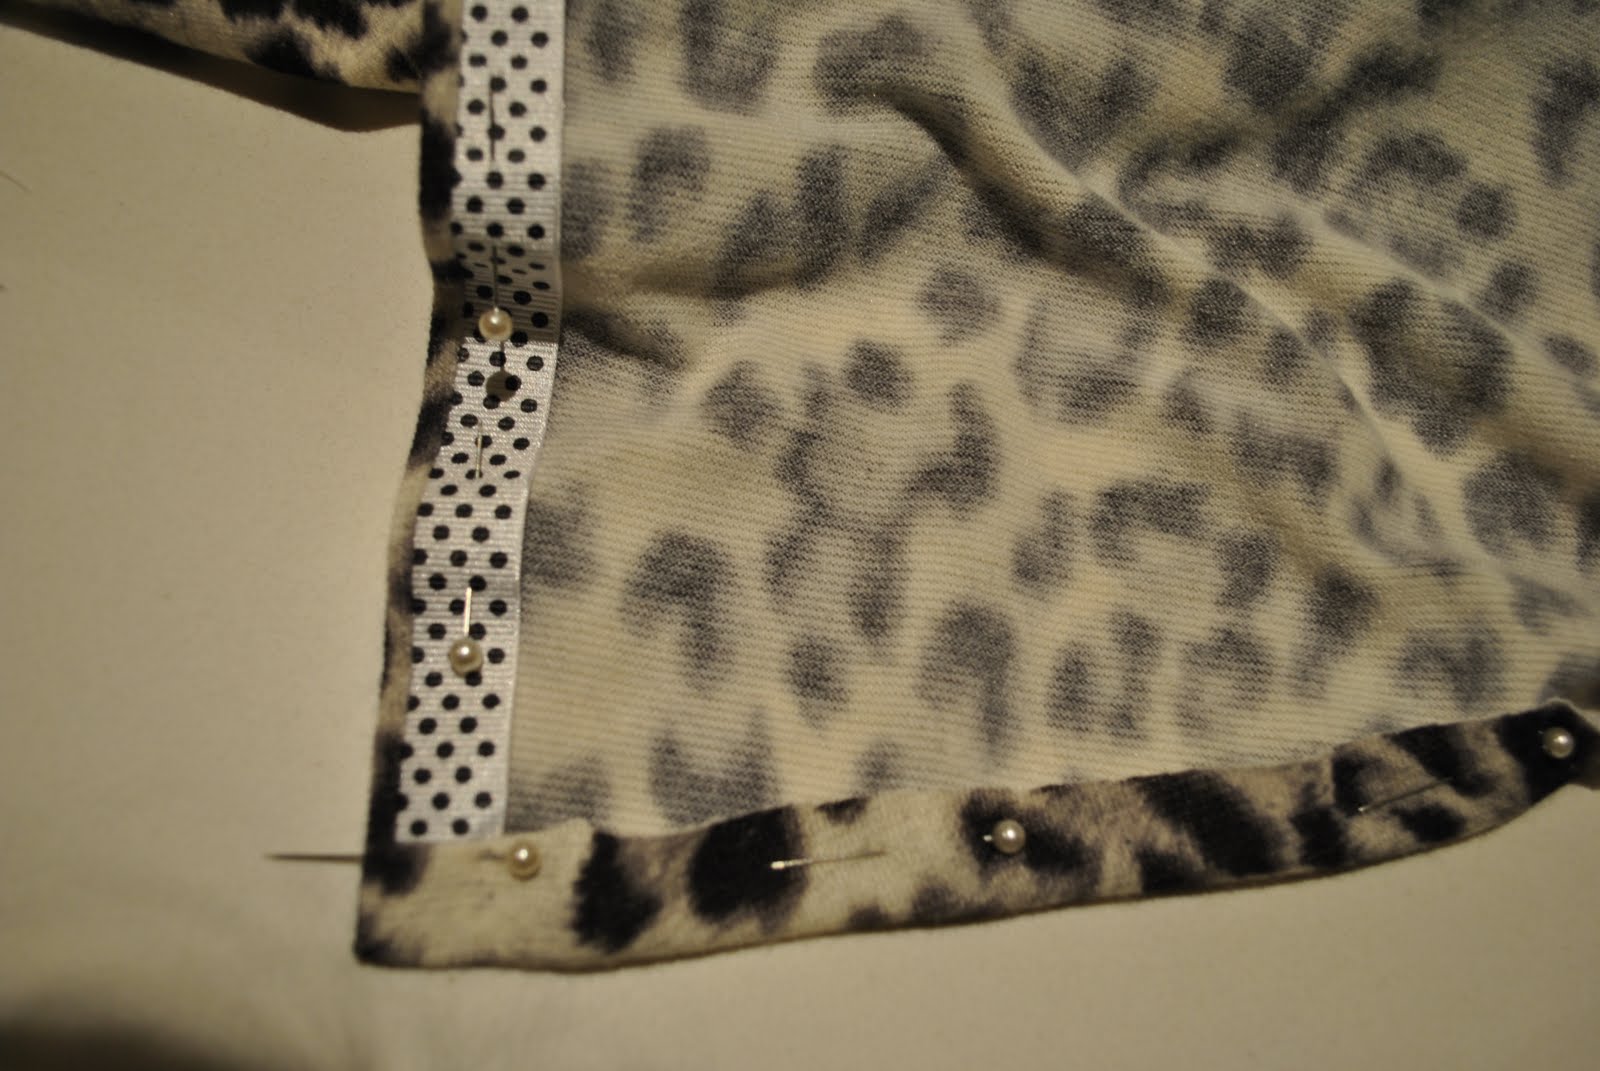
Pin the grosgrain ribbon, right sides together, all around the front and neck edge…

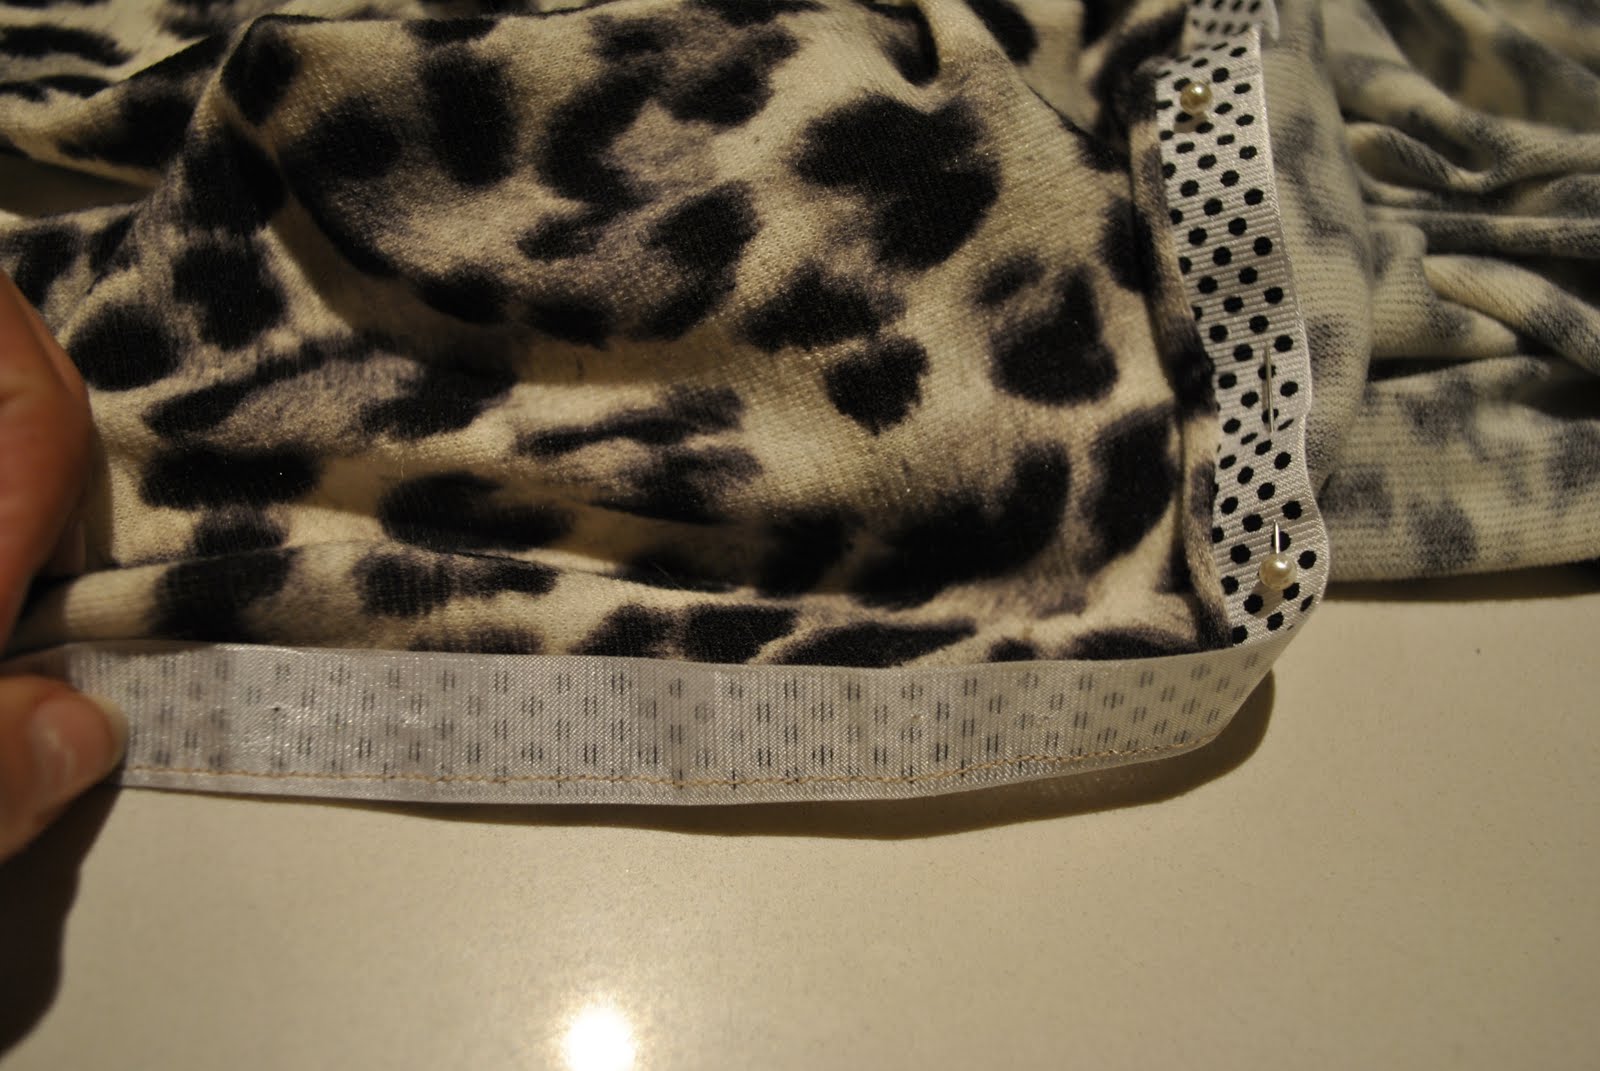
Sew the grosgrain ribbon to the edge,  as close as possible to the ridge of the ribbon edge…

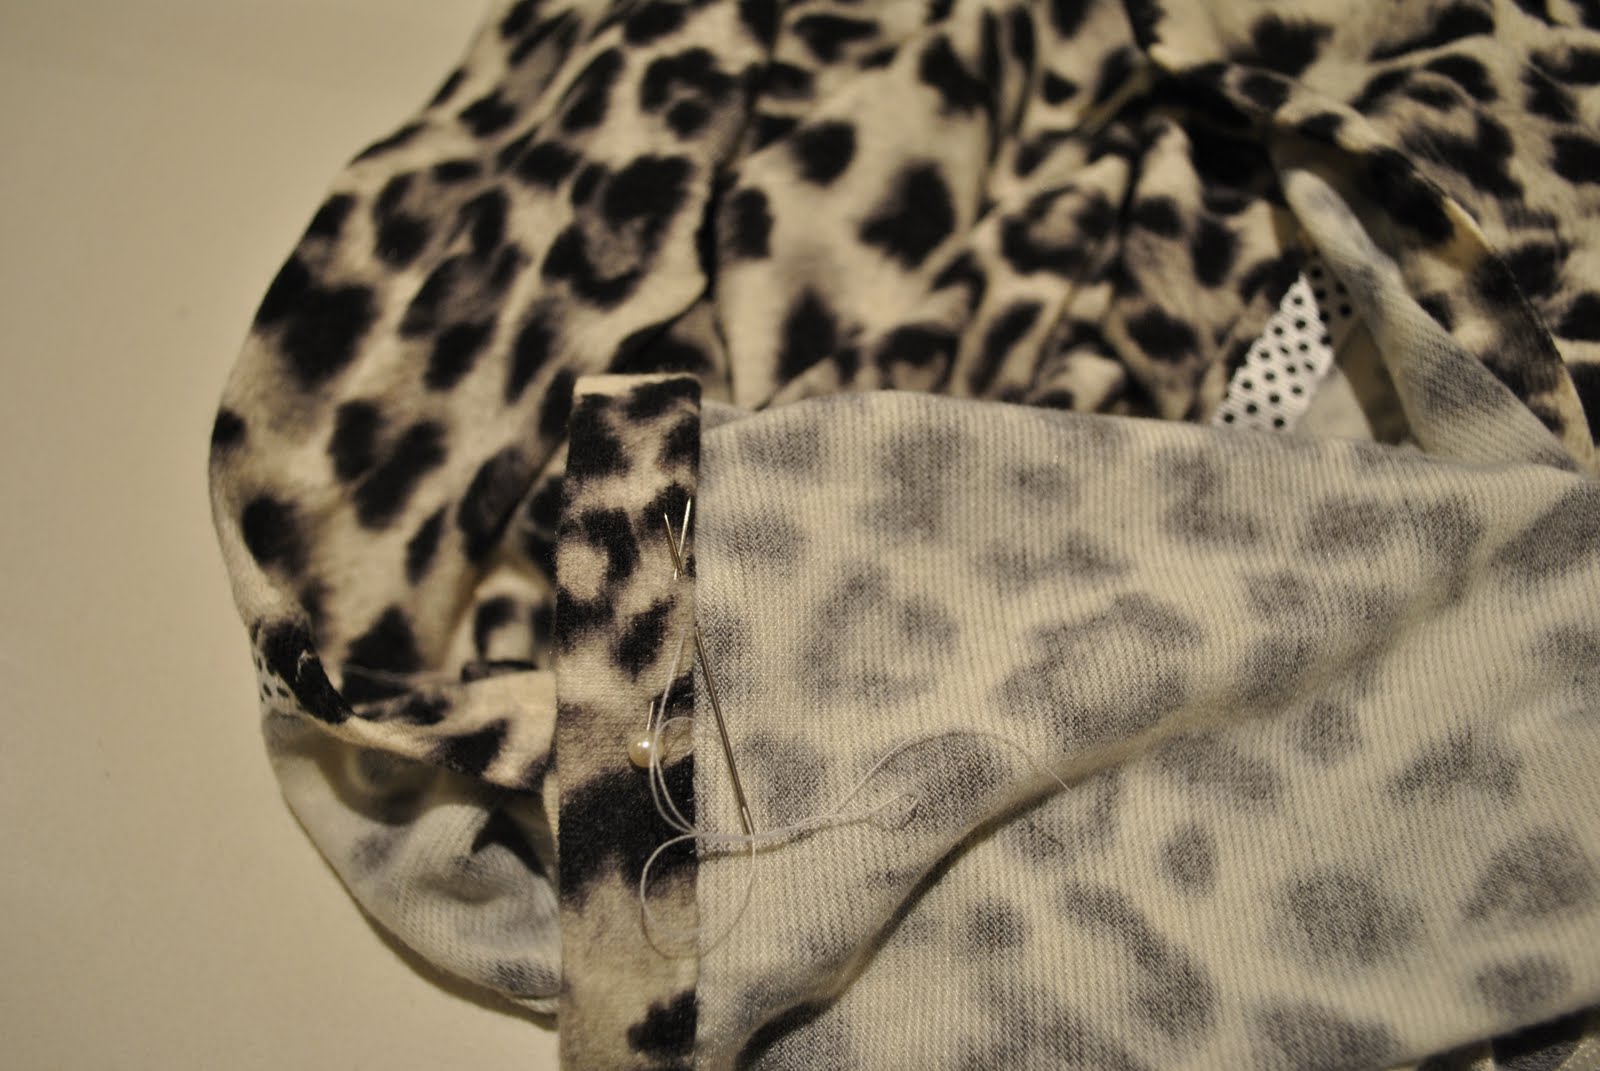
Turn the ribbon to the inside of the cardigan and invisibly hand-sew the edge of the ribbon on the inside…  Make sure the edge of the ribbon is cut off evenly on both fronts of the cardigan, and level with where you want the bottom edge to be…

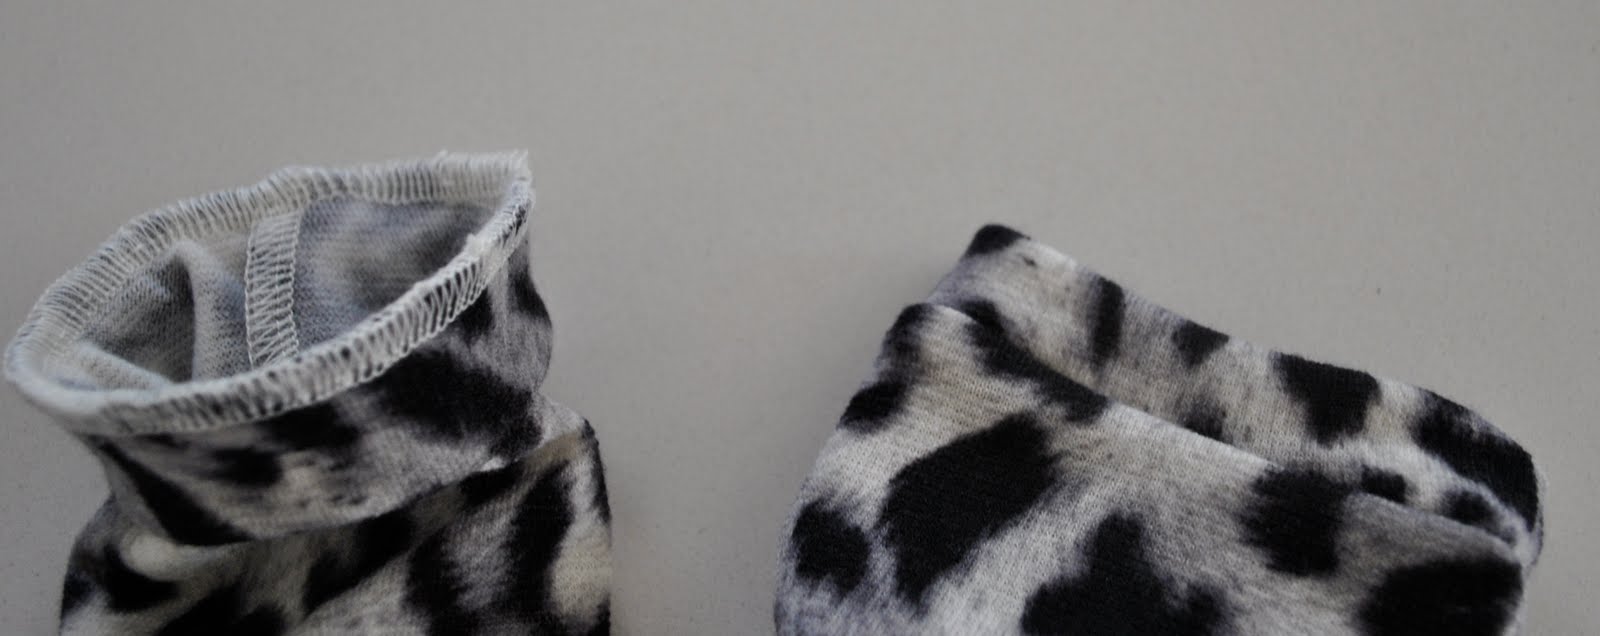
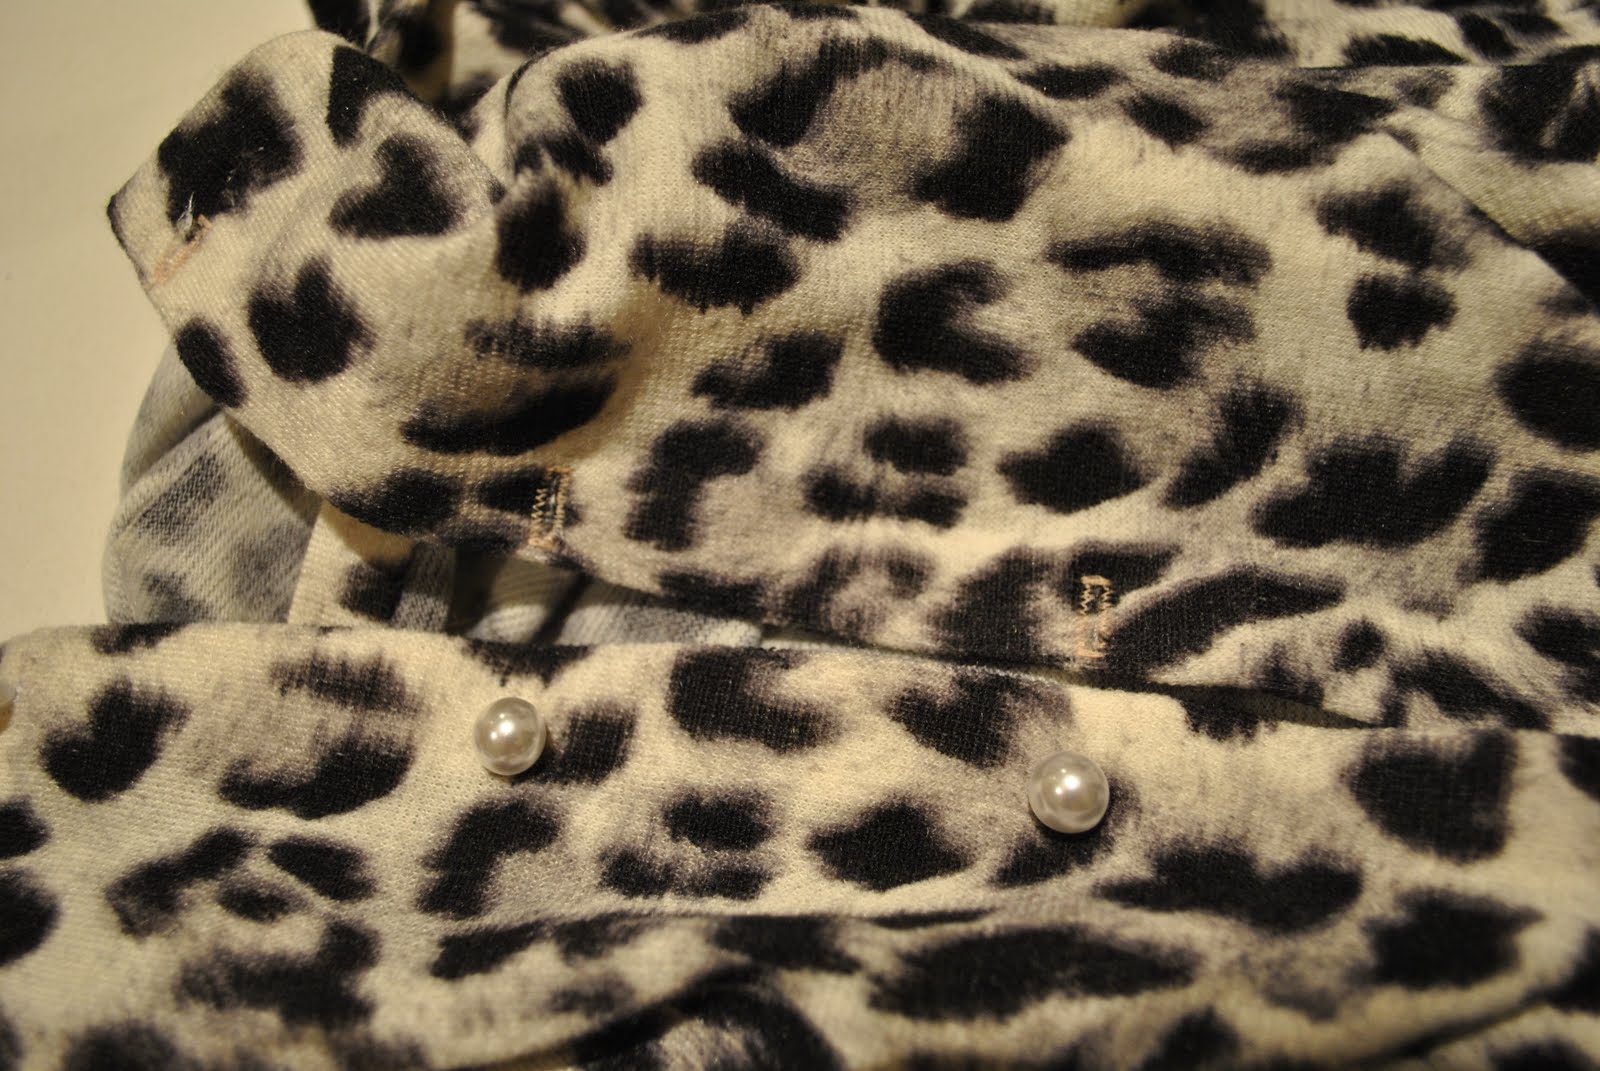
Turn up the lower edge of the cardigan twice, press and invisibly hand-stitch hem in place, also the wrist hems…

Measure where buttons and buttonholes are to be, and sew them in position.  Using a grosgrain ribbon to line the neck-edge enables you to machine sew buttonholes straight onto delicate knit fabrics easily, and also to stitch buttons on securely through the two layers without risk of light knit fabrics pulling out of shape; which they would without a strong backing…

Et voila, a very simple cardigan to provide an extra layer of colour to your ensemble, if not some warmth!

pinterestmail

Domestic diva

Should one make the effort to look stylish when one’s daily schedule involves simply popping into the supermarket, the post office and the bank?  Or if one’s place of work is in the home?  After all, if the peeps around you are in their tracky dacks and ugg boots the pressure is on to follow suit, and if you’ve gone to the effort to dress up kinda nice then you run the risk of feeling overdressed and flashy when all about are very casz…
Well, I reckon all power to the thoughtful dresser.  I feel better within myself if I look like I cared… so I do make an effort.
Having said that I’m not super dressed up here, but just a bit.  This is a very simple dress (sometimes the simplest will be the most worn item in one’s wardrobe!) that is not gorgeous, but handy.  I’ve found it to be a very versatile garment; to see how I styled it in six different way, see here.  Oh, and I know I wore this cardigan only the other day, but I’m loving its drab blue sooooo much, could be grabbing it everyday if I wasn’t trying to mix it up more… and it went so well with the socks I had on I just had to put it back on again for today.  I’m really making an effort to rotate through my wardrobe, but some things are proving handy and comfortable and fit in so well with my style thoughts for that day… so here it is again.  And the new shoes.  Wearing them in.  Love them so much…

Details:
Dress; Burda 8071, ivory eyelet cheesecloth
Petticoat; Metalicus
Cardigan (under); Country Road
Cardigan (over); refashioned by me from old jumper
Socks; knitted by me, Patonyles sock wool
Shoes; Francesco Morrichetti from Zomp shoes
Bag; Gucci

pinterestmail

Flower patch tapestry cushion

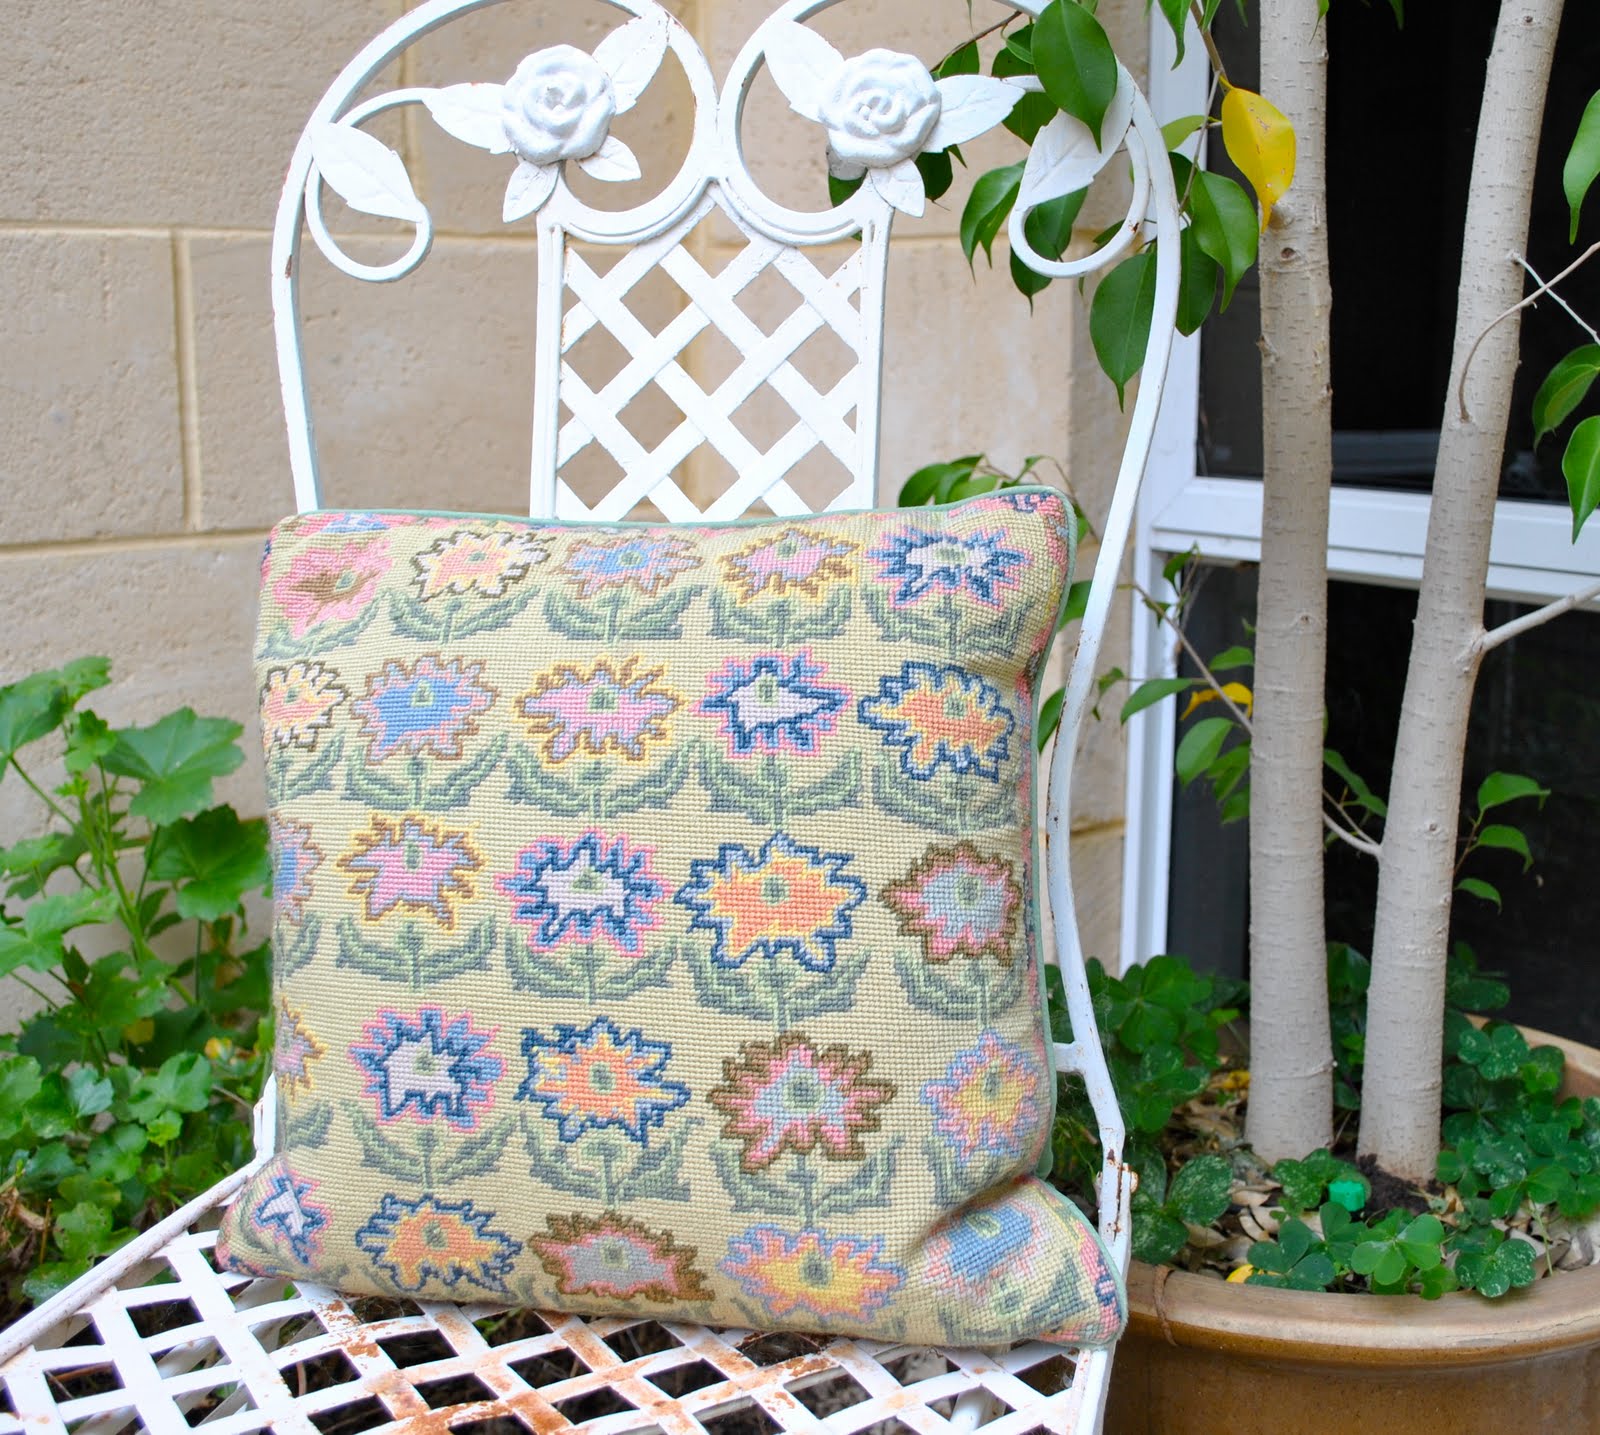
Out of all the tapestry cushions I’ve worked, this is my favourite.  (well, since the others were all for the chapel and given away, to see the others click on the “tapestry” link in the “labels” below)  And no, this doesn’t live on an outside chair as pictured, but in pride of position on our bed.  If the house was burning down I would probably grab this cushion…
I stitched this one from a design in a Kaffe Fassett book, borrowed from Mum.  At the time I just bought some canvas and some threads in colours I liked and just started happily stitching away, as is my wont.  It wasn’t long before I realised that the canvas he had used for his design must have had a much bigger grid, and that my resulting cushion would be tiny.  His original design was for a four flower by four flower cushion, each unique.  Well, once I had completed this part of the design I ad-libbed a few more flowers, based on his designs and tweaking the petals and whatnot to get some extra flowers in the same style, until my design was an acceptable size for a cushion, five flowers by five flowers as it turned out.  Grr, so much extra stitching, if only I’d checked the canvas requirements would have finished so much quicker…!
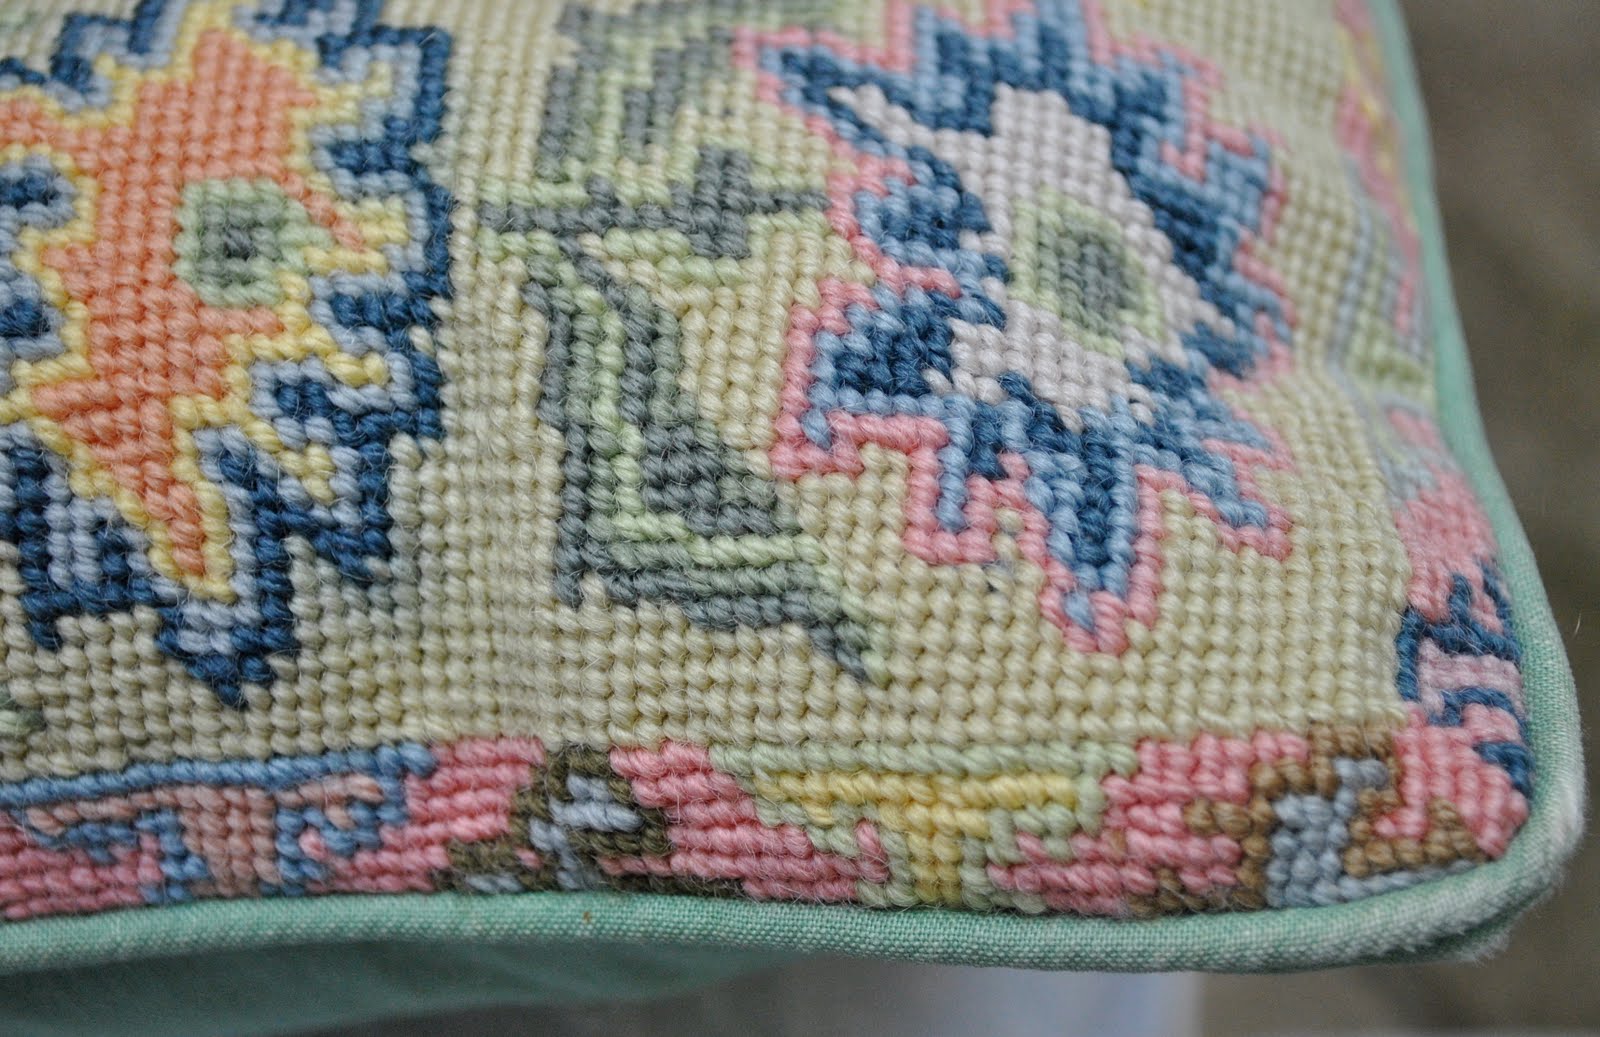
I also changed the border design a little, on his cushion design the little border motifs weren’t meeting up in a nice neat order which was distressing to me; so on my cushion I altered and fudged them so they met up in each corner in a kind of “mitred” fashion (see close-up below)…

pinterestmail

Just blown in…

Scene 1:
A dilapidated hall.   The monthly scheduled meeting of Shoe-aholics Anonymous.  A circle of seated ladies, subdued and looking sheepish, but very well shod.  All eyeing each others footwear covetously.
Convenor; Ladies, we have a new member, here to confess her sins.  Please make her welcome.
Me; Hi, I’m Carolyn and I’m …. (gulps and takes a deep breathe, lower lip wobbling) addicted to shoes.
All in unison; Hi, Carolyn

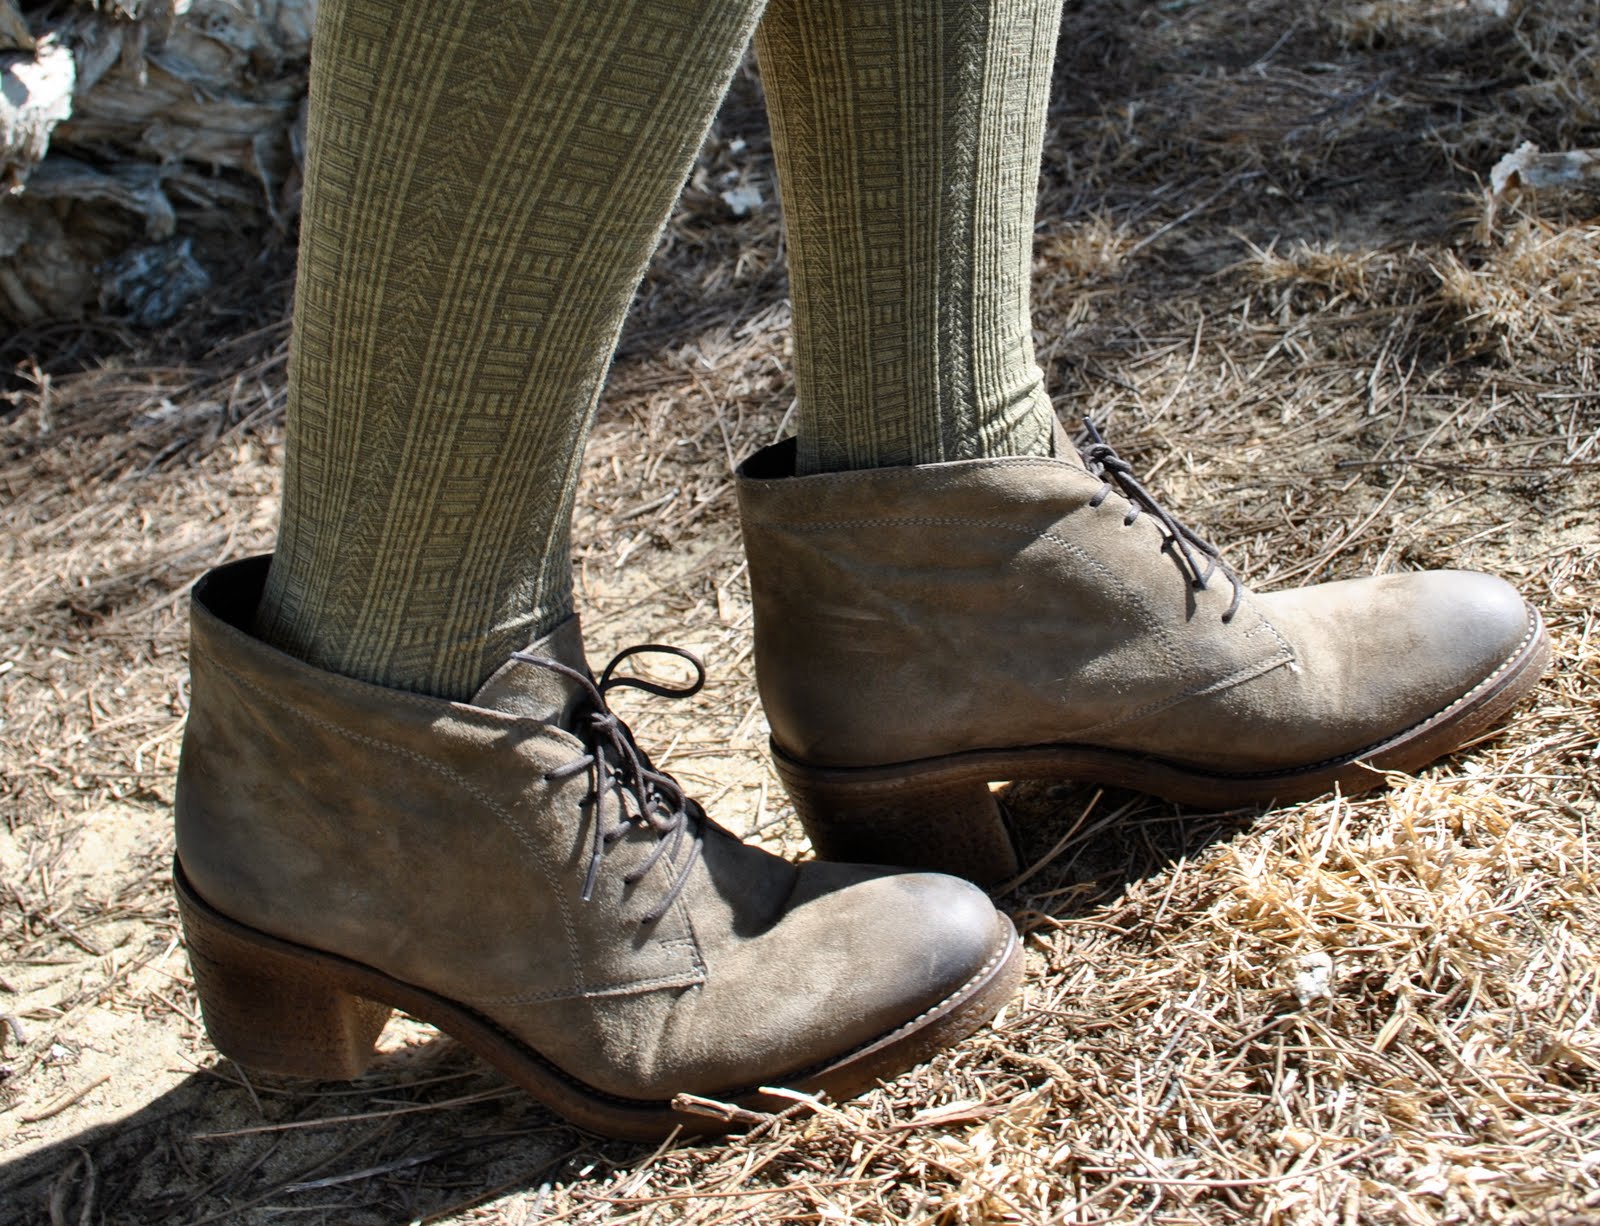
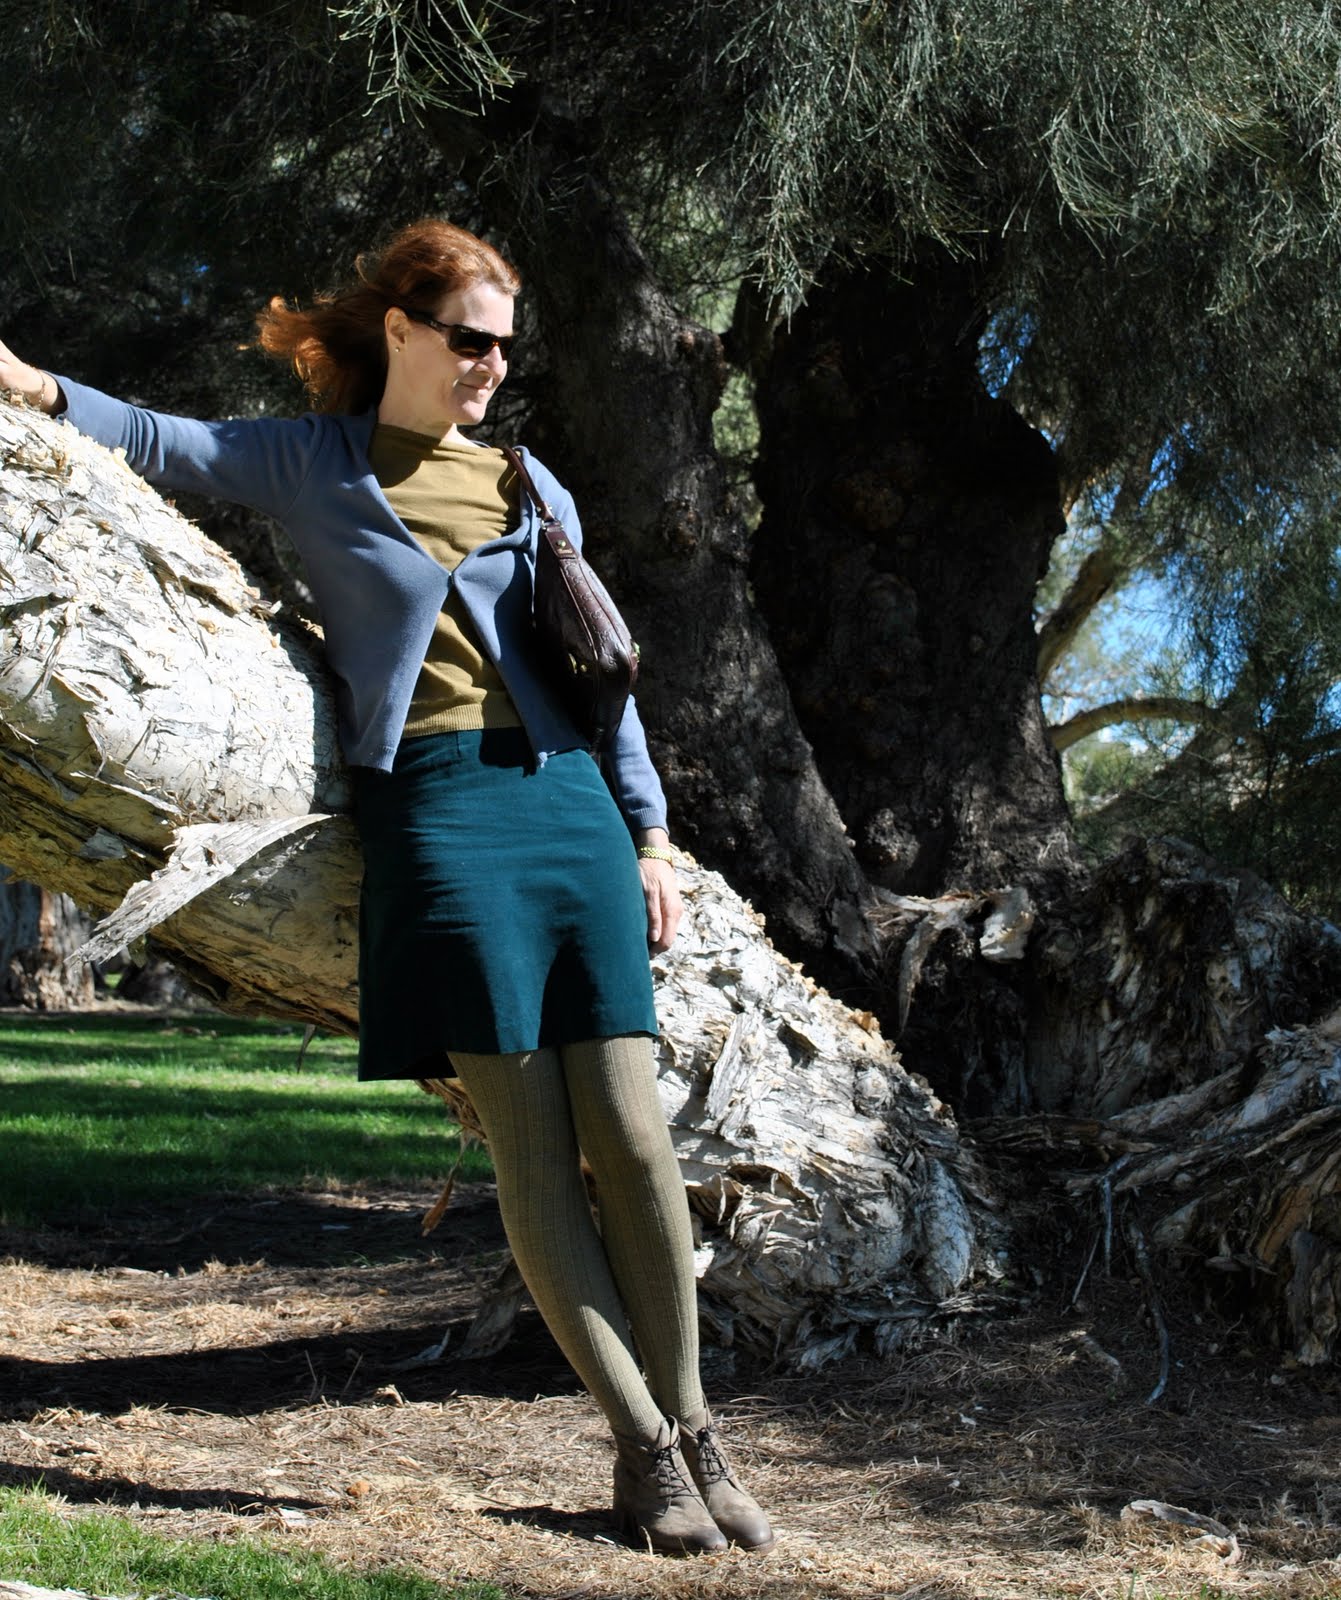
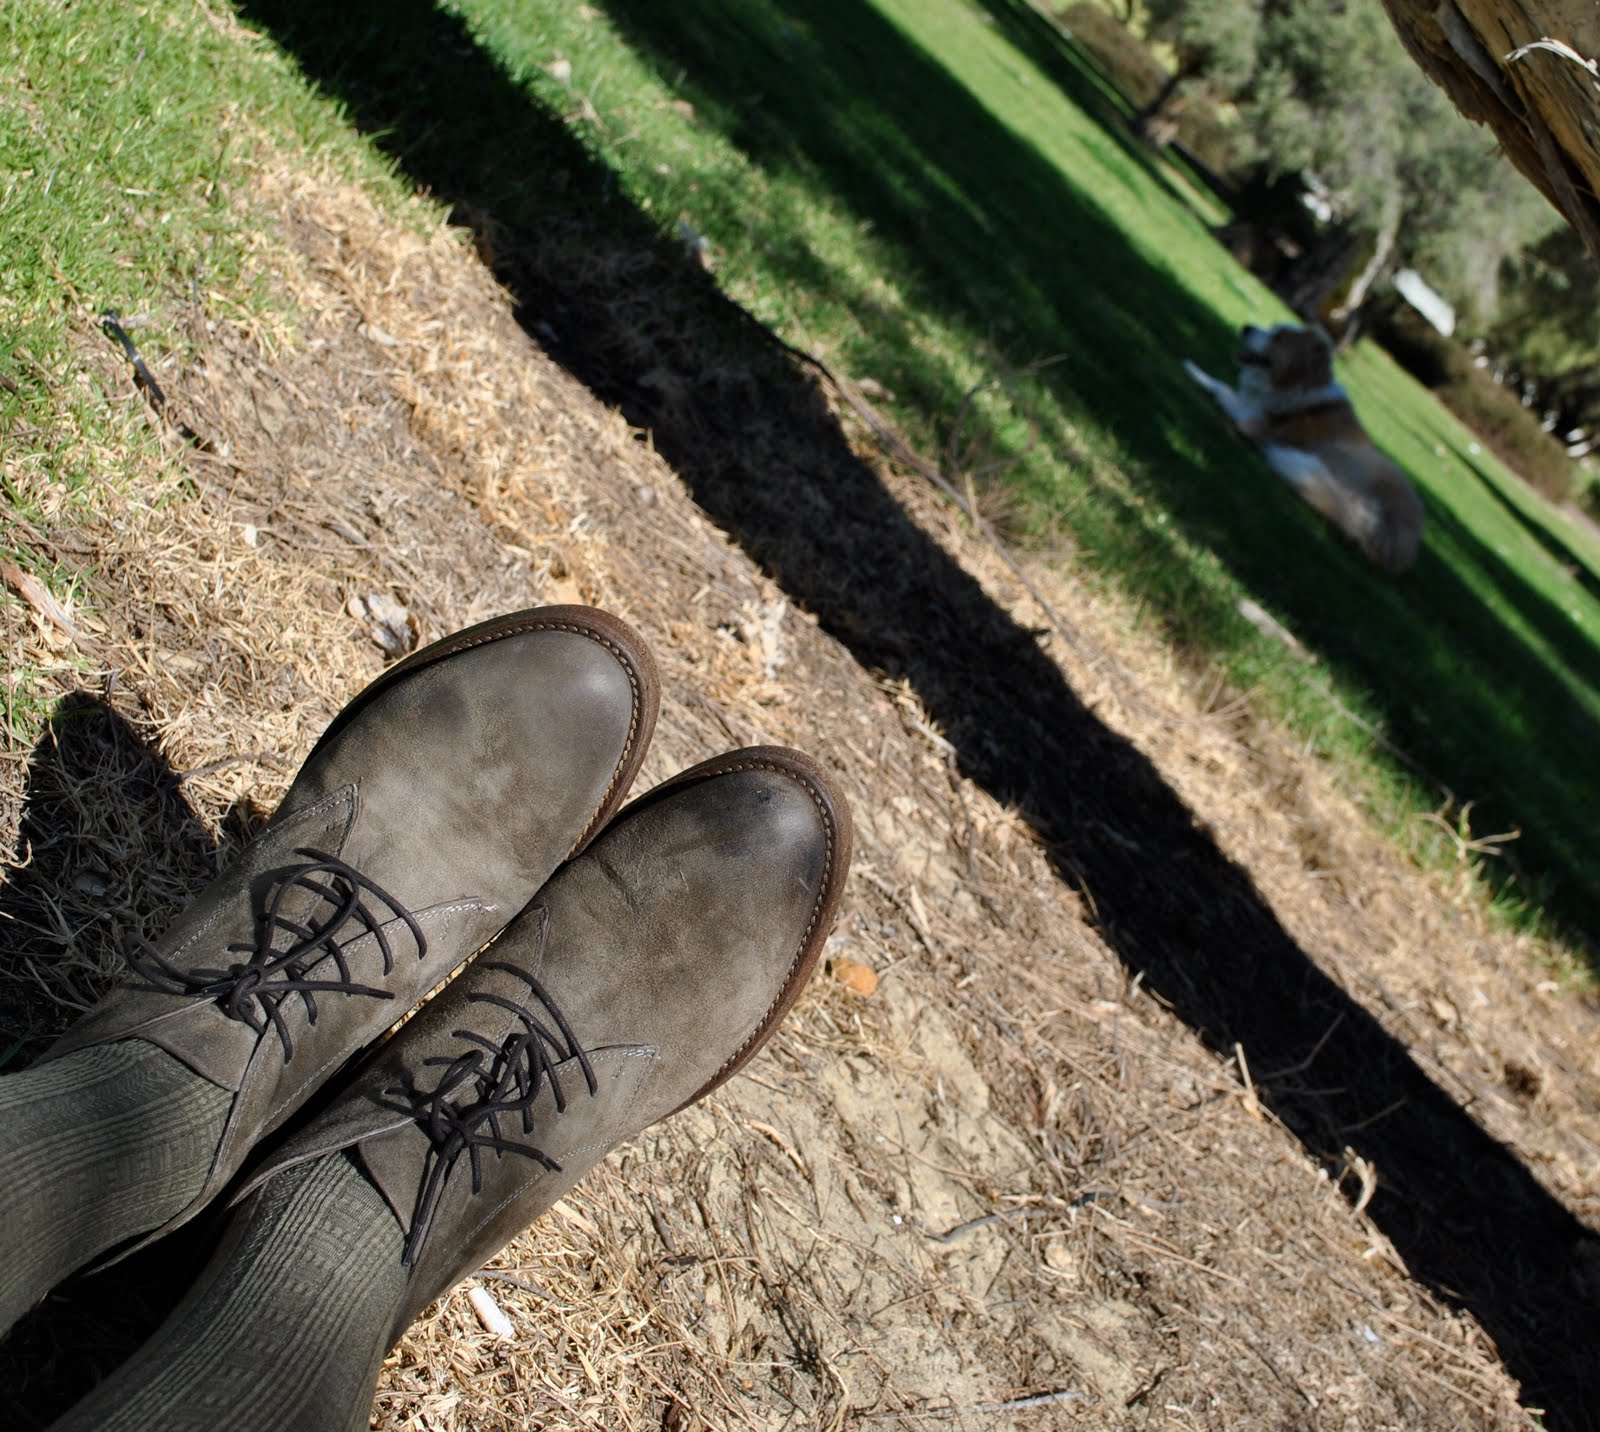
Yes, it’s true.  I stay away from shoe shops as much as possible, in order to avoid wear and tear on the credit card…  but look at my New Shoes!!  Cool, no?  I bought them on a recent day out with my friend J, my enabler and partner in shopping crime…  These are going to be worn and worn and worn…  I think they are tres stylish and they are as comfy as.  Perfect for my lifestyle.  Welcome to my shoe shelf(ves) new friends, I hope the other shoes make you welcome and don’t get jealous of your fabulousness.
Oh, and if I look a bit wwwwwindswept here, it’s because I AM.  Very.  This morning was like being in a windtunnel.

Details:
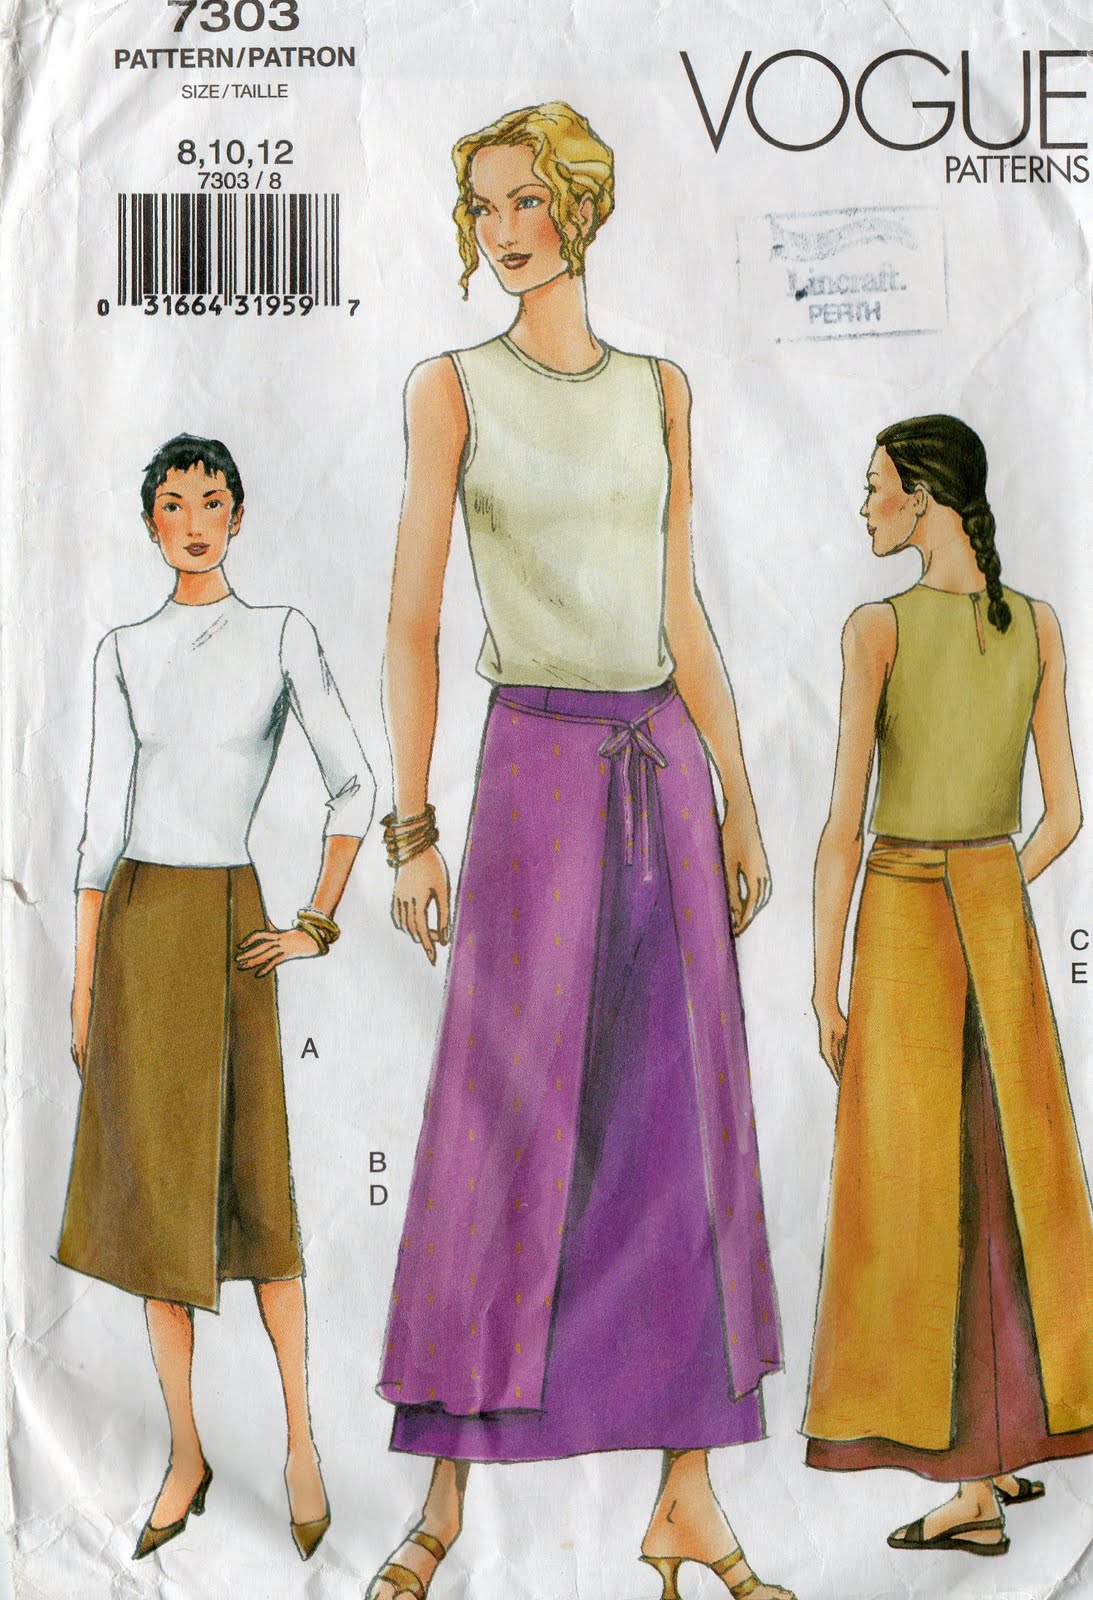
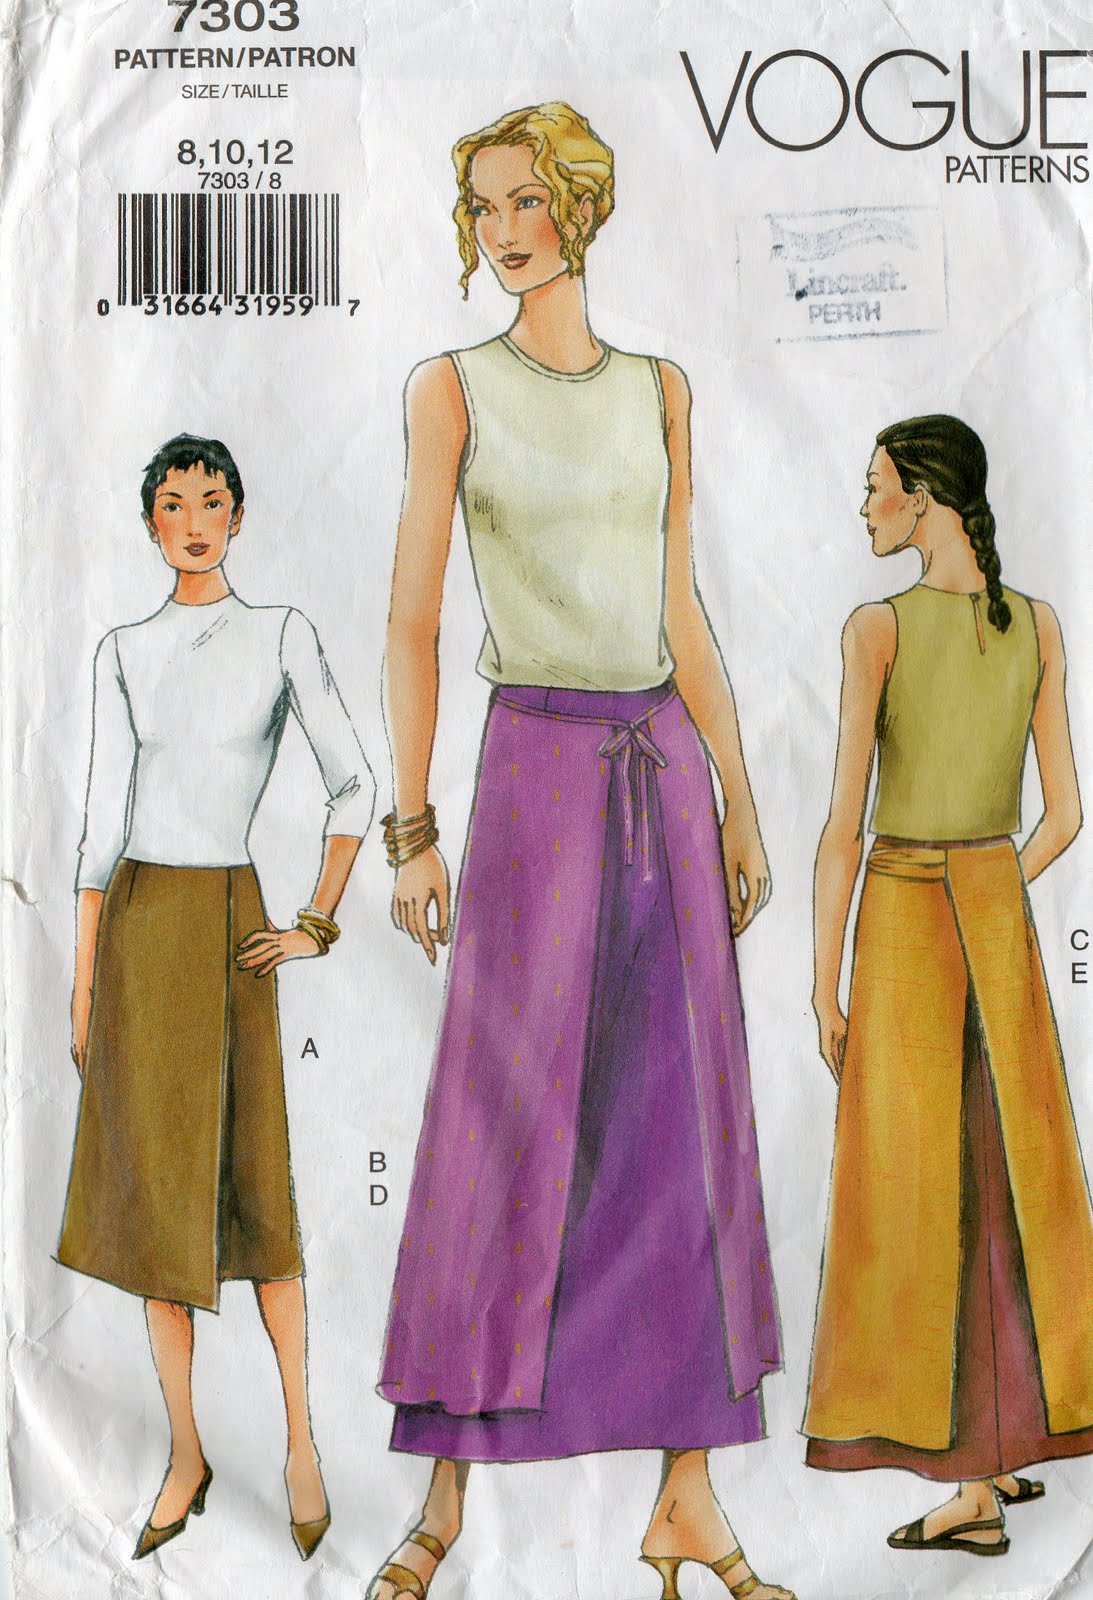
Skirt; Vogue 7303, green cotton velveteen
Top; Cue
Cardigan; refashioned from old jumper
Tights; Metalicus
Boots; Francesco Morichetti, from Zomp shoes
Bag; Gucci

pinterestmail

I was featured…!

I was interviewed today over at Sewing with Trudy… so exciting!!  I’m thrilled about this international aspect of blogging, how those of us with like interests can support each other in the pursuit of  our creativity…  Trudy always leaves such sweet and supportive comments on my blog.  I’m so impressed she has the time to come and visit me here, given her very busy and full family life as well as her own artistic achievements.  Trudy has interviewed me and also put up some photos of my own favourite creations…!
Thankyou Trudy!!

pinterestmail

Data Irretrievable

I hate technology.  No, an exaggeration, I just don’t trust technology.  Just when you come to depend upon it, wham! it lets you down.  And when it happens, it’s always big-time.
Over the weekend my computer crashed.  As my husband says; there are two types of hard drives, one that has crashed, and the other that is going to crash.  When you least expect it.  I’m a wee bit sad.  I’ve probably lost a lot of stuff.
Actually, you know what?  I confess, I’m a mite relieved too.  It’s too easy to build up such a lot of “stuff” on your computer, info you can’t possibly delete voluntarily, but is actually pretty useless when you get down to it…  Old letters I’d kept copies of “just in case”, funny emails, links to handy websites I’d discovered along the way, massive email address book of which I was only using about 5%…  I had a lot of downloads sitting there, probably that I was never ever ever going to get around to doing anything at all about.  Free downloadable patterns, both sewing and knitting.  Inspirational ideas, photos from style.com of garments that had me all fired up at one point or another that I was going to try to re-create in some way…  well now it’s clean slate time.  Through no fault of my own (that I am aware of) I’ve lost a whole lot of … well, I won’t use as strong a word as junk, but certainly a whole heap of things that may have a certain burden-like nature to them.  
I’m looking on the bright side.

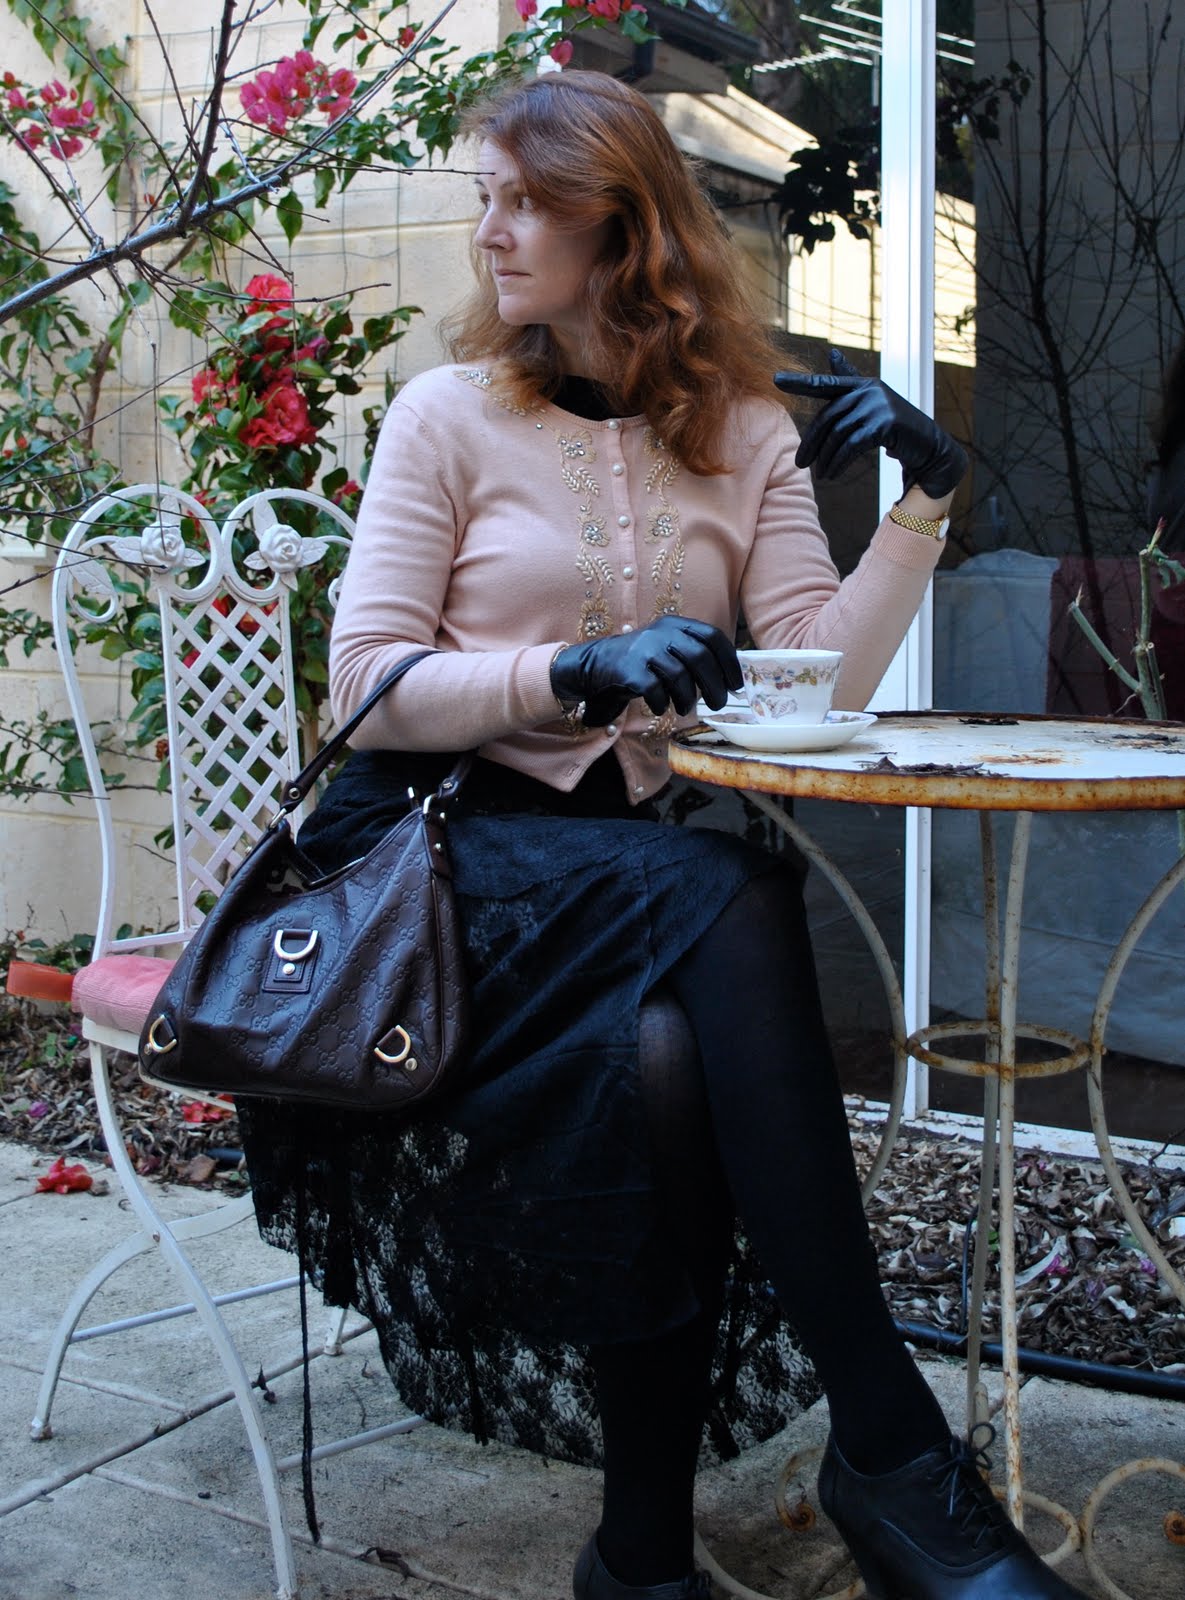
This morning: on my way to morning tea with the gals…

Details:
Skirt; my own design, based on Vogue 7303, black lace
Top; Sexy Lady, second hand
Cardigan; Wheels and DollBaby, second hand and repaired to look like new
Tights; Kolotex
Booties; Django and Juliette
Bag; Gucci
Gloves; not sure now, from David Jones

pinterestmail

The wind and the tides as our companions…

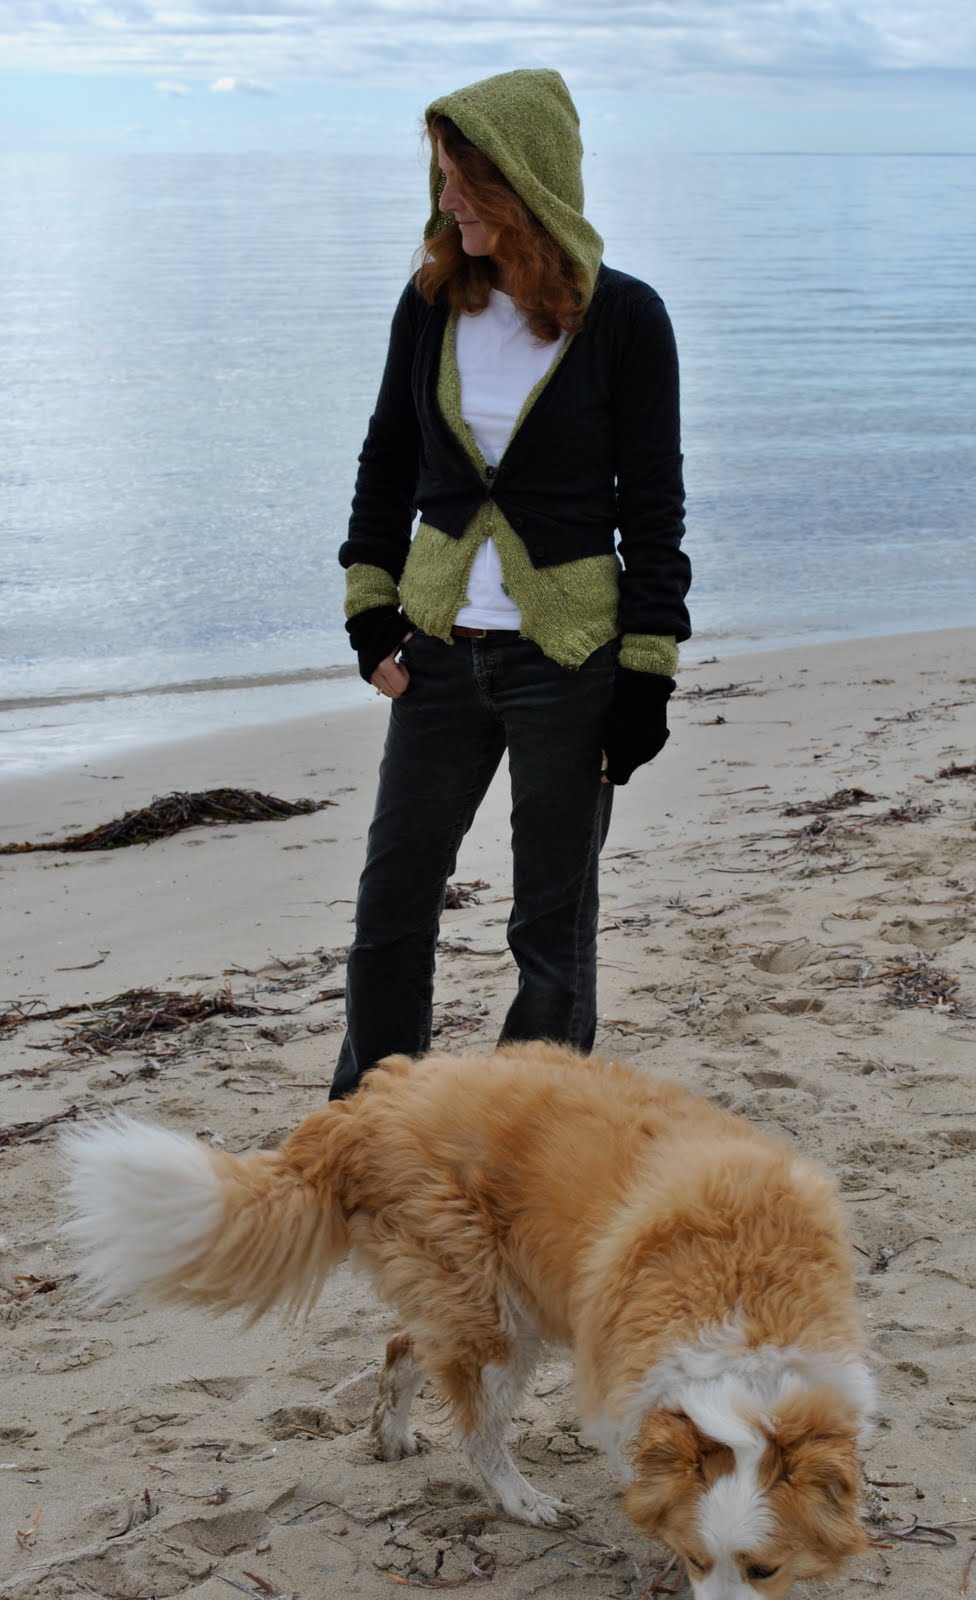
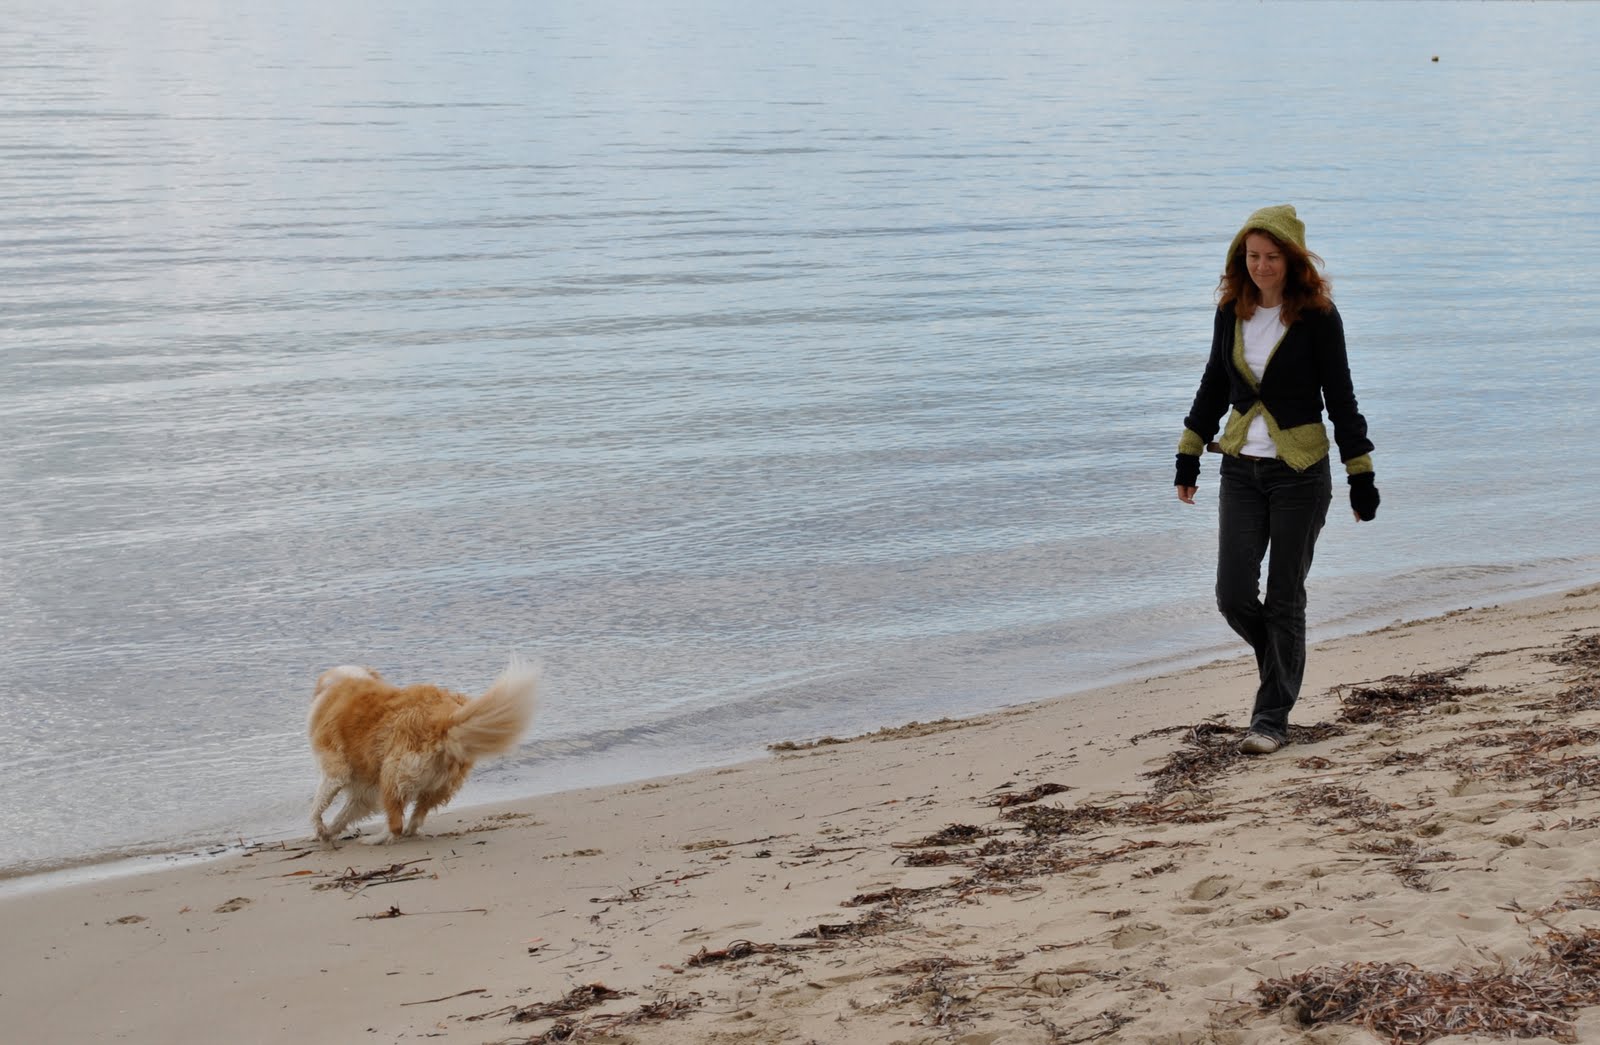
Walking along a wintery morning beach.
The wind whips at our hair, tying curly tangles in sudden lusty gusts, prompting me to seek the warm sanctuary of my cosy handknit hoodie about my ears and saving the hair from a cruel tussle with the hairbrush when I get home…

This is Sienna’s favourite place to be in the whole world.  When we are here she regains the unalloyed joie de vivre of a puppy; uncomplicated, pure and complete in her appreciation of soft sand and rippling water.  The tide is her playmate, her partner in the crime of meaningless high-spirited fun.  The peekaboo waves are an irresistible tease, their behind-her-back whispering a gentle and cheeky provocateur demanding her stern attention…

And sadly for her it’s out with the hose and the hairbrush at home…!

Details:
(ancient) Jeans; Country Road (should probably re-fashion these as they are embarrassingly shabby now, but find myself strangely clinging very hard to the store-bought clothes I still have since my Wardrobe Re-fashion pledge…)
Tshirt and charcoal cardigan; Country Road
Wristwarmers; Sportsgirl
Hoodie; knitted by me to my own design, Jo Sharp Silk Road yarn in colour Ambrosia
pinterestmail

Cool Bunnykins

This is a very late post today!  Been a busy day…

This is a beanie/scarf thingy I knitted for my daughter Cassie several years ago.  Knitted from a variety of different yarns, to my own design…
I used four balls of yarn, three solid colours (1=pink, 2=blue, 3= lavender) plus one ball of chunky, bobbly one ply yarn.
Tension; 12 stitches to 10cm
To start: make the pom-pom first, also wind off enough yarn of each of the colours for the tassels on the ends of the scarves at the start of the project.  This will ensure you have enough yarn for these bits.
Tassels are approximately 30cm in length, I use a small paperback book to wind the yarn around, and you will need approximately 20cm worth for a good thickness.  I used lots of colour 3, lavender in my tassels, which is why there turned out to be not much lavender in the beanie itself! *blush*  Colours and numbers of rows in each colour are up to the individual according to taste, the following is the combination I used here.
Beanie: the beanie was knitted in the round, from the crown down to the rim.
Cast on 7 stitches.
Row 1; K2 in each stitch (14 stitches)
K 1 row
K1, inc 1 in next stitch, repeat until end (21 st)
K1 row
K 1, inc 1 in next stitch, repeat until end (31 st)
K 1 row
K2, inc 1 in next stitch, repeat until end (41 st)
K 1 row
K3, inc 1 in next stitch, repeat until end (51 st)
K 1 row
K4, inc 1 in next stitch, repeat until end(61 st)
K 5 row
(change to bobbly yarn) K 3 rows
(change to colour 2) K 7 rows
(change to bobbly yarn) K 6 rows
(change to colour 1) K 4 rows
(change to bobbly yarn) cast of very loosely in bobbly yarn, until there are 24 stitches left, divide into two sets of 12 stitches and continue knitting on each set of 12 stitches separately.
Continue in stocking stitch, alternating yarns as follows:
(colour 2) 10 rows stocking stitch
(bobbly yarn) 4 rows stocking stitch
(colour 2) 10 rows garter stitch
(bobbly yarn) 4 rows garter stitch
(colour 1) 24 rows garter stitch
(bobbly yarn) 4 rows garter stitch
(colour 2) 18 rows garter stitch
(bobbly yarn) 4 rows garter stitch
(colour 3) 30 rows garter stitch
(bobbly yarn) 8 rows garter stitch
(colour 2) 6 rows garter stitch
Cast off.
Loop tassels through the cast off stitches, and sew pom pom onto crown.
Done!
Of course, colours and the numbers of rows in each colour are up to the individual according to taste, this pattern is the combination I used for this particular beanie.   Really though, colours can be used however you choose, basically just keep changing colours at whim and knitting away happily until you get the length you want, or all the yarns are used up completely; ta-dah! zero waste!
pinterestmail
Switch to mobile version
↓