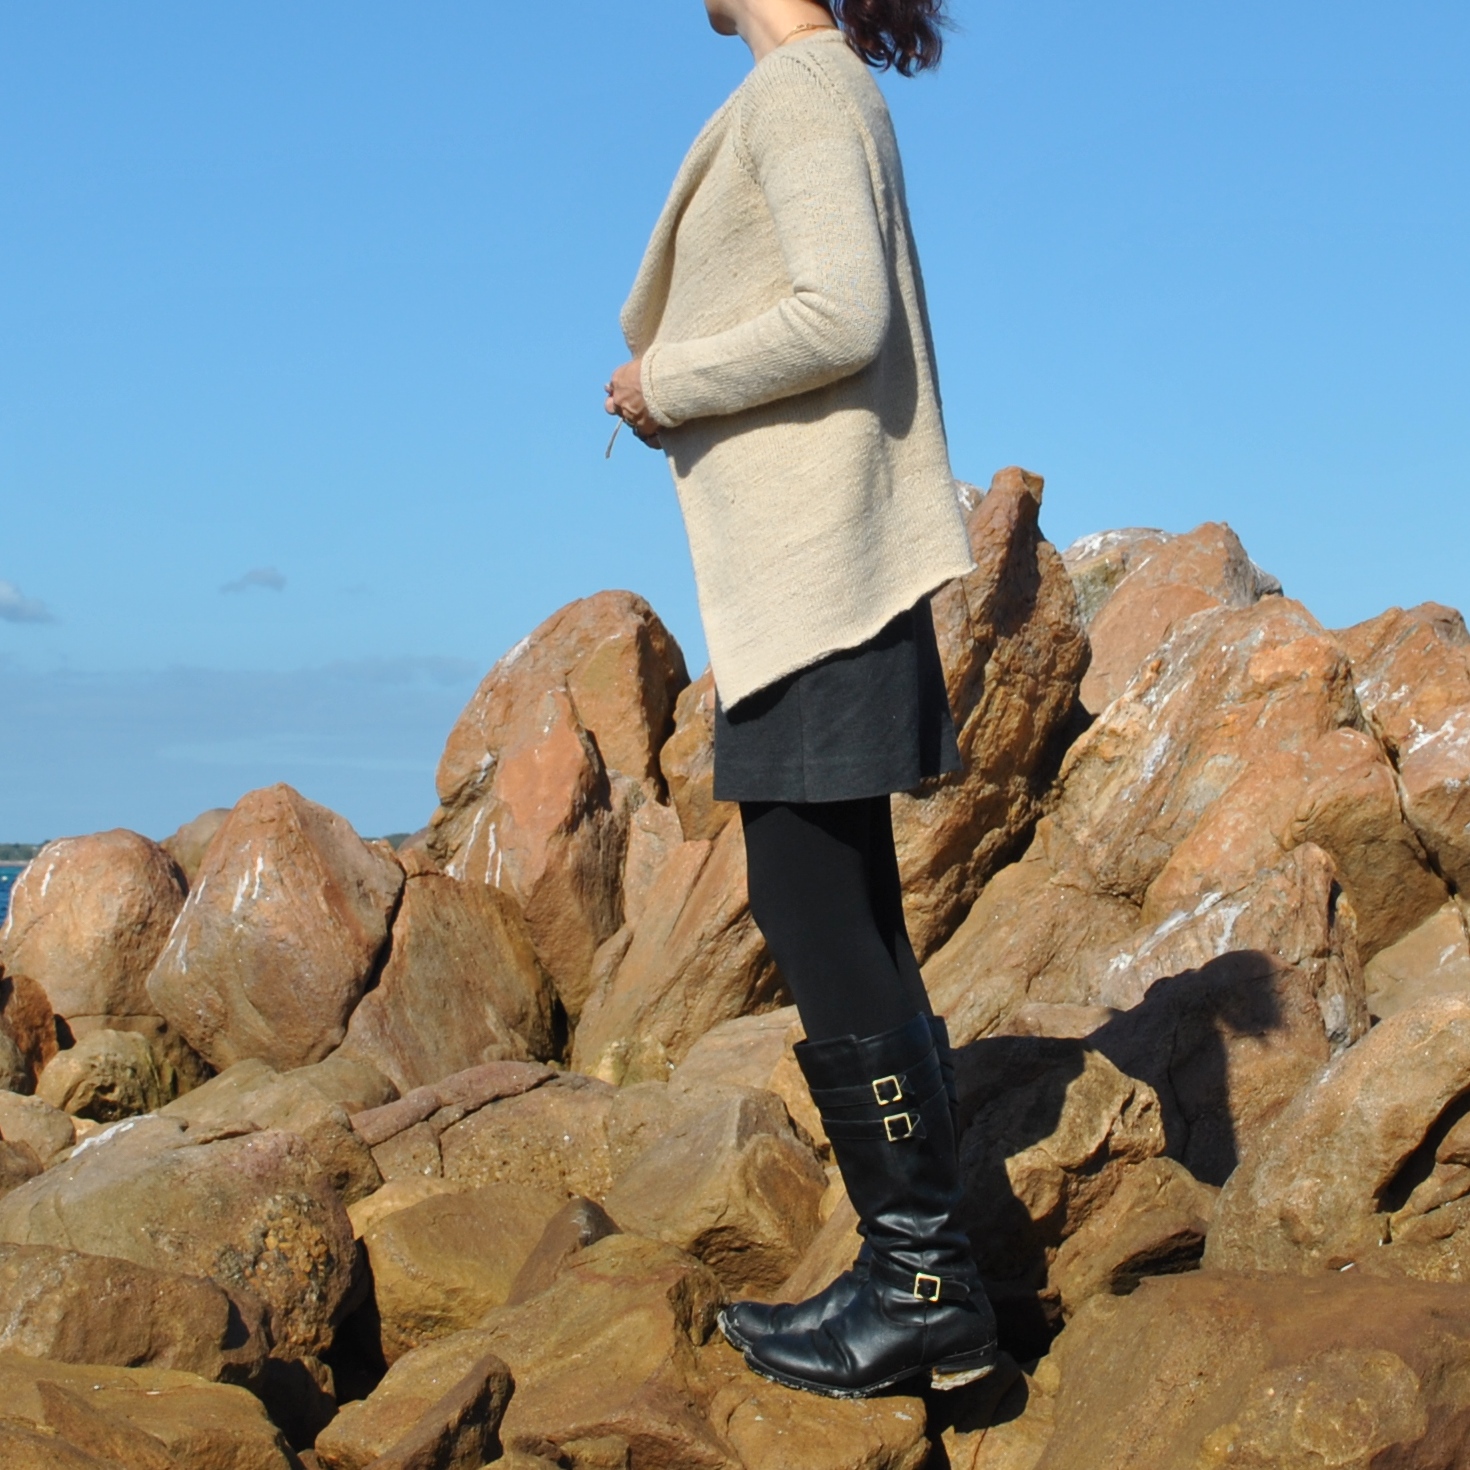
alpaca cardigan; a 100% local product

So, at the beginning of the year I mentioned that I was taking part in one year one outfit, the brain child of Nicki of this is moonlight; the challenge being that we participants have one year in which to make an outfit for ourselves that is 100% locally grown or sourced.
And this cardigan is my first thing! the first component of my outfit finally finished.  Phew!

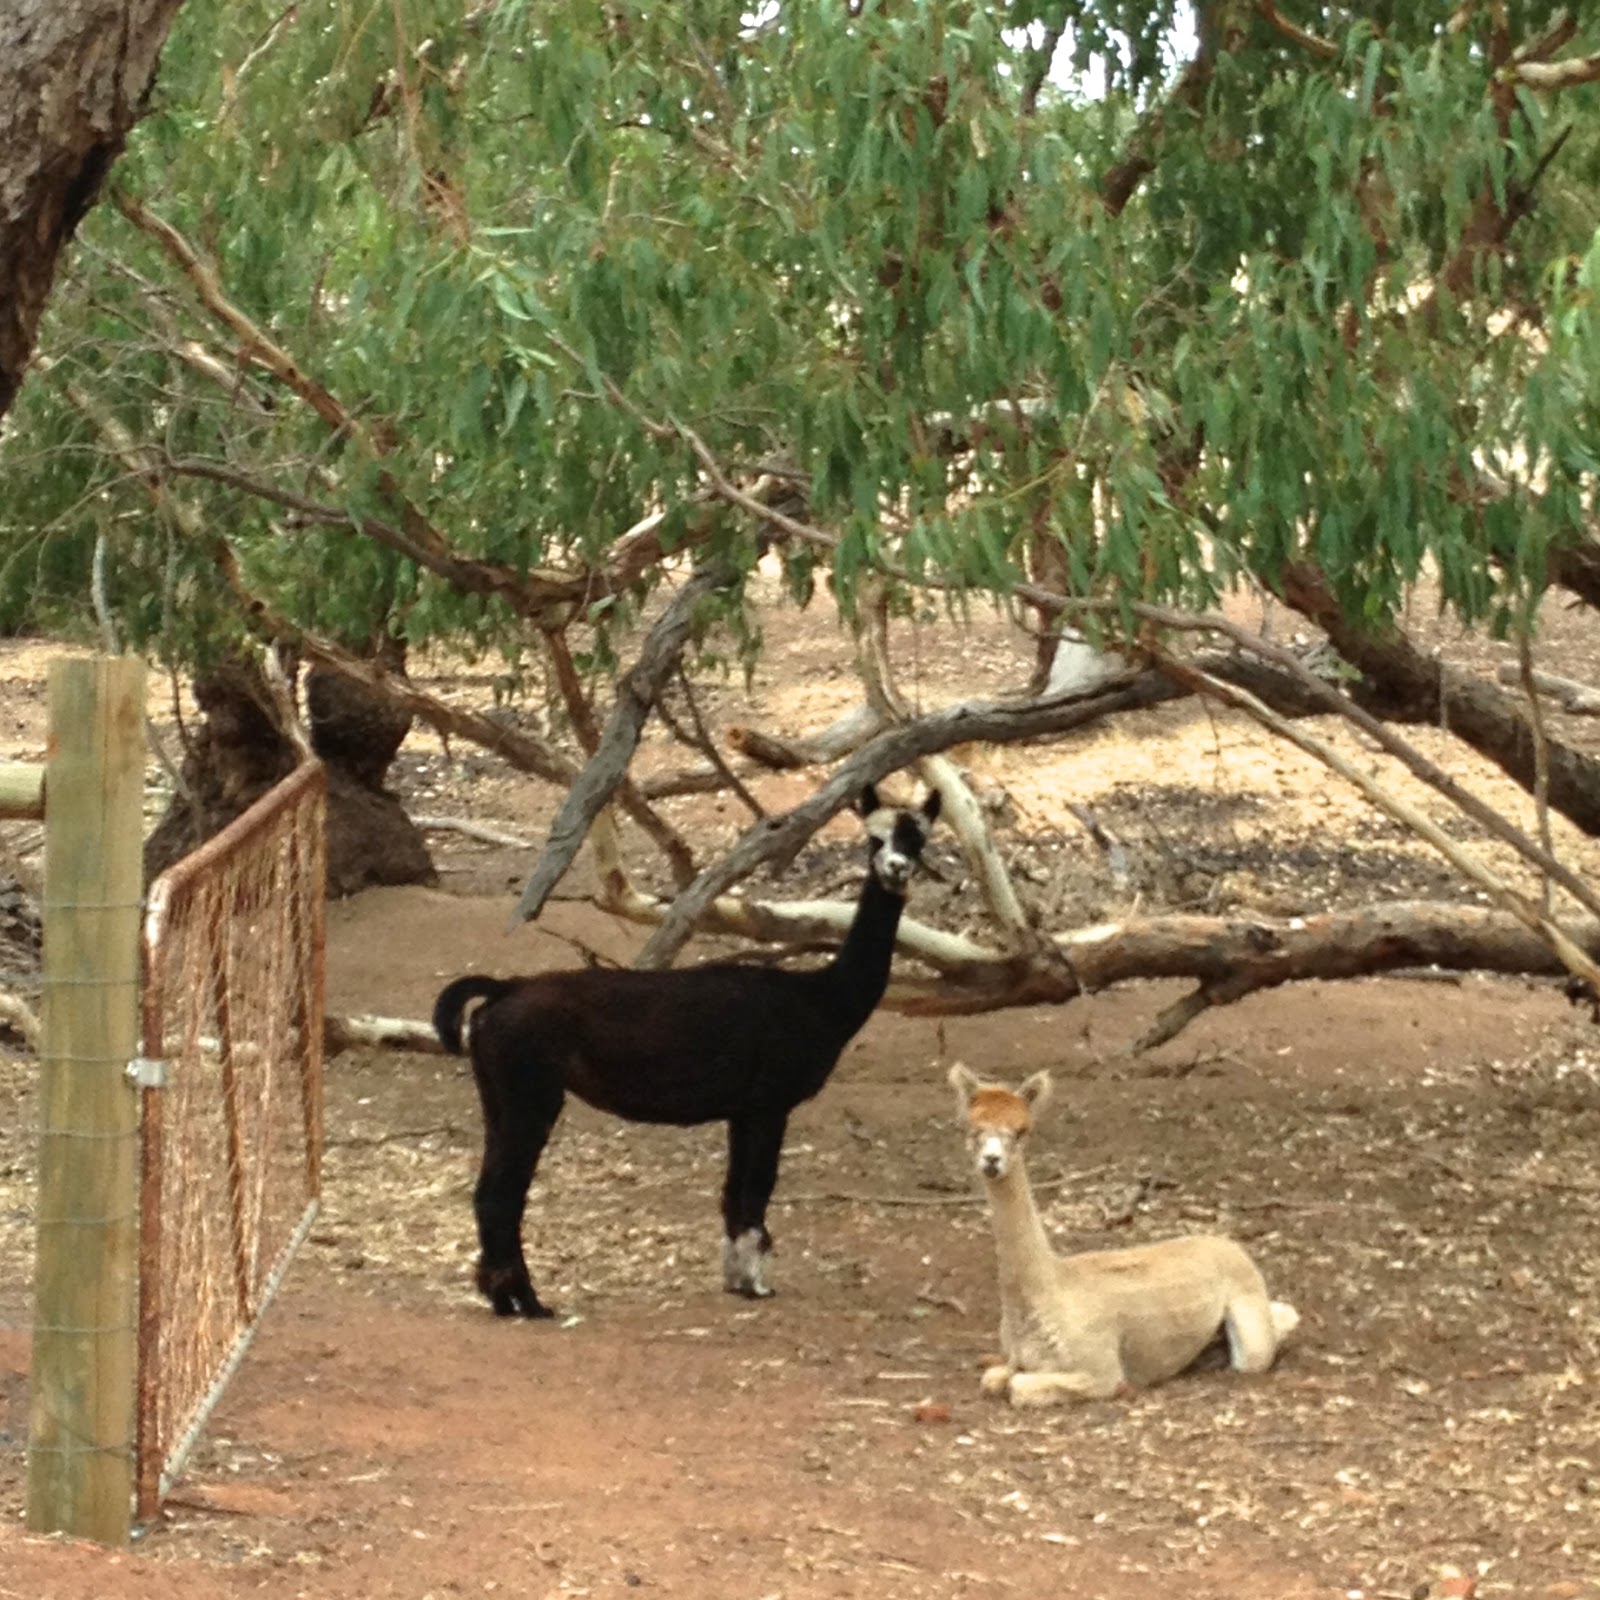
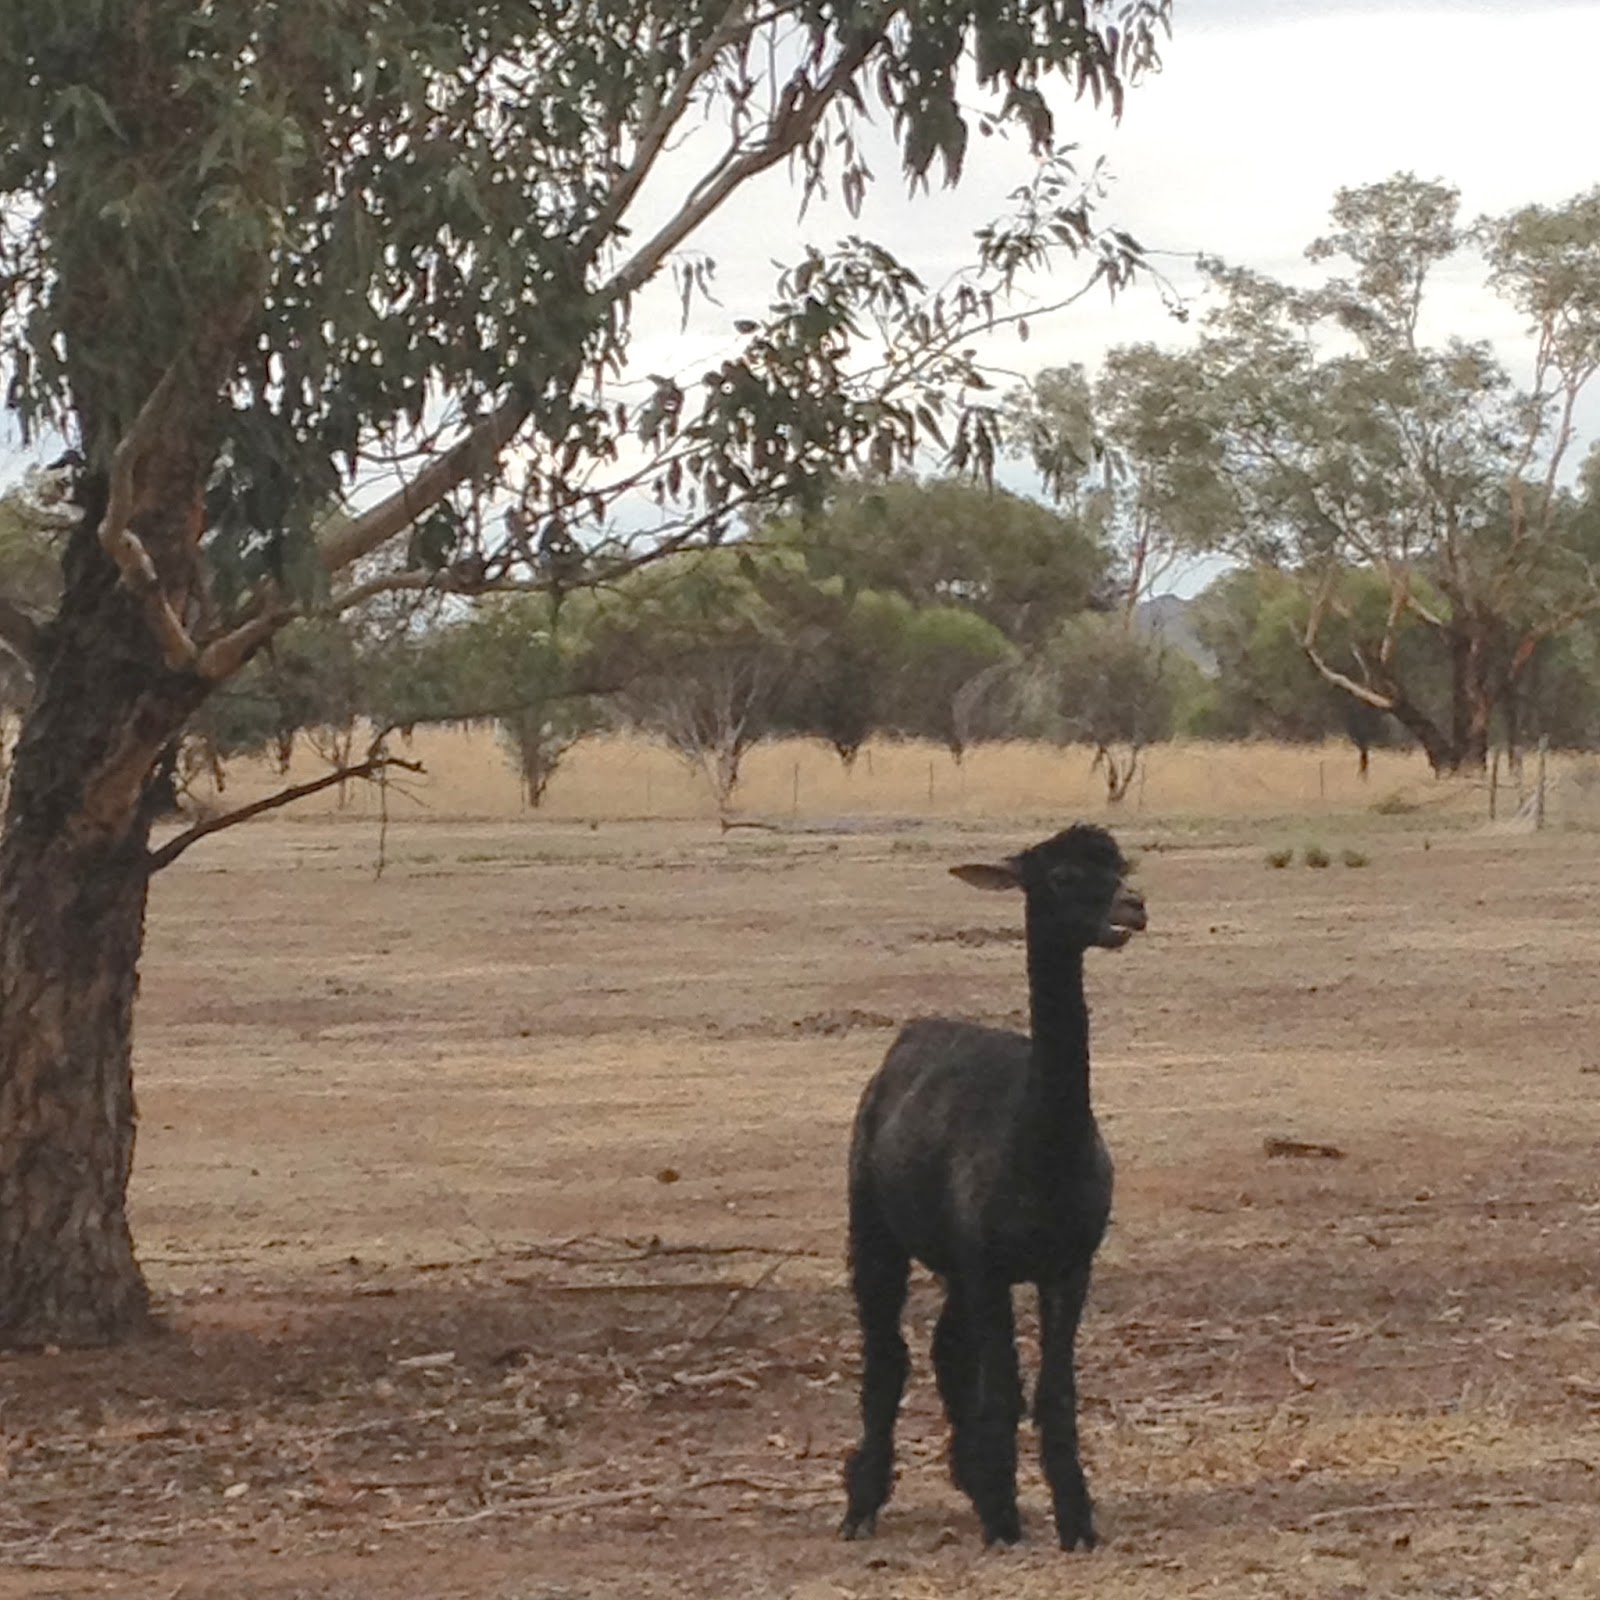
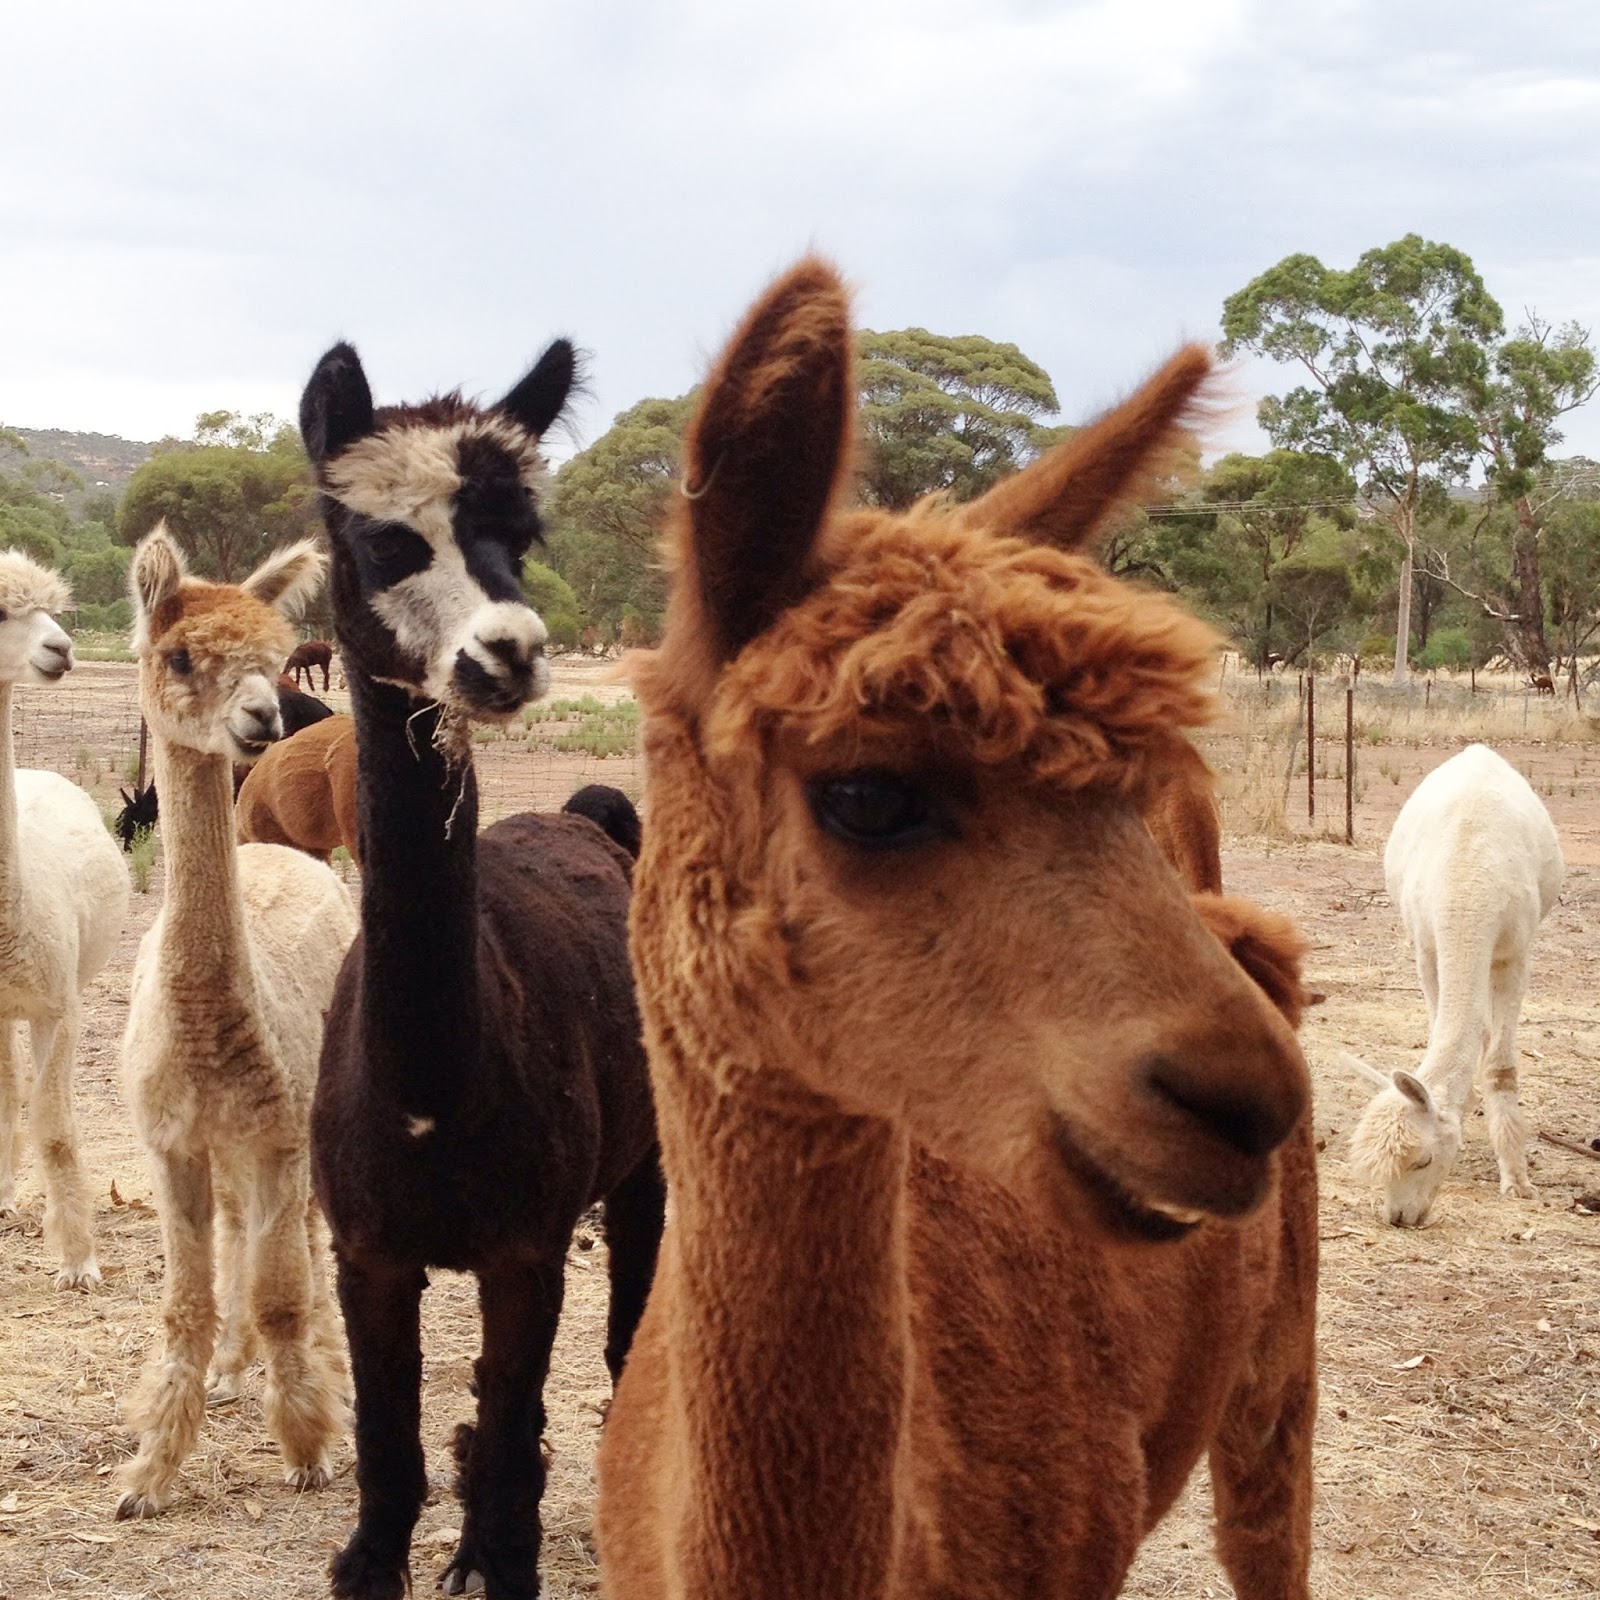
Earlier in the year, Nicki drove Sue of fadanista and me to Toodyay, where the three of us visited the Fibre of the Gods, the alpaca farm owned and run by Hazel and Michael McKone.  The farm is also home to a tiny and thriving wool mill; processing fleece into yarn for anyone who has some and wants it done; AND very importantly for the purpose of our project, also processes and spins its own alpaca yarn, shorn from their very own animals!   The lovely Hazel took us into the girls’ paddock and introduced us … below are some of the hembras.  That’s the term for a female alpaca, fyi.  Also did you know that a male alpaca is known as a macho?!  We saw one macho, out on his lonely lonesome in a separate paddock, all manly-like and aloof, looking down on us girls.

No, they’re not checking out the macho…  they’re giving the evil eye to the farm’s cat!  Alpacas are very wary of cats; and dogs too, according to my friend J, who has a small herd of her own. They will protect your sheep from vermin like foxes, and are likely to turn on a dog and kick him out of a paddock if they don’t know him well.

Hazel kindly showed us the mill equipment and explained how the entire operation is run entirely on their farm; from the animal right through to the finished yarn.  And then we obviously shopped in their tiny store, cleaning out a, erm, sizeably large chunk of their eponymous stock, eep! They do stock some lovely coloured yarns and a few knitted and felted products for sale, however we were all of us after their own natural, un-dyed yarns for the purposes of our 100% homegrown project  ðŸ™‚

Sue and Nicki also have written about our day out on their individual blogs too.

Anyway; my cardigan!

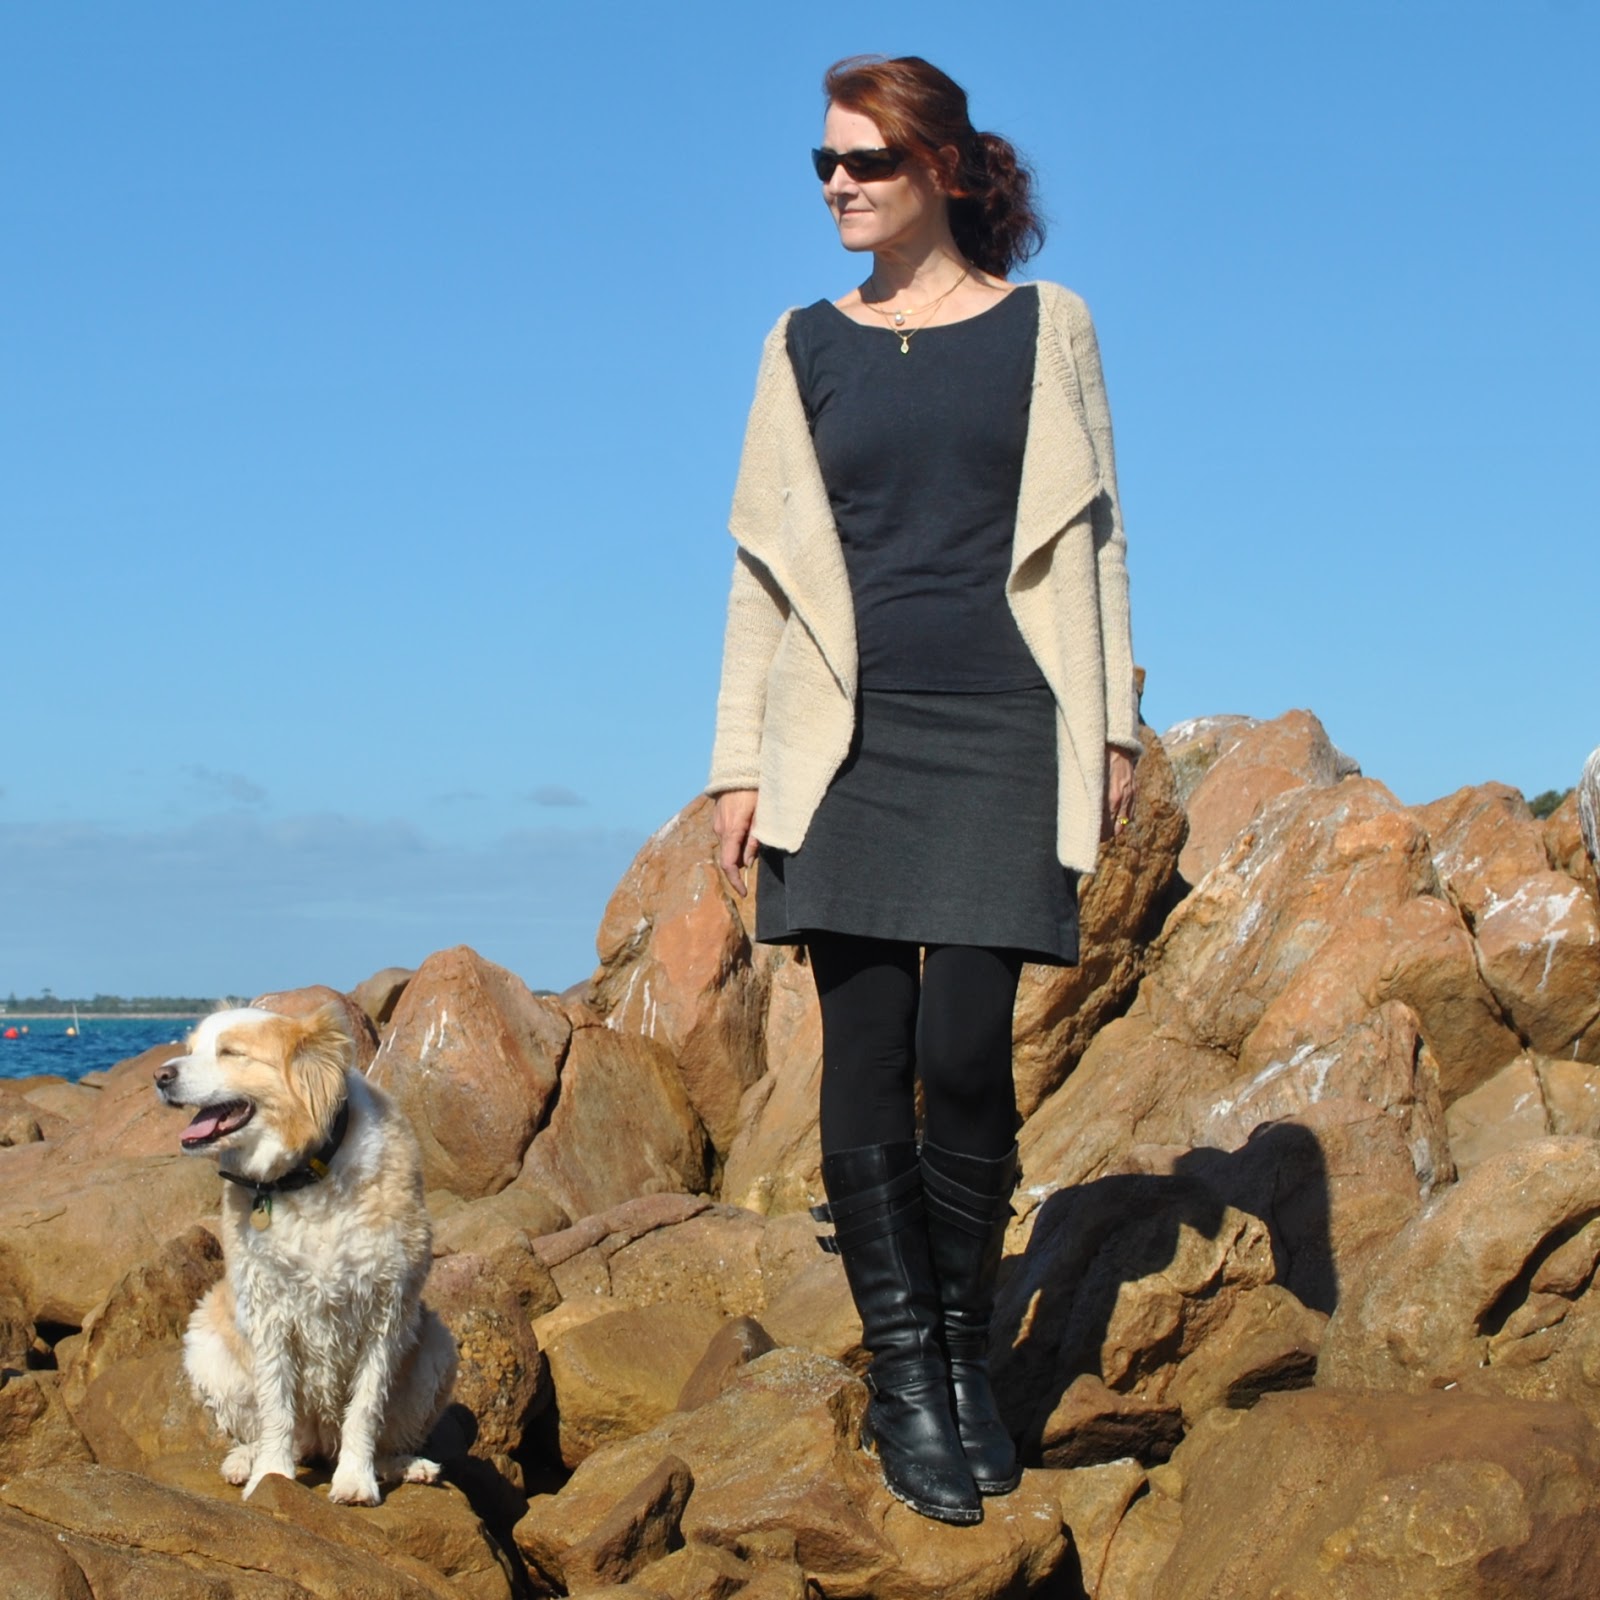
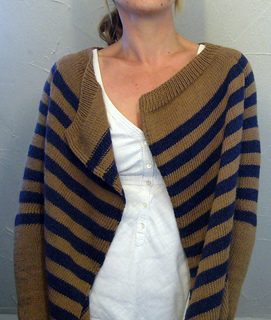
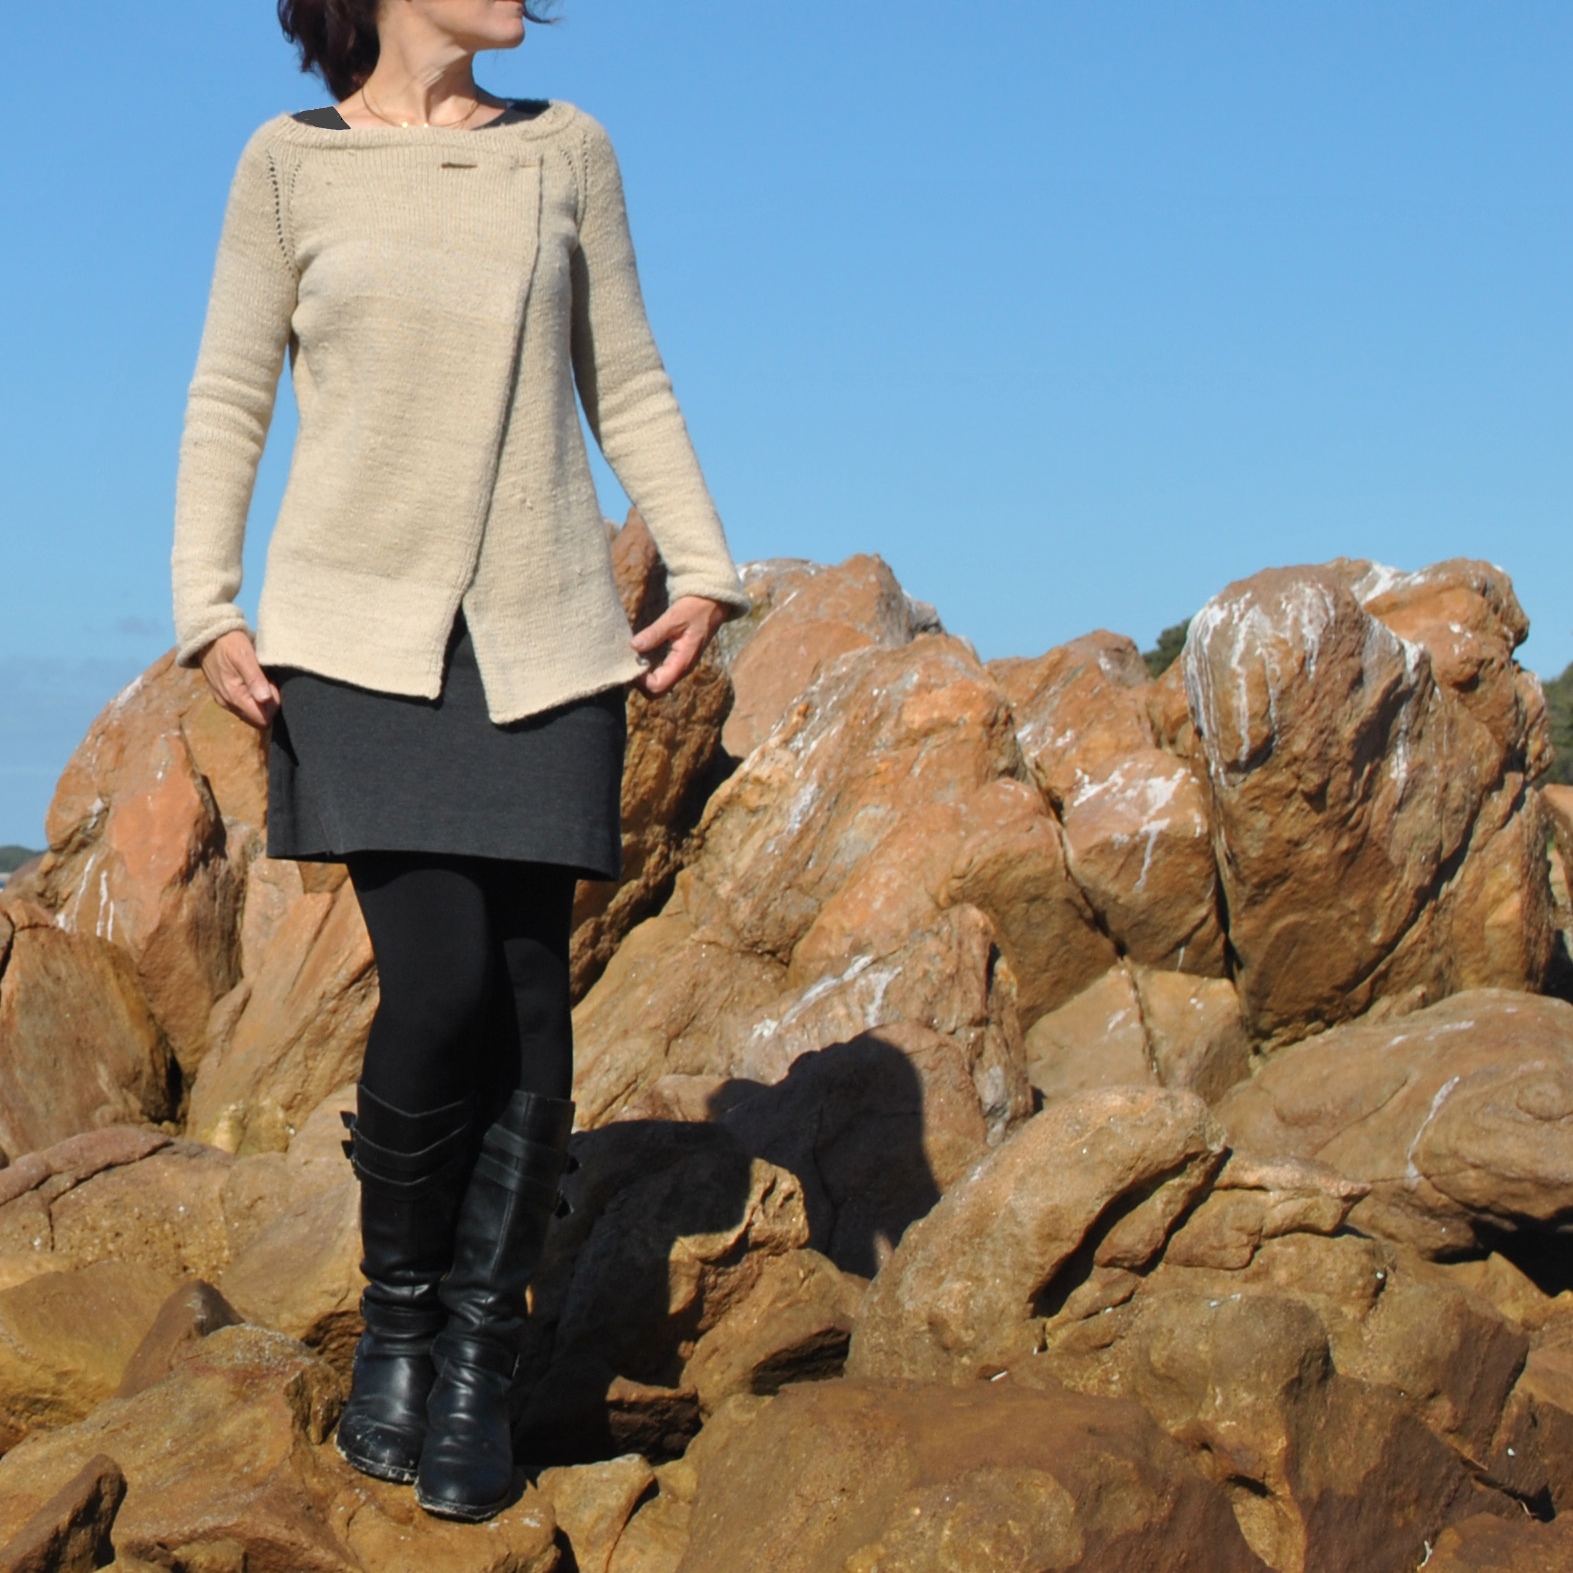
I used natural or undyed alpaca yarn from “white” alpacas, which when viewed objectively and ex situ is actually not even vaguely white at all really! but this lovely, very pale caramel colour.  So how apt that I should choose a pattern called “Caramel”!  
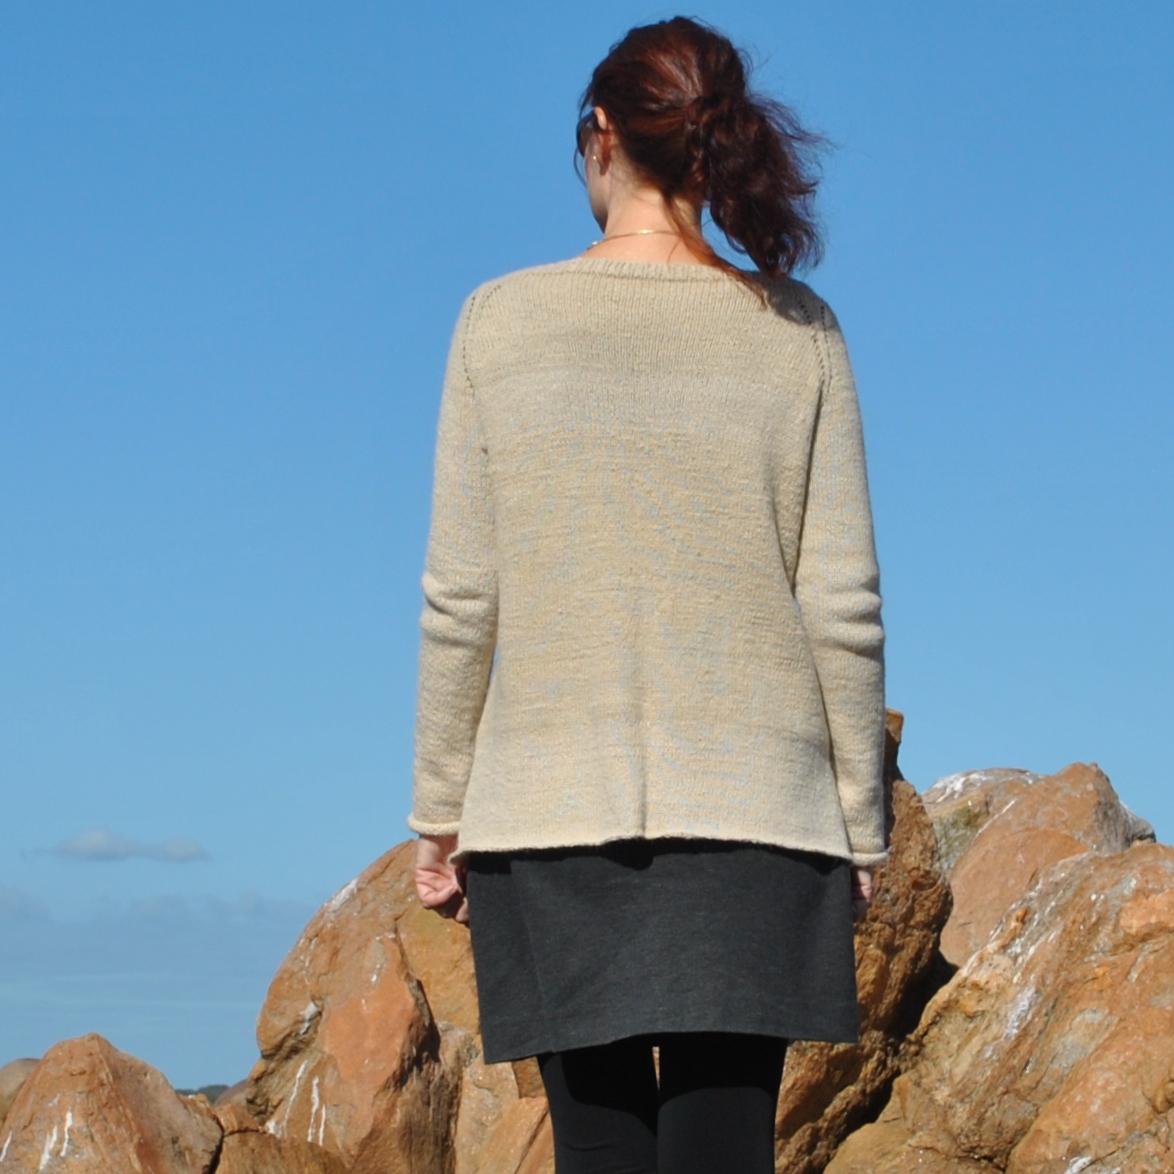
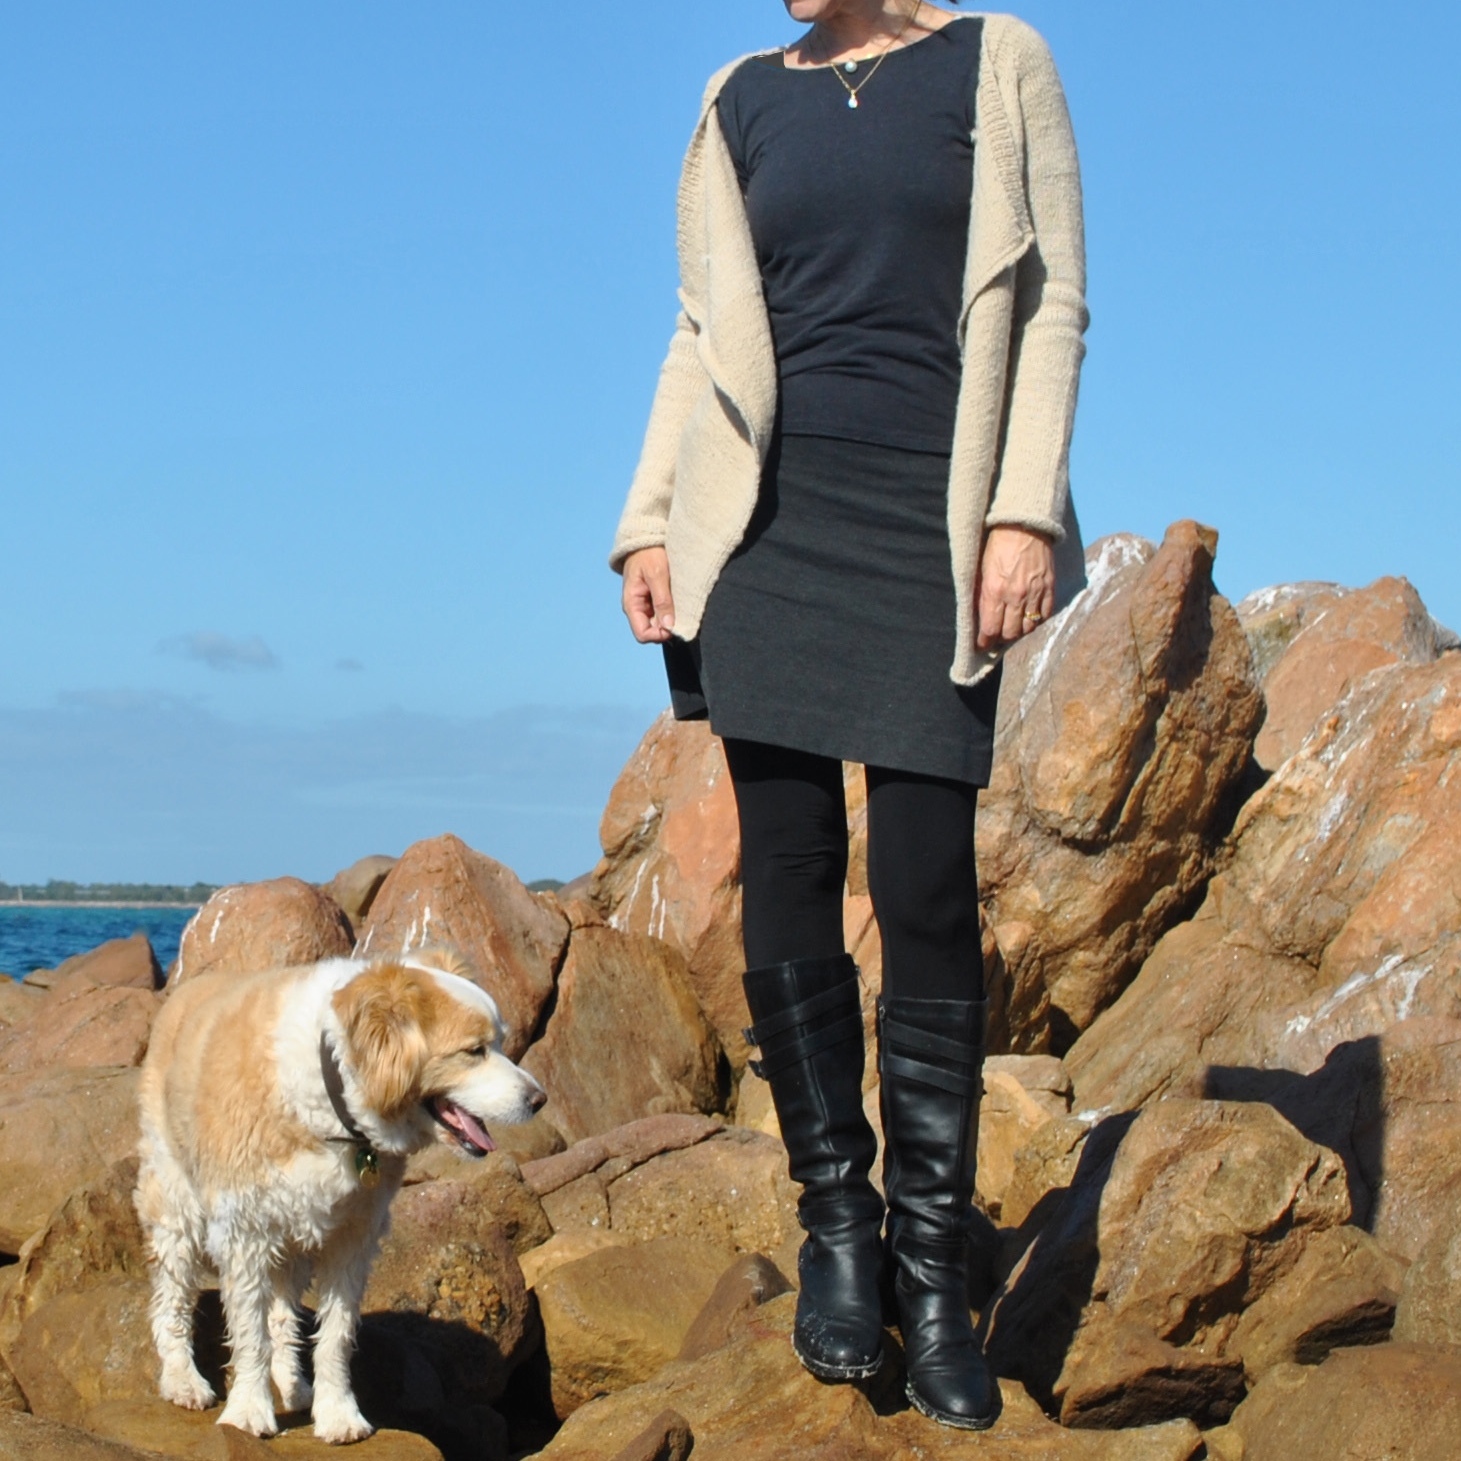
The Caramel blanket-style cardigan or jacket is designed by Isabell Kraemer, and is freeeee! available to download here on Ravelry.  Basically; I put the search words “free” “cardigan” “8ply” into the Ravelry search engine and this came up… I thought it a rather nice and elegant shape.    Well, “shape”; of course “blanket style” is basically another way of saying “giant rectangle with sleeves”… anyway I love how it looks loose with the fronts gently draping upon themselves, the points hanging down longer than the back.
My Caramel is knitted pretty much to the pattern; with just a few minor variations. Obviously mine has no real stripes.  My sleeves and body are much longer.  Also, I left off the the decorative? purl side seam stitching and the ribbing off the sleeves and lower edge.  In the process of knitting I decided I really preferred the streamlined look with slight curl-up of the ends that you get with no ribbing.  I had initially finished a sleeve lower edge with ribbing, to trial it; but then I unravelled that bit and redid the edges sans ribbing. 
Plus; and herein is a huge advantage of a top-down knitted design, I just kept on knitting knitting knitting until I had used up all my wool, then cast off that lower edge.  It’s a lot easier to do that if you know you don’t have to allow for ribbing.
Result; barely no leftovers!  Win!

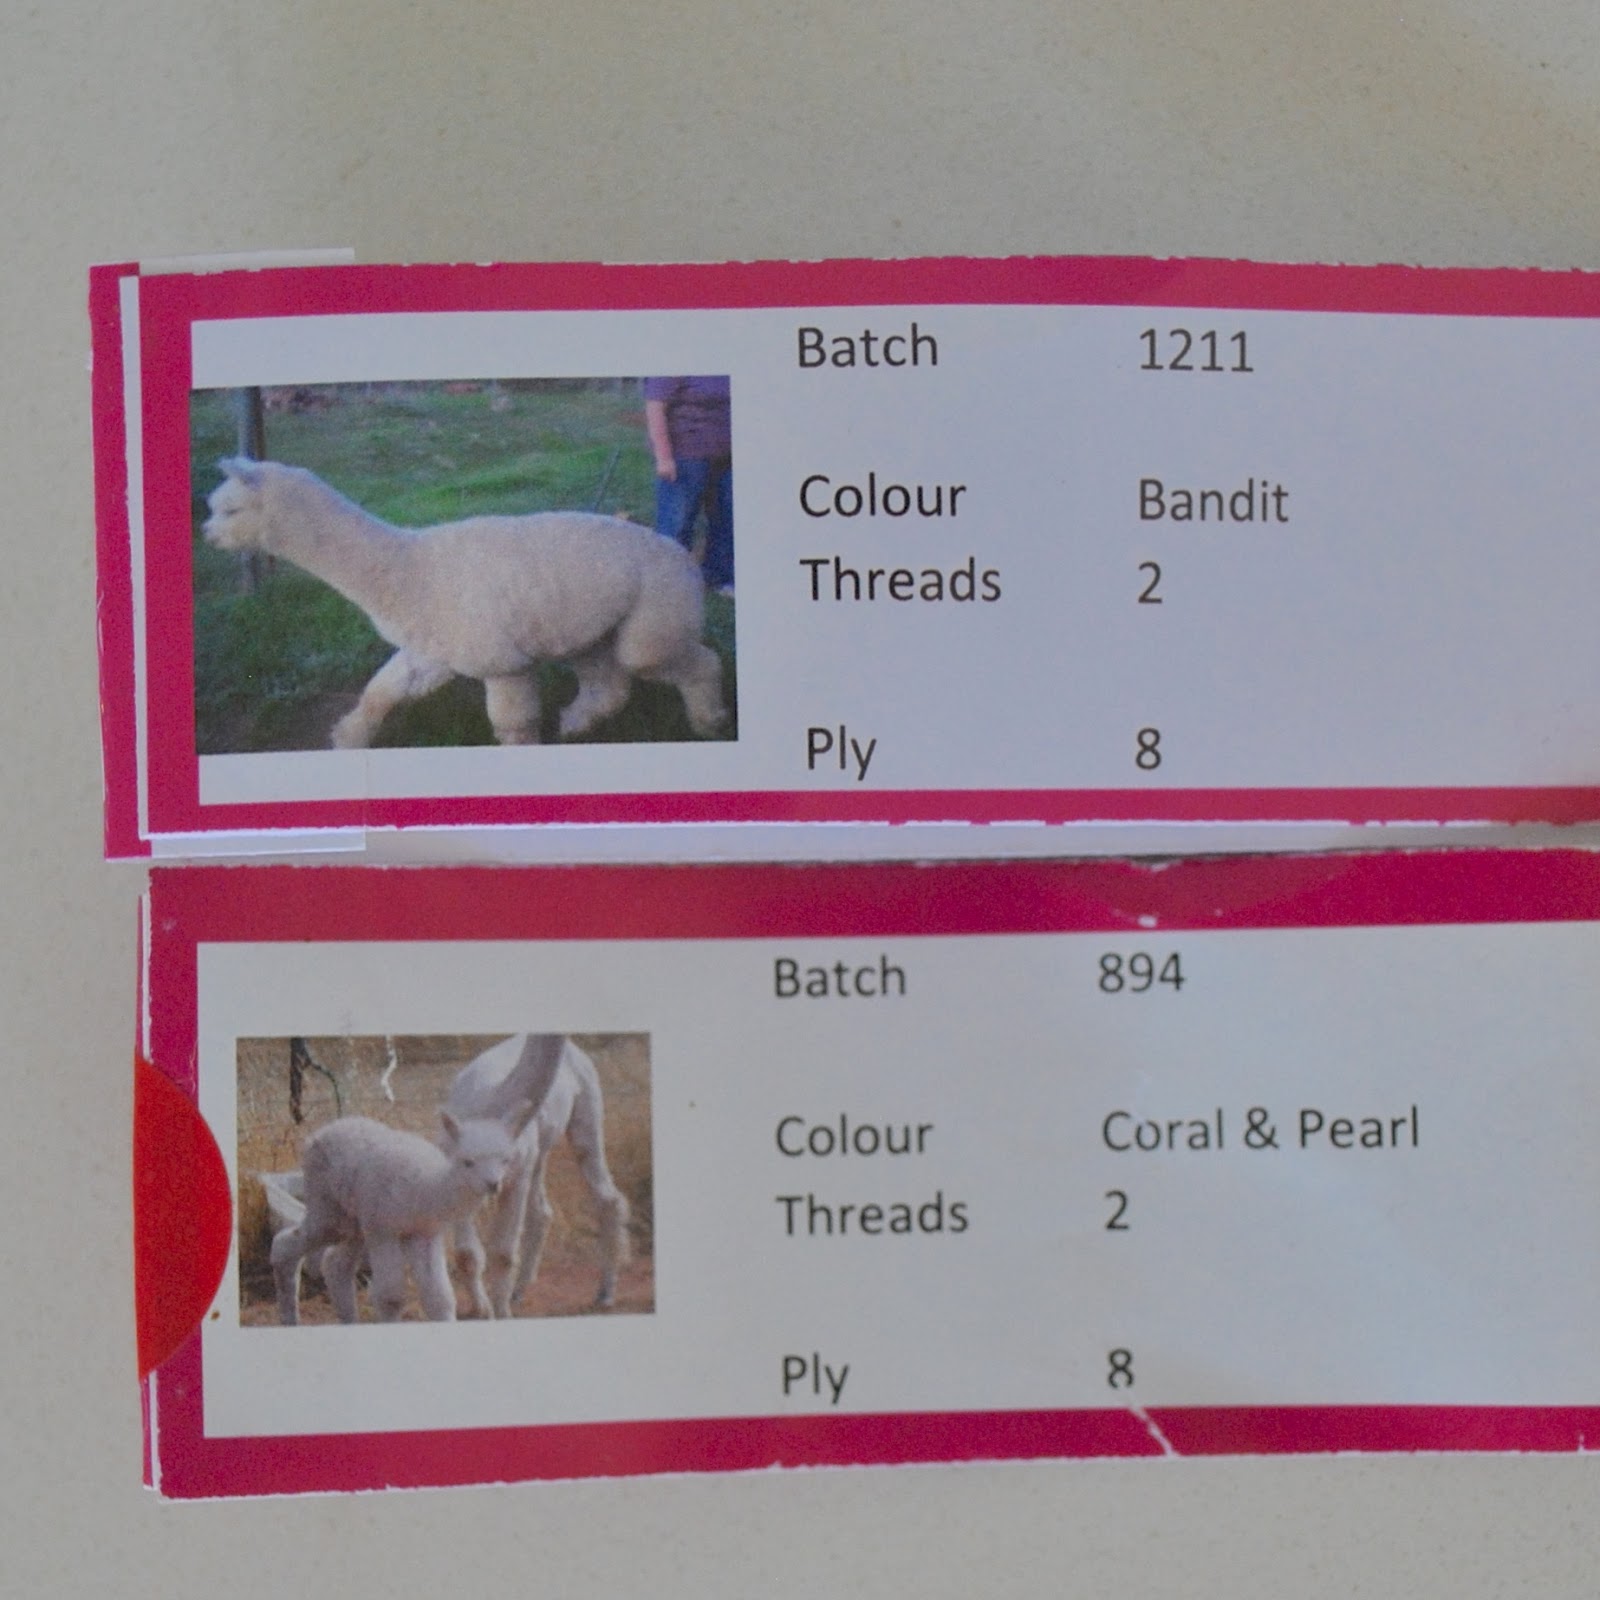
One thing about the Fibre of the Gods yarn that I really really LOVE! is how Hazel and Michael have labelled the balls with the name of the animal along with a little picture of them.  So I know that my alpaca yarn came from Bandit, Coral and Pearl. 
Hey, guys! Thanks so much for the shirts off your backs… figuratively speaking.  ðŸ˜‰

I did notice some slight variation in the shade of the yarn, due to the slight variations in the three alpacas’ different natural colourings.  I find these subtle “stripes” quite charming.
 subtle stripes are very subtle

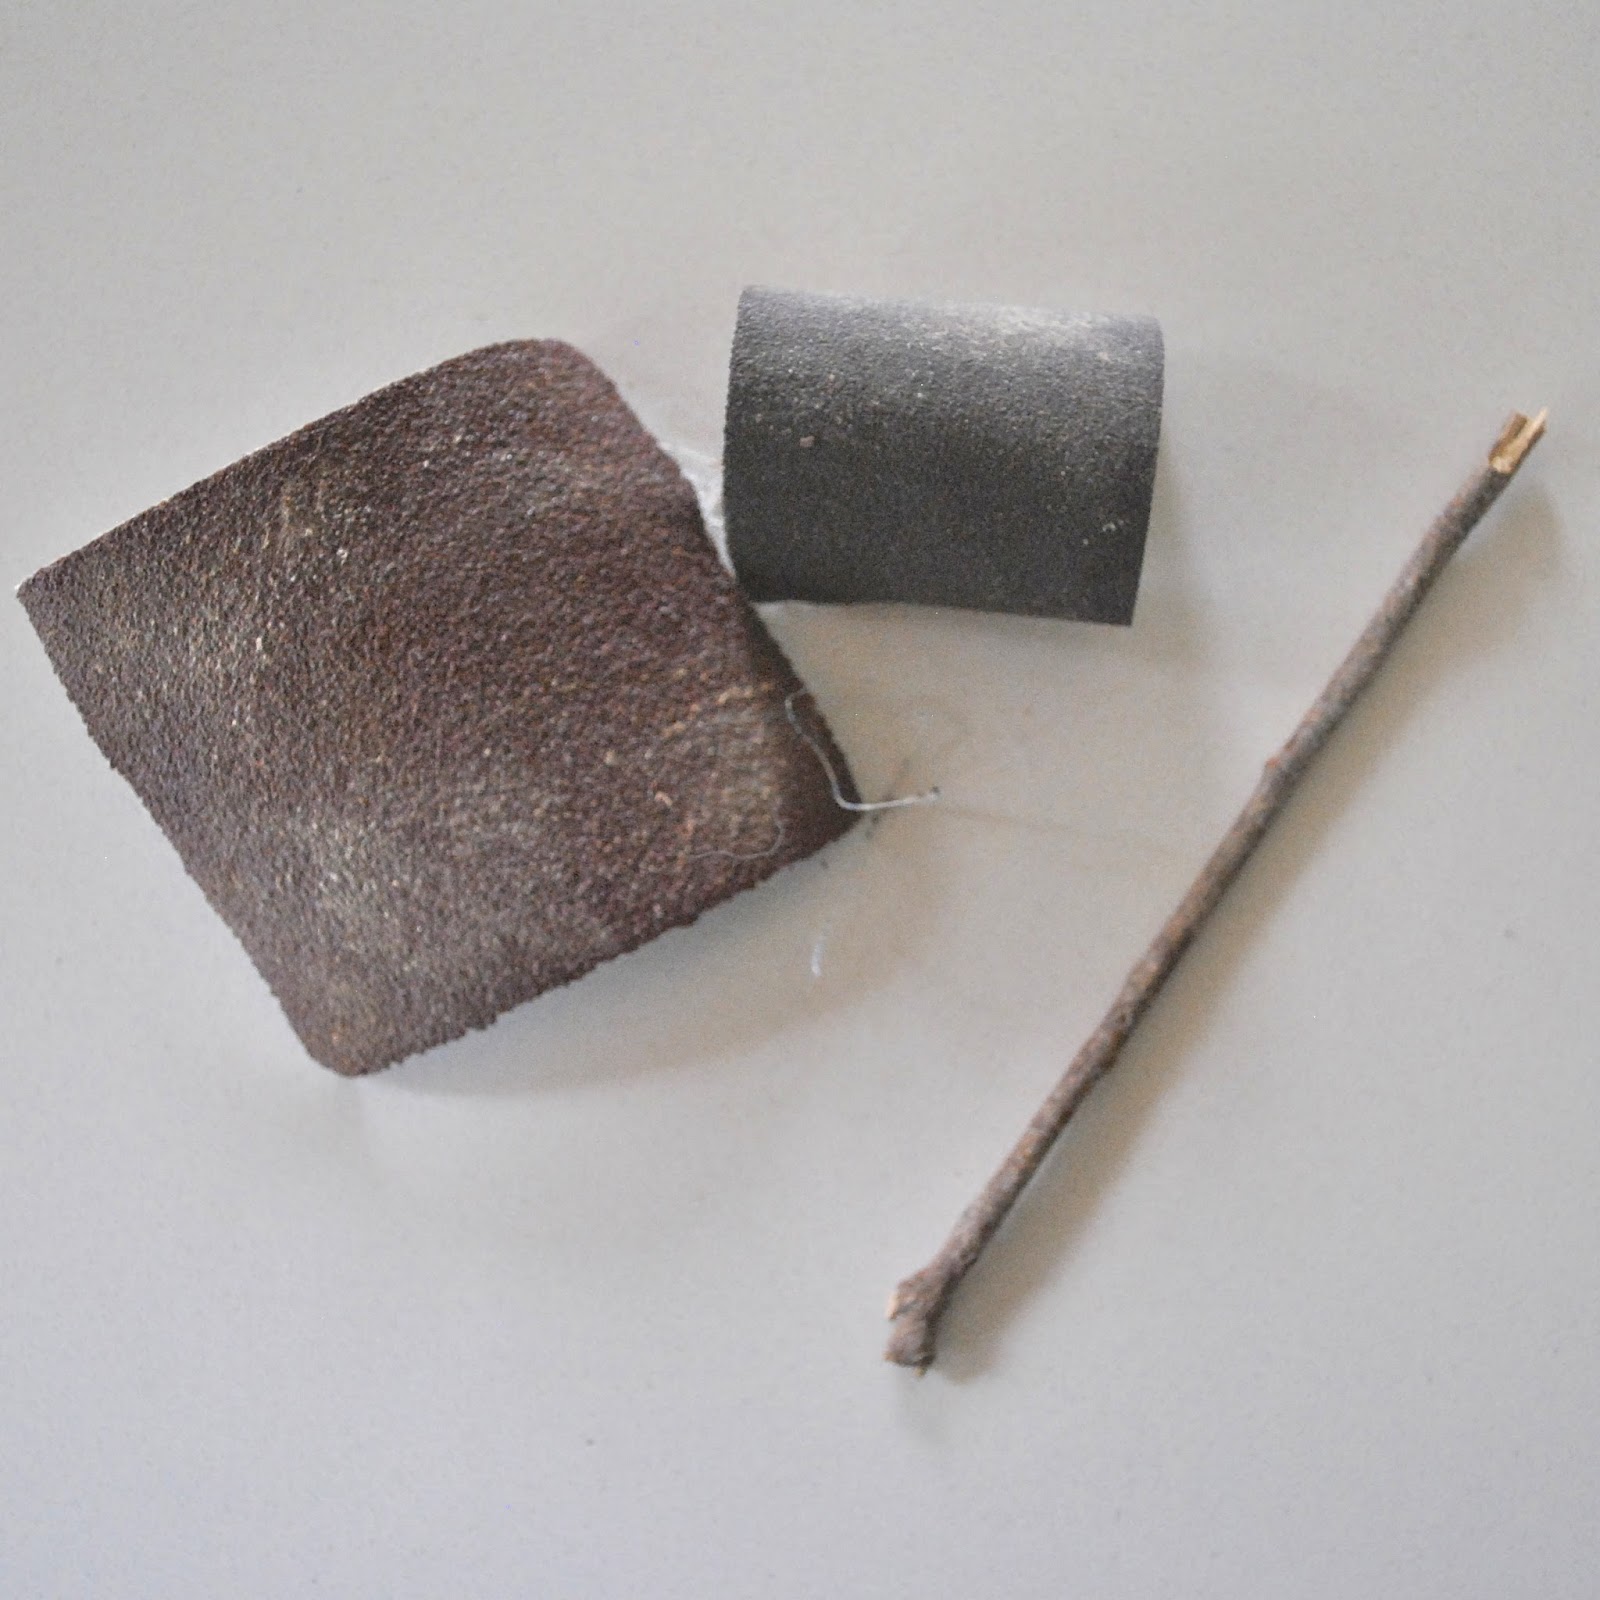
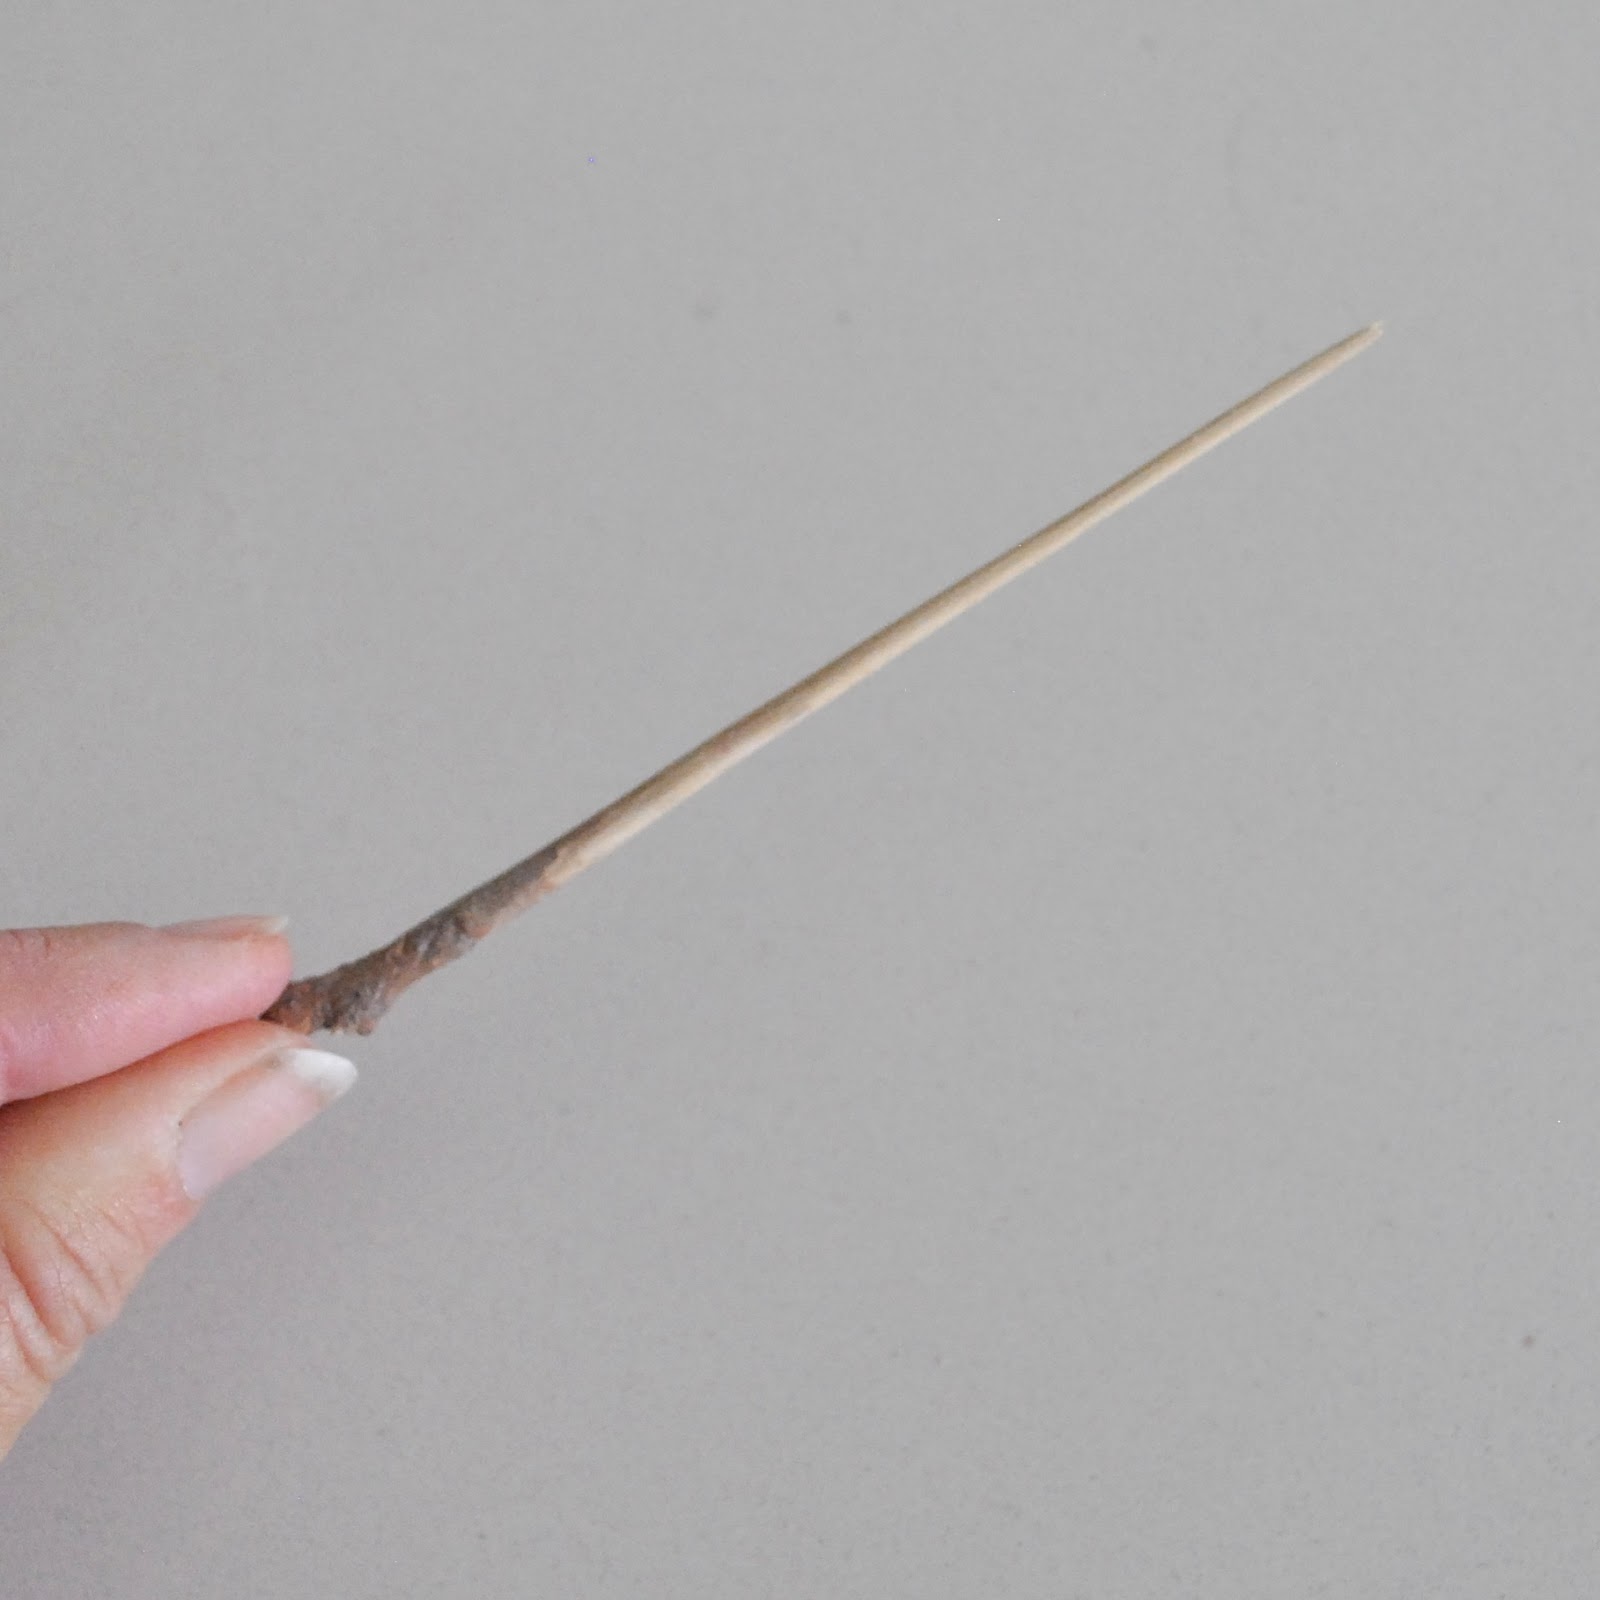
I also made a little wooden “pin” to hold the cardigan closed if it’s cold; by sanding down a nice and straight, little stick, found on my morning walk.  It’s local obviously, so it too fits in with my one year one outfit challenge!

I can’t decide if I prefer my cardigan open or closed; I think I like it both ways equally!

Details:
Cardigan; hand-knitted by me, the Caramel pattern by Isabell Kraemer, natural alpaca yarn from Fibre of the Gods mill in Toodyay.
Tshirt; own pattern, blue jersey over dyed black, details here
Skirt; own pattern, charcoal ponte, details here
Tights; own pattern, black stretch poly, details here
Socks; not seen, hand-knit by me from Noro wool yarn, details here

pinterestmail

not quite so baggy, blue pants

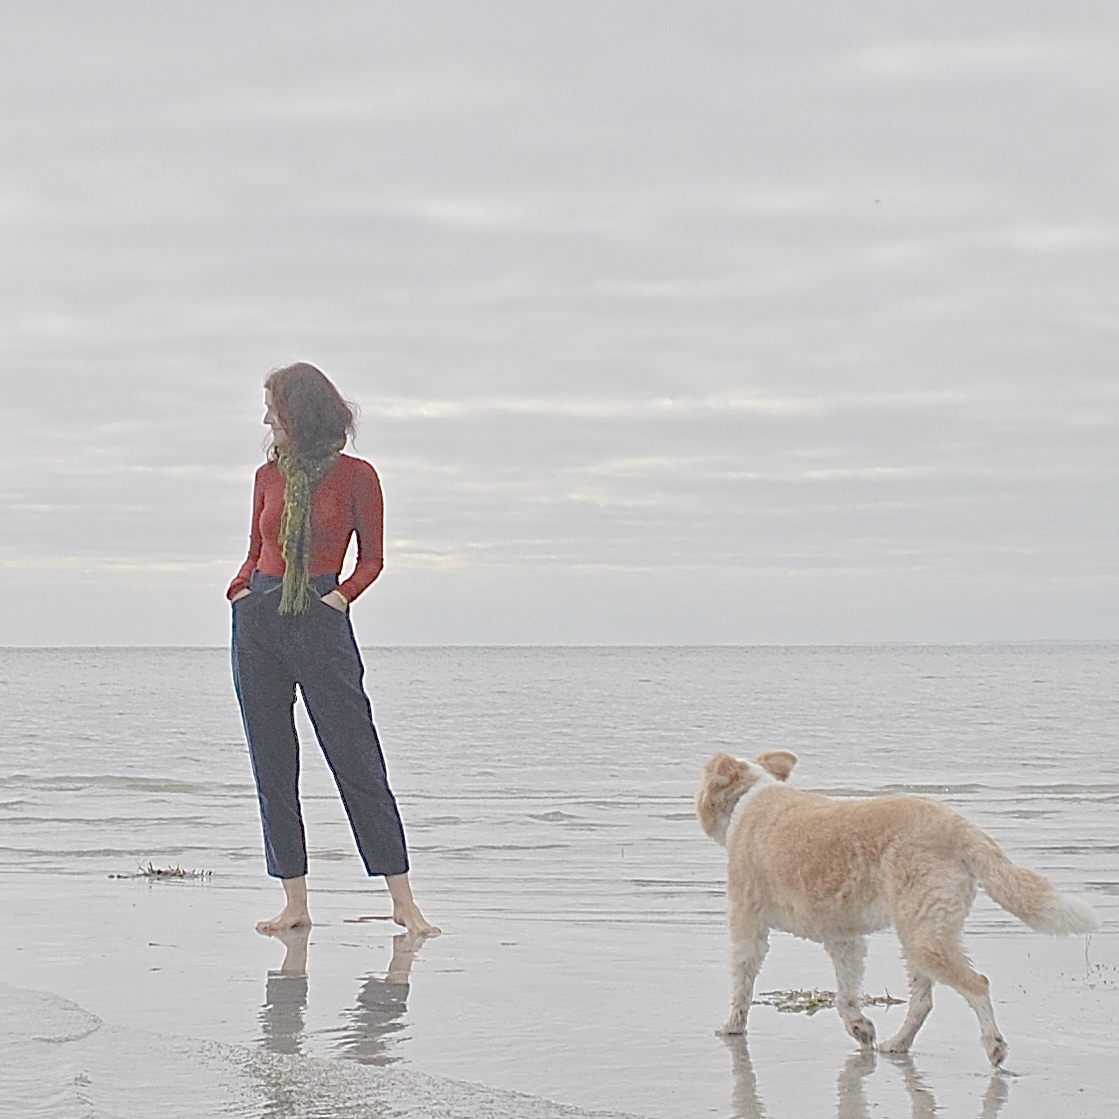
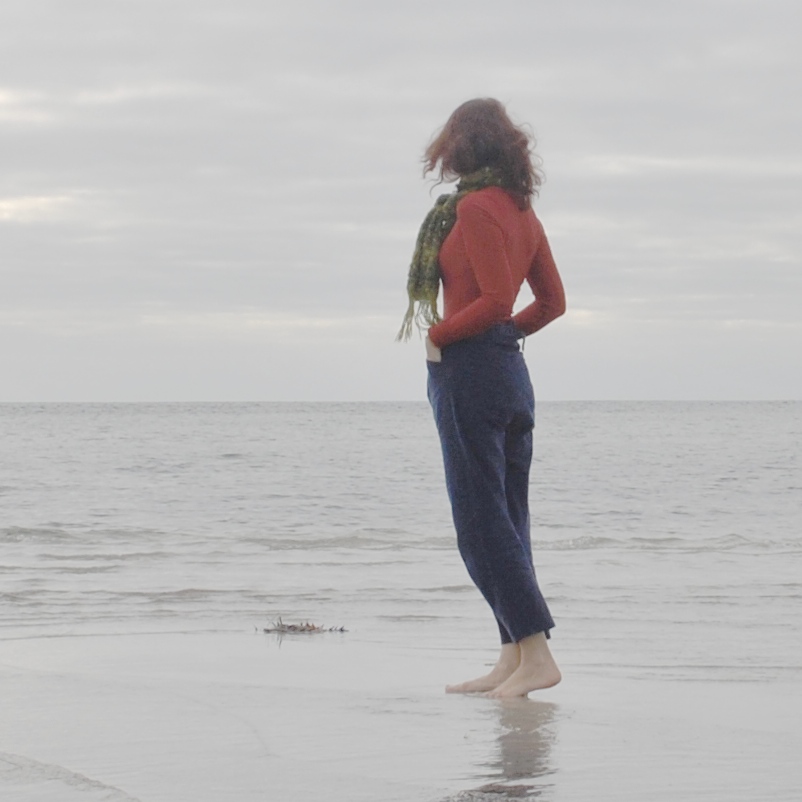
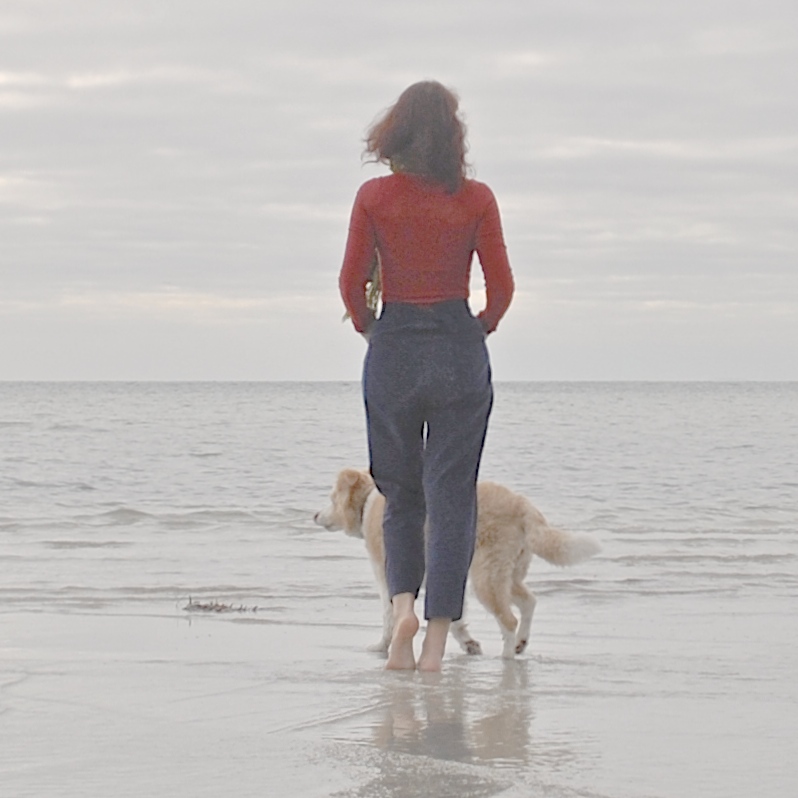
Remember these trousers below? well, they’ve had a little makeover!

before…

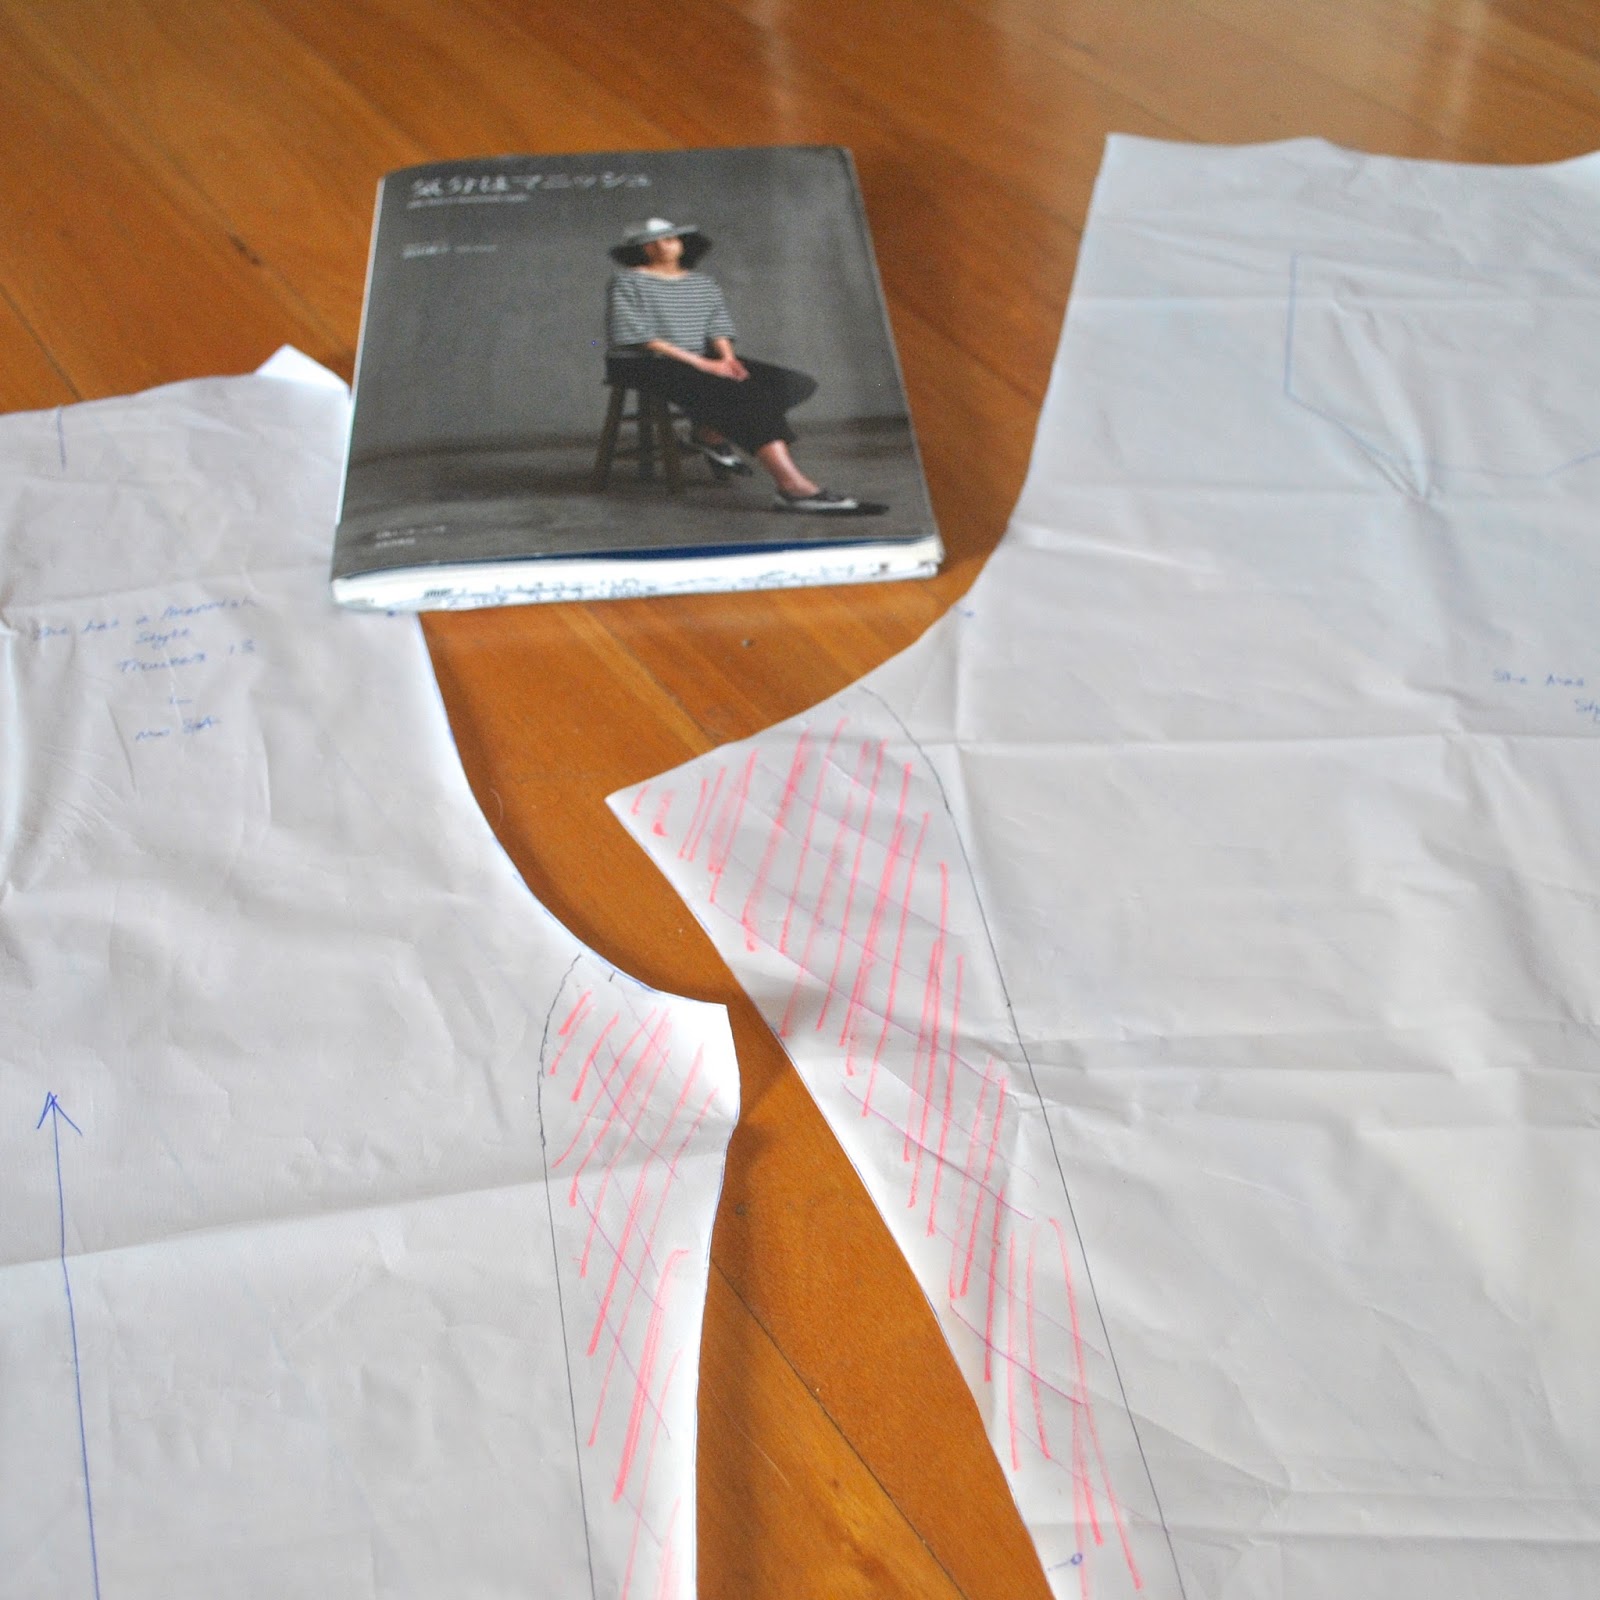
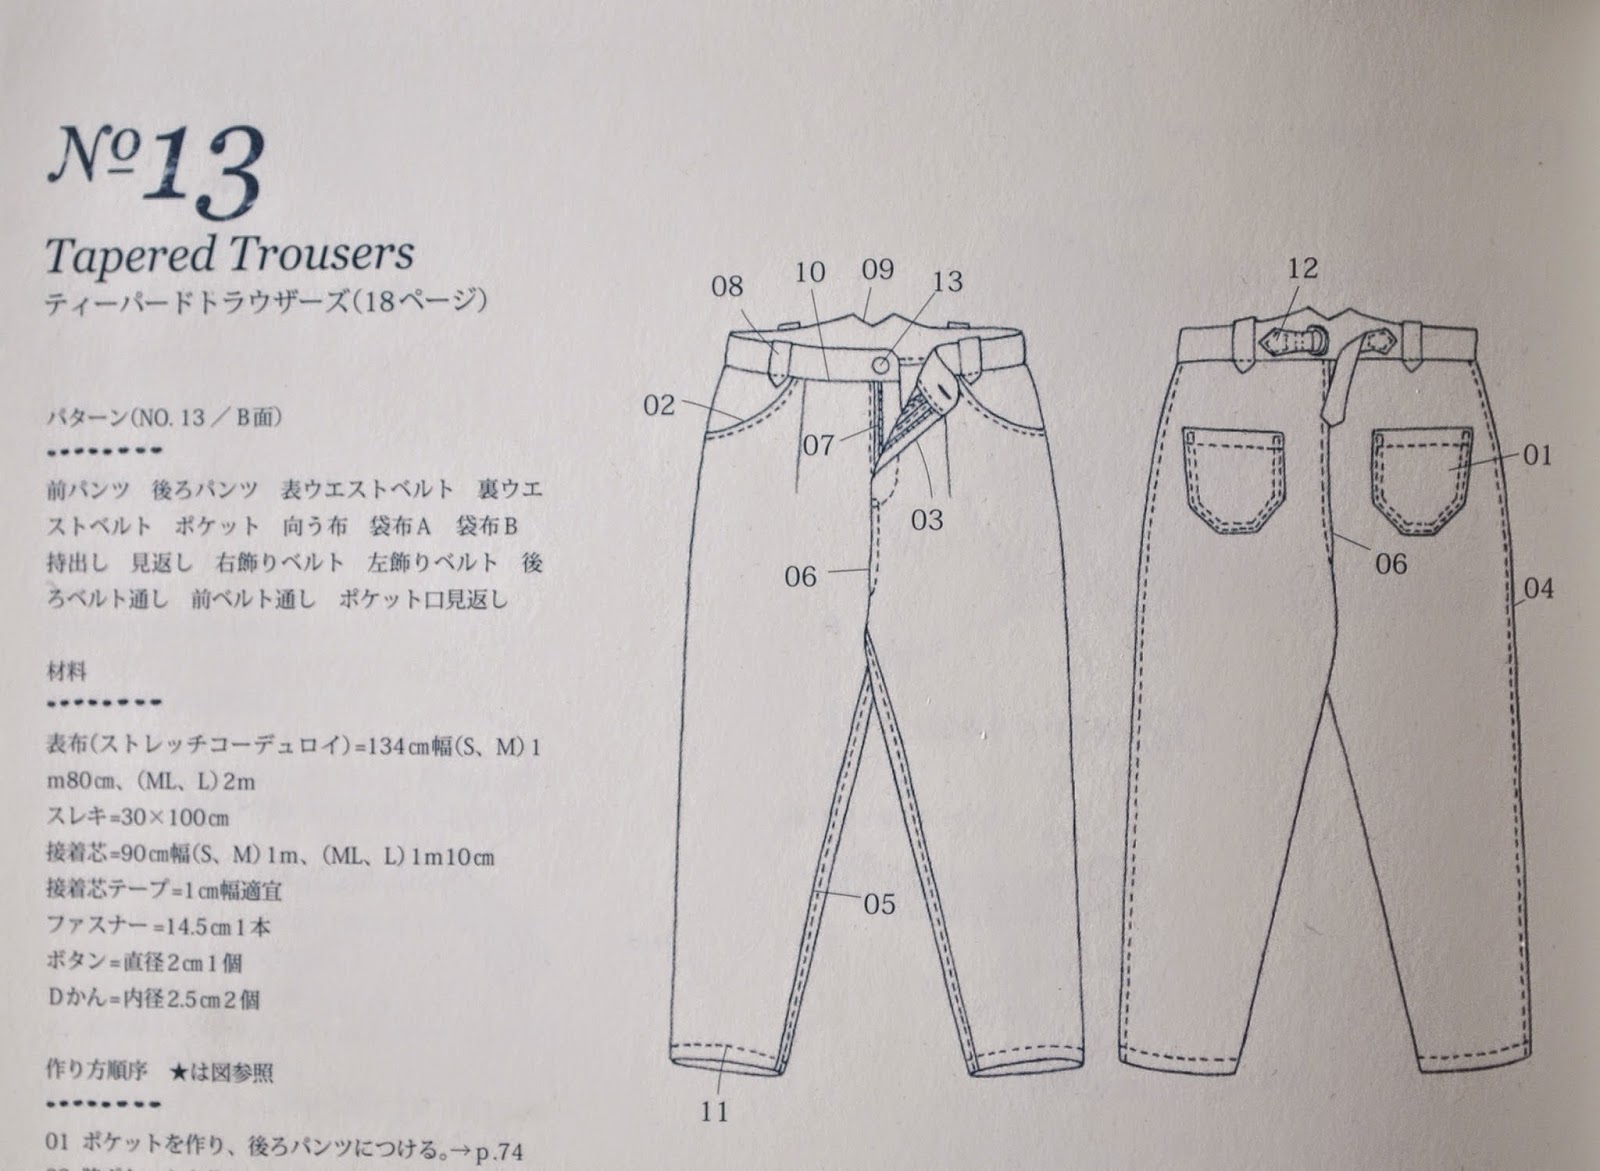
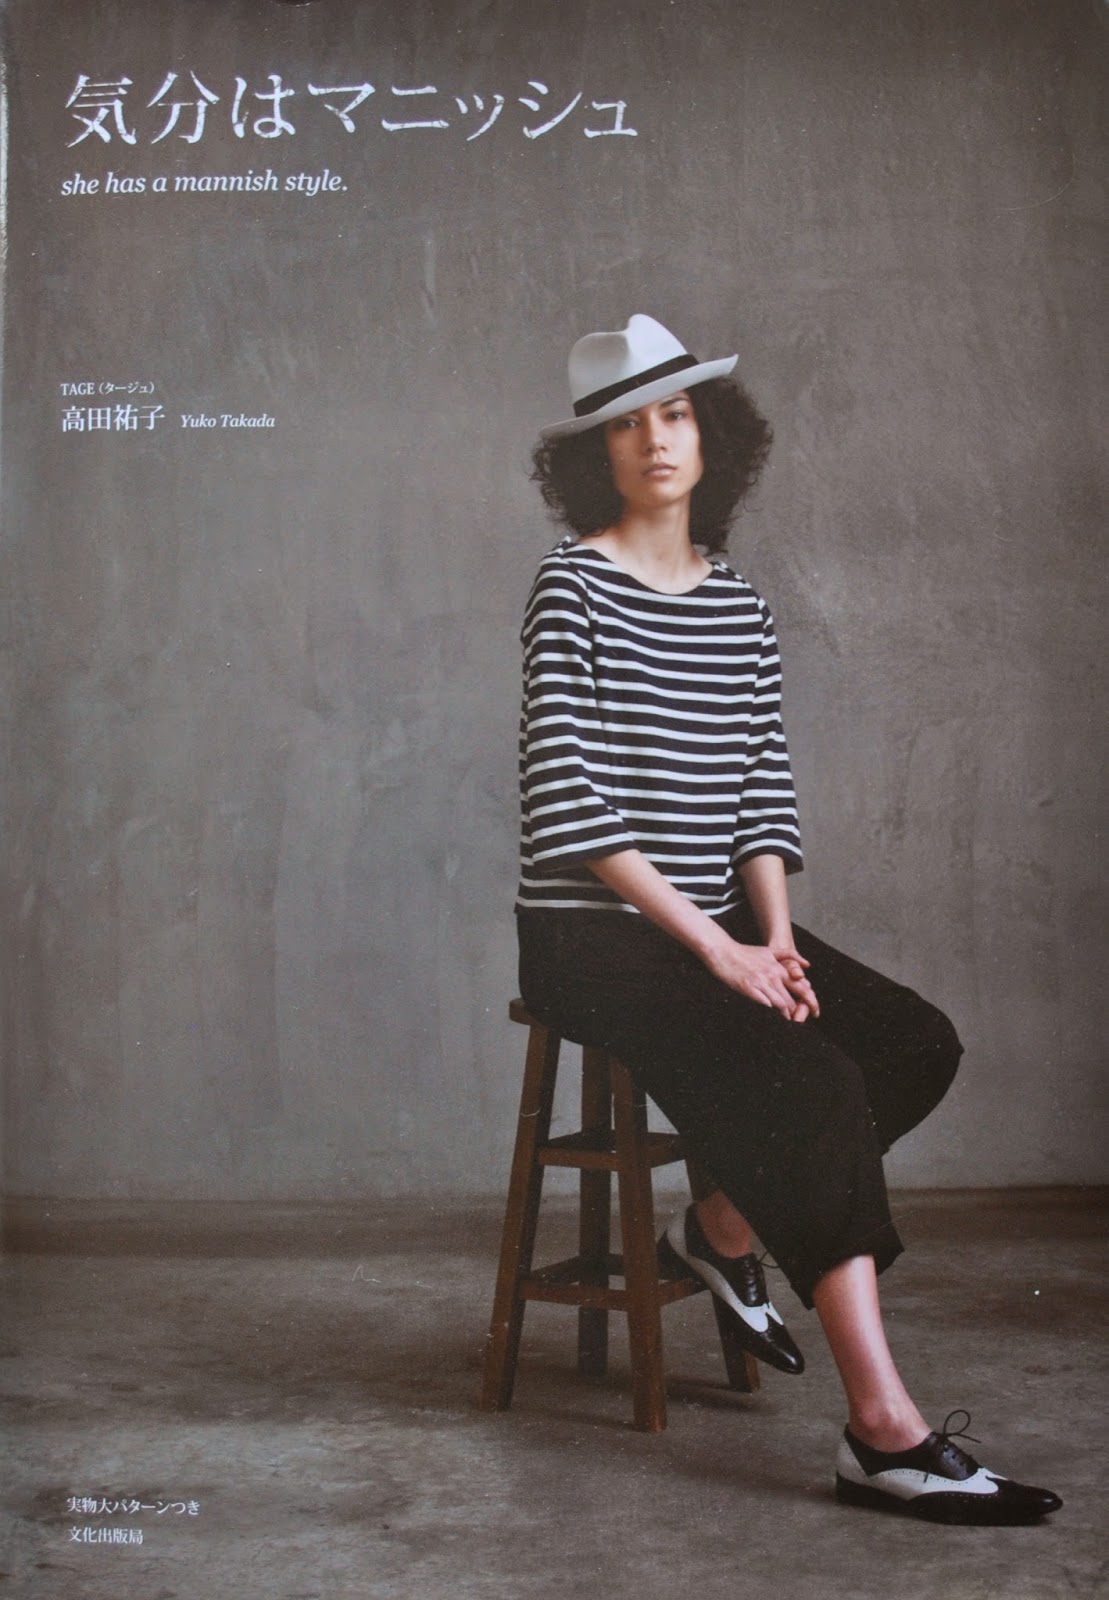
These are the tapered trousers from “she has a mannish style” a Japanese pattern book by Yuko Takada.  Renamed “She Wears the Pants” for the English version of the book, in spite of the fact that there are very few patterns for pants in there.  Bad re-name, imo.  Very misleading.
Anyway, this wasn’t a drastic re-vamp, but to my mind they look waaaay better now.  I removed a tonne of dropped-crotchedness from these trousers; and I realise that’s not an actual word… and now things are a lot more streamlined and far less, er, nappy-like, perish the thought.  
Pre the re-do, I was all happy and “how cool are these?”, and then the second time I reached for them… well an “o my gawwwwd” lightning bolt struck.  It was like; I’d had a fun first day, wearing something new and cool and funky and out-there, but now I just wanted some nice pants, thank you very much.  
I had to Do Something and just grabbed my unpicker… *inner screaming* JUST DO IT!!!!!!

Capricious is my middle name, don’t you know.   Anyway, I capriciously ripped open the crotch and almost the entire of each inside leg seam.  Followed by some non-capricous, actually quite careful experiments; pinning/trialling new crotch curves within the constraints of the existing curve.  Luckily the legs had enough cloth area that I could get a nice new curve that I decided was reasonably flattering to my be-hind, ahem.  I ended up cutting away a big wedge off of each inner leg edge: 5.5cm from each of the front inner leg top edges, and a whopping 8.5cm from each of the back inner leg top edges; in each case tapering all the way down to nothing at the lower hem.  And re-sewed it all up again. 

that taper goes nearly all the way down to the lower hem

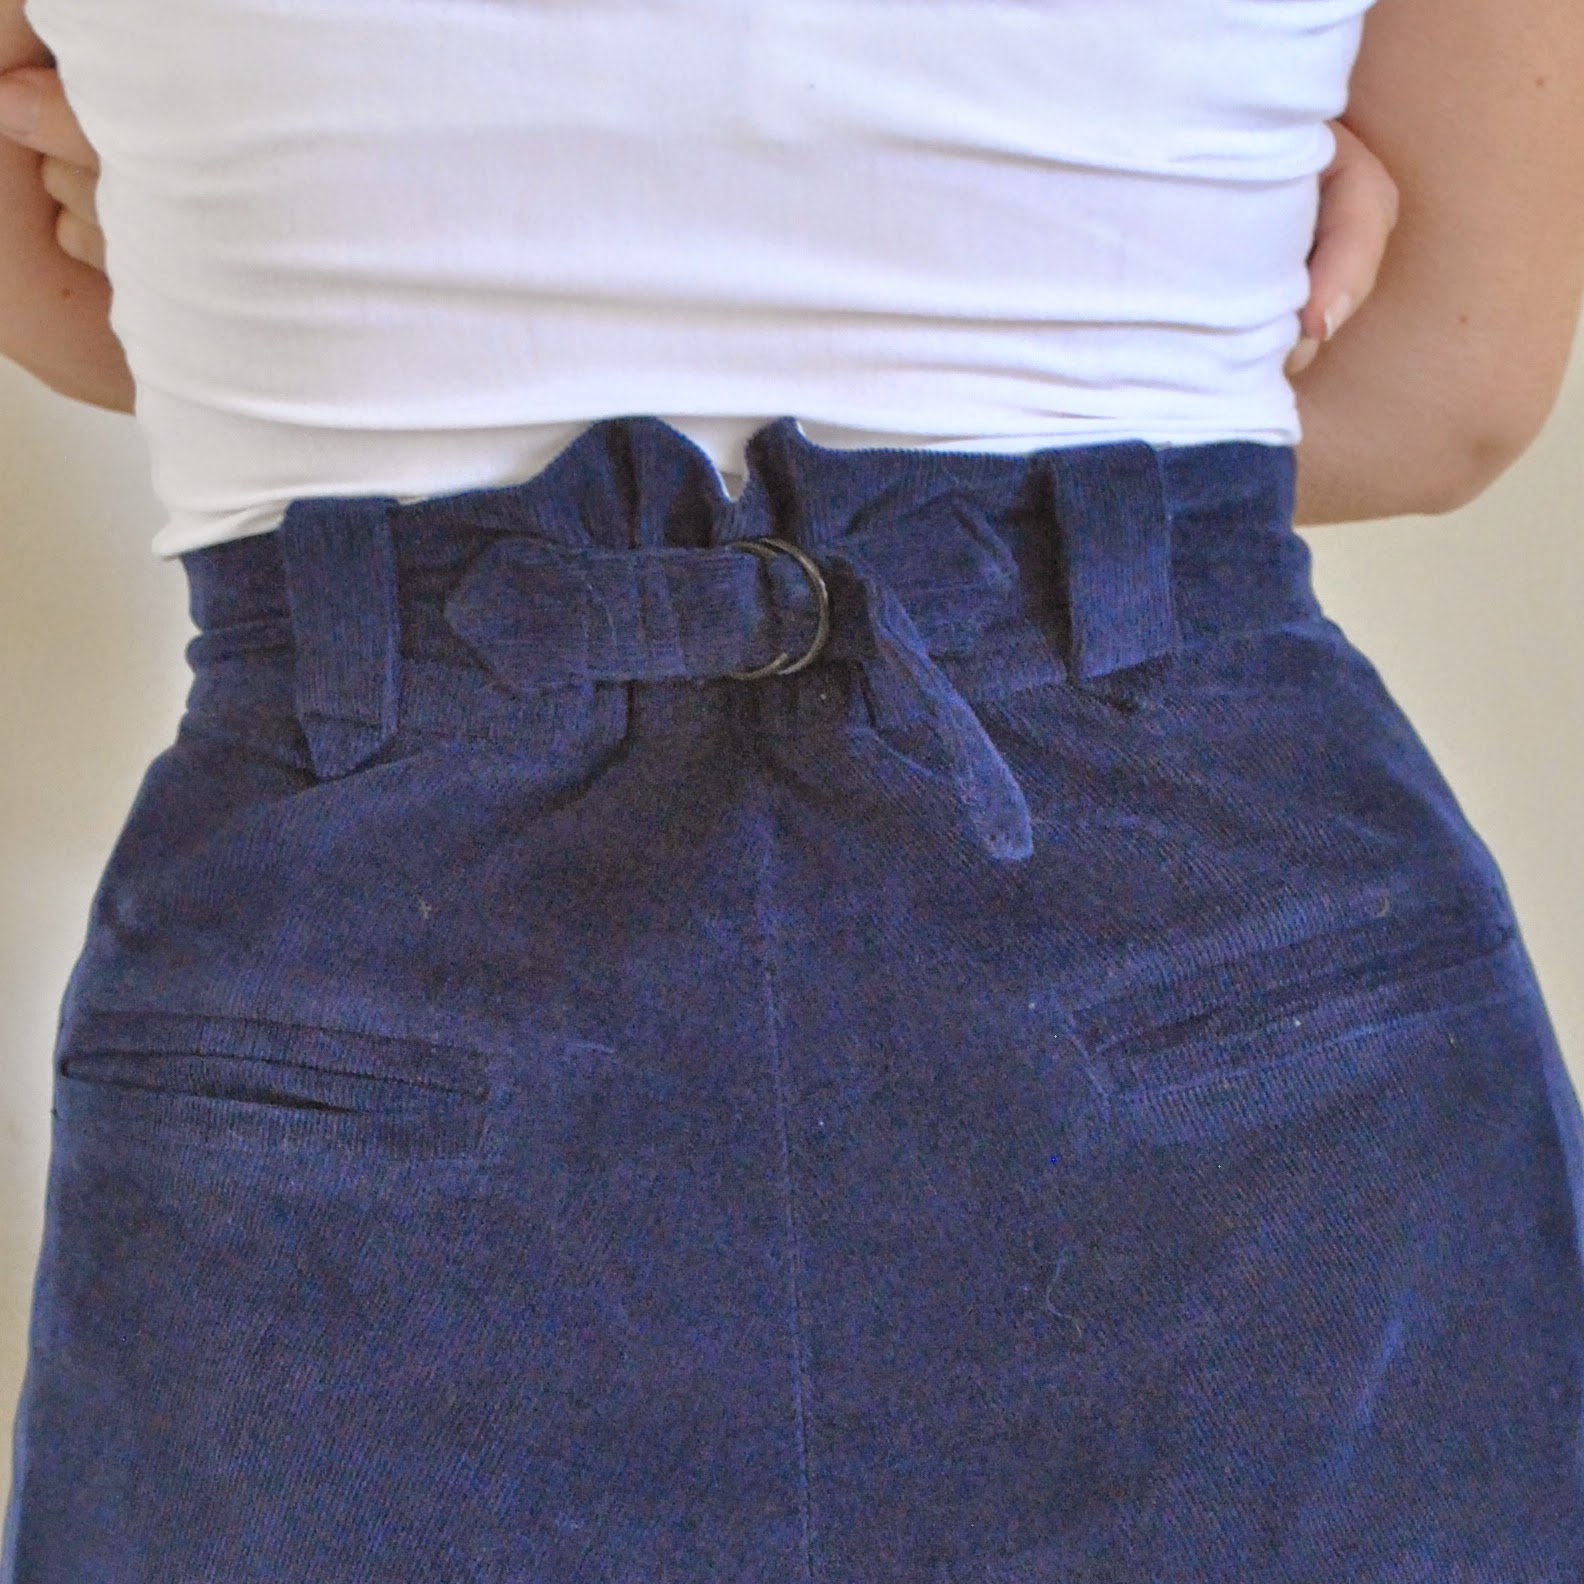
Everything else is still the same, including this back belt that I really love.  It’s a nice feature to the back, and cinching in the waist to define it is a good idea in an otherwise rather loose and baggy style.

And now?  I’m satisfied  ðŸ™‚

Details:
Trousers; tapered trousers 13 from the Japanese pattern book “she has a mannish style” (also known as She wears the Pants) by Yuko Takada, modified, blue cotton corduroy
Top; Nettie bodysuit by Closet Case patterns; burnt orange stretch, details and my review of this pattern here
Scarf; a kit from Ivy and Maude (now Calico and Ivy), knitted by me, details here

Sorry for the slightly blurry side and back view photographs… only upon setting up did I discover that the battery was flat in my remote, meaning I had to set the self timer and sprint out in front of my camera!  I think it didn’t know what to focus on!  However, consequently I was far more economical in my picture taking; these three are literally the only ones I took.  Probably a good thing, and maybe it’s what I should always do!

pinterestmail

adding lining to a skirt; some tips

Plenty of skirt patterns do not come with separate pieces nor instructions for adding a lining to the skirt.  And often you want a lining; particularly in a winter skirt that you wish to wear with tights.
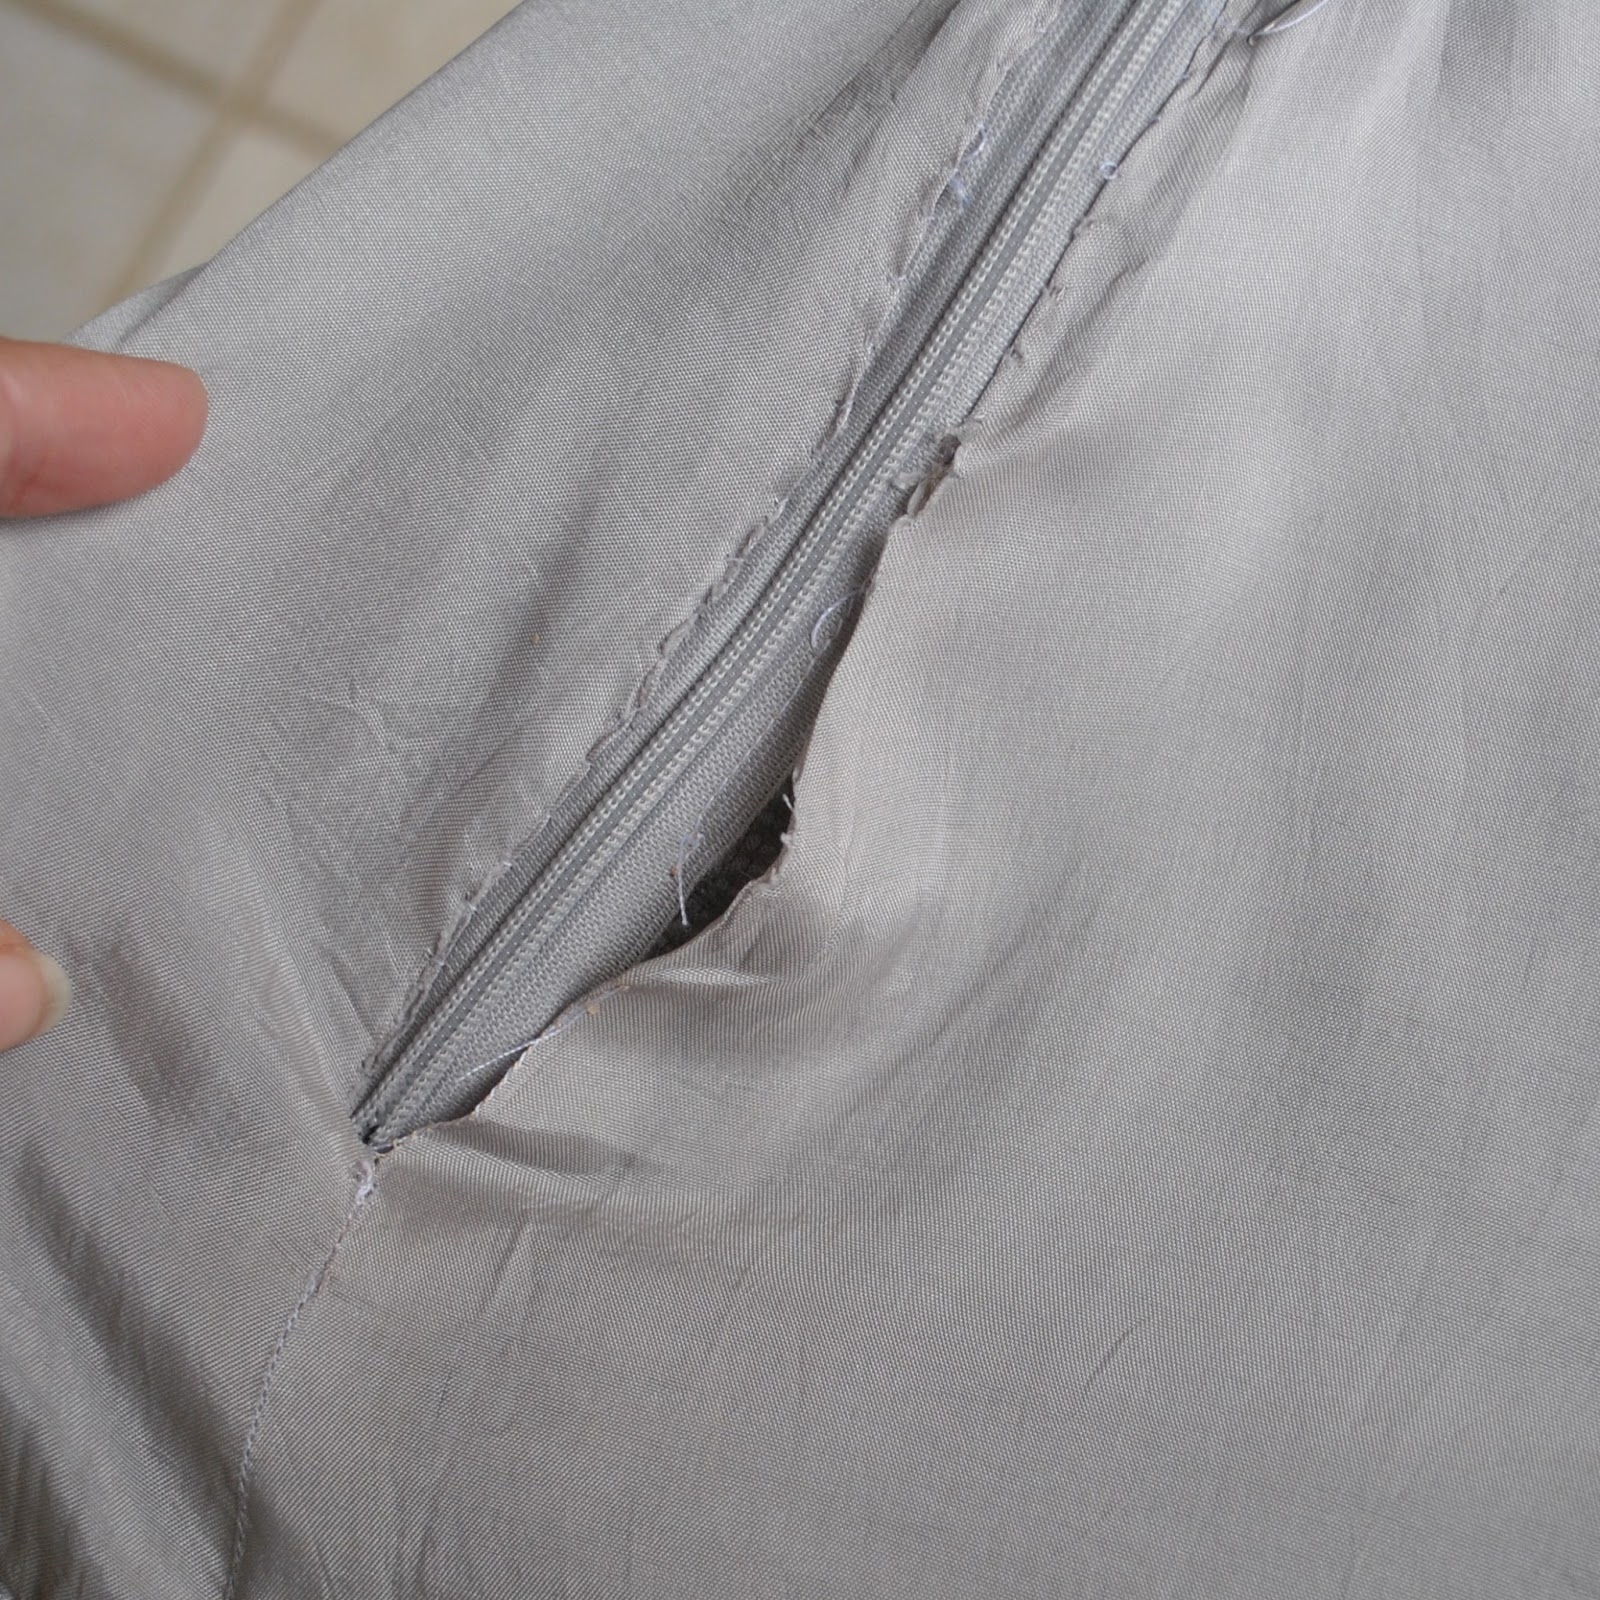
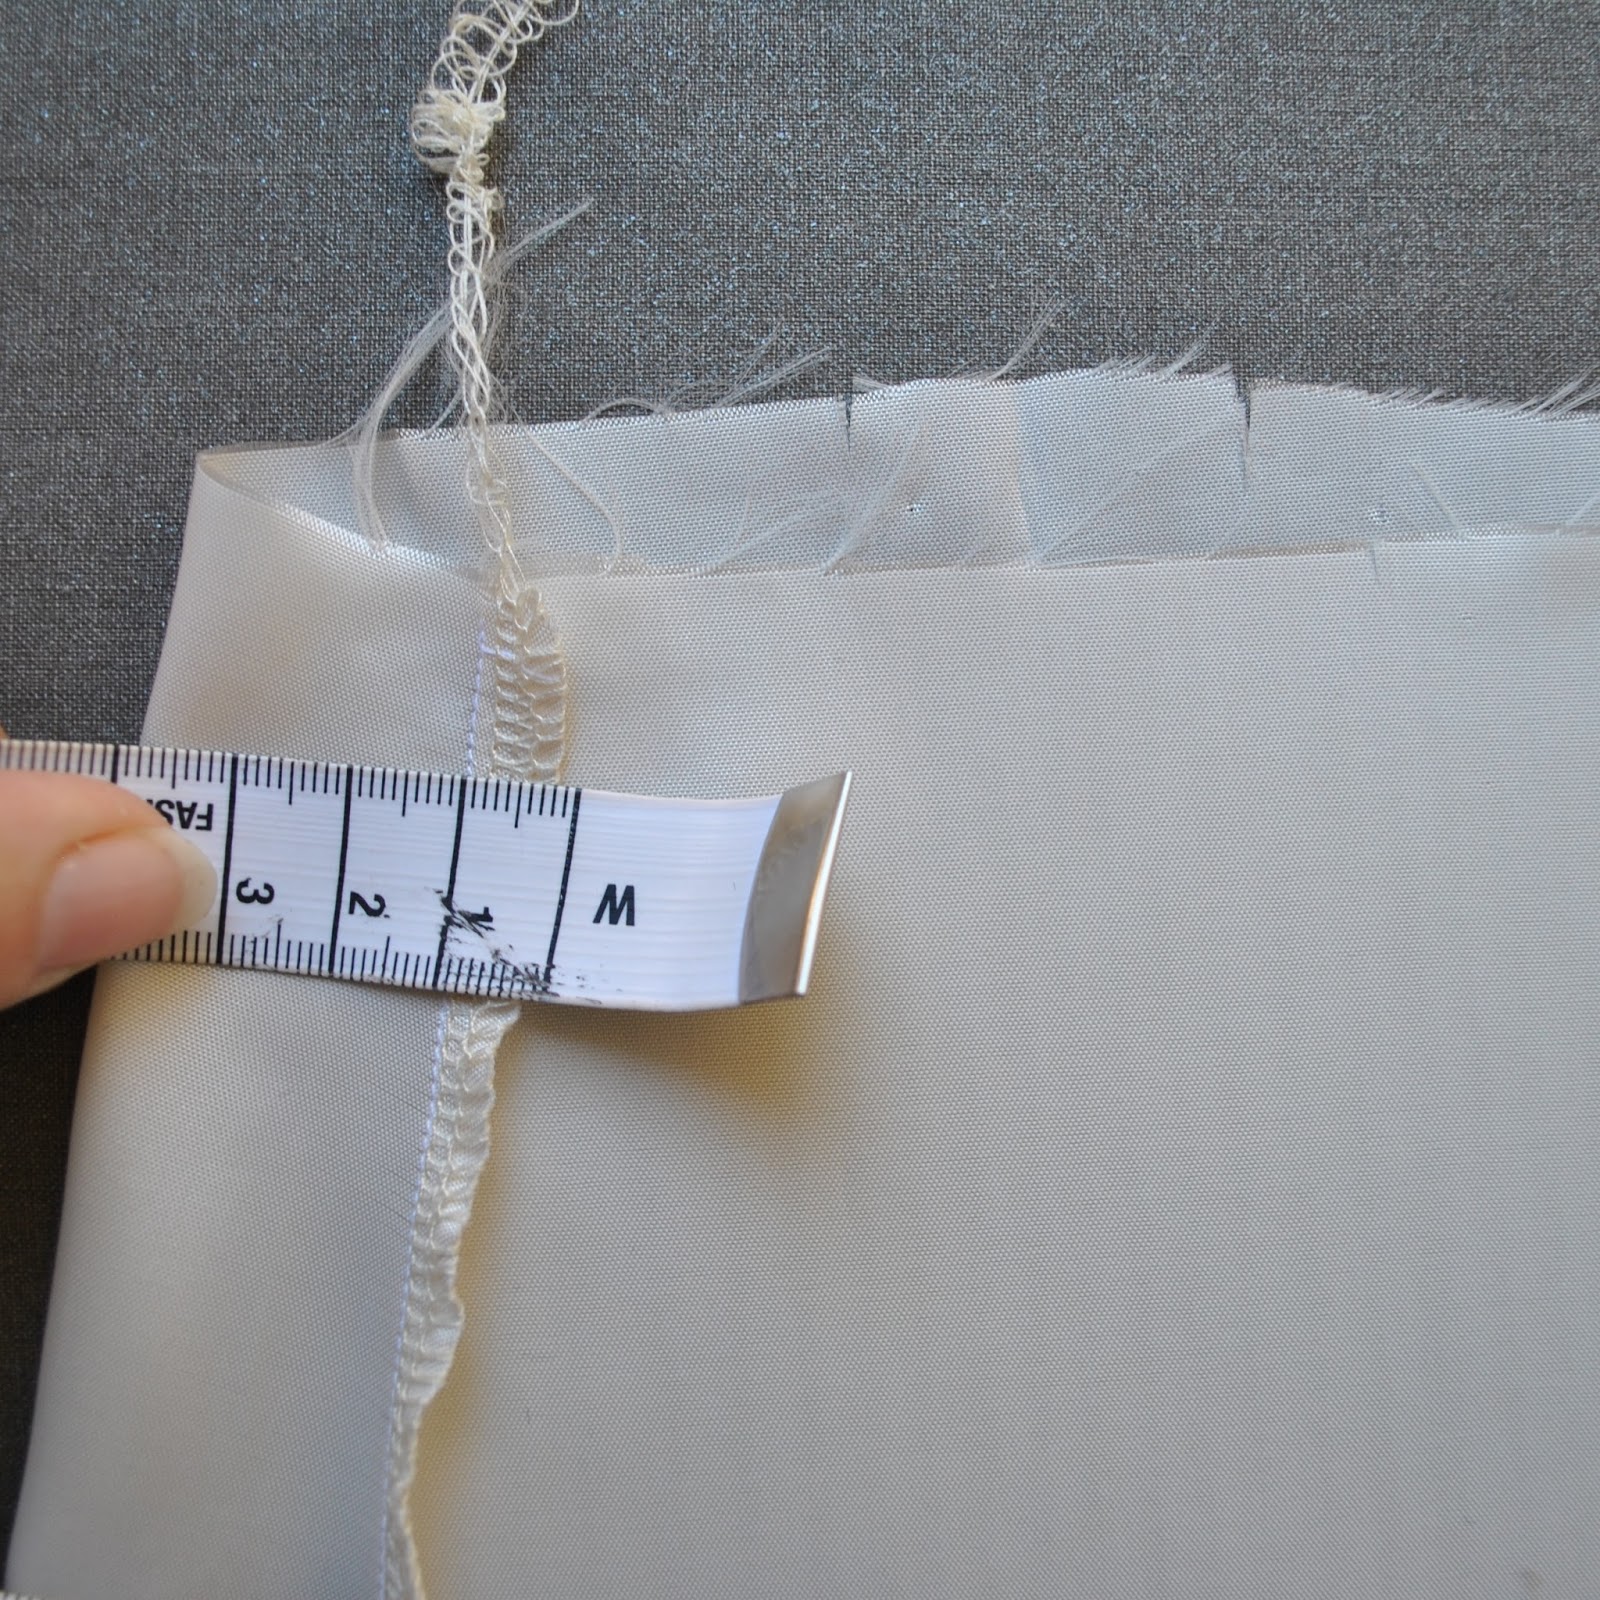
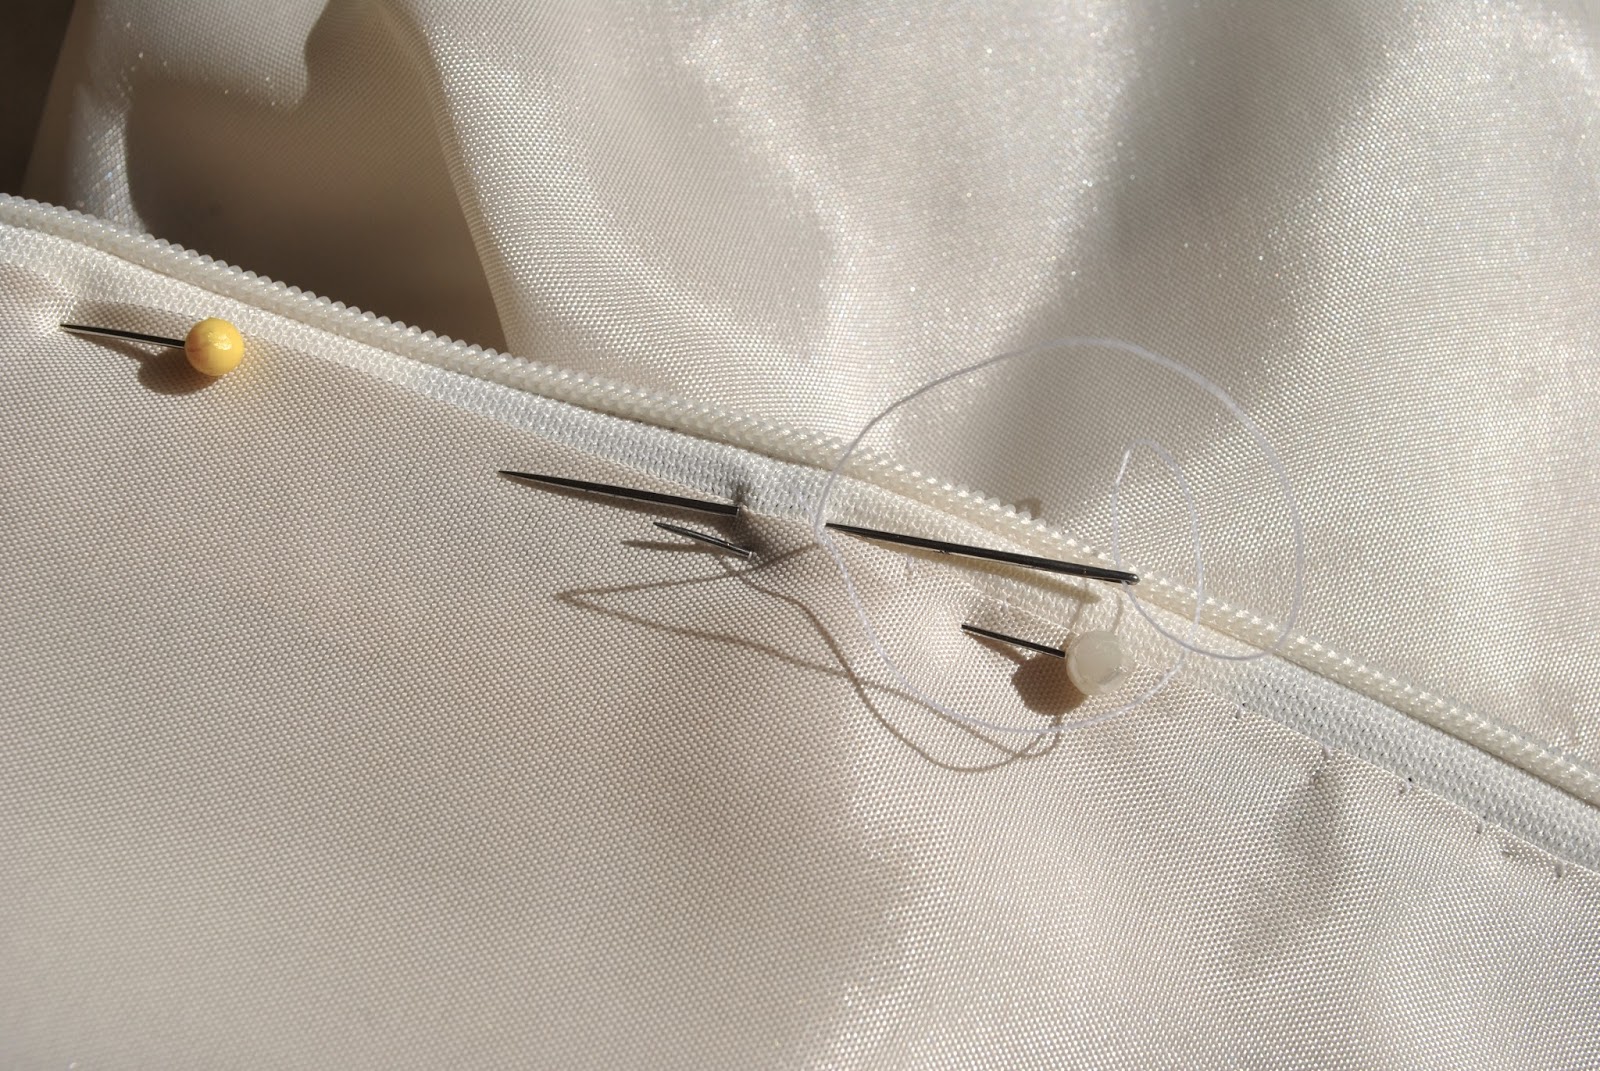
In a nutshell: my own method for adding this is now to generally to cut a skirt lining using the same pattern pieces as the skirt, and — critical difference — sew them together using narrower seams.  So your lining has a wider girth than the skirt itself, i.e. a nice dose of extra wearing ease… this is a small thing but makes a big difference for slimline or pencil skirts particularly!  Why? well, a few ripped linings later…! haha! I jest! but seriously; in my experience sometimes I would find that linings would habitually start to pull away from the zip tape right at hip level.  I re-stitch them back on, only for them to pull away yet again.  

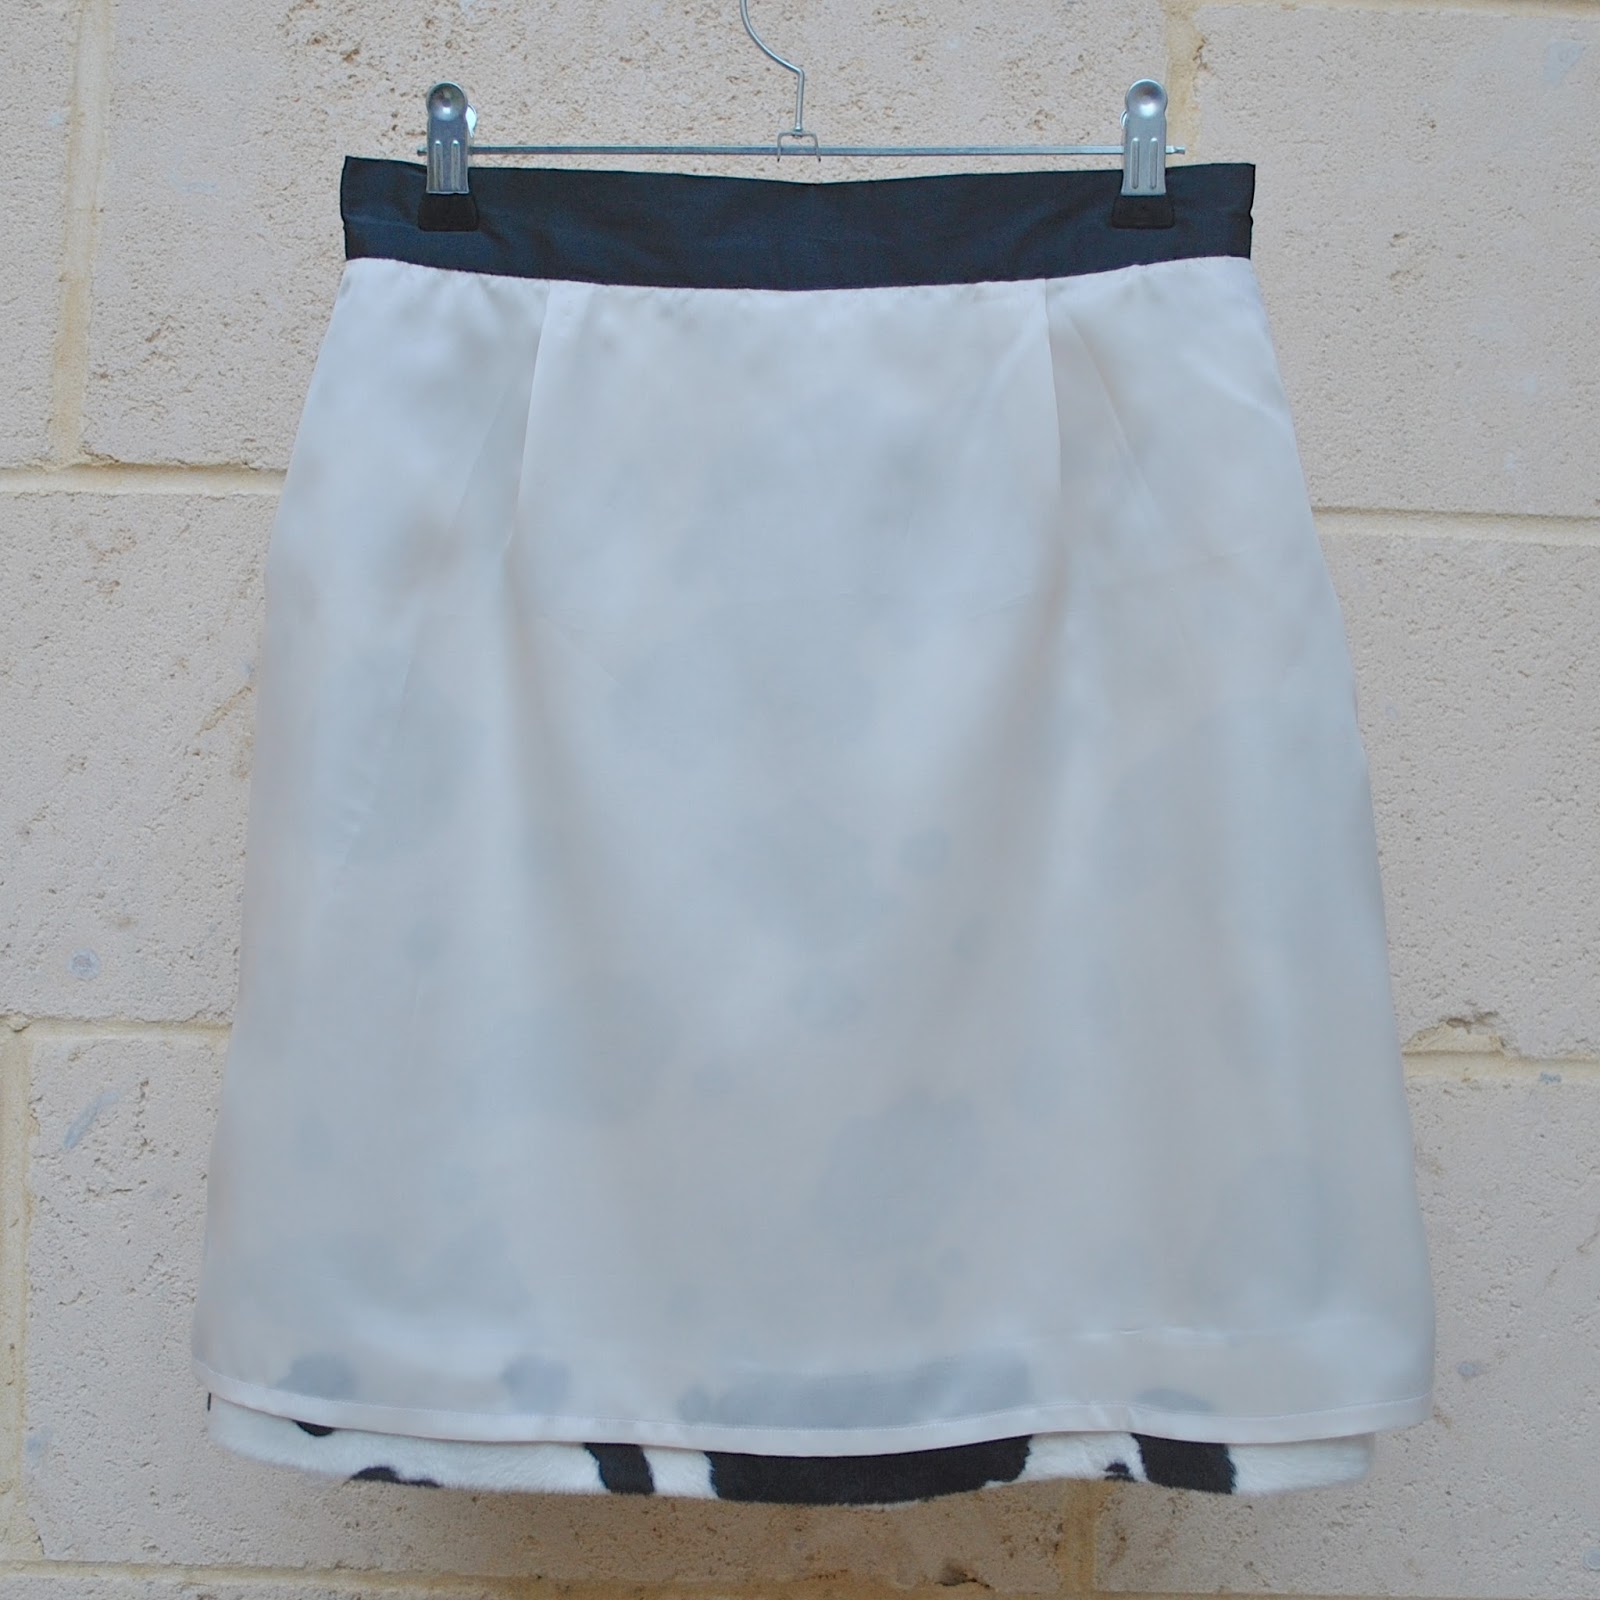
old skirt

When I did start making my linings just a touch roomier than the skirt itself, this pesky little problem has not recurred!

I just sew the side seams using the narrowest possible seam allowance, around 6mm(1/4″).  For a plain skirt pattern with a standard 1.5cm (5/8″) seam allowance, this alone gives around 3.5cm (1 1/4″) extra wearing ease in there.
Another, equally viable option would be to cut the lining just one size bigger instead.  

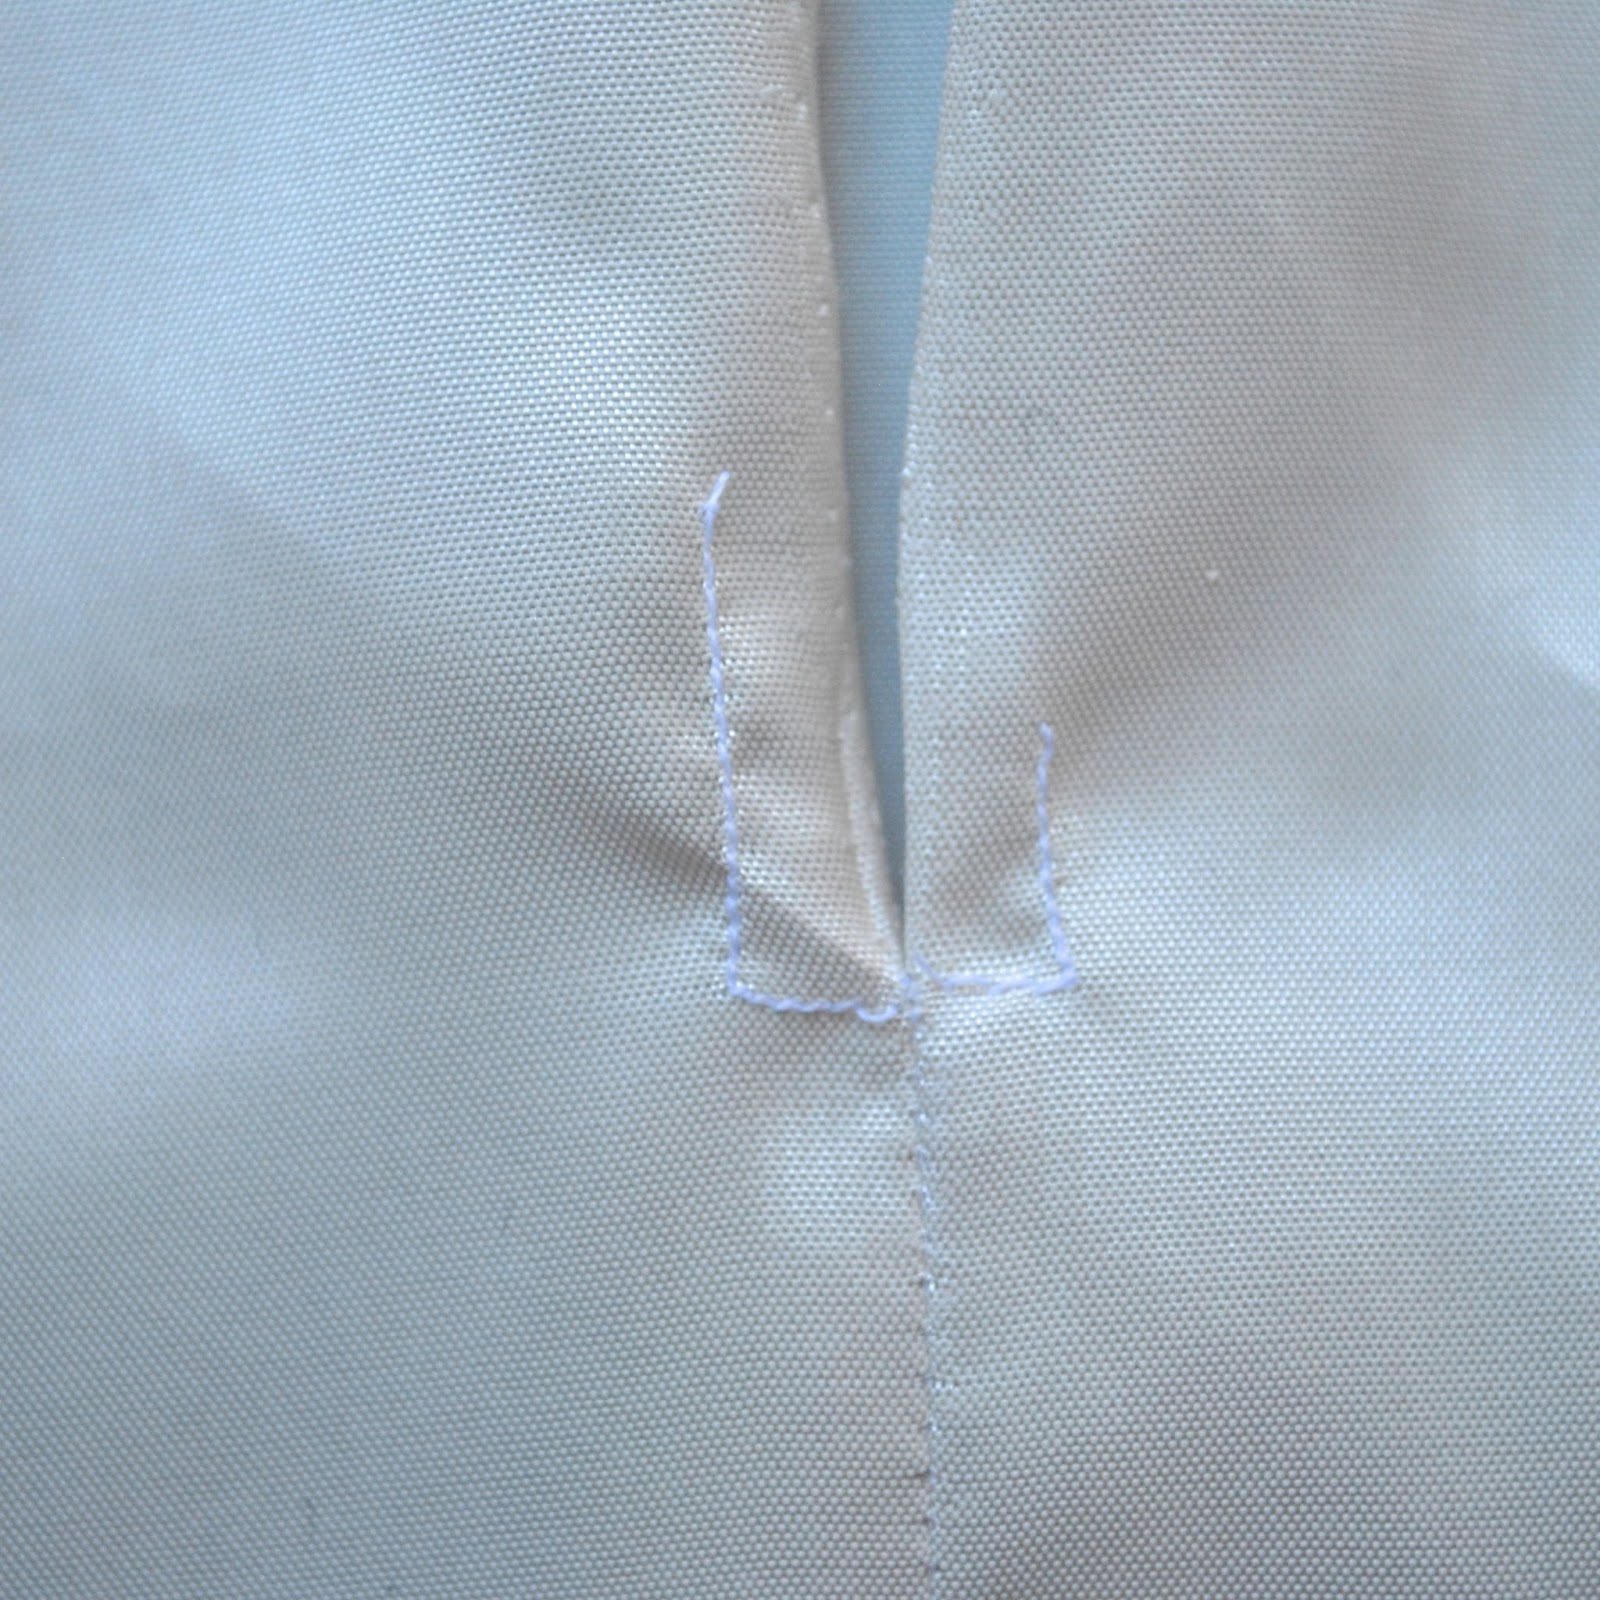
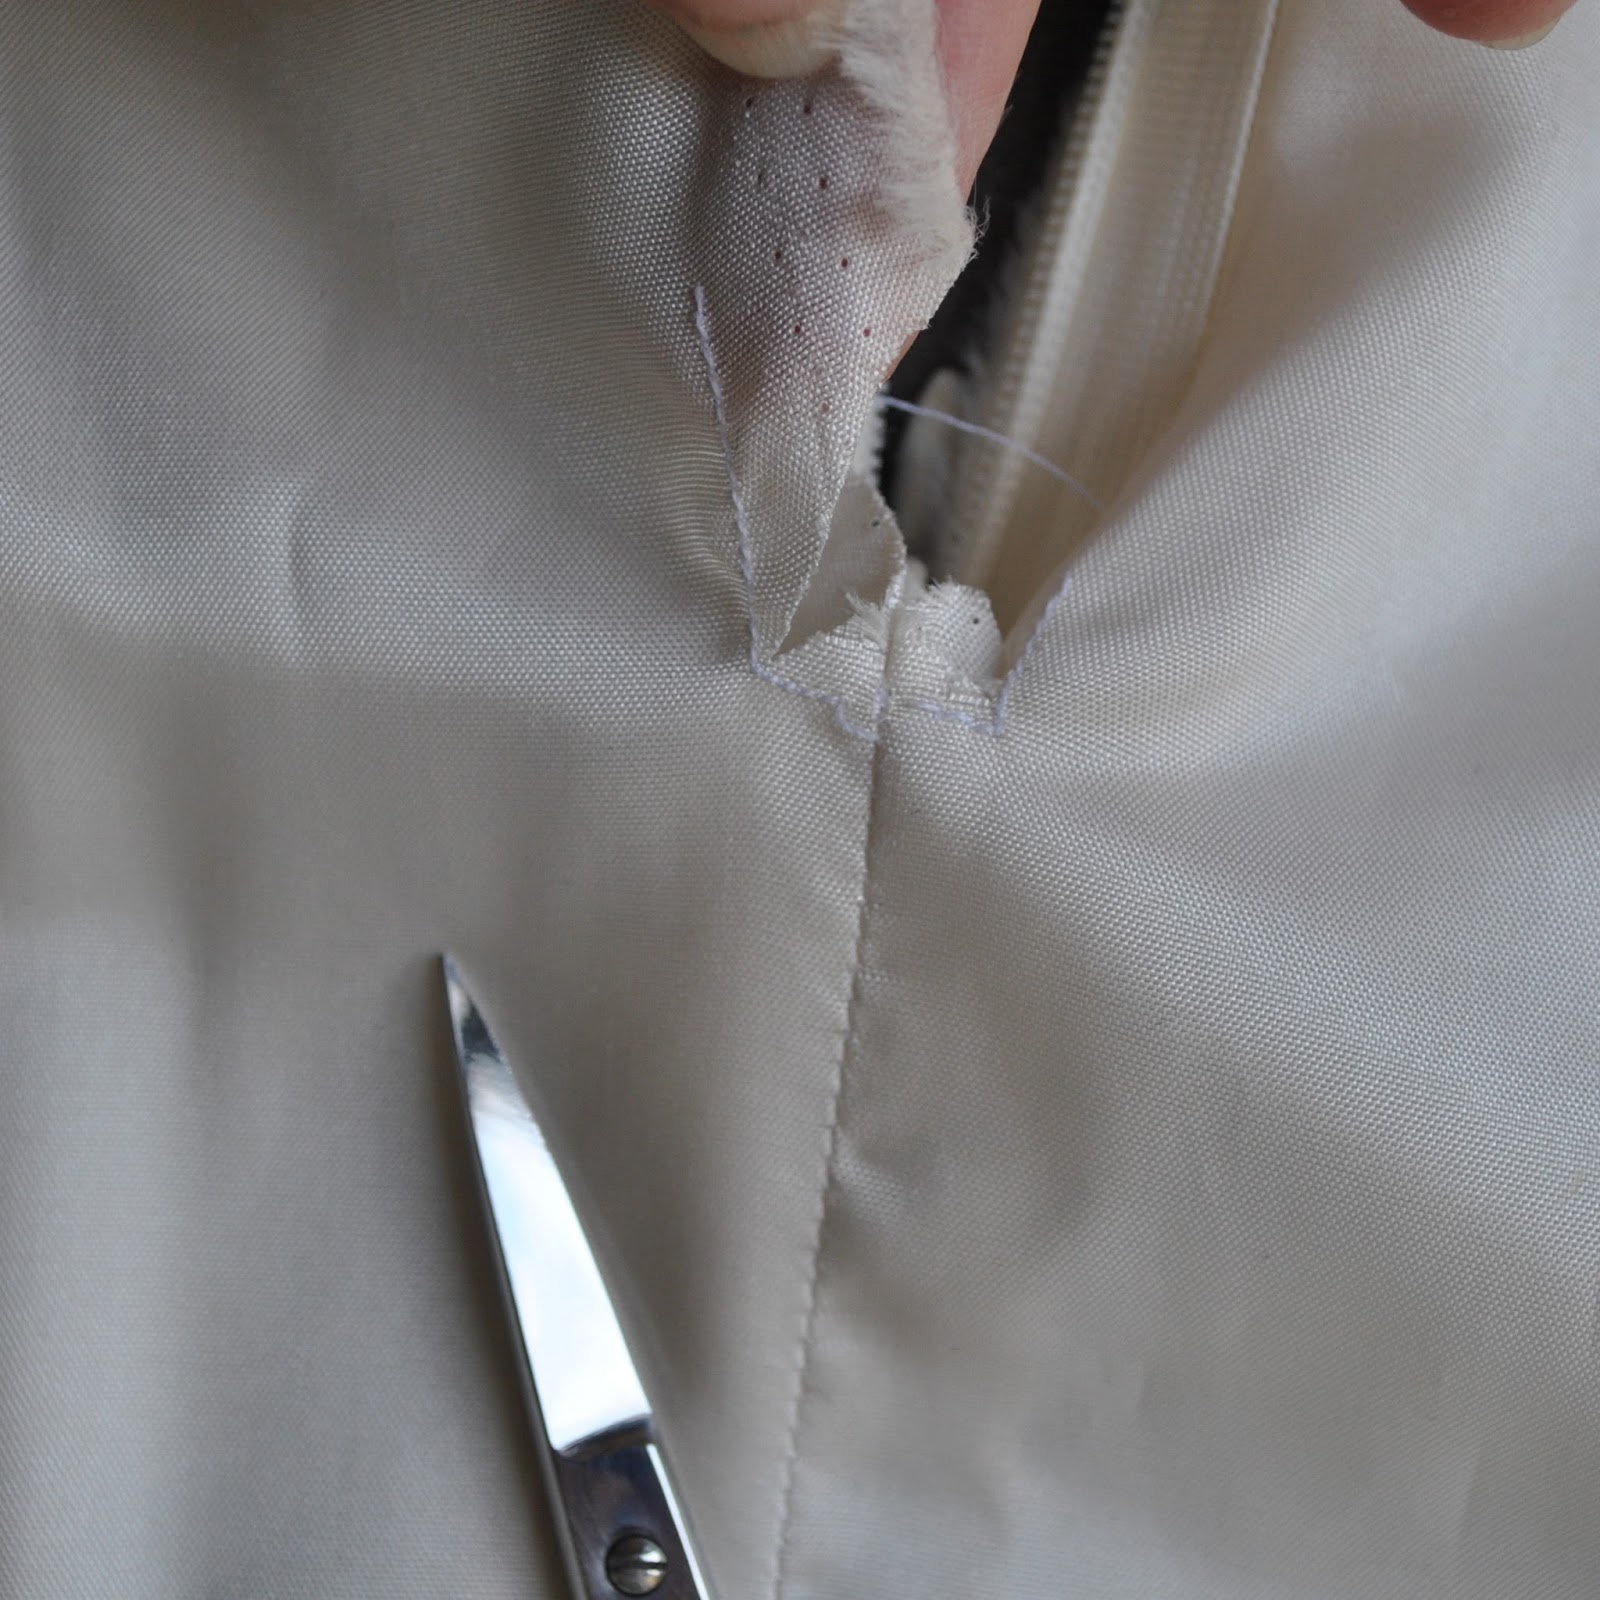
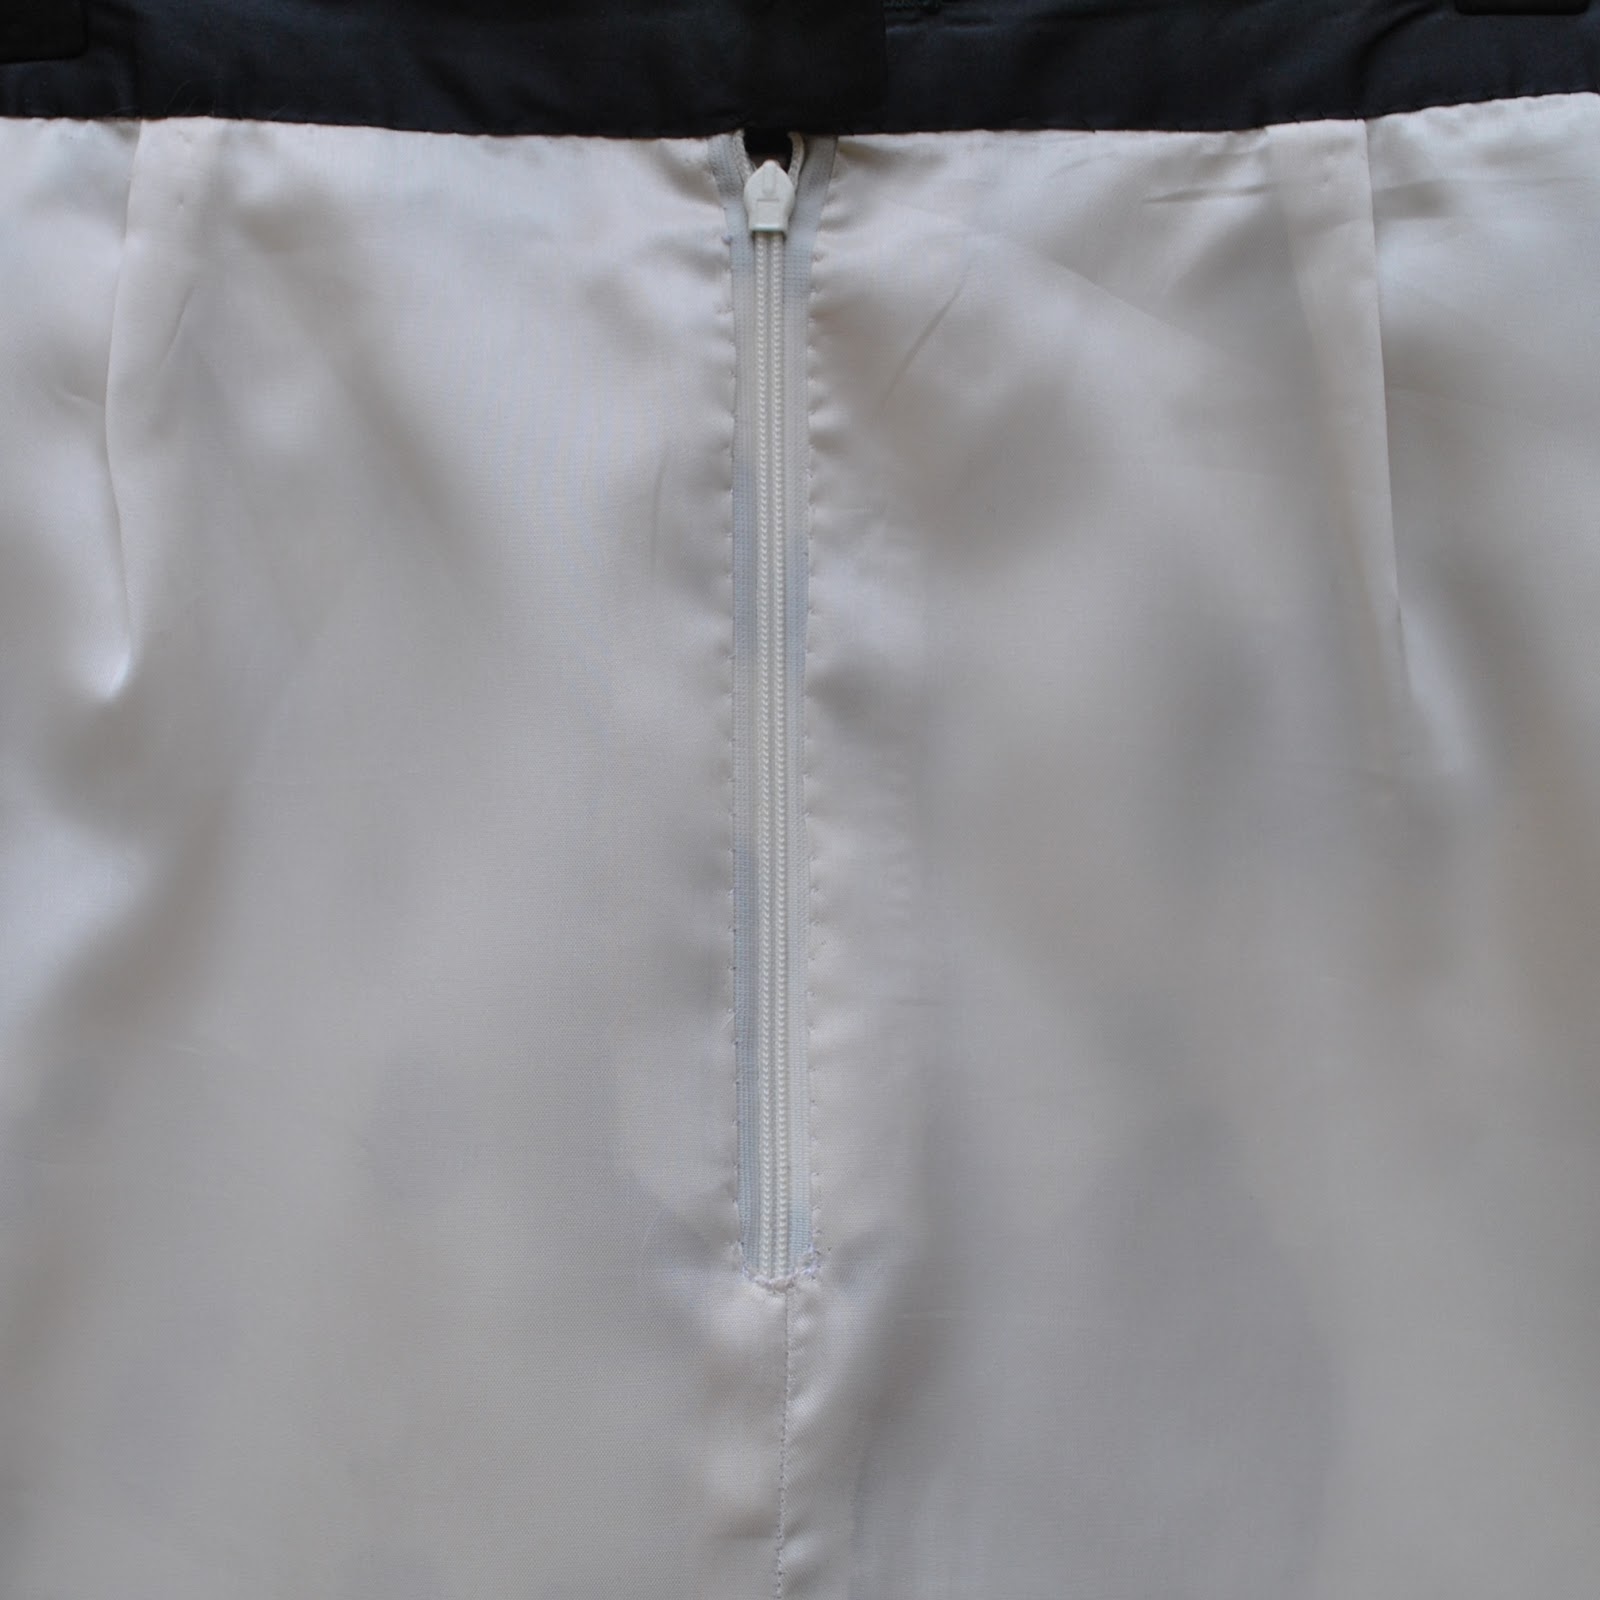
The CB seam of the lining; stitch with the regular 1.5cm (5/8″) seam allowance up to the bottom edge of the zip opening, then re-enforce the stitching line at the lower edge of the zip opening with stay stitching; stitching each side separately and keeping the seam allowance free of the stitching.  Snip into the corners, fold the seam allowances under and press.

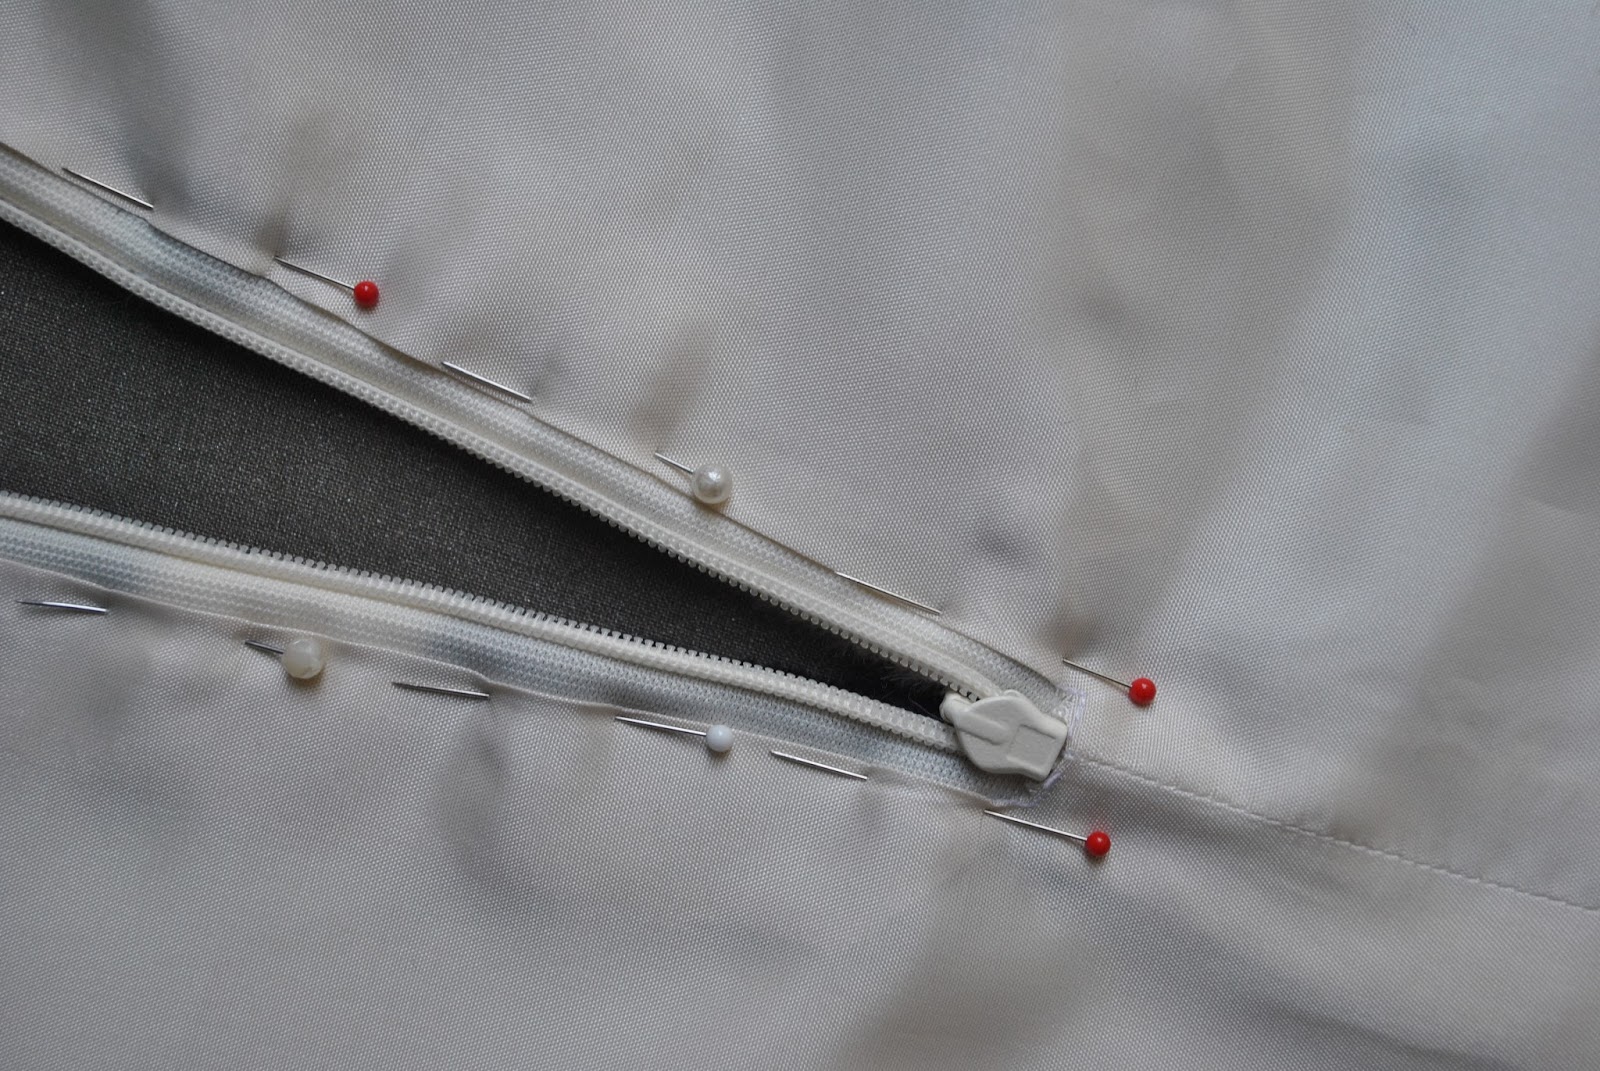
With wrong sides together, pin the lining to the skirt at the side seams.  Pin the zip opening of the lining skirt to the zip tape of the skirt.

Also; do not stitch waist darts but merely fold the excess width of the lining at the waist dart point into a pleat and pin.  As expected, thanks to those narrower seams, these will be slightly deeper pleats than the skirt darts.  Pleating the wait darts rather than stitching them down also builds just a touch more ease into the lining.

Hand-stitch the skirt lining to the zip tape around the zip opening.

Attach the waistband as normal, and hem.  I generally hem a lining to 2.5cm (1″) shorter than the skirt, but this is a matter of personal taste.

pinterestmail

I’m a cow

… a Friesian cow!
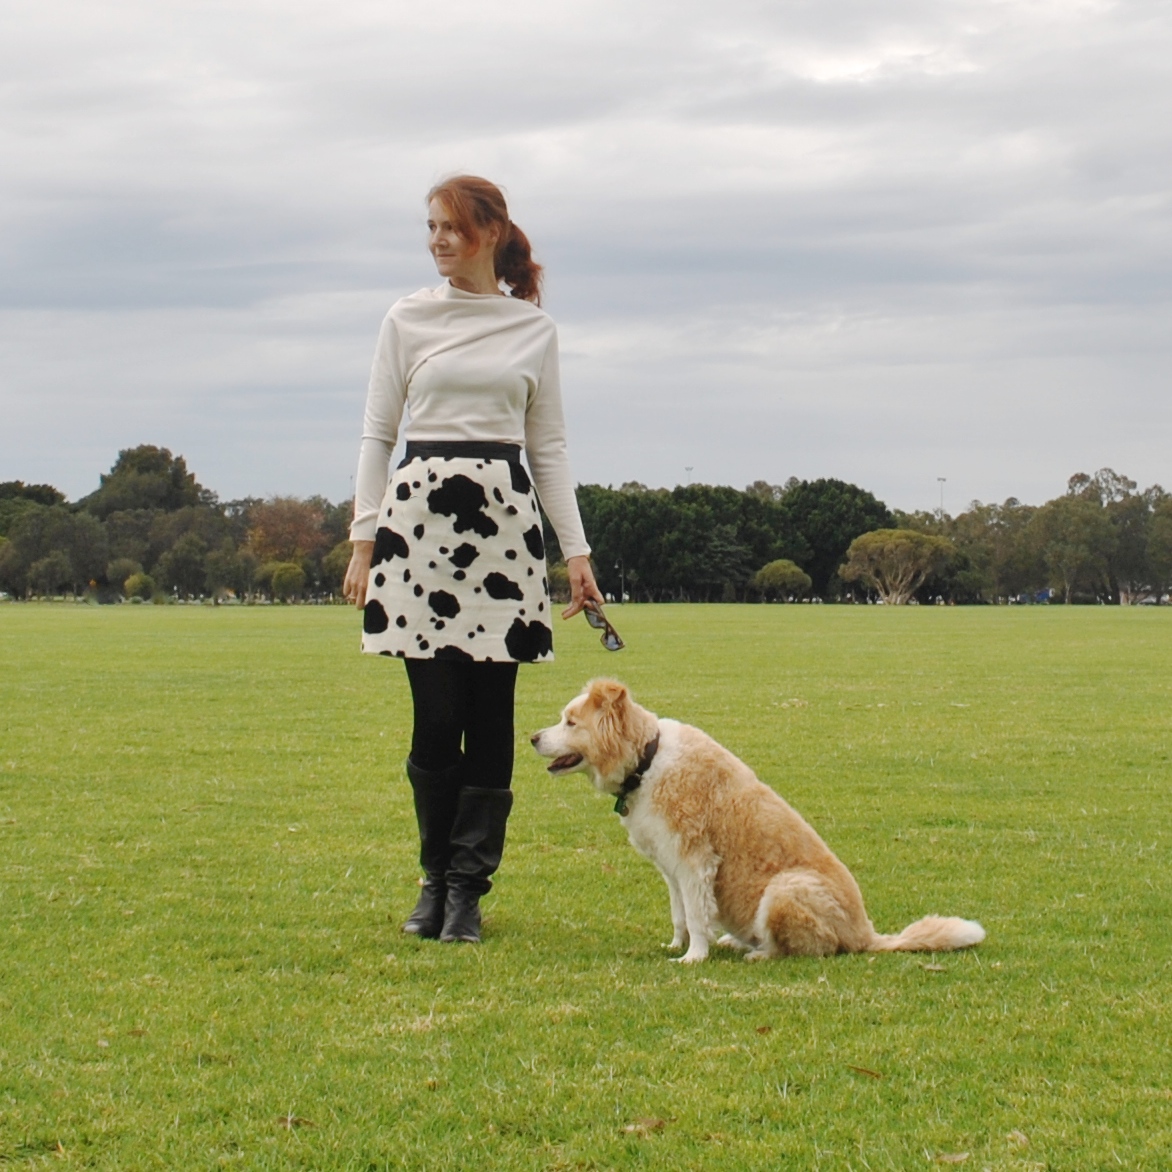
And here I am, out standing in the field.
Ha! whenever I hear about someone, some highly accomplished person gaining recognition for being outstanding in the field of whatever, I cannot help it but that old joke just pops into my head; you know the one… 
How did the cow win a Nobel prize?  Because it was out standing in its field.
And I will have a little inner laugh.  With cavalier lack of regard for the importance or gravity of the accomplishment.   I know, it’s not even that funny.  Clearly, I am very easily amused.
So, yes, I am wearing a new skirt, while I’m out standing in my field, here.
*muffled giggle*.  

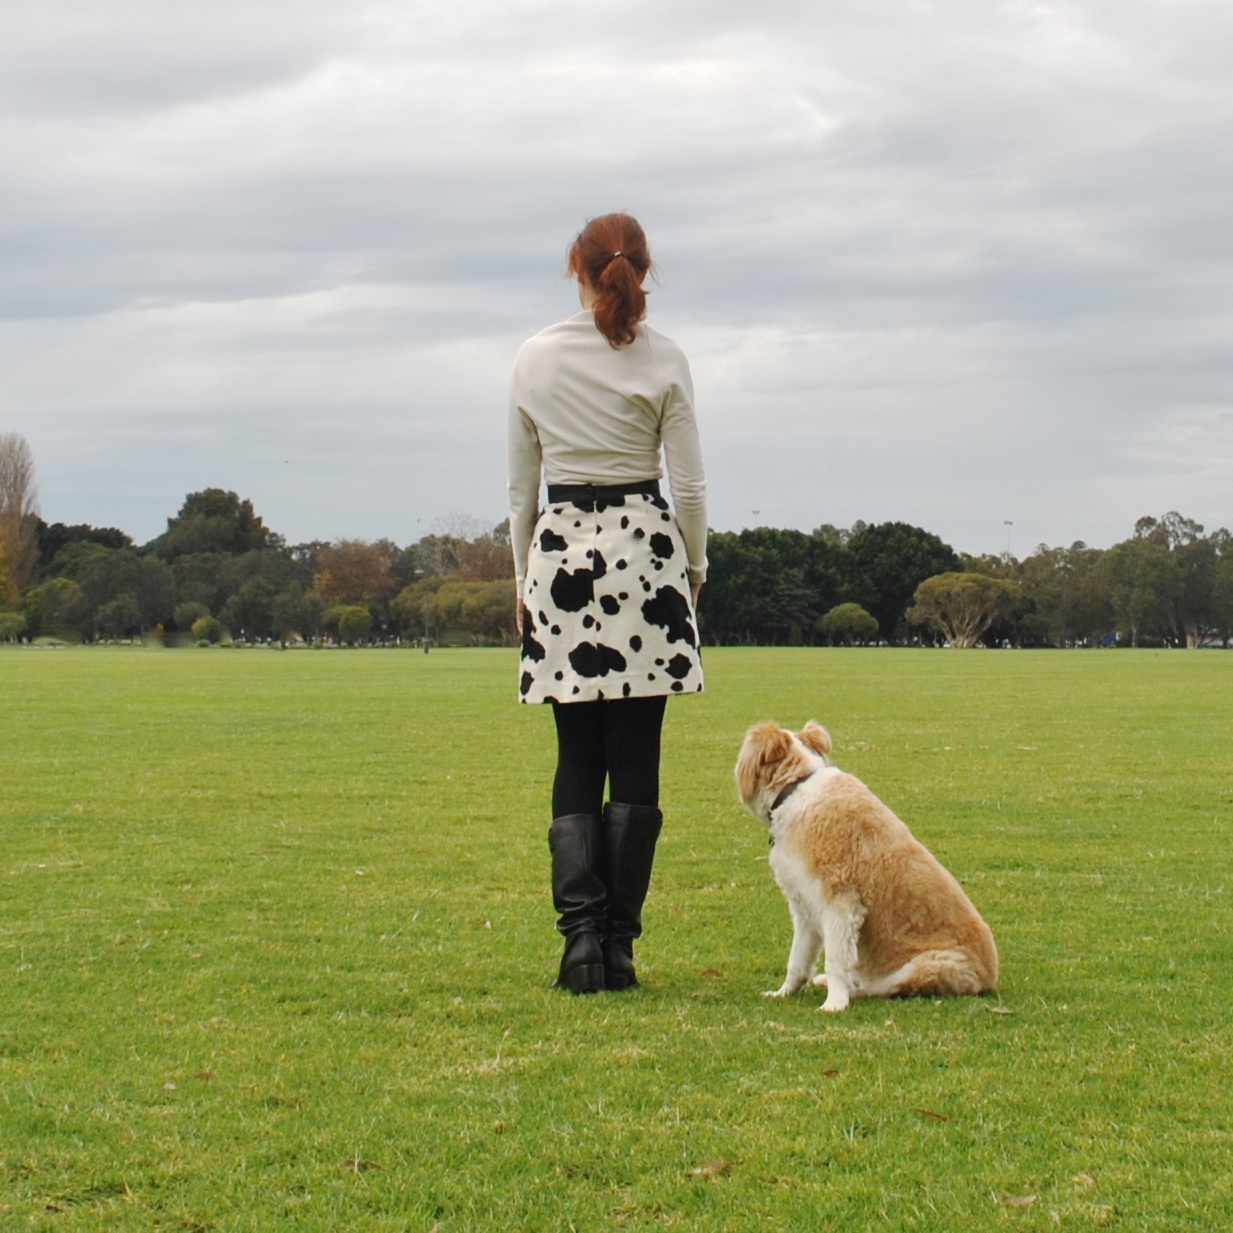
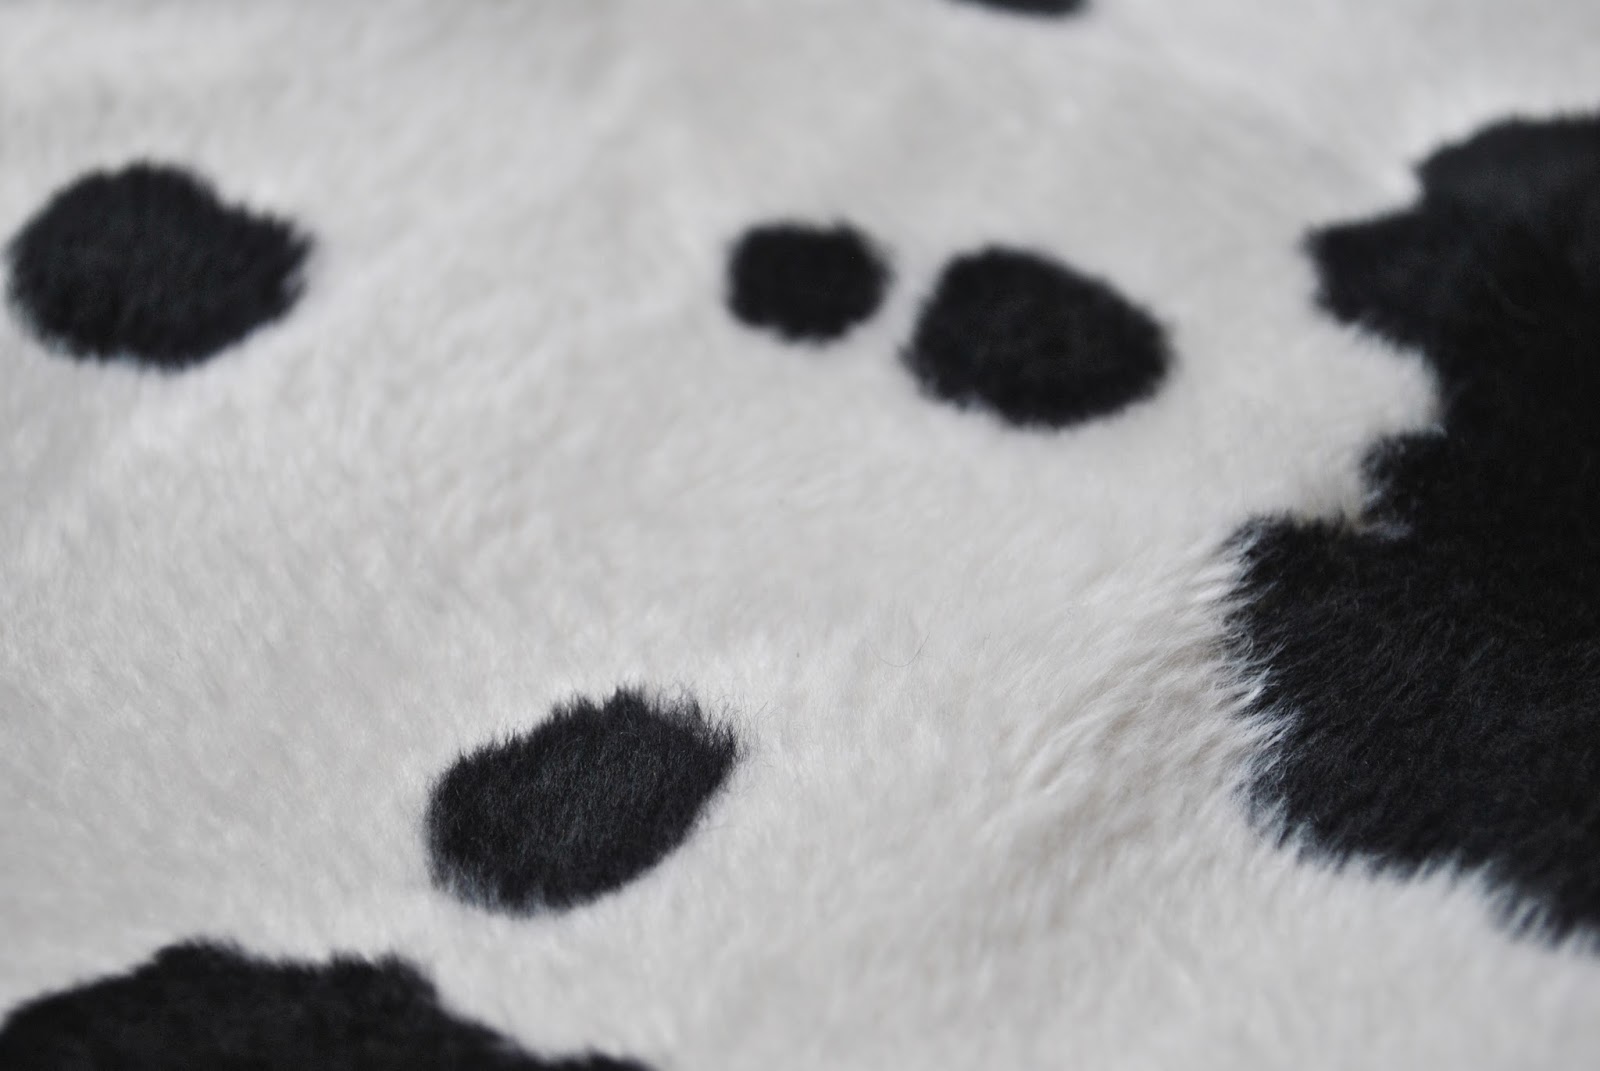
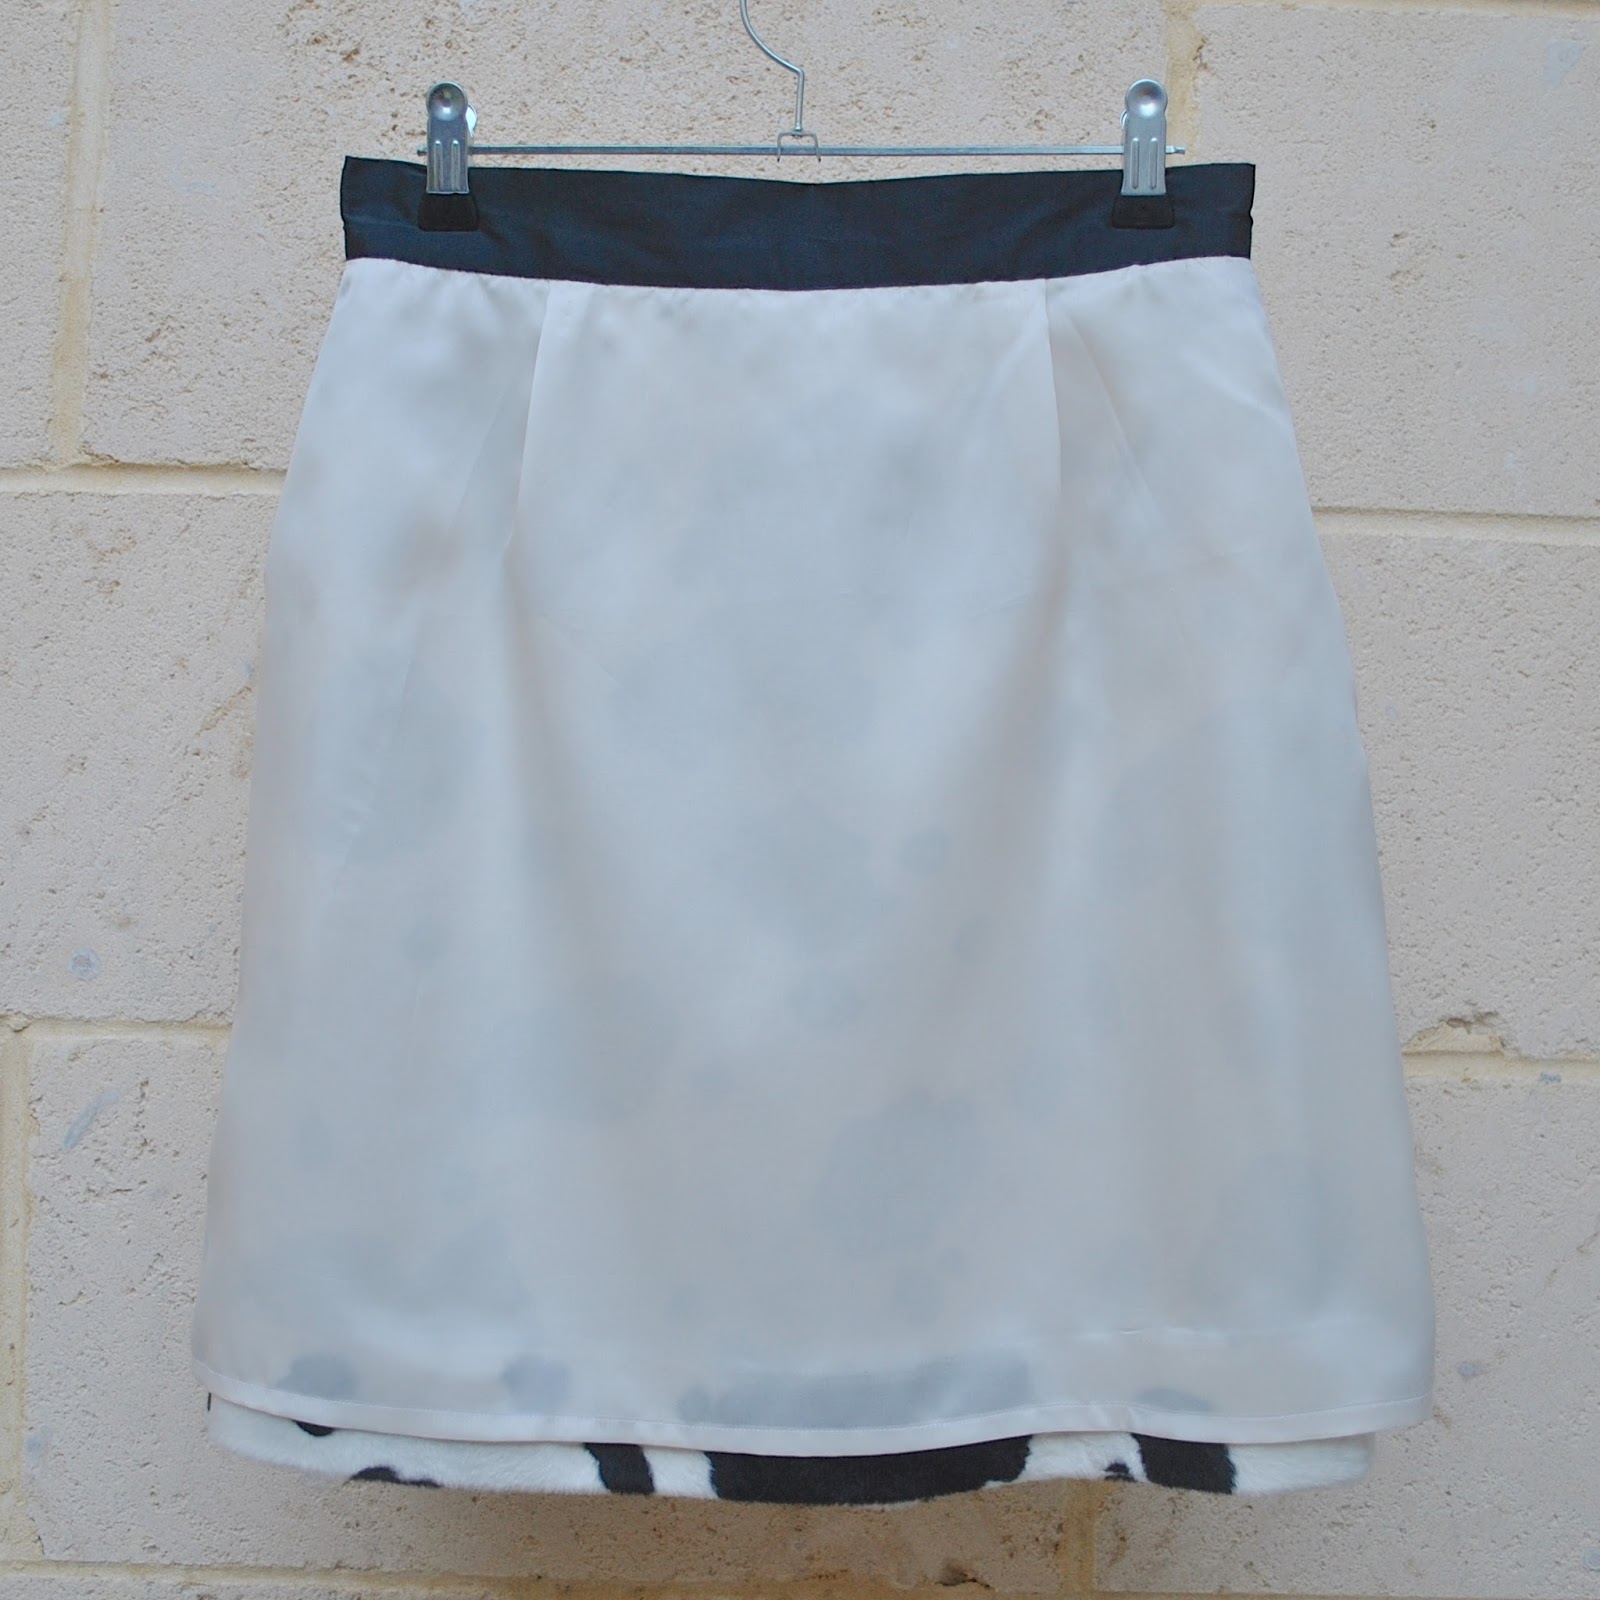
The fabric is a ivory/black fake fur from Spotlight, plush but with a low pile and not very thick.  I used black silk dupion for the waistband, as the plush was too thick to make a nice clean flat waistband, and I lined my skirt with ivory polyacetate lining fabric.

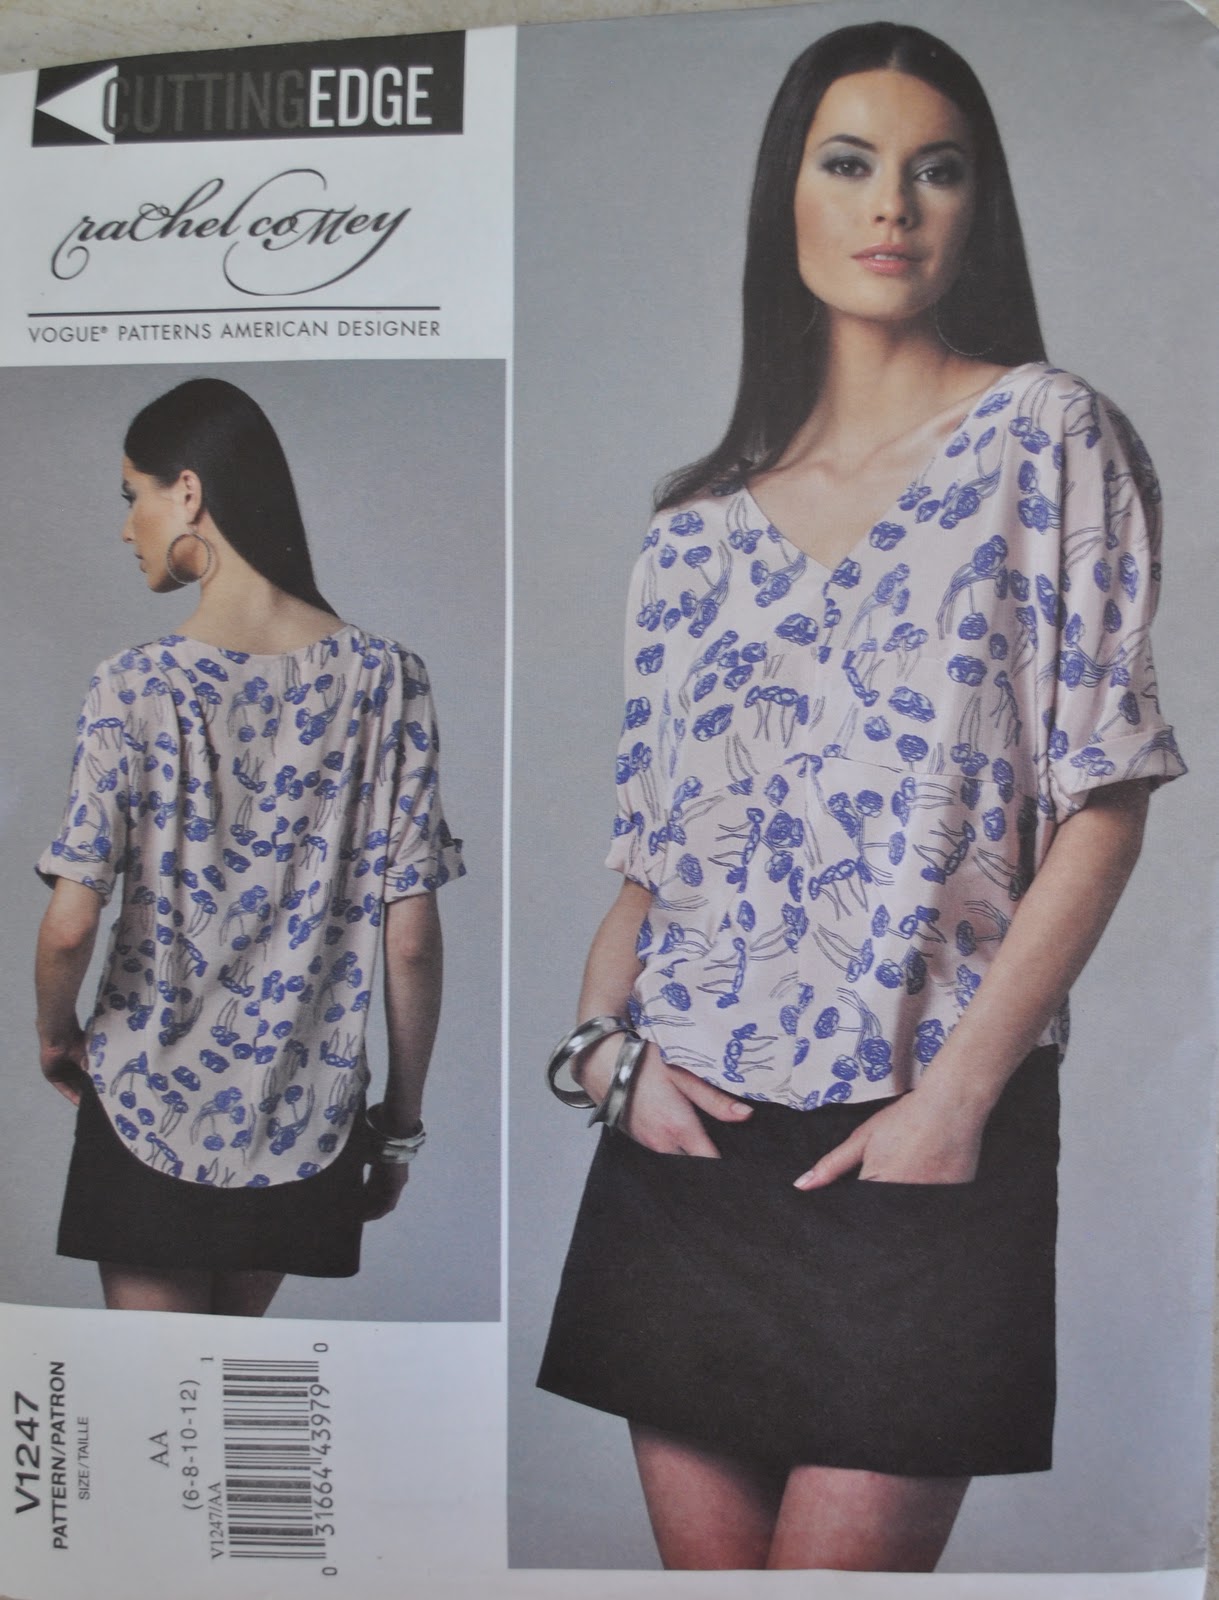
I used Vogue 1247 with the pieces spliced together so as to make a plain little skirt with no pockets.  I know, Vogue 1247 again! sorry to be boring! it’s just that the silhouette of Vogue 1247 suits my current winter wardrobe right down to the ground so it’s very much the golden child of my pattern family.  It may or may not fall out of my favour at some point but y’know, when you’re enamoured of a pattern and it seems perfect for every occasion so you keep reaching for it over and over and over again.  To the exclusion of all the other, perfectly good, skirt patterns.
Probably all my other patterns hate it, and when the cupboard door is shut and the light goes out and I leave the room, they studiously ignore it and exclude it from their whispered conversations with a disdainful curl to their lips.
She’s so full of herself.
Oh, like totally.
(I’m telling you, it’s like high school in there…)
Hey guys!  I just got made up; again!  In cow fabric!!
Did she just say what I thought she did?
Mmmm.  Just pretend you didn’t hear…
Guys, look!
Omigod, seriously. 
And she lined me!  I’m not even supposed to be lined!
Oh please.  Like half of us don’t have lining already.  You don’t hear us bragging.
I know right?  Just keep walking.

Vogue 1247 sadly walks away, to eat her lunch.  Alone.
Trying to bravely rise above it.  
Their turn will come.  Oh, their turn will come.

Hmmm, goodness knows how that happened, but somehow I seem to have segued right into the screenplay for a new high school soapie, starring a cast of dressmaking patterns.
Stay tuned for the next exciting episode!  Will Vogue 1247 be forgiven her teacher’s pet status?  Or will a new pattern topple her from her pedestal?  Will there be hair-pulling?  Or will someone steal someone else’s boyfriend?!

Hehe, thought about deleting all that nonsense, but nah; left it.
Adios! or should I say; MOOOOOO!

Details:
Skirt; Vogue 1247 modified and lined; plush faux fur, my review of this pattern here
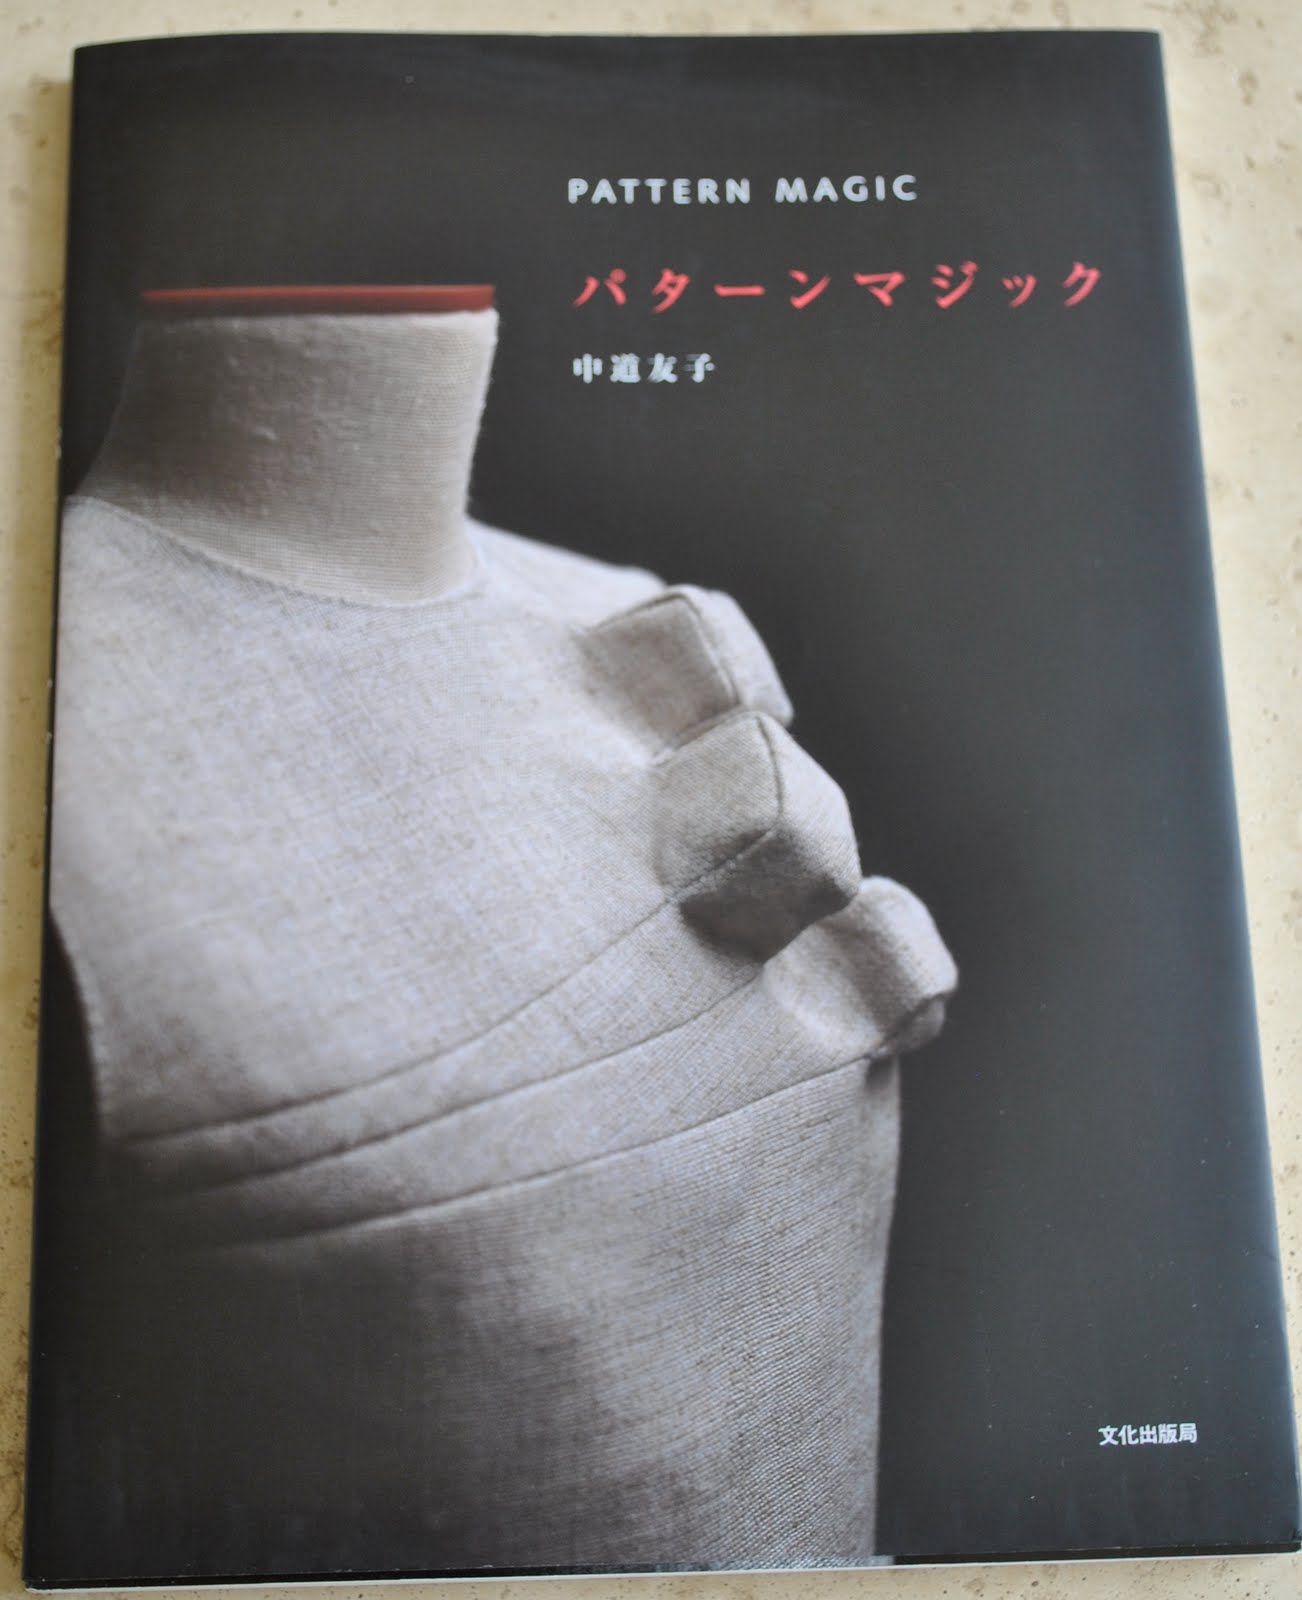
Top; the twist top from Pattern Magic, ivory stretch, details here
Tights; black poly stretch, from my own custom-fit pattern, details here
Boots; Roberto del Carlo, from Zomp shoes

pinterestmail

Hiking in Italy; a travel wardrobe

Time away:
21 days
Where to:
Italy; primarily Tuscany and the Amalfi coast, a few days in Copenhagen, one day in Singapore
Season:
early summer.
Hot in Italy, in fact everyone commented on how unseasonably warm it was! with daily temps of 17-34C.  Then cold, wintery conditions (for us) in Copenhagen, 8-16C.  Singapore; hot and very humid; 27-32C
Expected activities:
Lots of medium to heavy duty hiking, with evenings spent hanging out in small villages.  Some city sightseeing and shopping.
Colour scheme:
cheerful primaries, in solids and in fun gingham, stripes and florals.  
Hmmm, I must’ve been in a rather whimsical party/holiday mood when I selected this lot!
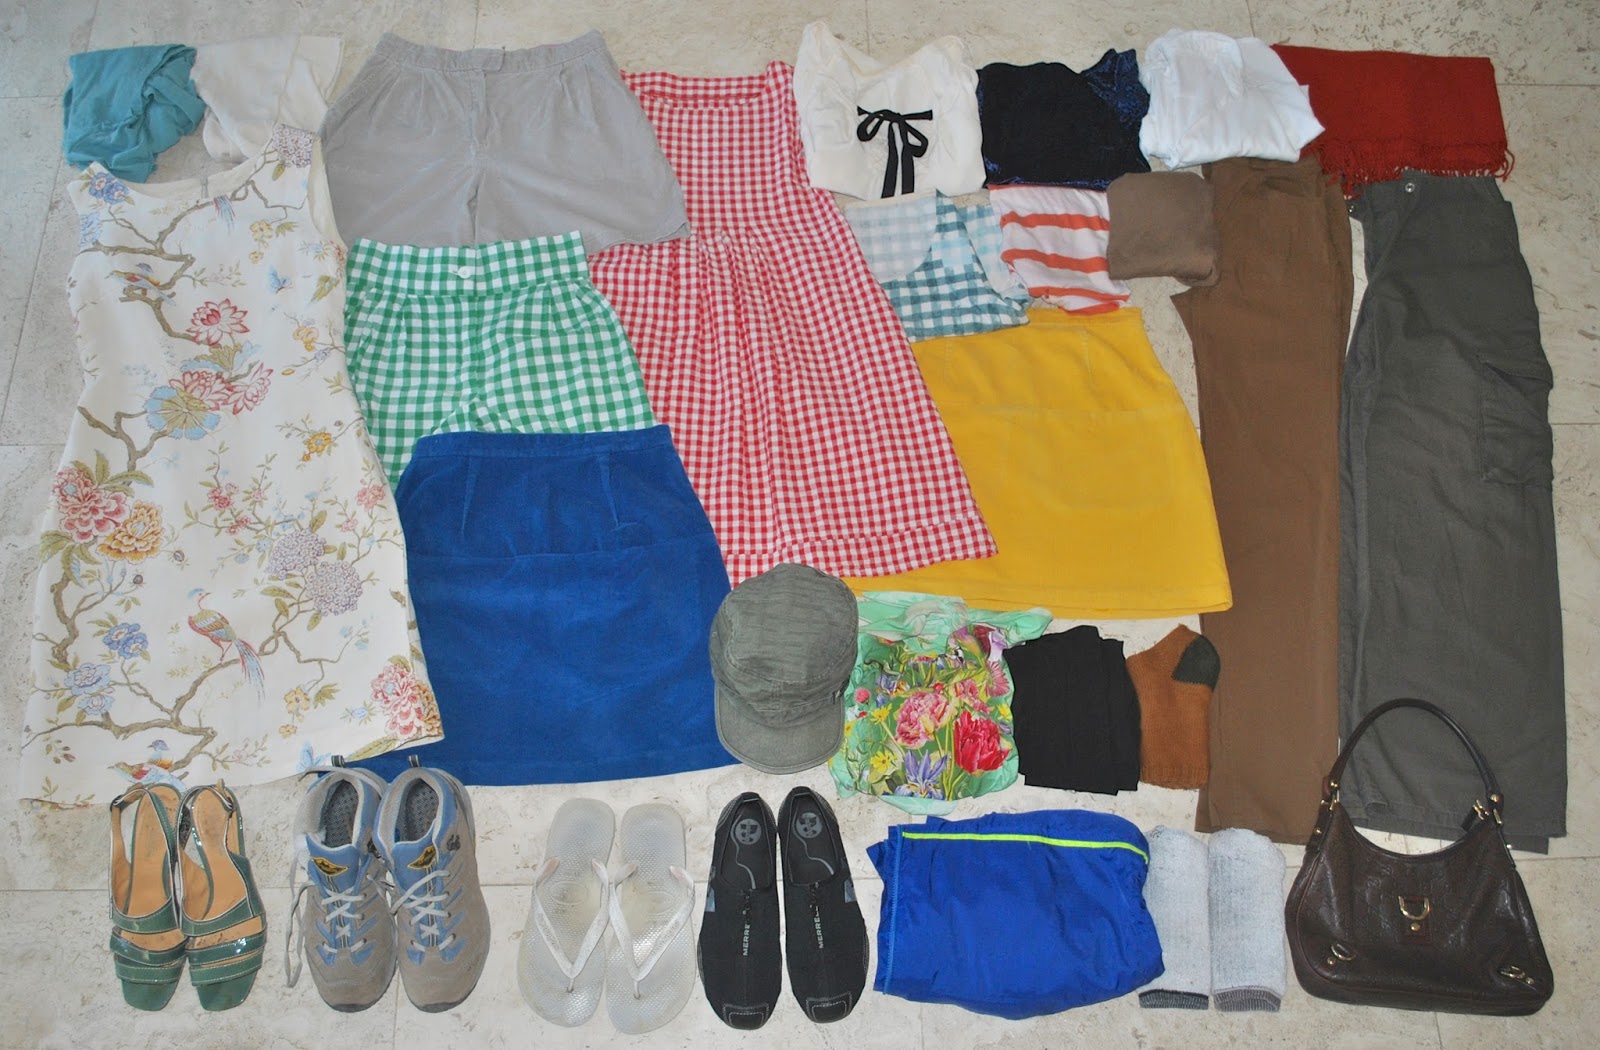
What I packed:

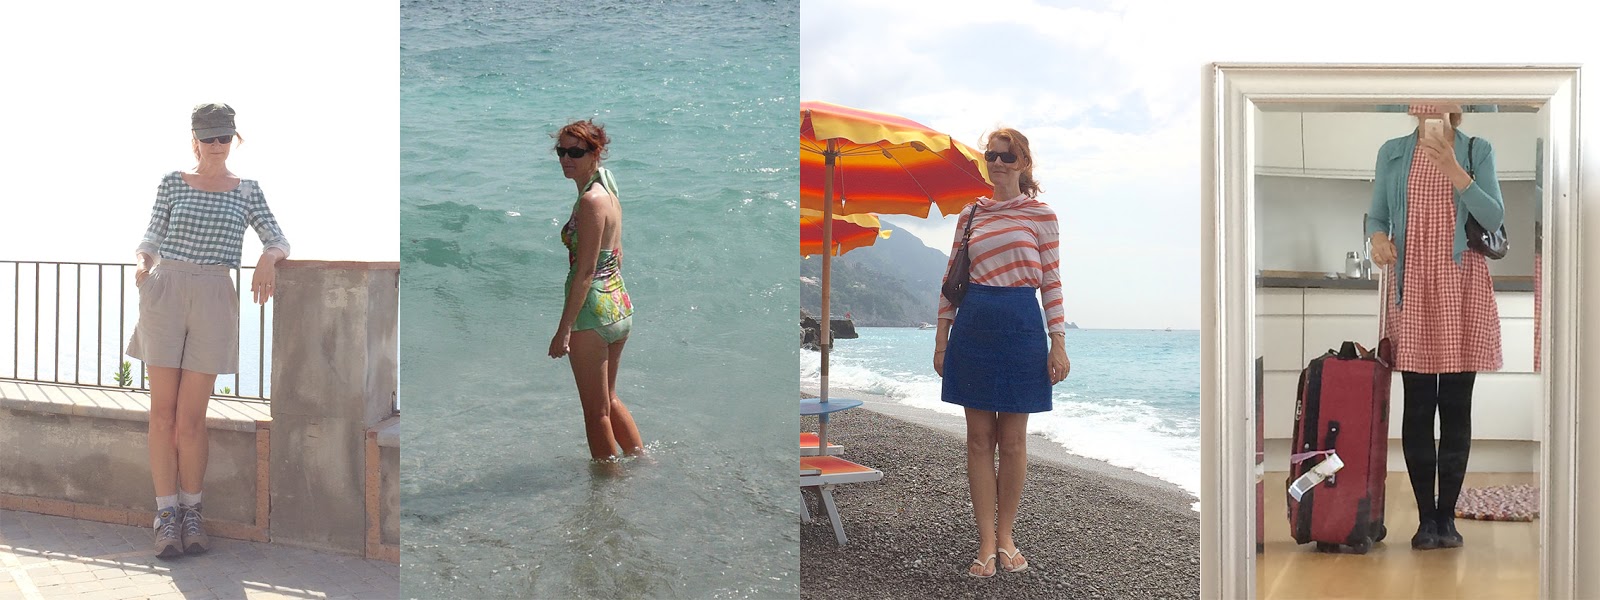
each garment made by me is linked to its original construction post:
2 cardigans;
turquoise Metalicus cardigan rtw
ivory CR cardigan rtw
2 prs shorts;
greige corduroy shorts
green gingham shorts
2 dresses; 
red gingham dress; casual 
floral dress bit more dressy
6 tops;
cream blouse with black velvet tie
royal blue velvet top
ivory LS shirt
green gingham top
orange/cream stripe top
brown Tshirt
1 red scarf rtw
2 skirts;
blue corduroy skirt
yellow corduroy skirt
1 olive green cap; my husband’s, rtw
2 prs pants;
burnt brown jeans 
olive green hiking pants
4 prs shoes; 
turquoise sandals, , hiking boots, white thongs, black sandshoes
green floral bathers
blue raincoat (under)
black tights
3 prs socks; handknitted ginger socks + 2 prs thick hiking socks rtw
chocolate brown leather handbag

also, obviously I took my nightie, toiletries bag and a selection of underwear  ðŸ™‚

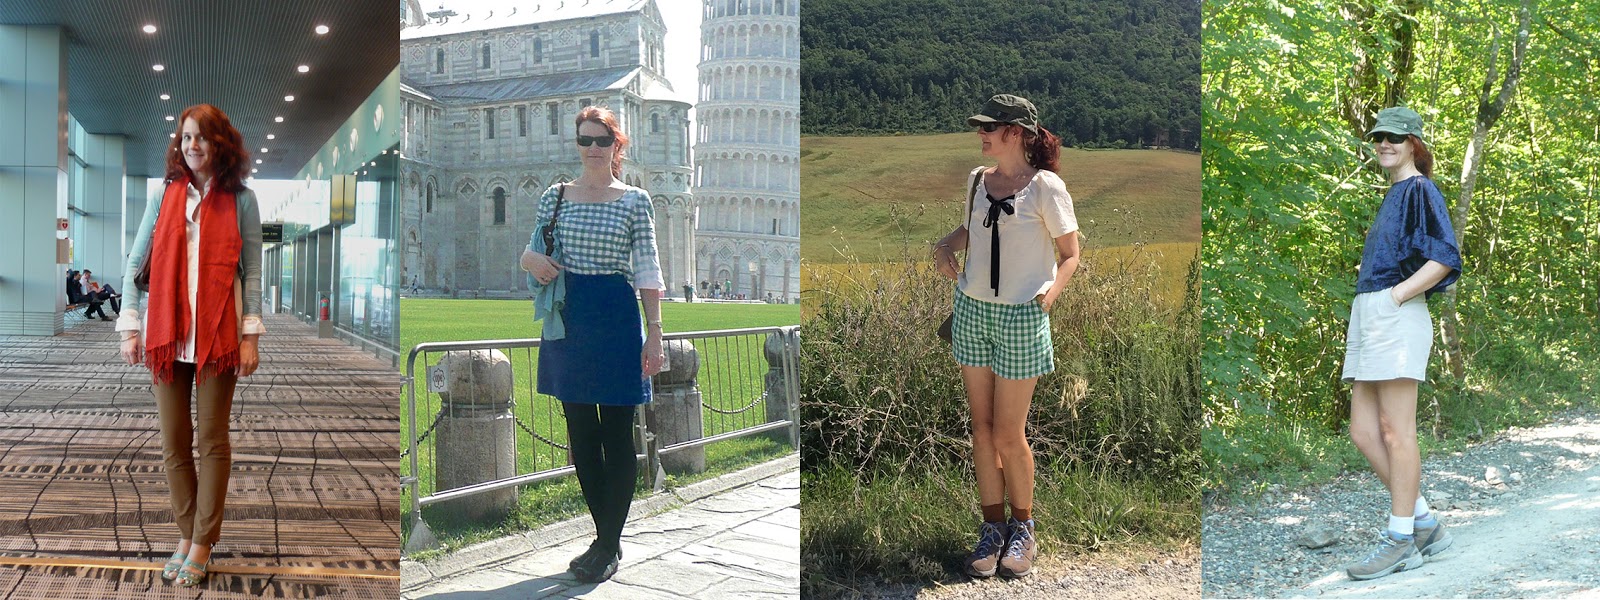
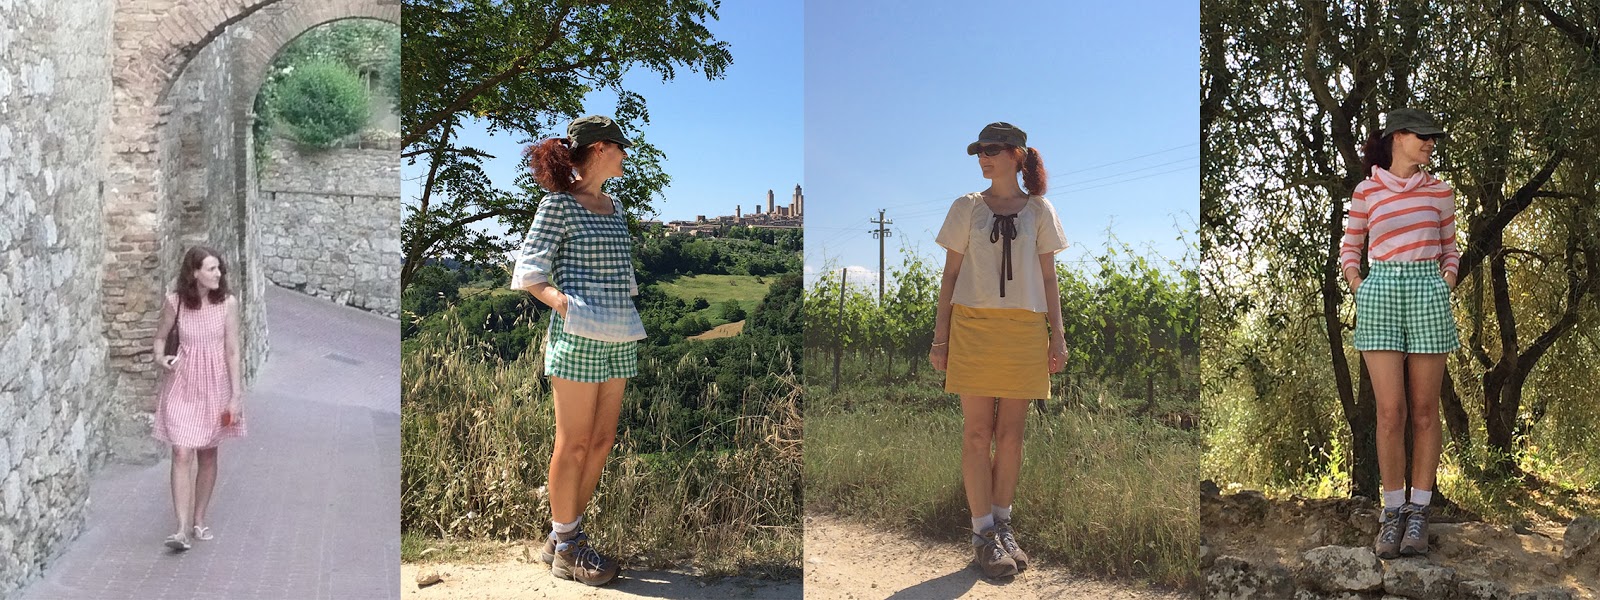
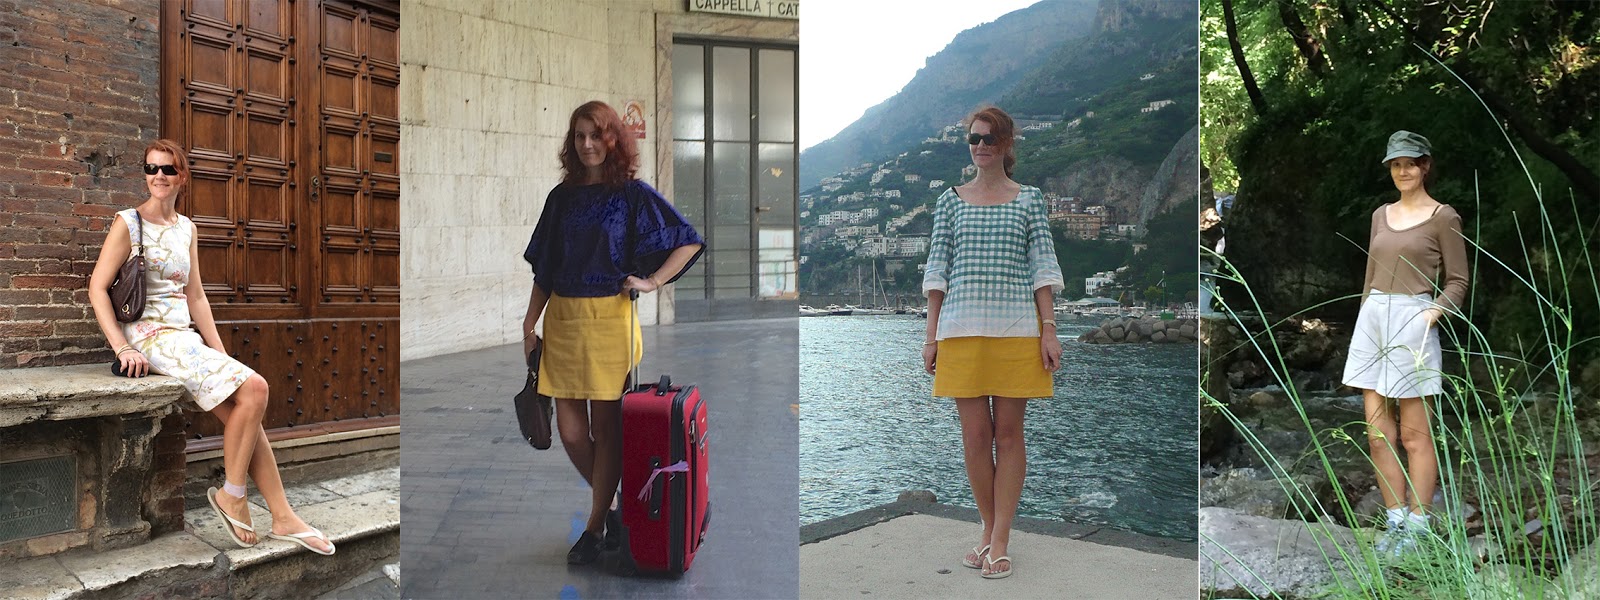
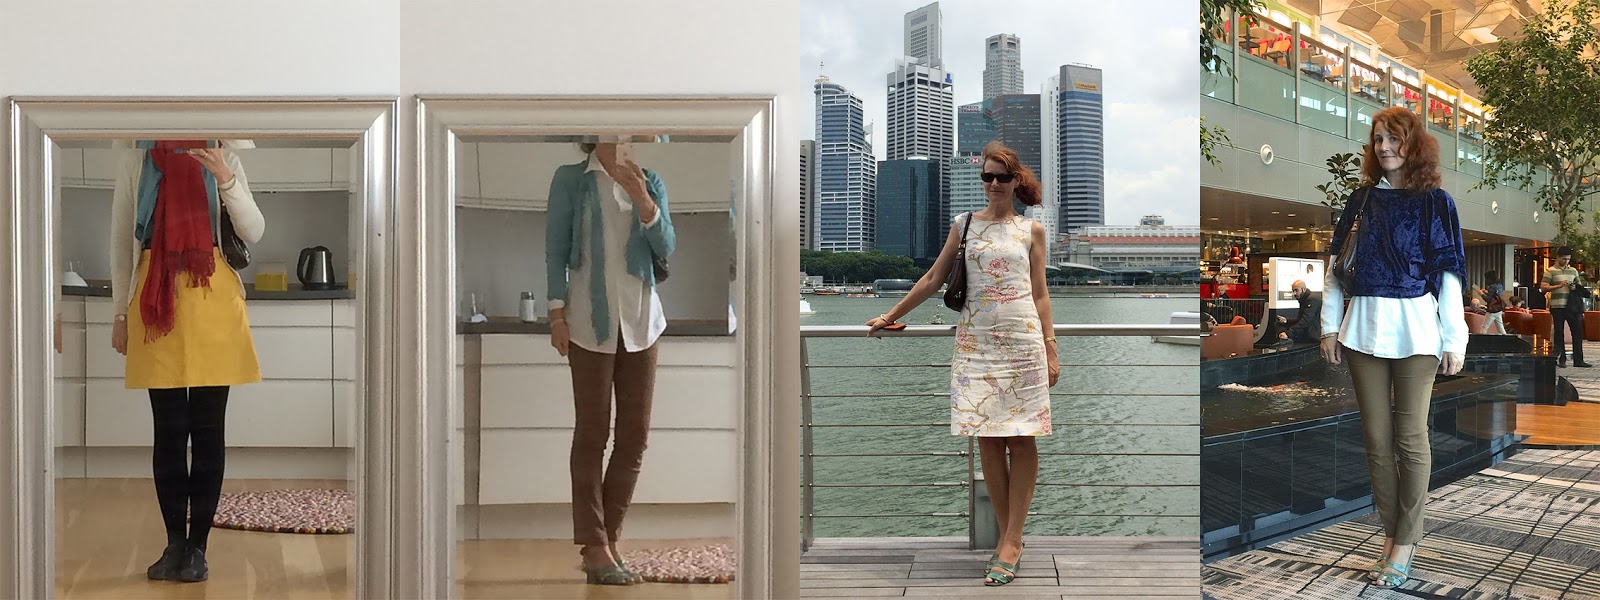
My daily outfits:

Thoughts:
I think I’m actually getting better at minimising my packing, since this is a far smaller selection that the last time we went to Italy.  True, this was a shorter trip by 6 days, but I felt as though I had plenty of options and probably could have happily eked another week’s worth of outfits out of this lot pretty easily!
I did make one ginormous packing boo boo; I neglected to bring a hat, DOH!  You can imagine how hard I was kicking myself when I discovered this, getting dressed for our first day out hiking!!  I had intended to bring my white, wide-brimmed hat, which is fantabulous for keeping off the sun and I thought it would complement all my outfits just perfectly but just forgot to put it in somehow!…  oh well, all the best-laid plans and all that.  Very fortunately my husband had brought two hats so he allowed me to use one of his on our holiday.  Of course I could have bought a new one if need be; but you know how weird I am about not buying clothes, right?
Weather appropriateness: it was very hot hiking in Italy, and to be honest there were times I found myself pining for a few more warm weather options; but really I made do with what I had just fine.  Happily our schedule was such that we could do a bit of hand-washing in our room every few nights and could put something fresh and clean on every morning.
During our time in Italy, we both felt like the cooler weather options we’d brought were a complete waste of suitcase space.  But of course then we got to Copenhagen and it was freezing!  and then I leapt upon my tights and cardigans and my raincoat, rugging up with relief and joy.  Weather!  You just can never tell!
Likewise, I packed the floral dress just in case, and while we were hiking and hanging out in rural and seaside areas with a downbeat, casual vibe, it languished uselessly in the suitcase, bugging me.  However, obviously we did eventually get to cities, with restaurants and cocktail bars where there were beautiful people dressed very smartly indeed; and I was happy I could sashay out looking just that little bit glamorous!
Other, non-sartorial thoughts:
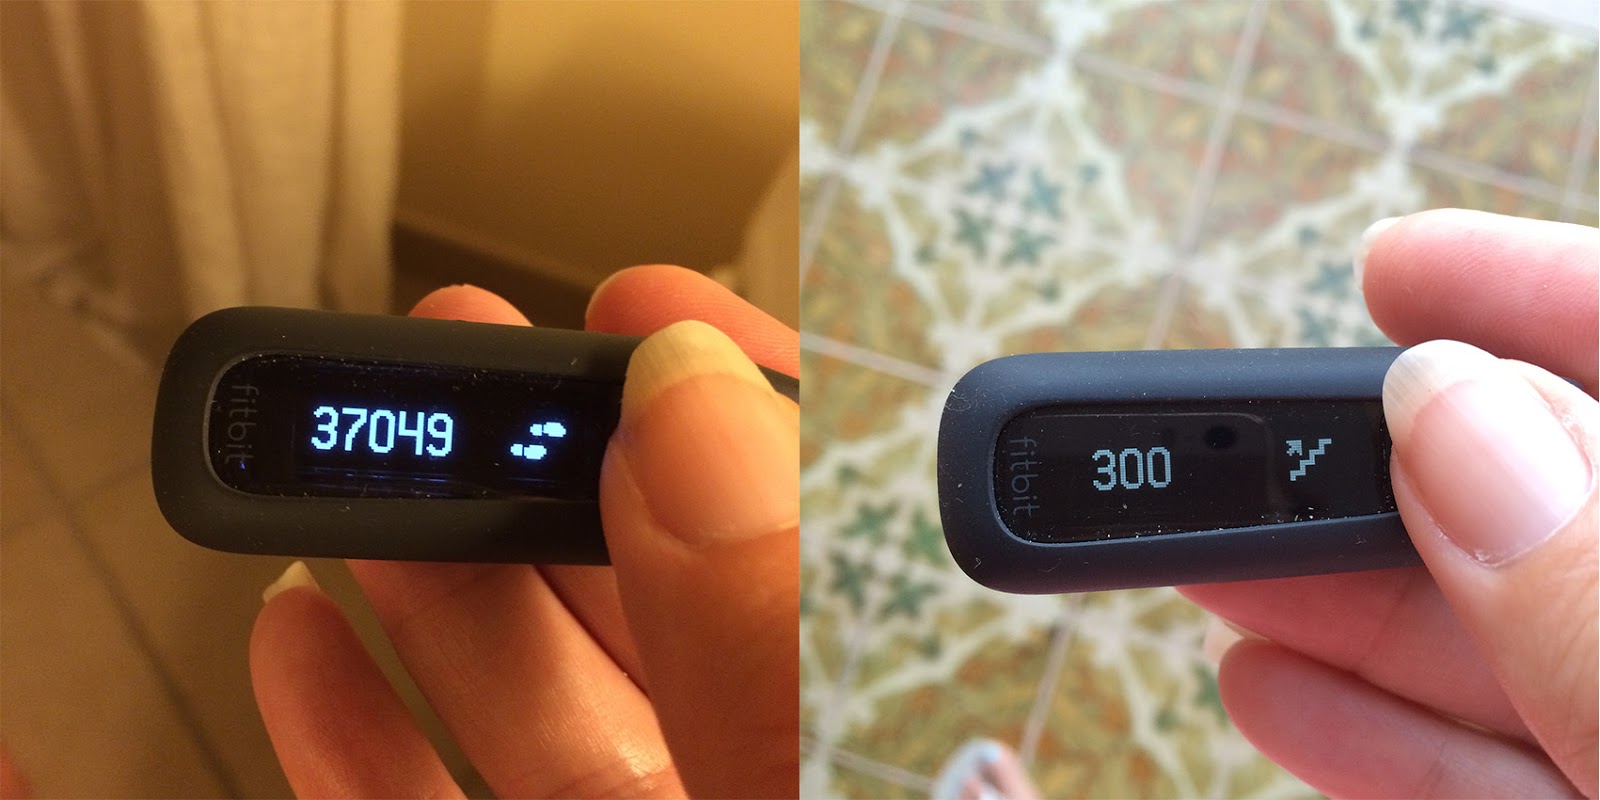
I took my fitbit and was super chuffed that I set two new personal bests! on two separate days.

moment of smug self-backpatting

We did a huge amount of hiking and mountain/hill/stair climbing, and averaged 25,000 steps and 150 floors per day.  Phew!  We sure earned our gelati each day! or sometimes *blush* even two gelati, ahem.
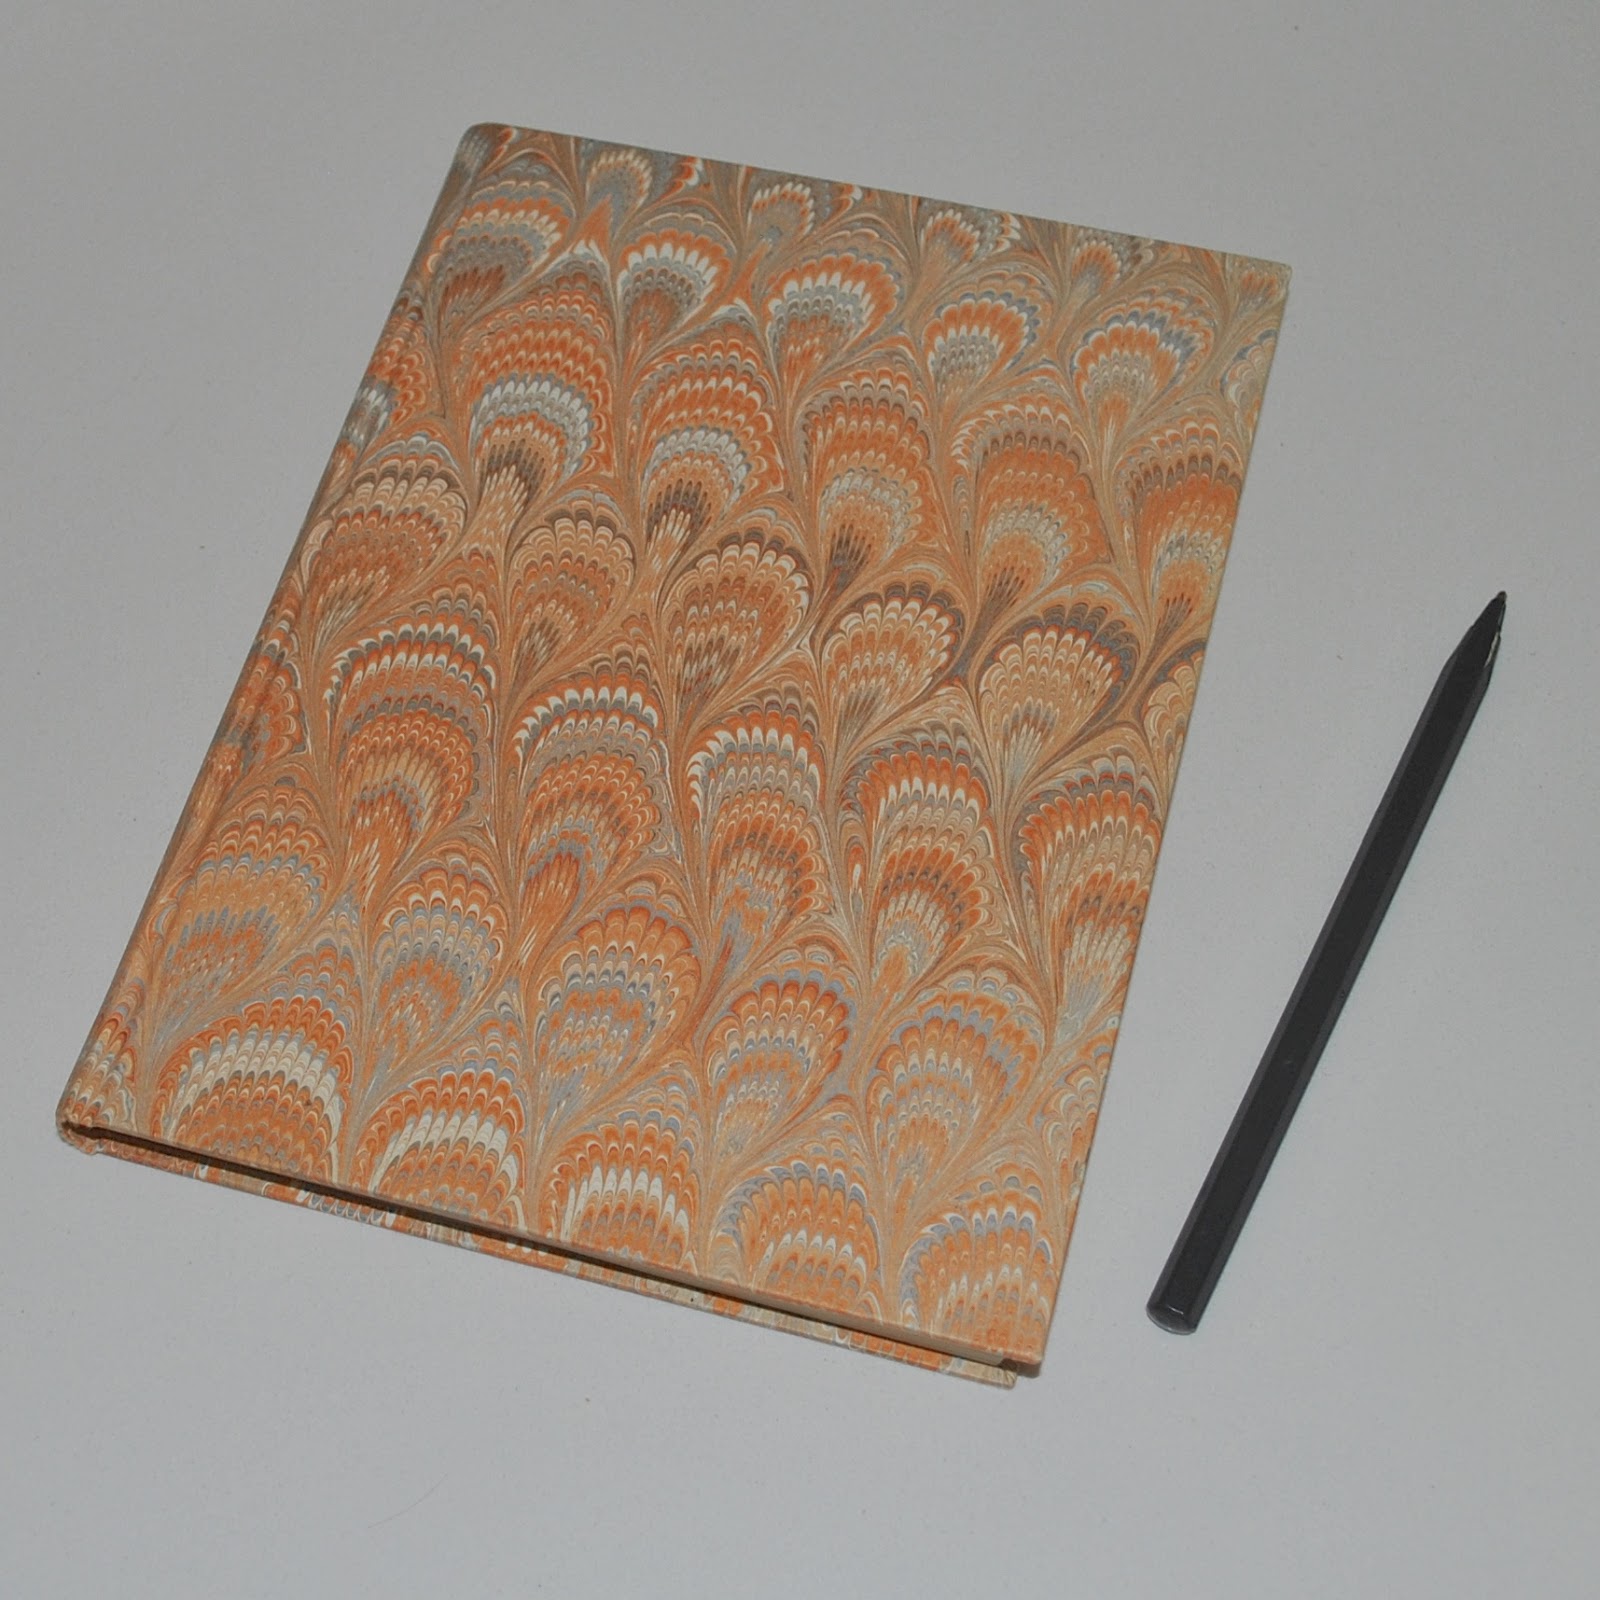
Another “thing” I did was keep a diary.   I always have good intentions to keep travel journals but rarely do I actually manage to keep it going for the whole trip.  This time I gave myself extra motivation by buying for myself a really beautiful book.  It worked!  I loved my book so much it was an absolute pleasure to write in it, and I found myself looking forward each day to summarising the events of the day, recalling funny anecdotes, little thoughts I had, conversations we had, and general stooff like that.
I know I’m going to enjoy reading it one day when I’m old and can no longer remember that we even ever went to Italy, once upon a time, hehe  ðŸ™‚

pinterestmail

origami blouse

Hello!  I’ve made a new blouse  ðŸ™‚
Yes, it is currently winter here in Perth.  I am braving the freezing depths of winter to take these photos.  
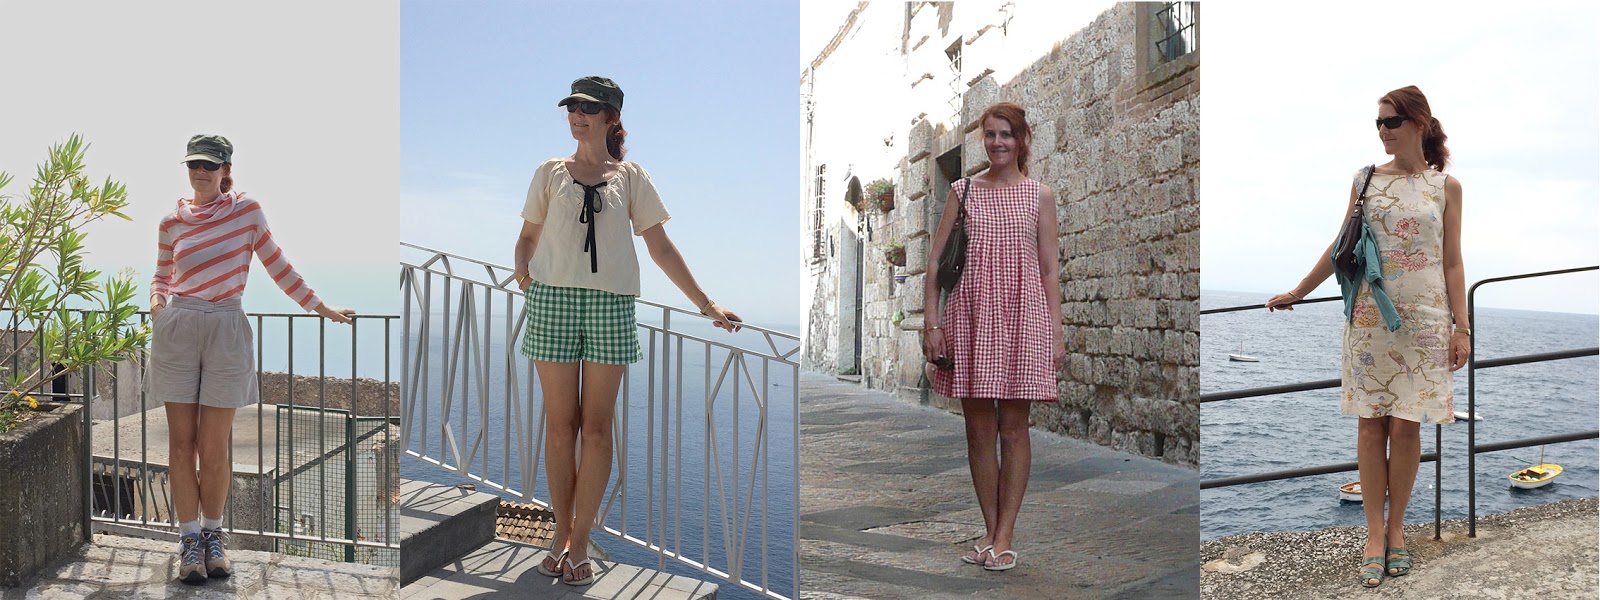
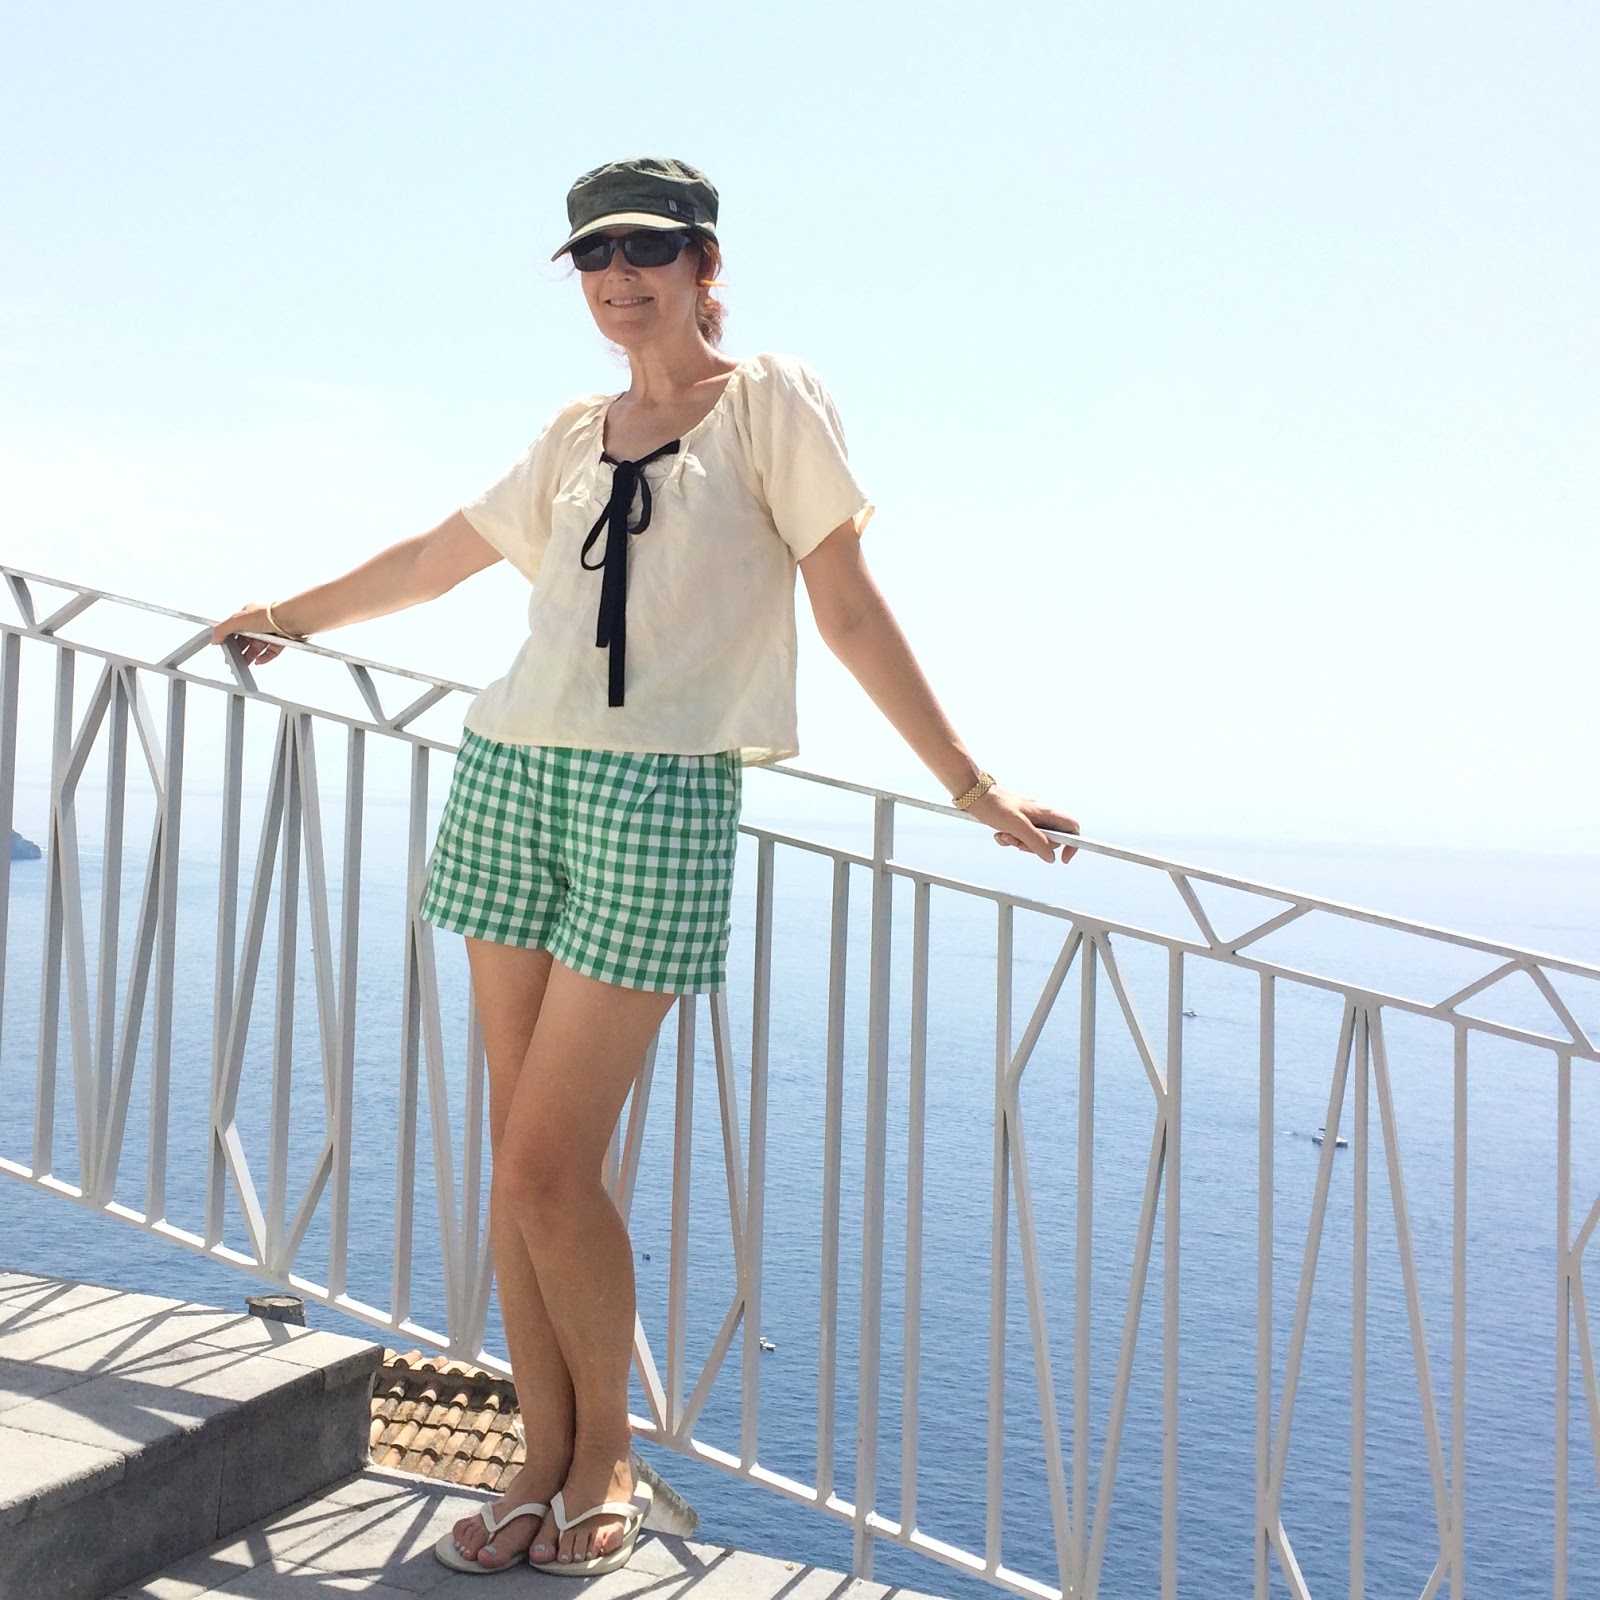
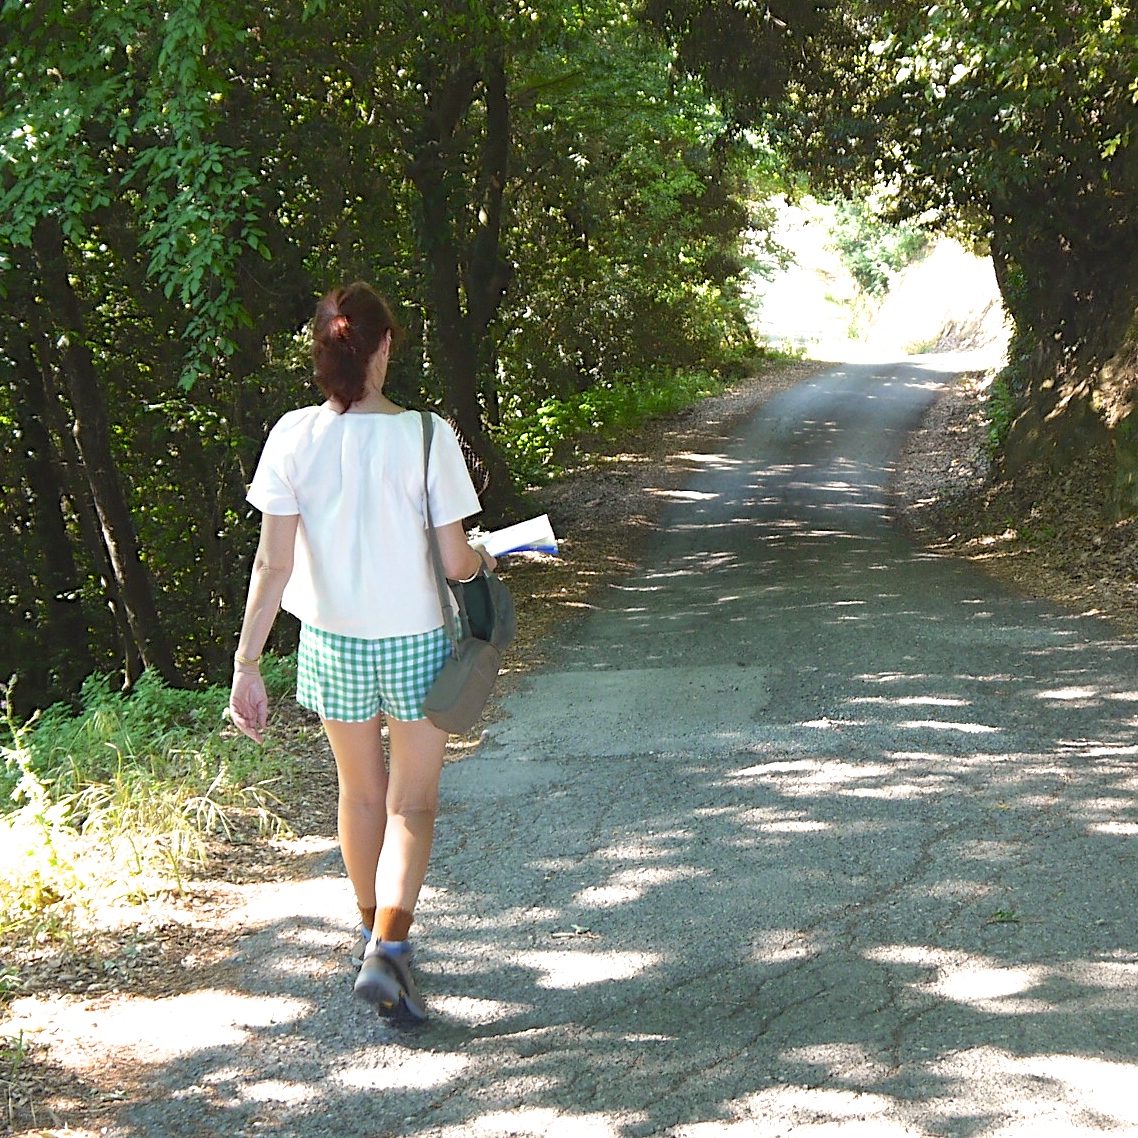
Haha, not really!  Actually I am wearing my new blouse responsibly and weather-appropriately here, in warm and sunny Italy!  I made the blouse before we left on our recent hiking holiday and took it away with us so I could enjoy it in the warm weather  ðŸ™‚
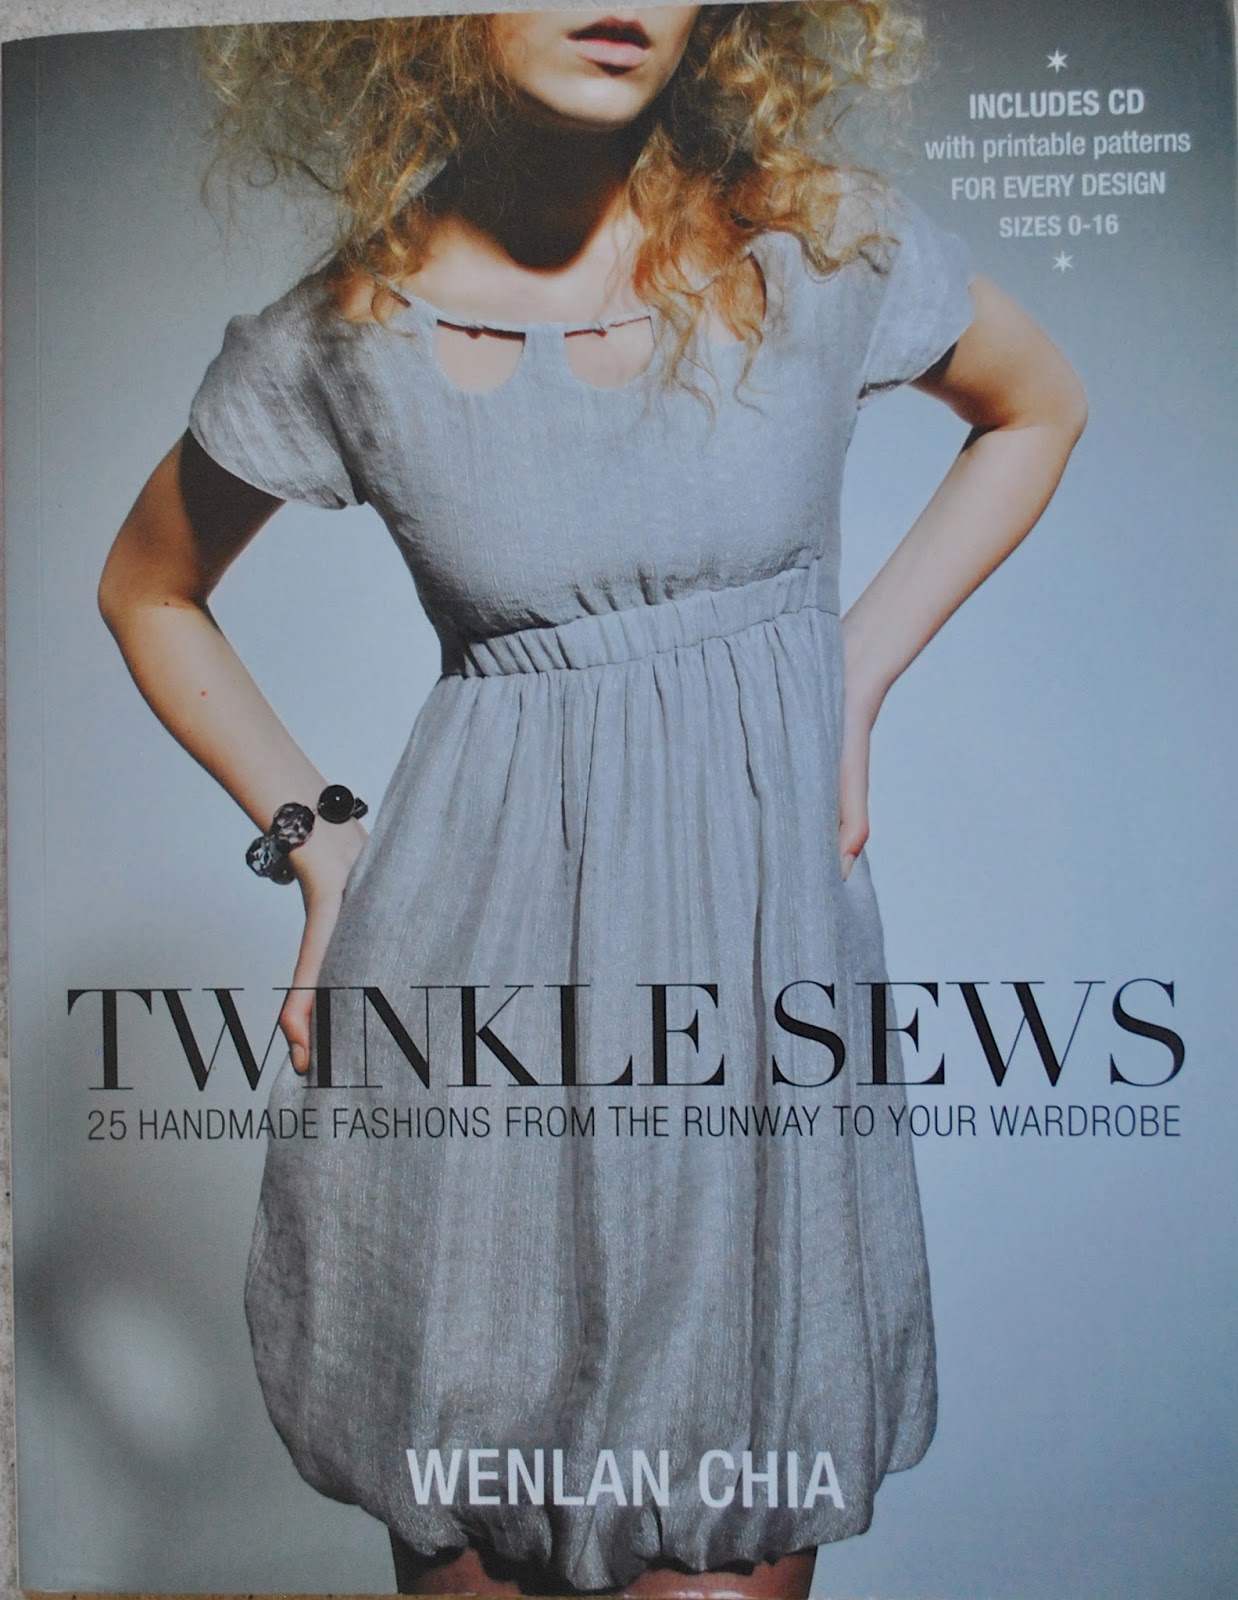
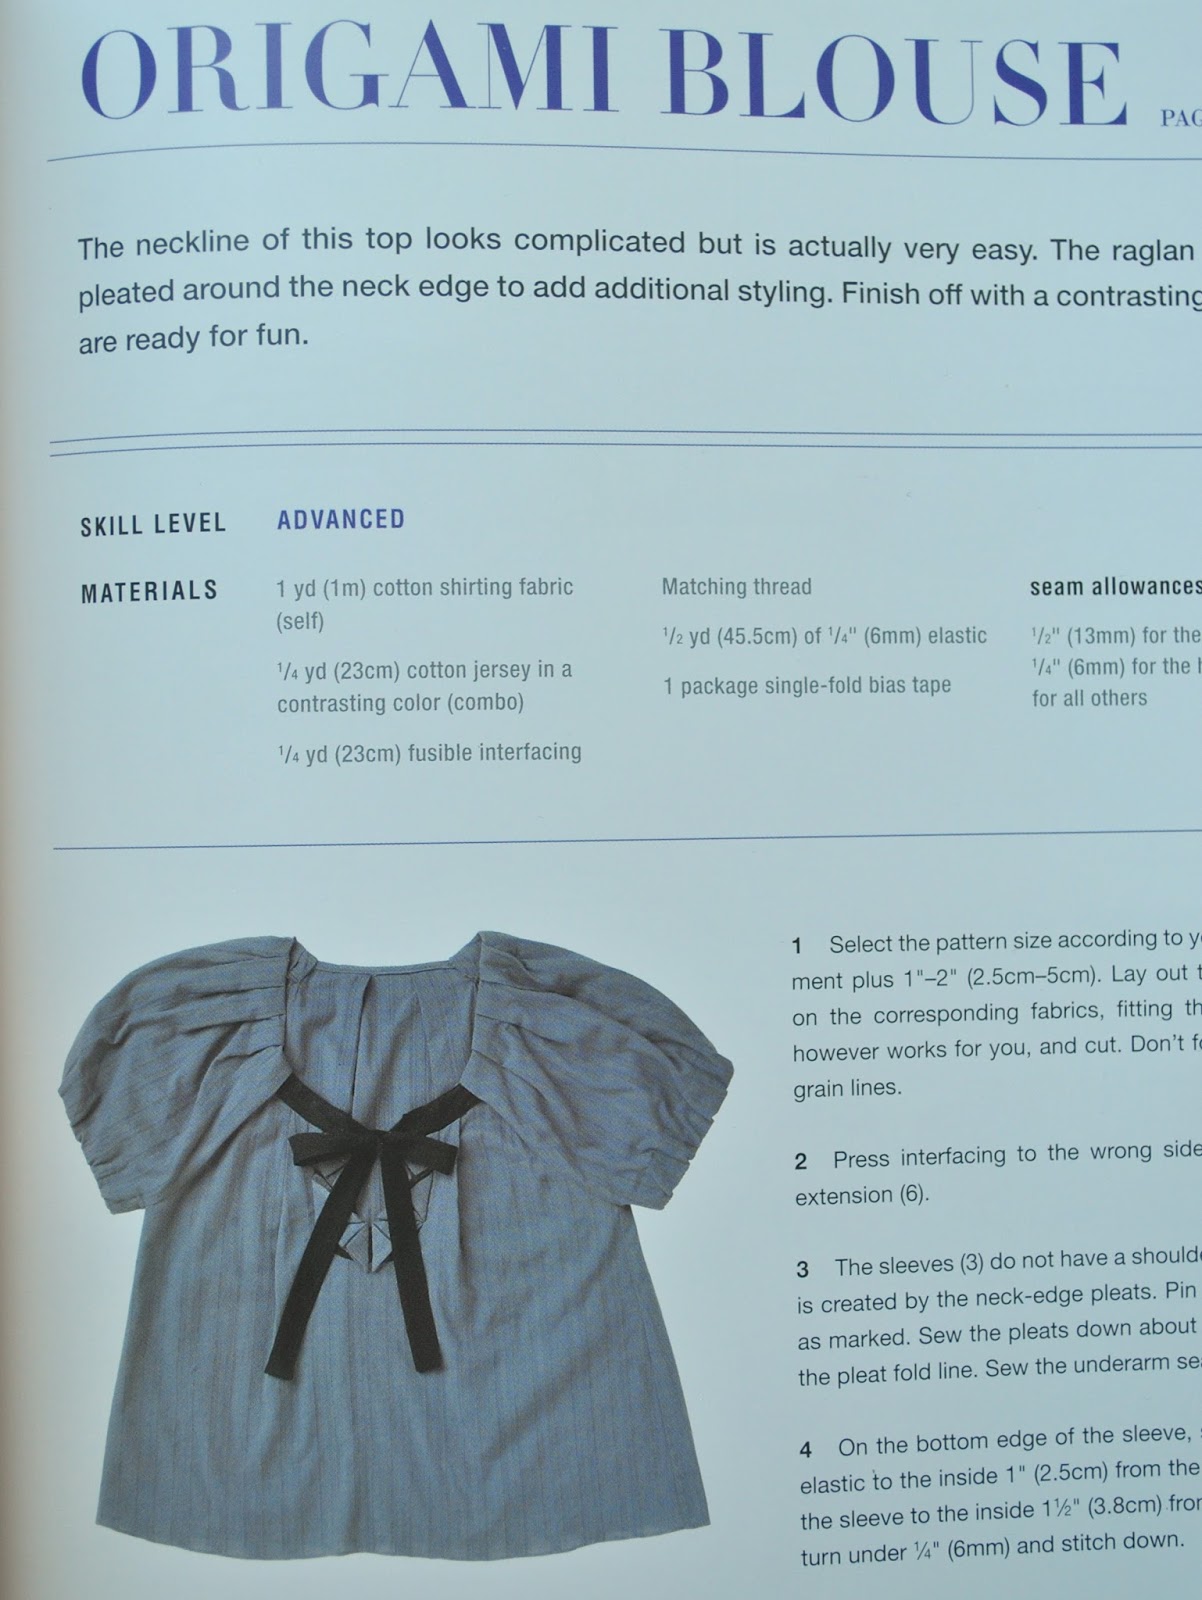
This is the Origami Blouse from the book Twinkle Sews, by Wenlan Chia.  My lovely sewing neighbour Megan kindly lent her book to me.  Thank you so much, Megan!

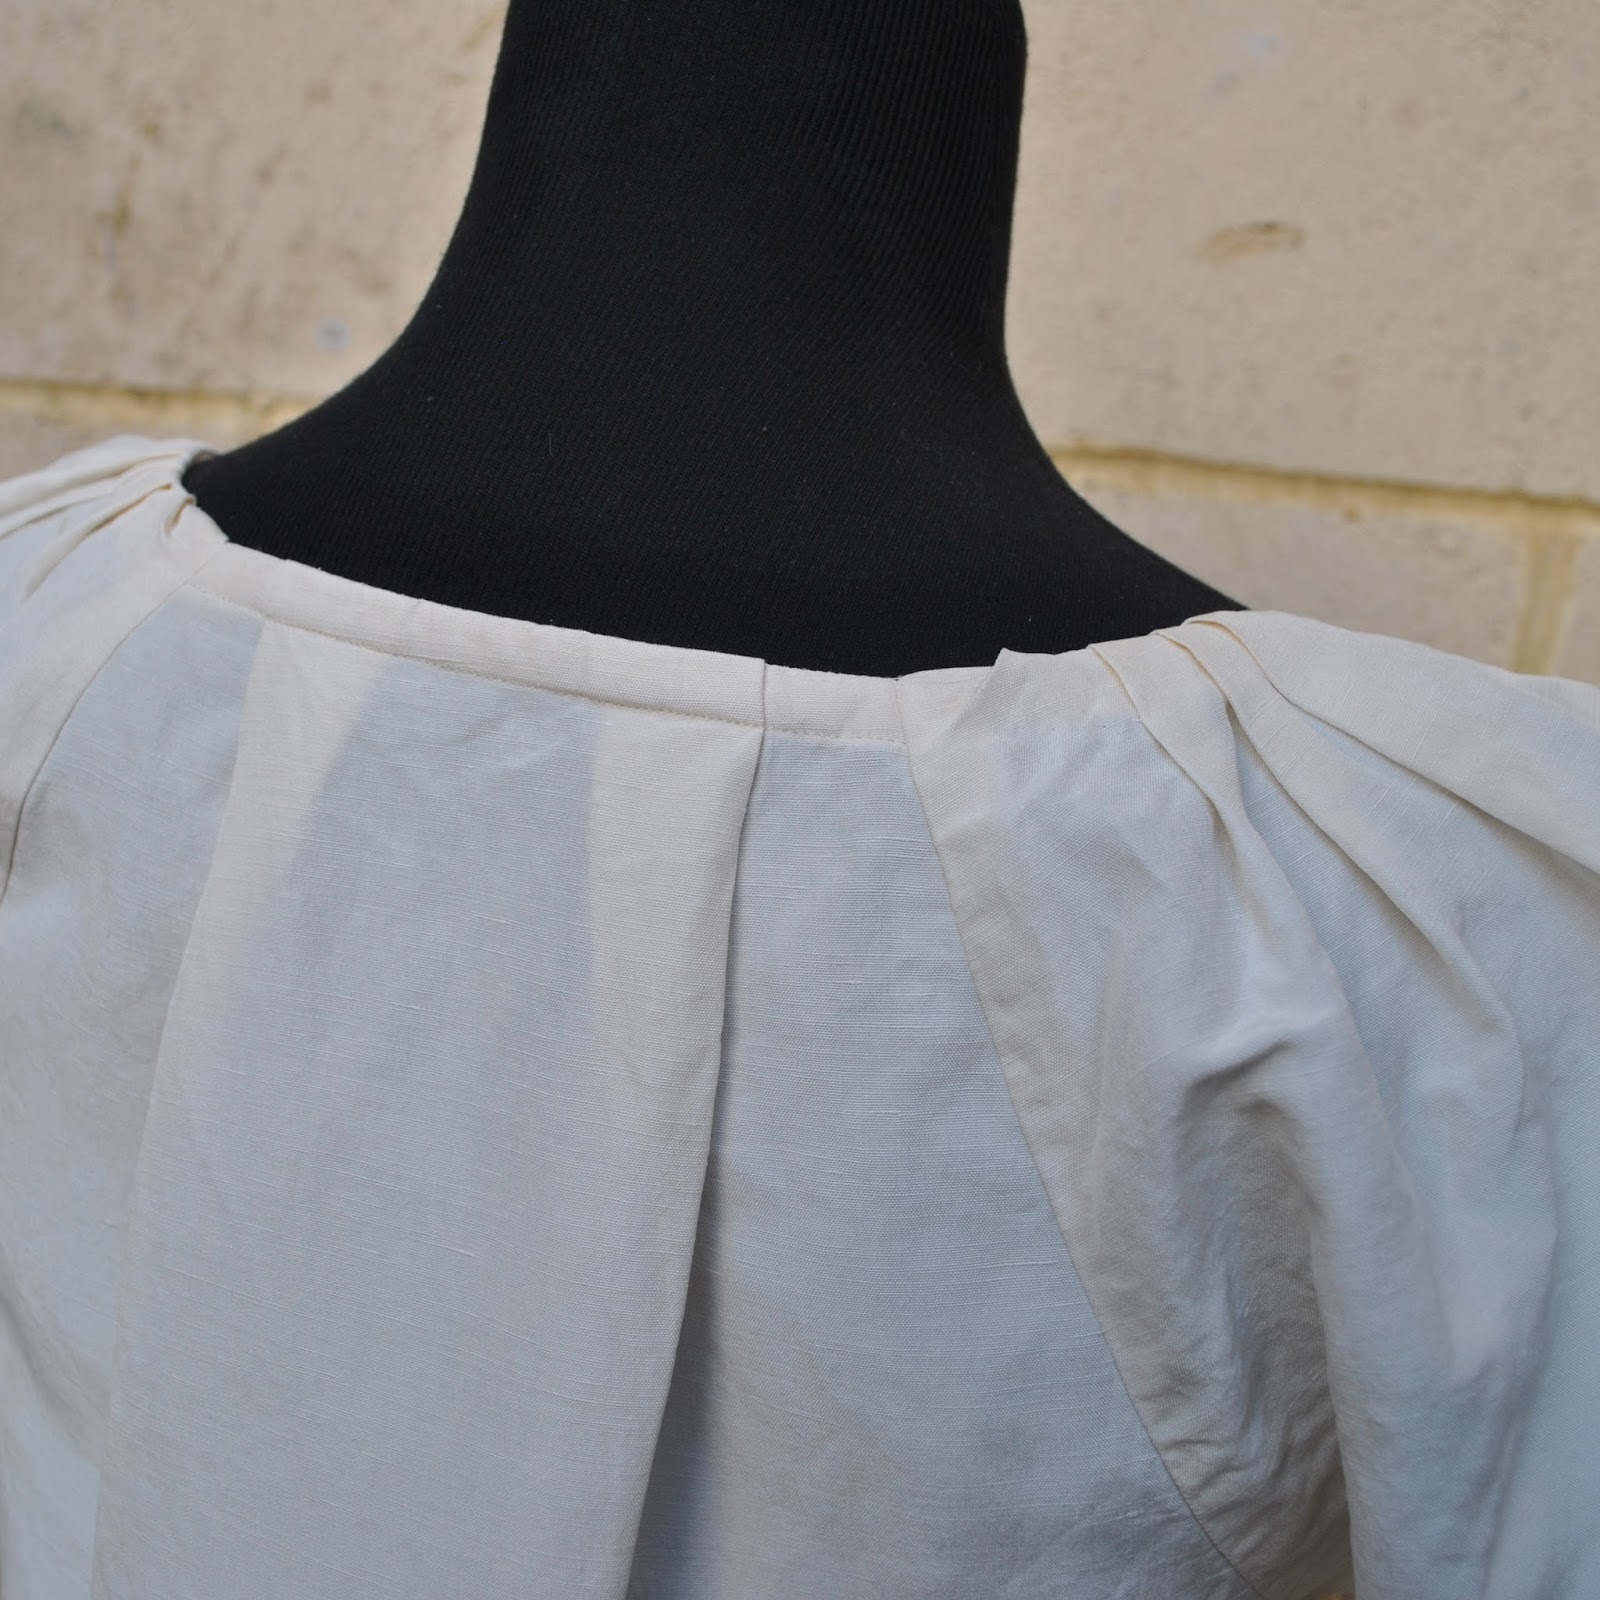
The fabric is a lovely creamy coloured silk/linen; bought as a remnant from Fabulous Fabrics.  I only had about 80cm and with some experimenting to find the most economical pattern arrangement just managed to squeak out the pieces with barely any scraps left at all.  And added 2cm in length to the blouse …  I cut it that little bit longer just because I had enough length and thought I would get a nice deep hem.  However when trying it on I detected a certain, um shall we say, lamb-ness? to the style, at odds with the general muttonness of my person…   Anyway, I decided any and all extra length that could be got definitely should be got at all costs; and stitched the skinniest of skinny hems that I could!
For that same reason I did not gather up the lower edge of the sleeves with elastic, but just left them straight and ungathered.  The resulting lack of sleeve puffiness raises the maturity level just a touch, I reckon  ðŸ™‚
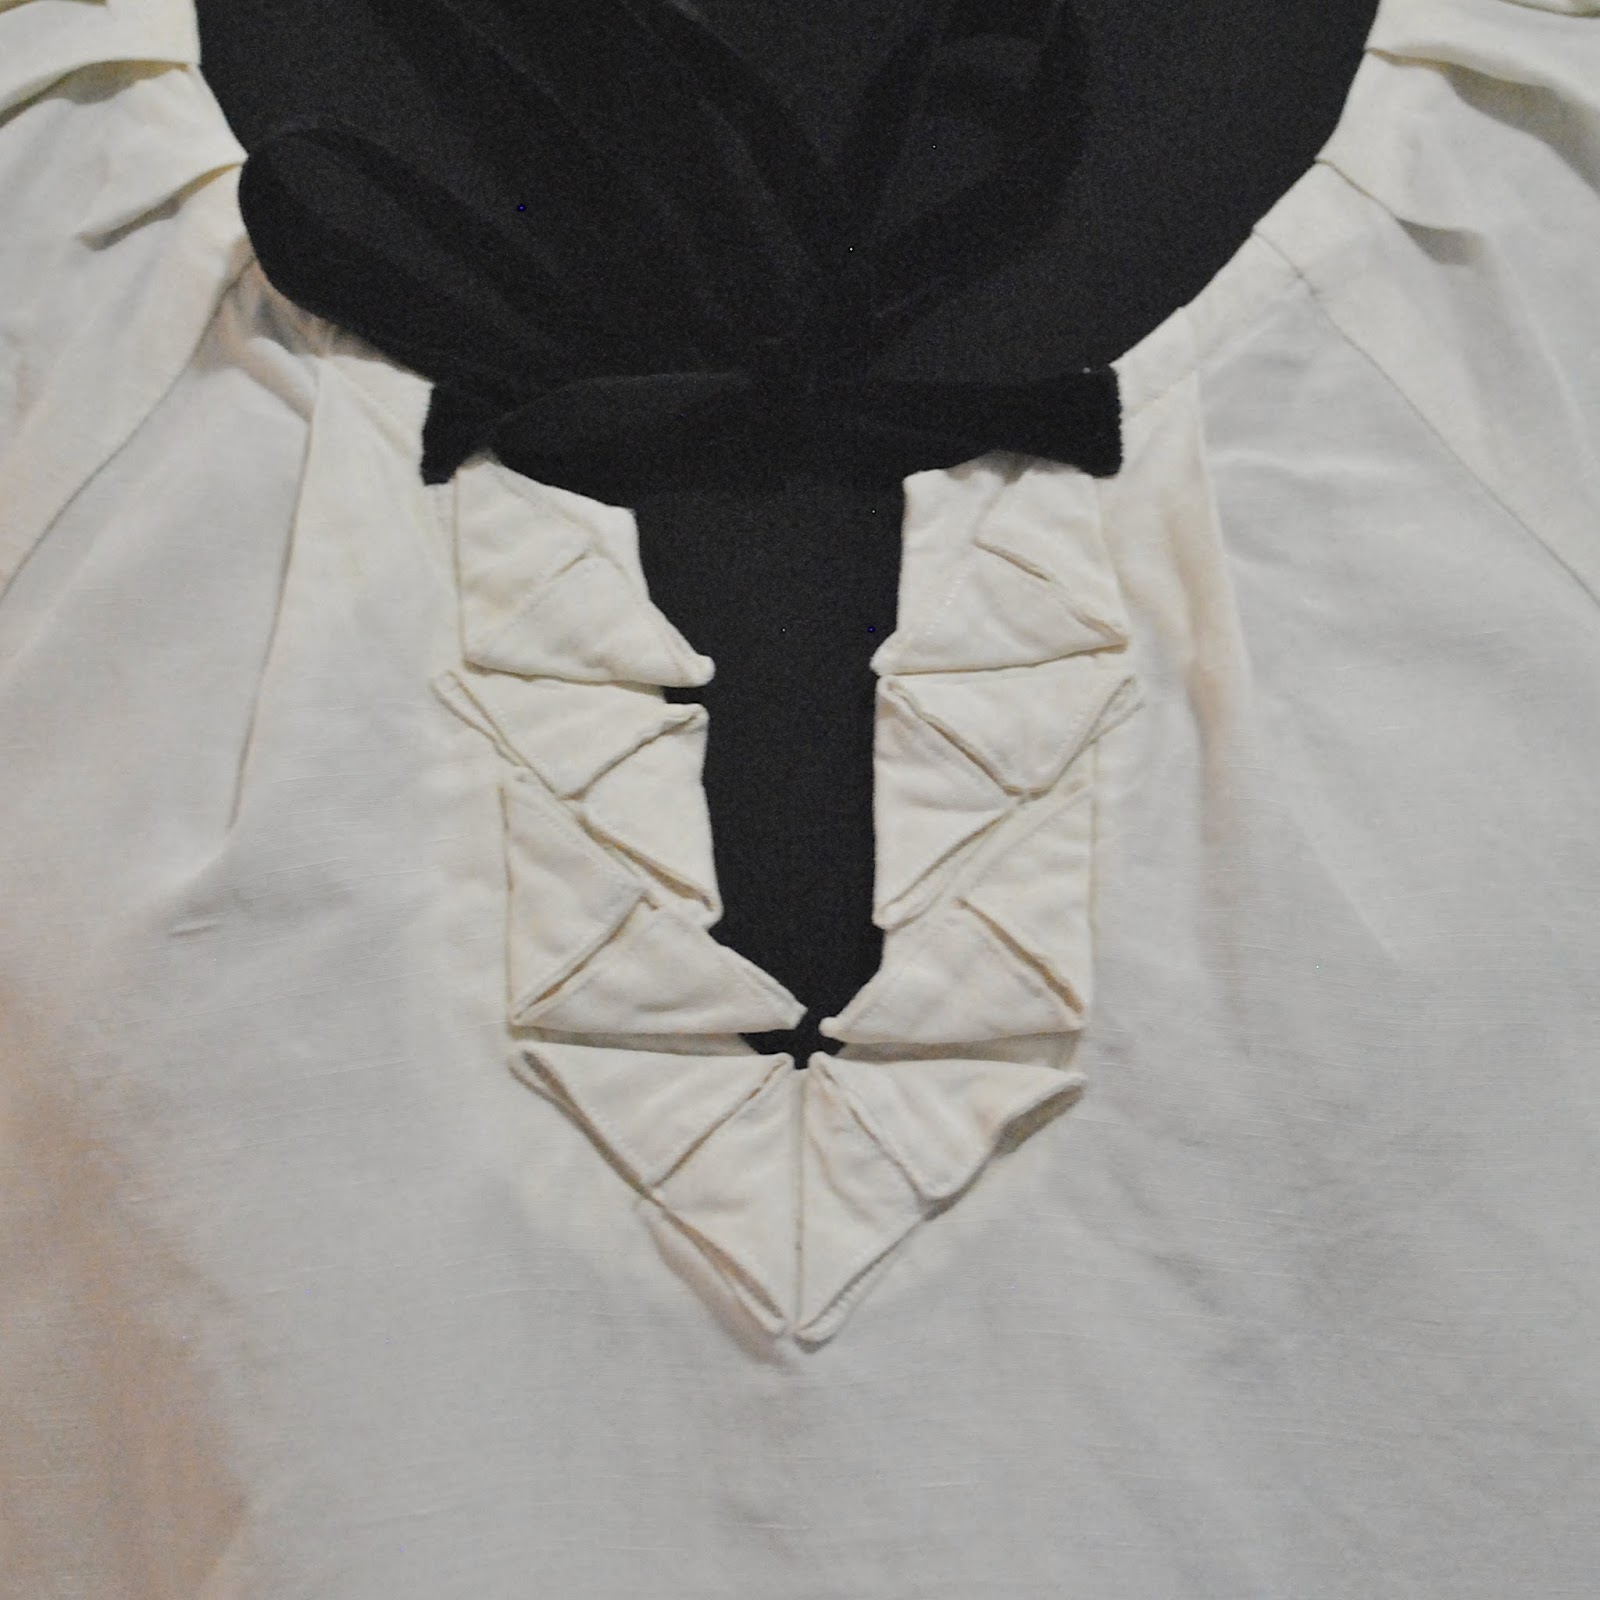
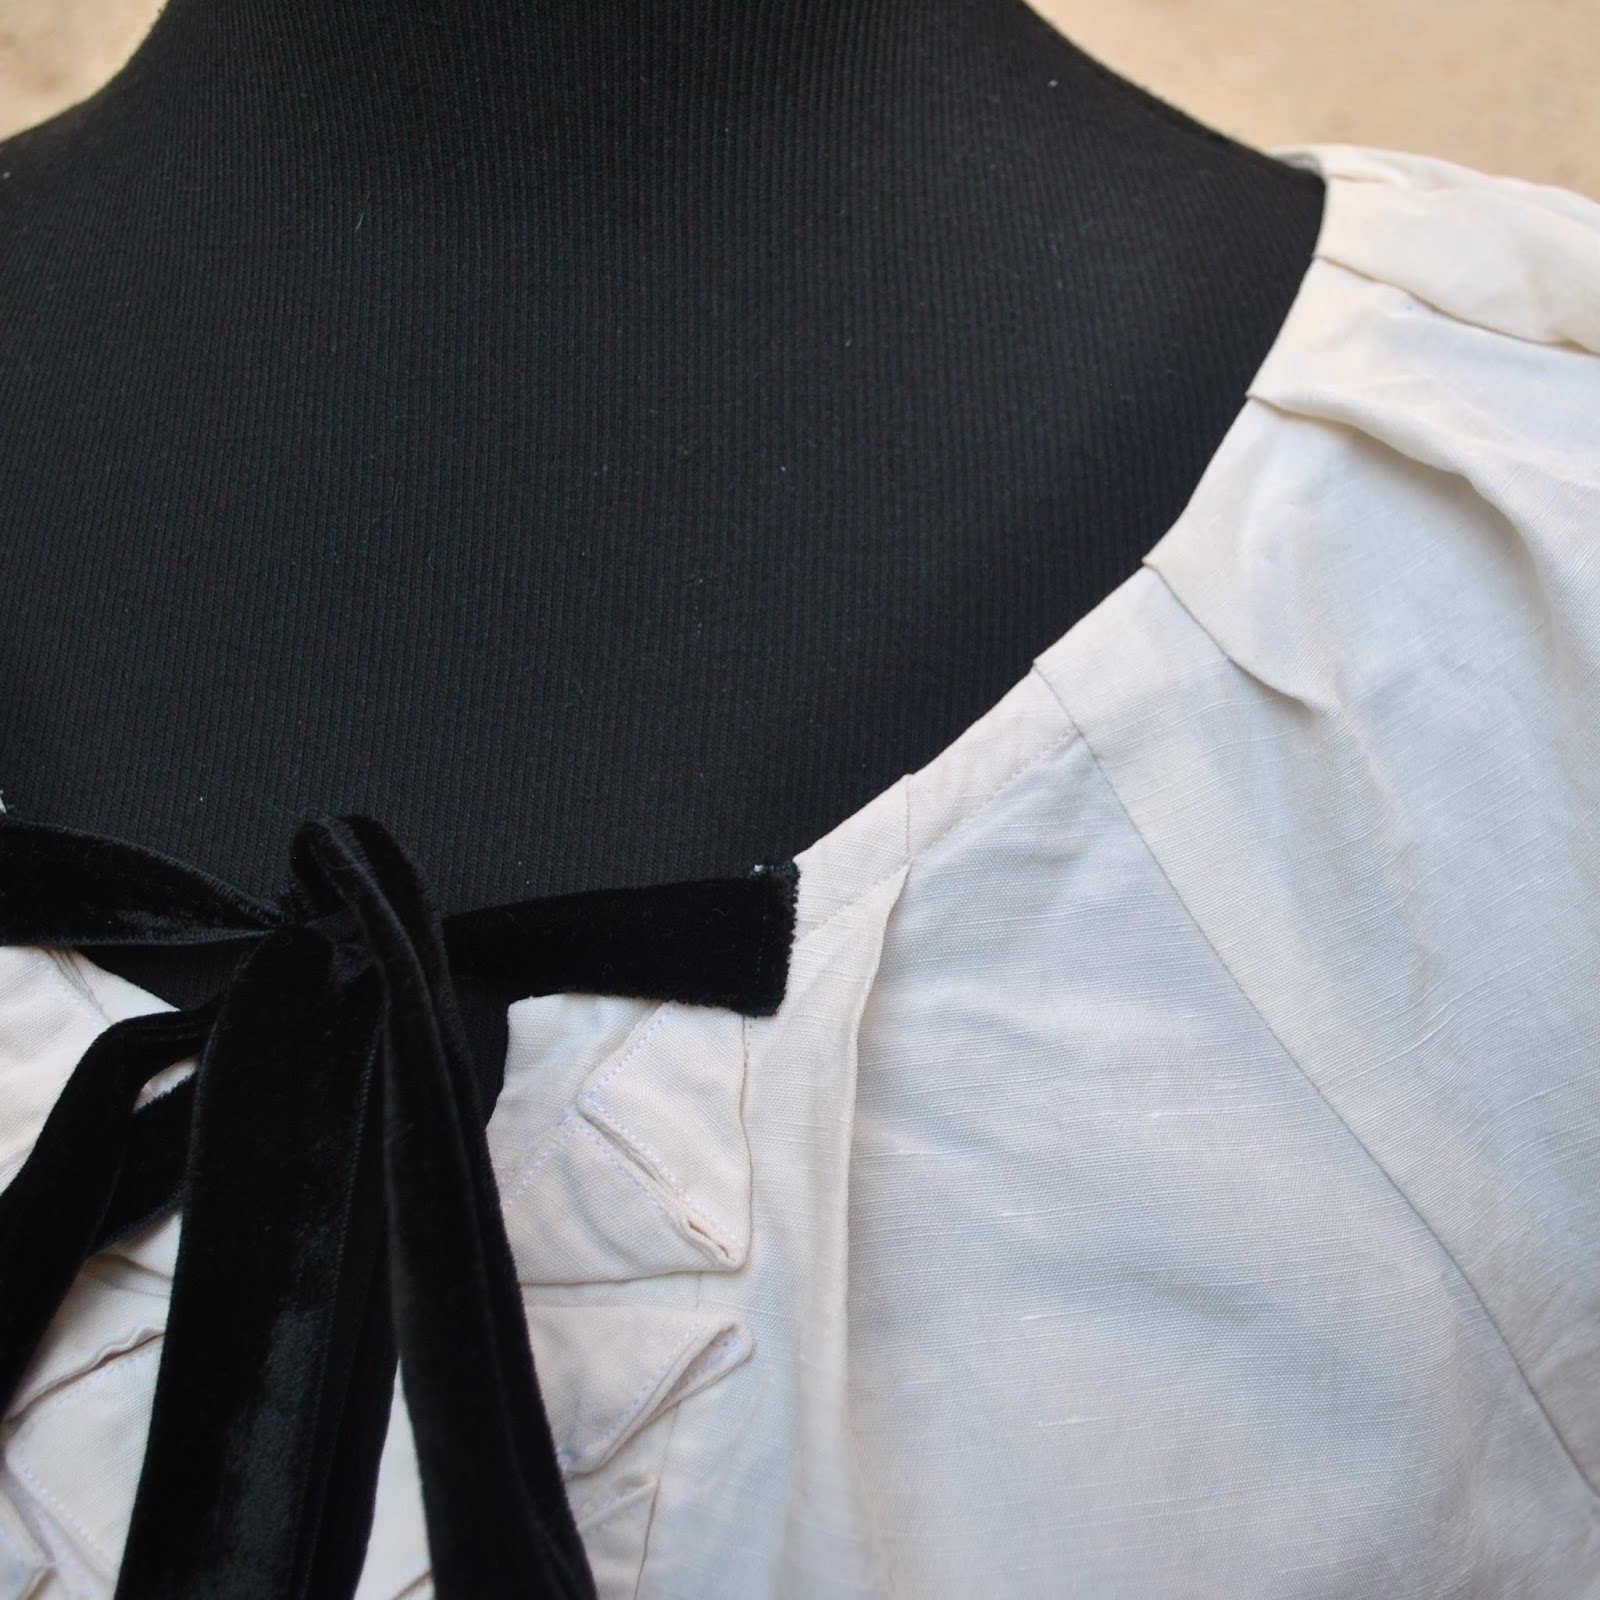
The origami thingies on the front are rather interesting, and although they look complex are simpler than they look.  Having said that, I still found them quite fiddly to make and mine are not particularly neat, although I tried!  Fabric is not like paper at all, it’s springy and thick, especially when seams come into the equation, and true origami perfection is a pretty tall order.  I ended up abandoning all aspirations to razor sharp points and perfectly angled edges and just tried to accept the imperfection.  I think I wrangled them to look passable.  I can almost imagine they are like a flutter of little creamy butterflies, alighting onto my shirt for a little butterfly gathering.

I’m not too terribly distressed at their imperfection, as when I’m wearing the top they are sneakily tucked away behind that black velvet tie anyway, mwahaha…

Verdict: I think it turned out, not too cutesy cute, but nice and just mildly cute, and rather fresh and romantic and just slightly poetic.

My thoughts on Twinkle Sews, the book…
This is a nice book; it contains patterns for 25 garments; 7 skirts, 13 tops and 5 dresses.  The designs include some that are easy and plain, others that are both interesting and unique, with some very innovative ideas in many of the pieces.  If you’re interested in something a bit different, basics with a twist, then this book contains some promising projects.
The fabrics chosen for the sample garments and the styling of them is sometimes a little questionable and I didn’t always find them visually appealing.  But disregarding fabrics and prints and just paying careful attention to the lines and shapes of the pieces, I reckon there are some real gems in there.  Check out Megan’s lovely shibori dress from the book.
The patterns come in sizes 0-16 (US) and are all on a CD included with the book.  The pattern pieces are all whole pieces, meaning, no half pieces to be placed on the fold.  This has advantages; it’s easier to lay the full-size pieces on a flat unfolded piece of fabric to obtain the most economical layout: also disadvantages; the most obvious being that you have to do a heckuvva lot more taping!
The early chapters are aimed at a beginner seamster, with some nice and encouraging chat about the joys of fabric and making clothes for yourself; and extensive, clear and helpful explanations of basic sewing terms as well as for all the techniques used in the projects.

Details:
Blouse; the origami blouse from Twinkle Sews, by Wenlan Chia, creamy linen-silk with black velvet ribbon
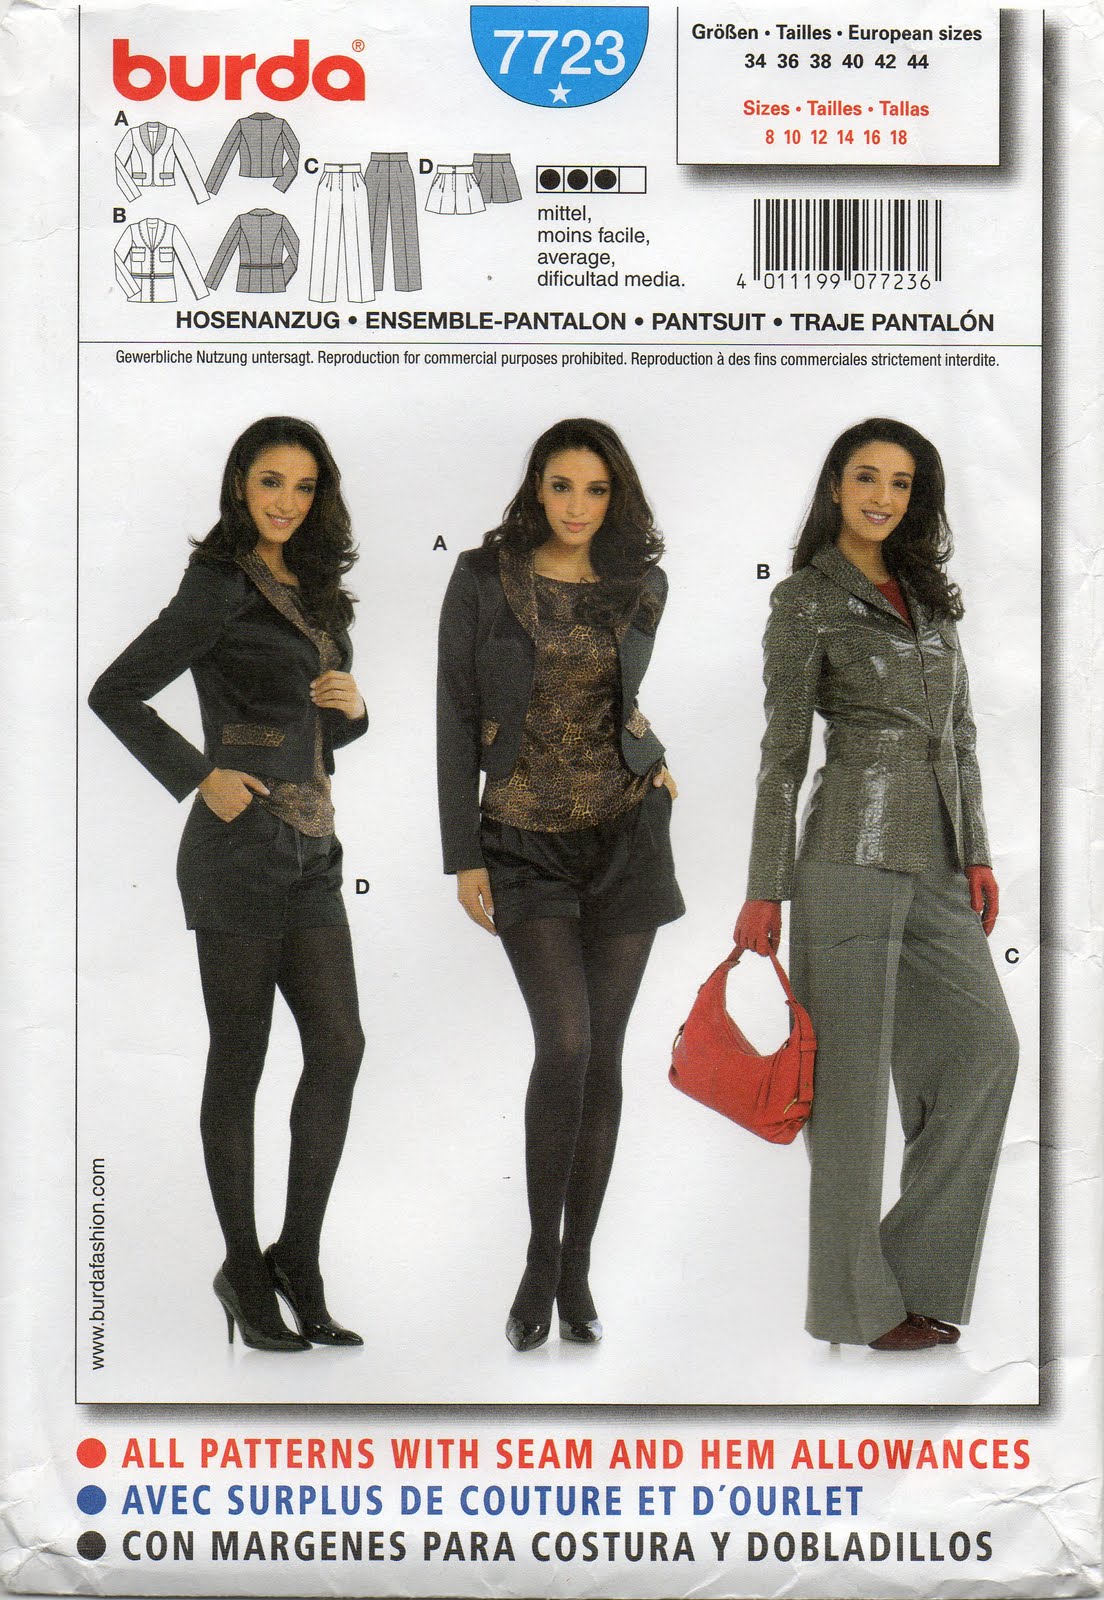
Shorts; Burda 7723, green cotton gingham, details here and my review of this pattern here
Thongs (above); Havaiana
Hat (Craig’s); Billabong
Socks (below); hand-knitted by me, details here
Hiking boots (below); Mountain Designs

pinterestmail

me-made May 2015; an overview

So, this year I took part in Zoe‘s me-made May yet again.  This is my eighth time joining in!
Obviously it’s practically an institution now, and even though I’m pretty sure it’s not aimed towards people like me; who comfortably wear an entire outfit made by myself every single day and have done for years, well, I still like to join in.  It’s fun and maybe I’d feel out-of-it and maybe a bit bereft if I did not!  FOMO!  
ha, did I just successfully employ un buzz-acronym of our time? wow.  Before I know it I might even have got to grips with something else non-dinosaury, like my phone even.  
Or not.

Anyway.  My outfit pictures with the links to everything I am wearing are all in my MMM15 Flickr album here, should anyone wish to have a proper lookie.  I have no idea why some of the pictures are huge, sorry about that.  I think it’s the way Flickr organises them or something.

So, the obligatory postmortem…
Did I learn anything?
Nope!  Not really!  That’s ok though, I’m fine with just joining in for the sake of it!
Any holes?  Any workhorses?
No holes in my wardrobe, massive surprise, that! haha.  I had a few repeats, but mixed it up some and discovered a few nice new combinations that I liked and will repeat over winter. Most importantly, have reluctantly wrenched some old but tired things, kicking and screaming from my wardrobe and transferred them to the potential Salvoes bag.  *sigh*  The camera is a harsh and wretchedly truthful beast!
Workhorses: in this season; white tops, black tights, little knitted cardigans and brightly coloured little skirts.  For warmth; my moto jacket, and my peppercorn cardigan for lounging around in the evening.
Thoughts on the photos?
I’ve kind of got my tripod-and-remote routine down pat now and so it’s pretty painless and easy.  I kept to one very convenient-to-me location, and allowed myself no more than 1 minute to take a few photos, and just selected one for the Flickr group.
I’ve thought of doing “interesting” daily photos again like I’ve done in the past for previous me-made months, but for this year and my current life, just doing boring ones was a good choice for me.

And that’s it! I think?  Until next year.  I’m sure I’ll probably continue to join in and do this as long as Zoe chooses to host it.

pinterestmail

Orange is the new Black

We don’t even get that show on TV here, but I’ve heard the name bandied about and thought it remarkably apt for my newest creations!
Now, is everyone else joining in the latest pretty underthingies making-fest?
Haha, sorry, of course it really goes by a far more lovely and grammatical name; “Everyone Deserves Pretty Knickers”, and is the brainchild of Susan of Measure Twice Cut Once.  It’s on its second year and I sadly missed last year.  Well, partly because I didn’t know about it then.  Which is a bit sad because I love making underthings! it’s fun! and also I’m an any-excuse kind of a seamster, as y’know.  Anyway, as soon as I read Susan’s IG post I signed up.  Couldn’t resist!  
The sweet nothings extravaganza starts 31st May running until 6th June.  So, I’m sorry to jump the gun, but I have a few things coming up on my plate at that time and if I was going to join in and make something I knew I had to get onto it right away  ðŸ™‚
My new set is a re-cycling of an old thing… some tights!

I think I used the pair on the left.. no, the right.. no, the left…. no, wait, maybe the right…

A few years ago I made two pairs of deep orange tights, and wore one pair a bunch until it sprouted holes in the toes.  I even gave them a 6 different ways post, that’s how useful they proved to be in my wardrobe.  Anyhow, one pair were finally on their last legs (haha) and I considered cutting the feet off to make leggings from them, stretch a bit more wear out of them.  But the second pair was still hole-free and going strong, and instead I thought I could re-cycle the fabric from the worn-out pair into something different instead.  I managed to cut out the pieces for a new lingerie set, avoiding the areas of highest wear from the tights which were the knees and soles of the feet.
Paprika poly stretch originally from Spotlight, black stretch lace from Fabulous Fabrics.  Sliders, rings, hook/eye tape, black ribbon for bows, shoulder strap elastic and knicker lingerie elastic from Spotlight, bra foam and other remanding bra findings from MakeBra.  Some of the findings were recycled themselves from older bras that have bitten the dust too.

Patterns; I used MakeBra 2610, a balconette style bra pattern and my old McCalls 2772 bikini pattern for the two pairs of matching knickers.  I know right?, same old patterns, like a broken record, story of my life underwear drawer.  Well, when a thing works, etc etc…

black lace, and I made black ribbon bows
Sometimes I used red topstitching thread, sometimes black 
Shown here on Cassie’s dummy Clarissa.  Confession time; my bras, while they fit me, are an awfully tight squeeze on my own dummy Bessie.  Whenever I’ve used her to model bras in the past I’ve had to stretch the bejeezus out of them, or pin them open at the back.  She is a wee bit, ahem, broader in the chest than I!
pinterestmail
Switch to mobile version
↓