 I fully admit it; this could very well be the weirdest, most bizarre thing I’ve ever made! I had toyed with the idea of making a lingerie set to complete my one year one outfit… er… outfit; but rejected the idea as being impractical and unwearable; then re-embraced the idea, then rejected it again. And found myself pondering it again… and then dismissed it again. Finally I just decided to have a go, although this part of my project was in danger of never ever getting blogged!
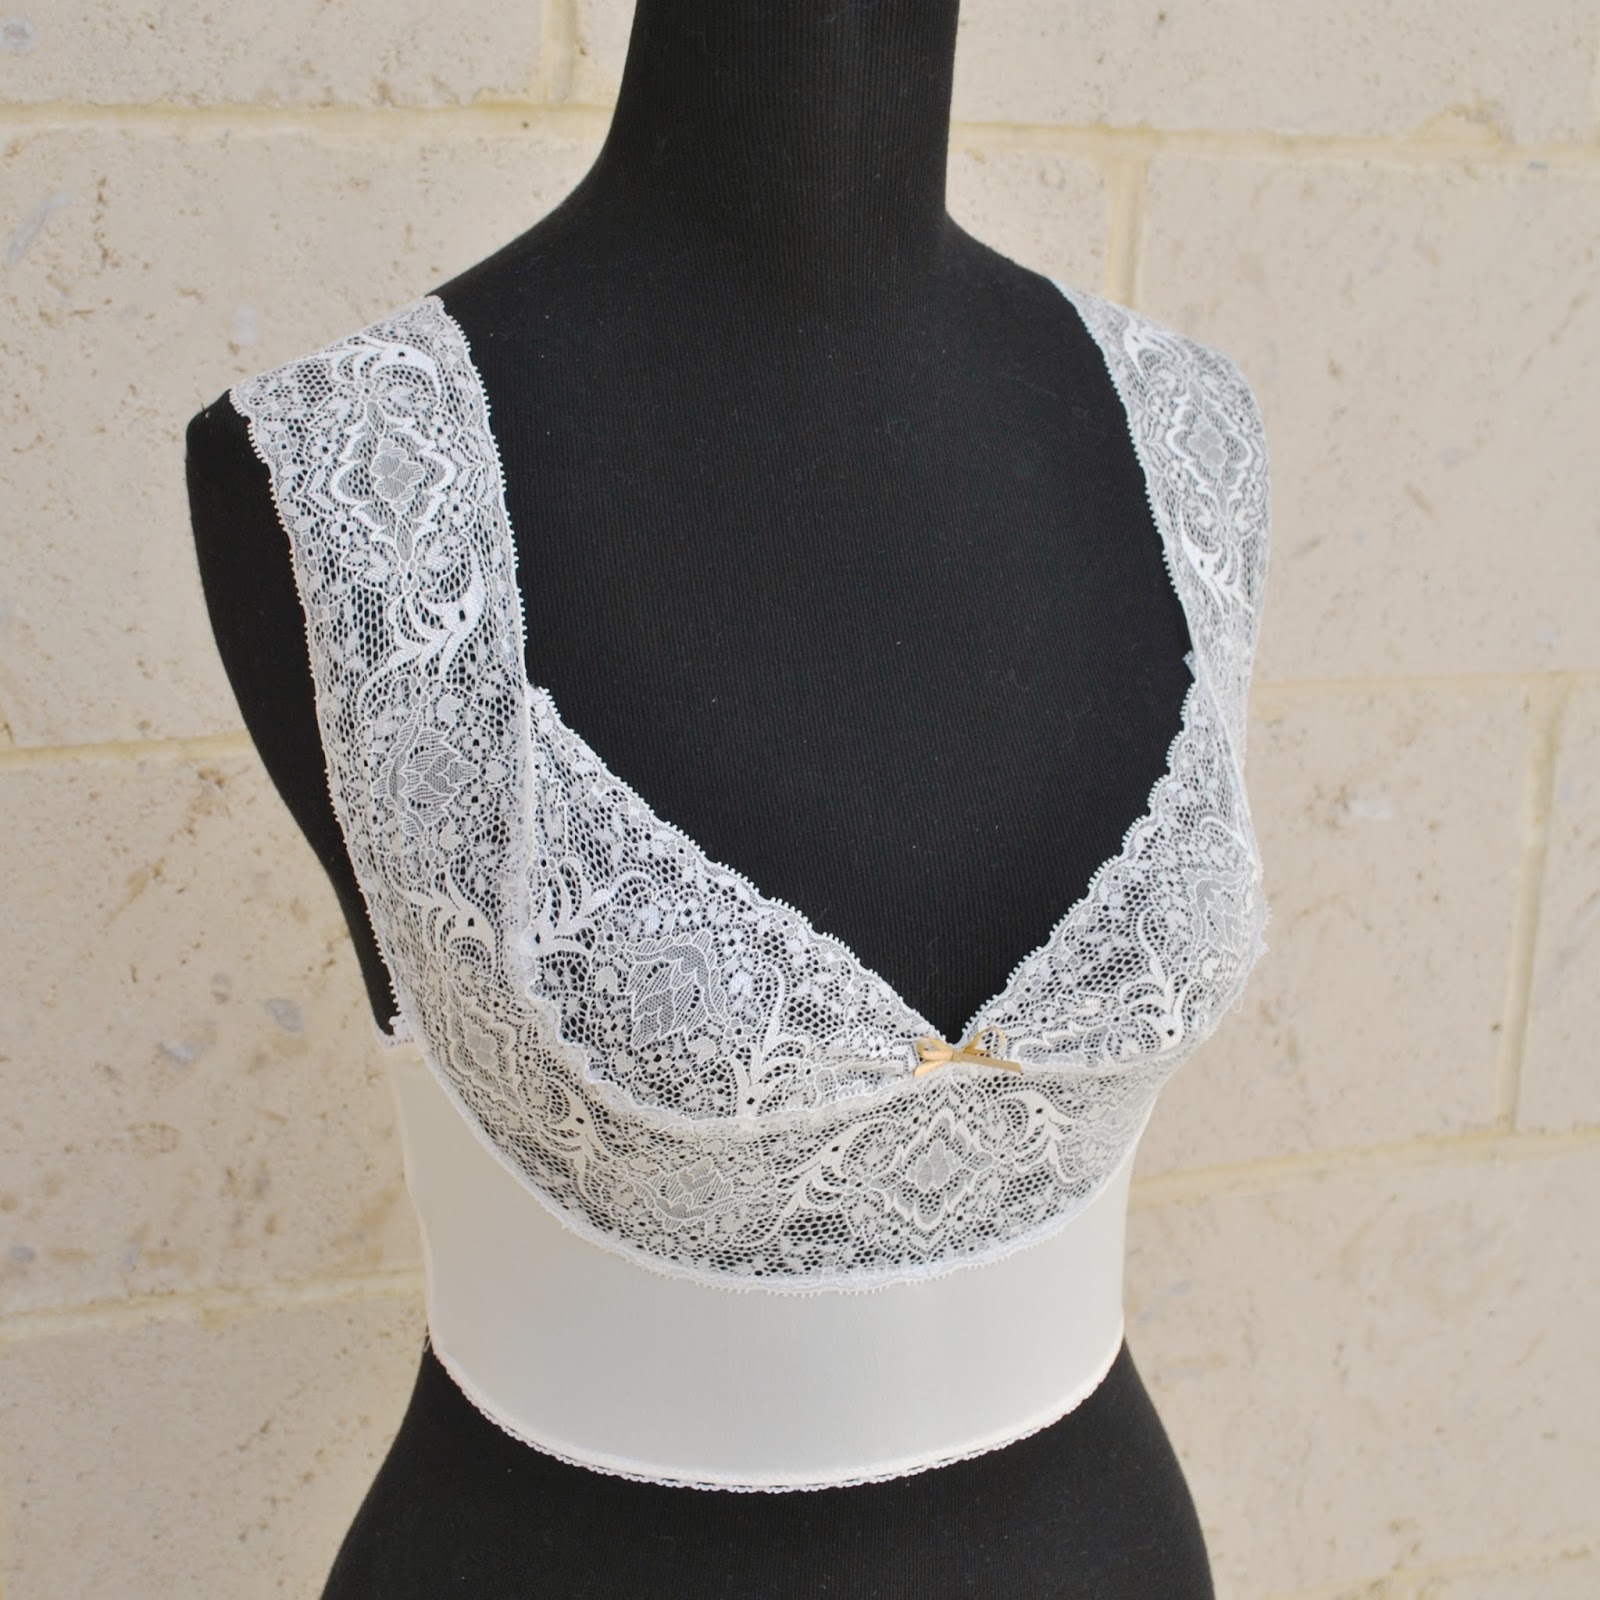
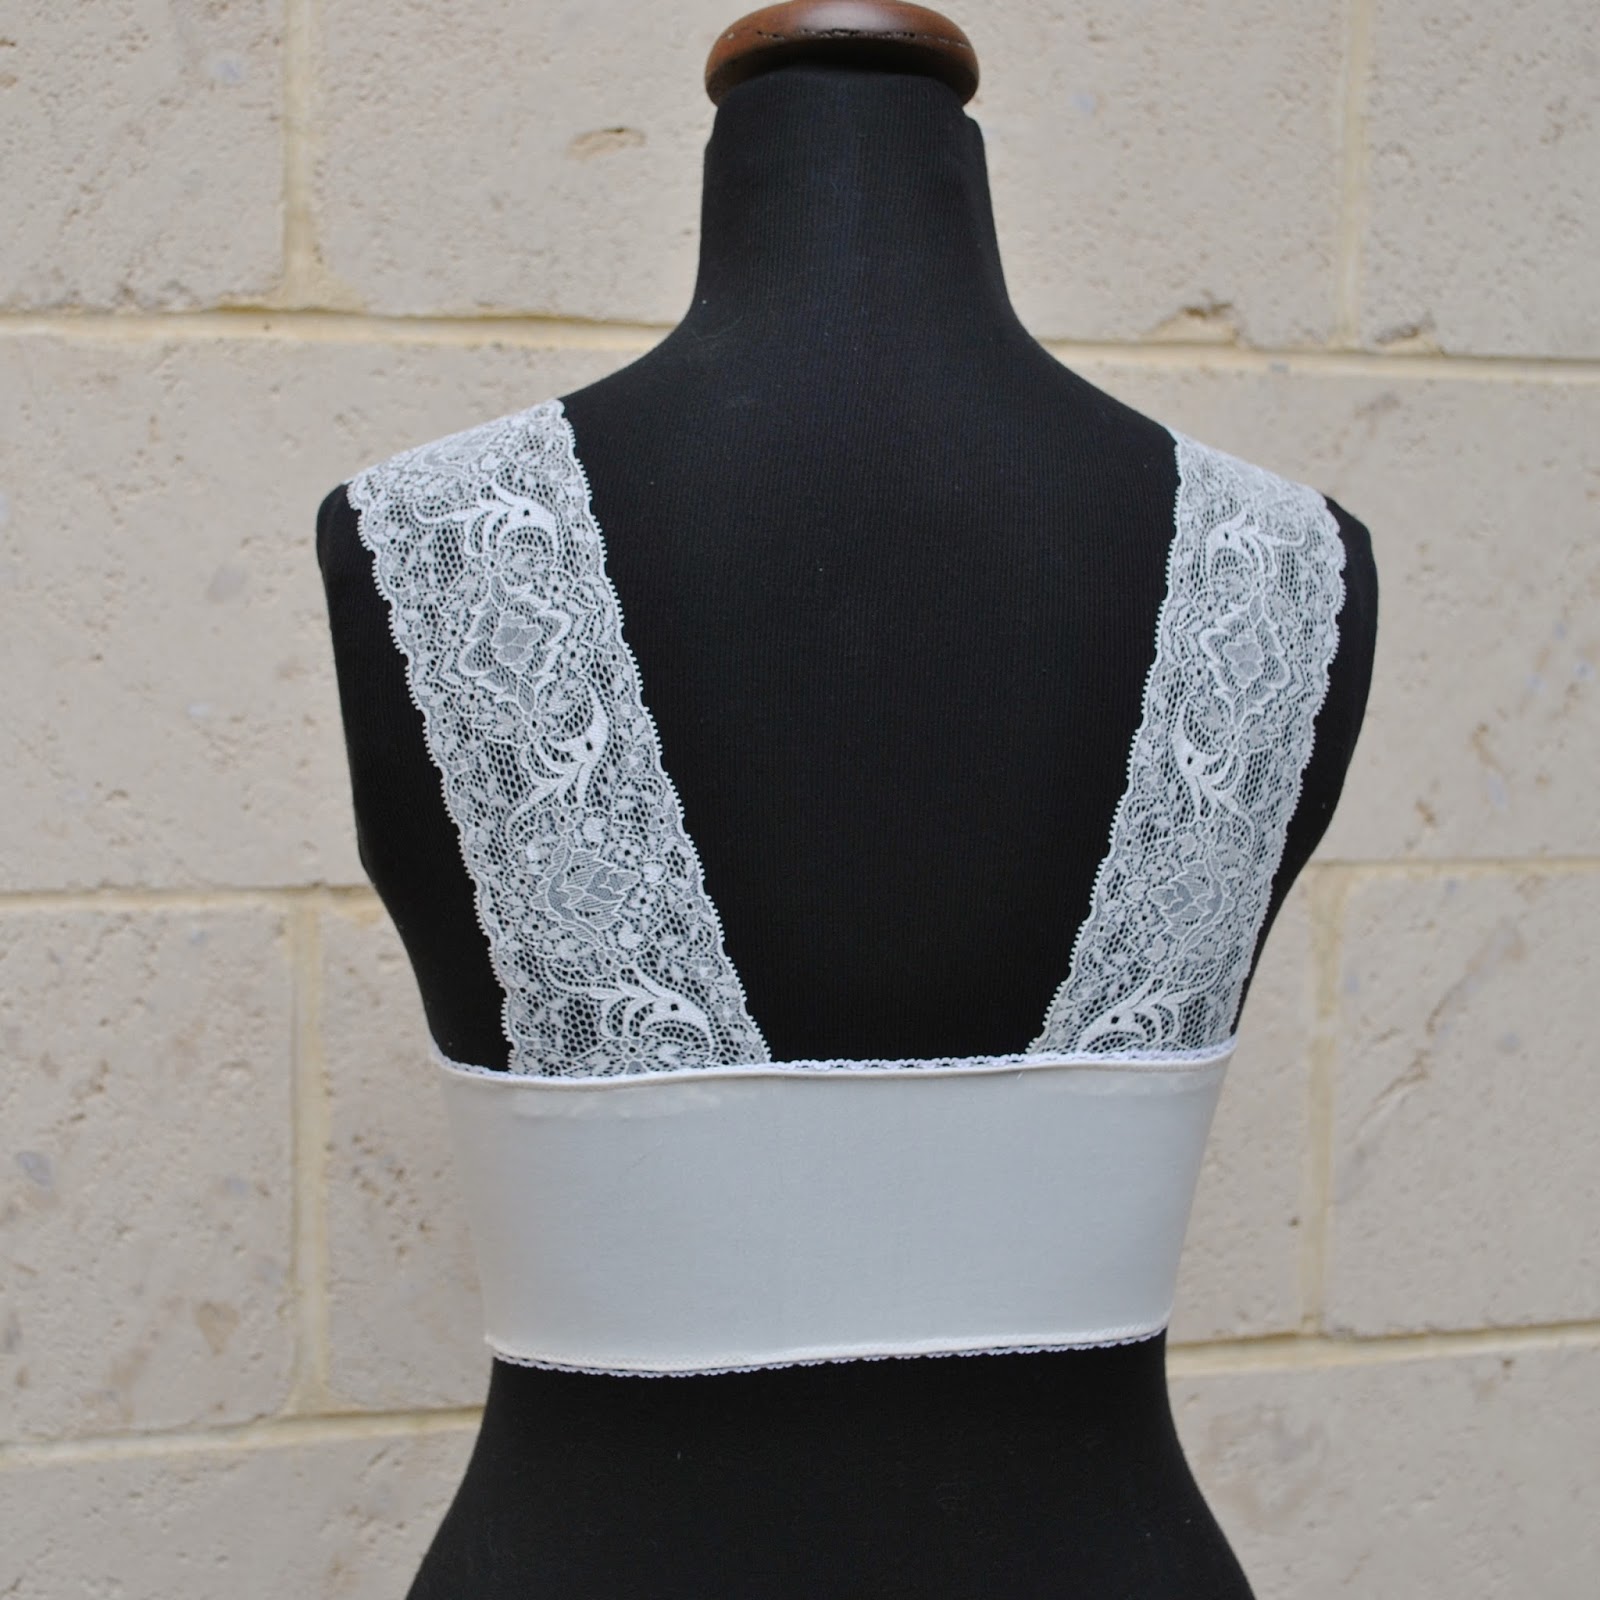
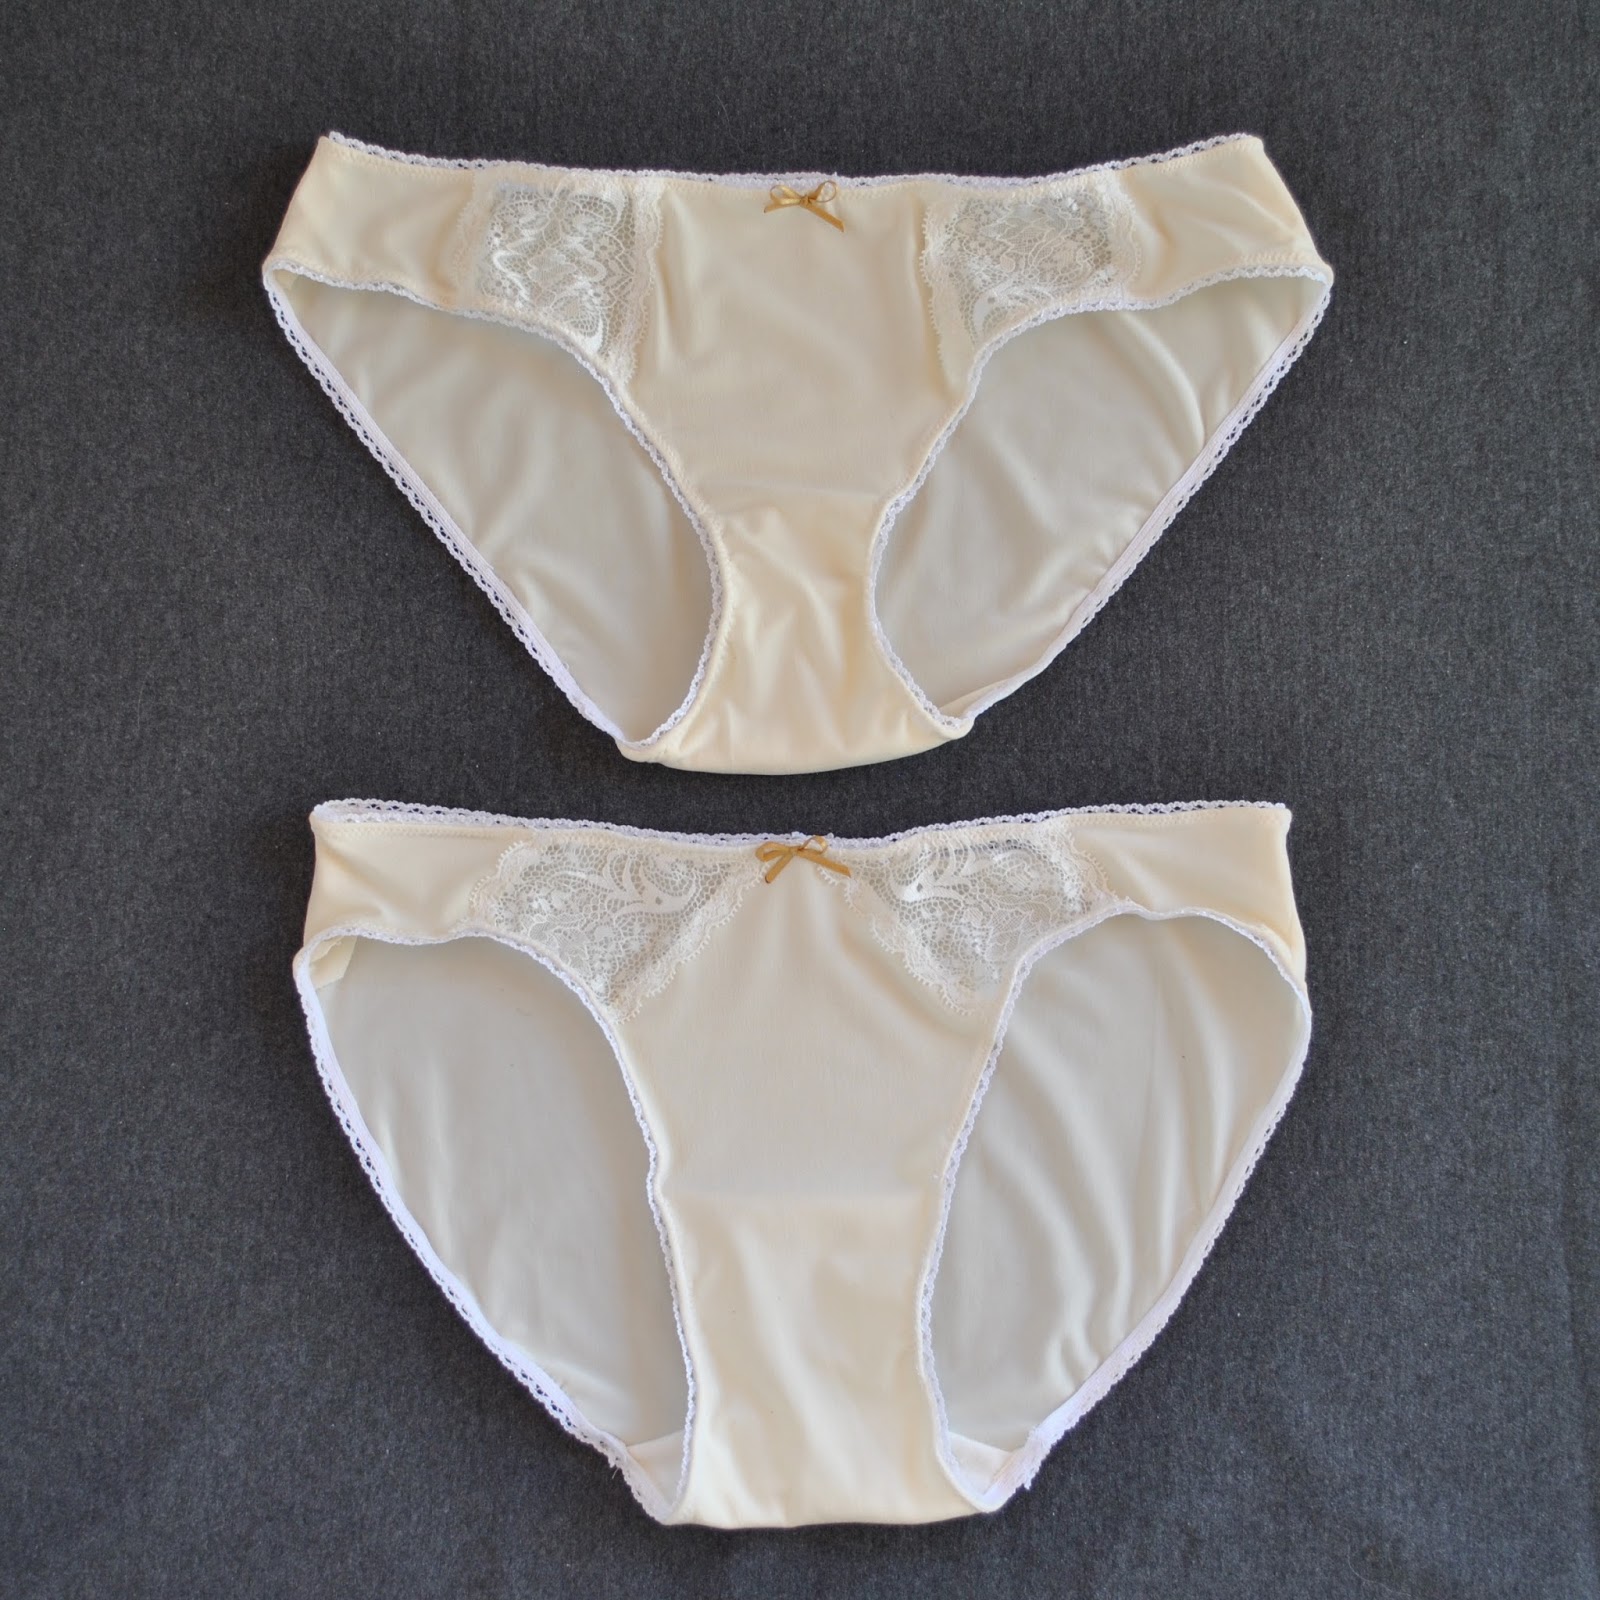
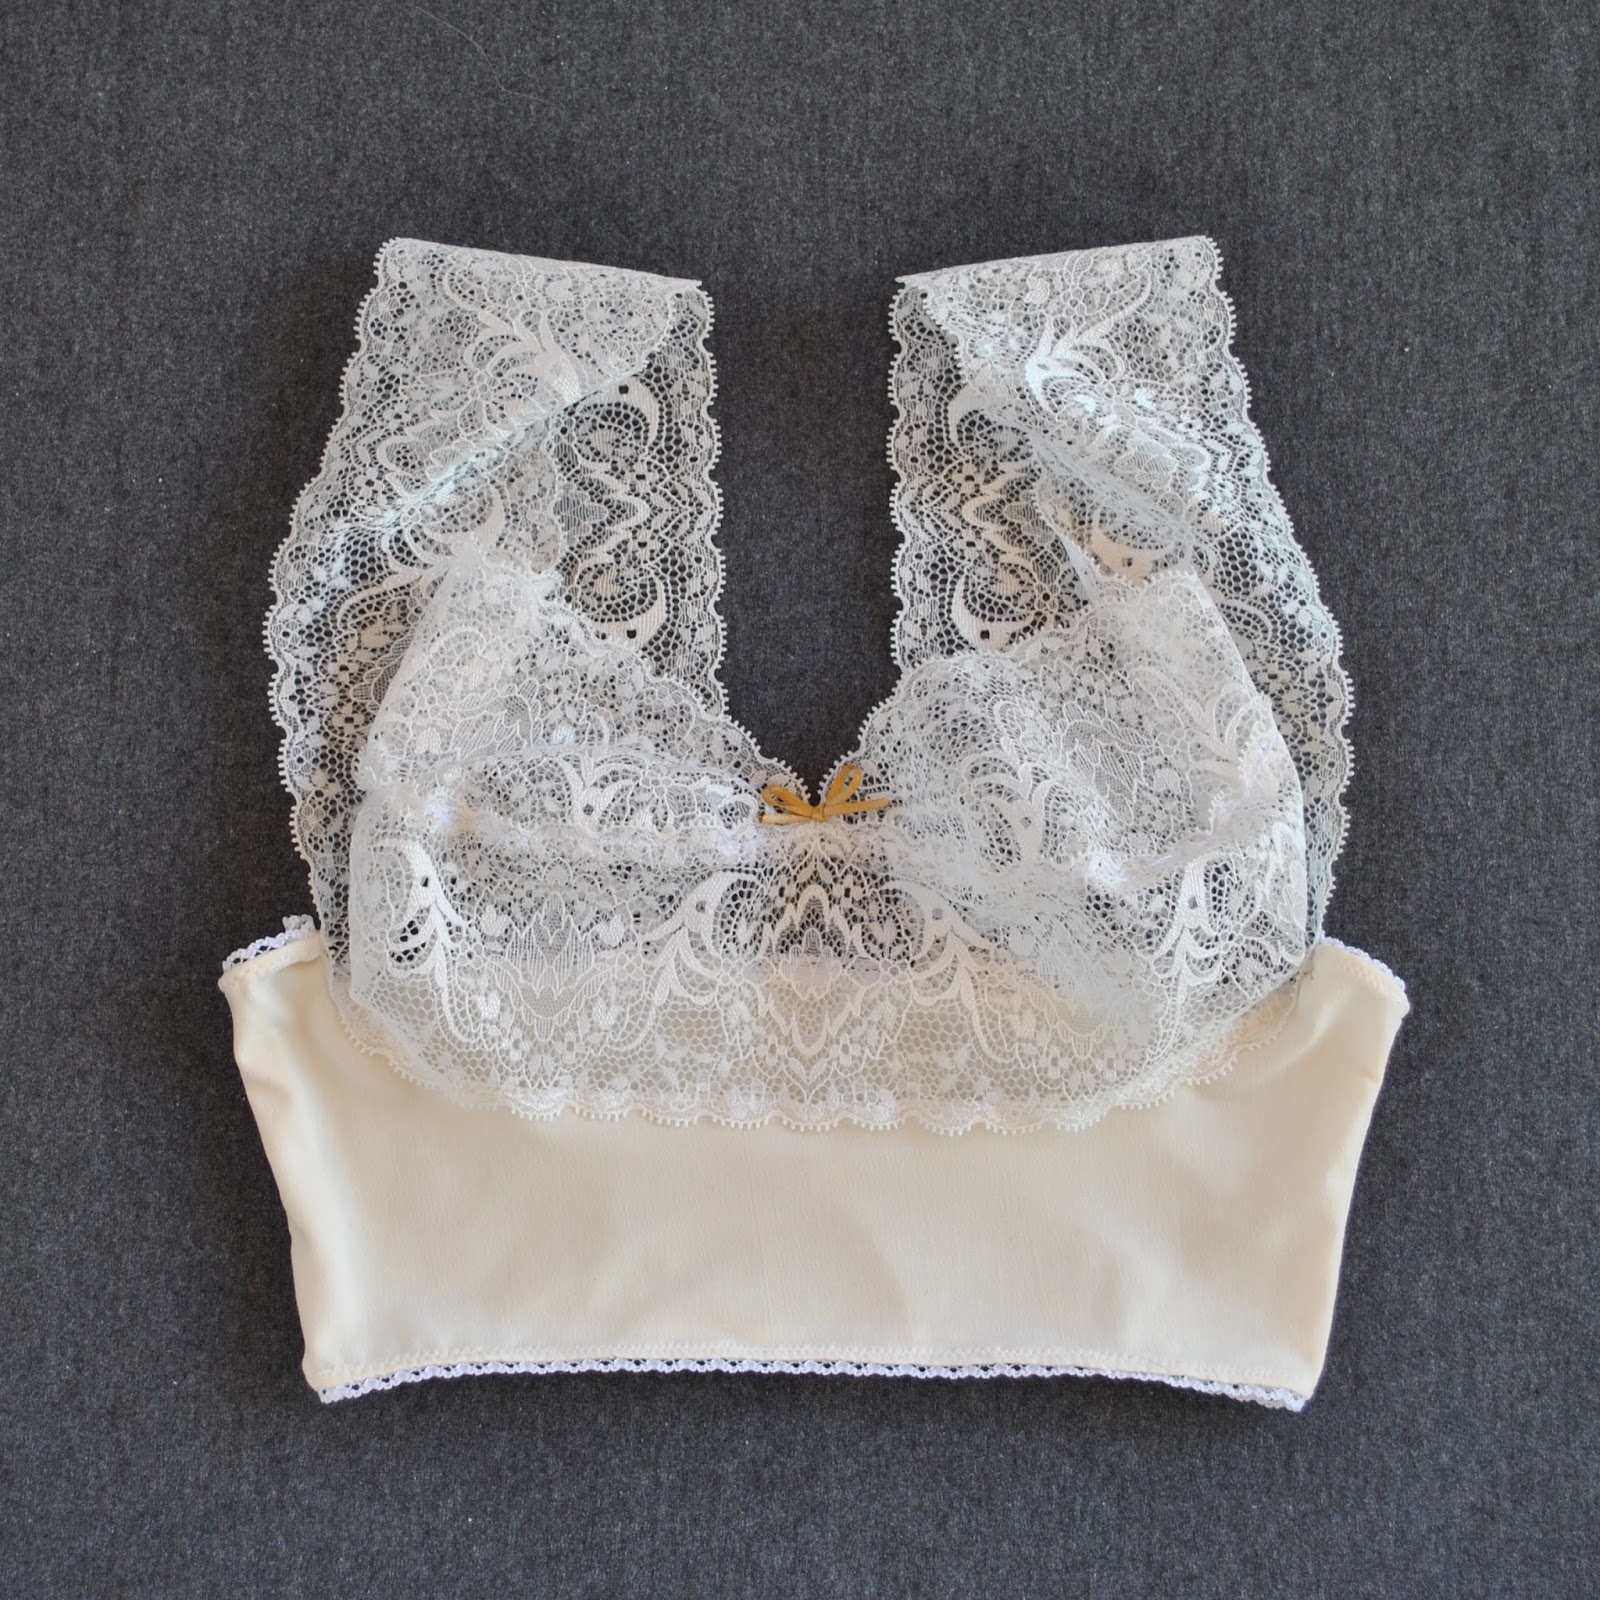
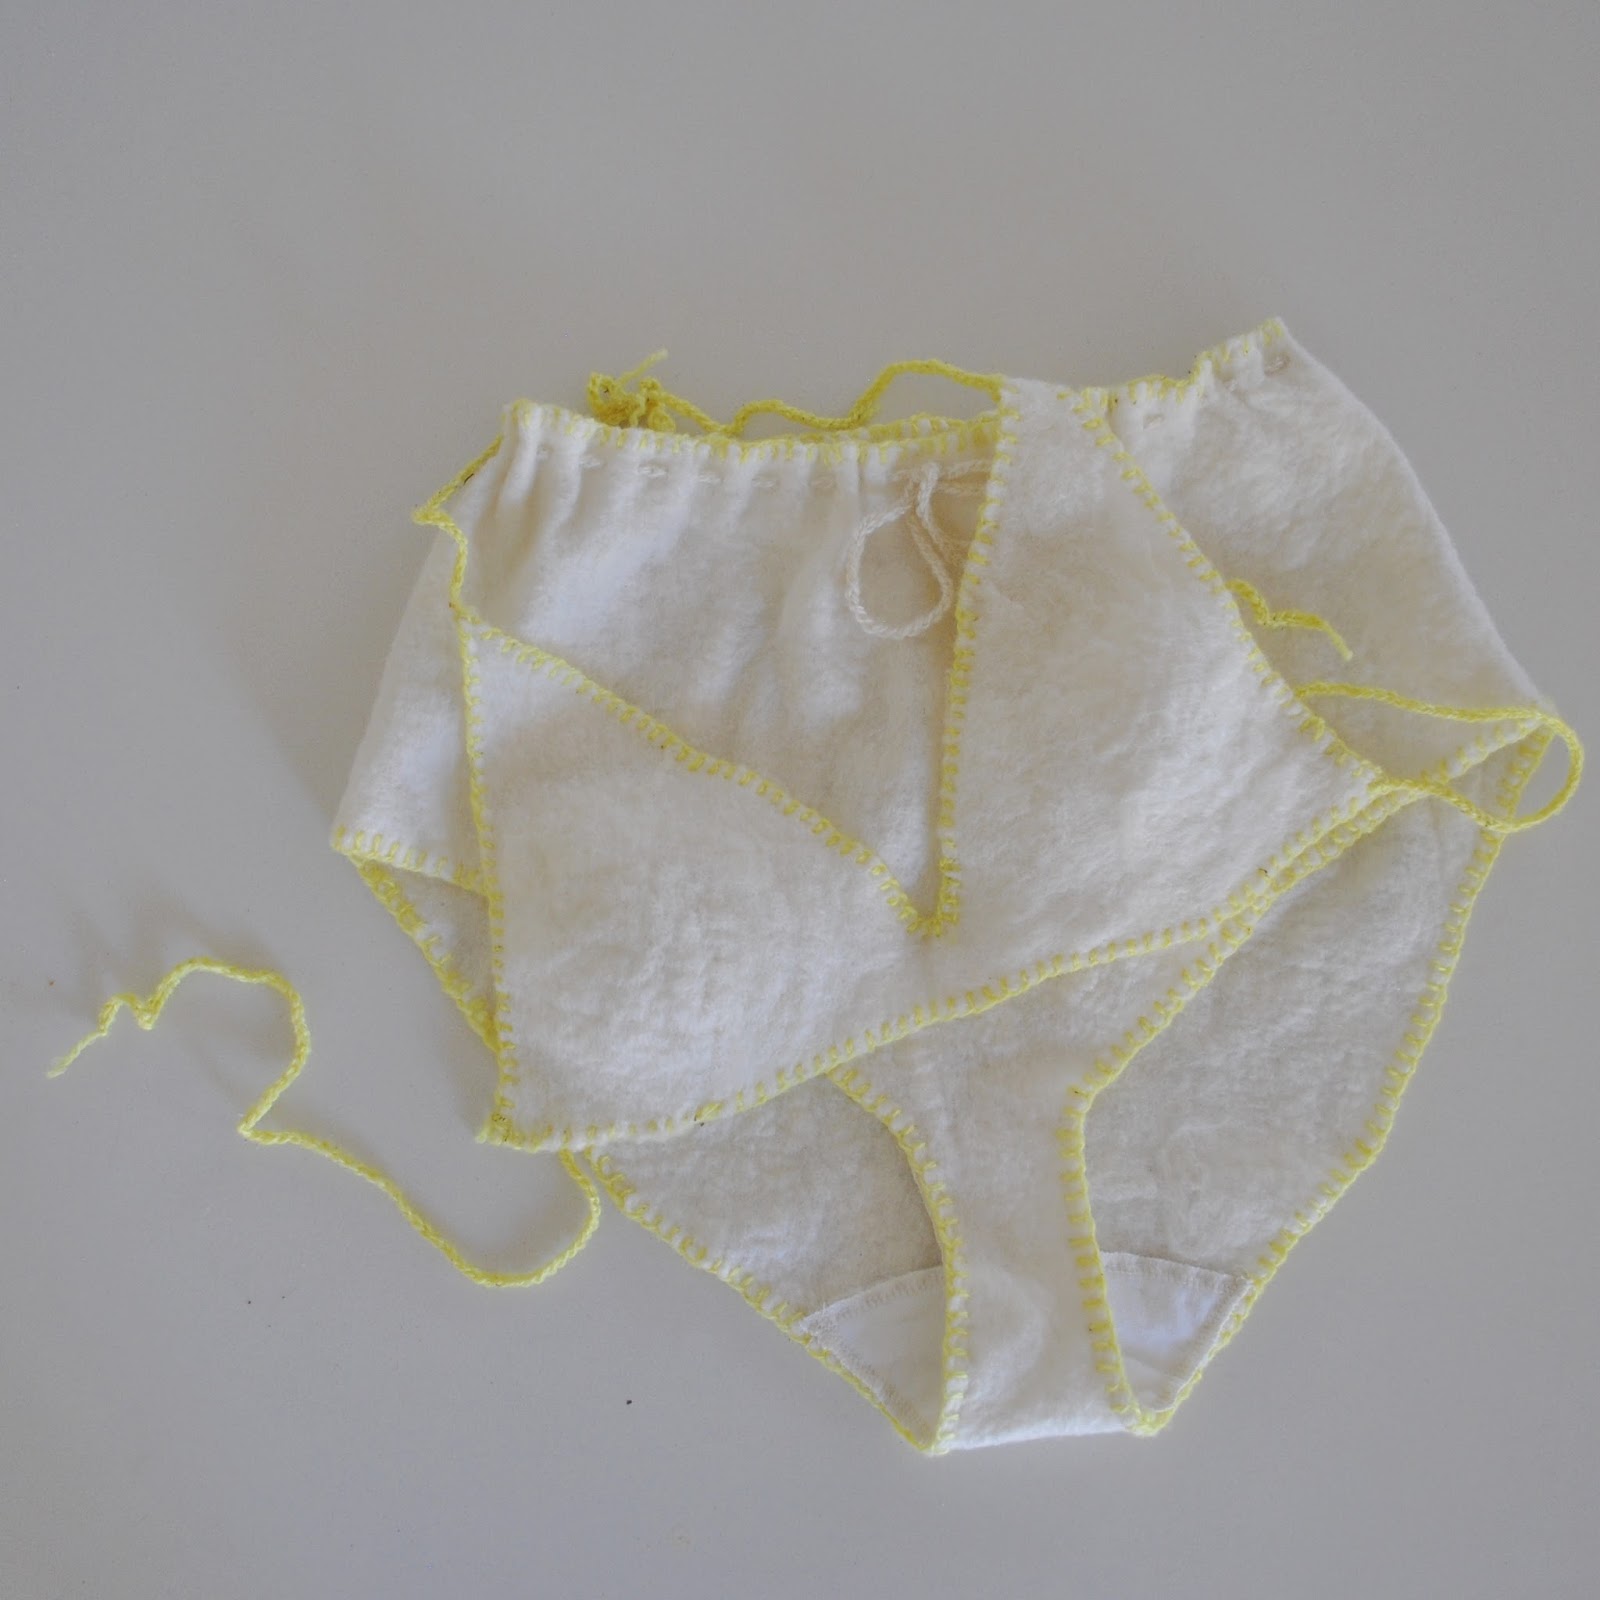
So; lingerie, made using ONLY locally sourced materials; quite a challenge, quite a challenge. My set is very very simple; a string bikini top and high waisted knickers cinched in at the top with a drawstring.
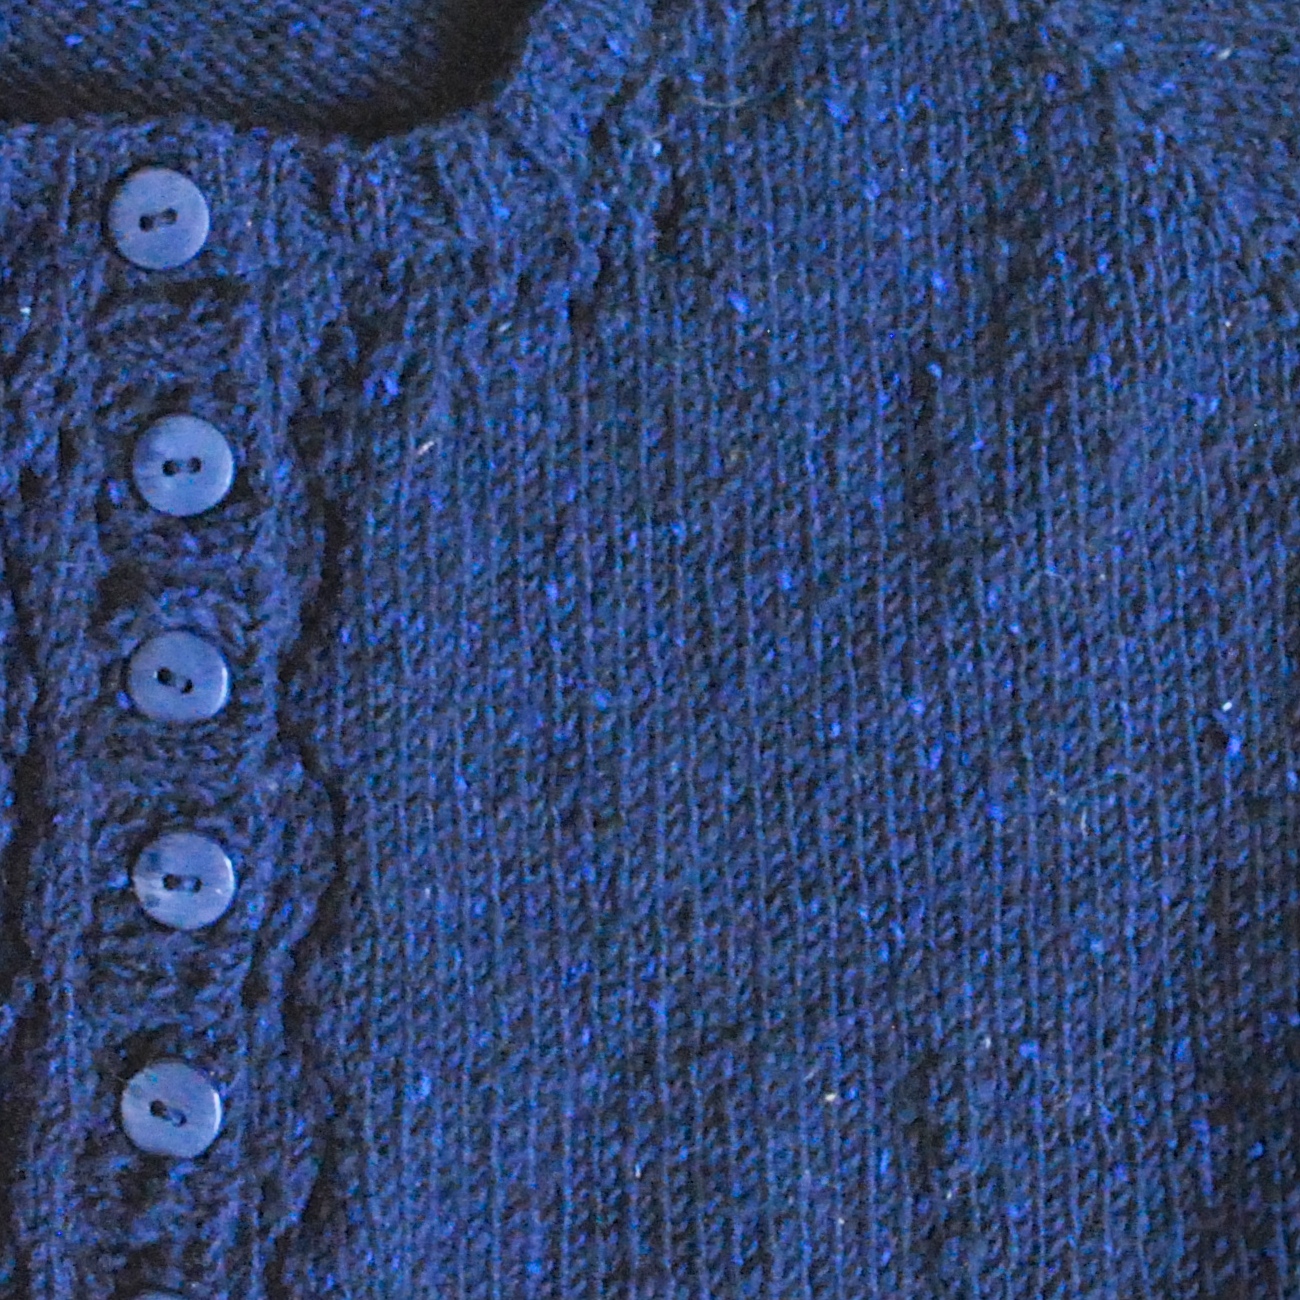
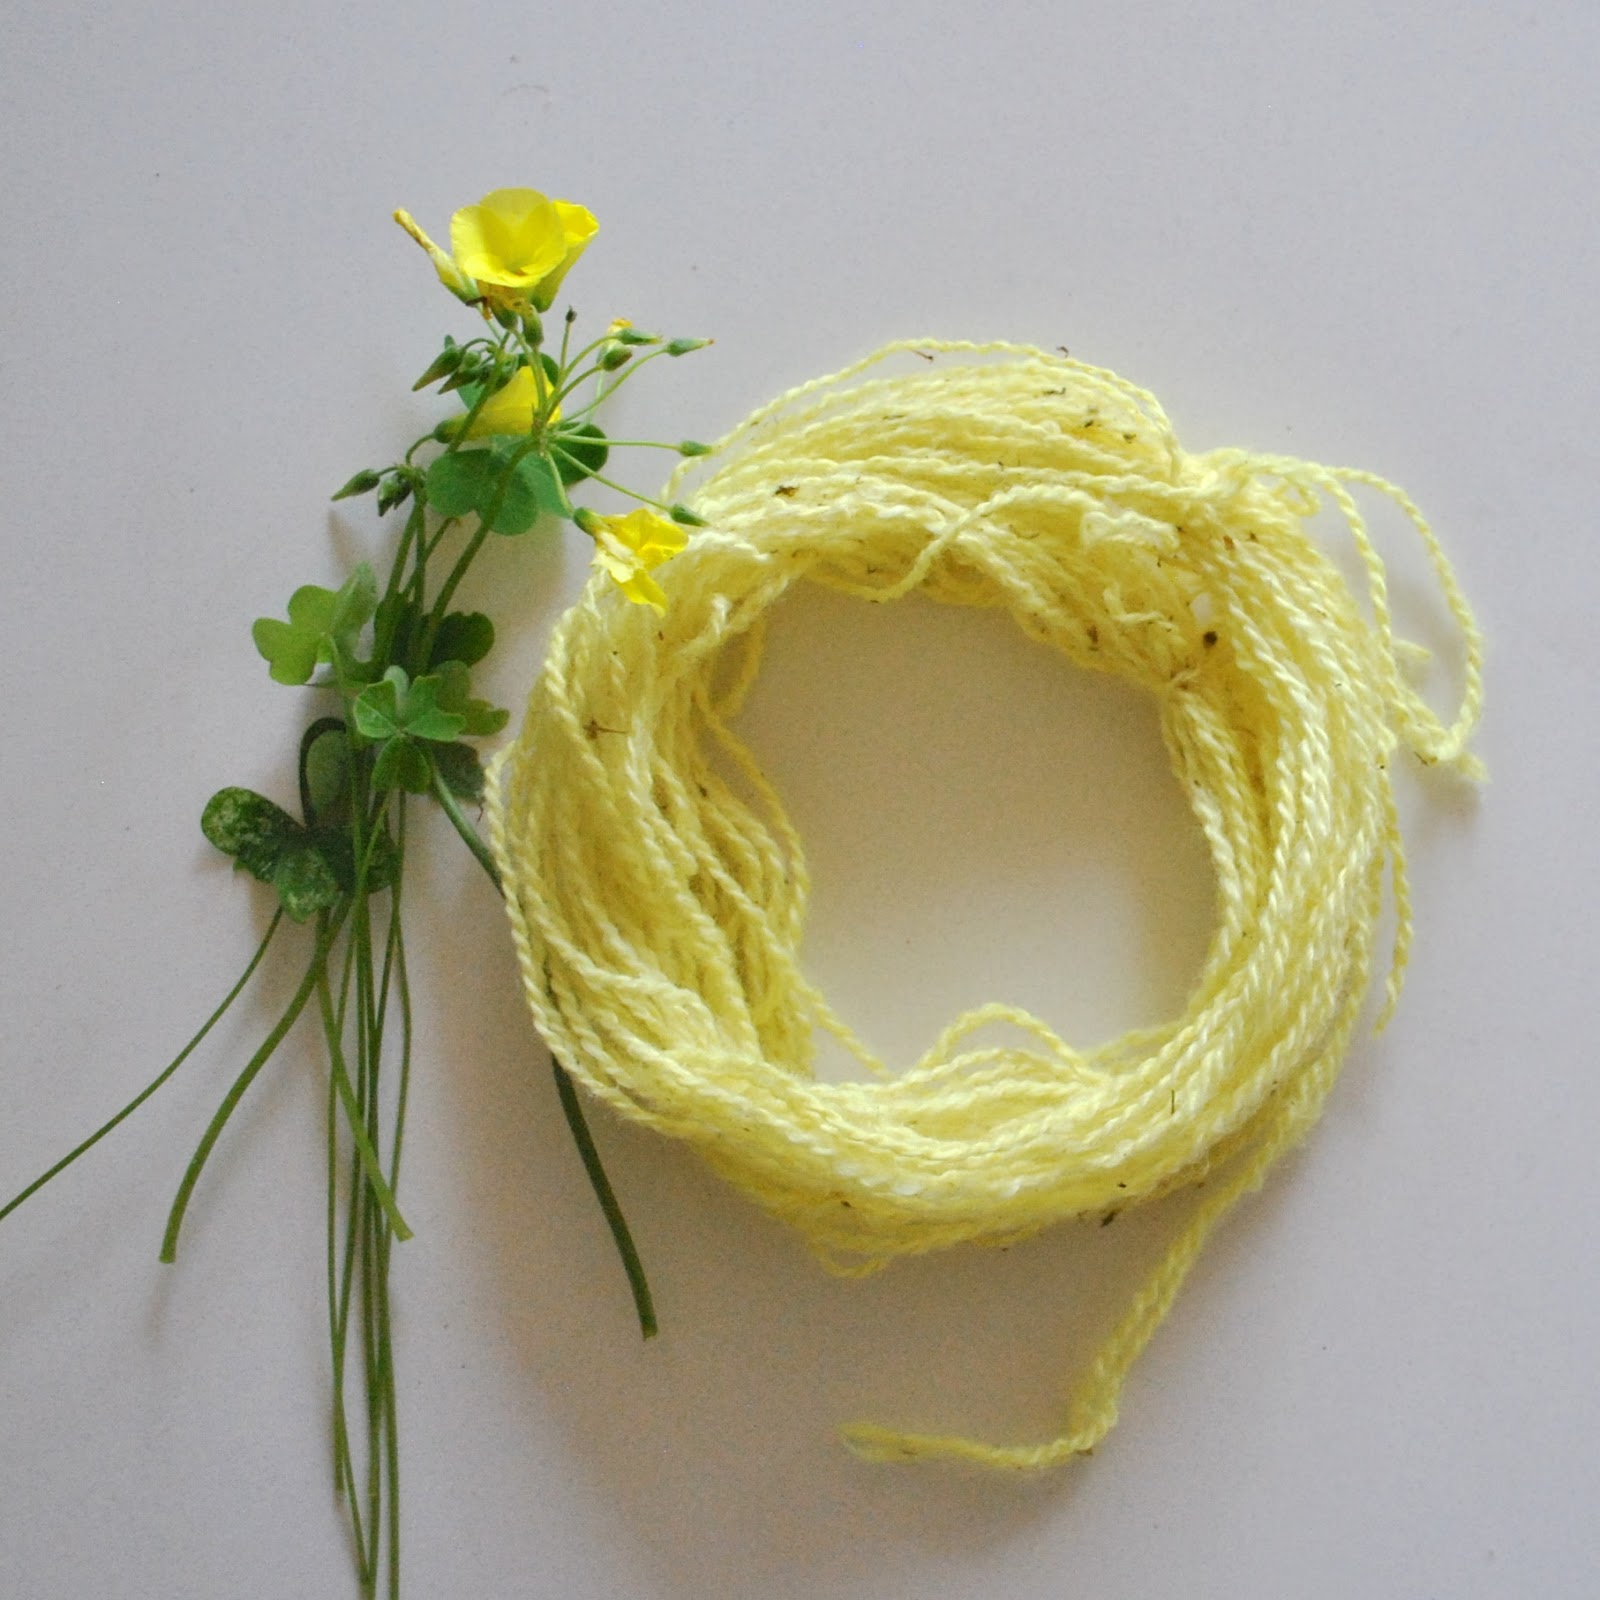
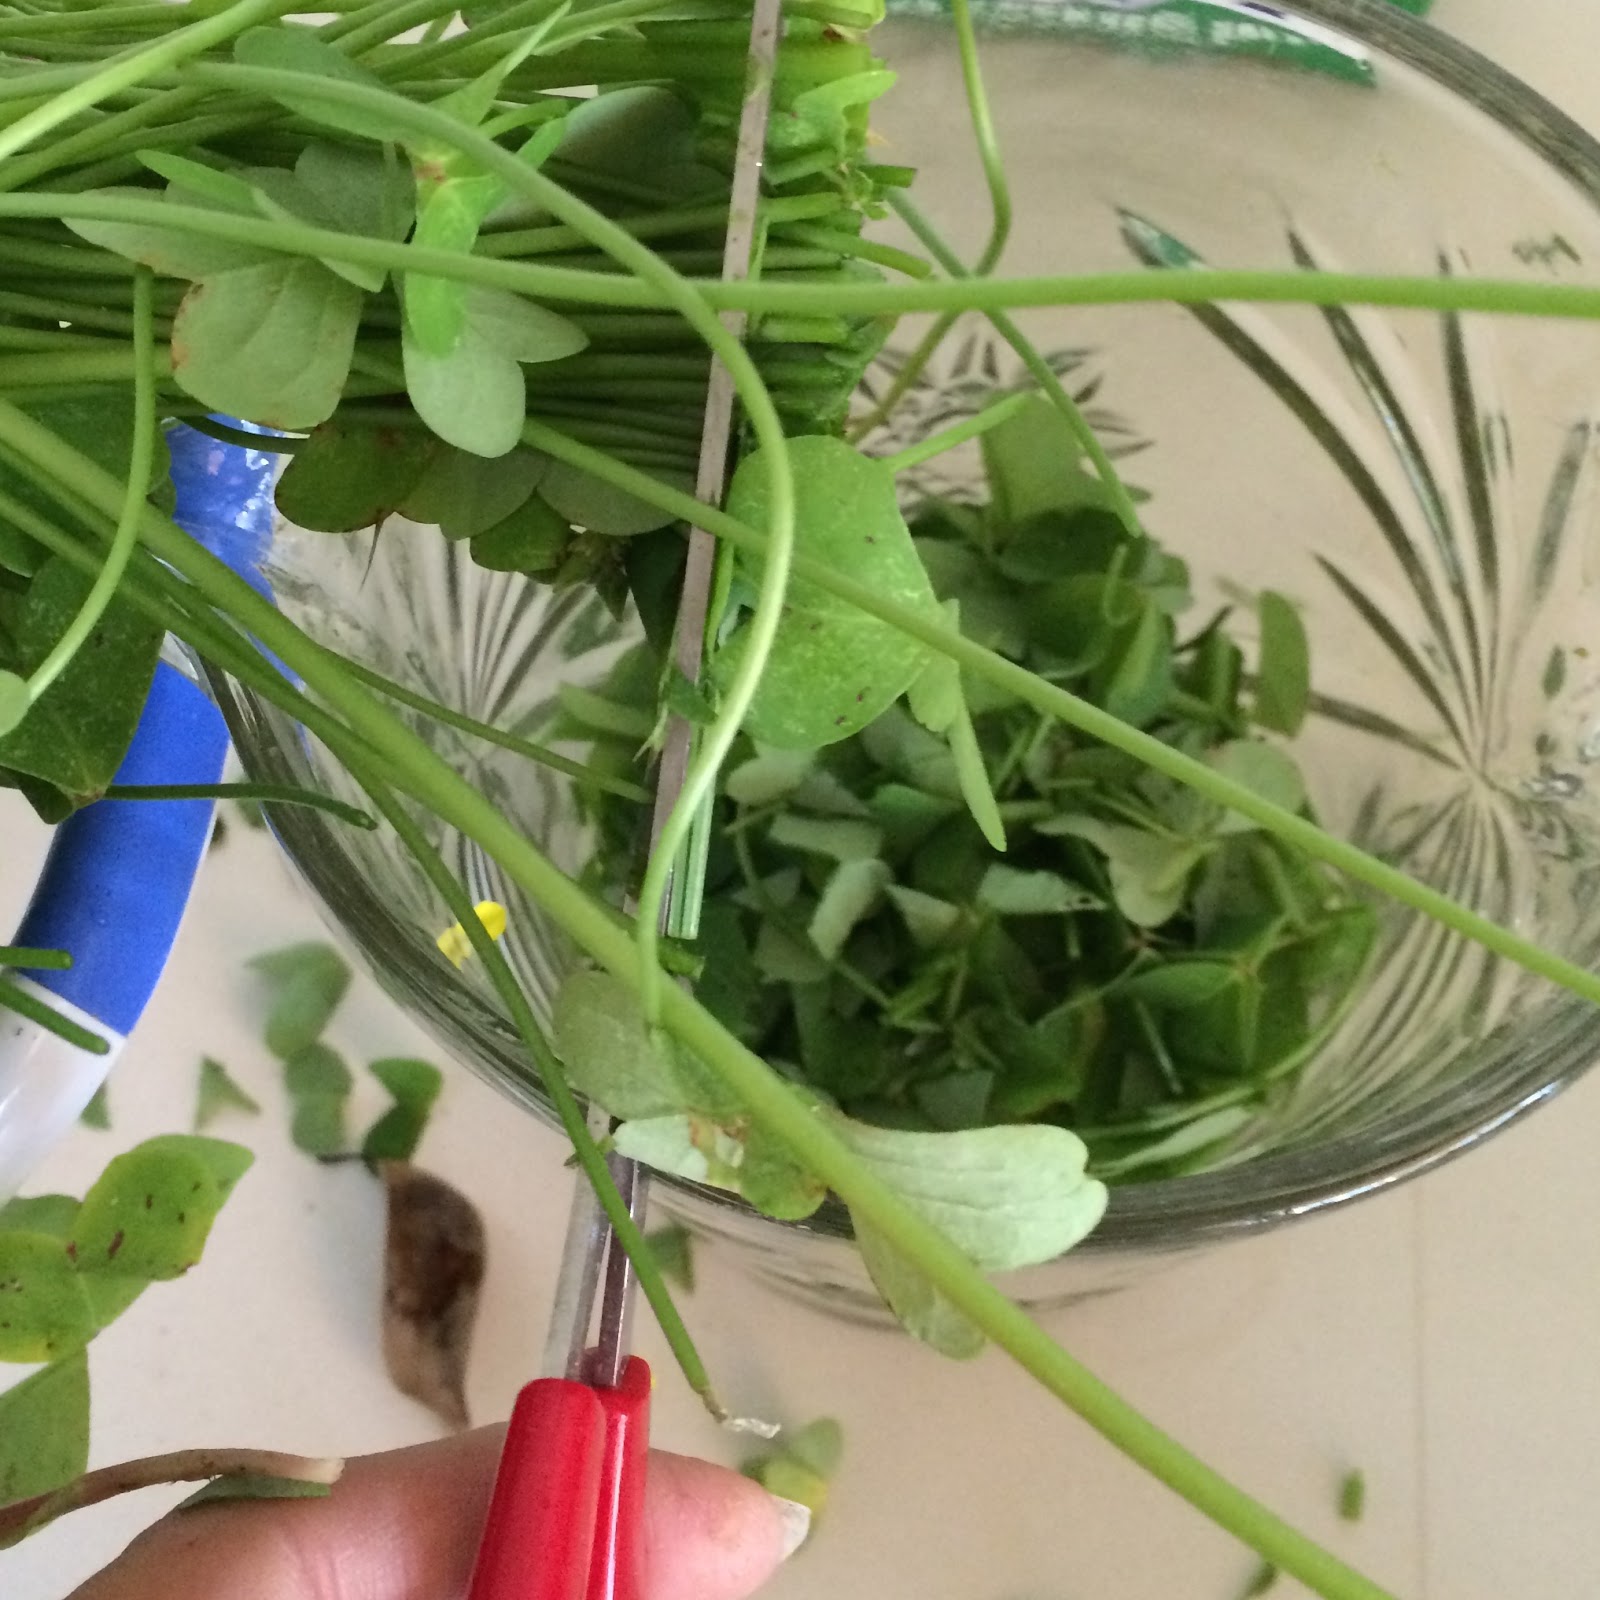
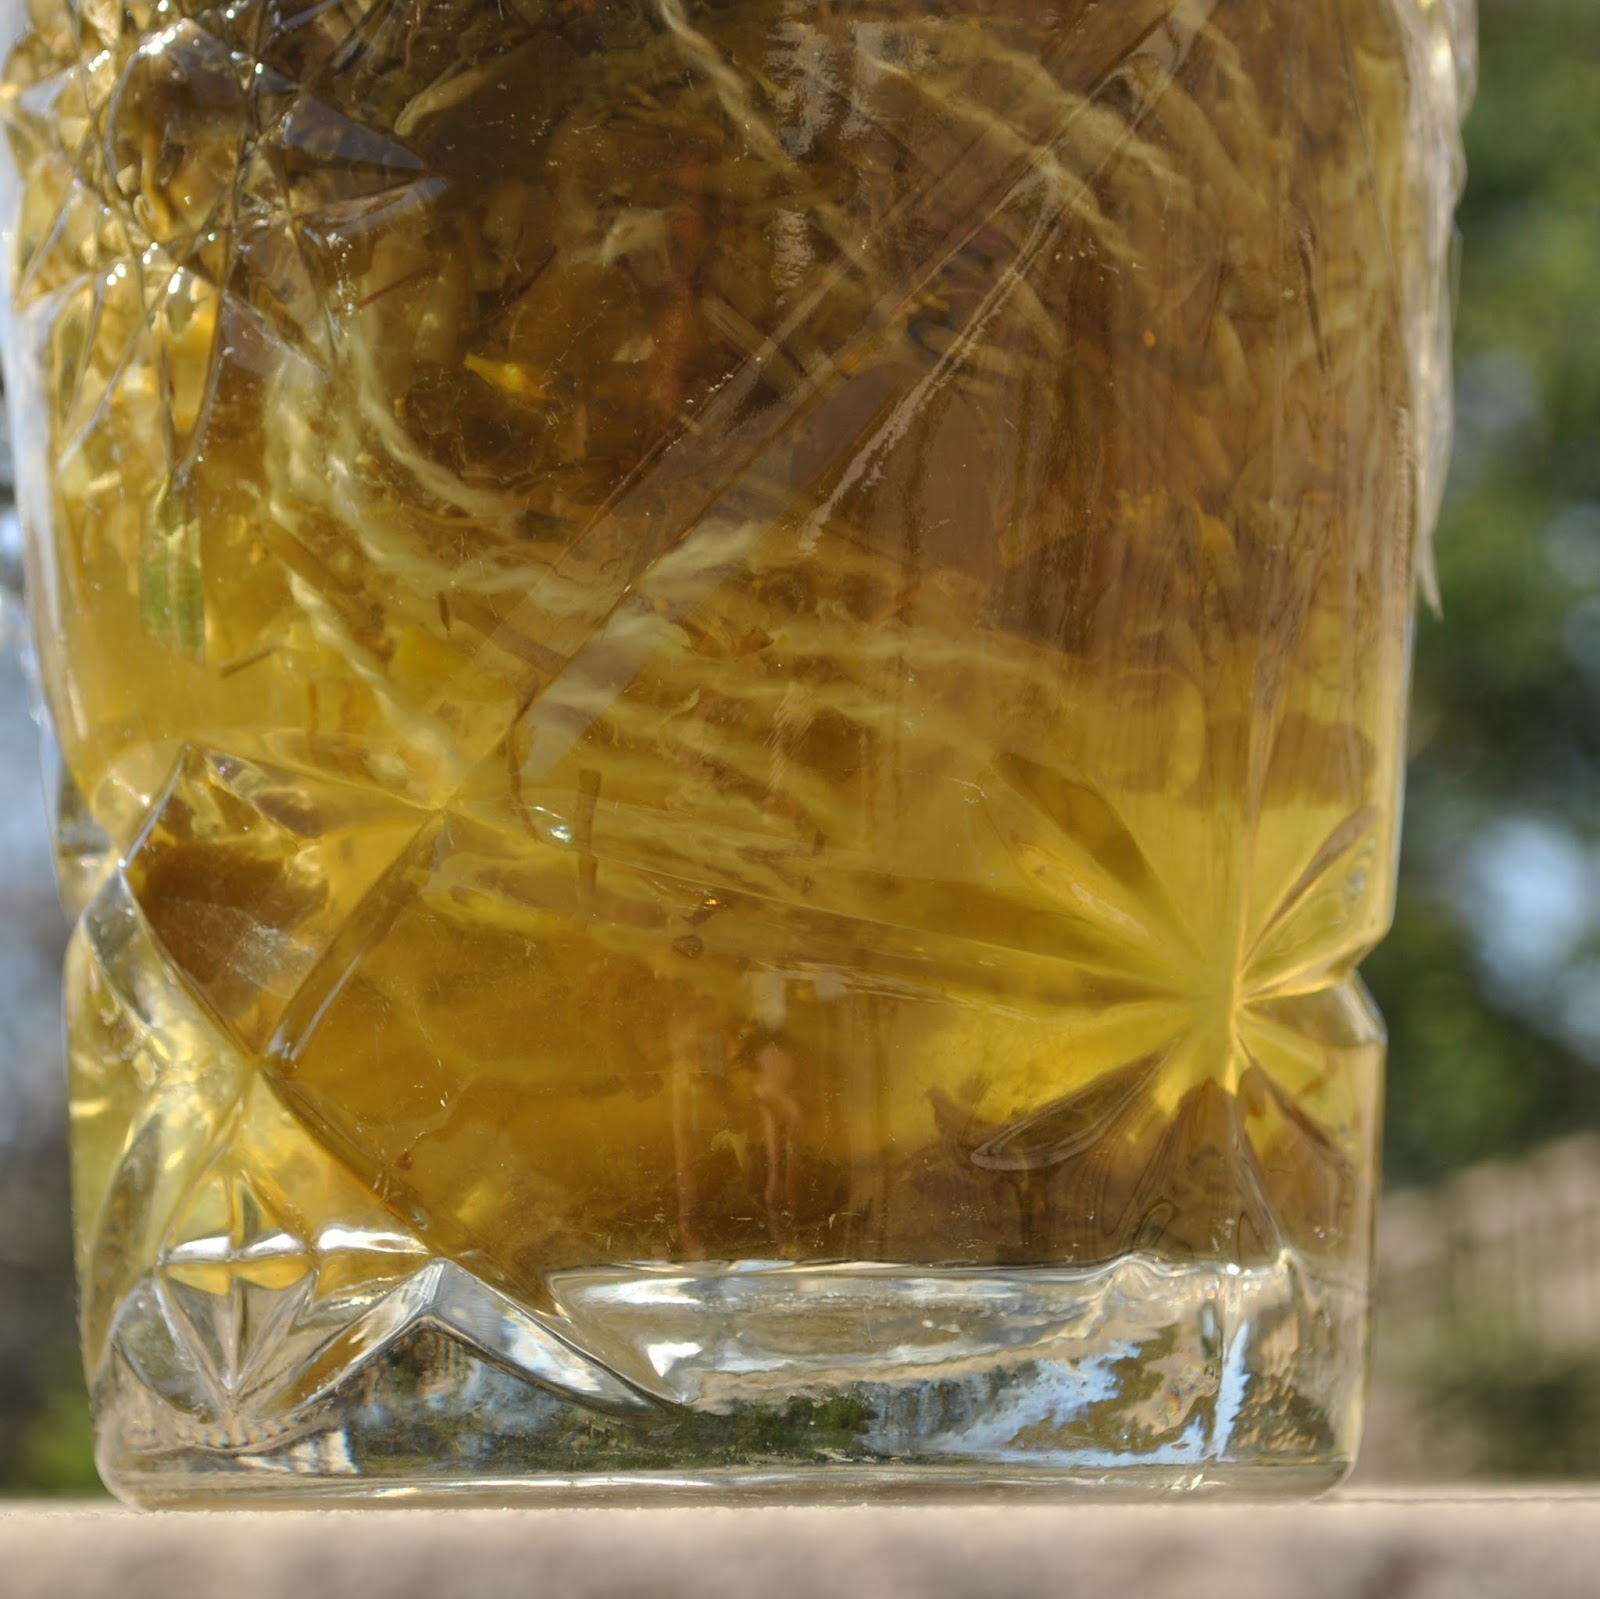
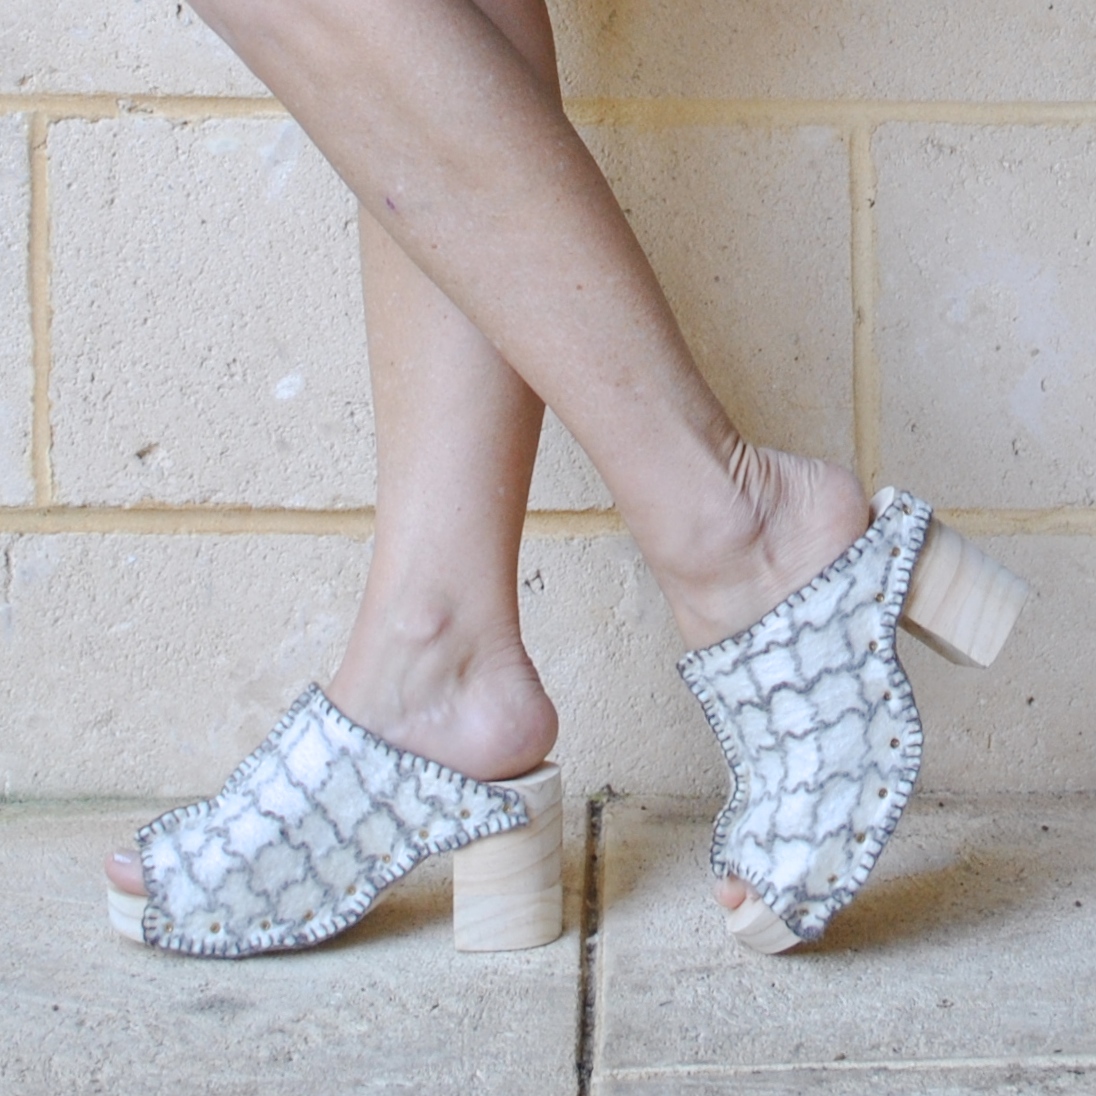
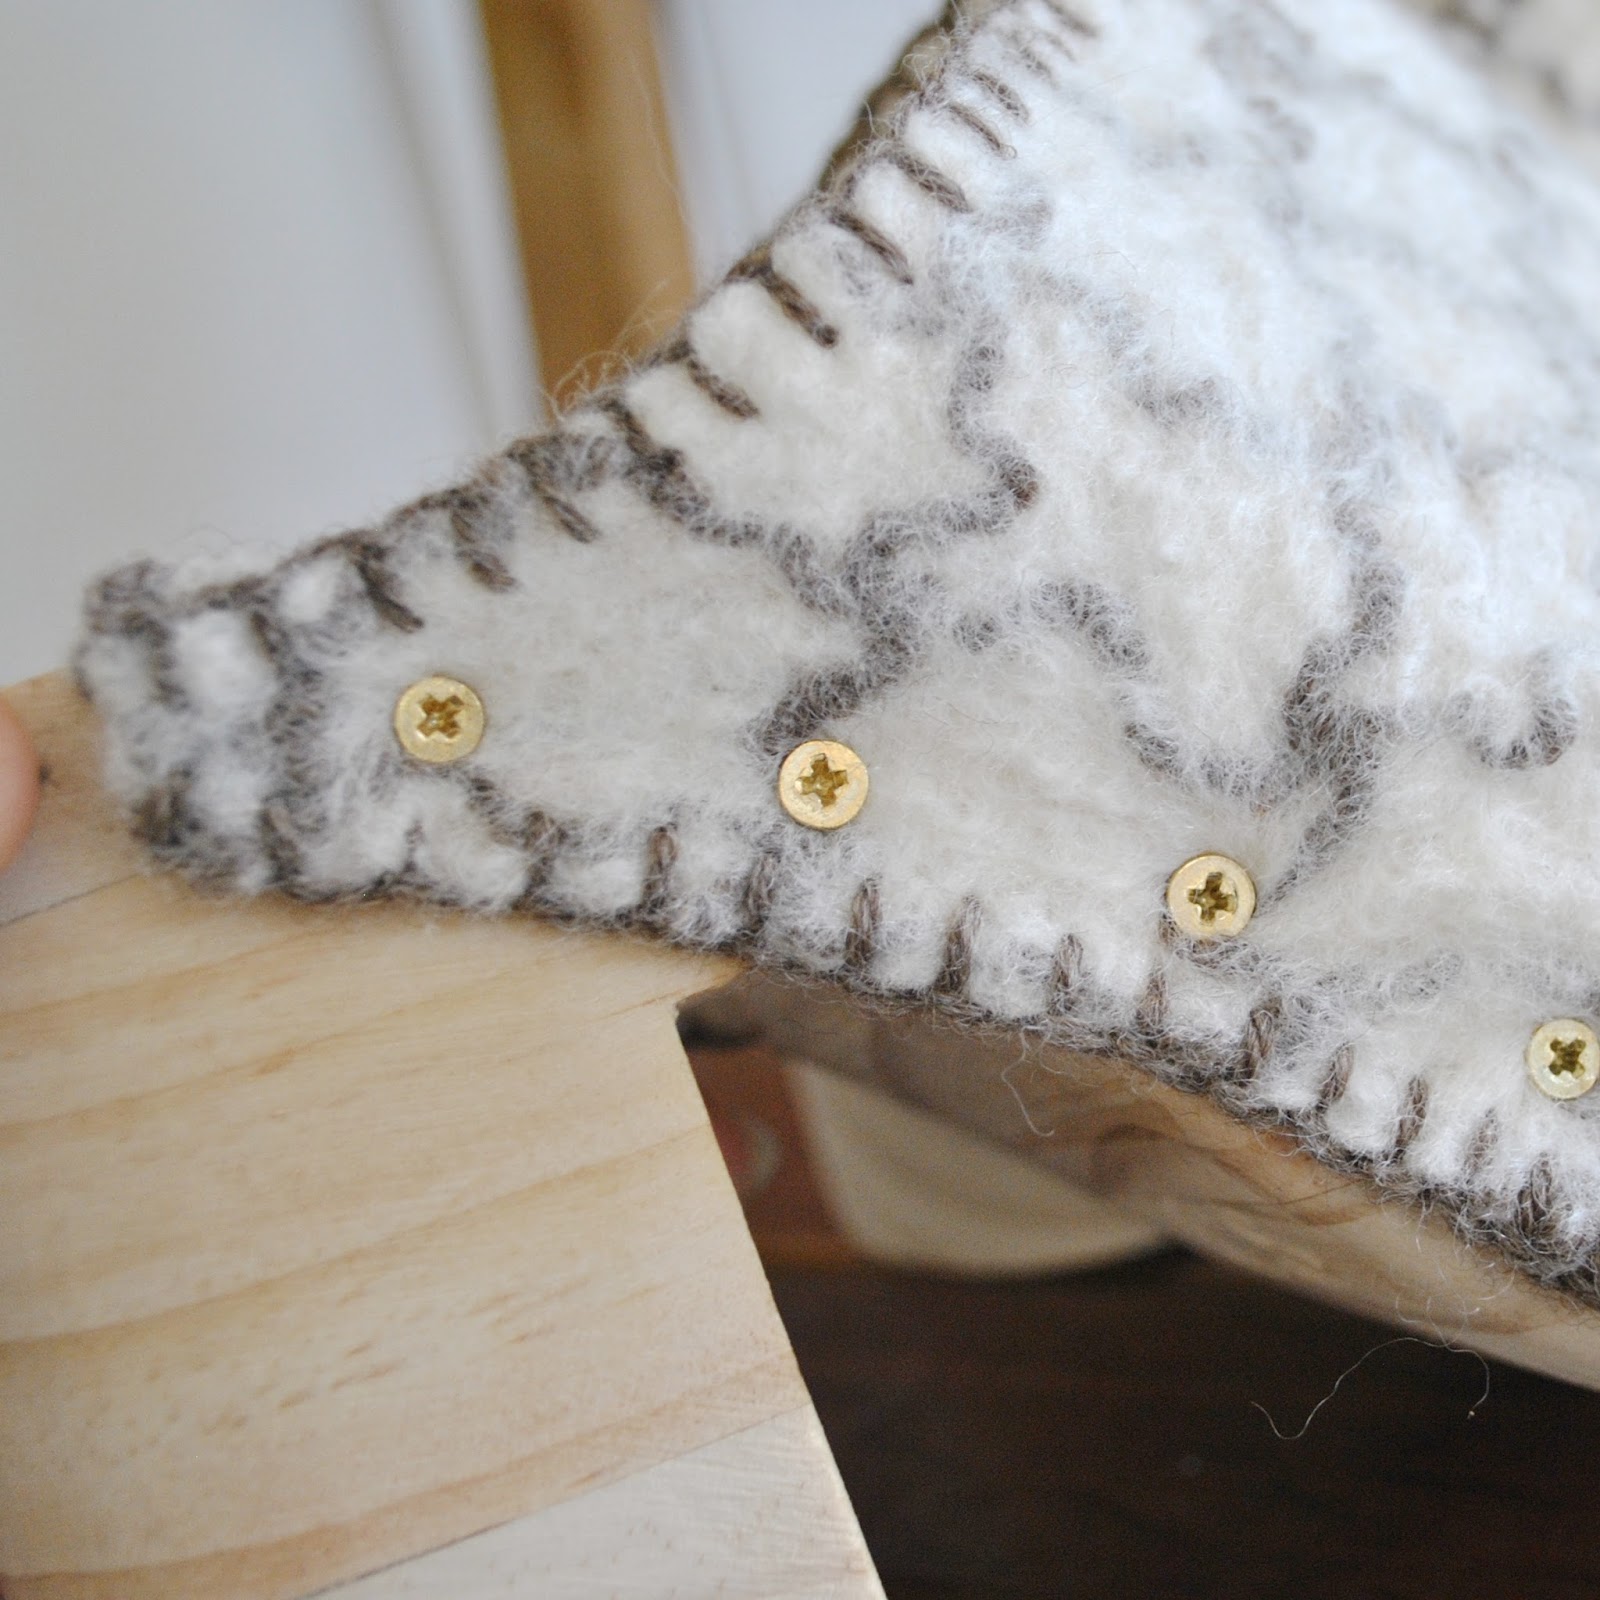
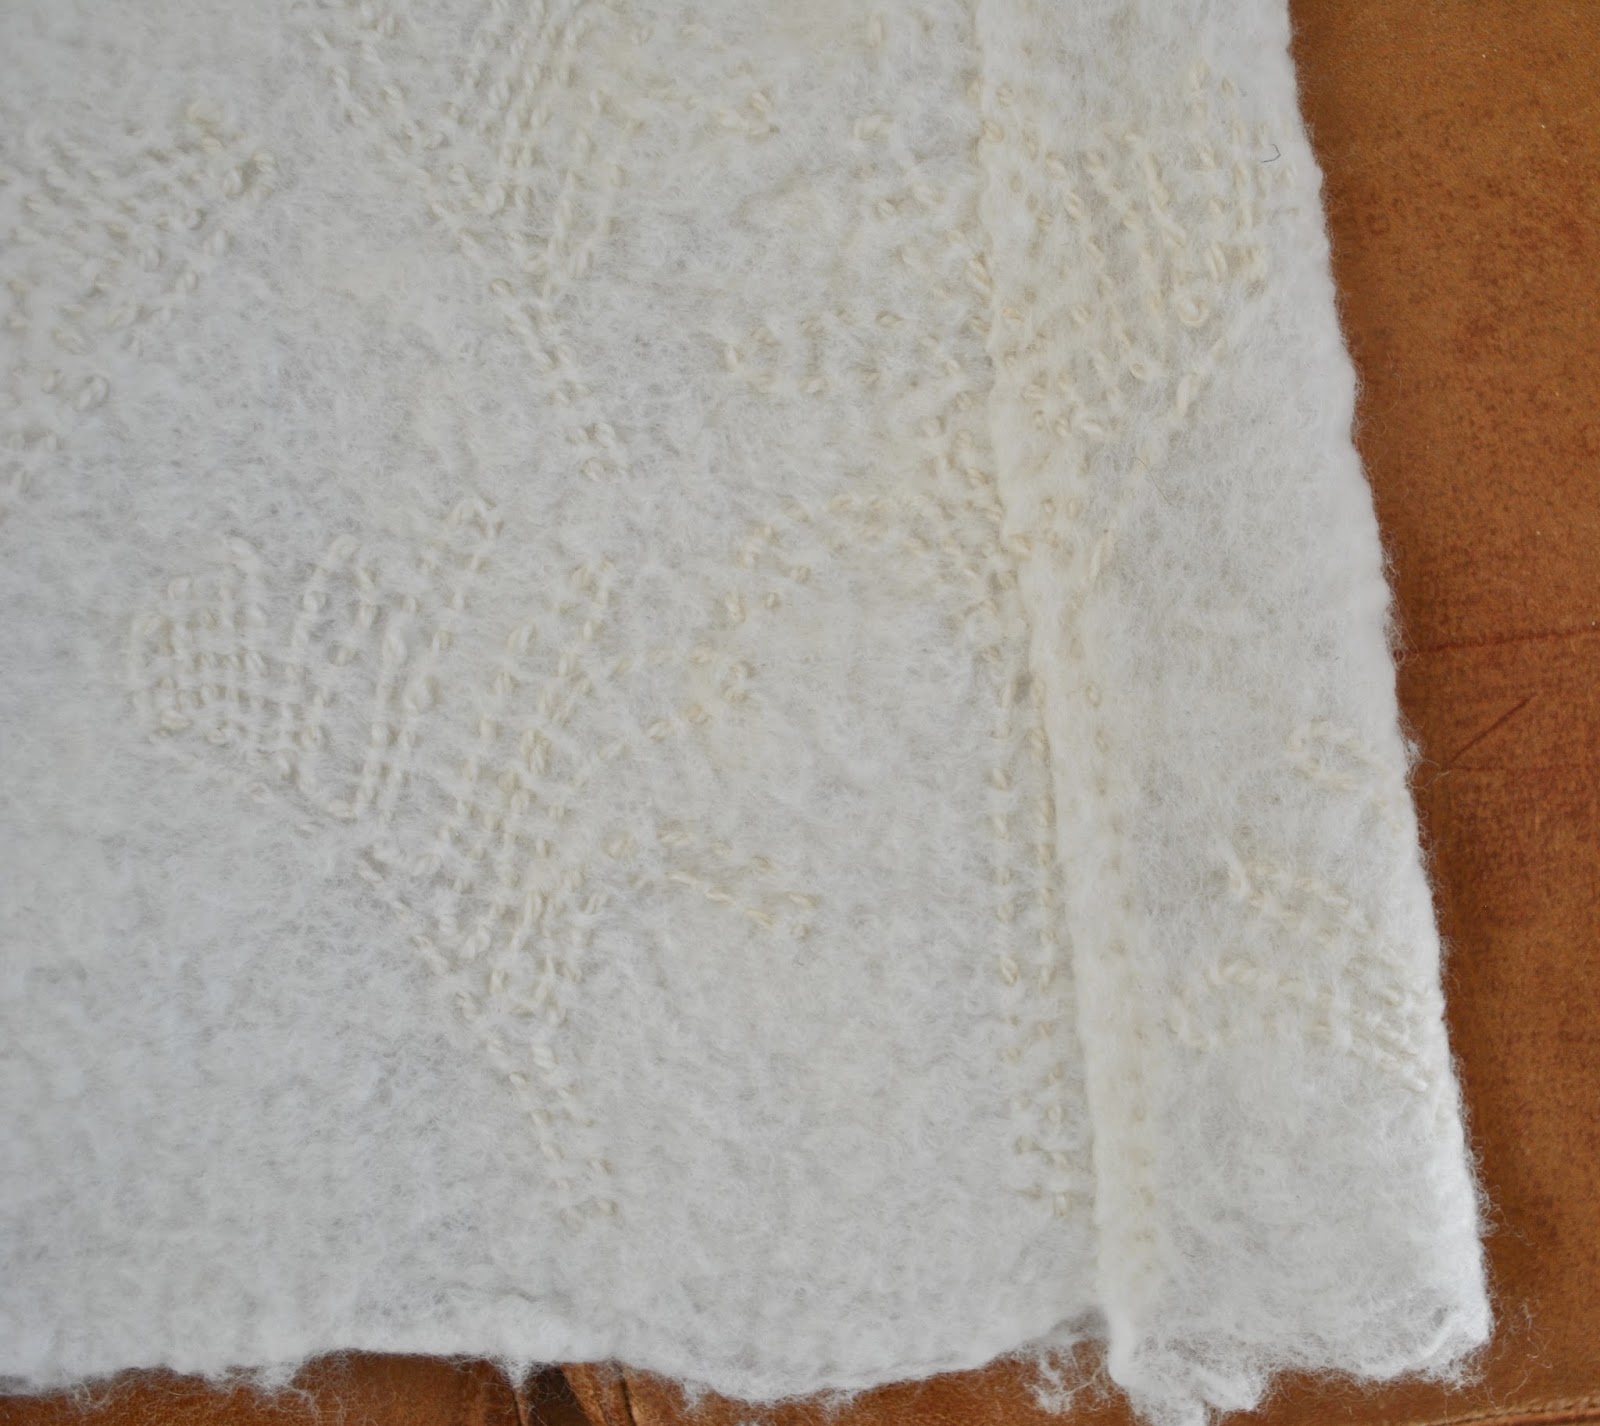
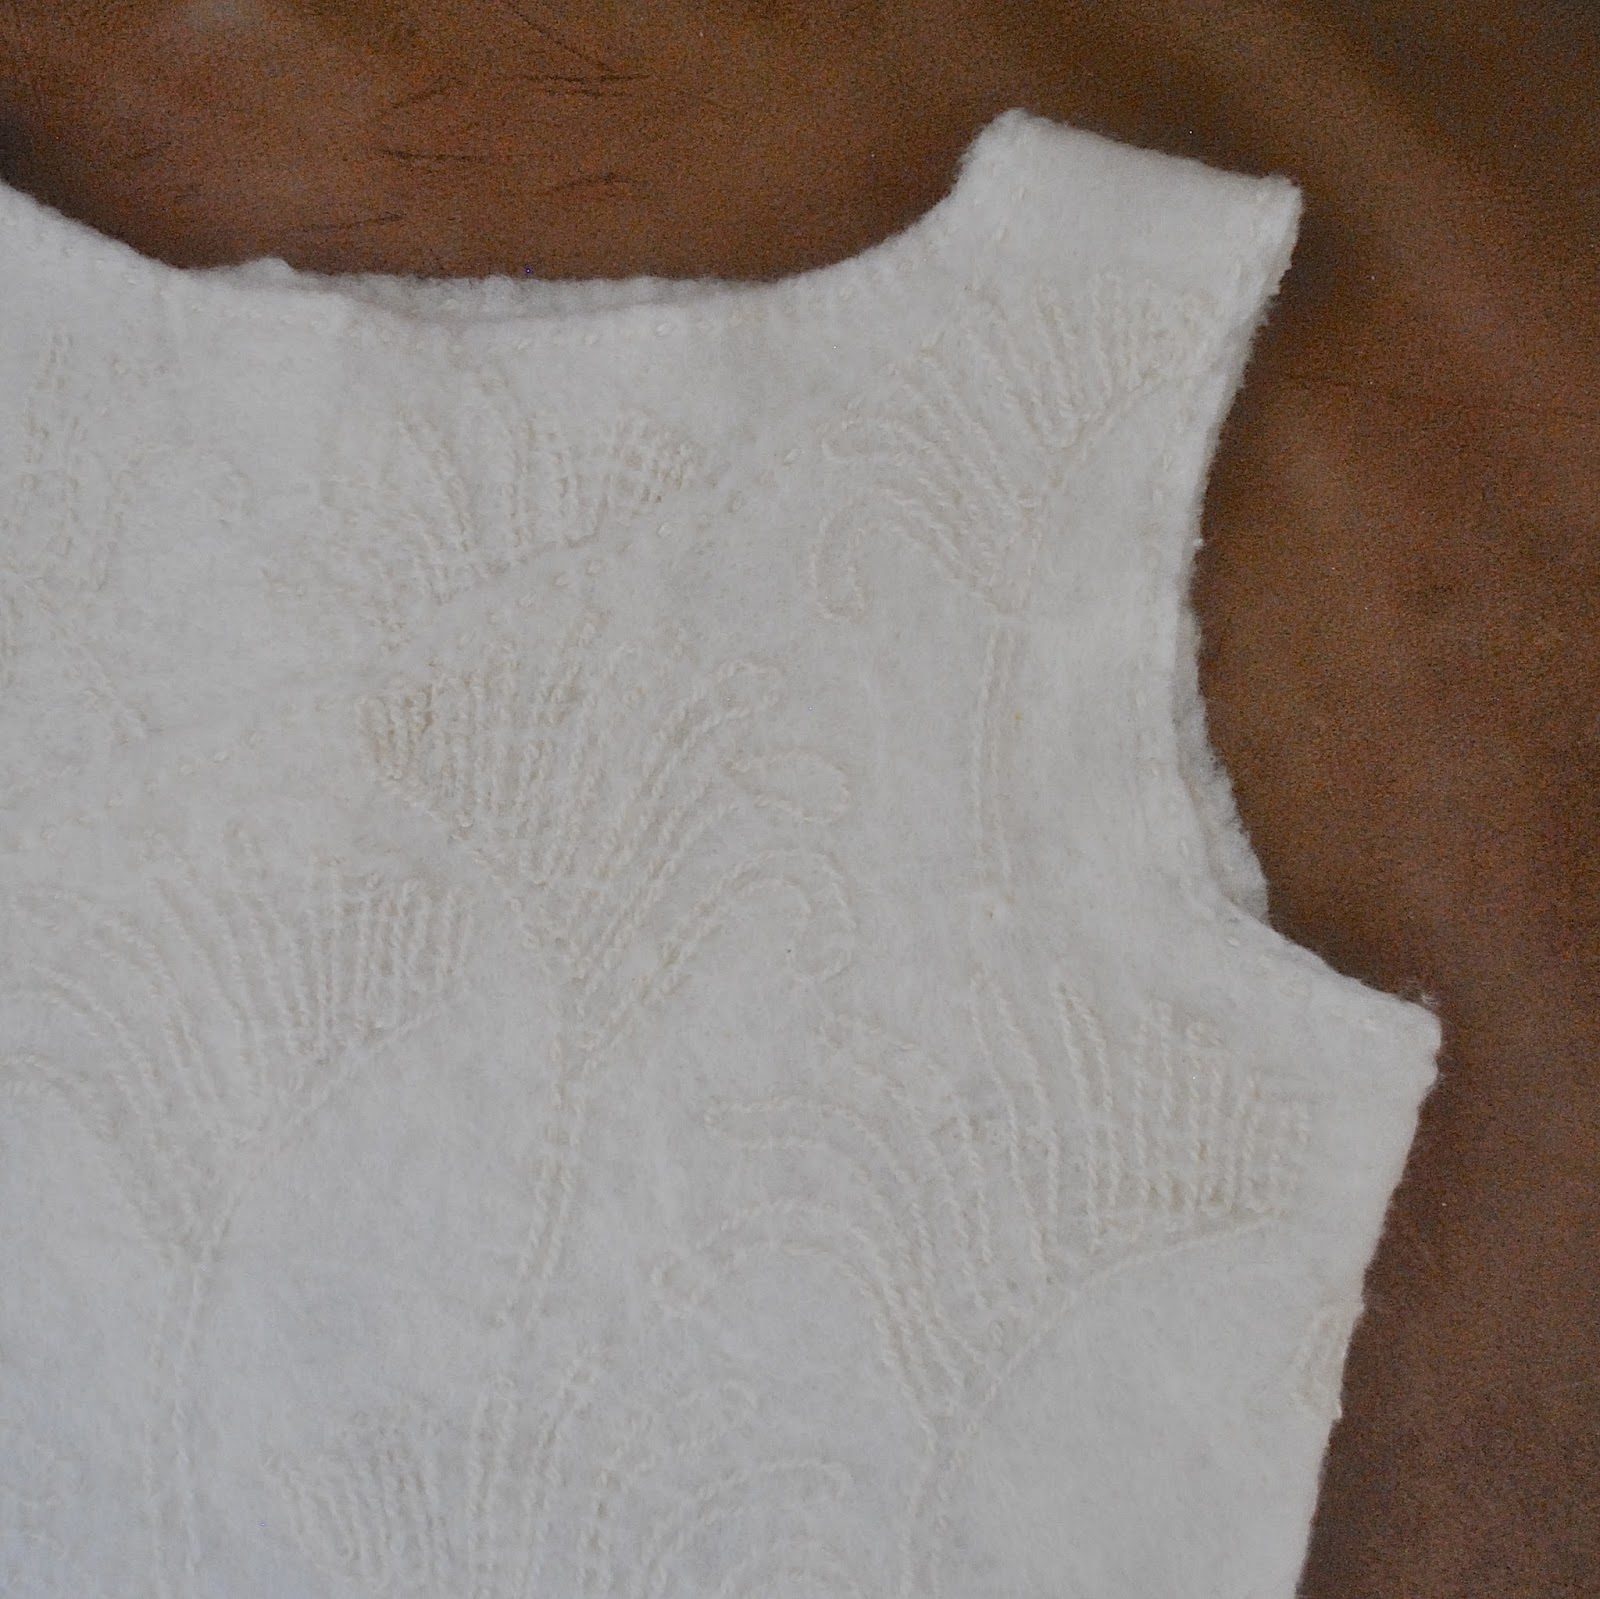
As per the criteria of the challenge, I could not use anything not made here in Western Australia … which ruled out elastic, findings, thread and even FABRIC! Hmmm, yes, quite a challenge… Like every other part of my outfit for this challenge, I had to make my own fabric. Fortunately I had some pieces of merino felt leftover from my dress, and I made another small piece to complete the knickers, so my set is mostly made from scraps, yay! The yellow blanket stitch edging is in locally handspun merino yarn from Bilby Yarns, that I dyed myself using sour grass from our garden; here. The bikini strings and the drawstring are a single crochet chain.
In my early planning stages, I had contemplated knitting some knickers and bra from my handspun Western Australian merino yarn, and actually found a free pattern for a knitted bra too! but rejected that idea… why? well to be perfectly honest, this set is probably not going to get a hekkuvva lot of wear! if any! and so I really wanted to minimise the use of my beautiful handspun yarn. I felt OK about using my leftover felt though, since that was made from my own labour.
The bra is self-drafted, if you can call two, felted-together, darted triangles a self-drafted pattern, ahem. I gave them a gentle cupped shape by cutting darts from the lower edge and felting them closed with my felting needle, just like I did the darts in my dress, so the darts are seamless; and felted them together at centre front the same way.
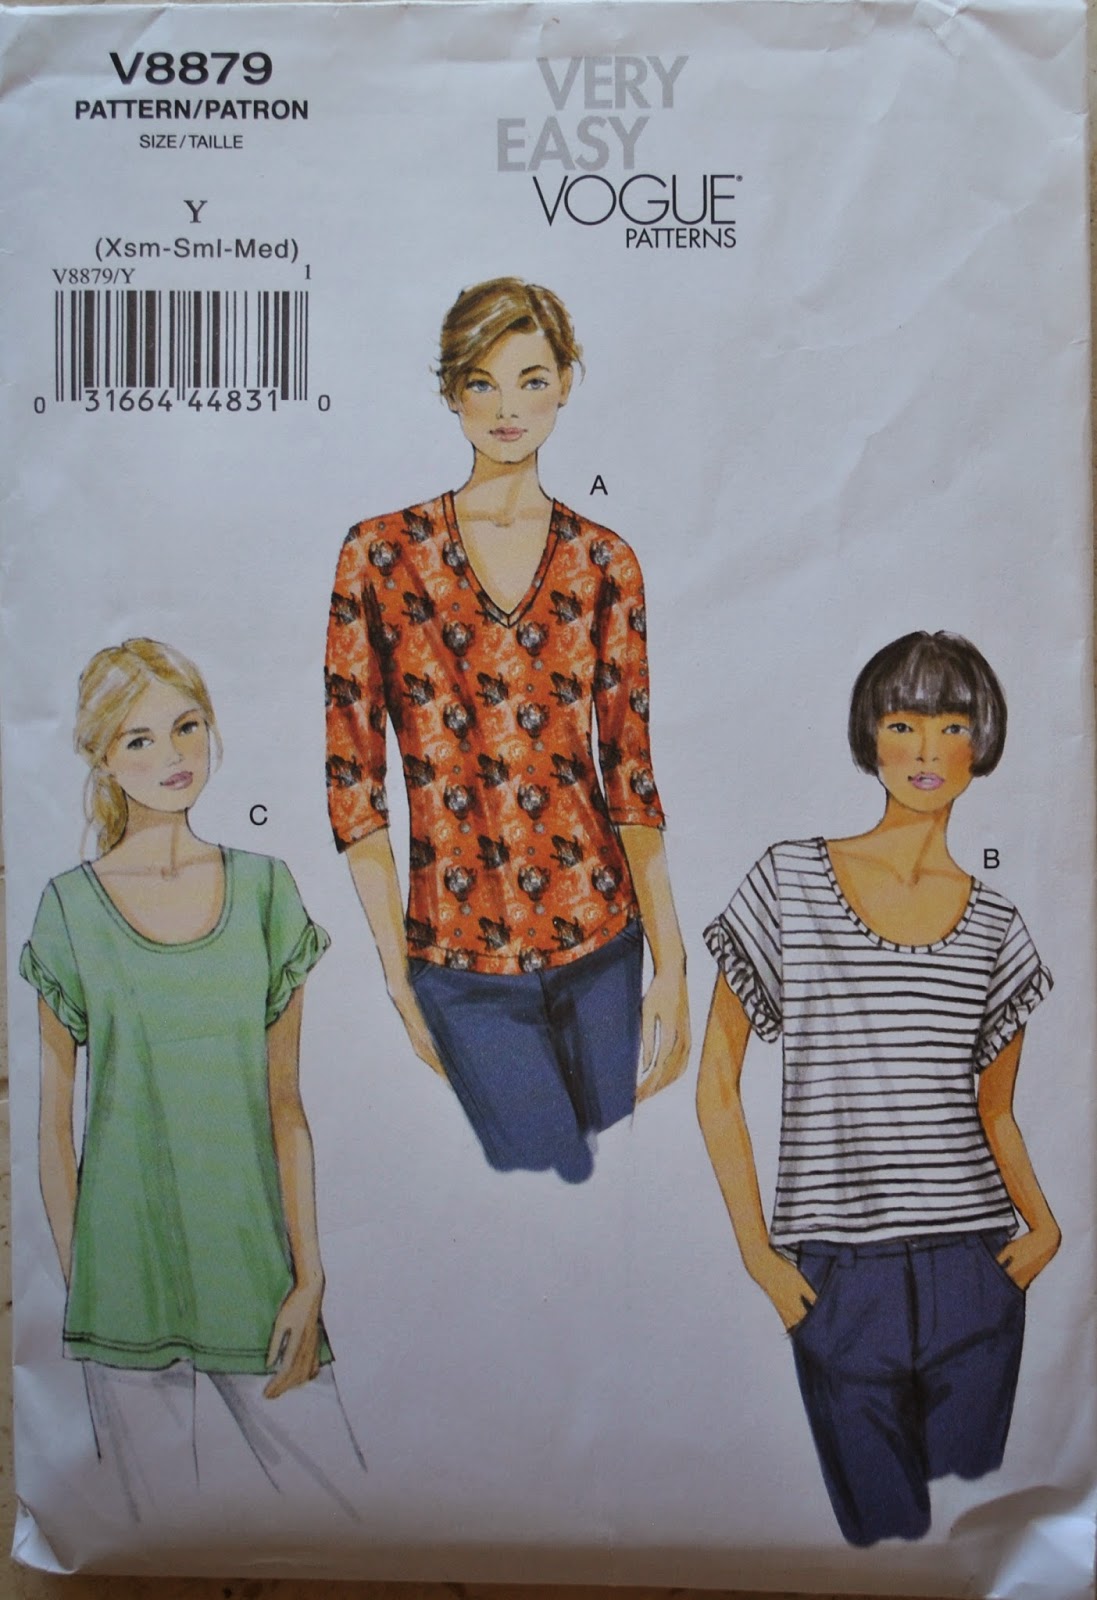
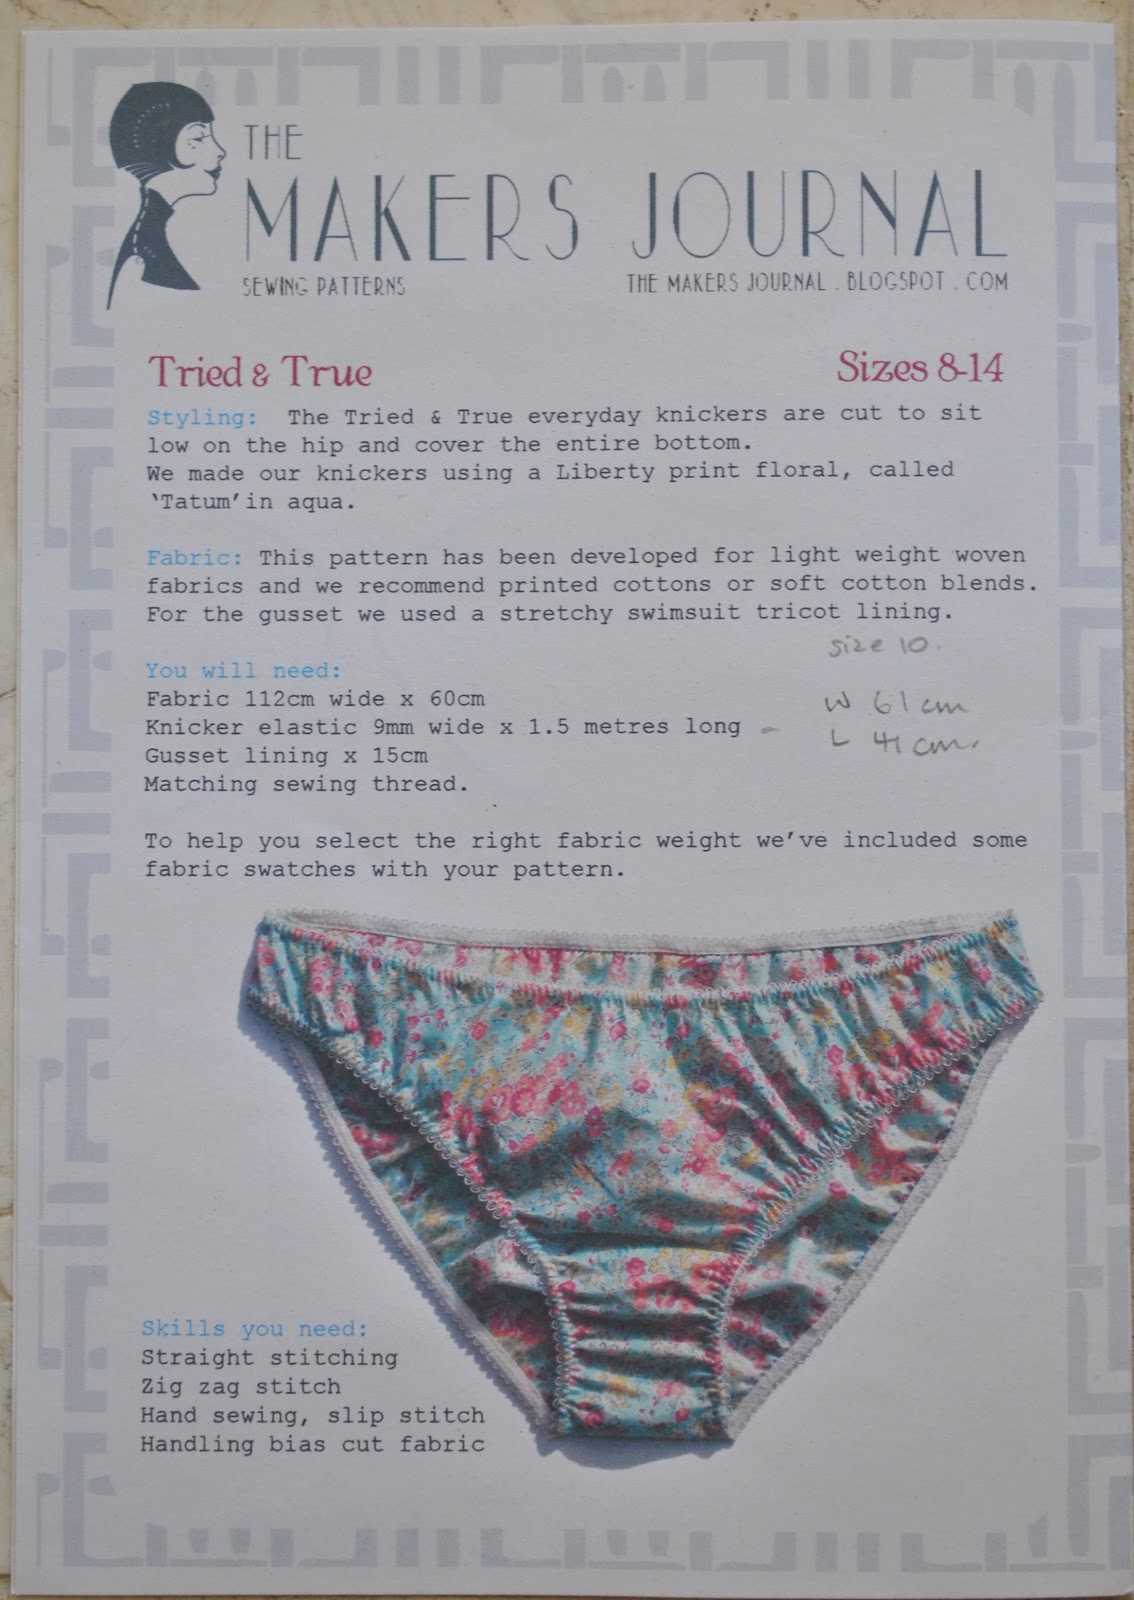
The knickers are loosely based on the Tried & True knickers pattern, by the Makers Journal, an undies pattern designed for non-stretch wovens. This design is a little on the low-rise side which I modified slightly by making it a higher rise design with a drawstring to pull them in at high hip level, also the crotch and leg holes have also been cut away significantly with a deeper curve to the crotch and straighter front leg-line; I did this because the fabric was a tad on the bunchy side around this area otherwise. When they’re on the knickers look like tap pants, flaring out a little from the waist and away from the hips, and are actually quite cute, believe it or not!
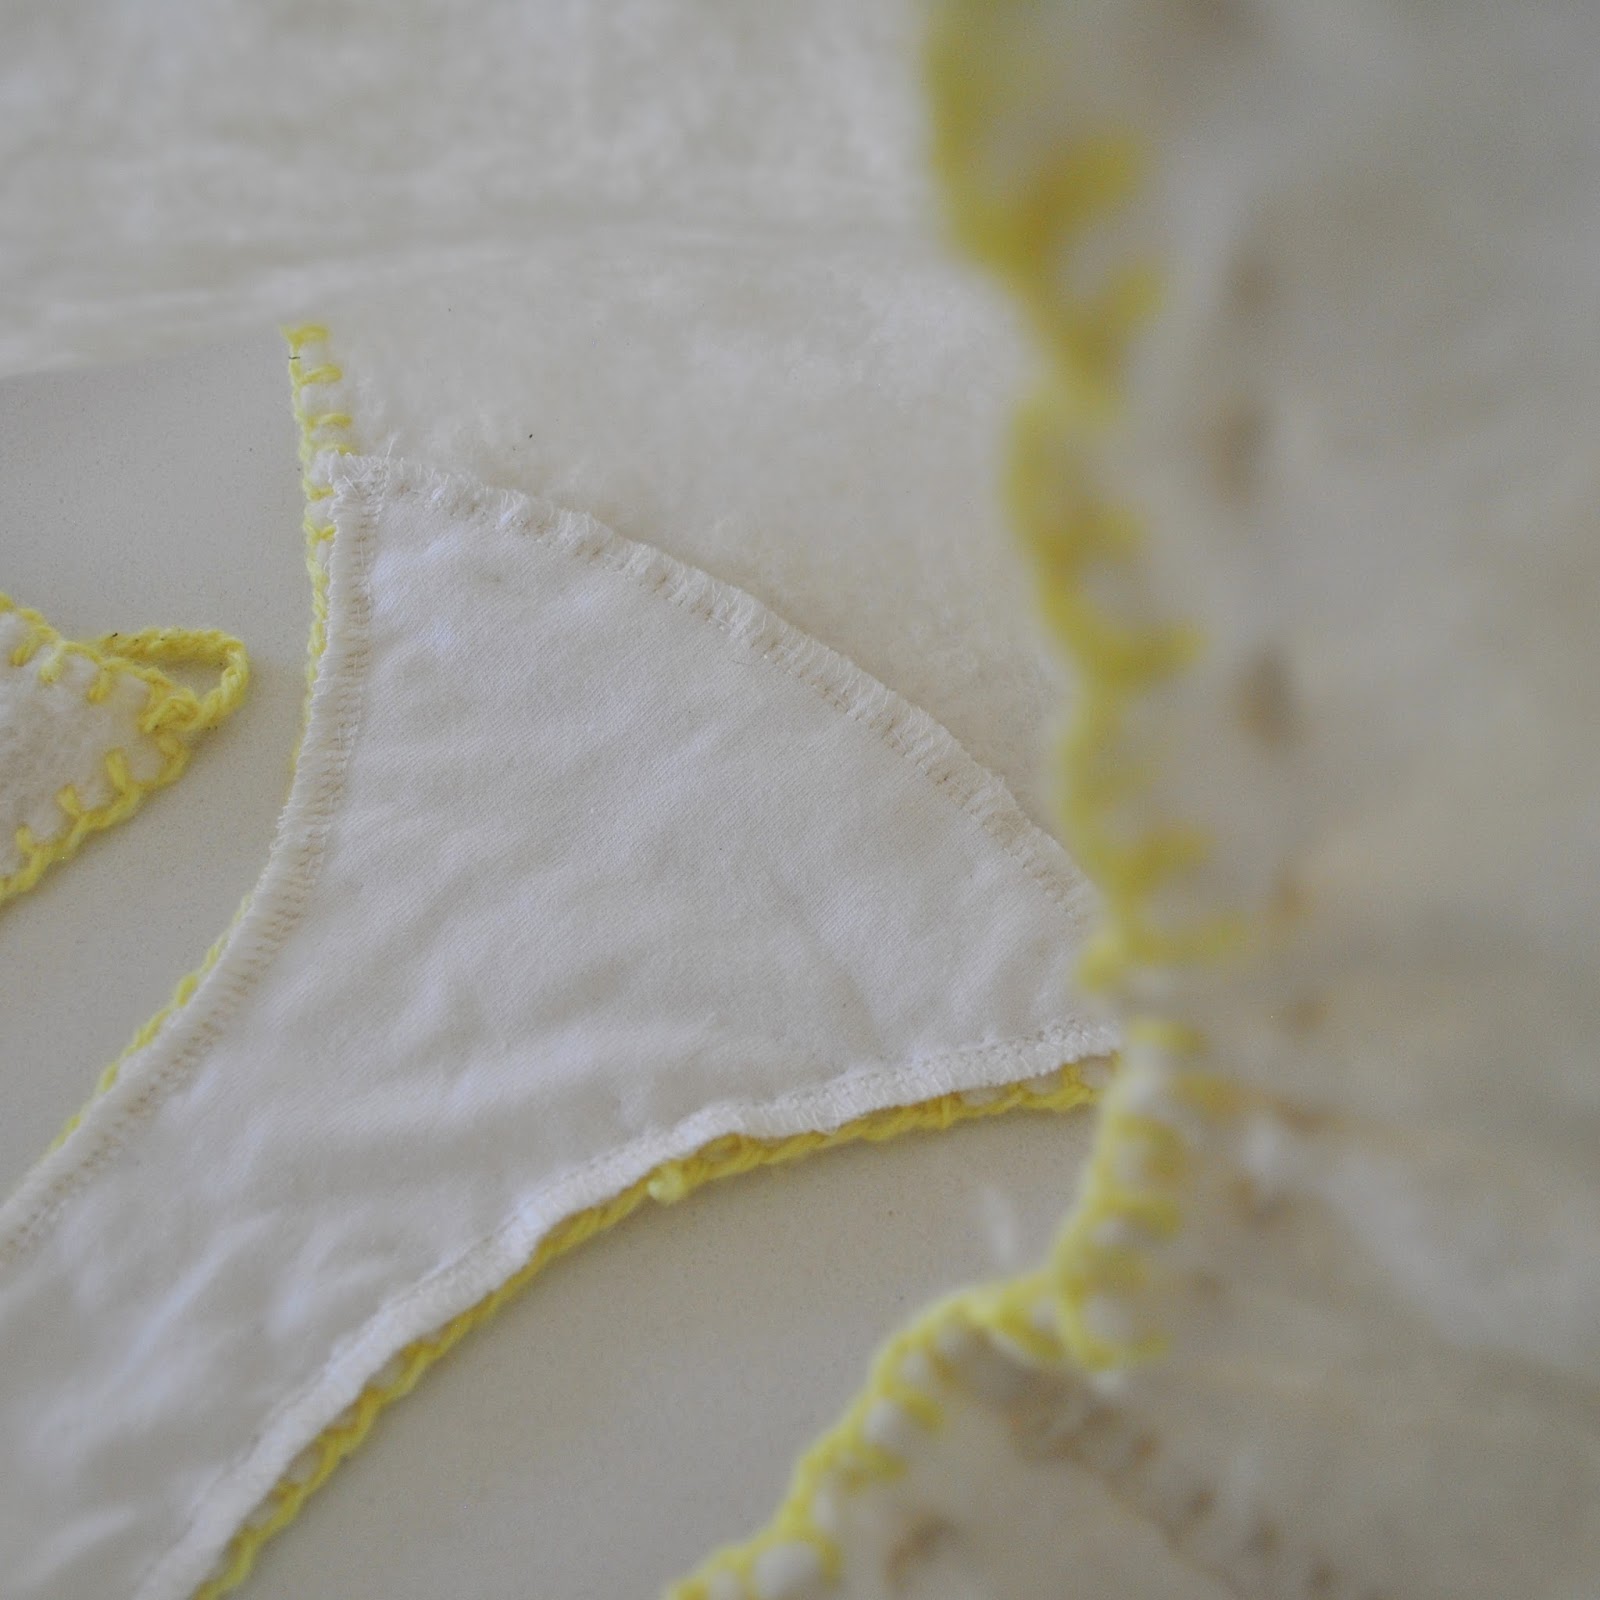
I made a little cotton jersey lining for the knickers, and have loosely tacked it in with running stitch This small piece of fabric is the only part of the set that does not fit the criteria of my one year one outfit challenge; but I’m sorry, I just consider a liner to be an absolutely essential thing to have in a pair of knickers. I’ve done my absolute best to eliminate non-local elements in all of the components in my one year one outfit, but you can only go so far for this challenge! and I’m drawing a line at unlined knickers.
While making them I was reminded of Sheldon fashioning historically accurate undergarments from linen just to wear to the Renaissance fair… so funny!… meaning, yes; I’m fully aware that this is just about the silliest set of lingerie ever, but I made them mostly from my leftovers and using my “experimentally” dyed yarn so I don’t consider making them to be too much of a waste of resources. I think I made them just for fun, really! Think of it as wearable art!