I’ve been busy making a few tops…
 SO! Exhibits A and B; two Nettie tops,both made in a really gorgeous, pale cream knit from Fabulous Fabrics, given to me by Mum. Now, I know I’ve said a gazillion times before that I have SO MANY white tops I should never ever need to make another one, but you see; a full-sleeve-length ivory Tshirt was one of my most worn wardrobe items last year. So, I’m pretty confident that these two boring things are probably going to be two of the most worn things in my winter wardrobe this year too! #ivorytopaddict. I managed to squeeze two tops from out of my piece of fabric, yes! *air fist punch*
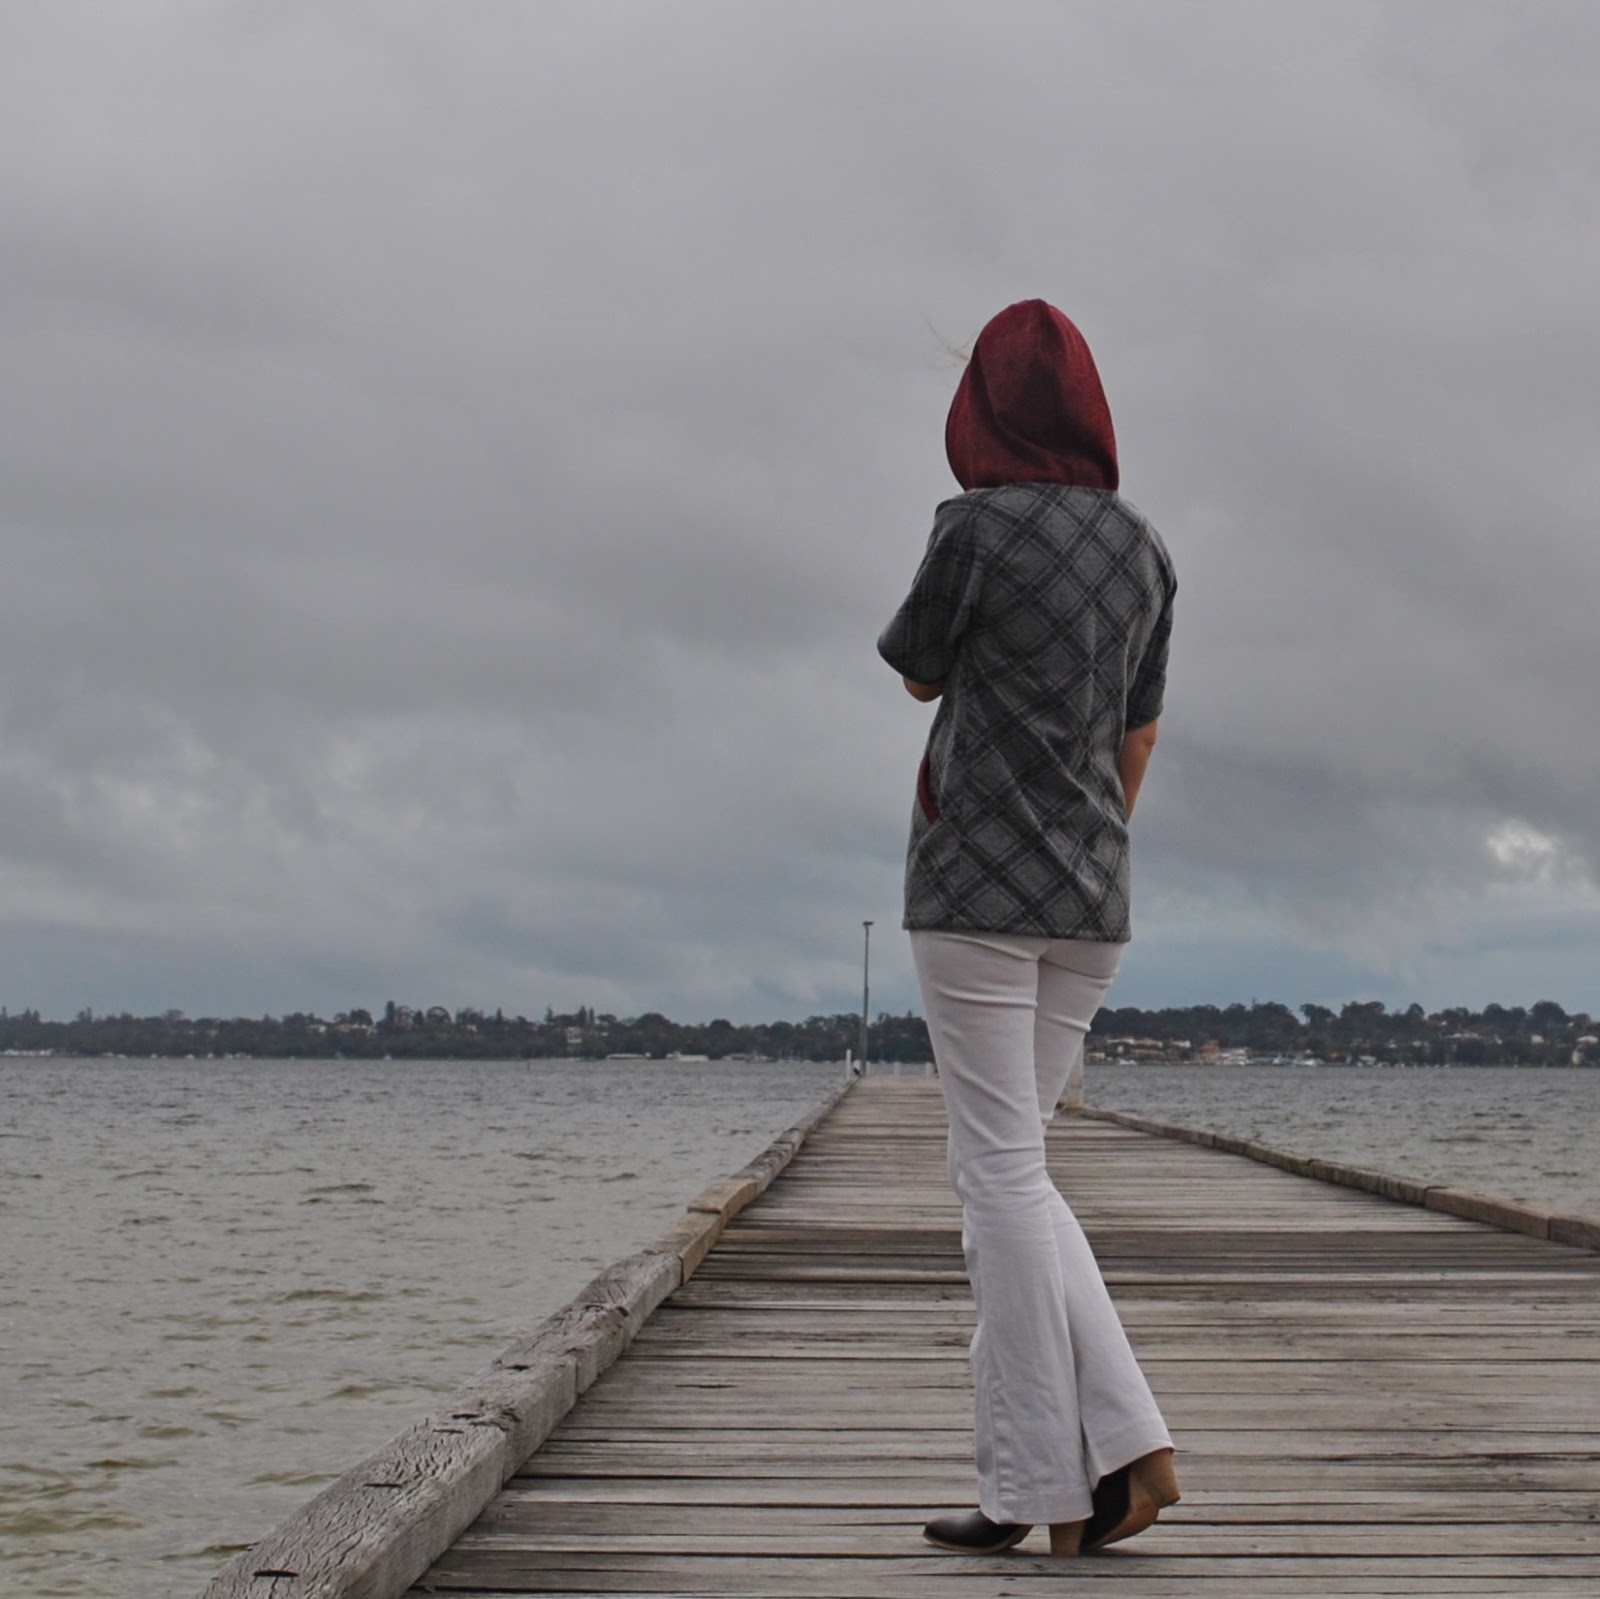
I’ve fine tuned my Nettie pattern now for my own figure, but I still have to sorta “start from scratch” with fitting when I’m cutting out a fabric with a different stretch factor than those I’ve used previously with this pattern; and this fabric has quite a low stretch. So to be cautious I upsized quite a bit, cutting approximately and roughly a size 20, and then pinned the sides in to fit me. Also; my fabric was just big enough for the two Netties, but only-just-and-not-quite-perfectly-enough!! you know how it is… you MAKE IT WORK. They both have long sleeves coming right down to my wrists, but I had to cut Nettie B (below) just a little shorter at the hemline, so that I could get the two tops from my one piece of fabric. It sits at my high hip; Nettie A (above) is longer, plainer, with a high crew neck, finished with a grainline-cut band, applied as for this method here.

 Along the back edge only, I topstitched the seam allowance down to the top, just inside the seam line. In both cases, the raw edges of sleeve and lower edge are finished with the overlocker, than turned under once and invisibly hand-slipstitched in place.
Nettie B, below, is slightly cropped and has a wide, boatneck collar.

I had some interest for this collar/neckline on instagram, so I’ve drawn up a pattern for it… it’s kinda rough-looking and I do plan to improve the presentation but just wanted to get it up here for now. It does however, work! and so I hope it does prove useful for someone!
 The method is as follows:
This is a collar/neckline designed for a close-fitting Tshirt in stretch knit fabric; the collar is a standup folded collar, and the neckline is wide and shallow. The idea is that you use your tried and true Tshirt pattern just ignoring the given neckline and substituting this neckline/collar for the one in your pattern. I used the Nettie pattern by Closet Case patterns, although any Tshirt pattern would do. Align the pattern pieces so the line of the shoulder seams and the centre front/back lines of this pattern are correctly aligned with the shoulder seams and front and back centre folds of your Tshirt pattern, and cut the neckline accordingly. Seam allowances are 1cm (3/8″), so if the Tshirt pattern you are using has a different seam allowance, align shoulder stitching lines (dotted lines) lines of the shoulder seam, rather than the cutting lines.
Cut the neckband/collar, with the short edges on the grain line. Sew the collar short edges together, right sides together. Fold the resulting “ring”of fabric in half lengthwise, wrong sides together, aligning raw edges… pin to the Tshirt neckline right sides together; distributing the length of the collar evenly around the neckline. Stitch using a 1cm seam allowance, and finish the raw edges with overlocking or zig-zag, as desired.
If you use this pattern, then please do leave me a comment and let me know how it goes. I’m always thrilled to get feedback 🙂
Now for some more tops, hoodies…! Smug self back-patting for unselfish sewing commences right here, since neither of these are for me

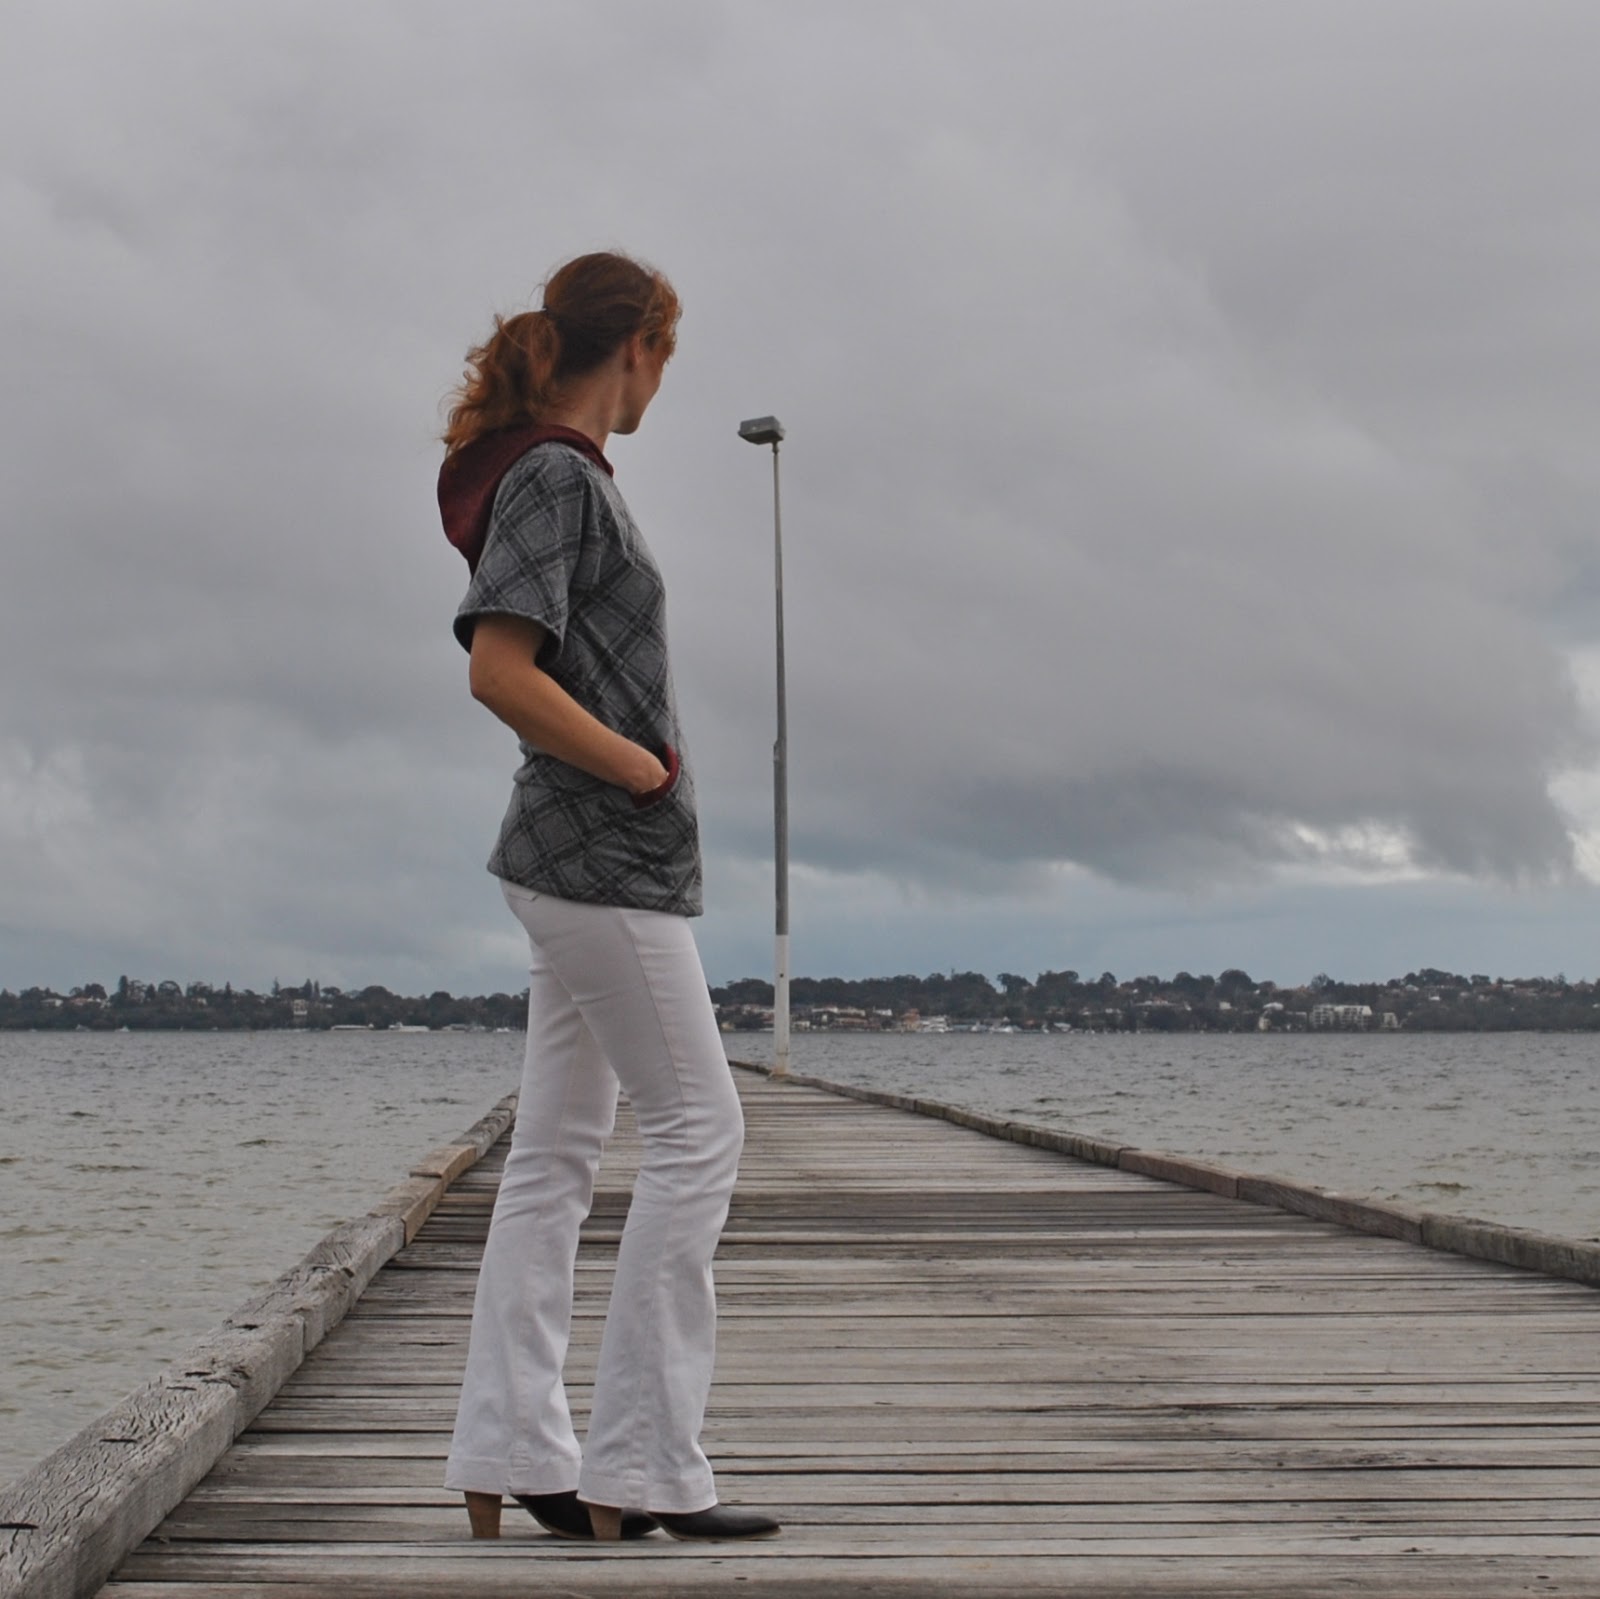
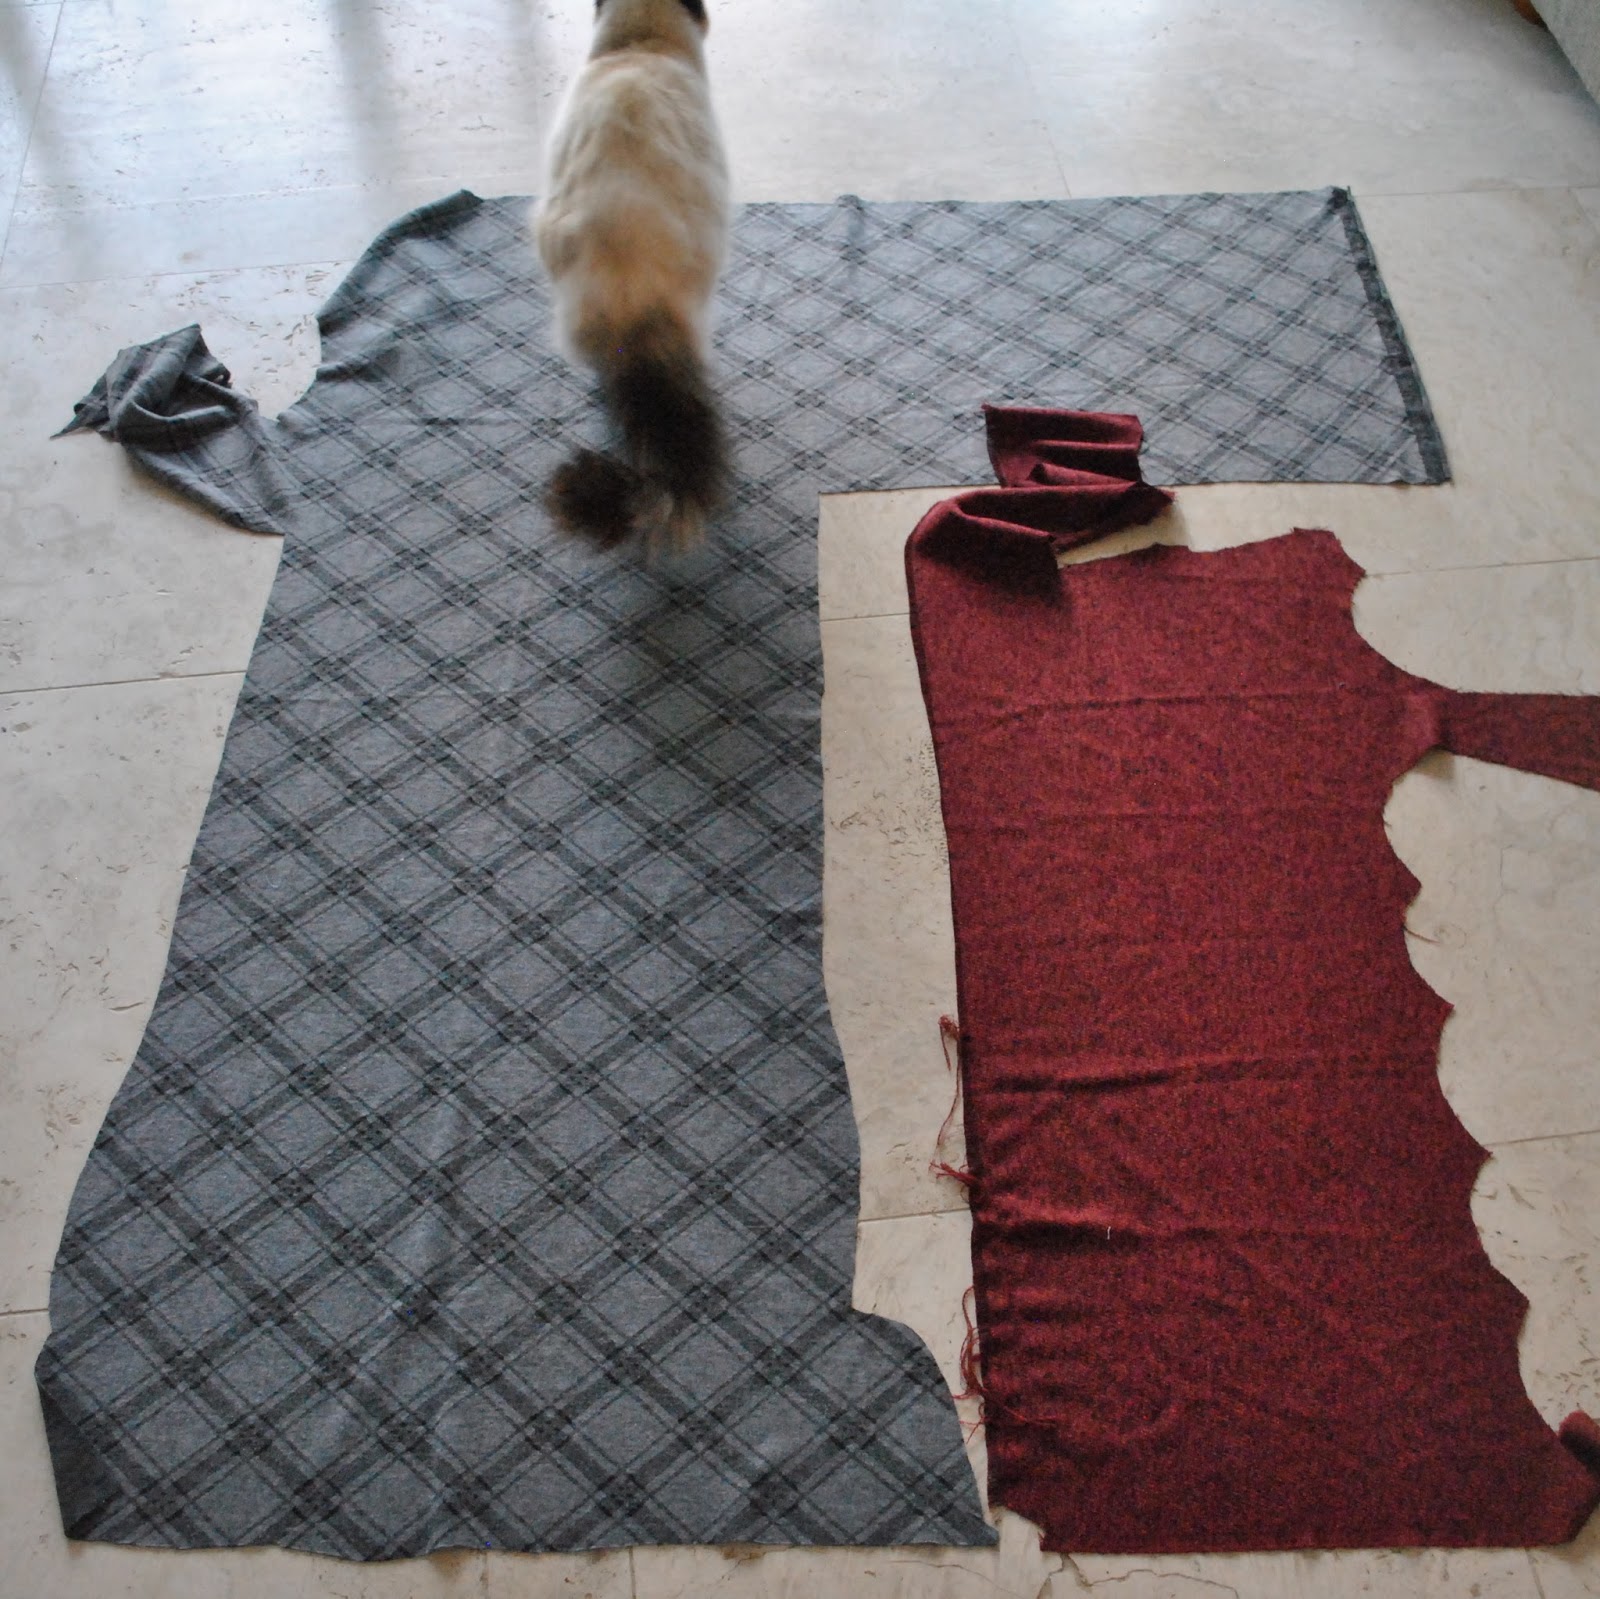
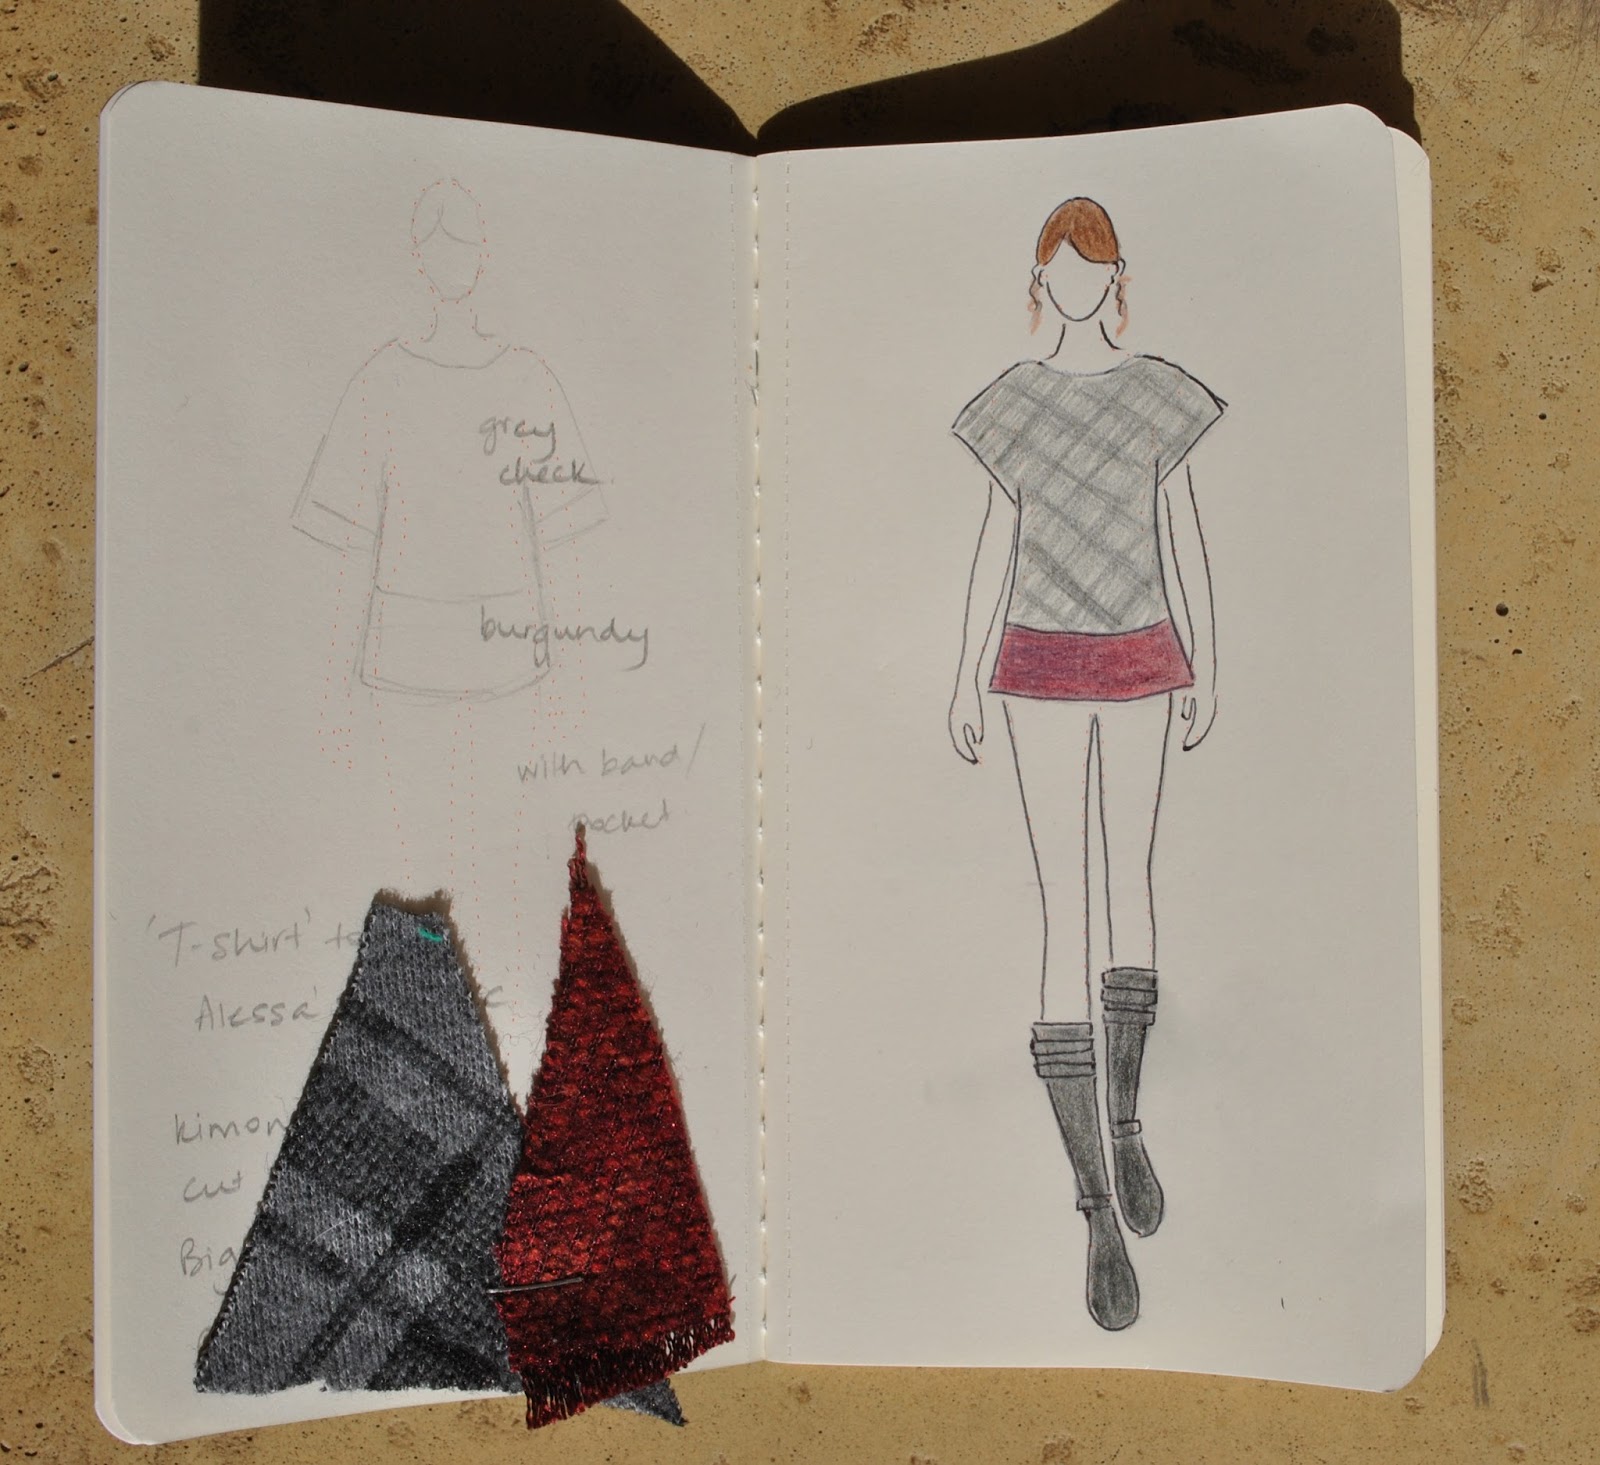
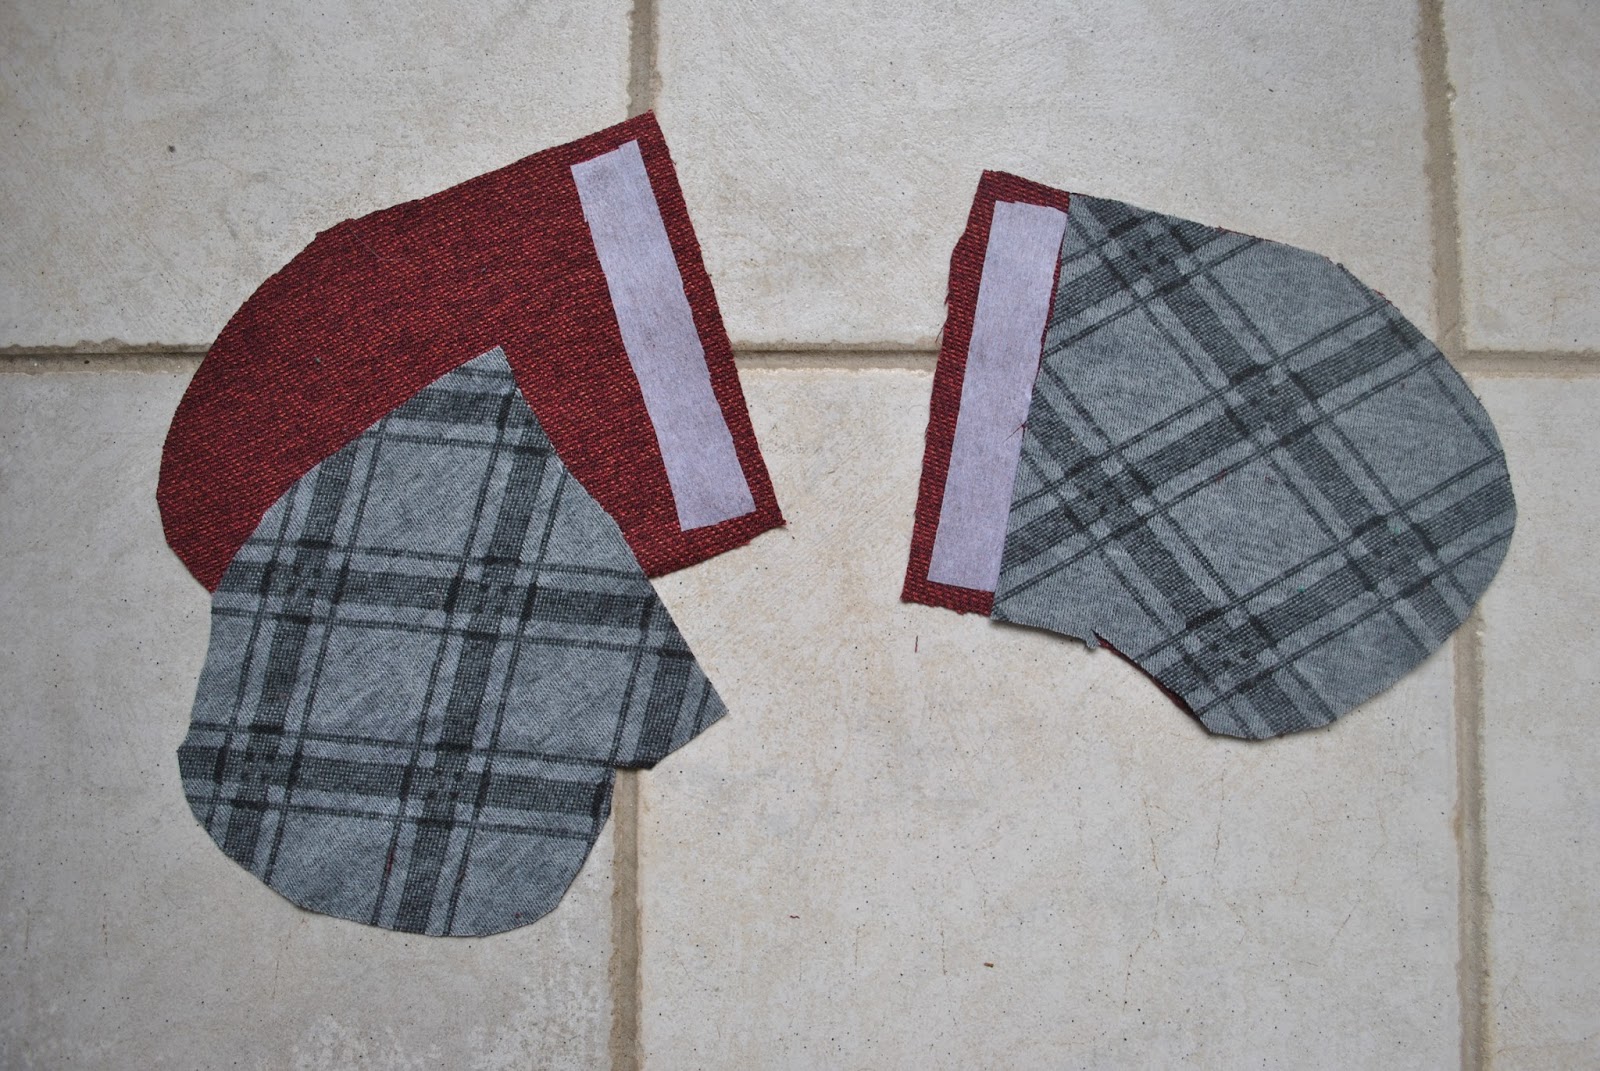
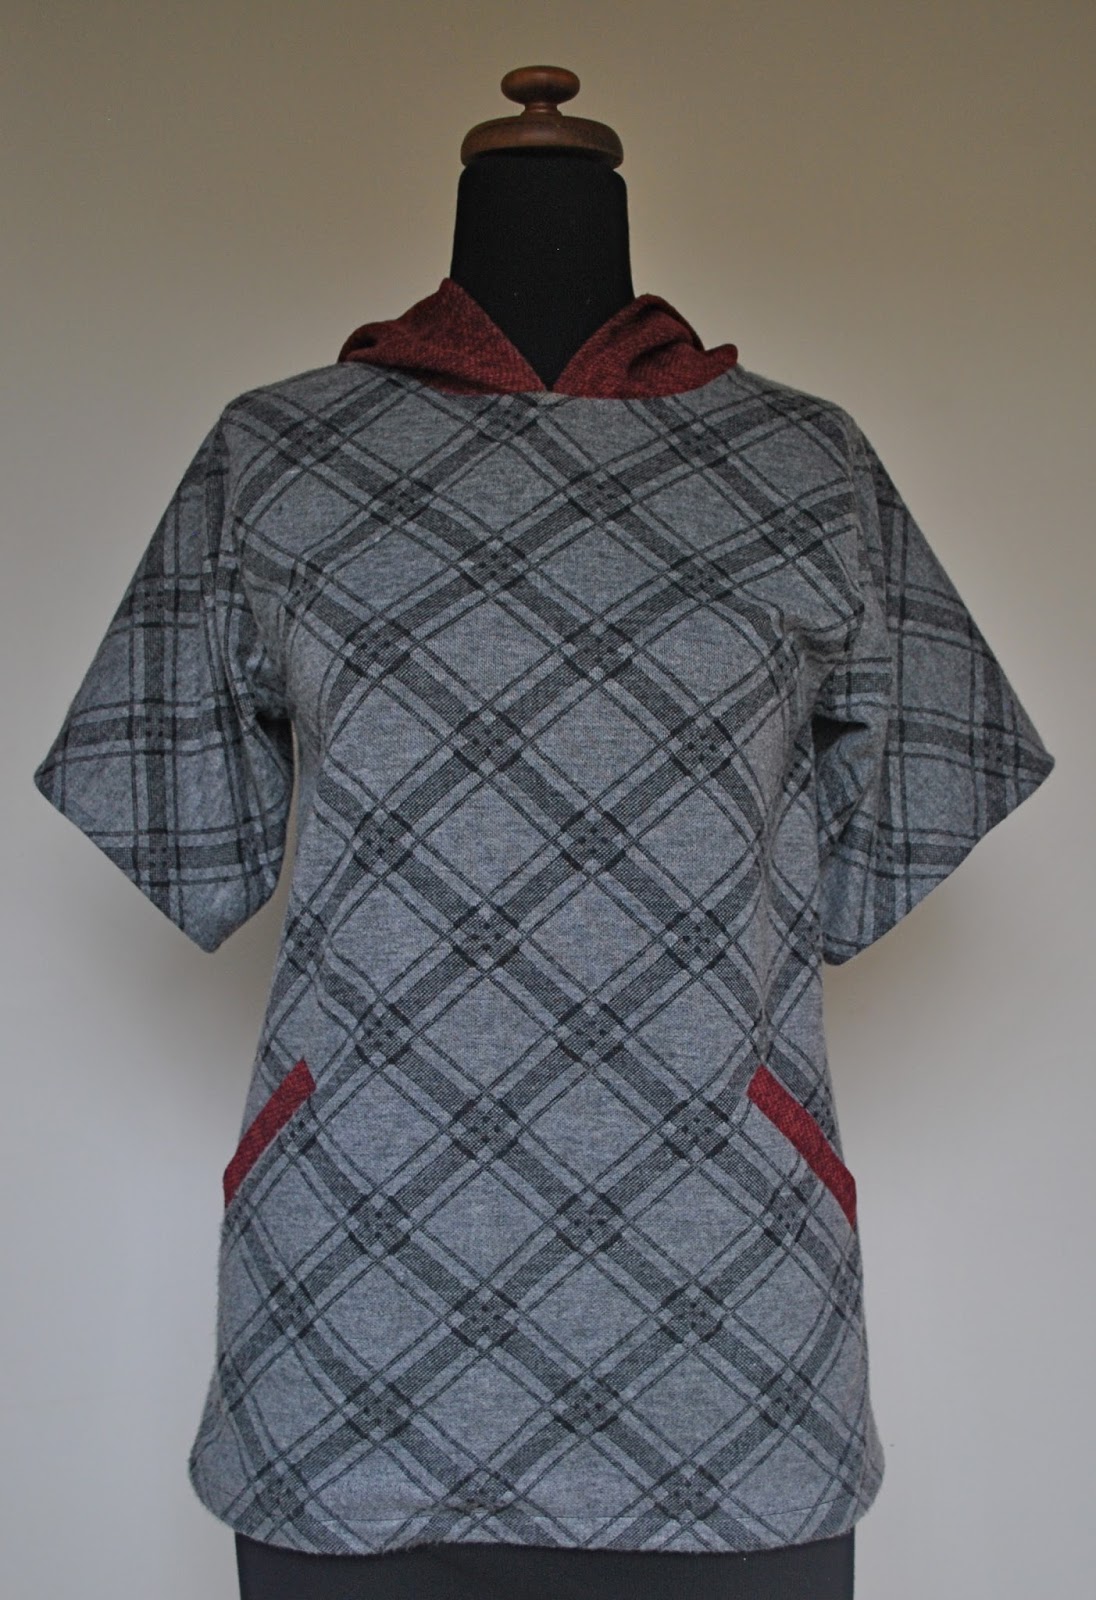
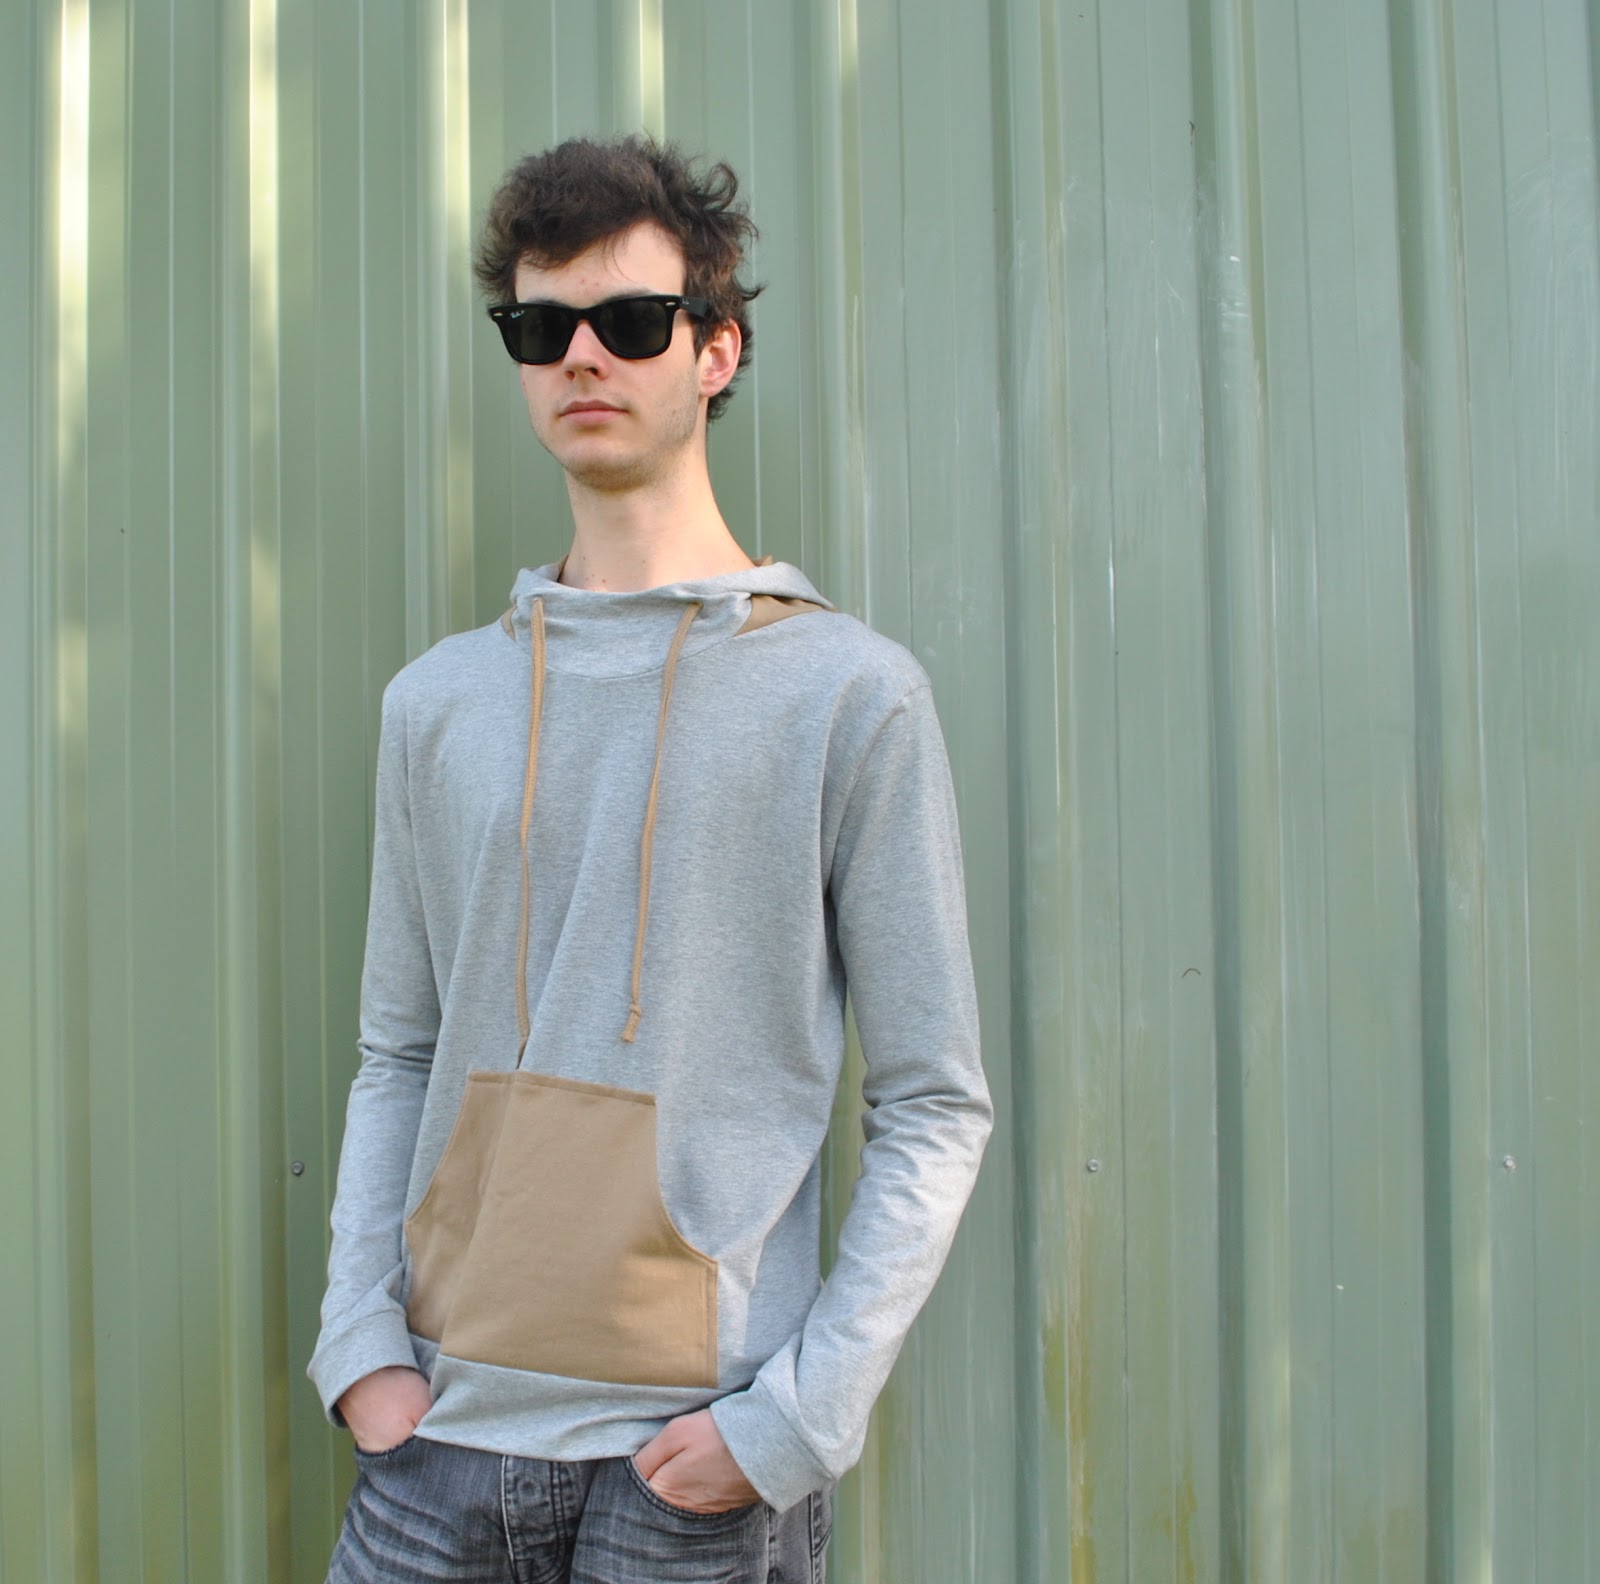
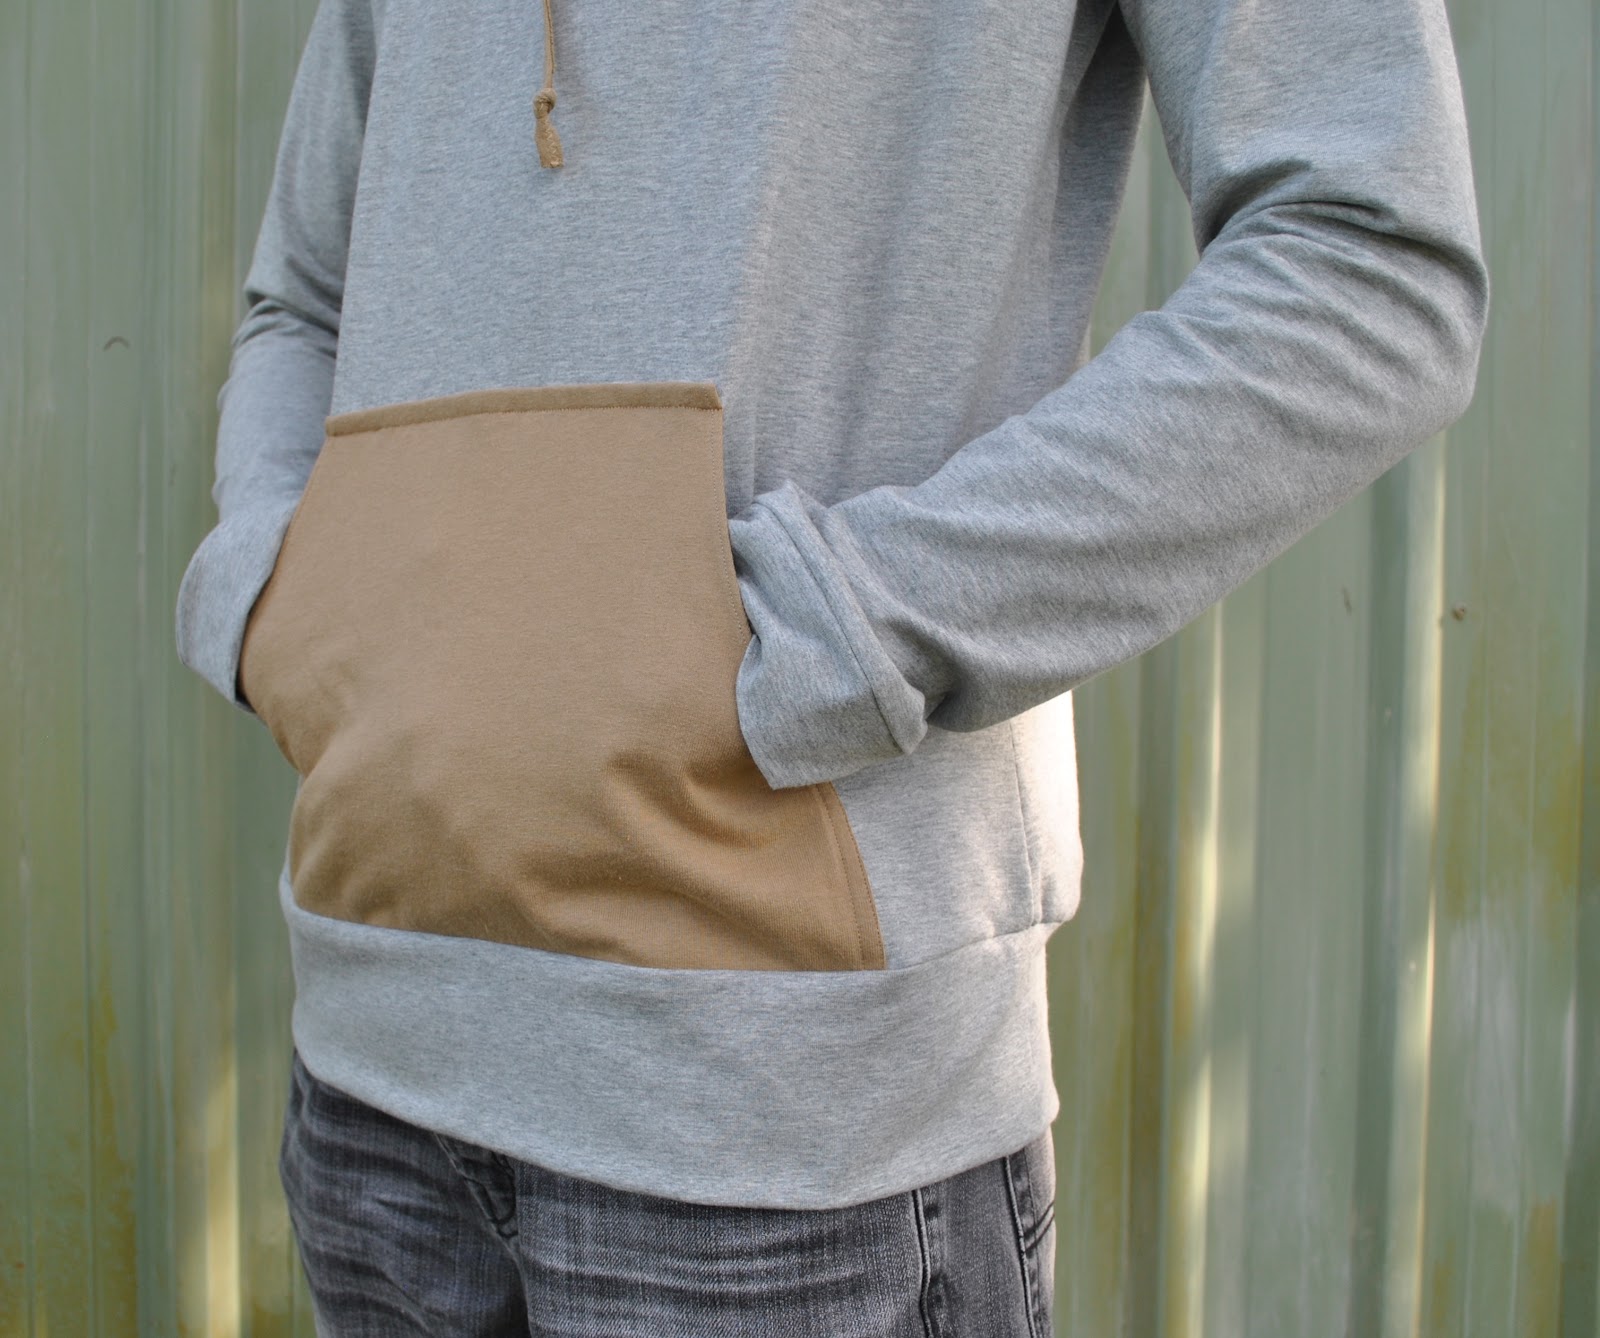
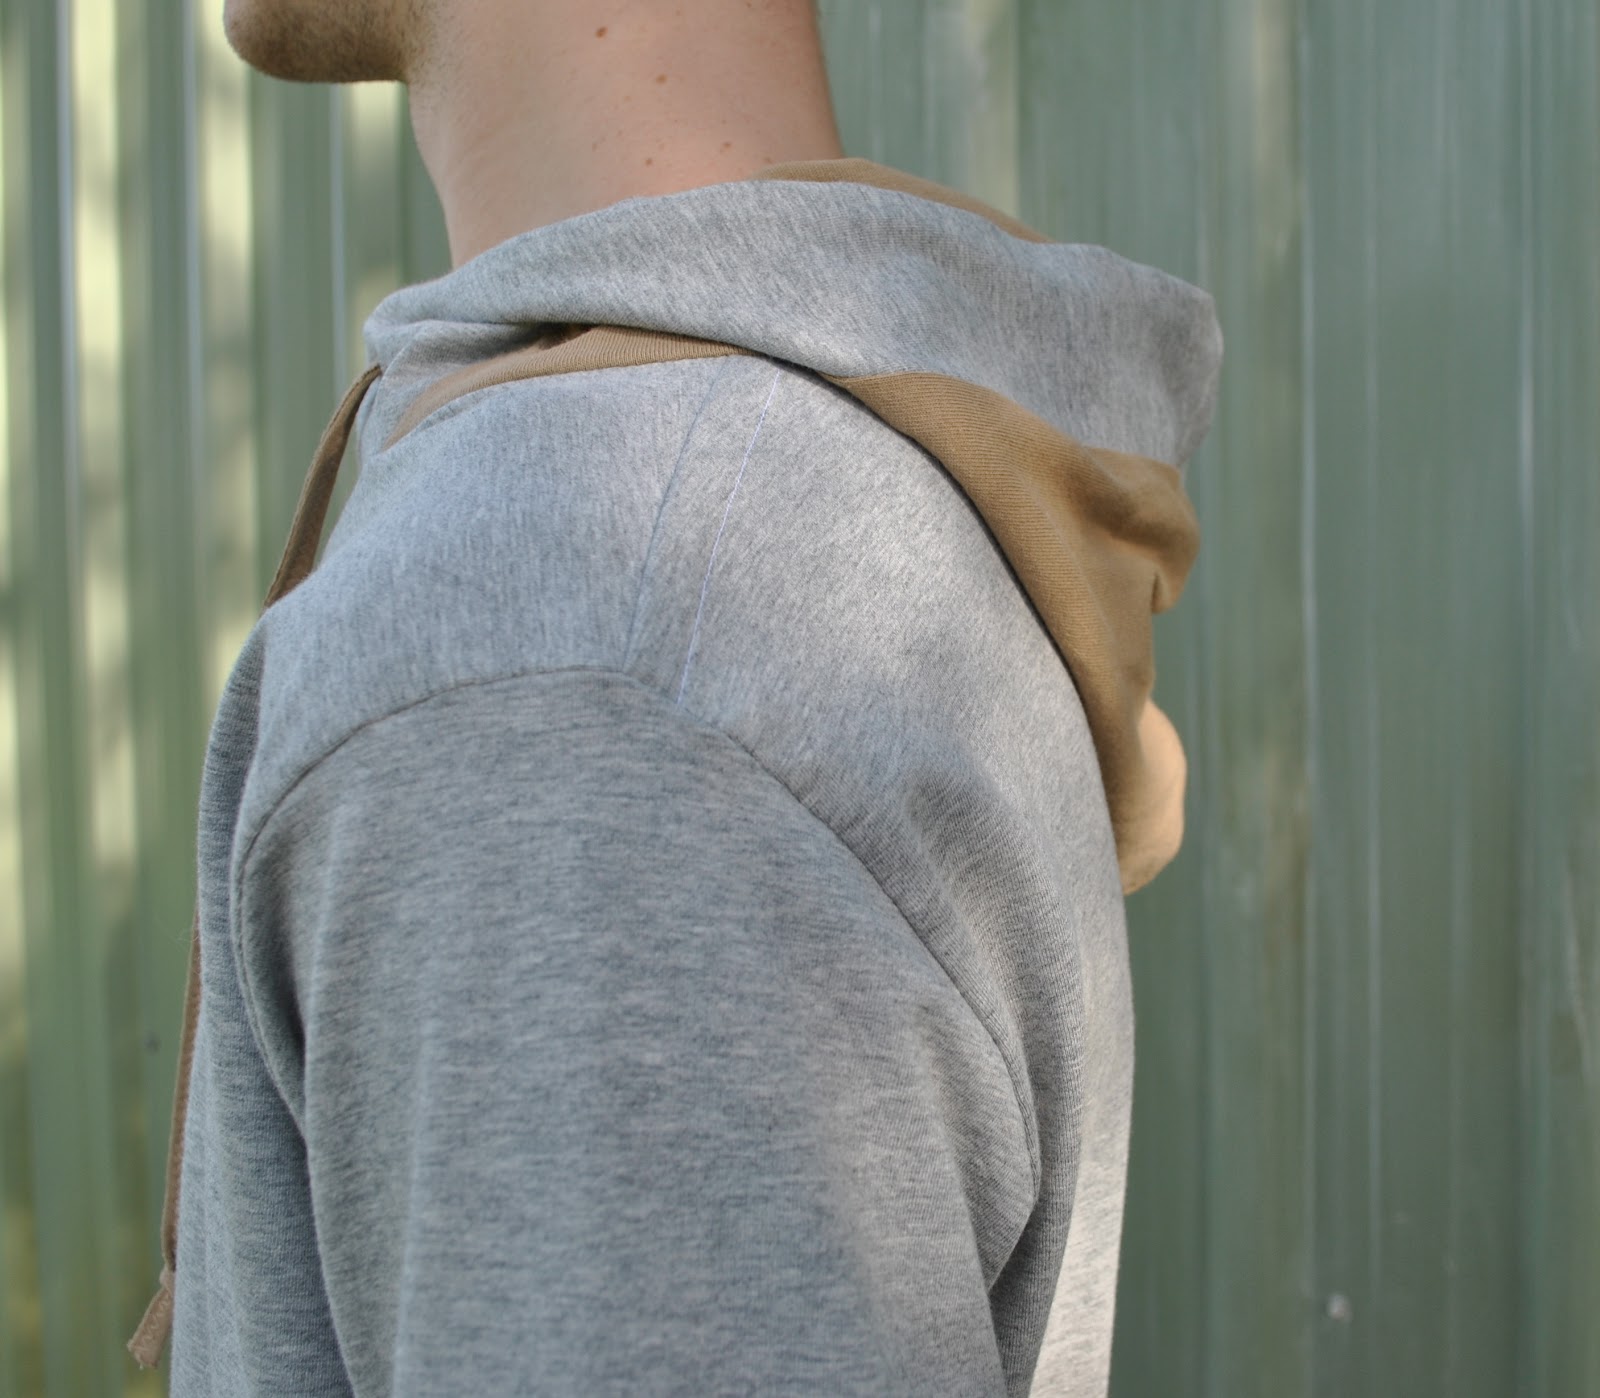
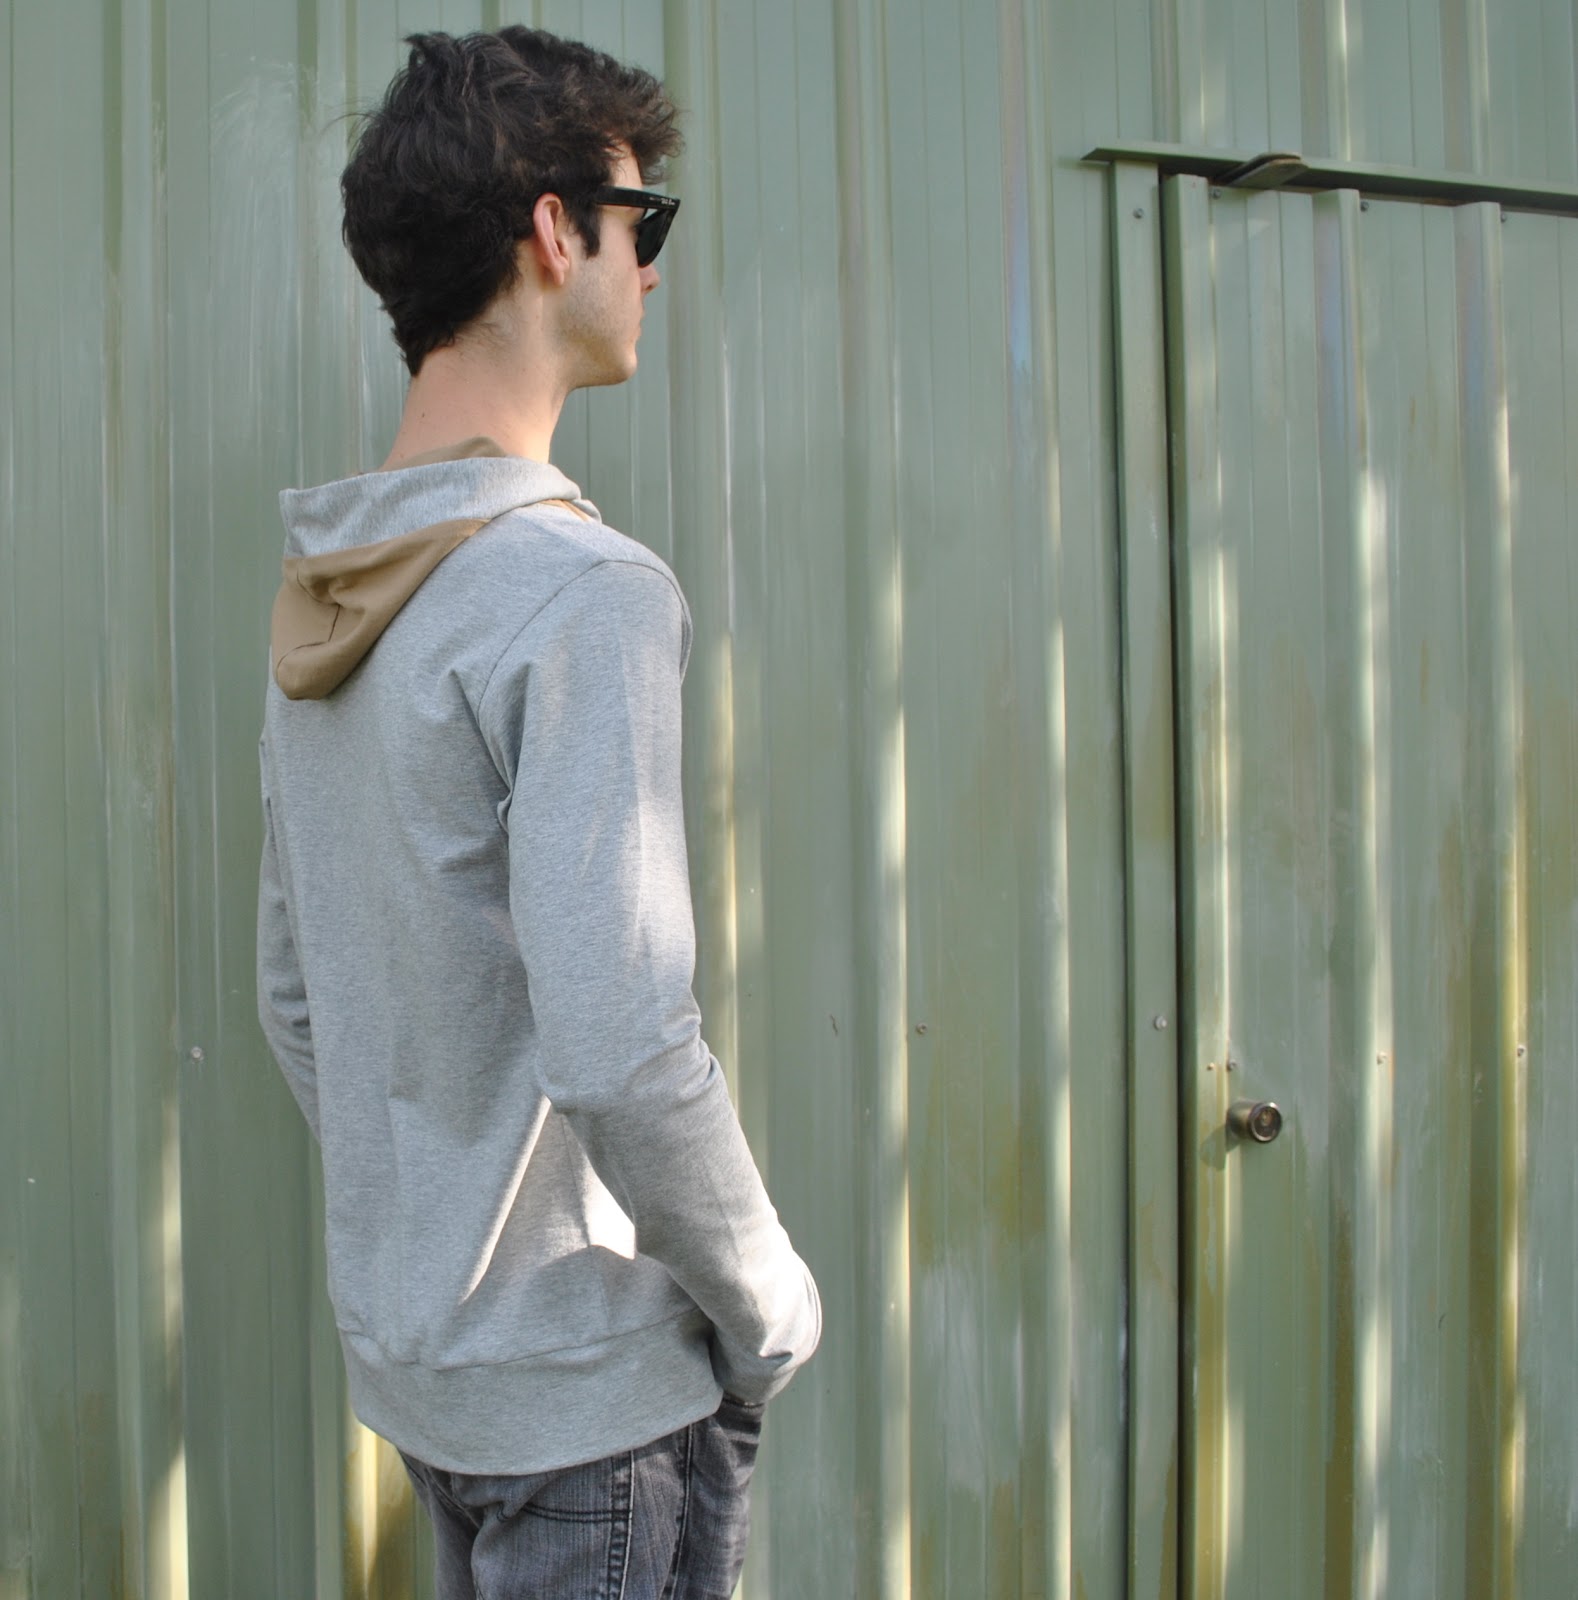
Exhibit C; I made a grey hoodie for Sam, to fulfil his birthday request… this is the same self-drafted pattern I’ve used previously for hooodies for each of my boys; and the seventh and eighth time I’ve used the pattern. The best thing about these hoodies in my opinion is the rather nice combined collar/hood, and I’ve previously written a tutorial on how to make this collar, here. Sam wanted grey, and the addition of a bit of red was my idea. I just liked the idea of some little contrast and the red seemed cheerful and fun for winter, and a bit more interesting than if it had just been plain grey. The rather gorgeous warm, grey terry fleece is from Spotlight, and the red is cut from an old Tshirt from my refashioning bag.


aaaaand Exhibit D; a Rayman Hoodie for Sam to wear to ComicCon. The same pattern, and again to fulfil his specific request! I bought some warm purple Tshirt ribbing from Spotlight, simply because it was the perfect colour. The white circle and the red hoodie bit were both cut from two old Tshirts from my refashioning bag.
And that’s it!… well; for now, mwahahahahahahaaaaaaa. *she twirls her cape and dramatically sweeps off to the sewing lair, maniacal laughter radiating in her wake*
Details of all clothing in this post:
1)


Top; modified Nettie by Closet Case patterns
Skirt; Vogue 1247, yellow corduroy dyed caramel, details here
Tights; self drafted, details here and my tutorial for making your own tights pattern is here
Boots; made by me, details here
Cardigan; hand-knitted by me in Jo Sharp yarn, details here,
Cowl; my own design, mustard yarn, details and pattern here
2)

Top; modified Nettie by Closet Case patterns
Skirt; Jade by Paprika patterns, details here
3) and 4)
Hoodie; self drafted pattern, my tutorial for making the combined collar/hood is here

 Over the years since I first drew the pattern out I’ve had to slightly alter it and custom fit to each of my boys each time I’ve made it. They keep doing annoying things like working out and growing taller with longer arms and gaining a bit here, losing a bit there as time goes on. So it’s always a bit more of an exercise than just whipping out a pattern and zooming it up with the greatest of ease…. NOT!
 The air force blue looked pretty cool and right up his alley and it’s a very nice weight, I loved it upon first sight. However, after washing it and hanging it out to dry, then laying it out for cutting, I discovered to my amazement that the “stripe” actually was more of a gentle, slight “wave” of stripes across the fabric looking like this ” ~ “, NOT a straight horizontal stripe. AAAAUGH!! and being “slight” of course, means it really comes across like a bit of a boo-boo, rather than look like an intentional wave, which I could work into the design somehow. Nope, this just looked OFF.
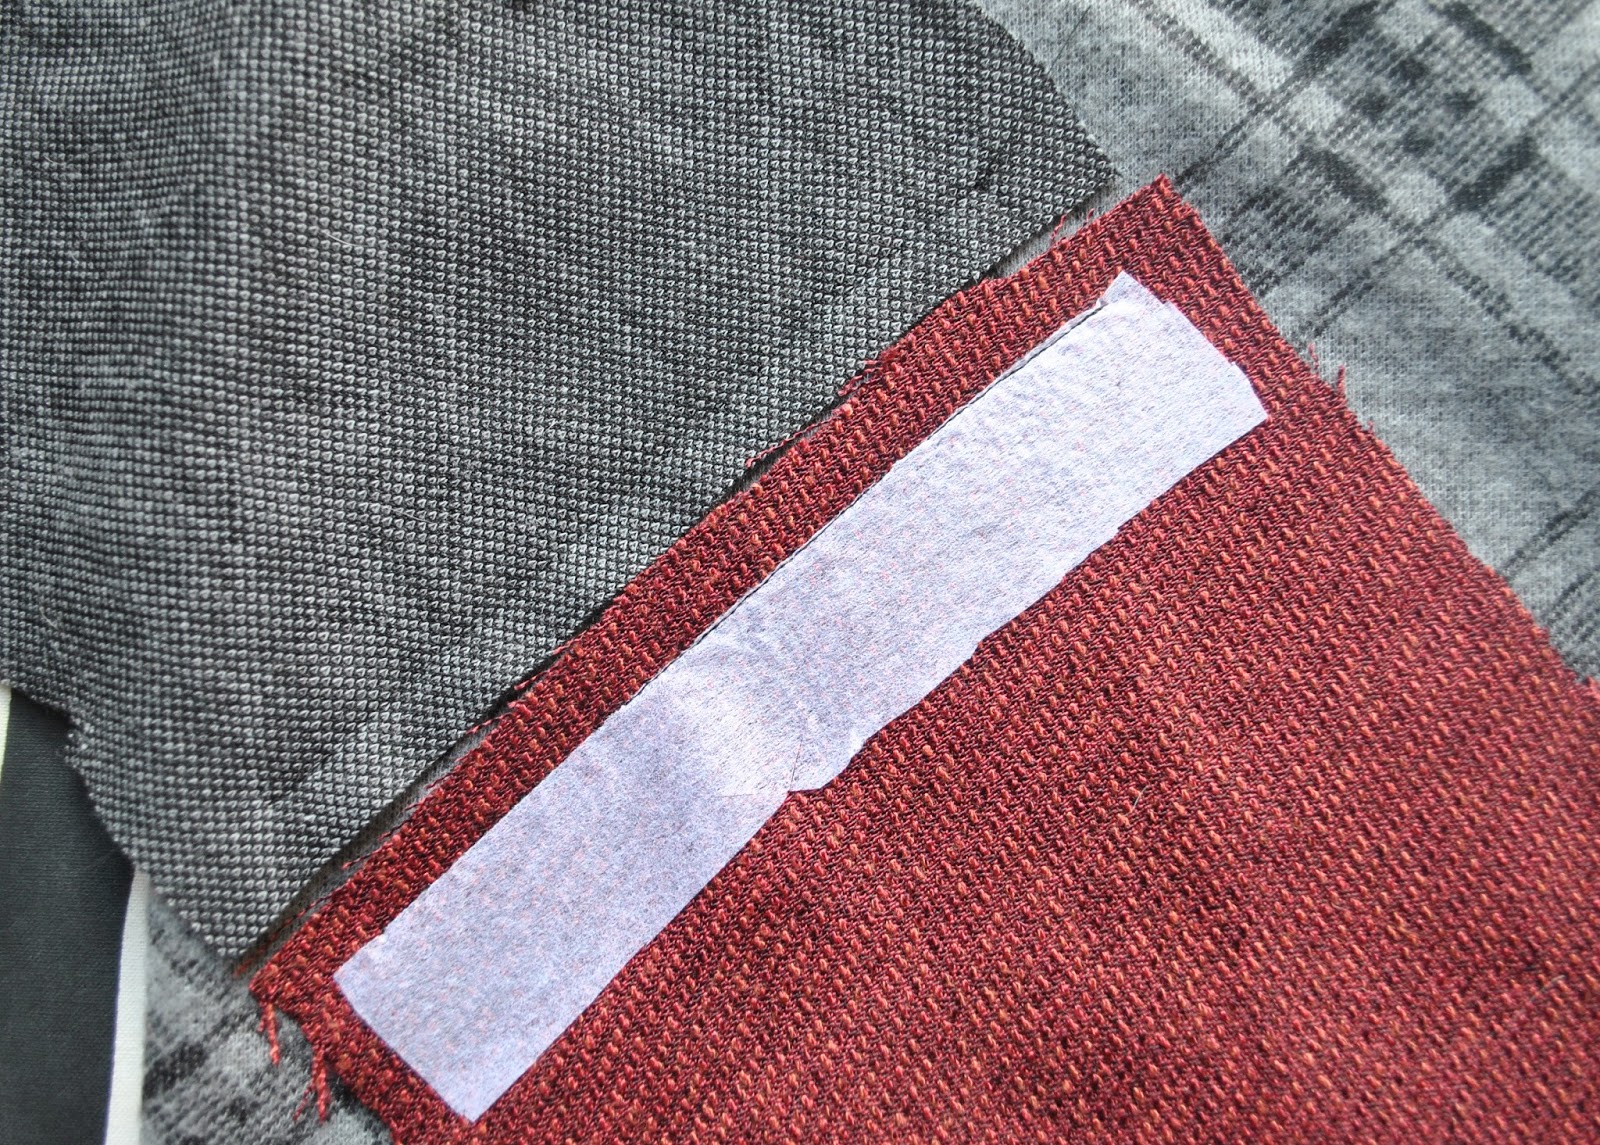
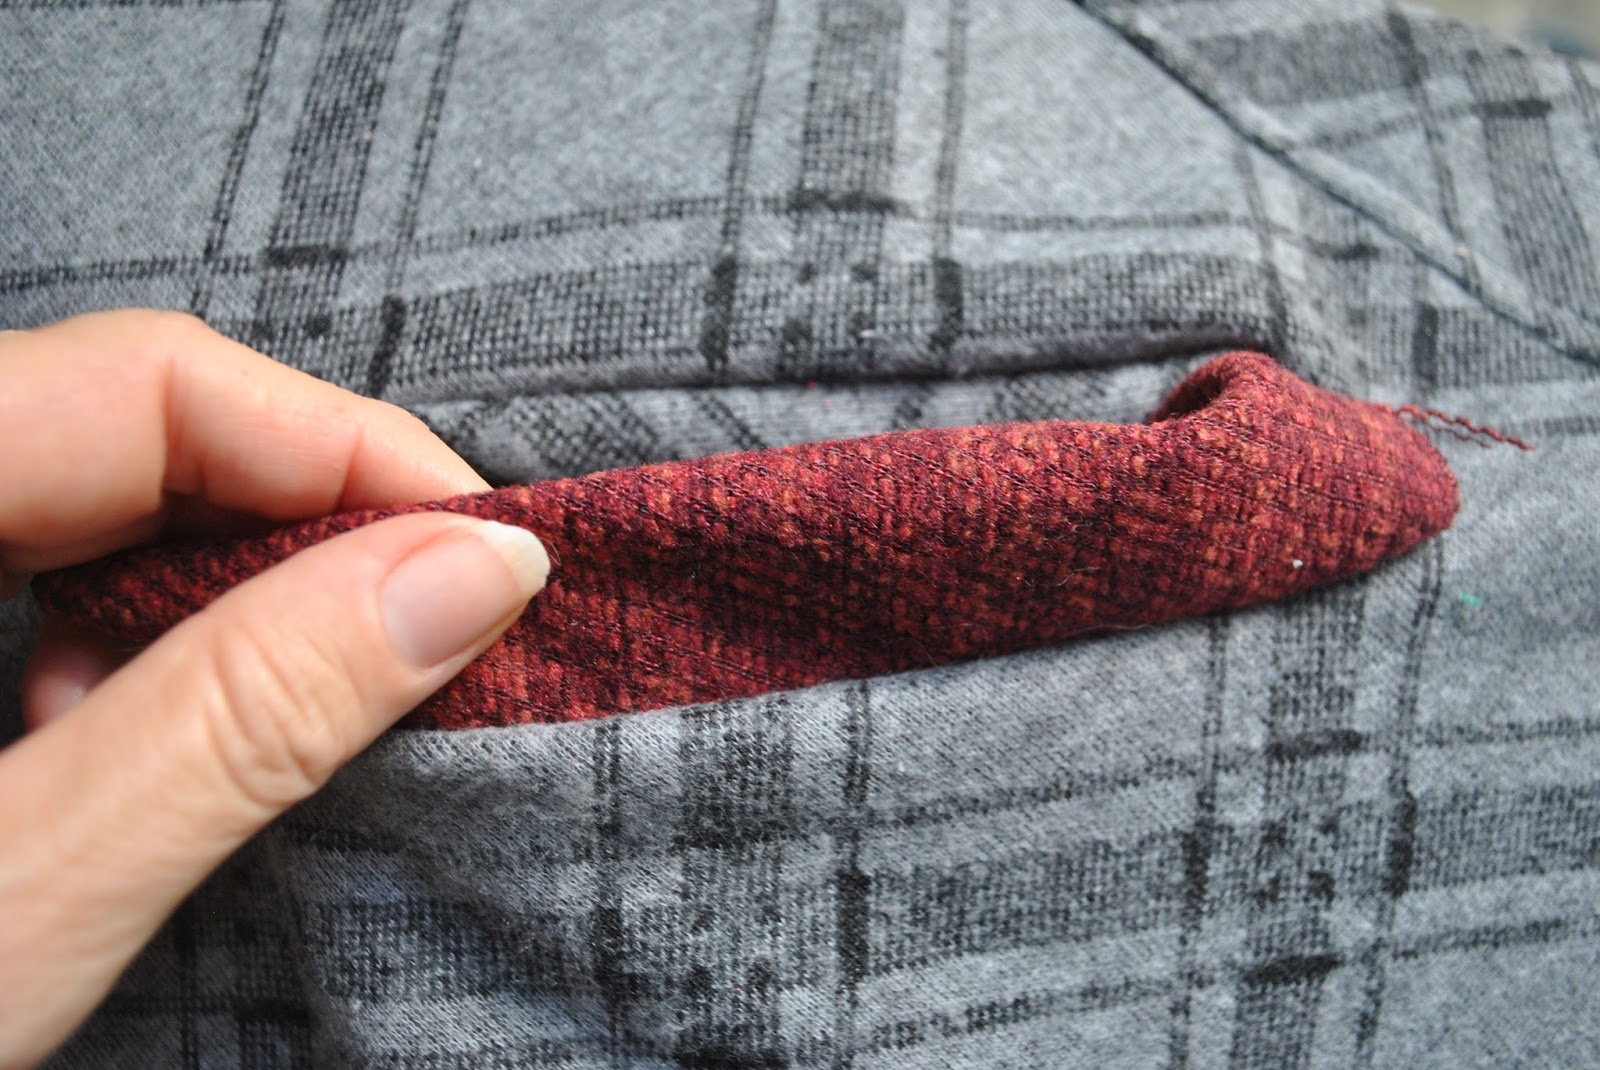
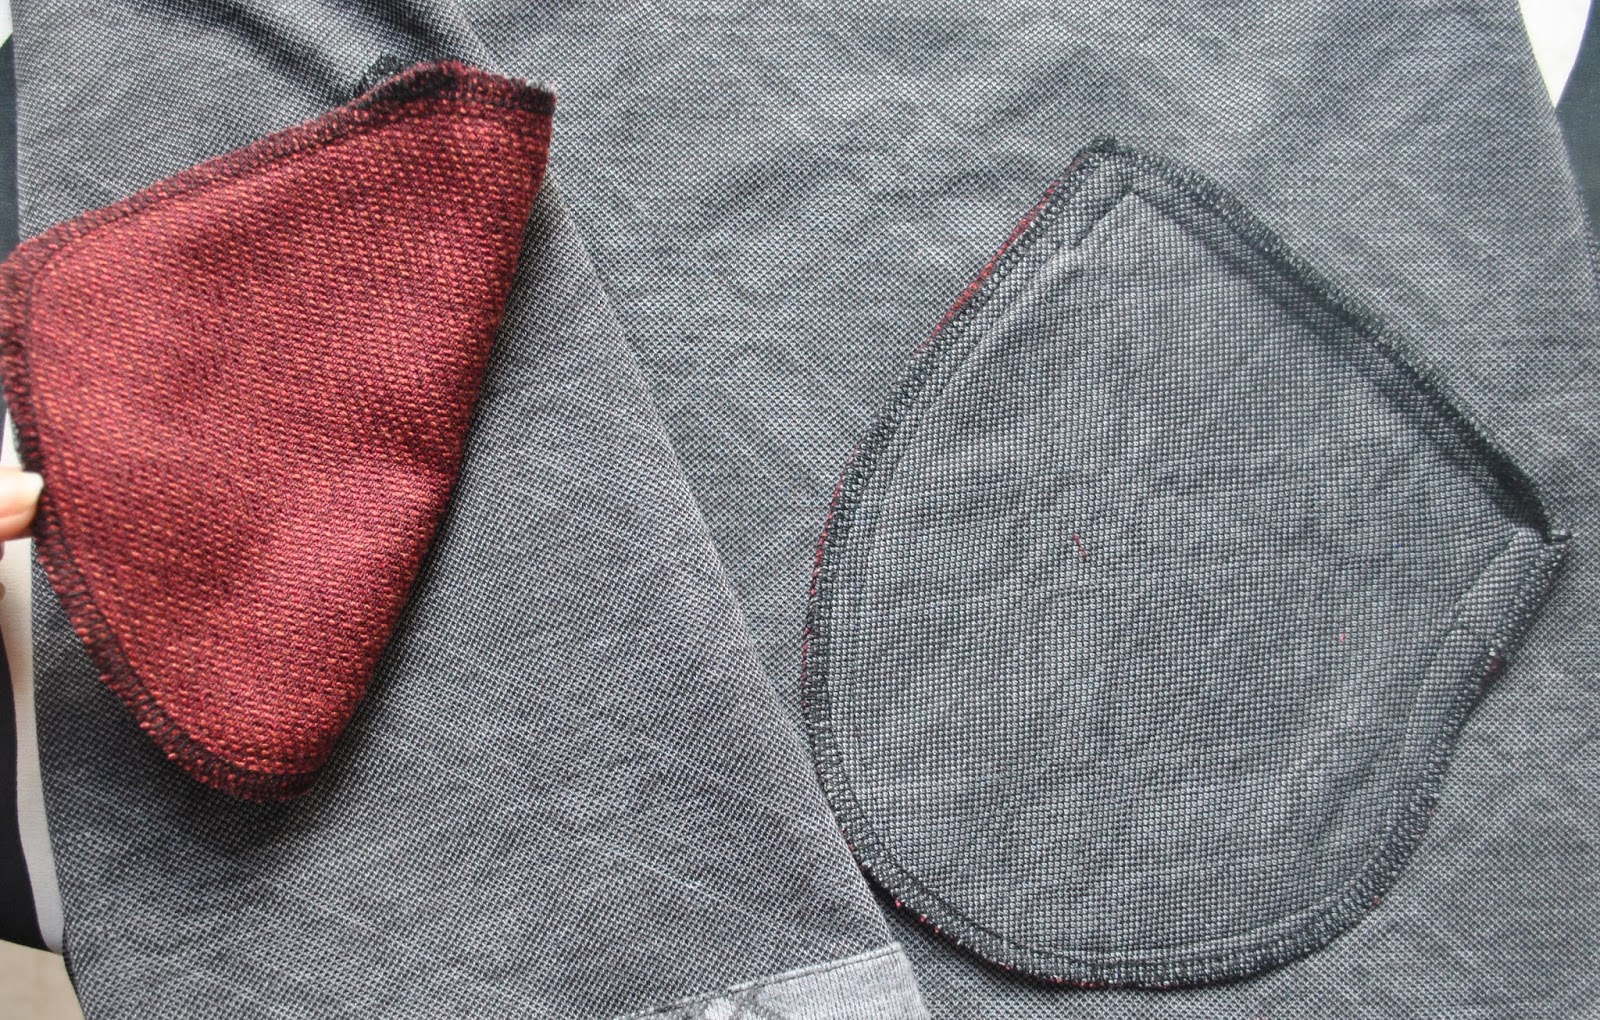
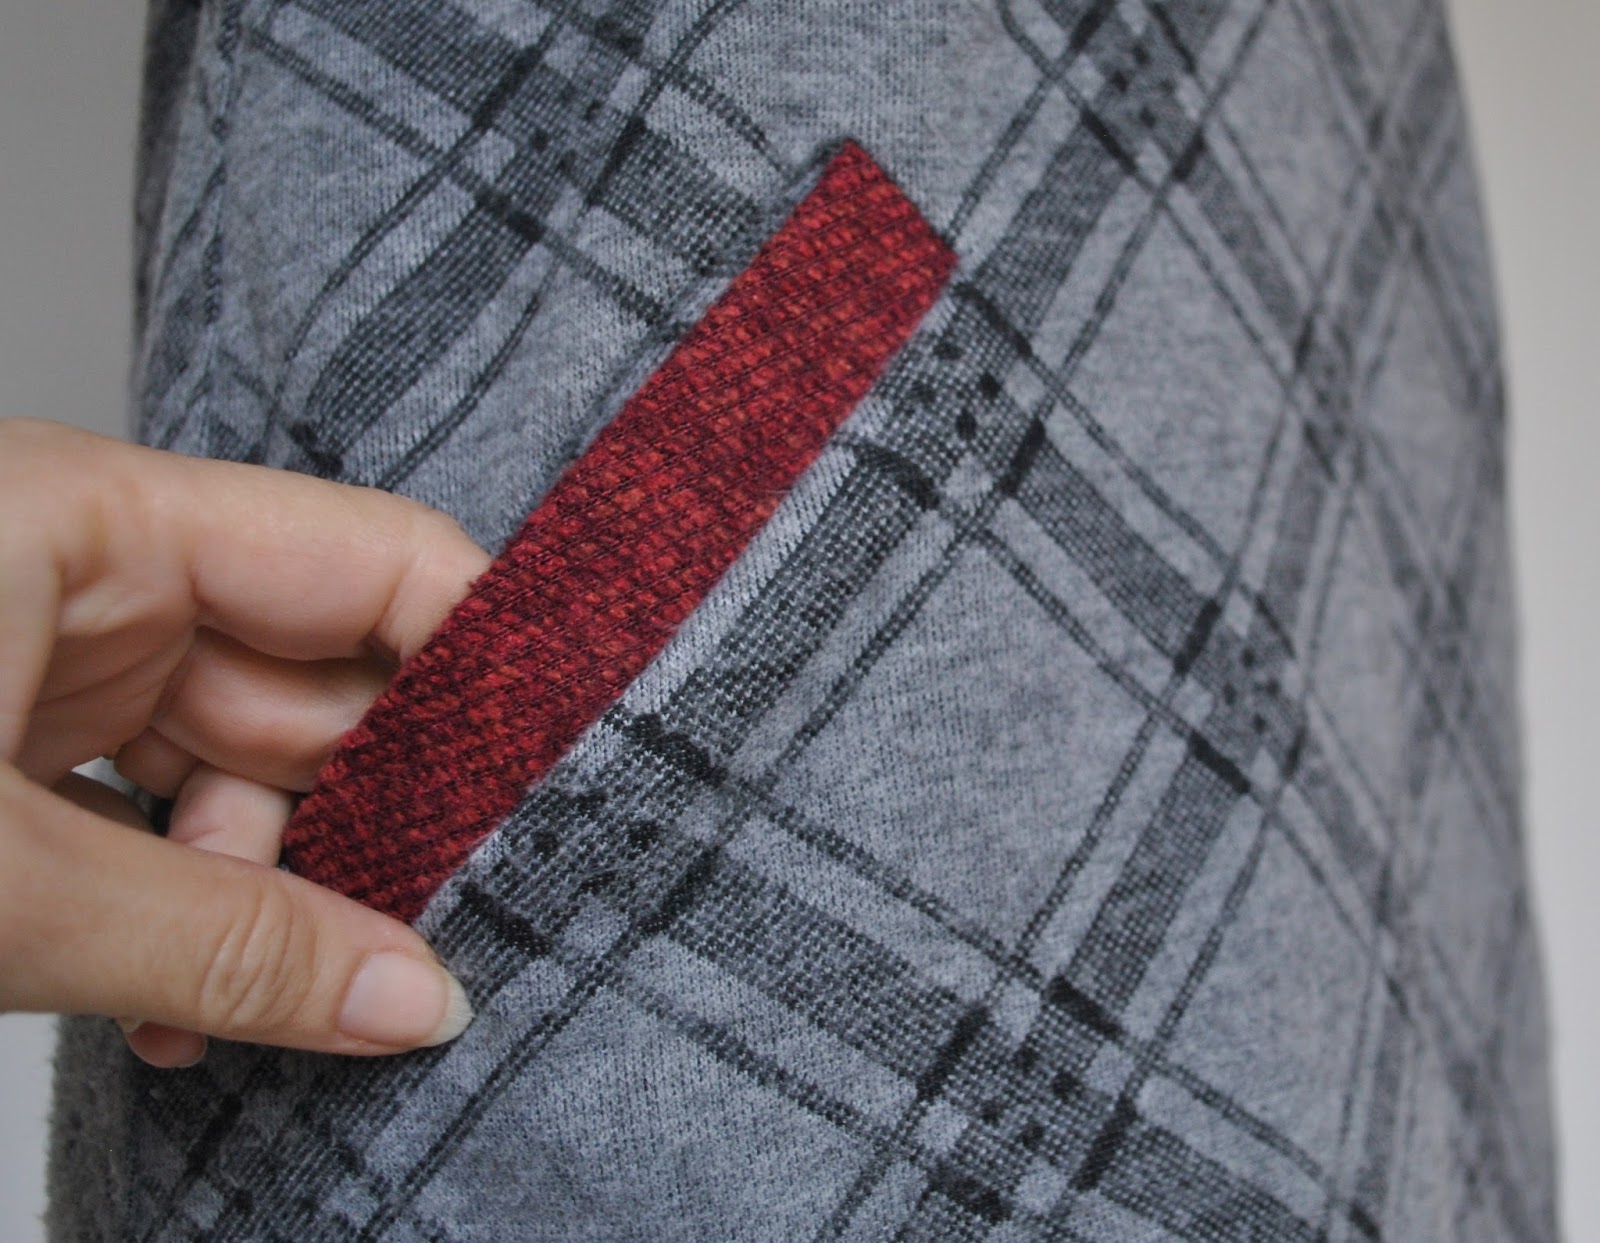
 Oh, the hoodie strings… in each case I made a self-fabric drawstring for the hoodies, bar Tim’s, as explained. To make a drawstring in the jersey, I cut a 1-2cm strip of fabric across the grain. Most jerseys have a natural tendency to roll or curl up across the grain, and you can use this to full advantage while making your drawstring.


 I discovered it looked really good when worn over a longer sleeved Tshirt, like as a tunic, and this became my most preferred way to wear it.