
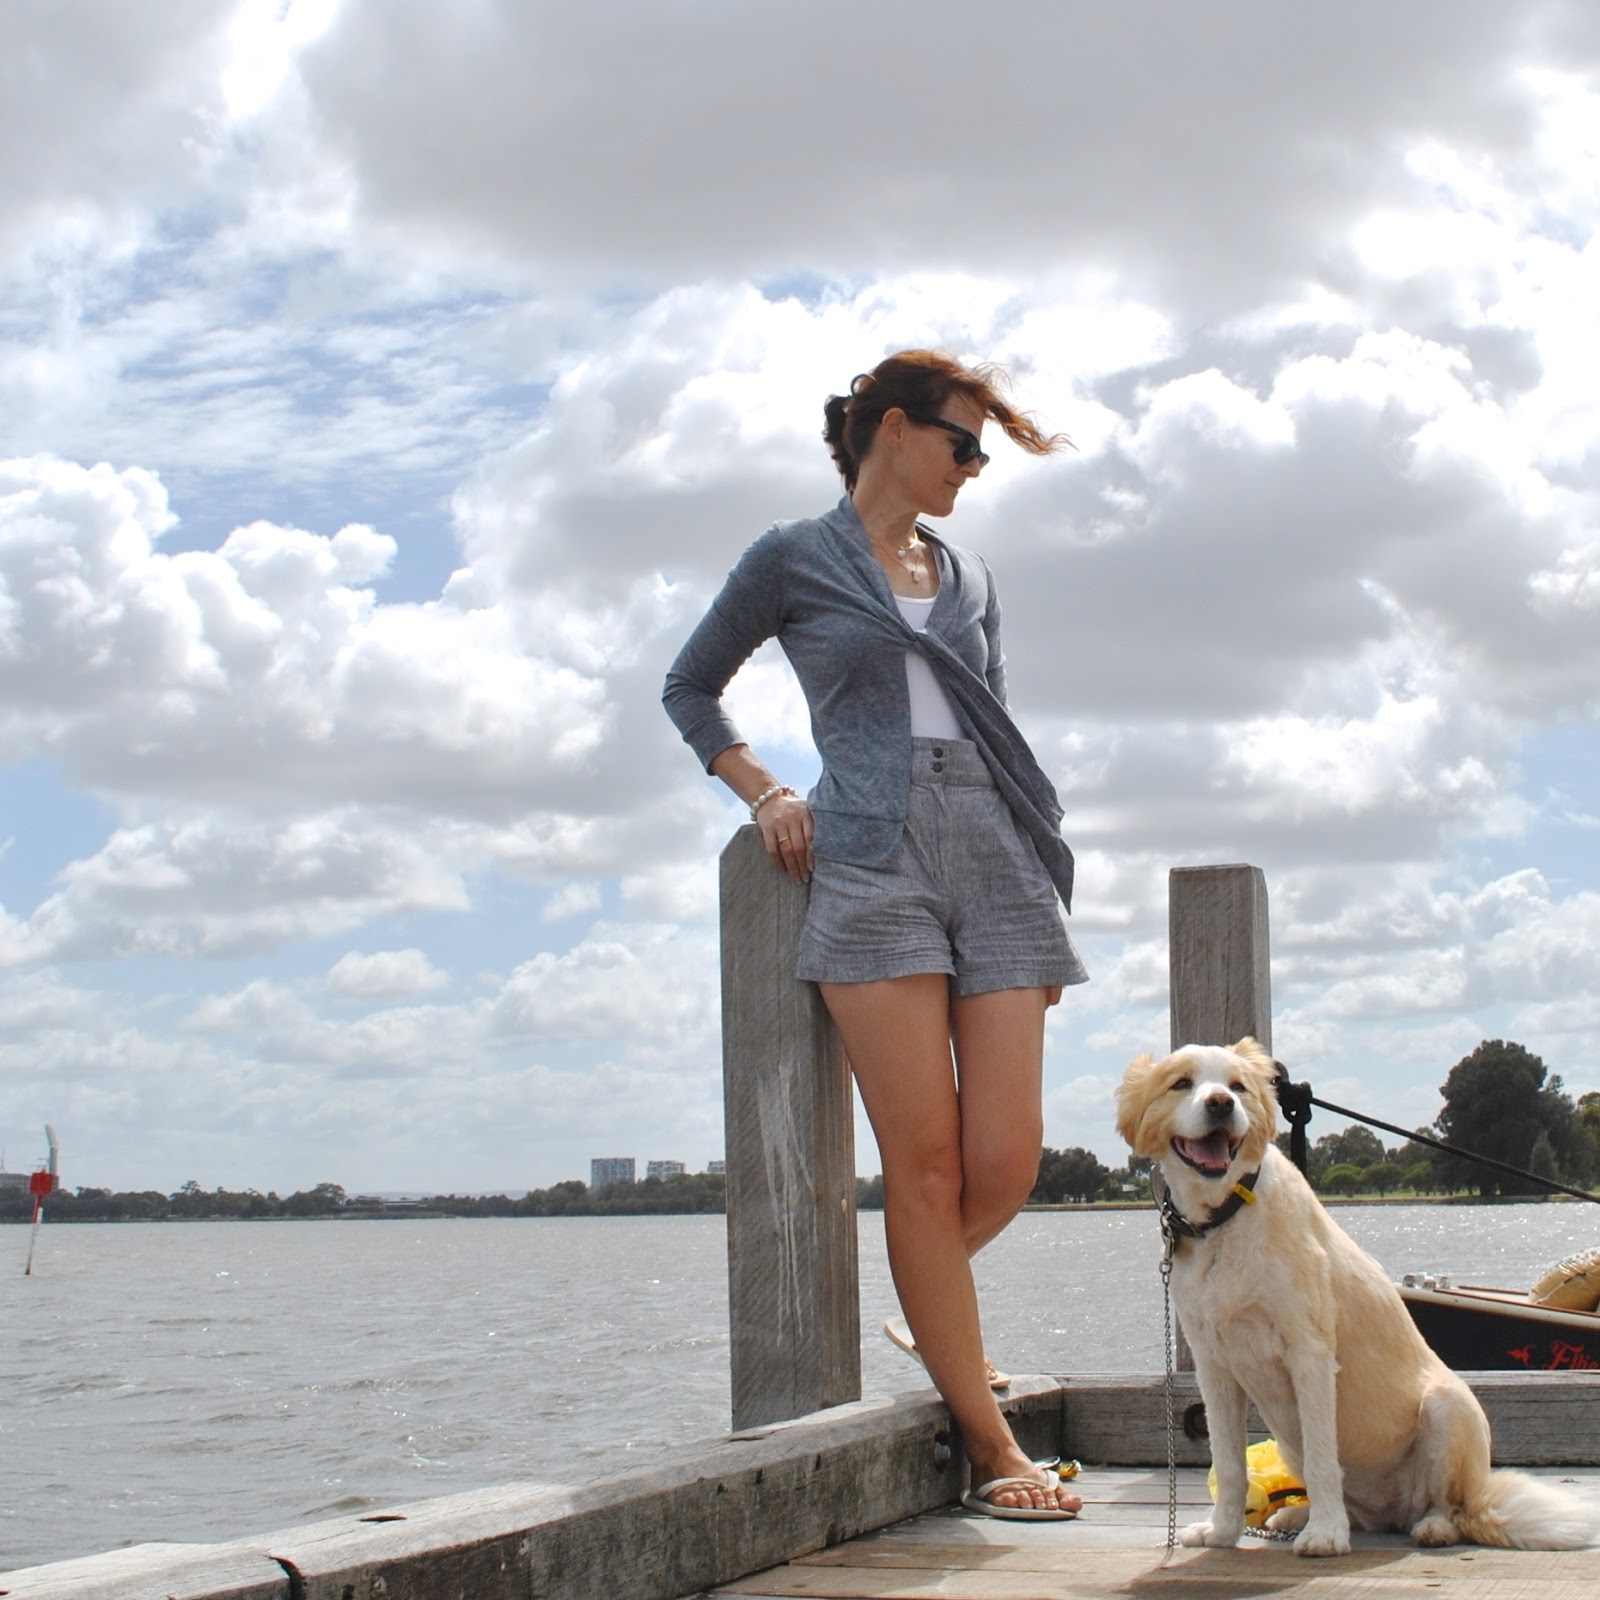
Haha! I lolled pretty hard at this outfit above, but decided to share anyway. I look like some kind of burgeoning superhero or something yeah? All I need is the cape. “NO CAPES!!” * (Edna Mode, of course)
Fear not, fellow fashion victims, I will not be wearing my new top and tights together like the above example, well maybe for fancy dress. Or, if facing the general, unsuspecting and innocent public, then not without a lot more garments layered over here and there to break up the expanse of raspberry pink anyway, woof.
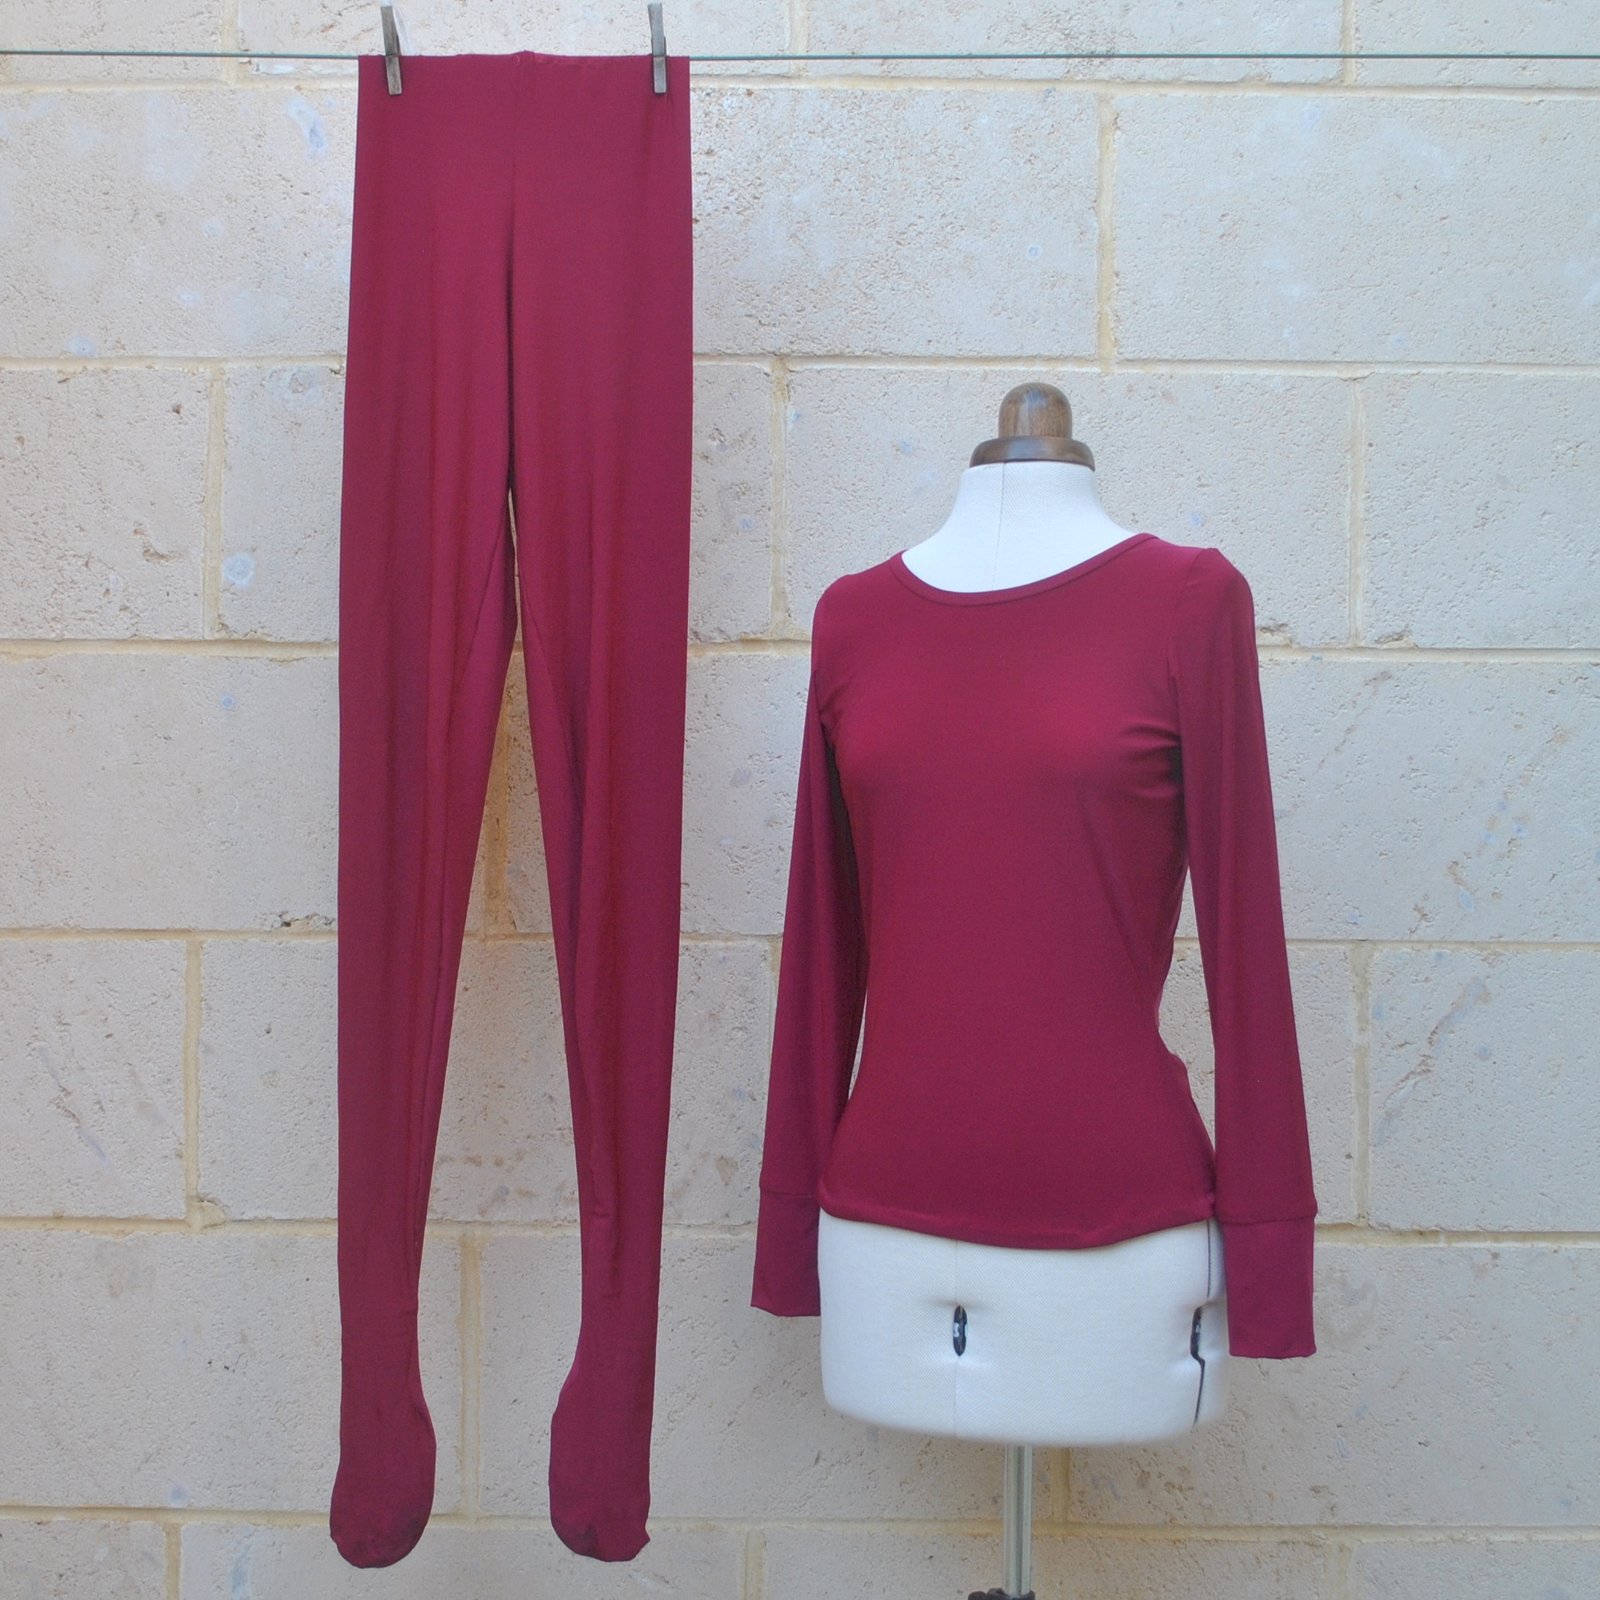
aaaa, oh dear, calming down now. See here’s the thing… I wanted to make some more coloured tights. I really enjoyed my bright paprika tights, when I had them, even did a 6-different ways post on those things once! I wear black tights a TONNE, like everyone else, but have found it’s absolutely terrific to have a bit o’ variety in the tights department, to have some more colours for layering in my winter wardrobe. I’m embracing a small pink and plum trend in my wardrobe lately, so bought this piece of poly knit during Fabulous Fabrics recent sale with a view to some Intentional Wardrobe Matching and Planning… oooo so organised! Not like me at all 😉
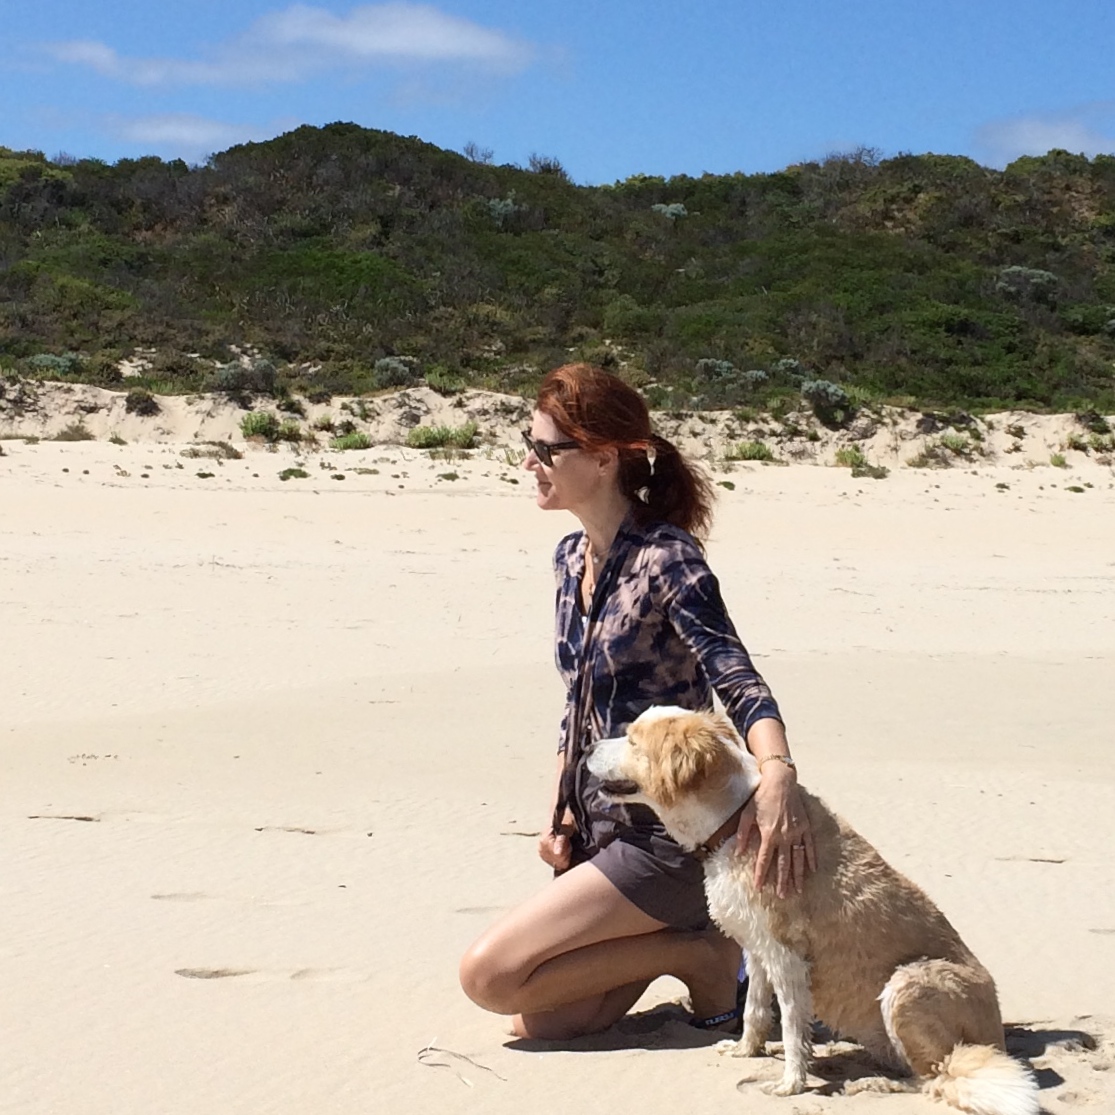
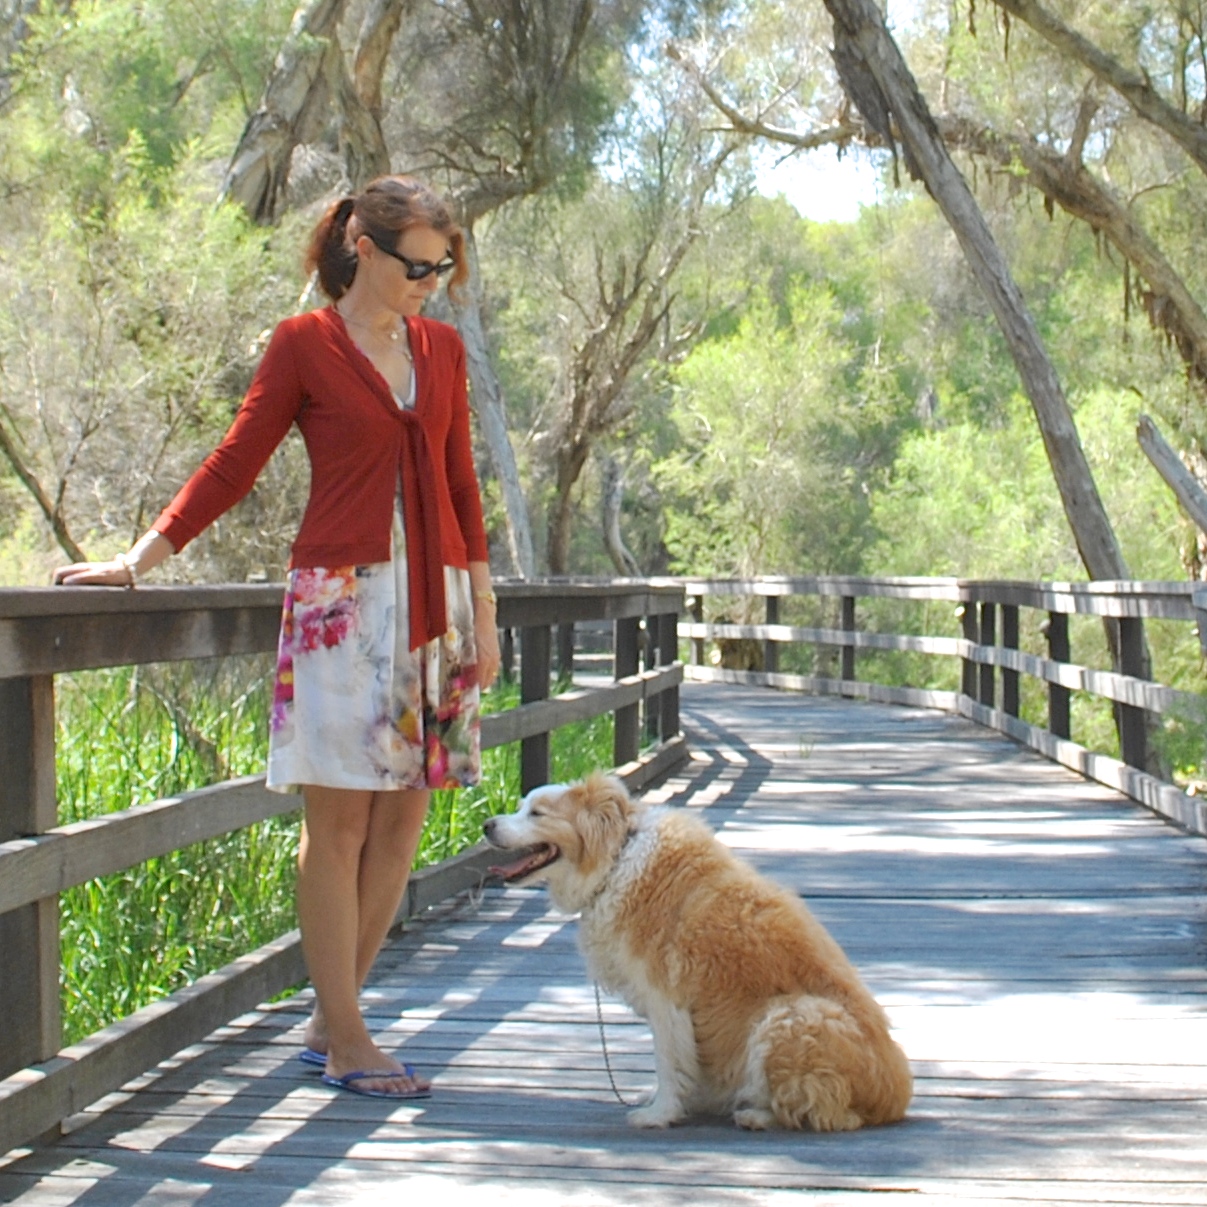
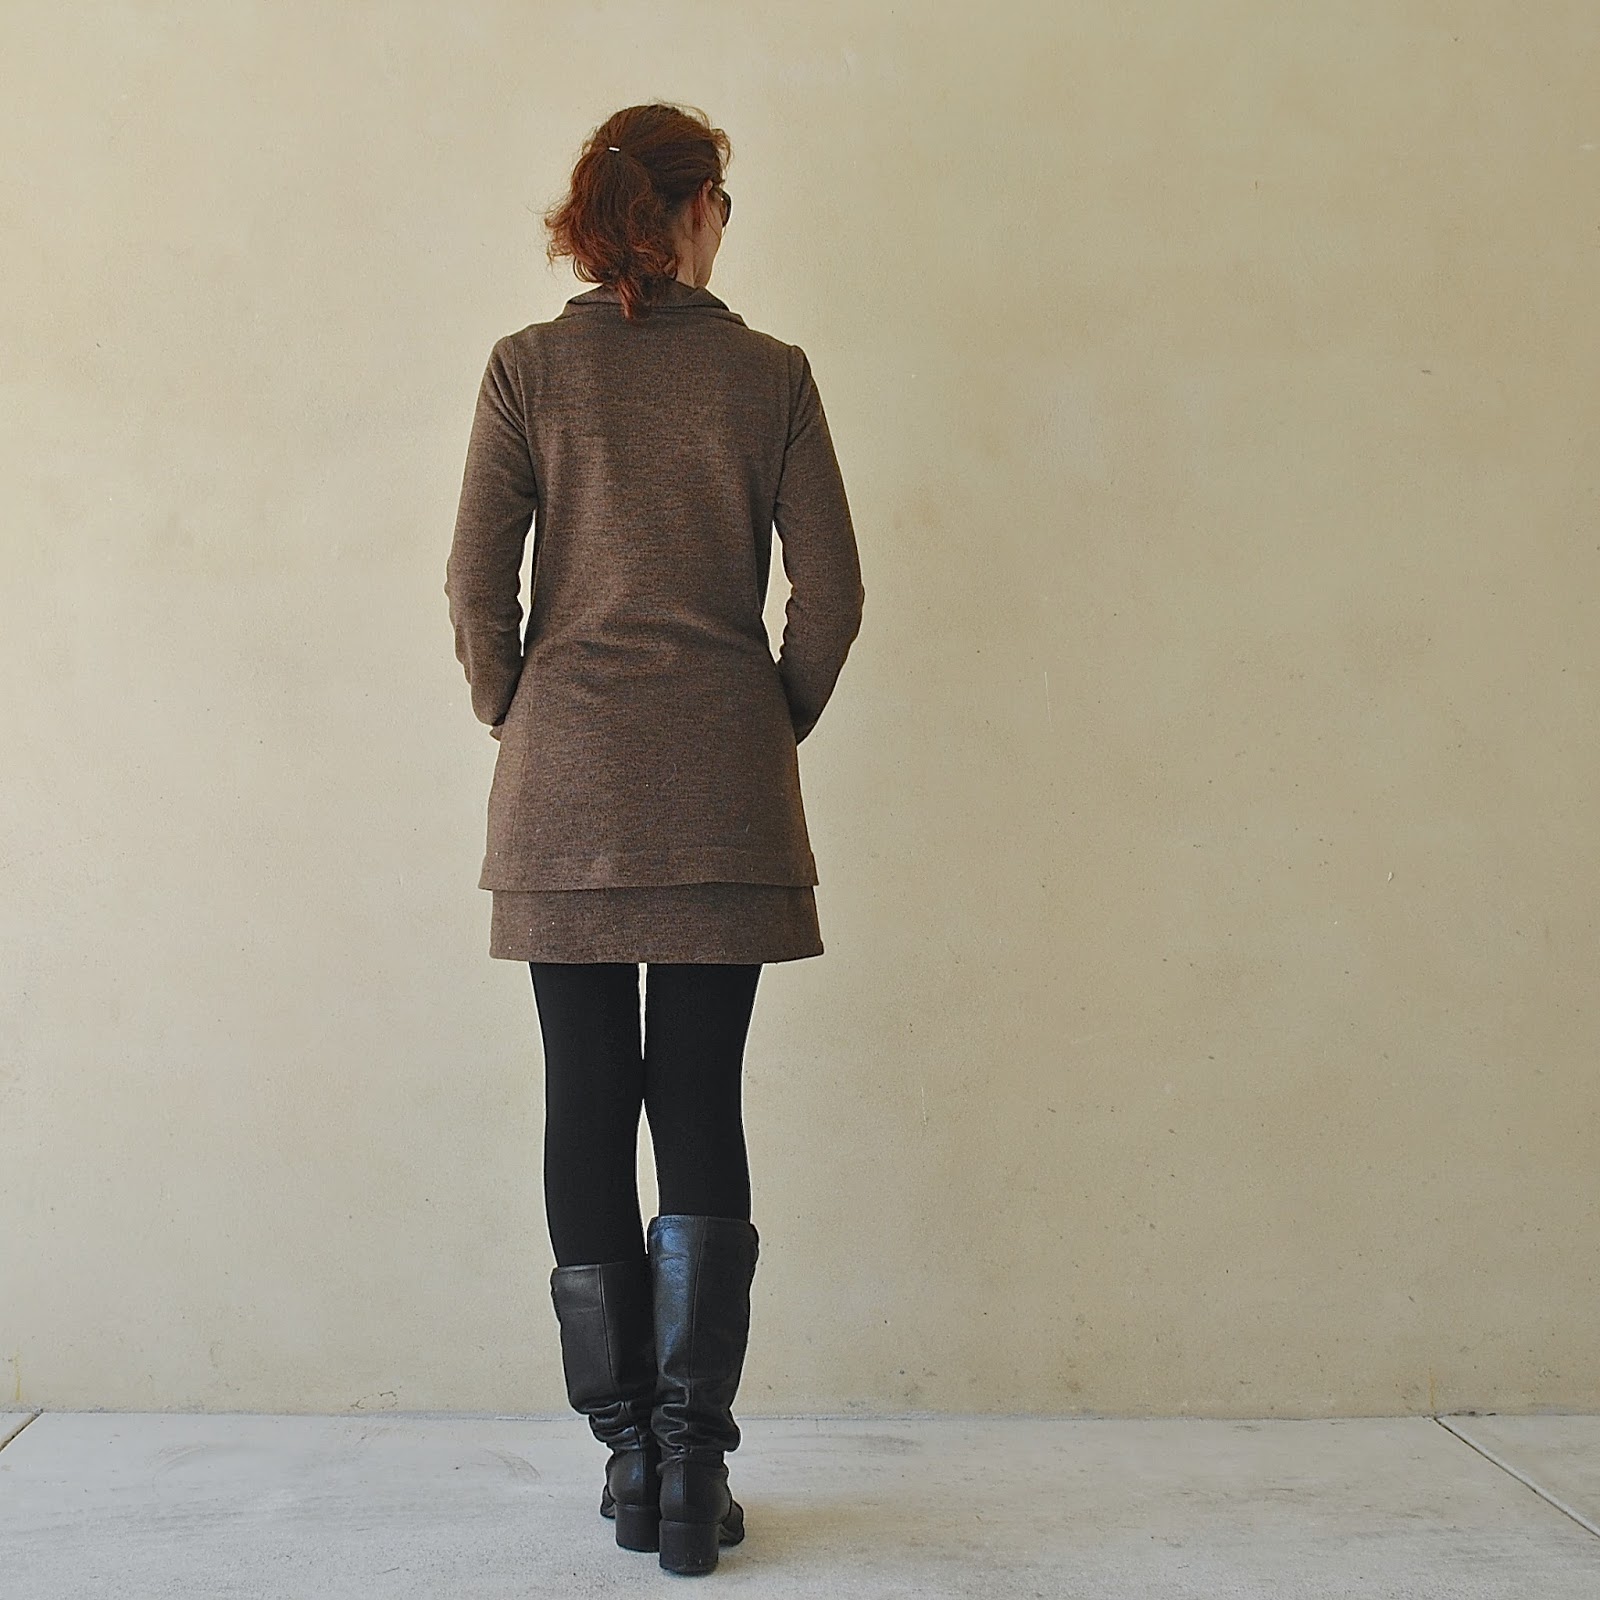
yesterday’s outfit, wearing the tights

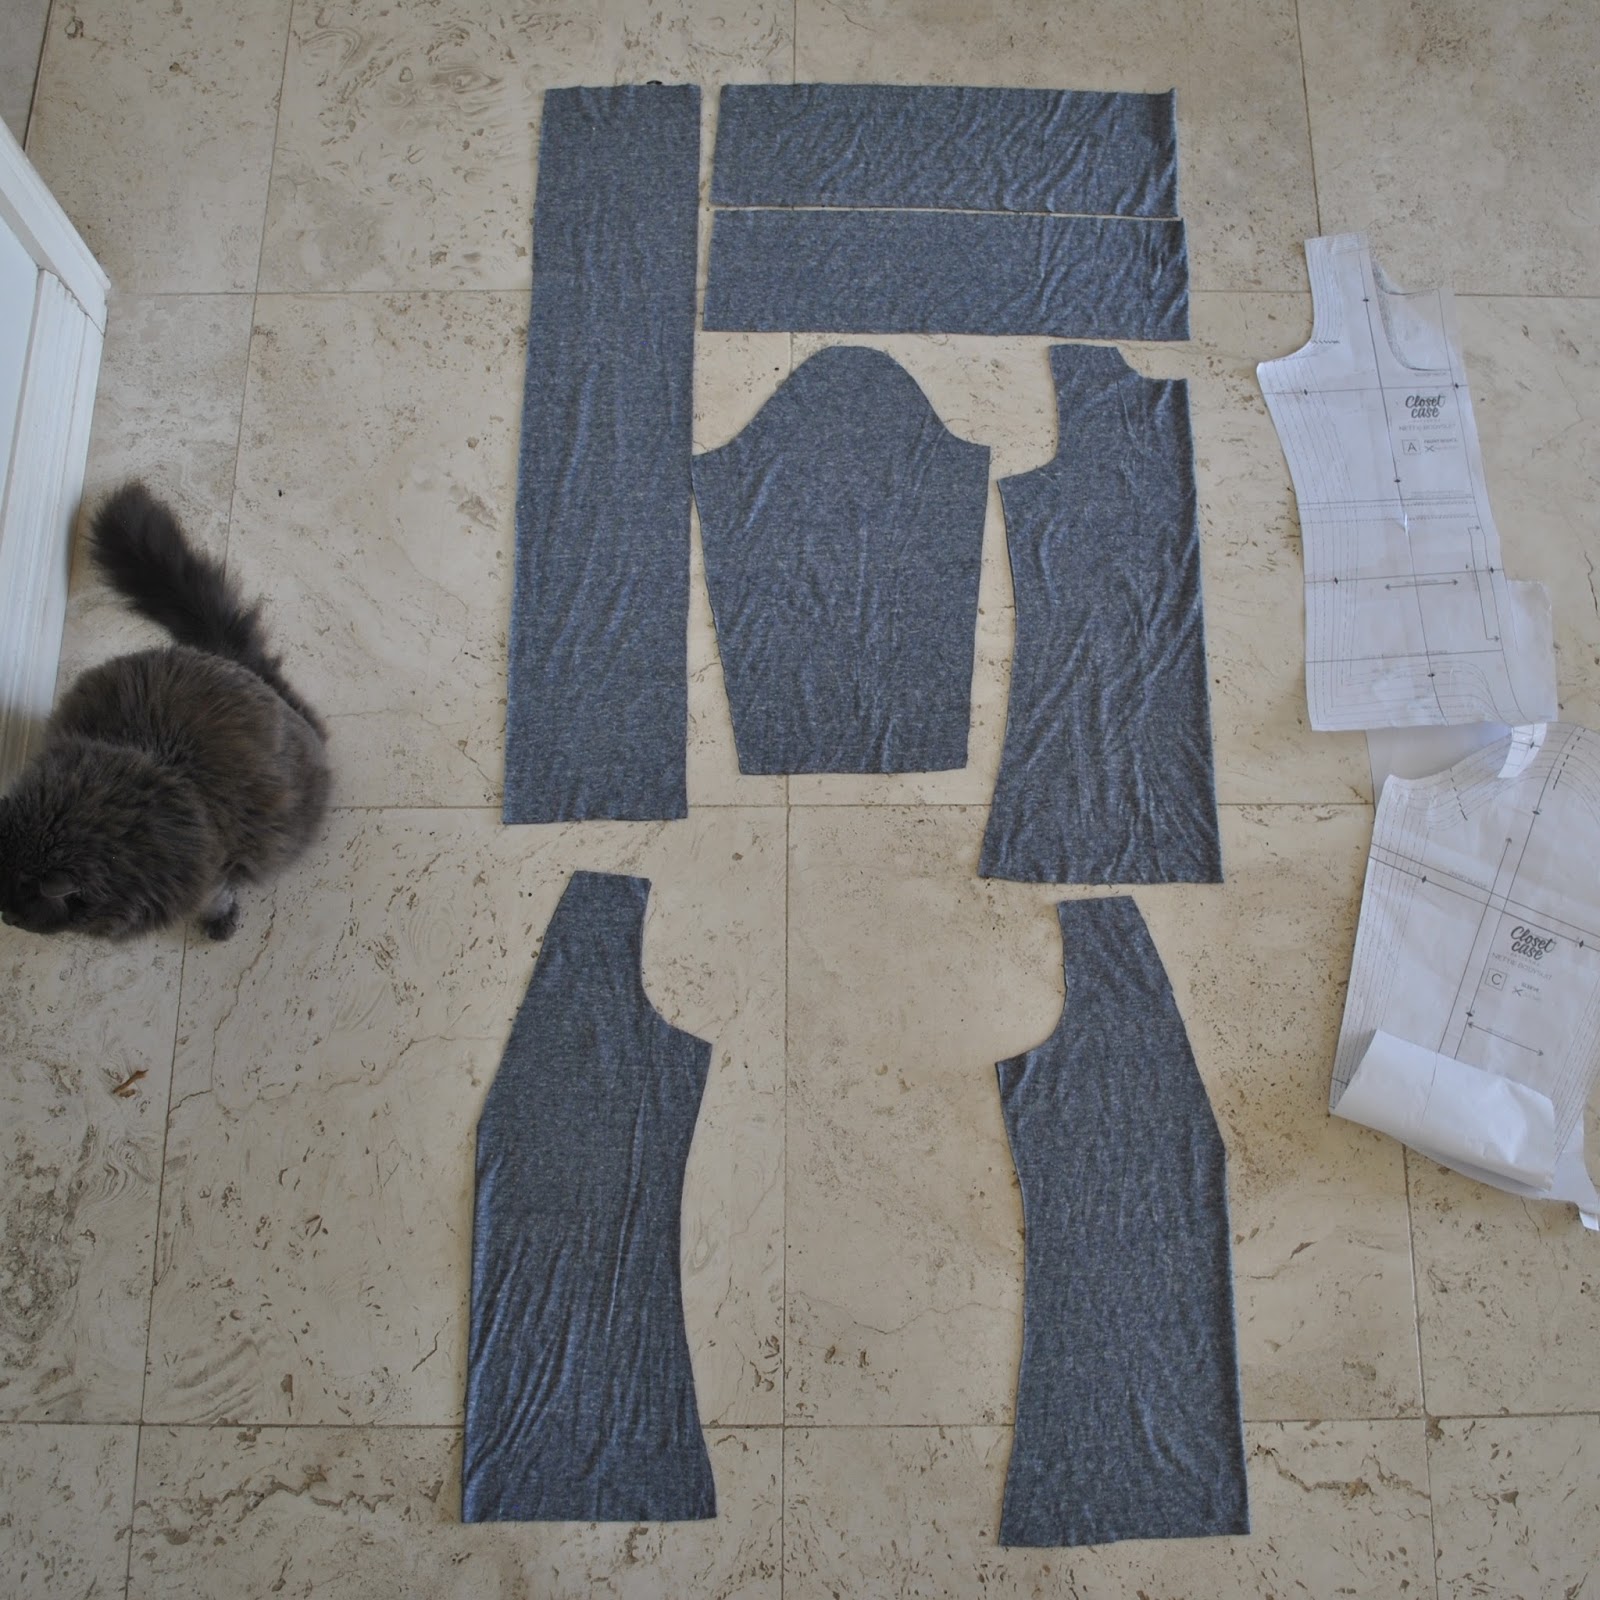
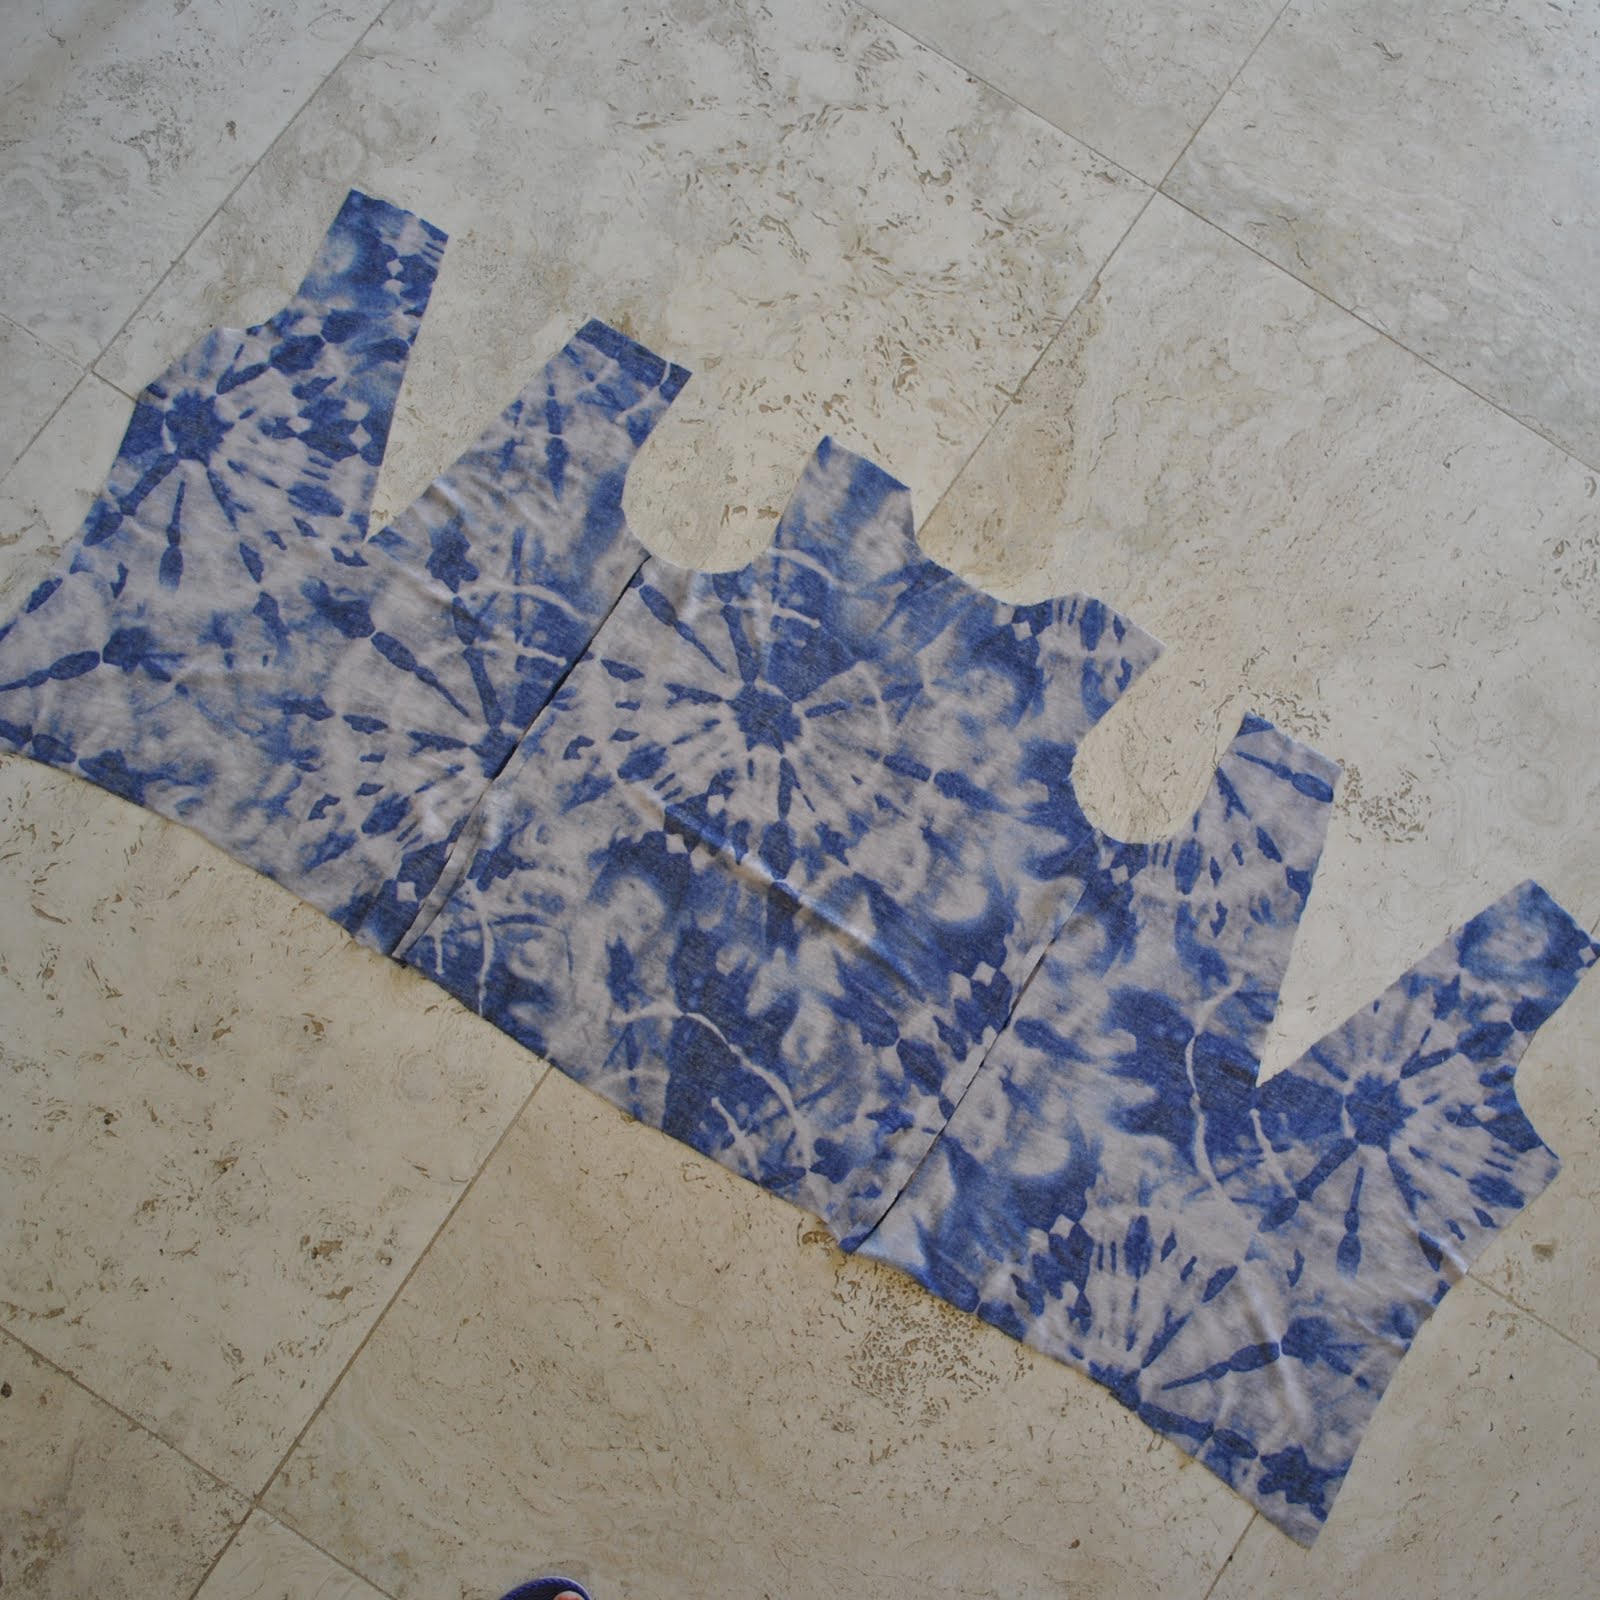
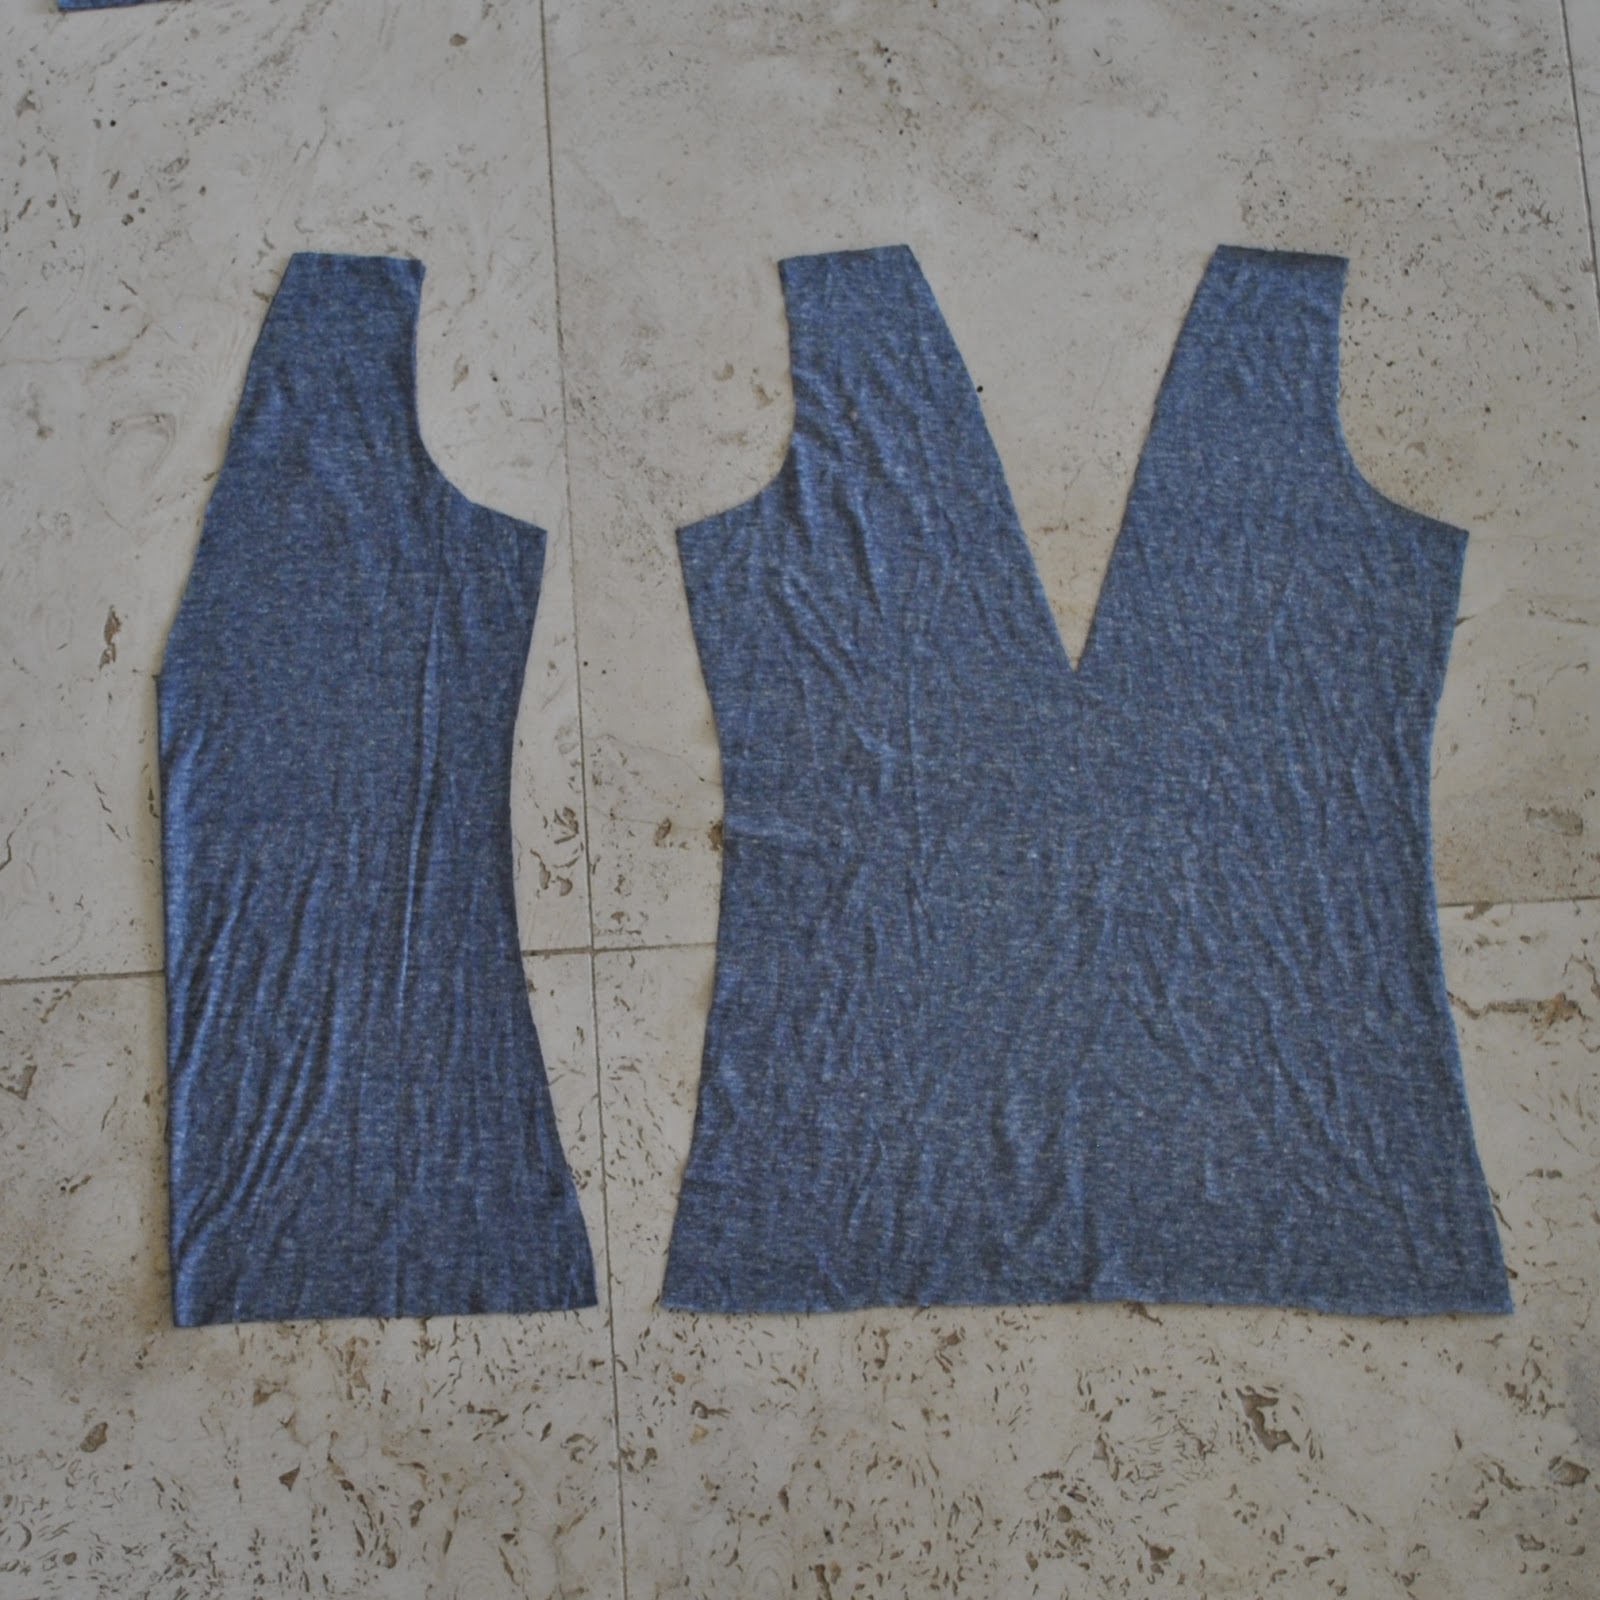
I laid down my custom-fit tights pattern and then of course discovered, as you do; that I had enough around the sides that I could probably squeeze a t-shirt out of it as well. Waste not want not!
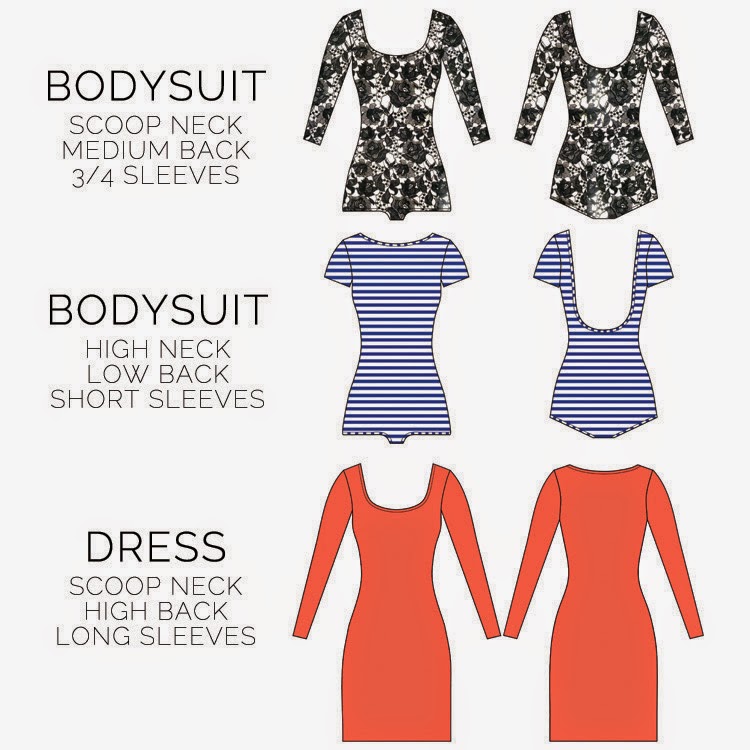
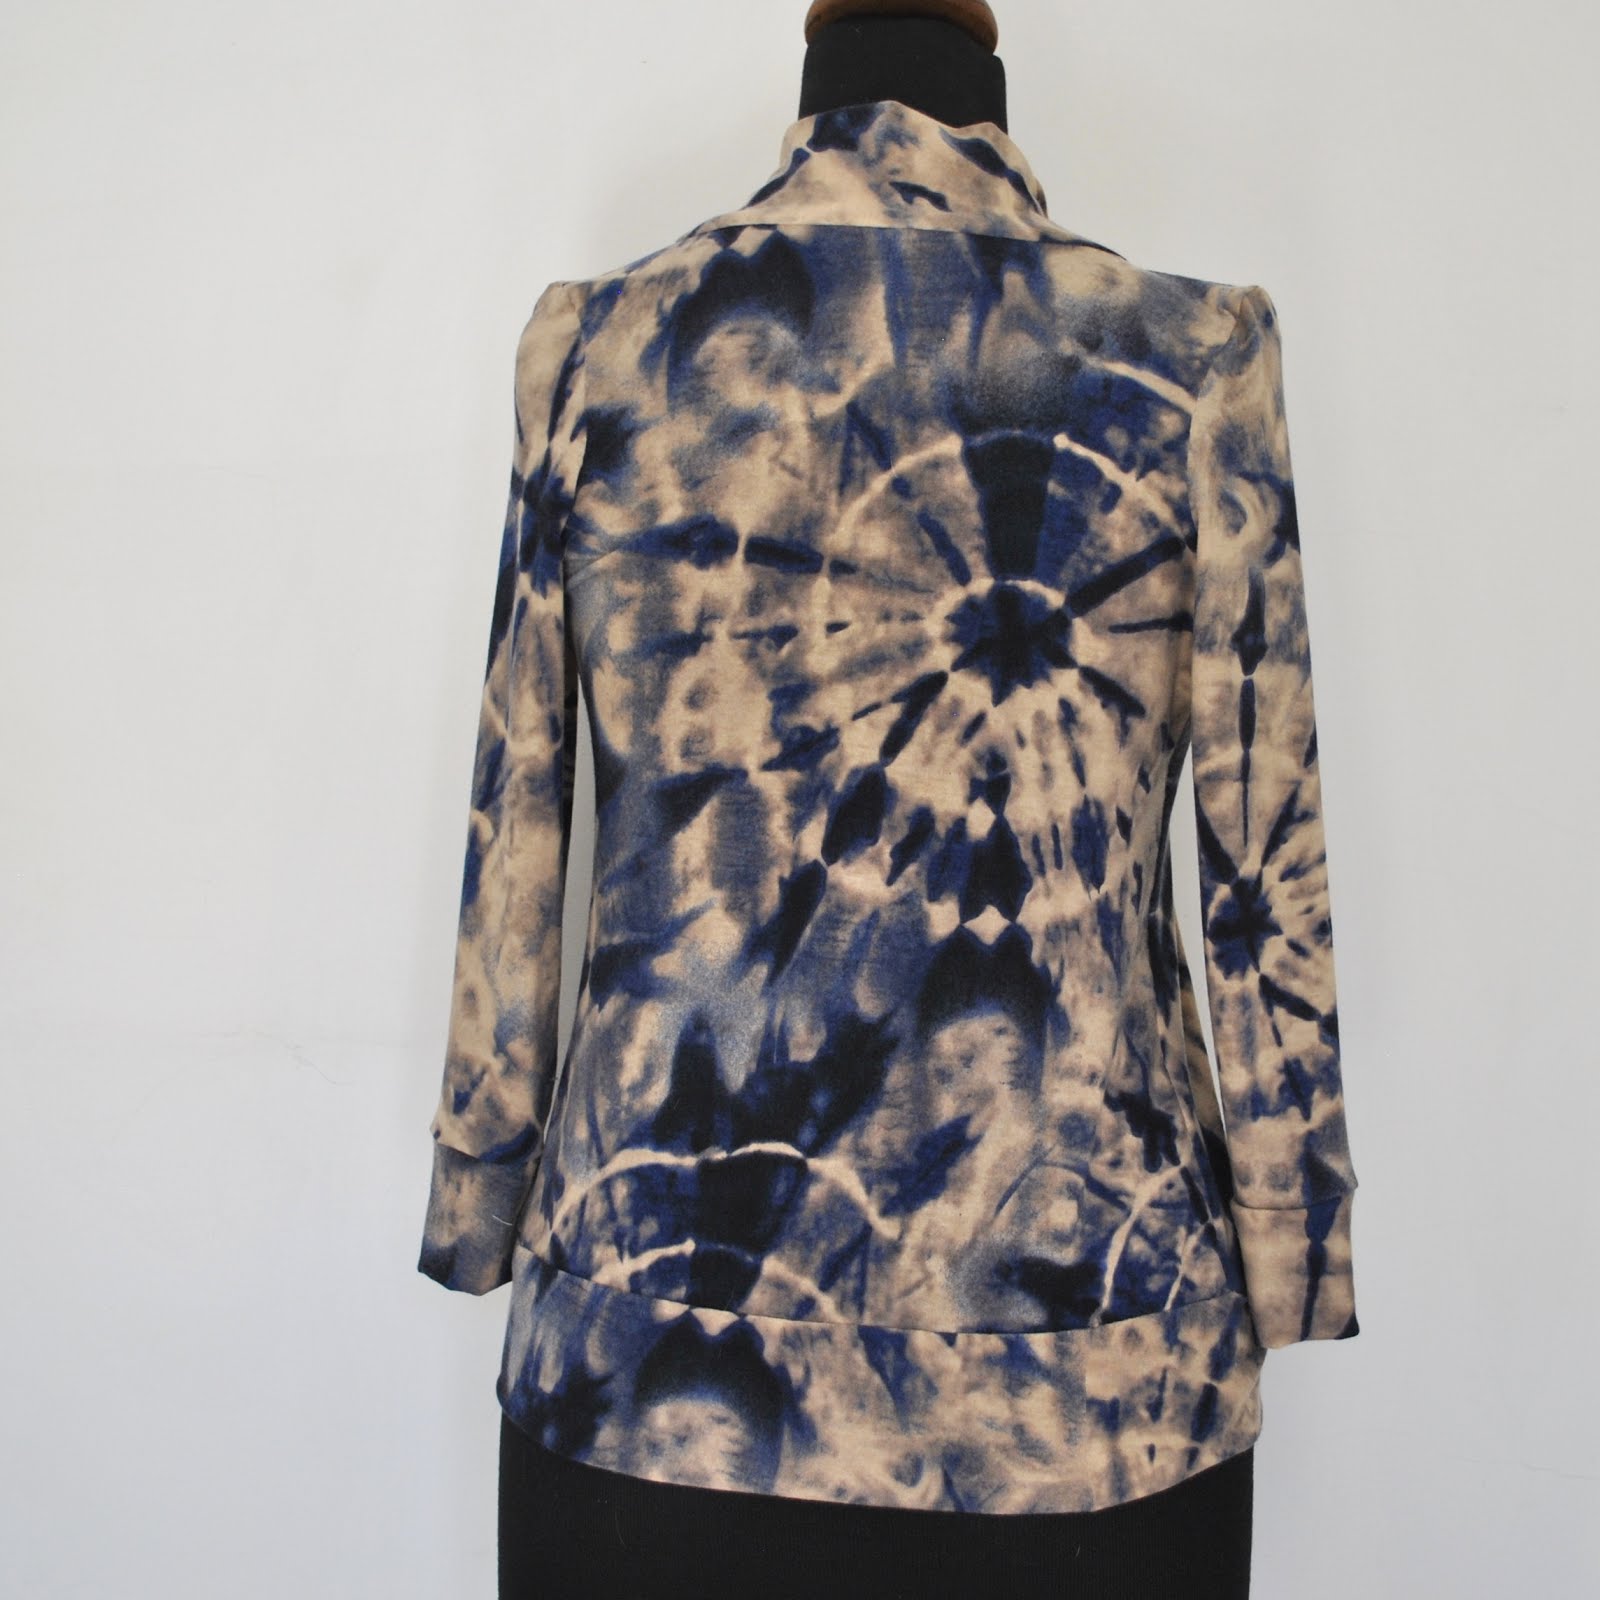
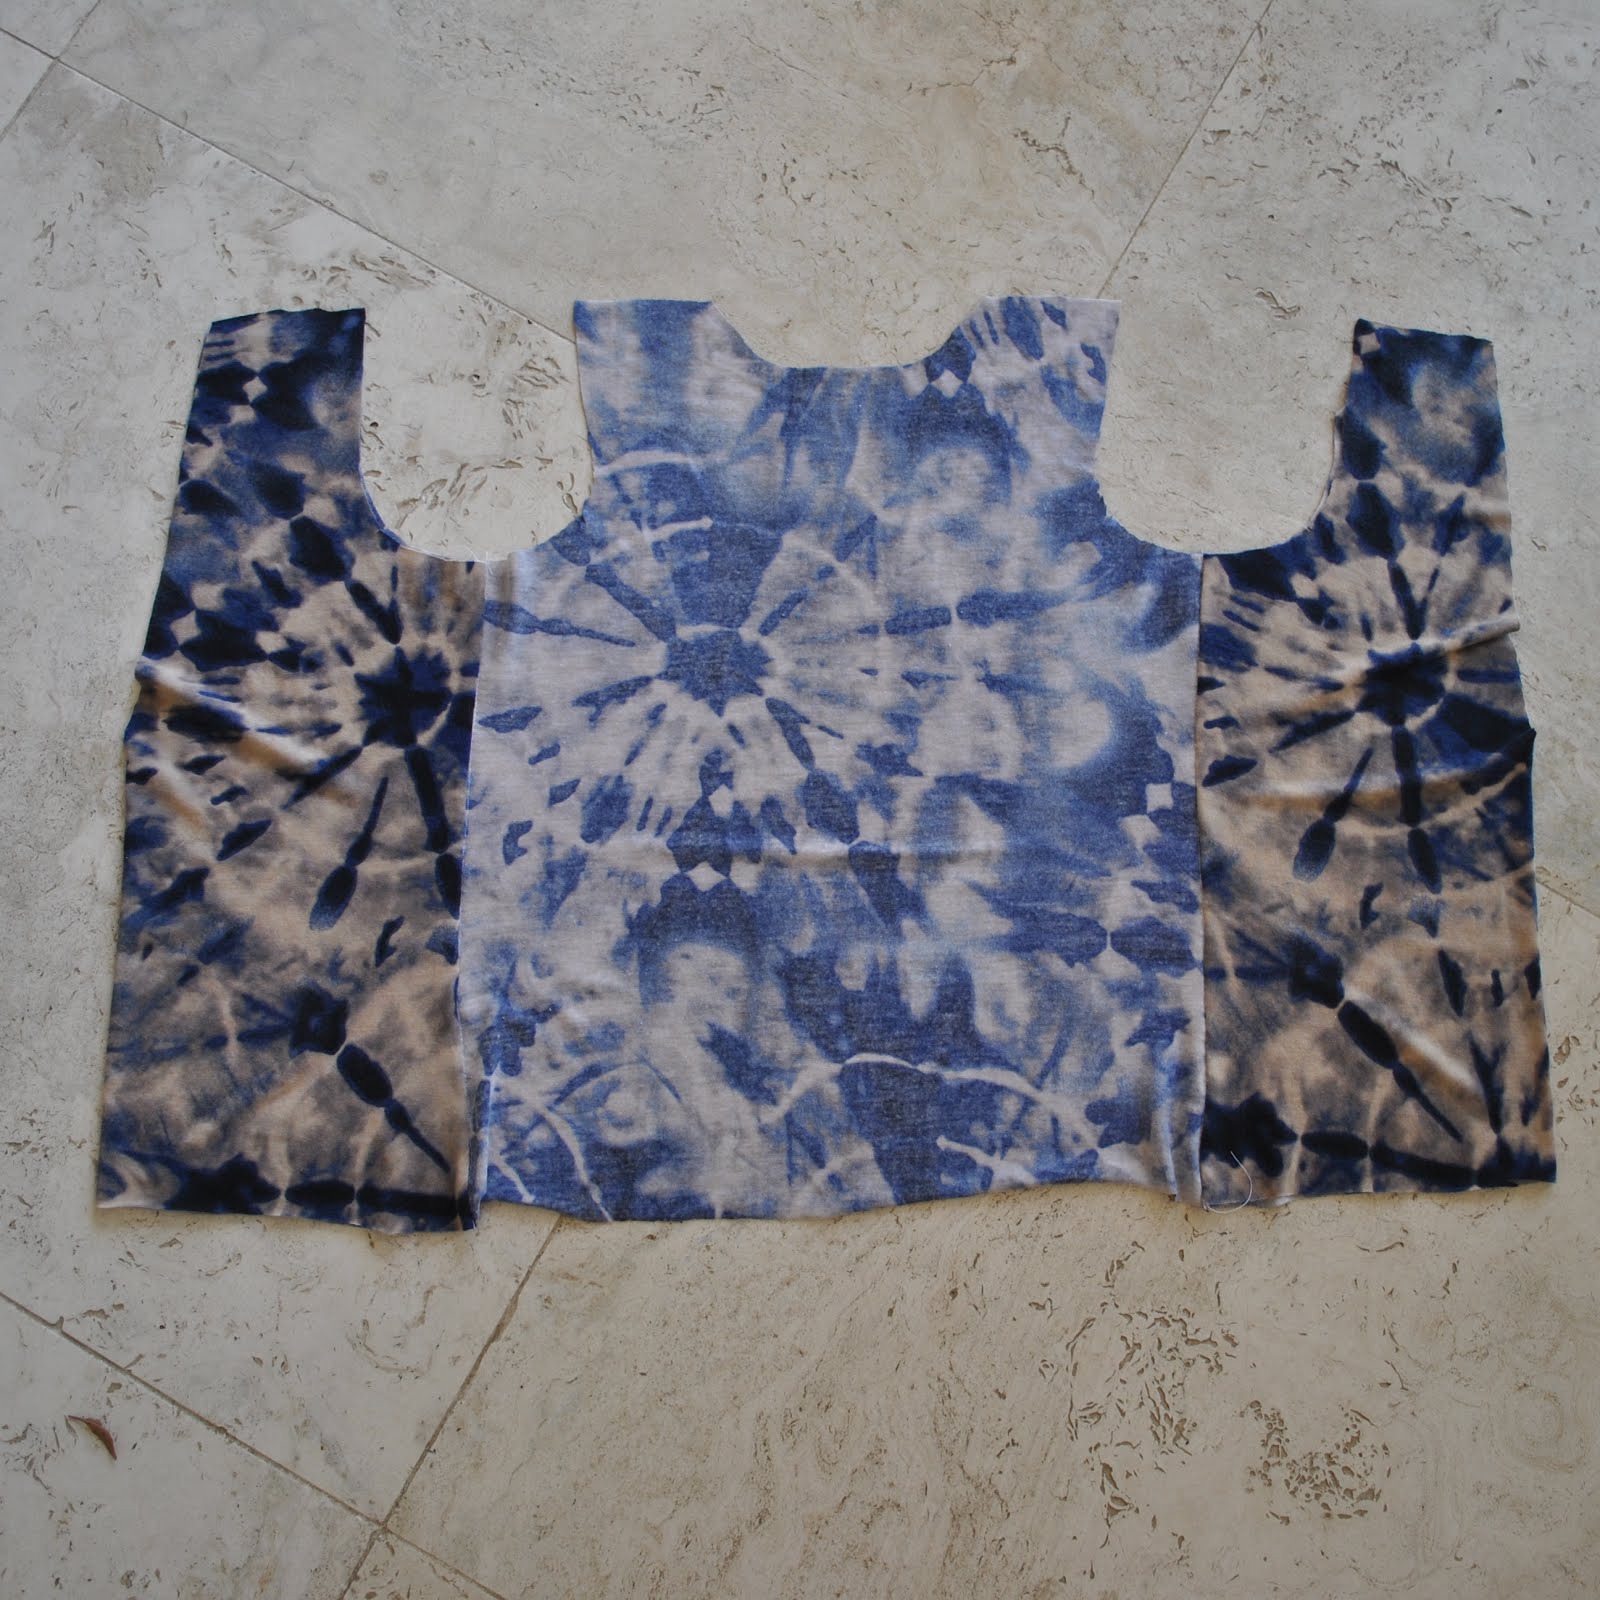
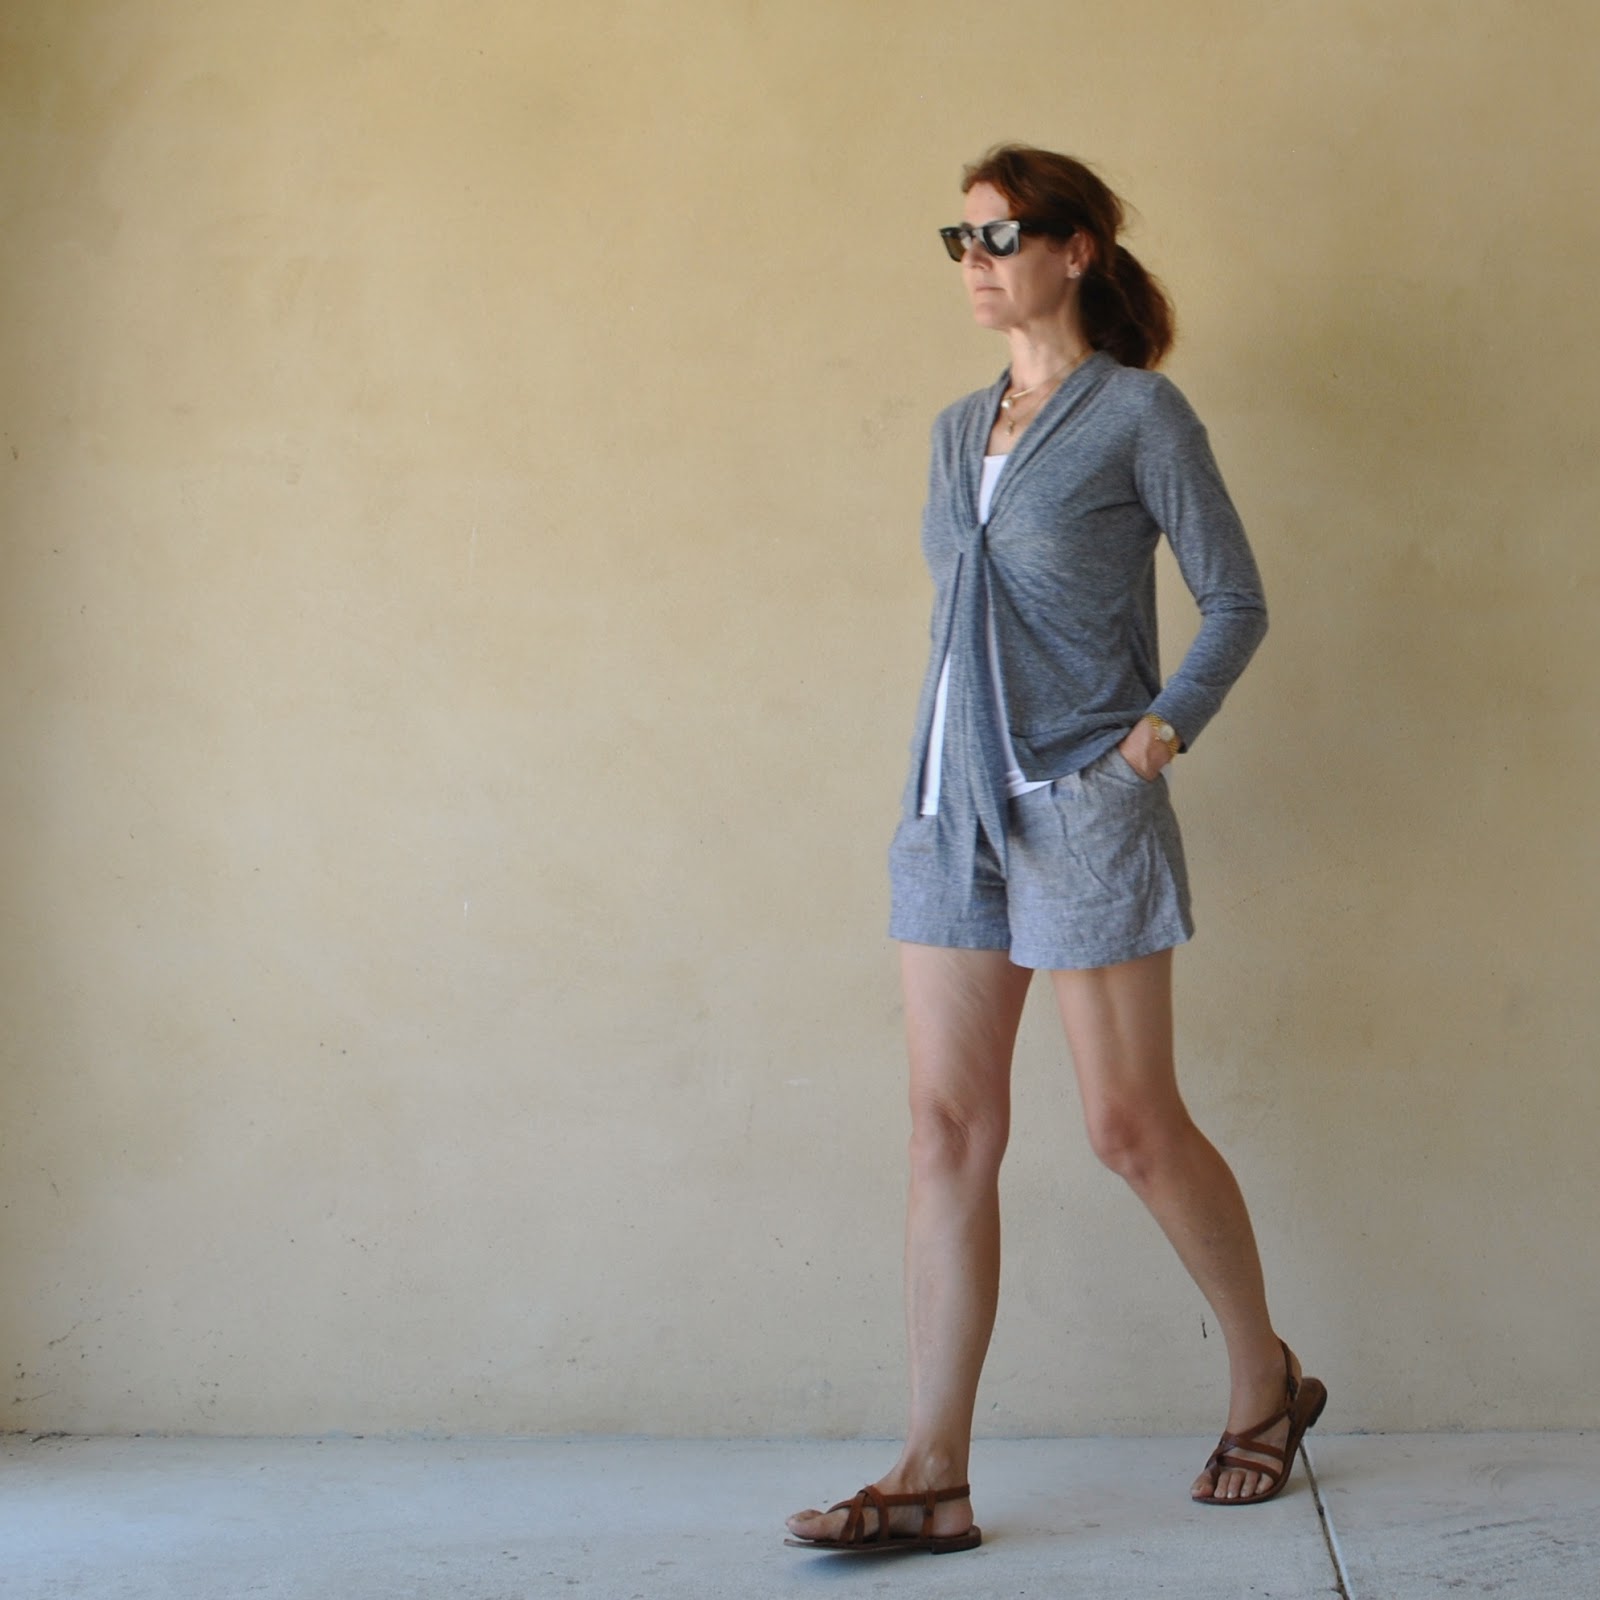
For the tee; I used my Closet Case patterns Nettie, which I’ve also made tonnes of times I’ve fine tuned the fit over and over so much it’s barely the same pattern anymore. You could call it a vestigial Nettie.
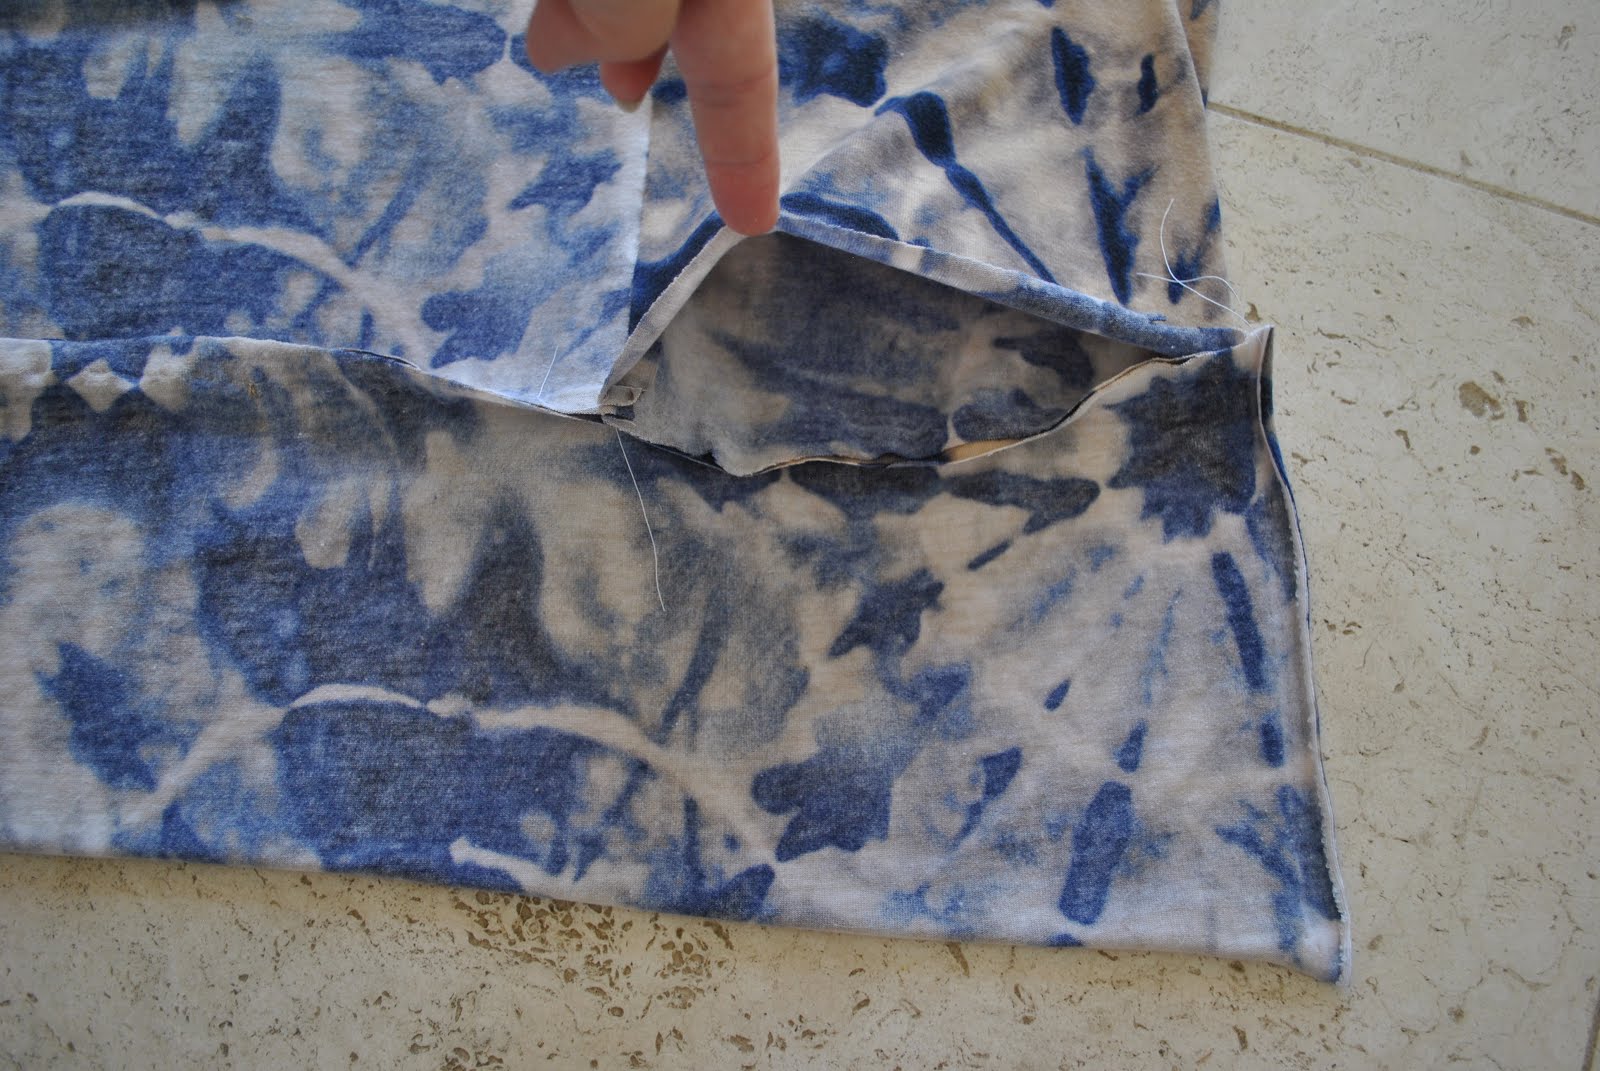
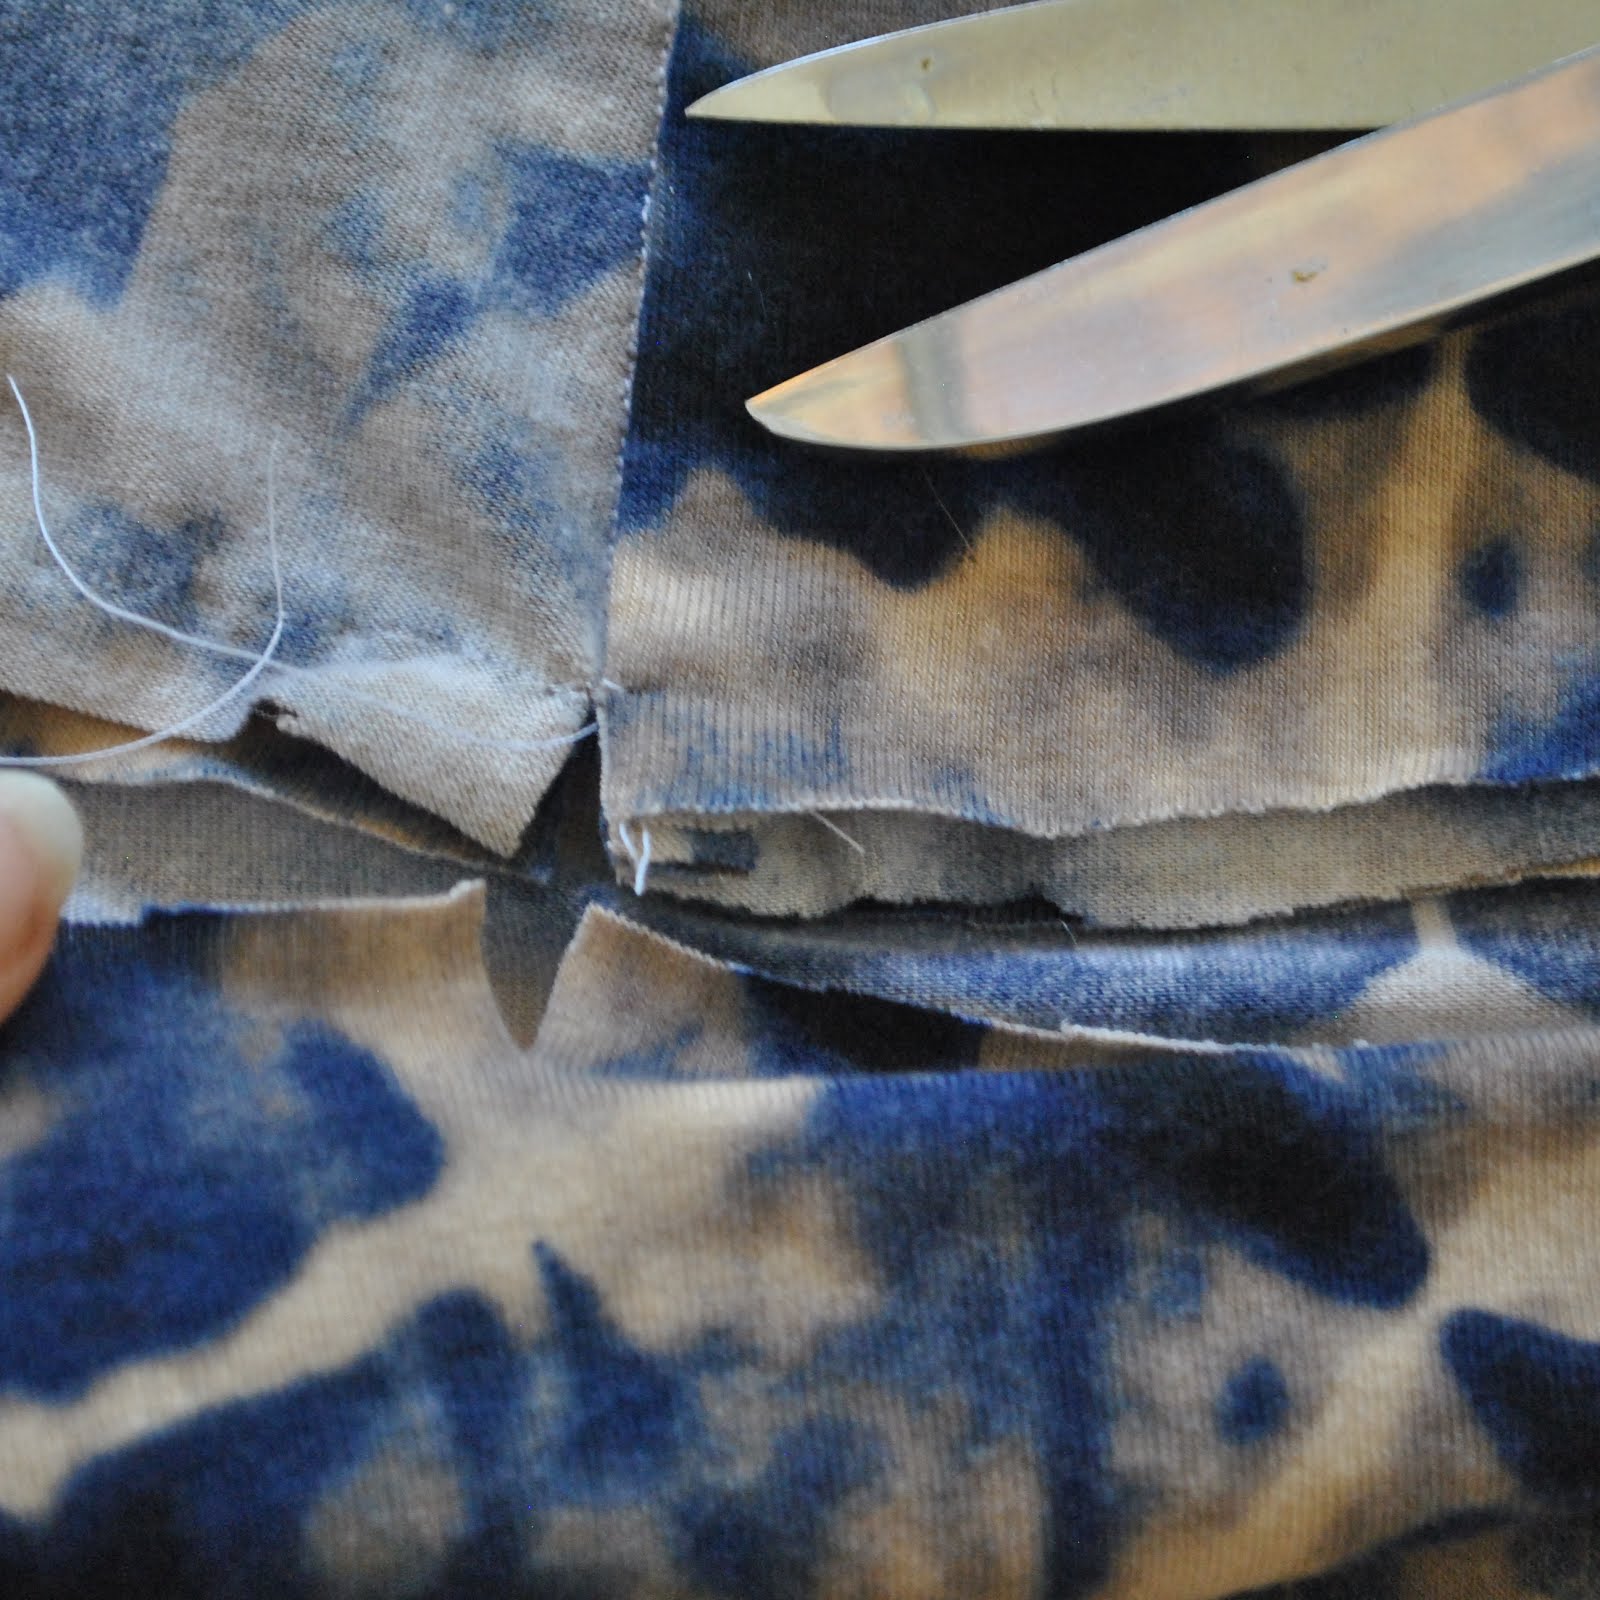
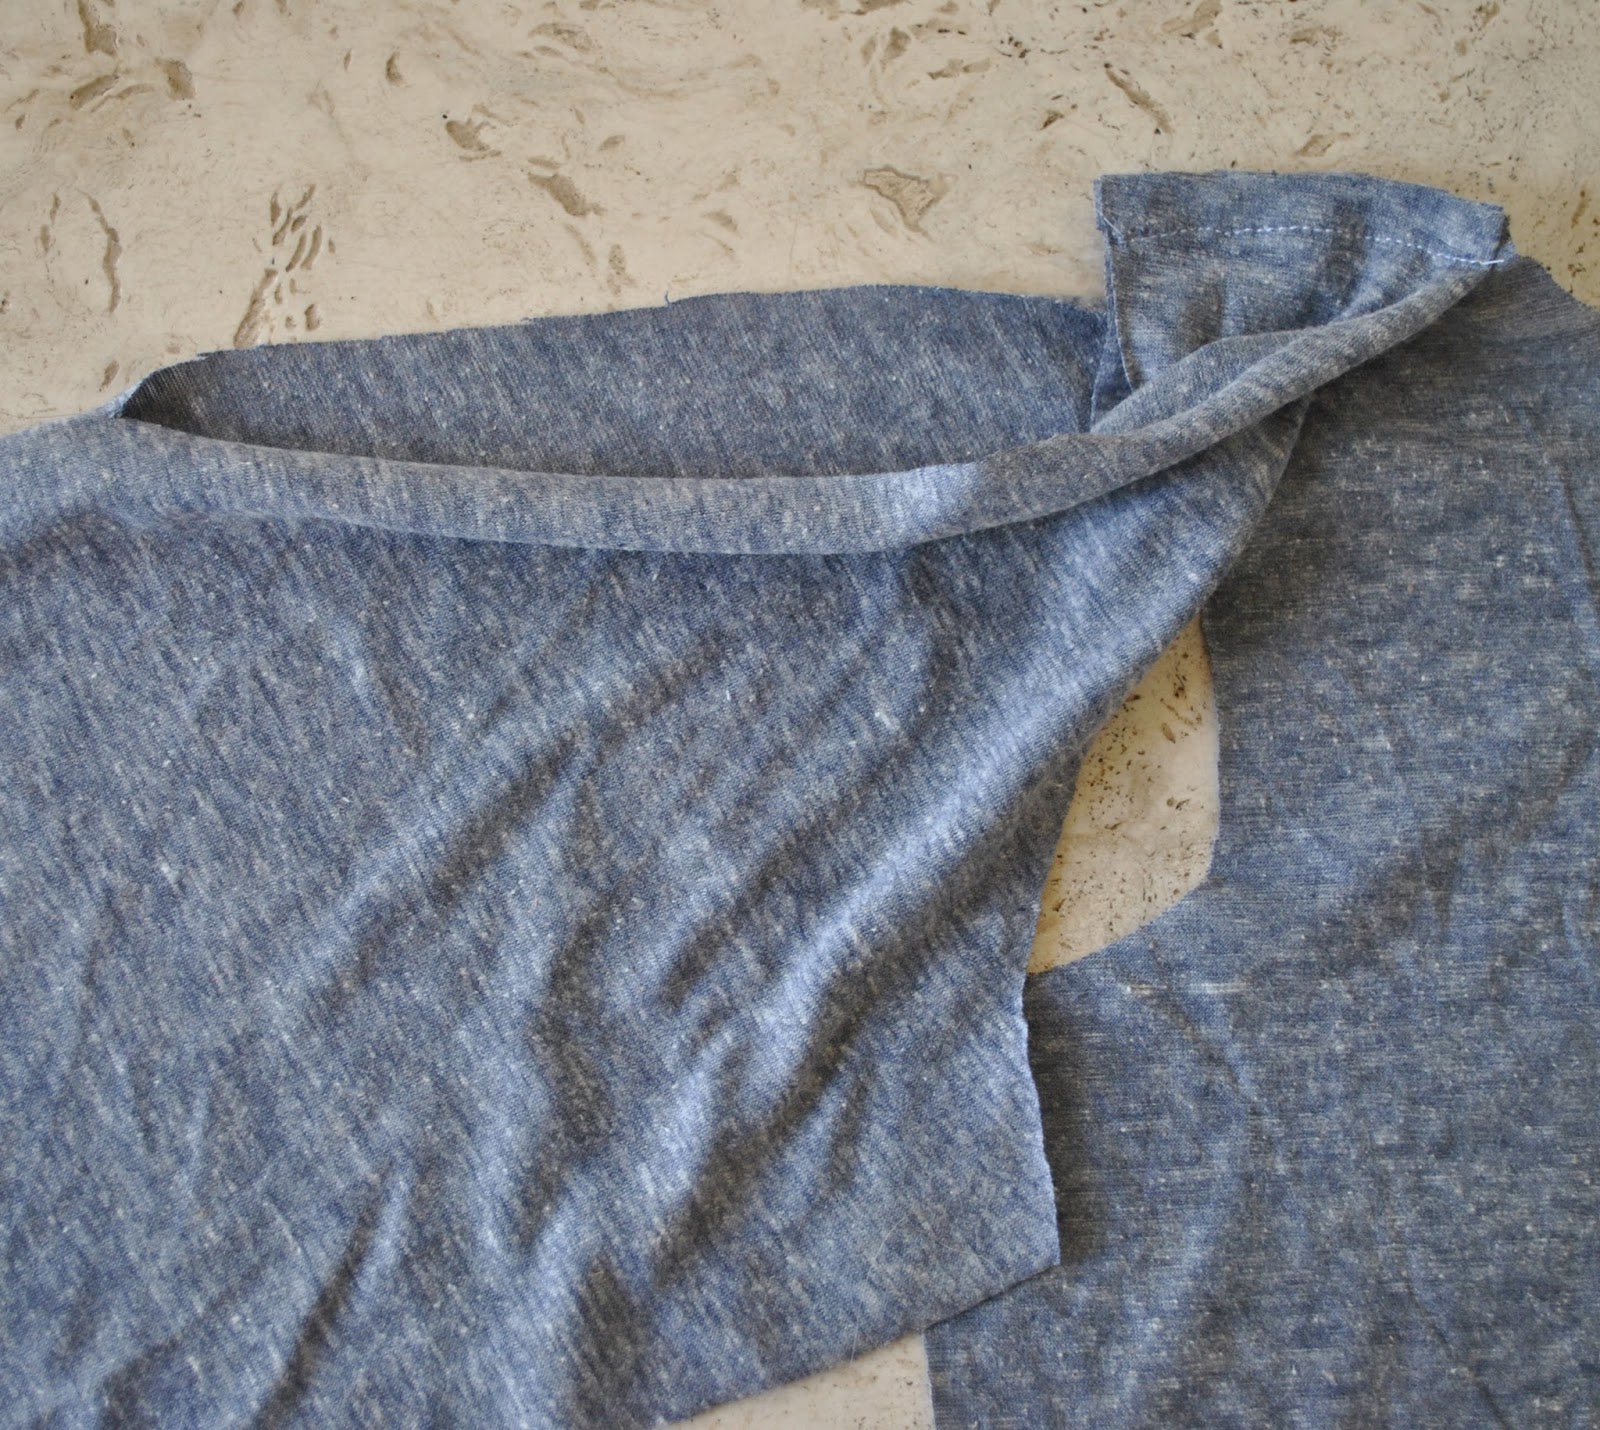
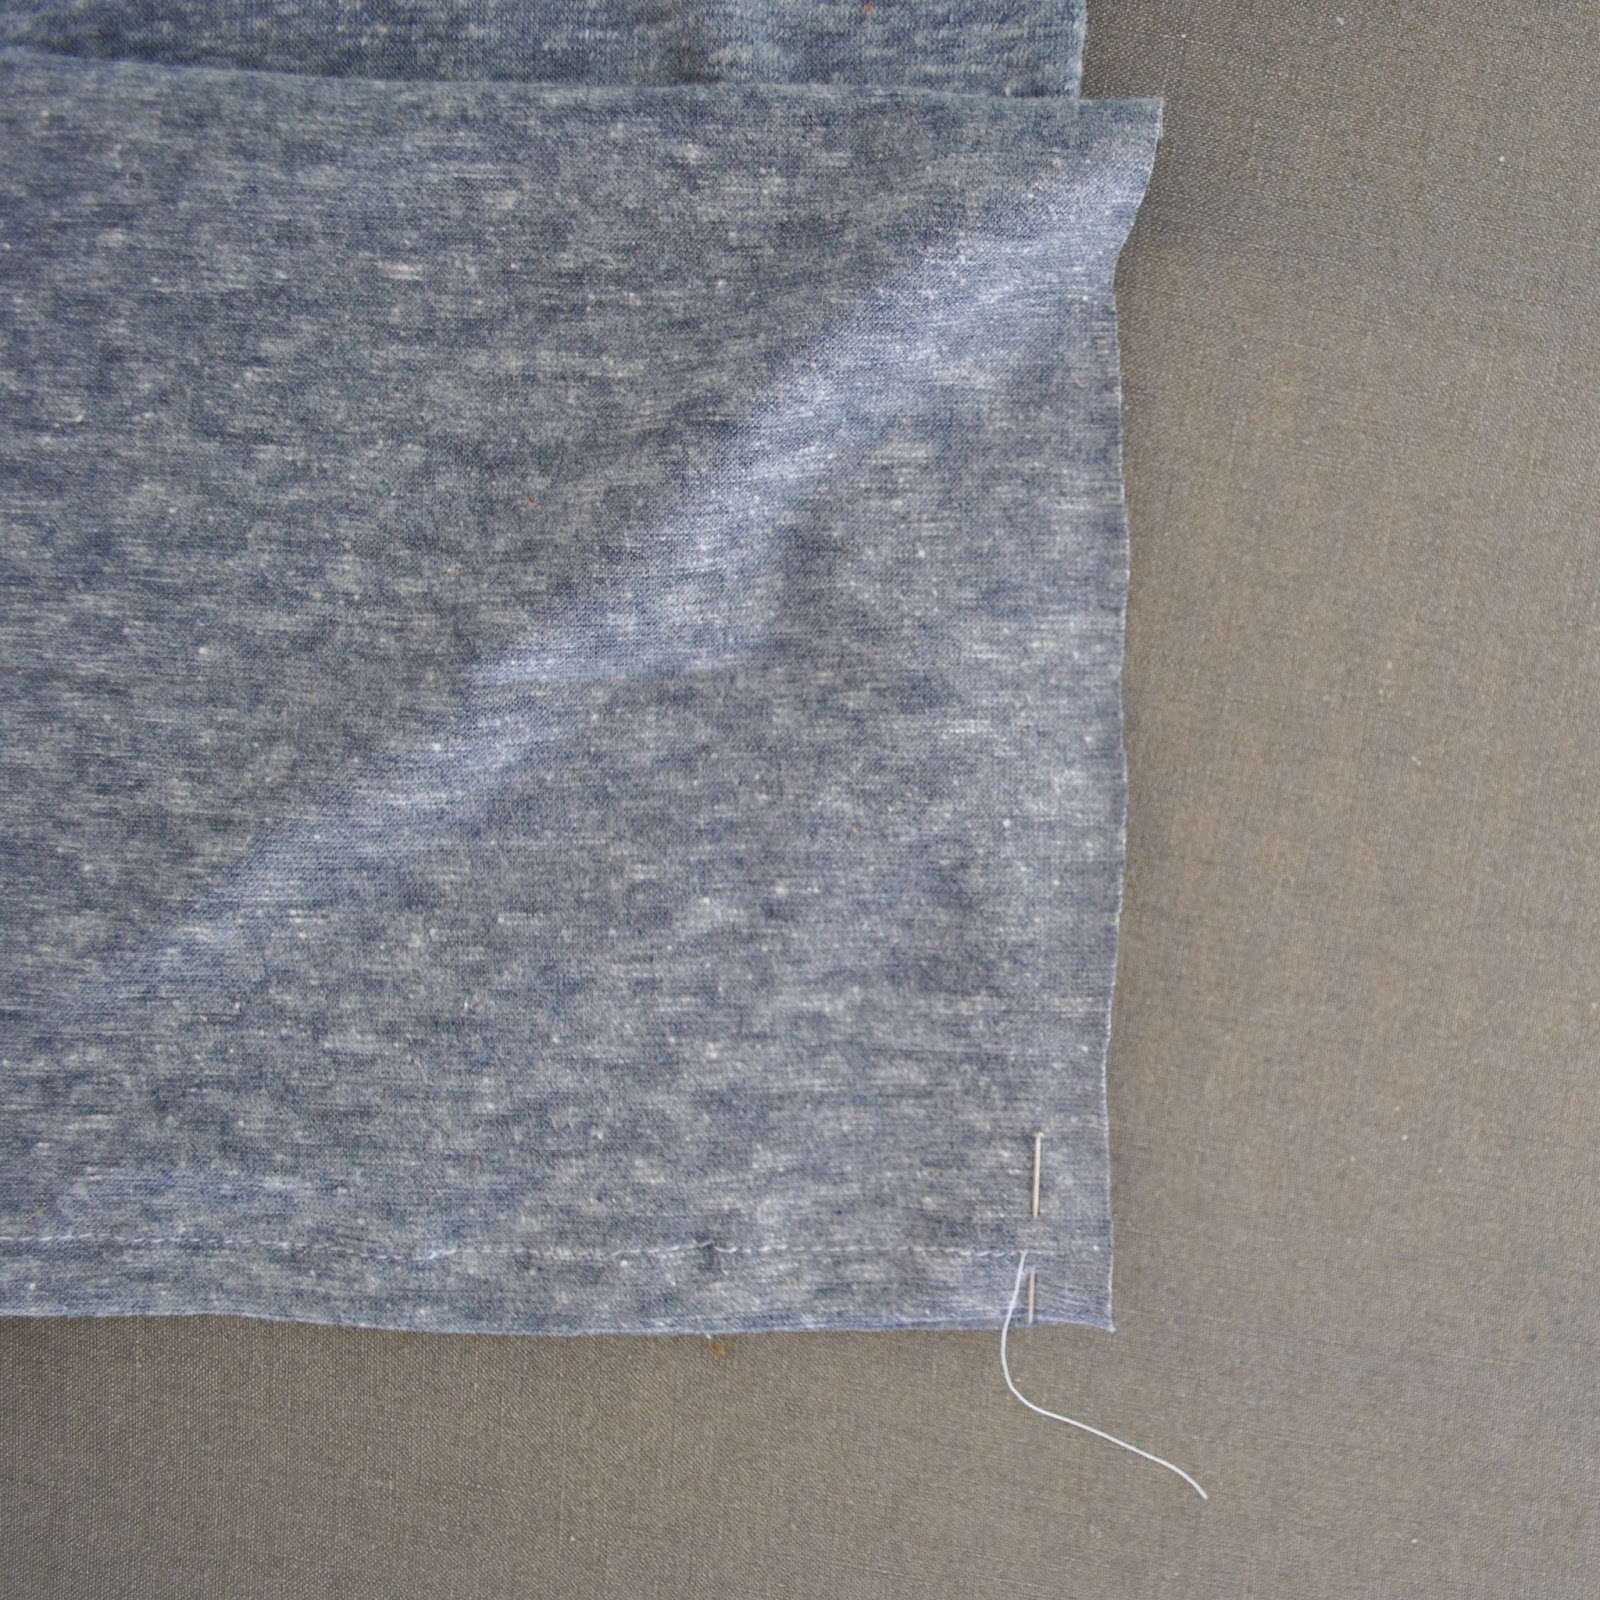
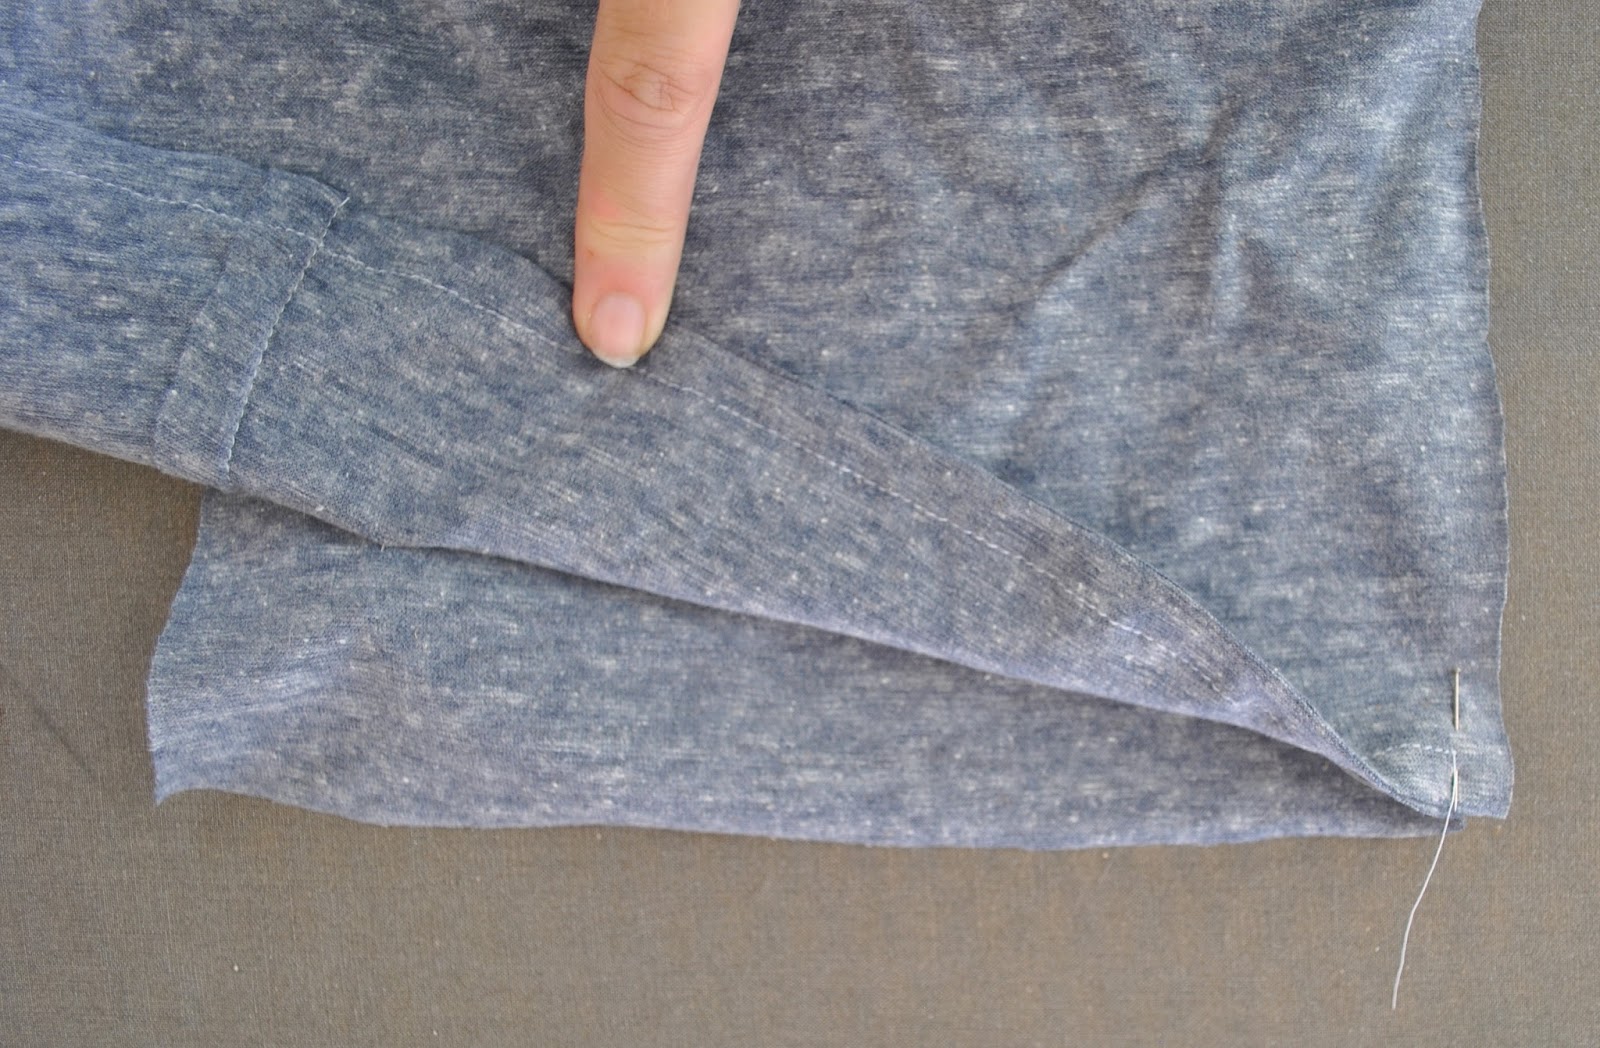
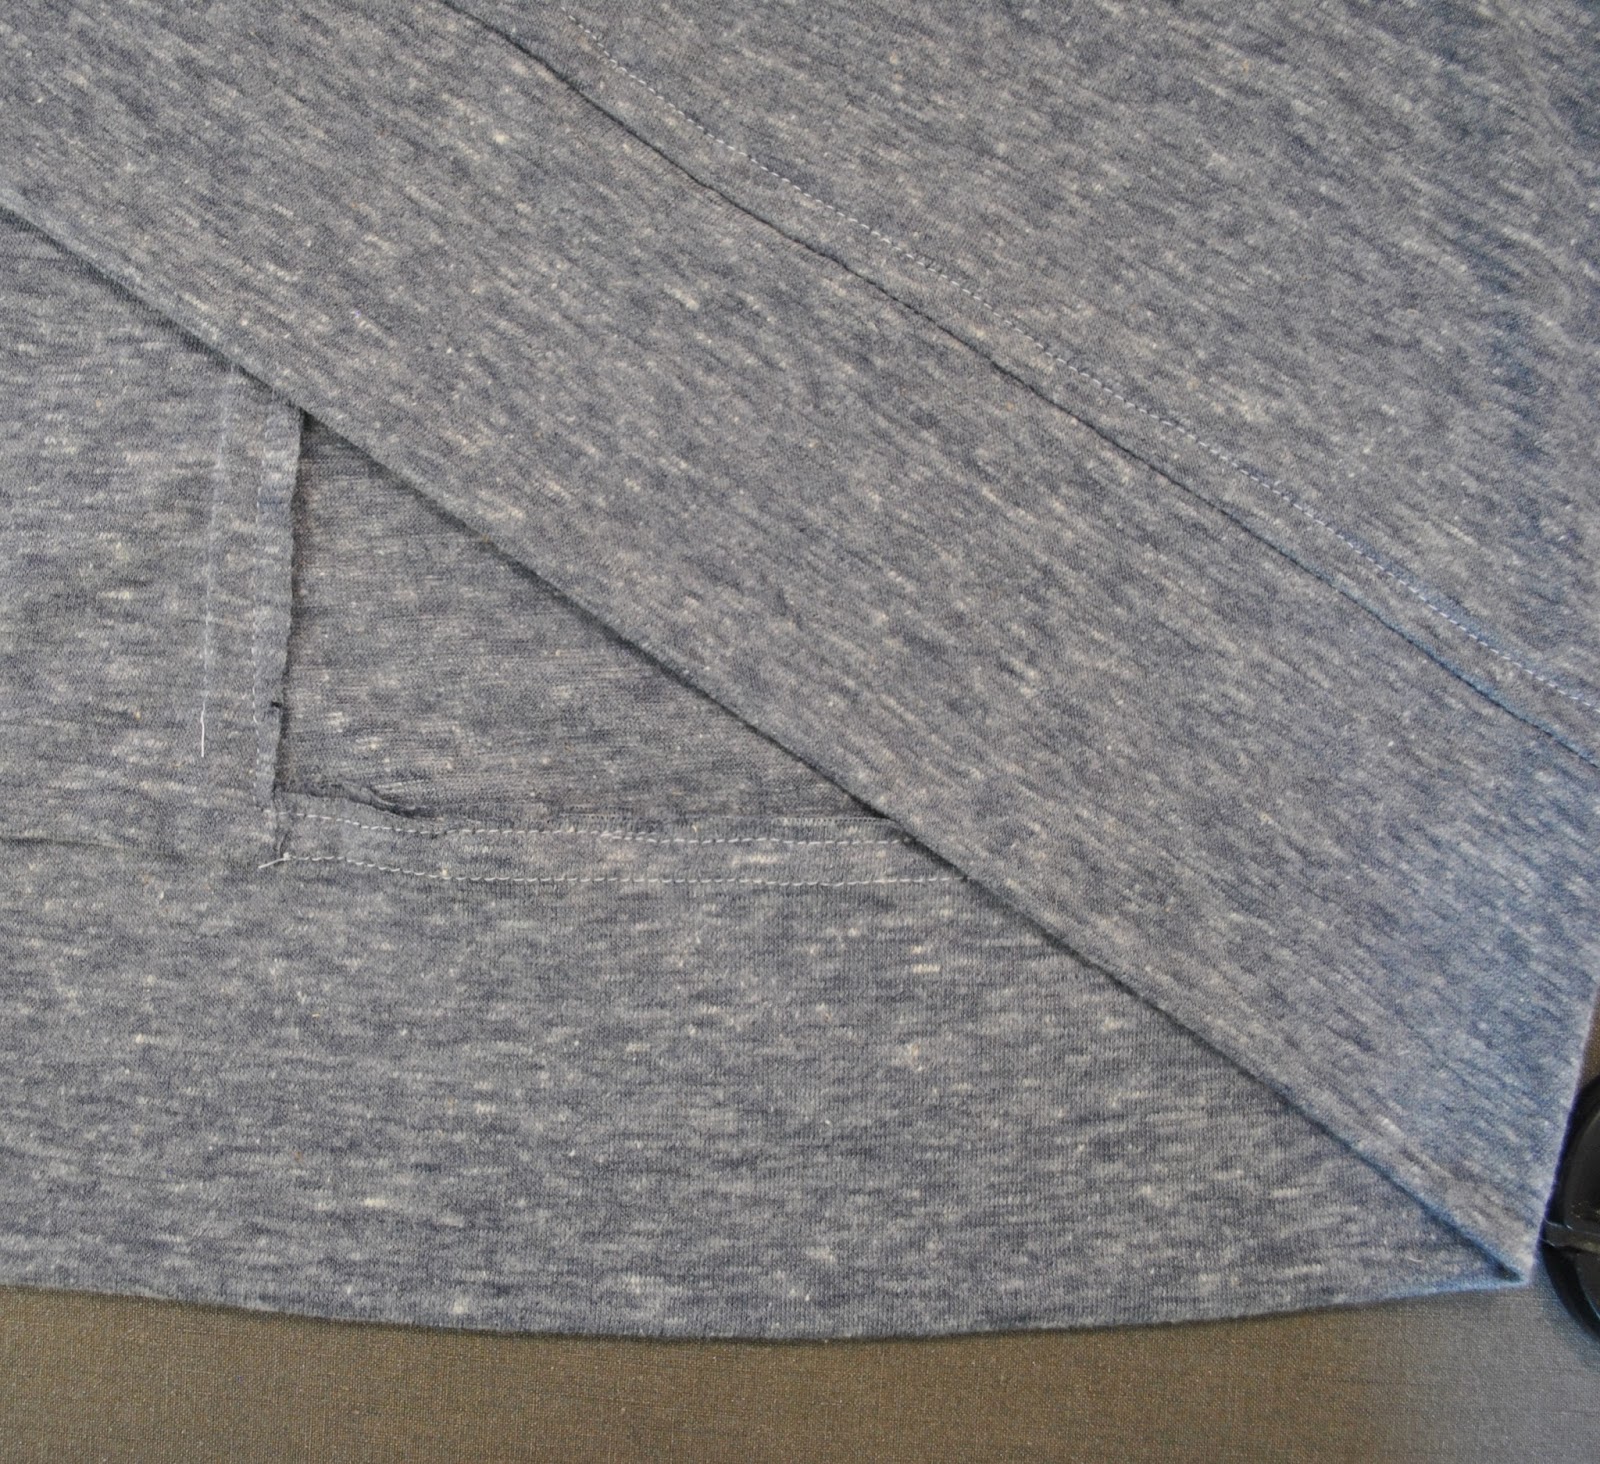
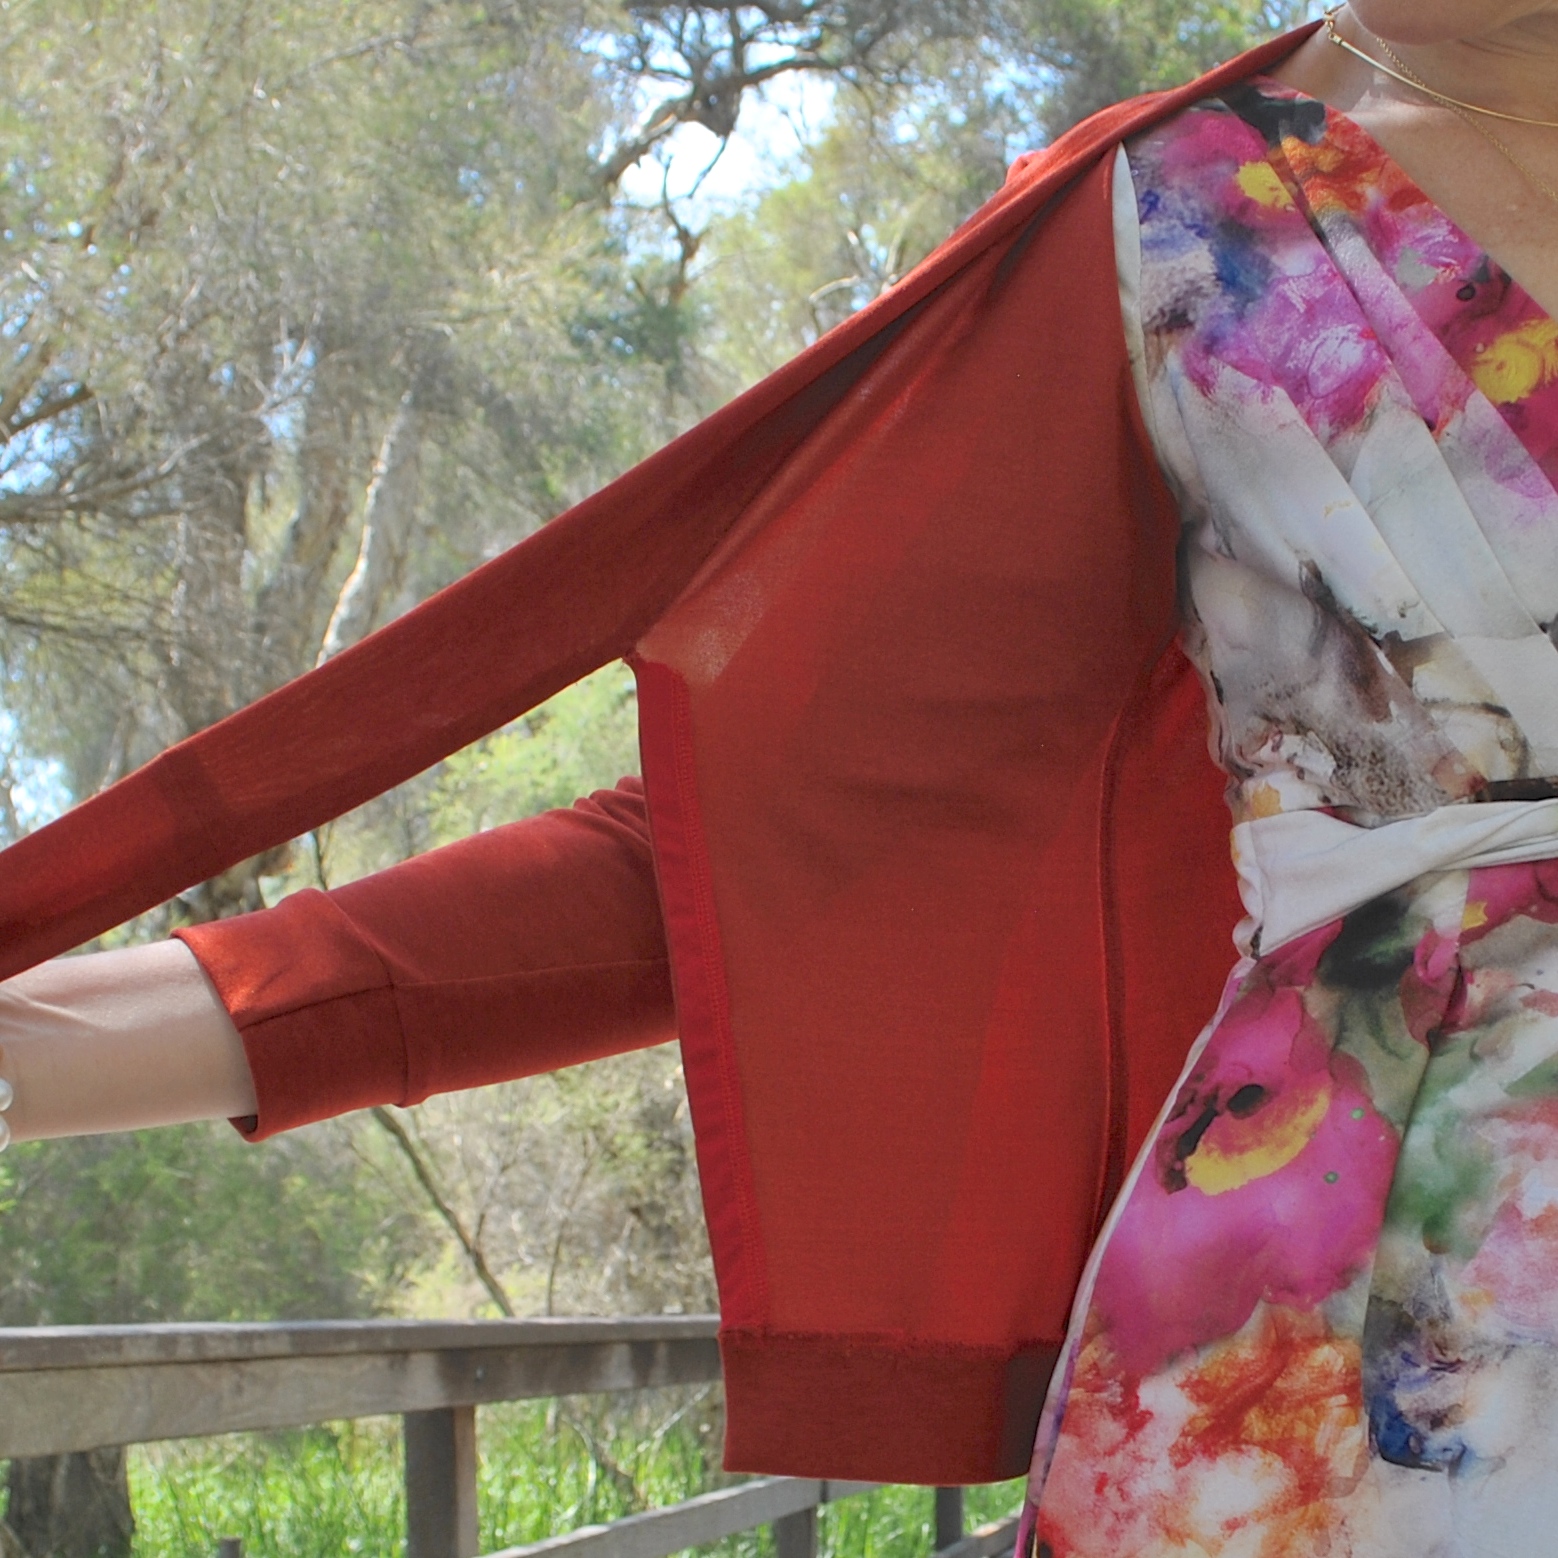
So, the tights are fabulous, and I’m happy, yay! however the top is a so-so thing that I’m a teeny bit meh about. Stretch poly is excellent stuff for tights, but actually pretty horrendous for a top. It’s slightly thick and beefy, doesn’t press at all, and is that ultra slippery slinky stuff, that slips and slides over itself, and the whole two metres of it will slither right off the table in an avalanche of fabric if so much as a small corner starts to slide over the edge. grrr. I made up the tights, easy peasy. When it came to the top, oh god, horror story stuff. I’ve re-done that bottom edge three times… THREE TIMES. The fabric just wouldn’t take anything. Attempt number one; ye olde trusty twin needle. Except, no. It kept skipping stitches something awful.. so I gave up and moved to attempt number two, a small discreet zig-zag. It stretched out and looked disgusting, so I unpicked that with much muttering and growling under my breath. Attempt number three was to turn under twice and hand stitch it, which is usually a failsafe for me. I think this will be ok. If not, I’m going to move onto plan four, which will be a folded band all around the bottom edge, same as I’ve done to lengthen and finish the sleeves.
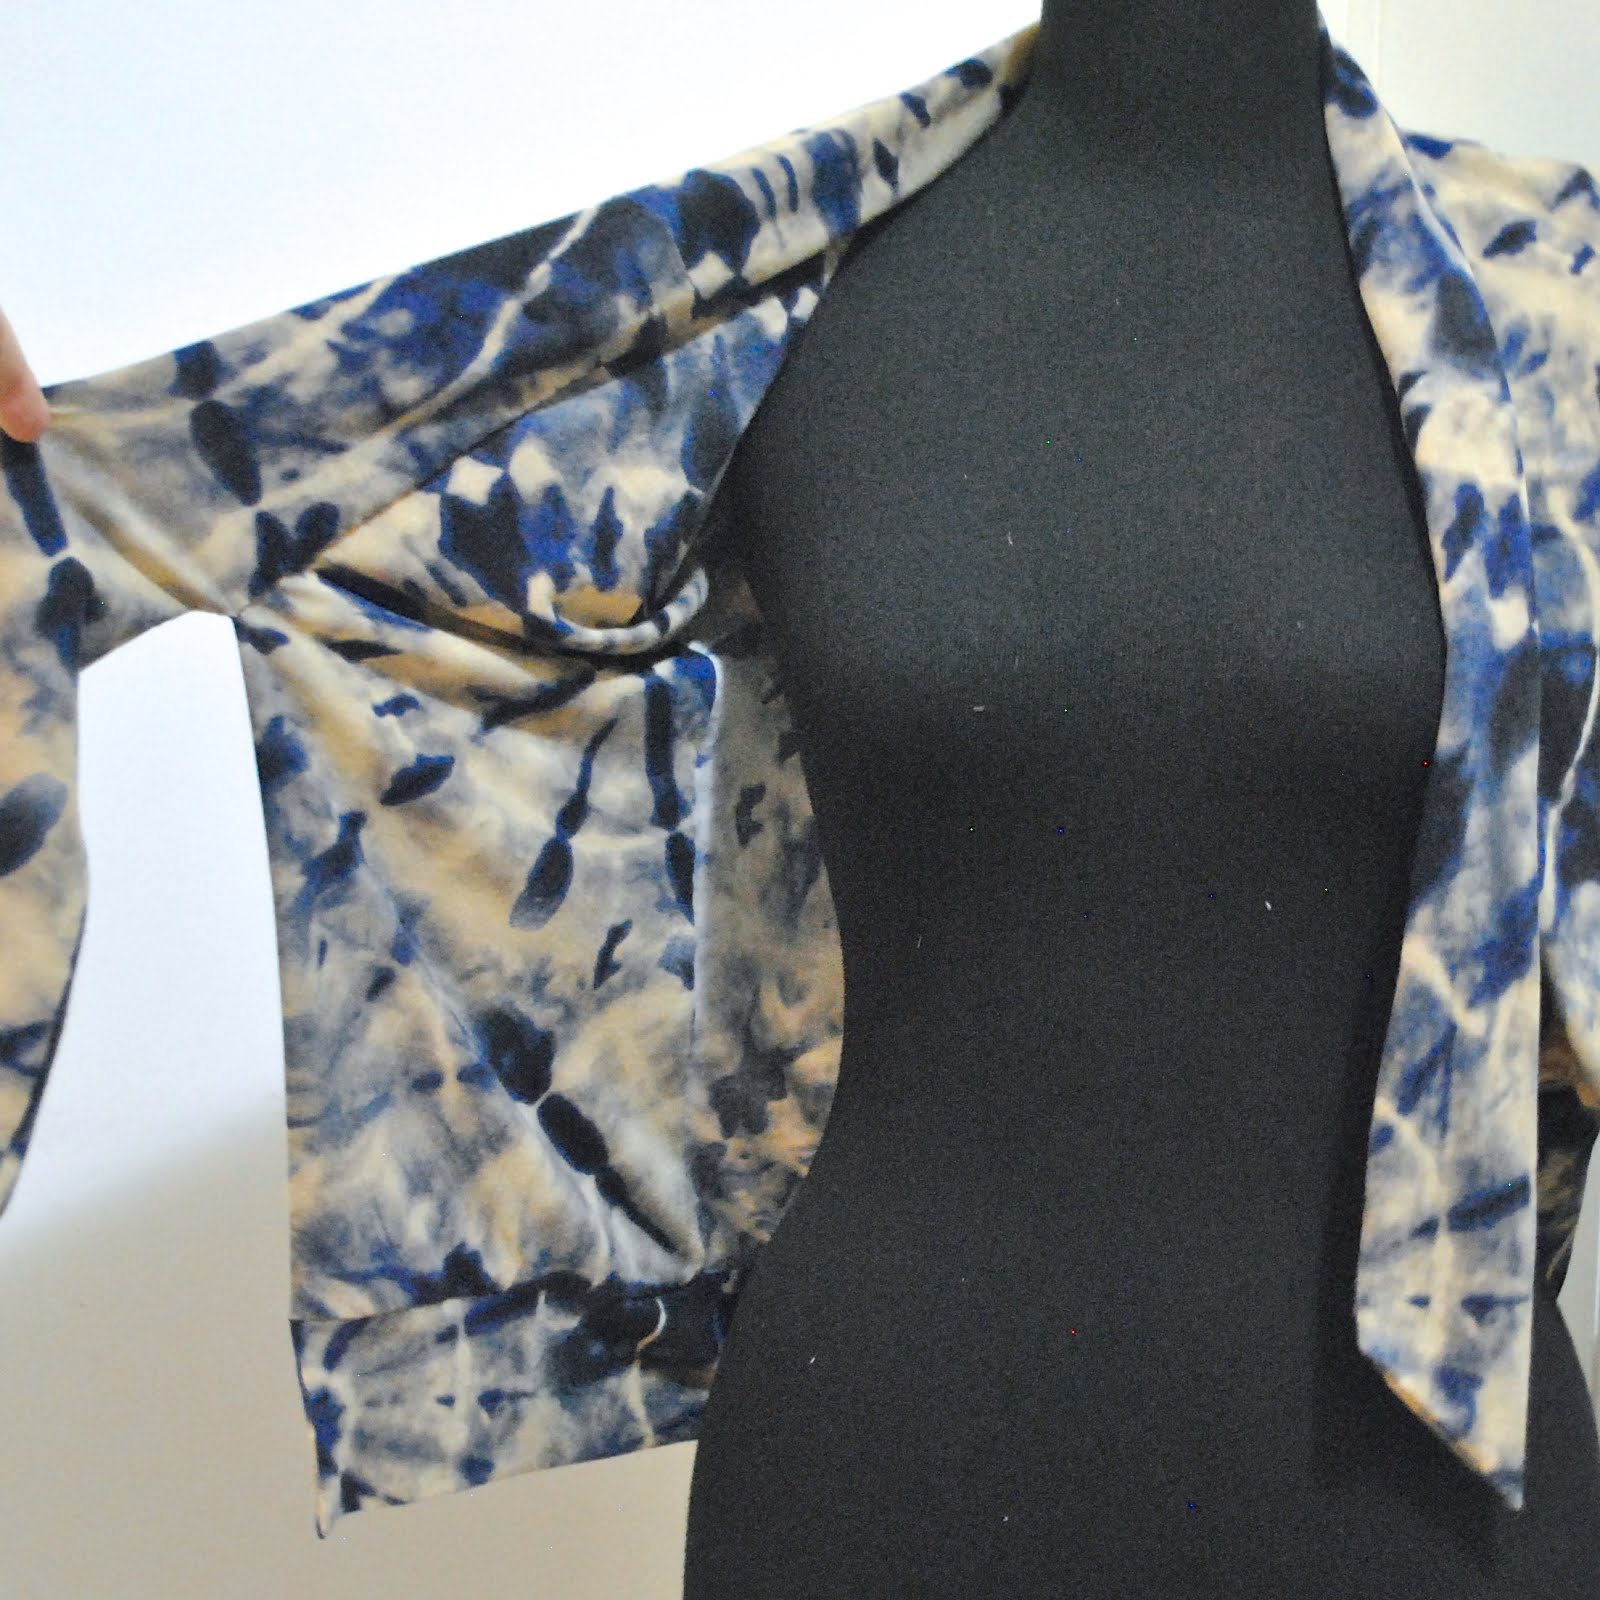
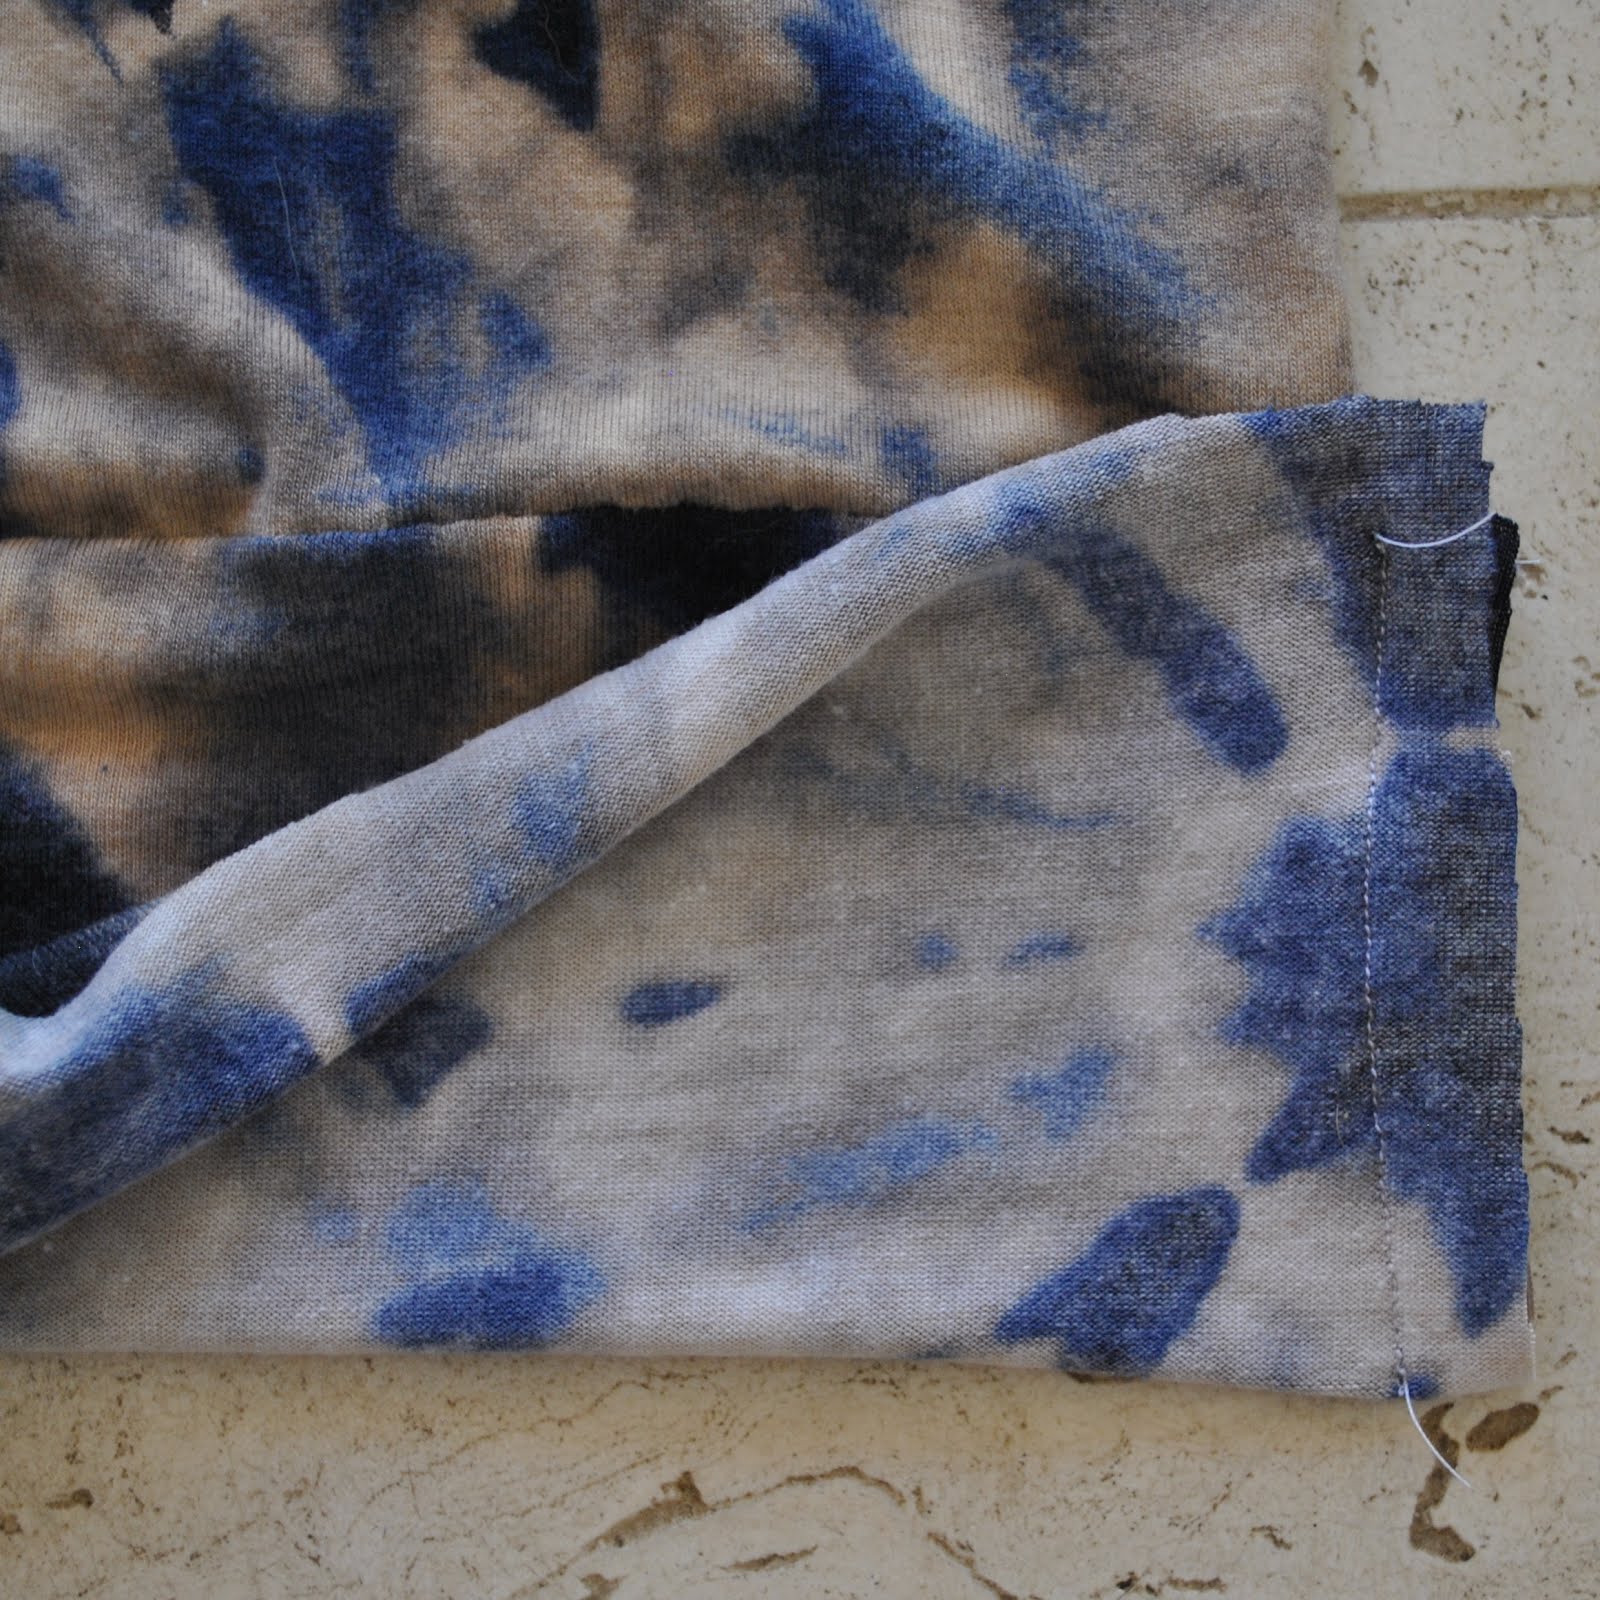
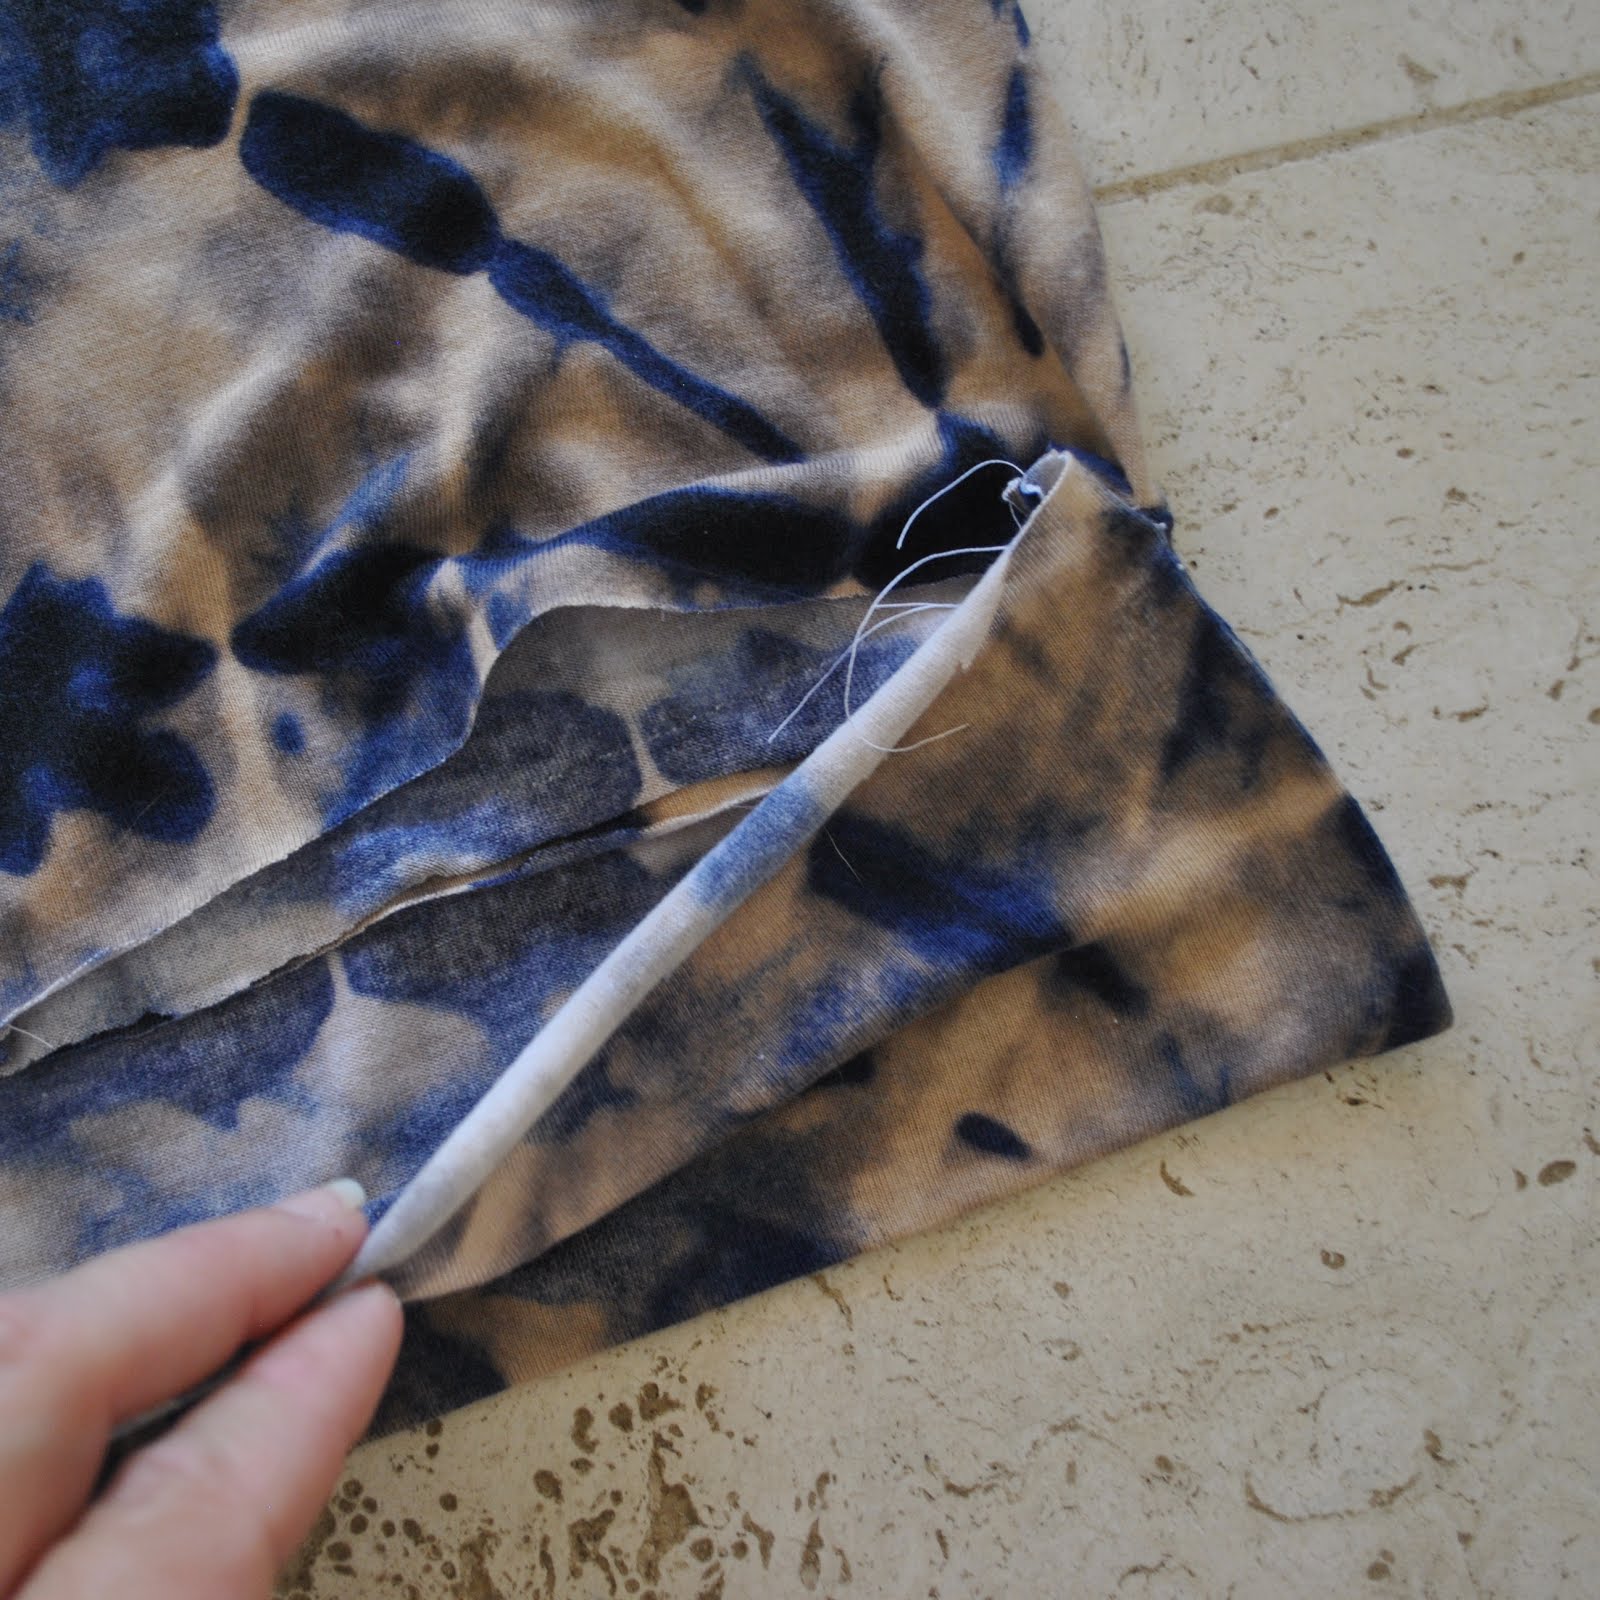
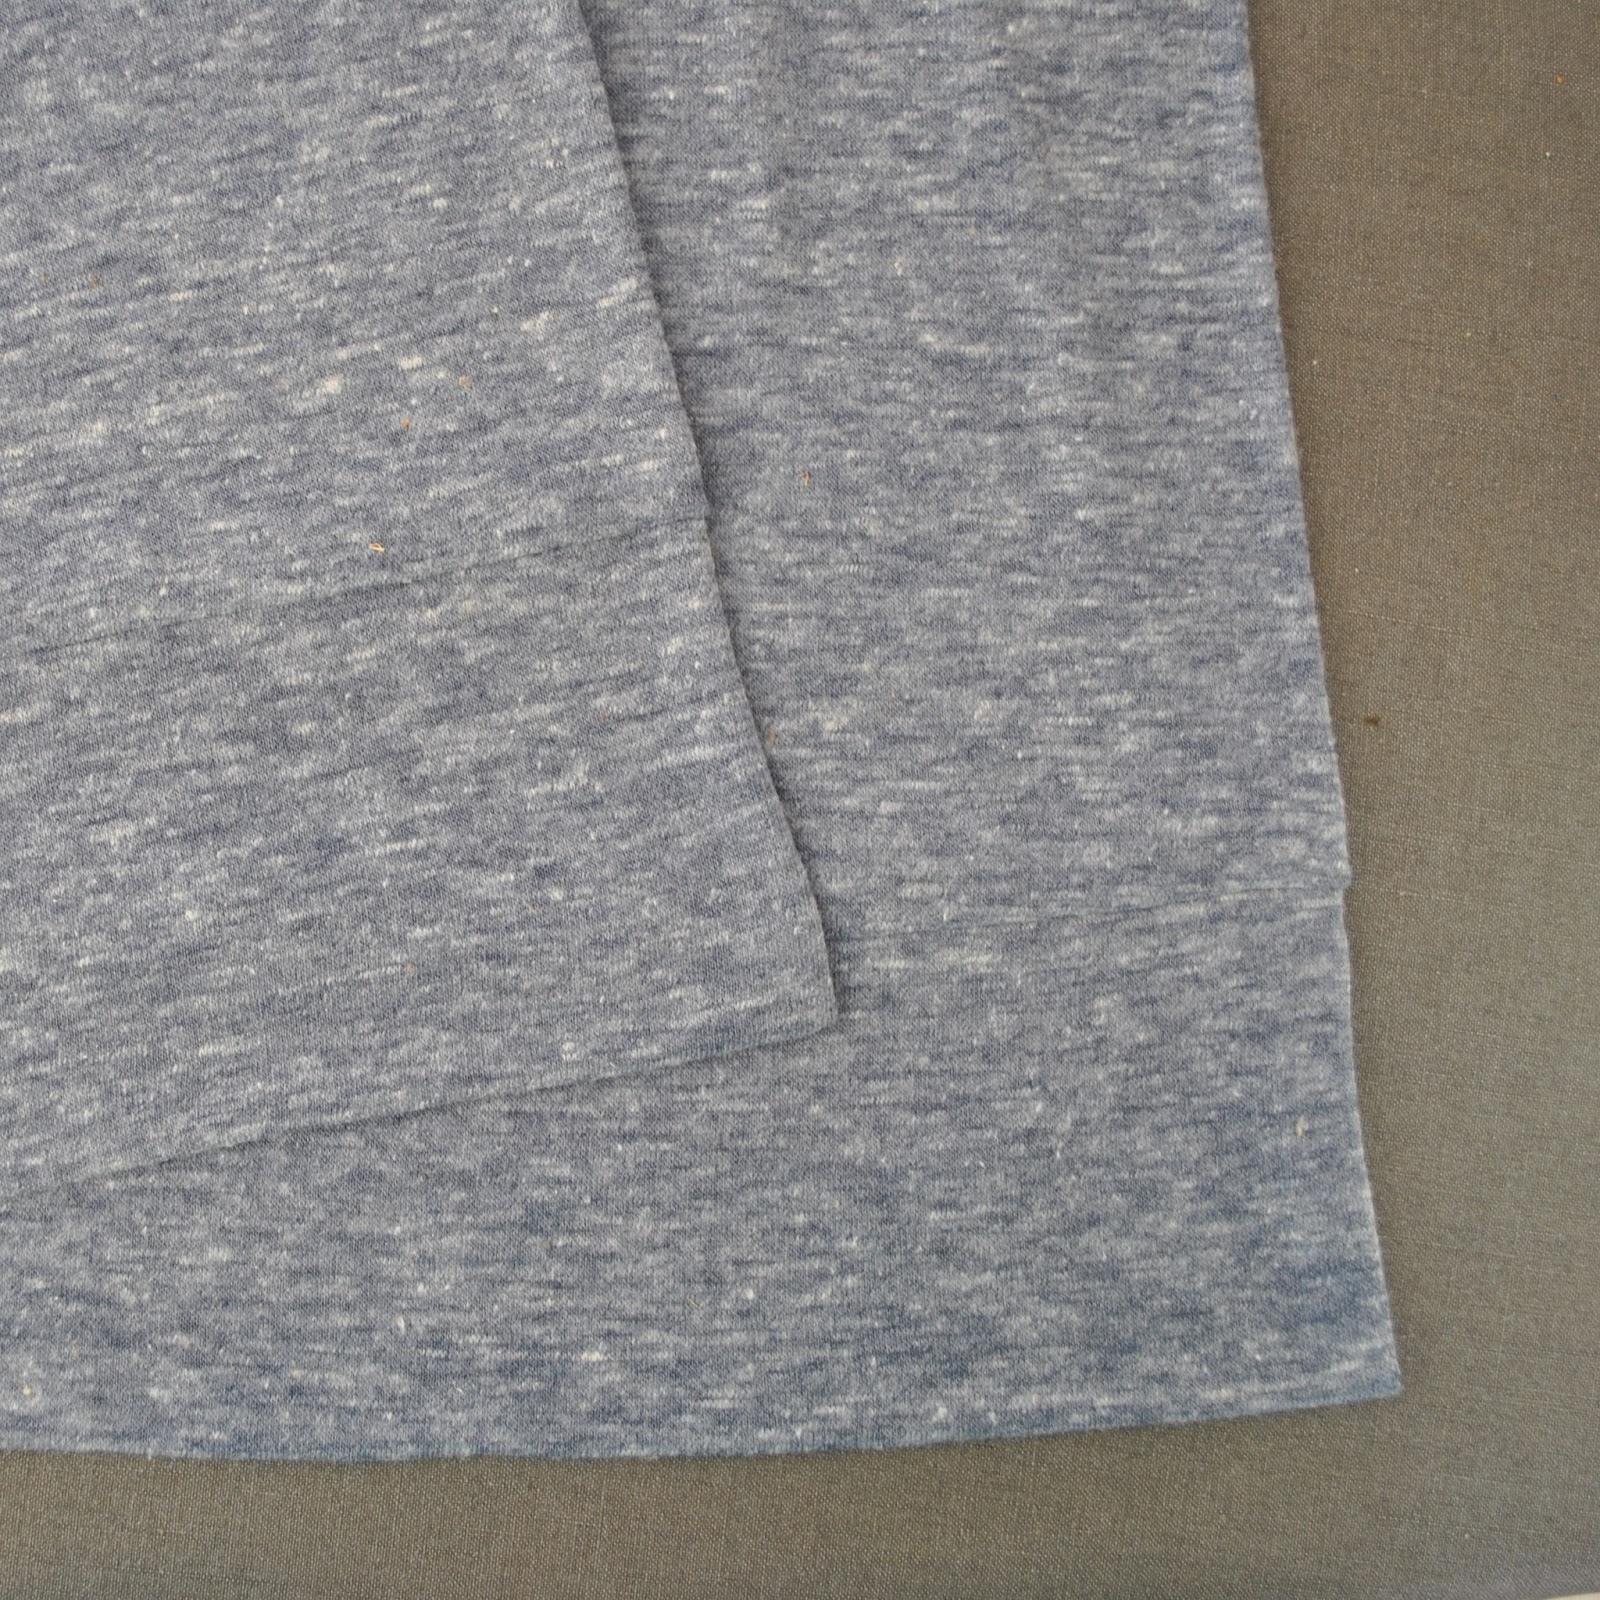
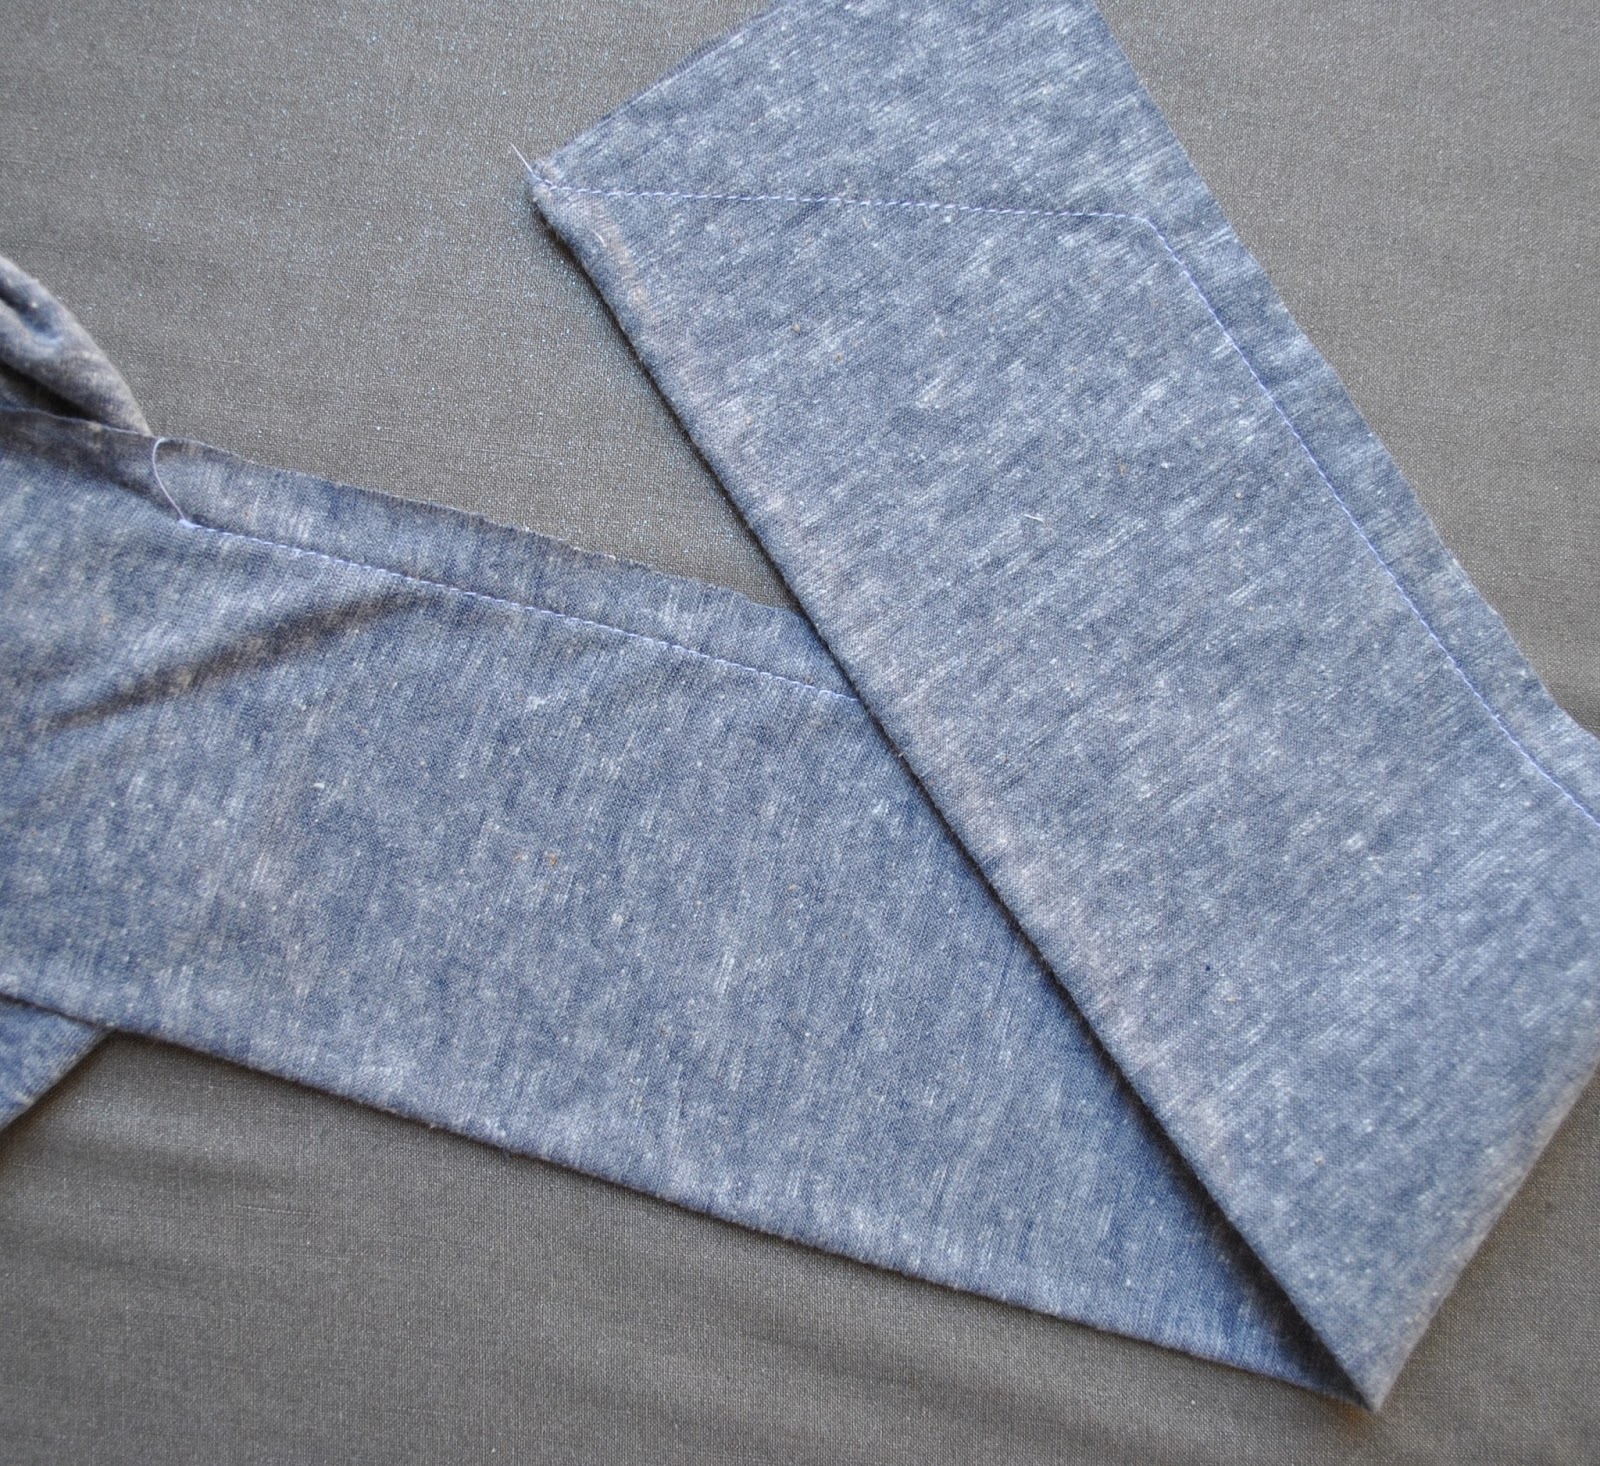
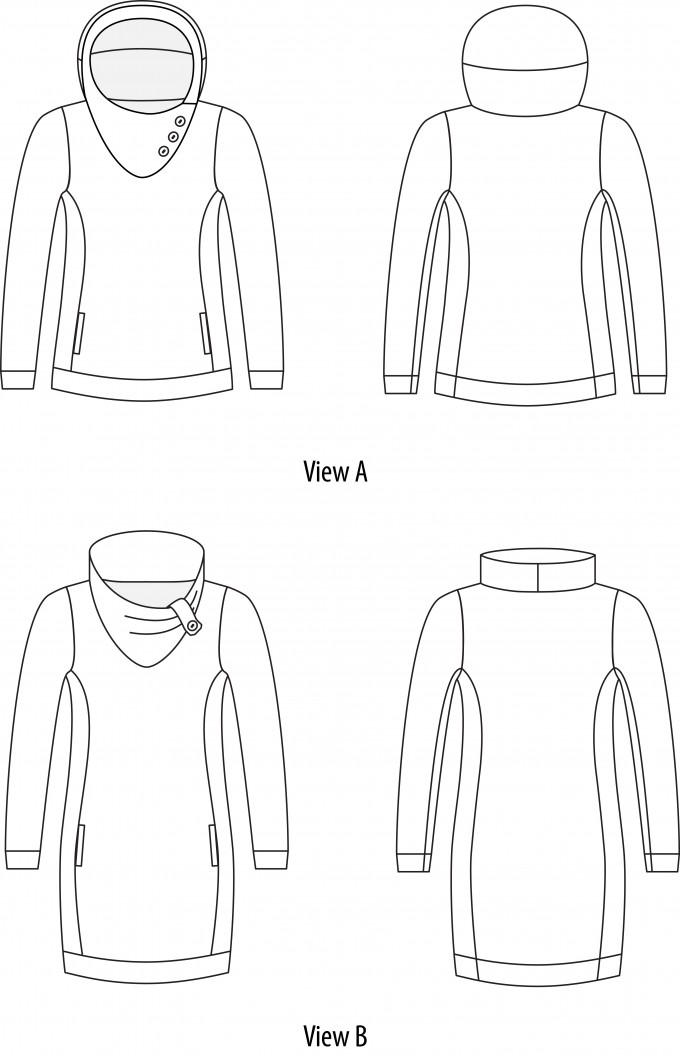
Essentially a extra-long, folded cuff.

Anyway, it’s done. I kinda regret not using the excess fabric for underwear now. I actually think it would have worked a lot better for lingerie, than as a Tshirt. Well, we live and learn!
Details:


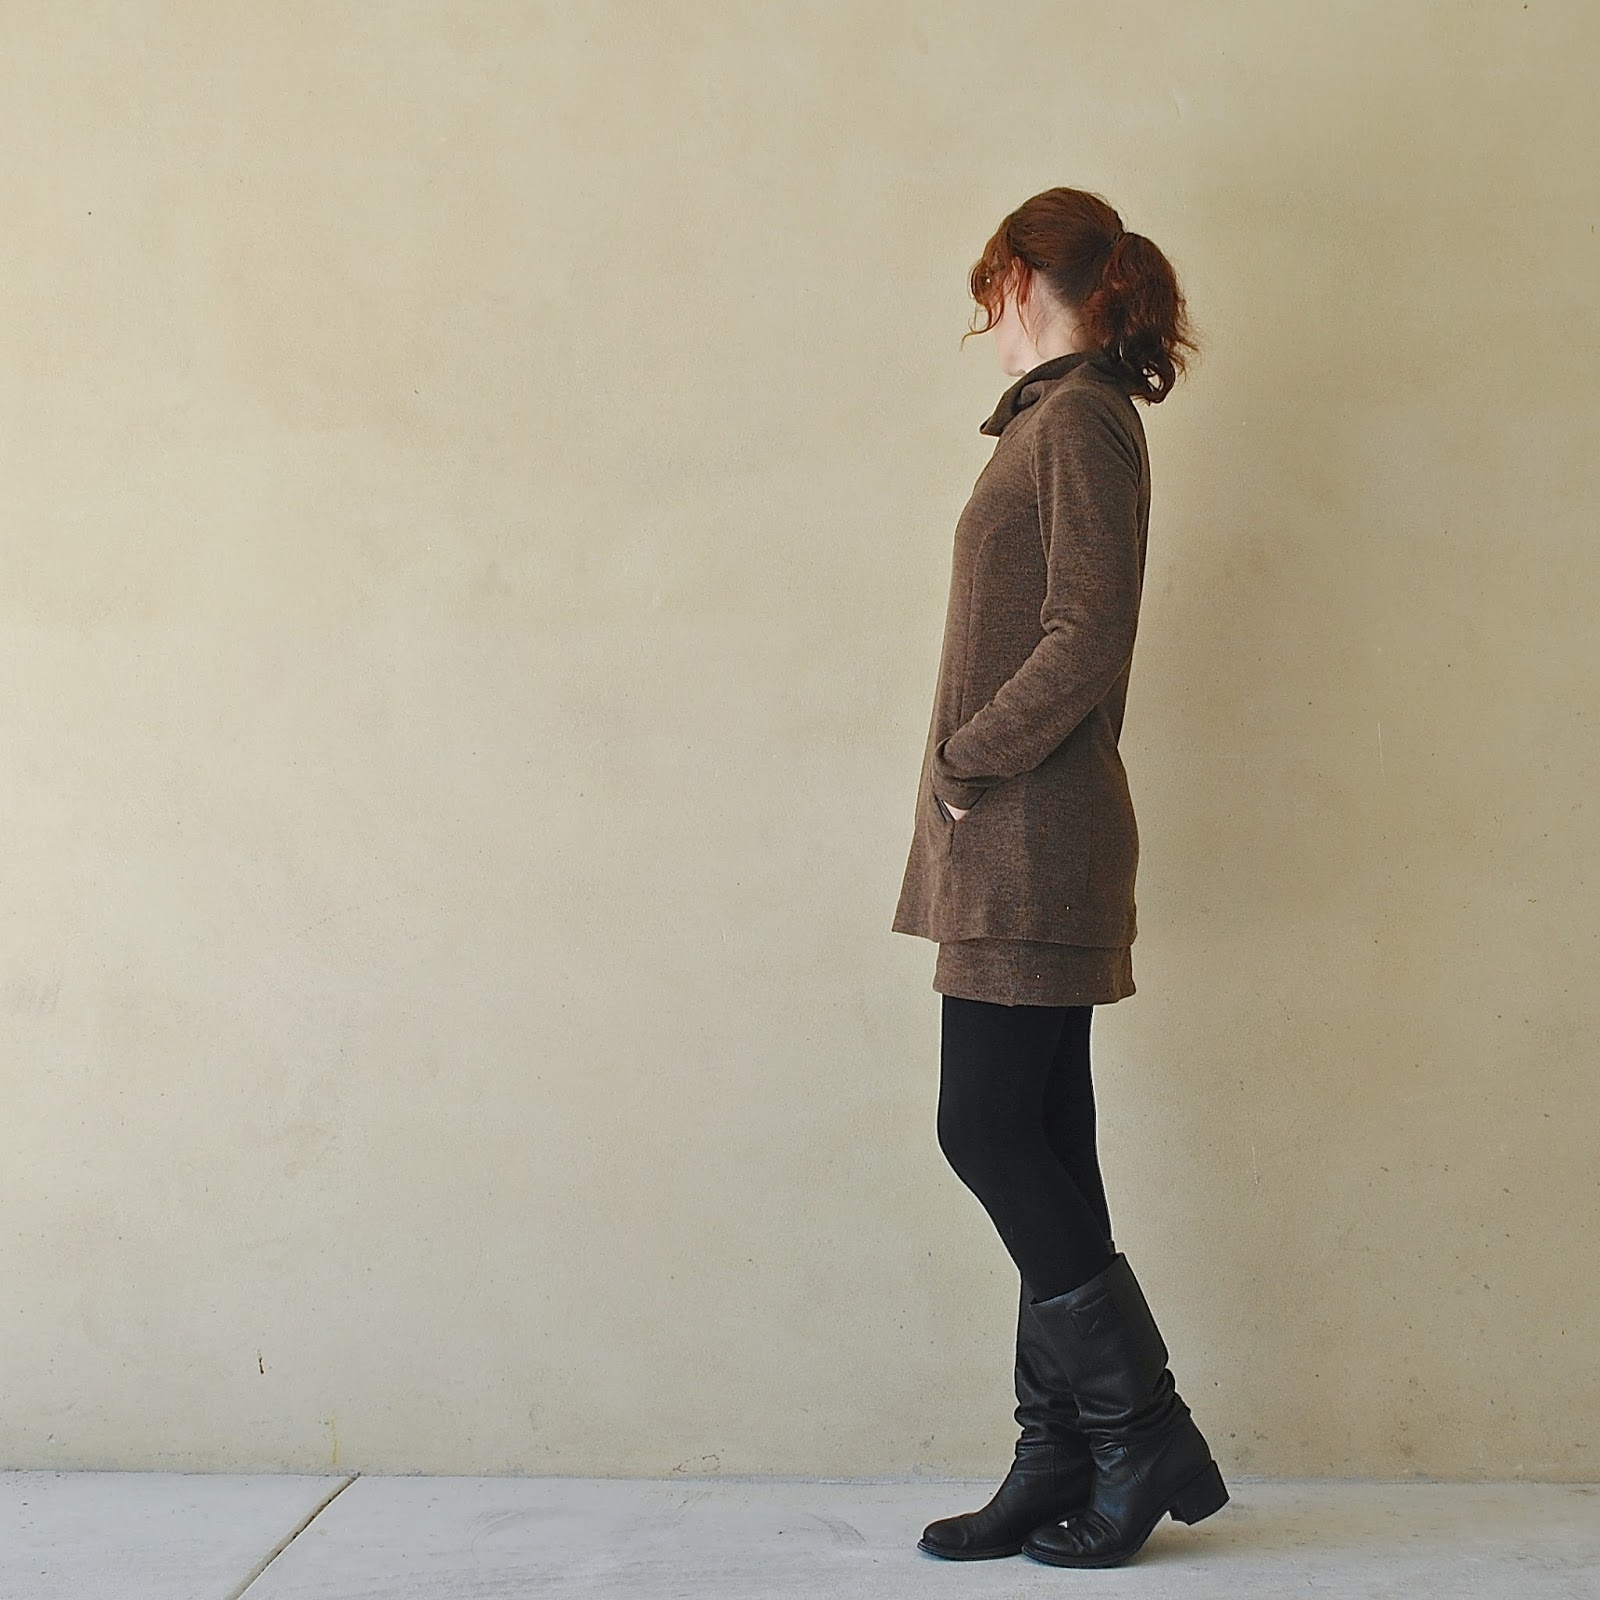
1) above
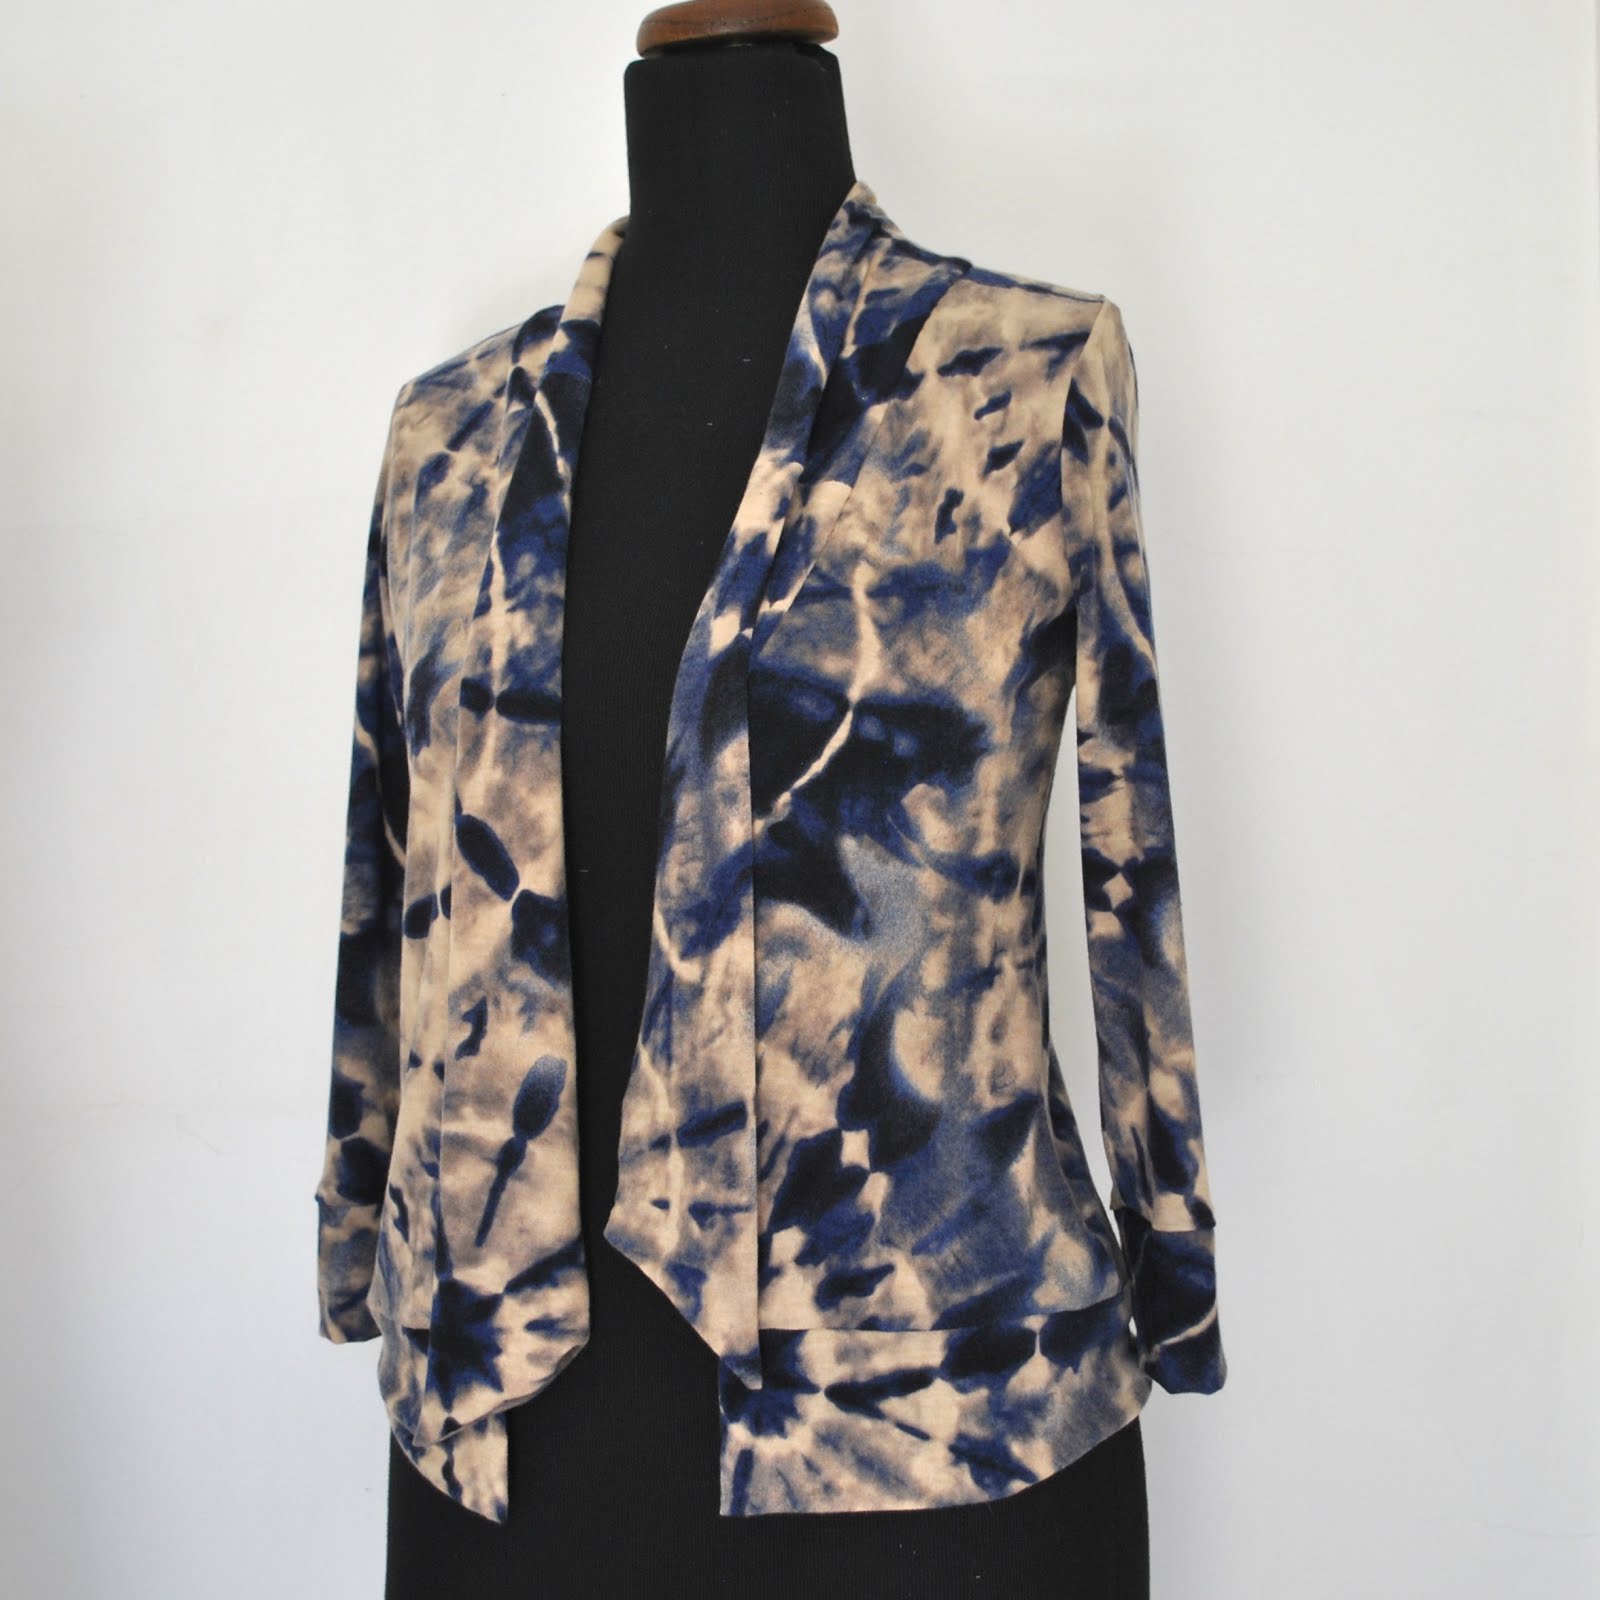
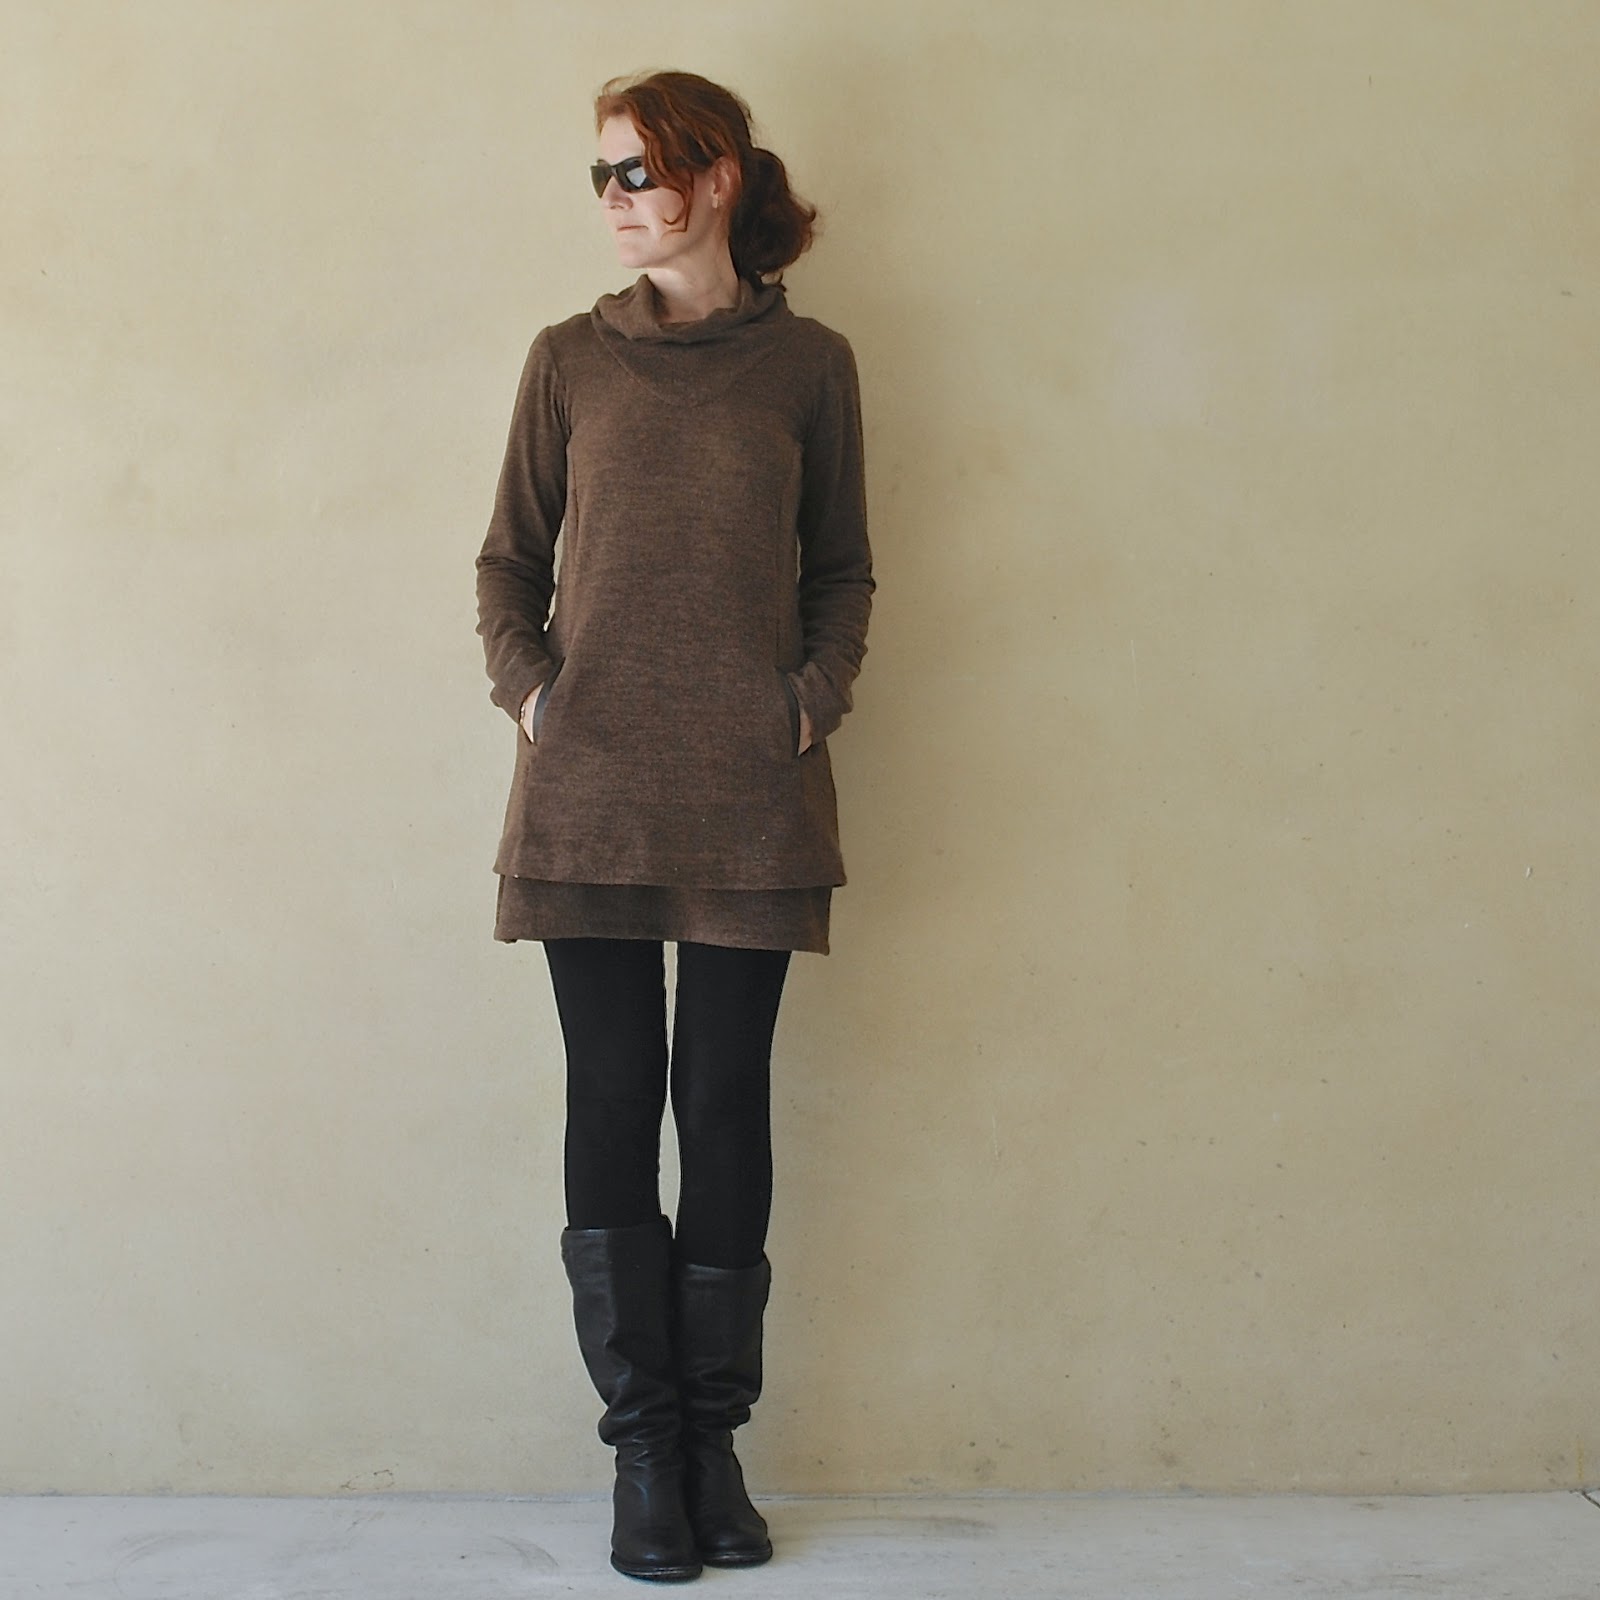
Top; Pattern Magic twist top in charcoal ponte, details here Skirt; Paprika Patterns Jade skirt, in wine silk/cotton knit, details here Tights; own design, my tutorial for making your own custom-fit tights pattern is here
Boots, made by me, details here
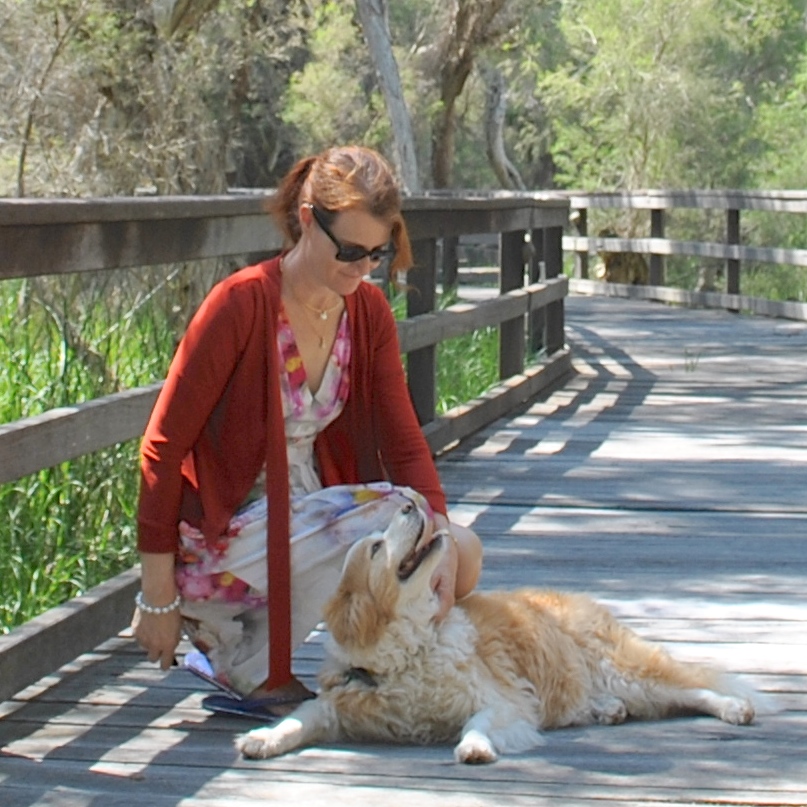
2) below


Green top; Closet Case patterns Nettie, in green cotton mix stretch, details and my review of this pattern here
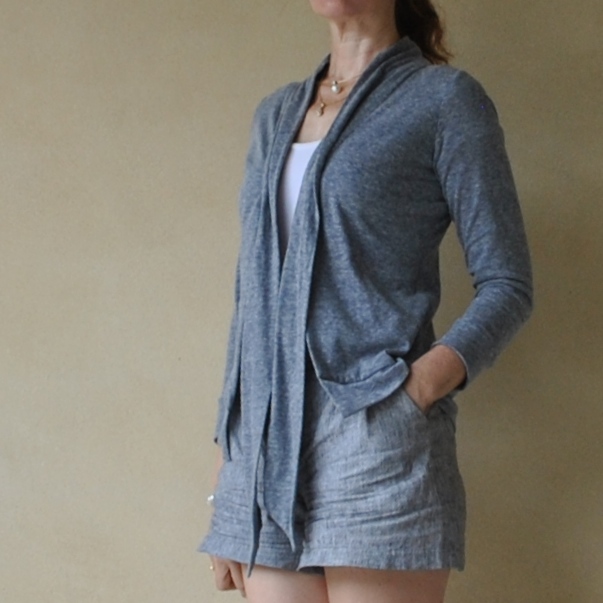
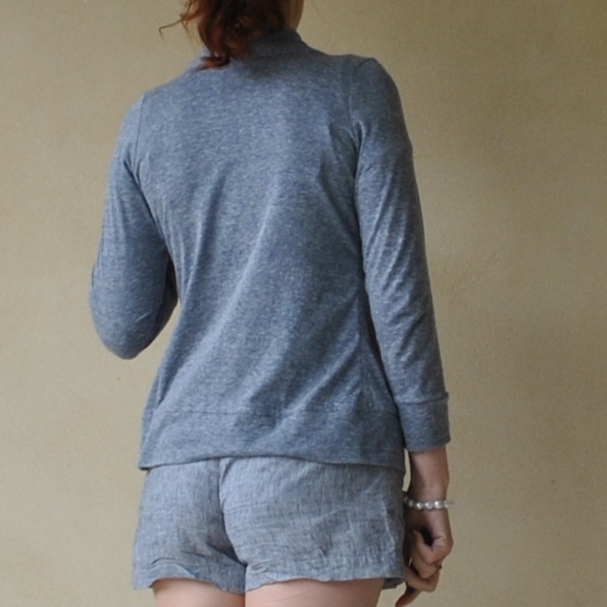
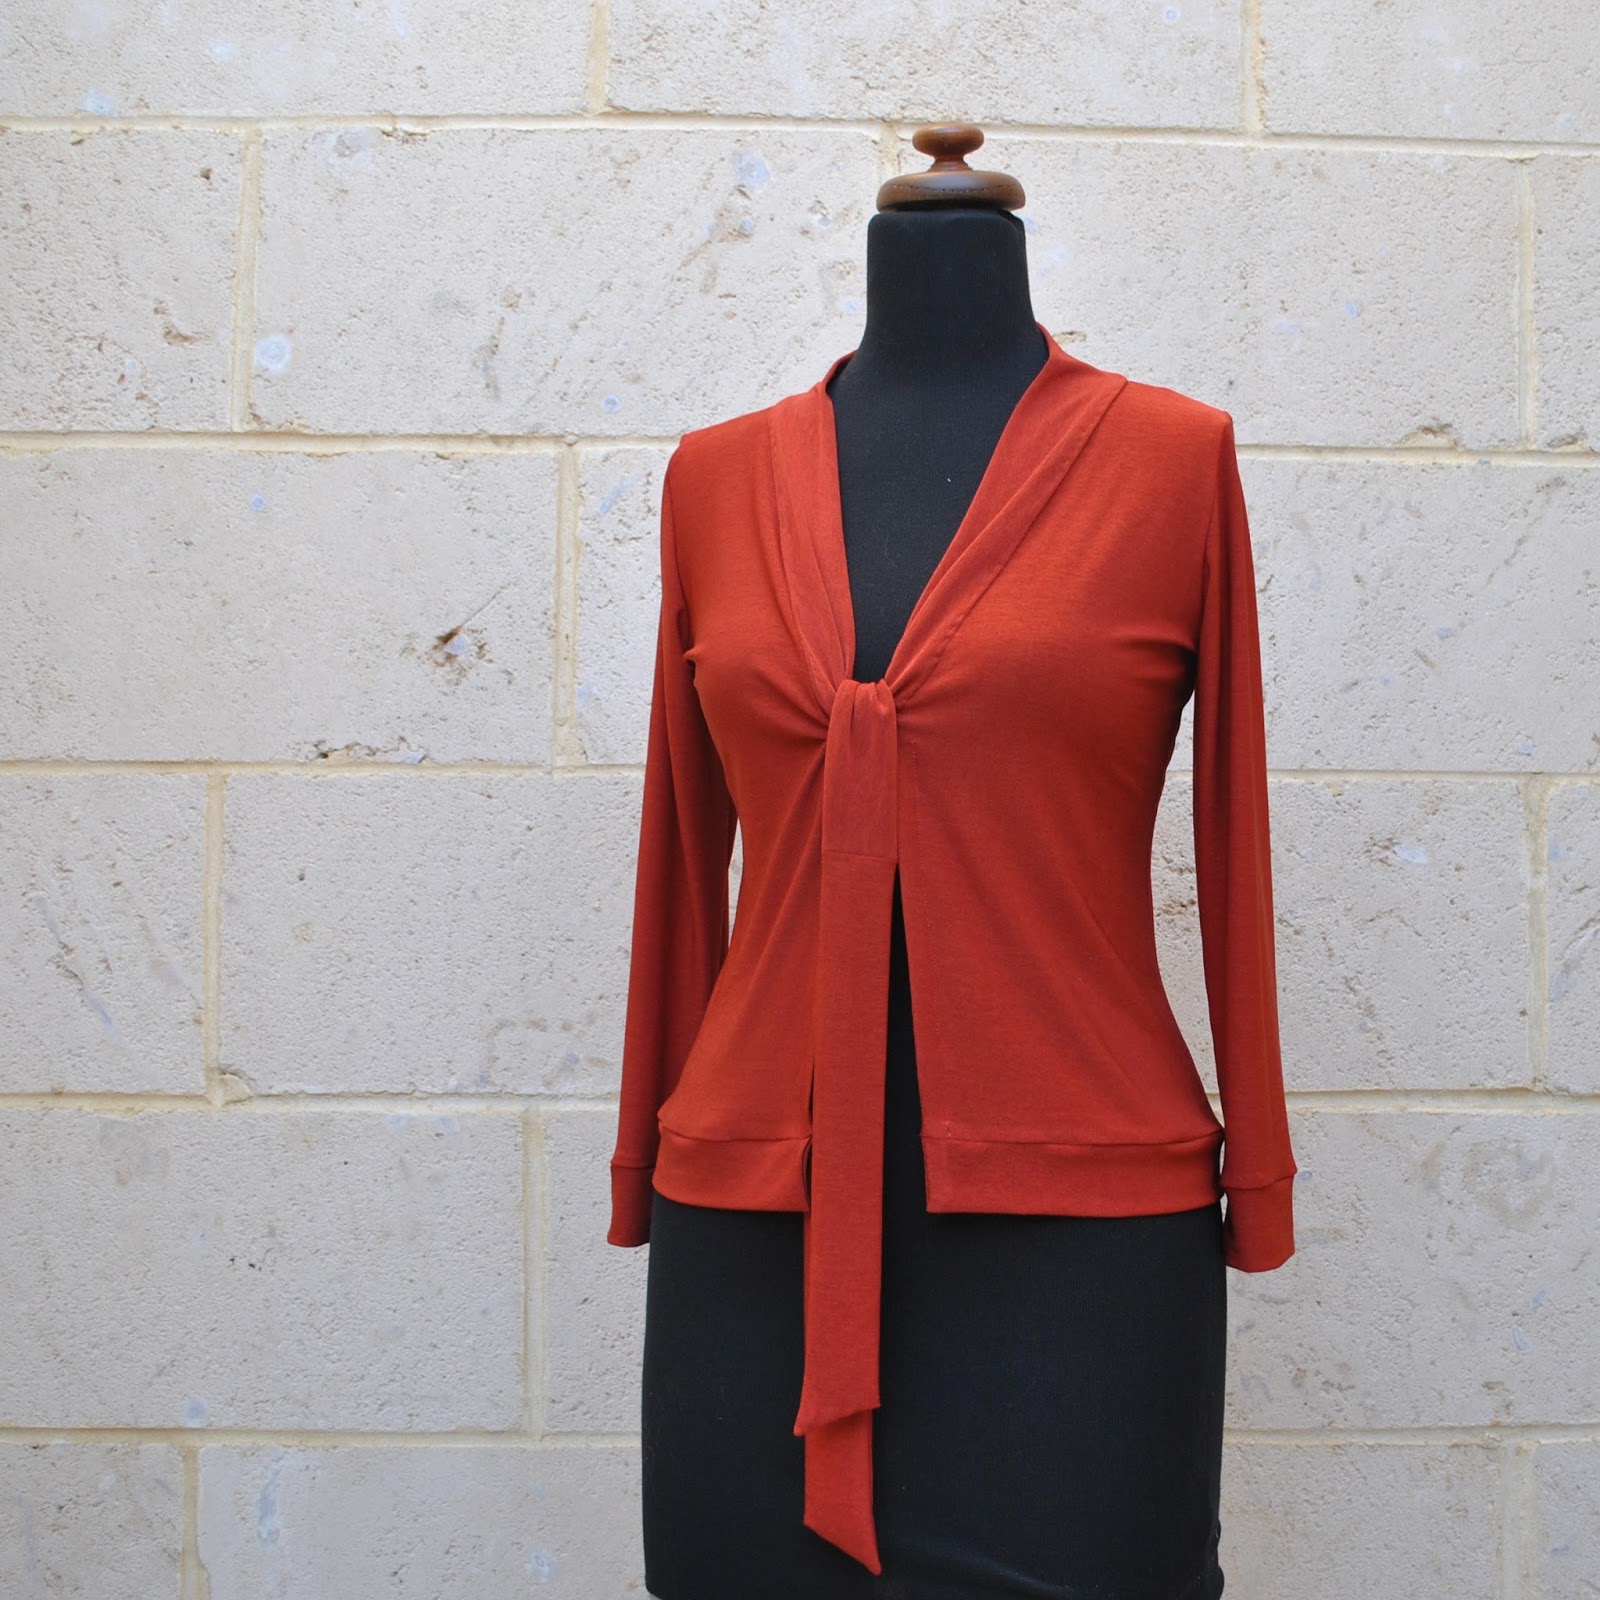
Paprika cardigan; my own modifications on the Closet Case patterns Nettie, details here
Raspberry top; Closet Case patterns Nettie, with sleeve and neckline modifications
Skirt; Vogue 1247, blue corduroy, details here
Tights; black poly, own design, my tutorial for making your own custom-fit tights pattern is here
Boots; made by me, details here
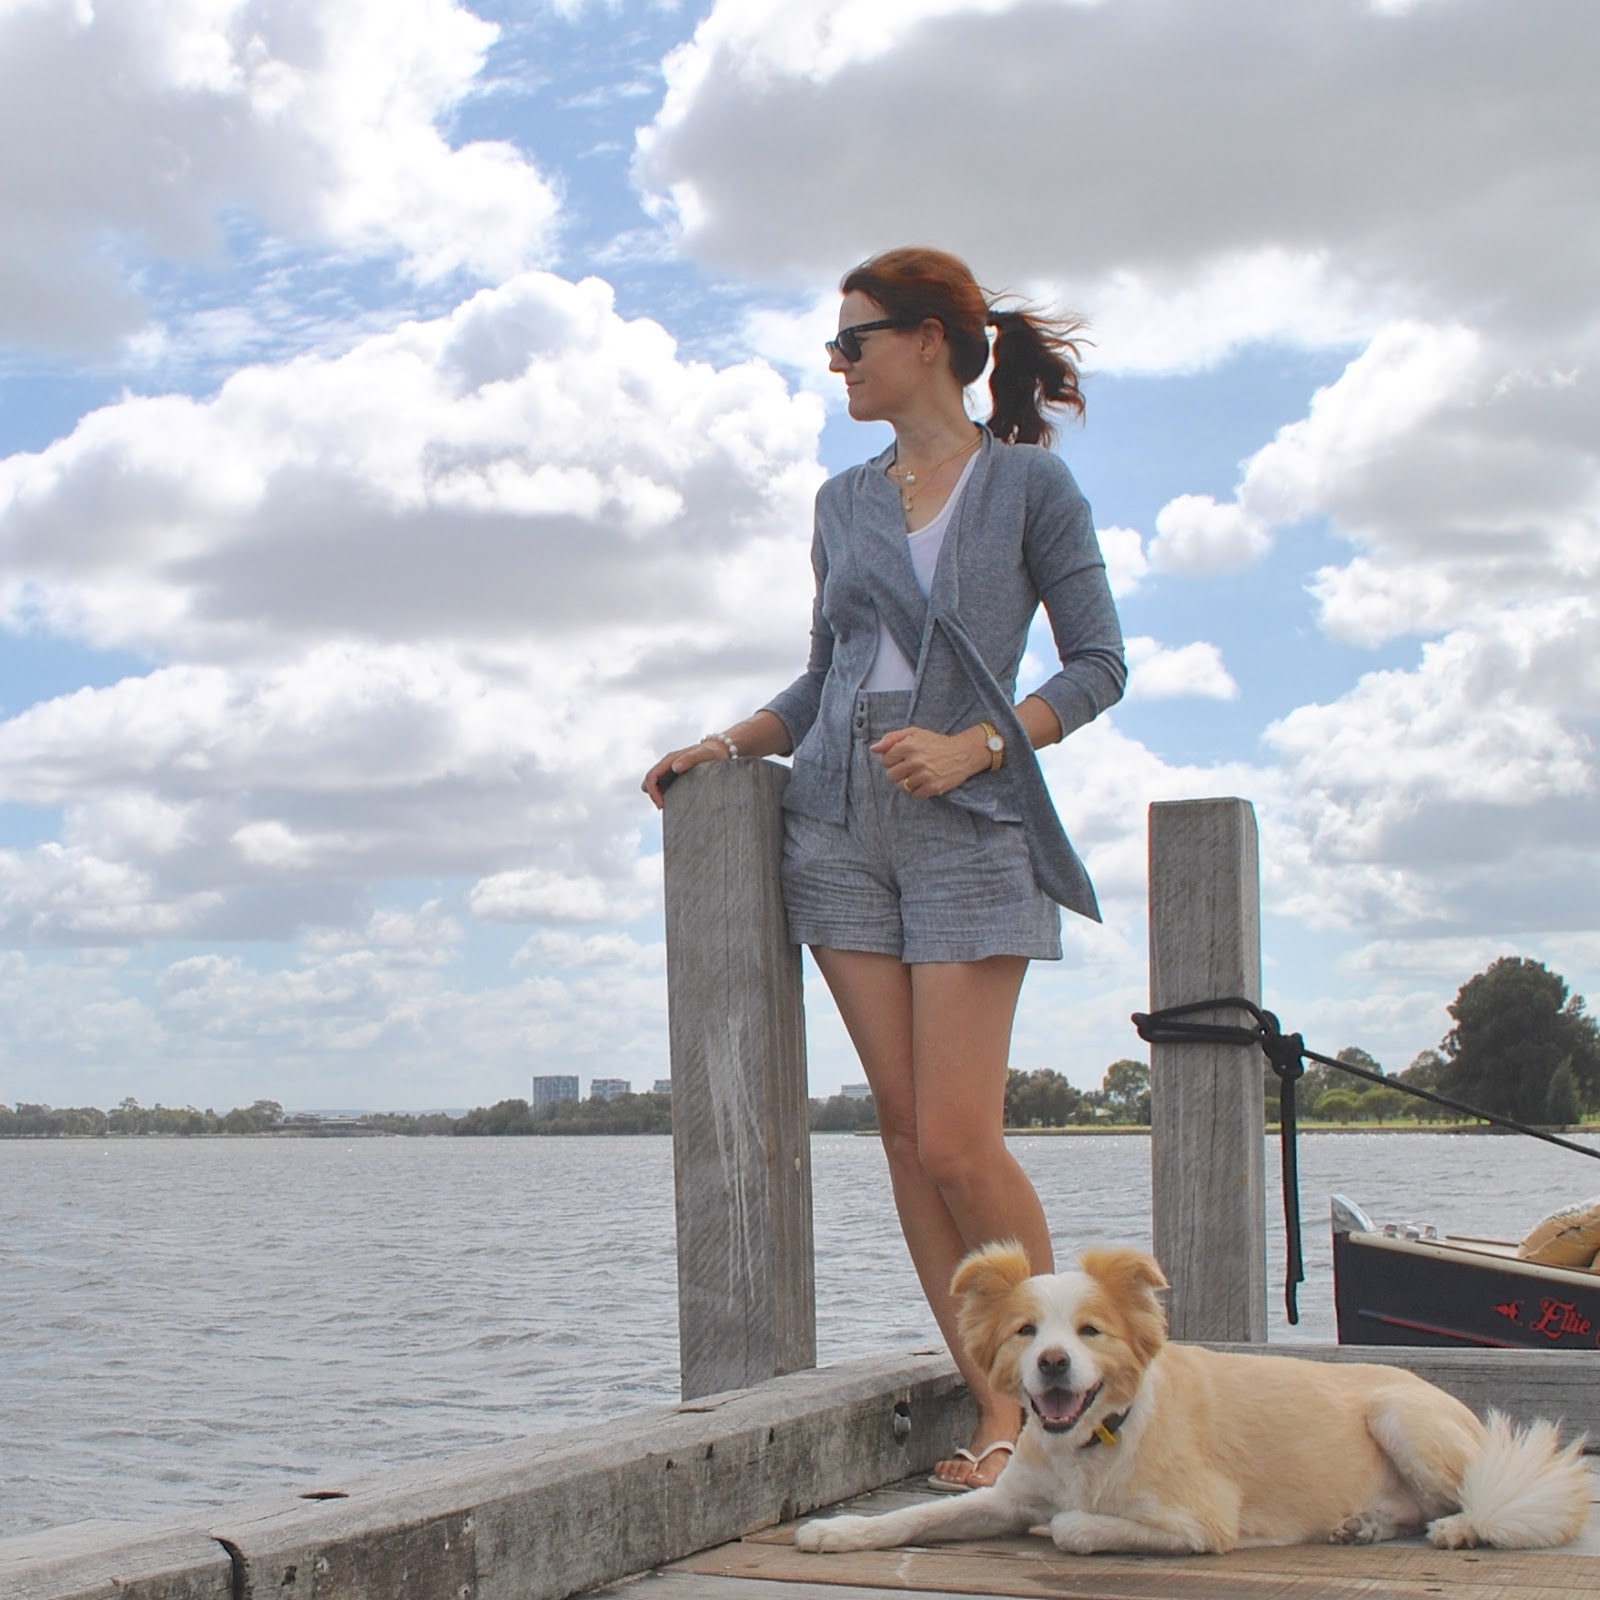
today’s outfit, wearing the Tshirt

 I’ve been busy making a few tops…
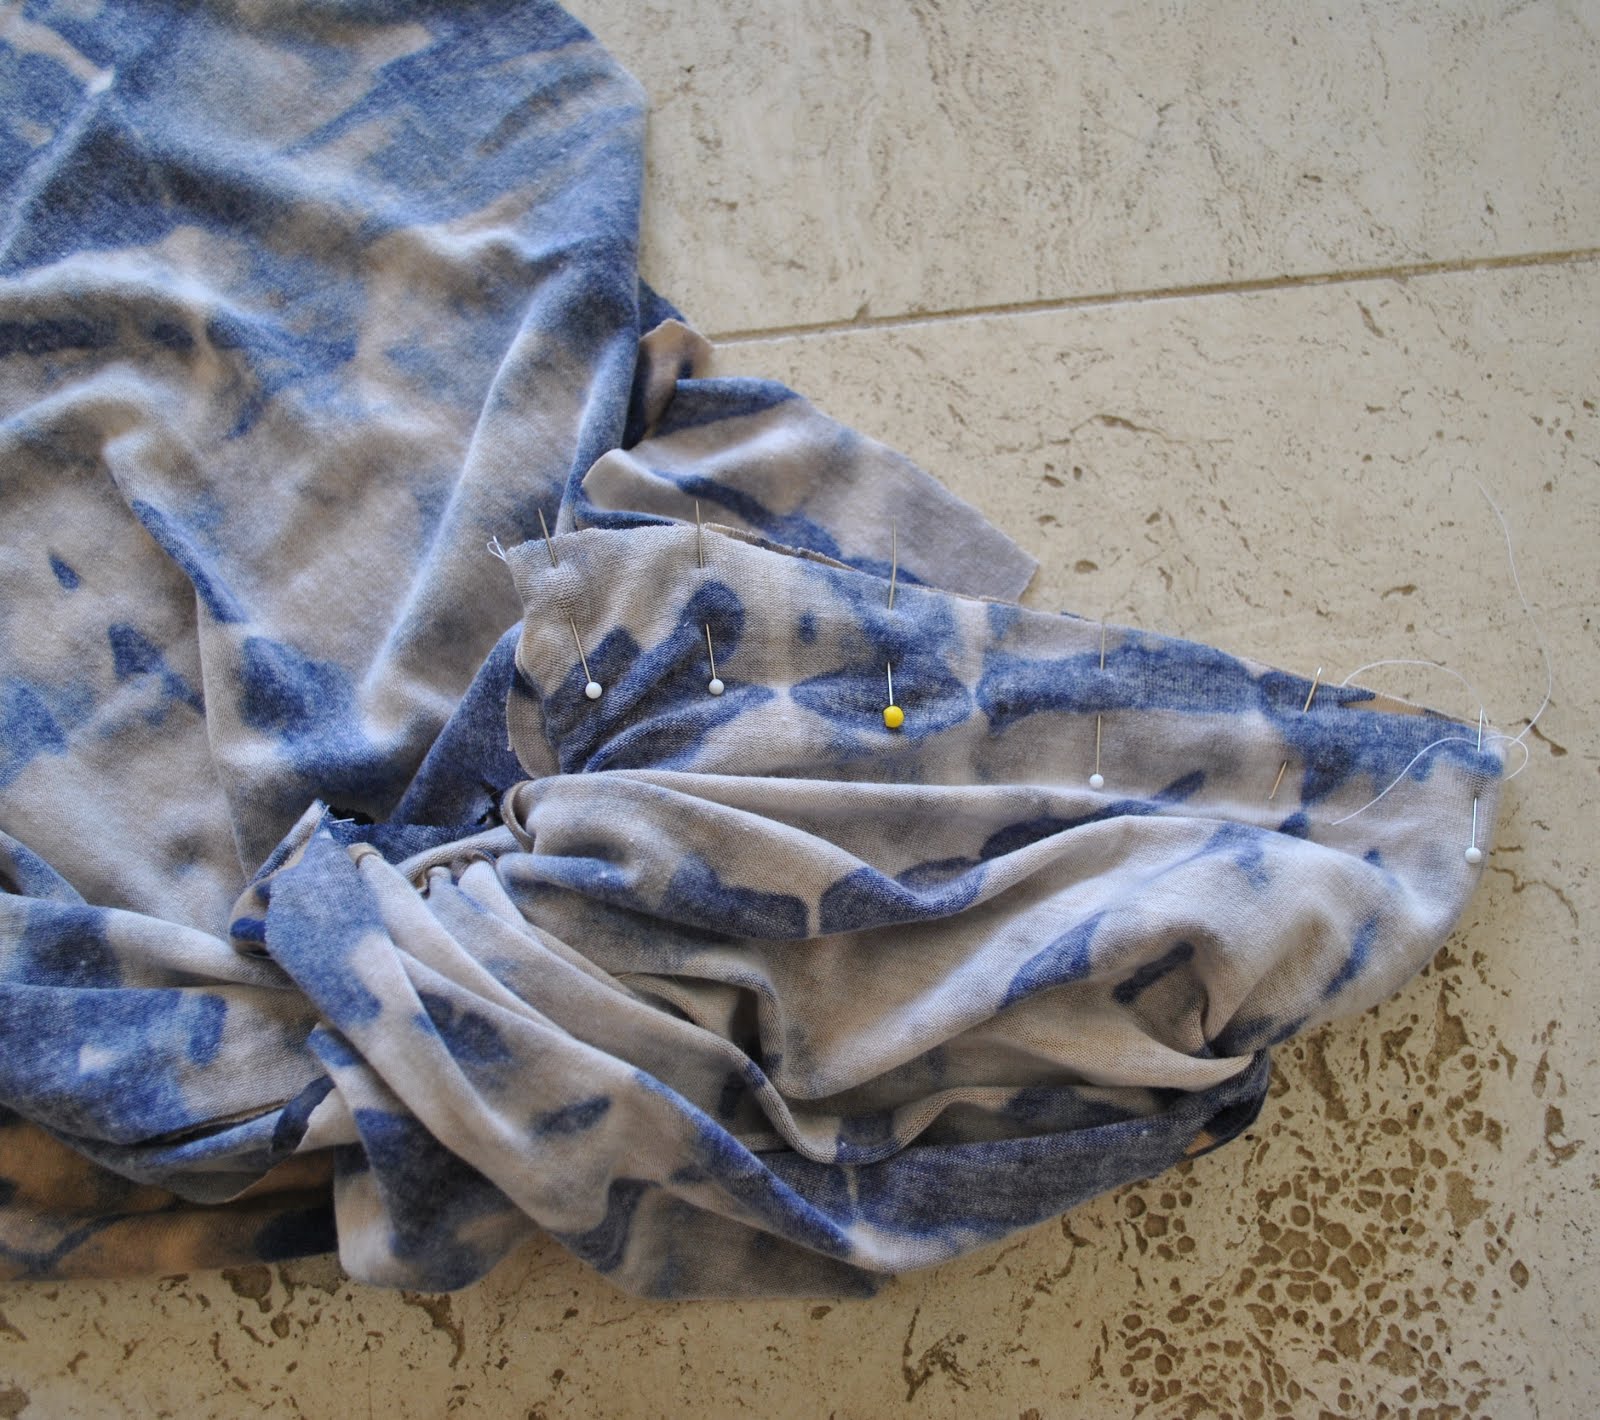
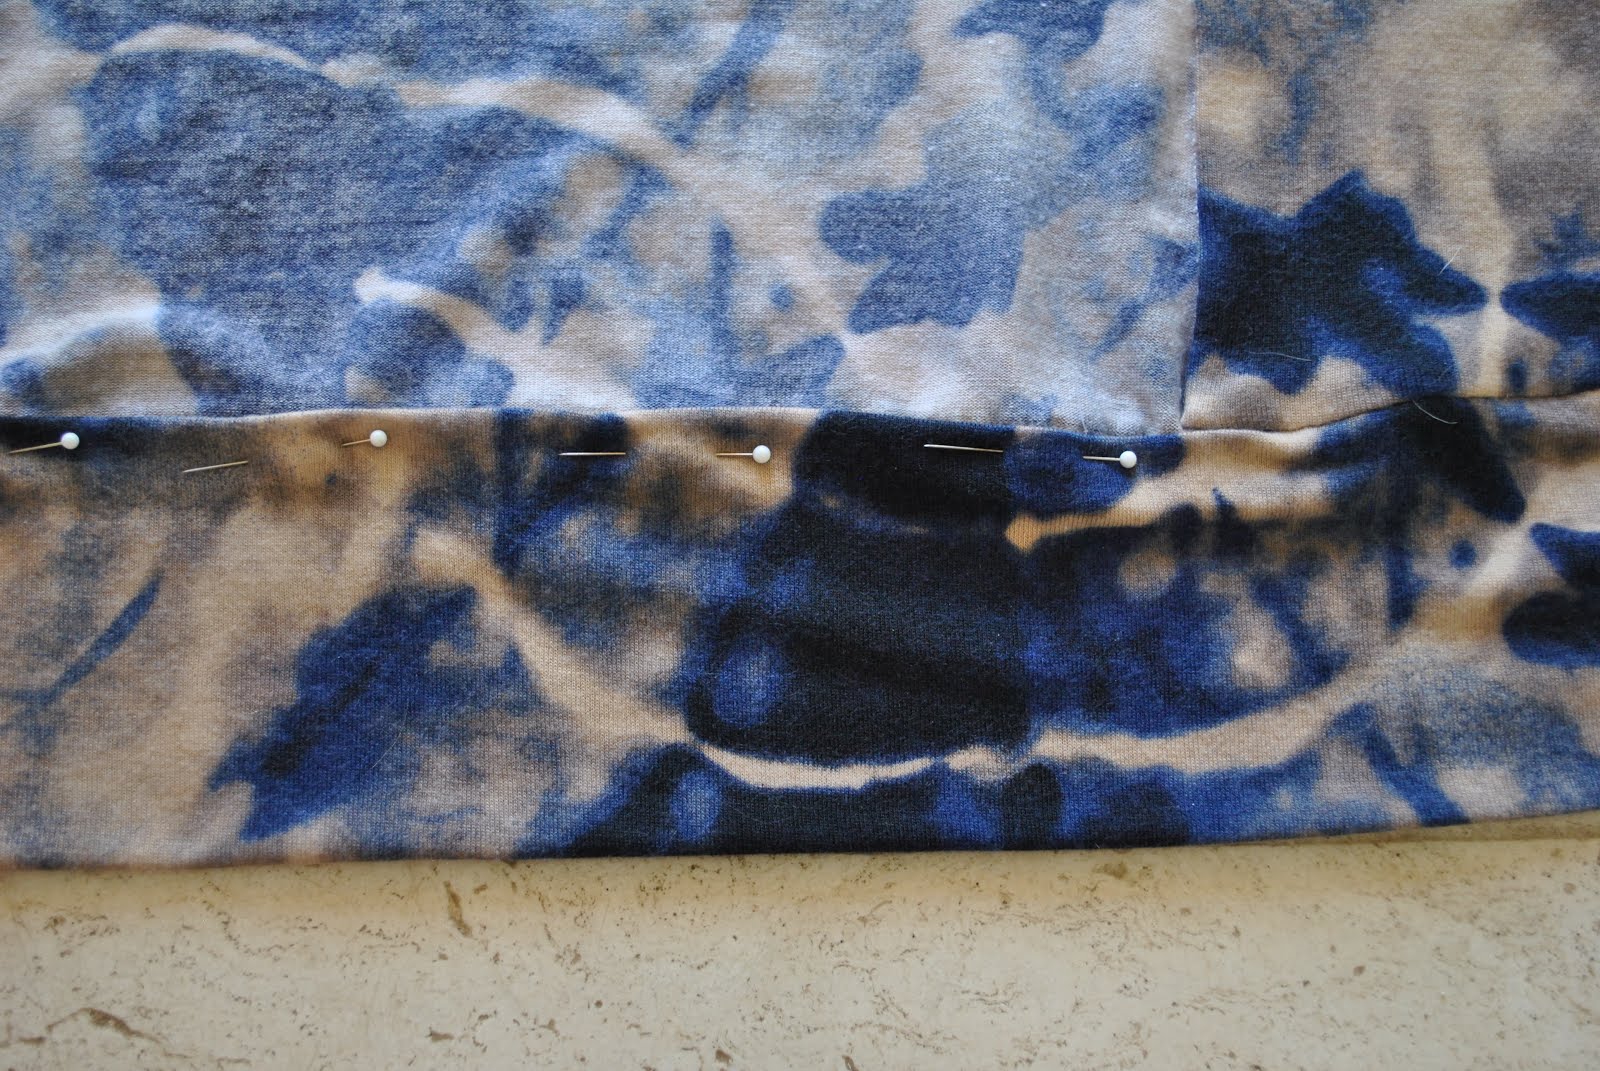
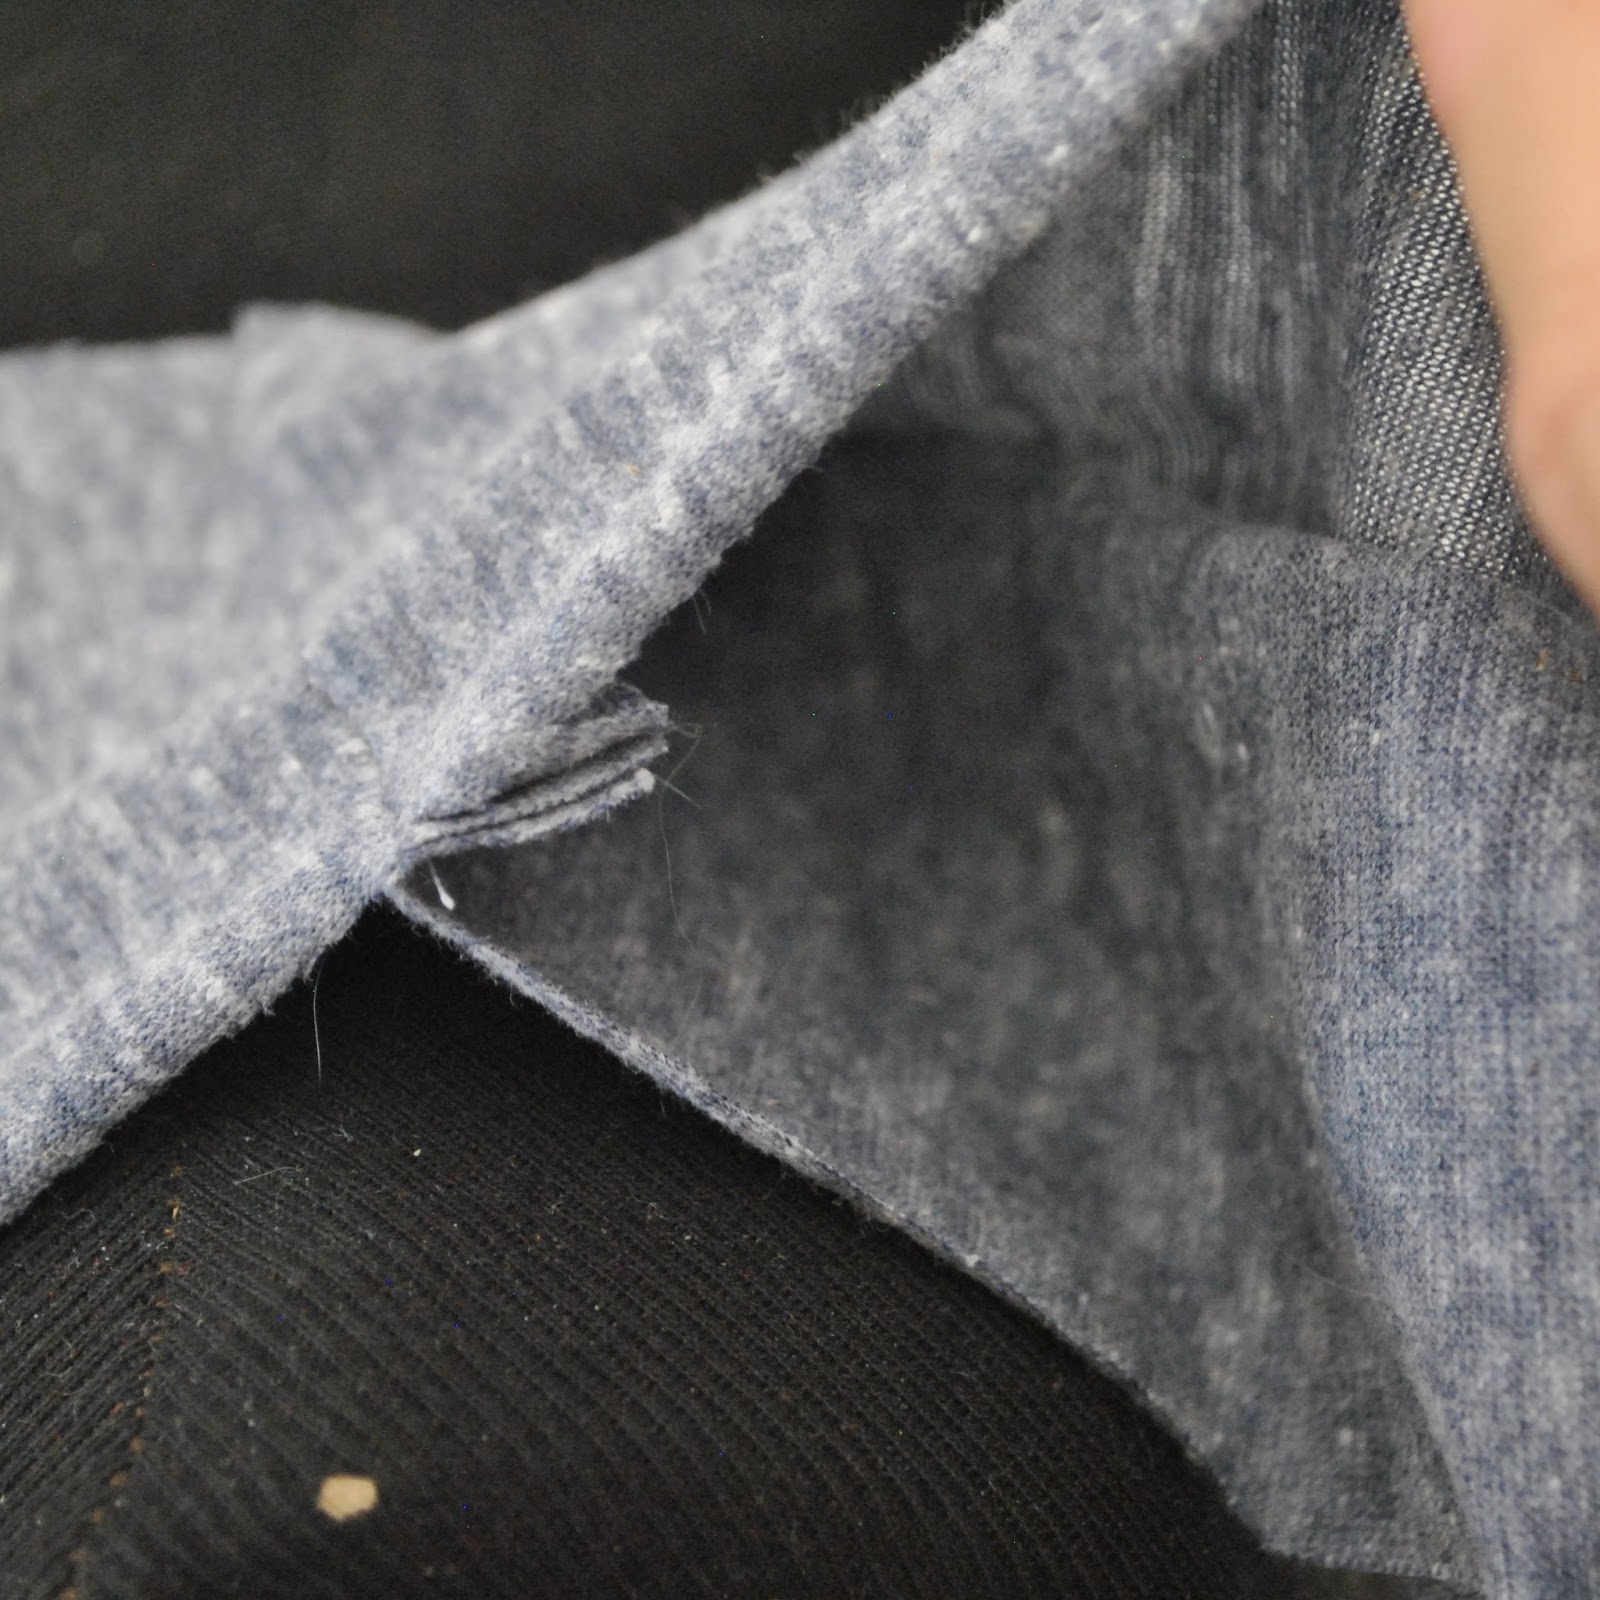
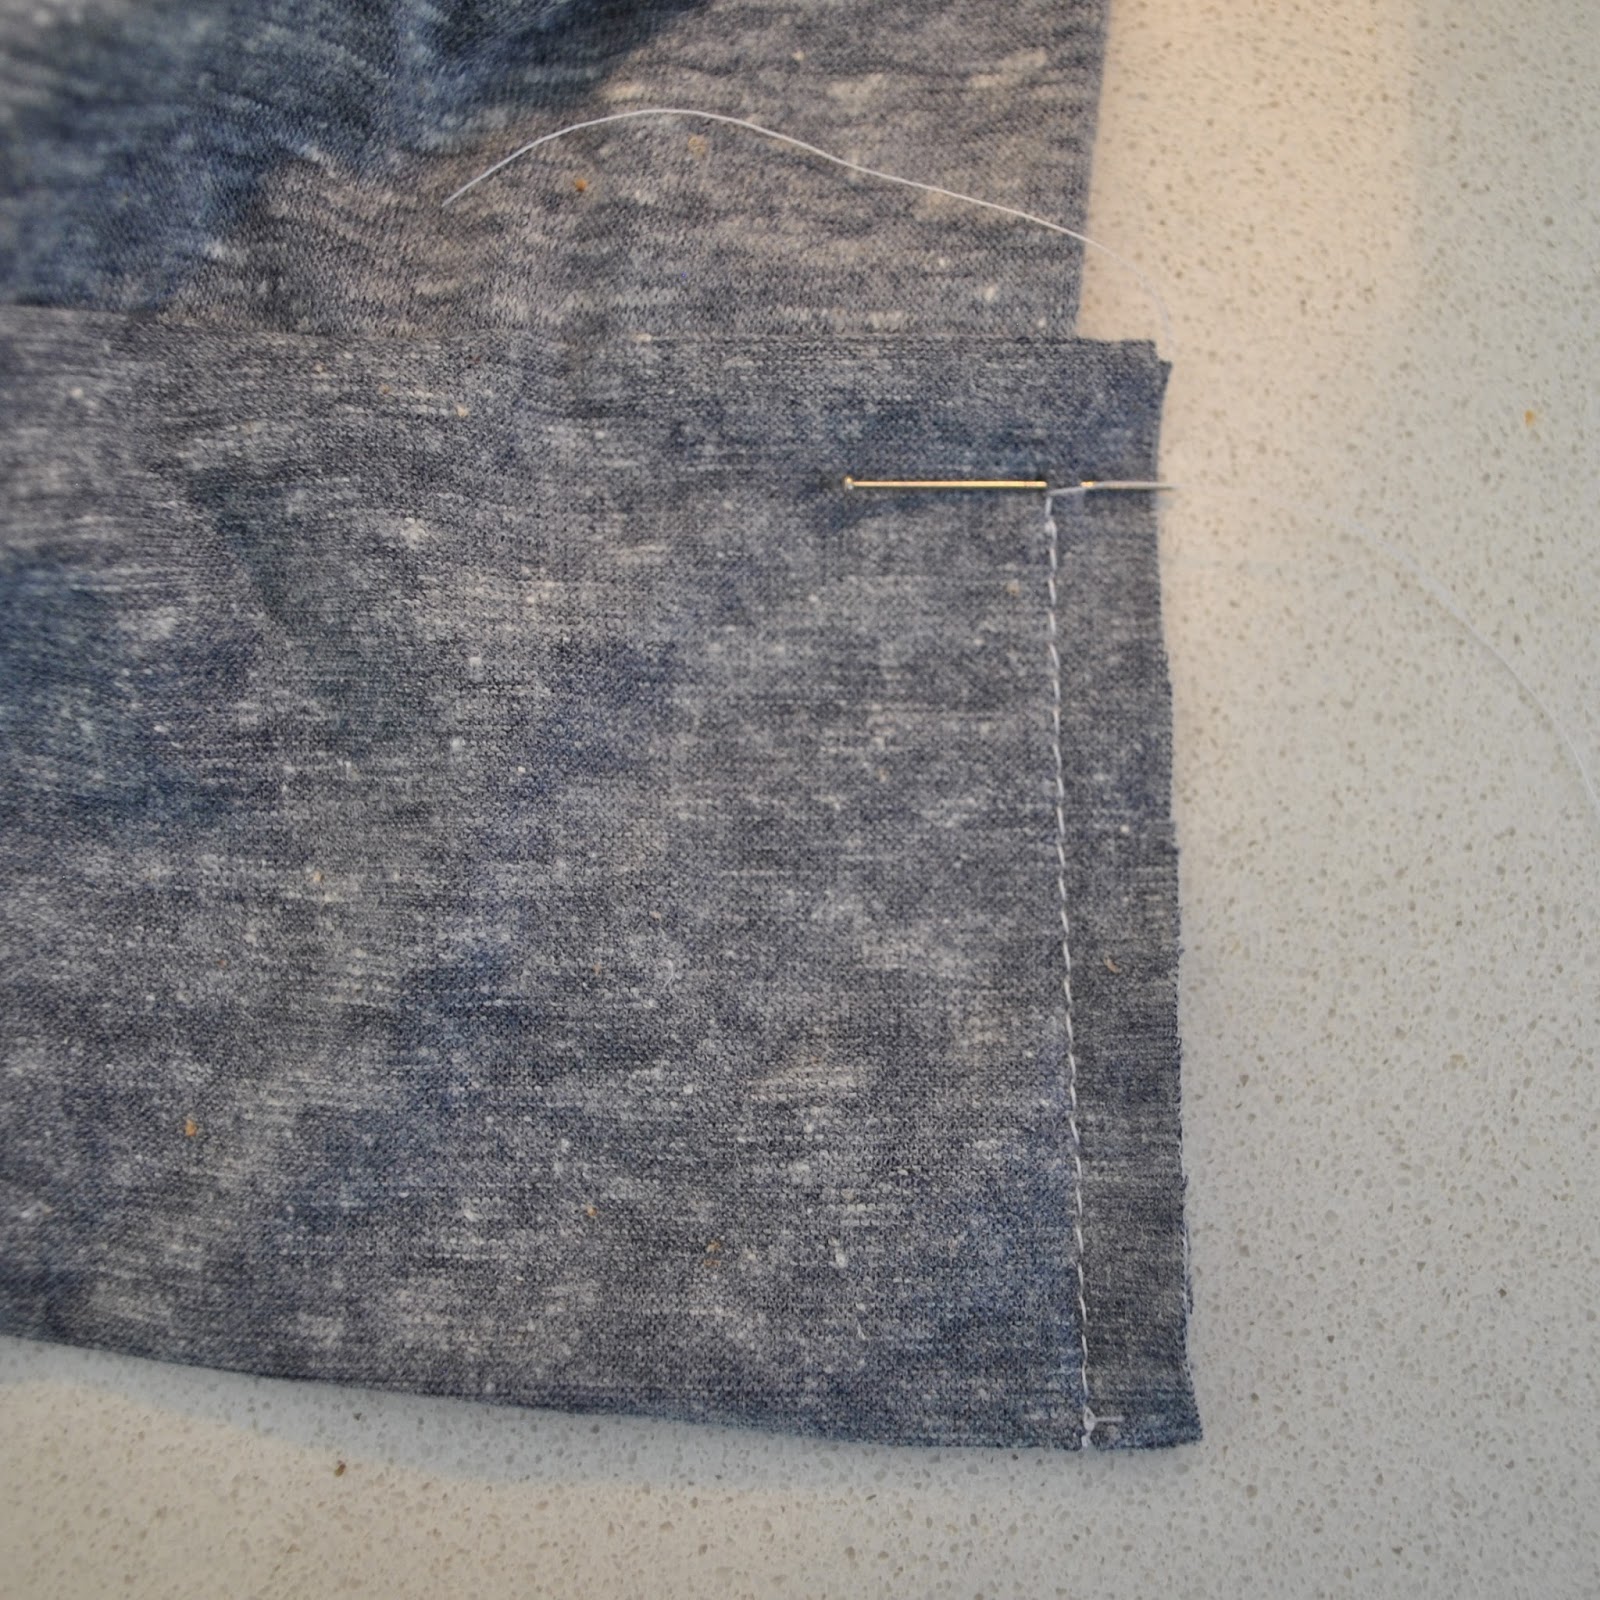
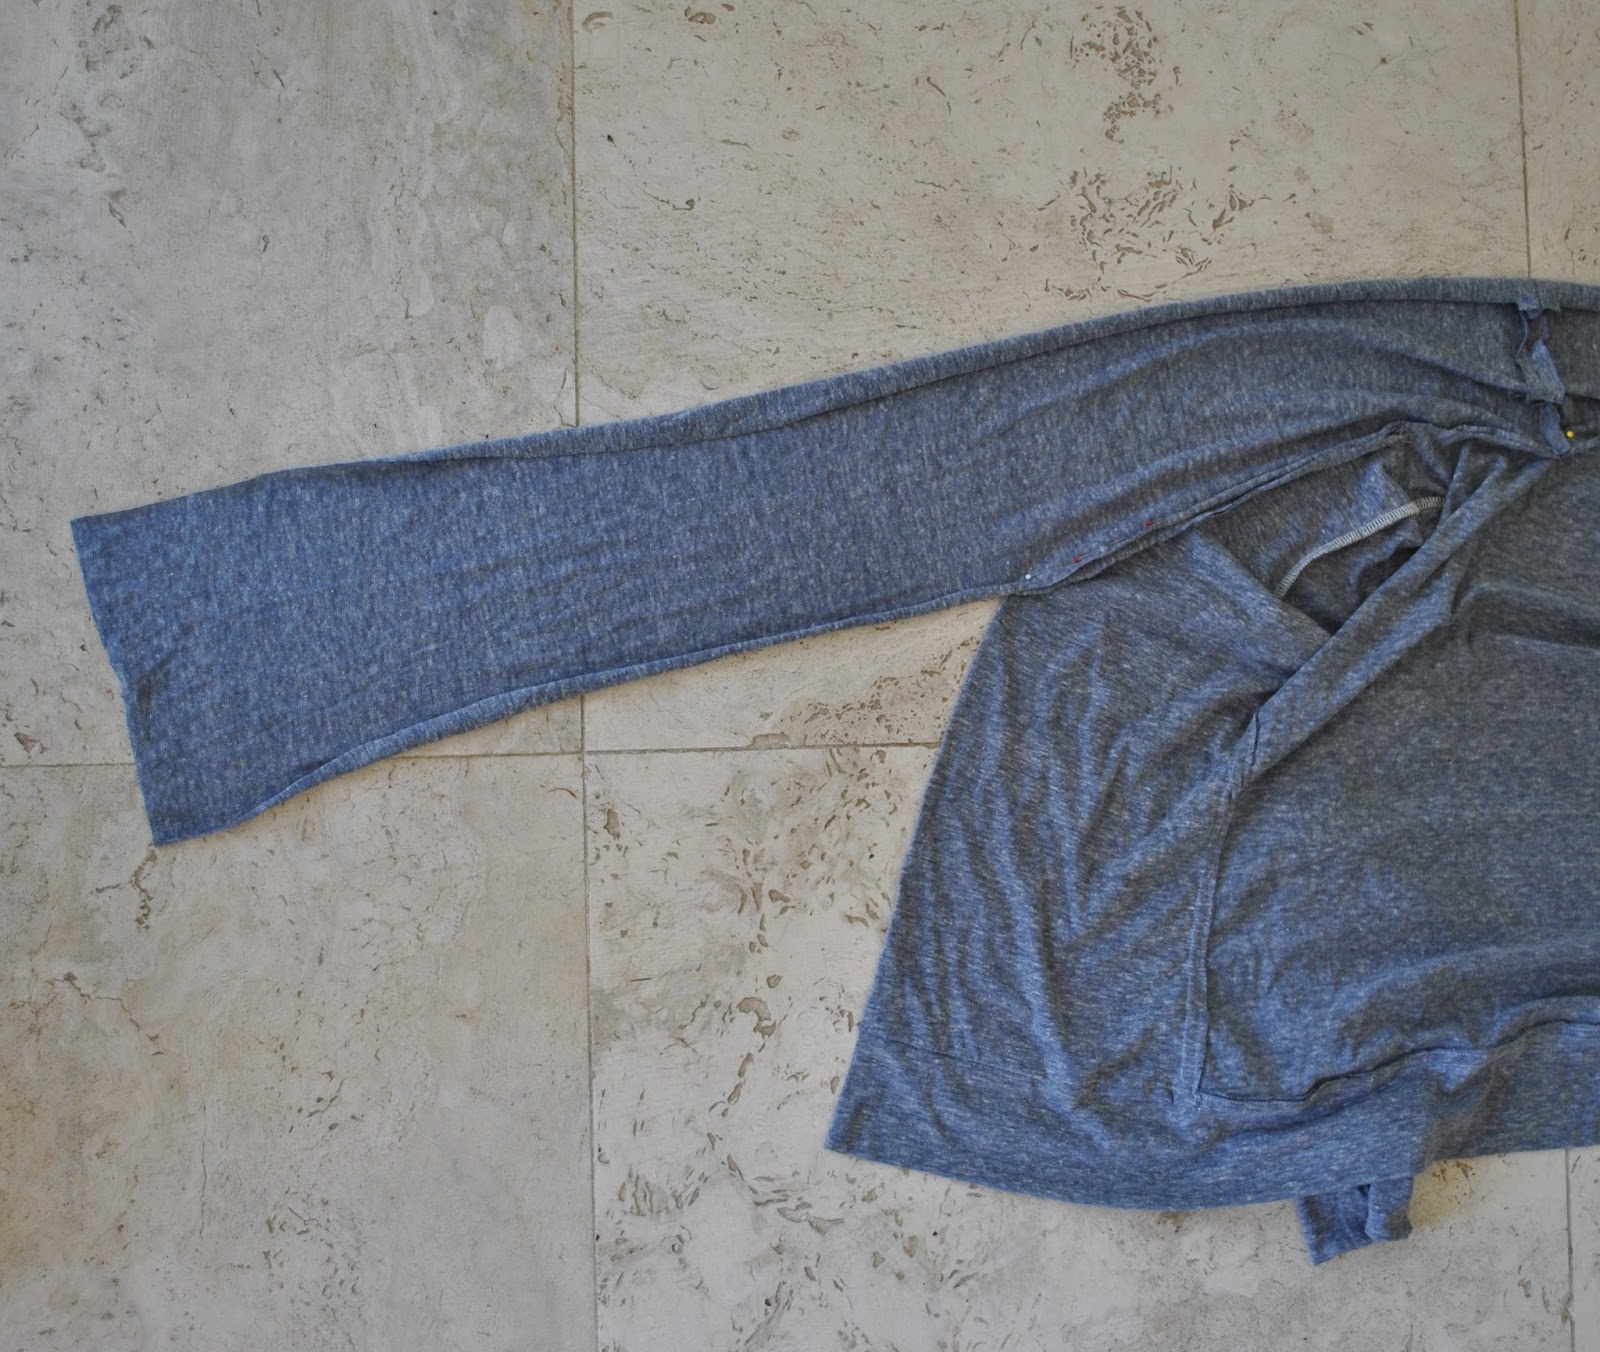
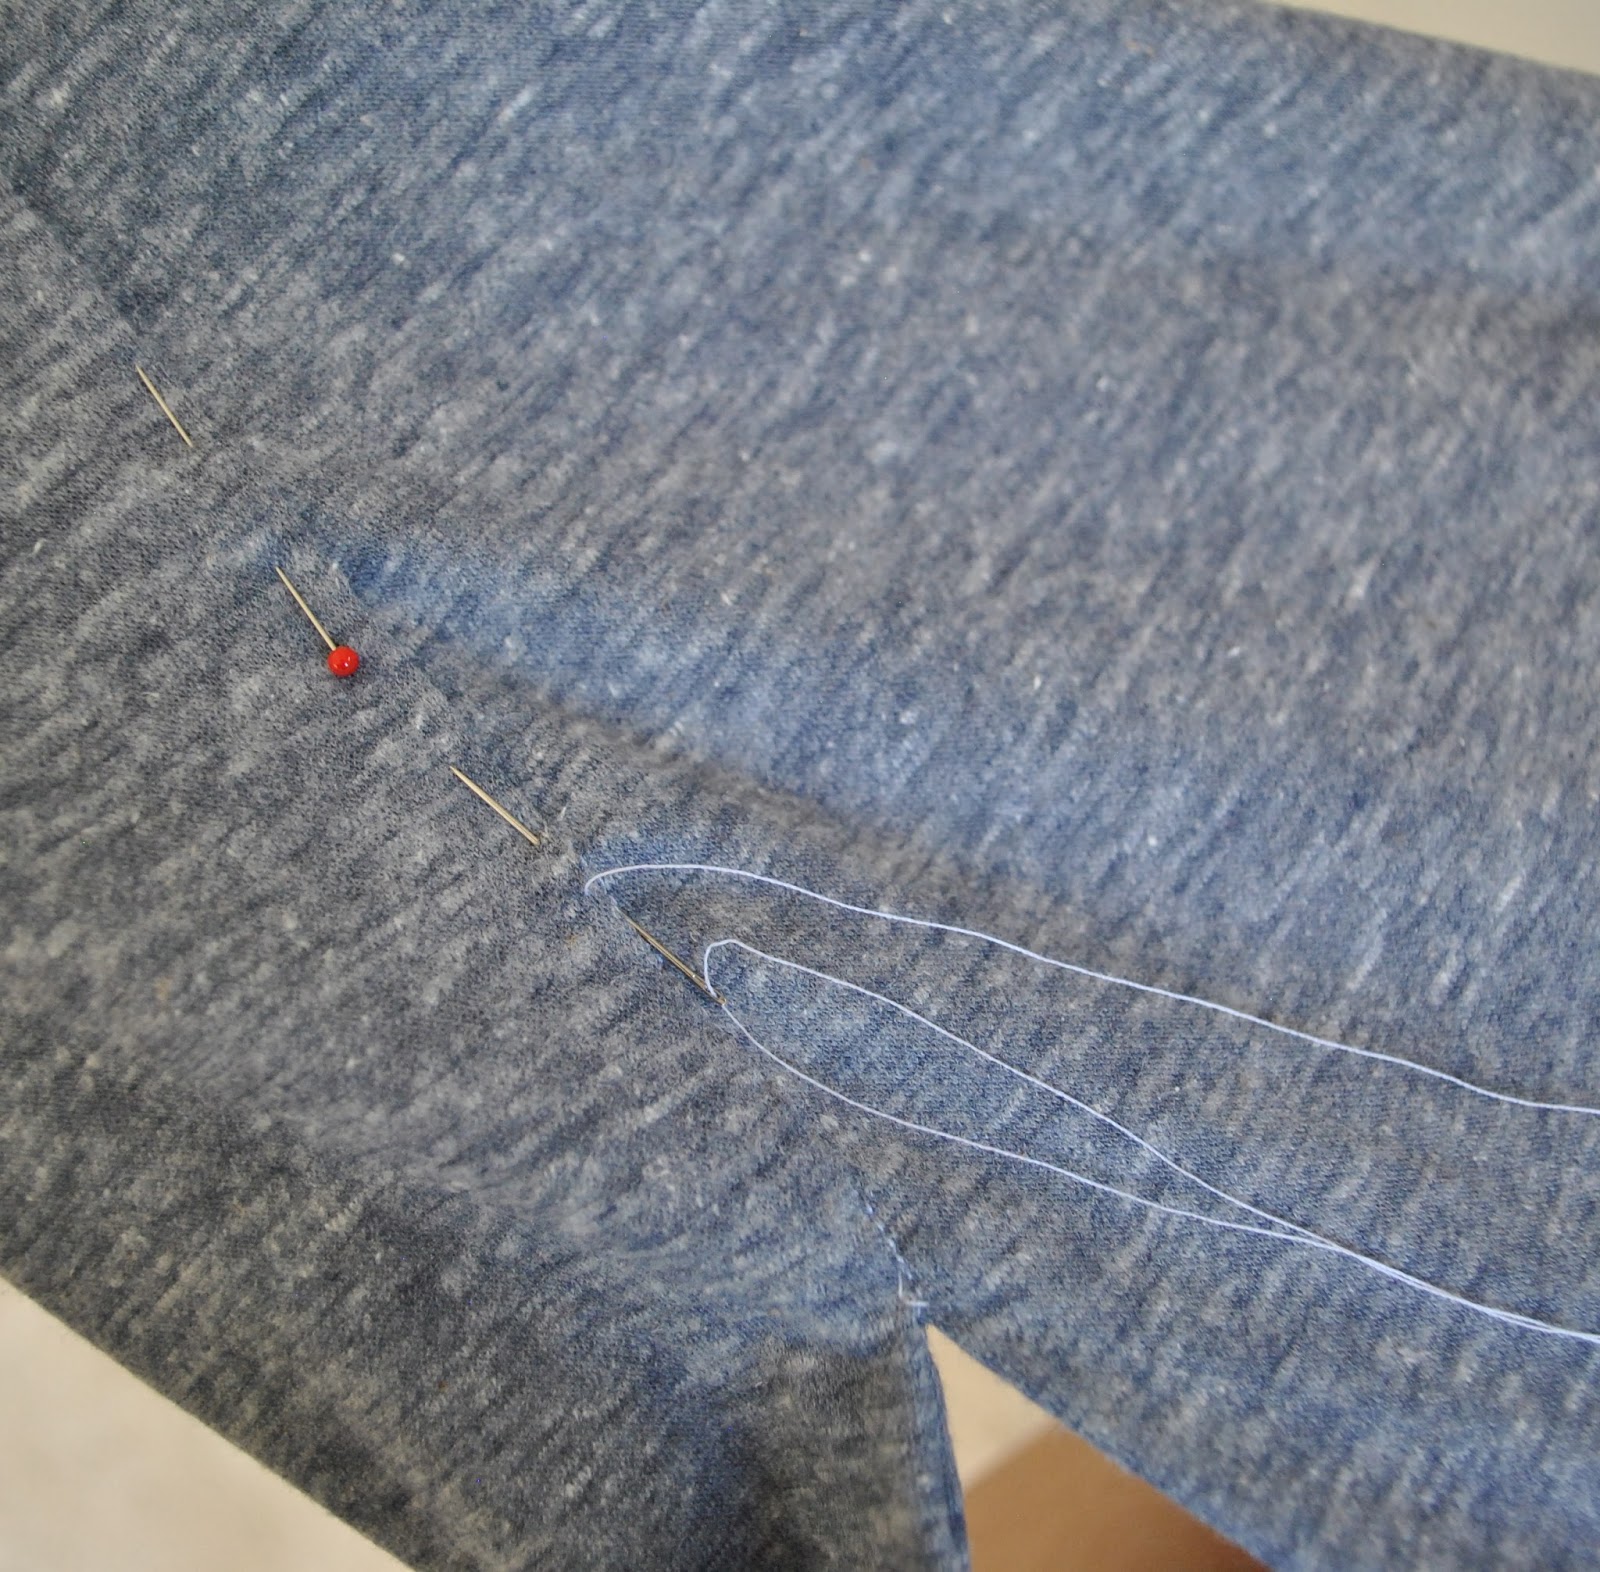
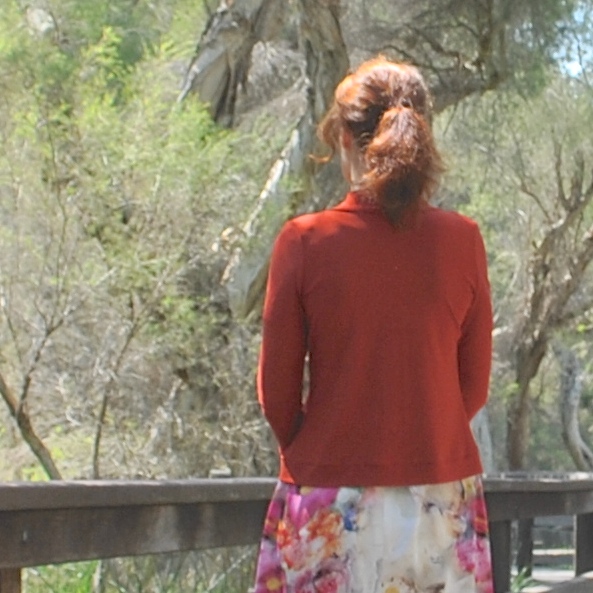
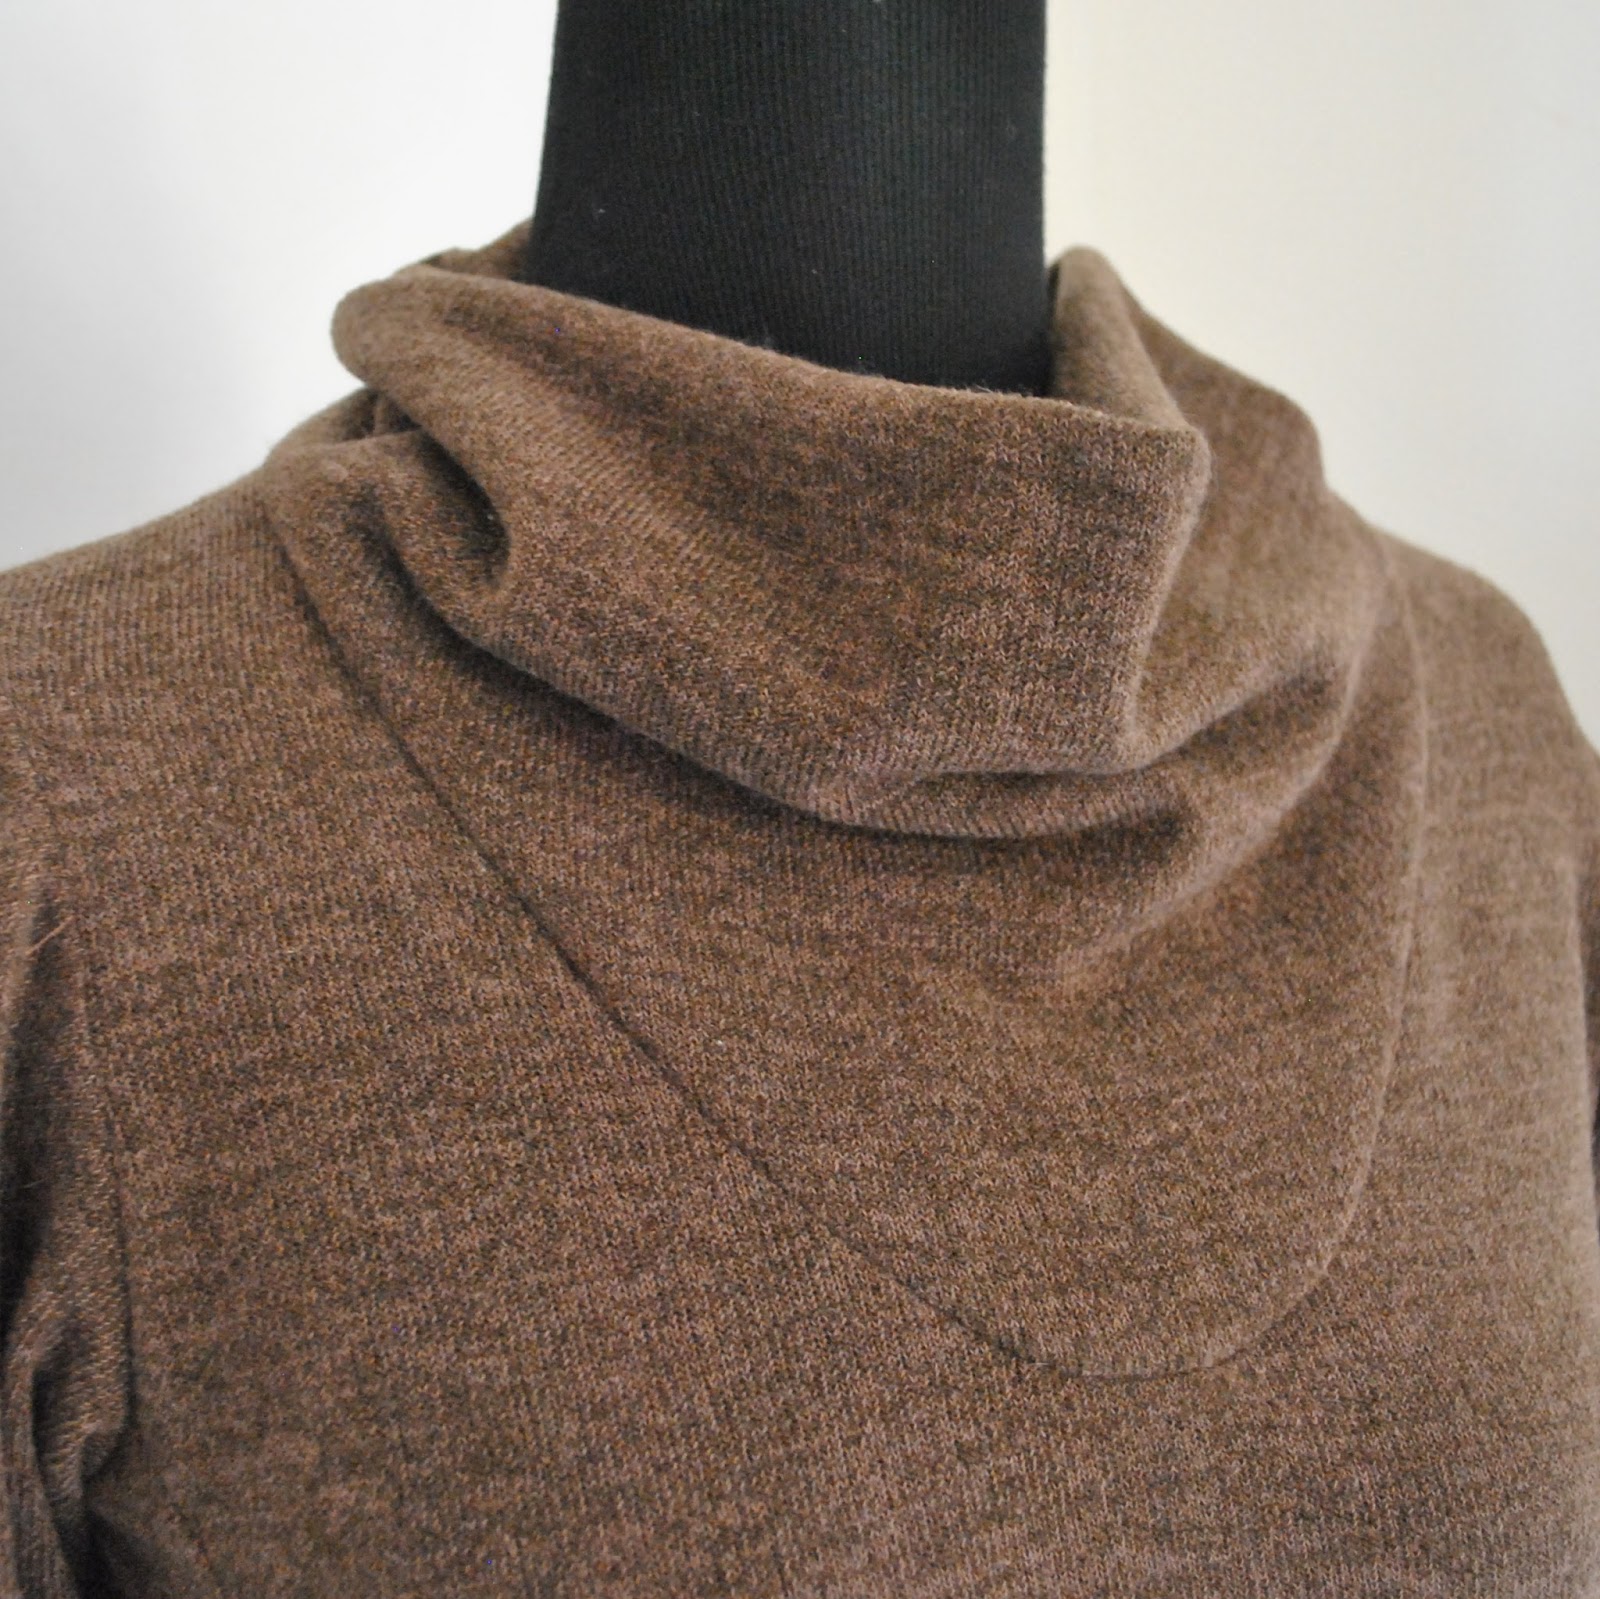
 Along the back edge only, I topstitched the seam allowance down to the top, just inside the seam line. In both cases, the raw edges of sleeve and lower edge are finished with the overlocker, than turned under once and invisibly hand-slipstitched in place.
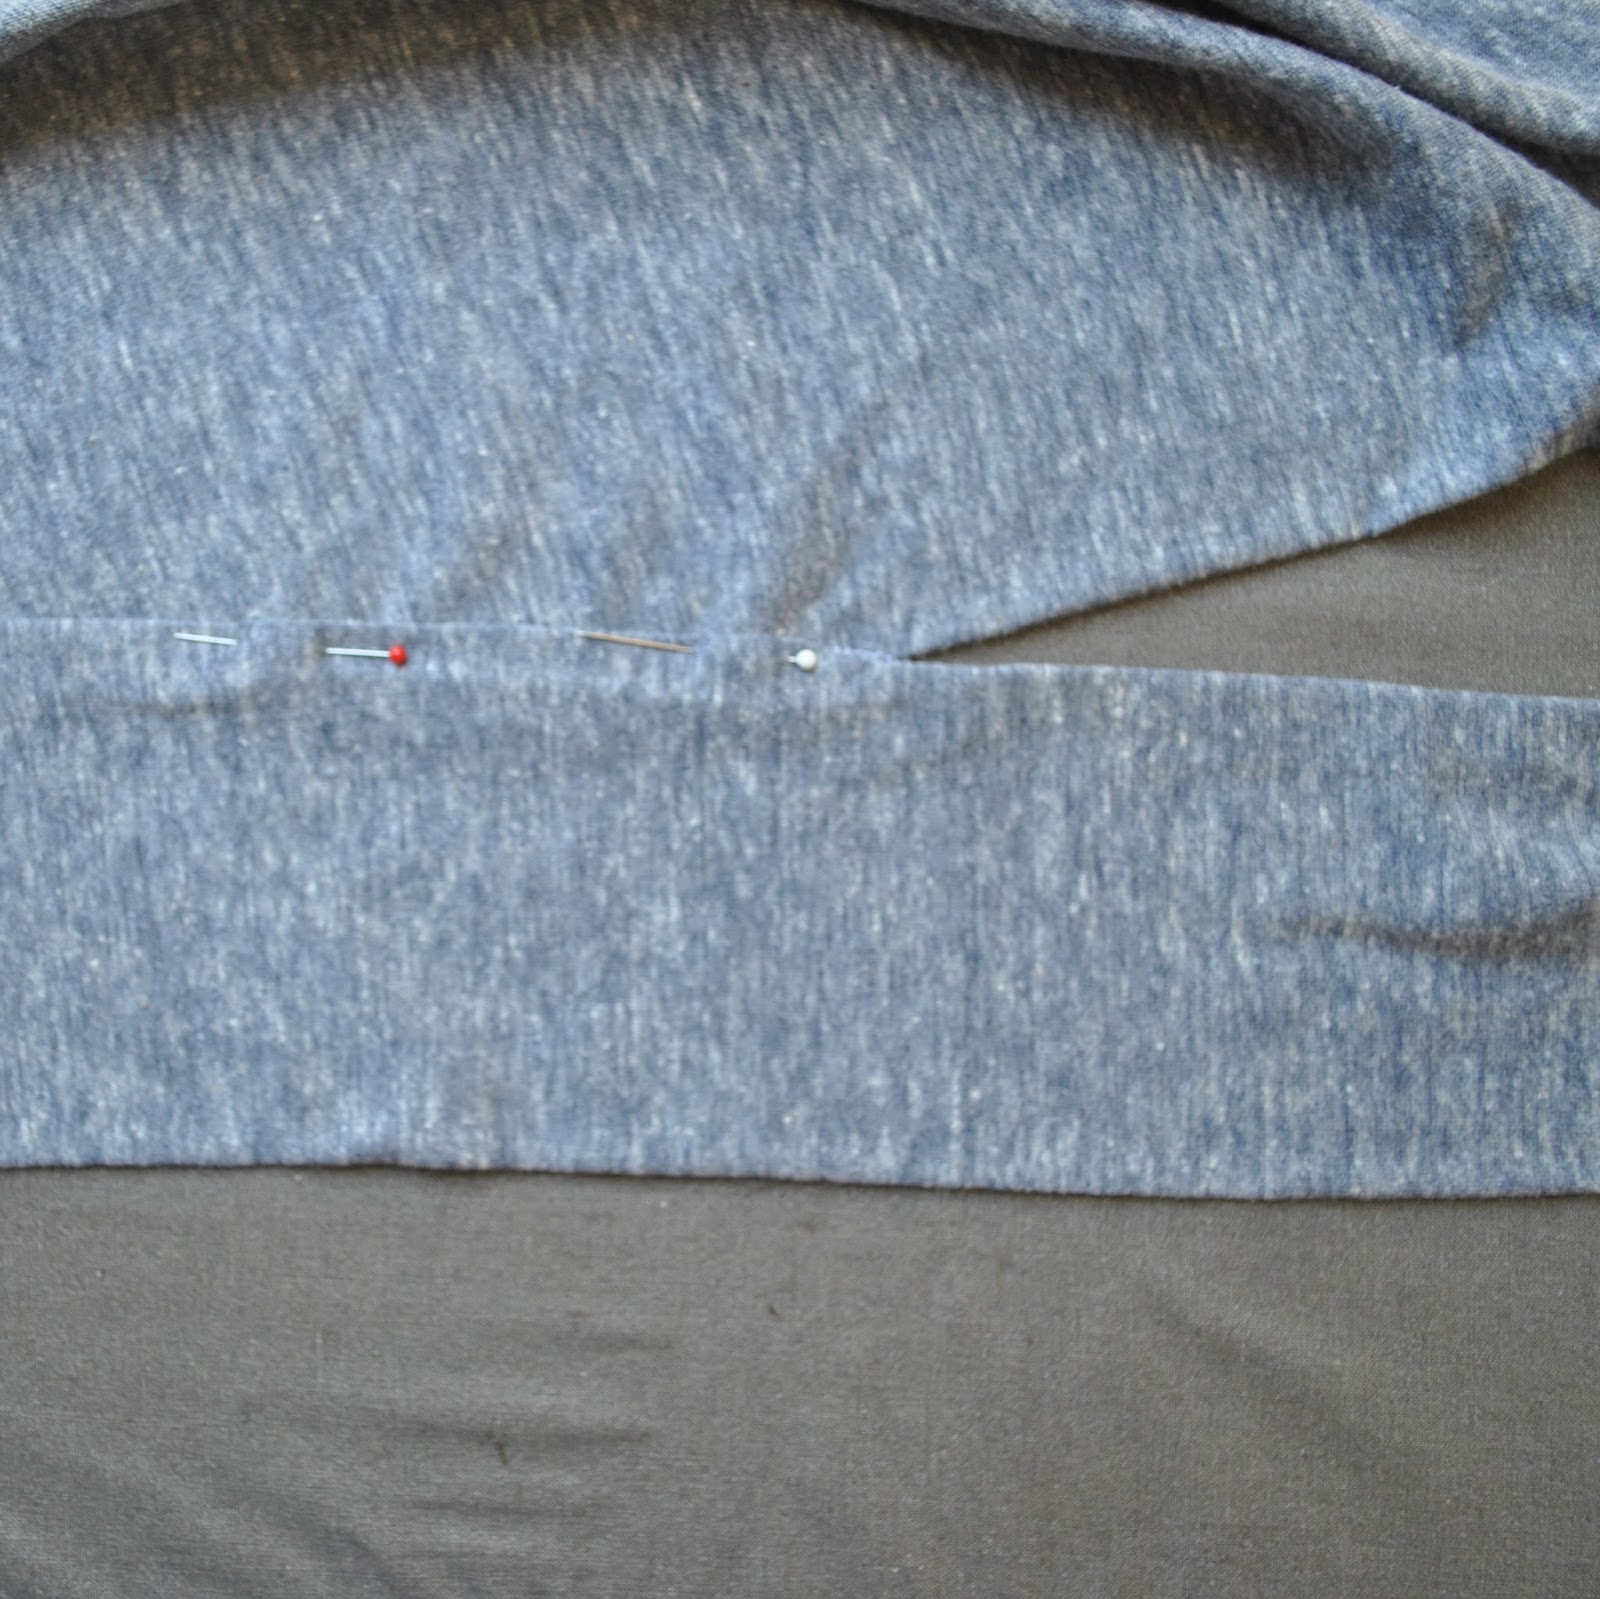
 The method is as follows:


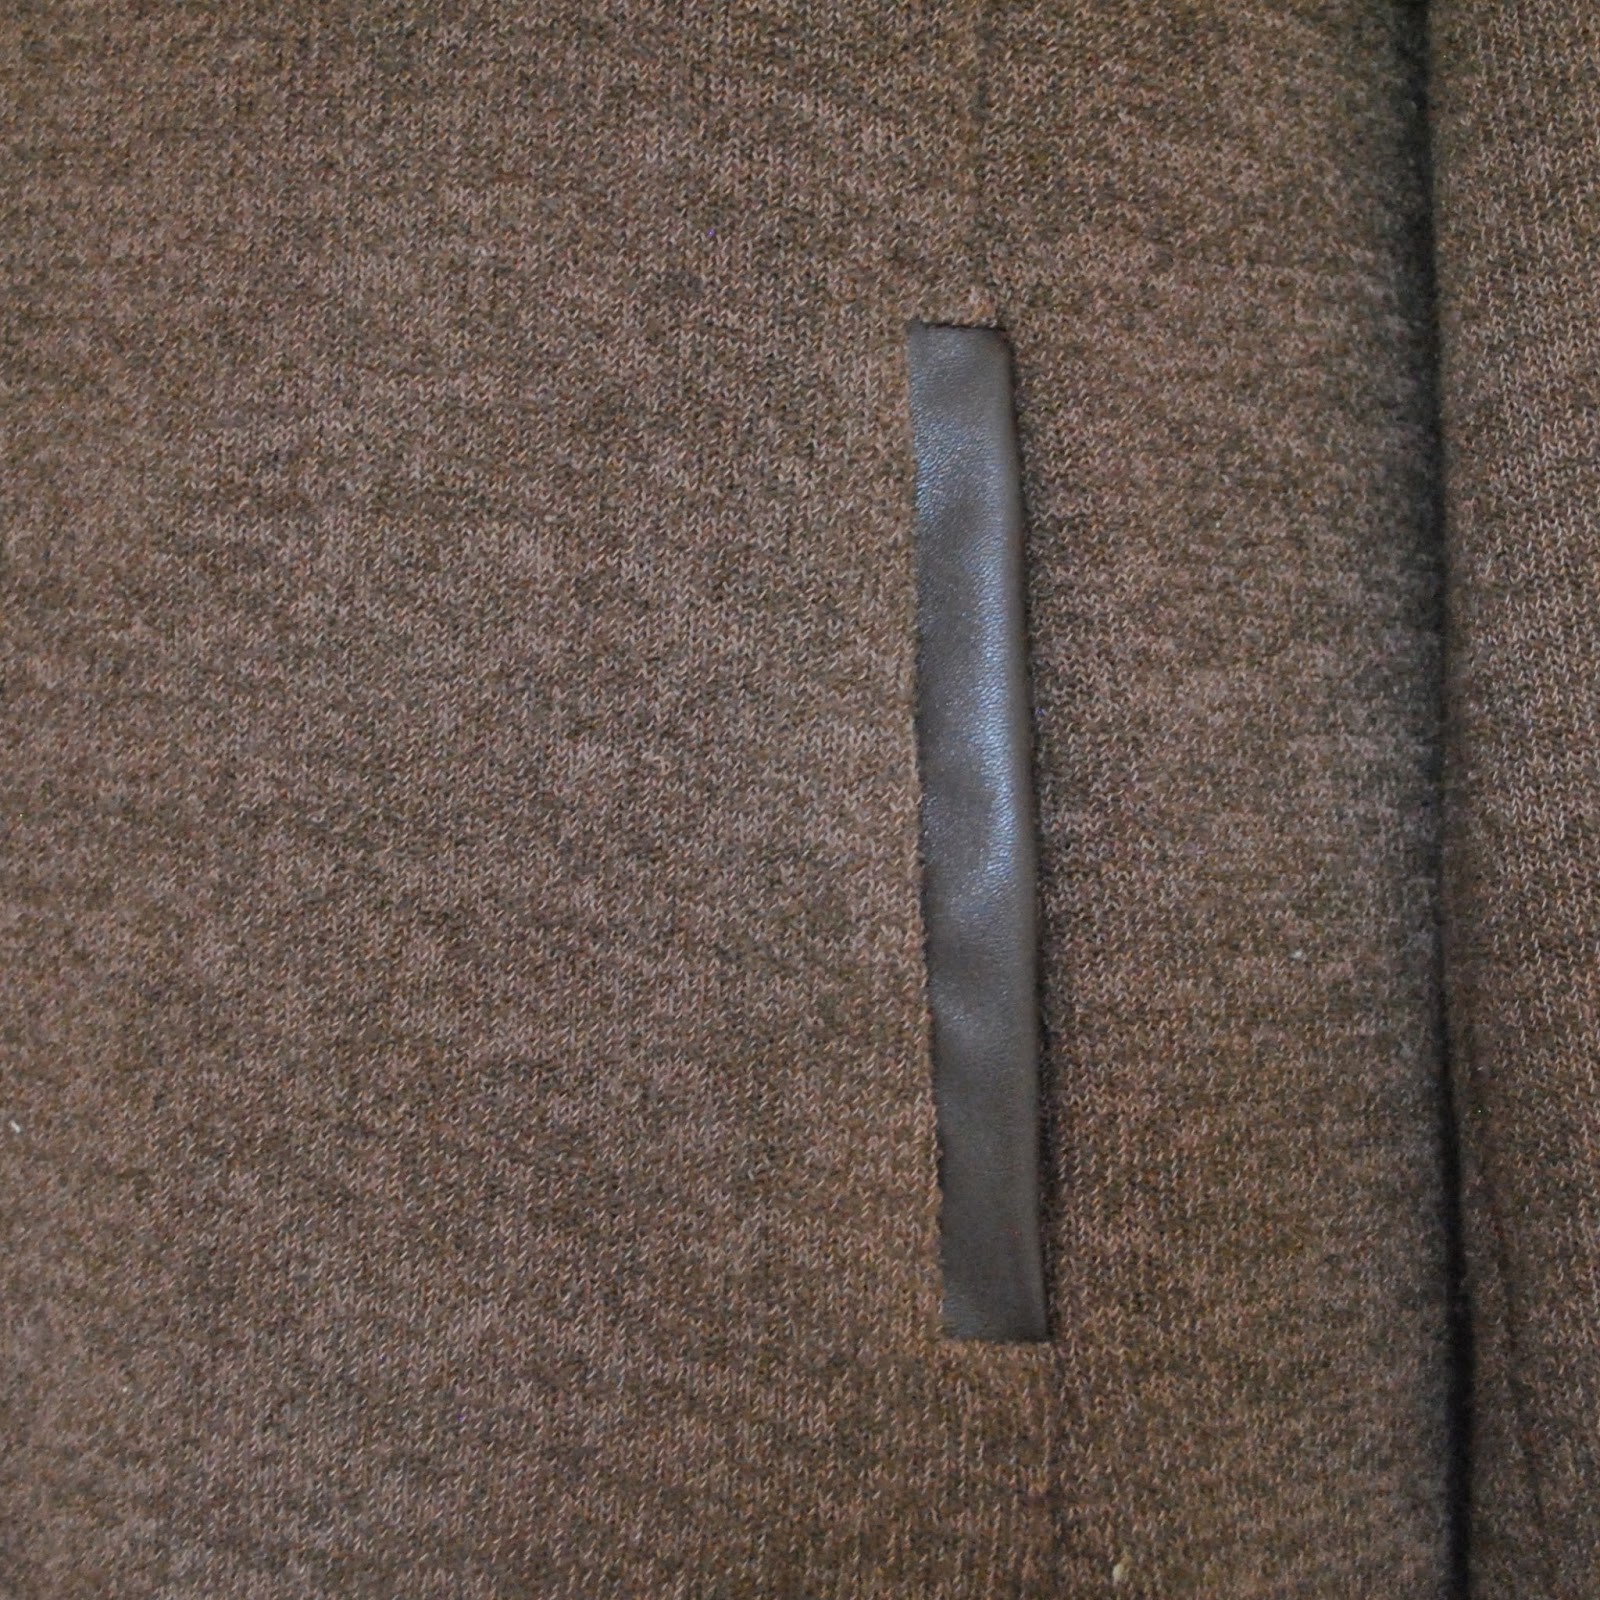
 Well I reckon it’s the attention to the whimsical detail that becomes the most fun thing about making your own clothes!
 Patterns; both knickers are the Watson briefs and the bra is my favourite pattern, MakeBra 2610. This is hands down the most wearable of the bra patterns in my collection.


