Tag Archives: Own Design

New greige top, with a shoulder experiment…

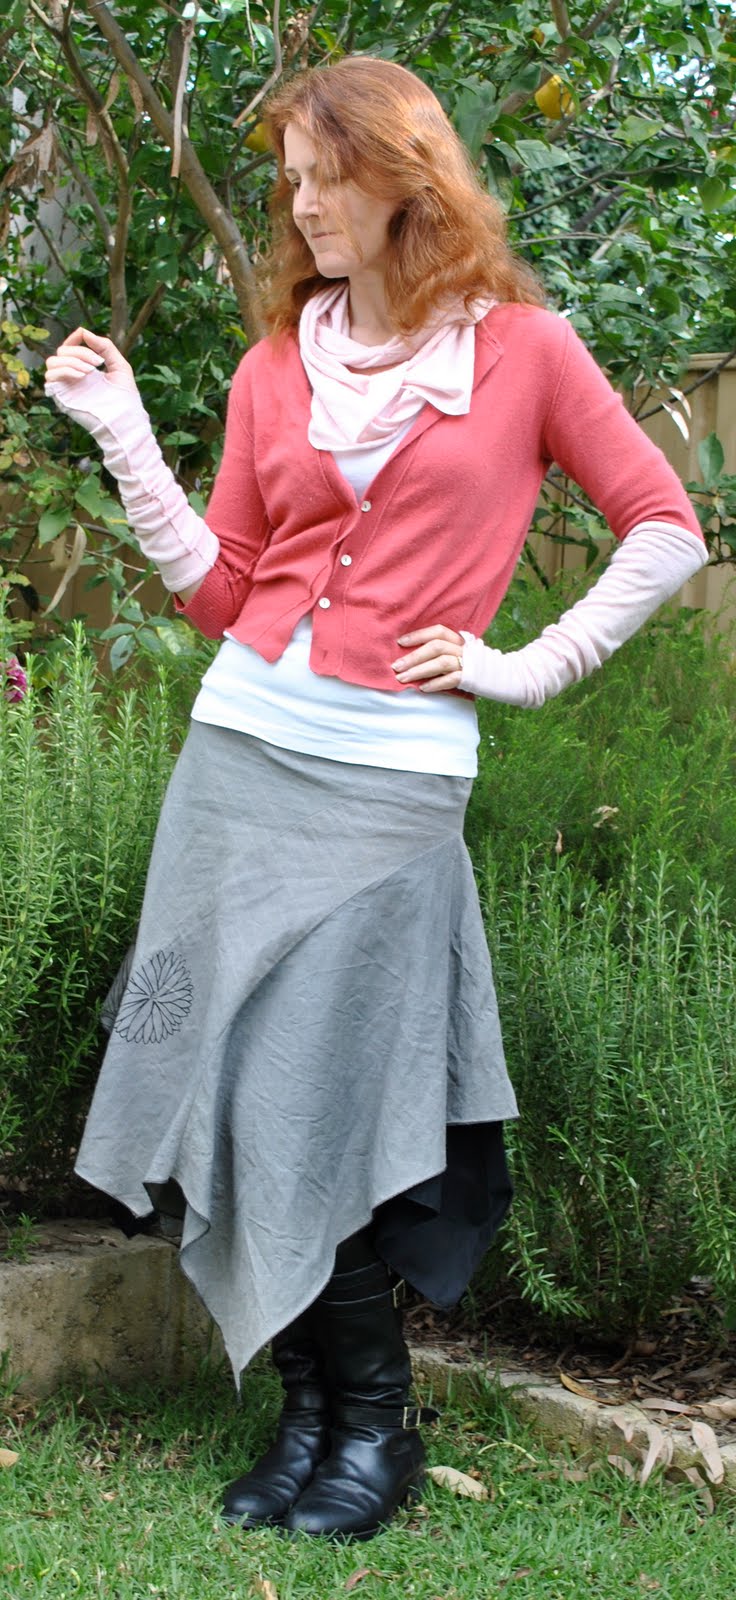
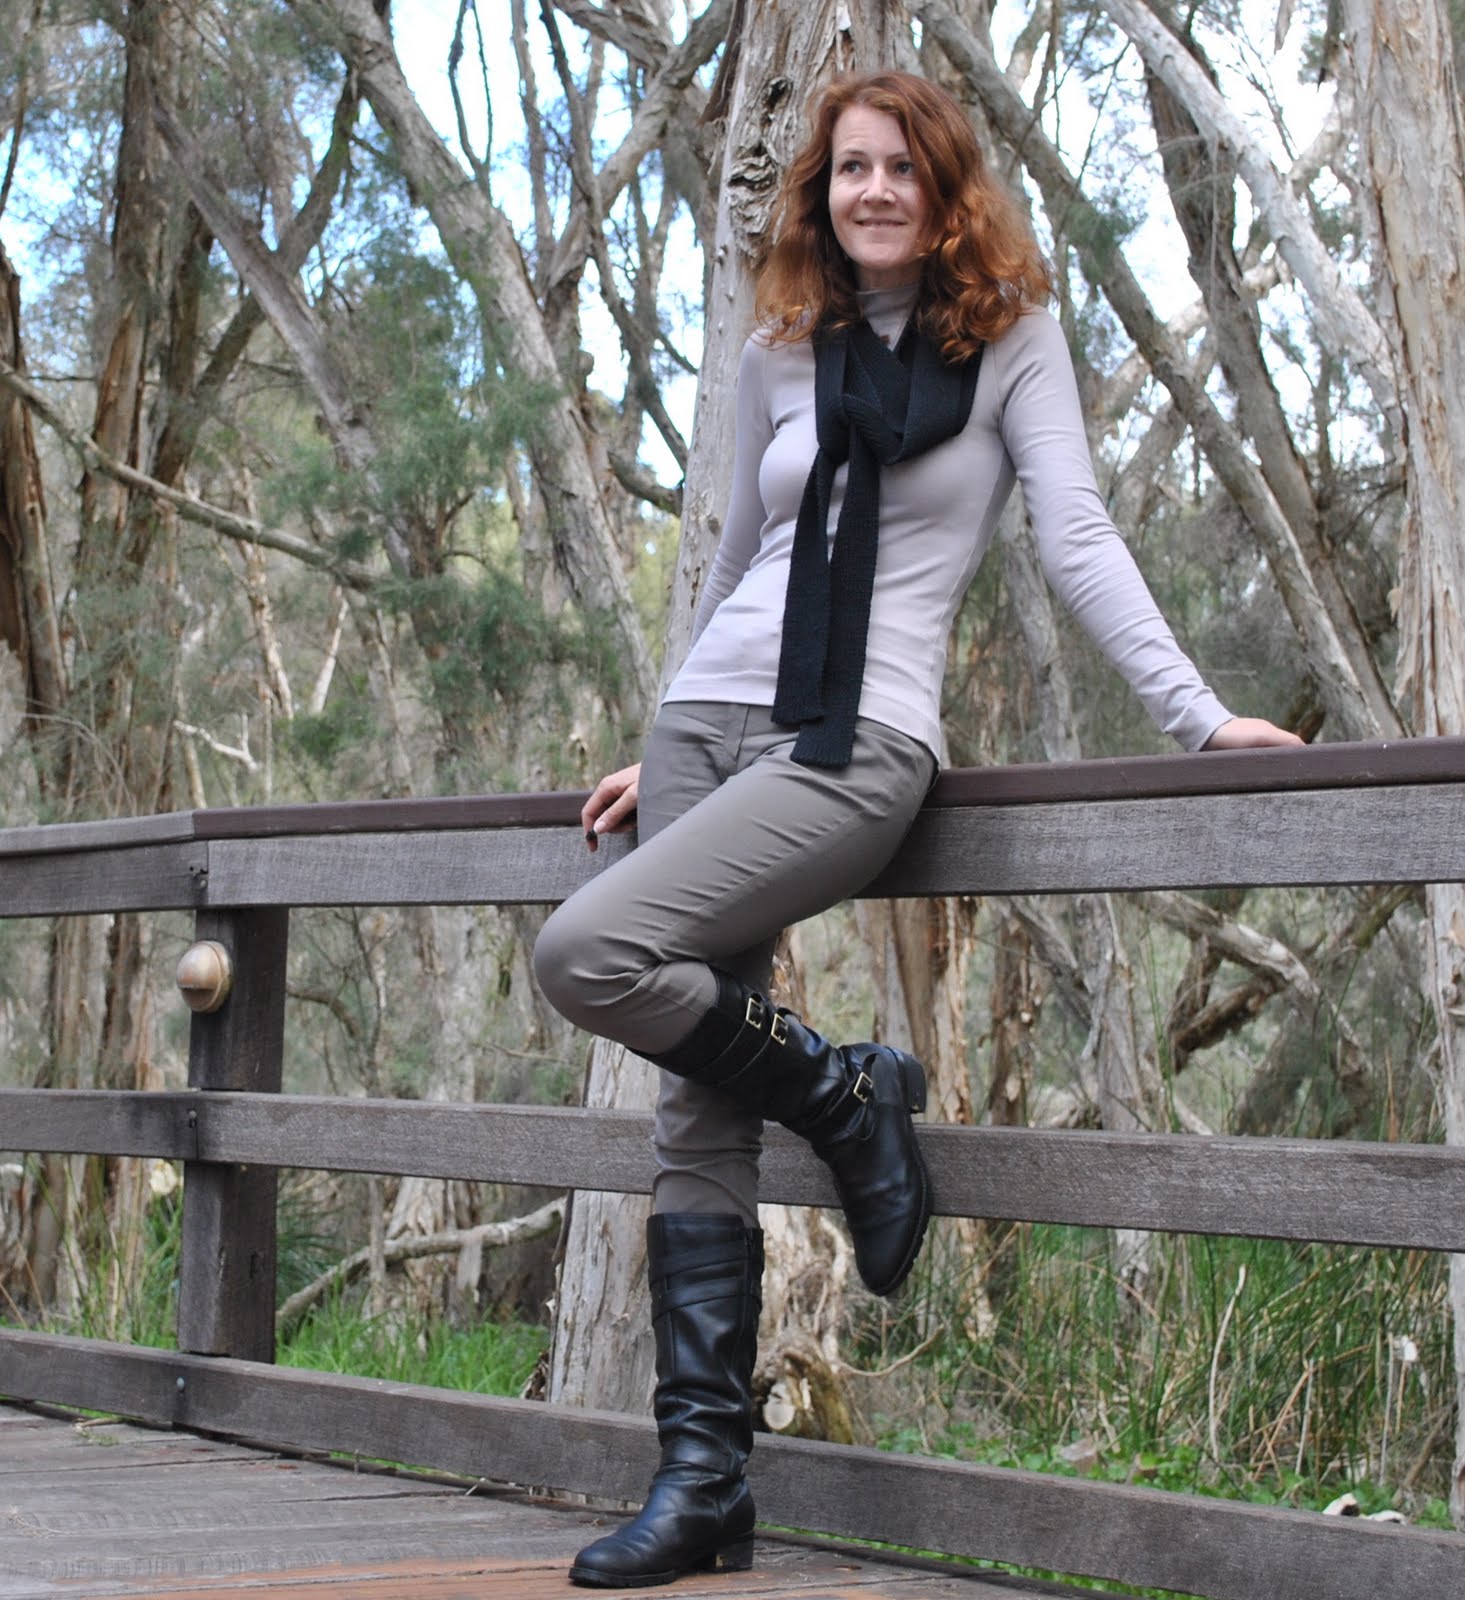
“Greige”; not a word found in any dictionary, but one adopted by the fashion industry to describe this colour that is not quite grey, not quite beige…   I love it.  And going by my latest fabric shopping binge carefully-considered purchases, one I will be incorporating happily into my neutrals collection for this spring…
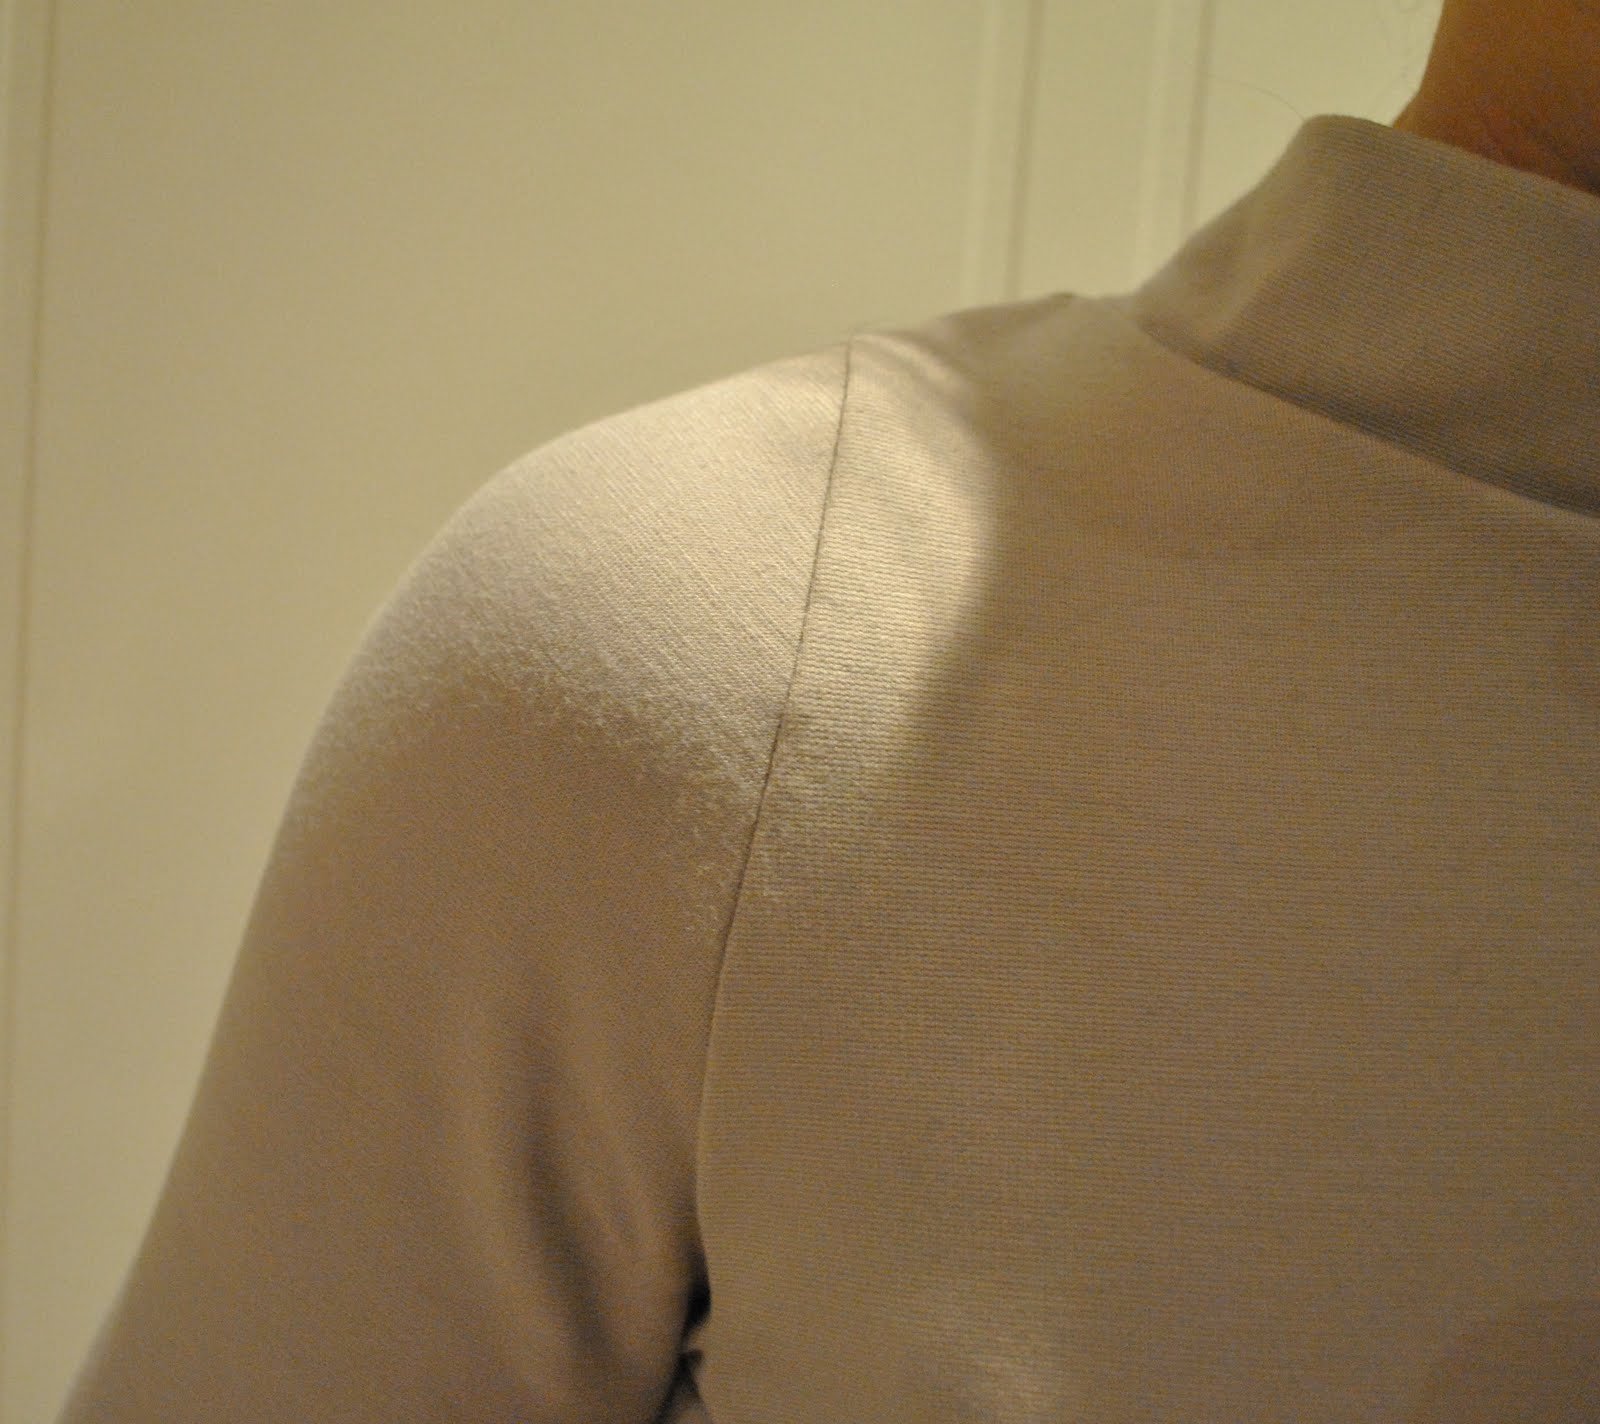
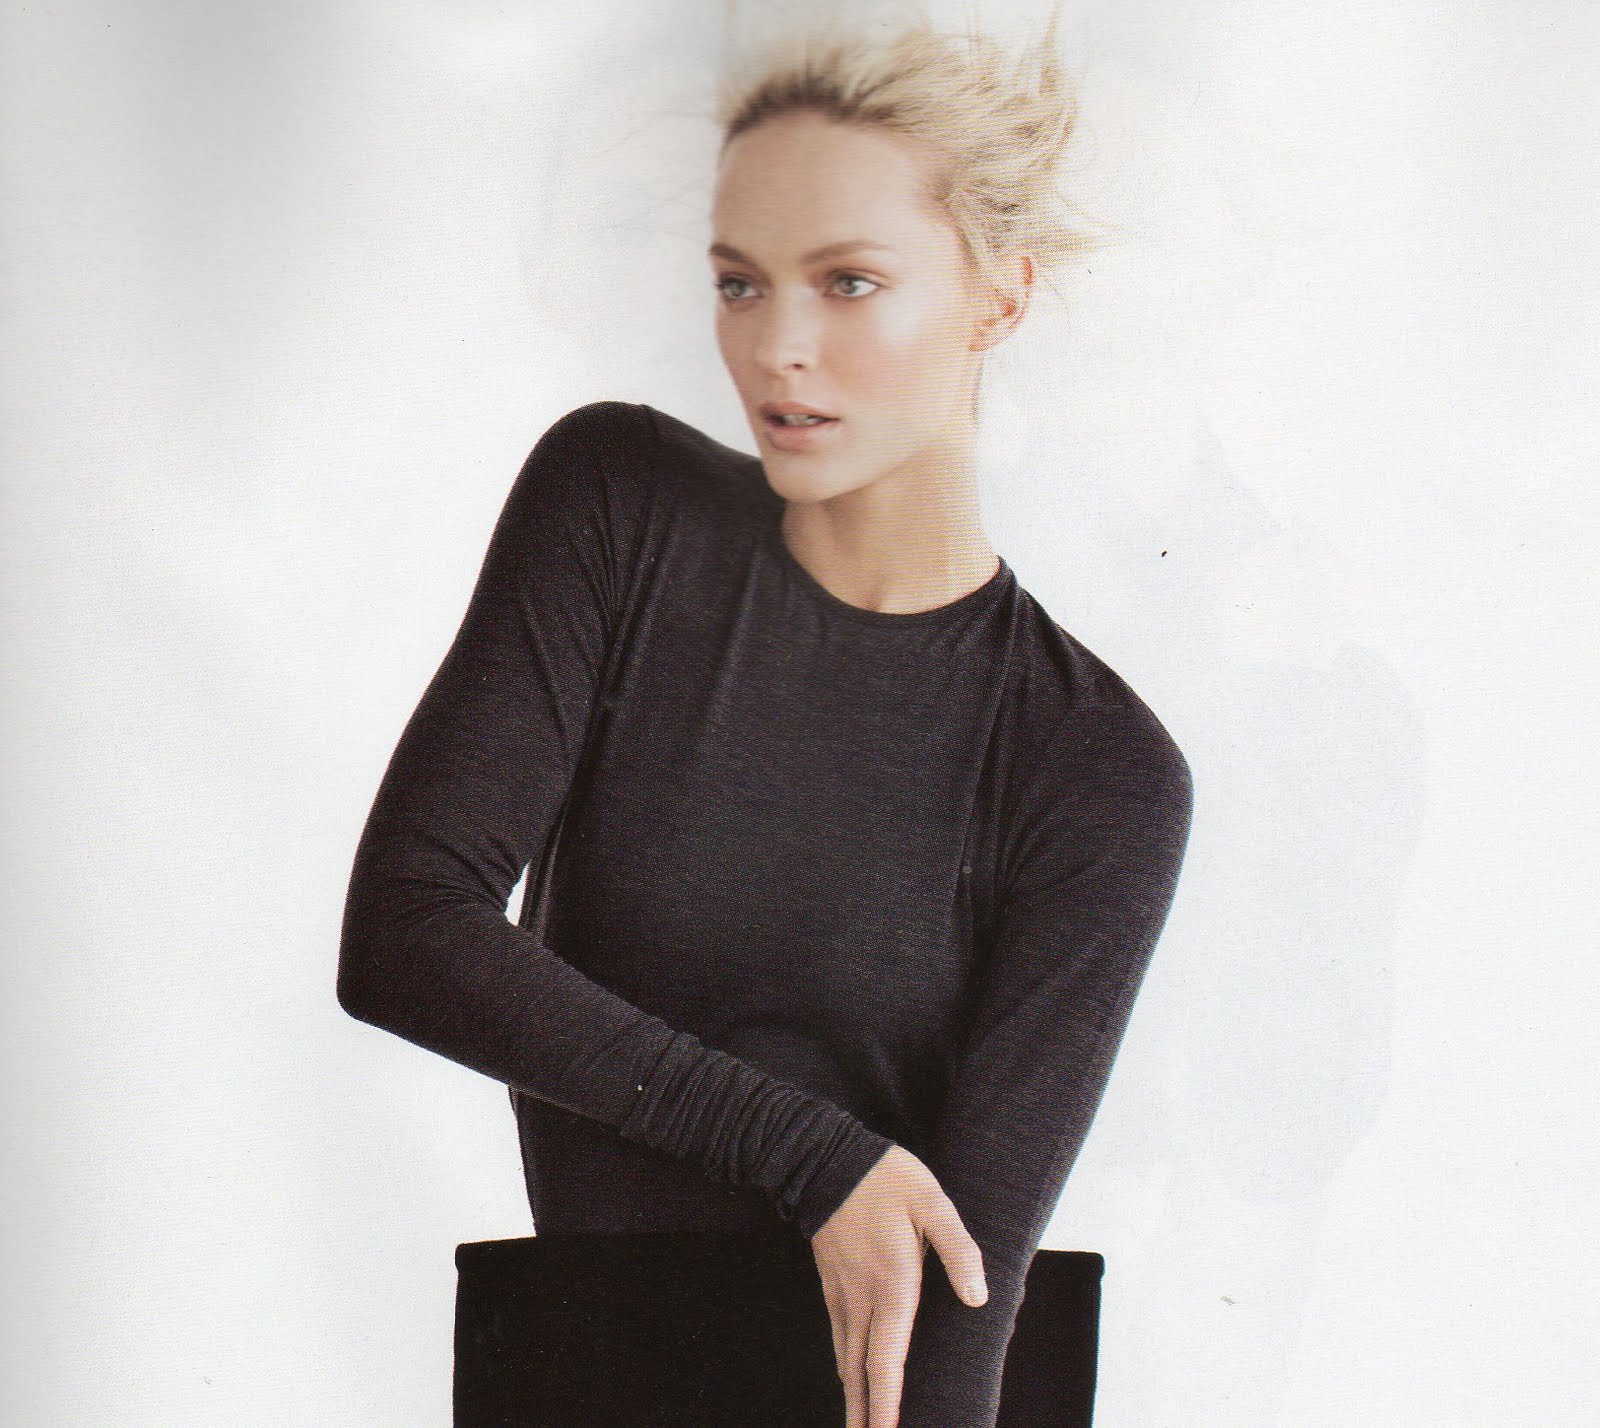
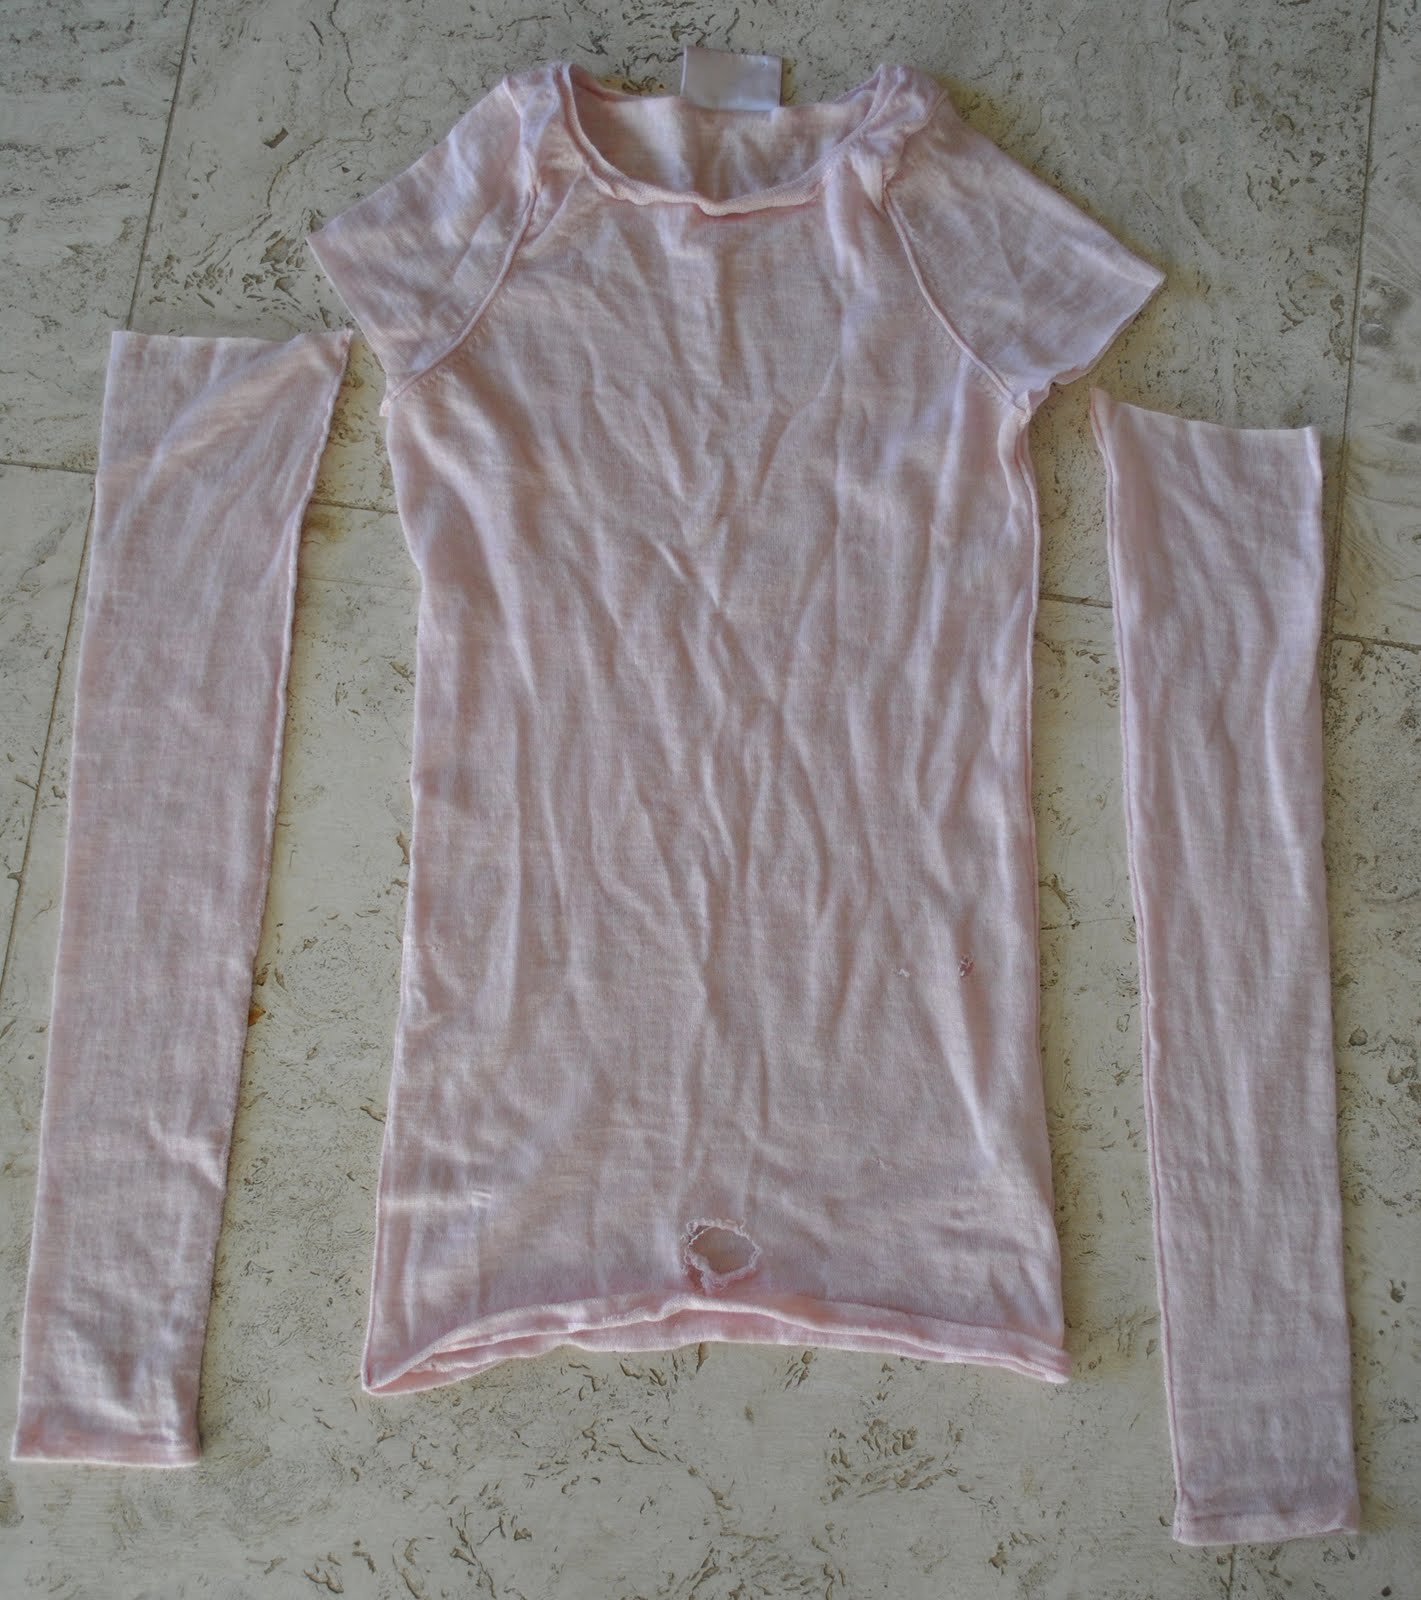
I’ve made this new top.  Seemingly just an ordinary top, the pattern drafted from other tops I already own, with a small pattern modification…  I’ve noticed on some designer collections the trend for a slightly different shoulder/sleeve treatment, where the sleevecap seems to be sitting much higher on the shoulder than usual, but still smoothly fitted to the shoulder.  The crest of the shoulder/sleeve seam sits halfway up the model’s shoulder, see below right.  Usually in my tops I aim to have that seam right on the shoulder crest…  He he, I had a fleeting thought on first noticing this unusual shoulder in a fashion shoot that this might just be a symptom of an ill-fitting top!, but of course in serious fashion collections an effect is usually intentional… and I thought this was interesting so thought I’d give it a whirl.  I think I had reasonable success for a first-time experiment.  I just cut the sleeve cap about 4cm higher and removed width from the shoulder seam and arm scye along the outer edge…  I do like the way the seam sits up a little higher, and not on the crest of the shoulder.  It feels a lot smoother and sits nicer, in my opinion!  Sometimes that little blobby seam sitting right on the shoulder edge can detract from the overall smooth lines of a top and this higher seam, not raglan, but not quite a conventional set in shoulder either, is a nice compromise… what do you think?
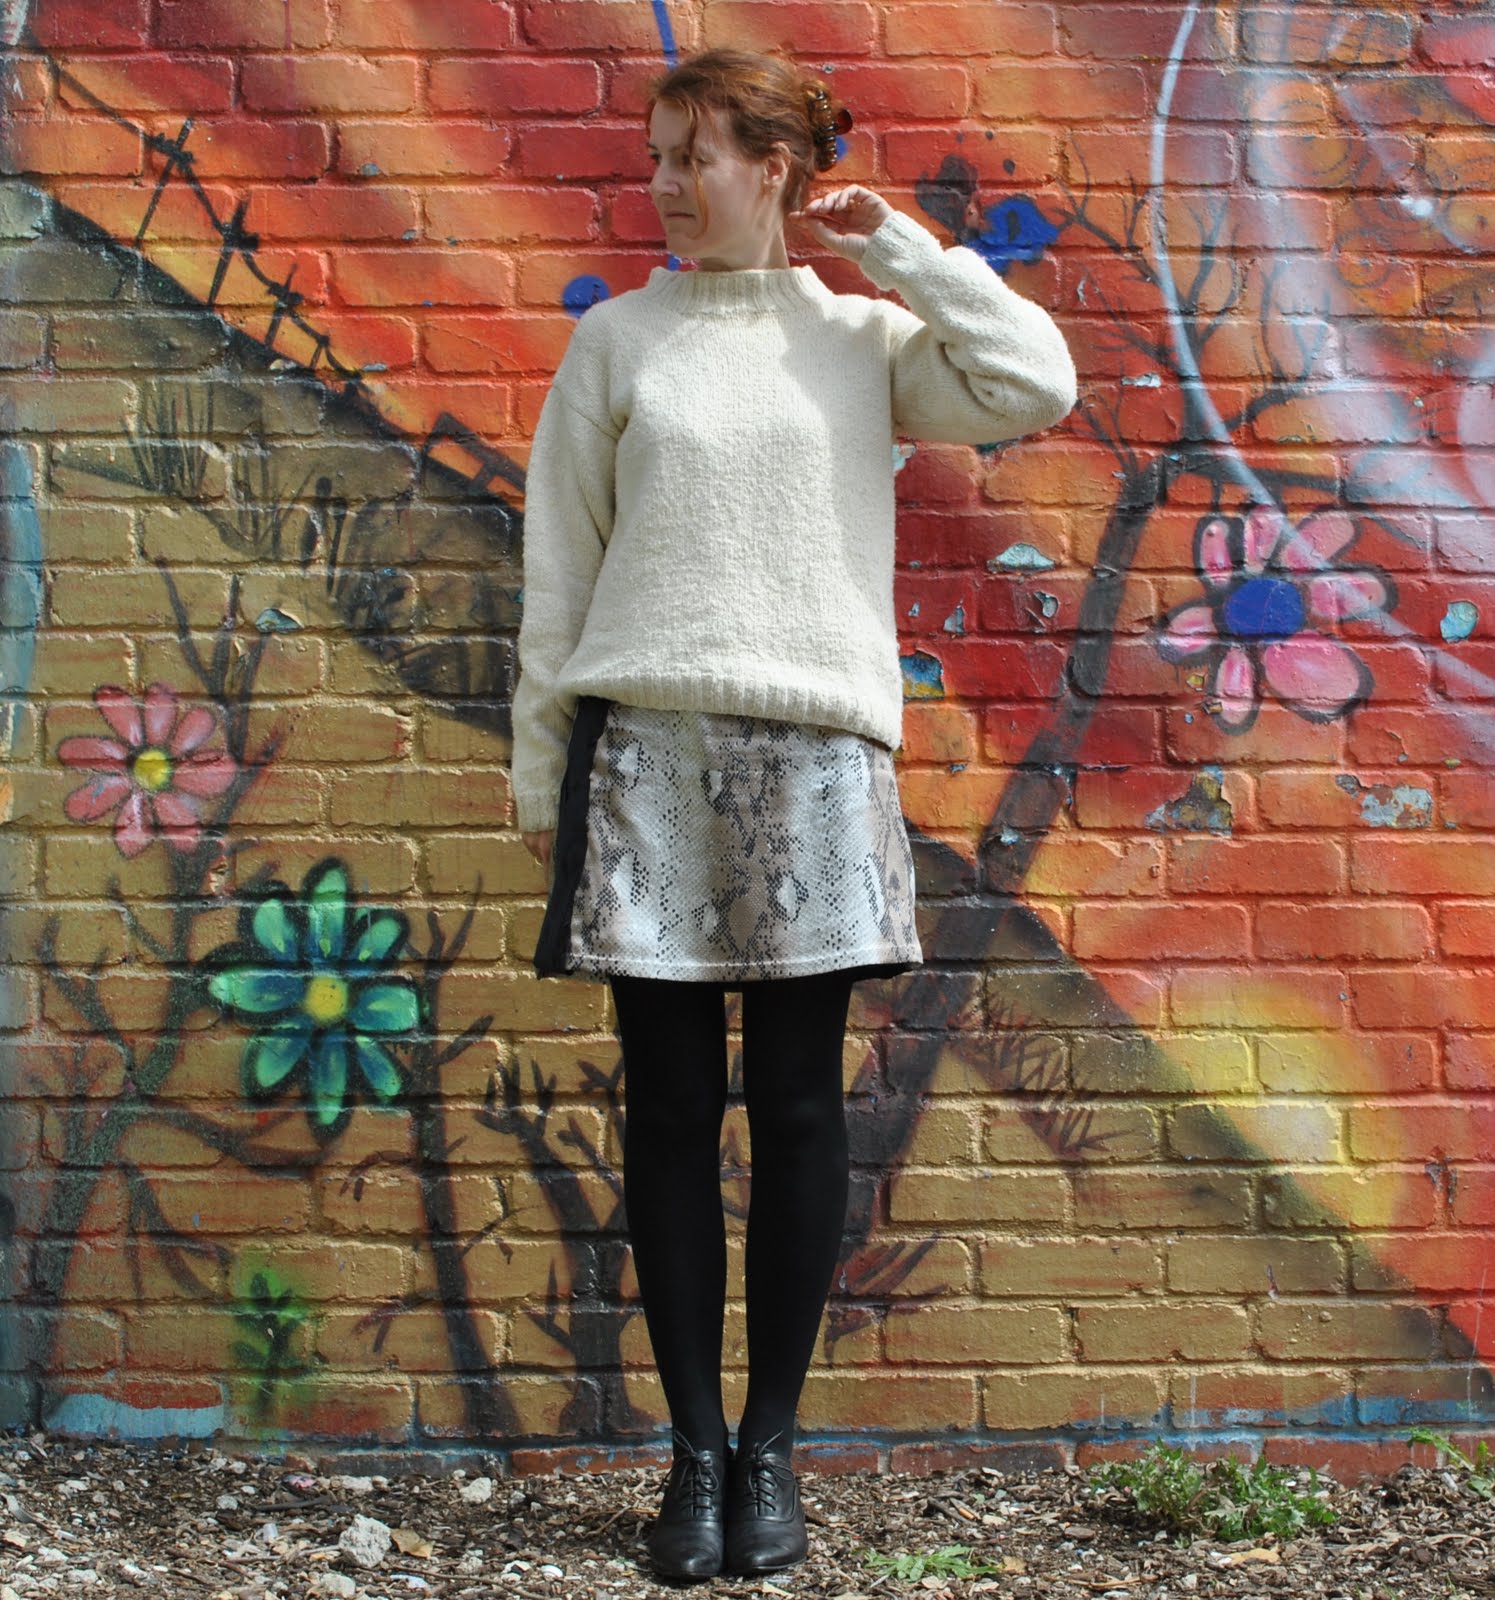
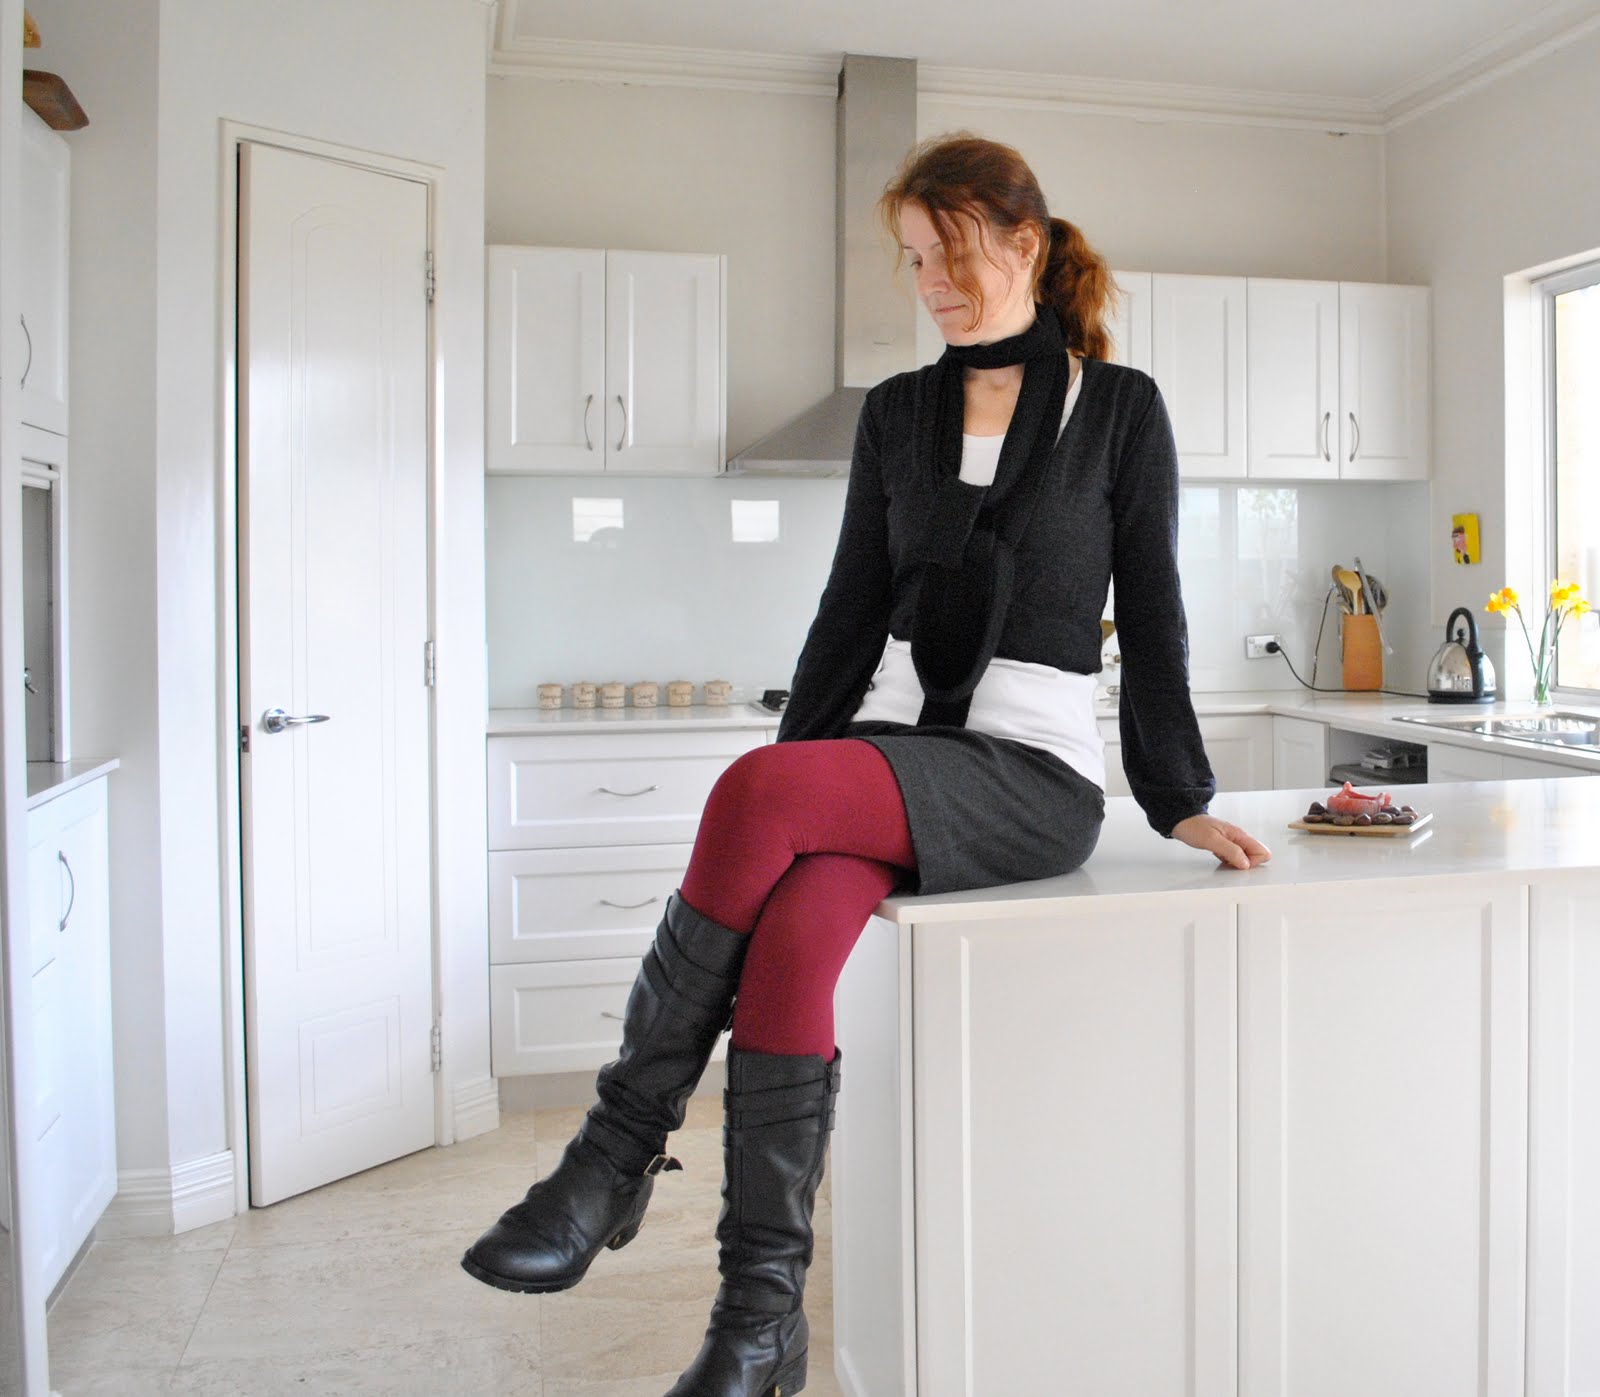
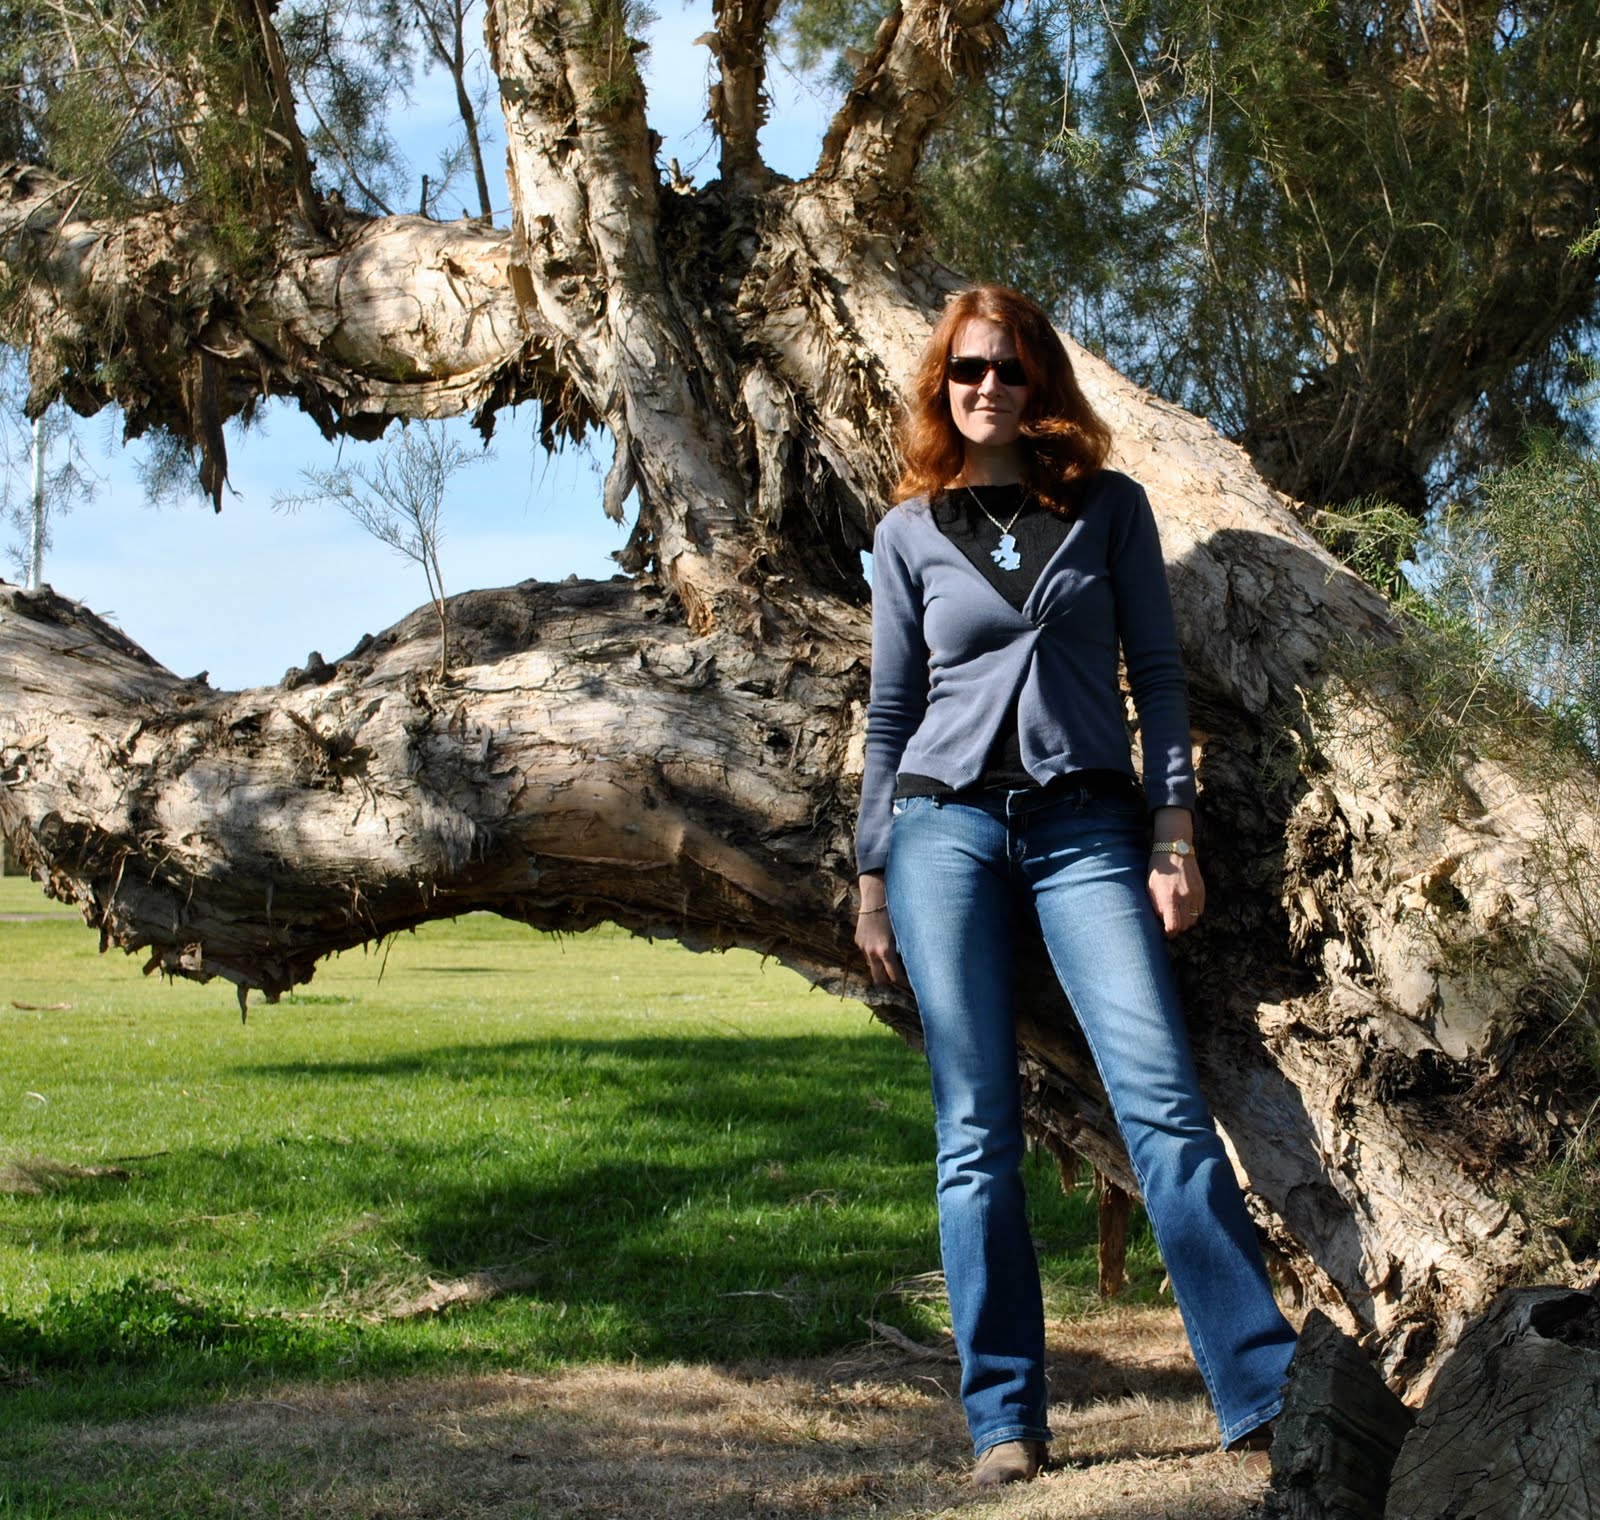
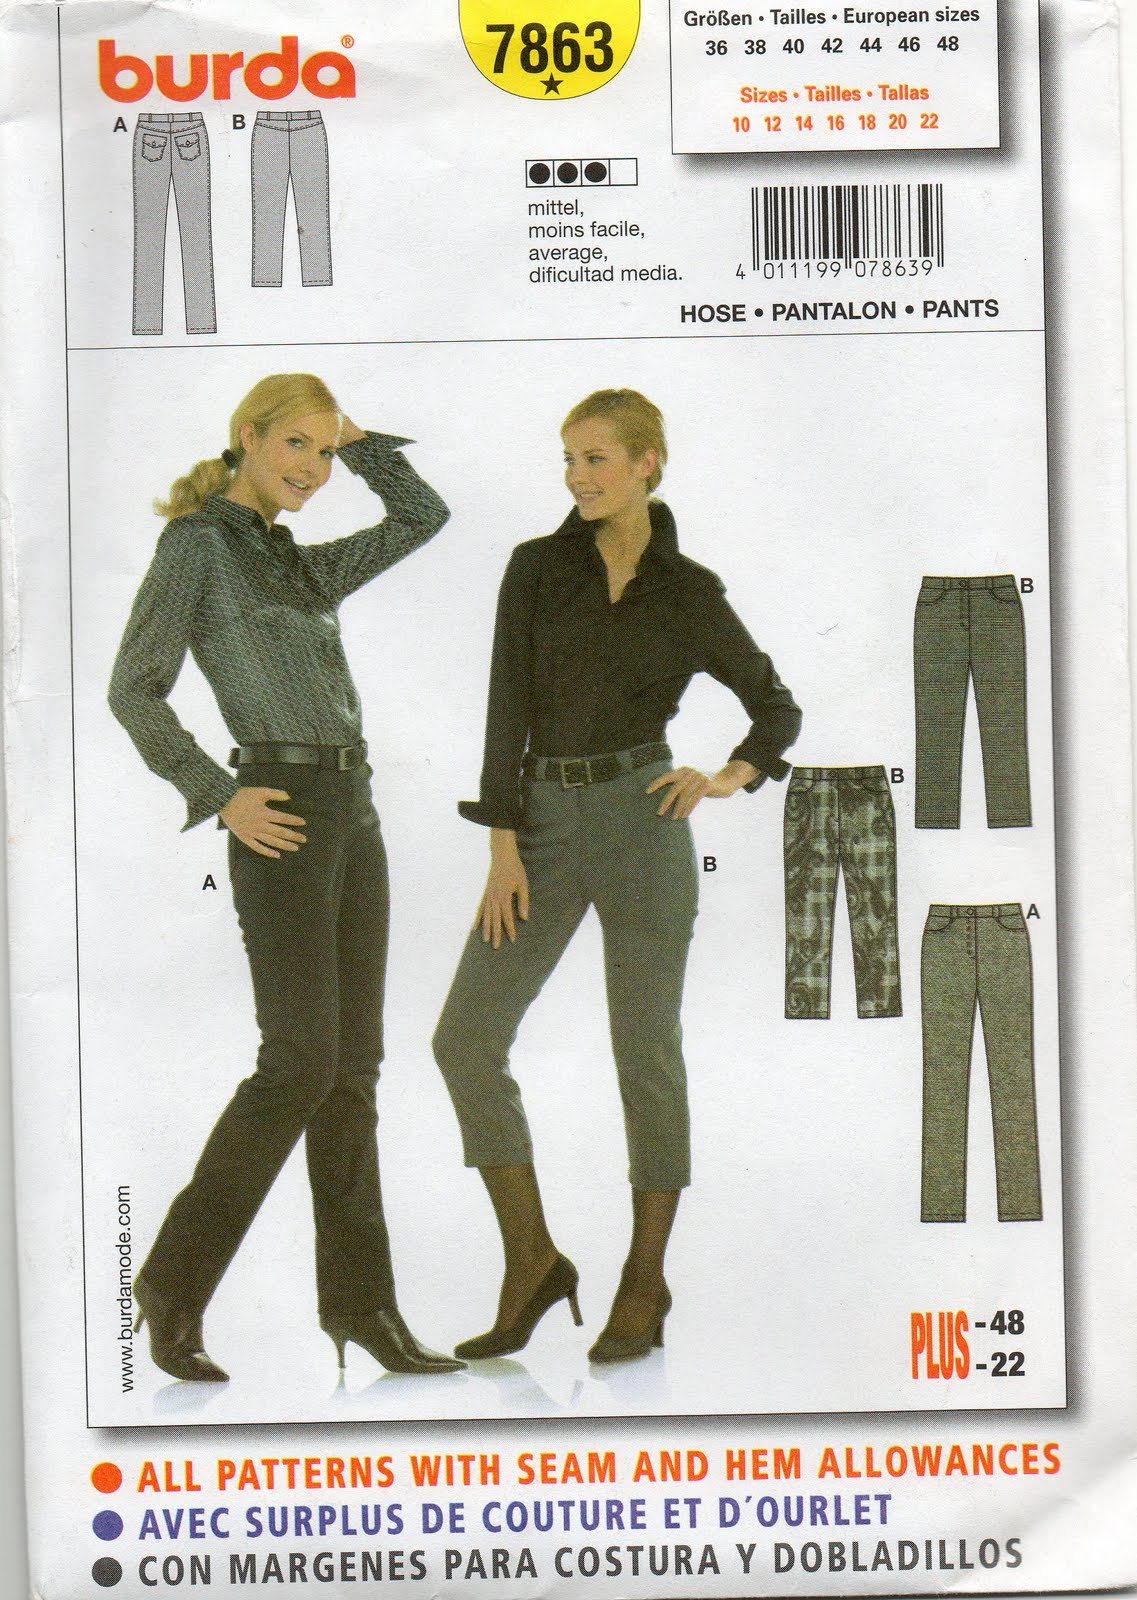
And for day 8 of Self-Stitched September: my pants are made from Burda 7863, from khaki stretch gabardine seen first here, and my scarf is knitted by me, seen first here.

Details:
Top; self-drafted, greige jersey knit
Jeans; Burda 7863, khaki stretch gabardine
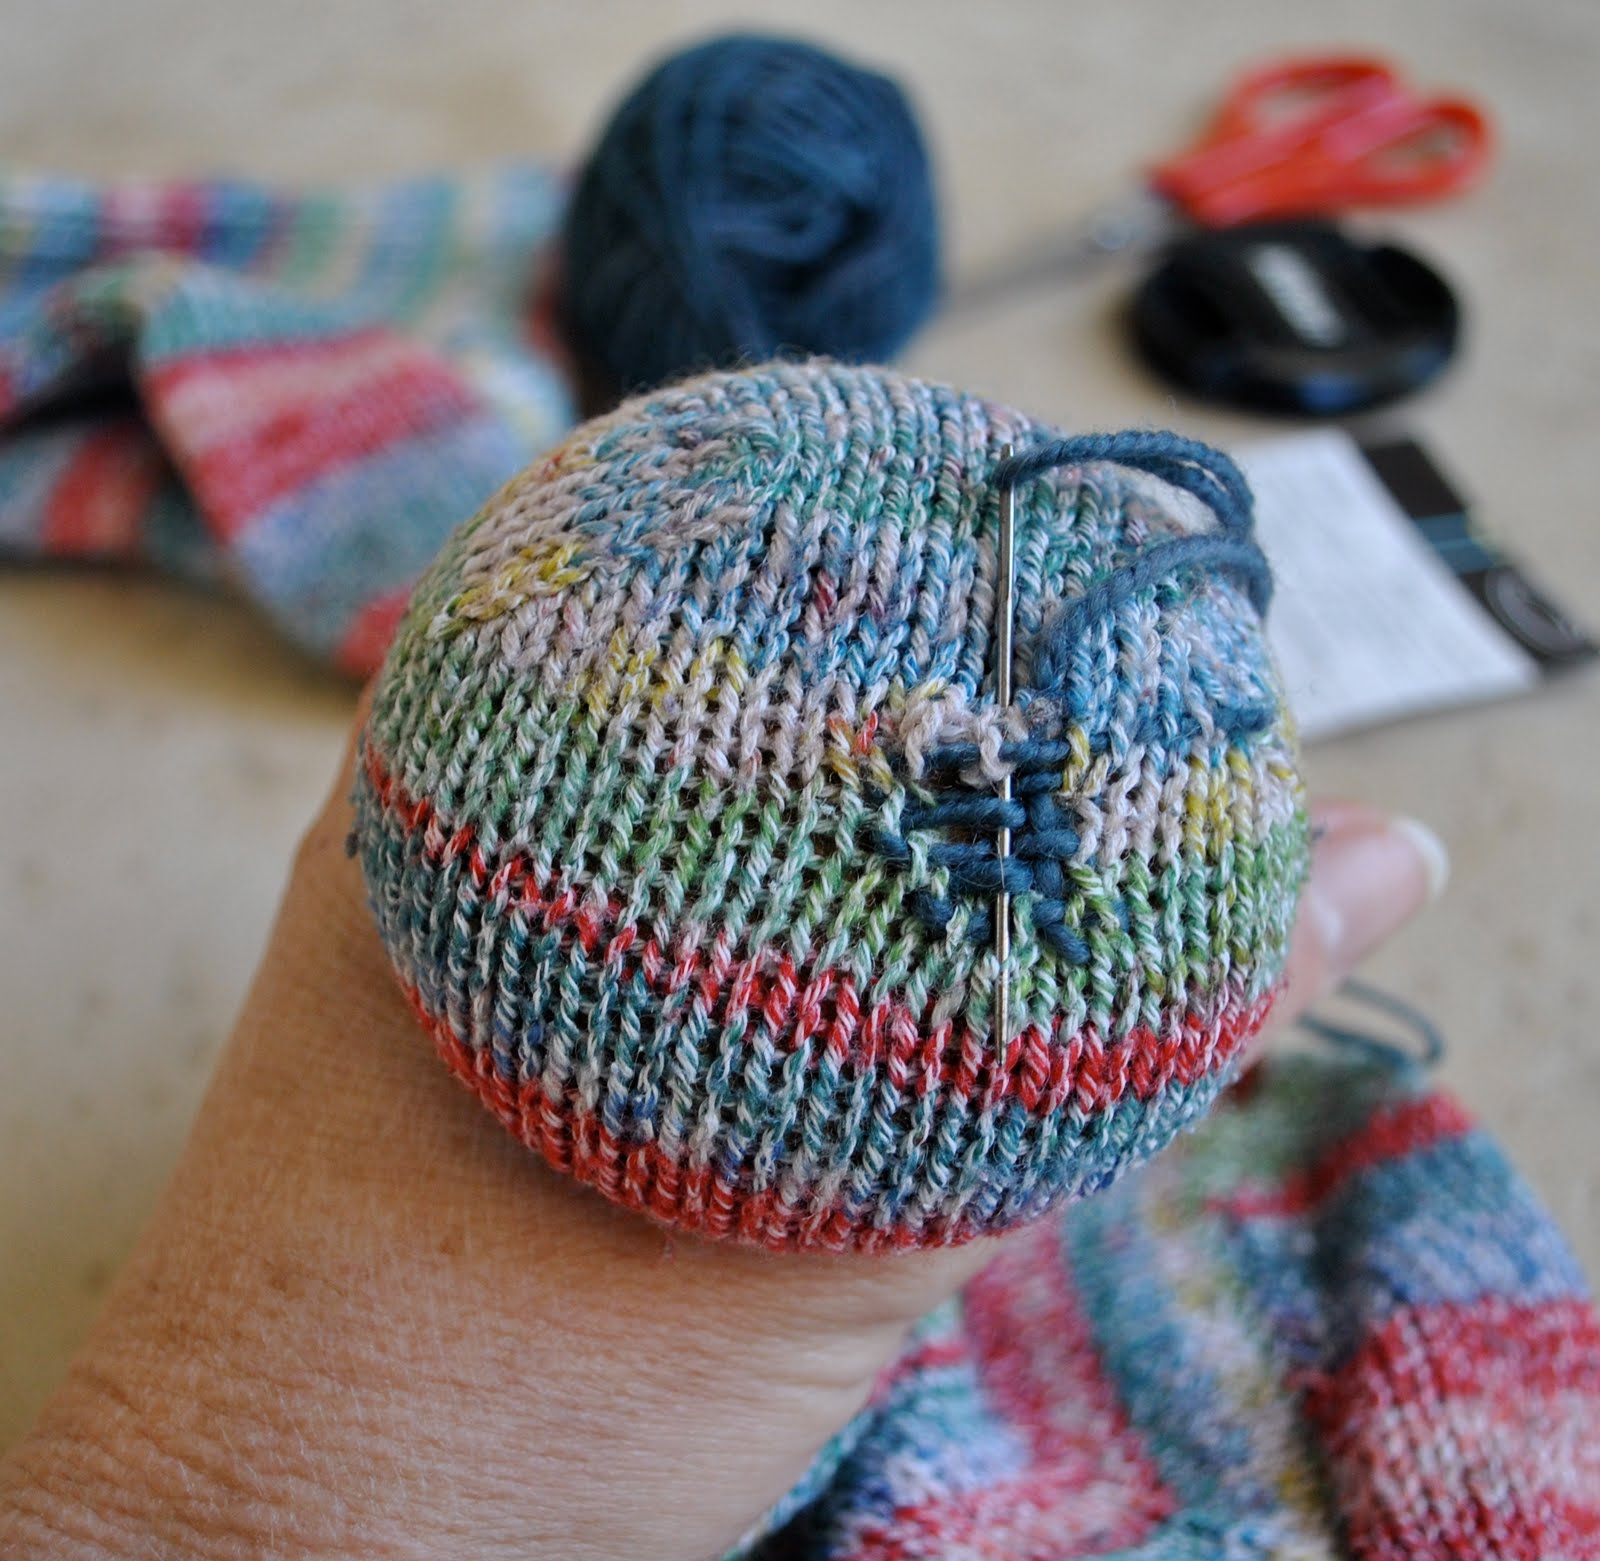
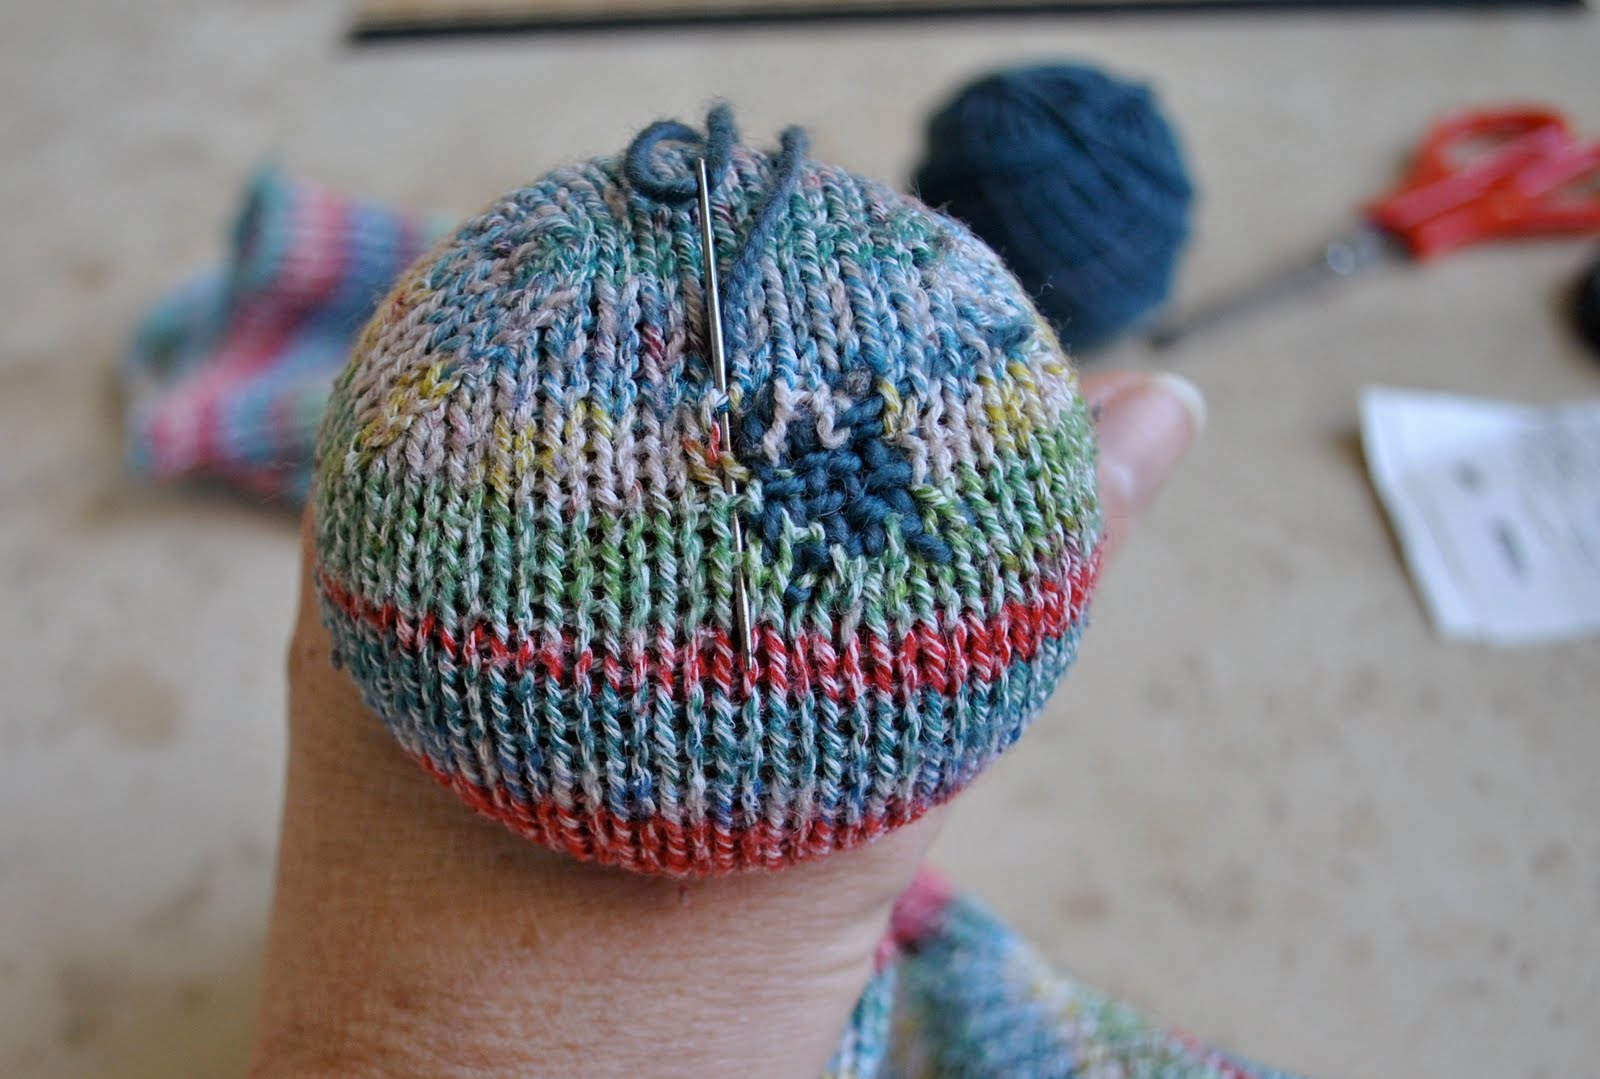
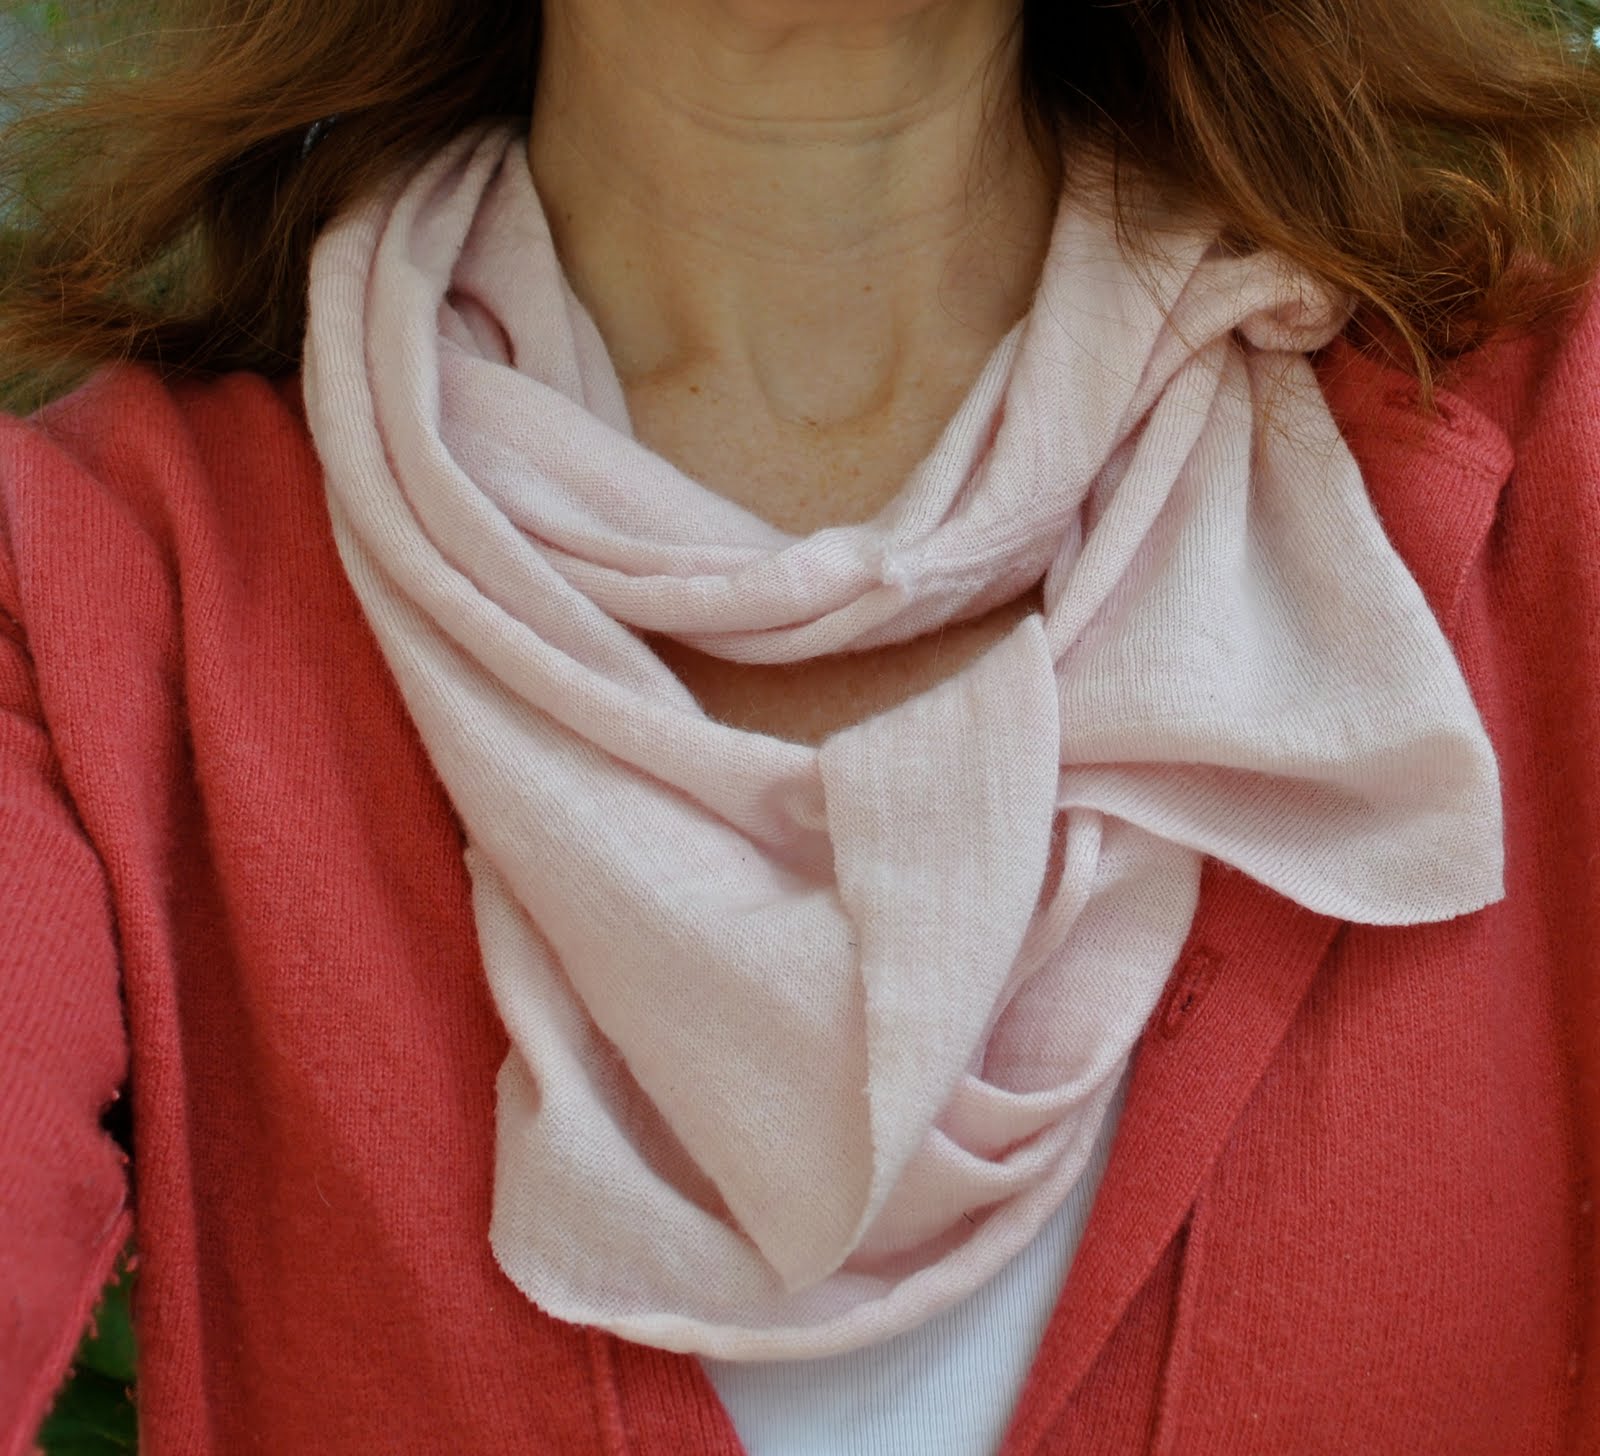
Scarf; my own design, Debbie Bliss yarn
Boots; Andrea and Joen, from Uggies

photo below right, Maison Martin Margiela top, from Vogue Australia, photographed by Max Doyle; it is hard to see here, sorry, but the seam IS halfway along the model’s shoulder…

pinterestmail

Chambray shirt

After finishing my chambray/denim dress I had a leetle bit of the fabric leftover, too much for scraps, not enough for another garment.  I had enough for the fronts of this shirt.  So then had to go back for some more fabric to cut out the entire shirt…  (and now still have a tad of the fabric leftover,  mama mia, a recurring vicious cycle, how to use constructively and efficiently all the leftovers…?!)
I made this shirt using Burda 7767, my go-to menswear shirt that I’ve made up seven times in all now for the men in my family, this is such a great easy pattern…  Obviously I sized it to fit me this time…  other variations were to add two breast pockets with flaps, sleeve tabs to enable me roll up the sleeves (probably permanently), and to use snap closures throughout in leiu of buttons. I like the more casual “jeans-y” feel the snap closures give to a denim shirt.  Although these particular ones from Spotlight were just hell to put in, I strongly suspect the wrong “tool” was enclosed in this particular batch, and unfortunately I couldn’t locate the correct tool which I know I have floating around in my haberdashery collection somewhere…  but I was impatient to finish the shirt so just made do with the one provided.
Obviously the other variation I made to the pattern was to have the fronts lapping over the opposite way to a men’s shirt…  it would be nice to know the reason behind this strange custom.  Does anyone know the reason why mens’ shirts button up in a different way to womens’ shirts????  I’d really like to know…
I made these white linen pants last summer? or the summer before?, I make a new pair every year so they all kinda blend in… to see them properly and in full length go here
Don’t you just love the clouds?  We are expecting some rain soon, woooheee, finally!  Everyone here is desperate for rain!

Details:
Shirt; Burda 7767 with minor modification, blue chambray
Pants; self drafted, white linen
Shoes; Country Road

pinterestmail

It’s a jungle…

Self Stitched September: Day 6;
Trying to zip my way through my winter options now as the weather heats up, and truthfully I’m a little roasting in this jumper here today…!
I was very inspired by the Marc Jacobs A/W 2010 looks of glamourous skirts made of luxe glittery fabrics, paired with slightly grungy oversized knits on the top… I do like unexpected contrasts in fashion as I think surprises (even in something as mundane as the clothes we choose to wear) add an element of playfulness and fun into one’s day.  And couldn’t we all do with a bit more fun and joie de vivre in our day, well, yes thankyou!  And although this skirt is not particularly super-luxe, I still enjoy the little hint of the glossy python print satin with it’s decadent 70’s nightclub air about it, a huge contrast to the staid almost un-fashionable farmyard practicality of a thick chunky knit.

Details:
Knit jumper; my own design, made from Jo Sharp Silk Road DK
Skirt; my own design variations on Vogue 7303, python print and black satin
Tights; Kolotex
Booties; Django and Juliette, from Zomp shoes

pinterestmail

Urban Sport style

Self-Stitched September, day 4… 
I made this black parka a few years ago, completely inspired by the “urban sport” vibe of the Marni Spring/Summer 2007 collection, anyone remember this sort of look?  Although I copied the shape and style from the designer collection, I drafted the pattern for my version myself.  I was really taken with the slightly sporty appeal and loose comfort of this look at the time and I still think it is flattering as well as easy to wear.  I was particularly pleased with how the oversized crumpled collar turned out.
The skirt is one I’ve worn loads over last autumn… you’ve seen it many times.  It is made using Vogue 7303 again, out of a cheerful brilliant orange raw silk, seen here first.
Husband and children all out and occupied; I visited the library this morning to reserve next month’s bookclub book (Hearts and Minds by Amanda Craig), then faced the Saturday morning supermarket crush.  Got three loads of washing on the line, house tidy and am feeling virtuous and accomplished; so with a clear conscience will spend a few hours now having some quality time with my sewing machine and the fabric stash …  yes!! (air fist punch)

Details:

Parka; self-drafted, black cotton drill
Skirt; Vogue 7303, orange raw silk
Leggings; Metalicus
Shoes; Perrini, had for so long I’ve forgotten where I bought them…

pinterestmail

Darning; a how to

First of all, I’d like to thank you for your brilliant suggestions for my style statement!  As I read them I just thought, well, how nice everyone was … thankyou all for “getting” me.  It’s really hard to assess yourself and sometimes you need friends to chip in with an outside viewpoint, which is often so much truer than one’s own jaded viewpoint.  My mother rang me this morning to say how she thought all your comments were so lovely and all valid… so thankyou again!  I think they’re all wonderful and I’m adopting all of them.
Today I’m doing a little tutorial on darning.  I’m well aware there are a lot of people who think I’m absolutely crazy for knitting my own socks, how do I know this?  because this fact elicits gales of laughter if one of my friends lets it slip at some gathering, and someone there will always insist on me lifting a jeans leg to expose a sock to prove it.  But I like knitting, and I’ve gone off knitting cardigans and jumpers, I’ve got plenty of scarves now, and I find socks easy as well as useful, so there it is.
I made my first pair of socks about five years ago and I recently had to darn a hole in the toe of one of these so I took a few progress photos to illustrate how this traditional old method works.
I’m good at darning (don’t laugh)  I used to help out in my sons’ school uniform shop and once a boarder brought in his wool blazer with a hole in it and it was passed on to me as they knew I was a seamstress… when I had finished it (if I say so myself I’d done a pretty good job using a very fine wool thread so the darned hole was almost indistinguishable from the fabric around it) for the next week it was passed around to show other mothers who came in and who marvelled at it, until the boy came back in to pick it up.  I was a little embarrassed but inwardly kinda chuffed at the attention it got…
So I’m not using a fine wool thread to darn this sock here today, but a much thicker sock wool and in a contrasting colour so it will definitely not be indistinguishable from the sock but this won’t matter, you’ll see why later…  This is what you will need… a darning “mushroom” (these probably have a proper name but I’ve always called them mushrooms because that’s what they look like), wool thread, scissors, needle and your hole-y sock.

Run your thread in a running stitch adjacent to the hole and in an upper corner to secure the end in the fabric…

Take the thread through the opposite edge of the hole with a few running stitches, turn, place a few running stitches going back to the hole, then lay the thread back across the hole, do a few running stitches into the opposite edge, and so on.  What you are creating here is a warp of parallel threads all secured as well as possible in the edges of the hole.

Now, using the same method of securing the thread at the edges, weave the thread up and down across and through through the lines you just laid out.  When you come back down next to each woven line, weave down and up in the opposite way.  With each “pass”, secure the thread with a couple of running stitches in the edges of the hole.  This helps stabilise the broken and loose threads into each other, the body of the fabric, and the new woven patch all together.

And voila.  Not an invisible patch, but here I am modelling the final darned sock.  Oh, you can’t see it?  Well, this is why perfection in darning one’s winter socks is not strictly necessary…

Details:
Skirt; my own design, charcoal jersey knit
Top and cardigan; Country Road
Scarf; my own design, black wool
Leggings; Metalicus
Boots; Andrea and Joen, from Uggies

pinterestmail

Style Statements…

Personal style blogs, anyone?  Personally, I adore personal style blogs.
I just love to look at clothing choices, how people interpret and use fashion, and am fascinated by the ability of clothes to express one’s personality somehow.  People-watching is such a fun and interesting thing to do, because you can really tell such a lot about someone, simply by the clothes they have chosen to wear…
Lately I’ve been toying with the idea of composing a personal style sentence for myself, just for fun.  I do think I’ve got a distinct style, and this blog is partly to help me determine what it is (you’d think at my age I’d know by now, yeah)  A personal style sentence would help me make choices in clothing, and everything else, that I won’t regret later, both in shopping for ready-made as well as in my sewing endeavours.
I’ve already had some debate with Mum and Cassie, about each of our own style sentences, but none of us are satisfied with what we’ve come up with.  I thought mine could include the word “sporty” but Cassie disagreed strongly.  It’s because she associates the word “sporty” with tracksuits, which I NEVER (ever ever) wear… but I am outdoors a lot and am reasonably active in my life so I think “sporty” could be in there somewhere.  “Polished sporty”?  Hmmm.  Have to give it more thought… but so far I’ve come up with some adjectives to play with: natural, simple, sporty-but-not-of-the-tracksuit-variety (outdoors-y?)…
I once read about a two-woman company, Carrie & Danielle, who assess people’s lifestyles and come up with a two word Style Statement to describe them.  Just two!  As an example; Modern Luminous.  The first word describes your core; the second word is your creative edge.  It’s a kind of style sound-bite, or mantra that is designed to streamline your consumption choices.  (Oh, and it’s nice to know it’s all positive; no one is classified as Grumpy Stress-bunny, or Whiny Neurotic…phew) While a small cynical side of me rolls my eyes at the narcissistic desire to categorise oneself, the other side of me is attracted to just that.  So part of me is “how silly” and the other part of me would just  love to know what my two words are…!
Afterthought: this was my ensemble for today’s agenda of dog-walking and bike-riding, followed by grocery-shopping and a smidge of office work.  It was good to be out and about on such a glorious day.  (and looking forward to the final of the Ben Cousins‘ documentary tonight…)

Details:

Cardigan; refashioned by me from husband’s old jumper, which has already stretched and is overlapped decoratively and fastened with a pin to a new better fitting position
Top; Sexy Woman, found secondhand
Jeans; Soon
Pony necklace; souvenir from girls’ weekend away, some little shop in Melbourne
Boots; Francesco Morichetti, from Zomp shoes

pinterestmail

New use for a hole-y old top

Another re-fashioning project has been completed… yay…
This pure wool top is a pretty shade of pink but had developed some nasty big holes over summer storage.  I continued to wear it as a thermal for a while, with its pink edges peeping out and adding a layer of colour to other ensembles but then as the holes got awfully big I sadly accepted it was too raggedy and resigned it to the re-fashioning bag … (you can see one BIG hole centre front lower edge, but trust me, there’s about four other littler ones lurking about there too…)

Firstly chopped its arms off.

I cut some thumb holes in the ends at the correct “thumb” height and overstitched the edges of these holes to finish.  Then finished off the cut top edges of the sleeves with an elastic zig-zag stitch.

(Oh, please excuse the weird Adam-reaching-out-to-the-hand-of-God-from-the-ceiling-of-the-Sistine-Chapel pose, tried to achieve a naturalistic hand position and failed, sorry!  At least you can see the buttonhole-bound thumb holes…)
With the hole-y body of the top I removed the neck edge, and cut off the side seams.

Opened out the top and bottom of the top (still hinged at the shoulder seams) and cut right up the middle, being careful to leave enough width at the ends of the loop.  I also rounded off the square edges of the loop and cut out the hole that was really big.

Dunked the new scarf in HOT soapy water and did plenty of whooshing about (it’s a technical term) to felt up those raw edges as much as possible (have you ever tried to take a photo of your other hand swooshing fabric about in a bucket?  It’s a little like the rubbing-the-tummy-while-patting-the-head thing; the same kinda tricky feeling…)

Voila; new hand warmers and a sort of artsy scarf…!  This is a good way to re-use an old top that is a colour you love.

Details:
Handwarmers and scarf; refashioned from wool top
Skirt; Vogue 7856 view B with some added skirt bits, grey and black printed cotton
Top and cardigan; Country Road
Boots; Andrea and Joen; from Uggies

pinterestmail

Pink lace dress

I’ve made a new dress for spring, but I’ve persuaded Bessie to model it for today… because I’ve started to think about Self-Stitched September coming up where I’ll be documenting my handmade daily outfits everyday (hope that’s not going to be too boring) and no doubt I’ll be wearing it one of those days and will take a snap of myself then.  I’ve decided to challenge myself to wear totally handmade, save for tights and shoes… and to never double-up.  It will be a challenge, so I’ll see how I go.  May have to pop on a store-bought top or T-shirt getting to the end of it, but I’ll try not to…
I bought this pink lace back in the Fabulous Fabrics sale last December and finally got around to sewing the dress I first envisioned back then… the first hurdle was of course that the fabric is completely see through, so a slip was an obvious mandatory requirement.  For some strange mental reason, I determined to finish this slip to moderately high standards, yes, even though it’s a slip.  I get these funny urges sometimes, maybe it’s because of reading other peoples’ blogs about applying immaculate finishes that is spurring me on…  I’m not always this patient because sometimes you just want to get the thing done, no?
Anyhoo, the slip has French seams on the side seams, and Hong Kong binding on the centre back seam, where the invisible zip is inserted.  The lower hem and the bodice facing is all invisibly stitched by hand (OK I do do this to all my dresses), although I’m not 100% happy with how the hem looks and may do a different finish on this (any ideas?)… the silk satin won’t be pressed into a traditional double fold hem as flat as I would like.  The ribbon straps have lingerie findings incorporated to enable the straps to be adjustable.  The pattern I used for the slip is Burda 8071, and for the dress itself I drafted a heavily modified version of Simplicity 3745.  Heavily modified in that all the gathering and pleating and the zip has been removed from the dress in order to streamline the silhouette and to use less fabric.  The lace is a stretch so can just be pulled over my head.

pinterestmail
Switch to mobile version
↓