hello! I’m back with a few further “things I have made” ….
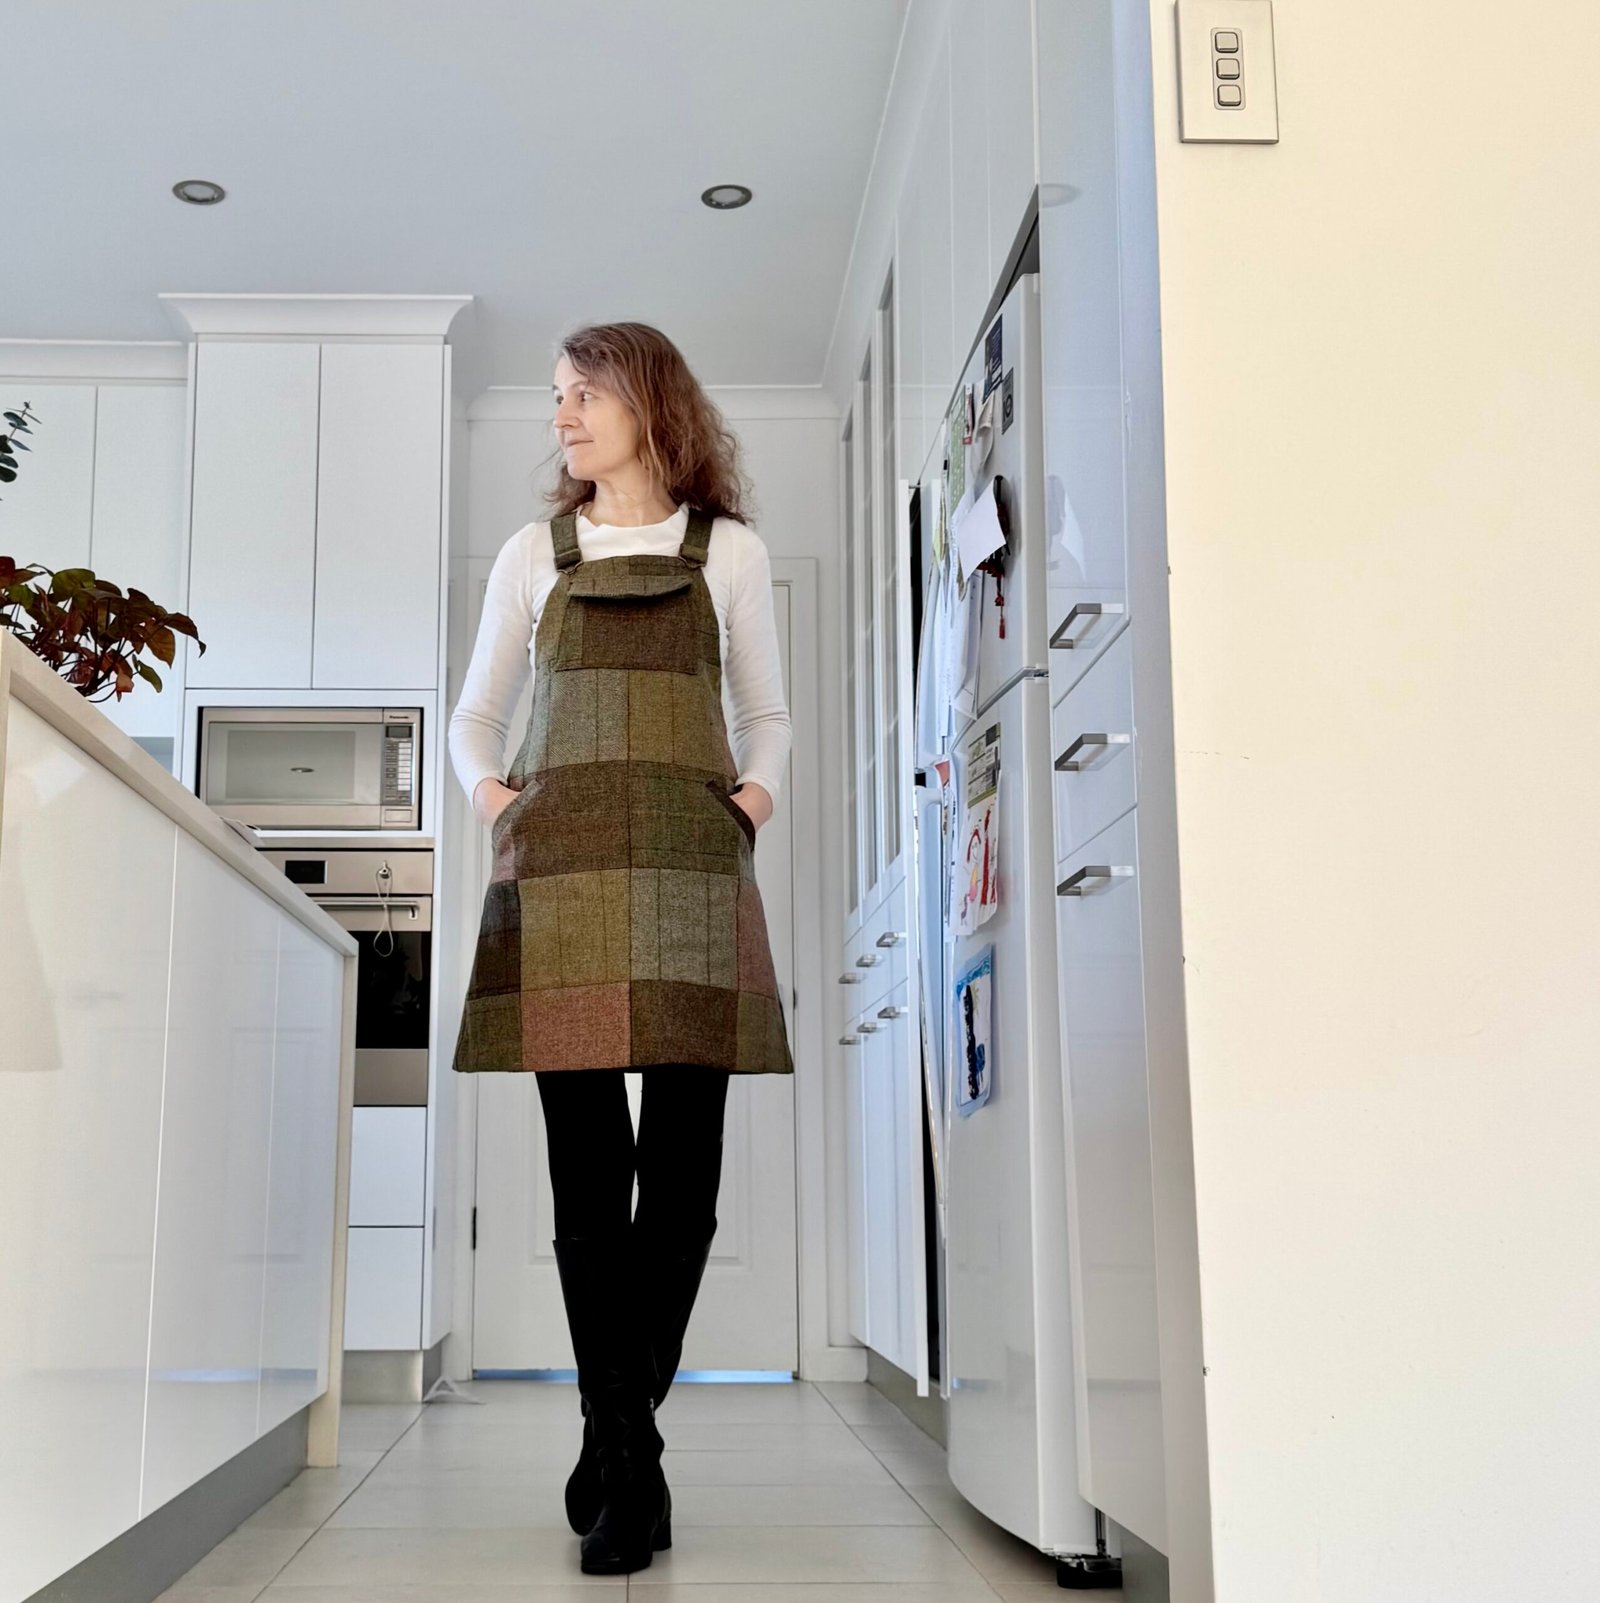
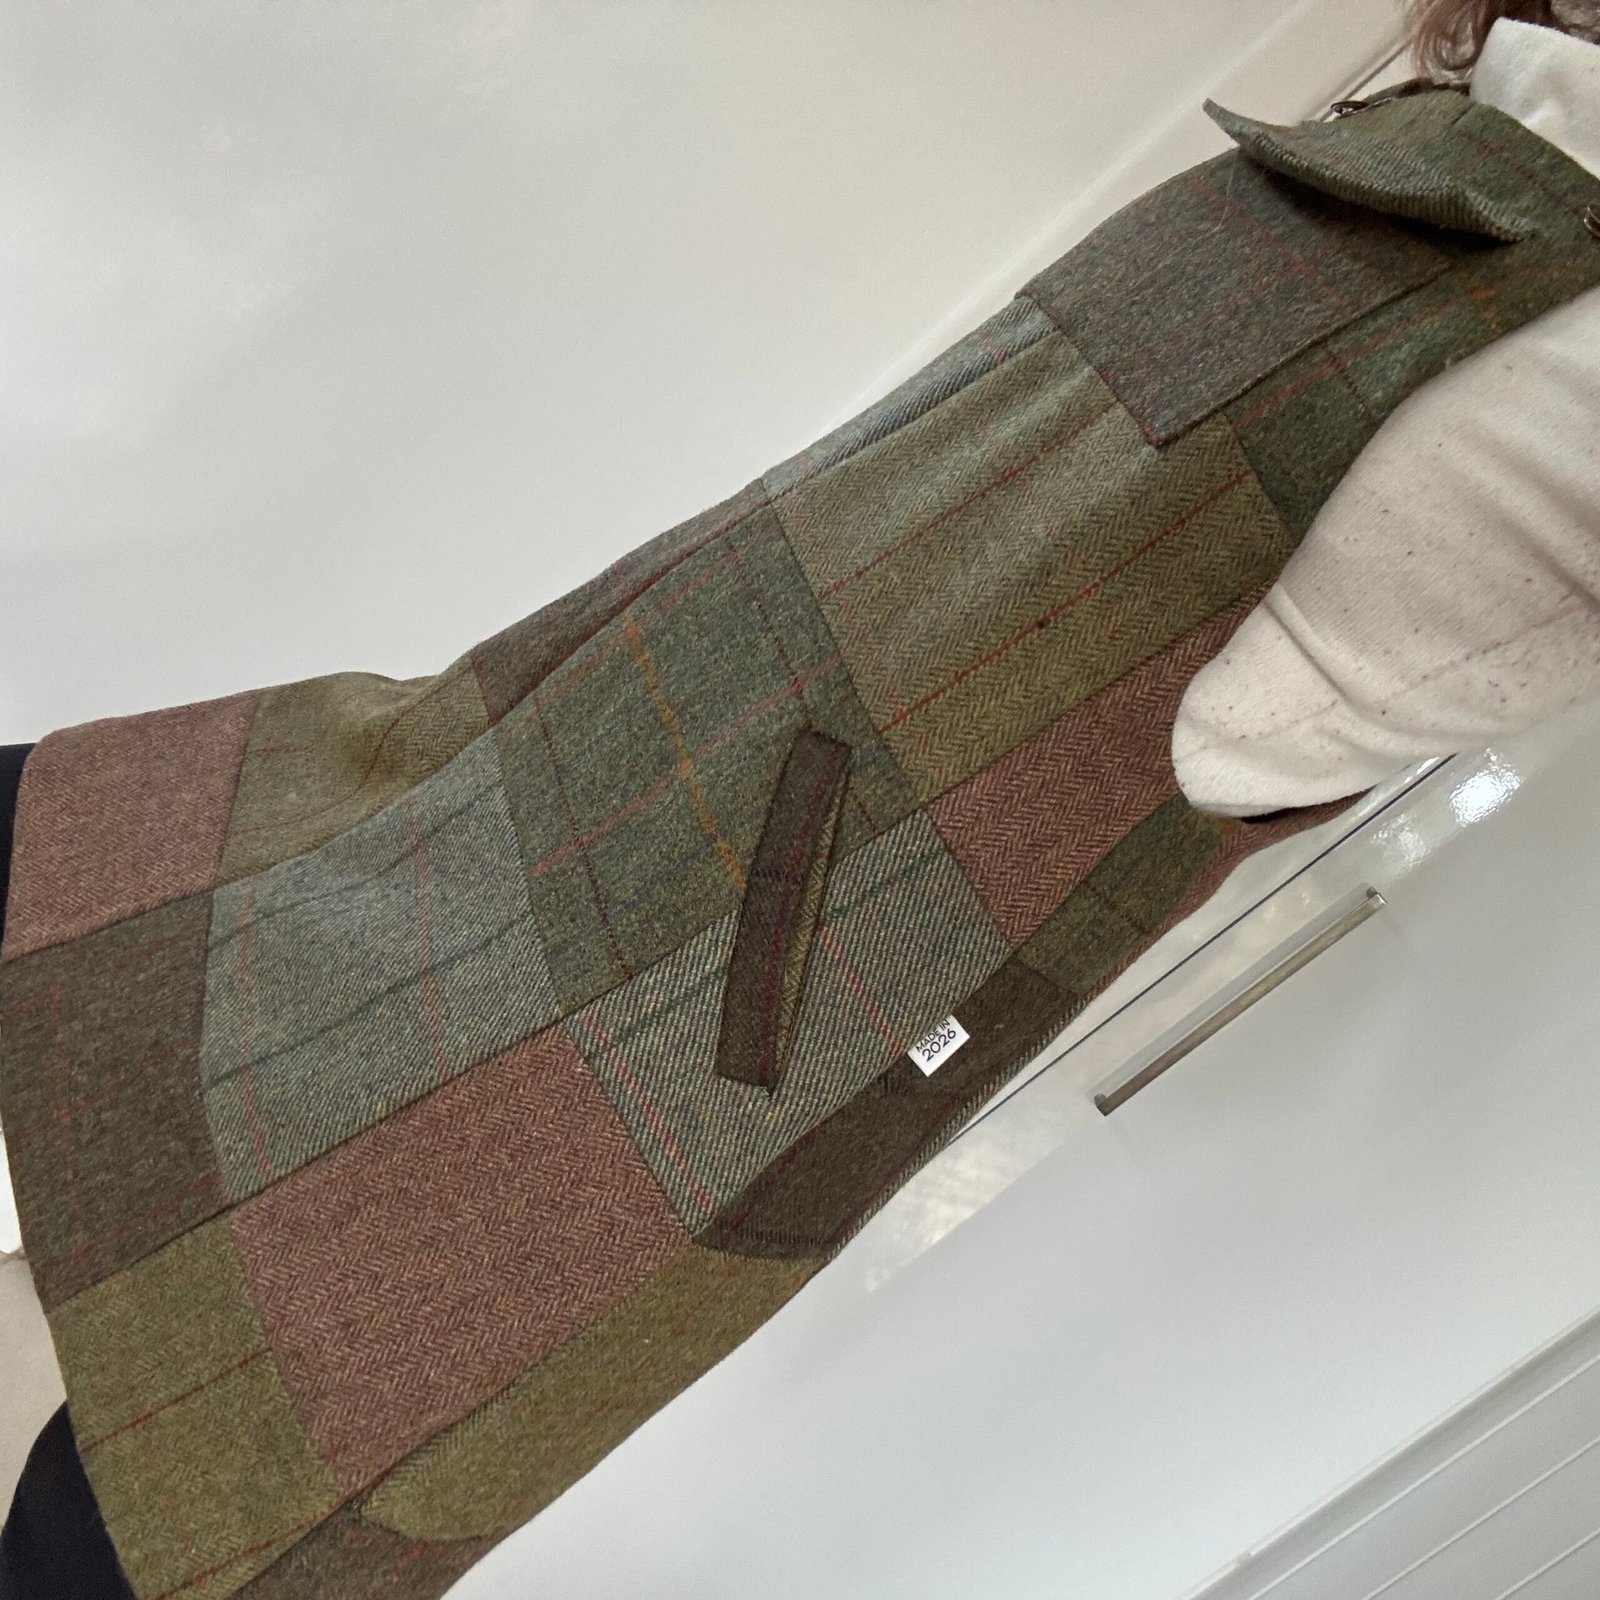
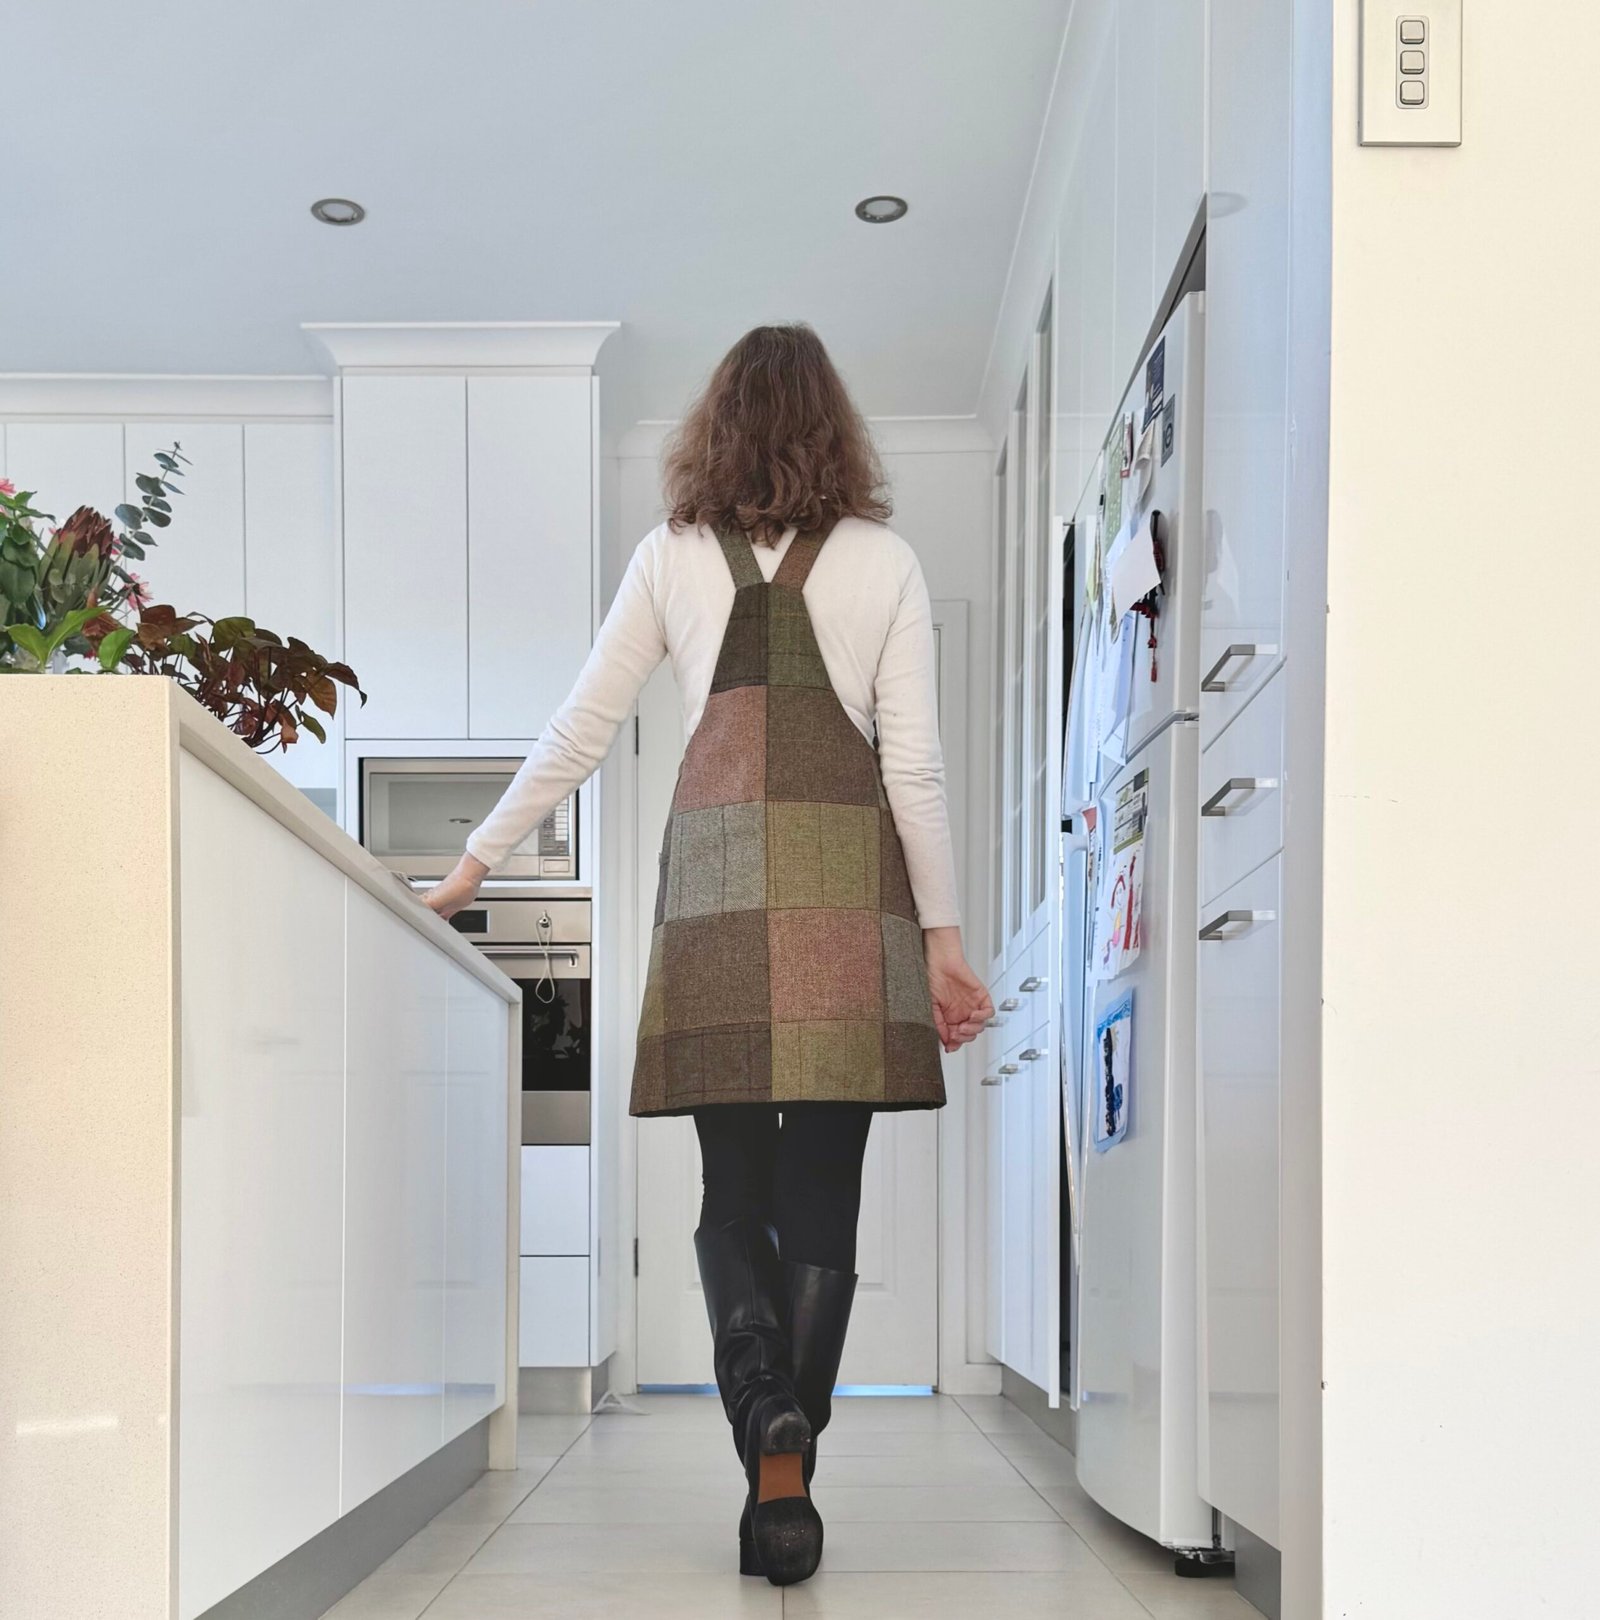
 1) Finished only yesterday is this new patchwork pinafore…. Mum bought a little bundle of Irish tweed cut-offs during a visit to the UK years ago.
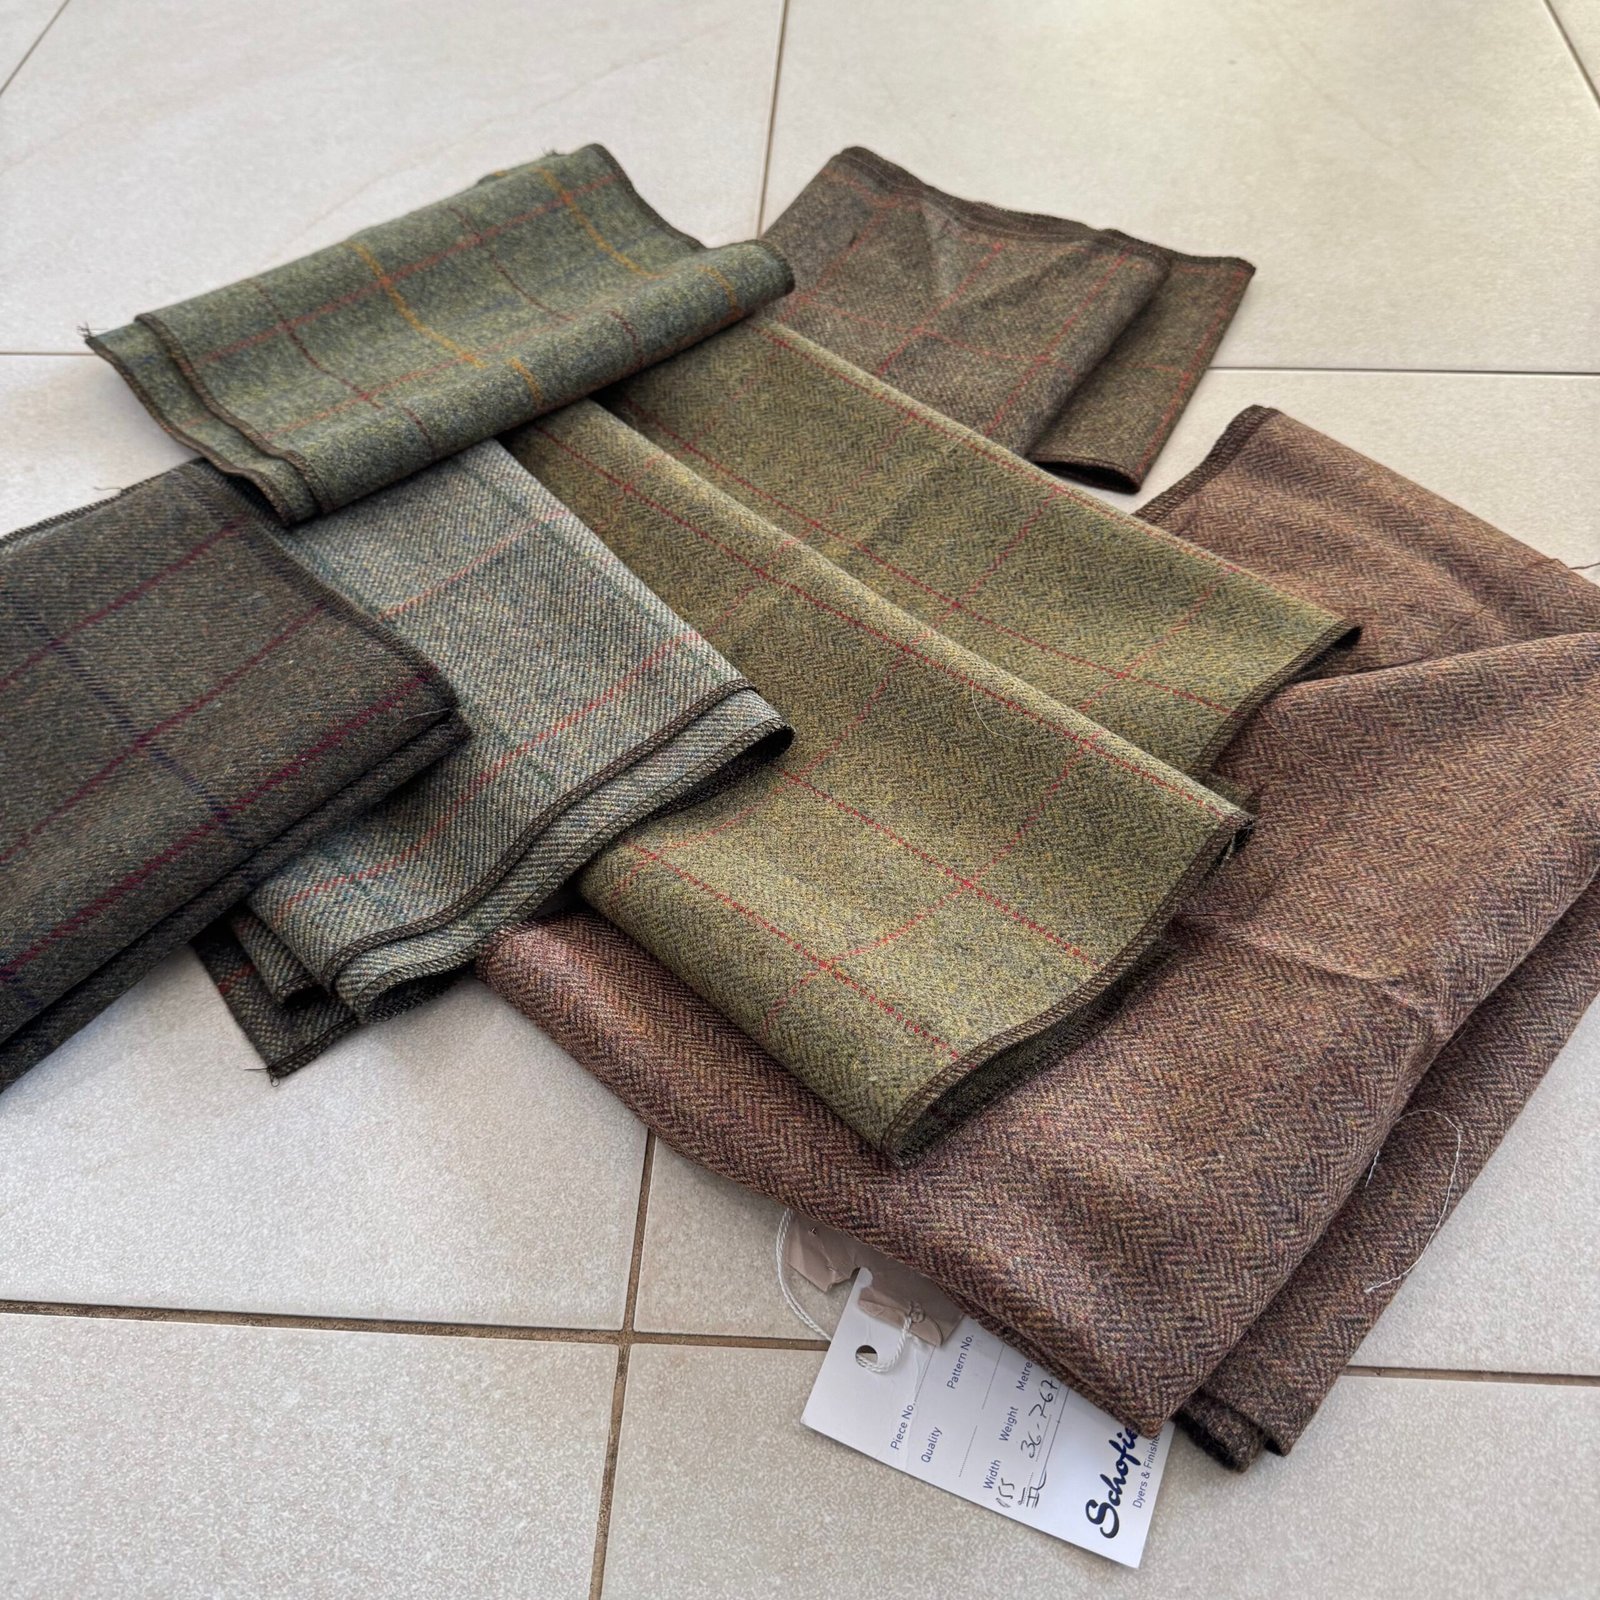 I admit to being quite intimidated by this lovely stuff for a long time! but as my policy for the past few years is to sew my stash completely, the time came to step up, get brave and cut into it. I used a pattern partly based upon the Pauline Alice Turia dungarees pattern, but as I’ve unfortunately thrown out my copy I made a new pattern by laying down my pink pinafore and tracing around it.
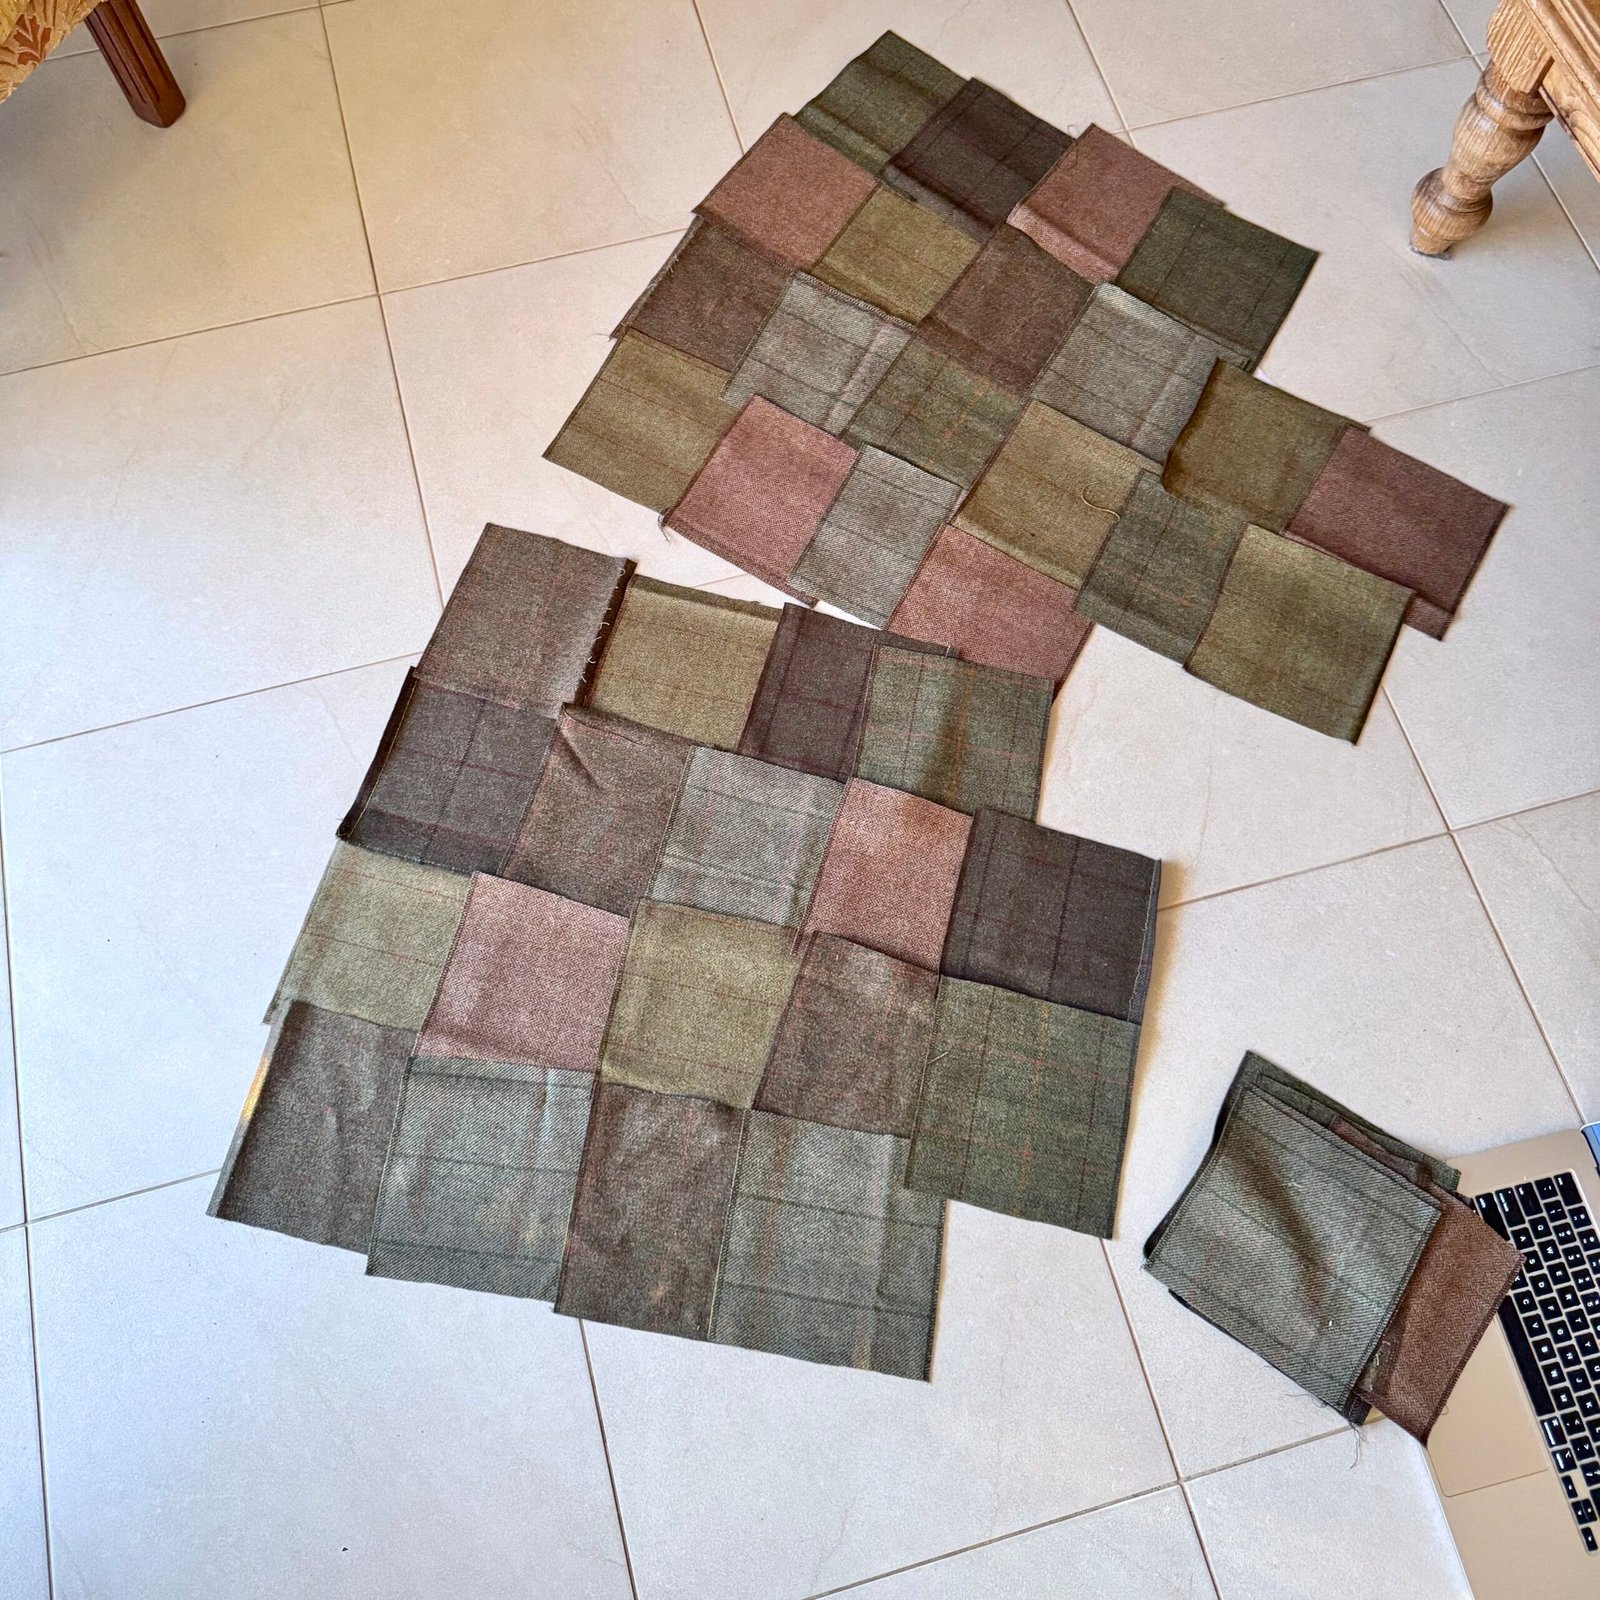
I cut the tweed into equal sized squares, dimensions based upon the narrowest of the lengths, overlocked all edges, arranged and joined them so as to fit the pattern pieces.
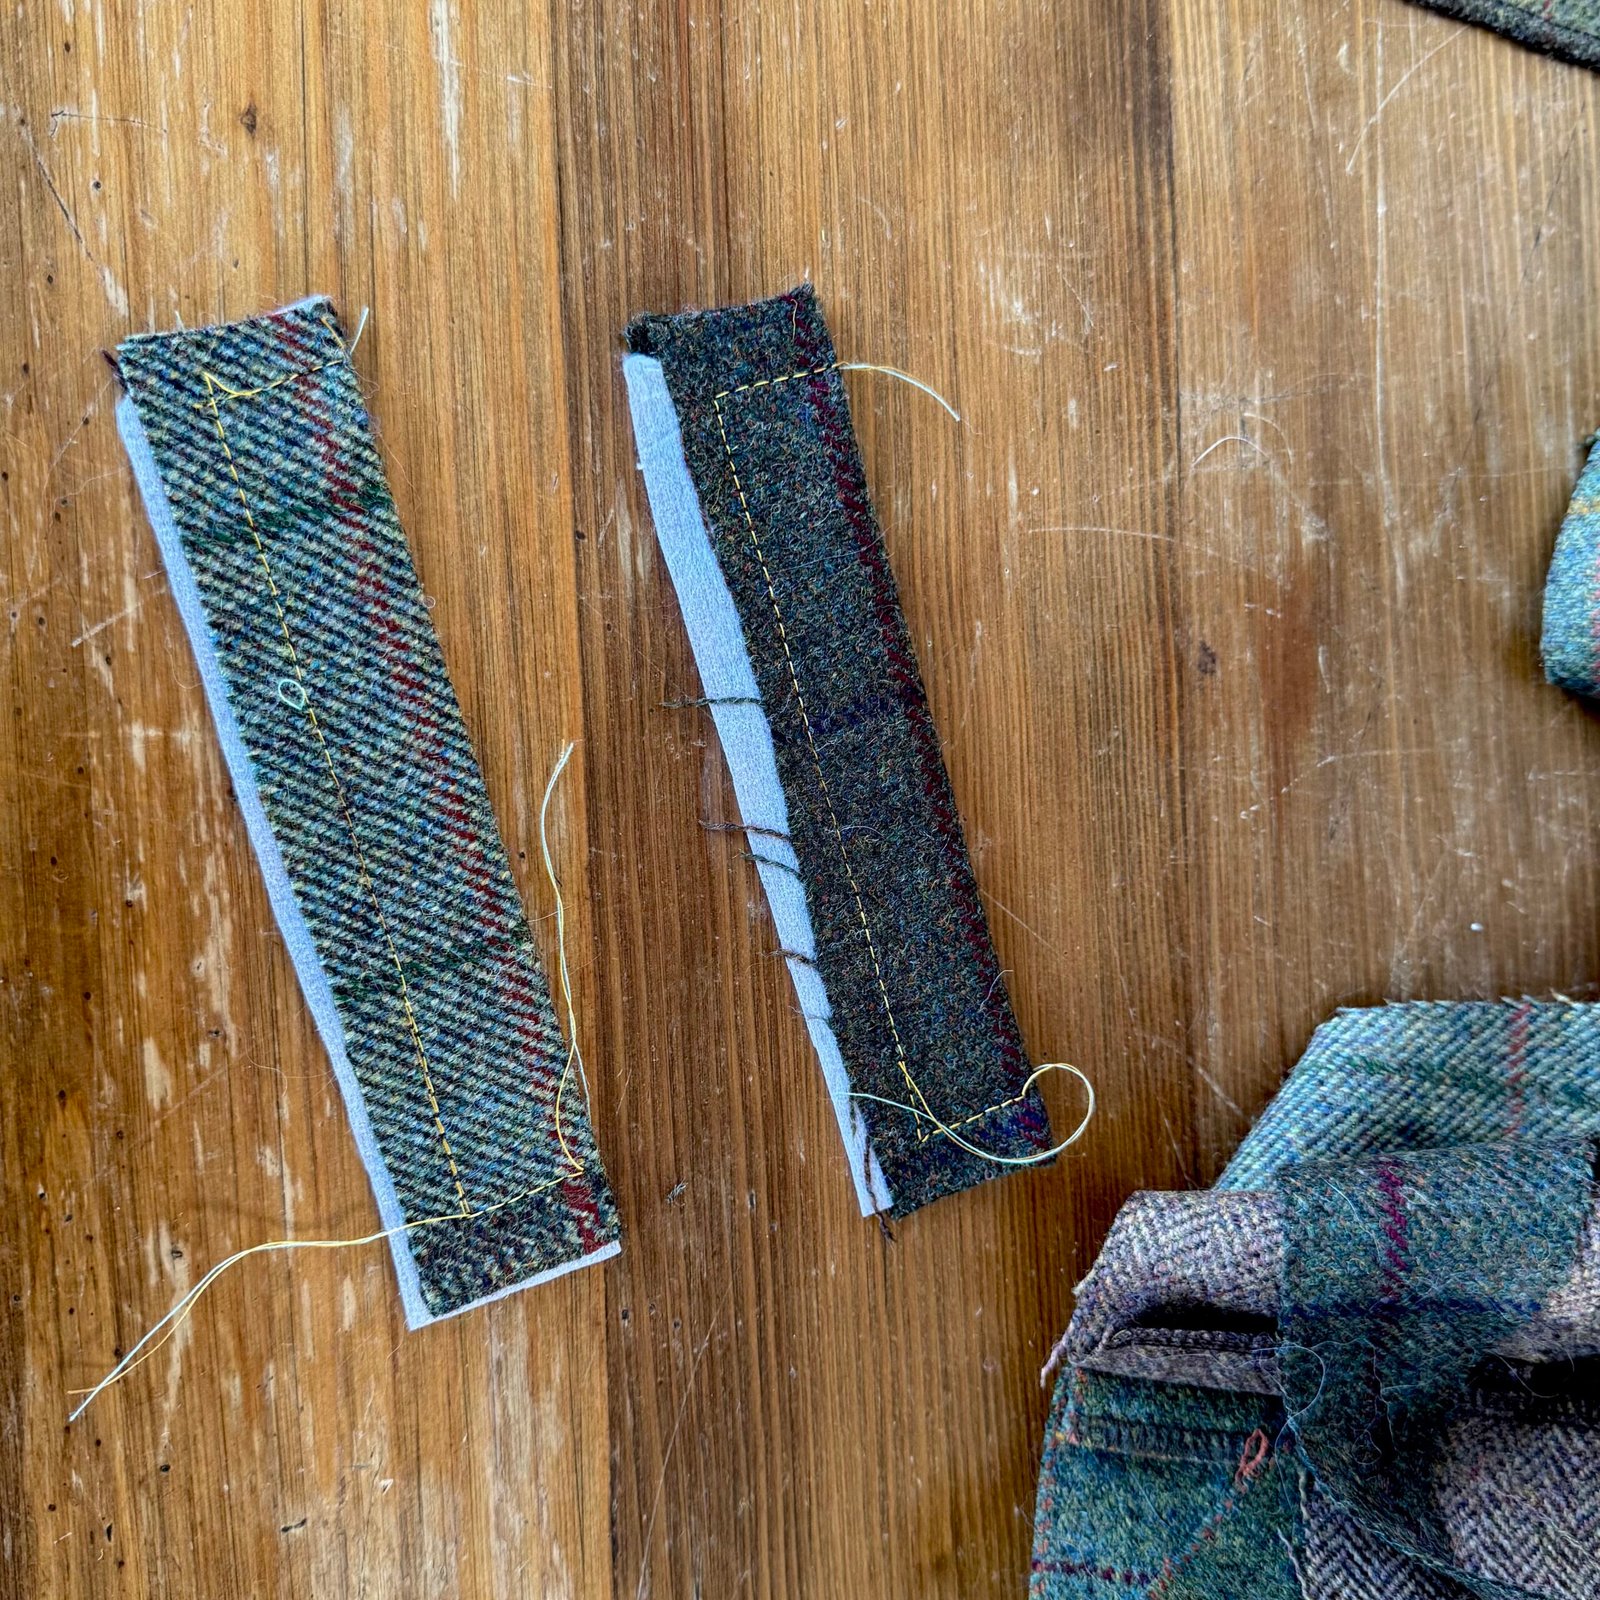
I made welt pockets just like the ones I did on my pink pinafore because they work so well for me.
The straps are also patchwork, which created a few problems when I had to thread them through the buckles because of the sheer bulk of the fabric; but I managed to force them through eventually! Initially I decided to line the pinafore with some lovely chocolate brown cotton that I’ve had for many years.
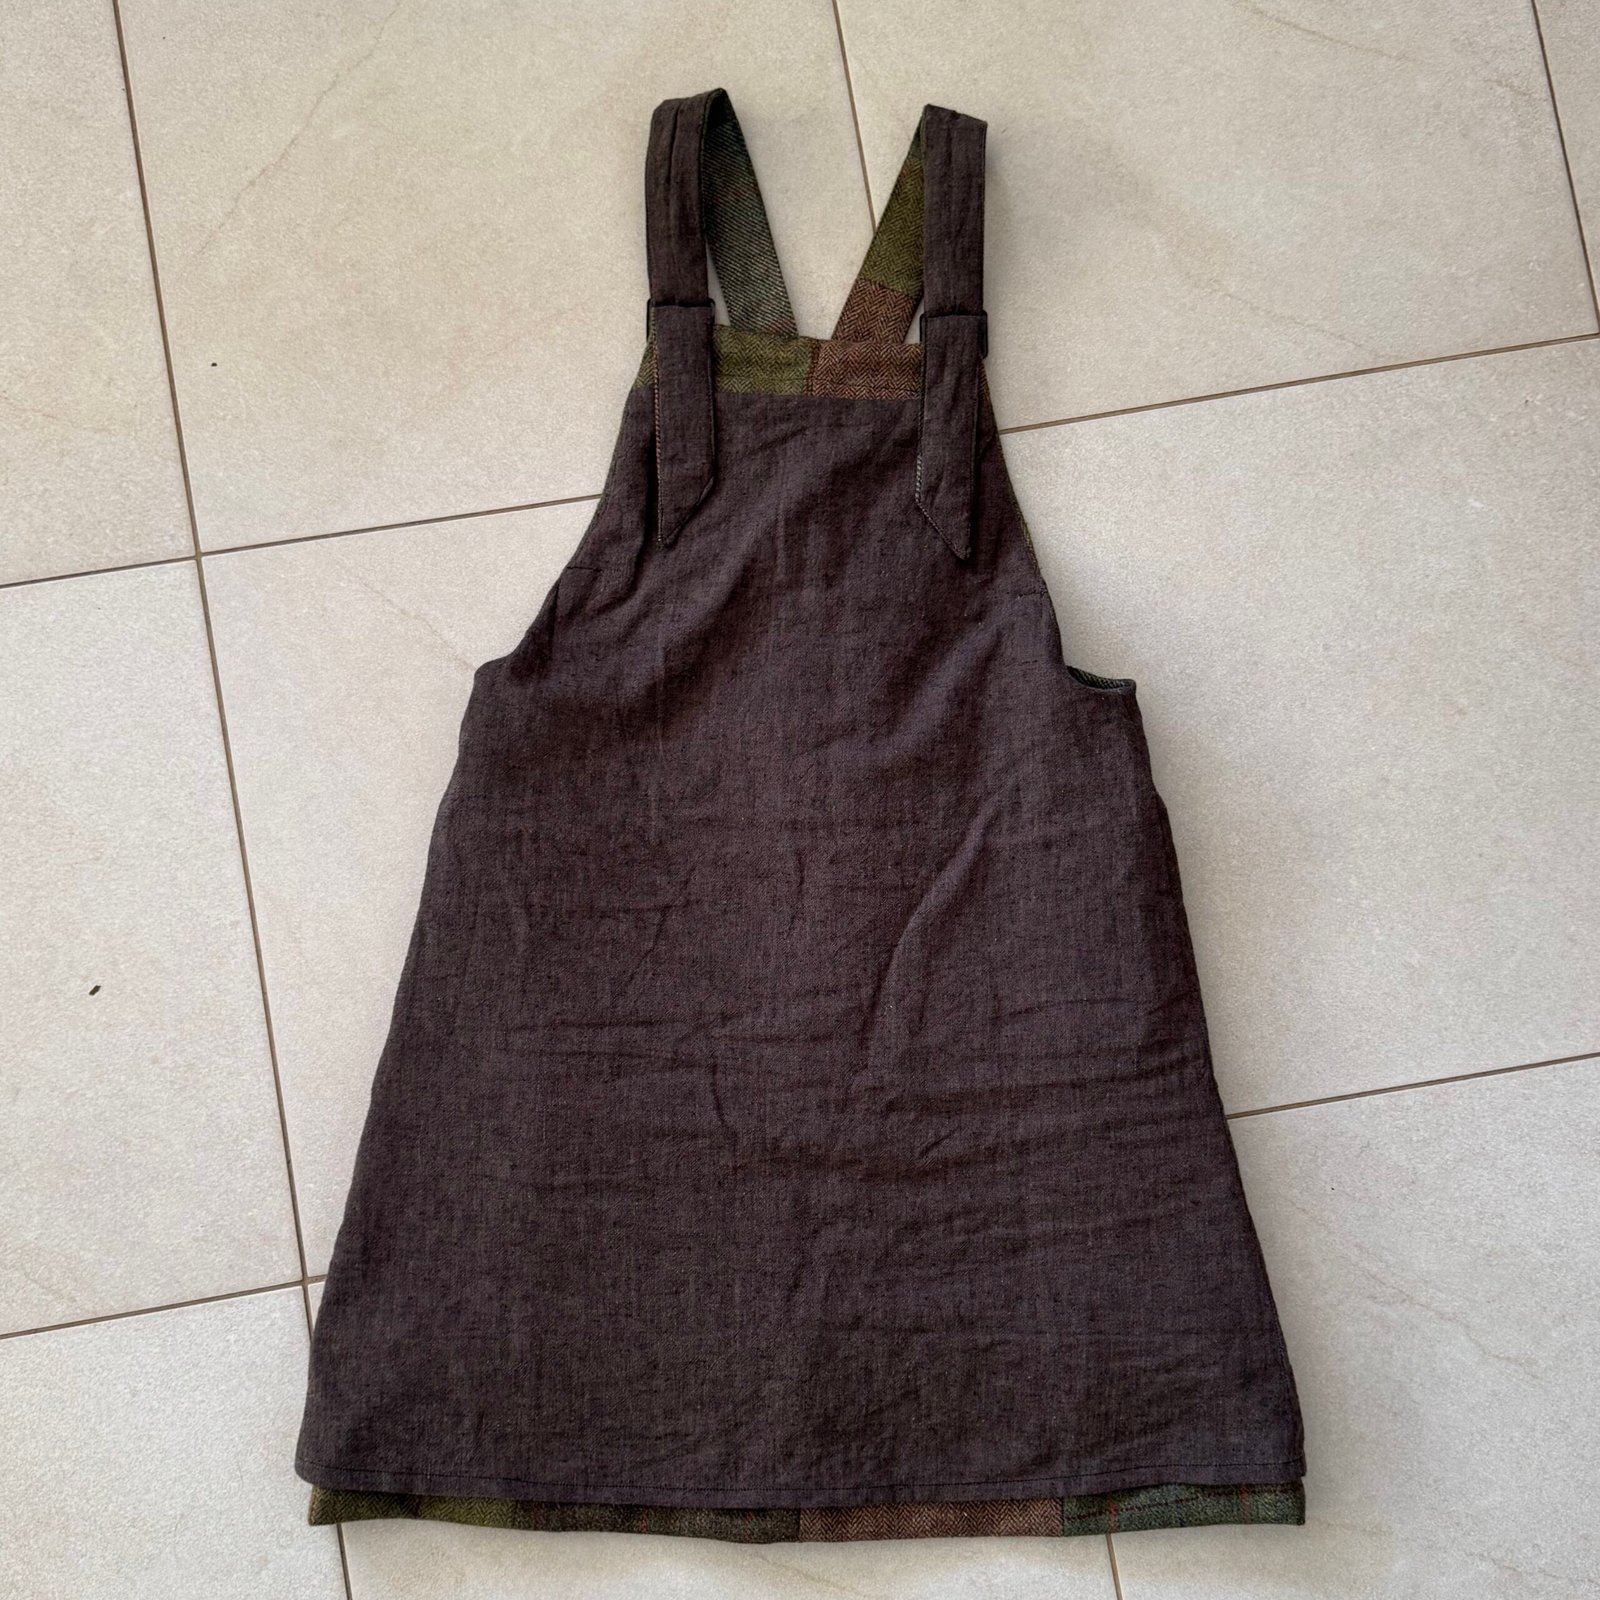
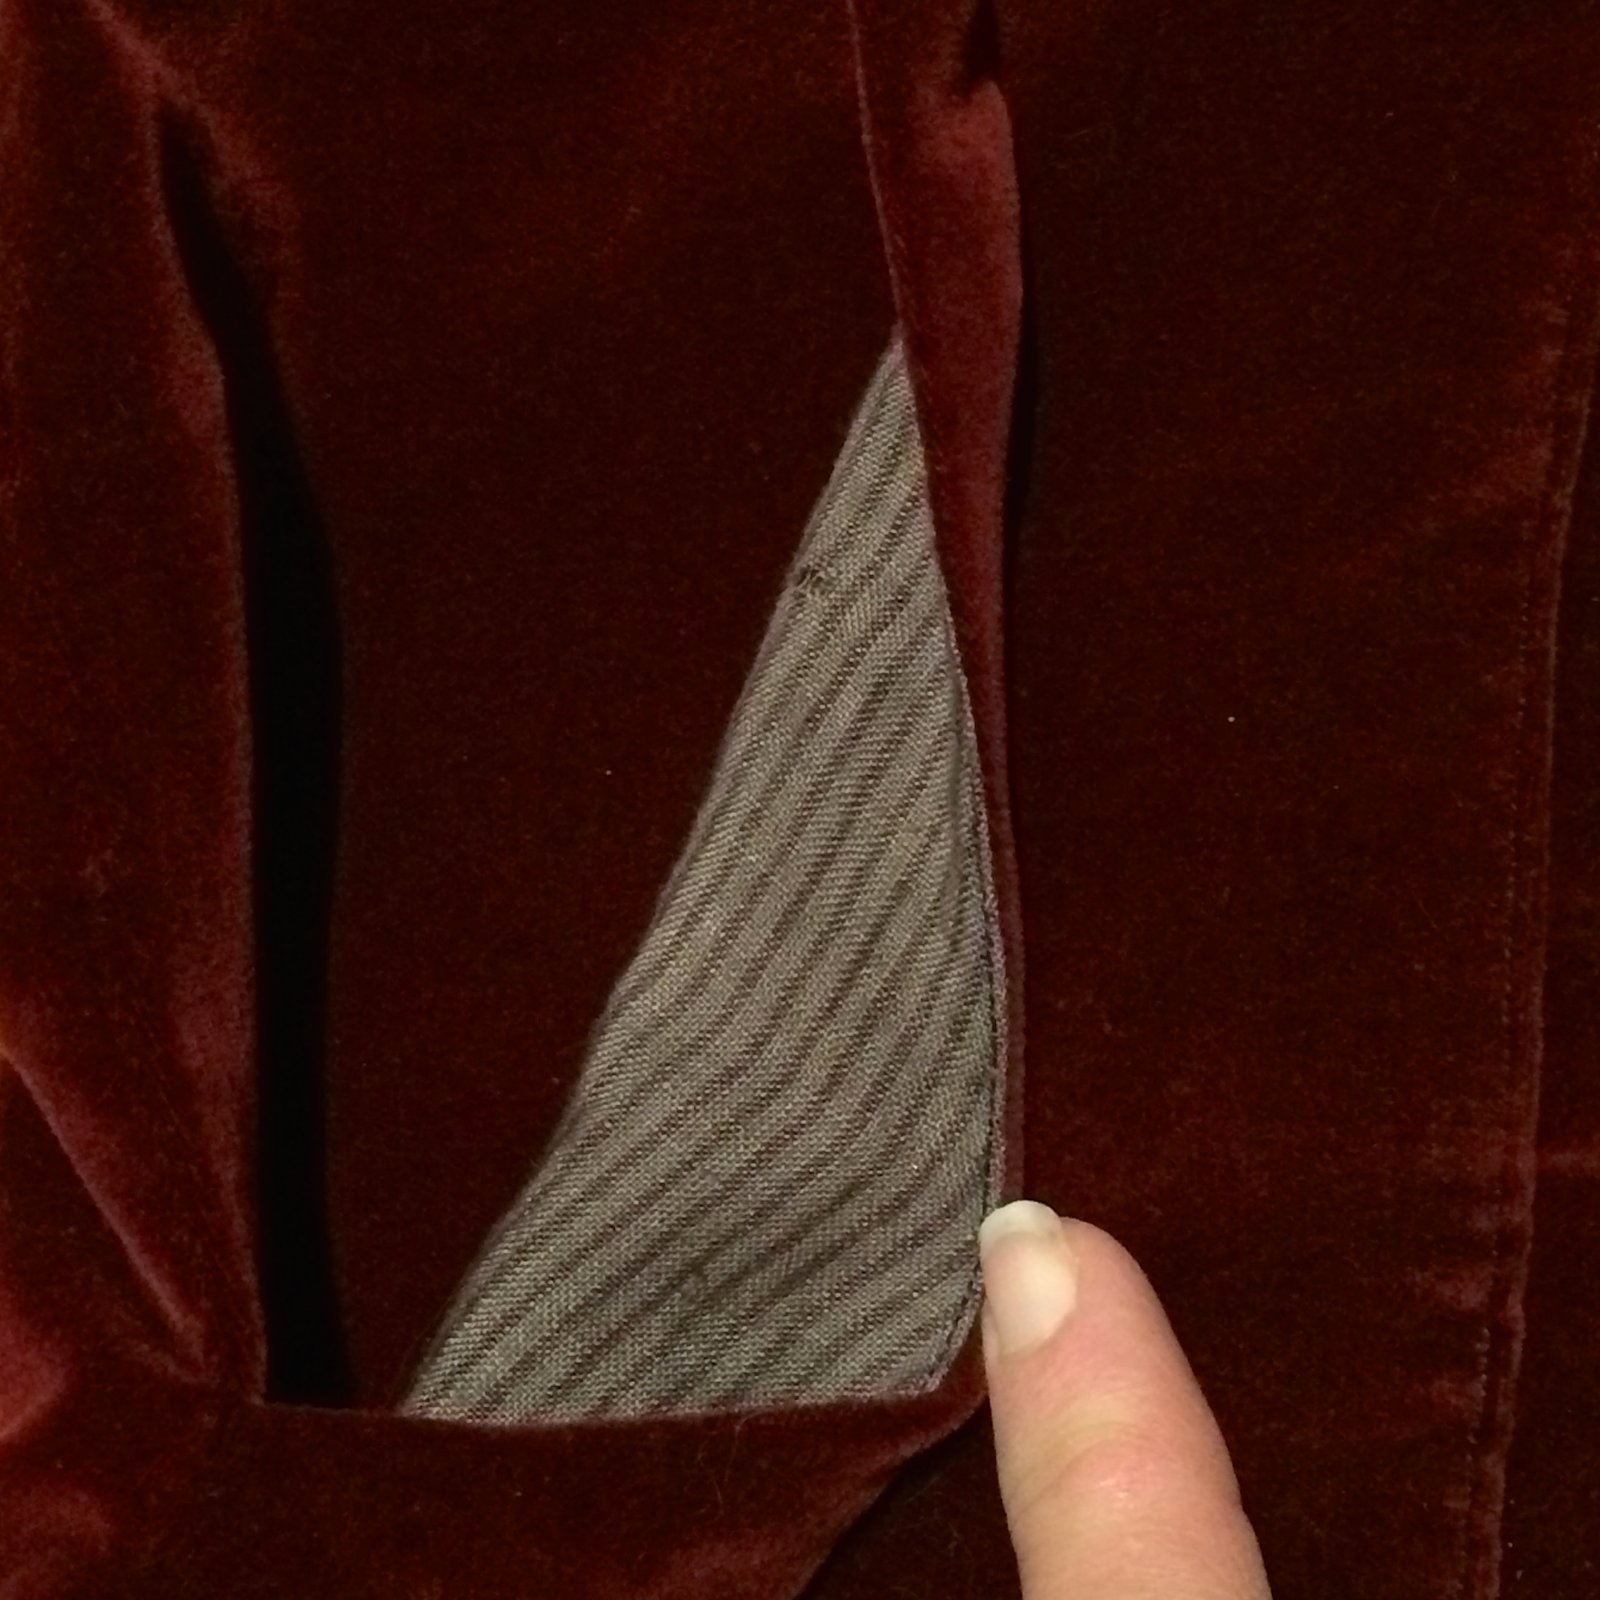
Yes, it looks pretty nice but unfortunately made it quite difficult to wear. I realised very quickly I had to replace it with something a bit more slippery. So I cut most away and attached a new one made of polyacetate lining fabric. Sadly, it doesn’t look nearly as pretty now to my eyes, but it does make it SO much easier and more pleasant to wear!
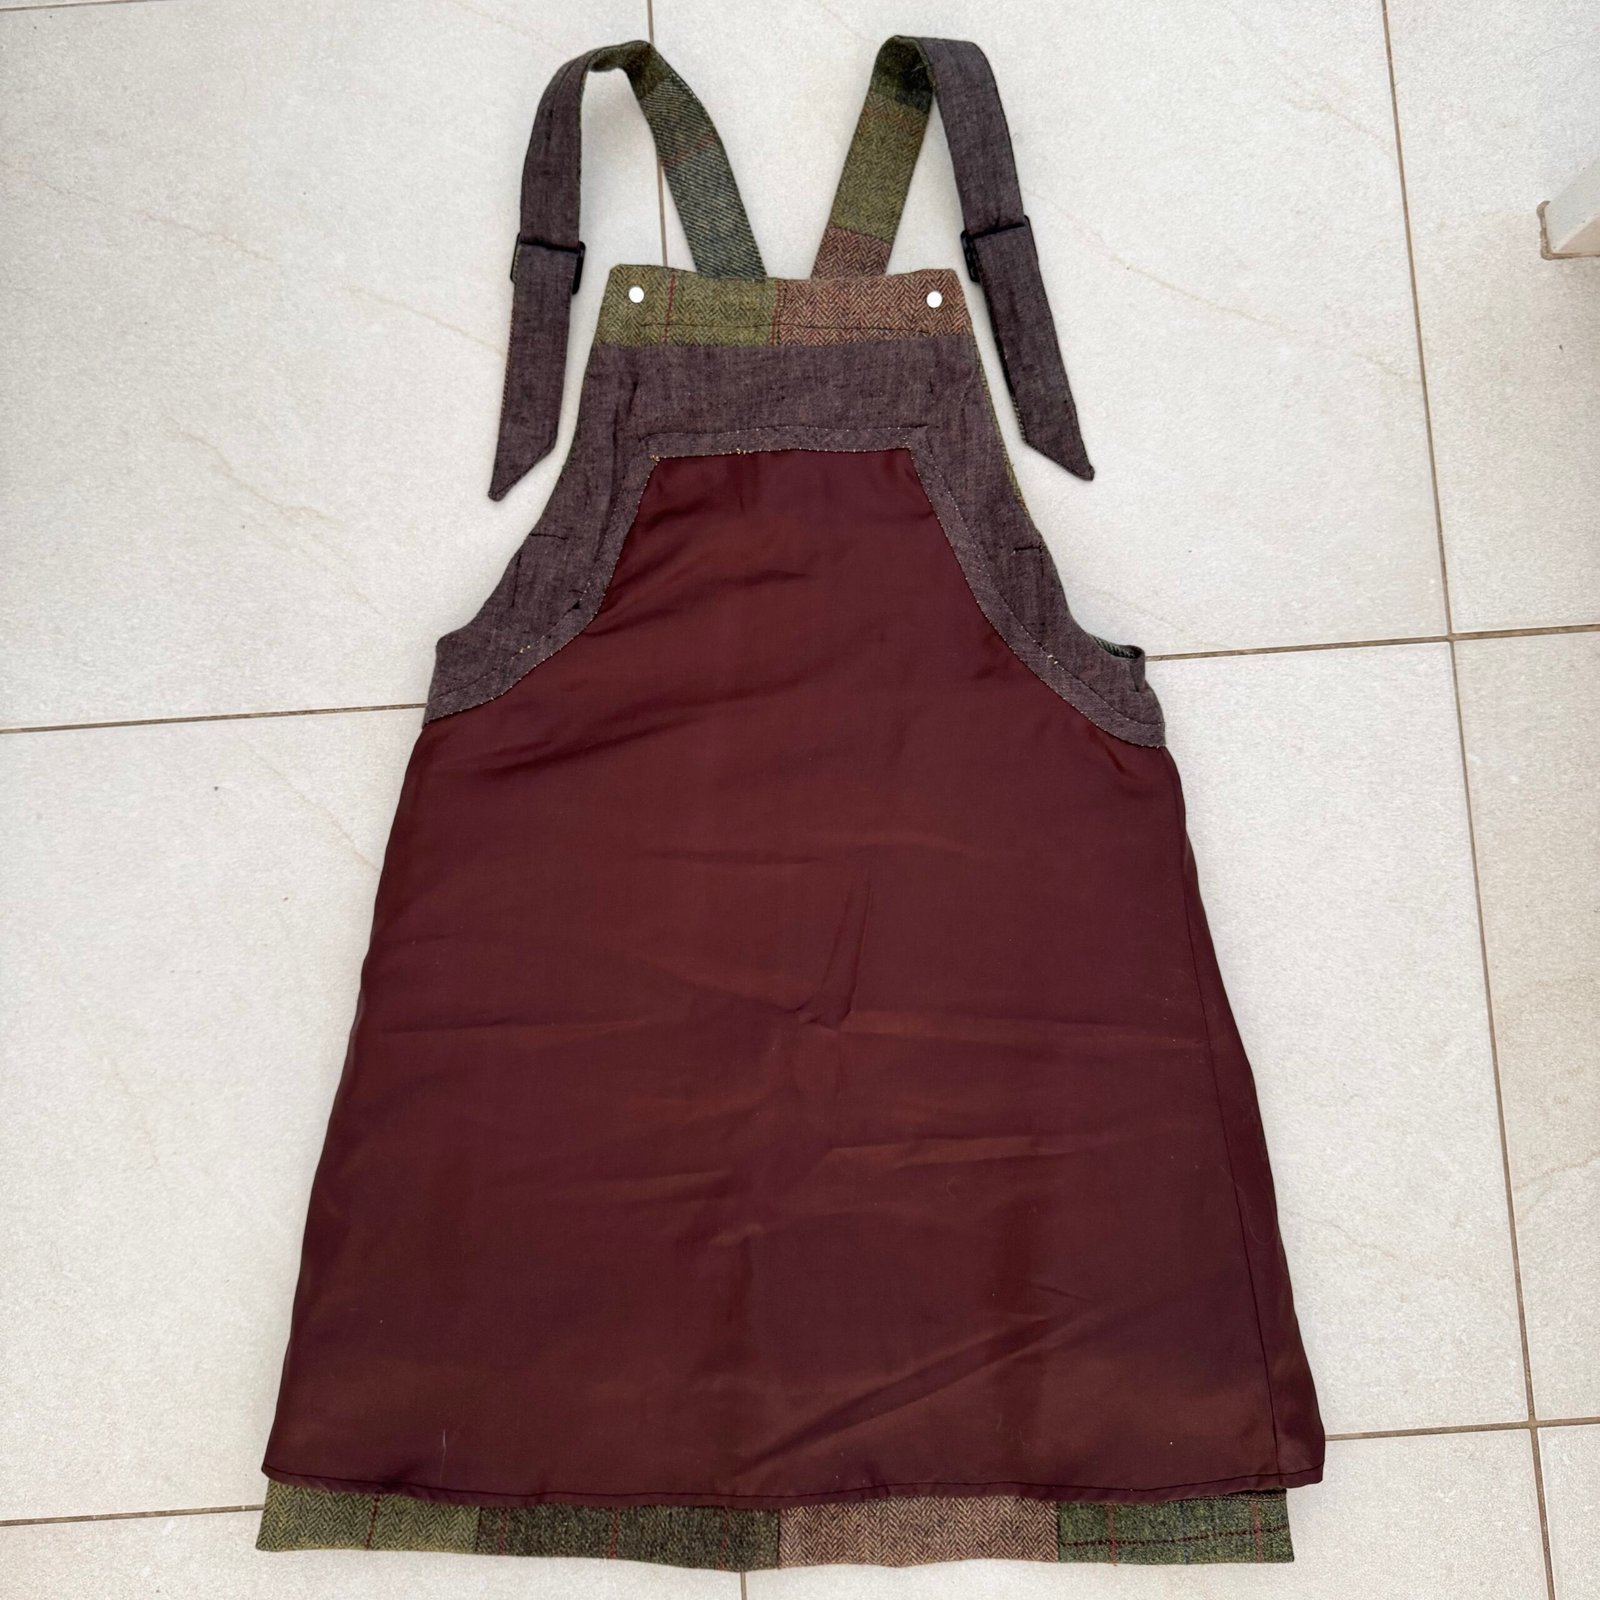
The only way to attach this securely was to press down the seam allowance around the top edge all around and basically topstitch it in place to what remained of the previous cotton lining. However, the topstitching looked quite ugly to my eyes and I wanted it to look a little cleaner, even on the inside where no one can even see it. SoI made a bias strip from the chocolate brown cotton, and hand stitched this over the join all around on the inside to hide it. So much better!
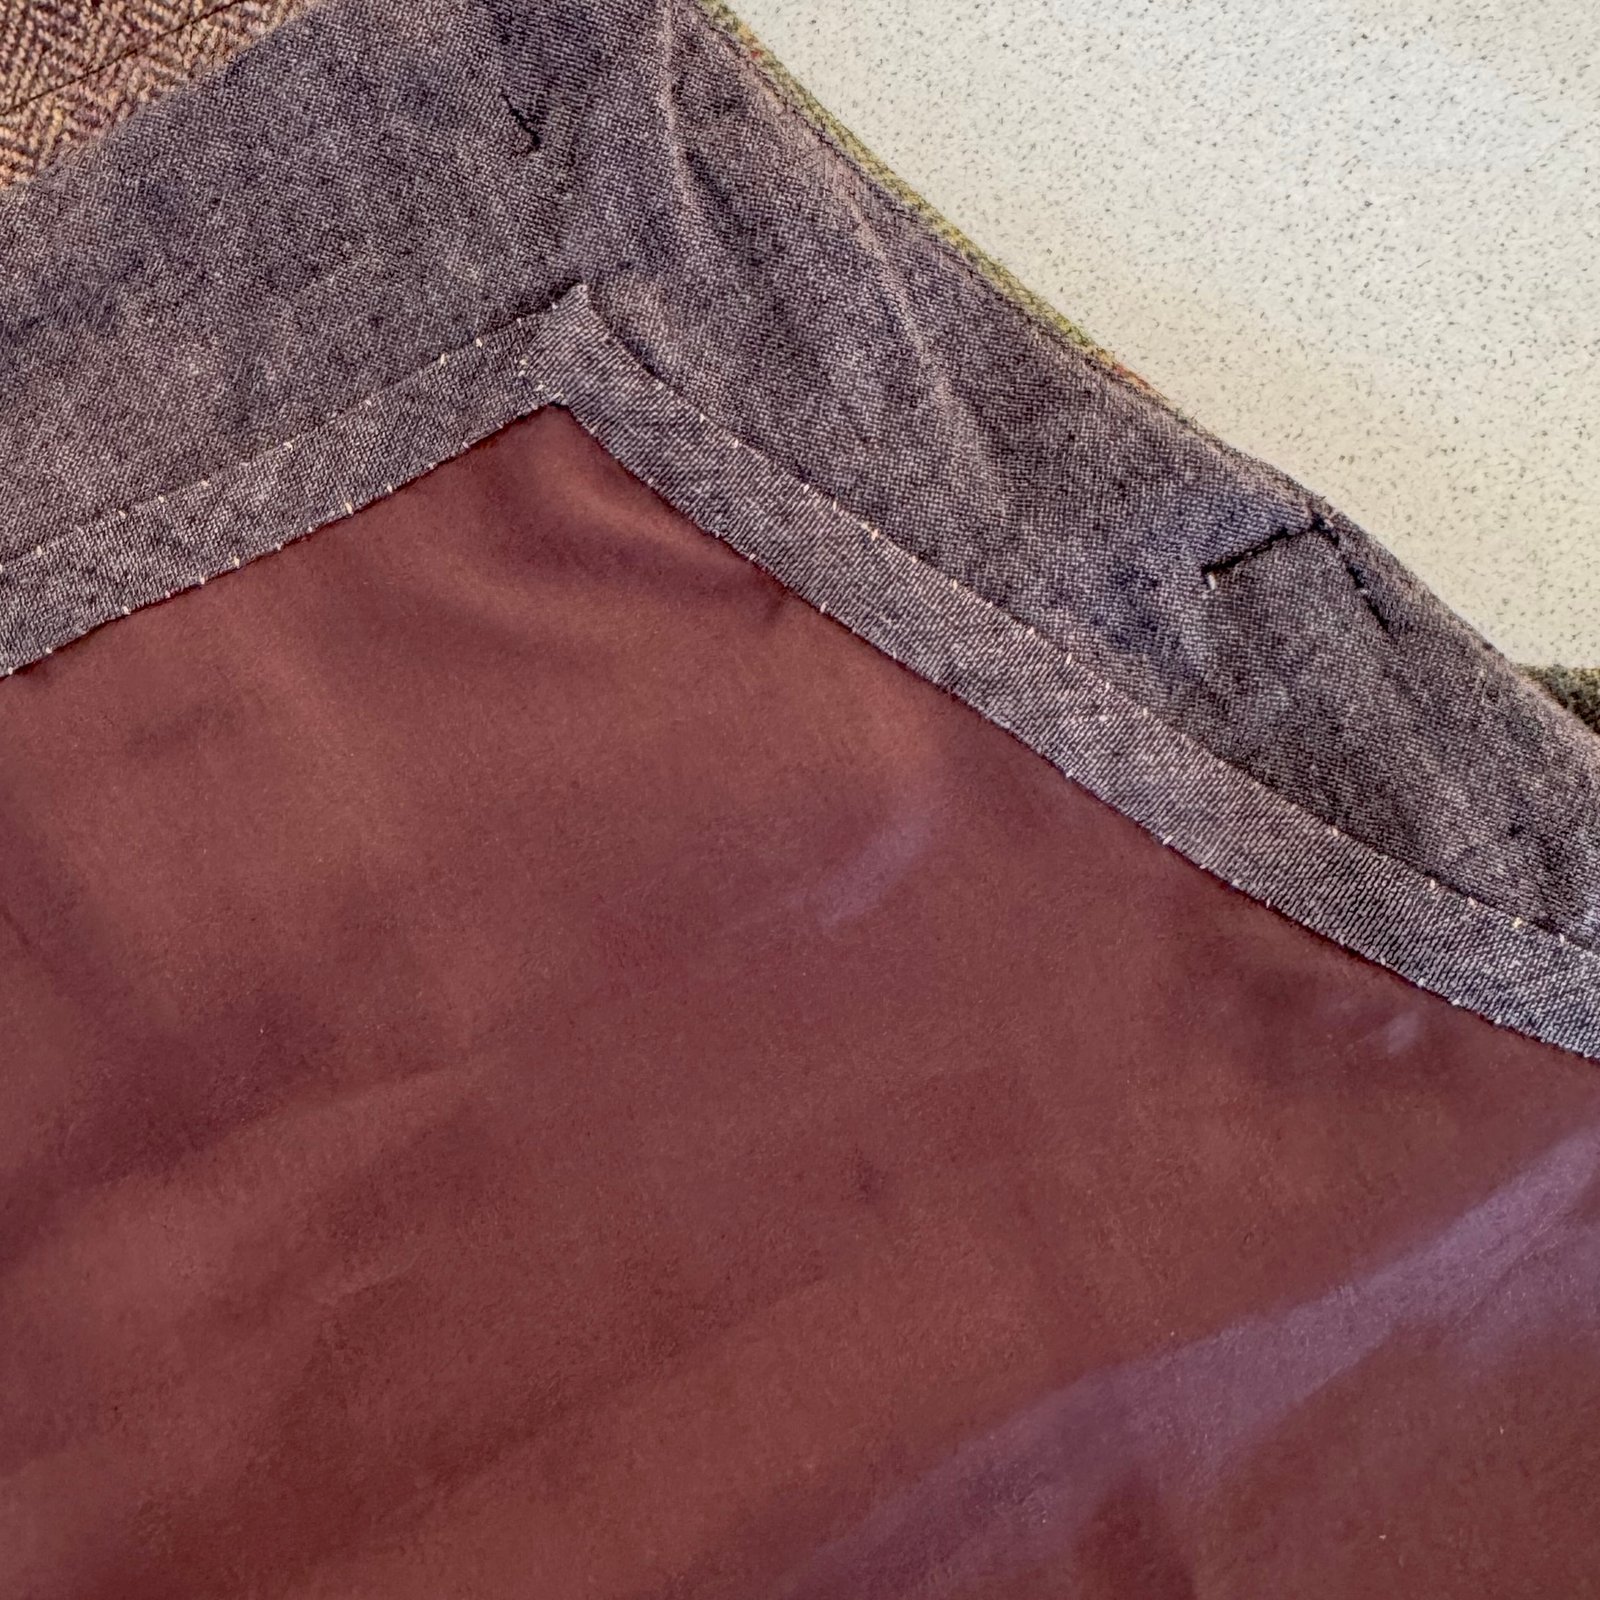
Everything here was from my stash, and I’m so happy to have finally made something I love from this beautiful fabric!
2) Back in summer I made a new little dress using leftover cotton fabrics and the Esme pattern from the book “Everyday Style” by Lotte Jansdotter. I love how it looks like a French flag!
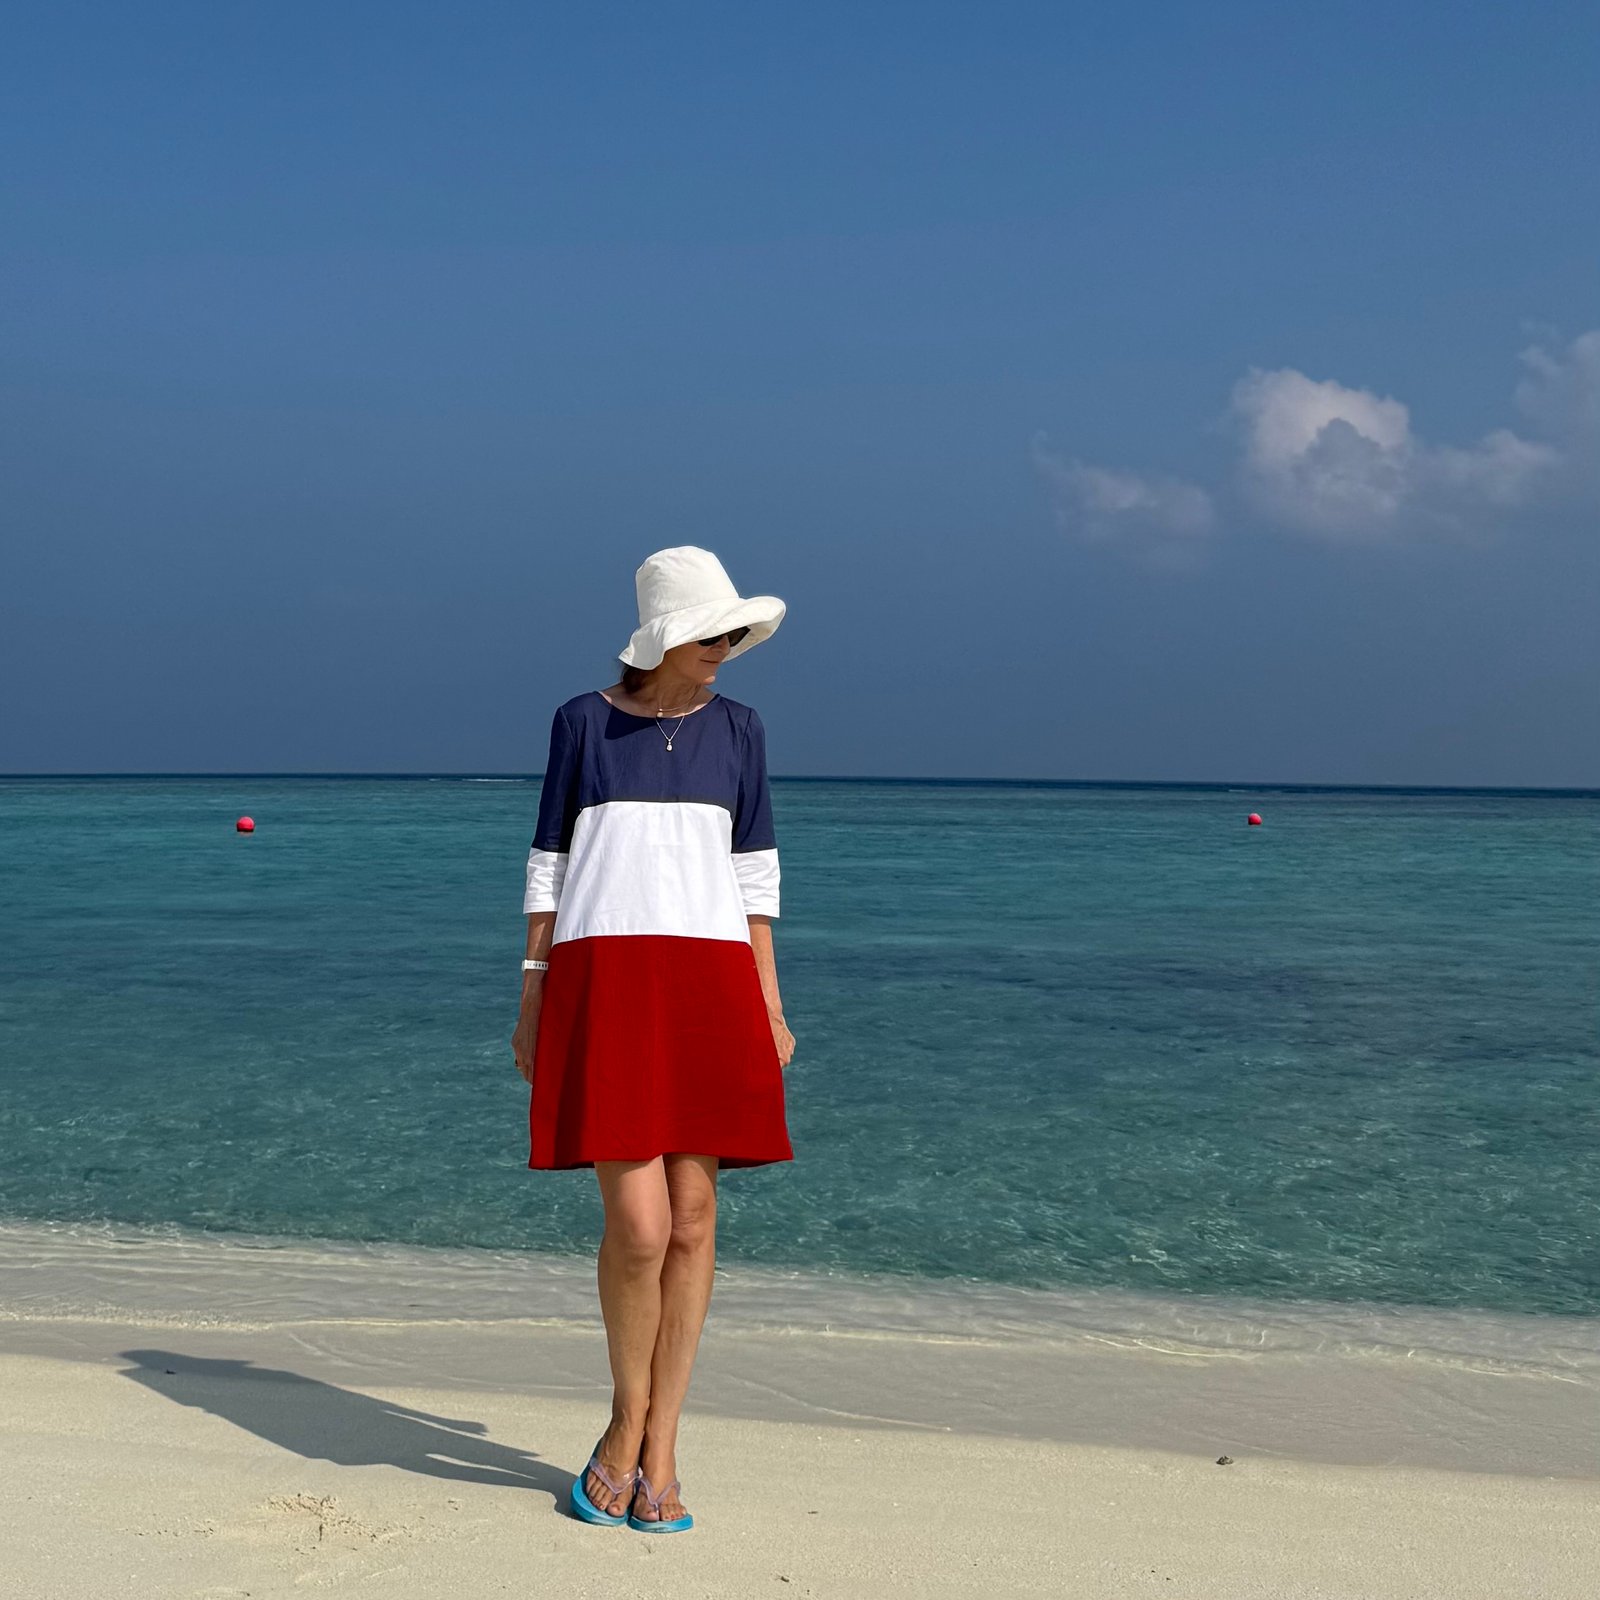
 The seams look like straight lines, but in reality none of them are because of the weird shapes of the fabric scraps I was using! All the horizontal seams are curved to differing degrees. It was a little tricky to get a good neat result but I was actually very pleased with myself how cohesive it all looks in the end! Of course this is a fun and cool, airy little dress to wear and I am extremely happy with it. I’m looking forward to summer so I can get back into it again!
Again, everything from stash.

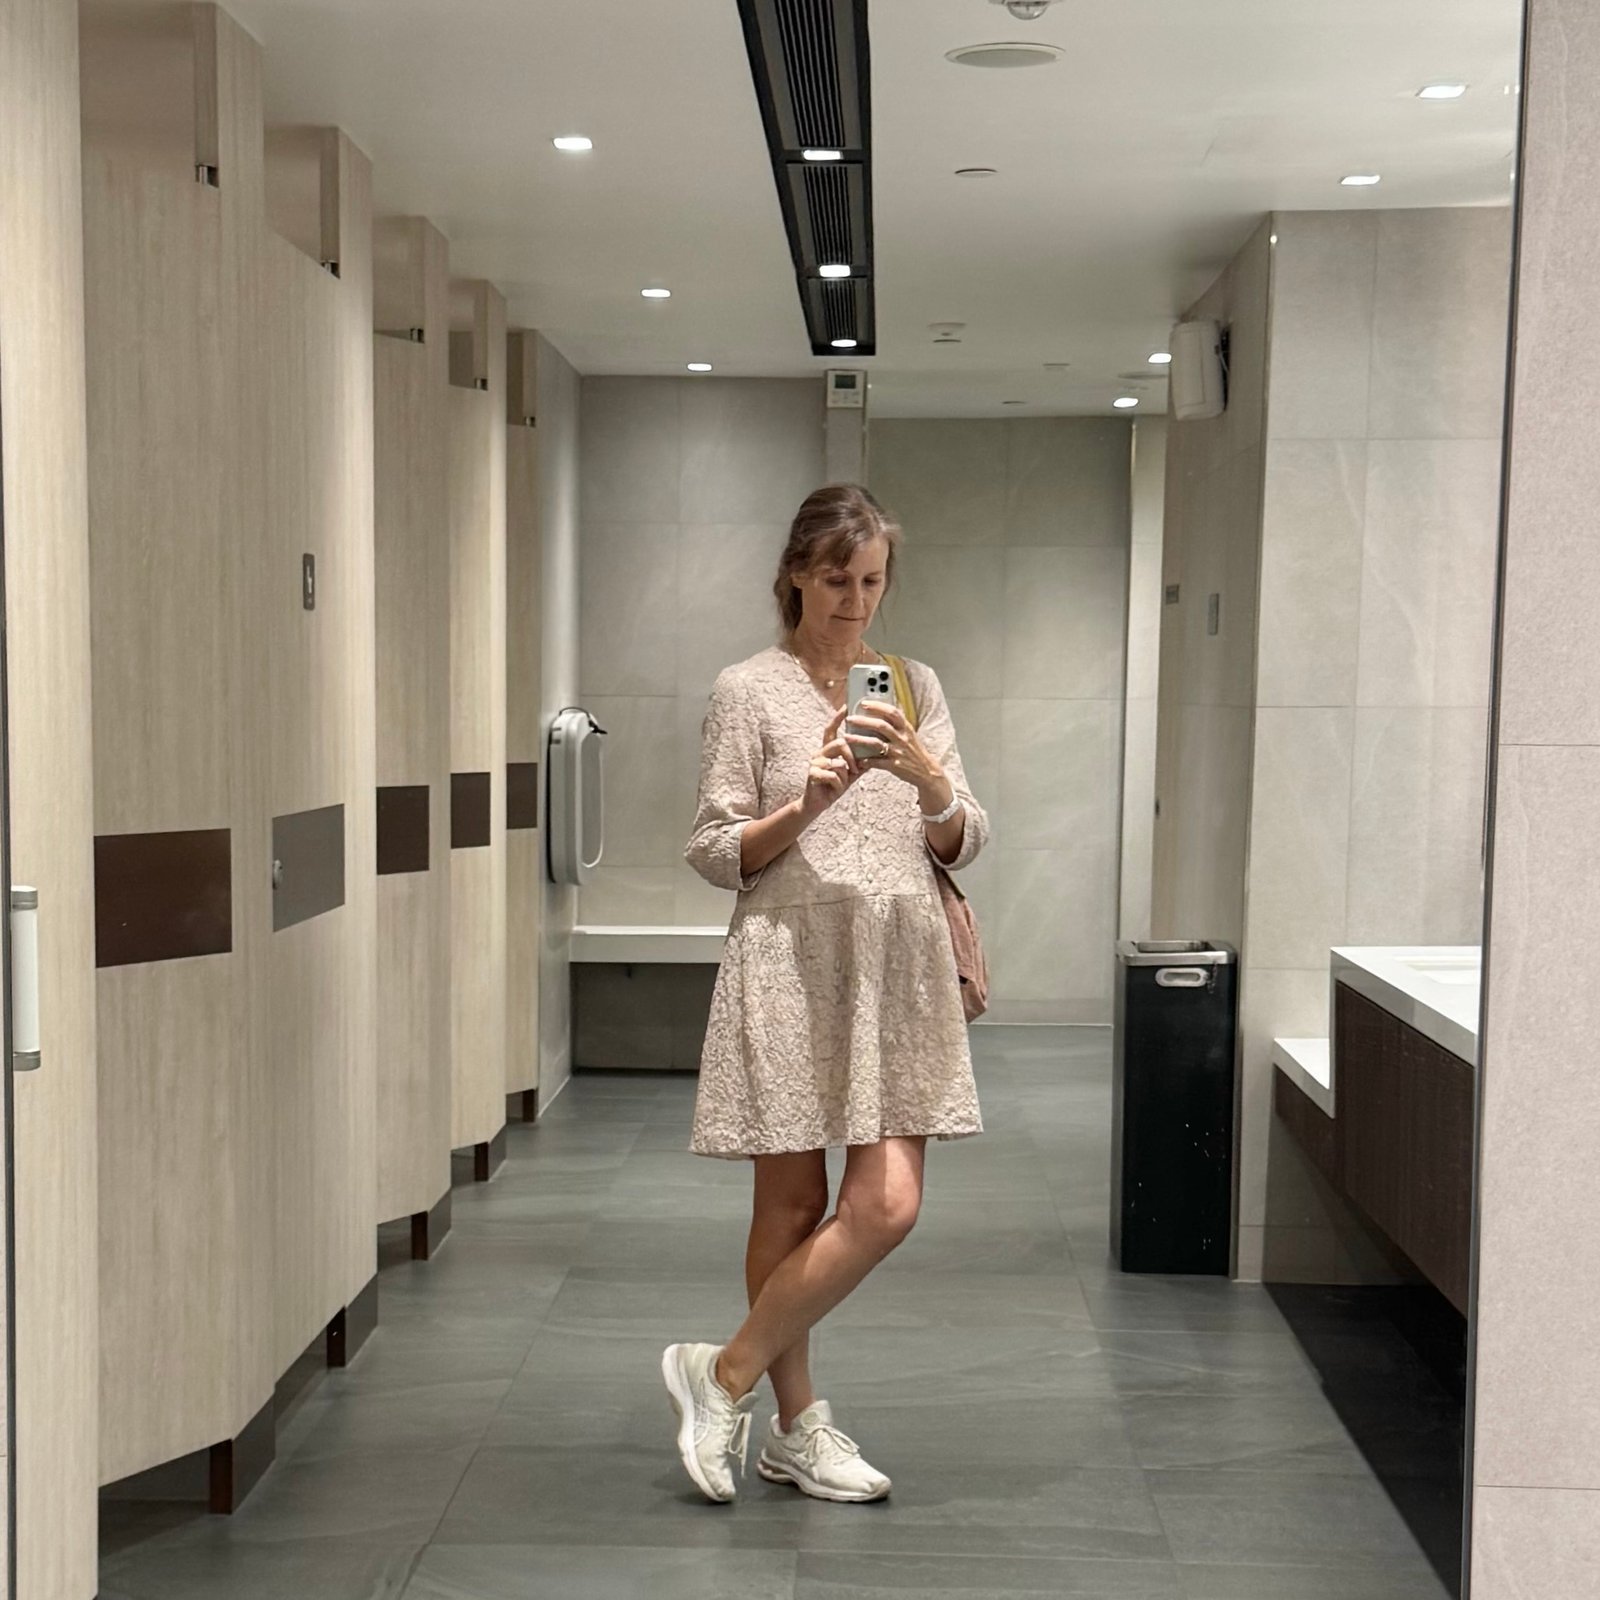
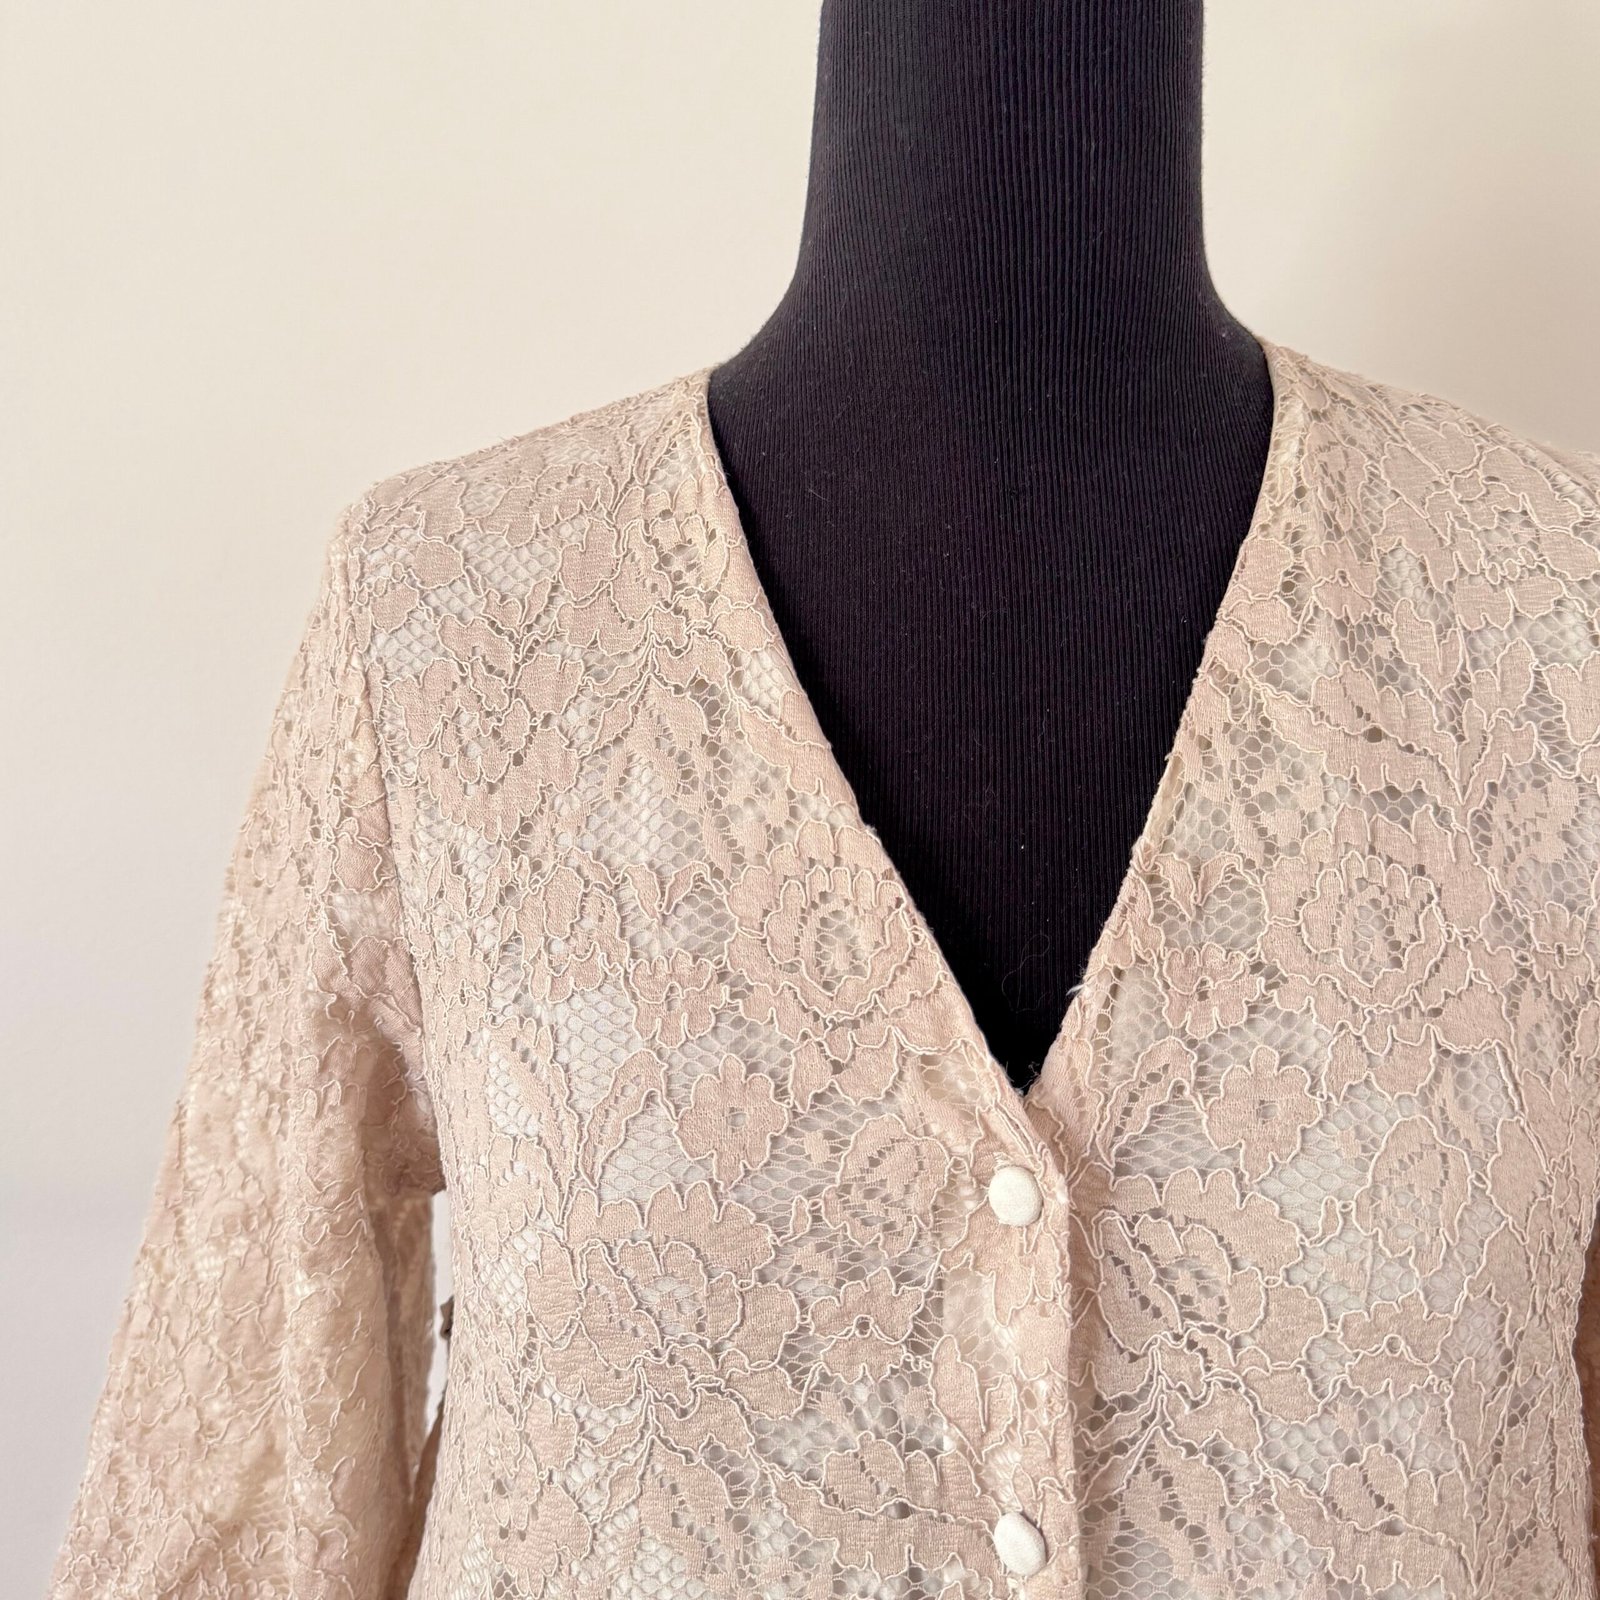
 3) Also during last summer I also made this little lace dress using the Fibremood Lennox pattern and a pale “greige” lace originally from Fabulous Fabrics from many years ago. I underlined all pieces completely with a cream coloured muslin, also bought many years ago, I think from a Morrison remnant sale. The buttons are actually some leftovers from the covered buttons that I made for Kelly’s wedding dress, back here! This is also all from stash, and although I’ve worn this a tonne since I made it I took only one picture of myself wearing it… this rather terrible one, sorry. I’m trying to get back to photographing and documenting things better.
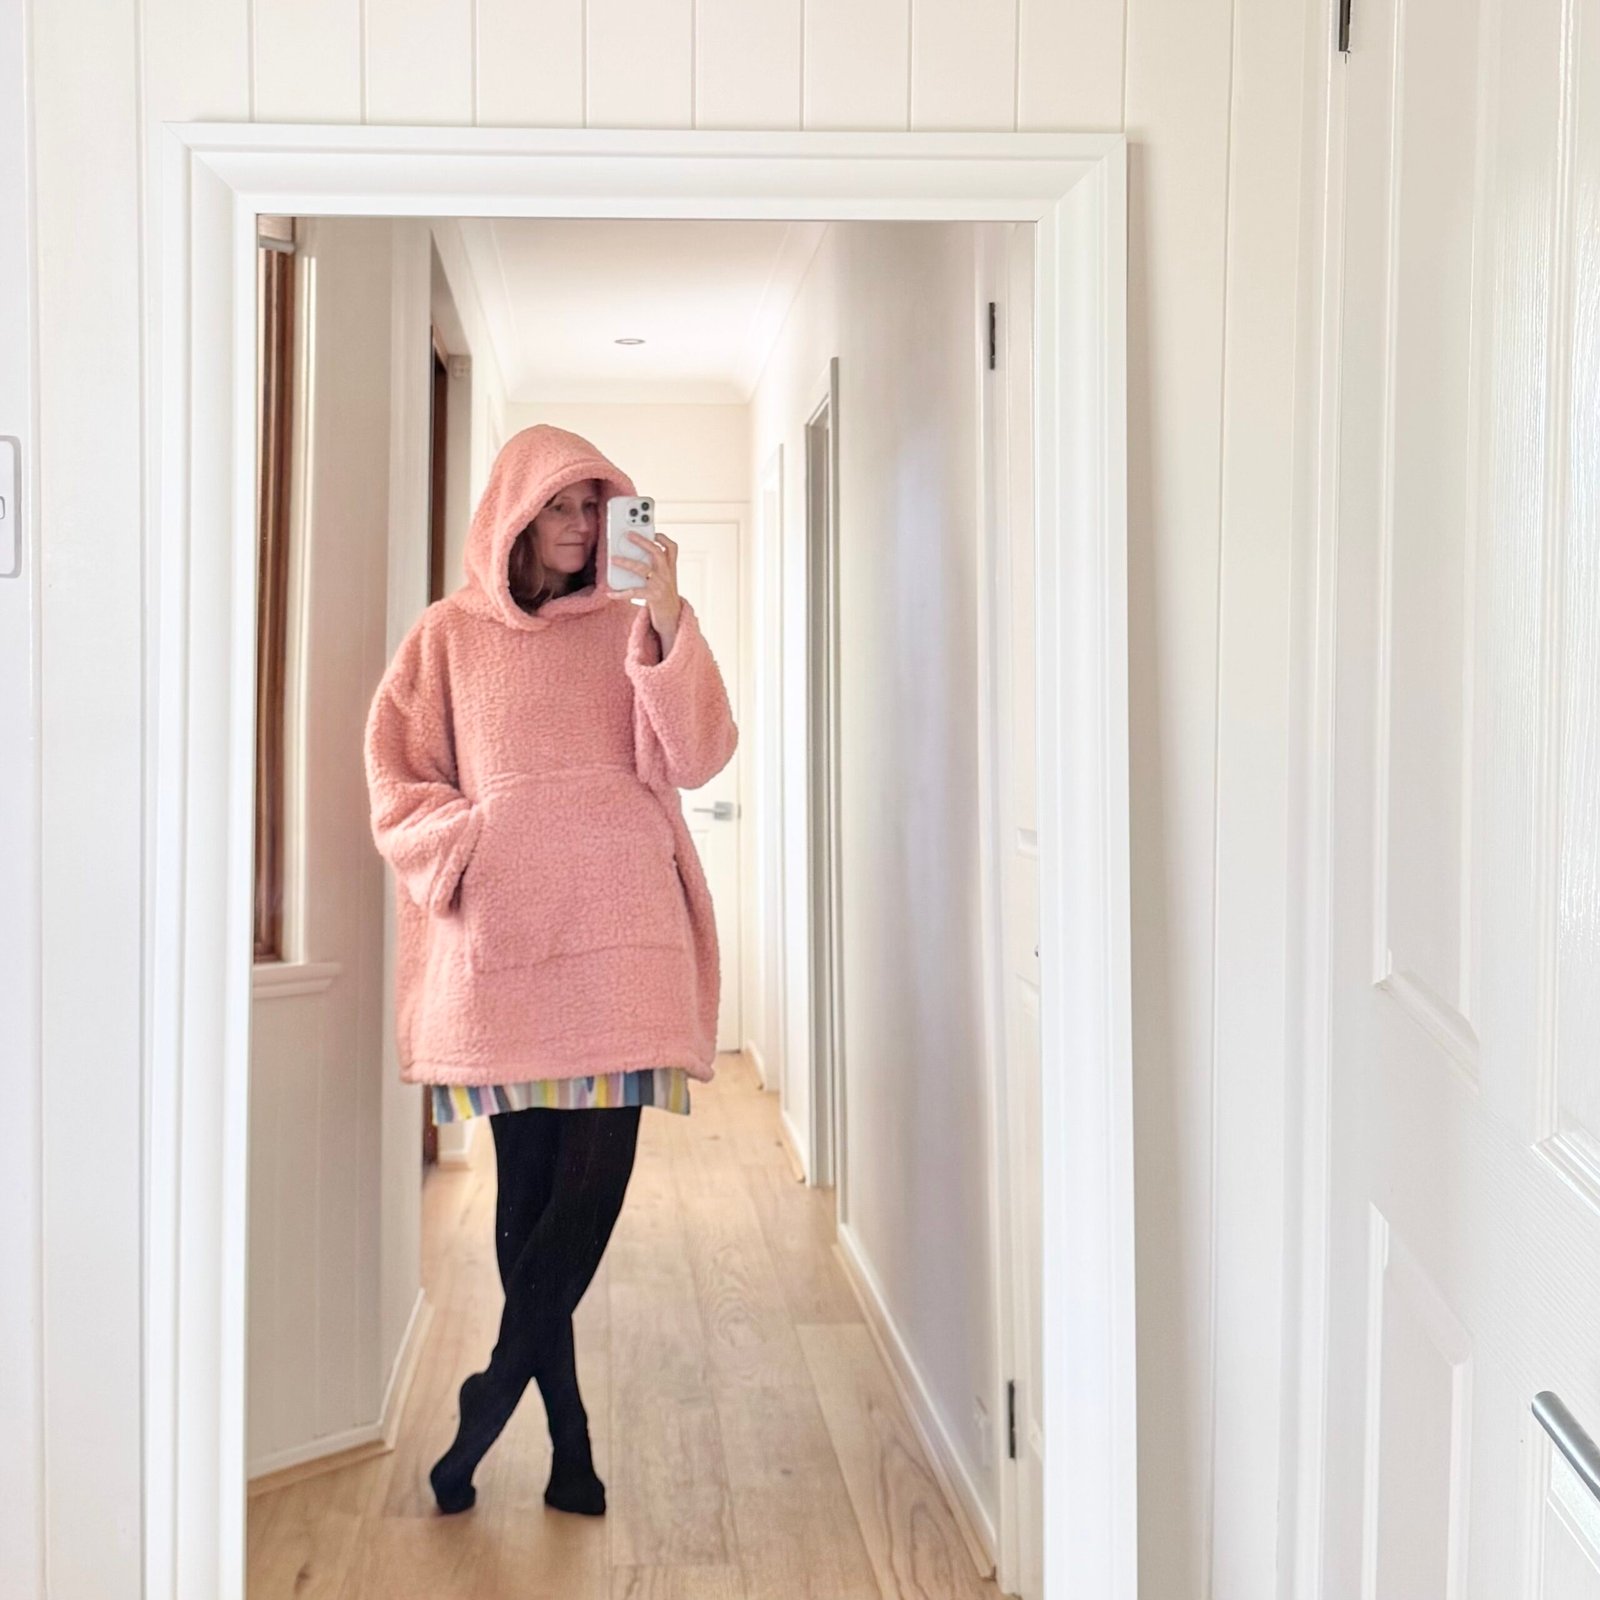
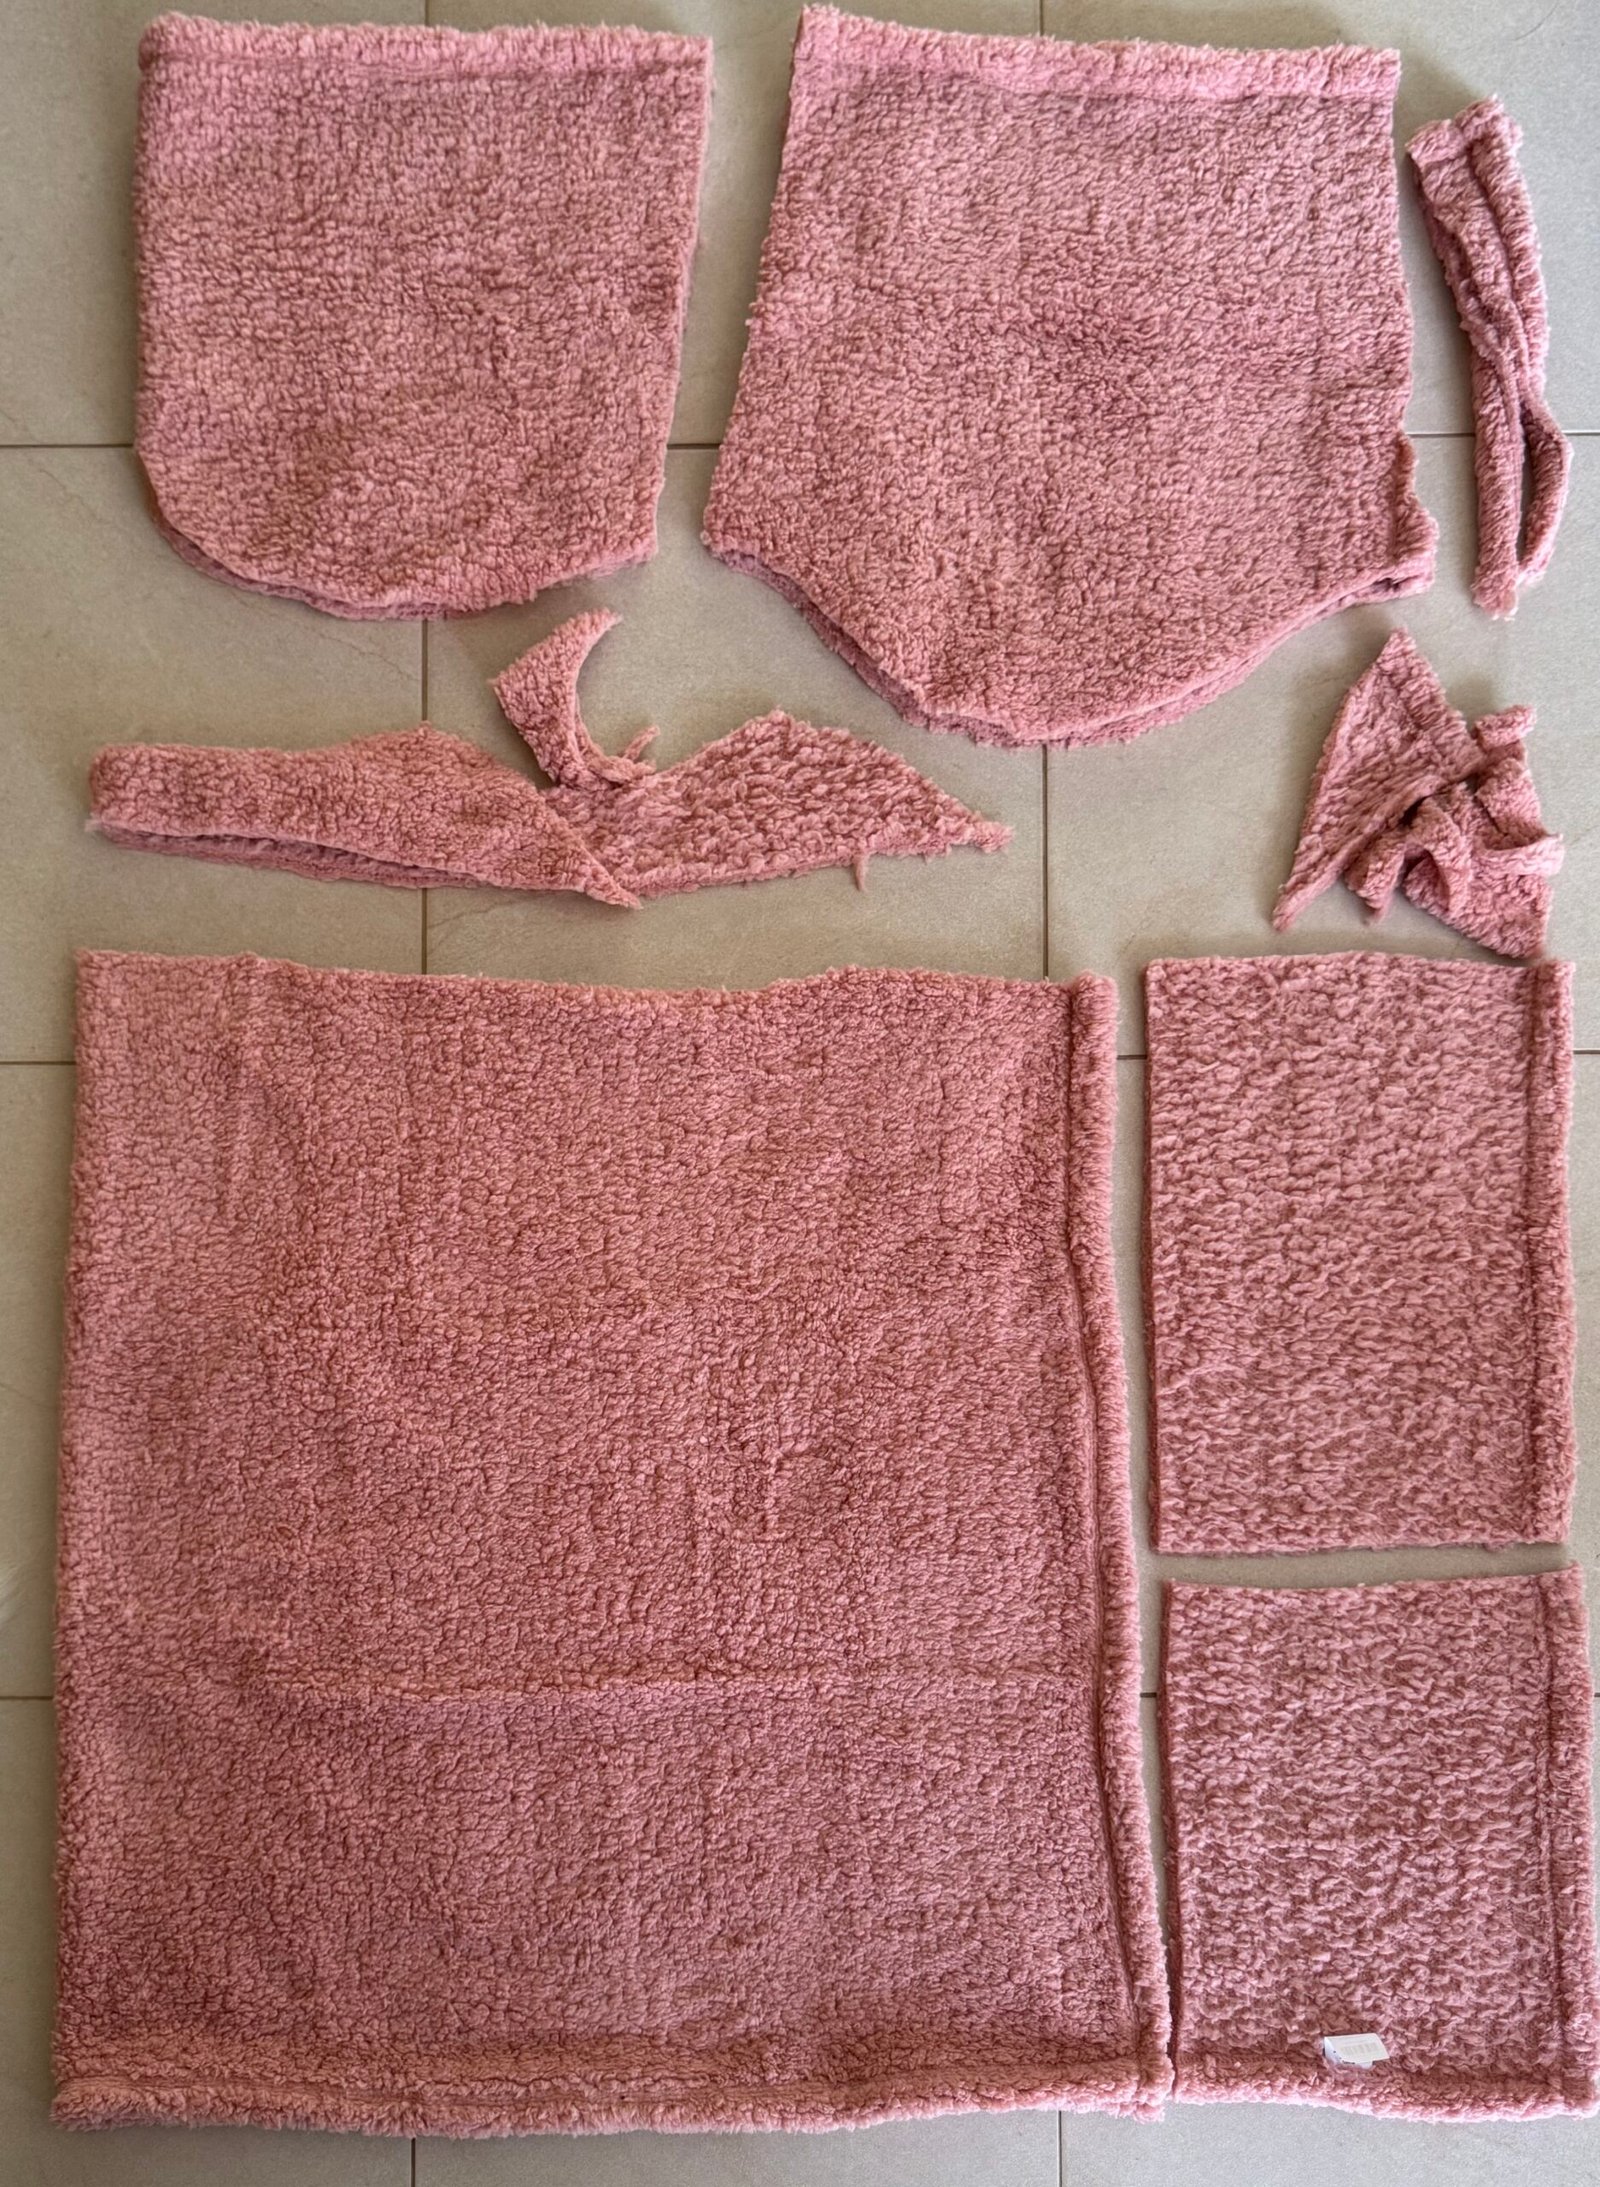
4) and 5) and oodie!! along with some new winter pyjamas. Not particularly glamorous or exciting, and I did have to buy all new fabric but we all have to do that sometimes since we need pyjamas, yes? I’d bought the fluffy pink blanket from Spotlight with a view to making a new dressing gown like my previous one… but the blanket was unfortunately way too small for my pattern. So I drew up a plan that used as much of the blanket as I could, while making a functional winter coverup. I absolutely love the result! It’s super comfy and warm and I’m in it every single evening, even during the day at home sometimes!
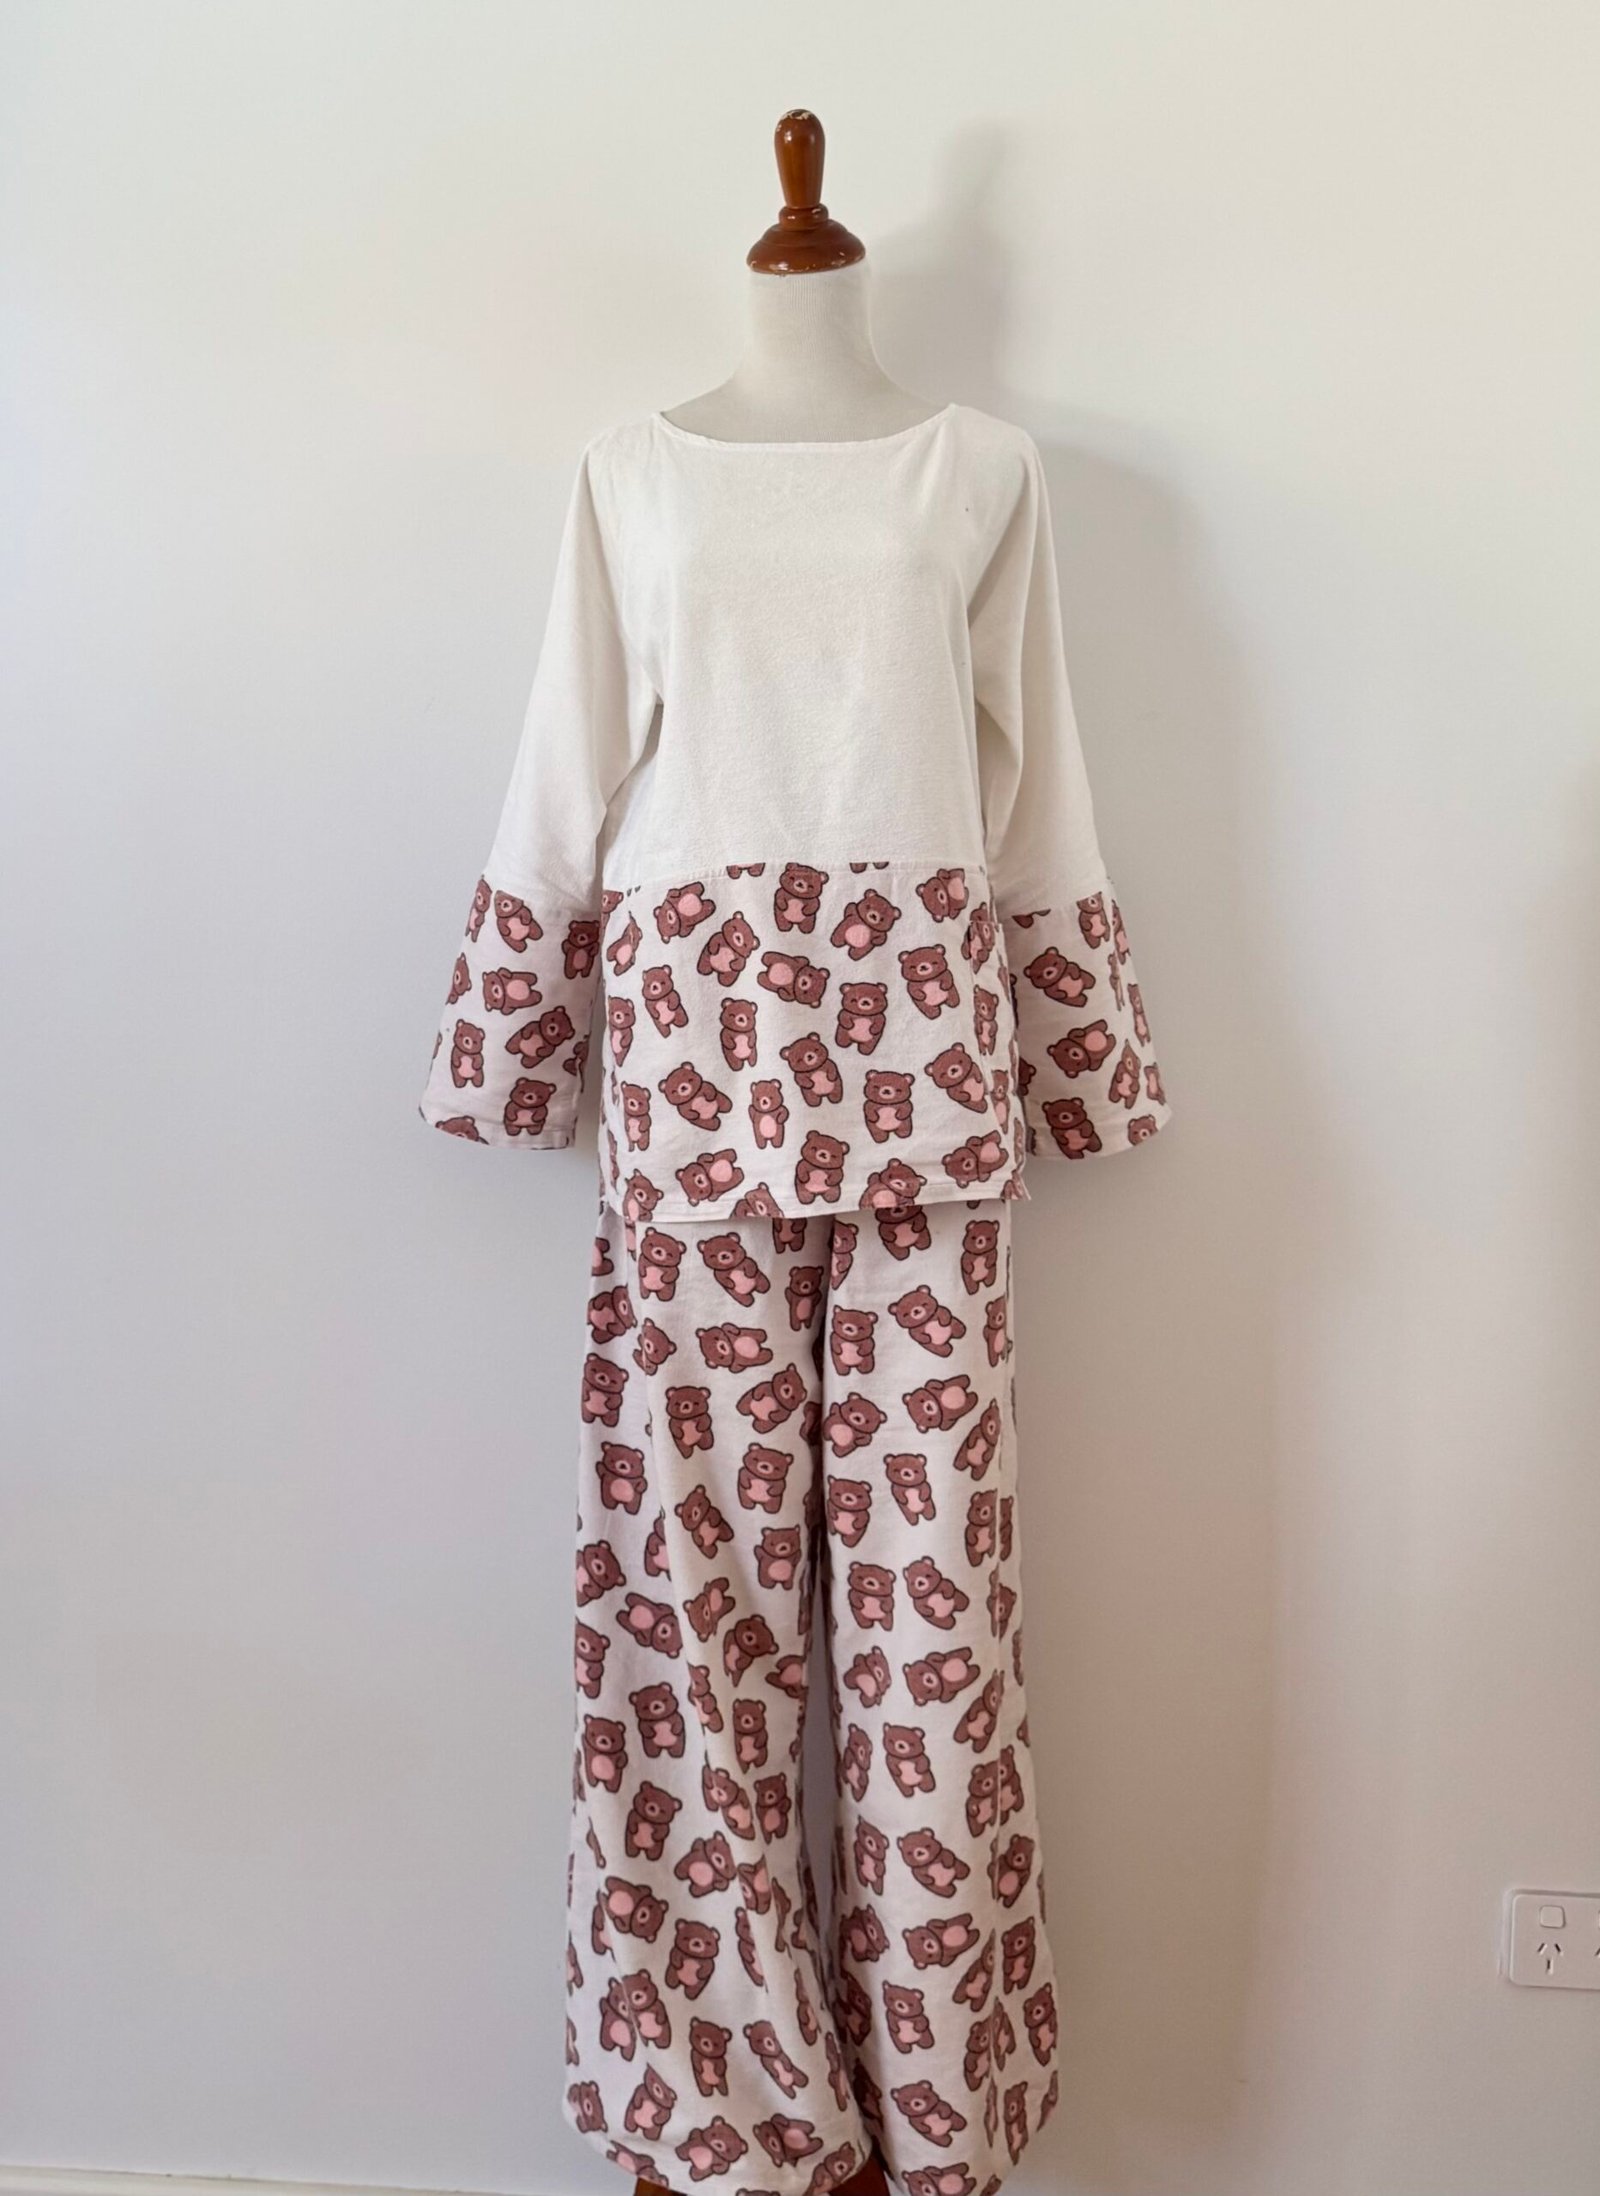
I chose the pyjama fabric simply because the pink of the teddies’ tummies perfectly matches the colour of the blanket so well. The patterns I used for these are my usual; the Closet Core Carolyn pyjama bottoms, and heavily modified Burda 10/2009; 121 for the top.
Finally I just want to add; thank you so much for the lovely welcome back comments on my previous post! I do still have quite a few more things to share once I get around to taking some photos, so please stay tuned!


 Fabric first; I used a piece of linen that was originally white, and that I dyed myself using a Japanese indigo plant brewed dyepot, from a natural dyeing workshop that I attended a few years ago. I absolutely love the natural blotchiness of the natural dye and am so pleased I finally found a really worthwhile project for this precious stuff!
 I used a white topstitching thread throughout, and most of the buttons were harvested from an old, yellowed business shirt of Craig’s. It’s quite gratifying when penny-pinching proves itself to be useful! and these are really very nice little buttons. You need a lot of buttons for this pattern and I only needed to supplement with a few not-quite matching ones to make up the full complement of 18.
 Now, the Mestre; this design is superficially a classic, button-front shirt, but upon closer inspection a number of small but quite distinctive features begin to make themselves known; the chest pocket is an interesting 2-pocket layered pocket, the side seams mostly consist of buttoned plackets, curving down into a gracefully rounded side edges, and the cuffs are likewise interestingly shaped with an asymmetrically curved profile.
 The back is pleated into the yoke; it’s supposed to be pleated the other way but I personally like for a pleat to go inwards, like this. I really like the little hanging loop; my linen was too stiff to stitch right sides together and turn out as instructed, so I just pressed the folds in place and topstitched the loop to make it work.
 I must also say that the instructions for the Mestre are absolutely excellent… the construction of the side edges, sleeve seams and armscye seams is a completely new one to me, and results in a perfect, flat-felled seam. I don’t want to give away the details, but it’s very very clever!
 Likewise the construction of the sleeve/cuff placket was totally new to me, and results in a cleverly engineered placket with all raw edges enclosed. So nifty!
 A very small detail that you might not notice without paying very close attention is that on the front buttonhole placket, just one lone buttonhole is situated horizontally. I find subtle and explicable details like this to be very charming.
 The lower hem of the shirt is completely faced, with the same facing doing double duty for the side button/buttonhole plackets. The finishing for this area is likewise well thought through and results in a beautiful finish. You need to do a fair bit of machine basting… later removed, and I have to confess I haven’t bothered with basting in a while! but I am glad I followed the instructions to the letter because the technique outlined was the absolutely best way to finish.
 In fact, I’m extremely impressed wth the thoughtfulness that went into the details of this pattern and am excited to make it again some day!


 So, I loved
  Again, I used the pauline alice Turia dungarees pattern for the bodice section, and modified so the bottom part is a skirt. I put the pinafore on and pinned carefully so as to achieve the ideal proportion to suit my figure, but it actually turned out identical to the shape of my red one! I’m really really happy with the shape and length of this, it’s absolutely perfect for me,I think…
 I really love the front bib pocket of the Turia pattern, I think it’s super cute.