Tag Archives: Wardrobe Refashion

Red Riding Hood

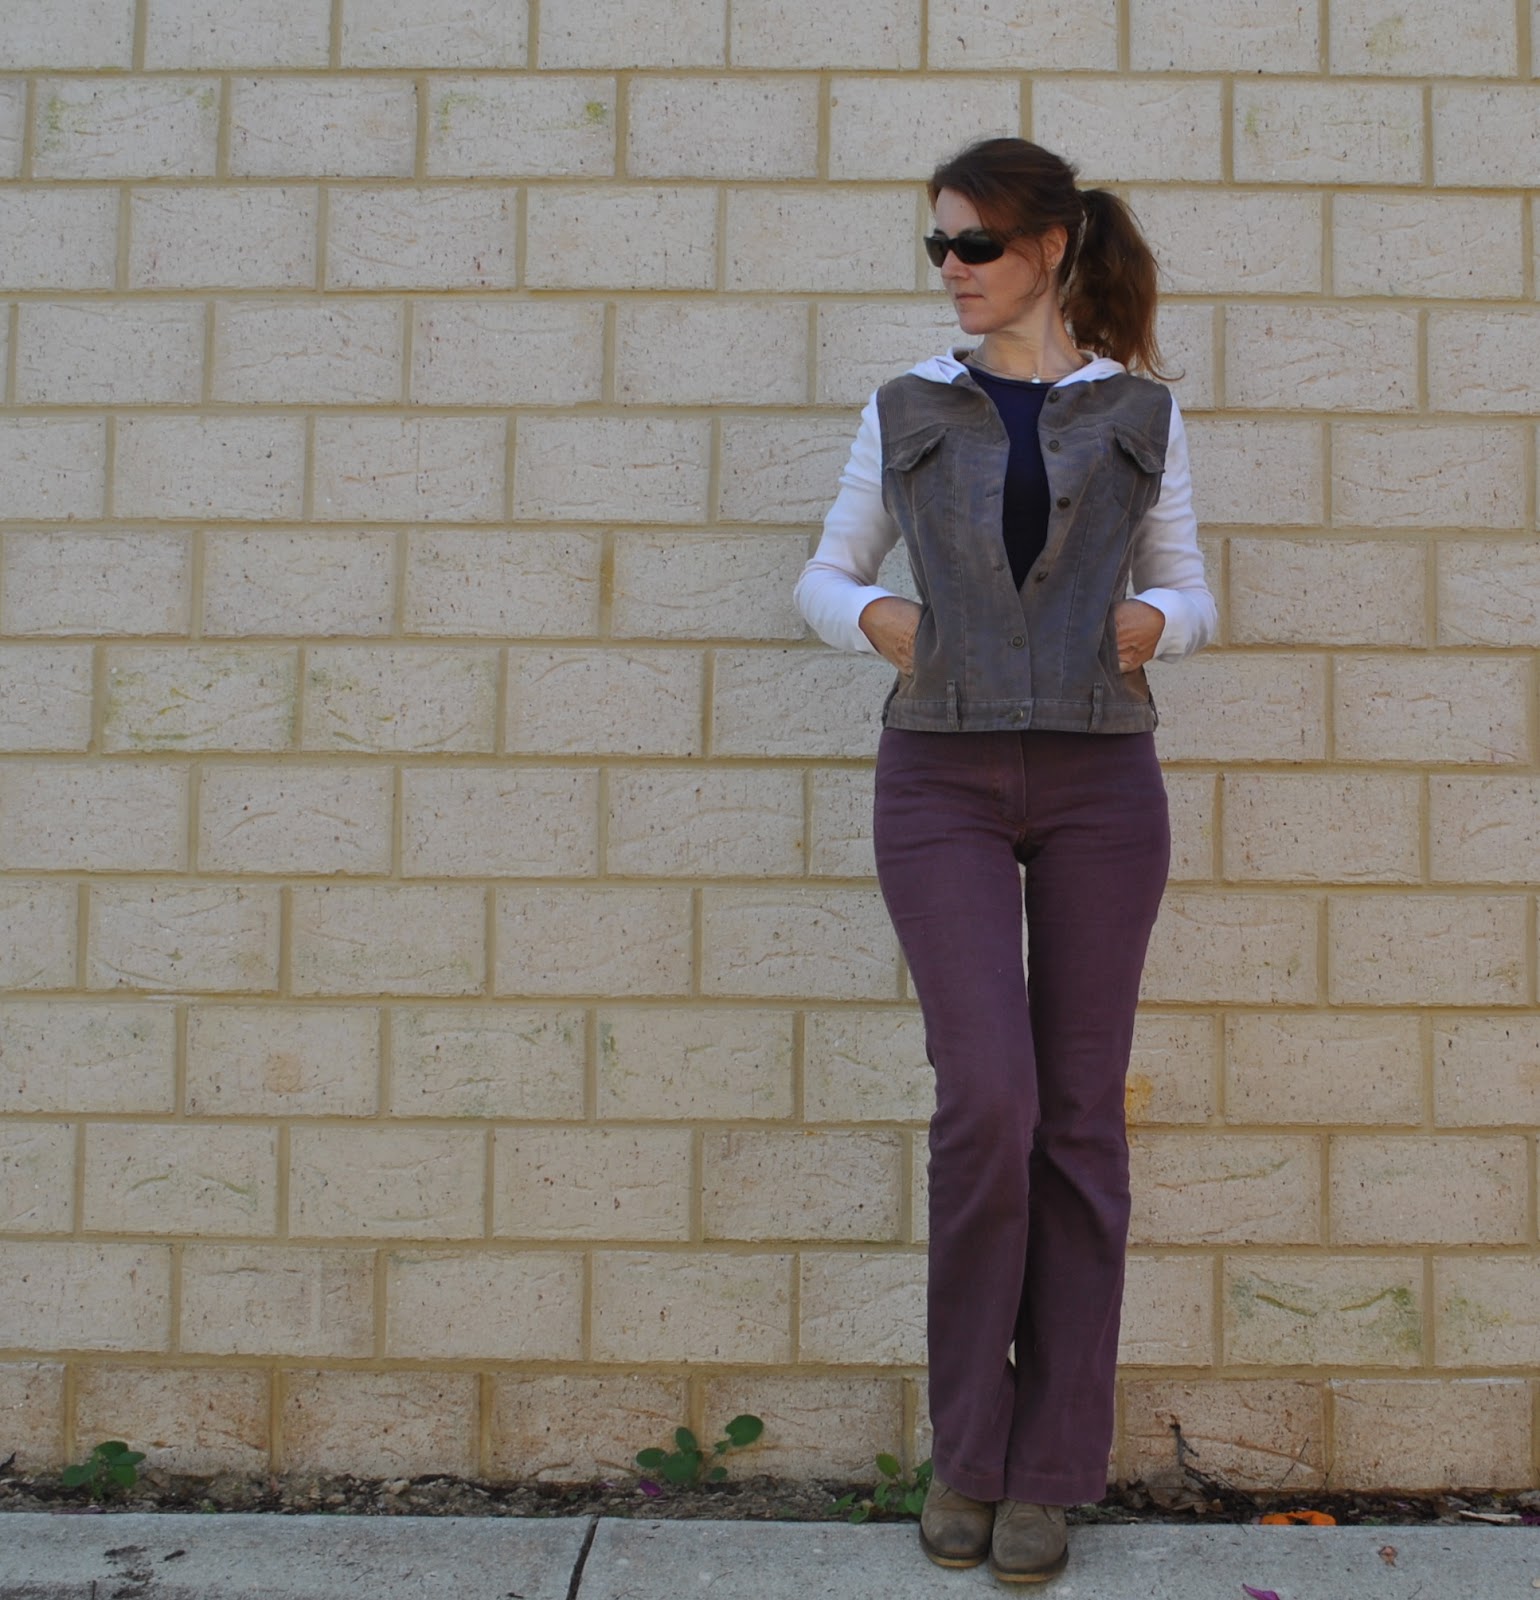
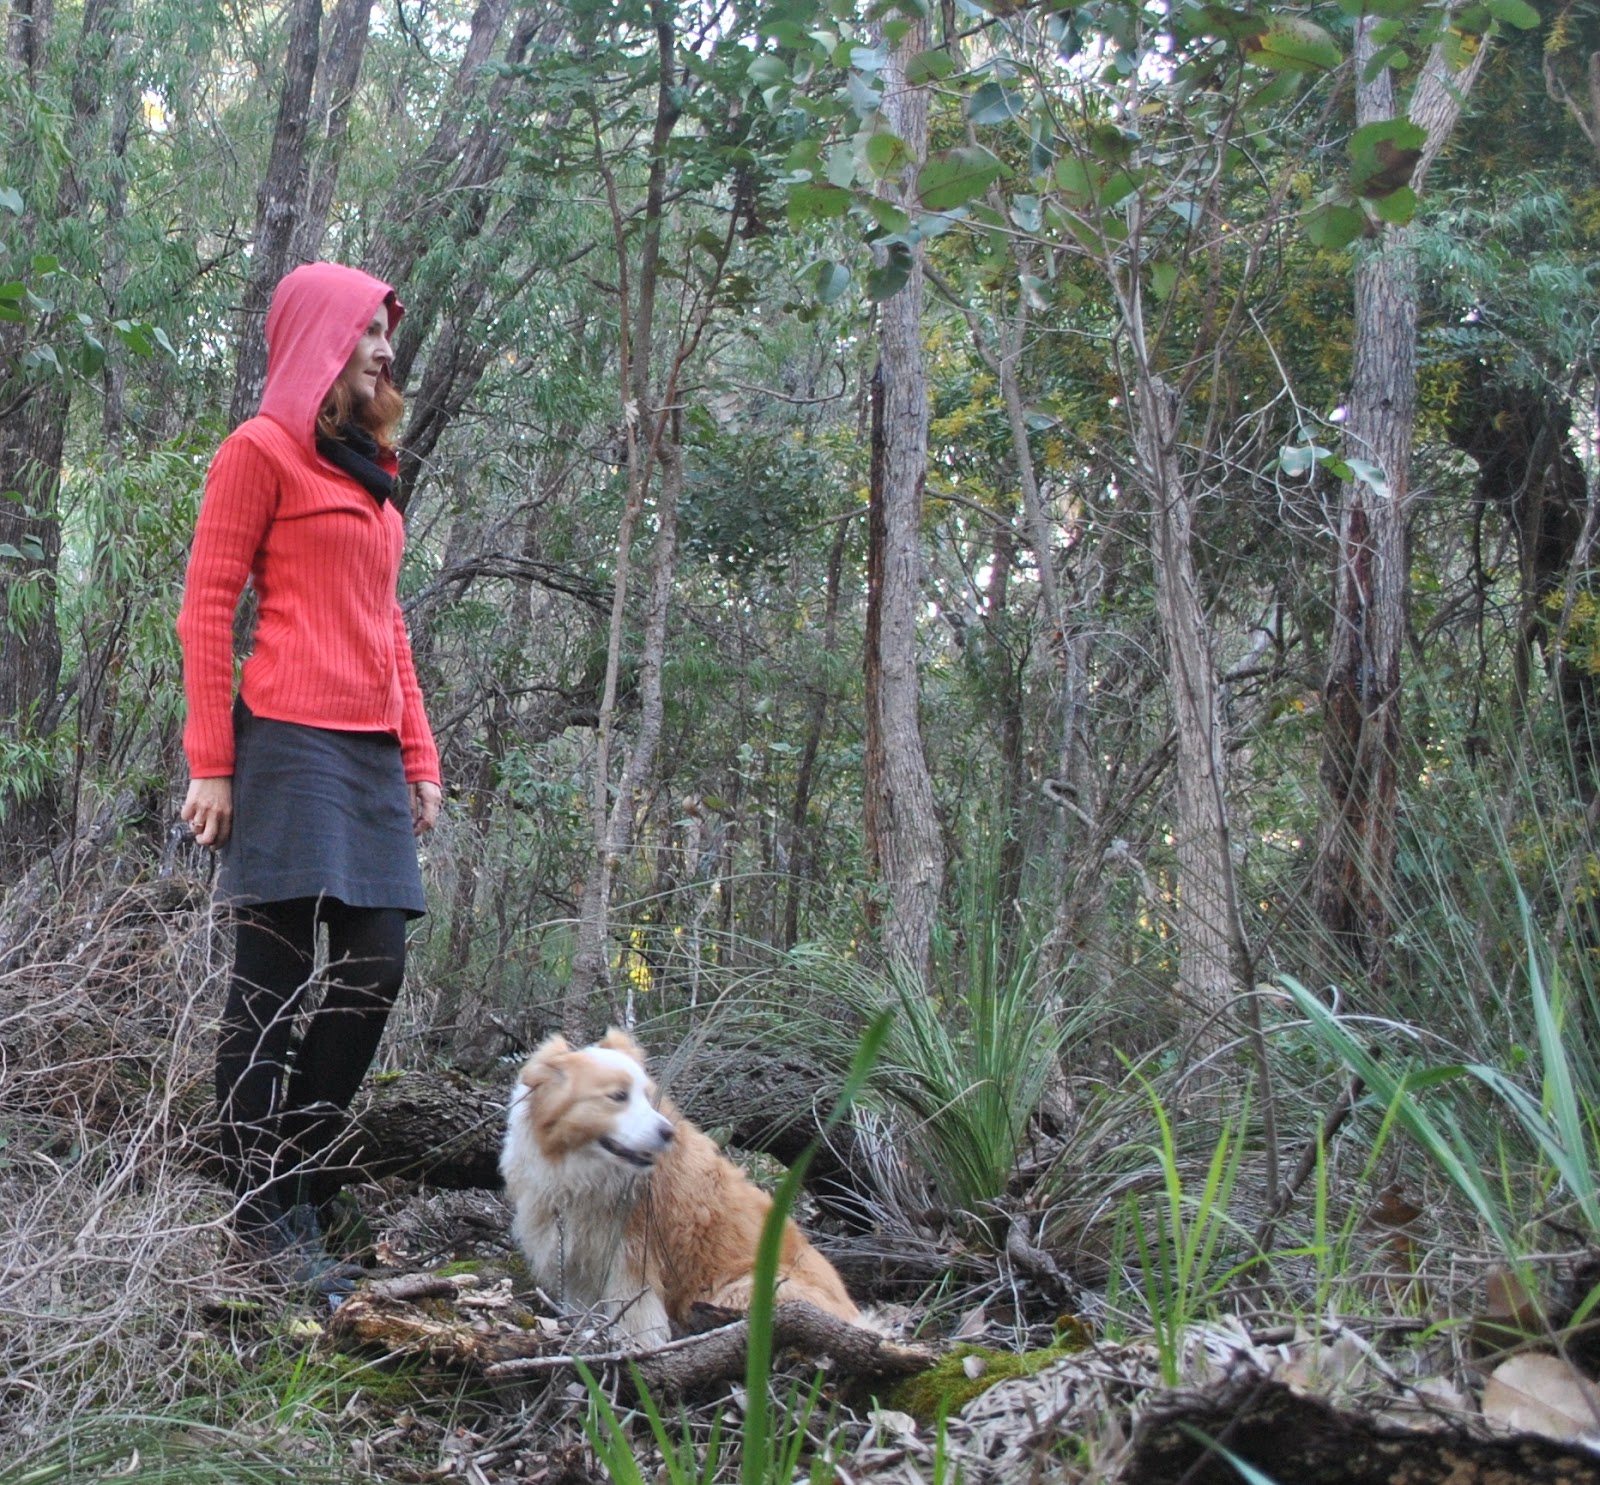
…along with requisite “wolf” hehehe.
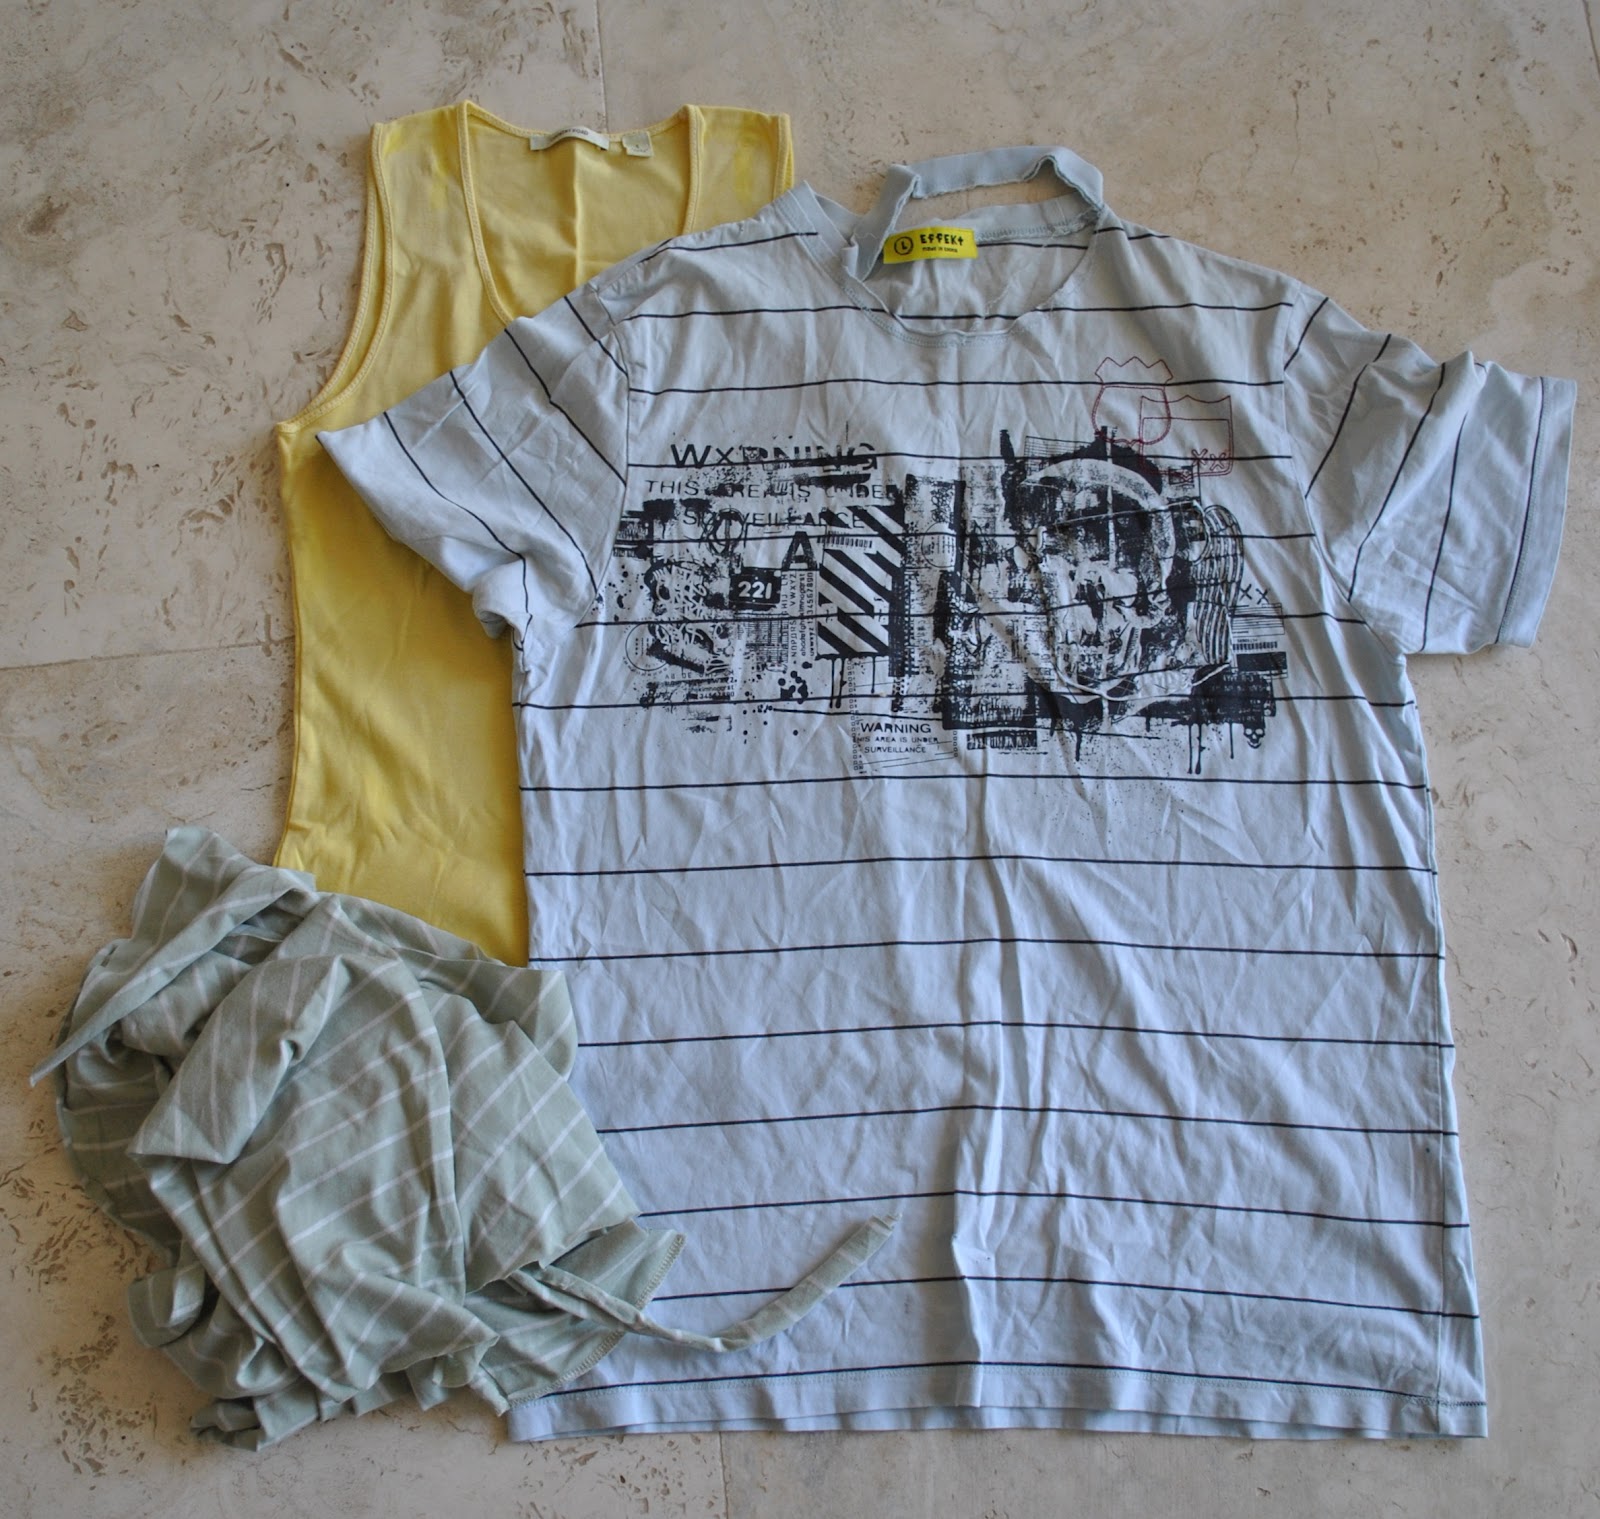
This is the latest in my attempts to make usable things out of things not being used….
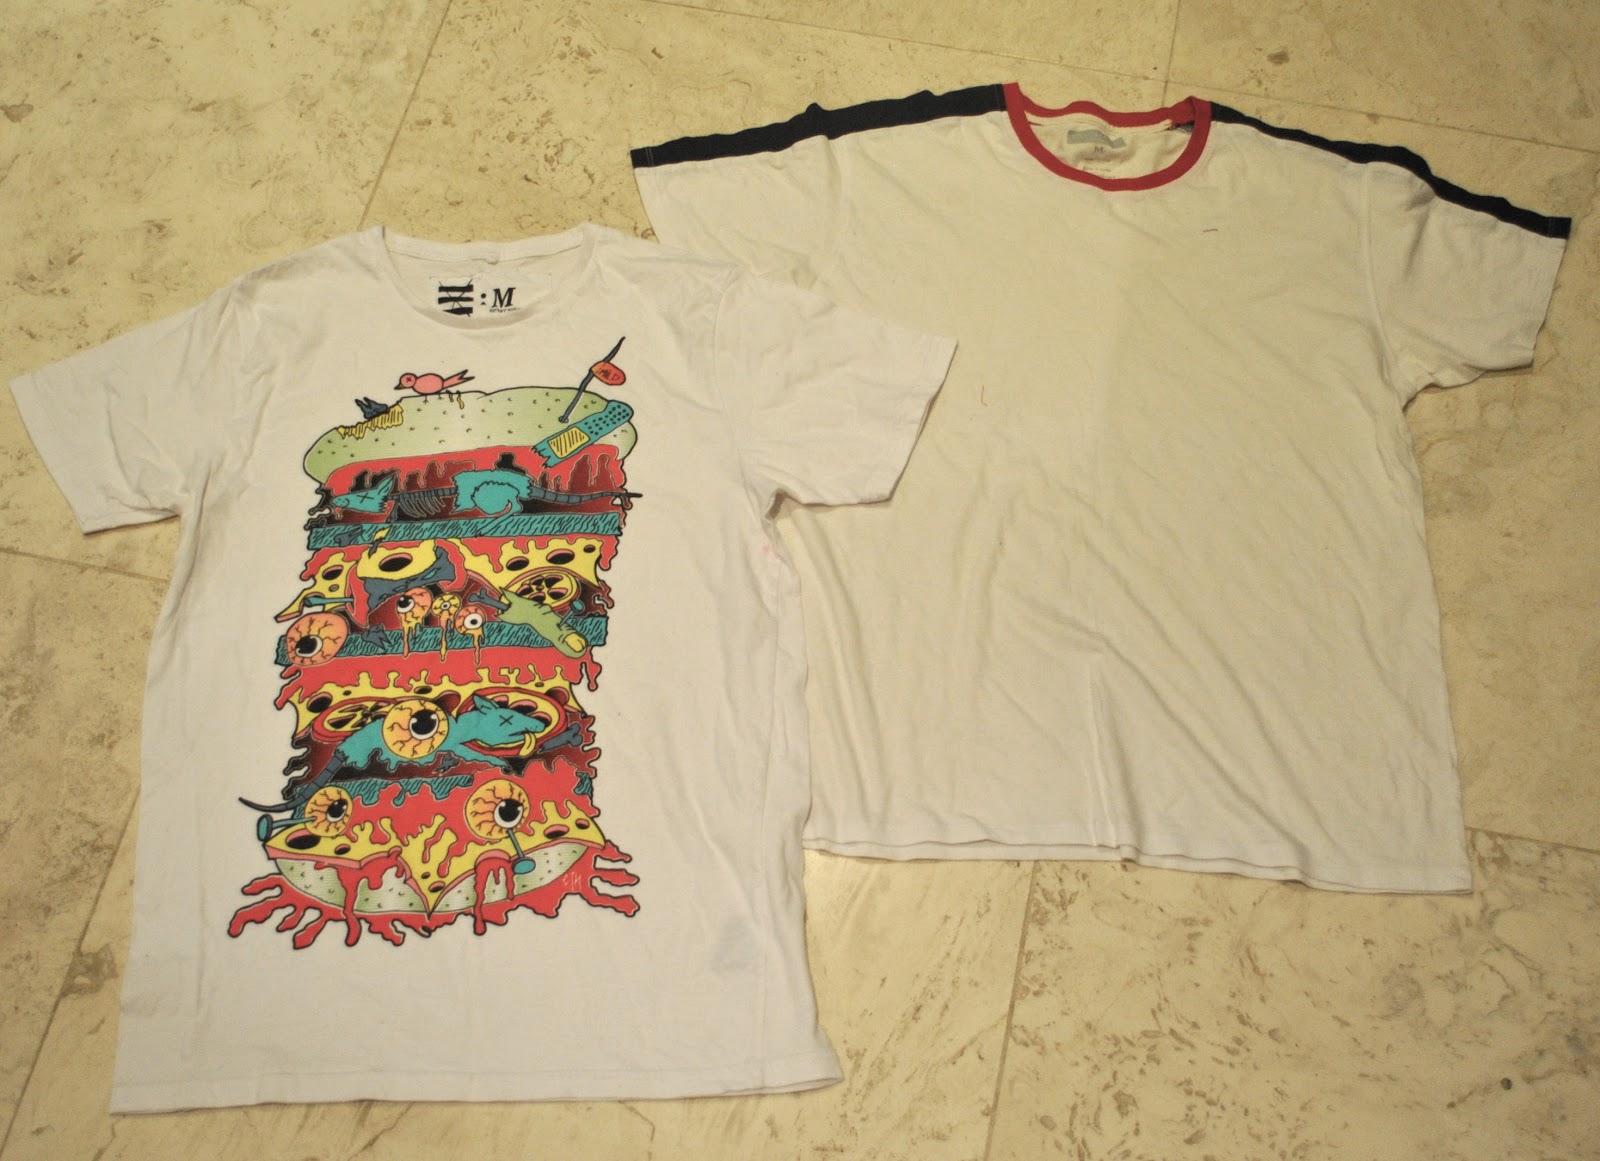
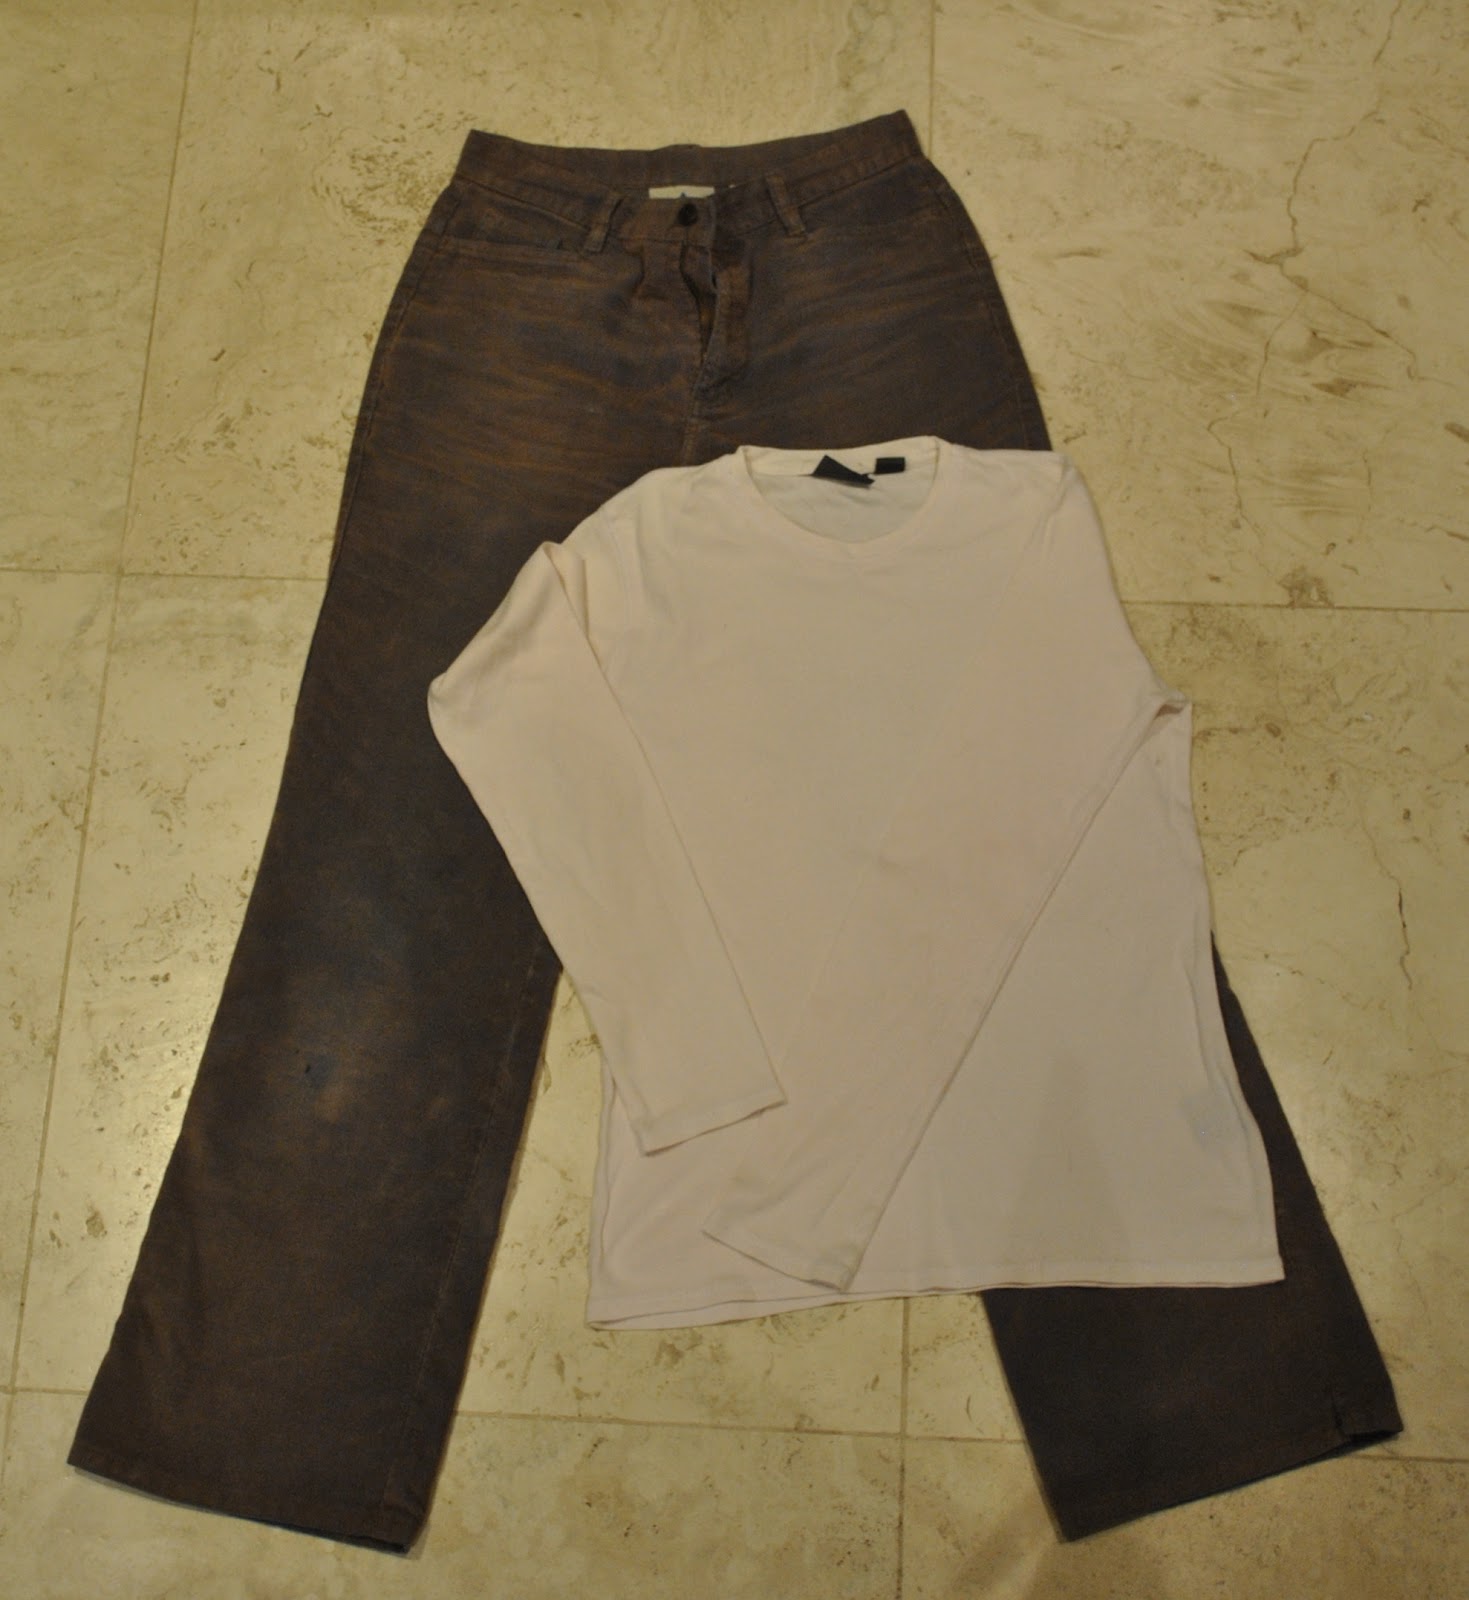
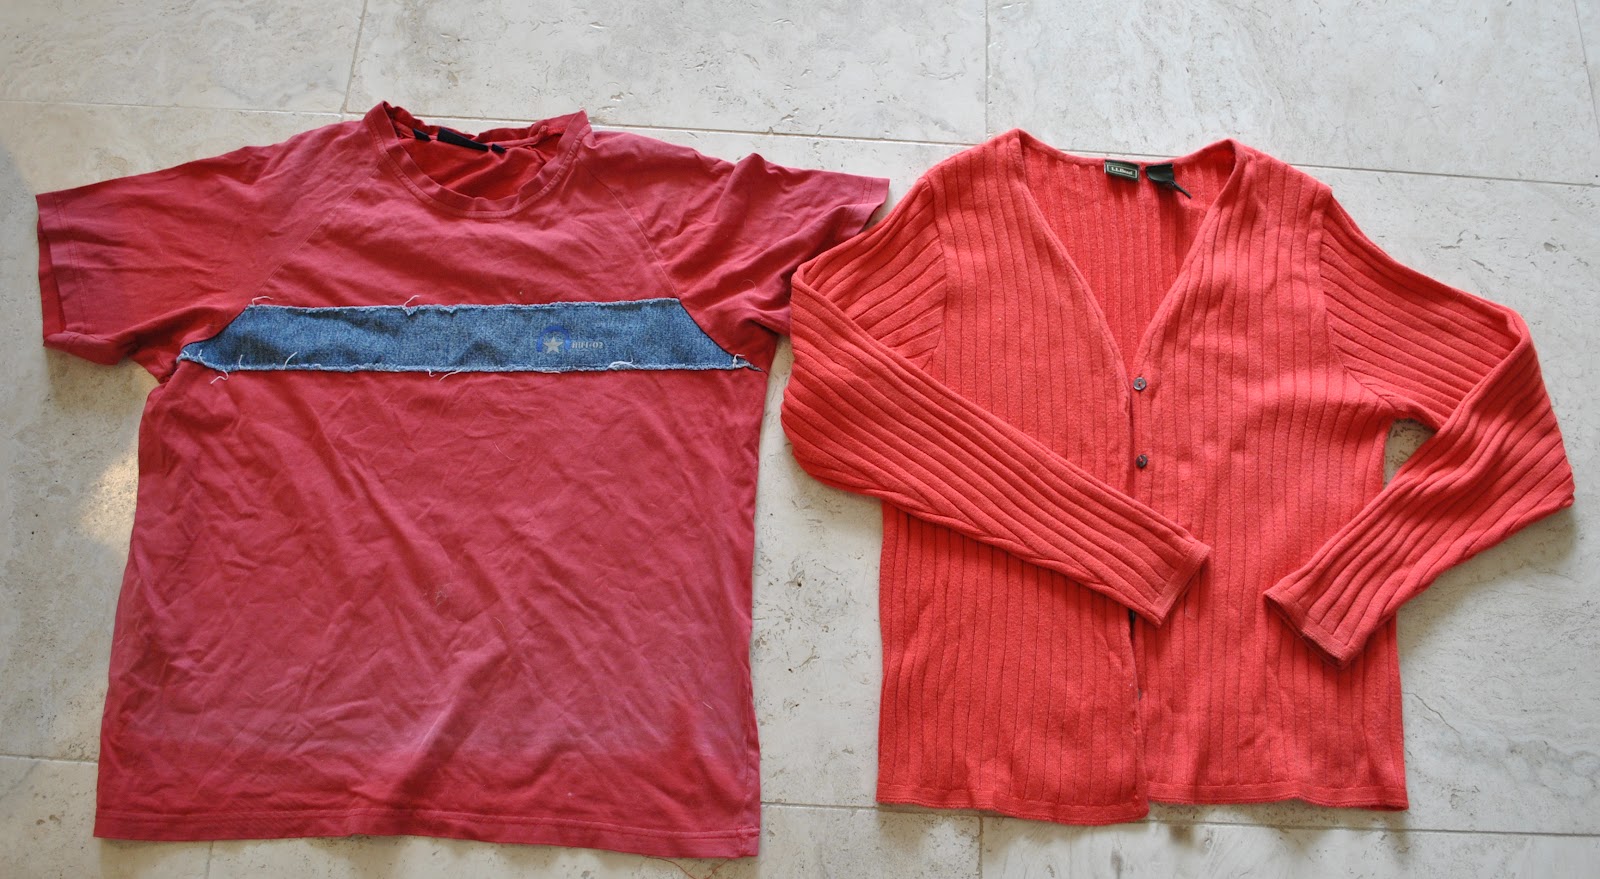
I pulled out of my bag of toss-outs this oversized cotton cardigan along with another old Tshirt tossed out by Tim.  I’ve struggled with this cardigan… the cheerful warm tomato-red colour is a plus but the boxy shape and massive size has always been a problem.  Since day dot, really…  I bought it in 2001; my first mail order purchase whilst we were living in the US.  I was a mail order newbie, and just assumed naively that a small/medium would probably be my size.  When it arrived: well, it was ridiculously big!
Lesson learned!  Incidentally, the lesson ultimately learned was “don’t buy mail order, ever”… but that’s a whole other story  😉

Anyhoo I did not think or know at the time how I could go about returning stuff… so it stayed.  The armpits hung down below my bust level and I had to wrap it half again around my body and tie a belt over, to keep even halfway warm in it.  Stylish, not.  It’s basically been in the camping/washing the car and/or the dog in category since new, and then migrated to my re-fashioning bag at least a year ago.
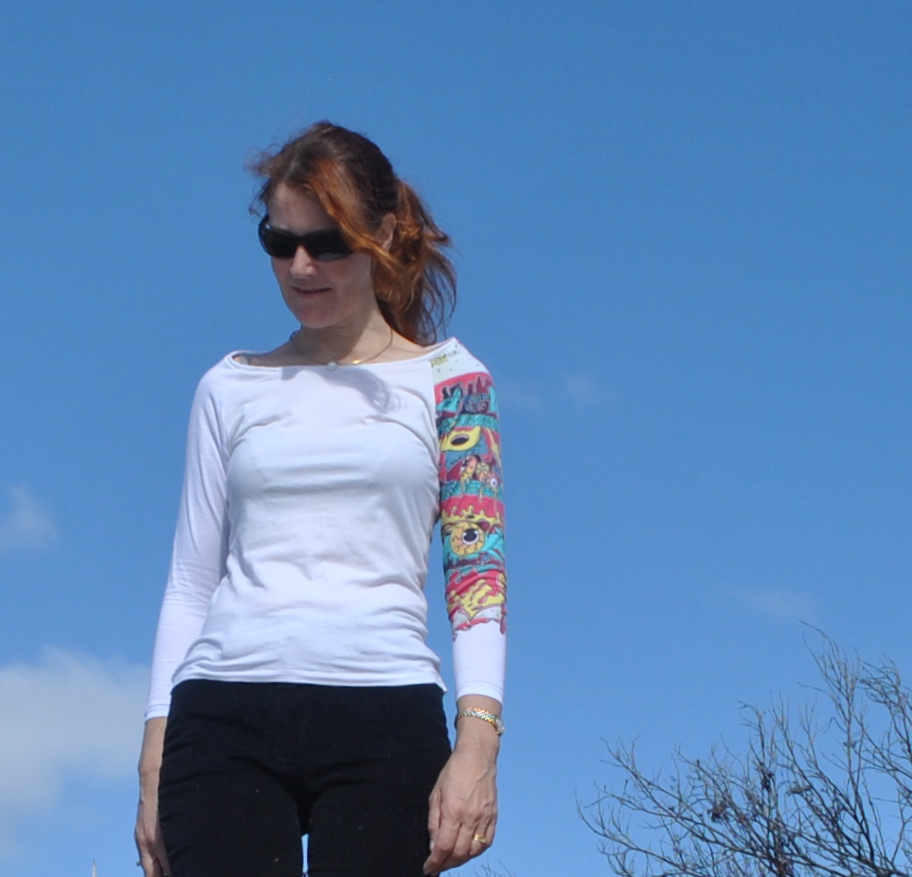
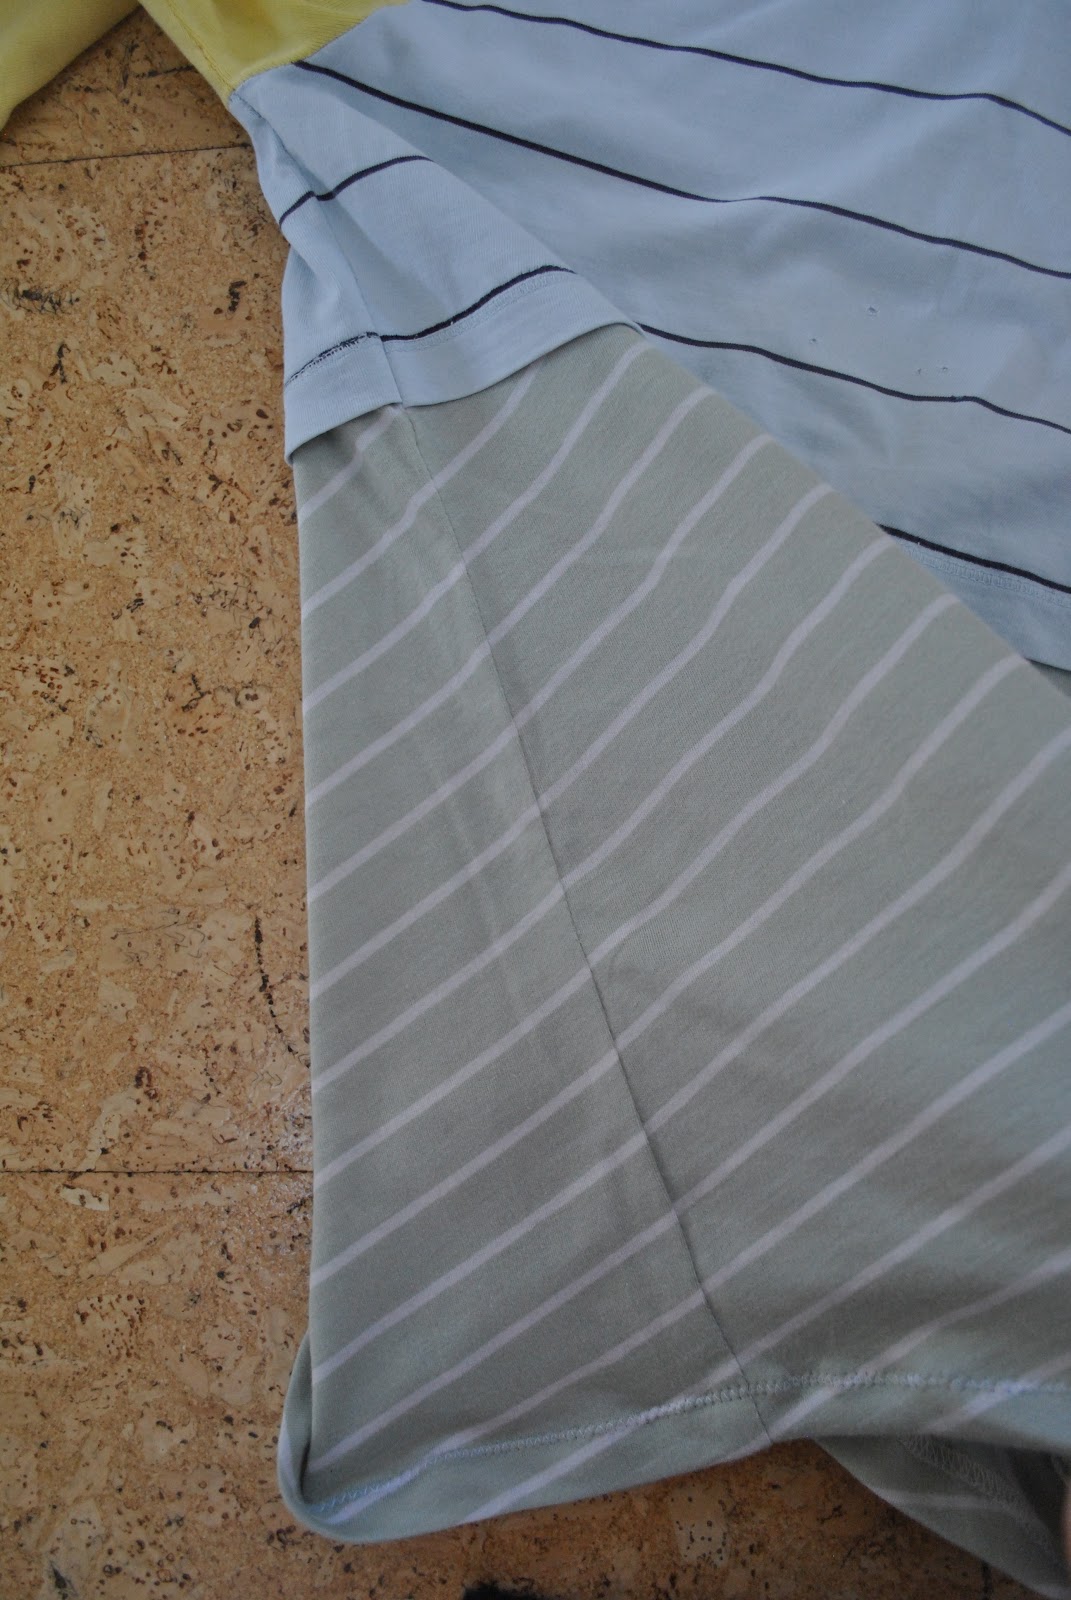
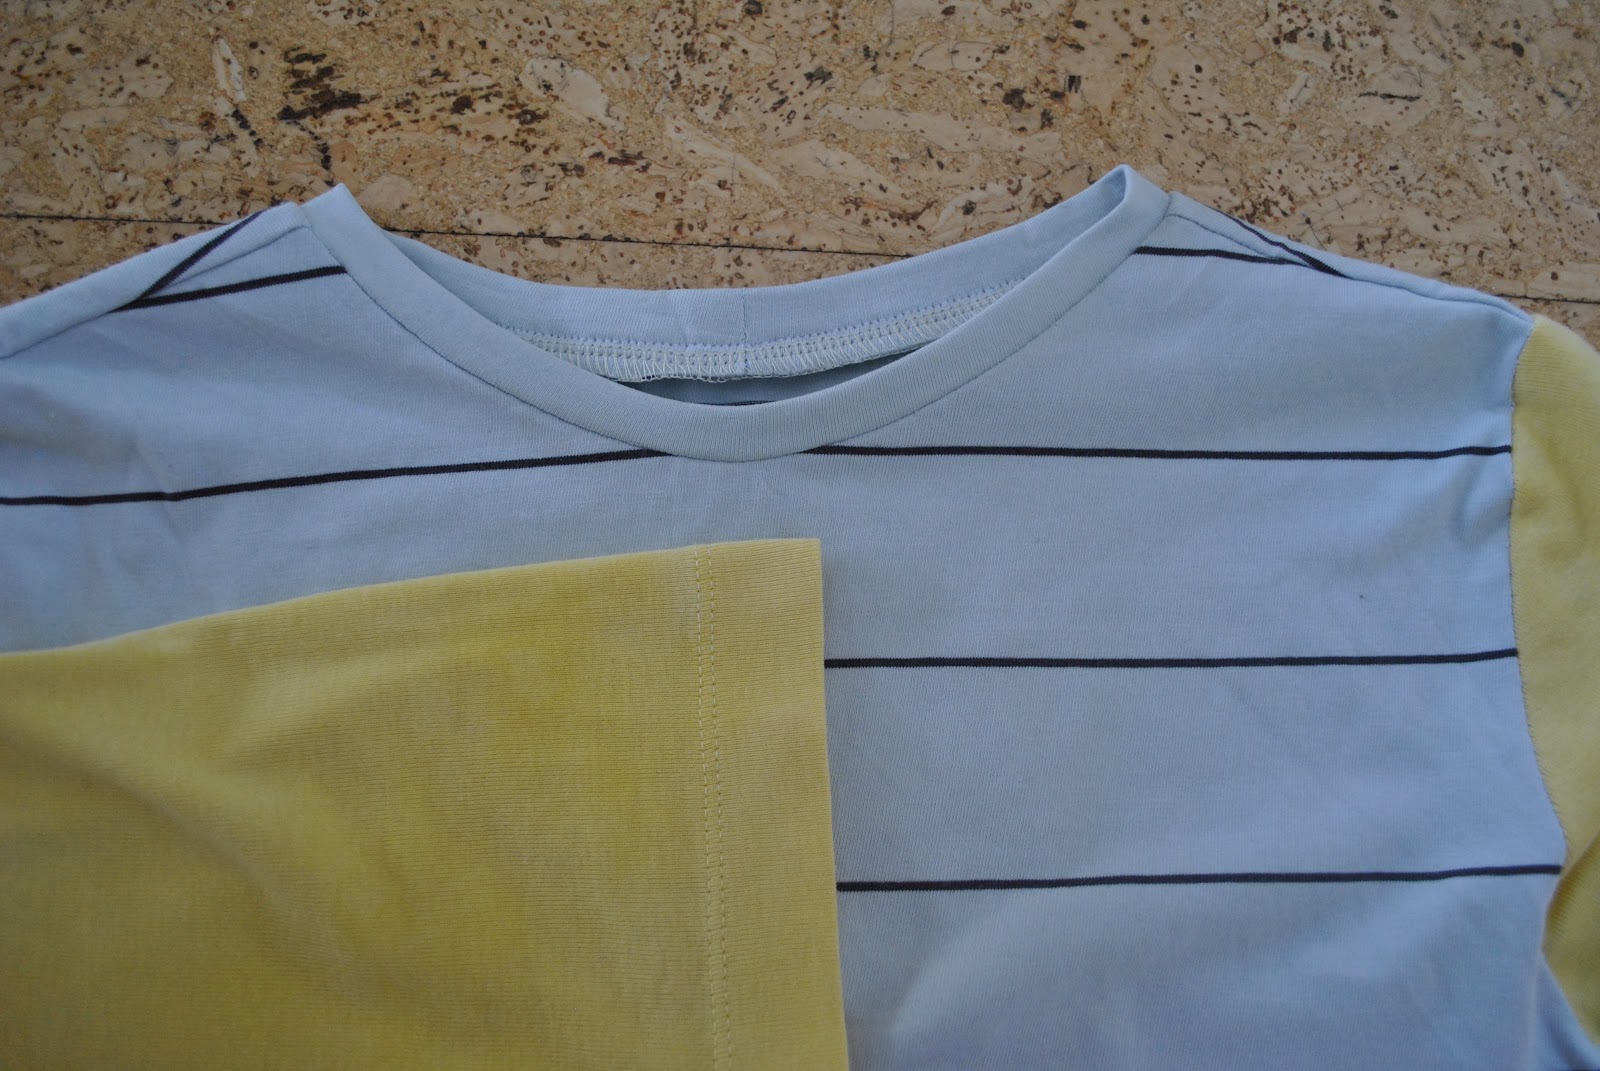
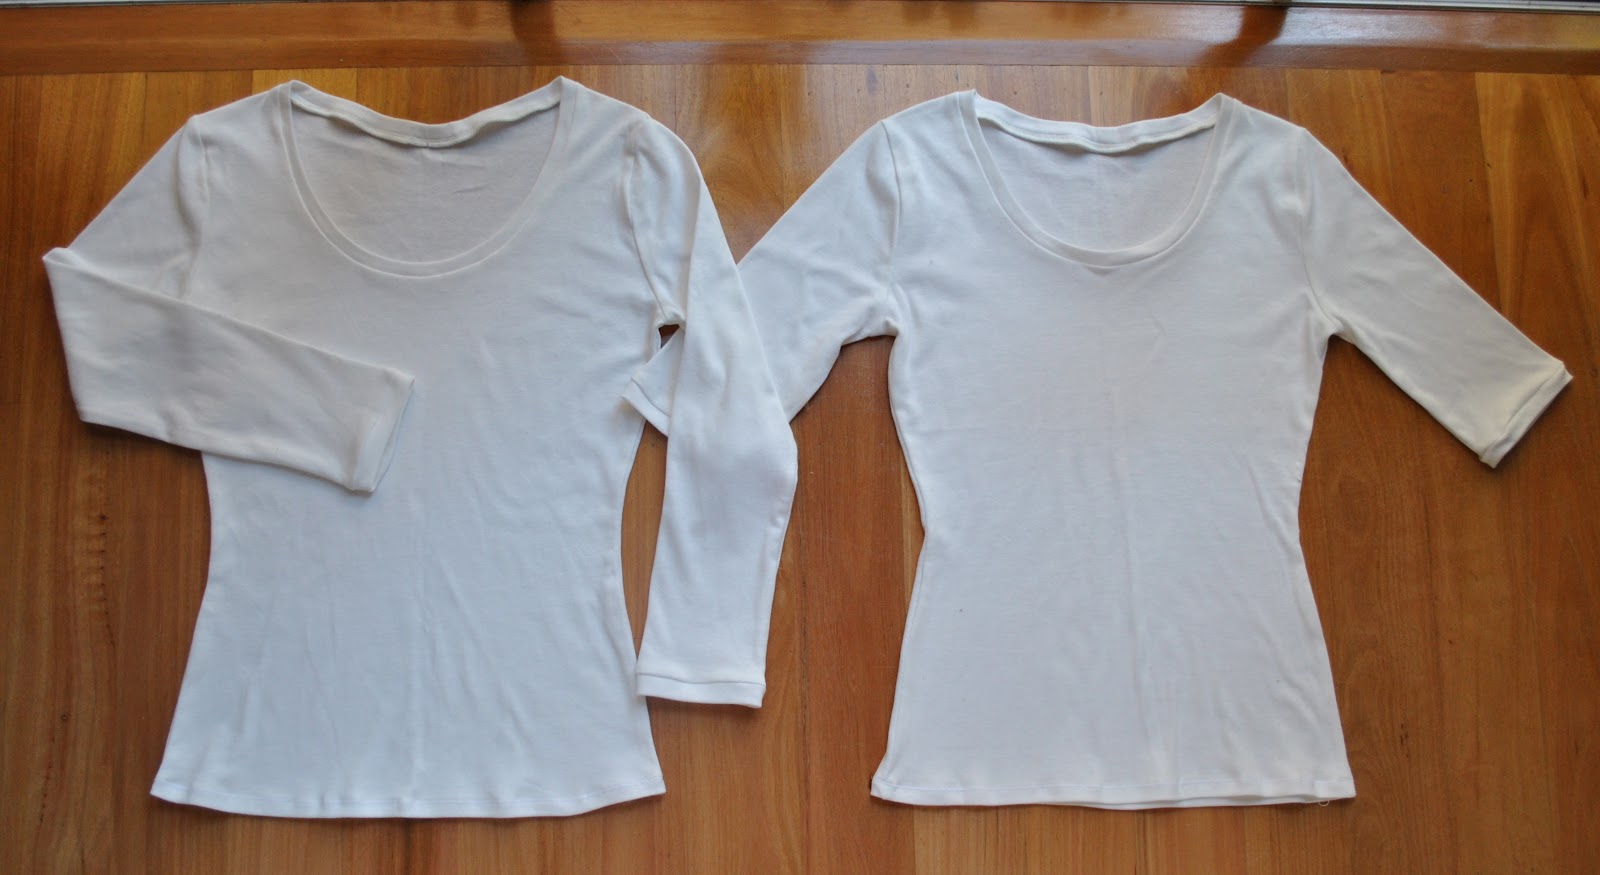
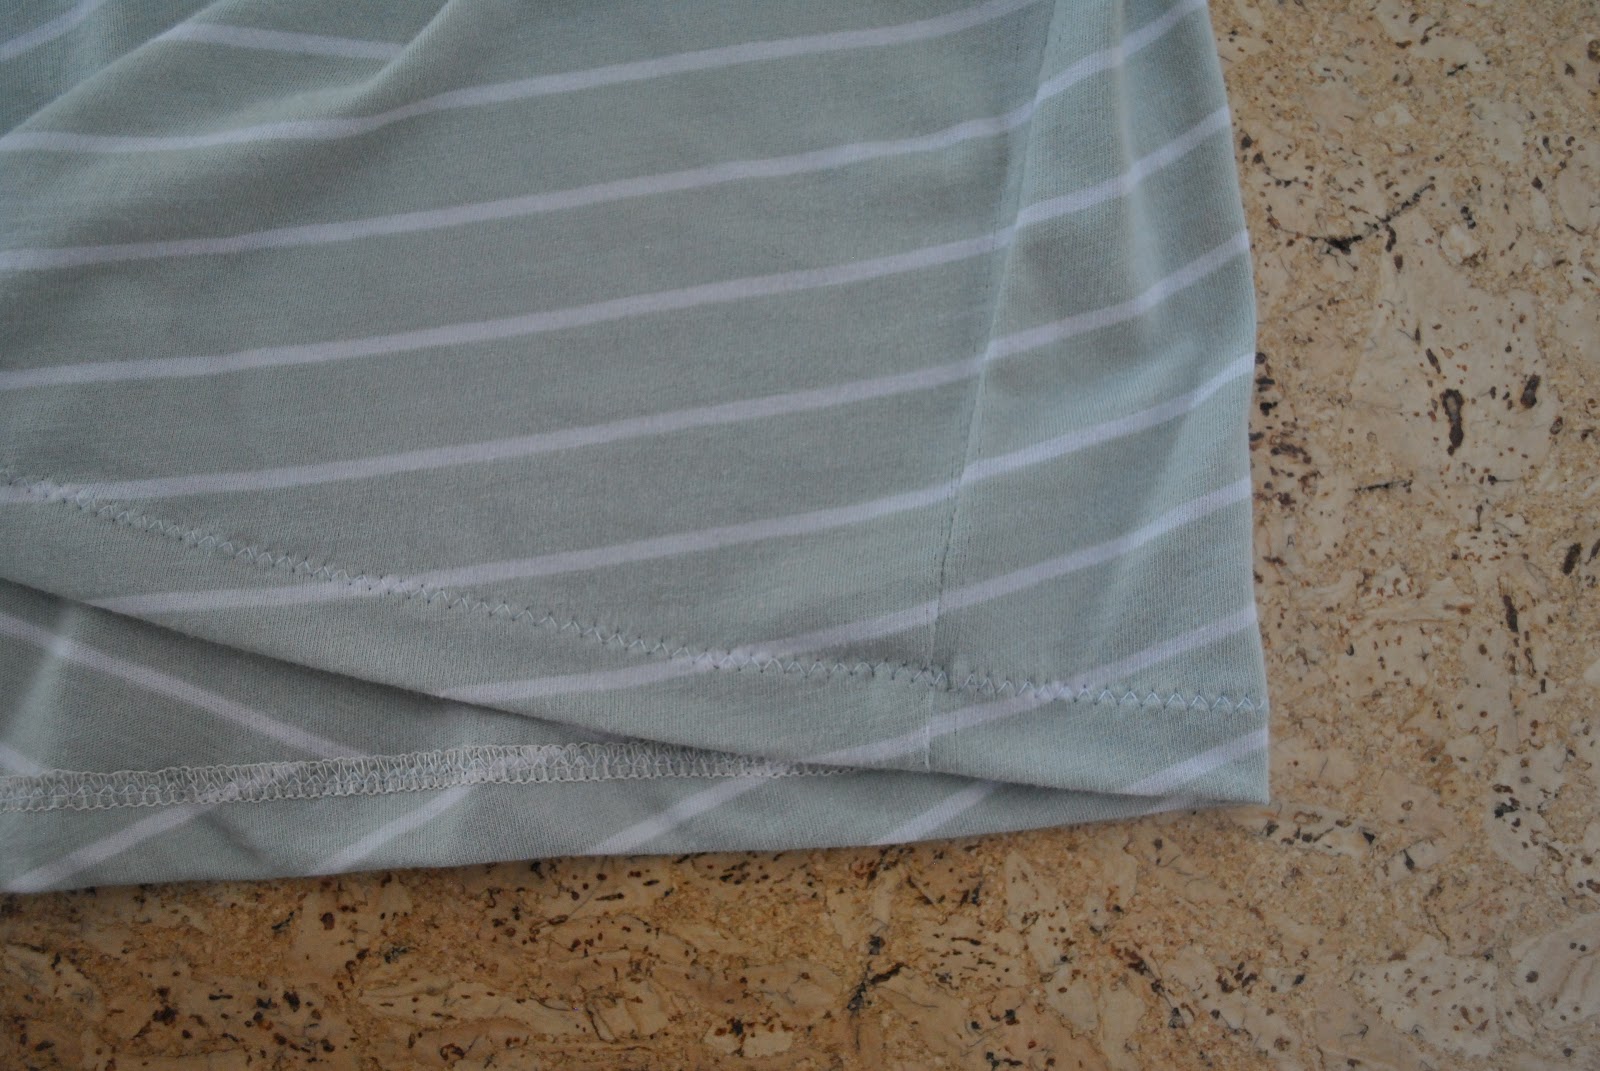
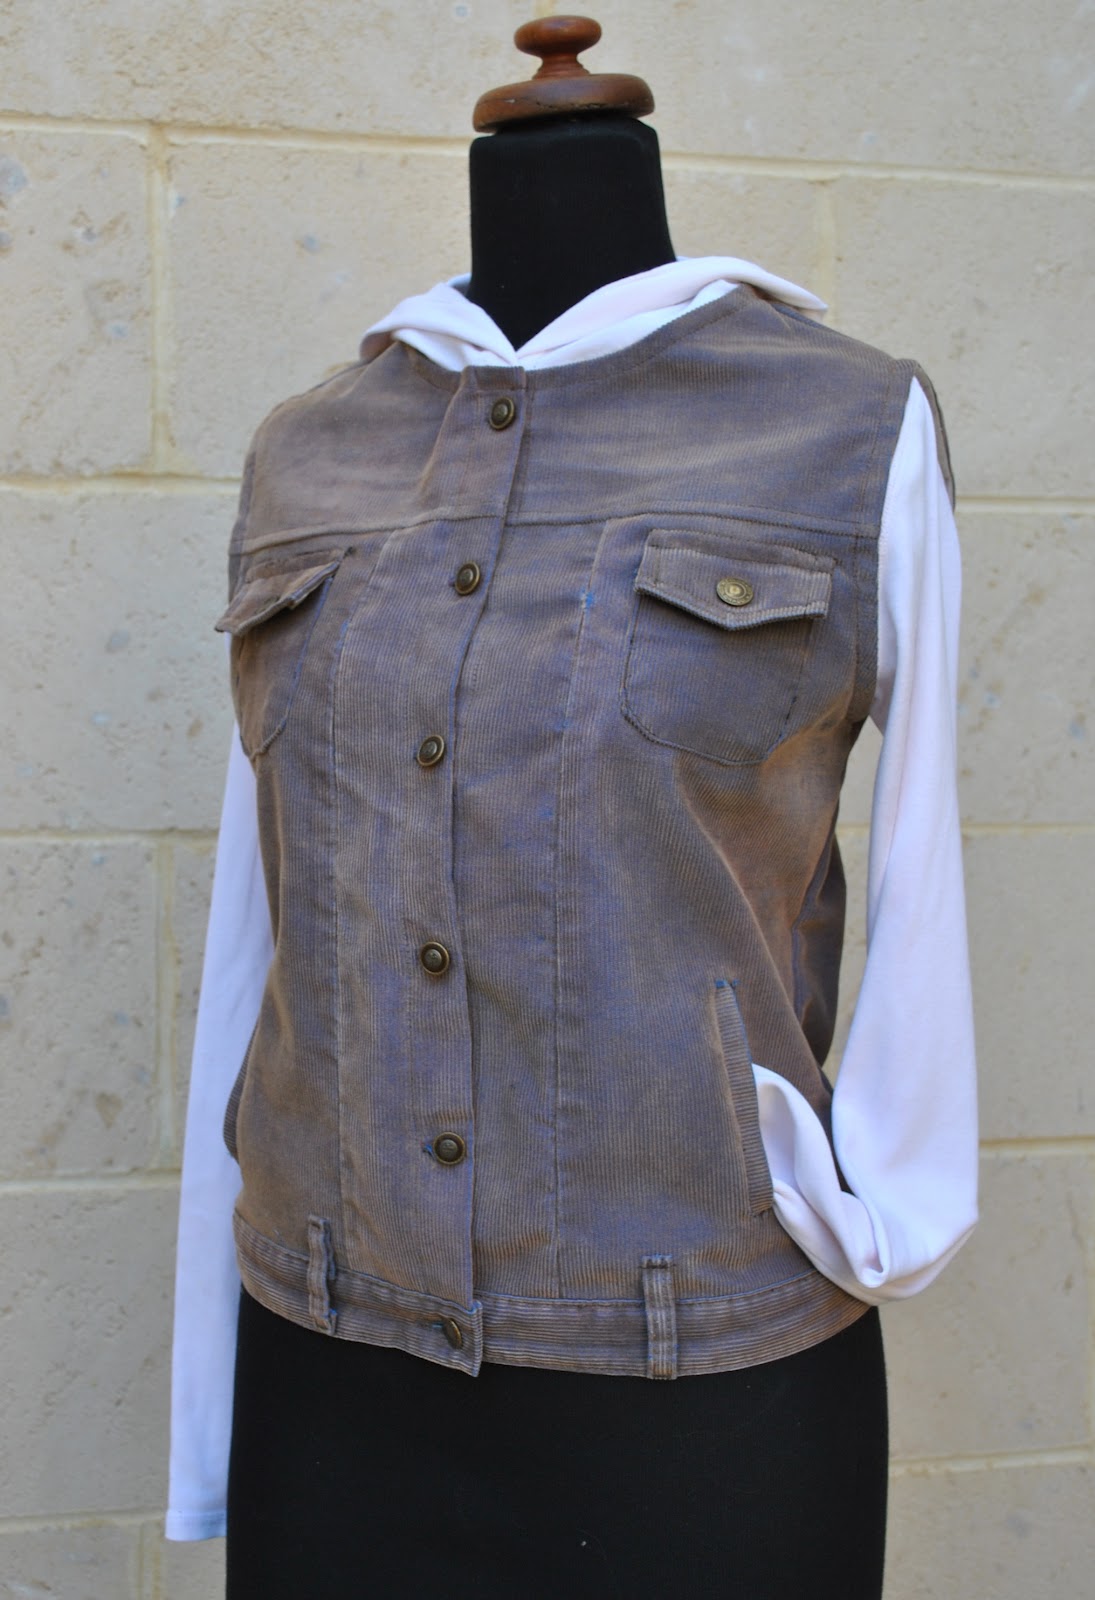
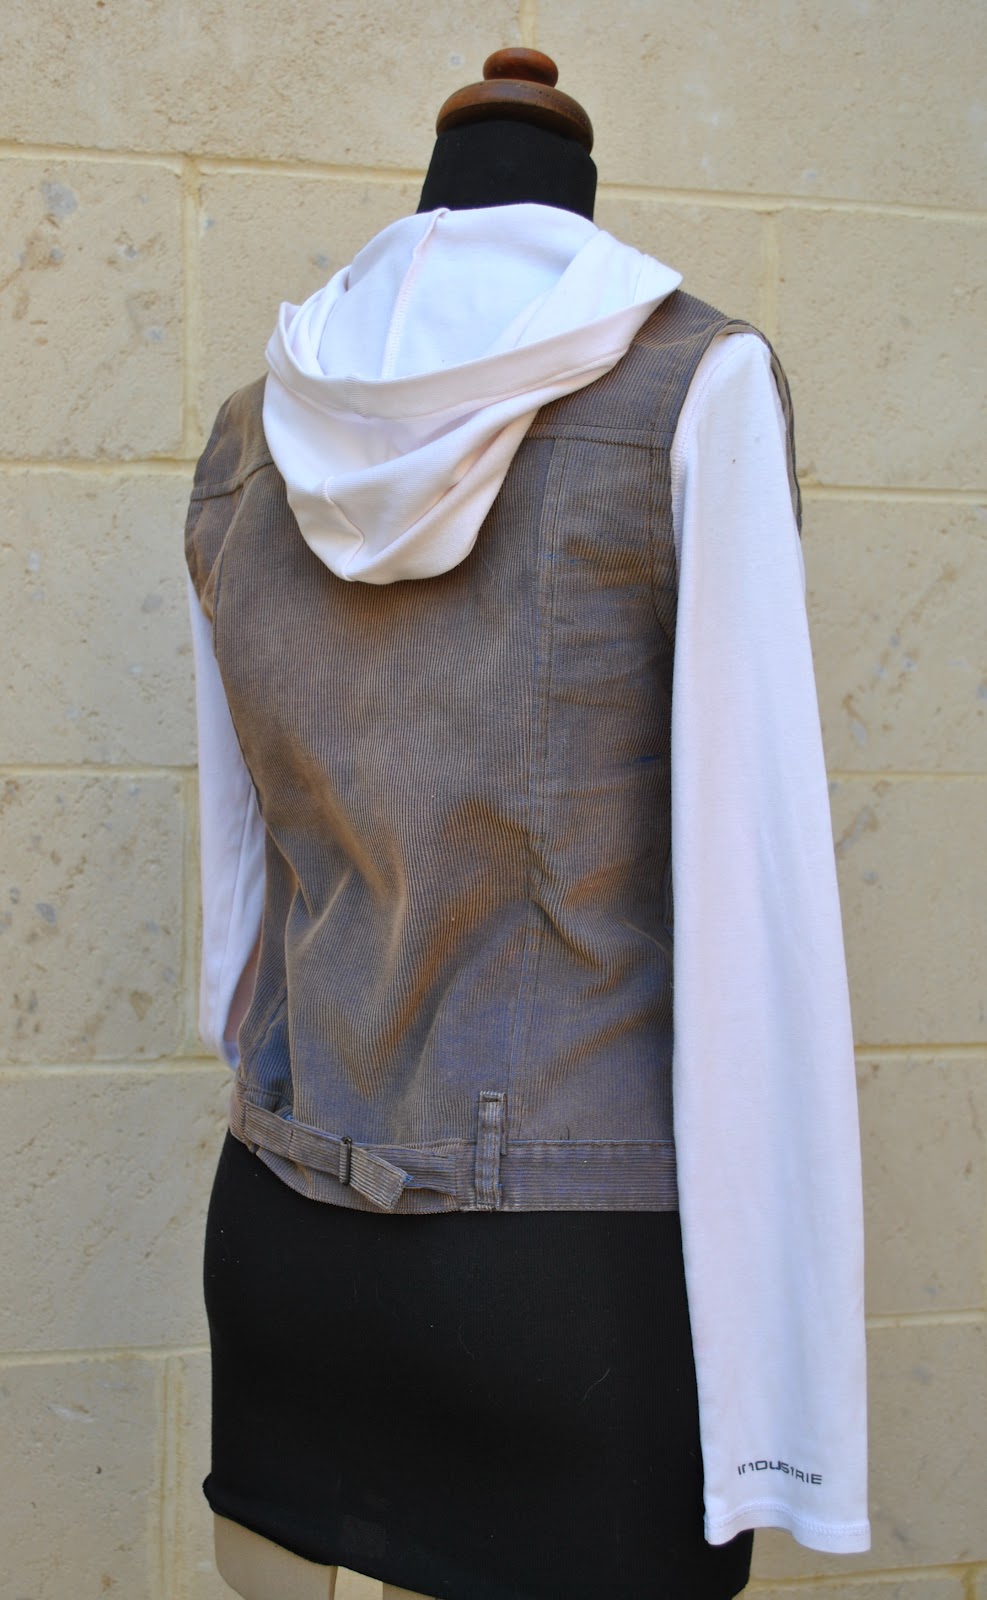
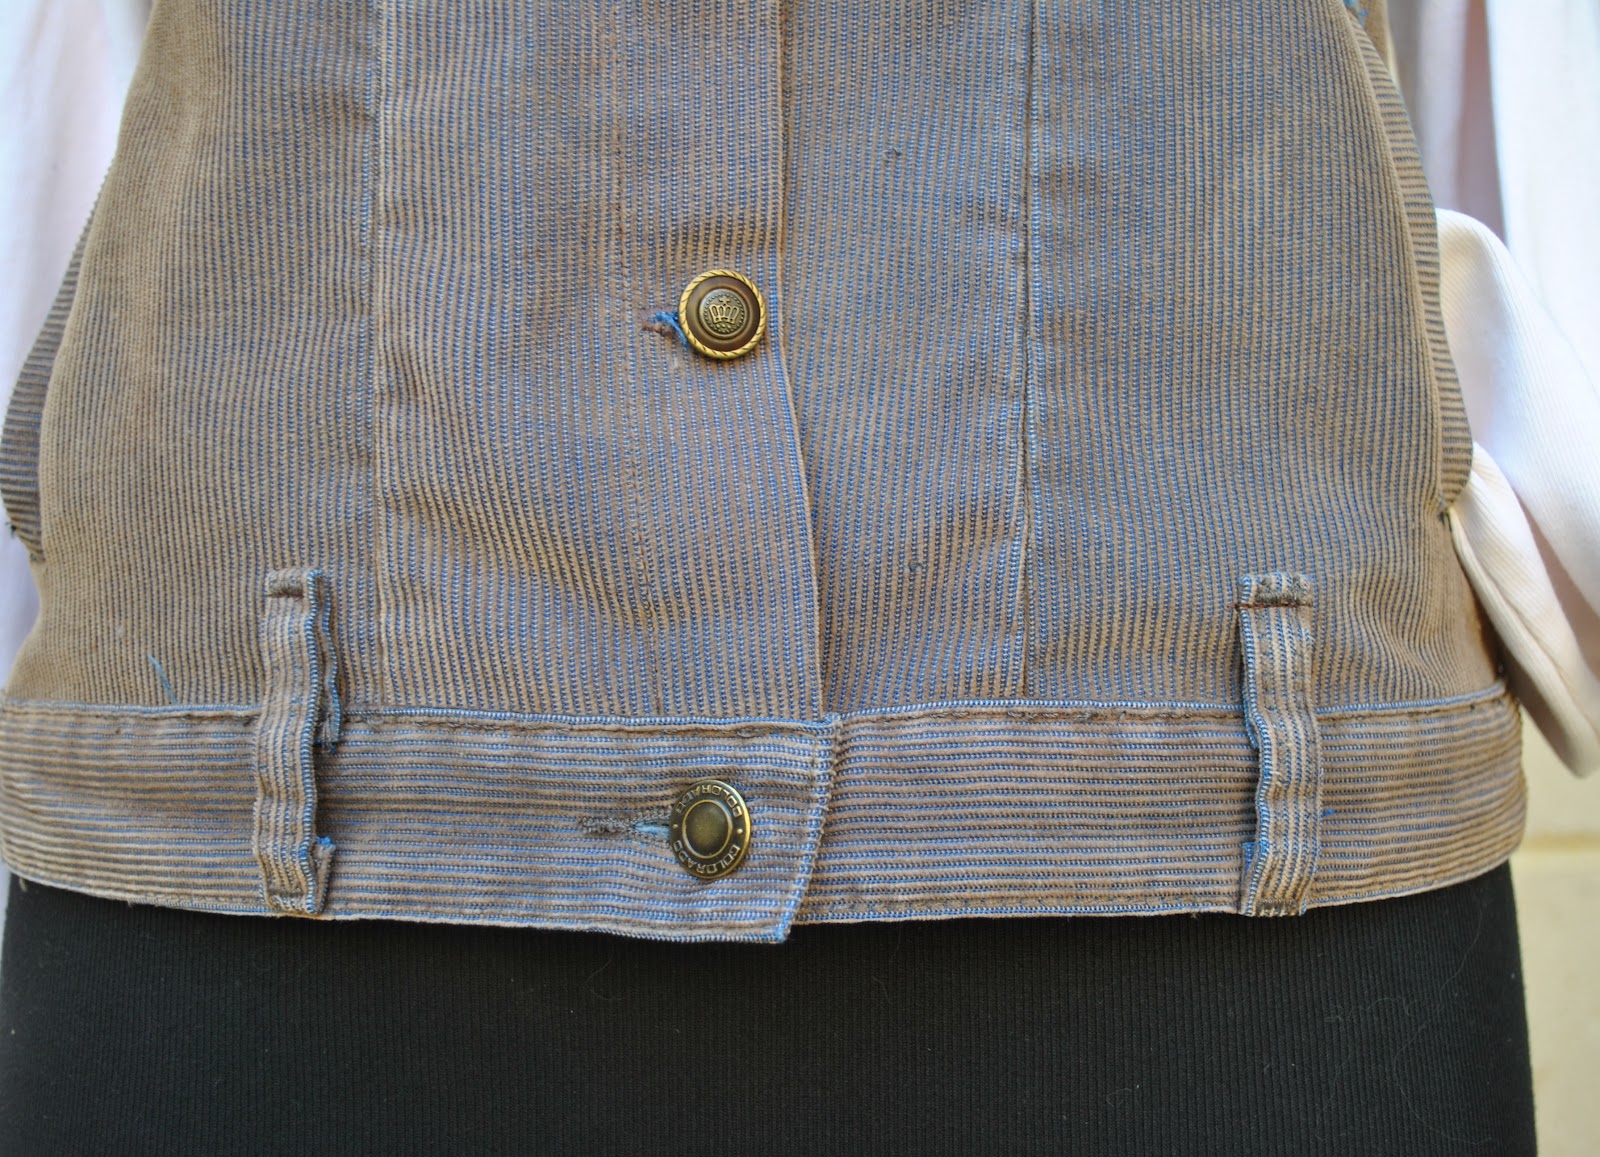
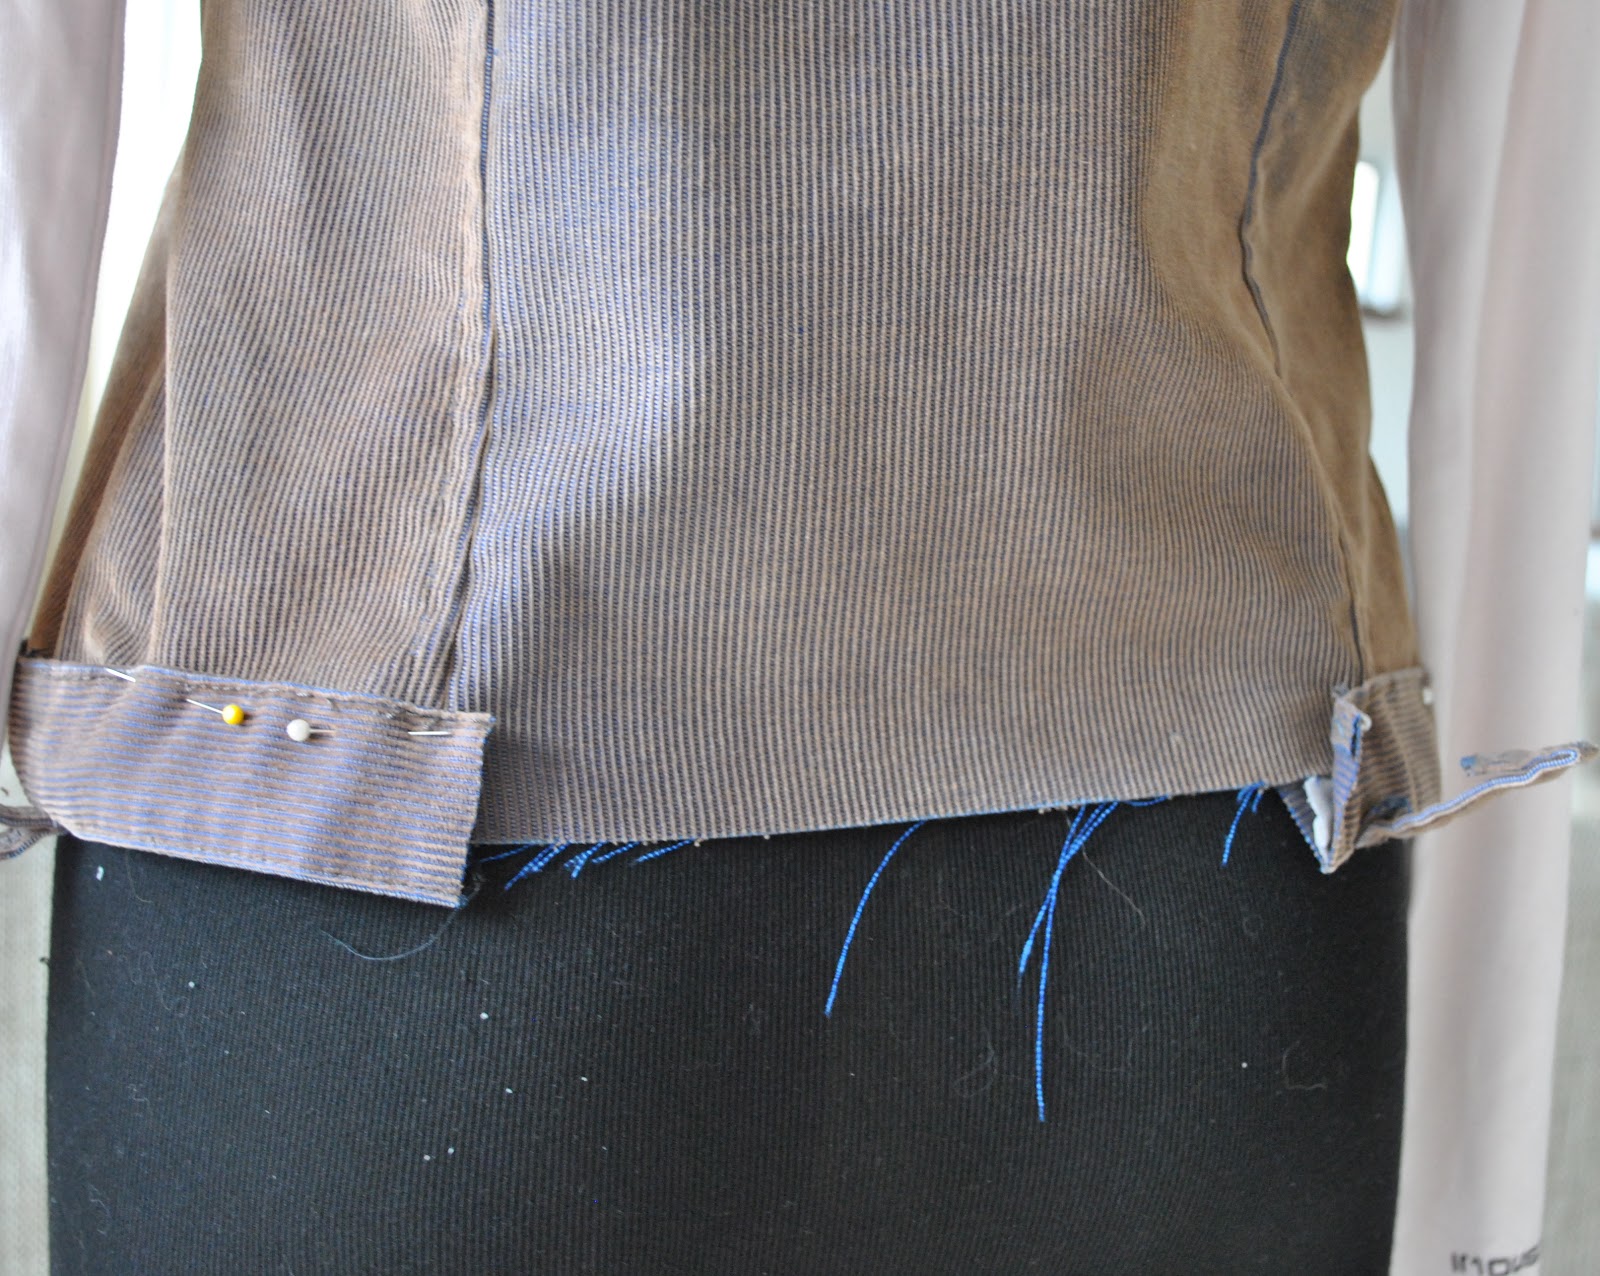
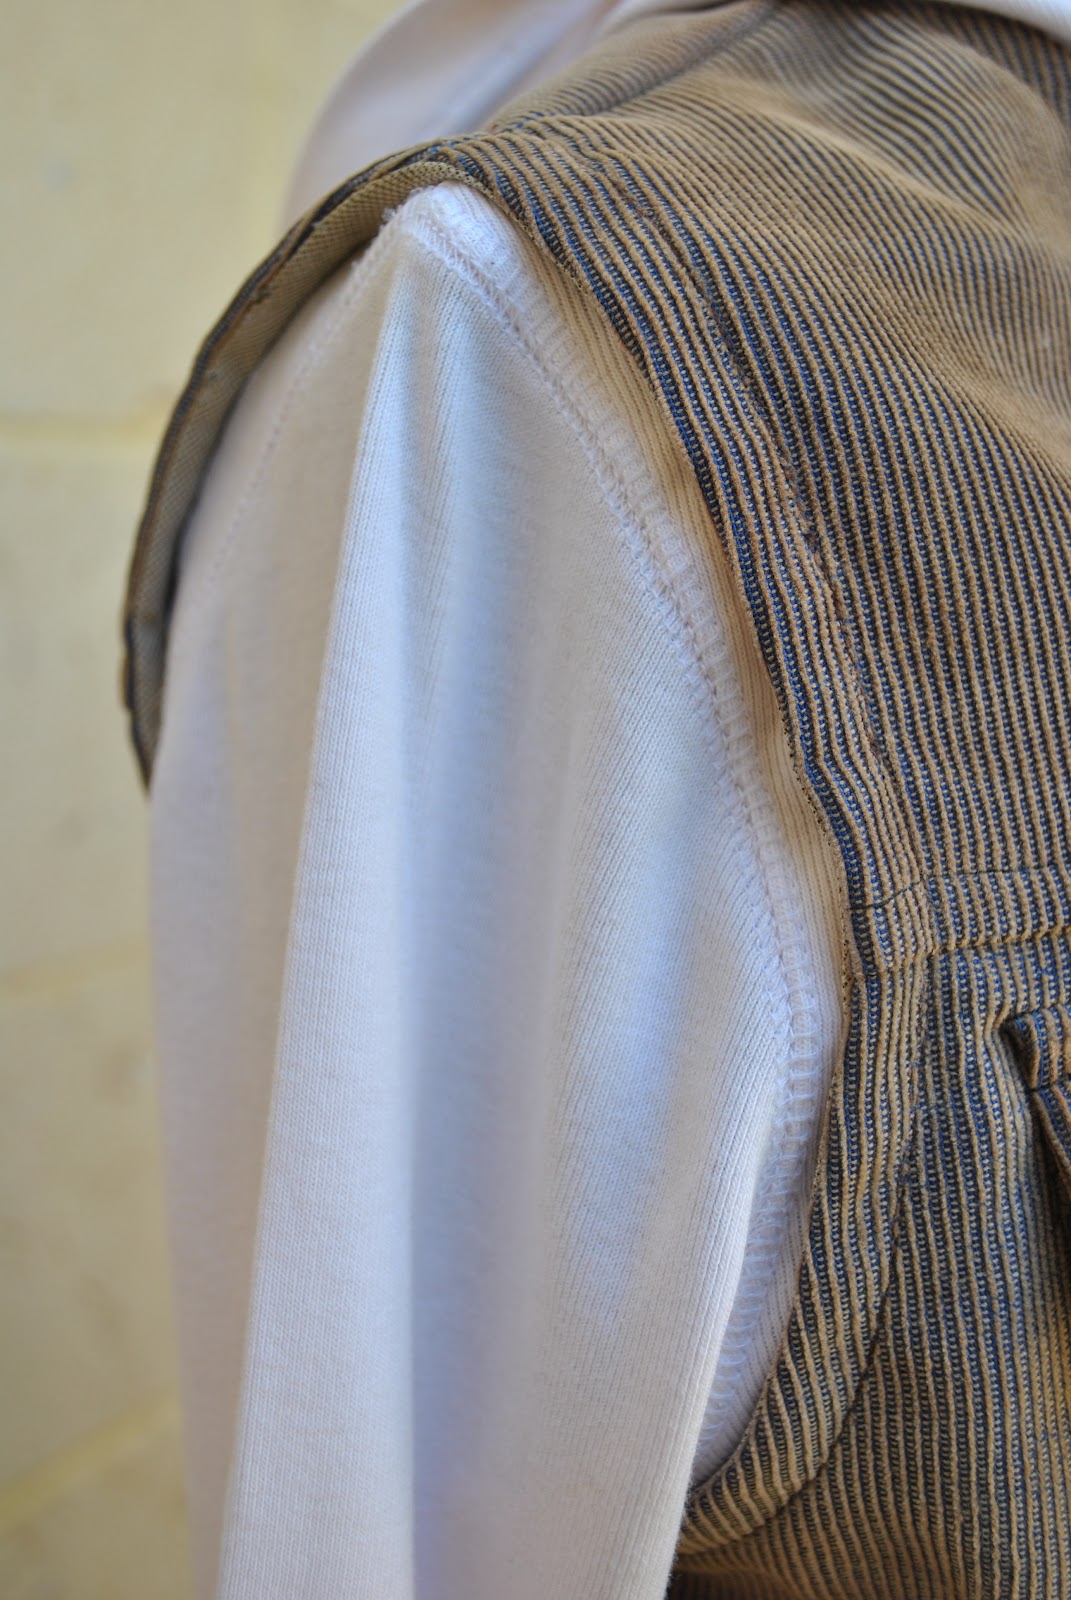
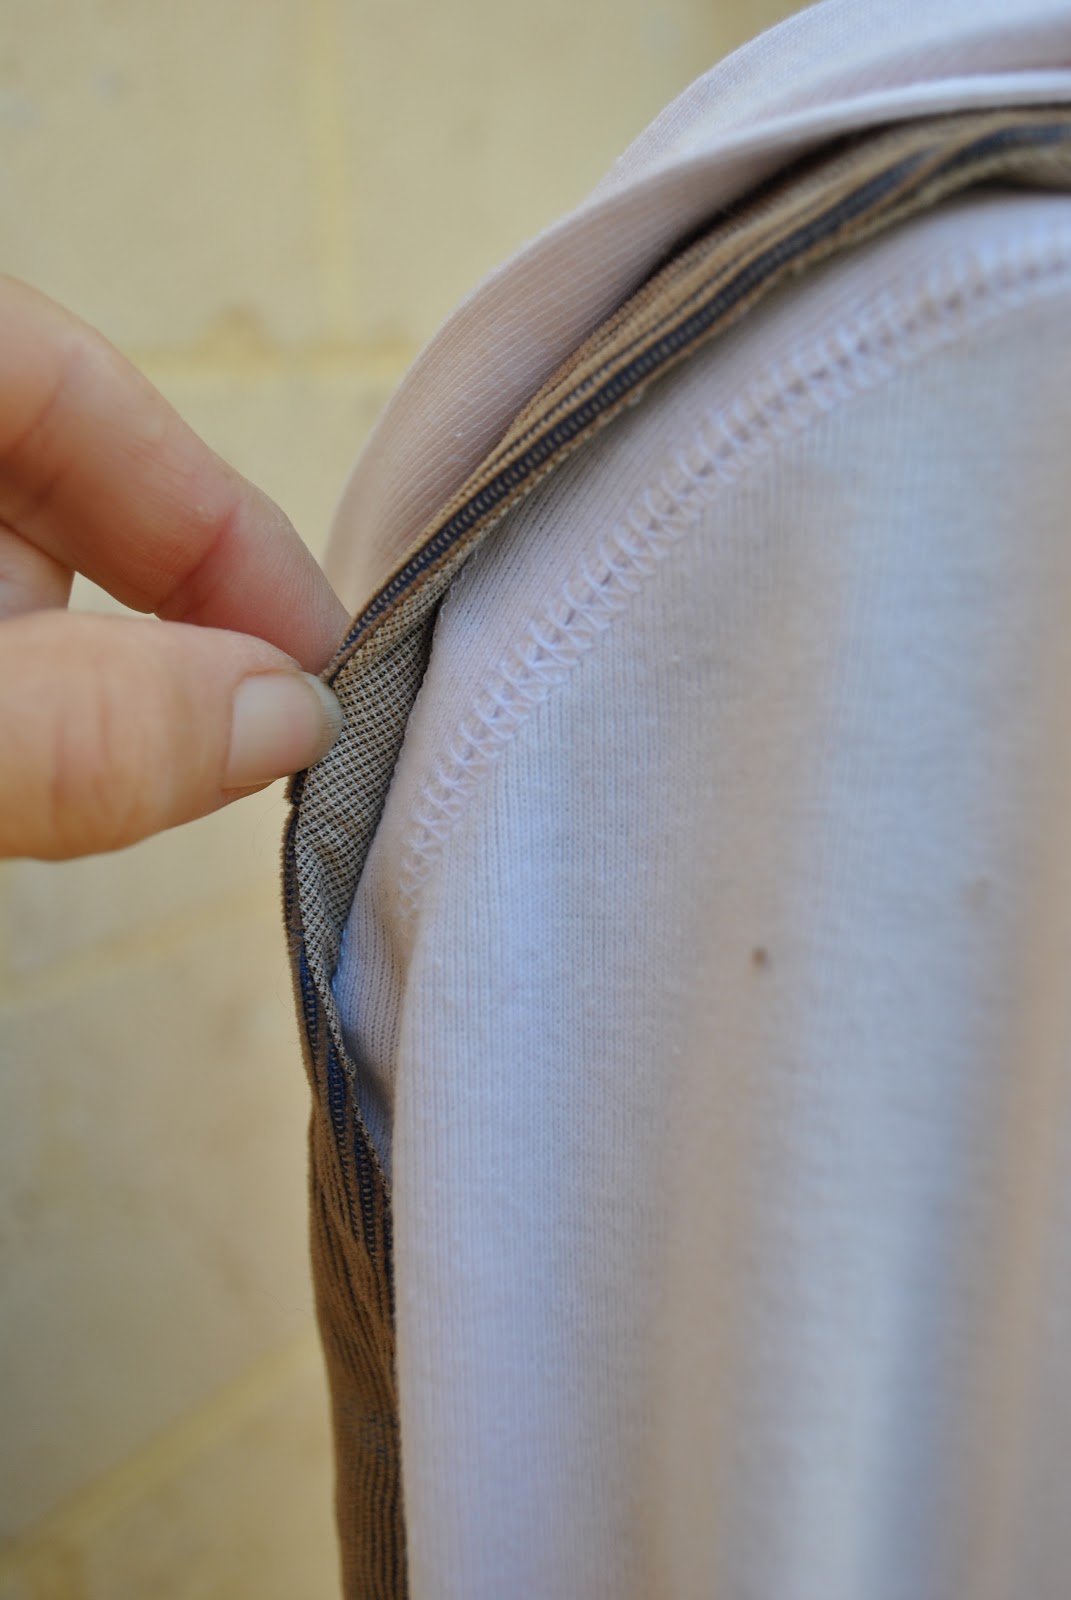
Using my own trusty custom fit Tshirt pattern as a guide; I cut up the cardigan, re-sized the pieces and sewed it all together again: only keeping the shoulder seams of the cardigan intact, since they were already nicely re-inforced.  Also I kept the neckline band and the wrist bands untouched and intact, and the lower band is also original although taken in with the side seams. When refashioning something new outa something old, it is a good idea to keep and incorporate into the finished garment as many of the factory finishes as possible; it ends up looking a lot more professional and pulled together.  Plus makes it a heckuvalot easier.
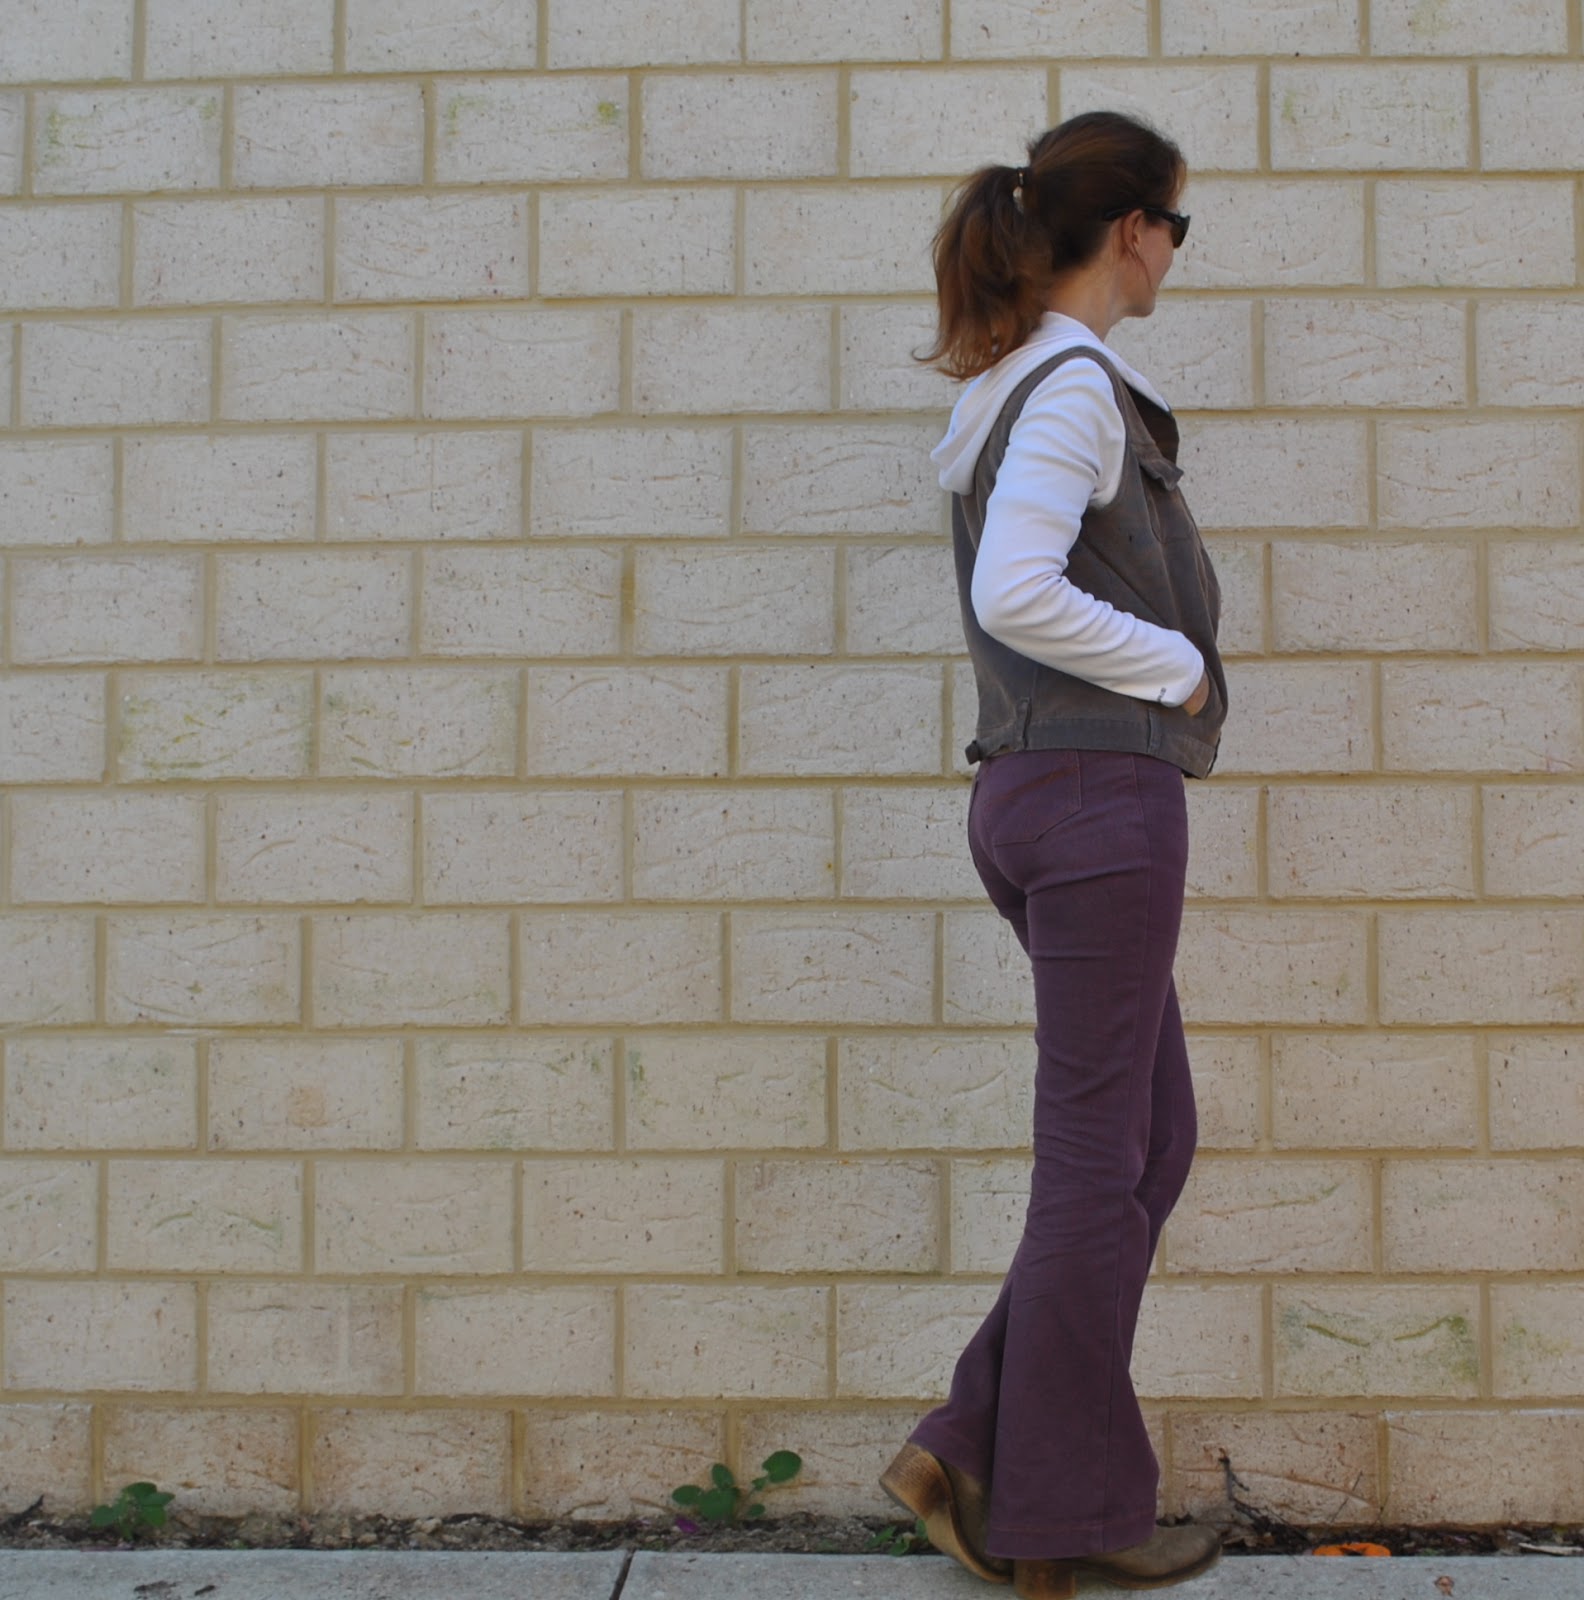
I’m slightly obsessed with hoodies lately.  Hood = cool, right?  Right!
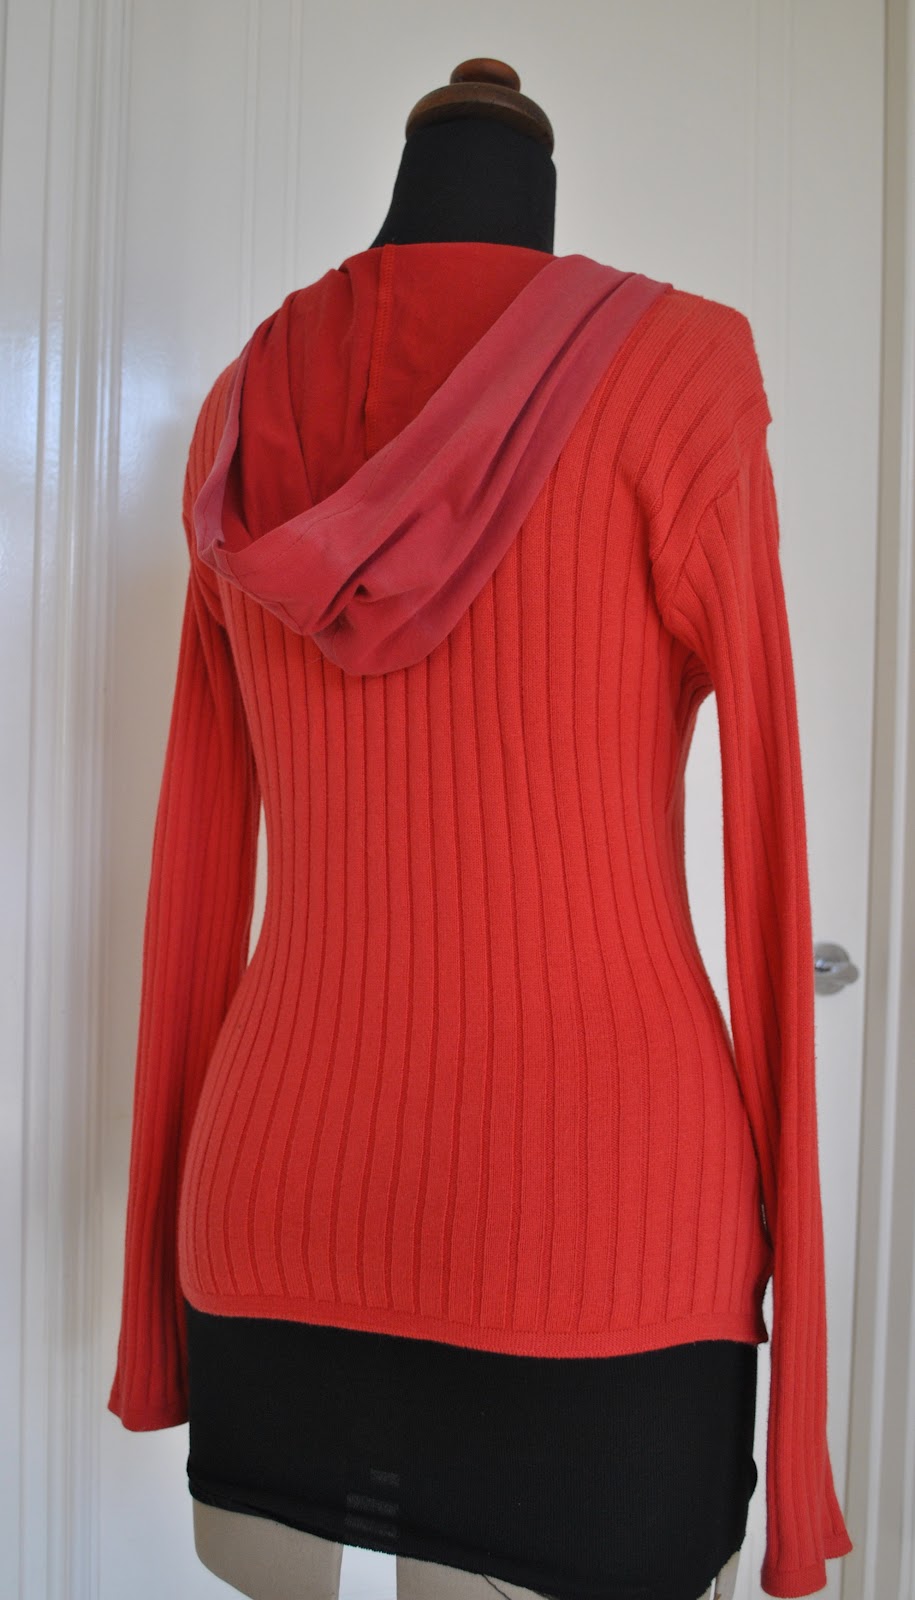
The red Tshirt was getting pretty fragile and the fabric was not going to hold up to anything heavy duty, but since a hood is something that just hangs there decoratively most of the time and is not “worn” very much, so I thought the fabric might hold up to the task.
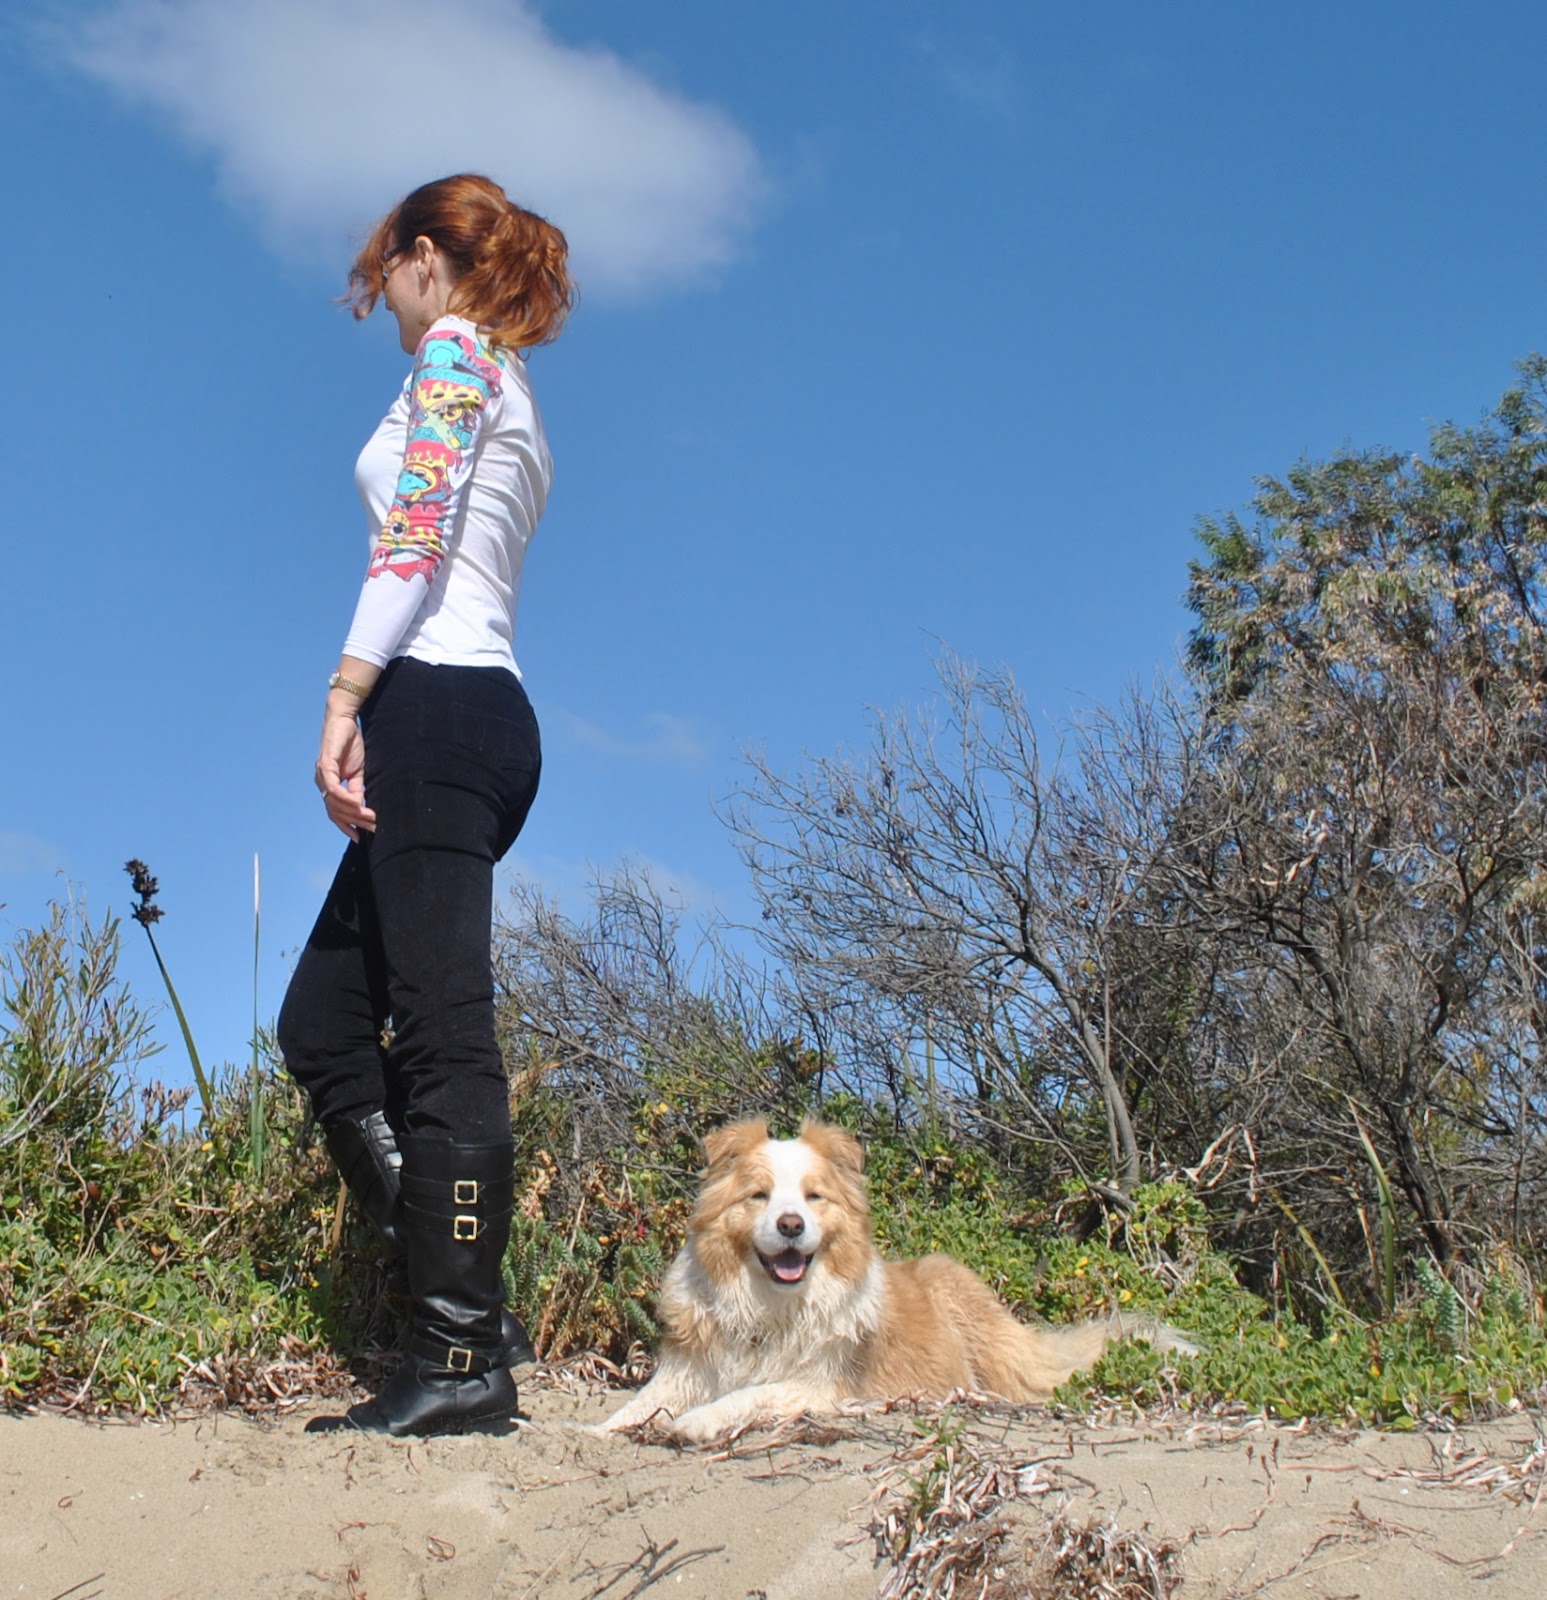
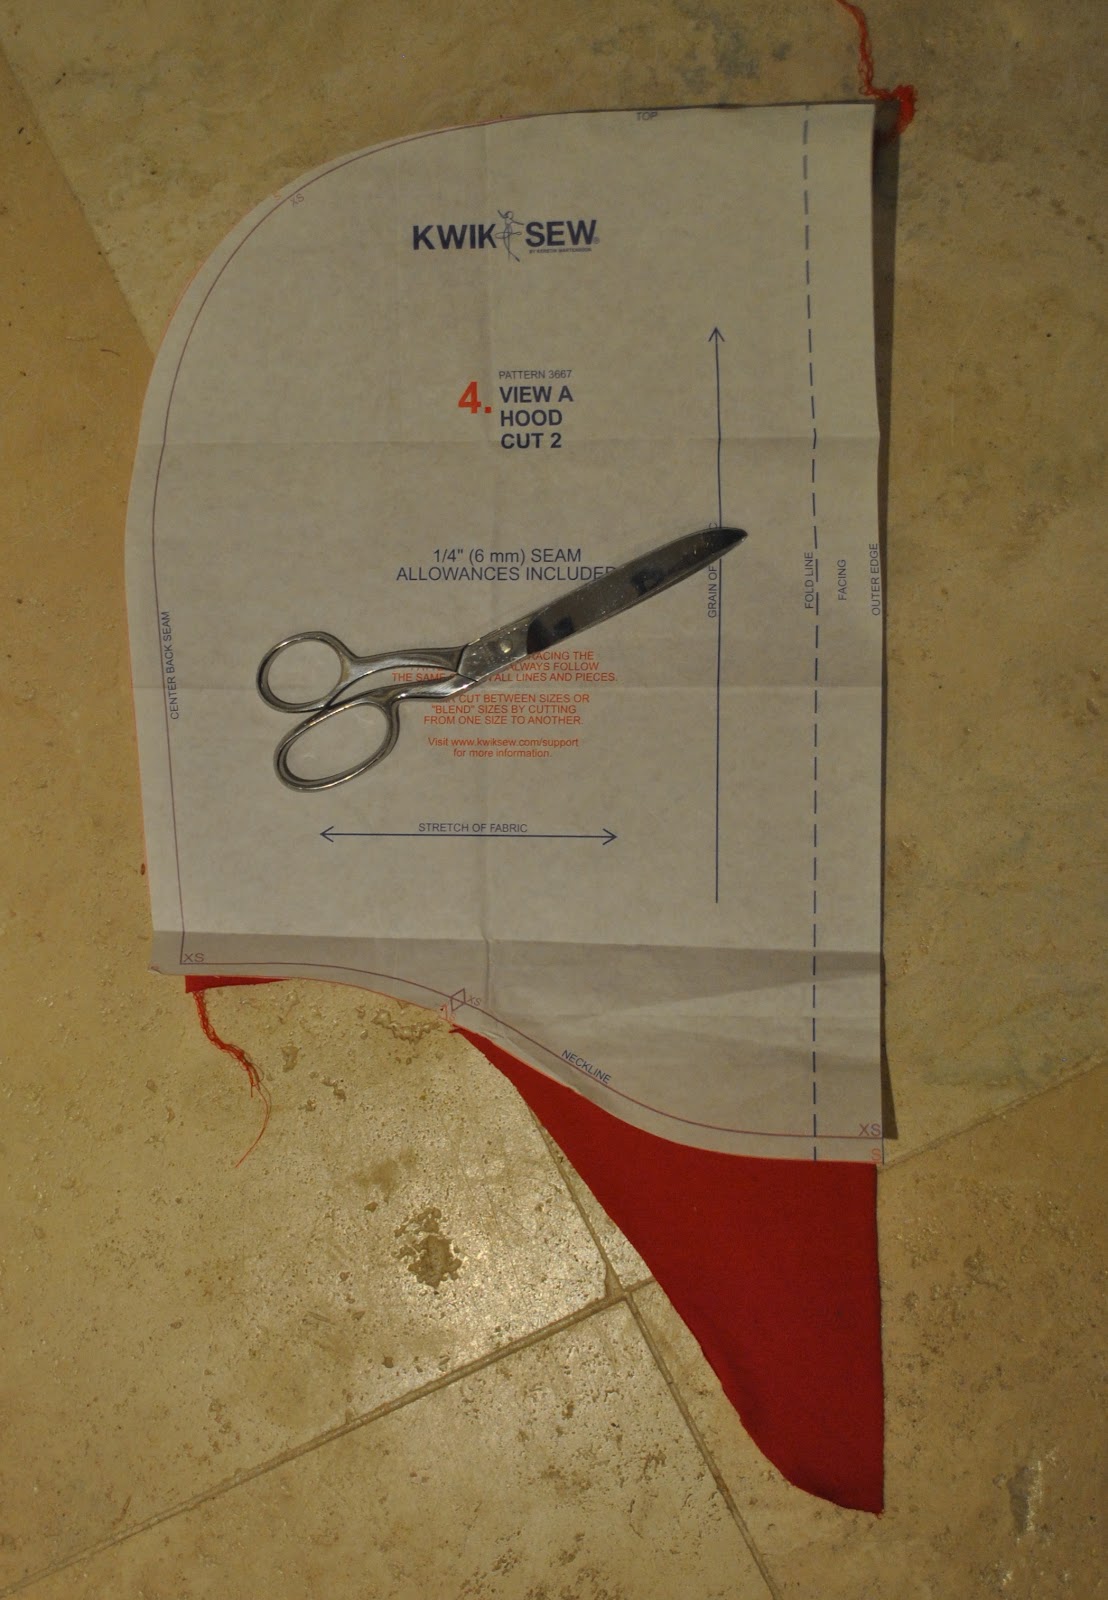
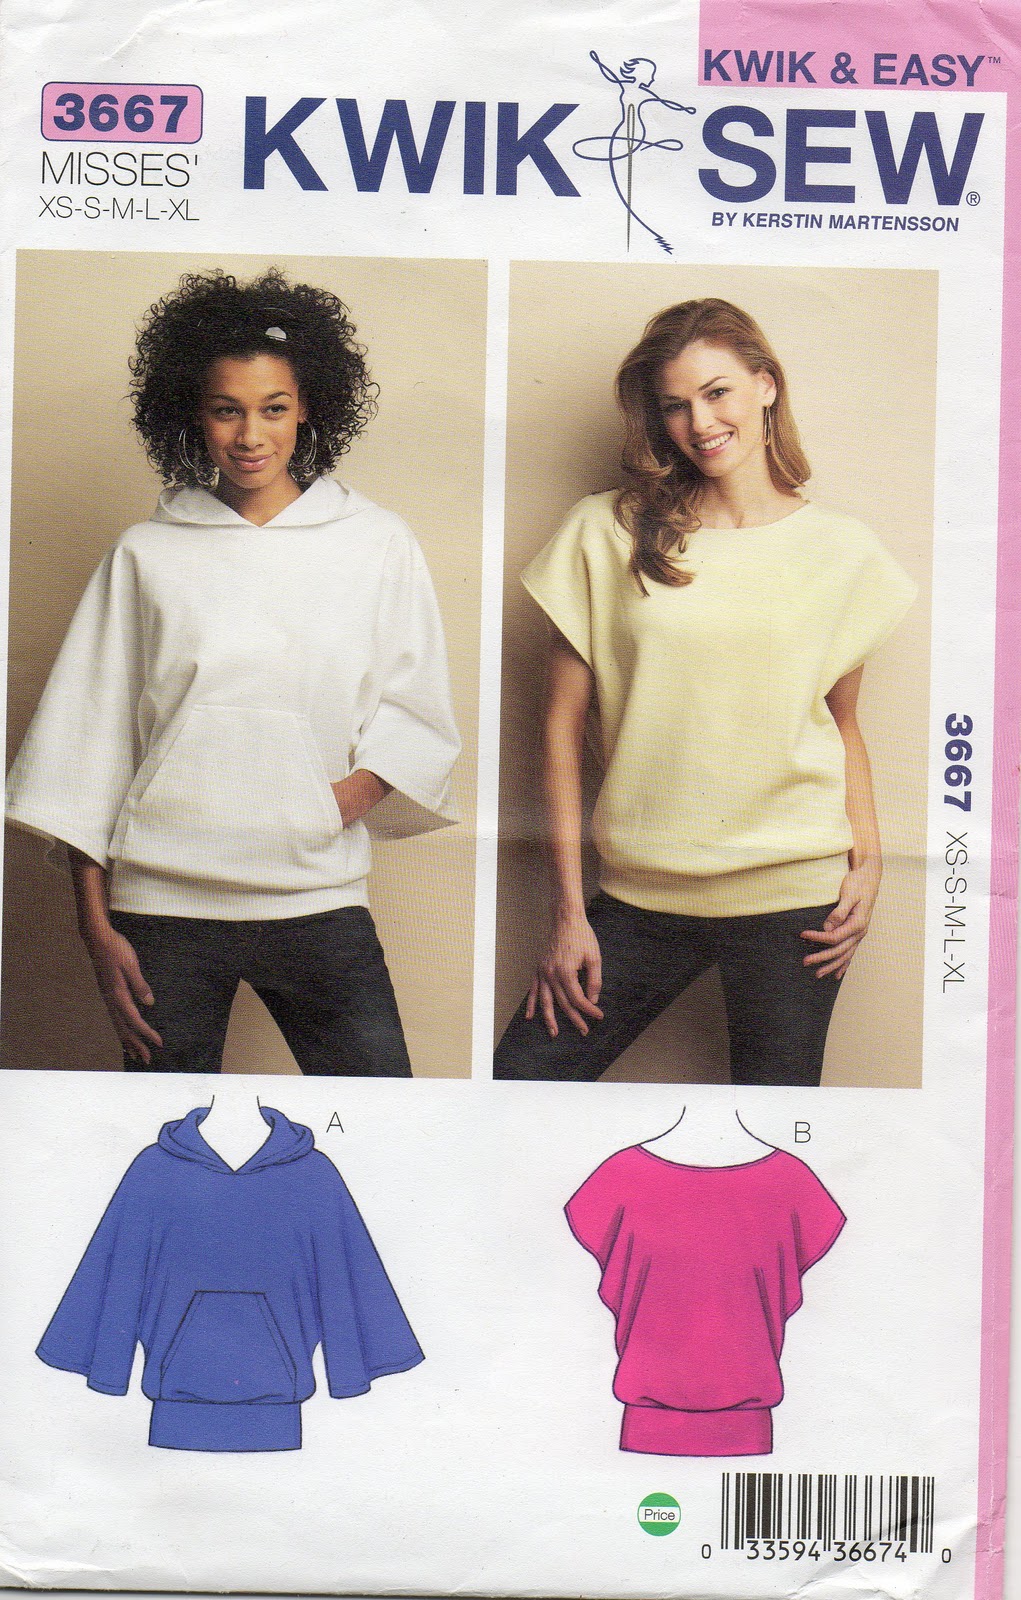
Now my hood pattern from KwikSew 3667 is drafted to fit a crew neck, and my cardigan has a deep V neck.  But it is pretty easy to add on an extra wedge section while cutting out, so the hood will fit onto the V neckline…

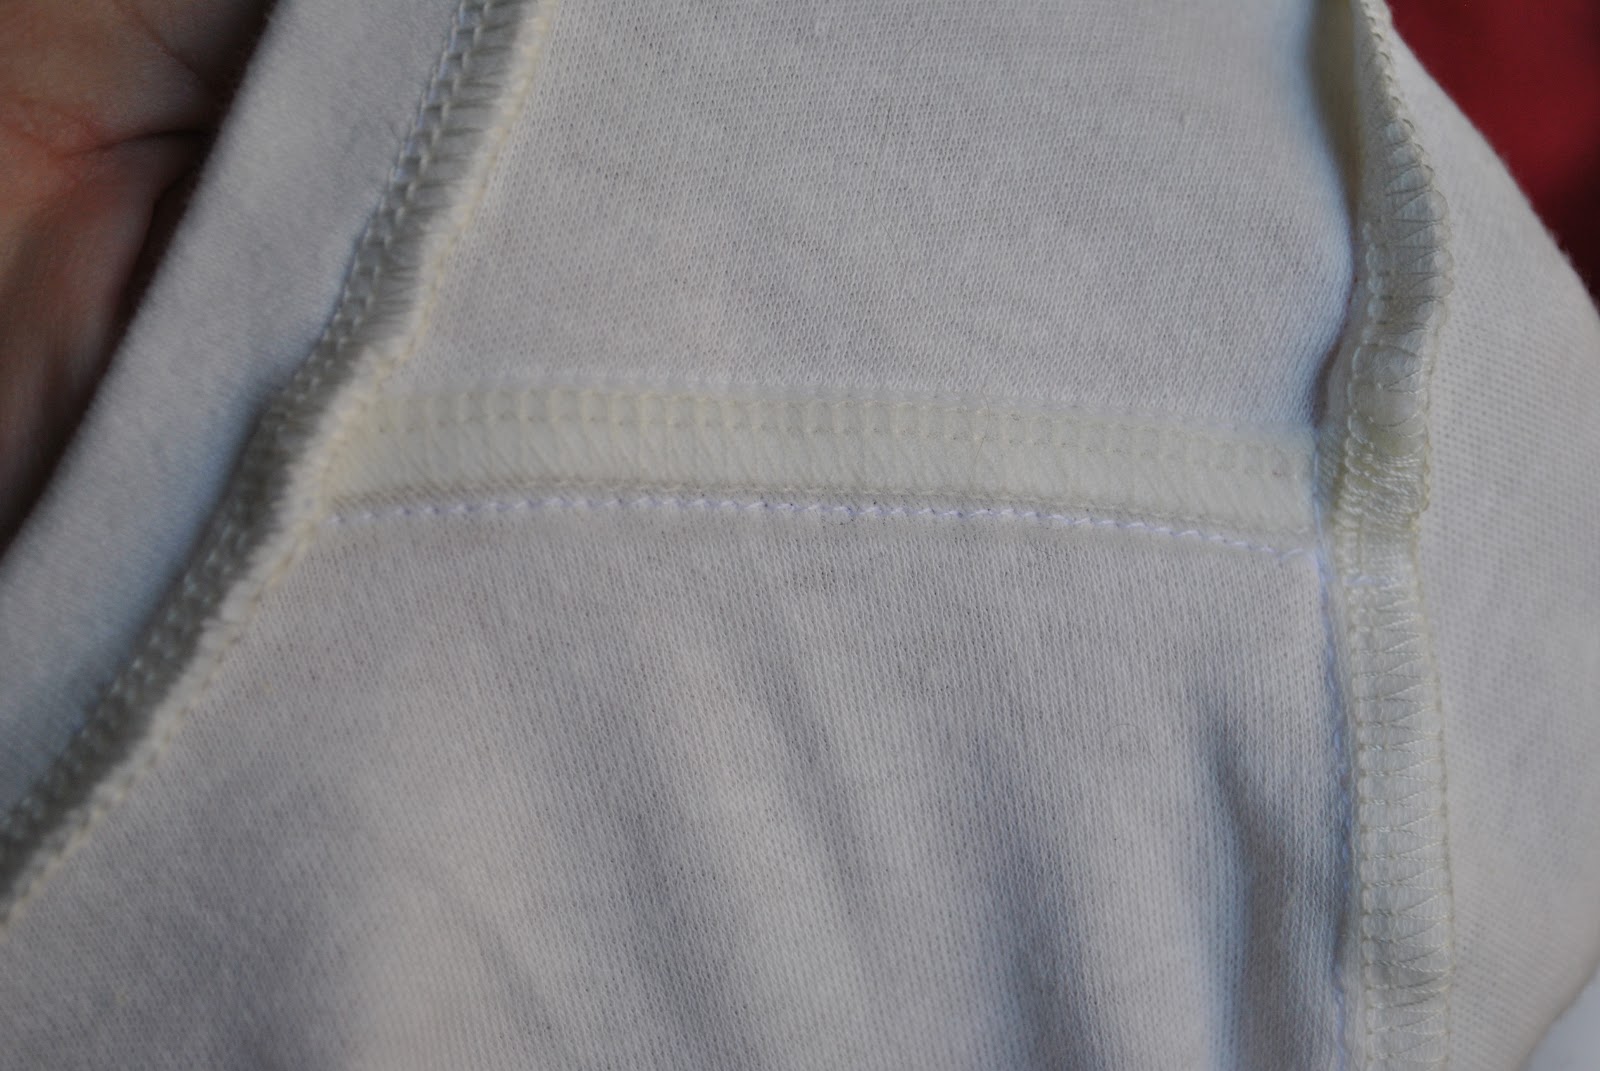
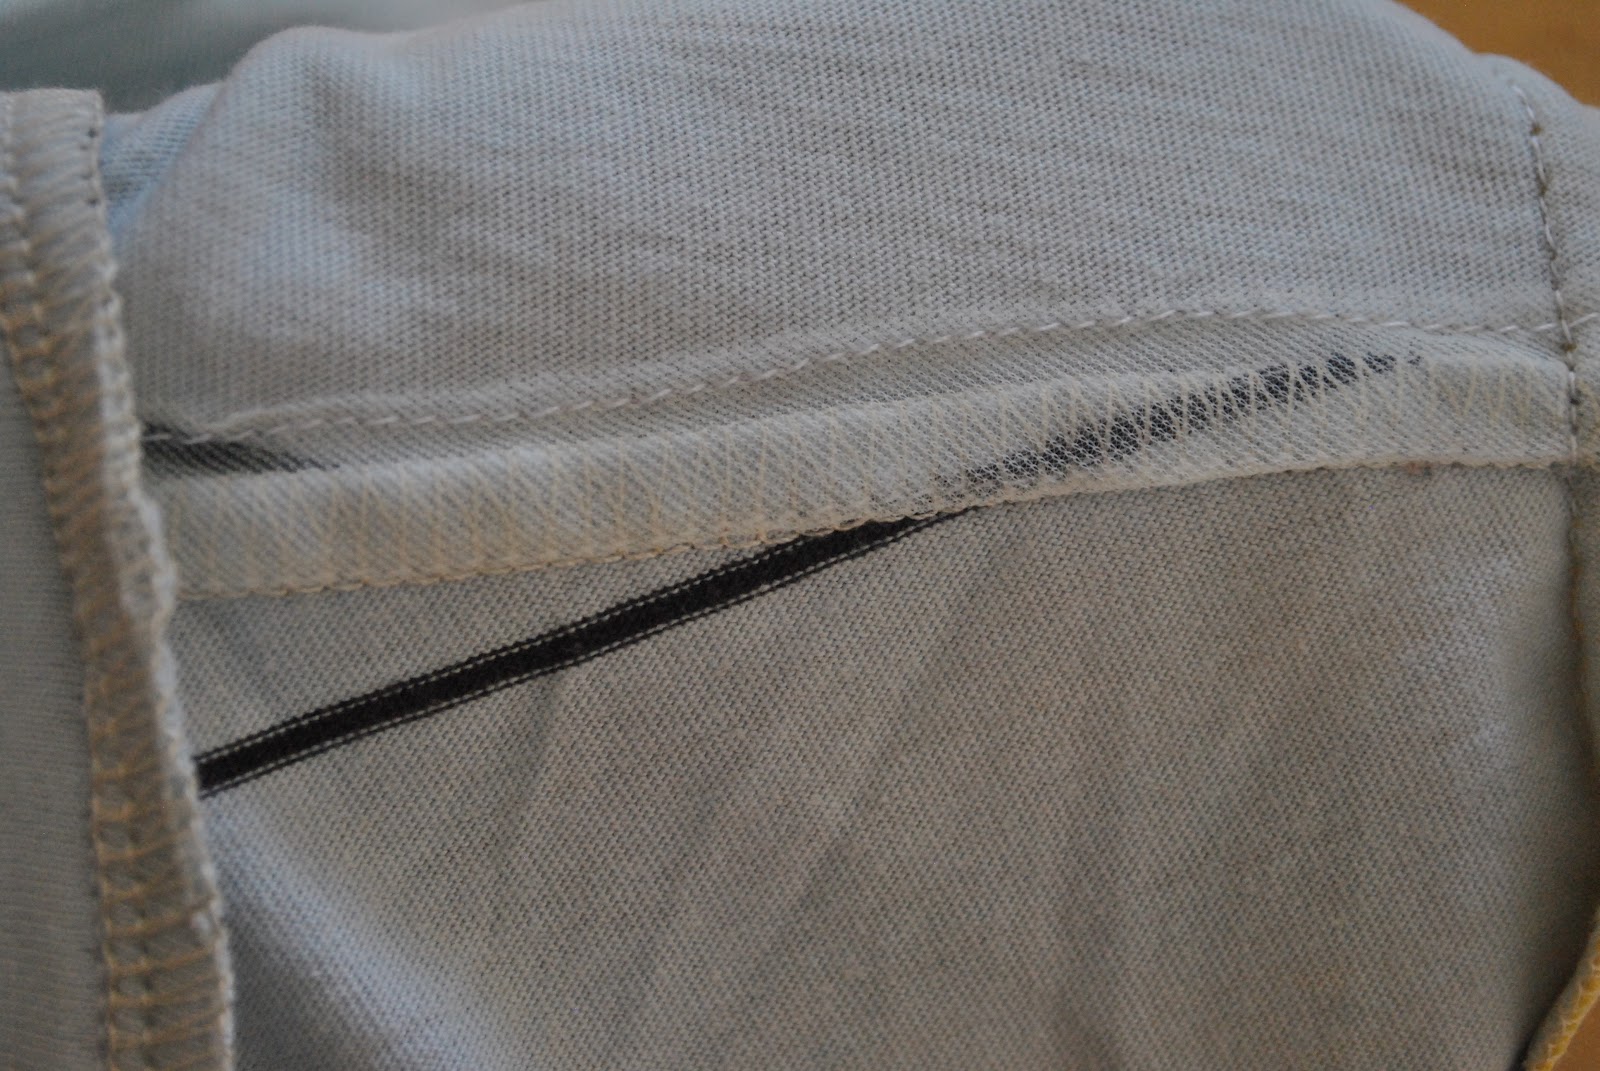
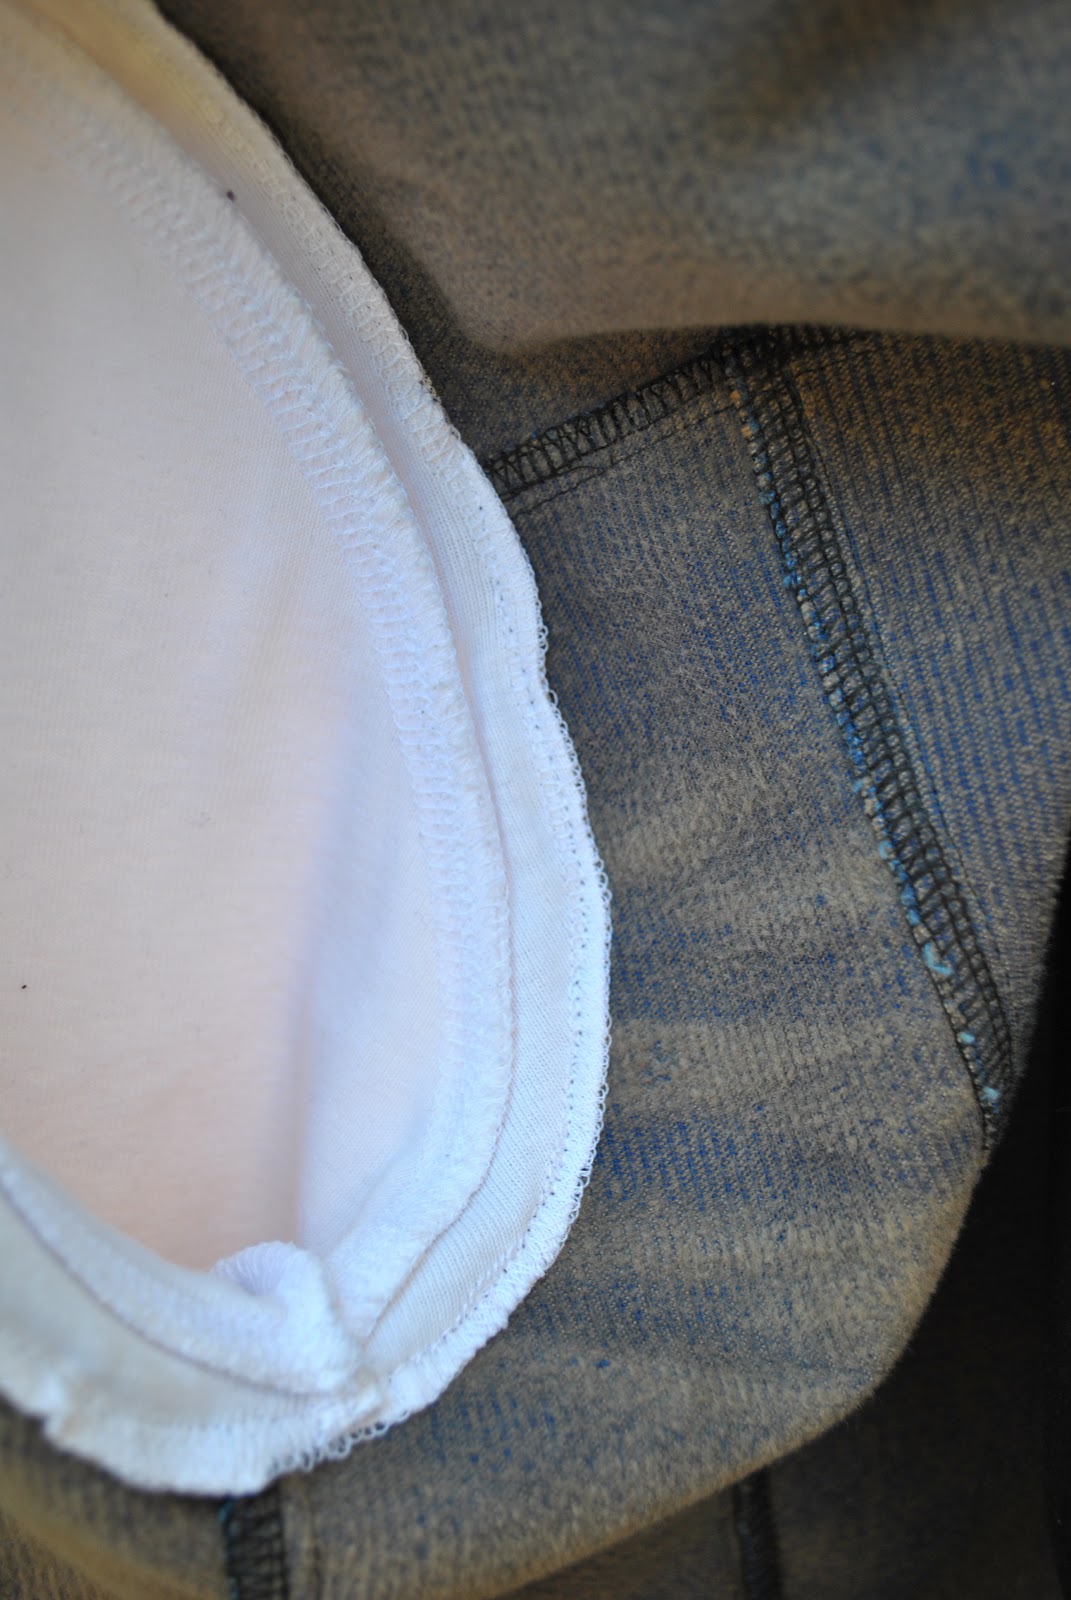
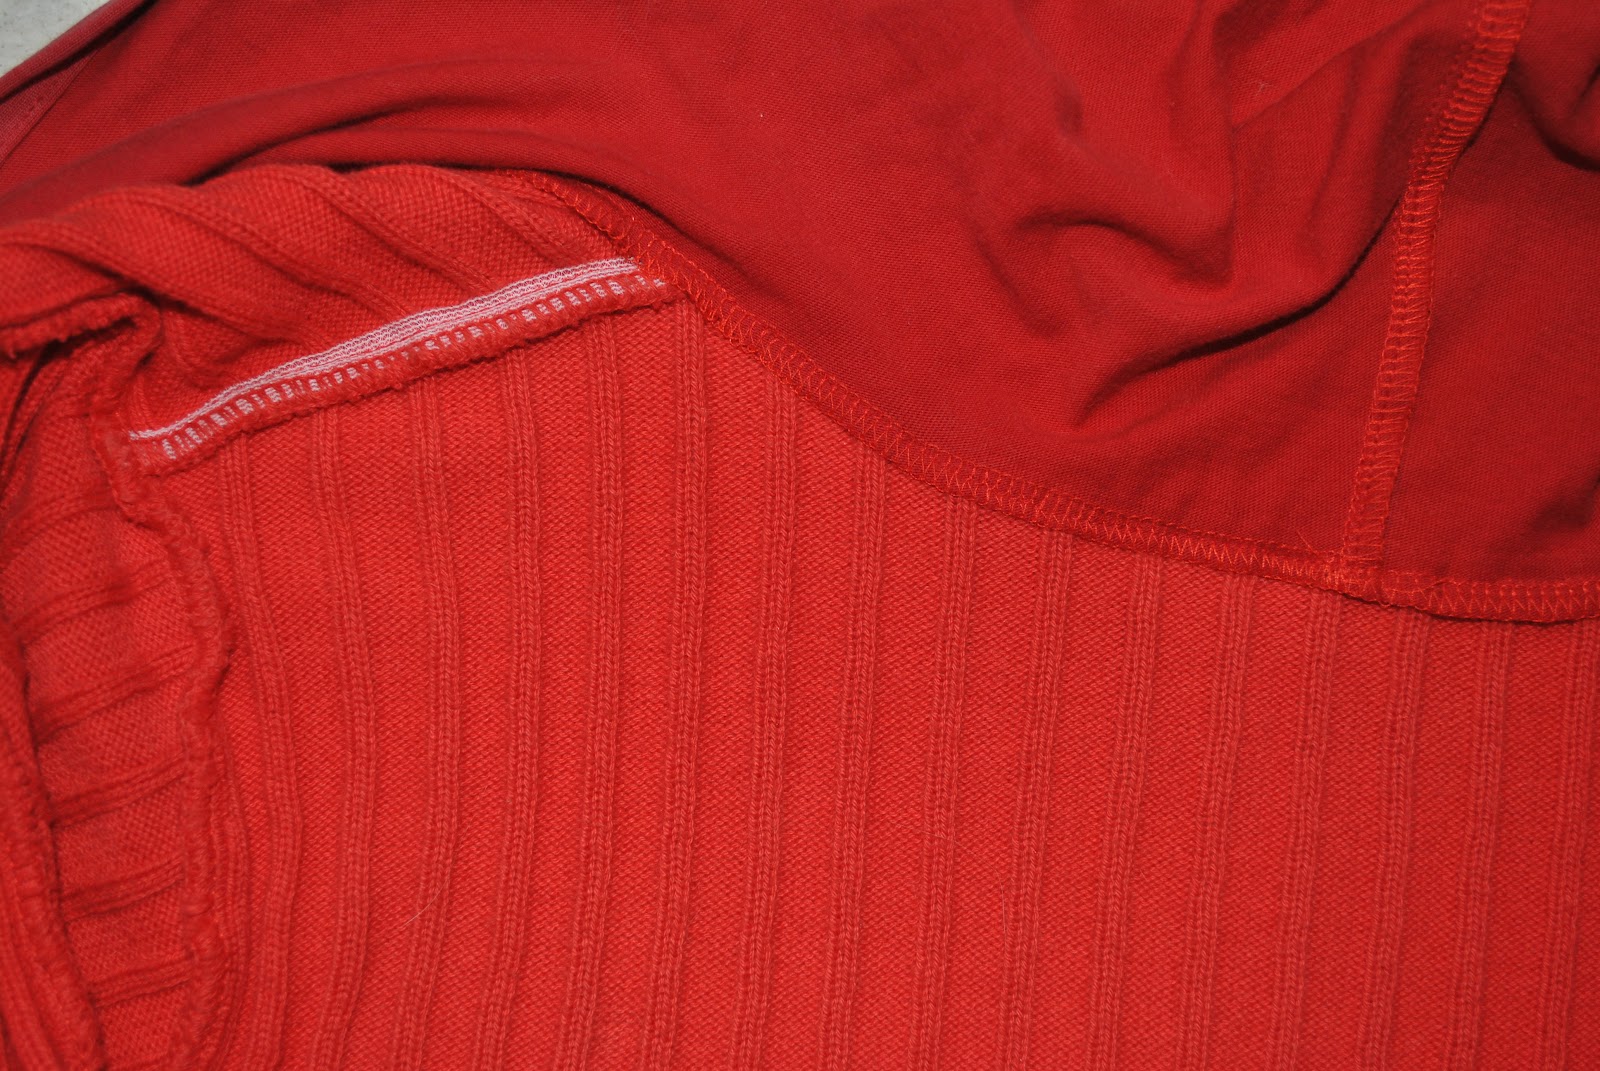
I overlocked the lower edge of my hood and simply stitched in the ditch along the outside of the cardigan.

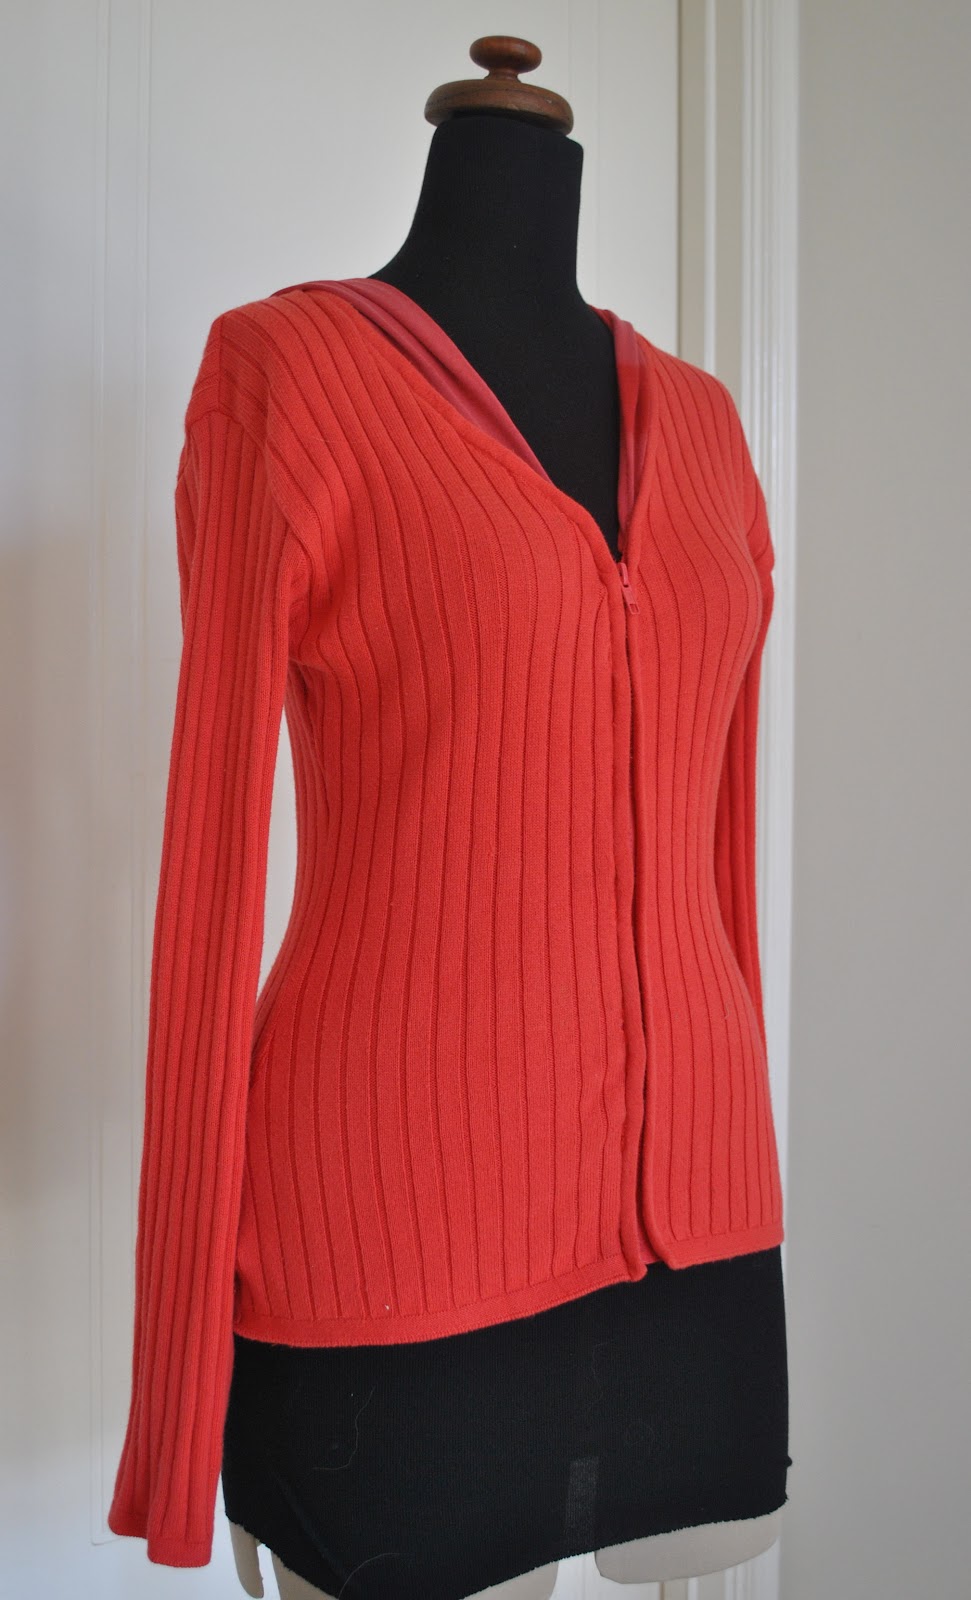
I removed the original buttons off the cardigan (green plastic, which I never really liked either) and sewed in a matching red open-ended zip.
I did have fancy plans to sew on a few decorative pockets cut from the Tshirt also, but after a coupla attempts I had to concede defeat; the Tshirt fabric was really too fragile and they looked muchos hideous.  So the cardigan remains pocket-less.  🙁
Yah, so hopefully the hood might hold up for a while yet.  We shall see.  To be honest, I’m still not head over heels in love with this thing, despite its cool new hood.  Y’know how sometimes something just doesn’t push your buttons, even though it ticks all the right boxes?  It’s “my” colour, it’s got a hood, it fits nicely (now).  It’s got a hood.  Did I mention the hood?  Hoods are cool.  I kinda love the hood.
Well, I guess I’ll look a tad more stylin’ around the campfire than I was before.
I’m counting this one a minor league win.

Details:
Hoodie; my own design, with modified hood from KwikSew 3667, made from an oversized old cardigan and an old tshirt
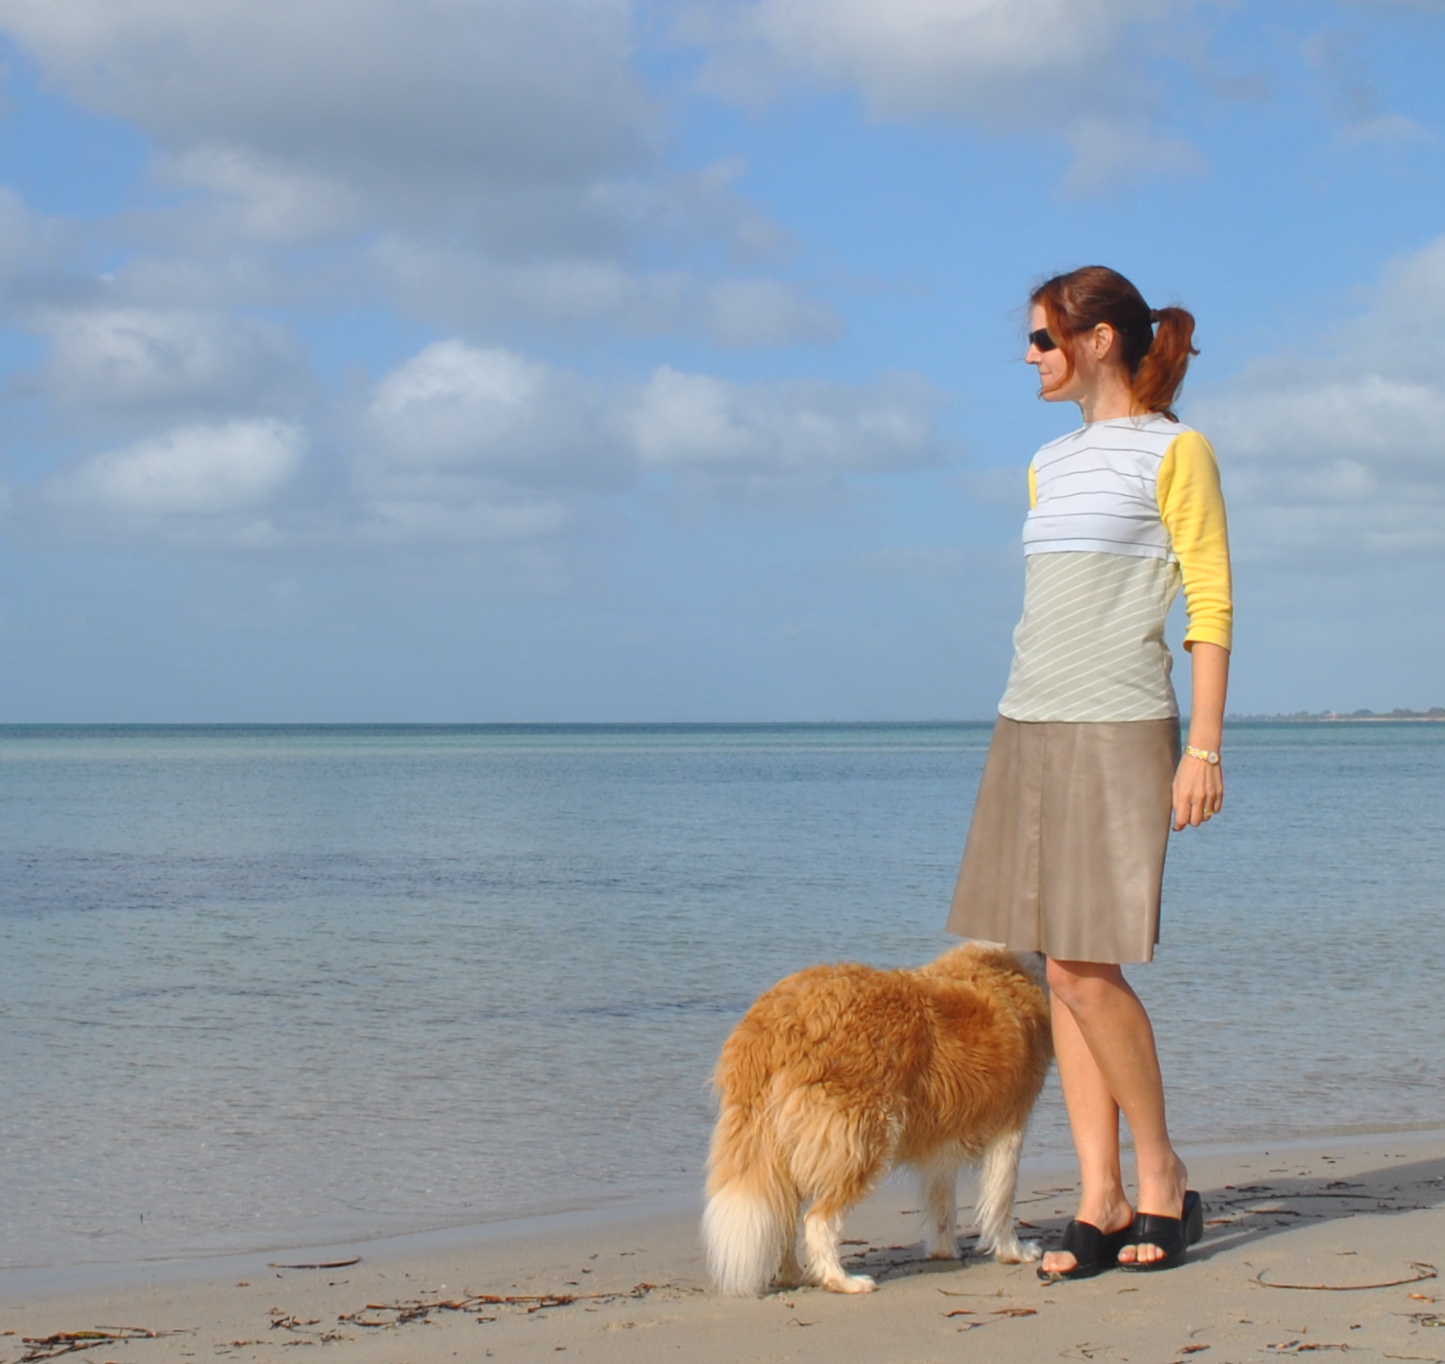
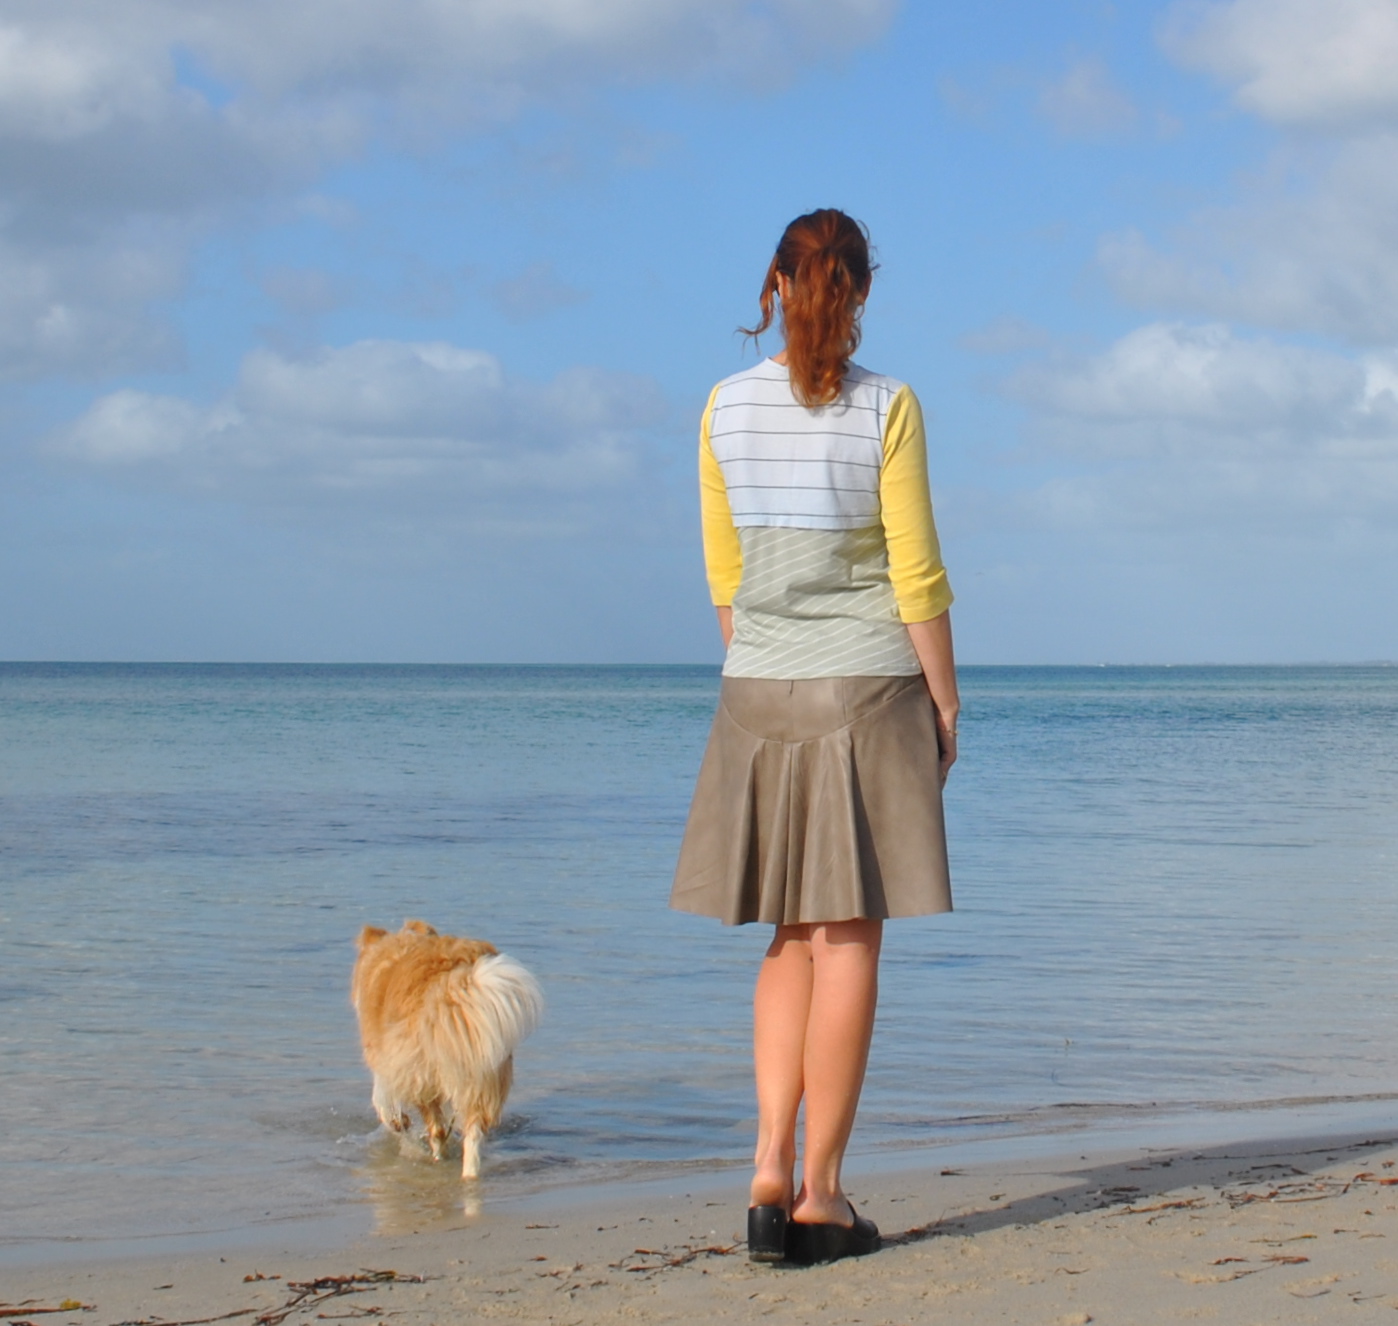
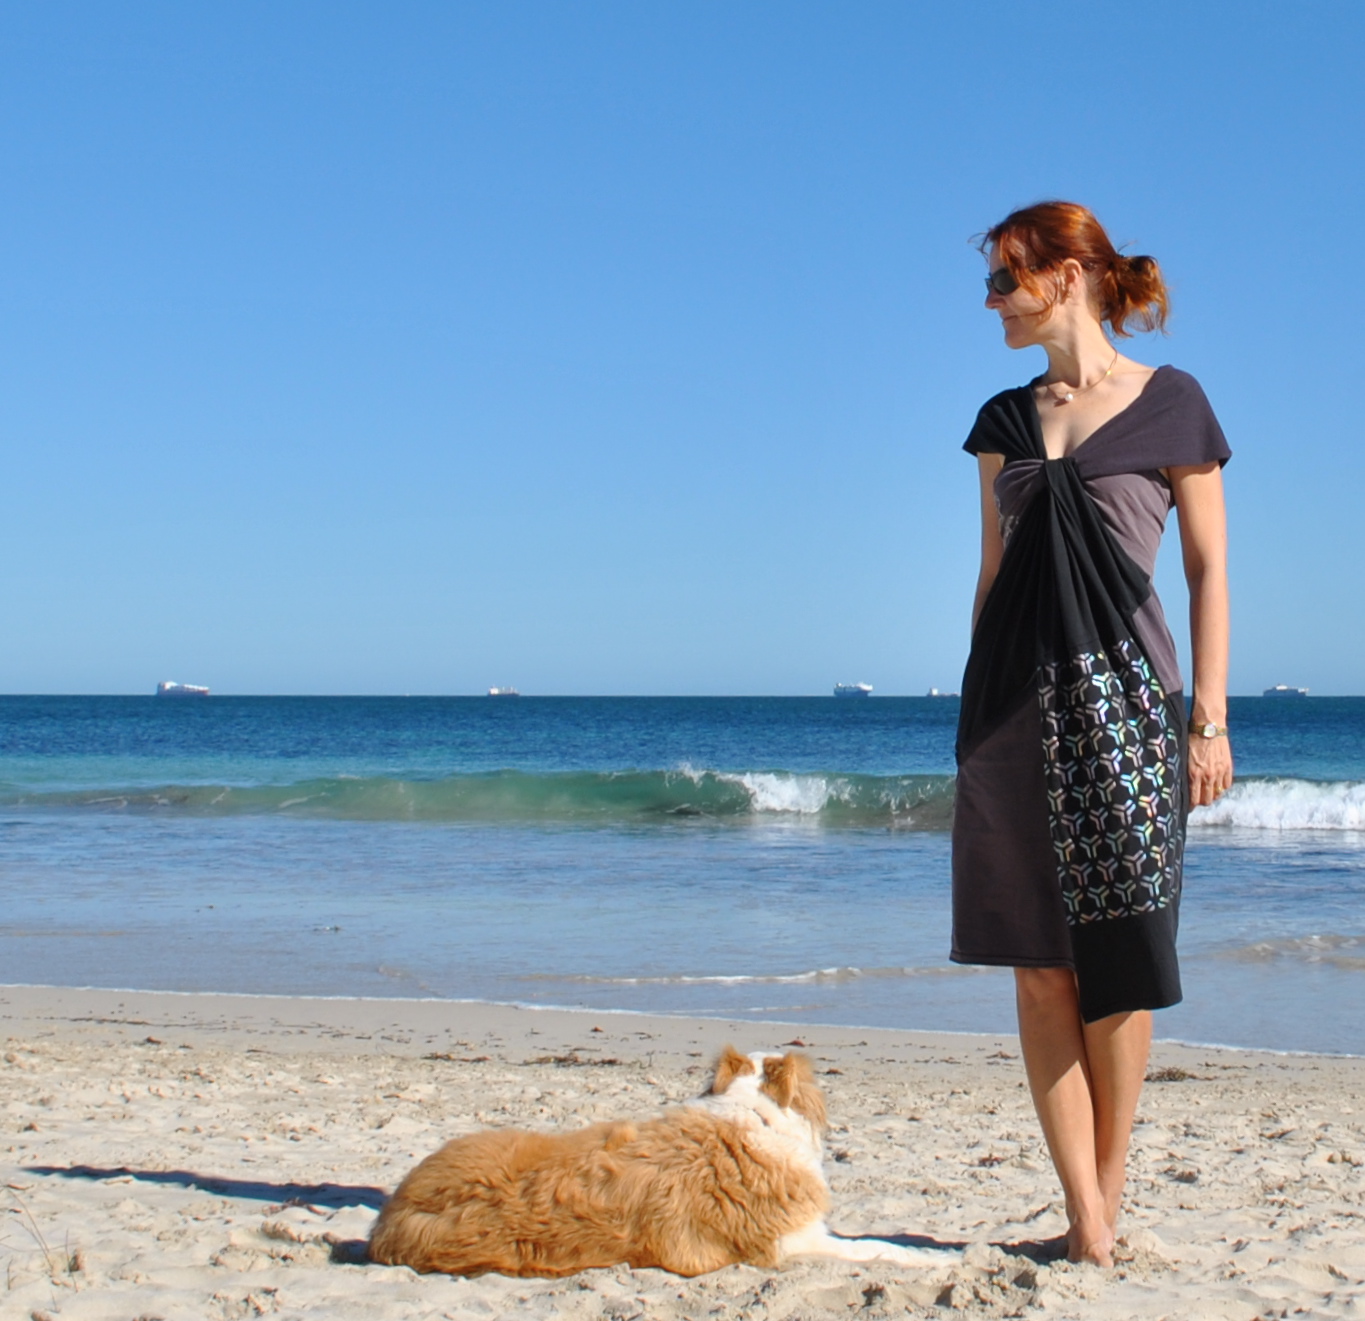
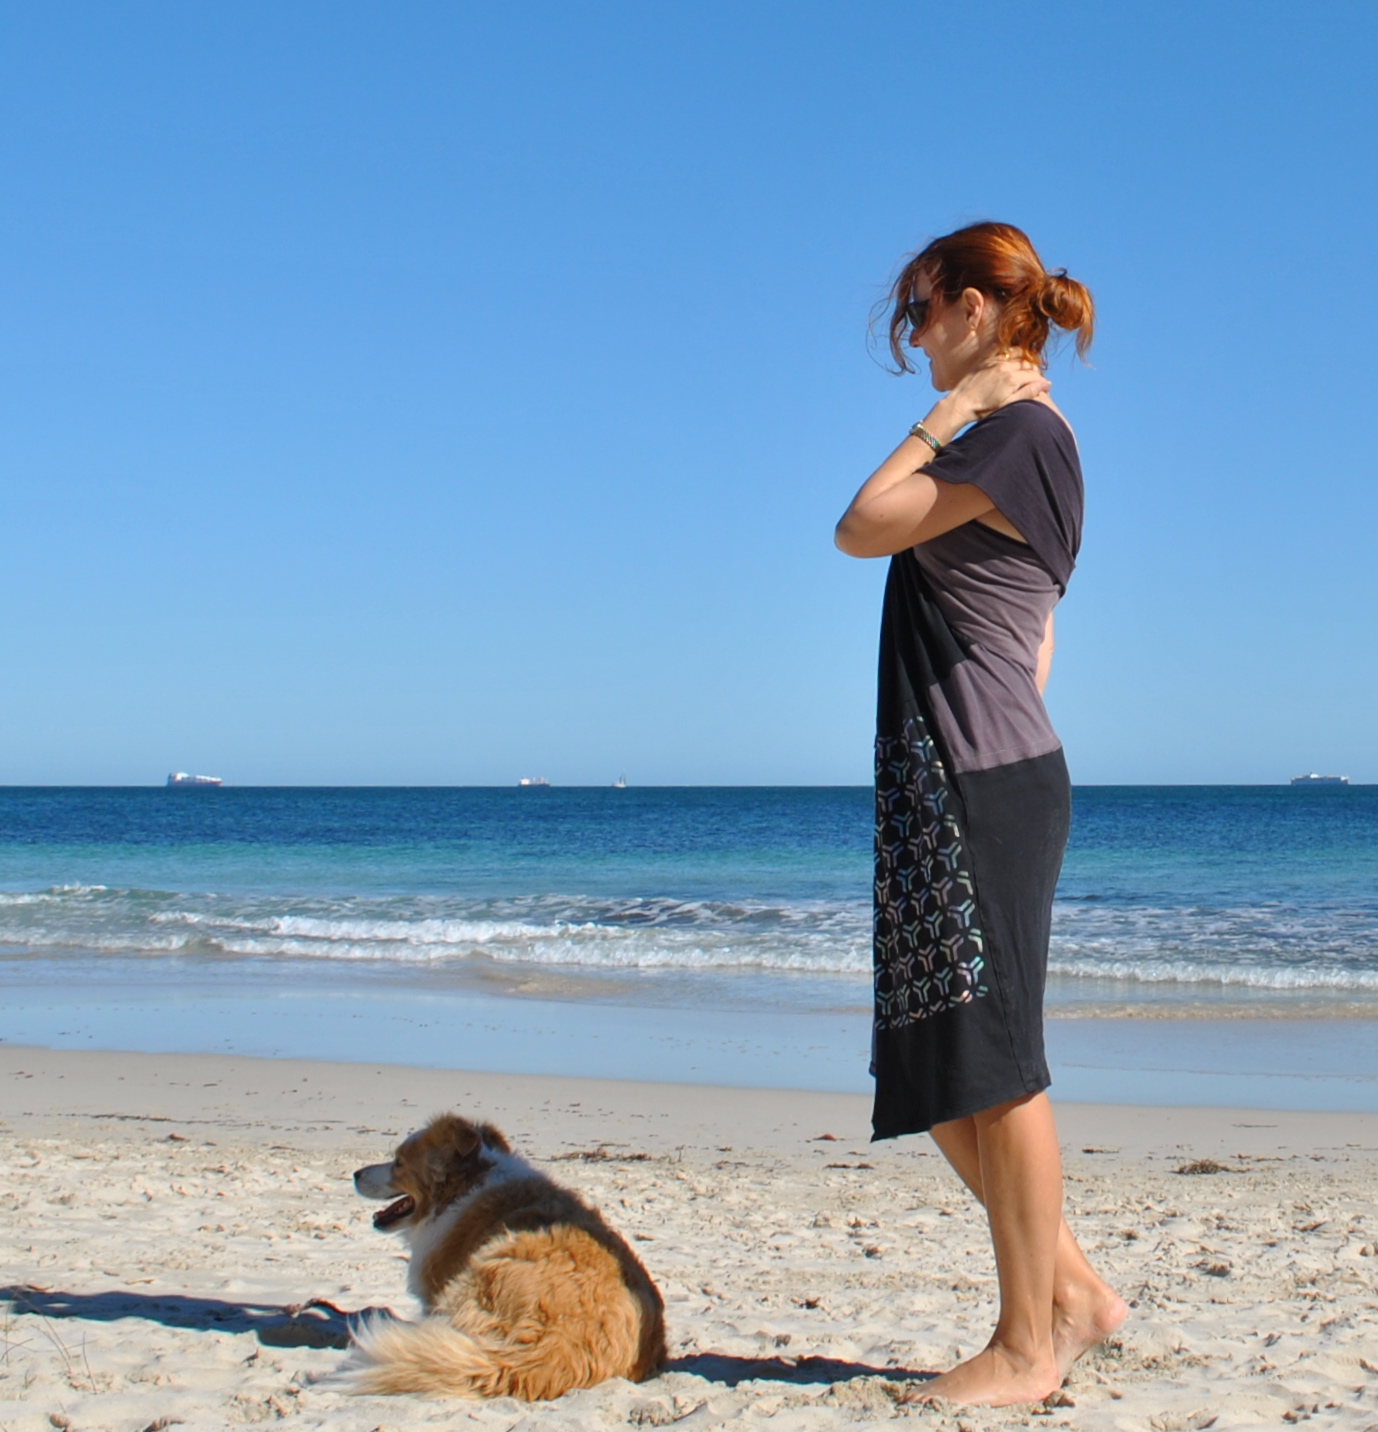
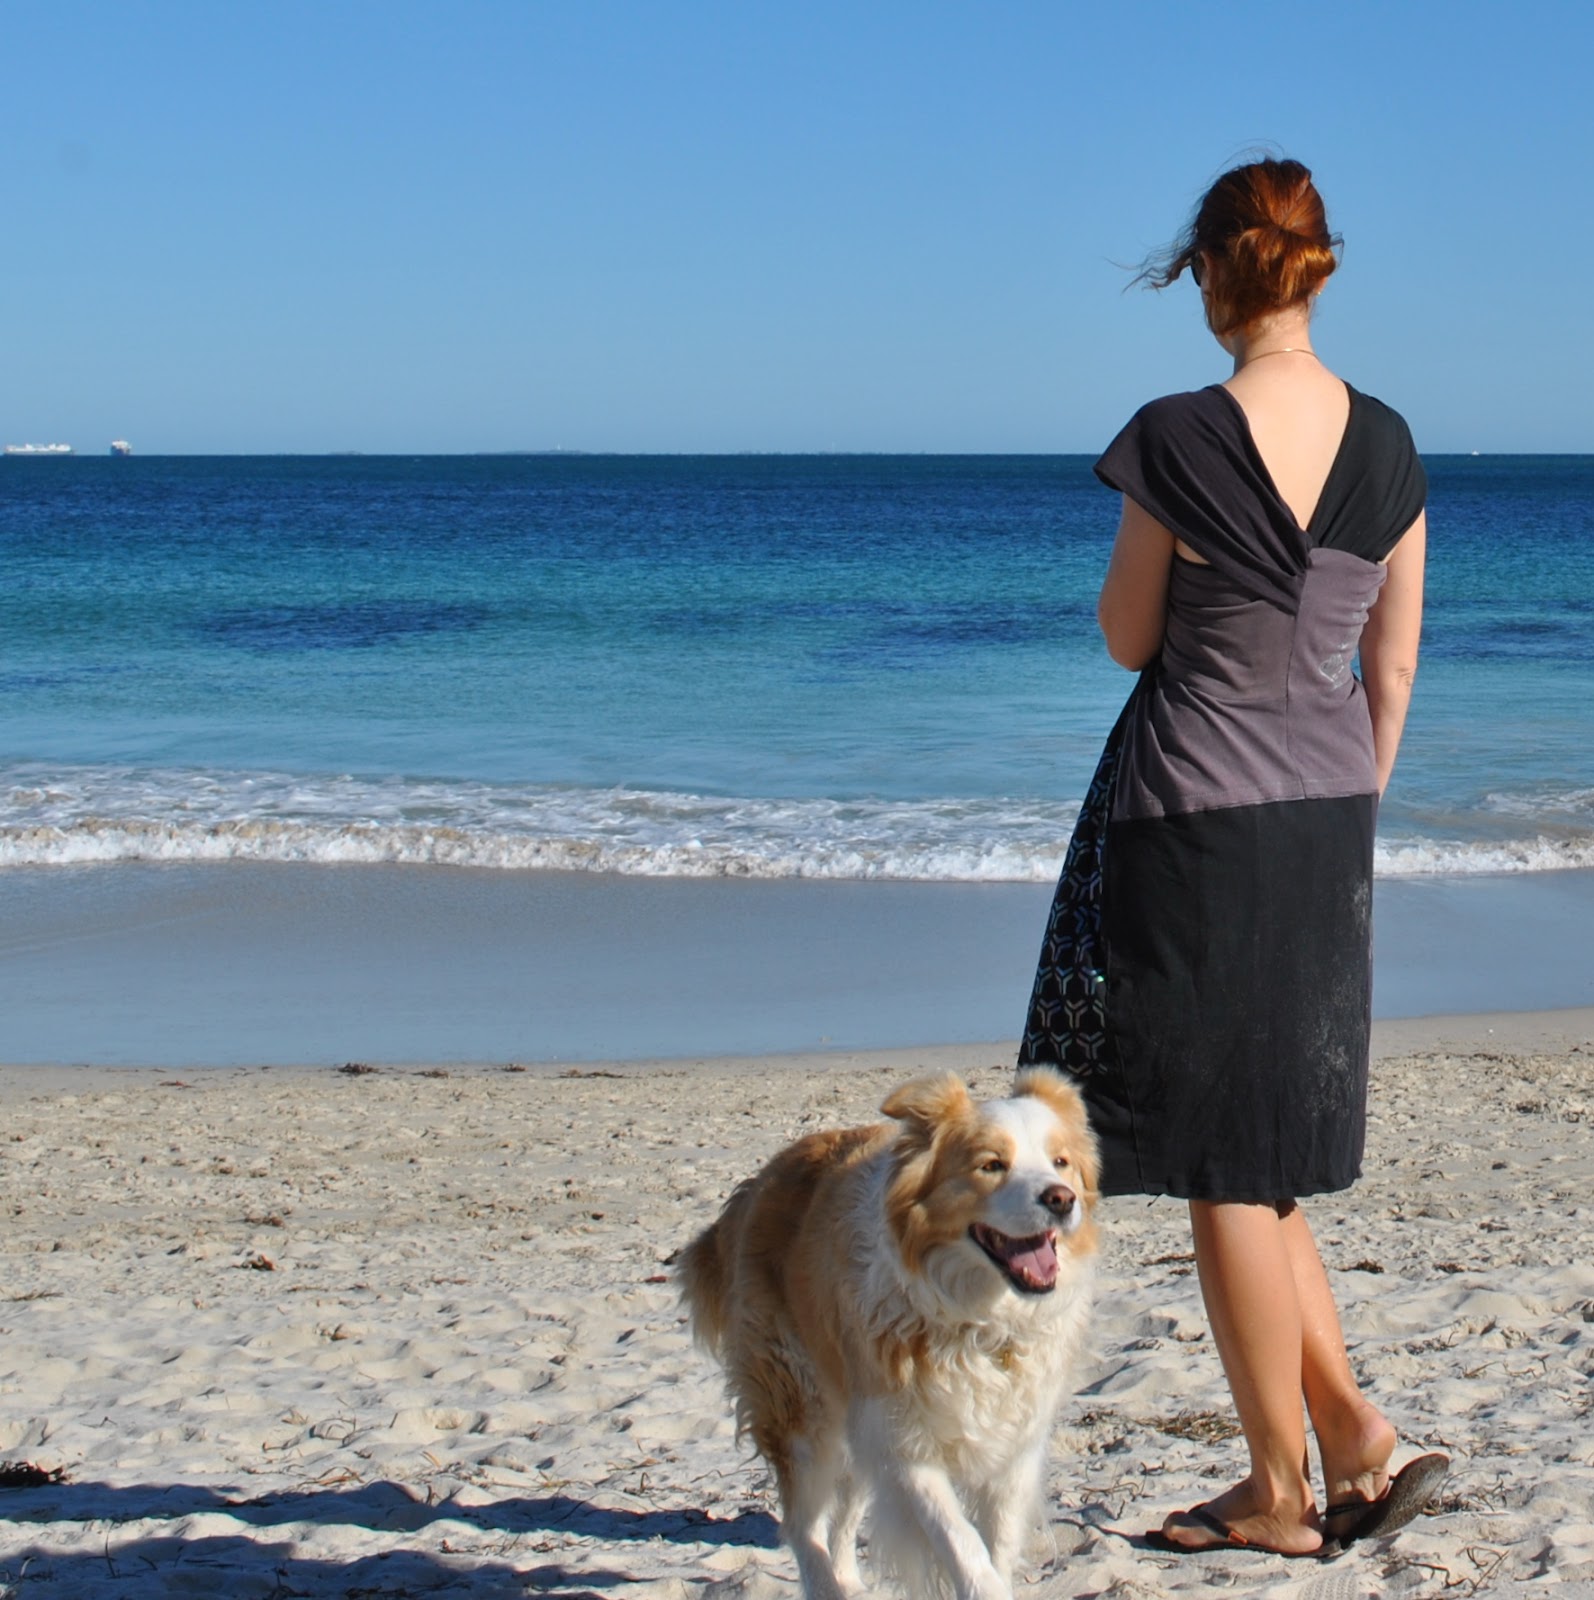
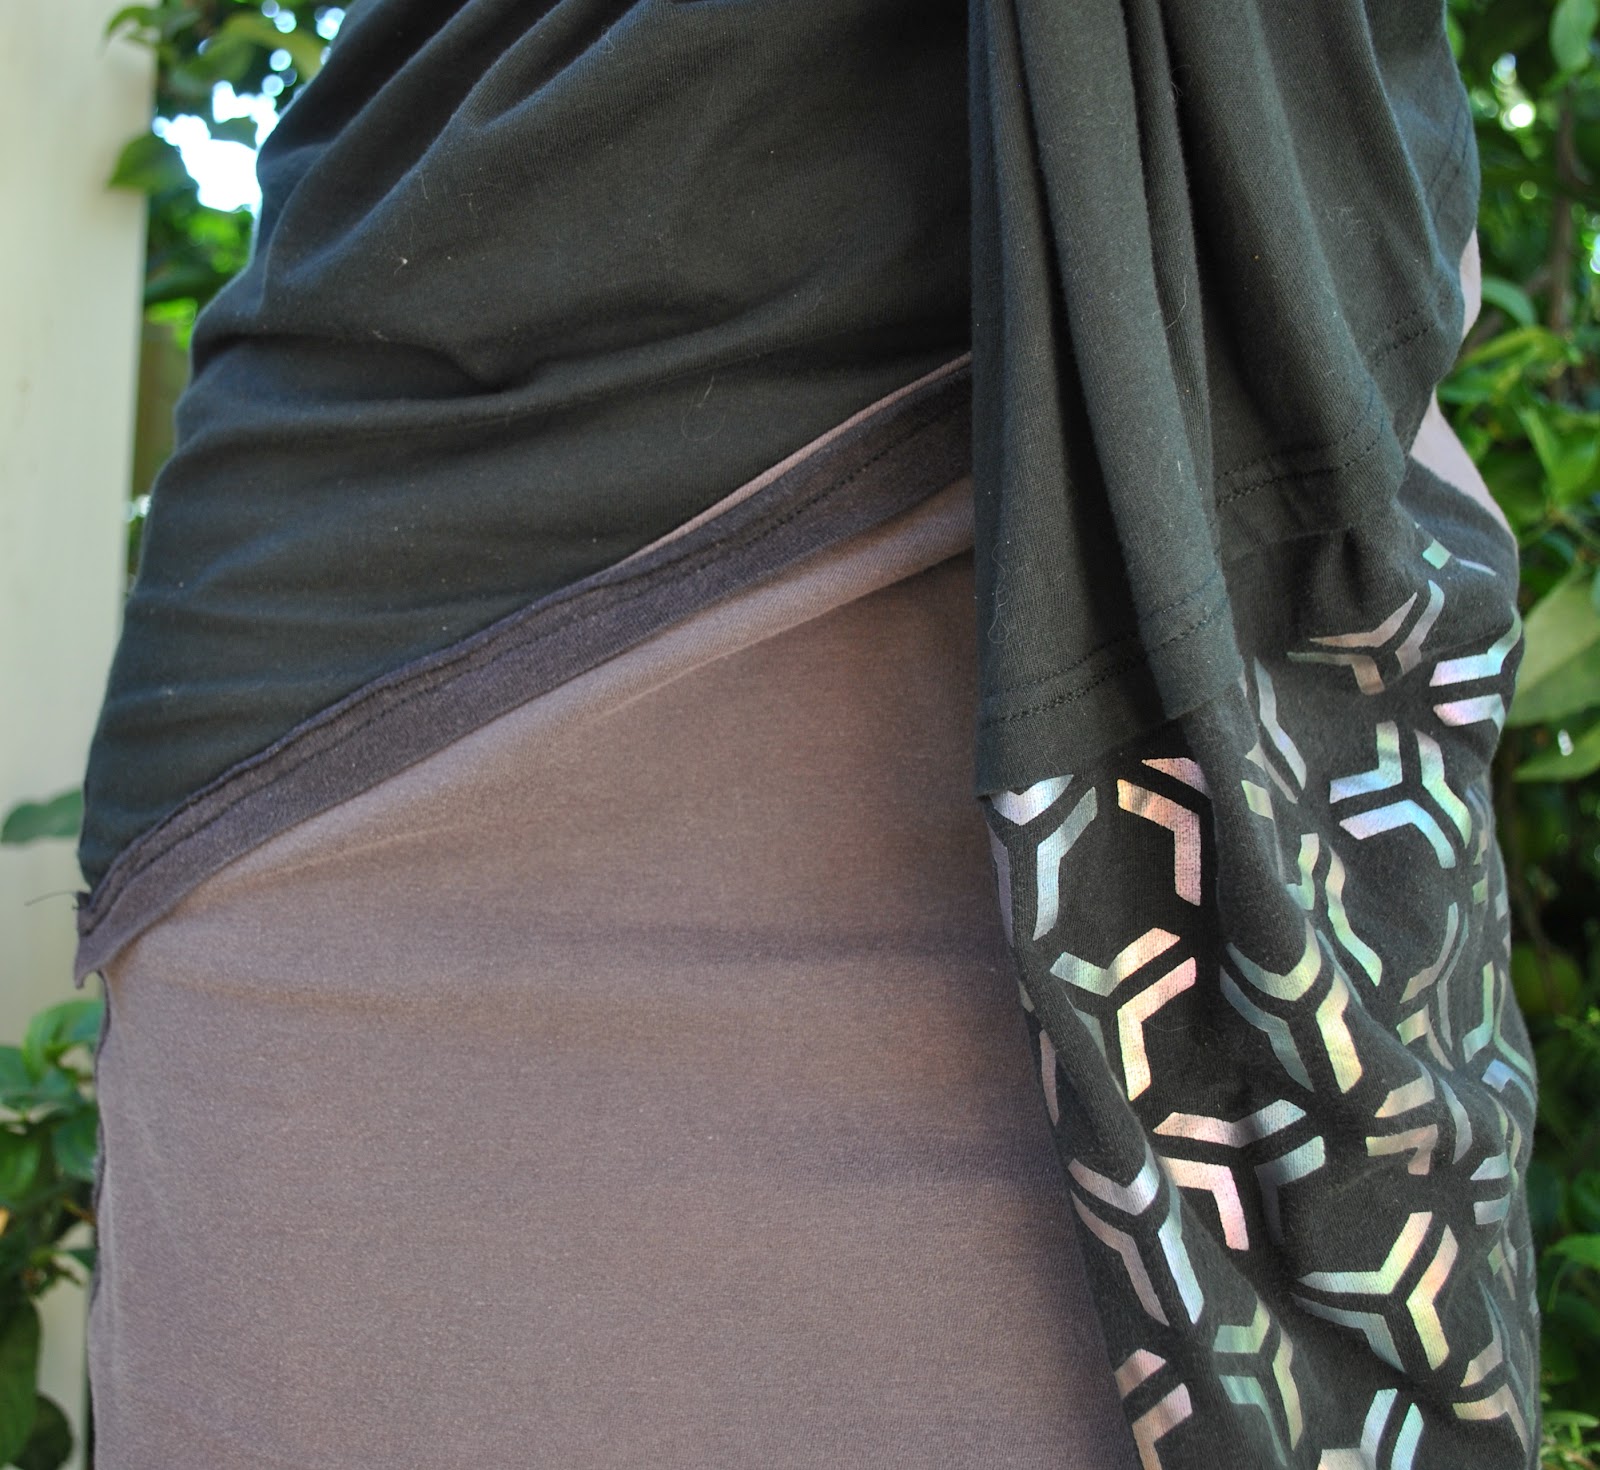
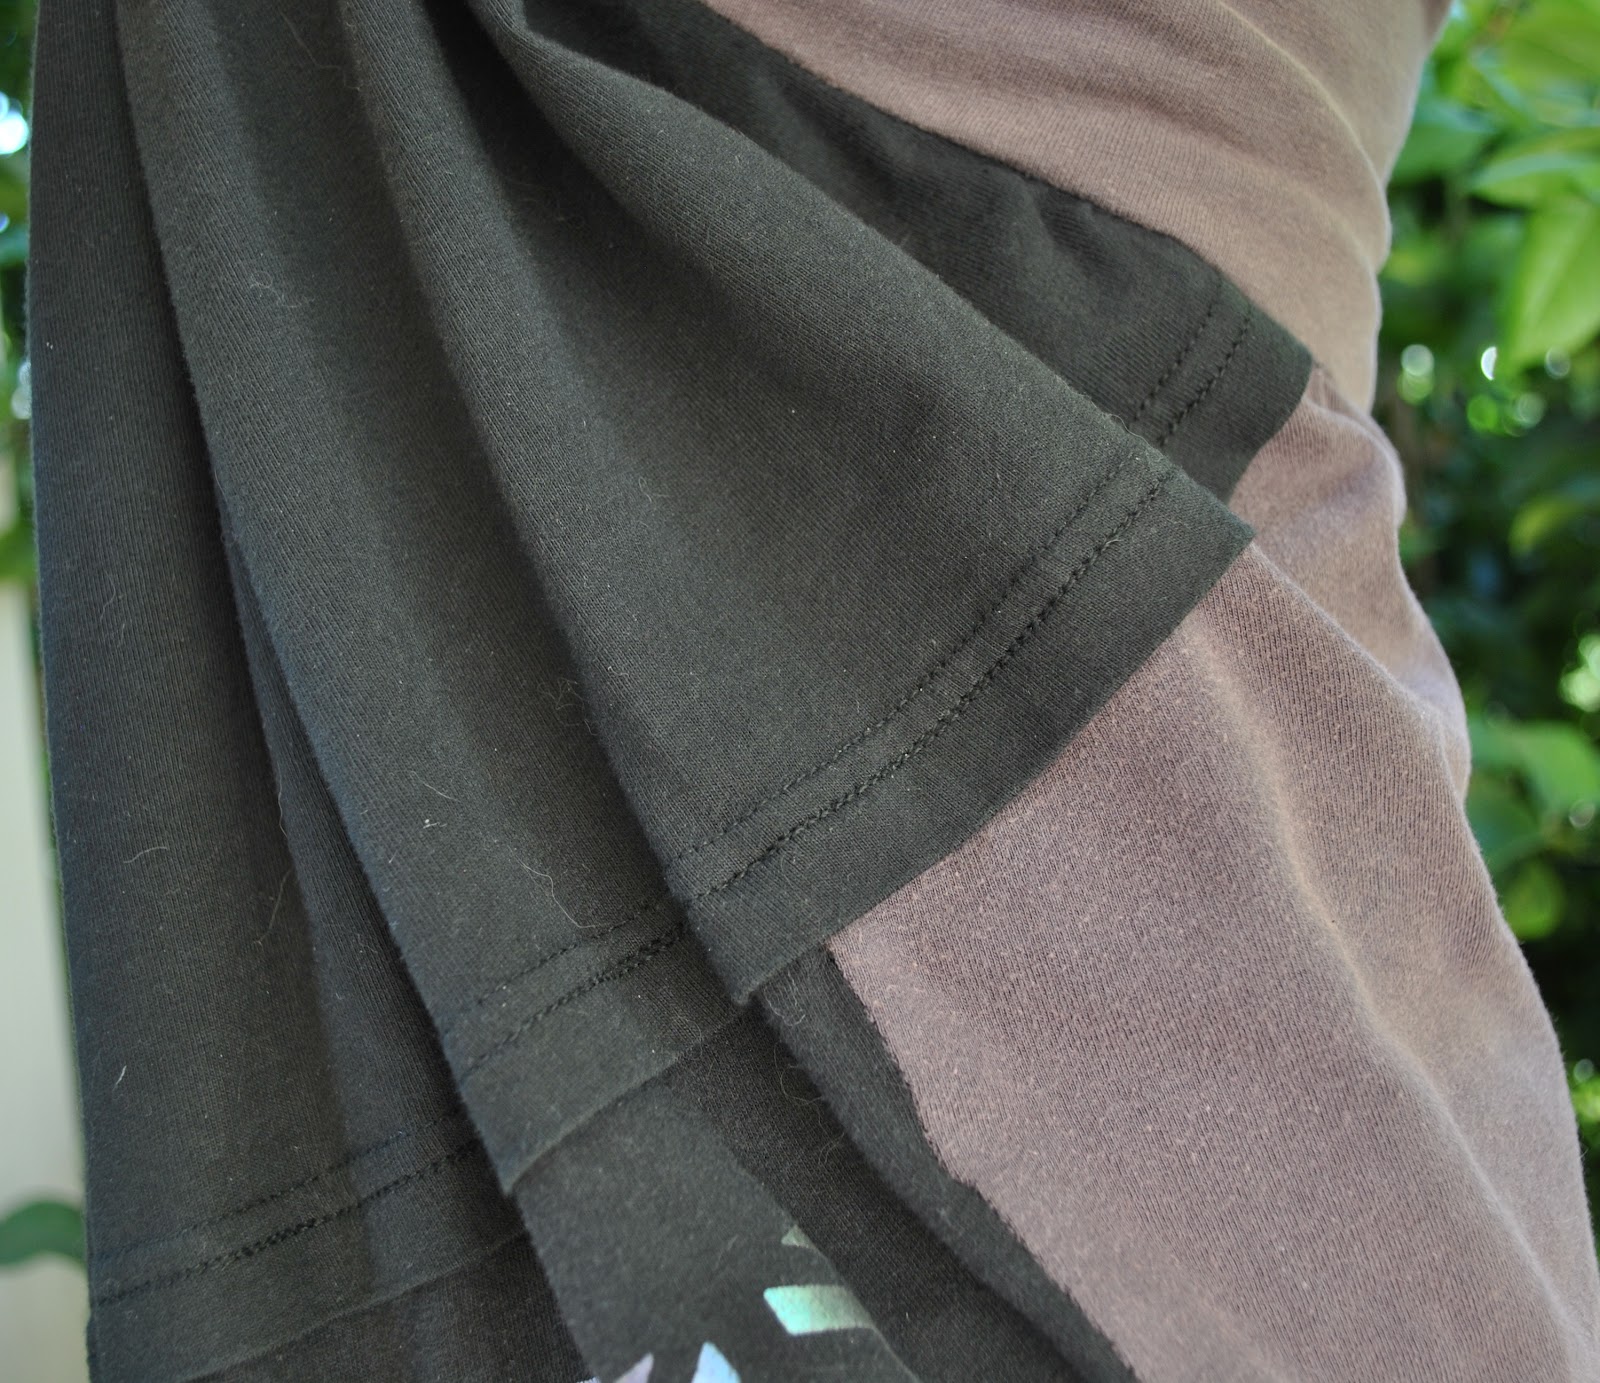
Tshirt; charcoal and black striped cotton jersey, details here
Skirt;  charcoal stretch jersey, details here
Scarf; details here
Tights; voodoo
Shoes; Django and Juliette, from Zomp shoes

pinterestmail

Sleeve

Tattoo-ed sleeves are a “fashion” trend just like anything else, and so hot right now!  (ergo, probably destined to be so not some day  🙂  )  in the meantime I’ve made for myself a new Tshirt that is a nod to the trend…

The sleeves of my Tshirt are cut from an old child’s Tshirt with a graphic print on the front, the second, white sleeve is cut from the back obviously! and the body is cut from another white plain Tshirt, both are recent toss-outs from my boys’ wardrobes.  I got the idea for my new Tshirt when it occurred to me that the print reminded me of tattoos; a swirly print in bright children’s paintbox colours with a thick black outline.

Thinking about a real tattoo sleeve: it continues up and over the shoulder smoothly without interruption; and so I decided a conventional set-in sleeve with the seam on the shoulder would truncate the print and end up looking kinda wrong.  The best style for this look would be a raglan sleeve.
For which I did not have a pattern…
It’s funny; a raglan sleeve, whilst a recognised “thing” in the sartorial world, is very poorly represented in the sewing pattern kingdom, don’t you think?  In terms of population: the almighty set-in sleeve is the over-ridingly dominant species in the gene pool, closely followed by the kimono sleeve and the humble raglan sleeve is verging on being an endangered species!
So I set out to make my own pattern.  Luckily, I have a small raglan Tshirt from  many years ago which has long since passed into Cassie’s possession, so I temporarily repossessed it, and laid it down to trace around the sleeve, and then played around with my own self-drafted Tshirt pattern to fit in the new sleeve with a few minor sizing adjustments.  
So now I have a raglan Tshirt pattern  🙂  
The raglan sleeve is a very tall pattern piece compared to one’s common-or-garden, set-in sleeve pattern piece, so it took up practically the entire Tshirt!  But I tried to get in as much of the design as possible…  and I love the wide and flattering boatneck-line.   I preserved the lower hemlines of both the Tshirts intact to be the new Tshirt’s sleeve and lower hemlines respectively.
My family have all voted this their favourite of my new Tshirts!

Details:
Tshirt; self drafted, made using two old Tshirts
Jeans; Burda 7863 modified, black stretch corduroy, details here
Boots; Andrea and Joen
Sienna; wearing her own fur coat

pinterestmail

A tee or three


I have made a few new
Tshirts…
I’ve noticed a few examples
of mixing and matching different colour and/or width stripes in the one Tshirt,
and decided to have a go at adding something like to my wardrobe; using up some scraps and a few more of the old Tshirts in my bag
of refashioning garments…
Below: I took both these
pictures from Australian Vogue, at left is part of a Tommy Hilfiger advert; at
right, from the Antipodium resort ’13 collection.
Quite interesting, yes?
My Tshirt is made from: the baby blue with thin black stripe is cut
from one of Tim’s old Tshirts; the sage green with diagonal white stripes is
leftover fabric from a top Cassie made for herself; and the yellow sleeves are
cut from one of my old tank tops, that was once white and that I dyed yellow
with ground turmeric, here.  The
green/white stripe fabric is an interesting print; the stripe is on the diagonal!  So while it looks like the lower part
of the body is cut on the bias, it is not!  
The pattern is my own
self-drafted pattern, with the sides cut straight down, instead of my usual
fitted-to-the-waist curve, because I wanted to match those diagonal stripes
down each side, this would have been a Mission Impossible with a waist curve!  I’m pleased to say, mission was accomplished.
I’ve also made a coupla new
plain white Tshirts.  I came across
some white cotton knit, leftover from this dress, while searching for suitable
candidates for lingerie, and while I decided it was not suitable for lingerie it
is perfect for Tshirts.  So I cut
out two new Tshirts.  Only then did I remember that I had mentally set this fabric aside for another Pattern Magic thing… (headslap)
oh well!  There is fabric aplenty
still for Pattern Magic things!
These will be great for thermal purposes and just basic useful things… one can never have too many white Tshirts, no?
The only special thing
about these new Tshirts is that I stabilized the shoulder seams with Seams
Great.  This was a gift from
the kind and clever velosewer; thank you so much velosewer!  This gossamer thin tape is new-to-me, and I am thrilled with how unobtrusive and tidy it
looks sewn over those shoulder seams!
The lower hems of the two
white Tshirts were finished with a twin needle blahdy blah, but for the striped Tshirt I
just decided on a whim to go with a simple zig-zag.  Man, but I’m just one crazy rebel, sometimes  😉  If it goes wave-y or funny I can always re-do it with a twin
needle, properly.
 
Details:
Tshirt; self-drafted, from
a mix of old and leftover cotton knits
Skirt; Vogue 1170, PU
laminate, details and my review of this pattern here
Shoes; Perrini, had these
for donkey’s years
pinterestmail

New-Old Hoodie

There is something exhilarating about transforming textiles otherwise destined for the ragbag into something fabulous … enter exhibit A: the new/old deconstructed hoodie that I have made for myself.  I was inspired by a really cute little thing that Cassie brought back home from her trip over east recently; an “all about eve” jacket with a vest of distressed denim, fleece sleeves and hood.  Of course I eyed it up and unlike a “normal” woman who upon falling in love with a garment would just seek out and buy one for herself; my immediate reaction was to commence plotting how I could create something myself…  mwahaha.  I emptied out the huge bag of crappy old clothes potential refashioning material that I have in my laundry, and selected an old pair of cords; very worn, but in a yummy colour and one of Tim’s old white long-sleeved Tshirts.  

The verdict?  I am pretty thrilled!  I love the deconstructed, already-worn-in, sporty-cool vibe of this funny little piece, and I’m also chuffed that I got to use this favourite-coloured corduroy fabric again!

All the boring nitty gritty of the construction details are below; if you are interested  🙂

Details:
Hoodie; my own design (see below), made from an old pair of corduroy jeans and an old white Tshirt
Jeans; Burda 7863 modified, purple stretch denim, details here
Tshirt; self-drafted and overdyed cotton jersey, details here
Socks; not seen, but hand-knitted by me!  🙂
Shoes; Francesco Morichetti, from Zomp shoes

My old jeans were quite worn, with a few holes and the corduroy pile was drastically worn away in some areas, but I kept them because I really really love the sludgy colour of the brown-on-blue pile.  Very very moi, yes?  Luckily they were big enough that I managed to cut my bodice pieces from the two legs of the jeans, only having to lay the wide front pieces over an inner leg seam, and ensuring to have the corduroy pile all running “down” the jacket pieces.  This felt like an achievement in itself!  I unpicked the waistband and re-used it upside down as the waistband on the new jacket, keeping the jeans button and buttonhole; and also the belt loops which were re-sewed back up onto the body of the jacket.  

The waistband was not going to be long enough to go around the new waistband of my jacket, so I cut it in half and inserted a filler bit.  I took the opportunity here to also insert in a little self-belt to nip in the back waist; with a brass buckle than I had kept from an old belt.  The “filler” piece is cut against the grain compared to the waistband for two reasons: firstly I had very limited fabric and this was pretty much the only option! but also because I think it is often better for a filler piece to look obviously different from the pieces around it, and not to try too hard to blend in, which can look shonky if it is not completely seamless.  Does that make sense?  (hope so  :))  )

The pockets and pocket flaps from the seat of the jeans were removed, re-sized and sewed on the front of the jacket as breast pockets; with the existing press-studs on each still in place and doing the same job they were originally.  I sewed welt hip pockets into the front of the jacket, for visual interest as well as for function; I’ve noticed how jeans jackets are often chocka with interesting details and bits and pieces.  For the pocket bags inside, I managed to re-use the internal brown cotton pocket bags from the front hip pockets in the jeans.

The white Tshirt is one Tim used to wear as a thermal layer under other shirts, and apart from a few small avoidable holes and being a bit mis-shapen it was otherwise in reasonable nick.  It suffered a minor laundry incident a few years ago when a red sock snuck into a load of whites; and everything came out of the washing machine a perfectly luvverly shade of pink!  Fortunately Tim is not the sort of guy whose masculinity is threatened by a pink Tshirt and he continued to wear it.  The pink eventually washed out over the years to off-white, and now you could barely tell its little “accident”  🙂
The hood pieces were cut from the body of the Tshirt, using the hood pattern piece from KwikSew 3667, and the sleeves were pretty much unaltered and used as is.  I cut them inside the armscye seam, and overlocked around the raw edge.  I finished the armscyes of the jacket with a bias cut strip of polycotton, and sewed the sleeves just inside this, for a clean finished look on both outside and inside.

The hood was sewn to the neckline of the jacket and the raw edges enclosed in a strip of bias cut polycotton, topstitched down on the outside of the jacket.

I was extremely fortunate to find buttons in my stash that were a very good match for the press studs and jeans button, so I re-used these.  If old clothes are destined for the ragpile I always keep the buttons and anything else that might be useful down the track; a frugal habit that pays off time and time again in my sewing.  This is a habit that goes back generations in my family!

Some more info re the pattern, since I often blithely state that “my pattern is self-drafted”.  It has occurred to me that people might like a bit more info here in case you wish to re-produce the same thing: I checked out the general shapes used in RTW jeans jackets and used my Pattern Magic sloper to help re-create the same shapes.  This jacket is my first try-out to see how my pattern fitted me, and I am very happy with the fit and the style, although I might introduce a few little variations on future versions  (naturally  🙂  )
My advice to anyone considering self-drafting? get yourself a Pattern Magic book and work through a few of the exercises as I have; these books are absolutely blinkin’ fantastic for teaching one about self-drafting and manipulating fabric and pattern pieces and shapes to get different effects.  I am no longer frightened of playing about with shapes and moving, altering and grouping together body shaping features such as darts, tucks, gathering and pleats to transform a 2D piece of fabric into a 3D sculpture that will fit my 3D body.  Or even not to “fit” my body, but to do some whimsically artistic thing just to look cool… these books are worth their weight in gold!

pinterestmail

An unusual dress

Wacky warning alert… this is it!!  
I’ve liked how Caroline is making good use of old Tshirts lately.  And Tim did a clean-out of his wardrobe recently, and part of the toss-out pile was a few old surfie Tshirts, in shades of blue, navy, grey and black… there were cool prints and interesting stitching details… and my brain started ticking over.  I saw artistic possibilities.
Also I have just bought a few new patterns recently, and Vogue 1281 was mysteriously part of my haul, a very pretty, extremely flatteringly shaped, draped cocktail dress.
This is the thing, you see; when it comes to sewing I like to be challenged and so I prefer the more interesting, difficult and intricate styles and it so happens that these patterns are also usually the most formal and prettiest of little cocktail numbers, totally unsuited to my actual lifestyle.  Most of my days are very casual; I walk my dog, I go to the beach and climb over rocks and walk through the bush, I work at home and I do the housework; so what is a girl to do?  Well I’ll tell you what this girl does; she still stubbornly ploughs ahead and sews up the challenging and intricate patterns she loves, but by using the most casual and grungiest fabrics I think this rather formal style has happily become a very cool dress with a deconstructed urban style that fits in very well with my tastes as well as my actual lifestyle.  I am thrilled with how it turned out, and could not be happier with my new dress!  This is now a perfect everyday dress…
WIN!
I used four Tshirts for the main pieces of the dress, and another one for the lining pieces.  I cut them and sewed them together, arranging the different colours to be evenly spaced around the finished dress, and to have the prints and areas with the interesting stitching details that I liked to be prominently featured.  One of the Tshirts was plain black with no interesting stitching or detailing but was of a very lightweight and beautifully soft knit compared to the other three; so this one I used specifically for the potentially bulky part of the dress; the pleated, draped and knotted areas all coming together on the centre front of the bodice.

Picture taken around 11am;  Temperature at the time 22C.
Overnight low: 14C; Today’s high: 29C 
Gloriously sunny and warm!  Maybe the last really warm day of the season.

Details:
Dress; Vogue 1281 modified slightly, using 5 of Tim’s old surfie Tshirts
Thongs; Mountain Designs

please excuse the sandy bottom…!
Pattern
Description:
Dress has no side seams, very close-fitting, lined bodice, single layer, pleated shoulder strap looped through front pleated drape, front wrap skirt cut-in-one with back, raised waist and invisible back zip.  Strap and bodice: Narrow hem.  Bodice lining: Elasticised upper edge.
Pattern
Sizing:
6-14.  I made a size 10.
Did
it look like the photo/drawing on the pattern envelope once you had finished
sewing it?
in essence, yes
Were
the instructions easy to follow?
Pretty easy.  Step 8 and 9 takes a little bit of concentration to get it right.  I had to redo this when it didn’t work out the first time.
What
did you particularly like or dislike about the pattern?
I loved the style of the dress, the draping, the interesting bodice and neckline!  The pieces fitted together perfectly well.
I personally didn’t like the instructions to hem the upper edge of the bodice before attaching to the pre-elasticated lining pieces.  Instead I constructed mine to sew the bodice and bodice lining pieces right side together, so there is no visible stitching on the outside.   I really think that visible stitching would take away from the dress, particularly if one was sewing this as a dressy cocktail dress which is I suspect the purpose for which pattern is intended.  Not that it really makes much of a difference in my particular dress, which is a very casual style using very casual fabrics, but that is just my personal preference in any case.
I thought the stitching line along the bodice lower edge left it with a weirdly wide seam allowance, and for no discernible reason…  I left it wide but I still don’t seen why it is like that.
Fabric
Used:
Cotton knits
Pattern
alterations or any design changes you made:
I made my dress using slightly stretchy knits, so I eliminated the invisible zip and sewed up the back centre seam.
I extended the right skirt edge by enough so that I could sew the skirt edge down on the inside to a joining seam inside the left side of the skirt.  This was only possible because I had made a pieced skirt piece, but in any case I think it would be essential to extend that right skirt edge to wrap around more fully underneath anyway.  Unless one plans on wearing a slip underneath the dress, or lining it; since there is absolutely nothing to stop that skirt from flying open in a breeze!
I found the strap piece to be pretty long and needed to shorten it considerably… by 10cm!
Would
you sew it again? Would you recommend it to others?
I might sew it again.
Conclusion:
It is a gorgeous style, very flattering to a woman’s curves.  I liked that shoulder strap, how it frames the decolletage and the face in a very lovely way, that chic front draping, and how it joins in at the back asymmetrically.  Interesting!
You could eat to your heart’s content at a cocktail party or dinner, and this dress would allow you to do so very comfortably!
I love this dress and plan to wear it a lot!
pinterestmail

Miniature “denim jacket” purse

I’ve been making some funny little purses; as silly birthday gifts for my crafty friends.  I got the idea for these from a miniature leather jacket coin-purse that we have from goodness-knows-where, I think it was given to Cassie sometime yonks ago.  I used the shortest zips I could find and orange top-stitching thread to replicate the design aesthetic of the purses’ parent garment; a beat-up hole-y old pair of Wranglers jeans from the children’s younger days.
These are quite sturdy; and could be used as a coin-purse, as a repository for receipts, as a keyring, for, er,  feminine hygiene bizzoes, whatever.
I think they are kind of cute, and I’m hoping my friends will like them!

pinterestmail

Billowy white shirt

I’ve made a shirt… and the twist is that this was until recently a pair of trousers.  Yes really!
Before; as wide-legged trousers.  They were very low-rise in the style of about five years ago.   I could literally pull these trousers on and off without undoing the zip.  The last time I wore them was about two years ago (in this top right outfit) and even then I had the zip un-zipped and the sides lapped over and hoinked together with a big safety pin so they wouldn’t fall down.

However the linen was such beautiful quality! and I did not want to let it go to waste…
so I did not.  🙂
I have been toying with a particular concept for a shirt-from-pants for a while in my head.  I’ve had a very firm picture of how it was going to go together.  Naturally my nebulous “idea” didn’t work out quite the way I had planned and I realised at some point that I needed more fabric, and in very different shapes, to what I actually had.  I had to pin, stitch, unpick, re-pin, re-stitch, re-unpick over several times before I dared to actually cut into any of the leg pieces… and there was a lot of this before I ended up with a design I was happy with.  No, I don’t do muslins very often.  I consider them a waste of fabric.
The construction… well, don’t ask me to go into great detail…  it was quite complex.  The long extended front bands, starting at the shoulders and extending down the fronts, and continuing around to meet at the centre lower back are from my original shirt plan, the one I had to abandon.  I liked how they looked, hanging in space like that, so I left them there.  To cover the join at the back, which by necessity in the design finished inside out with the seam showing, I made a little decorative button tab.

The shirt has two fronts, and the back has a two pieced yoke extending into the sleeve backs, and two lower backs joined centrally.
The back of the shirt has four corners of fabric joining together at a centre point.  I pressed the vertical seam allowances of the upper and lower backs to either side to reduce bulk in the long horizontal back seam joining them.  This is double top-stitched down.  Actually this shirt contains an eclectic mix of sometimes double top-stitching, sometimes single top-stitching and sometimes no top-stitching.  I applied these at whim.  It seems to work well with the casual and slightly avant-garde Japanese style of the shirt.
My favourite design detail is the sleeves and their closure.  The front sleeve is shorter, and almost a square.  The back yoke/sleeve piece has a distinct curve-and-flare in it, tapering off to one side, this was part of the original shape of the leg back pieces, and after lots of pinning the sleeve seams and trying-on multiple times I situated part of the existing curve to fall at the natural outer elbow. It looks very strange when the sleeve is laid flat, but the flare and curve actually accommodates the curve of the elbow very well.  It took a bit of experimenting, but I’m so happy with how this bit turned out!  It was a very serendipitous discovery!

Both points of the longer back yoke/sleeve piece have a buttonhole, and they both button down over a single button on the centre of the sleeve front hem.  To enable the button to cope with this amount of fabric, I sewed it to have quite a high and a very well reinforced shank.

So I’m super happy with how my shirt turned out!  There was almost zero leftovers, just a few shavings, the zip and the facings, and a few other miscellaneous small bits.  The 6 buttons were leftovers from this shirt.  Beautiful buttons, their only downside is that they are not for individual purchase, but only available on cards of nine.  Luckily I have a lot of use for little white buttons  🙂
And I still have my original shirt idea in my head for another time…

Details:
Shirt; my own design, re-fashioned from a pair of wide-legged trousers, fine white linen
Shorts; Burda 7723, hot pink linen, details here, and to see these in 6 different ways go here.  My review of this pattern here

Later edit: the shirt has had a mini-revamp and it now looks like this:


pinterestmail

Some basics…

Nothing in this post is write-home-about exciting, but I have been laying down some handy layering basics for the cooler days that will be coming up …. sometime? …  🙂  I’m thinking ahead, to autumn.  Planning, you know.  Being organised   hehehe 🙂

Remember this dress?  I put it on recently and my husband announced kindly but firmly that he thought it was weird.  His words sounded its death knell.  I have put this on once or twice since I made it and each time felt sorta… well yes, now you mention it, weird is exactly the right word.  I finally acknowledged that the fabric was wrong for the design, too thick and heavy and with too much body to drape gracefully enough.
My bad.  I now know that with a lot of the Pattern Magic 3 designs you do need reeeeally drape-y fabric (hmmm, I think I’ve said that before; once or twice, or ten times…) On the plus side I still like the bodice part of the dress and I had also used the leftovers of the same fabric to make a successful little T-shirt sooooo;
bit of butchery re-fashioning later…

and now we have…
I added waist bands and armbands.

and…

and…

not from the dress, but squeezed from the fabric leftovers …

T-shirt 1: I added waist bands and armbands to the bodice of the dress.
T-shirt 2: dyed with 1/4 tsp iDye in Crimson.  I’m very happy with this Tshirt, both its shape and the lovely cranberry colour.
T-shirt 3: dyed along with the “bat” Tshirt in iDye in Brown, then in the leftovers of the iDye Crimson dye-bath of T-shirt 2.  I love the tawny port colour it turned out, but there’s something “funny” about the proportions.  I wish now I had scooped the neckline a little more than I did.  Maybe this will just be an “underneath cardis and jumpers” kind of a Tshirt…
Tshirt 4: the first T-shirt made from the leftovers after the dress, using the same fabric and the same pattern as these other T-shirts, and it hasn’t been shown it here before….  It has a banded neckline and sleeve bands, and a turned up, hand-stitched hem.

I also made this using the last leftovers of bright cobalt blue fabric (same as the “bat” shirt) and it went into the iDye Crimson dye-bath simultaneously with the cranberry T-shirt 2 above.  I love the deep royal purple colour that it is now; will layer well with the jewel tones of the other T-shirts for some groovy colourful winter layering, when the time comes  🙂   The texture of that cheap n’ cheerful fabric has to be one of my favourite knits ever.  I just wish it had come in ivory, rather than that intense blue colour.  Just think of the dyeing possibilities.  They would have been infinite  😀

Apart from the first Tshirt pictured, which is the original bodice of the dress on p18 of Pattern Magic 3 by Tomoko Nakamichi, the others are made up using the pattern formerly known as Burdastyle 06/2011, 120 first written about here.  In order to get a nice fit that pattern has been shaved and sliced and diced and completely and utterly altered until each and every seam-line is different from the original.  As well, I don’t use the neckline facing pieces at all.  As for the zip?? well forgetaboutit ….So I guess it can’t lay claim to being Burdastyle 06/2011, 120 anymore.
But my carved-up version is a great fitting T-shirt pattern now…  😀  Yay for that!

pinterestmail
Switch to mobile version
↓