Tag Archives: Wardrobe Refashion

Boring black Tshirt

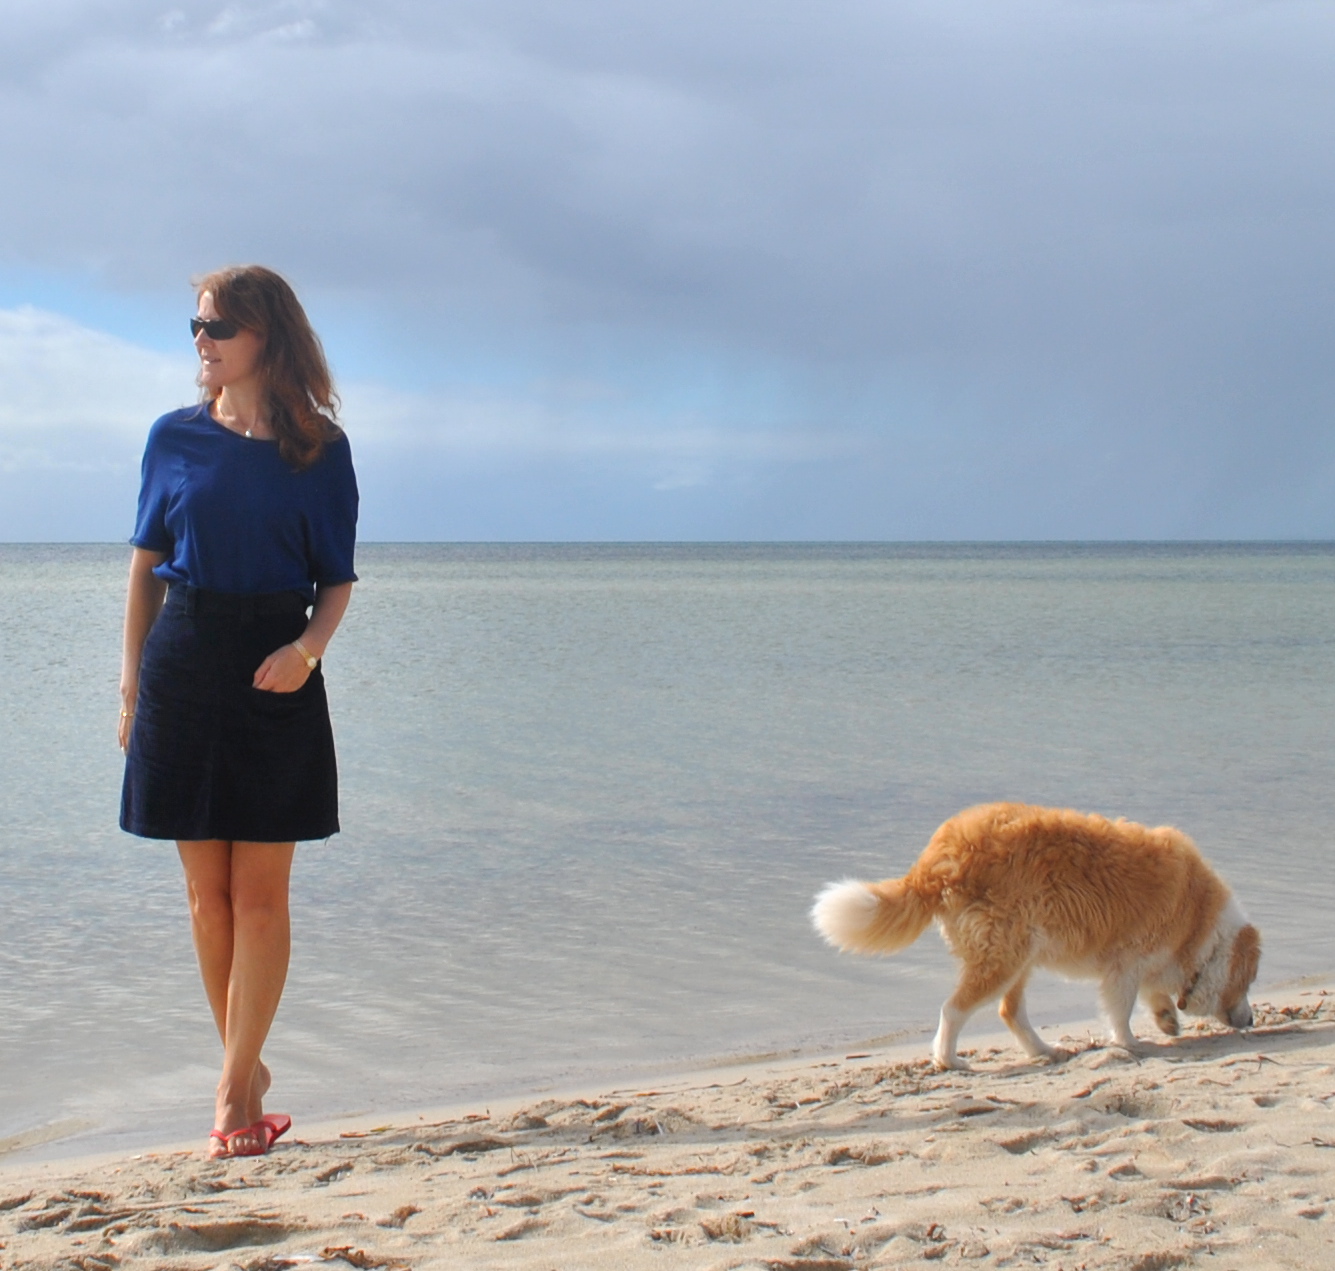
The penultimate day of me-made May, and I have a post planned to spew out some vitriol reflect on my experiences.  Only kidding there.  I have no vitriol, of course.  Well, very very little  ๐Ÿ˜‰ hehe, but seriously, I am going to be throwing a party that it’s finished!!
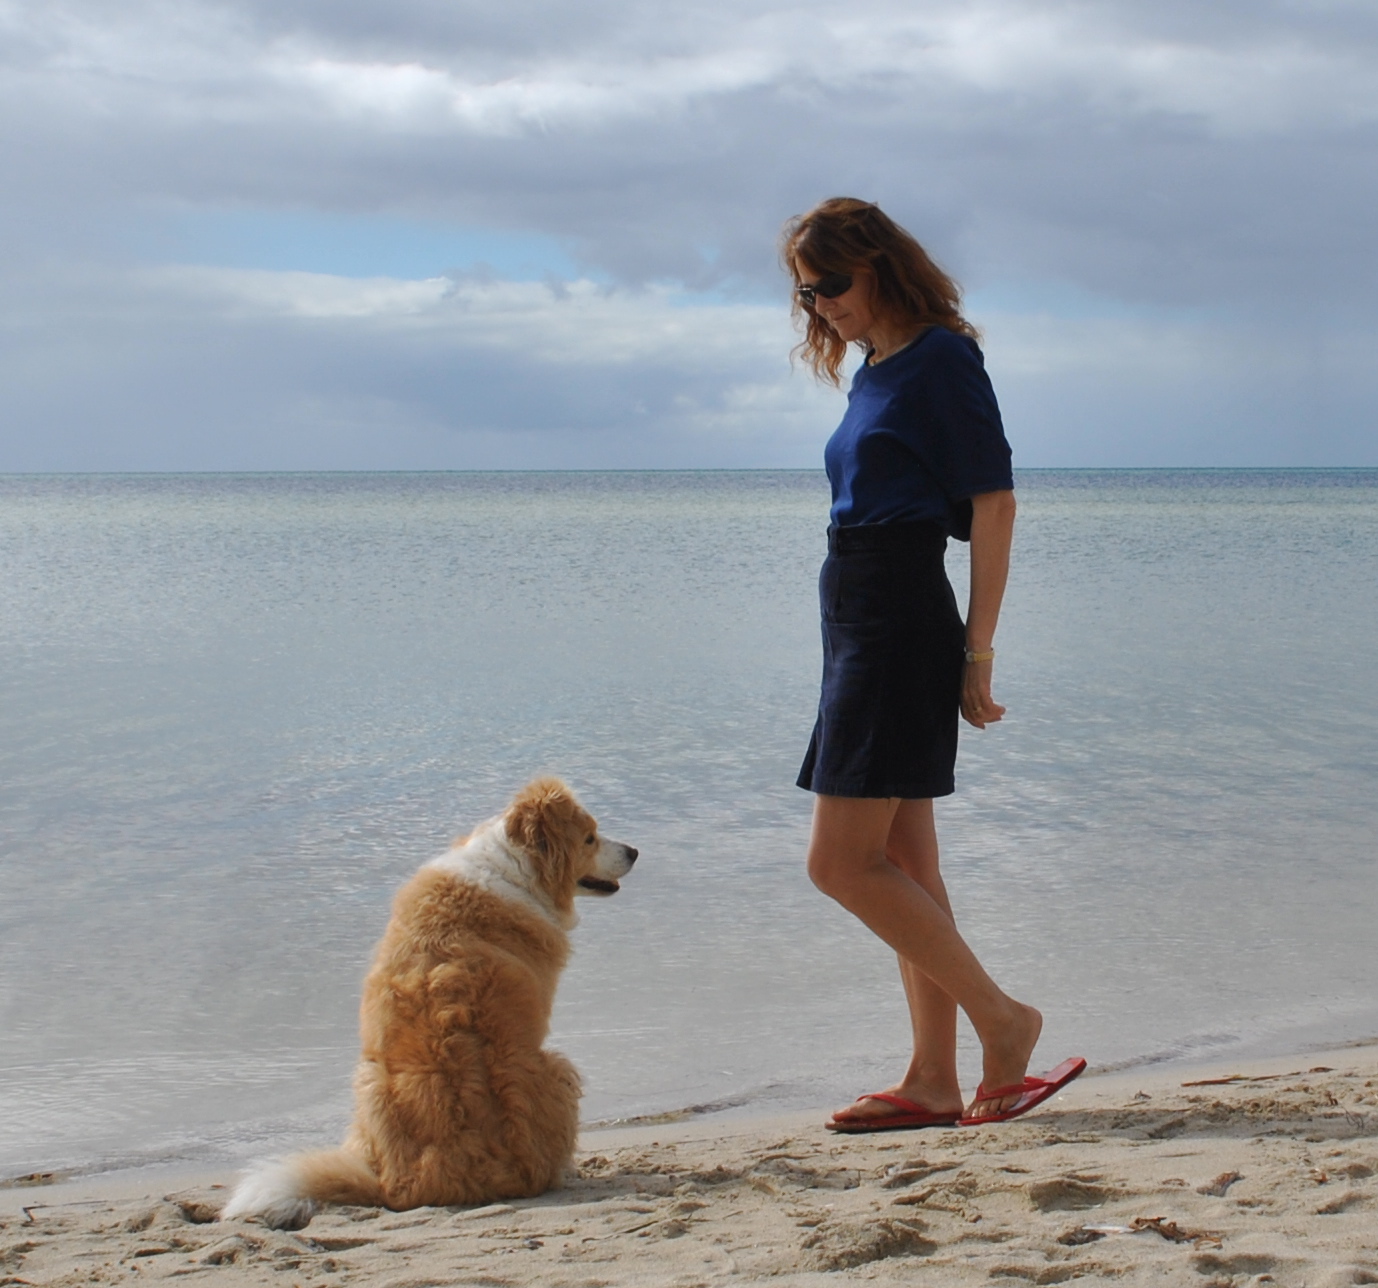
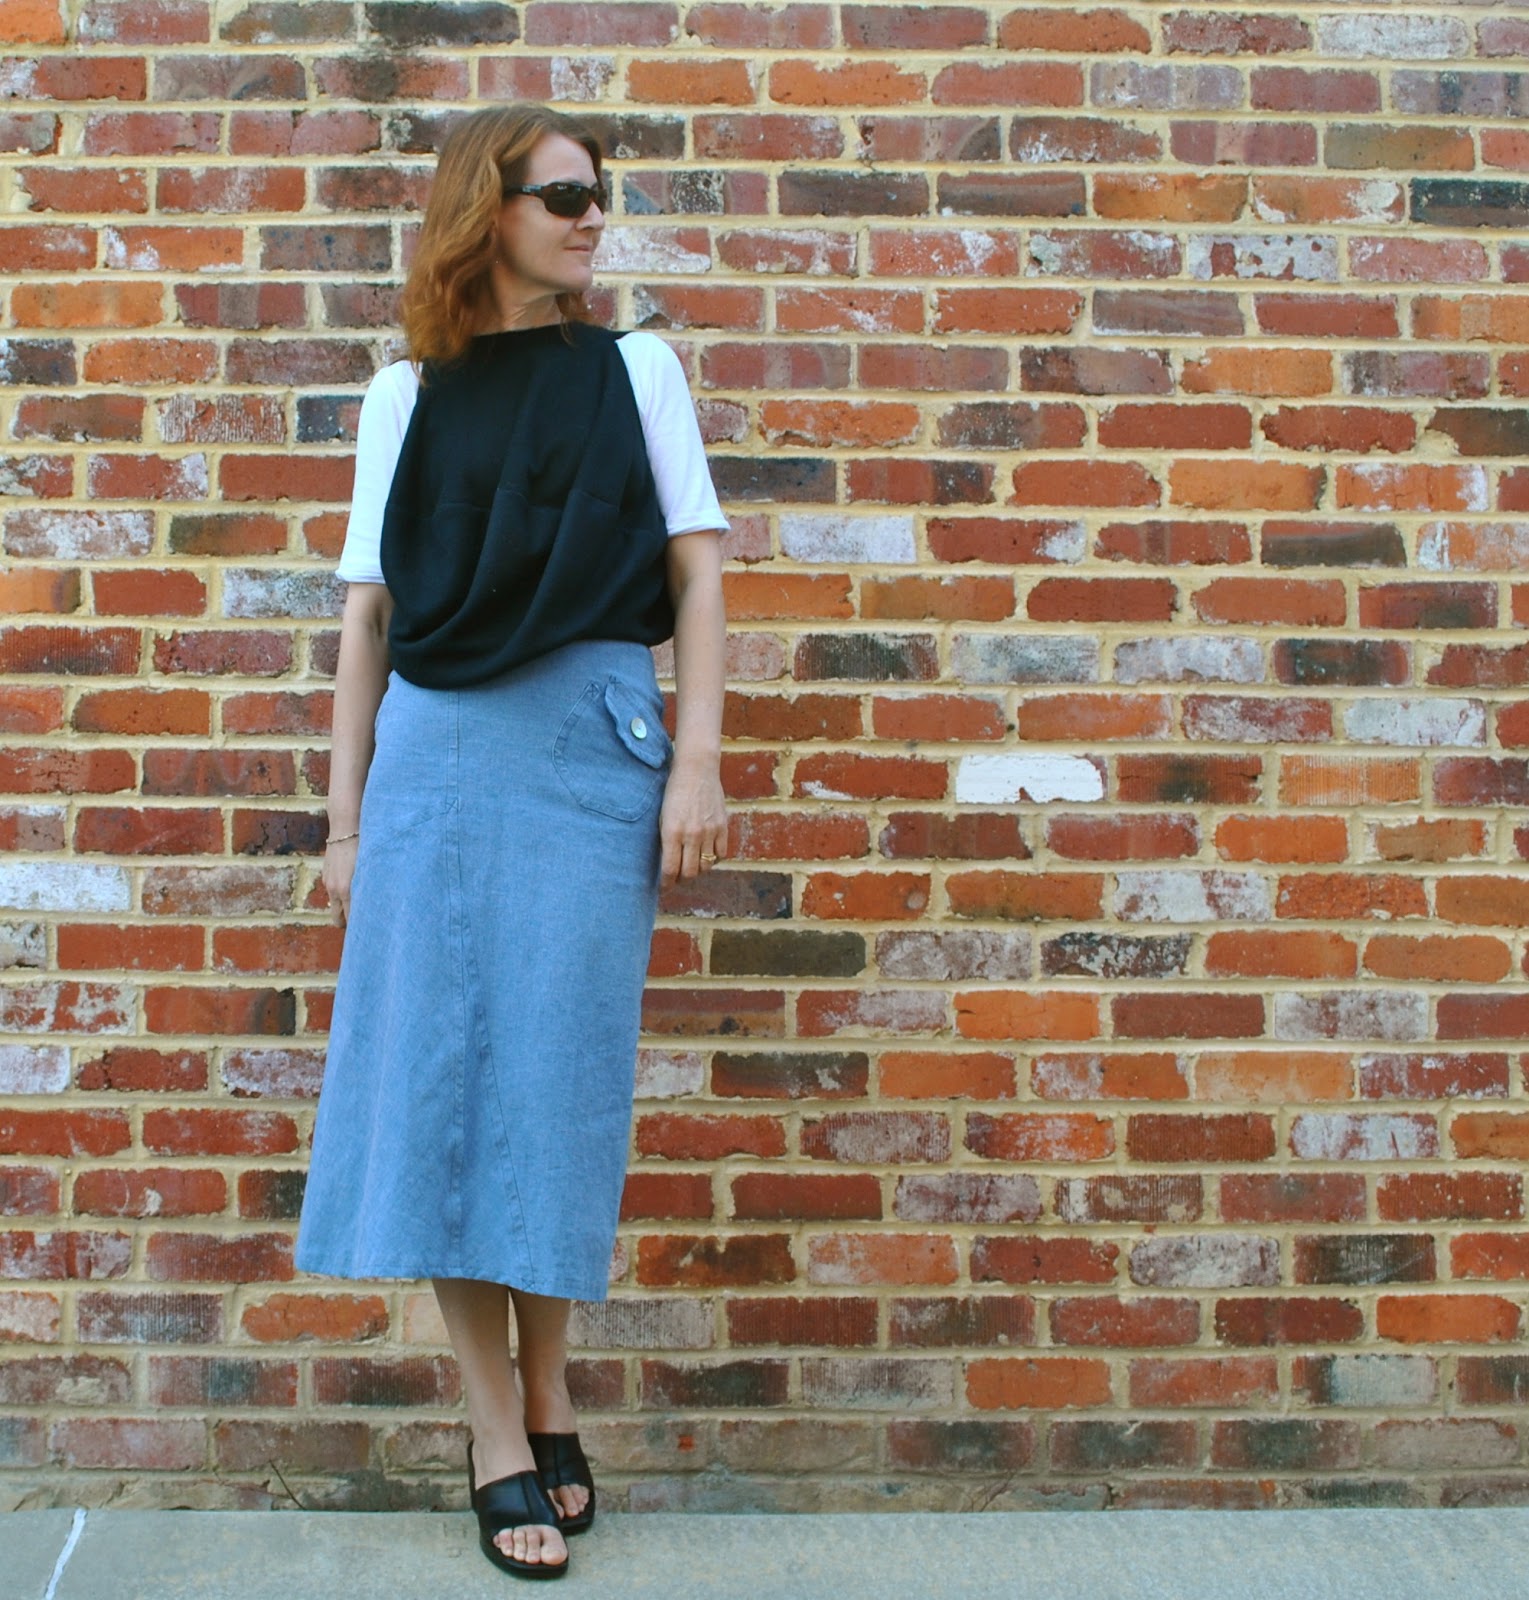
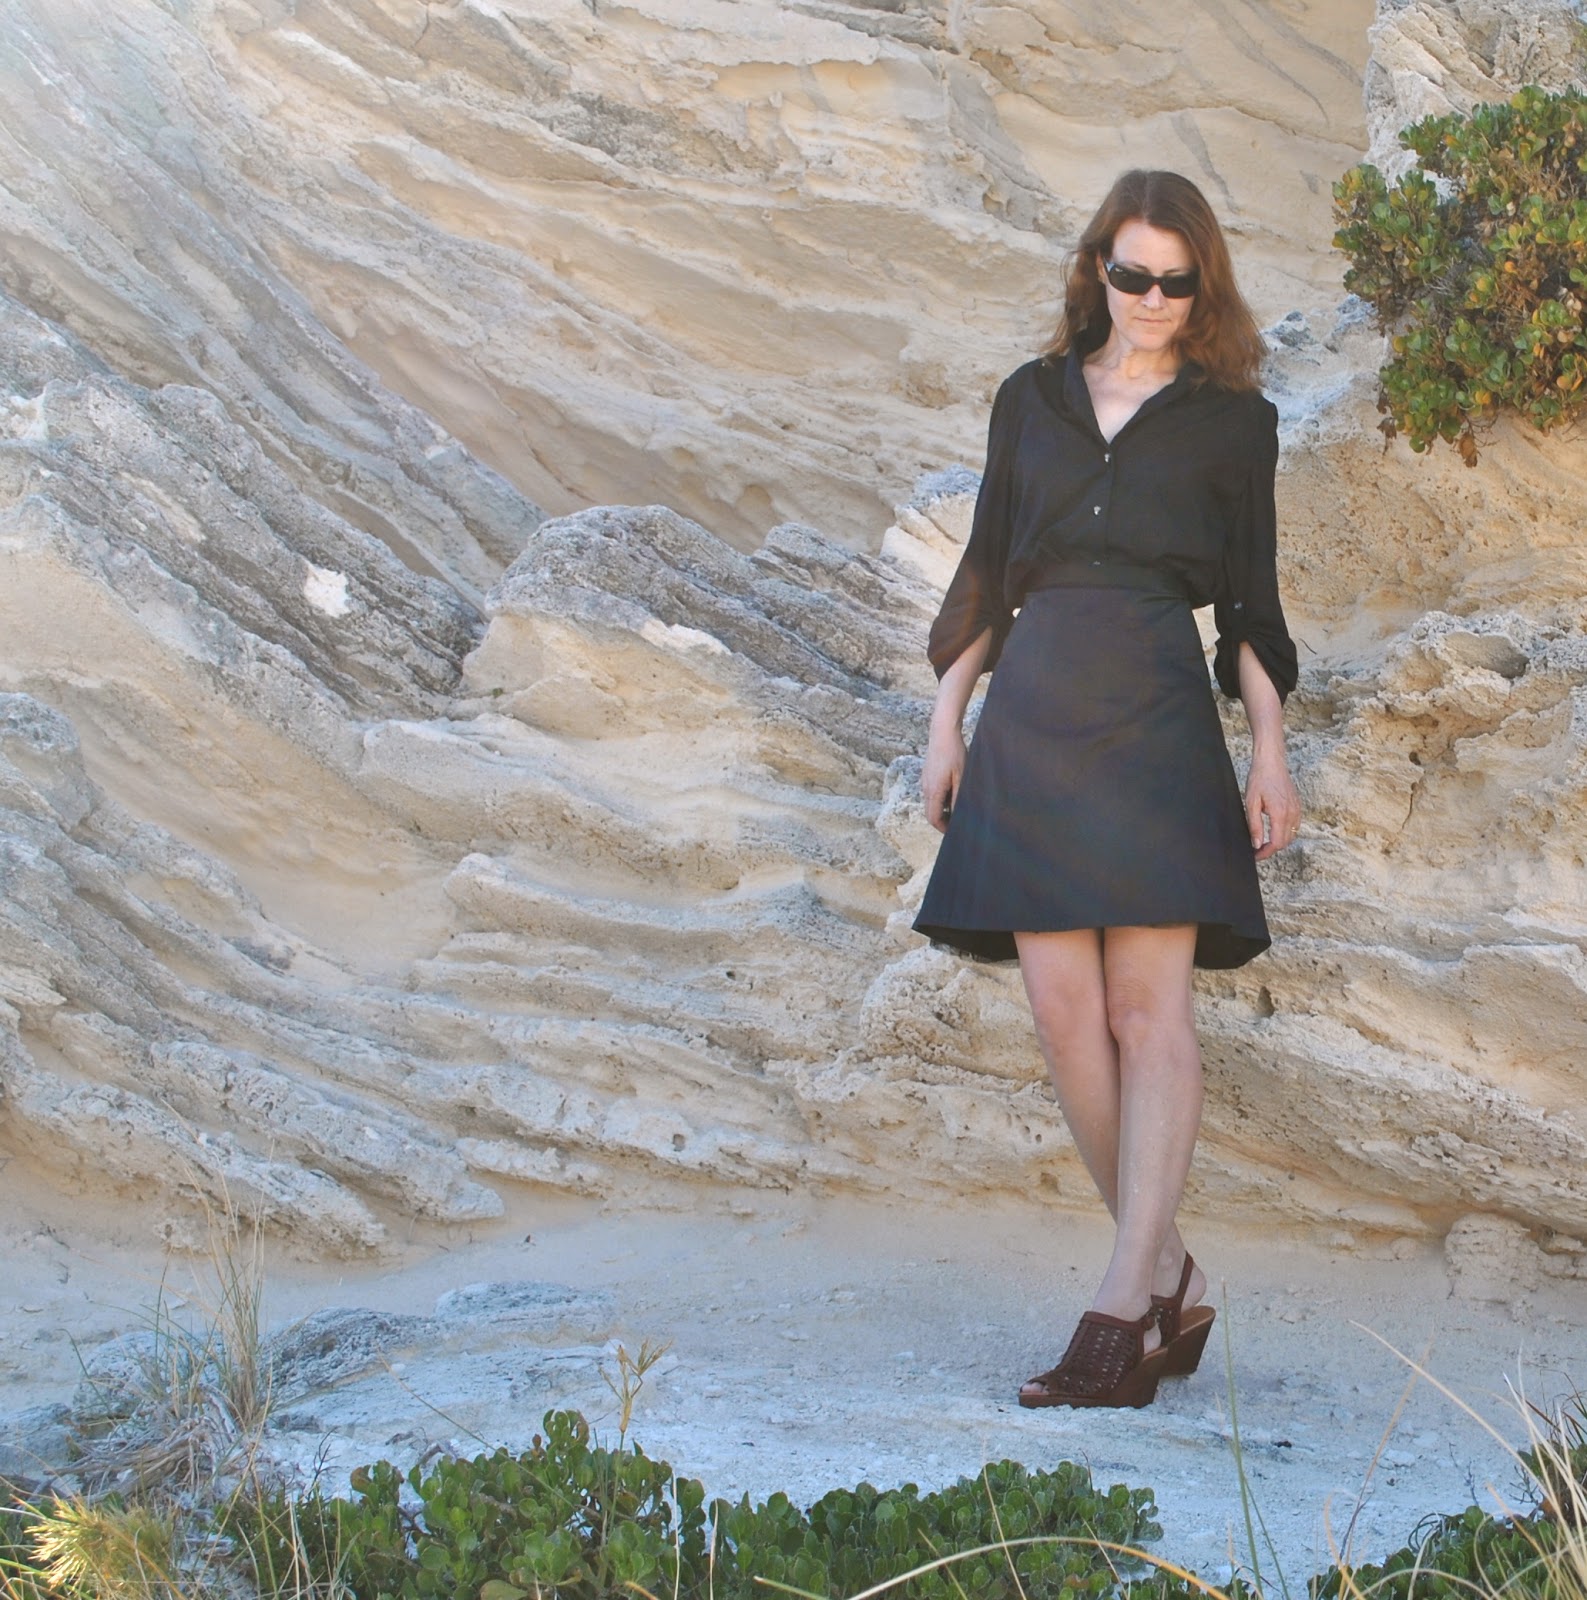
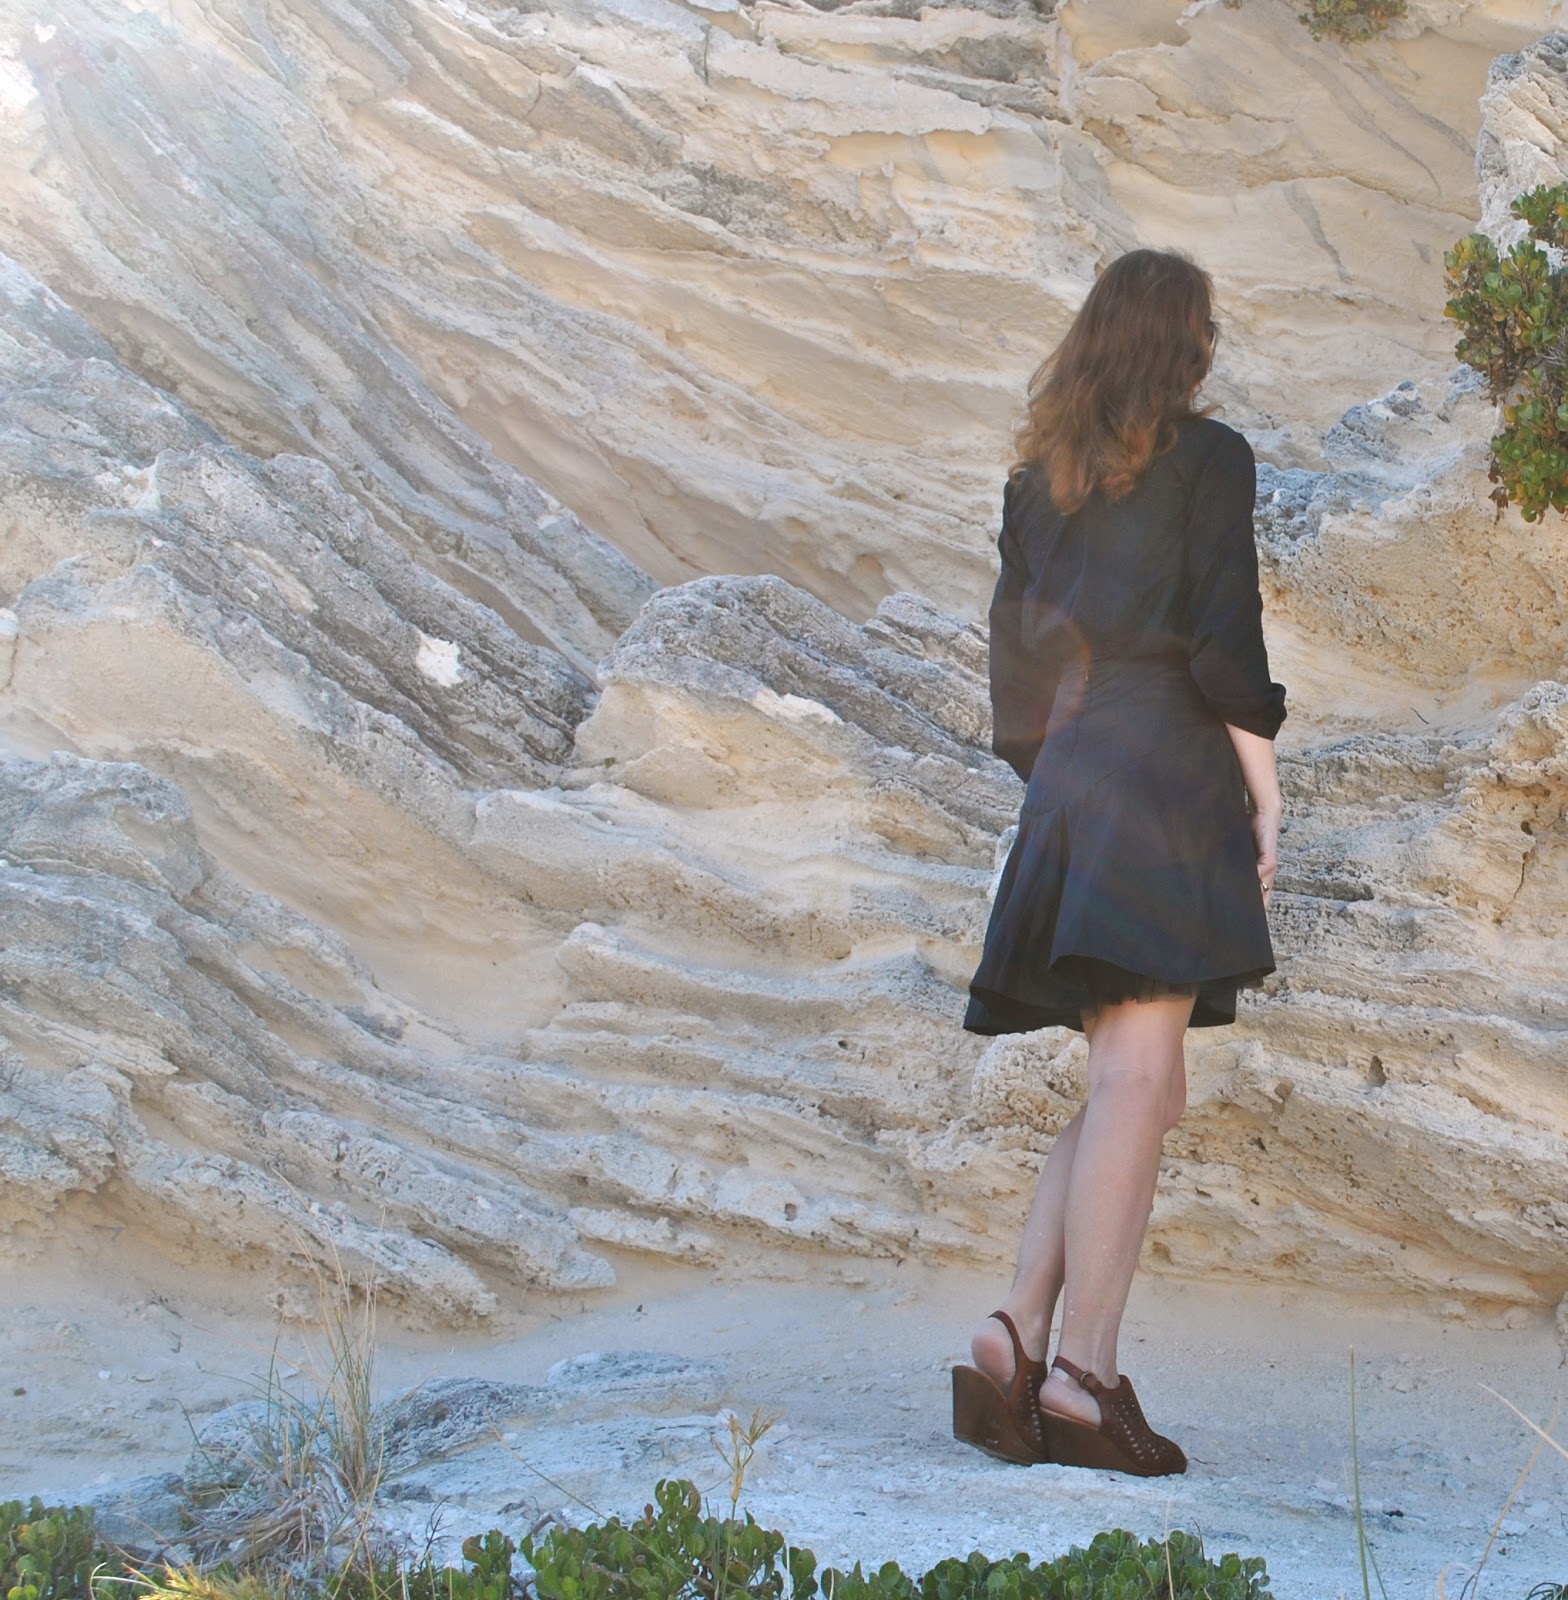
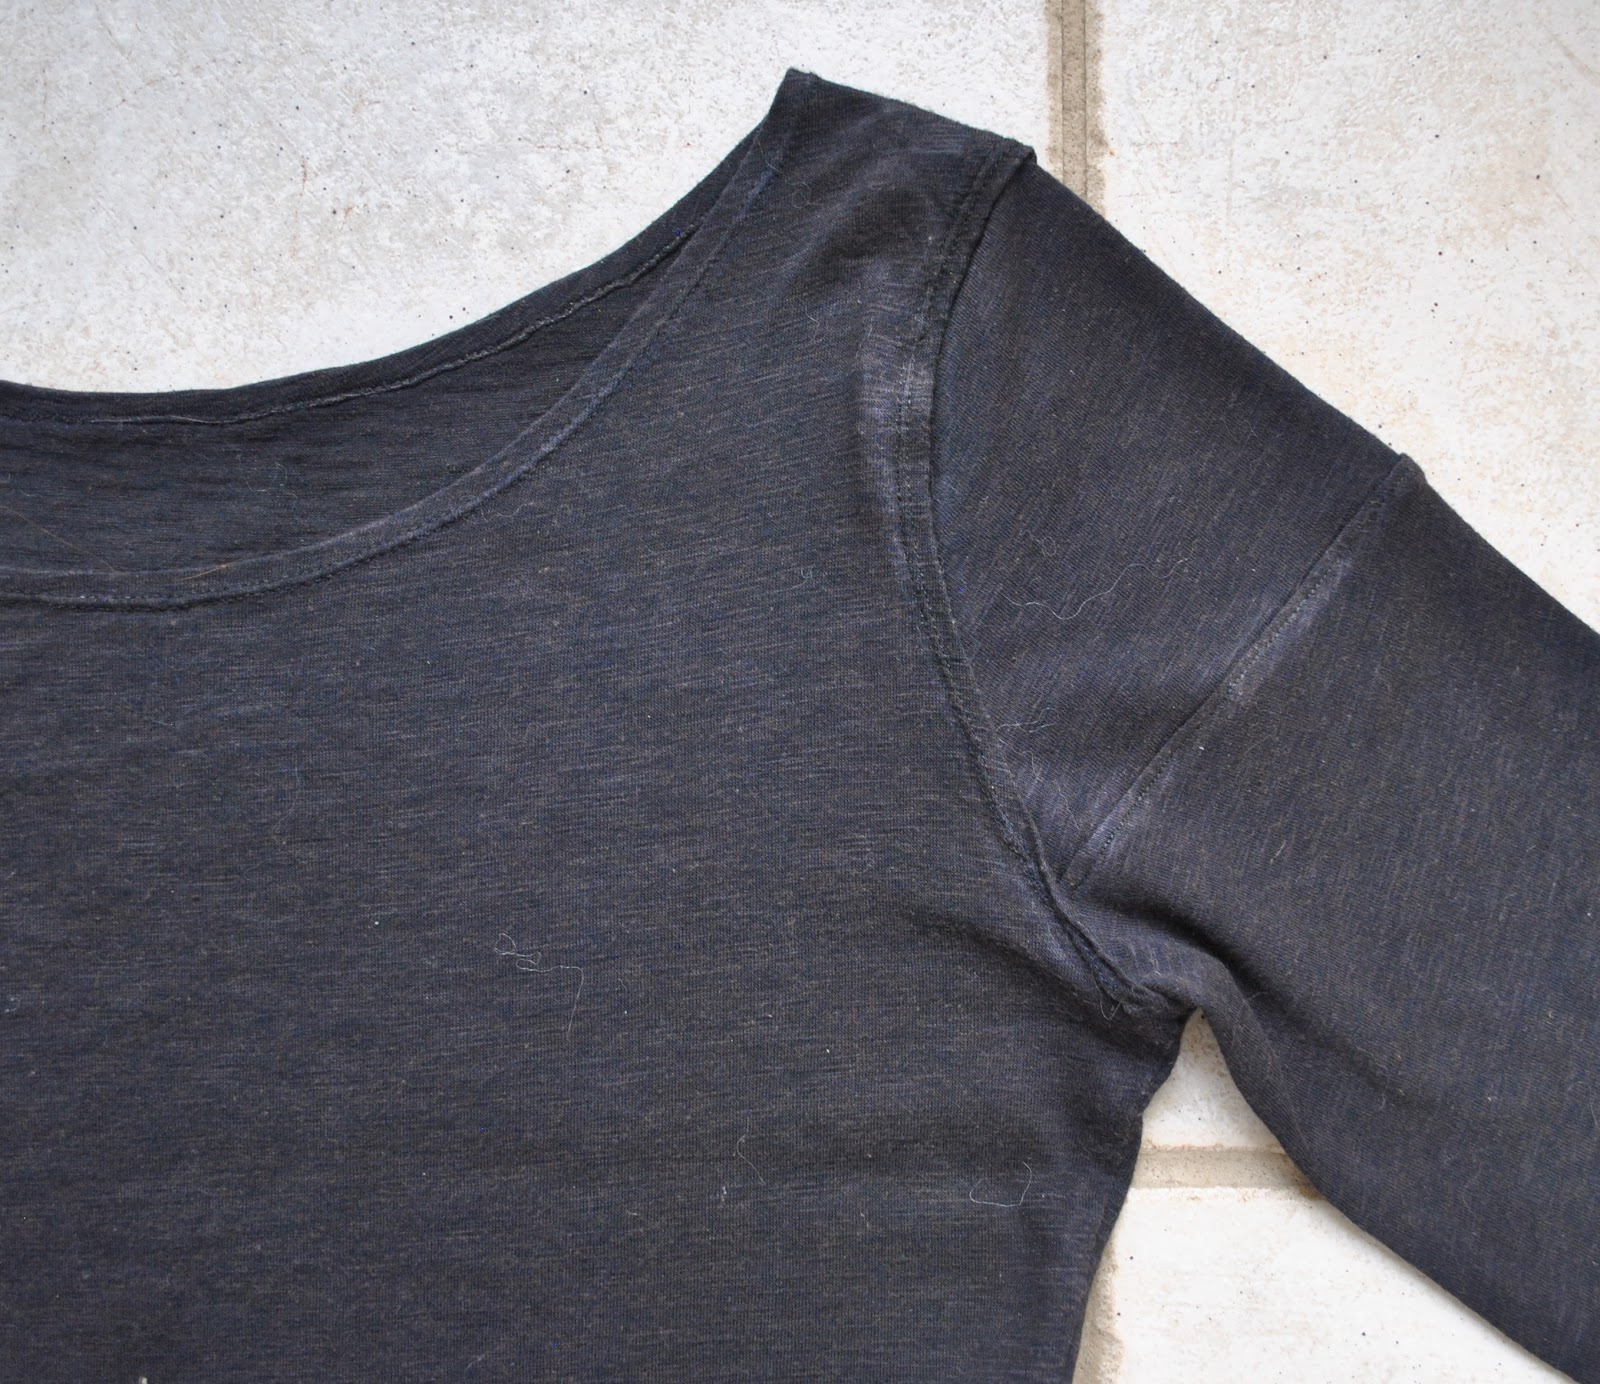
But ahem, my outfit.  I am wearing another sorta new, but not actually new thing, today.  I sorted through my Tshirt drawer.  And found this batty Pattern Magic top sitting there, sad and unloved and in need of a makeover.  I made it a year ago, using bright blue cotton jersey, dyed brown.  The resulting colour is a great colour for me, a very dark and quite rich chocolate brown that is almost purple in a certain light.
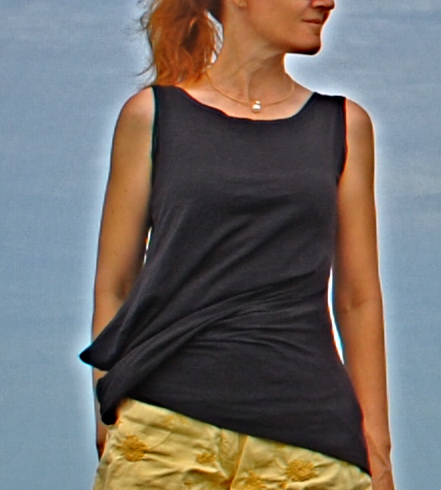
before

Great colour.
Not such a great top, though.
I wore it a couple of times and each time felt just a bit too… weird in it.  The pokey-out bits required pulling into place and arranging just so in order for them to not look Very Weird.  Mind you, I’ve nothing against “weird”, but there’s weird and there’s weird, if you know what I mean.  There’s interesting, avant-garde, attractive weird, and then there is just plain weird.  Don’t worry if you don’t see the difference there, I know what I mean.  
But hmm, still a great colour.  And there was a fair bit of fabric in it…

after

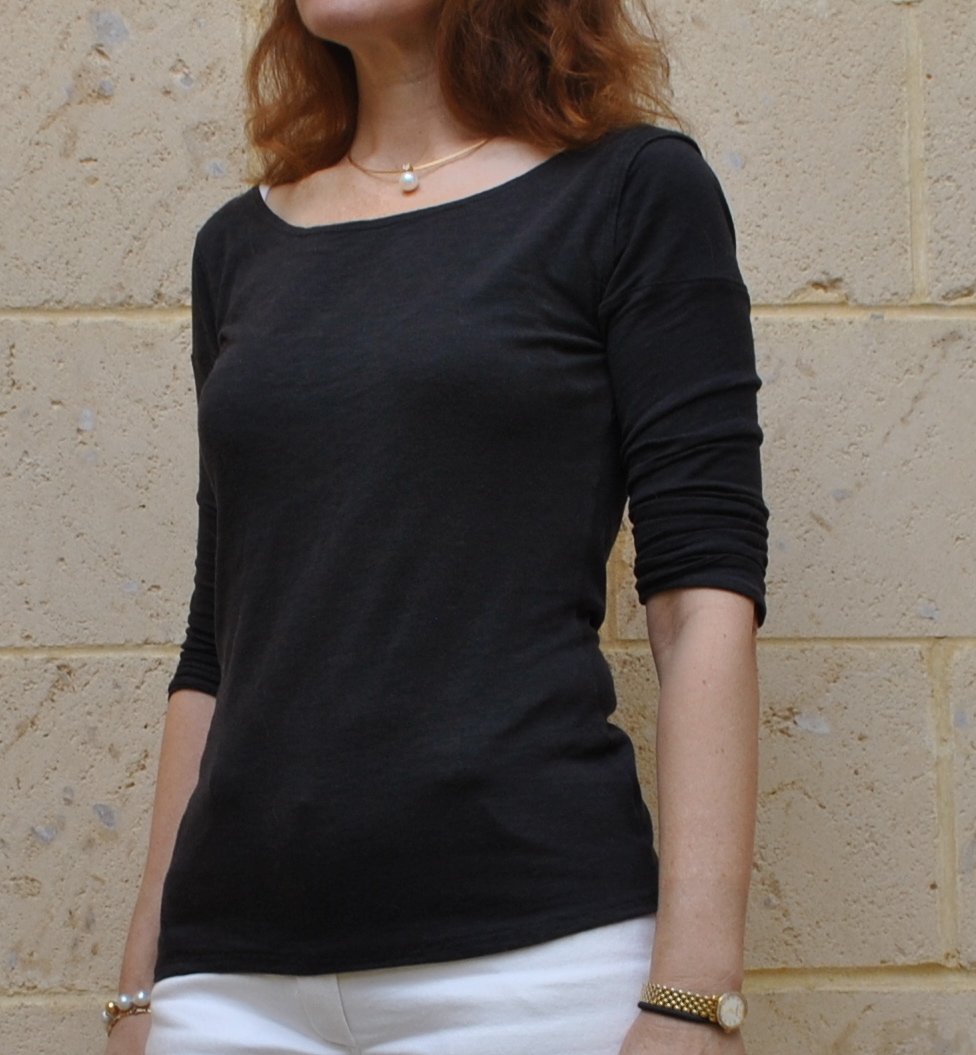
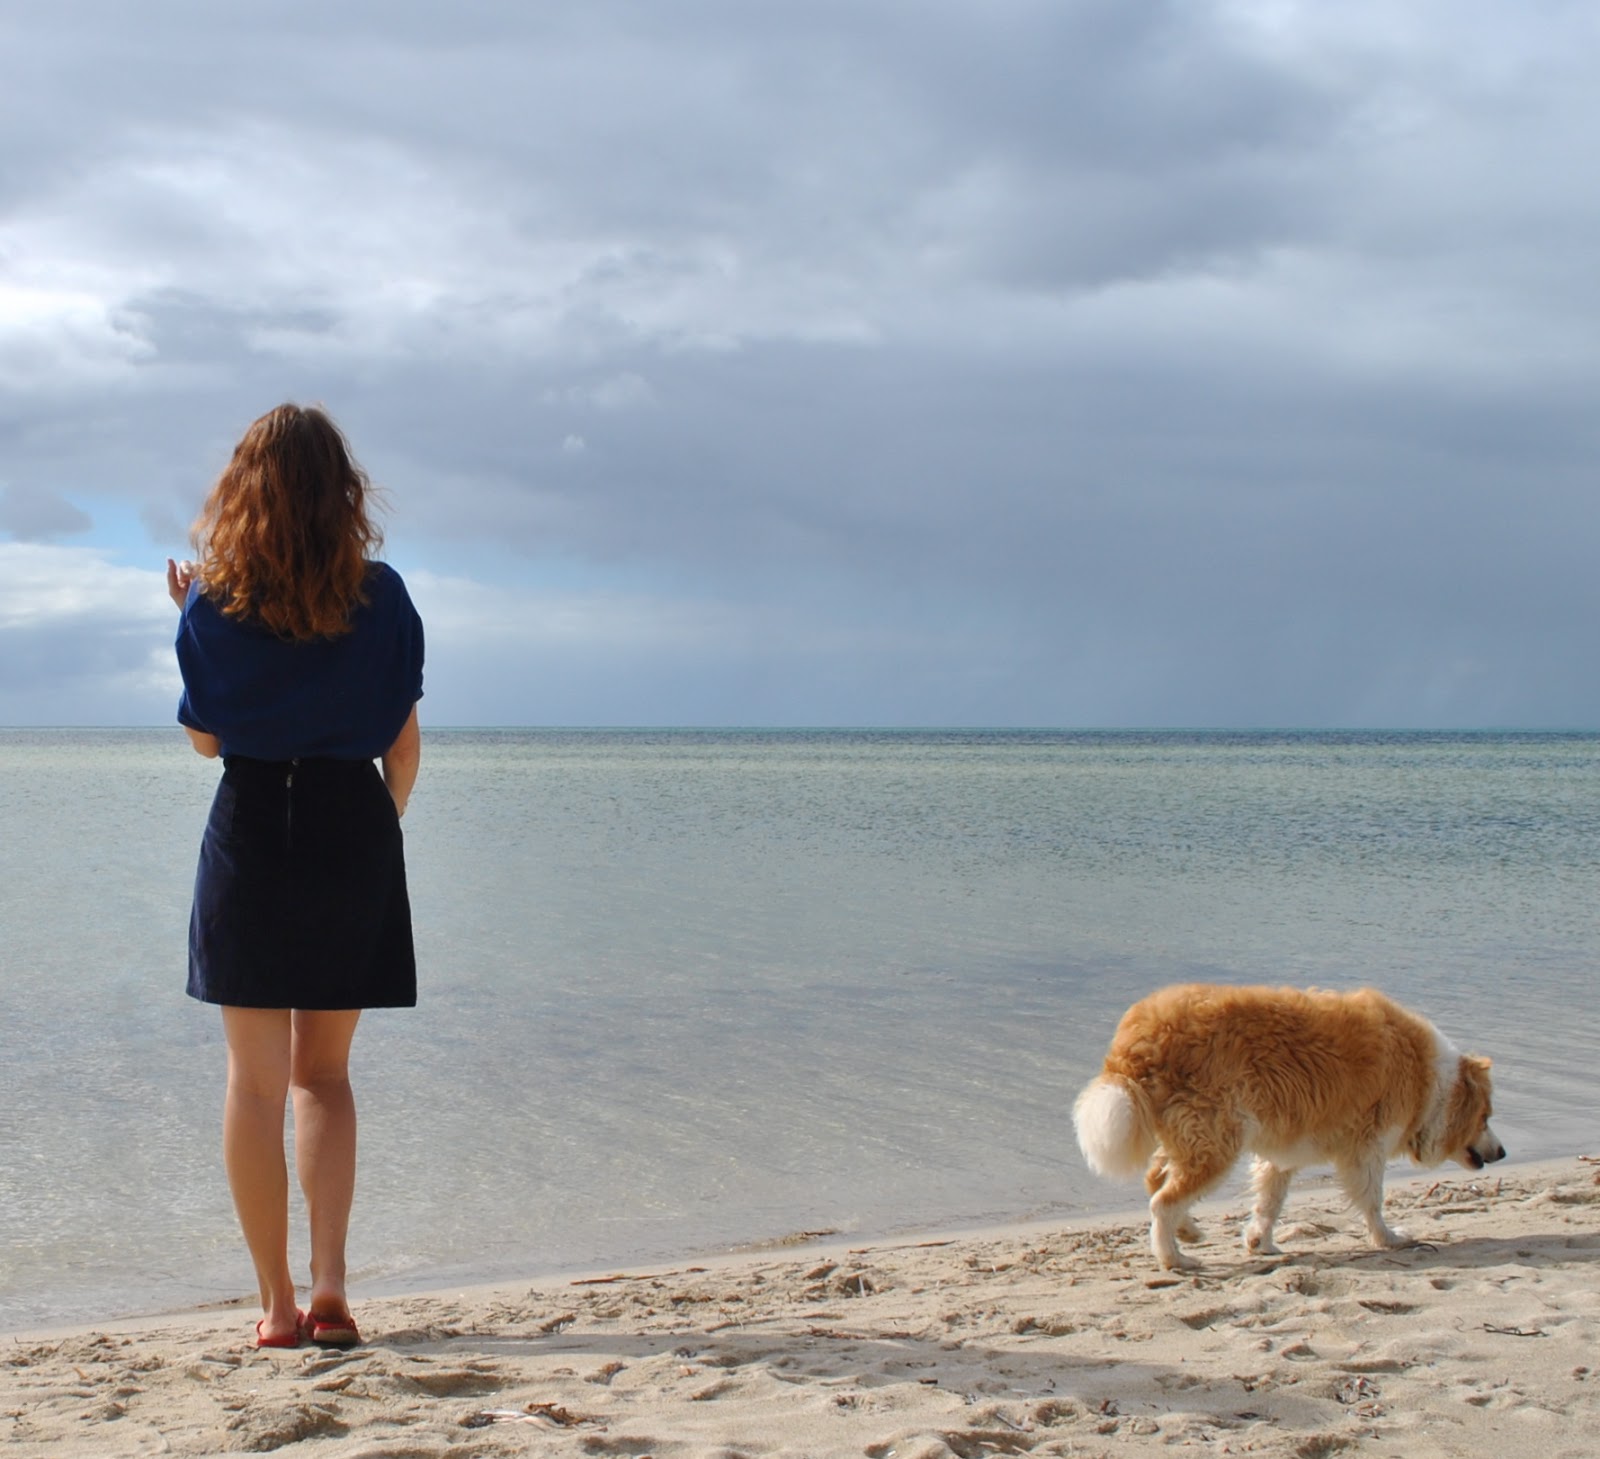
I half winged it, using my custom-fit Tshirt pattern.  I had to piece a new bit in the lower edge of one side, and angled the hem a bit to encompass this, a smaller, pieced-in bit would have looked too bitsy.  It’s still a bit bitsy probably, but this was the best I could do!  And I do really like that slightly angled hemline.  I hemmed the lower edge using the blind hem stitch, only on the outside; so it’s decorative close-up.

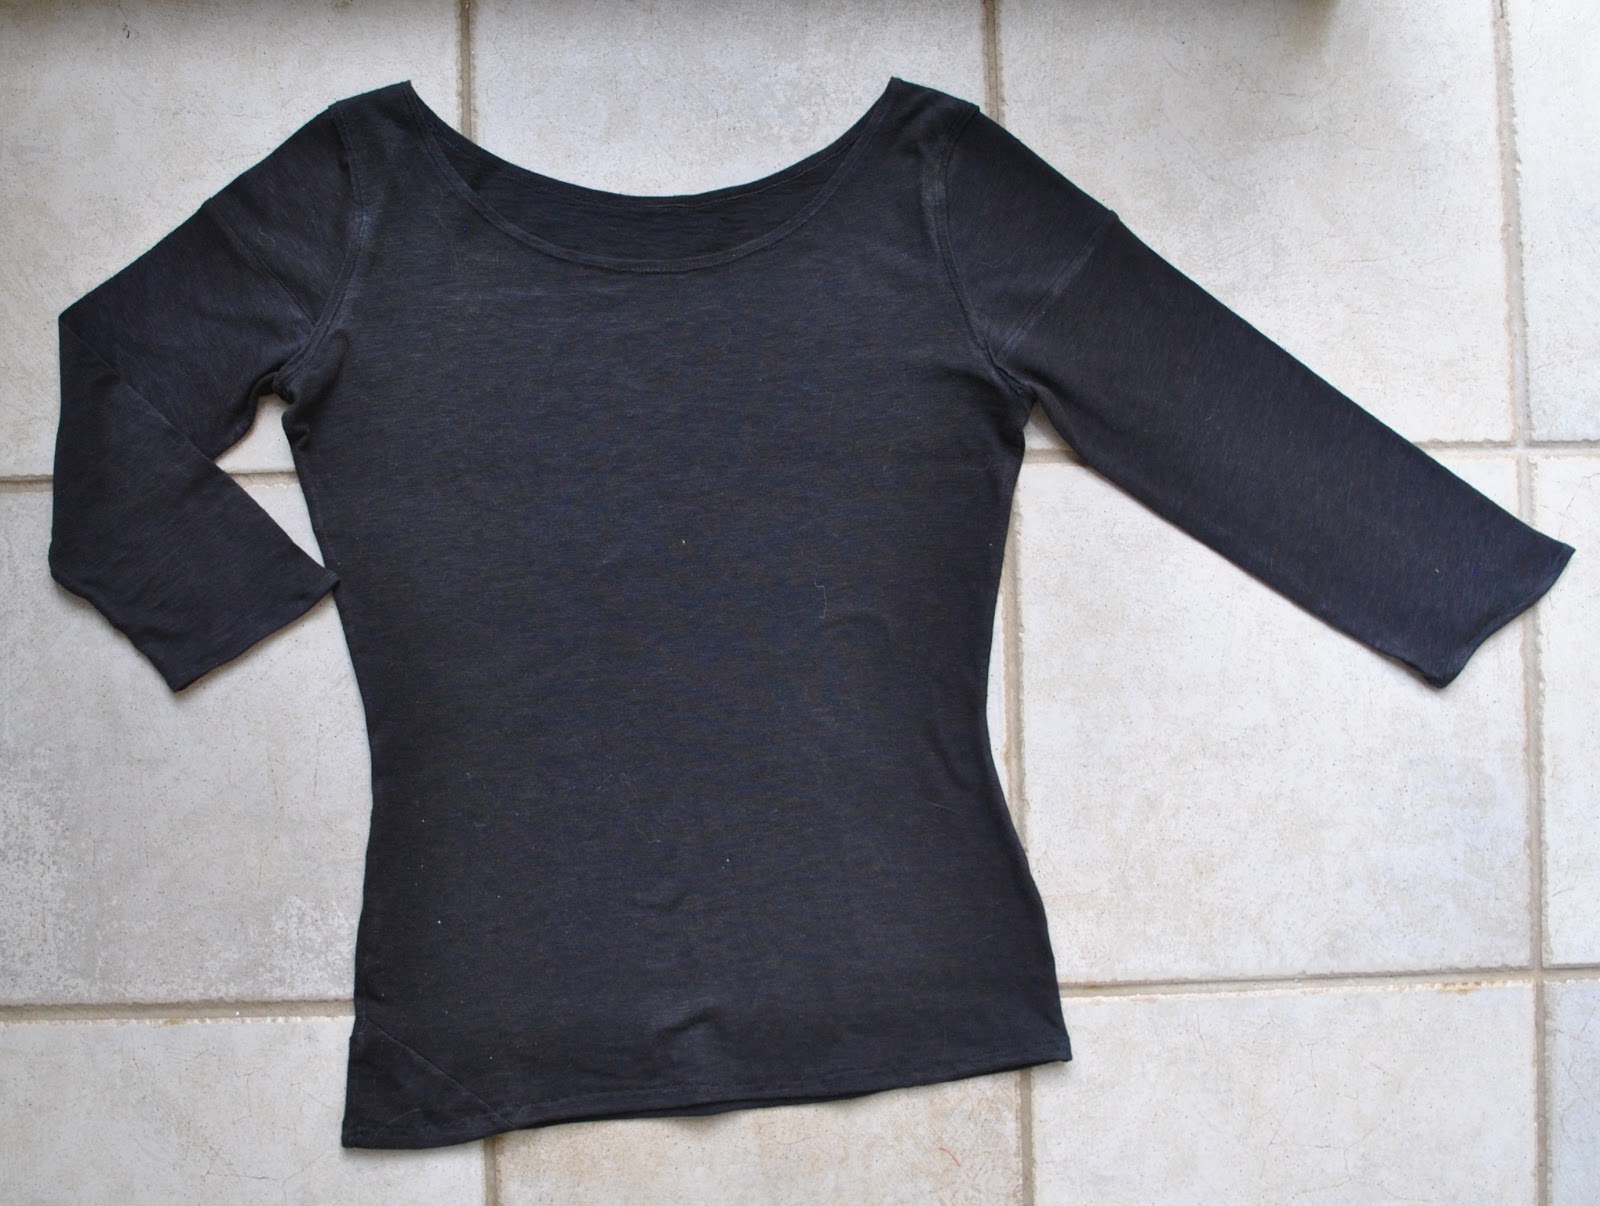
The sleeves also had to be pieced to get any length to them, and were stitched inside and underneath the existing narrow hem of the top’s armscye.  It has the effect almost of a tank with a little cap sleeve underneath, and then with a longer sleeve underneath that.  The sleeve hems are angled too; shorter at the underarm seam than on the outer arm.

Sorry if it’s boring now, compared to the before.  The good news is that I will actually wear it now, being no longer, you know, weird.

min 6C, max 17C  do not let that sunny blue sky deceive you, it is blinkin’ freezing! and we had heaps of rain this morning!

Details:
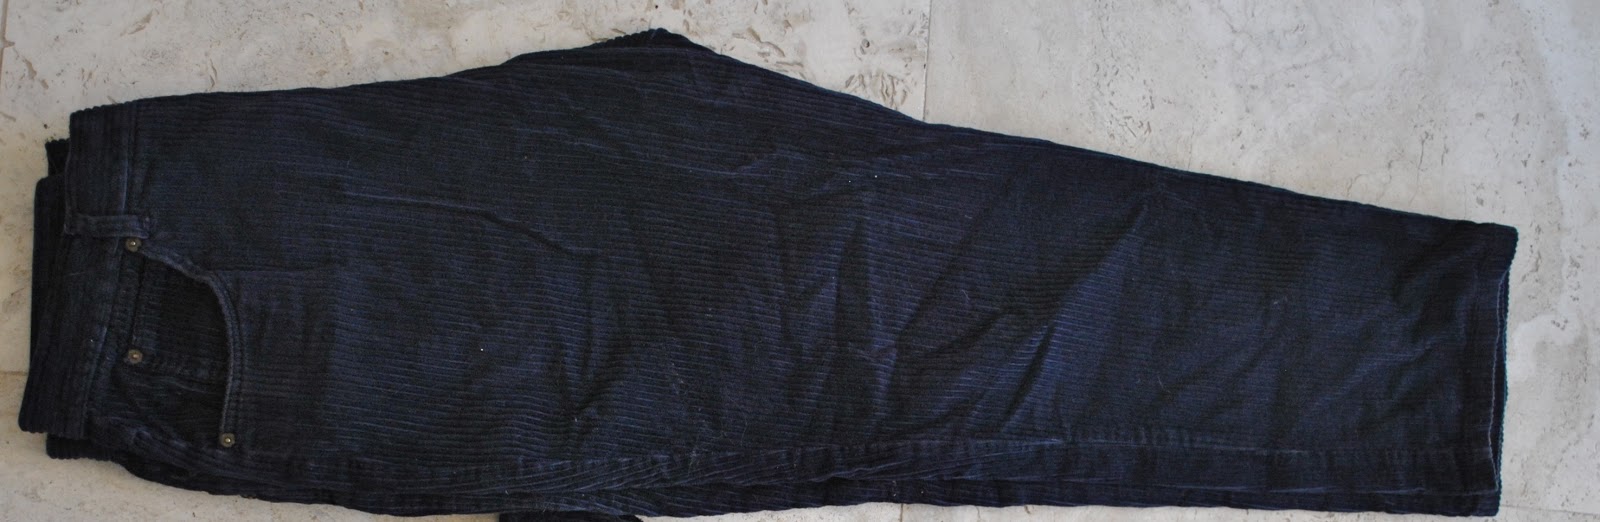
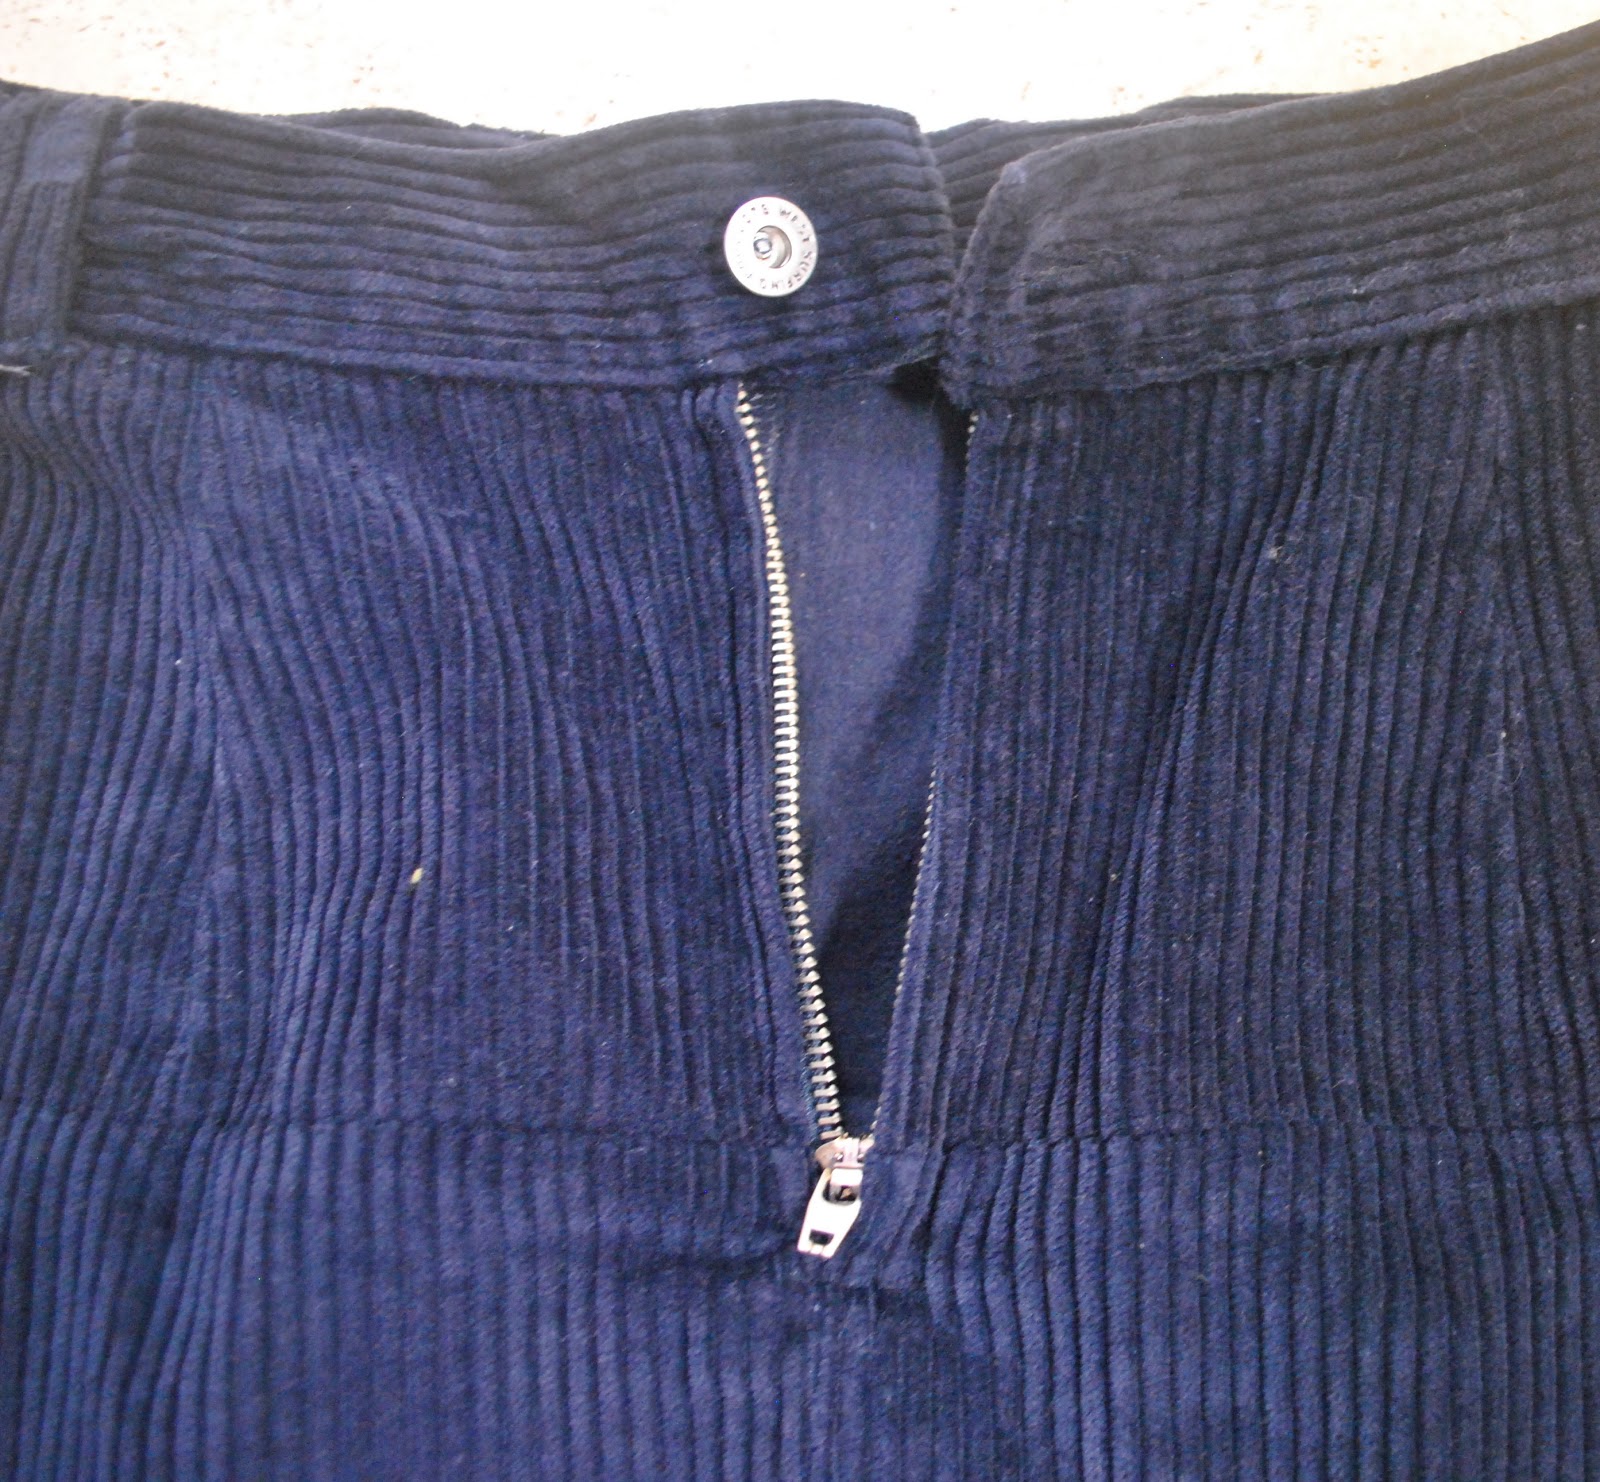
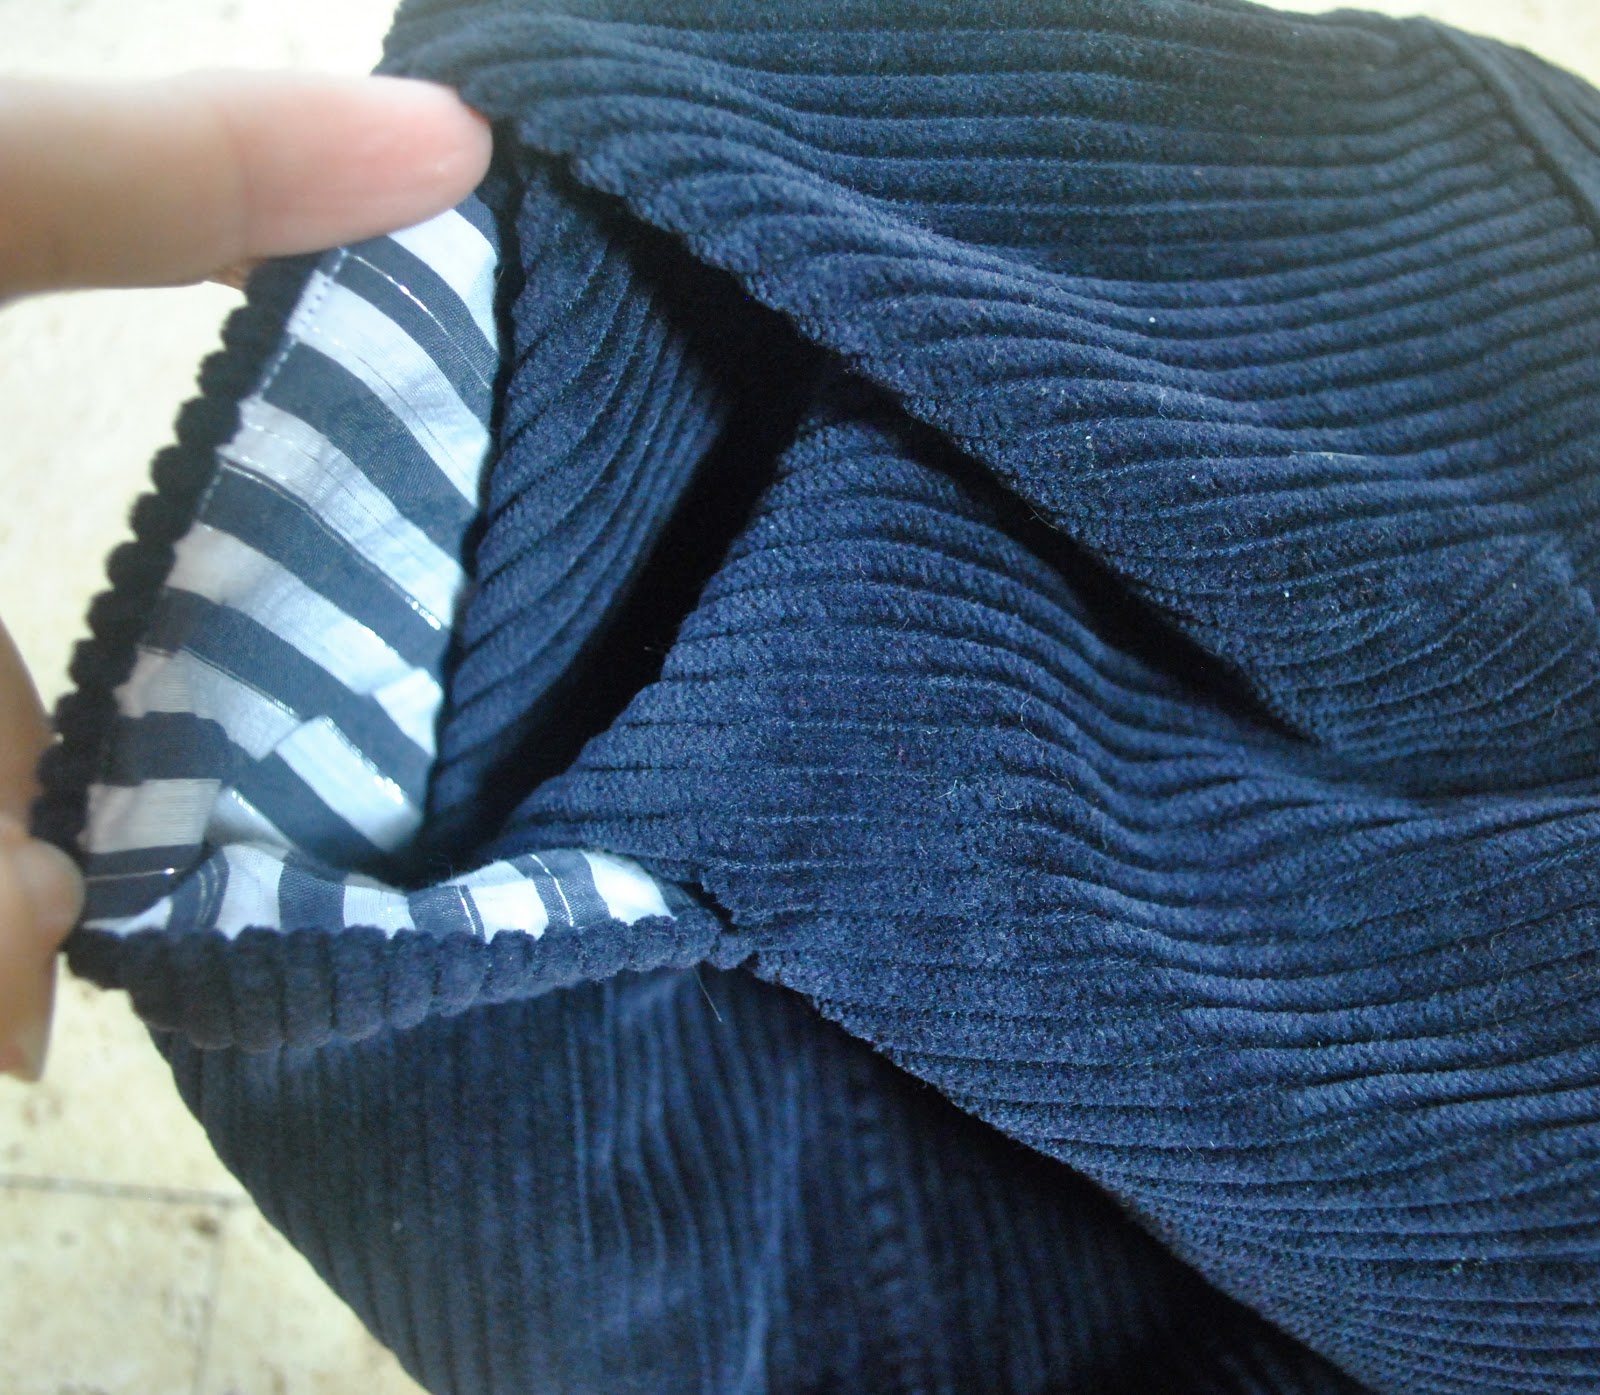
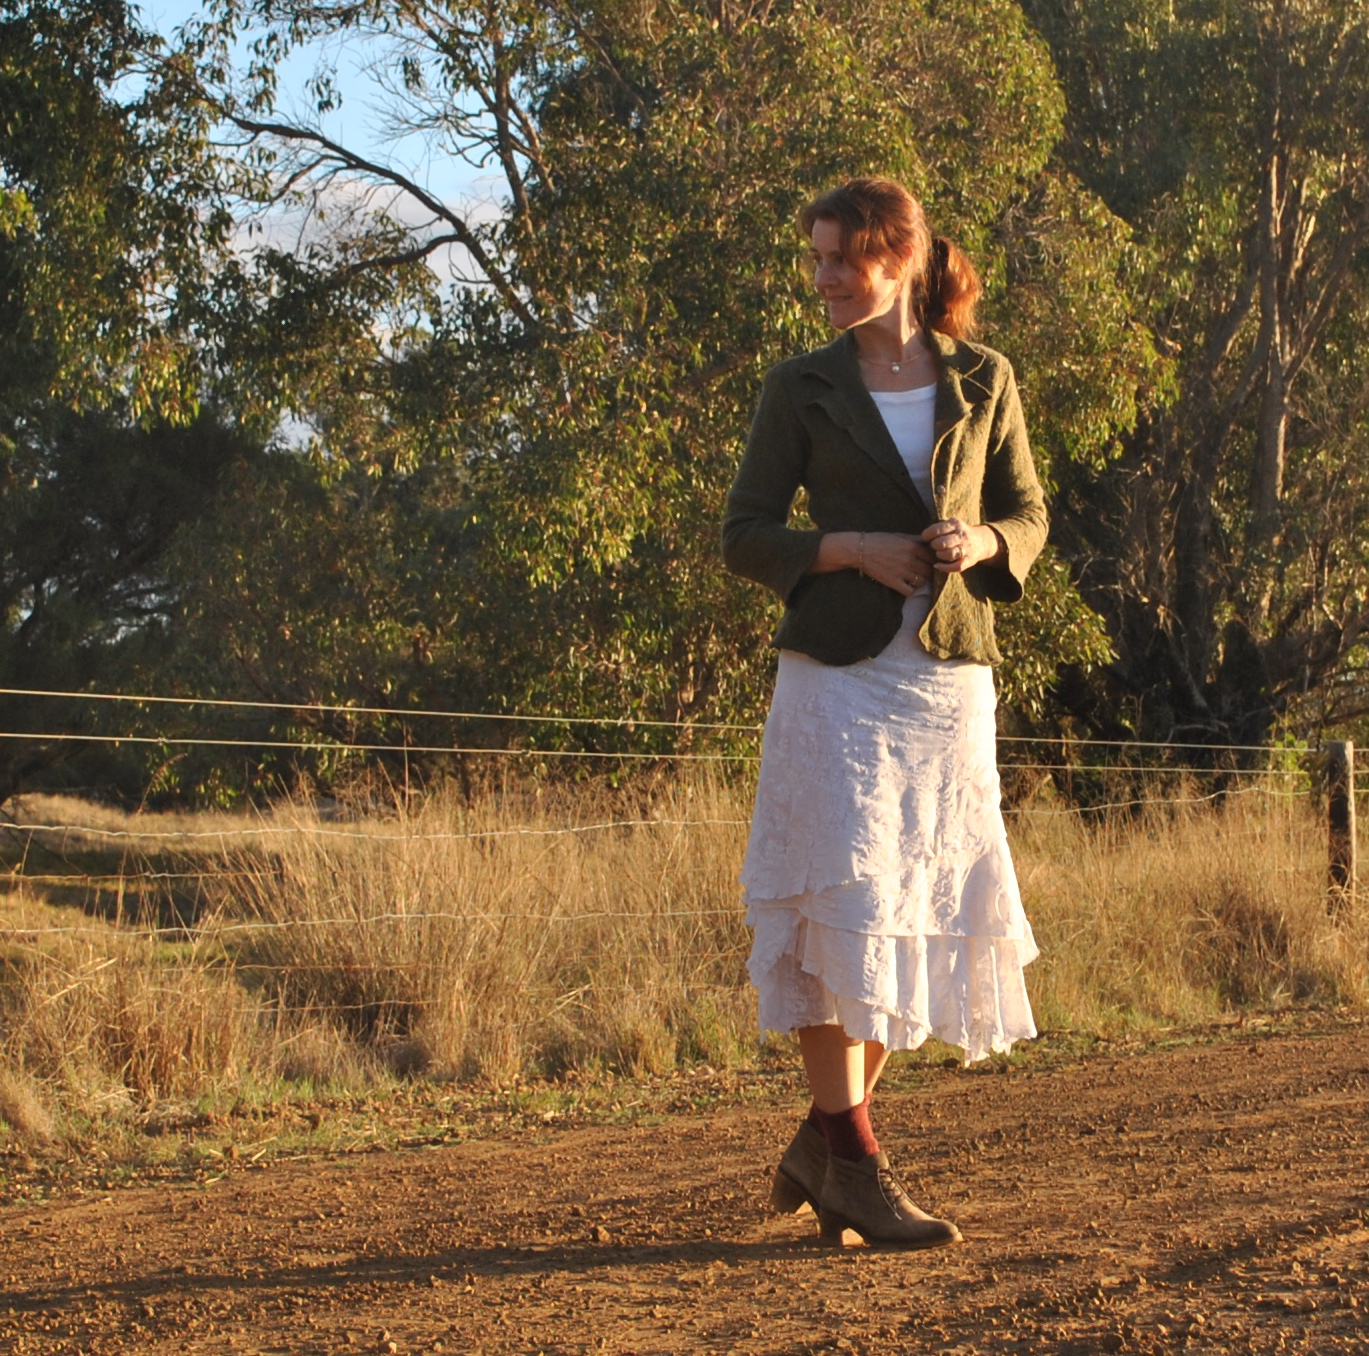
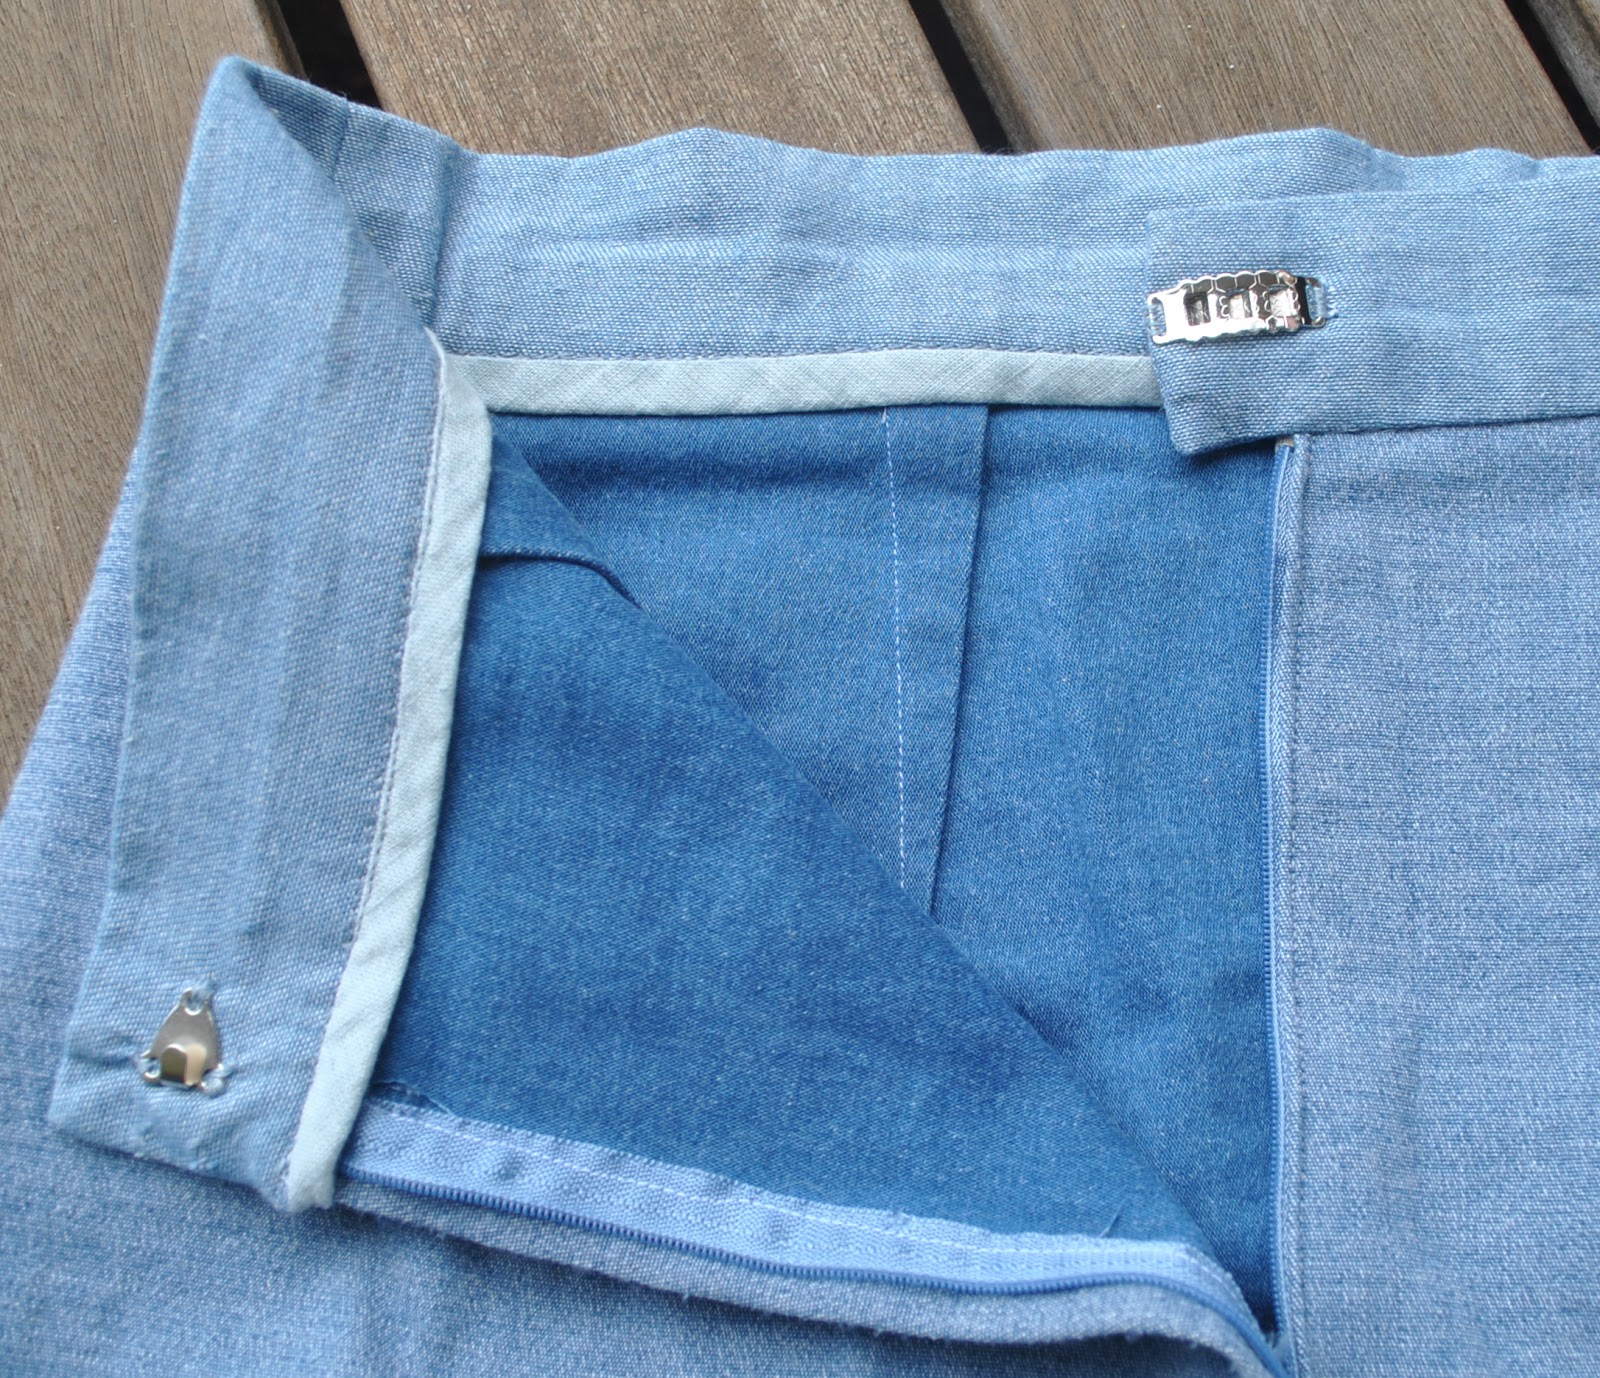
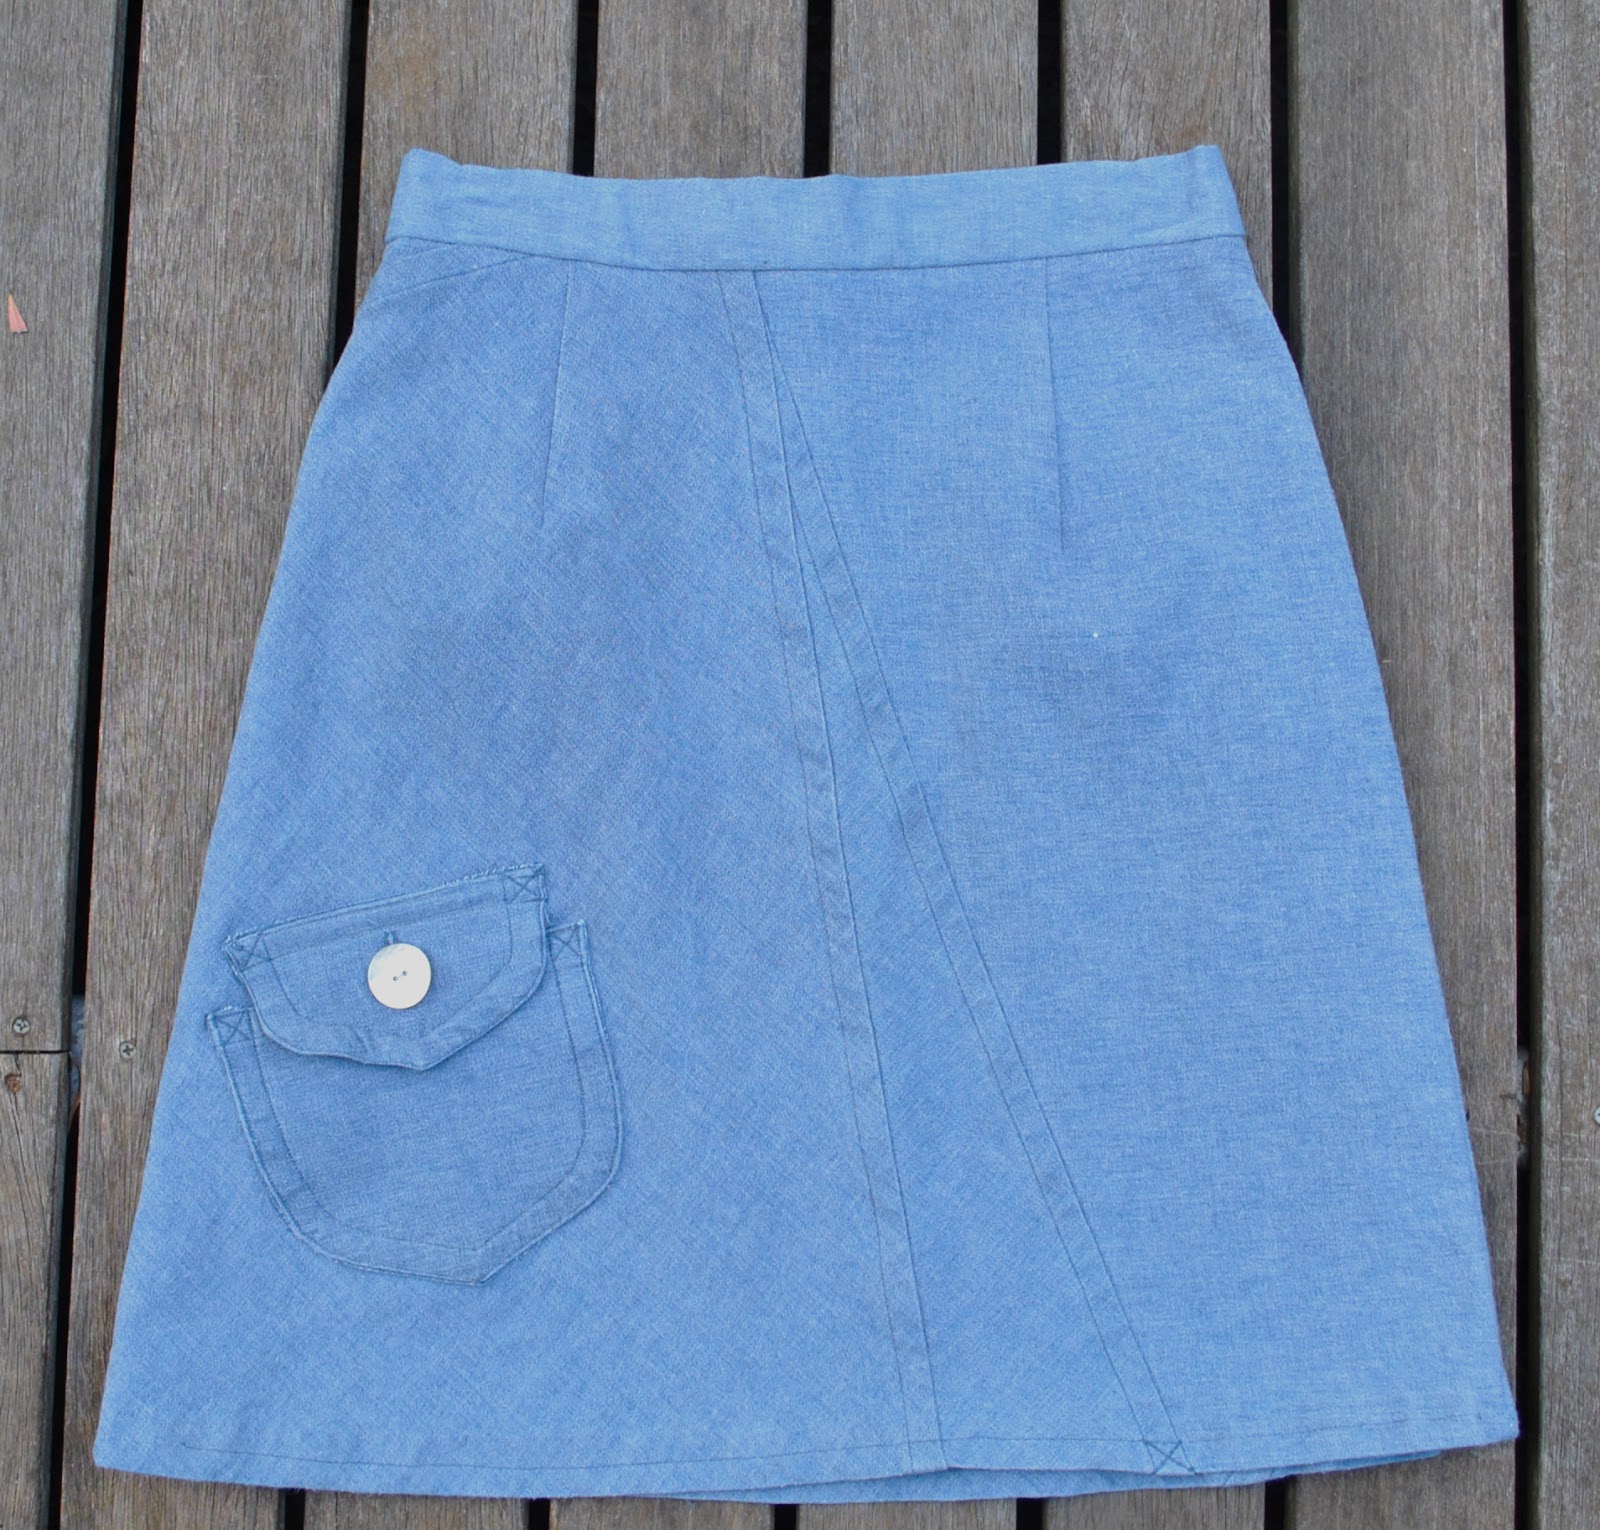
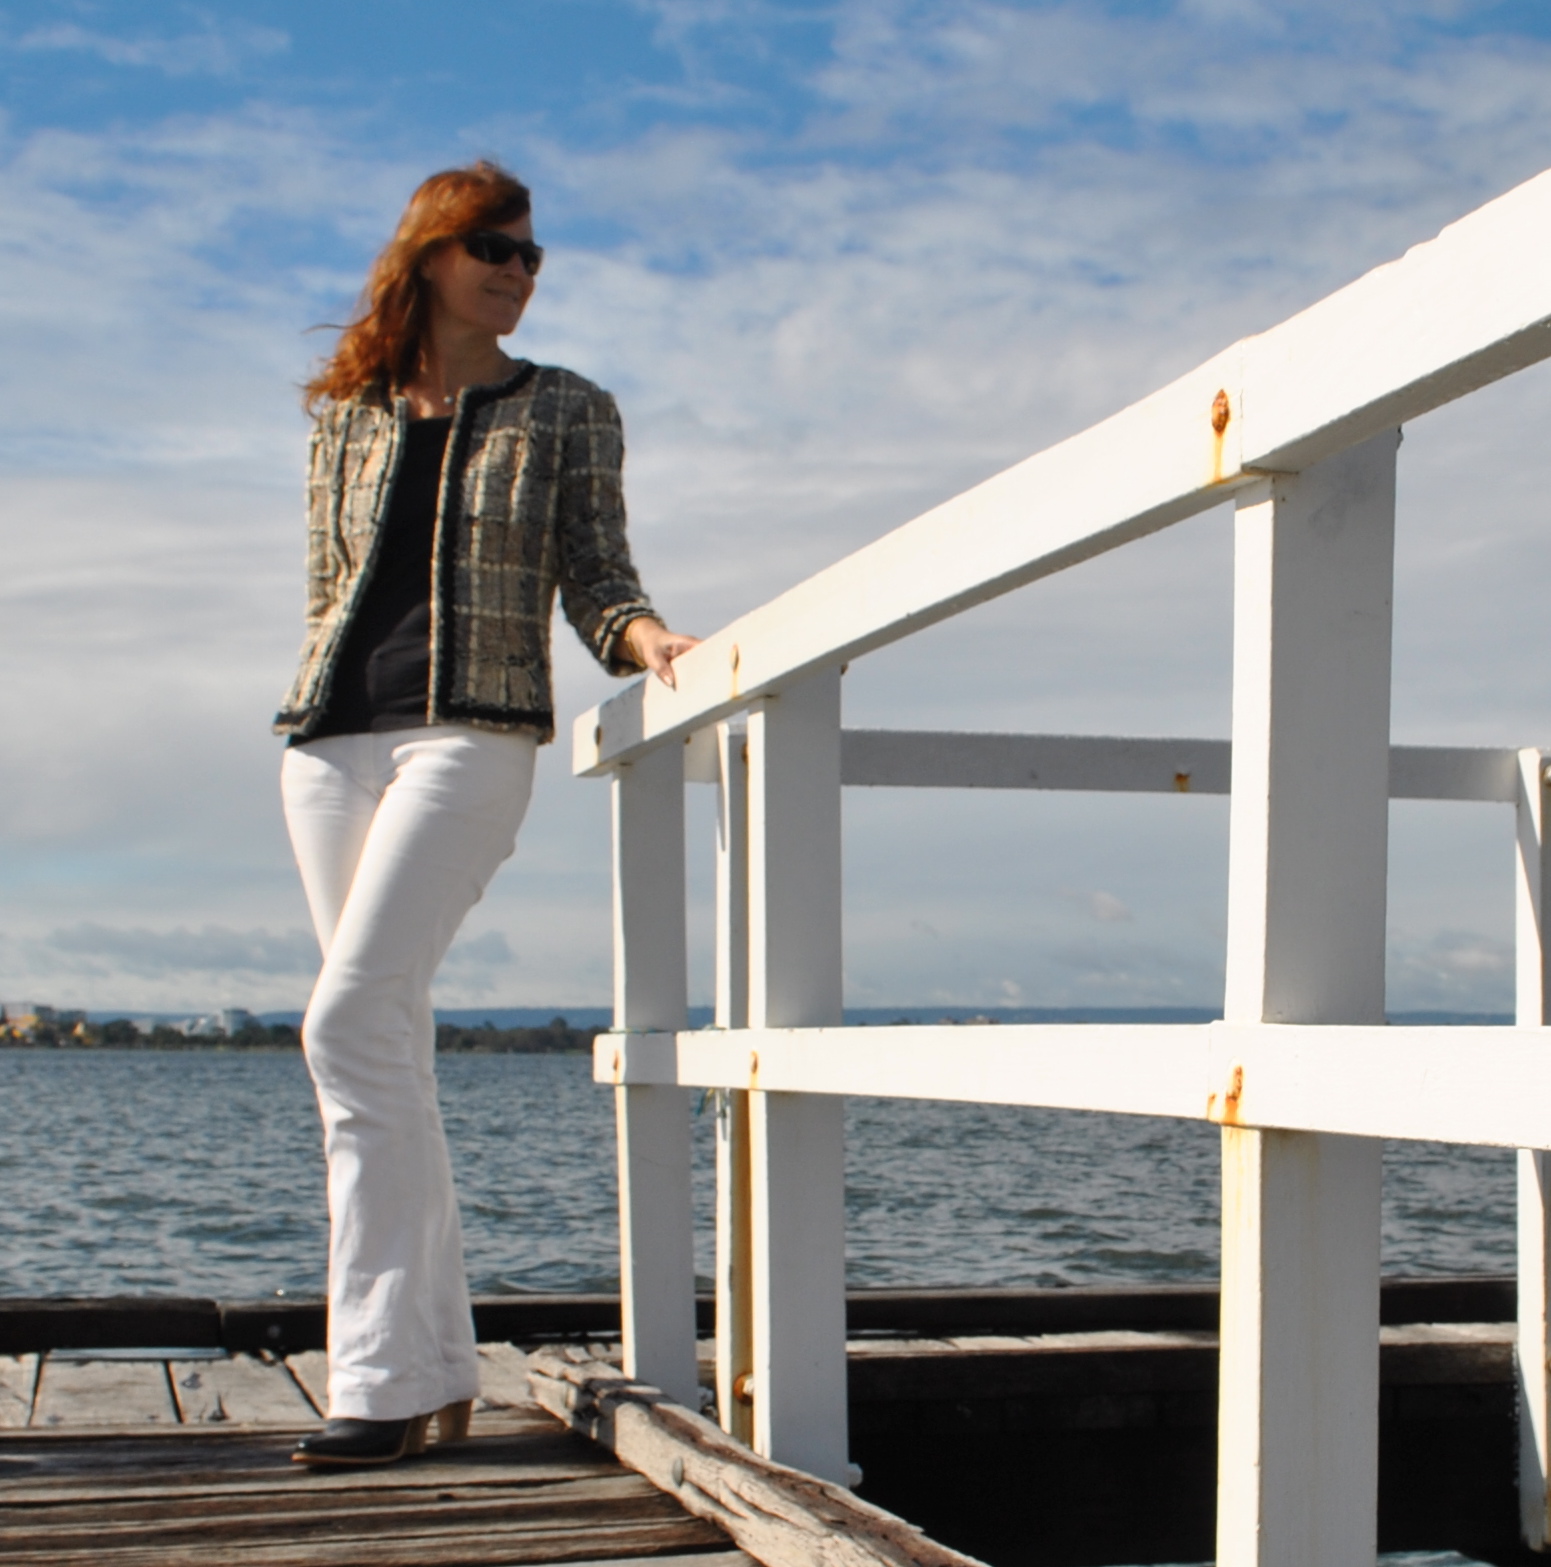
Jeans; Burda 7863 modified, ivory stretch denim, details here
Top; my own design, blue cotton jersey dyed brown
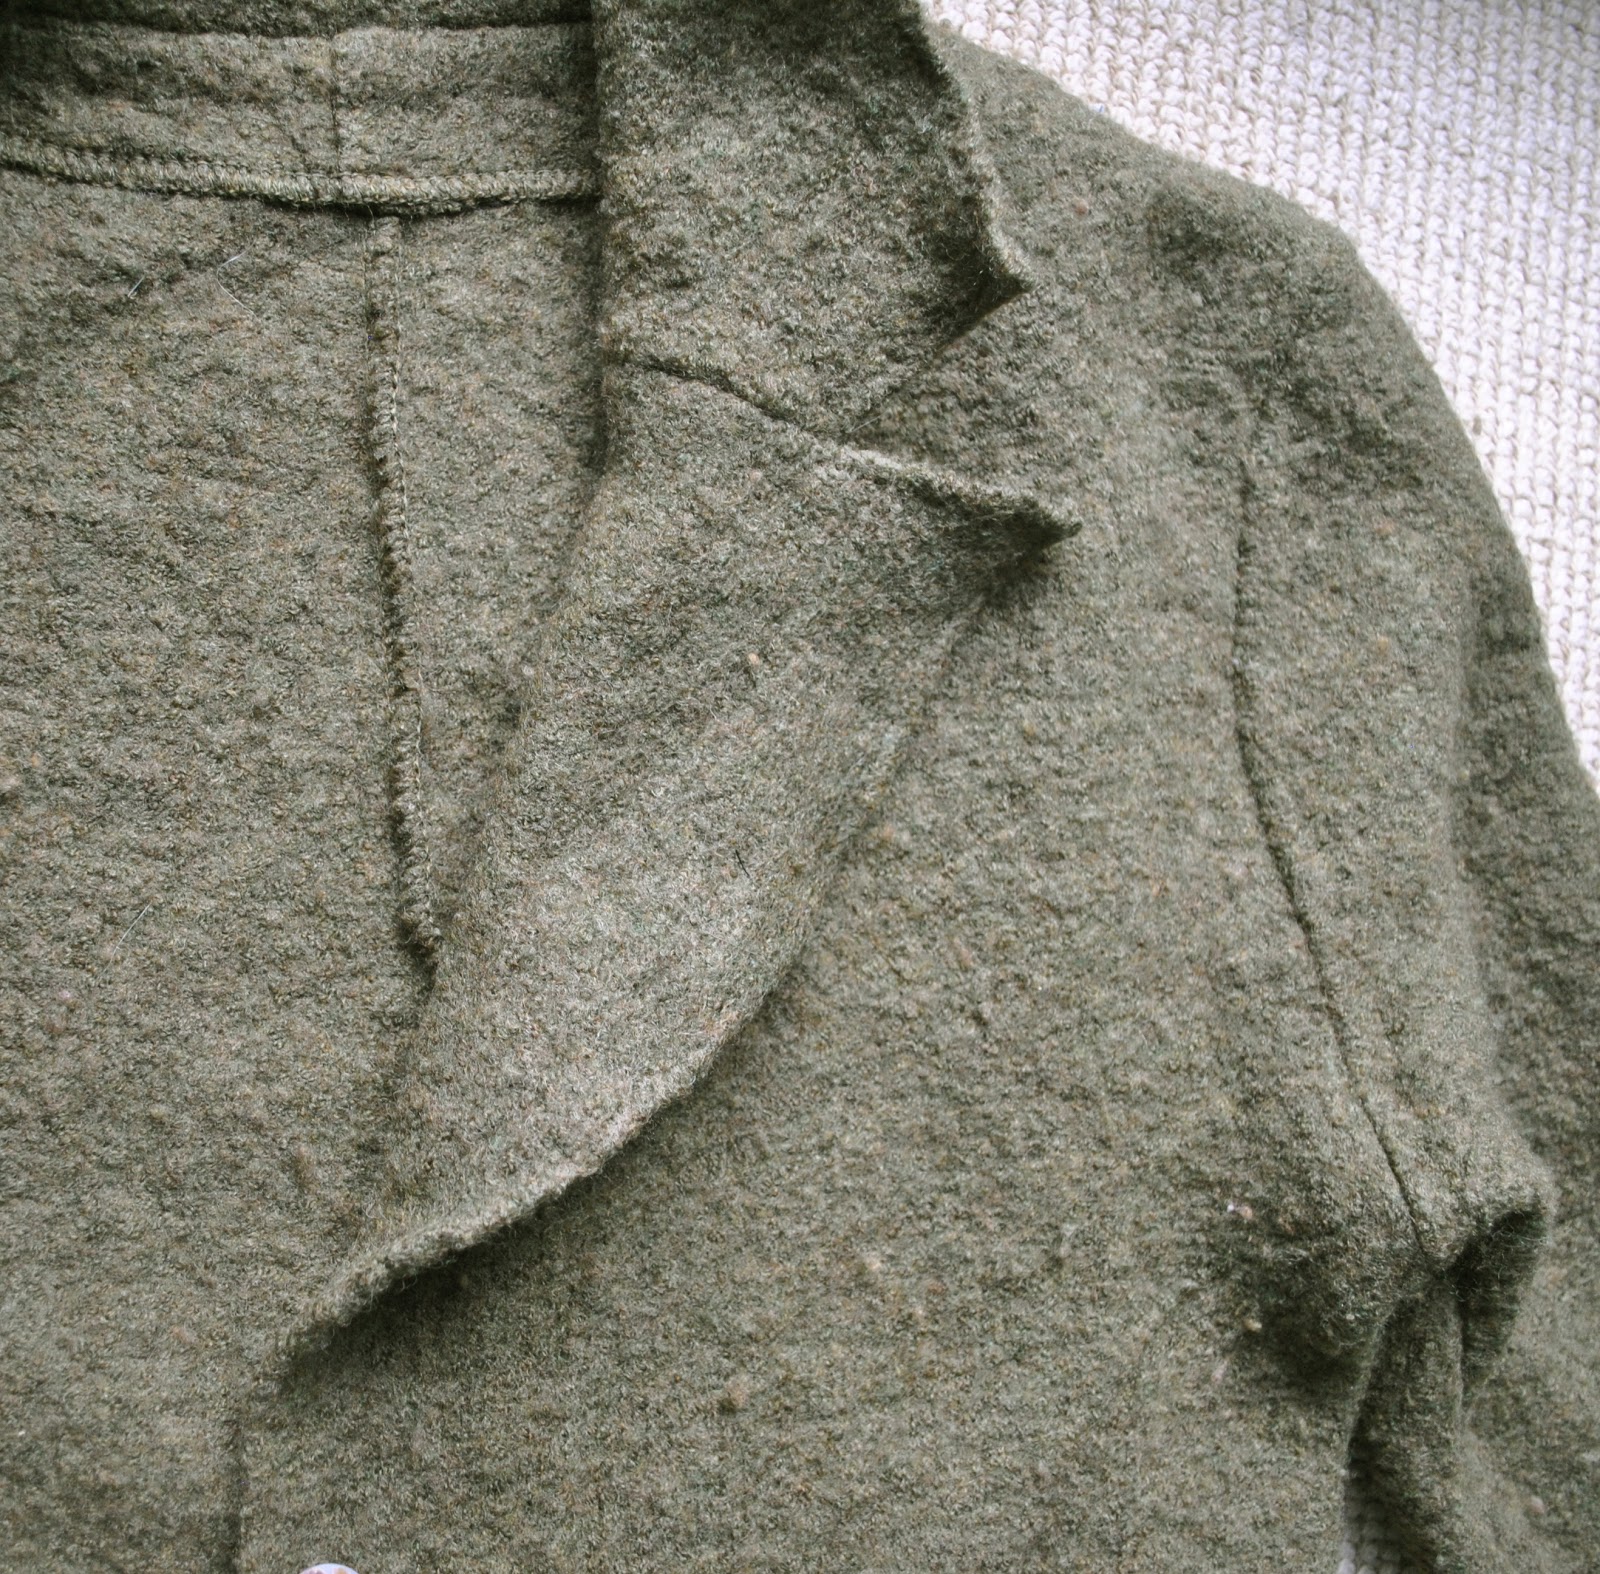
Jacket; Vogue 7975, thick woven wool, with silk lining and black braid edging, details here
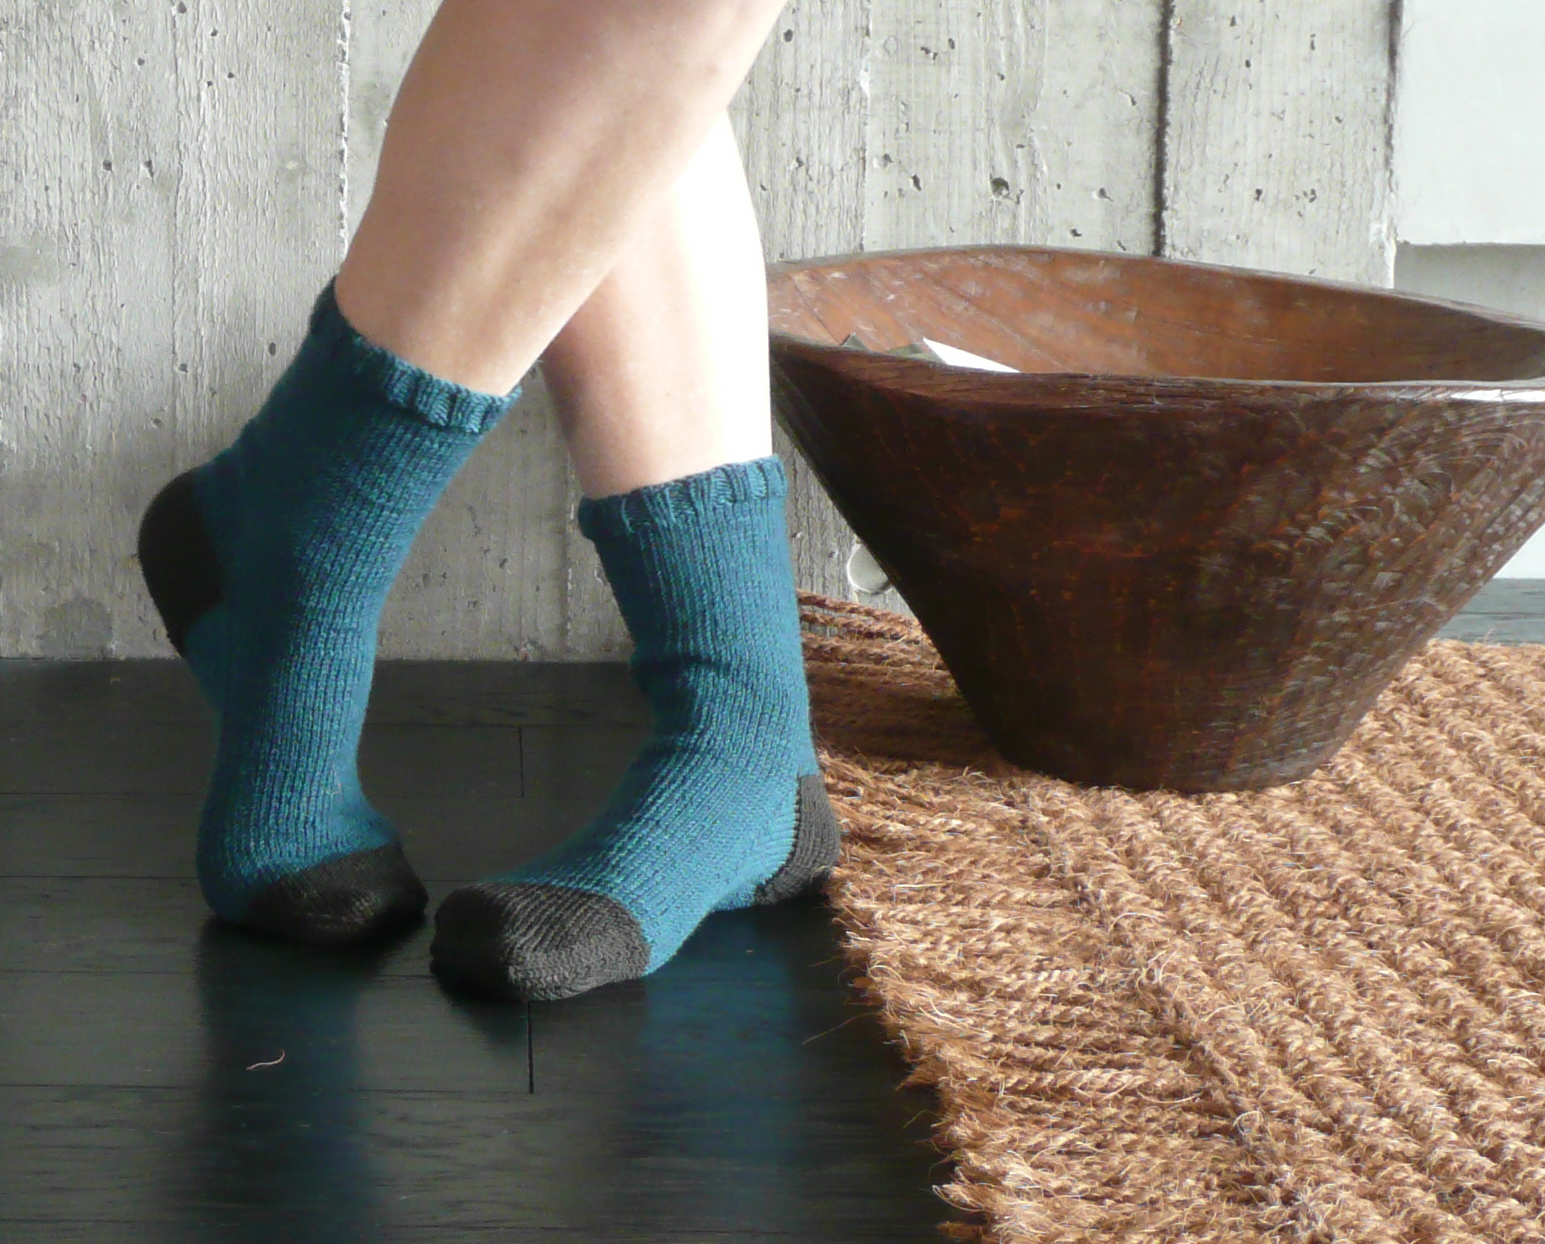
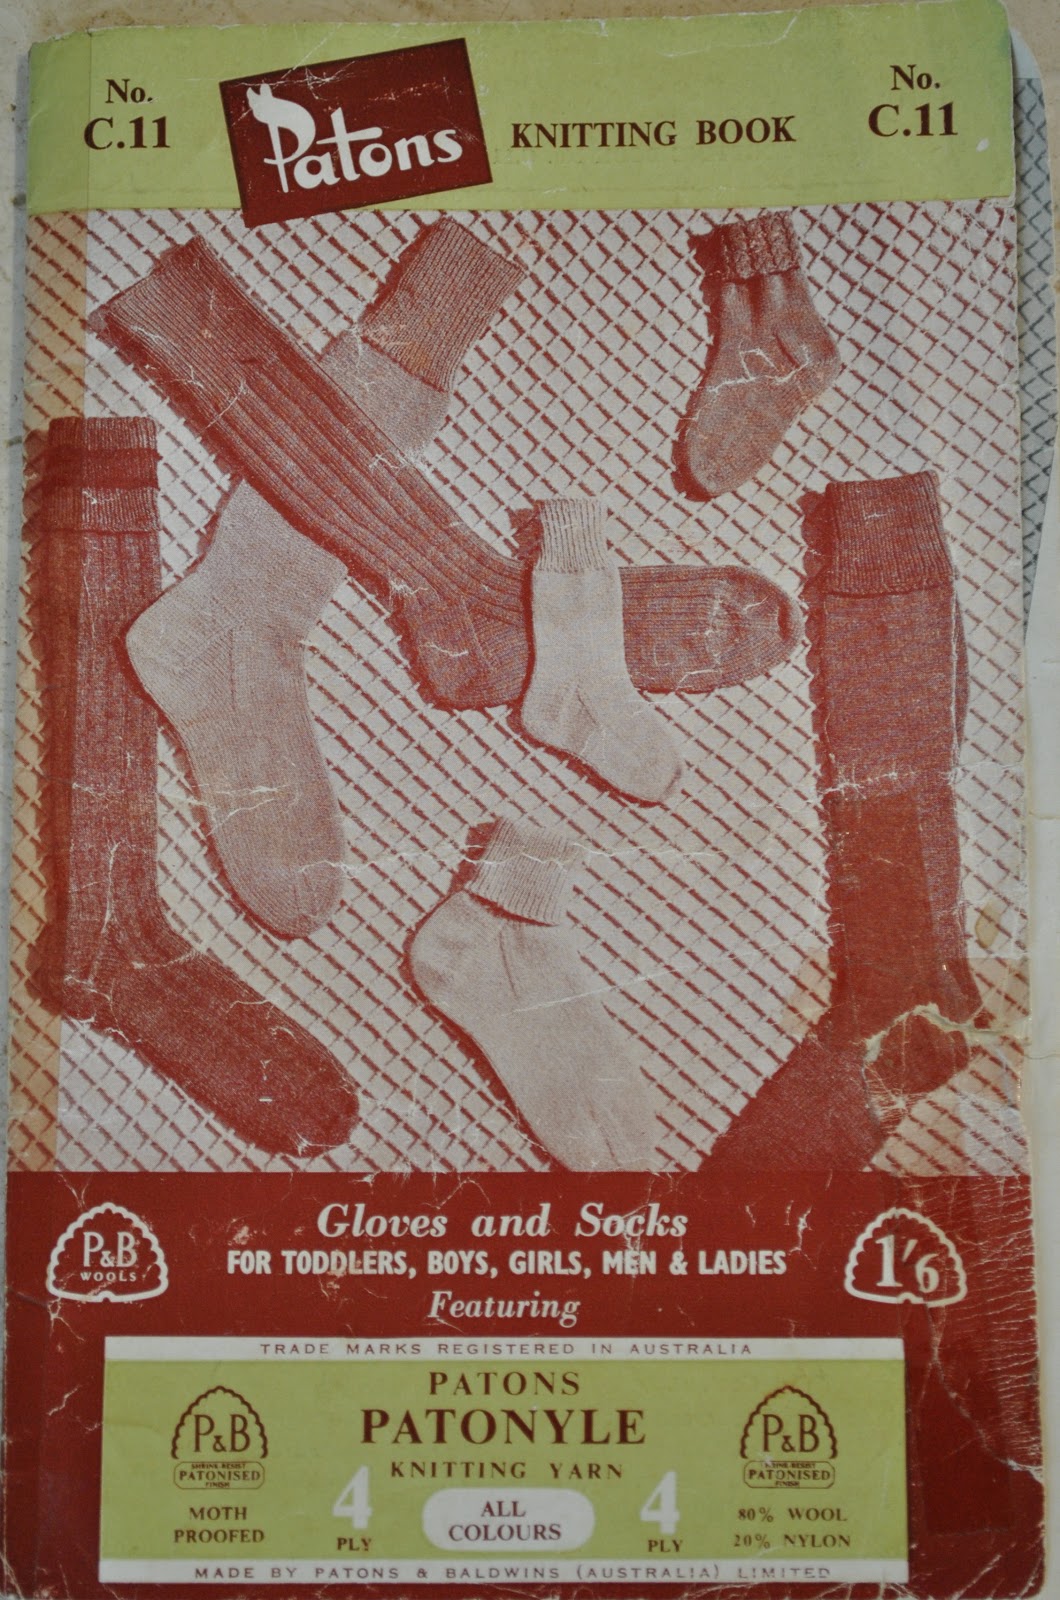
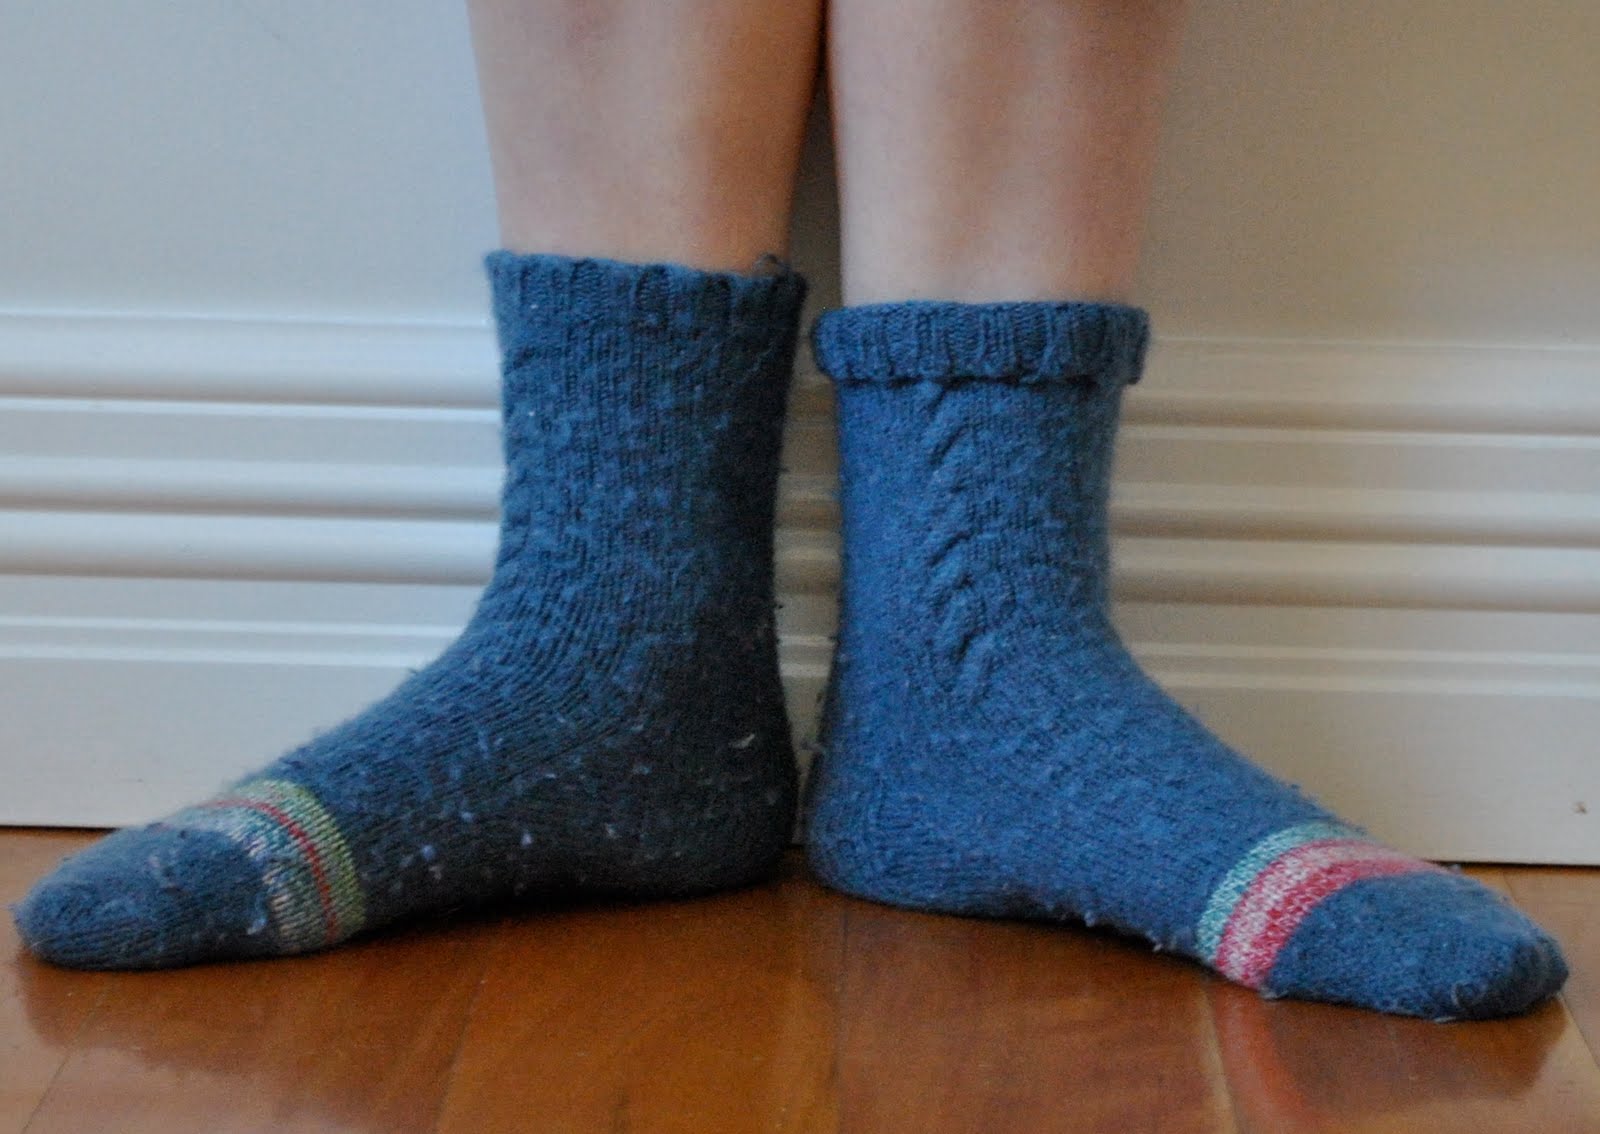
Socks; handknit by me to a 60’s pattern, details here
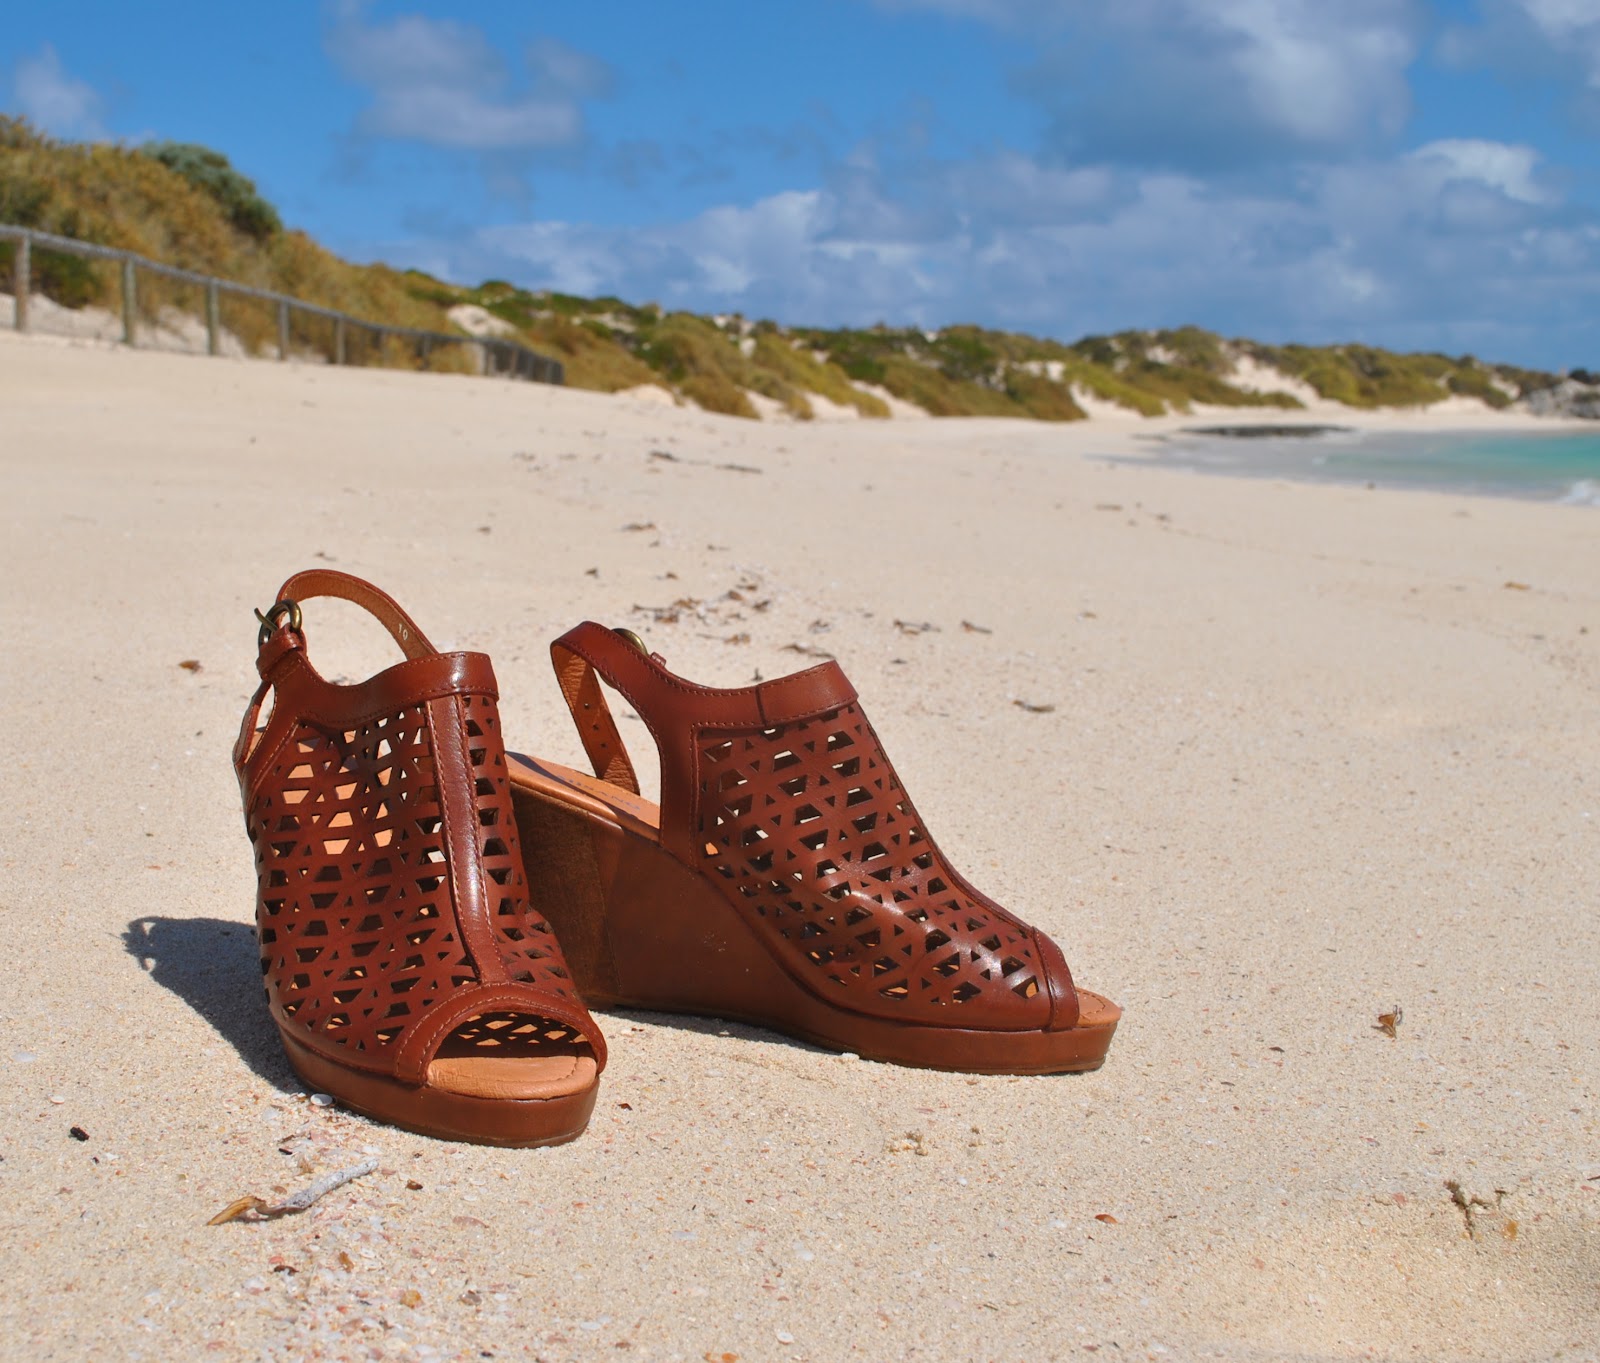
Boots; nylon, from Zomp shoes

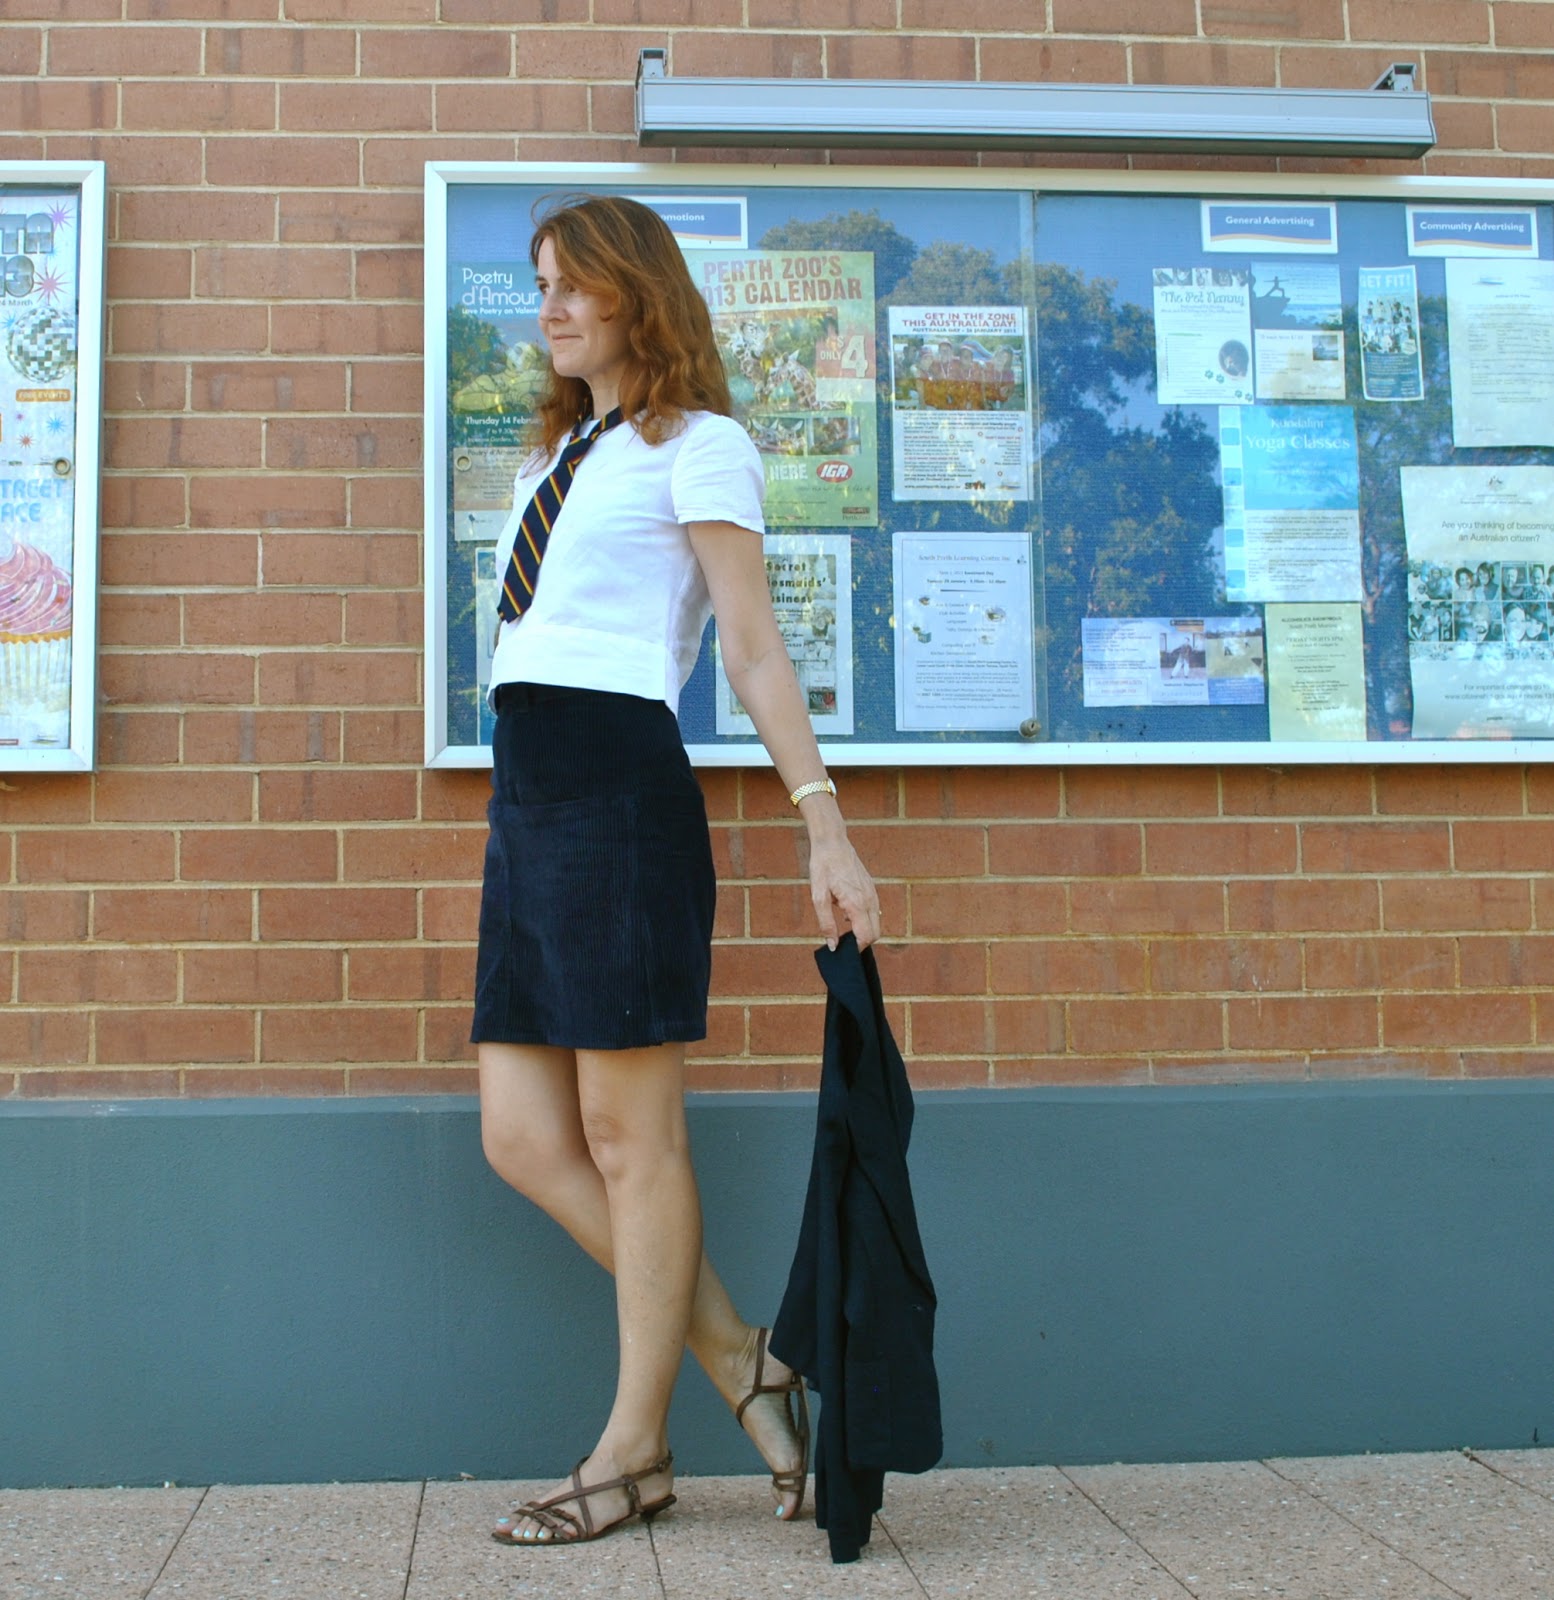
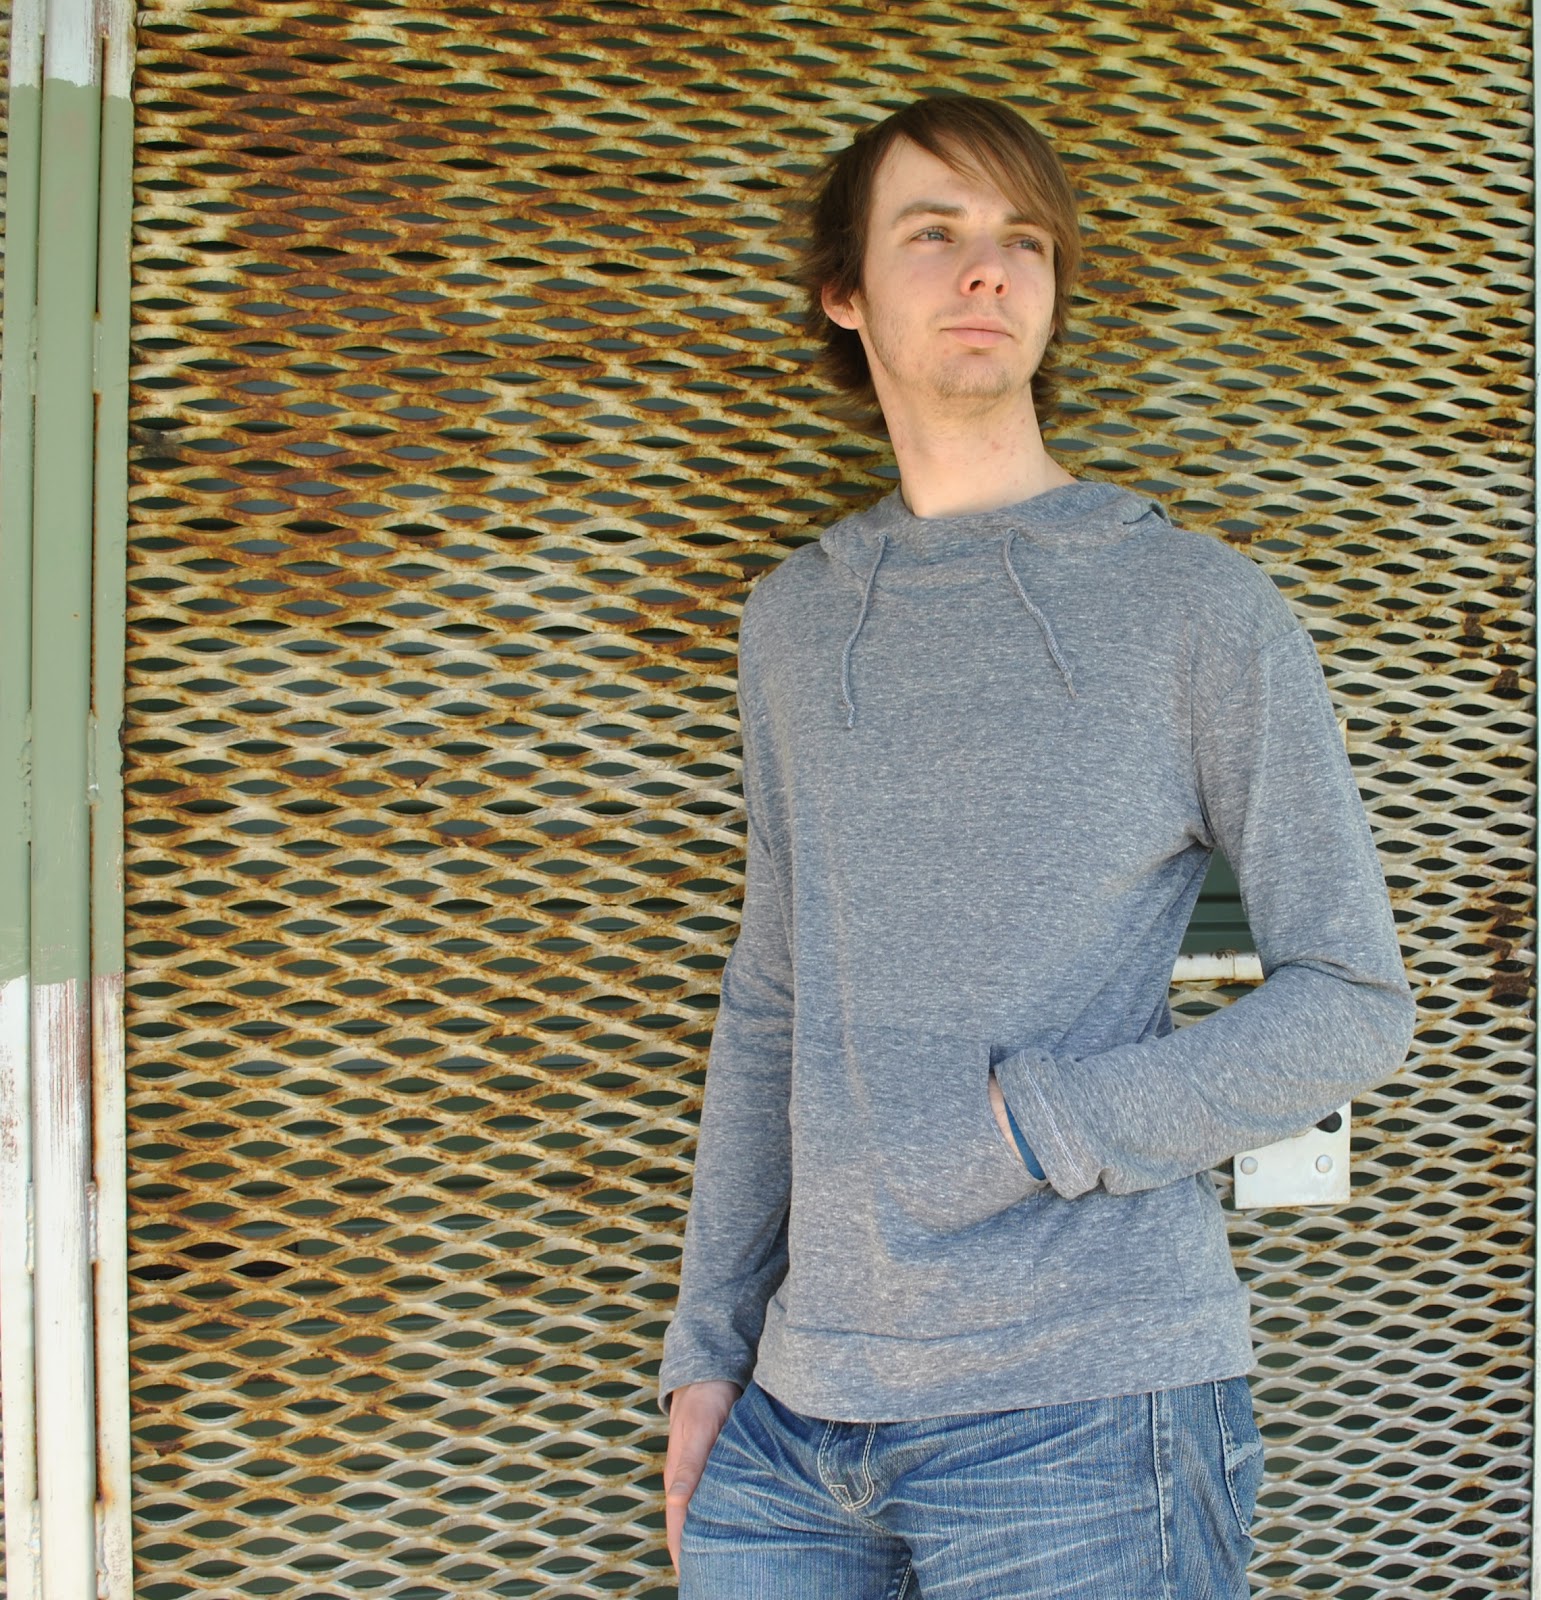
my family mmm13, Craig is wearing this shirt, Cassie is wearing these handknit socks, and Sam is wearing this hoodie

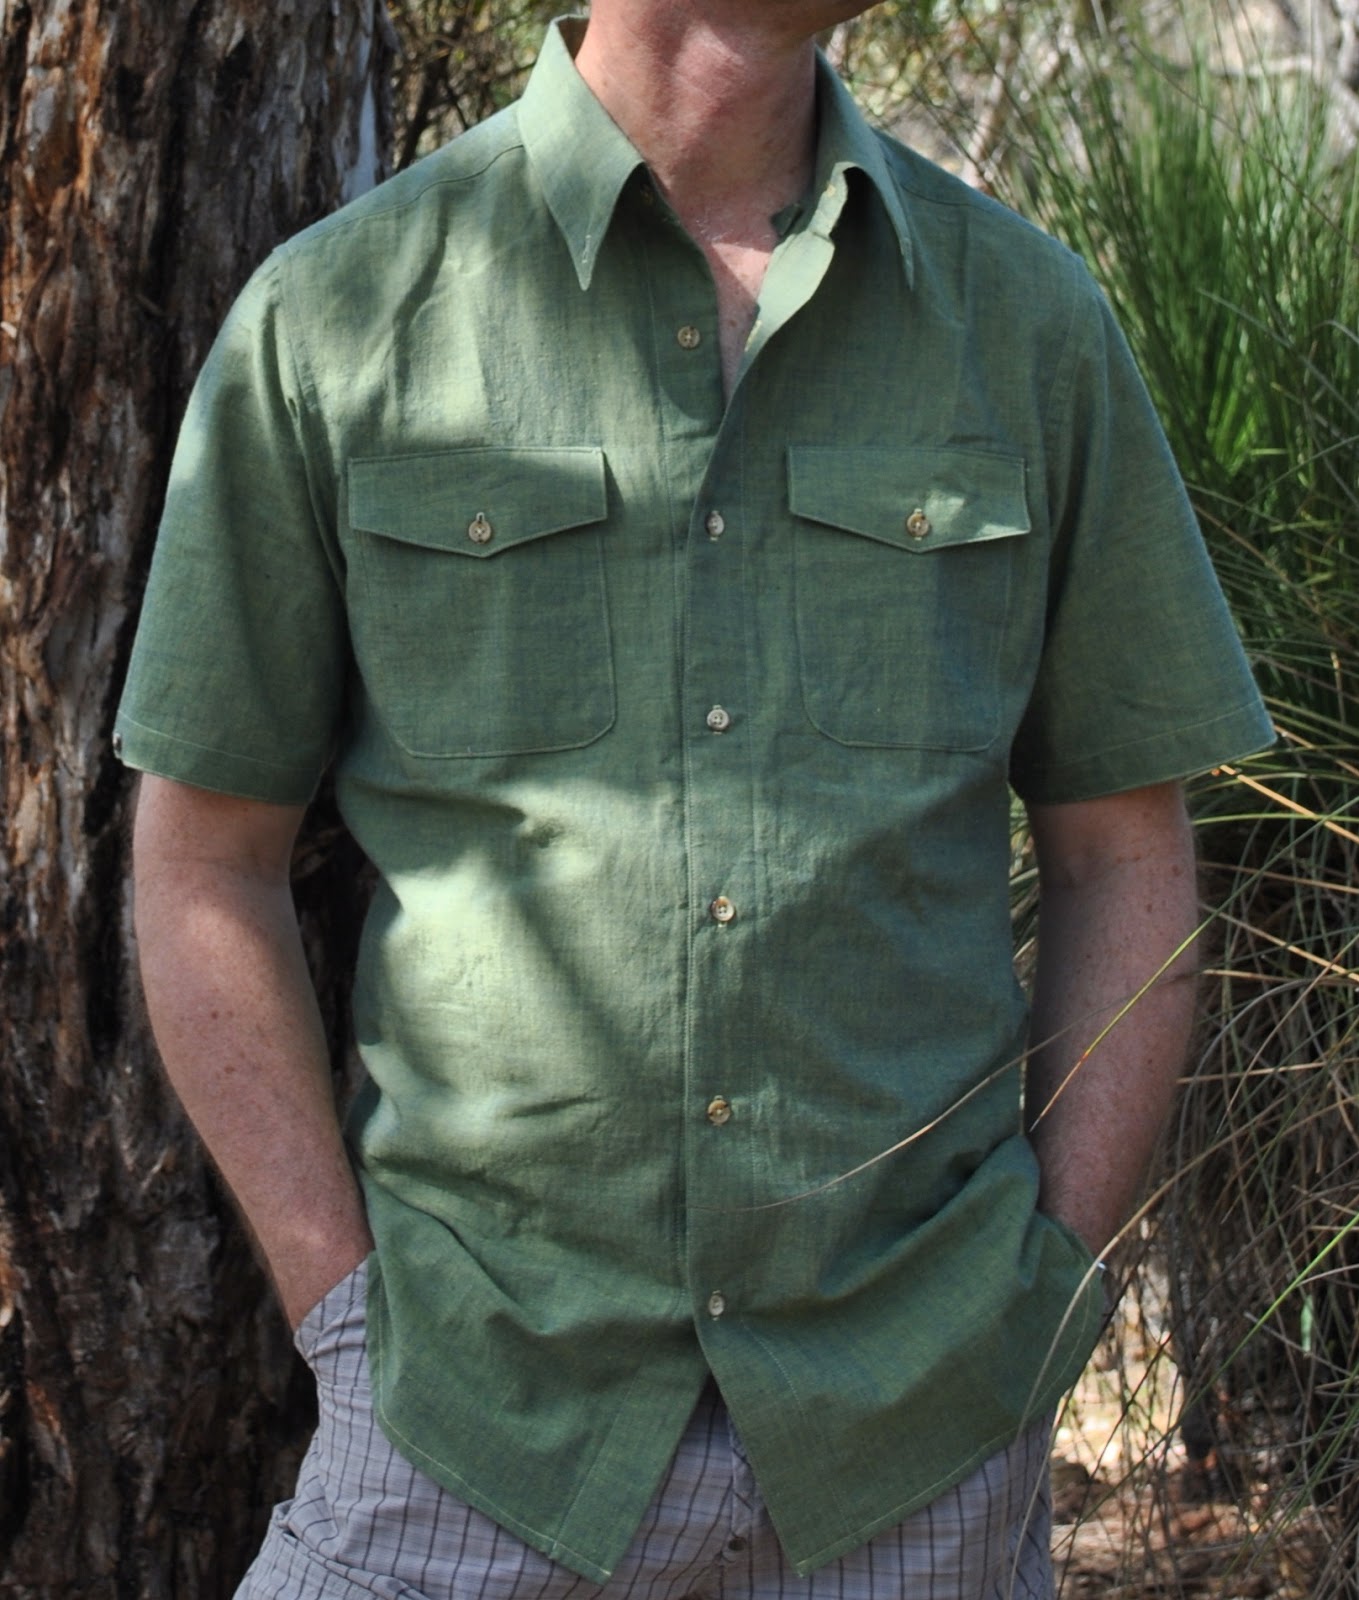
Craig’s shirt; Burda 7767 modified, green cotton, details here
Cassie’s socks; handknit by me to a 60’s pattern, 2ply yarn, details here
Sam’s hoodie; self-drafted, blue/grey jersey, details here

pinterestmail

Navy bloo-p

Hello  ๐Ÿ™‚
So, it turns out that navy blue is just as difficult to photograph as black… oh well!
I have made a skirt.   This used to be a pair of extra-huge, navy blue, corduroy jeans, that I bought from the op shop yonks and yonks ago for a fancy dress party.  They’ve been sitting in my refashioning pile, awaiting a new life.  The fabric is perfectly good but they haven’t been worn ever since the aforementioned fancy dress party, because they did not fit anyone in my family.

My new skirt is based upon a firm favourite skirt pattern, Vogue 1247.  I unpicked and re-used the sturdy silver jeans zip from the old jeans in the centre back, as well I took off and re-sized the waistband with its attached belt loops, and managed to retain the silver jeans button and its corresponding buttonhole, both in situ from the original jeans.
The pockets are lined with blue-and-white stripe fabric, leftover from Sam’s Christmas shirt.

Due to the fabric limitations, I had to cut the skirt to have a centre front seam, as well as the standard centre back seam.

Now you might be thinking; if the jeans were so big to start with, how could you possibly have “fabric limitations” in making a rather small skirt out of them?  Well, when it comes to re-fashioning a new garment from an old, even if your old garment has plenty of fabric it still can be quite a trick to get even a smaller new garment out of it.  This can be due to several factors, such as awkwardly placed seams, or if your fabric has a nap.  In the case of this old jeans to new skirt refashion, there were both of these factors to contend with.  Even though I was starting with satisfactorily extra-big trousers, they were cut in an old-fashioned, late 80’s, early 90’s style, with wide hips tapering down into narrower ankles.  This is the exact opposite of what I wanted in my little skirt; which is narrowest at the waist and gets wider going down to the lower hem; plus there was the nap of the corduroy which you always want to be running down the garment, never ever up the garment.  Plus there were big slanted hip pockets in the jeans, getting in the way of cutting anything out from the top of the jeans.  Plus, a lot of the old bar-stitching was done with an incredibly strong thread, almost like fair dinkum fishing wire or something, making unpicking a sheer joy.  That was heavy sarcasm just there, by the way.  So in the end, it took quite some careful measuring and giving and taking a few centimetres here and a few centimetres there from different pieces, to get out the pieces I wanted.  This is a lengthy justification for why my skirt has a centre front seam, as well as a centre back seam.  So not ideal, I know, but it was the only way the skirt could be!

Details:
Skirt; Vogue 1247 modified, refashioned from a pair of old navy blue jeans/trousers… my review of this pattern here
Top; the hoodie from Pattern Magic 3, blue knit, details here
Thongs; Havaianas

D’ya want to hear/see something funny?  This will give everyone a laugh…. I actually made this skirt back in January of this year, specifically for my high school reunion! and wore it, and photographed it on that day for the blog, but I never put the photo up here…  I decided I just looked silly.  Now I’ve decided that it’s not toooo bad, so here it is!  I made the skirt because I got this whacky idea in my head to kinda reproduce my old school uniform for the reunion.  I found my old school tie, which is tiny! and wore it.  The other pieces are from my regular handmade wardrobe, but it was such a hot night that I left that blazer in the car…
Yes, it was silly… but it was fun!
So, this outfit below is a pretty close representation of what I used to wear to school, every day  ๐Ÿ˜€

Details:
Skirt; Vogue 1247, as above
Top; the bamboo shoot top from Pattern Magic, white linen, details here
Tie; my old school tie
Blazer; Simplicity 4698, navy blue silk, seen first here, and also worn in 6 different ways here
Sandals; Vincenza, from Soletta shoes

pinterestmail

Aries

Aries; the ram.
But… where is the
ram??  Well I am wearing him!  In the form of my pure wool felt cardigan/jacket.  Baa-aa!
And I did take a picture
of this inquisitive flock of girls while I was driving up the driveway to my parentsโ€™ place this morning.  We are here for a big family Easter
shin-dig ๐Ÿ™‚
My cardigan was until very recently, a voluminous
drape-y wrap, which I bought in New Zealand a few years ago.  The fabric is so soft and snuggly,
making it beautifully warm and cosy, and Iโ€™ve always loved this deep olive
colour.  But the shape, while very fashionable
at the time that I bought it, eventually became very not.  Iโ€™m not going to
show you any pictures of me wearing it, as it was.  Especially with my hairโ€ฆ so just picture Samwise Gamgee in
LOTR and youโ€™re getting a pretty good idea!  So unfortunately I have not worn it for aaaages and knew I
never would again either looking like that; but I still loved that soft wool and thought it definitely
deserved a second wind.
I like it all over again now.  I think it turned out sorta like an unstructured
tweed jacket; a casual, playful, loose and floppy version of the landed
gentryโ€™s countrywear, like a cheeky, irreverent, younger brother of the same, if you
like.  And I still have my souvenir from New Zealand, in a newly wearable style  ๐Ÿ™‚
Details:
Jacket; based loosely on Simplicity 4698,
deep olive felted wool, refashioned from an old wrap
Skirt; my own design
based upon Vogue 7303, white stretch lace, details here
Tshirt; self drafted,
white cotton jersey, details here
Socks; handknitted by me,
to a 1960โ€™s sock pattern, details here
Shoes; Francesco
Morichetti, from Zomp shoes

Warning; technical sewing blahdy-blah from here on  ๐Ÿ™‚

There were a few little holes, which I darned before doing anything else.

The new design is
partially based on the pattern Simplicity 4698 with major alterations.  Needed partly because of a severe lack of
fabric, and partly because the felt is so thick and spongy it just would not
suit a properly lined and tailored suit jacket anyway.  I have made this pattern up previously four times I
think, only one of which I still have

The pieces were all
reduced in size a lot, basically to match
the regular cardigan size that I wear, and the back princess seams and outer sleeve seams were eliminated.
I made it as a completely
unlined cardigan, with welt pockets.  The sewing lines of the welt are stabilised with a strip of corduroy.
To reduce bulk, because
the fabric really is very very thick! the pockets themselves are just a single
layer inside, sewn directly to the jacket front invisibly by hand.  I used lots of tightly spaced, tiny
stitches around the pockets but hid them inside the felt so they only show up as the faintest shadow on
the  right side of the
garment.  I edged the entire front,
collar, hemline and sleeve hems by turning under a tiny roll of fabric under
the edge and slip-stitching by hand. 
At the roll-point of the collar I switched the turn under to the other
side, to allow the front turnback of the collar to lie flat and true.  Those overlocked seams are remnants of original seams.

On the inside, I hand
slip-stitched all the new seam allowances down to โ€œdisappearโ€ as invisibly as possible
against the cardigan, for a neat and tidy inner finish.  Maybe neater than the original overlocked finish, I think  ๐Ÿ˜‰
The buttonholes are all
embroidered by hand using 2 strands of embroidery floss, and the buttons are
nacre; sewed on upside down because the rough hewn wrong side of the buttons
was stylistically perfect for the rustic style I was going for.

It is quite a simple
re-fashion, basically a wrap front cardigan has been transformed to a suit
jacket style cardigan.  Not exactly
earth-shattering stoof here.  But I
am happy, since the new style means I am in love with it all over again and
will get a few more years wear out of it!

pinterestmail

You can leave your hat on…

I’ve made a hat.
I used Vogue 8844, and the fabric is a soft ivory
corduroy, harvested from a pair of Cassieโ€™s old worn-out jeans that has been
living in my good sammies pile for the past four or five years.   As evidenced by that half gone
leg there, these jeans were also the source of the White parliament, pictured hereโ€ฆ
The hat is lined with blue and ivory striped stuff
leftover from Samโ€™s stripe-y shirt, and the inner seam finished with white grosgrain
ribbon.  

You know that very stiff, heavyweight,
iron-on interfacing? that is useful about once in a blue moon?  Iโ€™ve had a huge length sitting
untouched in my stash for many many years.  Well, I guess we must have had a blue moon since I managed
to use a bit in this project.  The
hat pieces are all interfaced with this stuff.

I felt pretty good about getting all of the hat
pieces cut out from the jeans. 
Most of the pattern pieces were too big to cut out in one piece, on the
grain and with the nap of the corduroy (they all are, btwโ€ฆ self pat on the
back)  So I had to do a bit of
piecing.  You can see some of the
seams in this picture, but Iโ€™m OK with those seams.  I feel too smugly virtuous about re-using old textiles to
feel bad about a few extra seams in a thing!  Eco-smugness; donโ€™t you just hate that biz  ๐Ÿ˜‰
I
wondered about the sizes, which is partially
why I decided to use a re-cycled textile for my first time making this patternโ€ฆ
not the main reason, I am firmly
committed to mindfully re-using old textiles when I can.  But anyway, about the sizing;
My
head measurement almost exactly corresponded to the S, so I made this
size.  And I couldnโ€™t be more
thrilled with the fit, it cups my scone snugly and is neither tight nor
loose.  There was a brisk-ish breeze
on the beach the day I wore my hat for the first time and photographed it here,
and it stayed firmly and comfortably in place.  I never felt it was in danger of flying away!
The sizing
in this pattern works, yโ€™all!!!

incidentally there is a just-there dog in the below picture  ๐Ÿ˜‰
Some advice for those wishing to re-purpose those
long skinny jeans leg pieces into a new sewing project requiring wider pieces?  I recommend doing all the piecing for
each component, using your pattern piece as a rough guide as to where and how
much to add on, and leaving at least
a few centimetres leeway around all the edges.  Stick religiously to cutting the joining edges and sewing
seams along the grainline of the fabric AND ensure fabric nap is consistent.   After sewing pieces together, lay the patchworked piece down flat
and only then accurately cut out the
pattern piece.  This way is much
easier than accurately cutting out little part-pieces and then trying to join
them together to fit the pattern piece. 
J
Details:
Hat; Vogue 8844, ivory corduroy
Top; the bamboo shoot top, Pattern Magic by Tomoko
Nakamichi, white linen, details here
Shorts; Burda 7723 slightly modified, embroidered
yellow cotton, details here
Pattern
Description:
Four
lined hats, each offered in XS, S, M and L.  A; contrast lining, D; contrast band and bow.
Pattern
Sizing:
XS 52cm
(20.5 in), S 55cm (21.5 in); M 57cm (22.5 in); L 60cm (23.5 in)  I made the S.
Did
it look like the photo/drawing on the pattern envelope once you had finished
sewing it?
Yes. I
made view C, leaving off the chin straps.
Were
the instructions easy to follow?
Yes
What
did you particularly like or dislike about the pattern?
It is
a nice stylish hat, easy to make.  The
slightly shaped top and crown lend a chic, vaguely Indiana Jones-ish air to the
hat.
Really,
there is absolutely nothing to dislike about this pattern; itโ€™s a hat, and it
works!
Fabric
Used:
Cotton
corduroy
Pattern
alterations or any design changes you made:
None.  But if a wider brimmed hat was desired;
it would be a cinch to just add a few centimeters on to the outer edge of the
brim curve to achieve this.
Would
you sew it again? Would you recommend it to others?
I
expect so, and yes  ๐Ÿ™‚
Conclusion:
This
is a great basic pattern which I think will be very useful. I made mine in
ivory corduroy for a summery-looking, wide-brimmed sunhat, but as illustrated
on the pattern envelope it would work equally well made up in tweed or a richly coloured
velvet or some other winter appropriate fabric to make a smart version for
winter.  
let’s play spot the dog again
pinterestmail

Denimen. Ineminem.


First garment for the year!

The credit for the cute pocket and the funky piecing and top-stitching goes to Mum of course  ๐Ÿ˜‰  Yes, remember this Vogue 8561 skirt that she made, and
passed on to me because she didnโ€™t like it?  Unfortunately that particular combo of pattern and fabric was kinda unforgivably frumpy.  I think the older you get, the far less
you can get away with anything remotely frumpy.  When she saw it on me even Mum said โ€œoh just toss it out Carolyn,
it does nothing for you eitherโ€
But it was of lovely, new fabric; slightly stretchy denim from
KnitWit? I think? and waaaaay too nice to ditch so hastily; and I liked the idea
of a little blue denim skirt in my wardrobe.  Key word there: โ€œlittleโ€.  And blue denim; always a favourite!
So the unfrumpy Vogue 1247 came to the rescueโ€ฆ I
spliced the upper and lower skirt pattern pieces together and managed to cut a
front and back from the very lowest portion of the skirt, keeping most of the
original hemline intact.  
Interesting, huh? that the hemline circumference of that long long original is almost exactly the same as it is in this much much shorter skirt.  Explains a lot, in retrospect it was pretty constrictive and difficult to stride briskly along in….  and I’m a strider.
I cut out
that adorable little pocket from the top and re-attached it to the skirt;
because imo it was the hands-down highlight of the original skirt and I just had to keep it!  The original dress zip was unpicked and
re-used in the CB seam, and I found a piece of non-stretchy denim in my stash
with a wrong side having an excellent colour match, leftover from a skirt
Cassie had made for herself.  From this, I cut
a new waistband, and to reduce bulk and avoid that quintuple layer of fabric
you get in the joining seam of a traditional waistband, I edged the inside raw facing
edge with pale blue bias binding (leftovers from this shirt) and stitched them
together in-the-ditch.  I re-used
the same heavy-duty hook and eye closure.
Voila!  I think
this is a far more flattering and usable skirt in our climate, and there is no
doubt it is going to get a heck of a lot more wear now!
Details:
Skirt; a refashion of a Vogue 8561 denim skirt, using a
modified version of Vogue 1247, my review of this pattern here
Top; the top portion of a dress from Pattern Magic 3 by
Tomoko Nakamichi, of white cotton jersey, details here
Thongs; Havaiana
pinterestmail

the Wolery

After my brothers and I had all moved out of home and started our own families; I started a rather non-rigid, and not annual, tradition of making a Christmas ornament for each of us… just something silly and small, not anything of great worth or anything but something that could be a commonality to us in our separate homes.  This year I was happy to find the time for it again  ๐Ÿ™‚
so please say tu-whit, tu-whoo!  (trans.  Hello) to…
the Black parliament above
the Green parliament 

the White parliament

and the Brown parliament.

I used this pattern developed by Moonstitches, and I used old corduroy jeans, some scraps of cotton and embroidery thread; and the little buttons I had to buy new, from Spotlight.  Each owl has a circular cardboard base, covered with cotton and stitched in place.  I slipped a glass bead inside just before stitching the base on, to make the owls bottom-heavy and to help them stay upright and not blow over.
I just love how the tiniest variations in height and width, and the placement of the beak and the eyes, results in very distinct and individual personalities in each owl!

Merry Christmas all!

pinterestmail

Seafoam and sand set

Remember my self-drafted bra?  Well this was bound to happen.  Once I had started producing some bras with nice, properly finished interiors; the days of that far-from-perfect bra were numbered.  When I learnt how things were supposed to be done, thanks to KwikSew 3300; those cobbled-together insides became painful to my eyes…
So, ta da!  I’ve made a new(ish) set.  
Y’know what?  I absolutely LOVE the fact that the two undies both match the bra, but are not identical to each other!  You can tell that they all go together, like one happy family; but each has its own personality.  Like; they are sisters, but not twins.
Will definitely do this again  ๐Ÿ™‚
I took apart the old bra, and re-used as much of the lace as I could, as well as the half-sized padded bra cups and the hook and eye closure.  I bought new underwires since the previous ones were too short for this pattern.   
For the supplementary fabric I used some lovely soft sand-coloured bamboo jersey leftover from my scrumpled leggings, and had just enough to cut out another pair of undies, using McCalls 2772.  I added little scraps of the lace in at the sides of the new knickers before sewing on the elastic; to tie them in with the rest of the set.

Both the fabrics are originally from Fabulous Fabrics.

Y’all know how I like complete and matching sets in my lingerie drawer ….   hey, we all have our quirks right?  Mine is to have matching lingerie sets; and the two matching knickers per bra combo is pretty much mandatory to my continued sense of balance and order in the world.  I’m quite particular in that way ๐Ÿ™‚
Now this set matches my criteria.  
And it is finished nicely.  
I am at peace.

the nitty gritty…
For the first time I made view A of KwikSew 3300 (my review of this pattern here), with the lace upper cup and a stretch knit lower cup, and once again altered the pattern slightly to allow me to sandwich the padded half-cups inside the lower cup pieces.  I used a bit of skinny ribbon for the stabiliser on the lace upper cup.  It has no give, and the piece doesn’t fit the top of the bra exactly; so I found it necessary to first baste this, easing the lace to fit, then to stitch over my basting stitches.
The underwire casing was made from ice-blue shot cotton, leftover from this top.

The jersey lining of the lower cup “looks” funny; a bit bobbly and boinging out like a trampoline over the concave inside of the moulded cup, but obviously the soft stretch fabric moulds to your body when you are wearing it.  I can’t think of any way to force it to follow the curve; short of gluing it or quilting it down to the cup.  And there’s no way I’m going to go to those lengths when it actually fits and feels fine when it’s on!

Now for the Tanga lace panties; although they look virtually identical to how they did previously…well, I hope they do!… these too have been taken apart and altered…
Why?
This is kinda hard for me, since I absolutely hate to bag a pattern, particularly an independent little pattern from someone kind enough to put a free downloadable pattern up on the internet, from the goodness of their heart, for everybody to enjoy.  Such a generous gesture does not deserve a bagging.  But the pattern, as it was, did not totally work for me…. why? because the crotch has a front-to-back central seam, combined with NO elasticated leghole edges to help keep the crotch edges… er, out, and apart from each other.  It doesn’t take much imagination to extrapolate; and see that that makes for an enormously uncomfortable pair of knickers, that necessitates one having to find plenty of inconspicuous moments in one’s day to hoink that wretched crotch seam out from where it has no business being.  The liner is one-piece, but is too flimsy to make a heck of a lot of difference, unfortunately.
Moral of the story; beware of knickers with a central crotch seam.
So I removed the old crotch and constructed a new one.  I used the one-piece liner pattern piece to cut a new knit liner, and also for a new, stretch elastic crotch.  I salvaged some more of the decorative stretch lace border from the old bra, cut two pieces to fit the length of the inside lace edge on the crotch which translates to about 1cm short of the outer edge measurement and sewed it along, stretching it along the outer edge to fit, gathering the side edges in a touch.

I didn’t have enough of the original lace to cut a new crotch piece or I would have used it!  I had to improvise, using white stretch lace with a over-layer of pale blue poly chiffon; the latter cut a bit bigger all round and sewn on loosely to account for the fact that it does not have stretch in itself.  I think it blends in ok.  Would you even notice that the fabric was different without this close-up shot?

And y’know what?
Success!!
Using the liner piece to cut a one-piece crotch, and sewing border strips of stretch lace on at the sides to pull them in a bit…. it’s a very tiny adjustment to the ultra-cute lace Tanga knicker pattern, but one that renders them a heck of a lot more comfortable imo.  In future versions I will definitely be doing this again!  ๐Ÿ™‚

pinterestmail

Cut me a little Black

In my recent, gloriously ruthless, spring clean-out of my wardrobe, I culled an evening gown, originally made using Burda 8046 and first posted here.  I’ve worn it about seven times in total; none in the past three years; and have now decided it is too young for me.  Cassie didn’t want it either… so rather than toss it the Salvo’s way where someone might snap it up only to butcher it for something else, I decided I wanted to have that wicked pleasure for myself… mwahaha   ๐Ÿ™‚
The fabric of the lower skirt section is an almost translucent, lightweight, black silk taffeta, and it has a combined lining/crinoline of soft black tulle.  And please don’t worry about that beautiful heavily sequinned and beaded fabric on the bodice section, it will not be wasted and will be put to good use, I absolutely promise!

I was pretty pleased to get the skirt pieces of Vogue 1170 from the lower skirt section, and I also fashioned a new attached crinoline from the old one too.  This has a lot of extra gathering in the very back region, creating a really frothy bit to help that flounce flounce.  Hopefully in a feminine and attractive way  ๐Ÿ™‚

I even re-used the zip! hehe, of course it was too long but I left it long.  It is no bother; sandwiched unobtrusively between the skirt and those tulle gathers it cannot be seen or felt!
I eliminated the centre front seam and cut the skirt front/back section as one big massive piece.  I was able to do this by incorporating part of the ballgown side seams, and at the centre front and halfway around towards the back some of the original hem has also been left intact.   Instead of cutting a hemline facing as stipulated in the pattern, I hand-stitched a narrow hem to mimic the remains of the original on my ballgown.  My skirt is about 10cm longer than the pattern.

I also cut the centre back and side back pieces to incorporate my slight sway back alterations to the pattern, illustrated in my first version of this pattern here.
The waistband has a central vertical joining seam, and is about half the width, necessary adaptions due to the lack of fabric.  I think I do actually prefer it this narrower width too!

OK (deep breath, confession time)…. er, I left off the pockets too.
:O  
Hehe; normally I am such a rabid pocket-lover I wouldn’t dream of leaving off something so inherently marvellous, buuut…  (here we go) I sorta had to mostly through lack of fabric, but also, while wearing my previous two versions of this skirt pattern (here and here) I have found that I pretty much never use the pockets.  They are situated very high, and have a very narrow opening that is almost impossible to widen without disrupting the structural integrity of the skirt/waistband junction.  Furthermore: they are actually kind of a nuisance.  Since they are true “bags” that just hang there with nothing to tether them, they have a tendency to bunch up a bit when you’re putting the skirt on; and need to be manually smoothed down flat to avoid obvious bulges on one’s hips.  When the skirt is lined like this one; that is even more annoying to sort out: since you have to either do it from inside the pockets themselves (see previous note about laughably small pocket openings) or lift up the skirt and pull them down straight from underneath.   In short: I have to concede that this particular design is better off without them!   Shock!
And please admire my rather fantabulous new shoes for summer too.  They are from Misano, like my ballet flats.  This warm rich shade of caramel leather is definitely my kind of shade, and will liven up and enrich all of my favoured neutrals.  I like that practical wedge heel too, safer and a lot easier to get about in than a stiletto.  I am really looking forward to wearing them and wearing them.  These are going to be long term players in my shoe collection!

Details:
Skirt; Vogue 1170 with minor modifications, a refashion of an old ballgown; black silk taffeta with a black tulle crinoline, see my review of this pattern here
Shirt; my own design, of black polycotton, details here
Sandals; a gift from Misano

pinterestmail
Switch to mobile version
↓